Skip to content
  • Categories
  • Recent
  • Tags
  • Popular
  • Users
  • Groups
Skins
  • Light
  • Brite
  • Cerulean
  • Cosmo
  • Flatly
  • Journal
  • Litera
  • Lumen
  • Lux
  • Materia
  • Minty
  • Morph
  • Pulse
  • Sandstone
  • Simplex
  • Sketchy
  • Spacelab
  • United
  • Yeti
  • Zephyr
  • Dark
  • Cyborg
  • Darkly
  • Quartz
  • Slate
  • Solar
  • Superhero
  • Vapor

  • Default (No Skin)
  • No Skin
Collapse
WIBIMMERS logo

WIBIMMERS

  1. Home
  2. General Discussion
  3. Members BMWs
  4. Non-BMW Stuff on a BMW Forum

Non-BMW Stuff on a BMW Forum
Scheduled Pinned Locked Moved Members BMWs
1.2k Posts 29 Posters 0 Views 1 Watching
  • Oldest to Newest
  • Newest to Oldest
  • Most Votes
Reply
  • Reply as topic
Log in to reply
This topic has been deleted. Only users with topic management privileges can see it.
  • KaiserRollsK
    KaiserRollsK
    KaiserRolls
    wrote on last edited by
    #734

    Jdesign said:

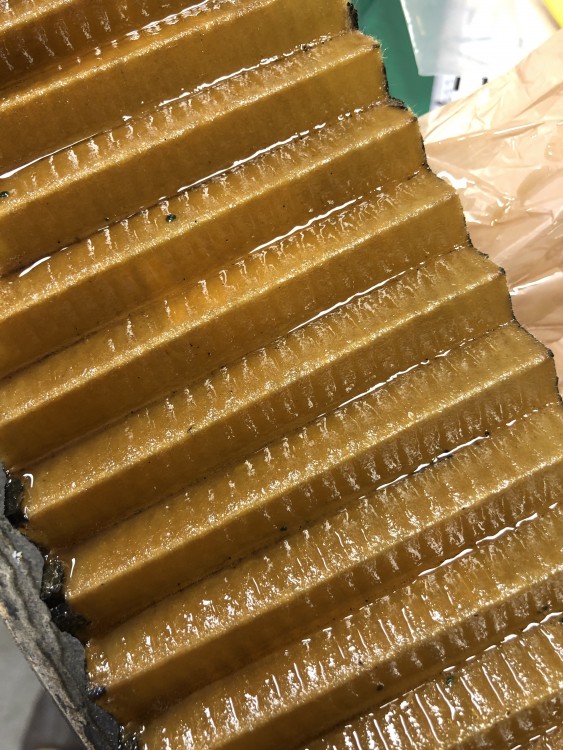
    That honestly just looks like condensation in the oil, but that could be the reflections too. Just run a really nice filter.

    Maybe remnants of assembly lube

    1 Reply Last reply
    0
    • G
      G
      gilber33
      wrote on last edited by
      #735

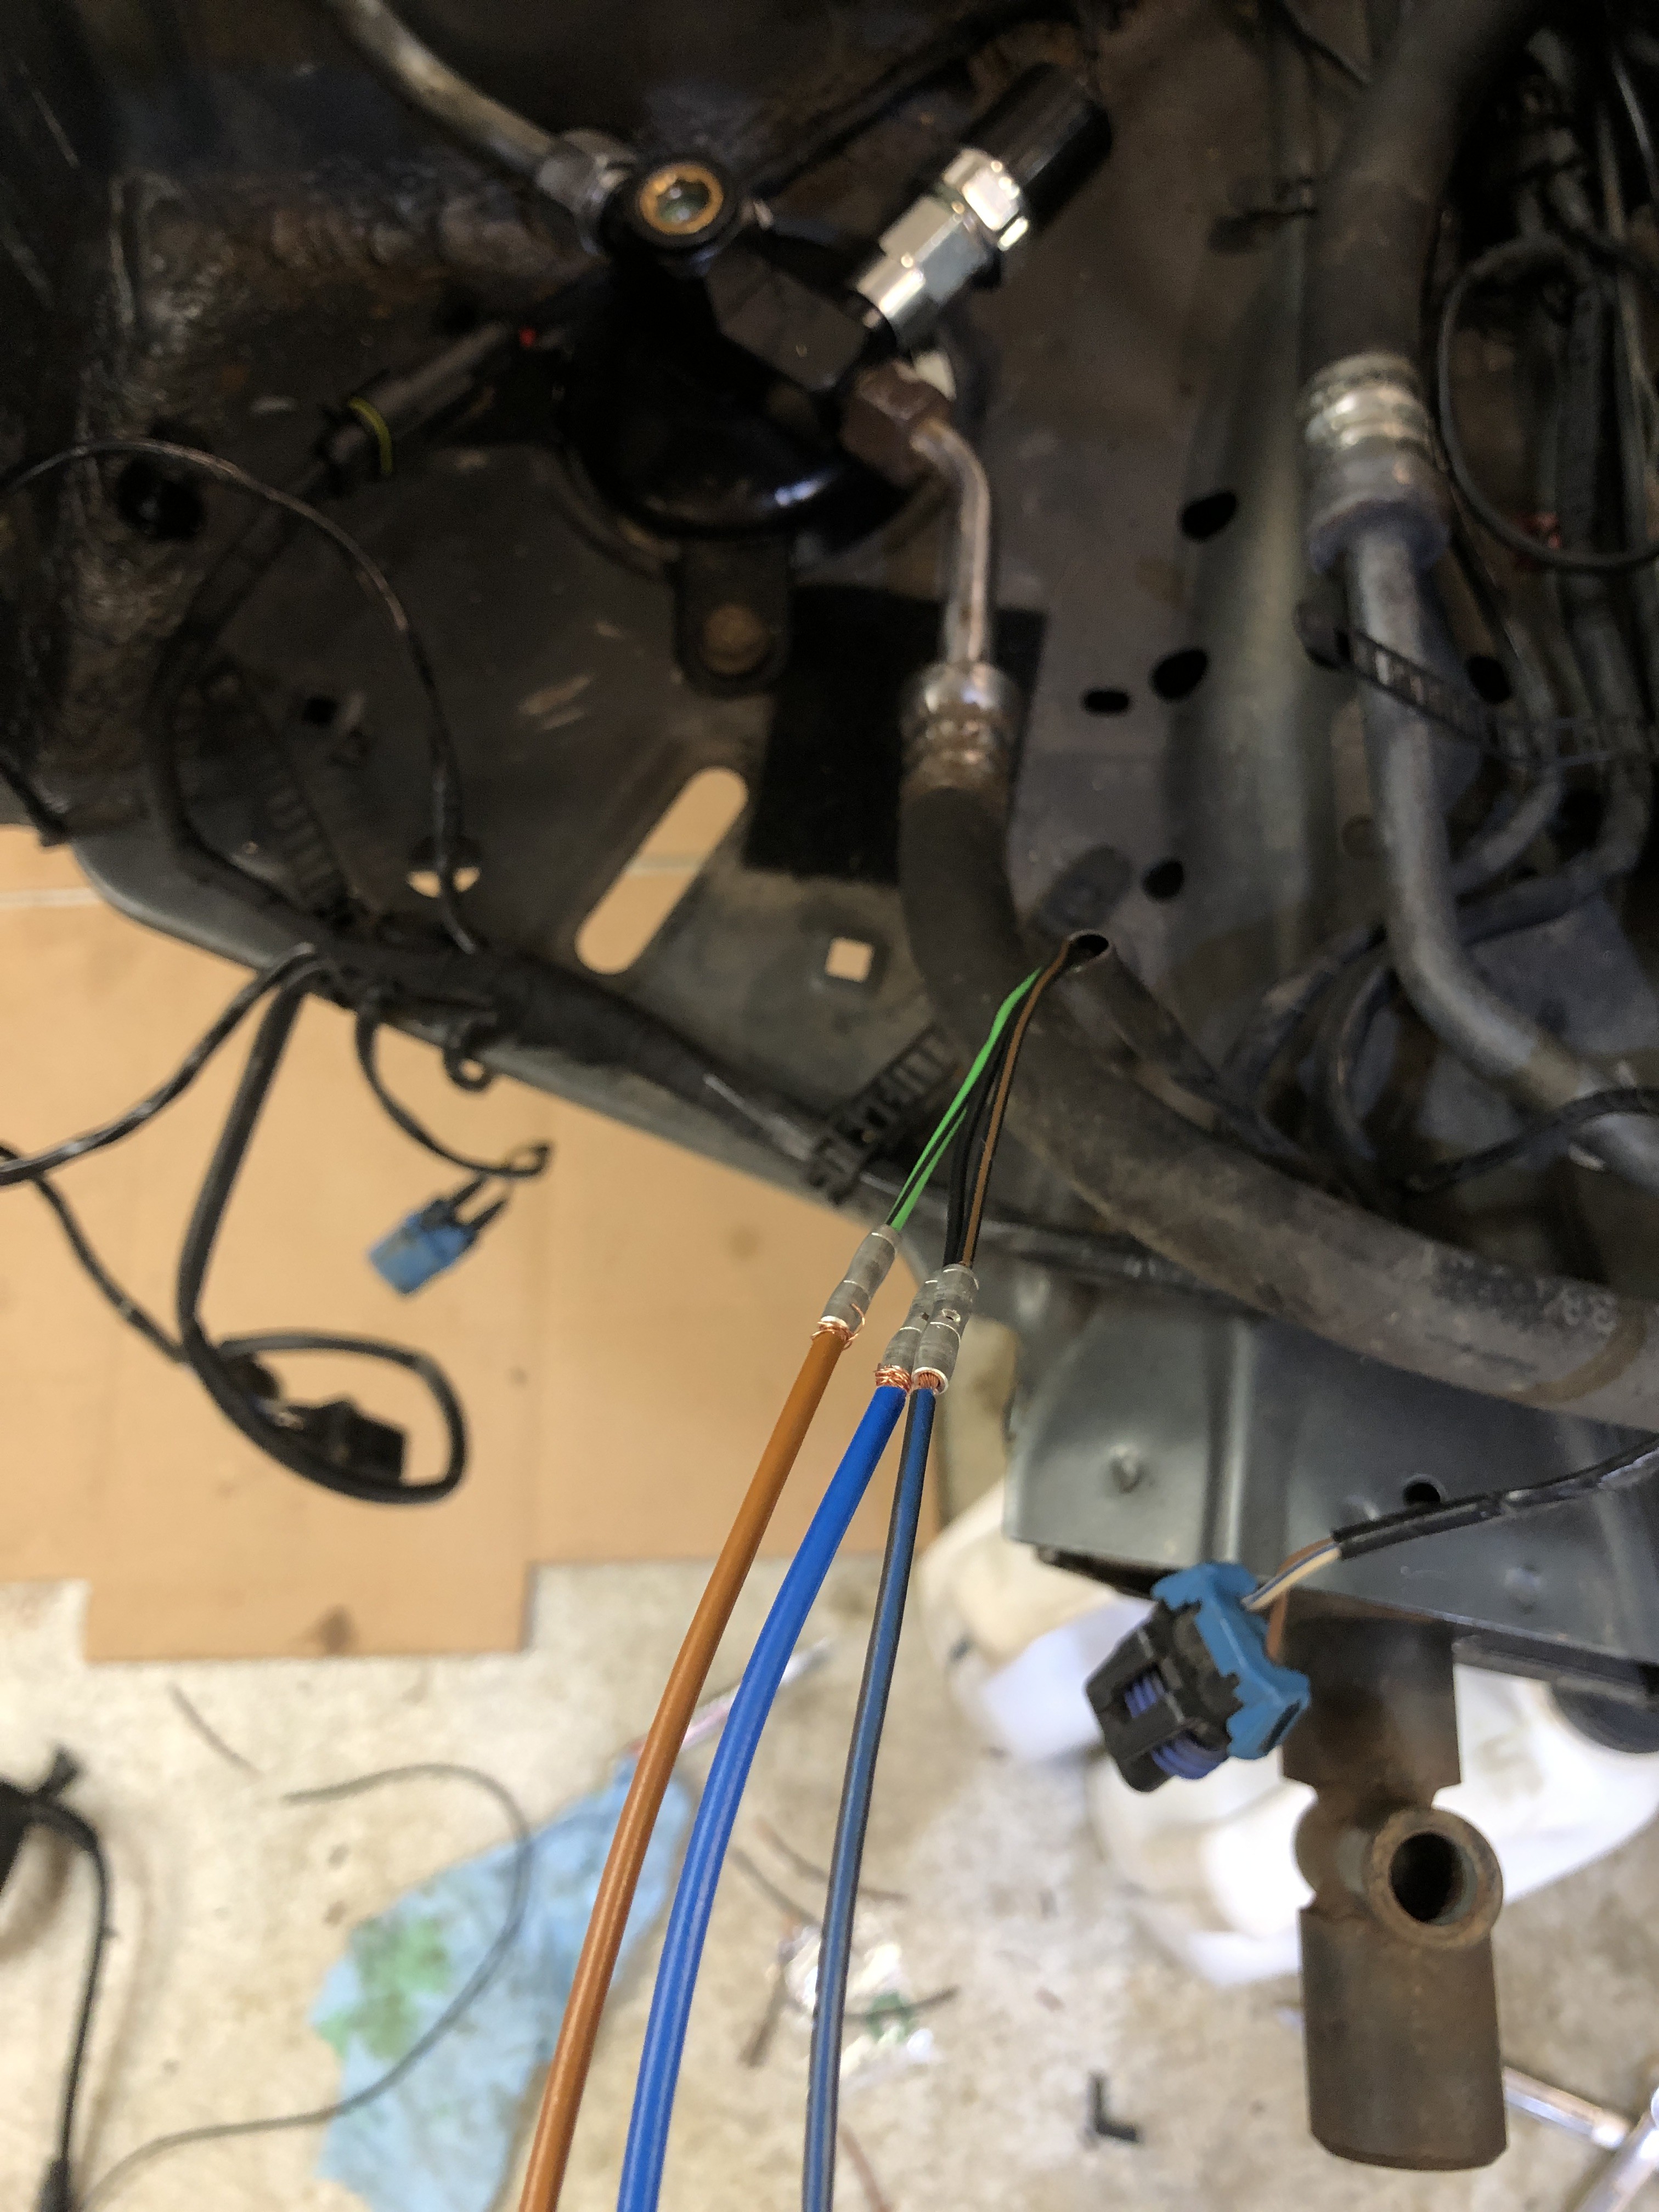
      Feels like I got way more done than I really did. Wiring is so time consuming. 
       

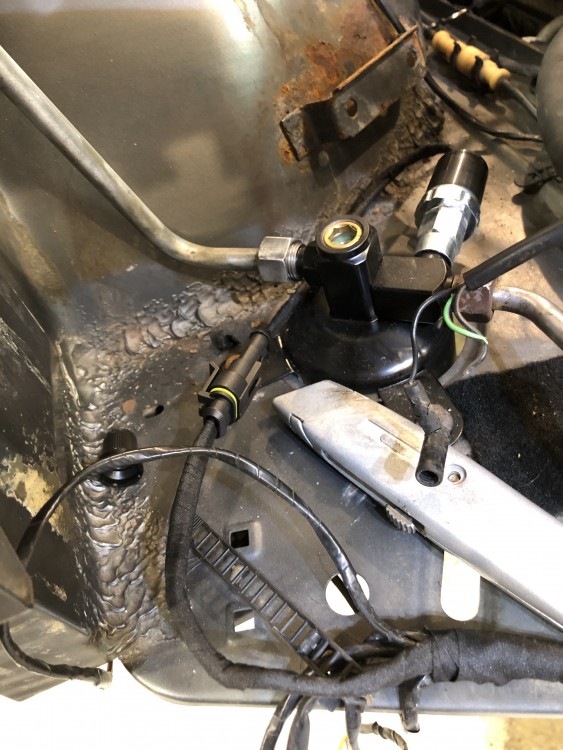
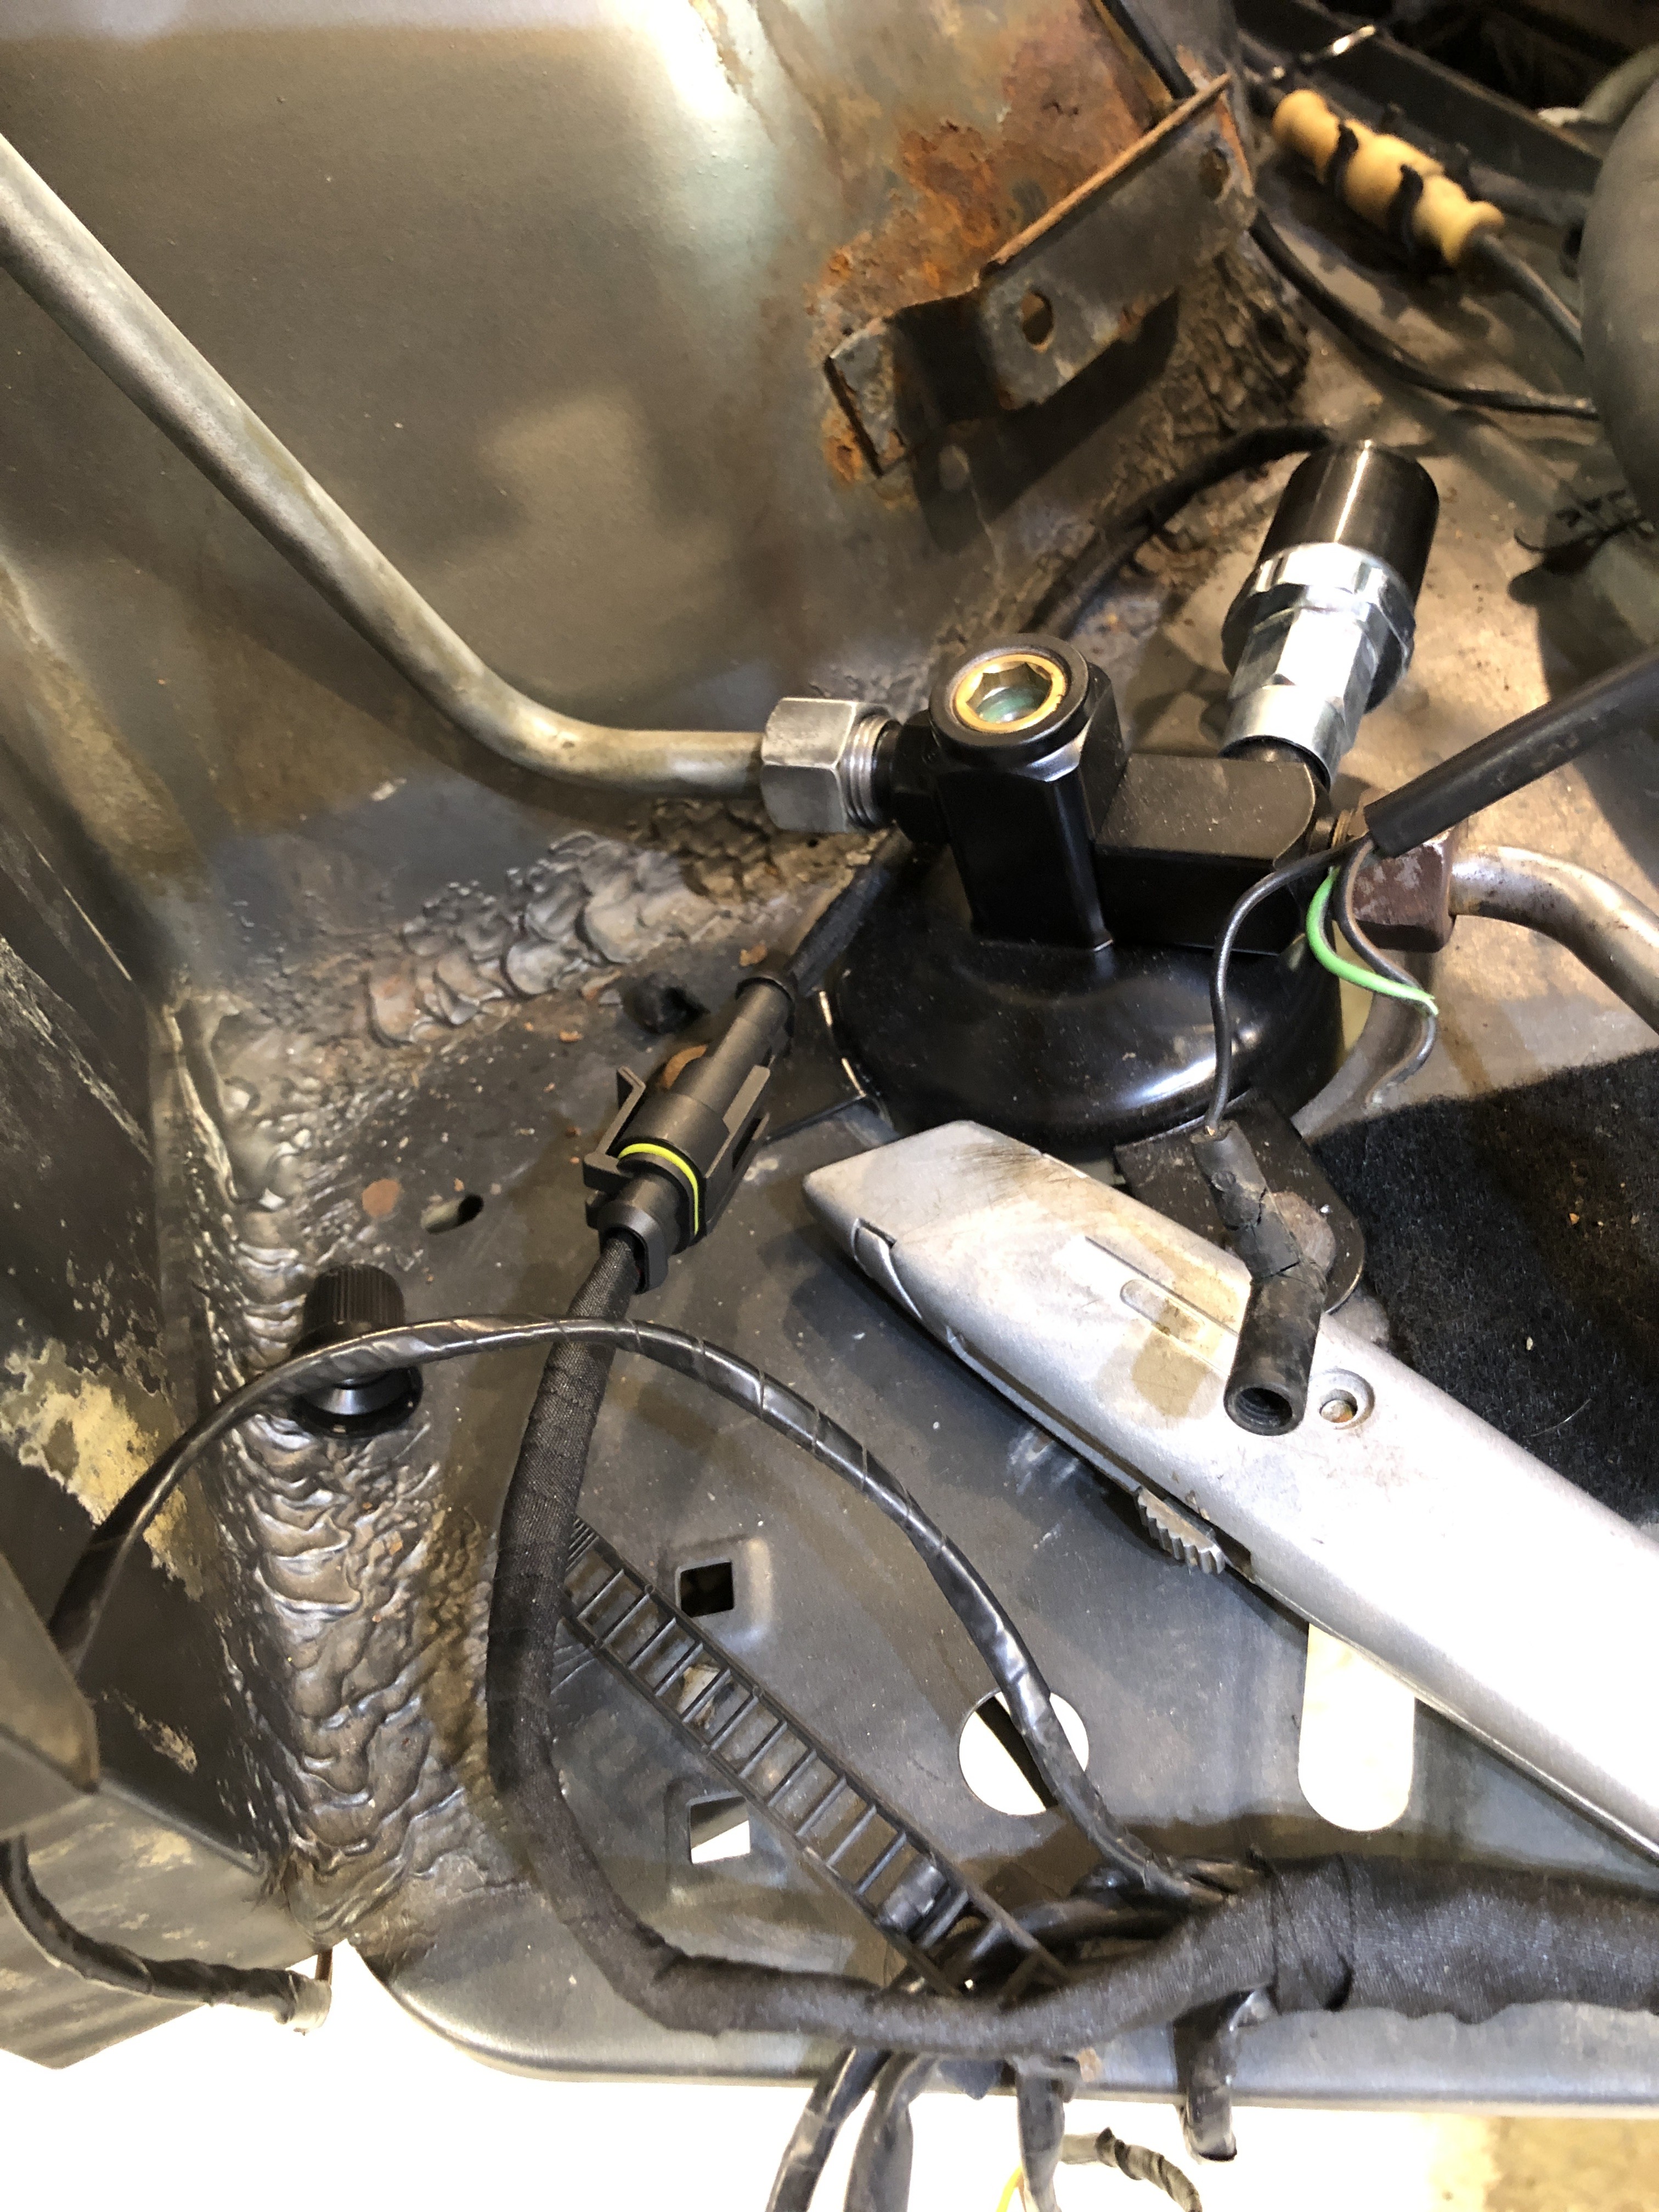
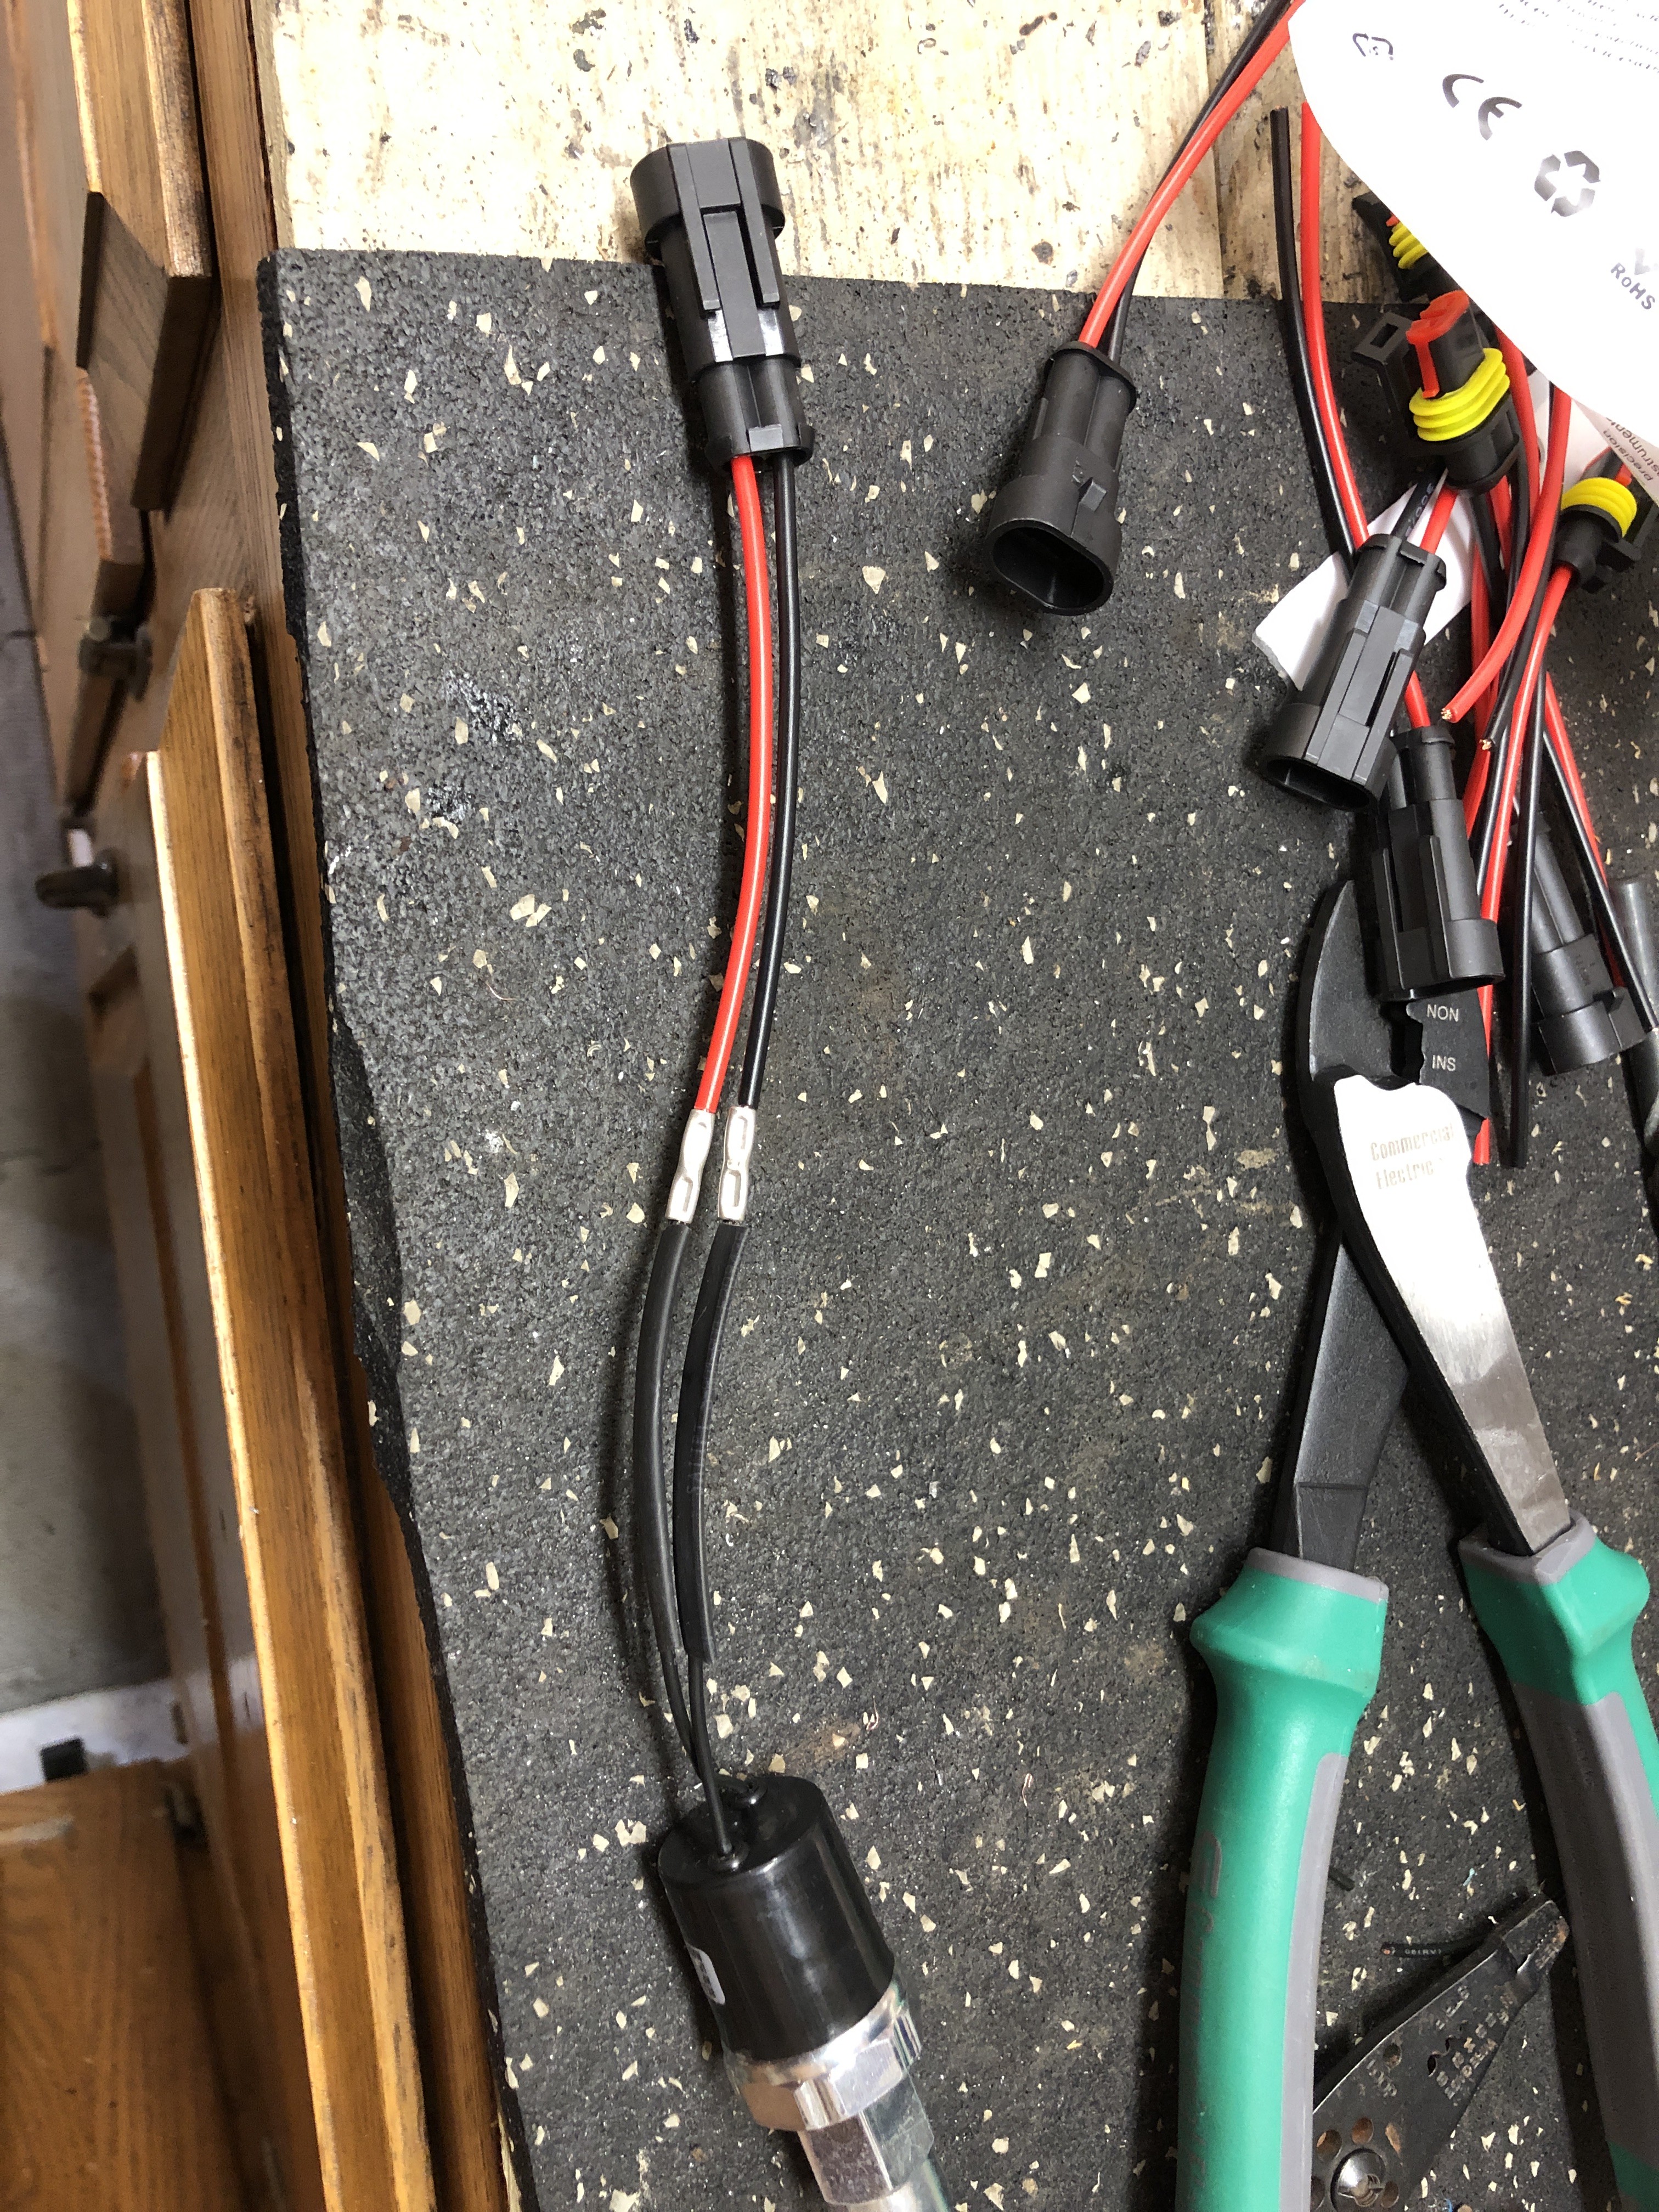
      New pressure switch with the factory plug removed for a universal two plug connector. Also, never knew that non insulated crimp connected was a thing. 
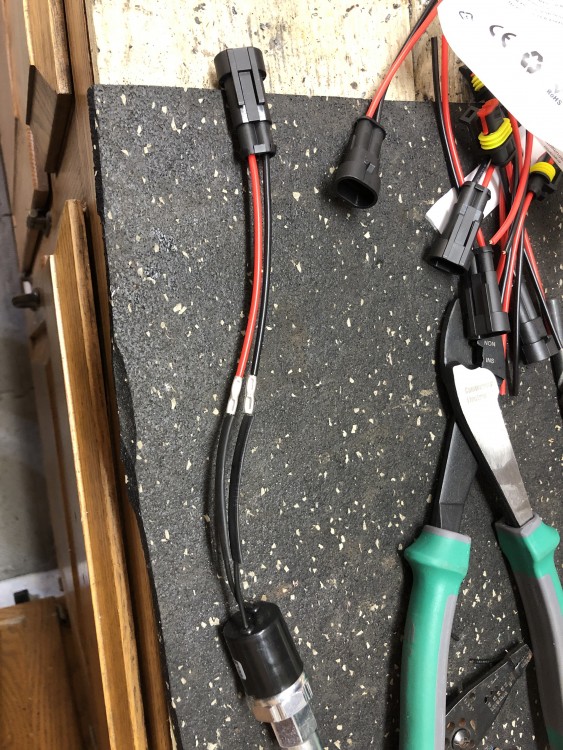
      8053B379-3A4A-4063-AF78-A8B5C7176CE1.jpeg

      E67856EB-30EC-4D35-AF01-2D5C7FE764FE.jpeg

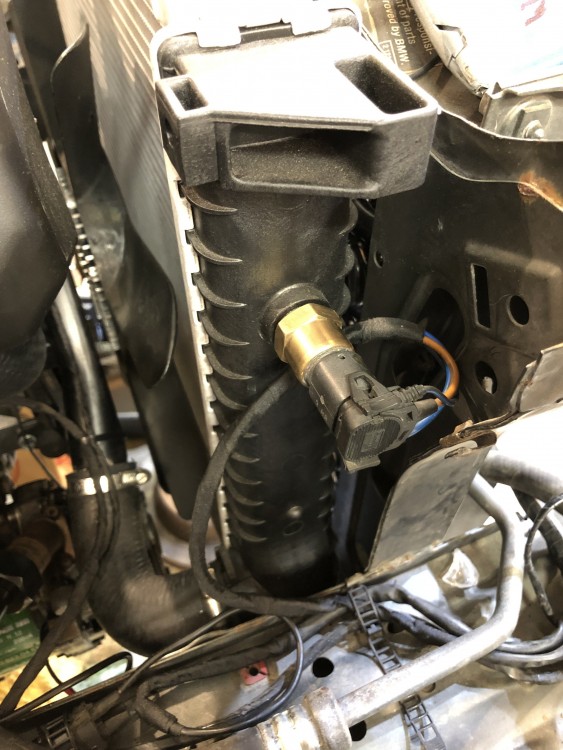
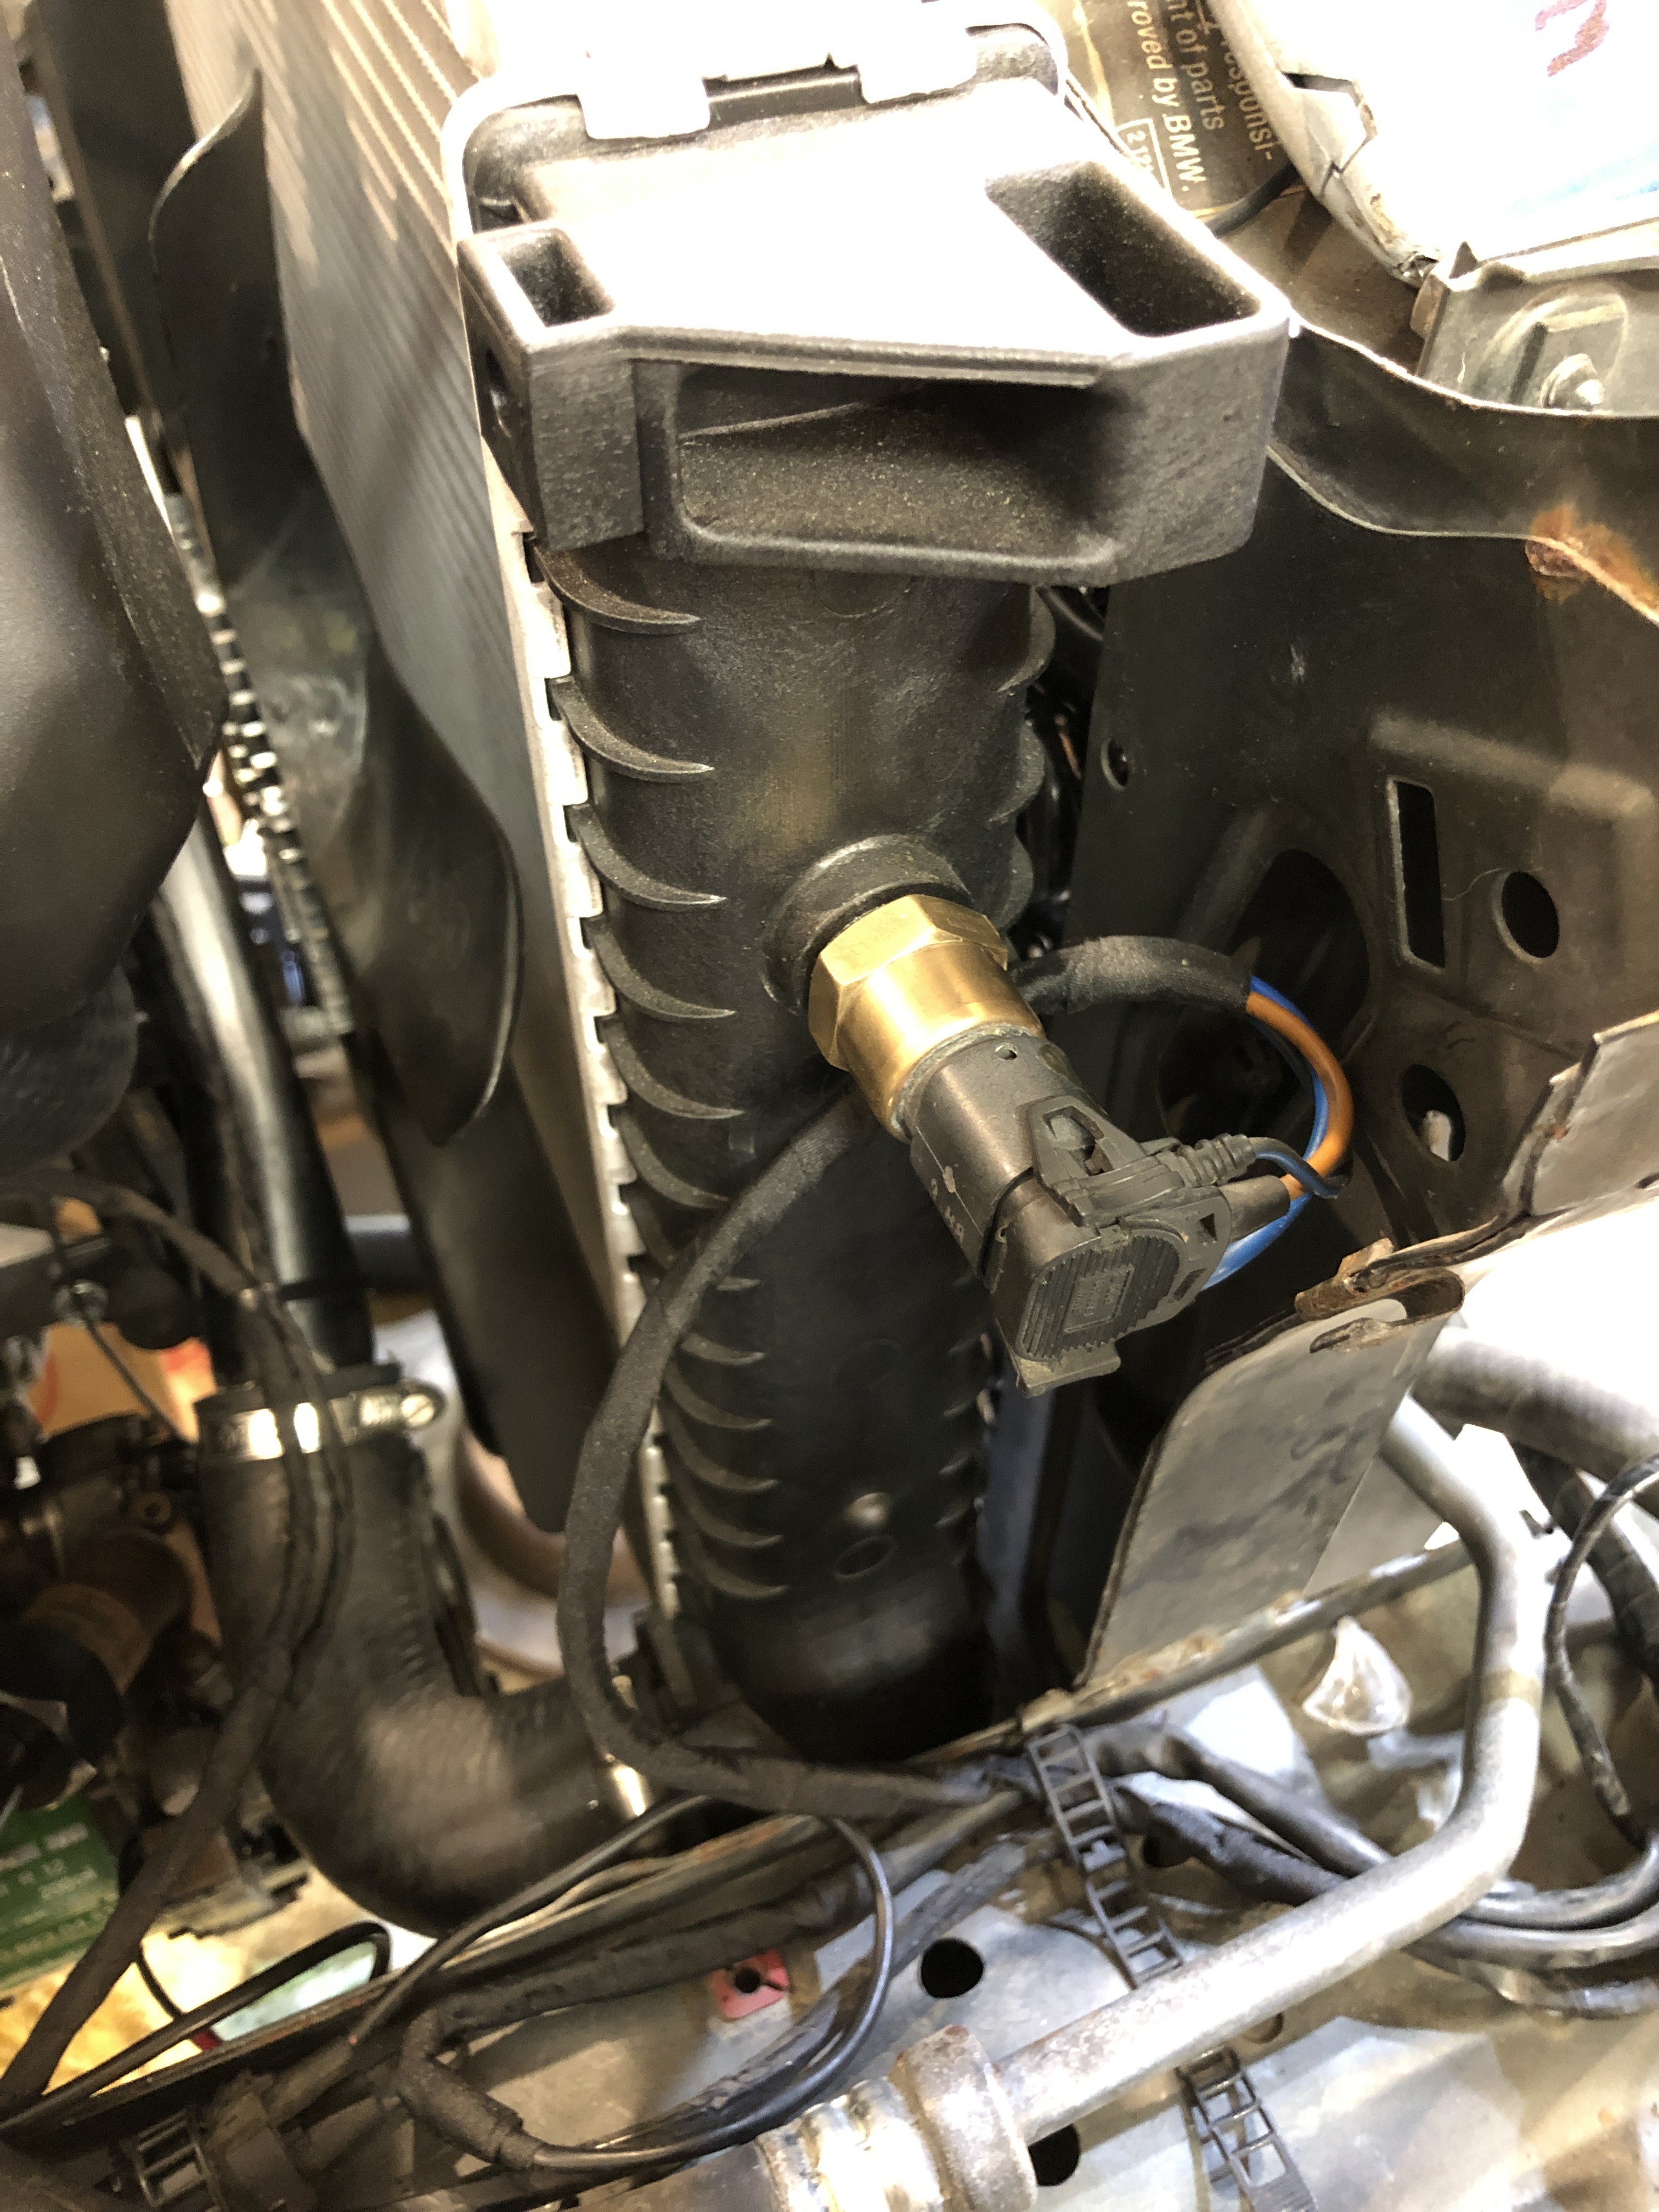
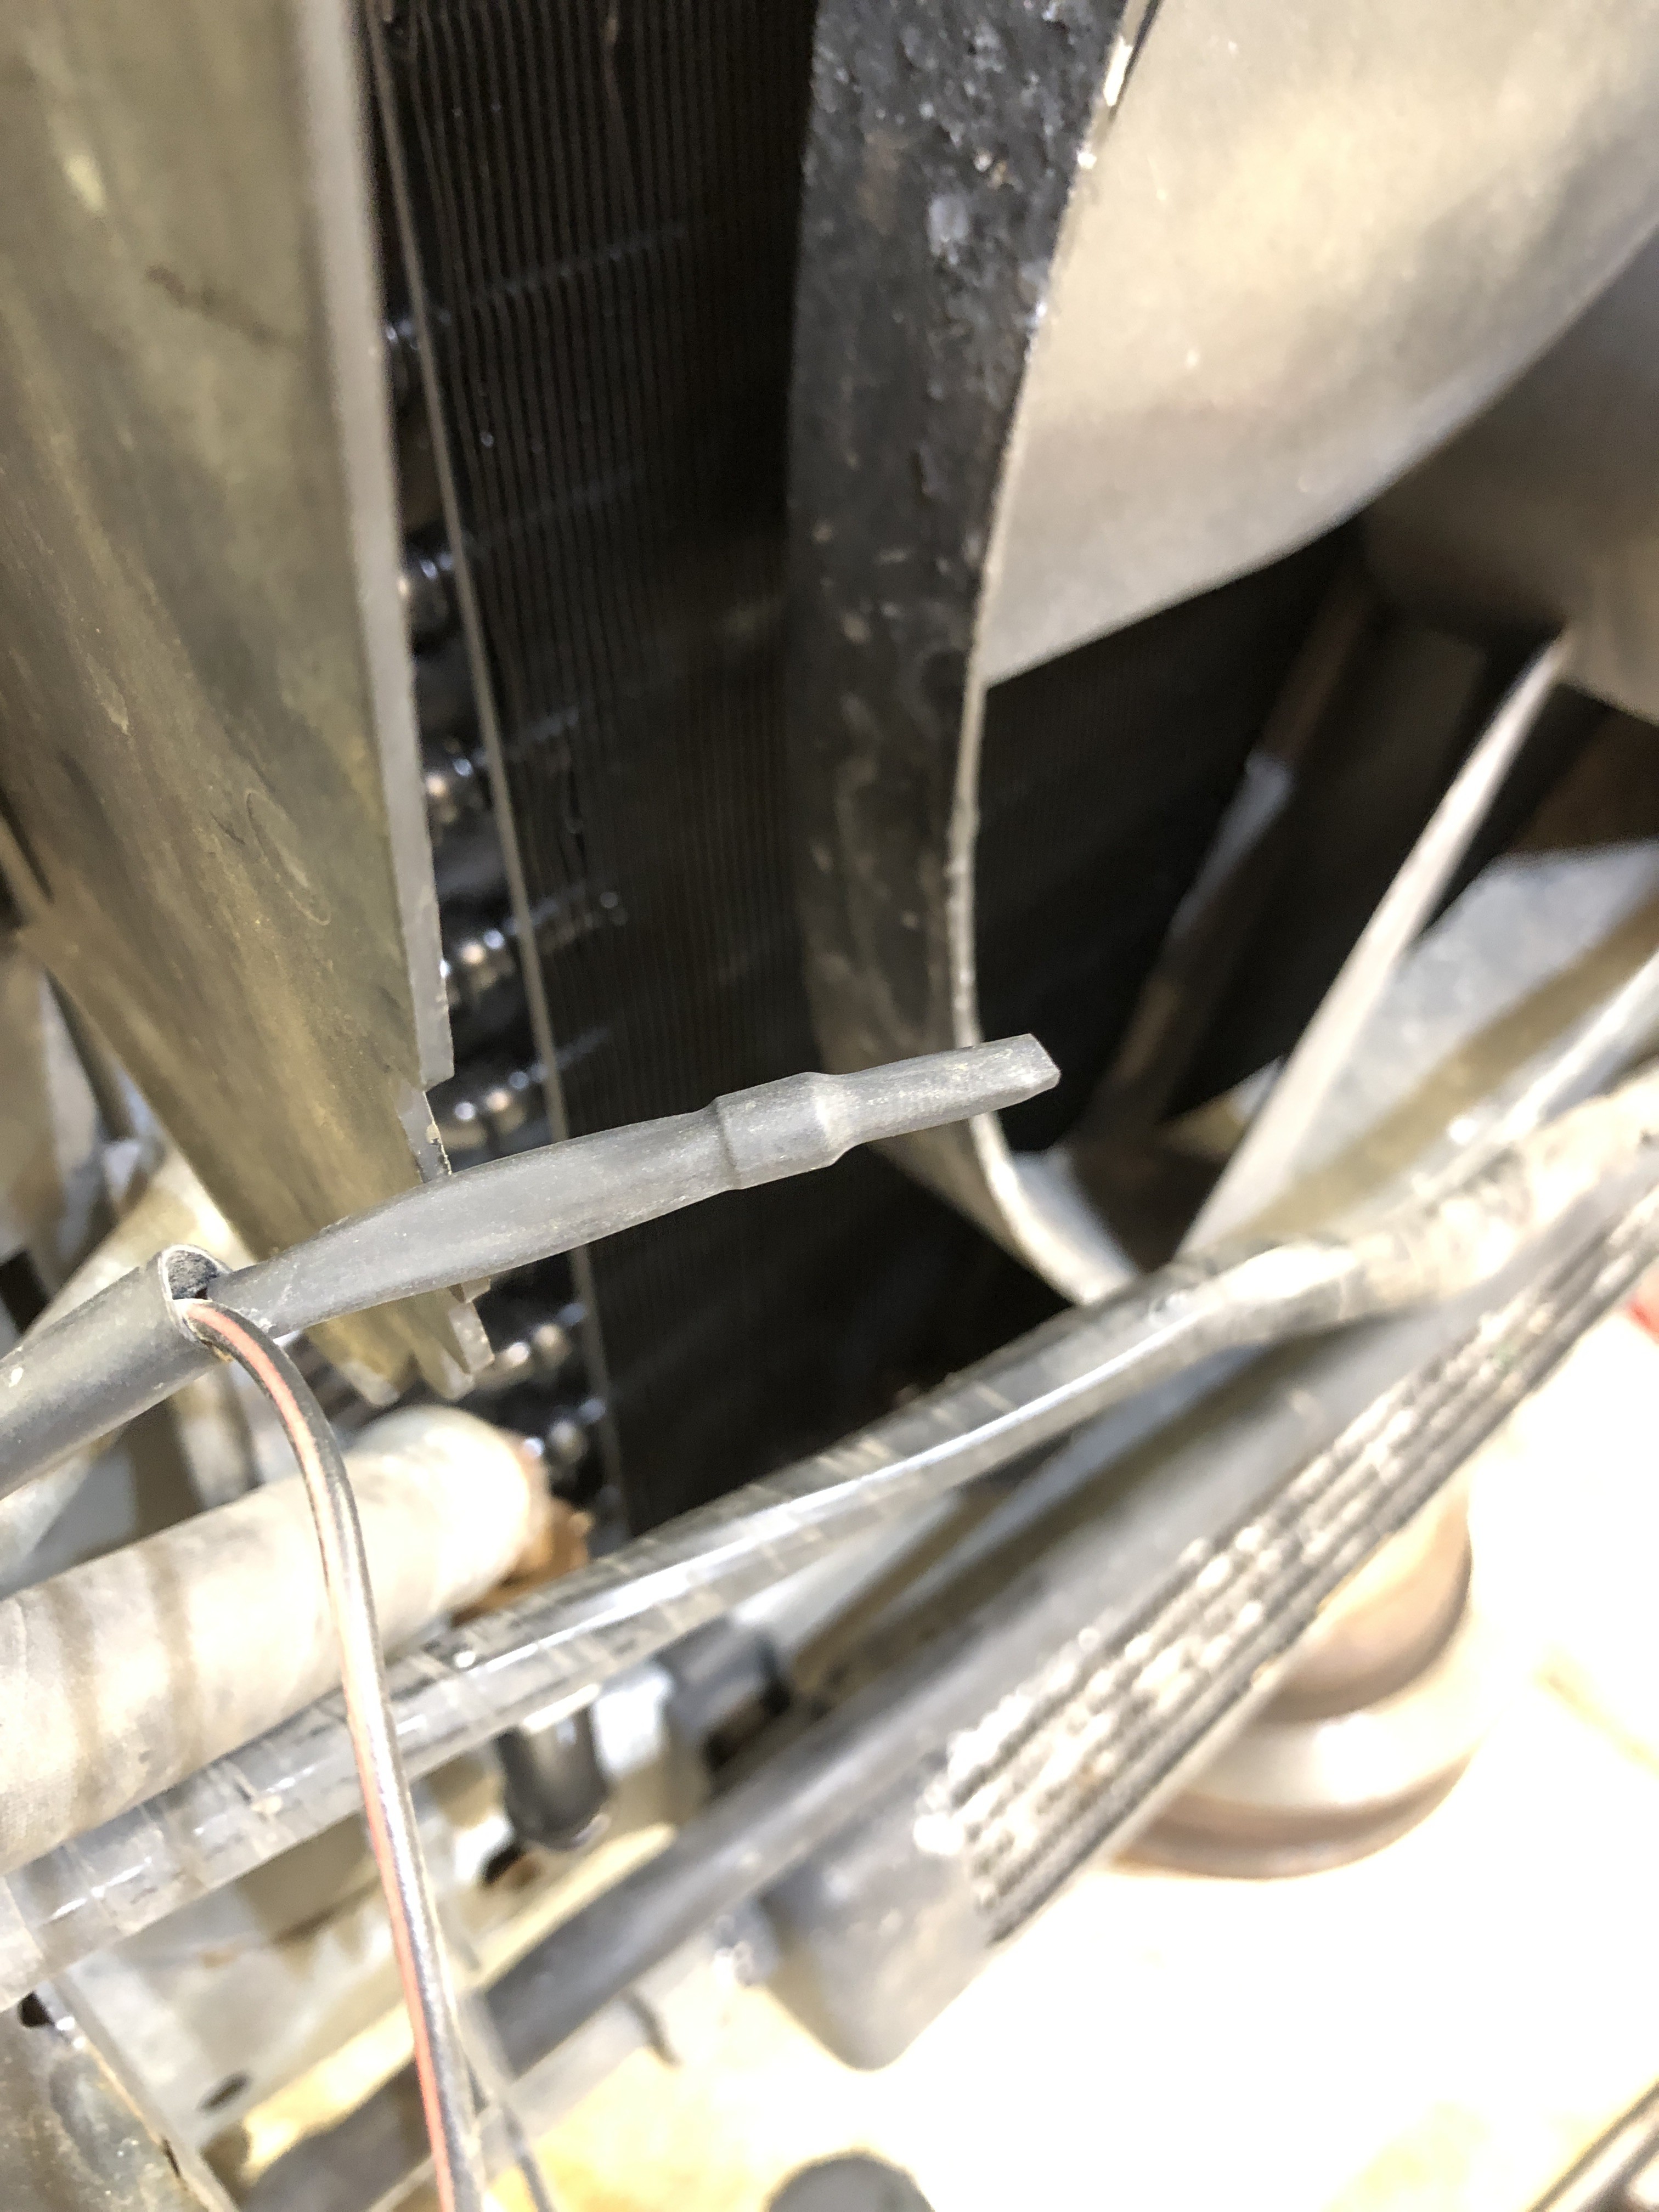
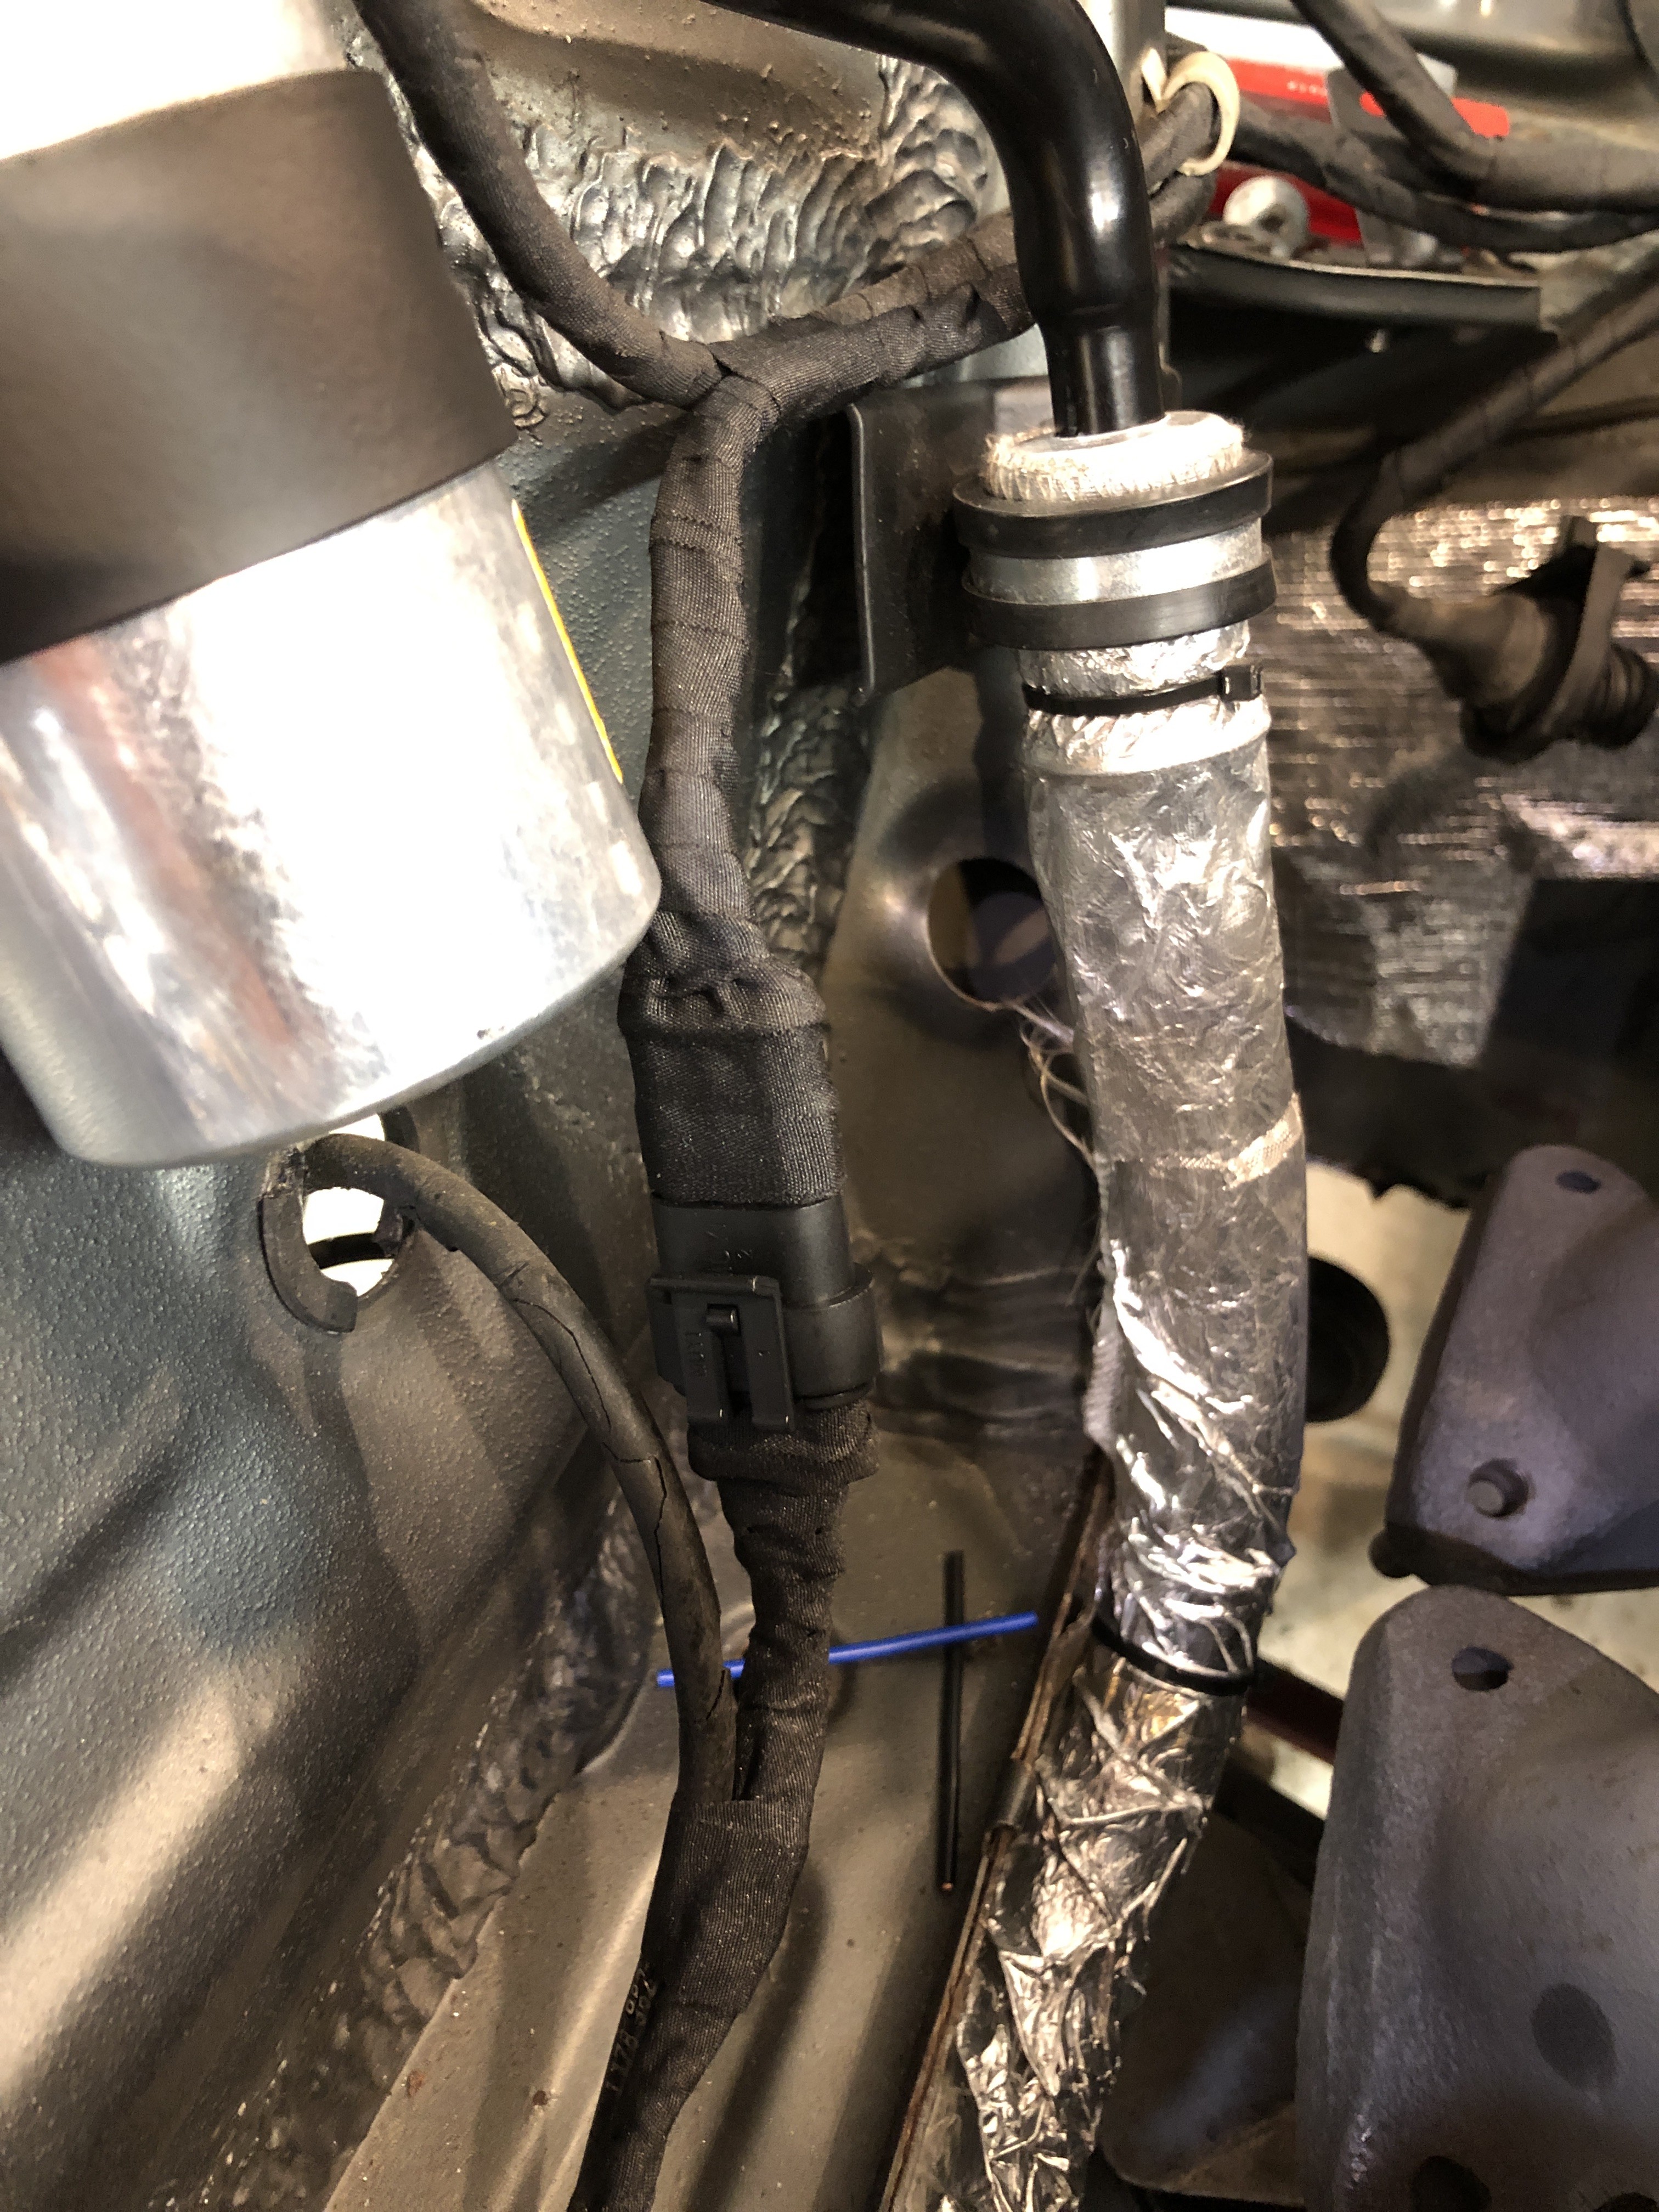
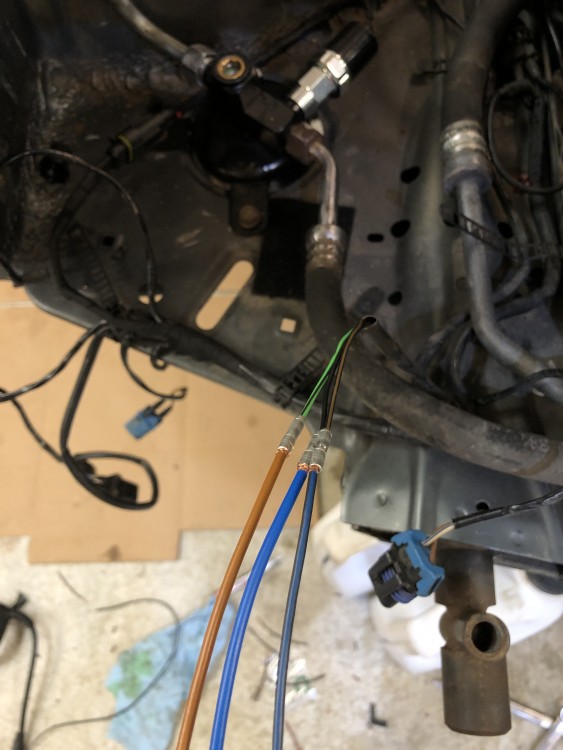
      Aux fan temp switch plug spliced in since the other one had rotted apart. The wire gauge difference between the e30 and e36 is impressive  
      2B82D822-3E92-4612-BD94-2D2E9BAEFB46.jpeg

      8EB3D5F1-A175-42F4-9234-F81DFA4EB8CF.jpeg

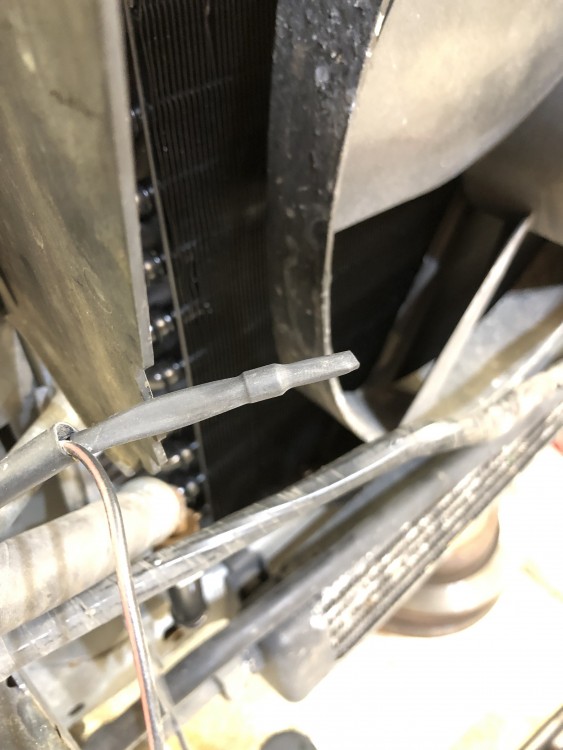
      The old r12 high pressure sensor grounded to itself. 
      6471E97E-01A4-4596-8C48-8BF6D013BC40.jpeg

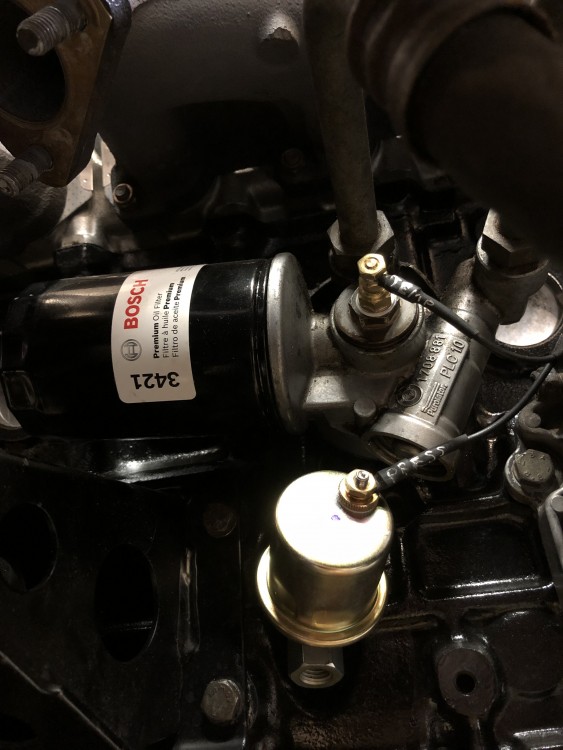
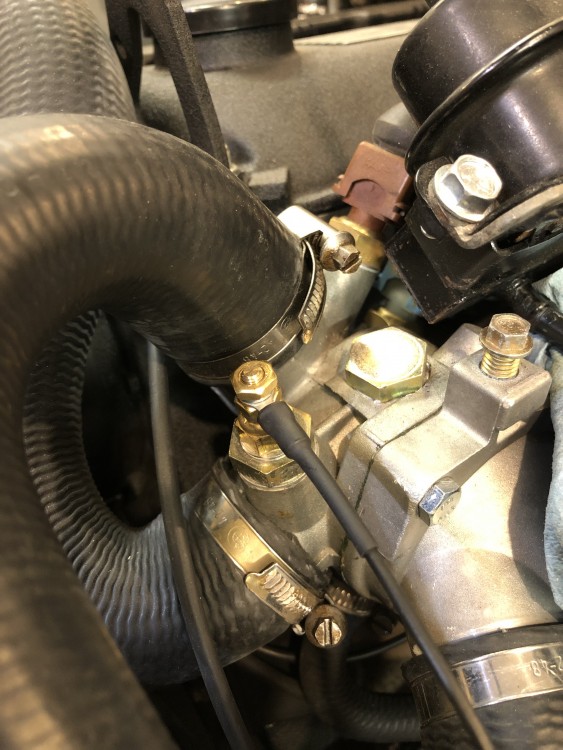
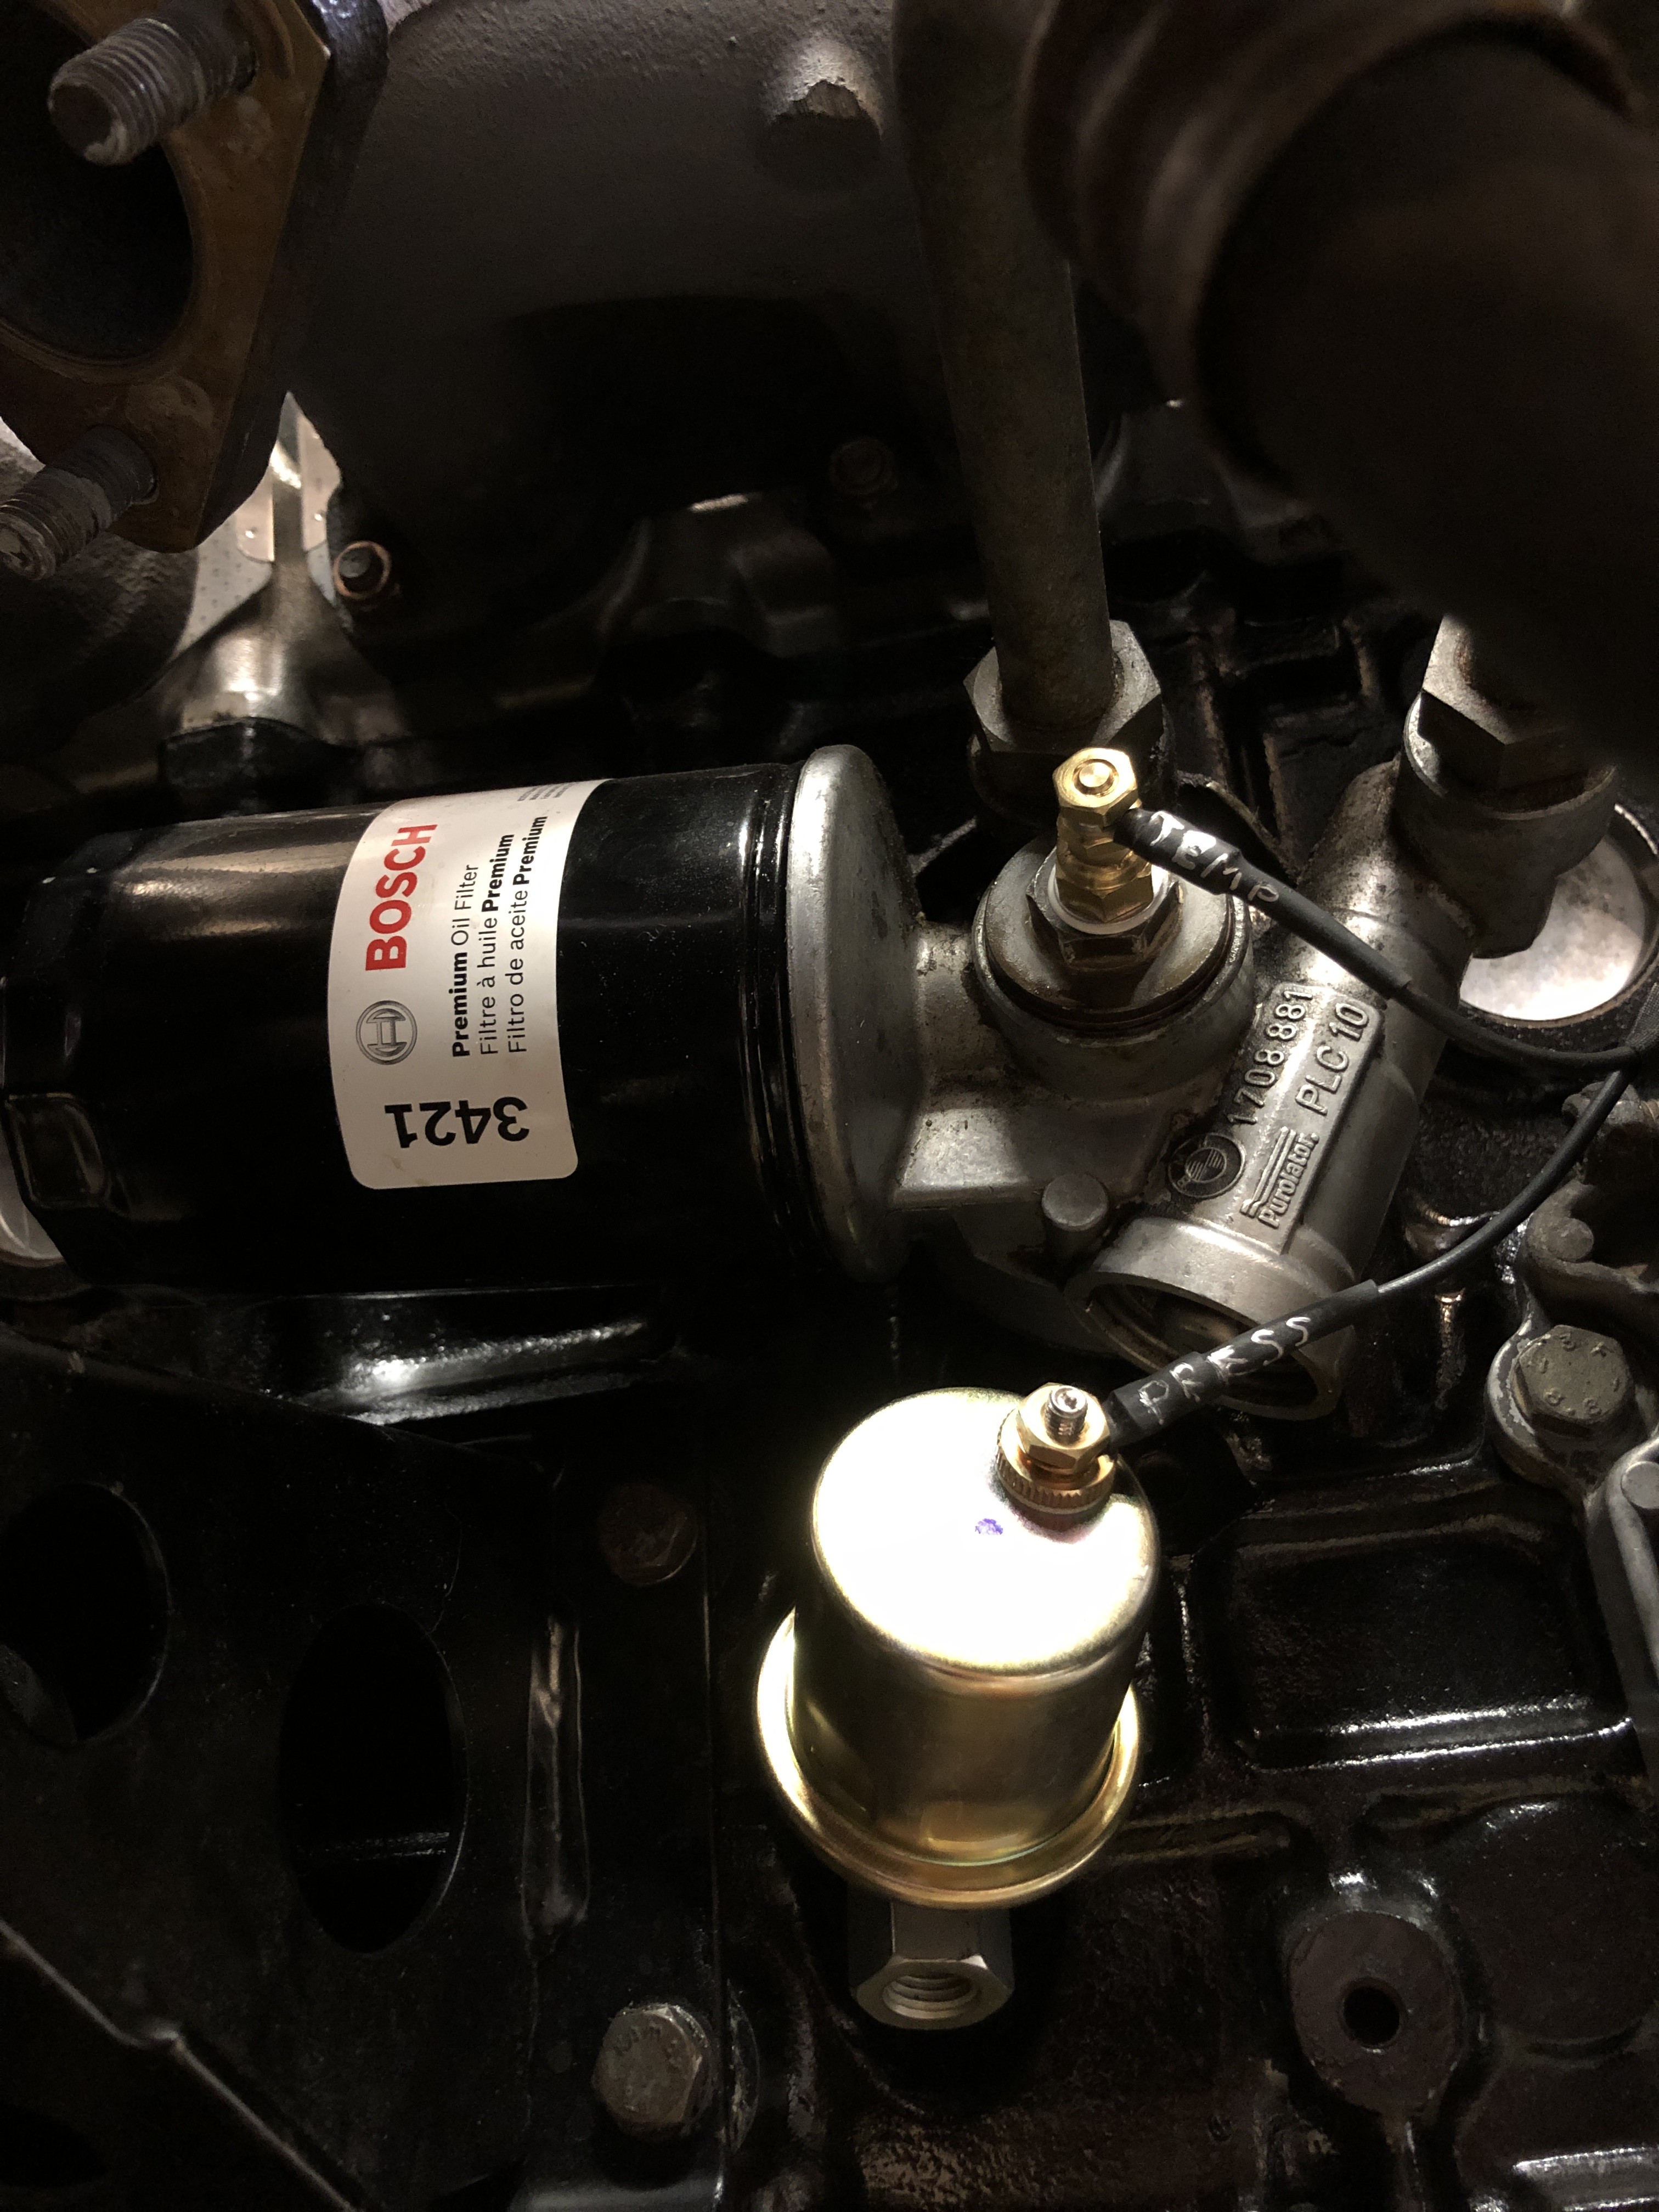
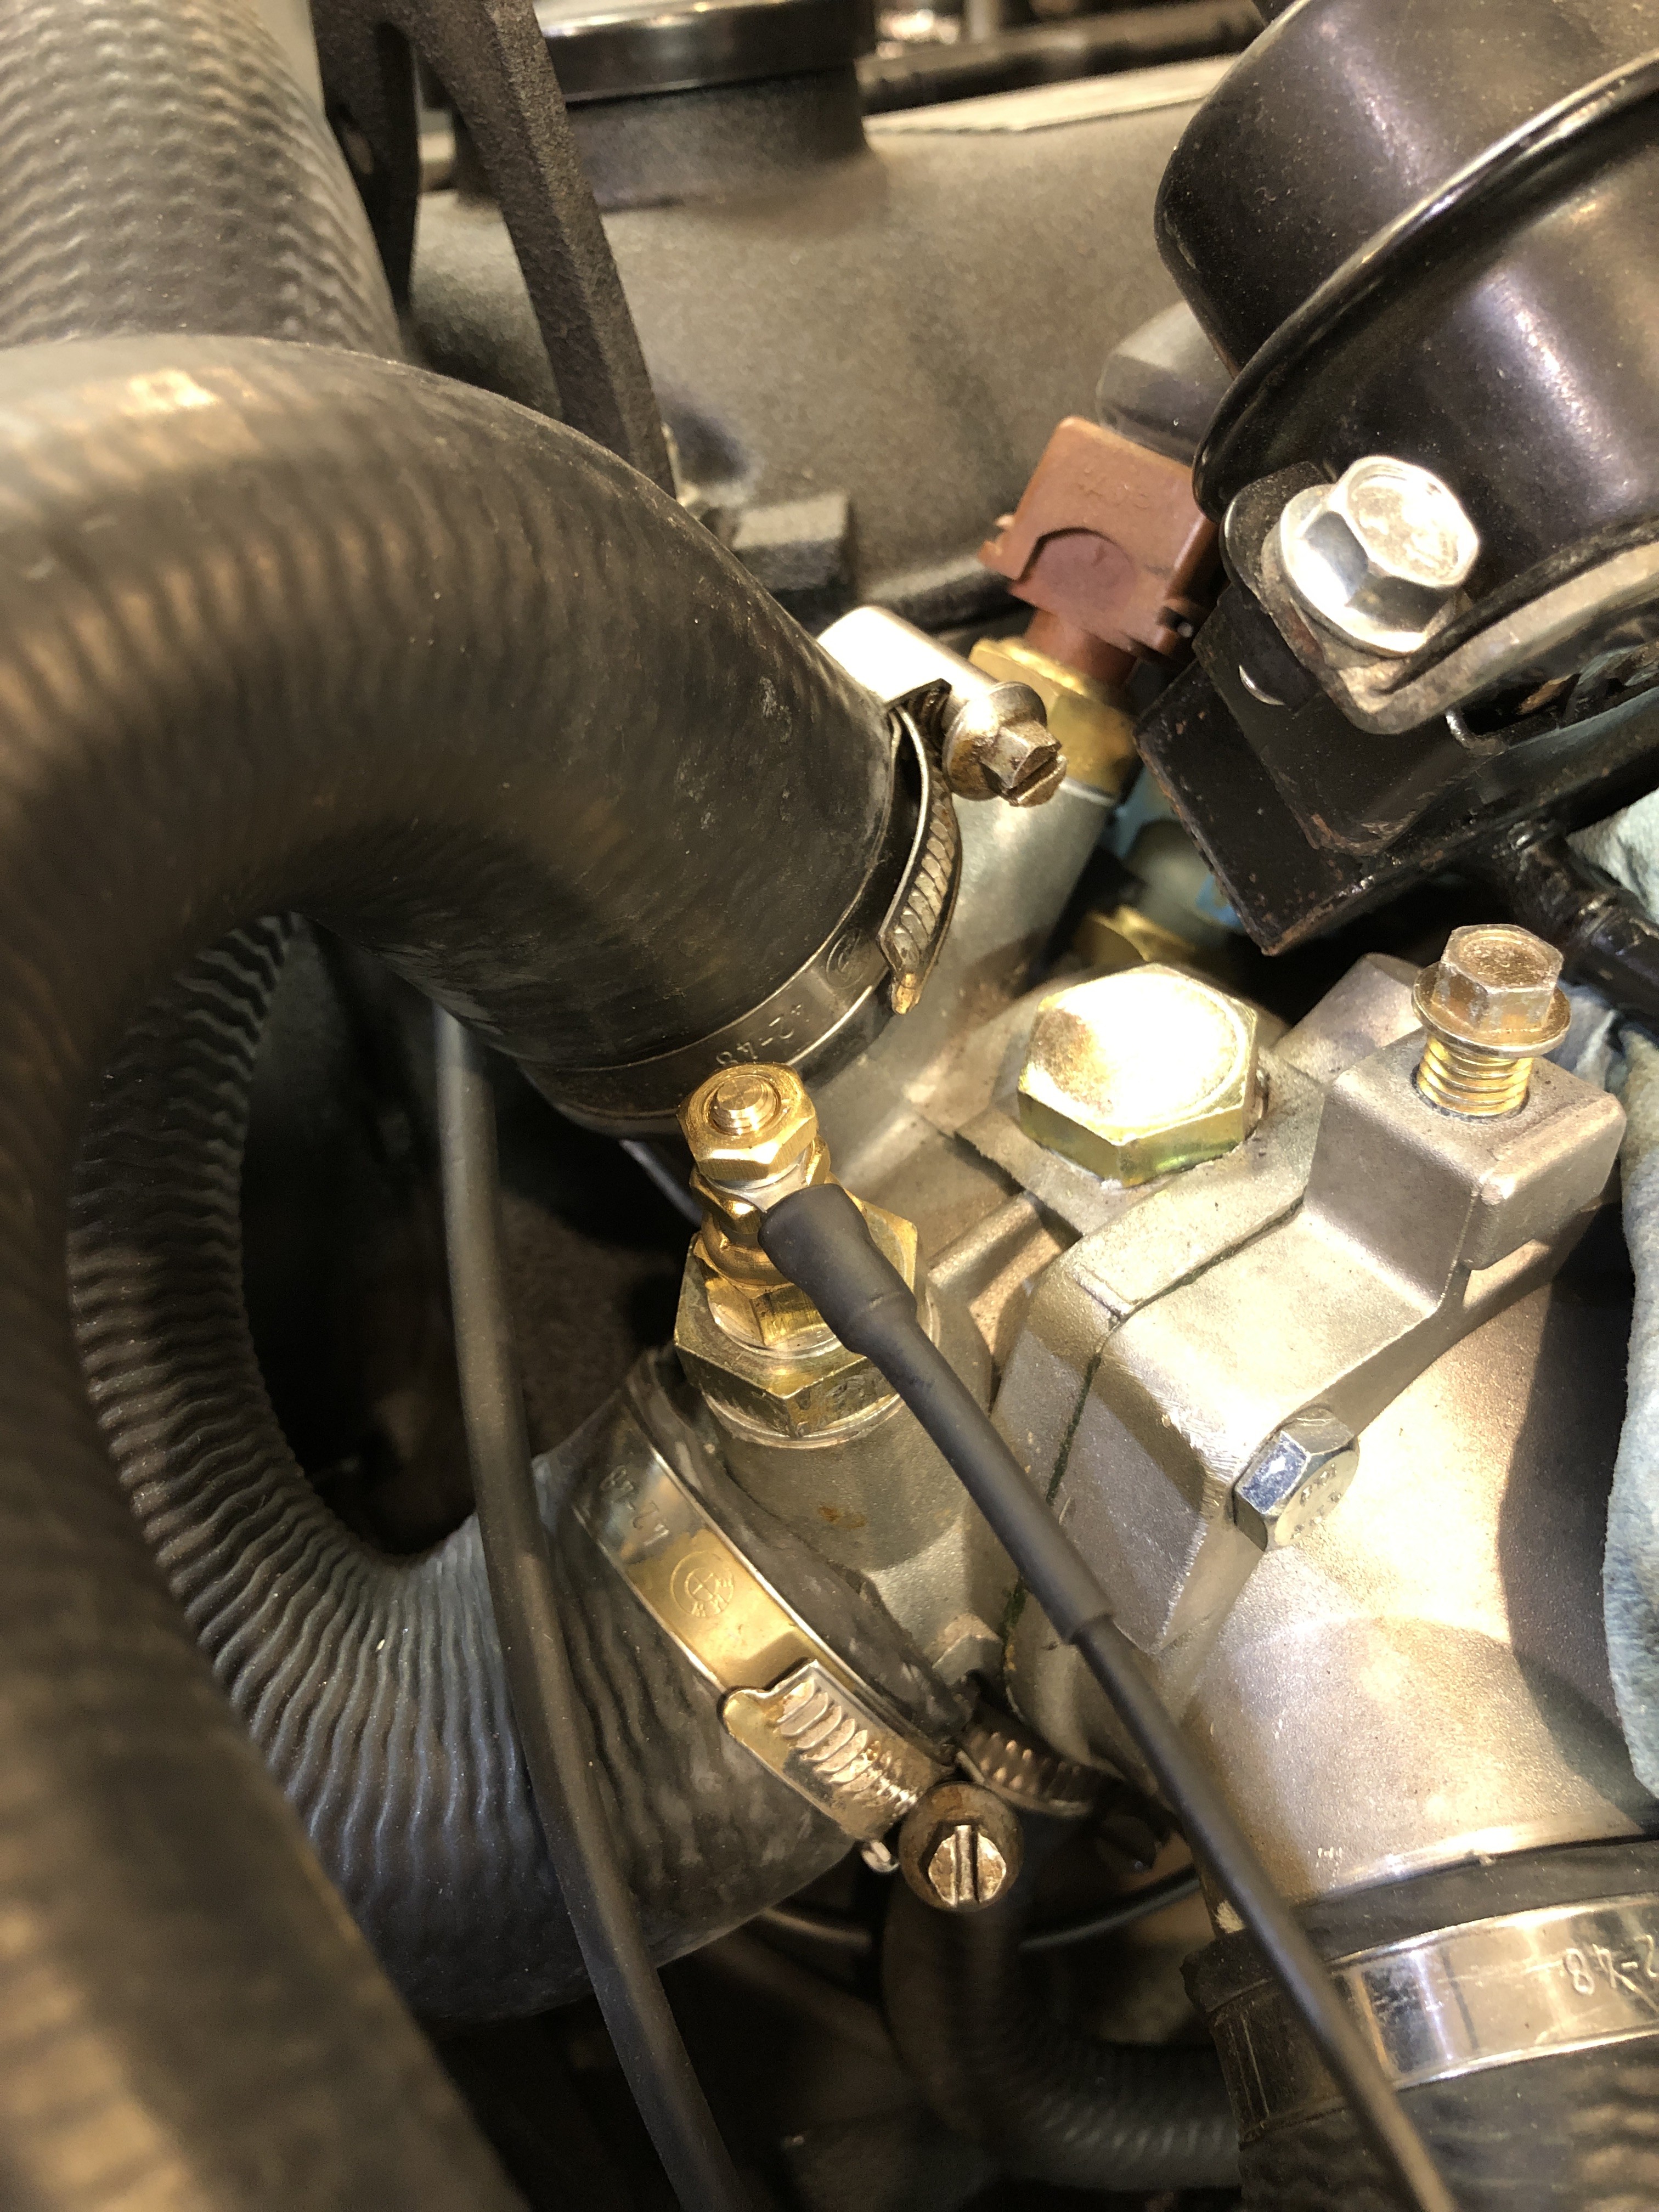
      Got the gauge sender units all in. 

      D5014FCC-B2D2-42D0-AA1D-B0DACE2273EF.jpeg

      80B7AEB1-7155-4247-A6D0-50A468FCB057.jpeg
       

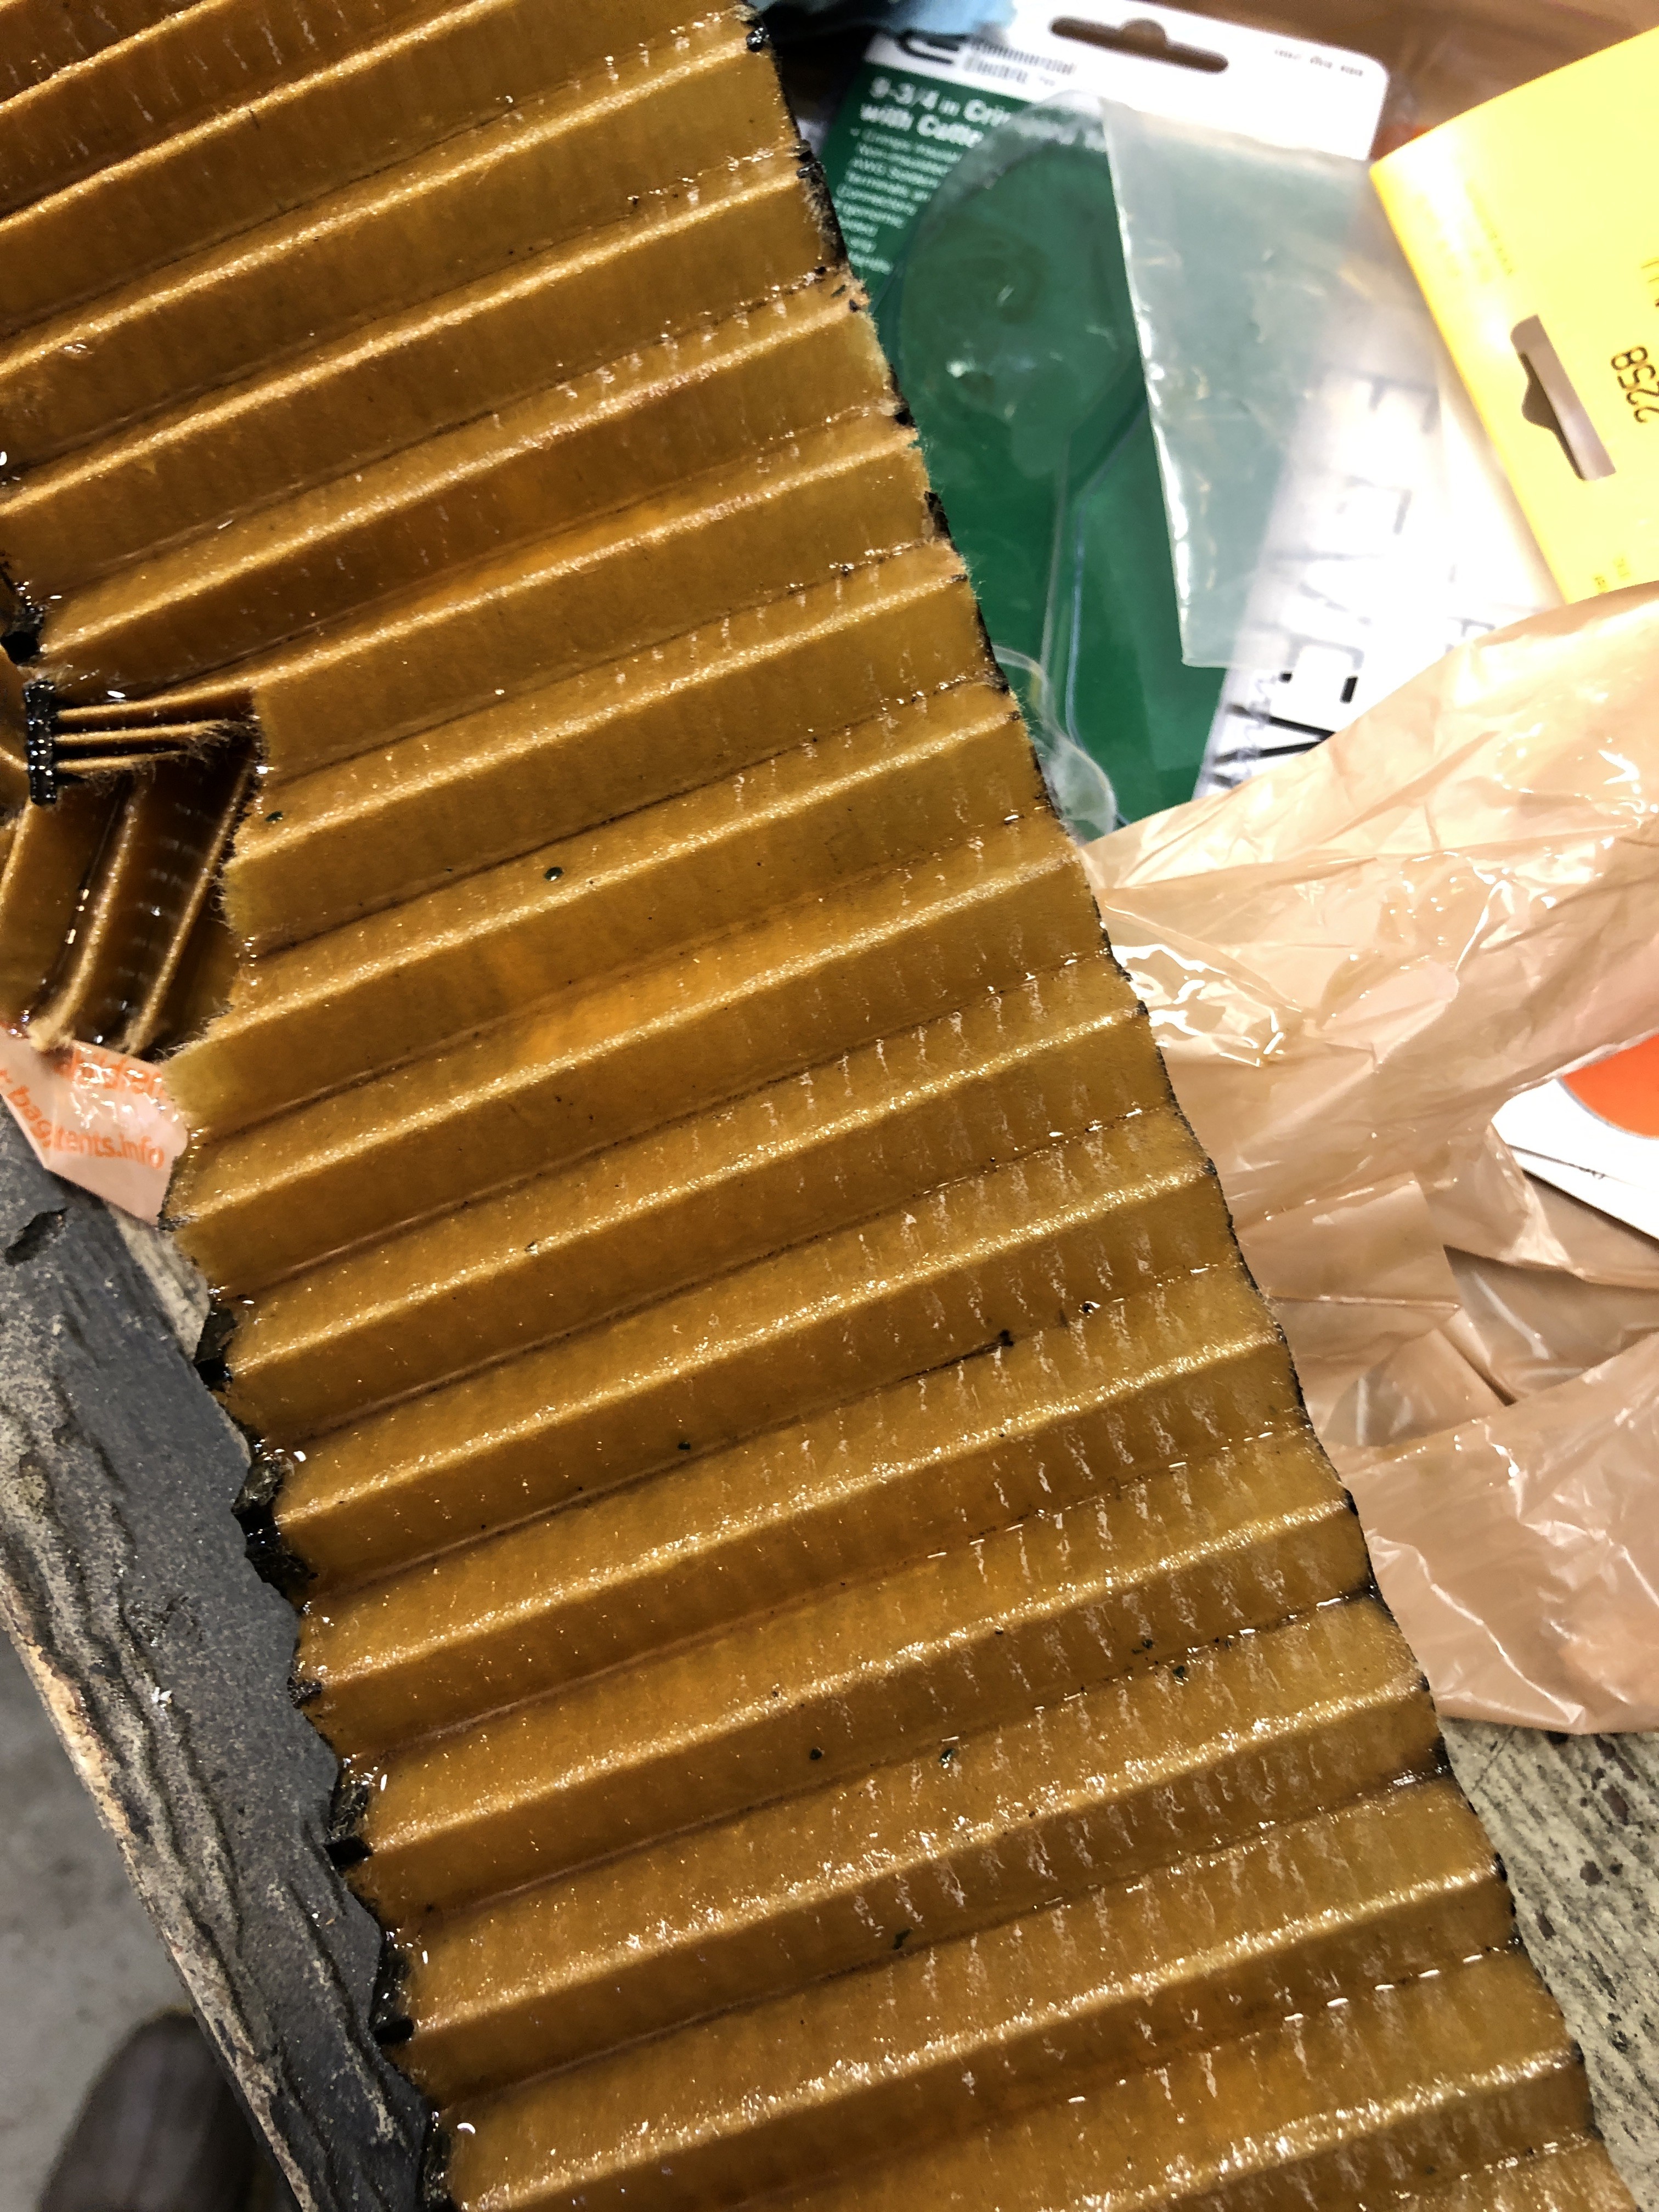
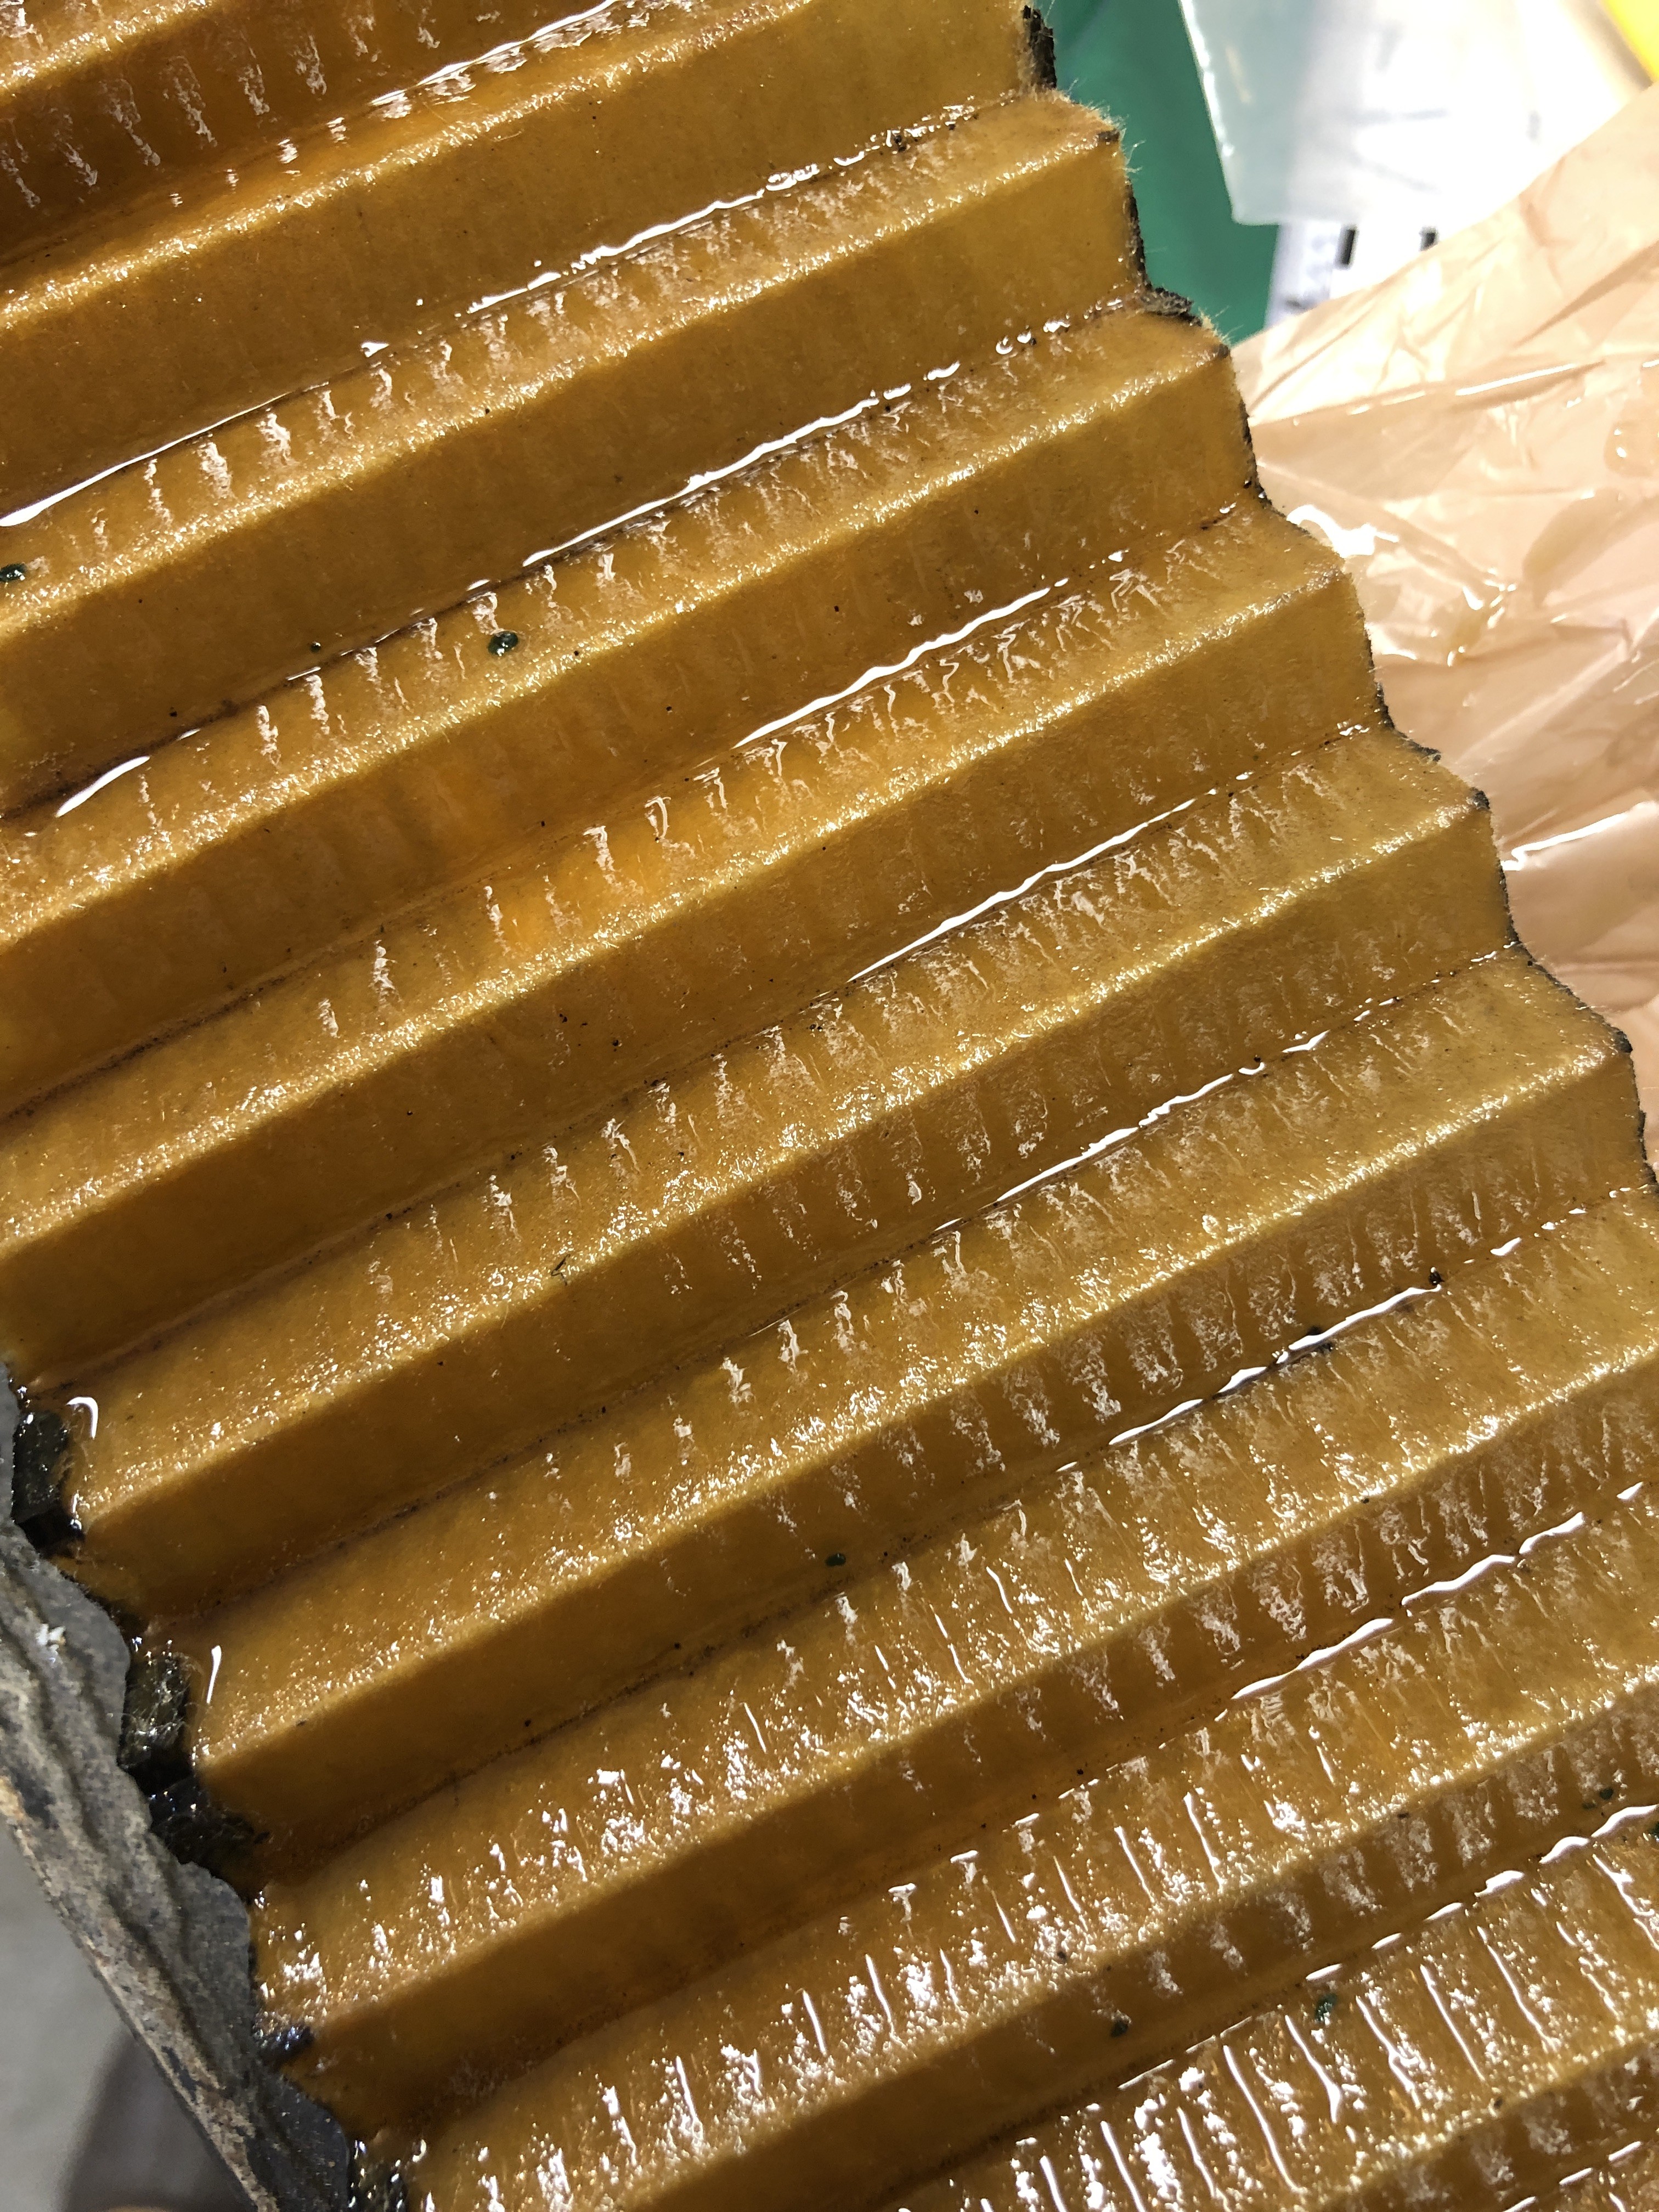
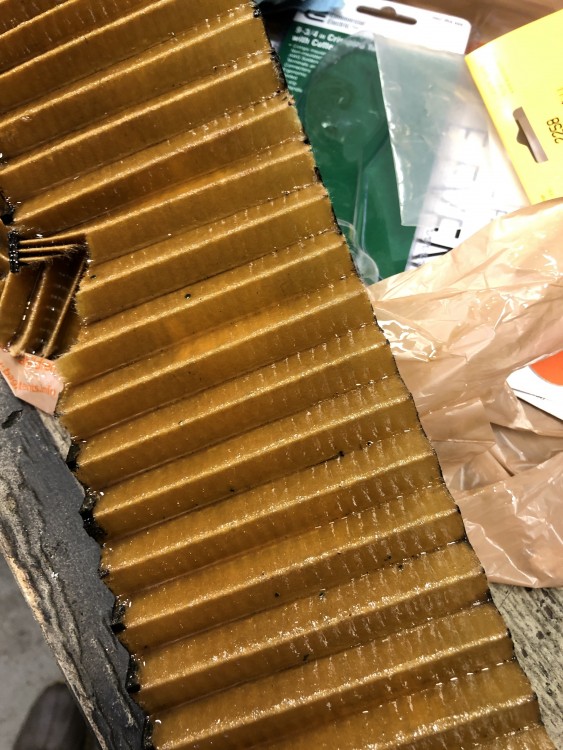
      And lastly, took the oil filter apart. Looks pretty good to me. 
       

      751FC628-DC4A-4ACD-BF3B-4C8A96D1412F.jpeg

      E13590C8-9818-4F37-A6C1-C4DE9980B36B.jpeg

      1 Reply Last reply
      0
      • straight6pwrS
        straight6pwrS
        straight6pwr
        wrote on last edited by
        #736

        smart ideas on those non-insulated crimps since you're just gonna tape over them anyways. 

        you should try the heat shrink adhesive filled ones. life changers. even if you fubar the crimp they dont come apart, and there is no need for tape or shrink wrap after.

        Dan

        yajsYRL.jpg.e5f350b4dfe961d76ac8b32efce2e1a6.jpg

        1 Reply Last reply
        0
        • G
          G
          gilber33
          wrote on last edited by
          #737

          straight6pwr said:

          smart ideas on those non-insulated crimps since you're just gonna tape over them anyways. 

          you should try the heat shrink adhesive filled ones. life changers. even if you fubar the crimp they dont come apart, and there is no need for tape or shrink wrap after.

          Ugh. I was going to get some of the adhesive ones from Amazon but had a role of some heat shrink left over. I still used heat shrink on all of the crimps and the tape I'm using is more for a wire loom and cleanliness.

          1 Reply Last reply
          0
          • The Full BananaT
            The Full BananaT
            The Full Banana
            wrote on last edited by
            #738

            Psh, non-insulated crimps with high-quality adhesive lined heat shrink over the crimps is the way to go. Insulated connectors are for the birds. Nice work, Gabe! Looks great.

            Raychem heatshrink 4 lyfe

            OEM++

            Tom - I have a few BMWs, an overworked Volvo 242, and now a YouTube channel called Drive, Revive, Tinker

            1 Reply Last reply
            2
            • straight6pwrS
              straight6pwrS
              straight6pwr
              wrote on last edited by
              #739

              The Full Banana said:

              Psh, non-insulated crimps with high-quality adhesive lined heat shrink over the crimps is the way to go. Insulated connectors are for the birds. Nice work, Gabe! Looks great.

              Raychem heatshrink 4 lyfe

              OEM++

              i'd agree except:

              Heatshrink.jpg

              Dan
              yajsYRL.jpg.e5f350b4dfe961d76ac8b32efce2e1a6.jpg

              1 Reply Last reply
              8
              • HipMFH
                HipMFH
                HipMF
                wrote on last edited by
                #740

                straight6pwr said:

                i'd agree except:

                Flagged.

                186.jpg

                1 Reply Last reply
                5
                • G
                  G
                  gilber33
                  wrote on last edited by
                  #741

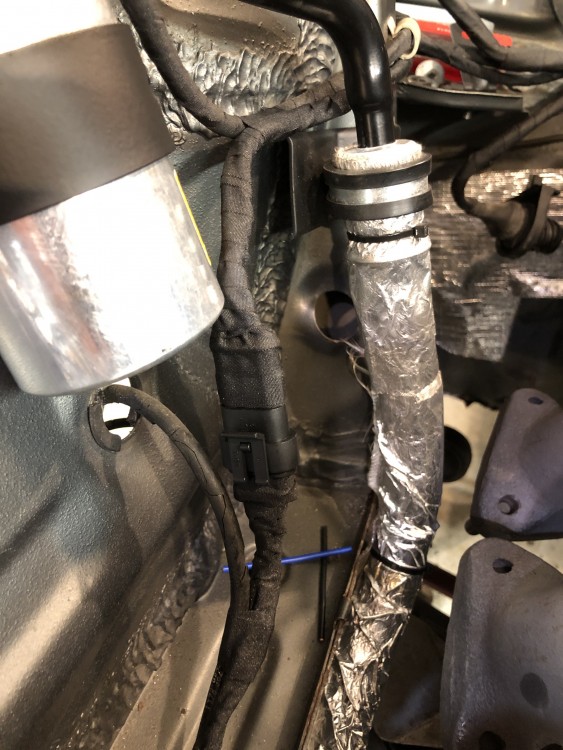
                  Wired in a plug for the gauge senders so the engine and body harness can be two separate things. 
                  76A51CBD-37E5-482E-A409-AA99DAA1FBB6.jpeg

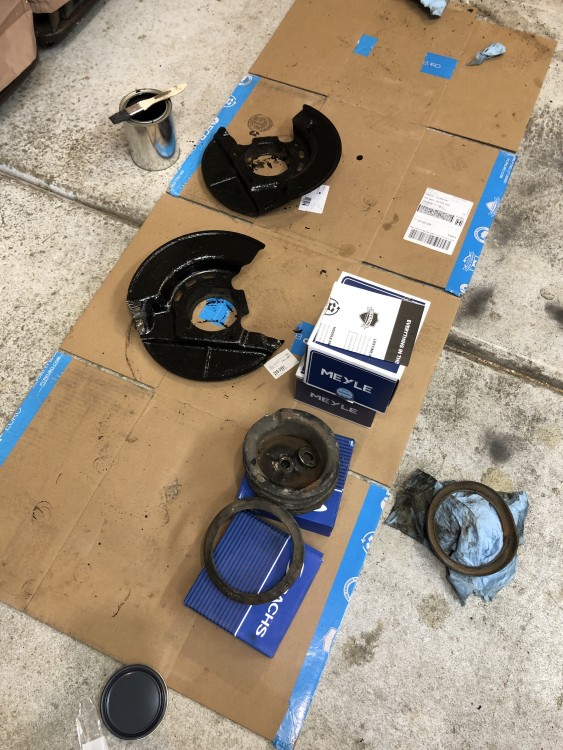
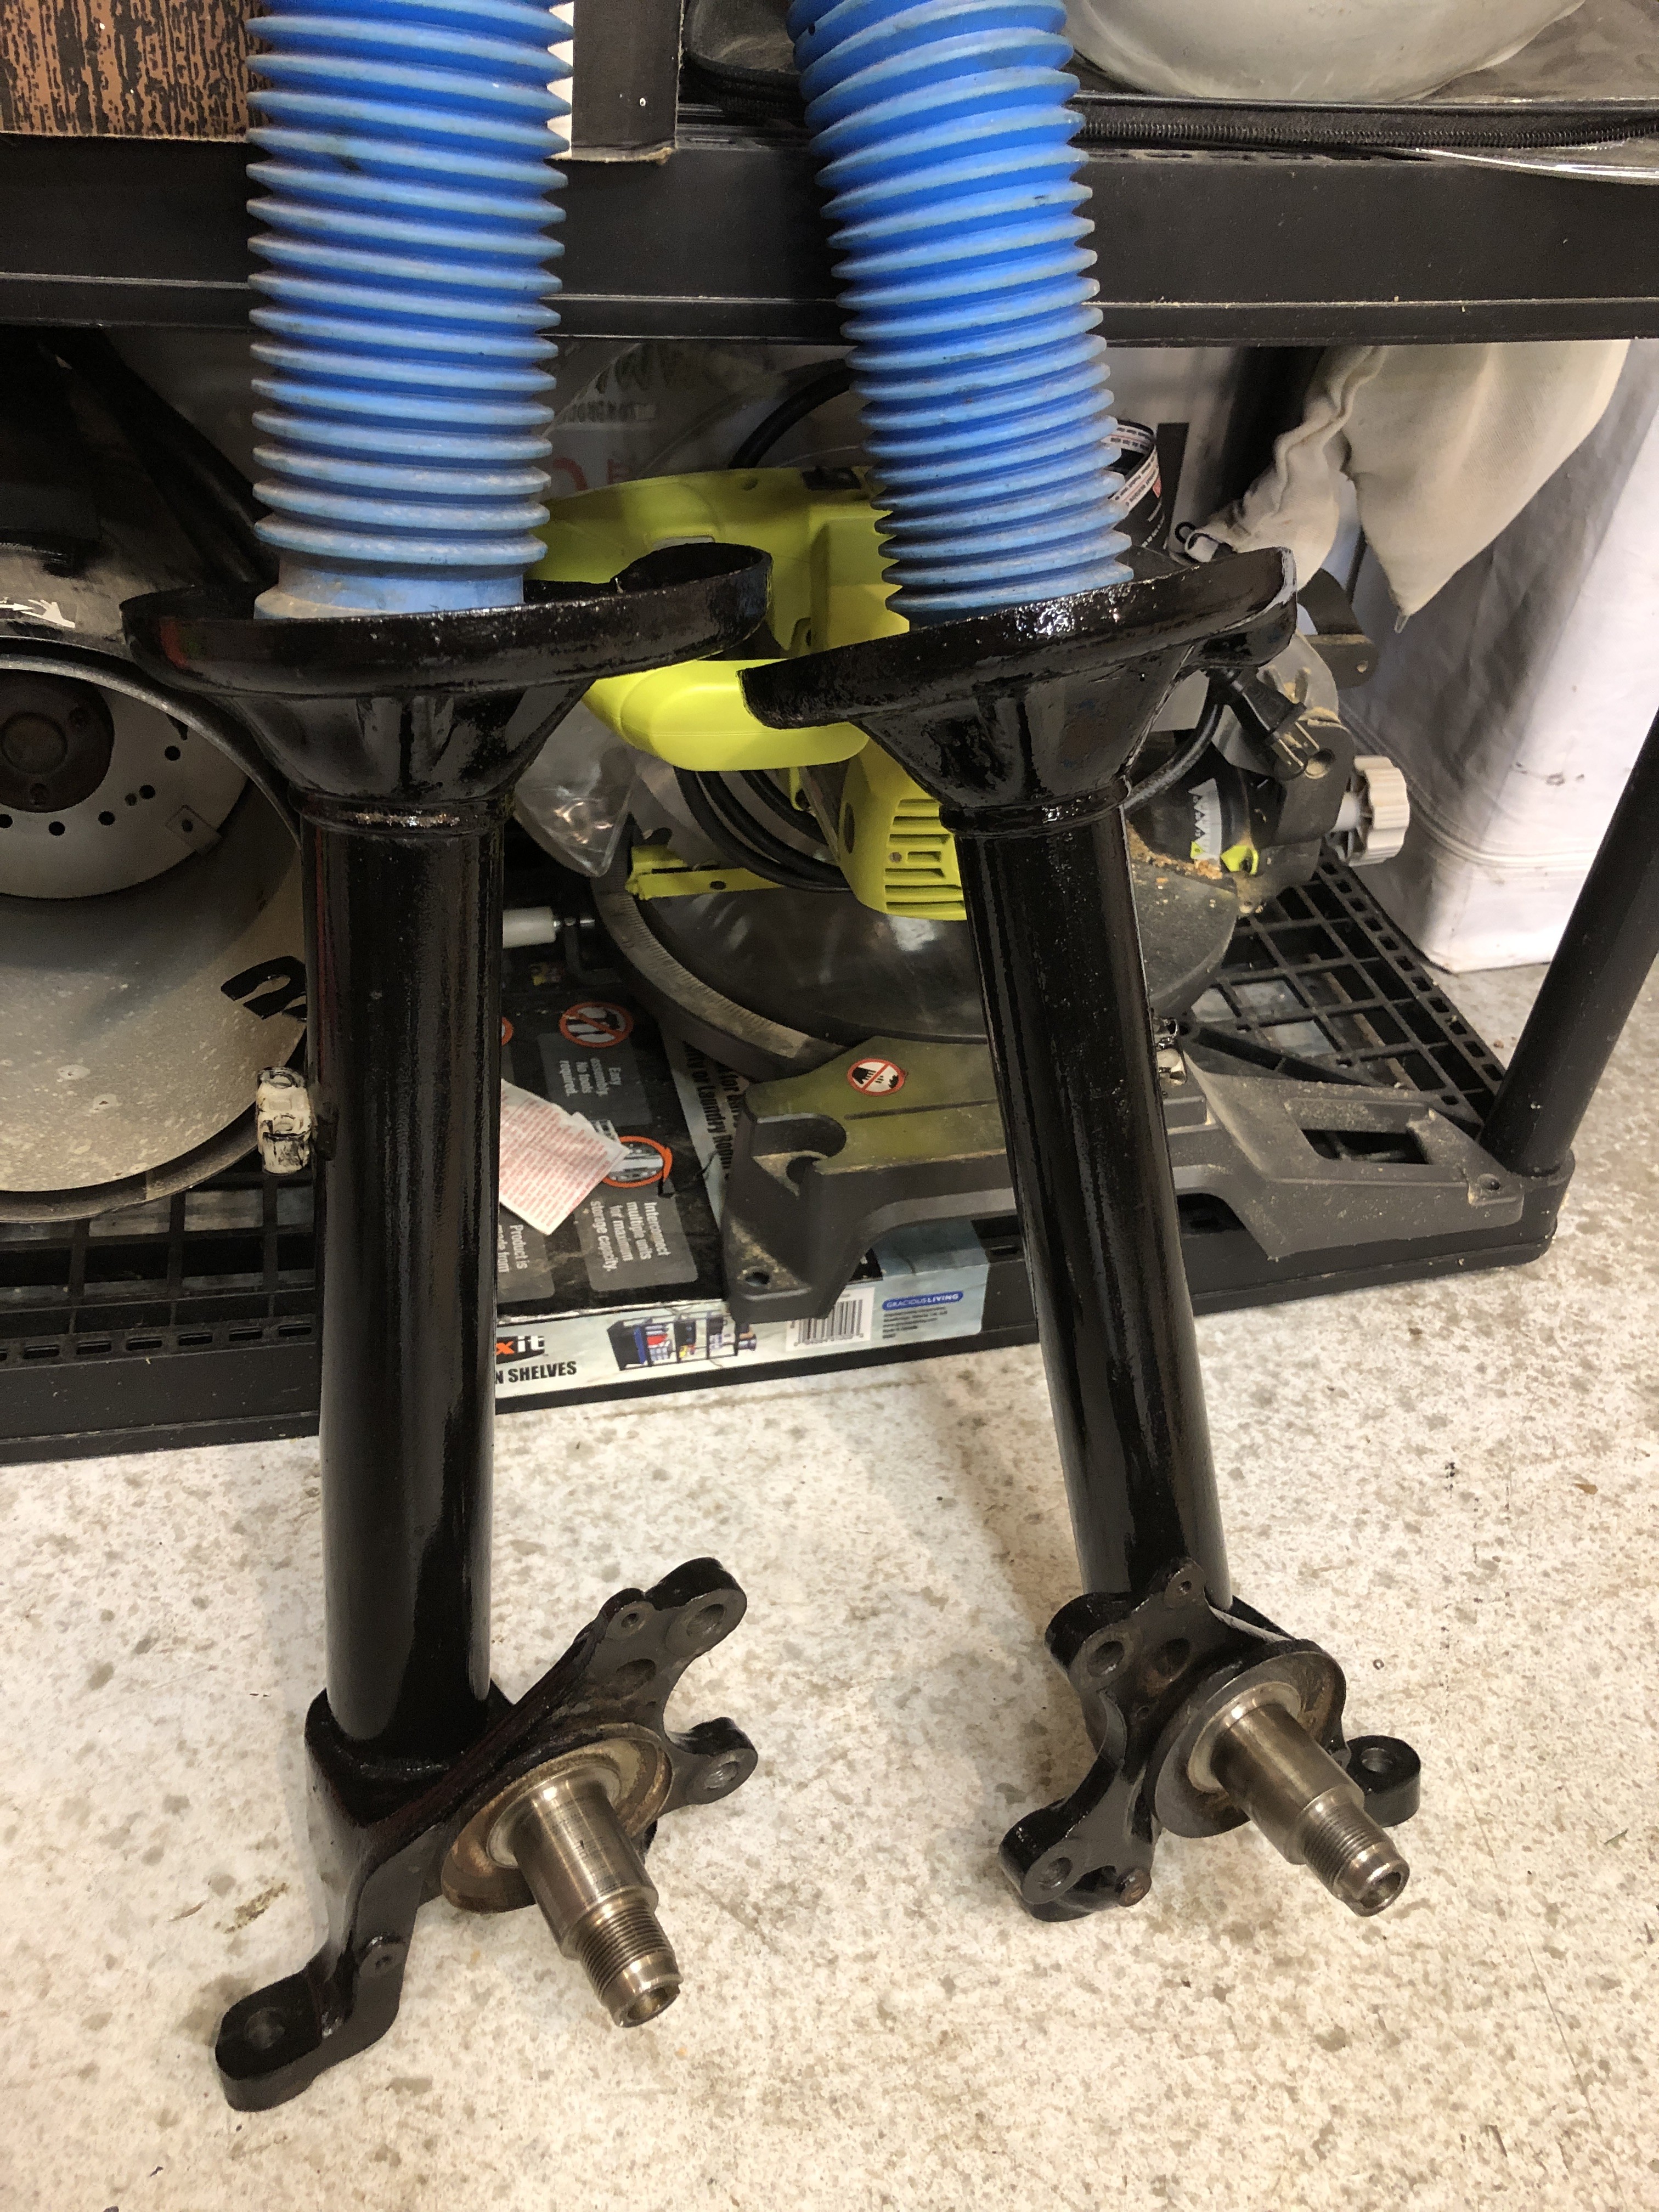
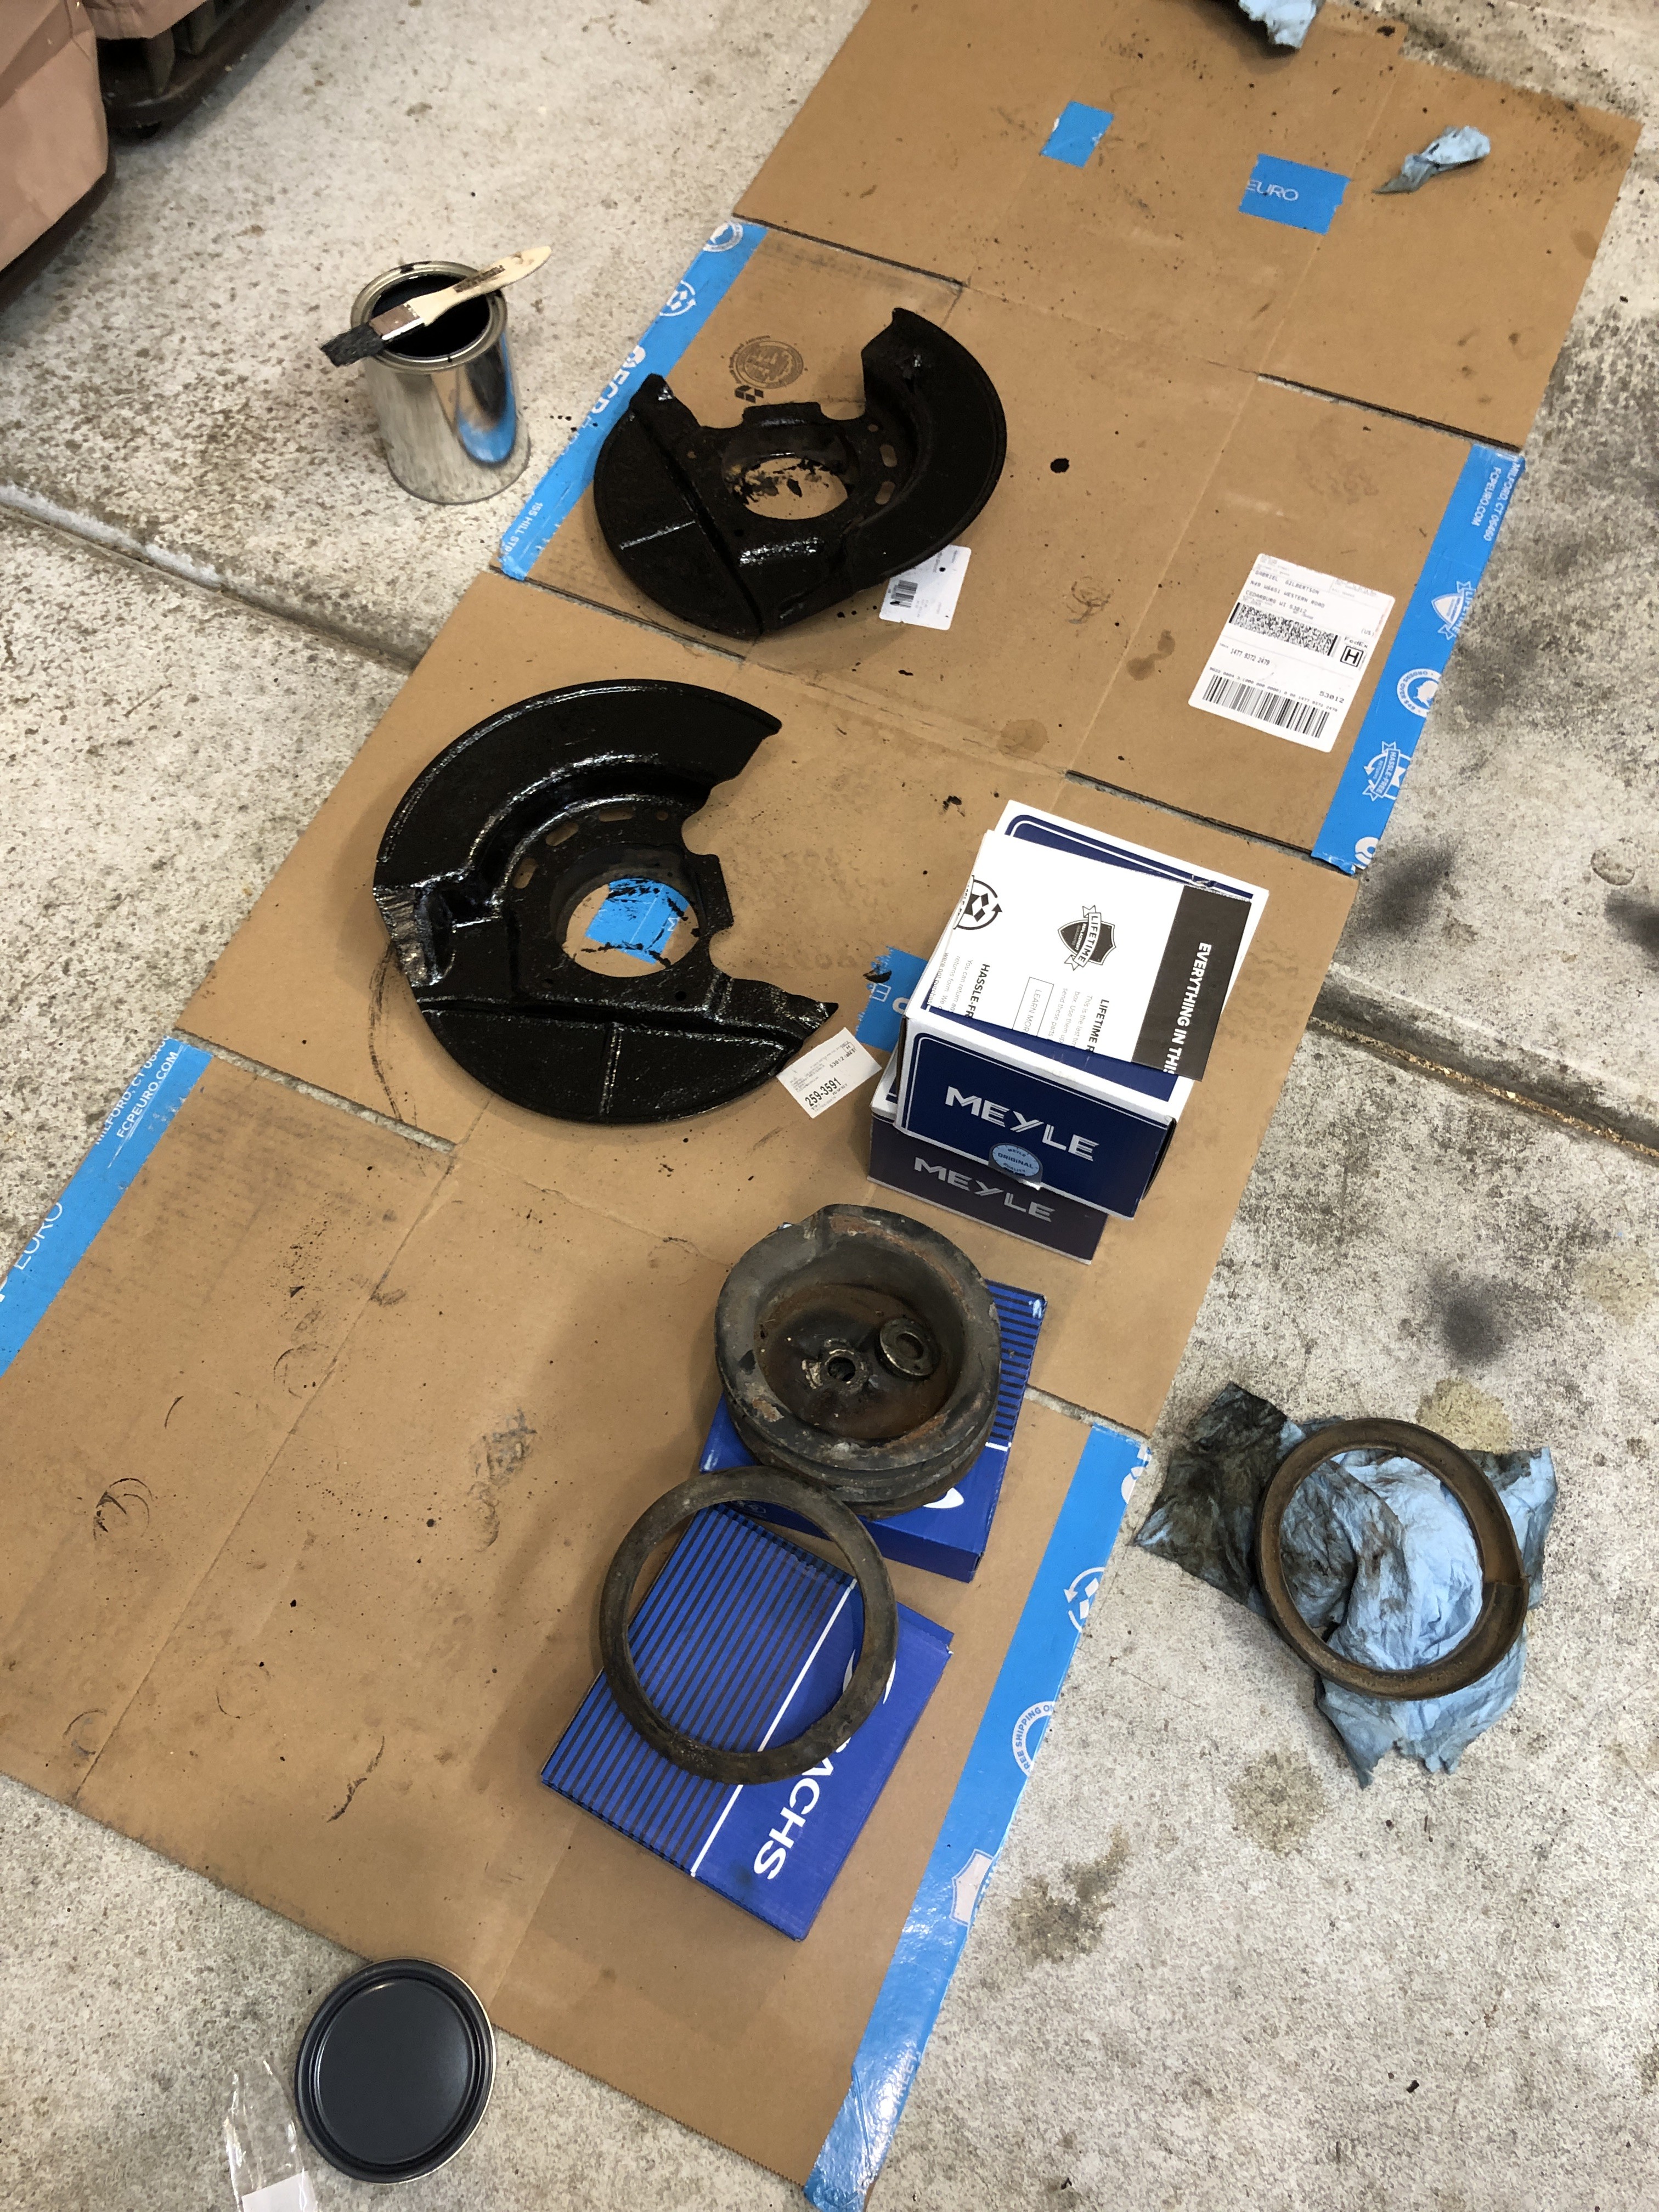
                  Took out the front my suspension and gave it the Por15 treatment. I have new bearings and strut mounts for that. And once that’s back in the fenders can go back on. I’m very excited about that. 
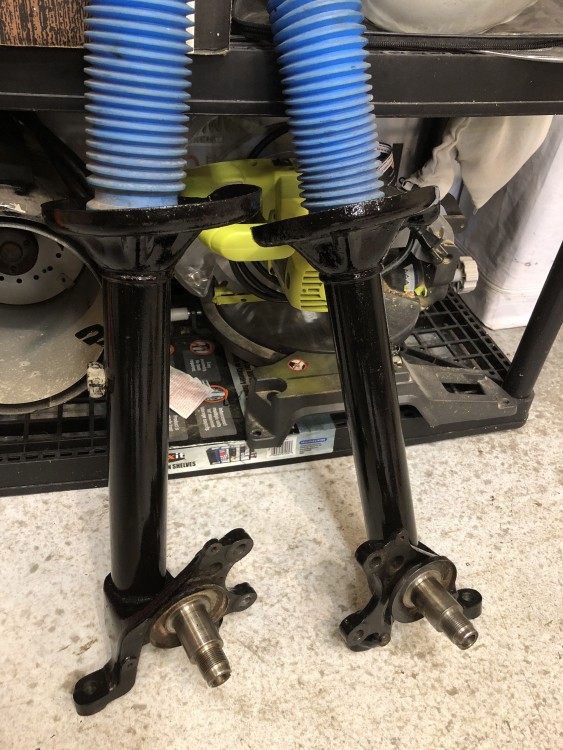
                   

                  993969A9-F2FC-491B-A2F8-9C39EB568B61.jpeg

                  CAA24258-0660-4D62-965B-976FC076ED3A.jpeg

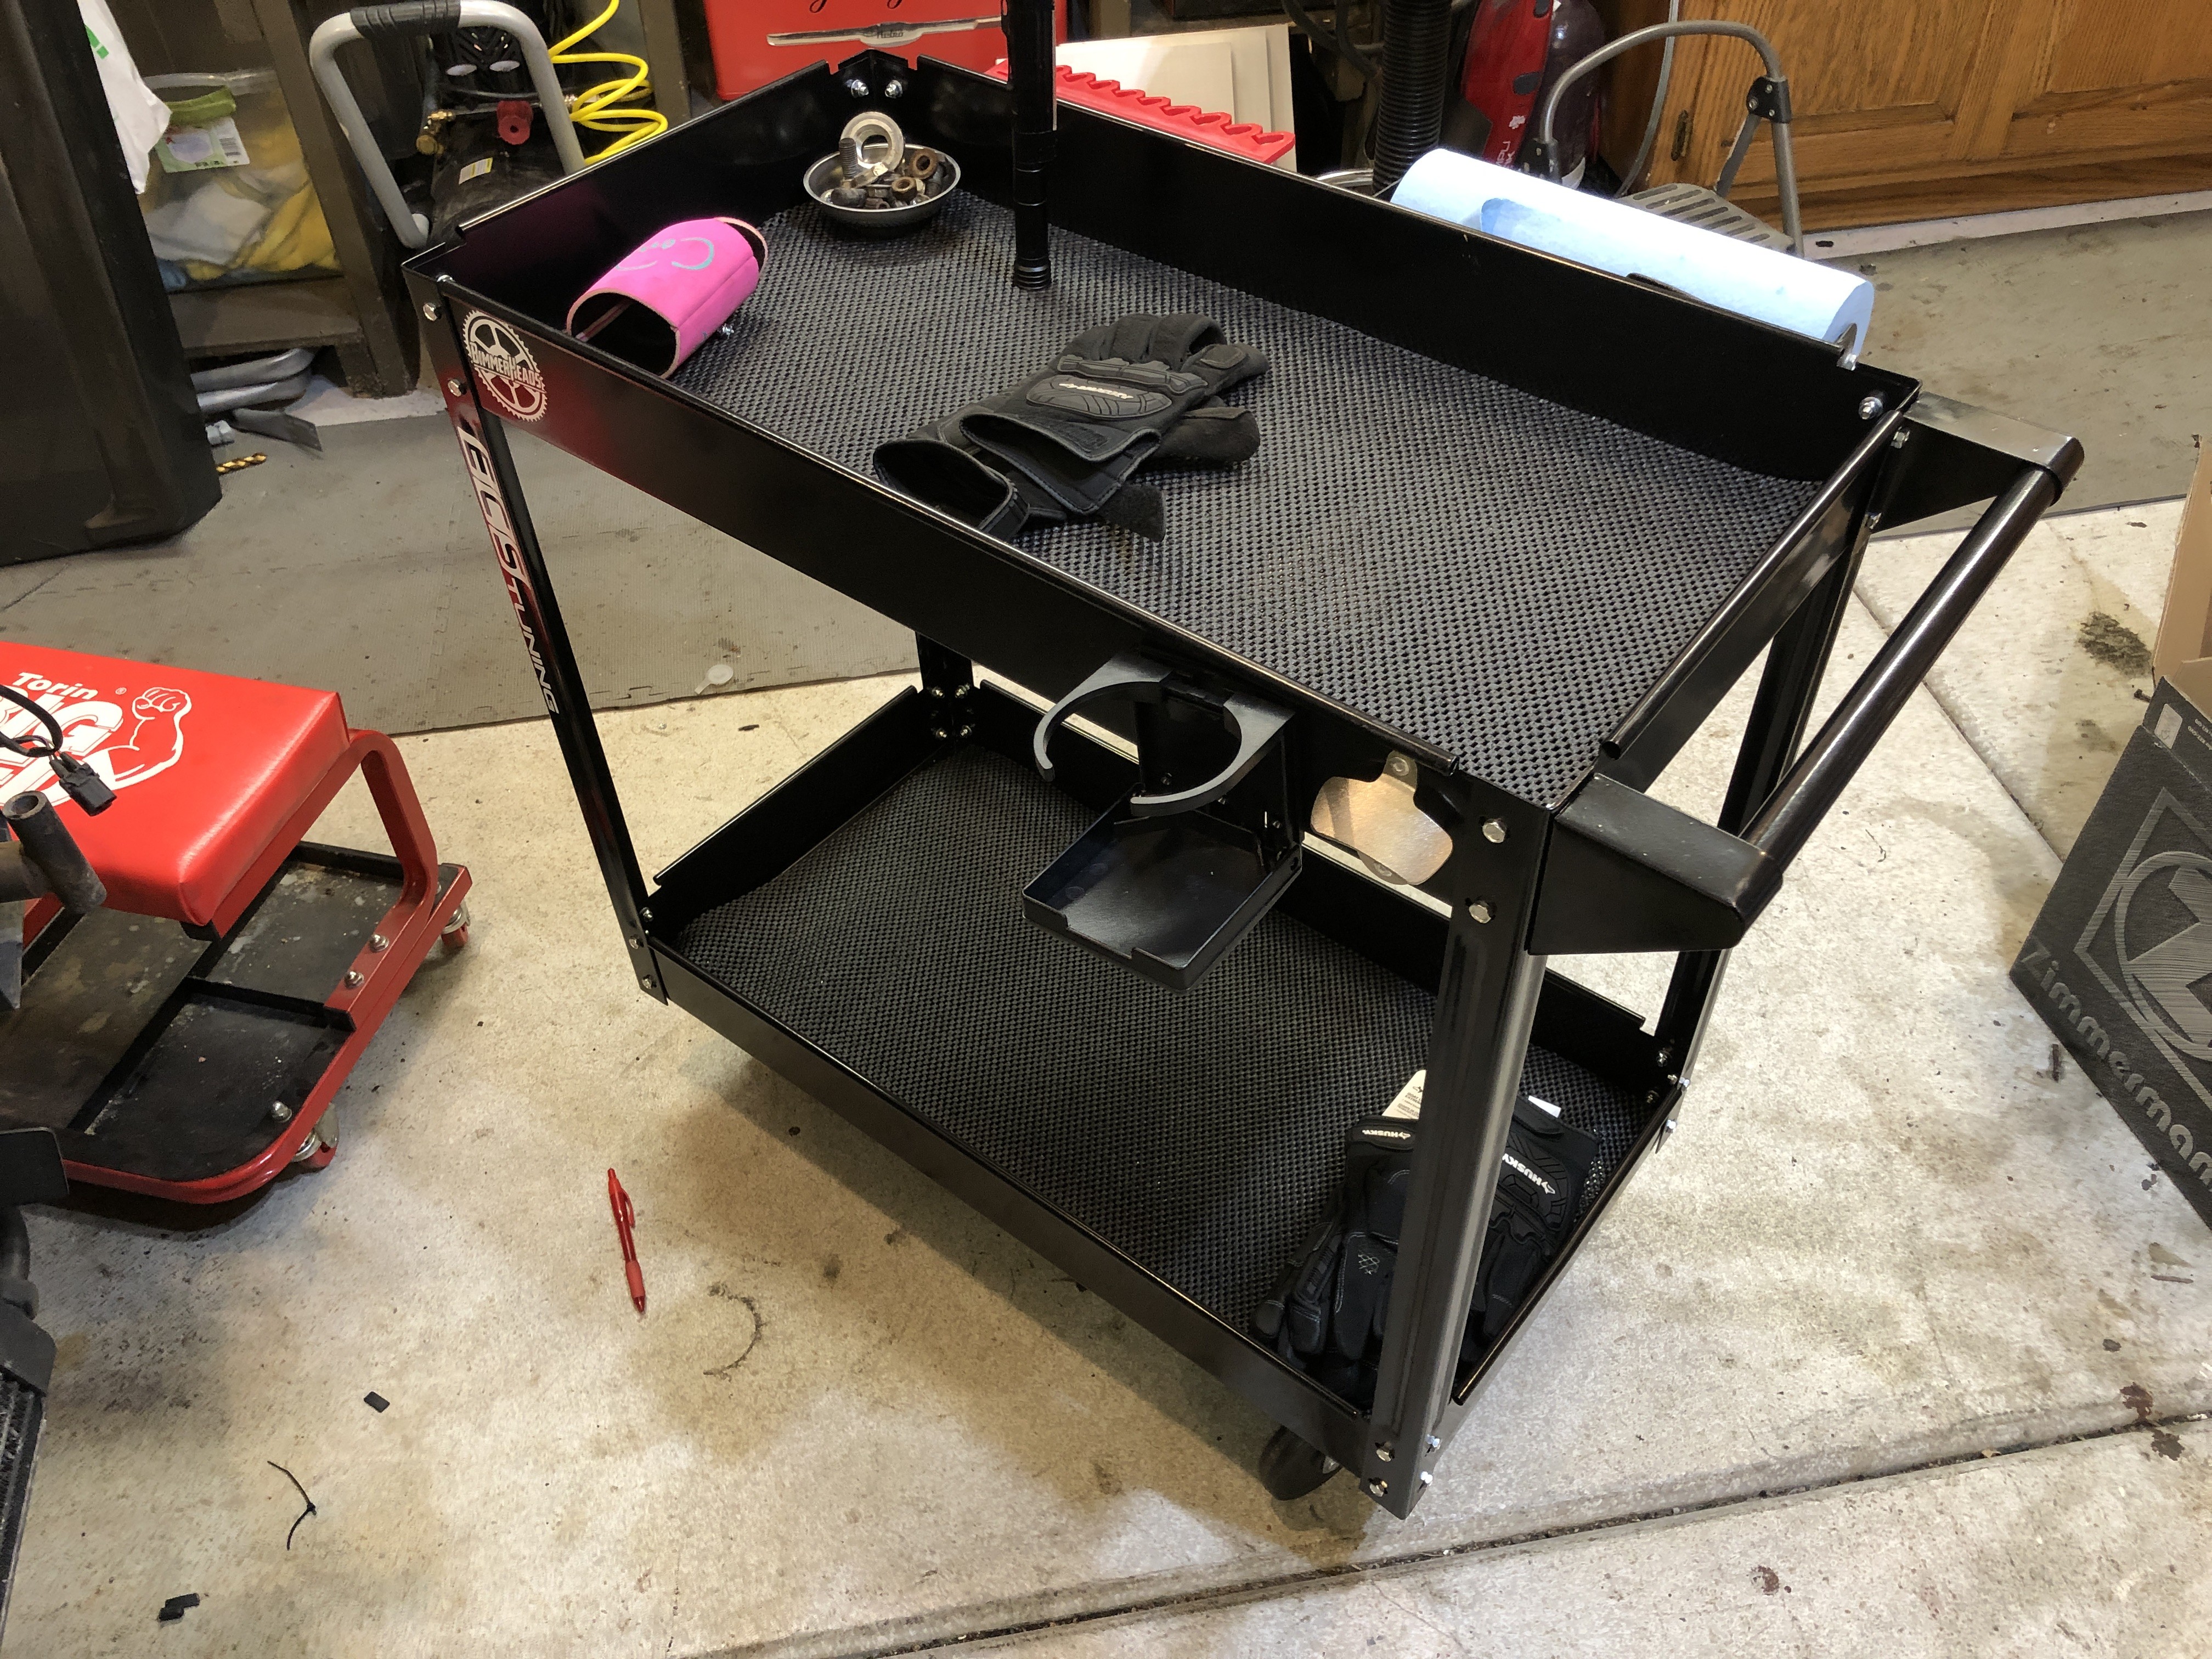
                  Picked up this little tool cart from Amazon for $30 Prime. Outfitted it with a bottle opener and can holder. Helps keep me organized rather than spreading tools all over the floor. 
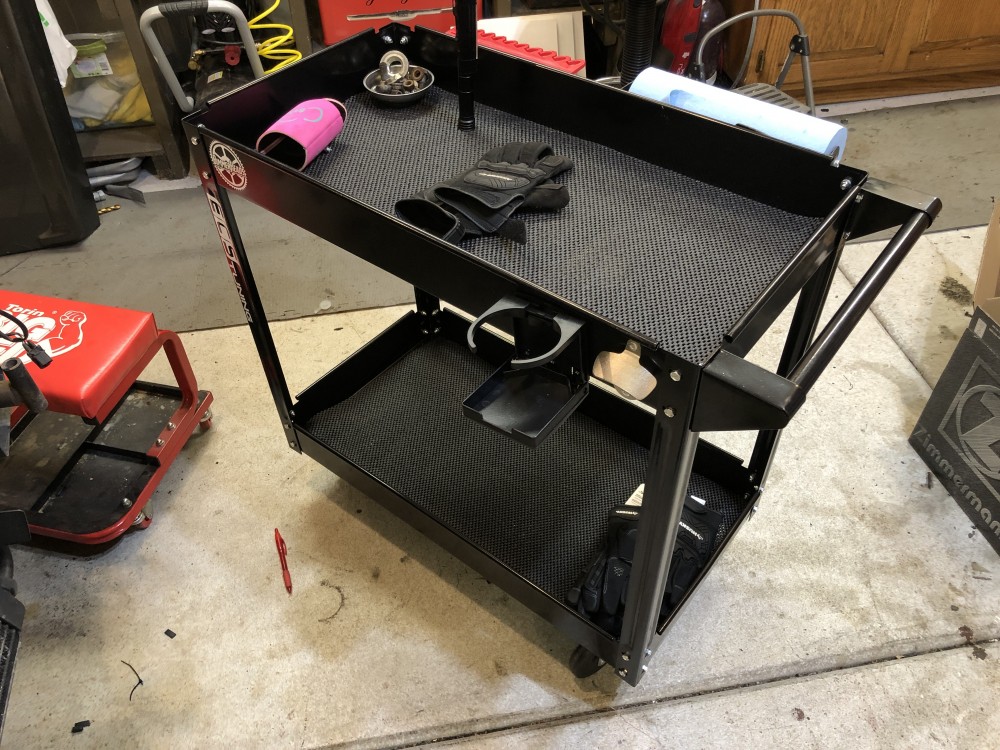
                   

                  8F8D8452-4615-4234-849B-E1E426670066.jpeg

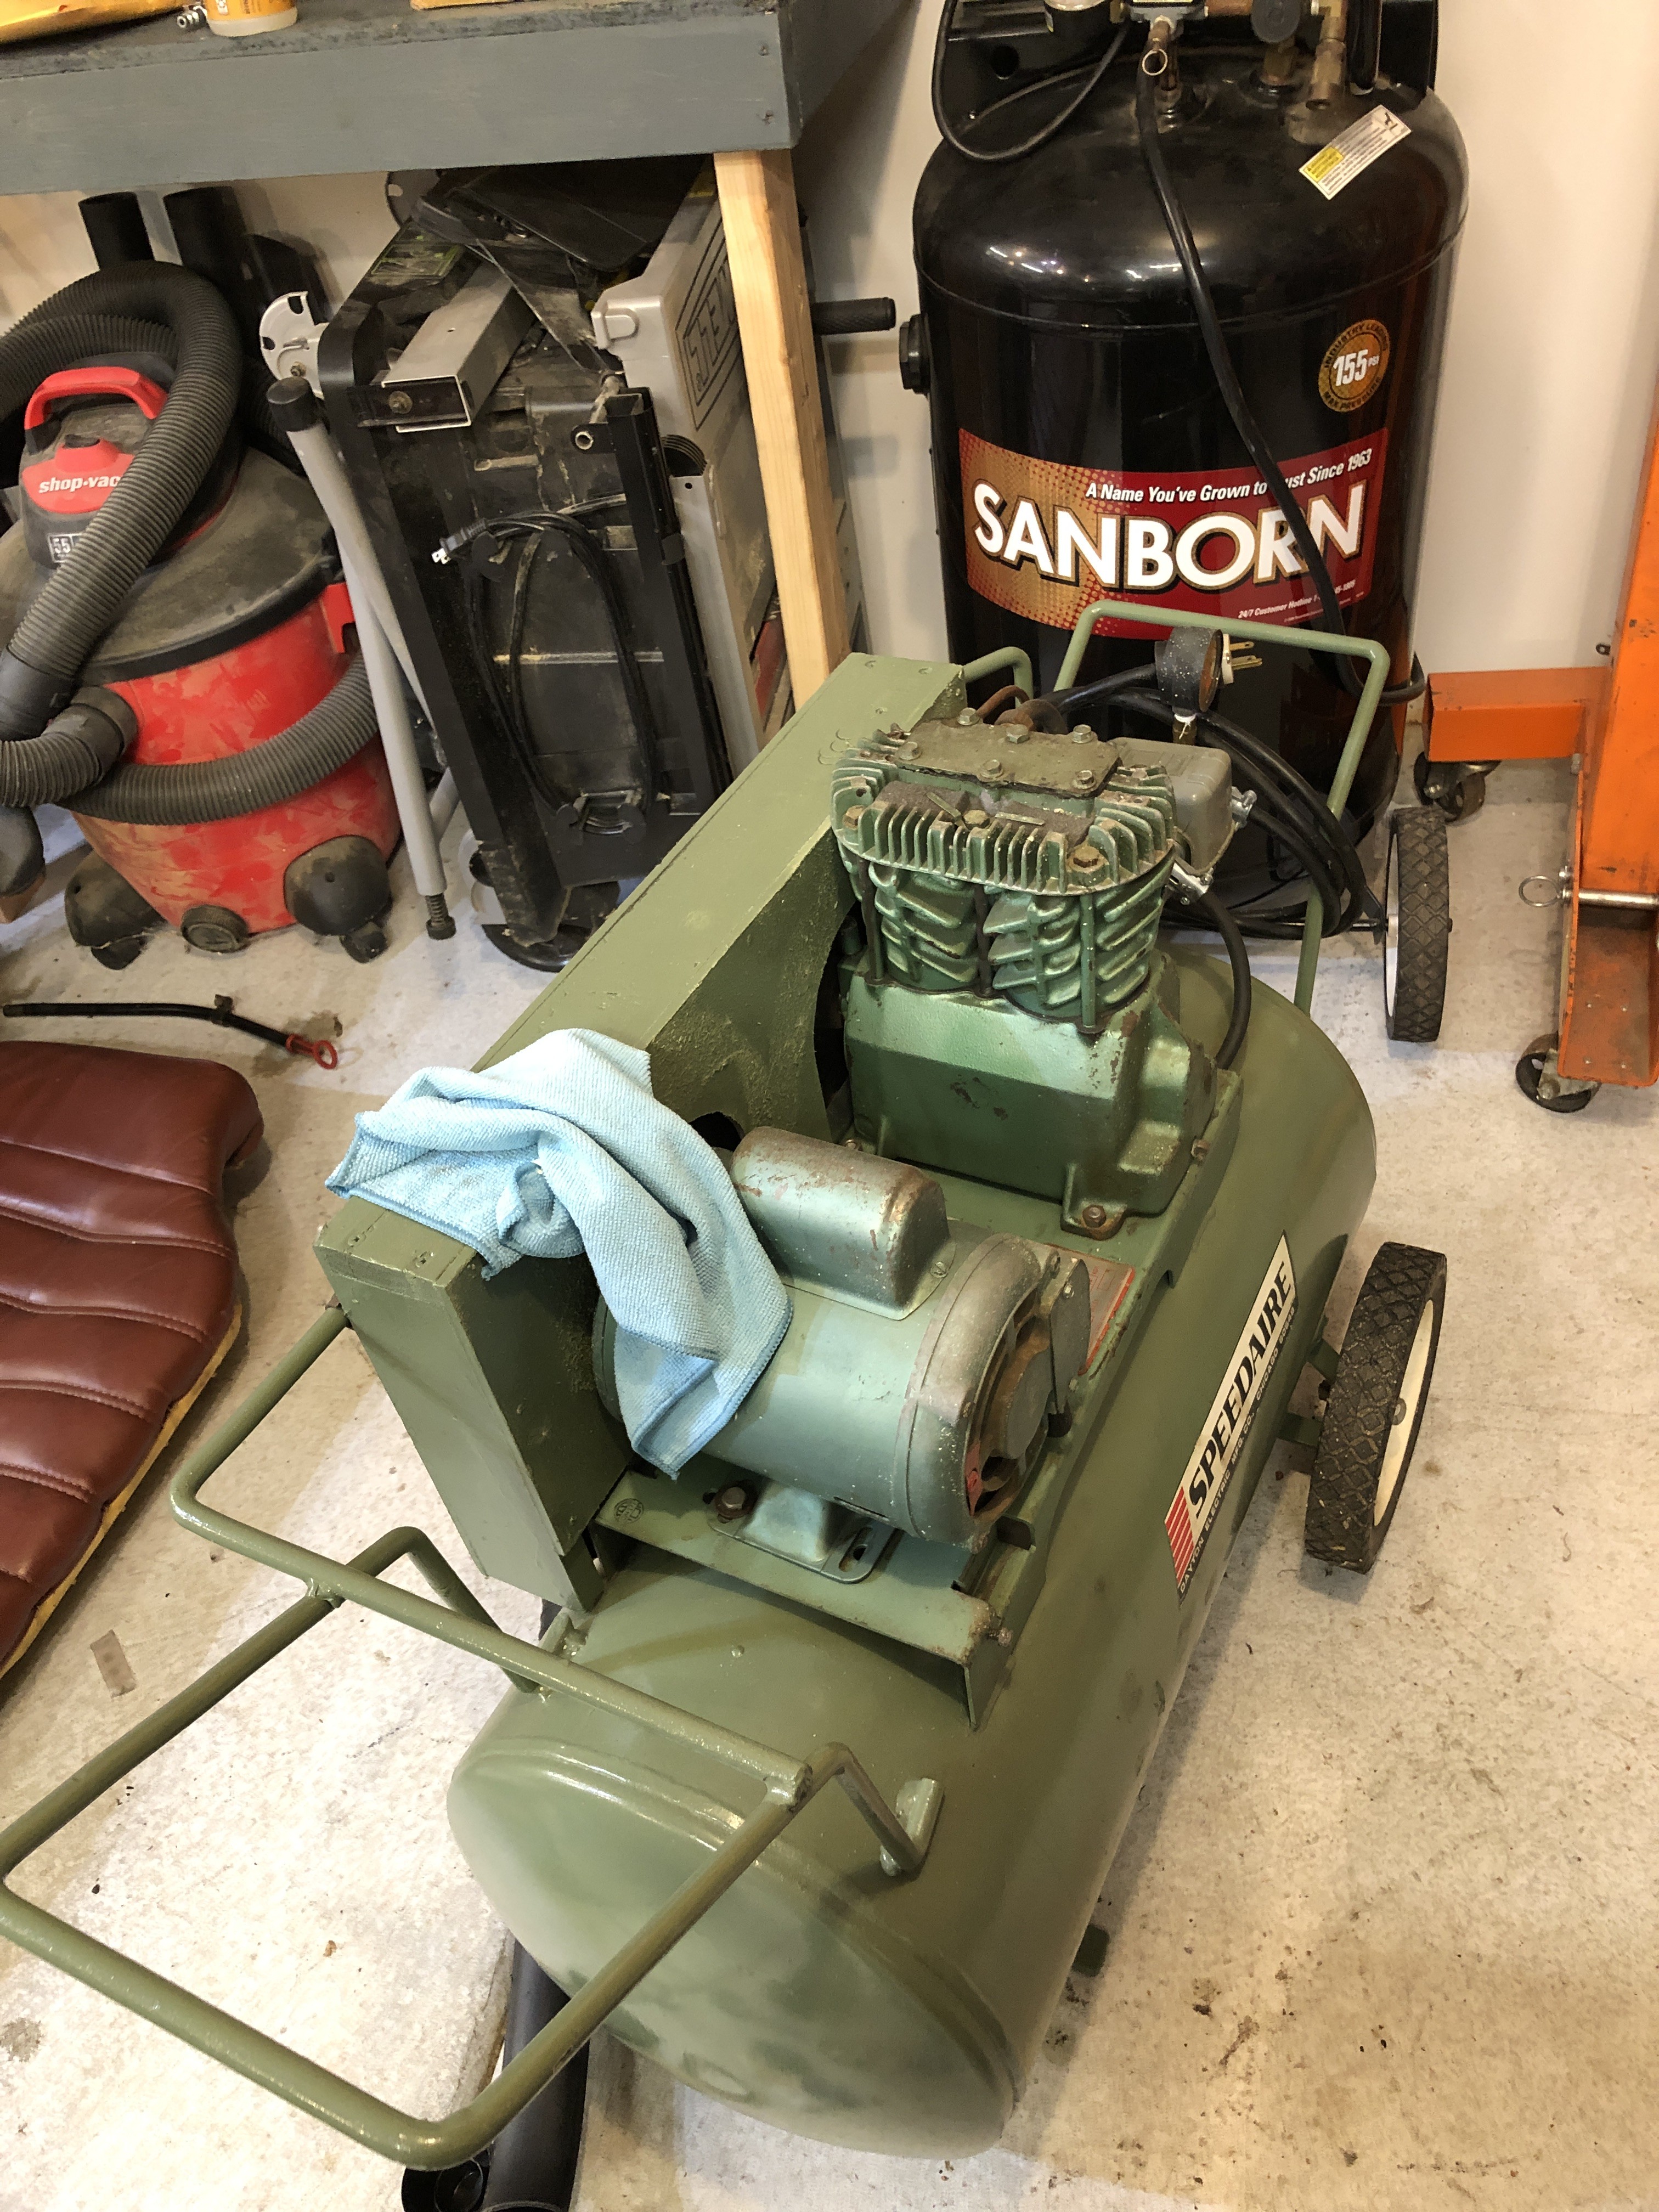
                  And my belt driven compressor is for sale if anyone is interested. Great for light projects but it wasn’t as strong as I wanted it when I was running an impact. Got the Sanborn for a good deal and it’s more powerful. Although now that I realized I can wire in a 220 outlet, this one may go as well. 
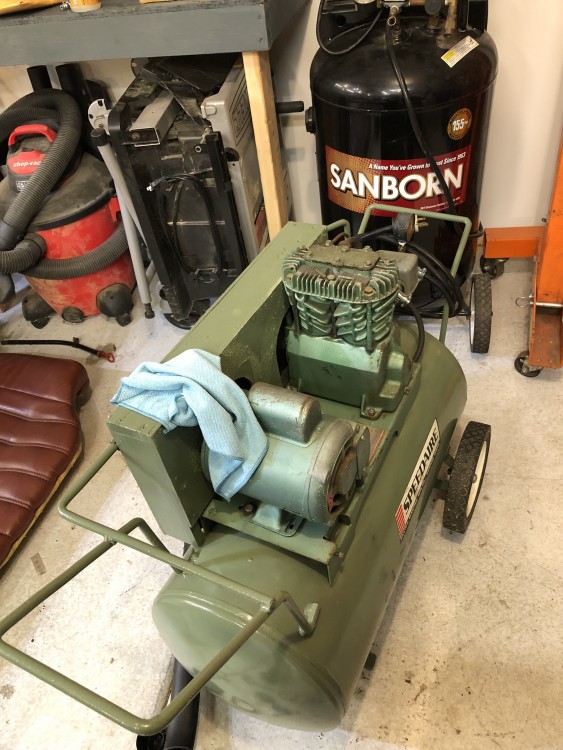
                   

                  2AA95414-B083-4FE2-B400-292DE8F71157.jpeg

                  1 Reply Last reply
                  1
                  • straight6pwrS
                    straight6pwrS
                    straight6pwr
                    wrote on last edited by
                    #742

                    that cart seems pretty solid, $30 seems like a steal.

                    Dan
                    yajsYRL.jpg.e5f350b4dfe961d76ac8b32efce2e1a6.jpg

                    1 Reply Last reply
                    0
                    • G
                      G
                      gilber33
                      wrote on last edited by
                      #743

                      straight6pwr said:

                      that cart seems pretty solid, $30 seems like a steal.

                      It's great for $30. 

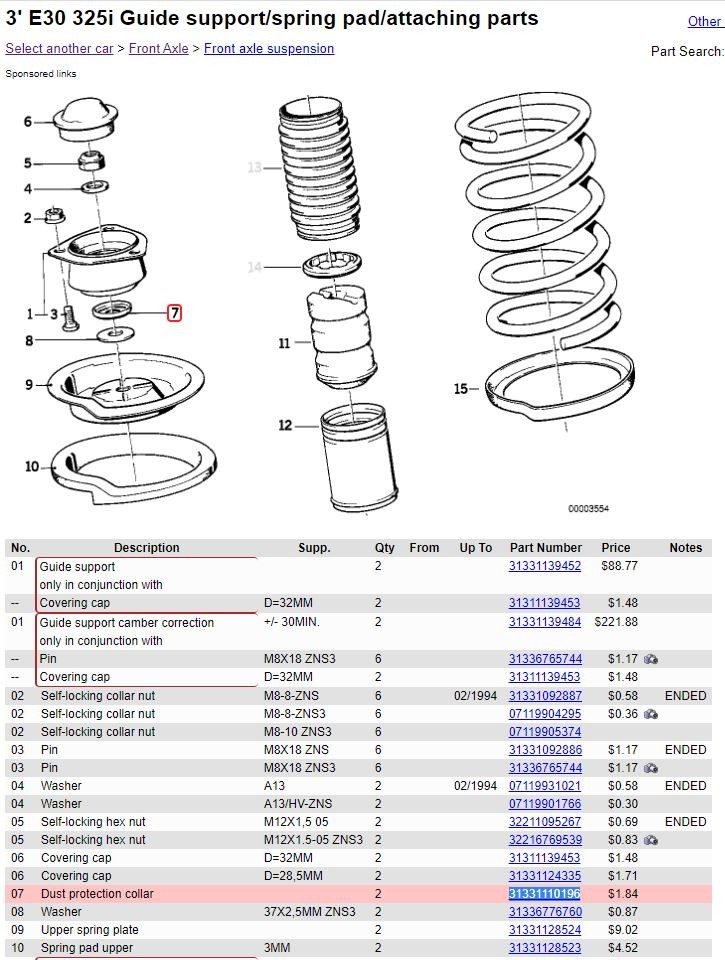
                      I know the top of the strut mounts get a dust cap, but is there anything for the bottoms? They're just exposed like this? 
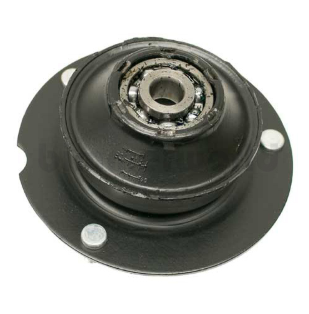
                      image.png

                      1 Reply Last reply
                      0
                      • P_RoloffP
                        P_RoloffP
                        P_Roloff
                        wrote on last edited by
                        #744

                        It would appear that there is a dust cover of sorts and then a washer on the underside according to this diagram.

                        Front Schock Assy.JPG

                        1 Reply Last reply
                        3
                        • G
                          G
                          gilber33
                          wrote on last edited by
                          #745

                          Thank you! When I removed them from the car they had the washer, but they did not have the dust cover.

                          1 Reply Last reply
                          0
                          • straight6pwrS
                            straight6pwrS
                            straight6pwr
                            wrote on last edited by
                            #746

                            @P_Roloff is correct

                            check this video: at 4:10 he removes the top mount which someone failed to put the washer/dust cap under. you can see how gross the bearing is and at 4:20 you can see how badly the bottom of the bearing chewed grooves into the top spring plate. at 17:35 you can see him correctly installing the washer/dust cap on reassembly.

                            Dan
                            yajsYRL.jpg.e5f350b4dfe961d76ac8b32efce2e1a6.jpg

                            1 Reply Last reply
                            1
                            • G
                              G
                              gilber33
                              wrote on last edited by
                              #747

                              I was hoping to reinstall everything tomorrow, but I guess I will need to hold off to order those. Oh well.

                              1 Reply Last reply
                              0
                              • straight6pwrS
                                straight6pwrS
                                straight6pwr
                                wrote on last edited by
                                #748

                                gilber33 said:

                                I was hoping to reinstall everything tomorrow, but I guess I will need to hold off to order those. Oh well. 

                                another tip: before you install, pack the top mount bearing with more grease if it seems inadequate on either the top or bottom.

                                Dan
                                yajsYRL.jpg.e5f350b4dfe961d76ac8b32efce2e1a6.jpg

                                1 Reply Last reply
                                1
                                • G
                                  G
                                  gilber33
                                  wrote on last edited by
                                  #749

                                  straight6pwr said:

                                  another tip: before you install, pack the top mount bearing with more grease if it seems inadequate on either the top or bottom.

                                  Good idea. The bearings did look underpacked with grease.

                                  1 Reply Last reply
                                  0
                                  • JdesignJ
                                    JdesignJ
                                    Jdesign
                                    wrote on last edited by
                                    #750

                                    straight6pwr said:

                                    another tip: before you install, pack the top mount bearing with more grease if it seems inadequate on either the top or bottom.

                                    Also, keep in mind if you mix types of grease it can cause chemical reactions that will potentially cause premature wear! Sounds dumb, but I worked in a bike shop for 10+ years, and I have personally witnessed countless times that mixed types of grease caused chemical reactions that ate through bearings, bearing races, and softer material components such as plastics and urethanes. I always thoroughly clean parts before I re-grease or add grease to them if I don't know the type of grease that was originally installed.  

                                    http://knowhow.napaonline.com/greasy-situation-can-you-mix-grease/

                                    SumBunny.jpg

                                    https://www.instagram.com/_jdesigner_/                                          http://nevertoolow.tumblr.com/

                                    🥳SOLD BMW E24 633CSI - BMW M30B32                                          🧪SOLD HCH  ES9 - 1.3 LDA
                                    👽BMW E30 325IC - Toyota 1JZ-GTE                                                     ⏰ HONDA EF9 CIVIC SI - JDM B18C5
                                    ☠️BMW E36 318i - Ford 5.0 FE302                                                         🚴‍♂️ GT-Labomba - 26x2.75 Freeride
                                    🤹‍♀️SOLD BMW E36/7 Z3 - BMW M54B25                                                🧓SOLD BMW E10 2002 - BMW M10M05

                                    1 Reply Last reply
                                    0
                                    • G
                                      G
                                      gilber33
                                      wrote on last edited by
                                      #751

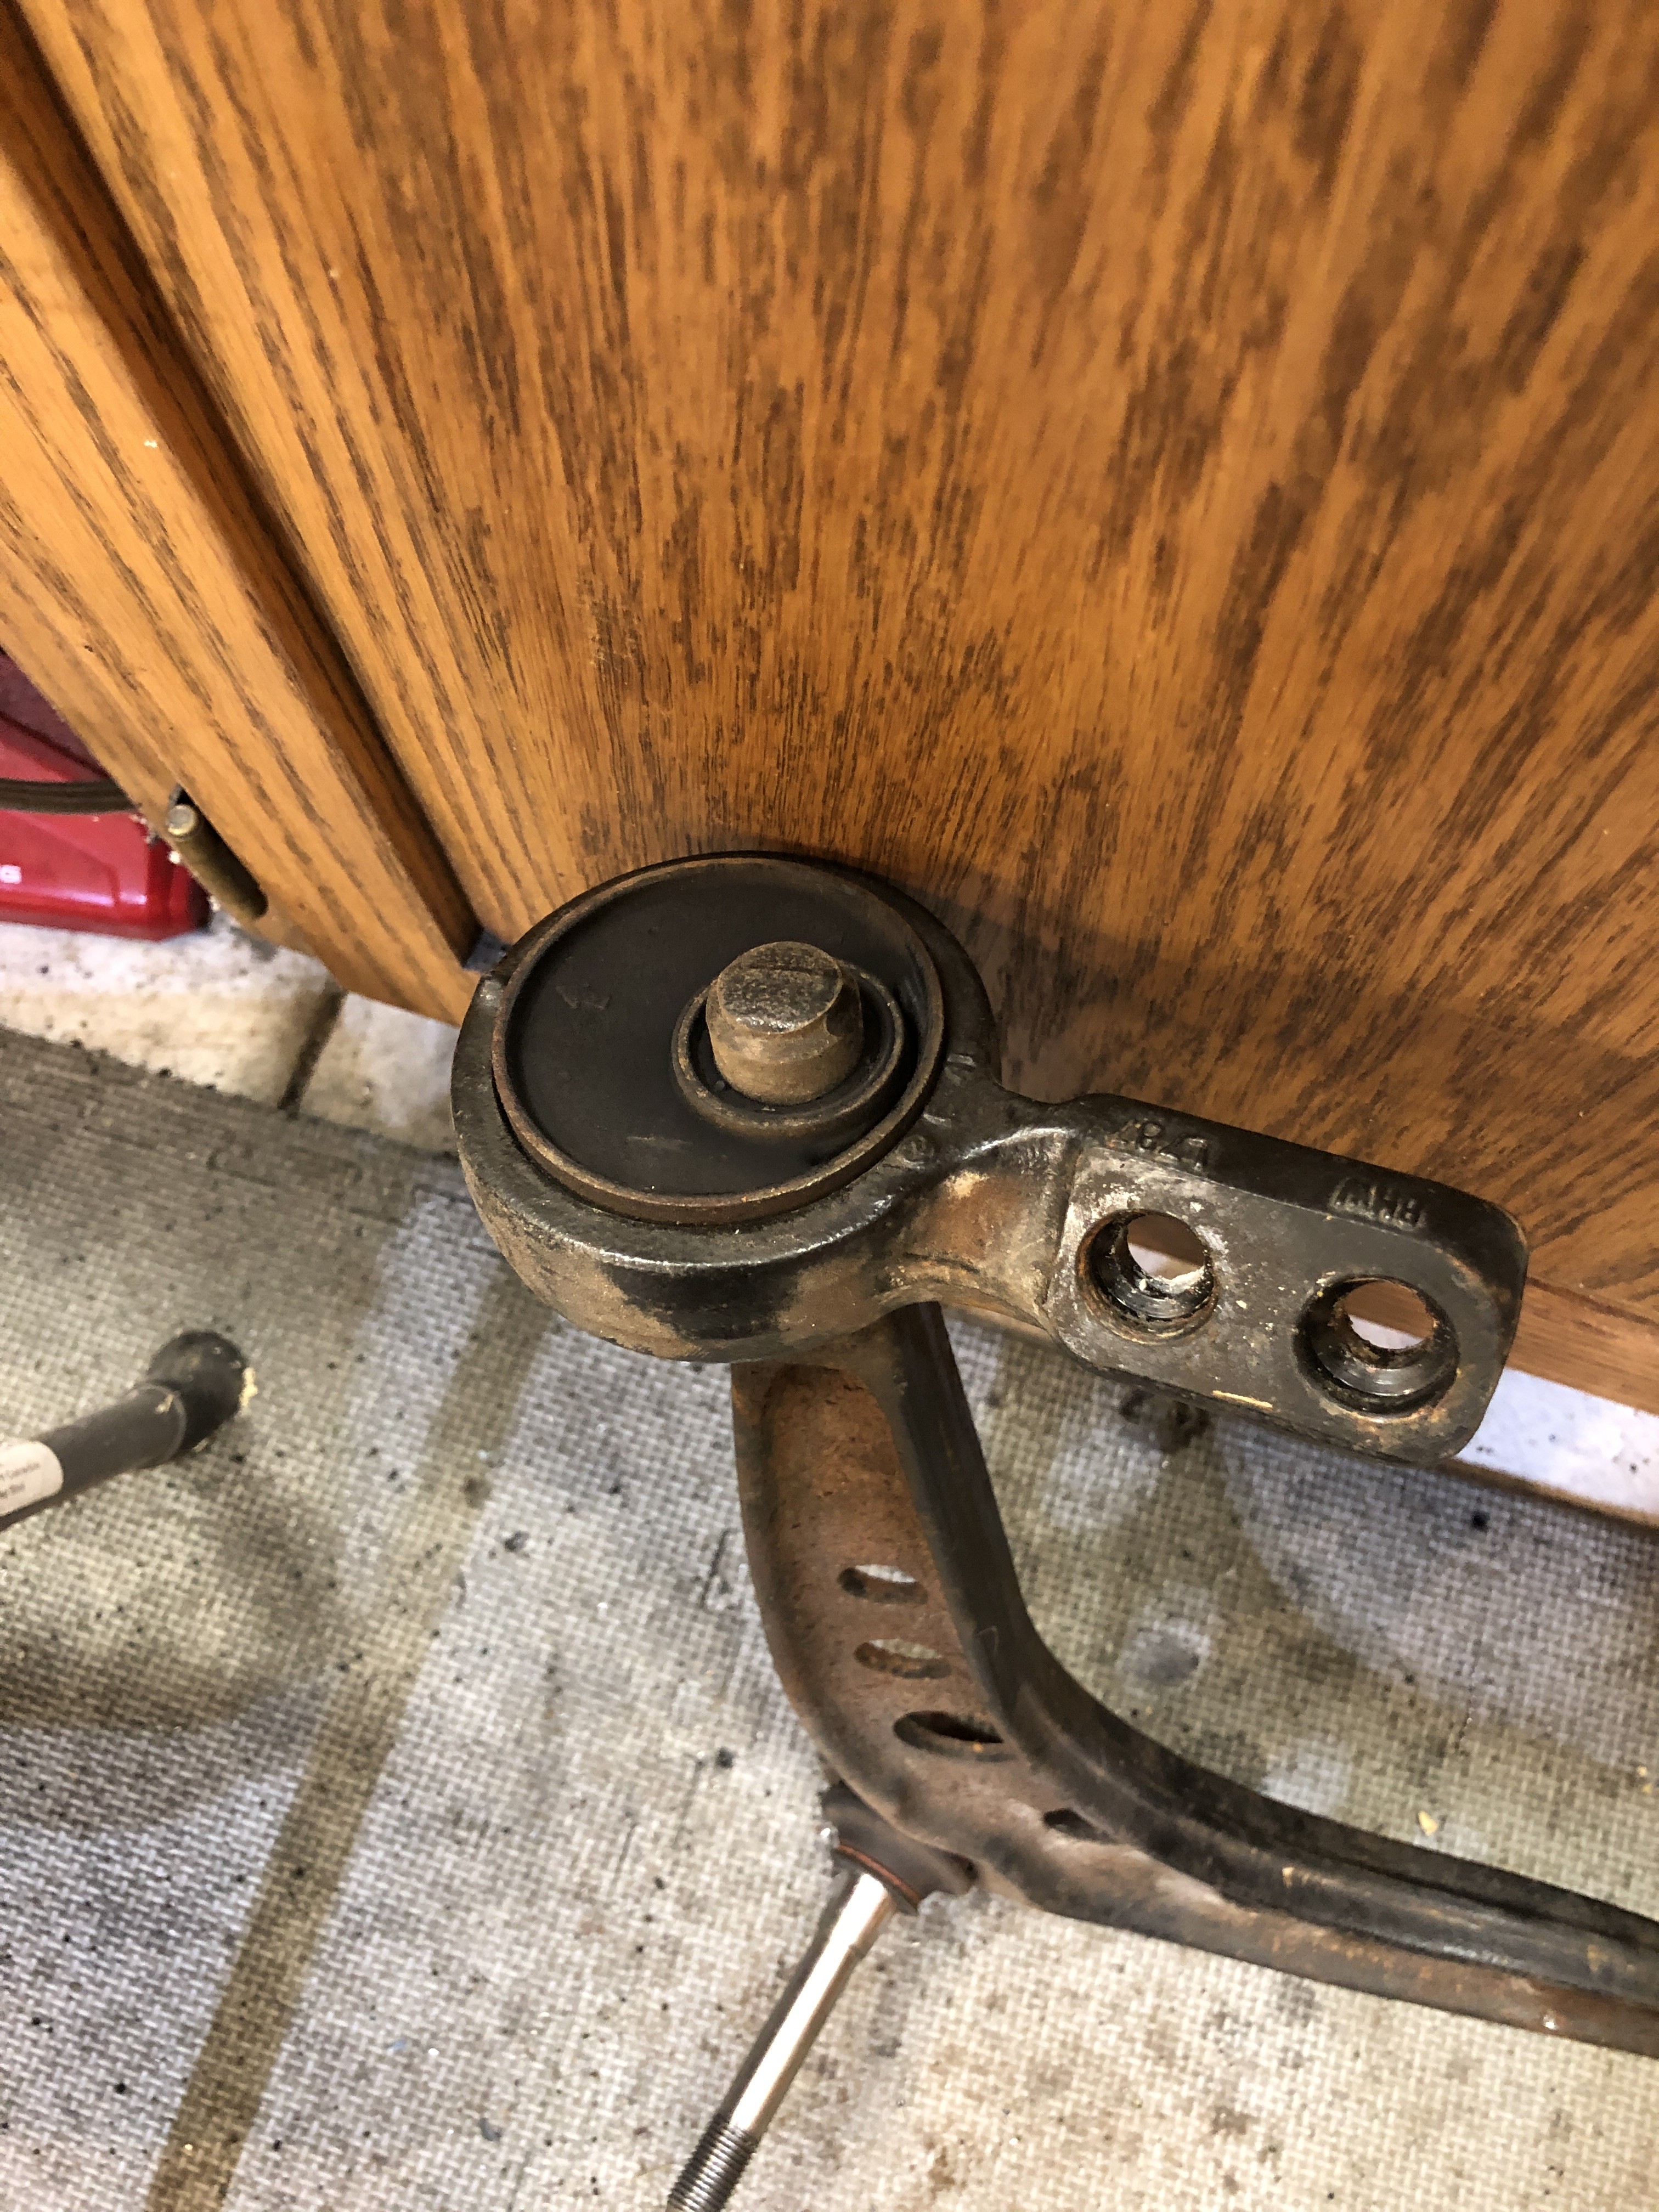
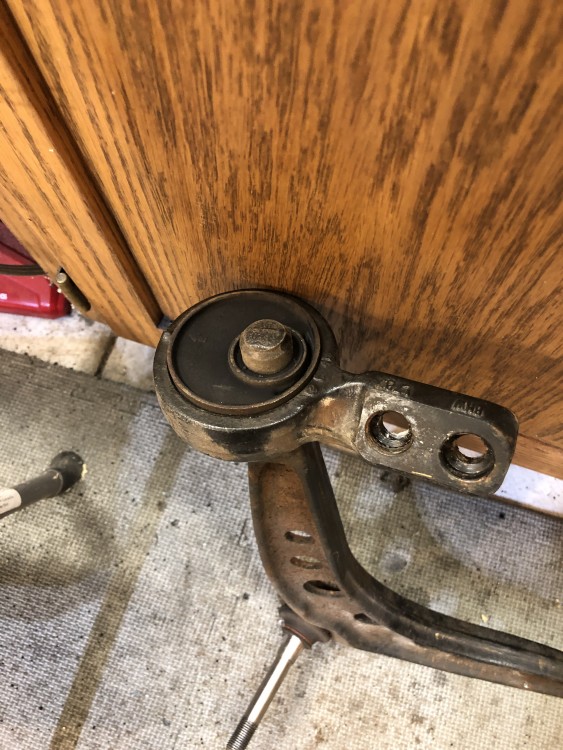
                                      Reinstalling the struts and everything and j realized the threads on the outer ball joint for the DS control arm are cross threaded. The control arm assemblies are relatively cheap, but I can’t find a great how-to for removing the lollipop without the assumption that you’re going to be replacing the bushing. Any pointers? 
                                       

                                      46941524-CE97-40B4-AF1F-2E49648FF92A.jpeg

                                      1 Reply Last reply
                                      0
                                      • straight6pwrS
                                        straight6pwrS
                                        straight6pwr
                                        wrote on last edited by
                                        #752

                                        gilber33 said:

                                        Reinstalling the struts and everything and j realized the threads on the outer ball joint for the DS control arm are cross threaded. The control arm assemblies are relatively cheap, but I can’t find a great how-to for removing the lollipop without the assumption that you’re going to be replacing the bushing. Any pointers? 
                                         

                                        i was able to pull those will a 3 jaw puller. i had to drill a hole in the center of the control arm 'post' to keep the puller from walking off of it, and i had to band clamp the arms of the 3 jaw to keep them from walking off the lollipop, since it is offcenter. i think i may have setup the 3 jaw with different length arms to help with the offcentering, as well. one of the two was very stuck and i was afraid i was going to tear it, so i had to hammer a pick between the control arm 'post' and the bushing to break the seal (which damaged it) so your results may vary.

                                        alternatively, if you know a shop with the correct tools, you could order just that outer ball joint and have them press it in and leave the CAB alone.

                                        Dan
                                        yajsYRL.jpg.e5f350b4dfe961d76ac8b32efce2e1a6.jpg

                                        1 Reply Last reply
                                        0
                                        • G
                                          G
                                          gilber33
                                          wrote on last edited by
                                          #753

                                          straight6pwr said:

                                          alternatively, if you know a shop with the correct tools, you could order just that outer ball joint and have them press it in and leave the CAB alone. 

                                          From what I can find, these are just pressed it, right? There’s nothing special about them. A shop with a basic press should be able to do it.

                                          1 Reply Last reply
                                          0

                                          Hello! It looks like you're interested in this conversation, but you don't have an account yet.

                                          Getting fed up of having to scroll through the same posts each visit? When you register for an account, you'll always come back to exactly where you were before, and choose to be notified of new replies (either via email, or push notification). You'll also be able to save bookmarks and upvote posts to show your appreciation to other community members.

                                          With your input, this post could be even better 💗

                                          Register Login
                                          Reply
                                          • Reply as topic
                                          Log in to reply
                                          • Oldest to Newest
                                          • Newest to Oldest
                                          • Most Votes


                                          • Login

                                          • Don't have an account? Register

                                          • Login or register to search.
                                          Powered by NodeBB Contributors
                                          • First post
                                            Last post
                                          0
                                          • Categories
                                          • Recent
                                          • Tags
                                          • Popular
                                          • Users
                                          • Groups