
E21 project thread

-
UPDATE:
So since the last post, I have gotten a little more done, but not as much as I hoped. Been pretty busy and more important things came up. The rear subframe assembly has been completed to the point where the brakes and reman axles can now be installed once I pick those up. The LSD has been painted and installed along with the sway bar and bushings.
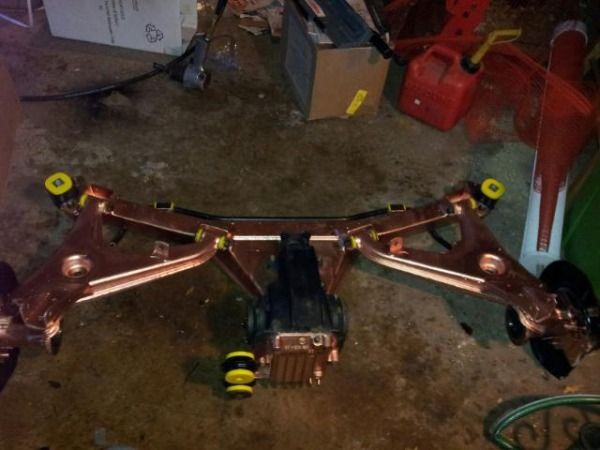
Before installing the subframe assembly back on the car, I wanted to clean up the underbody of the car first. Surprisingly, for a 30 year old Wisconsin car, there wasn’t much rust at all. I was surprised for sure. Here are the only spots of rust I found.
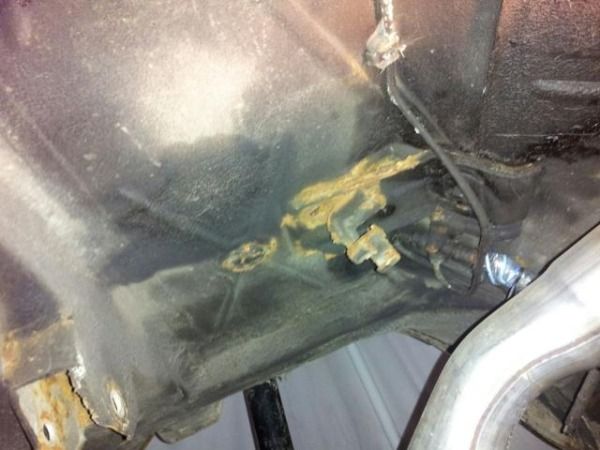
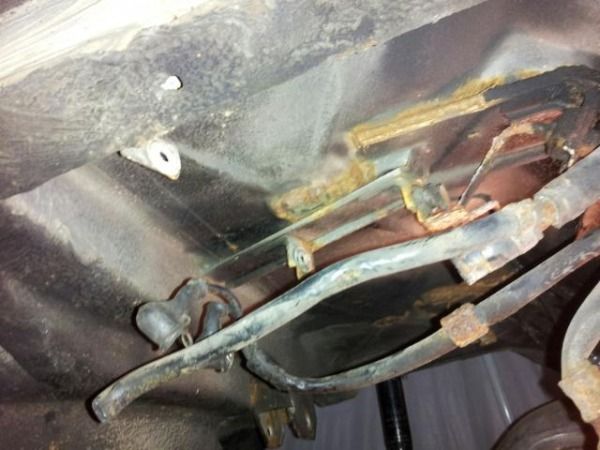
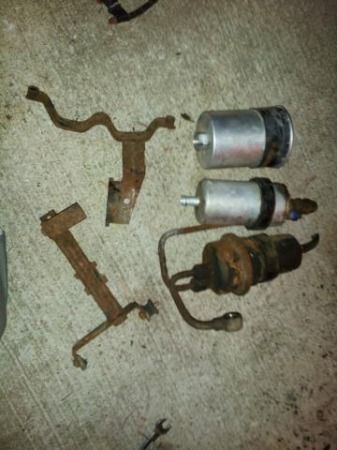
I also removed the fuel parts back there since they were a little rusty and the brackets were broken. I am going to be using a spare set of brackets for the fuel stuff as well as a spare accumulator that is in better condition.
After a little wire brushing, metal acid etching, and some por-15 this is what it looks like. Just got to underbody coat it all and its ready for the subframe assembly.
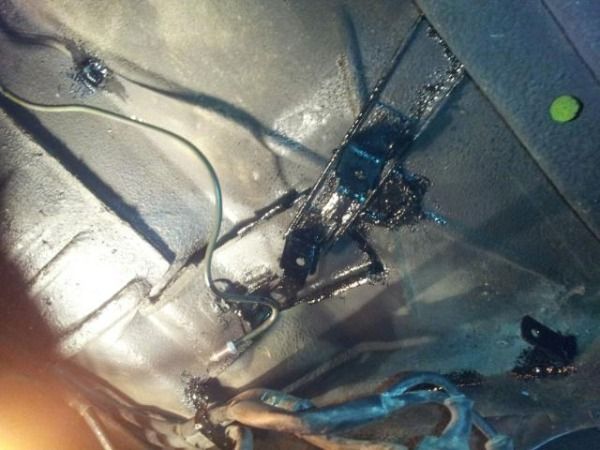
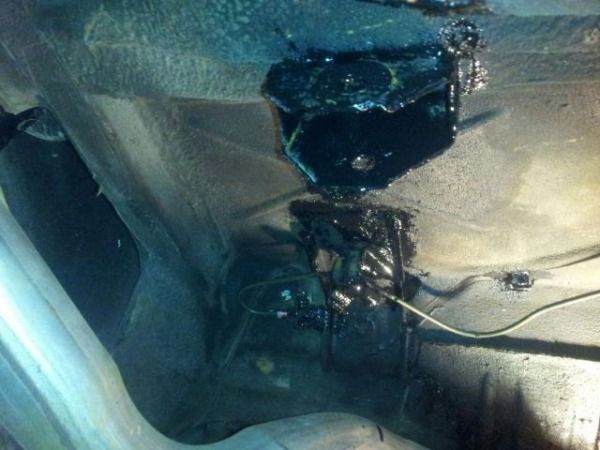
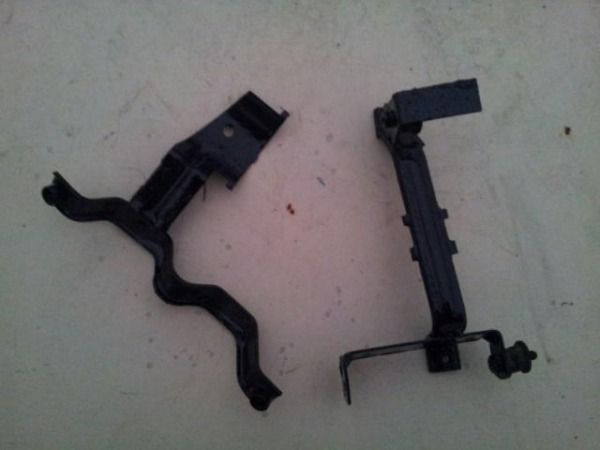
I tend to jump around when doing this many projects at once. So, along with working on the stuff already posted I also managed to removed the valve cover of the engine and give it a new paint job. Its not the best, but it will do for now. Can always sand blast it back down later if I wanted. Im not worried about it.
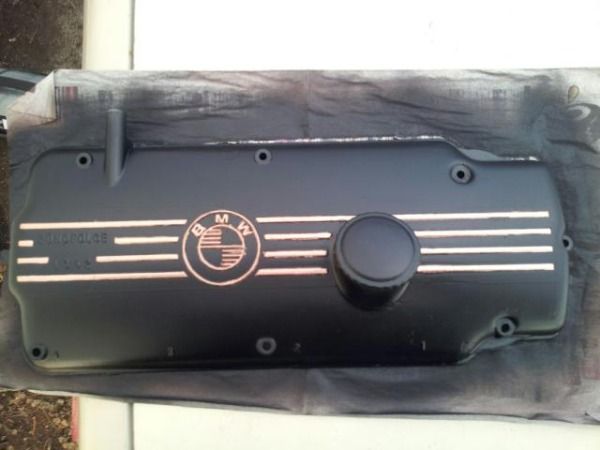
I also got the trigger wheel/pulley setup done for the megajolt install as well.
before
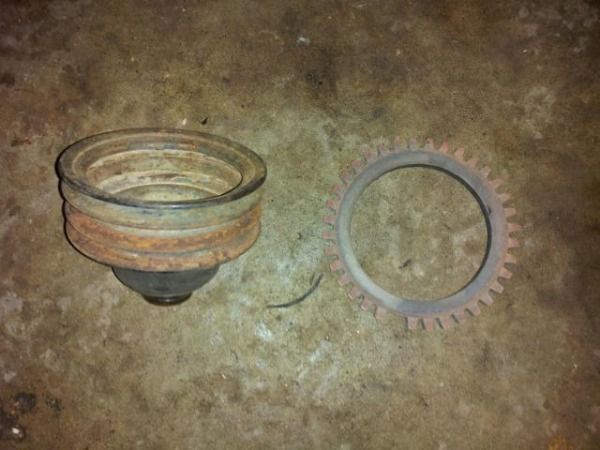
and after some lathe work and grinding
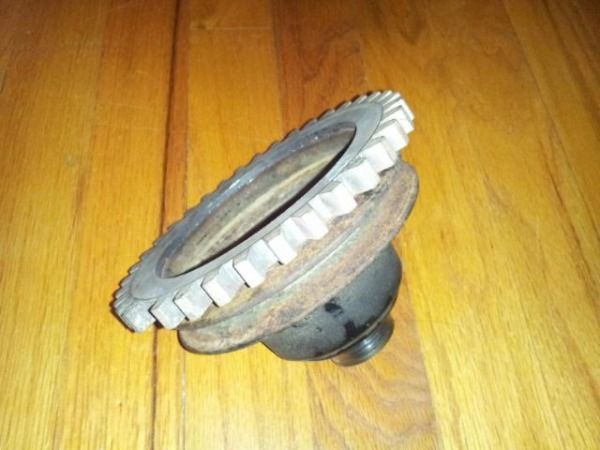
That’s it for now. Will be a slow process, but completion will be reached by late spring/early summer at latest. I will keep updating as I go, so feel free to keep checking in. Thanks guys!!
-
Well, much hasn’t really happened lately since I have been busy and also am dealing with a personal hardship. I finally got myself up and motivated to go out and do something today, but not much unfortunately.
I finished por-15’ing and undercoating things under the rear as well as reinstalled the fuel parts and brackets back up there. I went ahead and replaced the fuel hose that went from the tank sender to the external pump as well since it was in bad condition. Sorry I never took pics of that. I am waiting to install the subframe since I want to replace the ebrake cables and remove driveshaft so I can replace the shifter plate and necessary parts too.
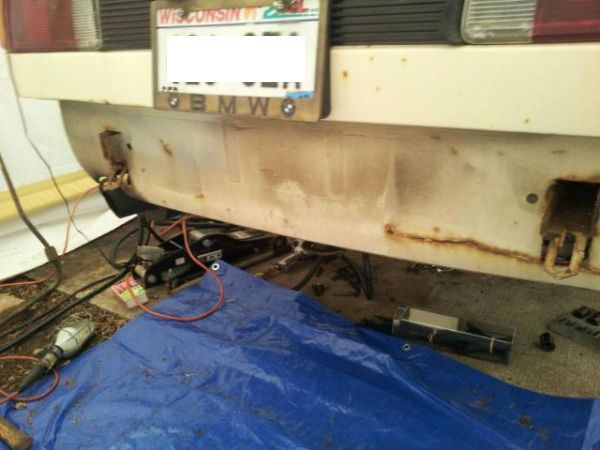
Like I mentioned I tend to jump around since I have quite a few projects going on at the same time. I went ahead and removed the rear bumper since I will be putting on the euro bumpers I received a couple weeks back. Still haven’t gotten those fully out of the box to take pics of yet. The bumper shocks sure were rusty and left piles of rust dust inside the rails that will need to be vacuumed out.
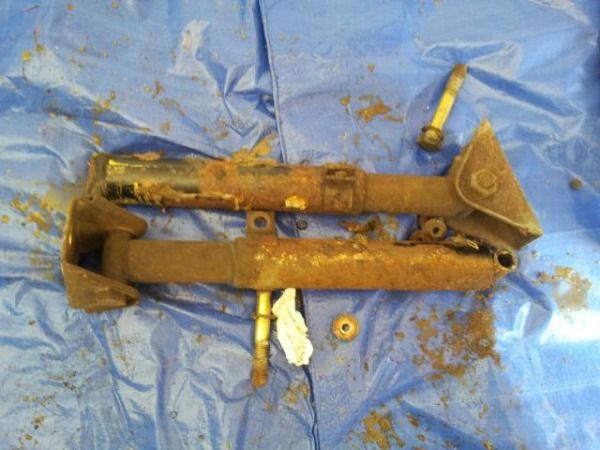
Bumper removed and time to clean that surface rust up and por-15 it all.
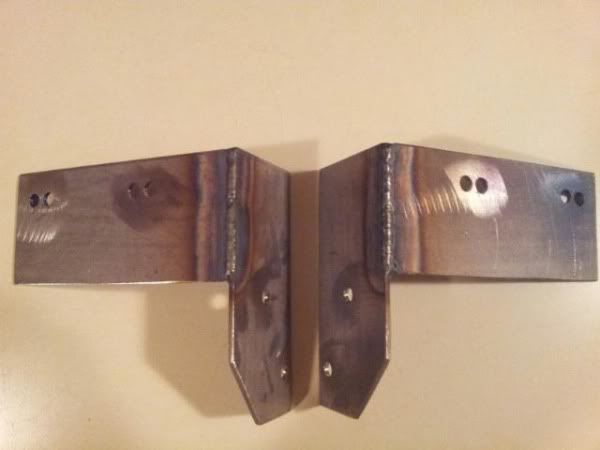
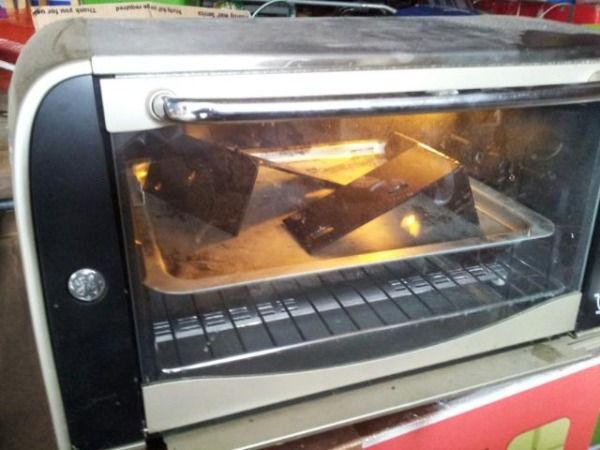
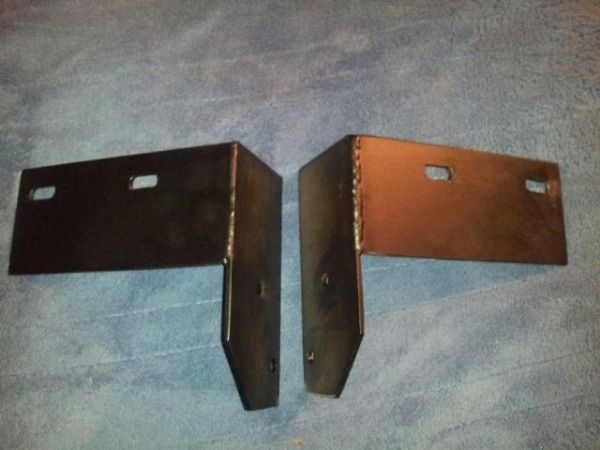
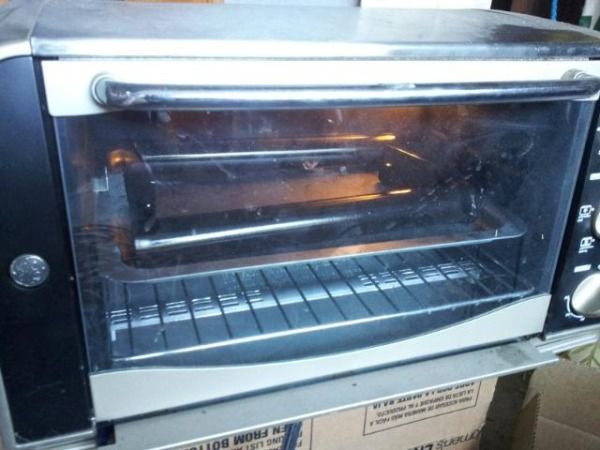
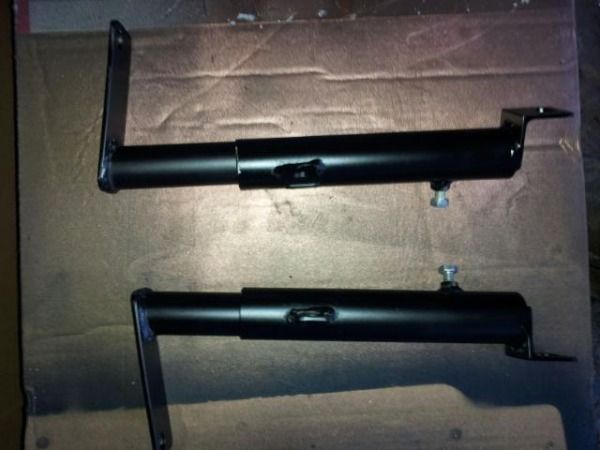
I also received my front euro bumper bracket adapters this week so I decided to powdercoat those as well as the rear adapters I made.
Rear adapters
Front adapters
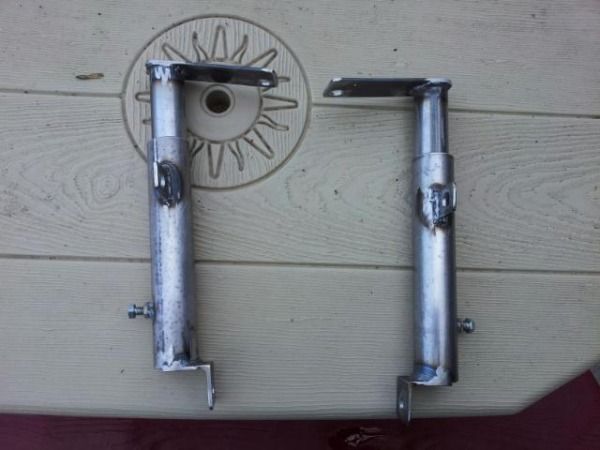
That was pretty much it for today. Slow but steady I think. Hopefully things will start picking up, but who knows. Thanks for looking!
-
You and Jake are the only ones getting work done around here (posting pics for proof at least
 )
)And you forgot to mention you bought some Bilstein sports for the front!
With those euro bumpers you really do have just about every rare-ish/desirable E21 part for your car now.
-
Thanks guys. And yes you are right, I did in fact buy front billy sports the other day. Hopefully they work as good as the guy says they do. Then all I need are some billy sports for the rear or get the ones I have rebuilt by bilstein. Then I can start mocking up the coilover sleeves.
-
Small Update:
I havent touched the car in weeks, but finally got some time, motivation, and good enough weather to do something. I went ahead and removed the shifter plate and all other necessary parts that will be replaced. I now know why my shifter was so sloppy even when in gear.
Video of shifter before removal.
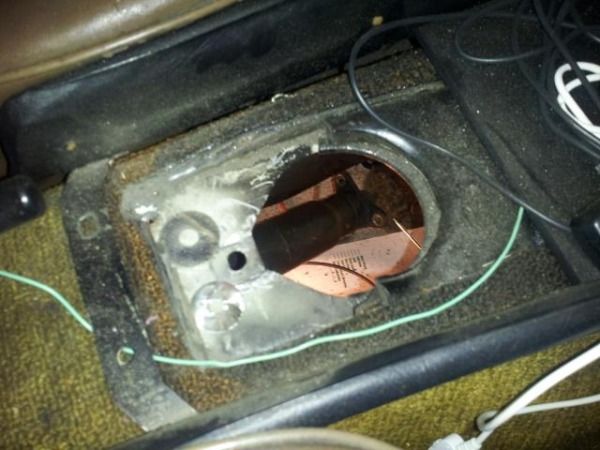
Wish I would have gotten a picture from underneath, oh well tho. I had to do some cutting and grinding with the dremel in order to remove the rear support pieces. The bolt/nut were completely. Also, the PO thought of the bright idea of putting a long bolt all the way through the tunnel and plate with a nut on the underside to hold things steady. How in the hell does one person hold the bolt head in the cab while removing the nut from under the car? I ended up cutting the nut with the dremel until i could loosen it a tad. Then I went into the cab and cut the head of the bolt off. Was a pain in the ass, but got it done eventually. After that the entire assembly could be taken off.
Old parts after removal.
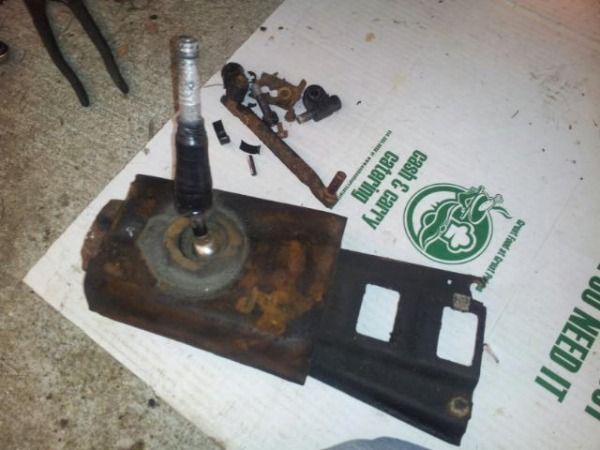
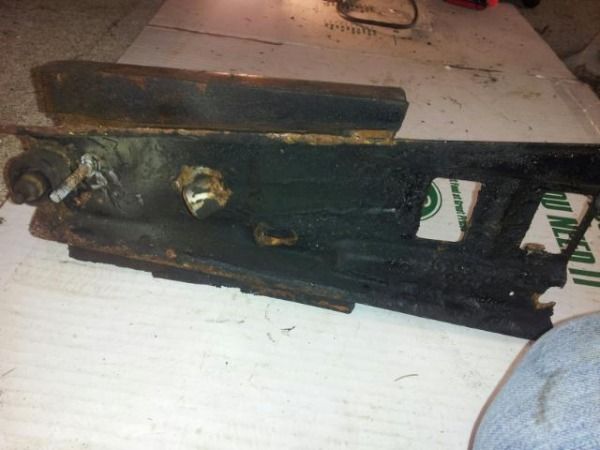
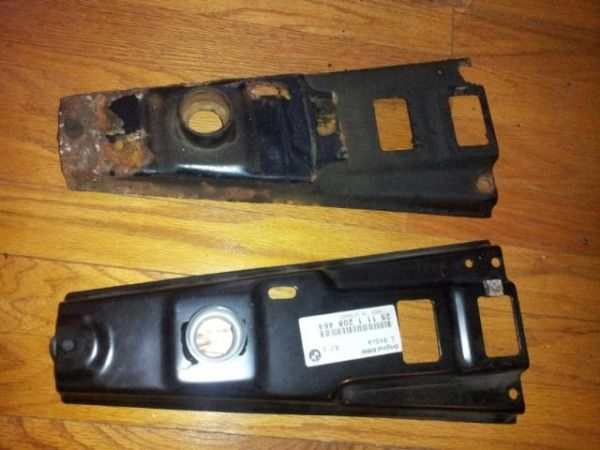
Here is the new plate vs. the old plate.
And after dissambling everything and replacing all parts with brand new parts from AutohausAZ except the shifter itself.
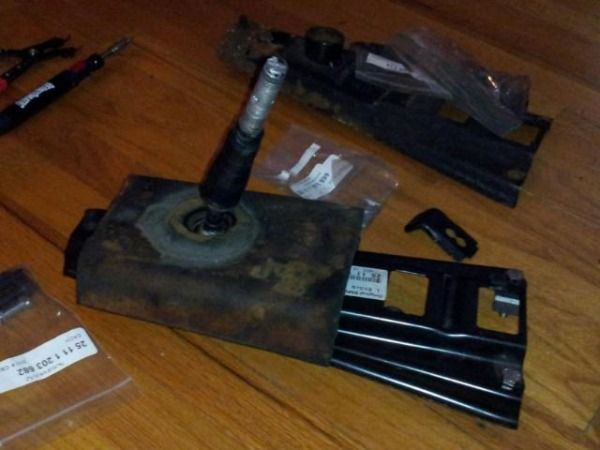
I am waiting for more por-15 to show up before installing everything back on the car. I want to hit the underside of everything with por-15. I will hopefully remember to take a pic of before/after the por-15 like usual. I will also take another video to compare the "slop" from before/after. Hopefully there will be none. *crosses fingers* Thats it for now.
-
Thanks guys and certainly will do!!
-
Thanks man! I hope its a huge improvement, which I cant see it NOT being. Lol! Your car is coming along outstanding too by the way.
-
Last weekend I was able to get the shifter assembly finished and installed. I replaced all parts except the shifter itself. Here is the video of the shifter slop after the installation. Still has a bit in gear, which I am a little disappointed about. Anybody have any suggestions on removing the slop completely?
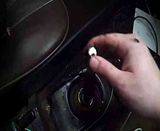
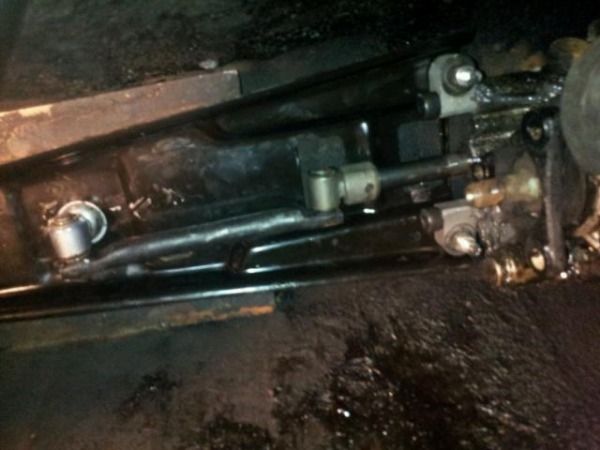
Here it all is installed.
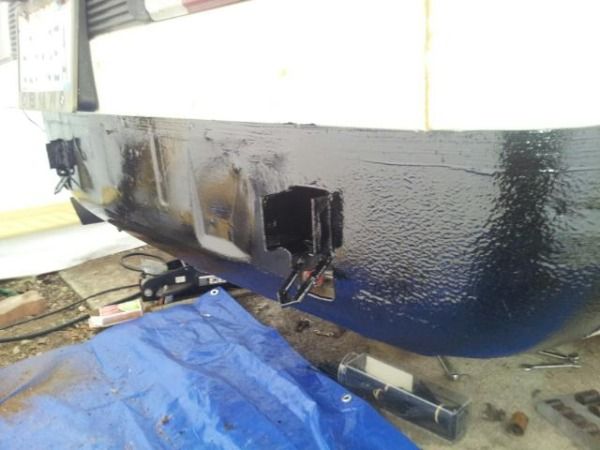
While waiting for the POR-15 to dry underneath the car around the shifter area, I decided to sand down, remove the surface rust, and POR-15 the rear valance. The before picture of the rear valance can be seen in a previous post. Here it is all rust proofed and looking good.
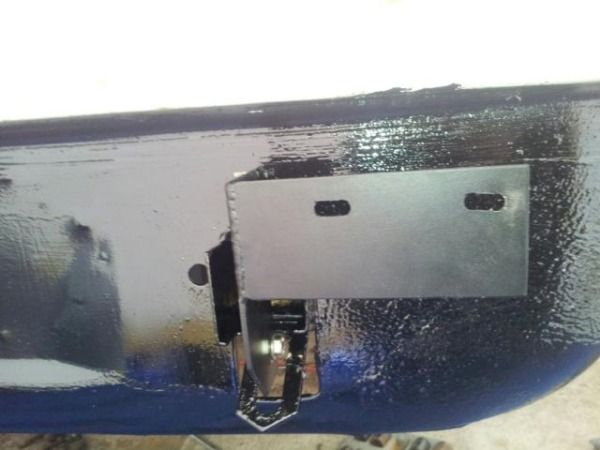
After the POR-15 was all dry, I went ahead and installed my rear euro bumper brackets that made and powdercoated previously. I just need to measure the space for the lower bolt so I can pick up a spacer and they will be installed for good.
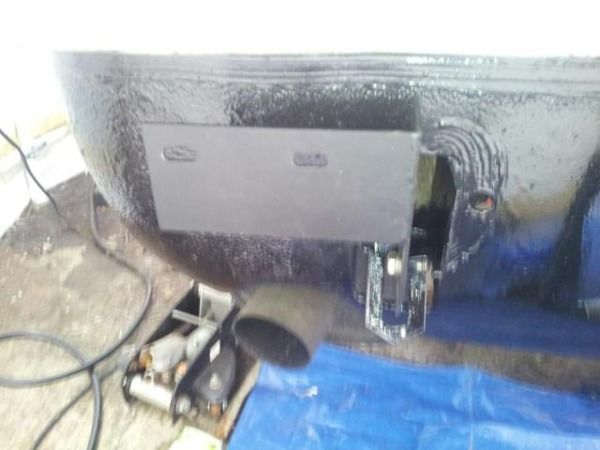
With those bolted up, I went ahead and installed the front euro bumper brackets that I powdercoated previously as well. These were simple since they bolted to the stock bumper shock points.
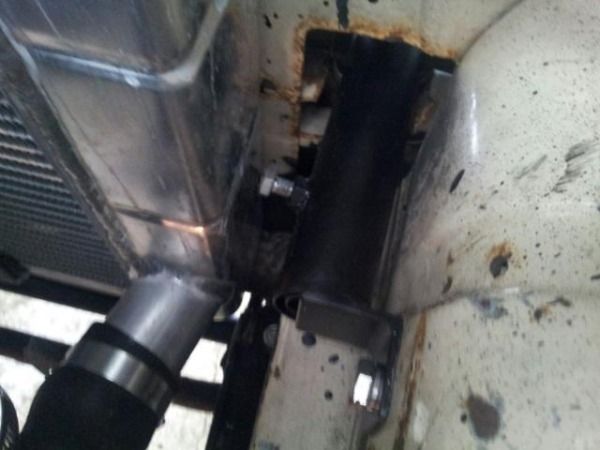
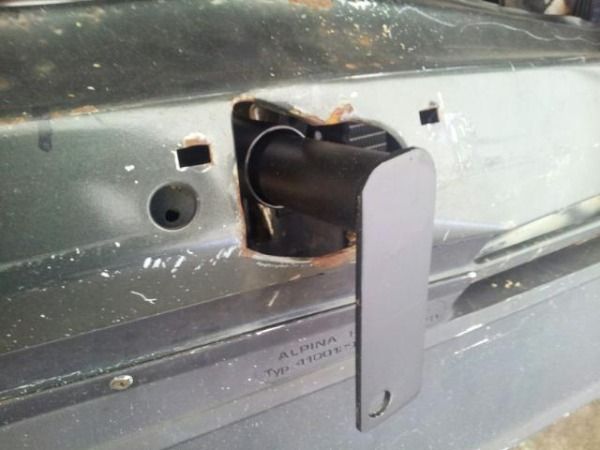
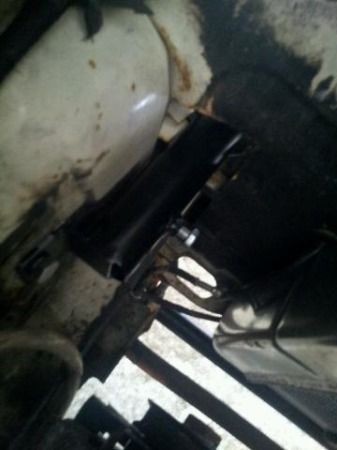
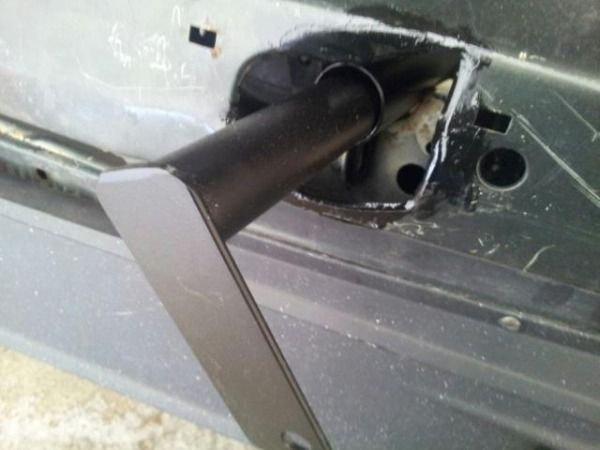
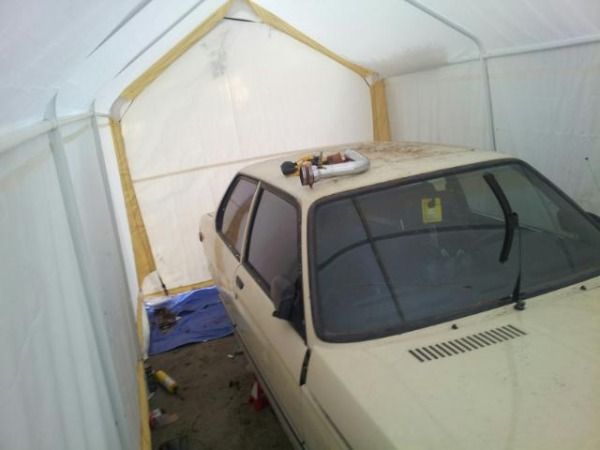
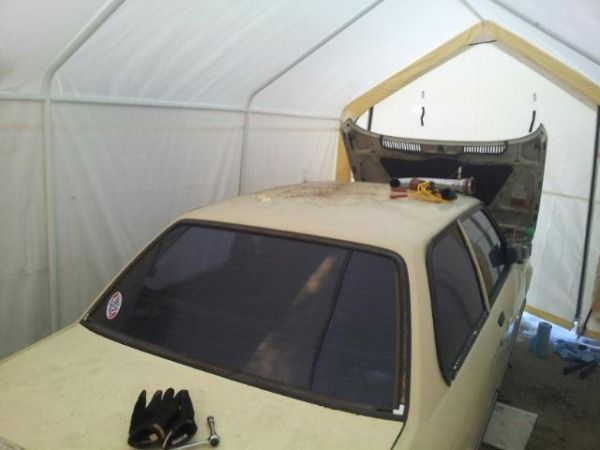
That was pretty much it for last weekend. Will hopefully get some more work done this weekend as well. Just to end it off, here is a shot of the work space I built for the beam for during the winter. Definitely came in handy with a nice propane turbo heater too!
-
Bassboy3313 said:
That was pretty much it for last weekend. Will hopefully get some more work done this weekend as well. Just to end it off, here is a shot of the work space I built for the beam for during the winter. Definitely came in handy with a nice propane turbo heater too!
Does that tent hold heat pretty well?
-
CYoung said:
Does that tent hold heat pretty well?
It'll hold heat 100x better then just being outside.. Since it has no "porous" sides/top" It'll retain heat better then say a tarp. It's sealed. That and it'll keep you out of the wind= 1000000x better to work in then just out side in general. I've thought about purchasing oone for the E28. but they're like... $200+ for one that you can actually manvure in!
-
Brian said:
It'll hold heat 100x better then just being outside.. Since it has no "porous" sides/top" It'll retain heat better then say a tarp. It's sealed. That and it'll keep you out of the wind= 1000000x better to work in then just out side in general. I've thought about purchasing oone for the E28. but they're like... $200+ for one that you can actually manvure in!
Yeah I've thought about it too, thats why I'm curious
-
They dont make a DSSR for the E21. I bought one for my car and you've felt how snug it is.
DIY:
-
CYoung said:
Does that tent hold heat pretty well?
Brian said:
It'll hold heat 100x better then just being outside.. Since it has no "porous" sides/top" It'll retain heat better then say a tarp. It's sealed. That and it'll keep you out of the wind= 1000000x better to work in then just out side in general. I've thought about purchasing oone for the E28. but they're like... $200+ for one that you can actually manvure in!
It hold heat VERY well. I have to turn the heater down/off after only 5 minutes of running since it gets too hot in there sometimes. I got this one at harbor freight. It was $200+, on sale for $170, plus I had a 20% off coupon. I think I made out pretty damn good on it. Wasnt that difficult to put up either. Would have gone a lot faster with two people, but I was able to put it up by myself with little fuss.
Snap Understeer said:
They dont make a DSSR for the E21. I bought one for my car and you've felt how snug it is.
DIY:
I will definitely have to look into that. Thanks!
-
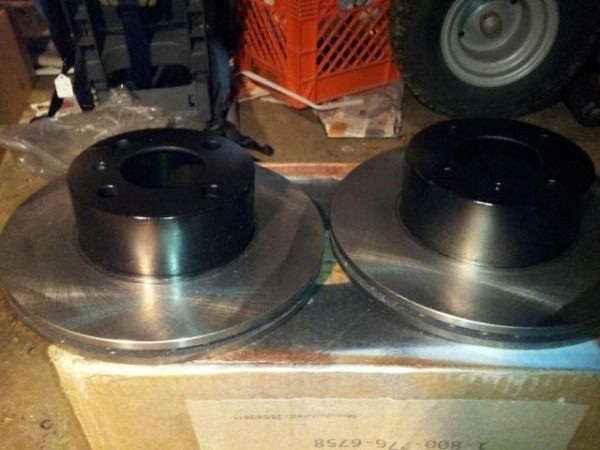
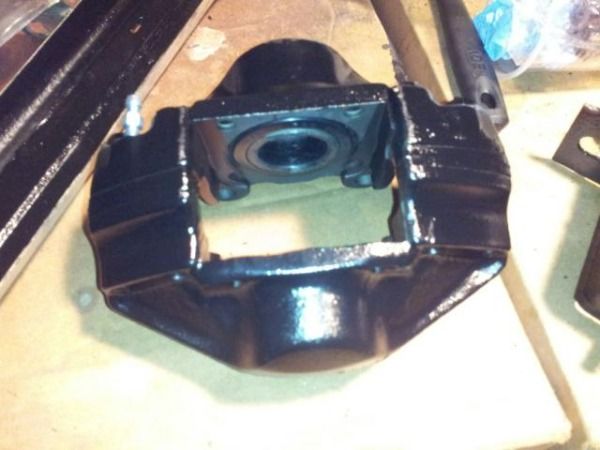
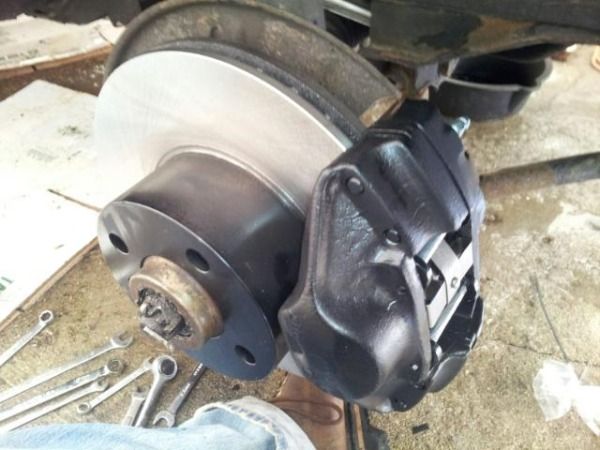
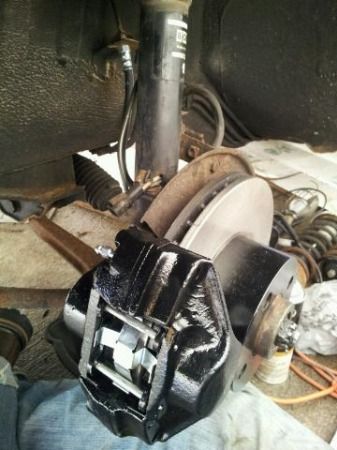
Wow! It has been quite a bit since I updated this thread. My bad. Haven’t been able to work on the car in a while, but I got quite a bit done the past few weekends I would say. I bought all new front vented rotors and calipers from rock auto as well as brake hoses and hard lines. I used the duplicolor caliper paint for the first time on these things and I have to say, that paint is fantastic! Goes on so smooth and dries super quick.
I painted the rotor hats, calipers and the new slave cylinder with the caliper paint.
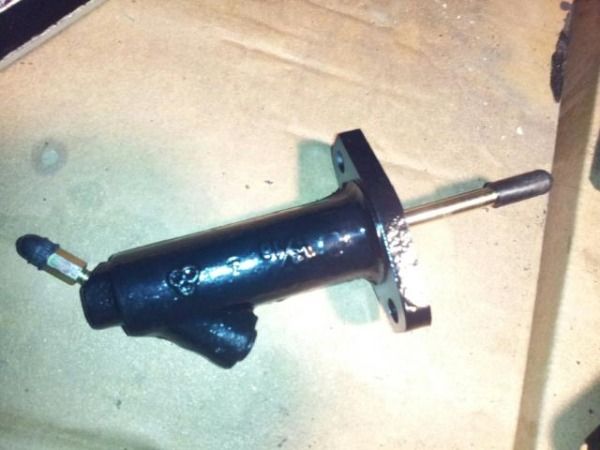
I then installed the new slave cylinder and reworked the hard lines since the PO had rubber hose going into a non-brake rated rubber hose then into hard line into slave. That was not working for me. Lol.
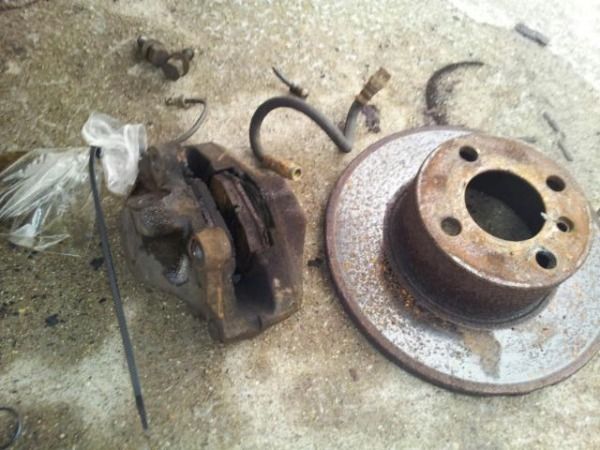
After that it was time to install the front brakes after they dried. I loaded up the calipers with some repco metal master pads I had previously gotten. The rotors and calipers went on super easy (obviously) but it was a bit of a push and pull to bend the new hard lines, but I managed.
Old brakes out
New brakes in
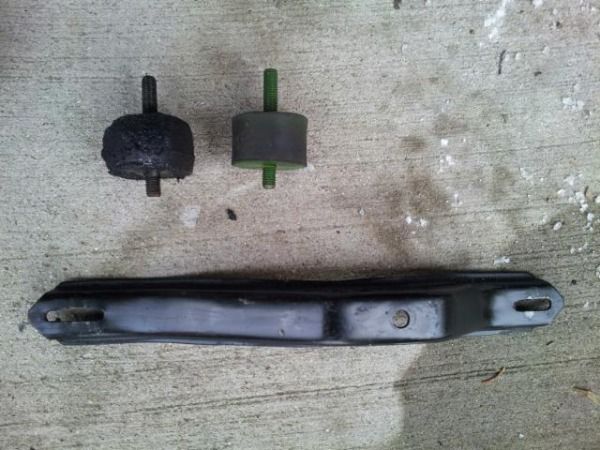
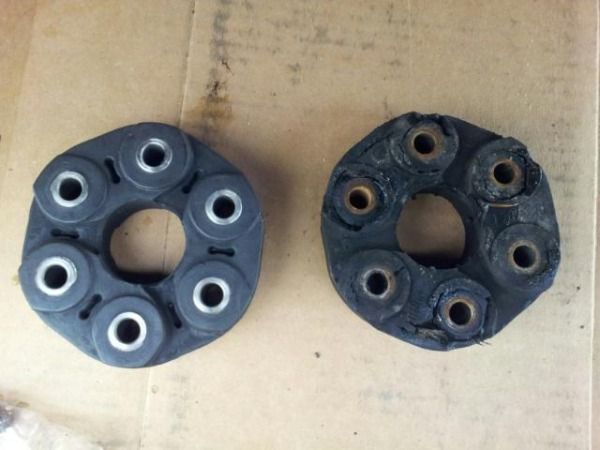
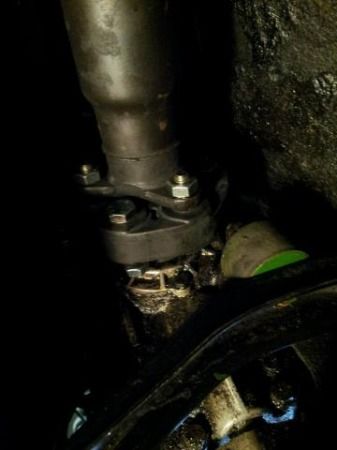
Next on the list was getting the new trans mount in while I still had driveshaft disconnected from doing the shifter plate/rod replacement. This was a lot easier then I could have imagined. I also replaced the guibo with a new one while I was in there as well.
Old trans mount on left, new on right
Guibo comparison – Old on right, new on left
and installed







Hello! It looks like you're interested in this conversation, but you don't have an account yet.
Getting fed up of having to scroll through the same posts each visit? When you register for an account, you'll always come back to exactly where you were before, and choose to be notified of new replies (either via email, or push notification). You'll also be able to save bookmarks and upvote posts to show your appreciation to other community members.
With your input, this post could be even better 💗
Register Login