
Chapter GMW | E30 LS1 (starting on post #1427)
-
oh man thats a bummer already broken. You do not have the best luck
It's all good
Sent from my SM-G900V using Tapatalk

@DrLeadFoot
-
Bent up shit like that shouldn't happen. I'd send for a new one
-
Intake Air Temp bung welded by Dan the Exhaust Man.

This transcamarobird was getting a cage custom made by Dan.


Sent from my SM-G900V using Tapatalk
@DrLeadFoot
-
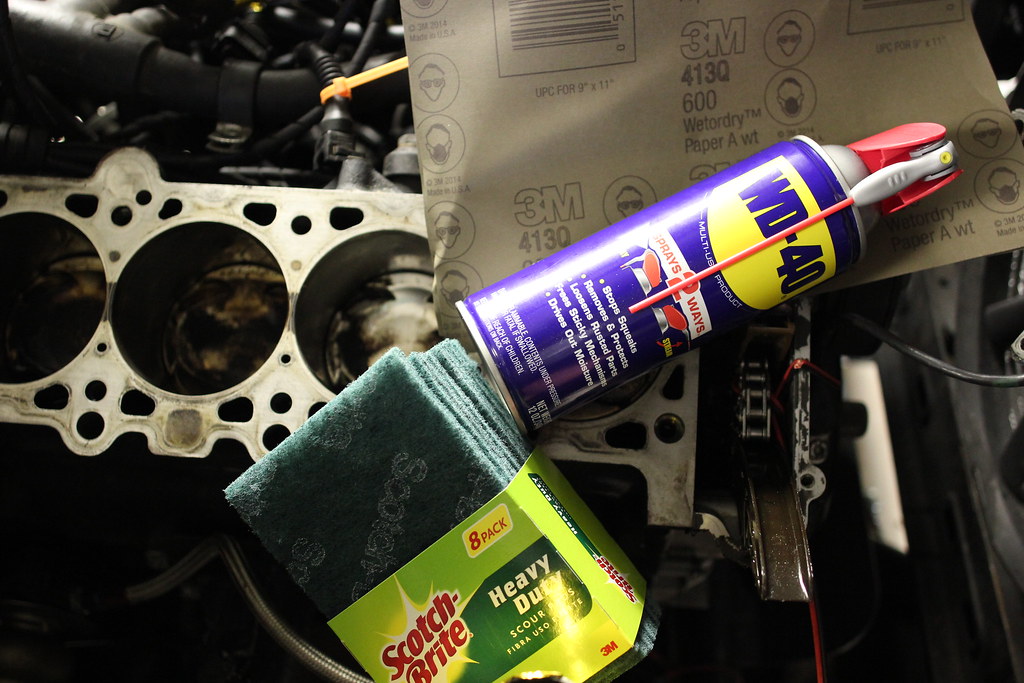
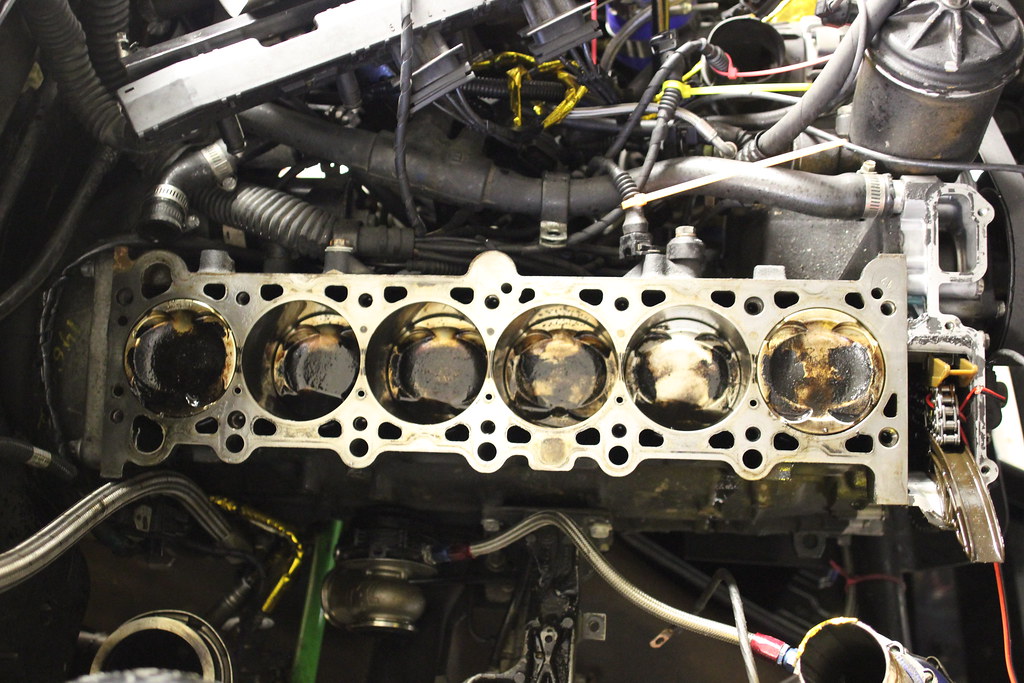
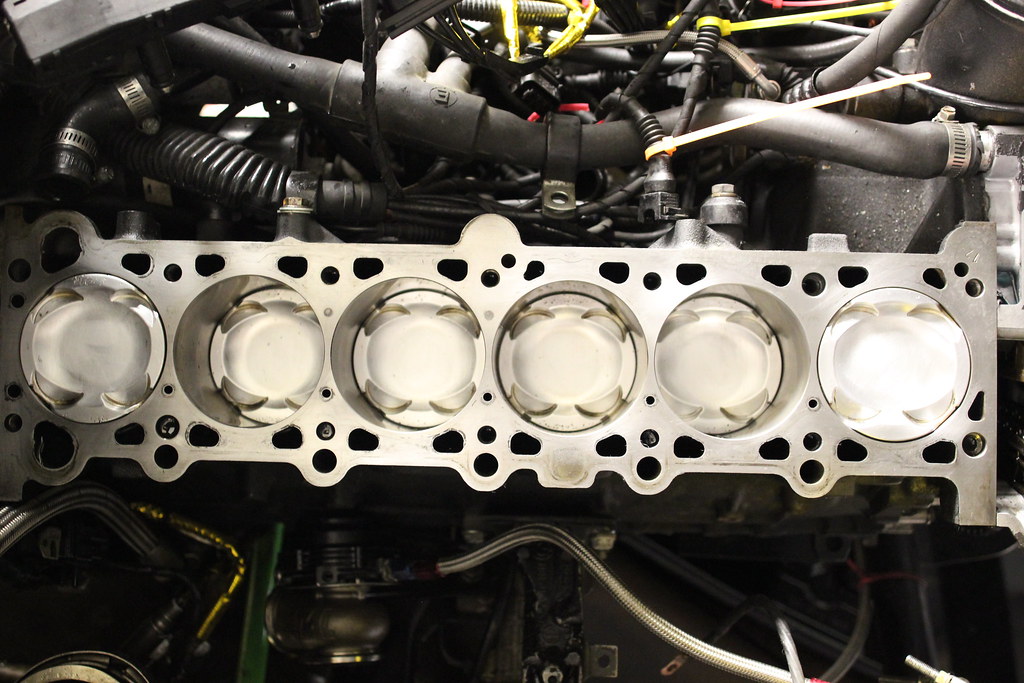
Cleaned up the carbon build up on the pistons as well as sanding down some detonation marks.
Before:
After:
I also mic'd the ARP2000 head studs:
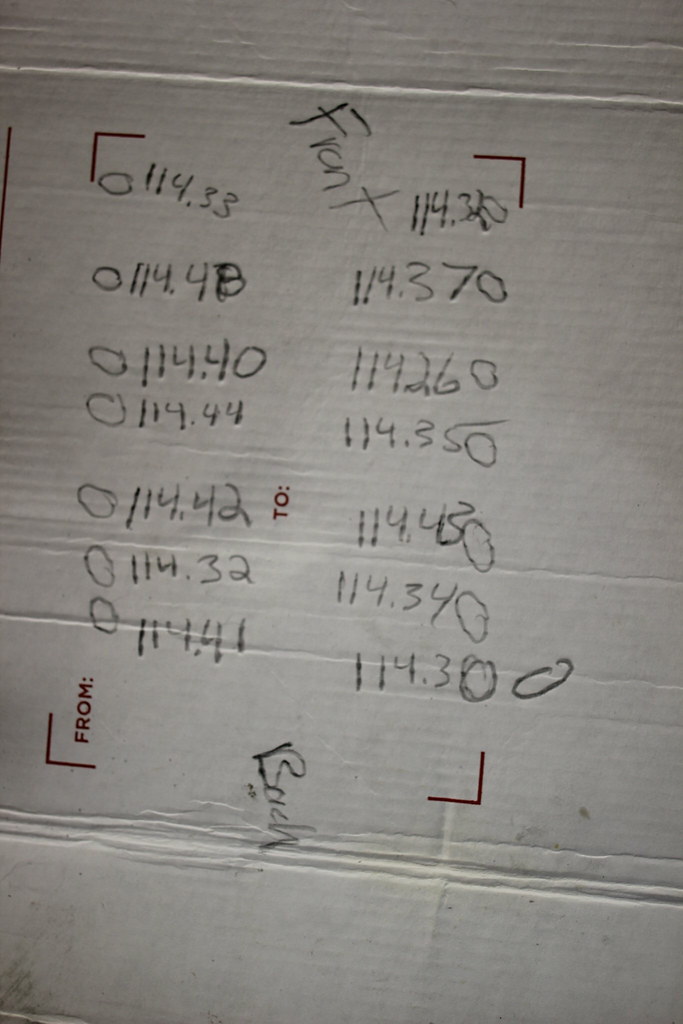
If you can't read my want-to-be (real) doctor handwriting it goes a little something like this:
All numbers start with 114.xx
---Front of motor---
.33 .32.48 .37
.40 .26
.44 .35
.42 .43
.32 .34
.41 .30
---Rear of Motor---I have a couple of theories of why the head gasket was leaking.
1. The bolts stretched due to the tune running super rich and stretching the bolts over time.
2. There was some red loc-tite on the threads of some of the block threads. I had Kummrow torque down the head so I'm not too sure about how fast they torqued down the bolts. If there was any significant time lapse between installing the head bolts and actually torquing down them down to spec with the use of loc-tite the loc-tite would have hardened up with the bolts just sitting there having gravity pulling them down. Then torquing them down wouldn't be a true torque due to the loc-tite in between the threads.
3. Does that red ARP torque lube dry and look like red loc-tite? Then back to theory #1.
4. The bolts were a pain to take out of the block. I needed to use a small pipe wrench to crack them loose. (See theory #2) It took about 25lbs of force to break them loose. To my theory #4, were the bolts tightened down too much making them slightly cock-eyed and when torqued down the force stretched them from the beginning?
@DrLeadFoot
-
I dont particularly think its a bad thing to put a SMALL dab of BLUE loctite on the threads that go into the block, Im curious as to whether they were installed hand tight to begin with like they are supposed to or if they were cranked in with an allen wrench.
Im going with stretch caused by detonation.
Good combustion is deflagration
Bad combustion is detonation
Deflagration/ good combustion is a smooth and "slow" (subsonic) combustion that propagates through heat transfer ("cold" air/fuel mix becomes ignited by being next to a "hot" air/fuel mix which was activated by the spark plug.) think of the fuel mixture as doing the wave at a Brewers game where the wave is activated by the people standing next to you and you pass it on the people on your other side
Detonation is a rapid (supersonic) combustion that is spontaneous and rapid and would be more like a large meteor crashing into Miller Park which compells everyone to do the wave whether they like it or not much too forcefully and rapidly.
The forces present during detonation are huge
-
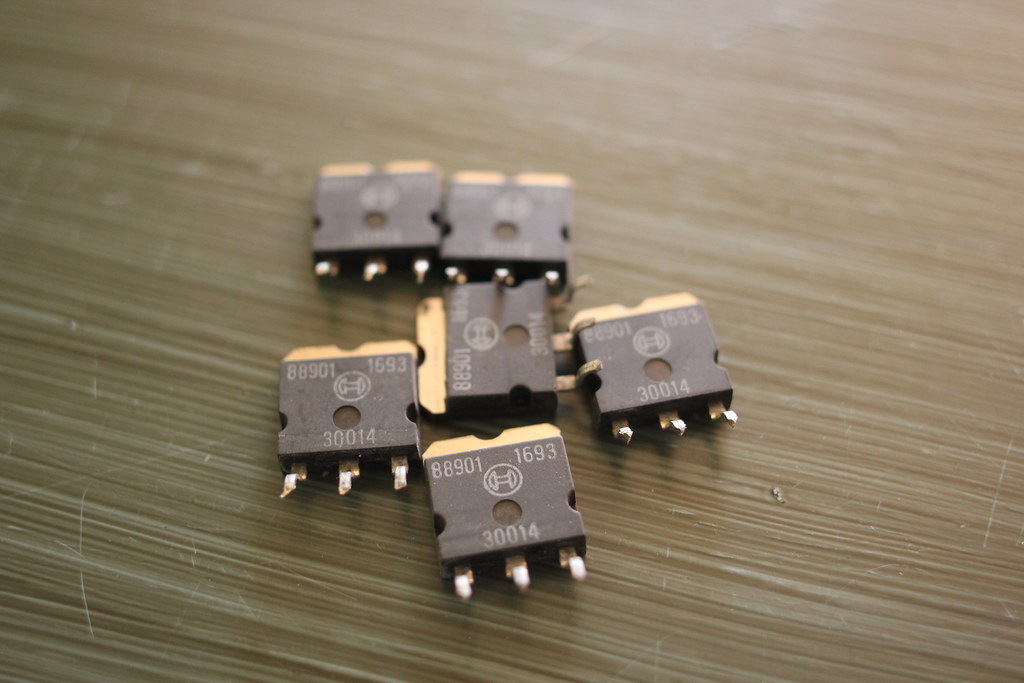
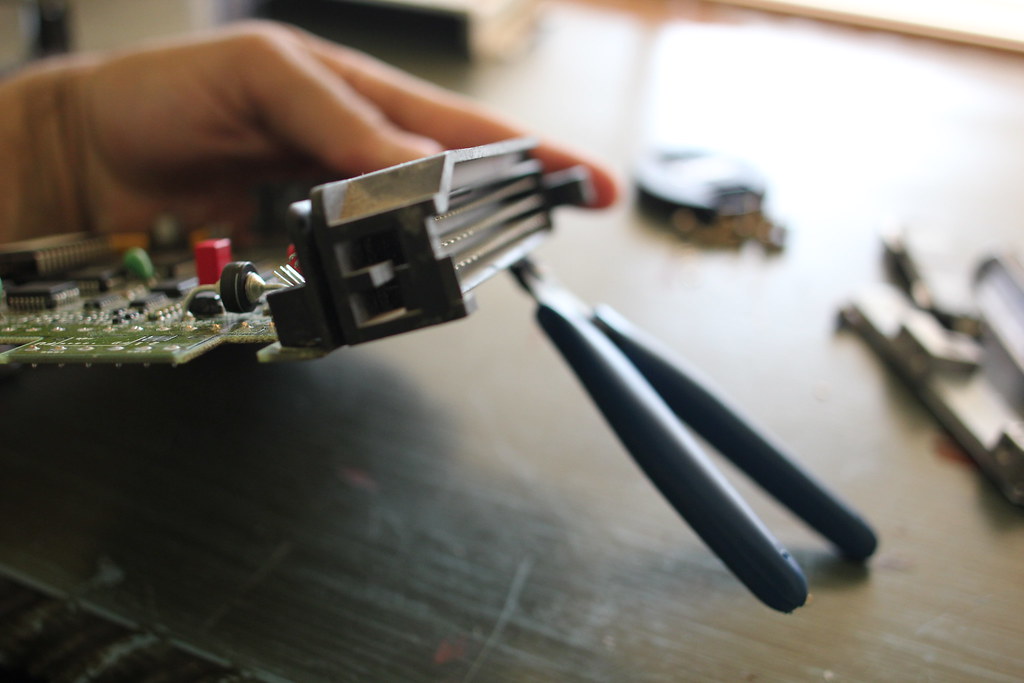
Did a little bit of work on the ECU.
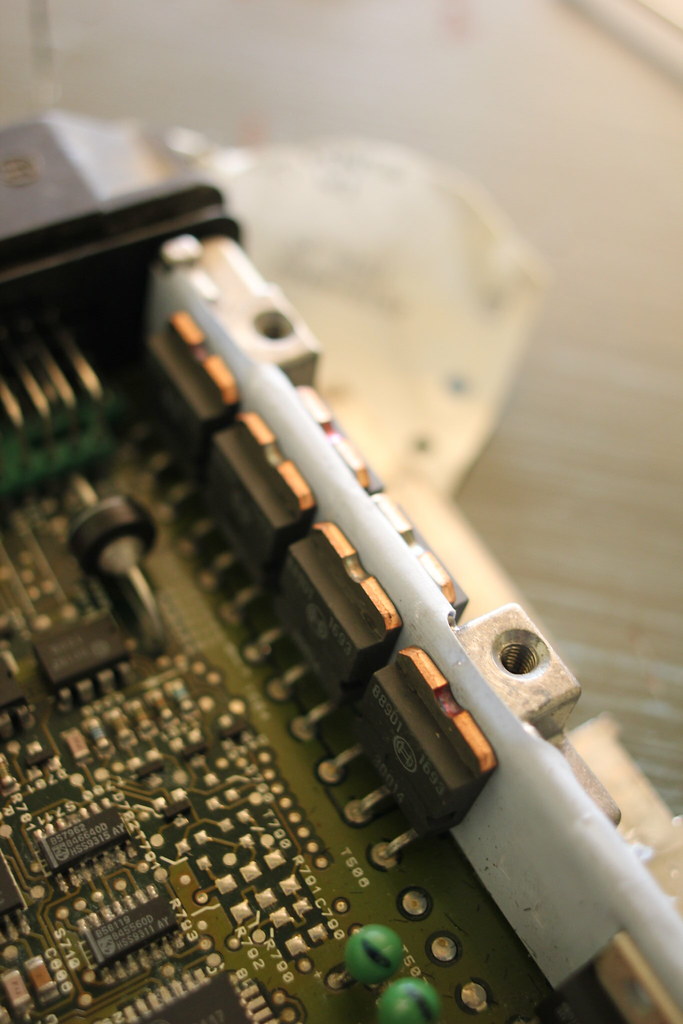
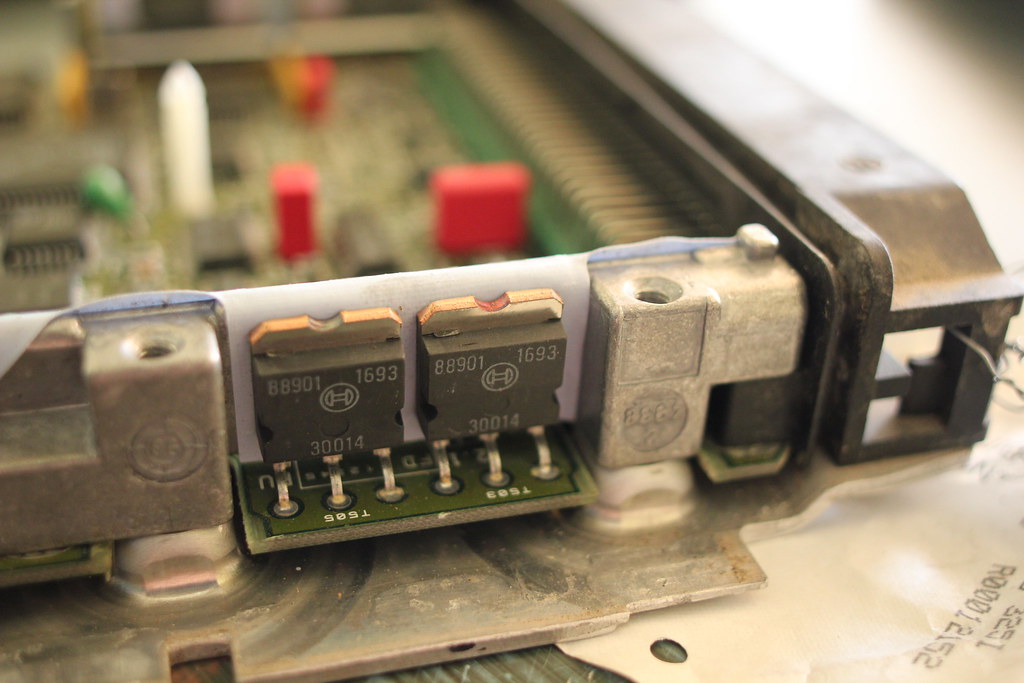
BMW coils
Cutting the bottom row of pins on the ECU
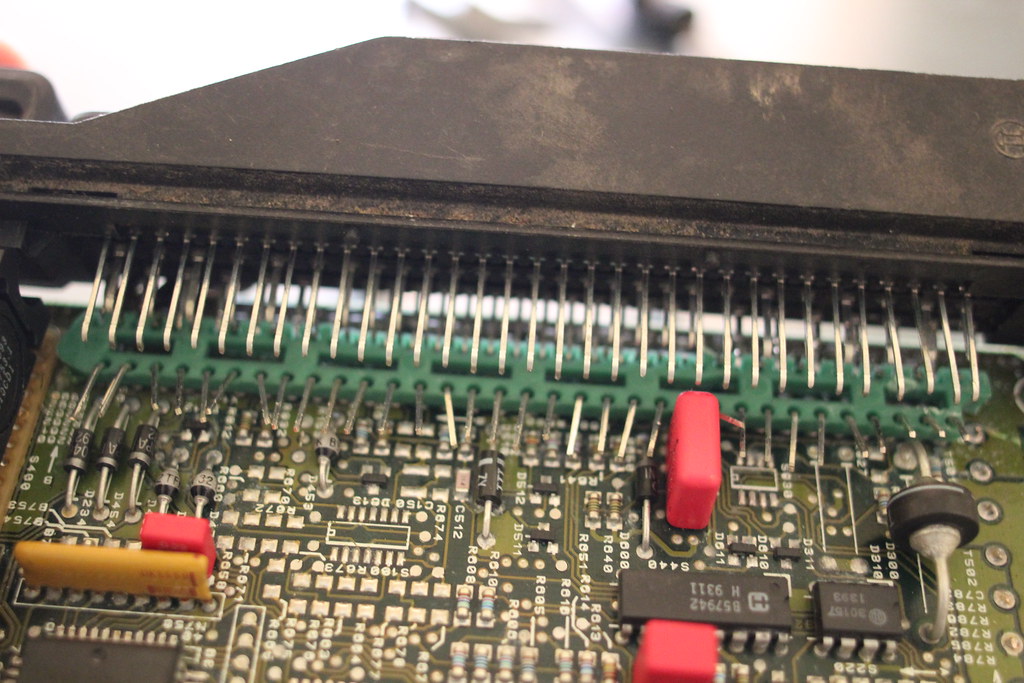
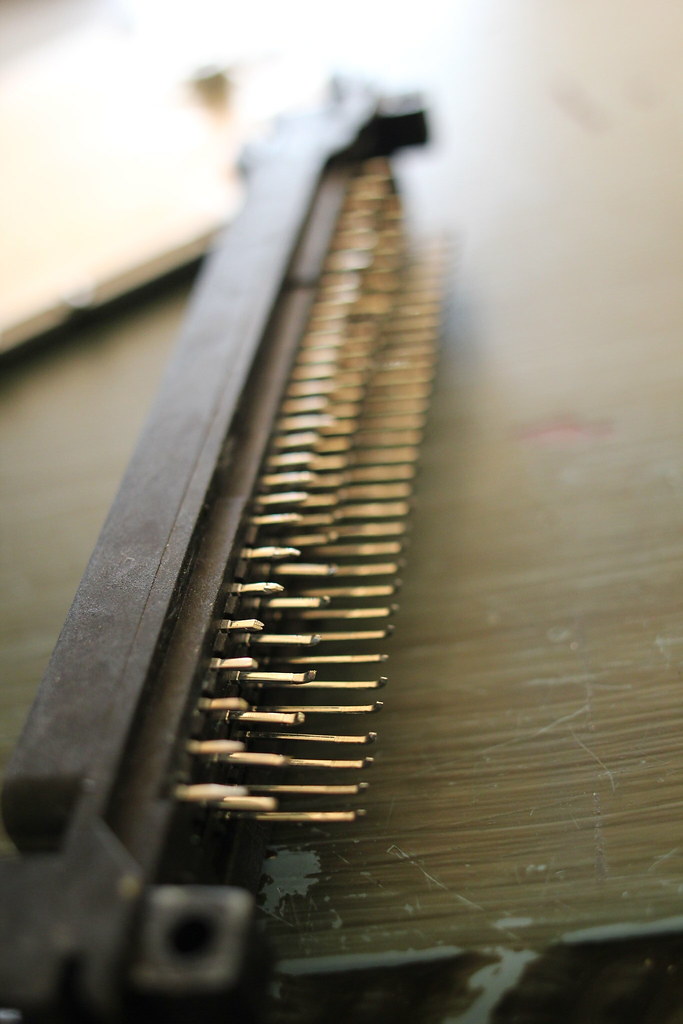
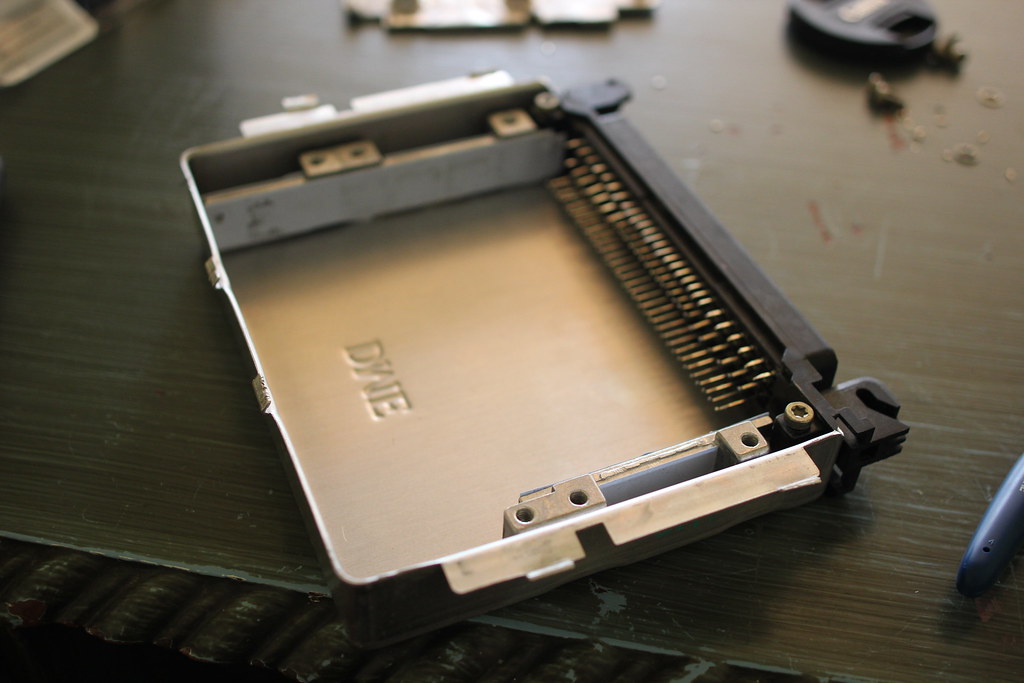
@DrLeadFoot
-
Kyle is wrestling with the manifold.

Sent from my SM-G900V using Tapatalk
@DrLeadFoot
-

He got it as good as he could. I guess the belt sander over heated 2 times
Sent from my SM-G900V using Tapatalk
@DrLeadFoot
-
Ummmmmmm
Sent from my SM-G900V using Tapatalk
@DrLeadFoot
-
Lol
-
Lmfao
-
And they're off!
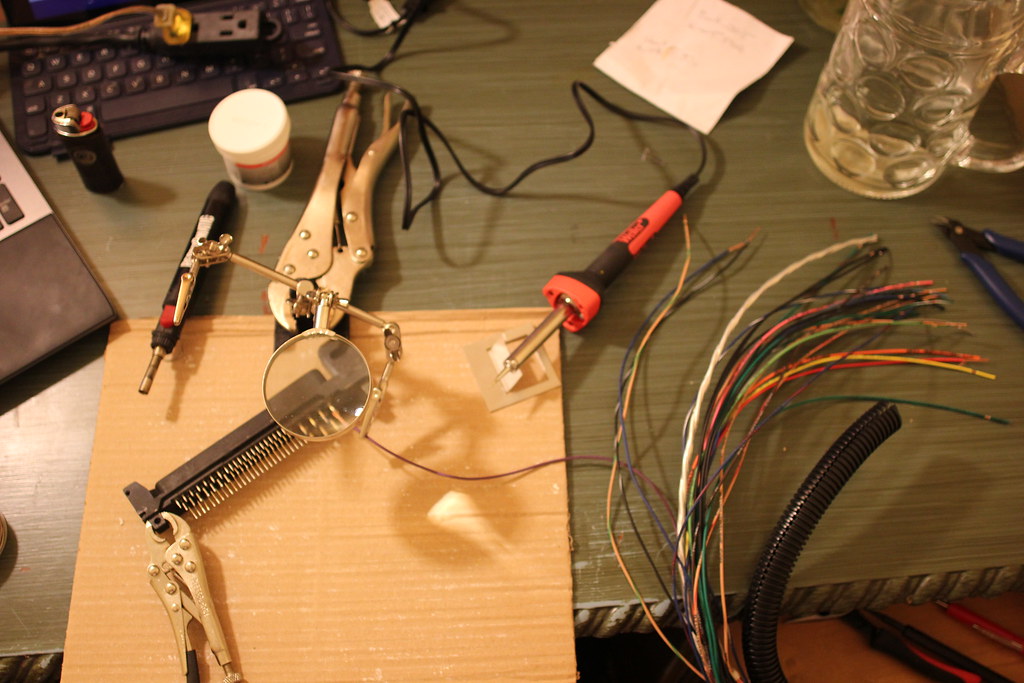
First one done! I think this fuel relay one was supposed to be on a relay. I'll figure it out soon enough.
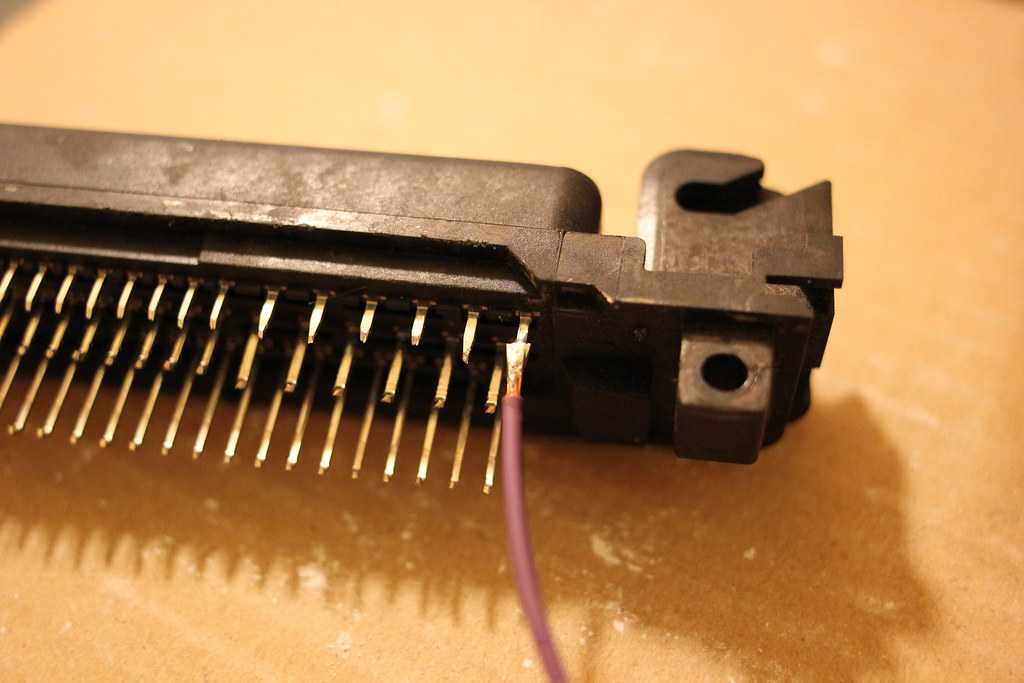
Got a good chunk started. Also have a lot of questions.
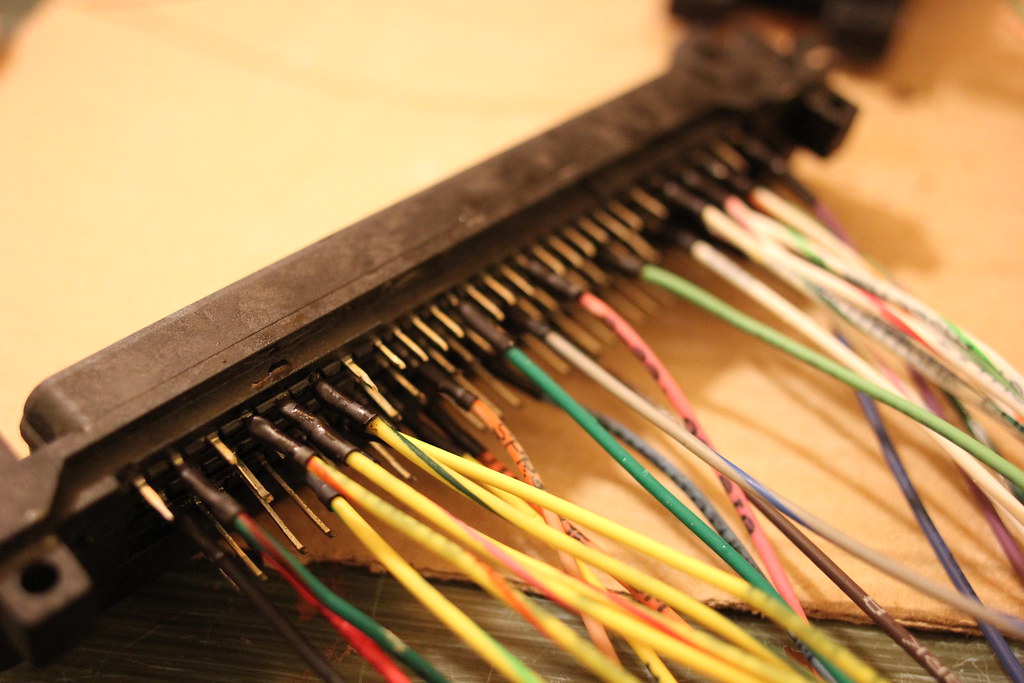
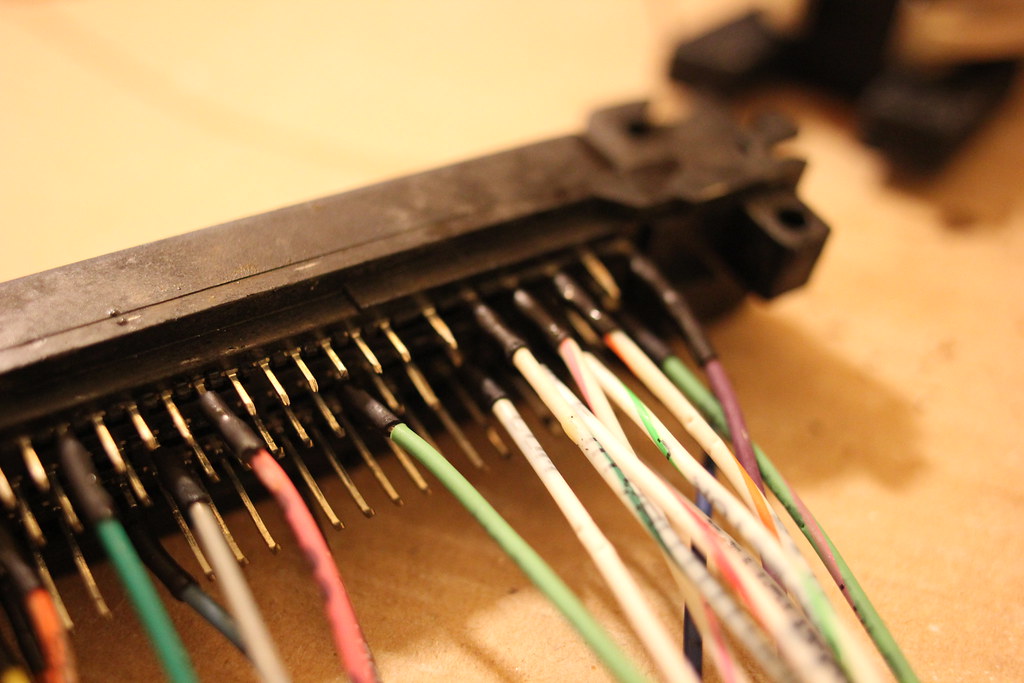
Wire 27x on the expansion board harness goes to pin #7 on the monotronic side for the VVT. Still going through the question marks one by one.
@DrLeadFoot
-
Turned my attention to the grounds. I might take a different approach by making a separate grounding block that connects at the common chassis ground. I'm fearful that I might be overloading some pins by attaching more than one ground wire. Thoughts?
I still need to wire the coil drivers so there are 6 more grounds there.
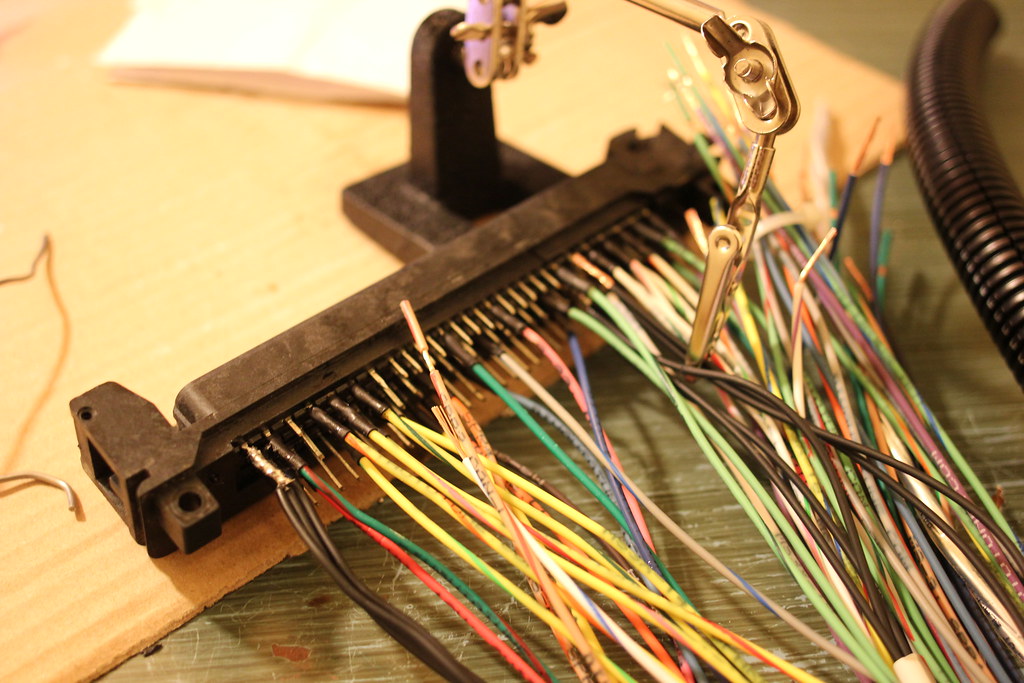
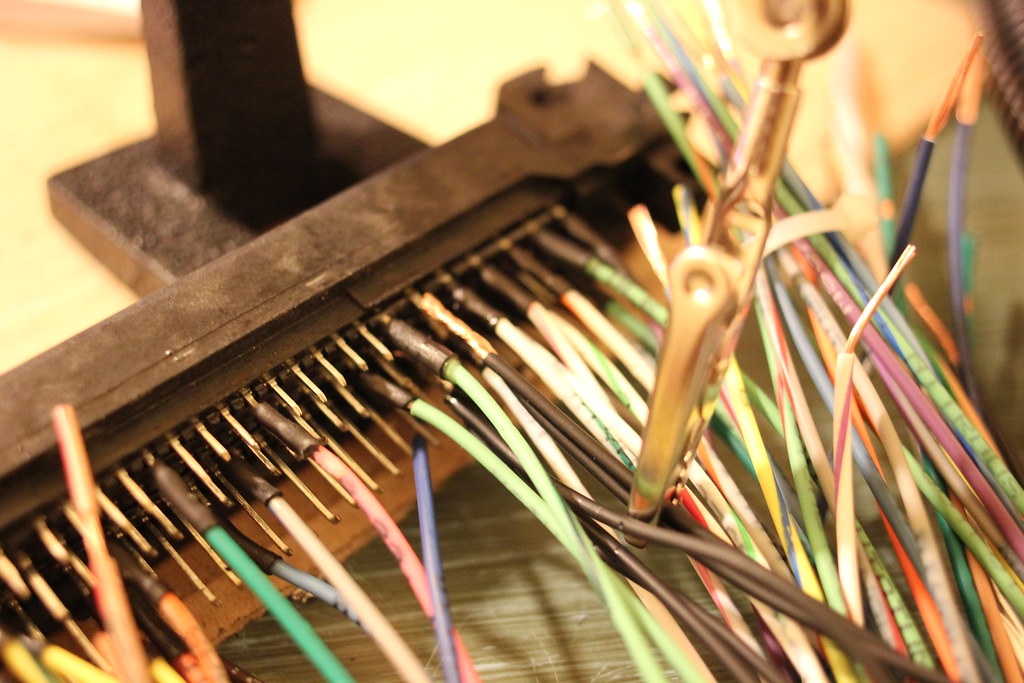
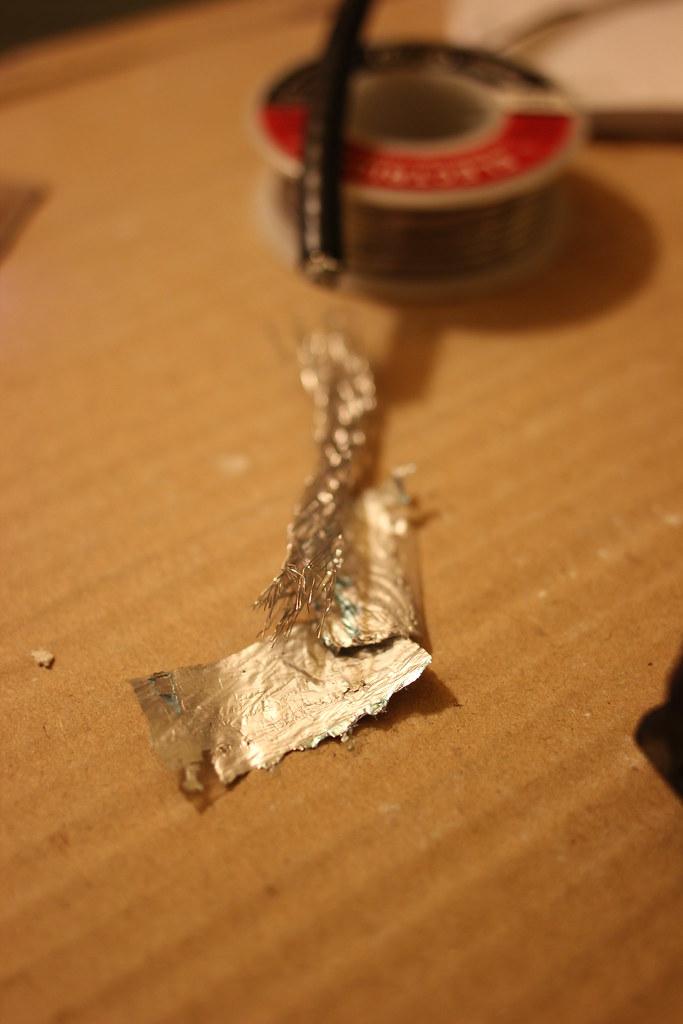
On to the crank signal wires with the shielding. I cut an old cable wire from the ceiling of my basement and cut/pealed the shielding to re-wrap the signal wires after I soldered them.
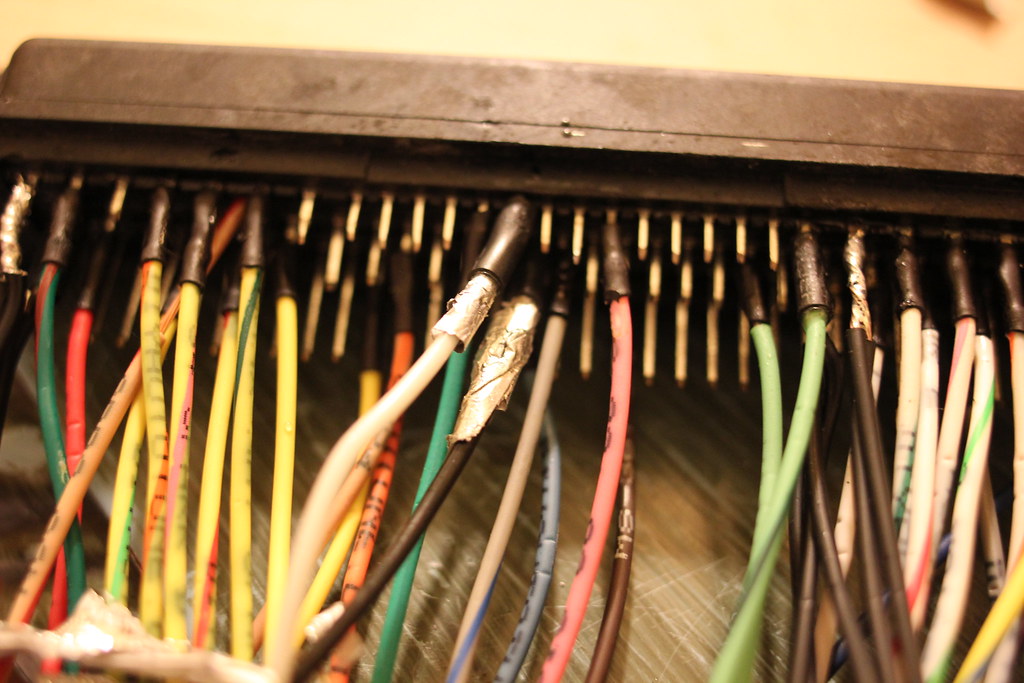
Not too pretty but I'll wrap it in electrical tape to clean it up and secure it.
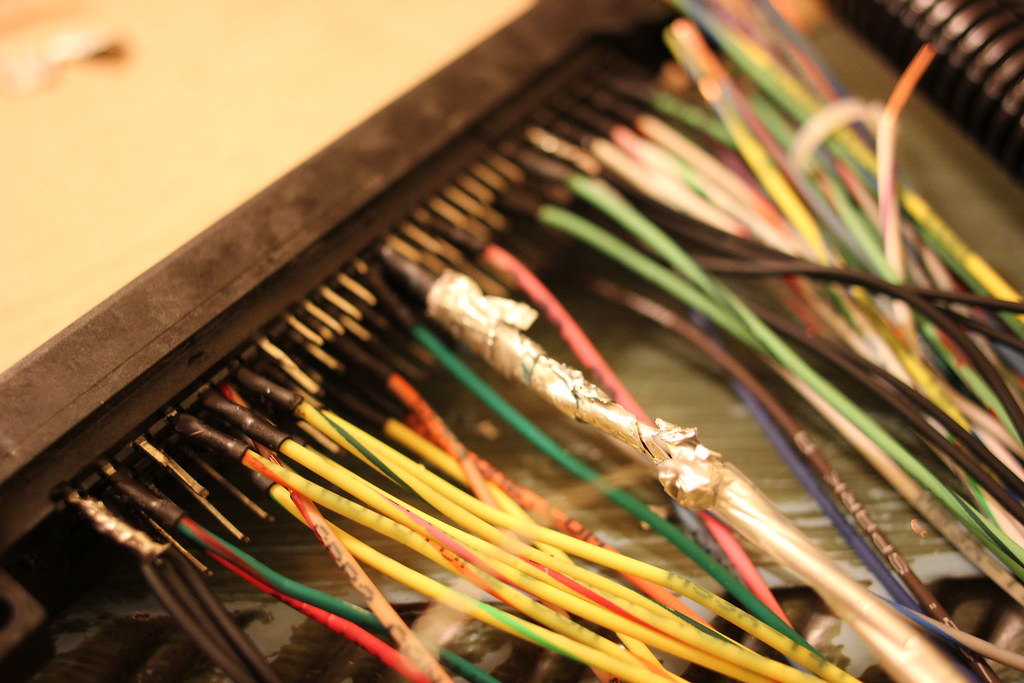
I need to get some 18 & 20 gauge wire and solder in my coils. Any input on how to ground all these wires would be great. Thanks for looking!
@DrLeadFoot
-
So happy I bought a full plug-and-play MS2 setup after seeing this.... Yikes.
I feel very overwhelmed at the moment but Snap and Derek (bimmerforums.com member) have been huge helps. It is the unknowns that I have with how the software works that concern me. I also feel like I need to put some resistors somewhere but I haven't looked into that yet.
Nah, just a lot of information checking. He will get it just fine
Your wife has to think you're having an affair with how many times I text you at all hours of the day/night. #jakefromstatefarm
@DrLeadFoot
-
Uhhhhh khakis






Hello! It looks like you're interested in this conversation, but you don't have an account yet.
Getting fed up of having to scroll through the same posts each visit? When you register for an account, you'll always come back to exactly where you were before, and choose to be notified of new replies (either via email, or push notification). You'll also be able to save bookmarks and upvote posts to show your appreciation to other community members.
With your input, this post could be even better 💗
Register Login