
My name is Earl, and I have a Stainless Steel bolt fetish =)
-
Haha thank you sir:)
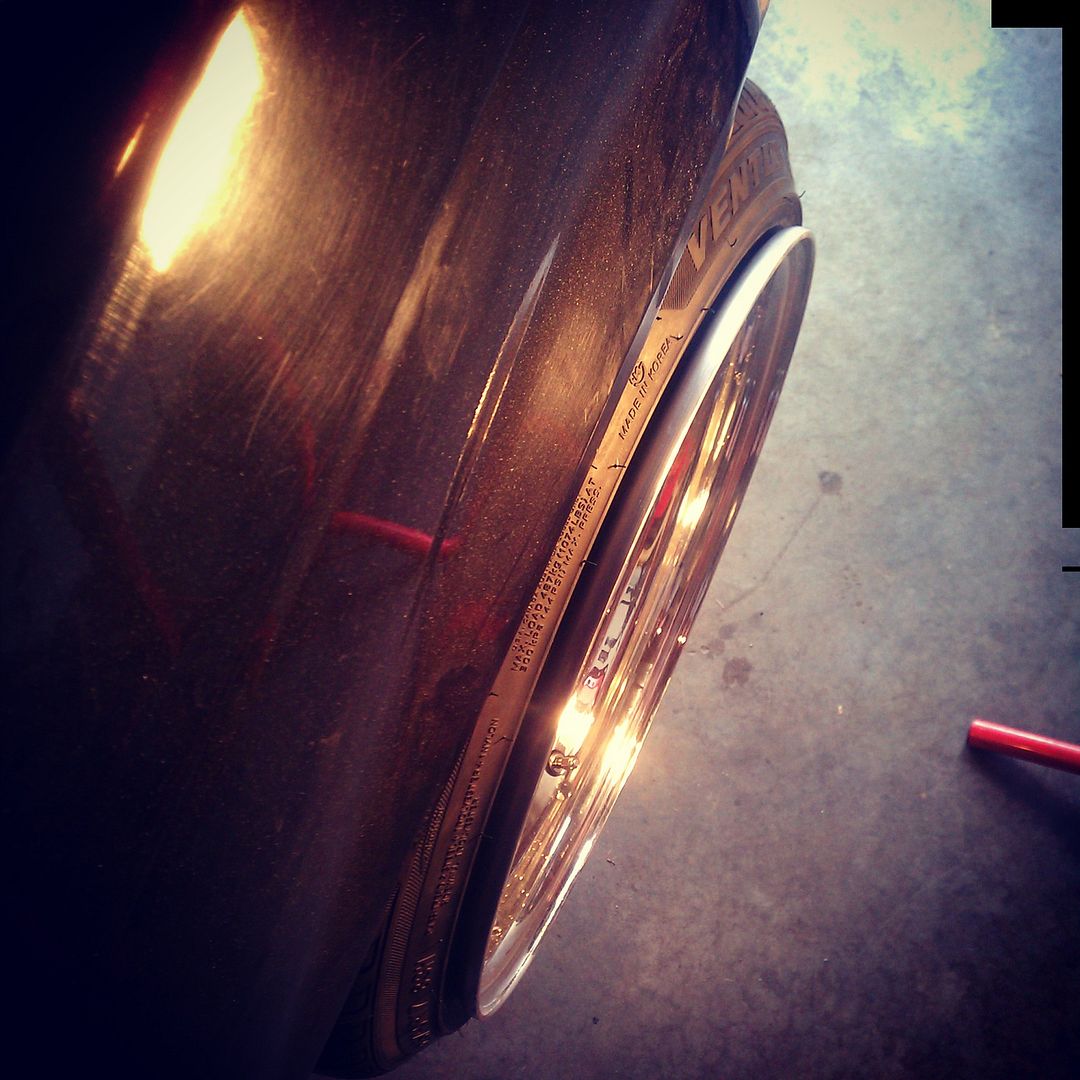
I had a chance to stop by the shop for a bit today. I was going to mount the bags to the top, but I grabbed the wrong bolts from work. I'm also not sure how I will be measuring to get the holes in the right locations. I did get a chance to actually mount a wheel up and jack it into place to see how much work is needed. If I could adjust camber I would have no issues, but unfortunately camber cannot be adjusted. So a slight pull will solve my issue.
-
I managed to get nothing done yesterday. I was figuring out how to mount the top of the bag but couldn't find the right tools/bits to use. A package came however:

My airline also arrived today. I'll mount the bags Saturday as well as install the studs and hopefully a bunch more.
-
I managed to get nothing done
this is how I feel everyday after I punch out.
-
I am very pleased with the outcome of Saturday=)
I finally got the top of my bags mounted. The first side took two hours....the second side only took about 30-45 minutes. Here is what I did (before paint of course)

There is one bolt up top and then a notch underneath for the fitting to sit in. The pockets were the biggest pain to get. The first one took so long because I was trying to use a countersink bit and other drill bits. Then I realized I had air tools that would make it a whole lot easier=)
Once that was finally out of the way, I bolted up my sway bar and bolted the bottom of the mustang shocks to the trailing arms. Everything went super smooth there.
I then installed my 68mm Motorsport Hardware studs. I am super happy with the quality of them. Installation was a breeze and I highly recommend them to anyone who wants to go studs versus lug bolts. The price tag for these is basically just giving them away=D


I also painted the hats of my rear rotors during this time, but did not take a picture. I will be getting new rotors this winter, so this is just to make them look less shitty until then.
After all of this I cut air line for the bags, pushed on some valve stem fittings, and manually aired up the bags. I put the rear wheels on and put it back on all fours for the first time since February. I then aired it out.

I was being goofy. I actually have to do way less fender work than I had initially thought. That's fine by me=) I just need to get the fenders over the tire, but let the lip still poke. Right now it is literally sitting on the tire. Here are a few more of the wheels and being aired out on the Breytons.


I am finally seeing things come together and it is awesome=) The studs poke a tiny bit much for me, but they were the shortest I could get being black and bullet nosed. I think they will still keep the clean and subtle look without being too aggressive.
On a side note, my friend Kerry has been working on my rear bumper and I cannot thank him enough. I wanted the exhaust cutout shaved so I can have the exhaust hidden underneath. I am not a huge fan of DTM tips and this was the cleanest option I could come up with. I also don't really like the M-Tech rear bumper so I figured I would make the OEM one better.


He did such an excellent job. He used no bondo and uses only the finest plastic repair kits. Bravo Kerry=)
More to come Wednesday. Maybe I will take a funny picture of how the rear is sitting right now aired out on stock wheels.
-
Looking good, and roll those fenders so you can tuck, and have this thing lay body!
Not a huge fan of tuck. Also, I have the car sitting at the shop aired out on stock 15's and it is about 2"-3" away from laying frame. That is with nothing holding it up besides the bag being fully deflated. You would have to do a ton of fab work (custom trailing arms, modified upper mount, ect.) to get it to lay frame in the back. I'll take a picture of it Wednesday=)
-
dang Earl, nice work!
-
Got something done I've been meaning too.
I finally got the hole cut properly to route my headlight harness back out of. Glad I had the right tools this time=) I also got the harness pulled through.


I also wrestled with the crank bolt for about an hour and still havent gotten it off. I figured the only way to lock it from turning is a wood block in between the crank and block. I didn't want to wrench too hard because I don't need a cracked block. I tried head. a deadblow, a 3 foot cheater bar and still it wouldn't budge.
How are you supposed to get this sucker off when the engine is on a stand? There has to be something I'm overlooking. I've tried a nice large electric impact and that did absolutely nothing besides make noise.
For those who were curious, here is a shot aired out on the 15's. This is with the bags fully compressed. To get lower would require pocketing the arms and frame. I won't be anywhere near this low so no worries for me=)


Also if you haven't noticed, the all reds are back on. I need to reclear the top of the drivers side and then I need to lay into them with a buffer to get them nice and shiny.

More to come Saturday
-
Your supposed to get the nut off with the engine in the car ... I made the same mistake. You need to hold the crank from moving and apply a lot of leverage and heat. I could not believe how tight the one on my car was. We had over a 4 foot bar and we were hanging off of it. I think the heat finally did the trick.
-
Well I was lucky enough to borrow the bmw tool and was able to wedge it against a steel cabinet. Then I heated the nut up for about 2 beers and laid on top of the engine while a 200 lb person hung off the cheater bar ... the noise it made was amazing...
If you have the flywheel on you can hold the crank from turning there but I am sure you don't have that on anymore ...
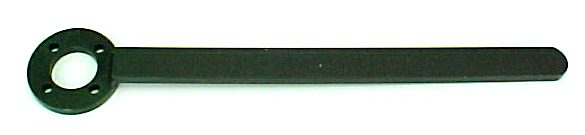
You need to build / buy one of these

-
Well I was lucky enough to borrow the bmw tool and was able to wedge it against a steel cabinet. Then I heated the nut up for about 2 beers and laid on top of the engine while a 200 lb person hung off the cheater bar ... the noise it made was amazing...
If you have the flywheel on you can hold the crank from turning there but I am sure you don't have that on anymore ...
You need to build / buy one of these
Now to find someone to borrow one of these suckers from. No one comes to mind though unfortunately=( This is truly frustrating.









Hello! It looks like you're interested in this conversation, but you don't have an account yet.
Getting fed up of having to scroll through the same posts each visit? When you register for an account, you'll always come back to exactly where you were before, and choose to be notified of new replies (either via email, or push notification). You'll also be able to save bookmarks and upvote posts to show your appreciation to other community members.
With your input, this post could be even better 💗
Register Login