Skip to content
  • Categories
  • Recent
  • Tags
  • Popular
  • Users
  • Groups
Skins
  • Light
  • Brite
  • Cerulean
  • Cosmo
  • Flatly
  • Journal
  • Litera
  • Lumen
  • Lux
  • Materia
  • Minty
  • Morph
  • Pulse
  • Sandstone
  • Simplex
  • Sketchy
  • Spacelab
  • United
  • Yeti
  • Zephyr
  • Dark
  • Cyborg
  • Darkly
  • Quartz
  • Slate
  • Solar
  • Superhero
  • Vapor

  • Default (No Skin)
  • No Skin
Collapse
WIBIMMERS logo

WIBIMMERS

  1. Home
  2. General Discussion
  3. Members BMWs
  4. 540i Swapped Rat rod Build thread

540i Swapped Rat rod Build thread

Scheduled Pinned Locked Moved Members BMWs
91 Posts 14 Posters 0 Views 1 Watching
  • Oldest to Newest
  • Newest to Oldest
  • Most Votes
Reply
  • Reply as topic
Log in to reply
This topic has been deleted. Only users with topic management privileges can see it.
  • ThatRatRodProjectT
    ThatRatRodProjectT
    ThatRatRodProject
    wrote on last edited by
    #74

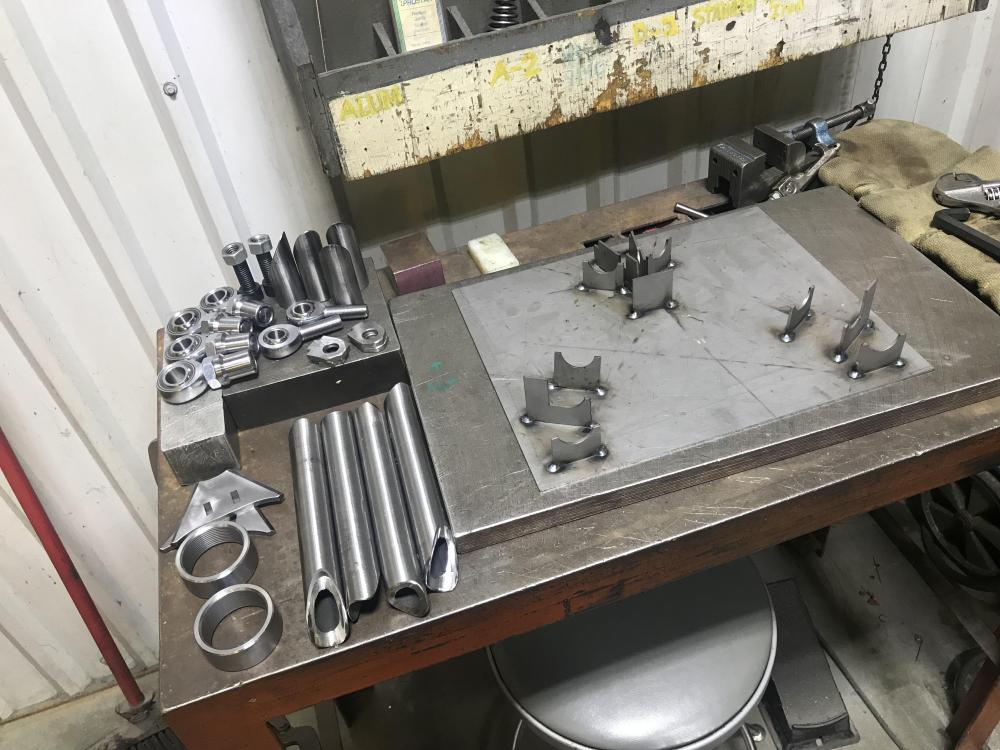
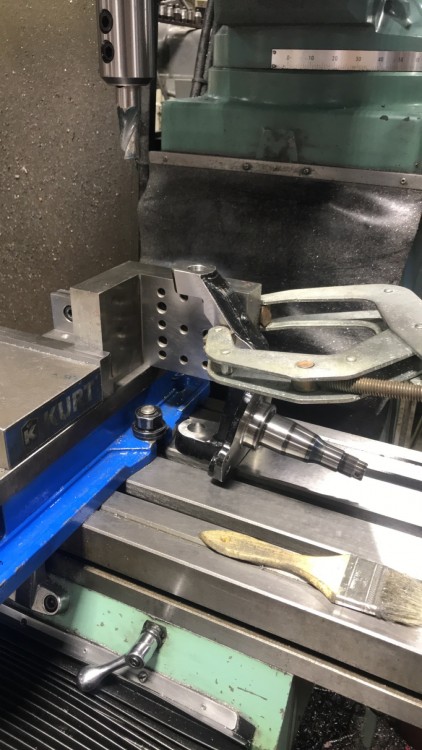
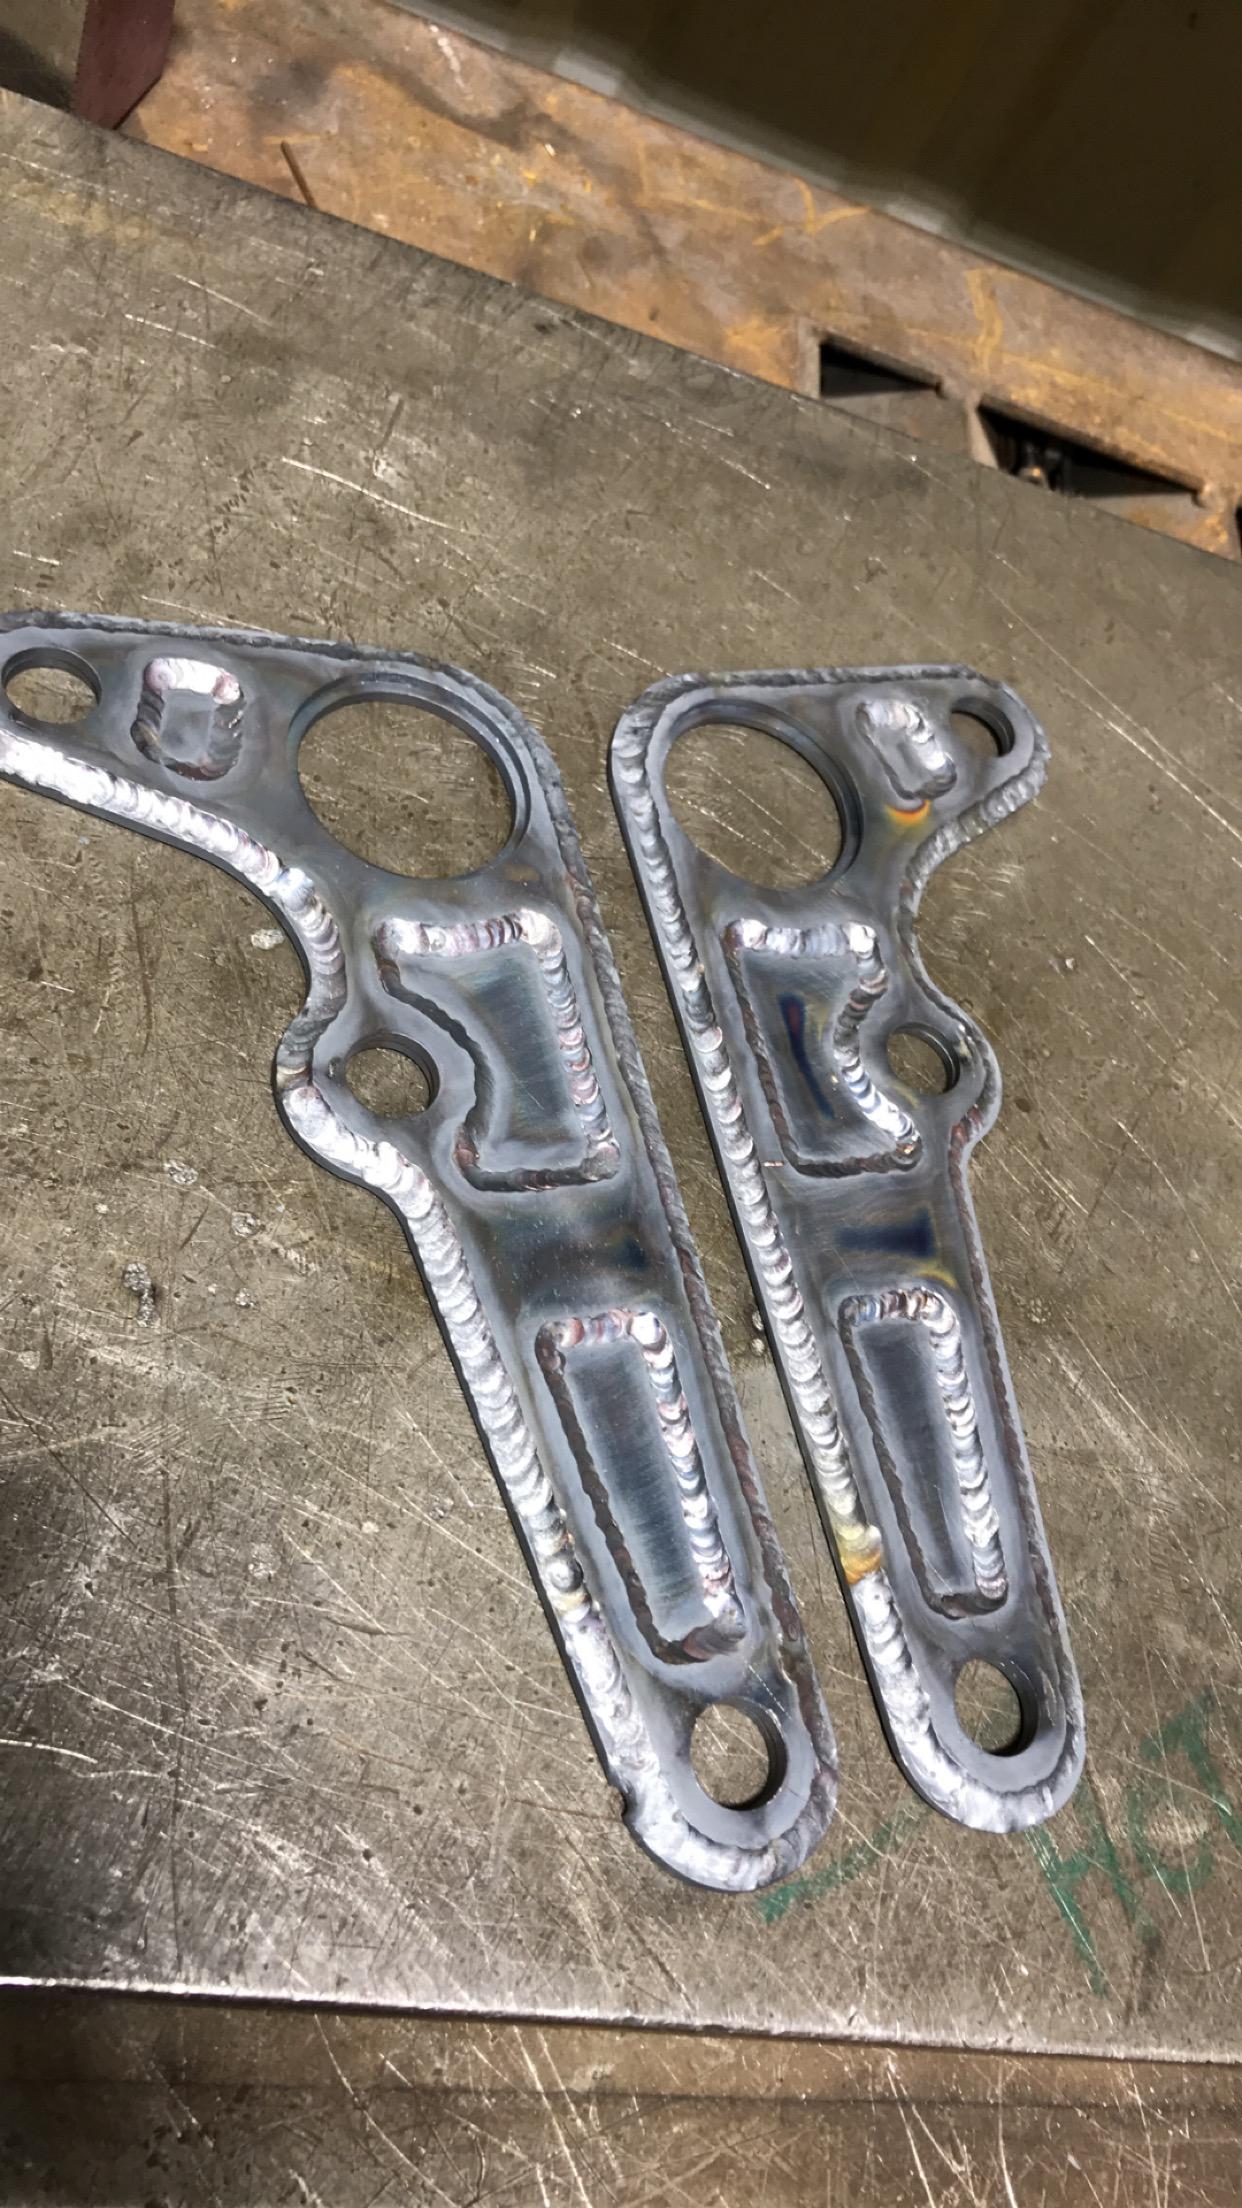
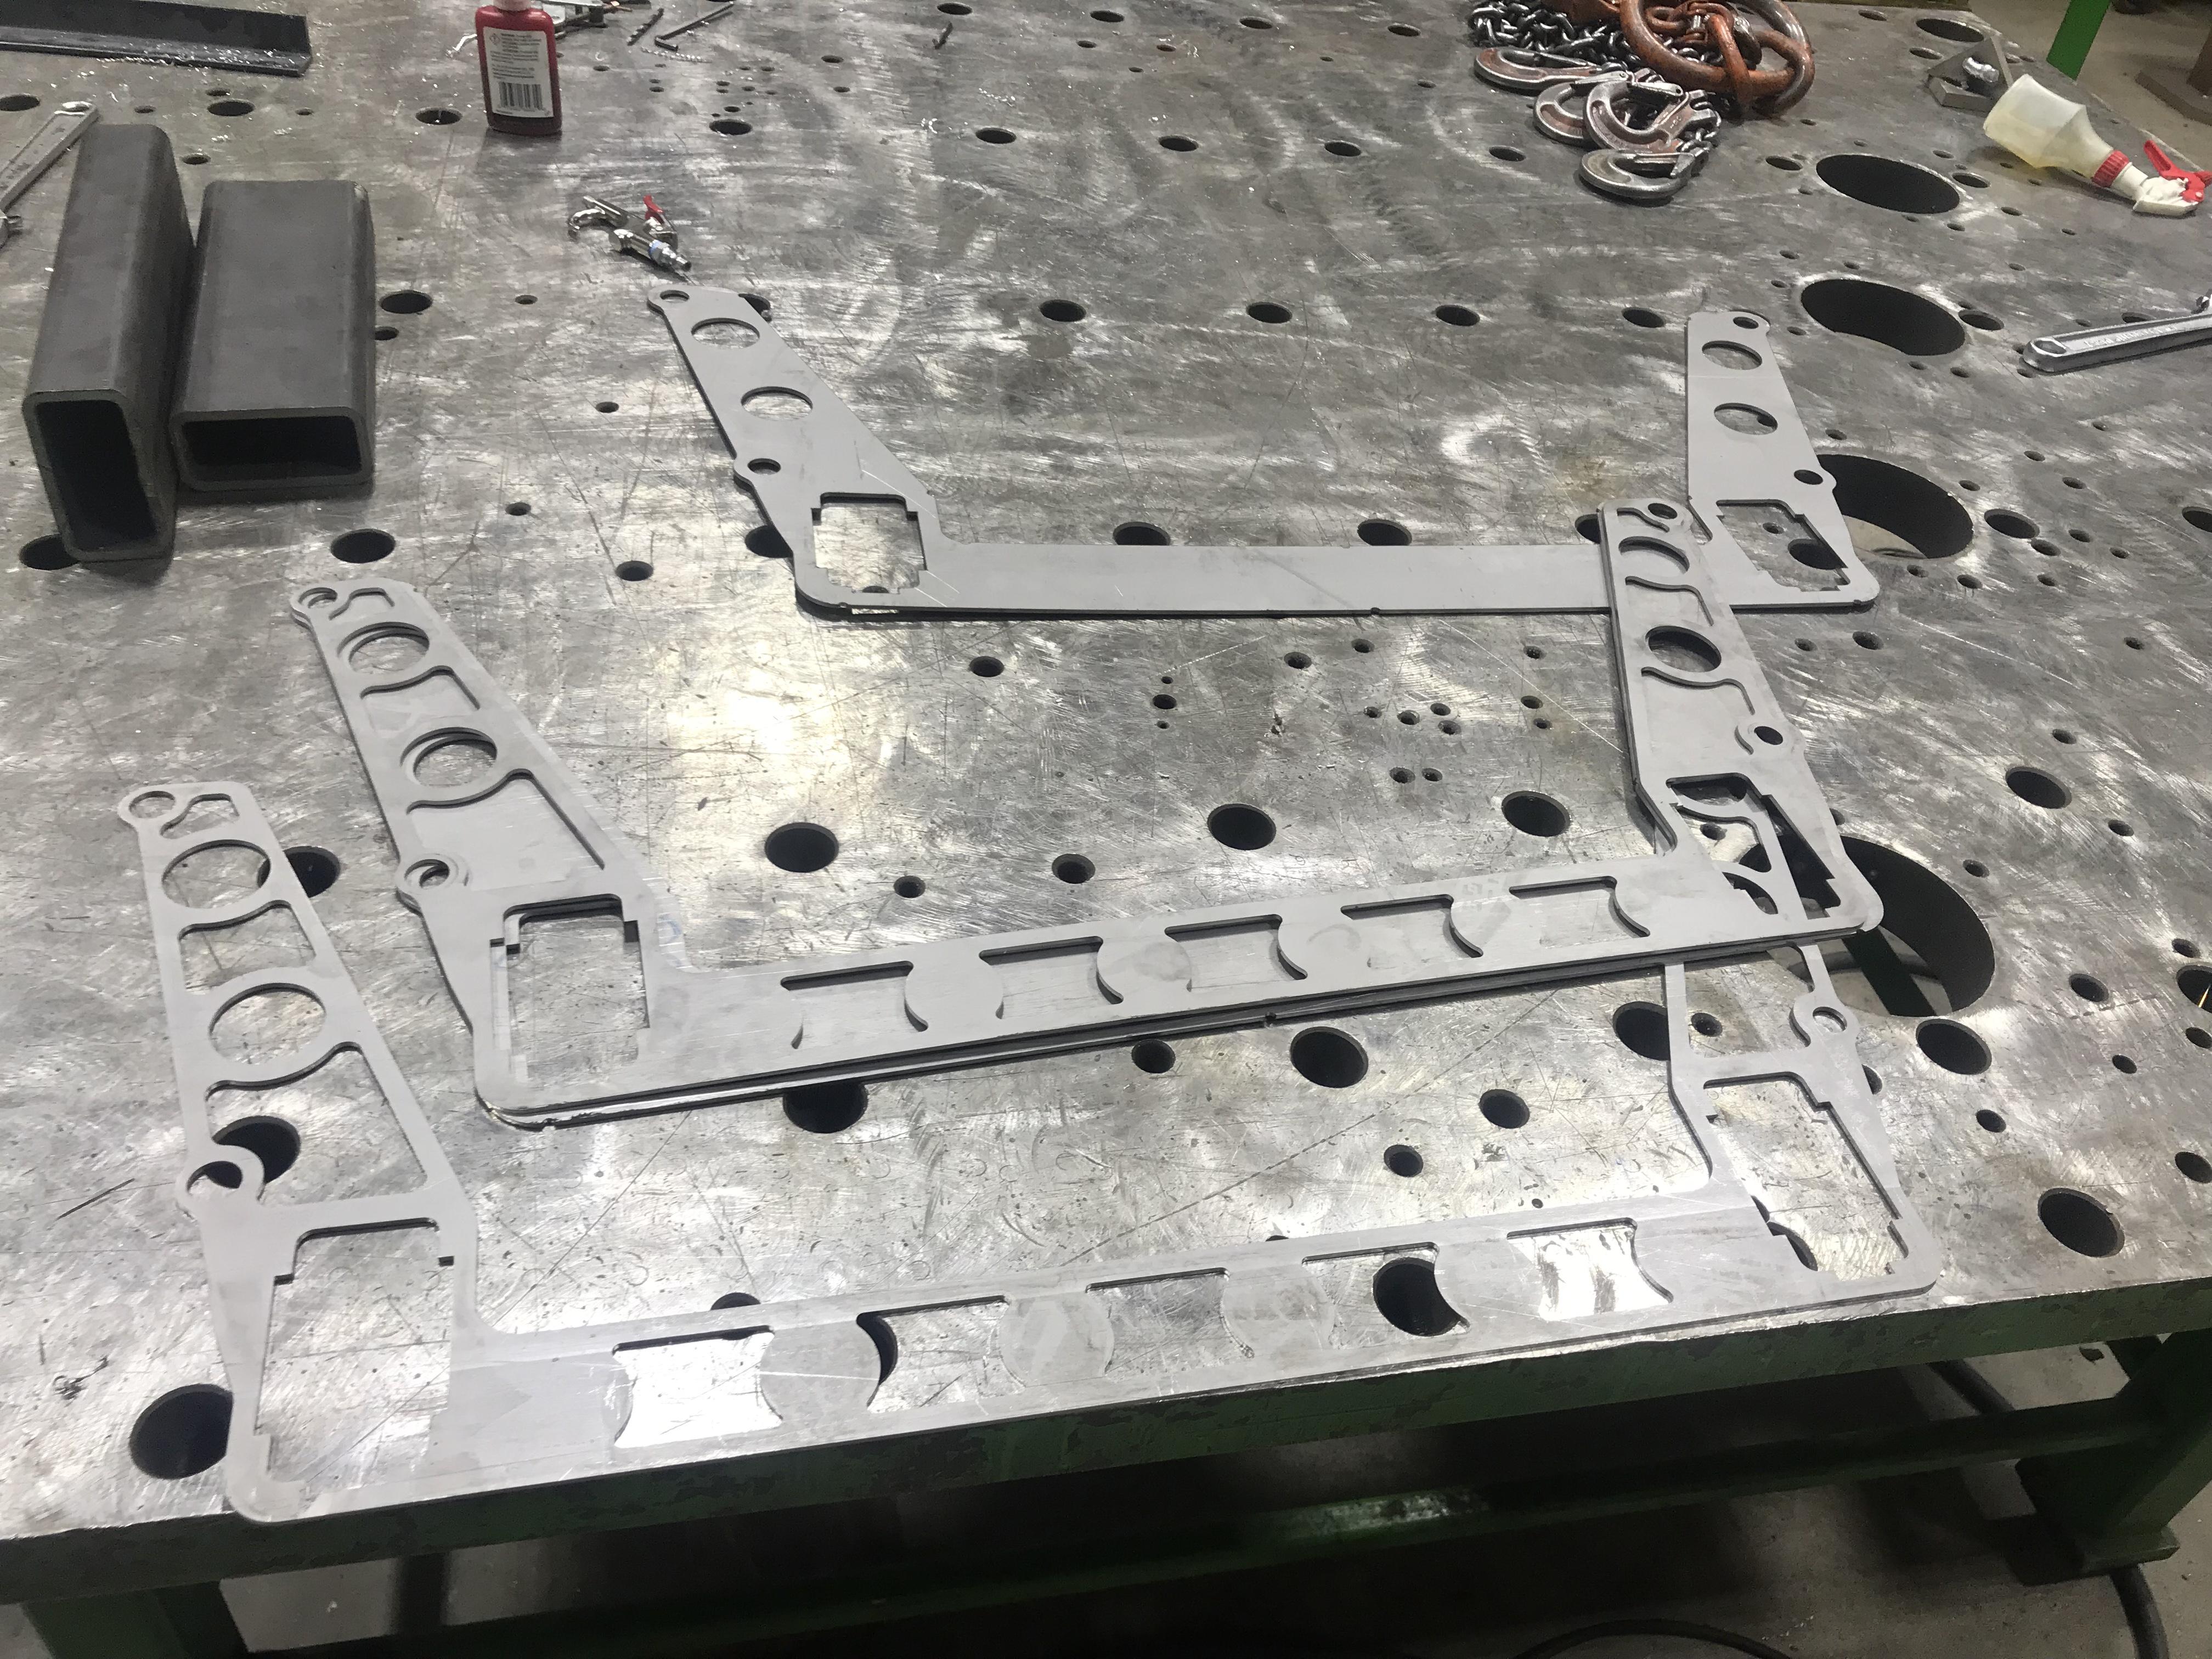
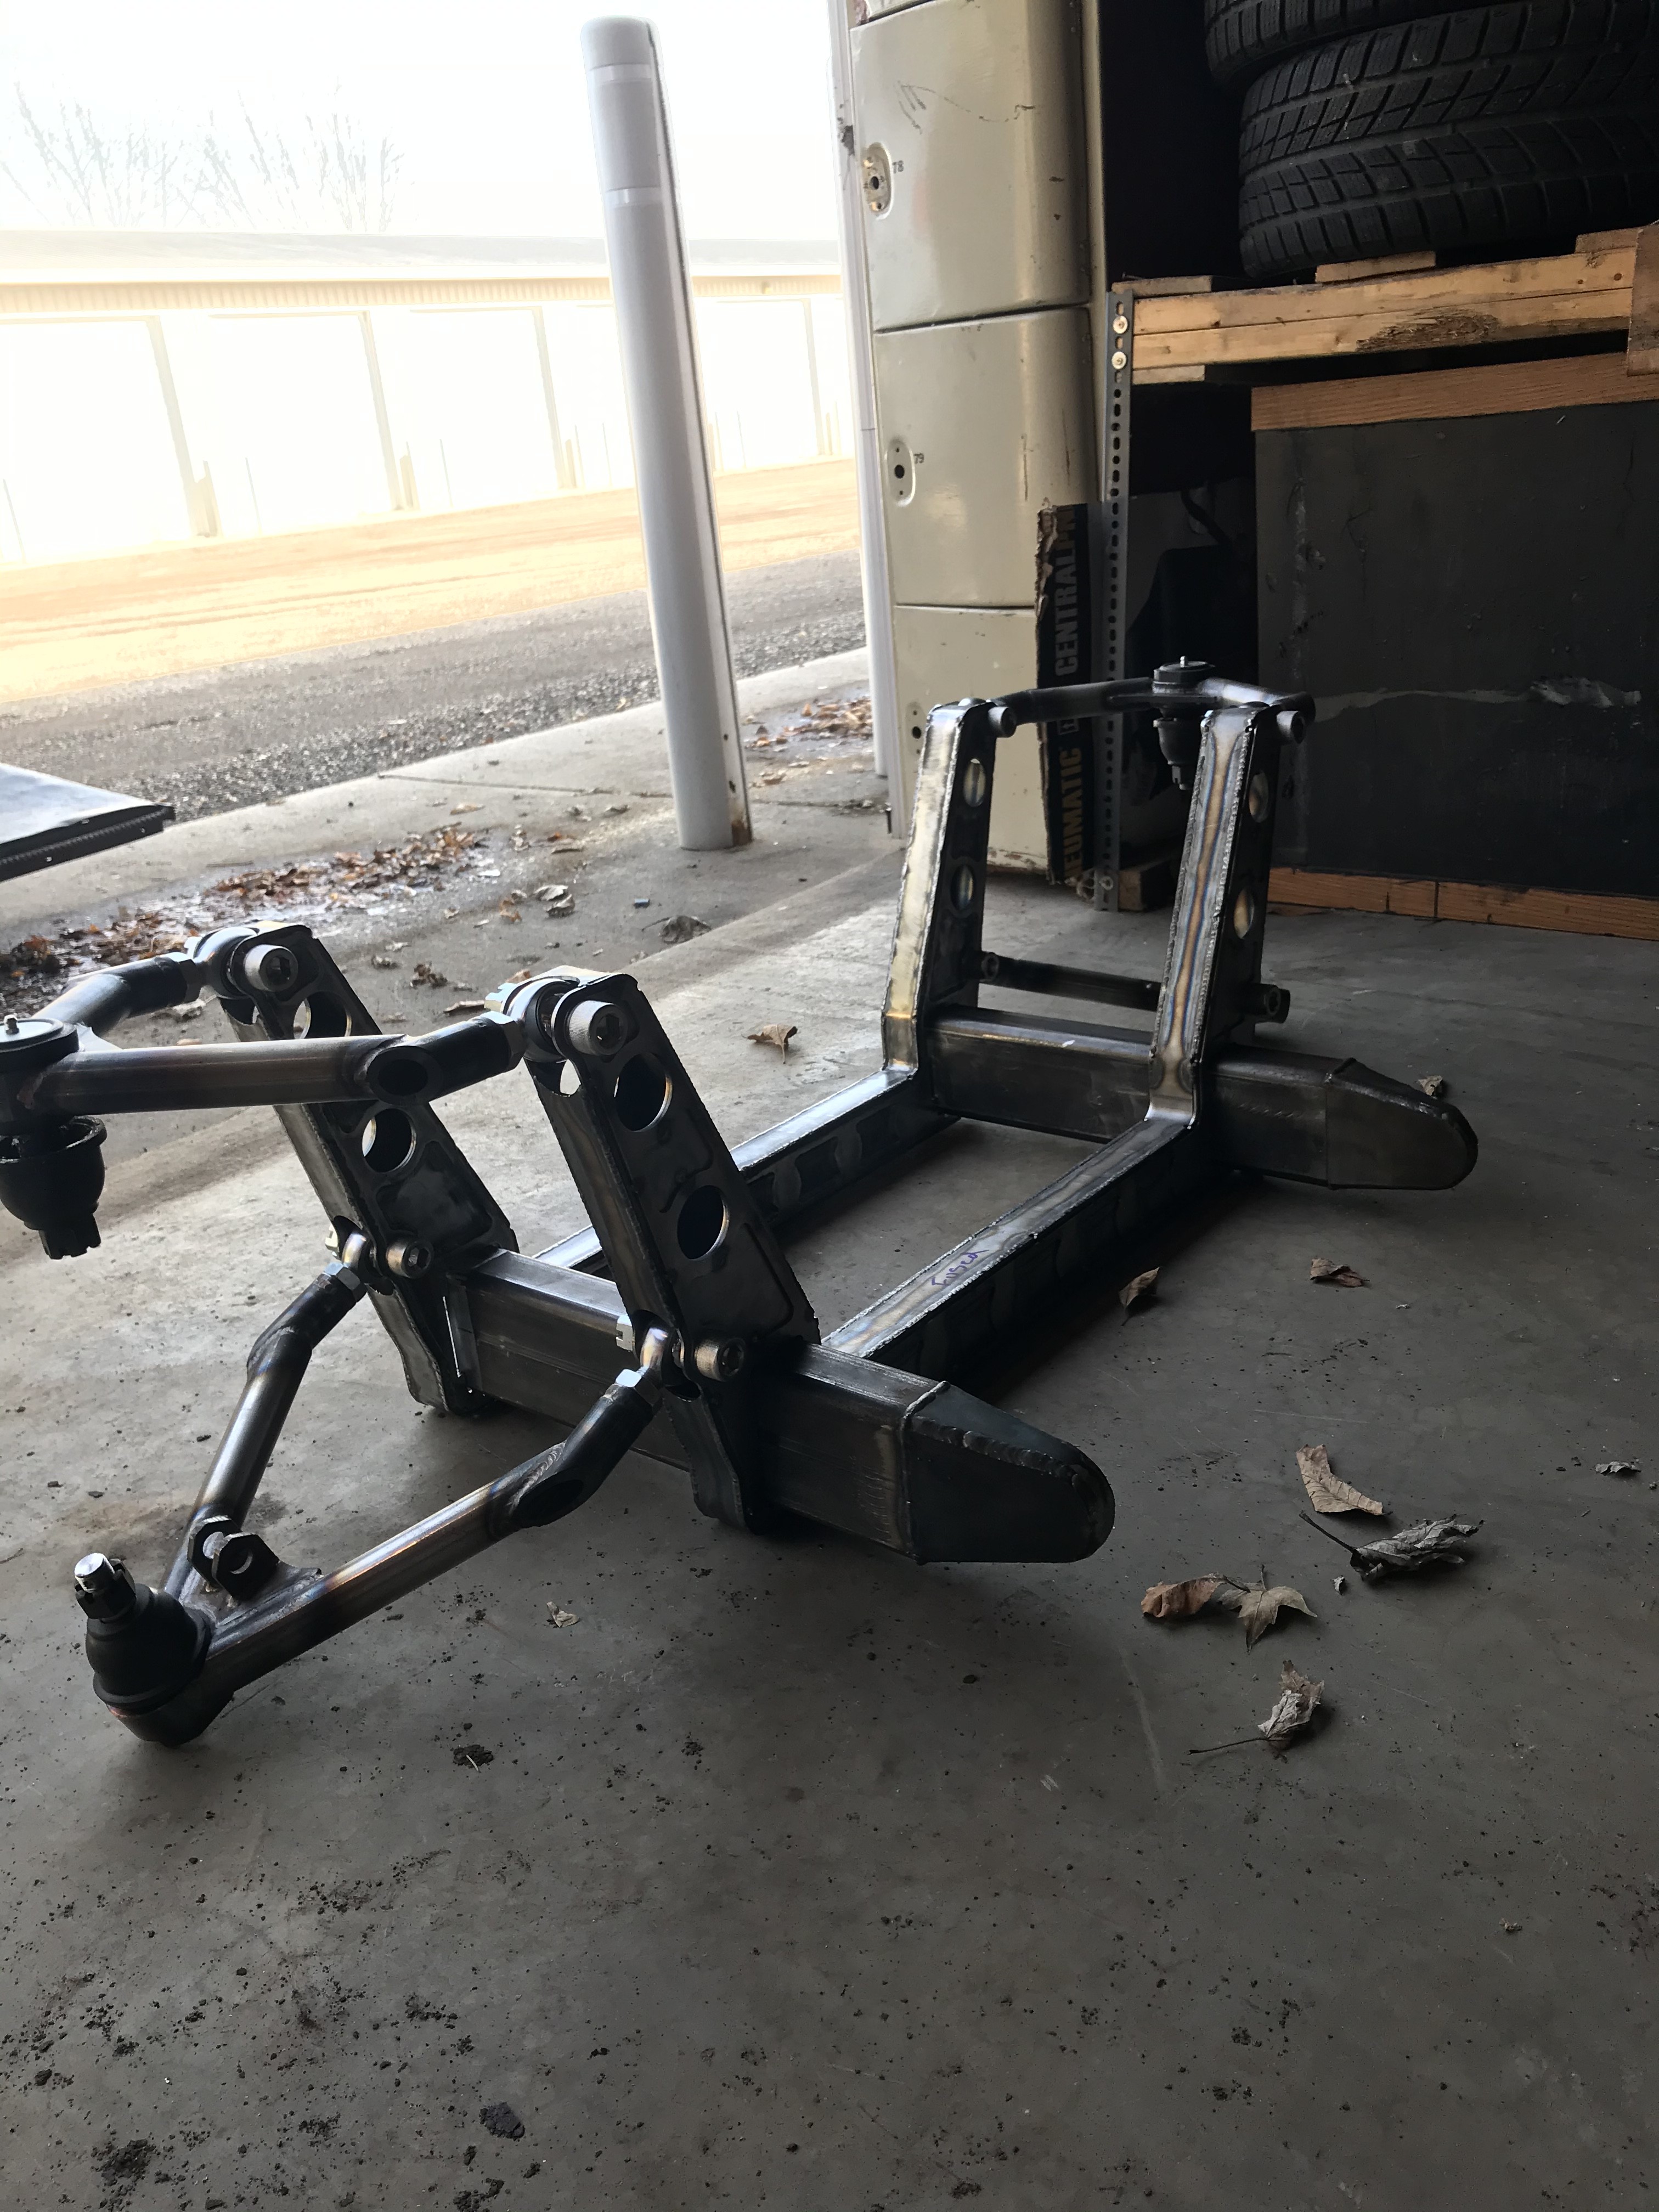
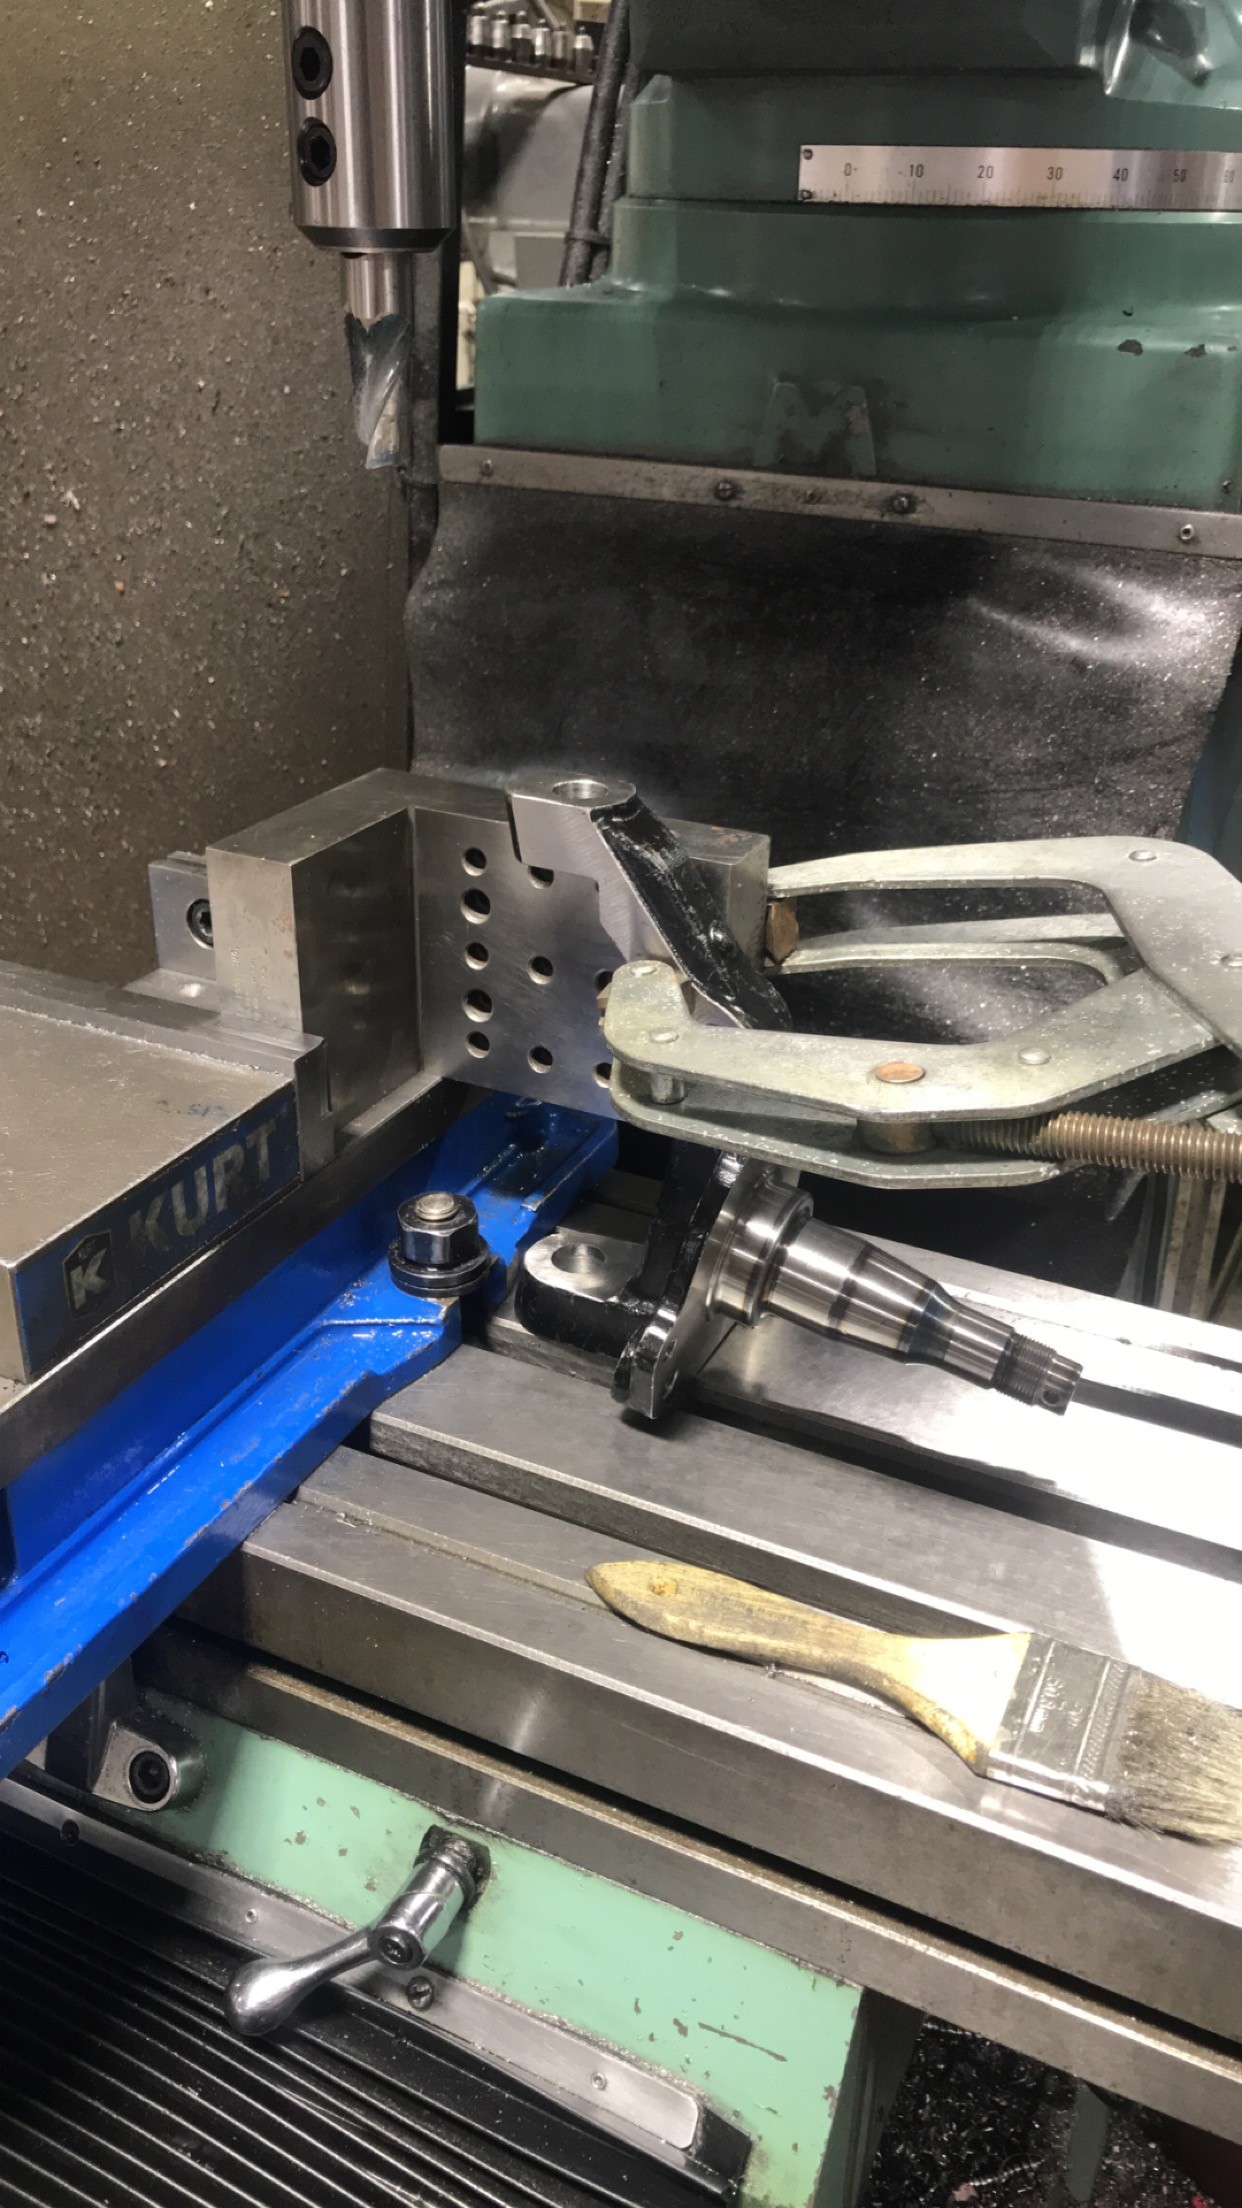
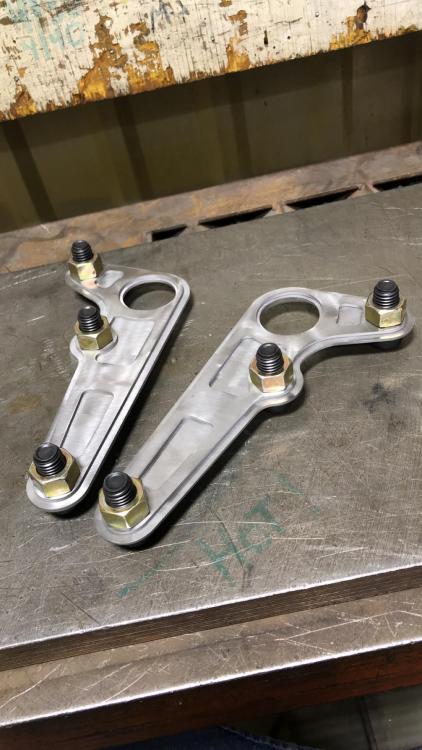
    Quick update. with some actual fab work being done.

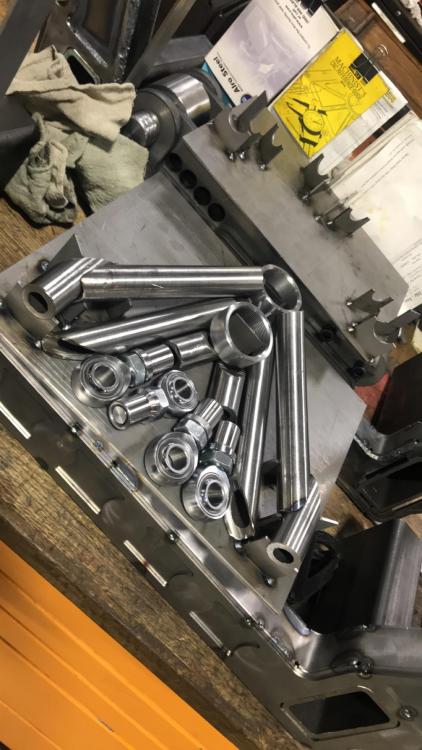
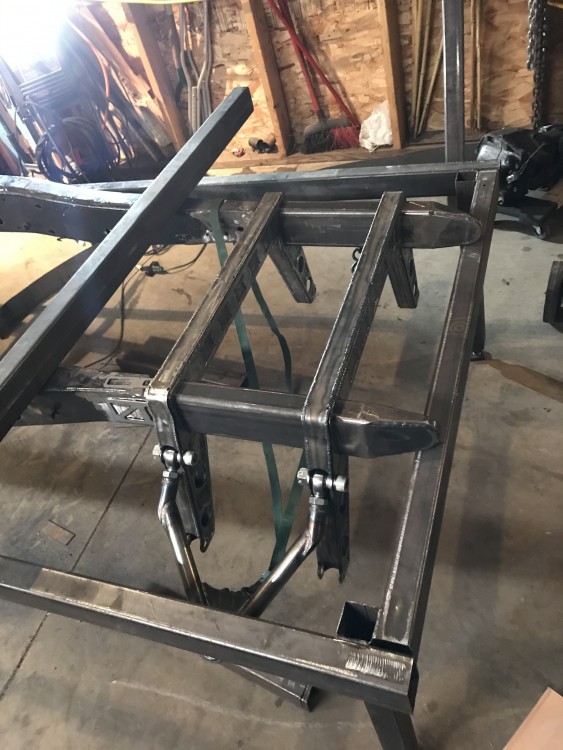
    The past couple weeks I have been putting in some hours gettin some of the front frame done. I’m gonna attach some photos if you have any questions let me know. I’ll try to explain. 
    737753F7-BBB9-43AE-B2CD-938D2B18E3CD.jpeg

    5992FF0F-4D43-4FEB-AFB1-0AA1EDFC0AE4.jpeg

    D6AC2C8F-0412-49C1-B7CD-F97B7F8B91EB.jpeg

    544B9D02-5261-4569-BE61-67BF5054A9BC.jpeg

    982107D5-5A86-4410-A3D0-1E57EAA905F1.jpeg

    68146F60-B7C9-405D-9388-5EEEE2580392.MP4

    3313FB85-223C-4B49-A9BD-F9EC8D2293C1.MOV 65AD28E0-186E-4B34-8577-045E1CC9E60F.MP4 9070B11F-FE72-4710-8BD4-5062AADA8845.MP4 BC8E10B8-81C0-4EF0-8CC0-98251DCCA8DB.MP4

    1 Reply Last reply
    4
    • ThatRatRodProjectT
      ThatRatRodProjectT
      ThatRatRodProject
      wrote on last edited by
      #75

      F8BB29A3-D834-4383-94D1-008DA7A6249F.jpeg

      B0F54790-72E1-4092-B28F-485AD94D0D4F.jpeg

      DE335A34-6E14-4DA3-A5F7-1FF9C38AE5CD.jpeg

      3872AA99-48B7-4A1B-89B4-DA8BF0F81E2D.jpeg

      87C94C13-2CBA-459A-B93C-C9D60E18578E.MOV

      Attachments:

      • 87C94C13-2CBA-459A-B93C-C9D60E18578E.MOV
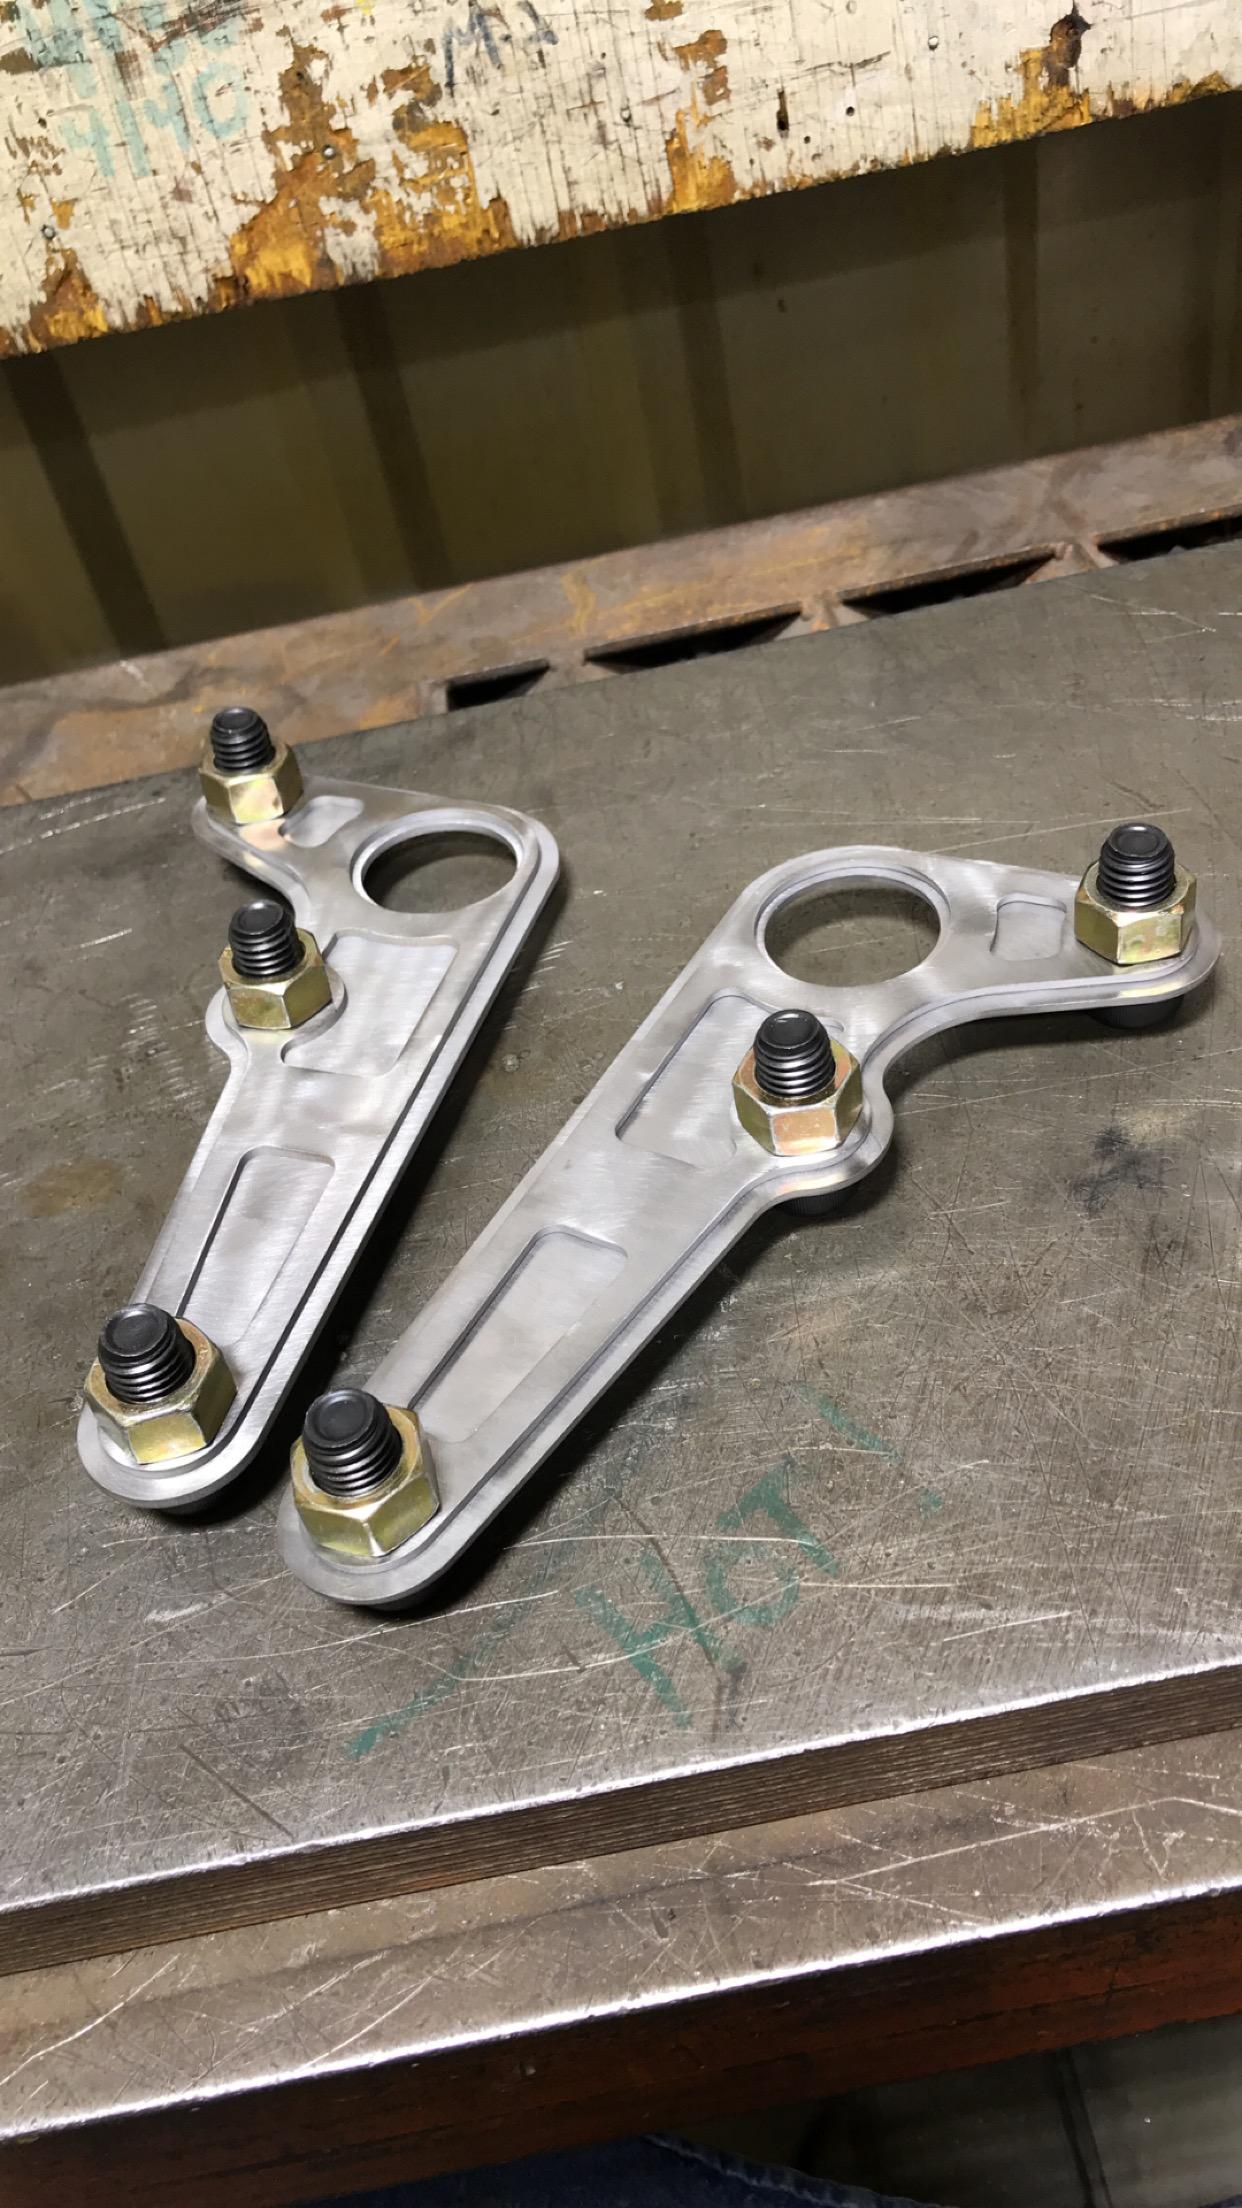
      1 Reply Last reply
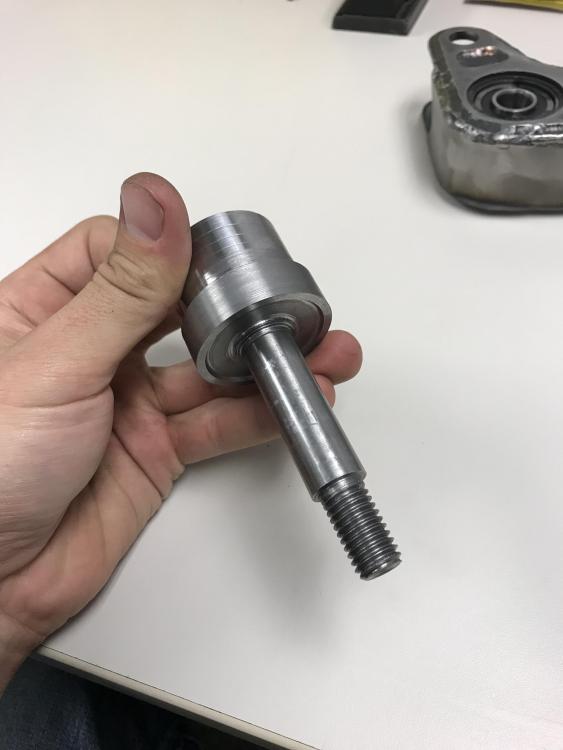
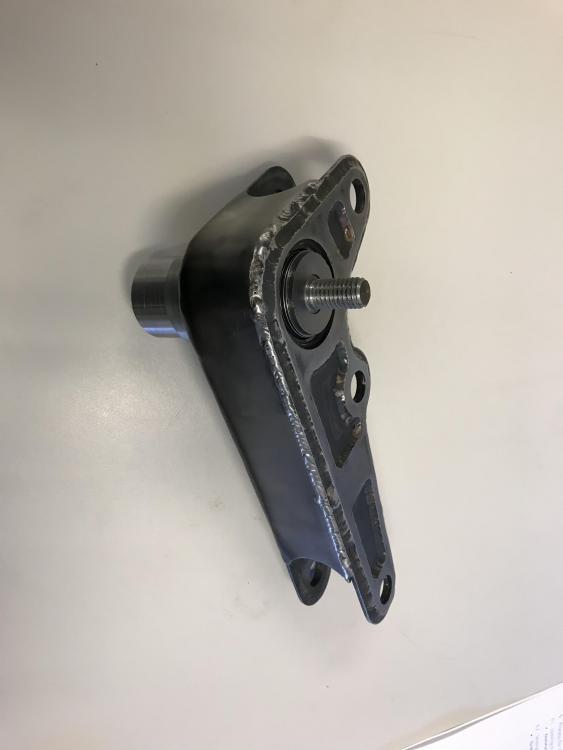
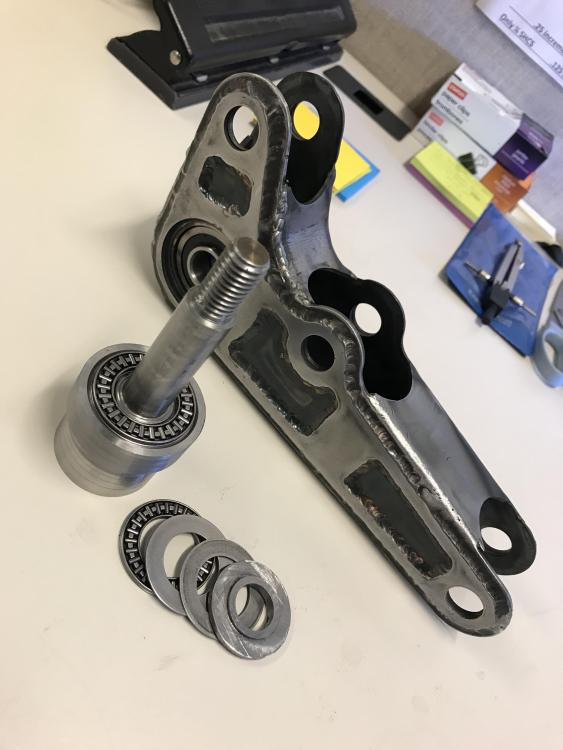
      0
      • RobZRR
        RobZRR
        RobZR
        wrote on last edited by
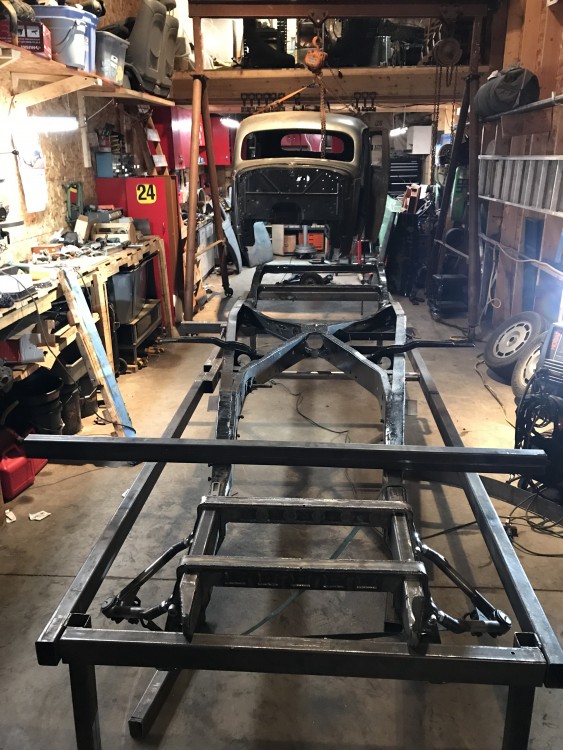
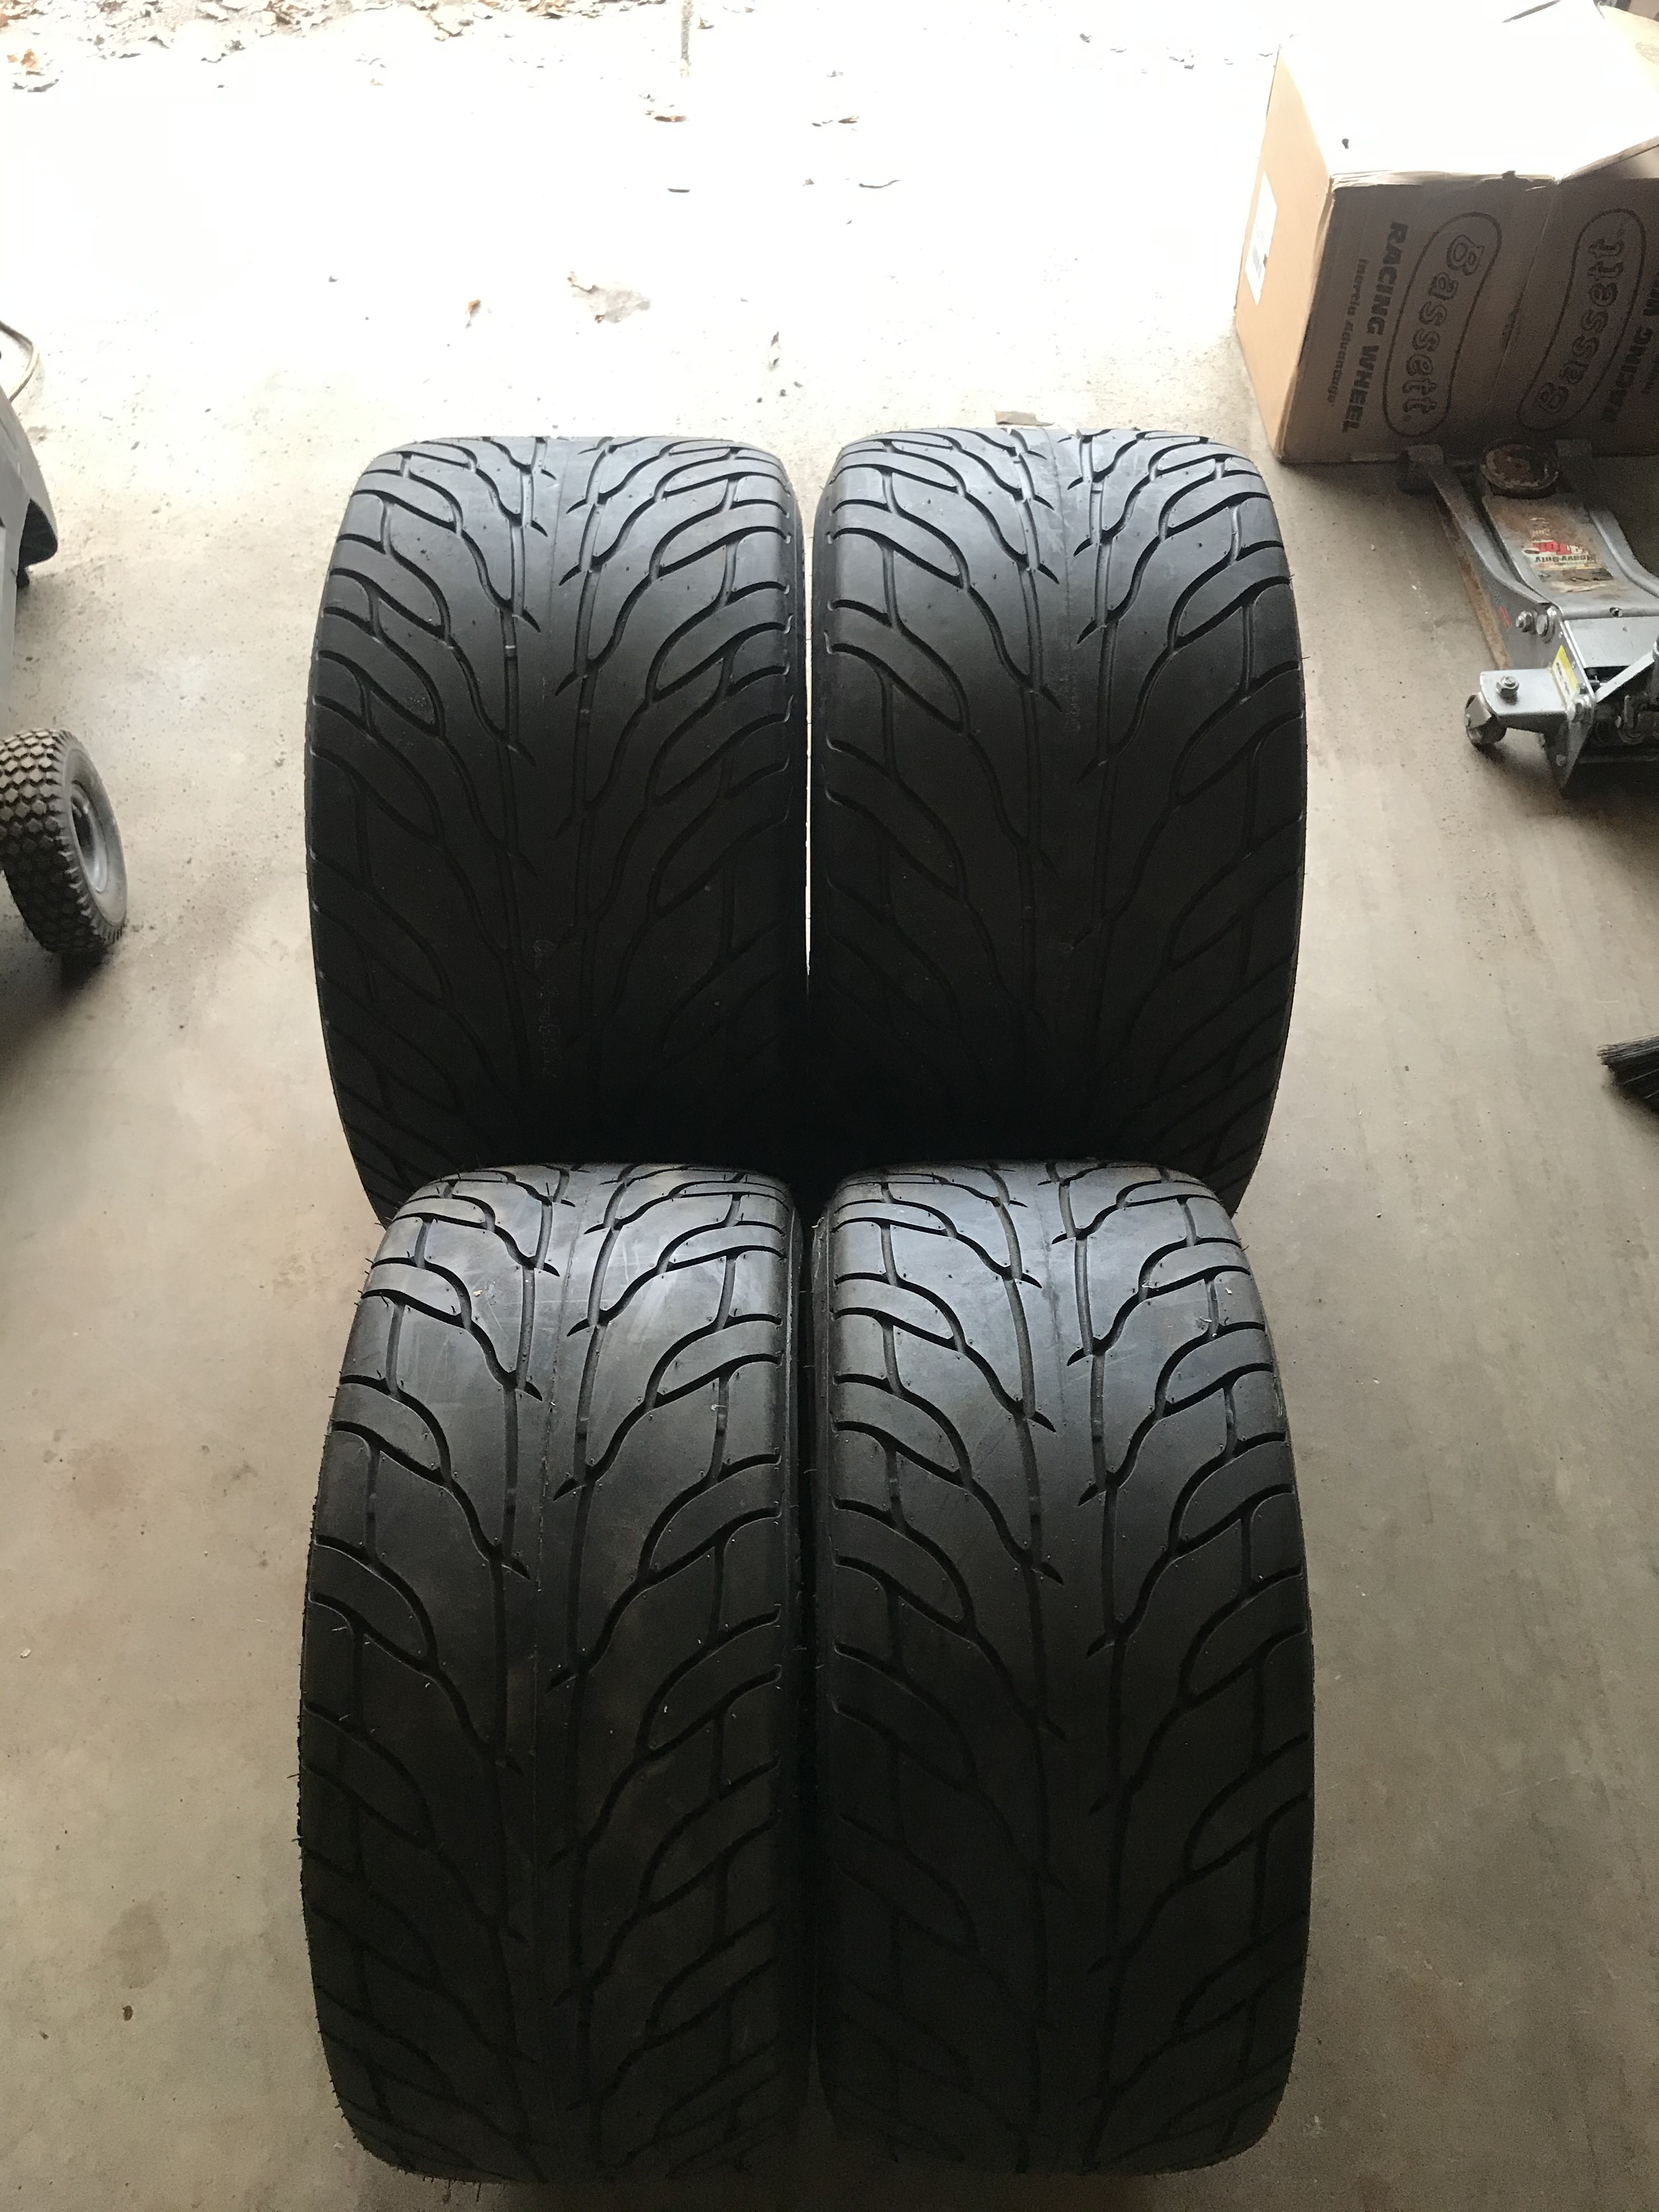
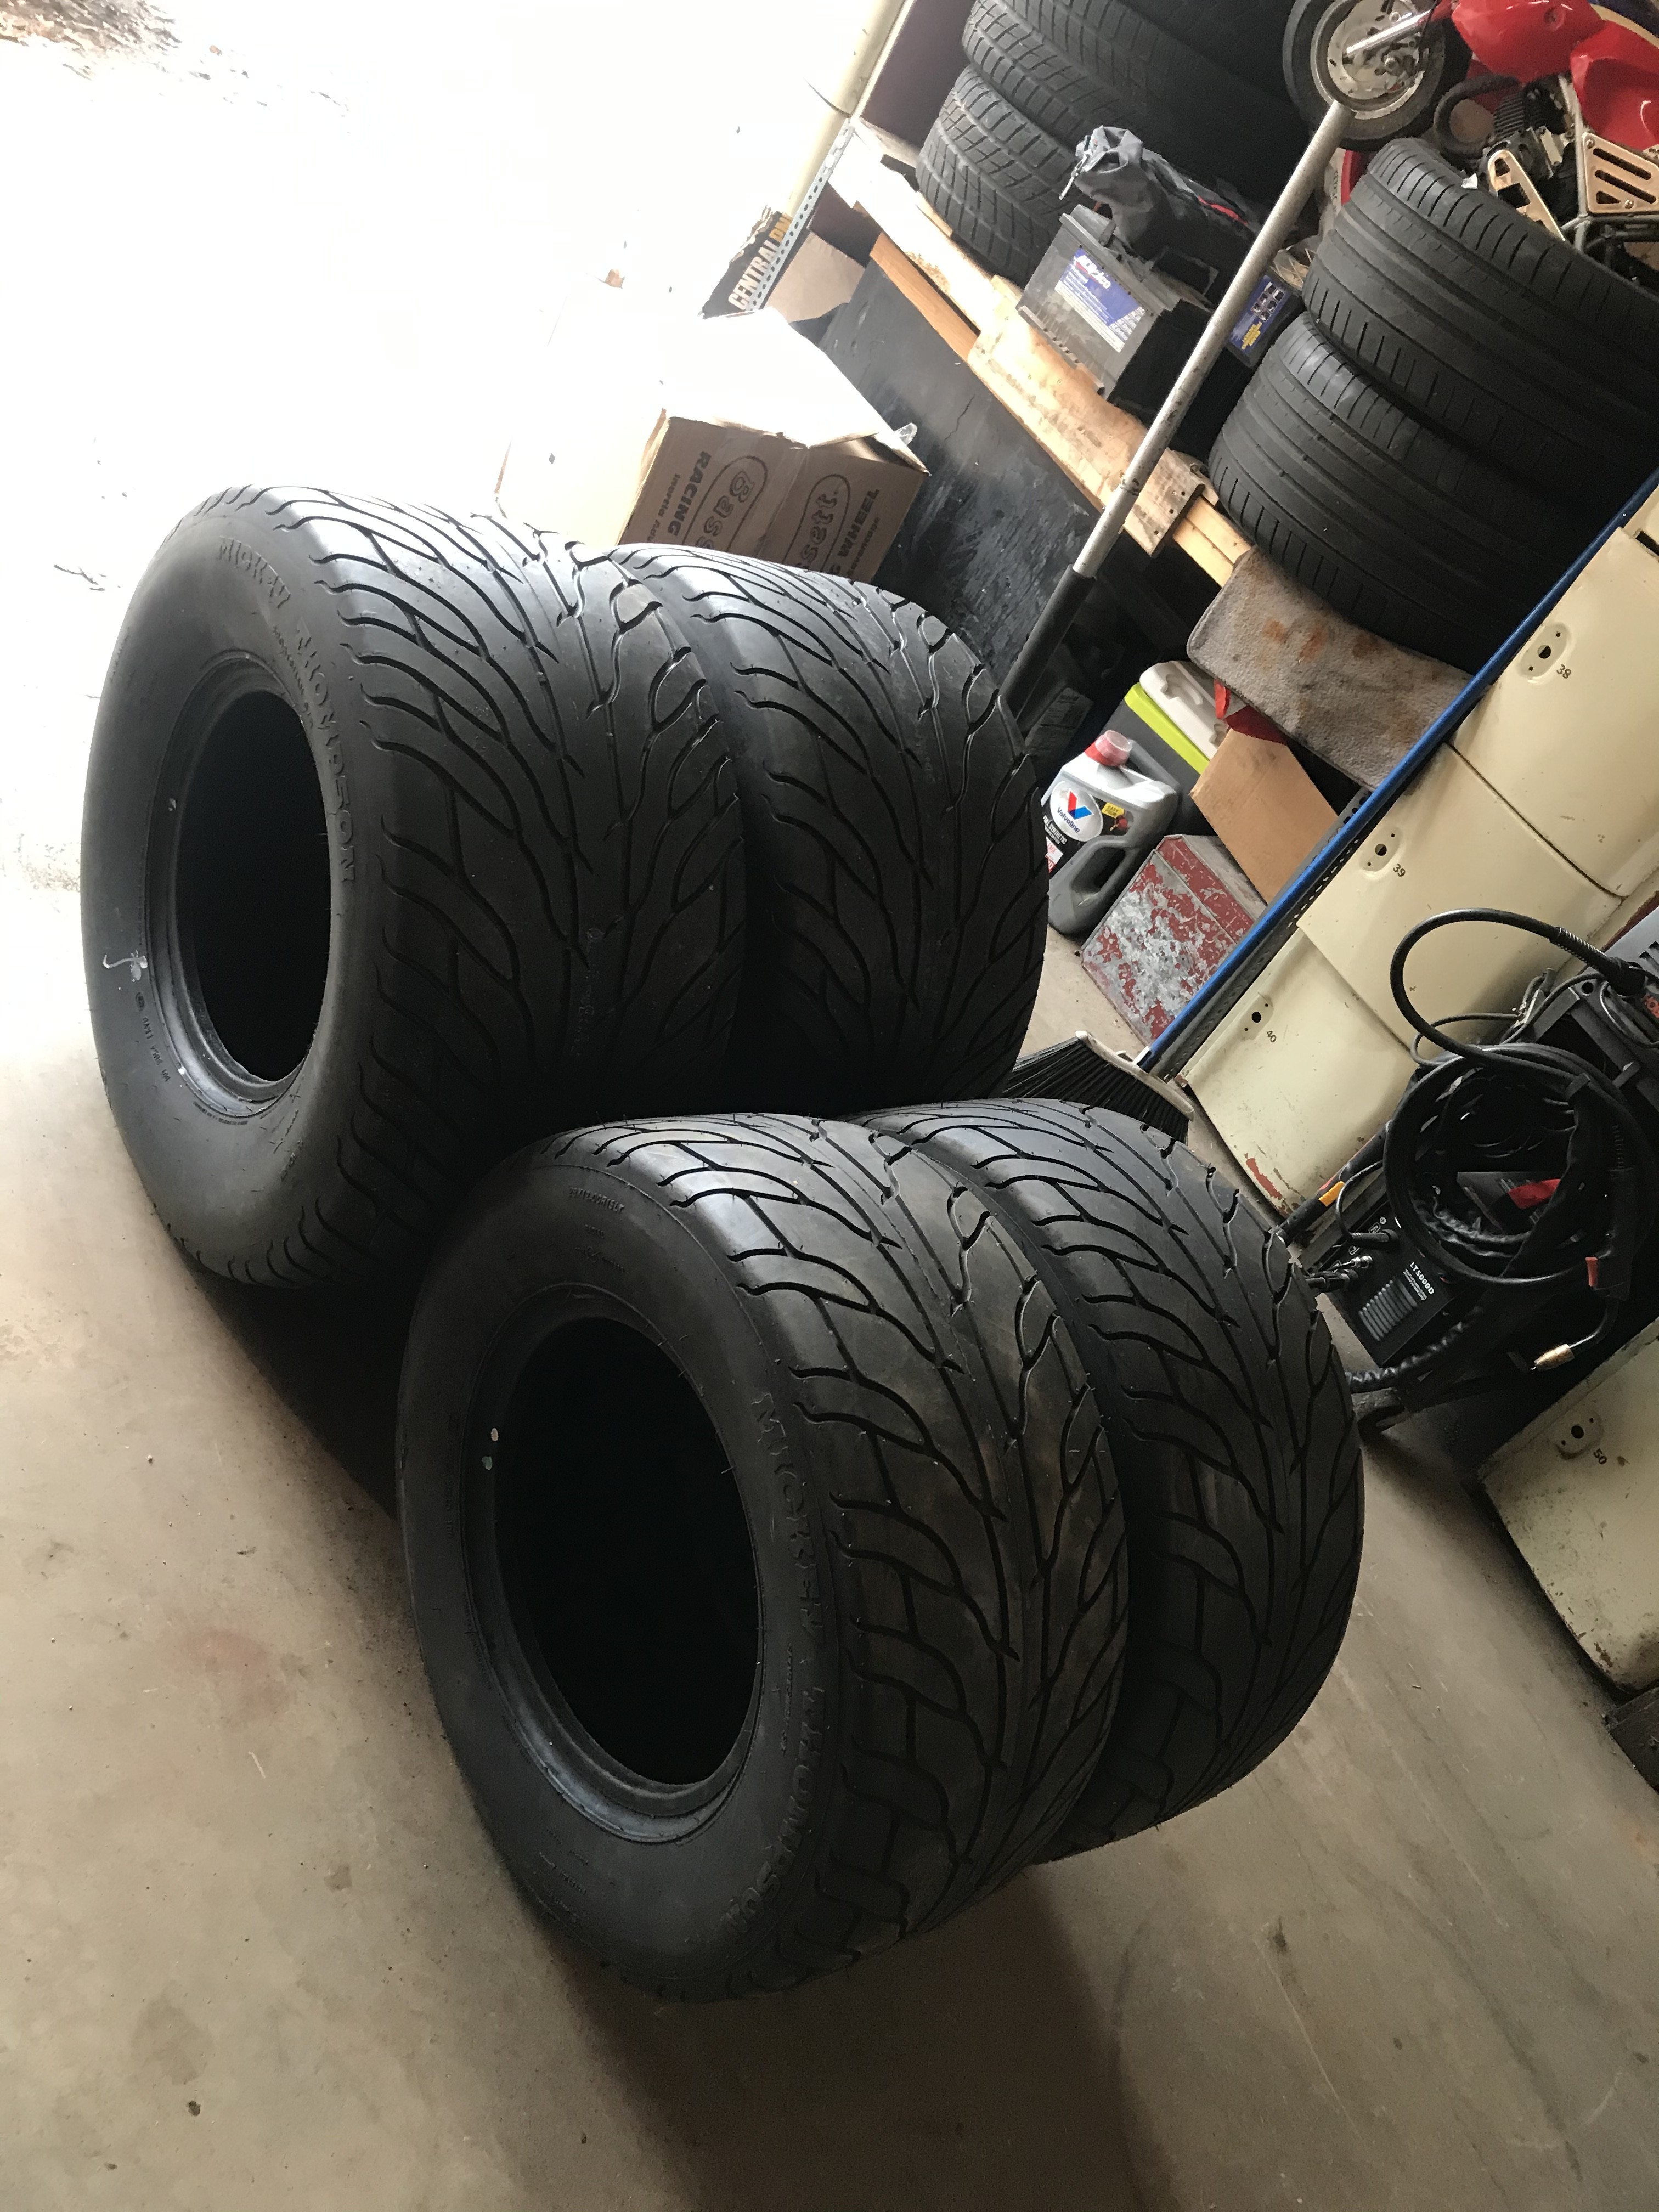
        #76

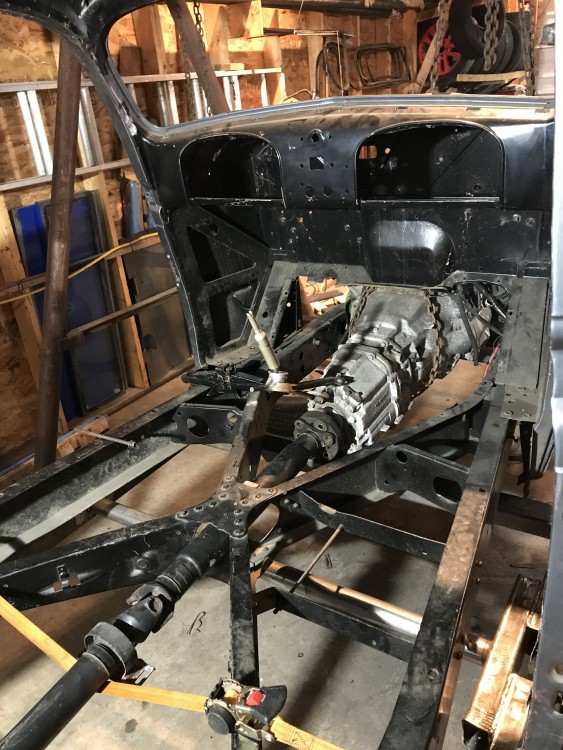
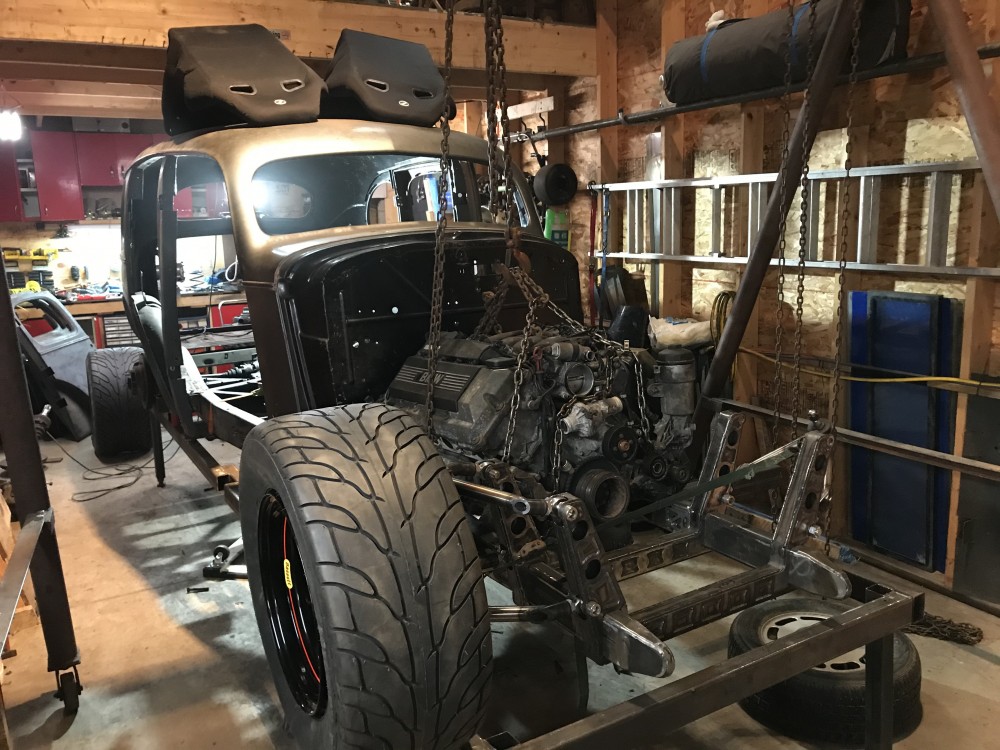
        ThatRatRodProject said:

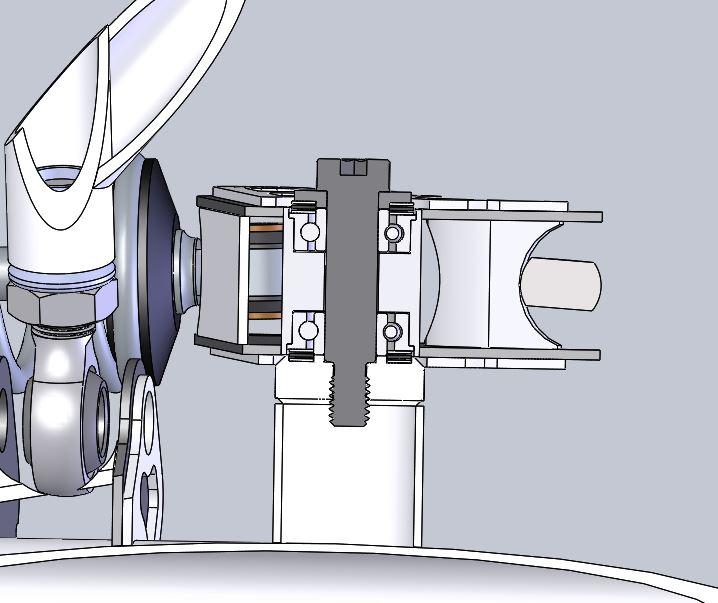
        Section View.PNG

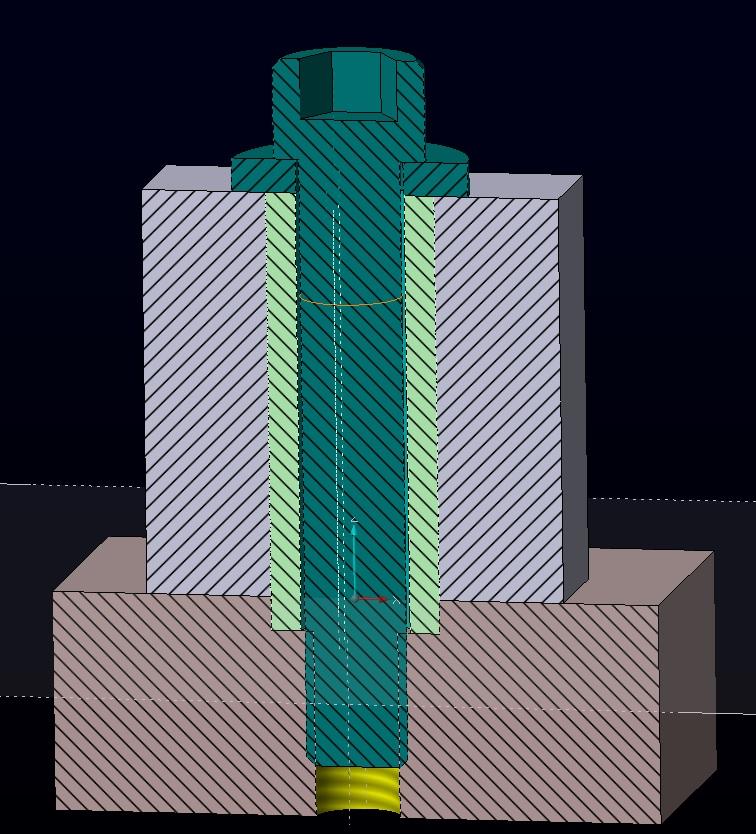
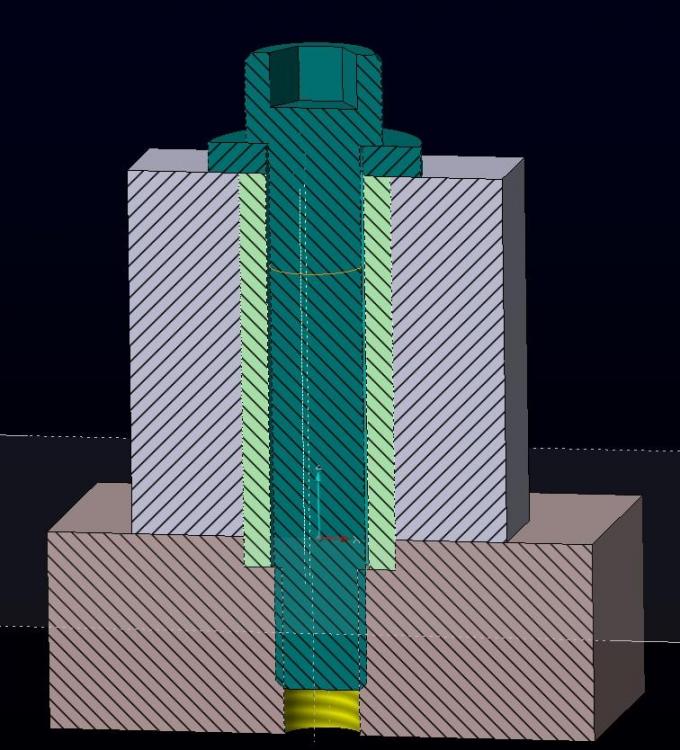
        I would not recommend using a stripper bolt in this manner. They are not intended to handle lateral forces and have a inherent stress riser at the base of the thread that is prone to failure.

        Ideally you would support both sides of the pivot point from the subframe.  if you must support it from one side a spool and bolt design will bend before failure, since it keeps the bolt in tension.
        spool-n-washer.jpg

        1 Reply Last reply
        1
        • ThatRatRodProjectT
          ThatRatRodProjectT
          ThatRatRodProject
          wrote on last edited by
          #77

          RobZR said:

          I would not recommend using a stripper bolt in this manner. They are not intended to handle lateral forces and have a inherent stress riser at the base of the thread that is prone to failure.

          Ideally you would support both sides of the pivot point from the subframe.  if you must support it from one side a spool and bolt design will bend before failure, since it keeps the bolt in tension.

          spool-n-washer.jpg

          I 100% agree with you. If you are using a Harden alloy shoulder bolt. But with that being said I will be mostly turning up a custom shoulder bolt . But any side load should be transferred to linear load with the thrust bearings. Not 100% transferred but lessened a great deal. I’m not saying you wrong in anyway and I will take any input I can.

          1 Reply Last reply
          1
          • JdesignJ
            JdesignJ
            Jdesign
            wrote on last edited by
            #78

            982107D5-5A86-4410-A3D0-1E57EAA905F1.jpeg

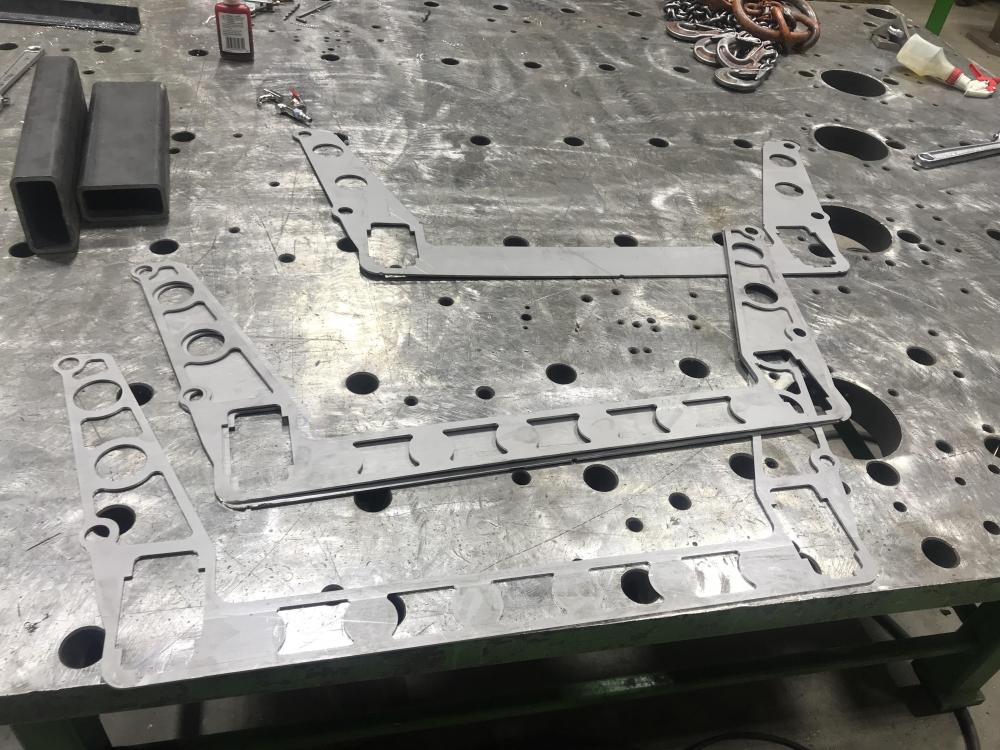
            CAD to Metal overnight. I like your fast pace.

            What did you use to cut the parts? Waterjet?

            SumBunny.jpg

            https://www.instagram.com/_jdesigner_/                                          http://nevertoolow.tumblr.com/

            🥳SOLD BMW E24 633CSI - BMW M30B32                                          🧪SOLD HCH  ES9 - 1.3 LDA
            👽BMW E30 325IC - Toyota 1JZ-GTE                                                     ⏰ HONDA EF9 CIVIC SI - JDM B18C5
            ☠️BMW E36 318i - Ford 5.0 FE302                                                         🚴‍♂️ GT-Labomba - 26x2.75 Freeride
            🤹‍♀️SOLD BMW E36/7 Z3 - BMW M54B25                                                🧓SOLD BMW E10 2002 - BMW M10M05

            1 Reply Last reply
            0
            • ThatRatRodProjectT
              ThatRatRodProjectT
              ThatRatRodProject
              wrote on last edited by
              #79

              Jdesign said:

              982107D5-5A86-4410-A3D0-1E57EAA905F1.jpeg

              CAD to Metal overnight. I like your fast pace.

              What did you use to cut the parts? Waterjet?

              I work In a Tool Shop so i May have utilized Our CNC Laser.

              I did have some of this work done Prior to posting the cad up date. 

              Its been after hours progress the past 2 weeks . I have 3 of the 4 Control Arms done. So you should see up-dates later this week.

              Attachments:

              • 982107D5-5A86-4410-A3D0-1E57EAA905F1.jpeg
              1 Reply Last reply
              0
              • ThatRatRodProjectT
                ThatRatRodProjectT
                ThatRatRodProject
                wrote on last edited by
                #80

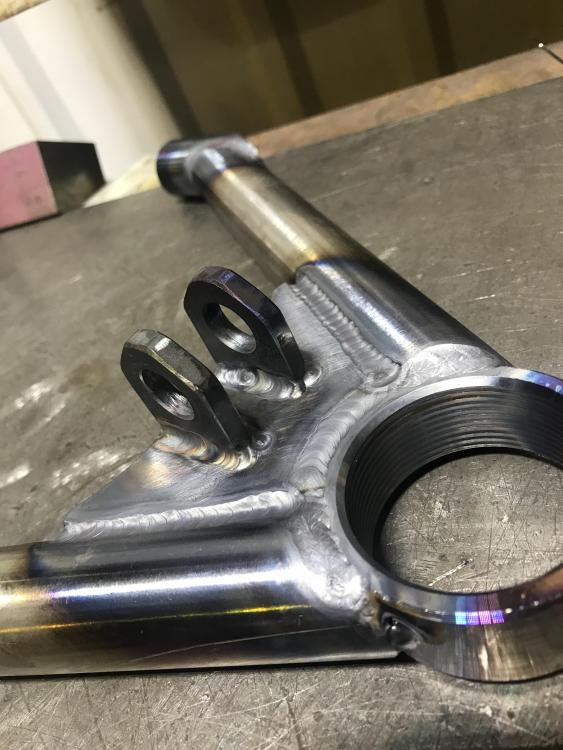
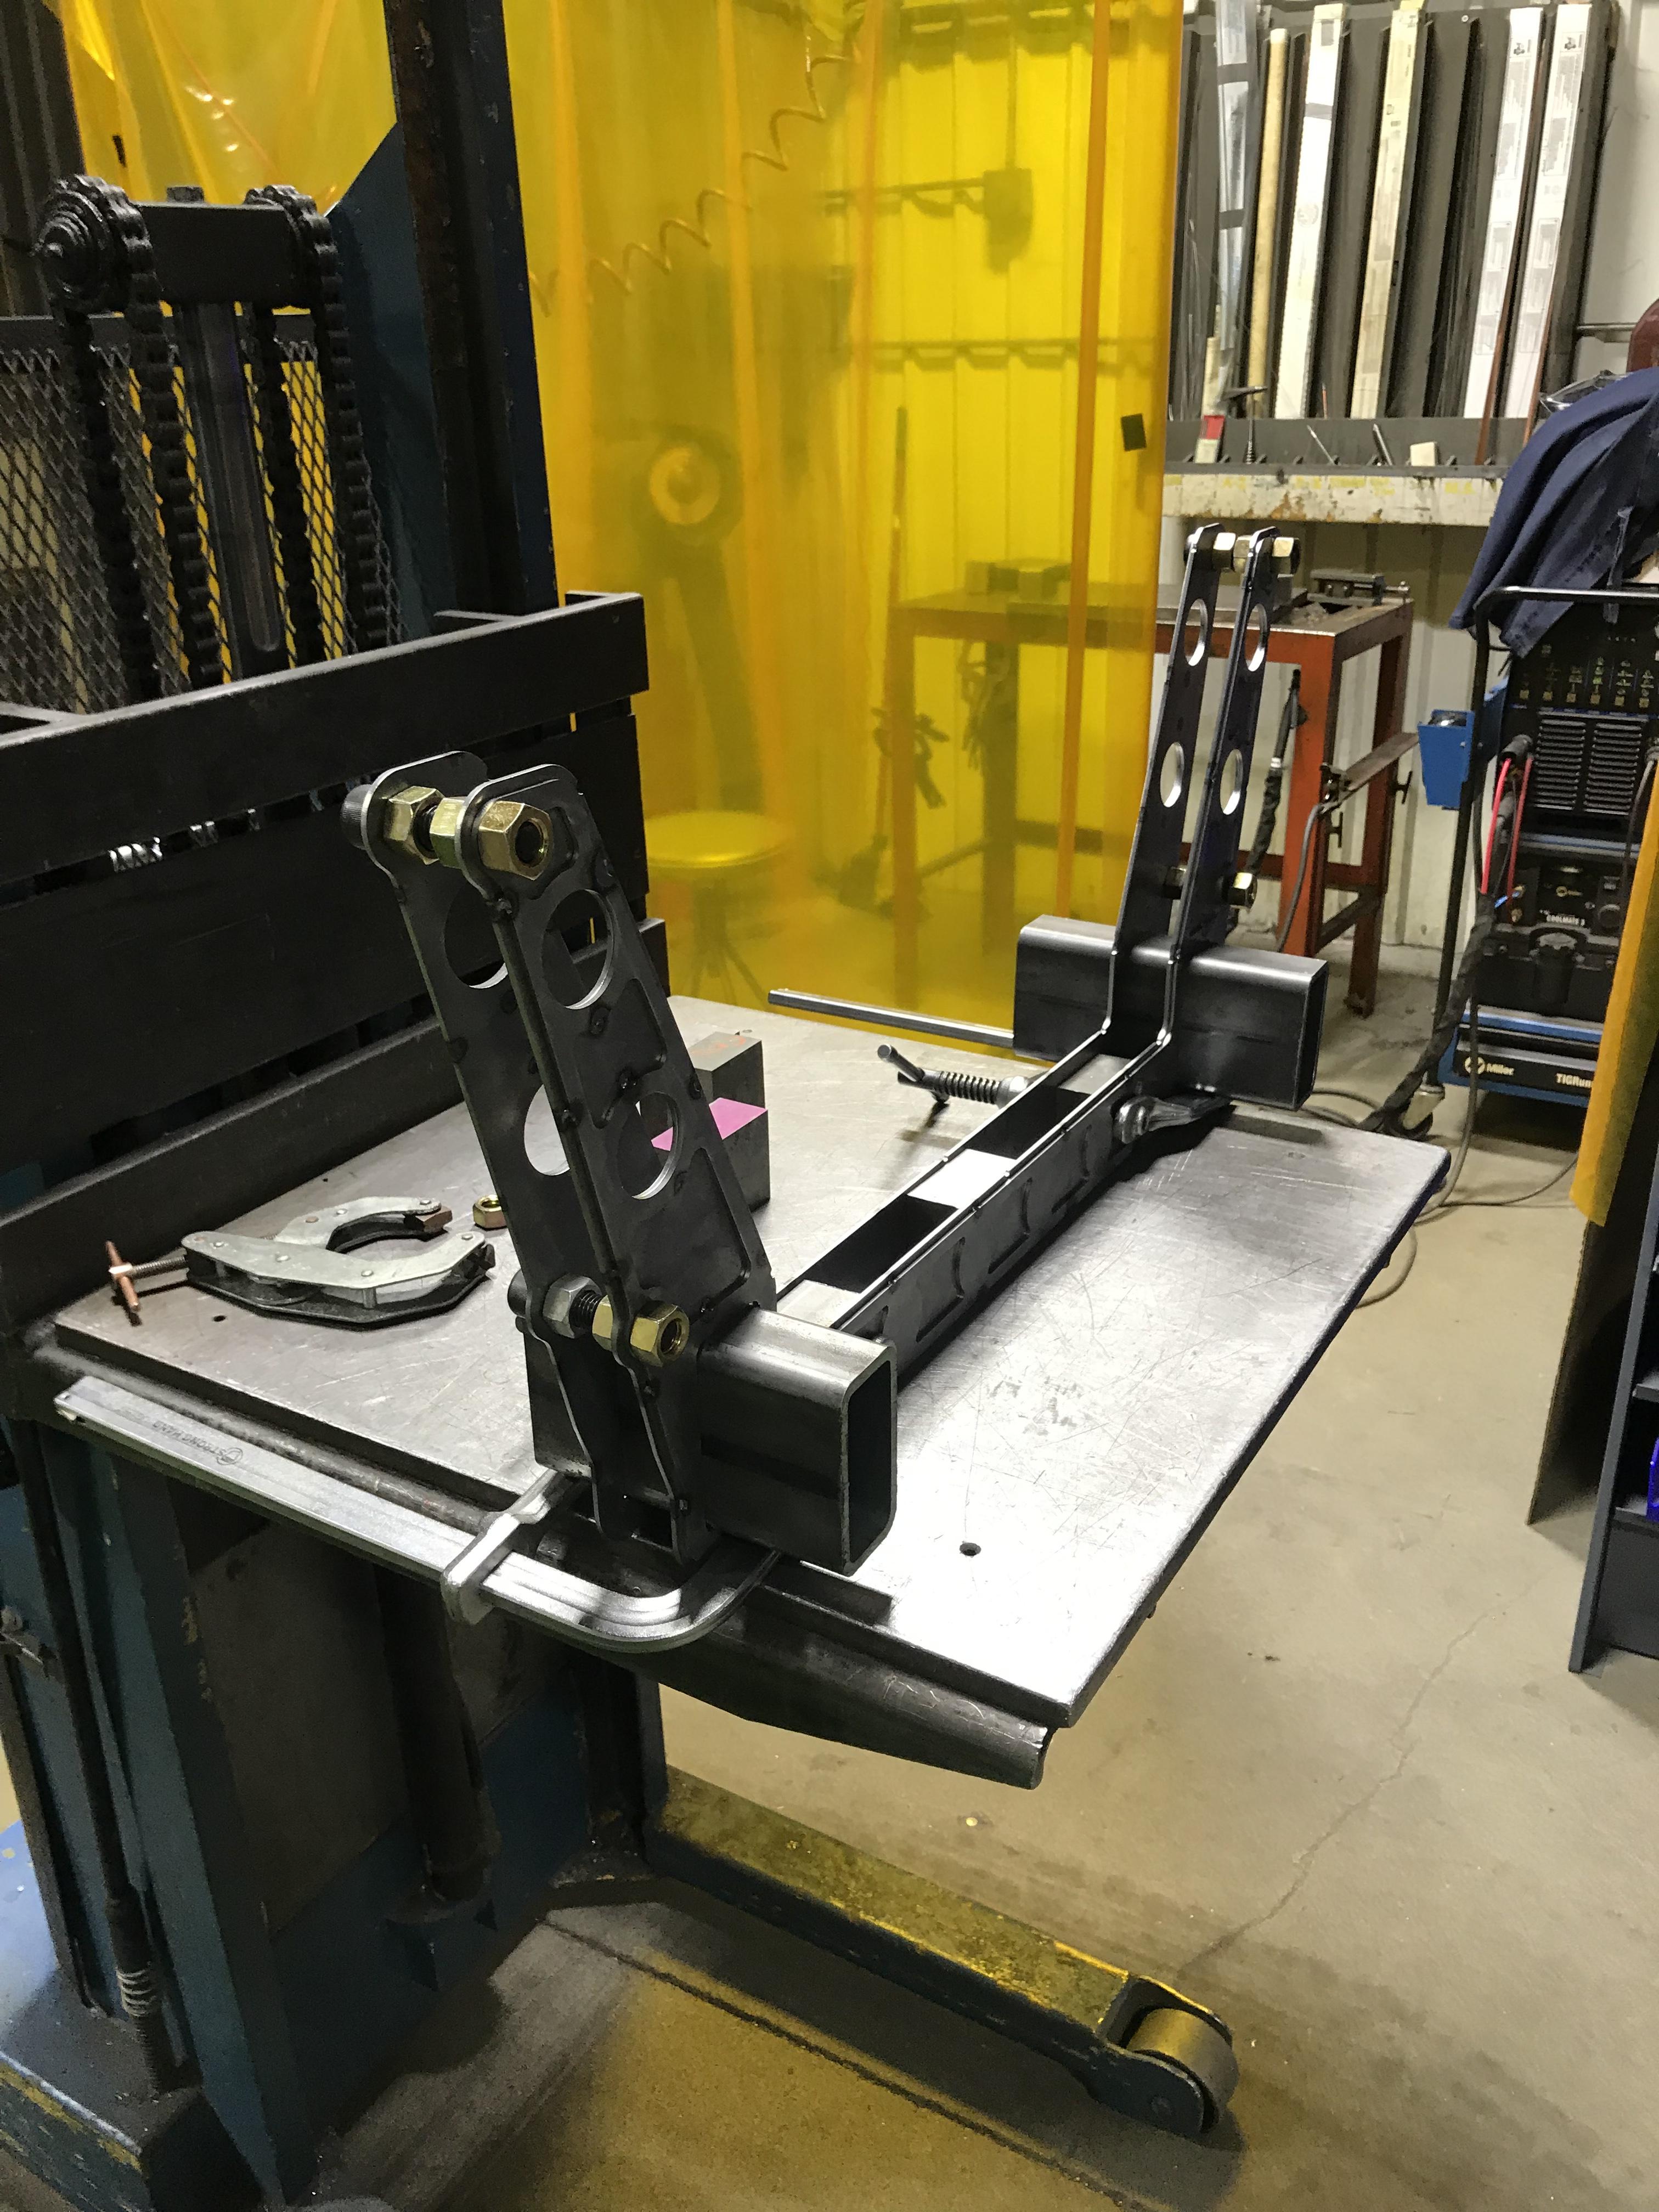
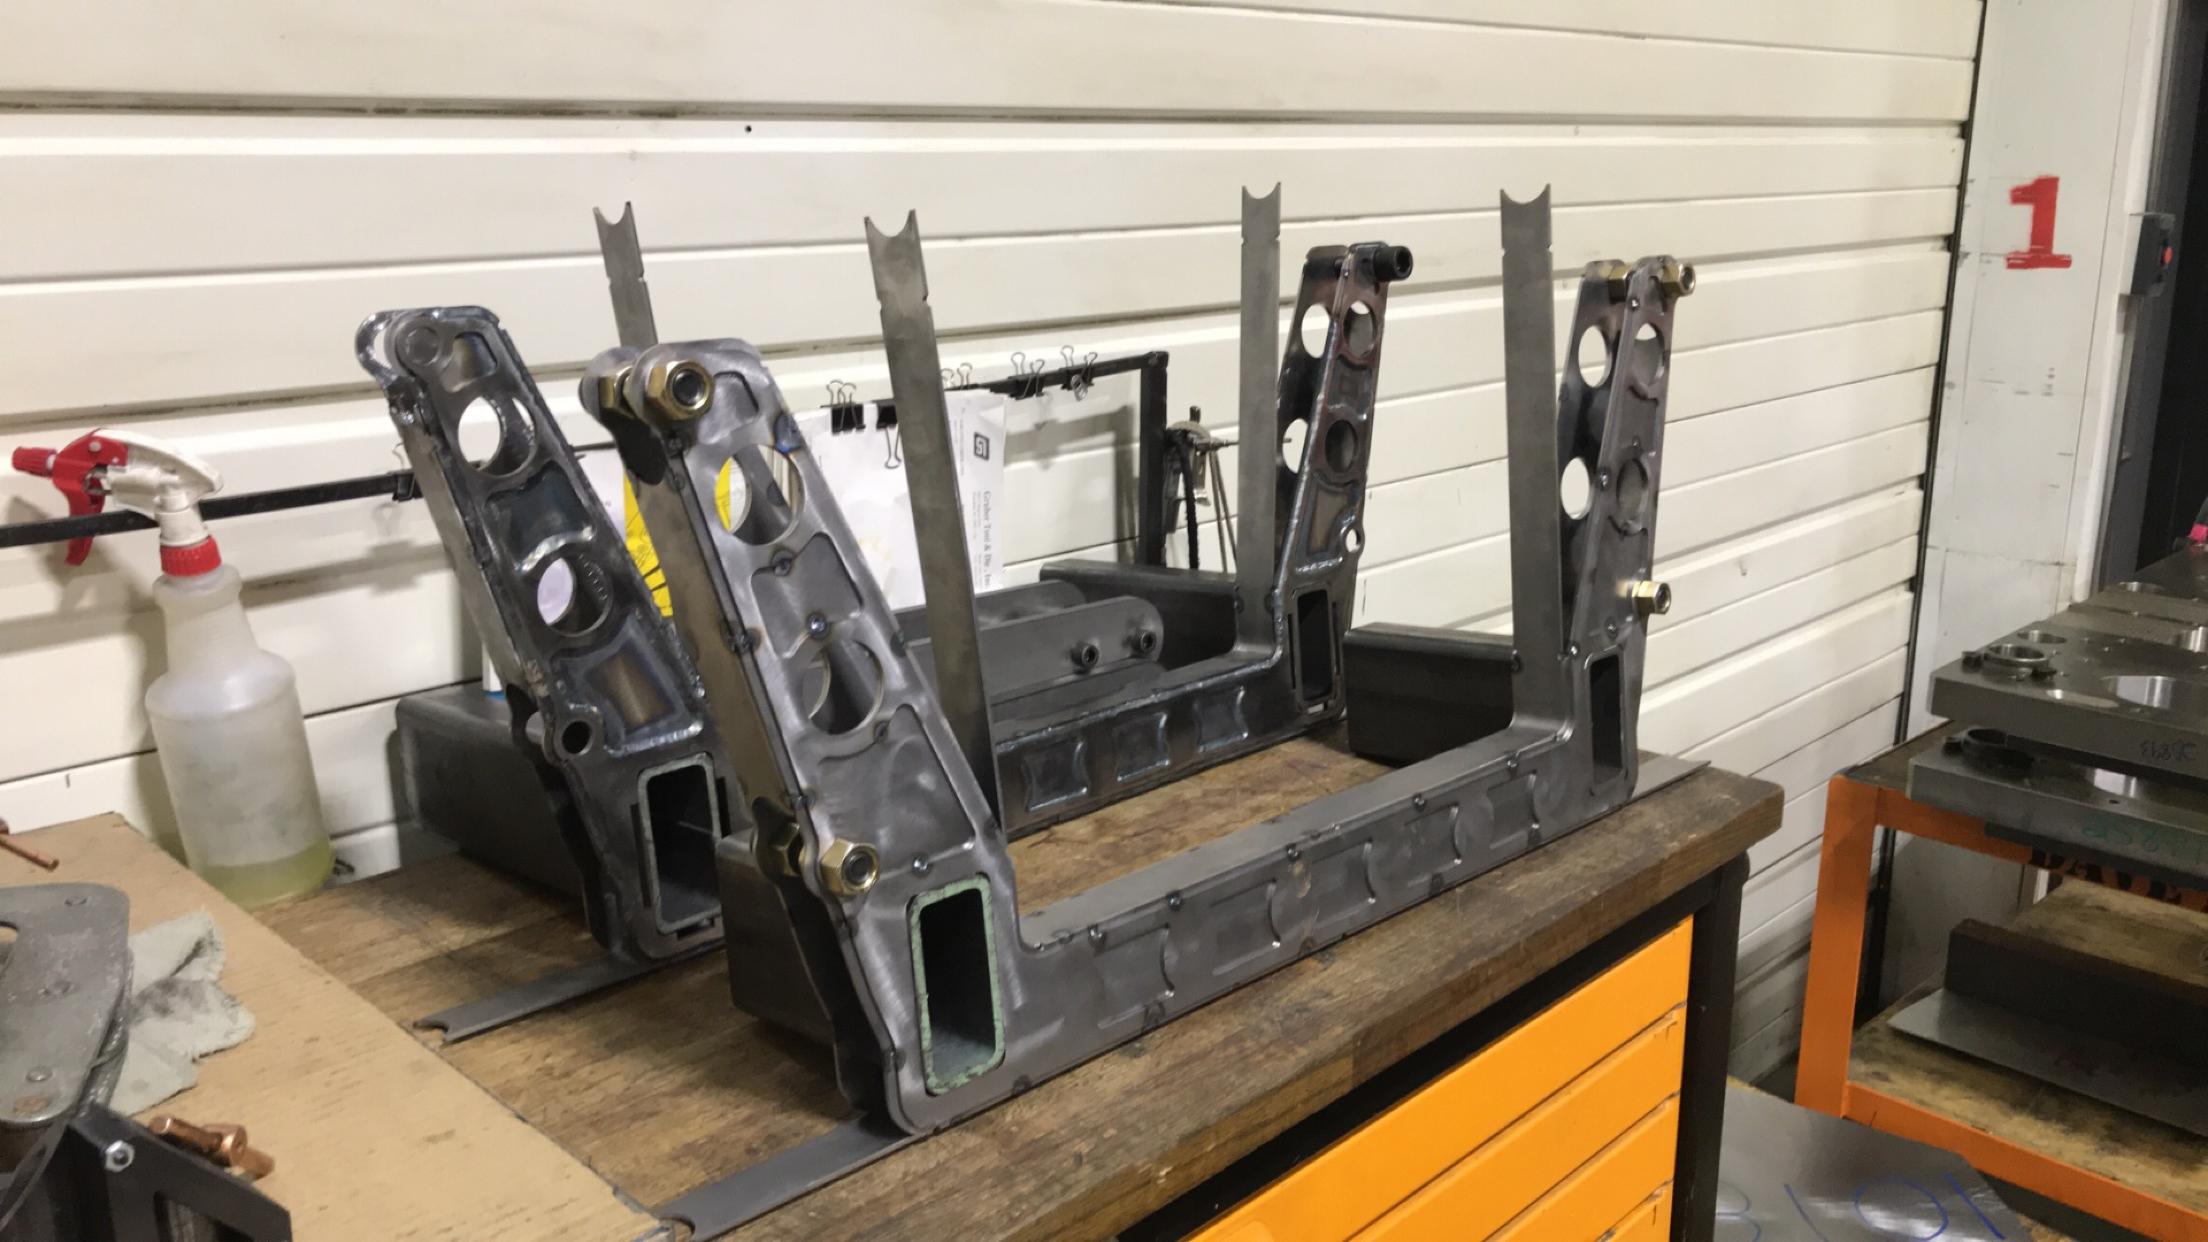
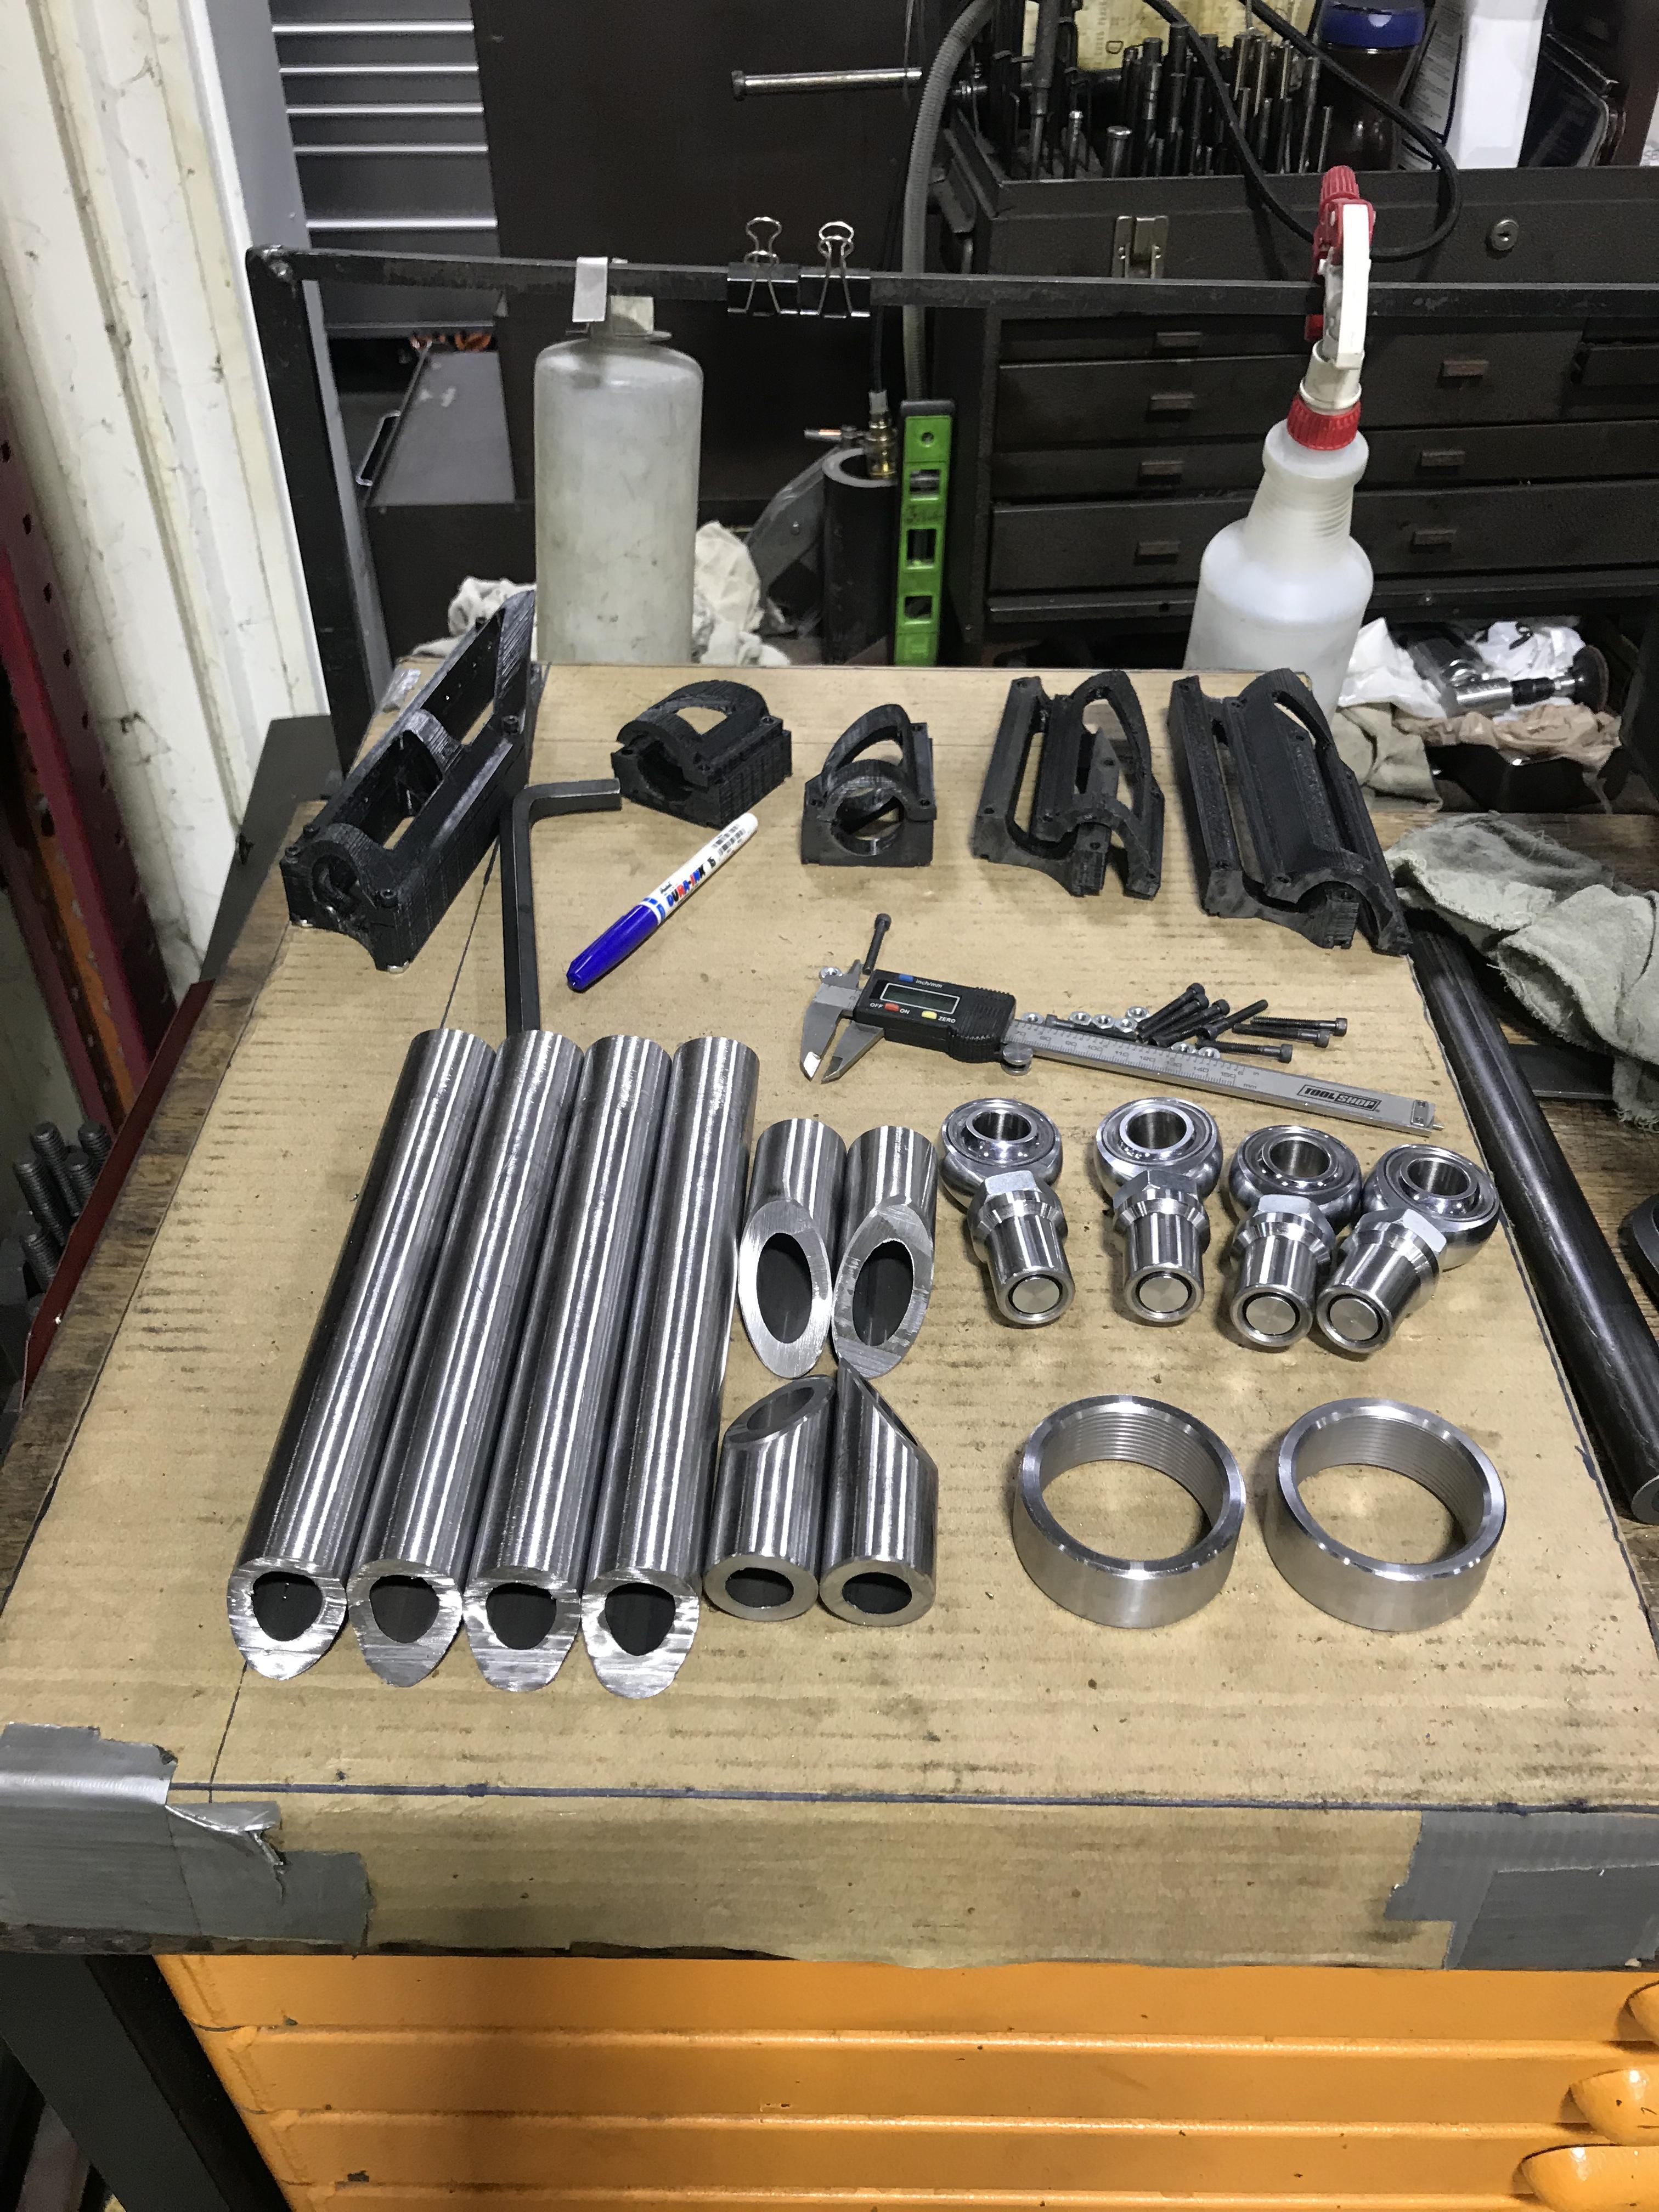
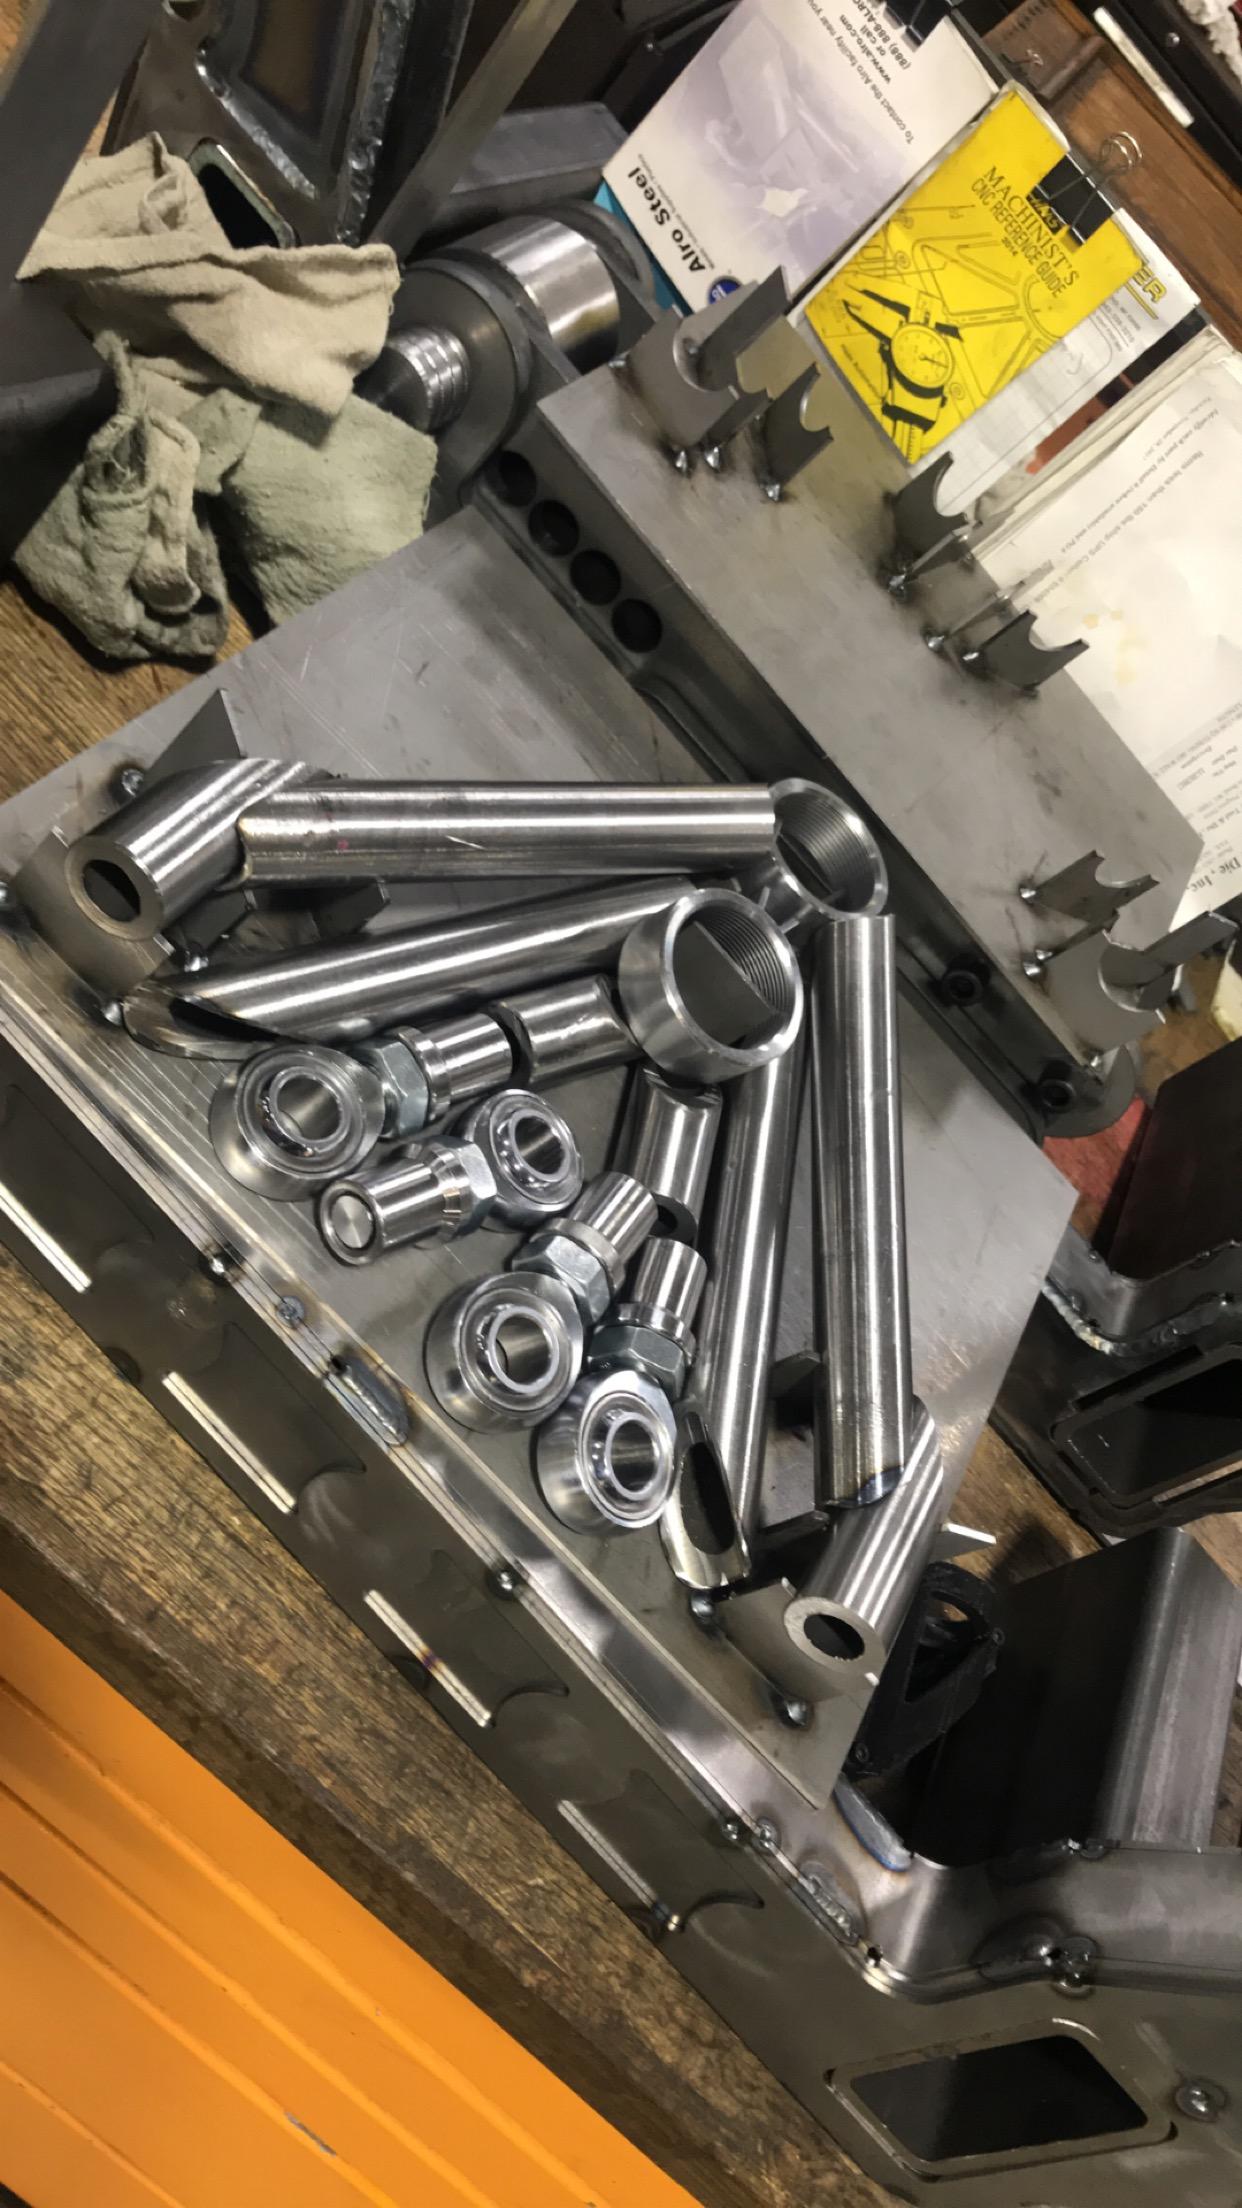
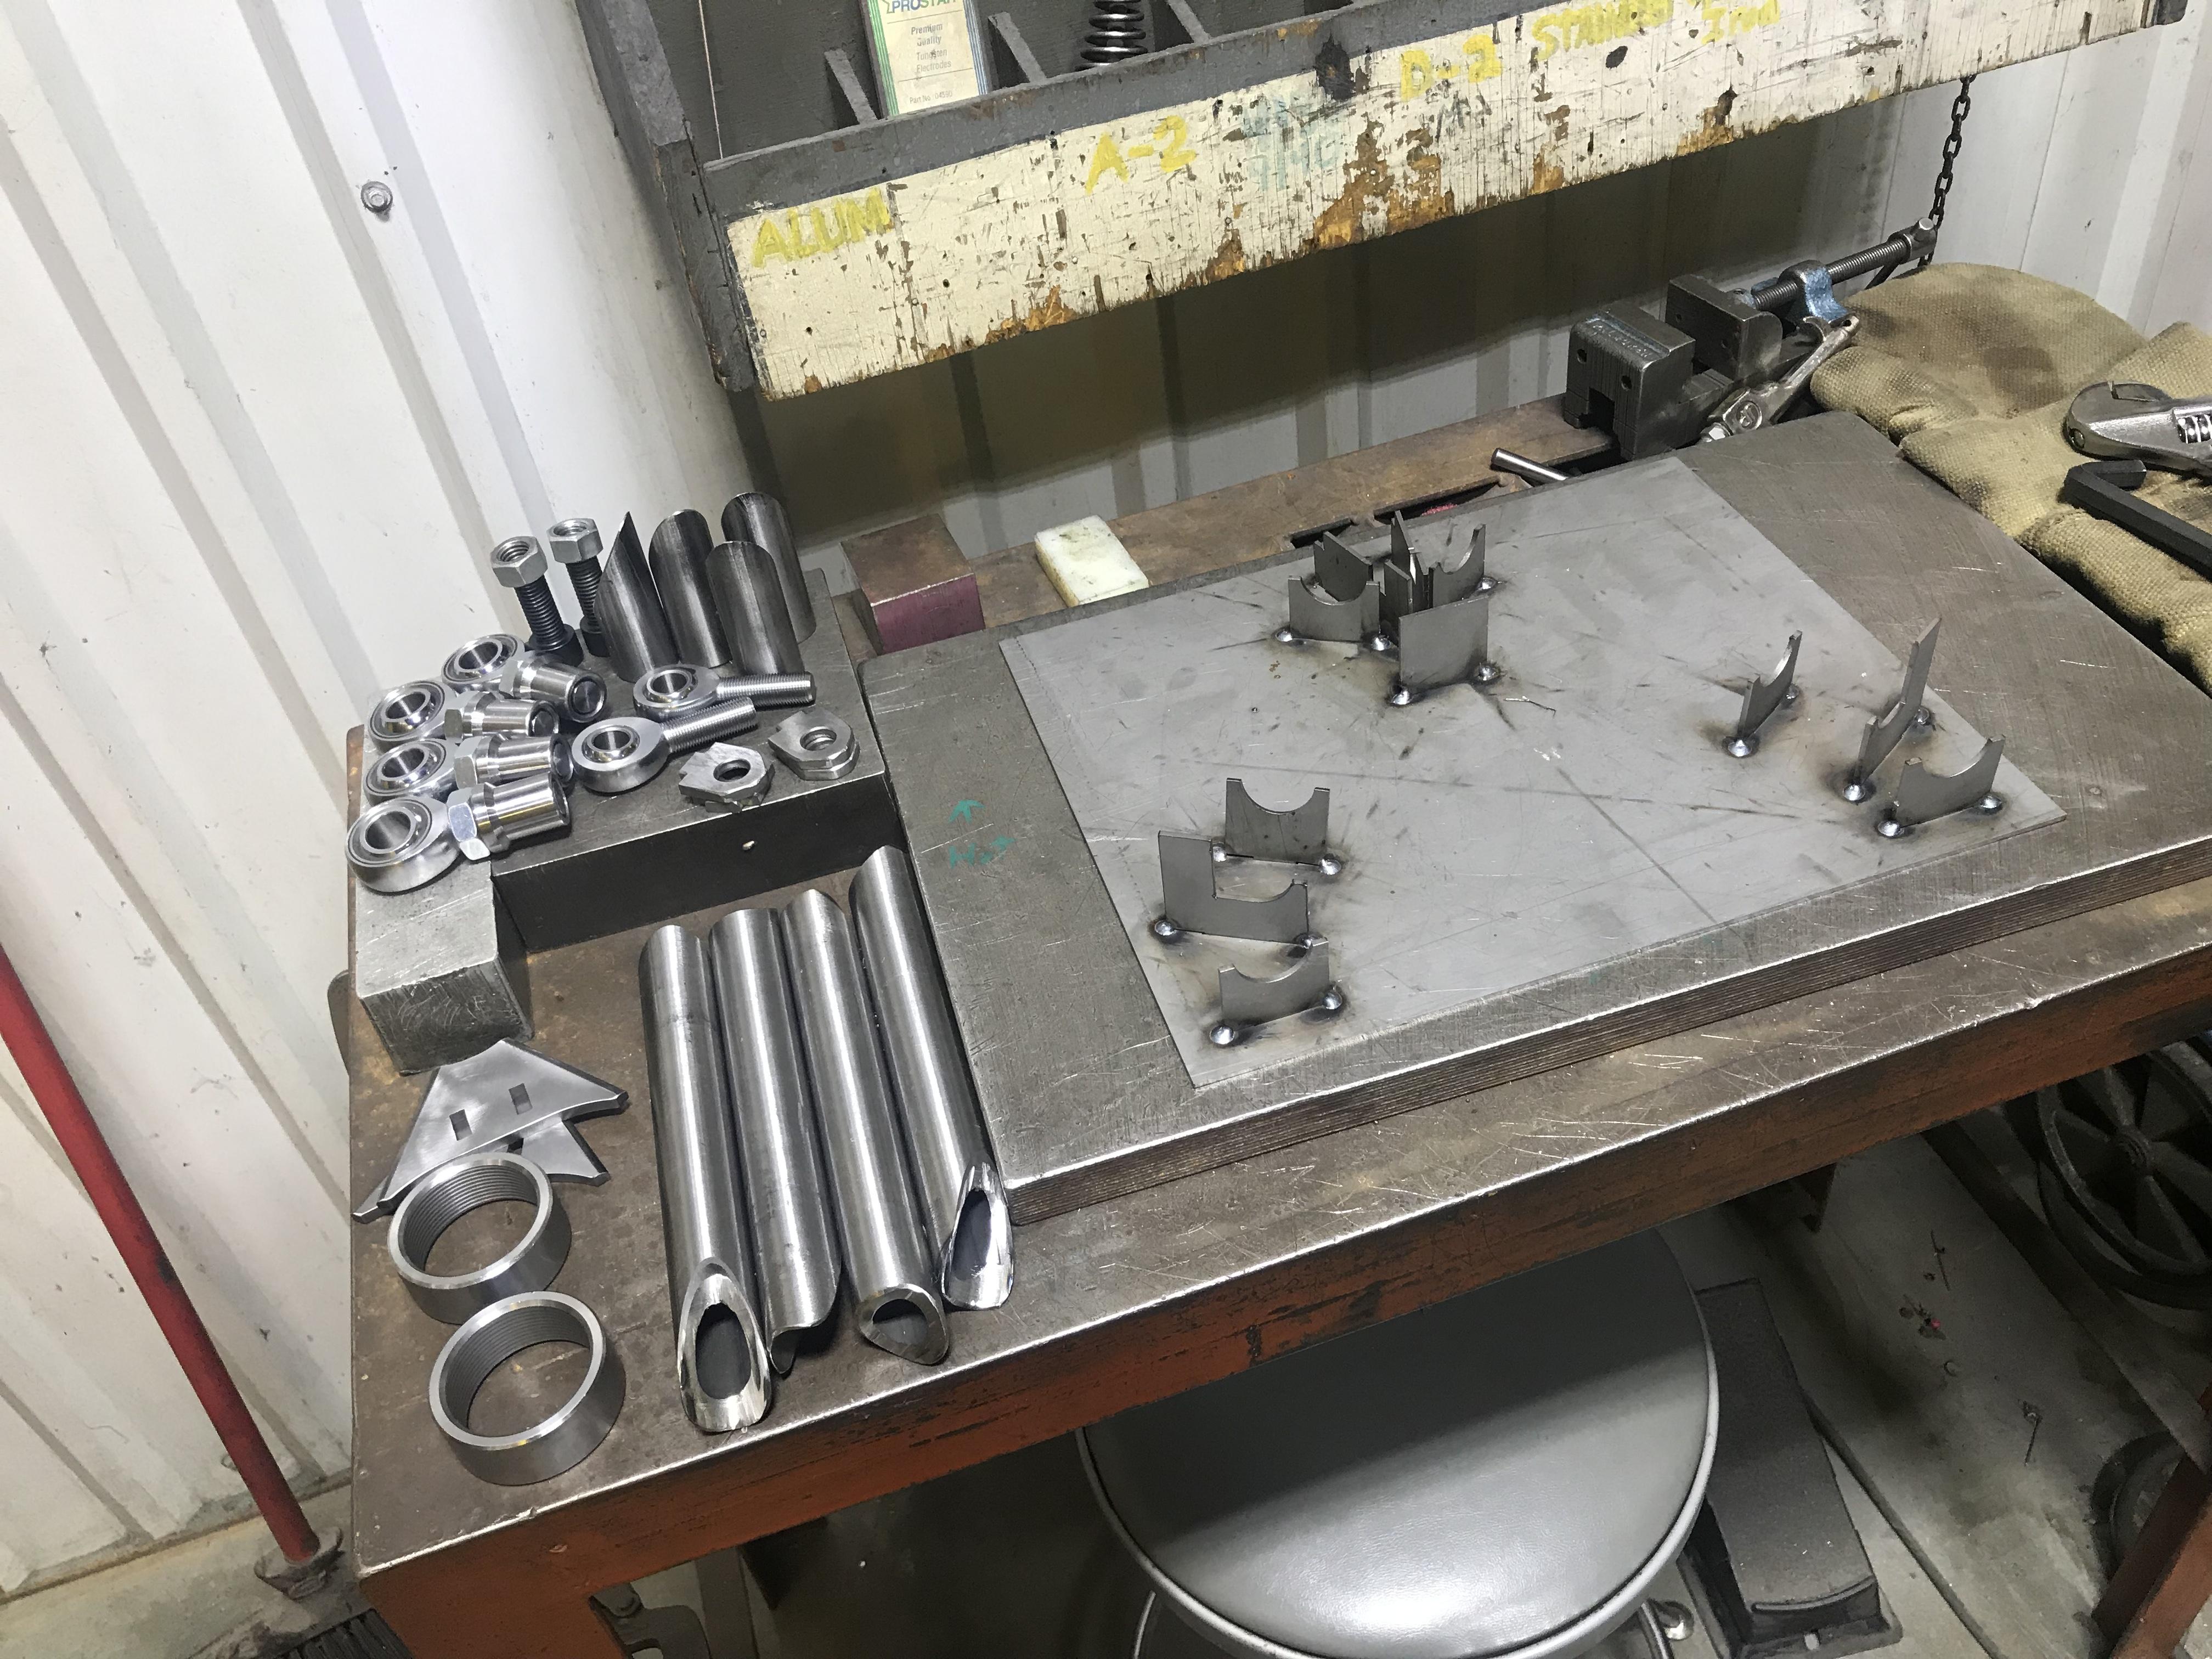
                Update. 

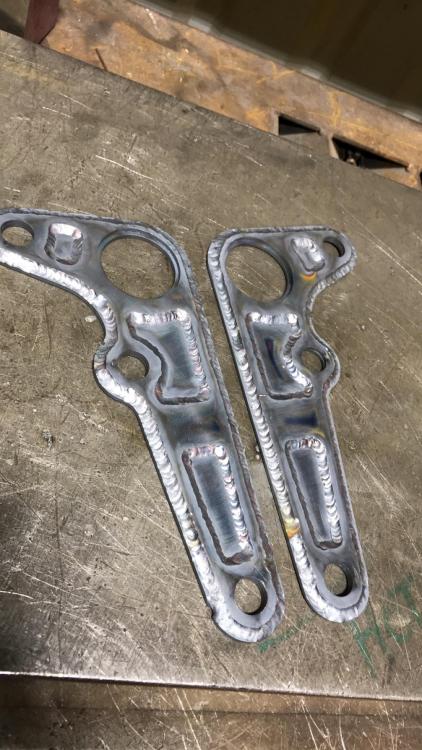
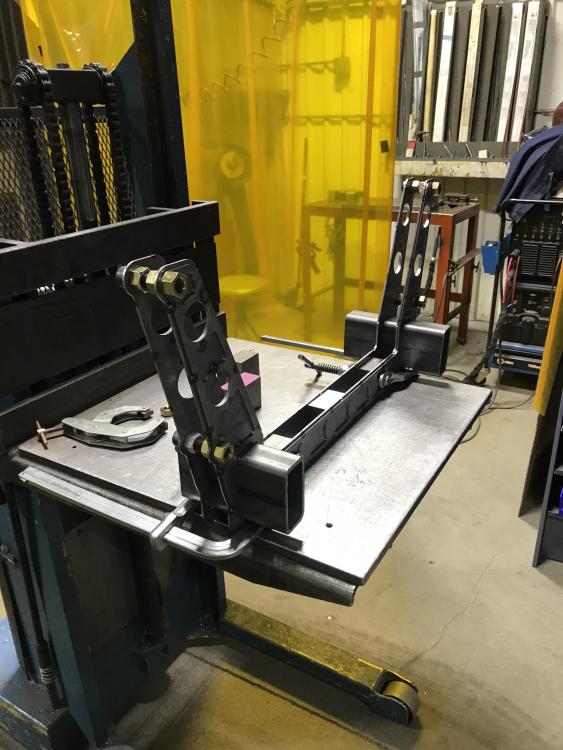
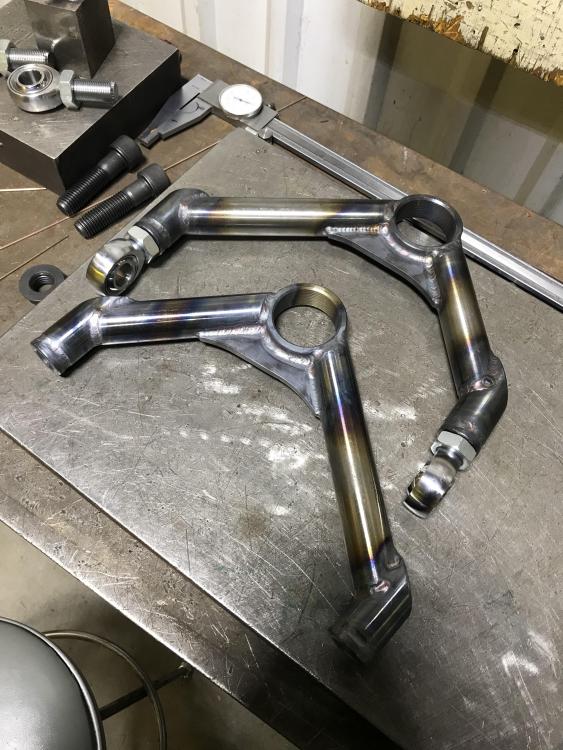
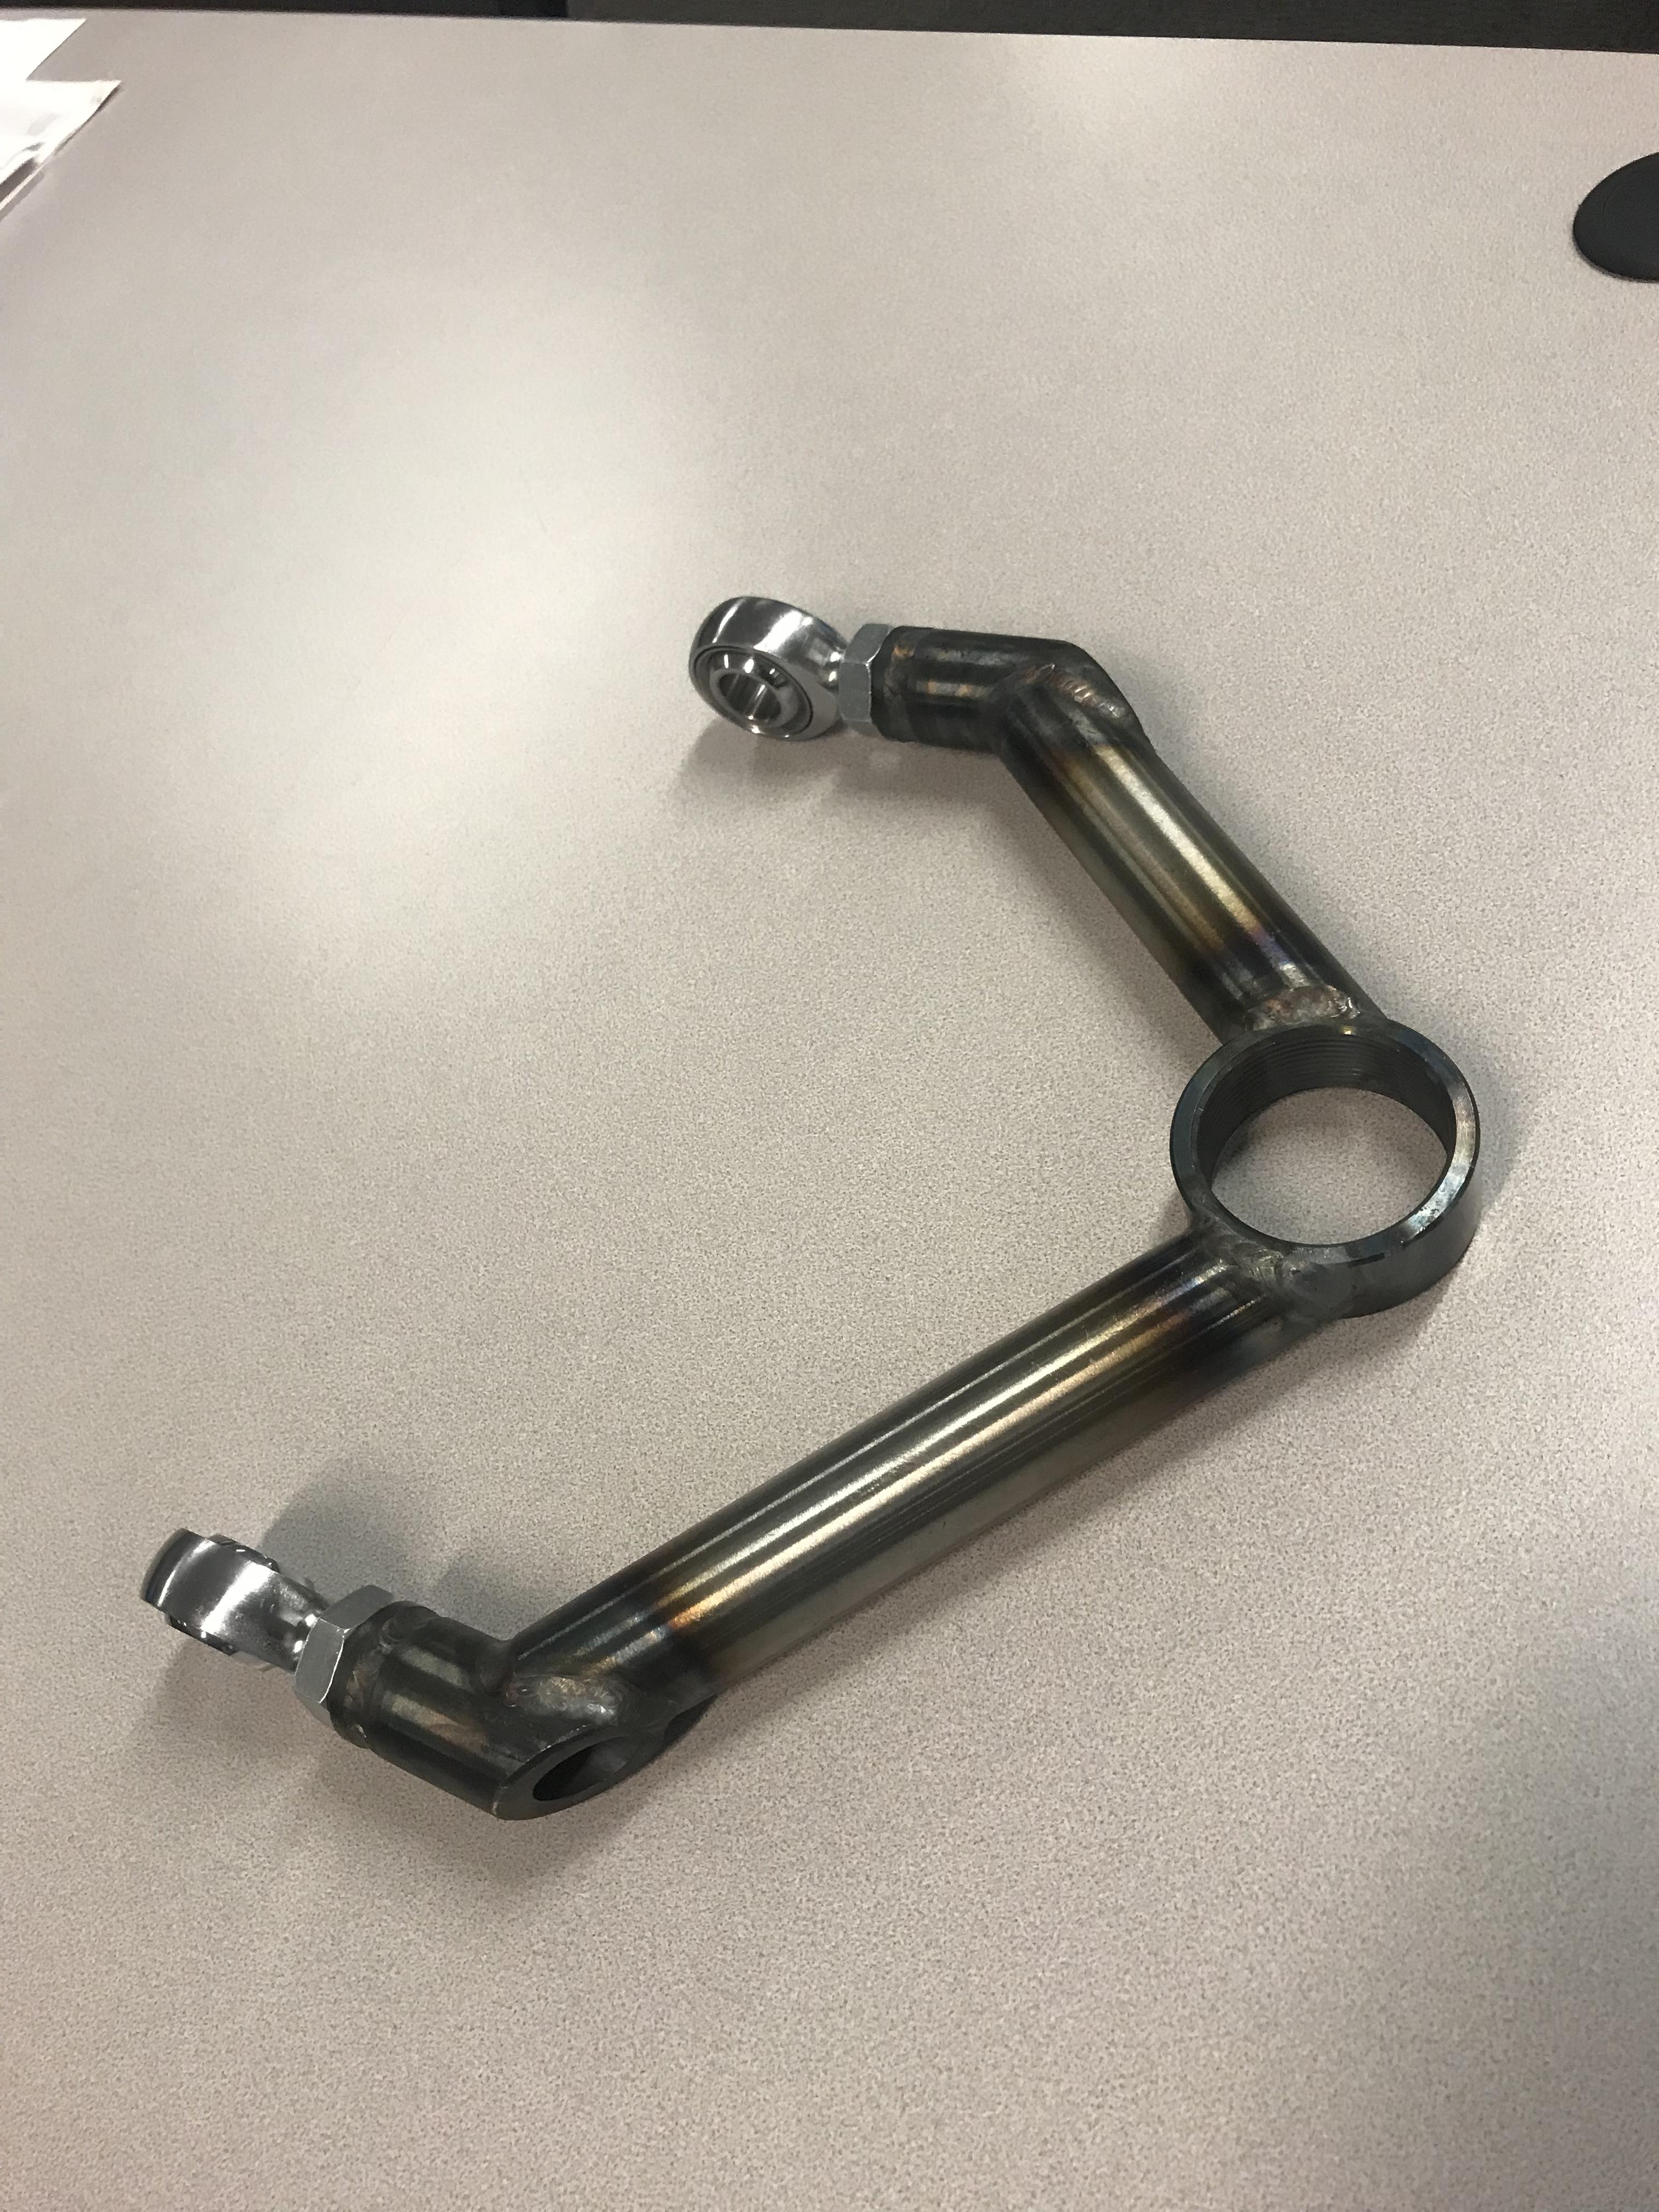
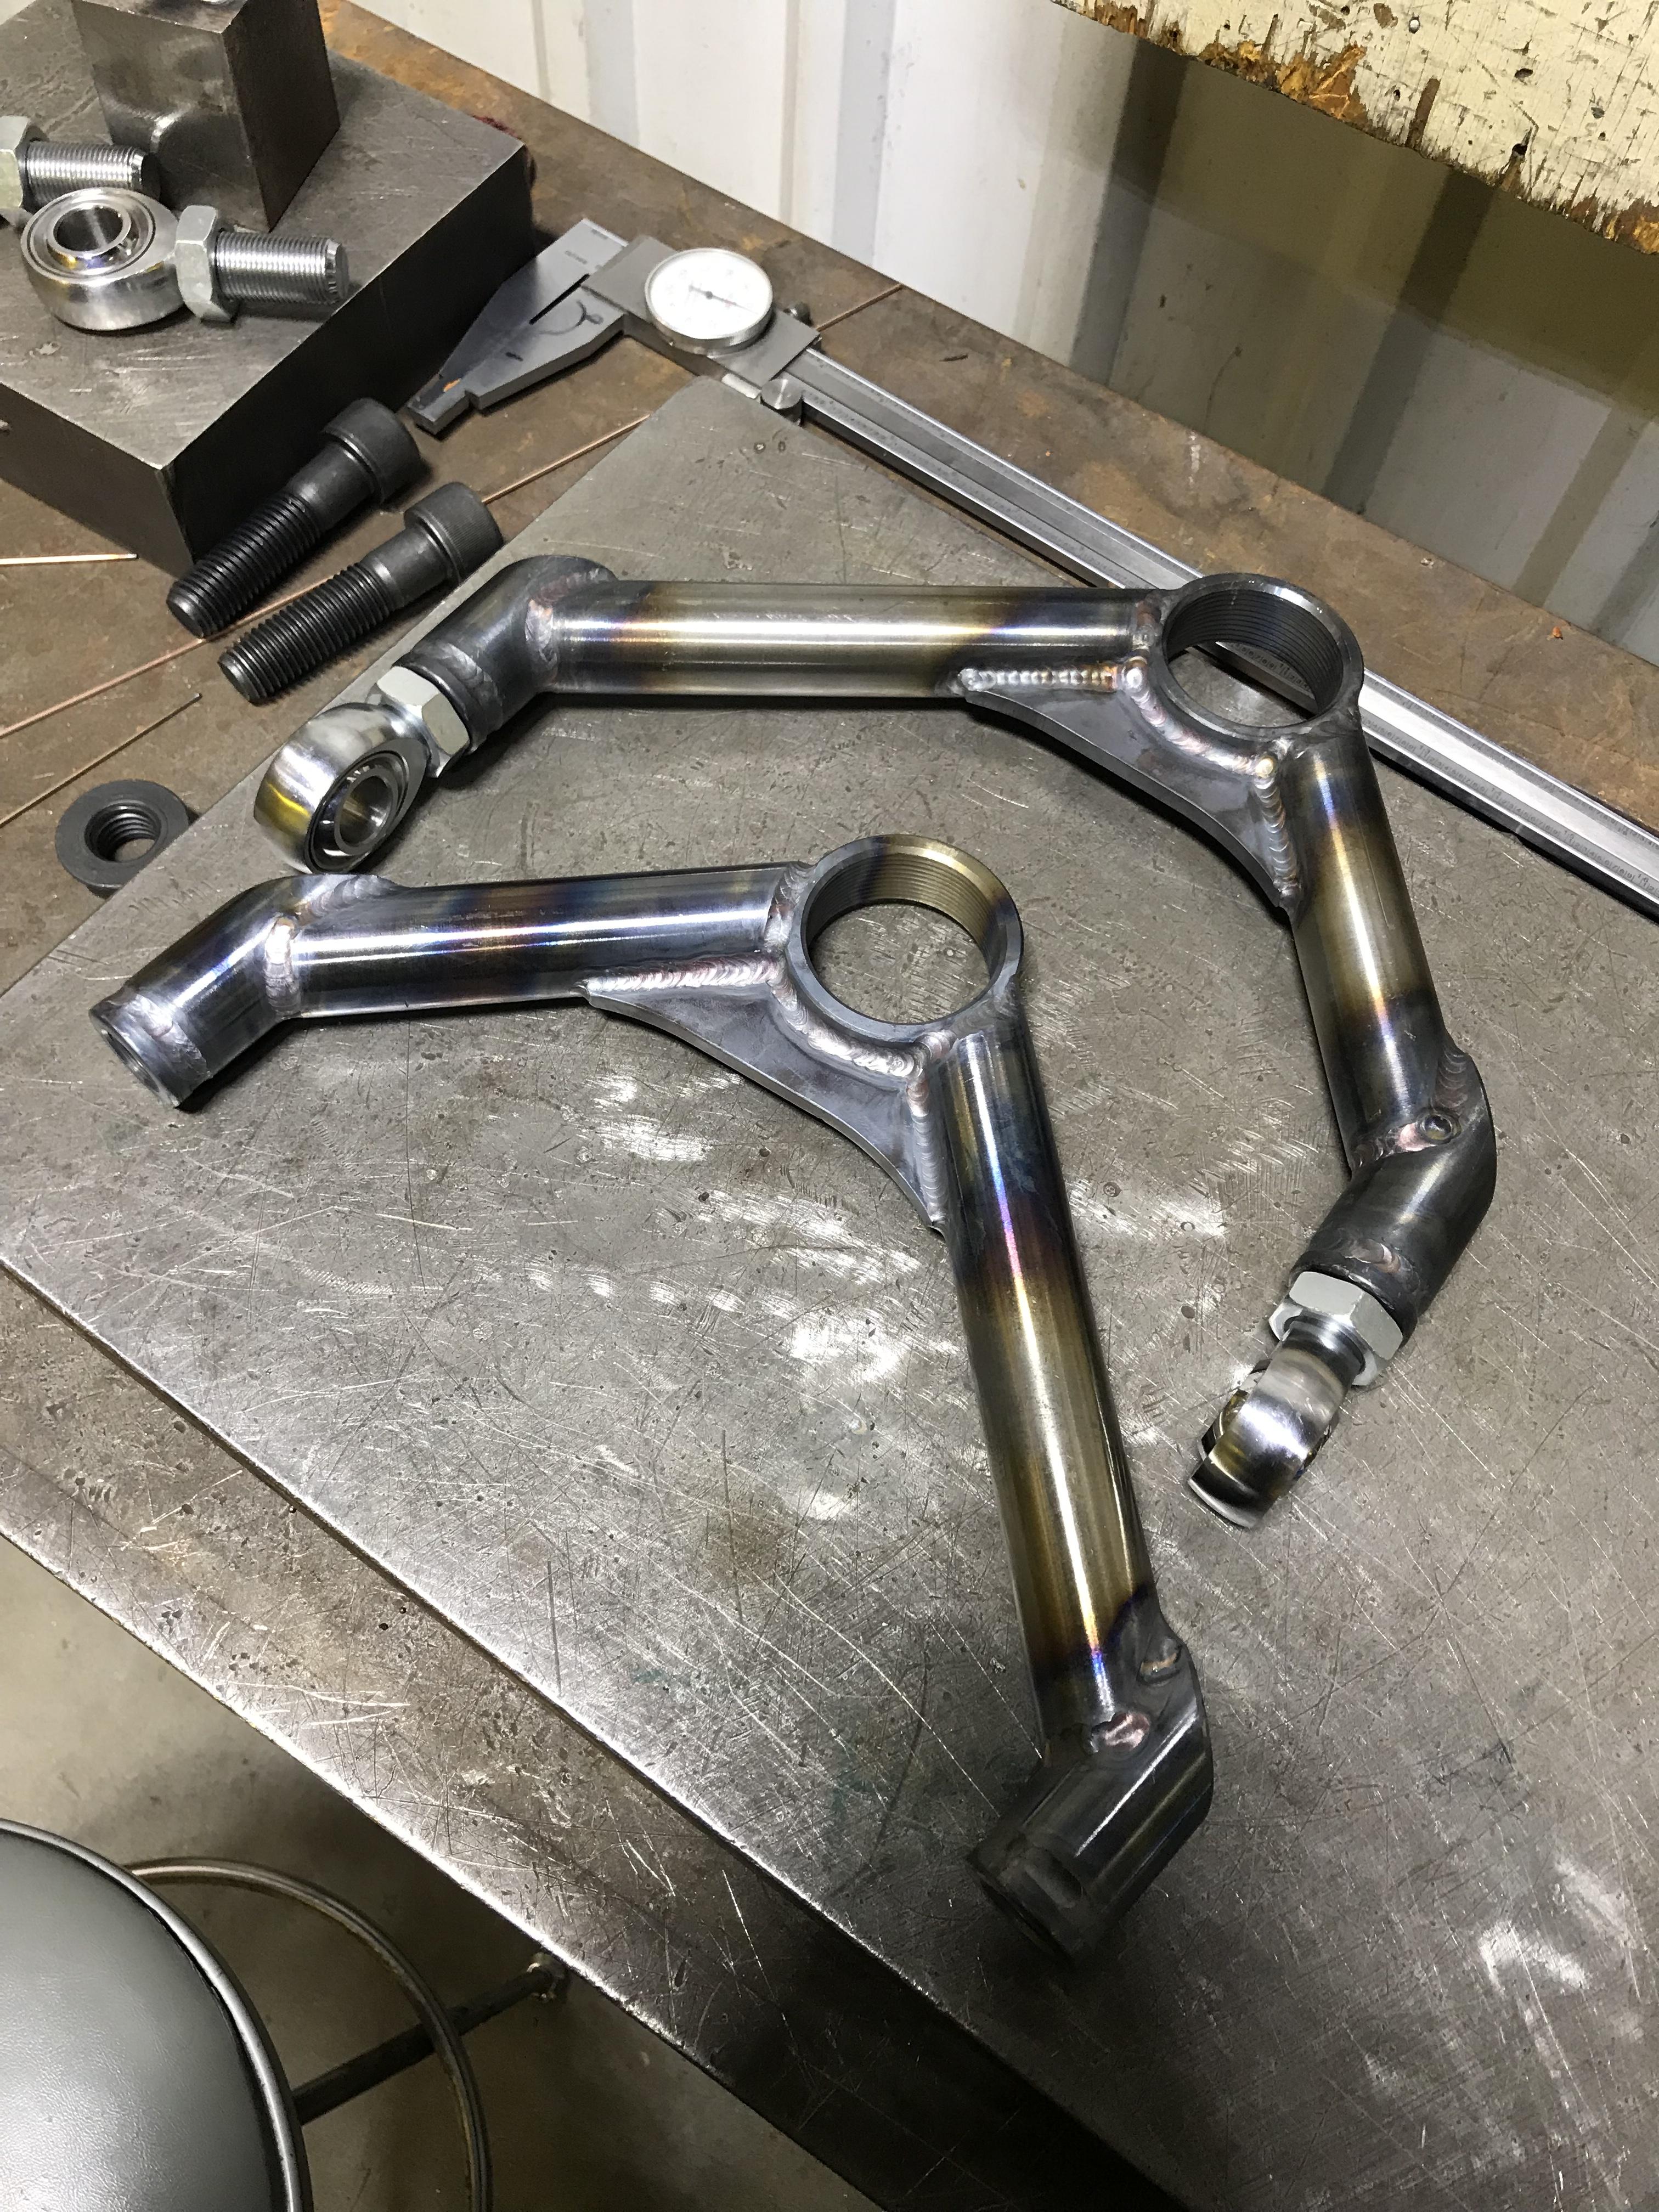
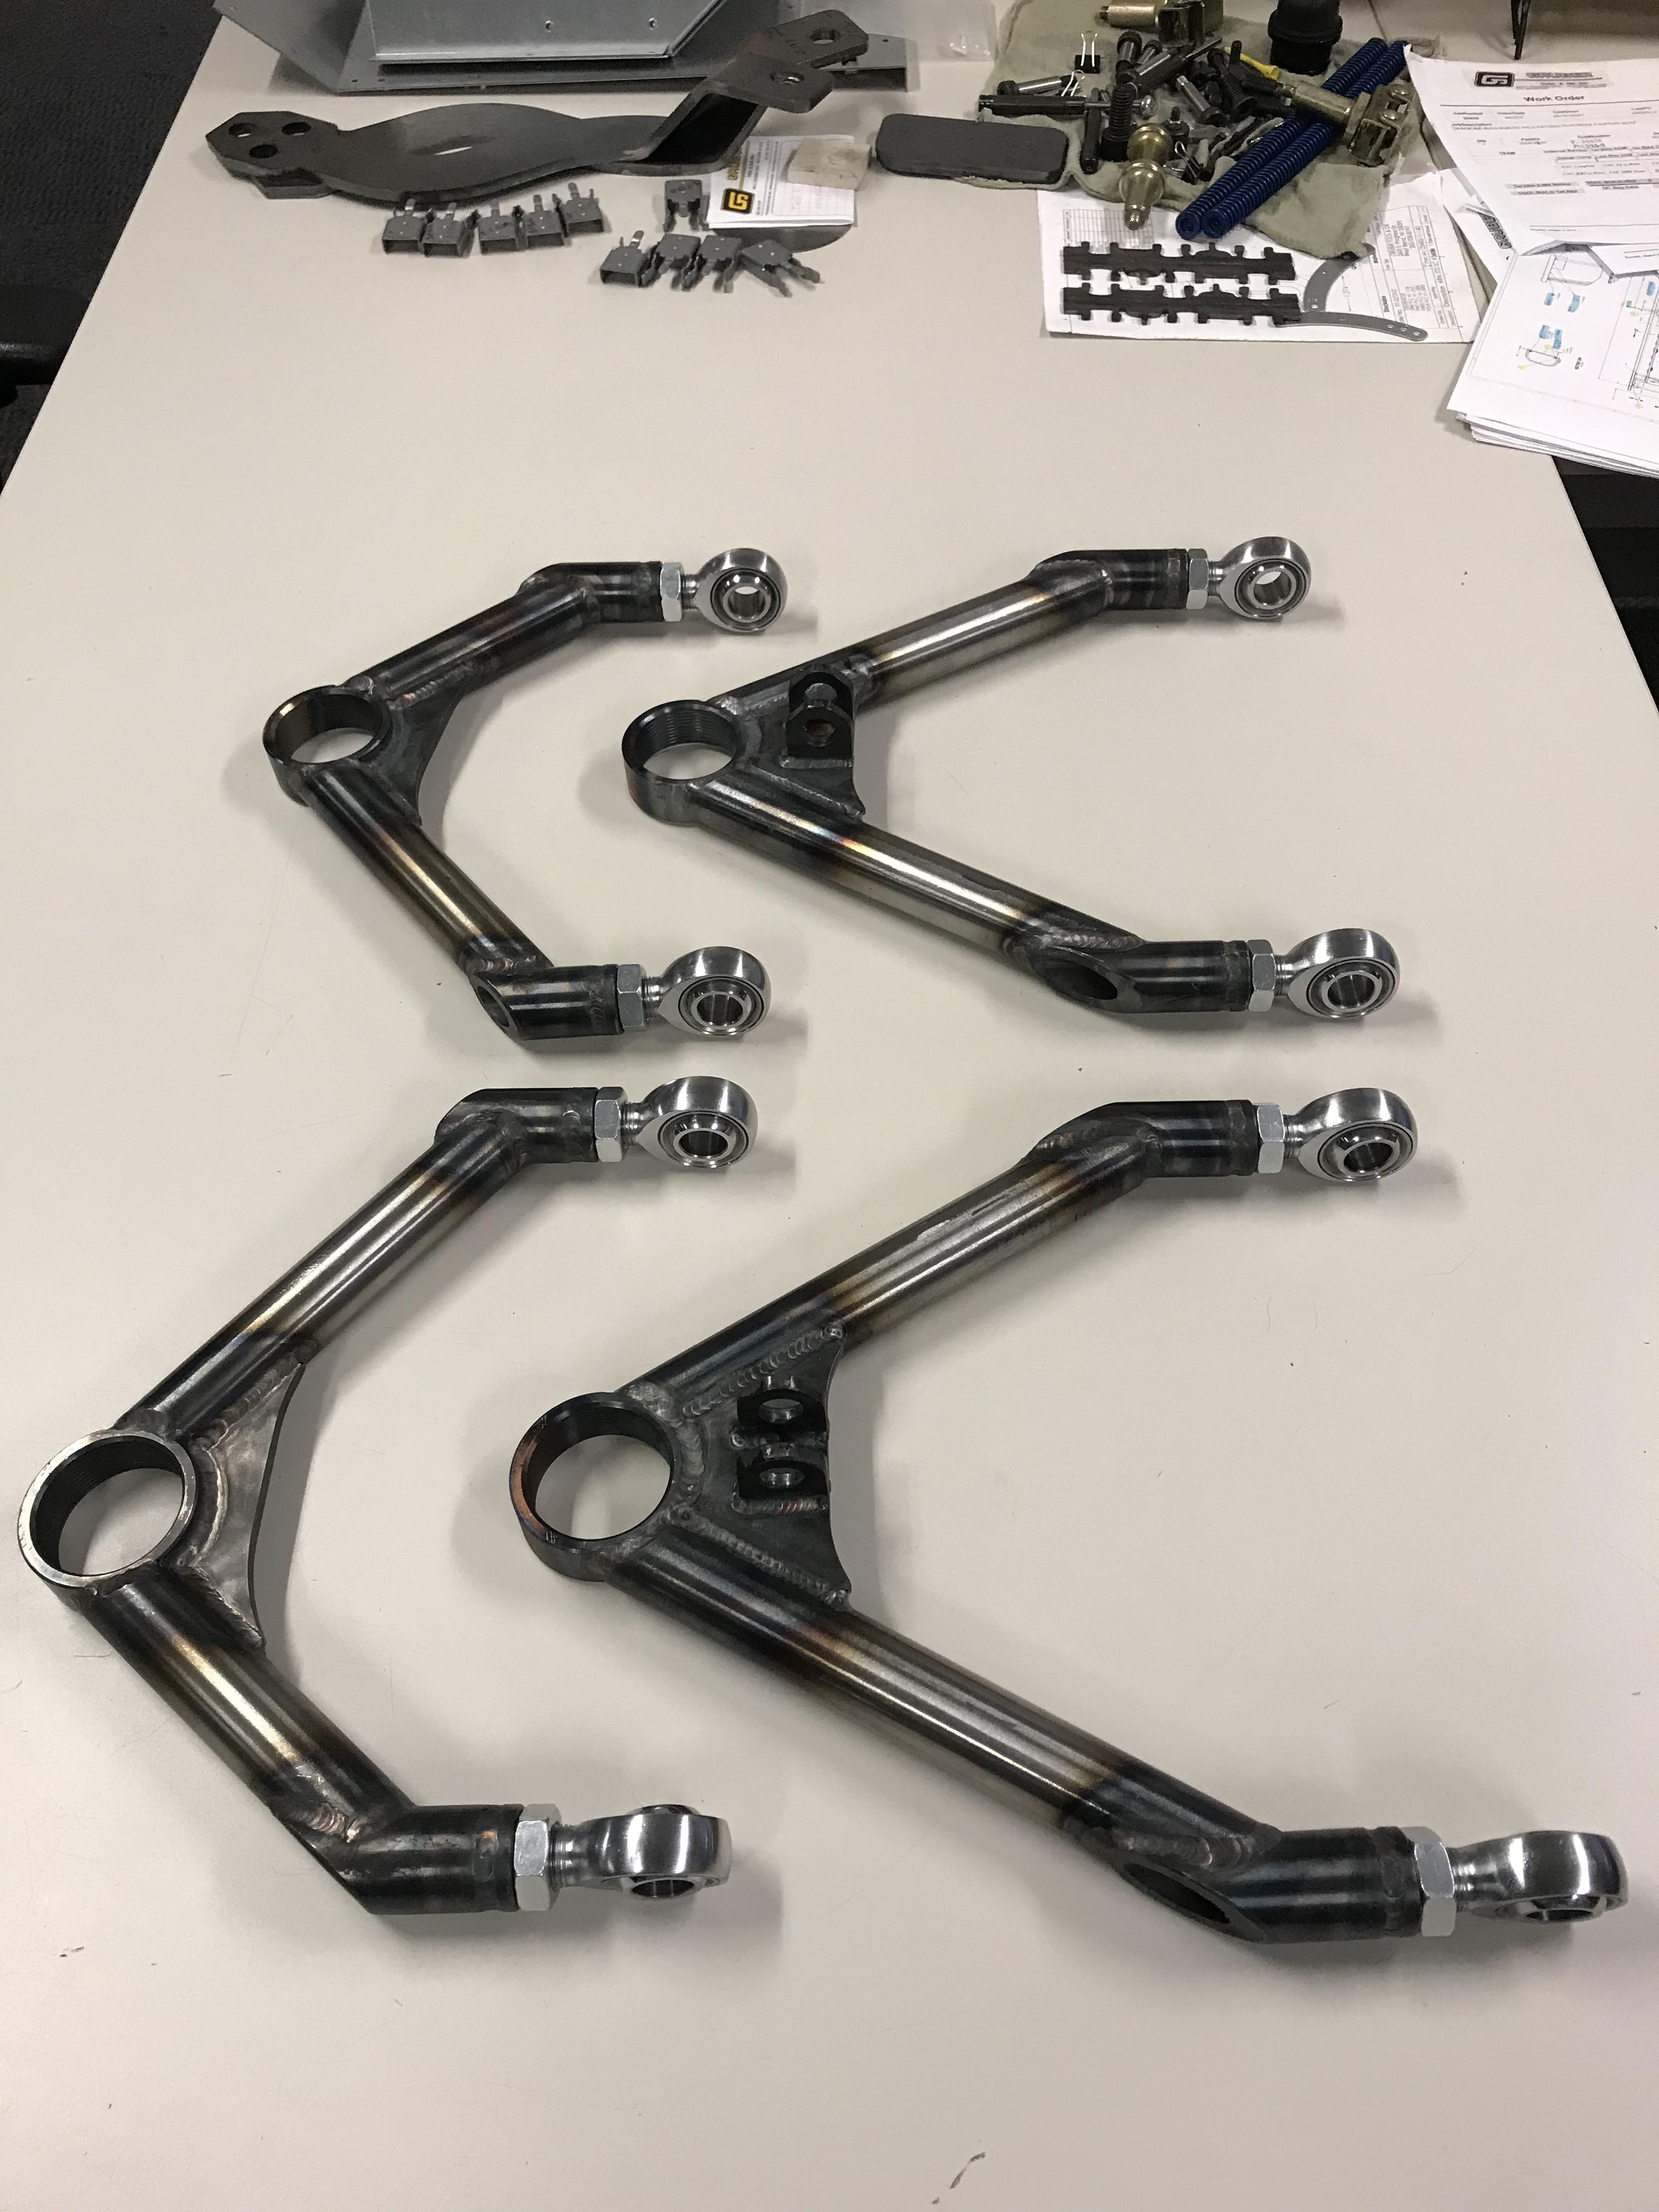
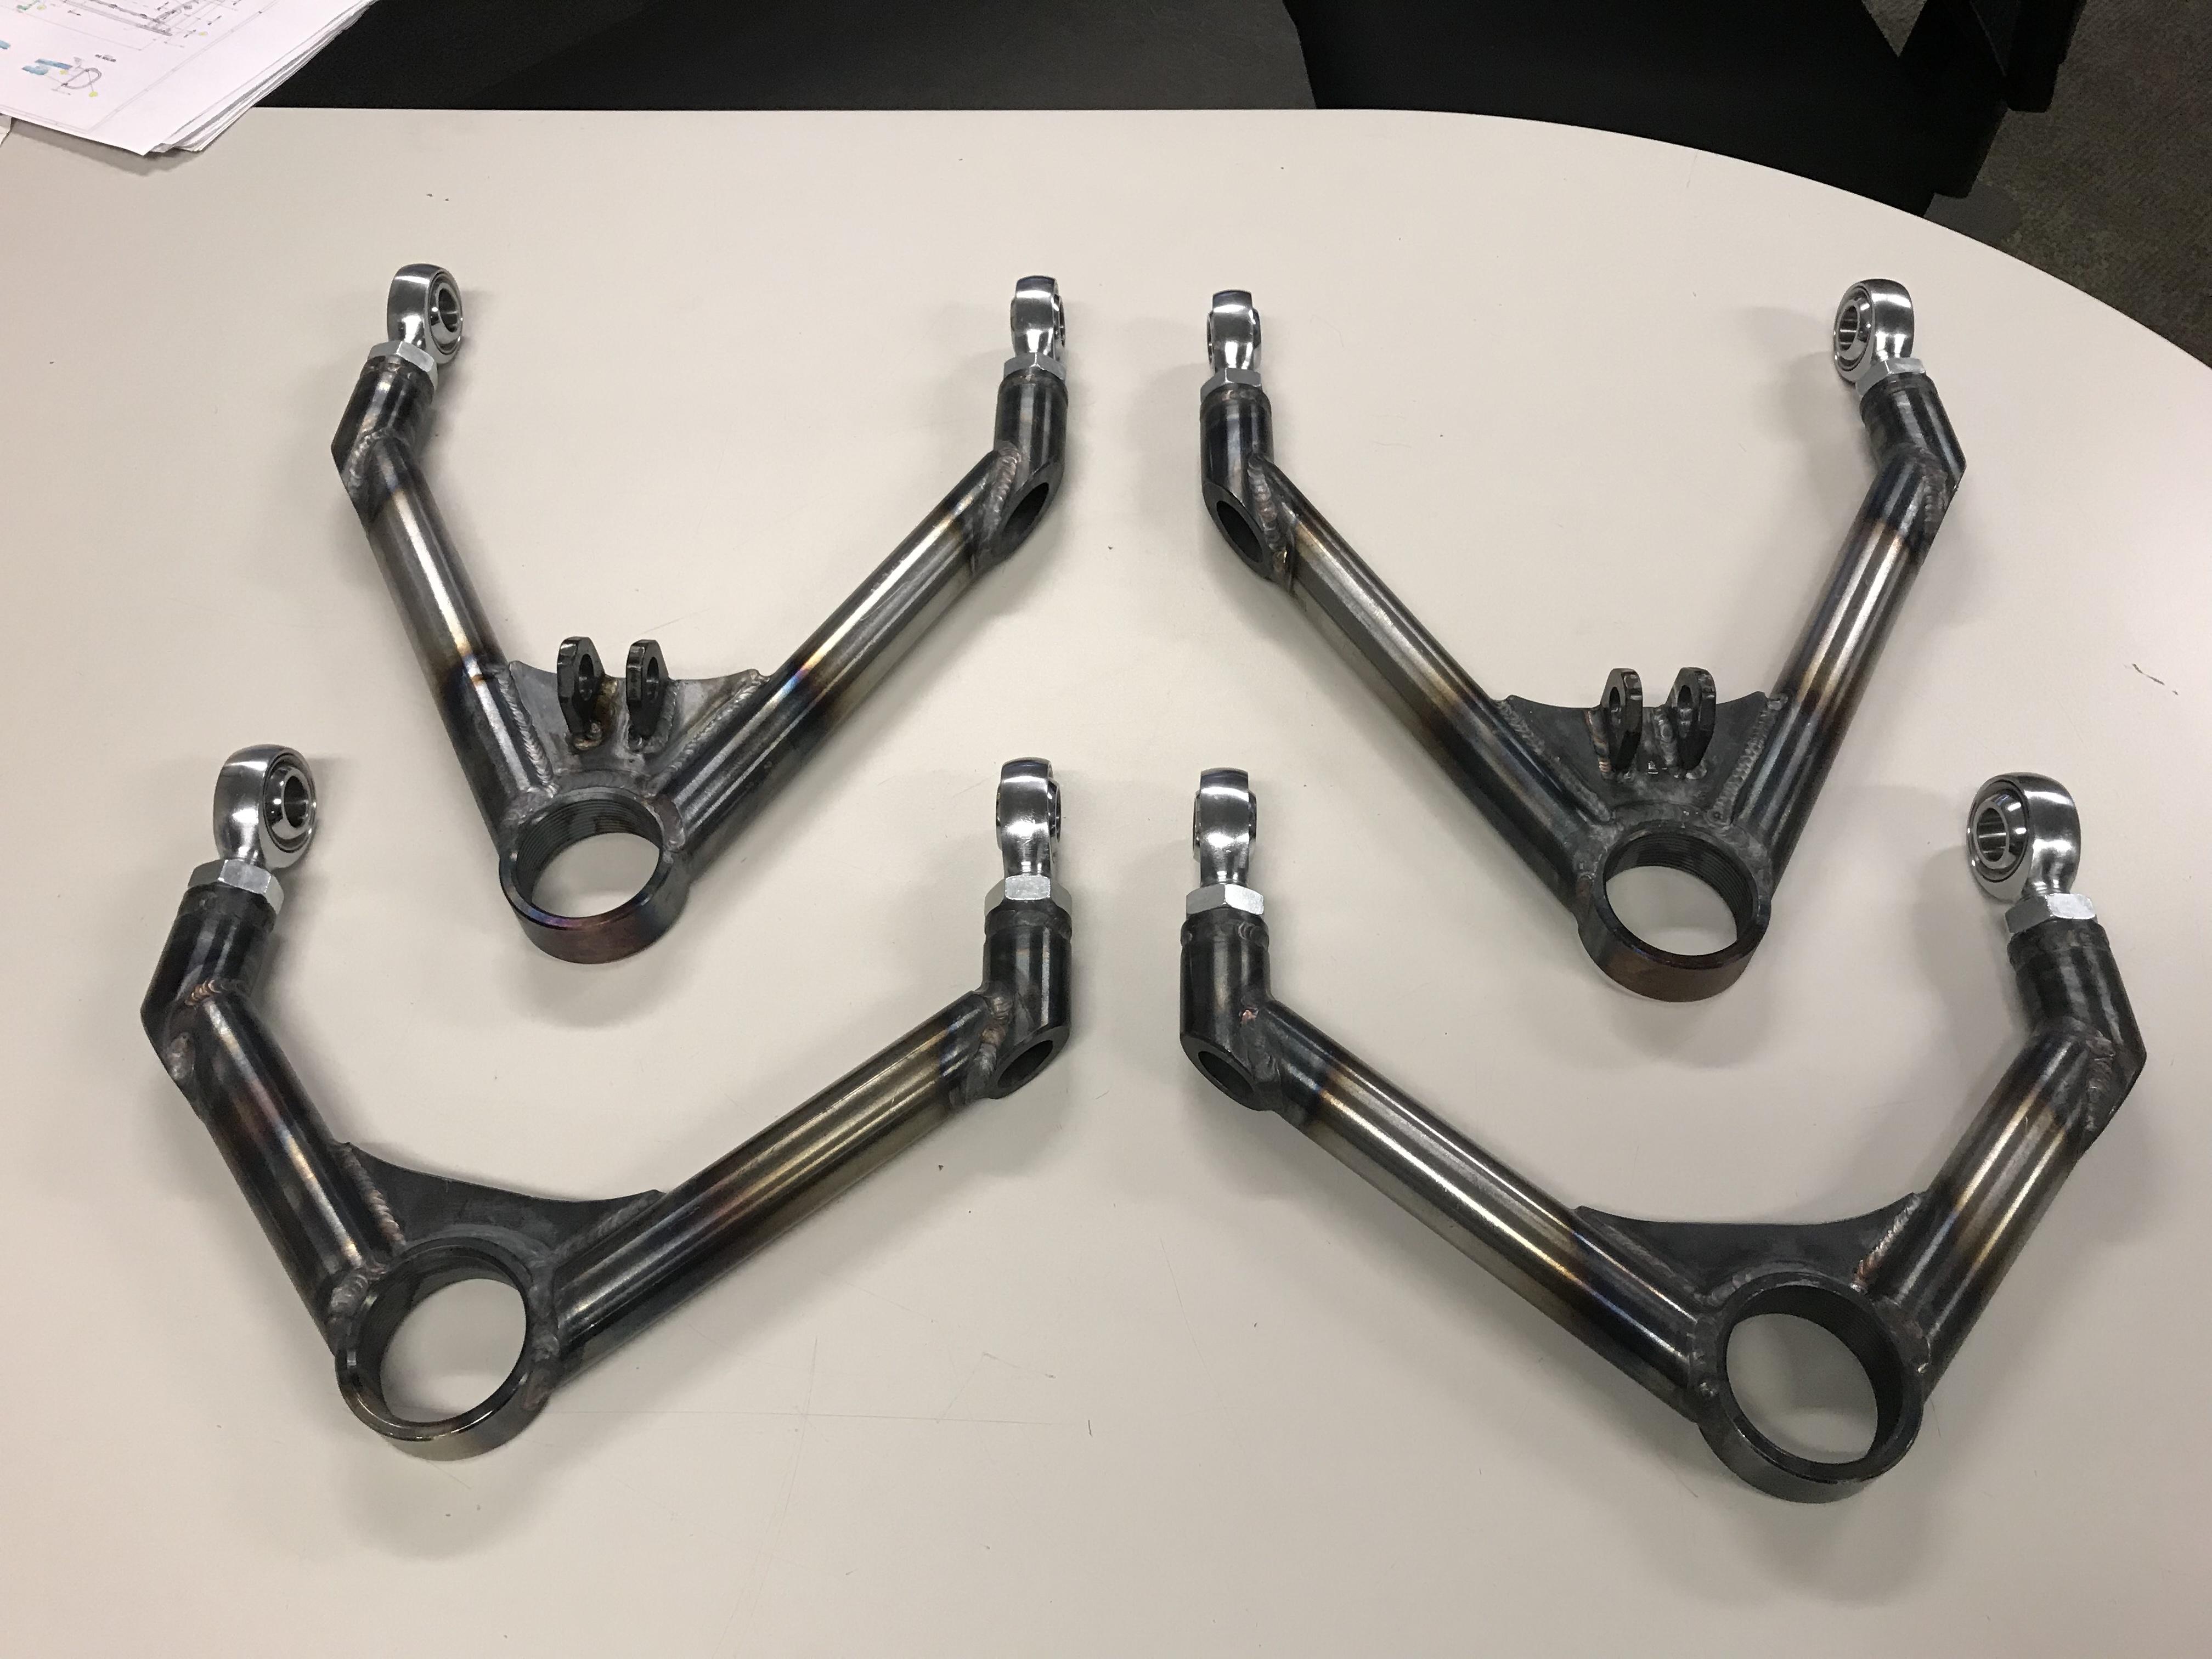
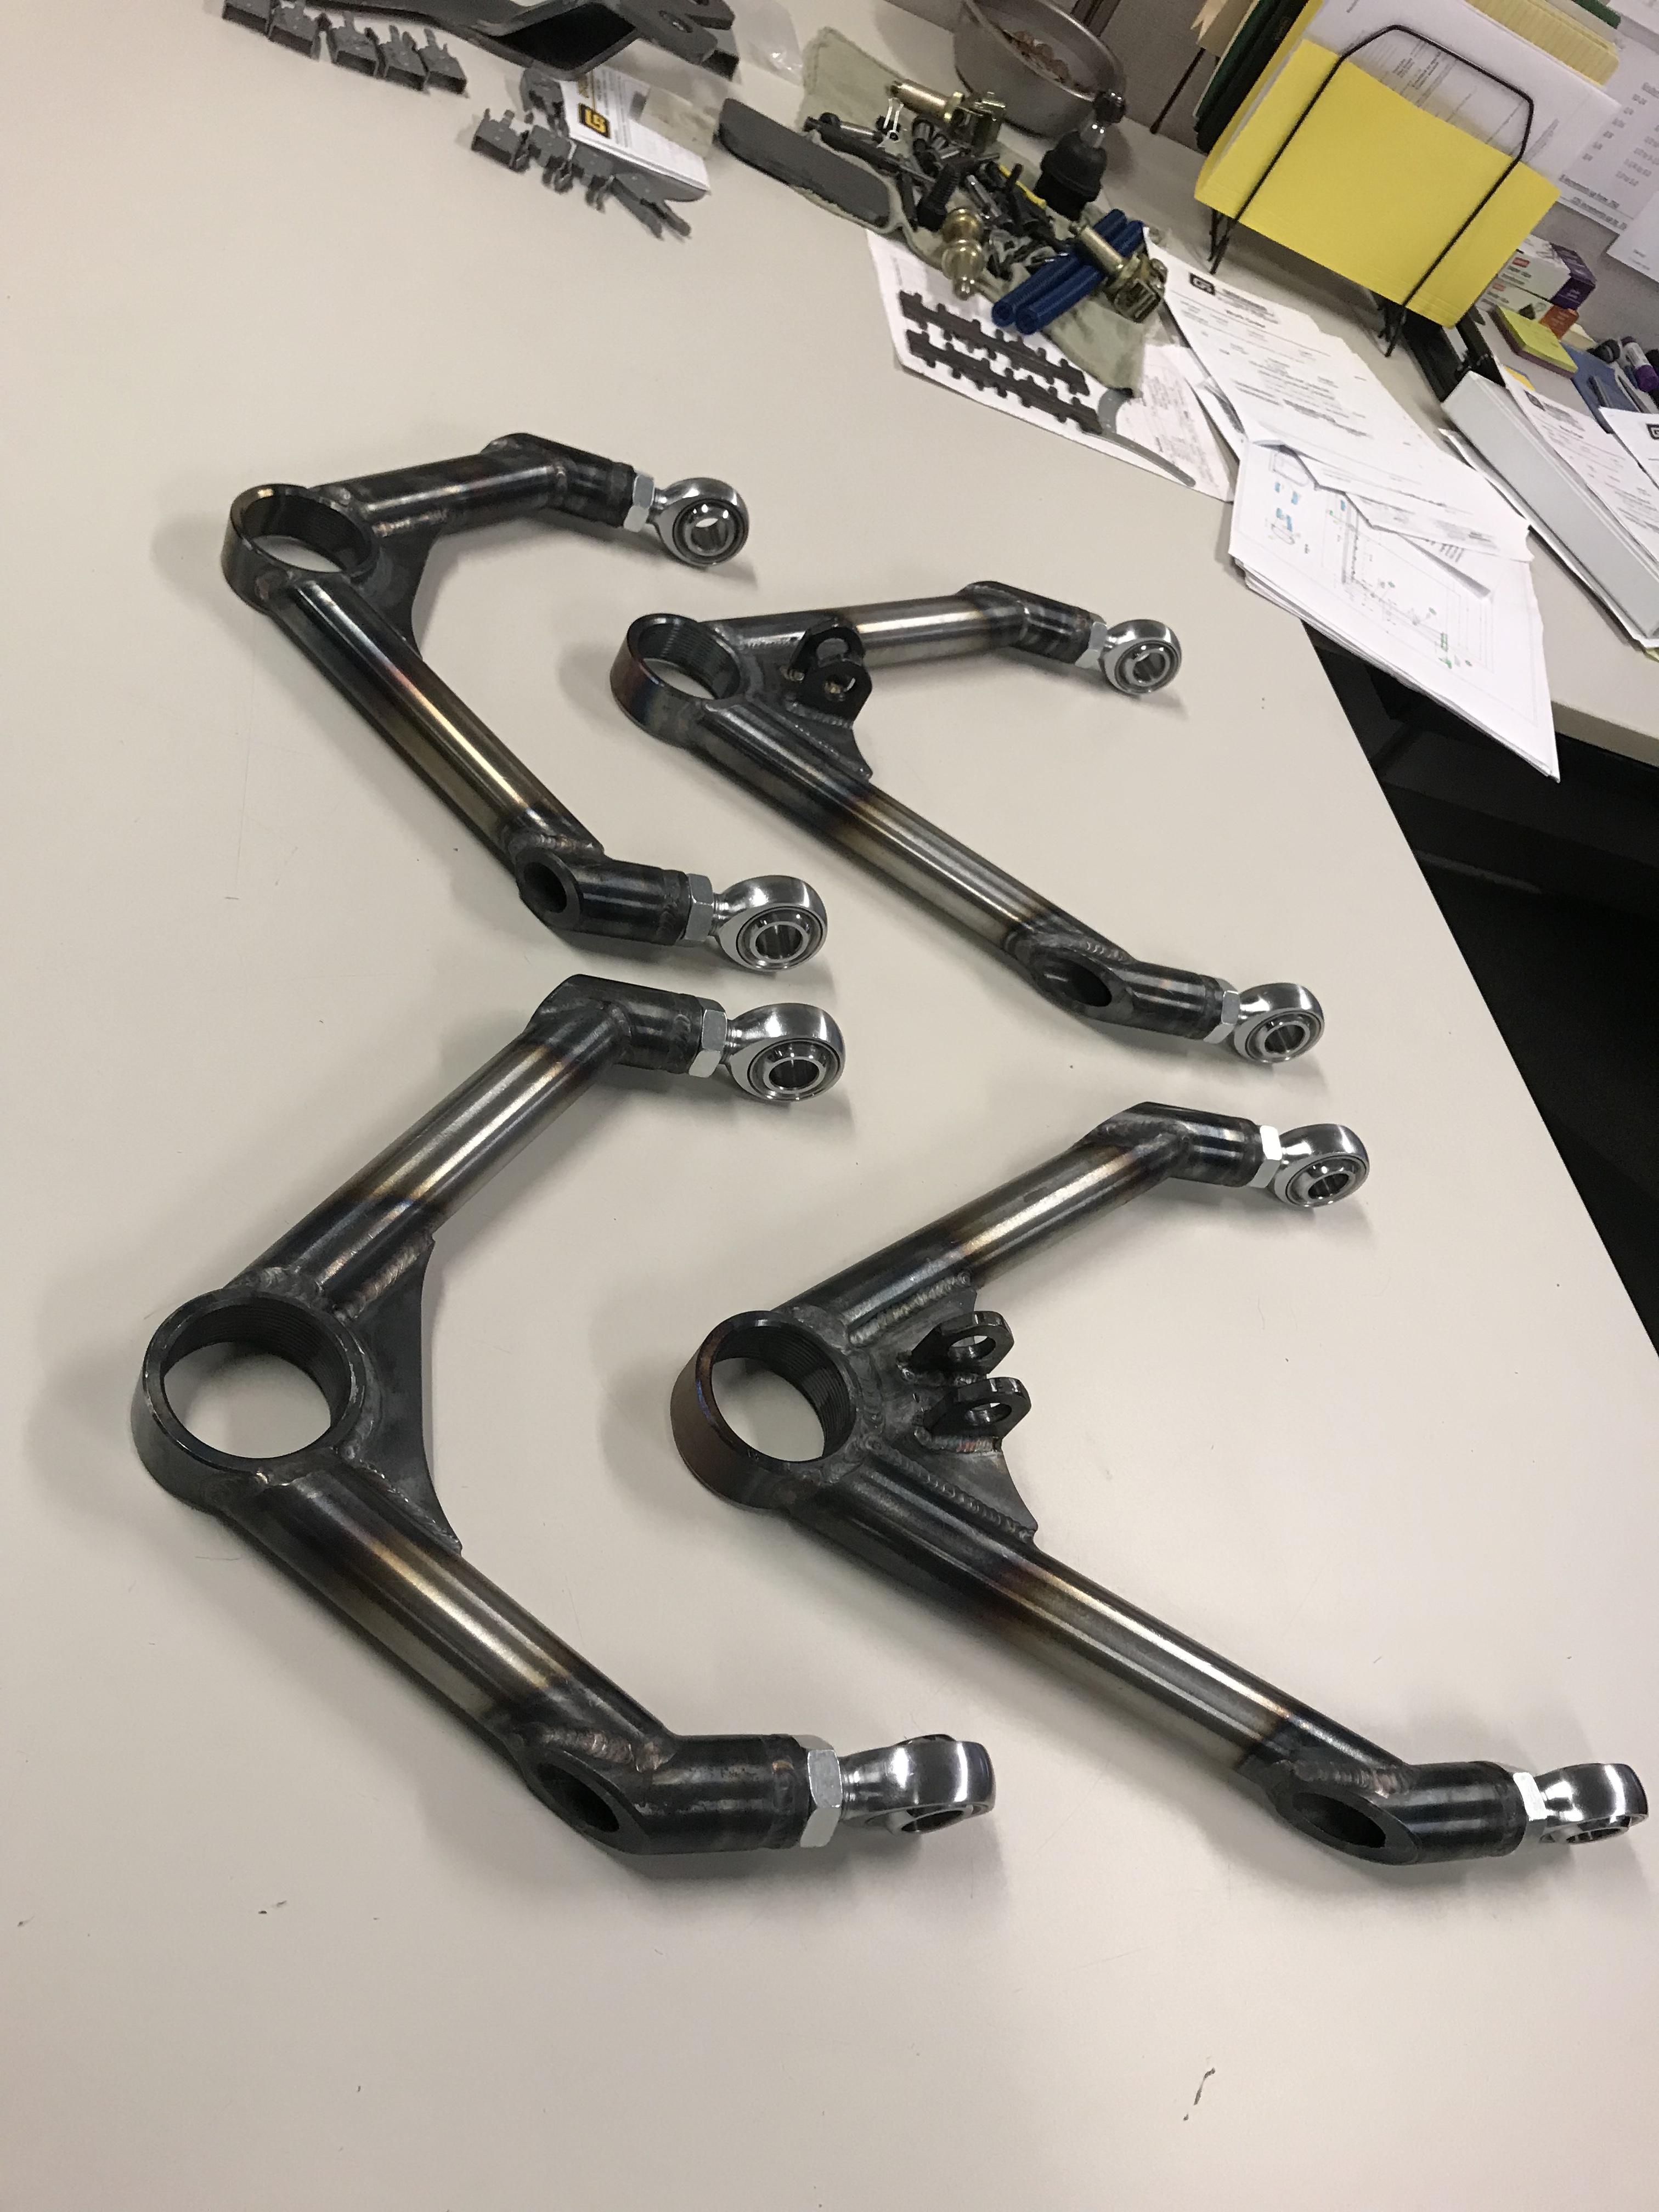
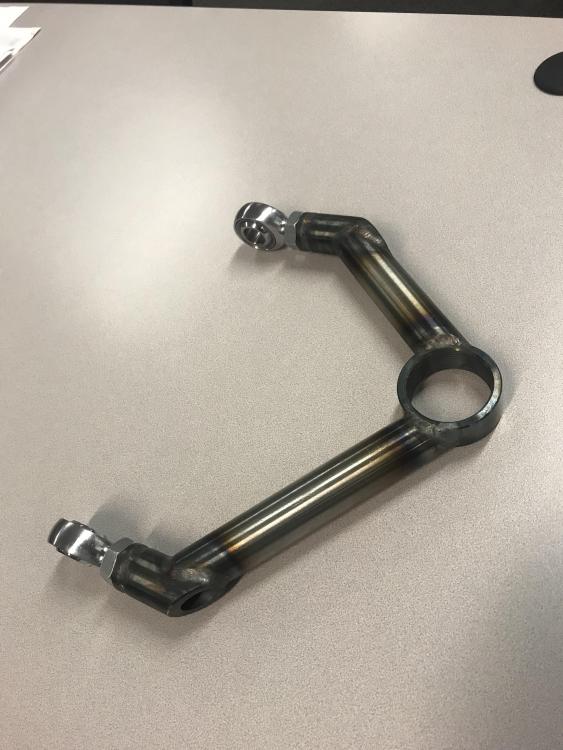
                I gotta finish welding up the last control arm but here’s 3 of them. 

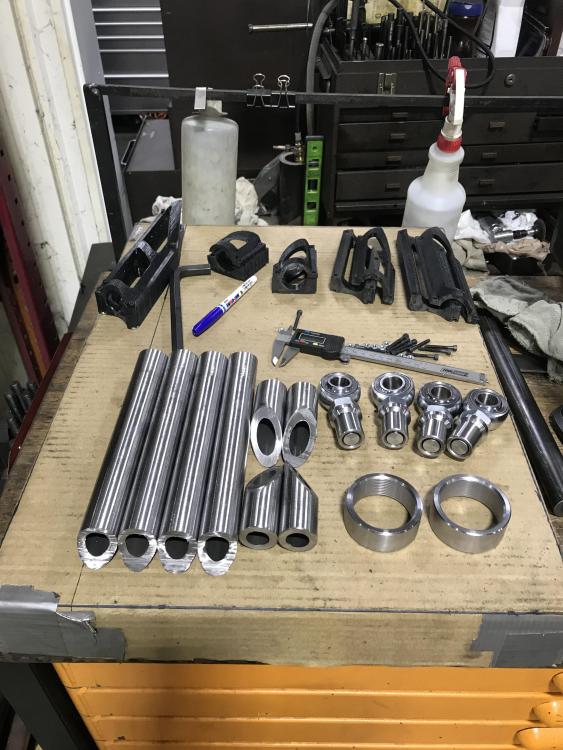
                I used 3d printed jigs to replicate the tube lengths and made up a quick fixture. 
                0486DF73-E9D3-4C9B-BFEA-41AC3B844BA4.jpeg

                C31B1360-D231-49C3-A0BC-443CB9992C63.jpeg

                0801B833-8FB0-482A-9C1D-BE2CAA3D8B68.jpeg

                C2D2C633-4A6A-4436-B043-7D34BD396C12.jpeg

                0501956A-1A46-4286-BC73-6CD3668C965D.jpeg

                957F80A2-C0AC-4ABF-BE54-99EF20CB9490.jpeg

                AD34B246-ADD6-4A4C-8B34-FB7E0FD25502.MP4

                Attachments:

                • AD34B246-ADD6-4A4C-8B34-FB7E0FD25502.MP4
                1 Reply Last reply
                4
                • JdesignJ
                  JdesignJ
                  Jdesign
                  wrote on last edited by
                  #81

                  Chugga chugga. I cant wait to see the whole assembly!

                  SumBunny.jpg

                  https://www.instagram.com/_jdesigner_/                                          http://nevertoolow.tumblr.com/

                  🥳SOLD BMW E24 633CSI - BMW M30B32                                          🧪SOLD HCH  ES9 - 1.3 LDA
                  👽BMW E30 325IC - Toyota 1JZ-GTE                                                     ⏰ HONDA EF9 CIVIC SI - JDM B18C5
                  ☠️BMW E36 318i - Ford 5.0 FE302                                                         🚴‍♂️ GT-Labomba - 26x2.75 Freeride
                  🤹‍♀️SOLD BMW E36/7 Z3 - BMW M54B25                                                🧓SOLD BMW E10 2002 - BMW M10M05

                  1 Reply Last reply
                  0
                  • ThatRatRodProjectT
                    ThatRatRodProjectT
                    ThatRatRodProject
                    wrote on last edited by
                    #82

                    Jdesign said:

                    Chugga chugga. I cant wait to see the whole assembly!

                    I got a lot of welding to do on the subframes but hopefully soon. My ball joints are on back order sadly.

                    1 Reply Last reply
                    1
                    • ThatRatRodProjectT
                      ThatRatRodProjectT
                      ThatRatRodProject
                      wrote on last edited by
                      #83

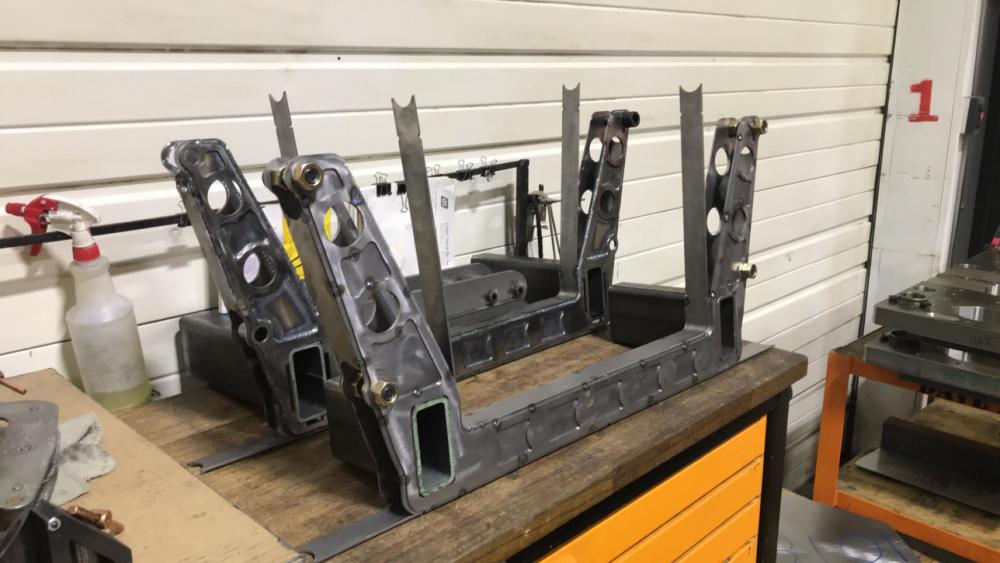
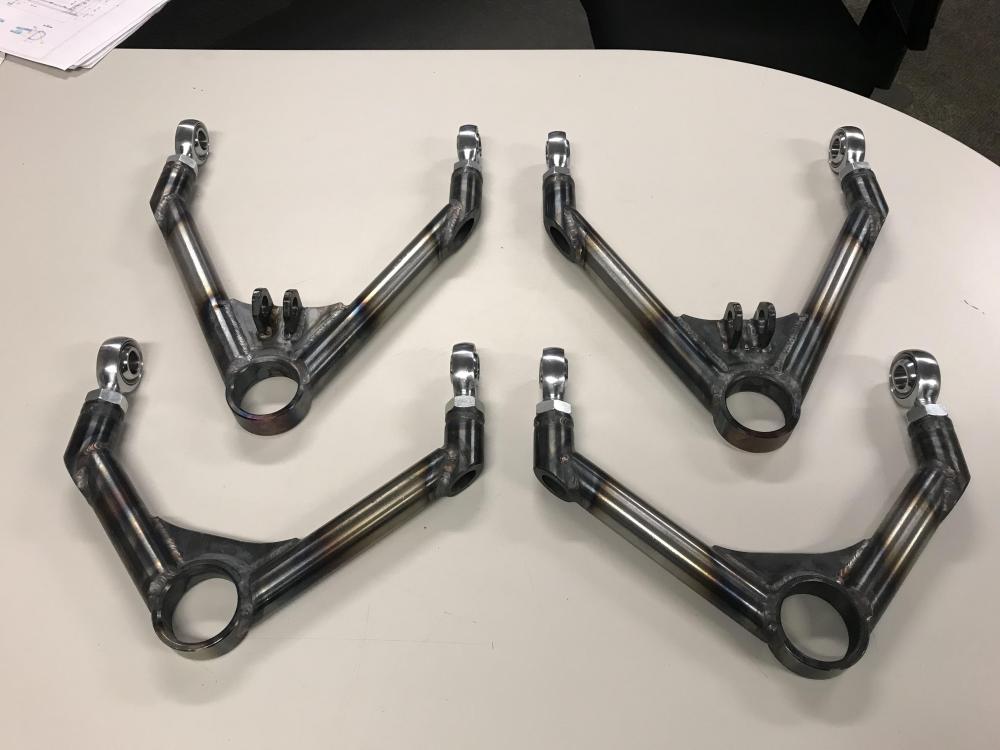
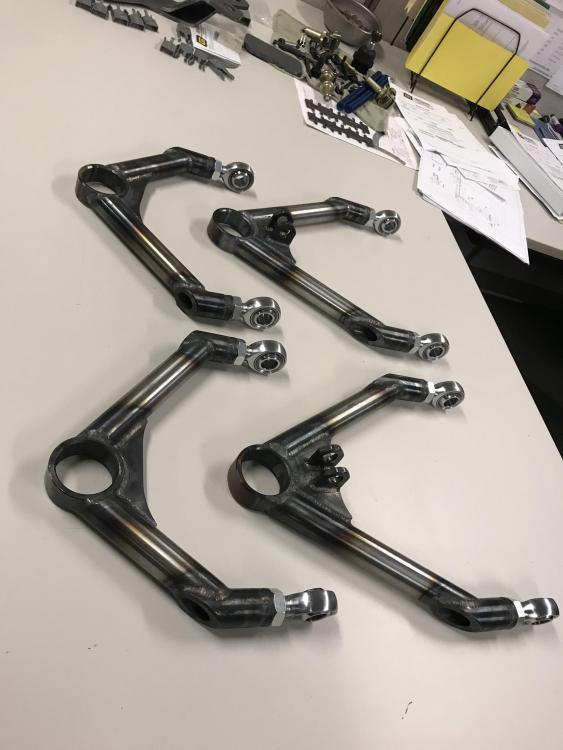
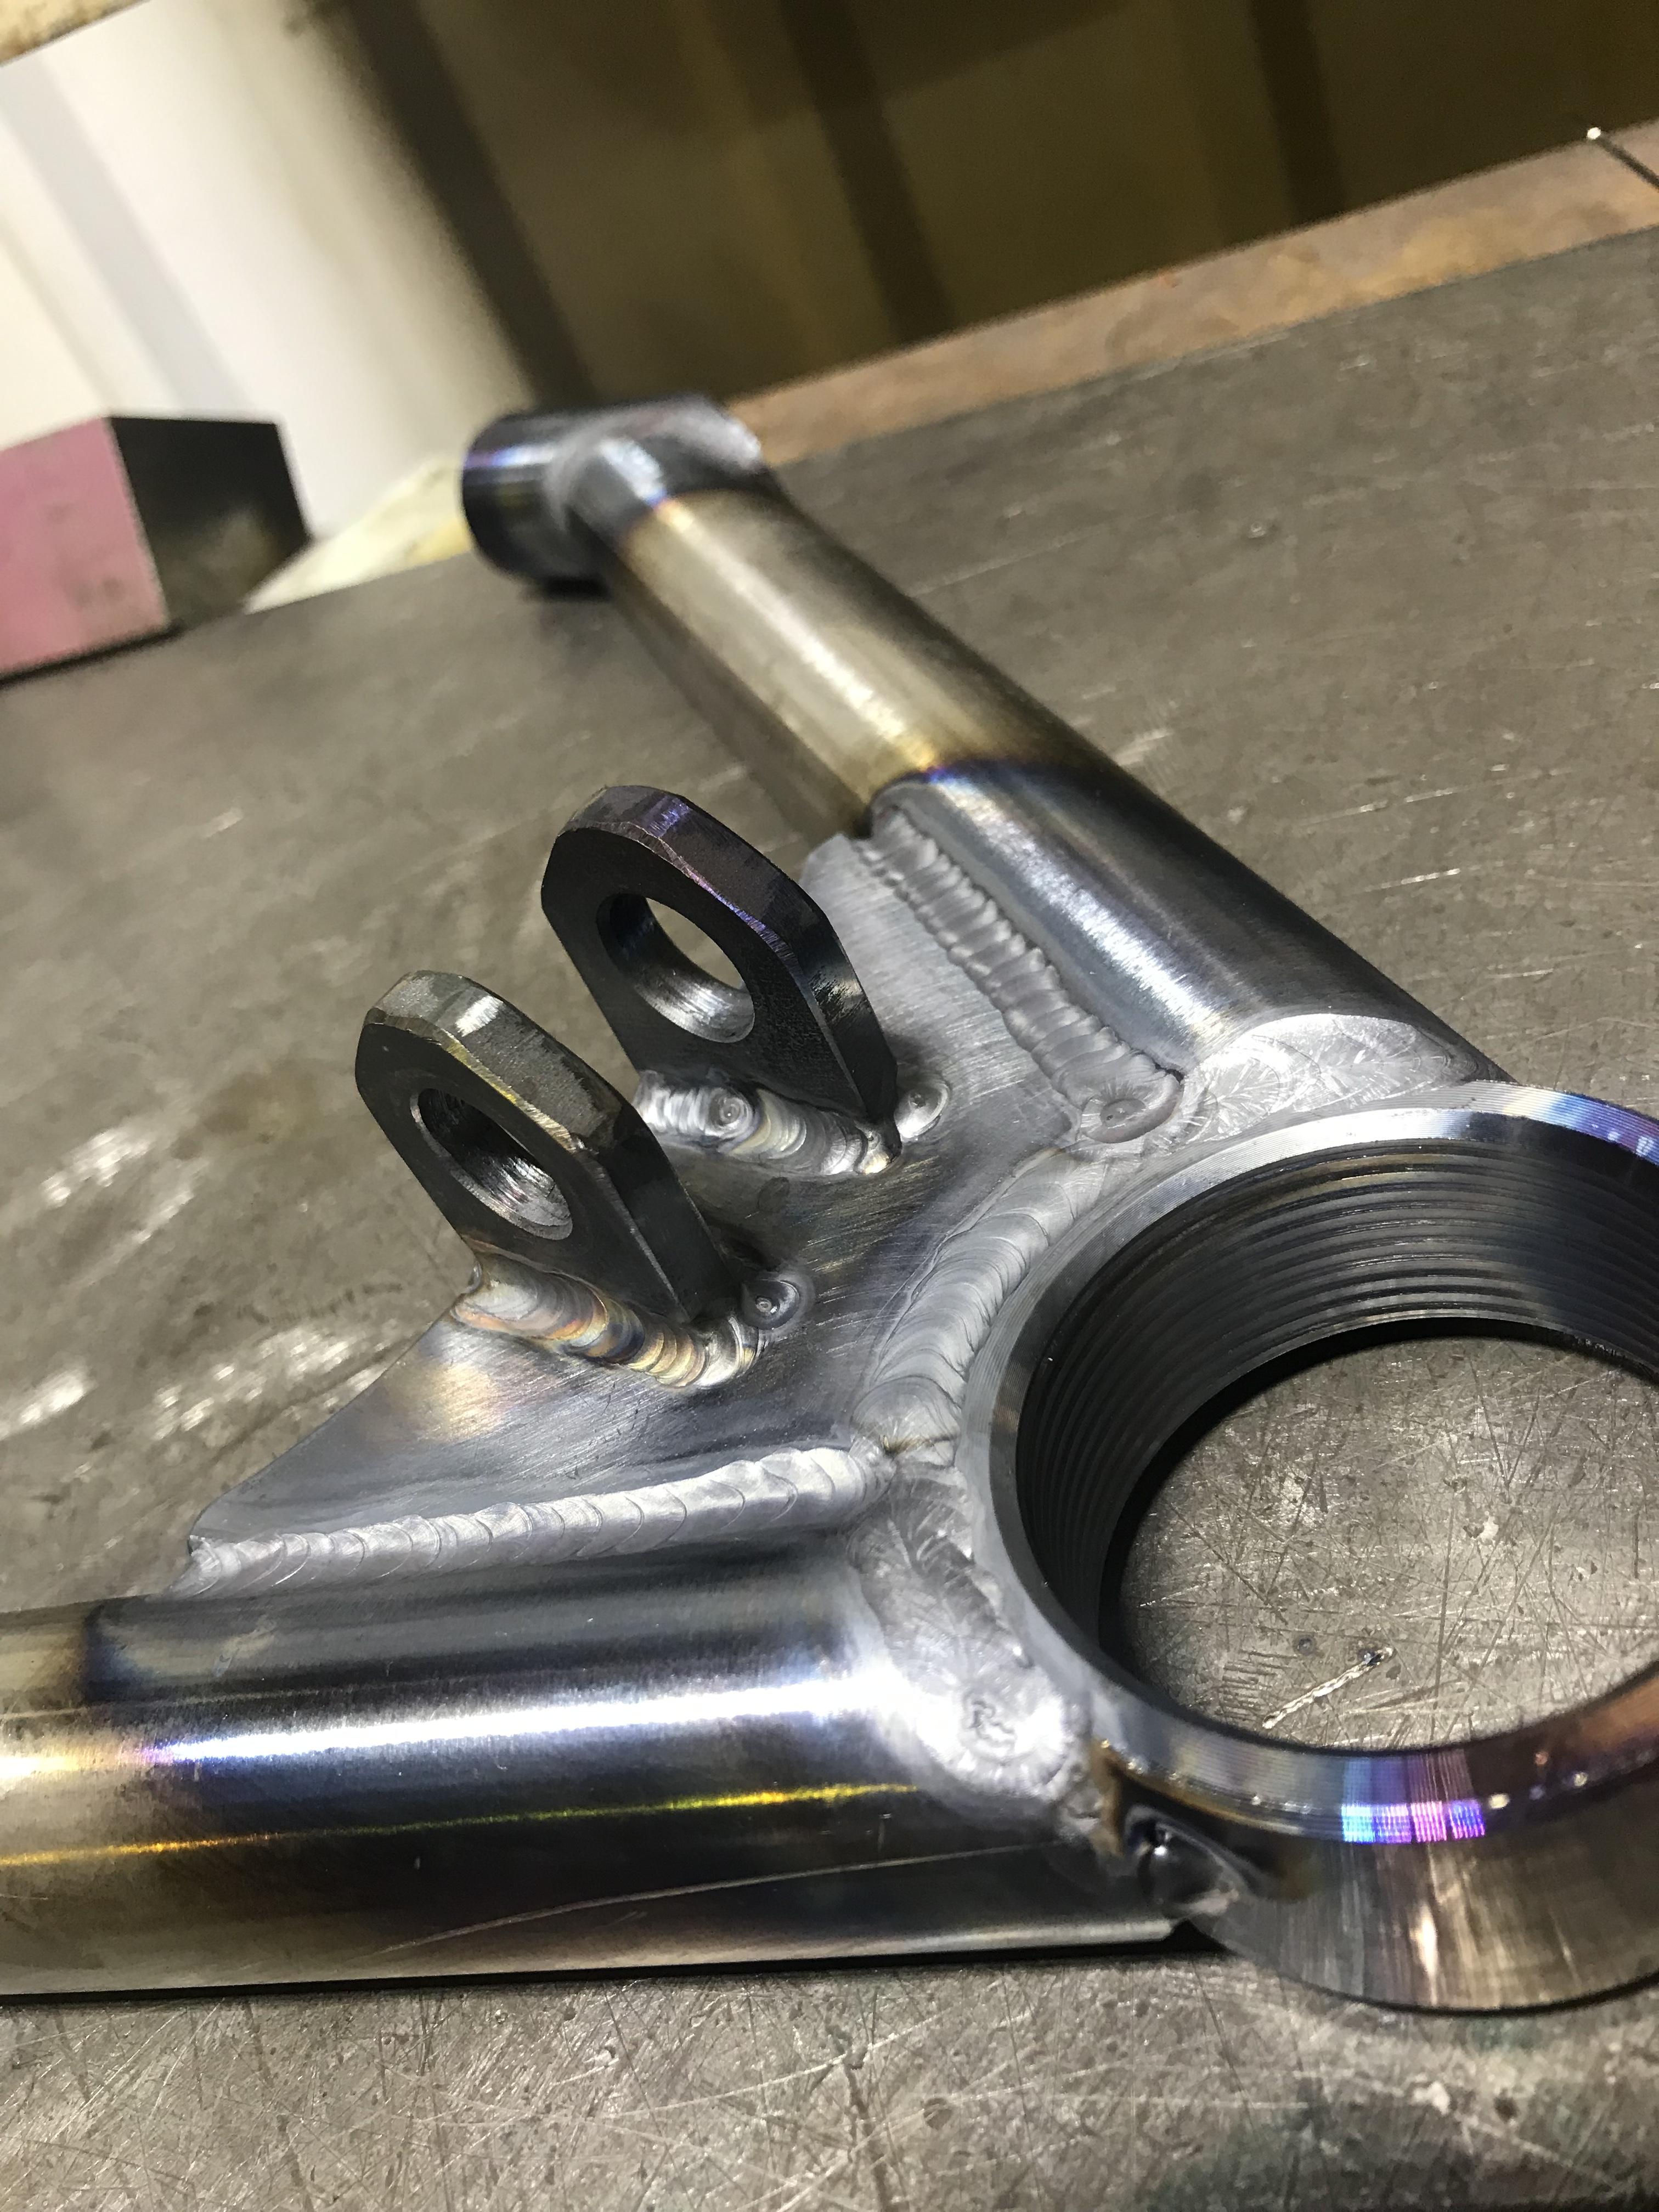
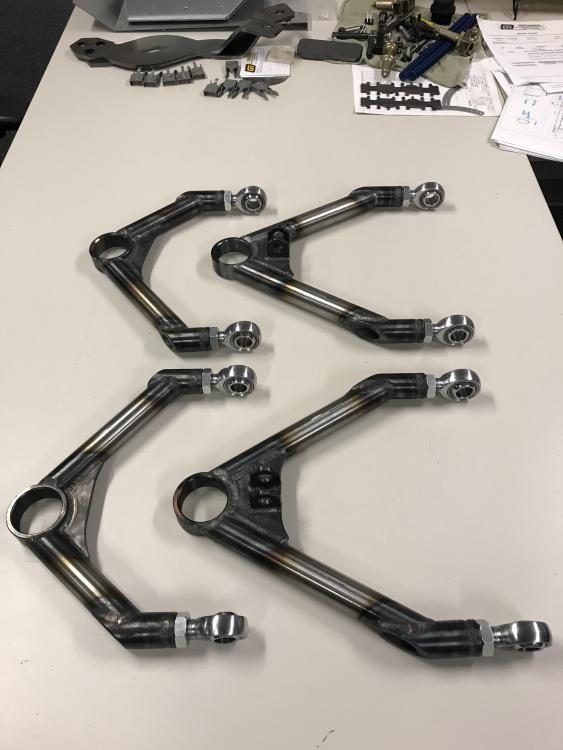
                      All 4 done and ready to go. They will be powder coated in the future but first I gotta get some mock-up done. 
                      151B6CB8-709D-486B-8D3F-AF8E87D1E7DC.jpeg

                      D51F6743-08CB-408B-BDA6-449979F74BD6.jpeg

                      36E620F9-F277-4CF6-B9F4-90416D9C56D1.jpeg

                      1 Reply Last reply
                      3
                      • ThatRatRodProjectT
                        ThatRatRodProjectT
                        ThatRatRodProject
                        wrote on last edited by
                        #84

                        RobZR said:

                        spool-n-washer.jpg

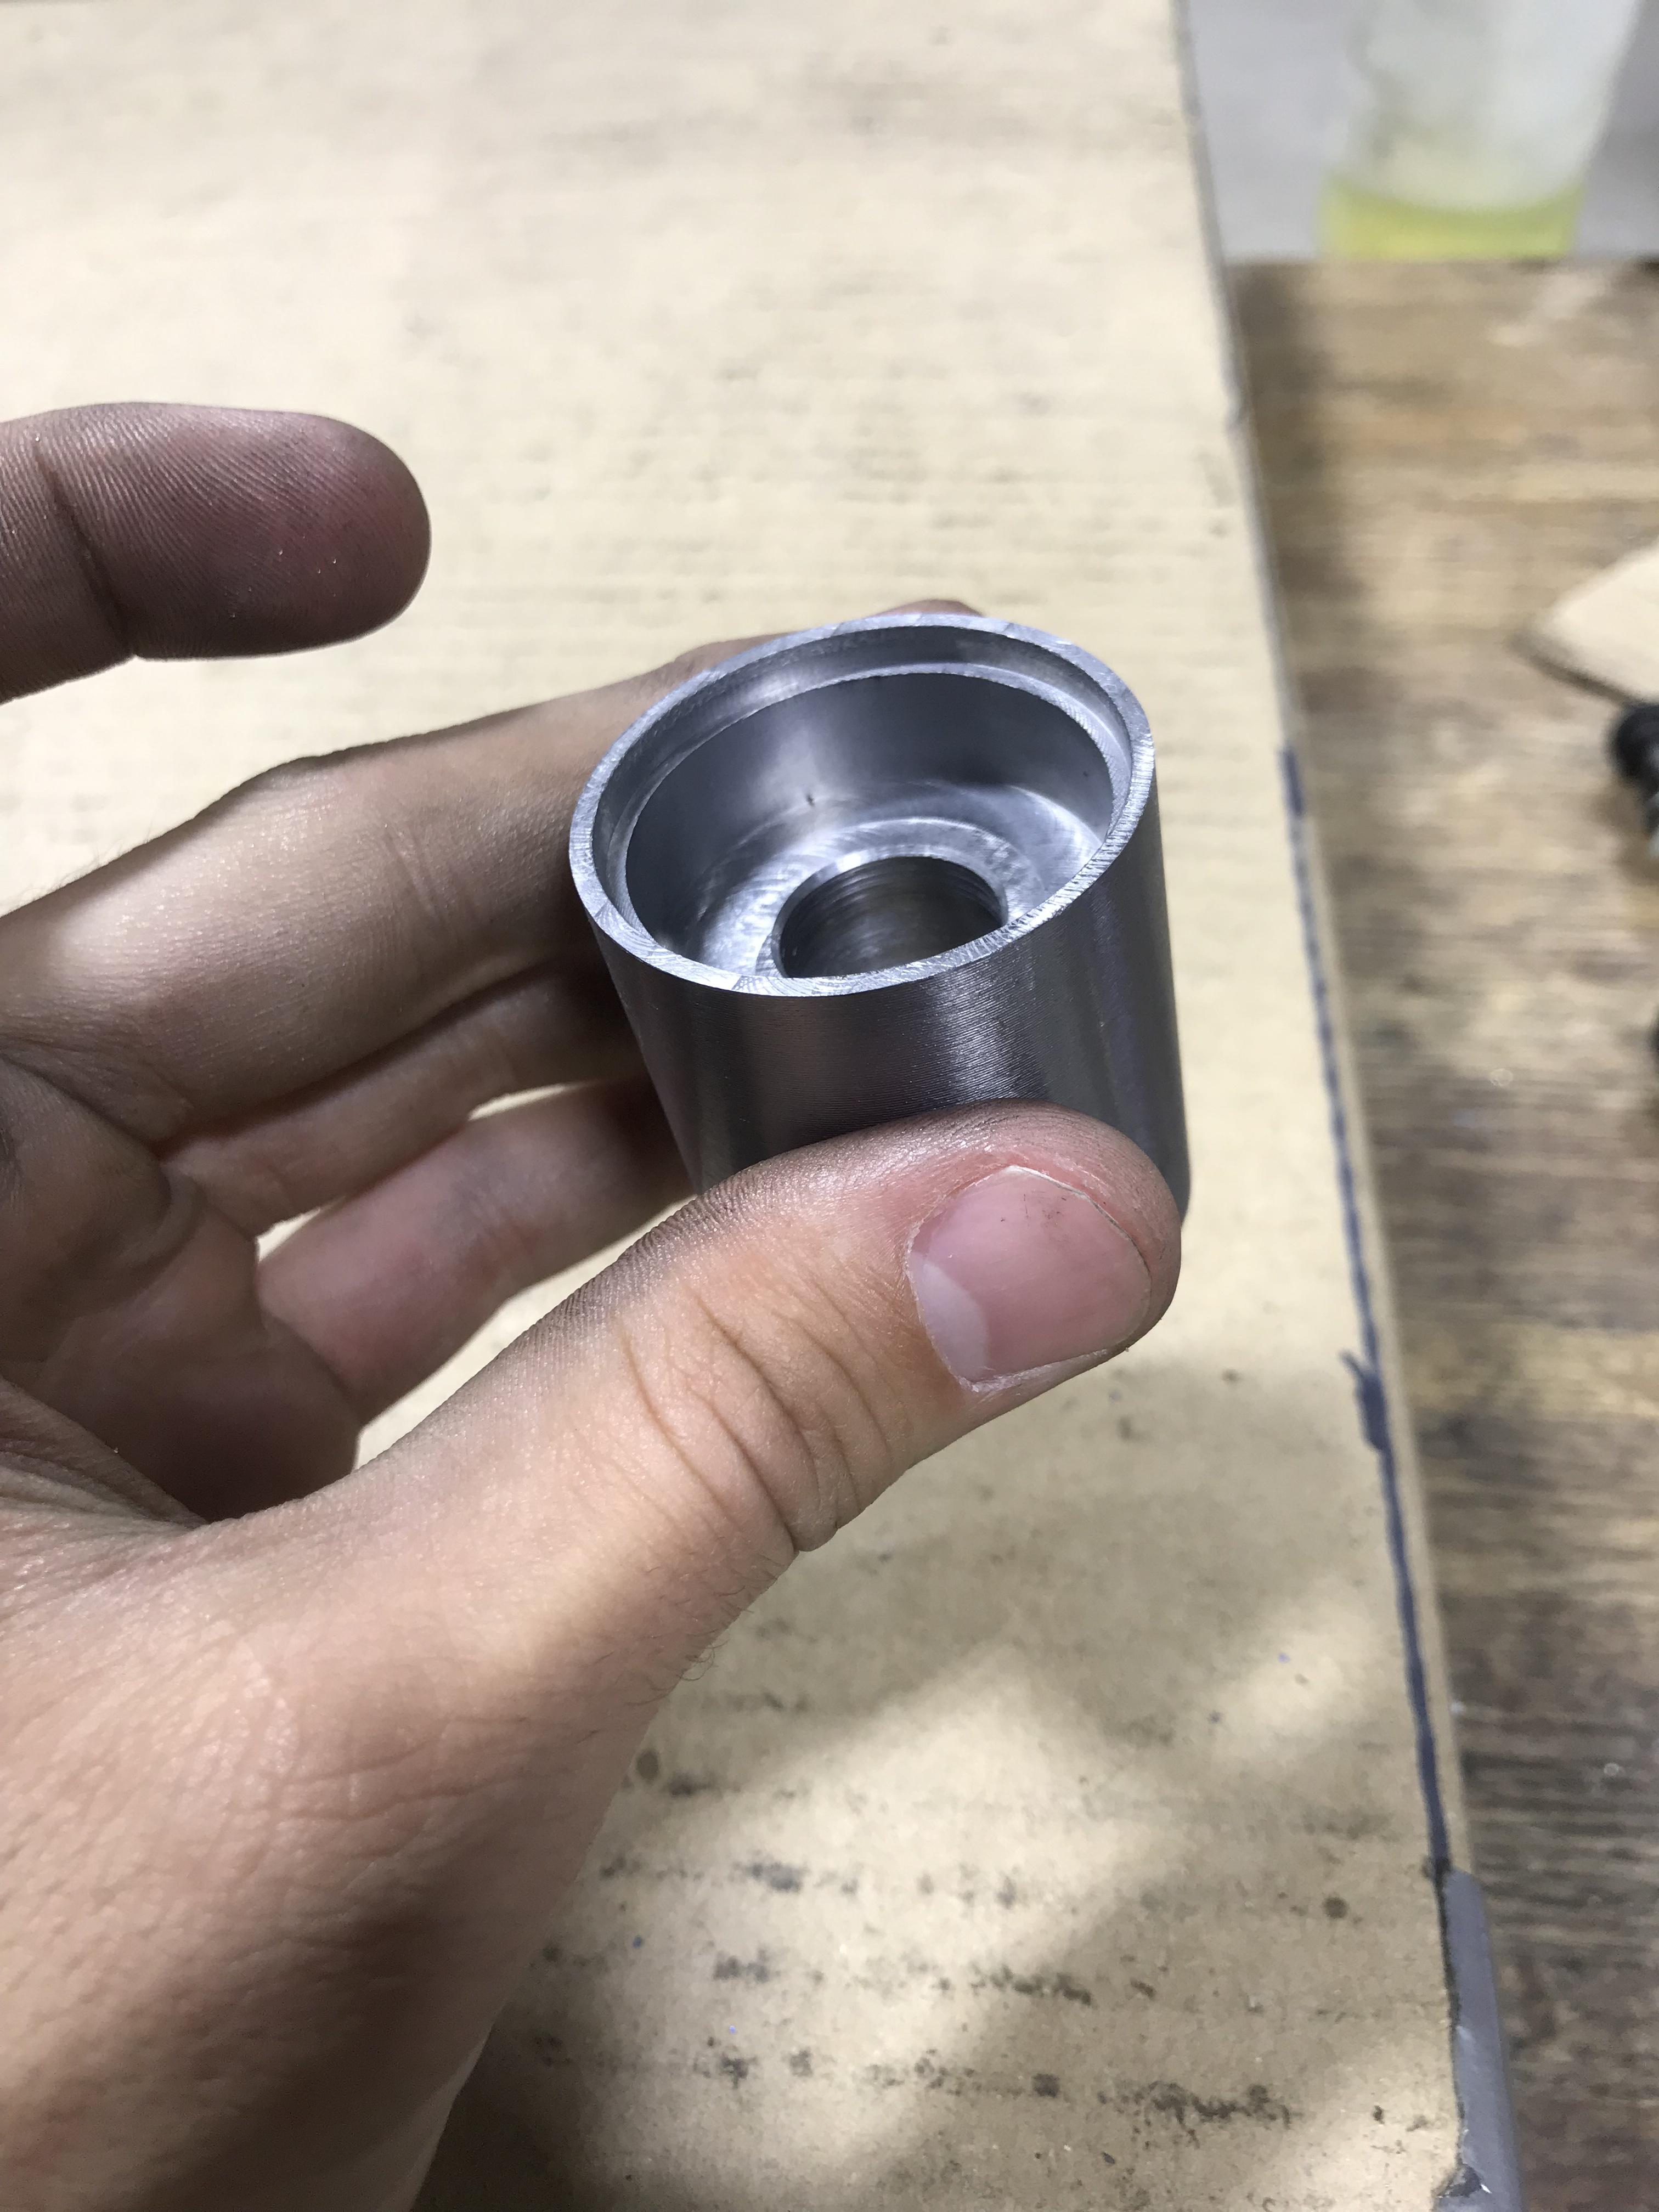
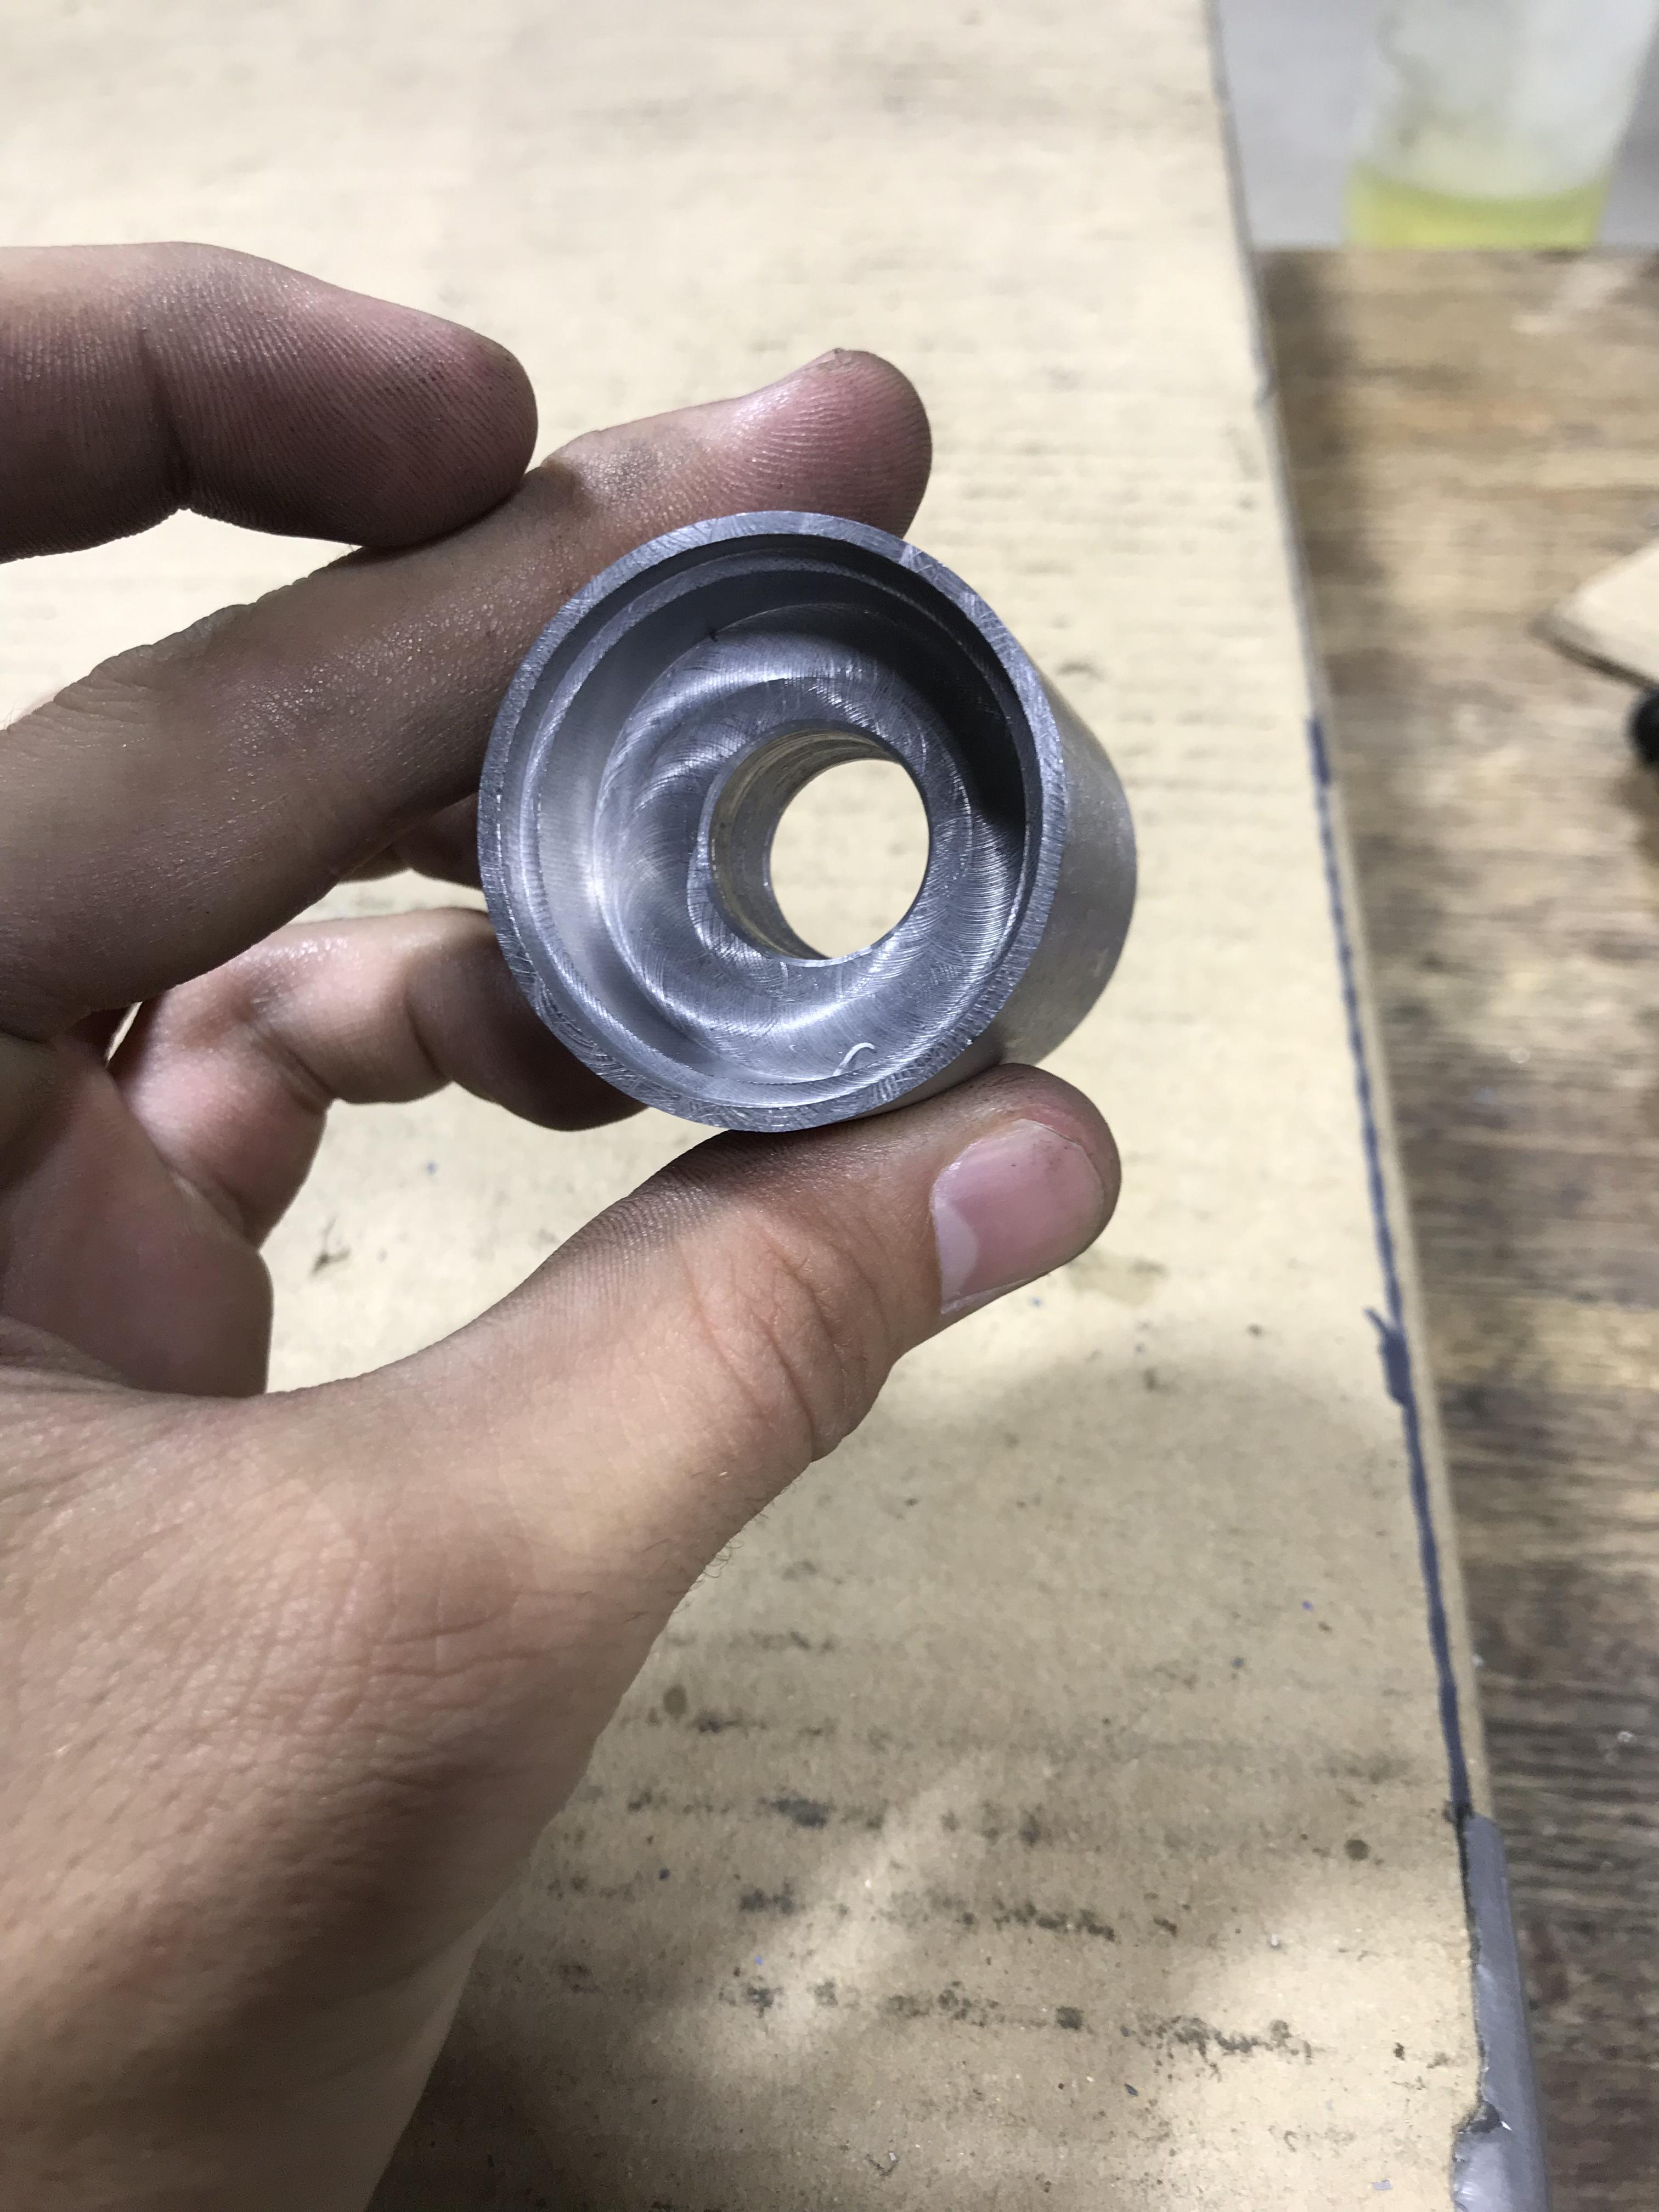
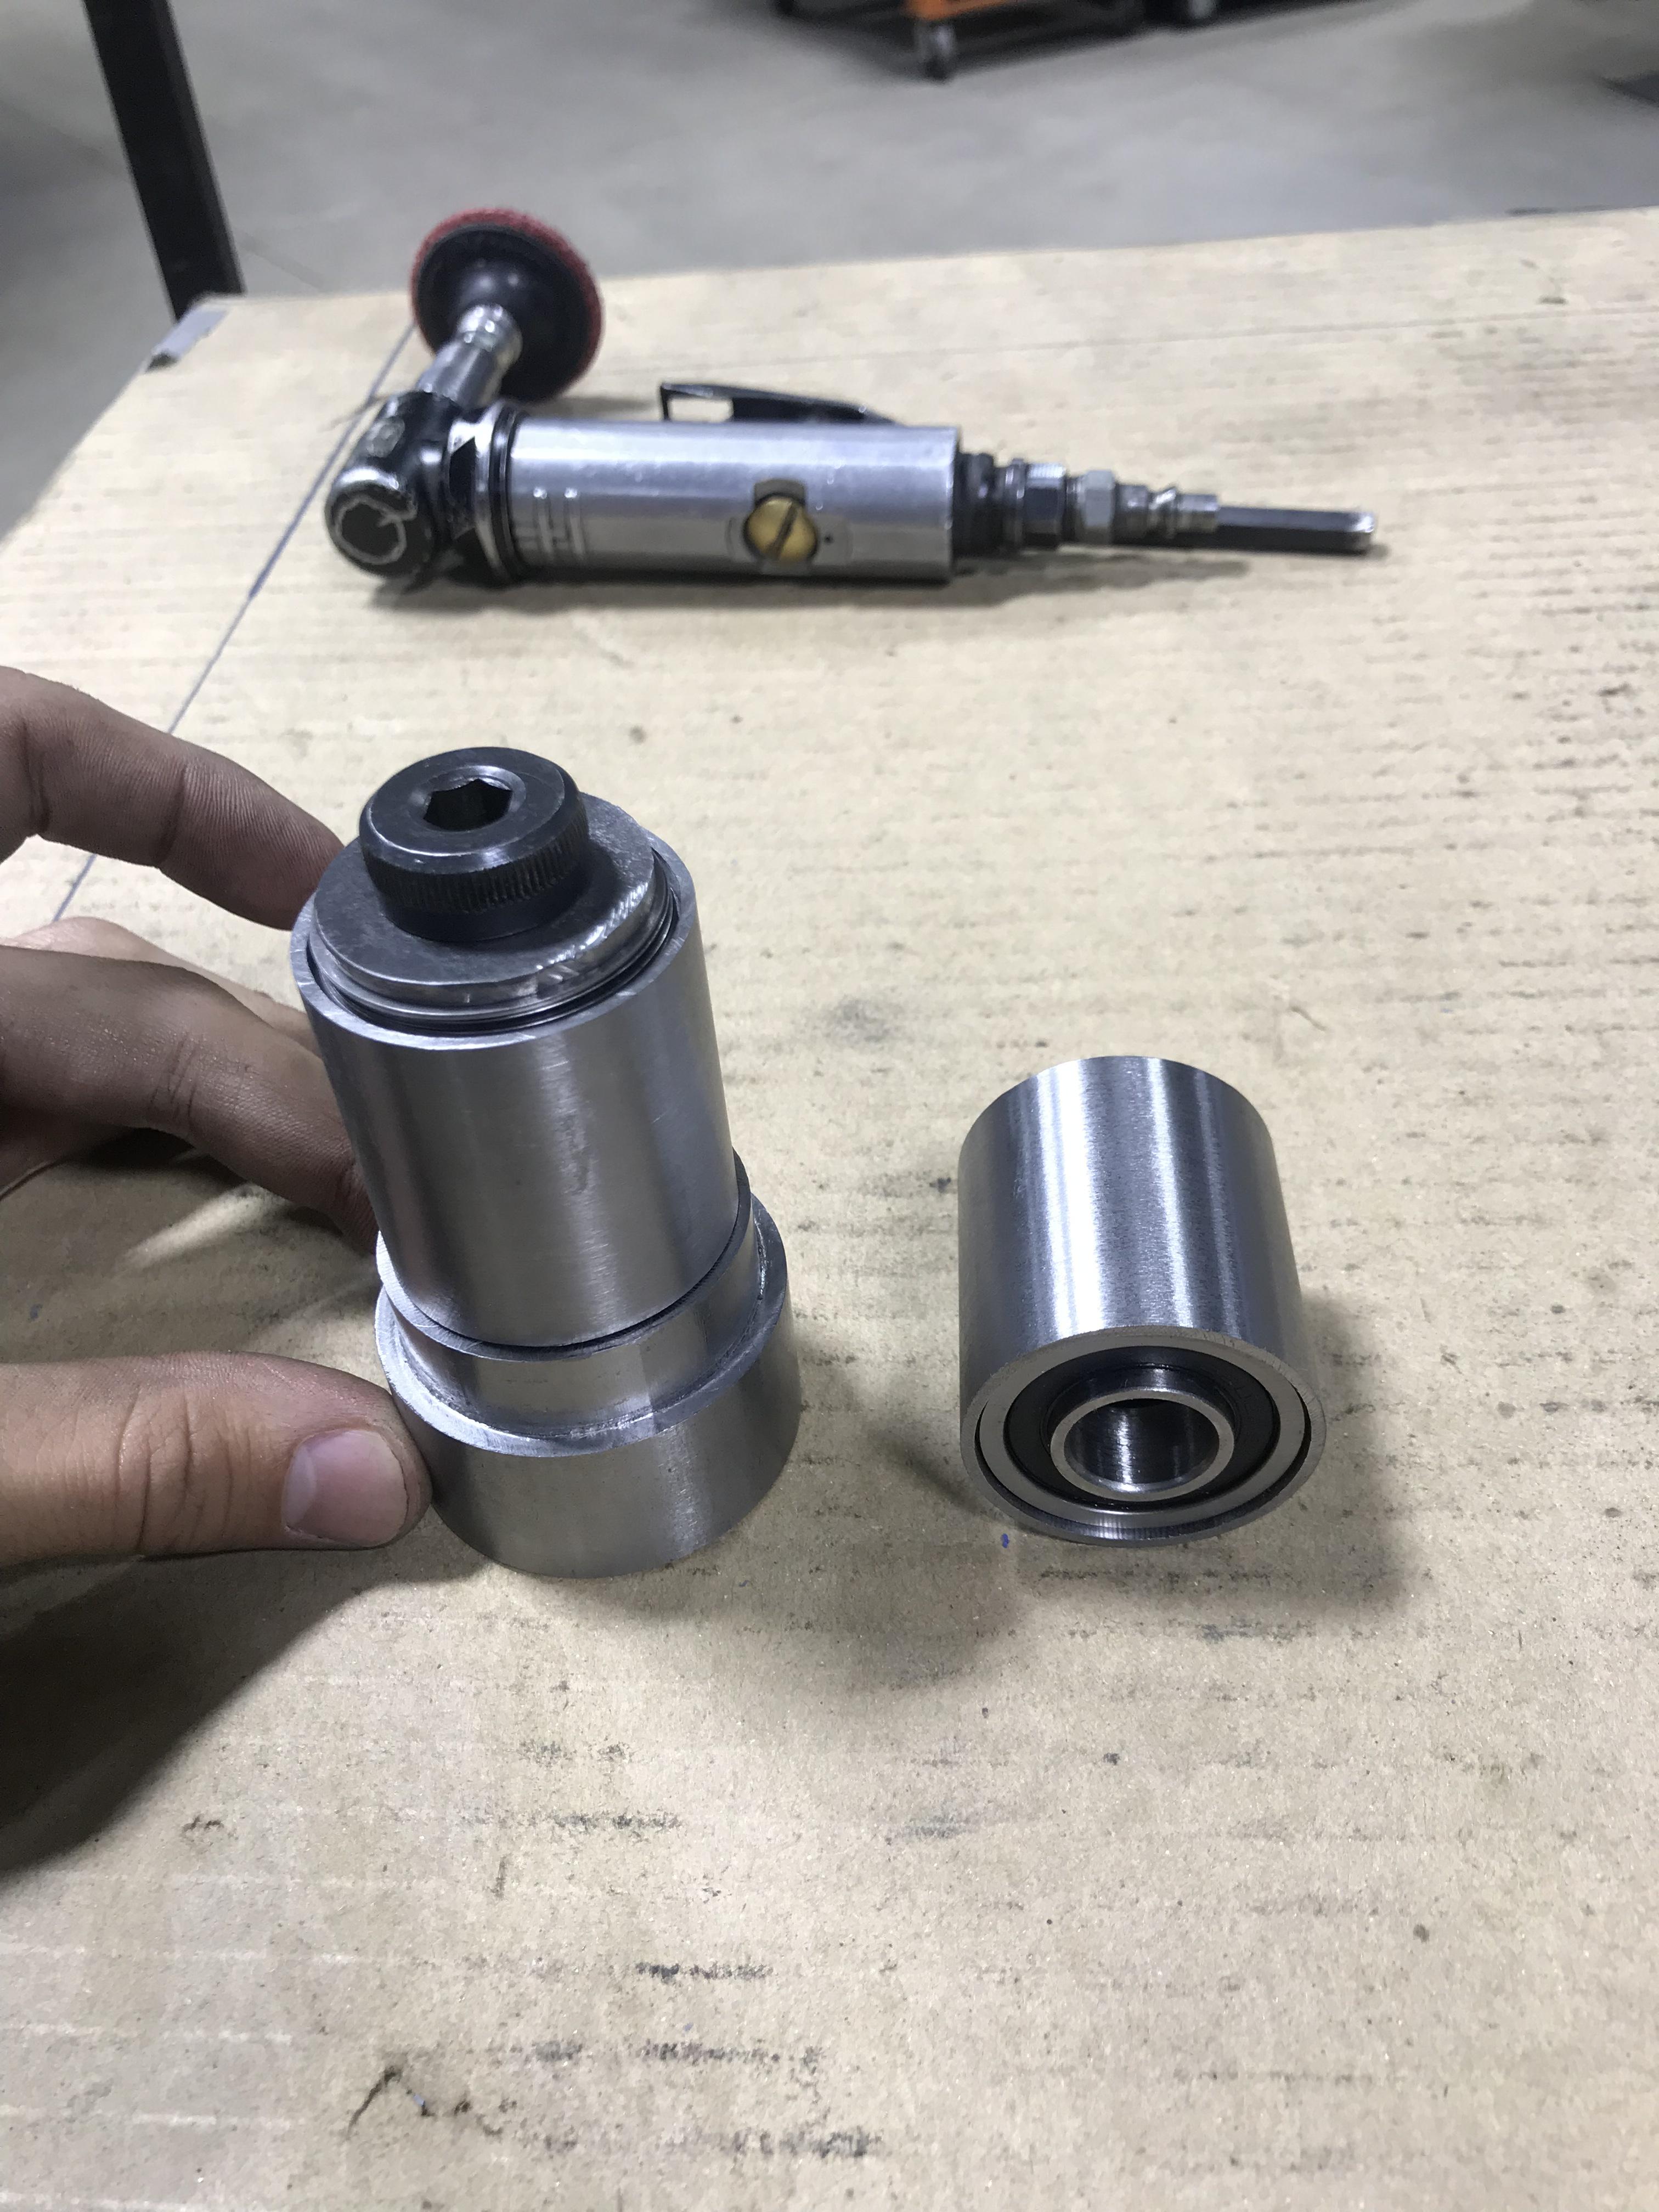
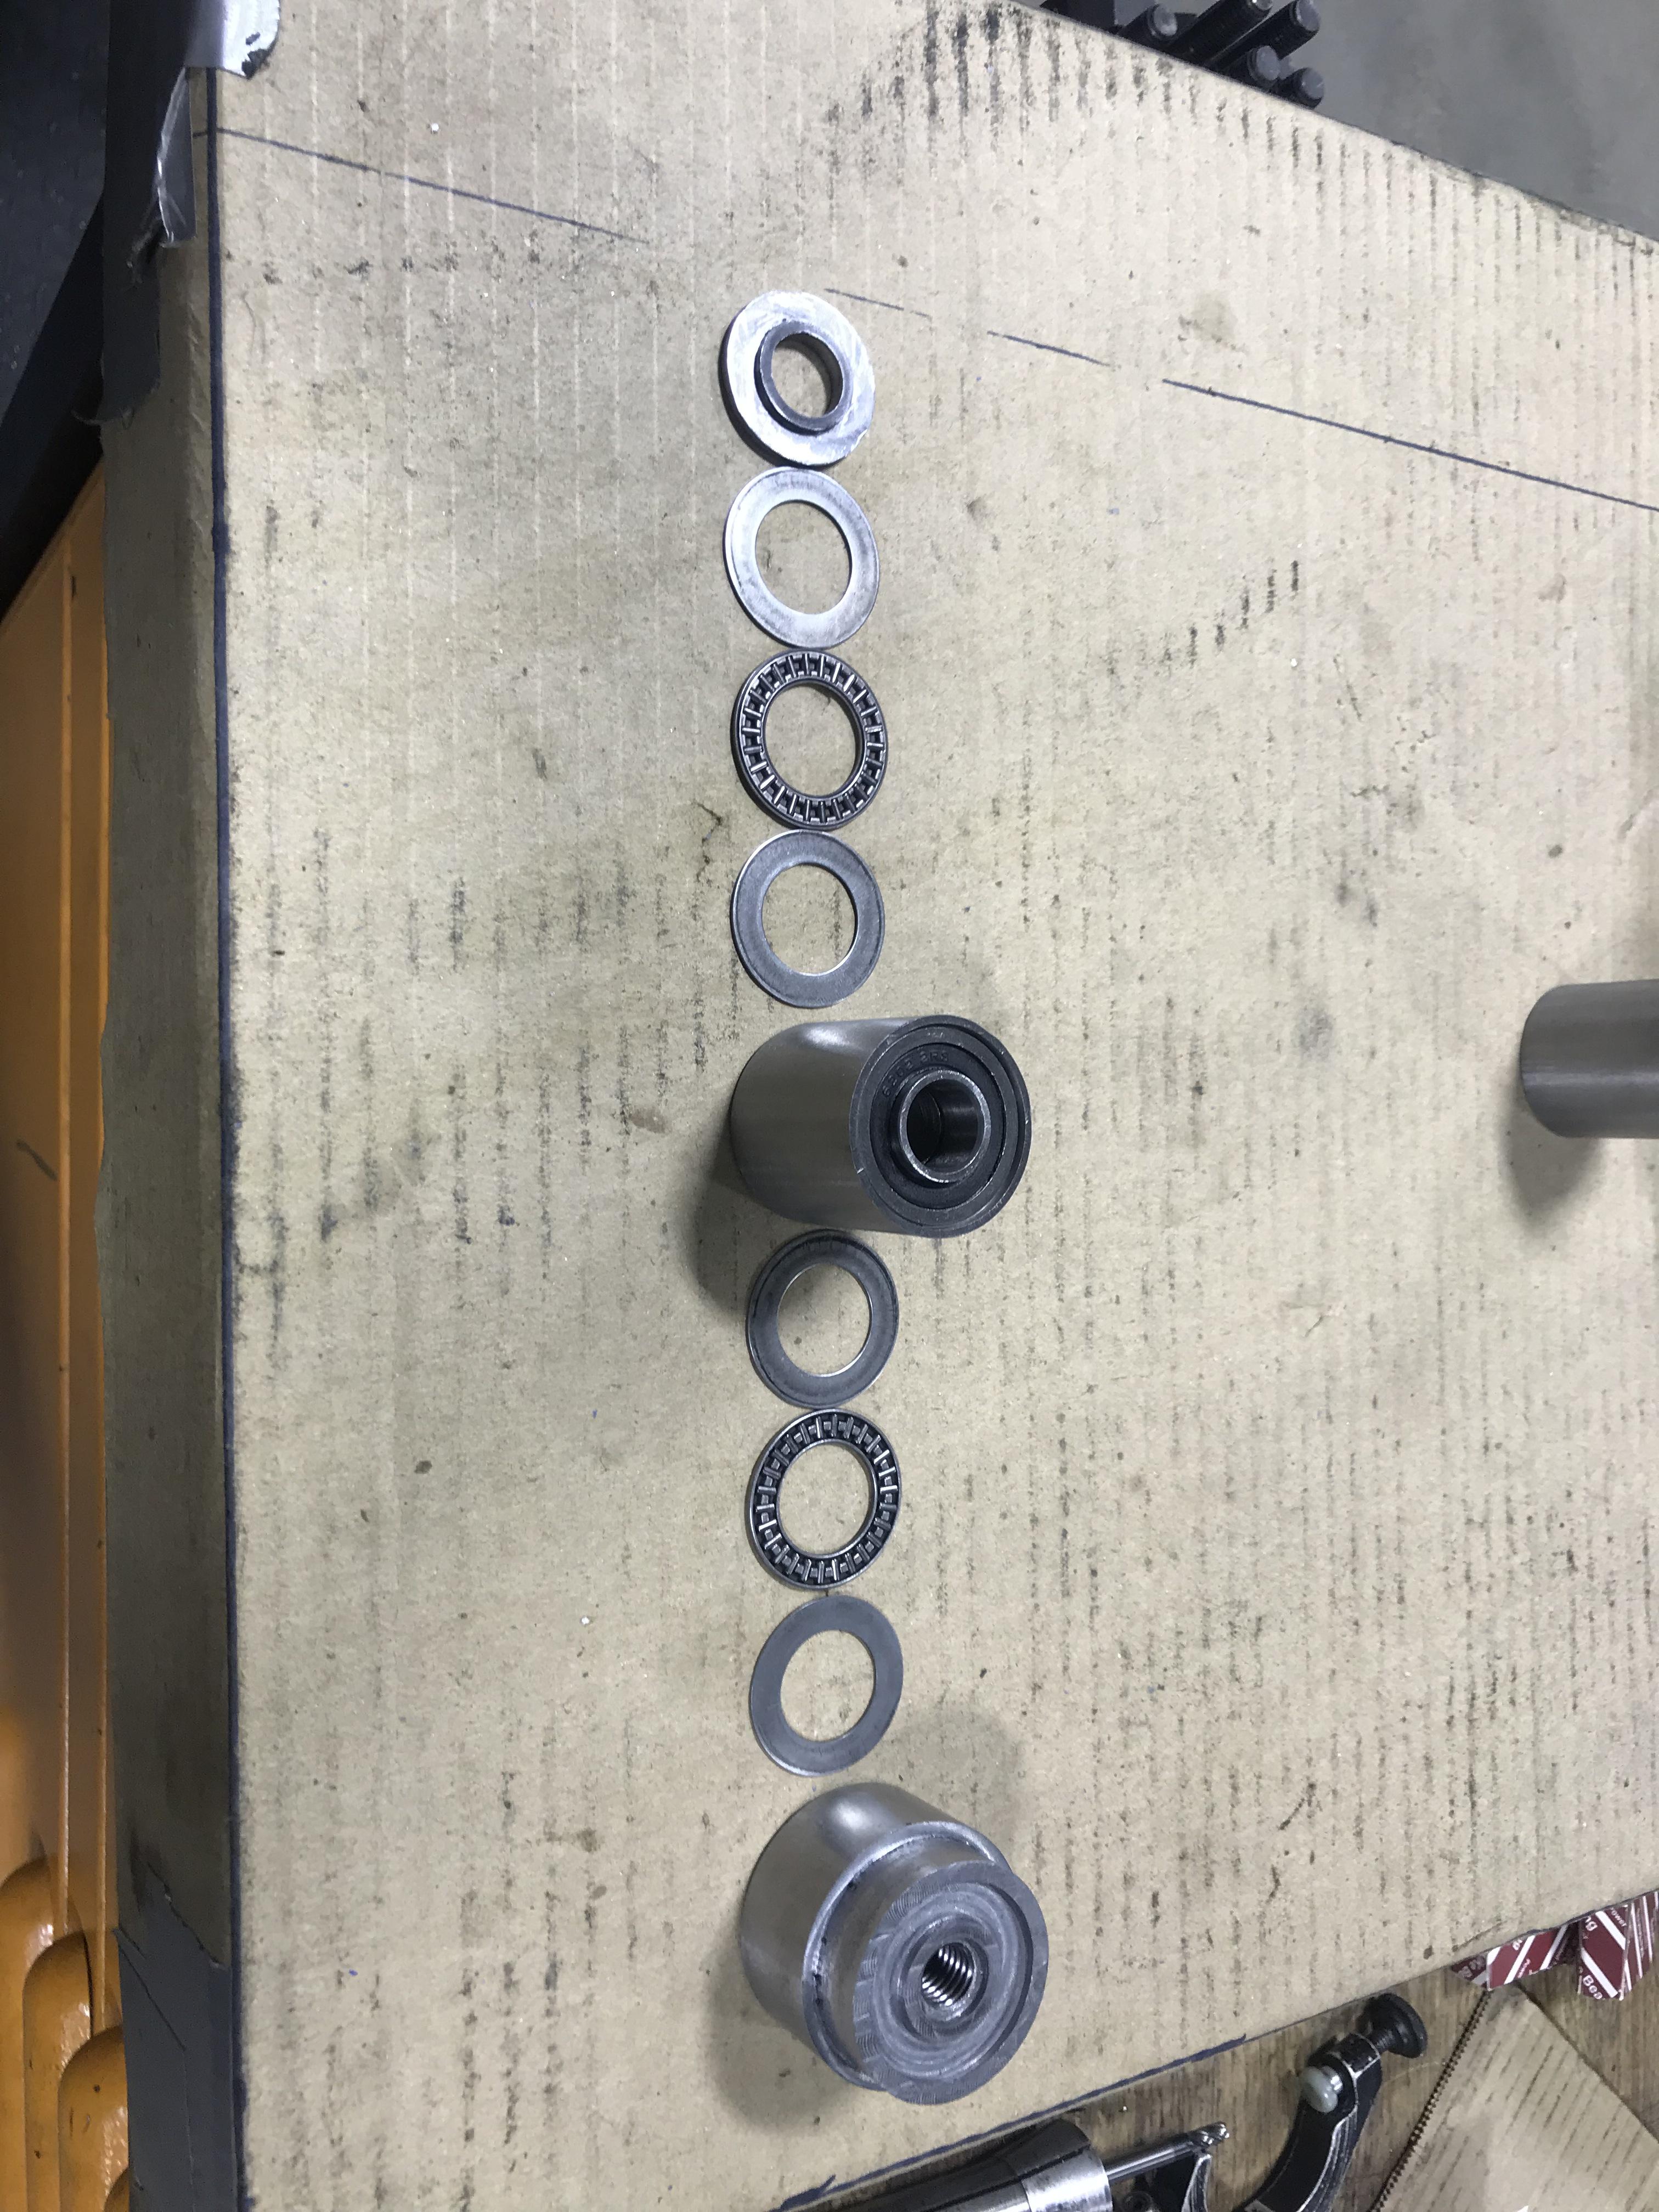
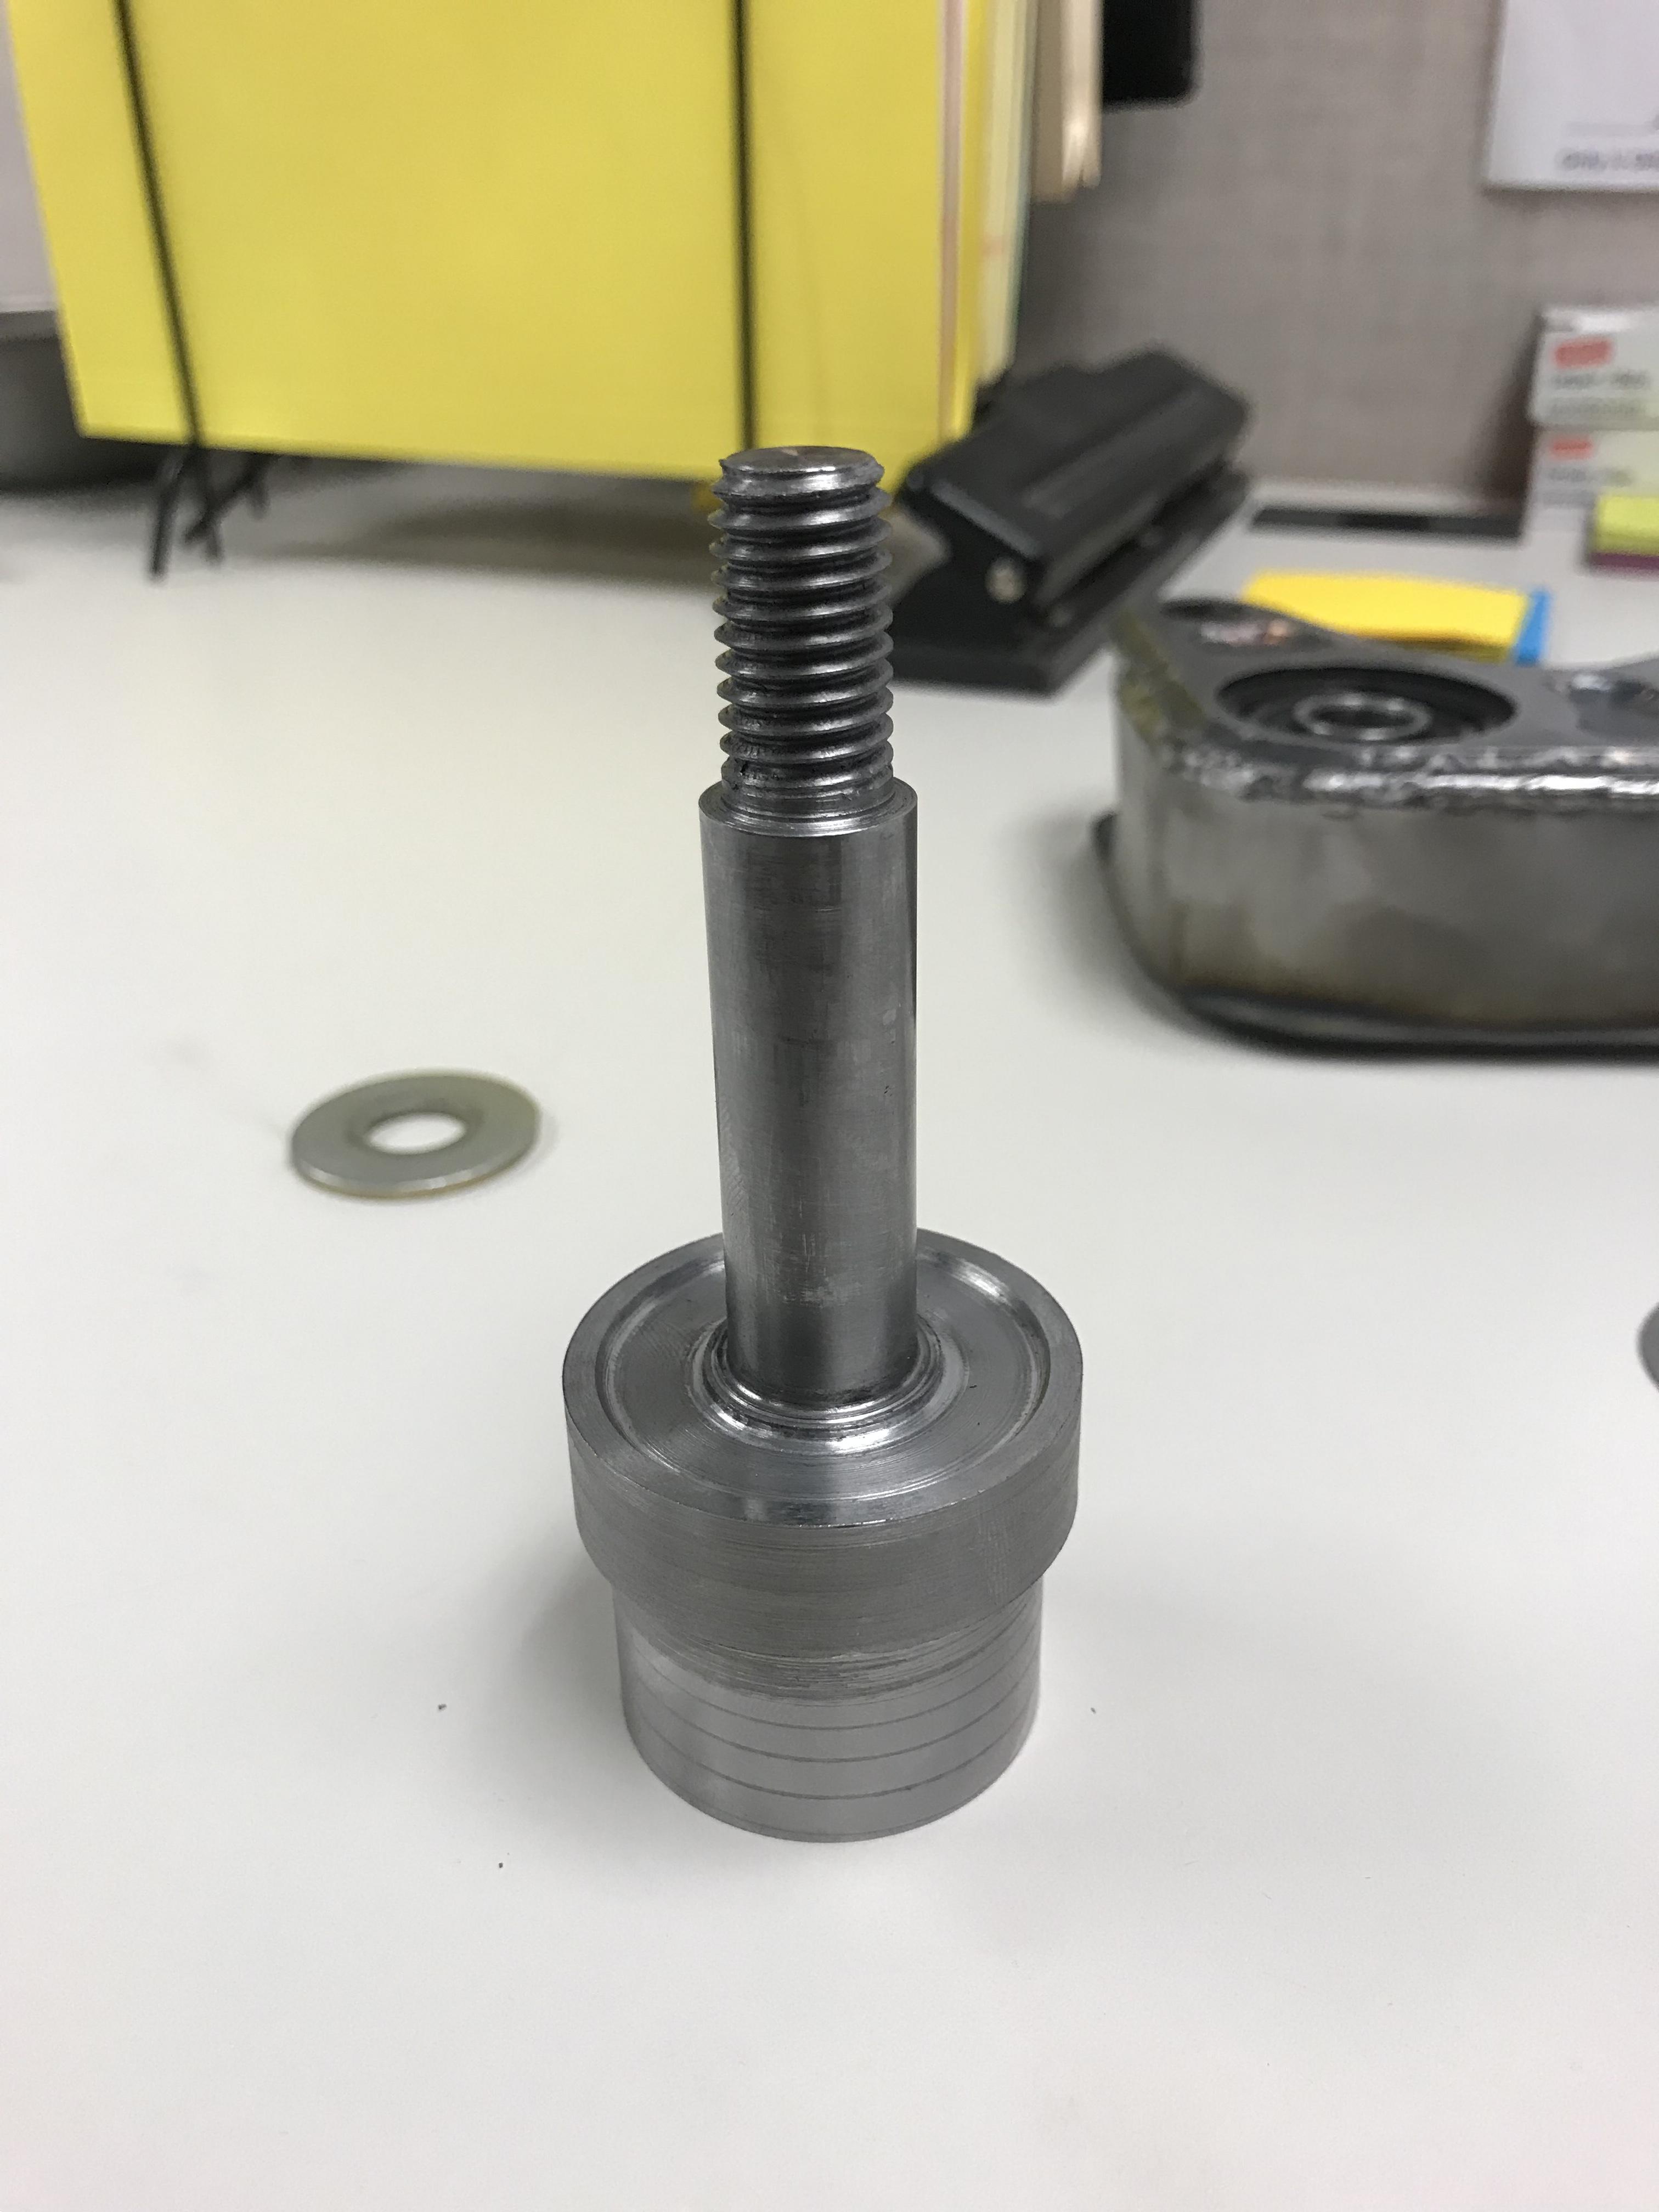
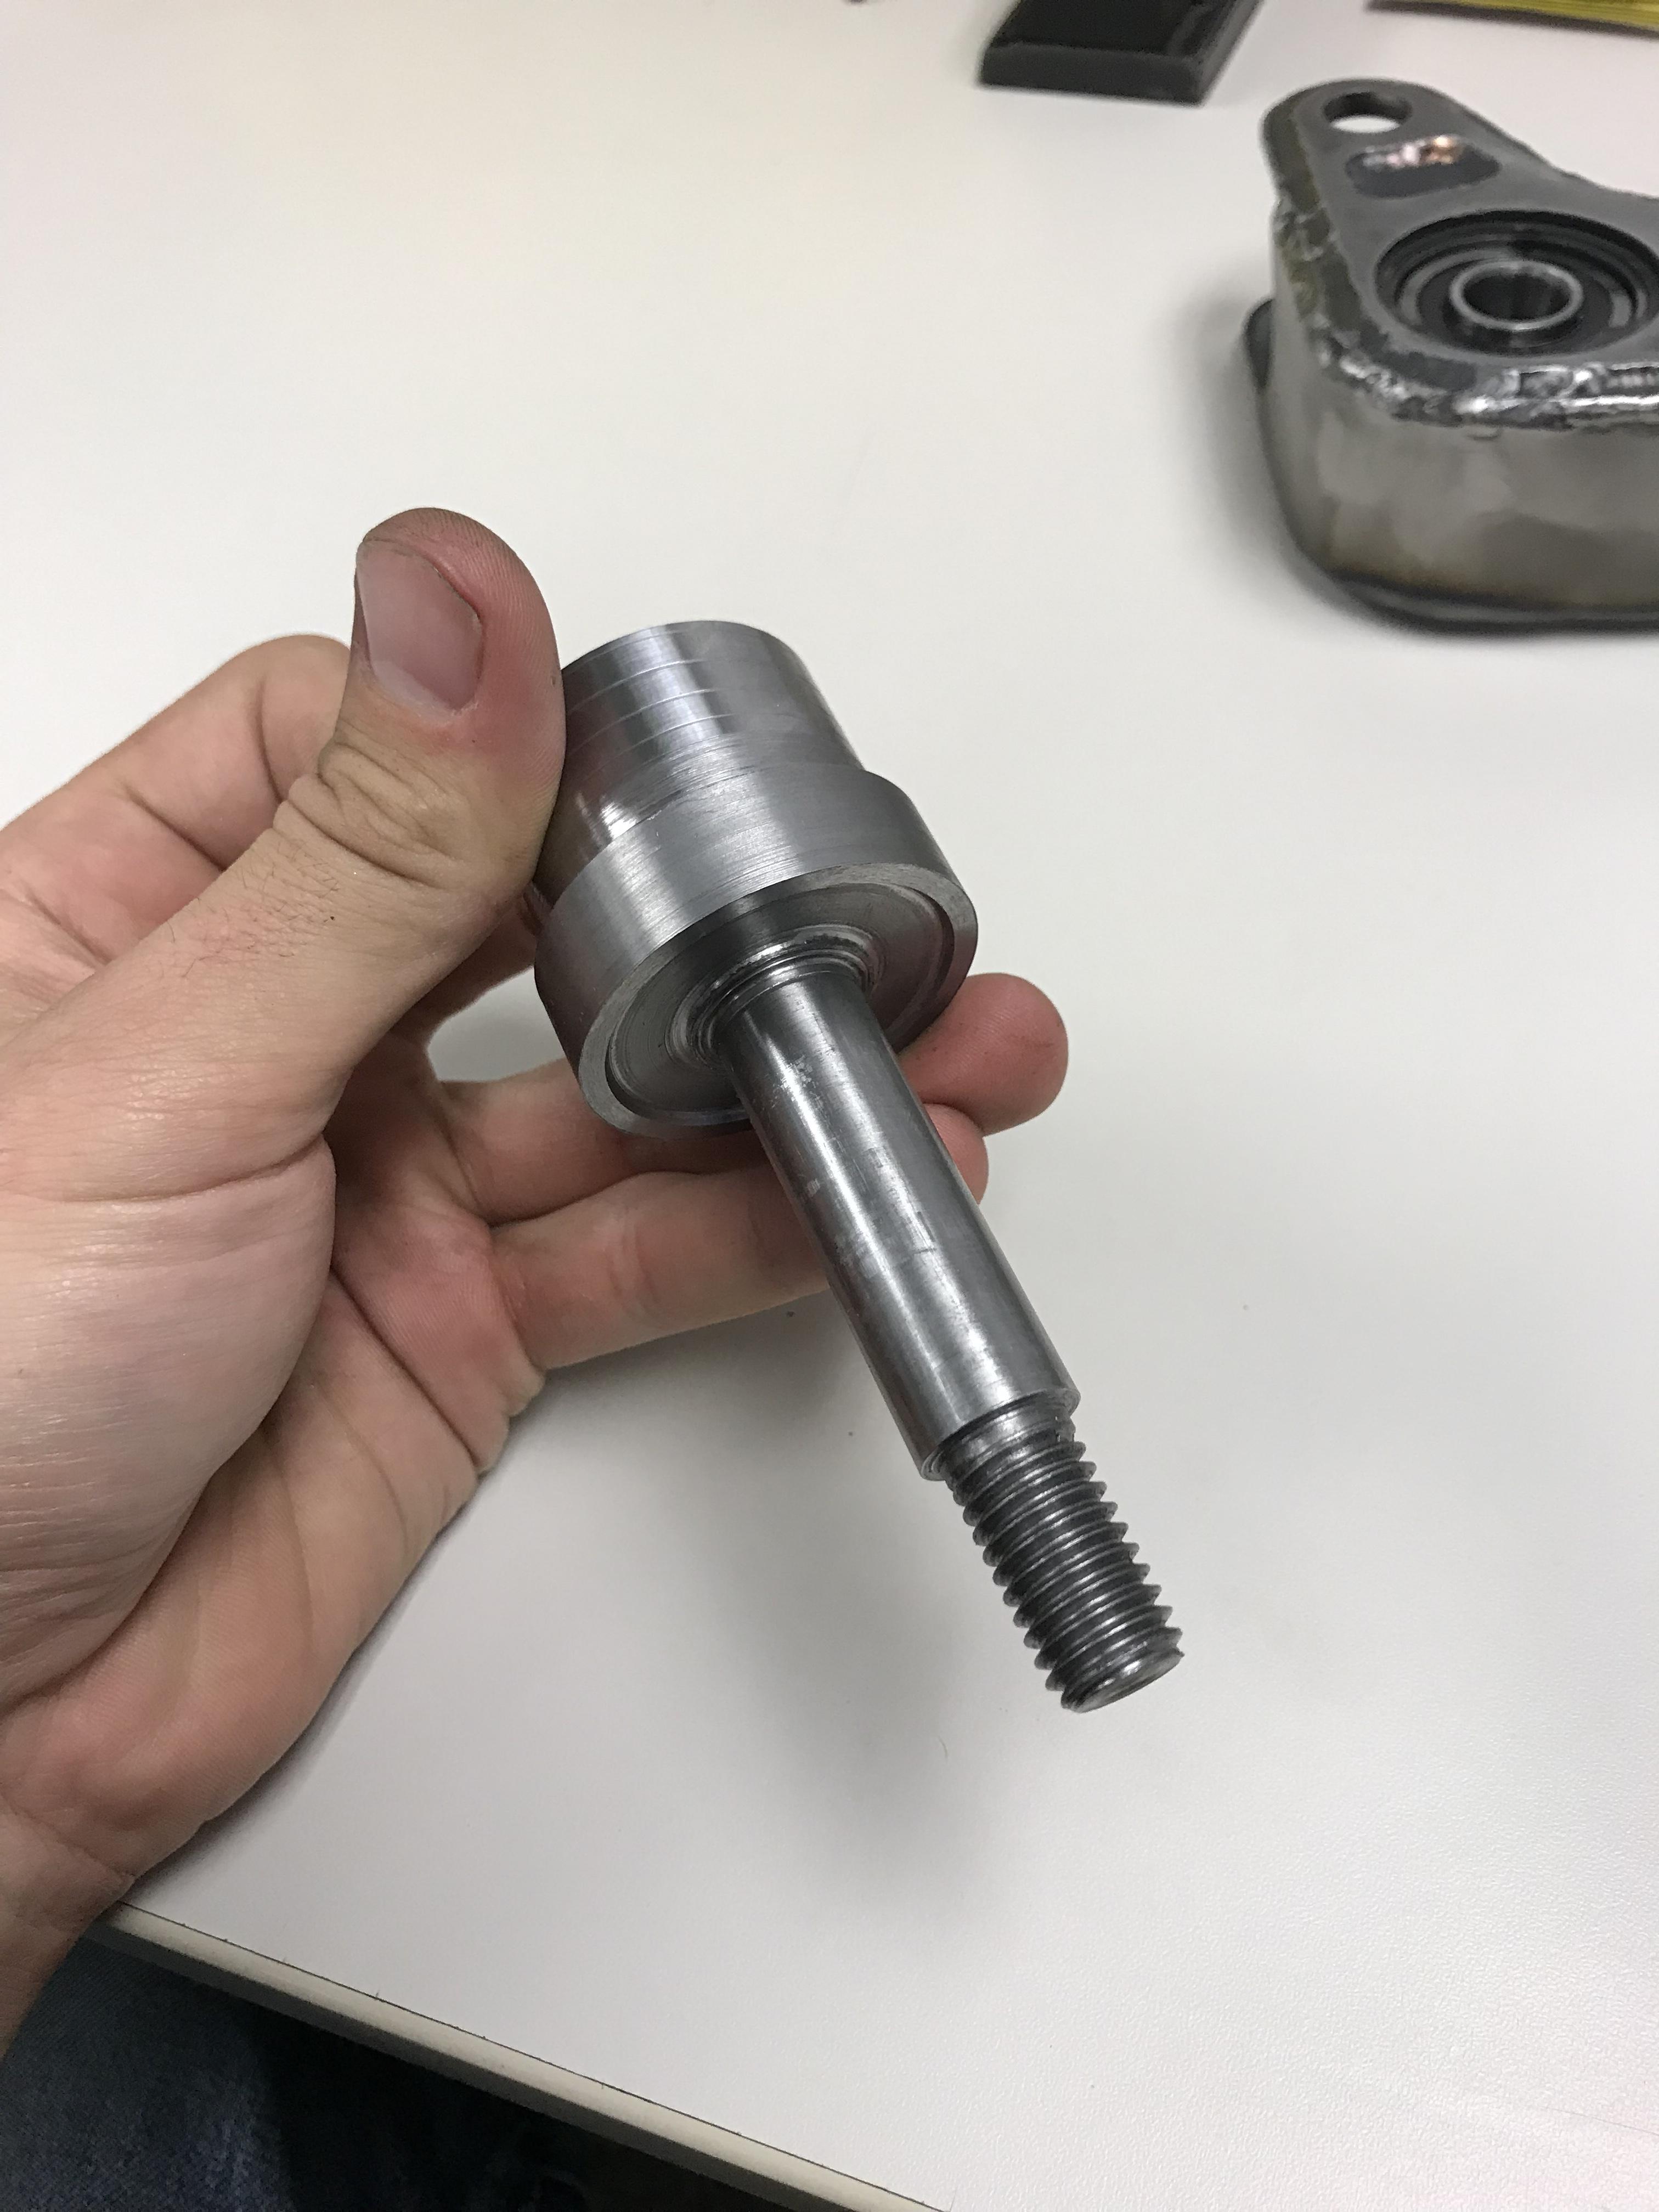
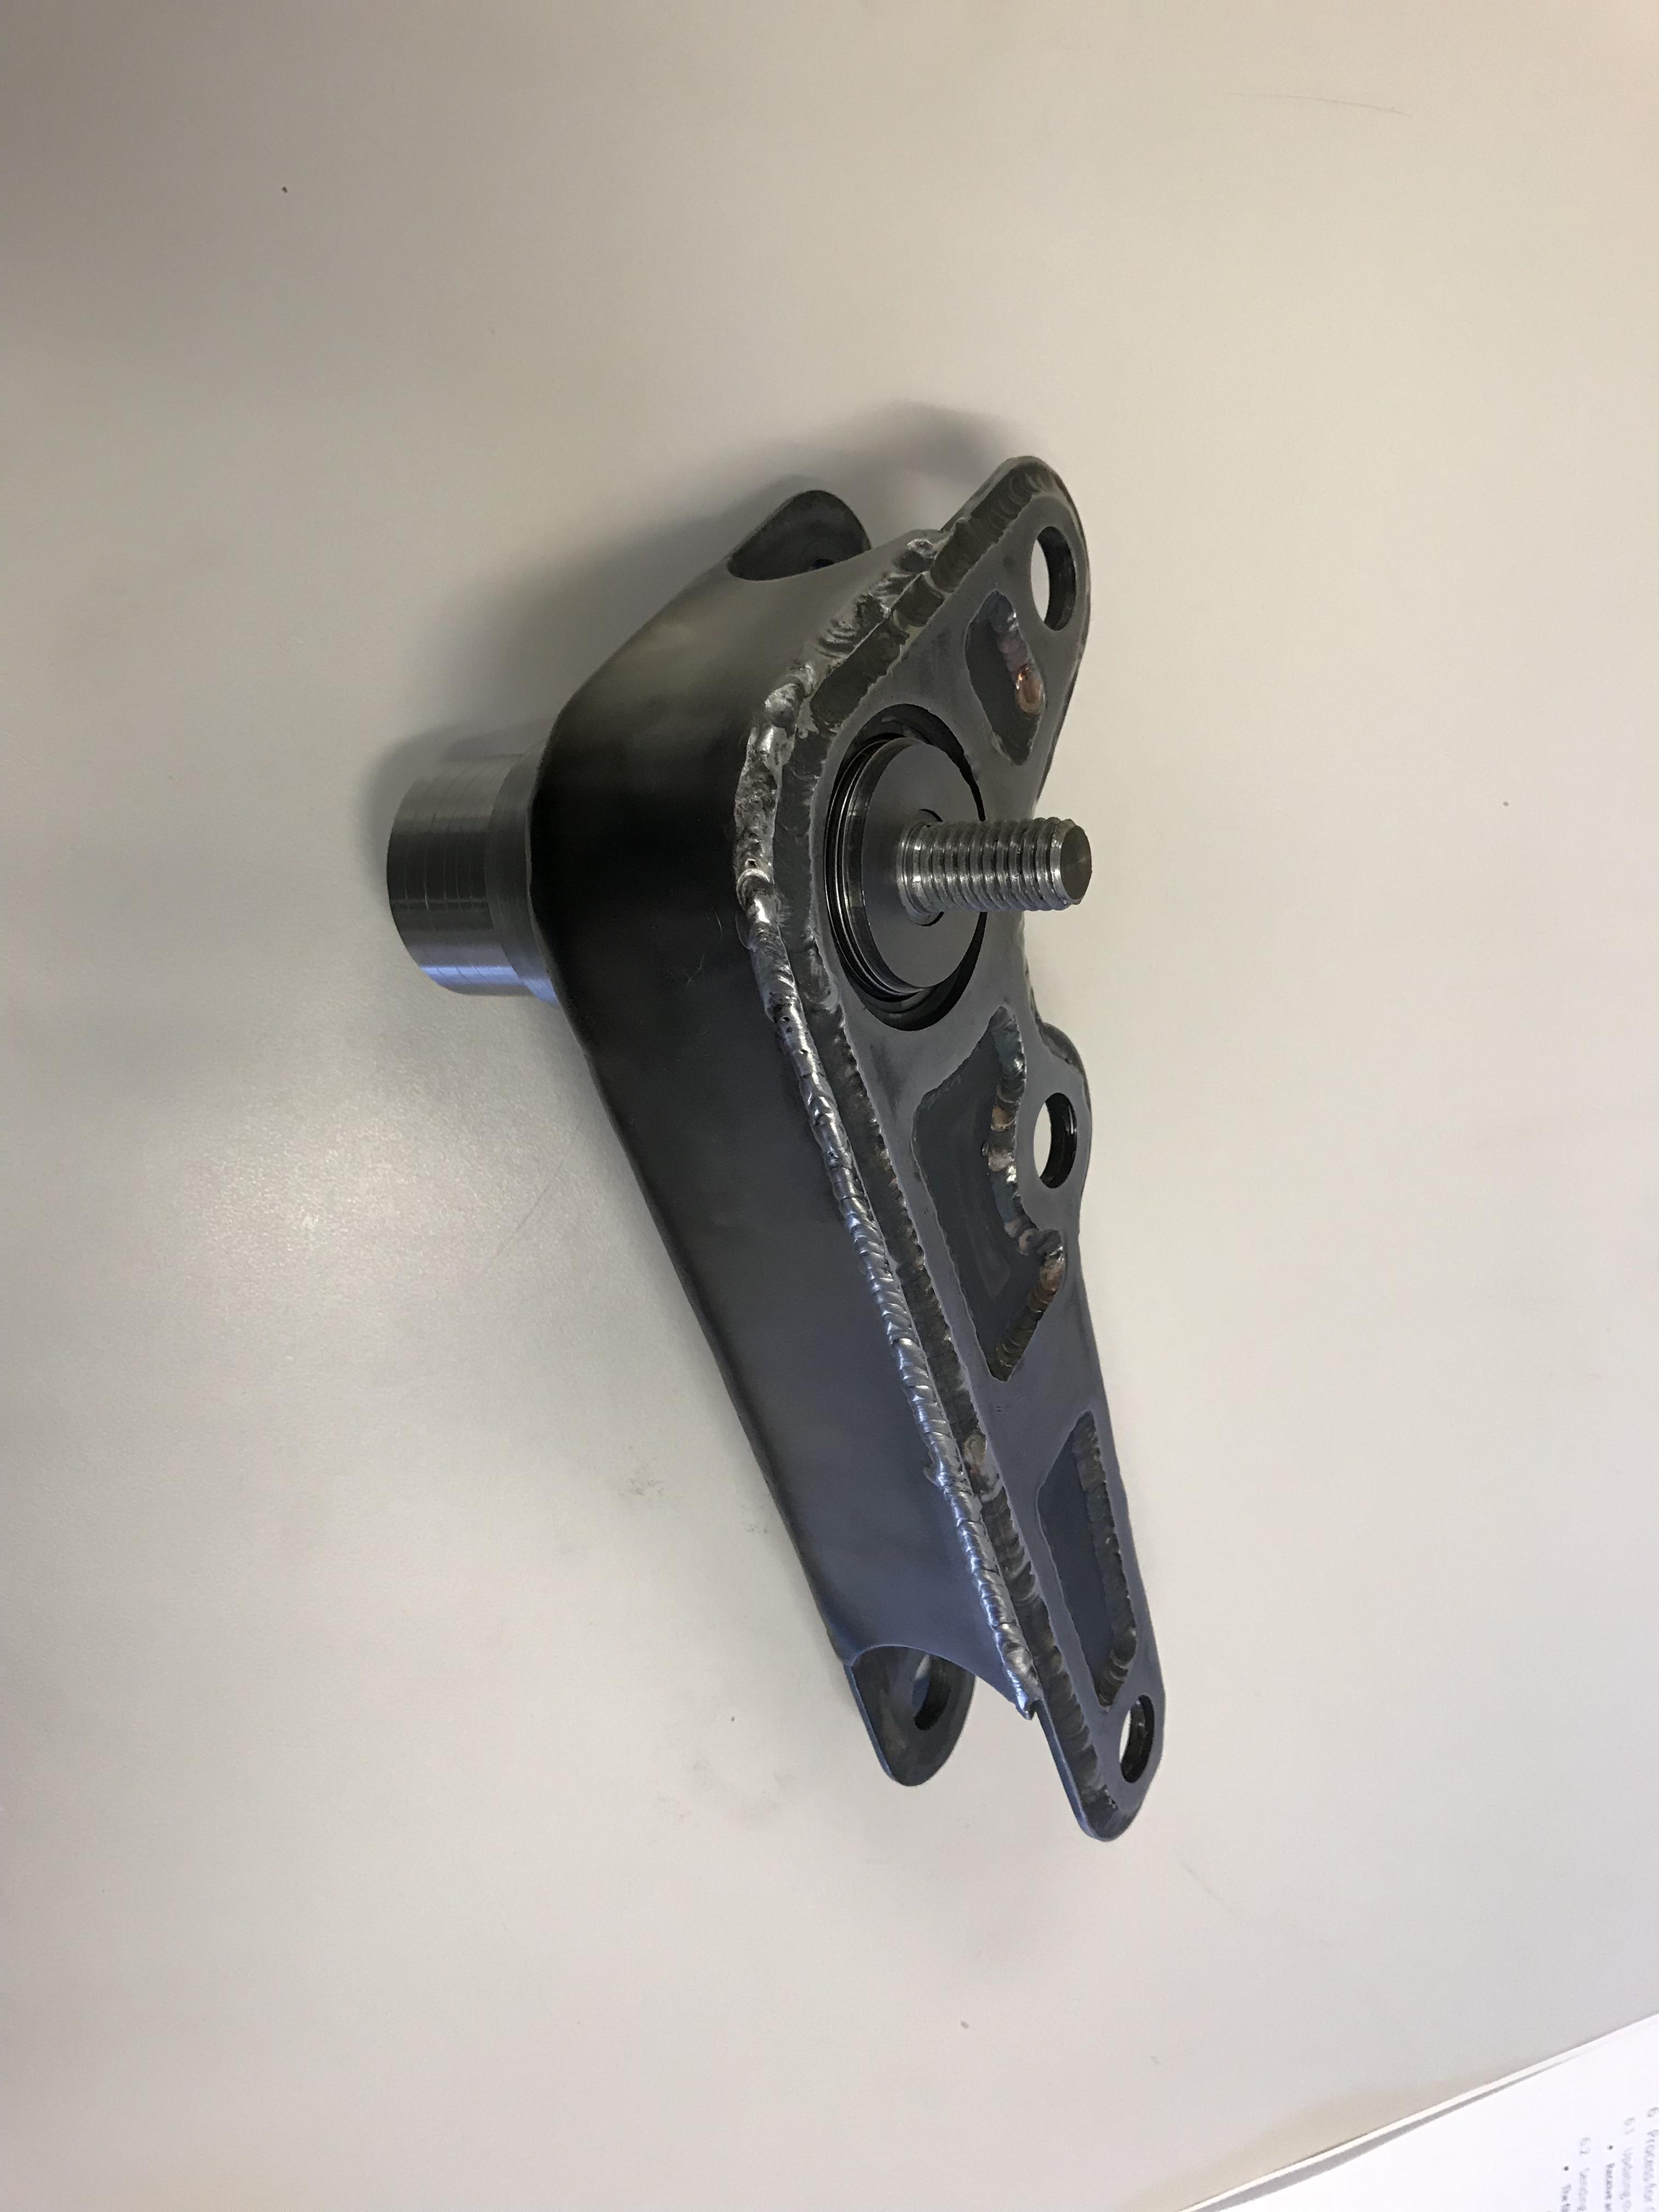
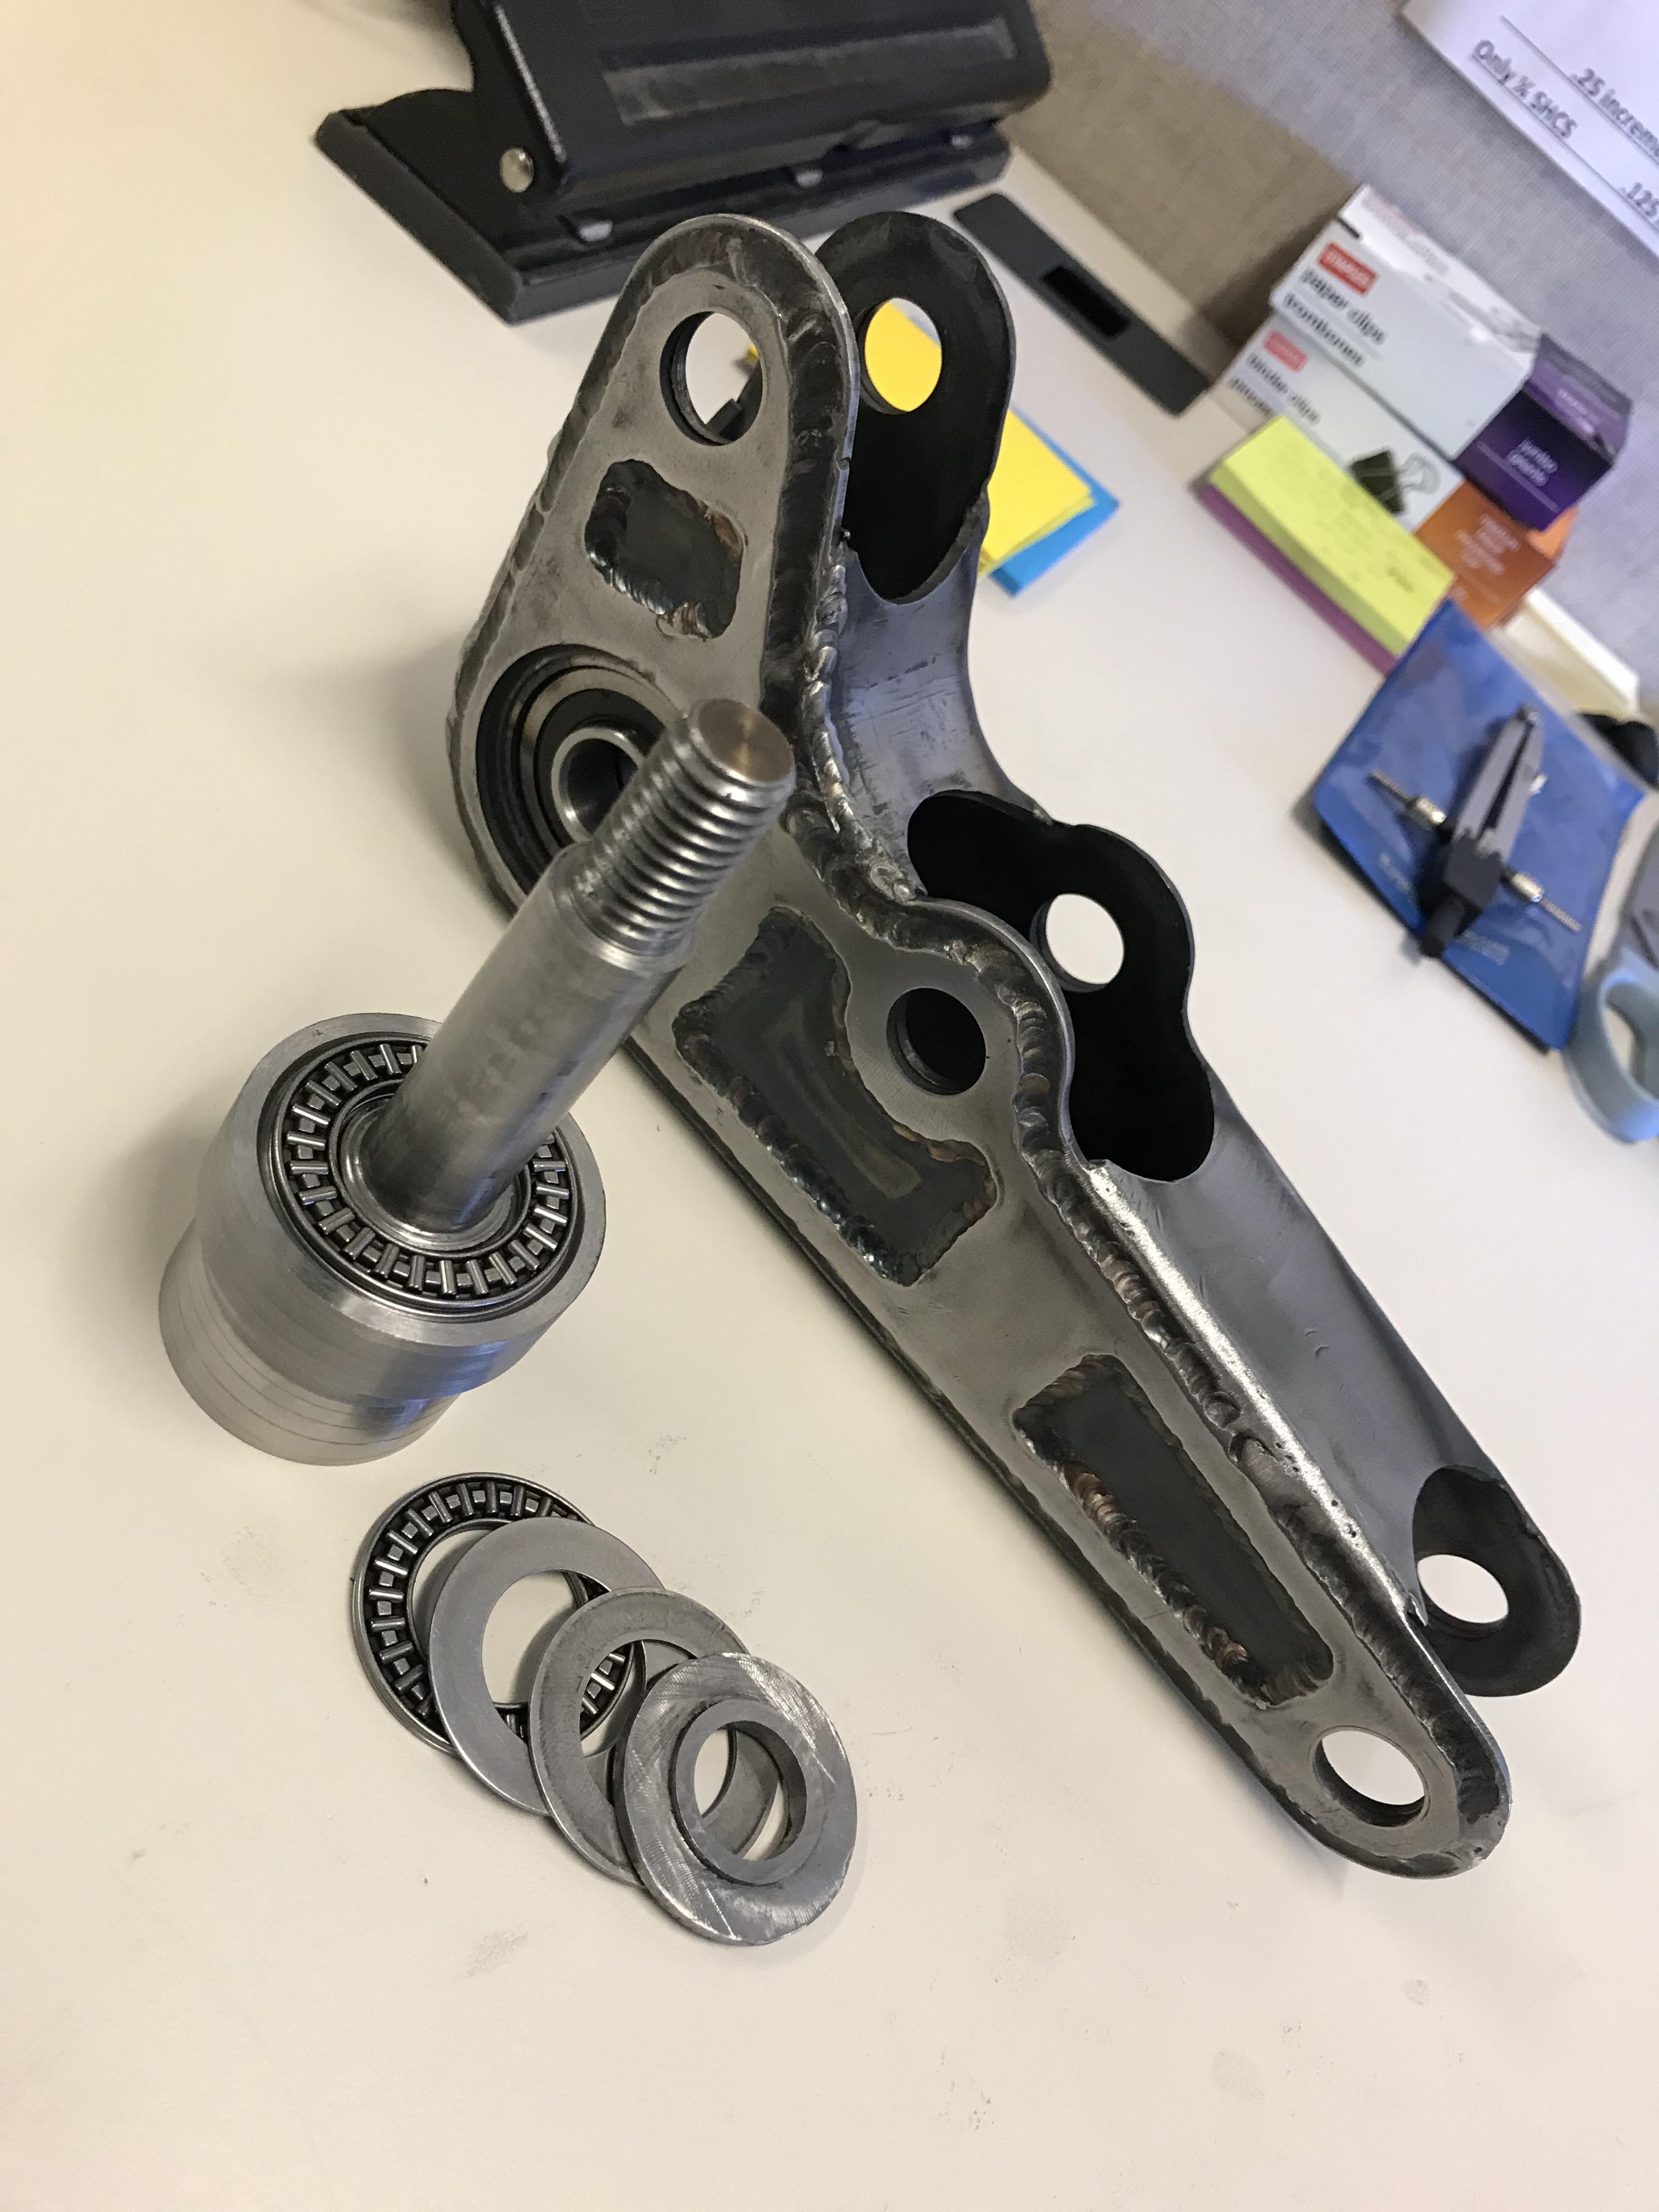
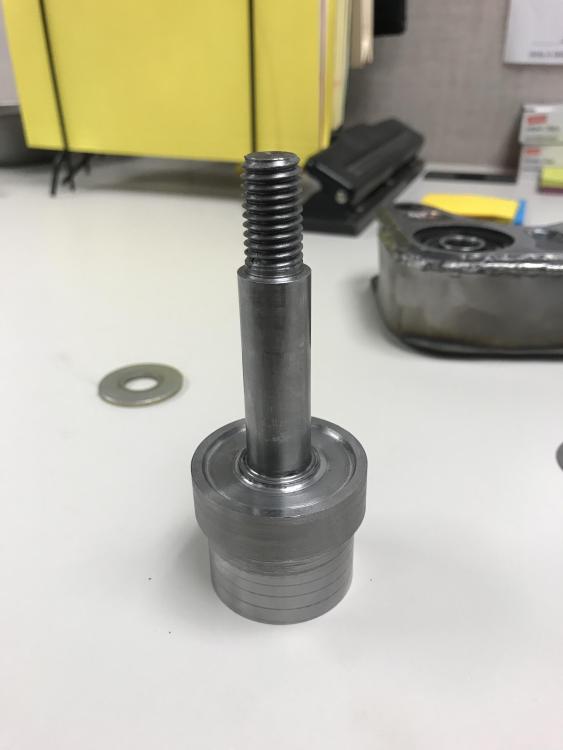
                        With some help from RobZR. I believe we have reached a much safer option from using a shoulder bolt. I made up this spindle design last night. This will have a castle nut and cotter pin in its end form. I did tighten it all down and I’m very pleased with how it turned out. zero play. 
                        01227493-279C-4891-B8BD-BA4EC8FB4000.jpeg

                        748A7328-F6B3-4EB1-BF4E-F369FD9E6E25.jpeg

                        81A7C04C-7199-4A8C-9172-9D38AC684DB0.jpeg

                        E1111466-4A11-4EB2-9B4C-46824AA33A8F.jpeg

                        1 Reply Last reply
                        0
                        • B
                          B
                          B C
                          wrote on last edited by
                          #85

                          Great work man! You may also consider using oil impregnated solid thrust washers instead of roller bearing thrust washers if the loads are low enough and you want to improve environmental protection.

                          The castle nut is a great idea

                          1 Reply Last reply
                          0
                          • ThatRatRodProjectT
                            ThatRatRodProjectT
                            ThatRatRodProject
                            wrote on last edited by
                            #86

                            B C said:

                            Great work man! You may also consider using oil impregnated solid thrust washers instead of roller bearing thrust washers if the loads are low enough and you want to improve environmental protection.

                            The castle nut is a great idea

                            I would like to possible try 3d Printing some bushings for weather protection. Out of some soft filament. Or Nylon

                            1 Reply Last reply
                            0
                            • ThatRatRodProjectT
                              ThatRatRodProjectT
                              ThatRatRodProject
                              wrote on last edited by
                              #87

                              Quick up date. 

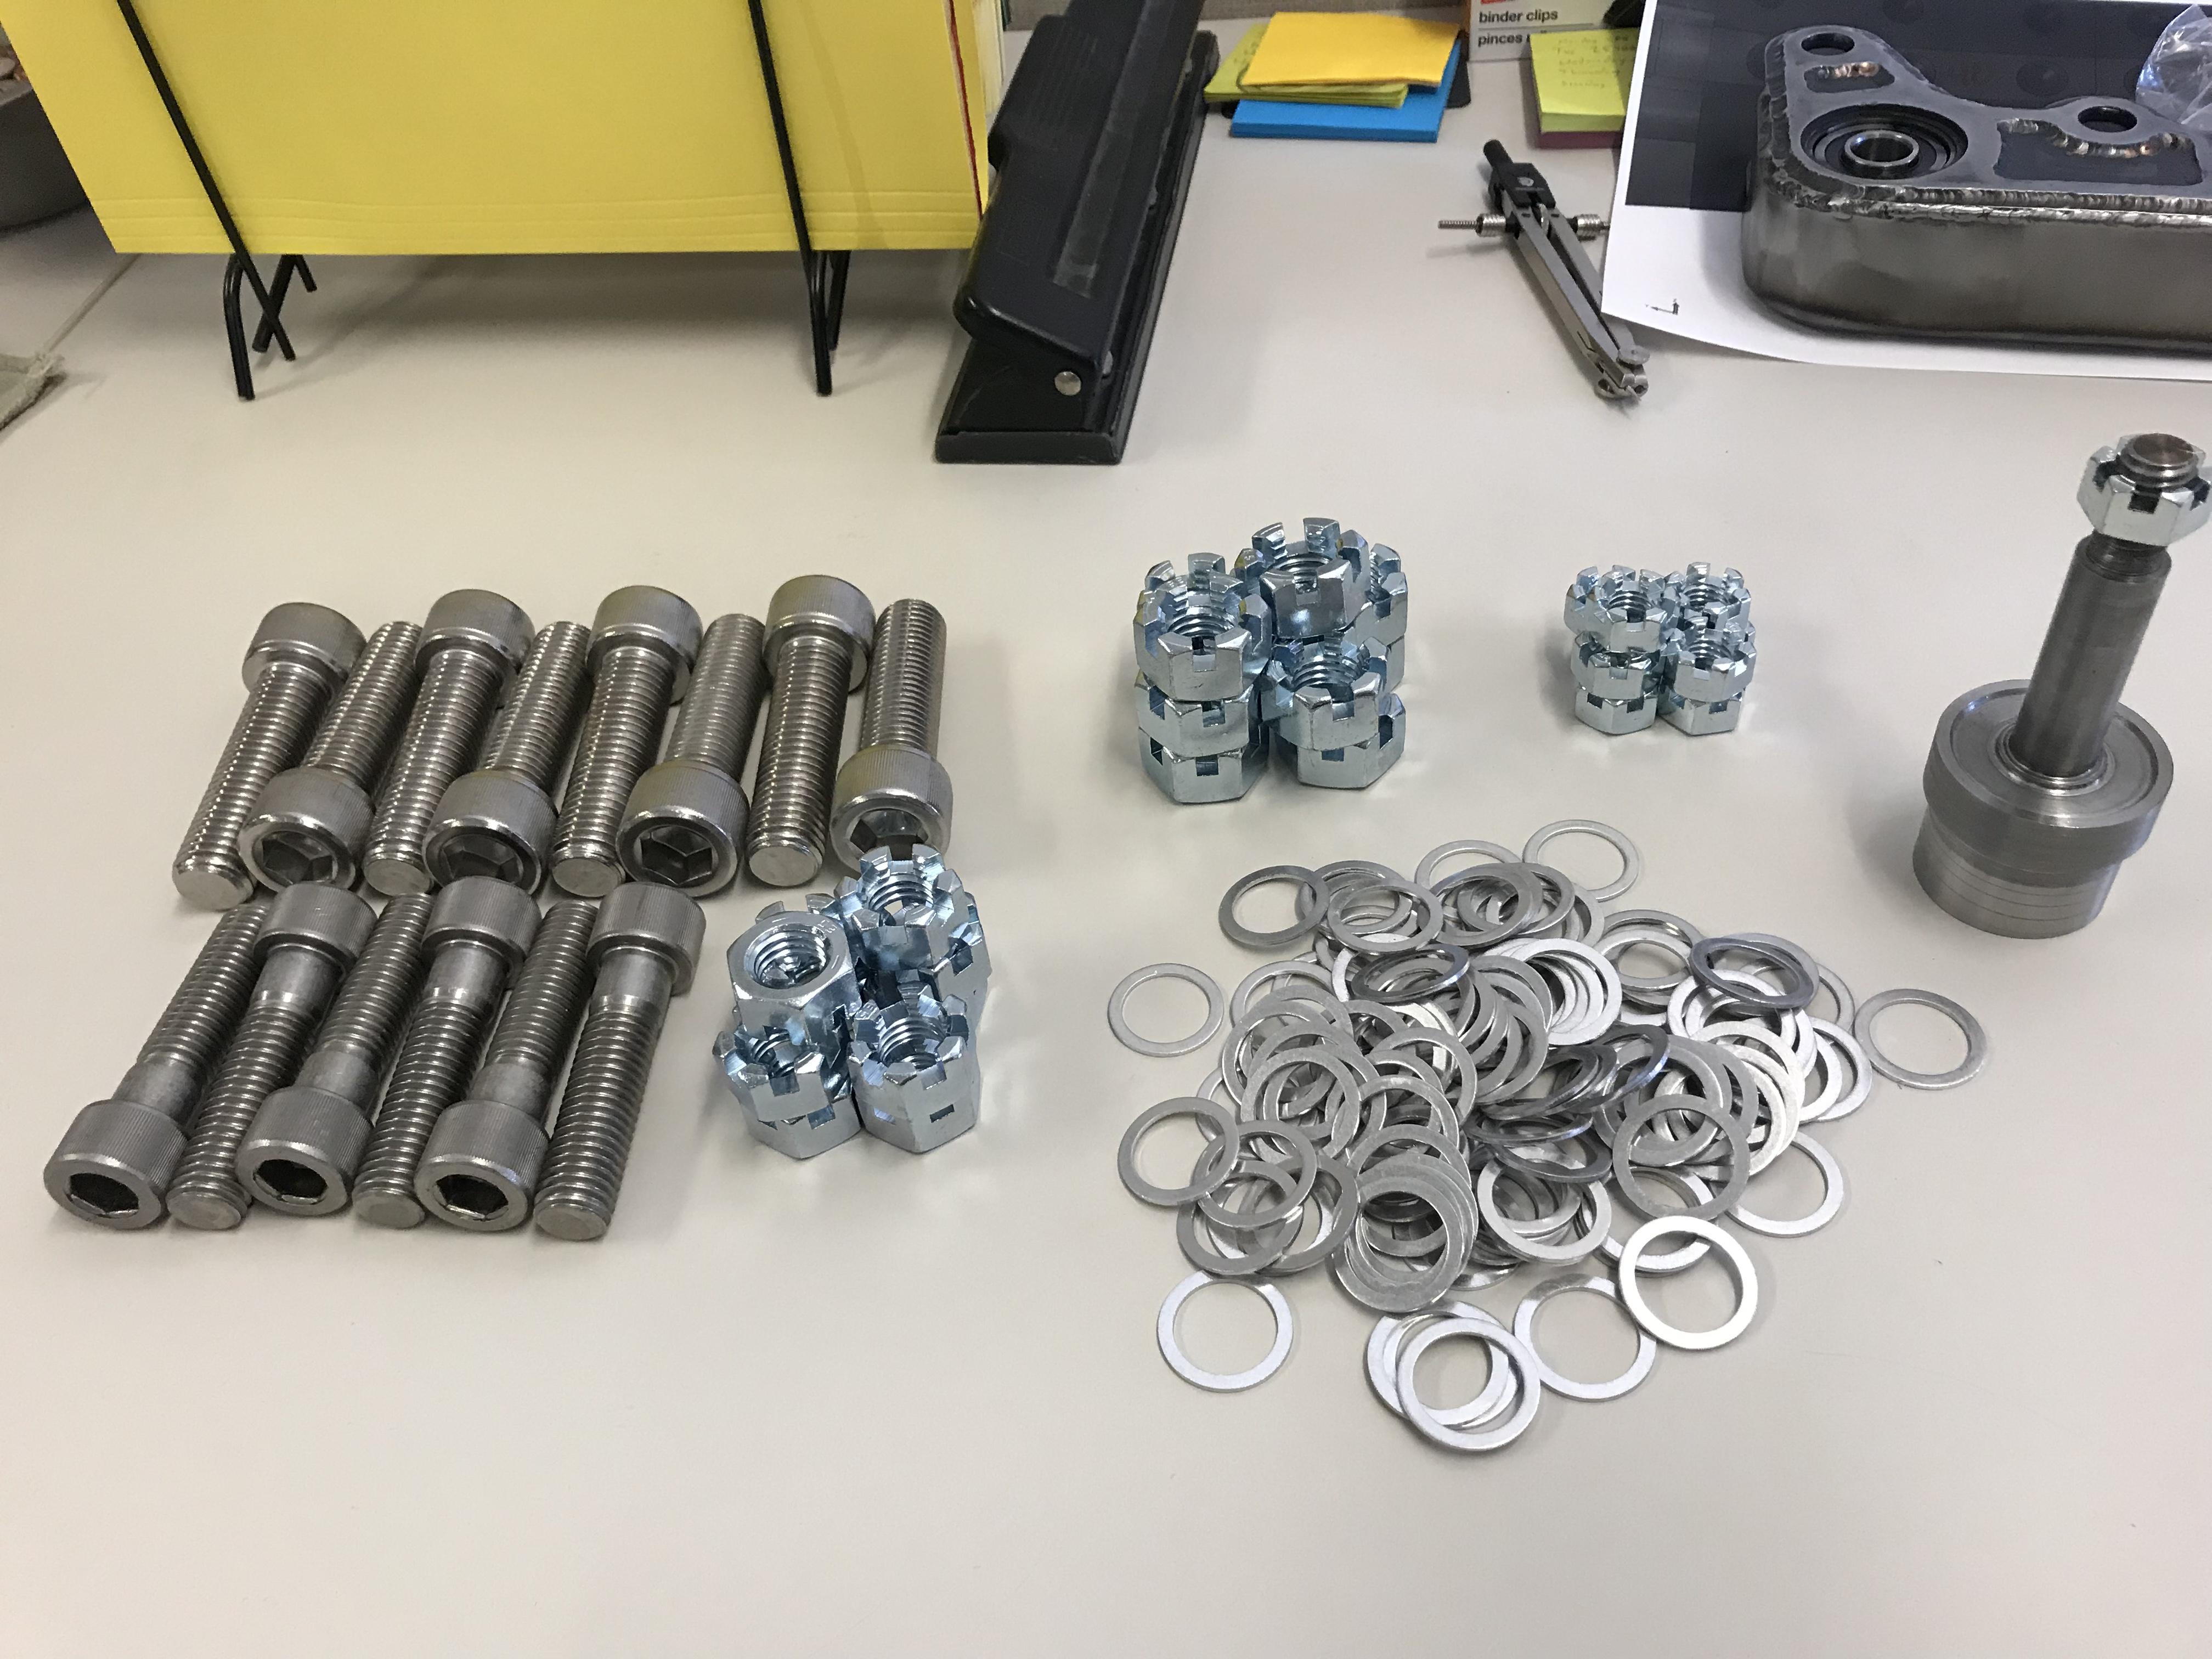
                              Got some of my hardware to assemble my front end just waiting on ball joints and got a finish up some welding
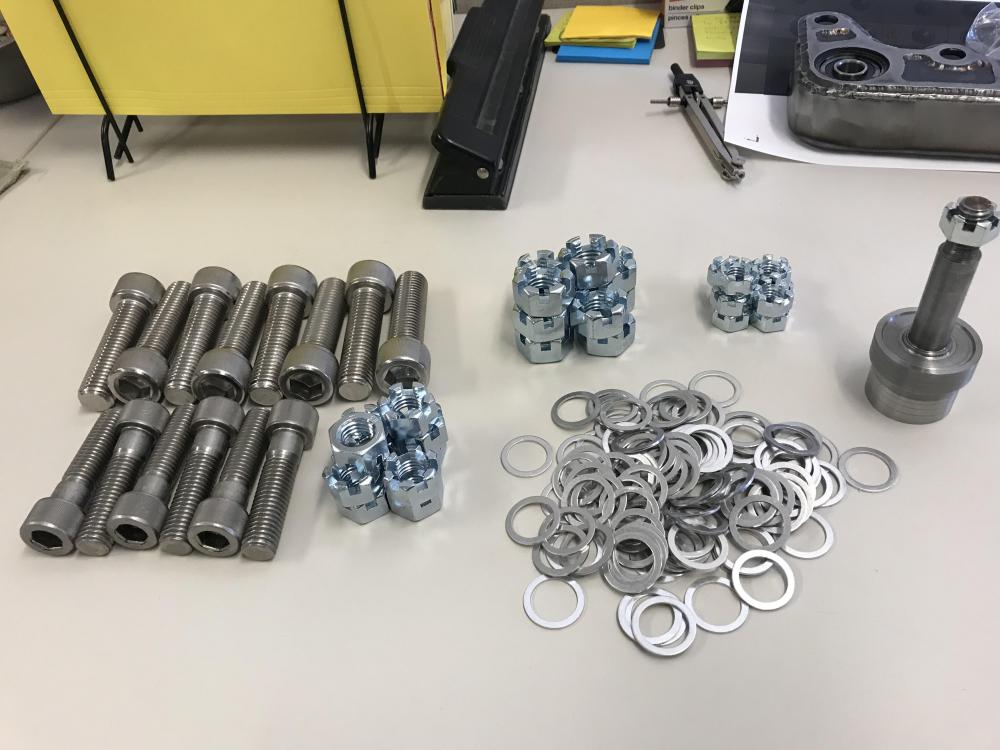
                              70B11E47-004C-44DB-867B-BC08E8D281CE.jpeg

                              1 Reply Last reply
                              1
                              • ThatRatRodProjectT
                                ThatRatRodProjectT
                                ThatRatRodProject
                                wrote on last edited by
                                #88

                                Happy thanksgiving update. This is gonna be a Picture update. Photos might not all be in order. 
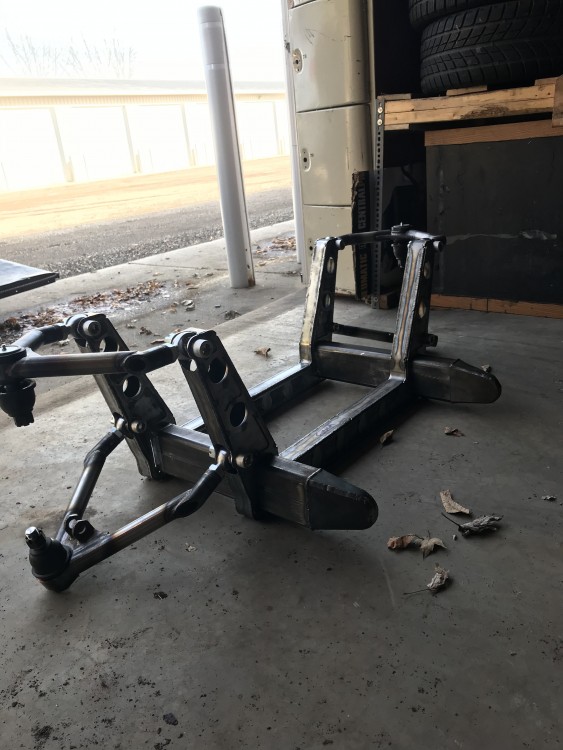
                                IMG_1238.MOV

                                64047EB7-7F60-4F79-9EA4-1C143DDFE76C.jpeg

                                7CEC8082-80AB-4A65-8D0A-388BA9A0F894.jpeg

                                IMG_1253.MP4

                                C72C884B-D274-4B70-9894-ECA6AE3E81C2.jpeg

                                386B7BA7-5244-43C9-975F-BBE0CC0109B0.jpeg

                                919FD7C7-02C3-4EB1-8A6B-B80F2183D478.jpeg

                                IMG_1259.MOV

                                Attachments:

                                • IMG_1238.MOV
                                • IMG_1253.MP4
                                • IMG_1259.MOV
                                1 Reply Last reply
                                2
                                • ThatRatRodProjectT
                                  ThatRatRodProjectT
                                  ThatRatRodProject
                                  wrote on last edited by
                                  #89

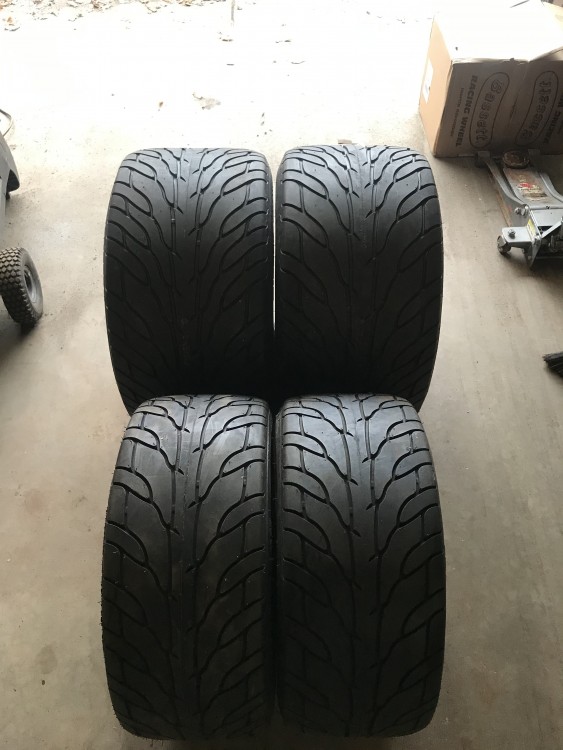
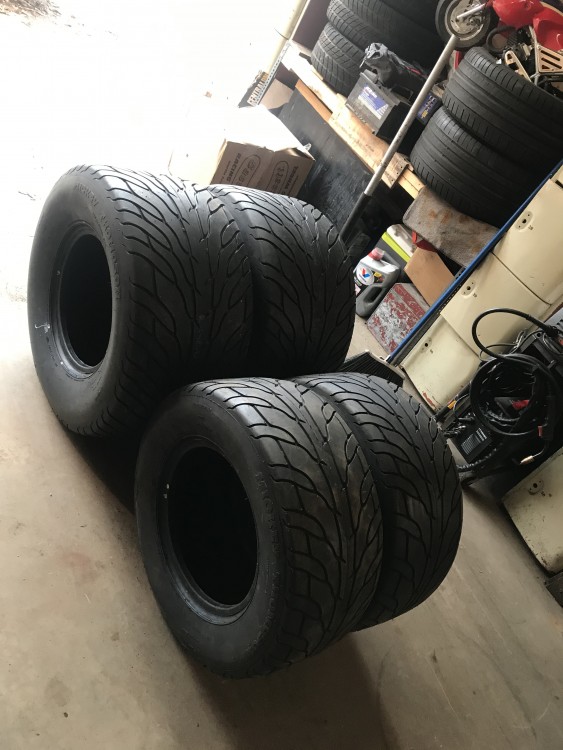
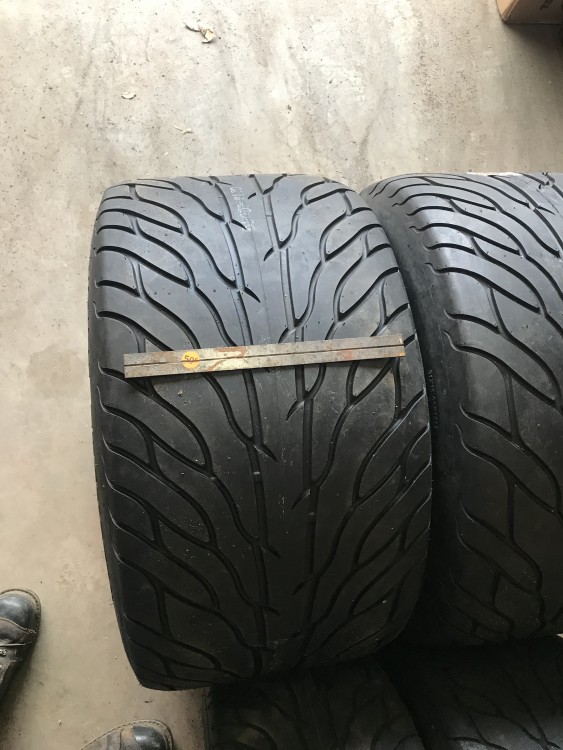
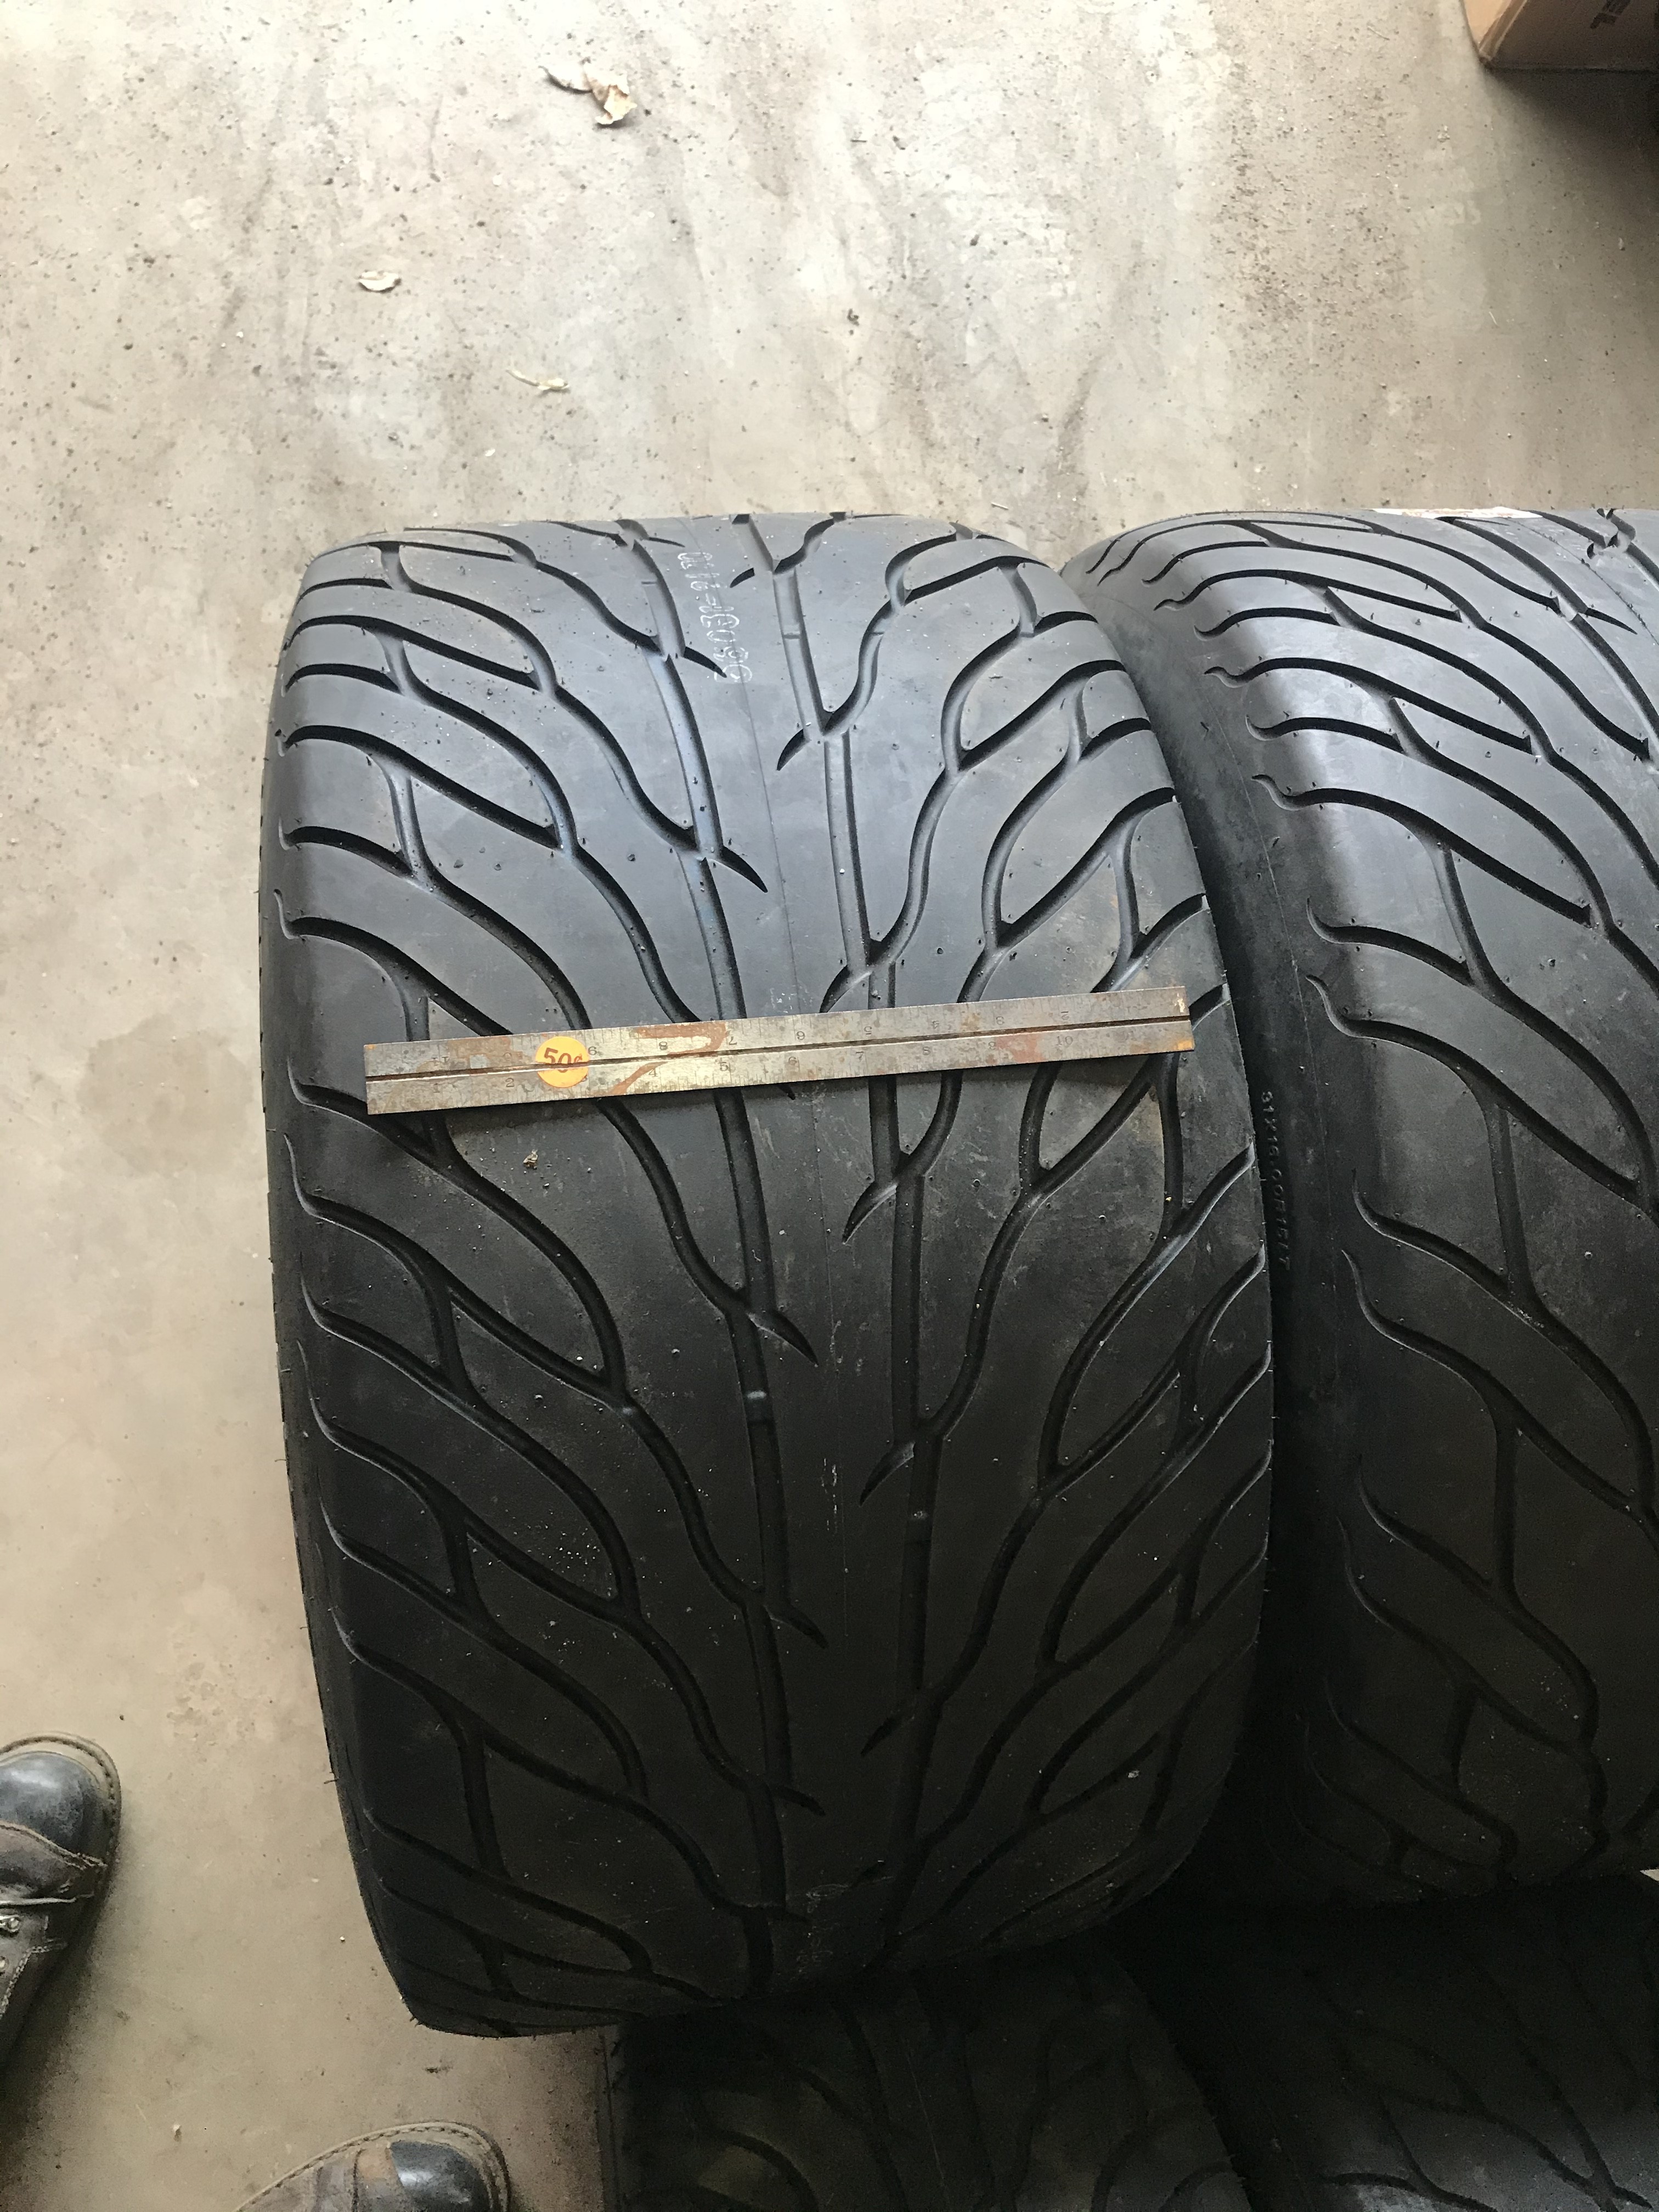
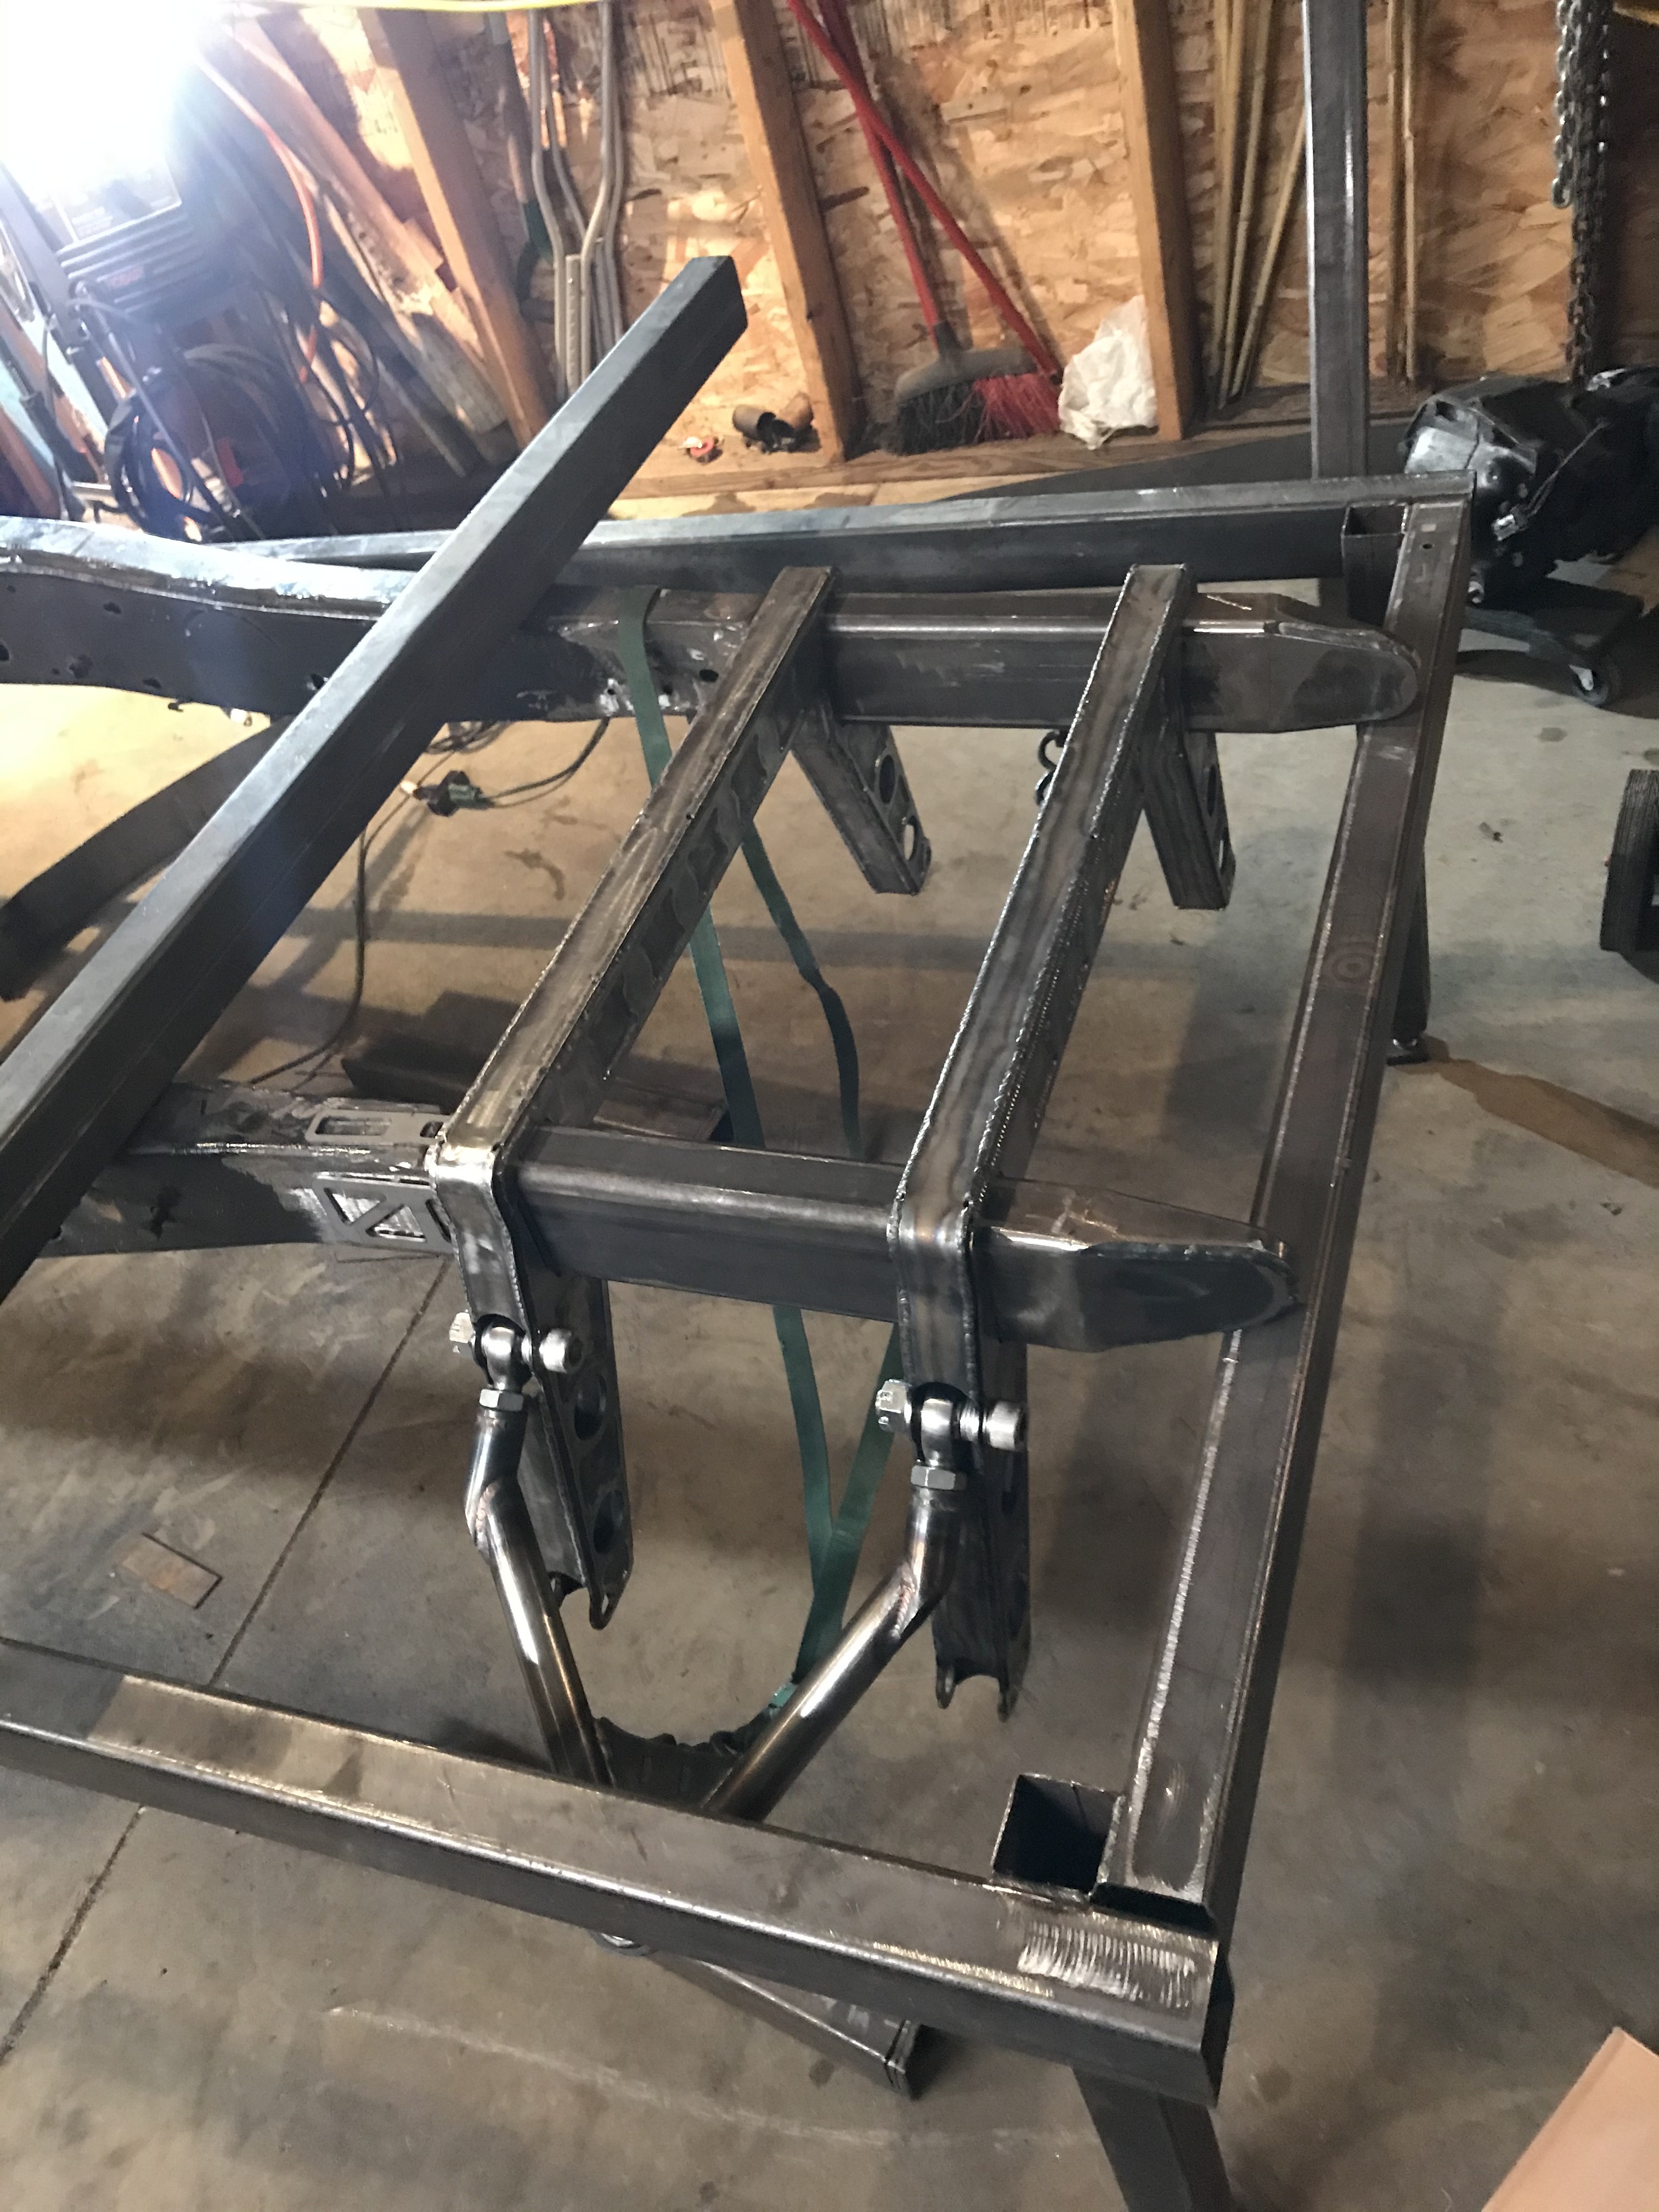
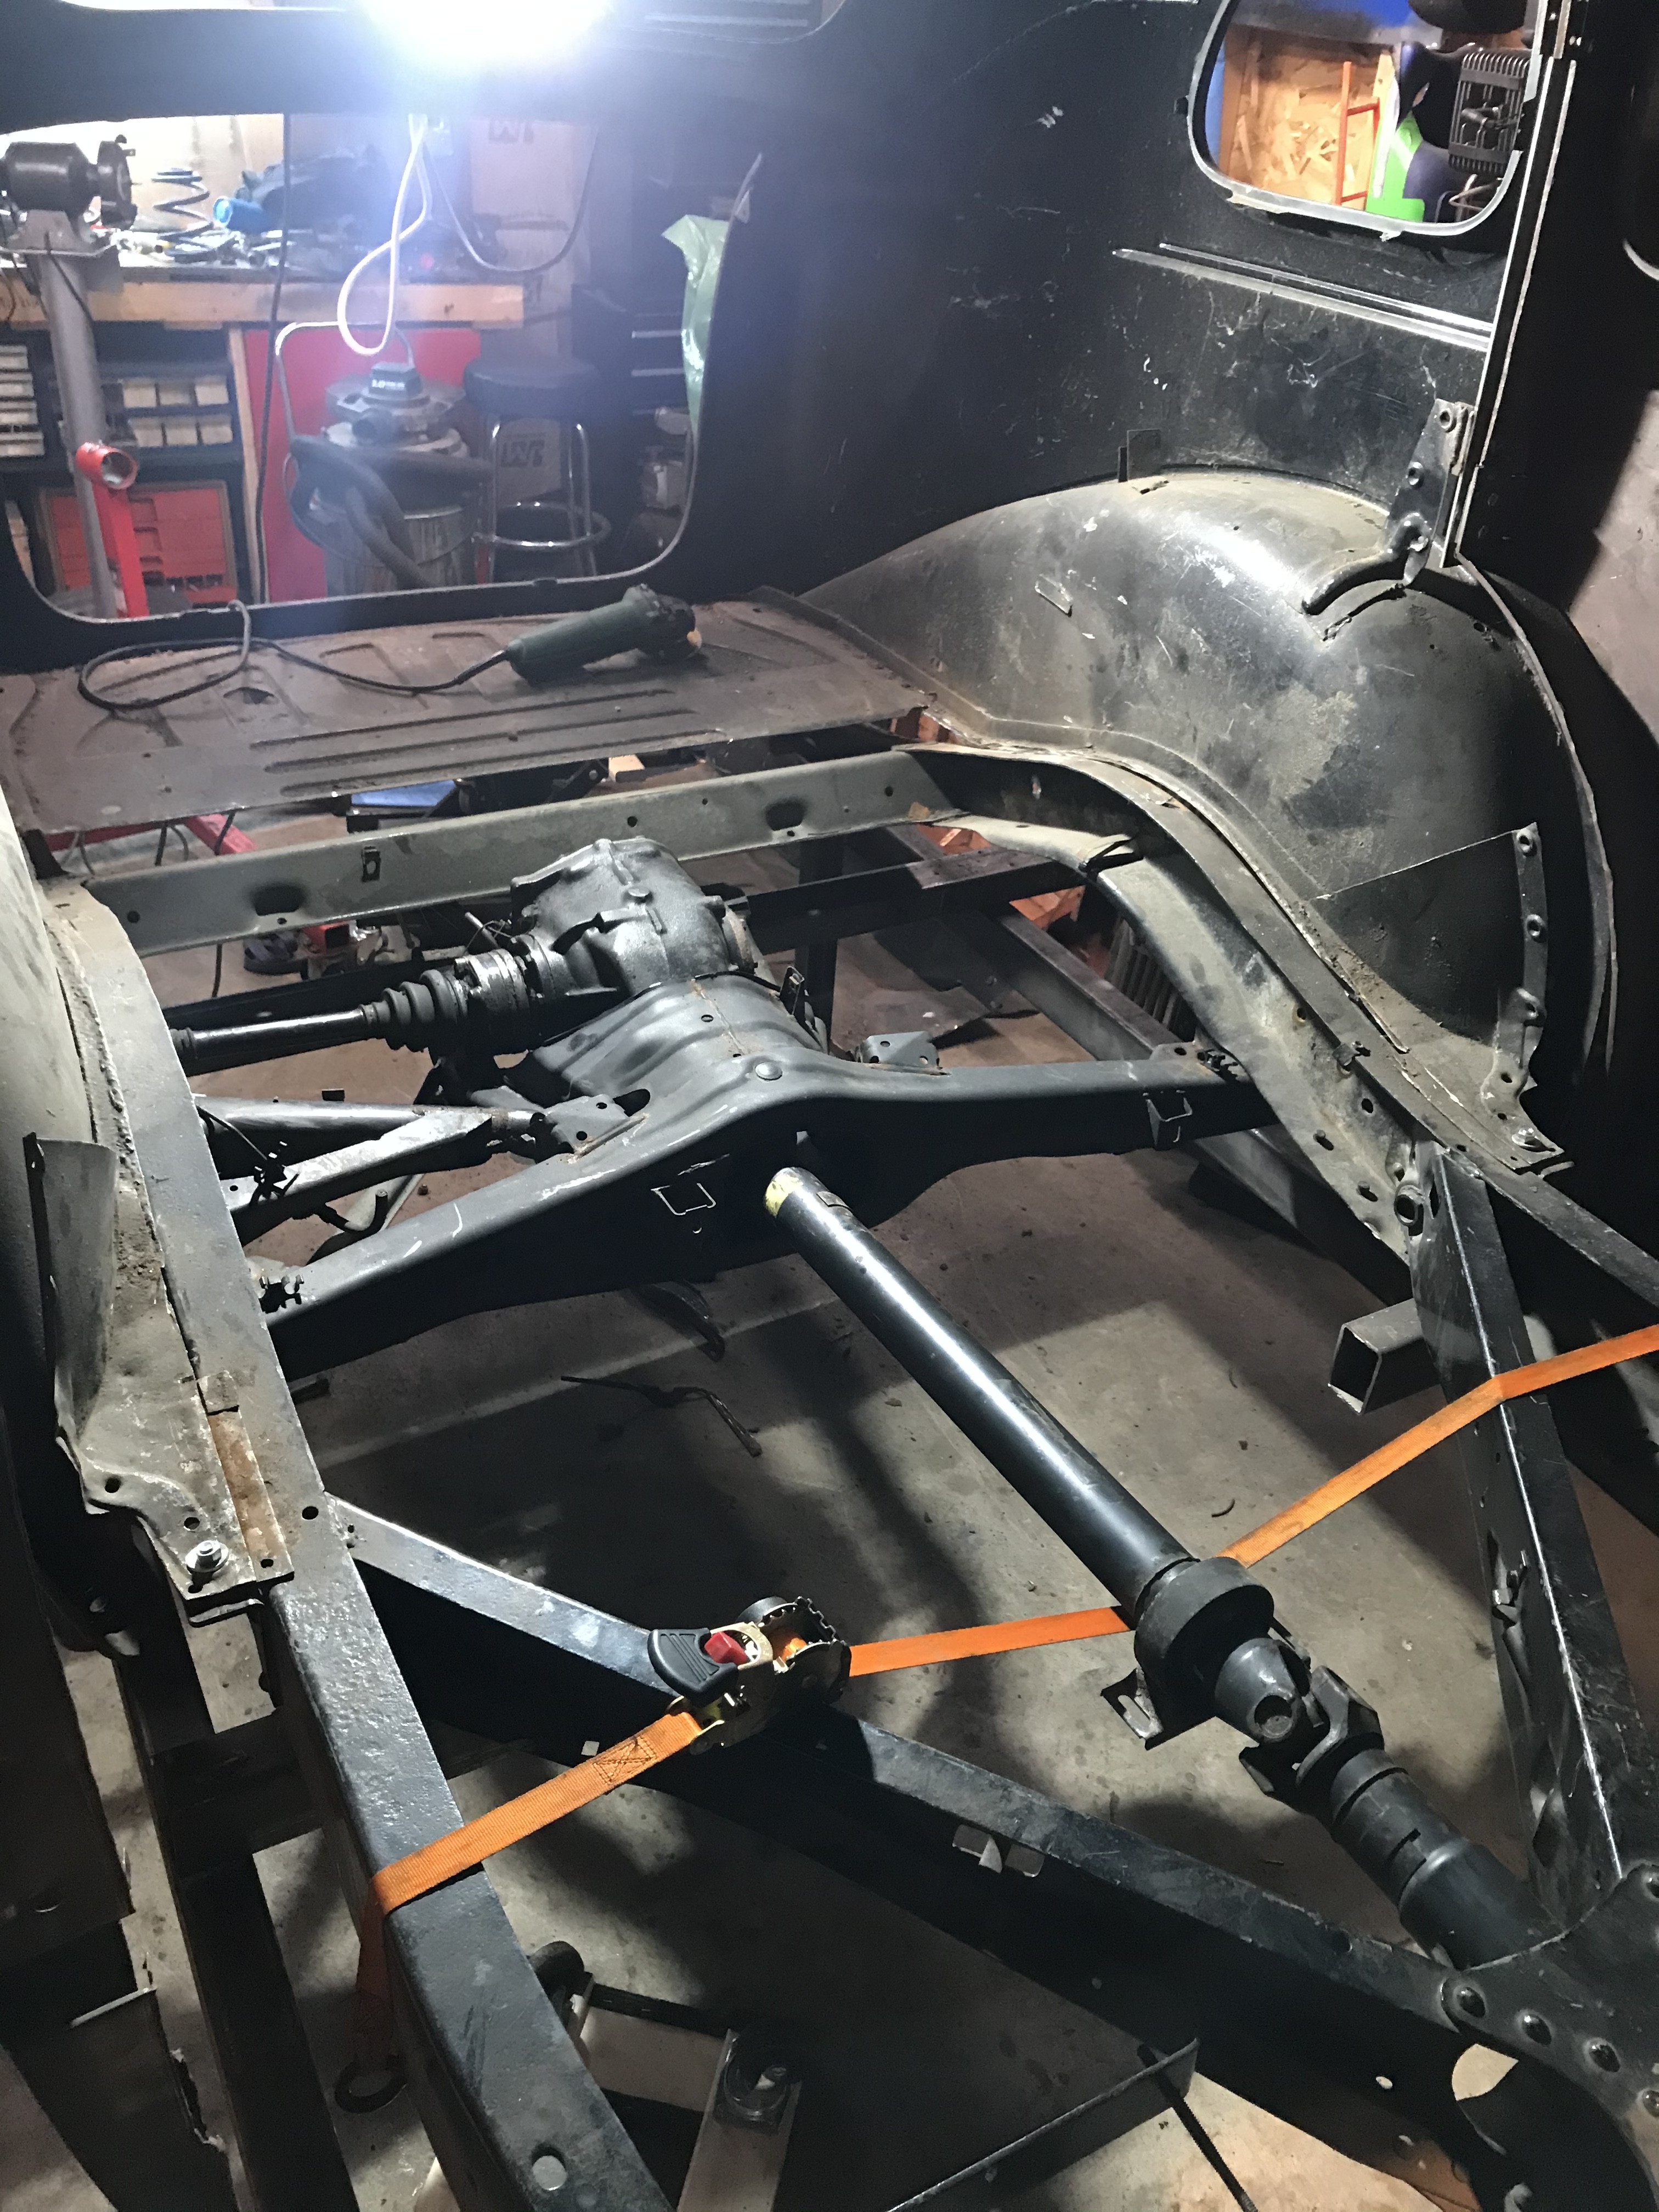
                                  Pulled the frame out from underneath the car and worked on getting the front end mounted to the frame. Holiday week is letting me get some shop time in. I’m just waiting on the rear wheels  From basset racing. and then I will have everything to make it a roller. Glad to see all me card board templates and napkin drawings are working out. 
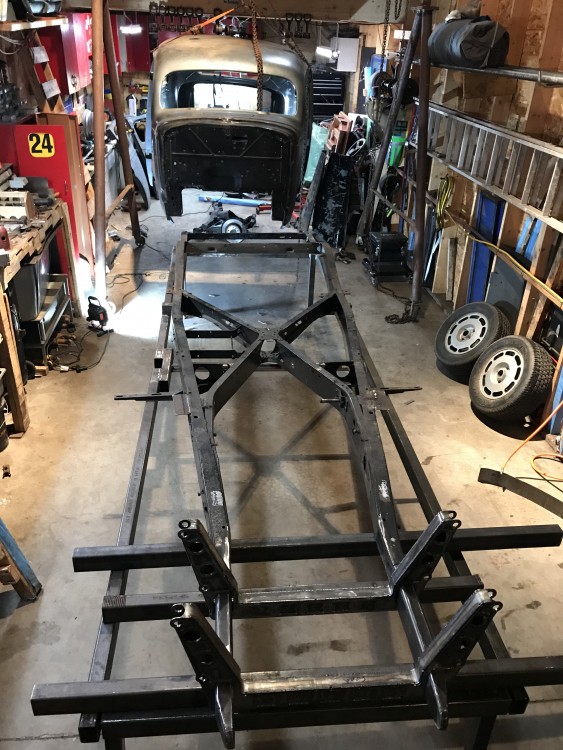
                                  B456A83E-457F-4BB5-AFD7-5F14D04EC145.jpeg

                                  02CE2F92-C6D7-4556-8945-CEDEB41201F9.jpeg

                                  7F6A1128-81B5-4569-A659-D8AFAE39825C.jpeg

                                  1 Reply Last reply
                                  3
                                  • ThatRatRodProjectT
                                    ThatRatRodProjectT
                                    ThatRatRodProject
                                    wrote on last edited by
                                    #90

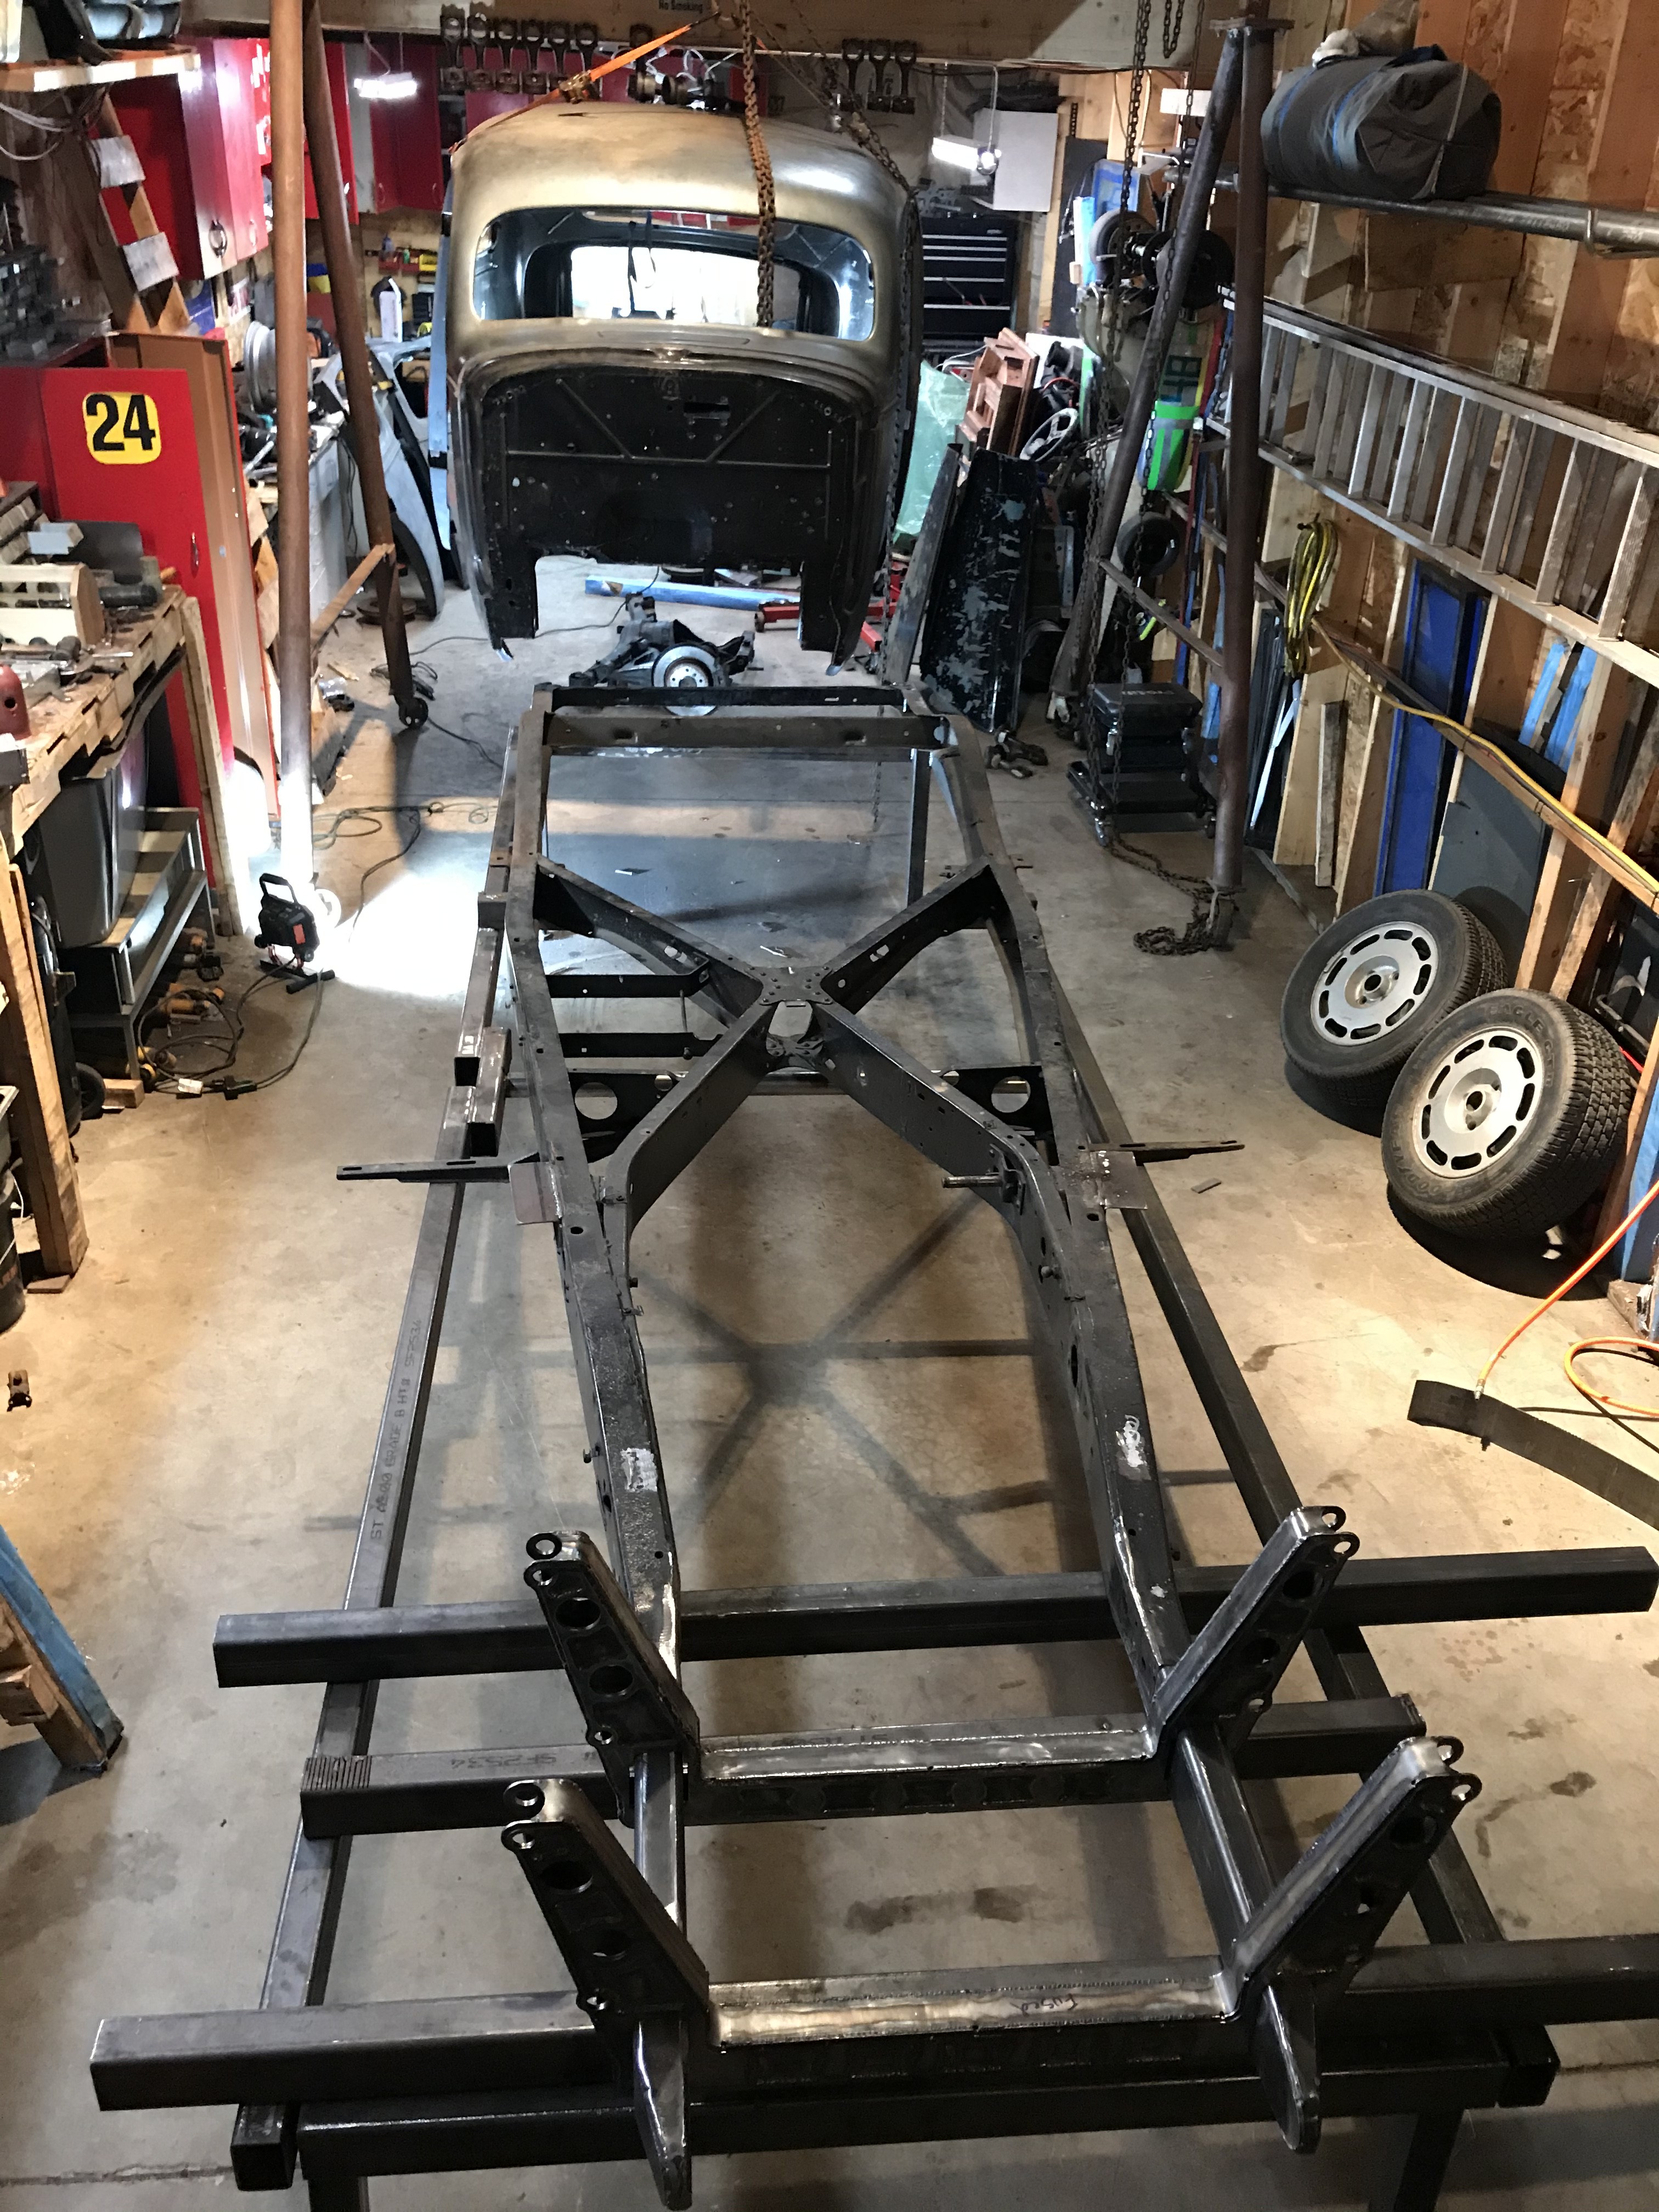
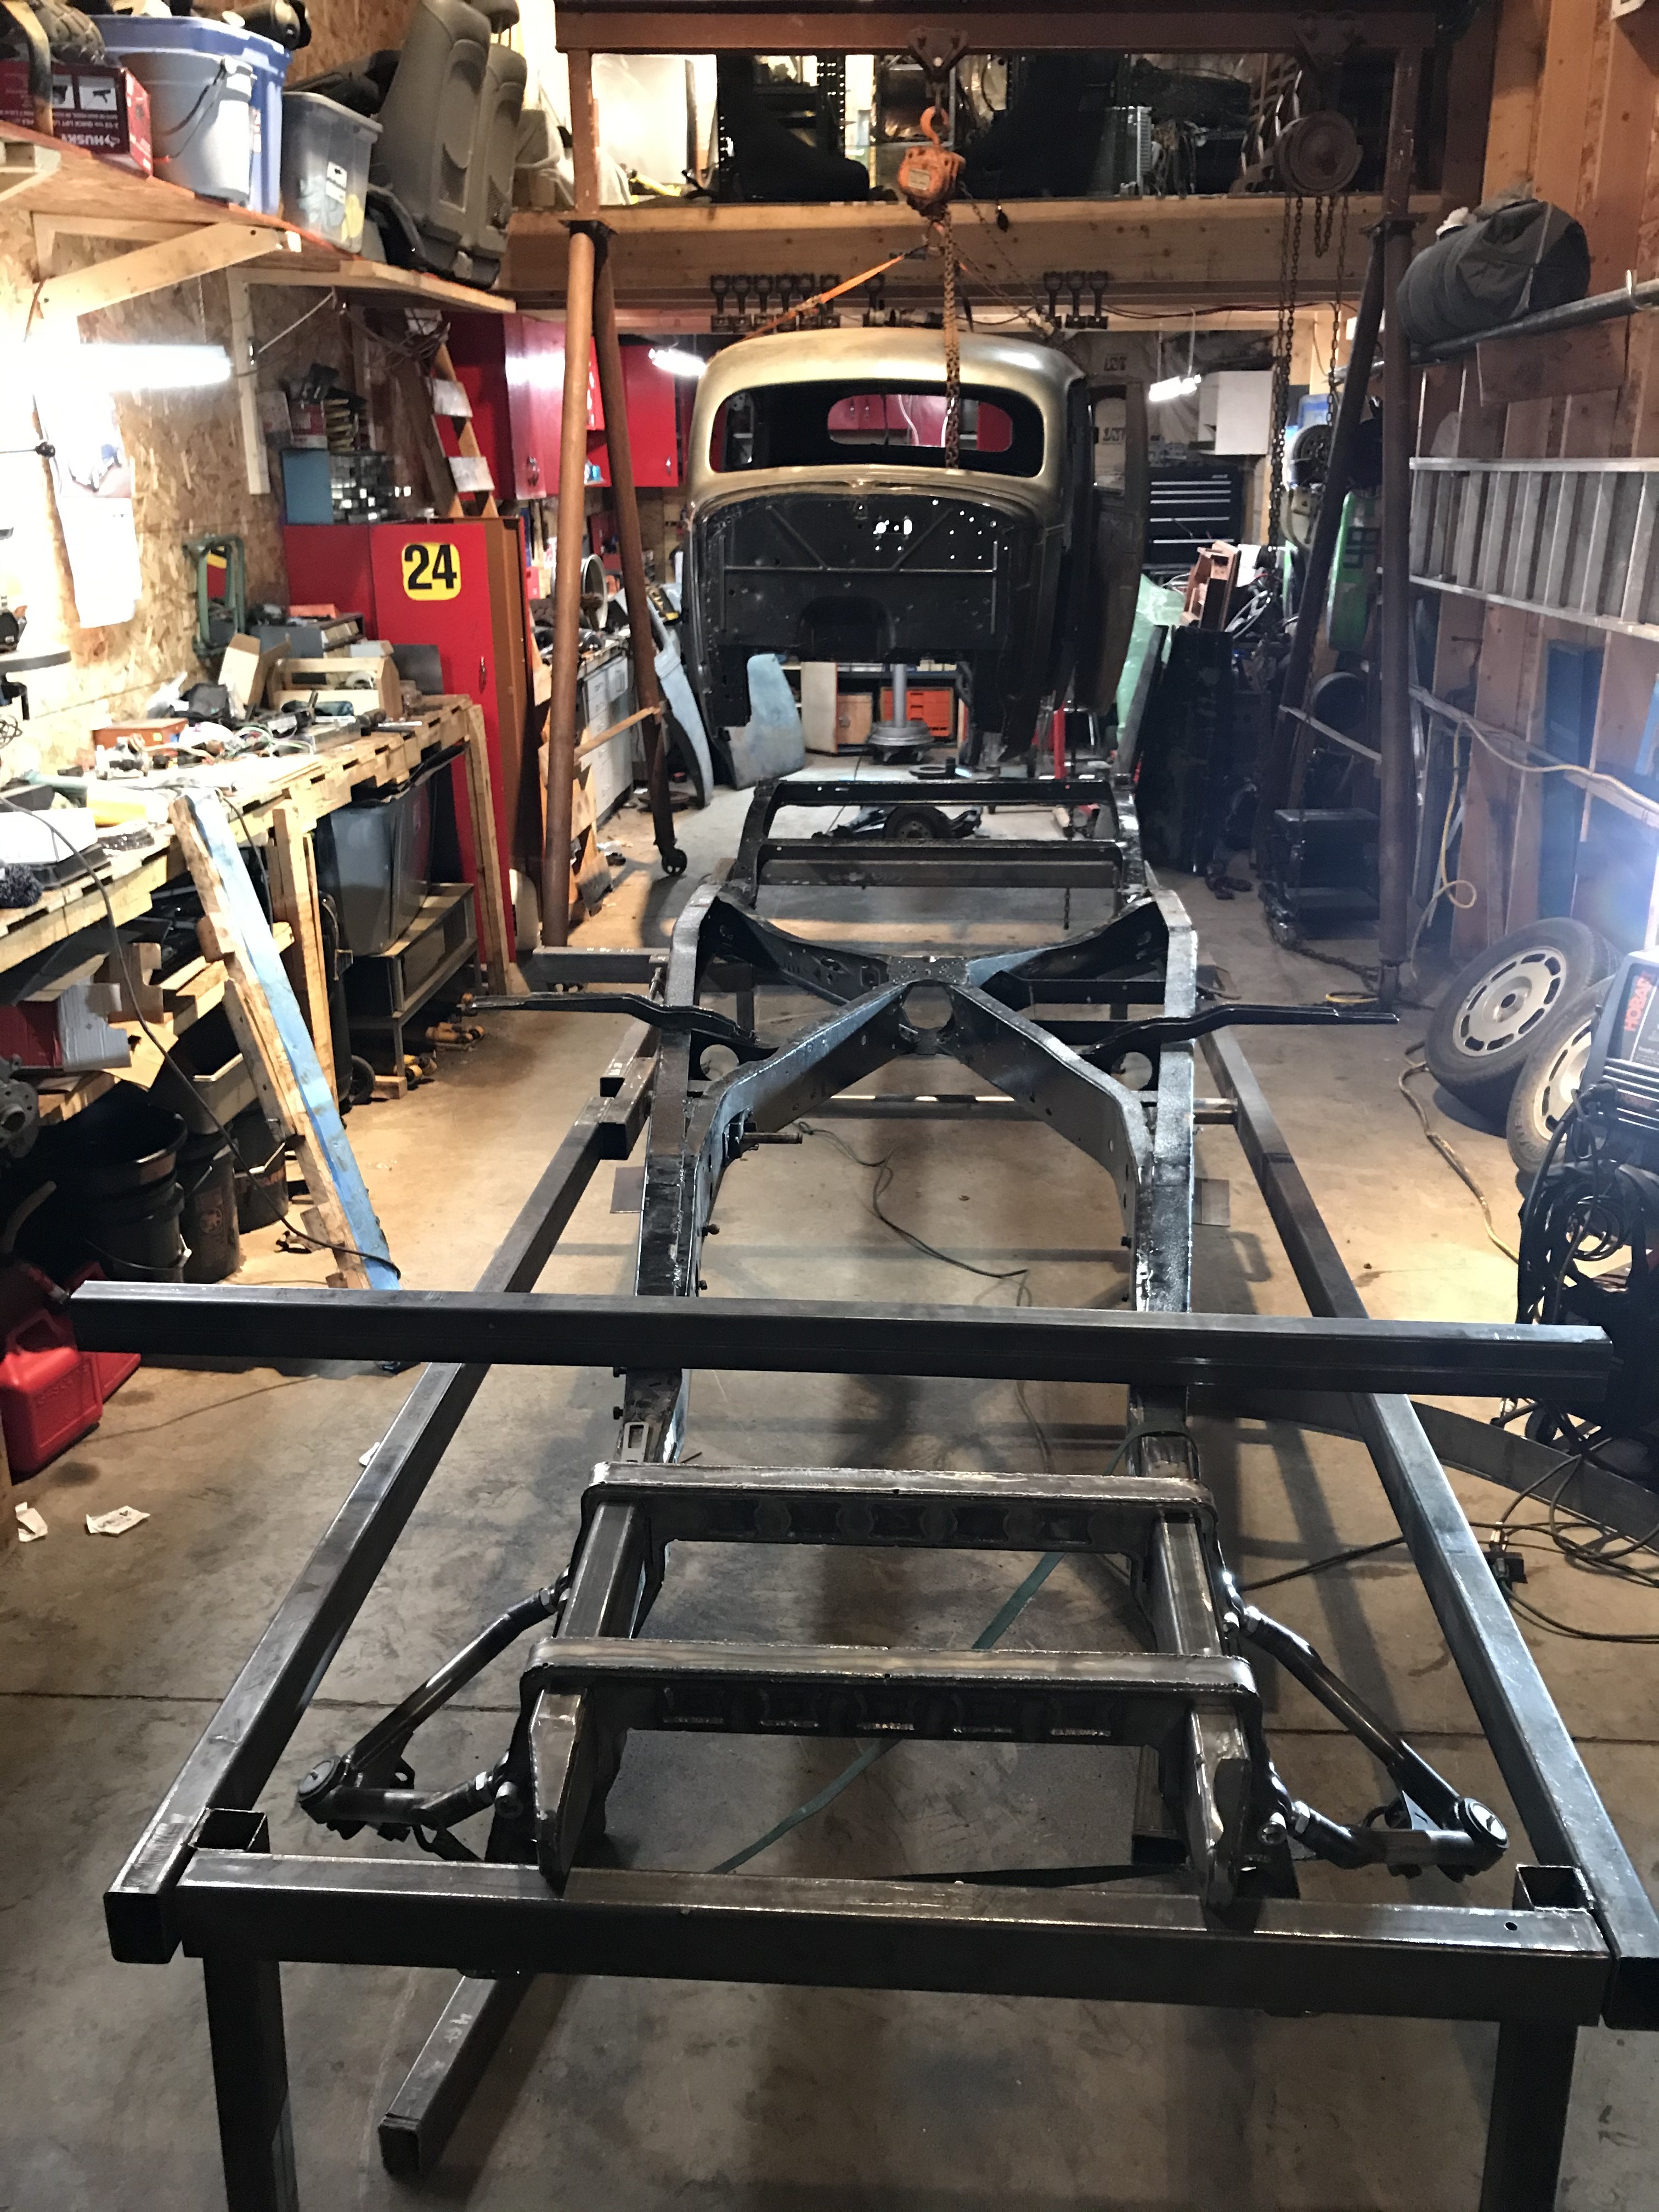
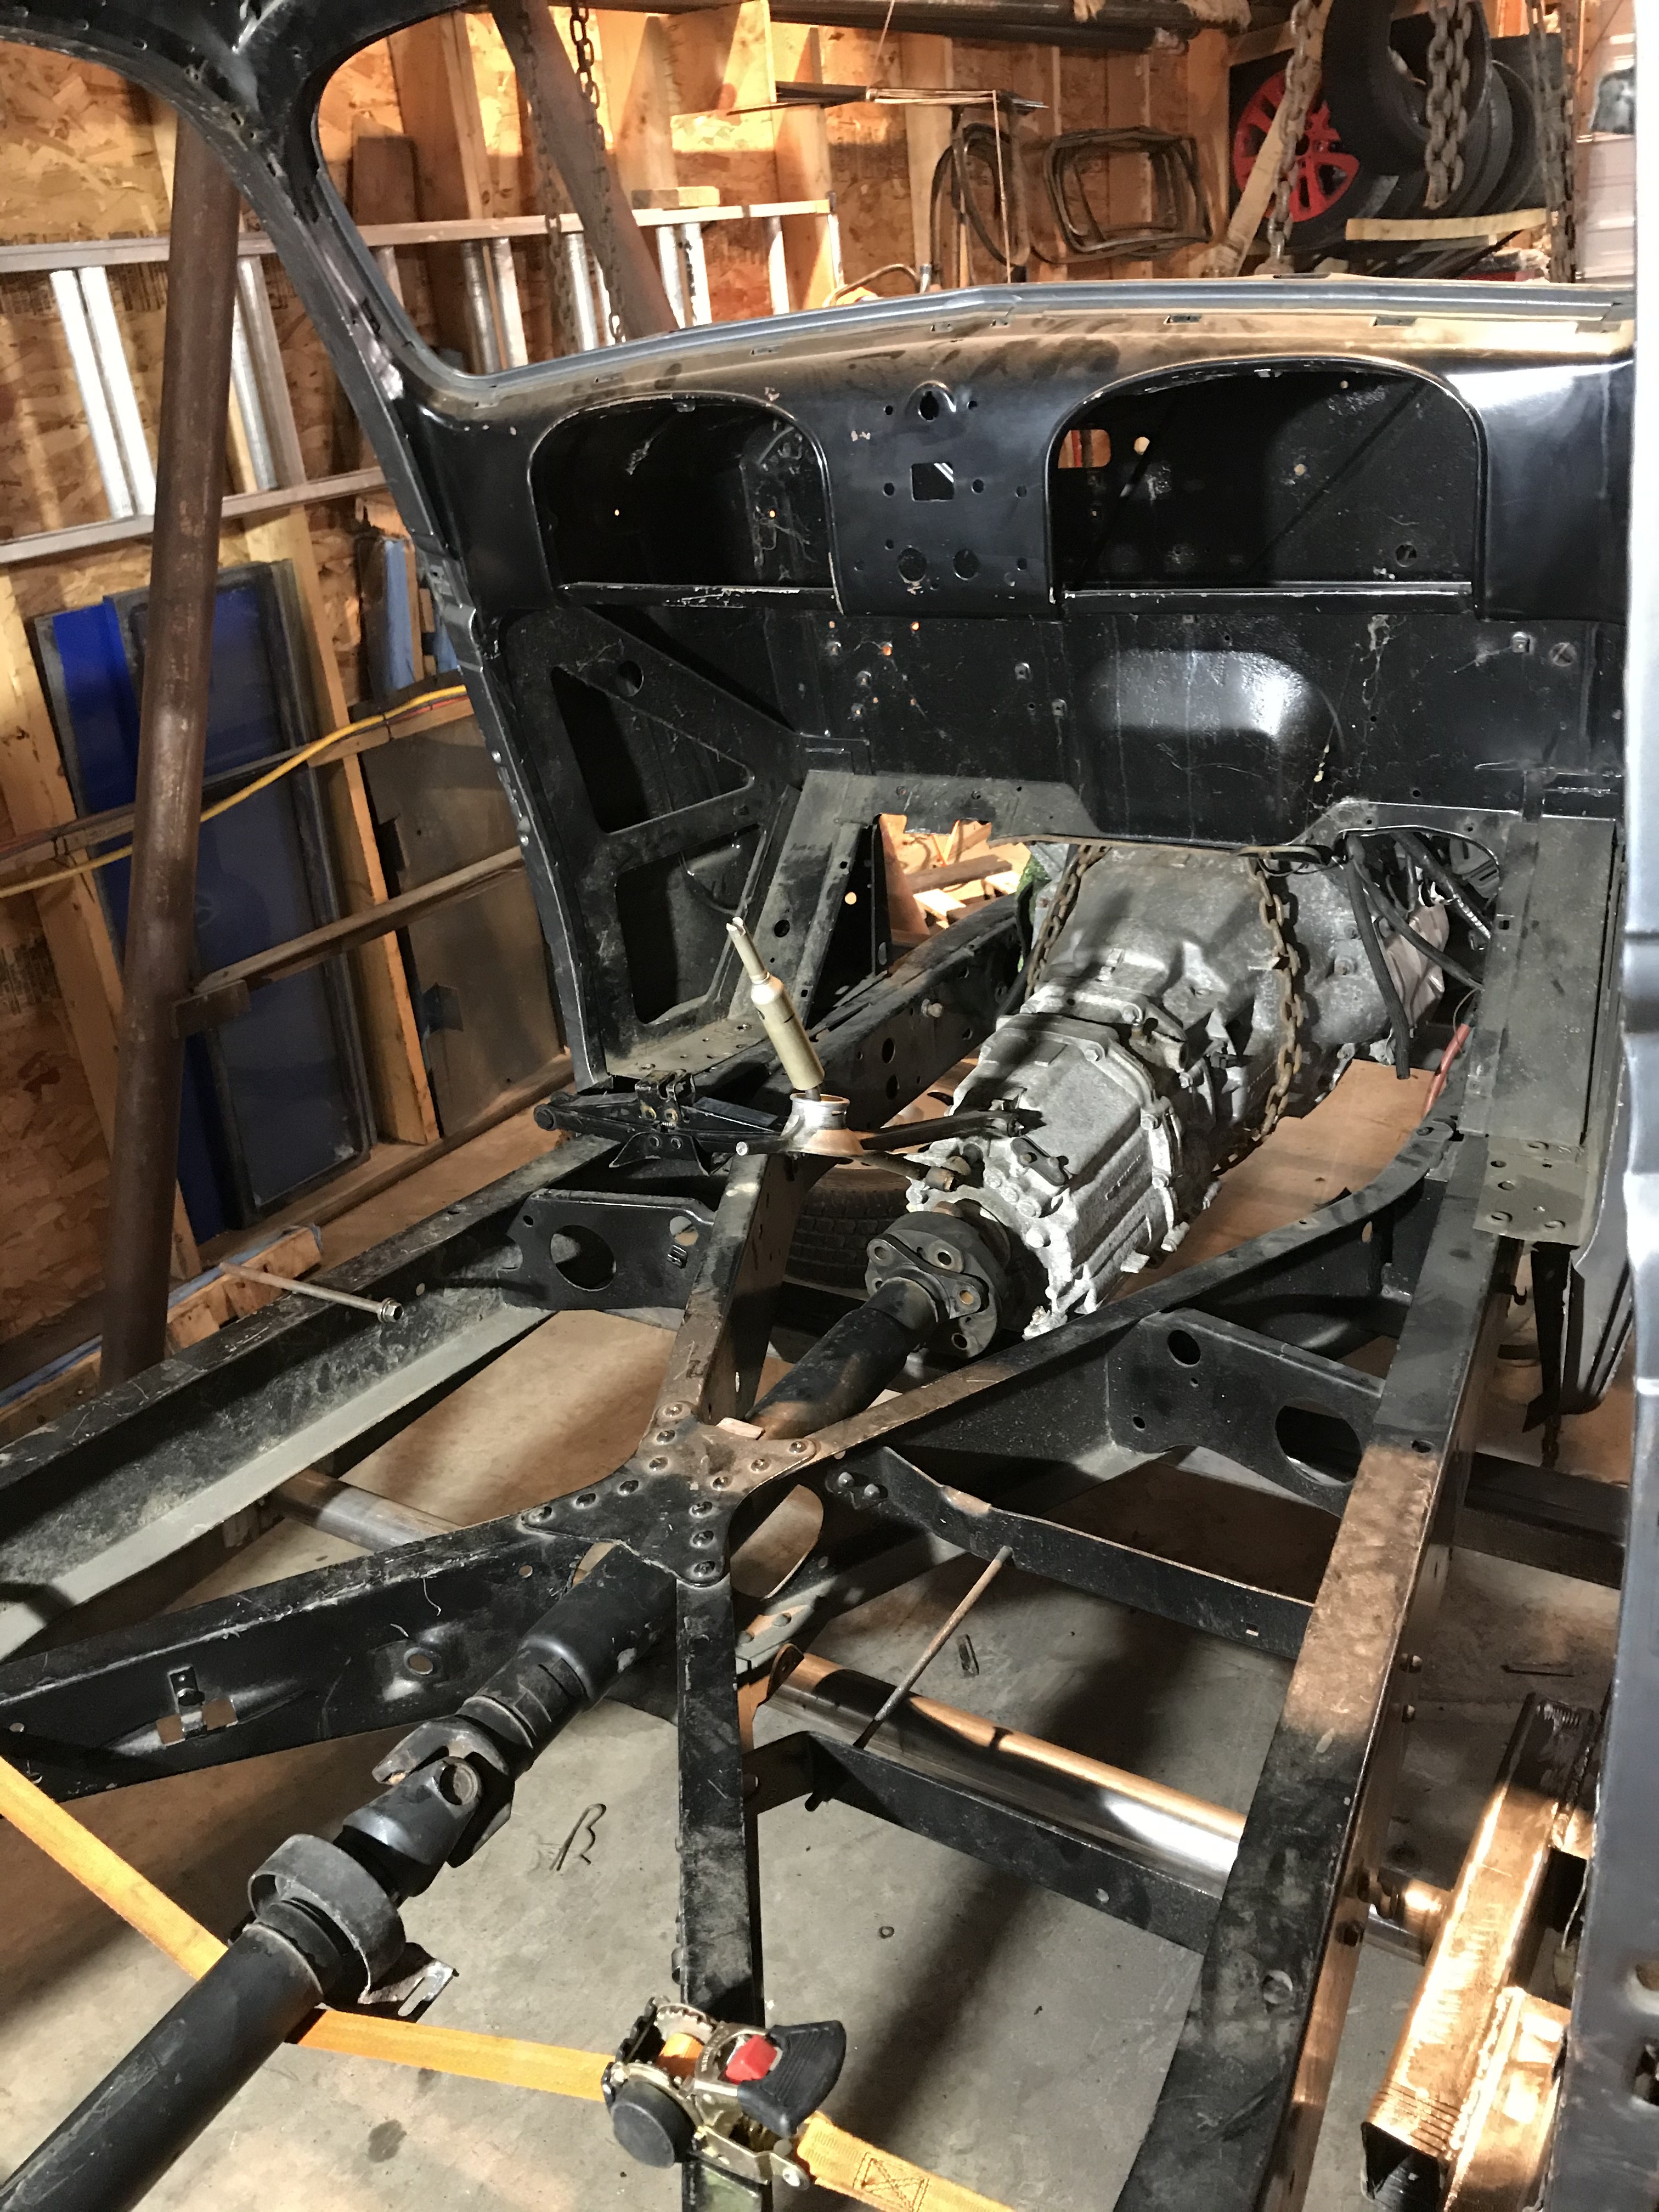
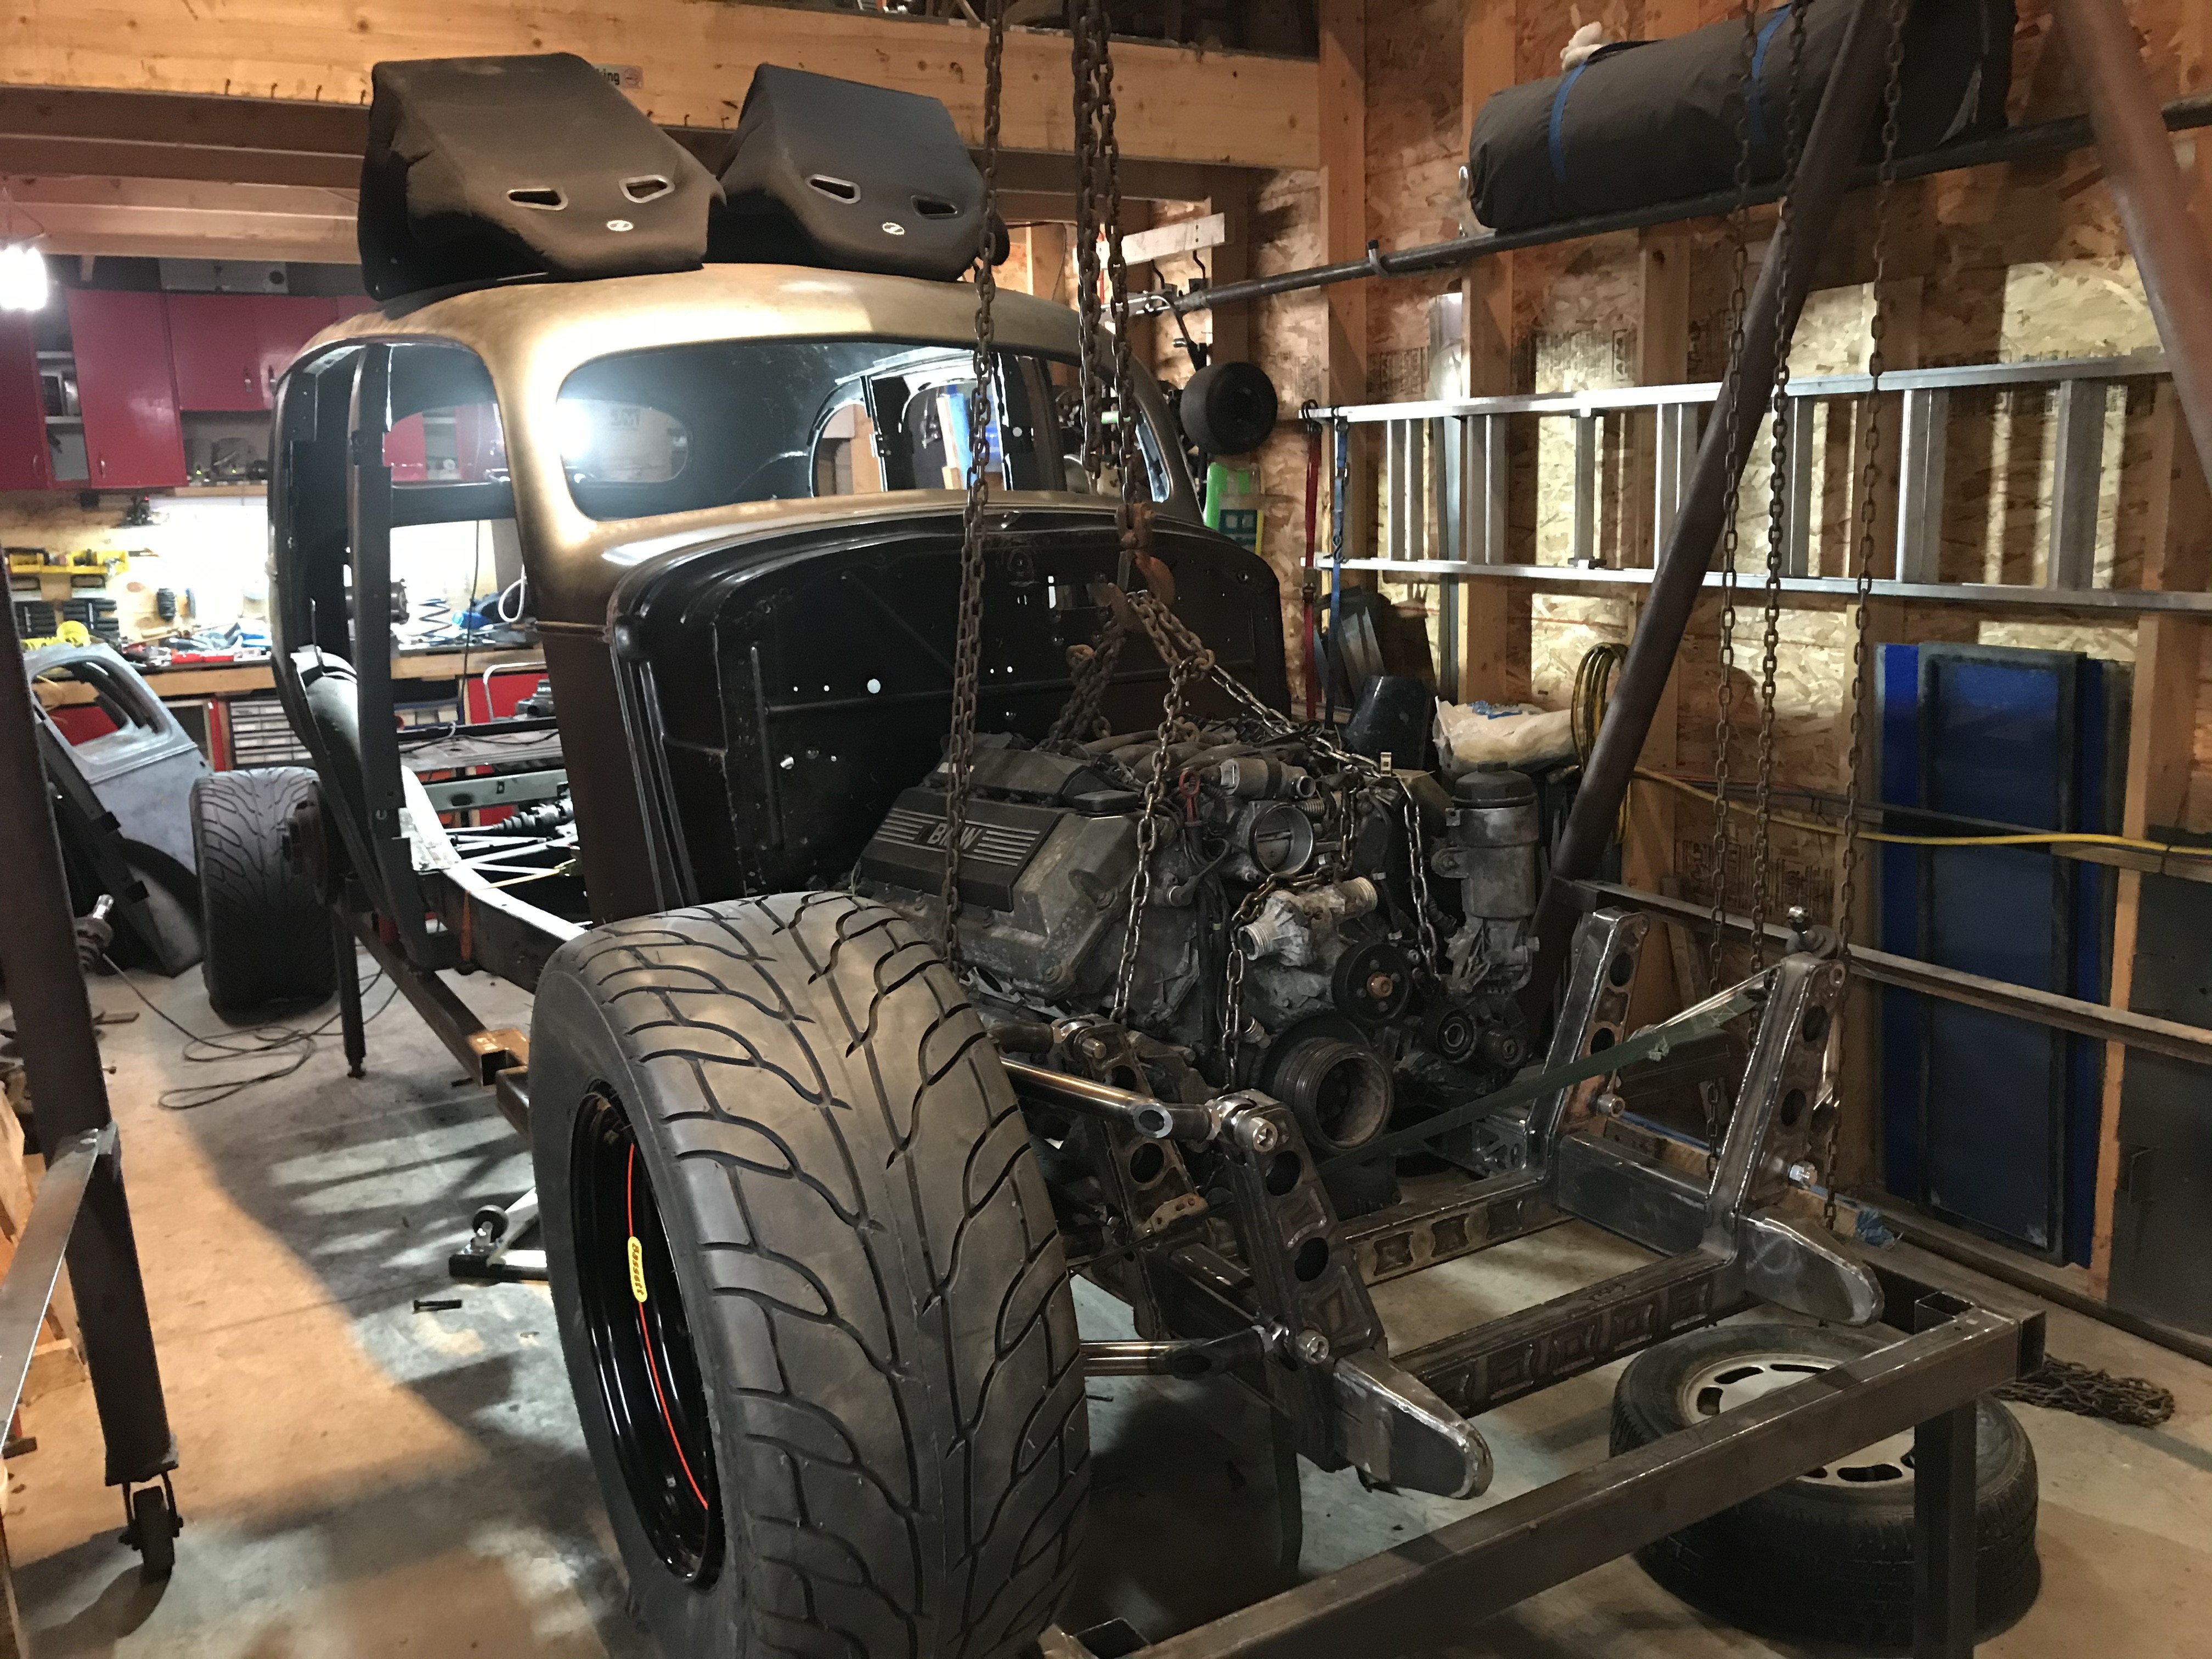
                                    Today’s progress flipped the frame back over and set the body back on. Dropped the motor in and line up the drive line components. 

                                    Up next motor mounts and rear sub frame modification. I have to finish weld the the front subframe. And waiting on rear wheel from bassets racing.  So I can start string lining gauging for. Rear sub Frame mounts.
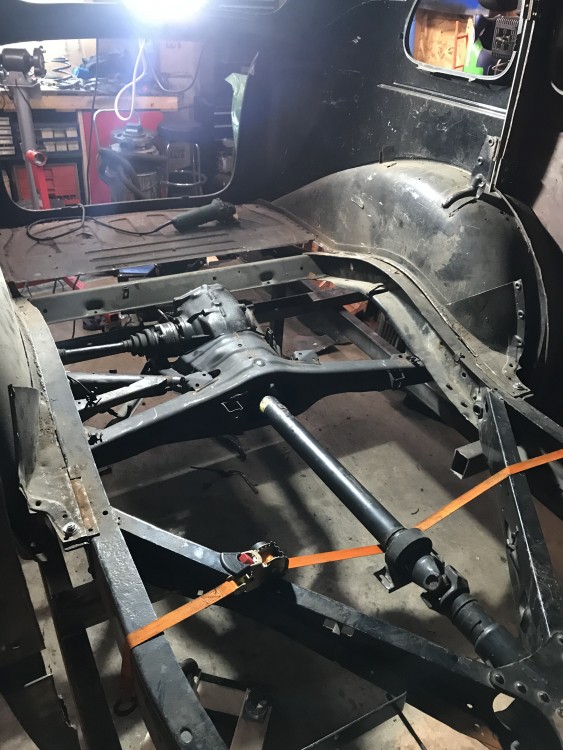
                                    IMG_1269.MP4

                                    22BF4985-8AB1-4A88-ABCA-CC6F56BB5417.jpeg

                                    92EF34BB-7FB8-4E08-9CFE-8AE60B70D30D.jpeg

                                    E76AA988-8C21-423E-9494-88D5A2816F65.jpeg

                                    Attachments:

                                    • IMG_1269.MP4
                                    1 Reply Last reply
                                    1
                                    • ThatRatRodProjectT
                                      ThatRatRodProjectT
                                      ThatRatRodProject
                                      wrote on last edited by
                                      #91

                                      Sunday progress motor mounts done (wil have small pad between mounts. Next up is transmission mounts should be easy lots of room. Then to the rear subframe where heavy modifying will need to happen.

                                      IMG_1275.MP4 IMG_1276.MP4 IMG_1277.MP4

                                      Attachments:
                                      • IMG_1275.MP4
                                      • IMG_1276.MP4
                                      • IMG_1277.MP4
                                      1 Reply Last reply
                                      2

                                      Hello! It looks like you're interested in this conversation, but you don't have an account yet.

                                      Getting fed up of having to scroll through the same posts each visit? When you register for an account, you'll always come back to exactly where you were before, and choose to be notified of new replies (either via email, or push notification). You'll also be able to save bookmarks and upvote posts to show your appreciation to other community members.

                                      With your input, this post could be even better 💗

                                      Register Login
                                      Reply
                                      • Reply as topic
                                      Log in to reply
                                      • Oldest to Newest
                                      • Newest to Oldest
                                      • Most Votes


                                      • Login

                                      • Don't have an account? Register

                                      • Login or register to search.
                                      Powered by NodeBB Contributors
                                      • First post
                                        Last post
                                      0
                                      • Categories
                                      • Recent
                                      • Tags
                                      • Popular
                                      • Users
                                      • Groups