
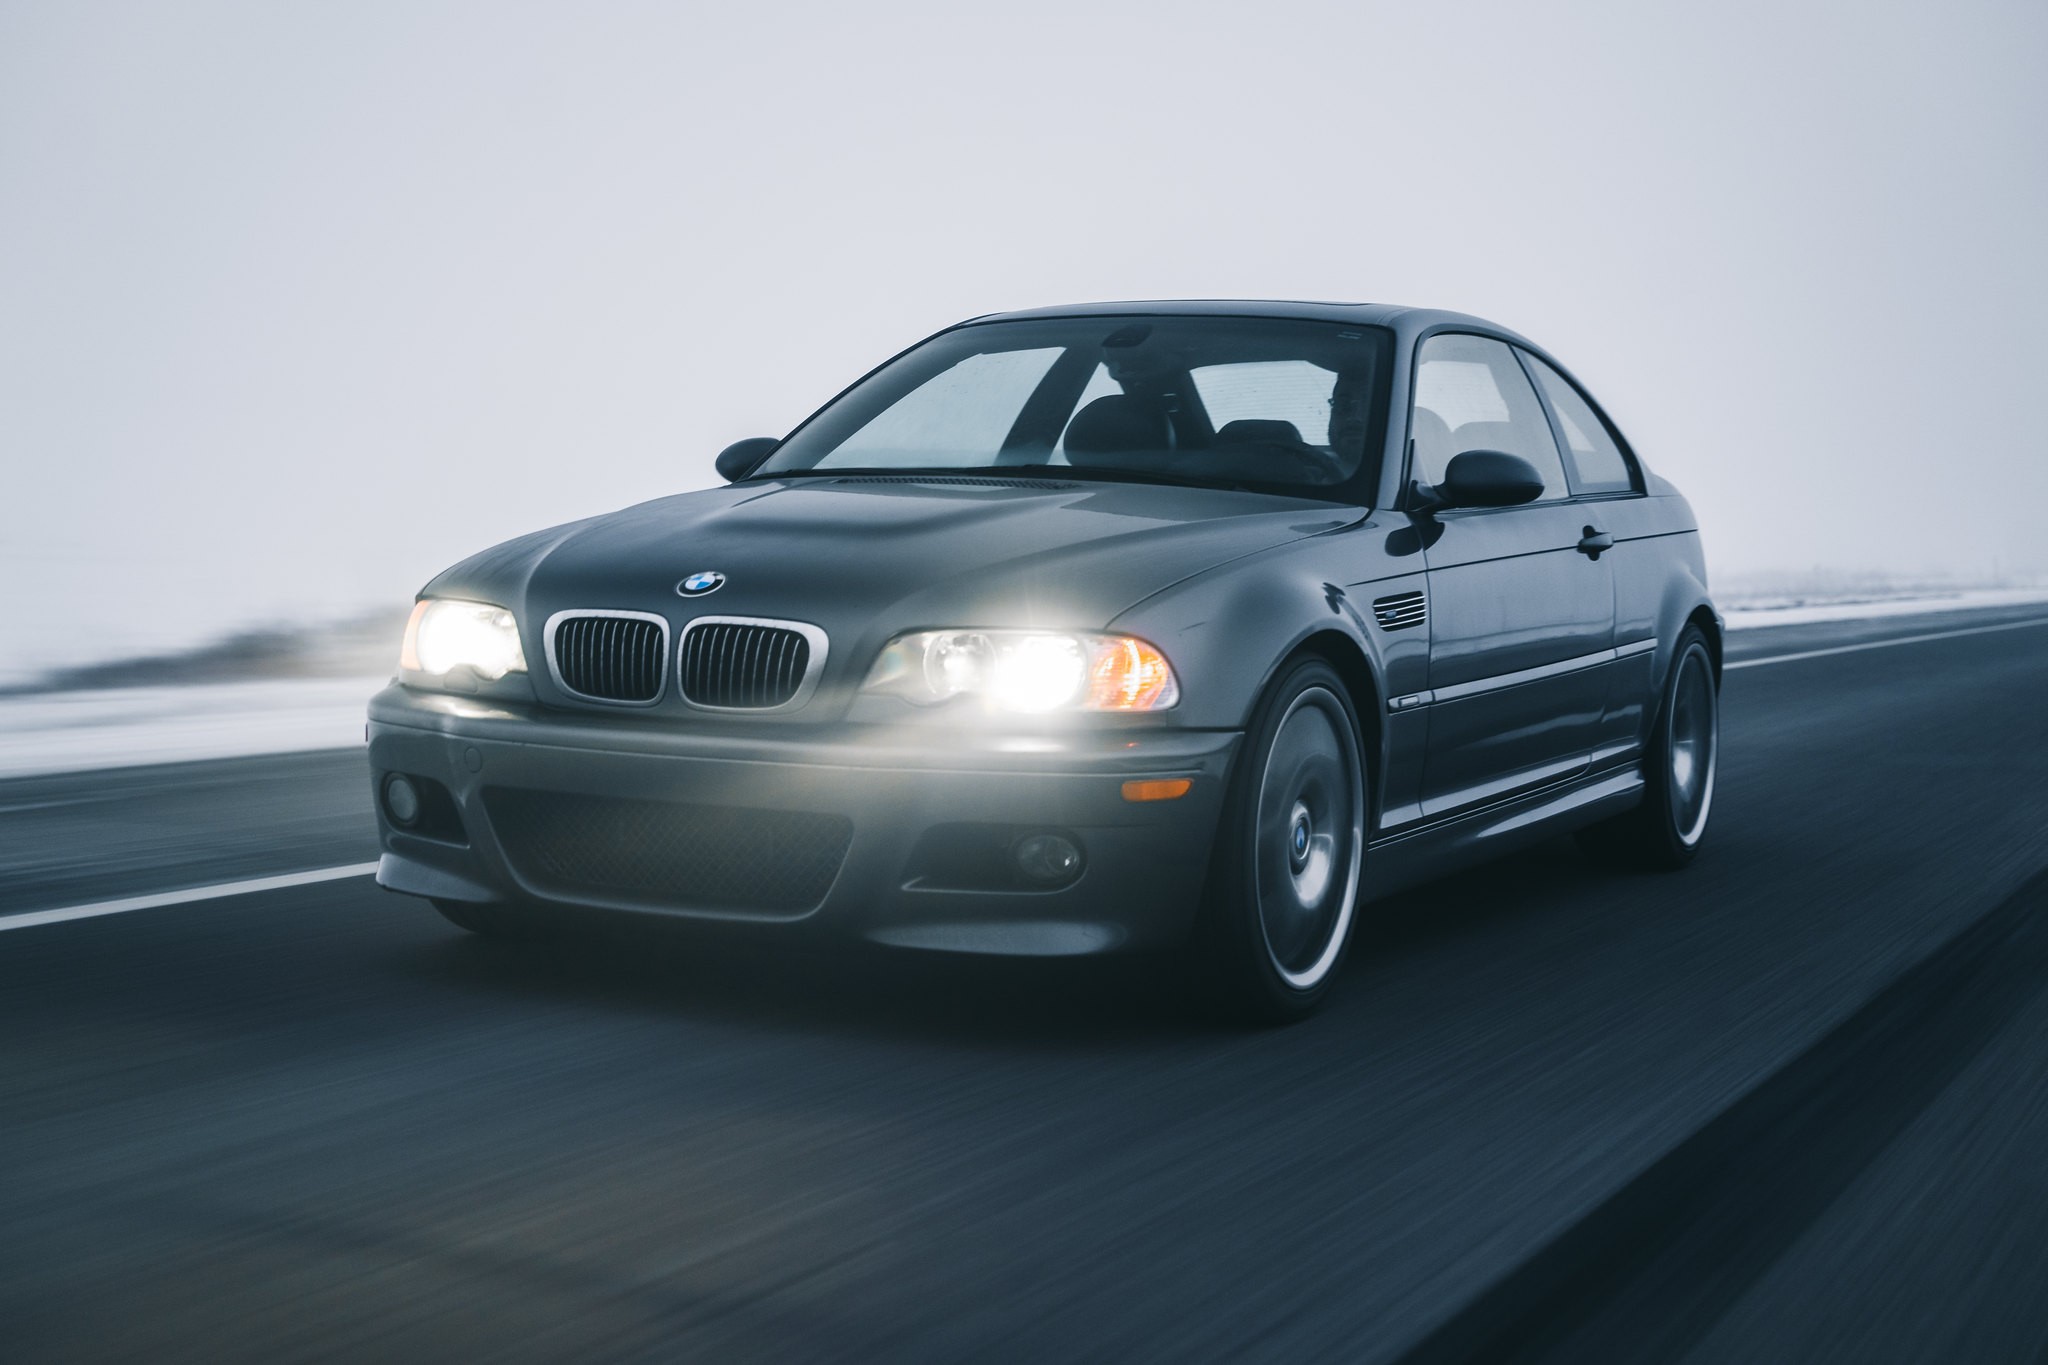
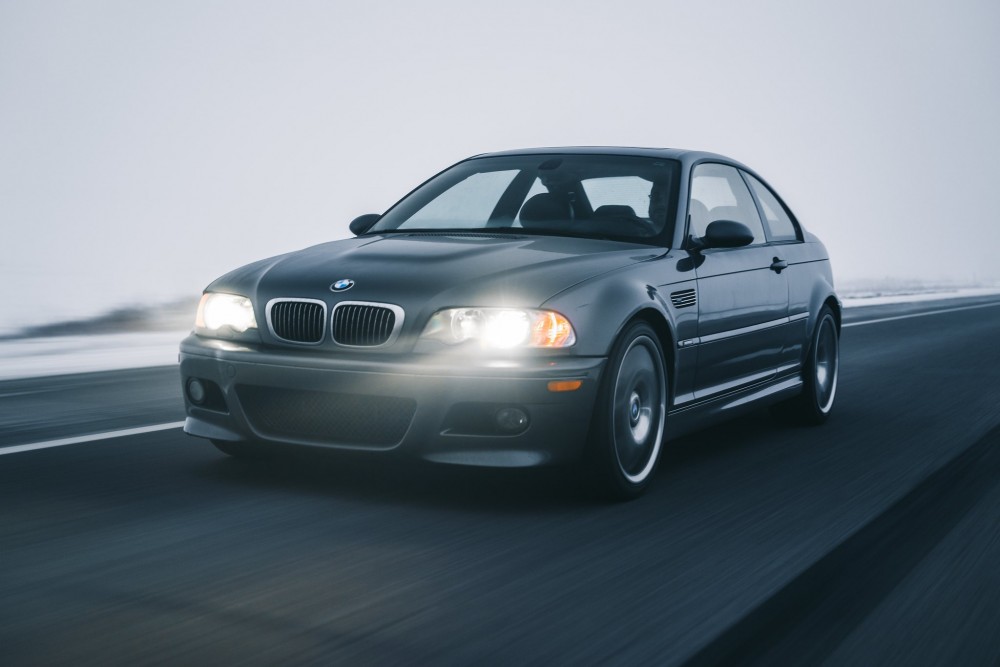
2002 E46 M3 // Build Thread
-
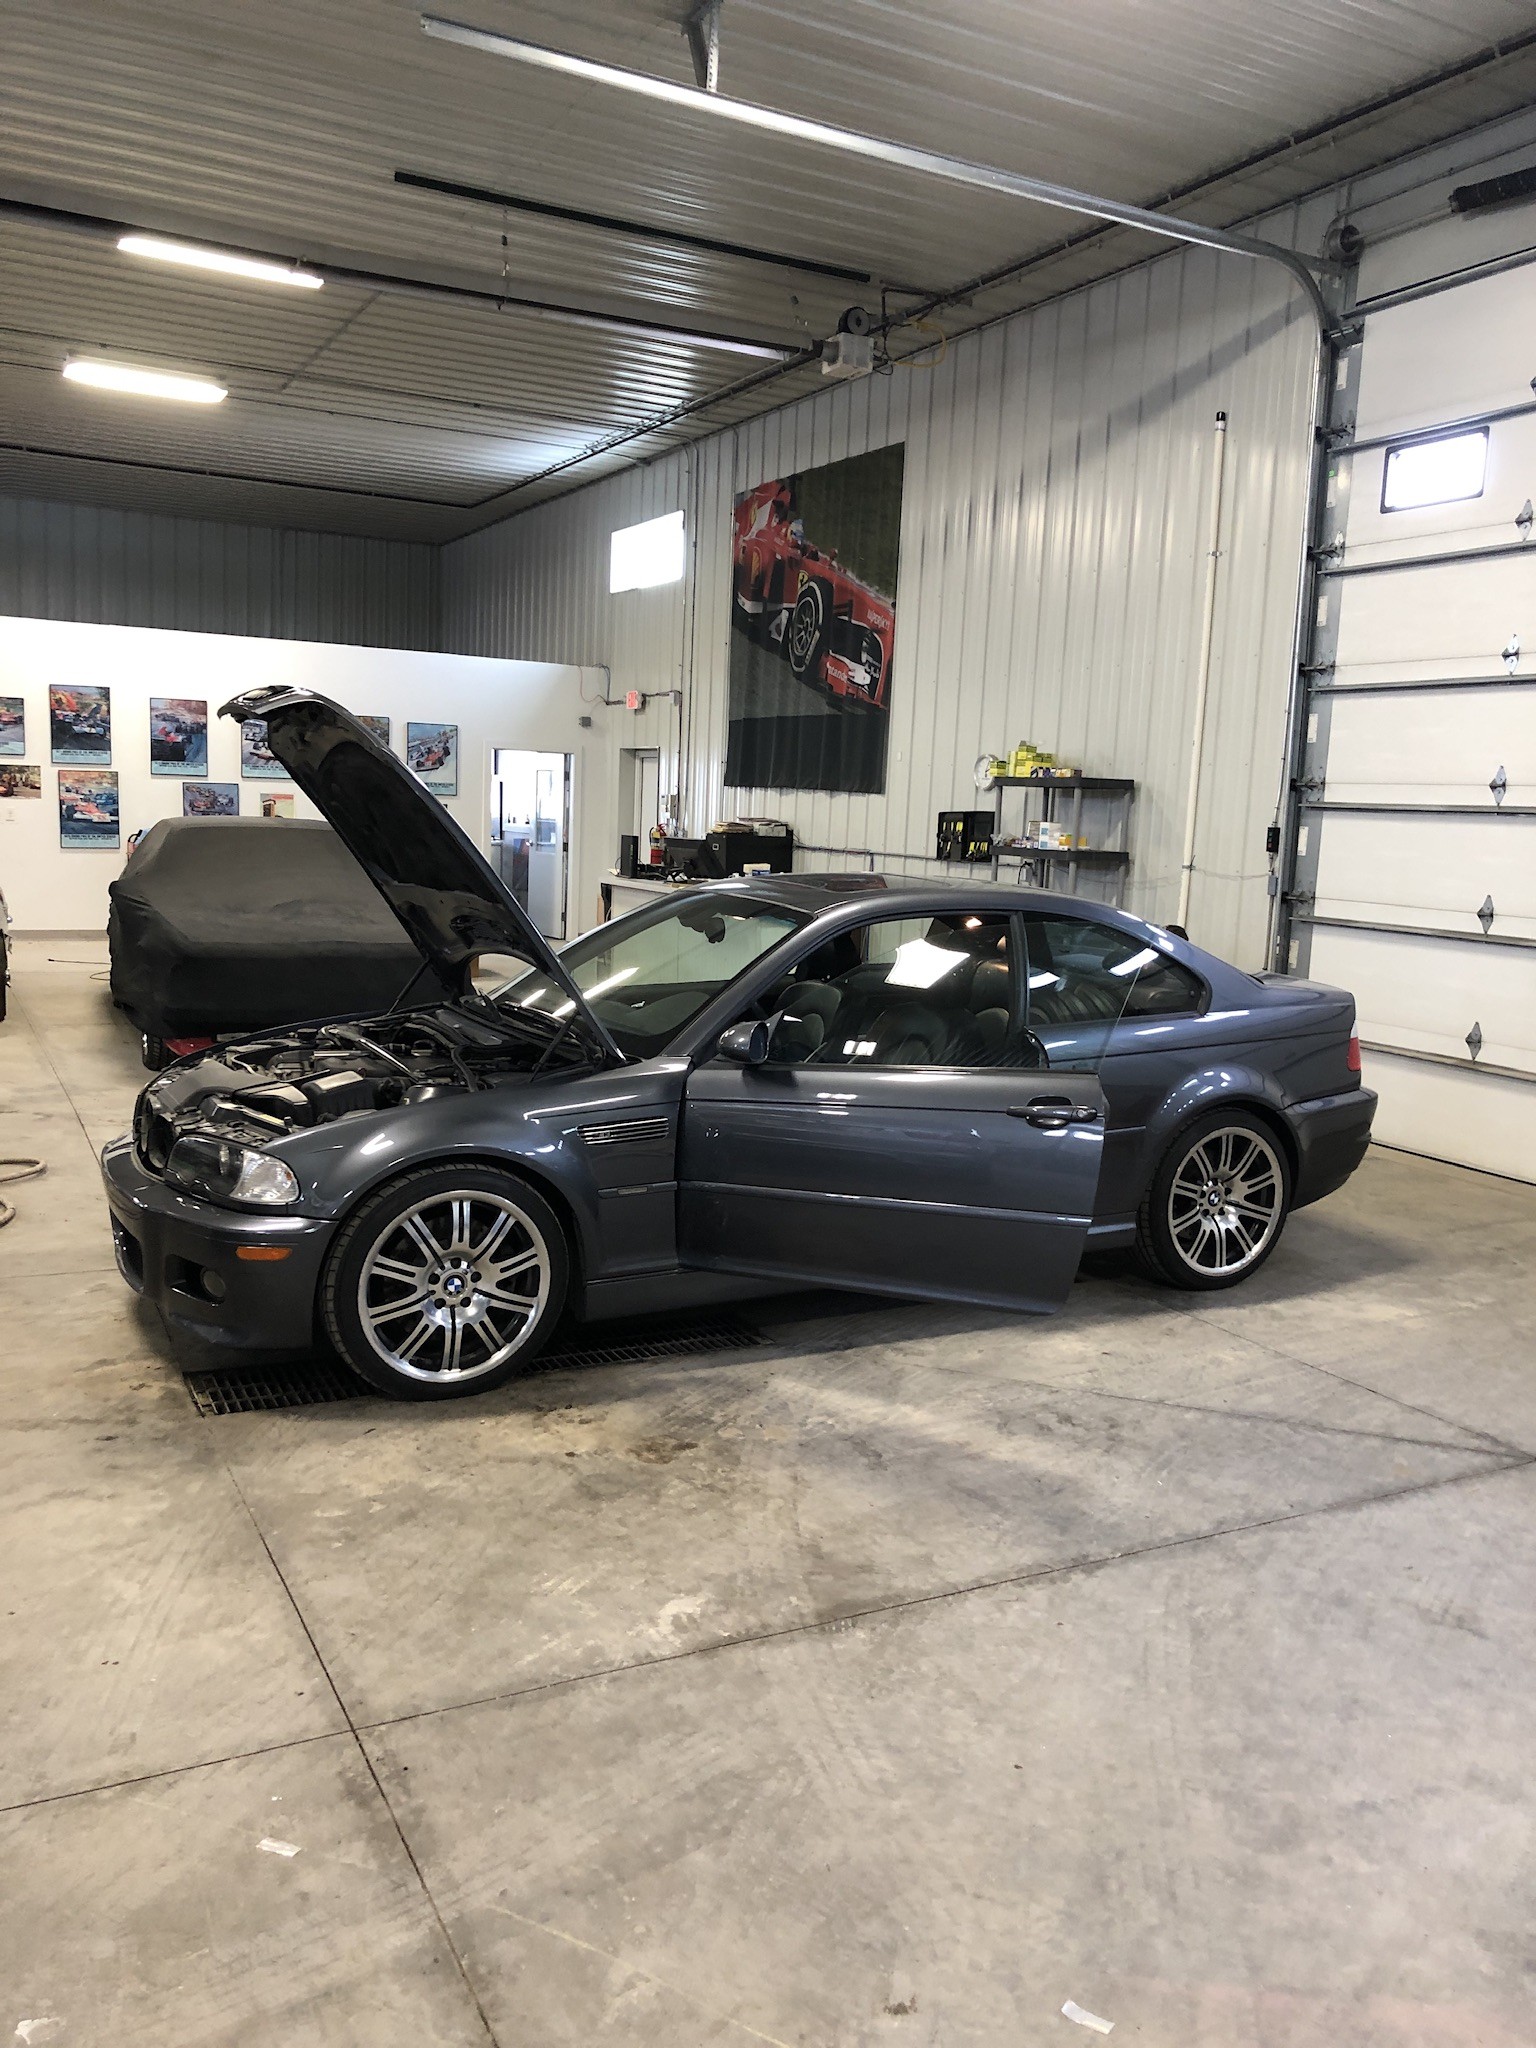
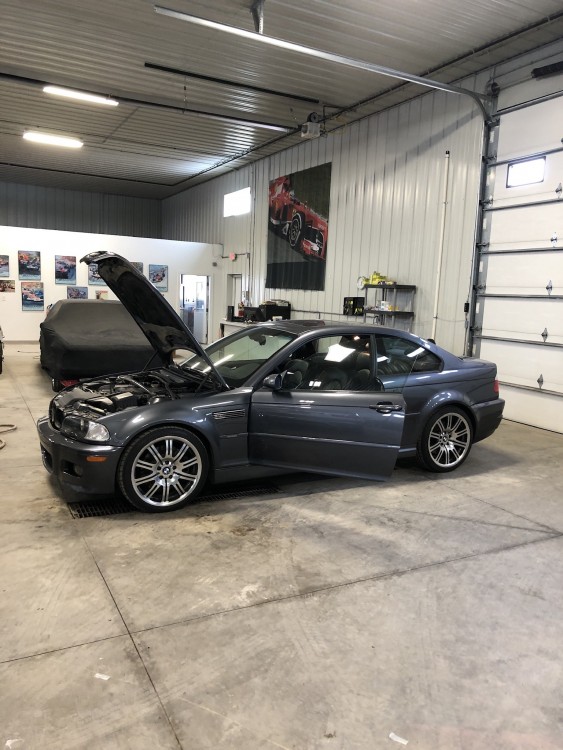
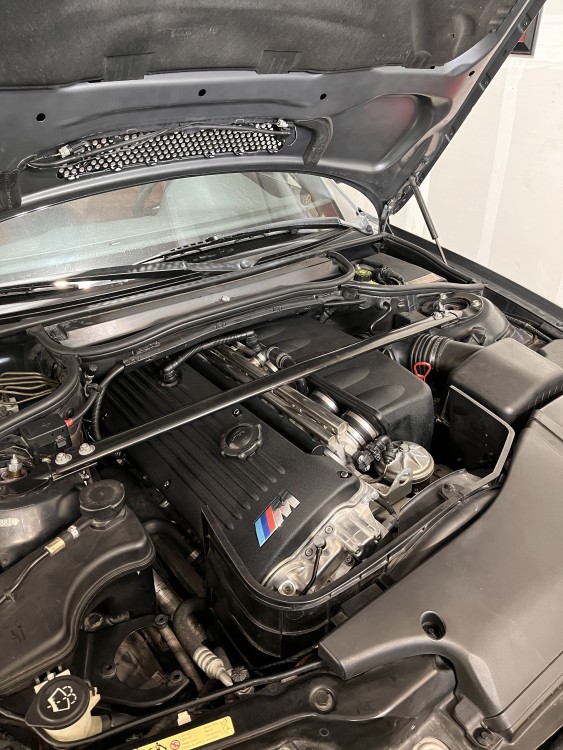
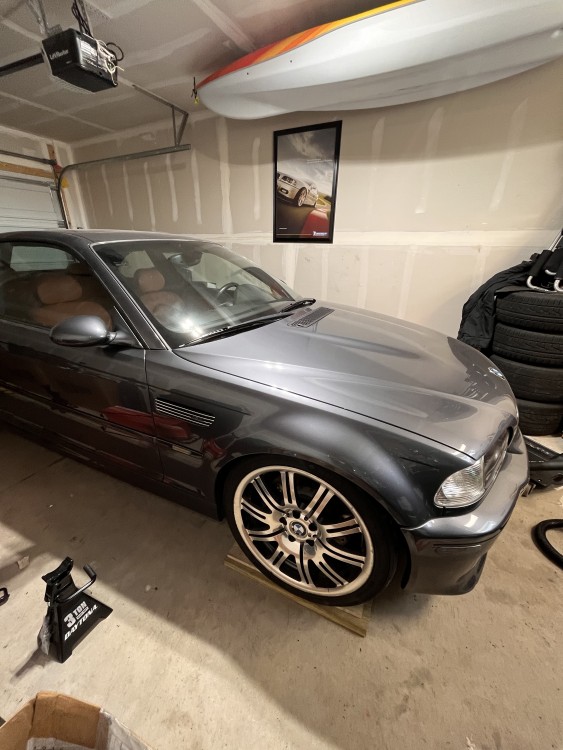
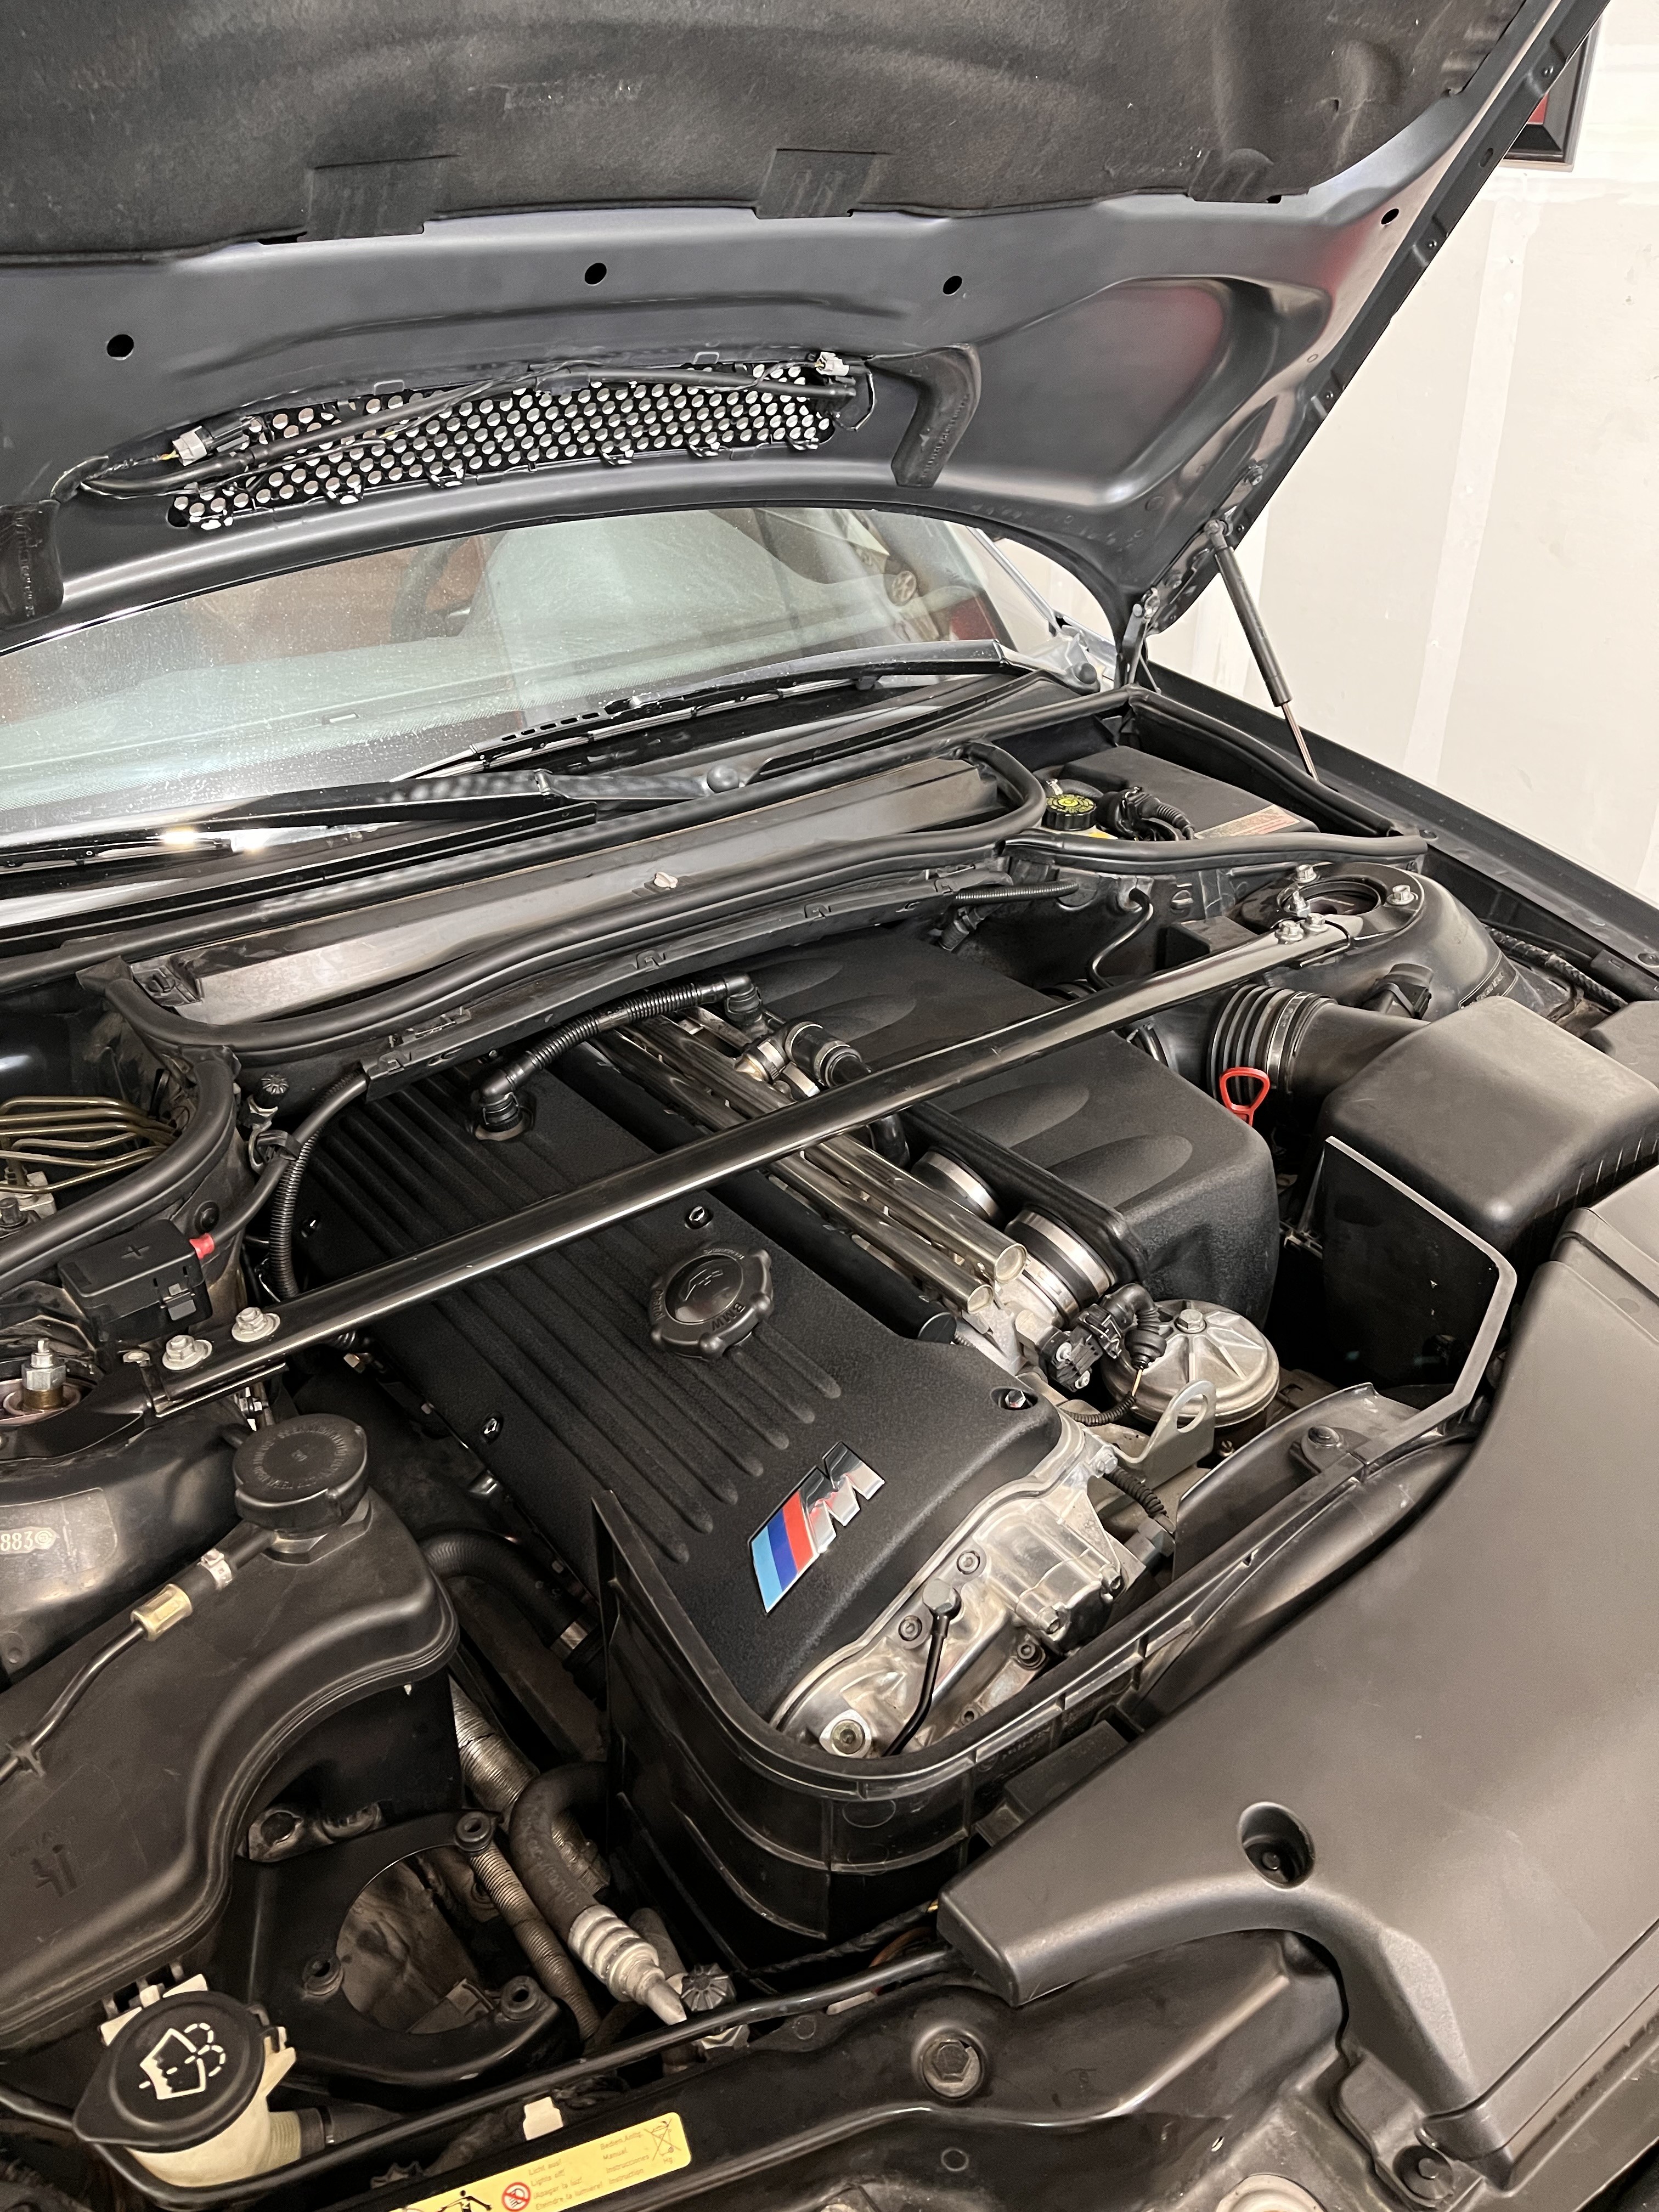
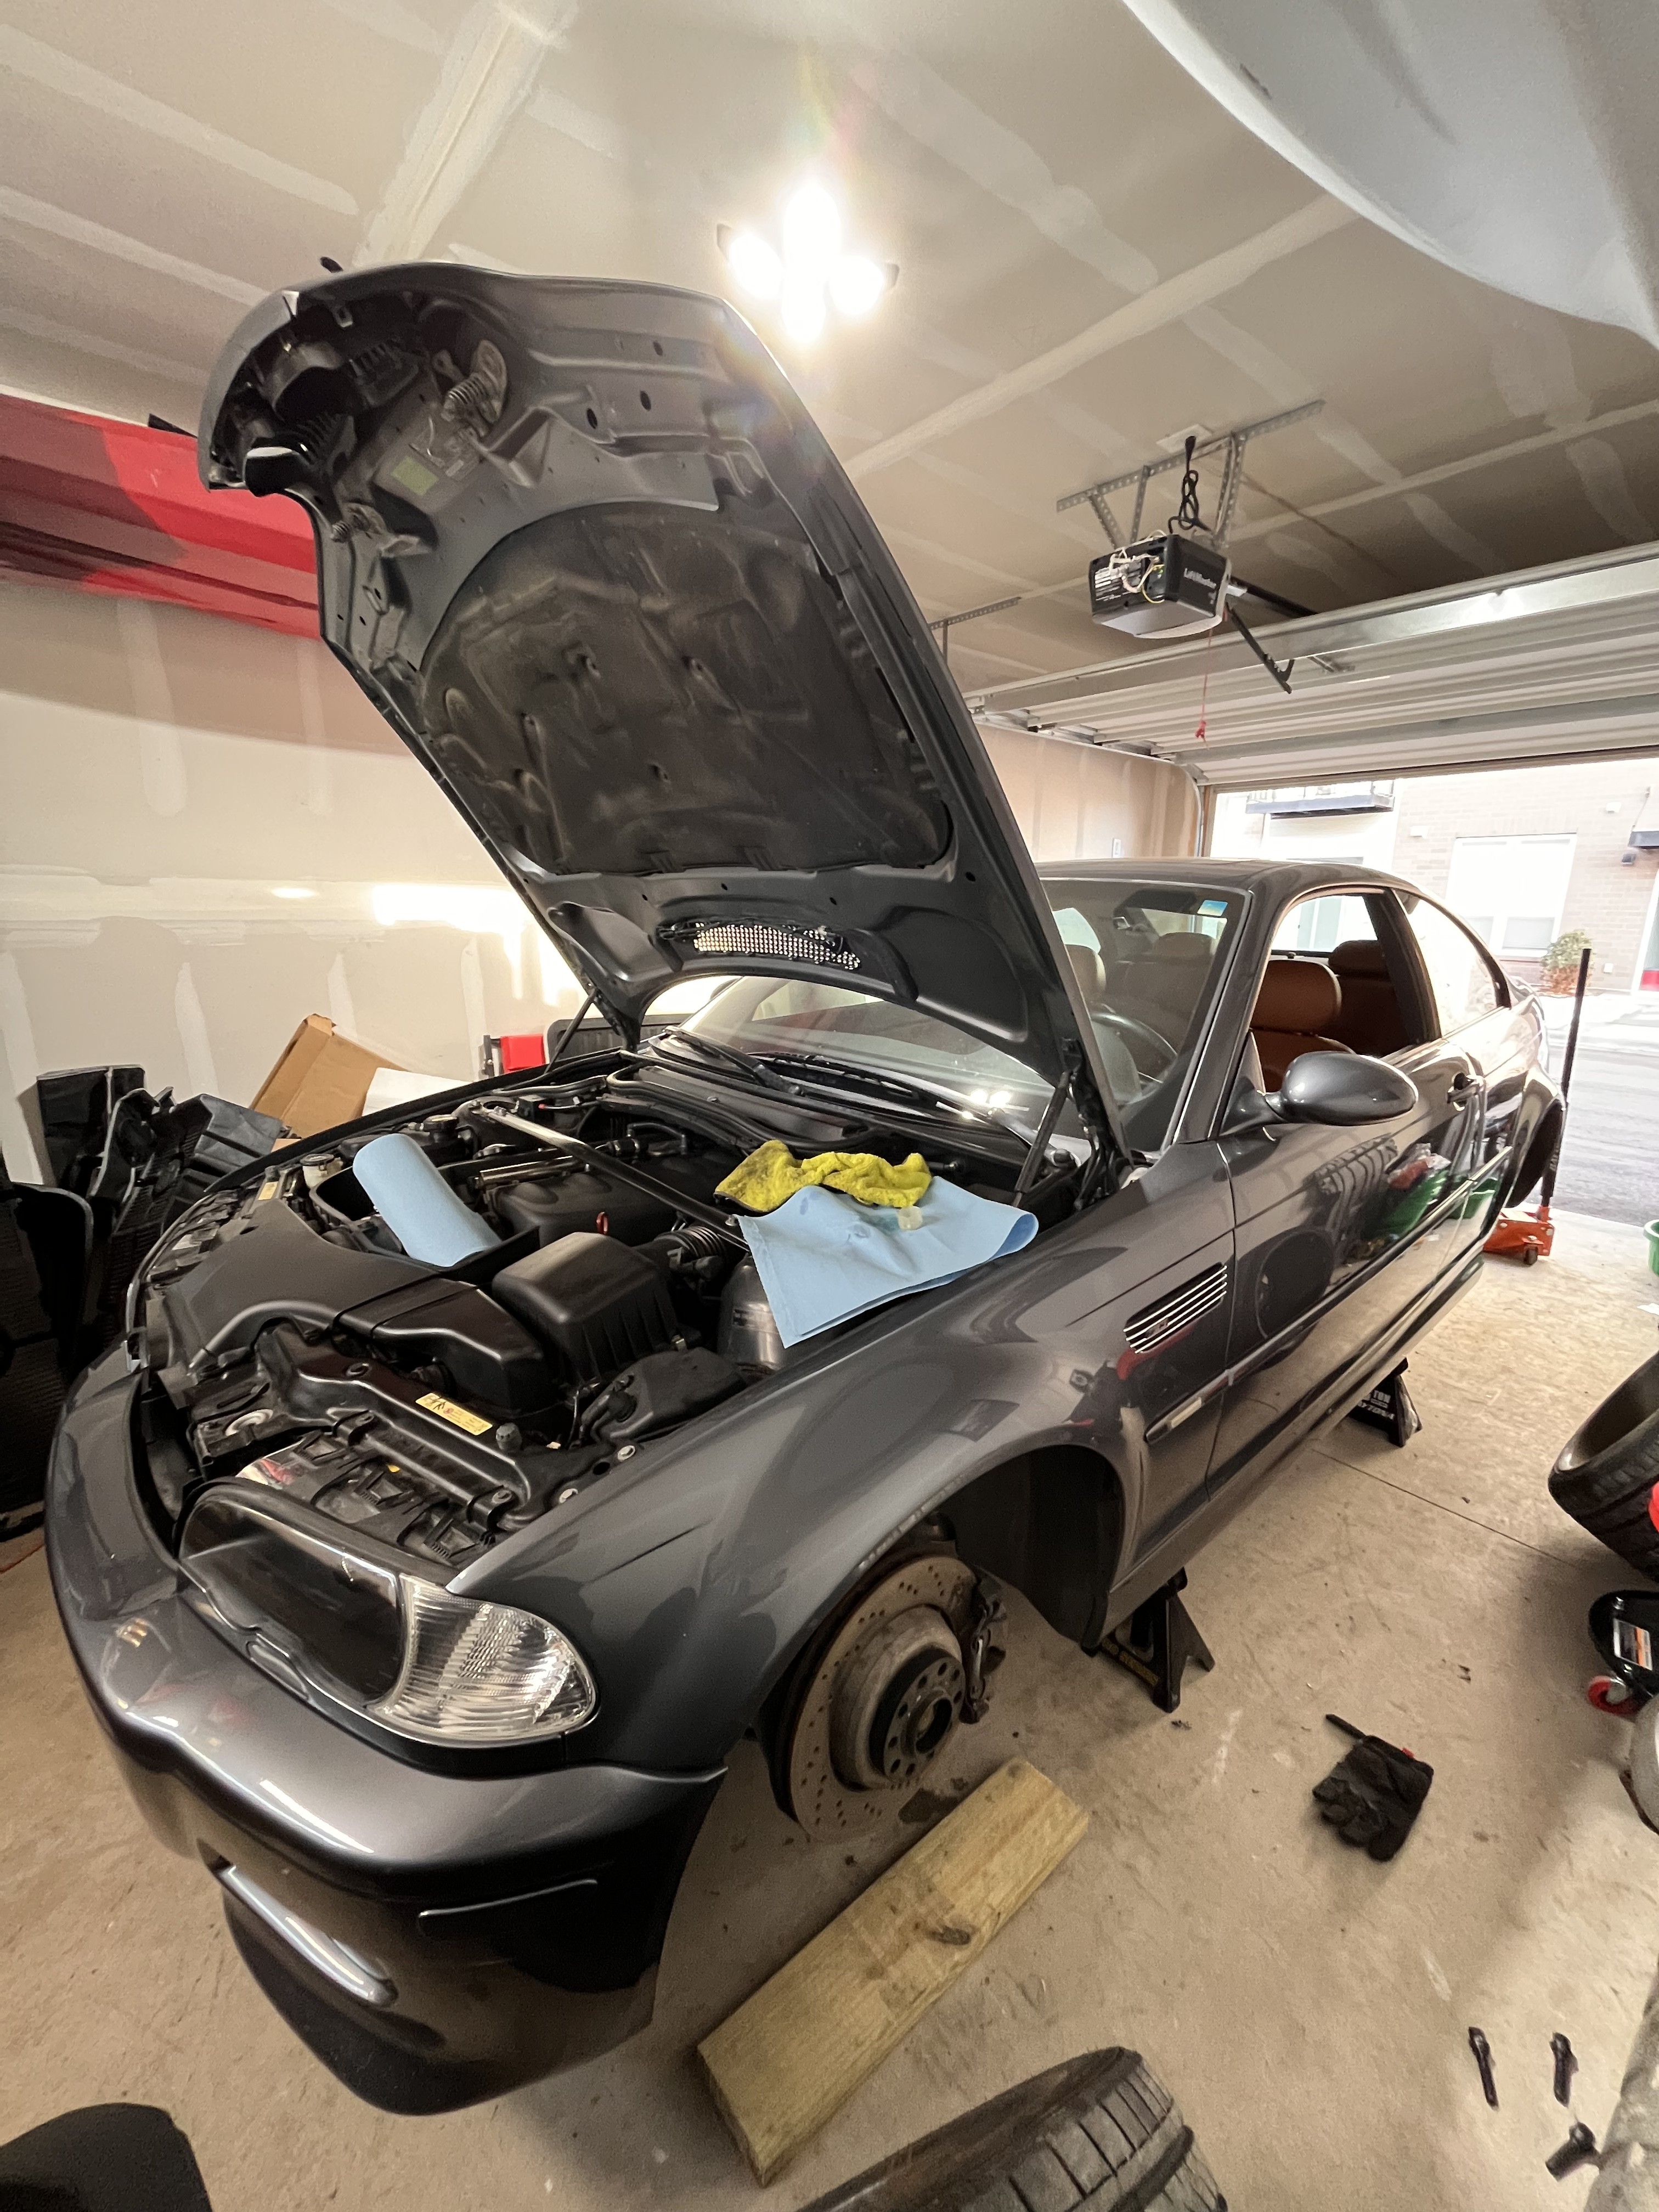
Got everything buttoned back up in the engine bay and the hood shut for spring. Only have the rear suspension to do now, since it was delayed because of some back ordered RSM bushings. Then just counting down the days until I can drive it again. Hopefully will have my own house and garage soon after as well

-
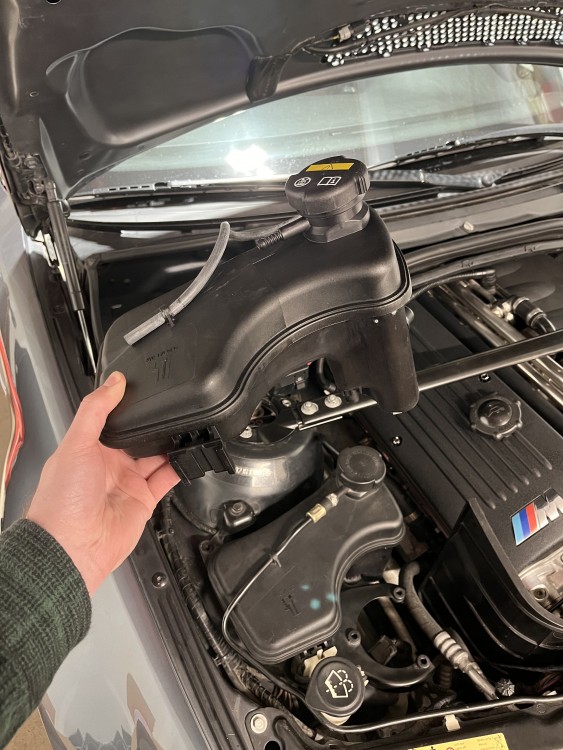
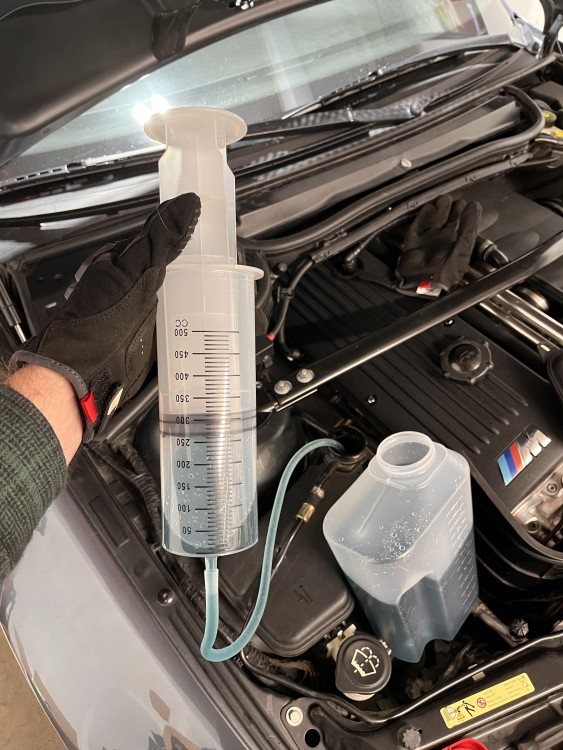
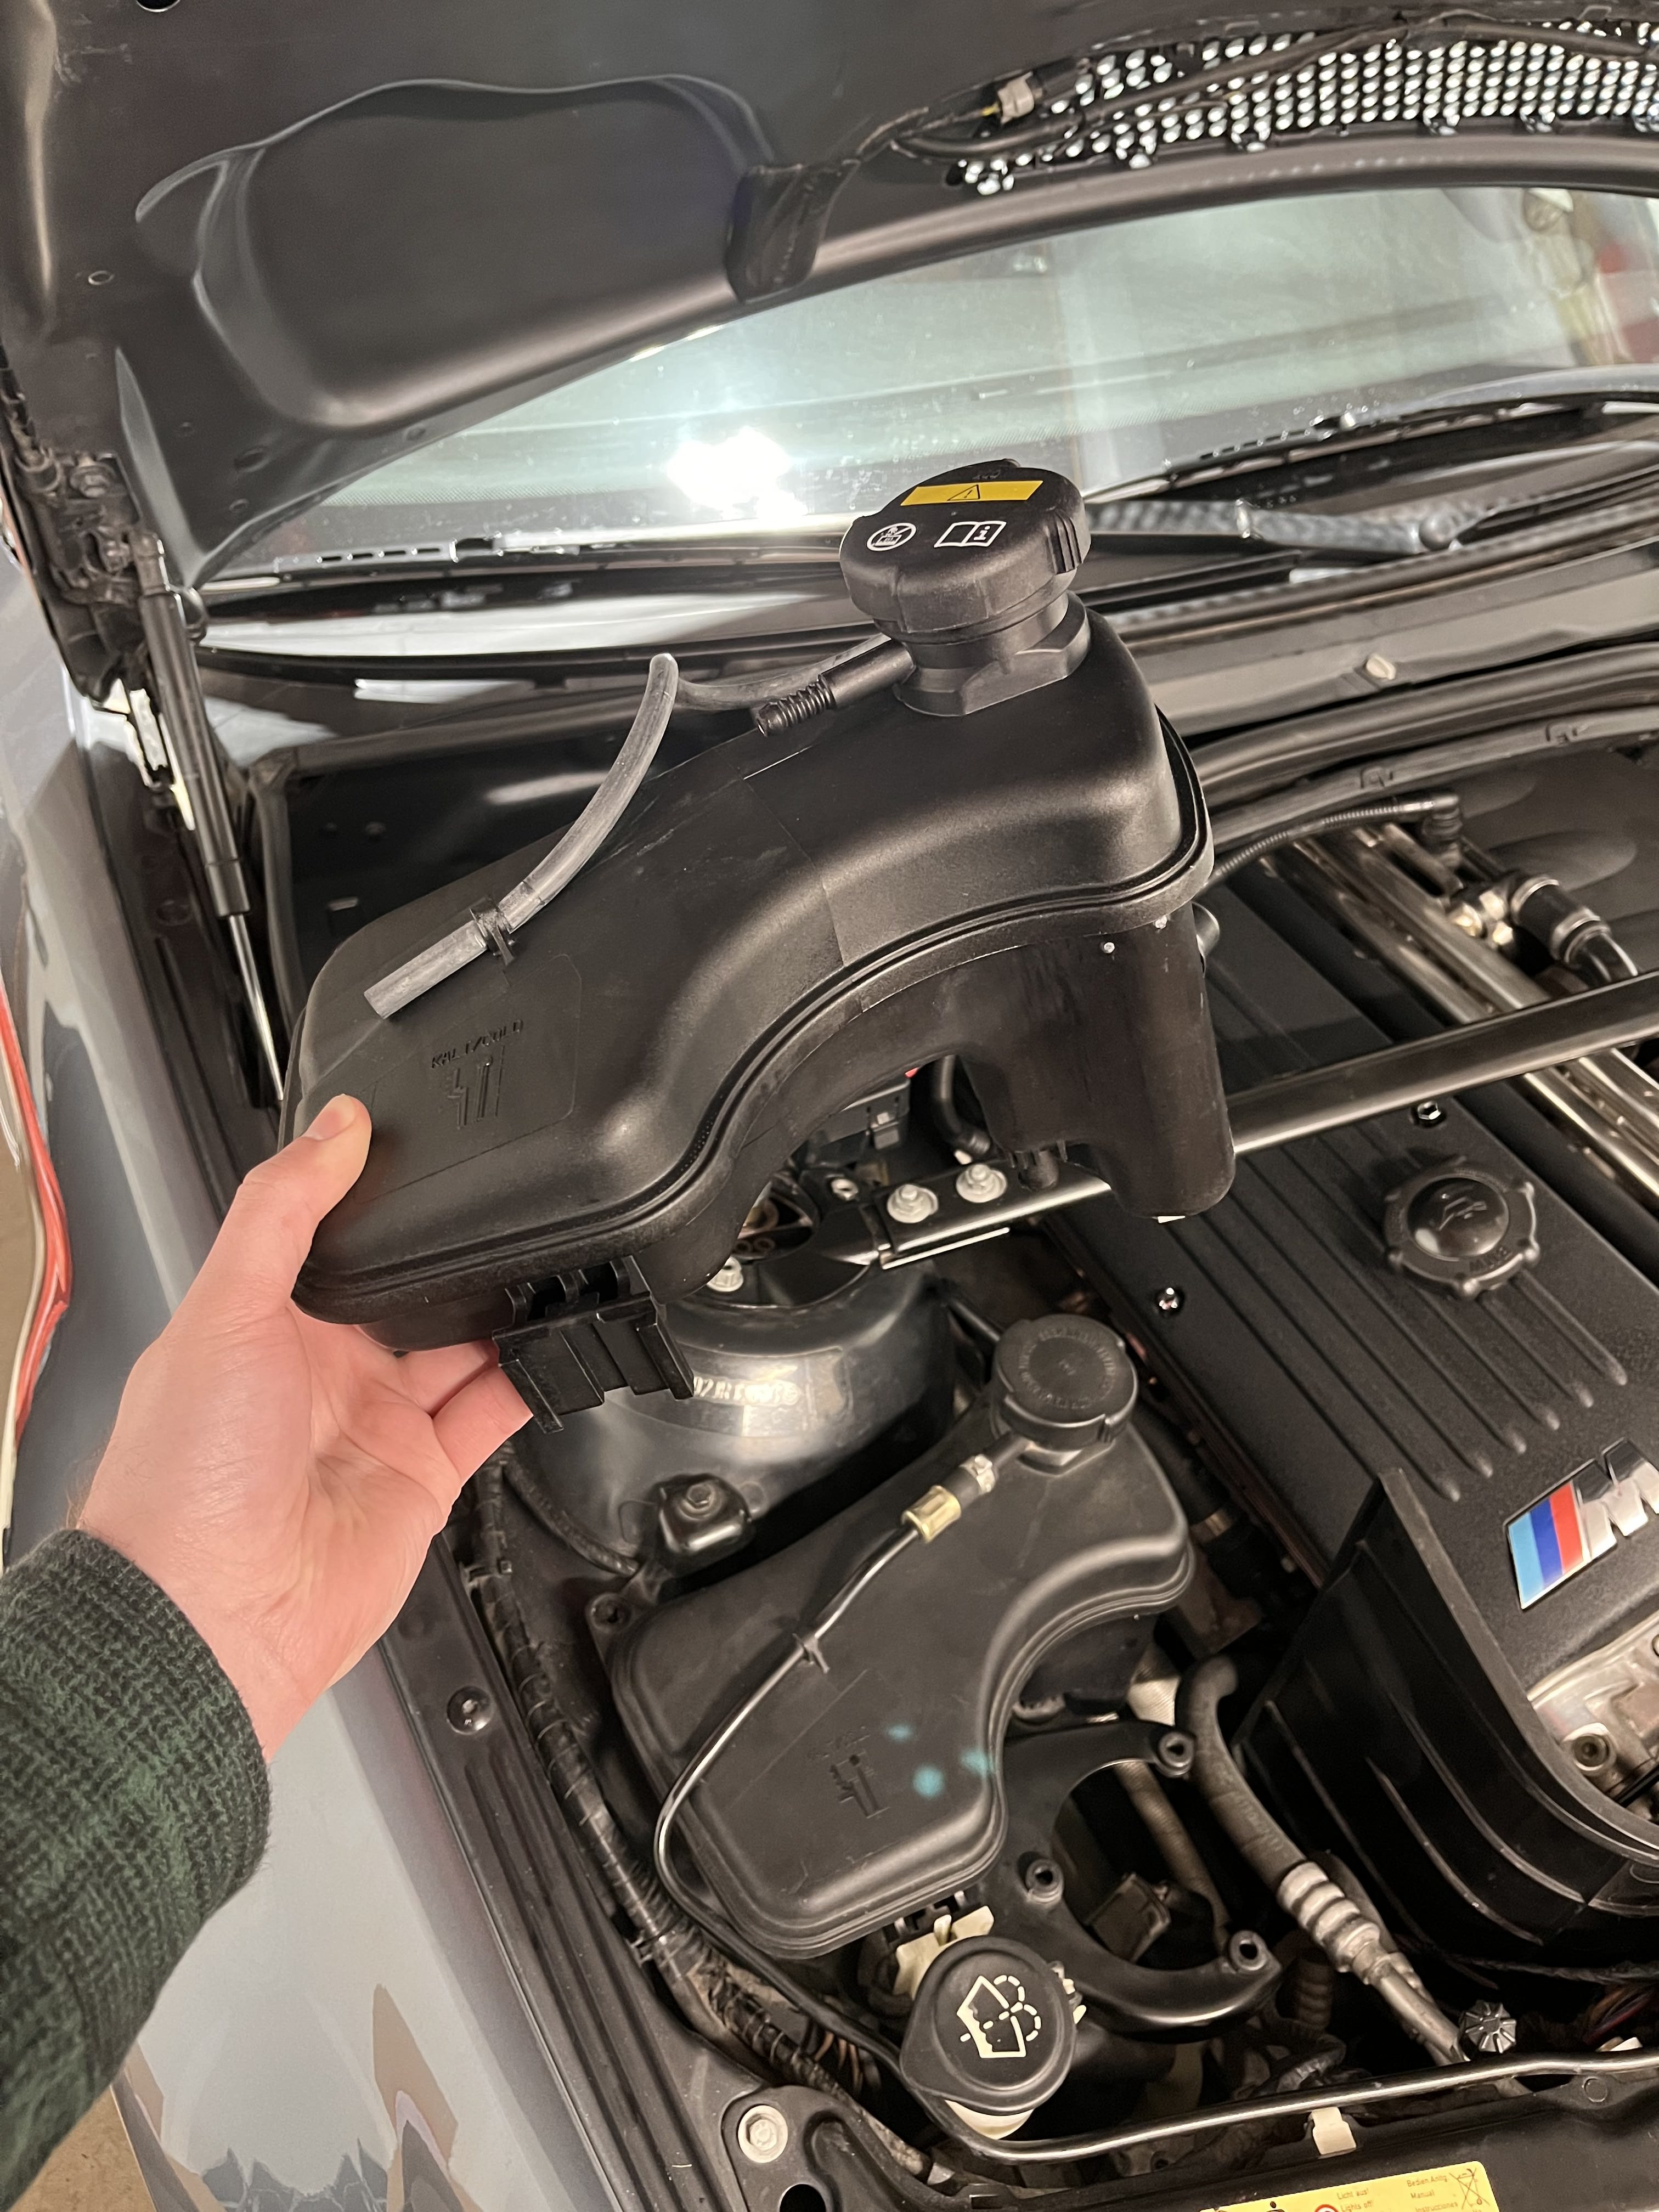
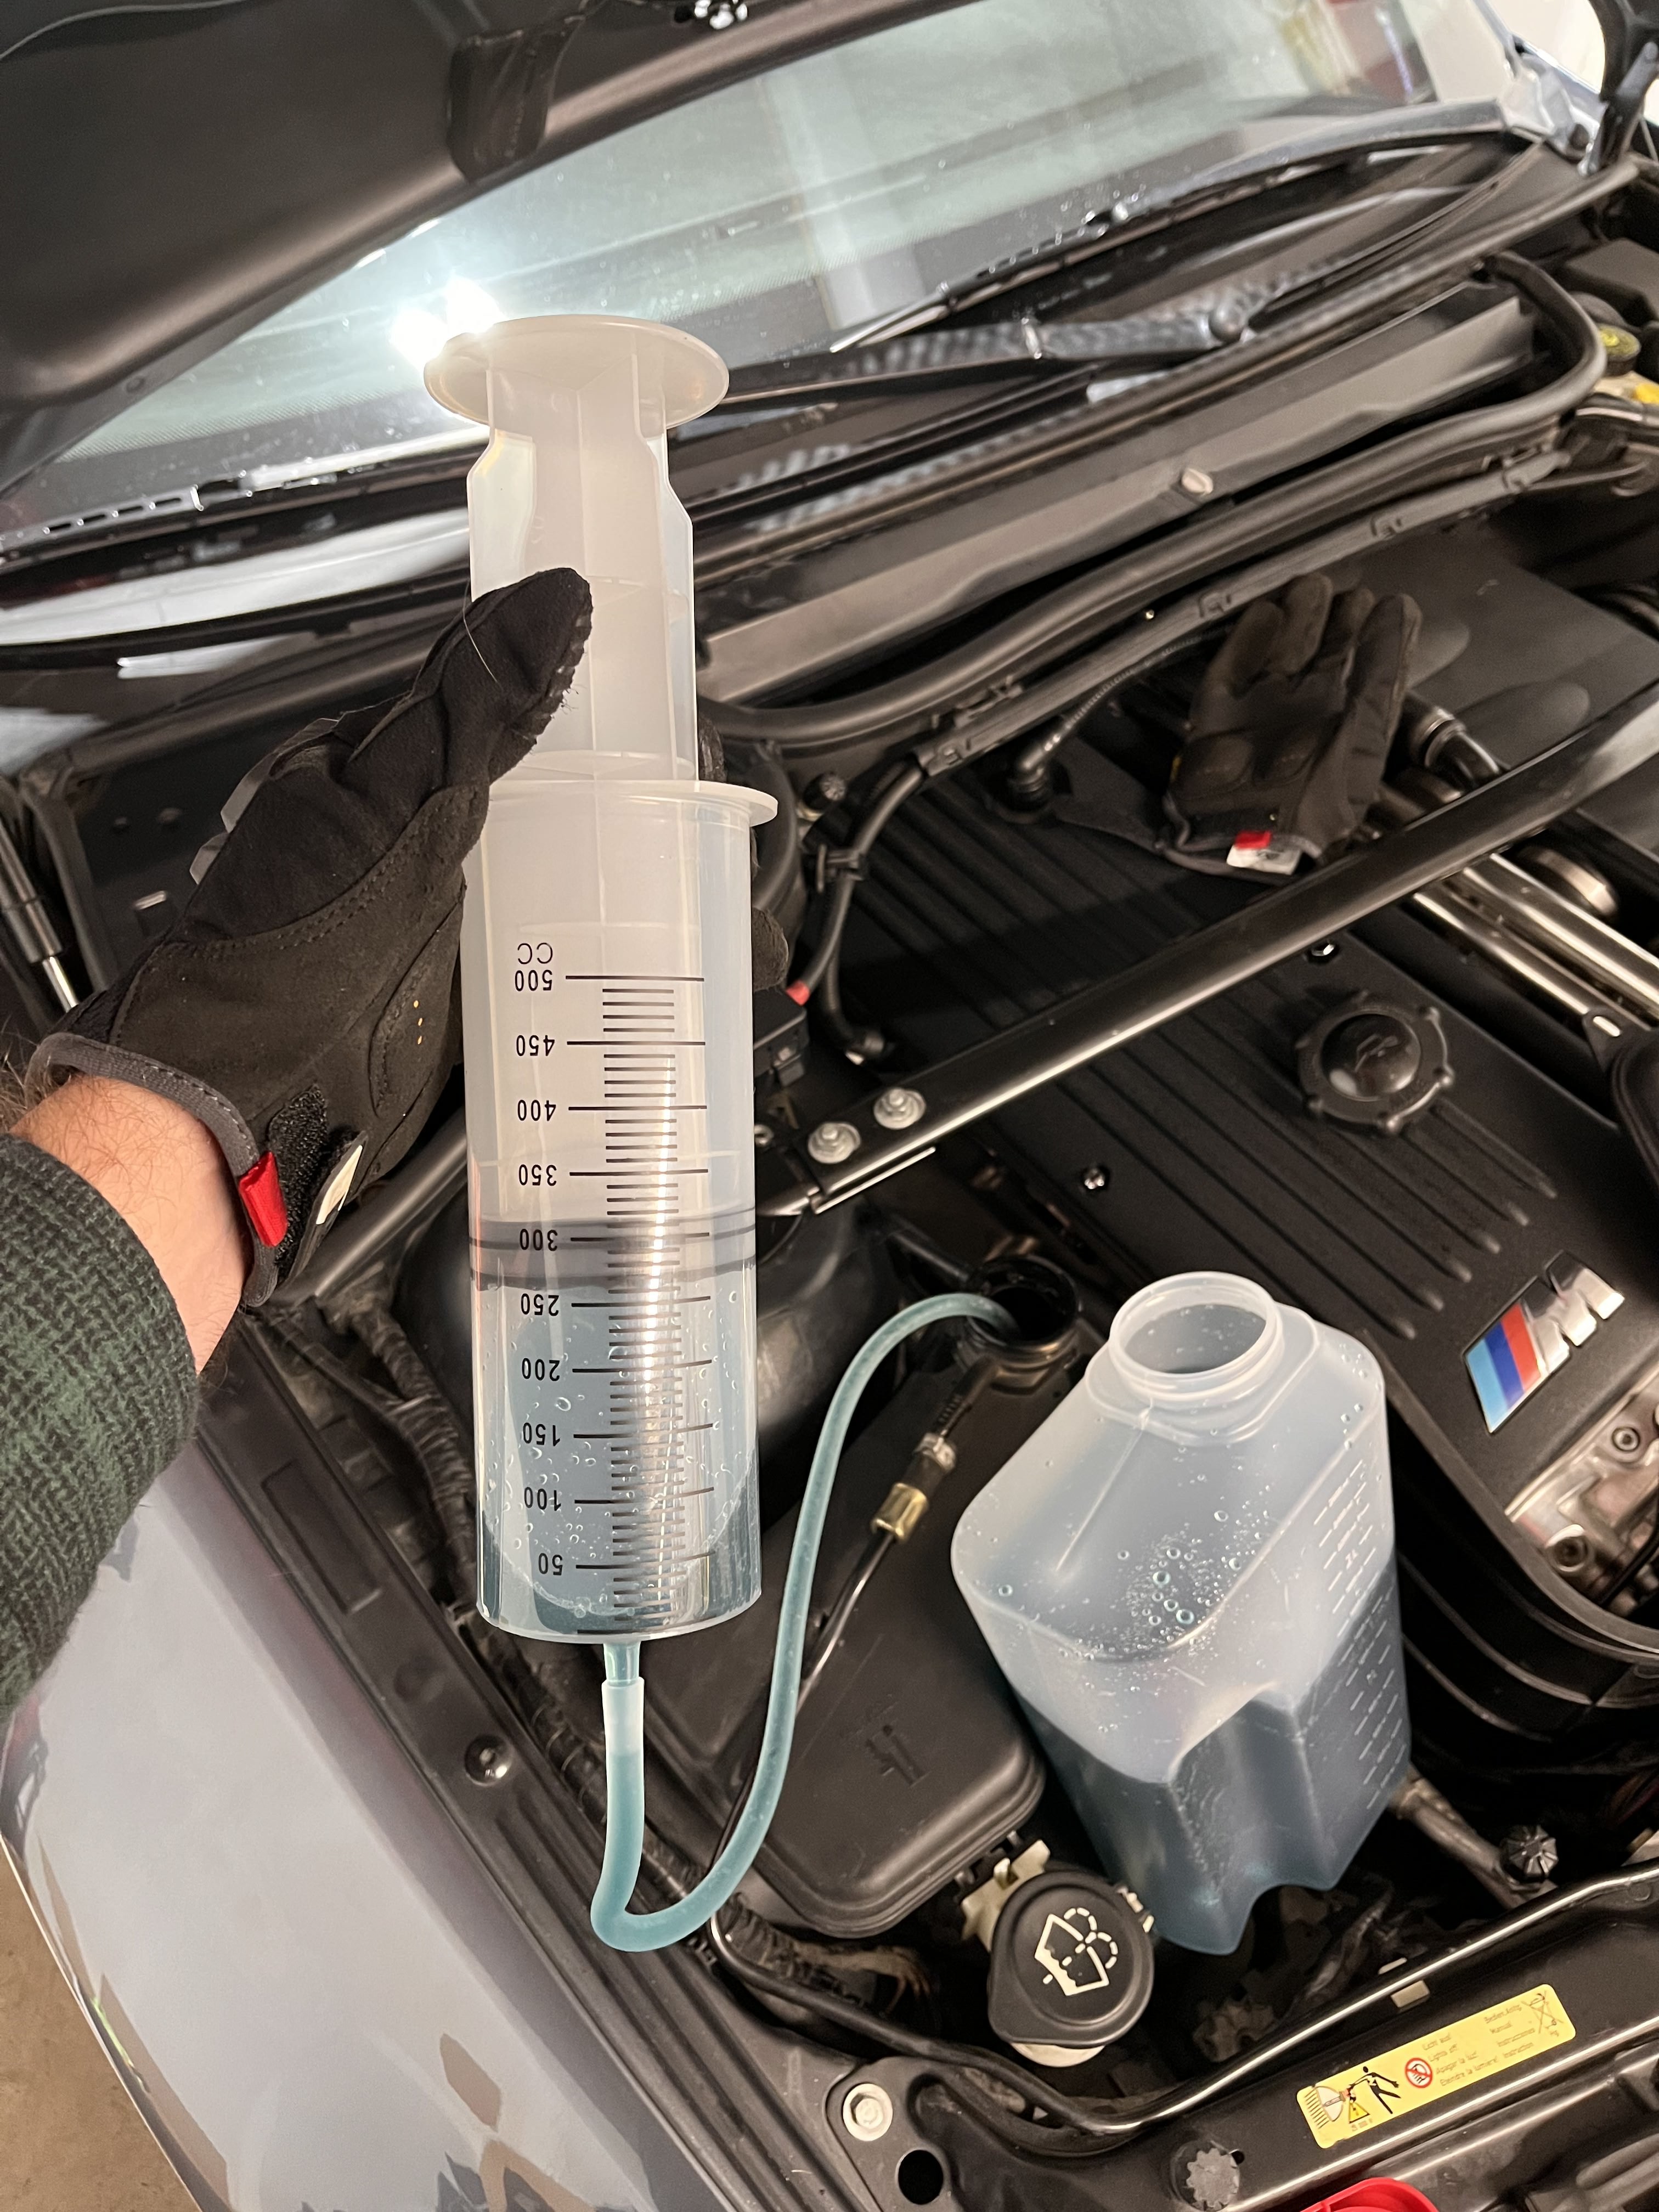
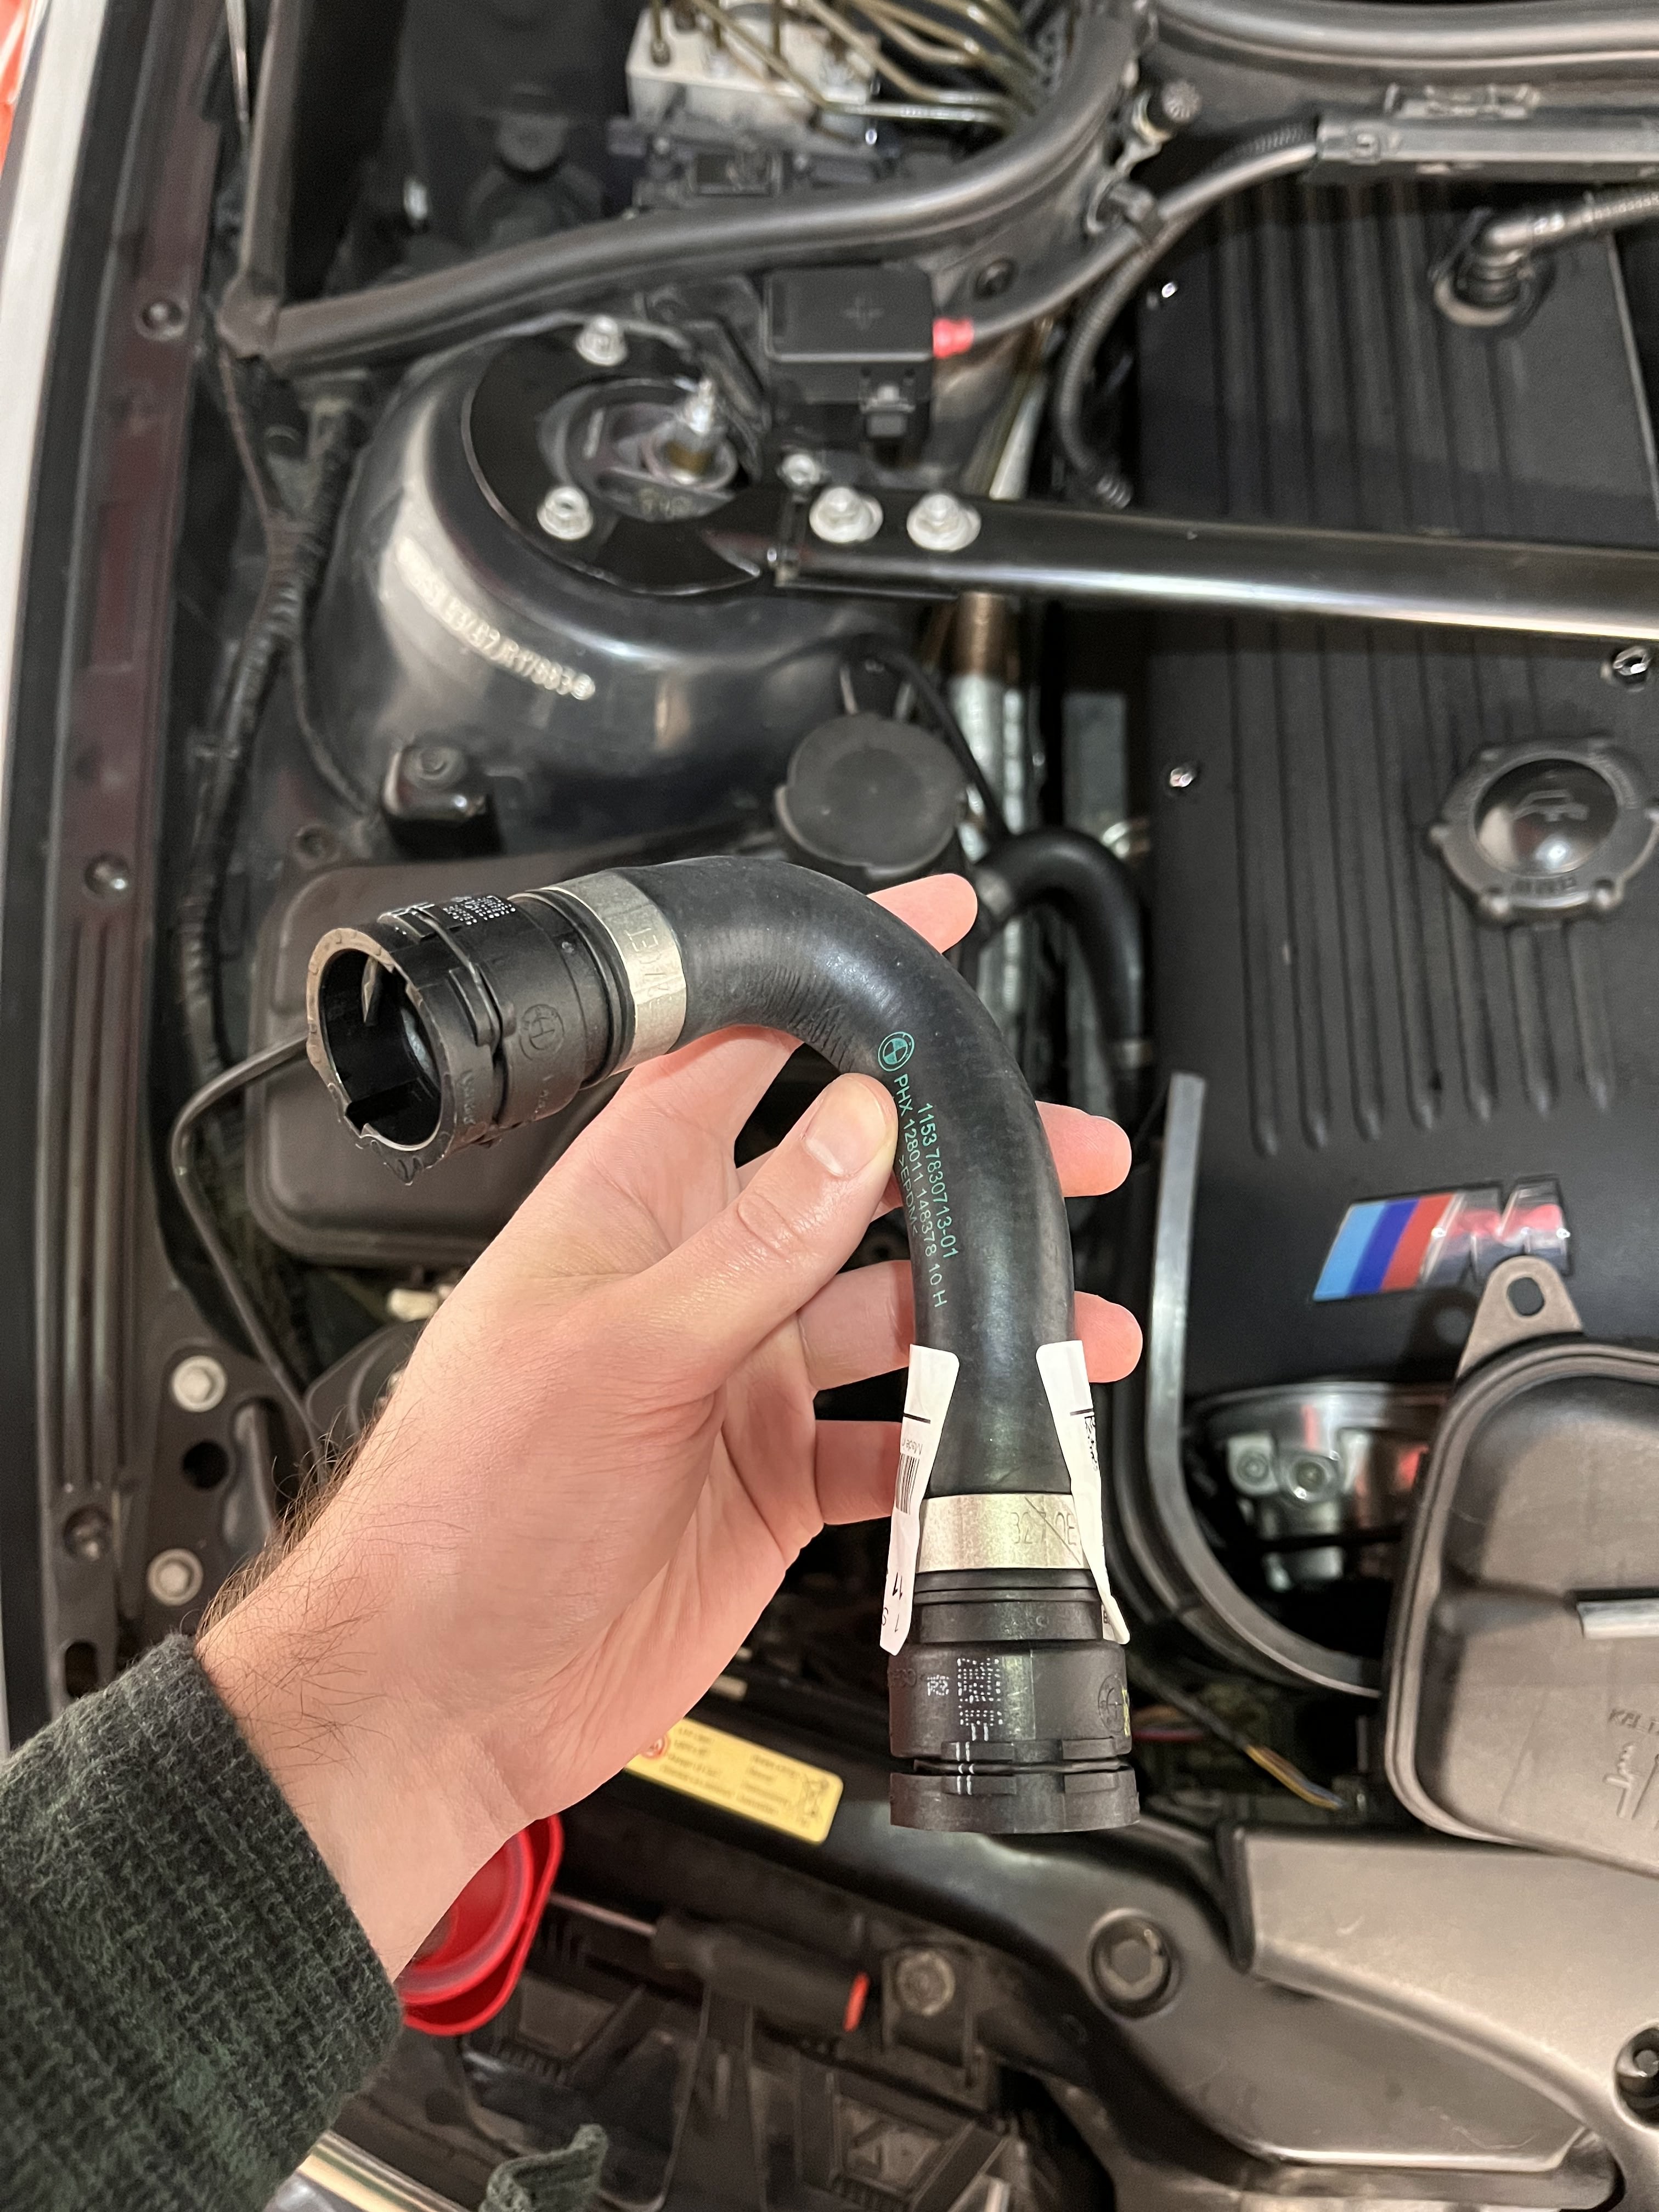
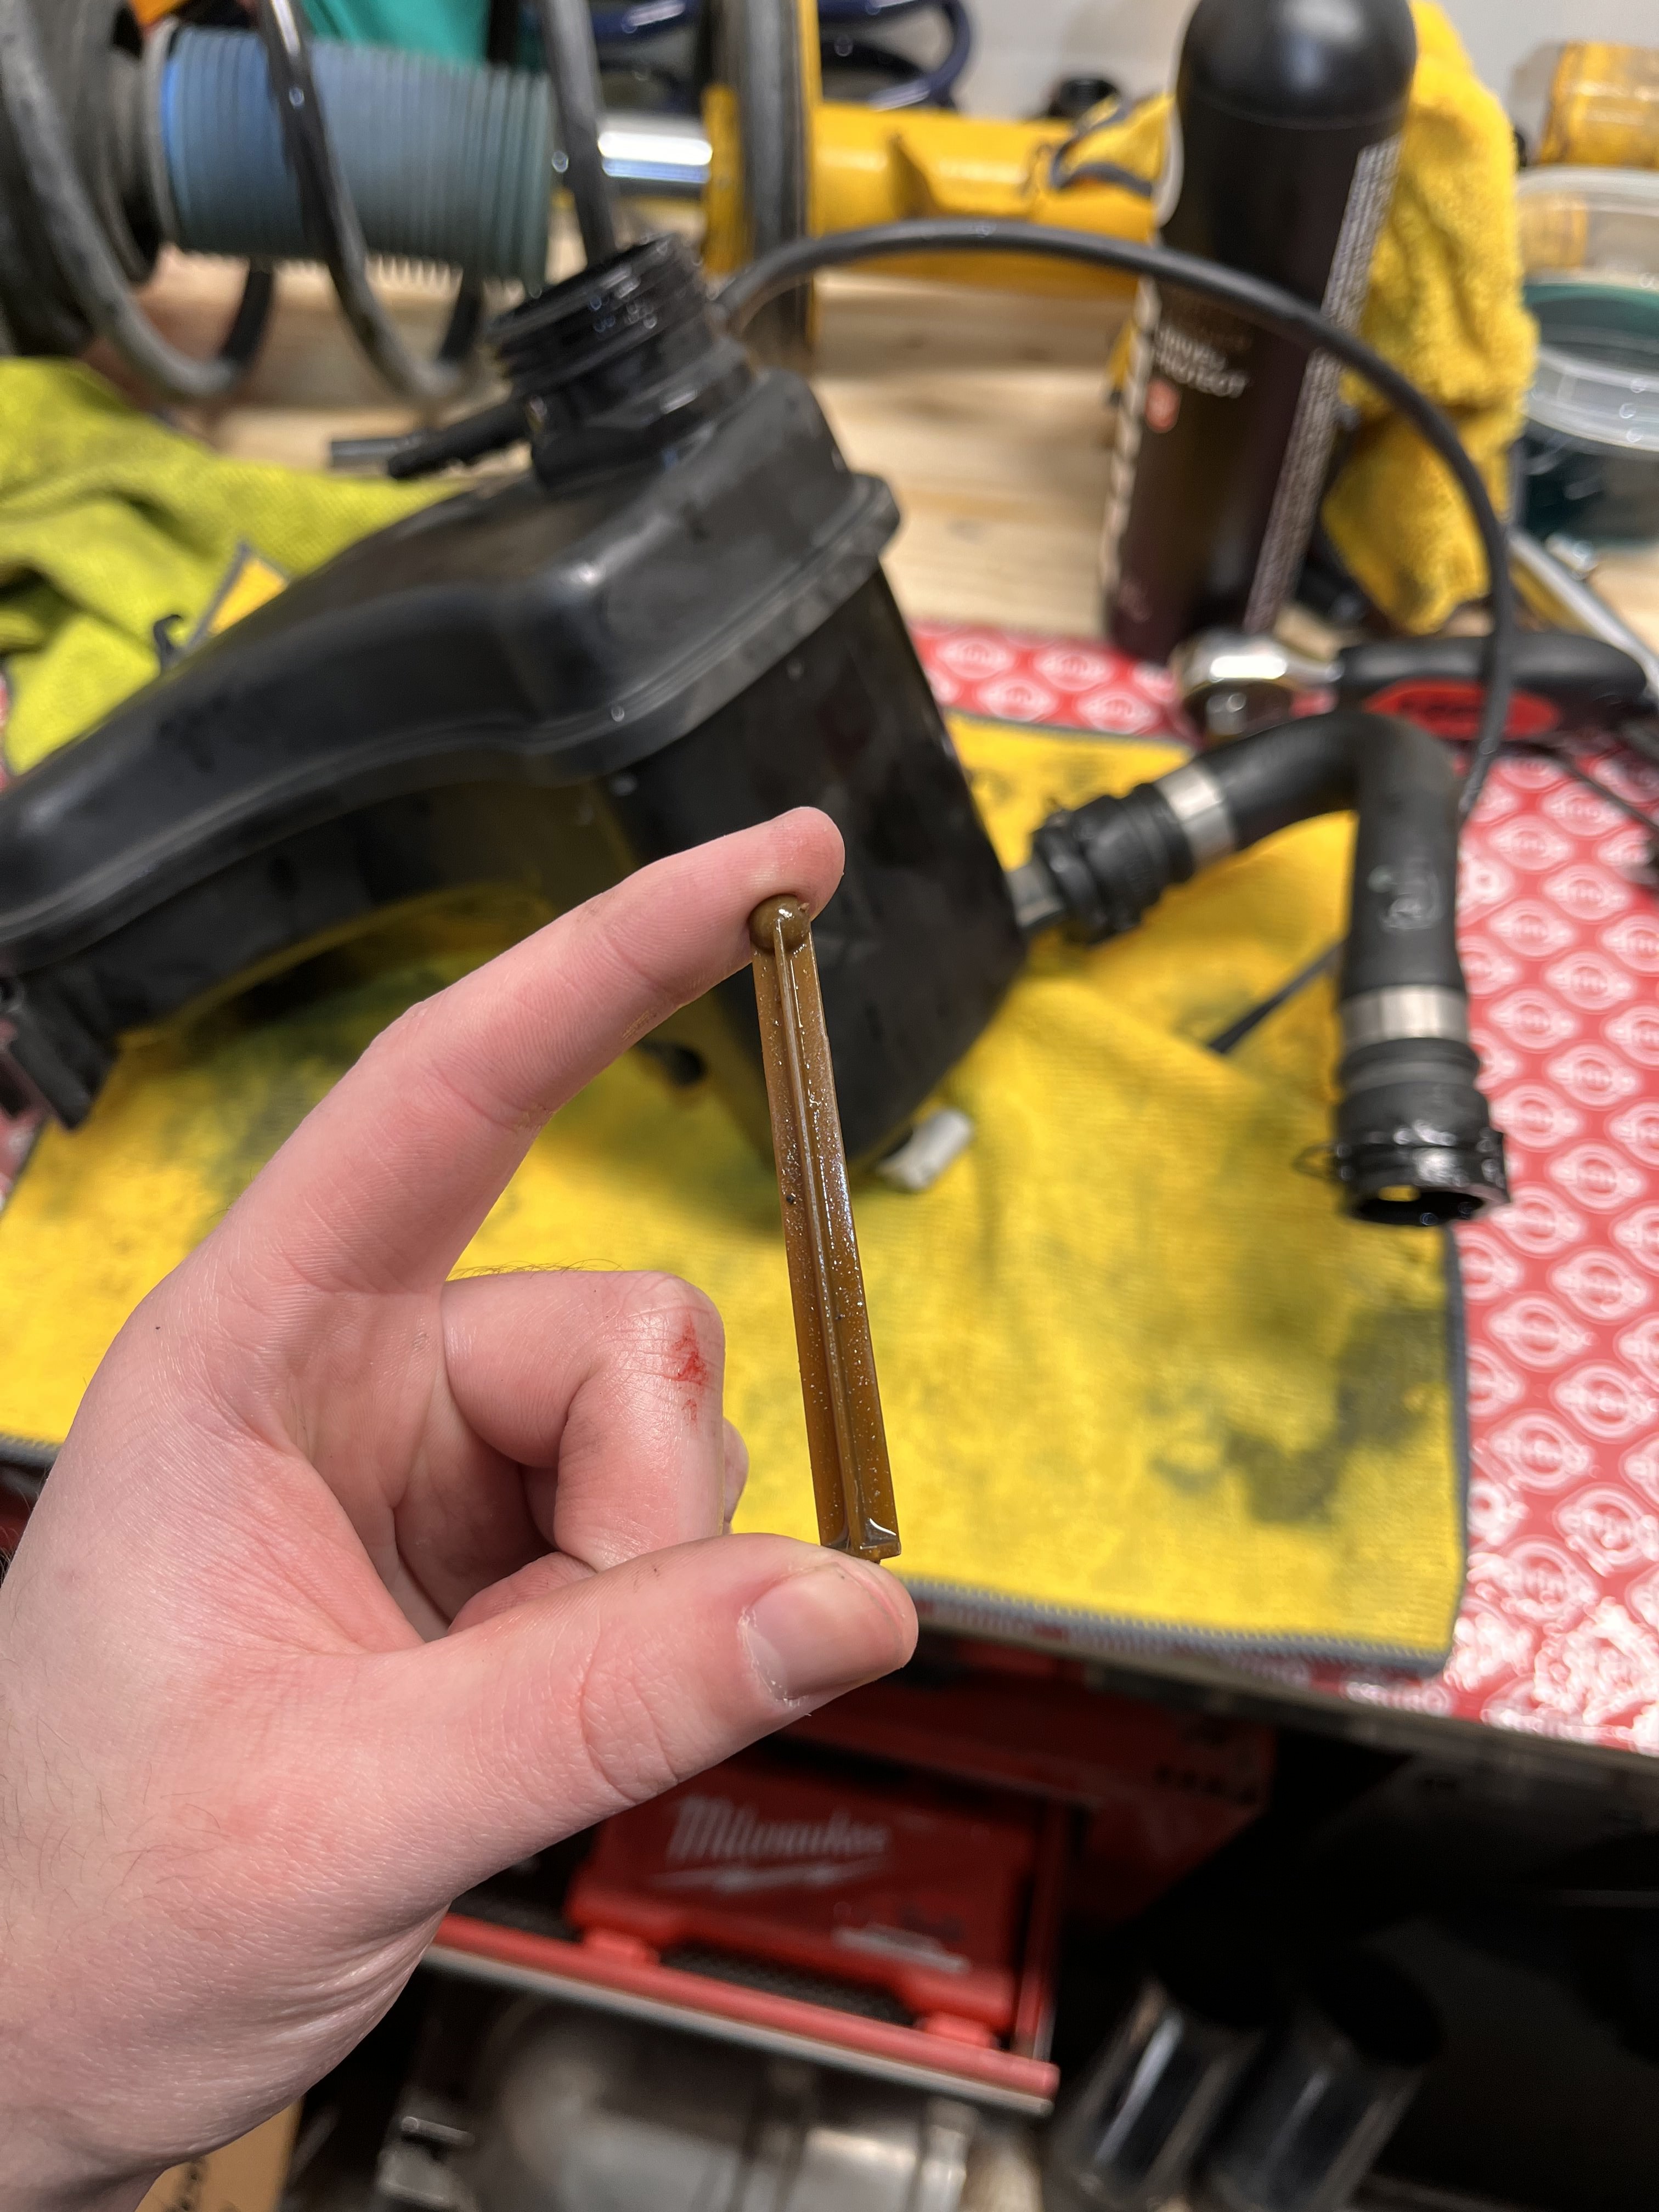
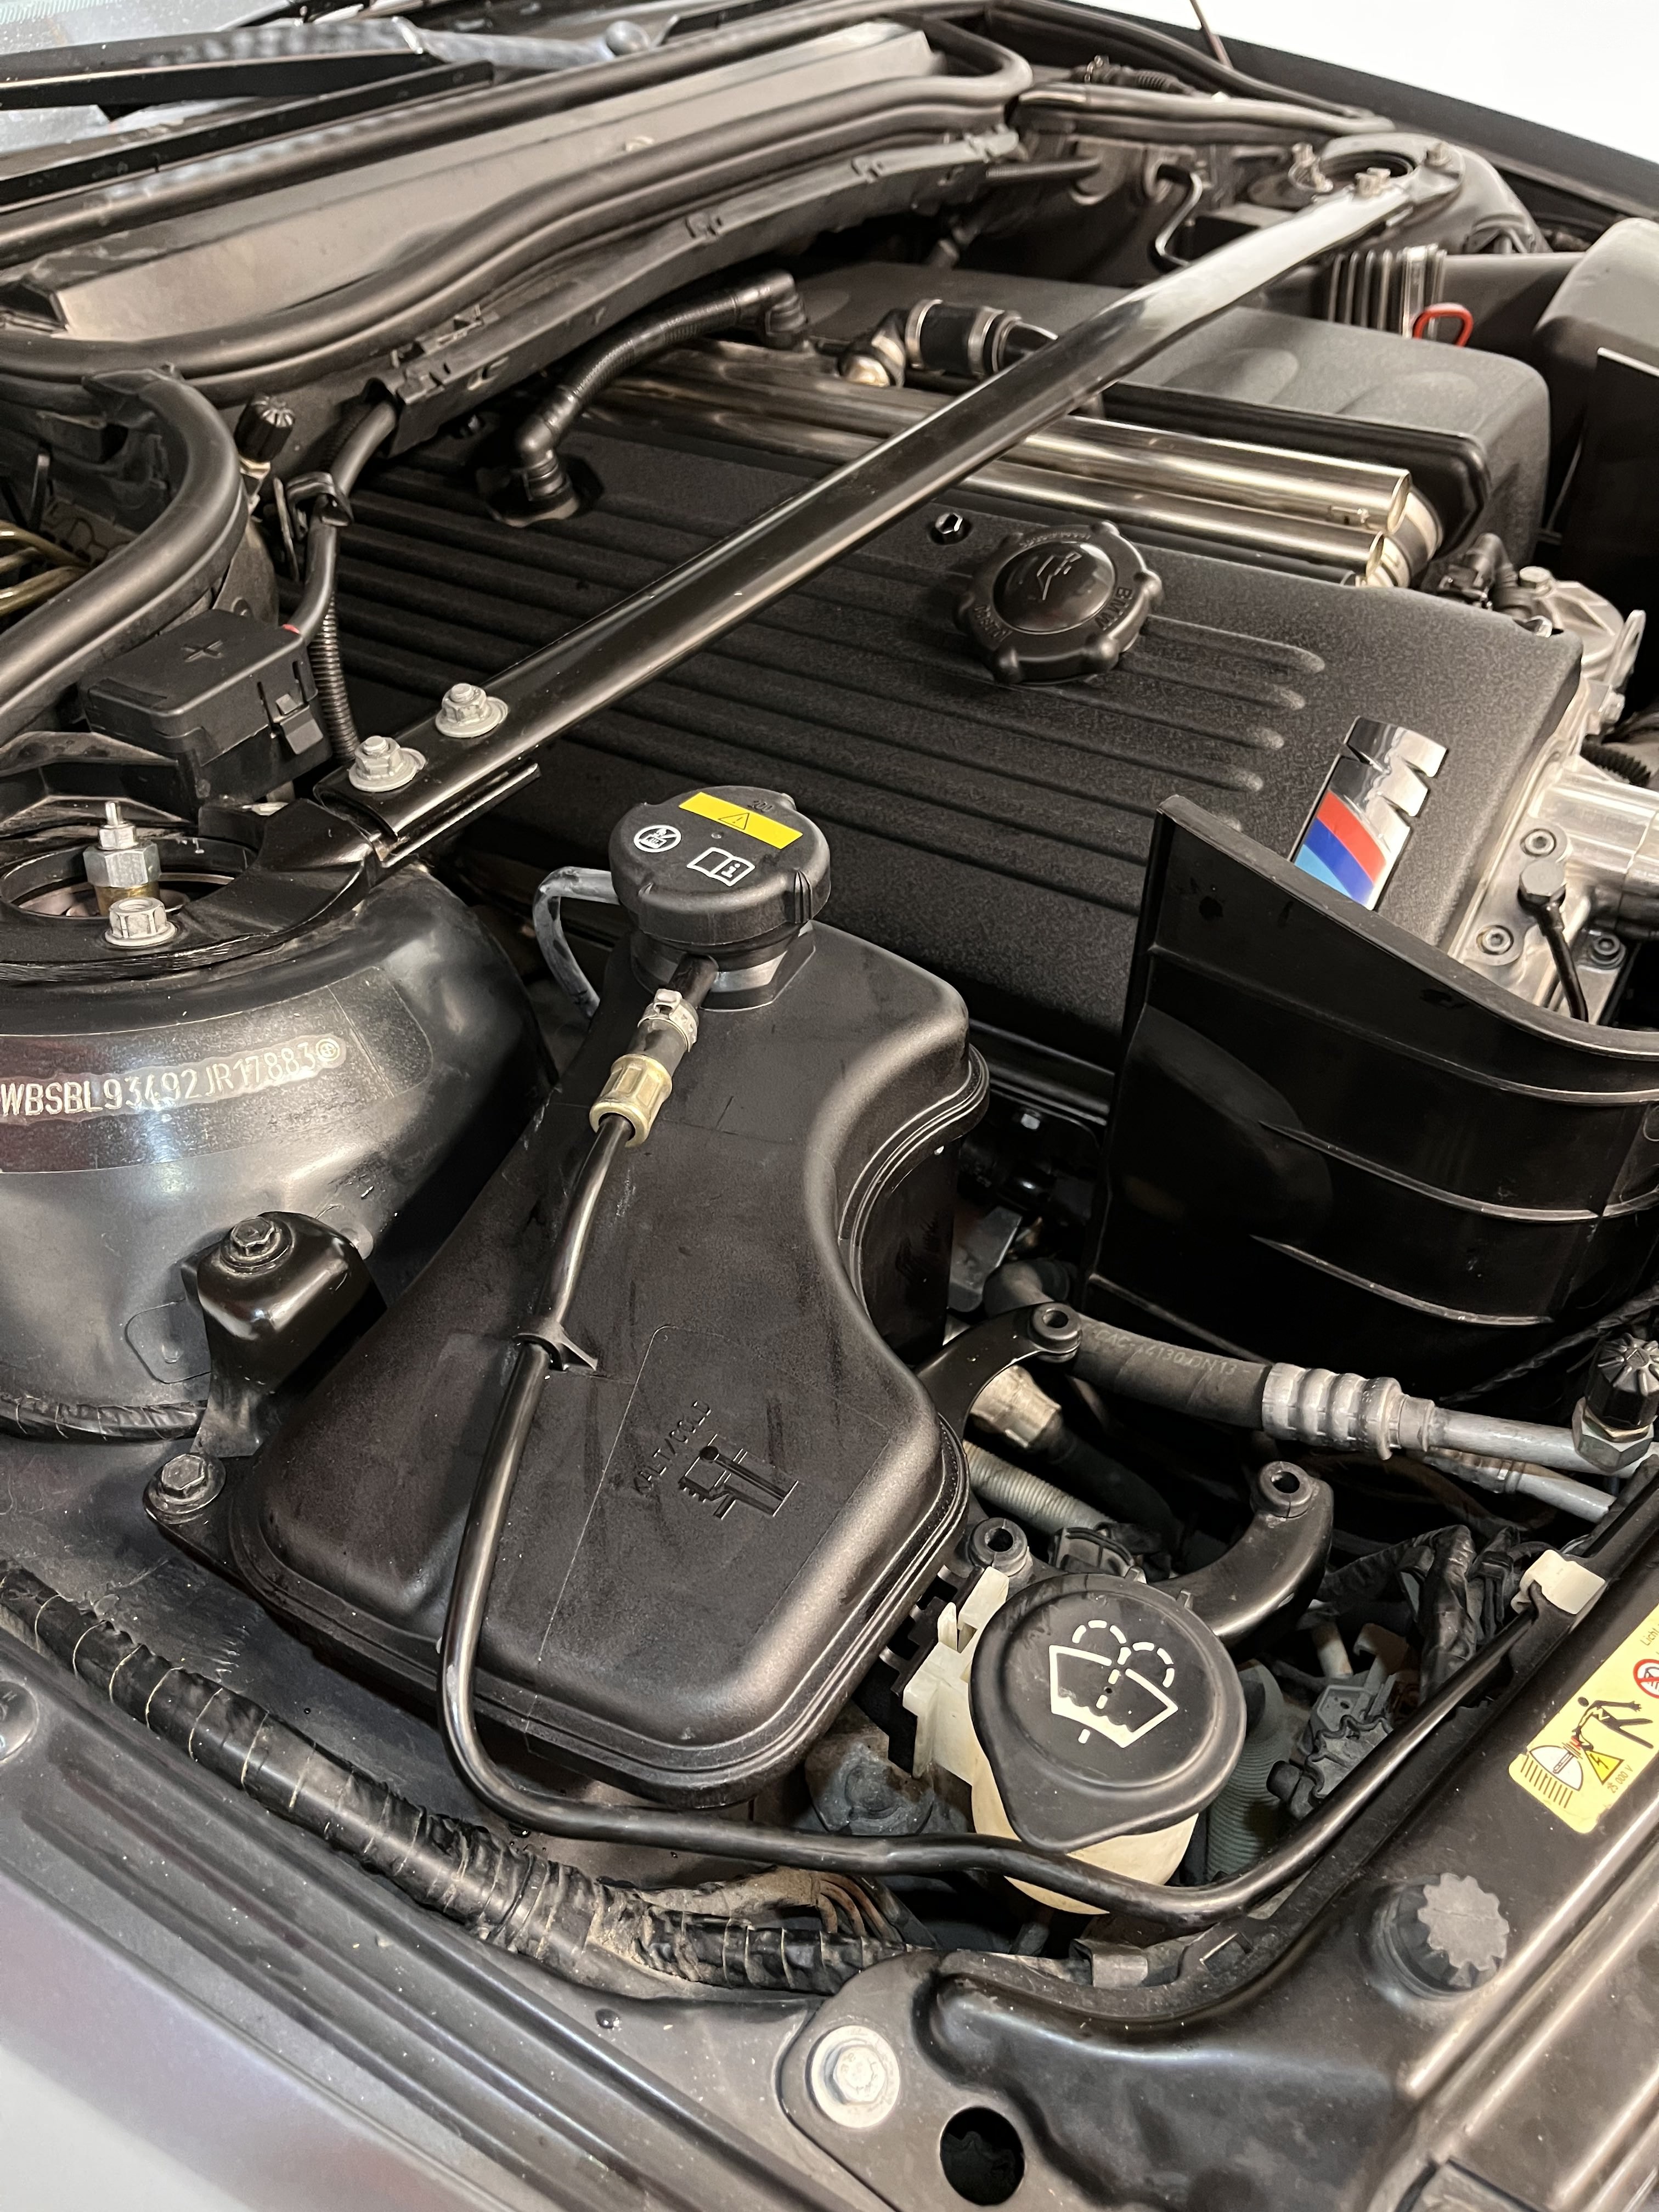
Ope I lied time to open the hood back up. Forgot that when I was doing the headers, setting the expansion tank out of the way on it's side broke the measure stick off. Since it was brittle enough to break that easily I figured it's time to replace the whole tank and hose. Installation was super easy with this huge syringe I got to suck all the fluid out and pump it back into the new tank, took no more than 15 min total. Only downside was the cost. Just the hose to the tank was $80!! Since I couldn't find any aftermarket alternatives on FCP, I bit the bullet. Also managed to fish out the loose piece while I had the tank out, thankfully it didn't make it's way into the cooling system.
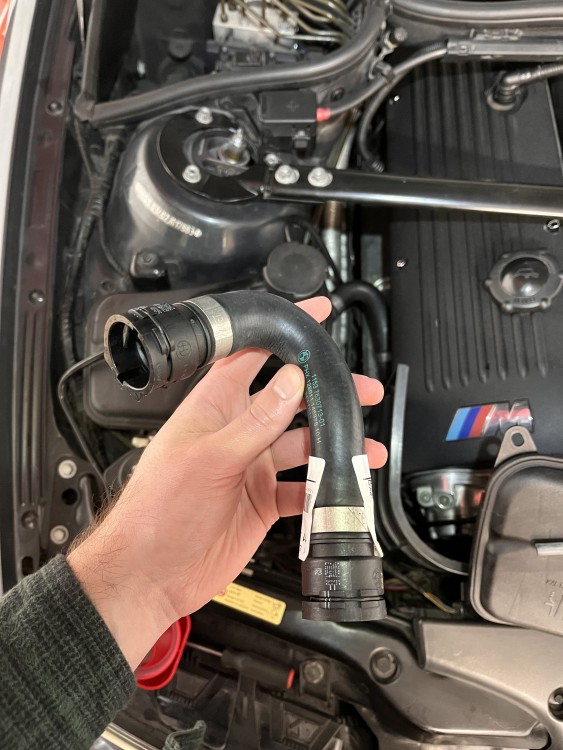
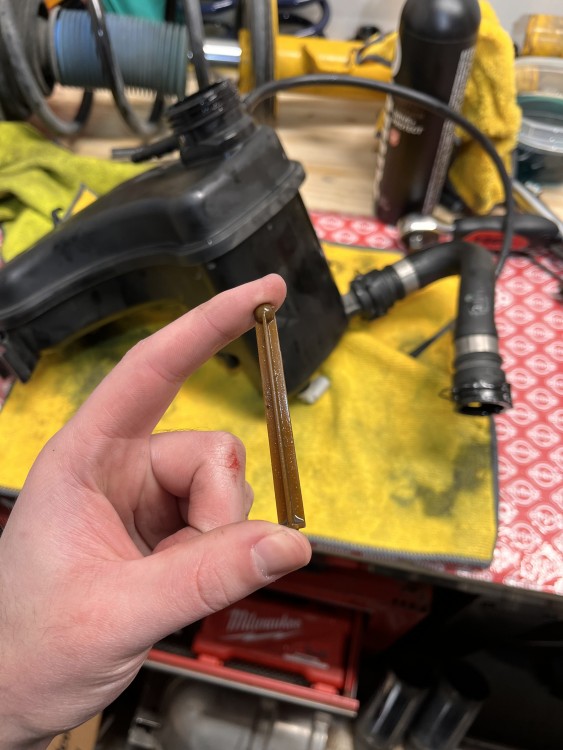
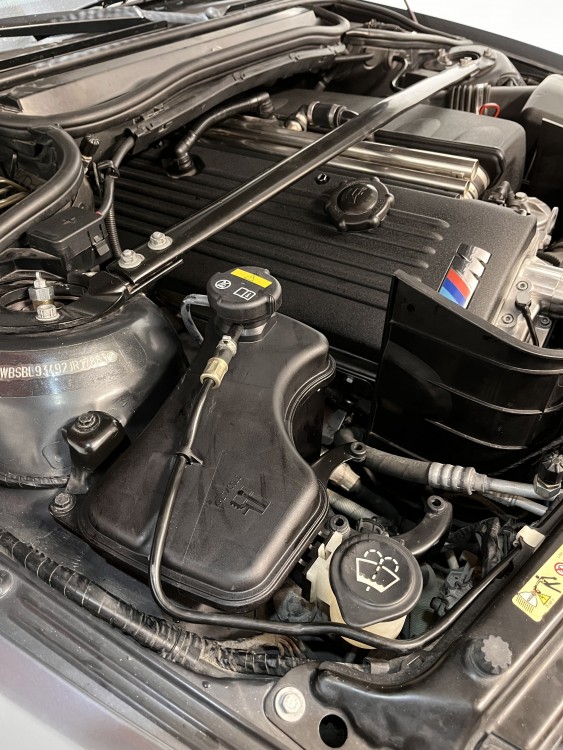
-
Handy syringe, where did you pick that up?
Definitely! Mine is just a cheapo one from Amazon: https://www.amazon.com/dp/B0822SDKS9/ref=cm_sw_r_cp_api_glt_fabc_ZF42GD7EA138BSYKSJYJ?_encoding=UTF8&psc=1
-
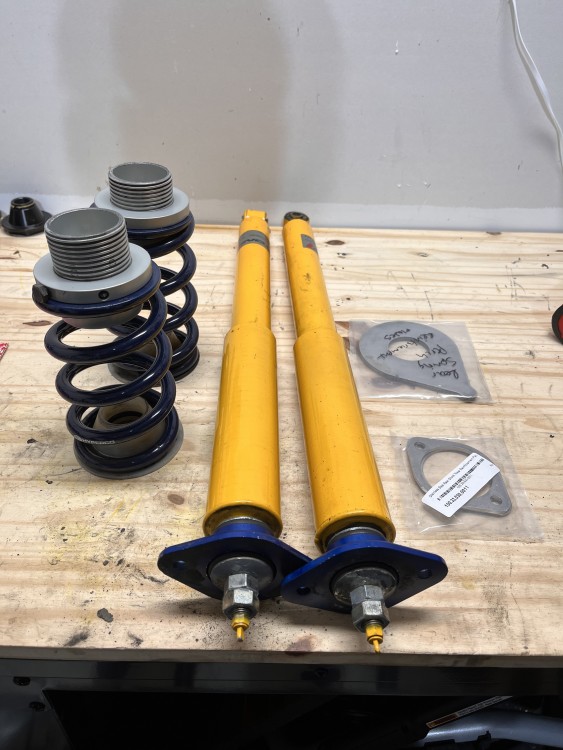
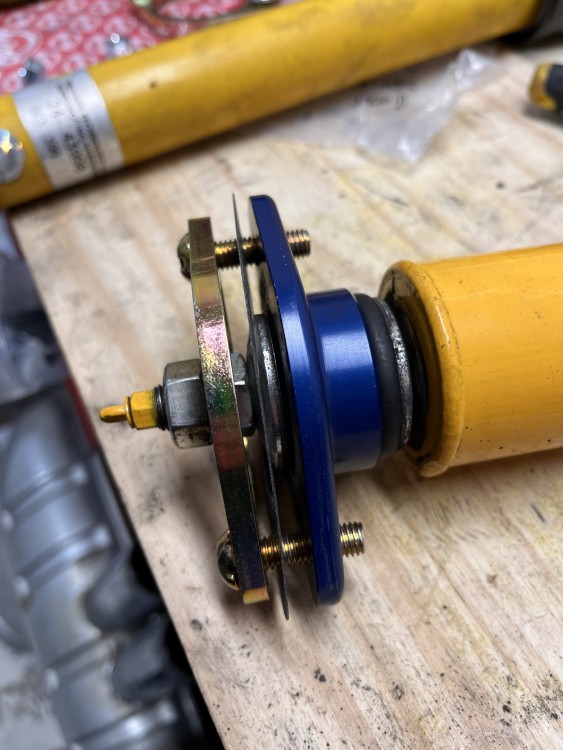
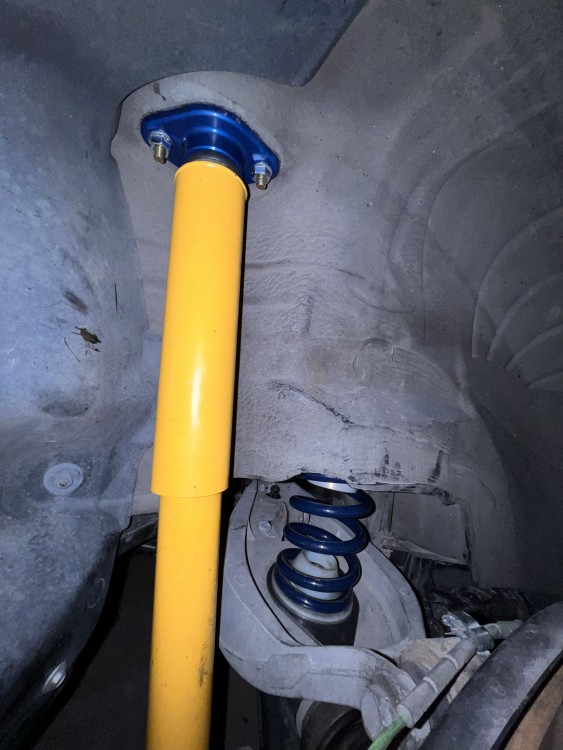
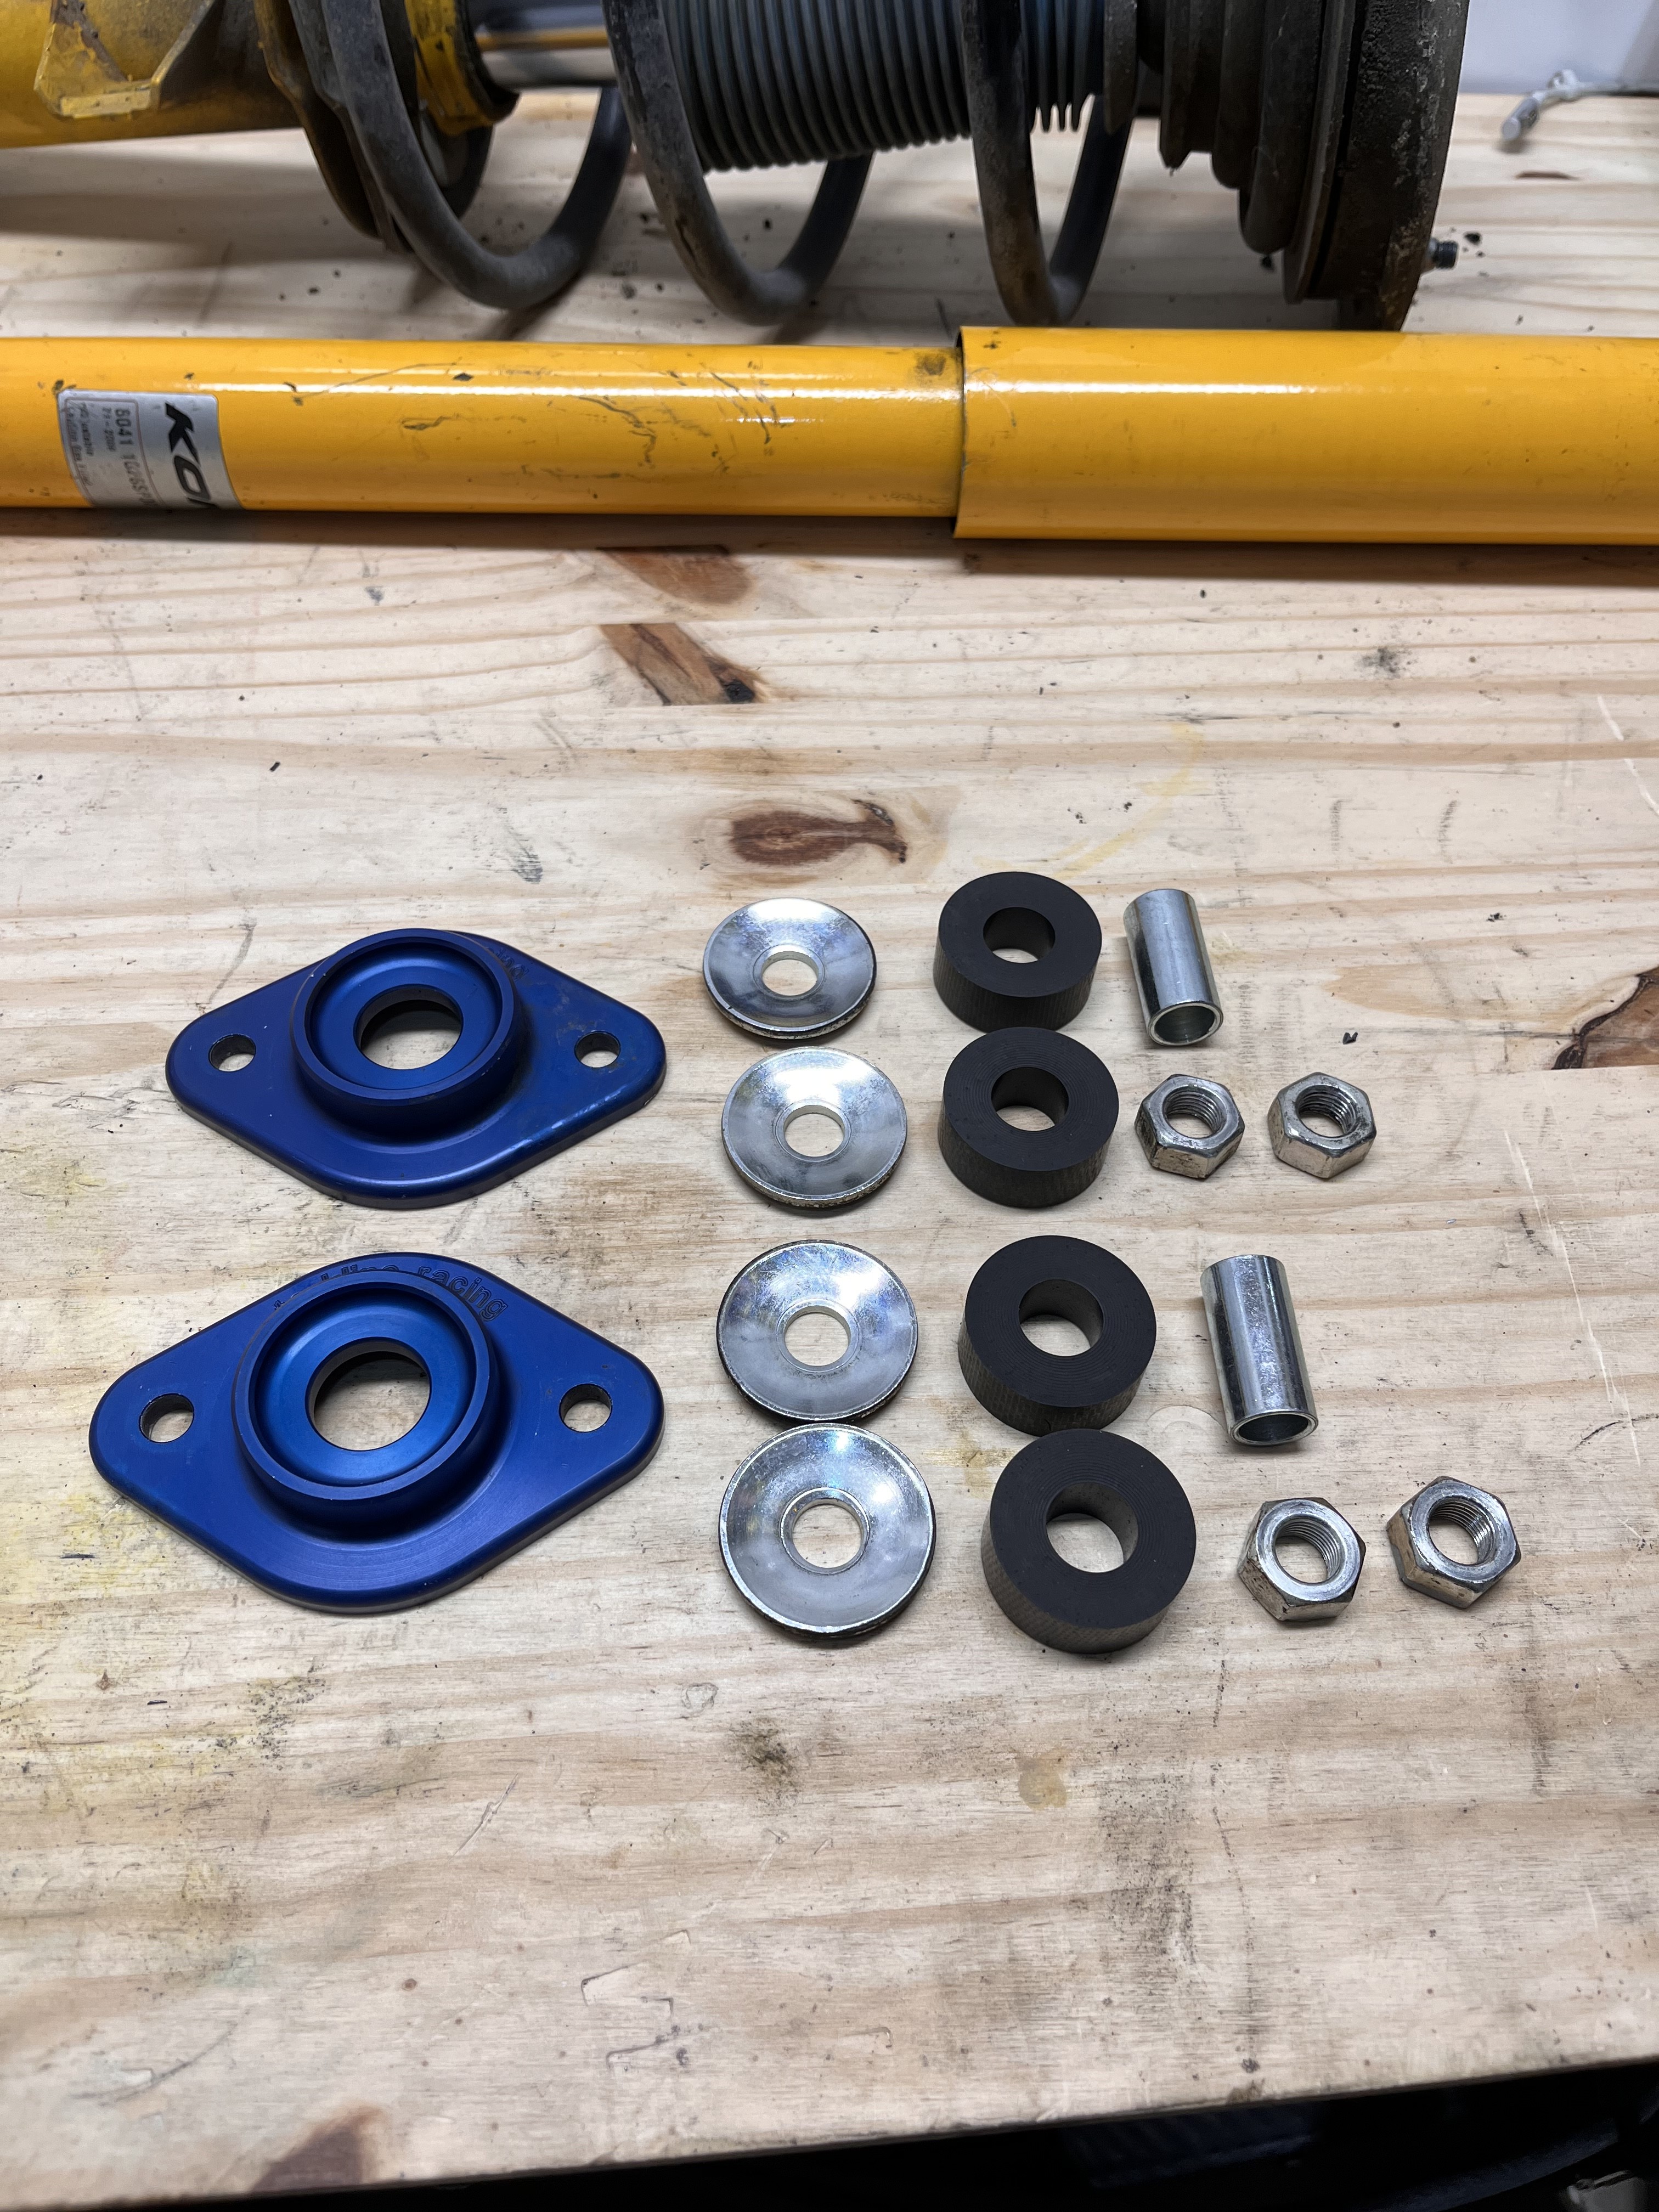
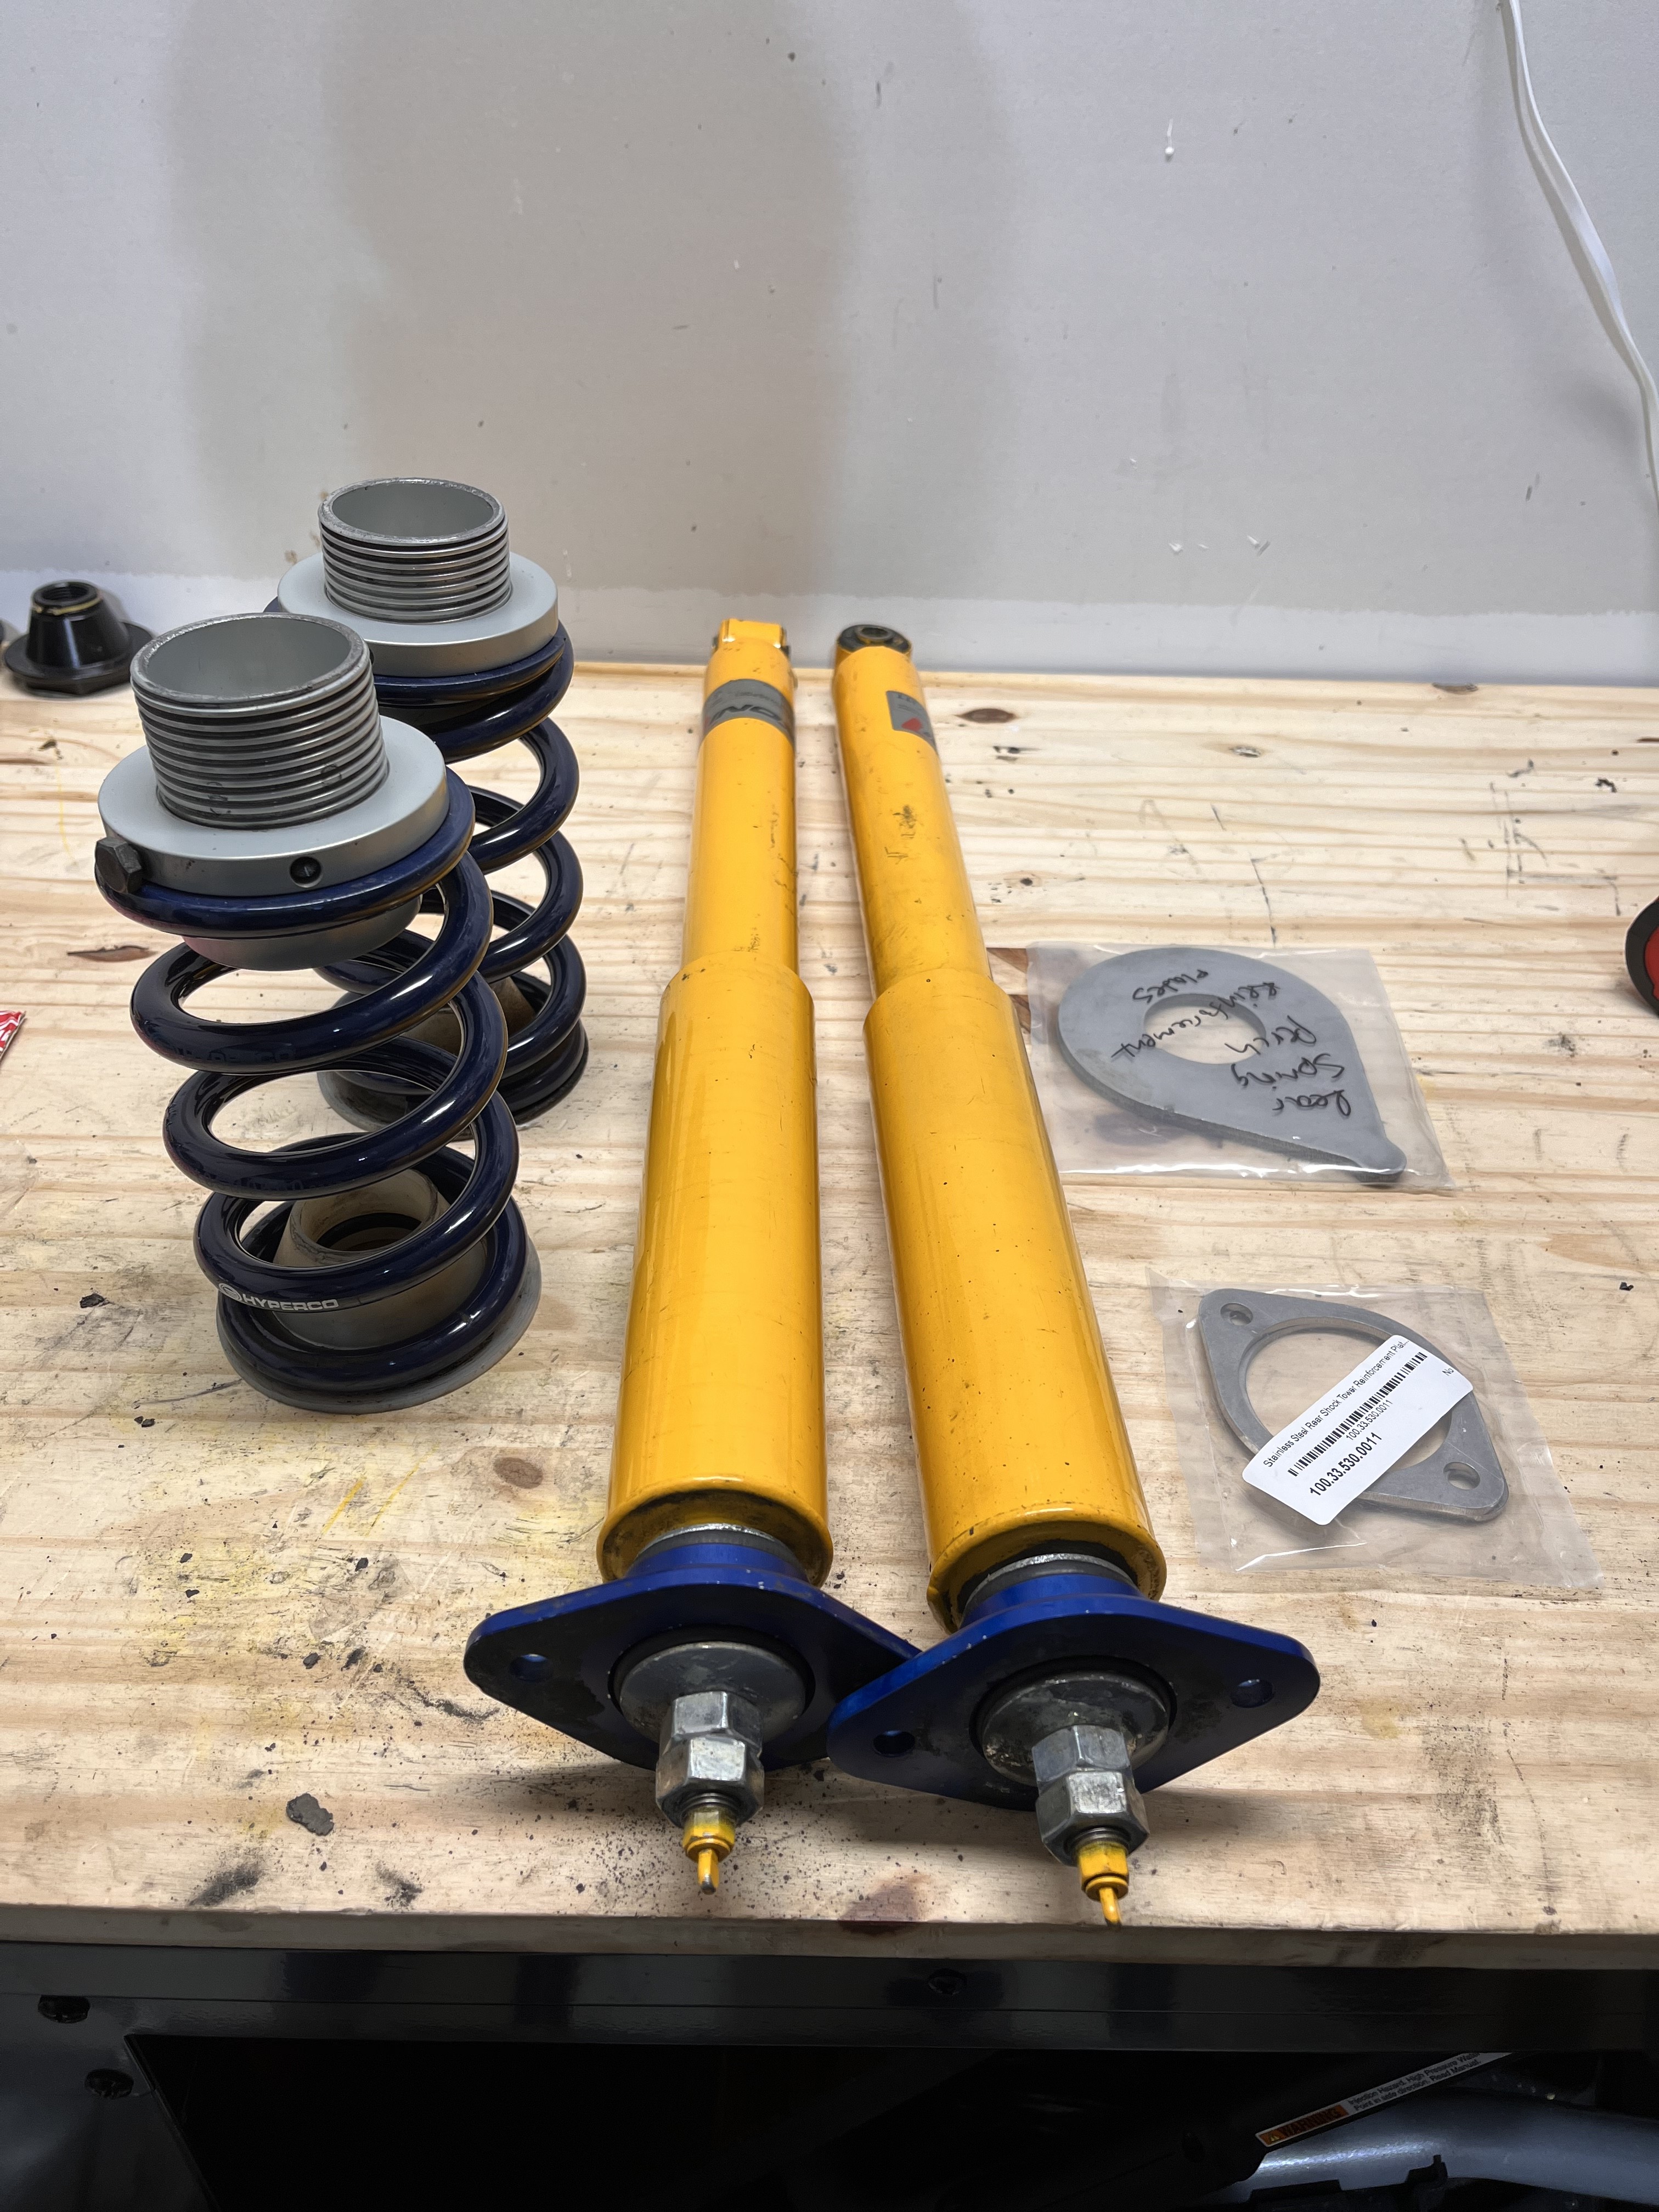
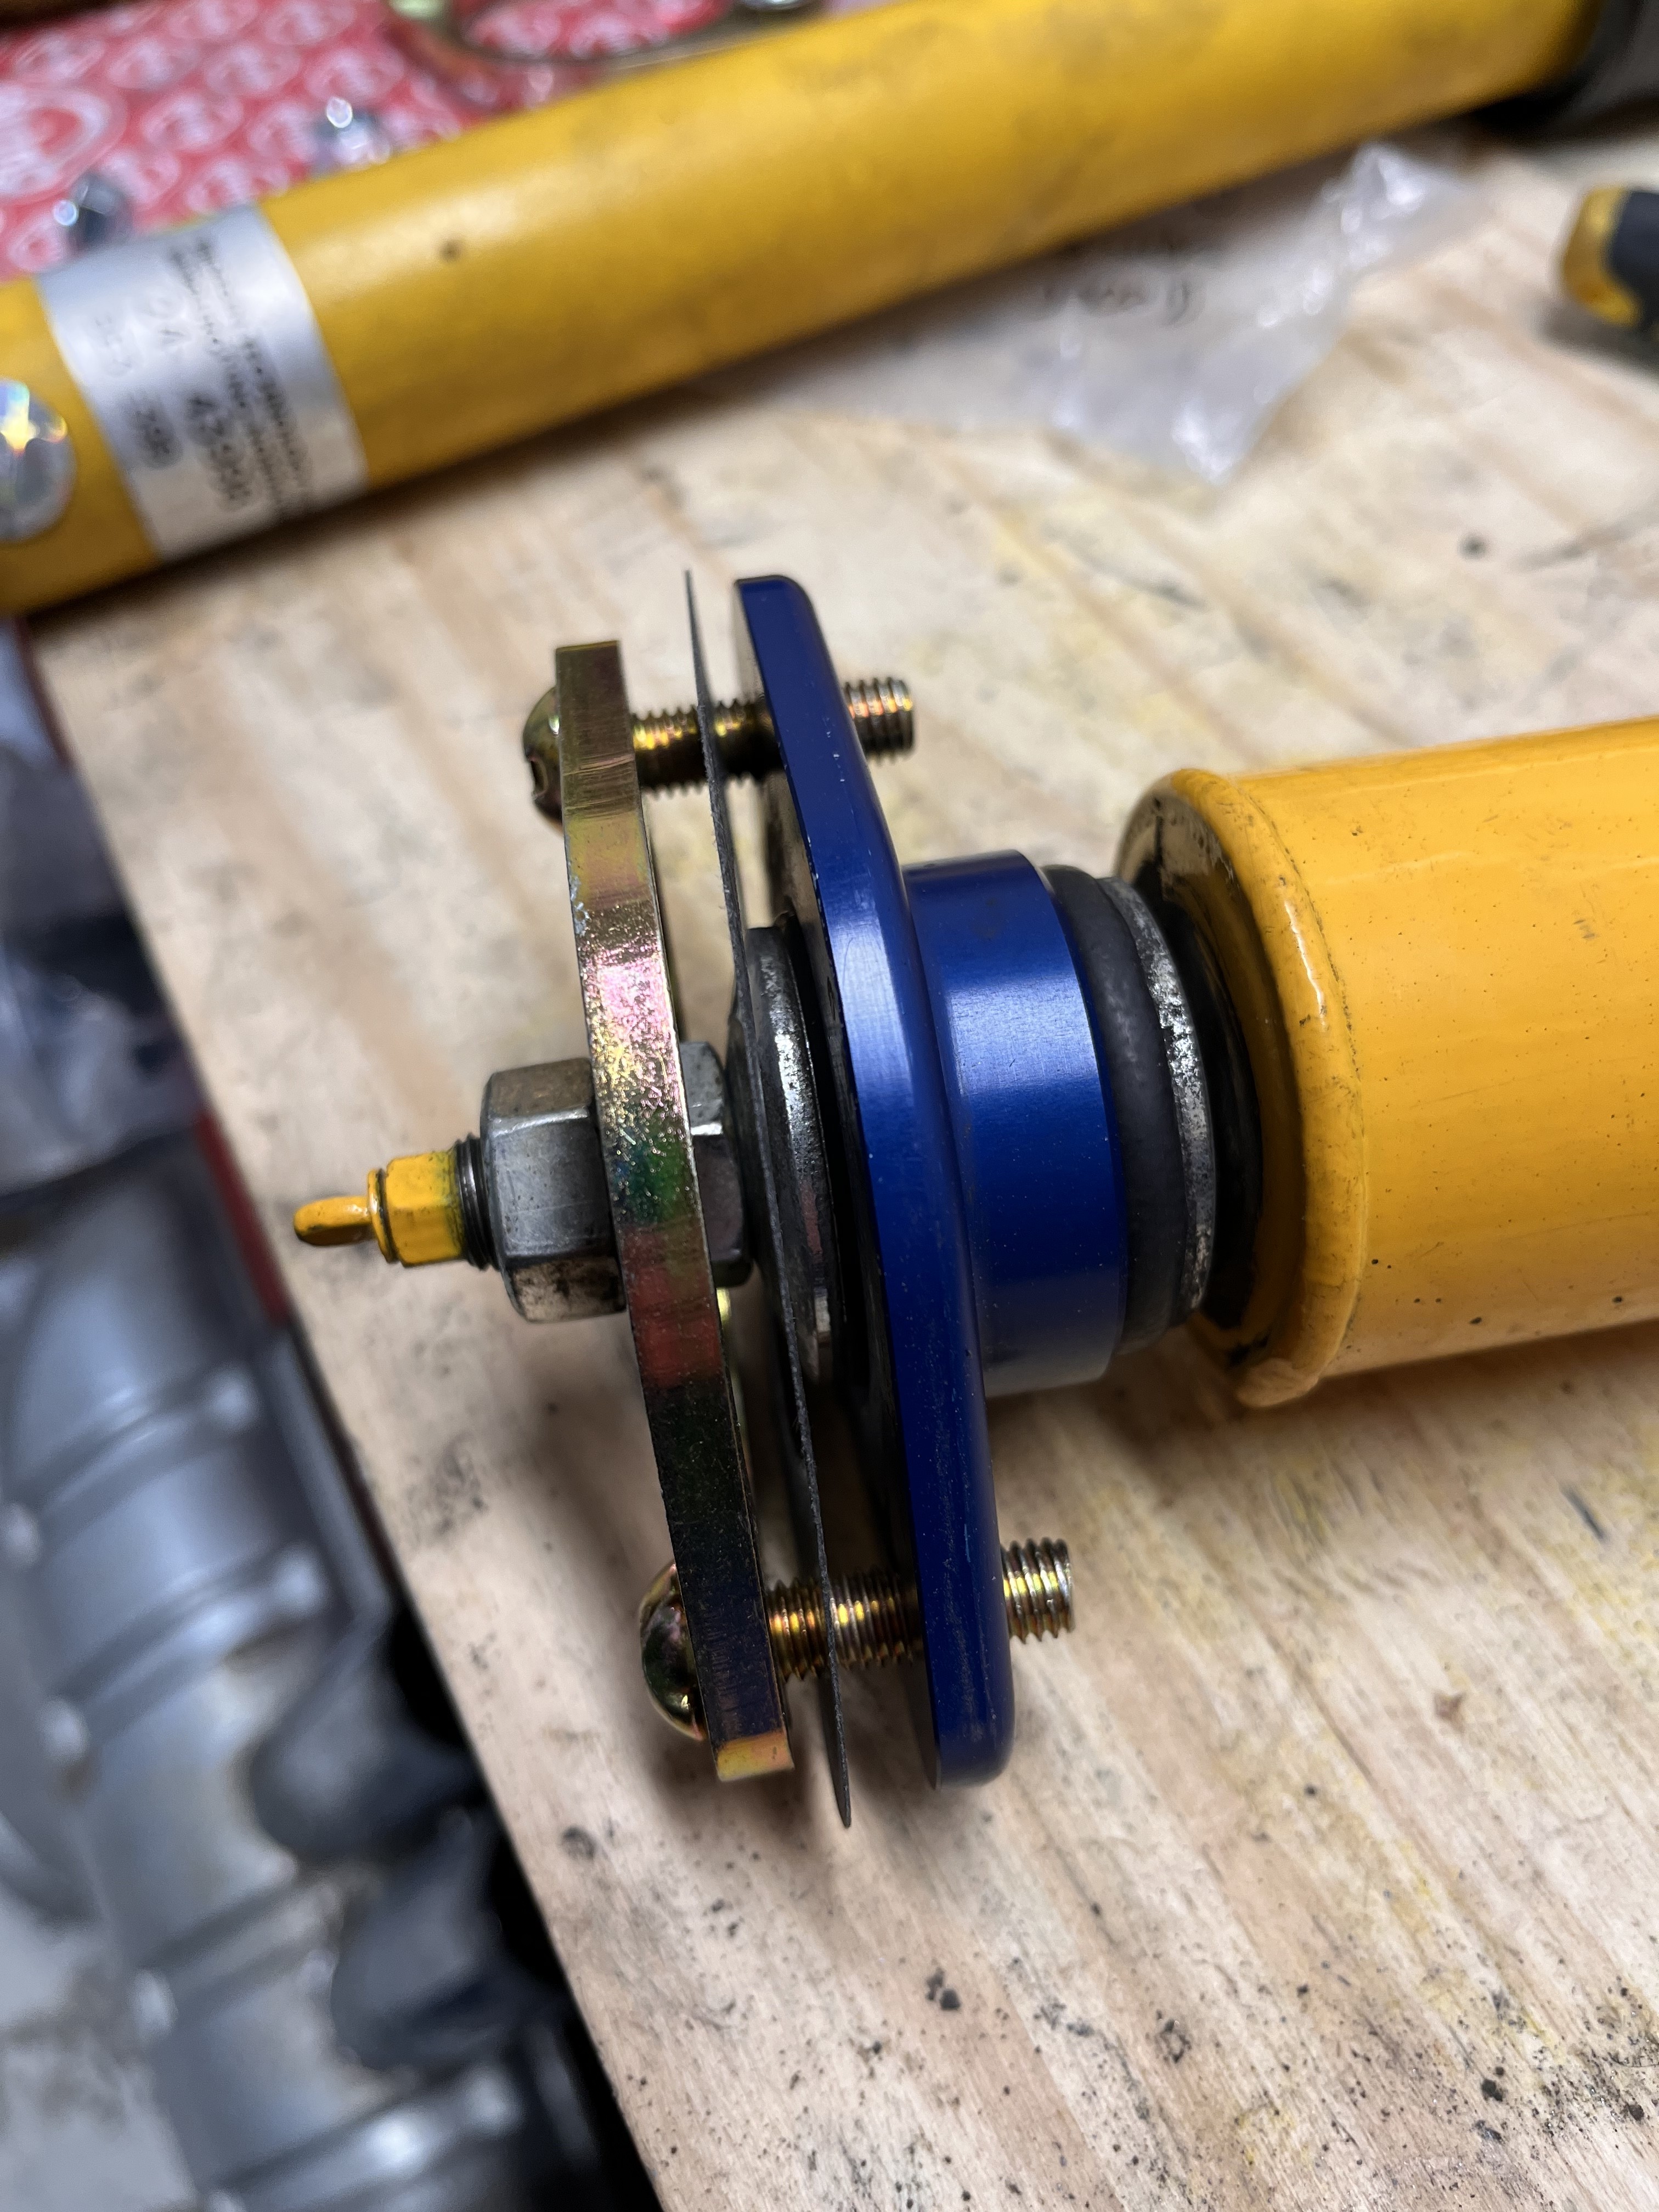
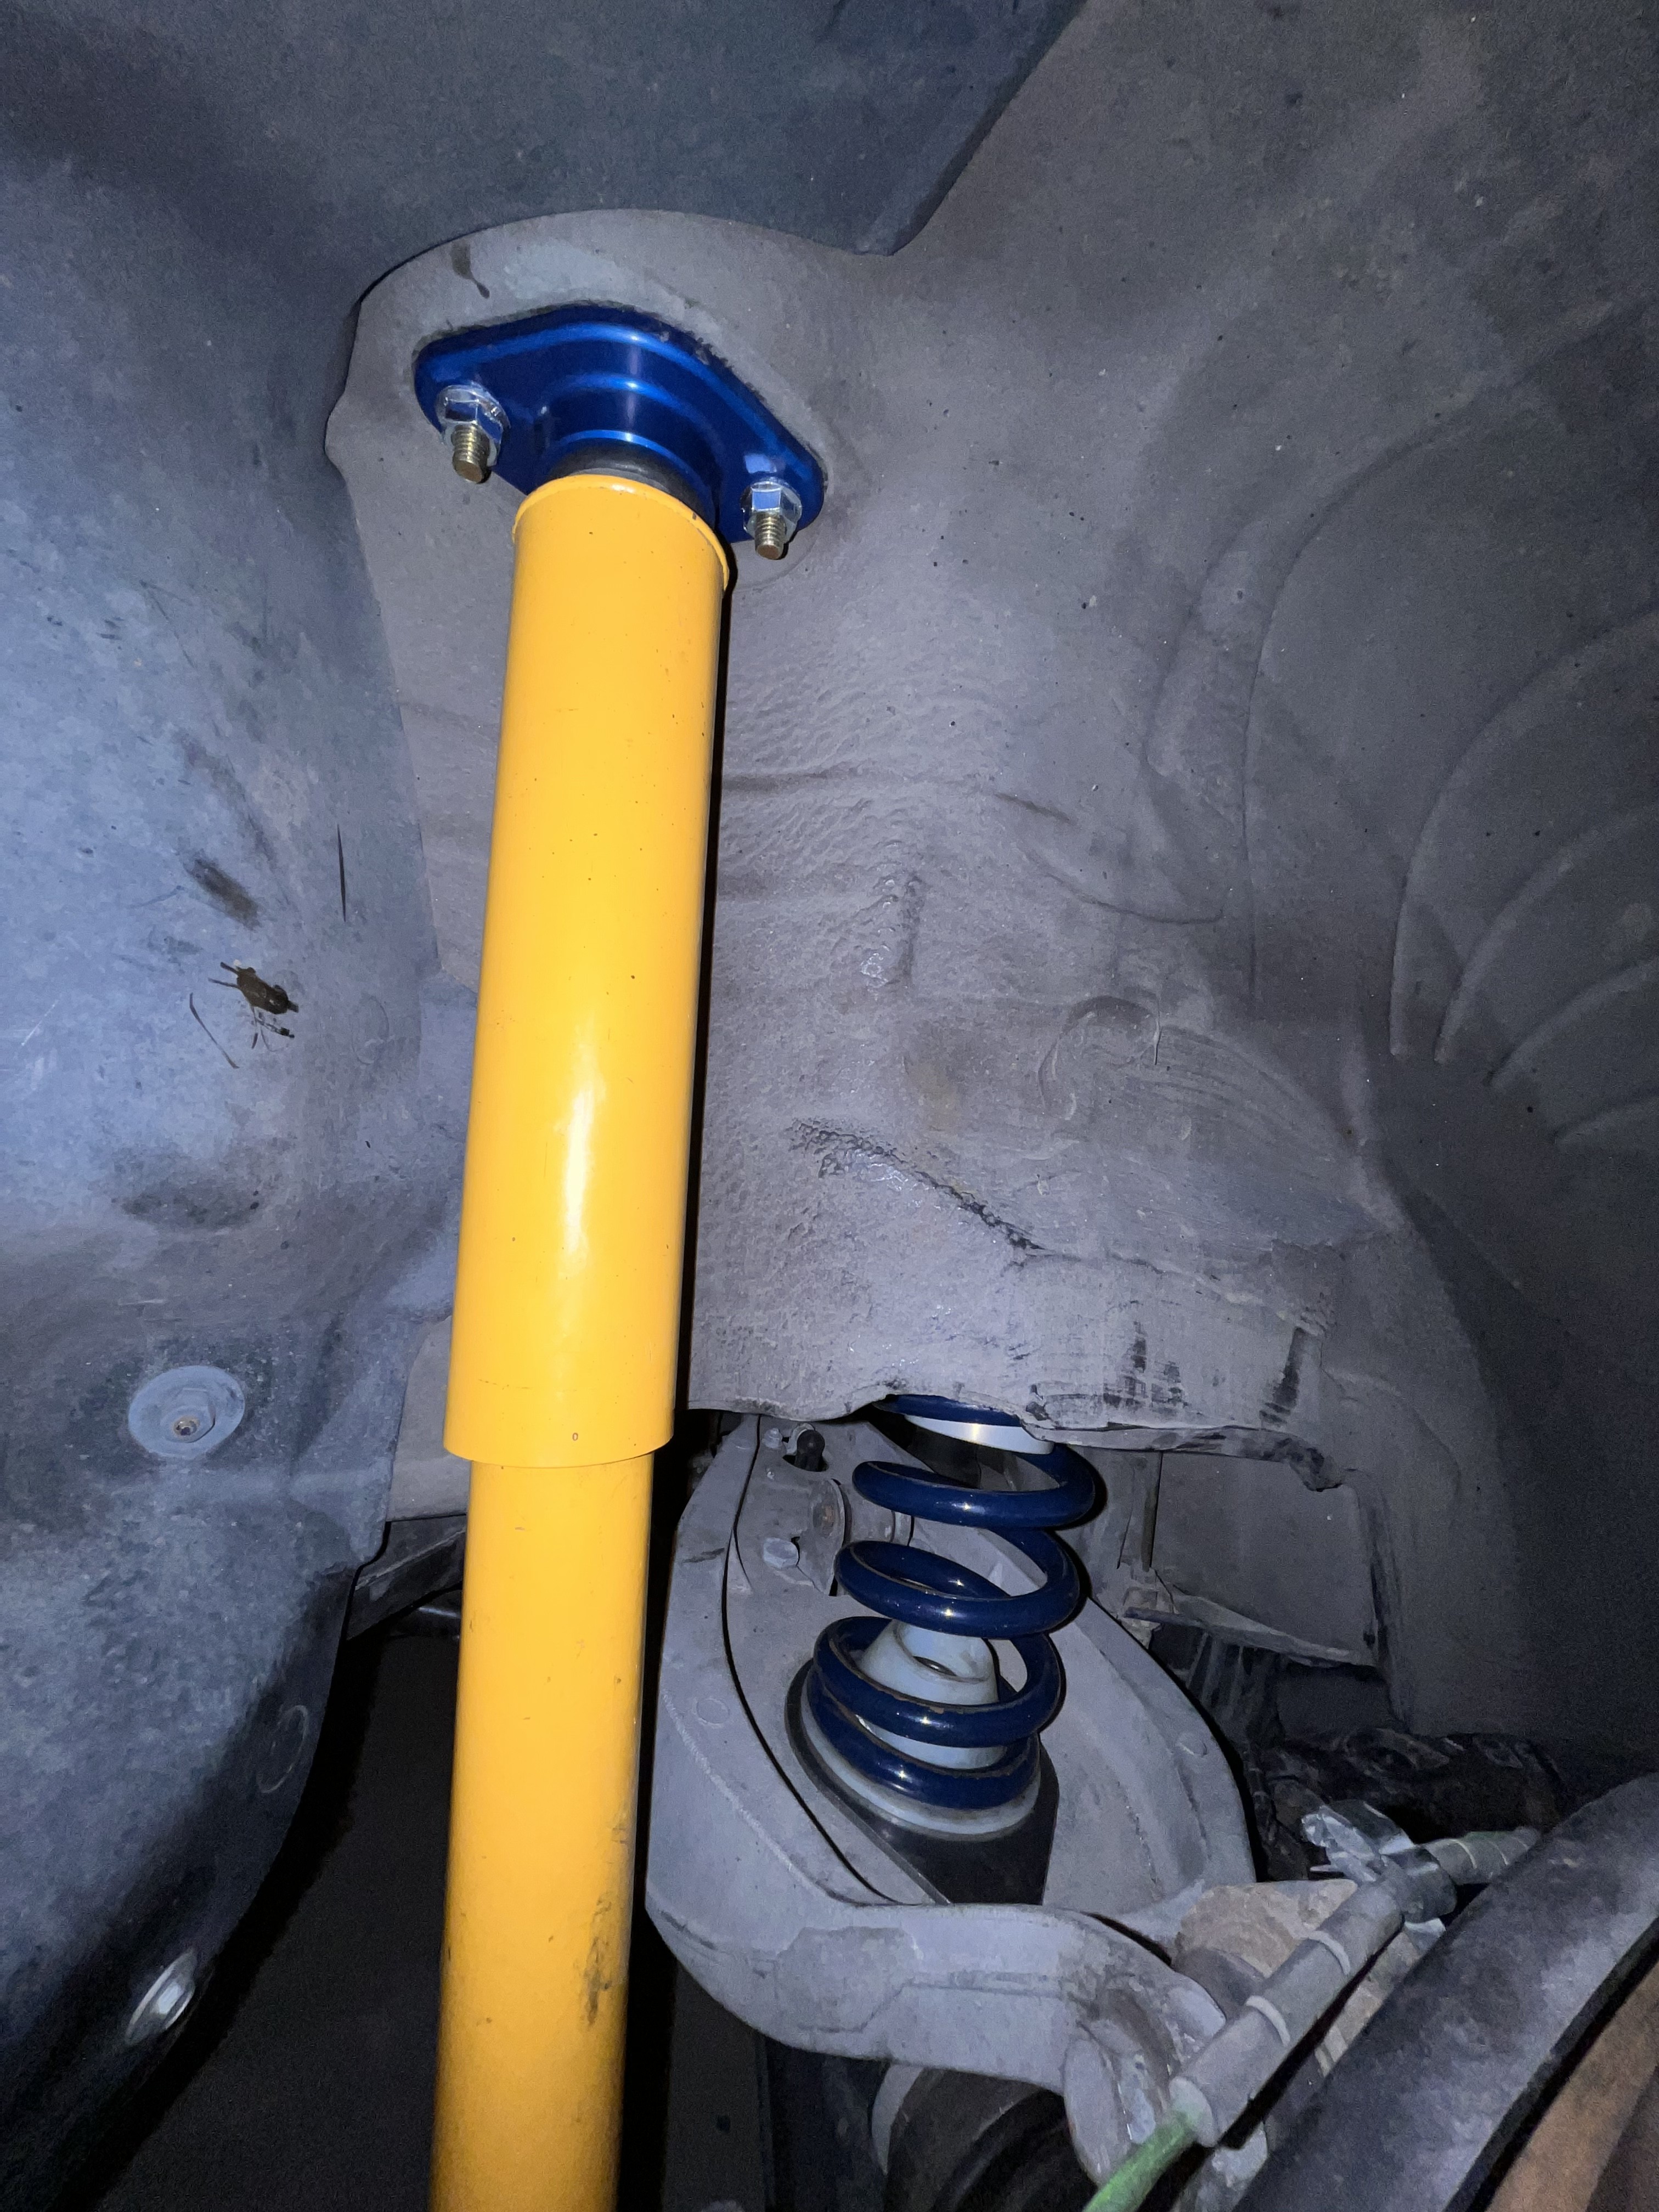
Took me forever to assemble all the right pieces to finish the rear suspension. After finally getting the right sized RSM bushings that were back ordered, I realized I was also missing the reverse mounted reinforcement plate that secures the shock to the body. Since the mounts are TCK I tried to email them to see if I could order just the top plate. Crickets. Never got a response. Ended up ordering some Rogue Engineering zinc plated ones to test and they just so happened to fit!
So in total we’ve got:
- Rogue Engineering RSM reverse mount reinforcement plates
- TCK Single Adjustable shocks
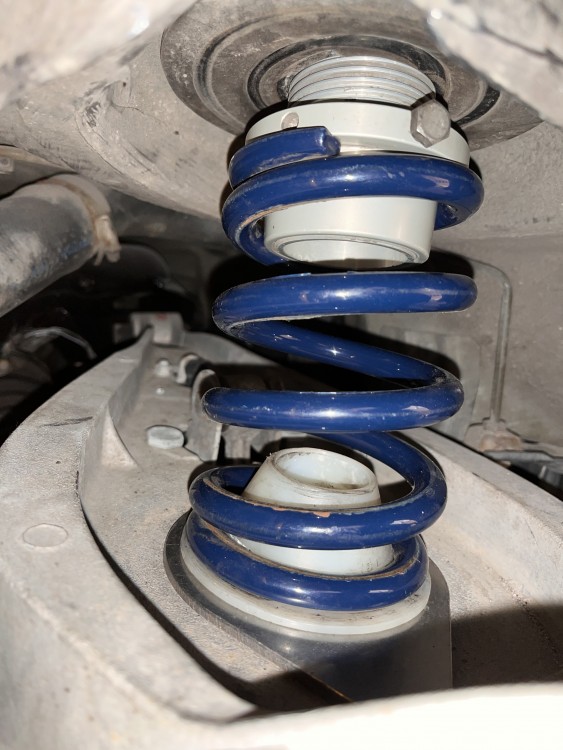
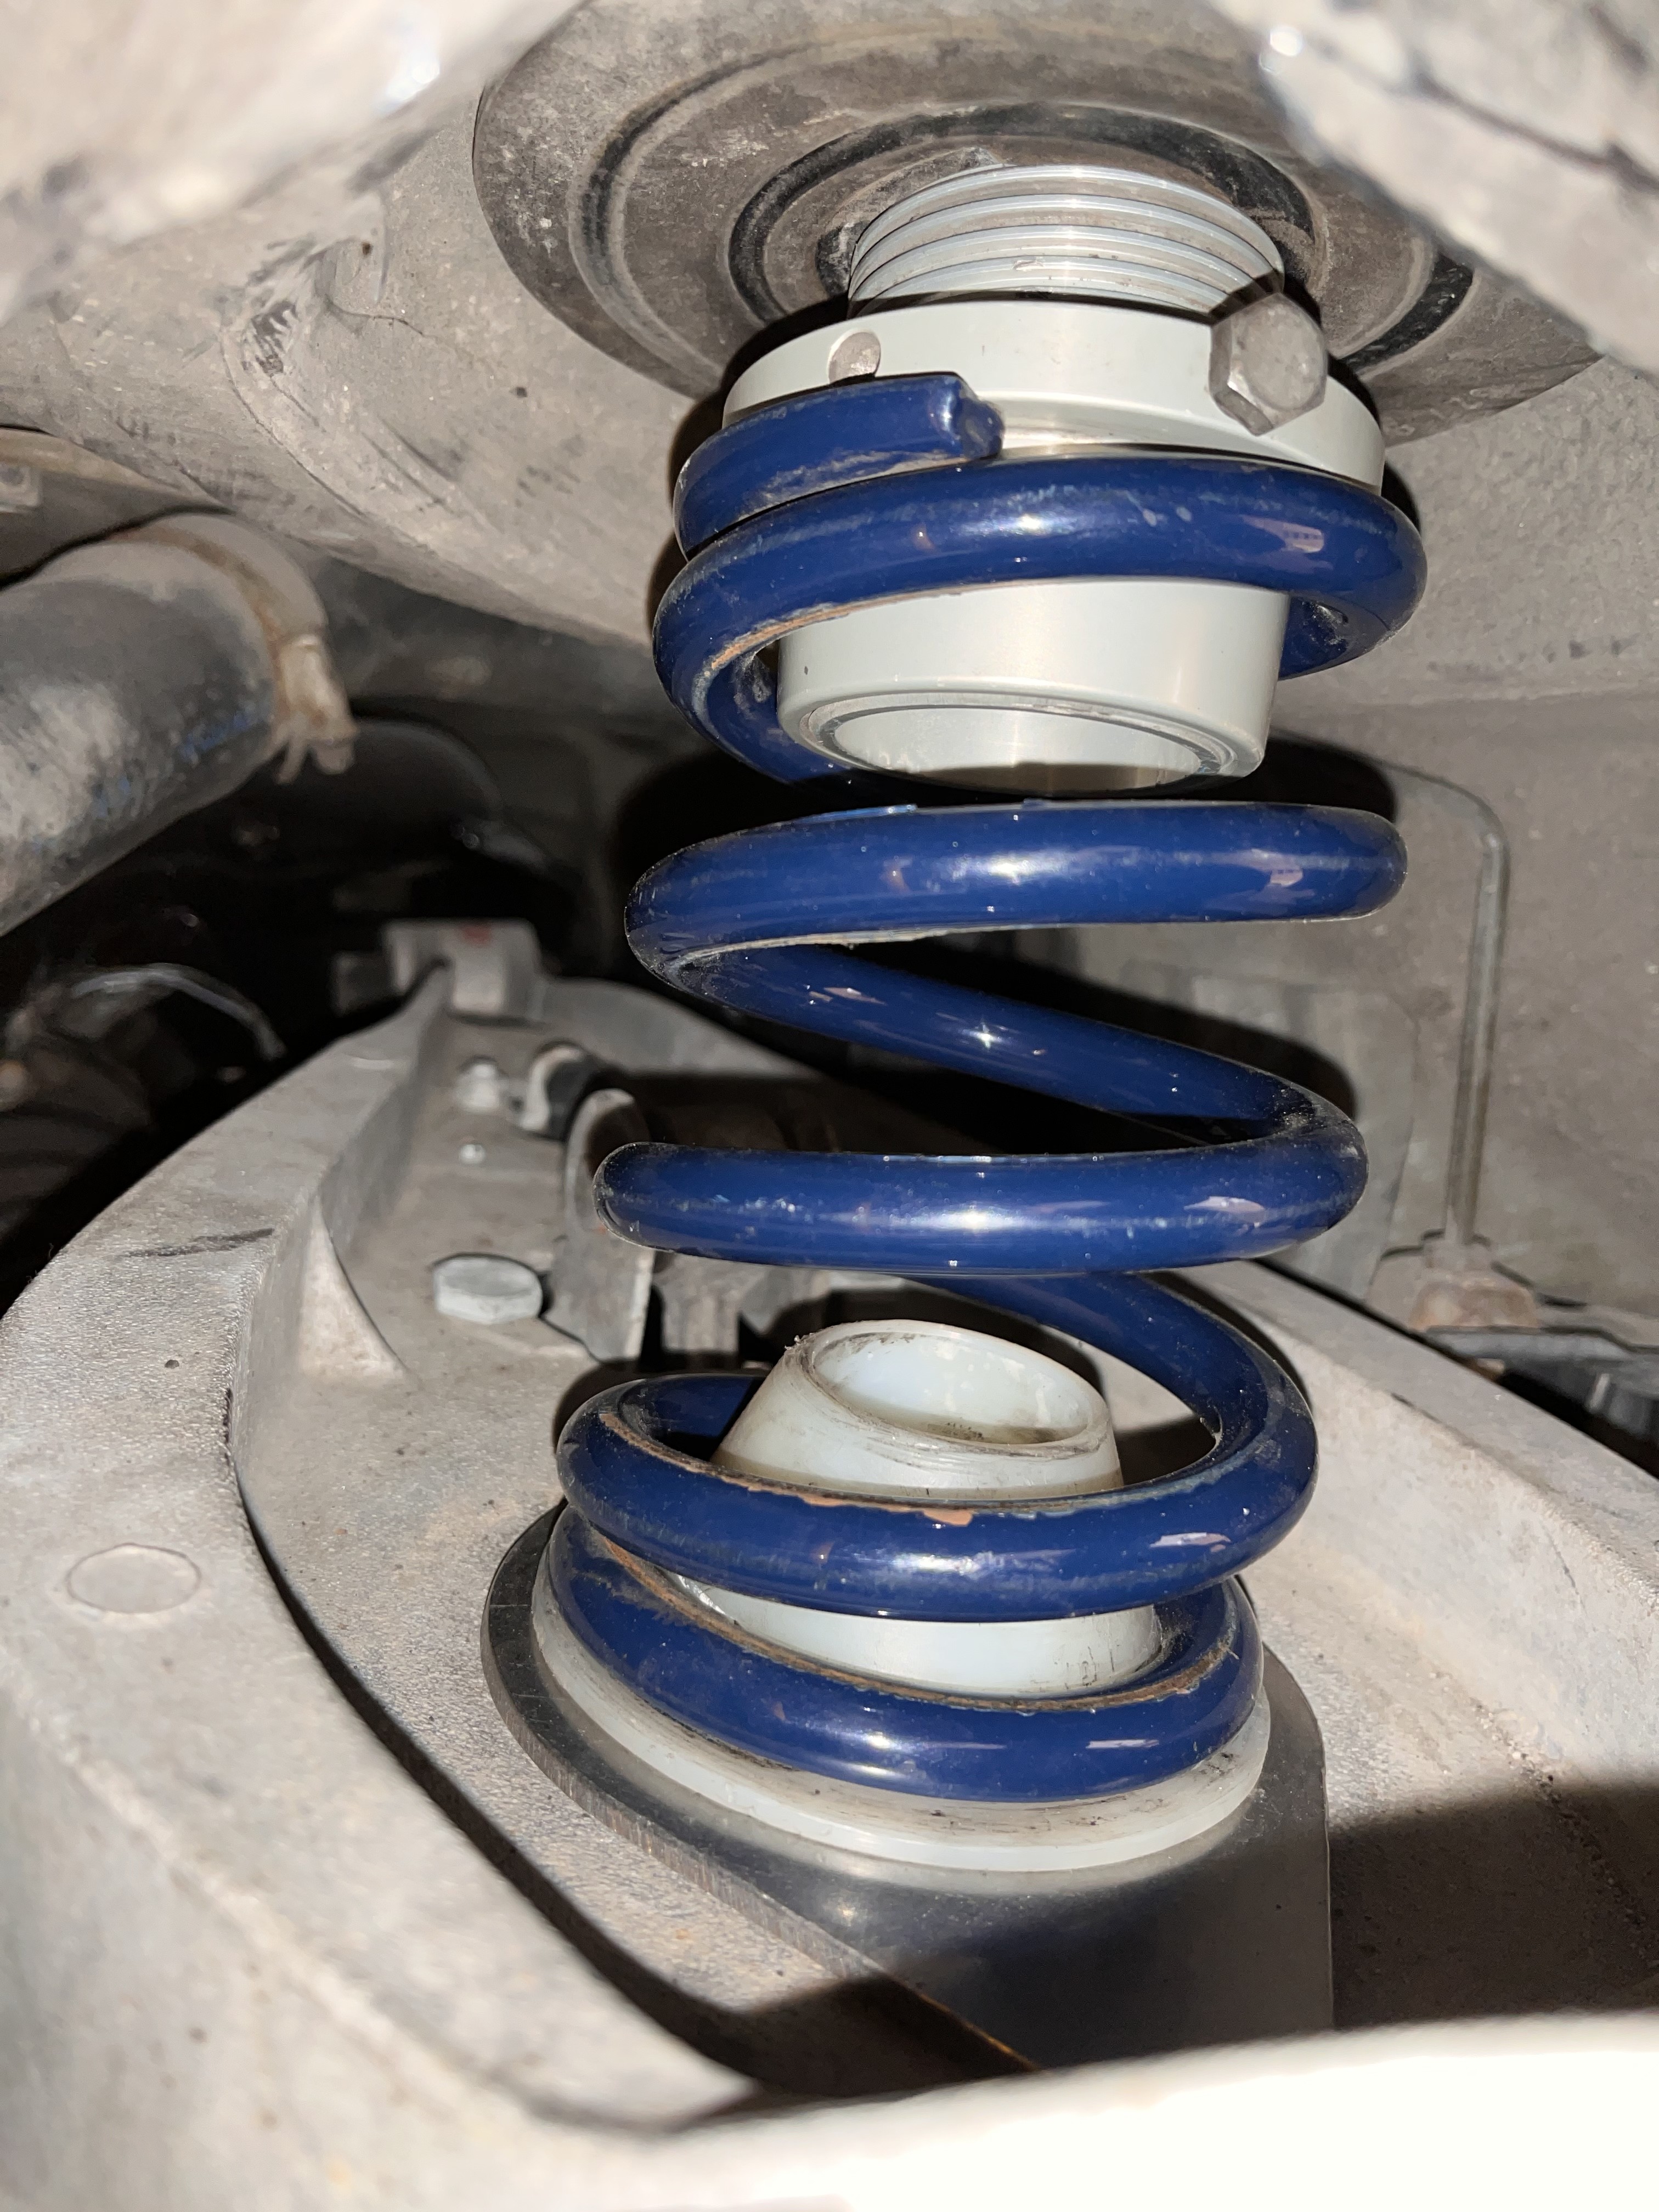
- TCK adjustable perch + spring cone
- Rogue Engineering perch reinforcement plates
- Hyperco 600lb spring
- TCK RSM + Buna bushings
Hopefully will have time tomorrow to toss the wheels on and dial in fitment.
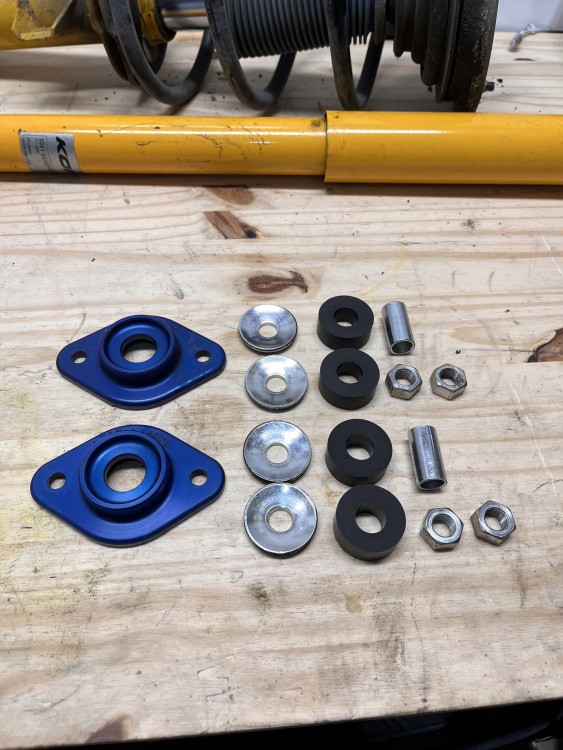
-
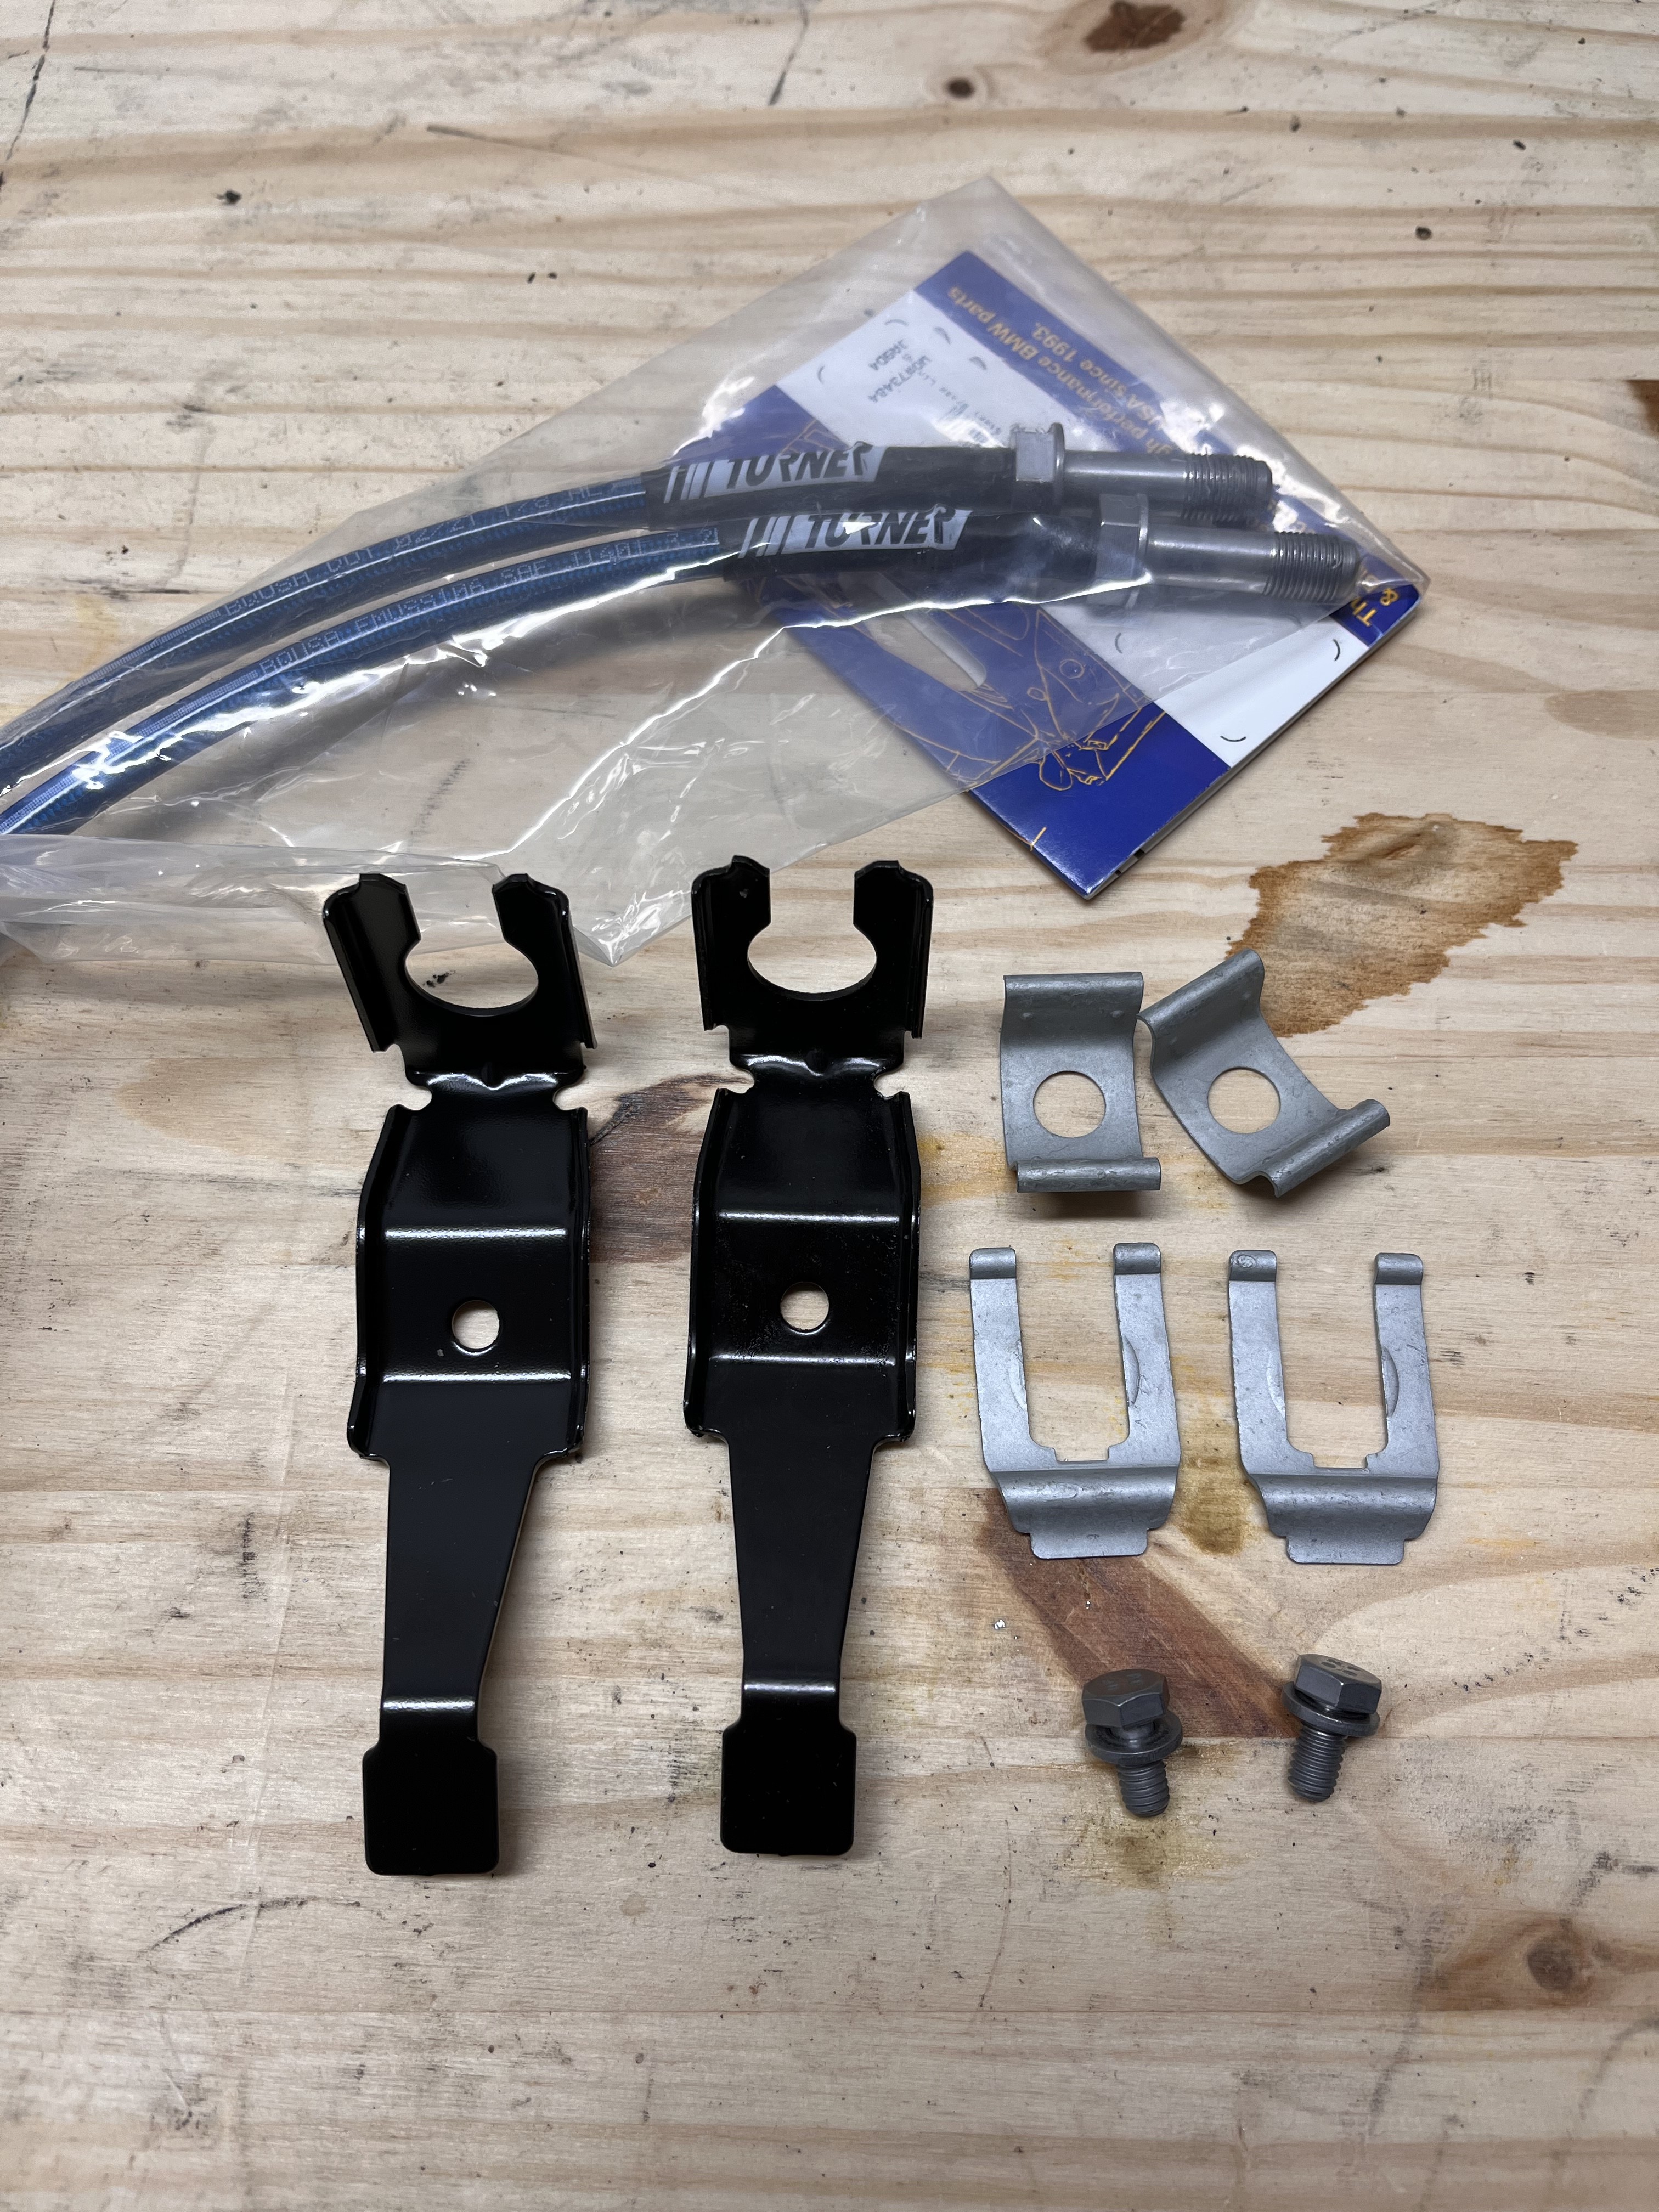
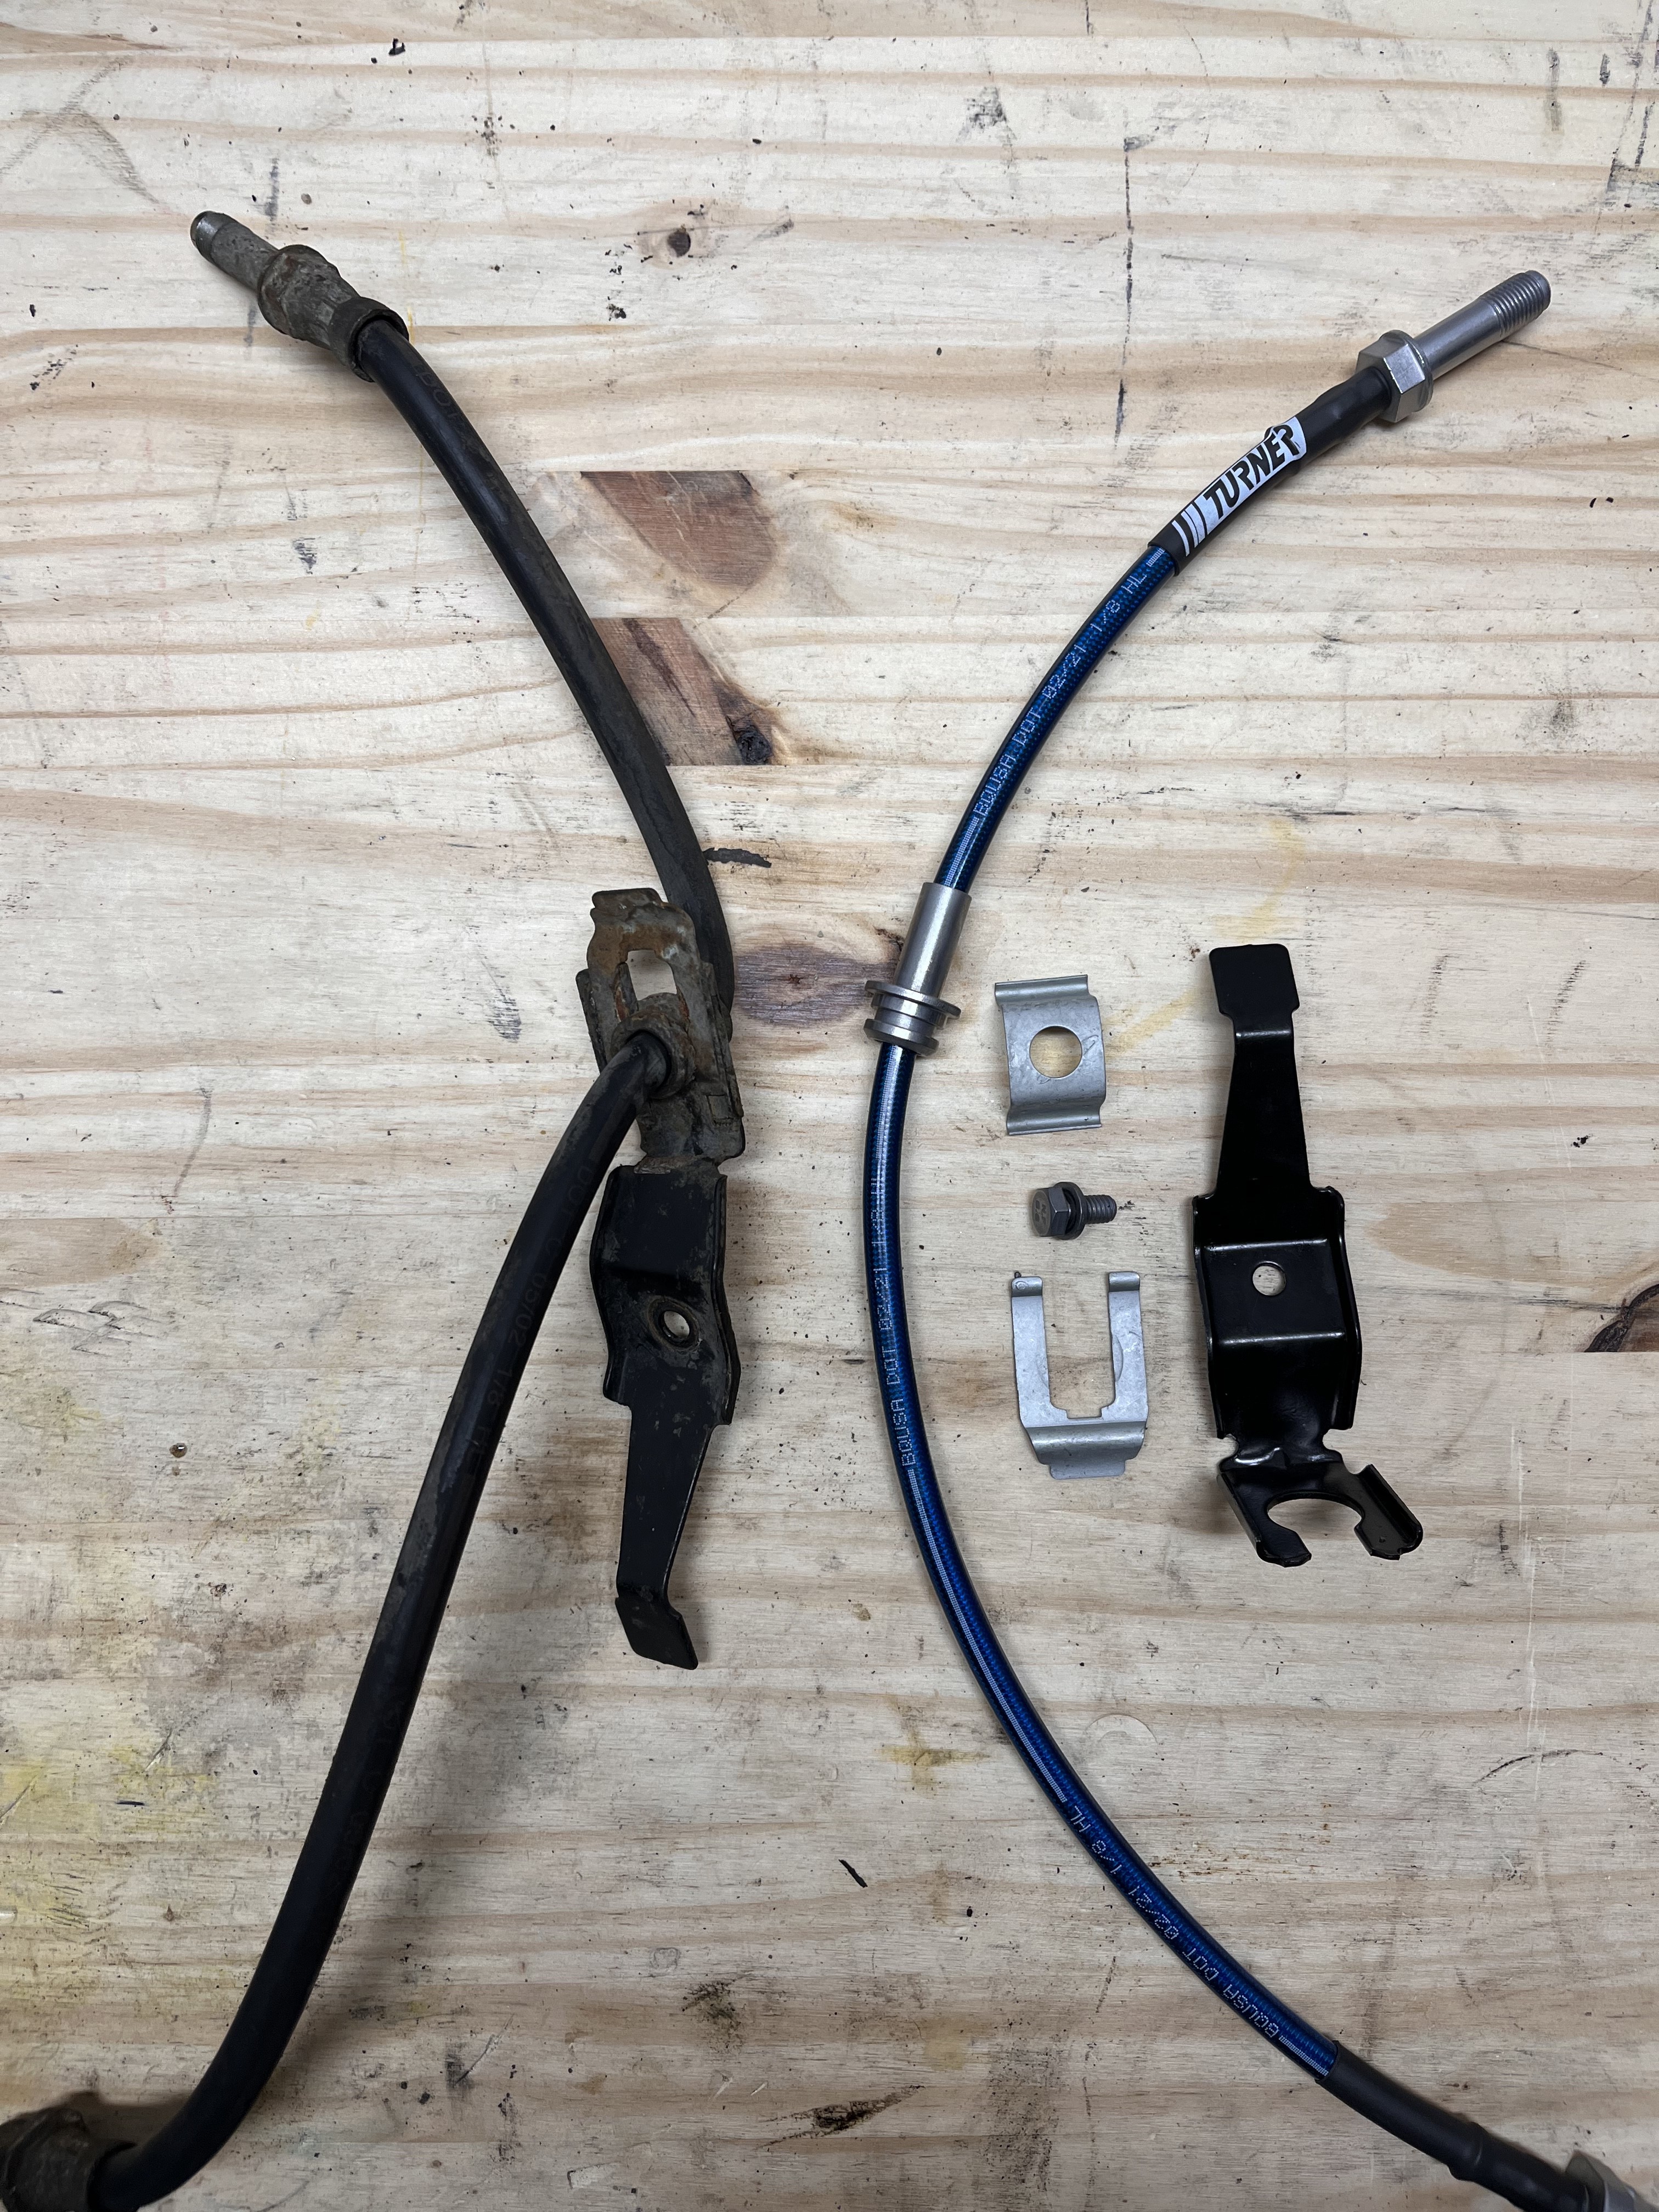
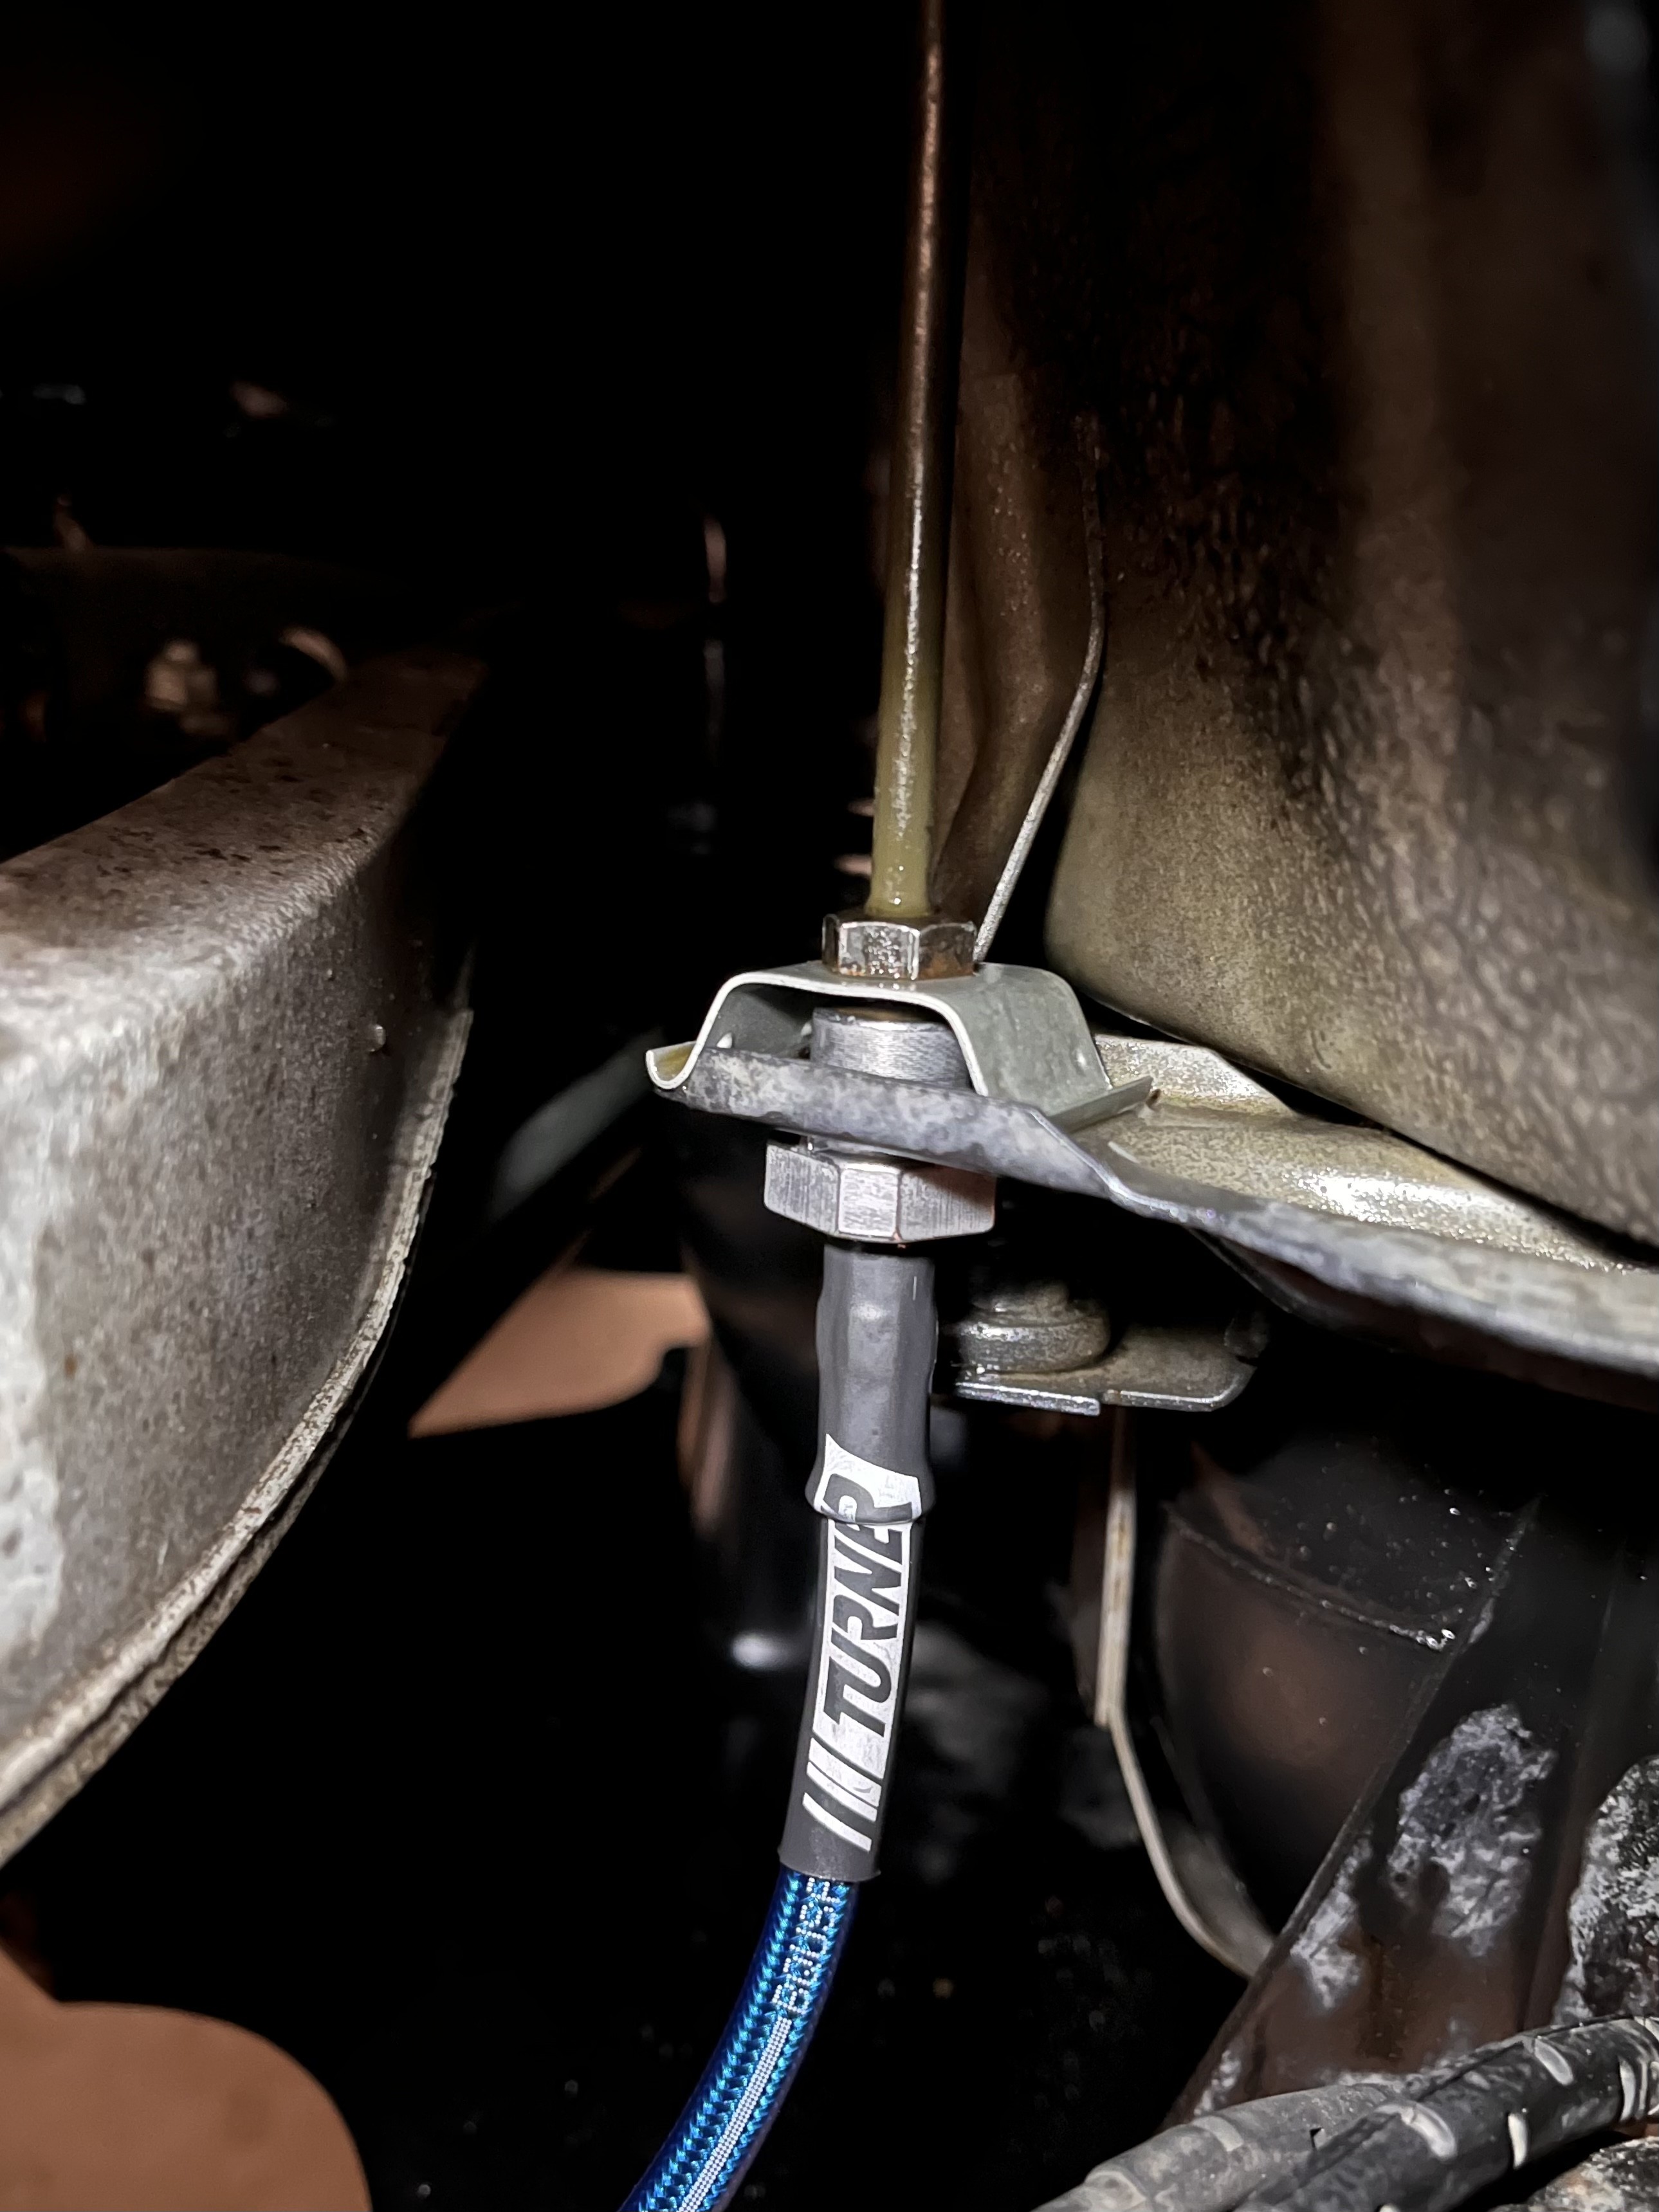
Tackled the rear brake lines last night so the set is complete. Originally planned to do them all at once but some parts were back ordered from ECS (only chose them over FCP since they had a Rennline phone mount I wanted).
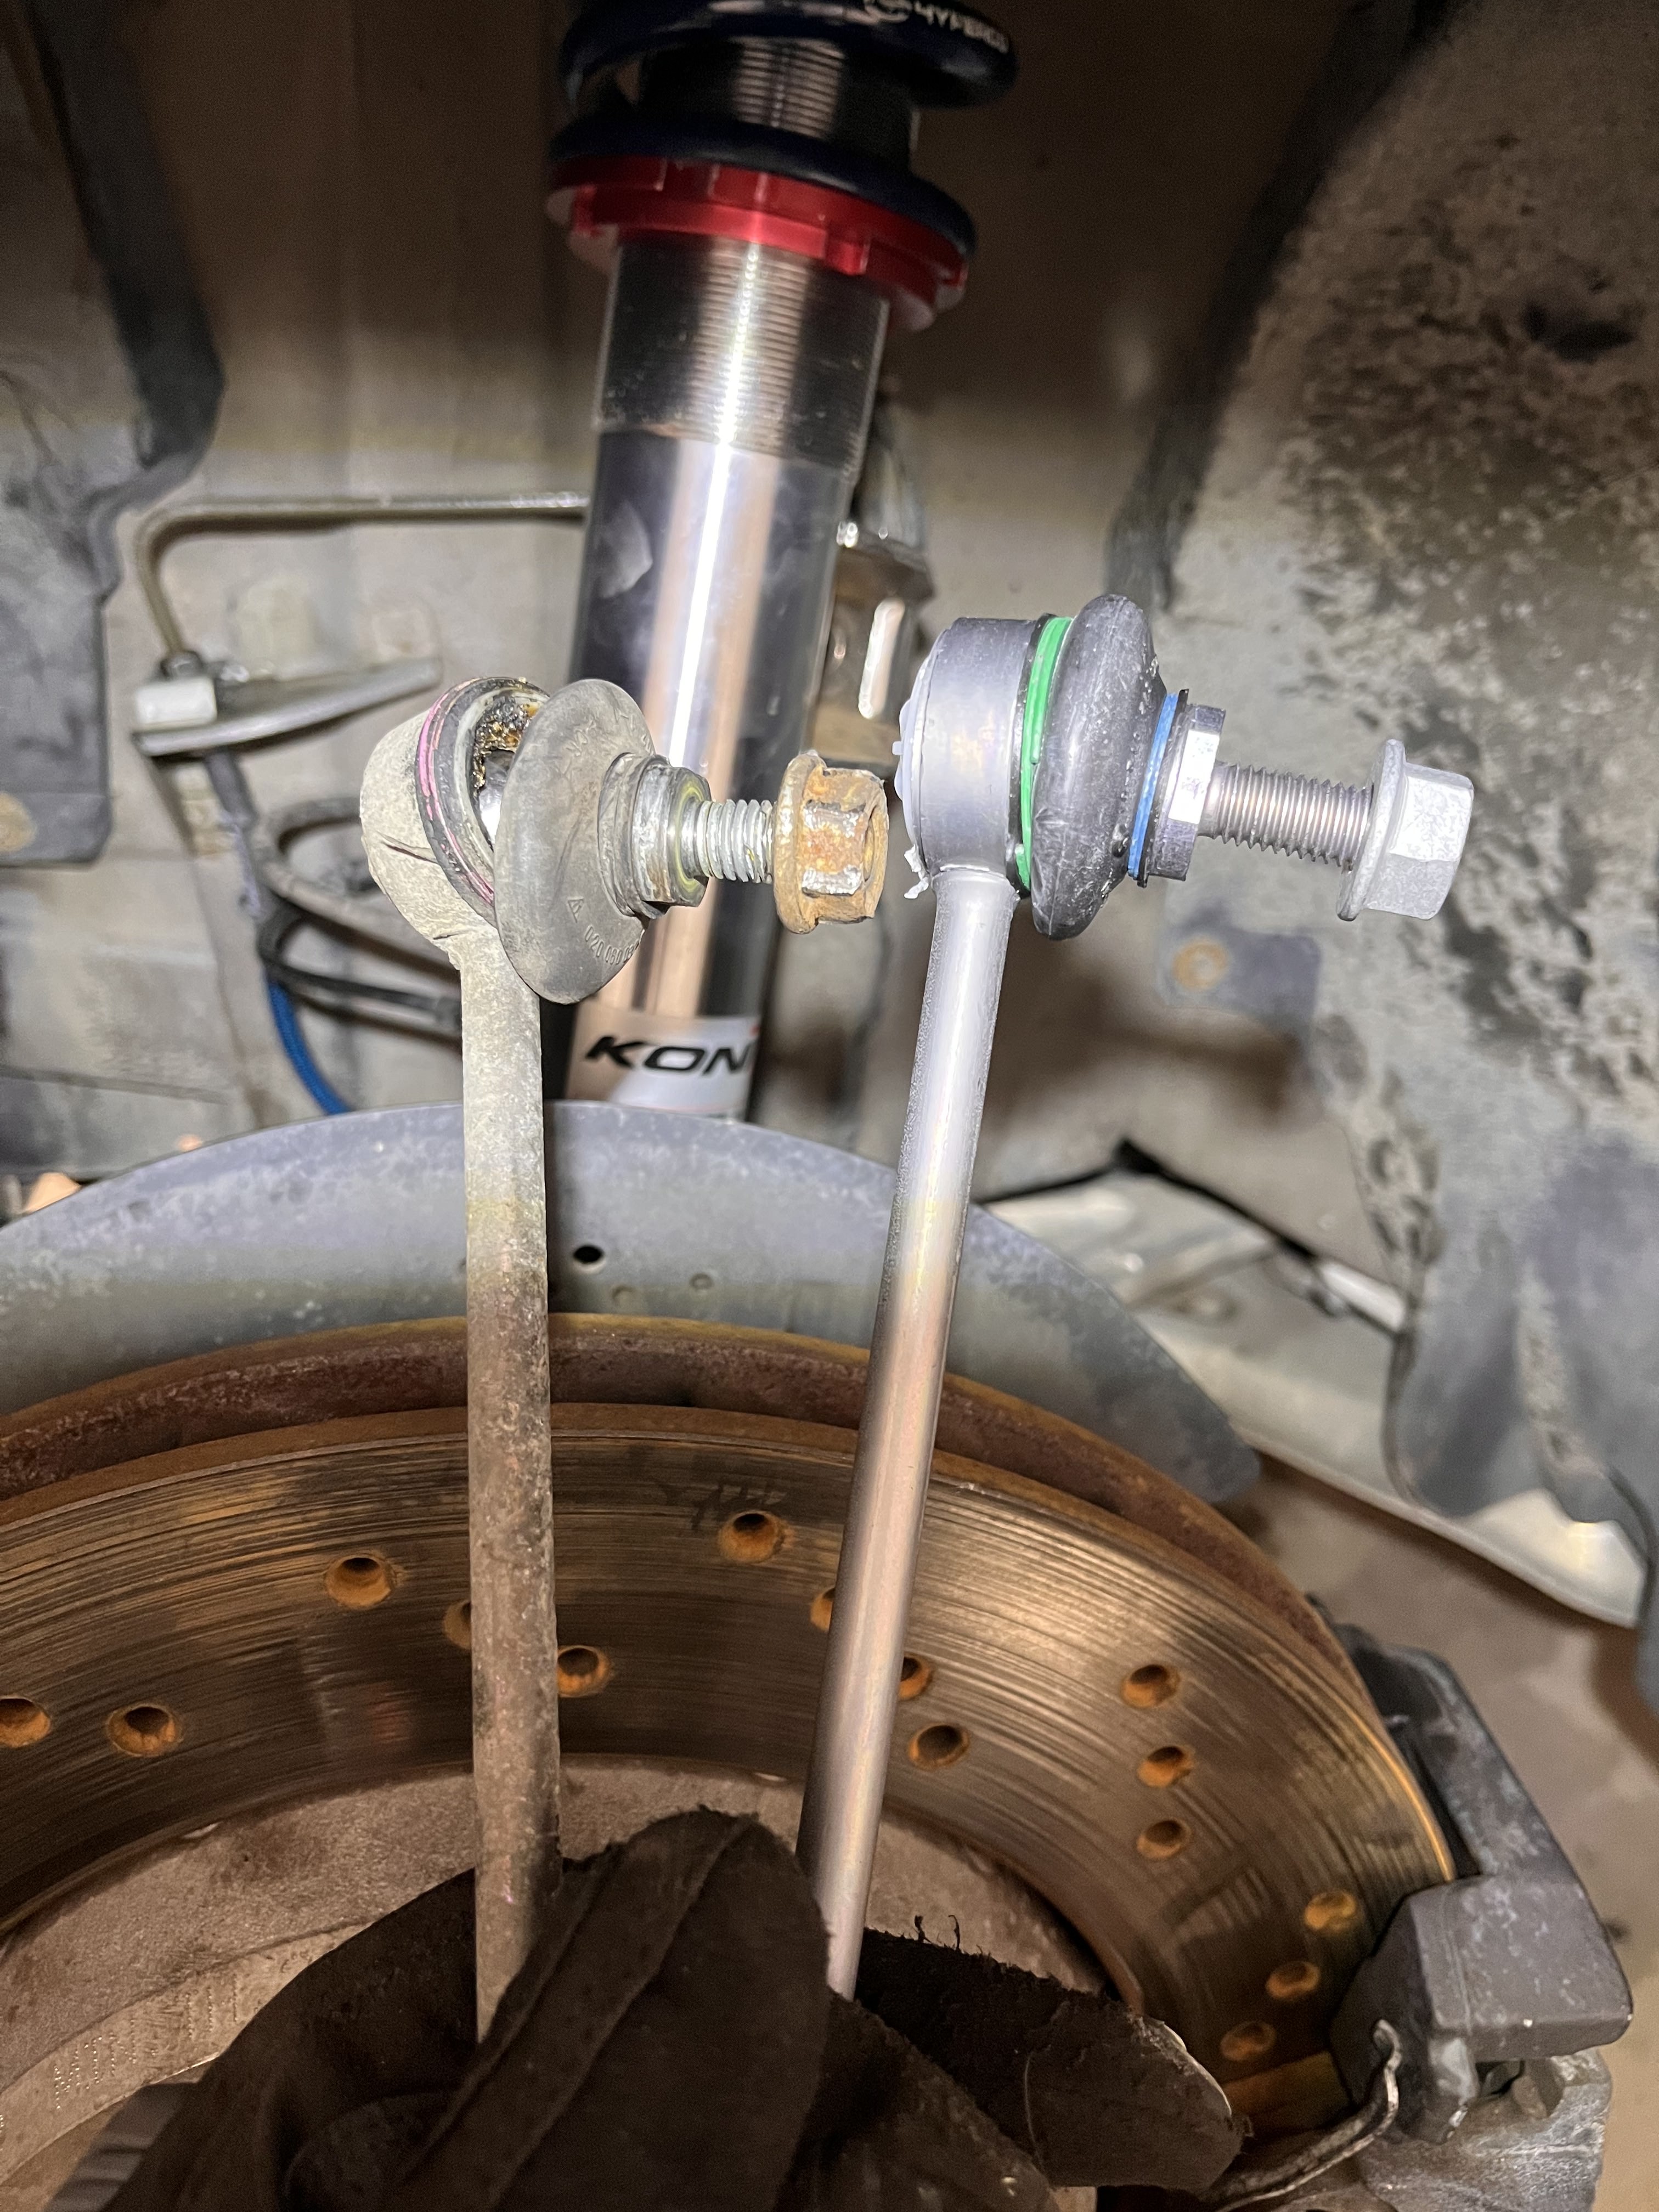
Lately I’ve been trying to follow the principle that when I go to replace a part, I also replace anything that connects, cushions or fastens to it as well. Otherwise I get this weird feeling I just showered and changed clothes and then put dirty socks back on (corroded bolts, nuts, brackets etc.)
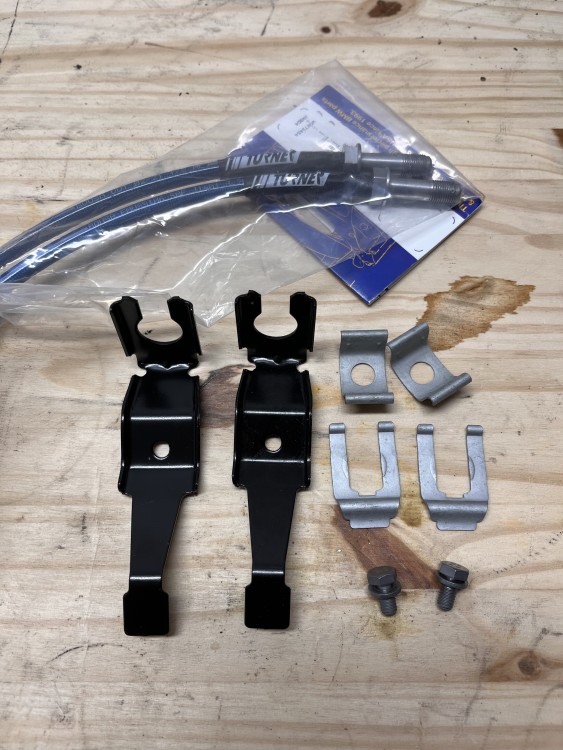
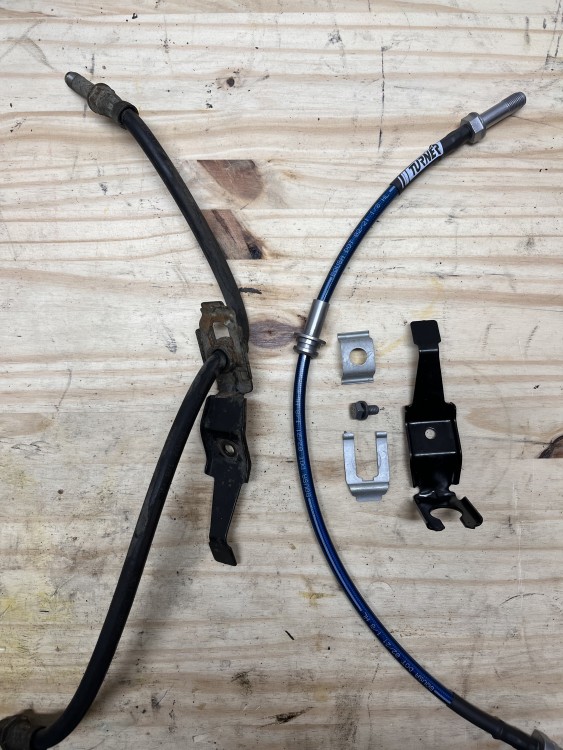
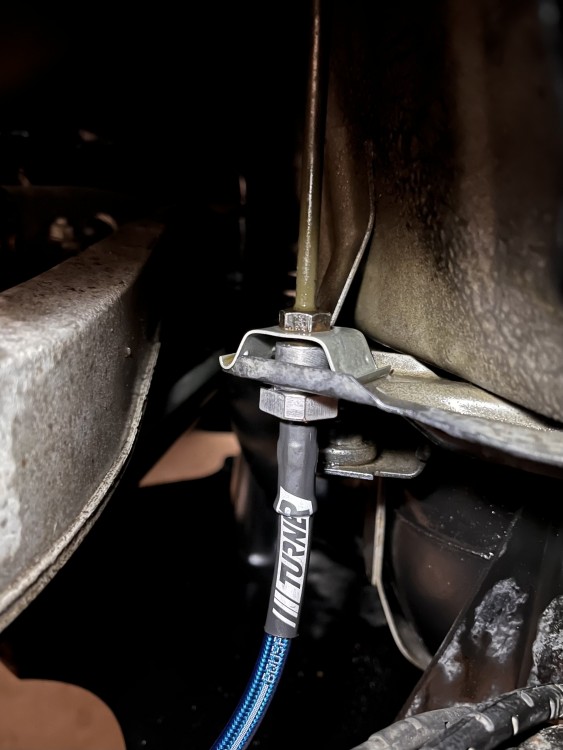
-
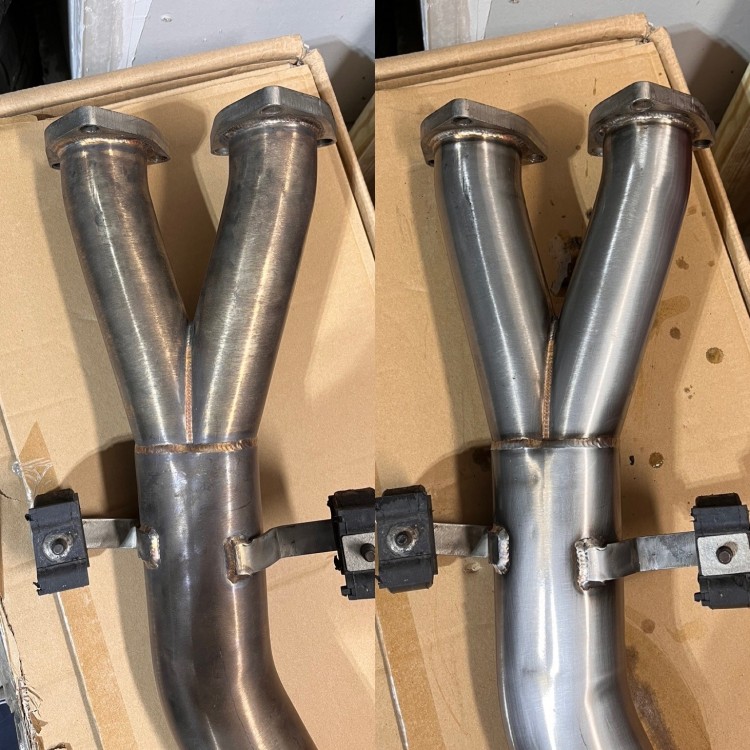
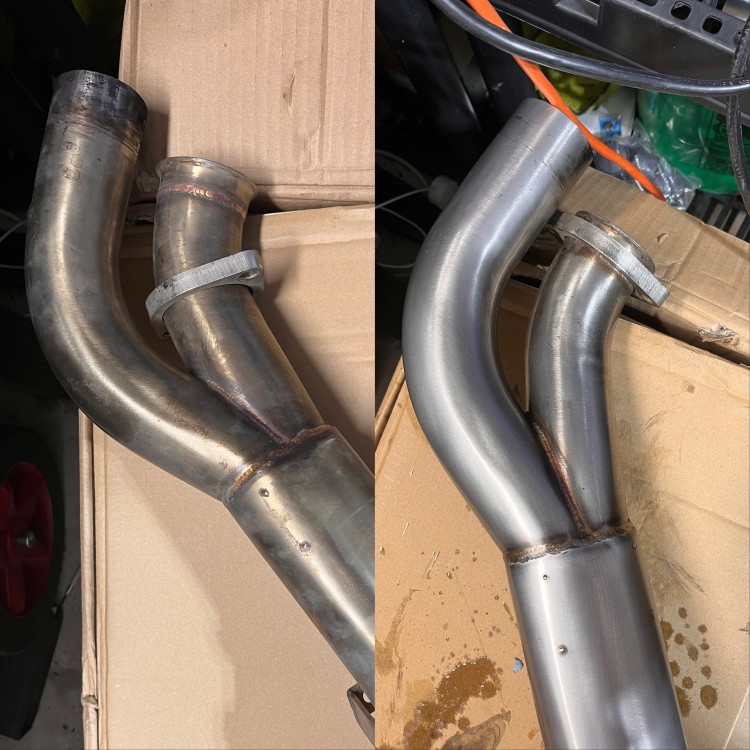
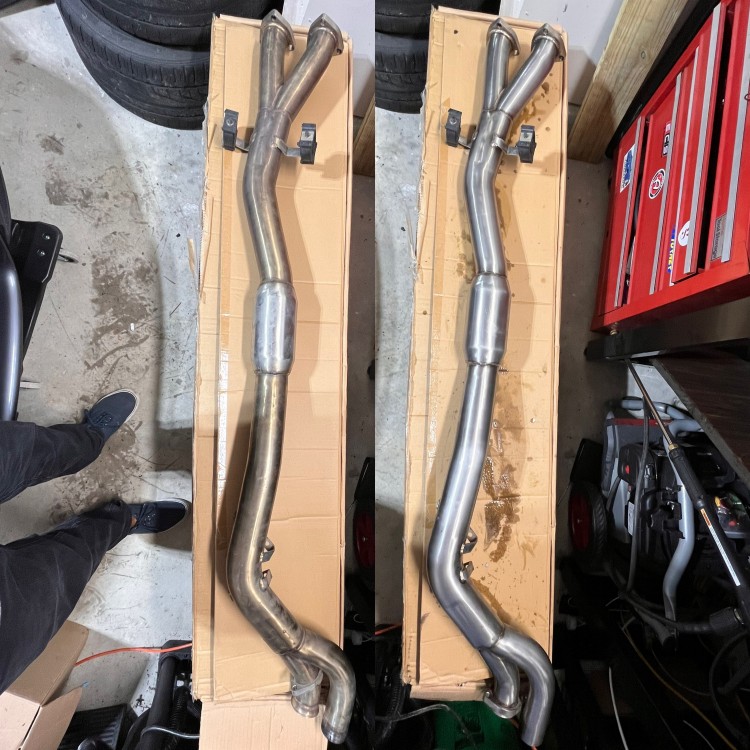
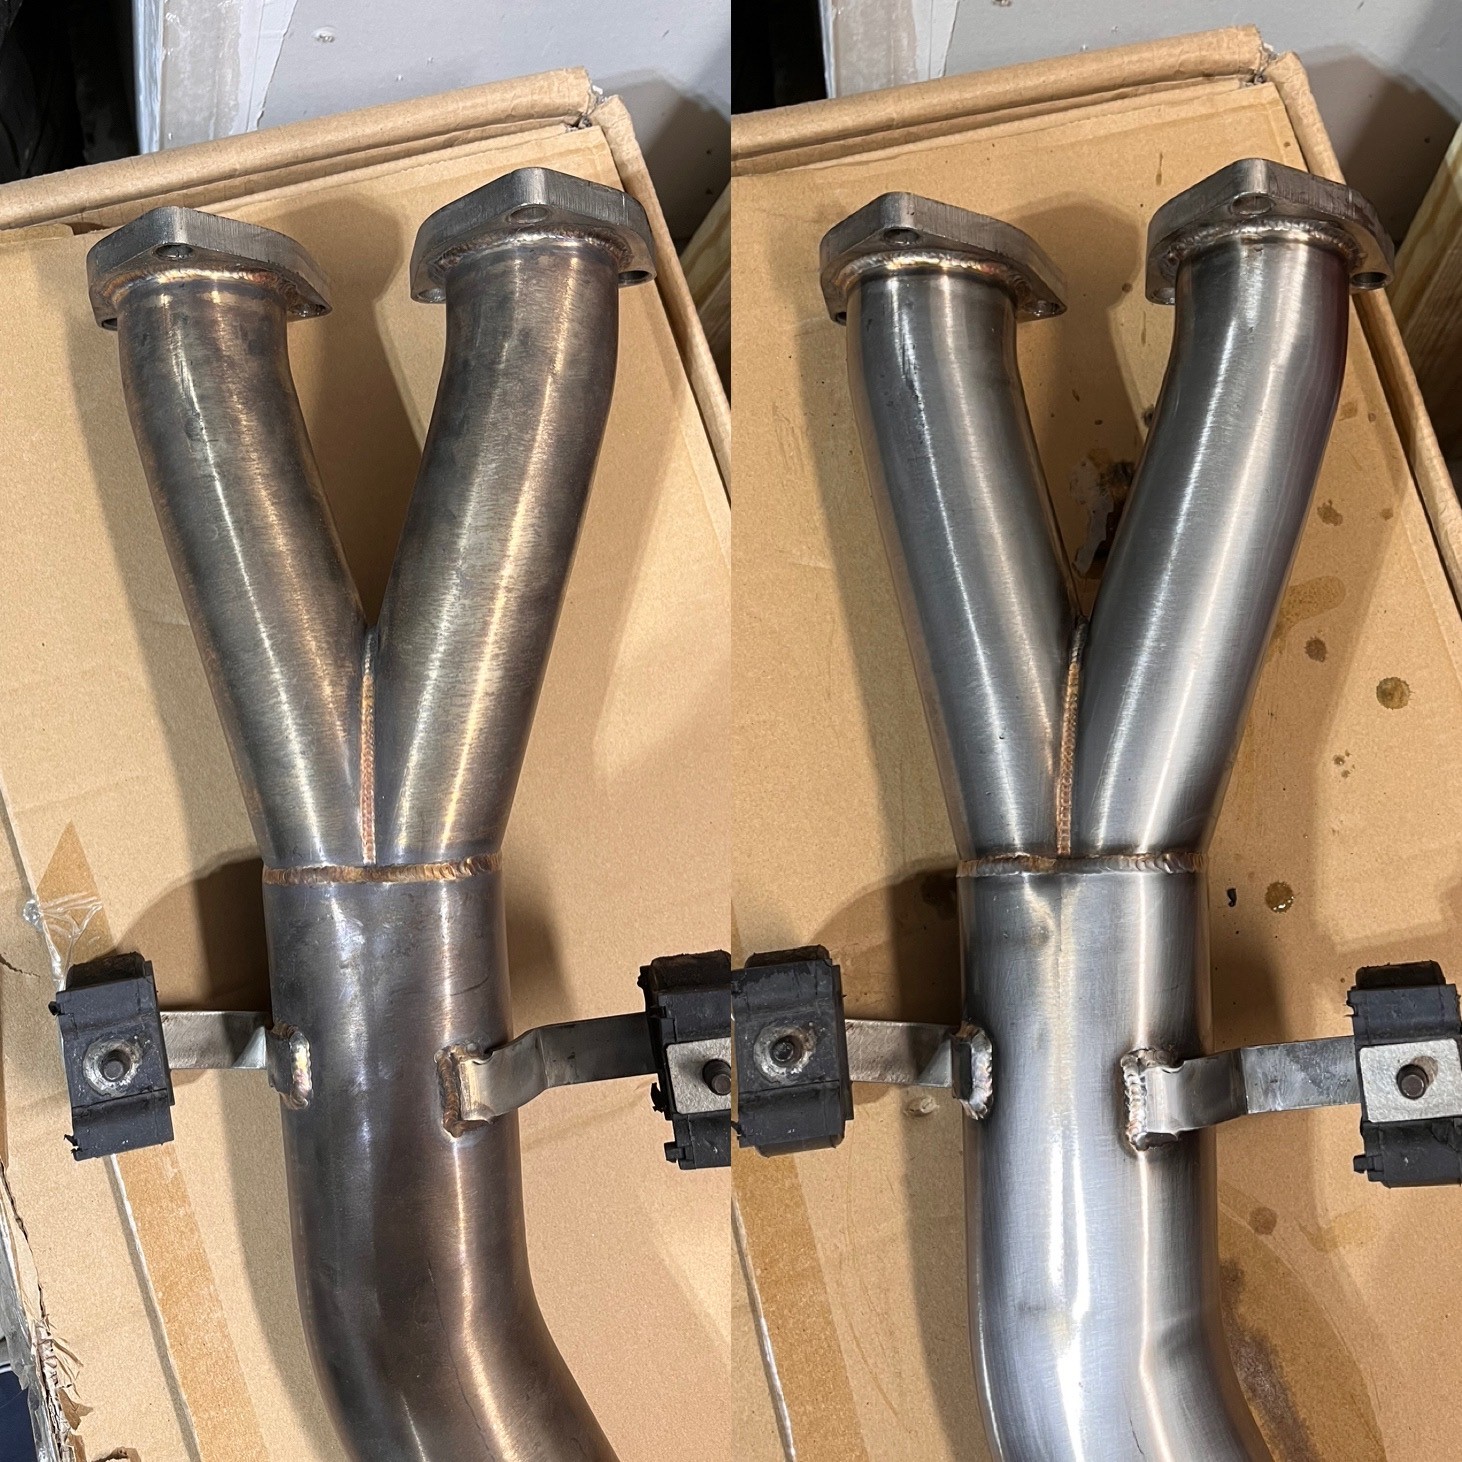
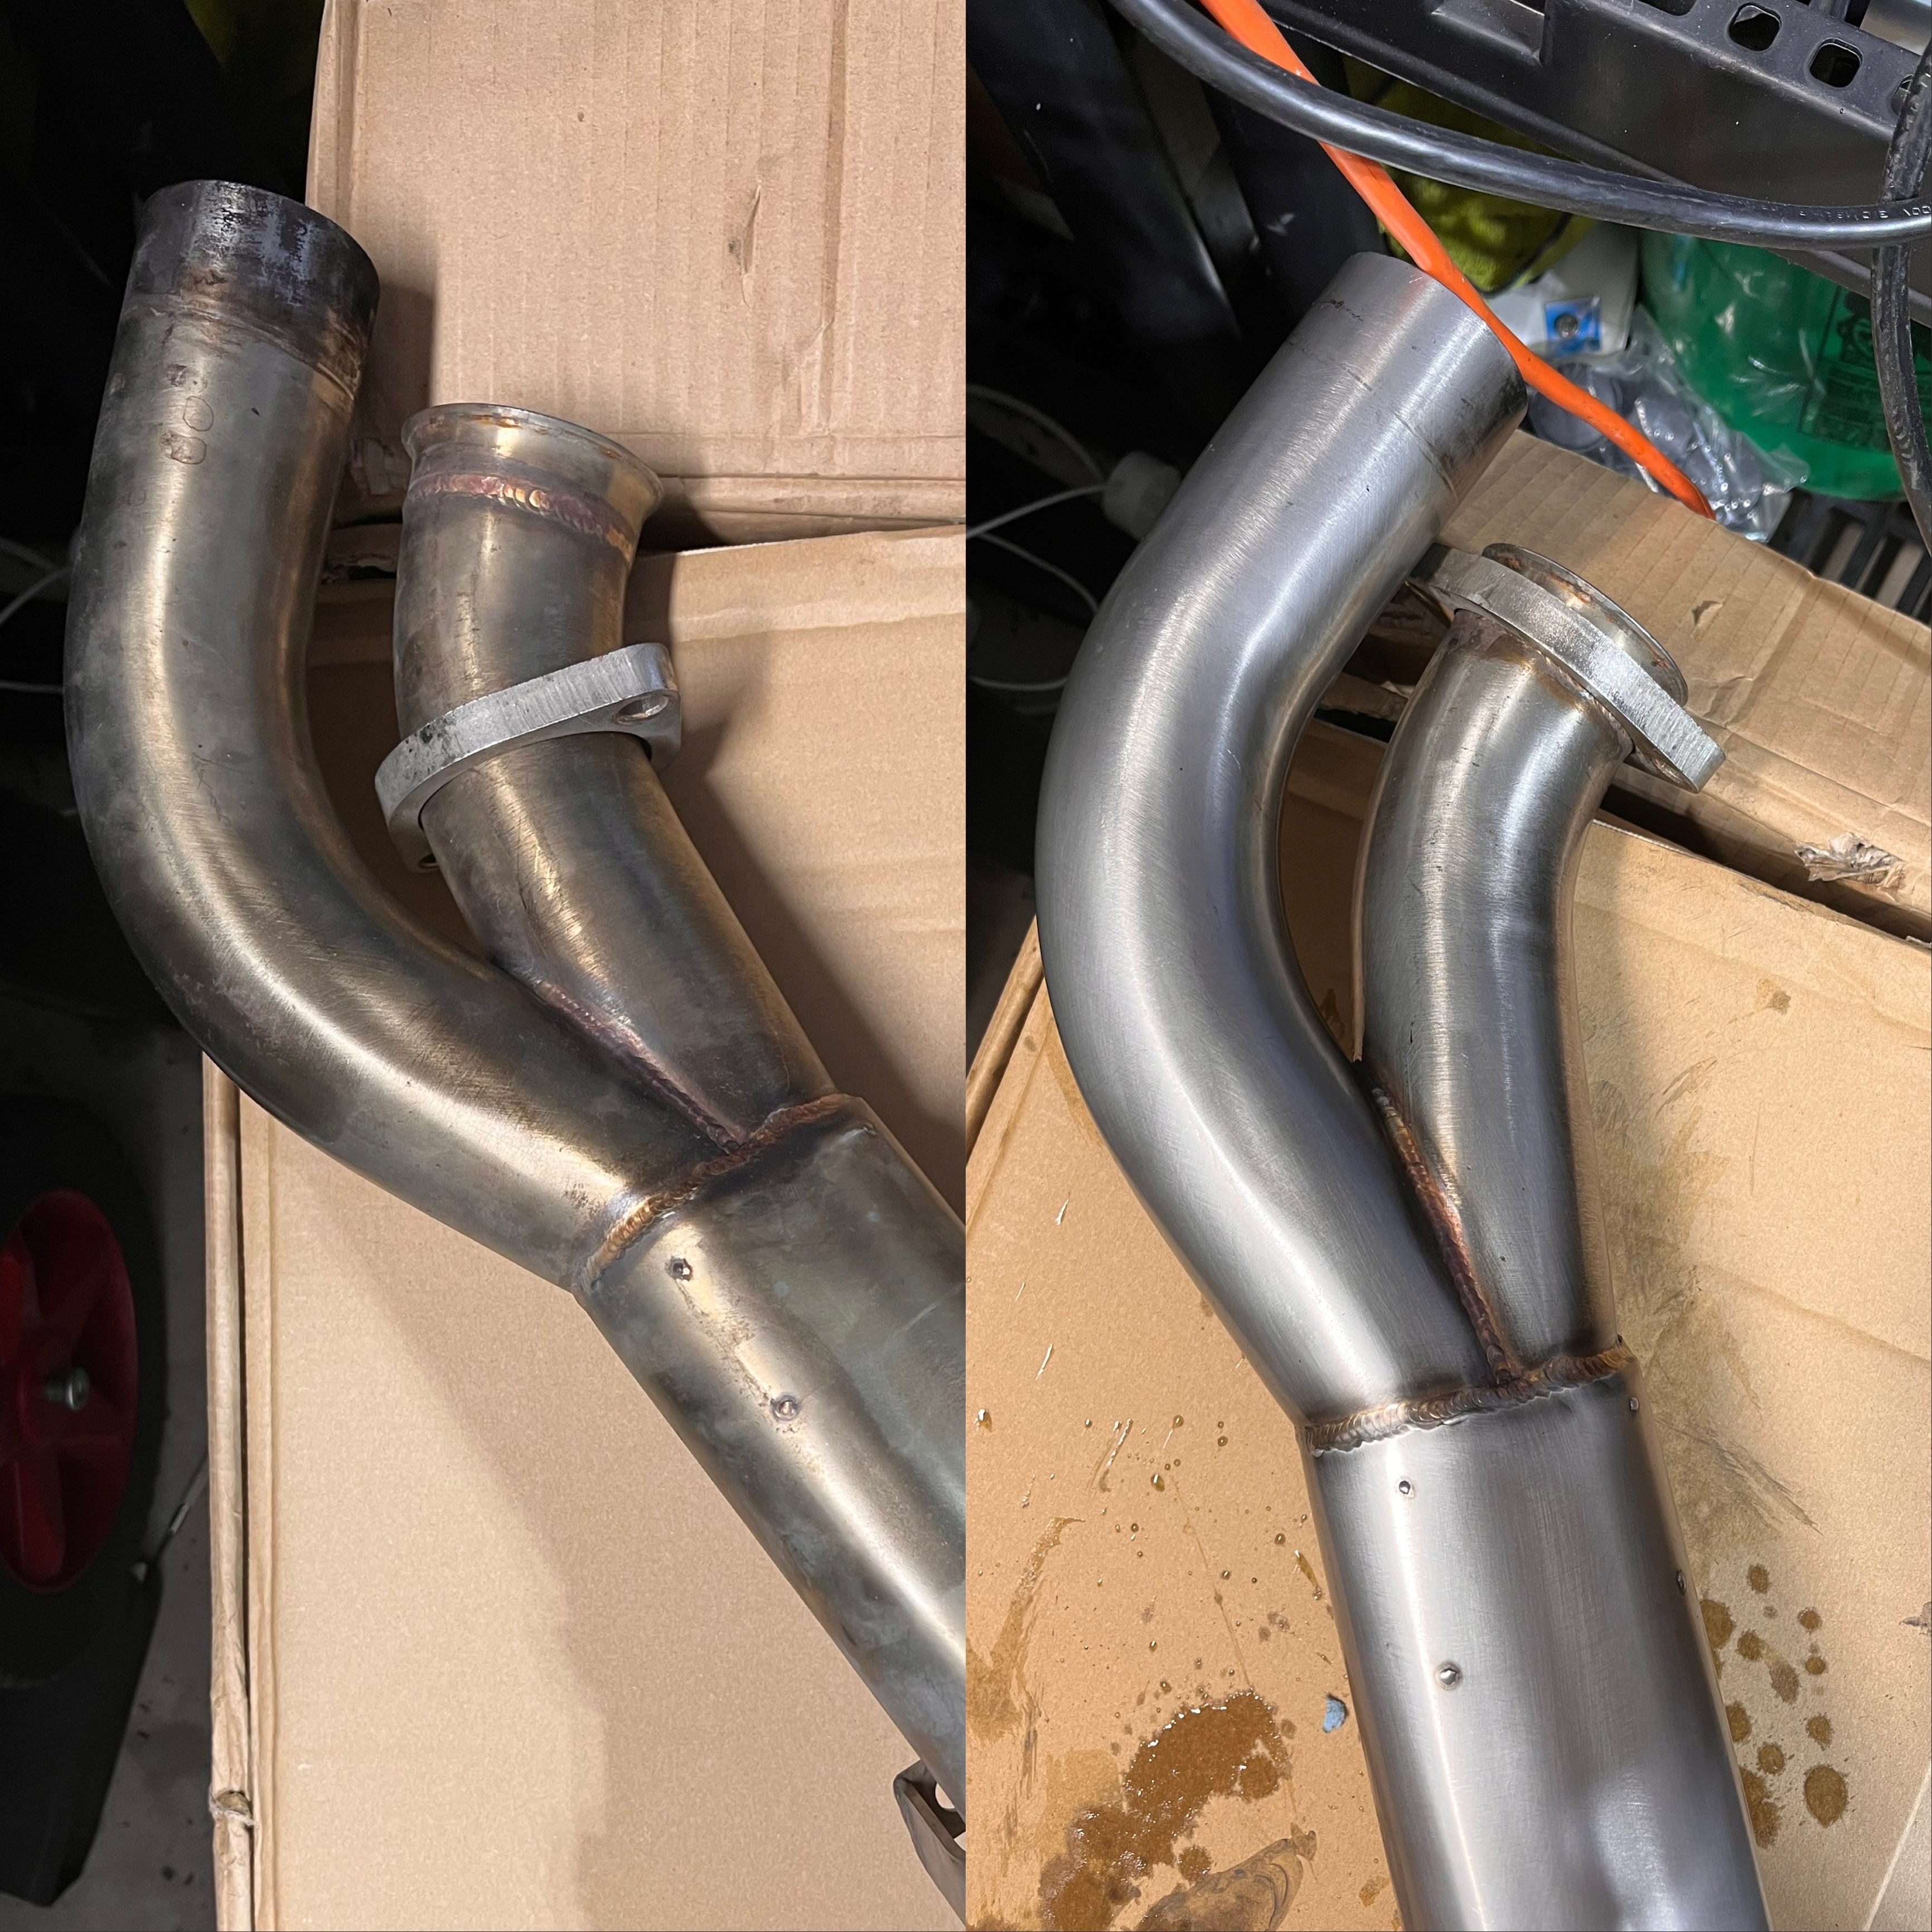
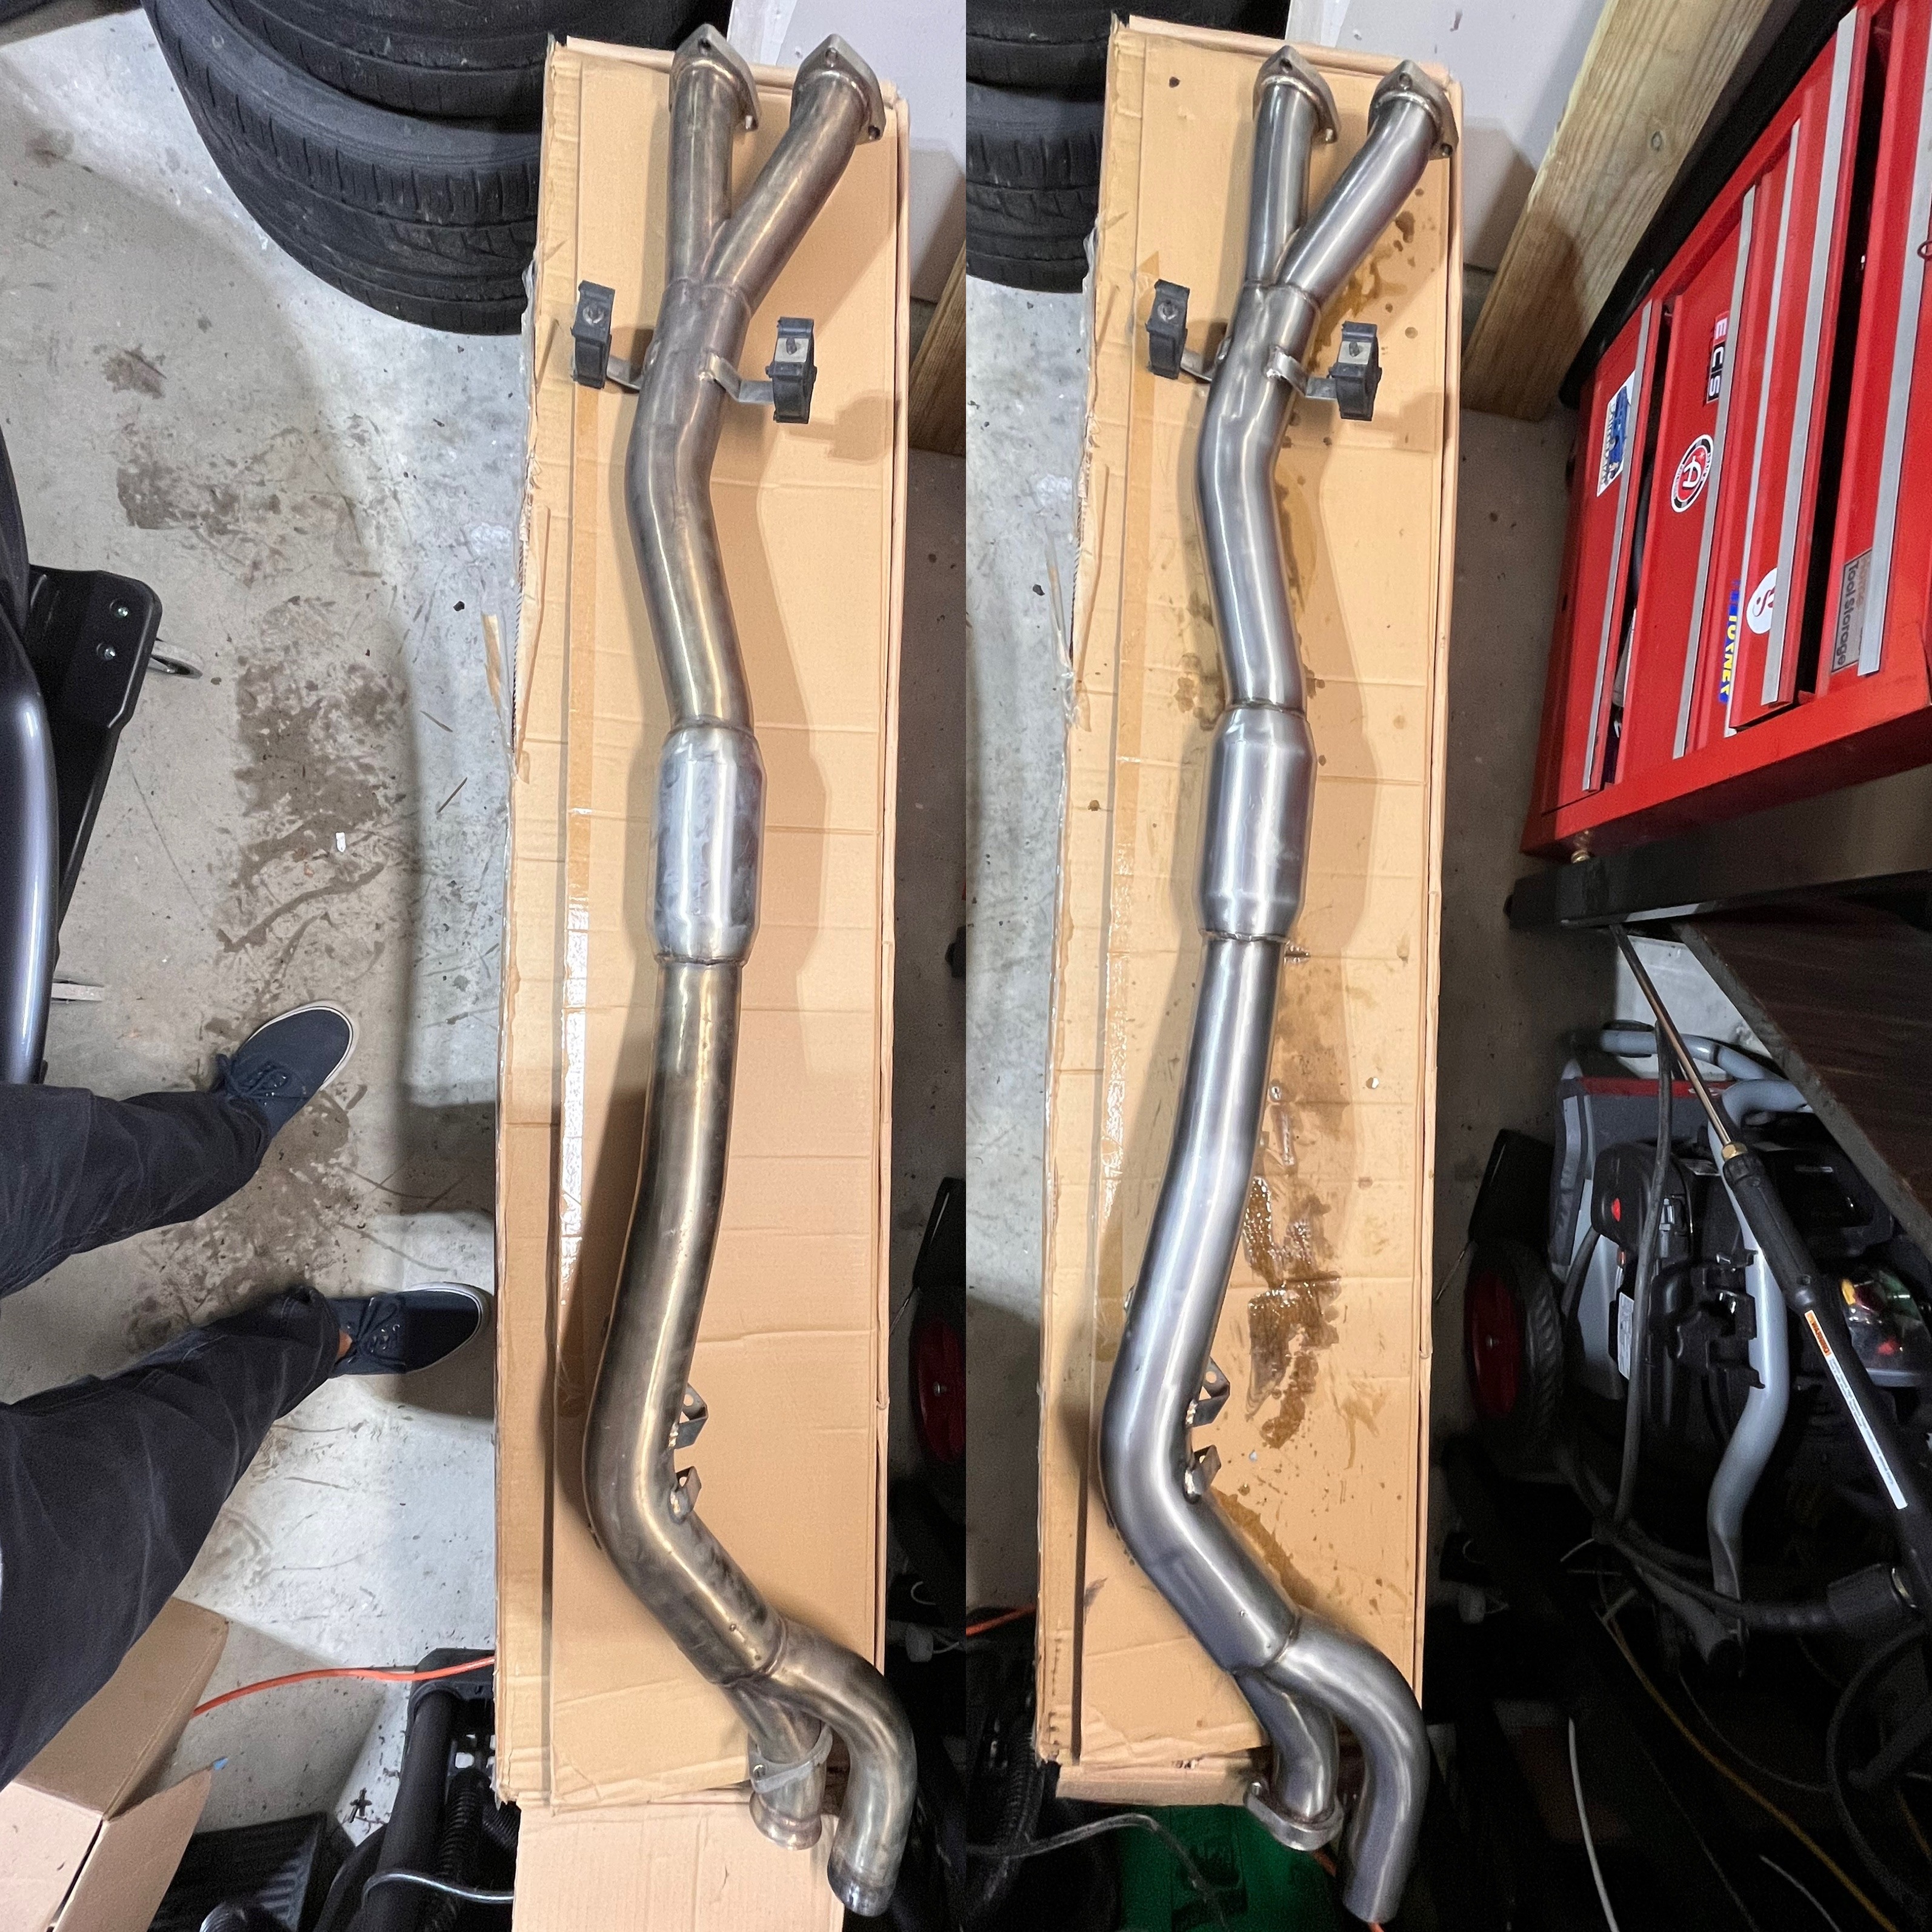
Snagged myself a resonated X pipe for the section 2. This seems to be the piece that removes rasp and drastically changes the exhaust note. Guess we’ll find out come spring.
I bought it used and it arrived in pretty good shape, but @Rekpointsuggested I try some Ospho metal cleaner on it. Holy shit did it do a number on the pipe, looks brand new! Definitely have to be careful with this chemical though since it’s phosphoric acid based and pretty much dissolves whatever it touches. Also need to wipe down with water after to neutralize it. But damn does it work.
Here’s a few before / after of 5 min of light scrubbing:
-
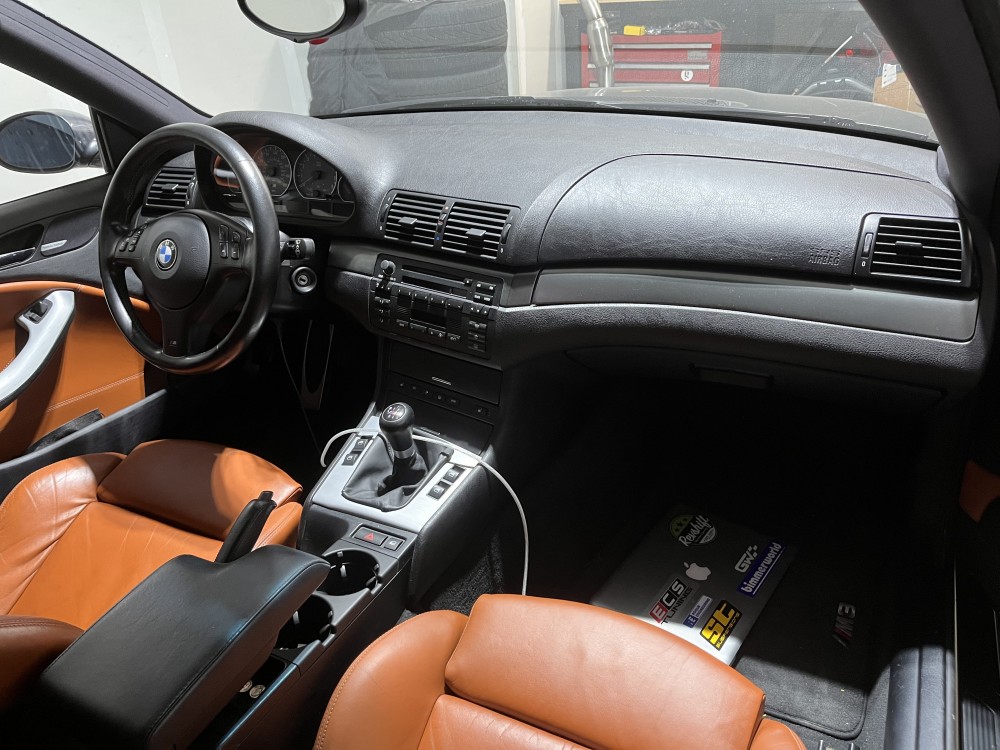
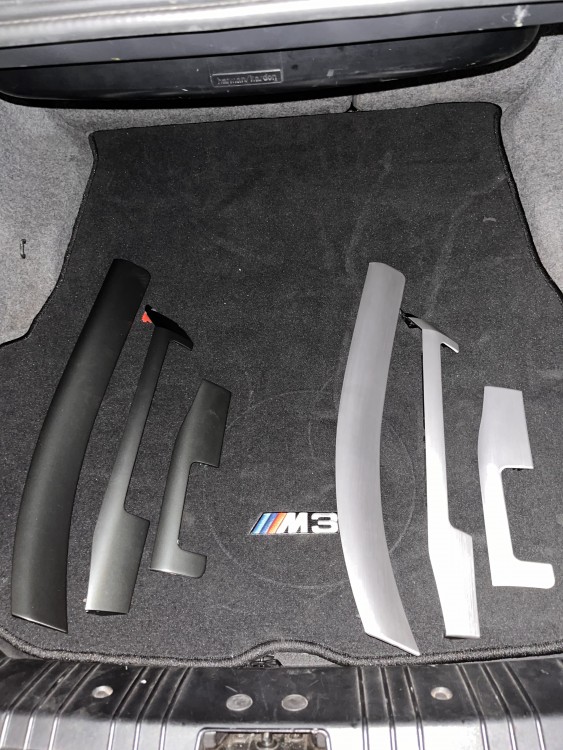
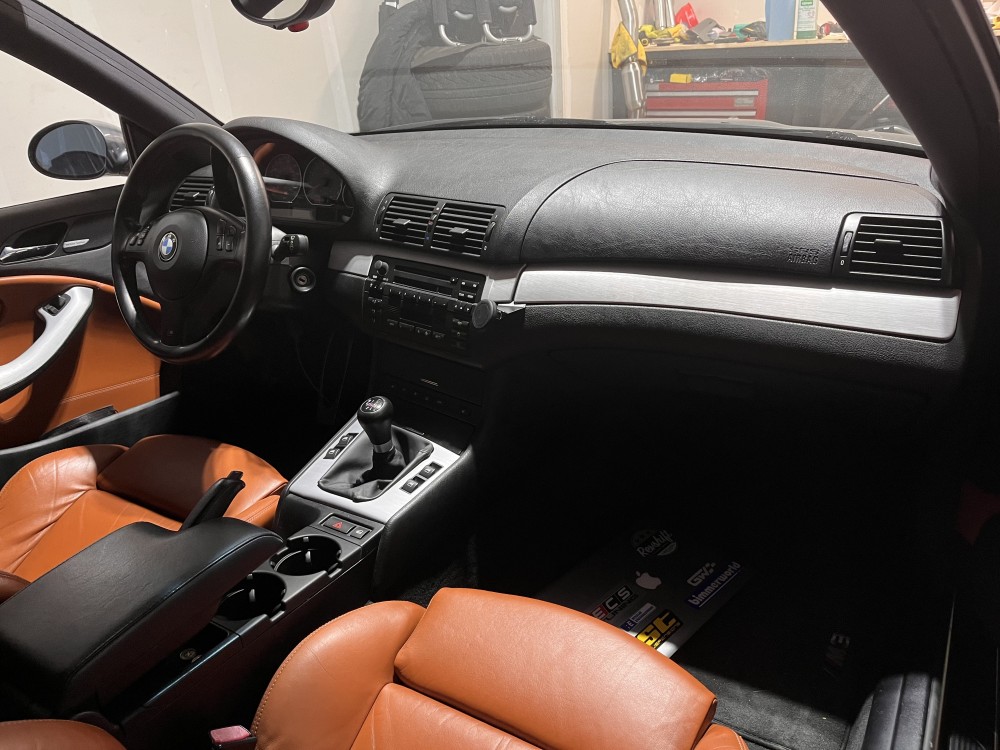
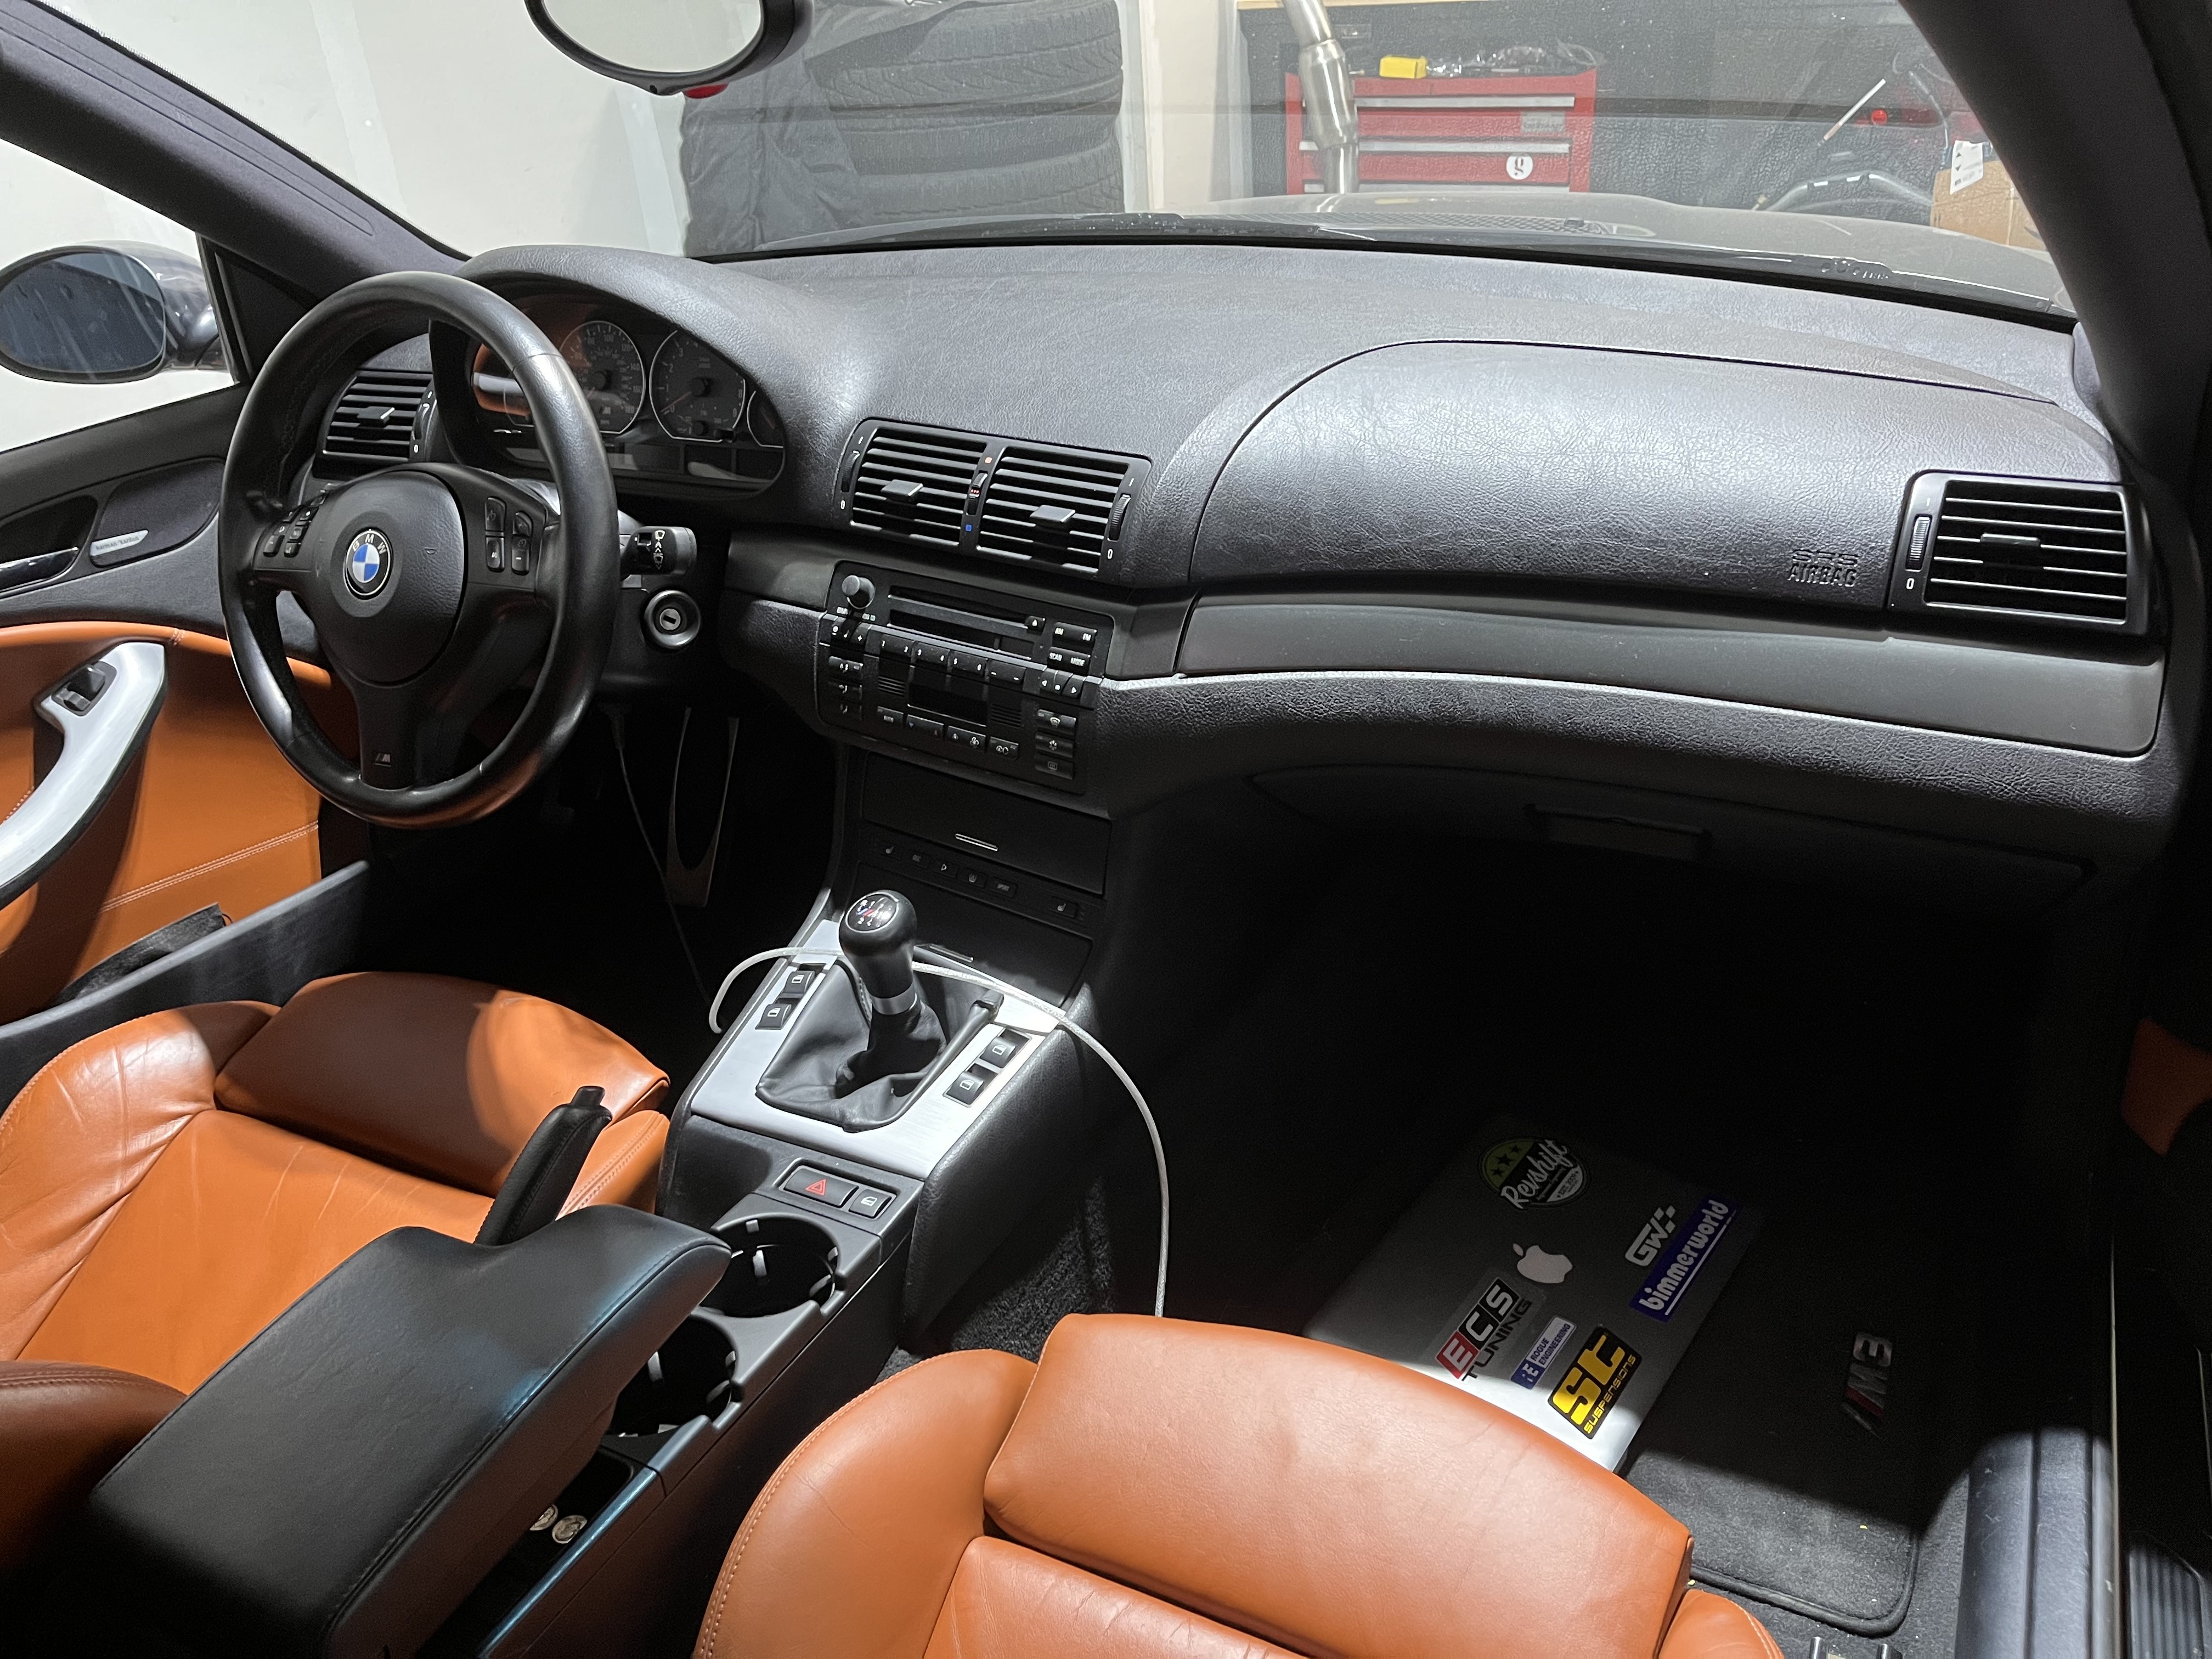
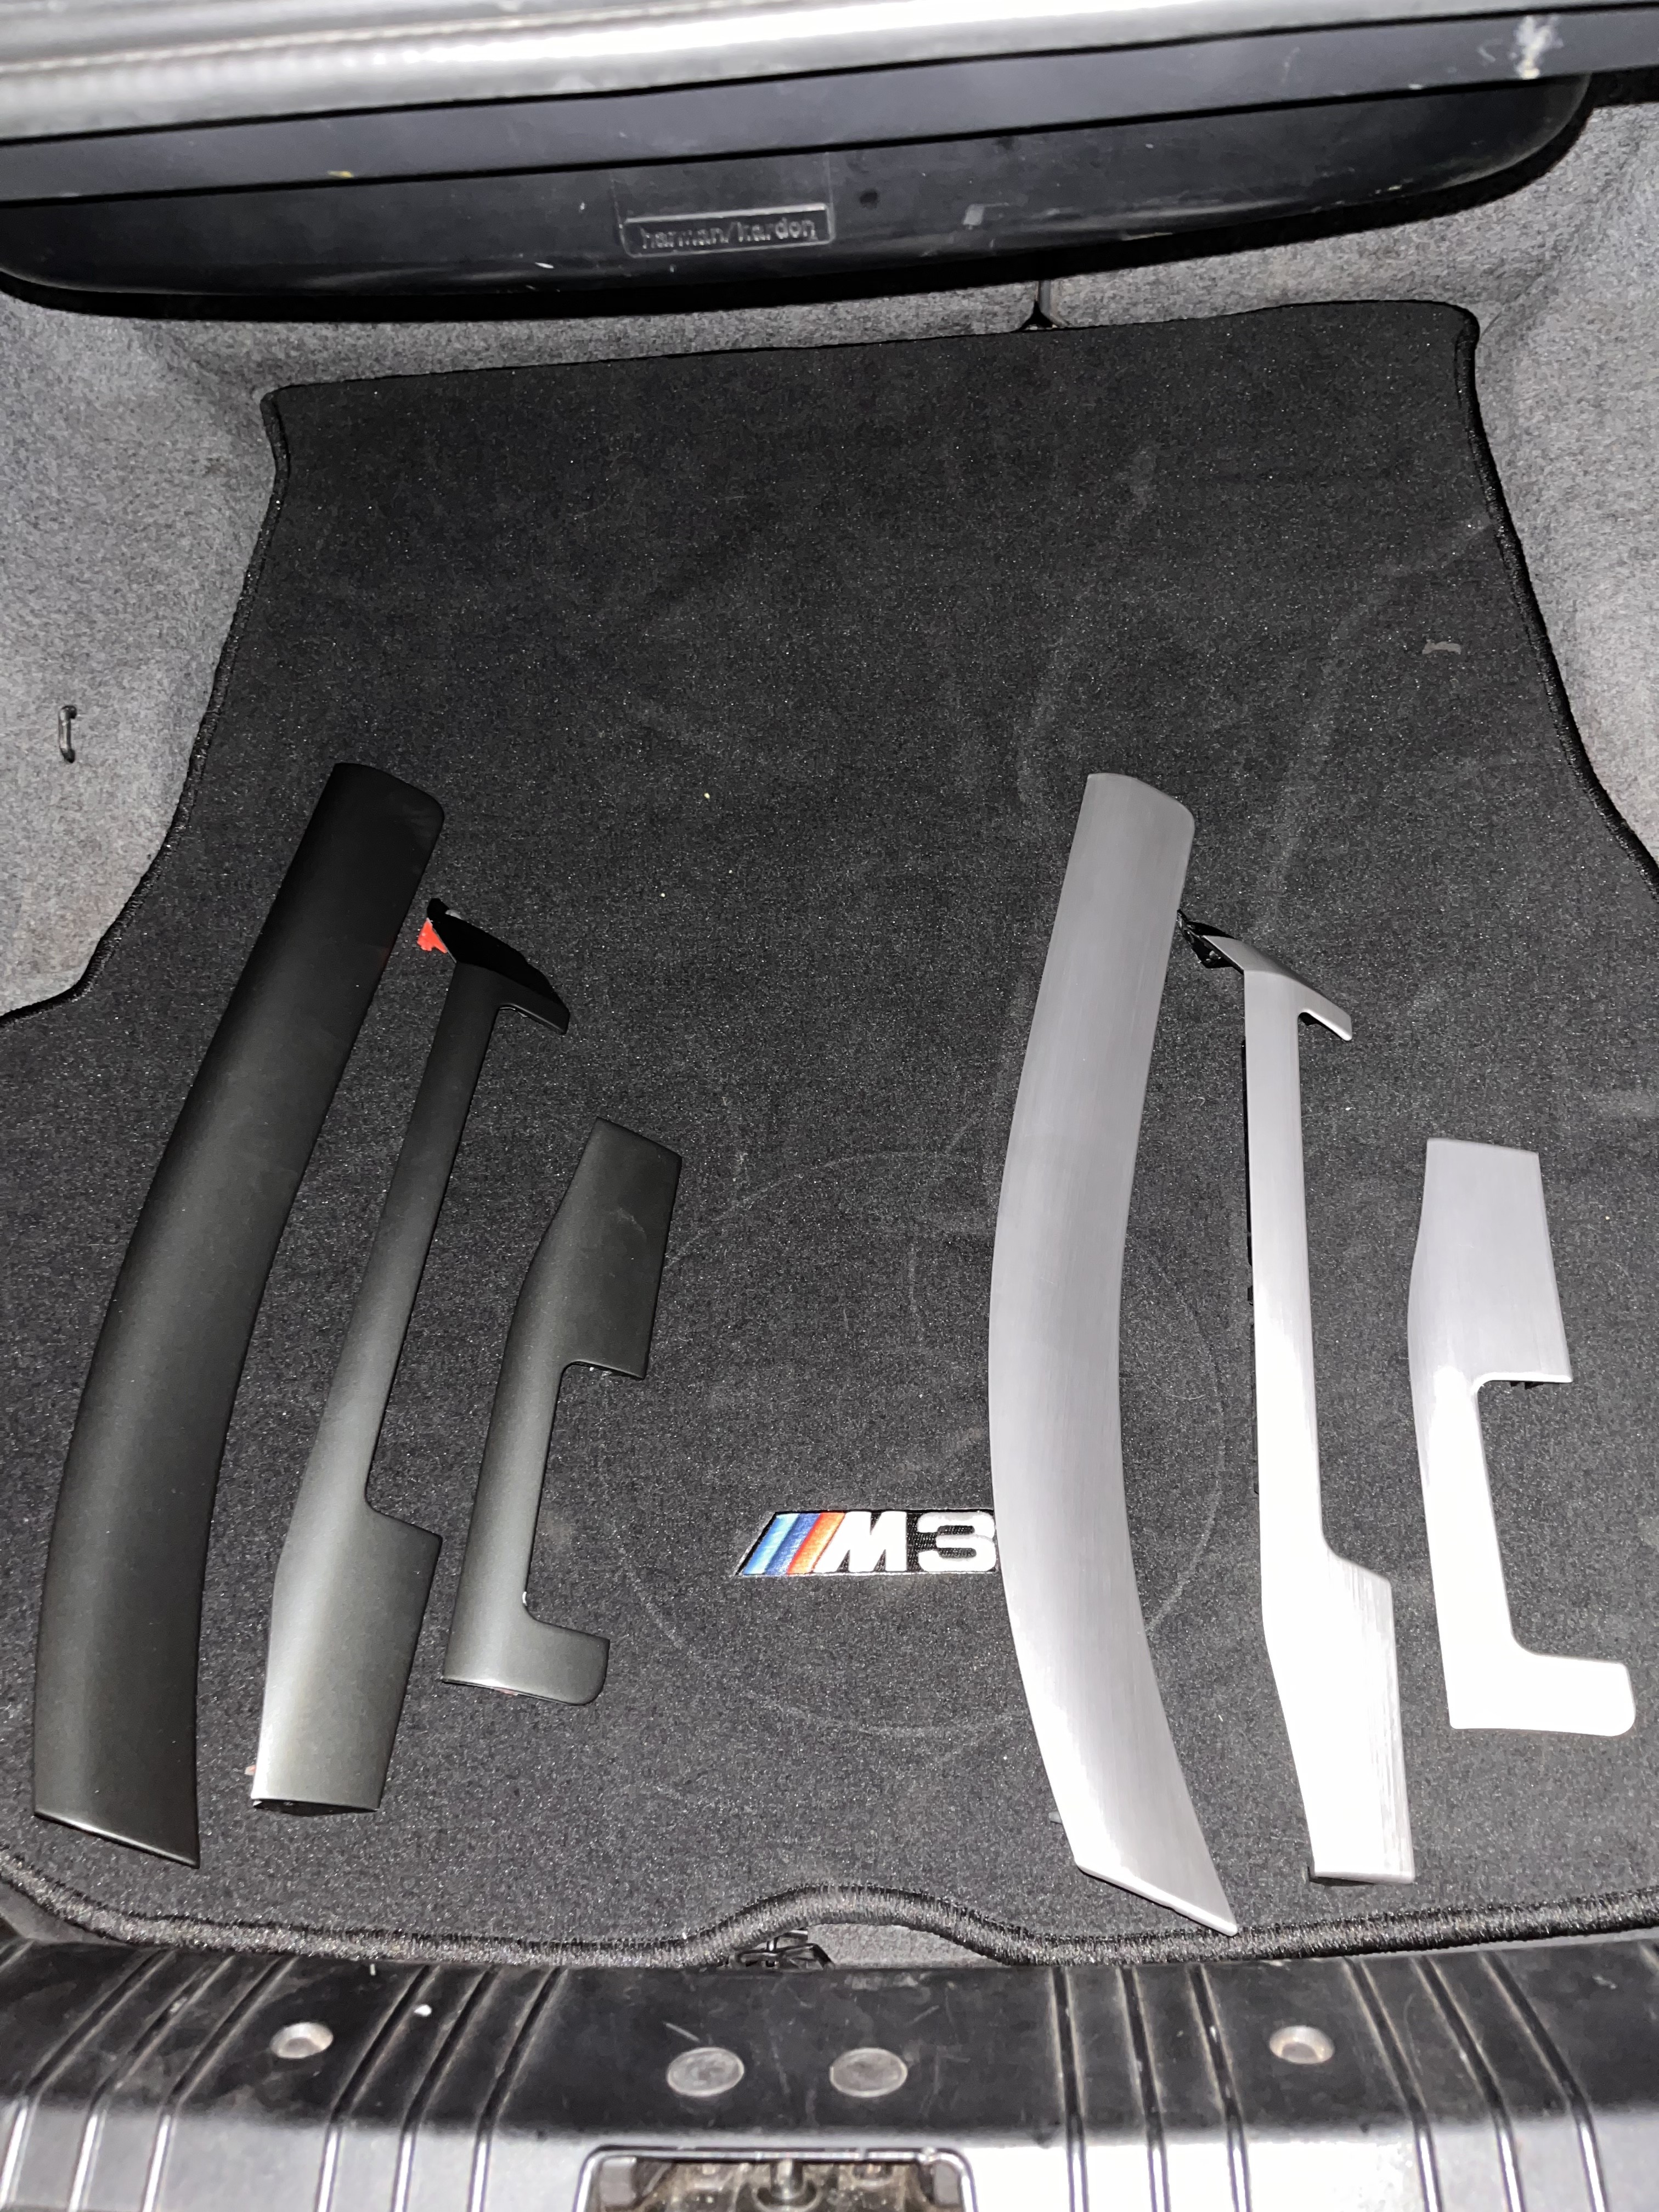
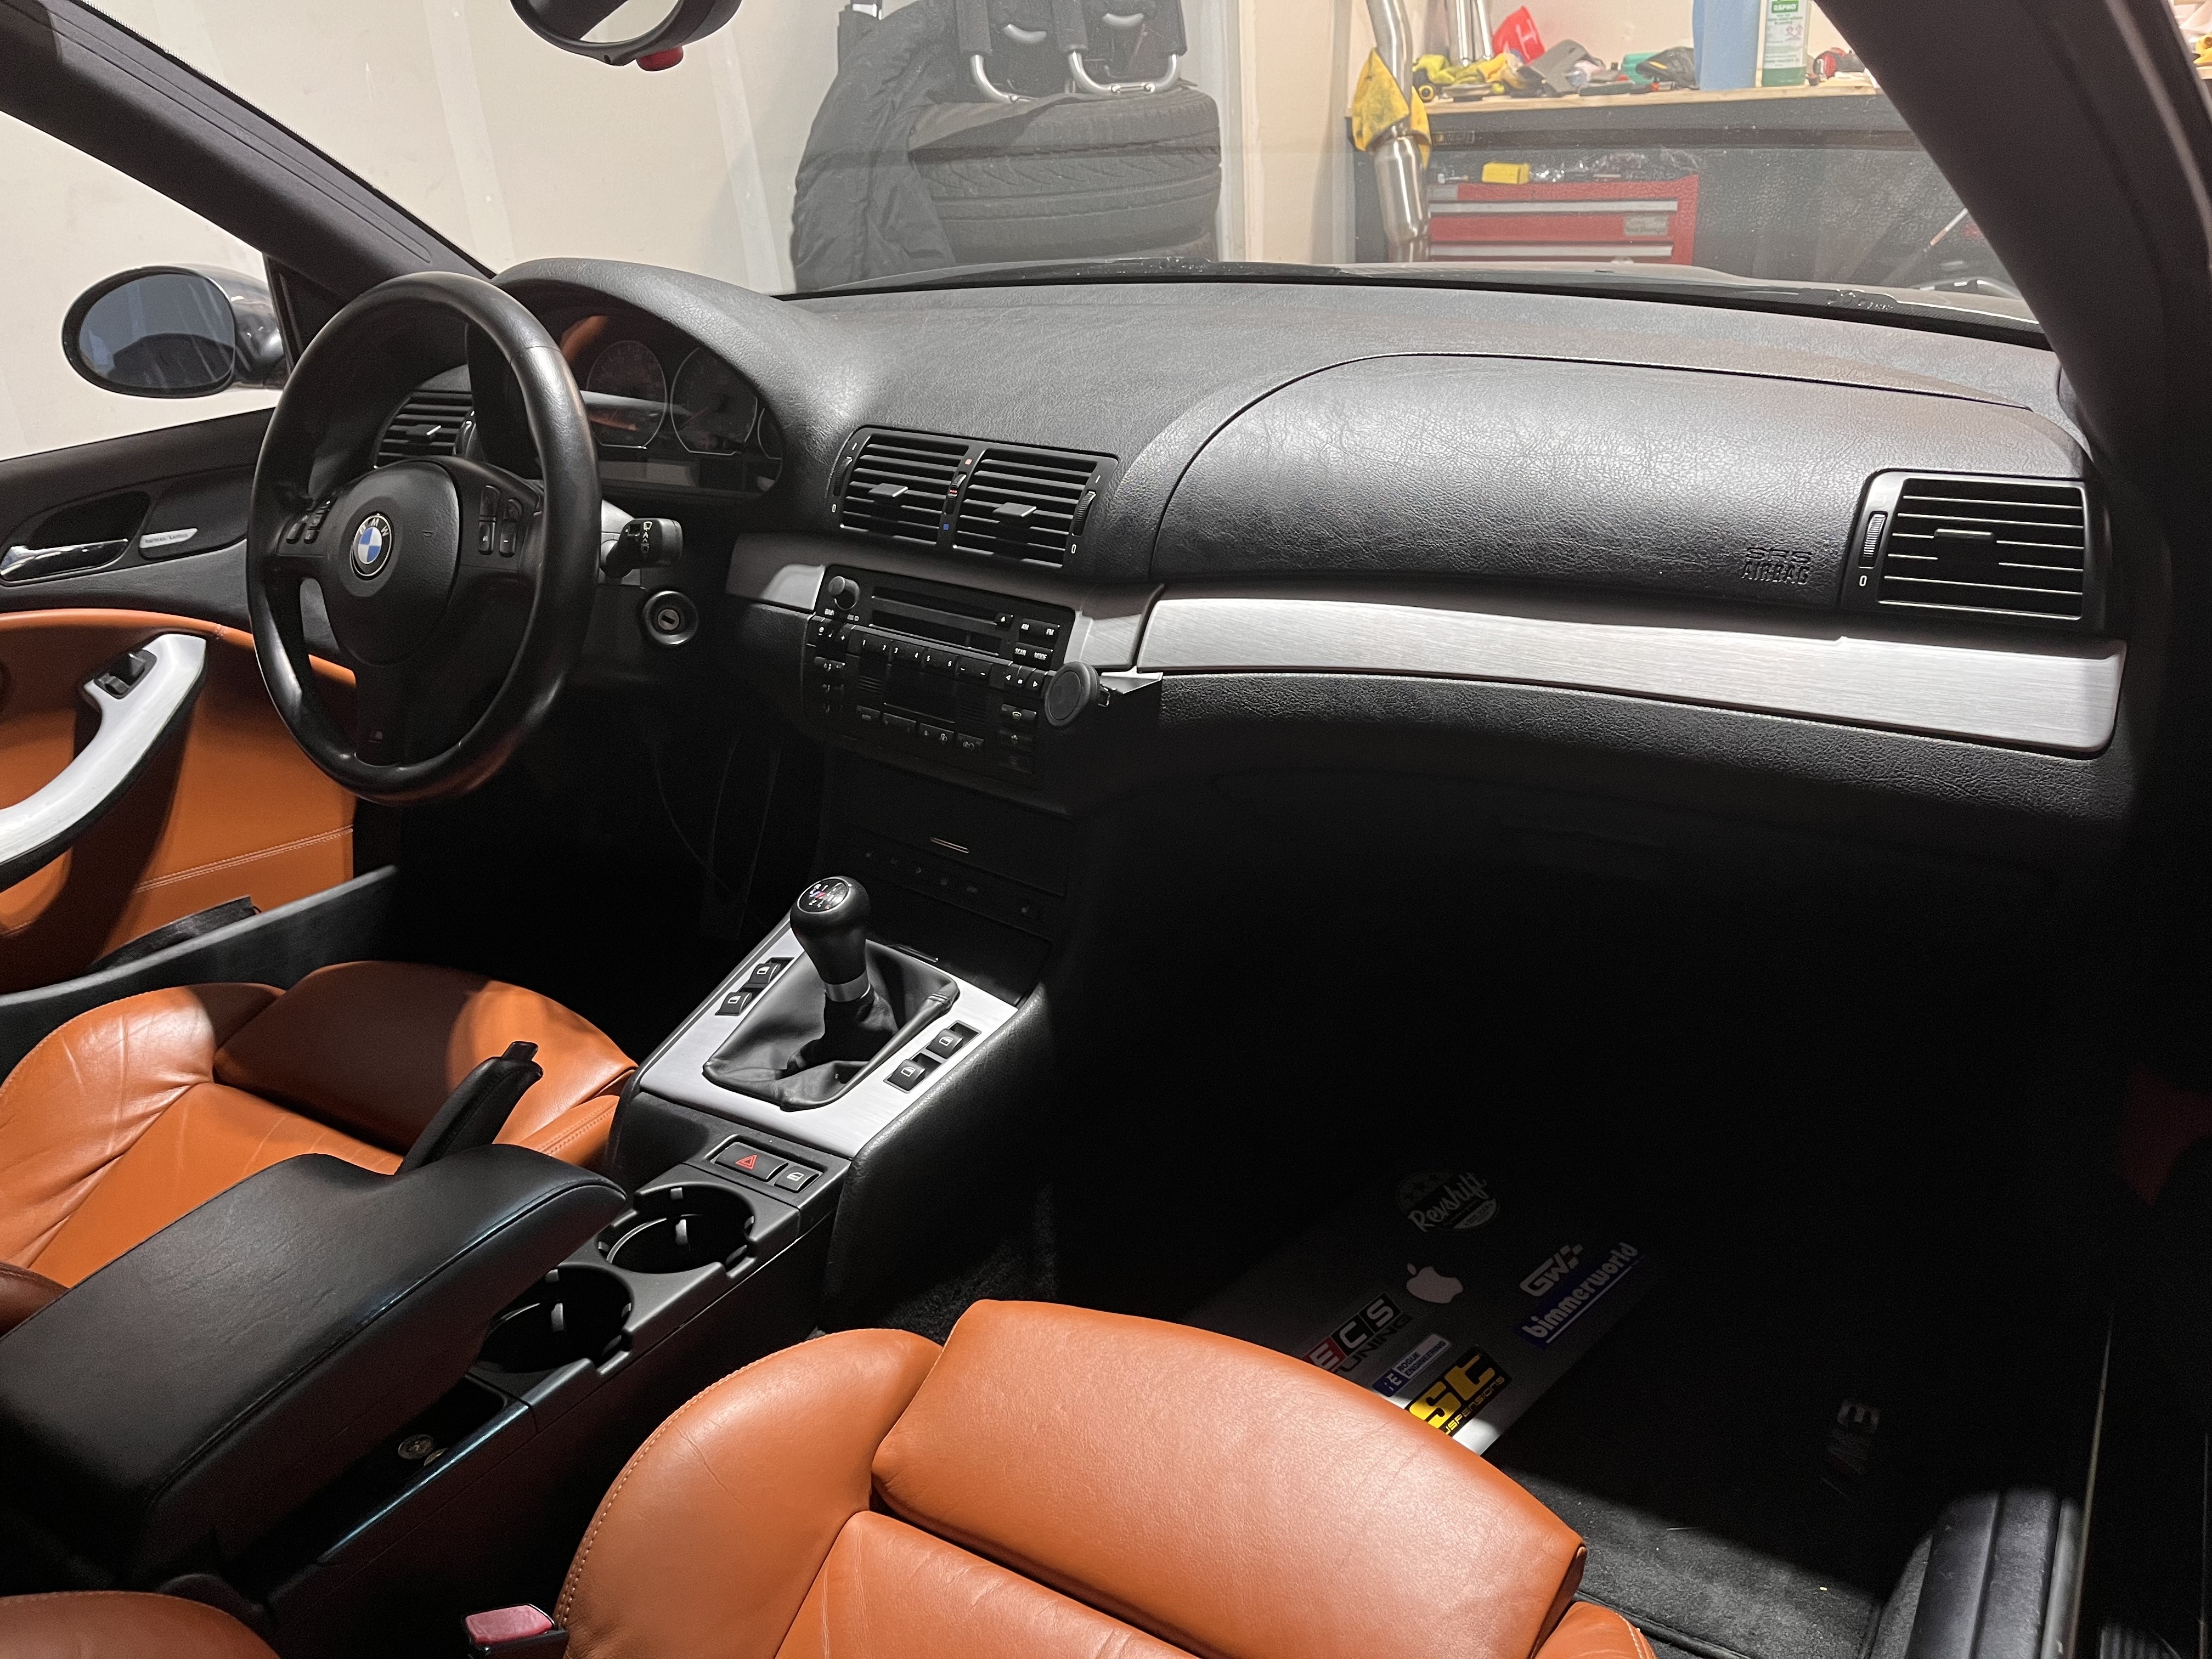
Aluminum trim set is complete! Meant to post this update earlier, but the first set I bought was damaged in shipping. Excited to have rid the car of that crappy plastic titan trim.
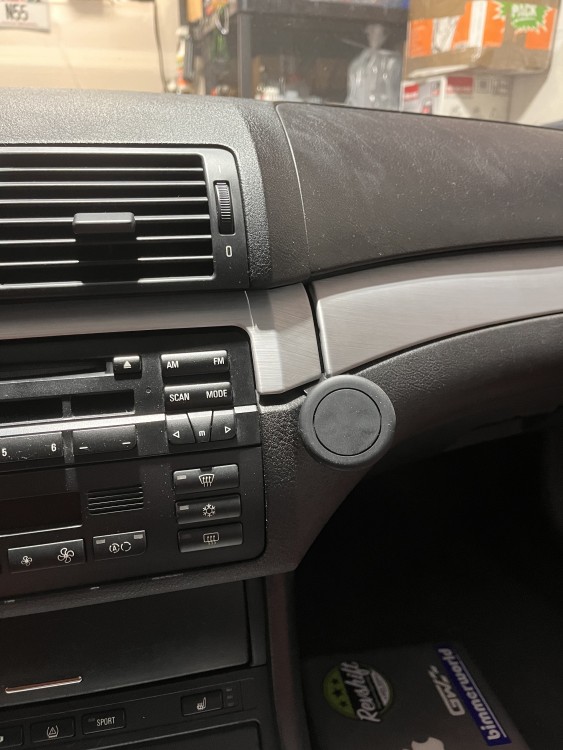
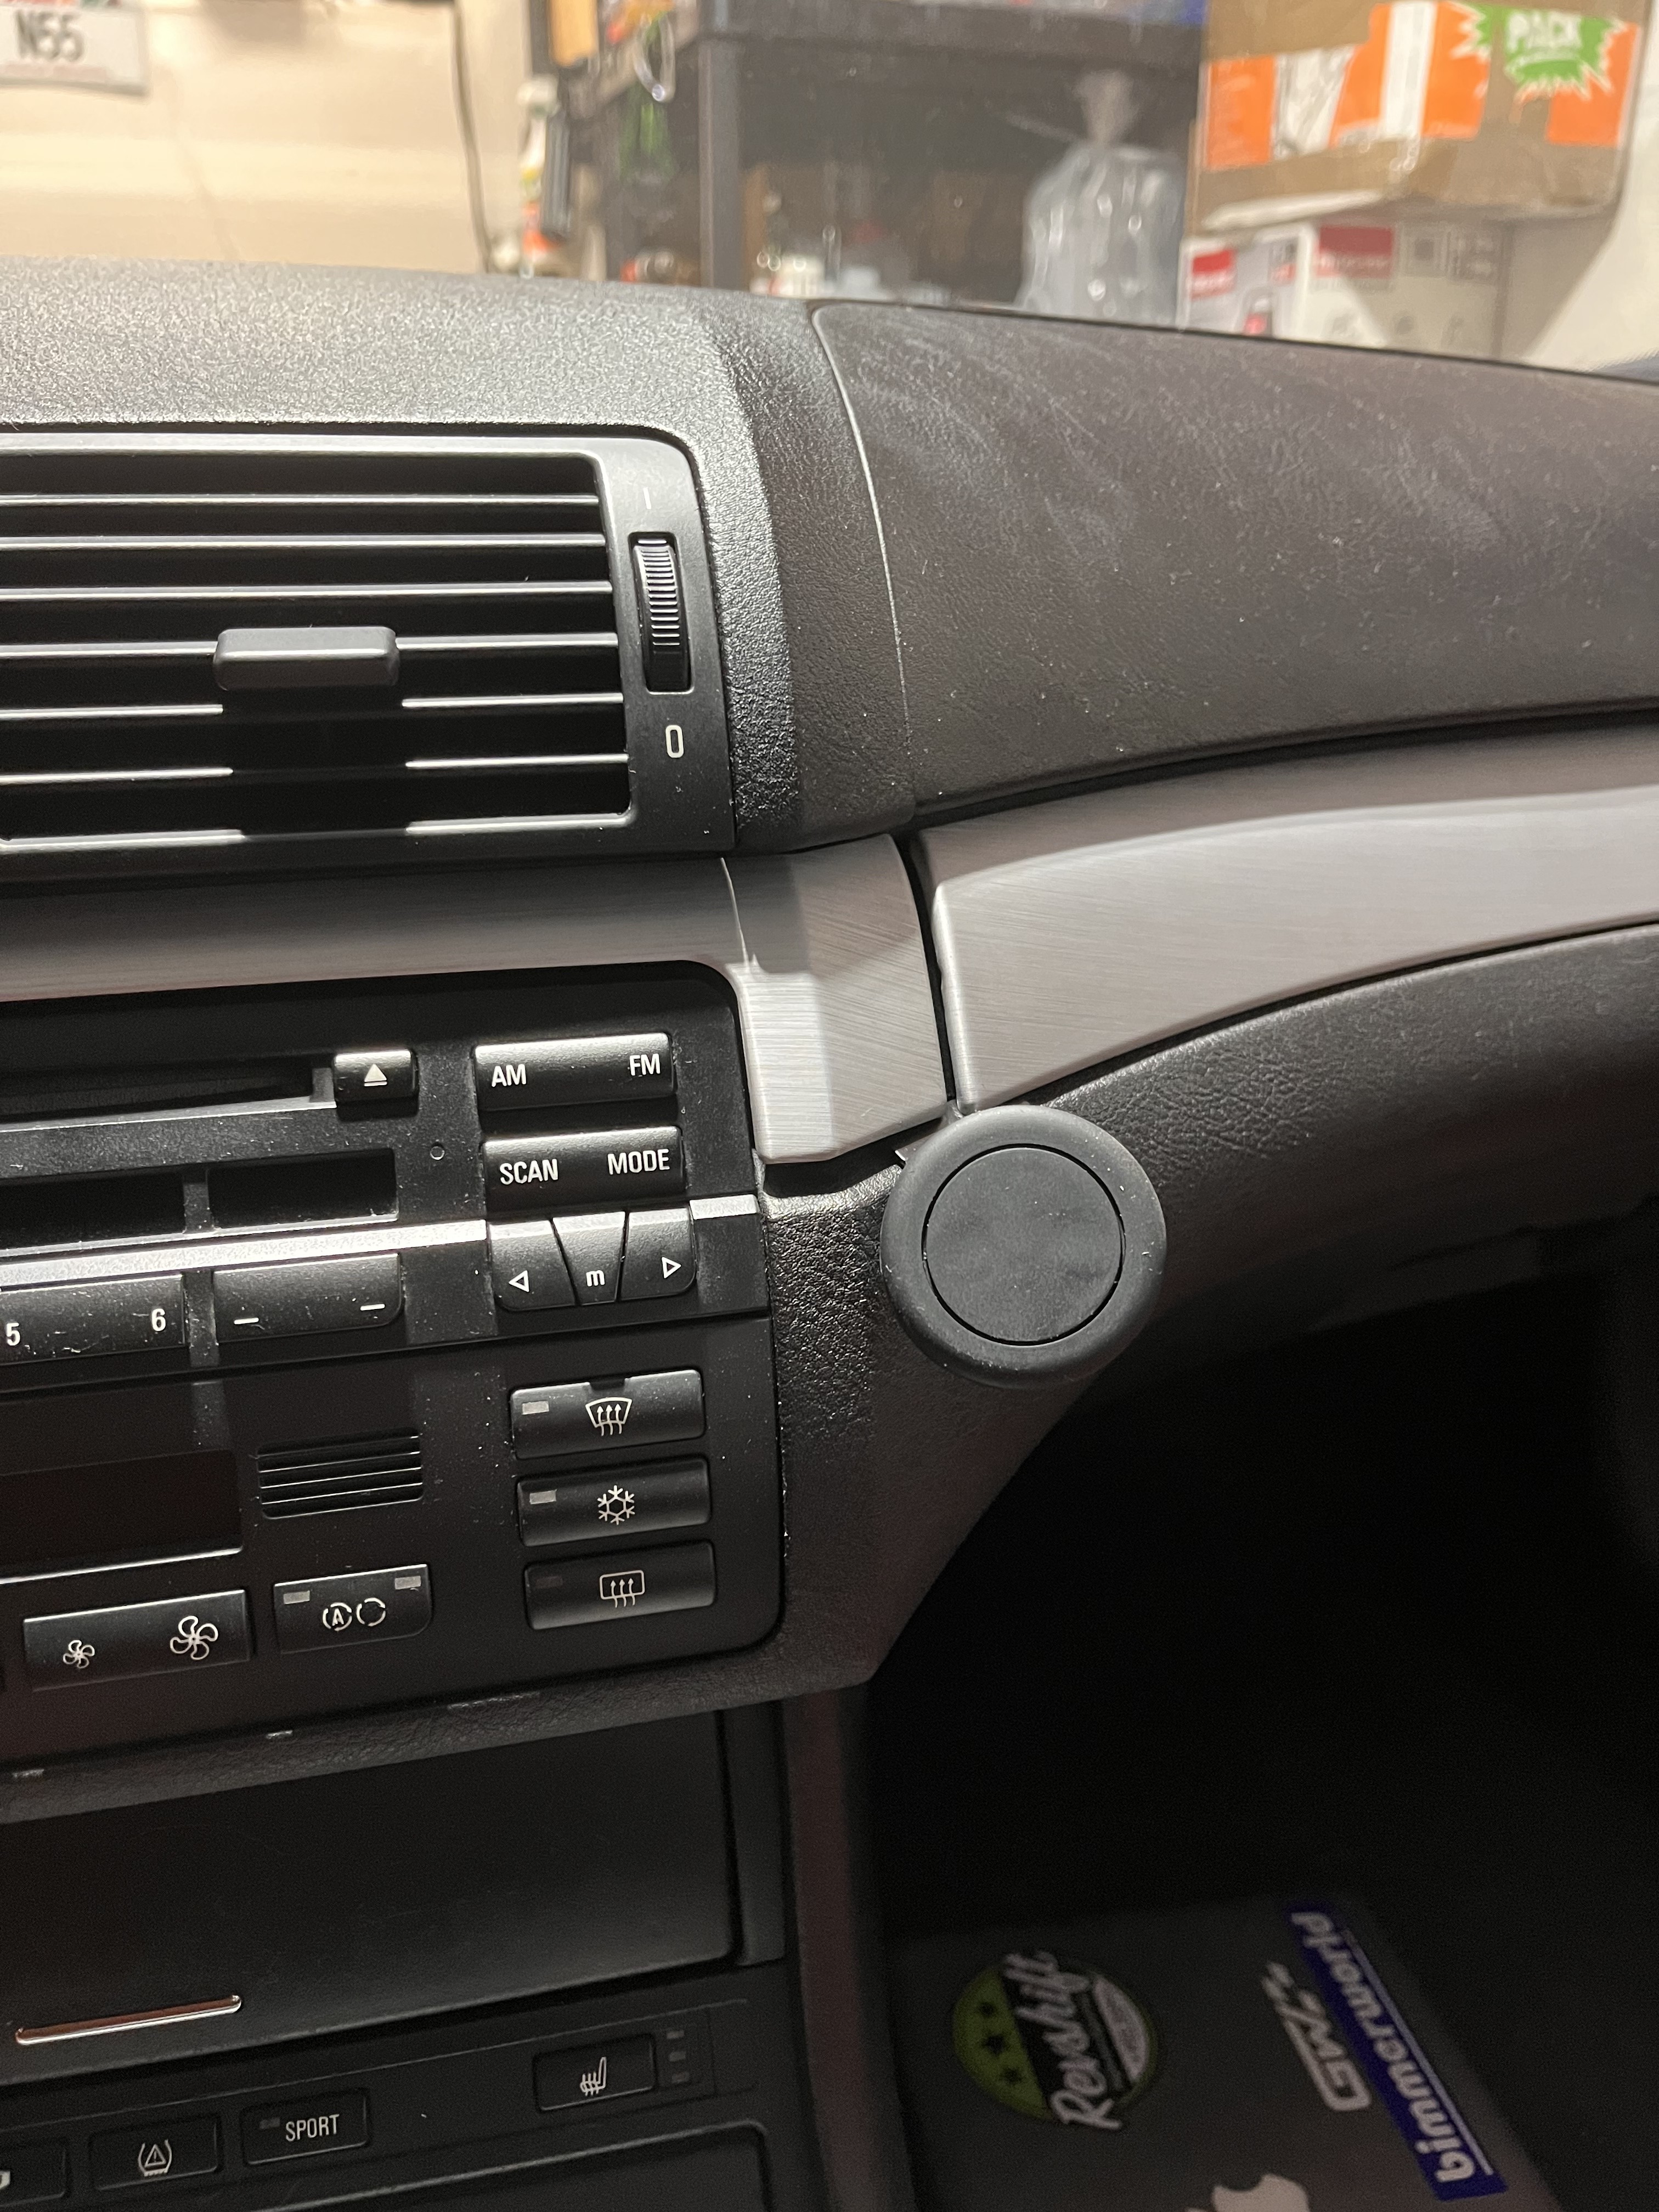
Also picked up a Rennline phone mount, but just can’t seem to get it to fit just right. Might have a defective one

-
You are doing a lot of good things! Nice work! I enjoy the updates.
Post a sound clip in the spring once its back on the road
Thanks Brian! There's quite a few things on the car that were inspired by your build, so I'm thankful for that. Especially ECUWorx, I've used the hell out of that program.
Added Ospho to my buy list, love the results!
Same, I was super impressed! It also claims to add protection to the metal to help keep rust from forming in the future, so hopefully it stays this clean.
-
Dang you removed all the seasoning
-
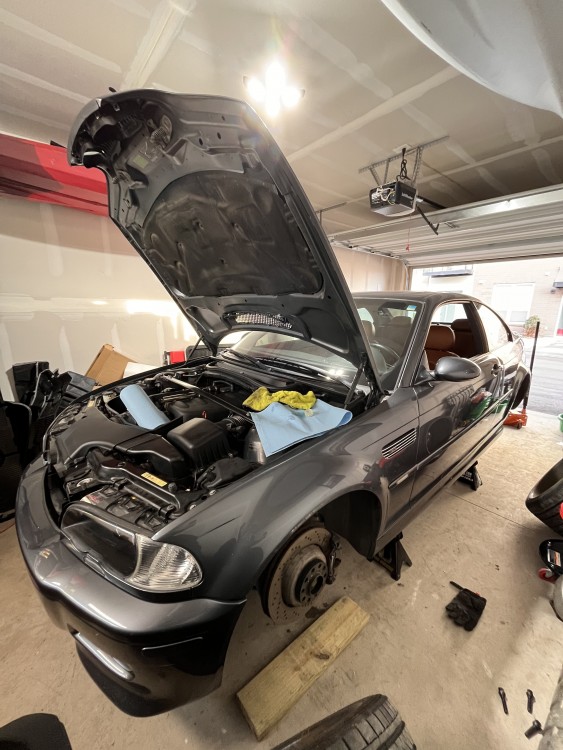
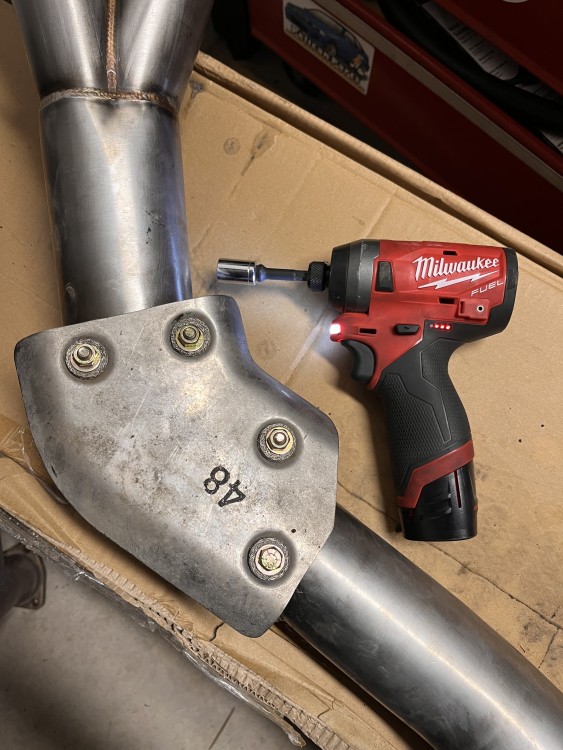
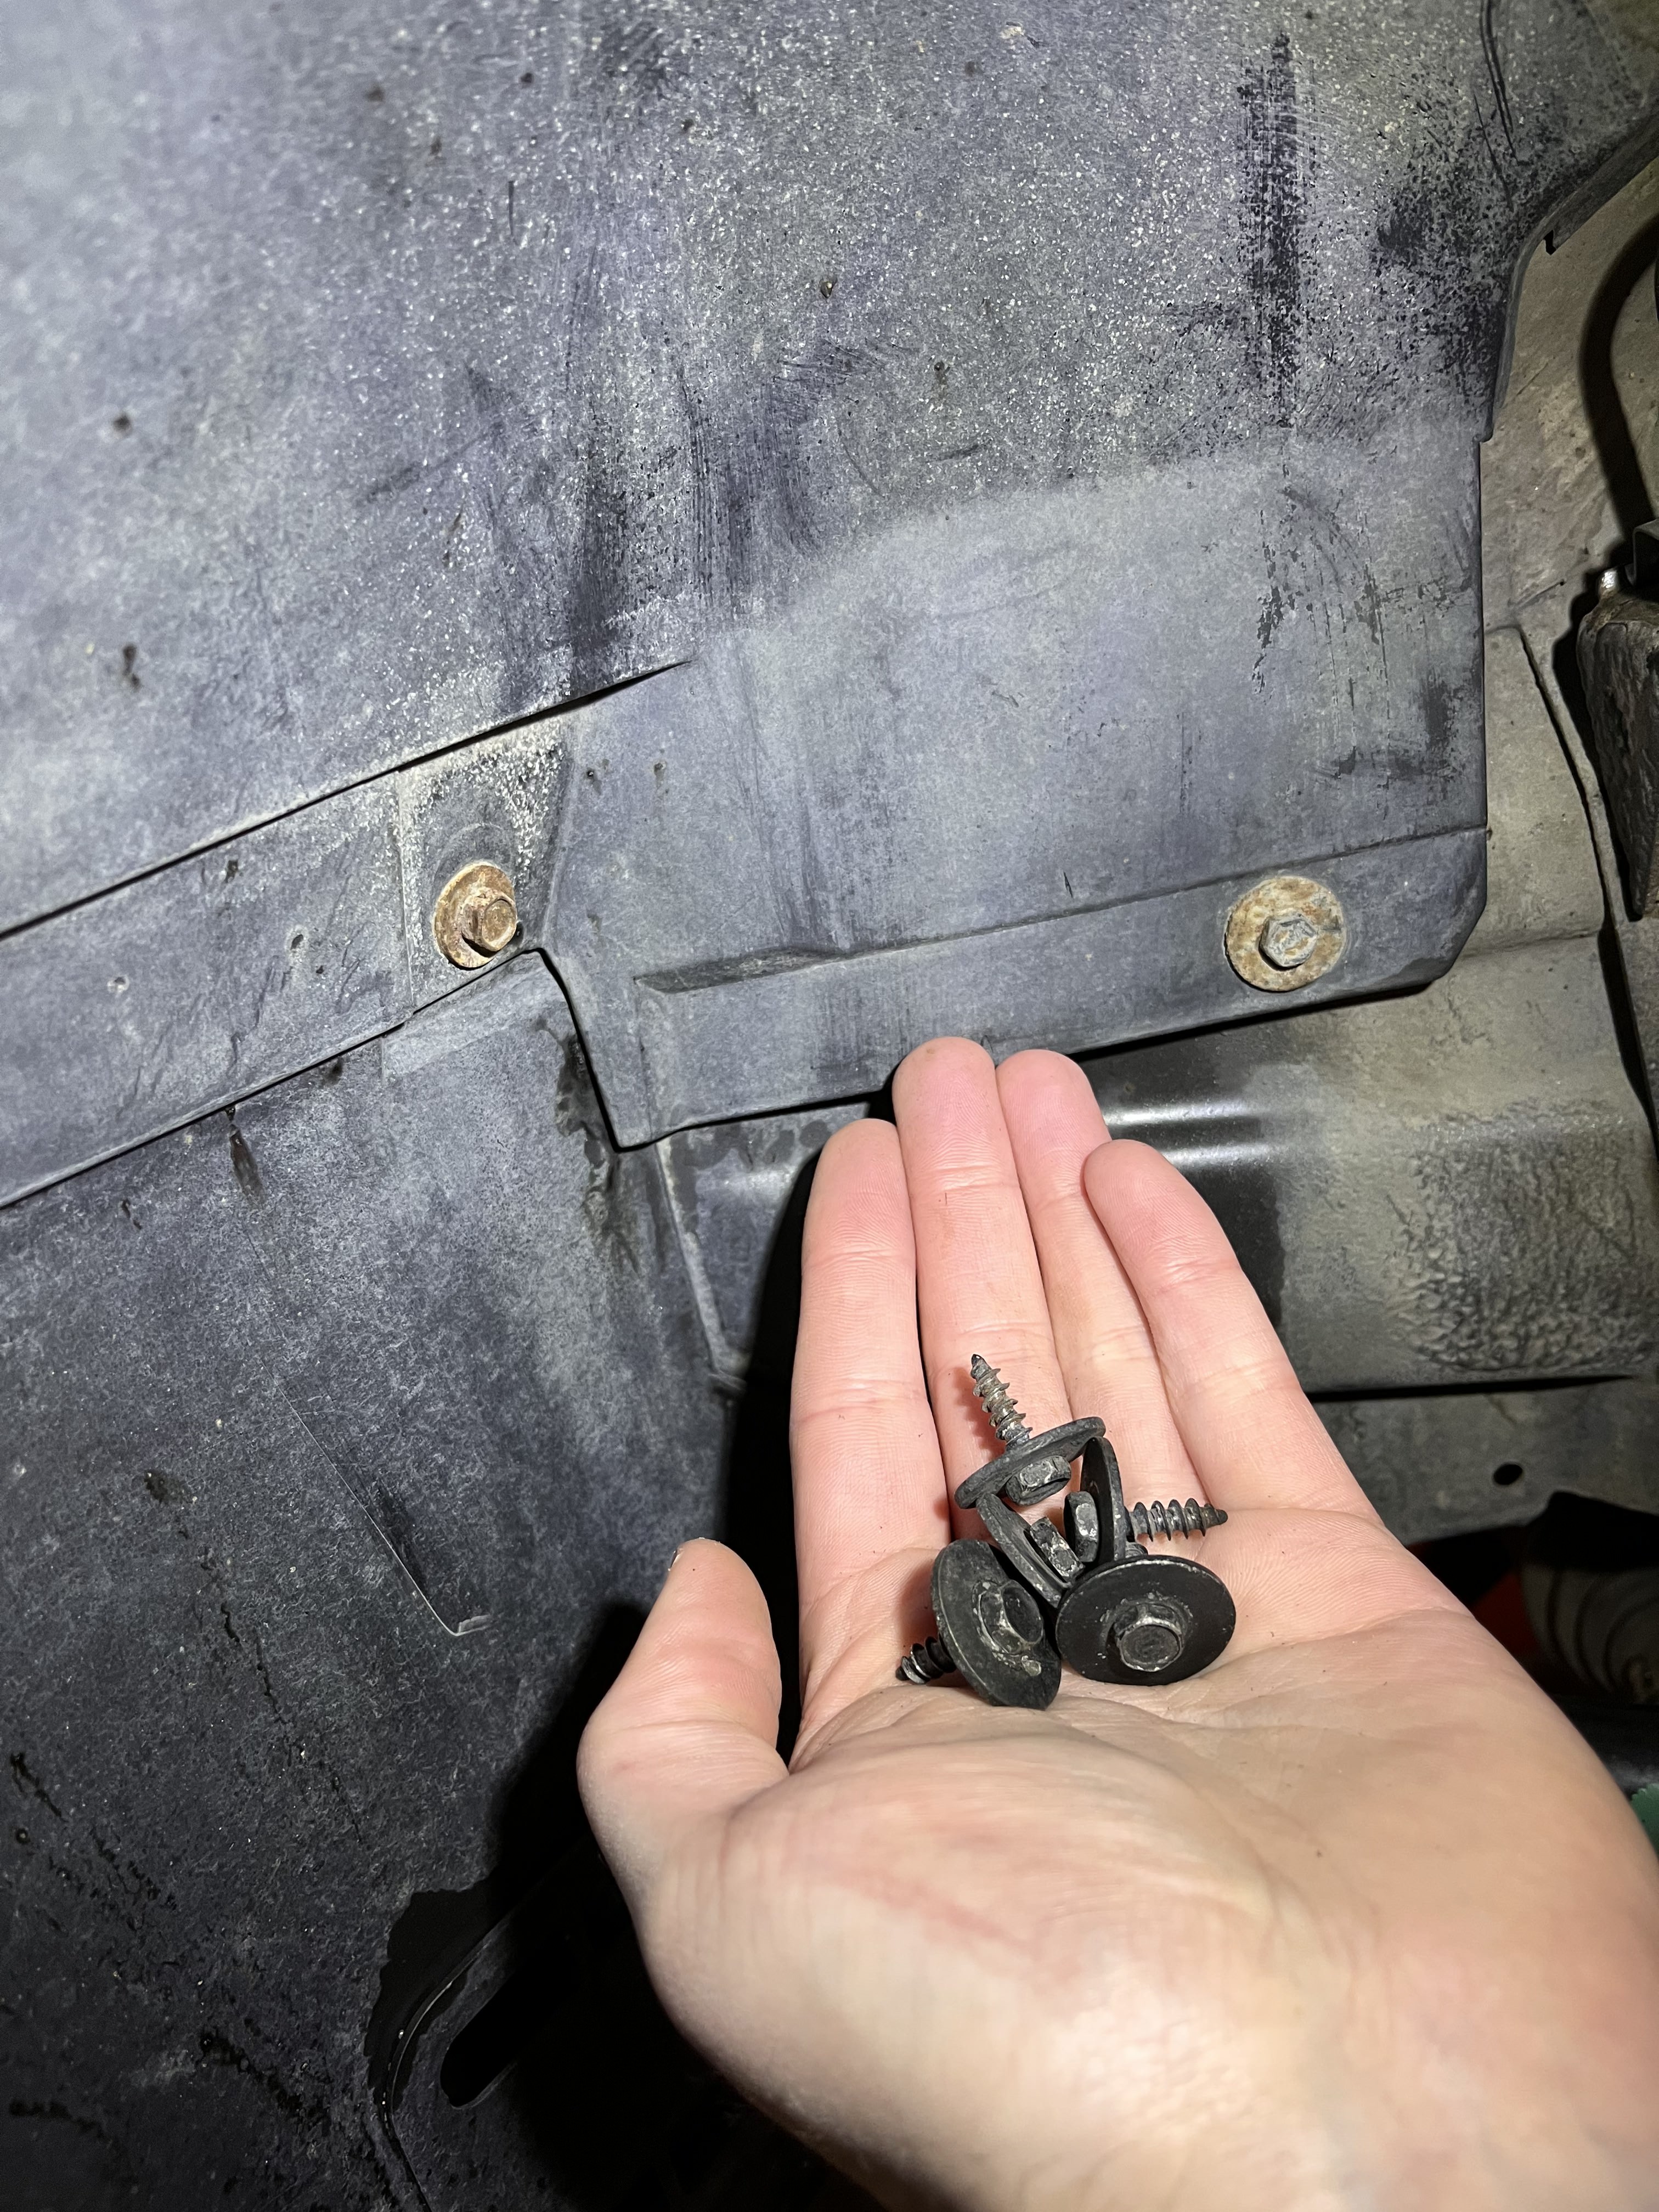
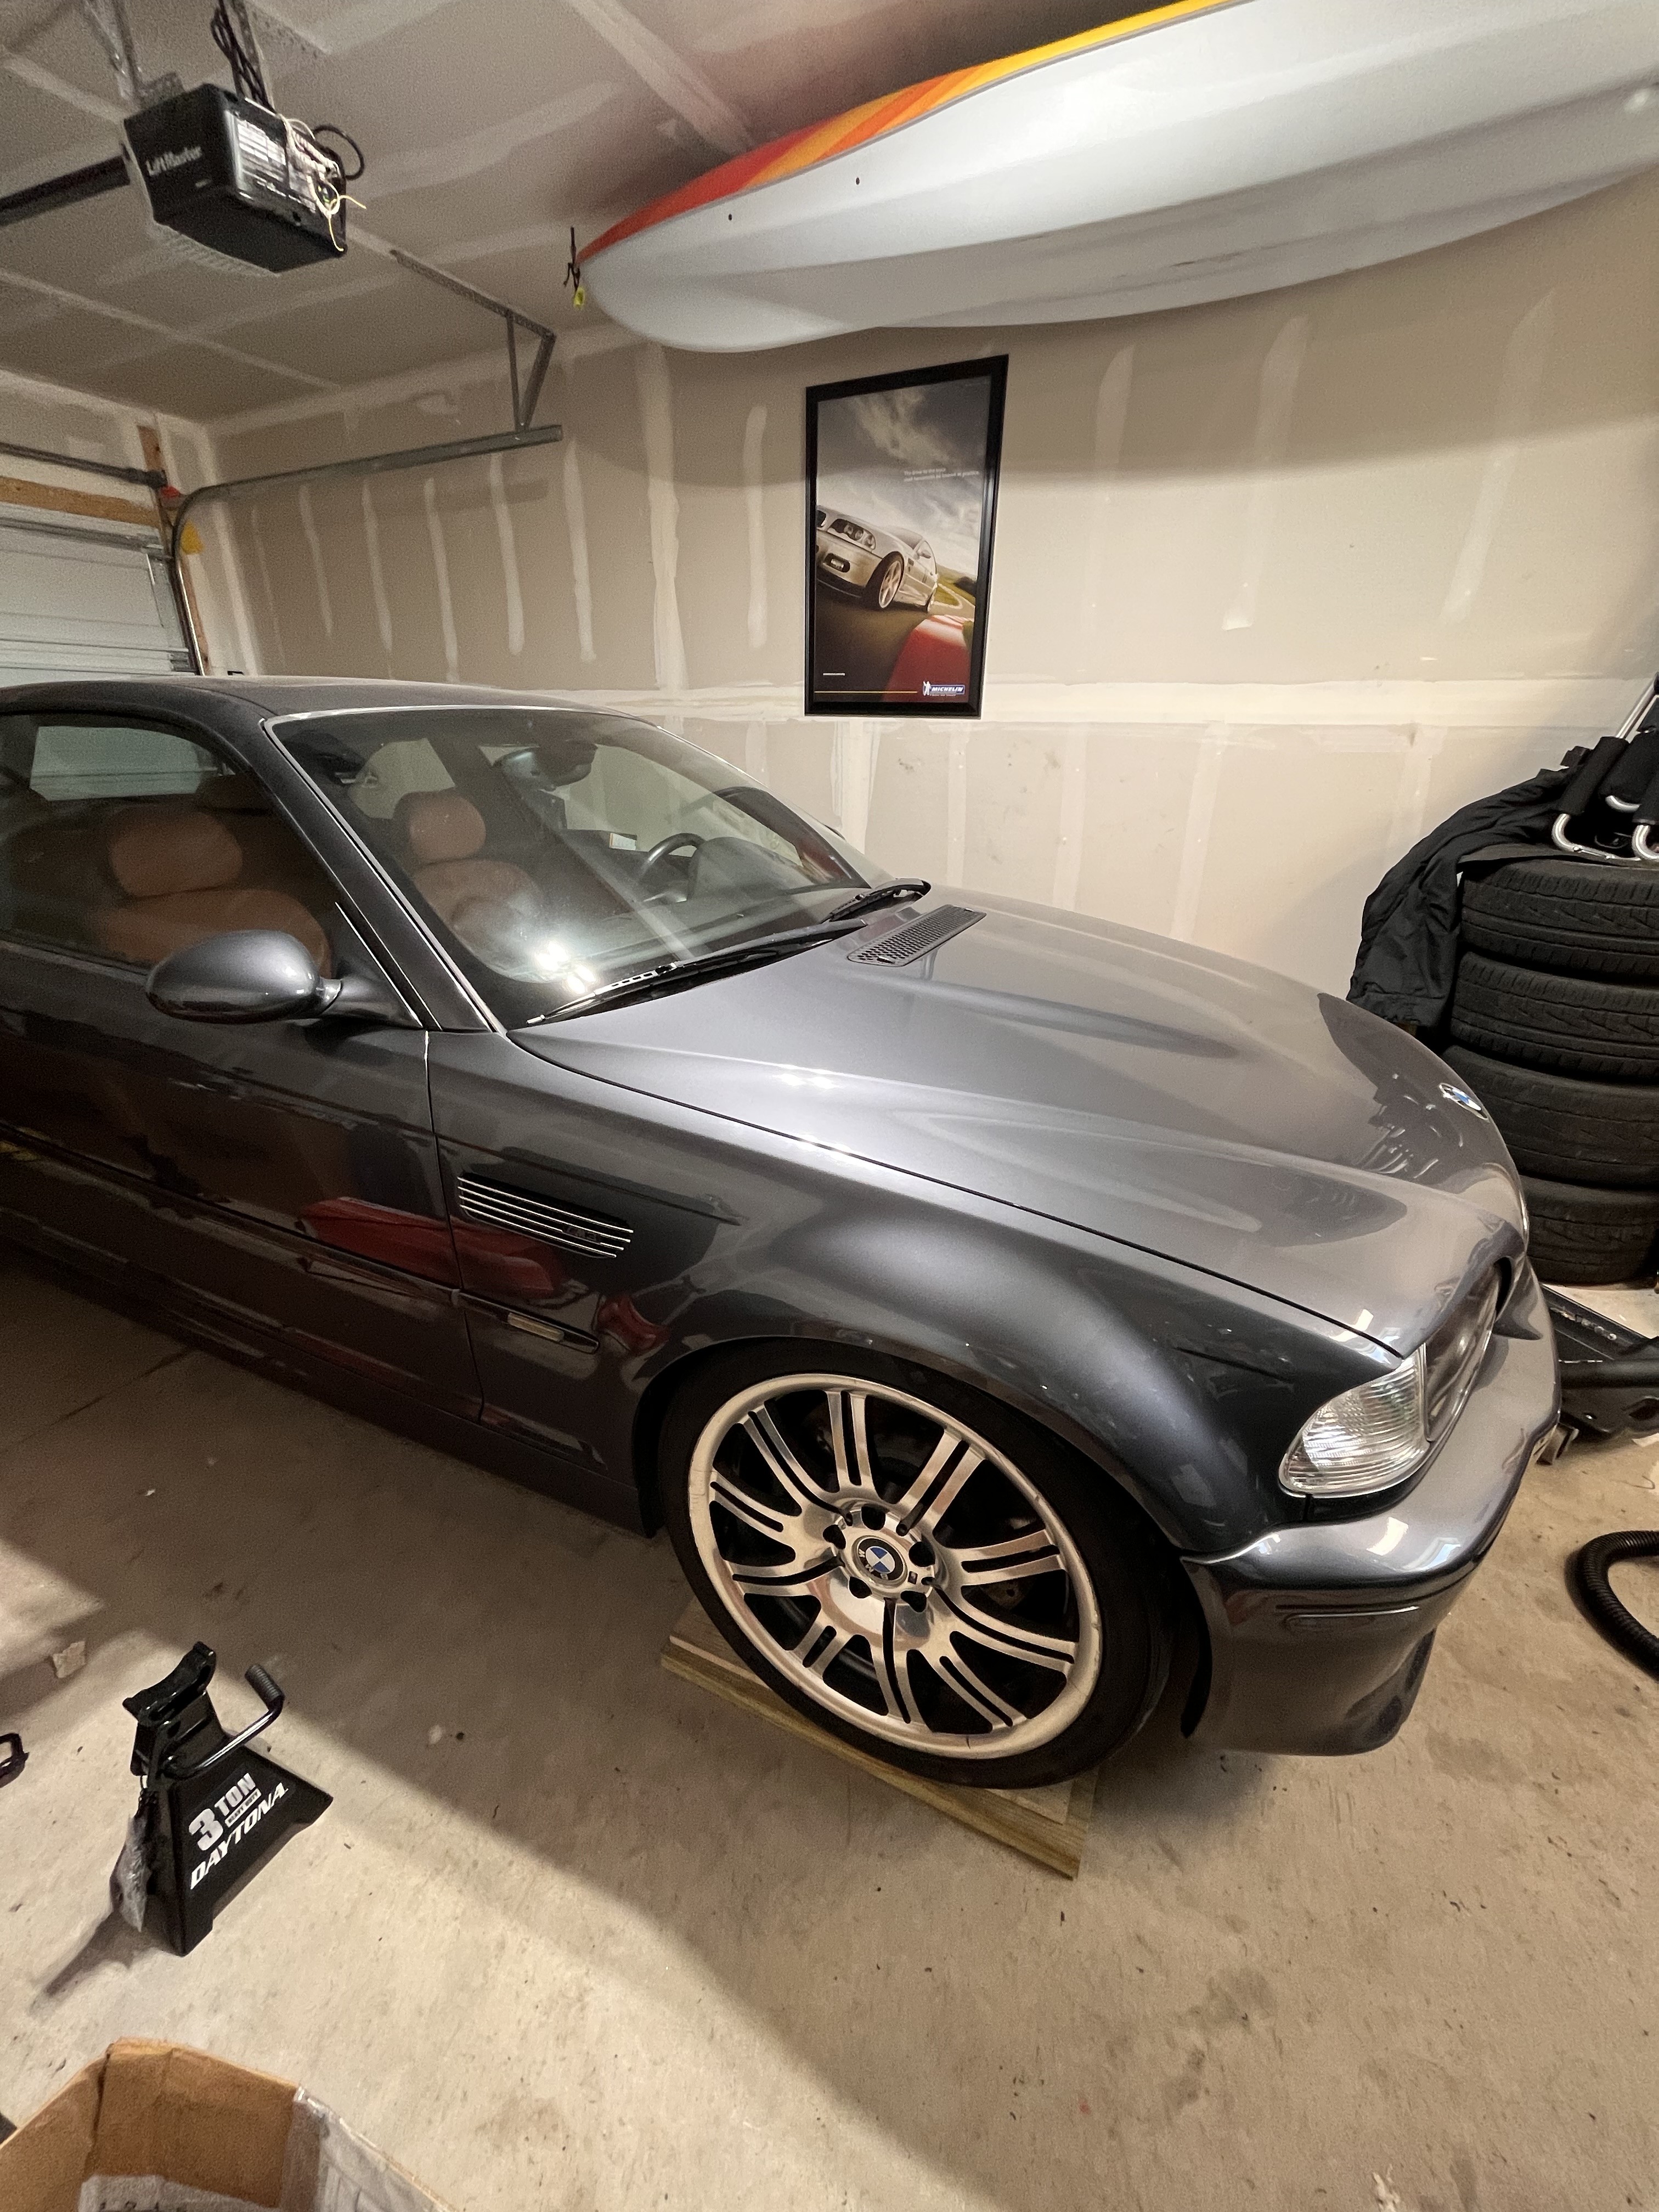
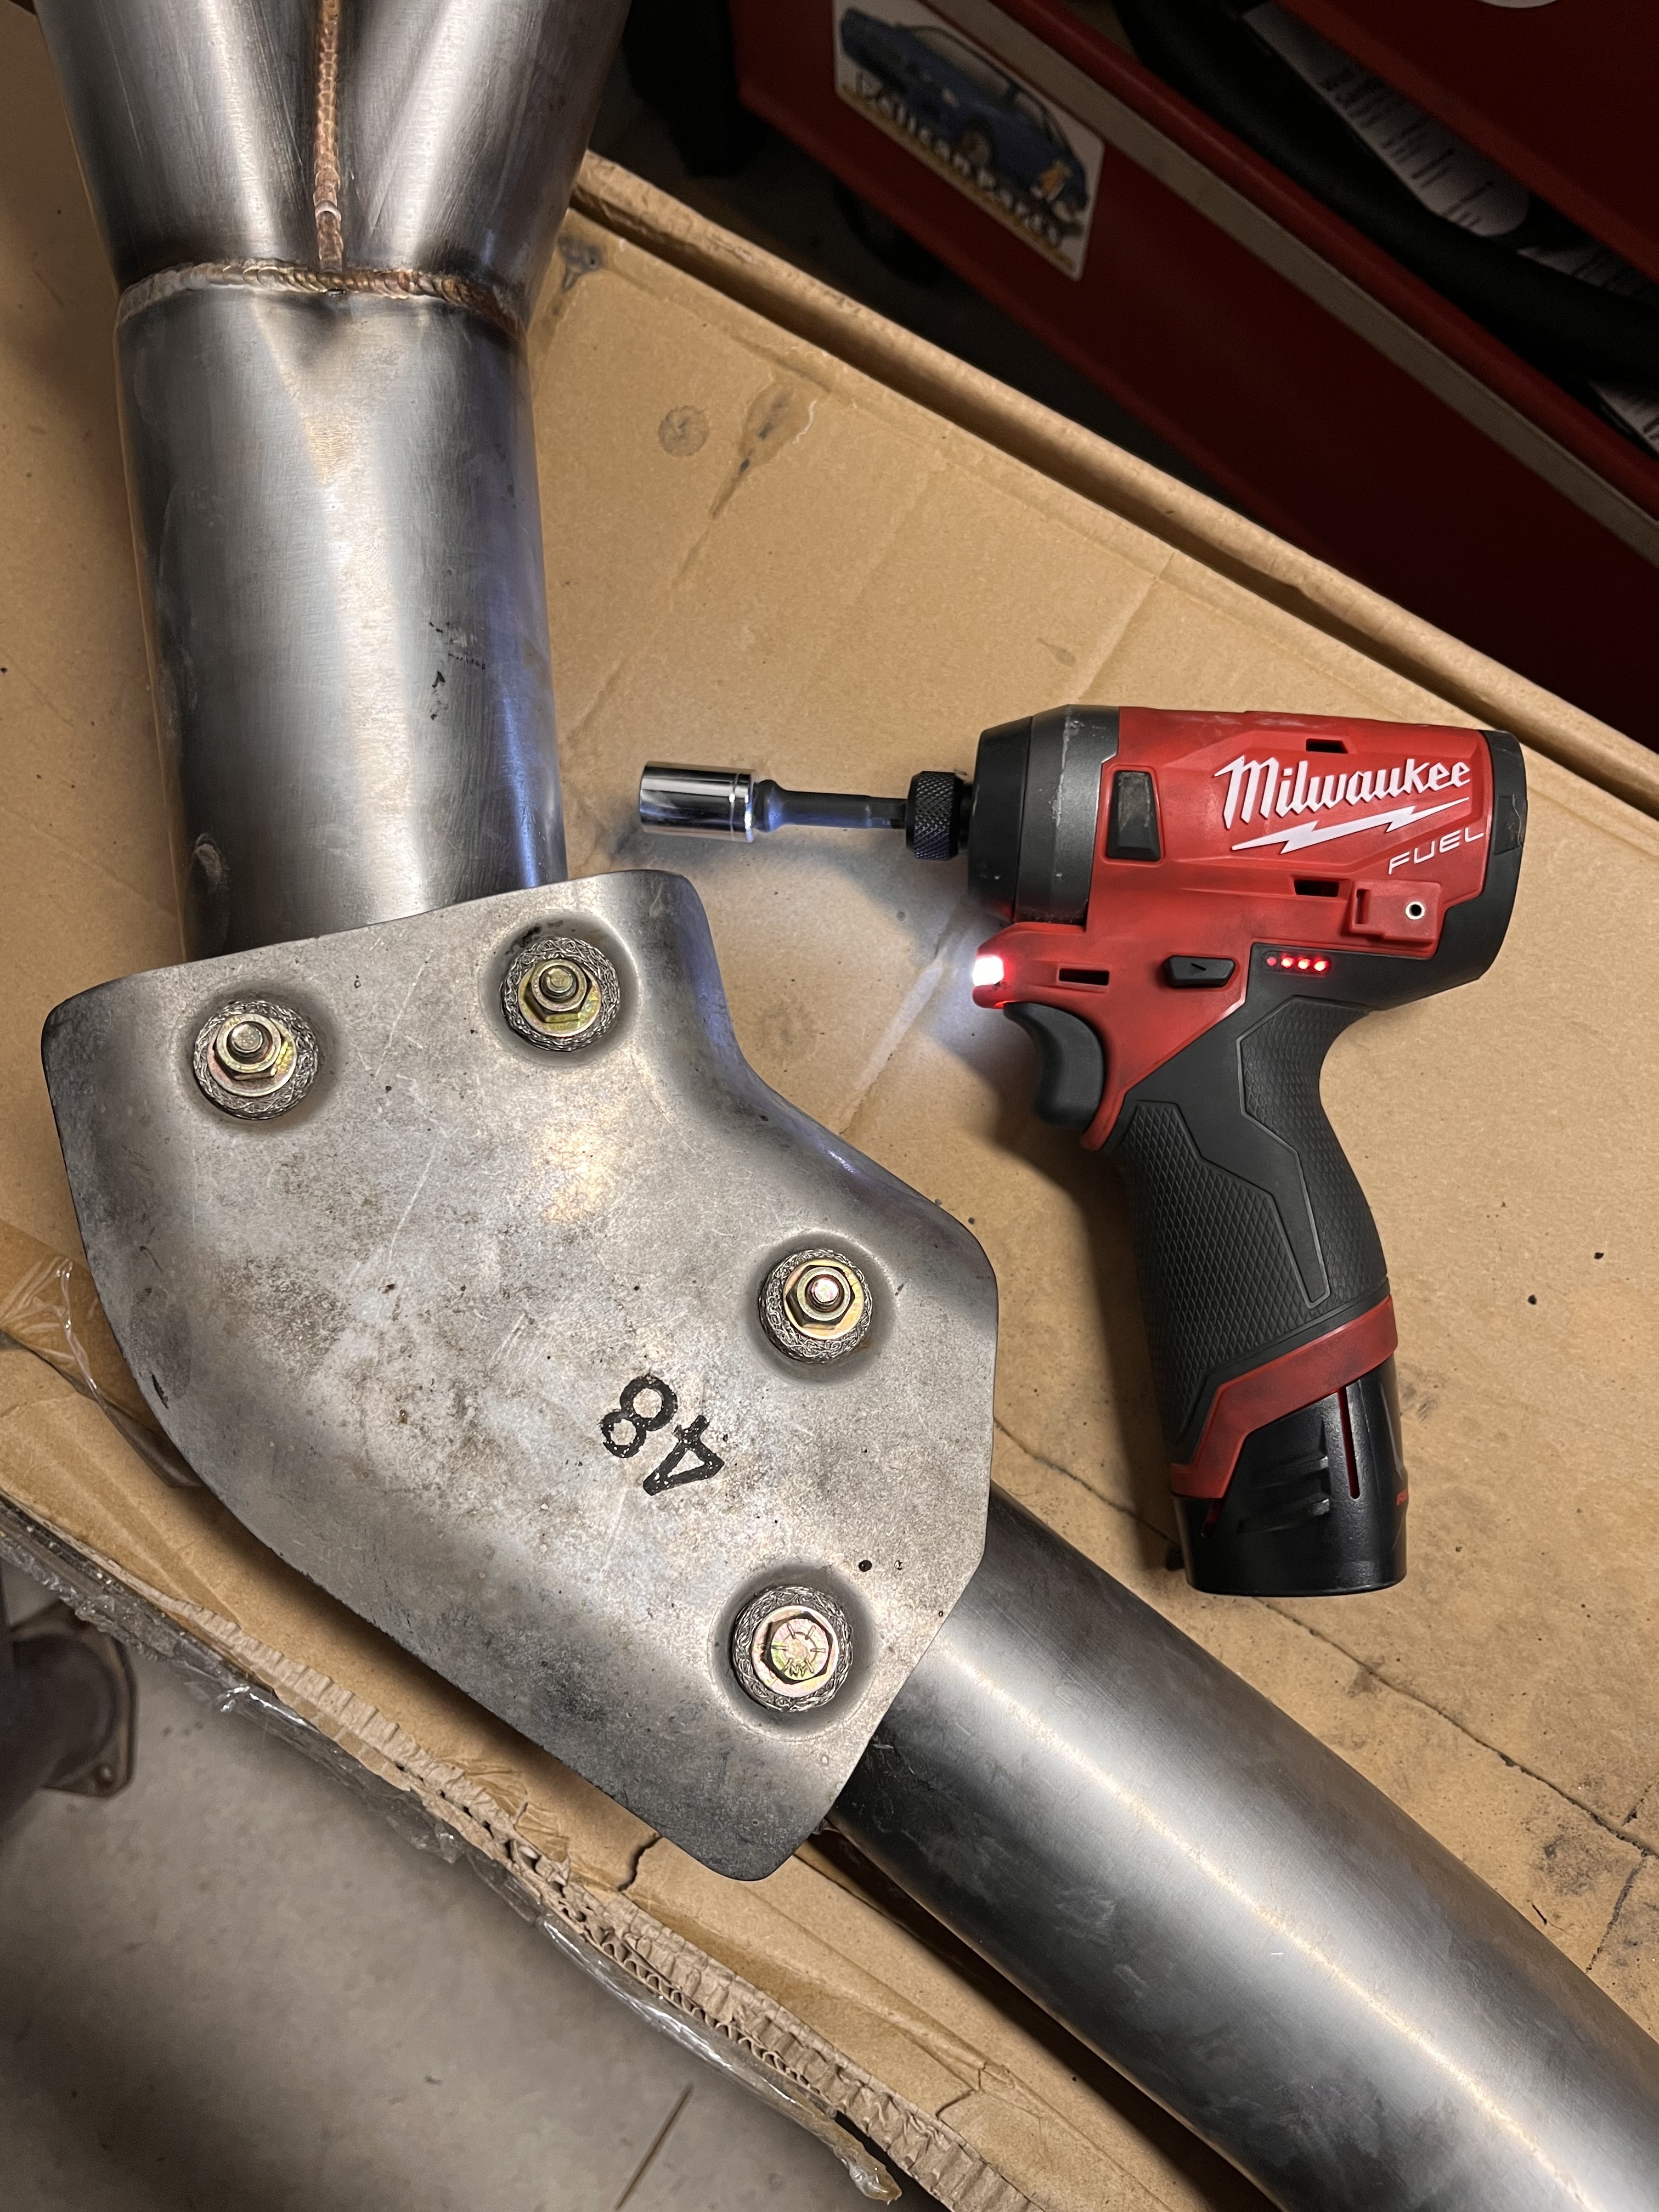
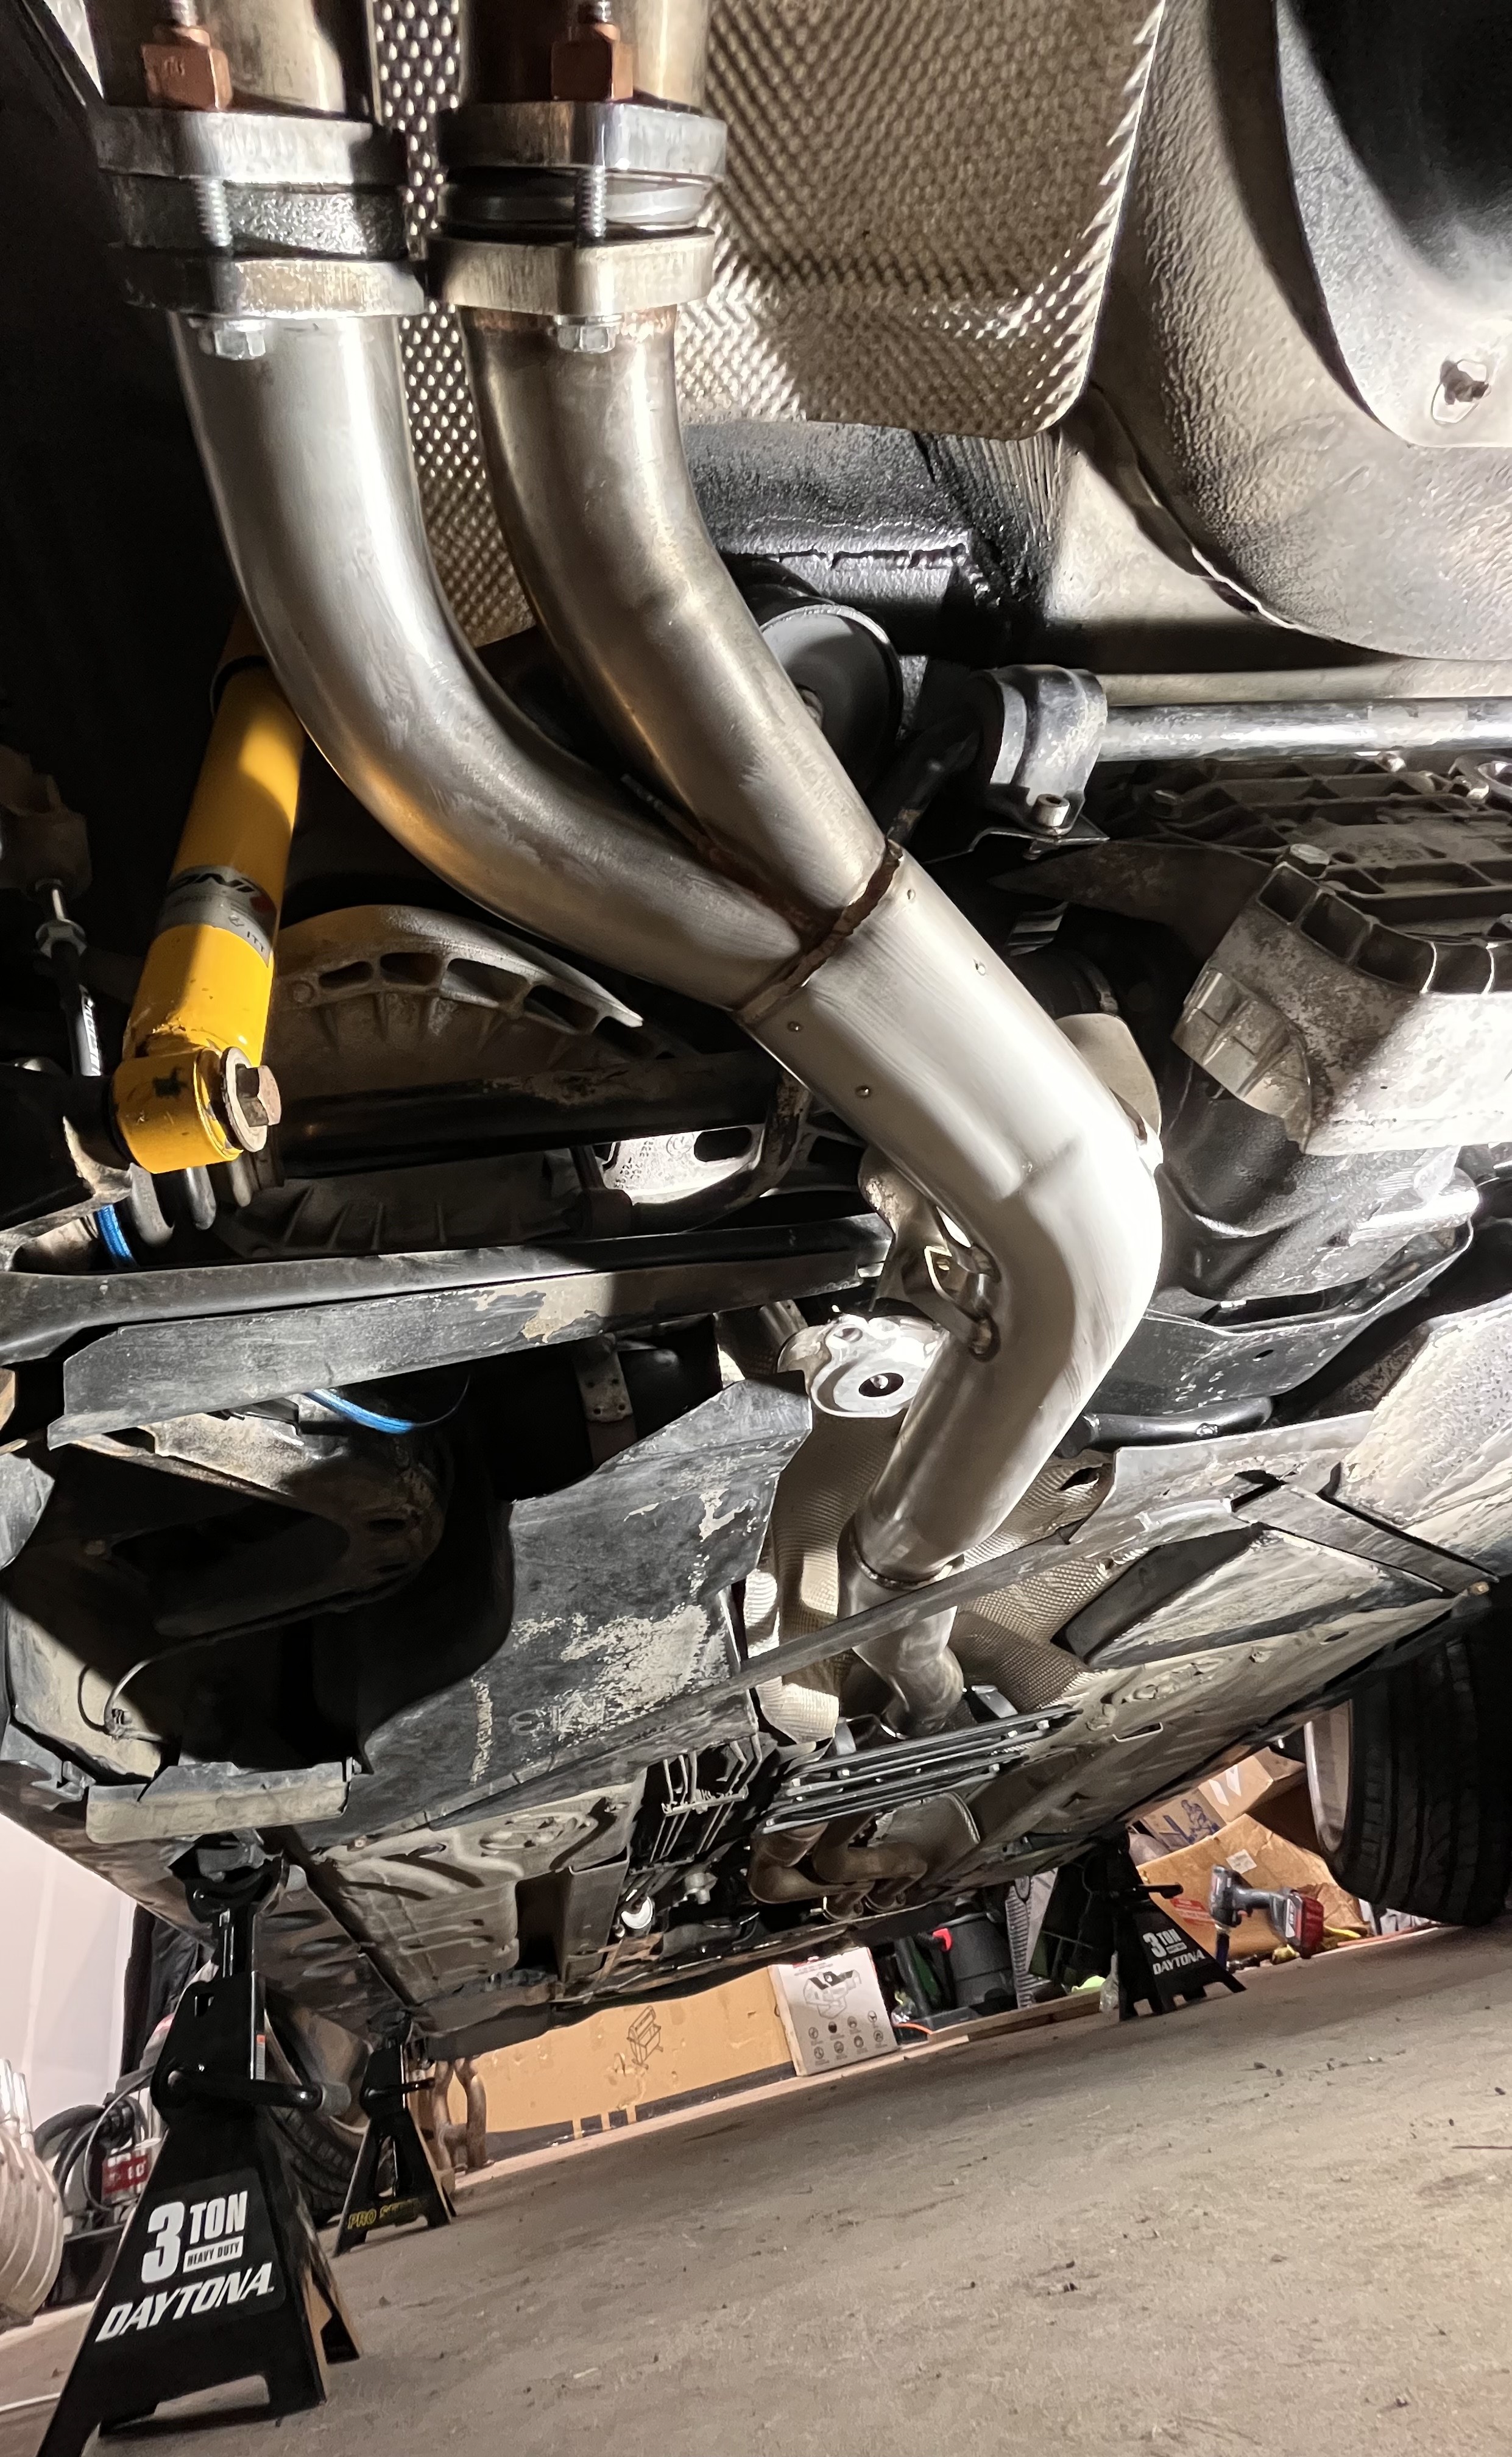
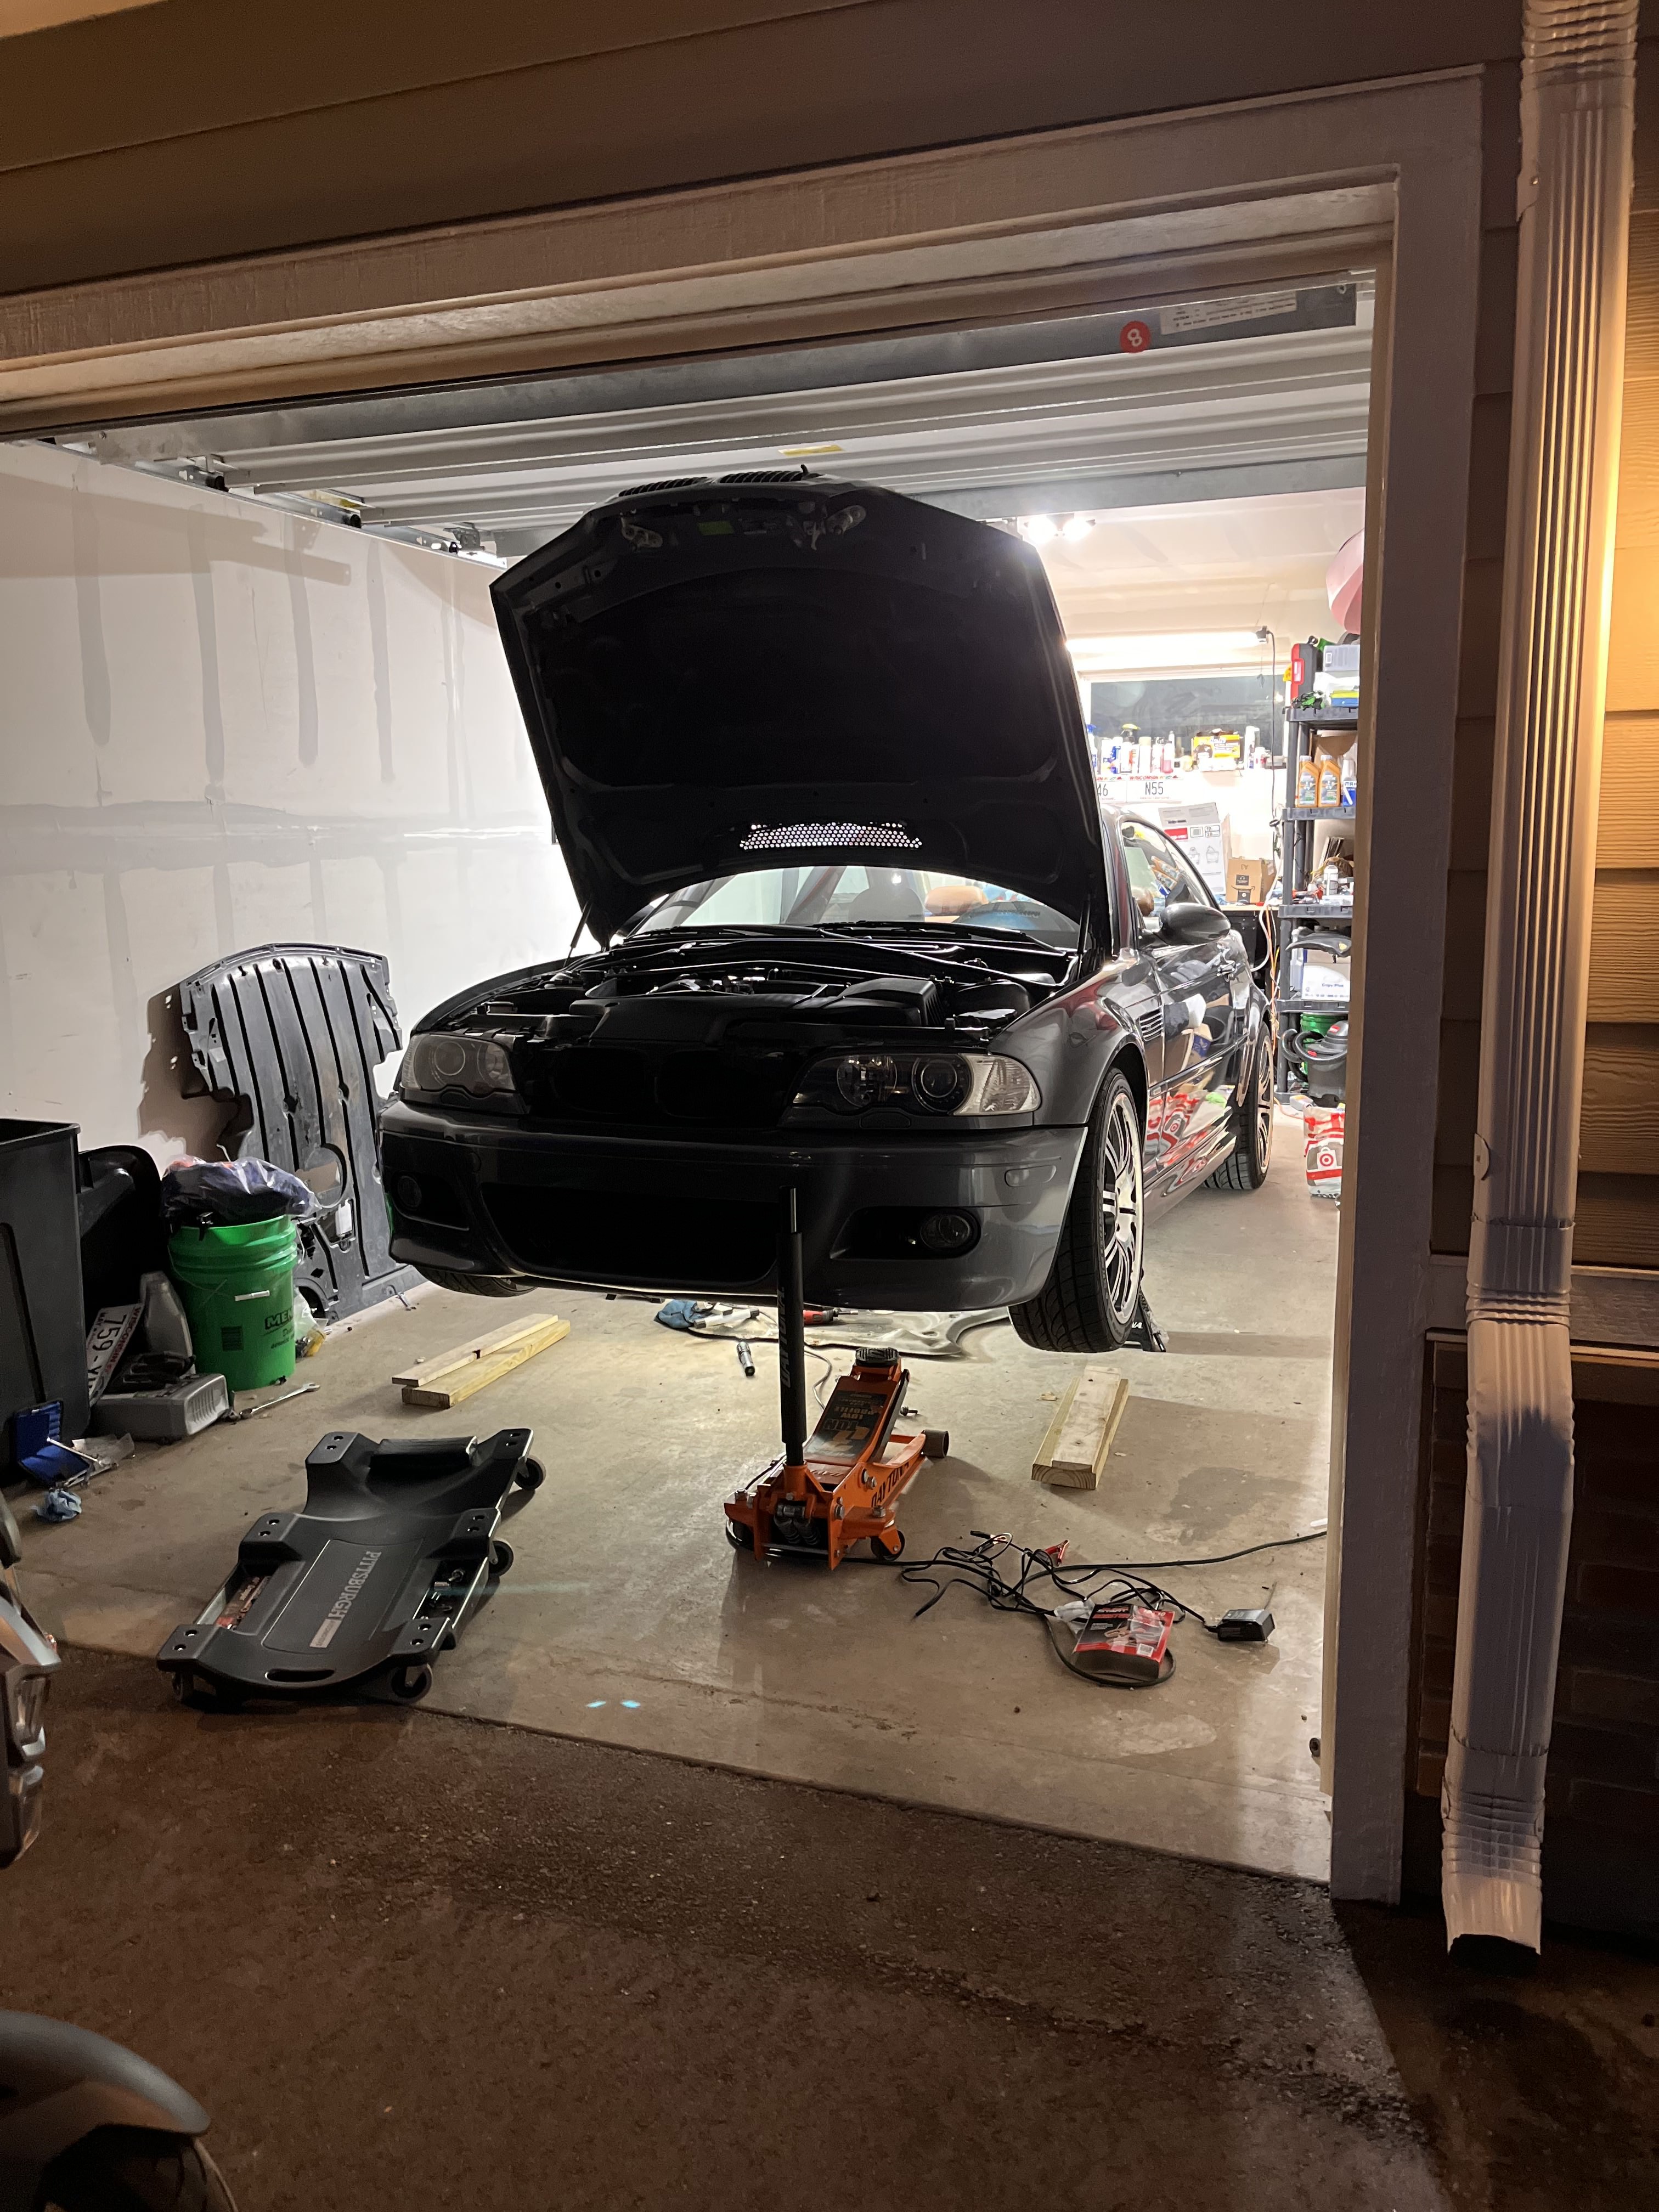
Had to toss the car up on stands again to bleed the brakes since I messed with brake lines again. While it was up I decided to toss the new X pipe on. Overall was super easy to install, just tedious with all the metal braces that have to come off.
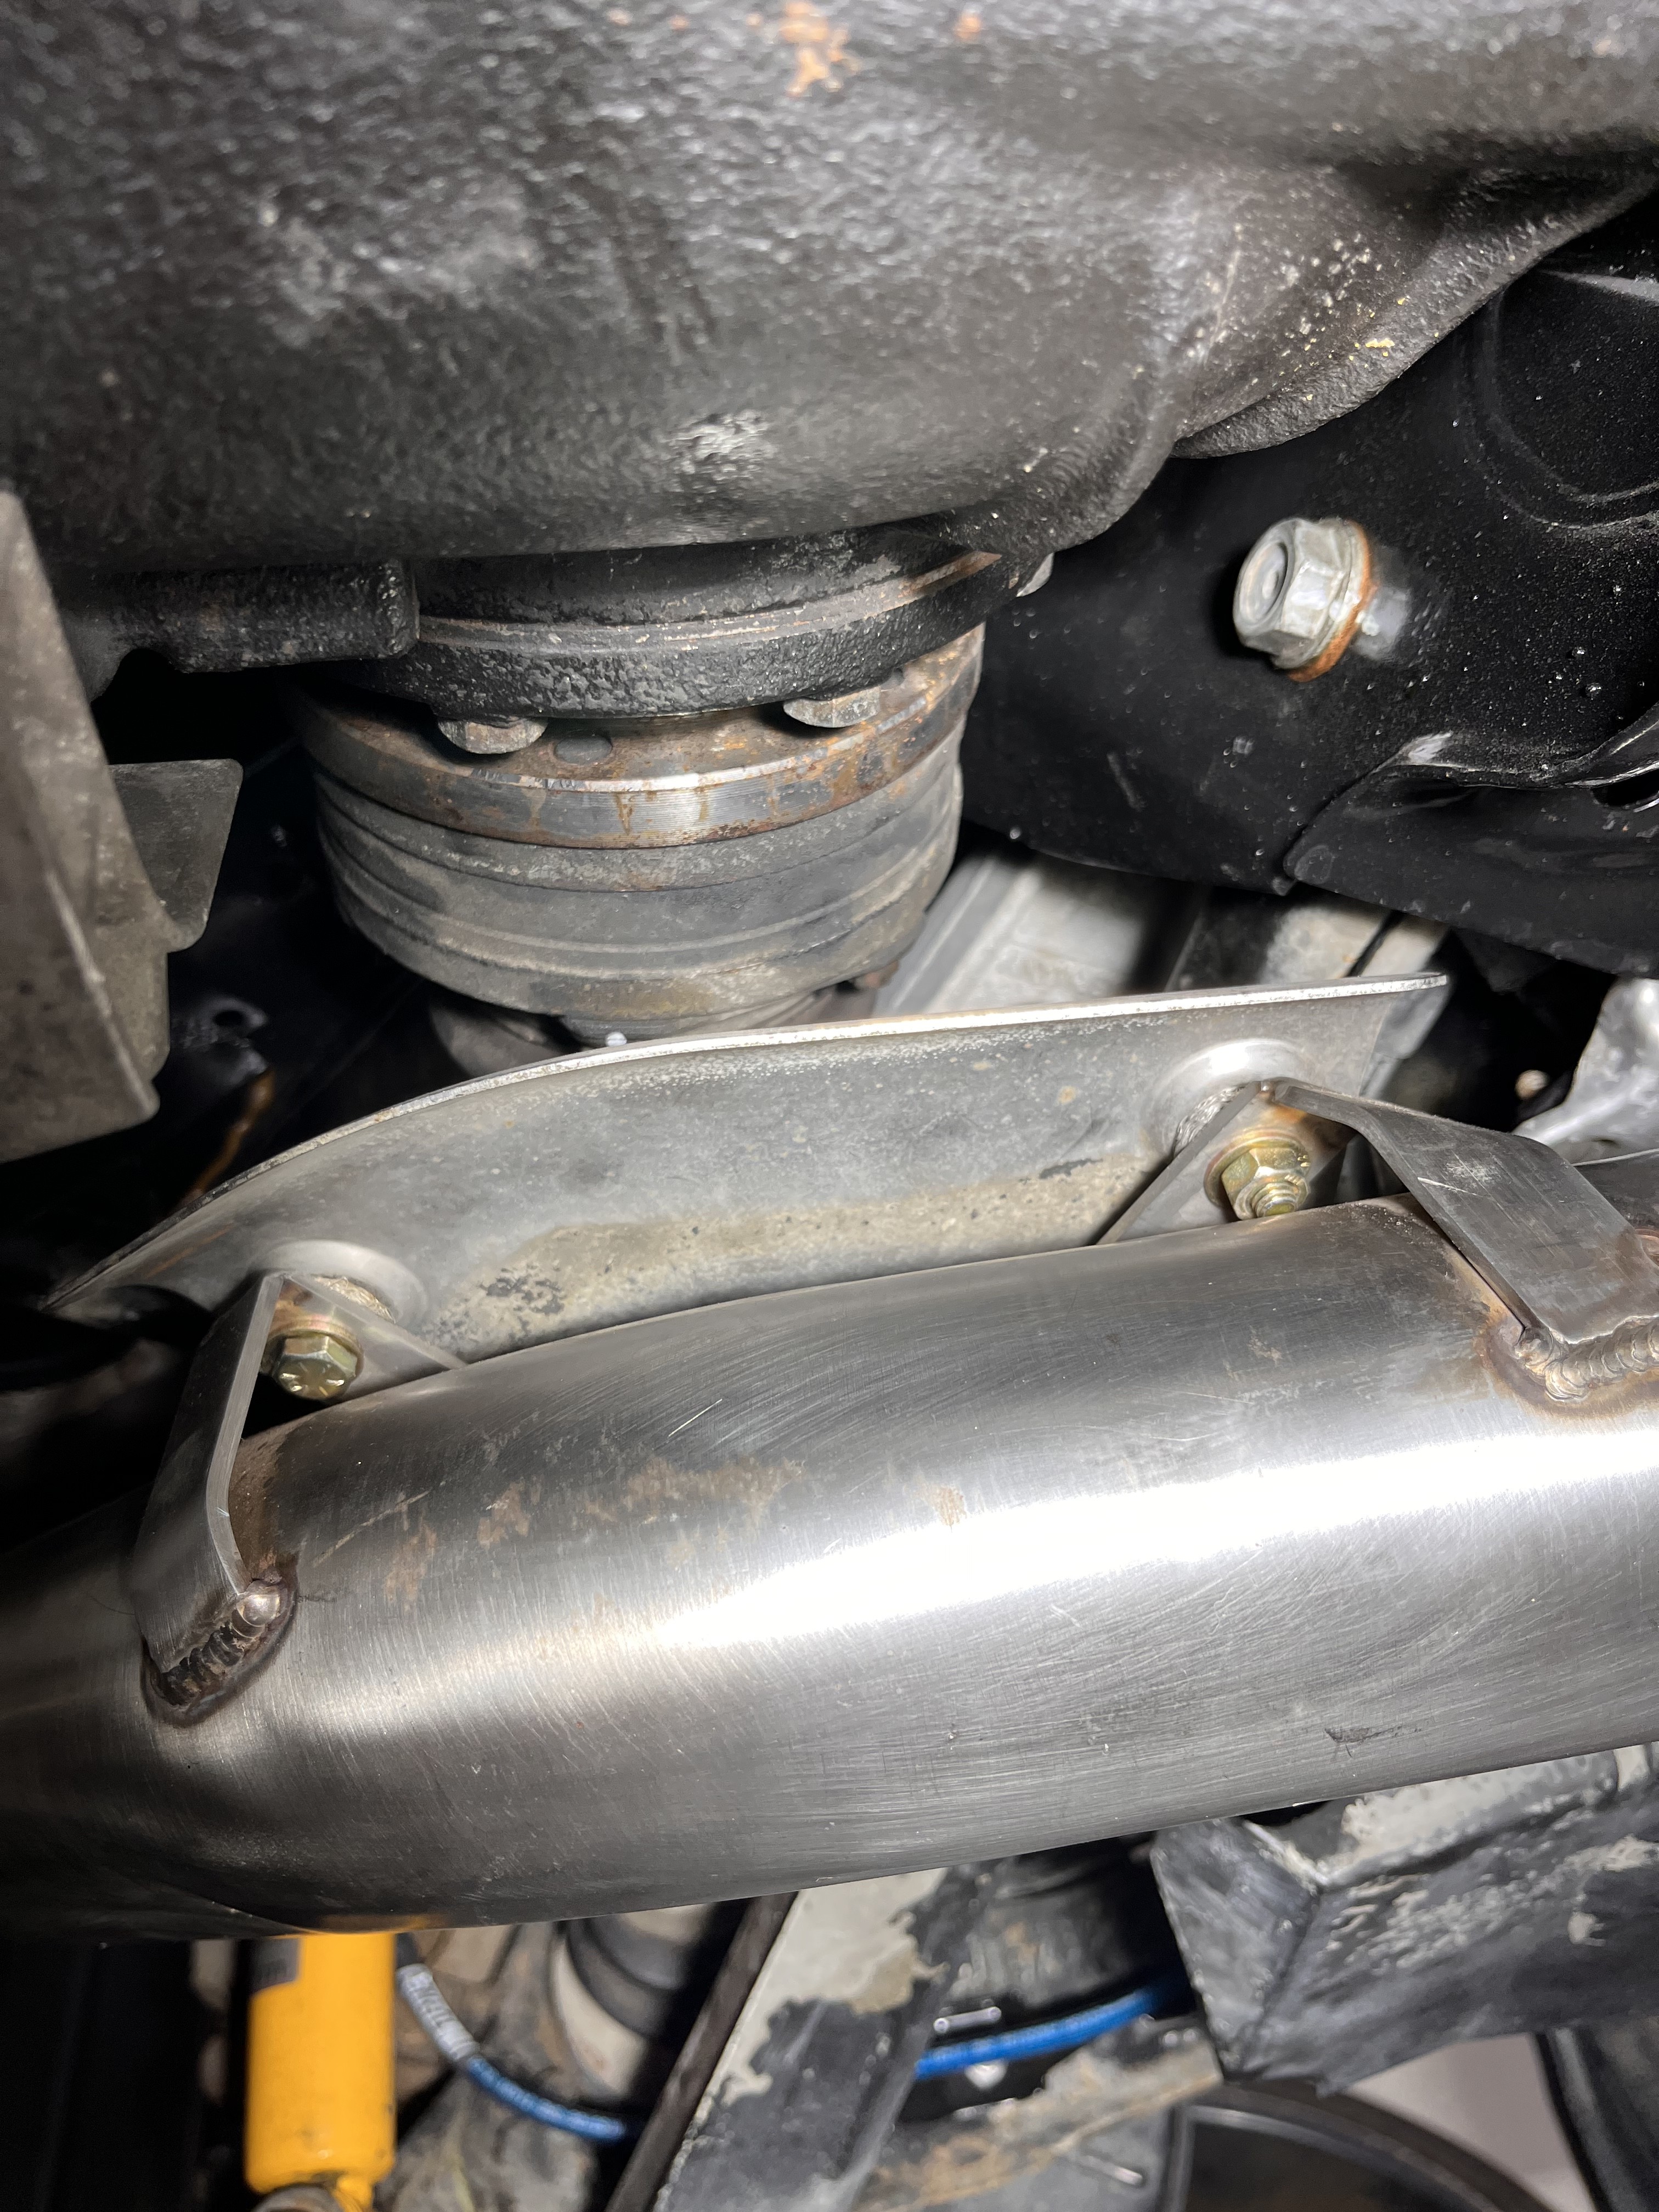
Only hiccup was the pipe didn’t come with hardware to transfer over the factory pipe’s heat shield. If I’m going to do it might as well do it right so I went out and found some nice grade 8 yellow zinc hardware to attach it. One bolt had to go backwards because of the clearance, which bugs me, but oh well.
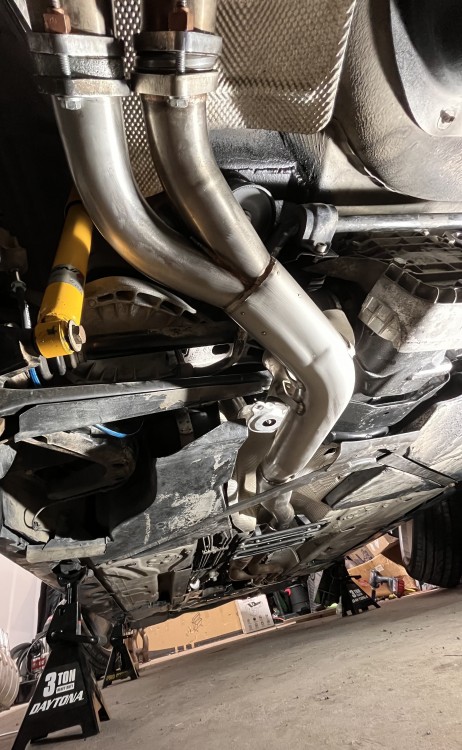
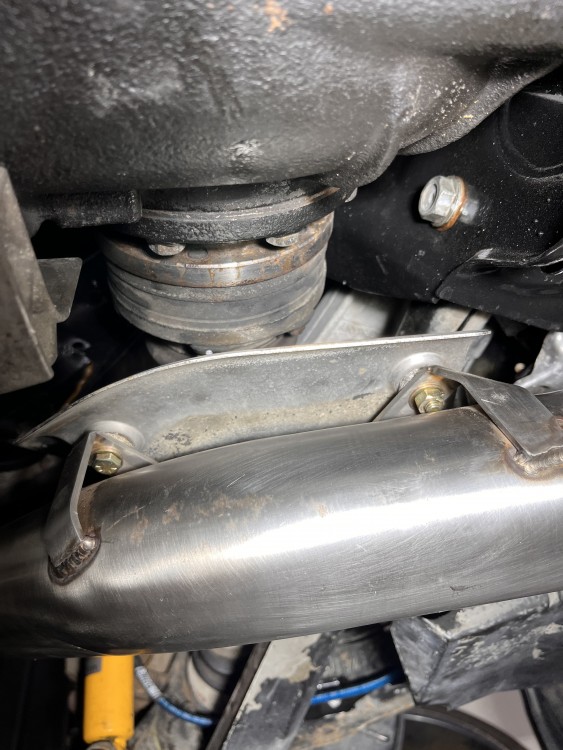
-
I hope that you never forget that bolt is backwards.
The concours judges certainly won’t
-
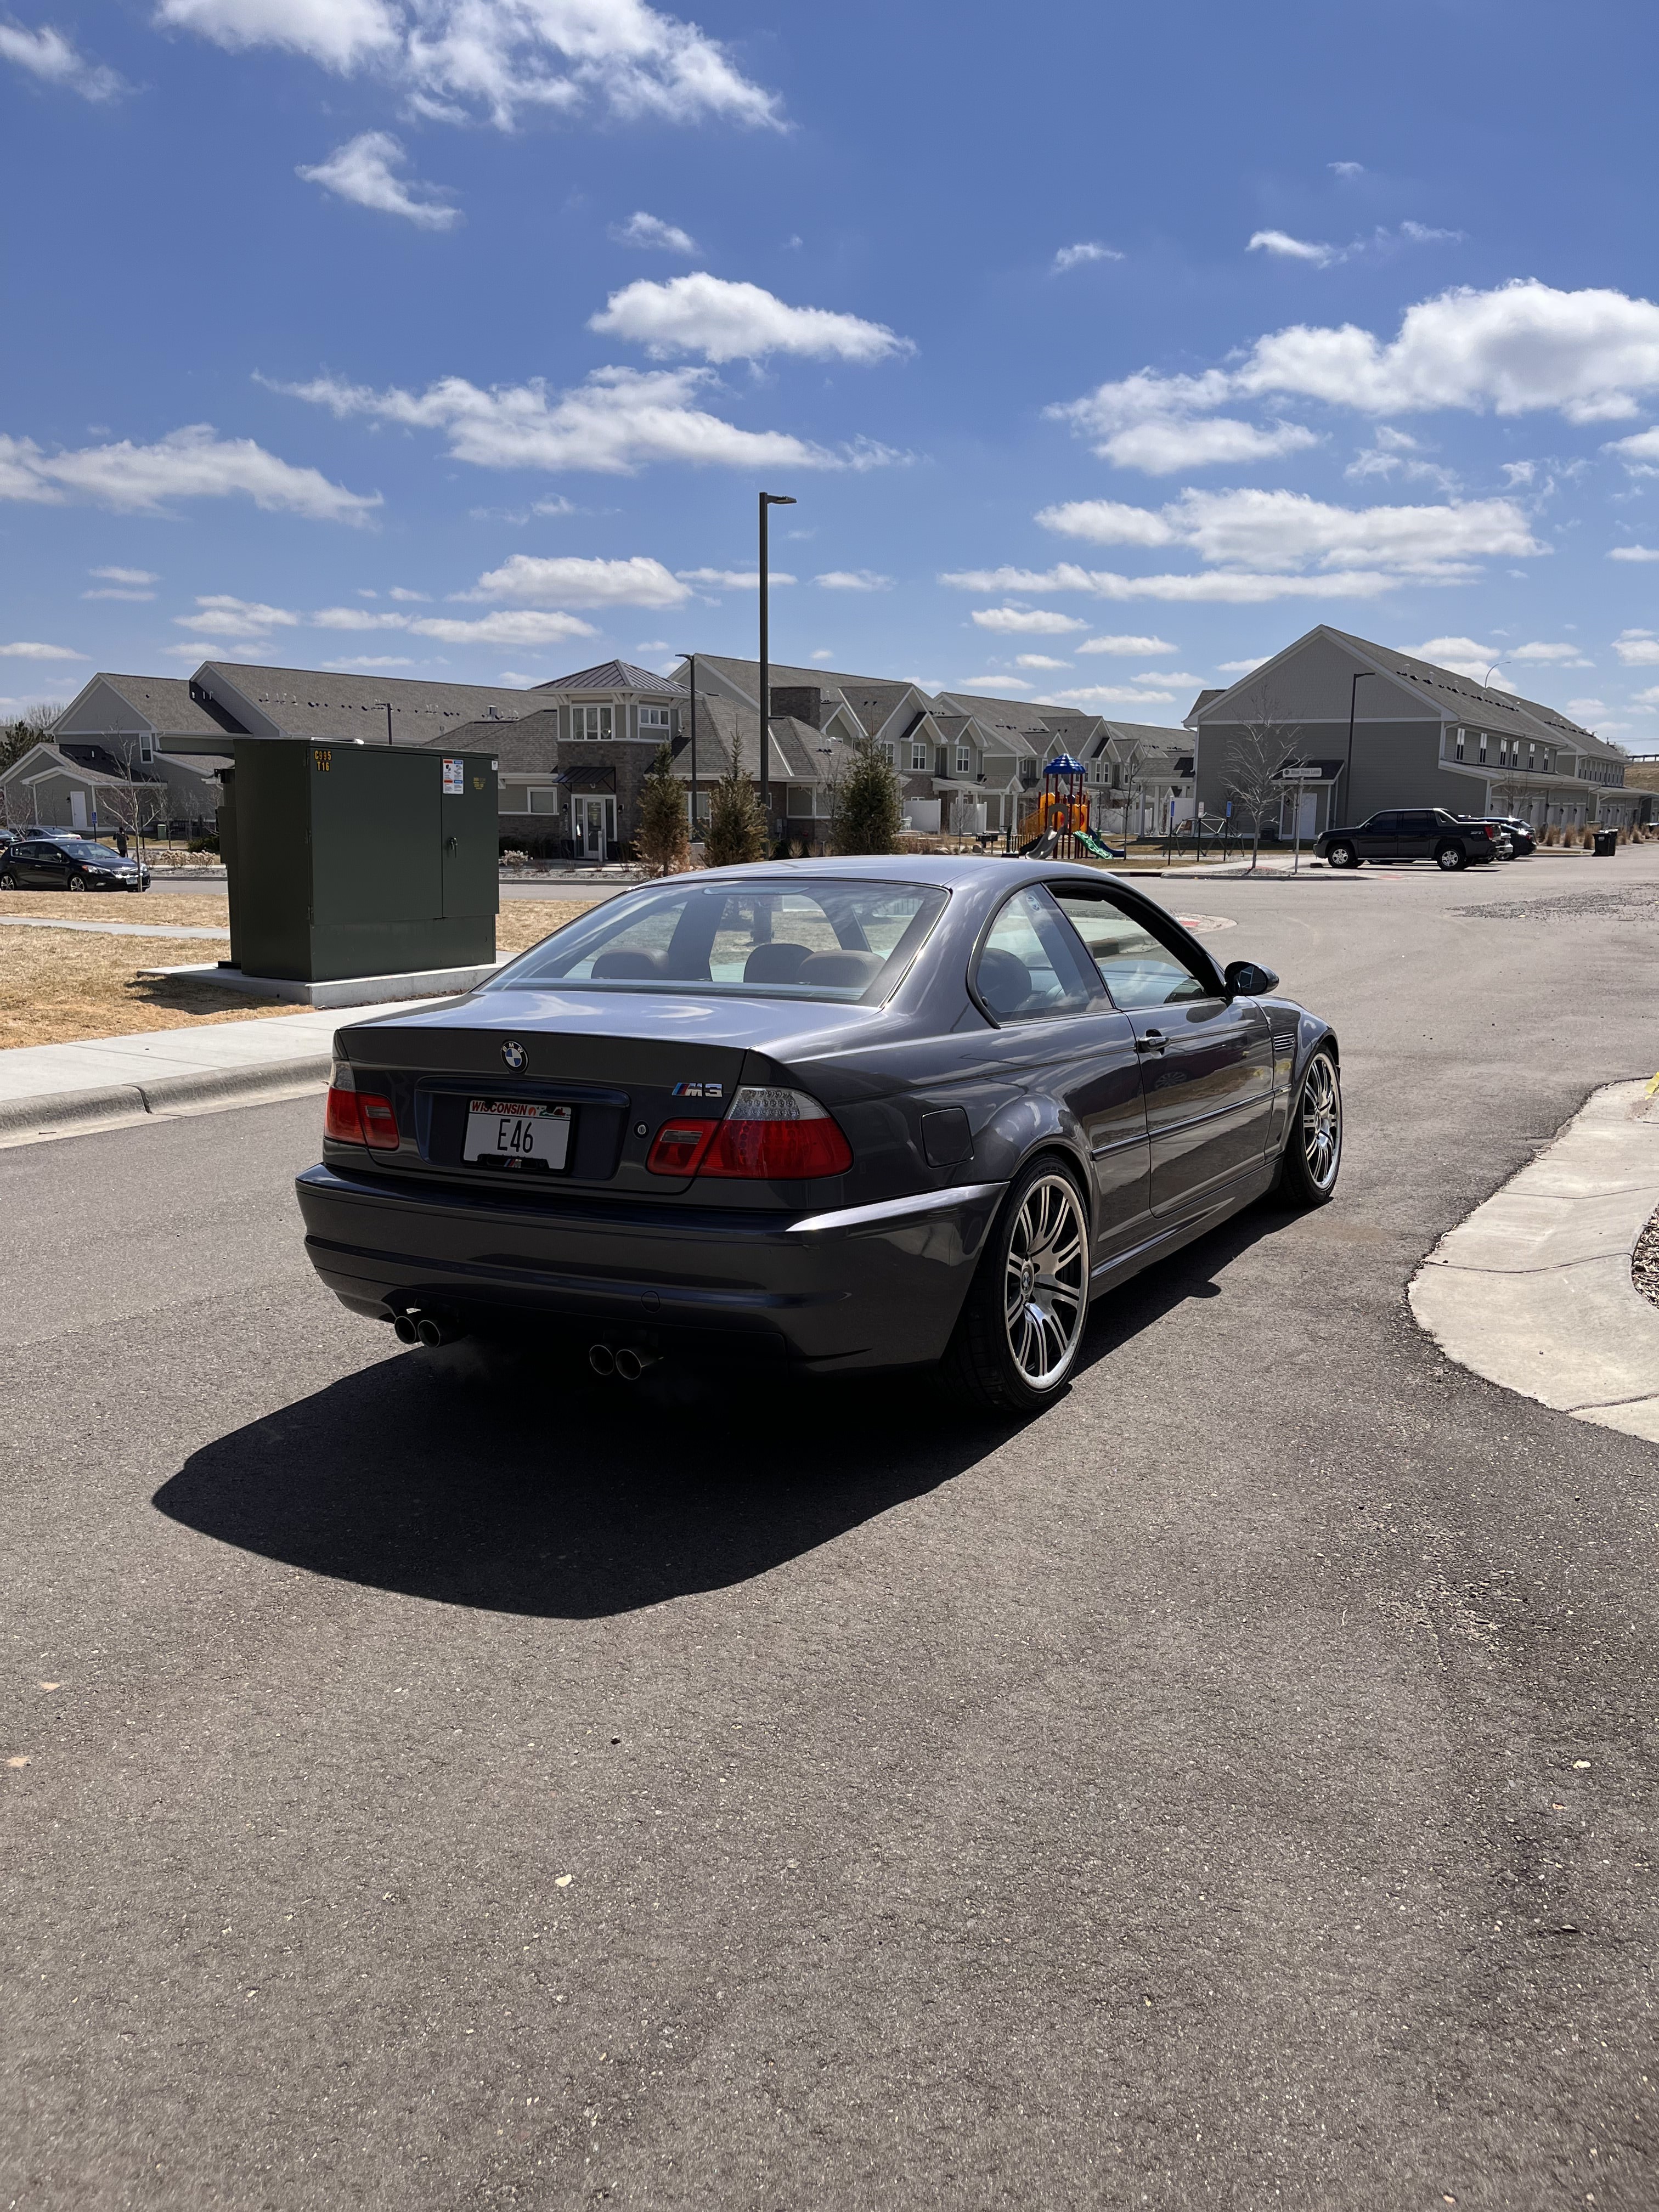
Snow finally melted and we've had a few good rains in to wash all the salt away. Took the M3 out today and gave it a test drive after all the changes. Ran like a can of beans. Turns out I had crossed the two pre-cat O2 sensors when doing the header install. Finally got them swapped and it's no longer a can of beans. Tossing in a lil sound clip of the new X pipe too, sounds freakin awesome in person.
-
That sounds great!



Hello! It looks like you're interested in this conversation, but you don't have an account yet.
Getting fed up of having to scroll through the same posts each visit? When you register for an account, you'll always come back to exactly where you were before, and choose to be notified of new replies (either via email, or push notification). You'll also be able to save bookmarks and upvote posts to show your appreciation to other community members.
With your input, this post could be even better 💗
Register Login