
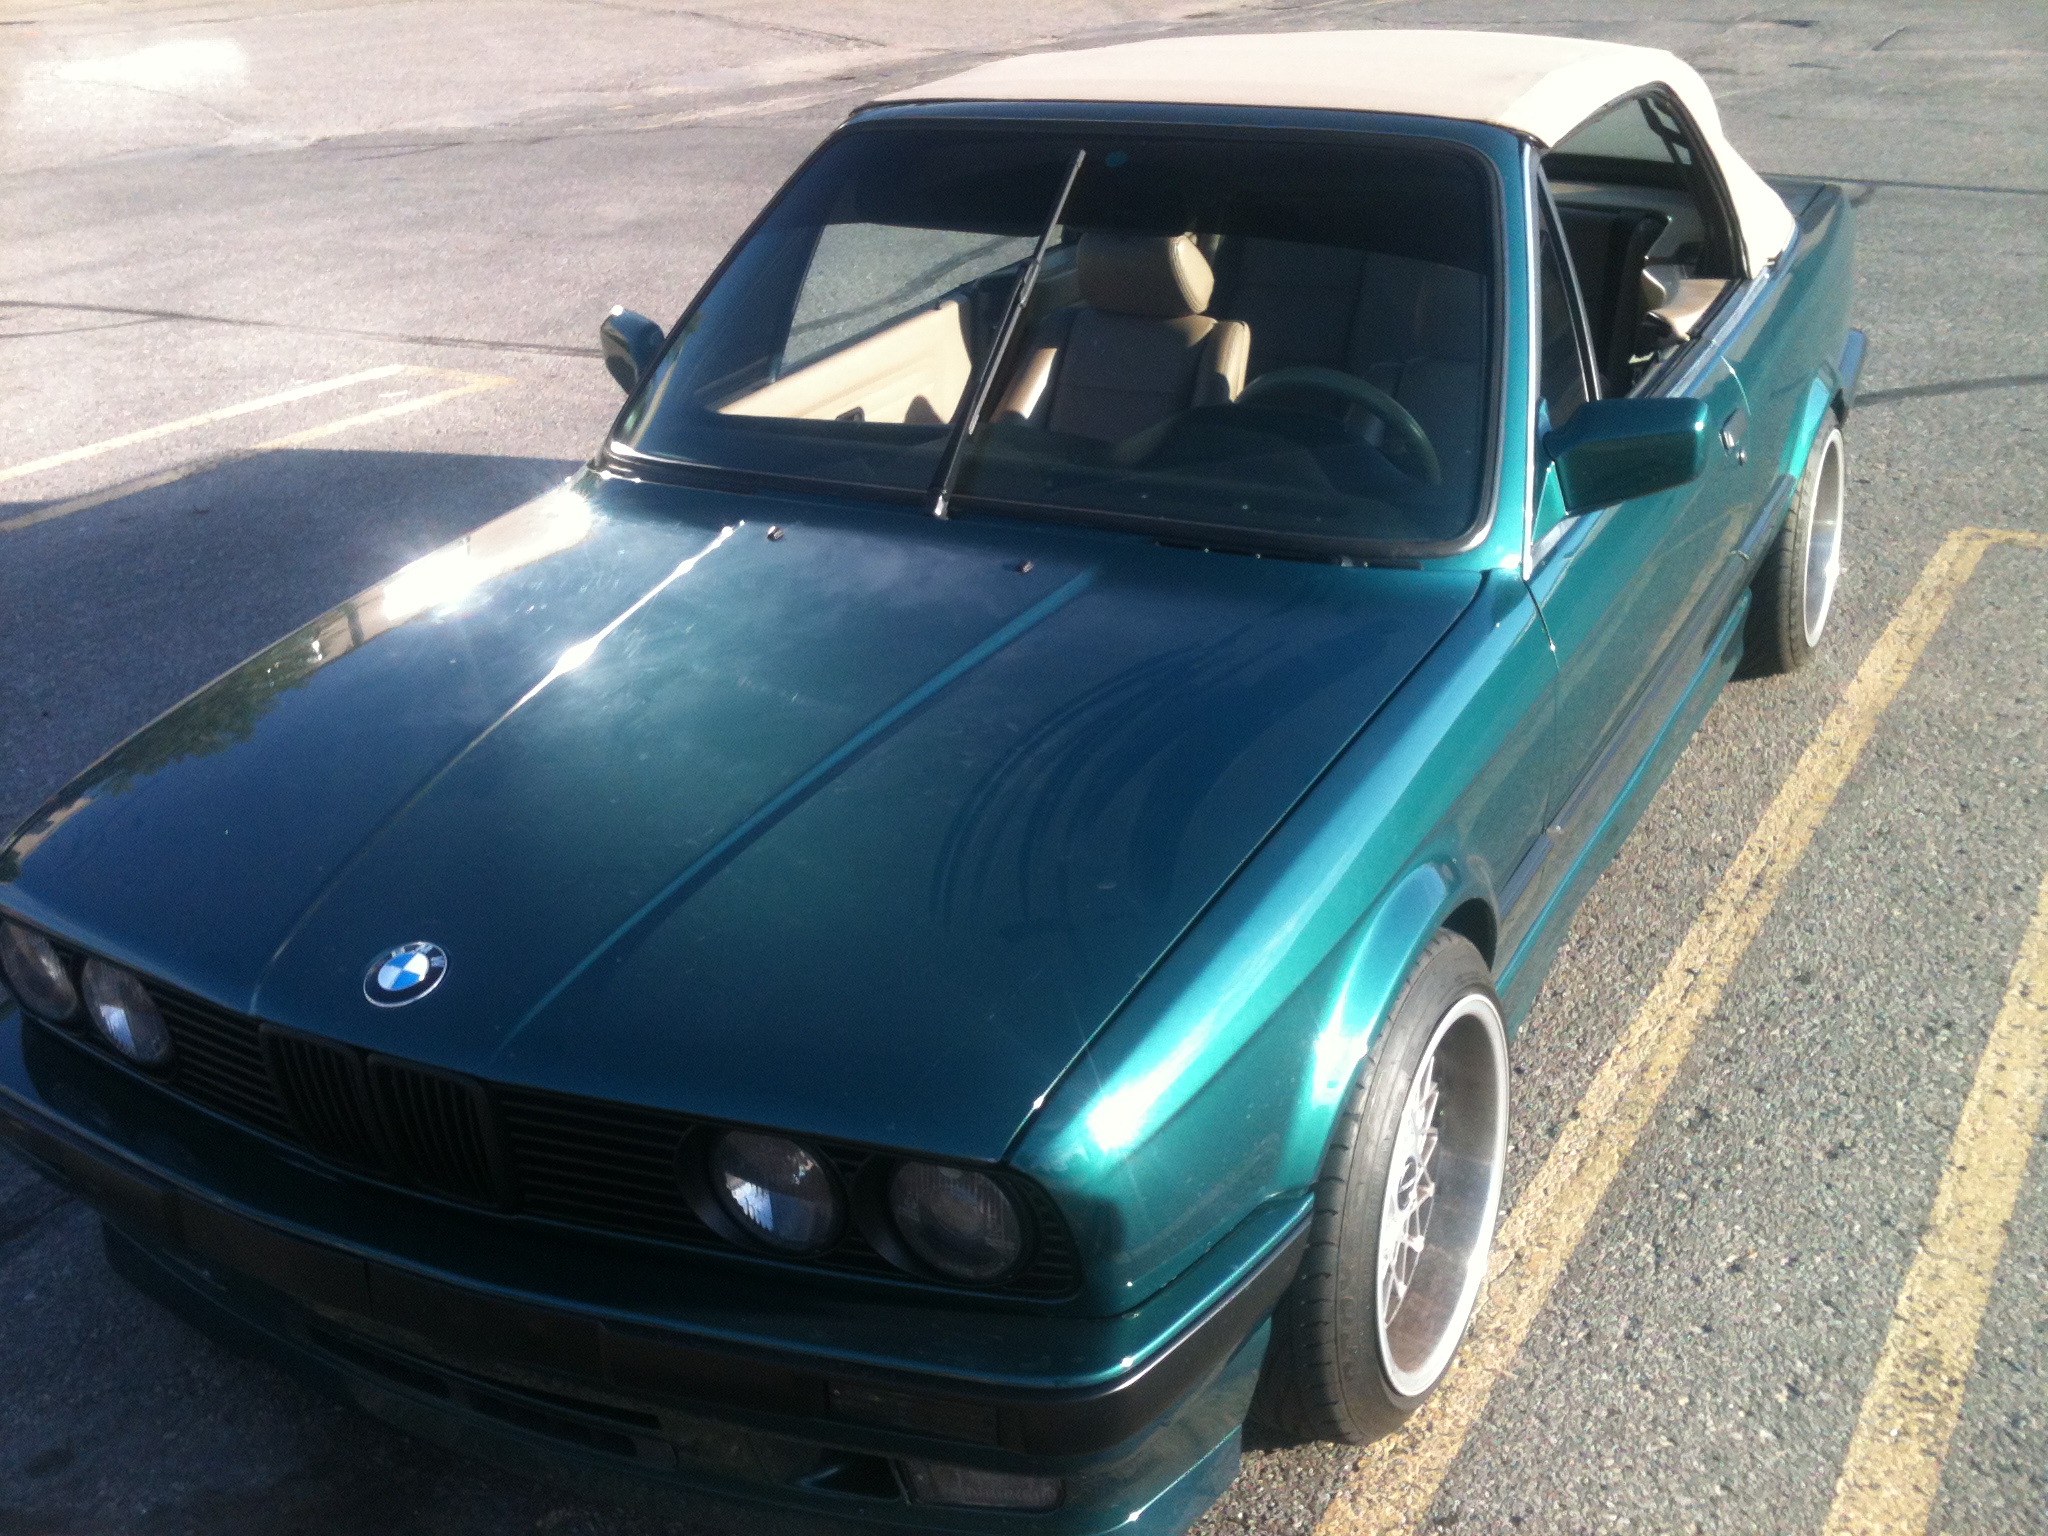
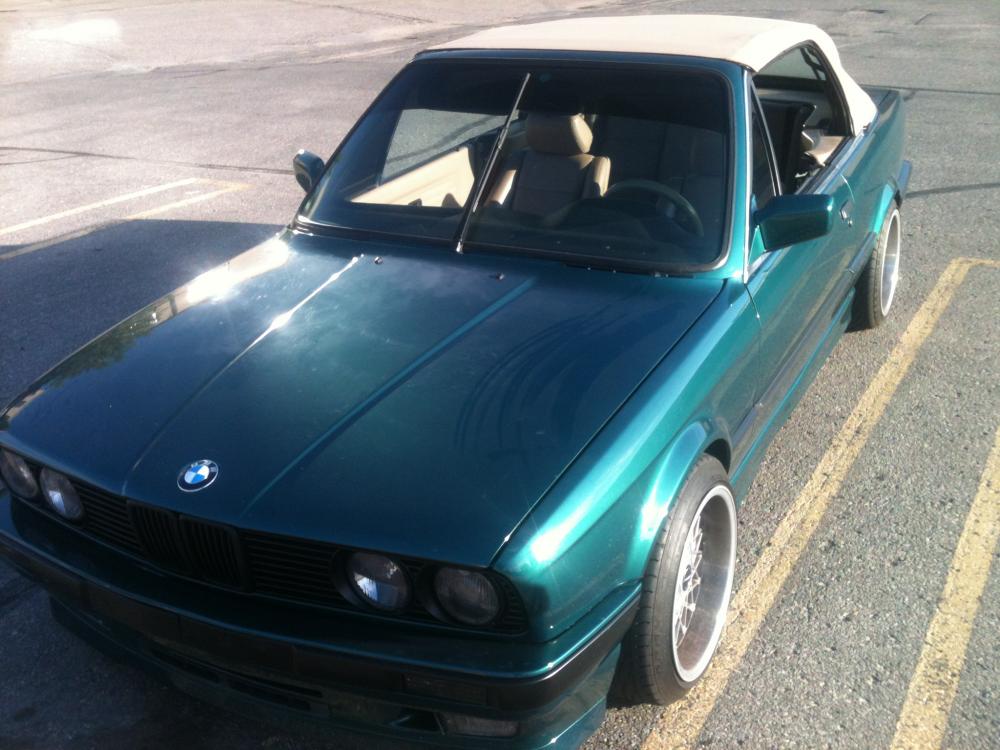
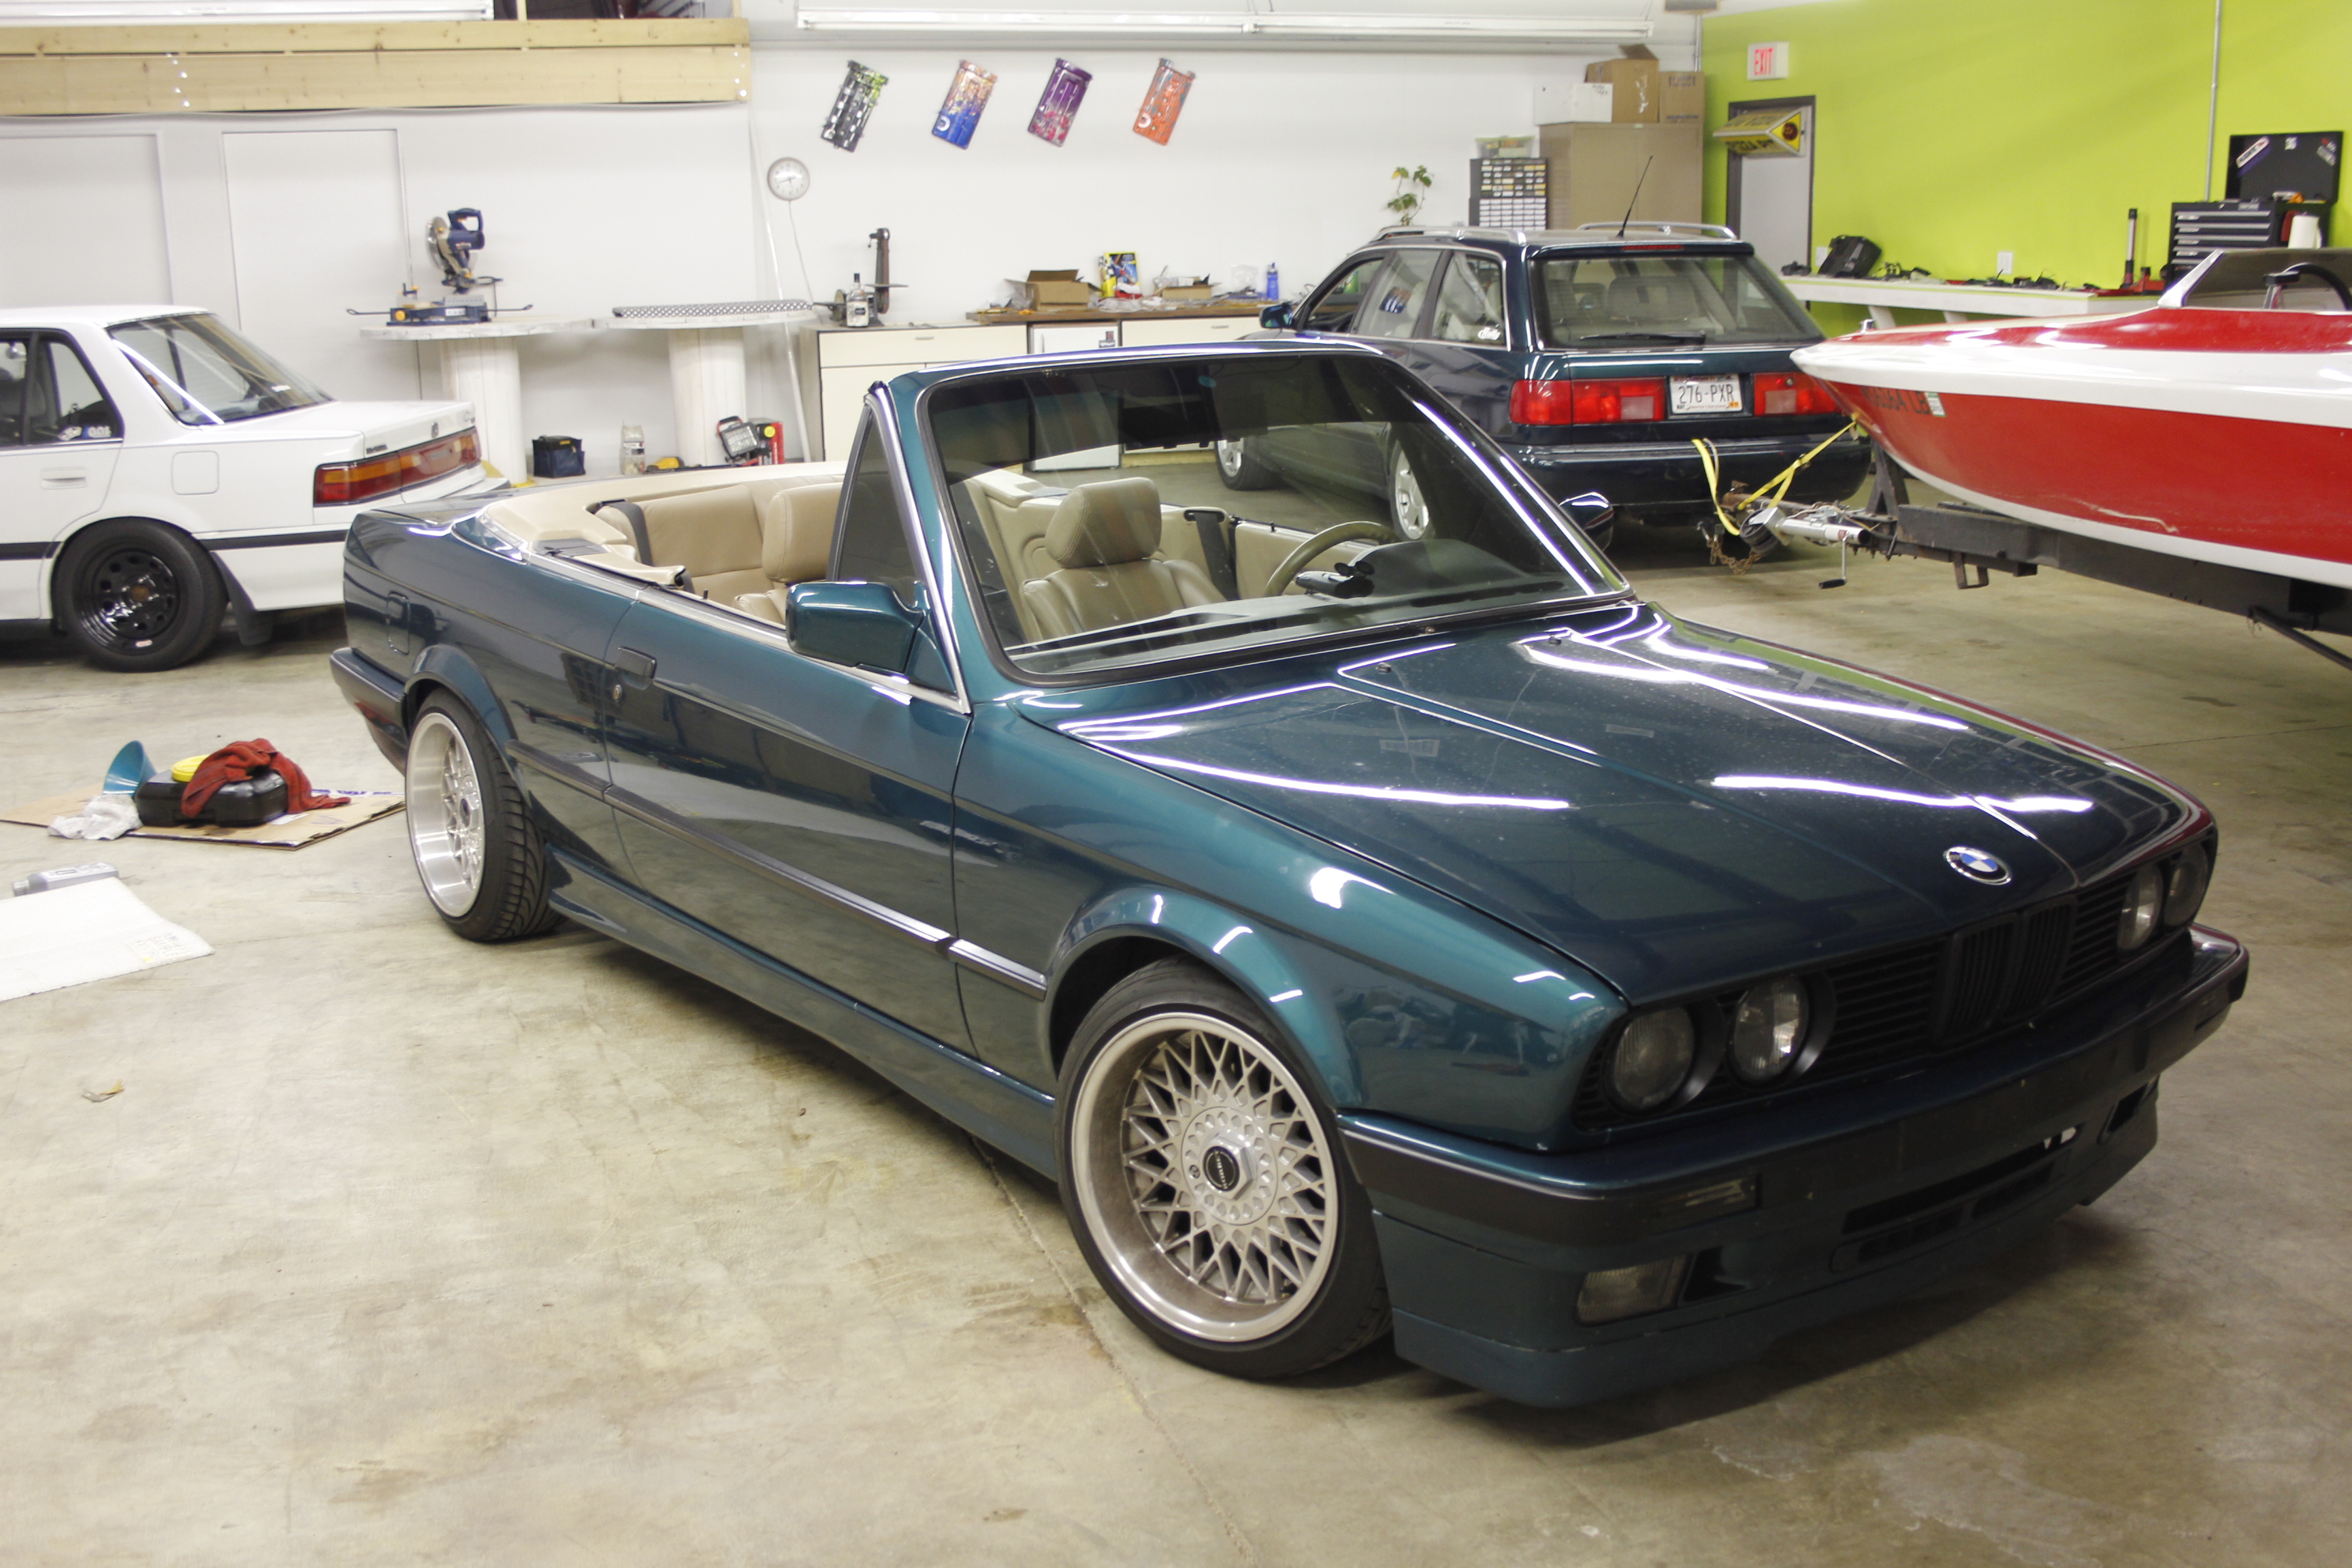
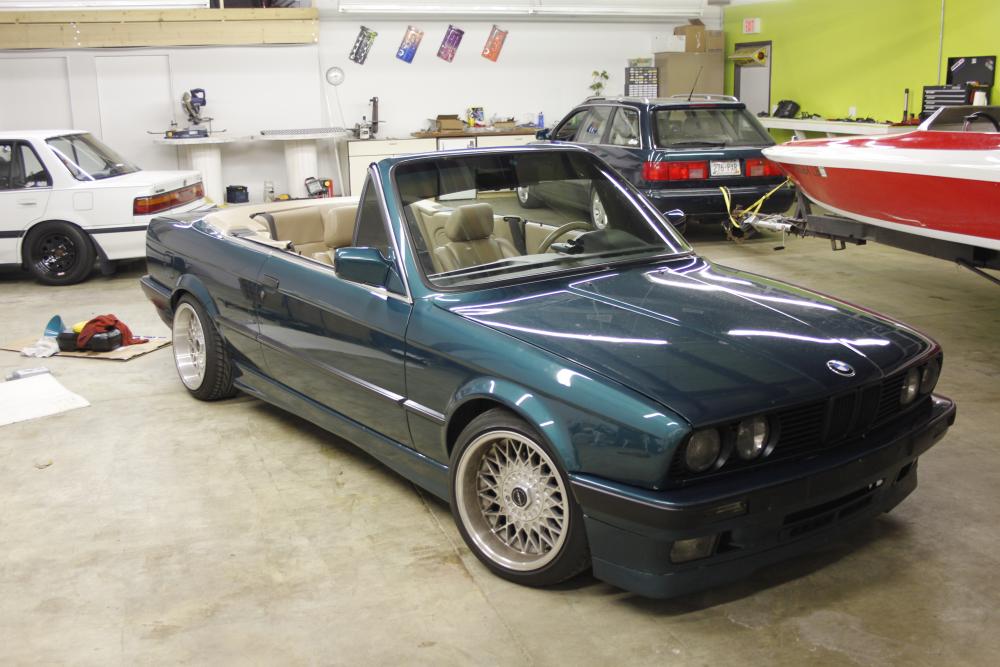
1JZ E30 Vert Build Thread with Pastry filled wheels

-
After sorting out what needed to be ordered for the front end, I crawled under the car to take a closer look at my drive shaft. I had a slight vibration at higher speeds and I think I found the culprit. Transmission mounts were garbage. I jacked the motor up and the mounts were completely in half. It made me think back to the year prior, when I replaced my motor mounts that were the exact same way, yet I never checked the trans mounts.
 Meaning for who knows how long, I was just driving around with my motor resting on top of the mount locations. Pretty neat. LOL
(P.S. Dont mind the nastiness. The leak has since been fixed and I haven't take the time to rack the car and Pressure wash the underside)
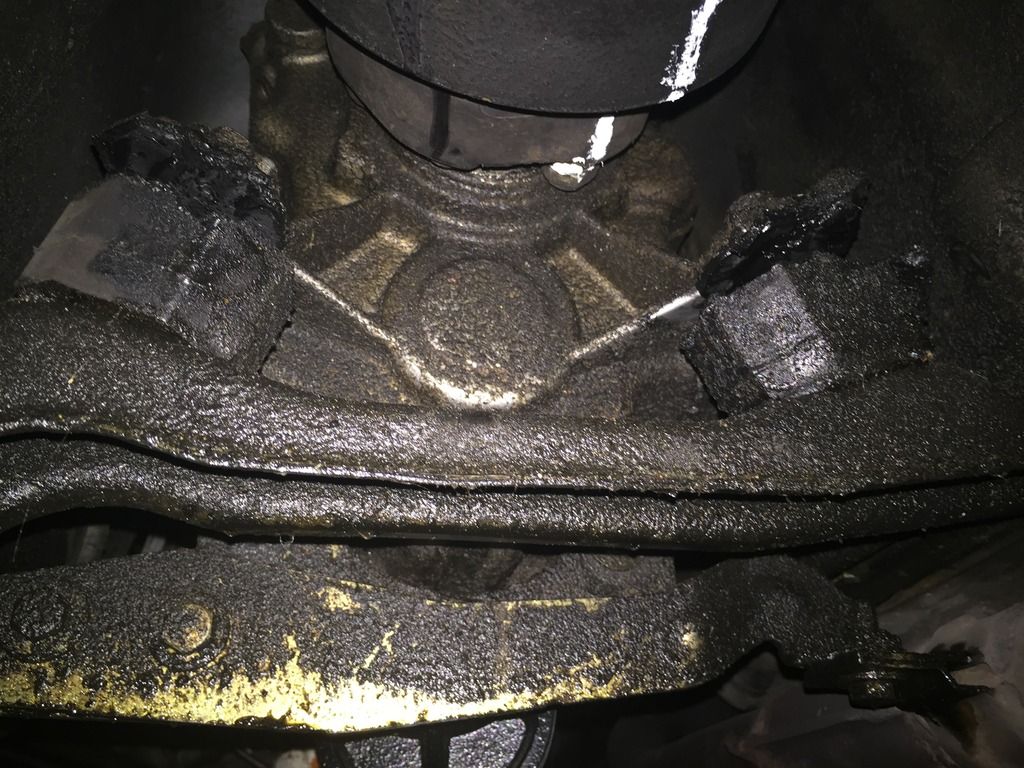
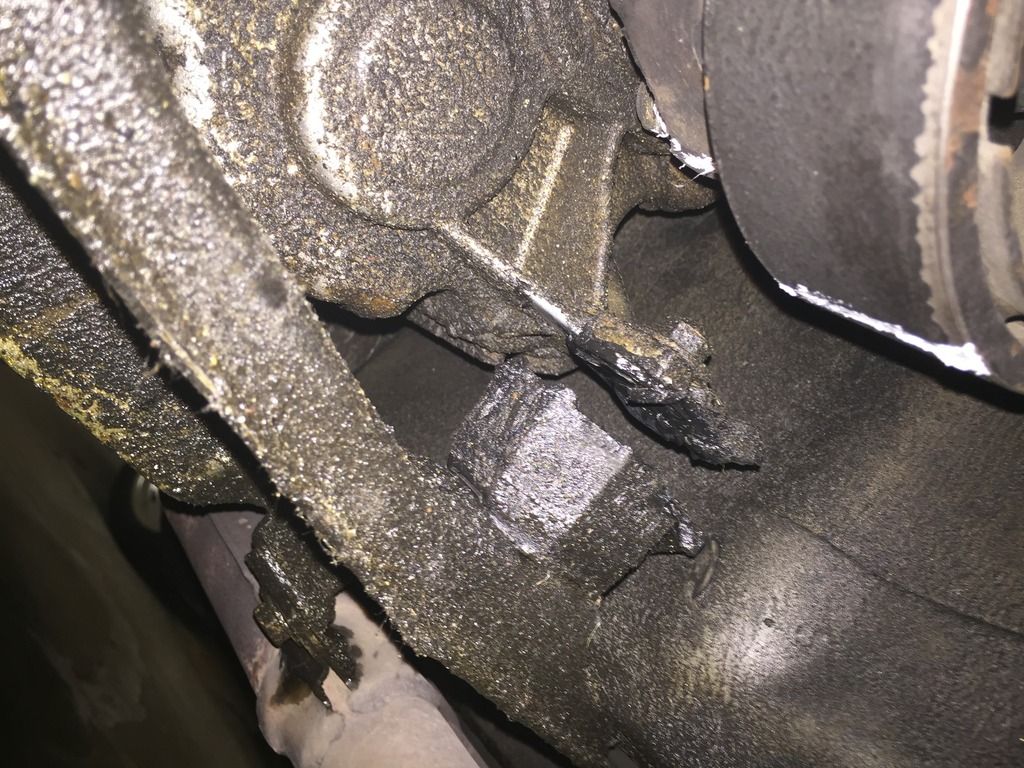
Needless to say I think I found everything that I needed to replace suspension wise. So I got out my check book and ordered the following:
X_Axle boot kit
X_Rear trailing/control arm bushings
X_drive shaft flex disc
X_drive shaft mount bearing
X_rear axlenut locking plates x2
X_Sway bar endlinks front and rear
X_Lemforder Control arms and ball joints
X_Front control arm bushings
X_Stainless braided brake lines
X_rear Wheel bearings
X_countless misc hardware
X_and the Obvious Trans mounts
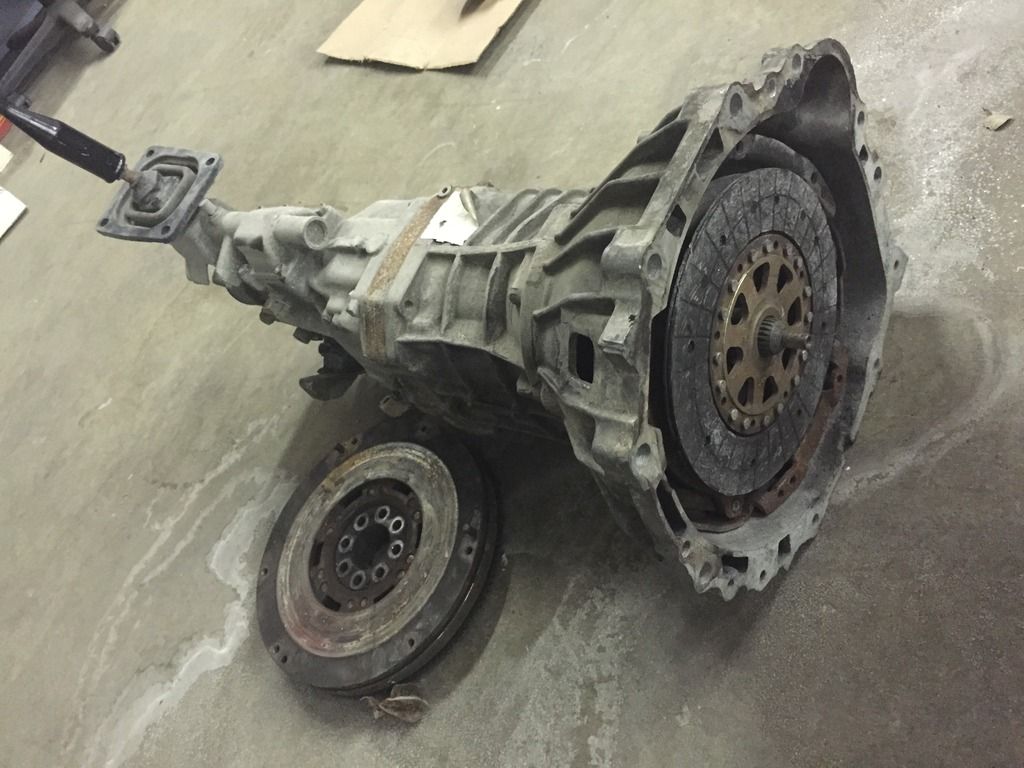
But then I didnt stop there. I also had a lead on the first step to the new motor swap I am going to pursue next winter...

https://www.instagram.com/_jdesigner_/ http://nevertoolow.tumblr.com/
🥳SOLD BMW E24 633CSI - BMW M30B32 🧪SOLD HCH ES9 - 1.3 LDA
👽BMW E30 325IC - Toyota 1JZ-GTE ⏰ HONDA EF9 CIVIC SI - JDM B18C5
☠️BMW E36 318i - Ford 5.0 FE302 🚴♂️ GT-Labomba - 26x2.75 Freeride
🤹♀️SOLD BMW E36/7 Z3 - BMW M54B25 🧓SOLD BMW E10 2002 - BMW M10M05 -
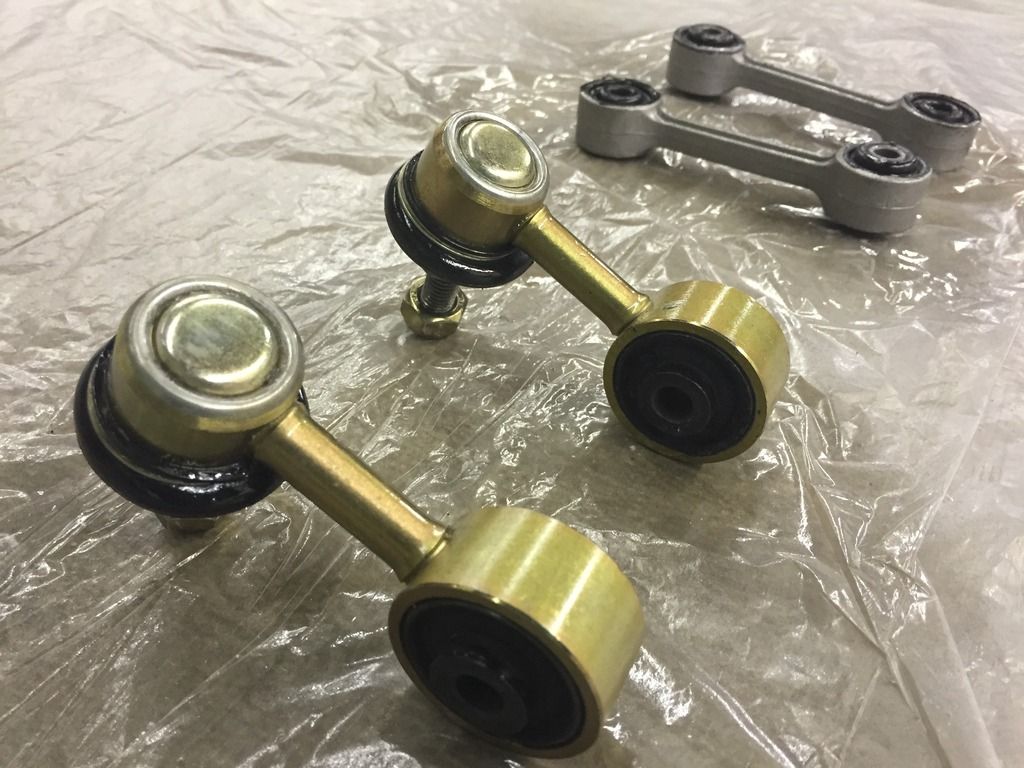
The majority of the new parts came. I clear coated all the metal pieces to prevent rust and oxidation
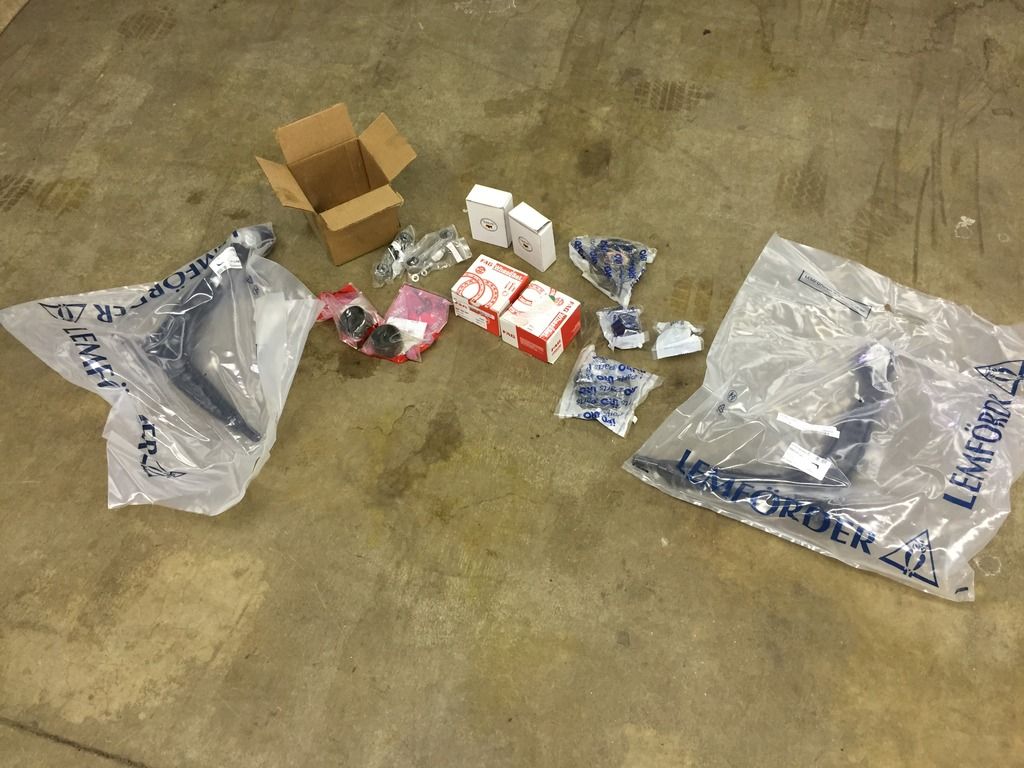
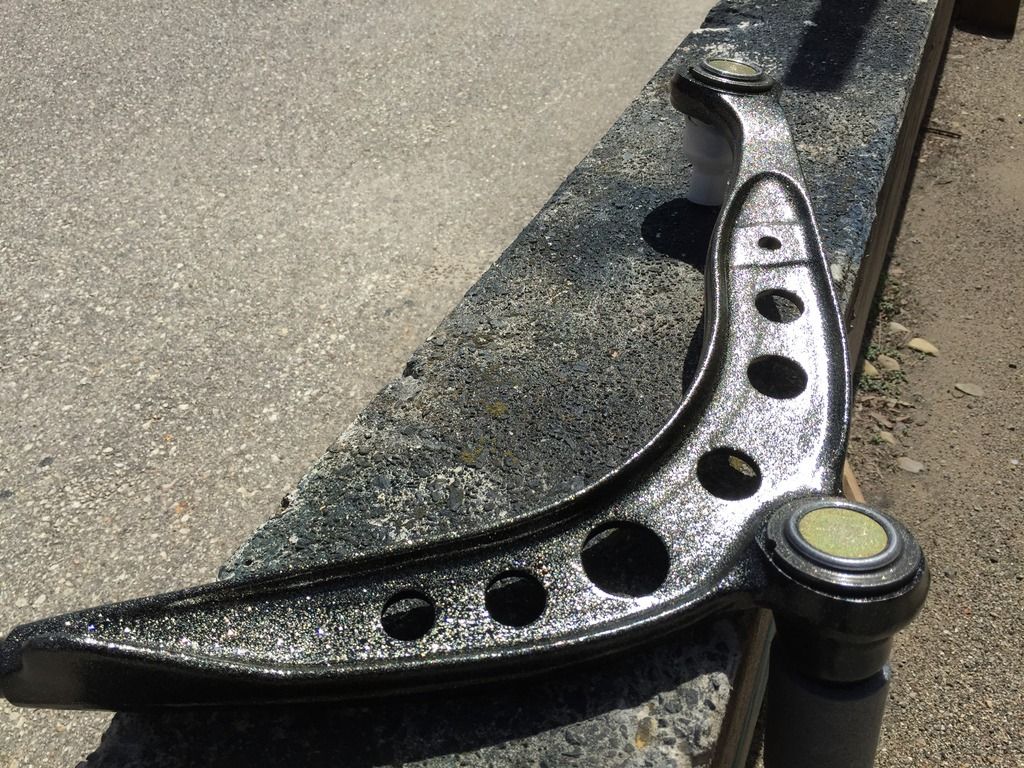
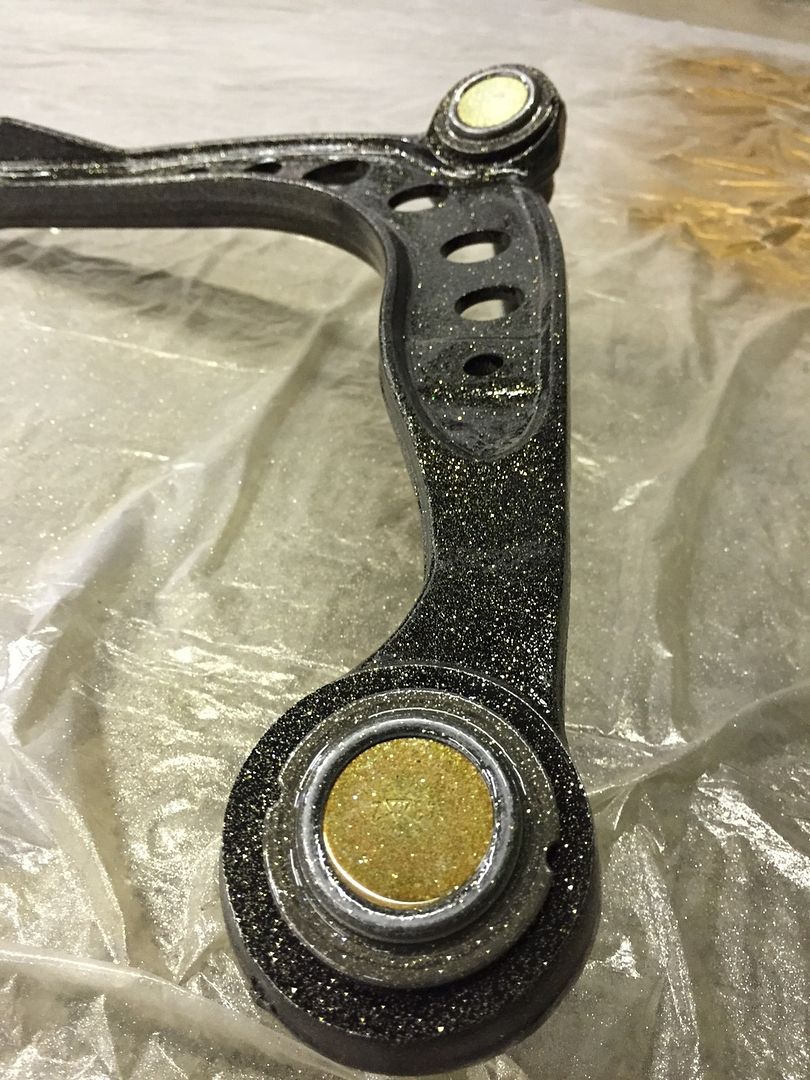
and painted the control arms to match the subframe.
I also made a stop out to a friends shop to lend him a hand on an E92 he was welding a cage in.
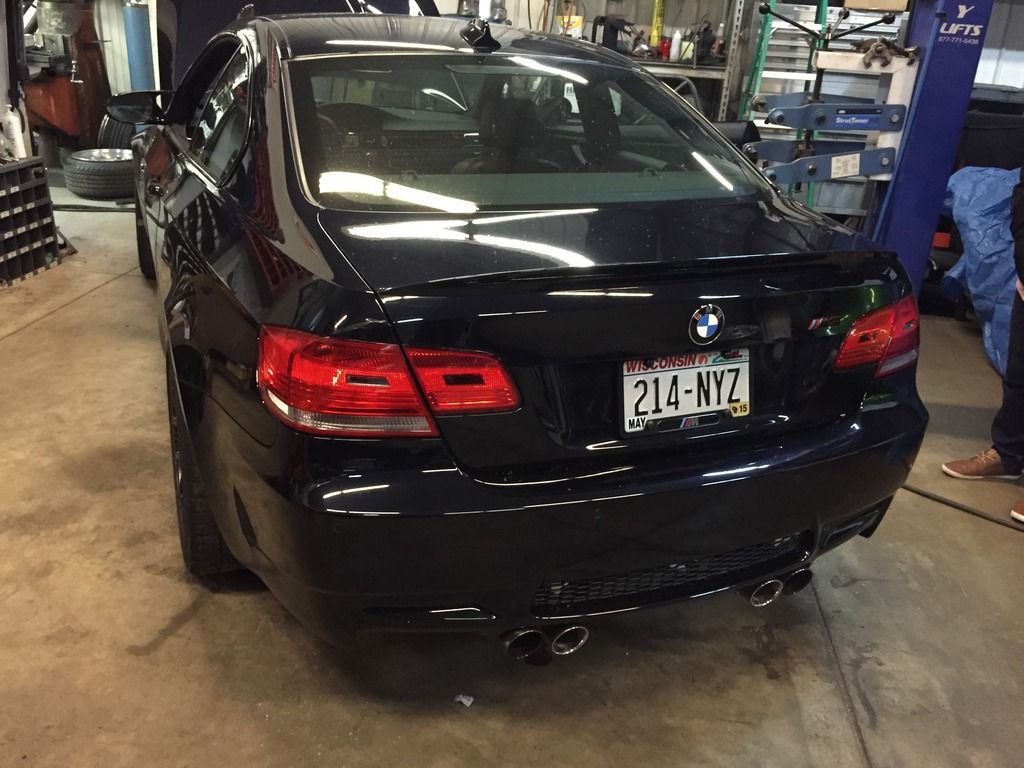
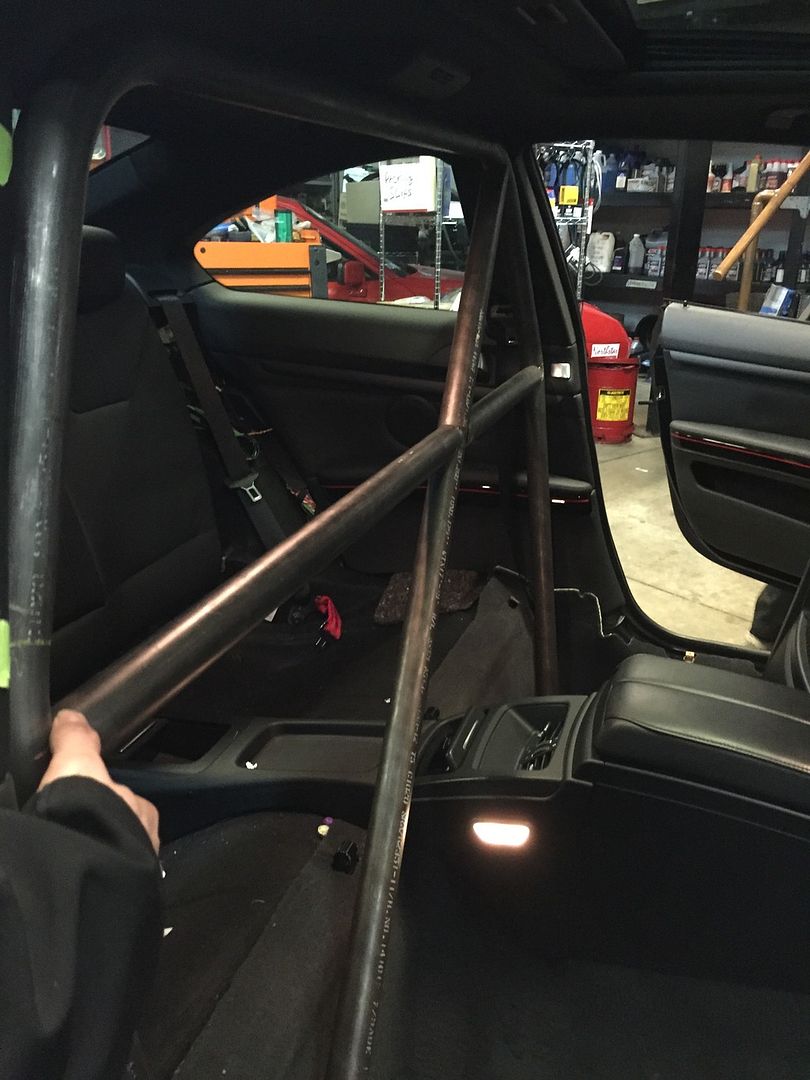
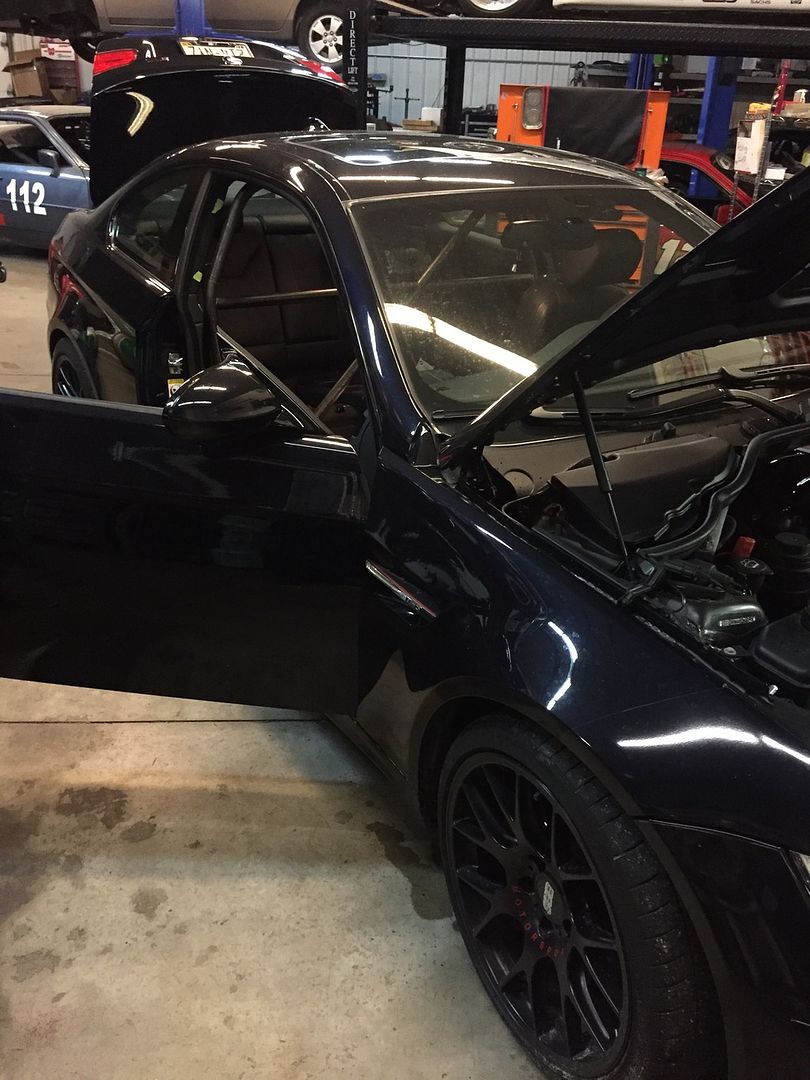
Needless to say he was making great progress before I even go there and it fit in the car flawlessly.
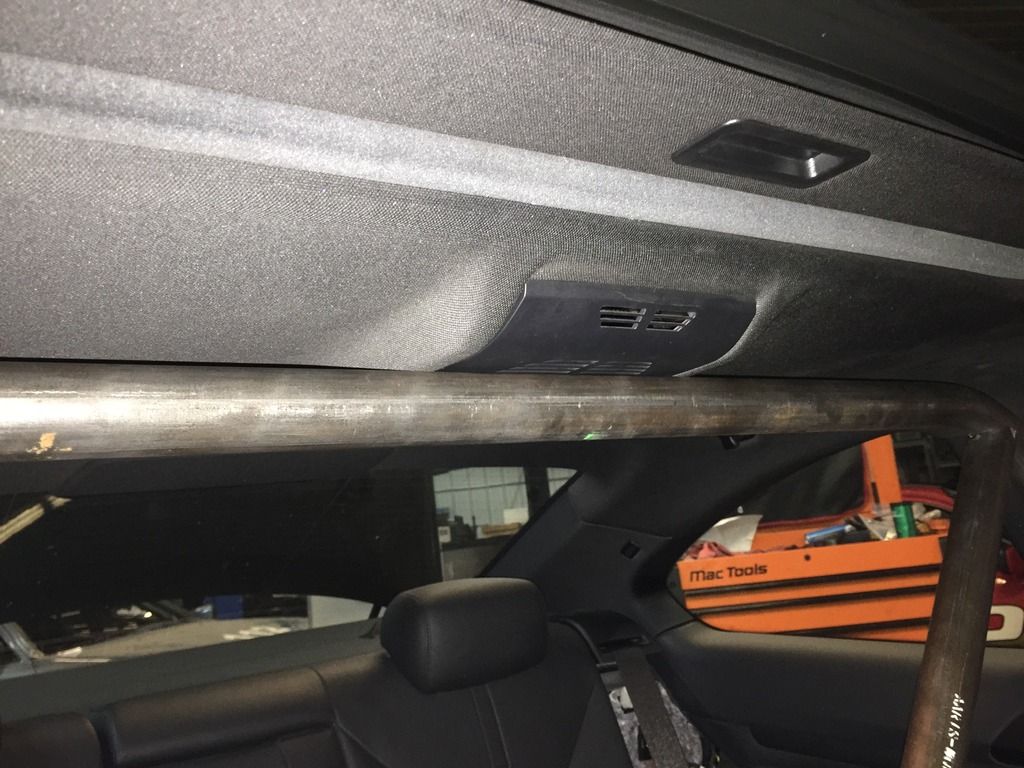
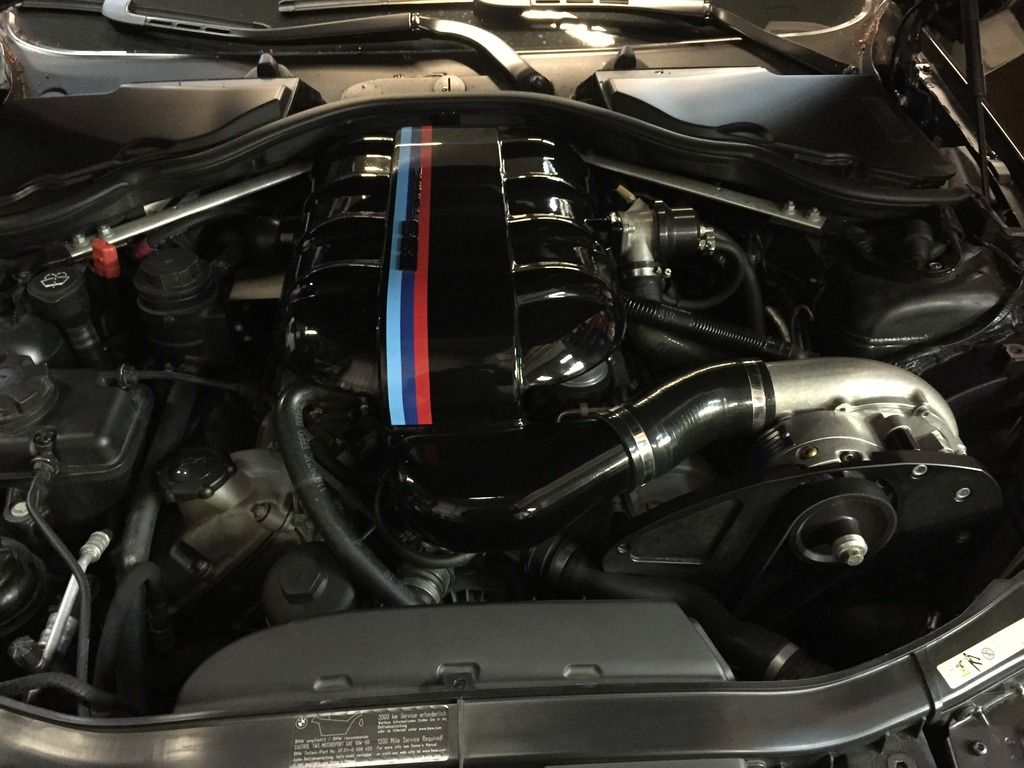
There was also another BMW nearby...
I will be pressing the rear hubs out tonight and painting the swing arms as well. I will take more pics as I move along. I want to drive this thing again!!! Urggghh
https://www.instagram.com/_jdesigner_/ http://nevertoolow.tumblr.com/
🥳SOLD BMW E24 633CSI - BMW M30B32 🧪SOLD HCH ES9 - 1.3 LDA
👽BMW E30 325IC - Toyota 1JZ-GTE ⏰ HONDA EF9 CIVIC SI - JDM B18C5
☠️BMW E36 318i - Ford 5.0 FE302 🚴♂️ GT-Labomba - 26x2.75 Freeride
🤹♀️SOLD BMW E36/7 Z3 - BMW M54B25 🧓SOLD BMW E10 2002 - BMW M10M05 -
Great work!
More pics of the tools and how you pull the bearings please!

@DrLeadFoot
-
Great work! More pics of the tools and how you pull the bearings please!
I will for sure. I was unable to find time last night, so I will be doing it today.
Pretty sure that's the ESS supercharged M3 I got to drive at Concours. Can't be too many around right?
Paint looks great!
I assume so. It hardly has over 10k on the clock.
Coming together awesome=)
Thanks Earl!
https://www.instagram.com/_jdesigner_/ http://nevertoolow.tumblr.com/
🥳SOLD BMW E24 633CSI - BMW M30B32 🧪SOLD HCH ES9 - 1.3 LDA
👽BMW E30 325IC - Toyota 1JZ-GTE ⏰ HONDA EF9 CIVIC SI - JDM B18C5
☠️BMW E36 318i - Ford 5.0 FE302 🚴♂️ GT-Labomba - 26x2.75 Freeride
🤹♀️SOLD BMW E36/7 Z3 - BMW M54B25 🧓SOLD BMW E10 2002 - BMW M10M05 -
You missed the engine bay pic of that second bmw!!!
But hey this is exciting
Also. Is that an r154? DId you give up on the adapter? I'm very much so thinking my next swap will be 4g63 into an e30 for a daily.
Ahhhh, I was waiting for someone to ask what trans that was..
 and no, I did not give up on the adapter, but the price was right so I had to! BTW you didn't miss much, that E30 was just a stock M20.
https://www.instagram.com/_jdesigner_/ http://nevertoolow.tumblr.com/
🥳SOLD BMW E24 633CSI - BMW M30B32 🧪SOLD HCH ES9 - 1.3 LDA
👽BMW E30 325IC - Toyota 1JZ-GTE ⏰ HONDA EF9 CIVIC SI - JDM B18C5
☠️BMW E36 318i - Ford 5.0 FE302 🚴♂️ GT-Labomba - 26x2.75 Freeride
🤹♀️SOLD BMW E36/7 Z3 - BMW M54B25 🧓SOLD BMW E10 2002 - BMW M10M05 -
Are you going to at least tell me what trans? Ha. Sent from my iPhone using Tapatalk
Only if you can guess what it is. You were close though lol.
https://www.instagram.com/_jdesigner_/ http://nevertoolow.tumblr.com/
🥳SOLD BMW E24 633CSI - BMW M30B32 🧪SOLD HCH ES9 - 1.3 LDA
👽BMW E30 325IC - Toyota 1JZ-GTE ⏰ HONDA EF9 CIVIC SI - JDM B18C5
☠️BMW E36 318i - Ford 5.0 FE302 🚴♂️ GT-Labomba - 26x2.75 Freeride
🤹♀️SOLD BMW E36/7 Z3 - BMW M54B25 🧓SOLD BMW E10 2002 - BMW M10M05 -
What sideskirts are you rockin'?
-
What sideskirts are you rockin'?
Genuine Rieger side skirts sir. I plan on getting the Reiger Infinity front lip to match soon too, but I just want to get the moving bits all squared away first.
https://www.instagram.com/_jdesigner_/ http://nevertoolow.tumblr.com/
🥳SOLD BMW E24 633CSI - BMW M30B32 🧪SOLD HCH ES9 - 1.3 LDA
👽BMW E30 325IC - Toyota 1JZ-GTE ⏰ HONDA EF9 CIVIC SI - JDM B18C5
☠️BMW E36 318i - Ford 5.0 FE302 🚴♂️ GT-Labomba - 26x2.75 Freeride
🤹♀️SOLD BMW E36/7 Z3 - BMW M54B25 🧓SOLD BMW E10 2002 - BMW M10M05 -
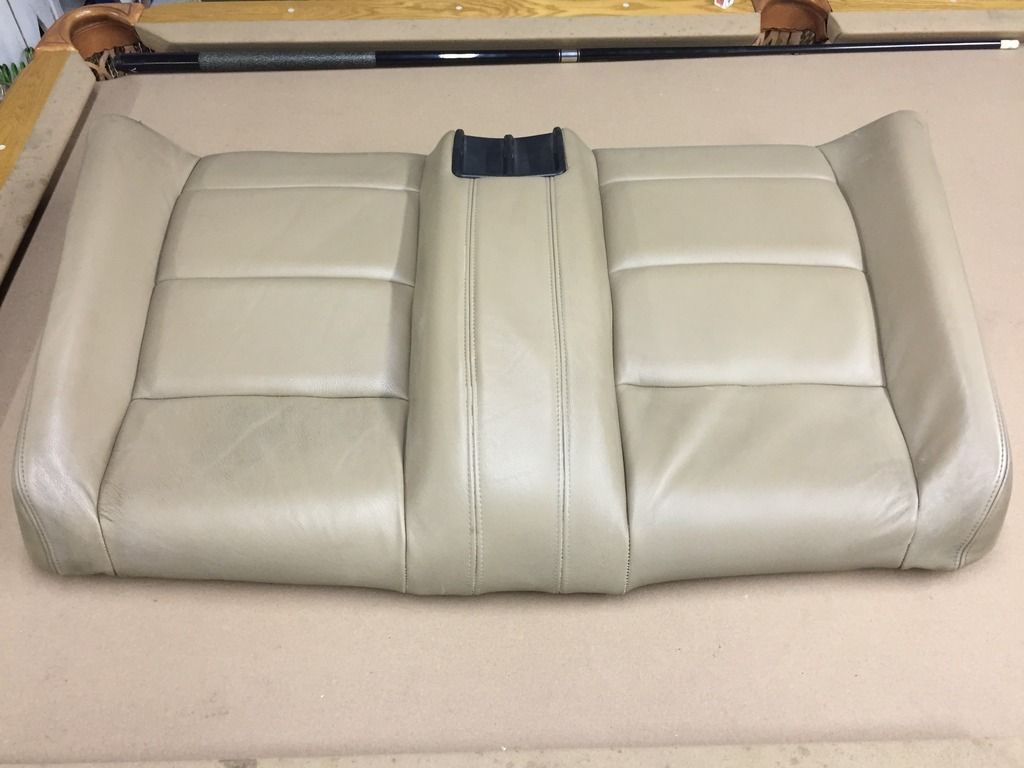
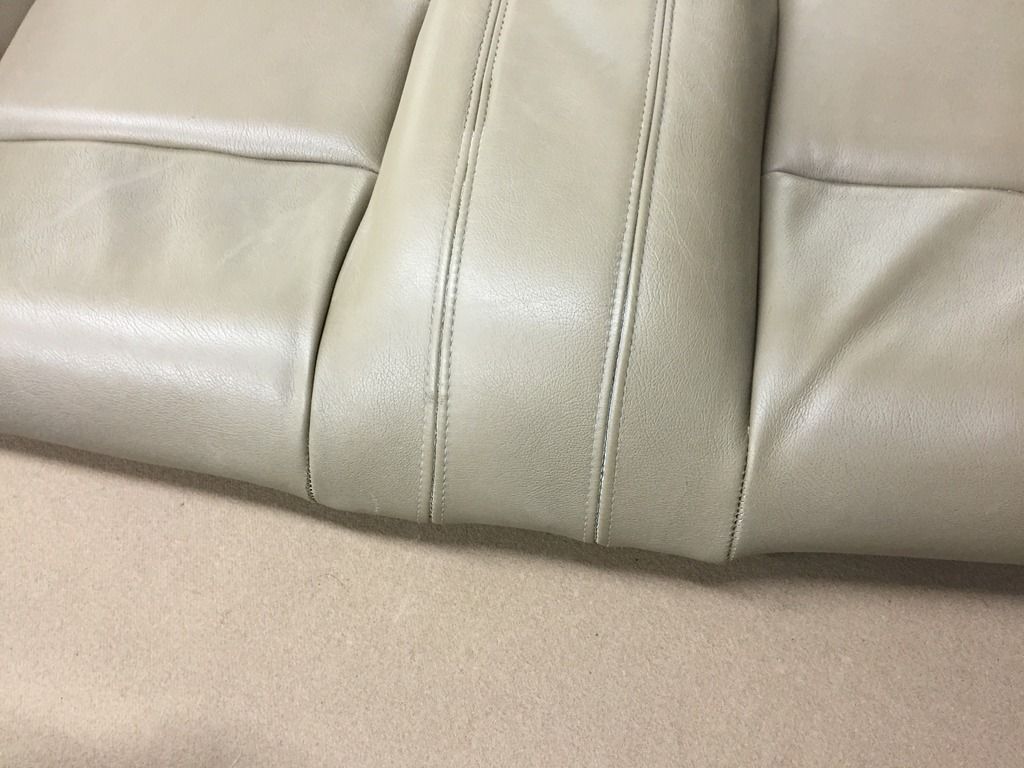
More updates. Since I had the back seat out to remove the subframe, I took my seat to a local friend of a friend that does interior upholstery to have the top of the seat restitched. The plastic rear window amplifies the sun and bakes the top of almost all the vert rear seats. My seat was extremely dry and fragile when I got the car, and after the first year of owning it and packing people into the back, the stitching gave away. I have since added lots and lots of leather replenishing chemicals and the leather has bounced back quite well, so I finally got it fixed. I unfortunately did not take any before pictures of the seat, but here is what it looks like now that I got it back(I have since cleaned and replenished the leather).
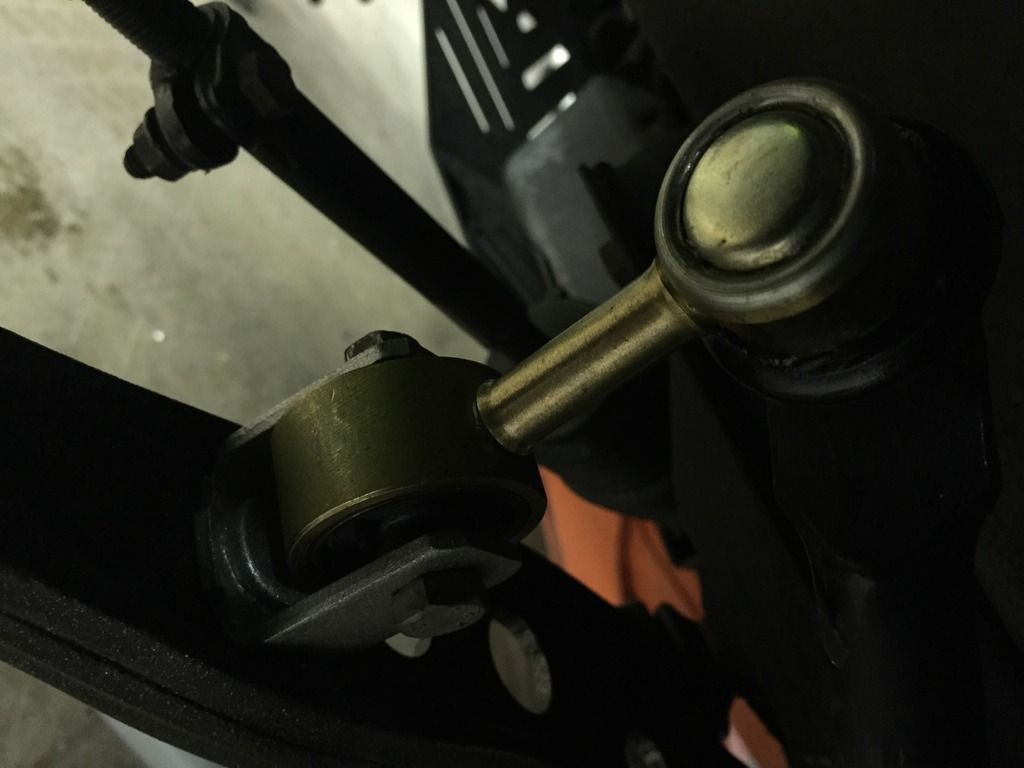
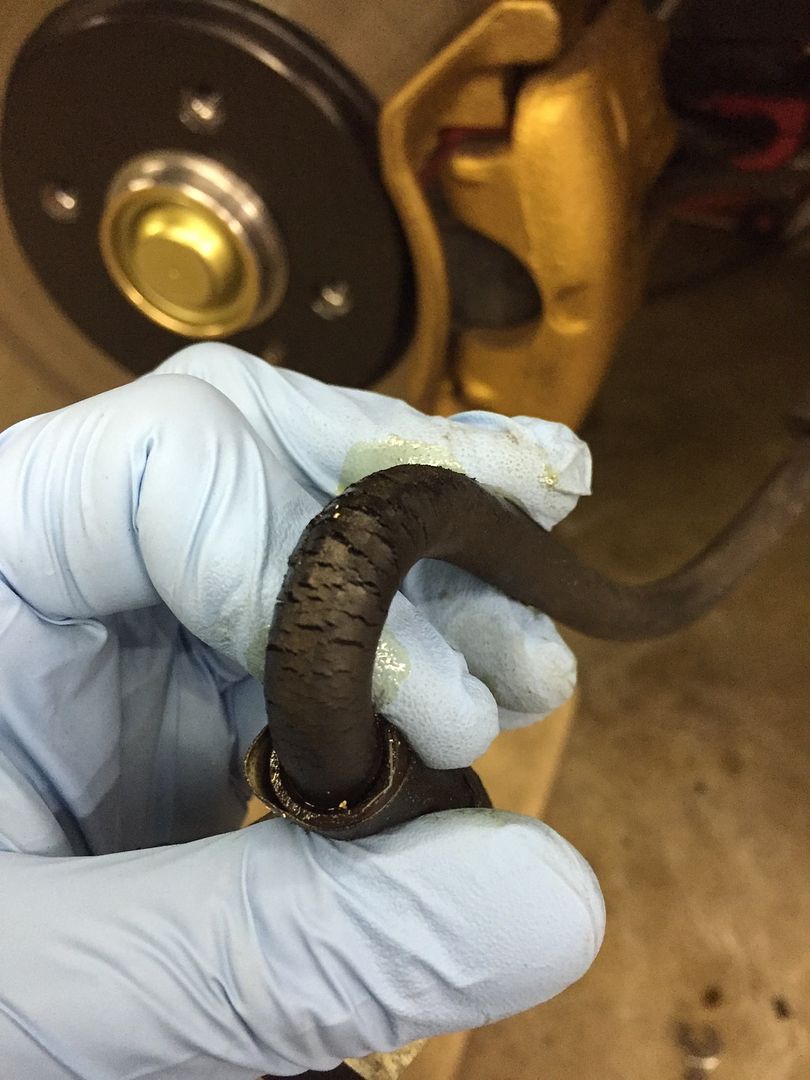
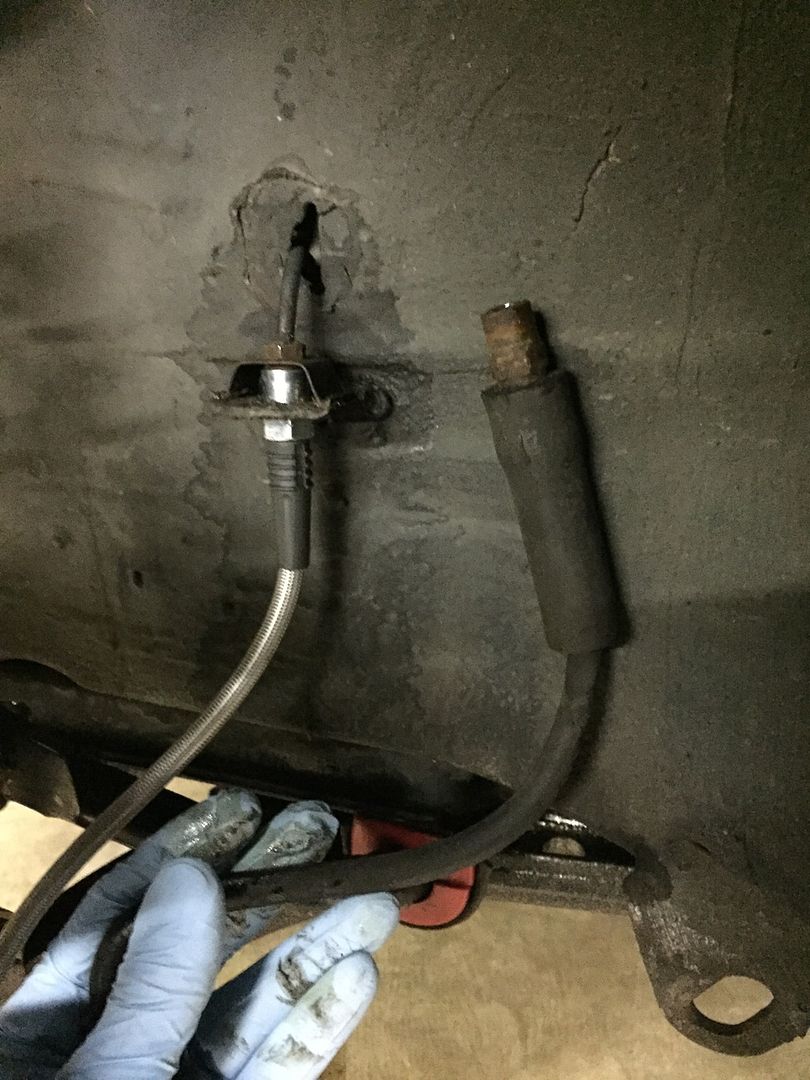
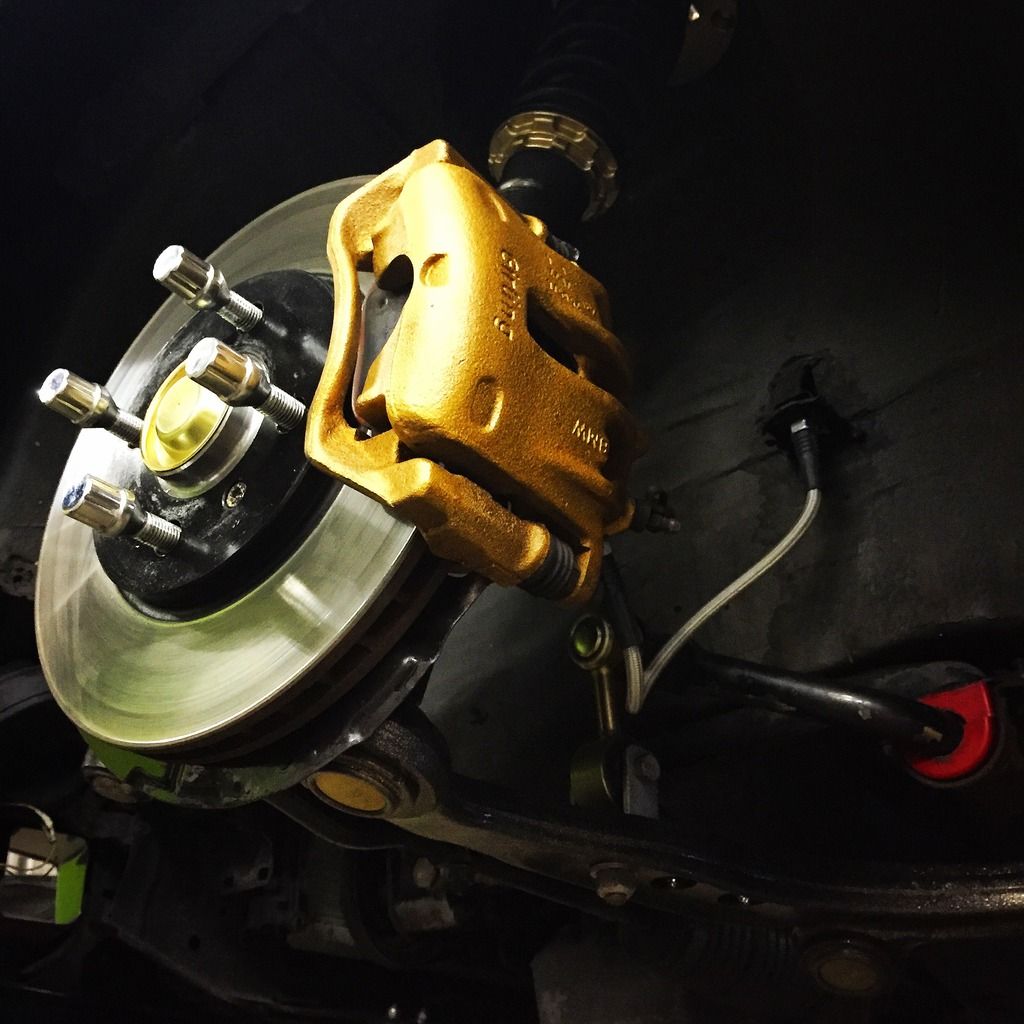
Focusing back on the suspension, I go the new control arms installed, along with the new sway bar links and brackets, the calipers I rebuilt, and I installed the new lines. it all came together very nice and I am getting excited to drive this thing more and more each day.
New sway bar links
Old brake line
New VS. Old brake lines side by side
Everything installed and back together minus the wheels
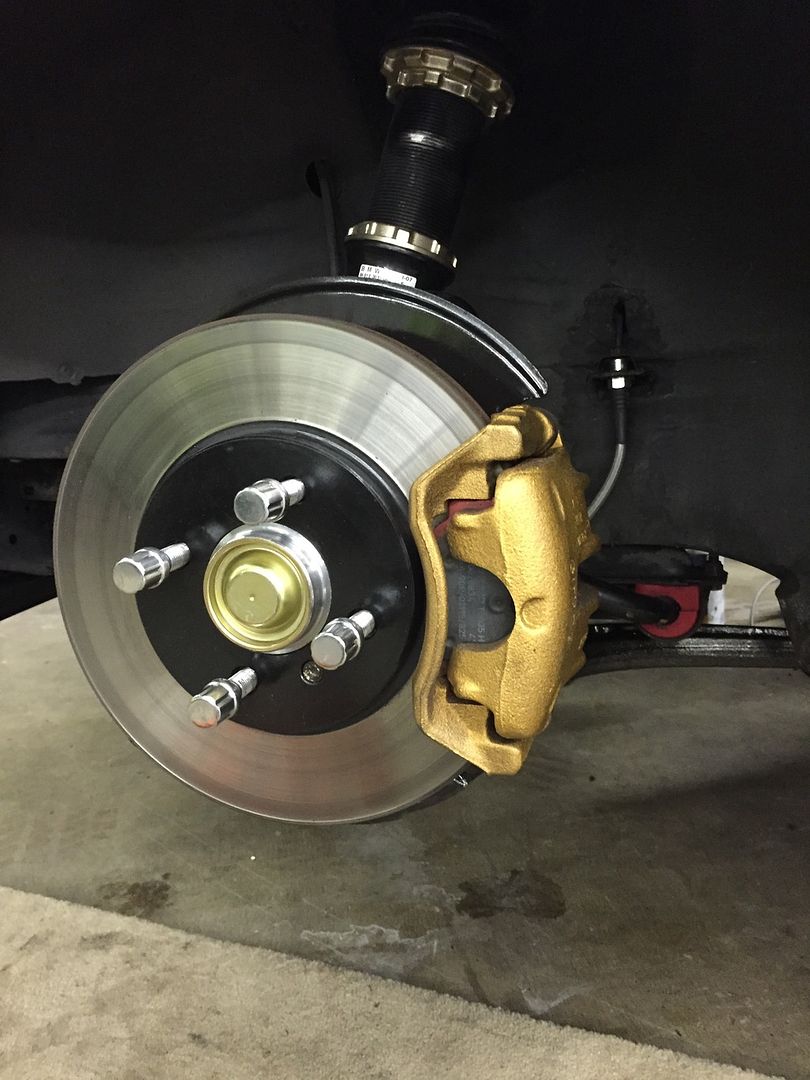
I also rebuilt the calipers, but due to having brake fluid all over, I didn't take any pictures.
https://www.instagram.com/_jdesigner_/ http://nevertoolow.tumblr.com/
🥳SOLD BMW E24 633CSI - BMW M30B32 🧪SOLD HCH ES9 - 1.3 LDA
👽BMW E30 325IC - Toyota 1JZ-GTE ⏰ HONDA EF9 CIVIC SI - JDM B18C5
☠️BMW E36 318i - Ford 5.0 FE302 🚴♂️ GT-Labomba - 26x2.75 Freeride
🤹♀️SOLD BMW E36/7 Z3 - BMW M54B25 🧓SOLD BMW E10 2002 - BMW M10M05 -
Heres one more for good measure
https://www.instagram.com/_jdesigner_/ http://nevertoolow.tumblr.com/
🥳SOLD BMW E24 633CSI - BMW M30B32 🧪SOLD HCH ES9 - 1.3 LDA
👽BMW E30 325IC - Toyota 1JZ-GTE ⏰ HONDA EF9 CIVIC SI - JDM B18C5
☠️BMW E36 318i - Ford 5.0 FE302 🚴♂️ GT-Labomba - 26x2.75 Freeride
🤹♀️SOLD BMW E36/7 Z3 - BMW M54B25 🧓SOLD BMW E10 2002 - BMW M10M05 -
Looks great! Gonna drive like a new car

Thanks! I am super excited!
https://www.instagram.com/_jdesigner_/ http://nevertoolow.tumblr.com/
🥳SOLD BMW E24 633CSI - BMW M30B32 🧪SOLD HCH ES9 - 1.3 LDA
👽BMW E30 325IC - Toyota 1JZ-GTE ⏰ HONDA EF9 CIVIC SI - JDM B18C5
☠️BMW E36 318i - Ford 5.0 FE302 🚴♂️ GT-Labomba - 26x2.75 Freeride
🤹♀️SOLD BMW E36/7 Z3 - BMW M54B25 🧓SOLD BMW E10 2002 - BMW M10M05 -
Lookin perrrrtrty!!!
Thanks!!!
https://www.instagram.com/_jdesigner_/ http://nevertoolow.tumblr.com/
🥳SOLD BMW E24 633CSI - BMW M30B32 🧪SOLD HCH ES9 - 1.3 LDA
👽BMW E30 325IC - Toyota 1JZ-GTE ⏰ HONDA EF9 CIVIC SI - JDM B18C5
☠️BMW E36 318i - Ford 5.0 FE302 🚴♂️ GT-Labomba - 26x2.75 Freeride
🤹♀️SOLD BMW E36/7 Z3 - BMW M54B25 🧓SOLD BMW E10 2002 - BMW M10M05 -
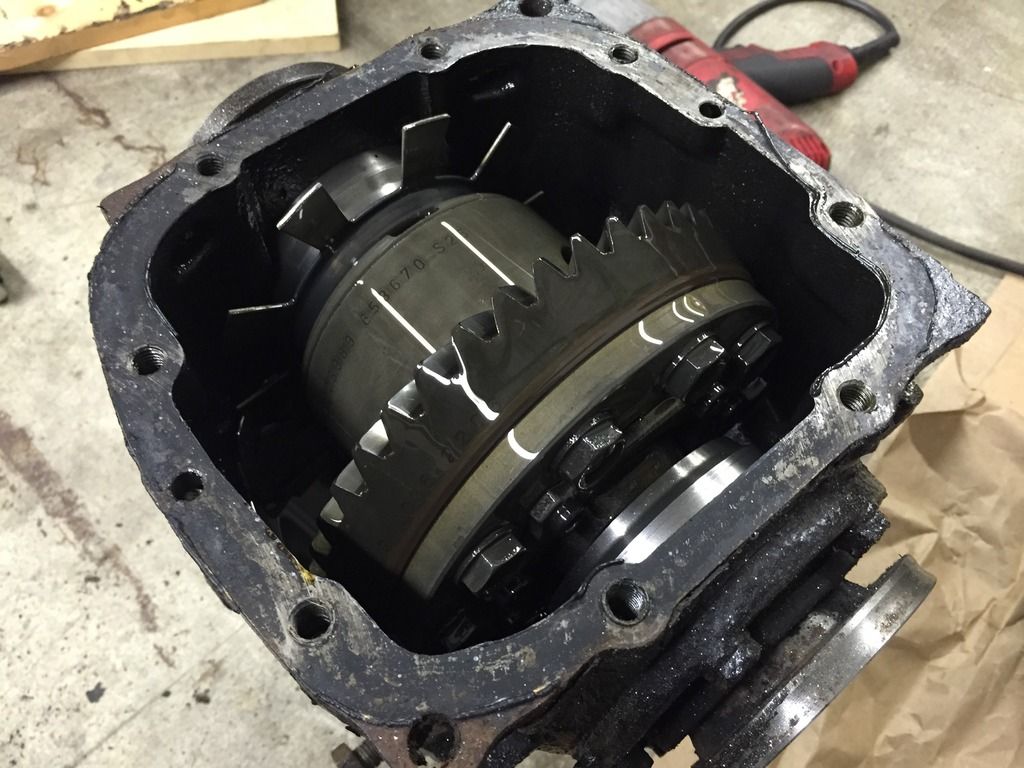
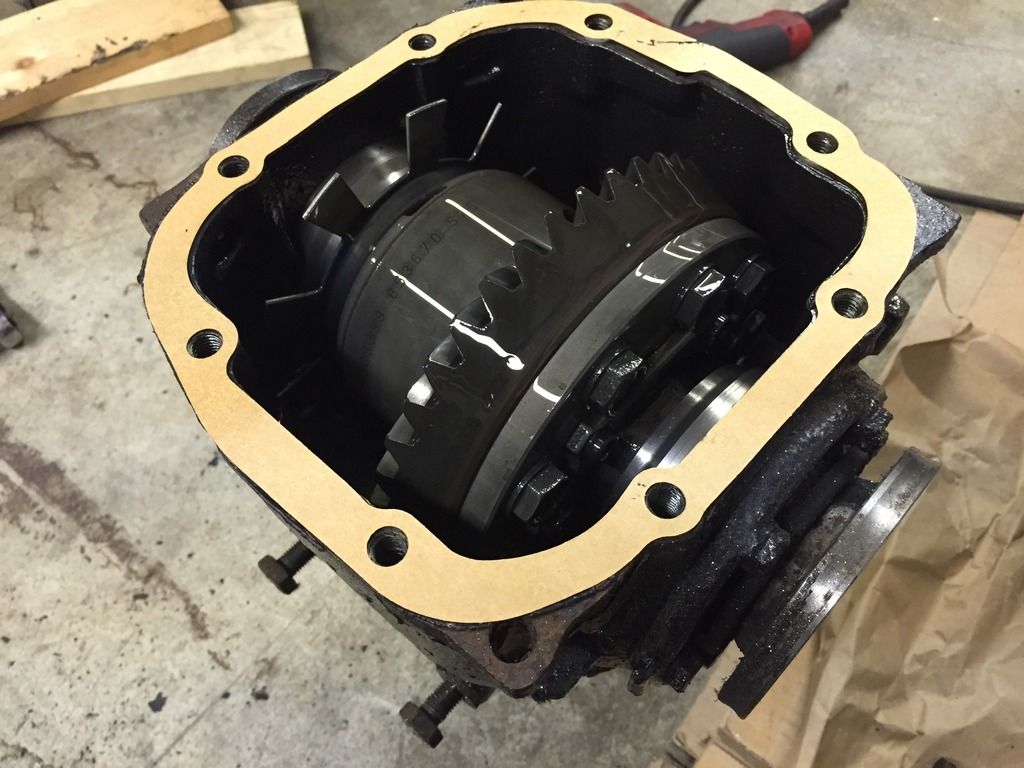
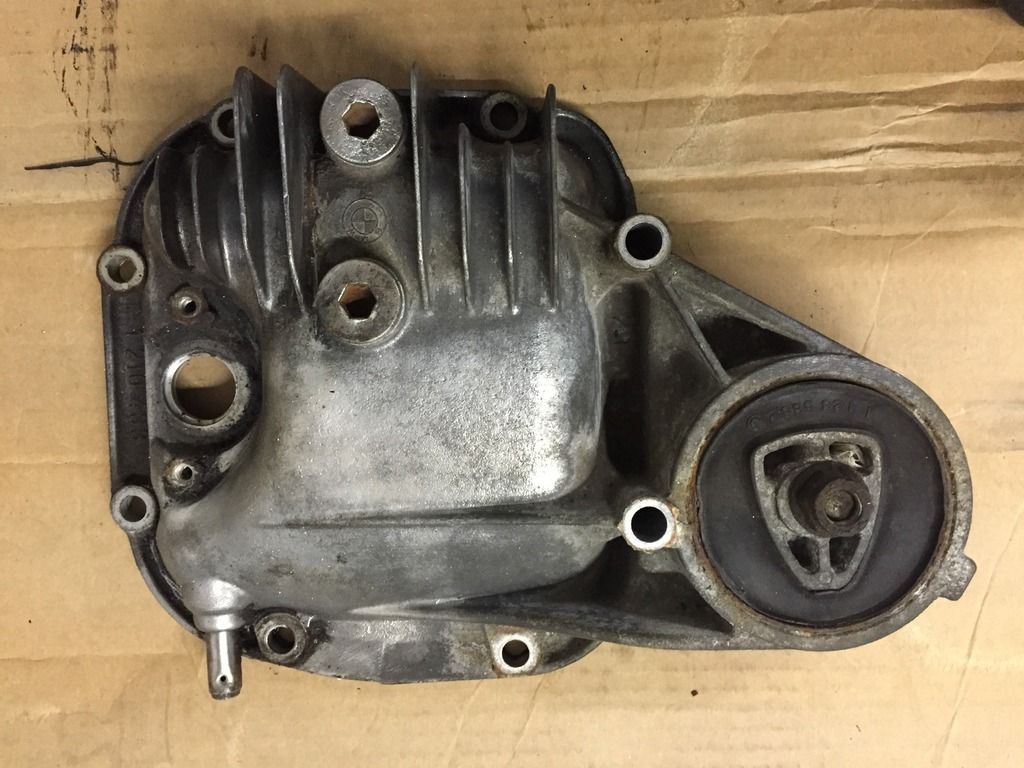
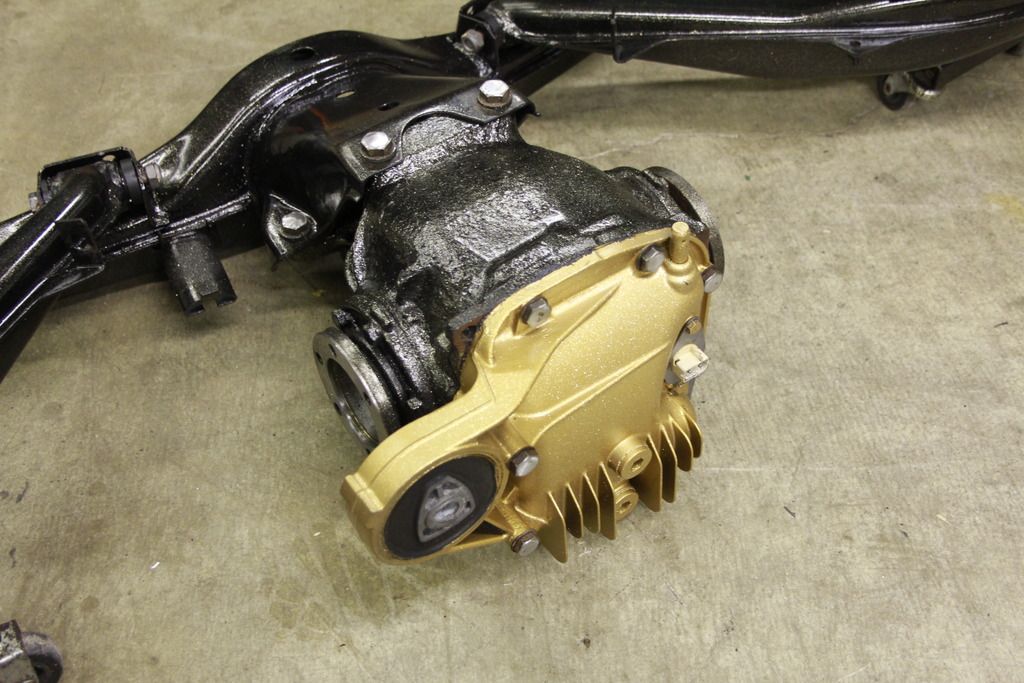
Well I got more accomplished last night before I fell asleep under the car somewhere around 3am. I managed to get the diff cover off, blast it, clean it, paint it, put a gasket in there (there wasnt one at all :/), and bolt it to the subframe.
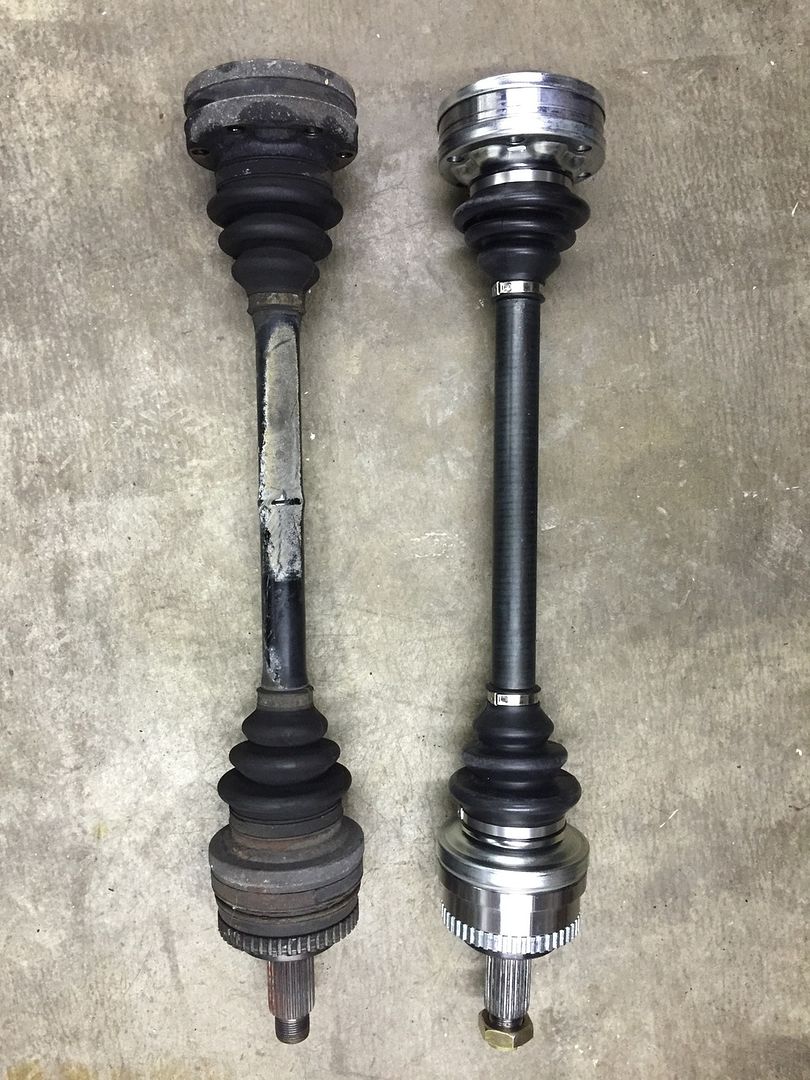
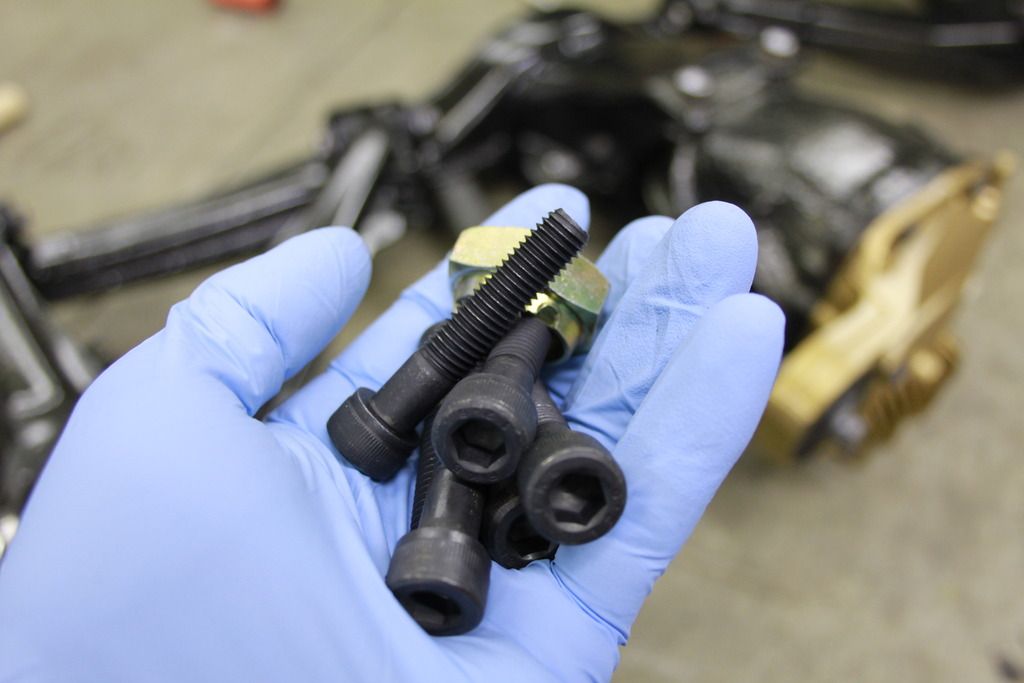
I installed new axles because I messed up the boot on one of them and it was cheaper to order a set then use the rebuild kit anyways. So I returned the rebuild kit and ended up with these bad boys
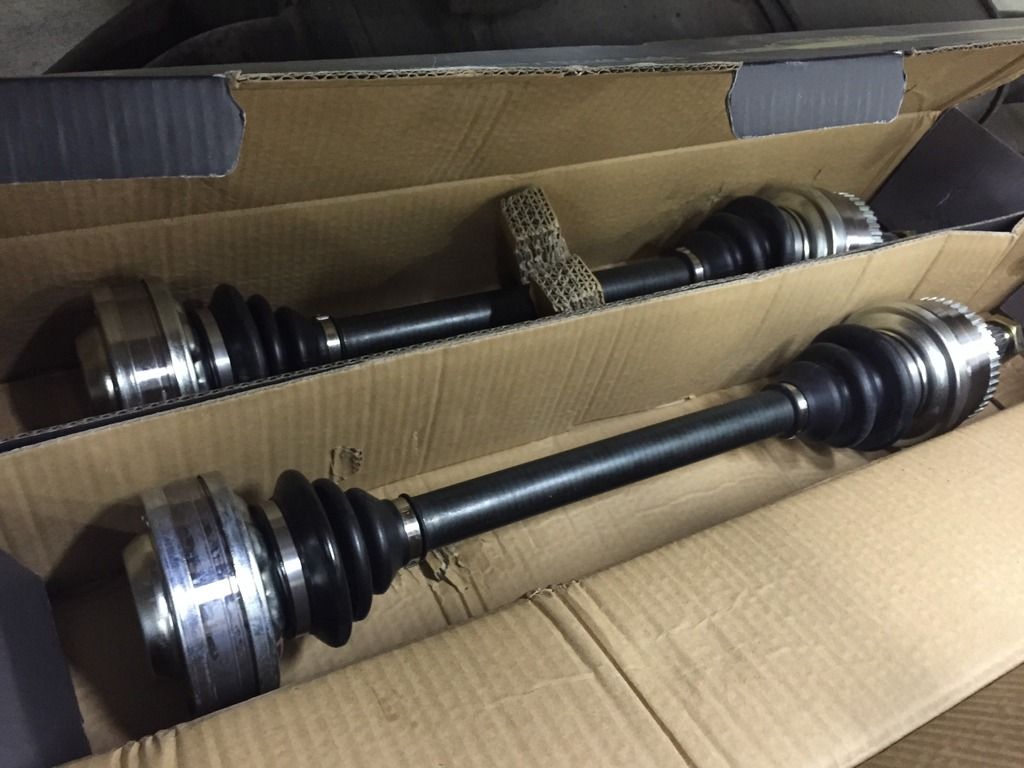
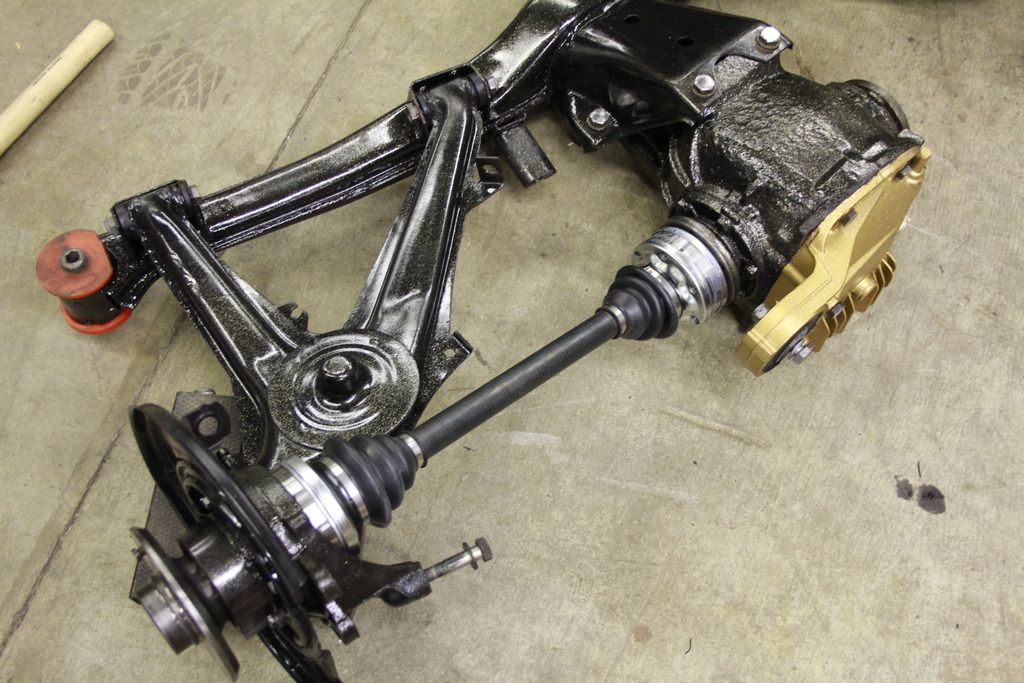
Installing them was a bit of a challenge since I wanted to put them on outside of the car. I used two Allen keys with the new hardware I bought and held the axle in place with one while I use the other key to torque the other axle into place.
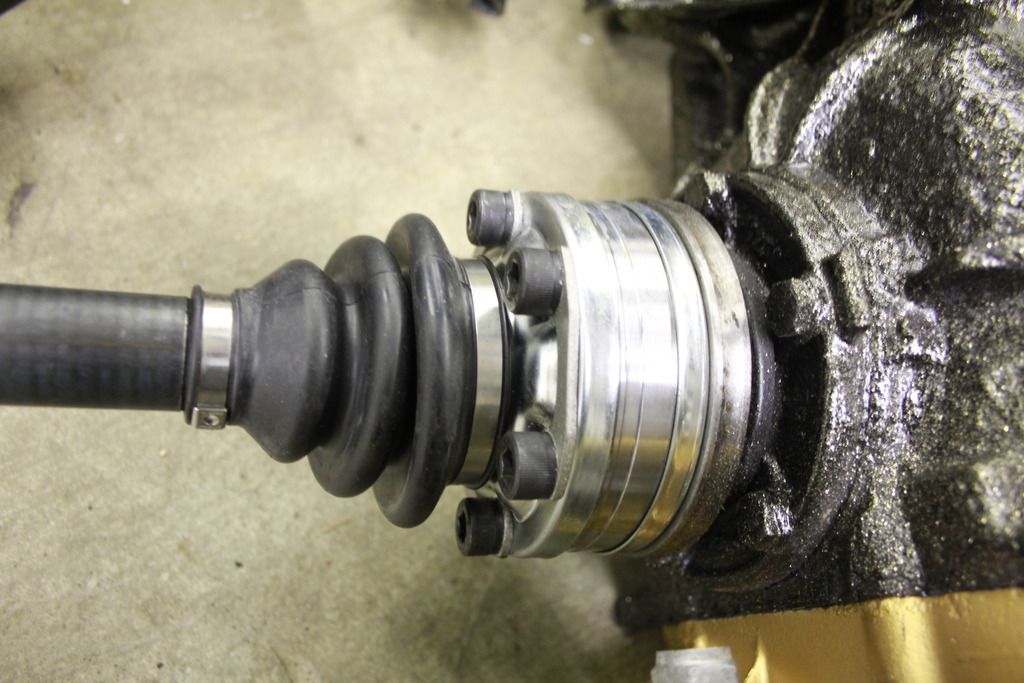
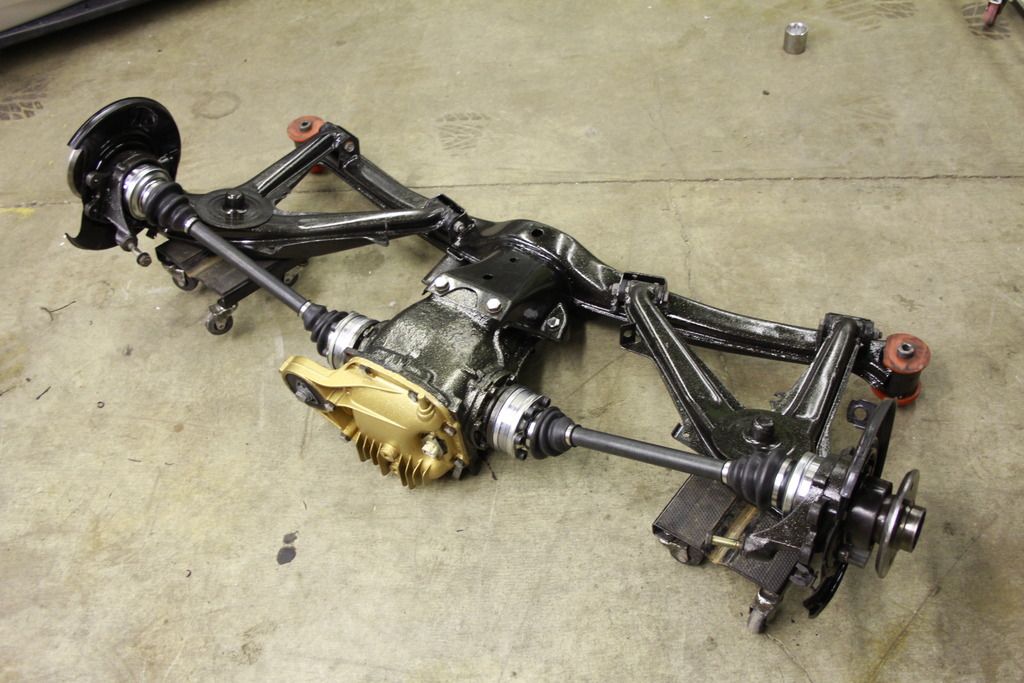
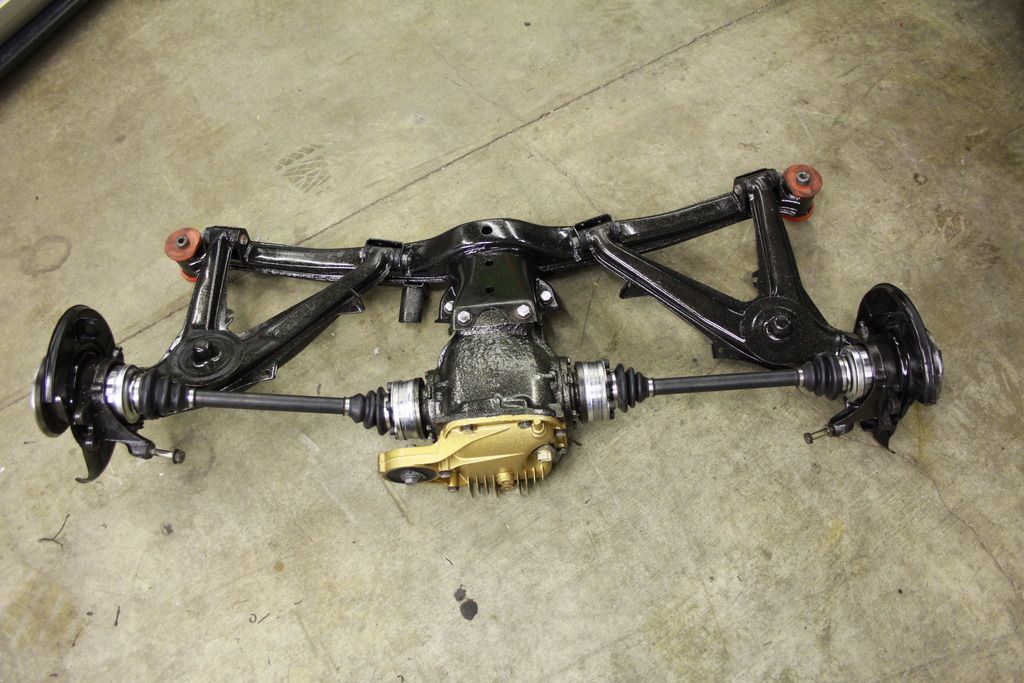
The result was very satisfying though
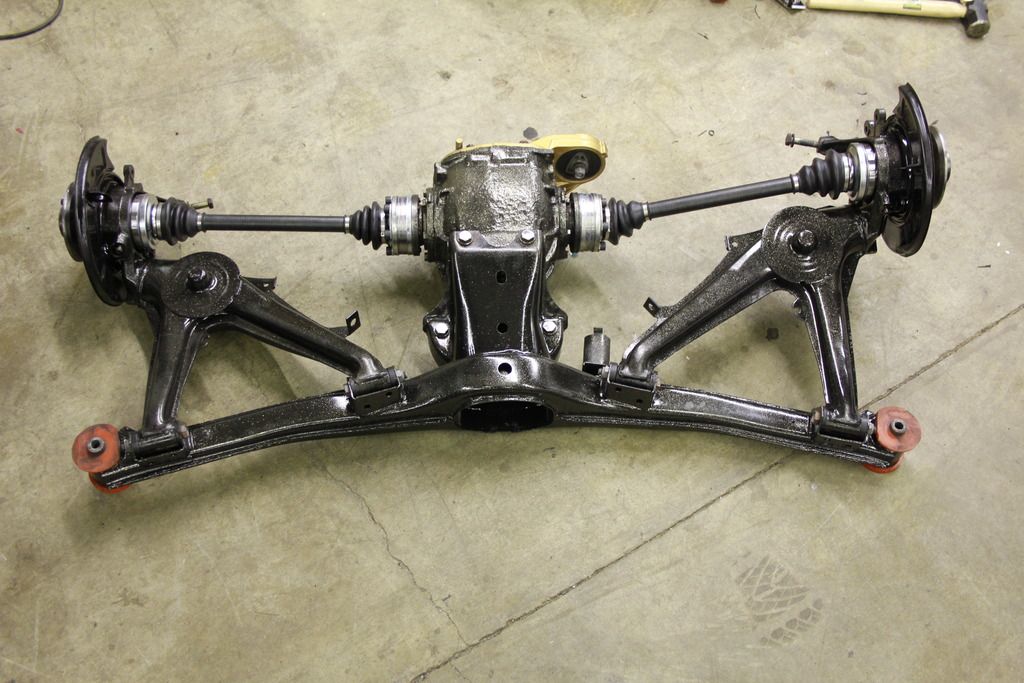
I then managed to BY MYSELF raise the sub frame into the car with two dolly's, a floor jack, two jack-stands, and some misc wood. I only have a few pictures here as this was extremely hard by myself. I could have waited for help, but I was anxious to get it together.
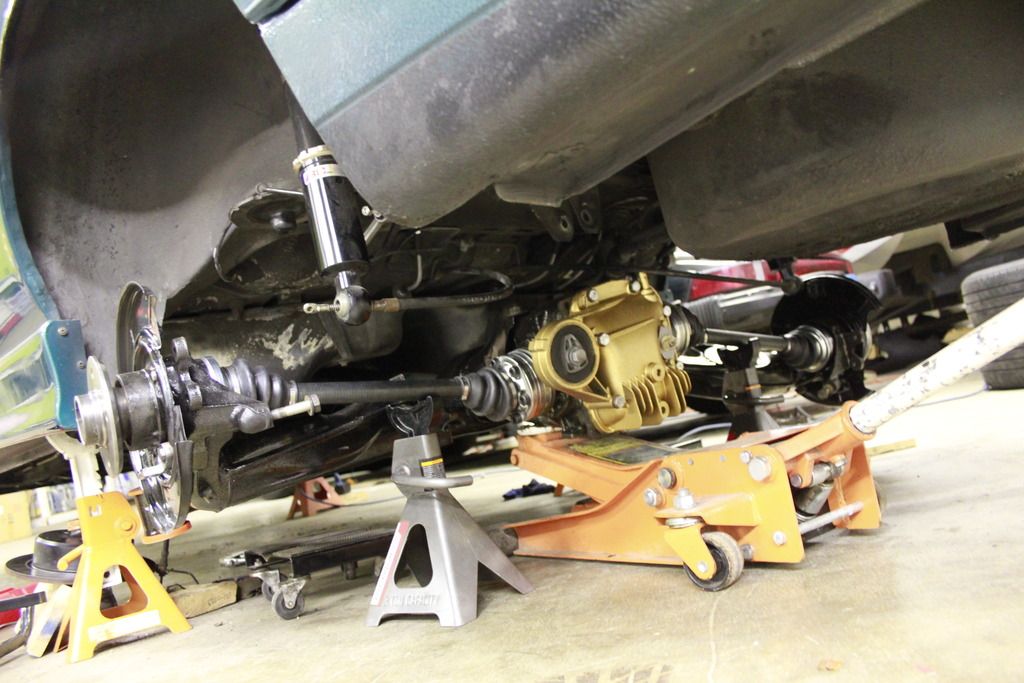
In the end, I managed to get it installed and the drive shaft bolted up. I had to wedge the sub frame studs back through the holes behind the interior panels, slight pounding and yelling ensued. I also installed the new sway bar links(while I laughed and made jokes about the cute sway bar that most likely does nothing anyways) and also ran all the new stainless brake lines, and bolted the ABS sensors and Ebrake cables back into place. Somewhere along this process is where I fell asleep on the comfy Creeper and woke up confused around 4am. I will take pictures when I finally install the brakes and power bleed the system very soon!!!
https://www.instagram.com/_jdesigner_/ http://nevertoolow.tumblr.com/
🥳SOLD BMW E24 633CSI - BMW M30B32 🧪SOLD HCH ES9 - 1.3 LDA
👽BMW E30 325IC - Toyota 1JZ-GTE ⏰ HONDA EF9 CIVIC SI - JDM B18C5
☠️BMW E36 318i - Ford 5.0 FE302 🚴♂️ GT-Labomba - 26x2.75 Freeride
🤹♀️SOLD BMW E36/7 Z3 - BMW M54B25 🧓SOLD BMW E10 2002 - BMW M10M05 -
Do not use the axle nuts that come with those half shafts, buy new ones and lock plates.
It all looks so shiny!
-
Do not use the axle nuts that come with those half shafts, buy new ones and lock plates. It all looks so shiny!
Wait what? I have new axle nuts for the half shalfs and I have new locking plates as well. Why should I not use them?
https://www.instagram.com/_jdesigner_/ http://nevertoolow.tumblr.com/
🥳SOLD BMW E24 633CSI - BMW M30B32 🧪SOLD HCH ES9 - 1.3 LDA
👽BMW E30 325IC - Toyota 1JZ-GTE ⏰ HONDA EF9 CIVIC SI - JDM B18C5
☠️BMW E36 318i - Ford 5.0 FE302 🚴♂️ GT-Labomba - 26x2.75 Freeride
🤹♀️SOLD BMW E36/7 Z3 - BMW M54B25 🧓SOLD BMW E10 2002 - BMW M10M05







Hello! It looks like you're interested in this conversation, but you don't have an account yet.
Getting fed up of having to scroll through the same posts each visit? When you register for an account, you'll always come back to exactly where you were before, and choose to be notified of new replies (either via email, or push notification). You'll also be able to save bookmarks and upvote posts to show your appreciation to other community members.
With your input, this post could be even better 💗
Register Login