Tkuhn
Posts
-
A purists nightmare - E46 drift build -
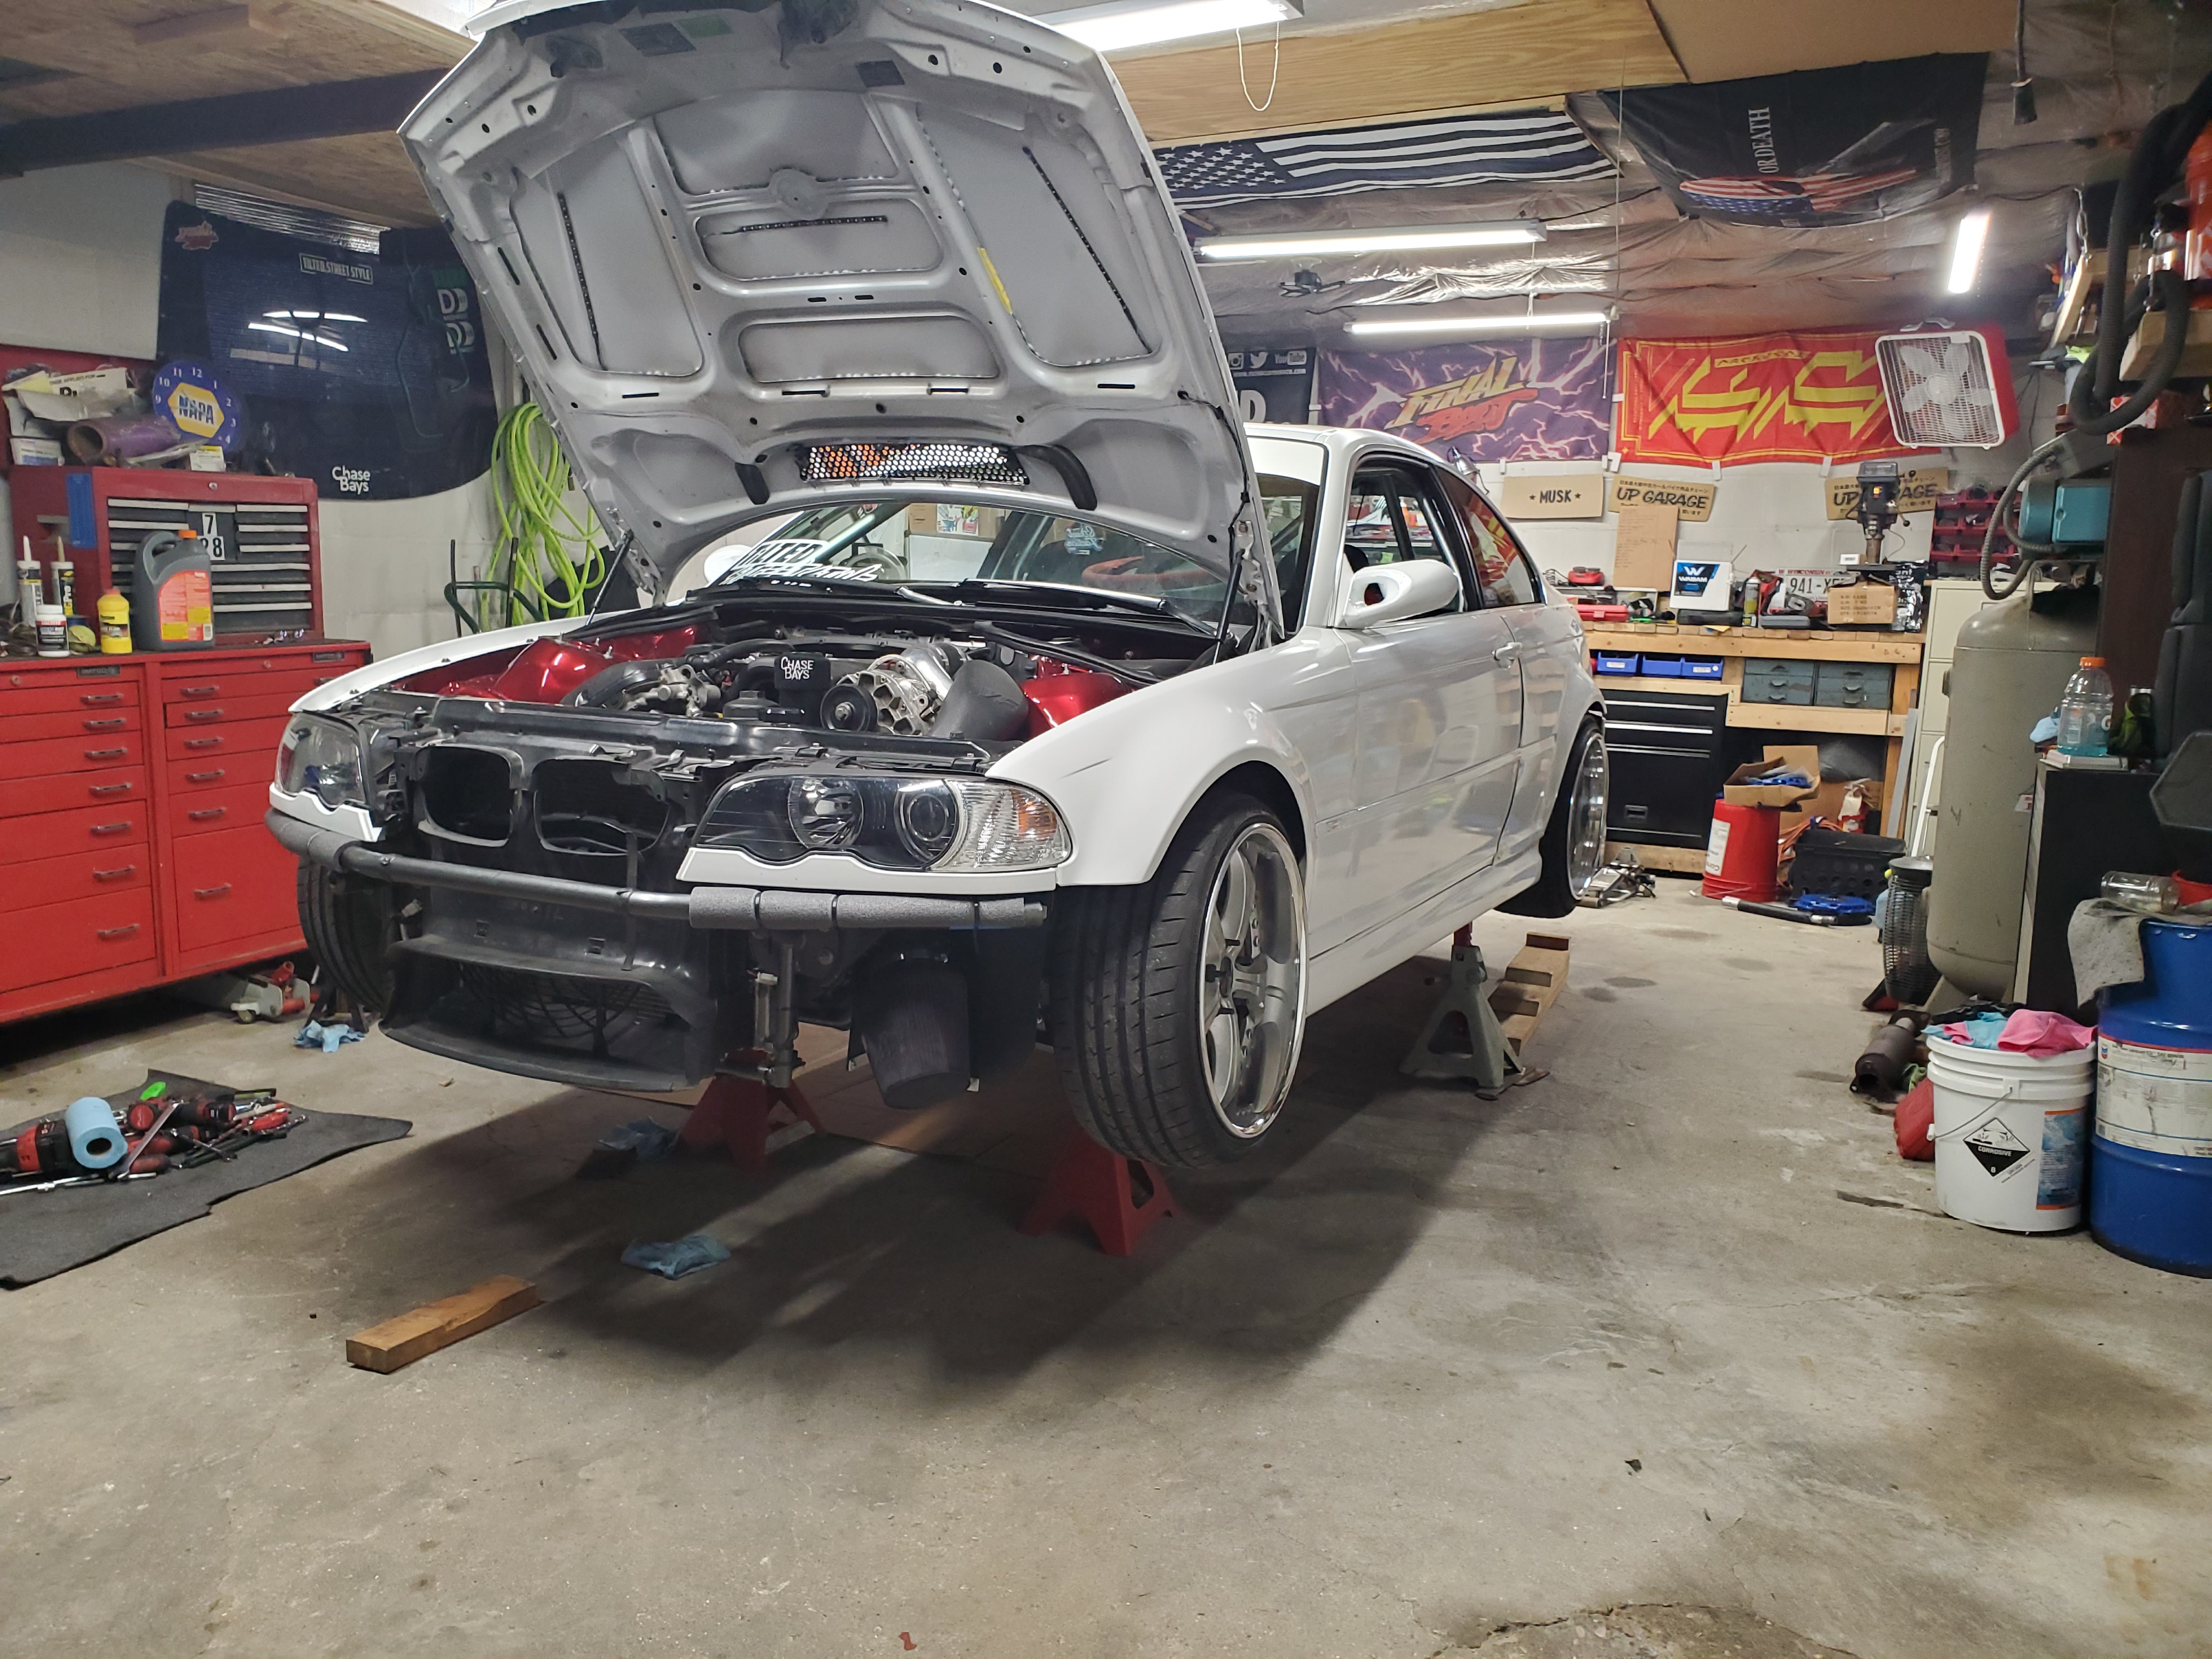
A purists nightmare - E46 drift buildIts time for an UPDATE!
Holy shit has the past month been a stressful but rewarding in the end, so thats why I have been slacking on updates here haha
For starters the street tuning went well. There's still some touch ups the tuner wants to make which I'm fine with but the car rips pretty well!
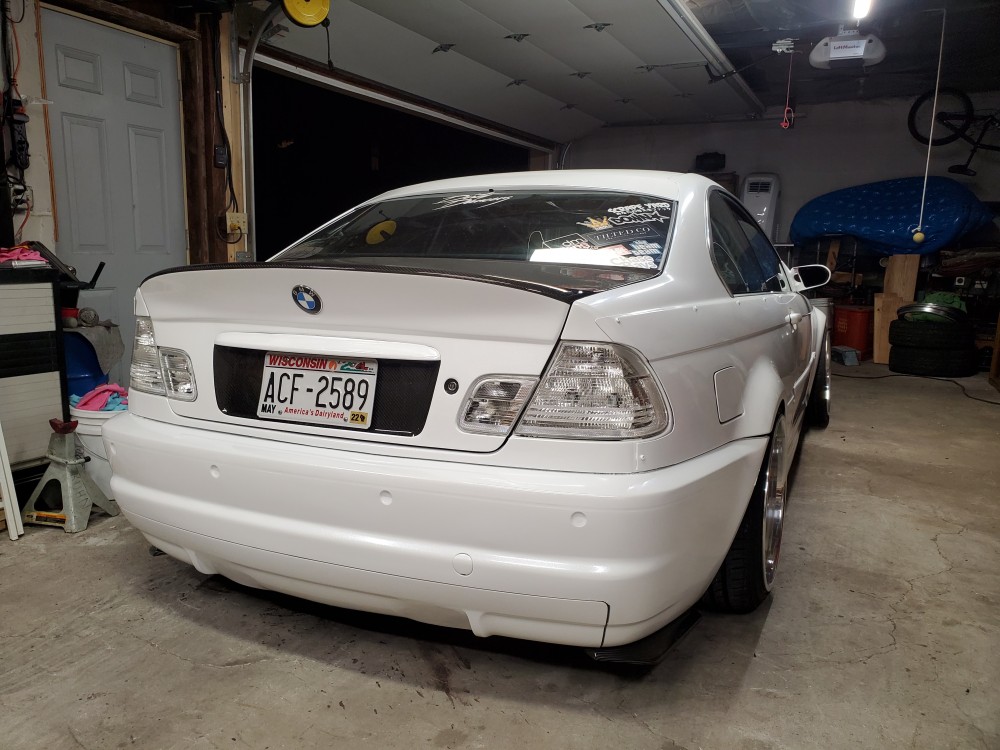
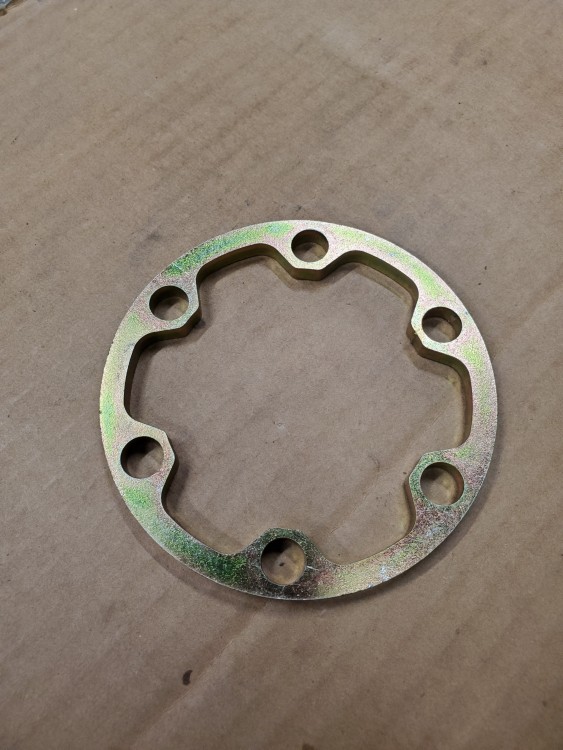
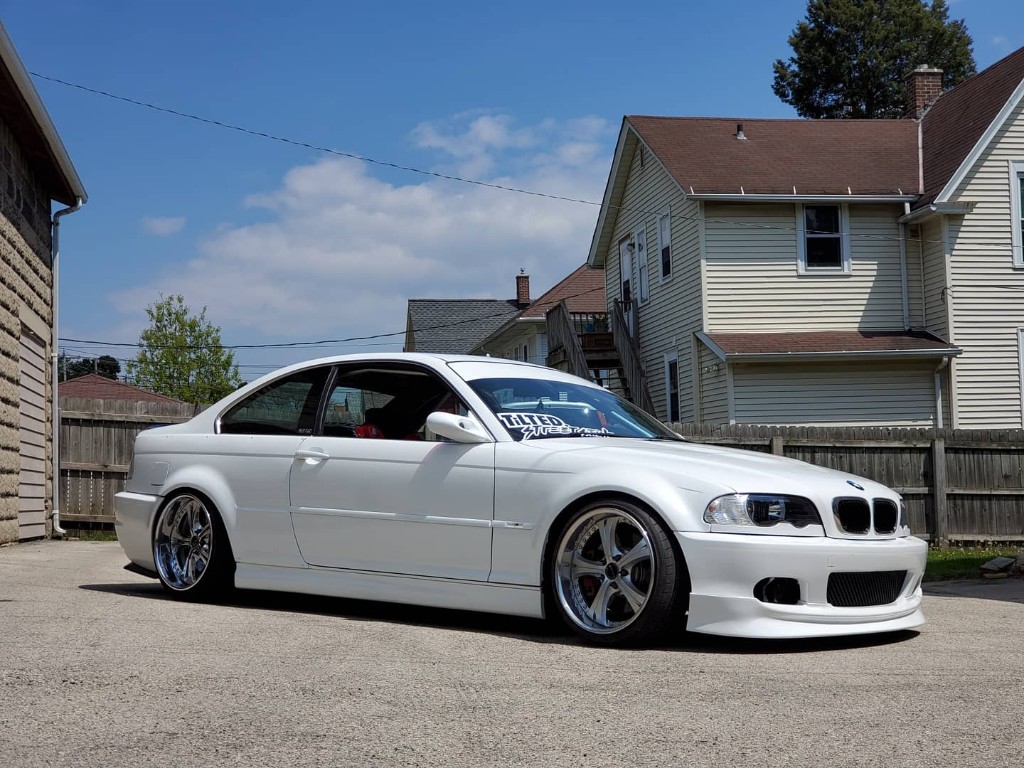
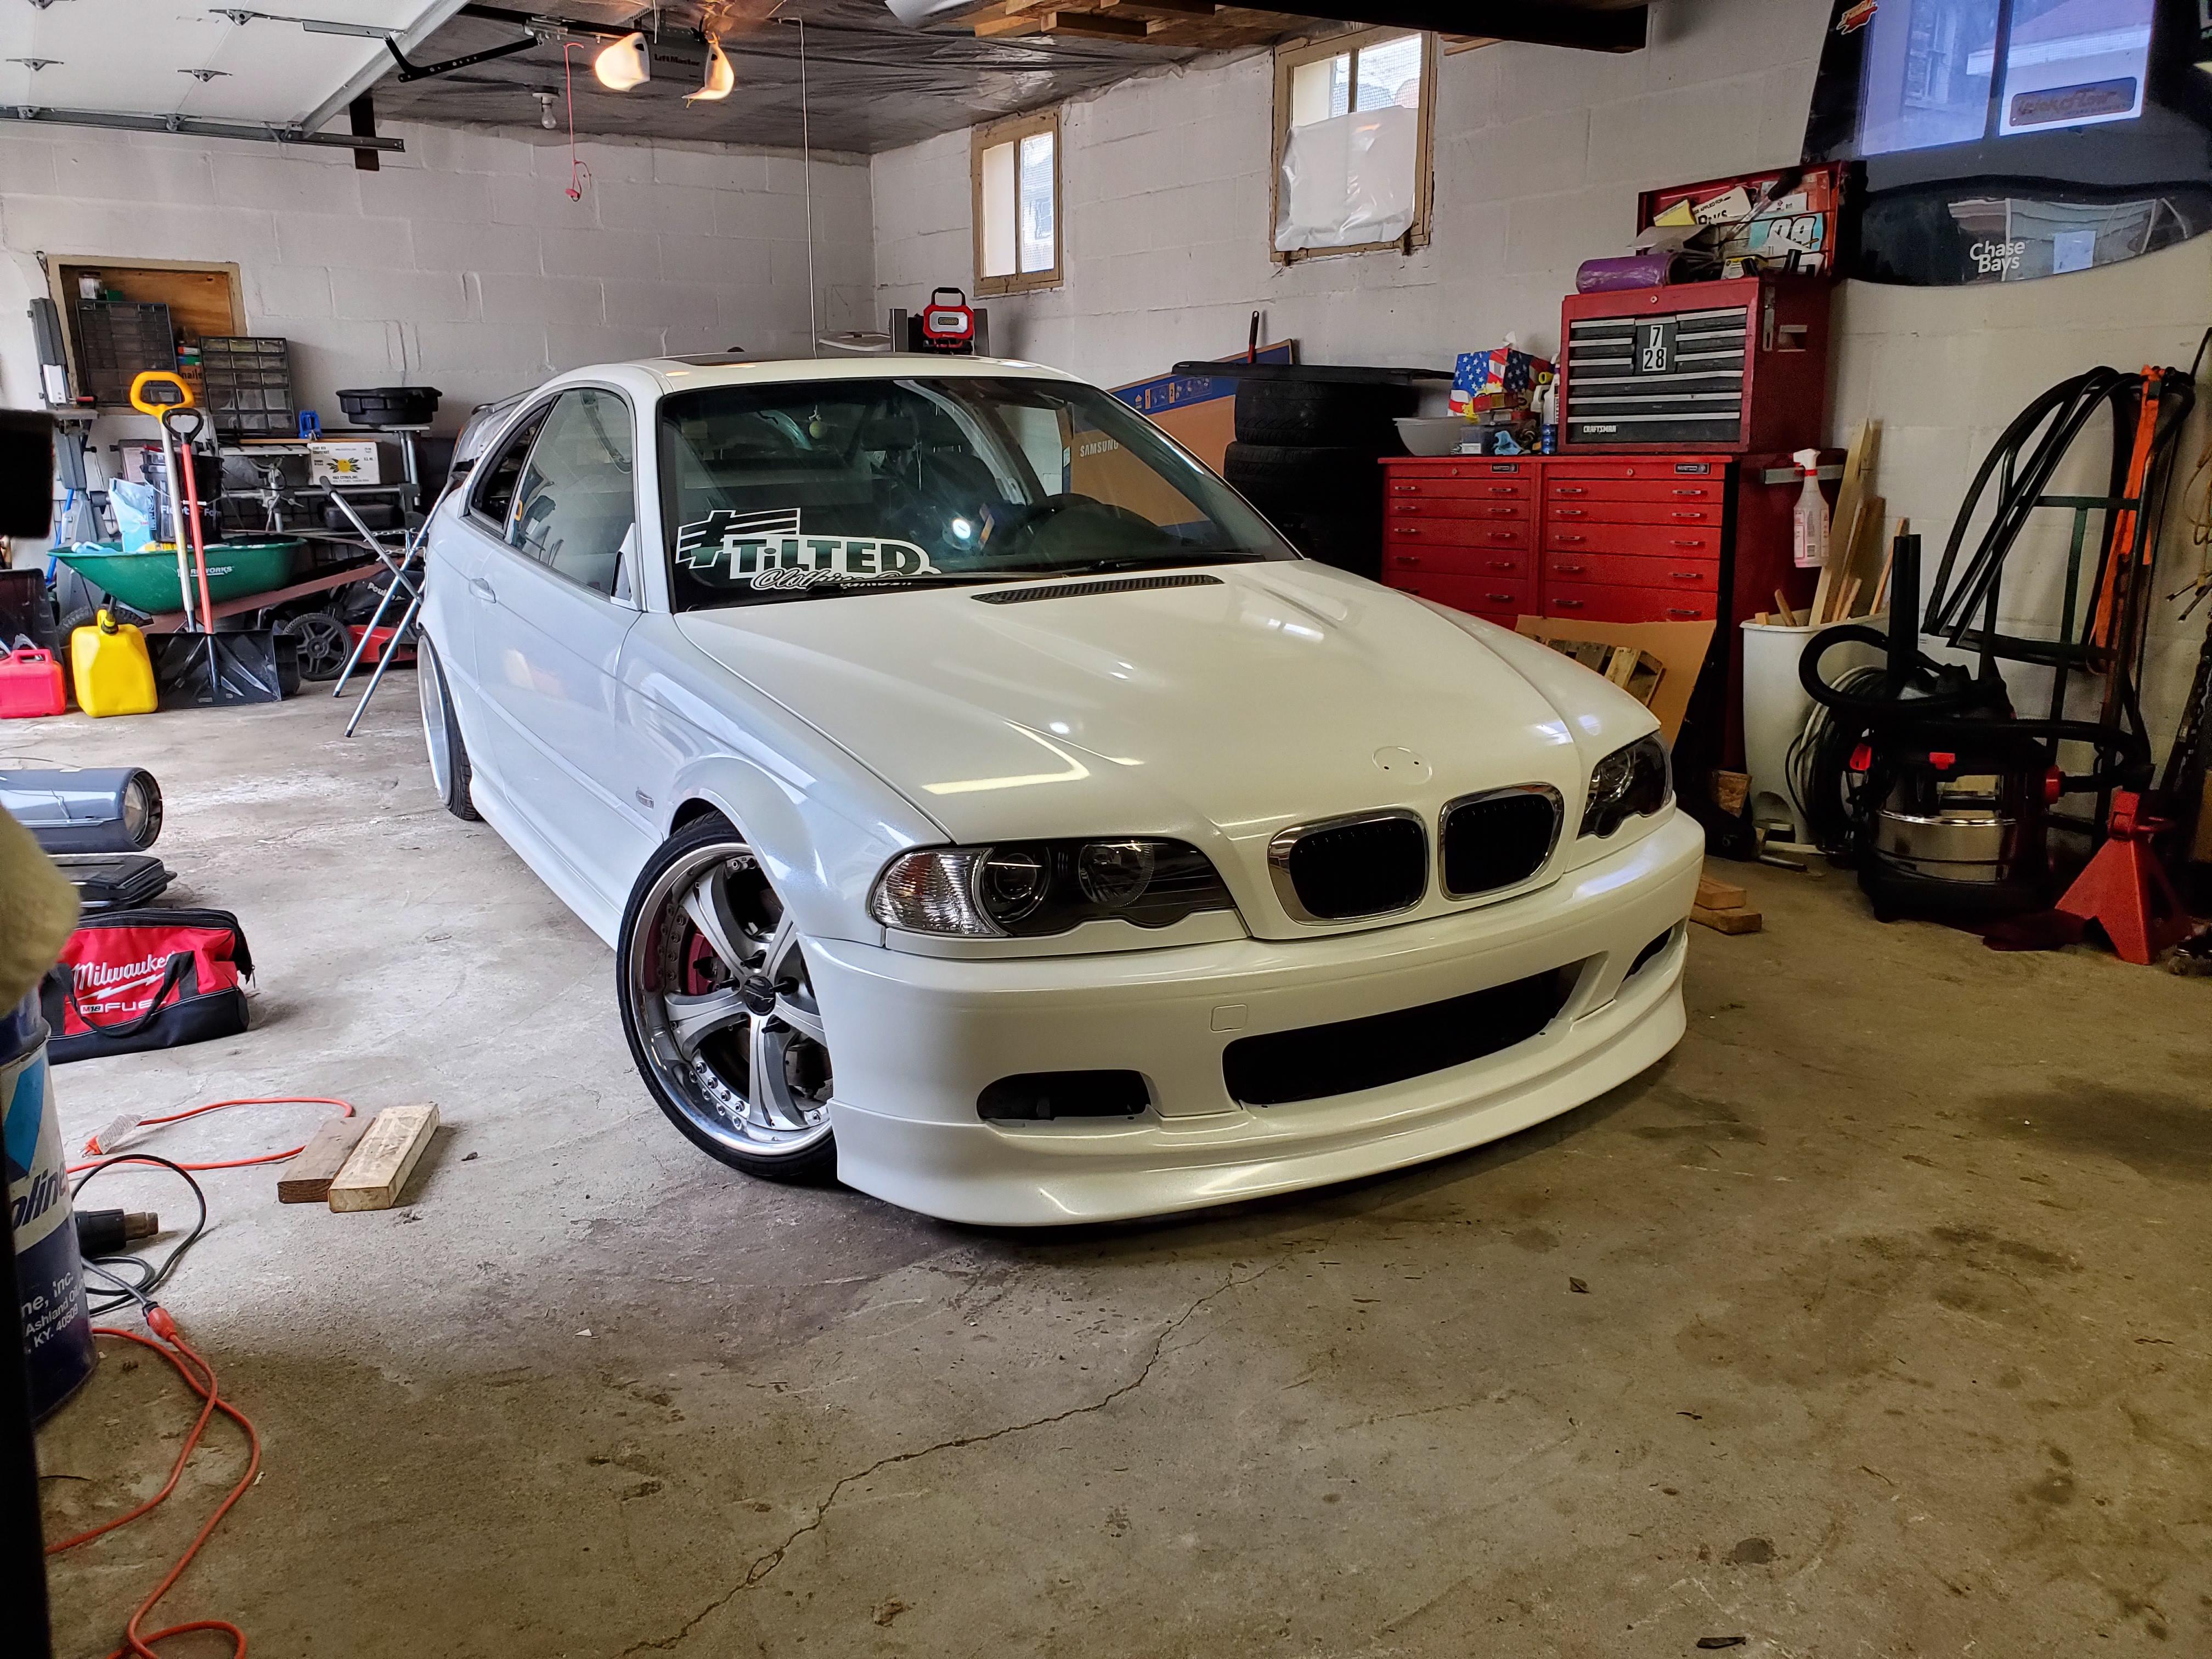
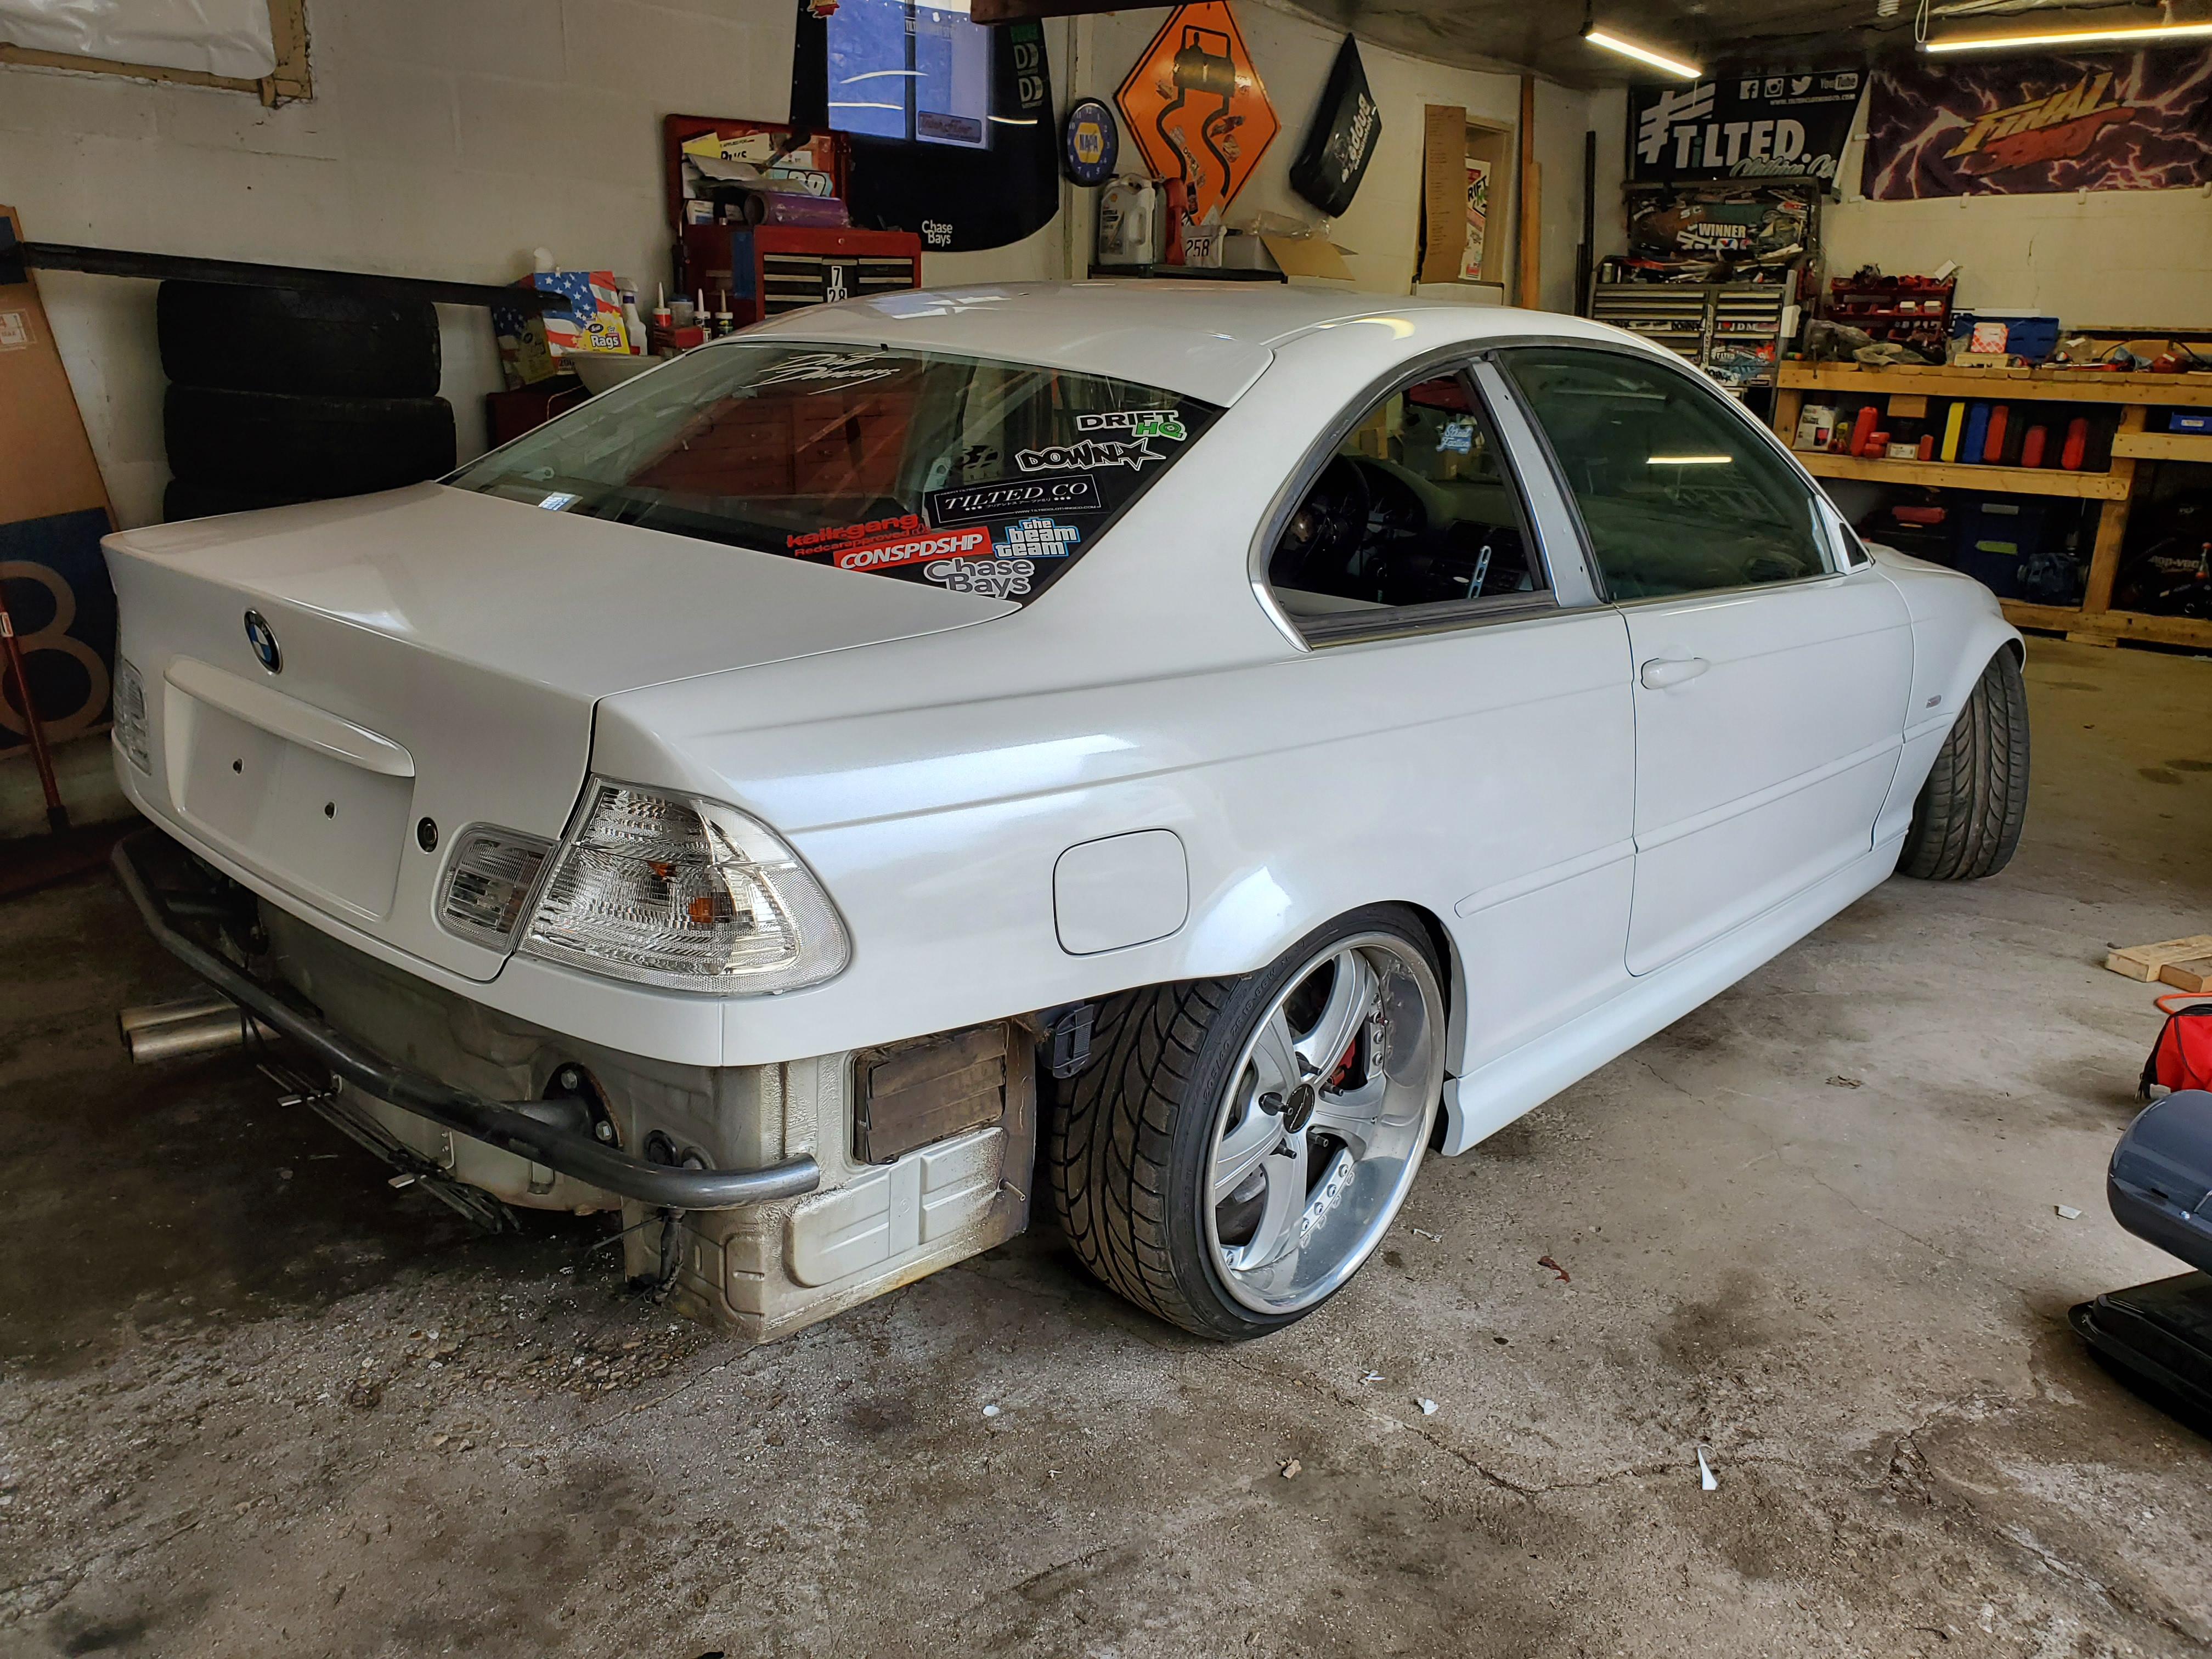
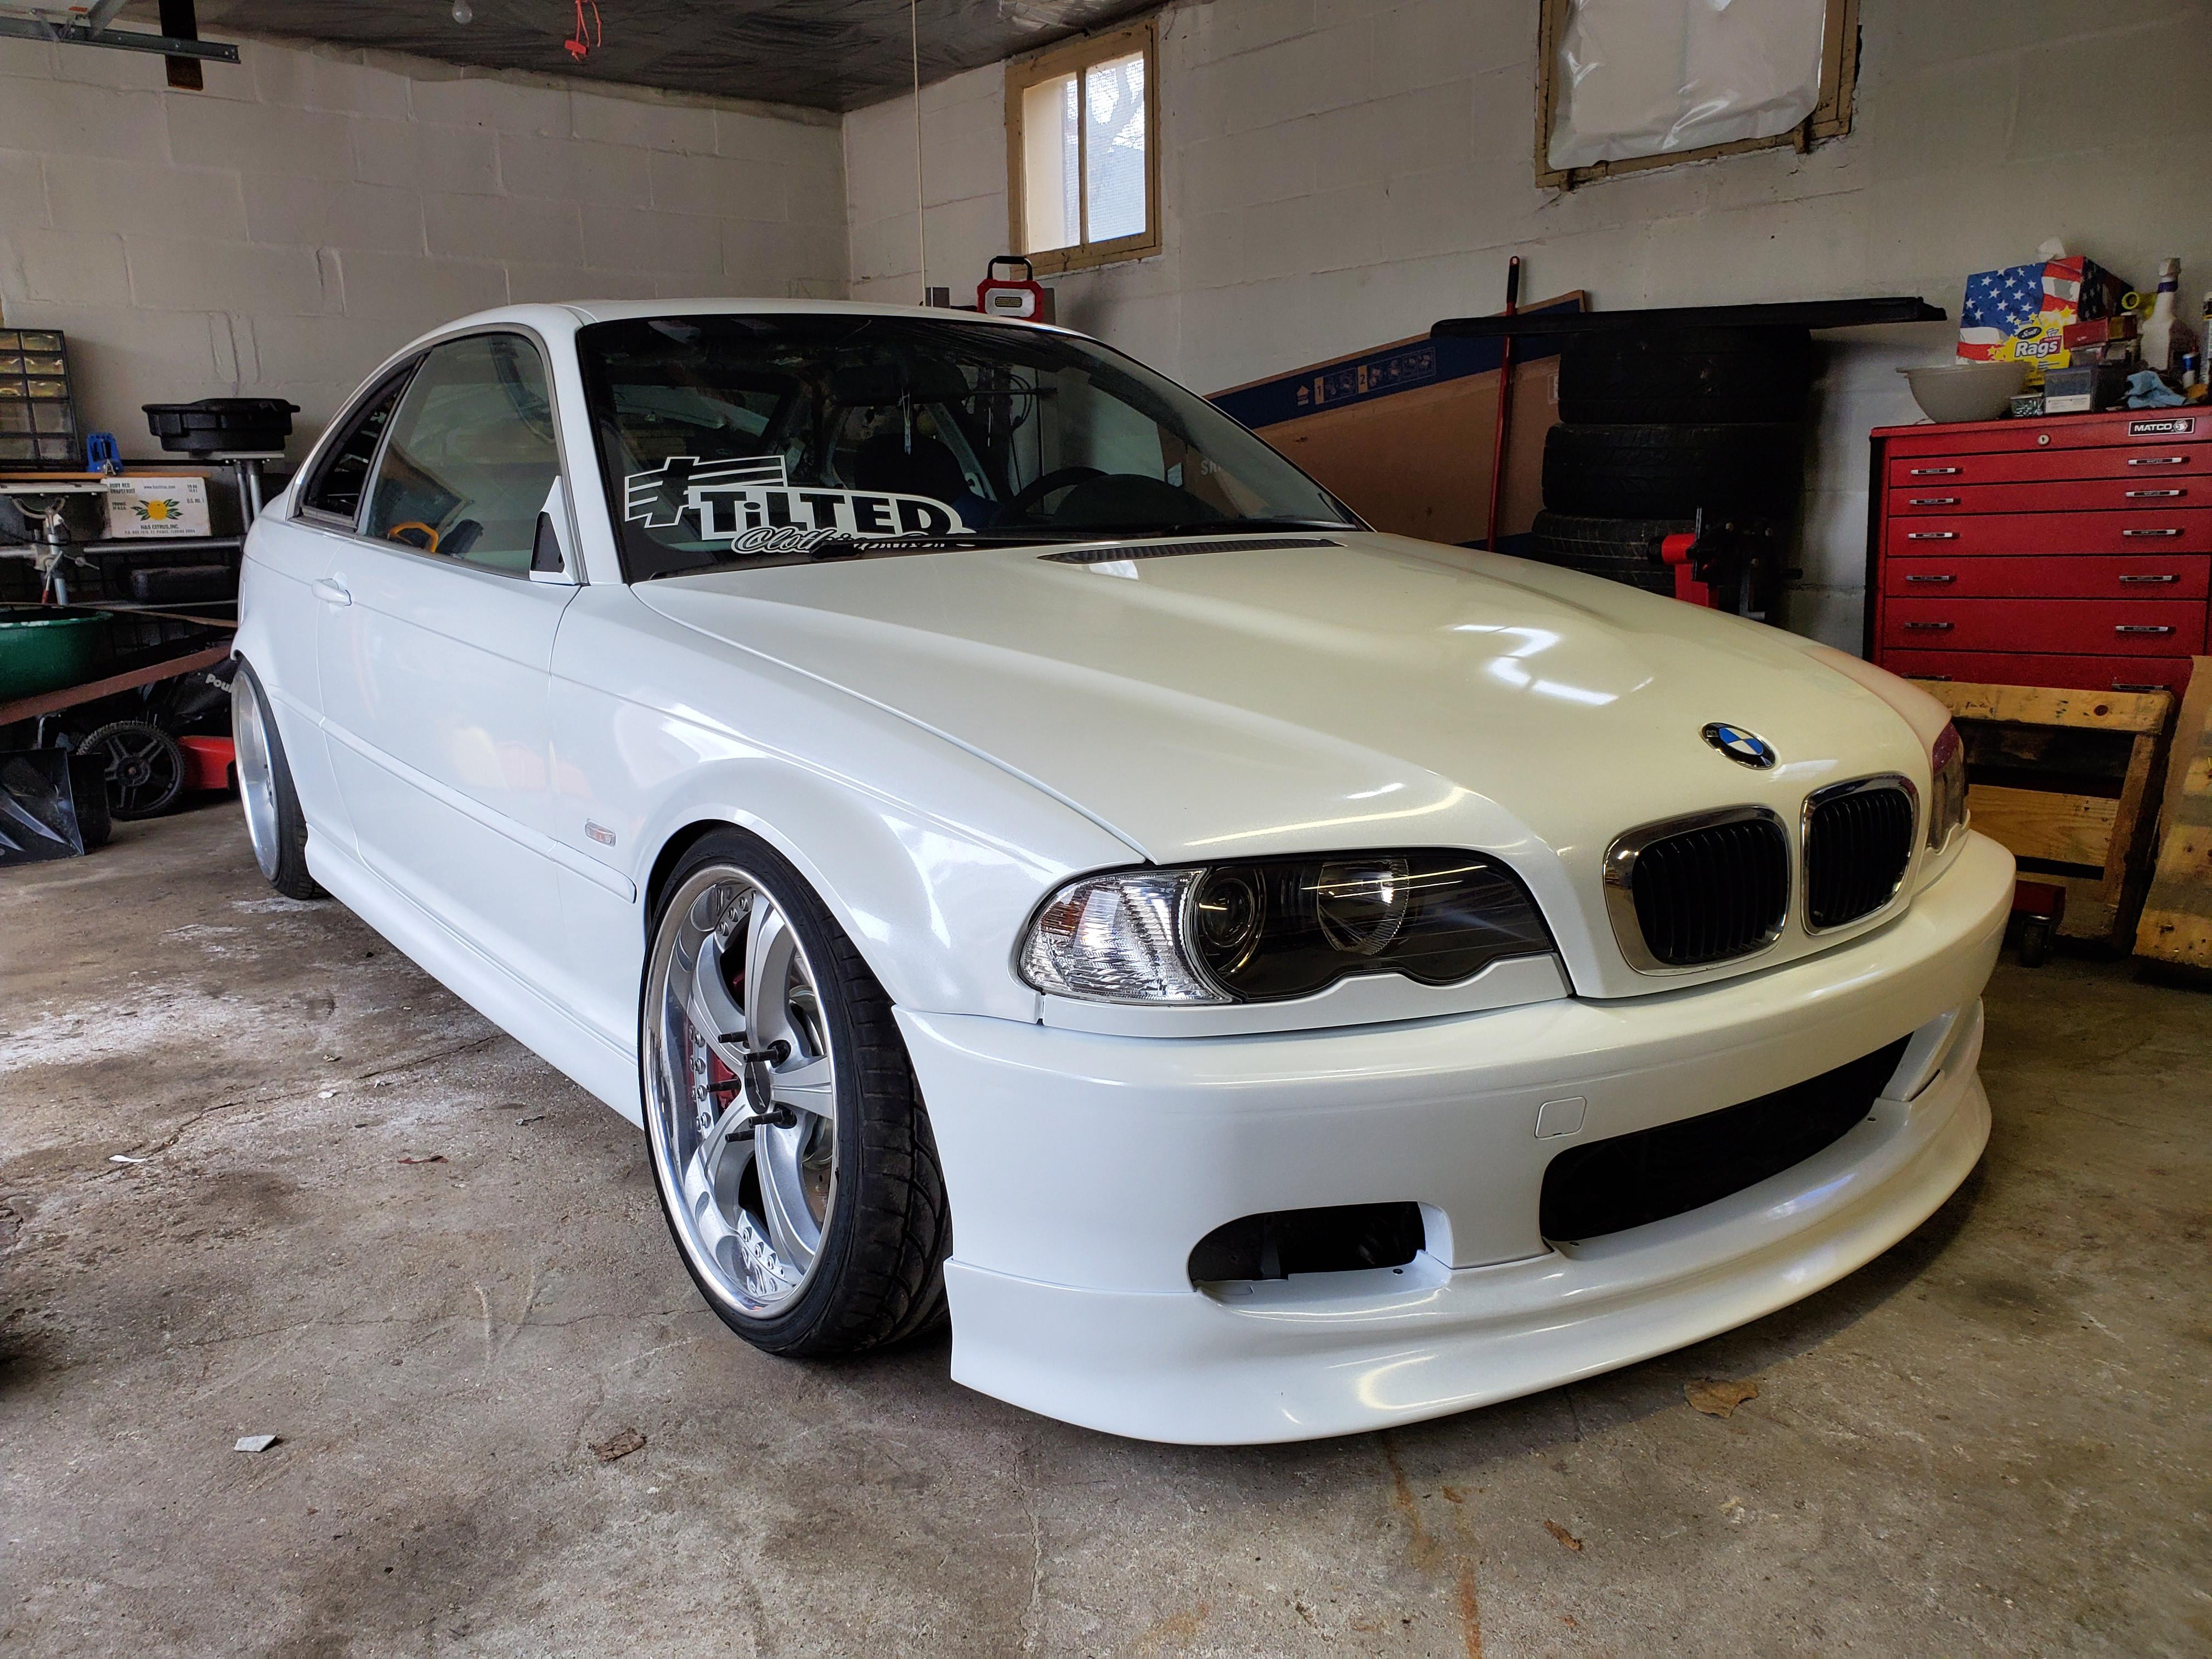
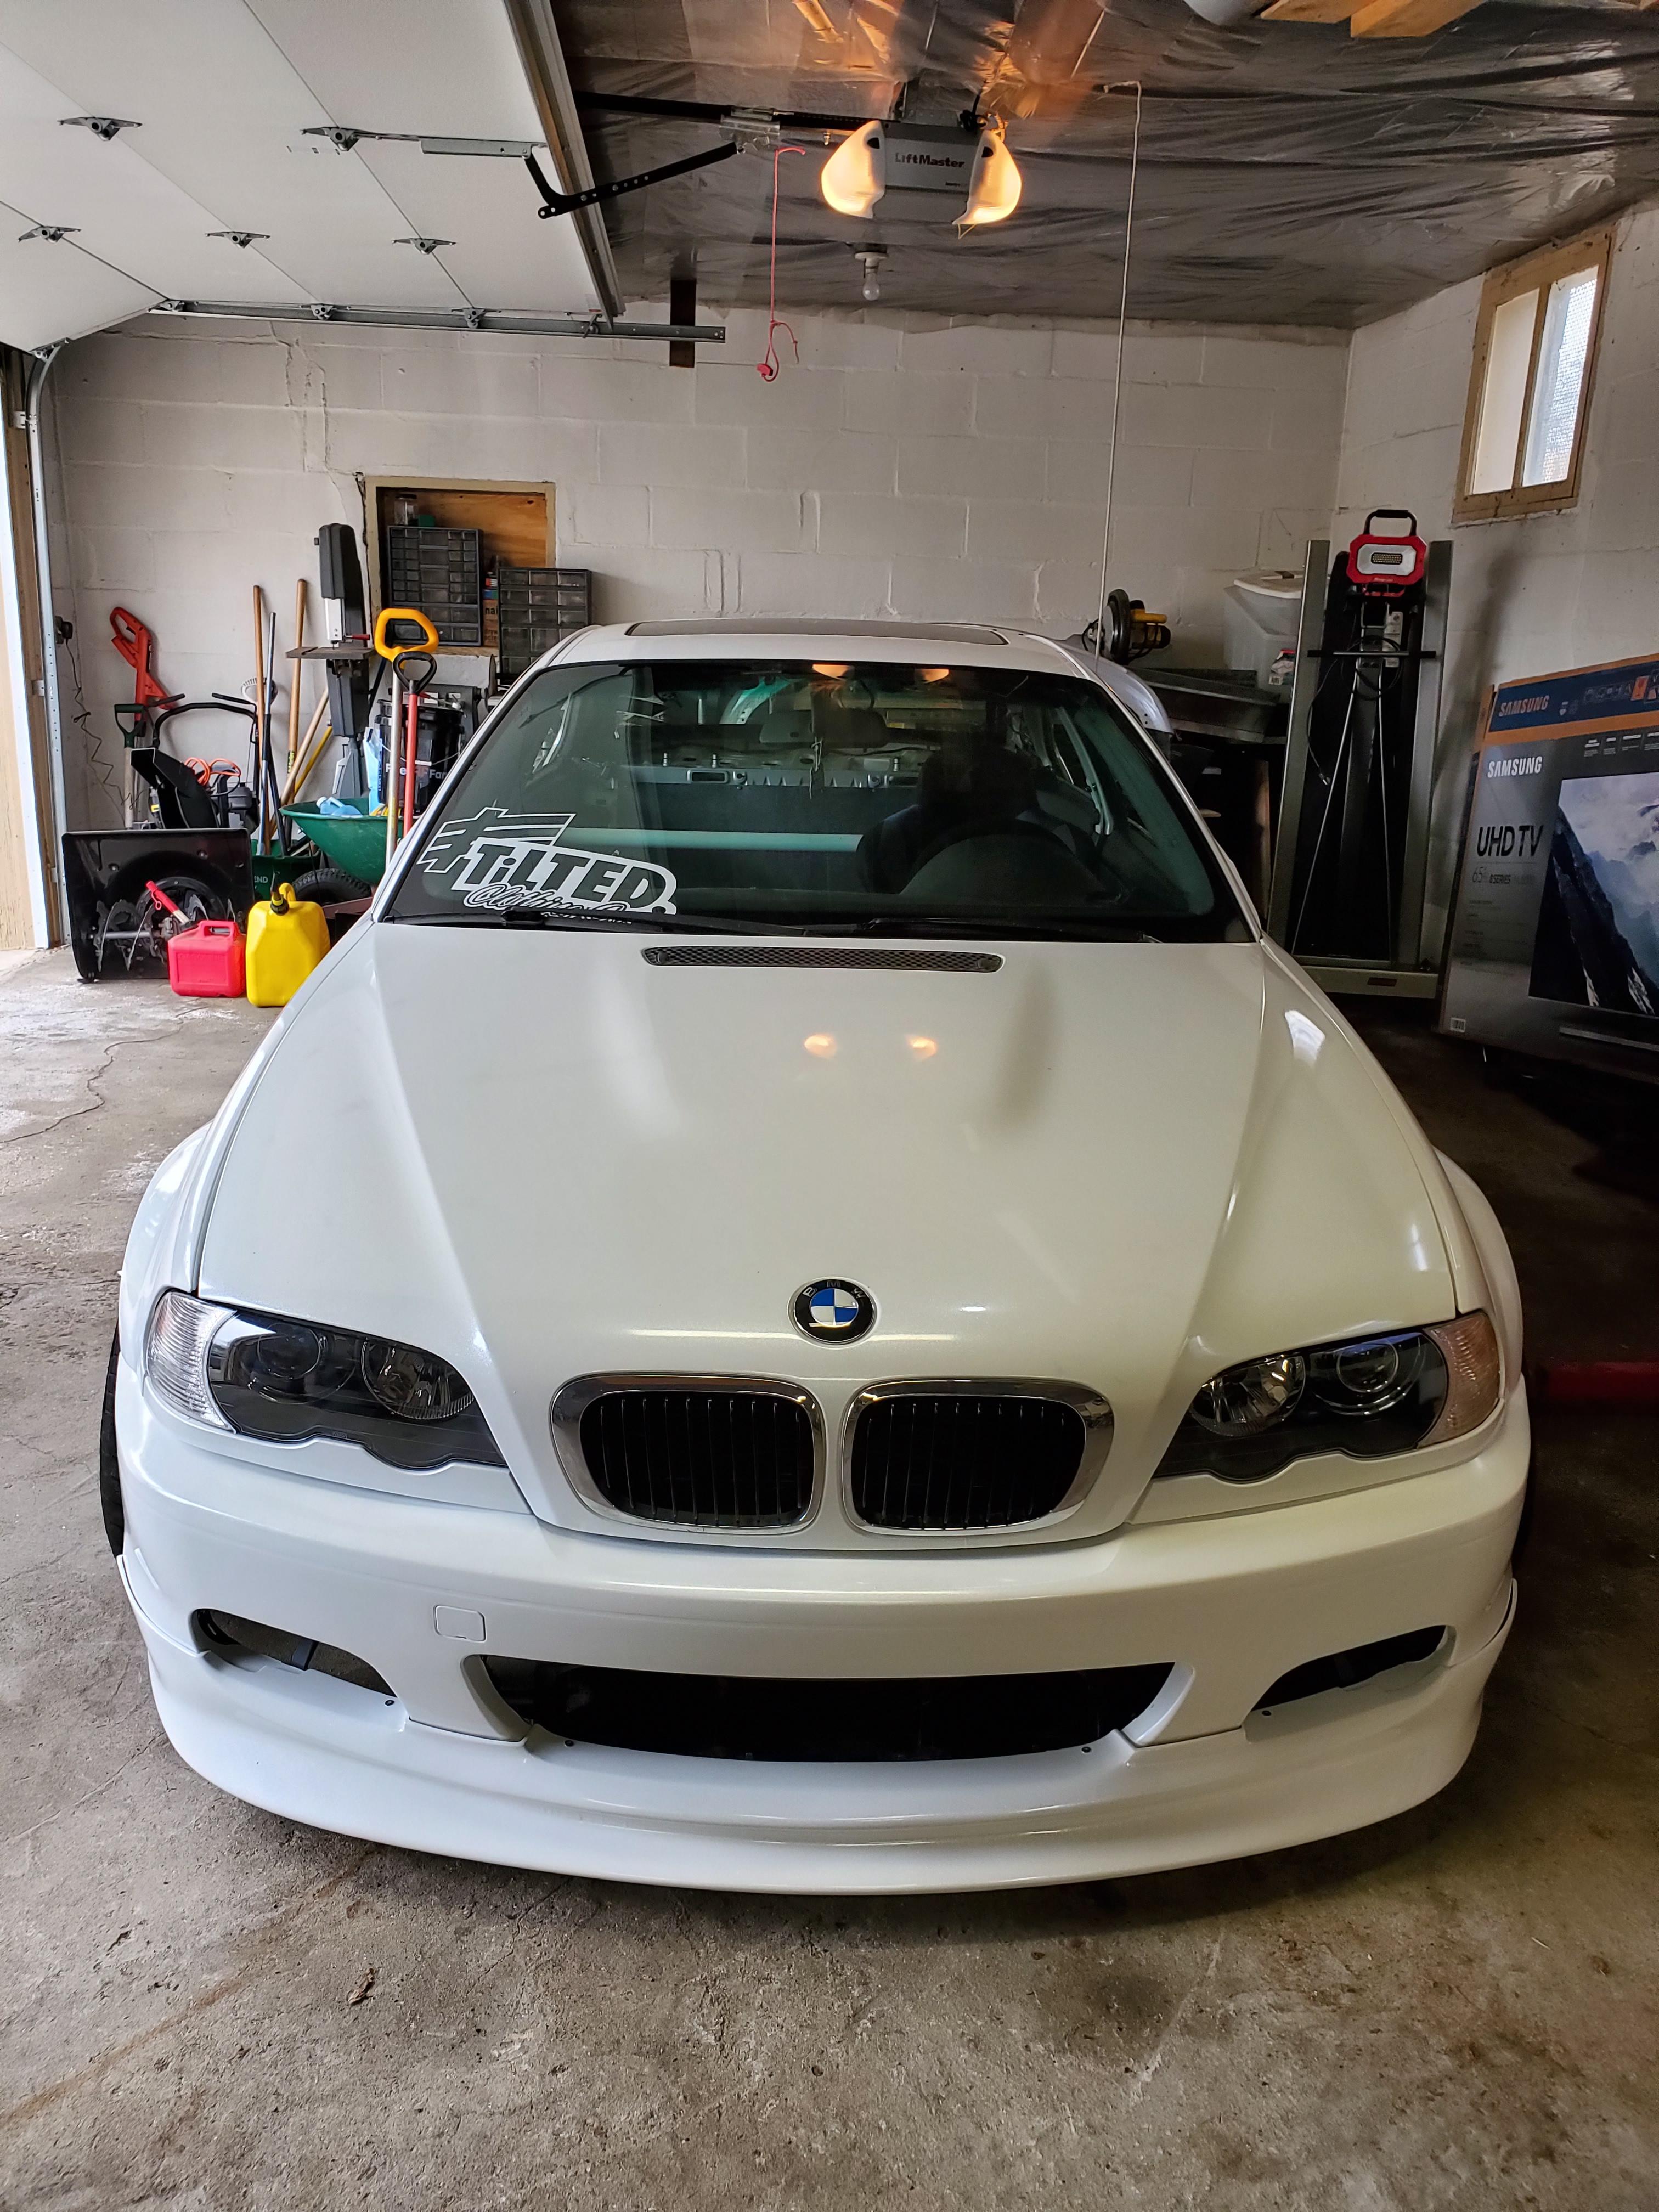
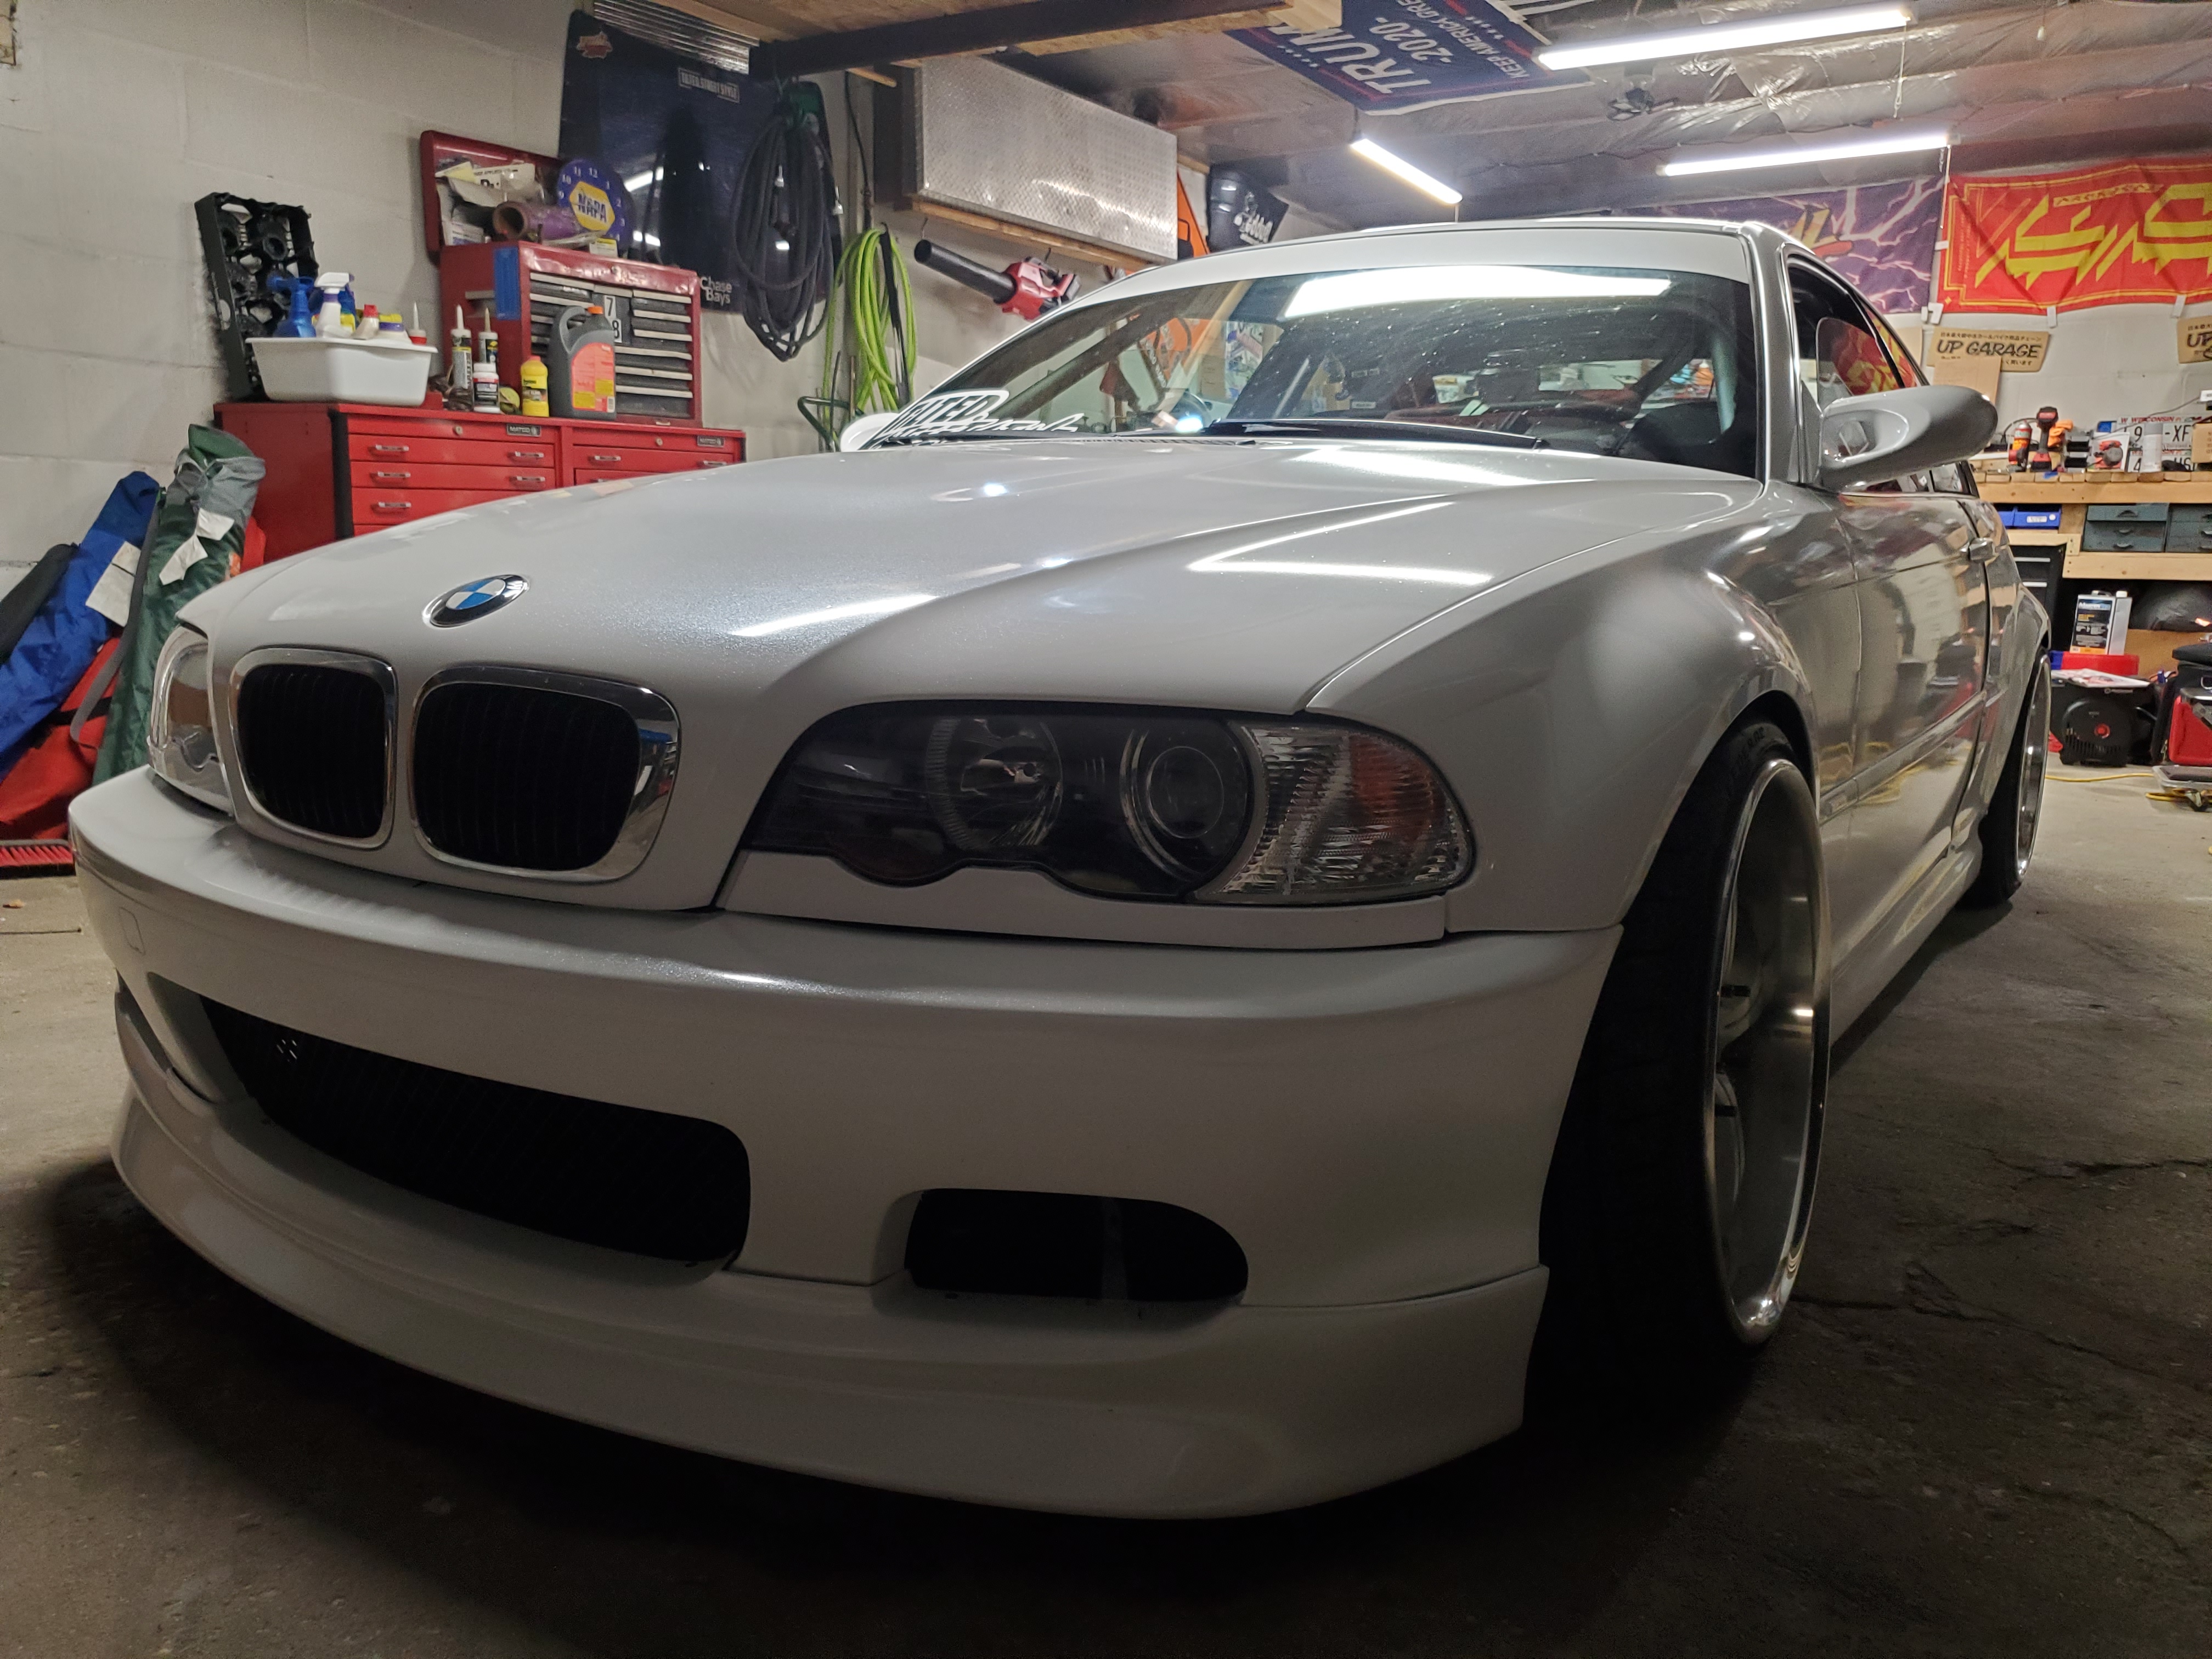
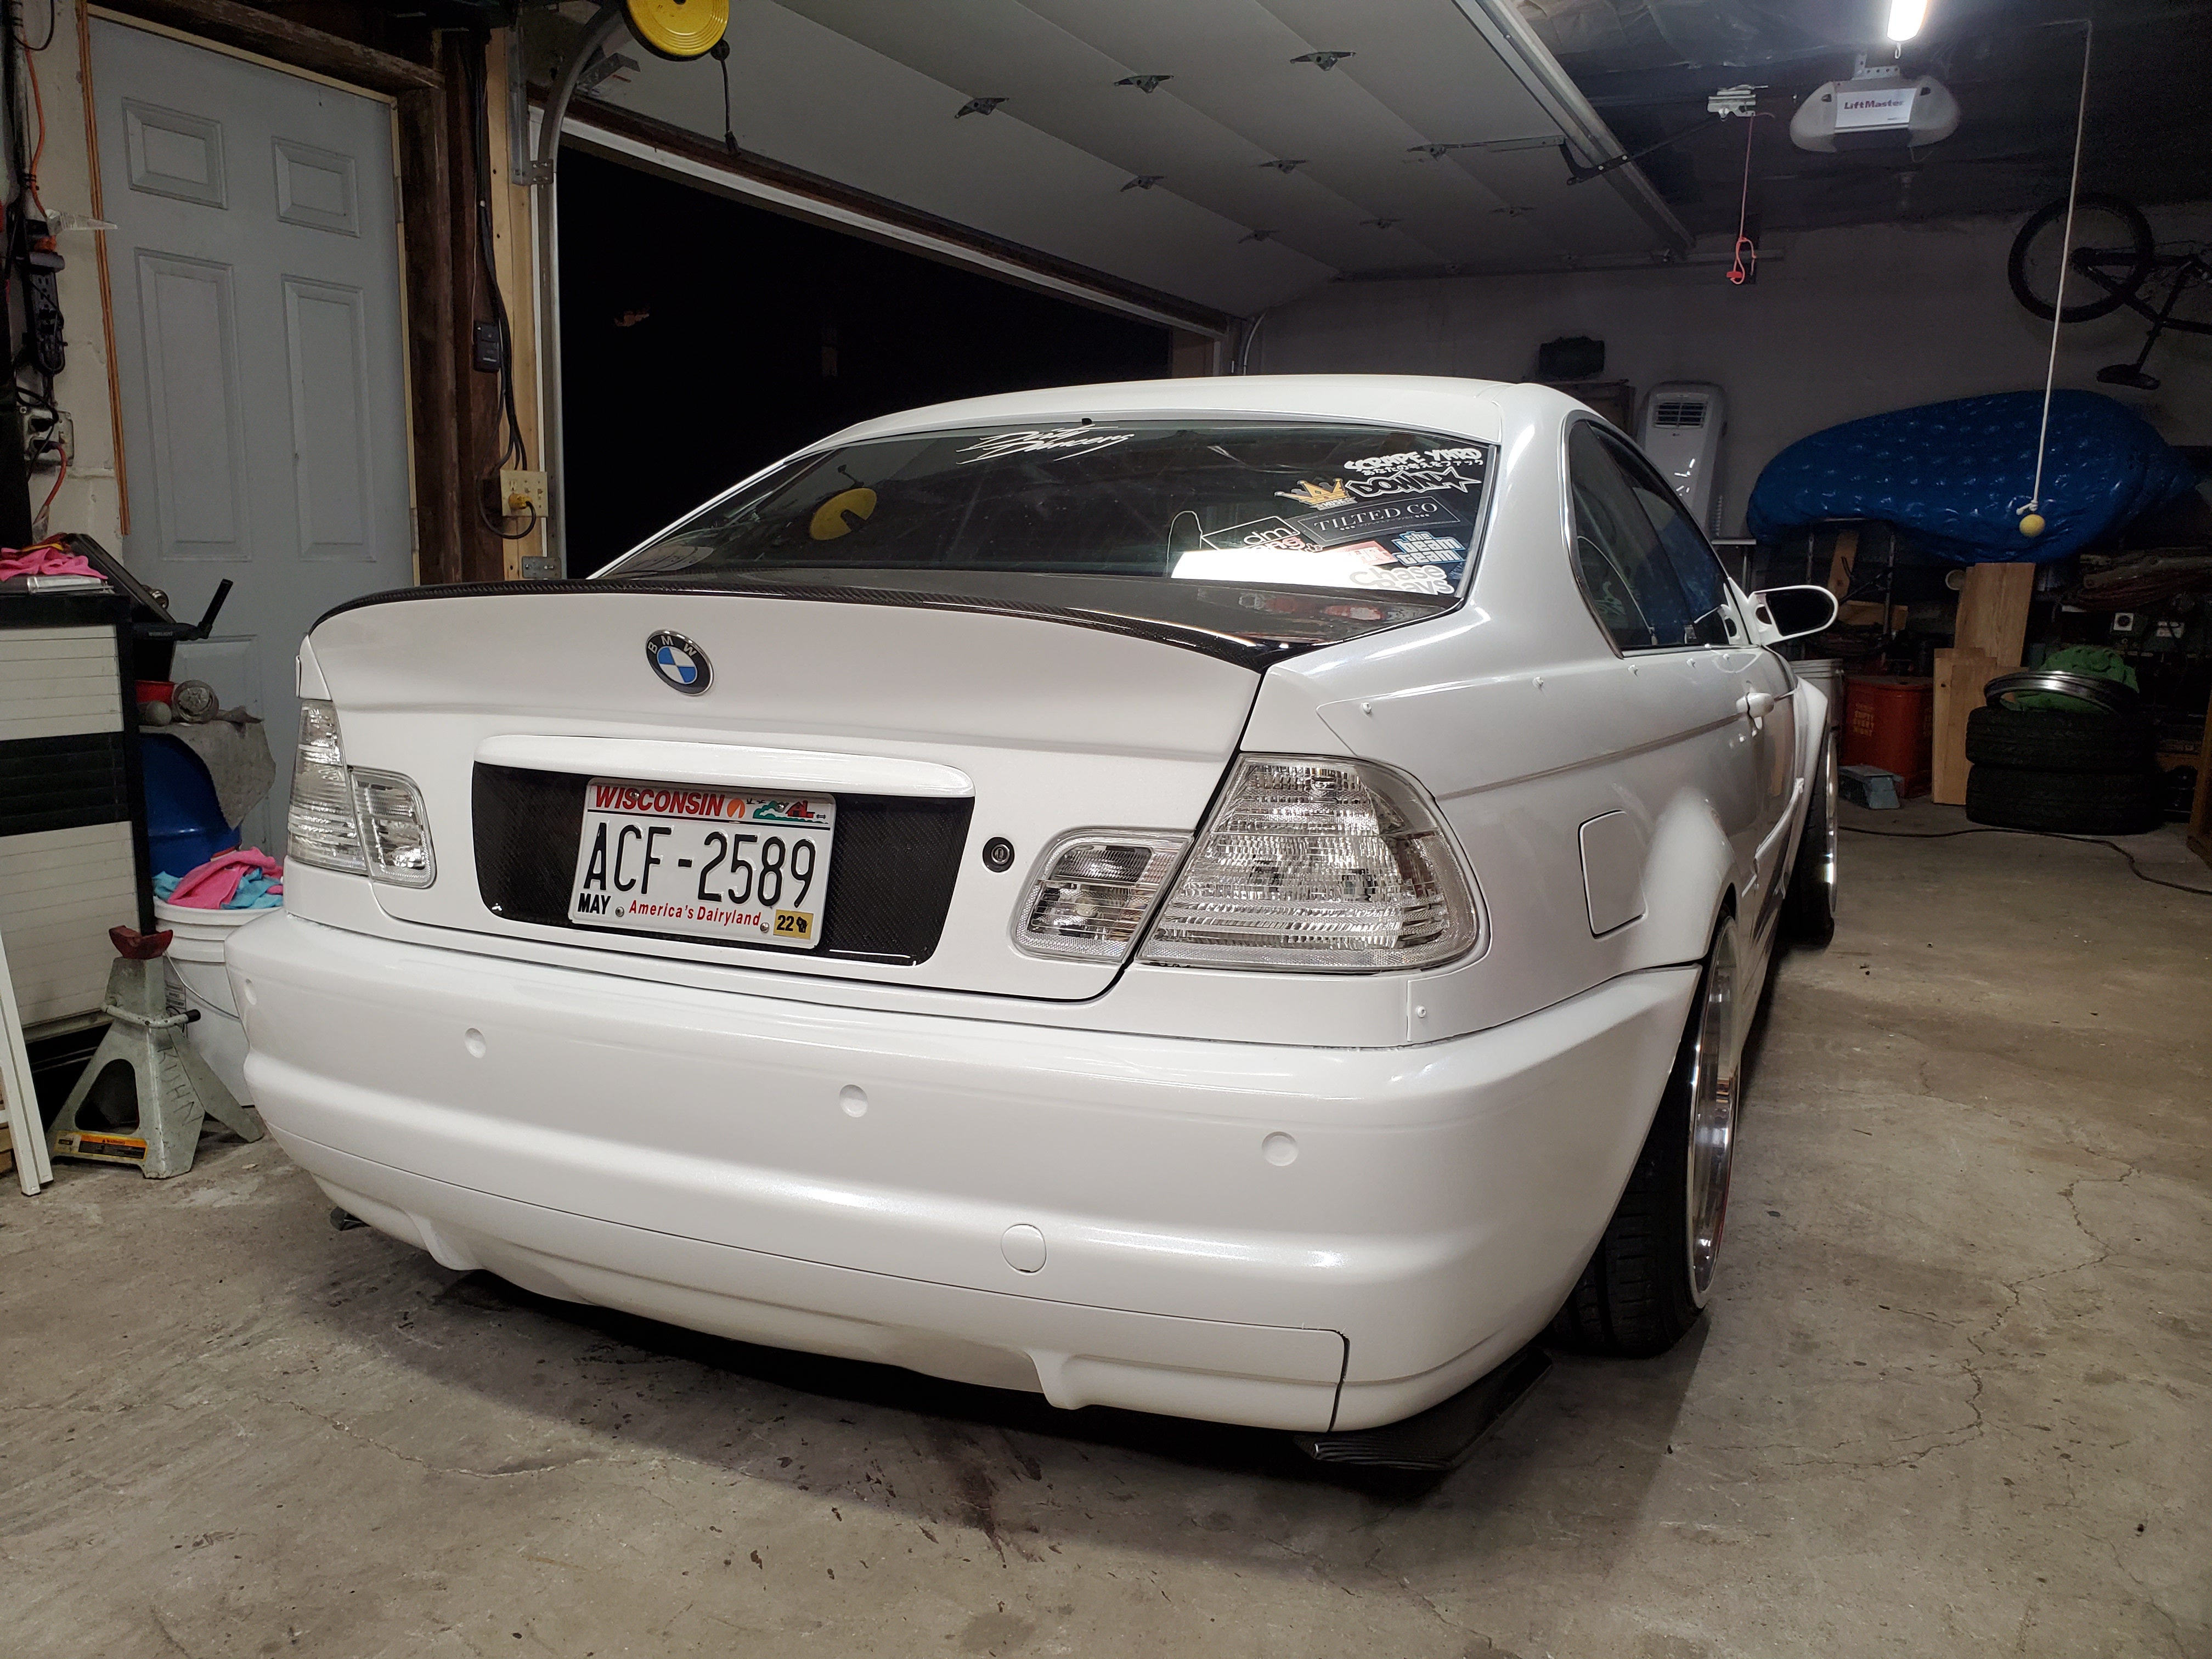
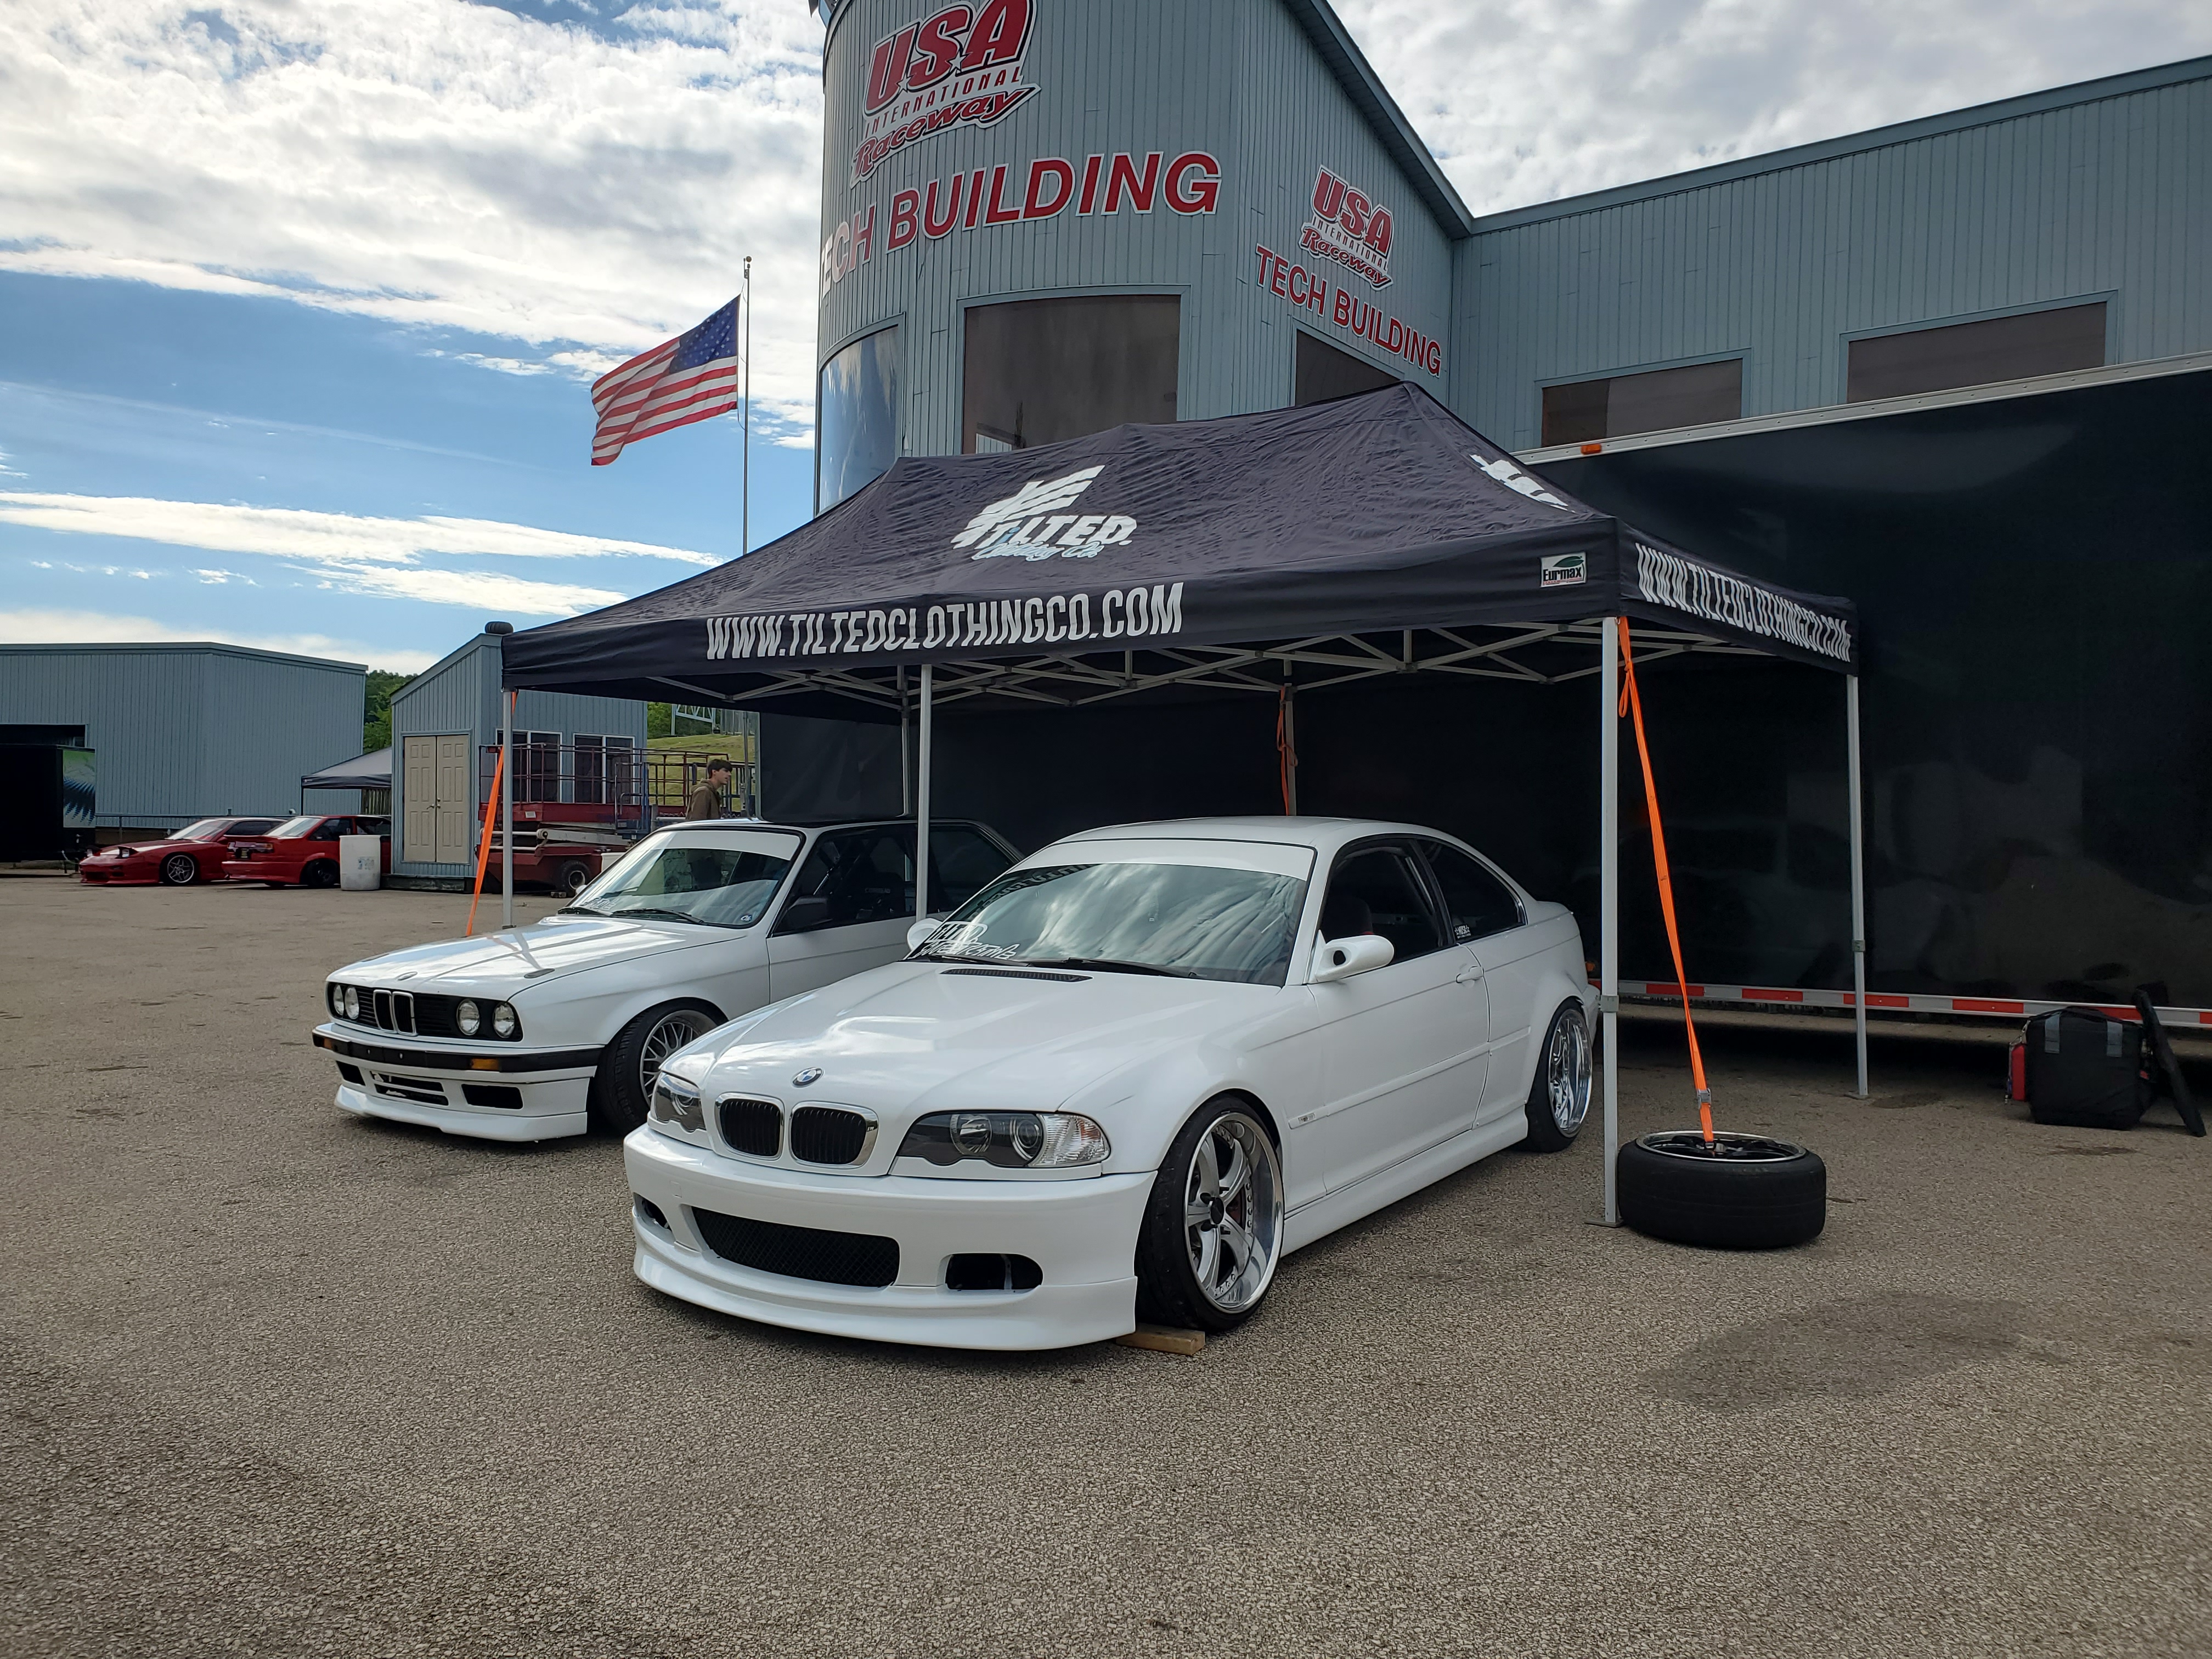
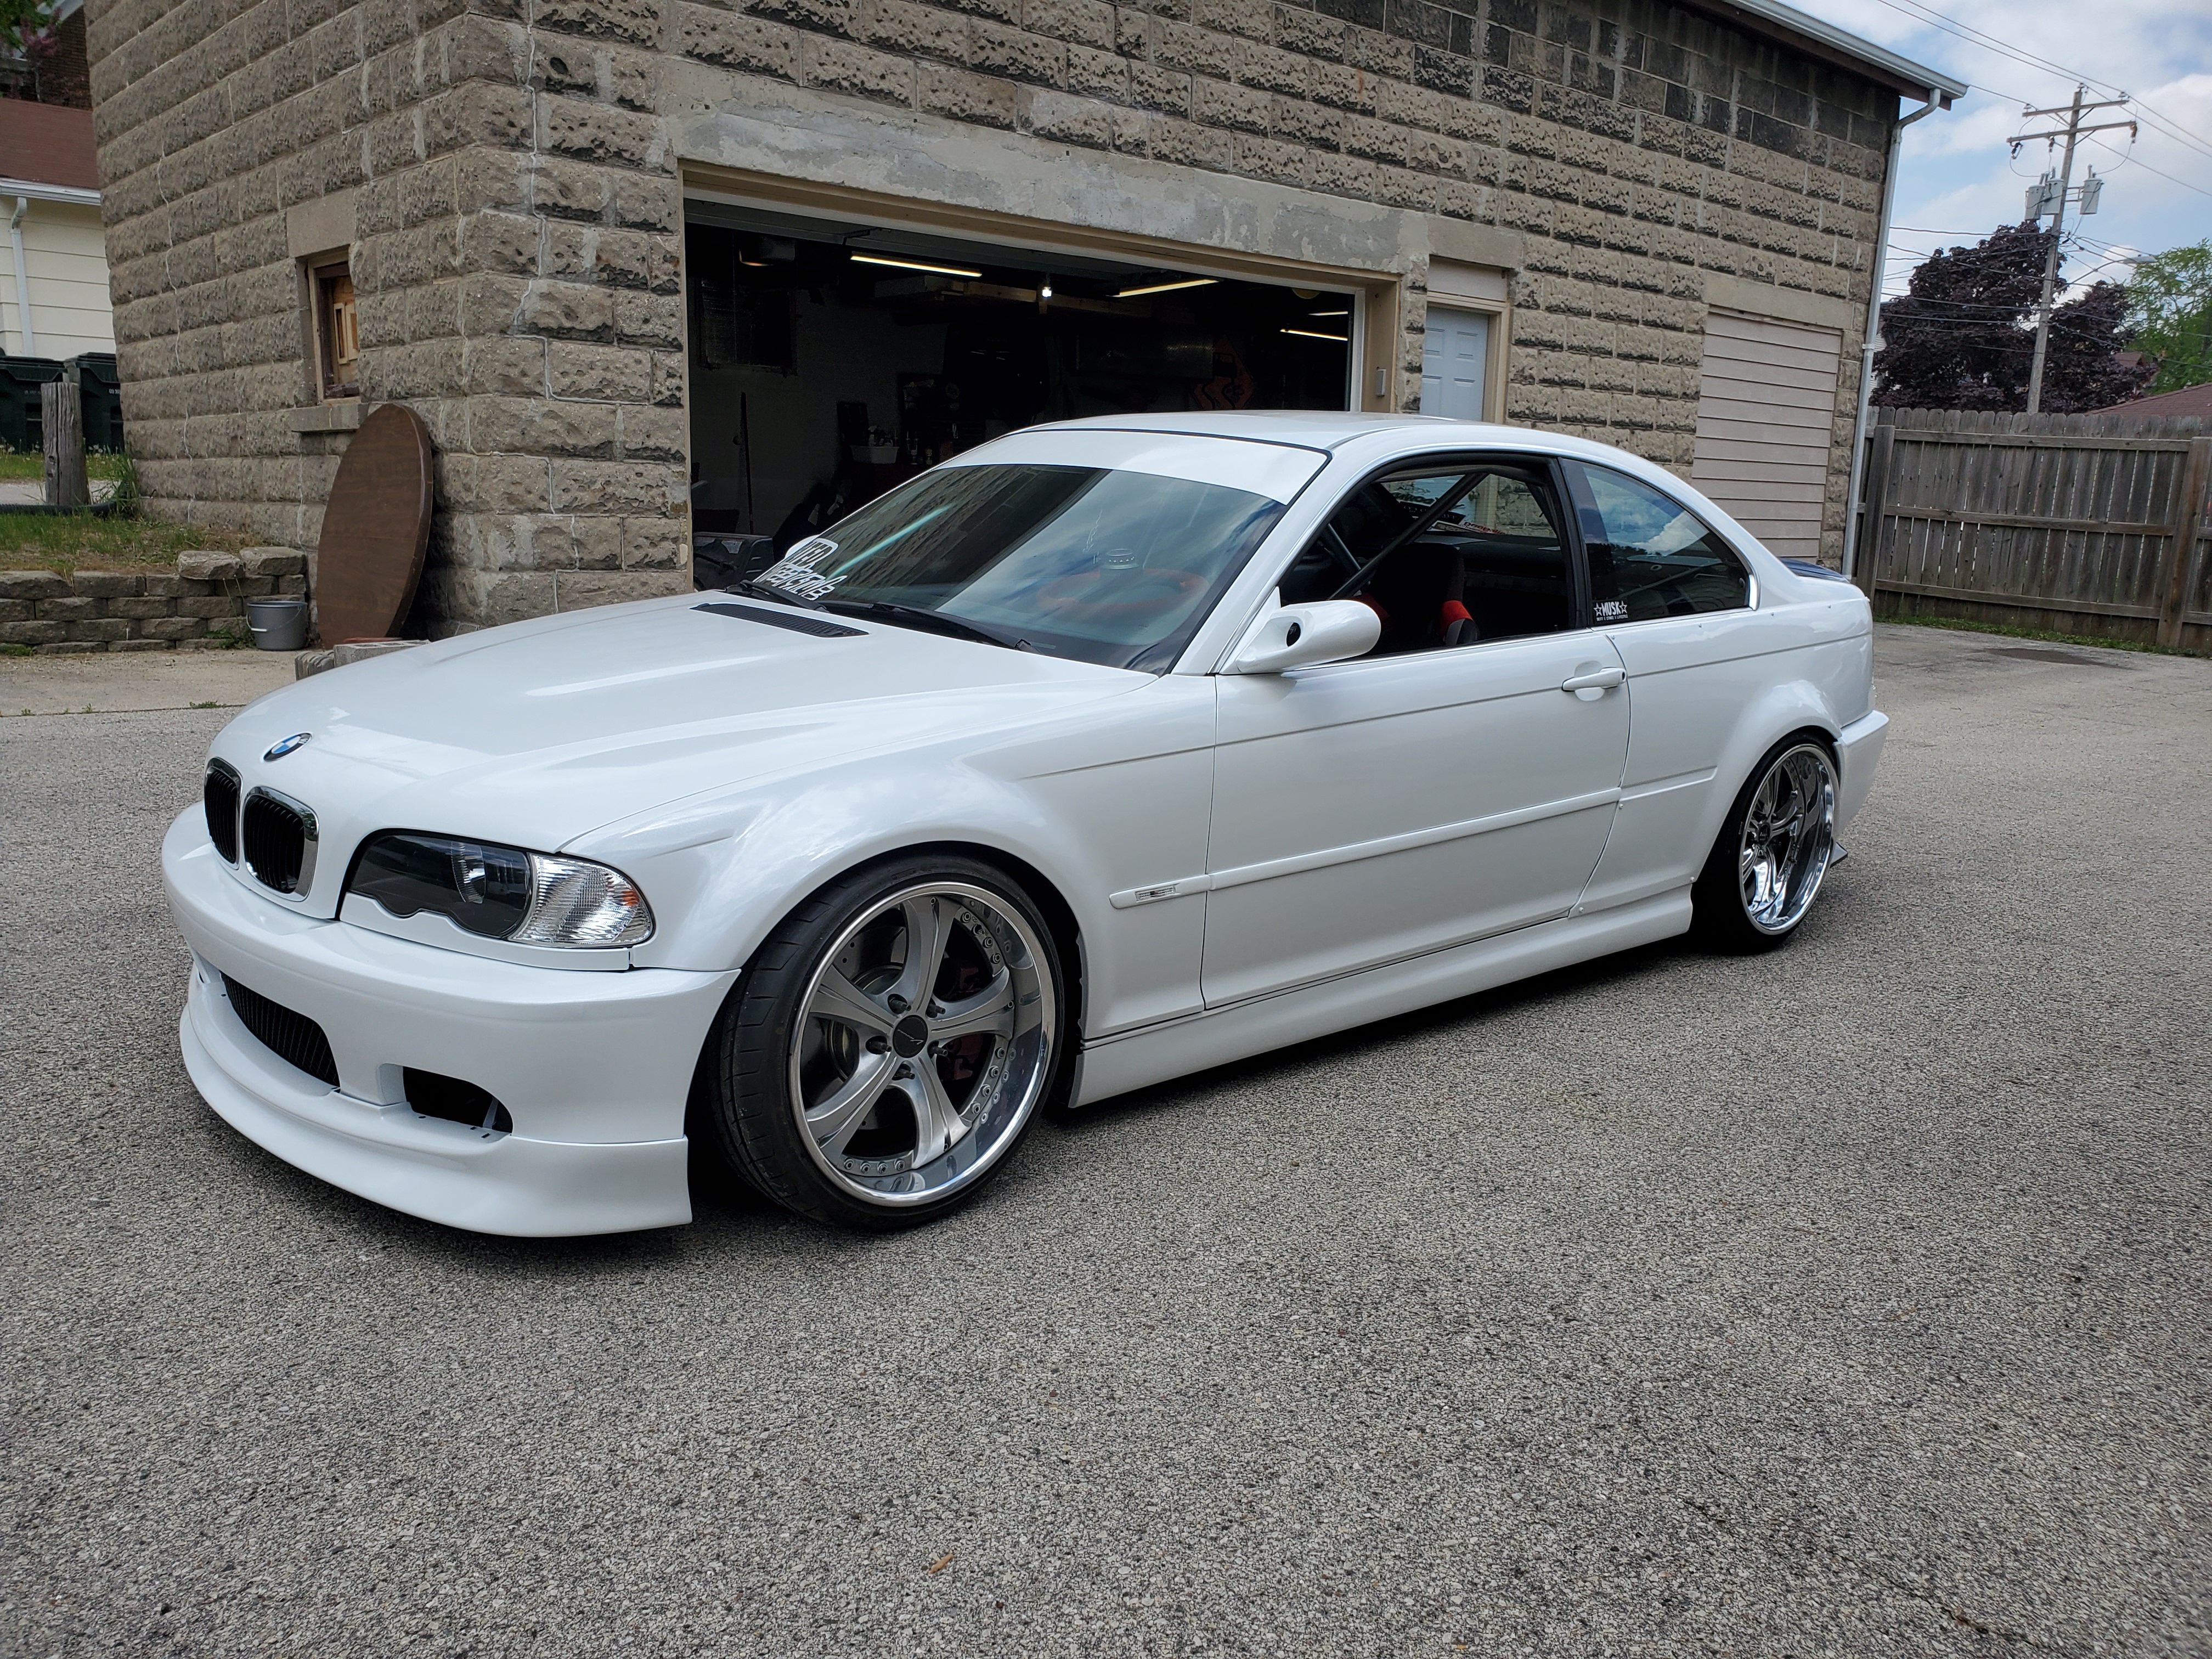
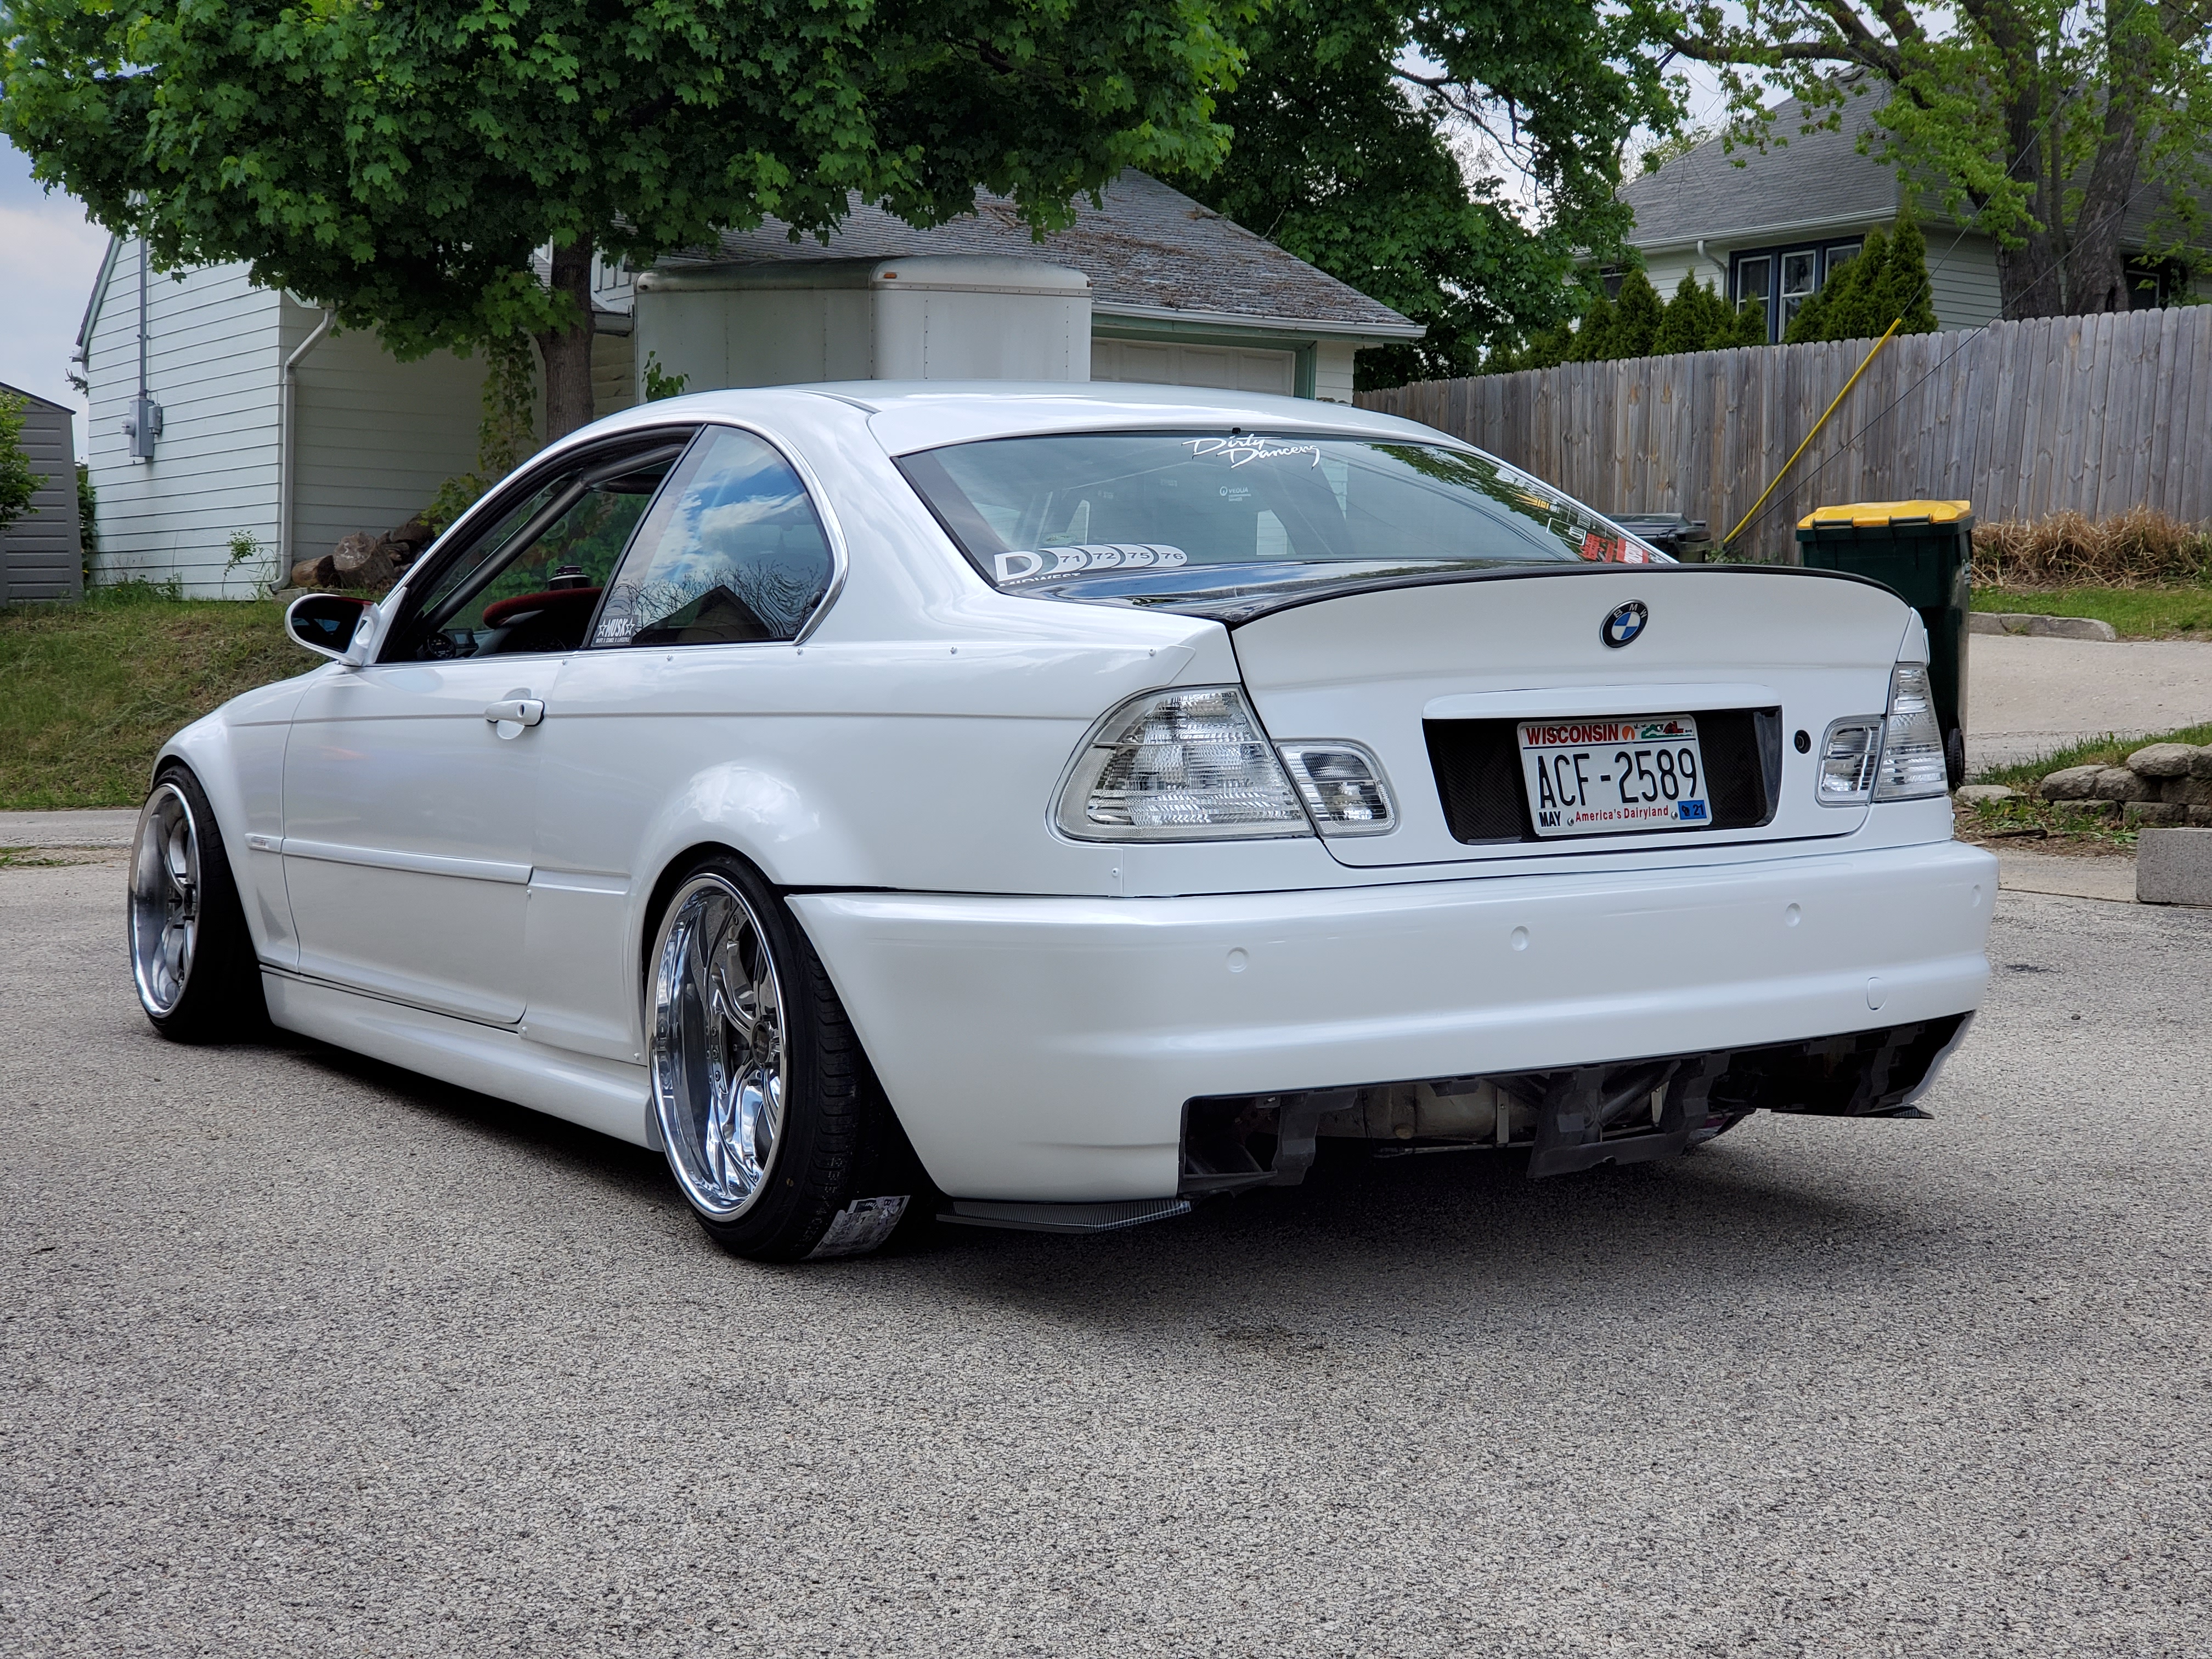
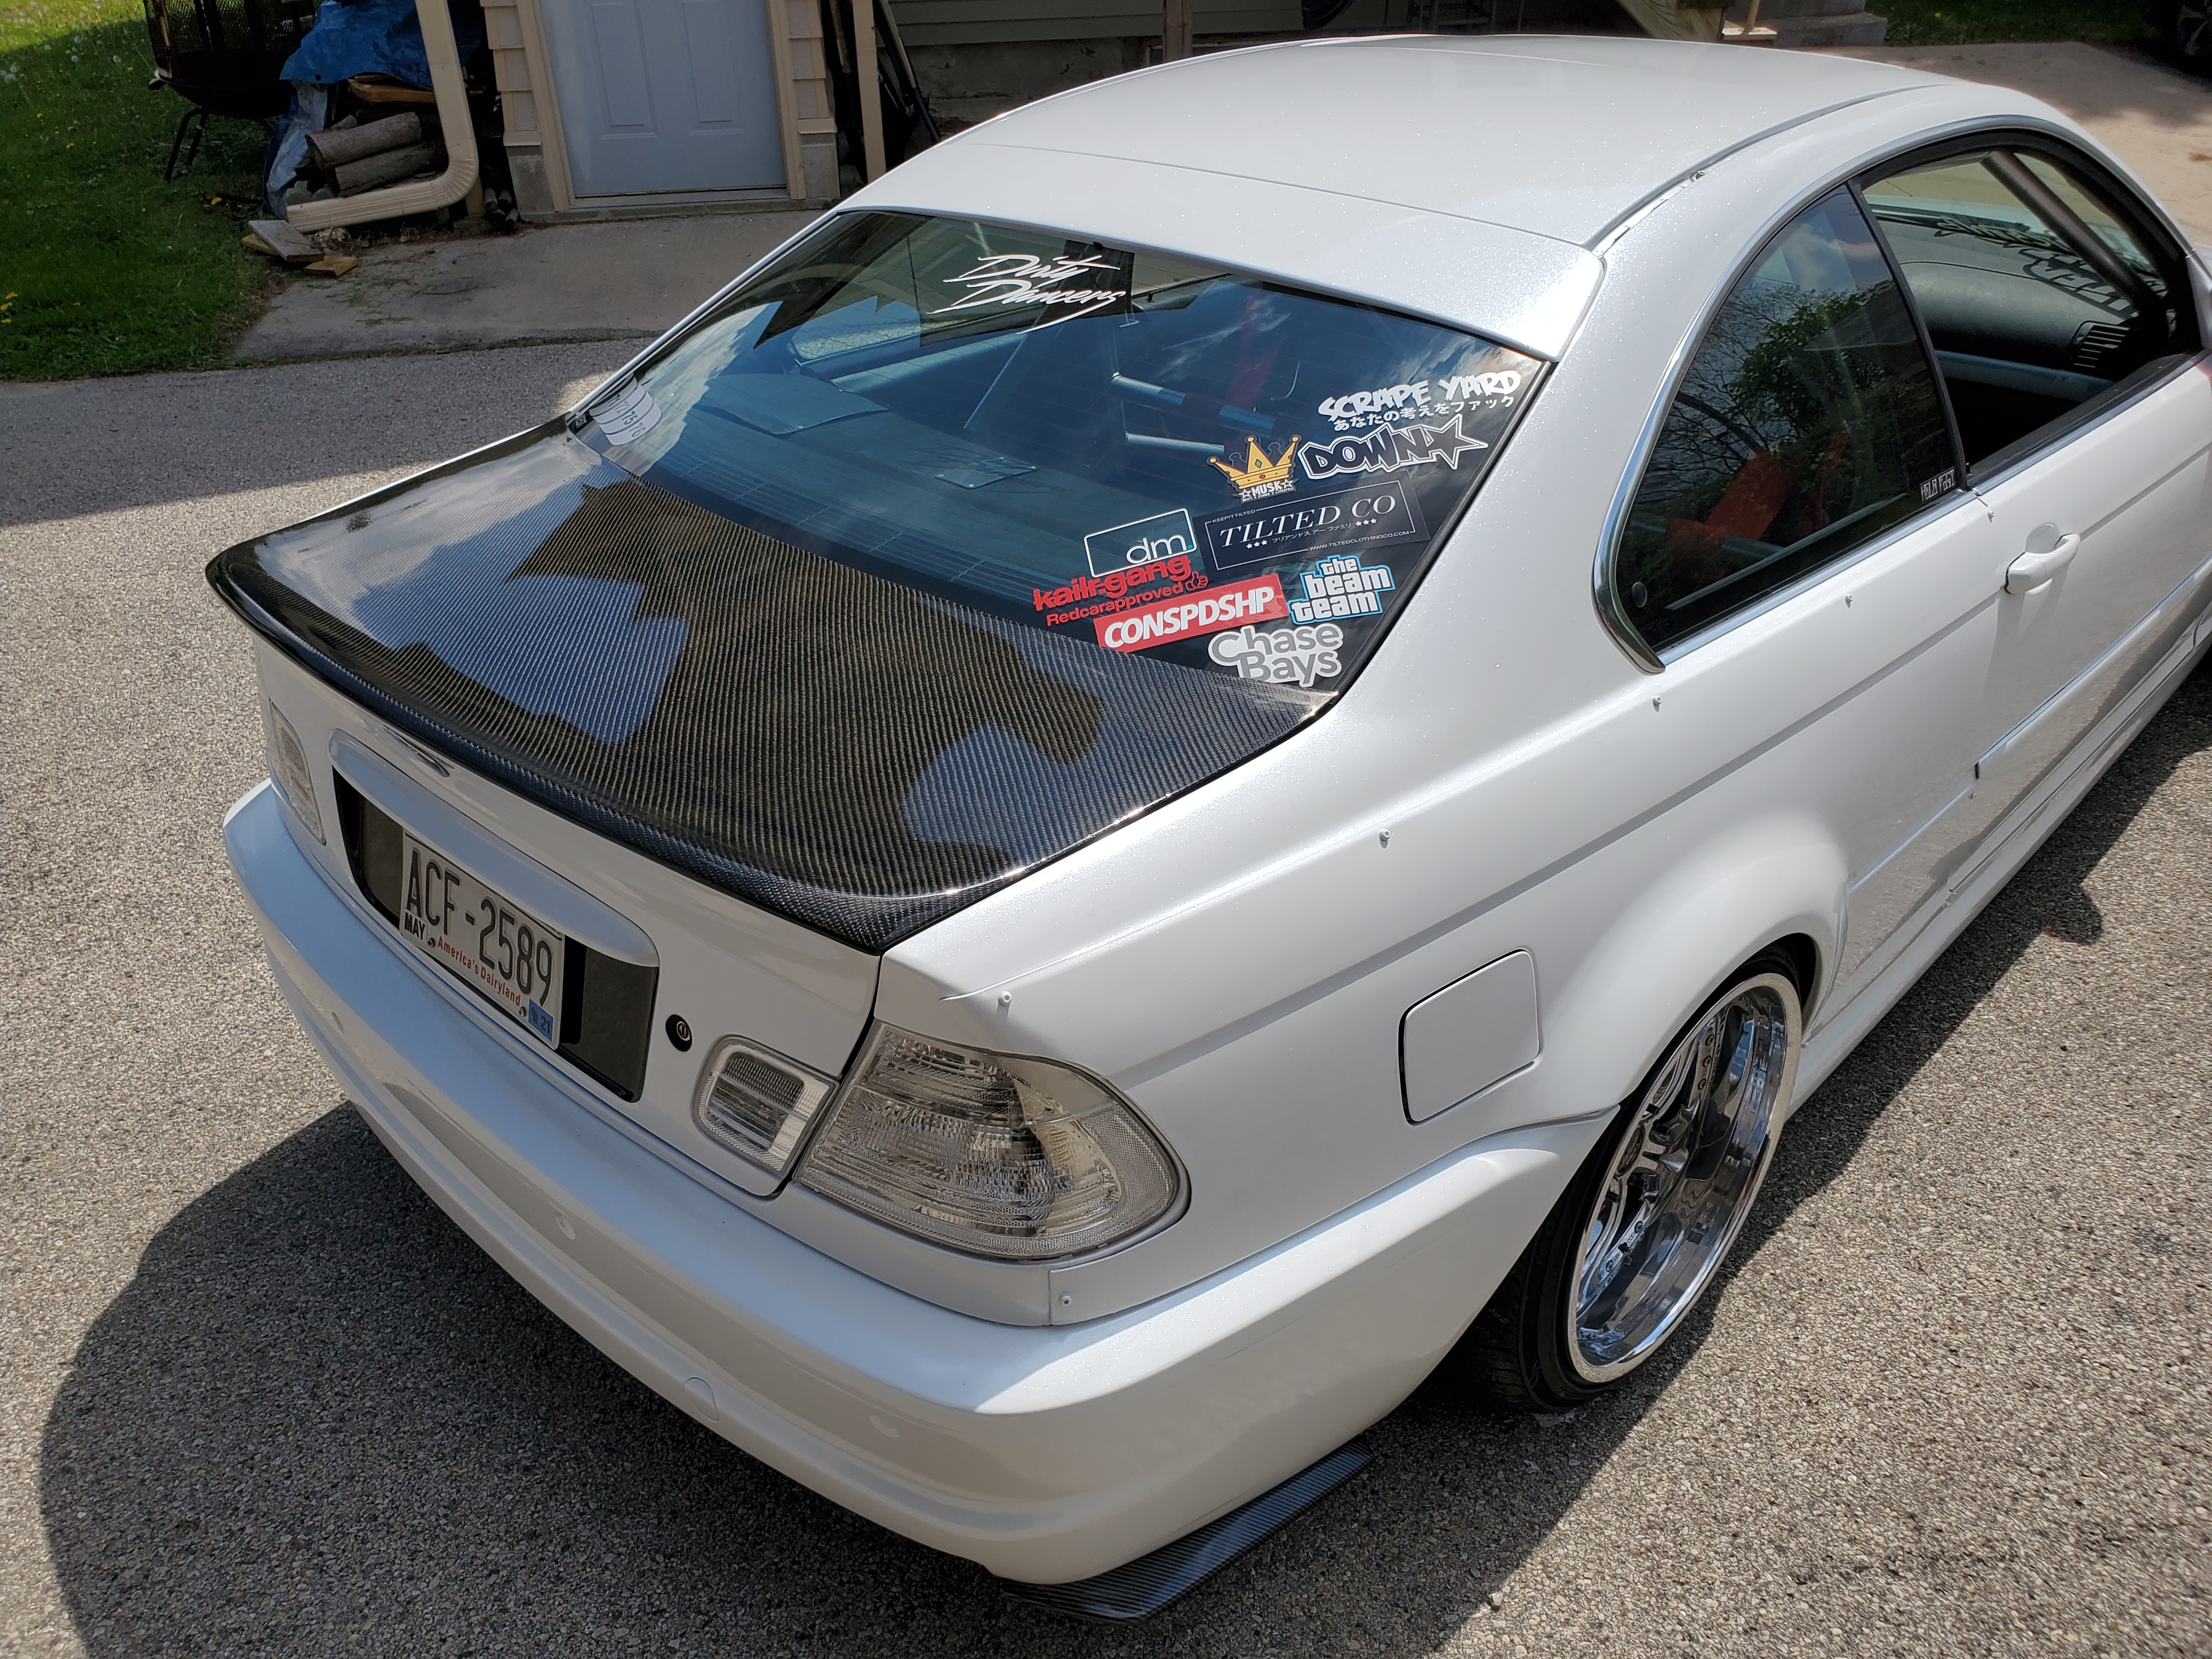
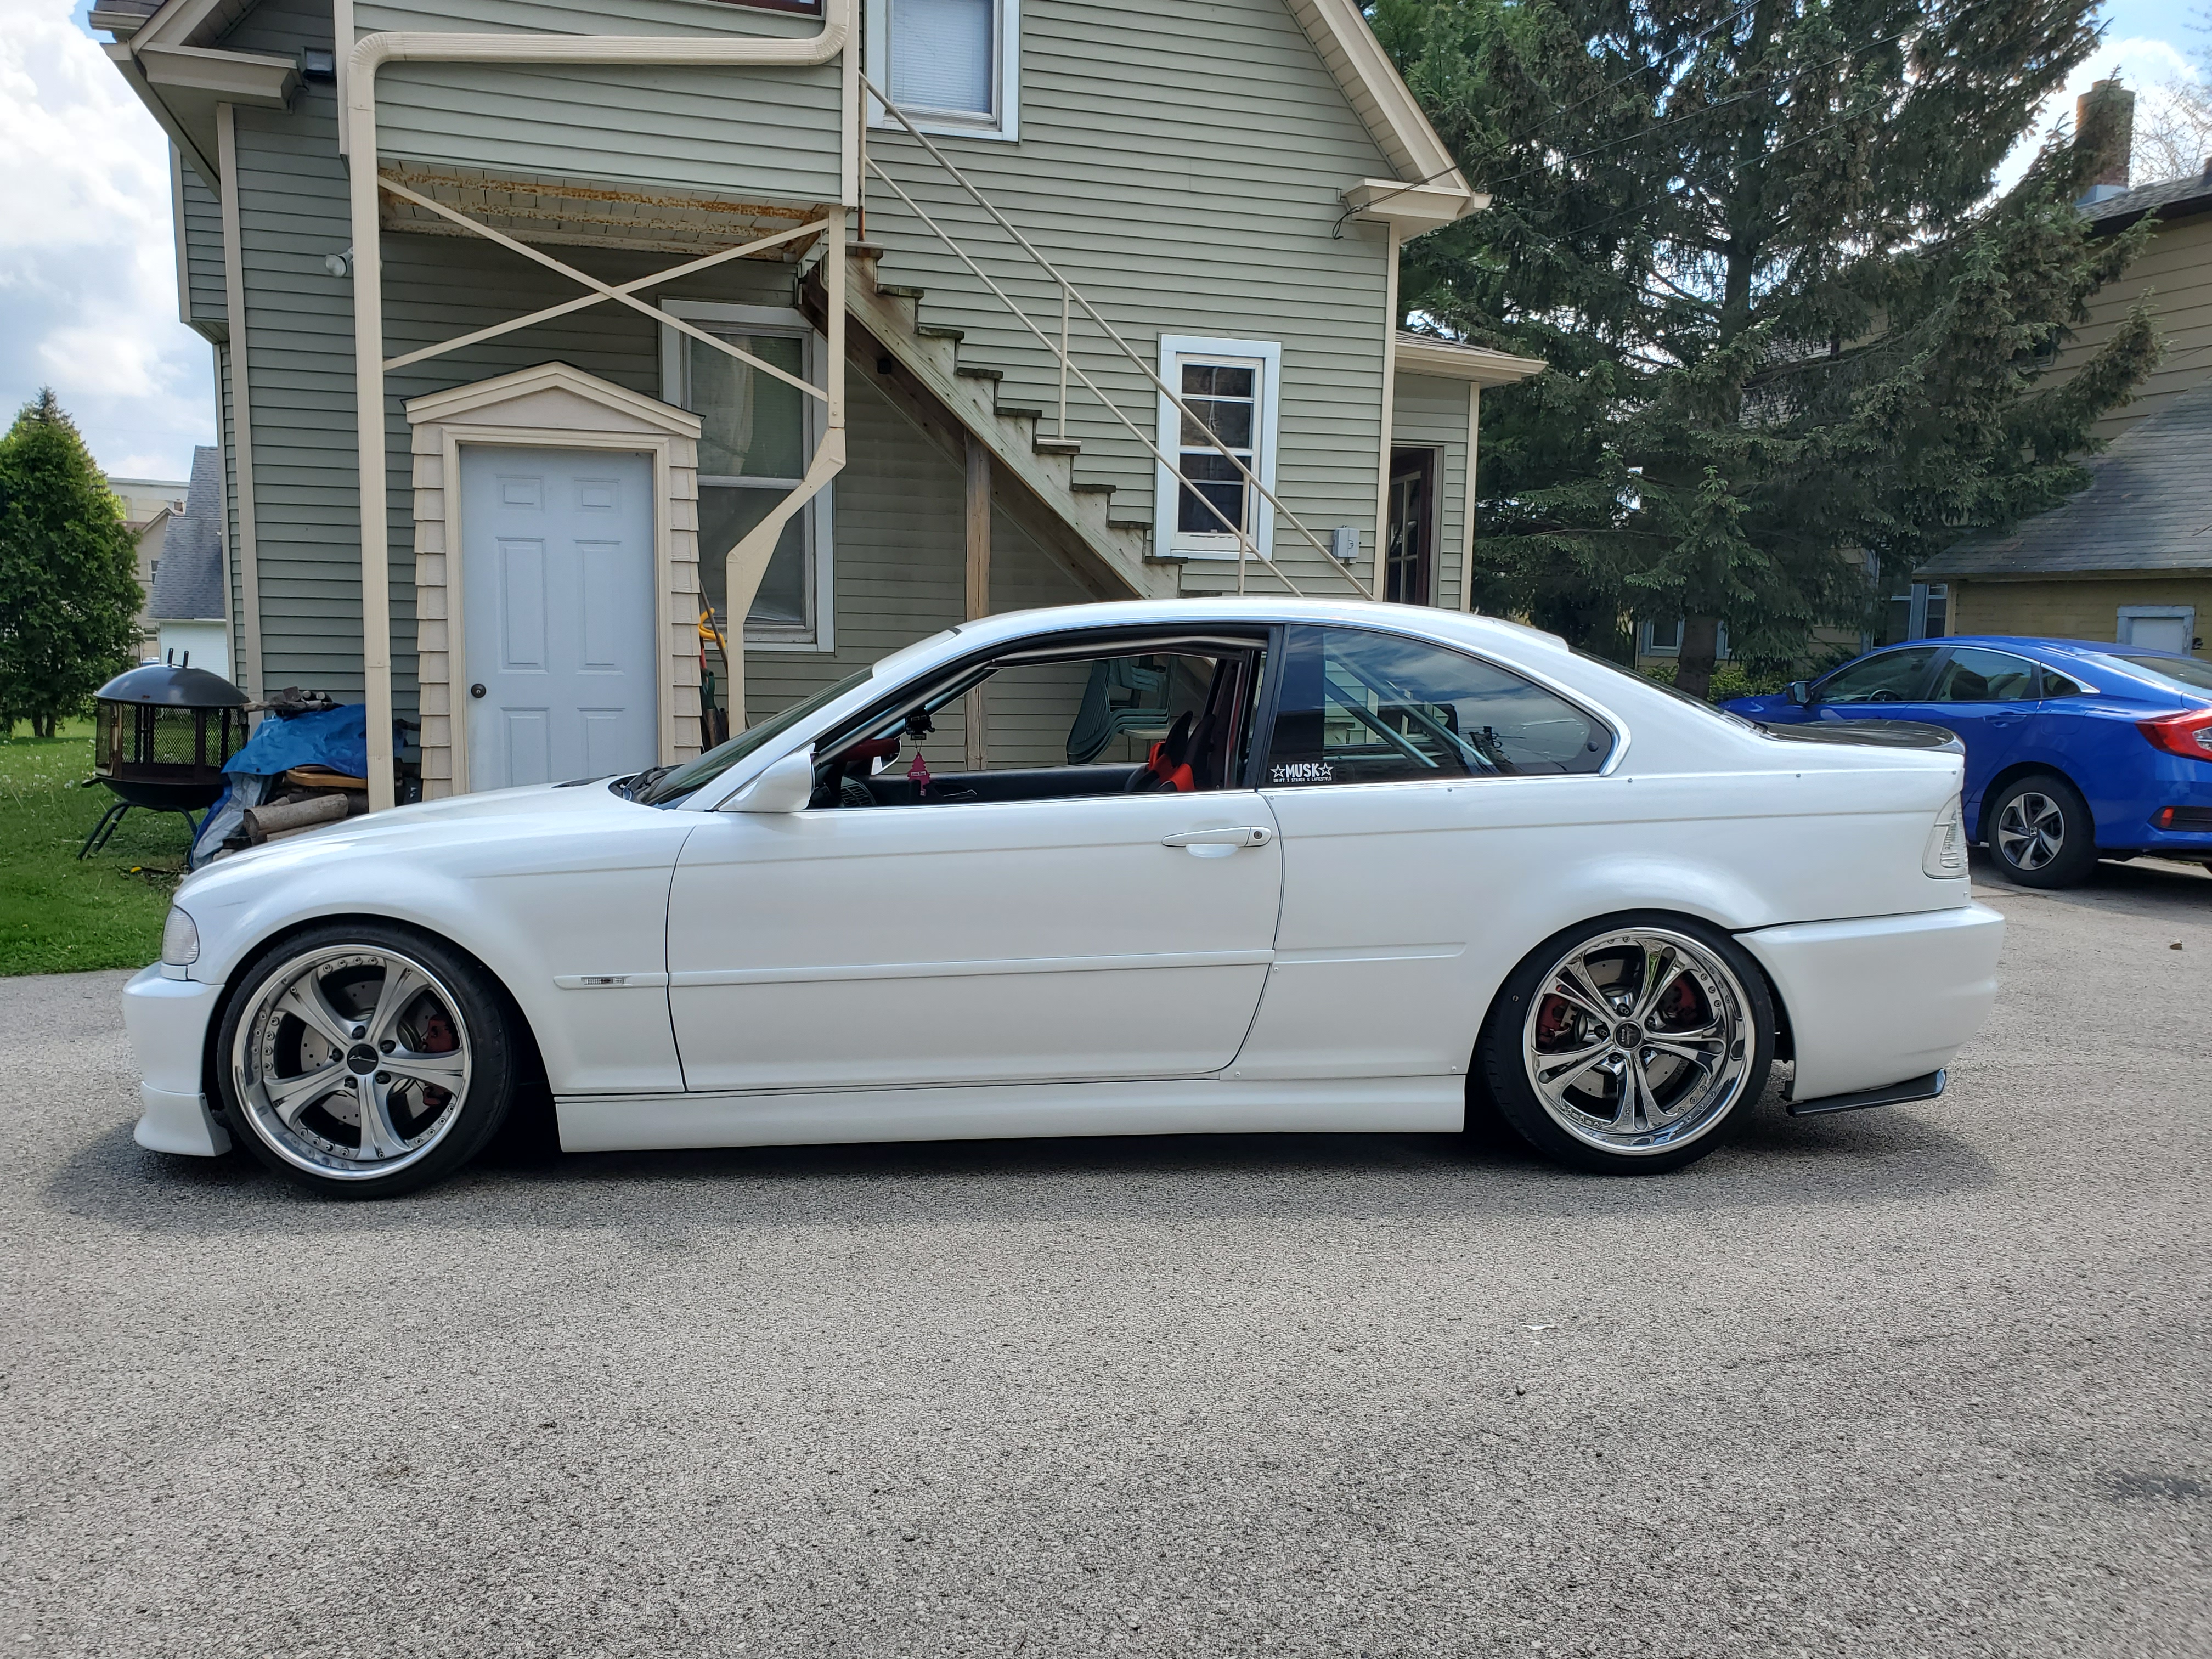
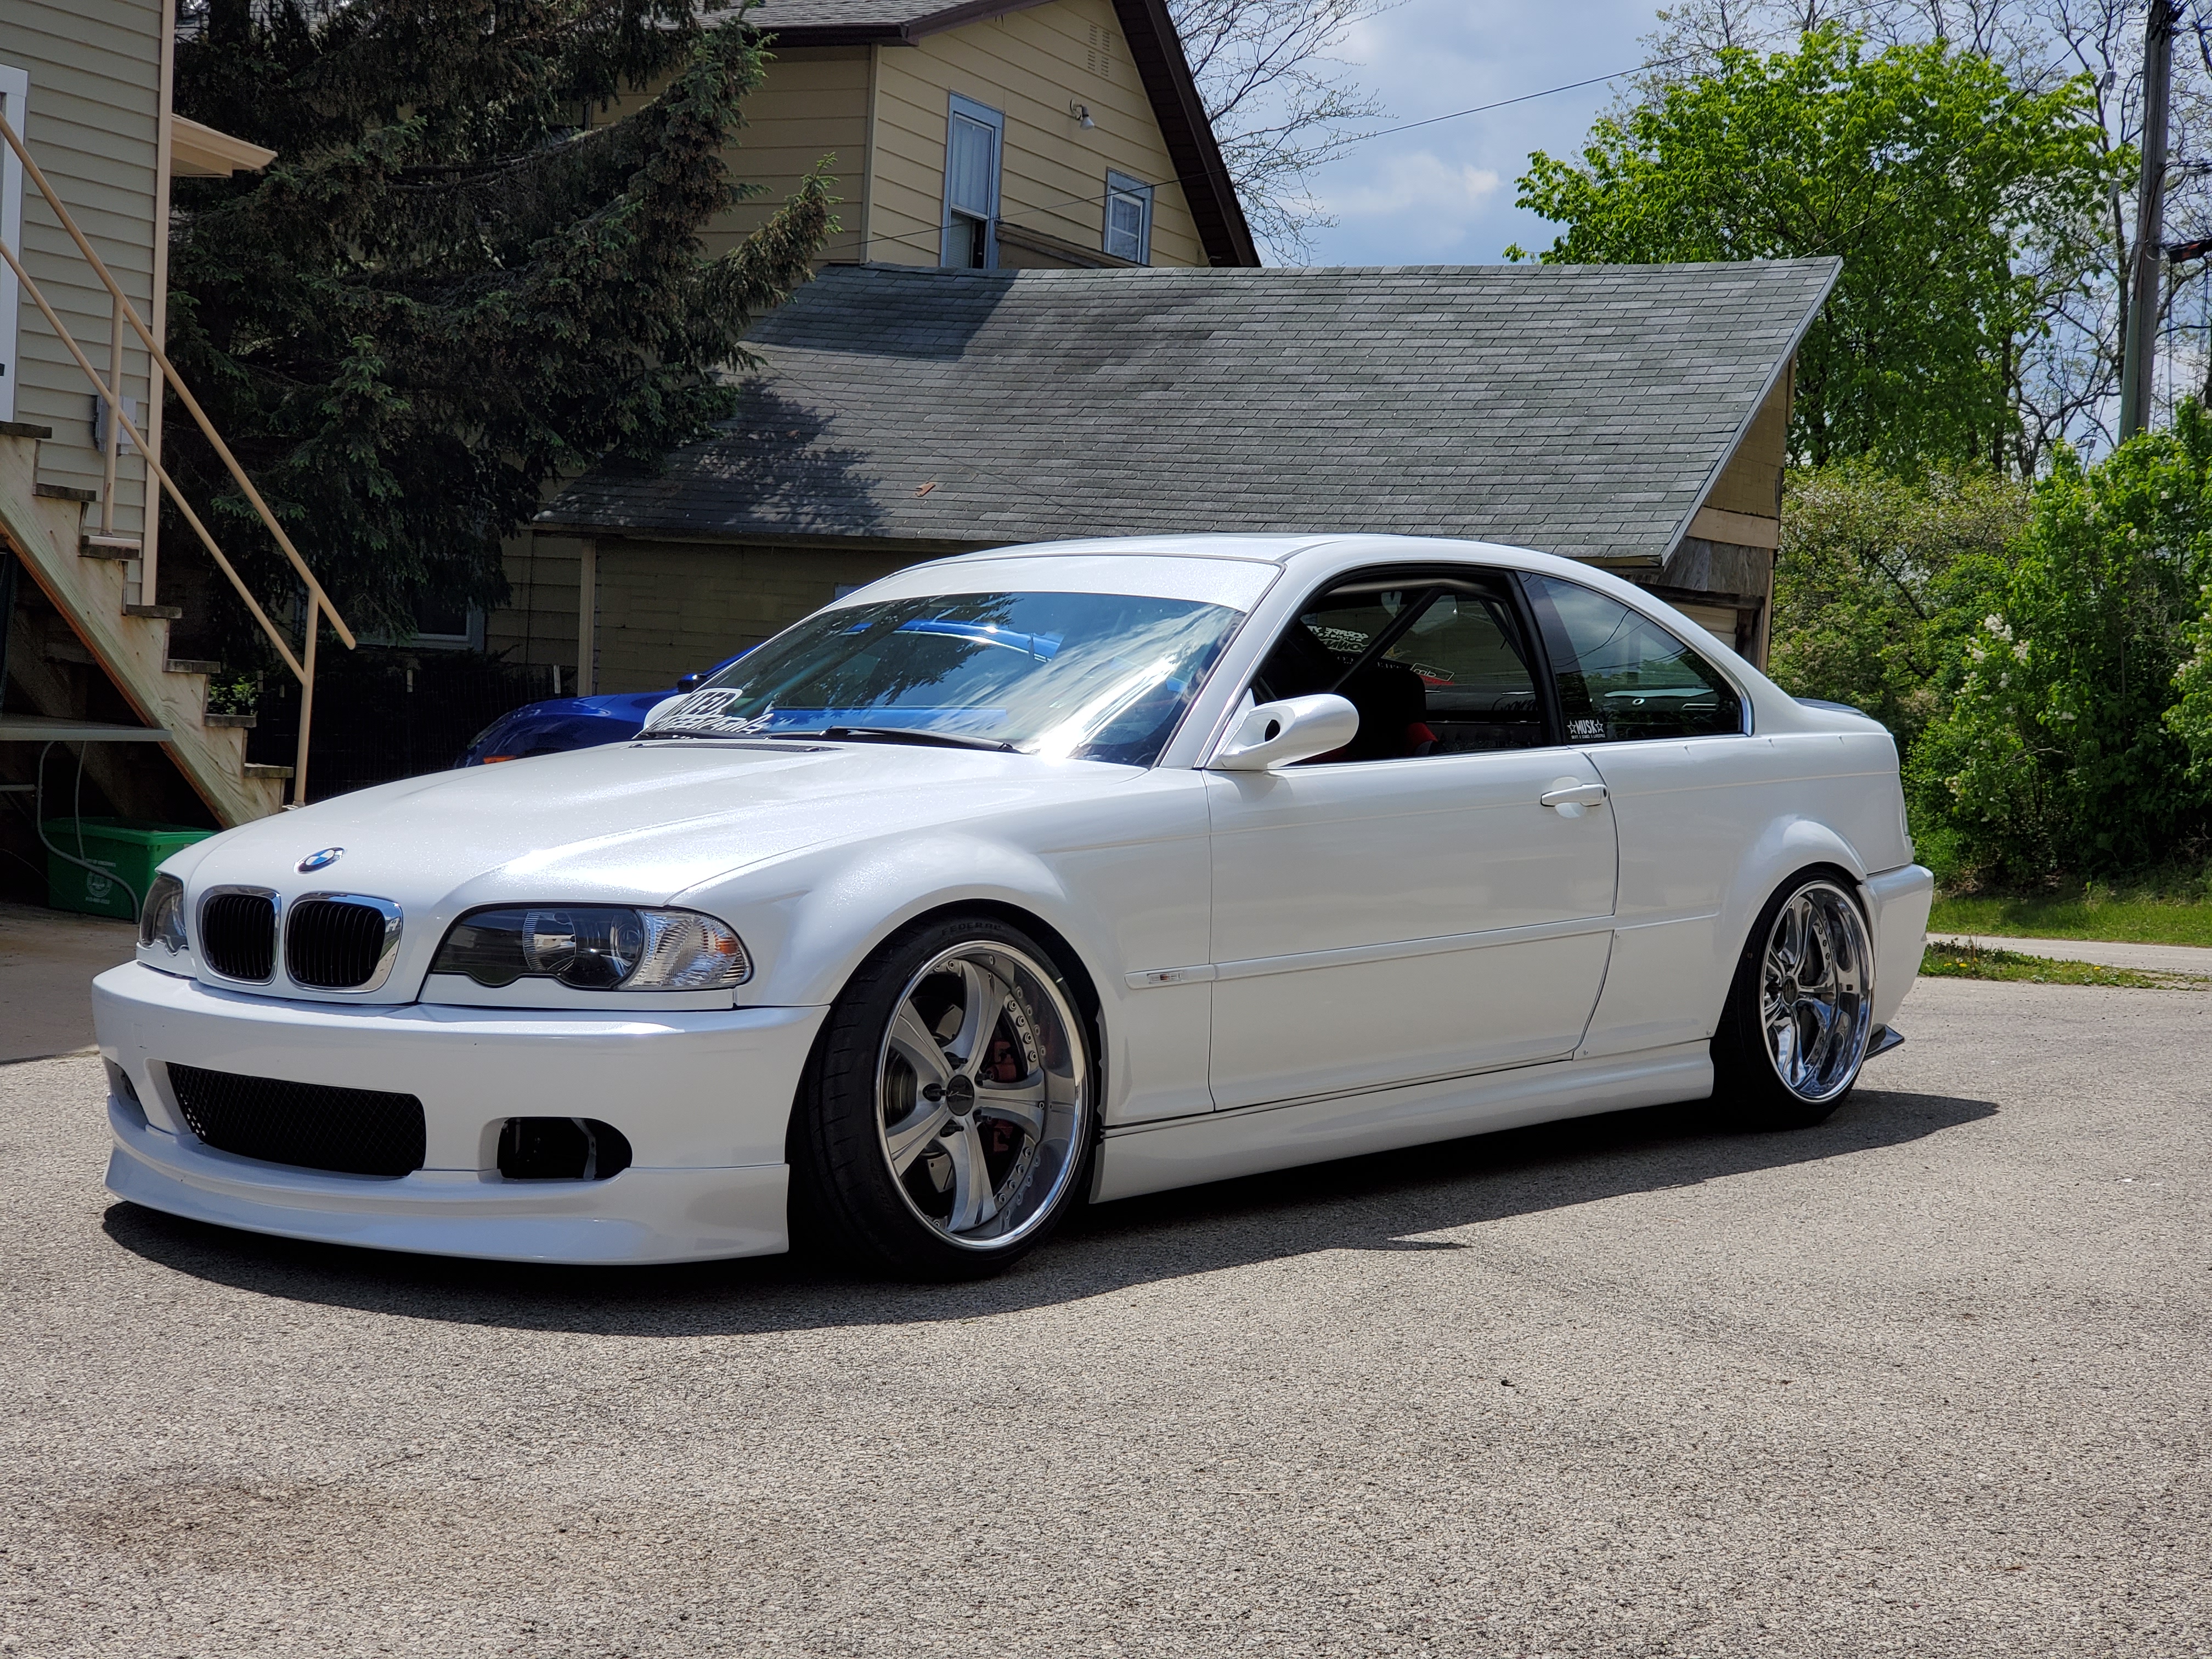
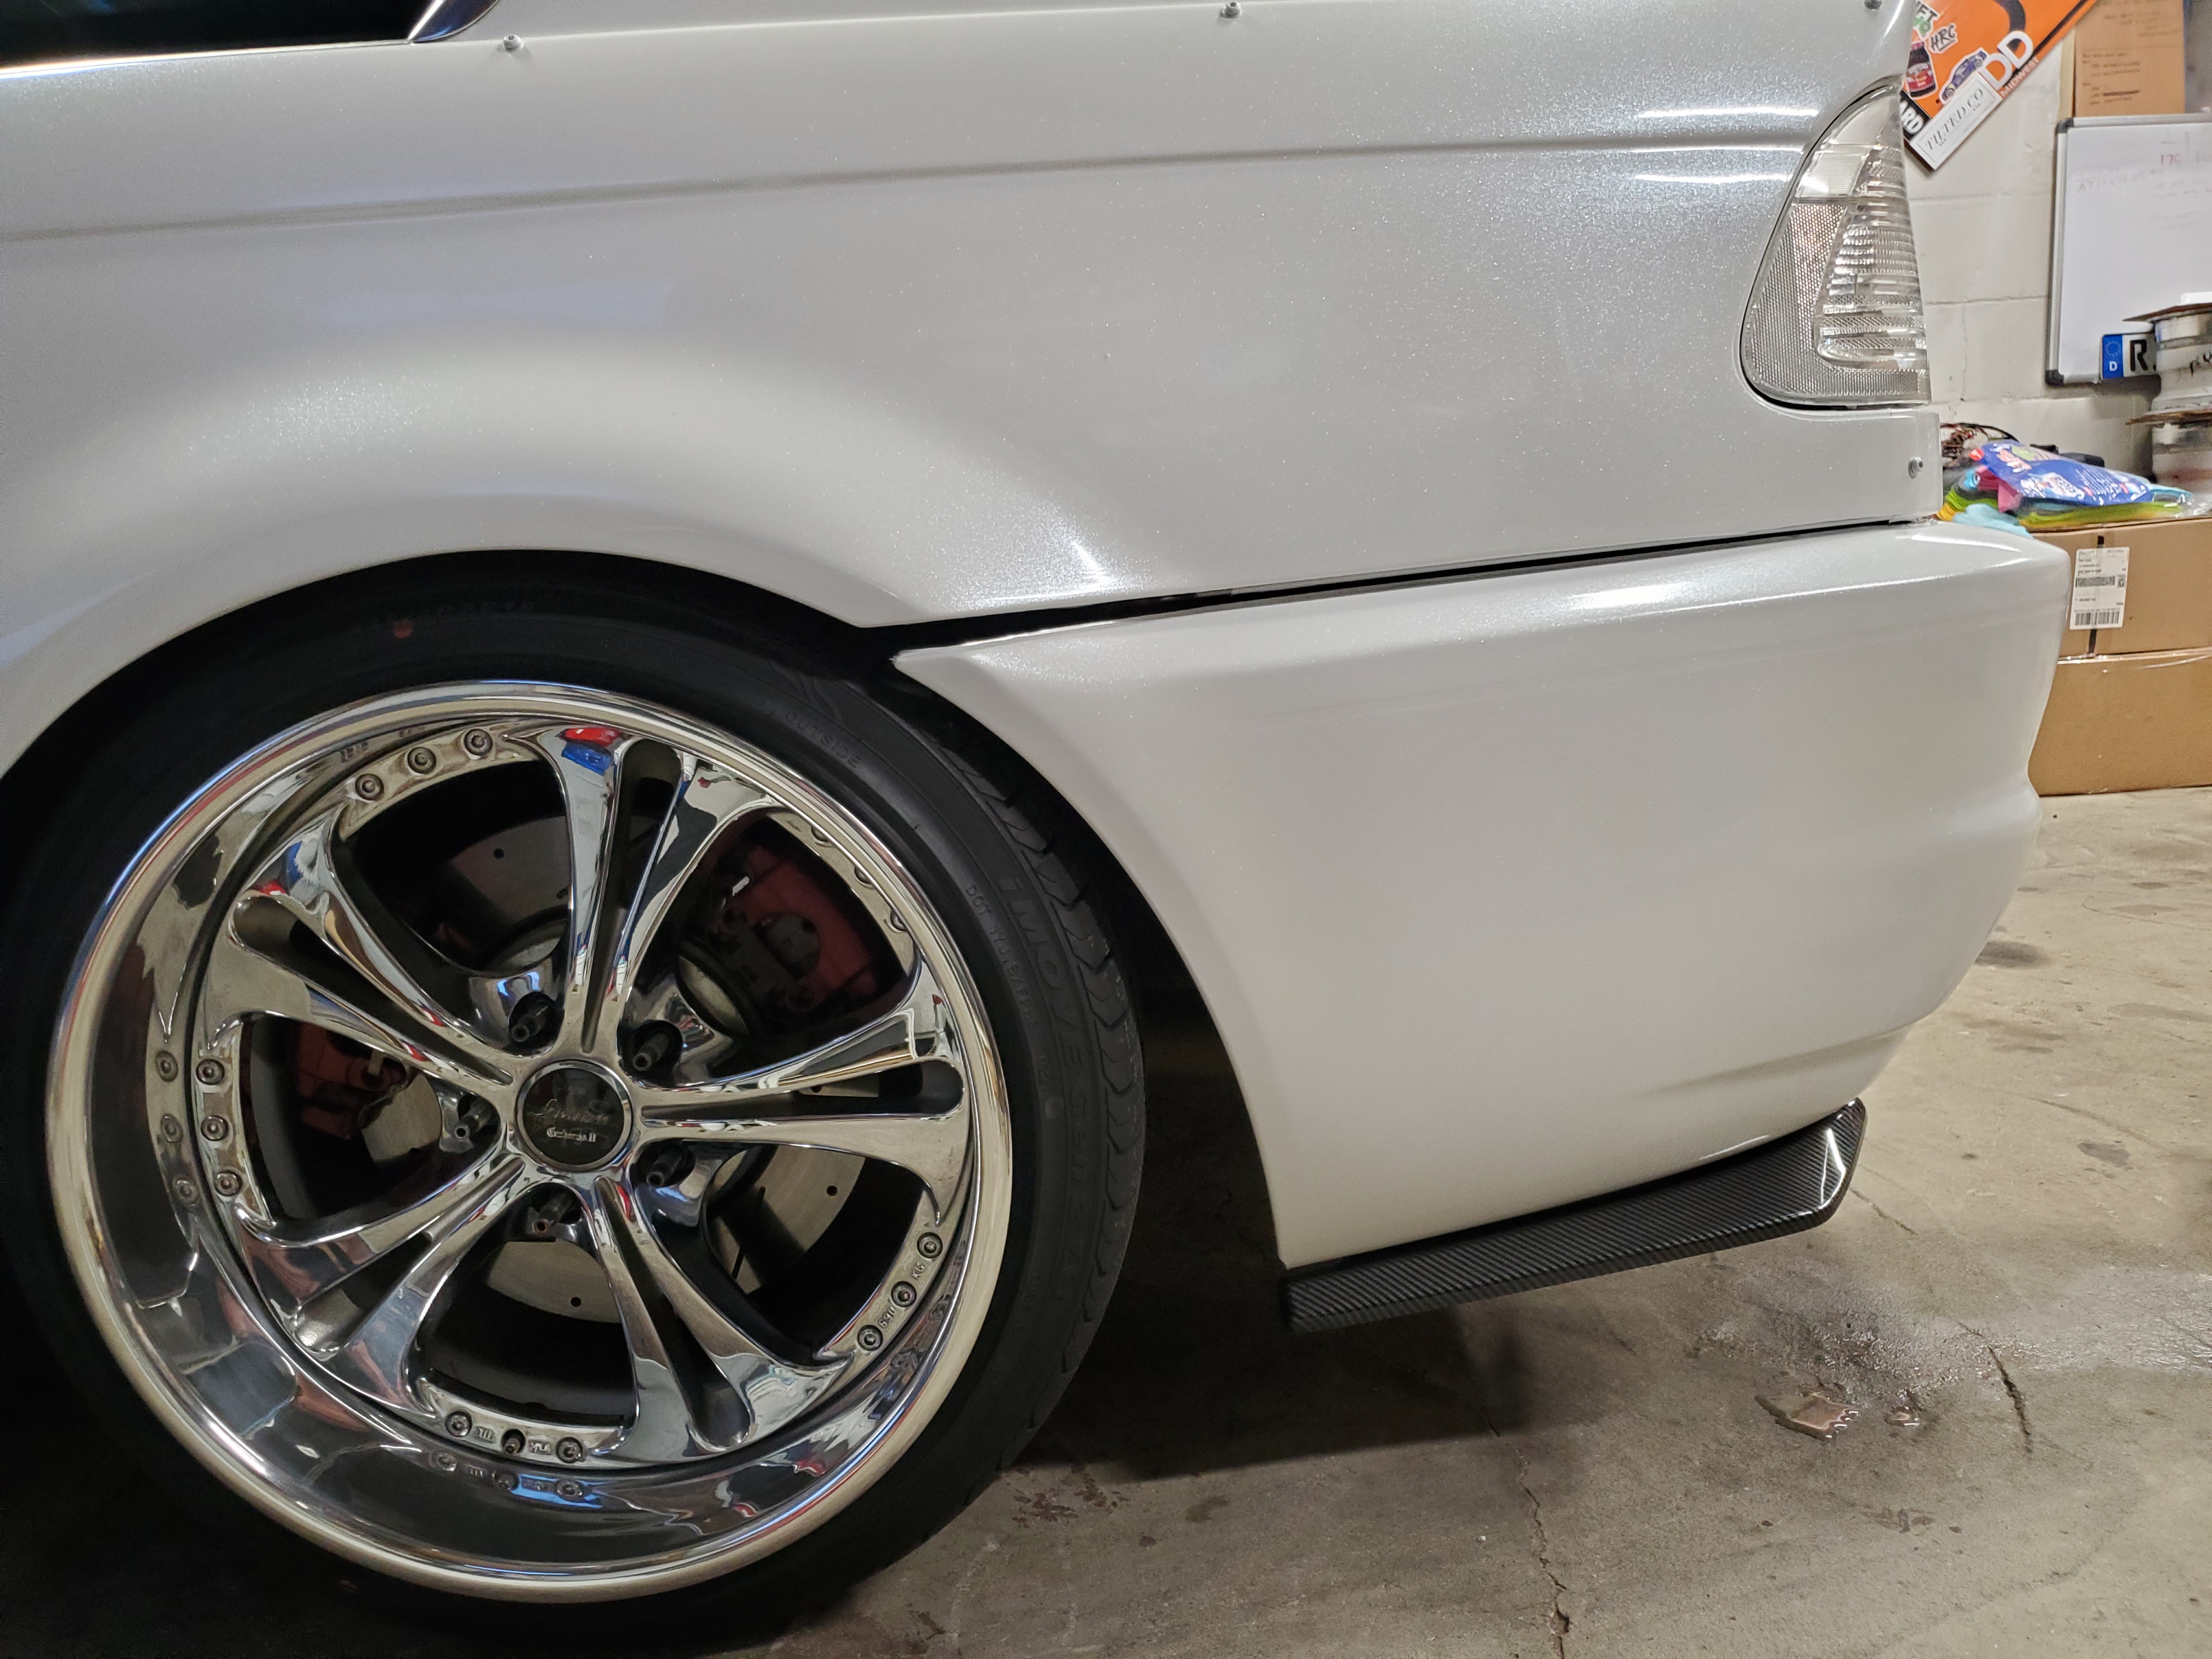
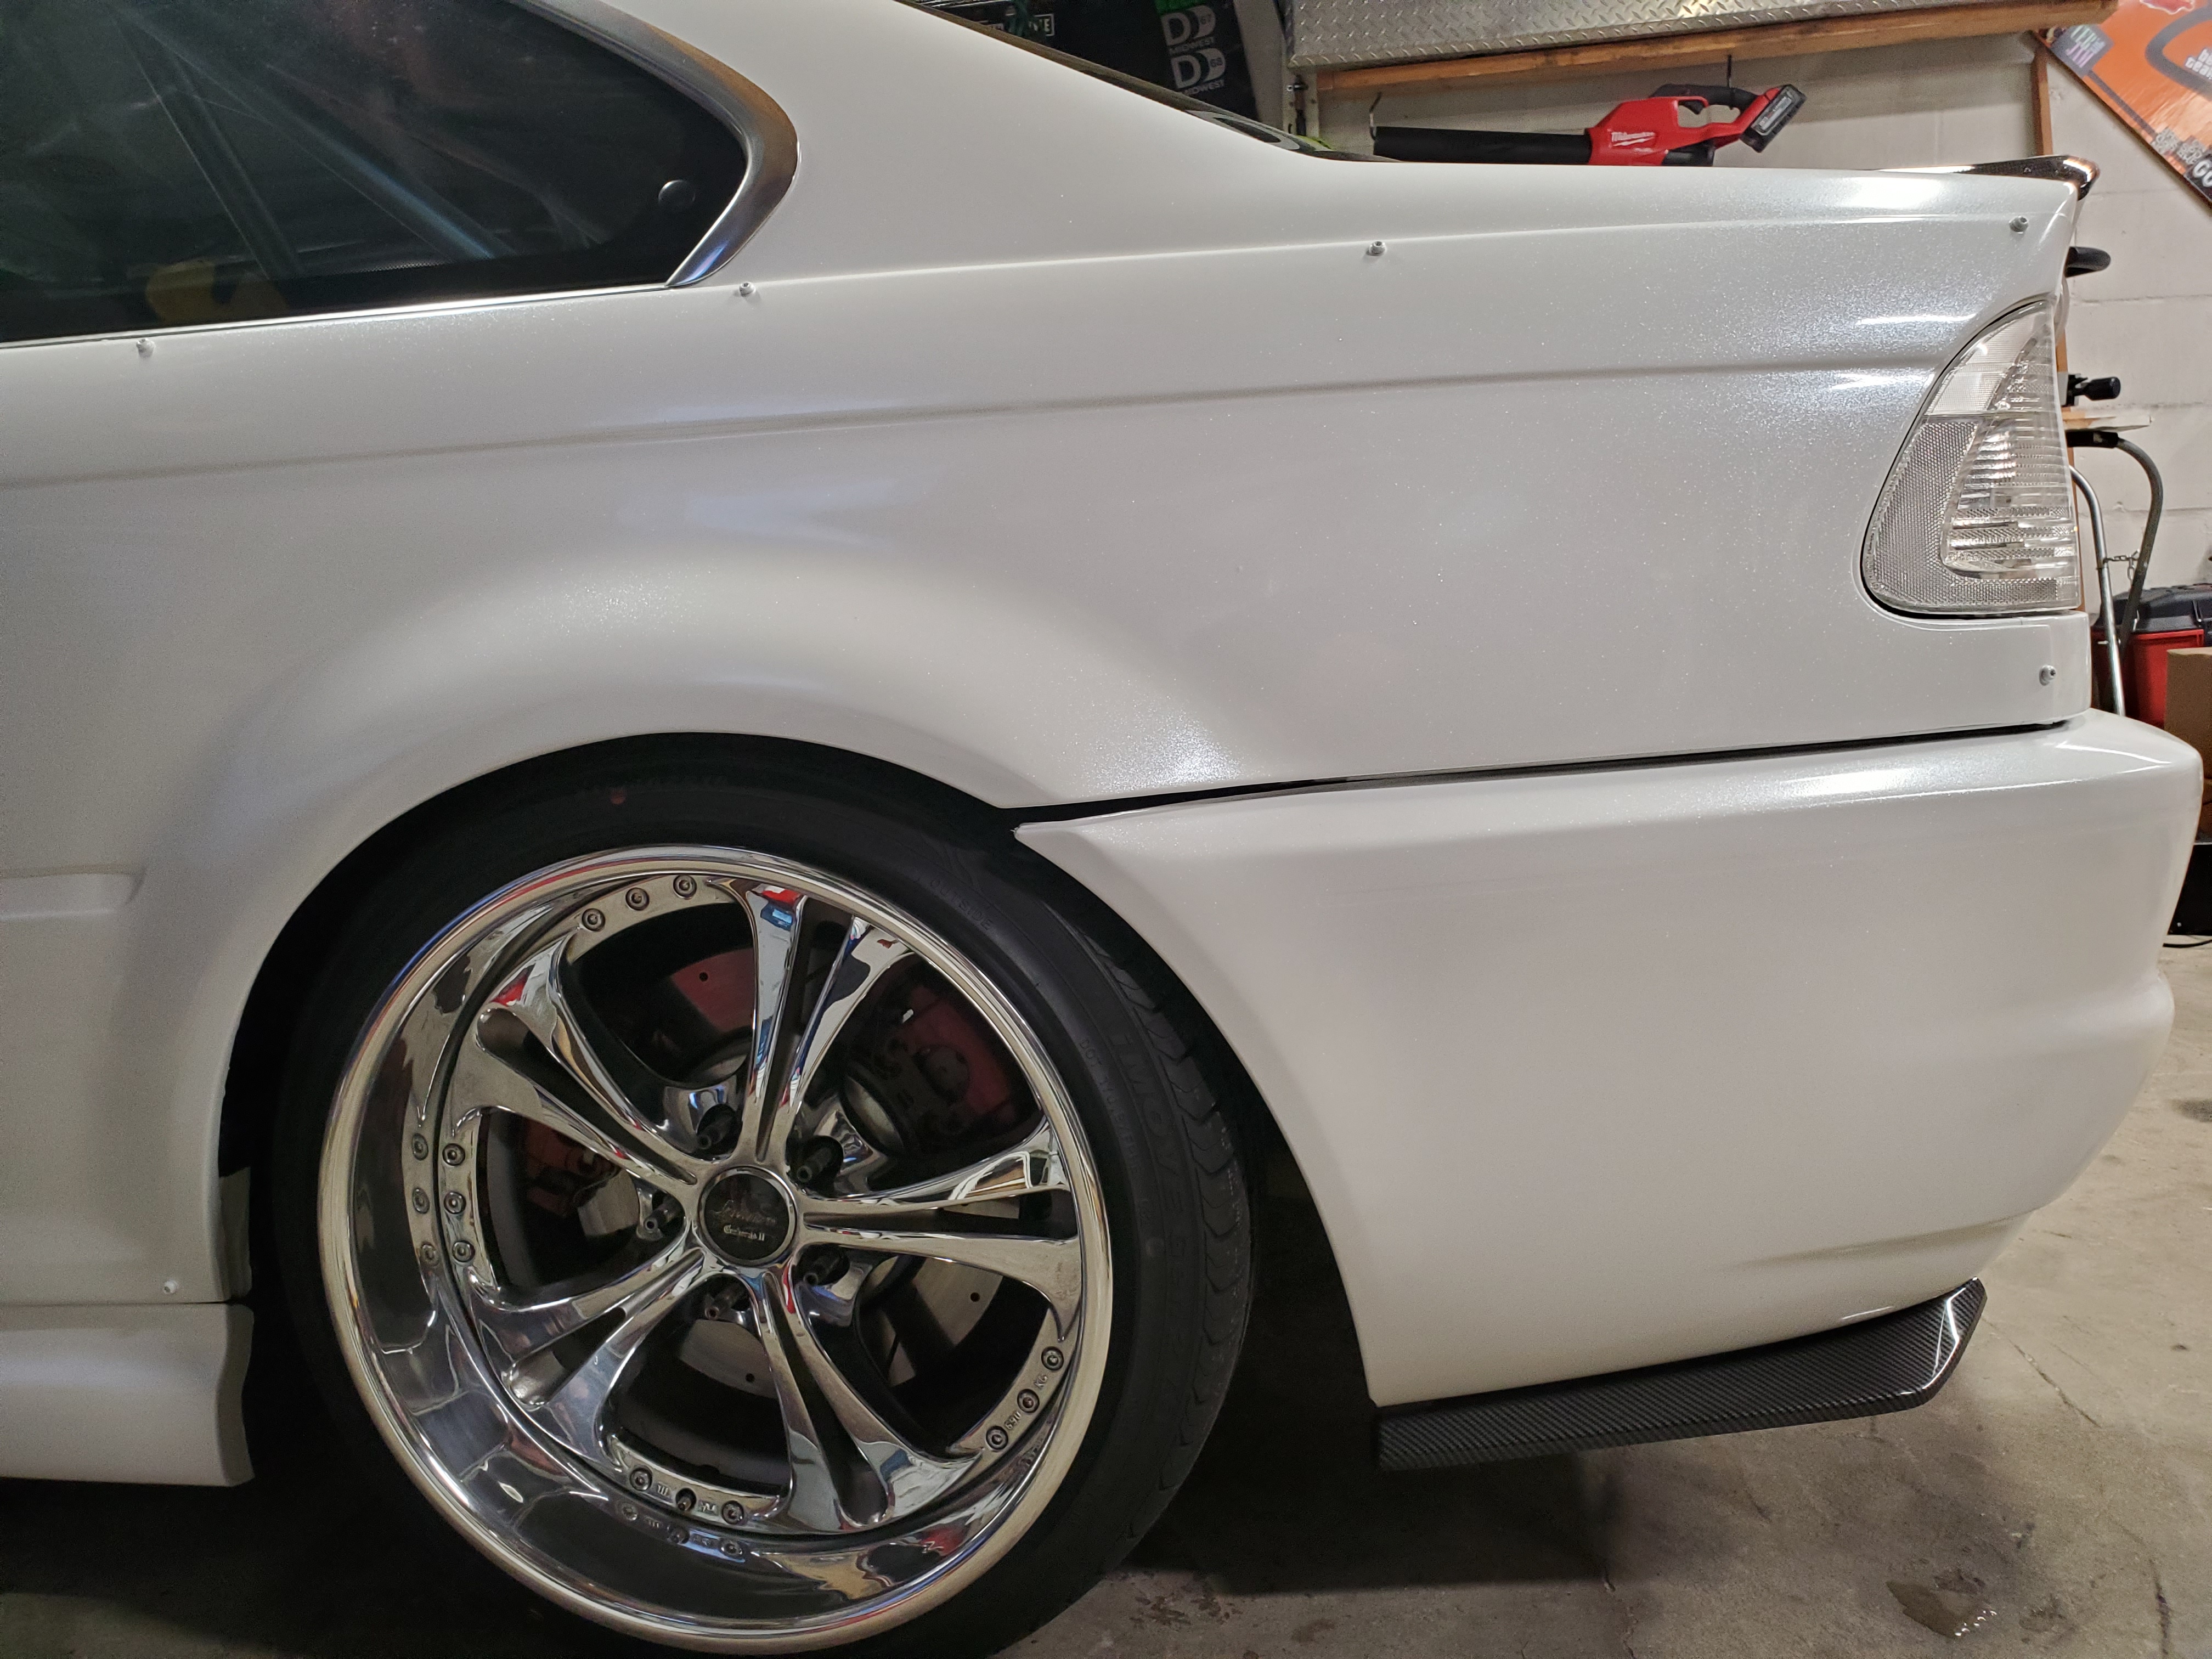
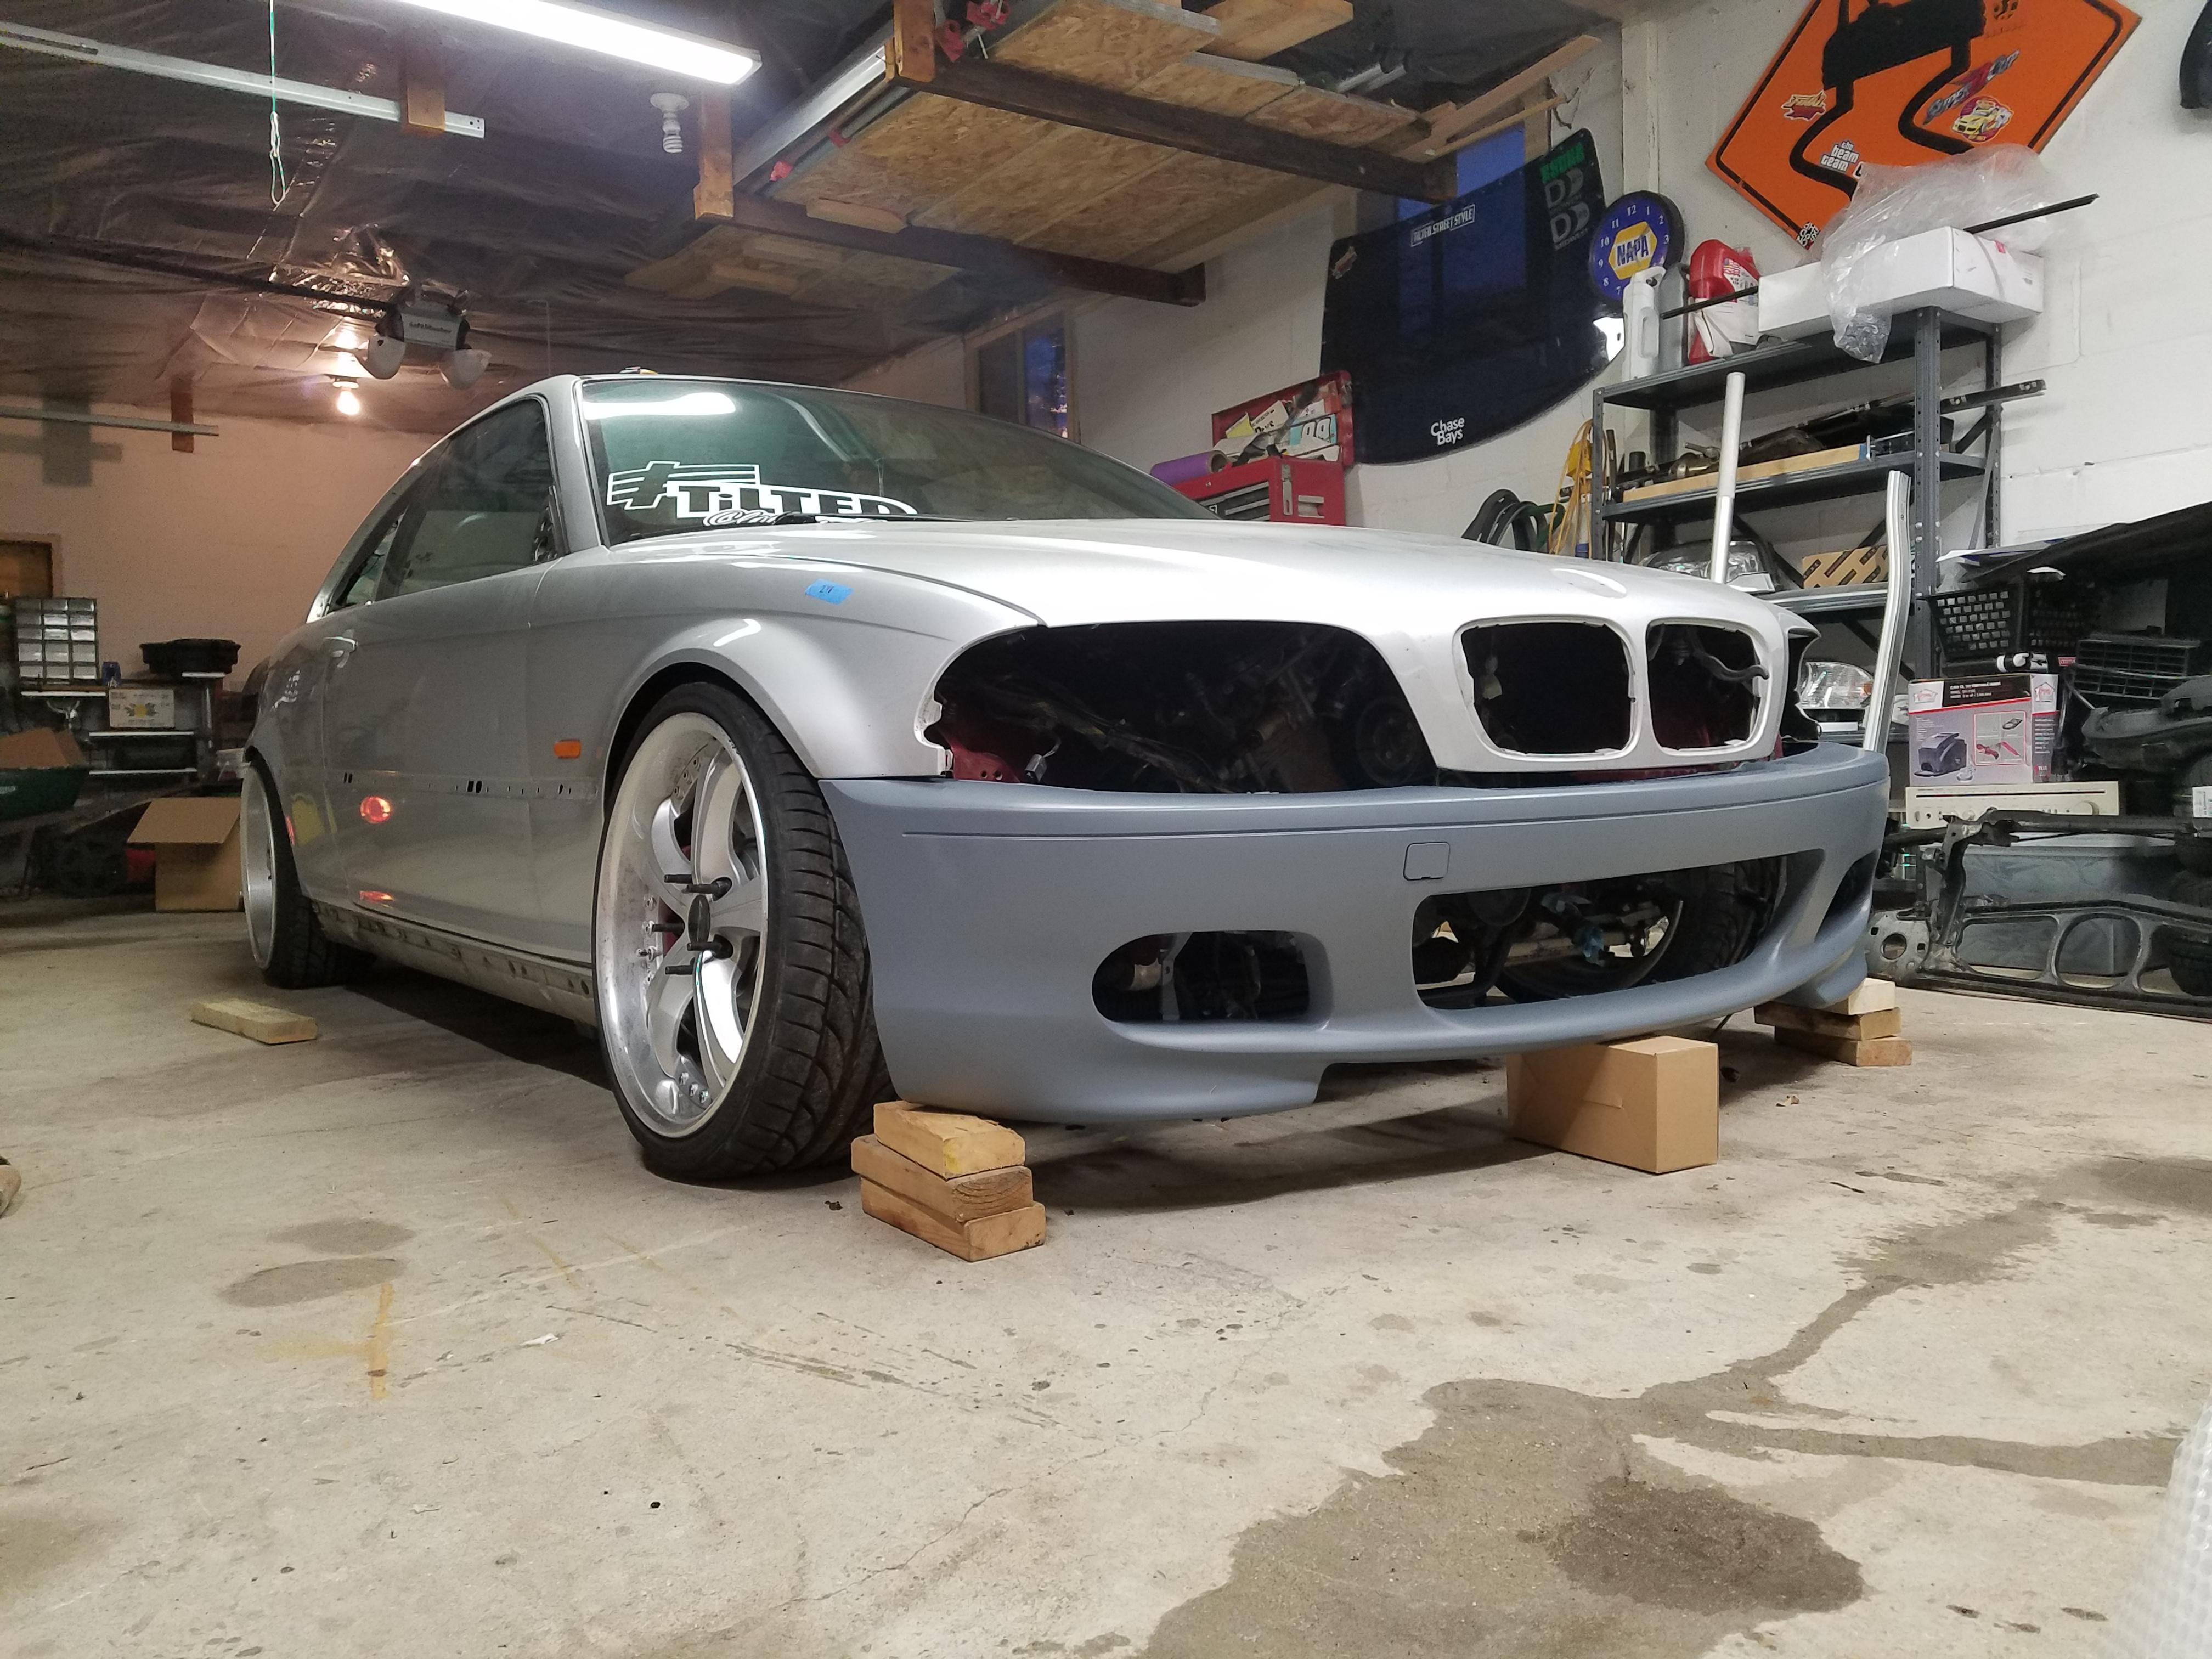
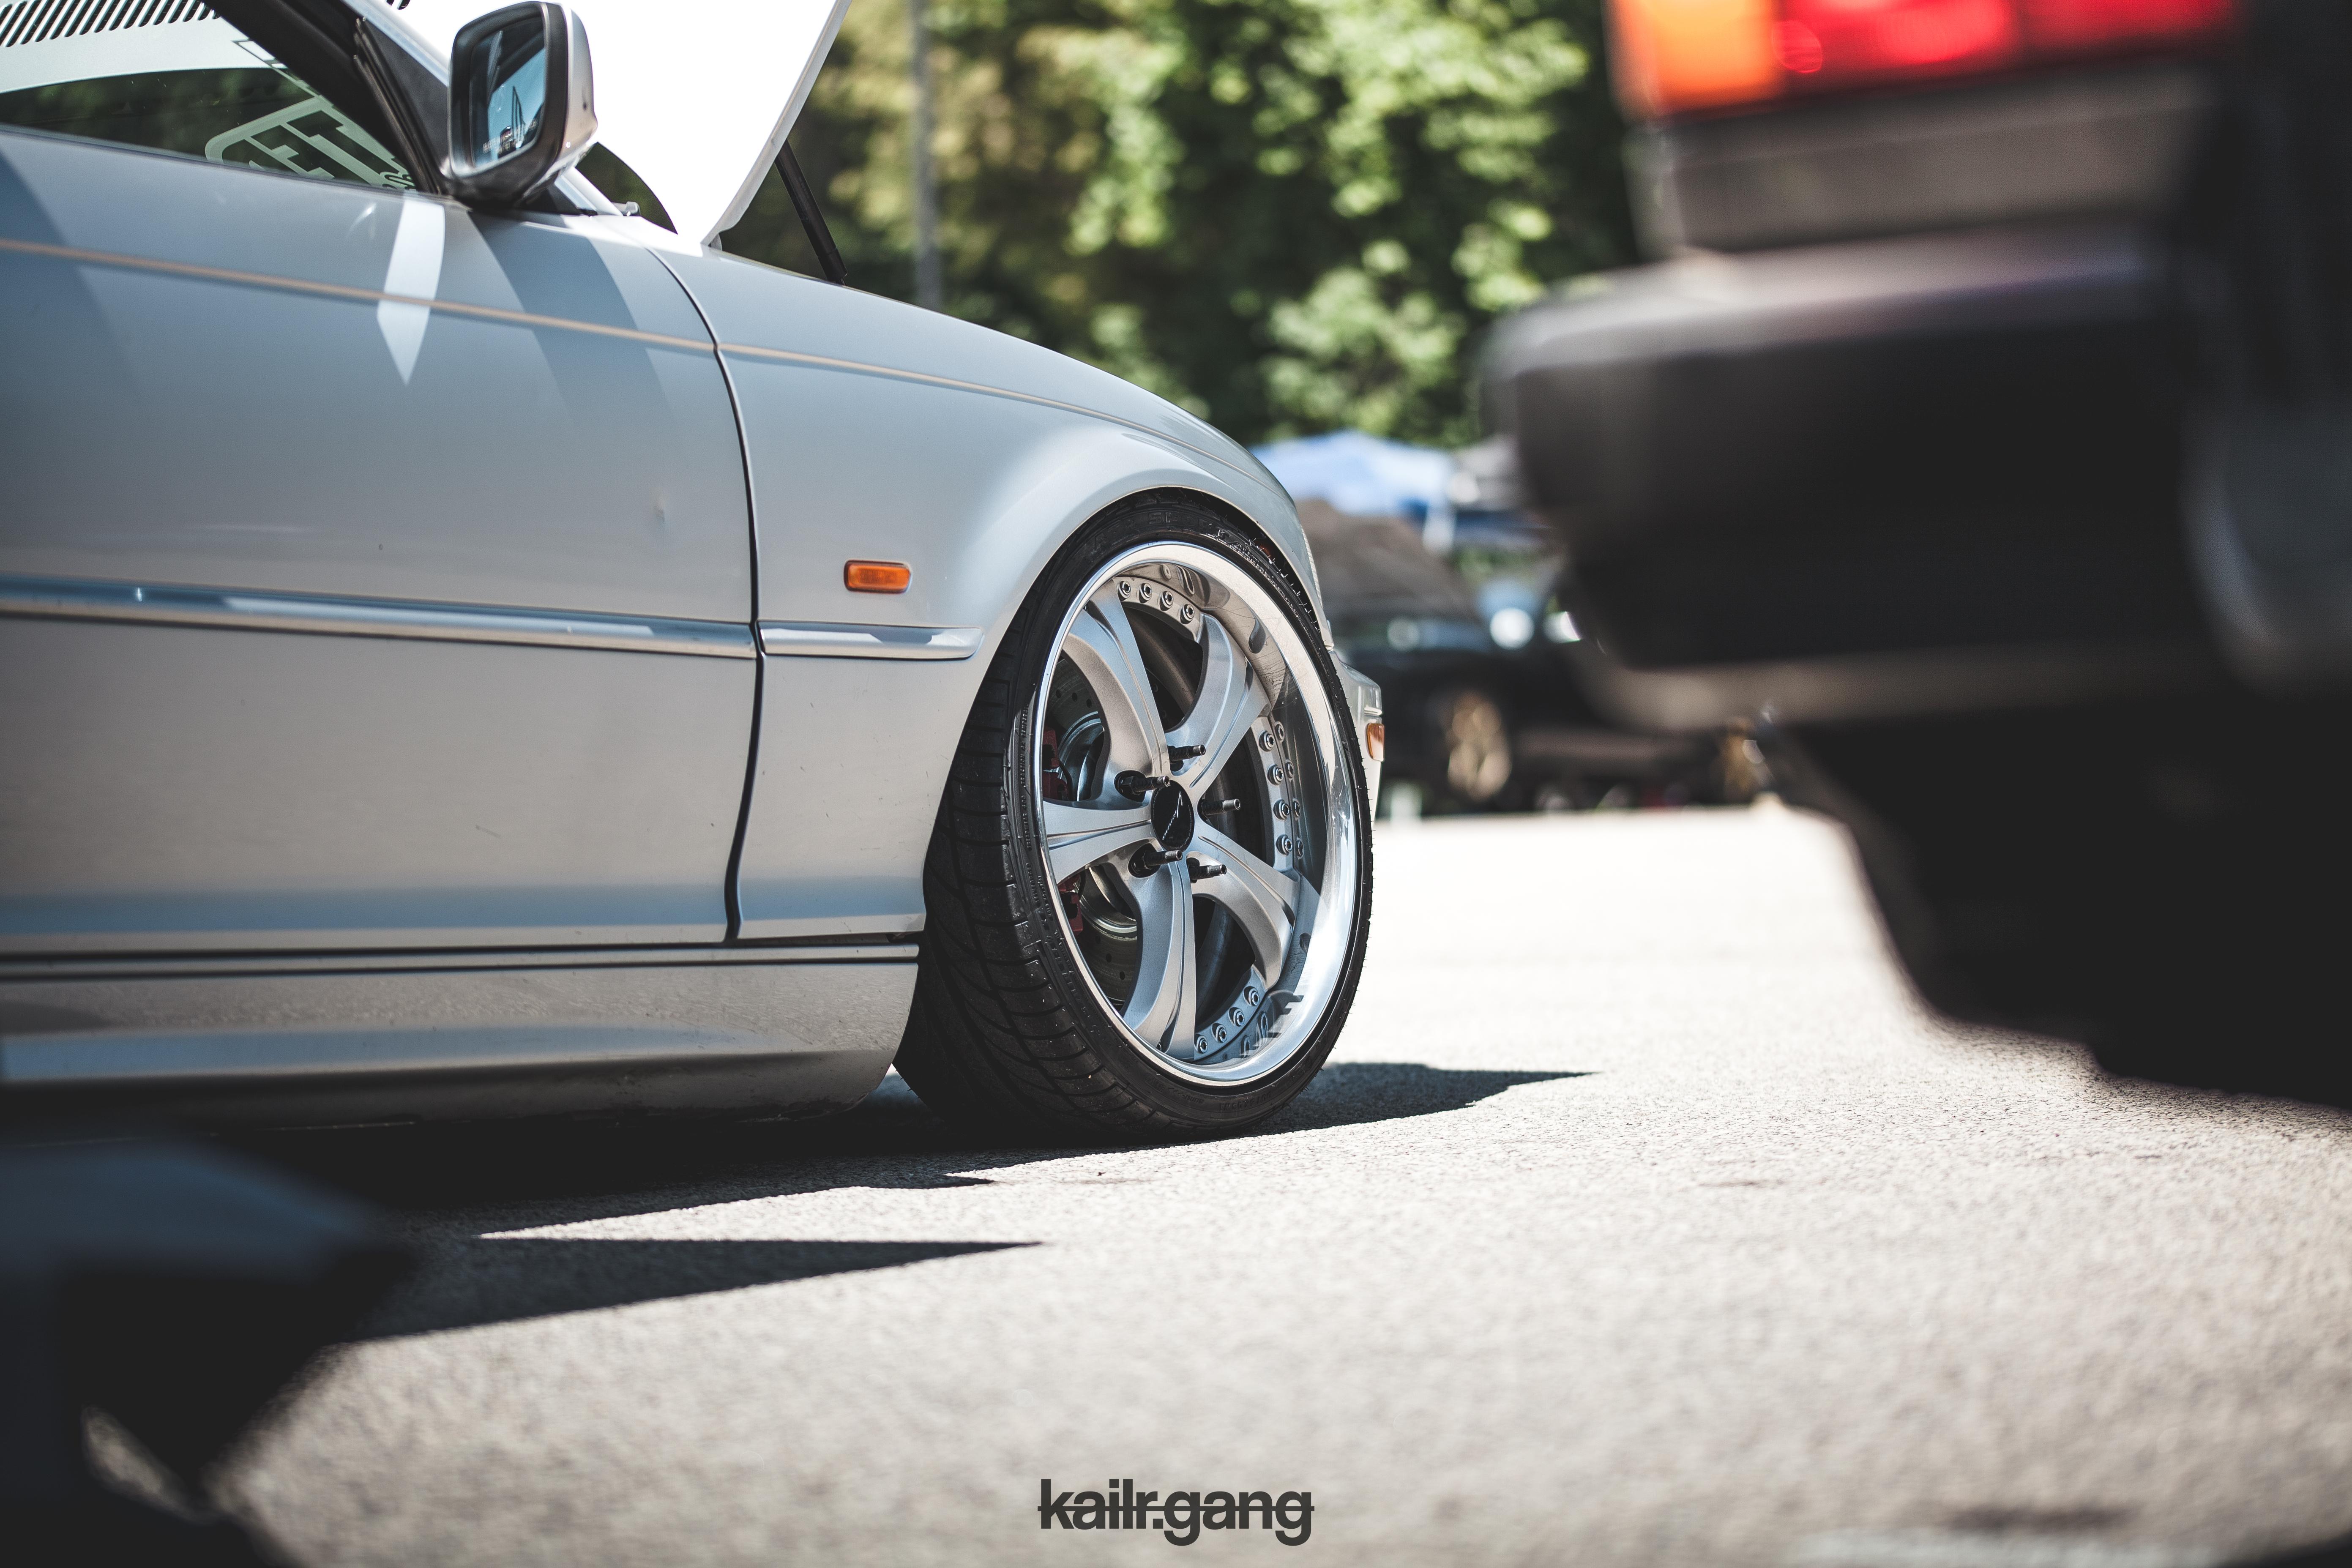
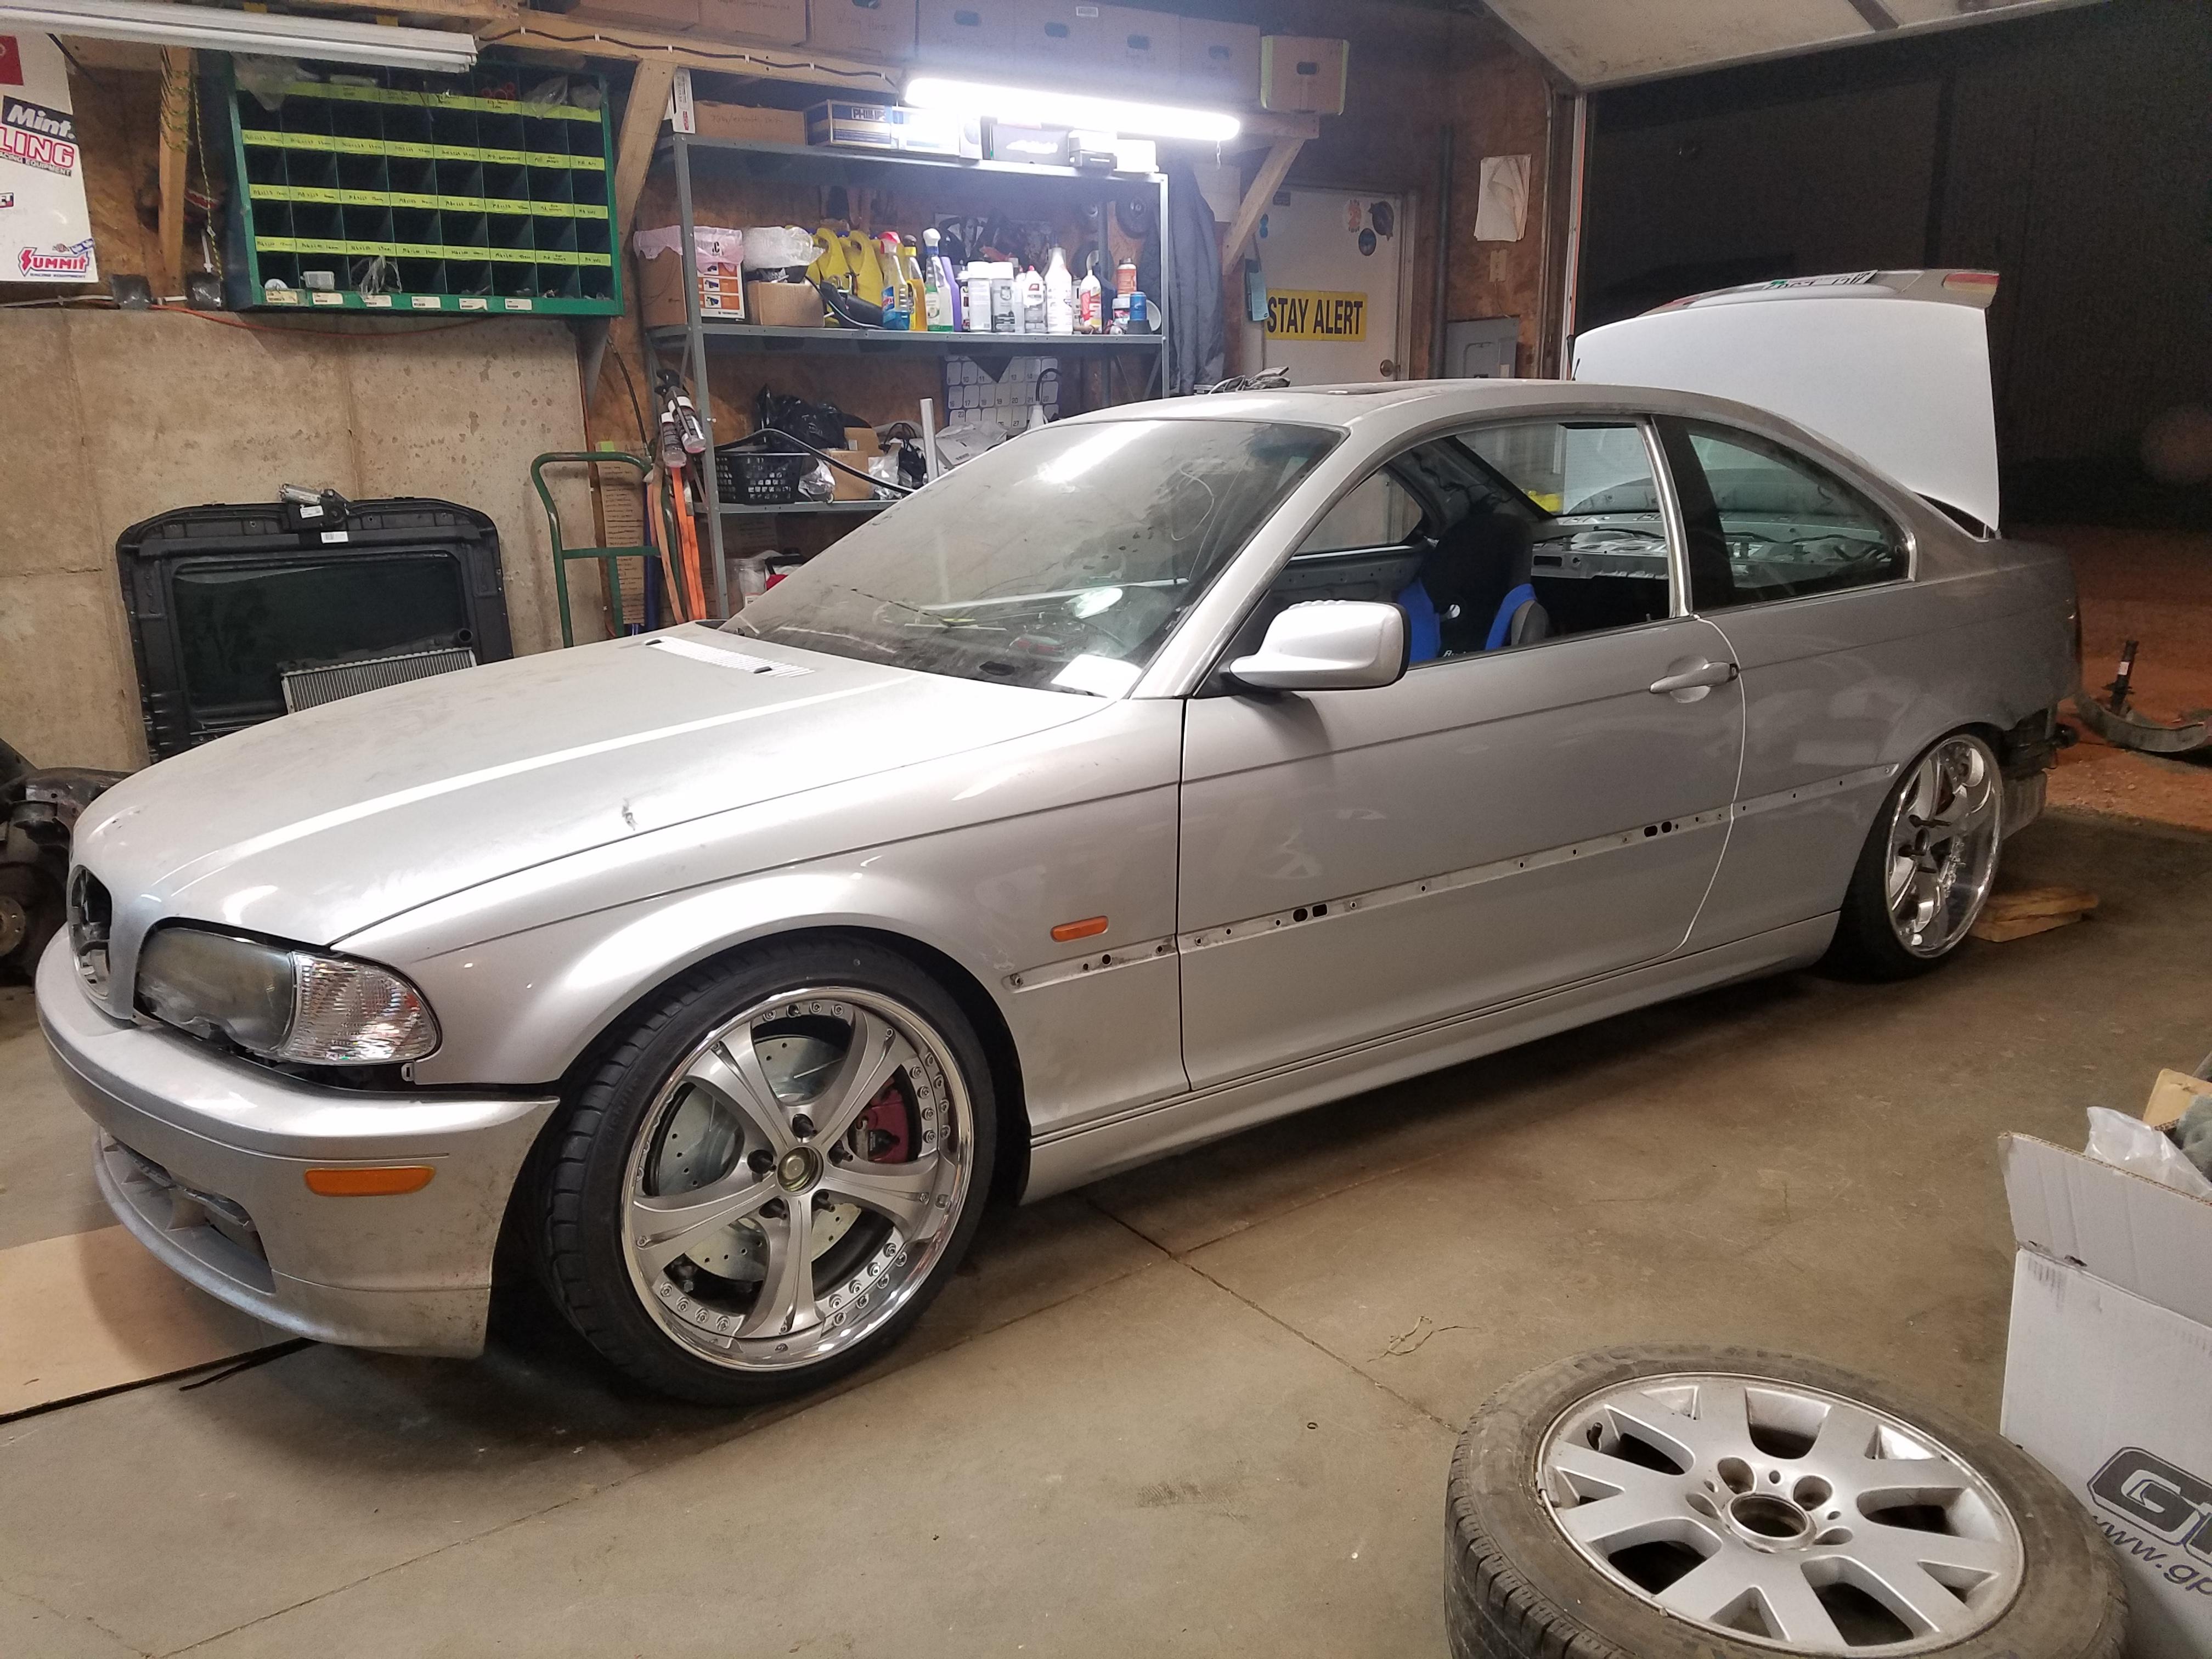
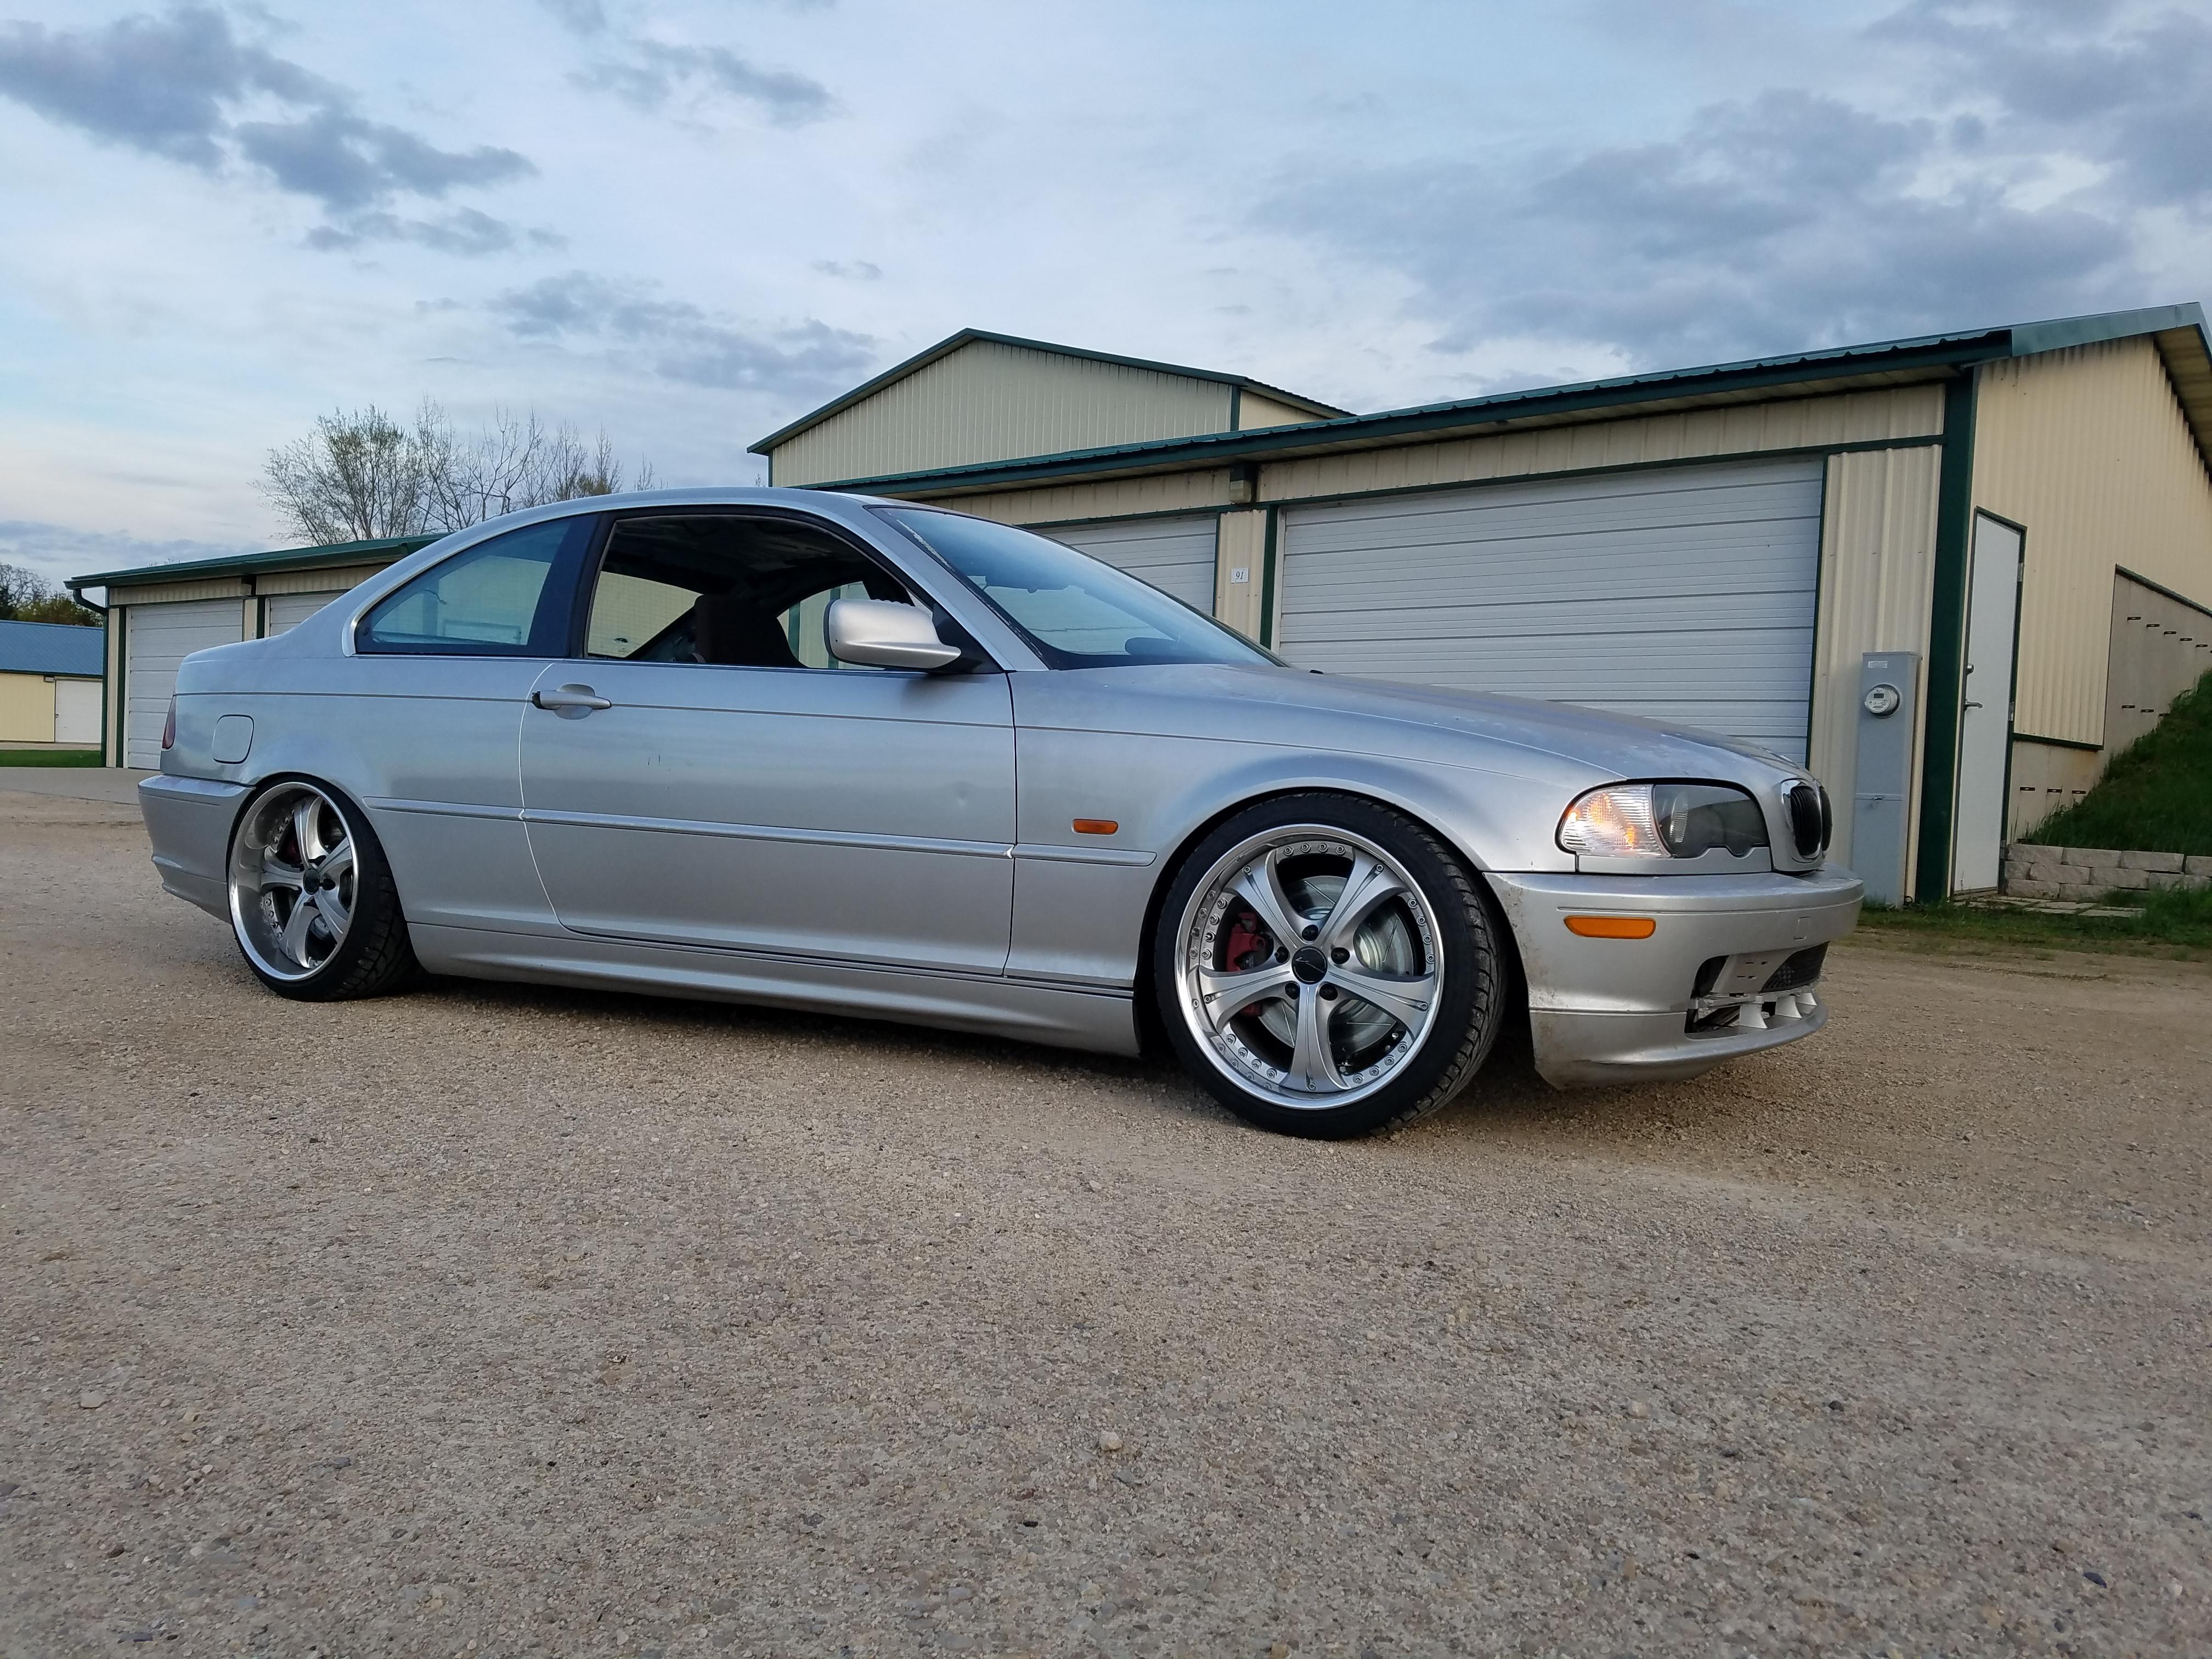
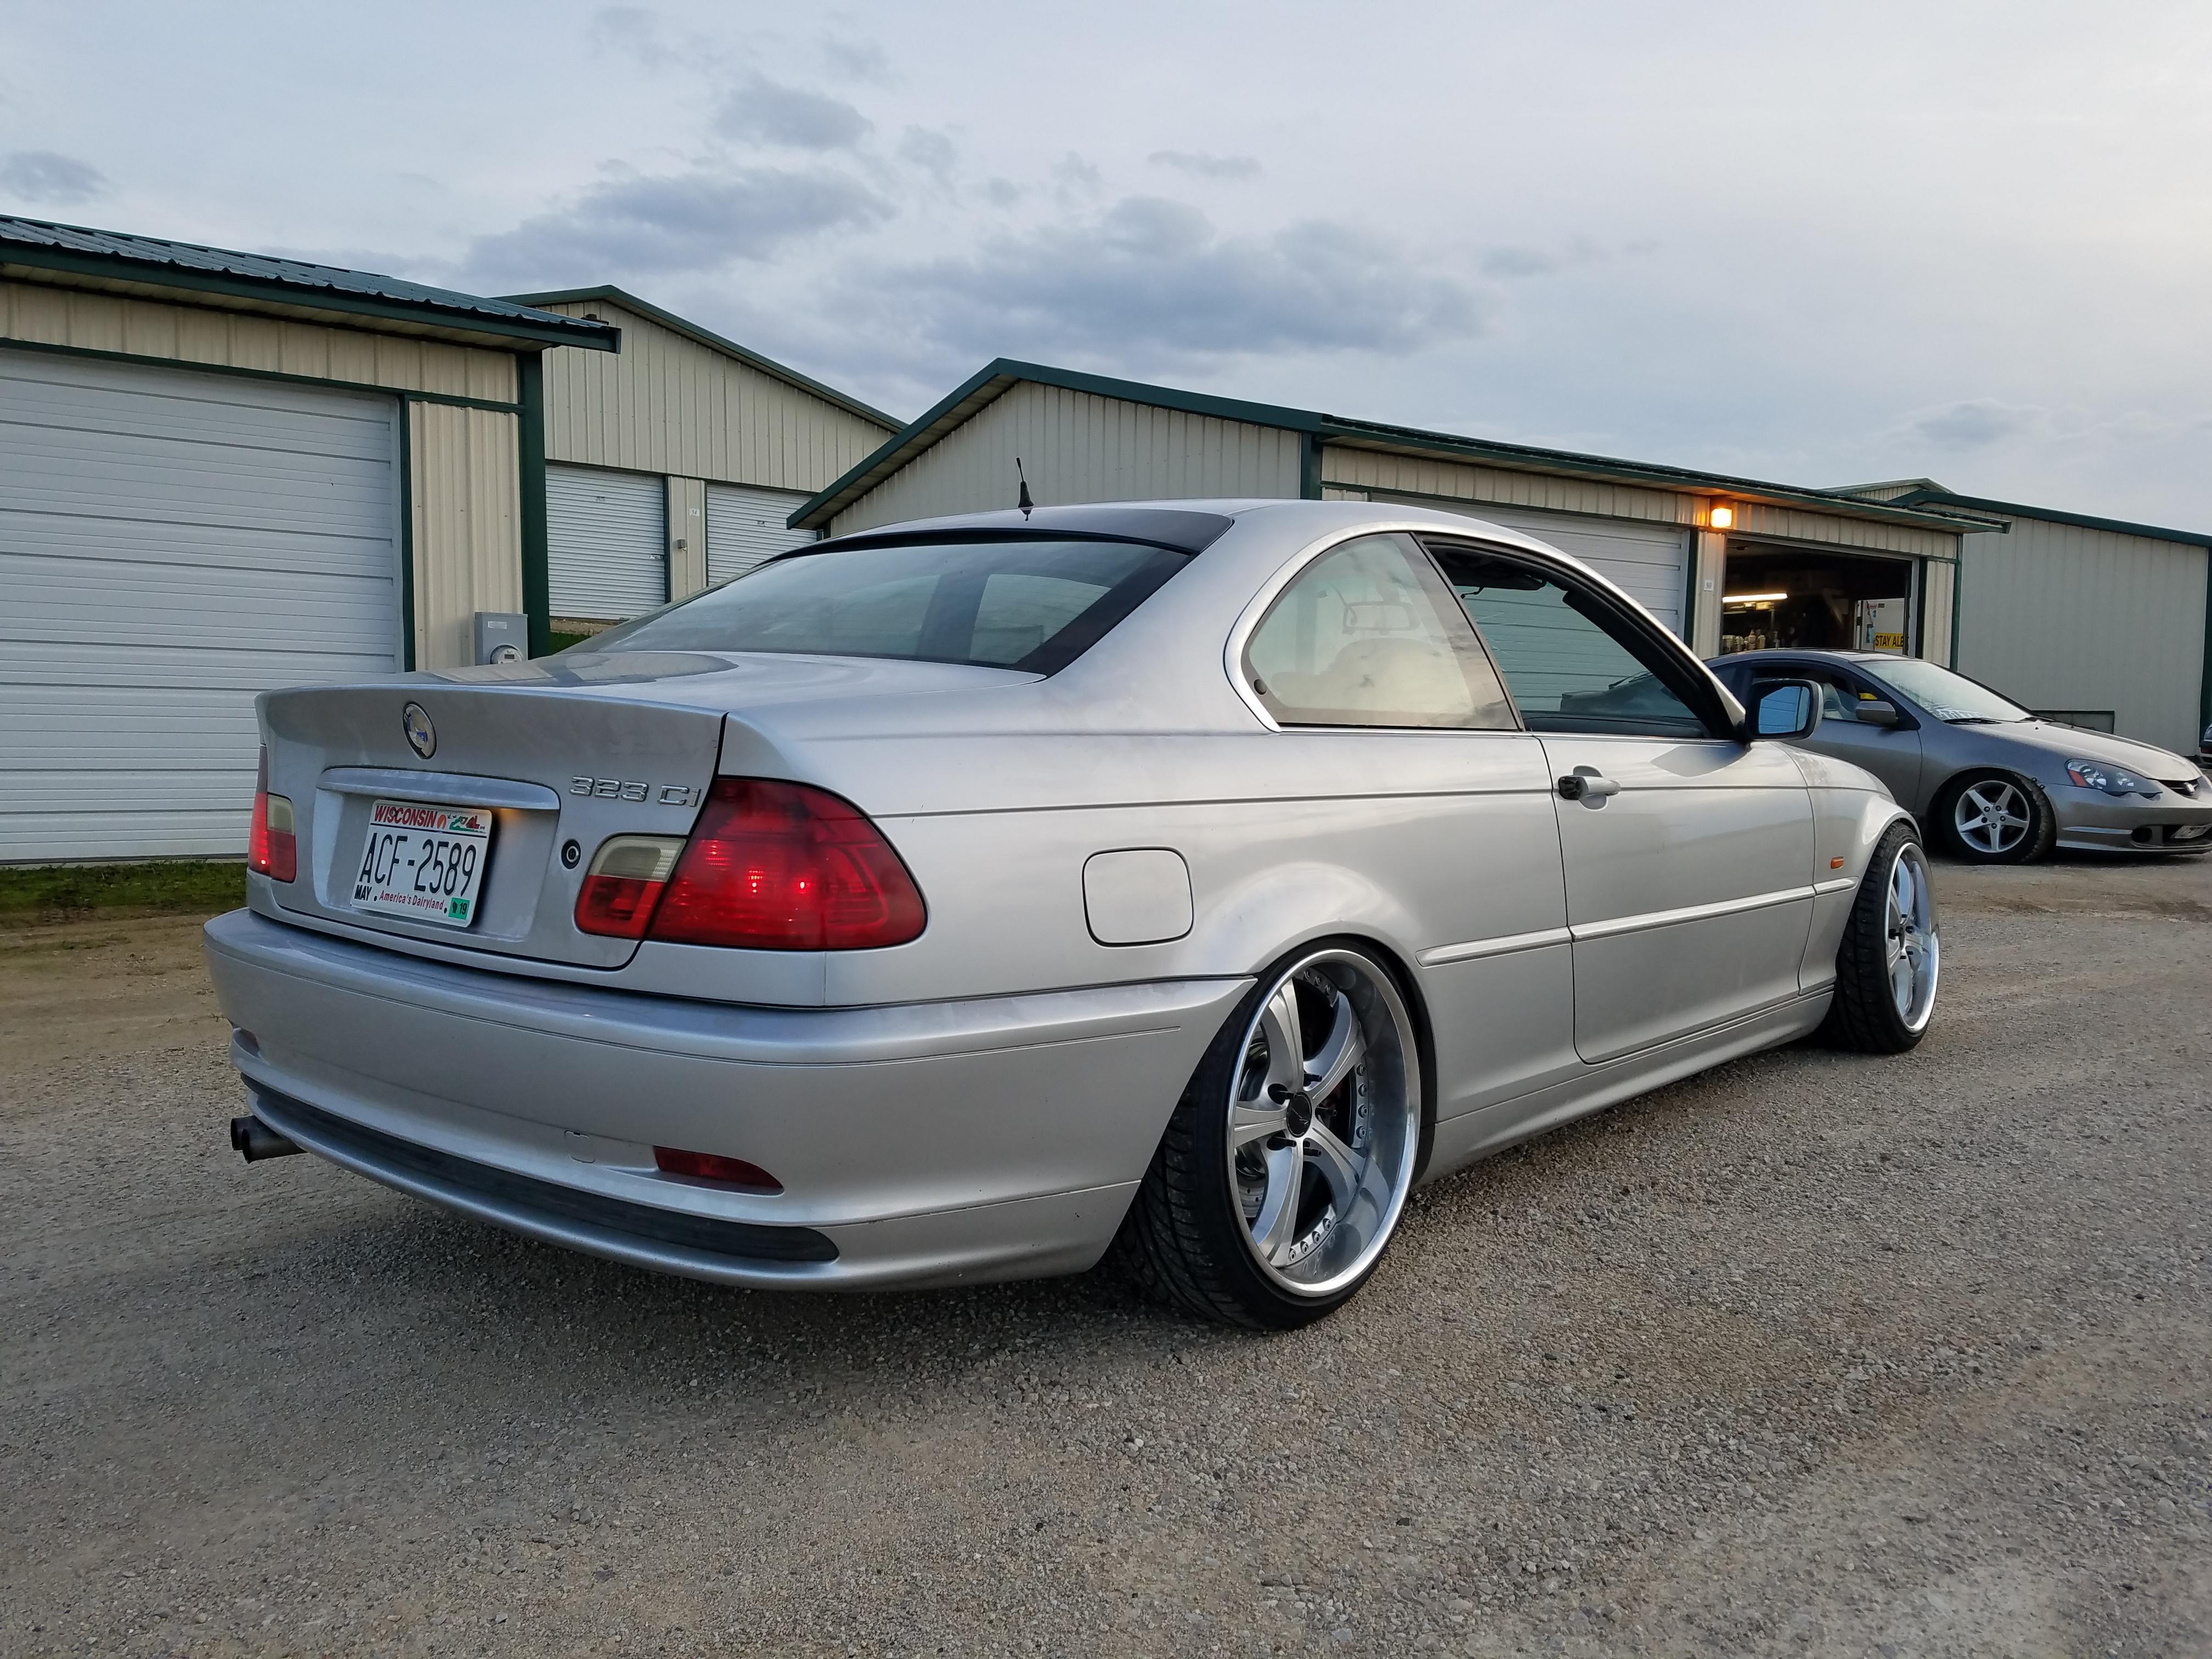
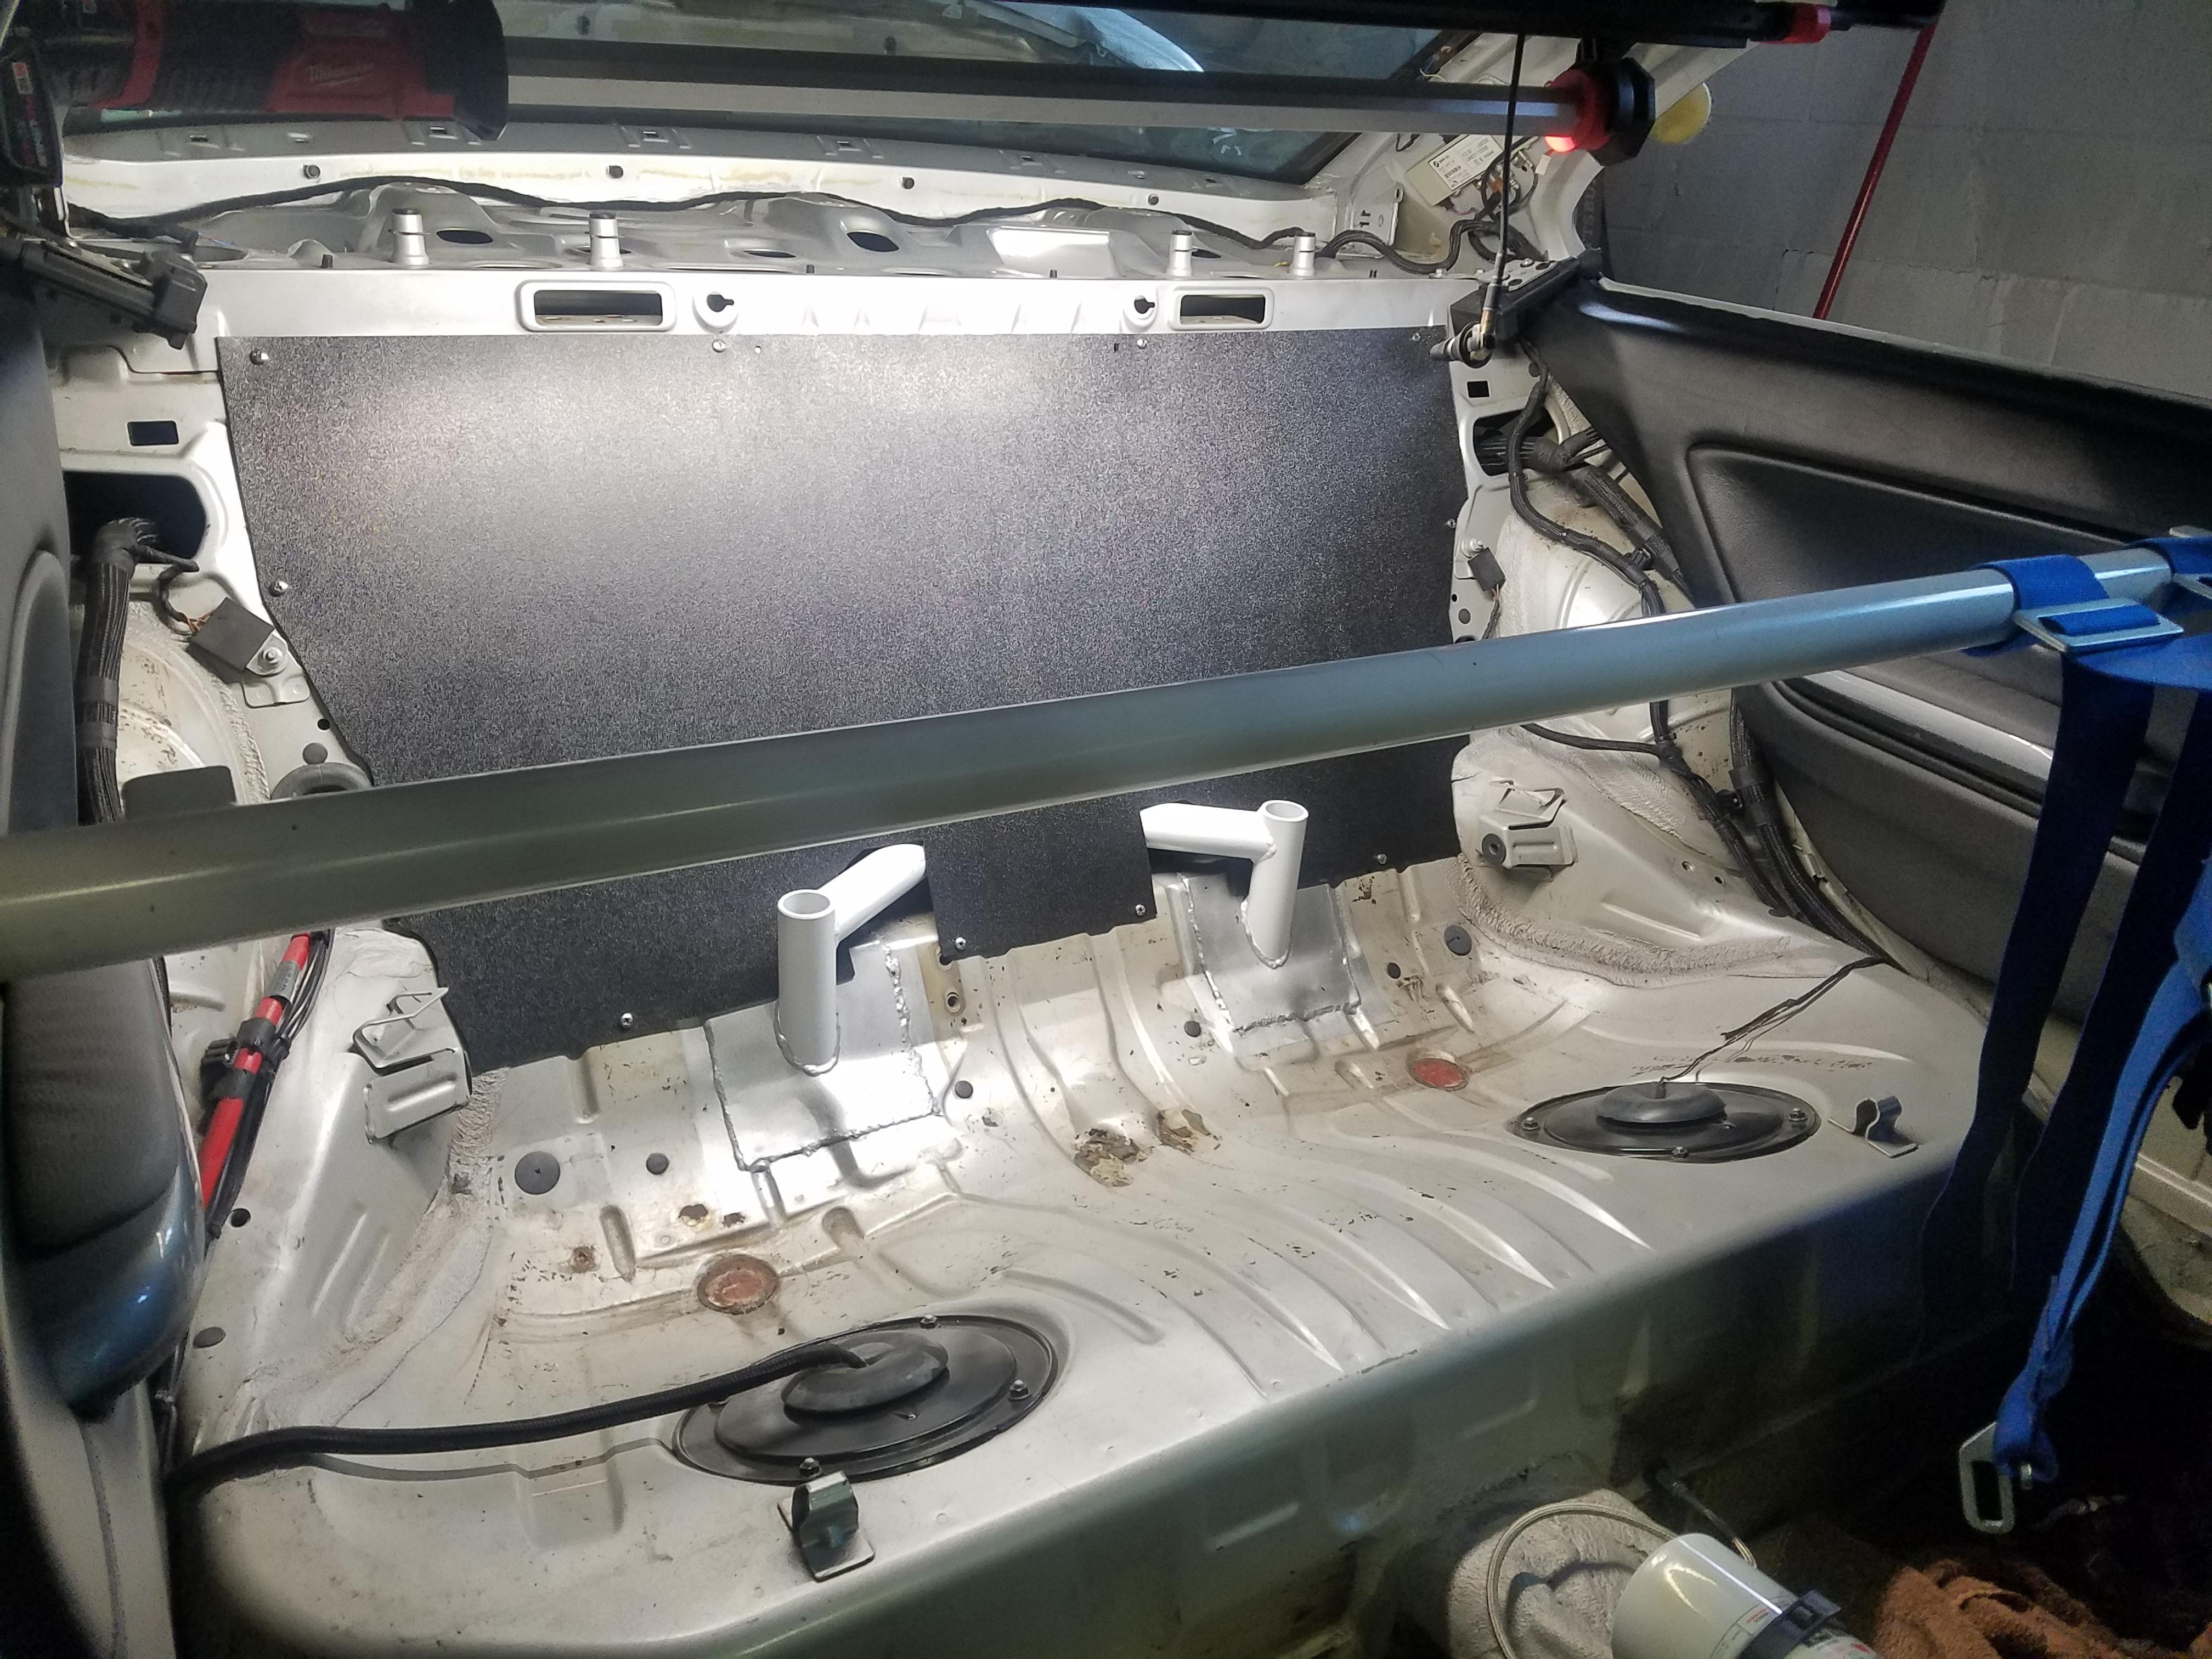
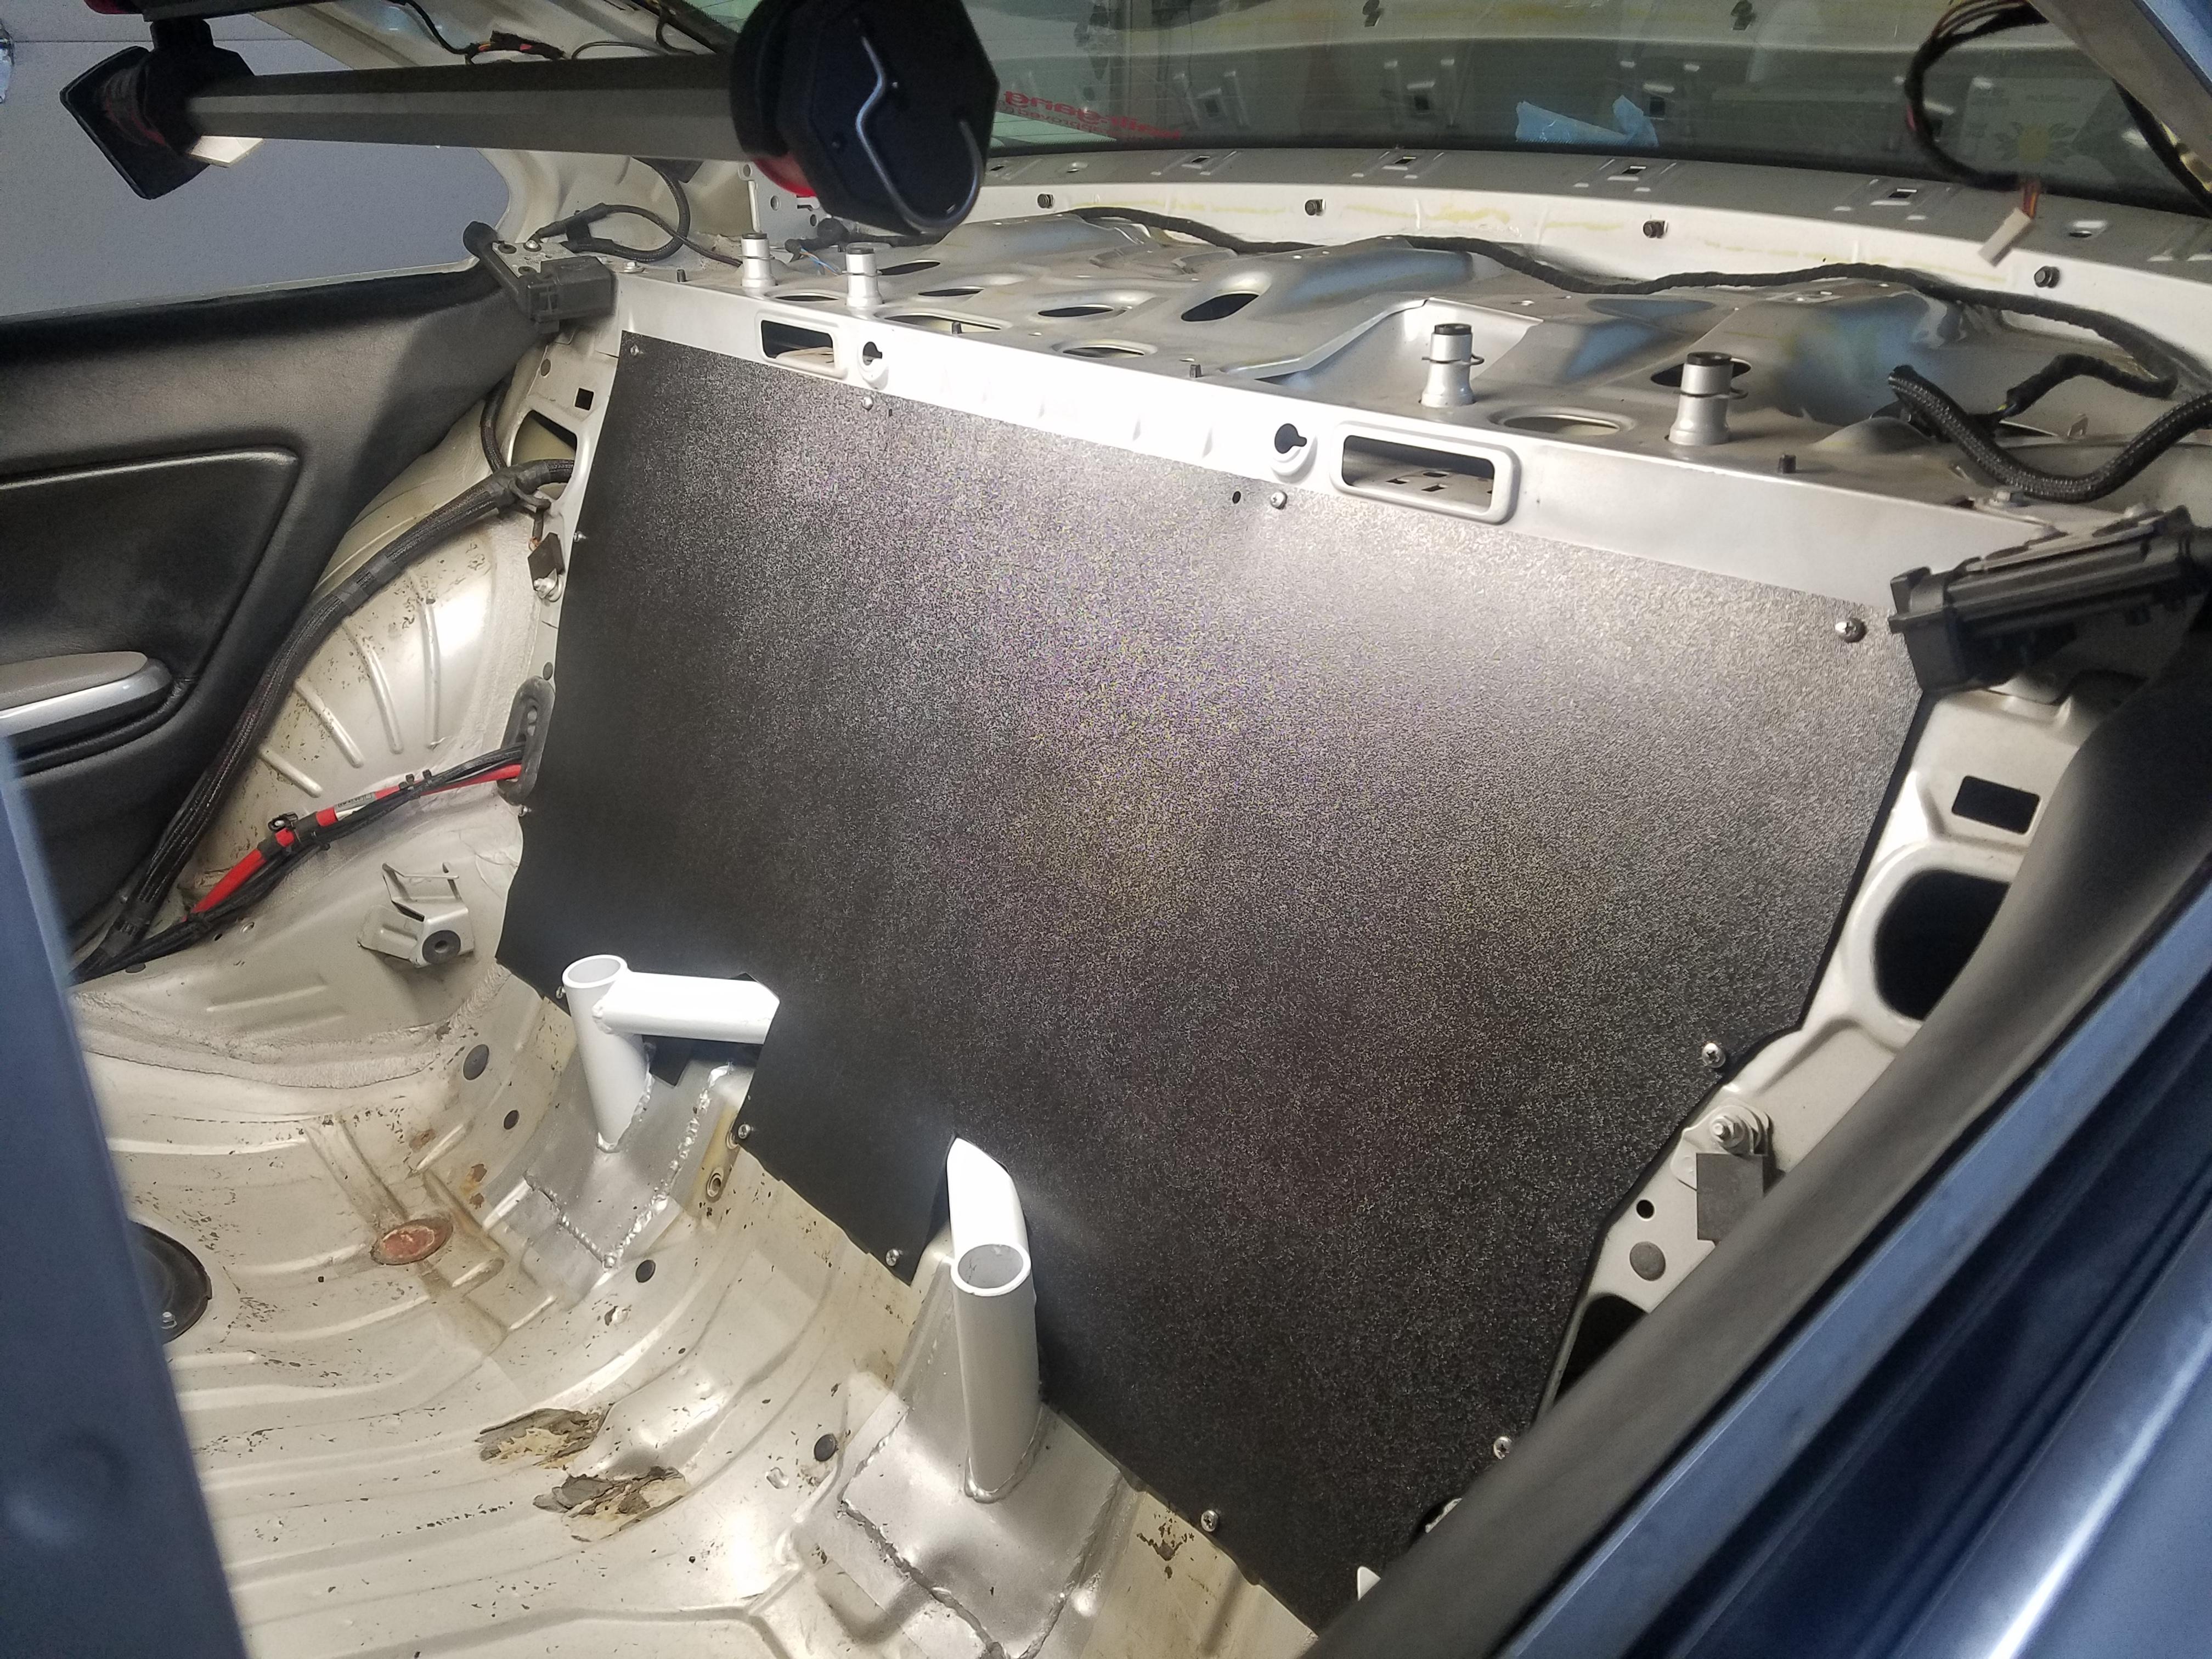
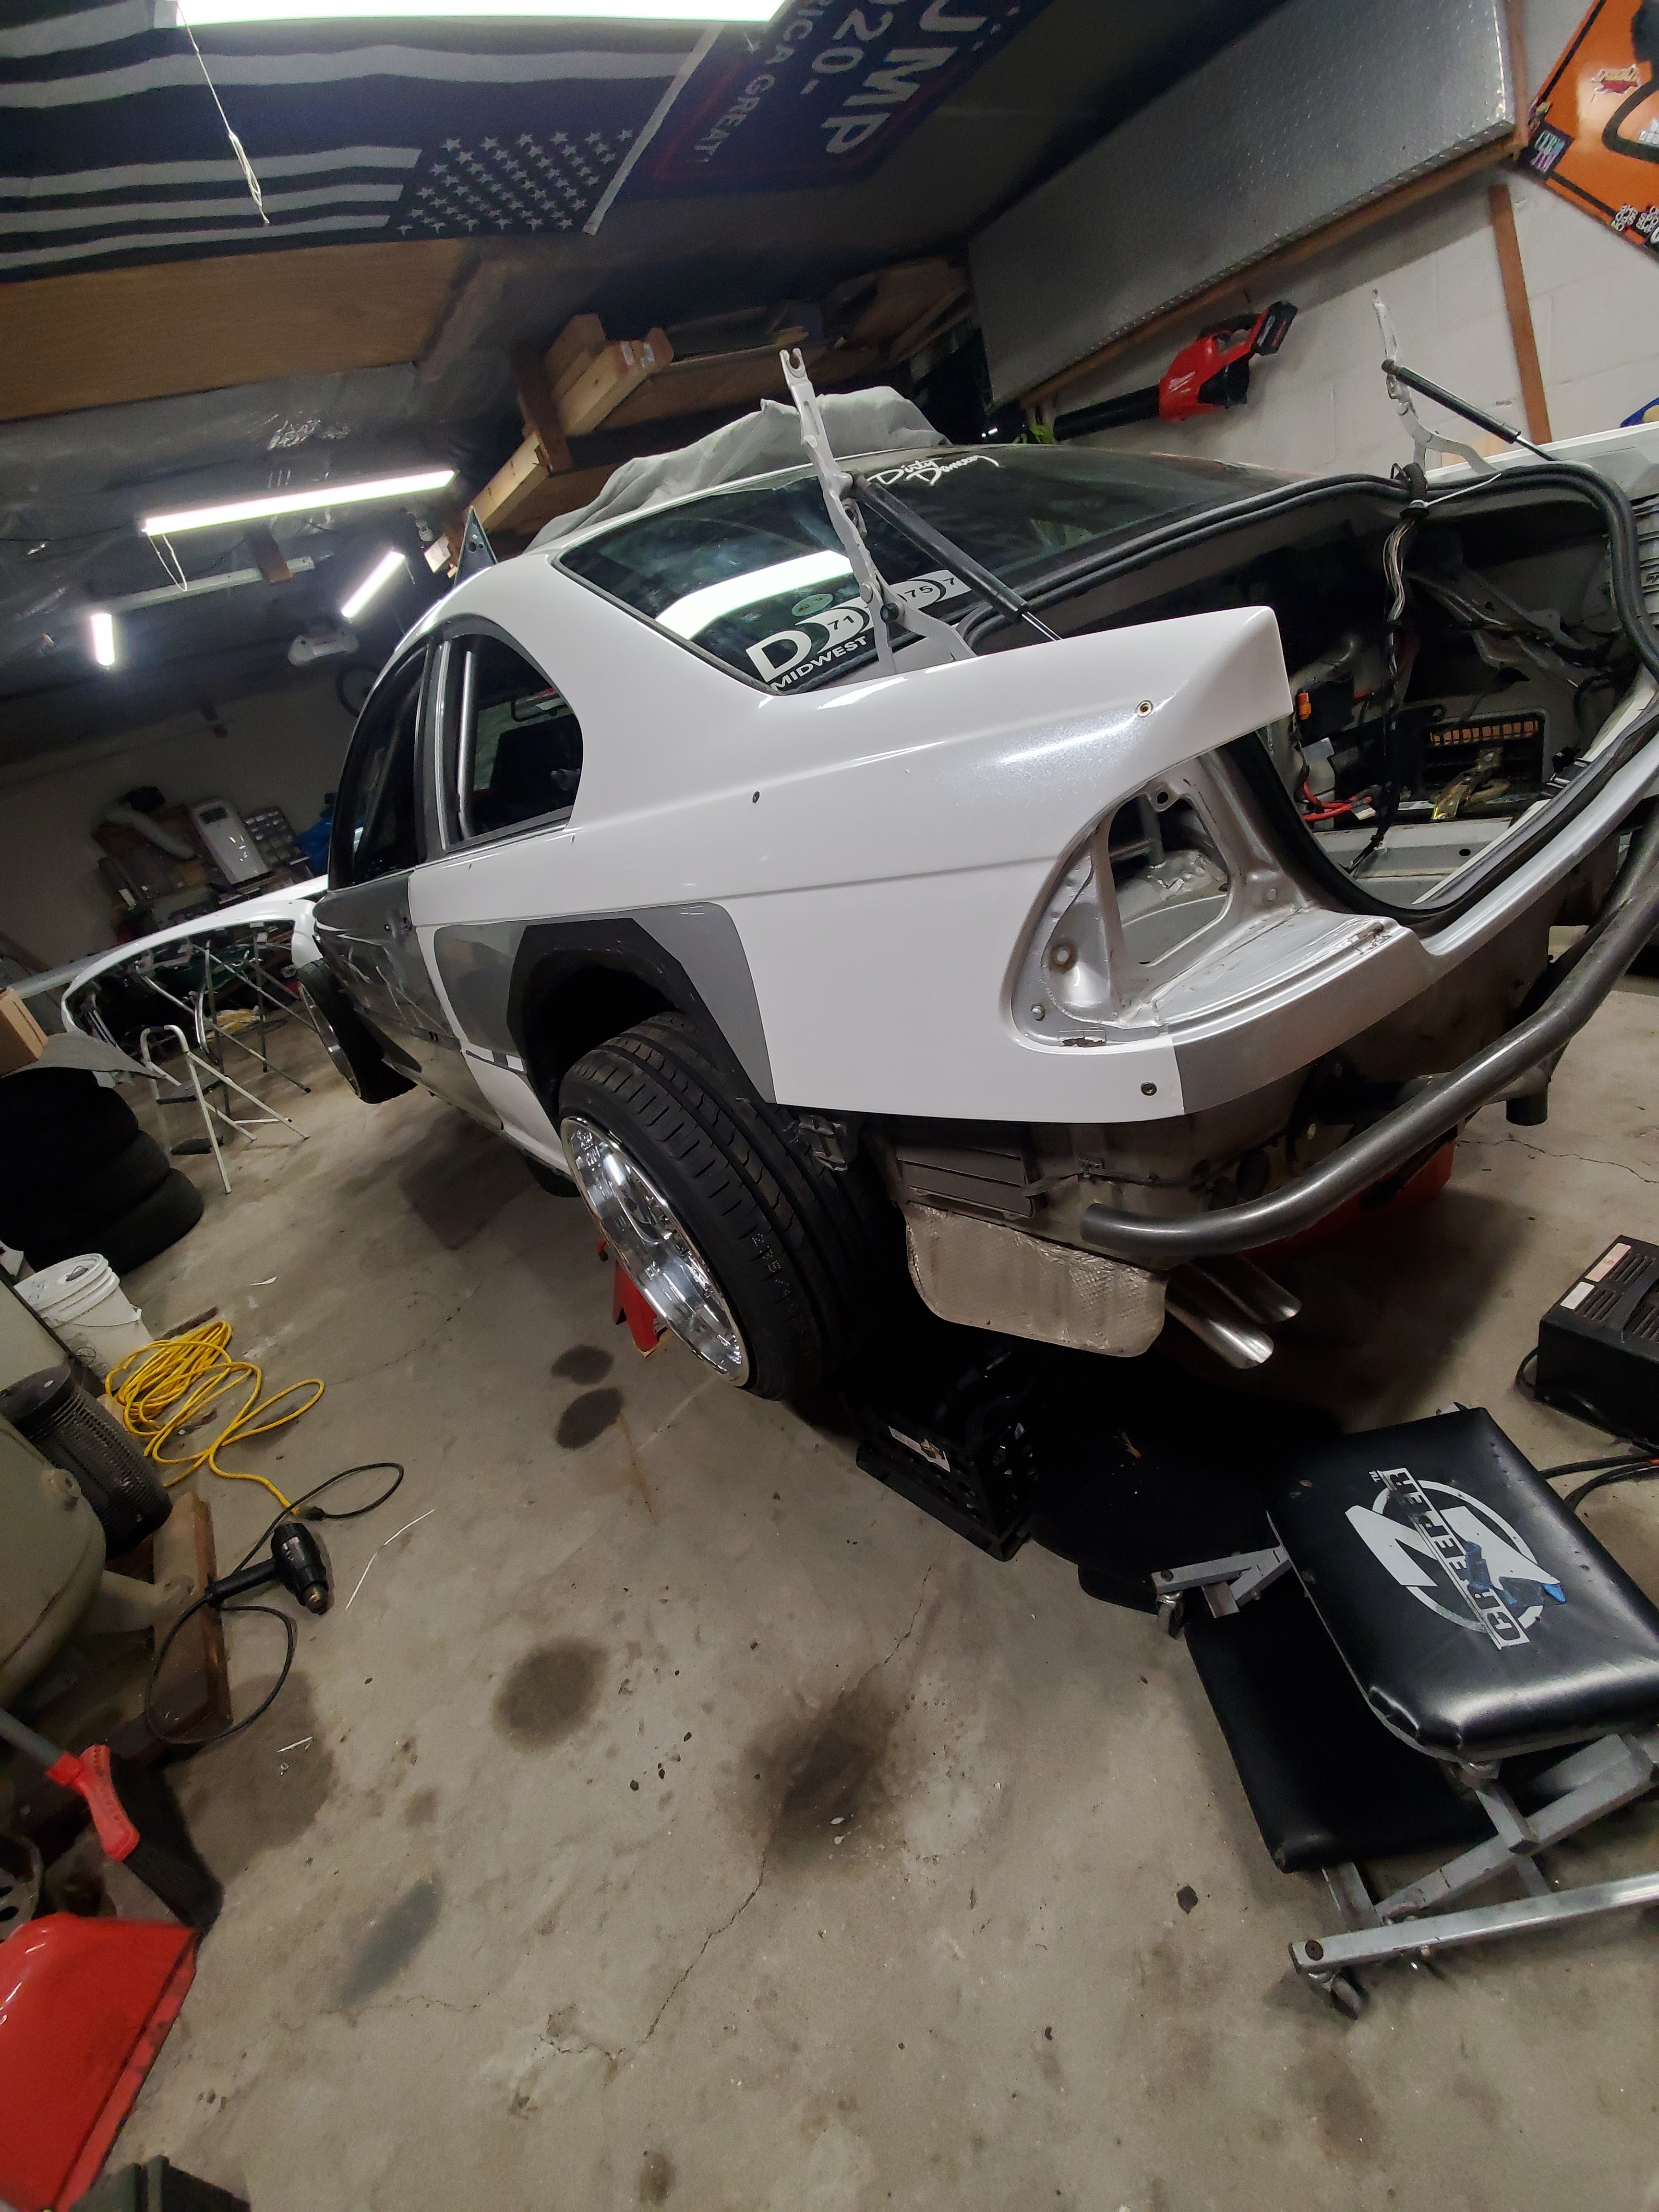
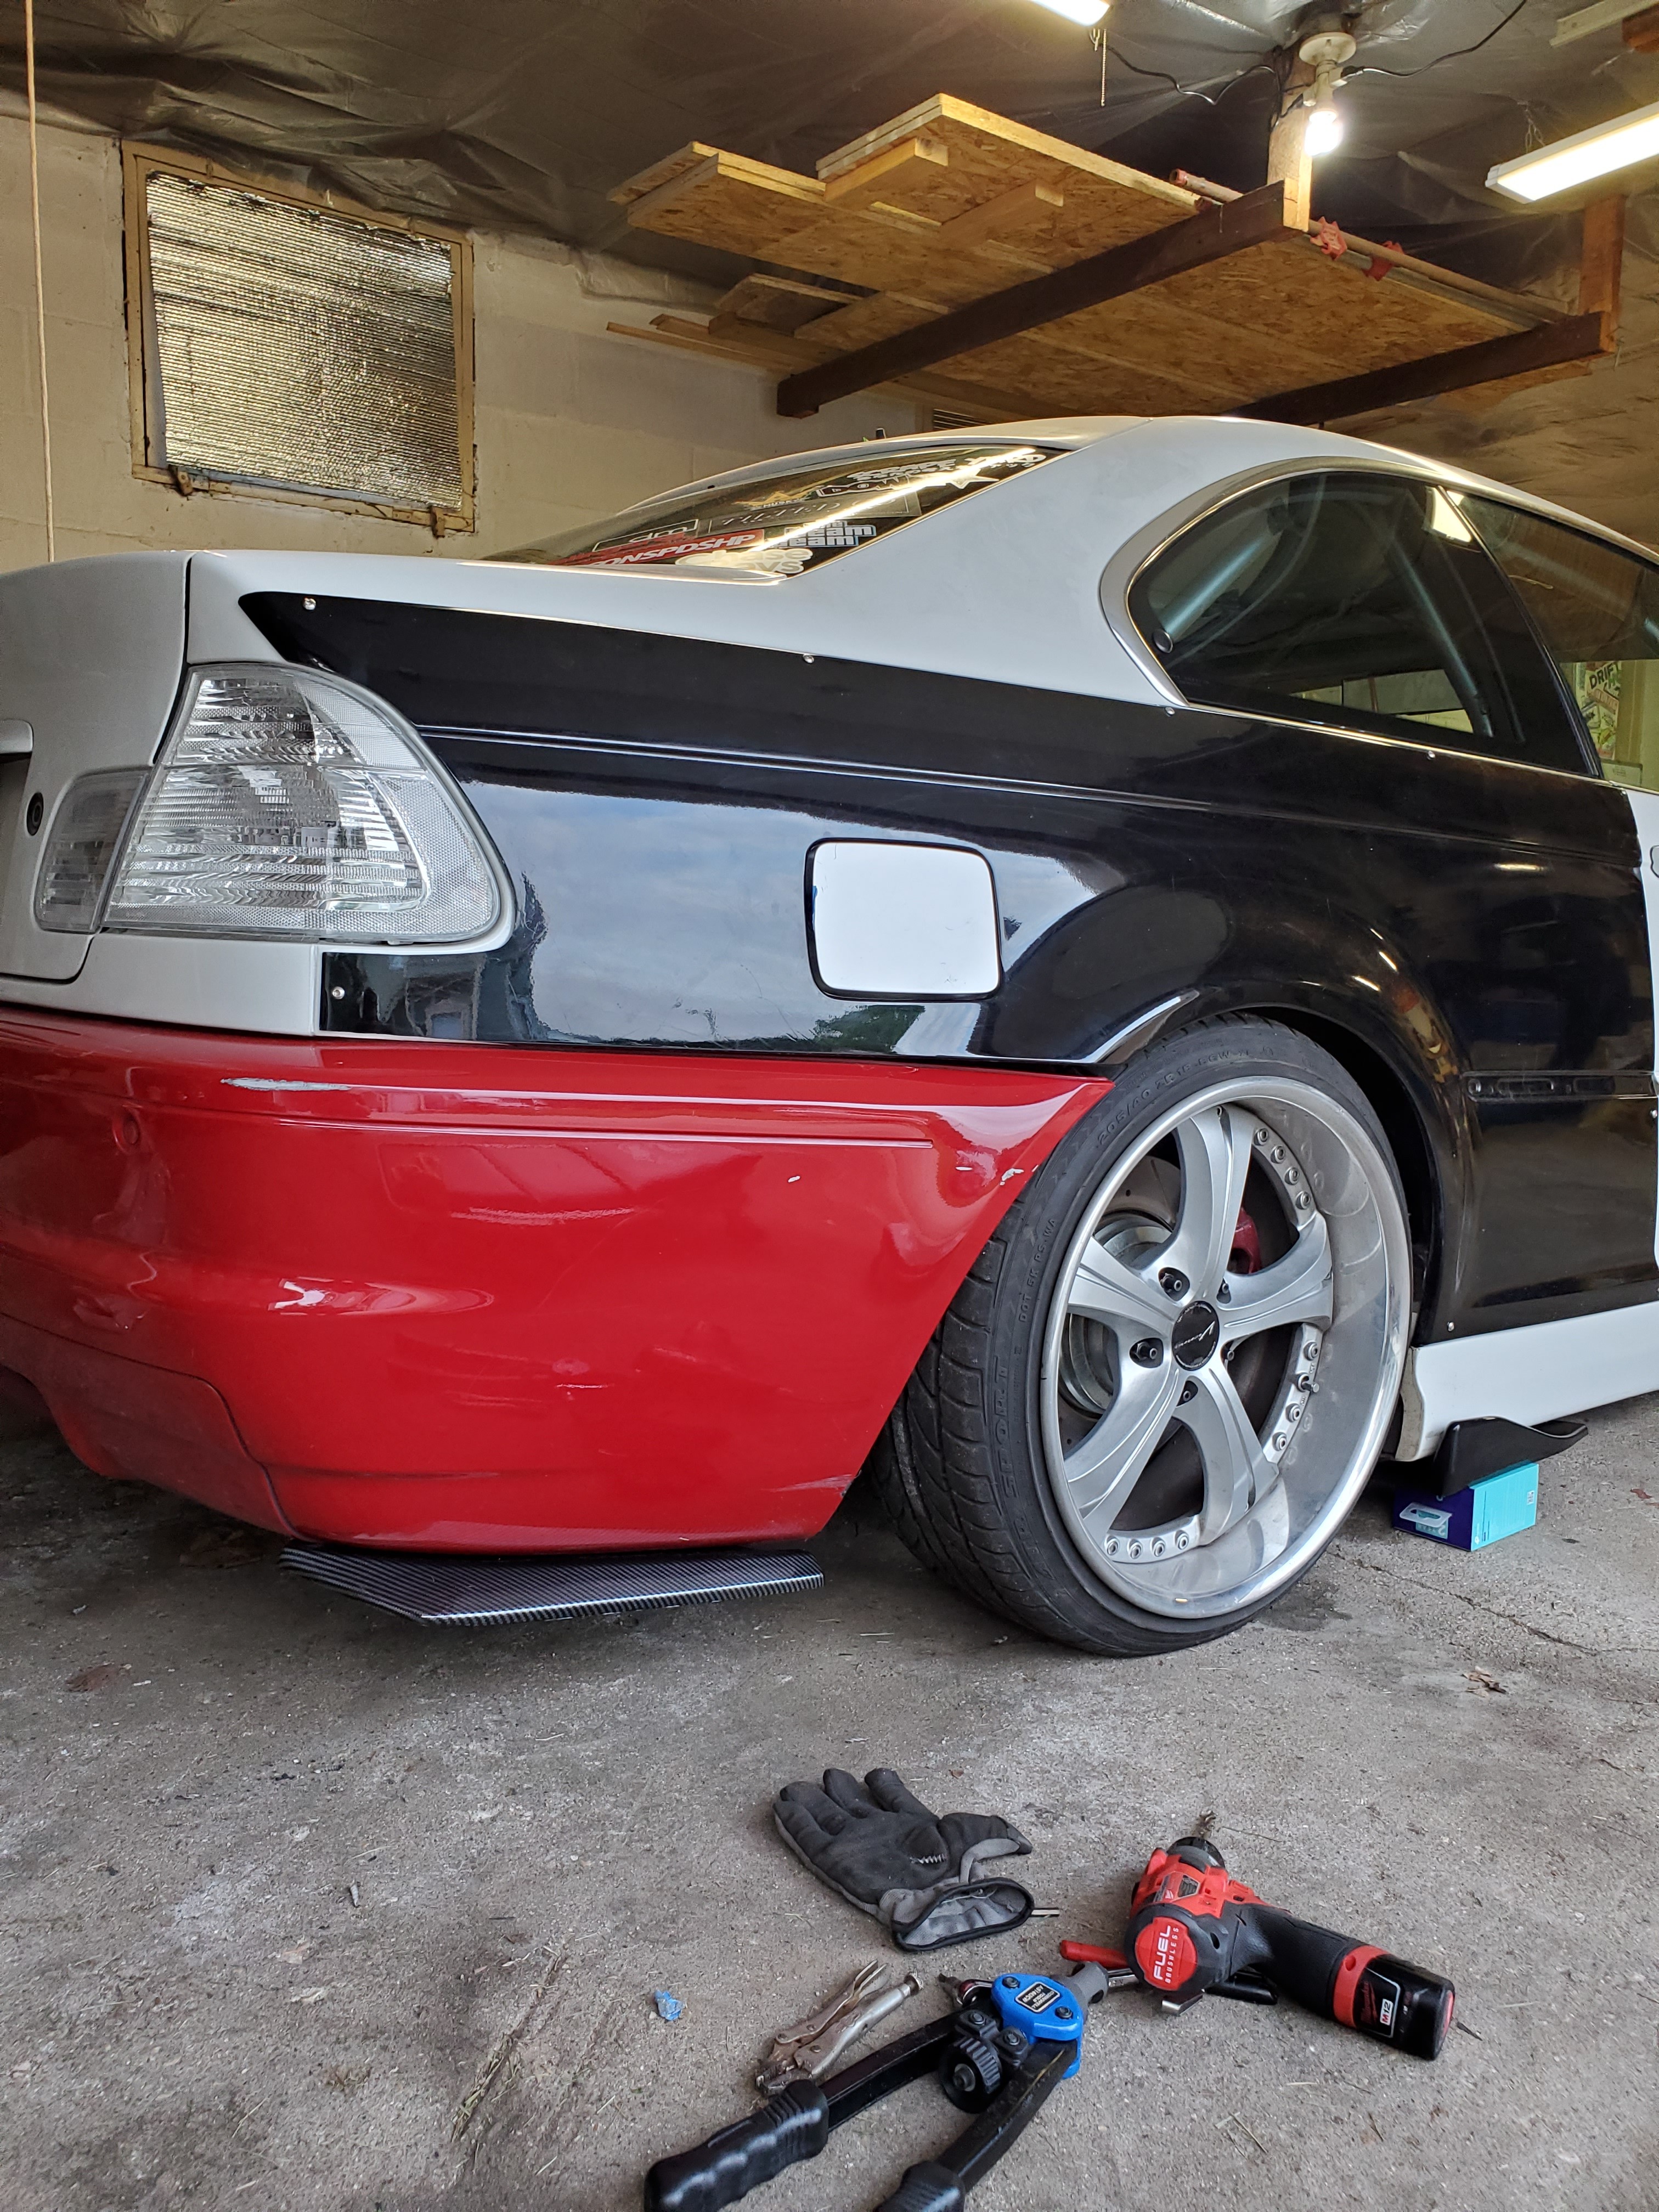
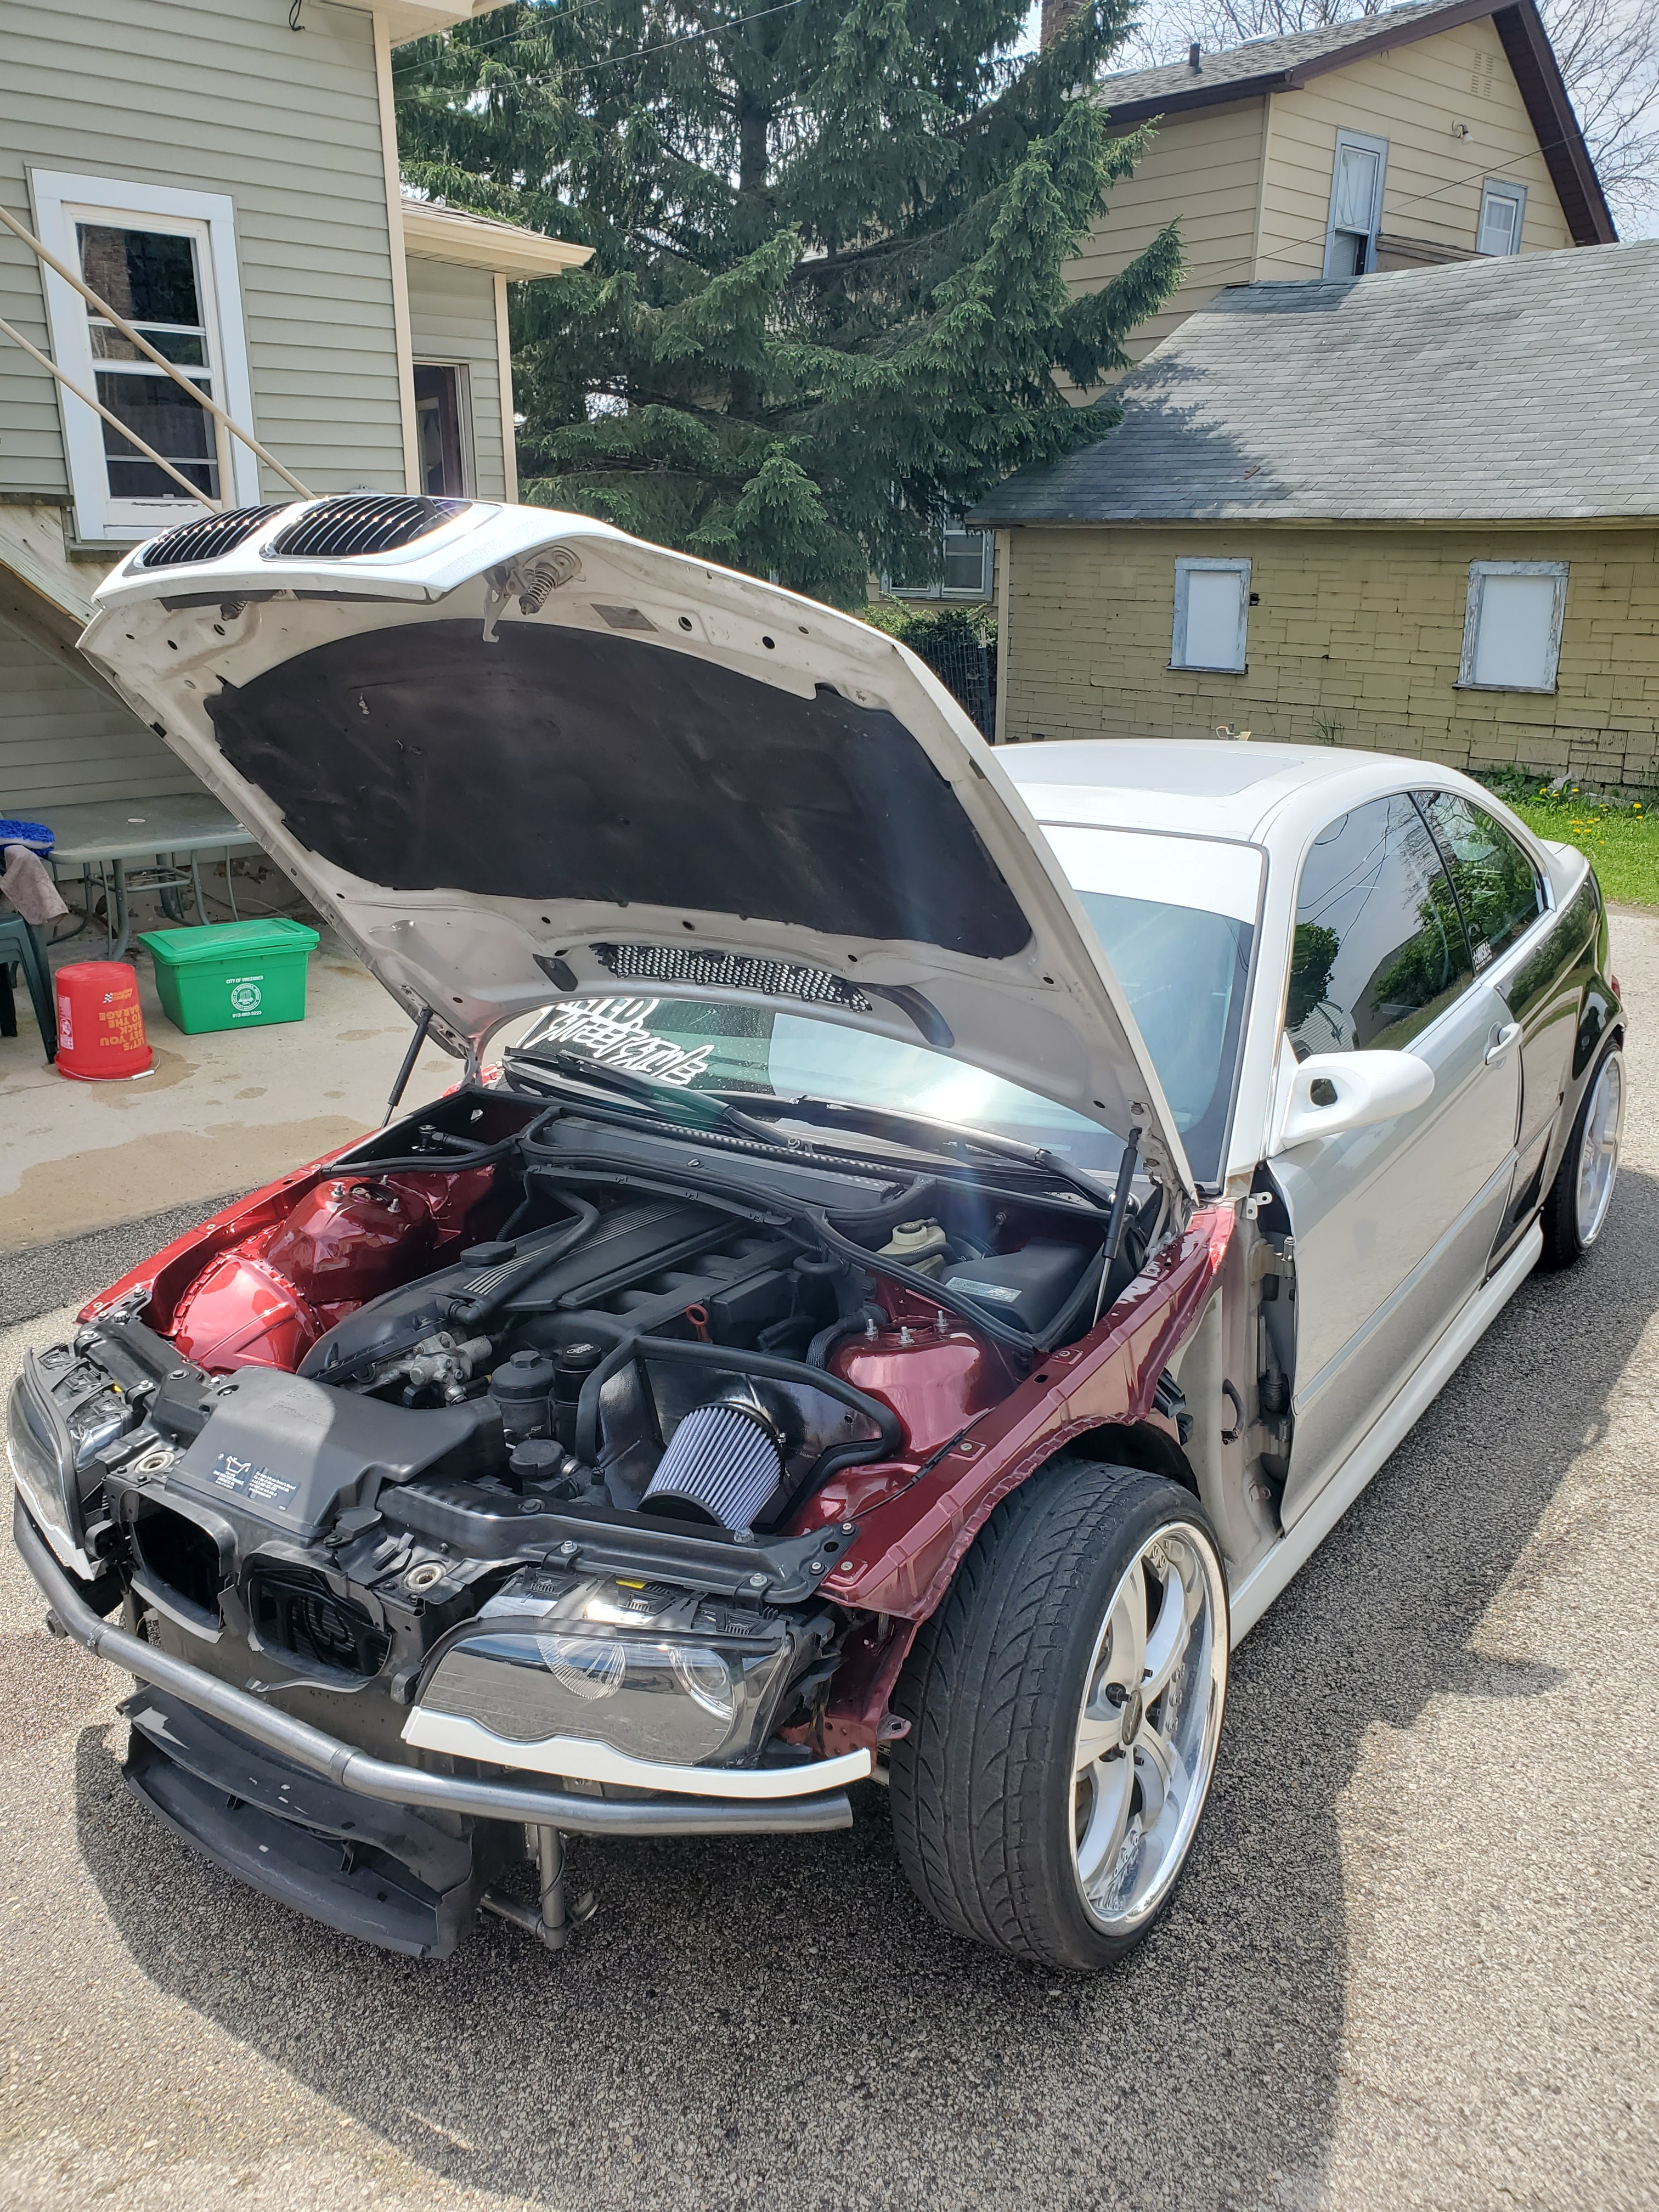
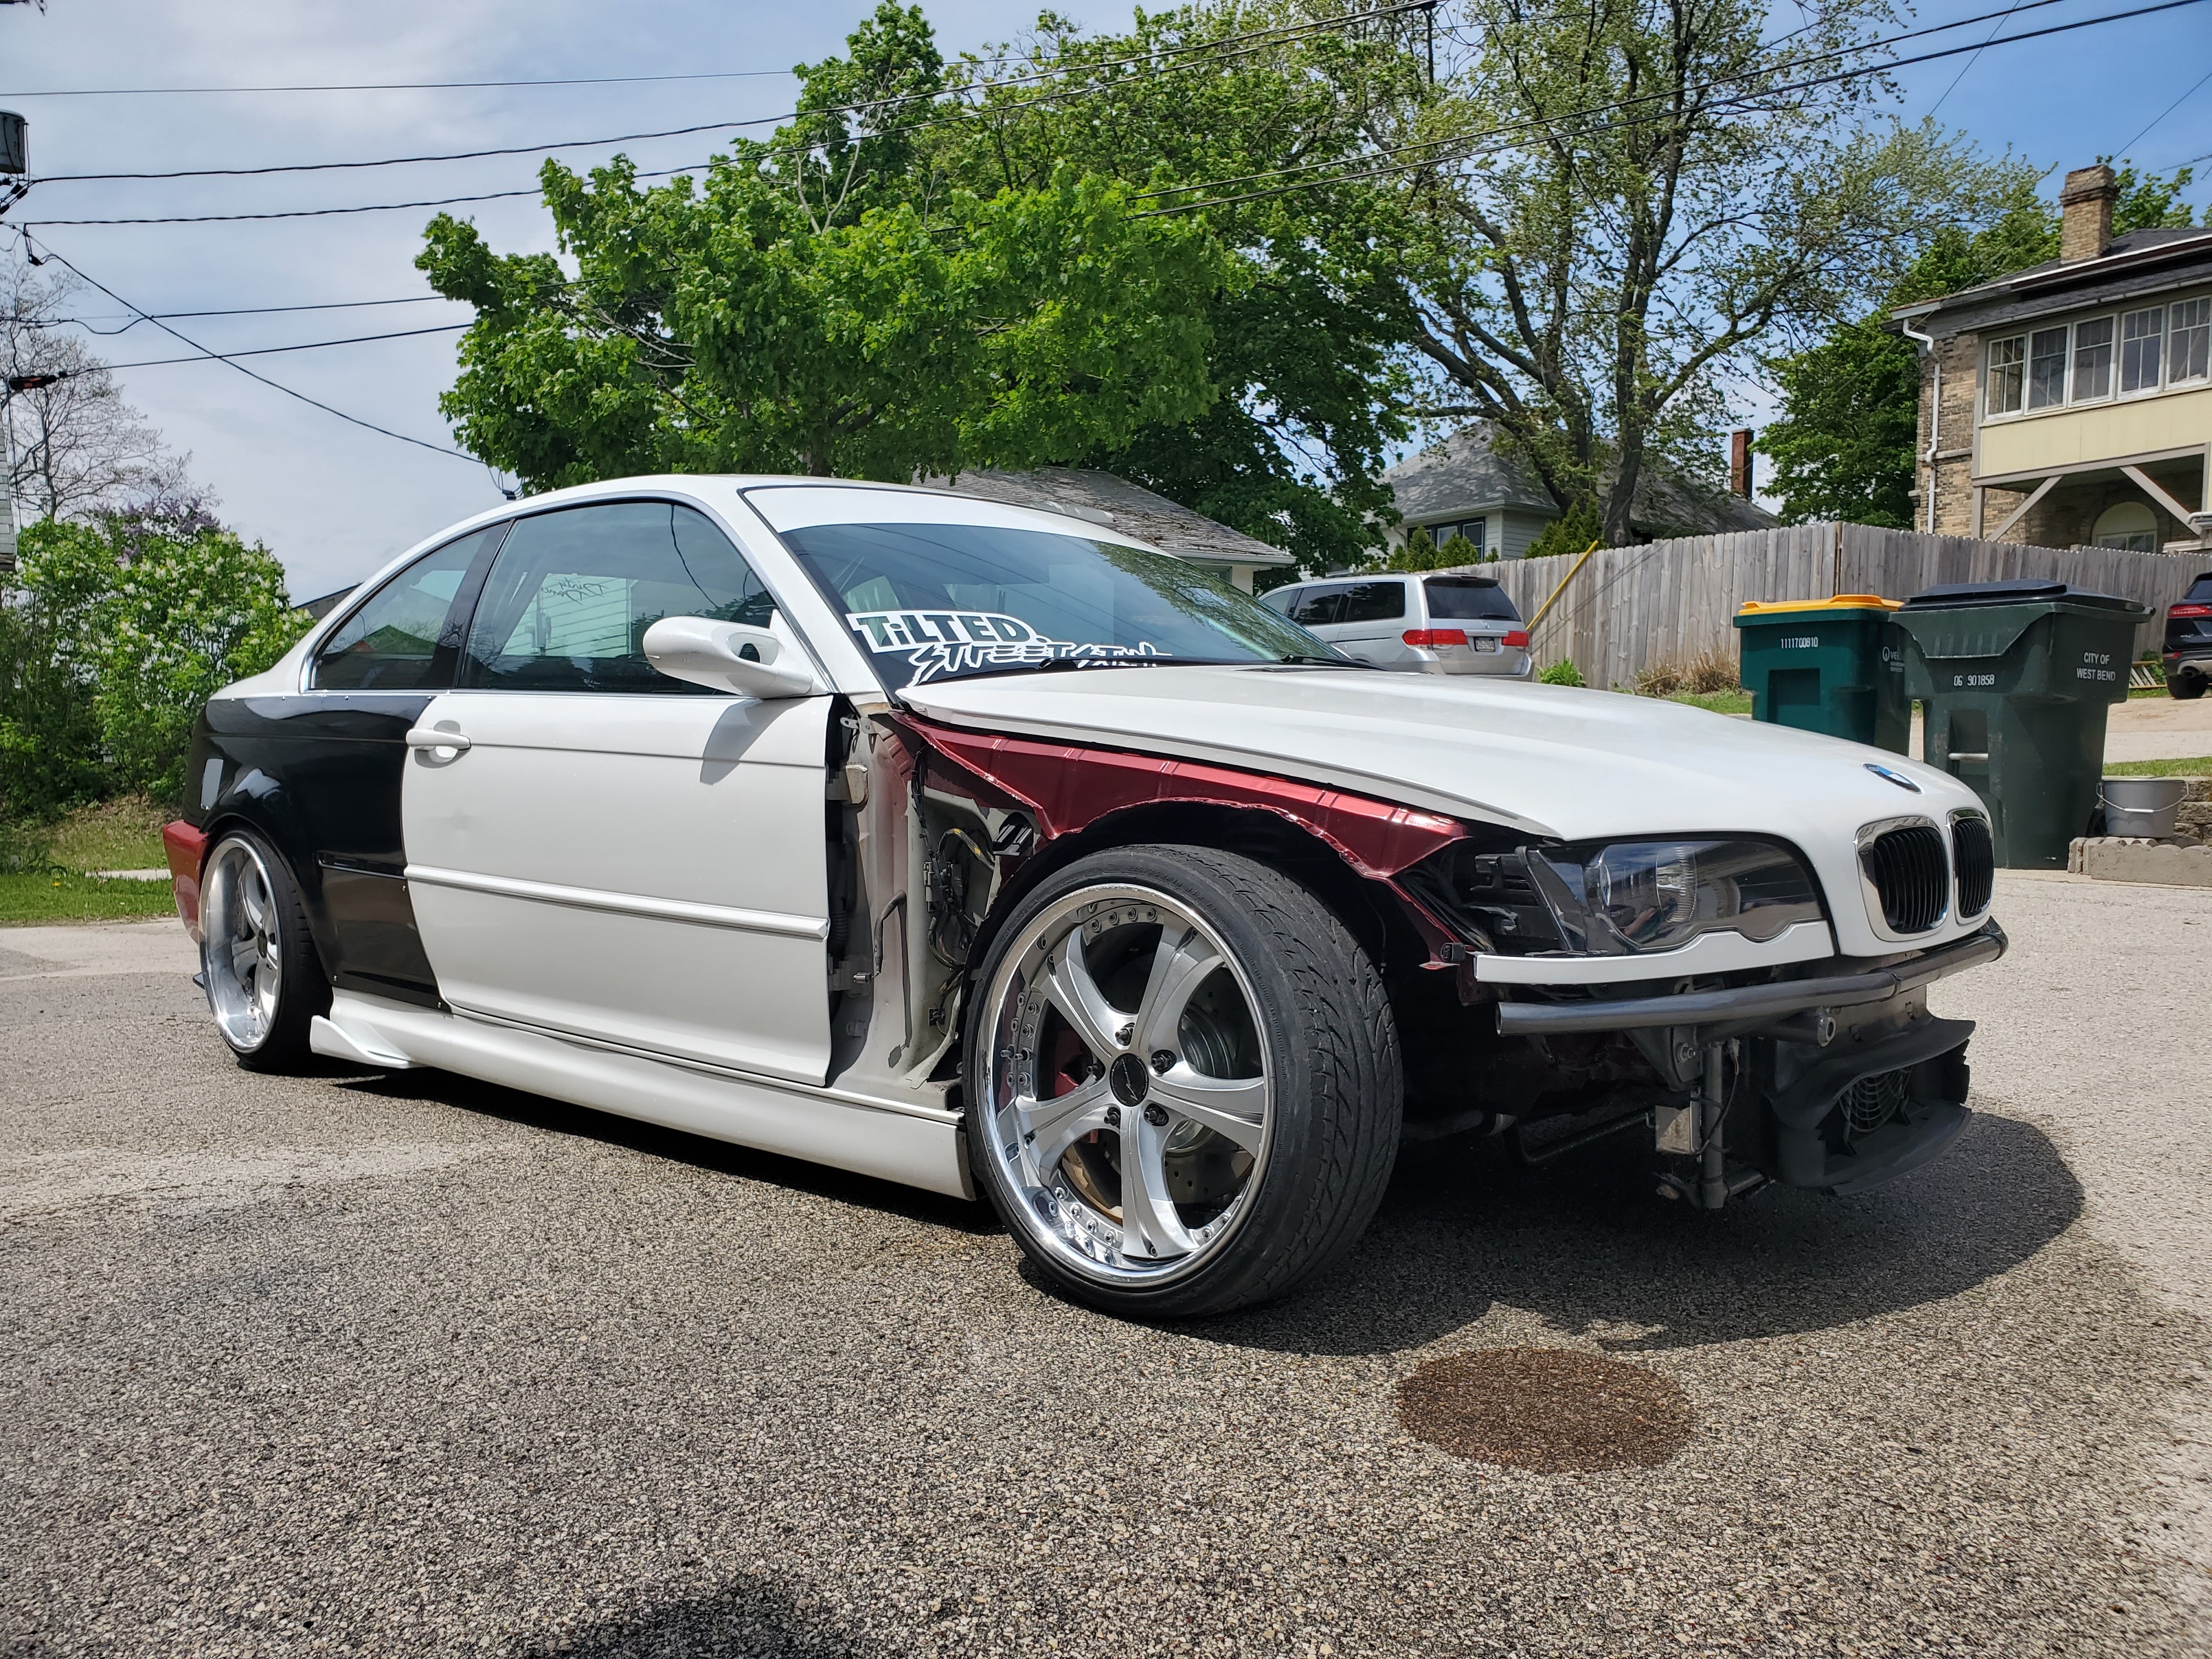
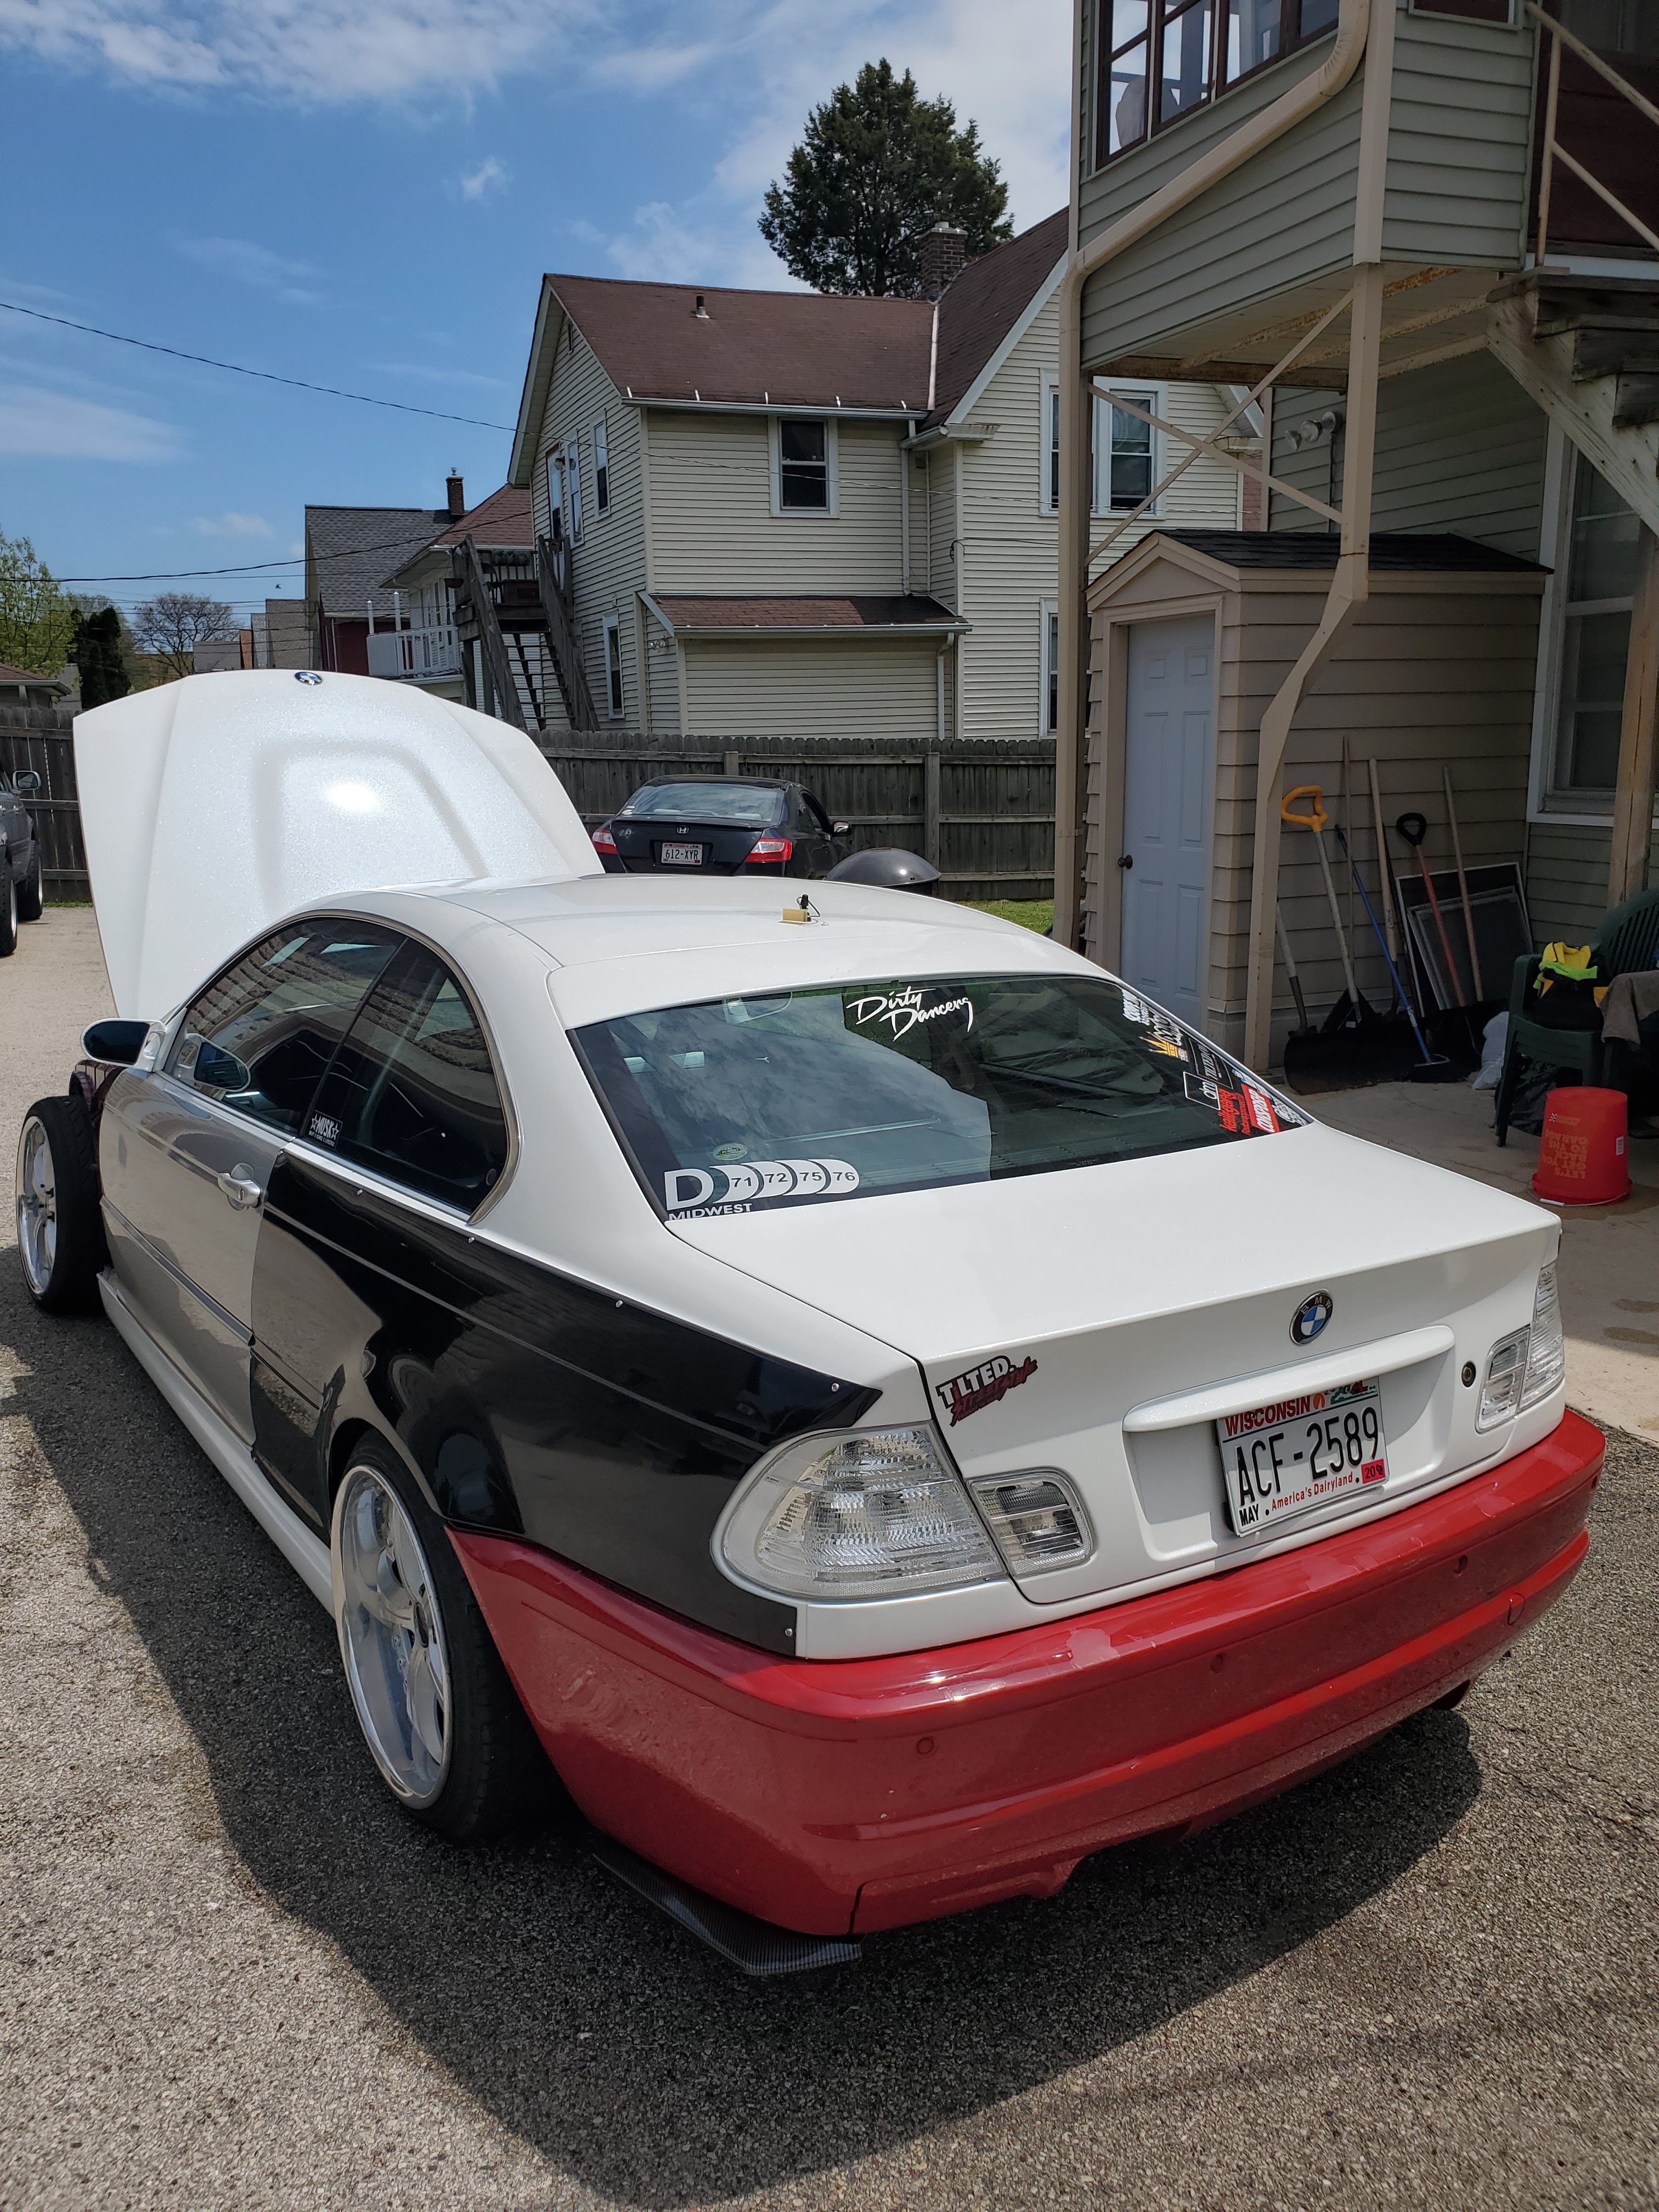
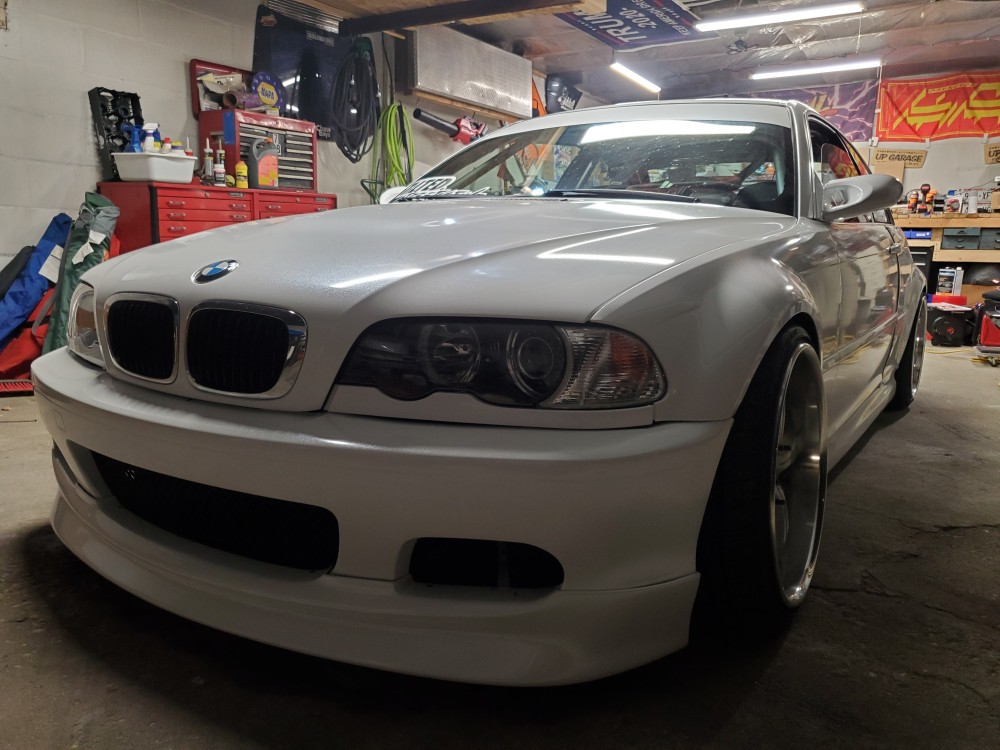
Here is the completed version for now. I made some delete panels for the rear diffuser, it turned out good enough lol.
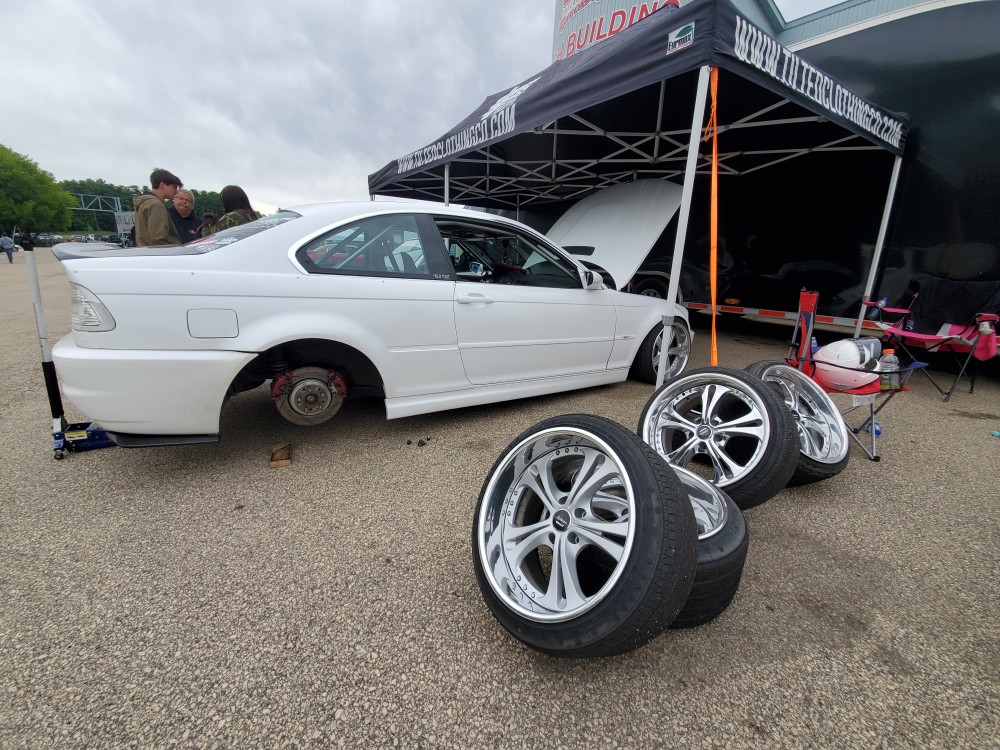
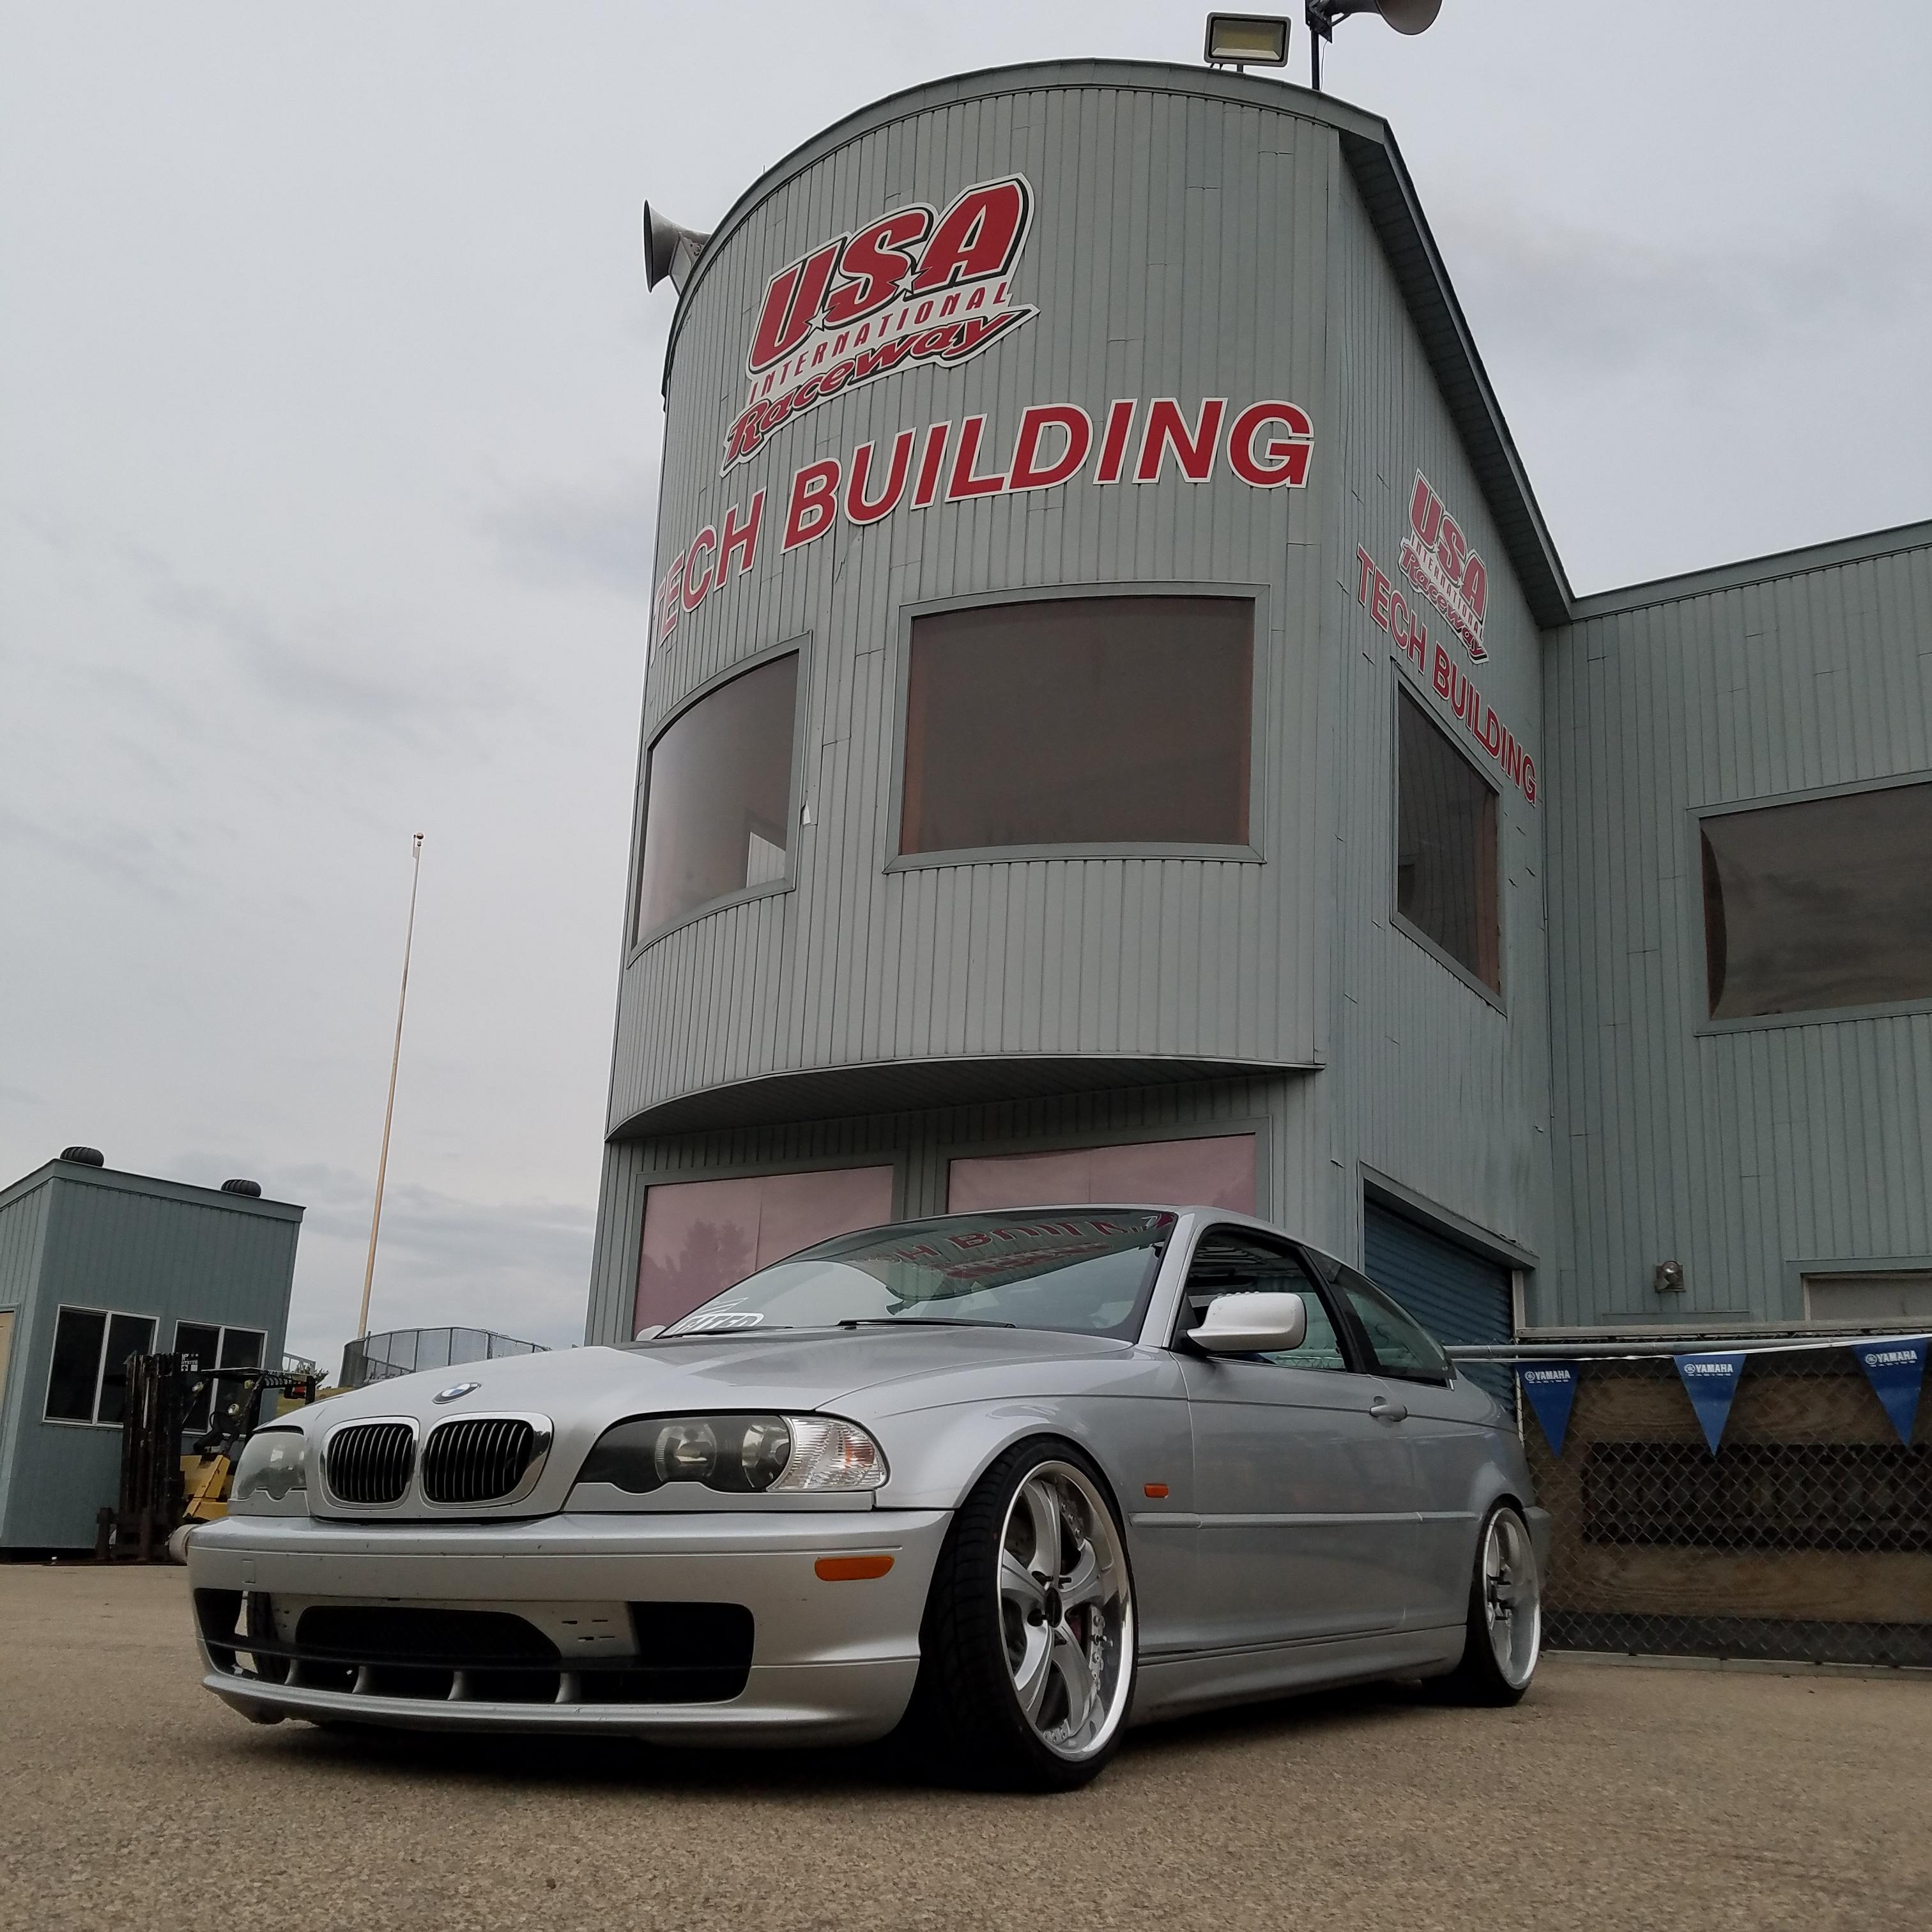
And with the tune being safe to drift on that meant it was time for some testing at DD80 at USAIR.
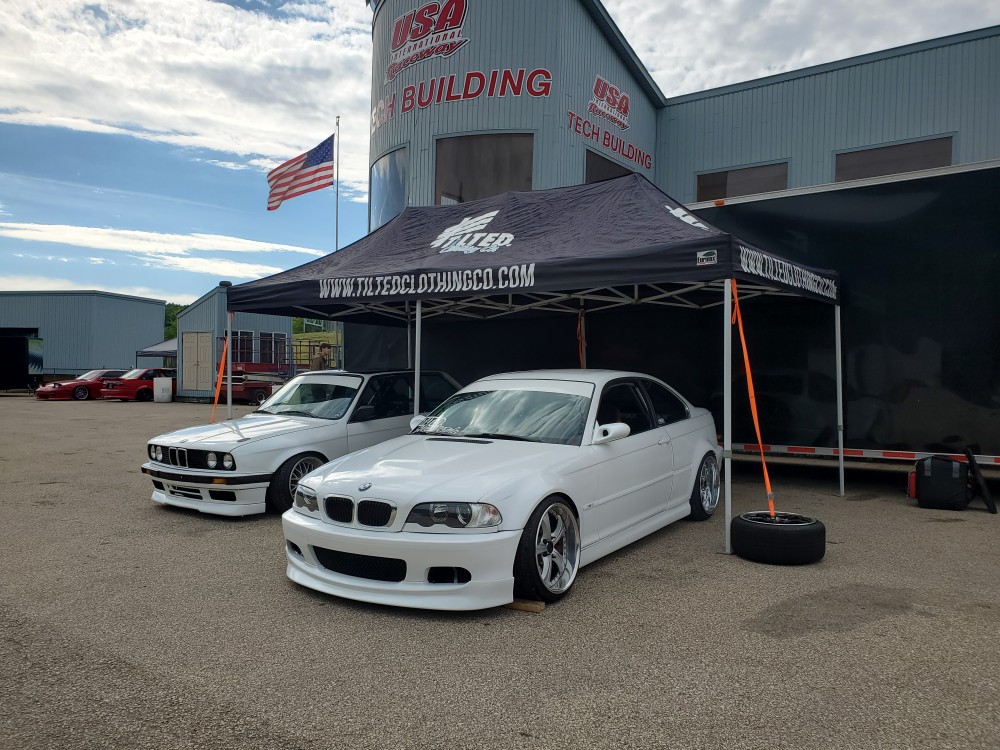
The car did well, stayed cool the whole day even though it was not super hot out. The power difference is definitely noticeable although I still can't run 3rd. (Might have to consider playing with a different diff, but it does not hinder driving at all)
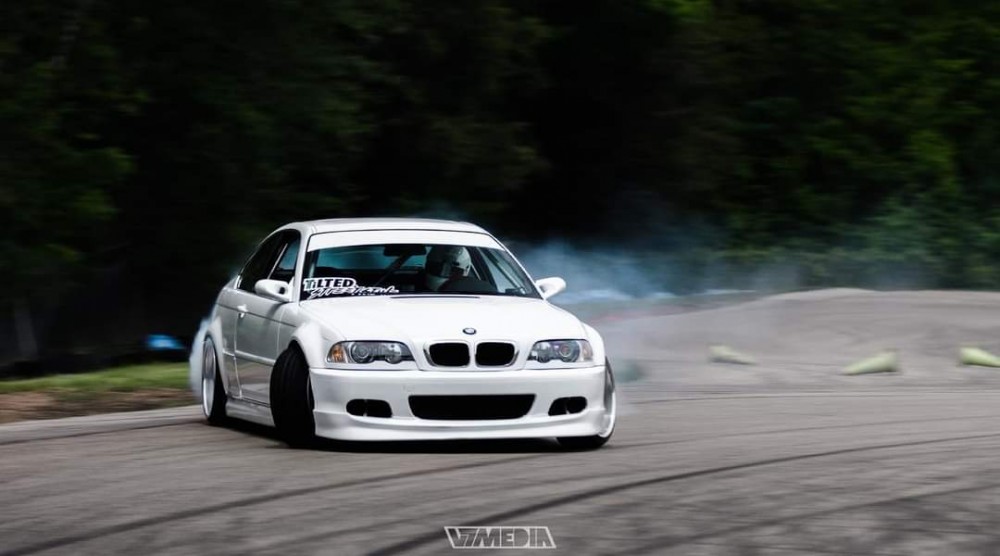
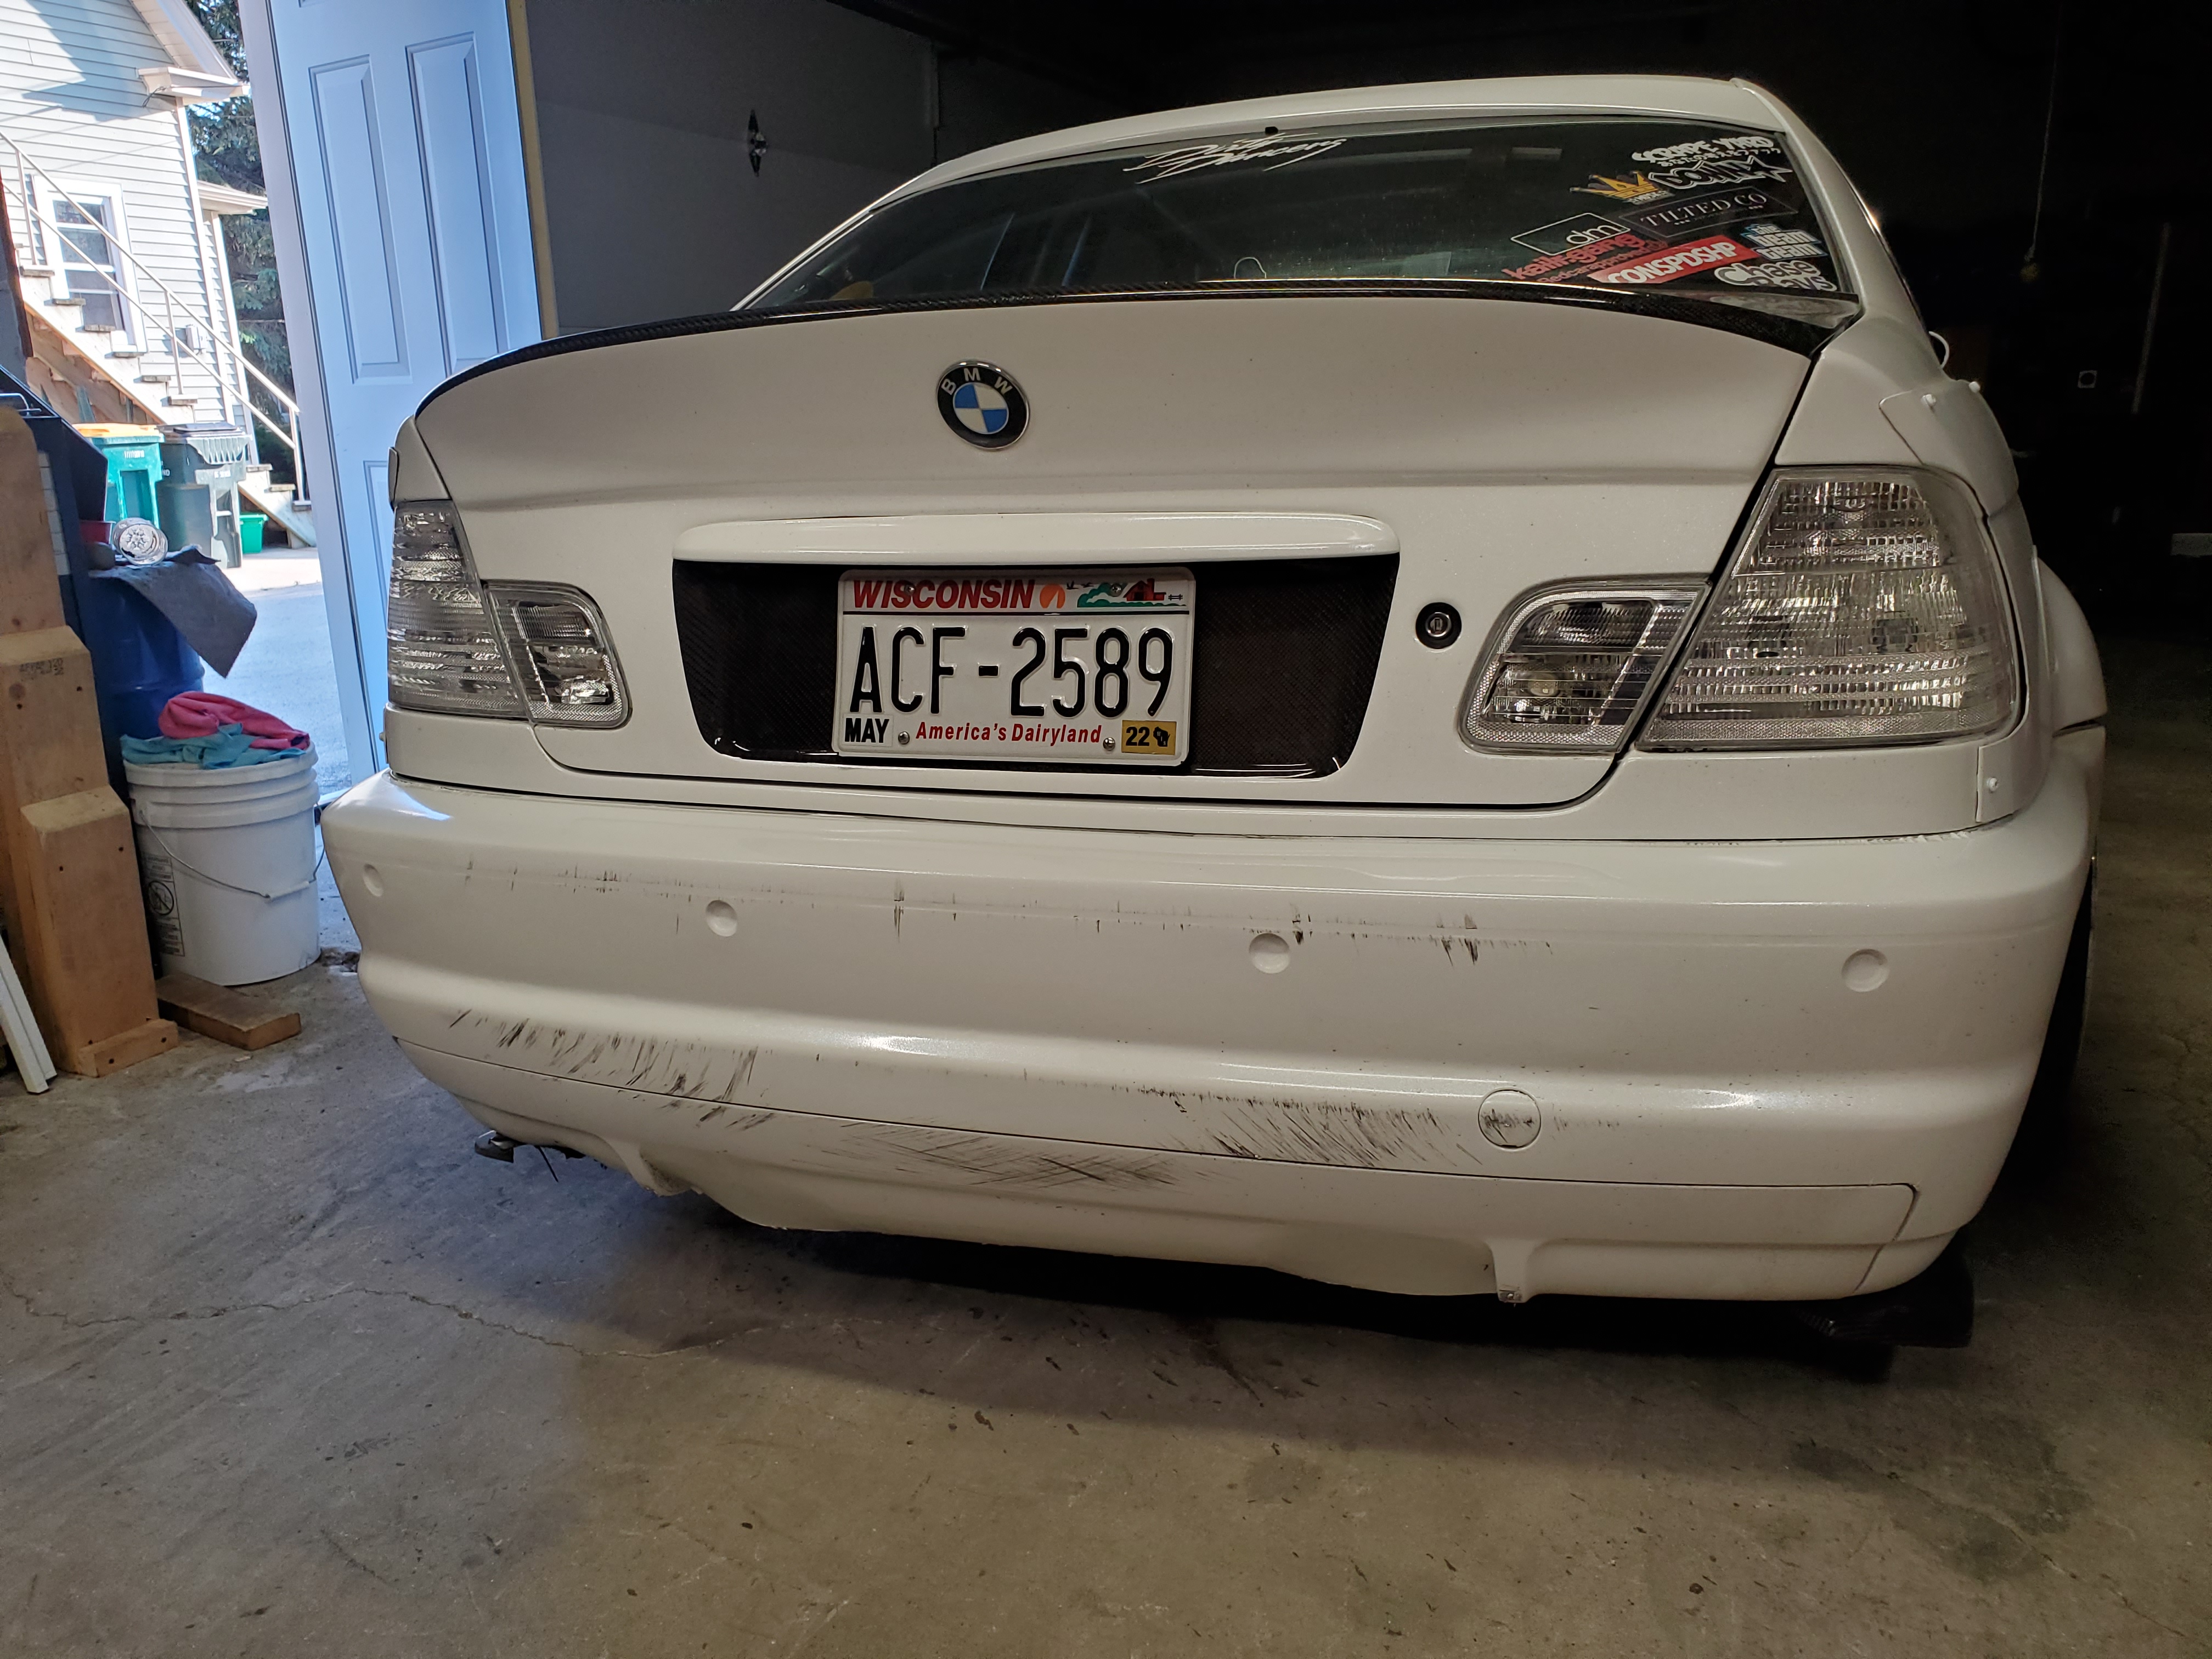
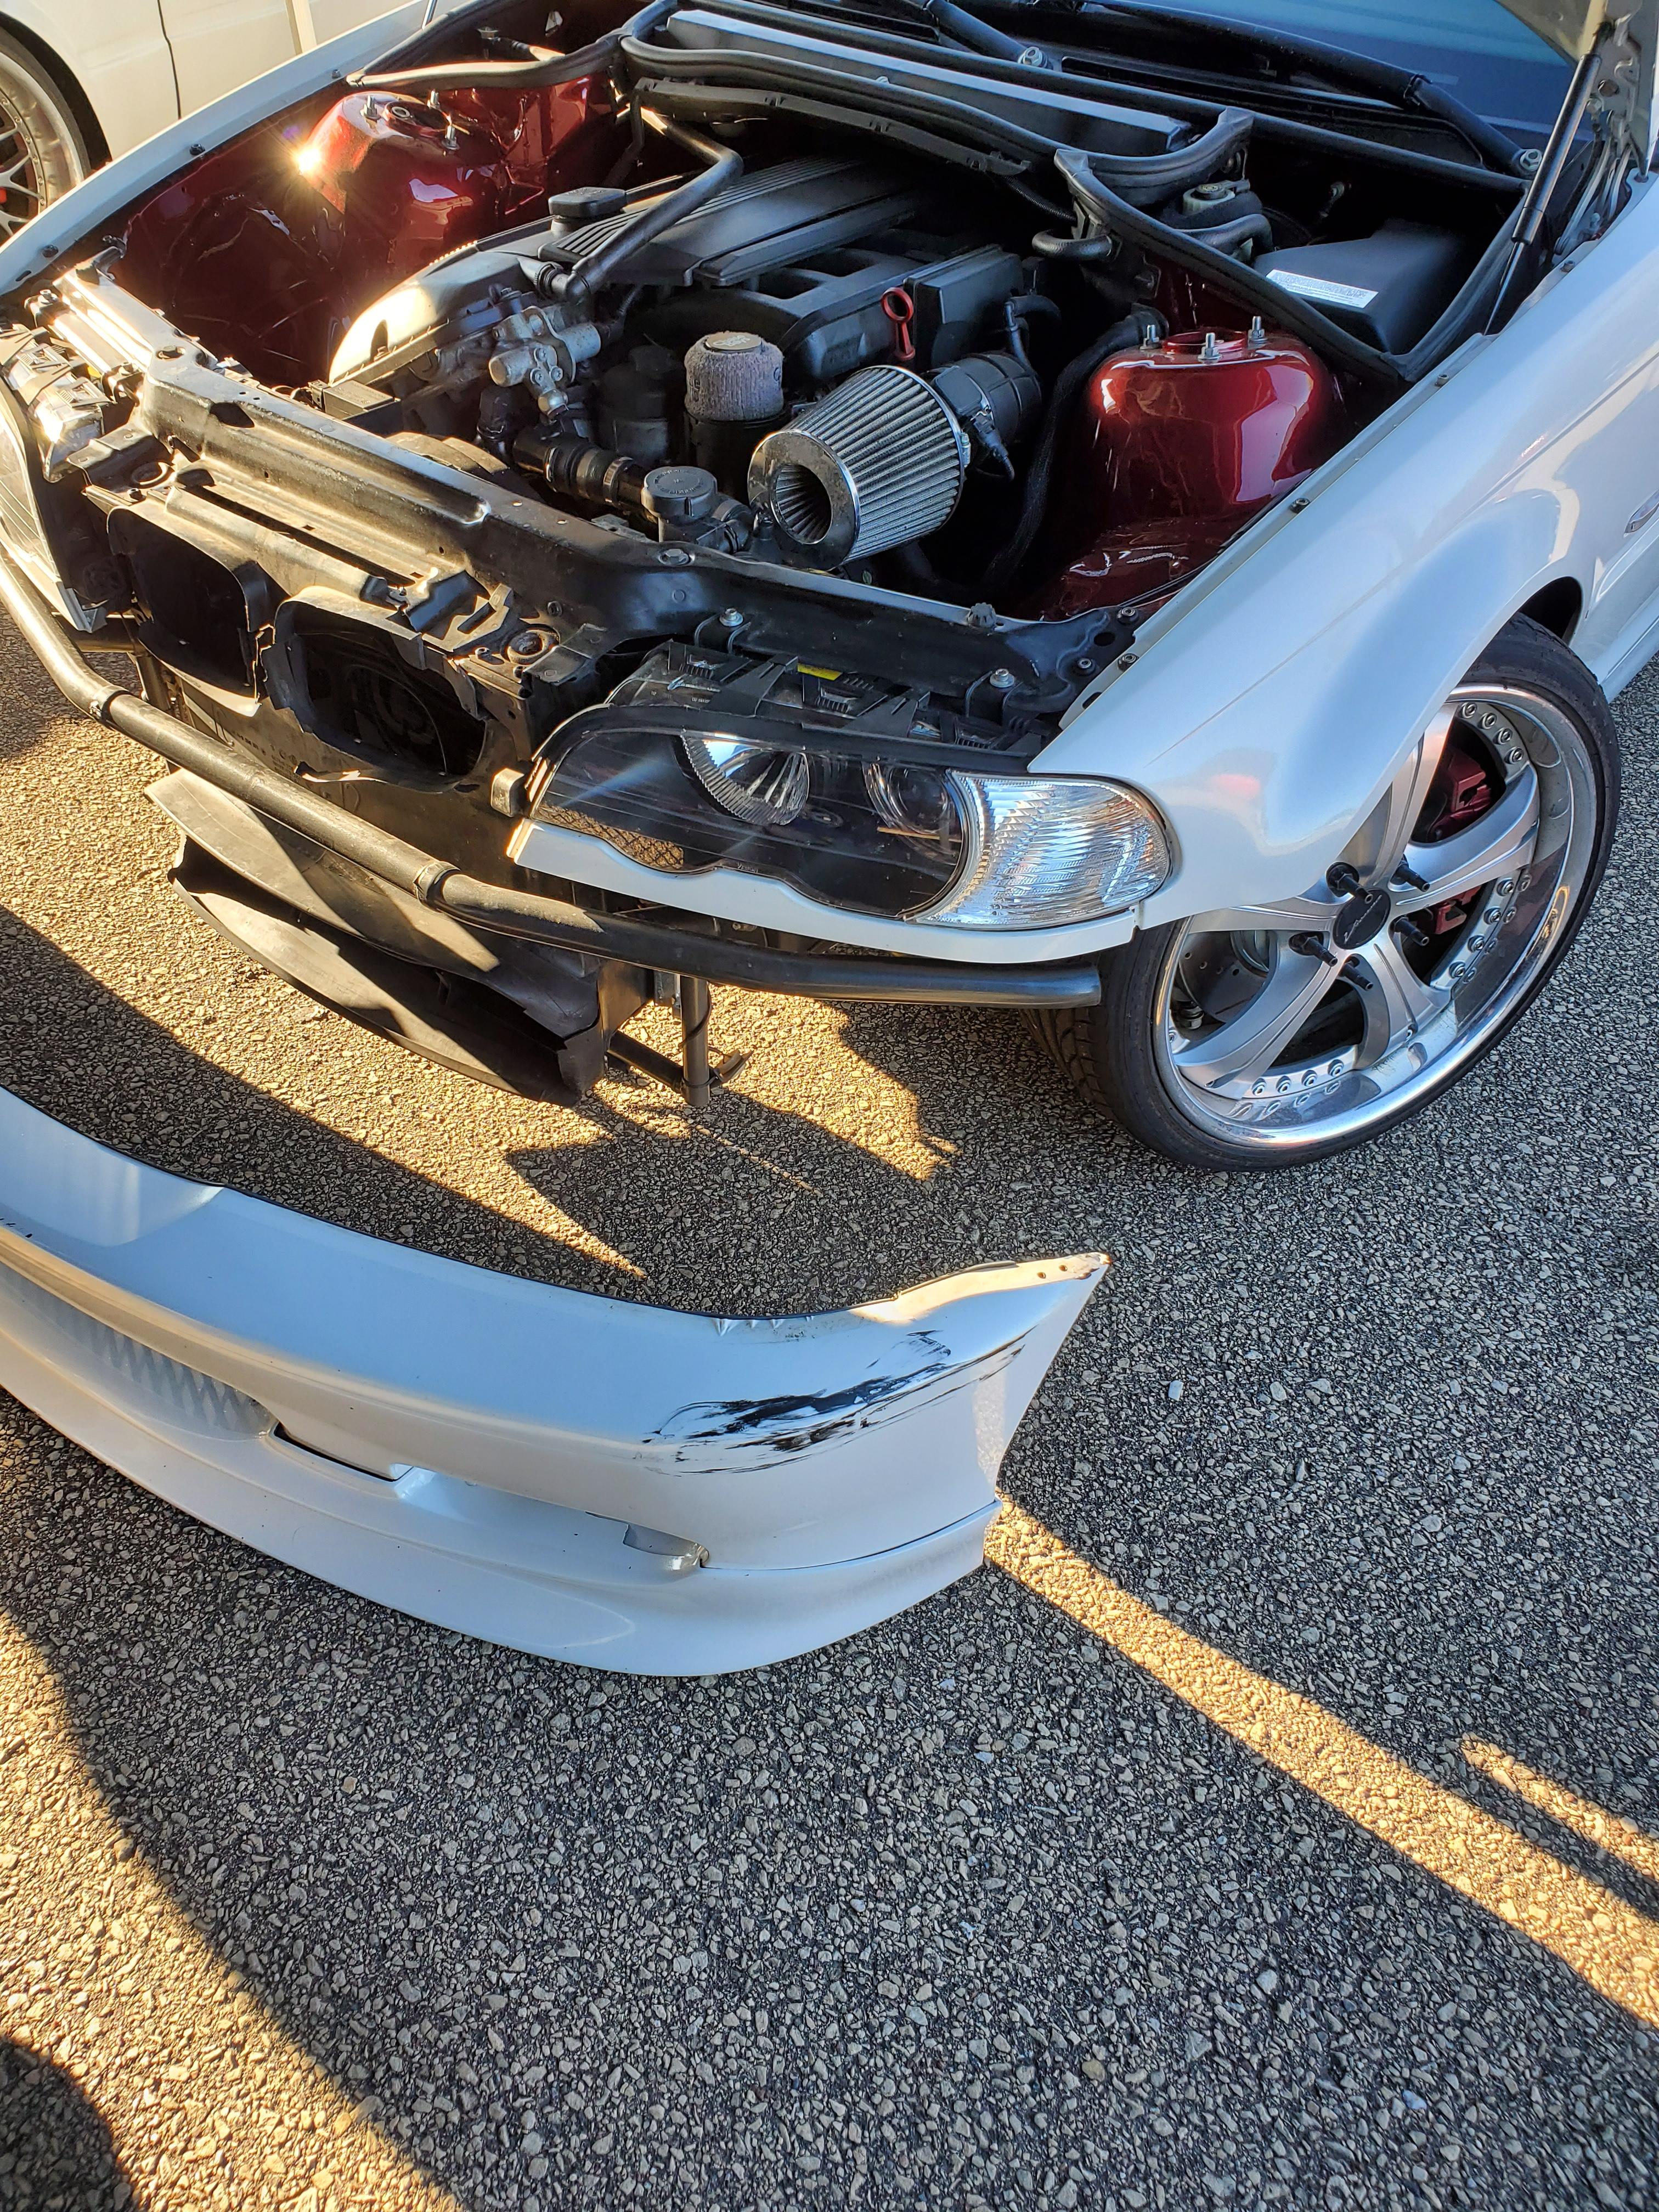
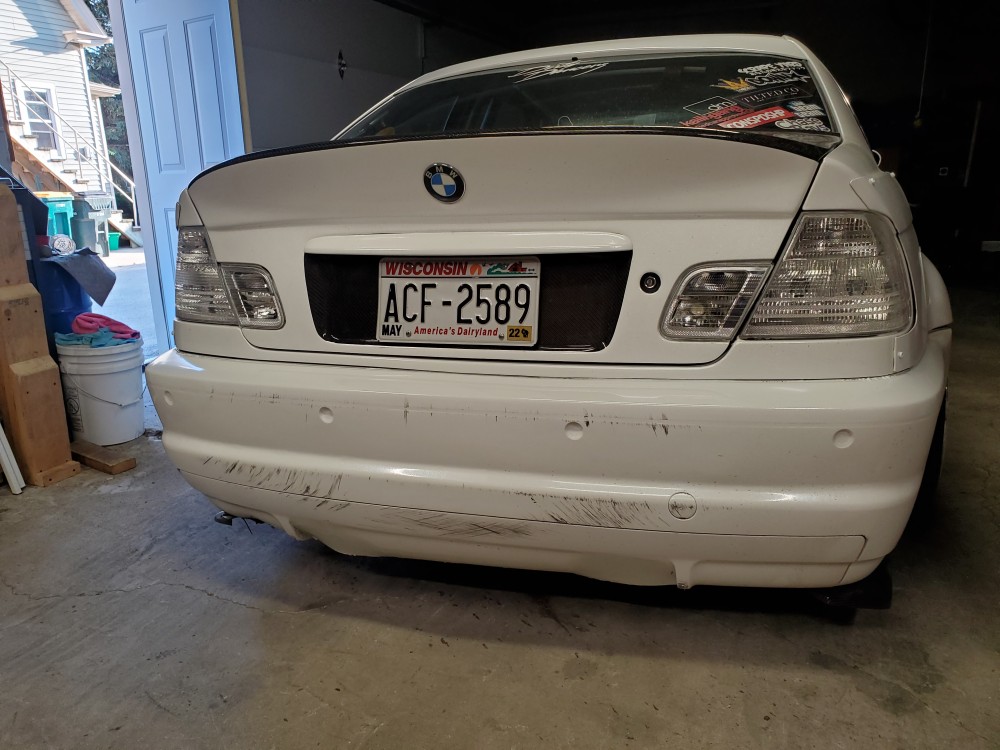
The bumper fell off and got scratched to shit so that's lame but oh well lol.
The biggest issue that arose was the clutch was slipping once the car cooled down at the end of the day, not surprised that it glazed over lol. The current clutch was a FX "HD" kit with a single mass flywheel.
Now began the headaches....
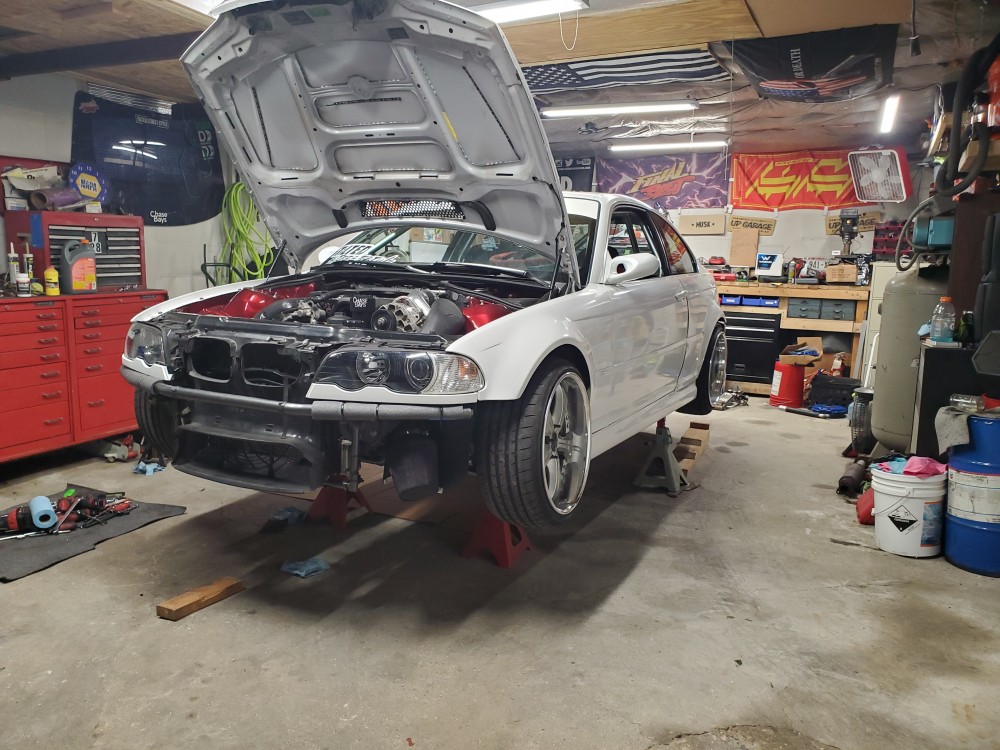
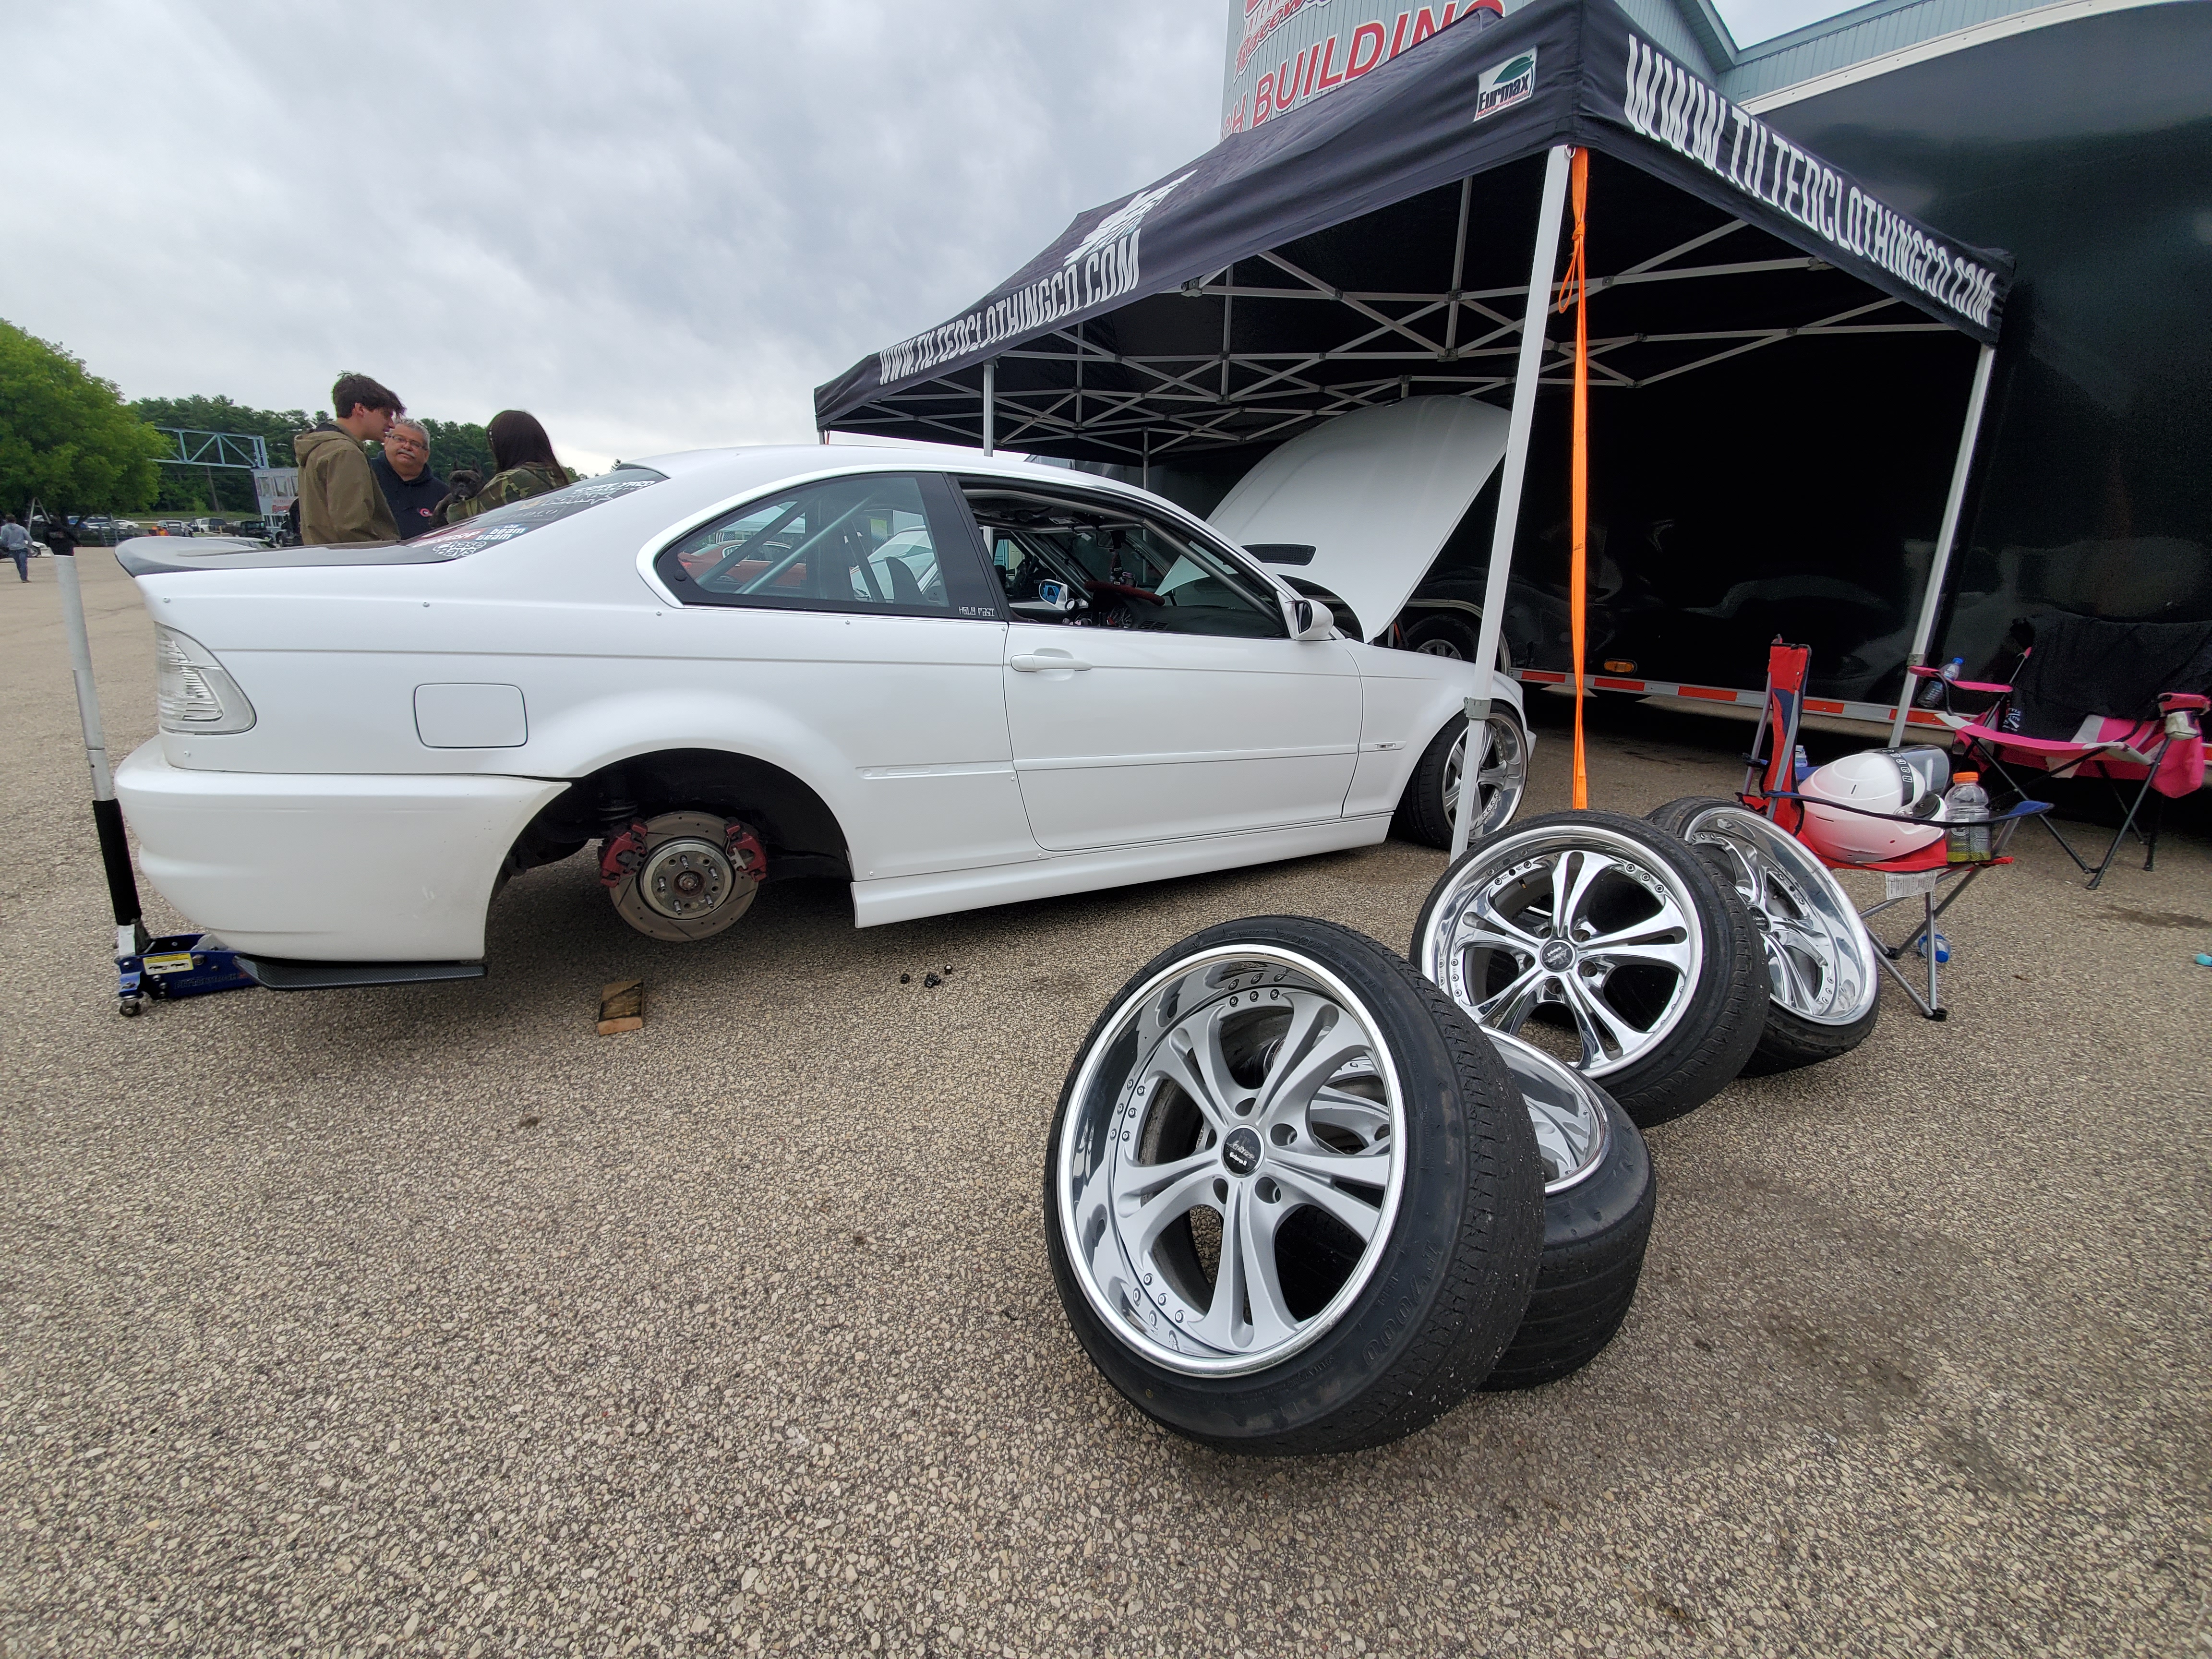
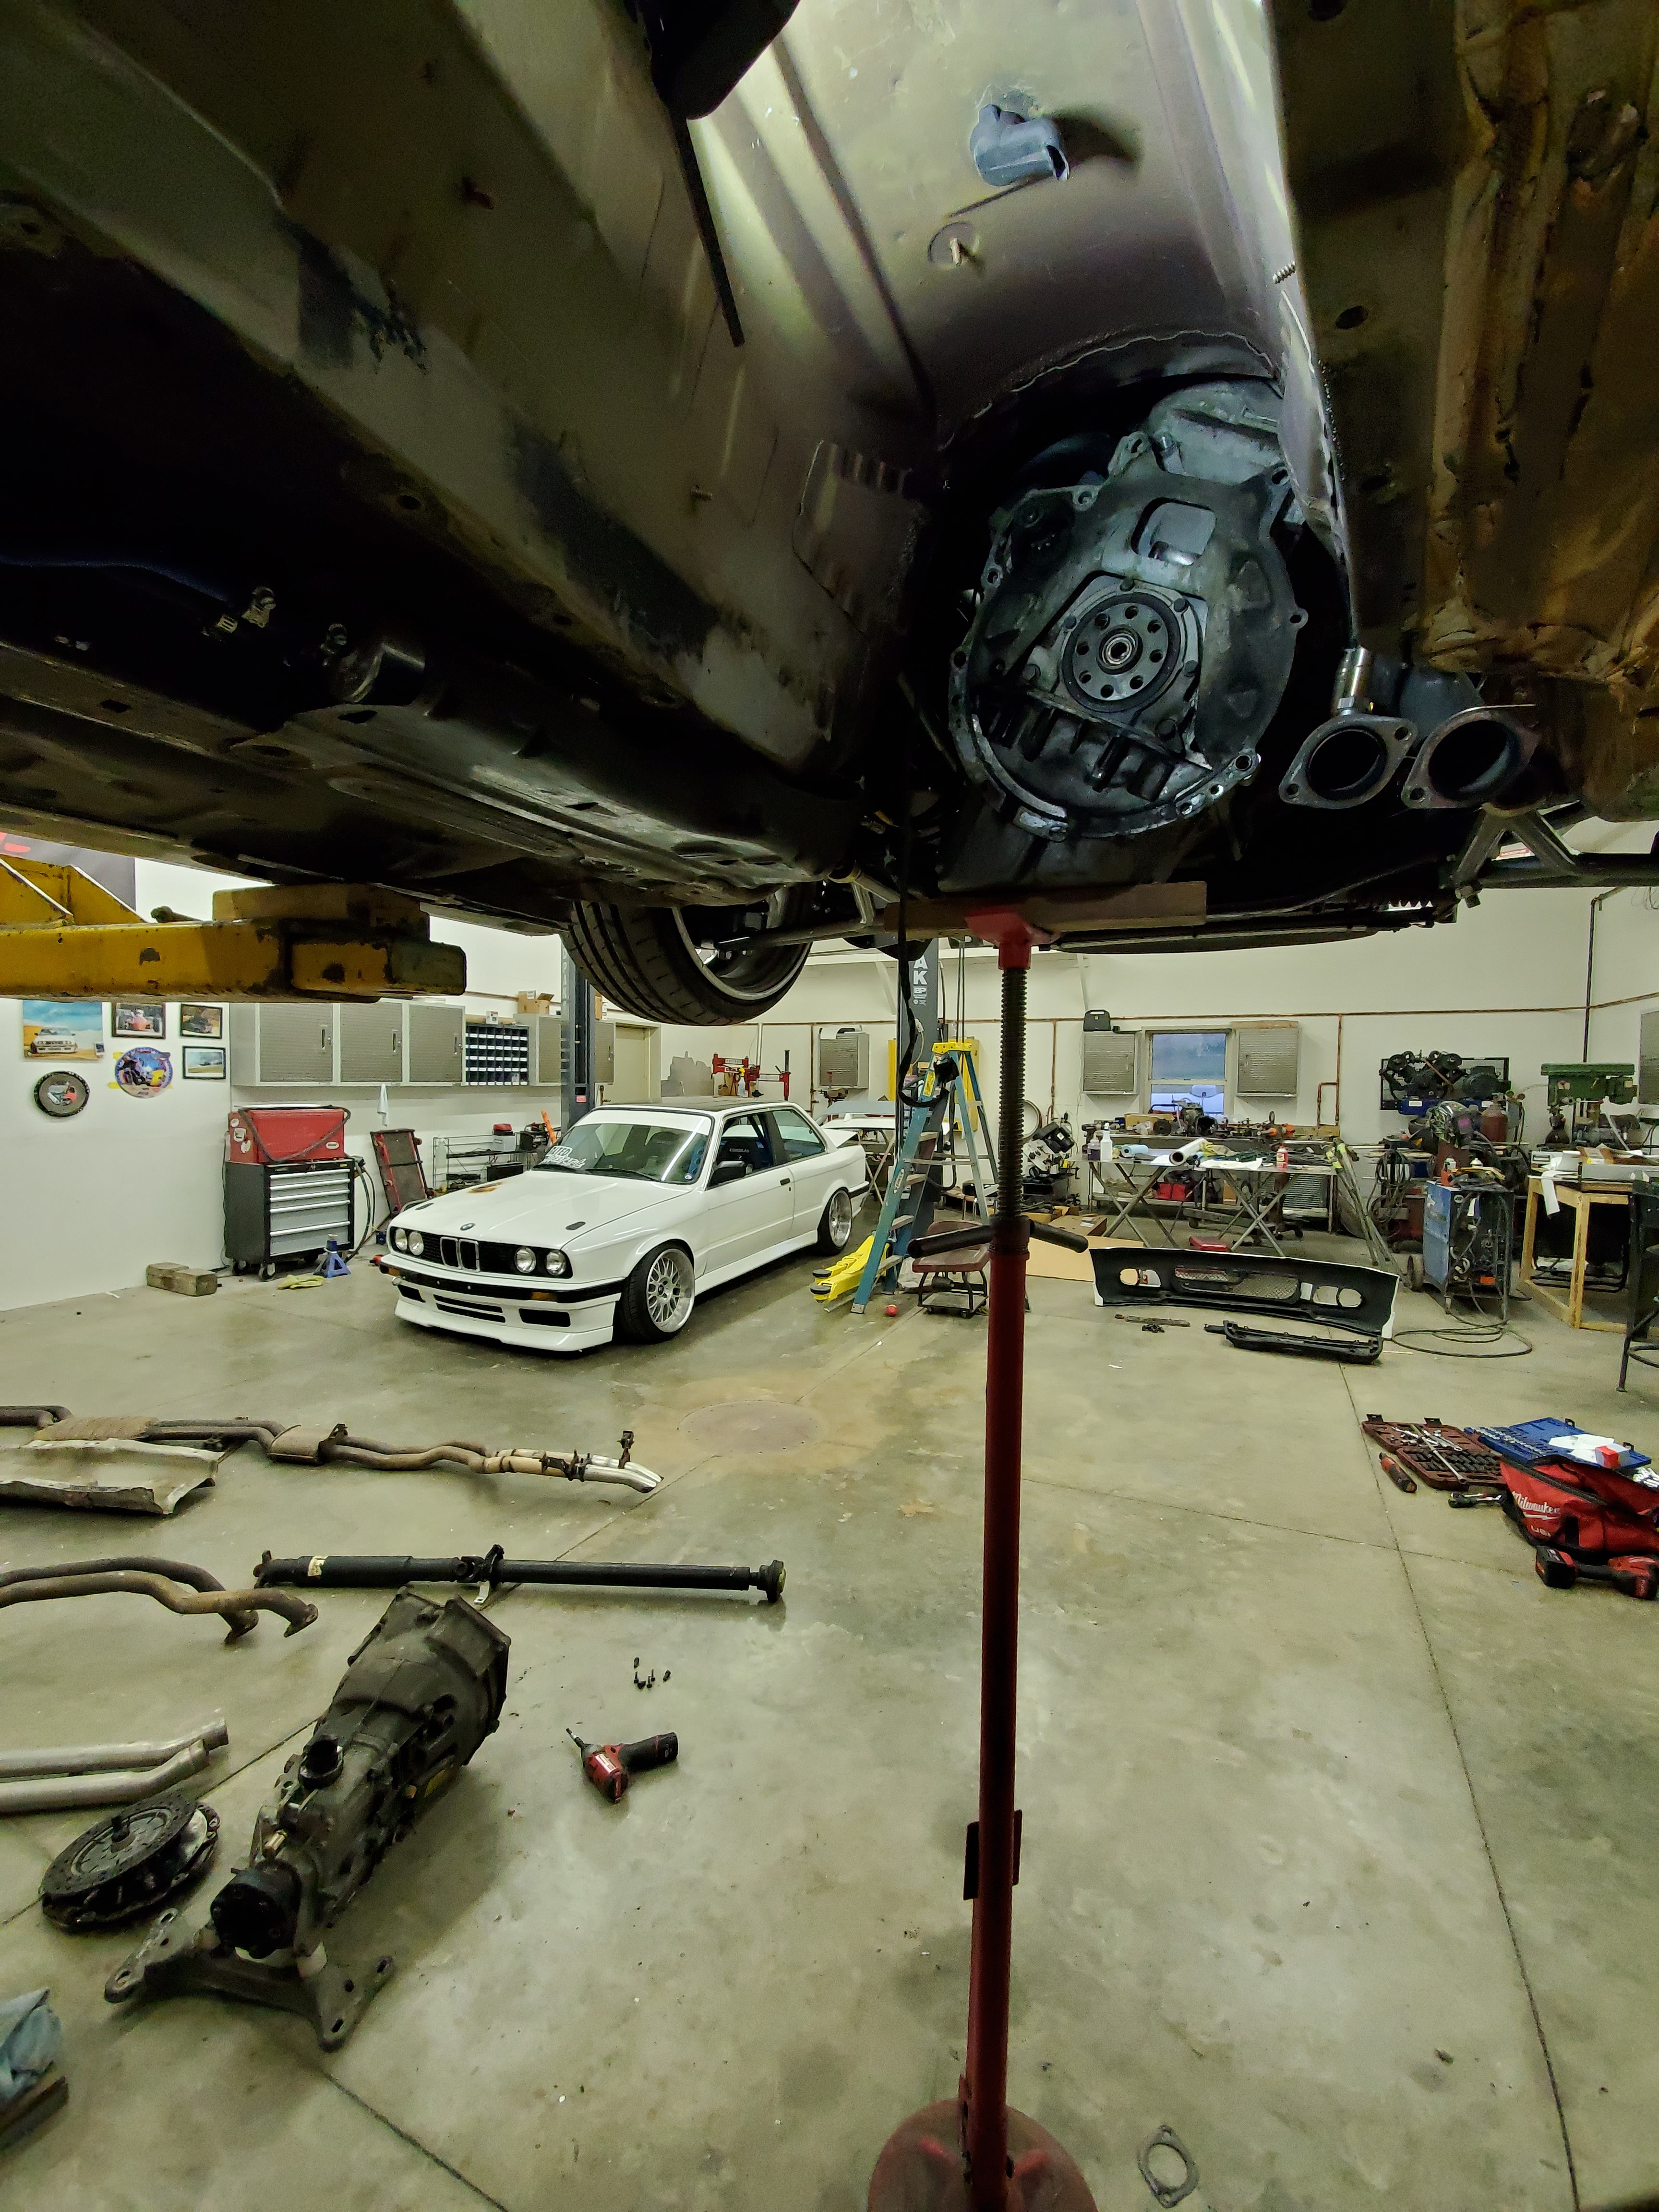
We unloaded the car on Thursday and put it on the lift. Pulled the trans and installed a brand new FX stage 2 kit (e36 style without the self adjusting pressure plate).
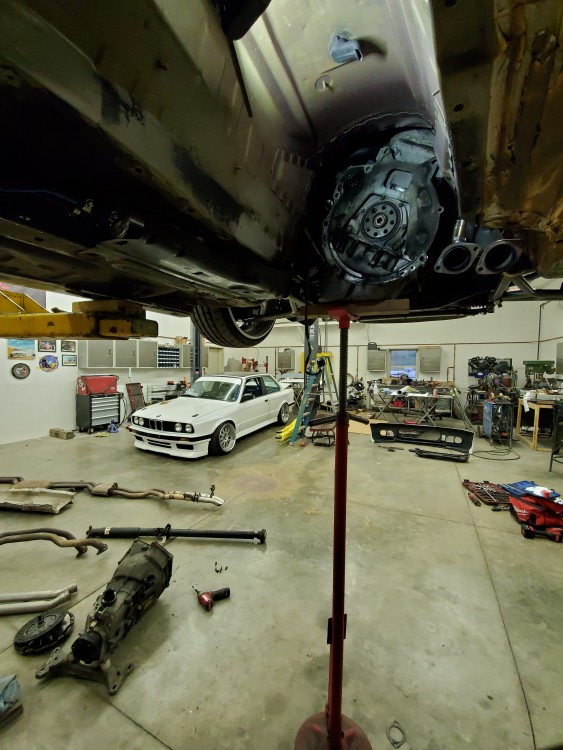
While that went smoothly and the car was back on the ground and driving that Thursday night there was a vibration between 2k and up in almost every gear.
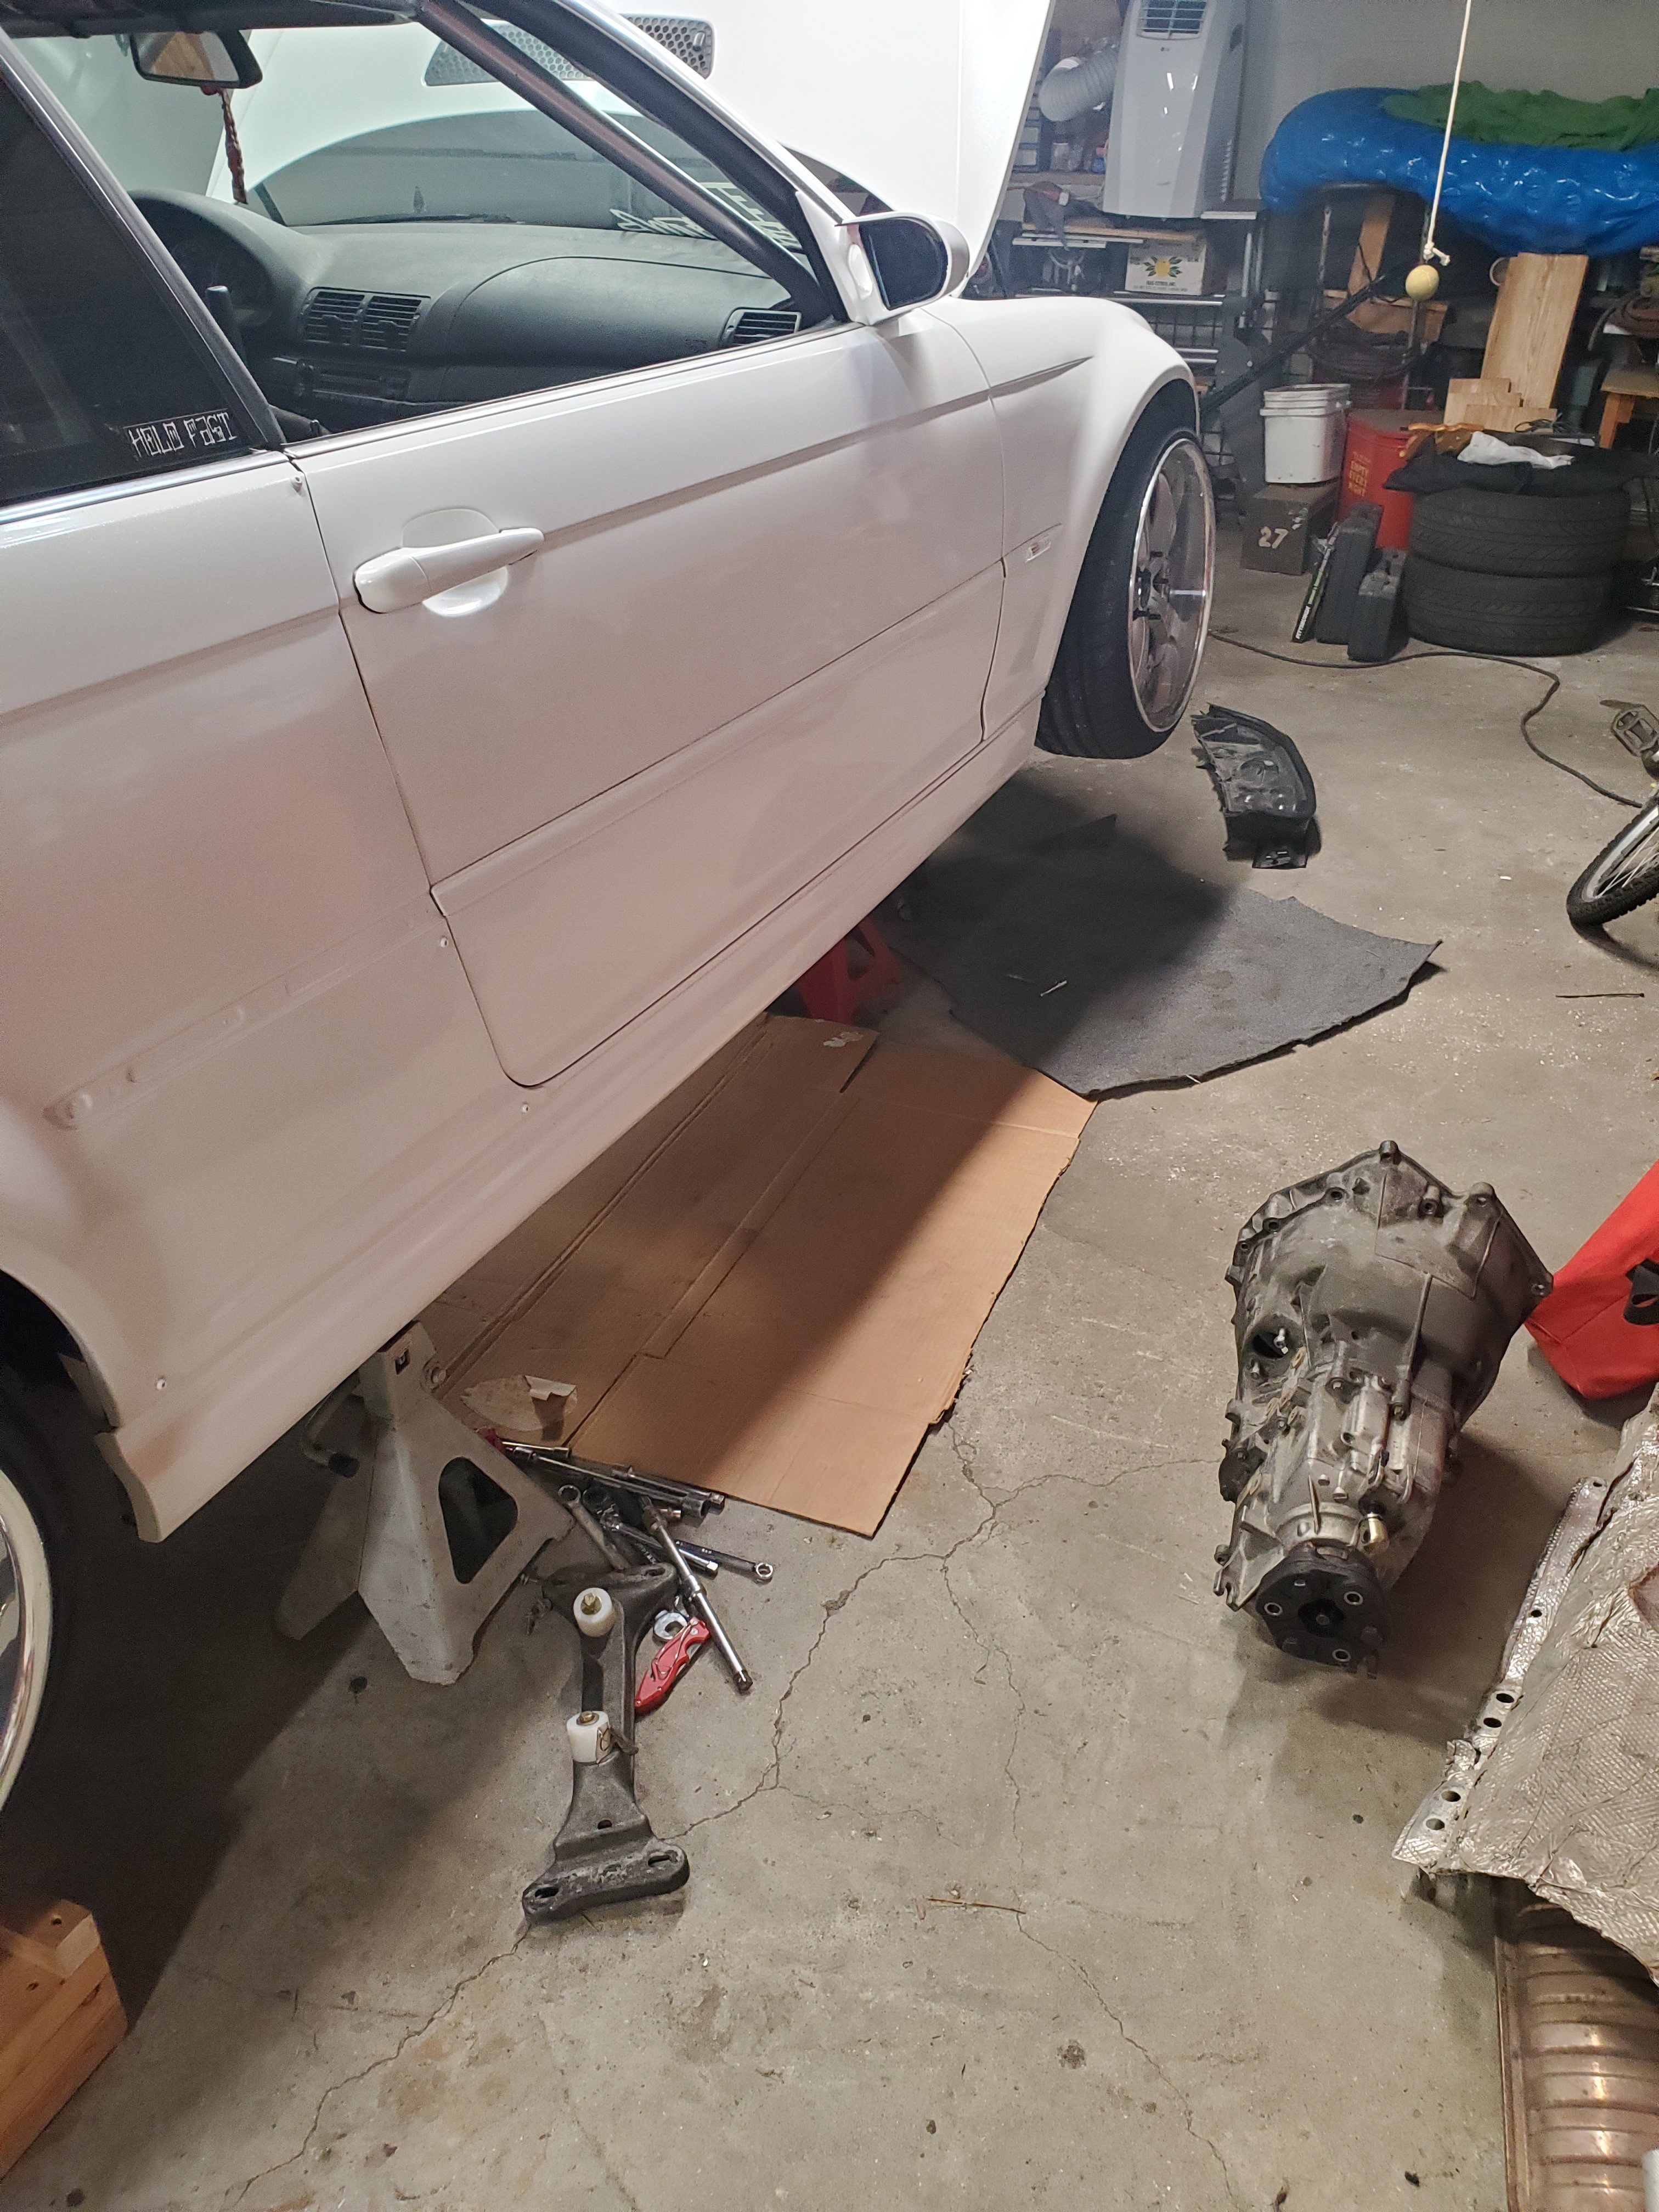
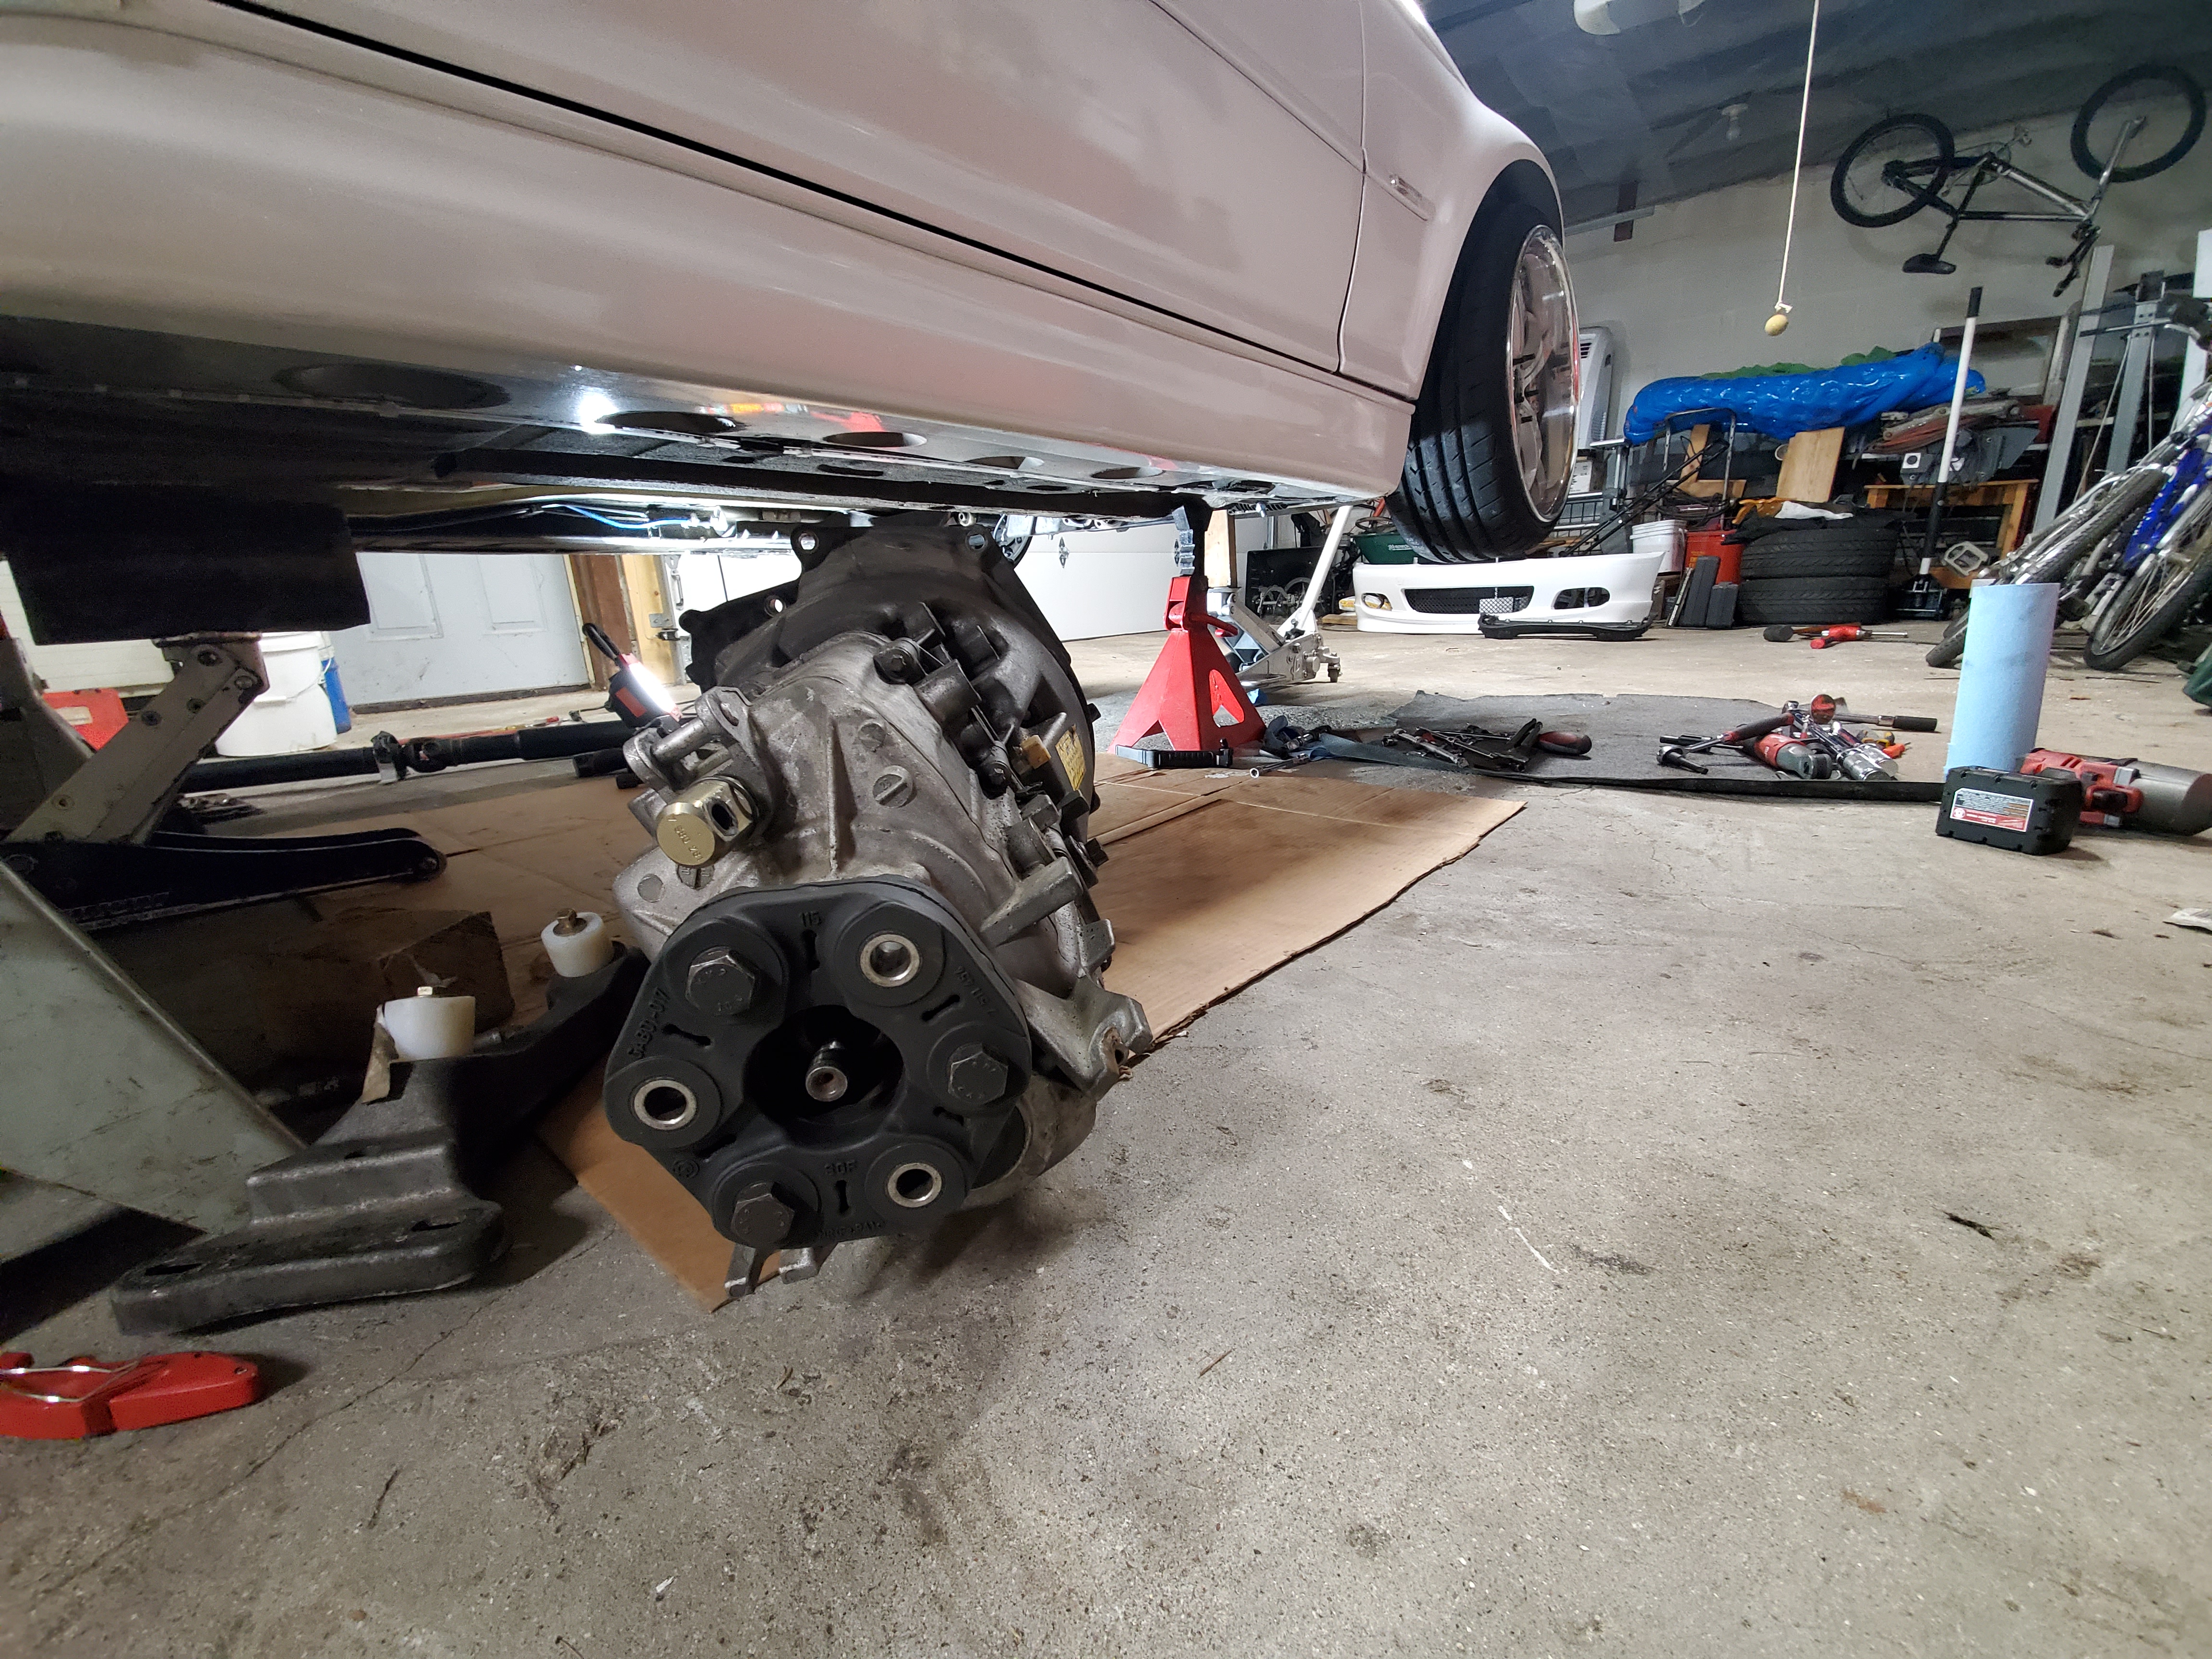
I ended up bringing the car home from the shop anyways. I then decided I was not okay with that vibration, so I jacked the car up and pulled the trans out on the following Saturday.
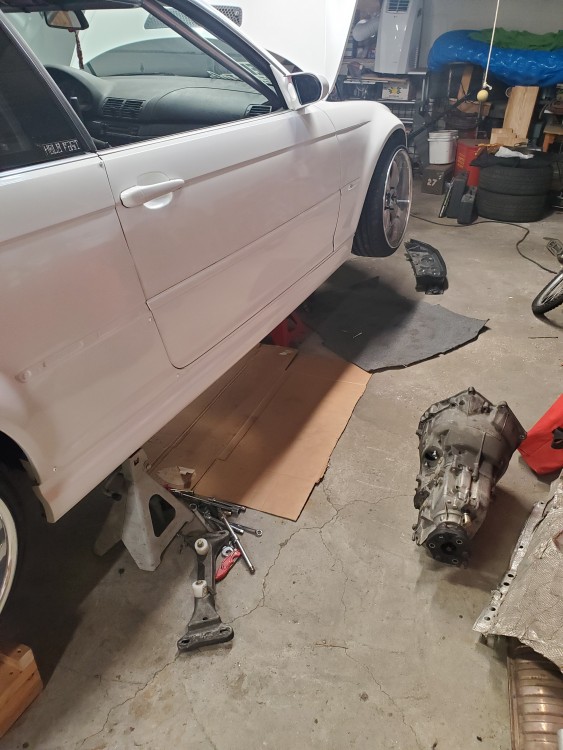
I replaced the pilot bearing as I was ignorant and didn't do it the first time at the shop. I checked and retorqued everything without finding any true smoking guns.
I drove the car Saturday and Sunday and the vibrations still persisted. So Monday night I went back up to the shop and snagged Sam's old FX stage 4 kit since we know it is tried and true.
Then on Tuesday I pulled the trans again and threw in the stage 4 kit. At this point I'm getting way to fast at this job lol had everything taken apart and back together in about 3 hours and 15 min hahaha
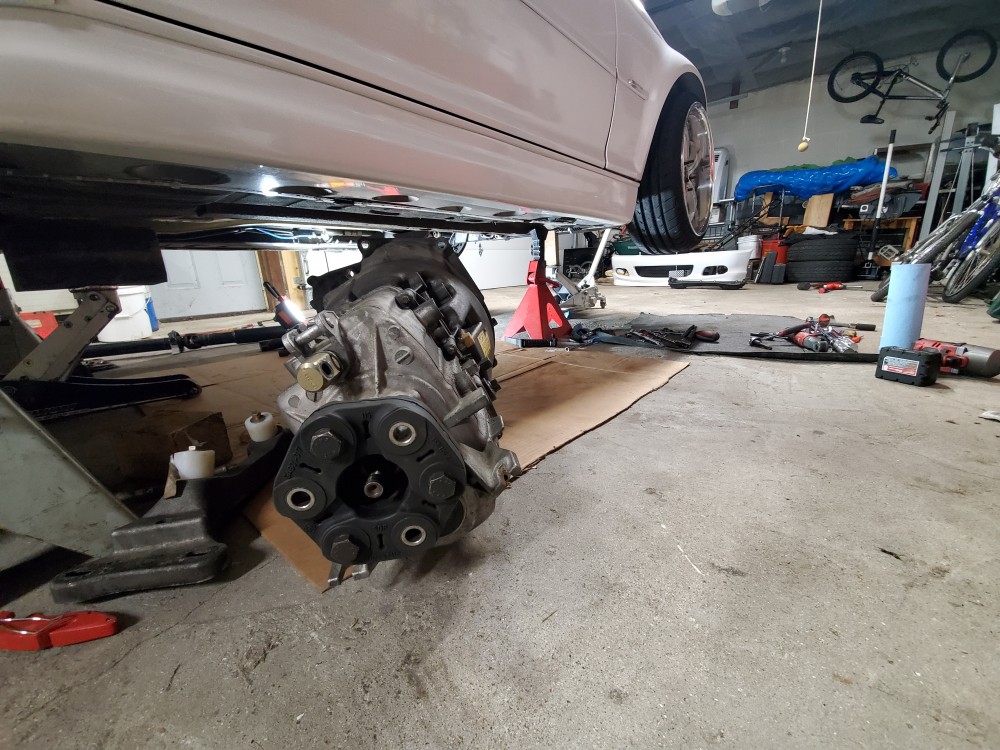
I then test drove the car on Wednesday and the vibrations were gone thankfully! I also should have mentioned that the vibrations happened when free revving so thats how I knew it was clucth/flywheel related.
Now the reason there was such a big rush to get this clutch situation solved is because we had a big event coming up at the Milwaukee Mile hosted by Track Day Direct.
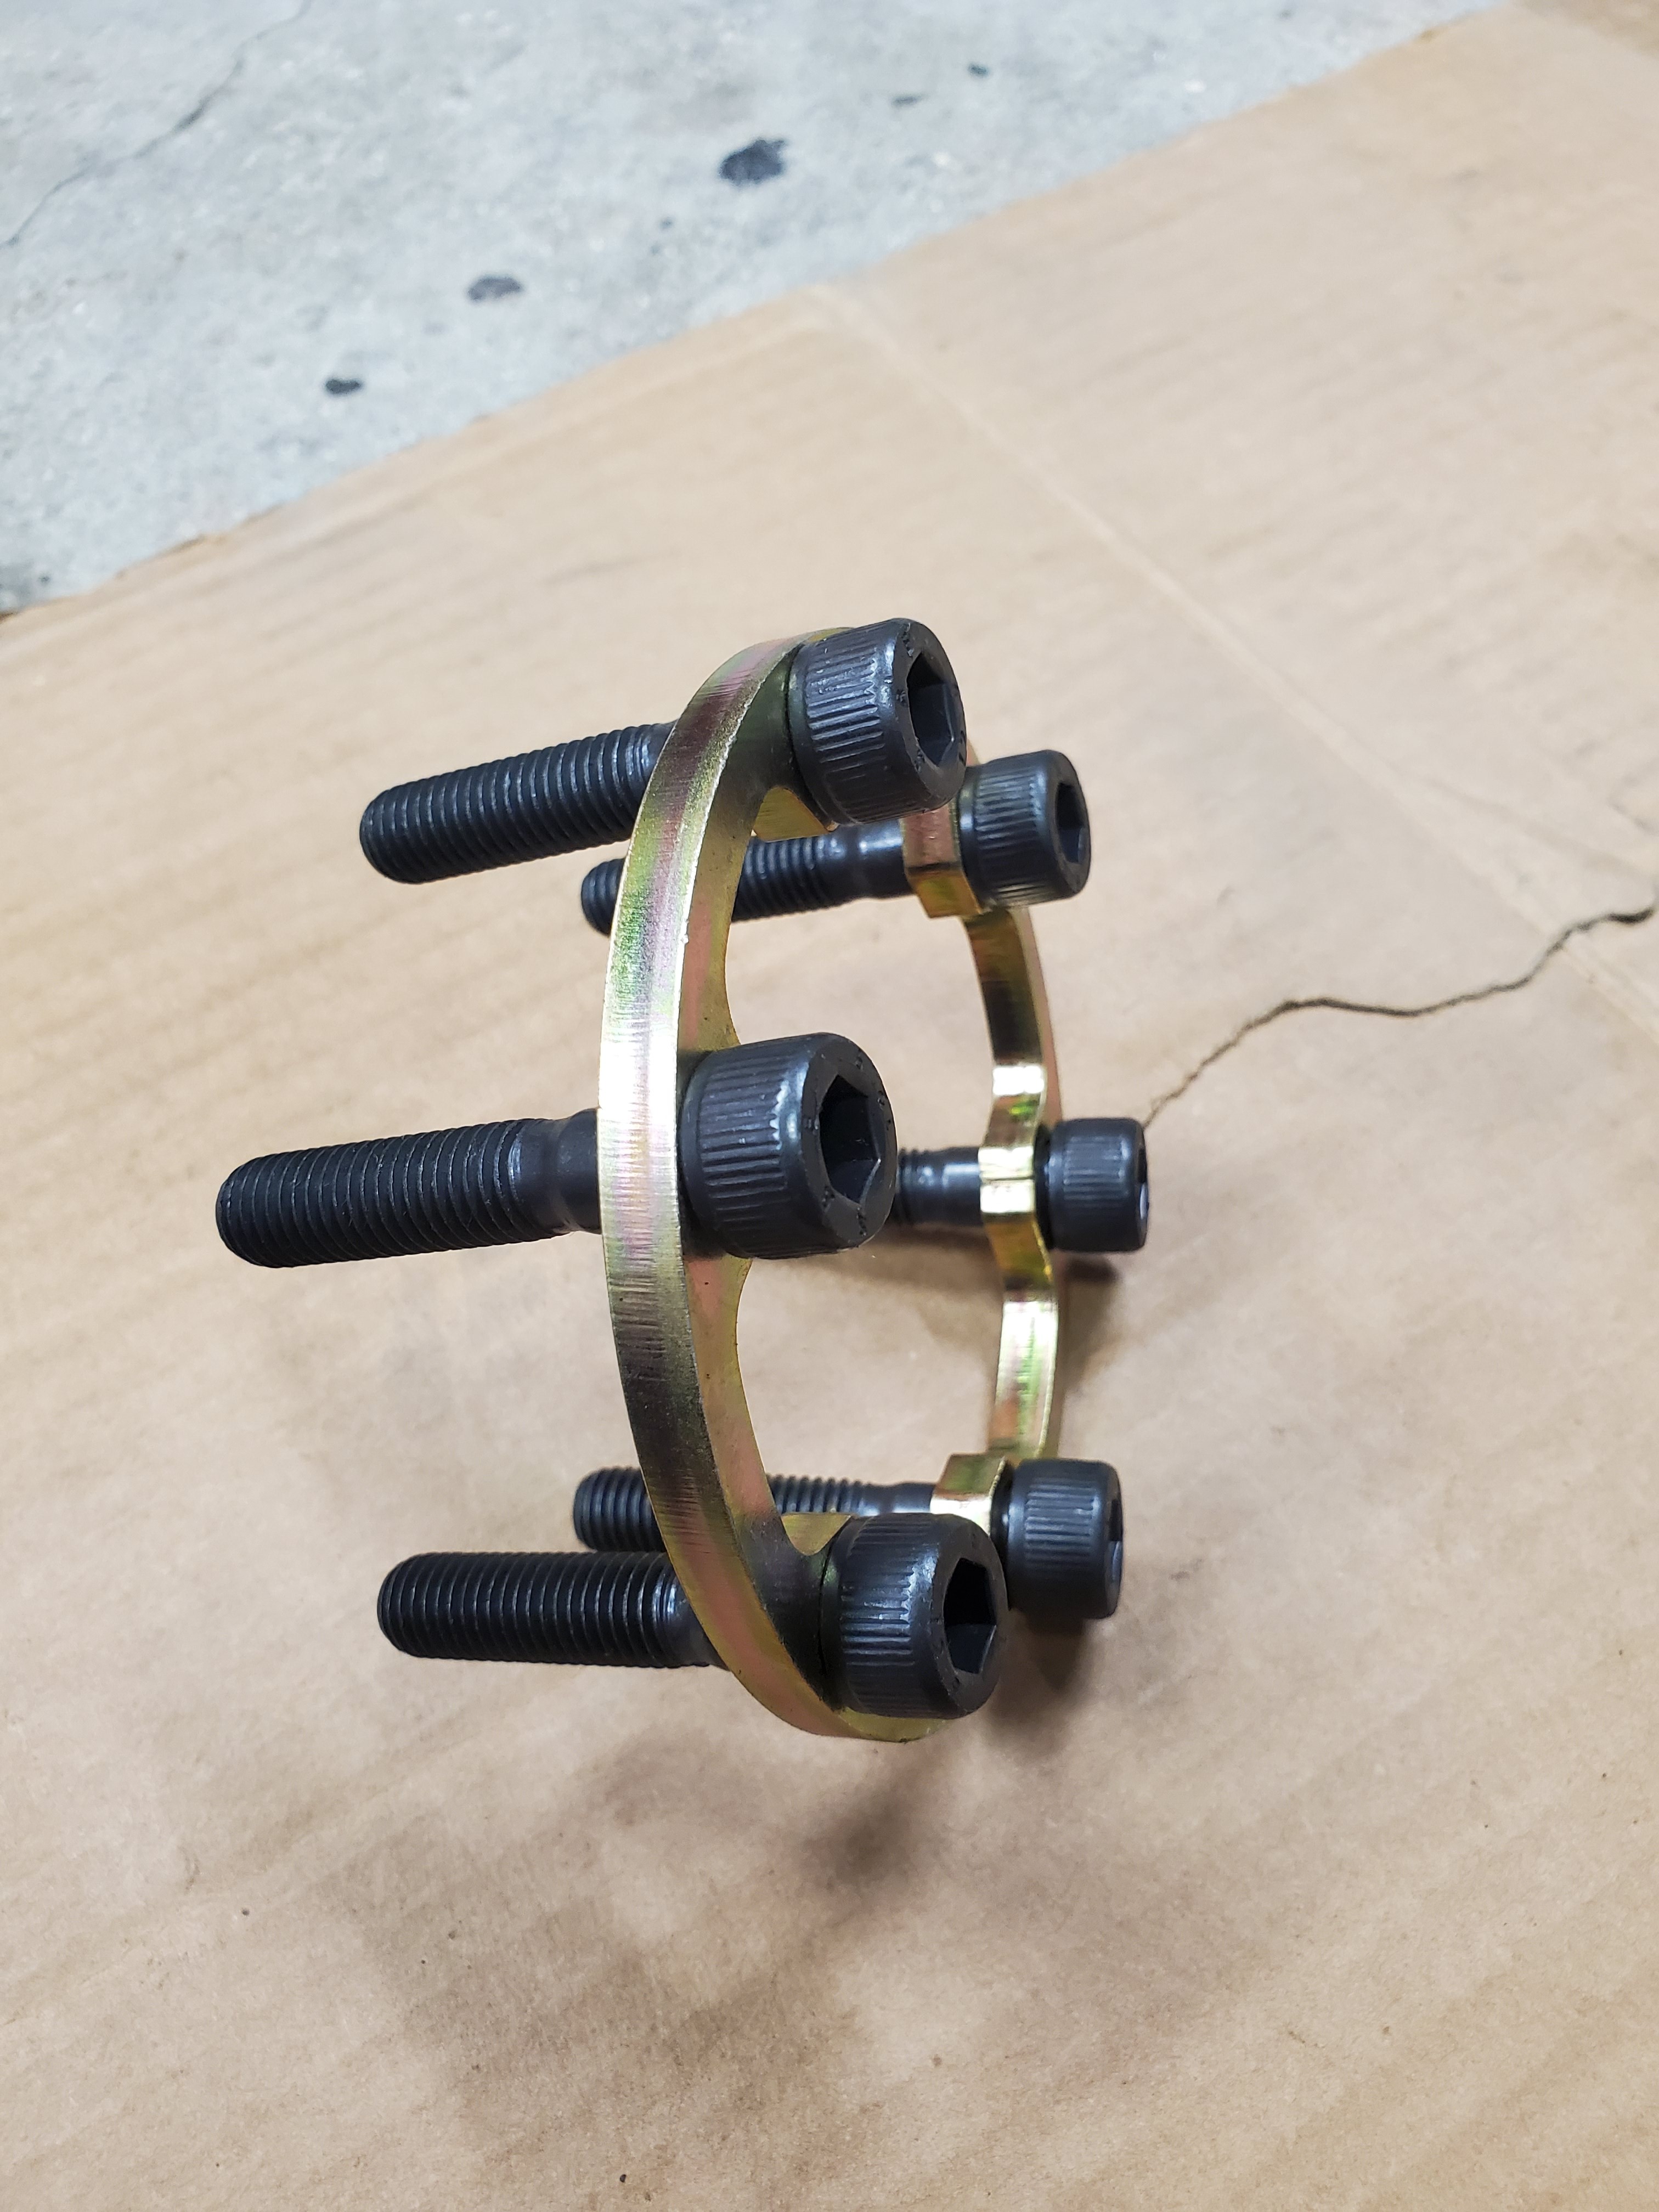
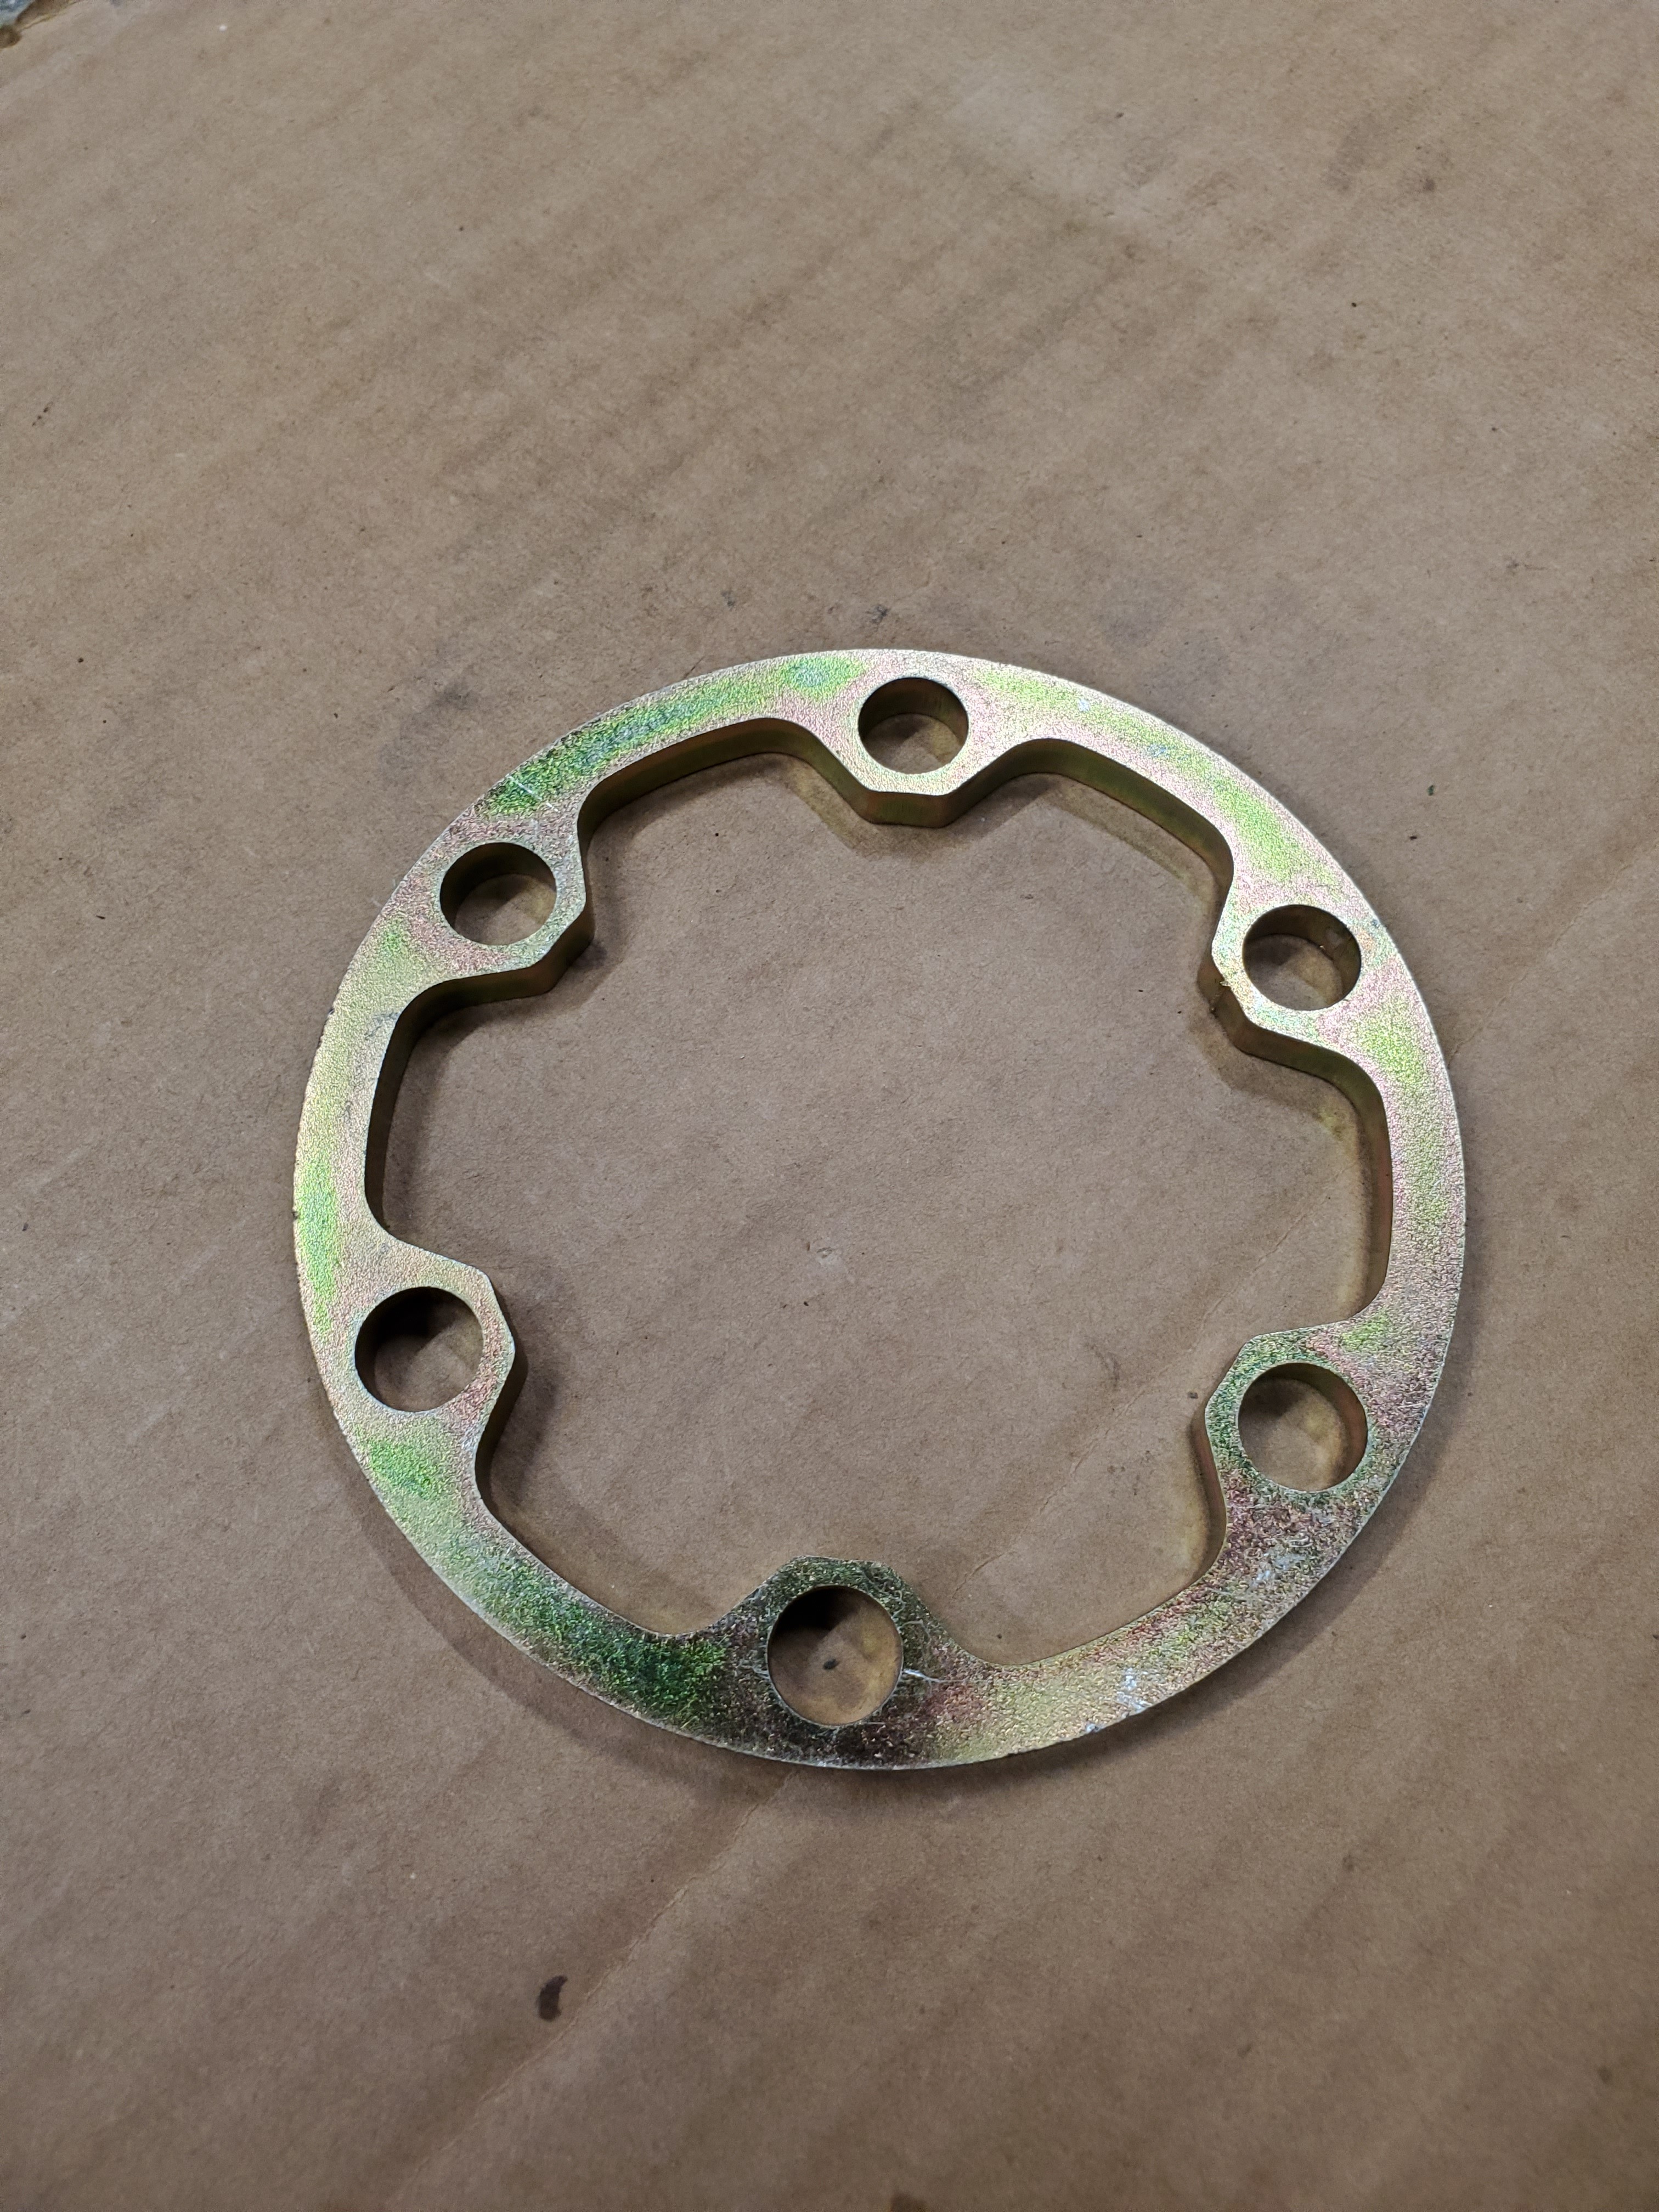
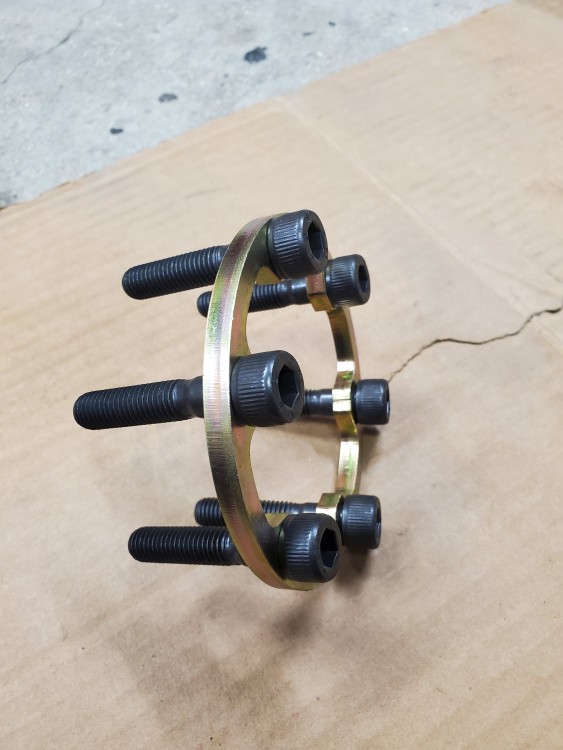
In final preparations for the Milwaukee Mile event I added some seems legit garage axle spacers.
Now on to the fun!
We made it!
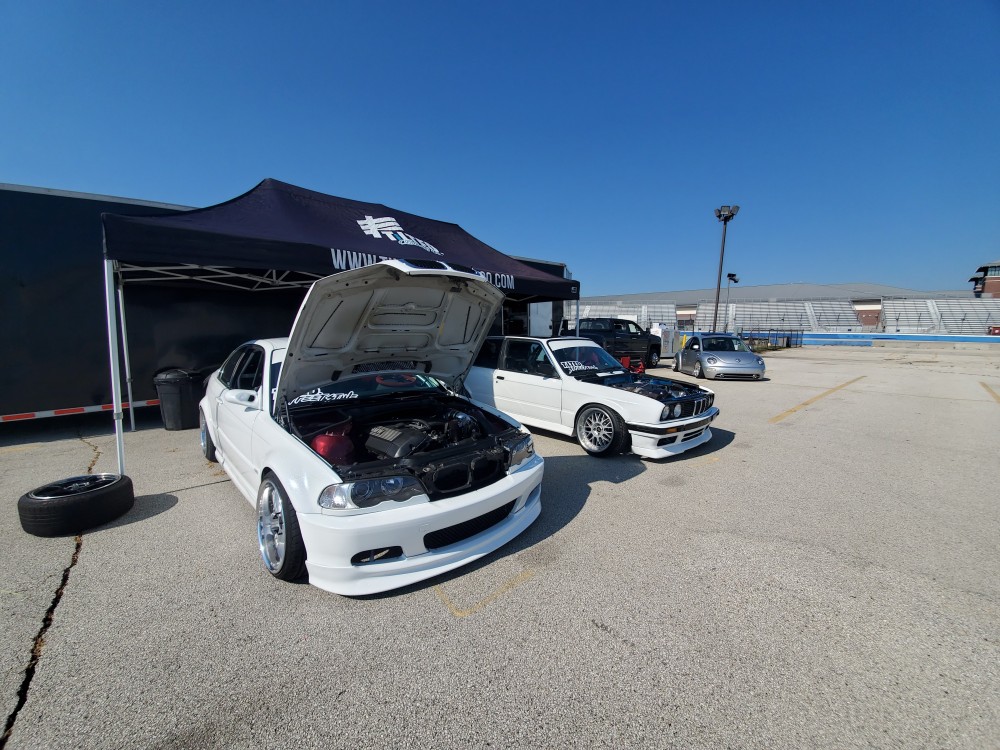
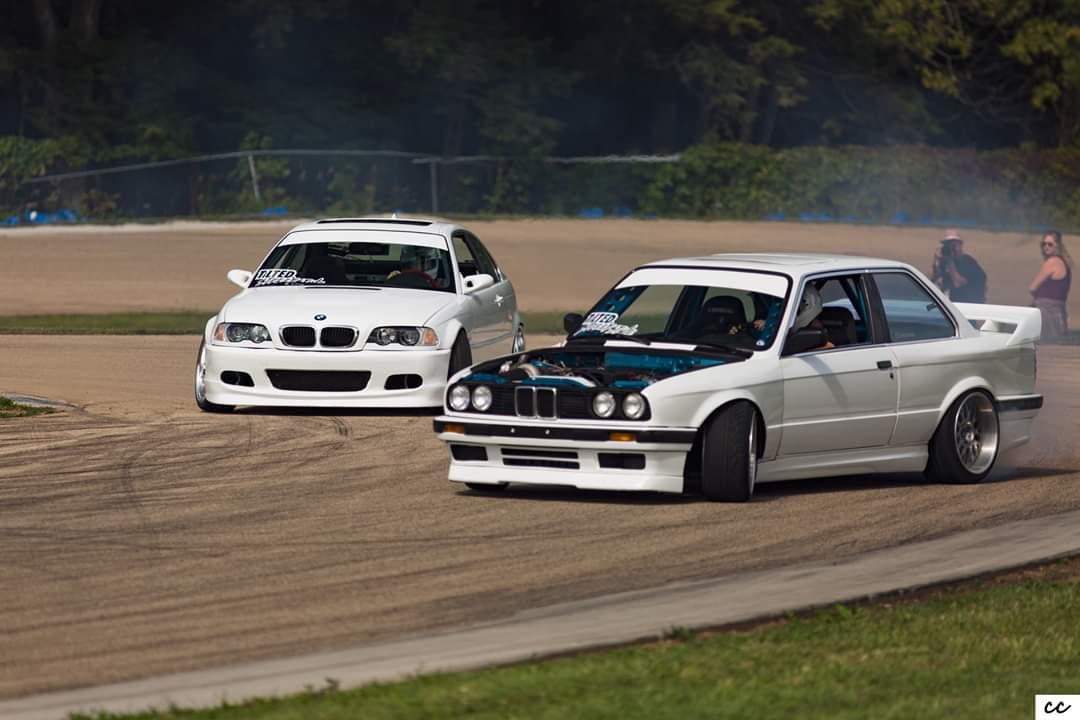
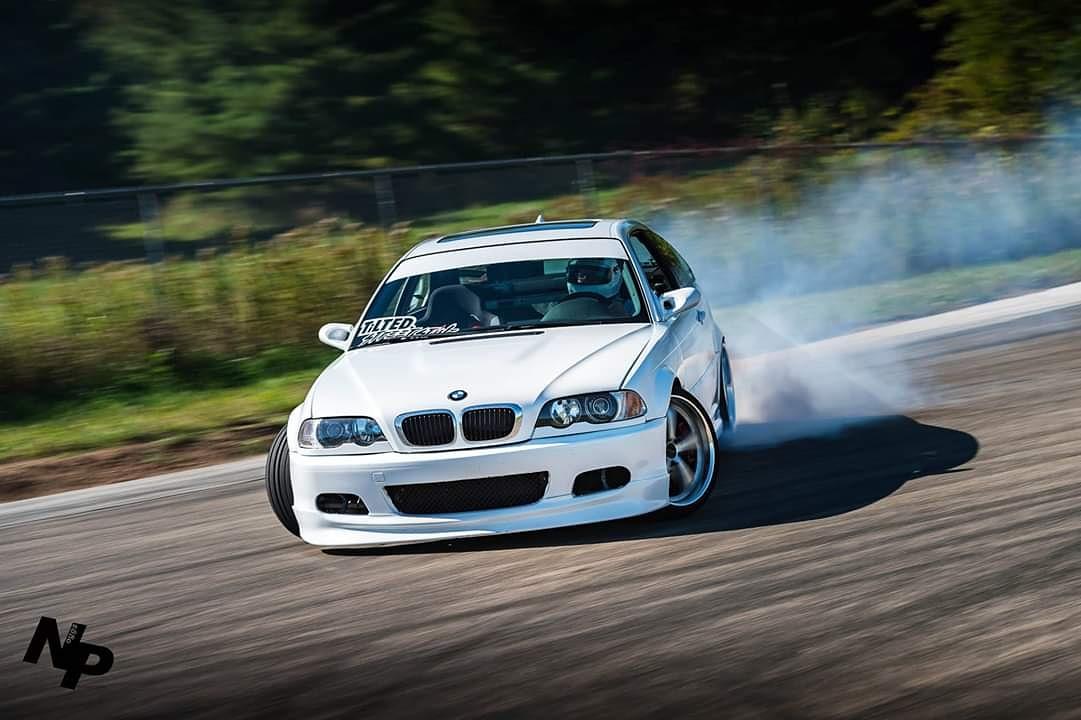
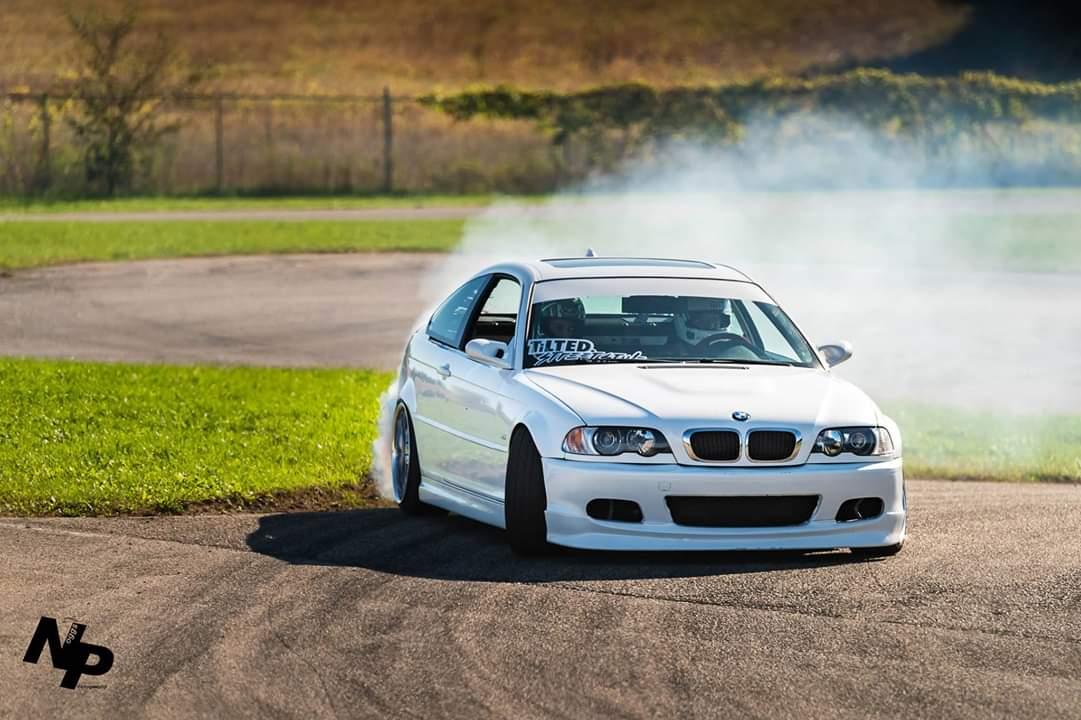
The track was FAST and took quite a few runs to get the balls up to really send it. This was my first time drifting using 3rd gear and eventually I figured out how to set myself up to get back into second for the final turn, she didn't seem to have enough to let it eat in 3rd on the last turn but I would like to try again next time we are here.
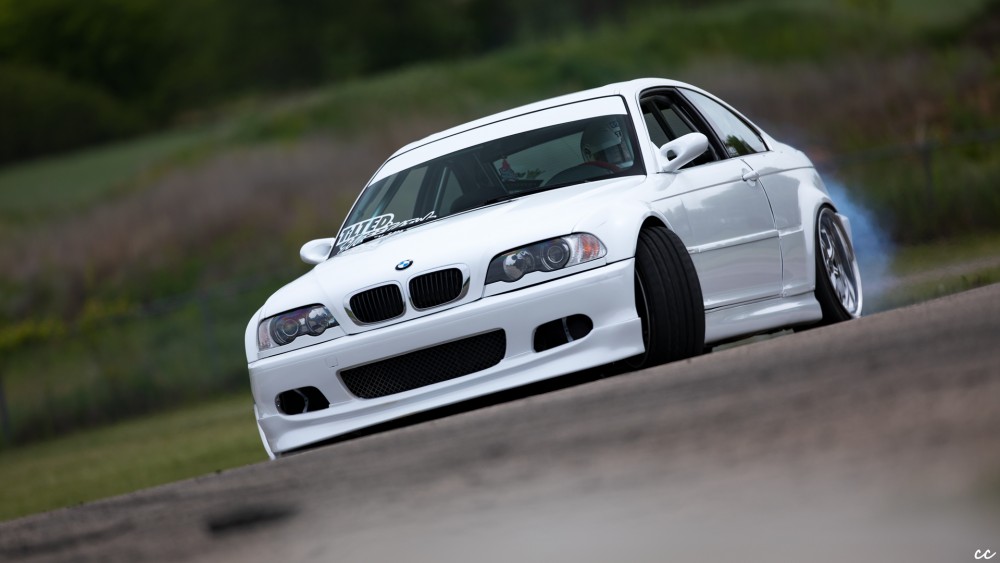
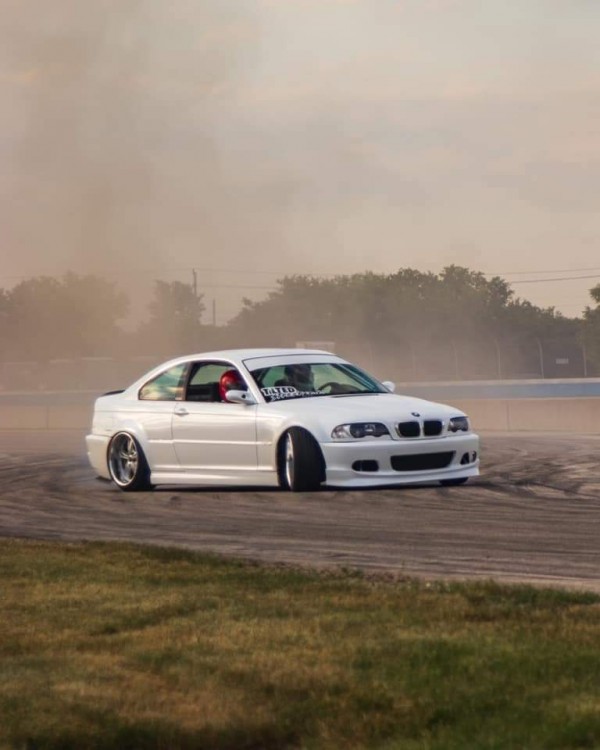
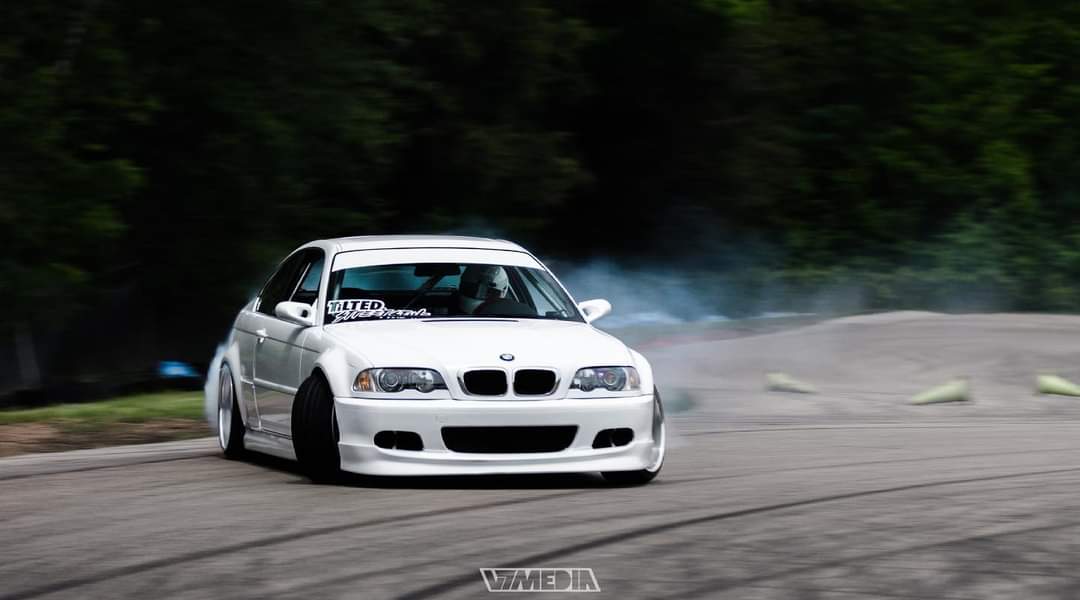
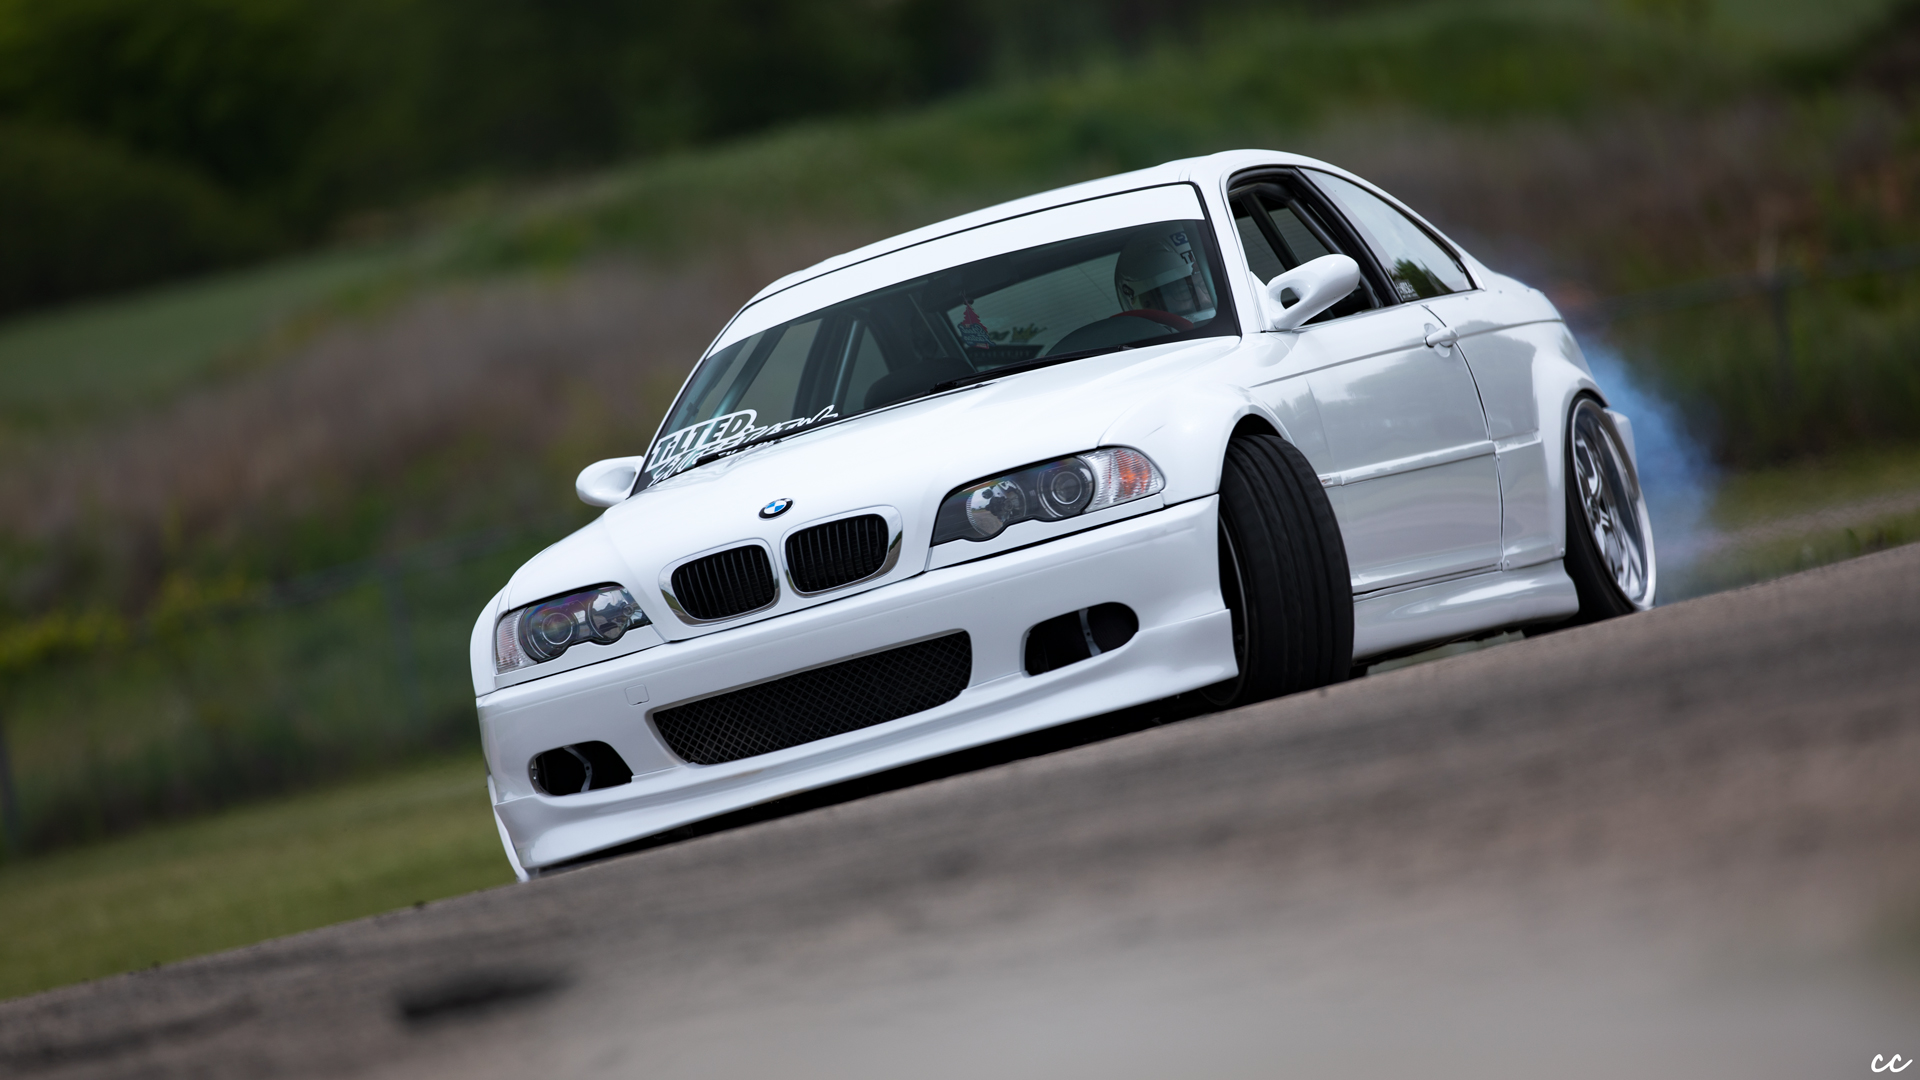
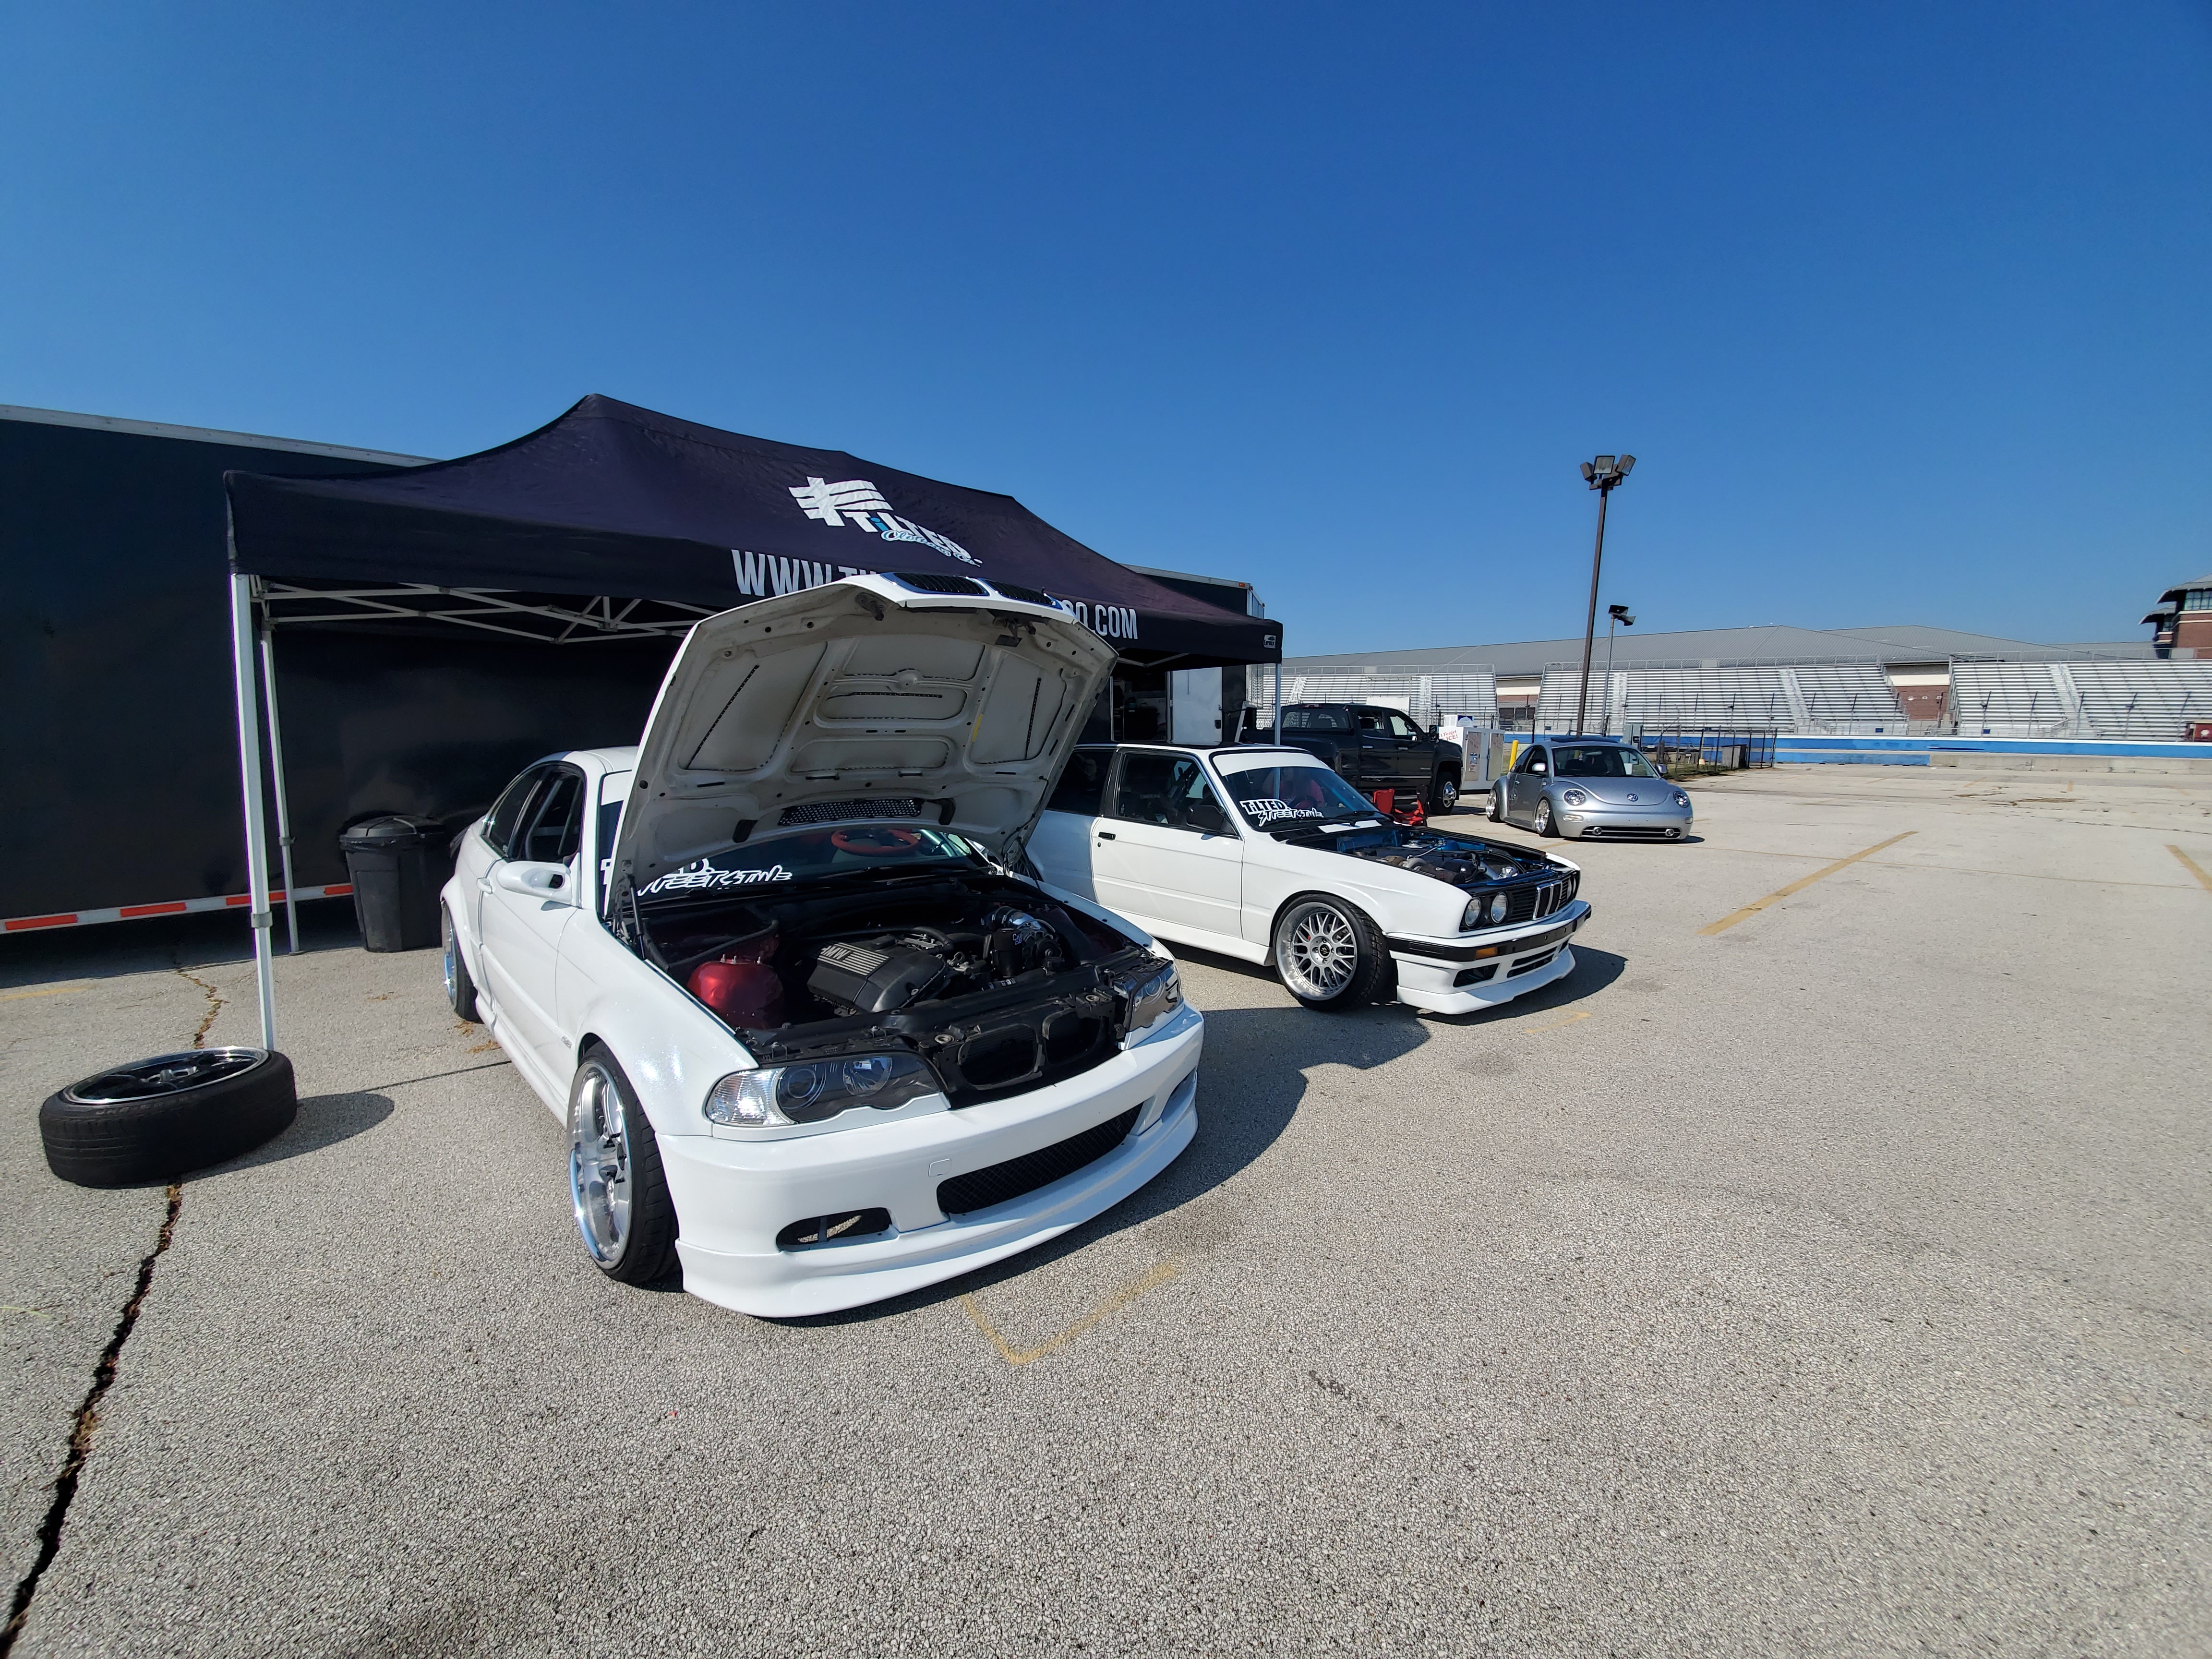
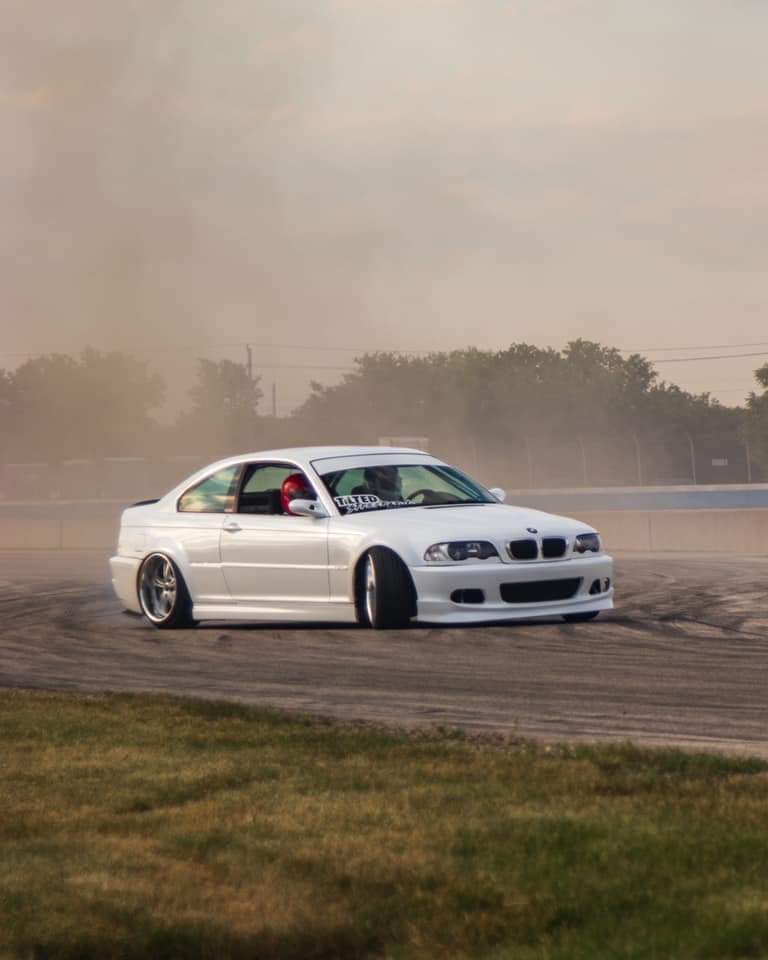
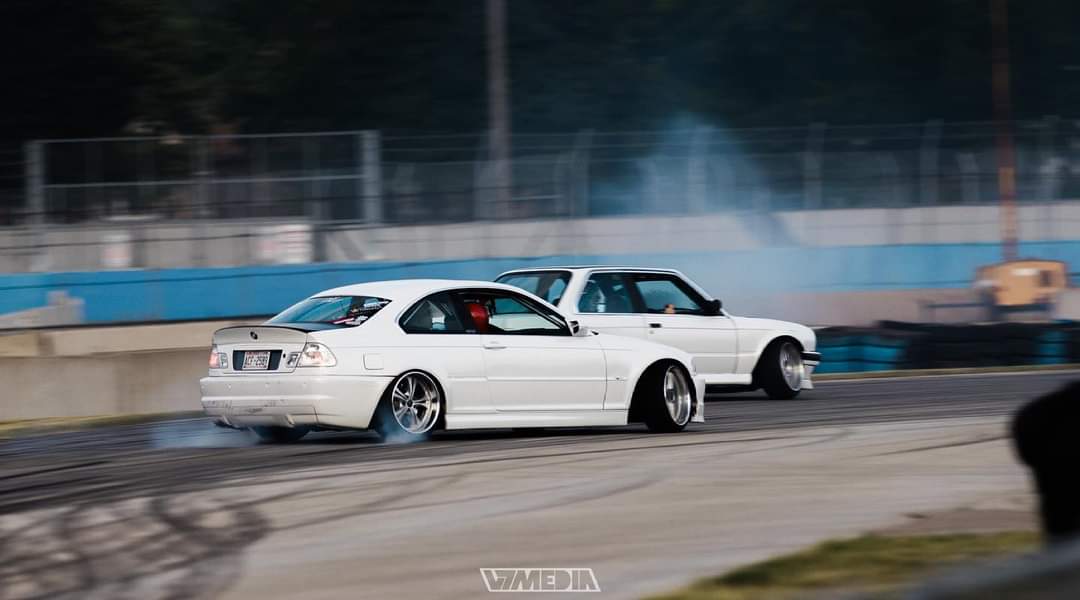
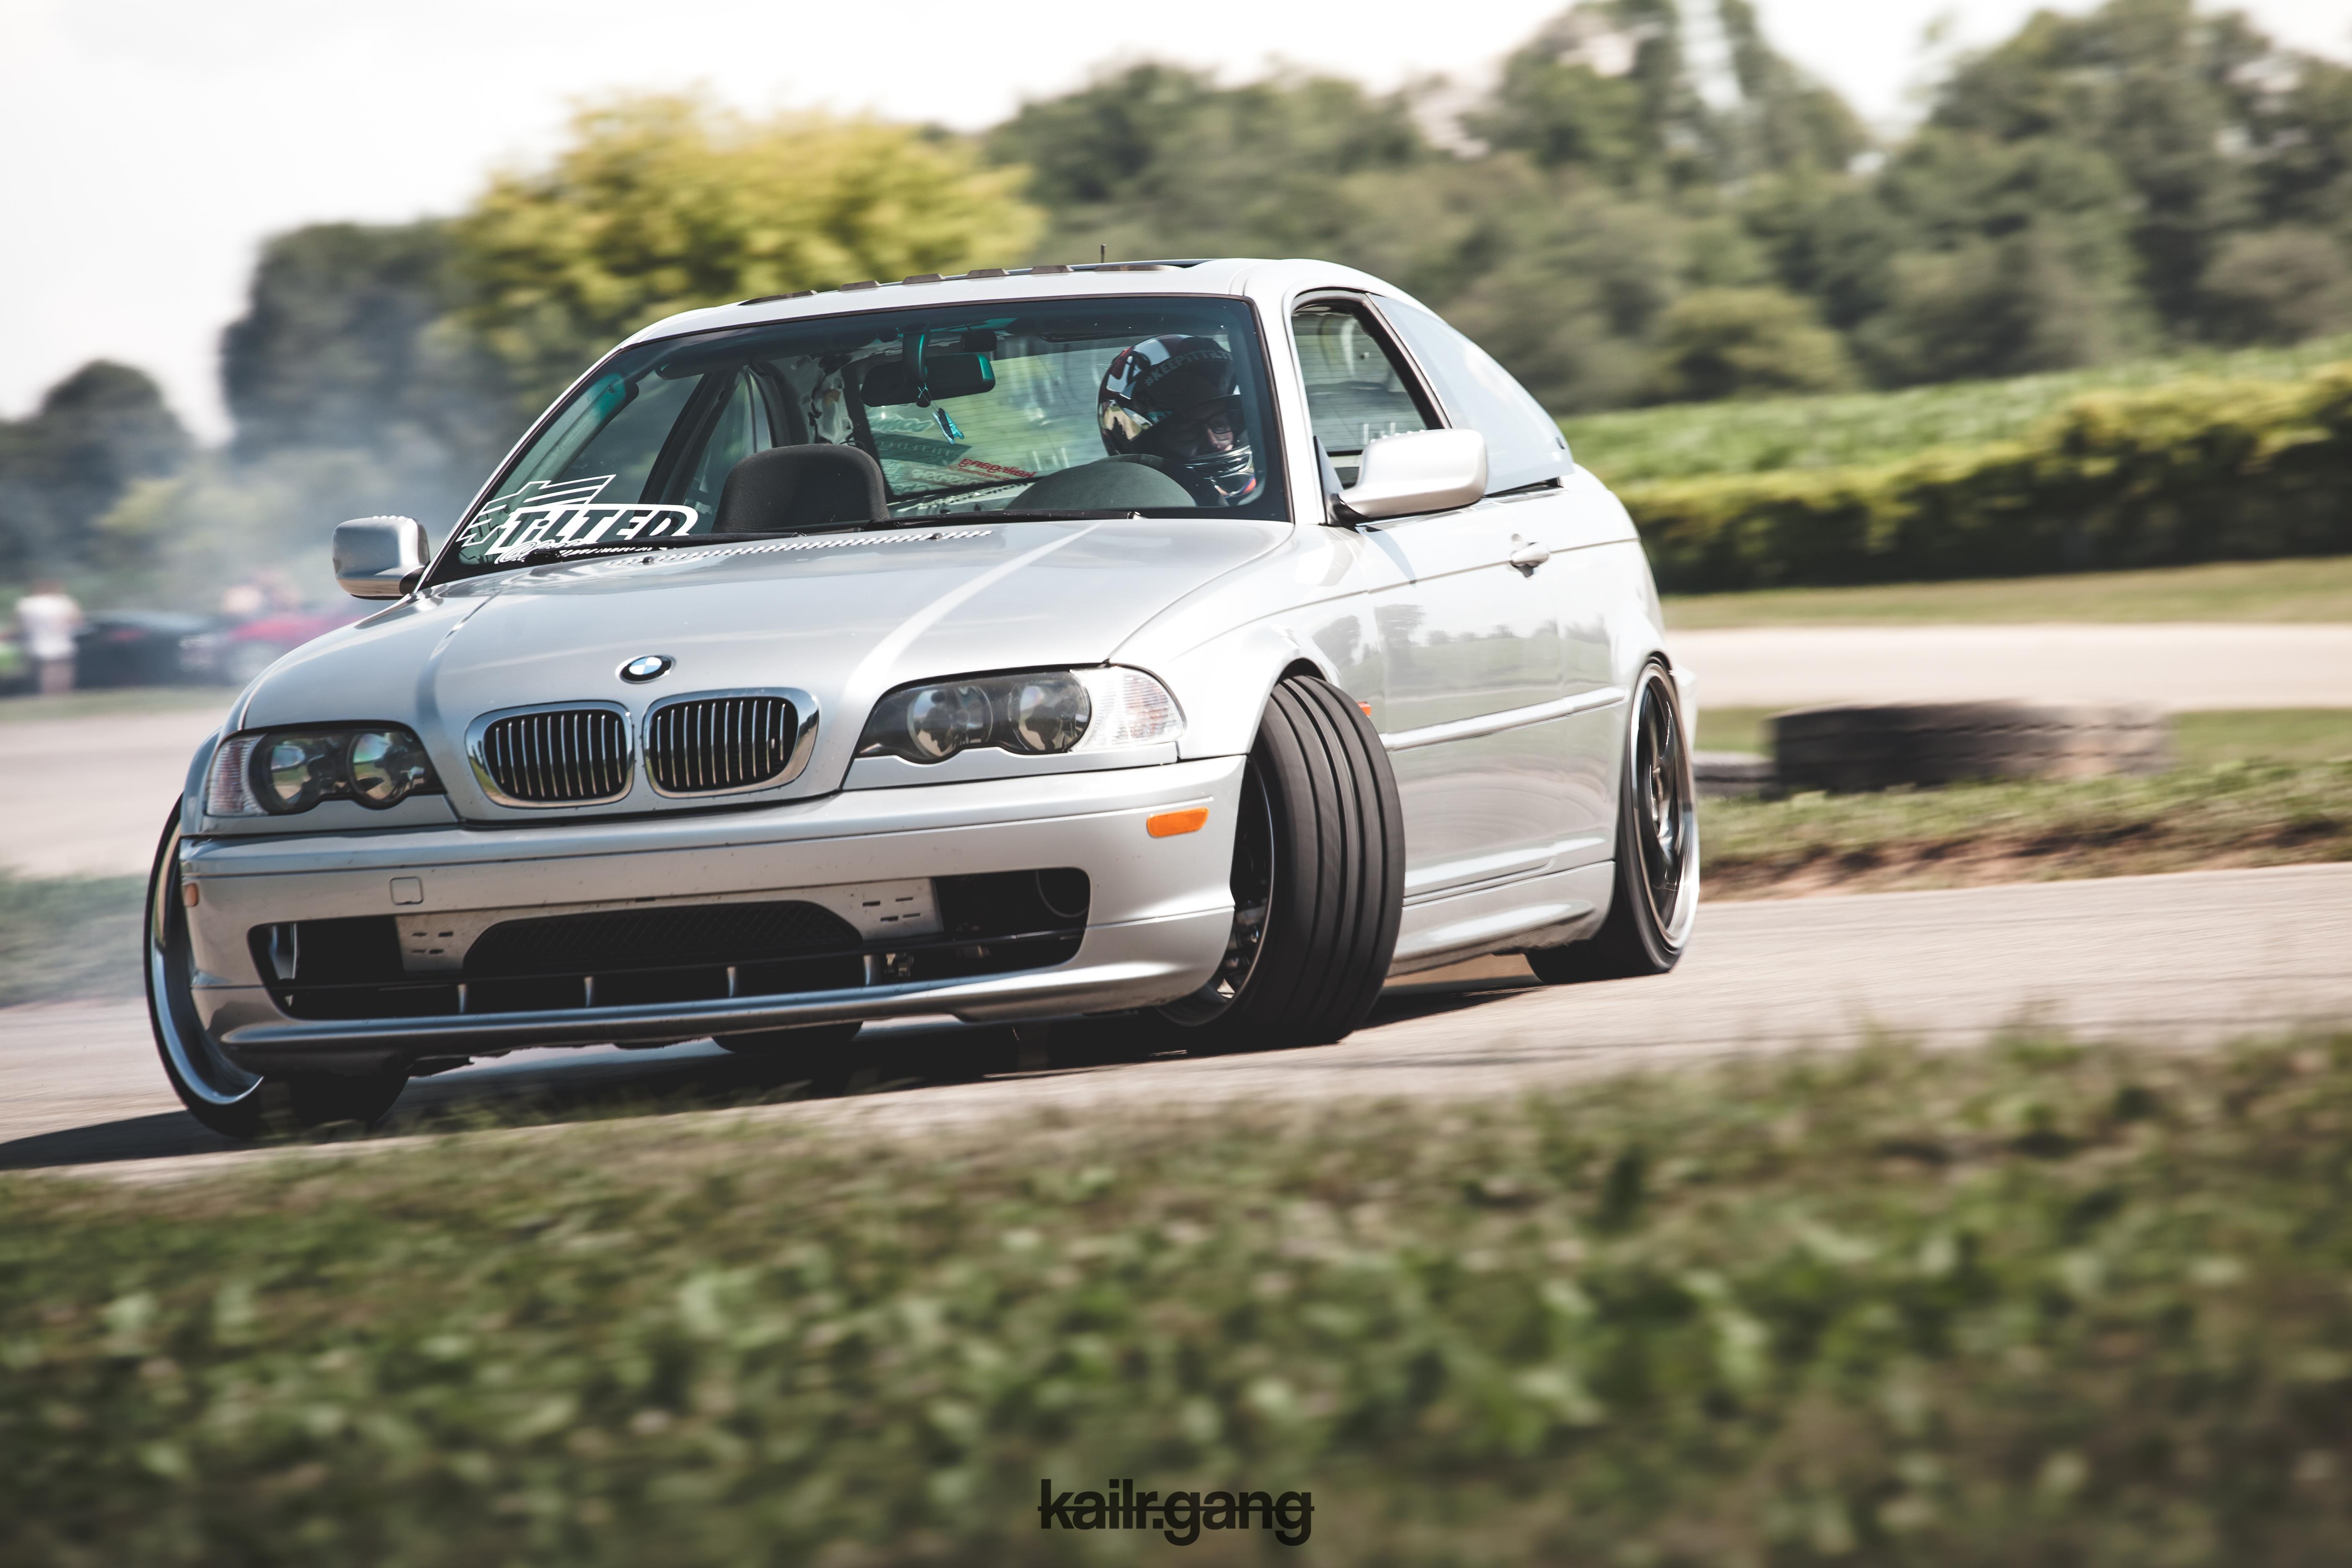
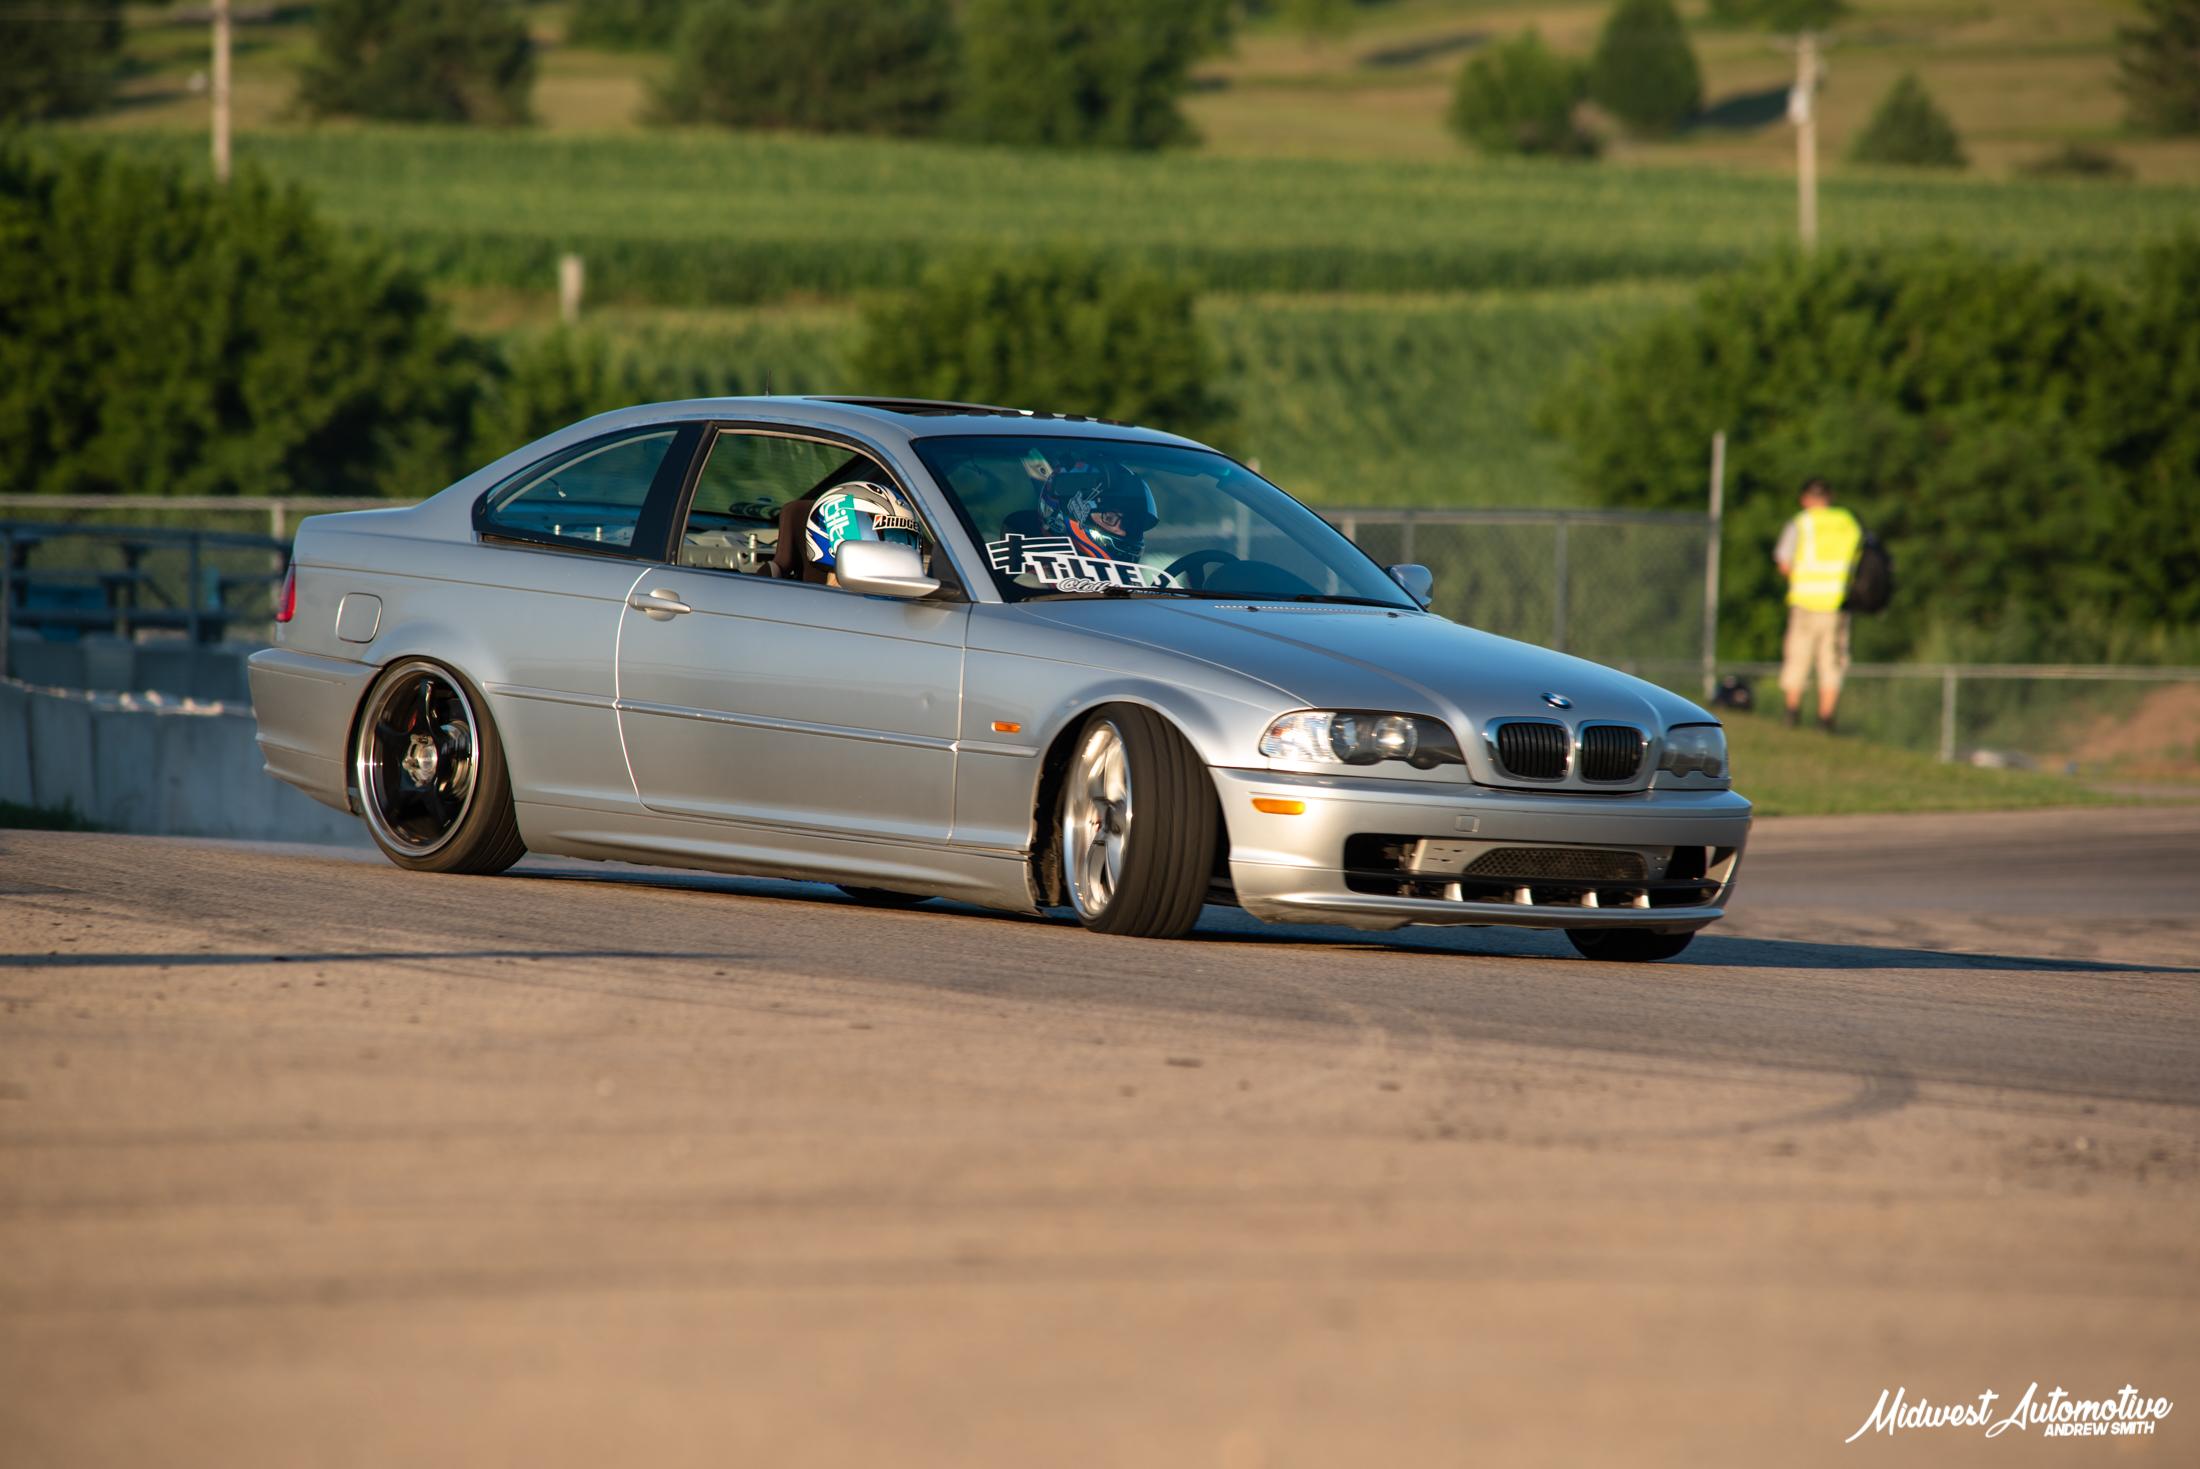
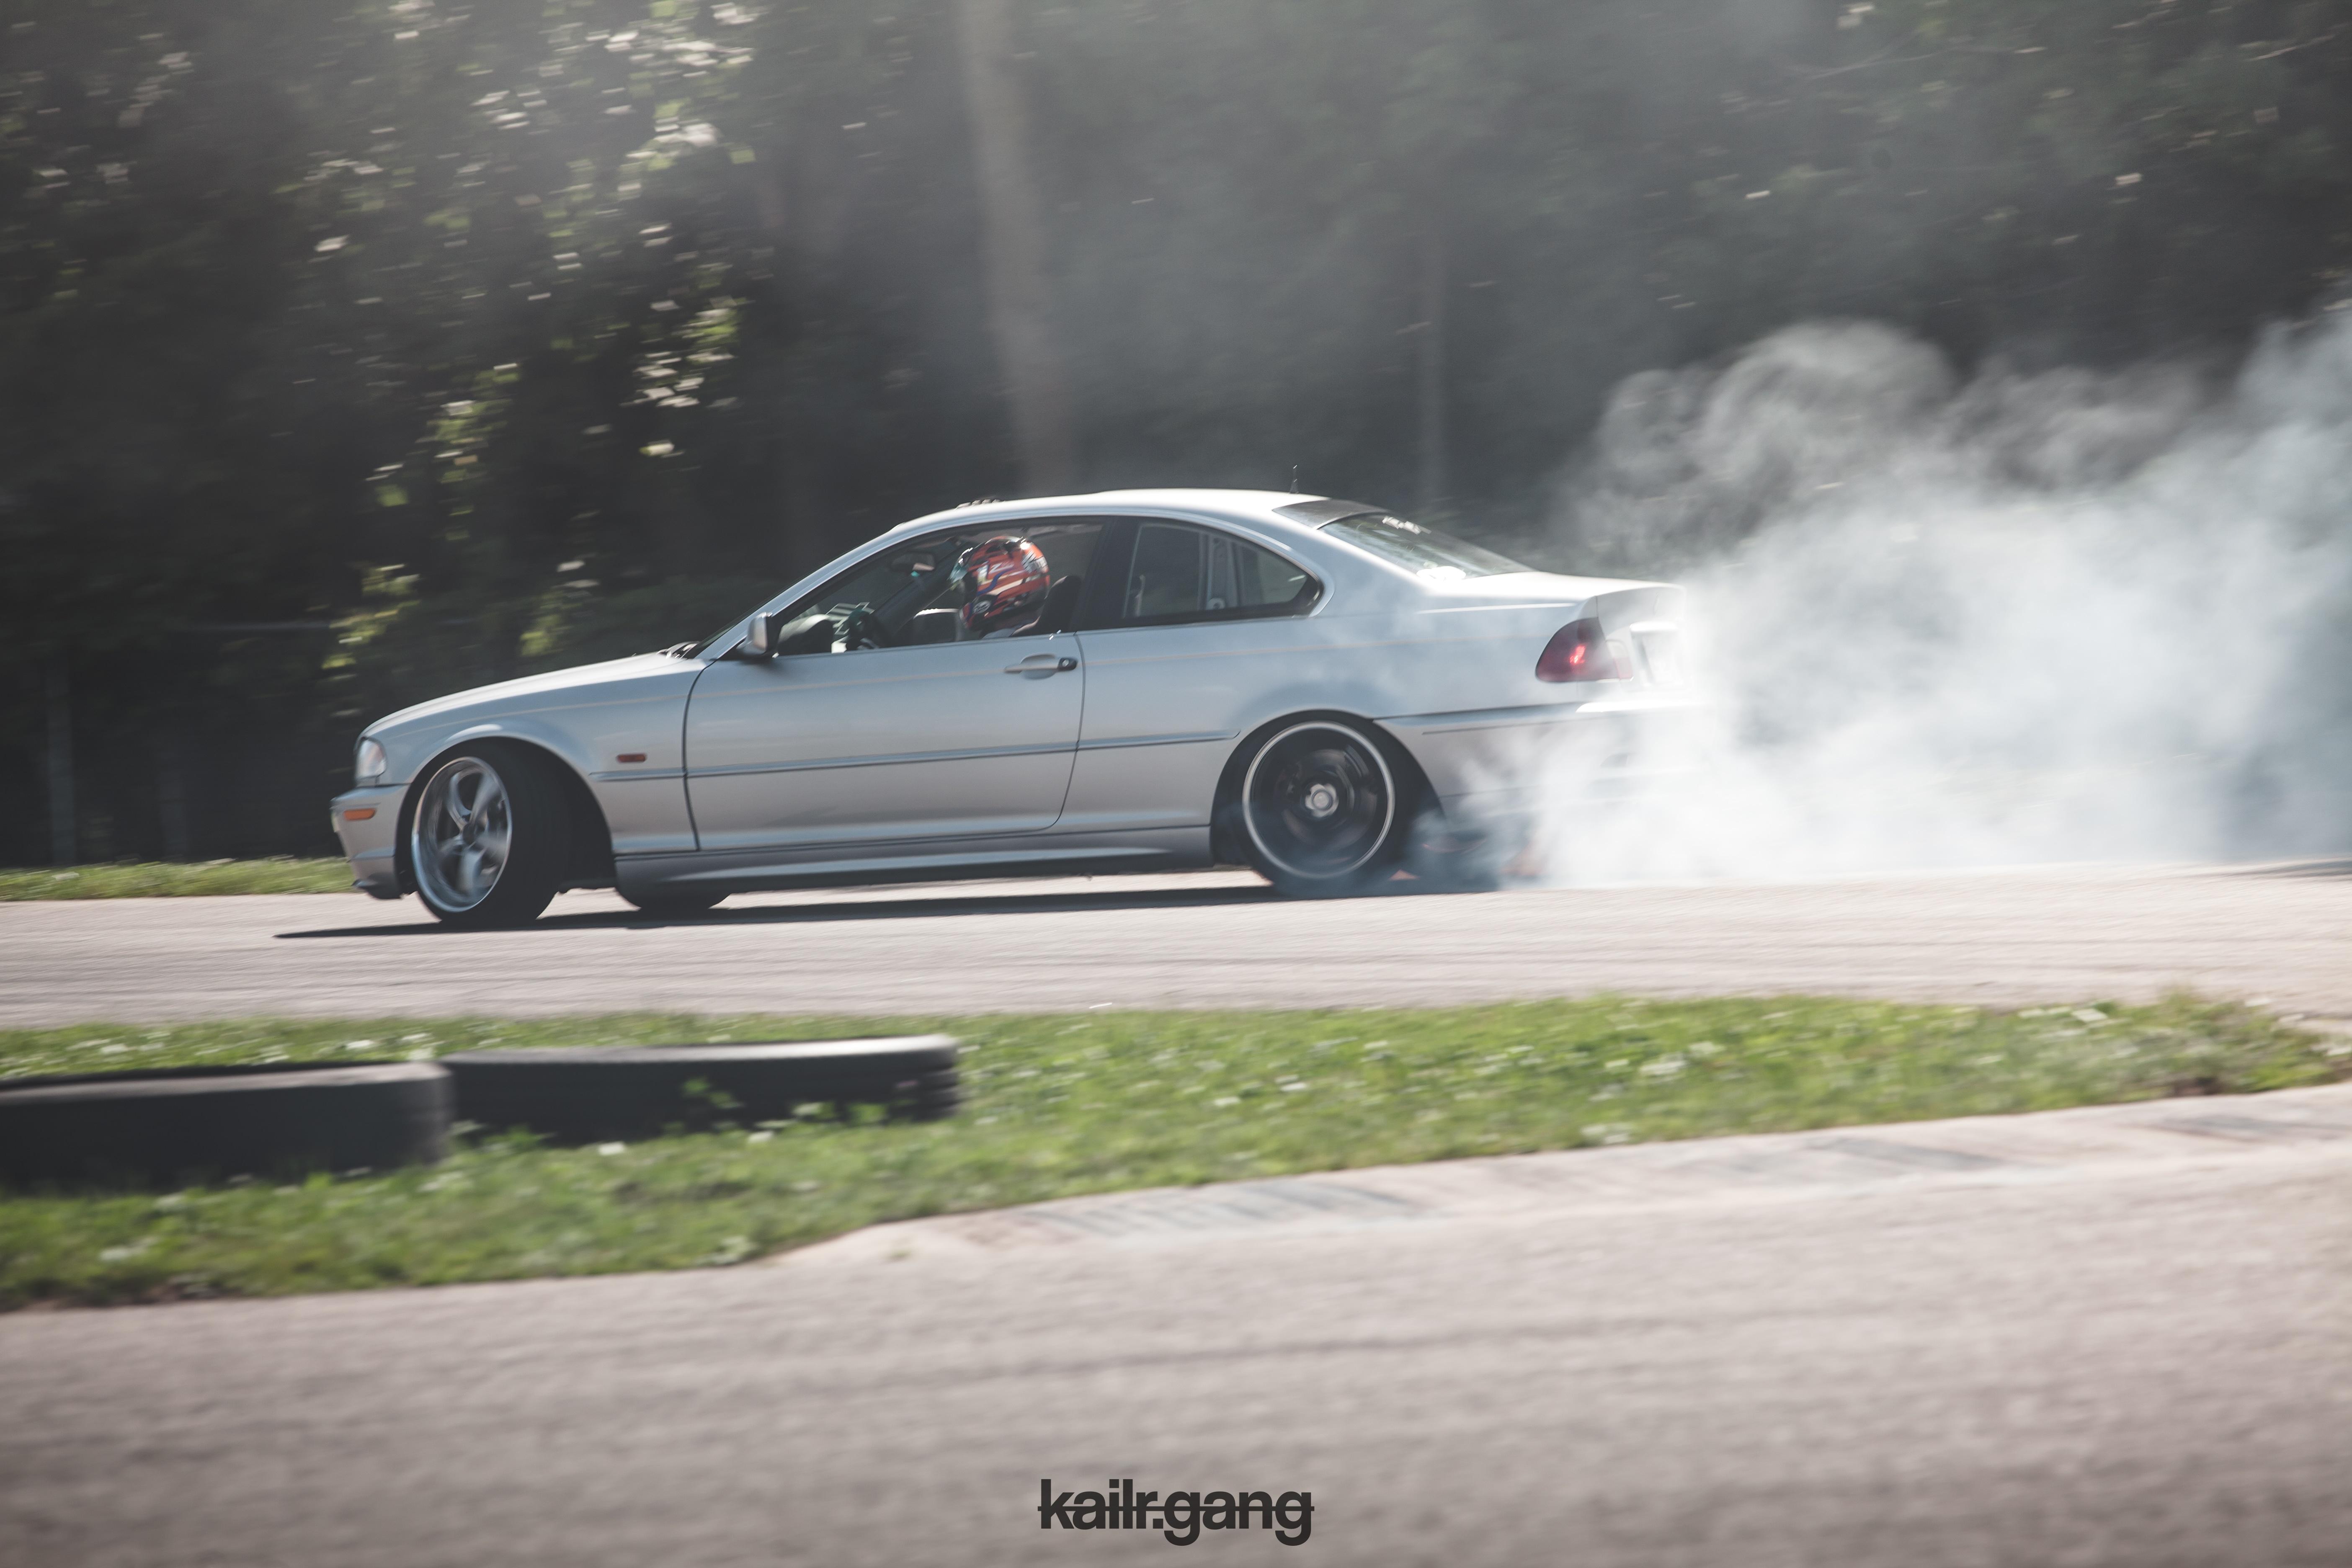
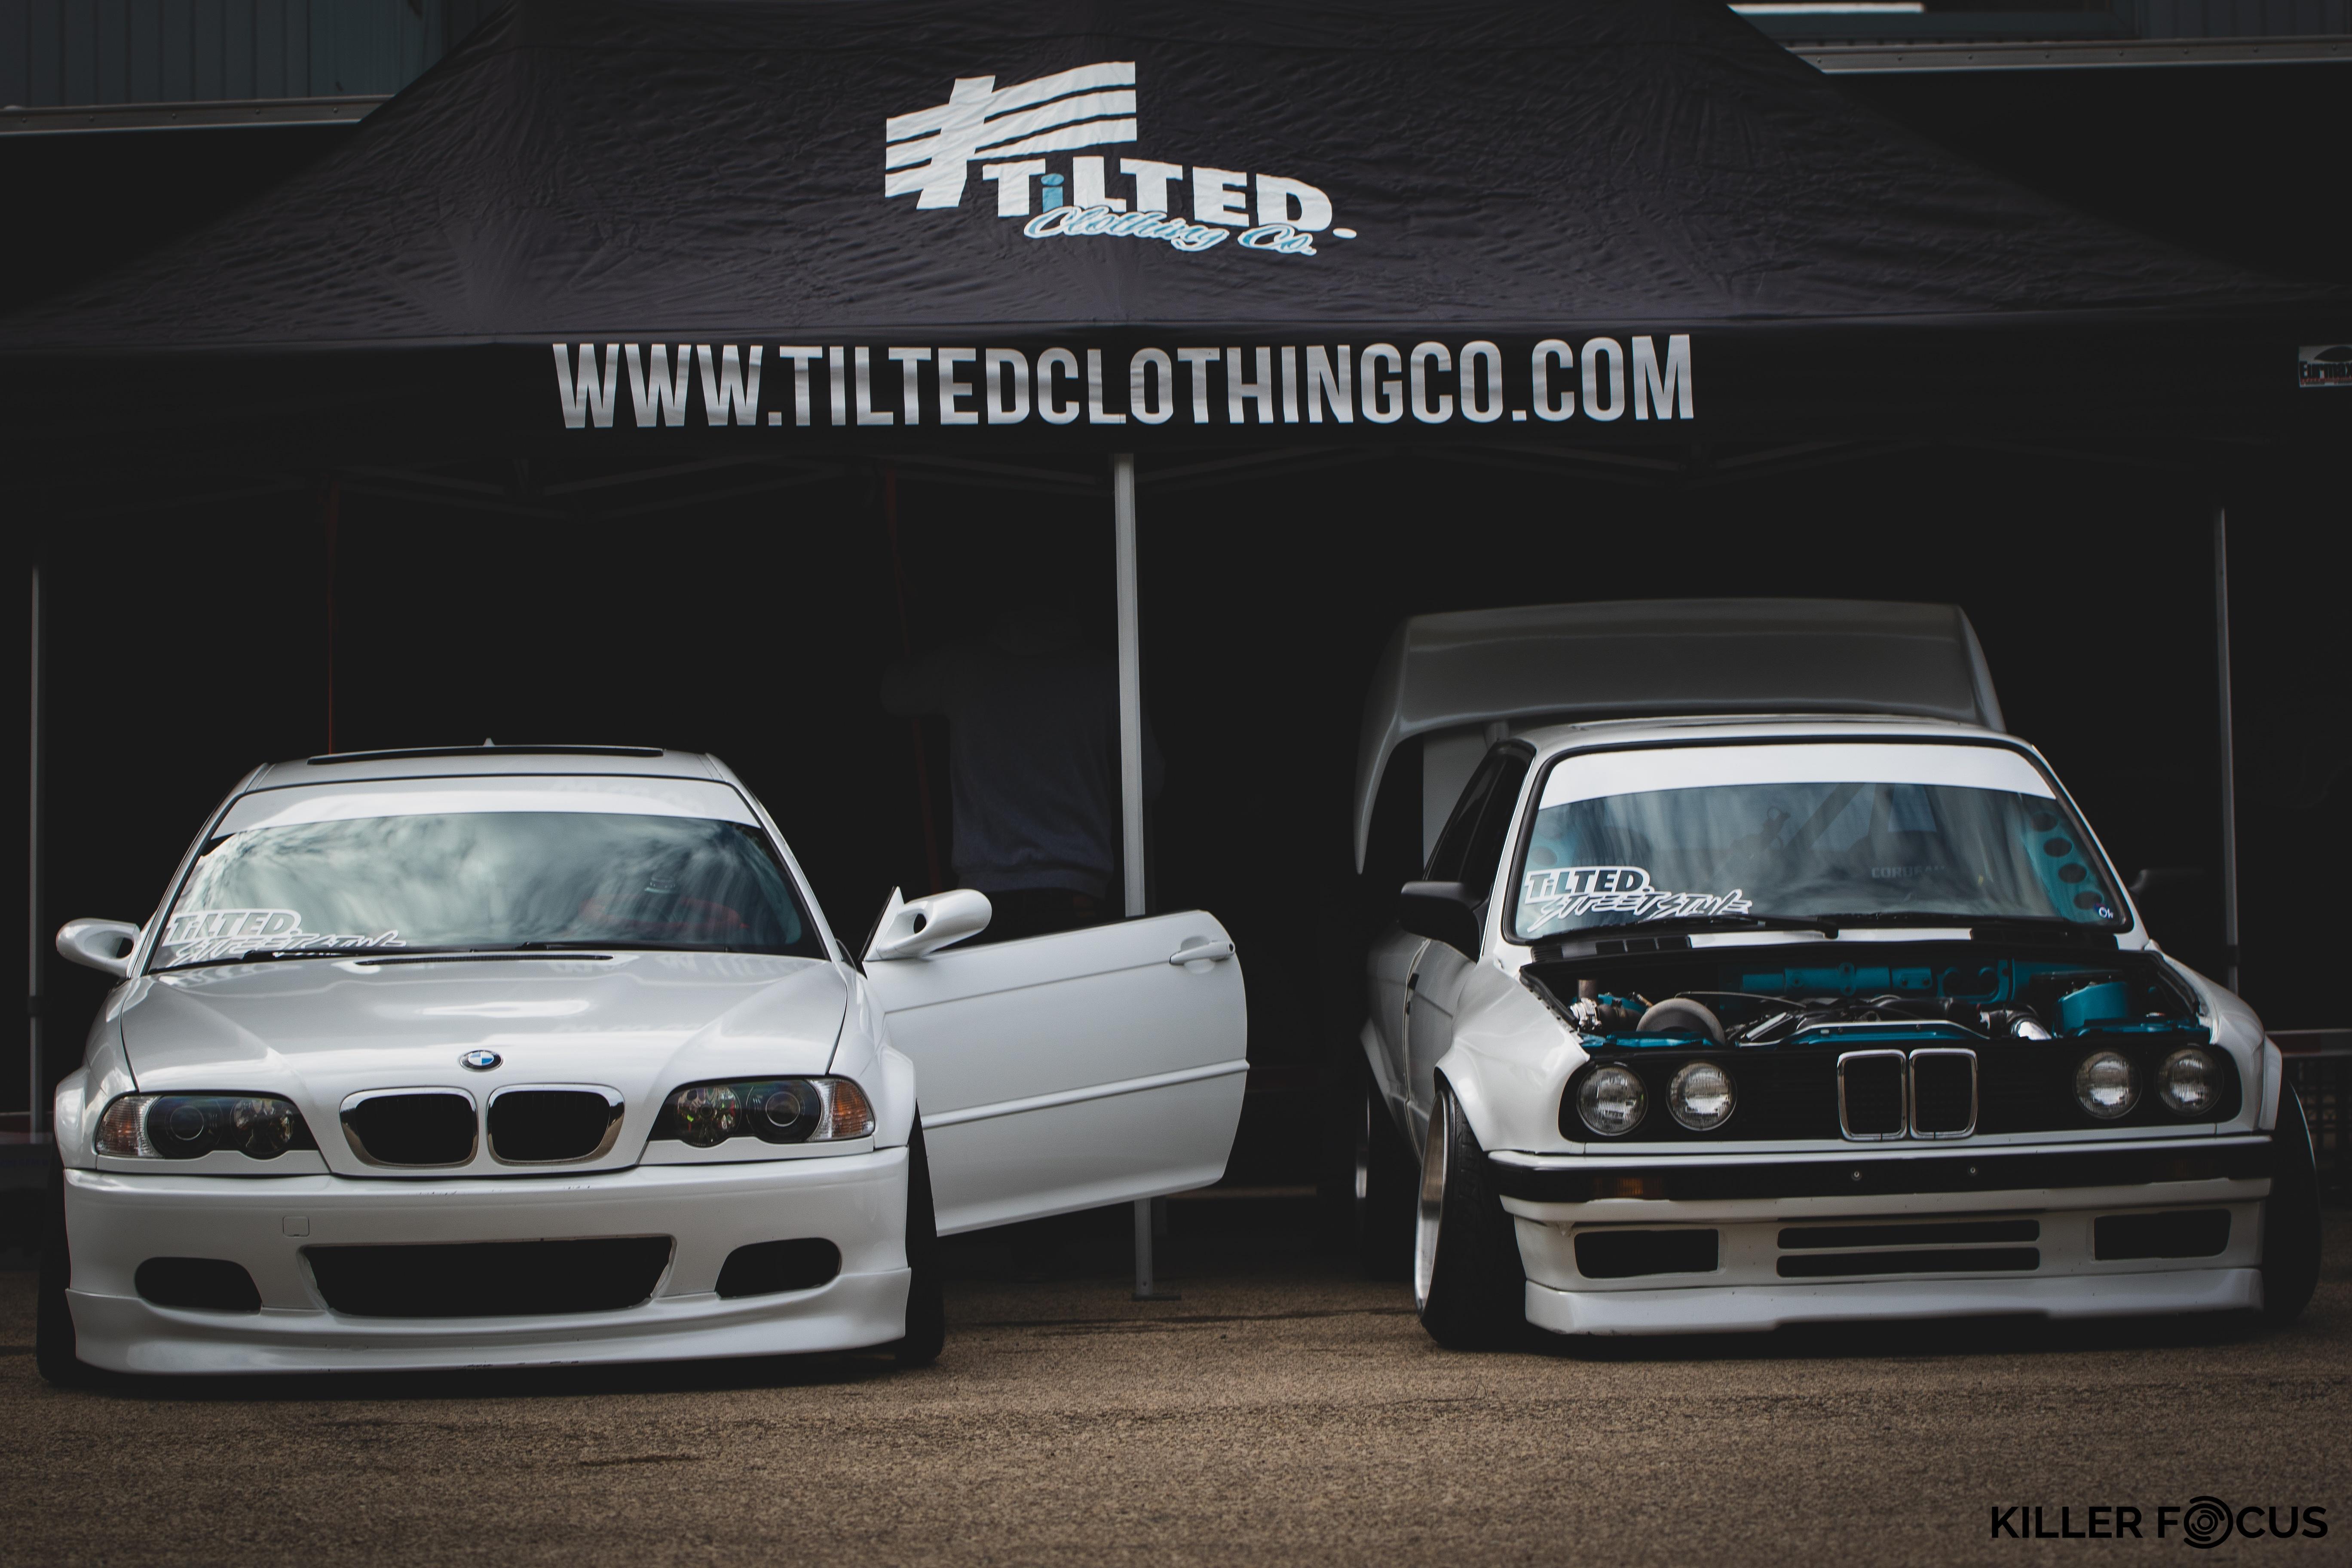
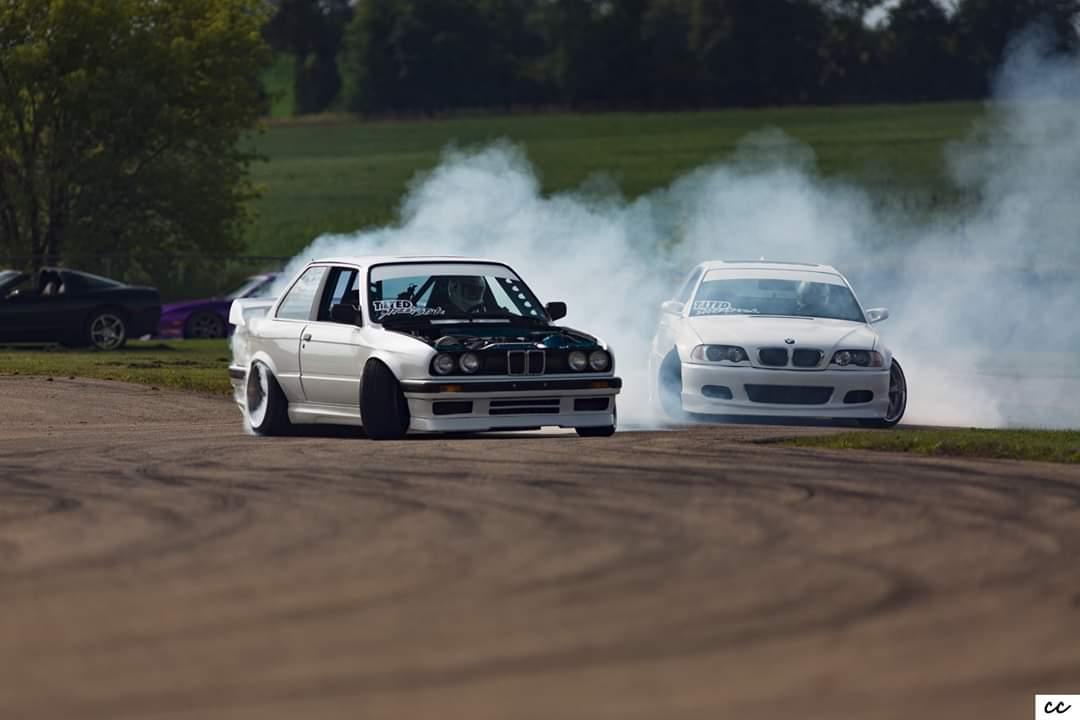
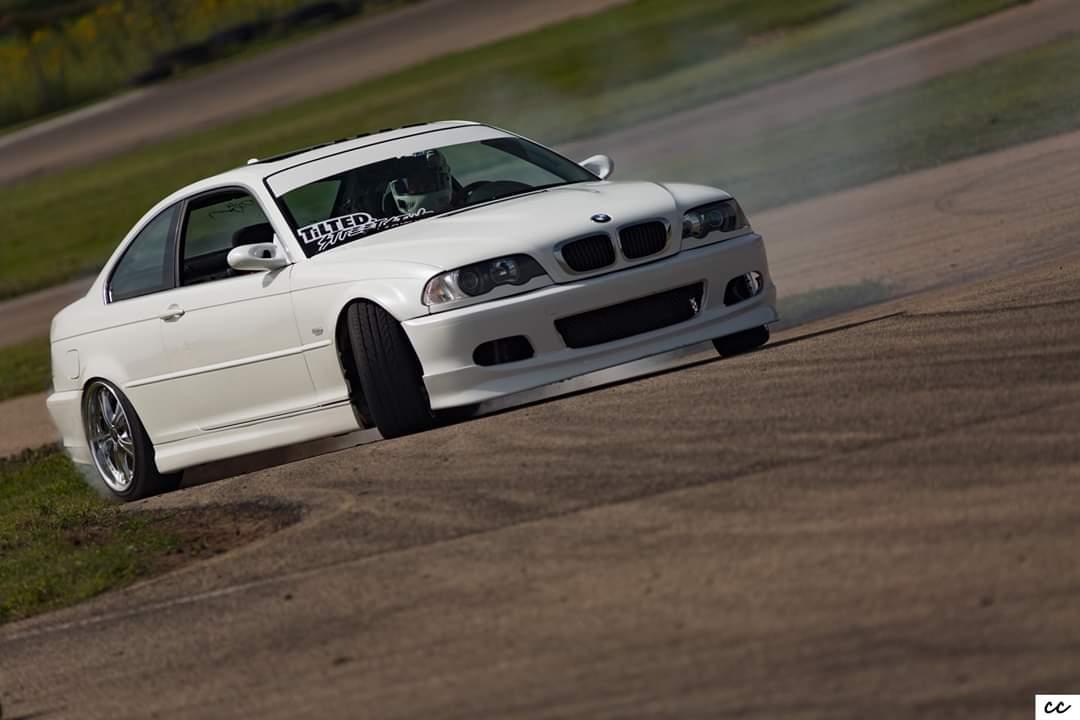
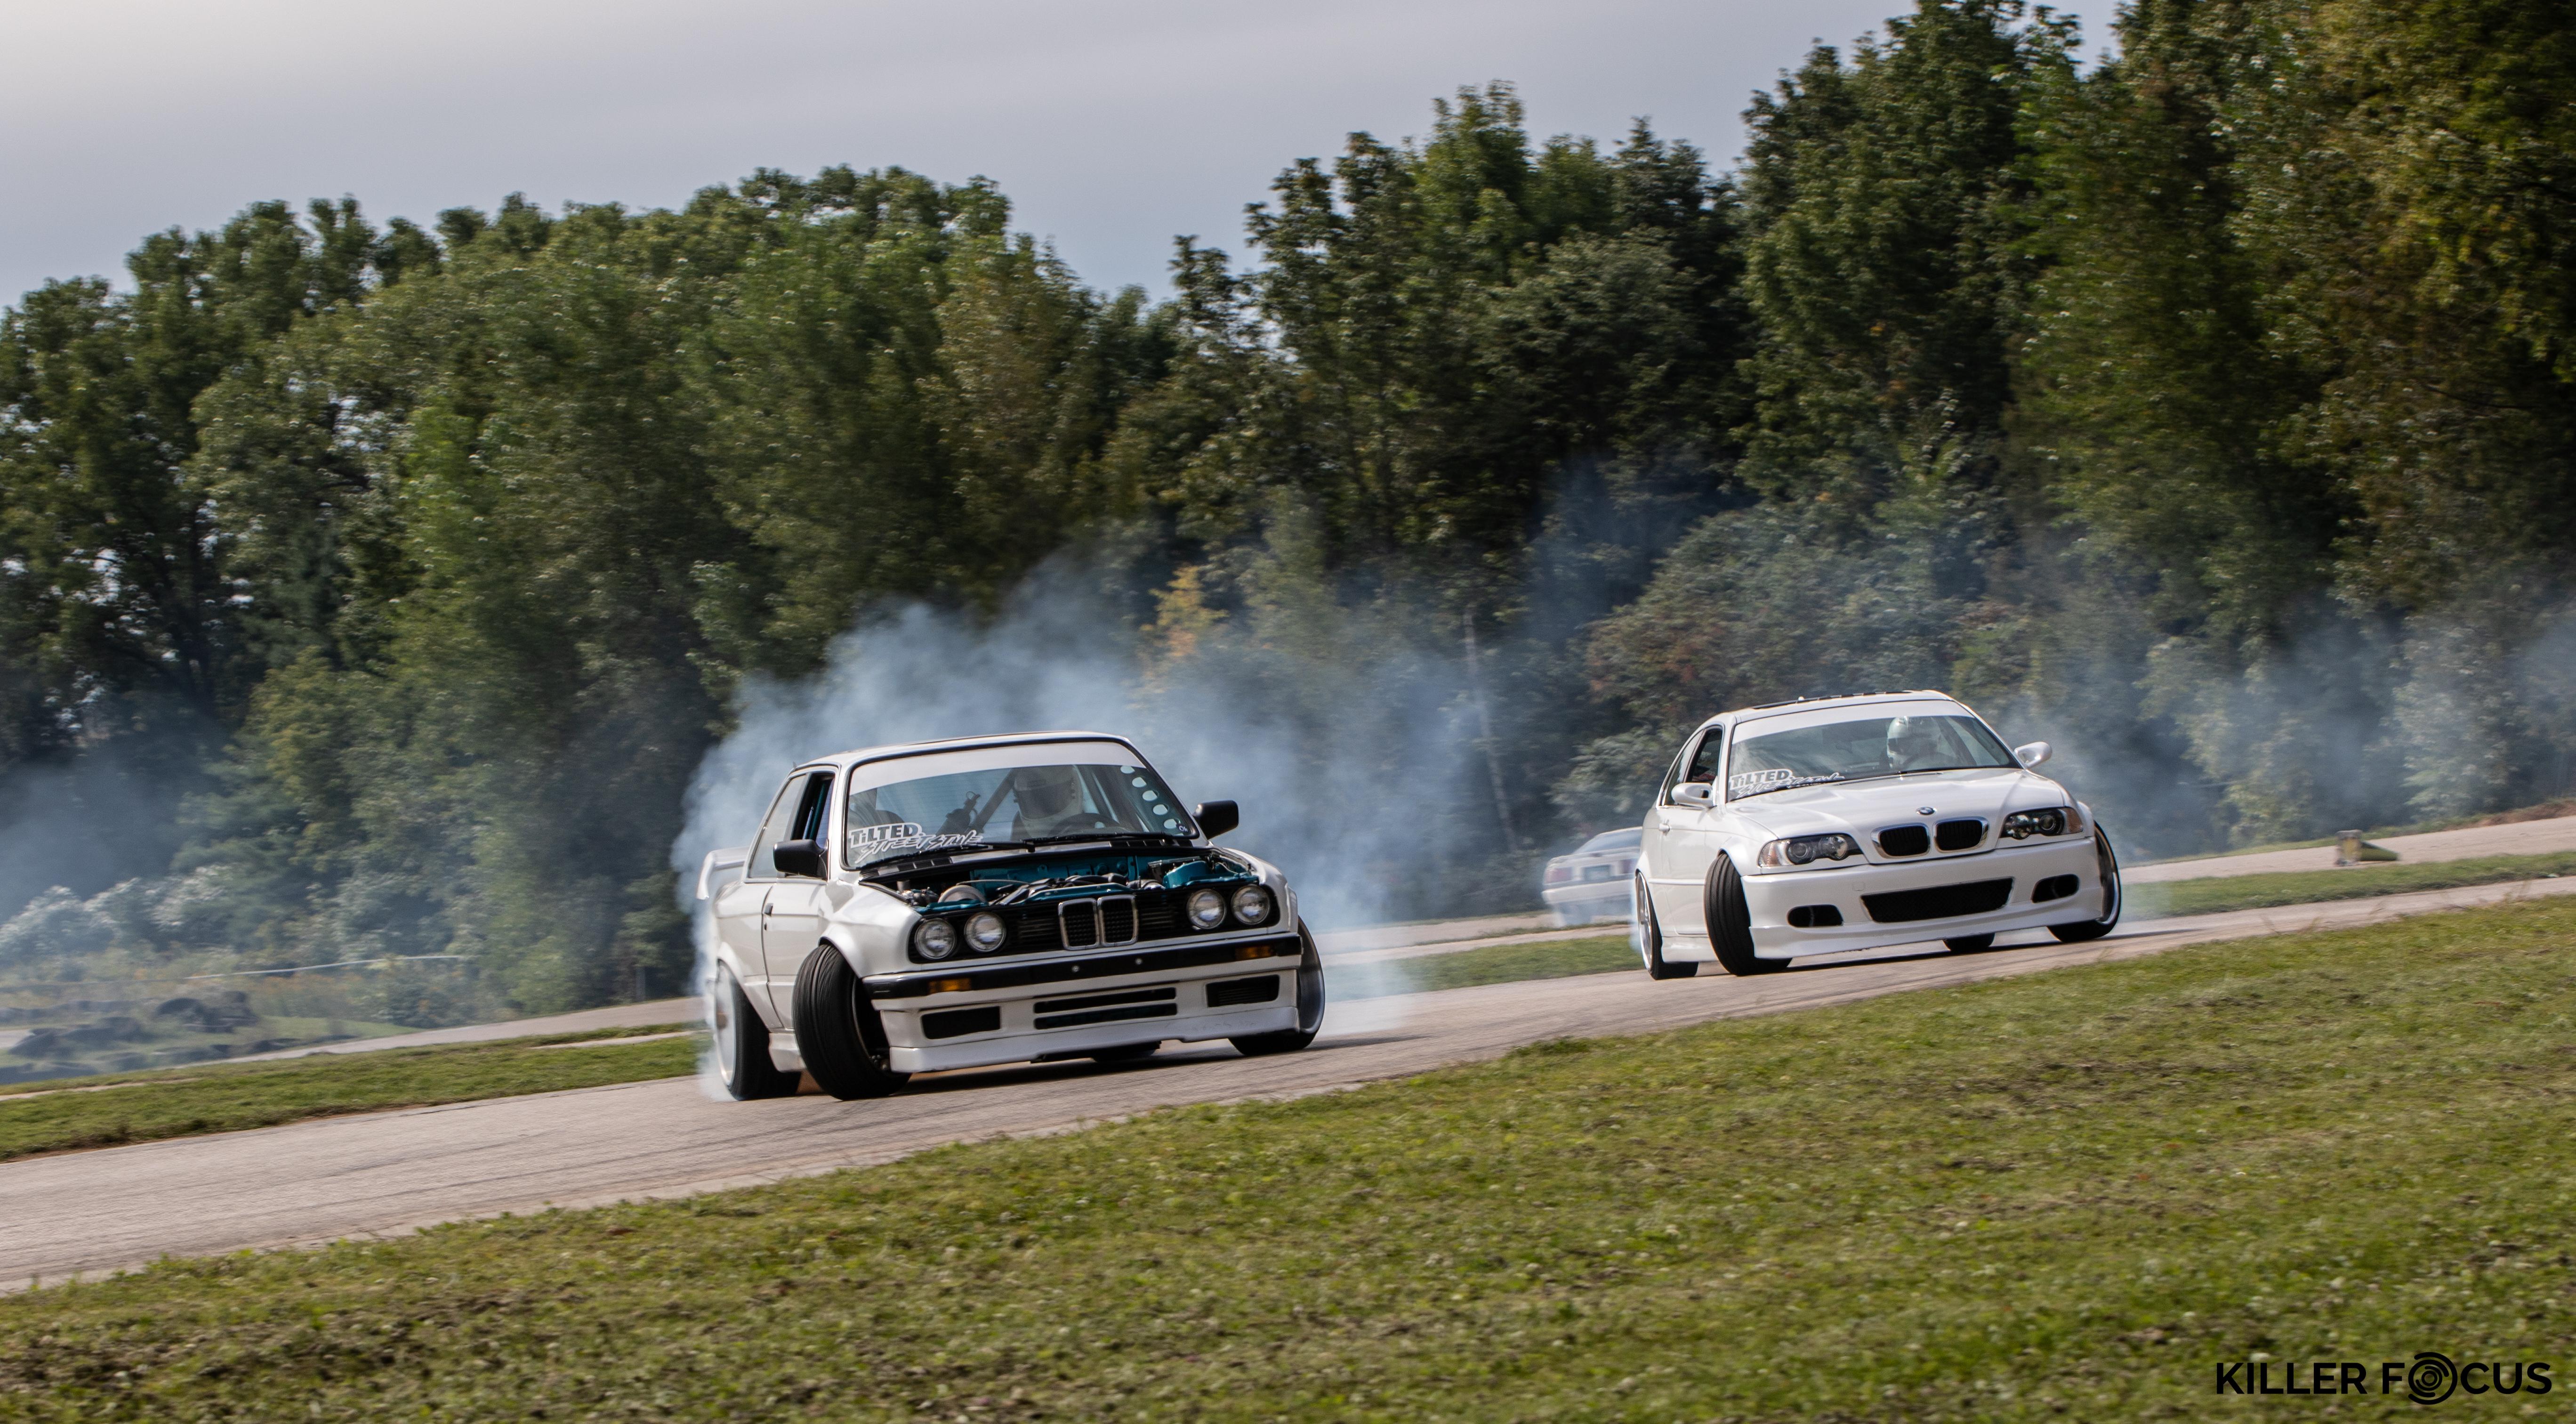
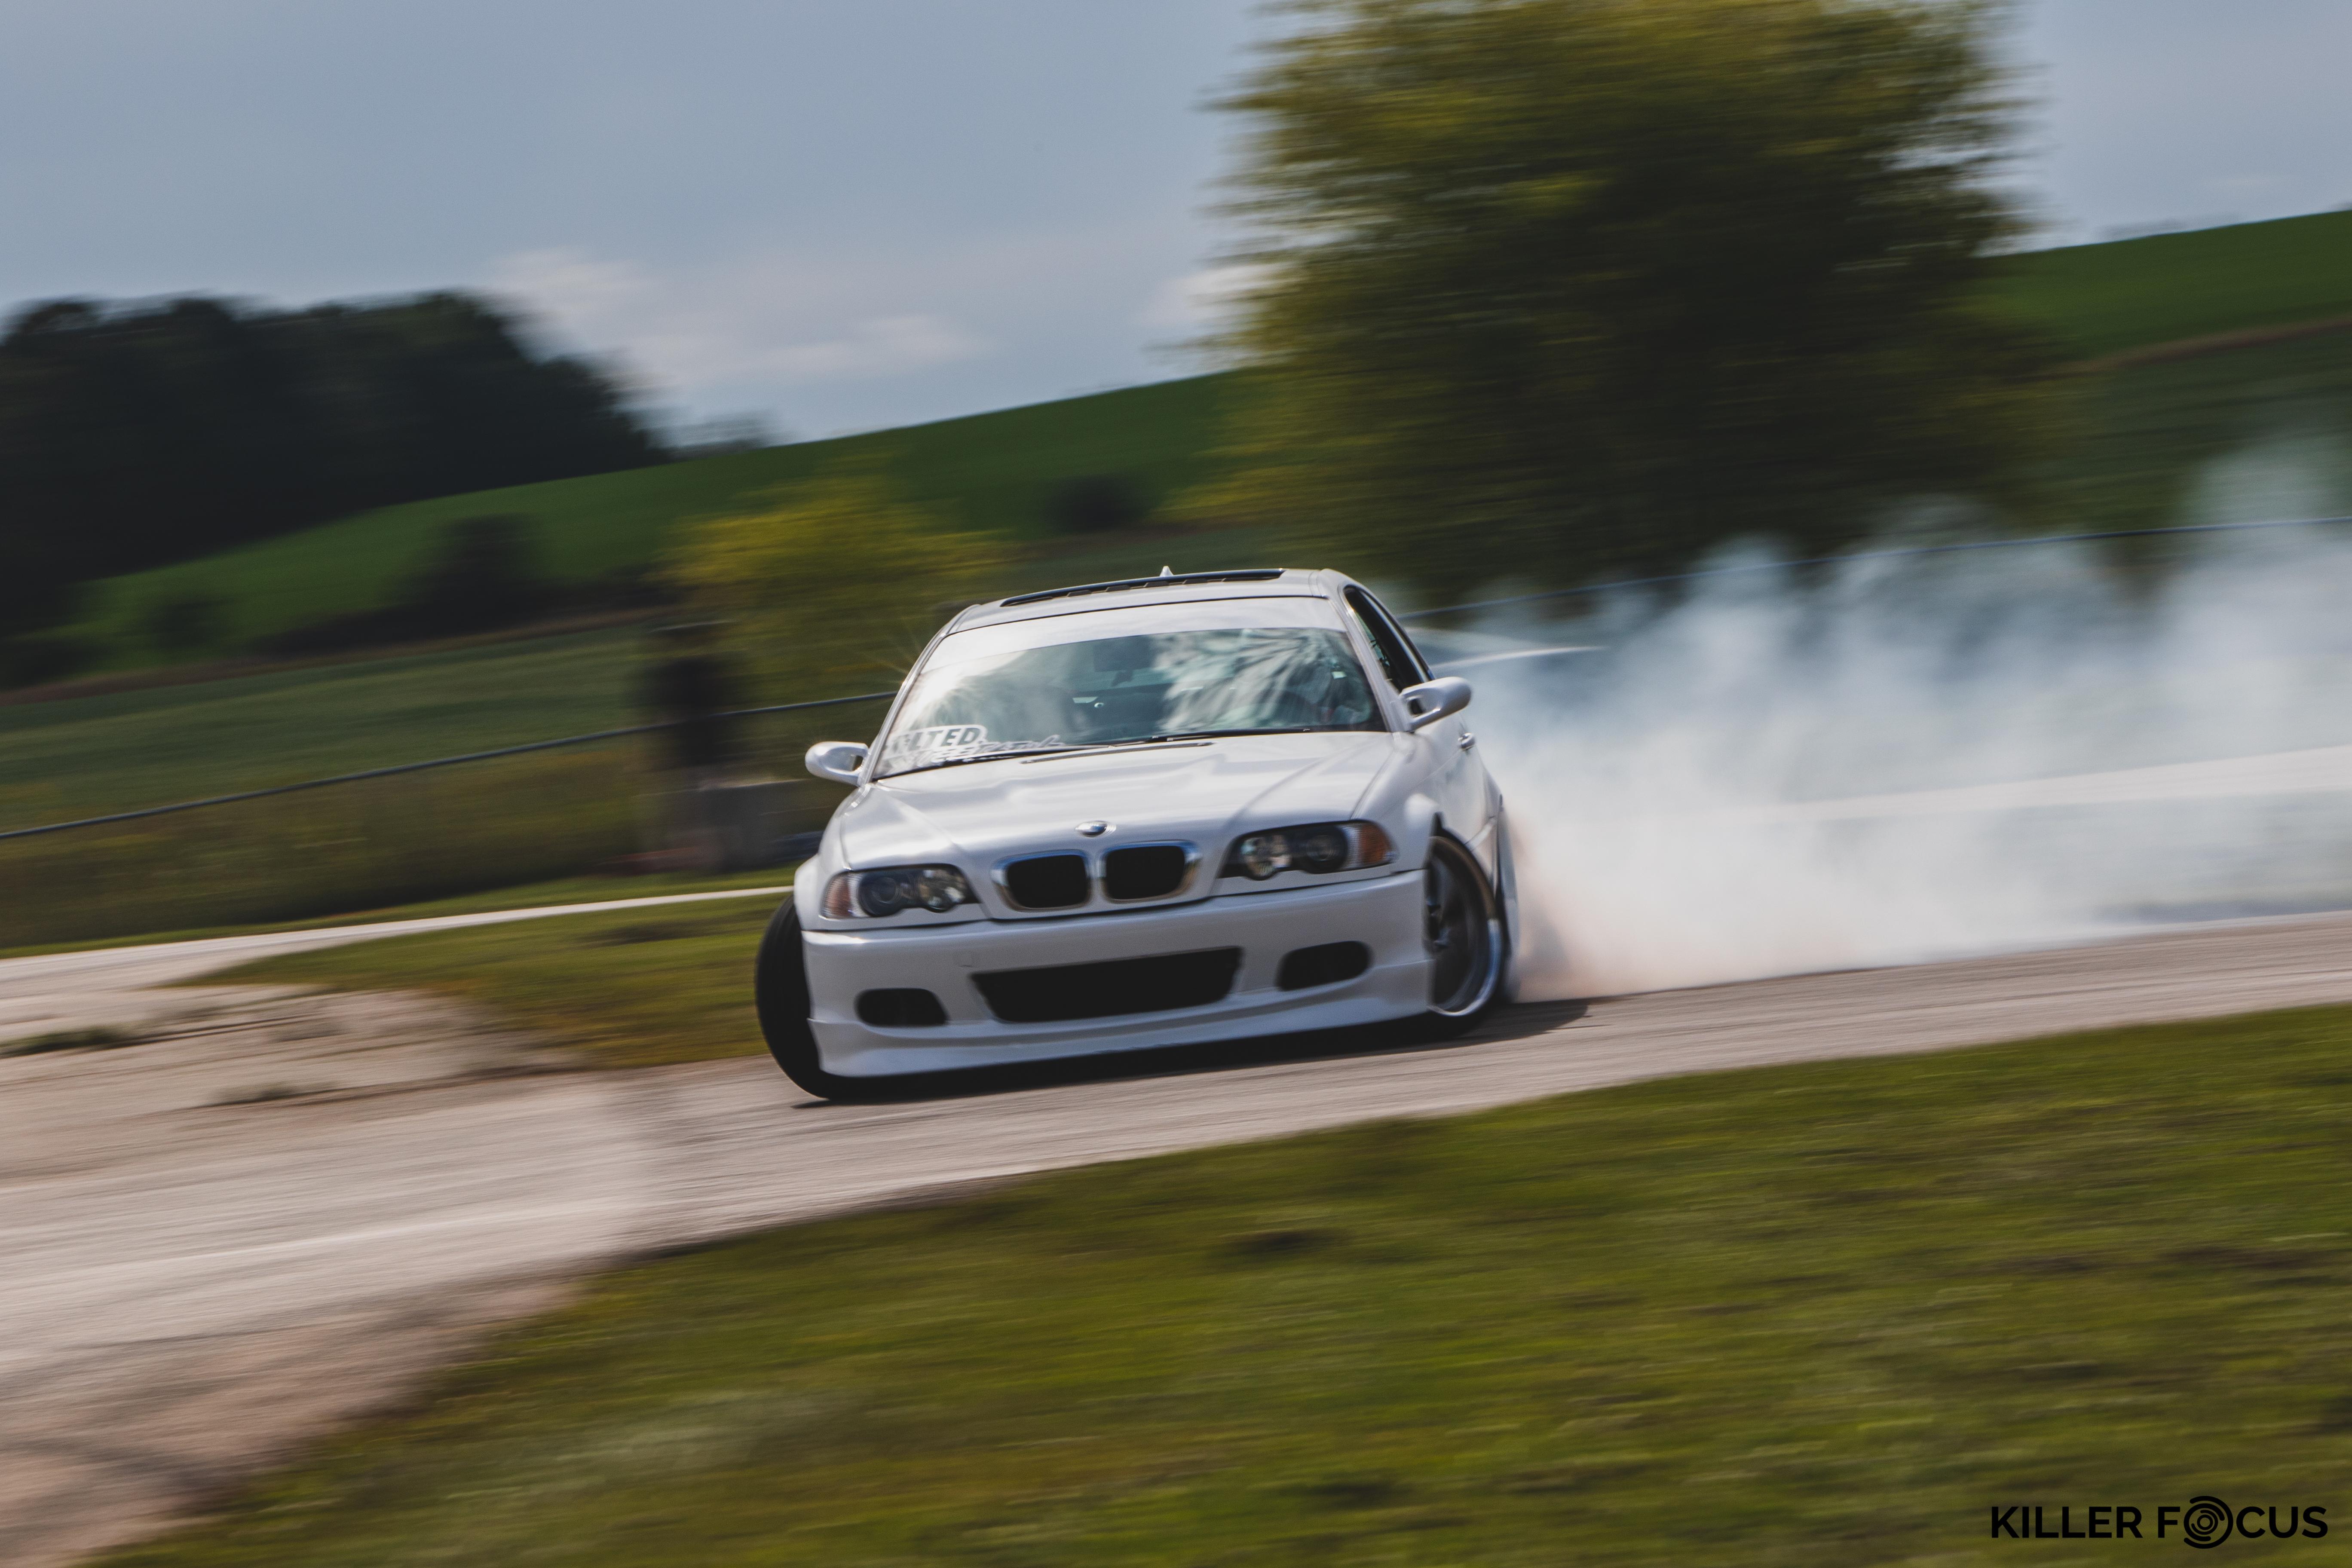
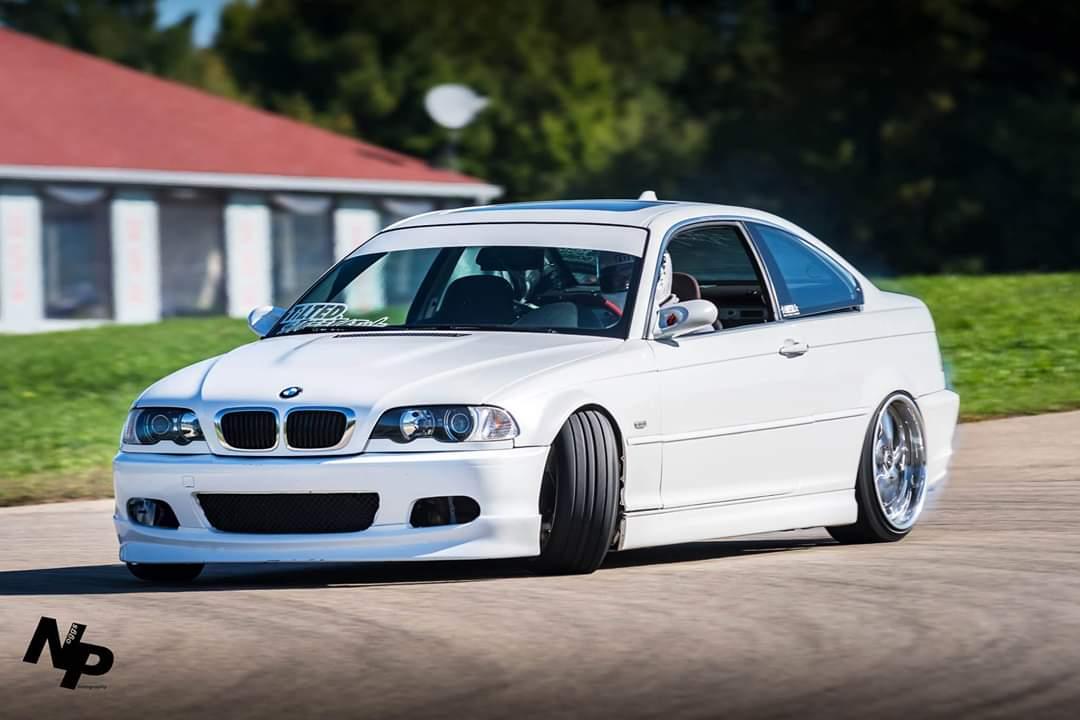
Here are some photos! There was a night session as well and I will share a few photos when they become available!
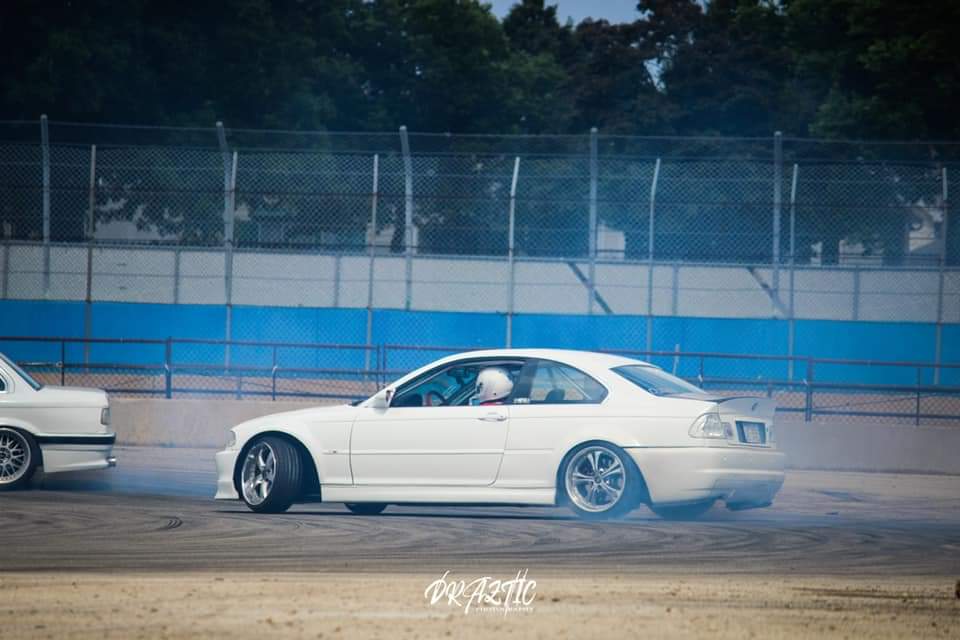
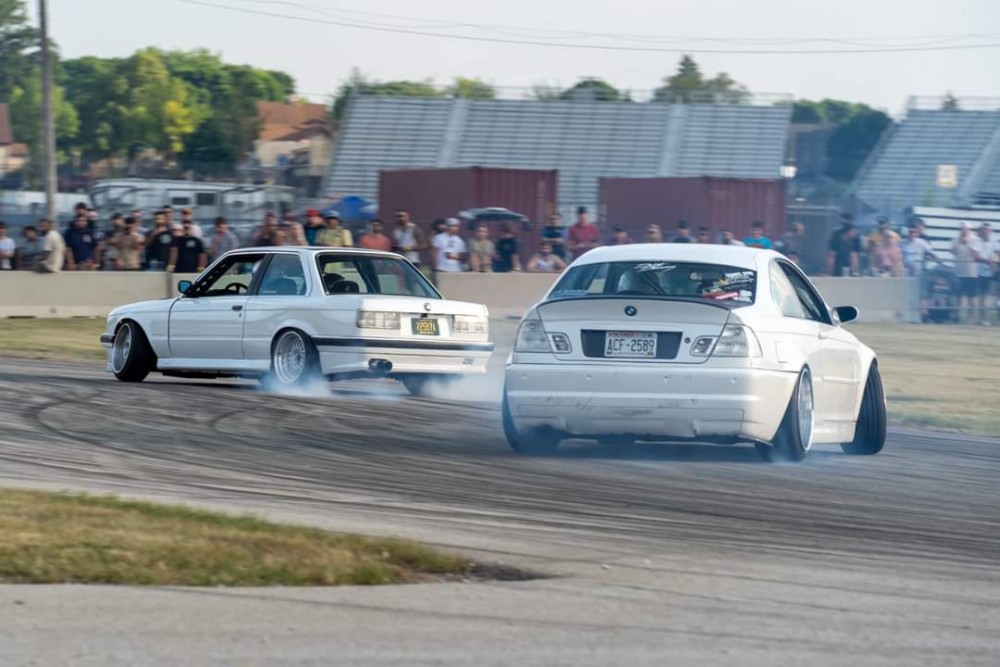
Here's an in car. I really struggled on turn 1 and had to straighten and re-initiate into turn to but when I did that she absolutely ATEEE and thats where the speed came in! Super fun!
received_499992047905259.mp4 received_499992047905259.mp4
And here is proably my favorite clip I have seen so far.
All in all it was a great event. I learned alot and was able to put on a show too.
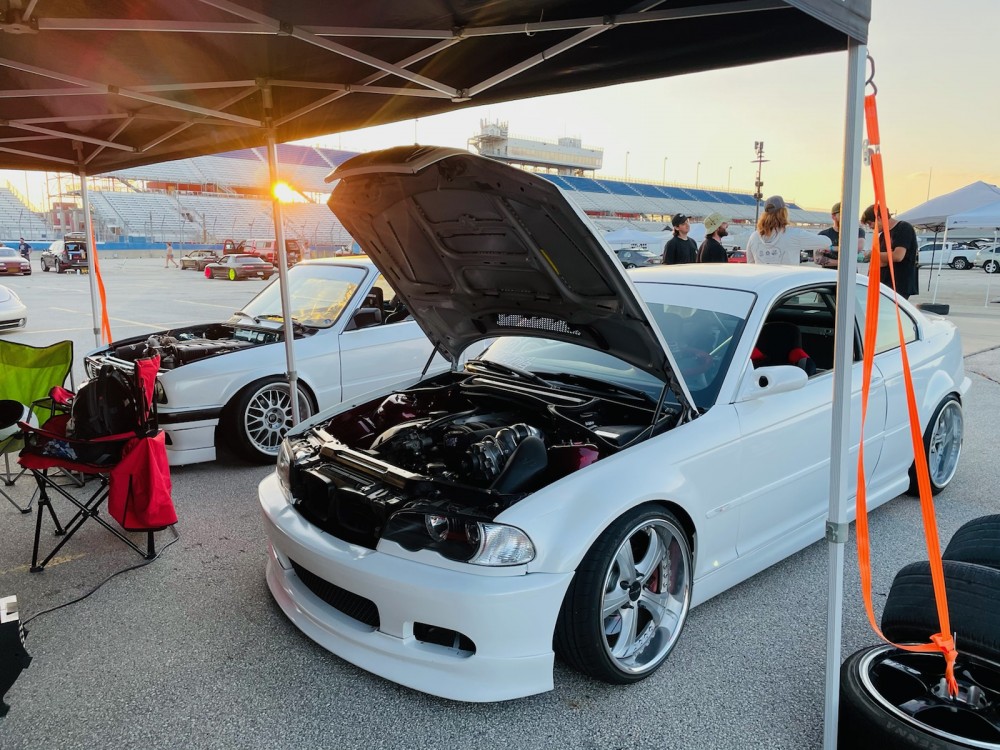
I do have a few things I want to address before the next event hopefully. But summer and this season is off to a hell of a fun start!
-
A purists nightmare - E46 drift buildSMALL UPDATE.
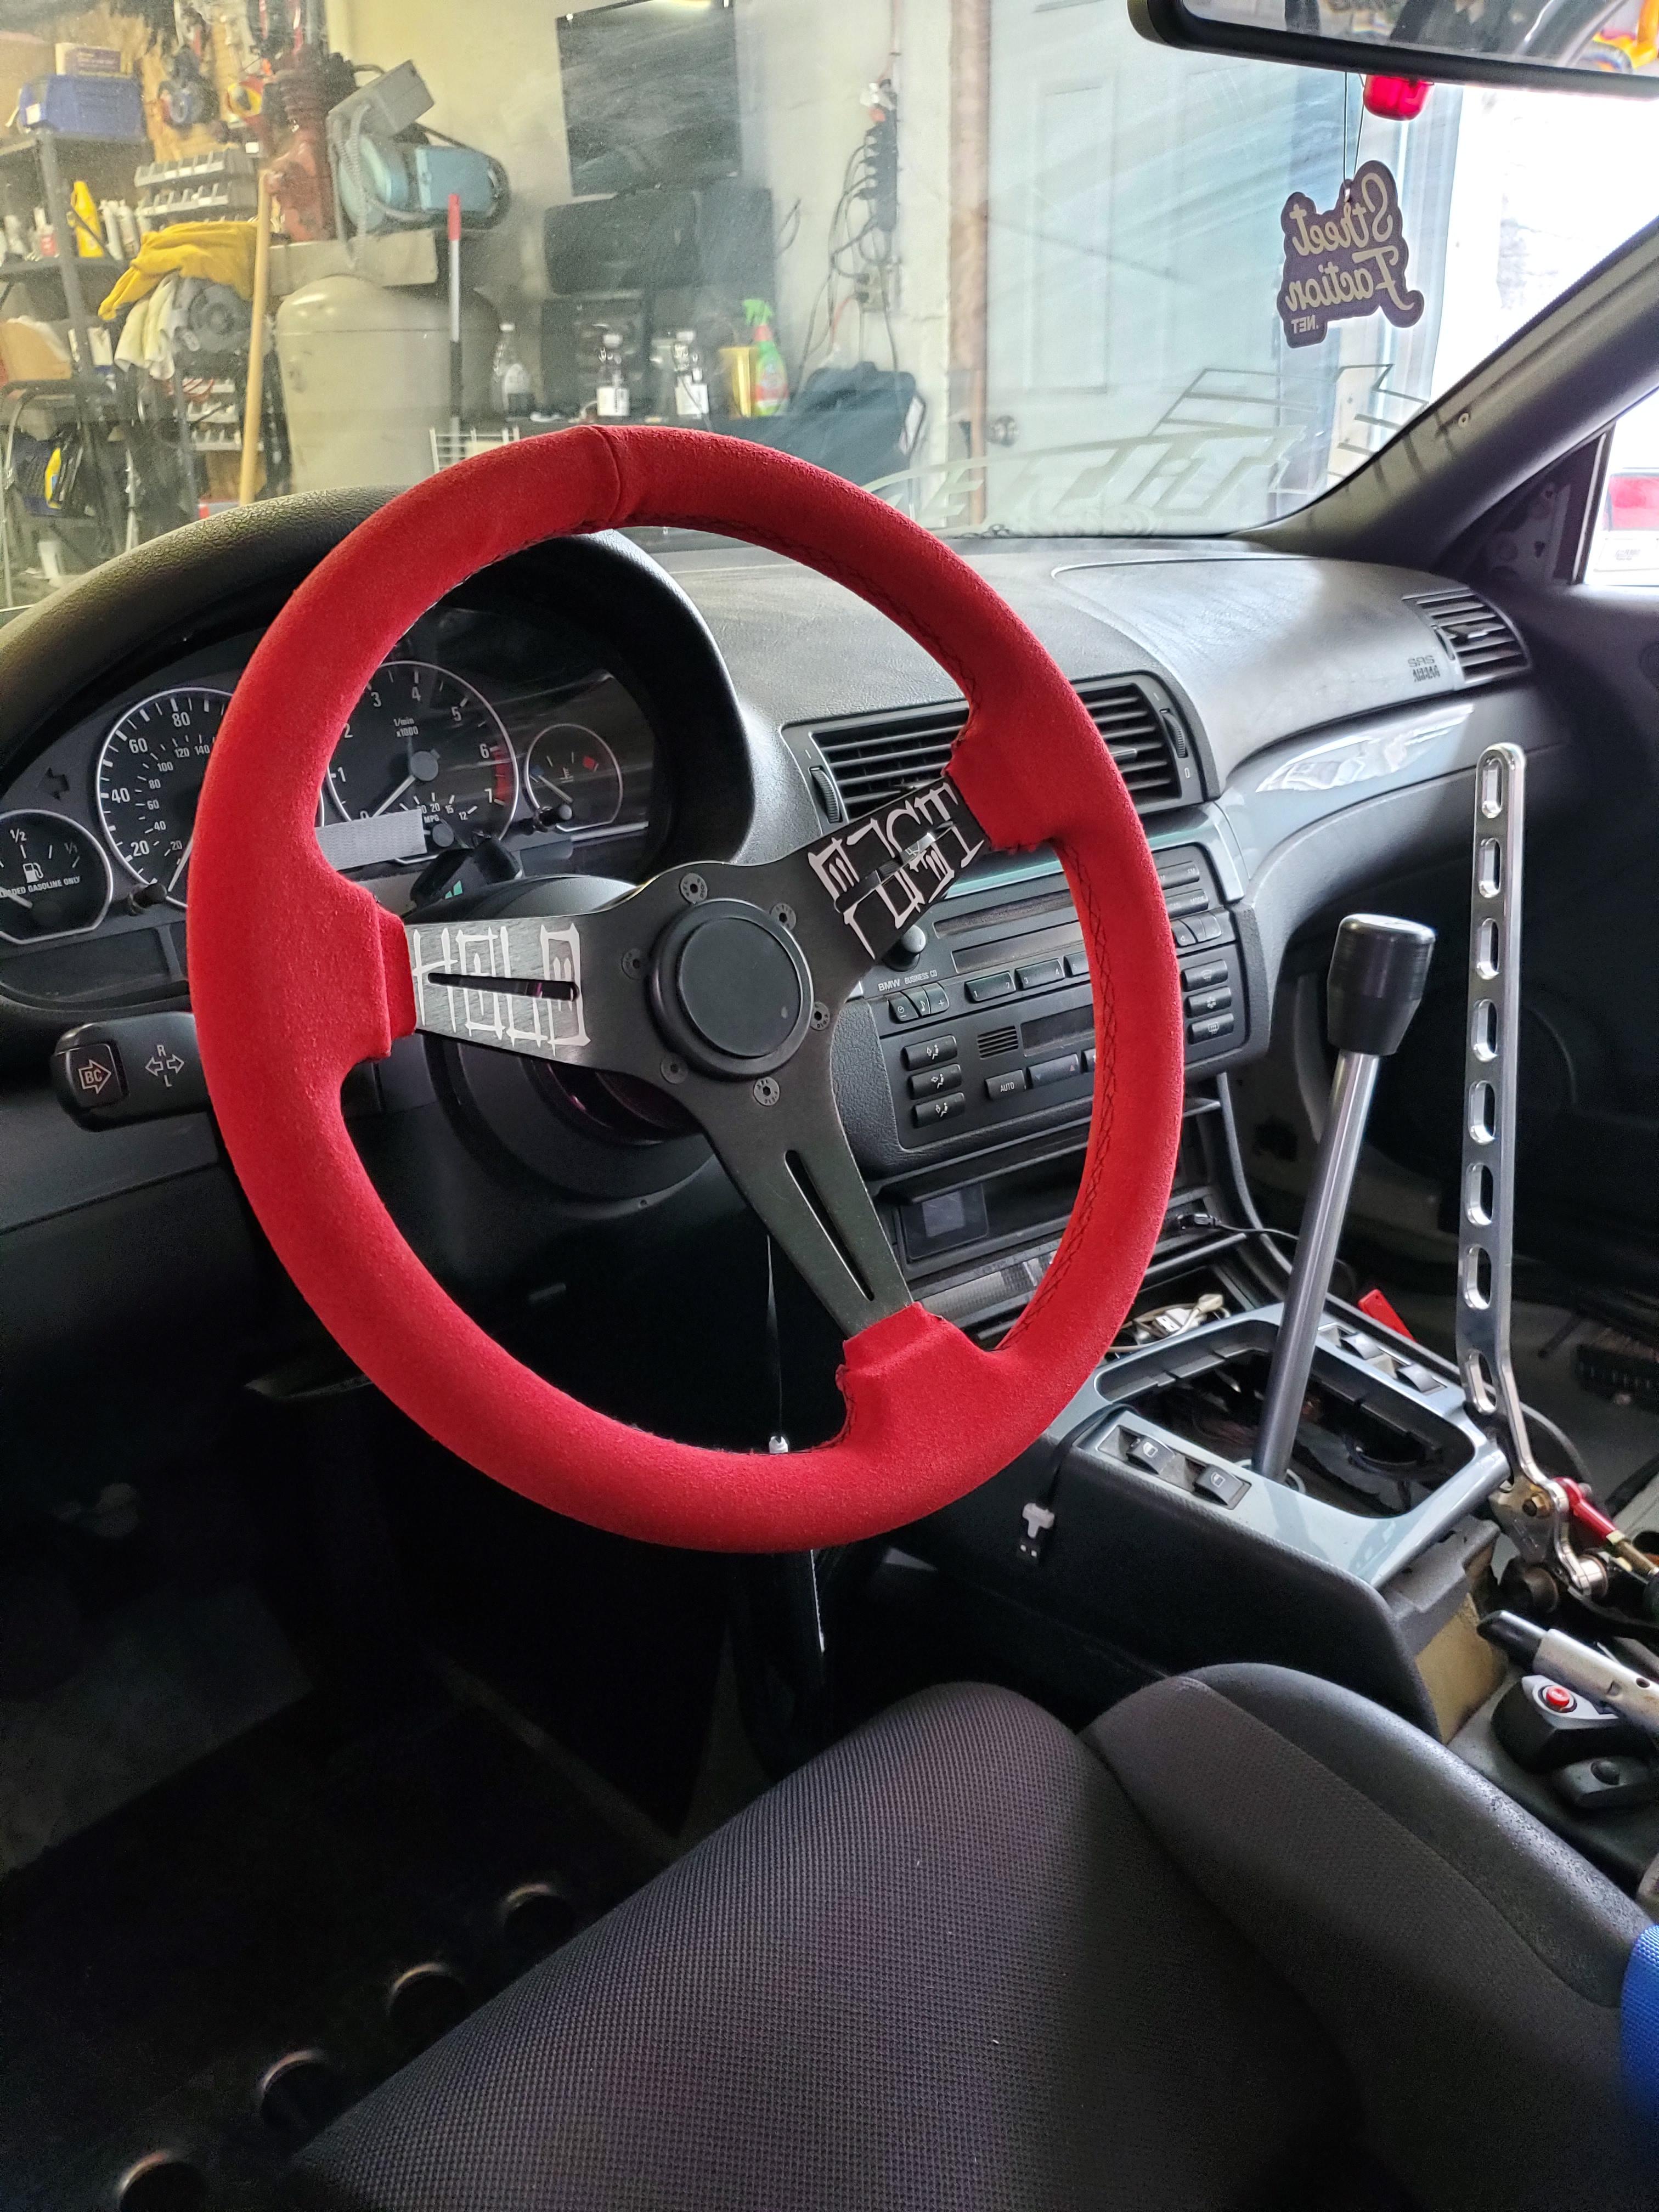
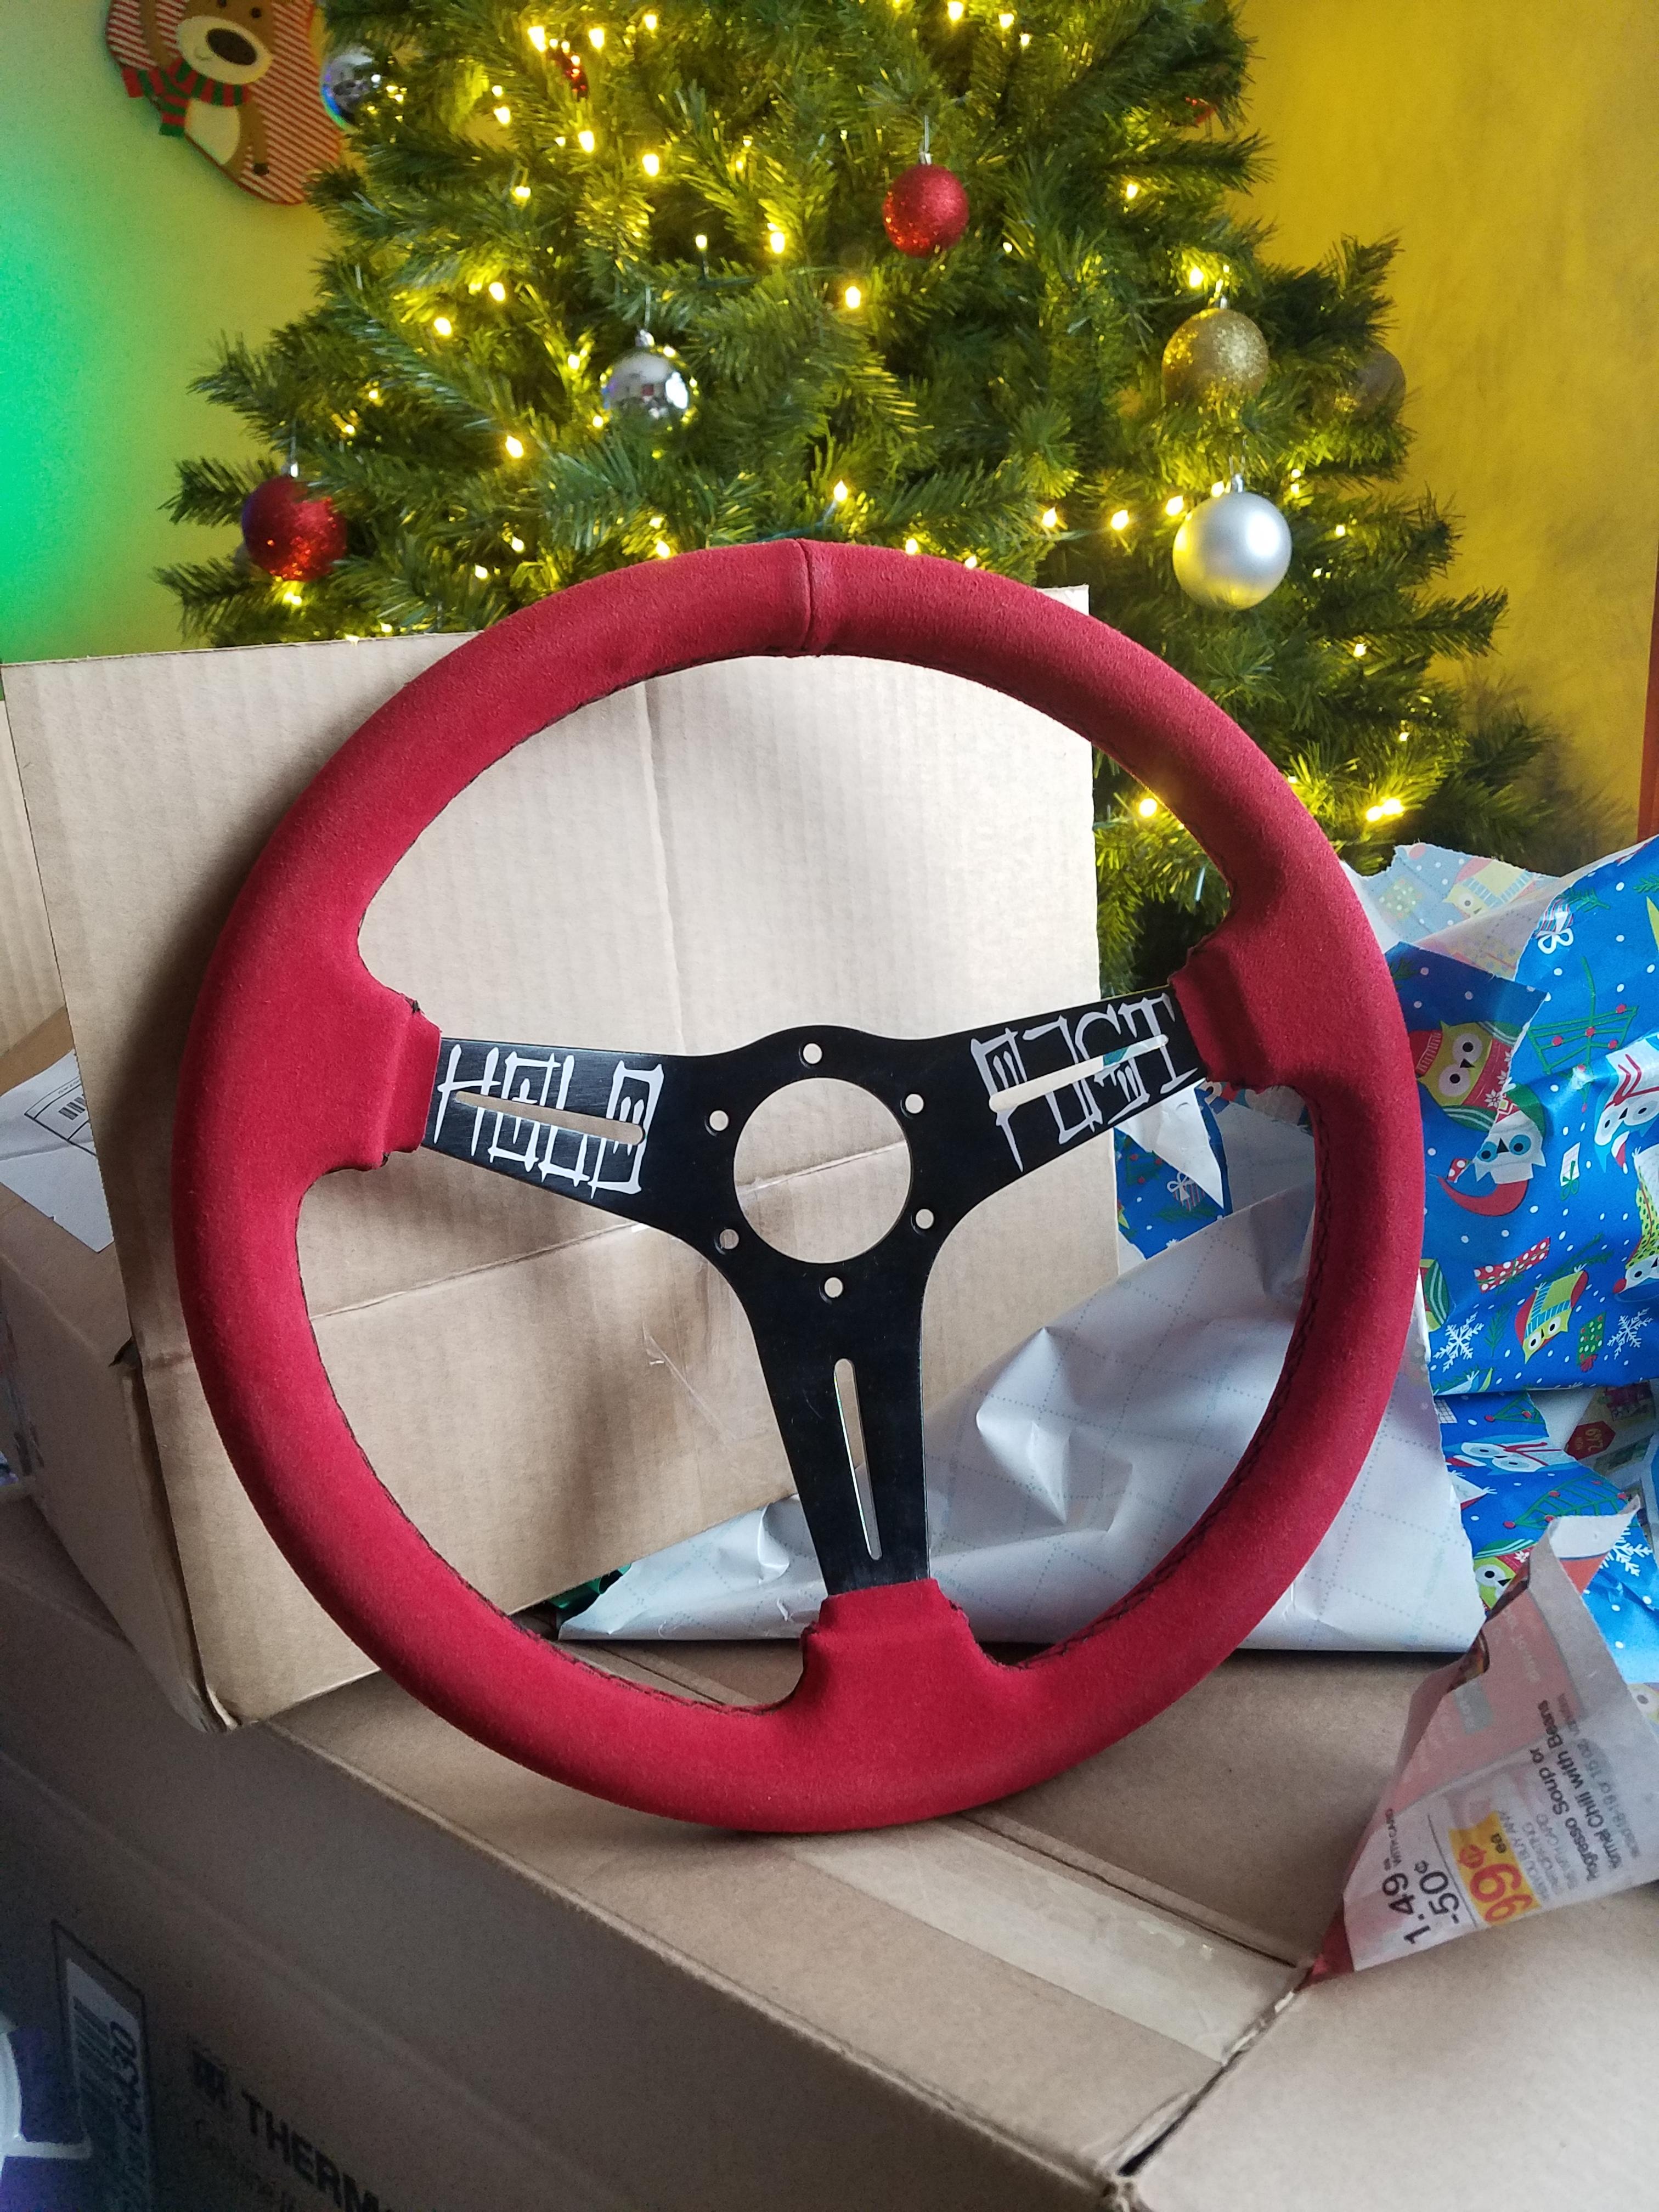
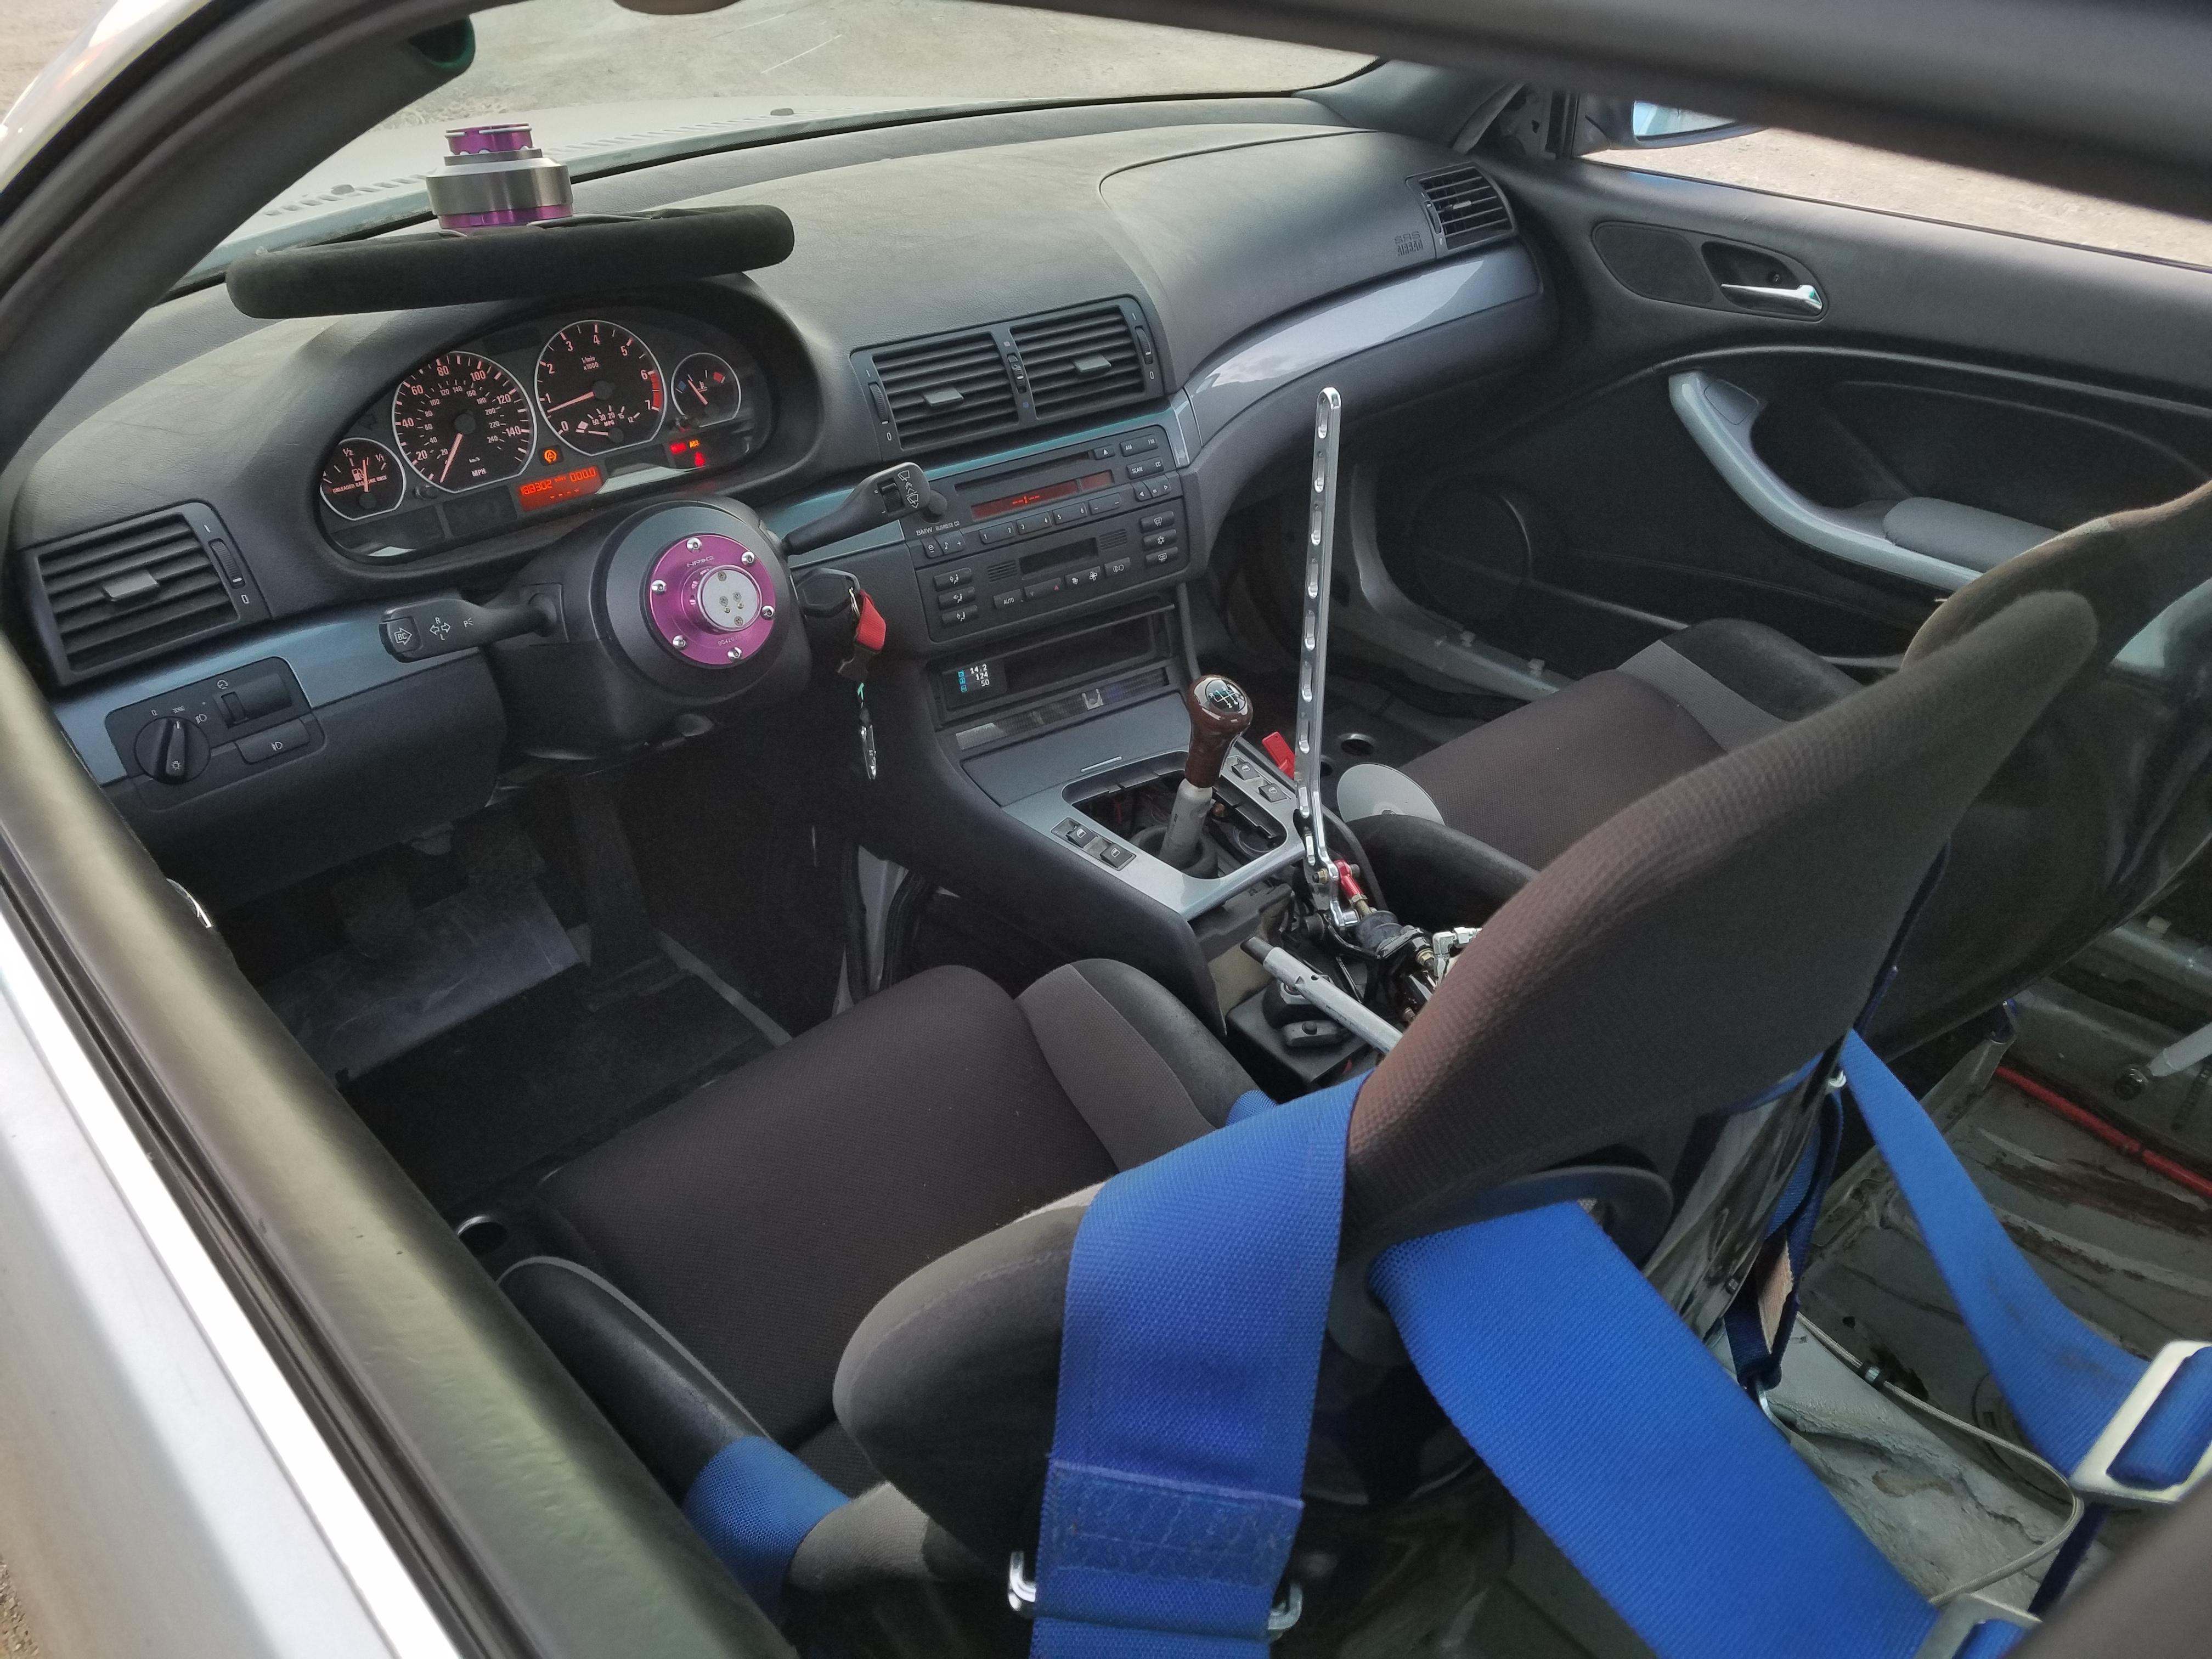
My awesome girlfriend got me this HoldFast usa steering wheel that I've wanted for awhile.
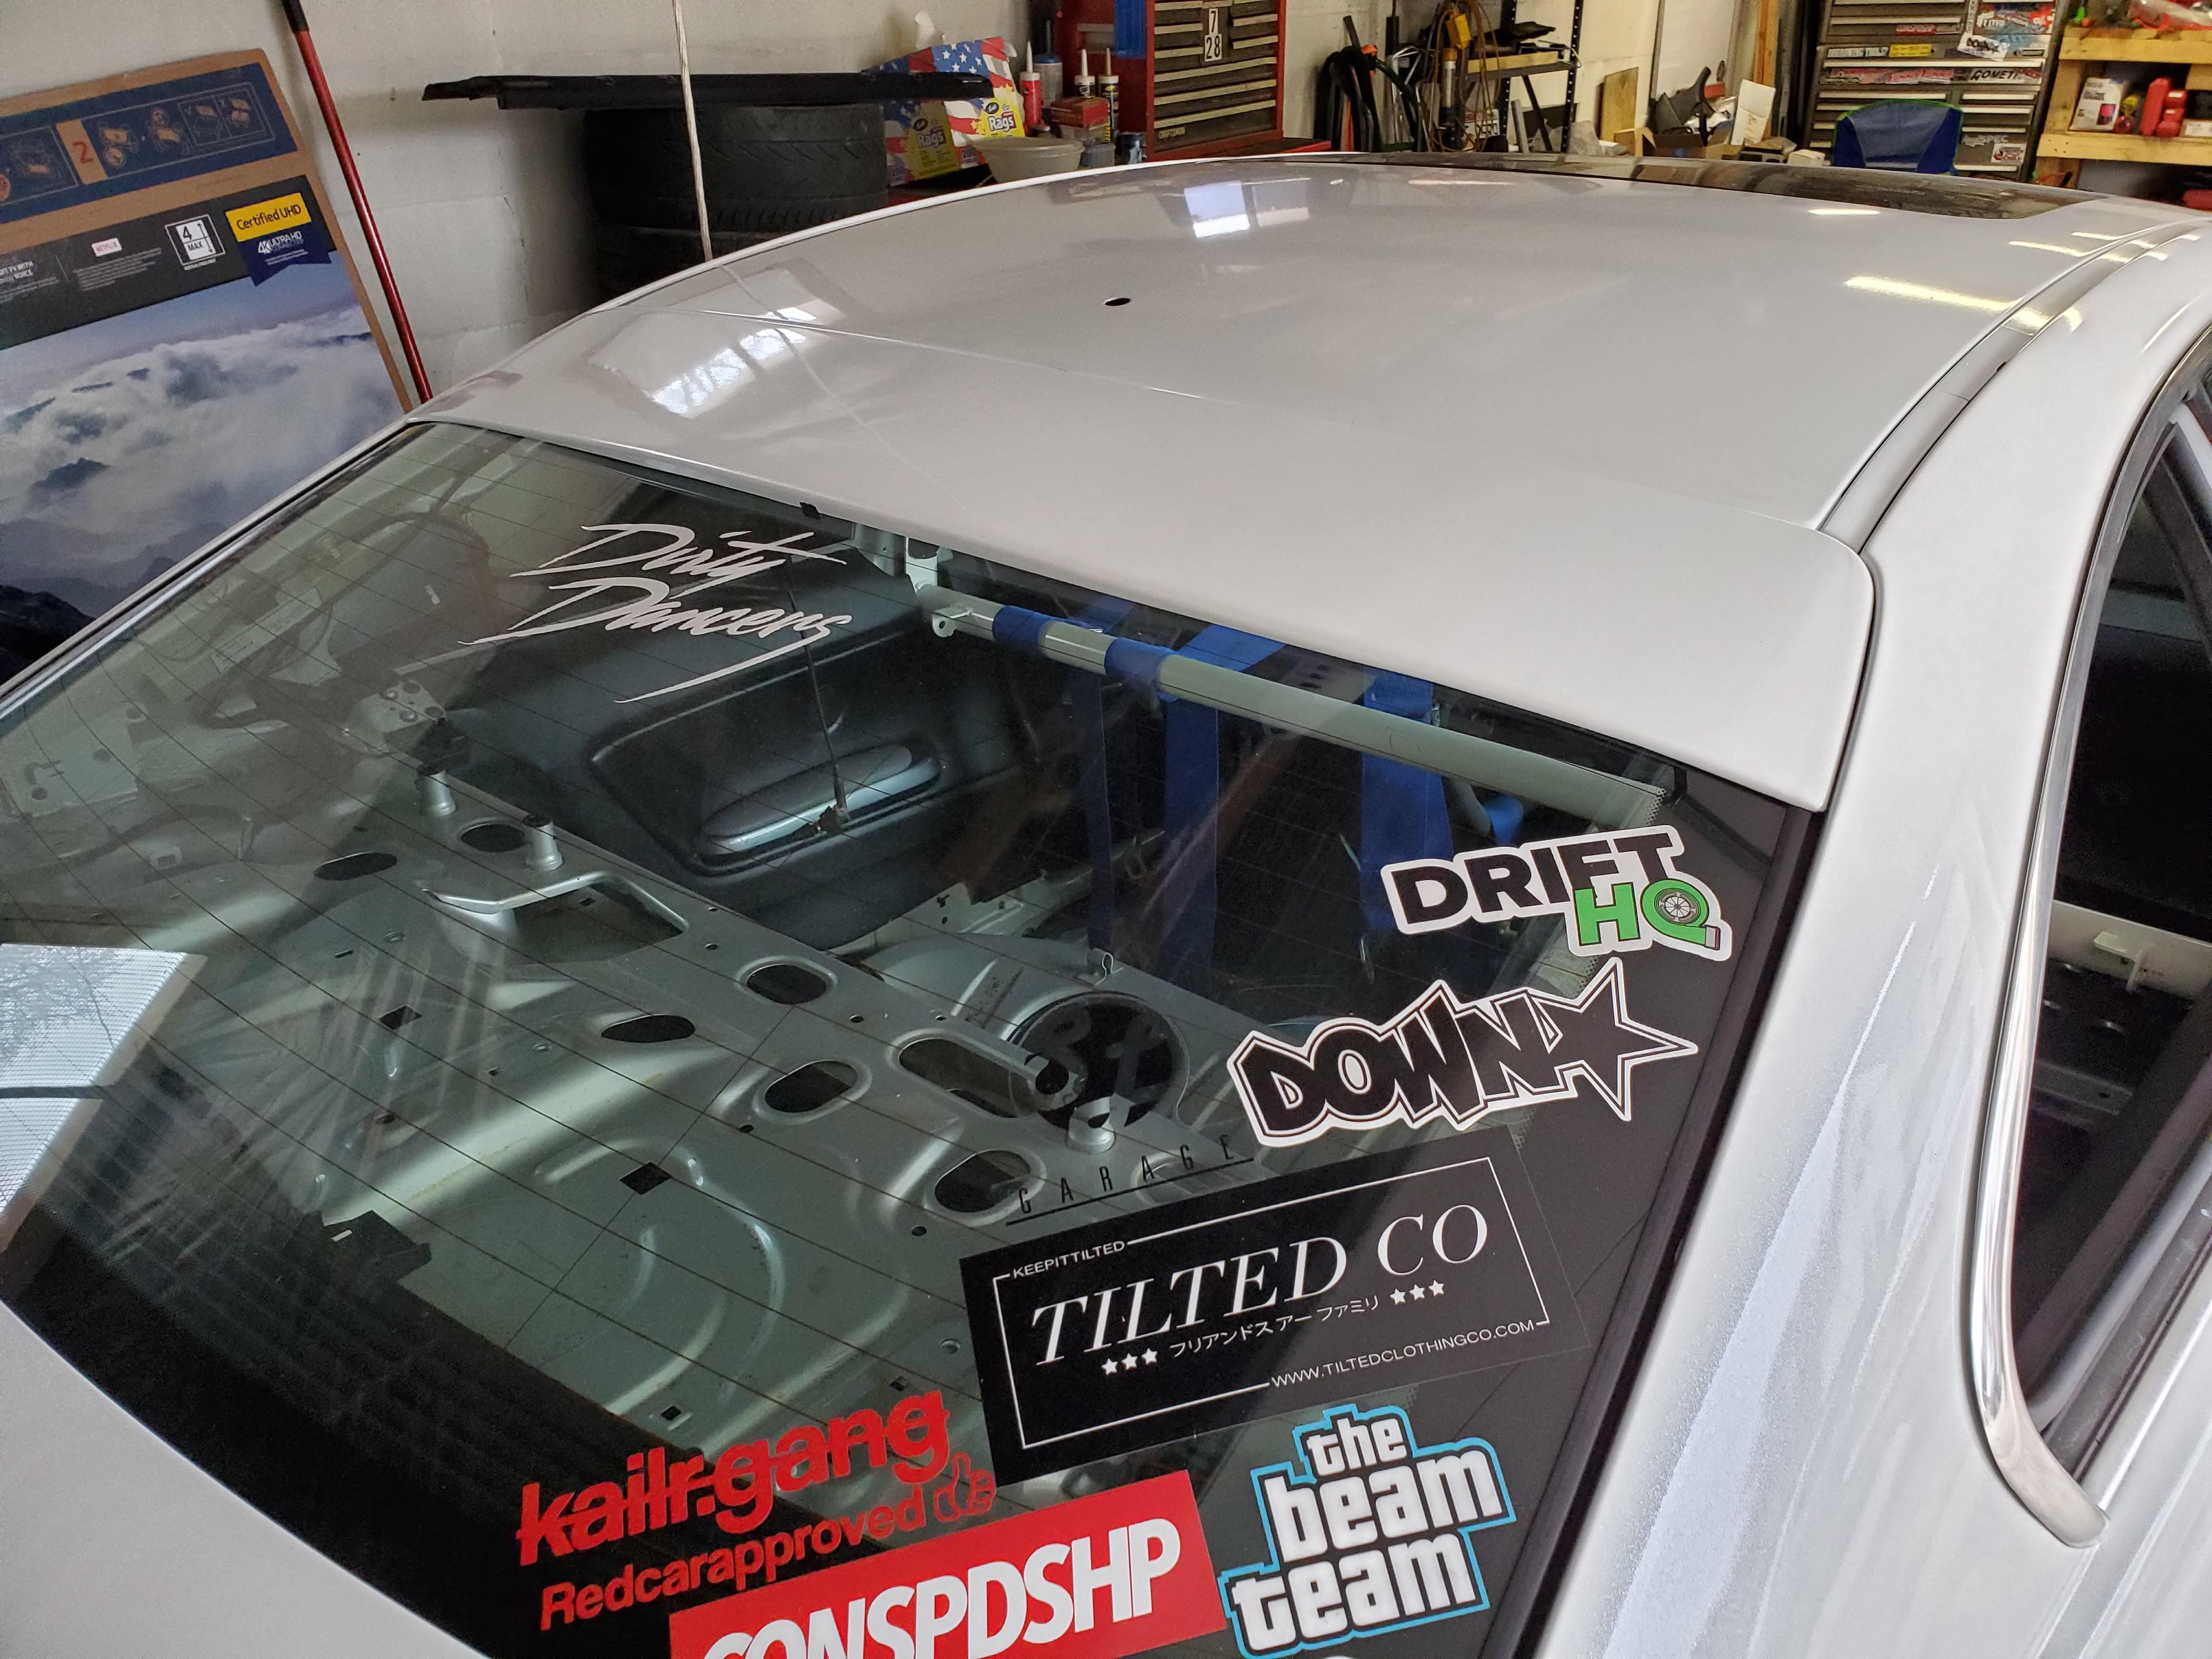
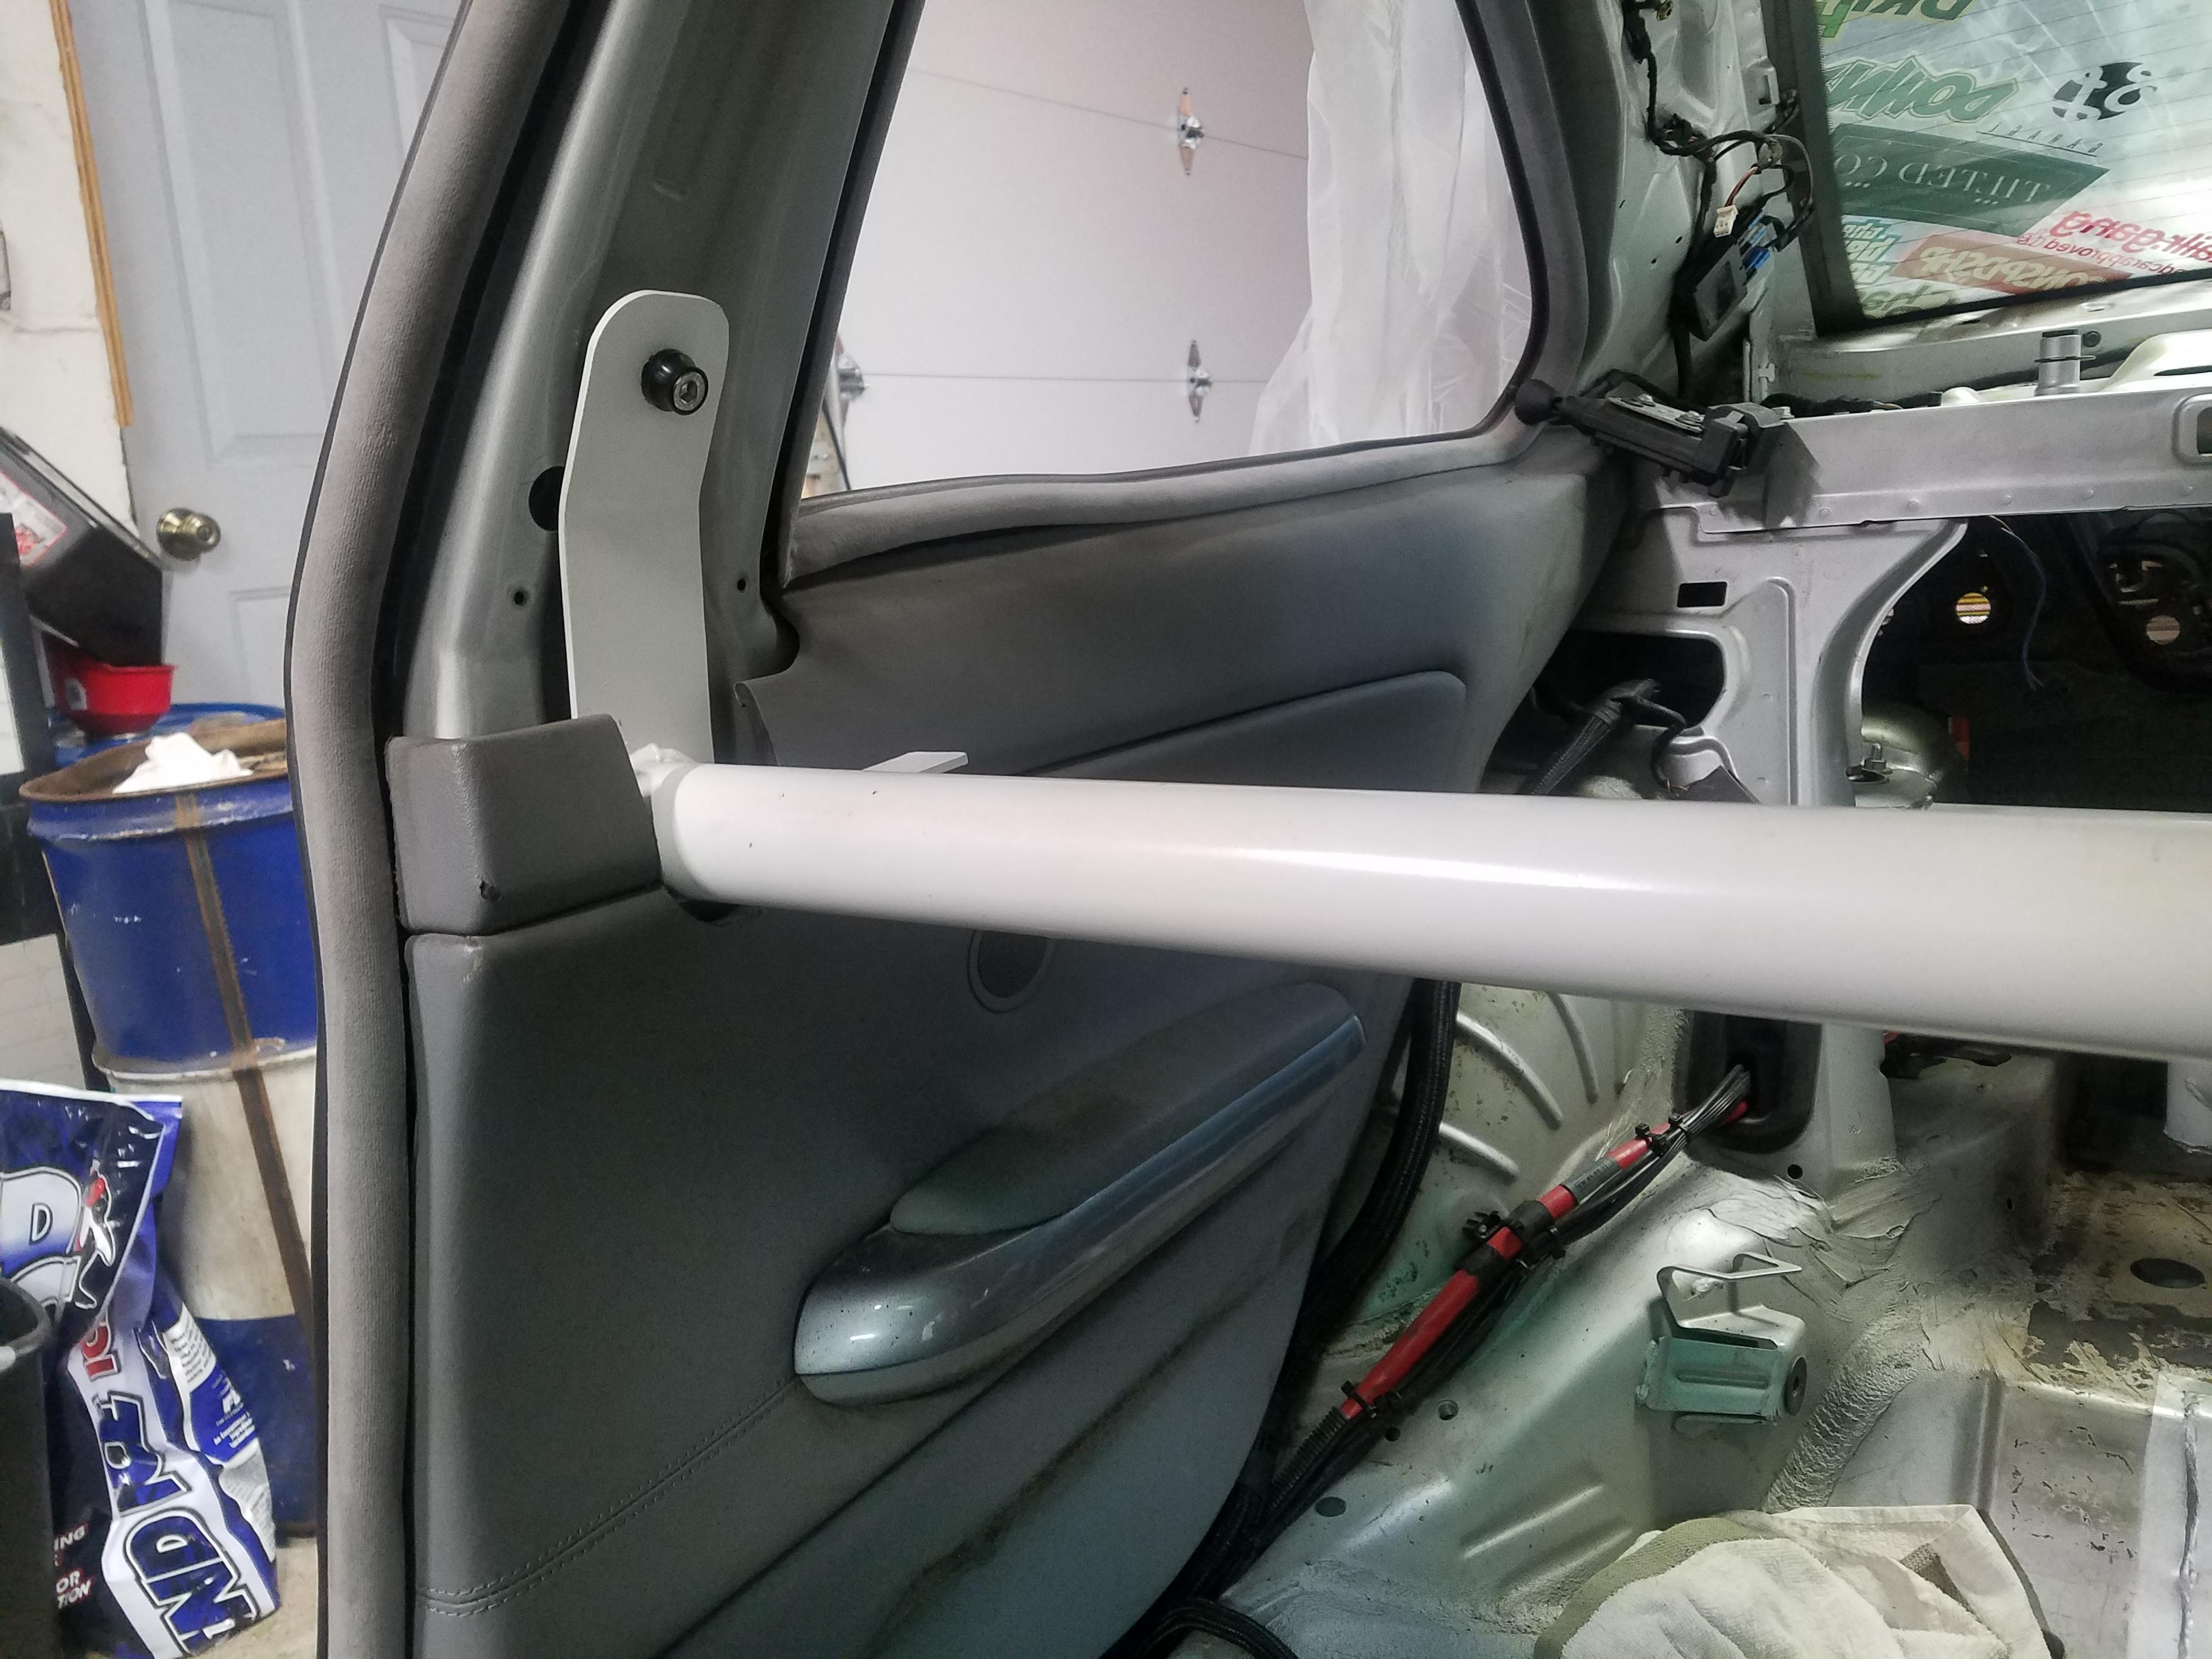
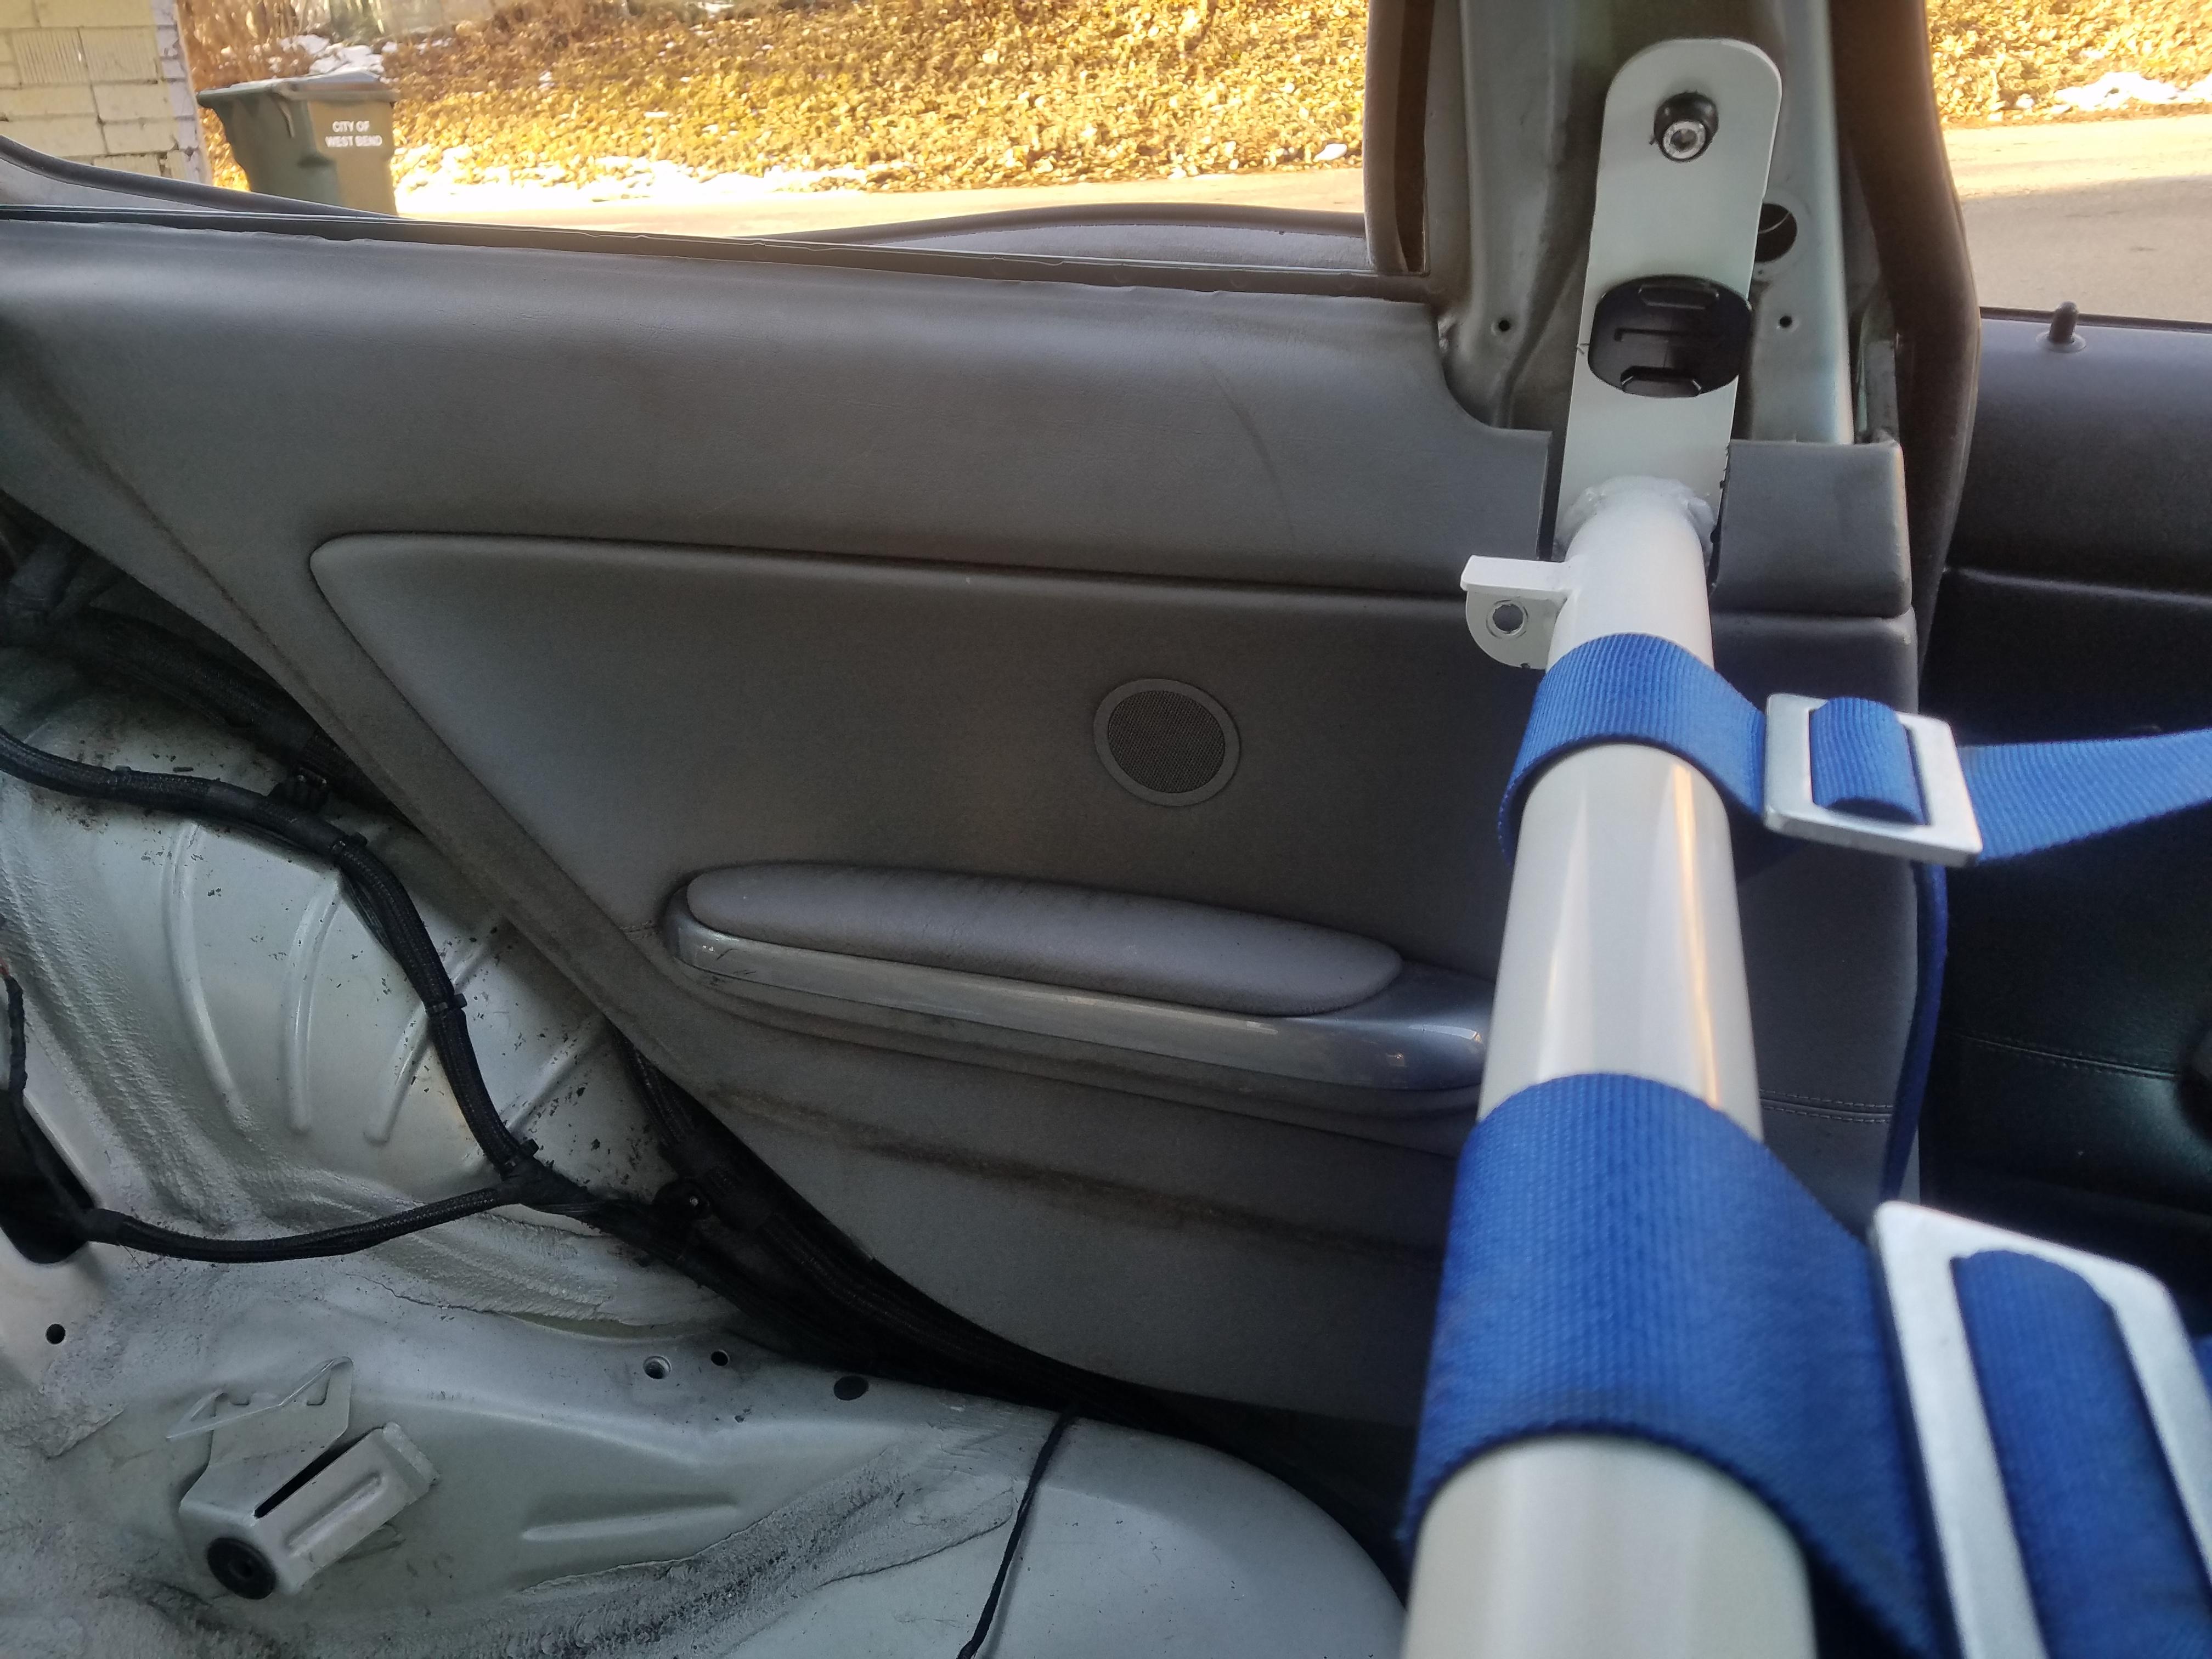
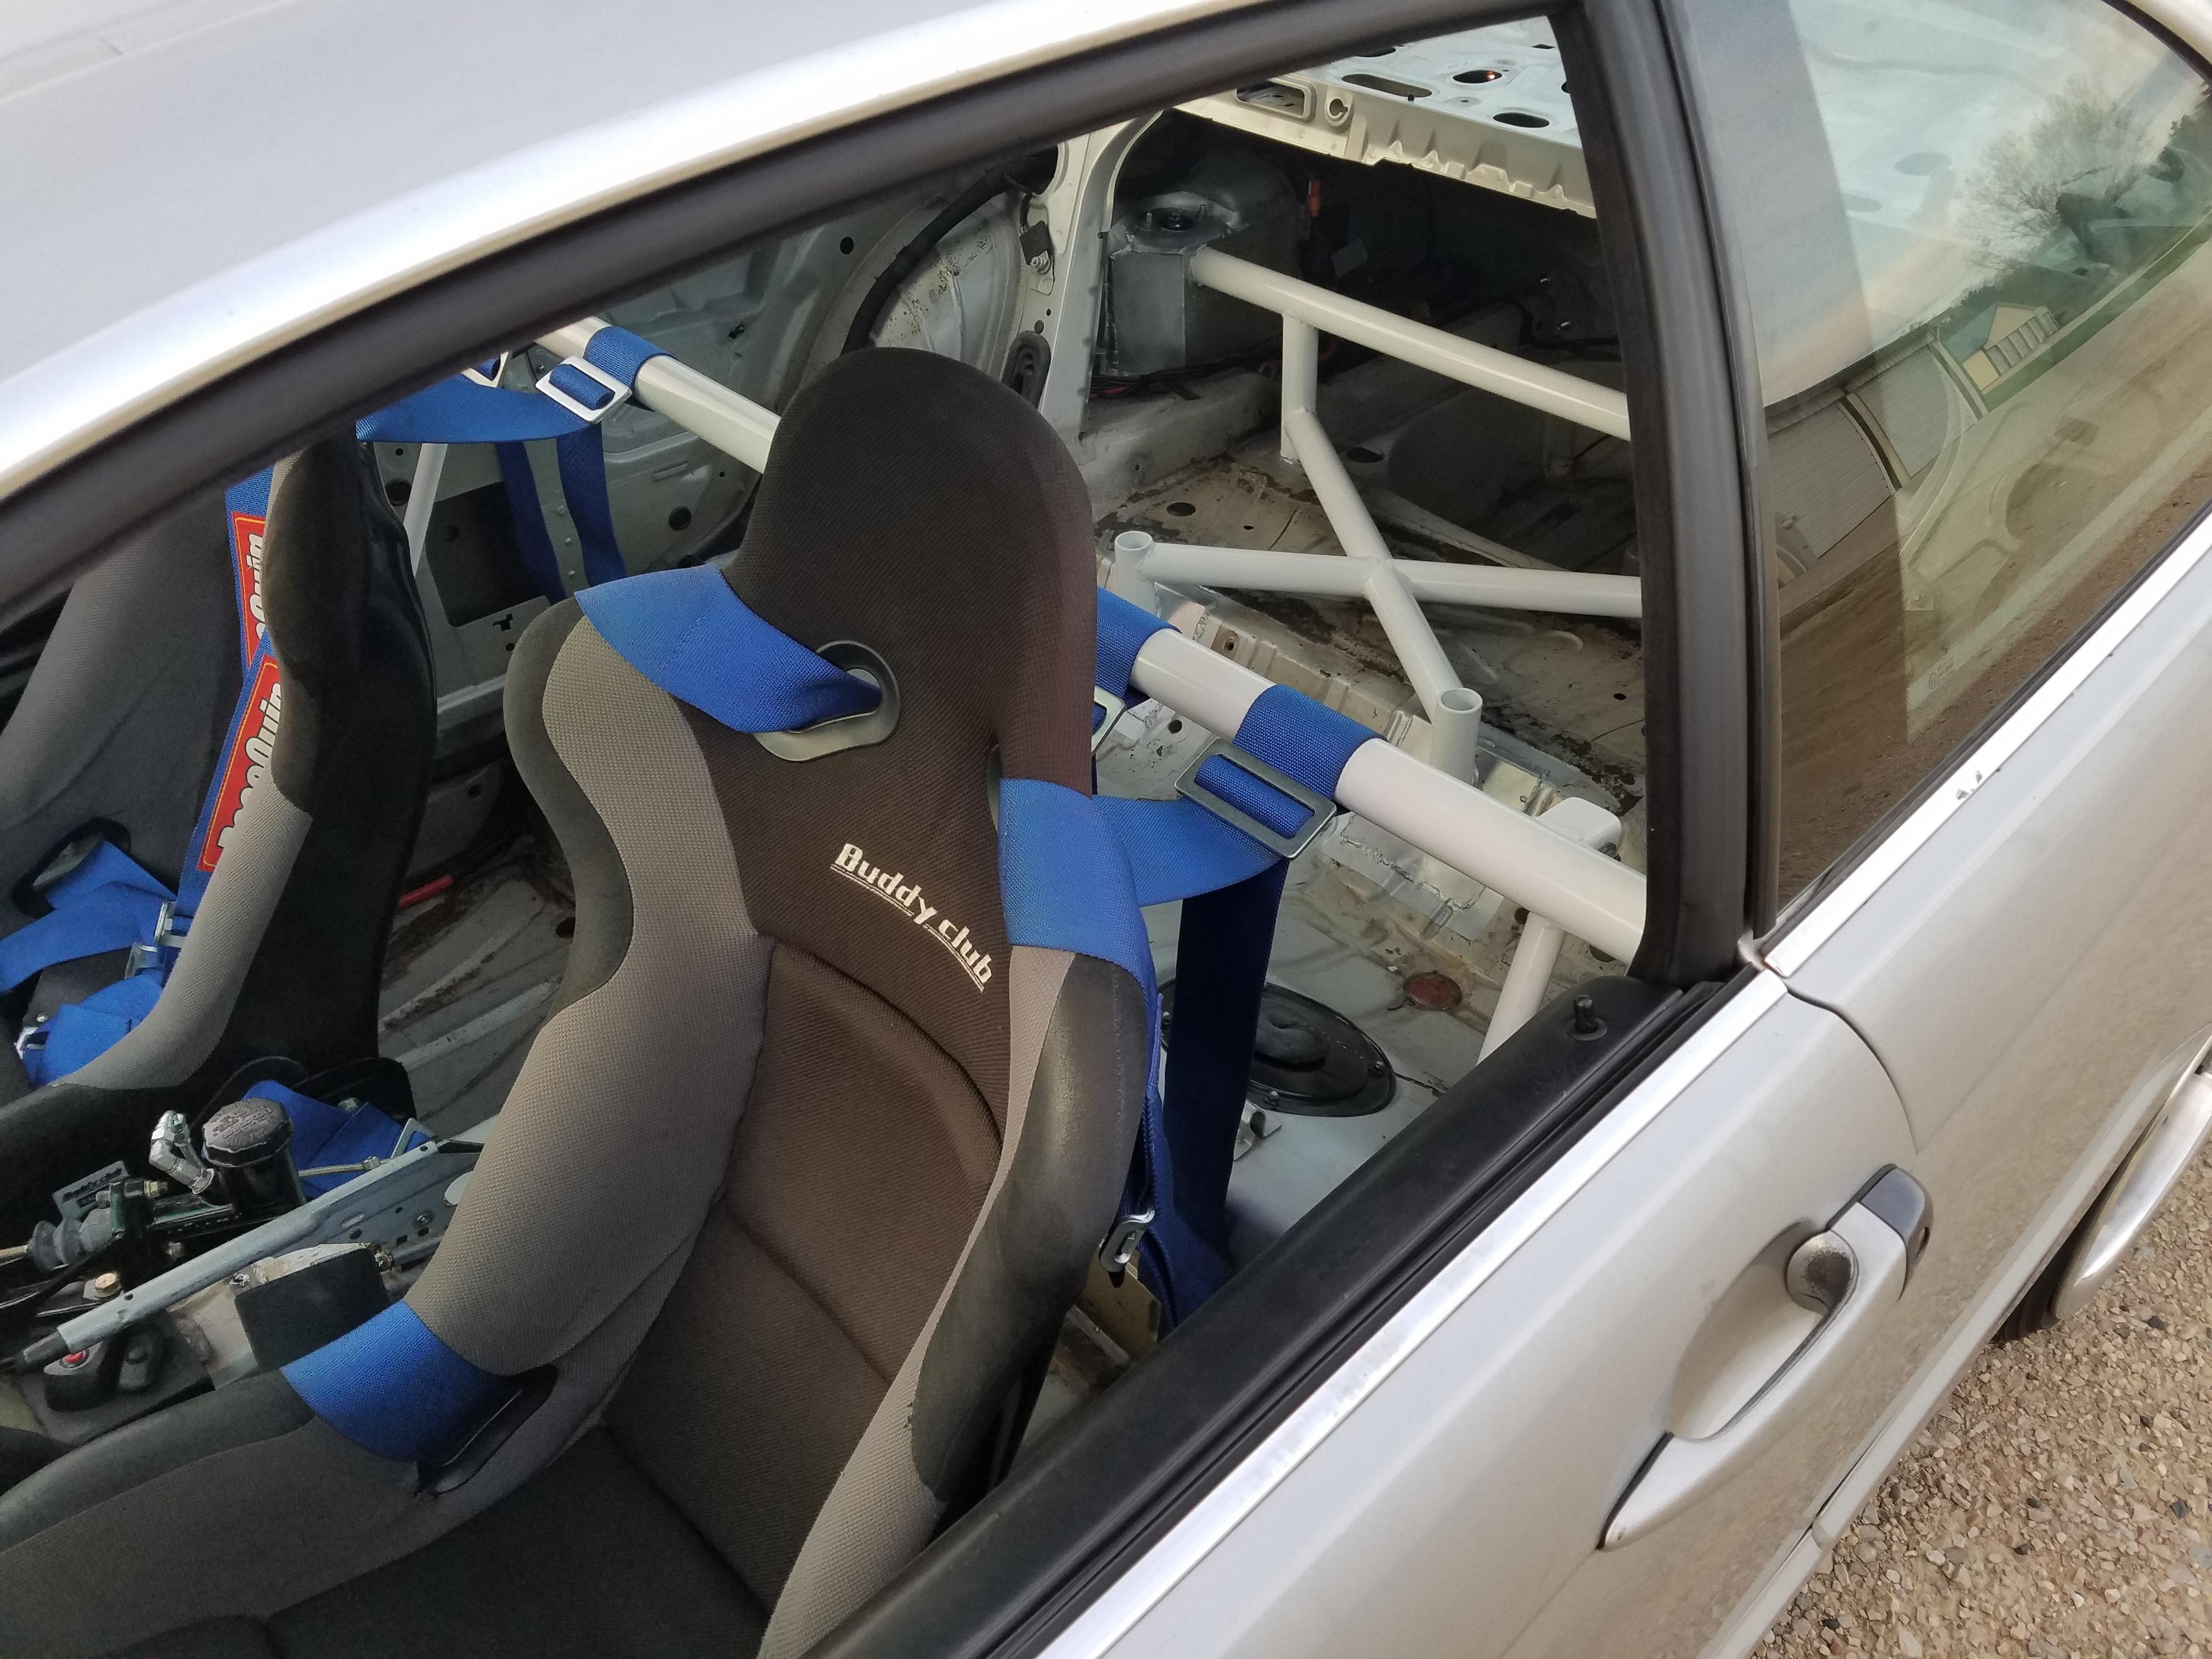
I've also been wanting to get rear door panels back in the car, never really liked the fully stripped look and honestly never felt like dealing with it last summer lol. But with that being said I messed around and found the perfect way to fit the rear panels with my harness bar!
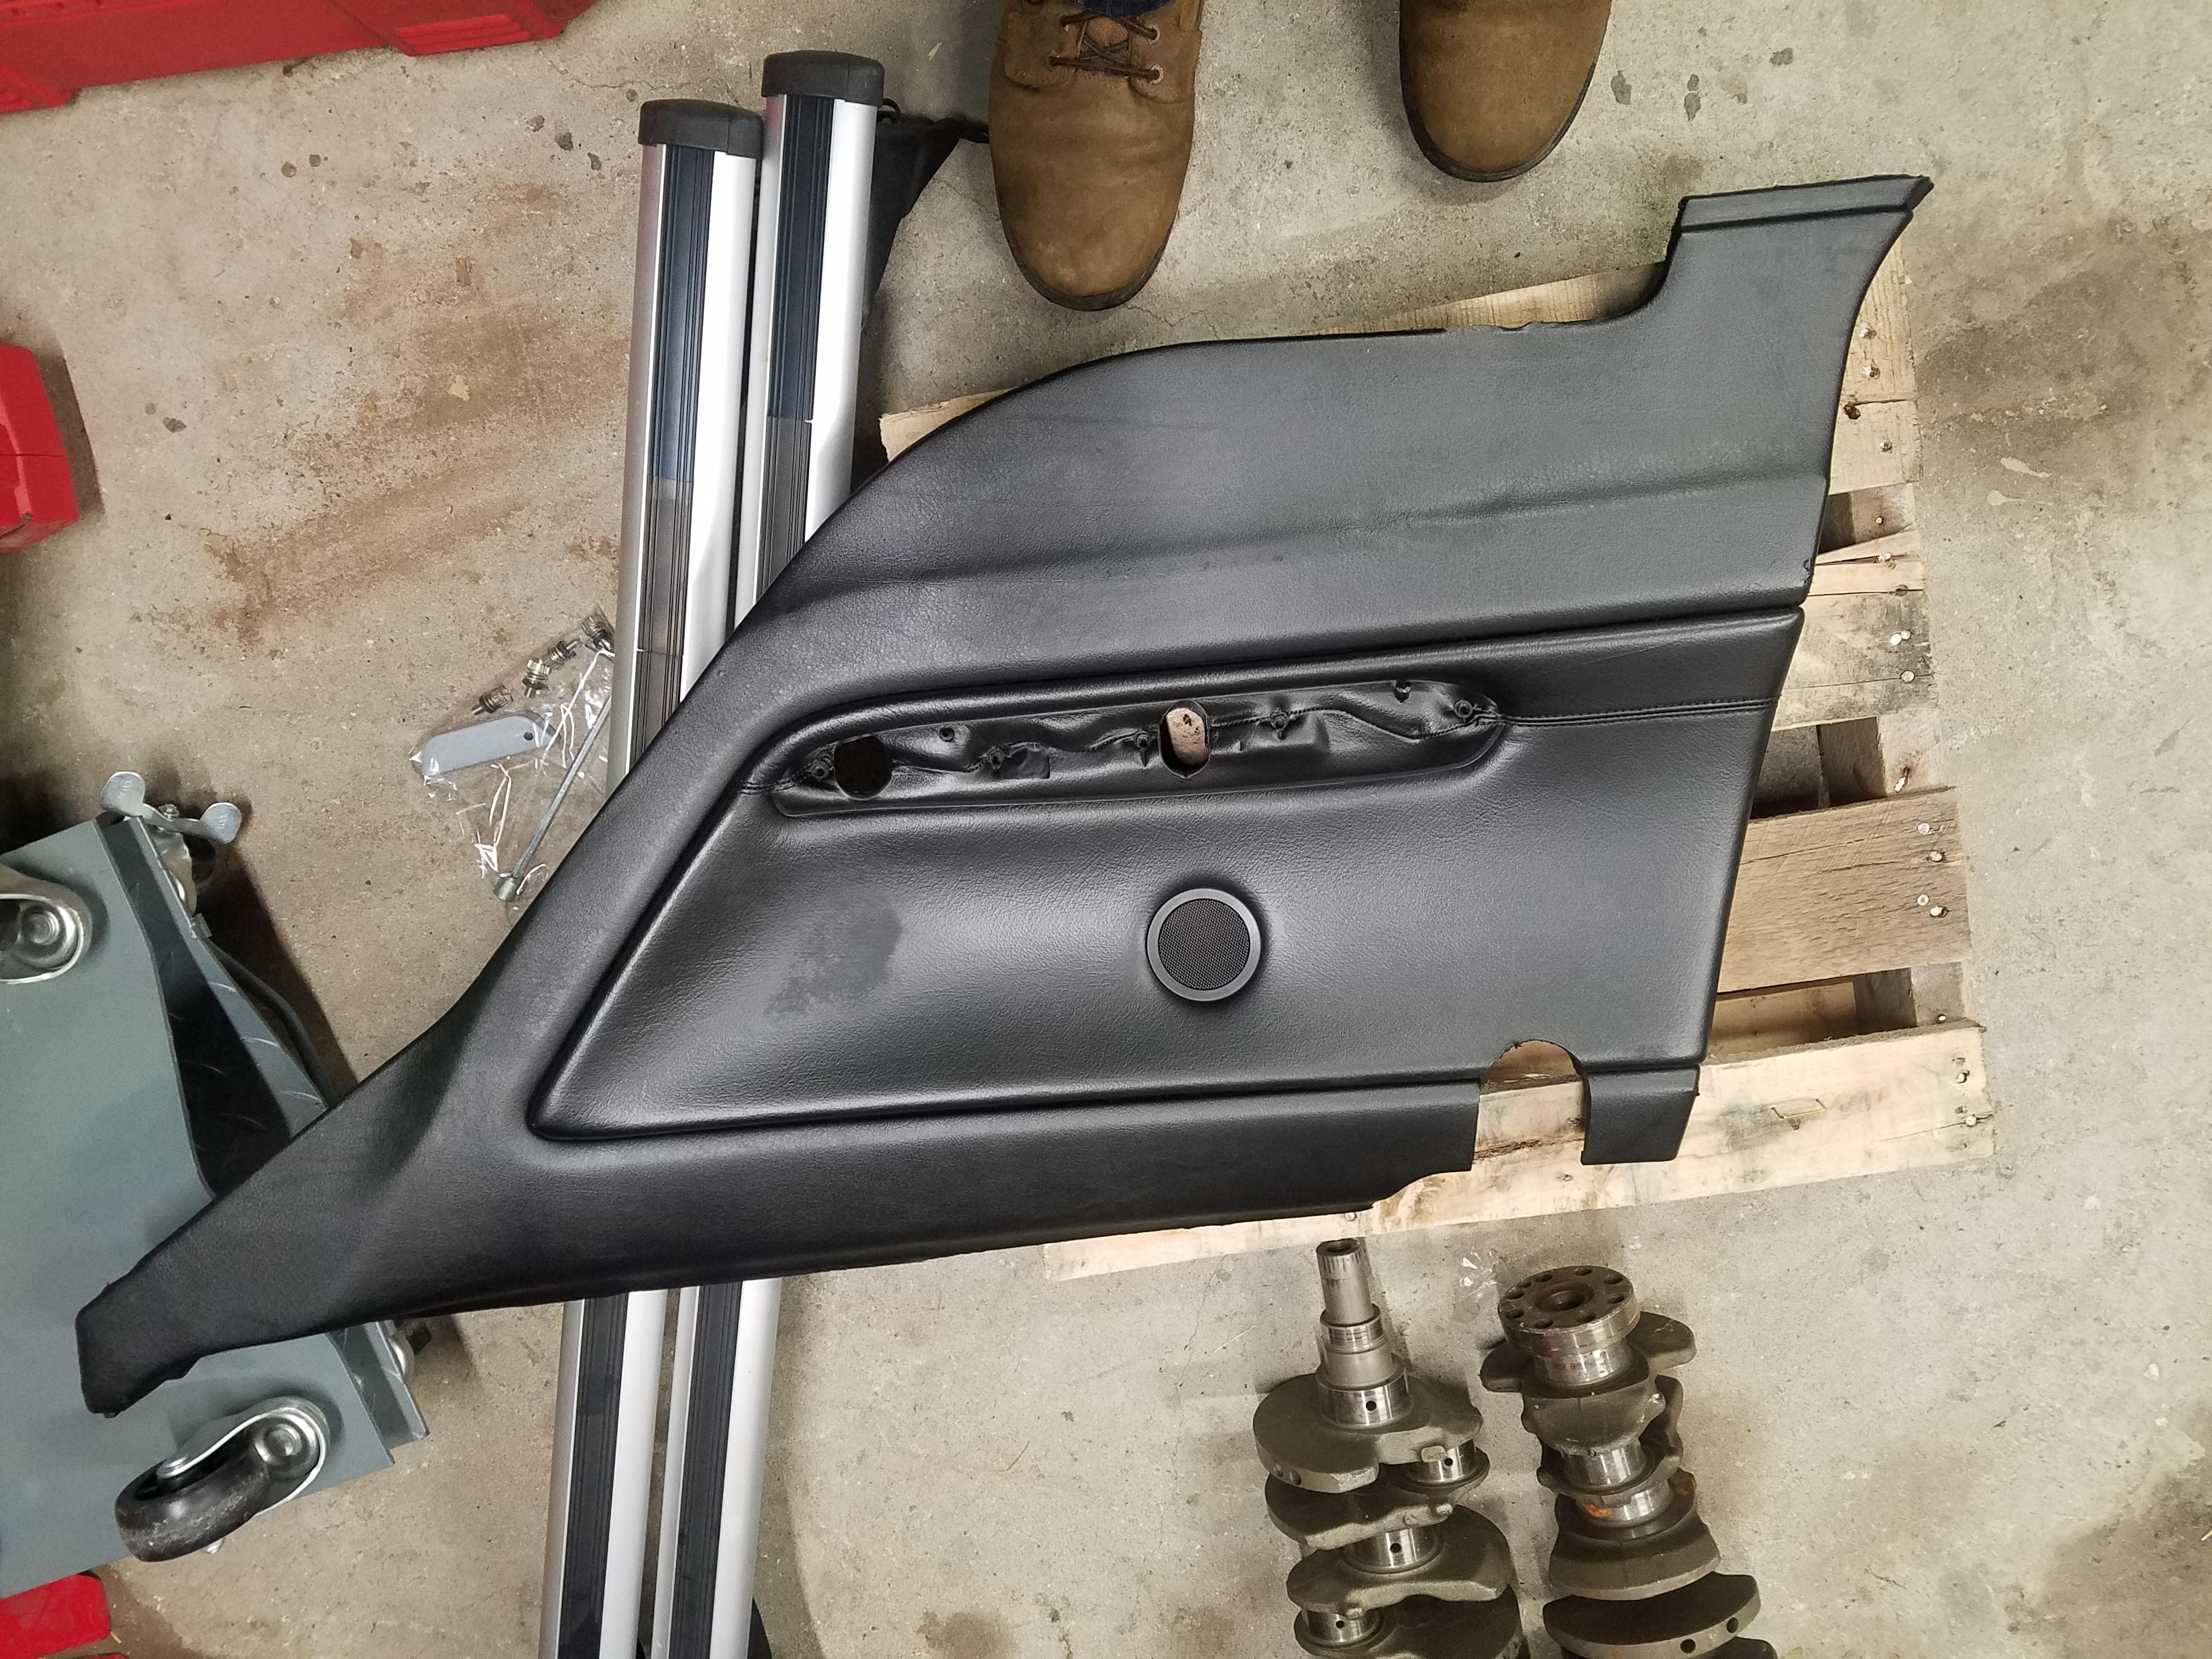
was able to use a hole saw to create a round section on the bottom and then my badass new m12 milwaukee dremel to cut the straights
These panels were the ones that came with the car so I did the same as the front panels. Removed the arm rests and used interior paint to make them black. Kinda hack... I'm aware. But I didnt want to cut into my pristine black panels I got with the M stuff. Plus since the fronts were sprayed black they will match better. I'll save the other black panels for when a cage is put in the car in the future sometime.And since it was 40 degrees and January I decided to back her out of the garage to sweep up while I had the chance.
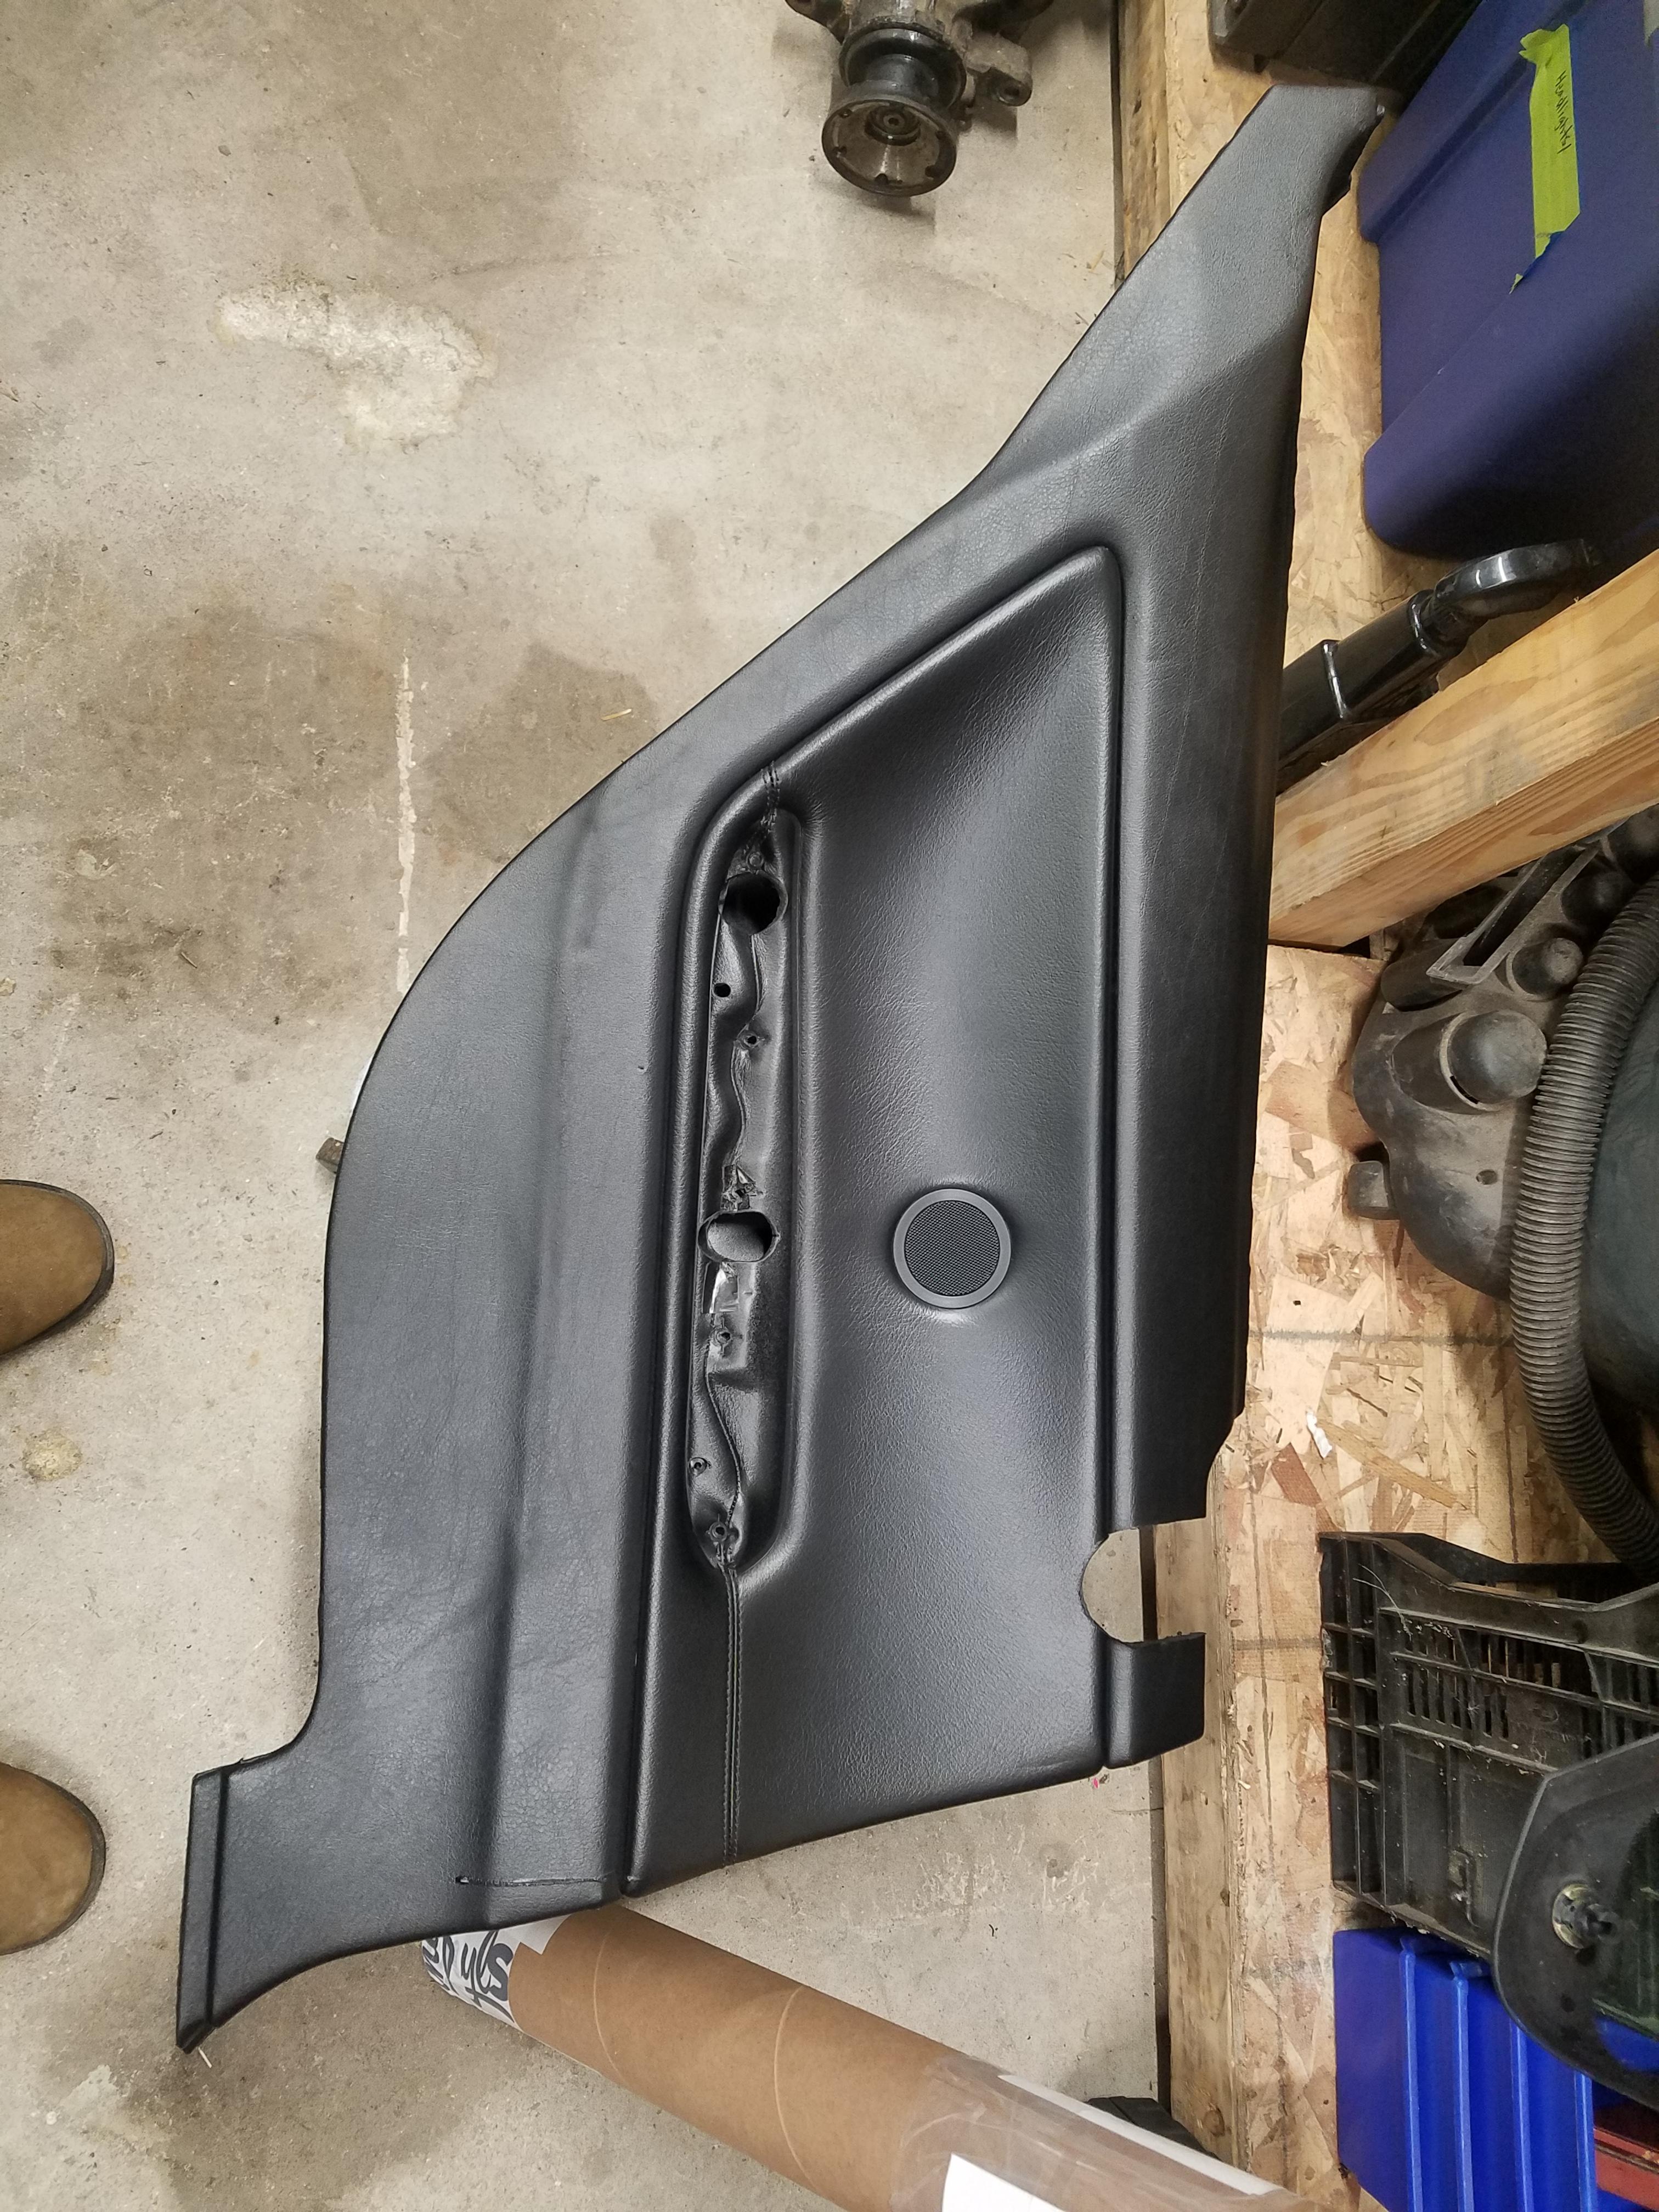
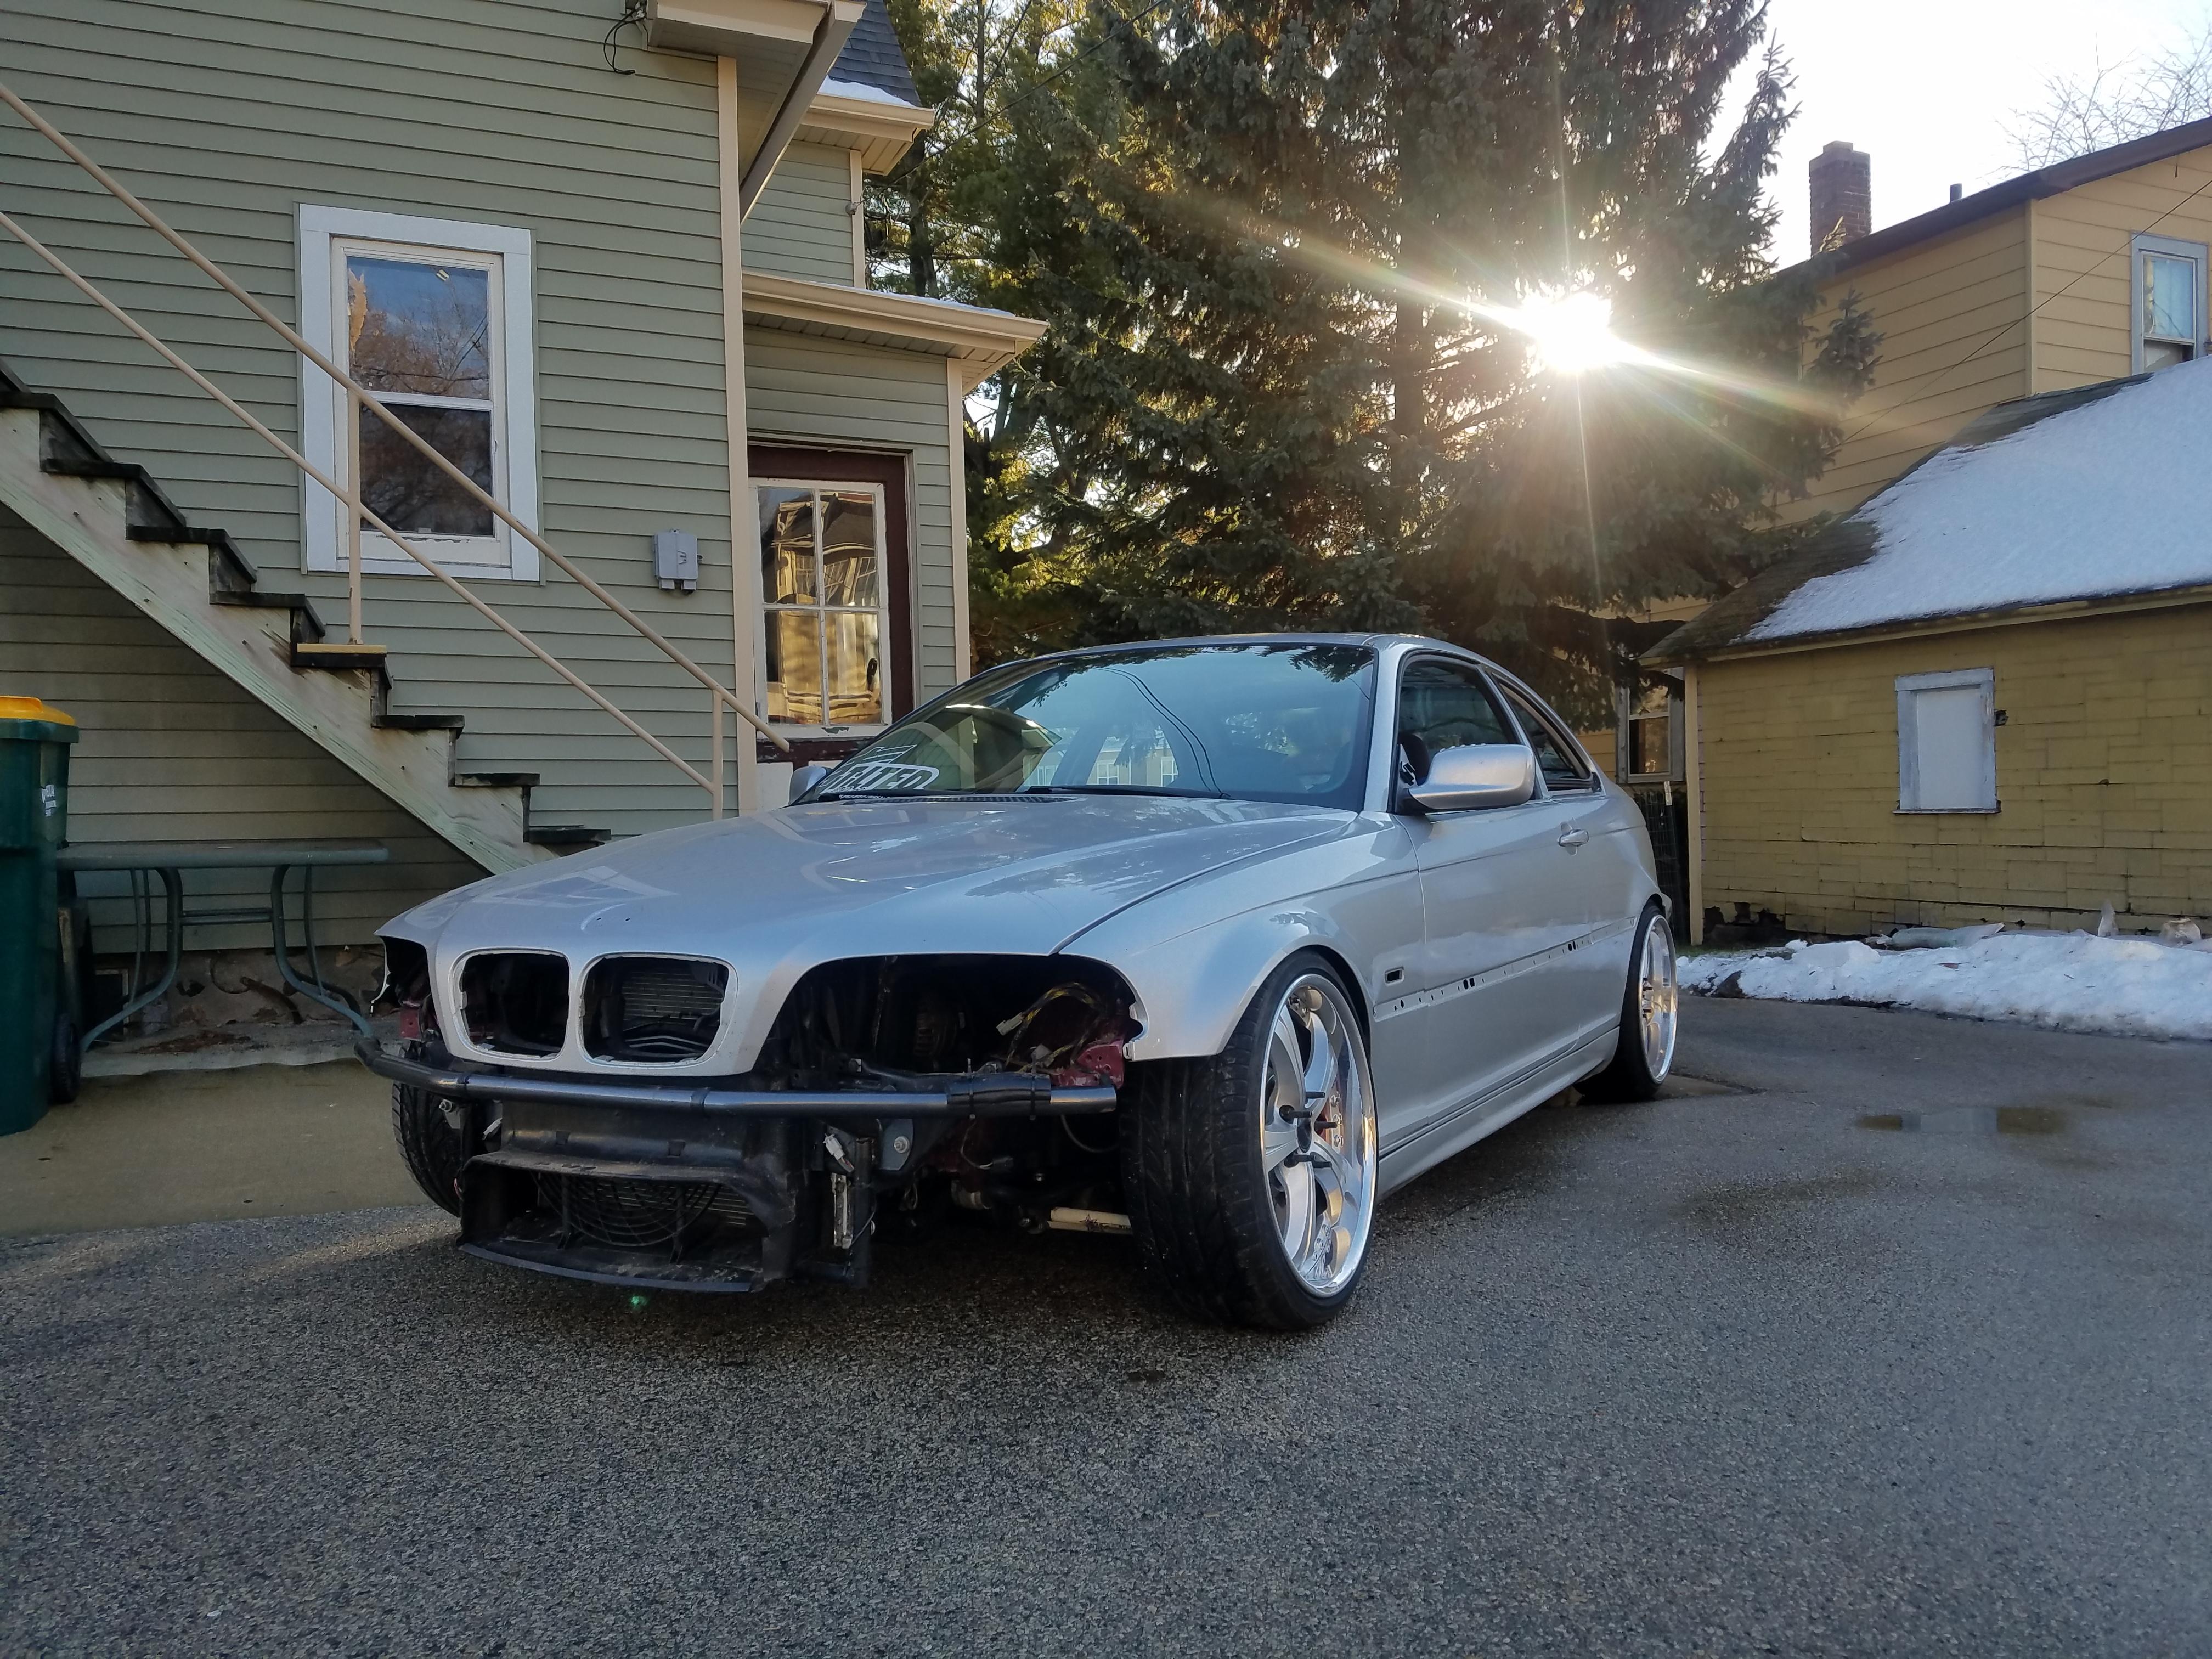
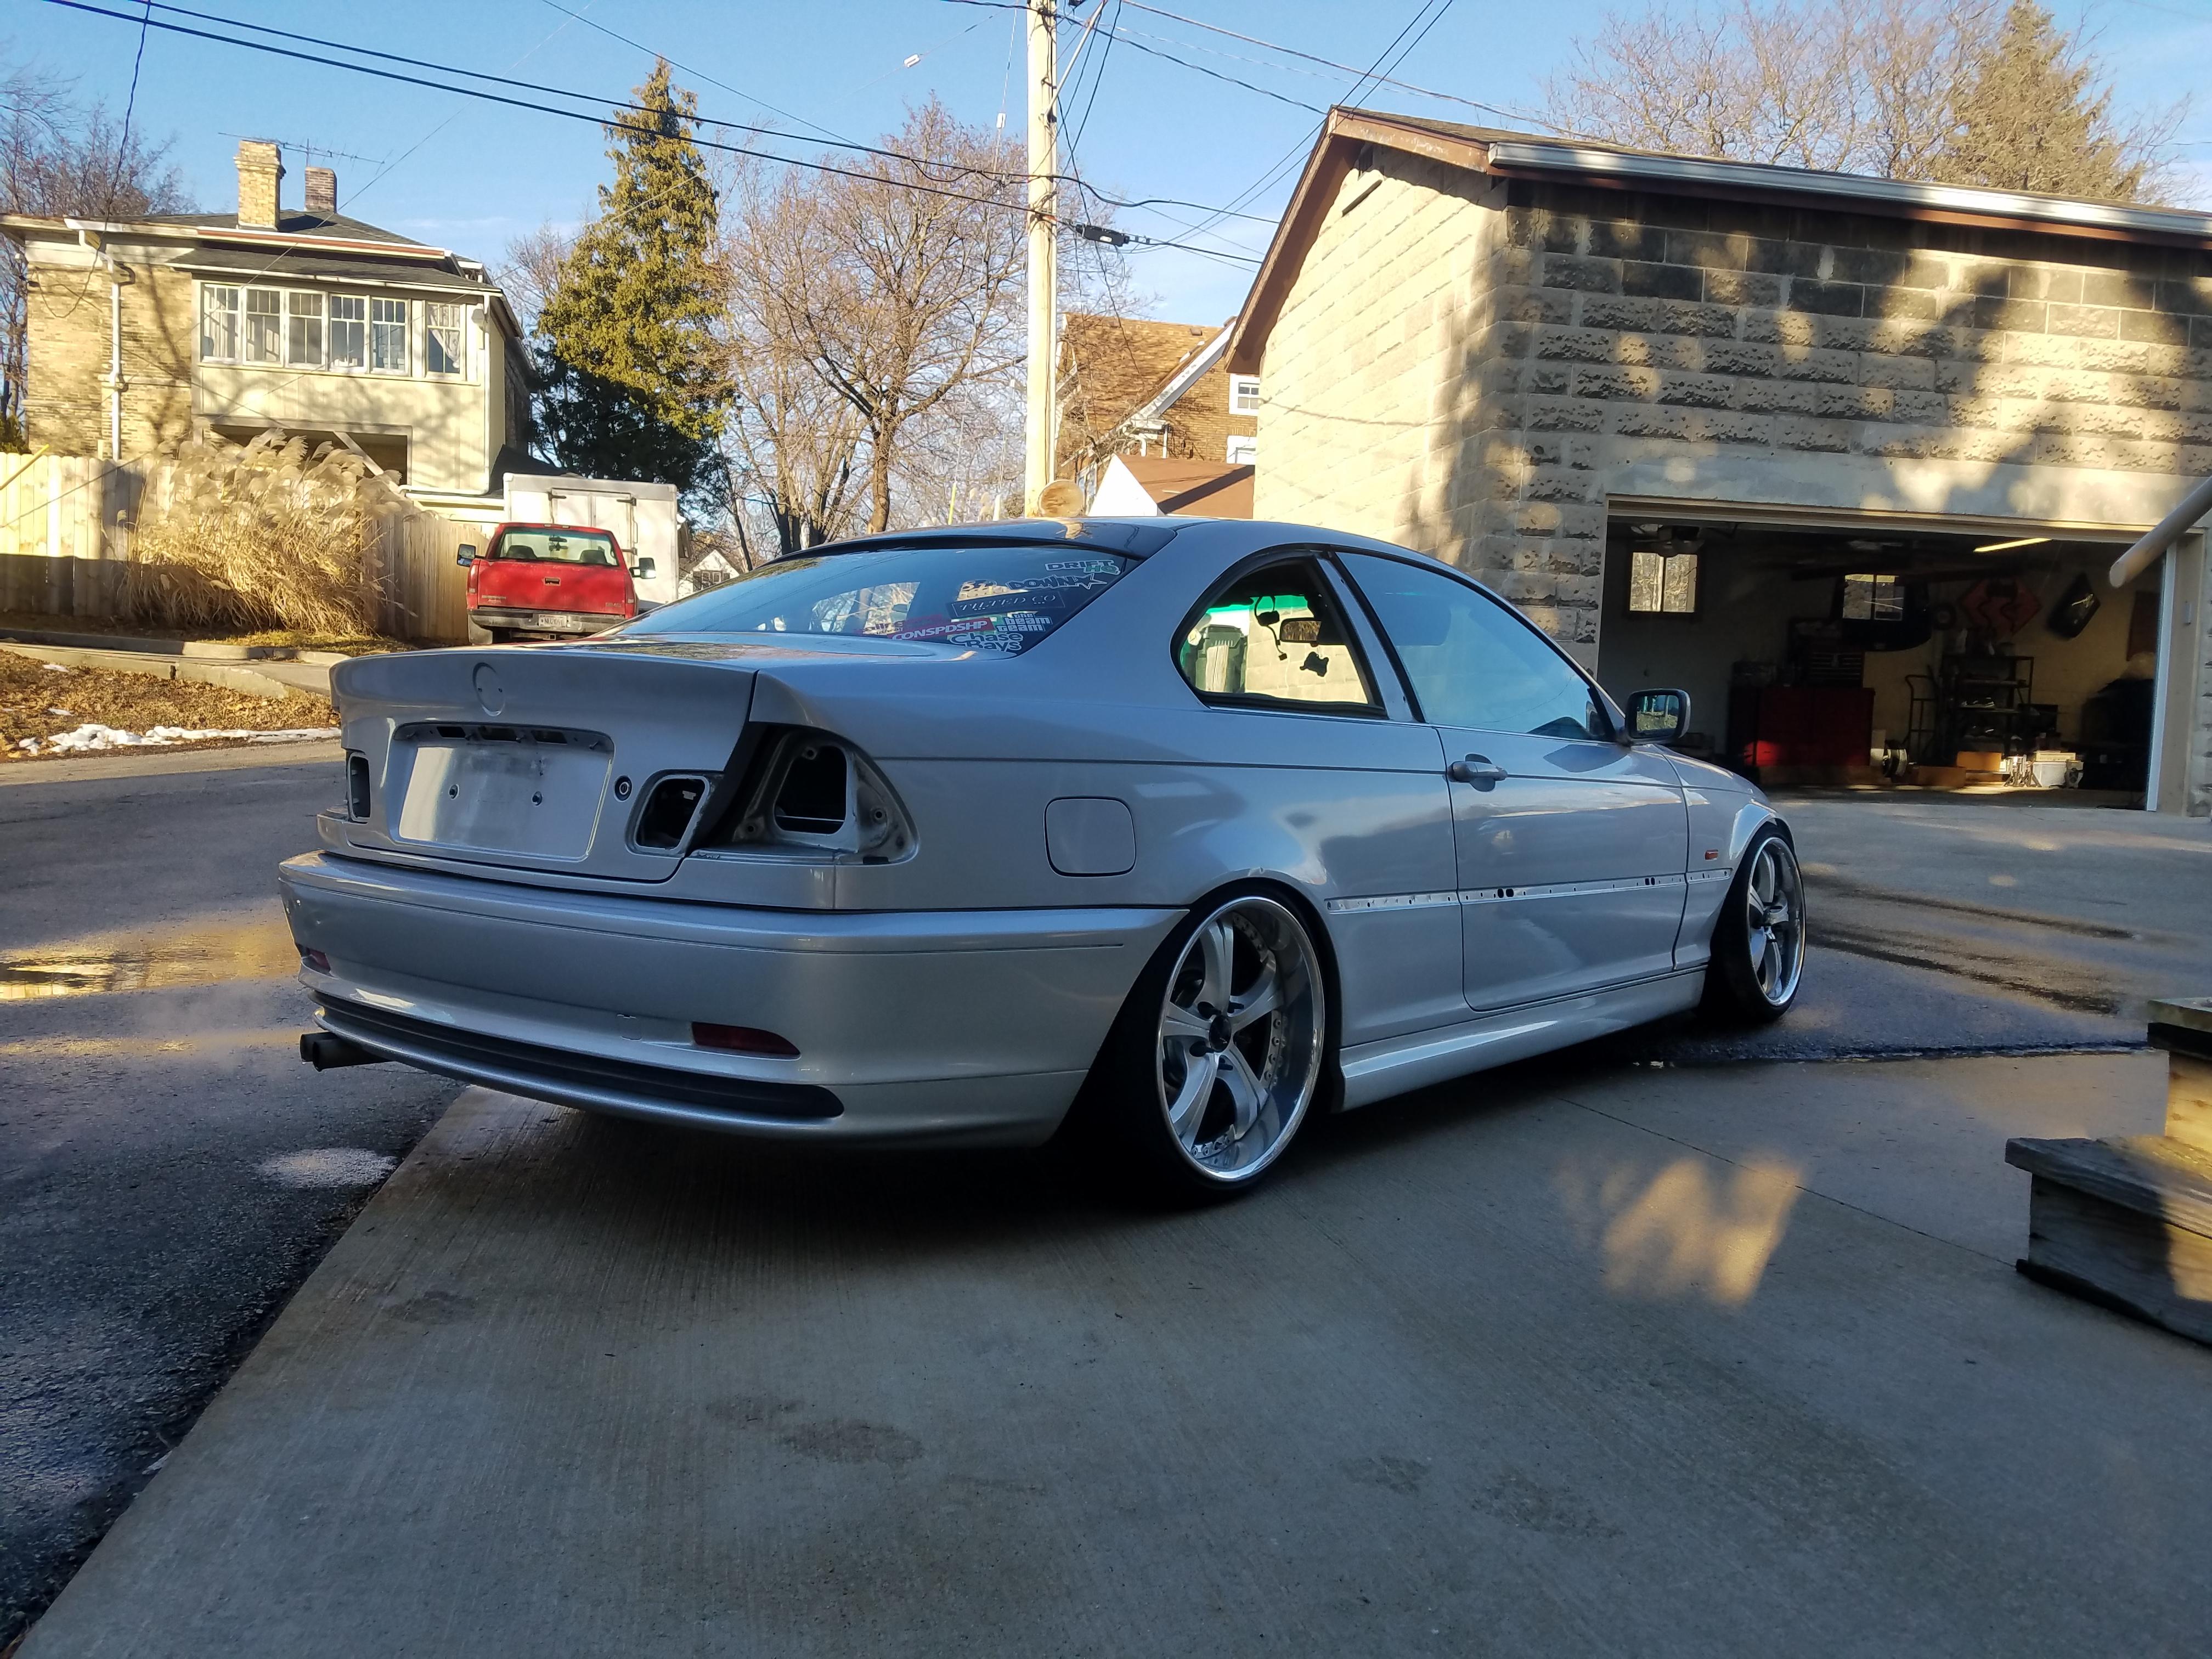
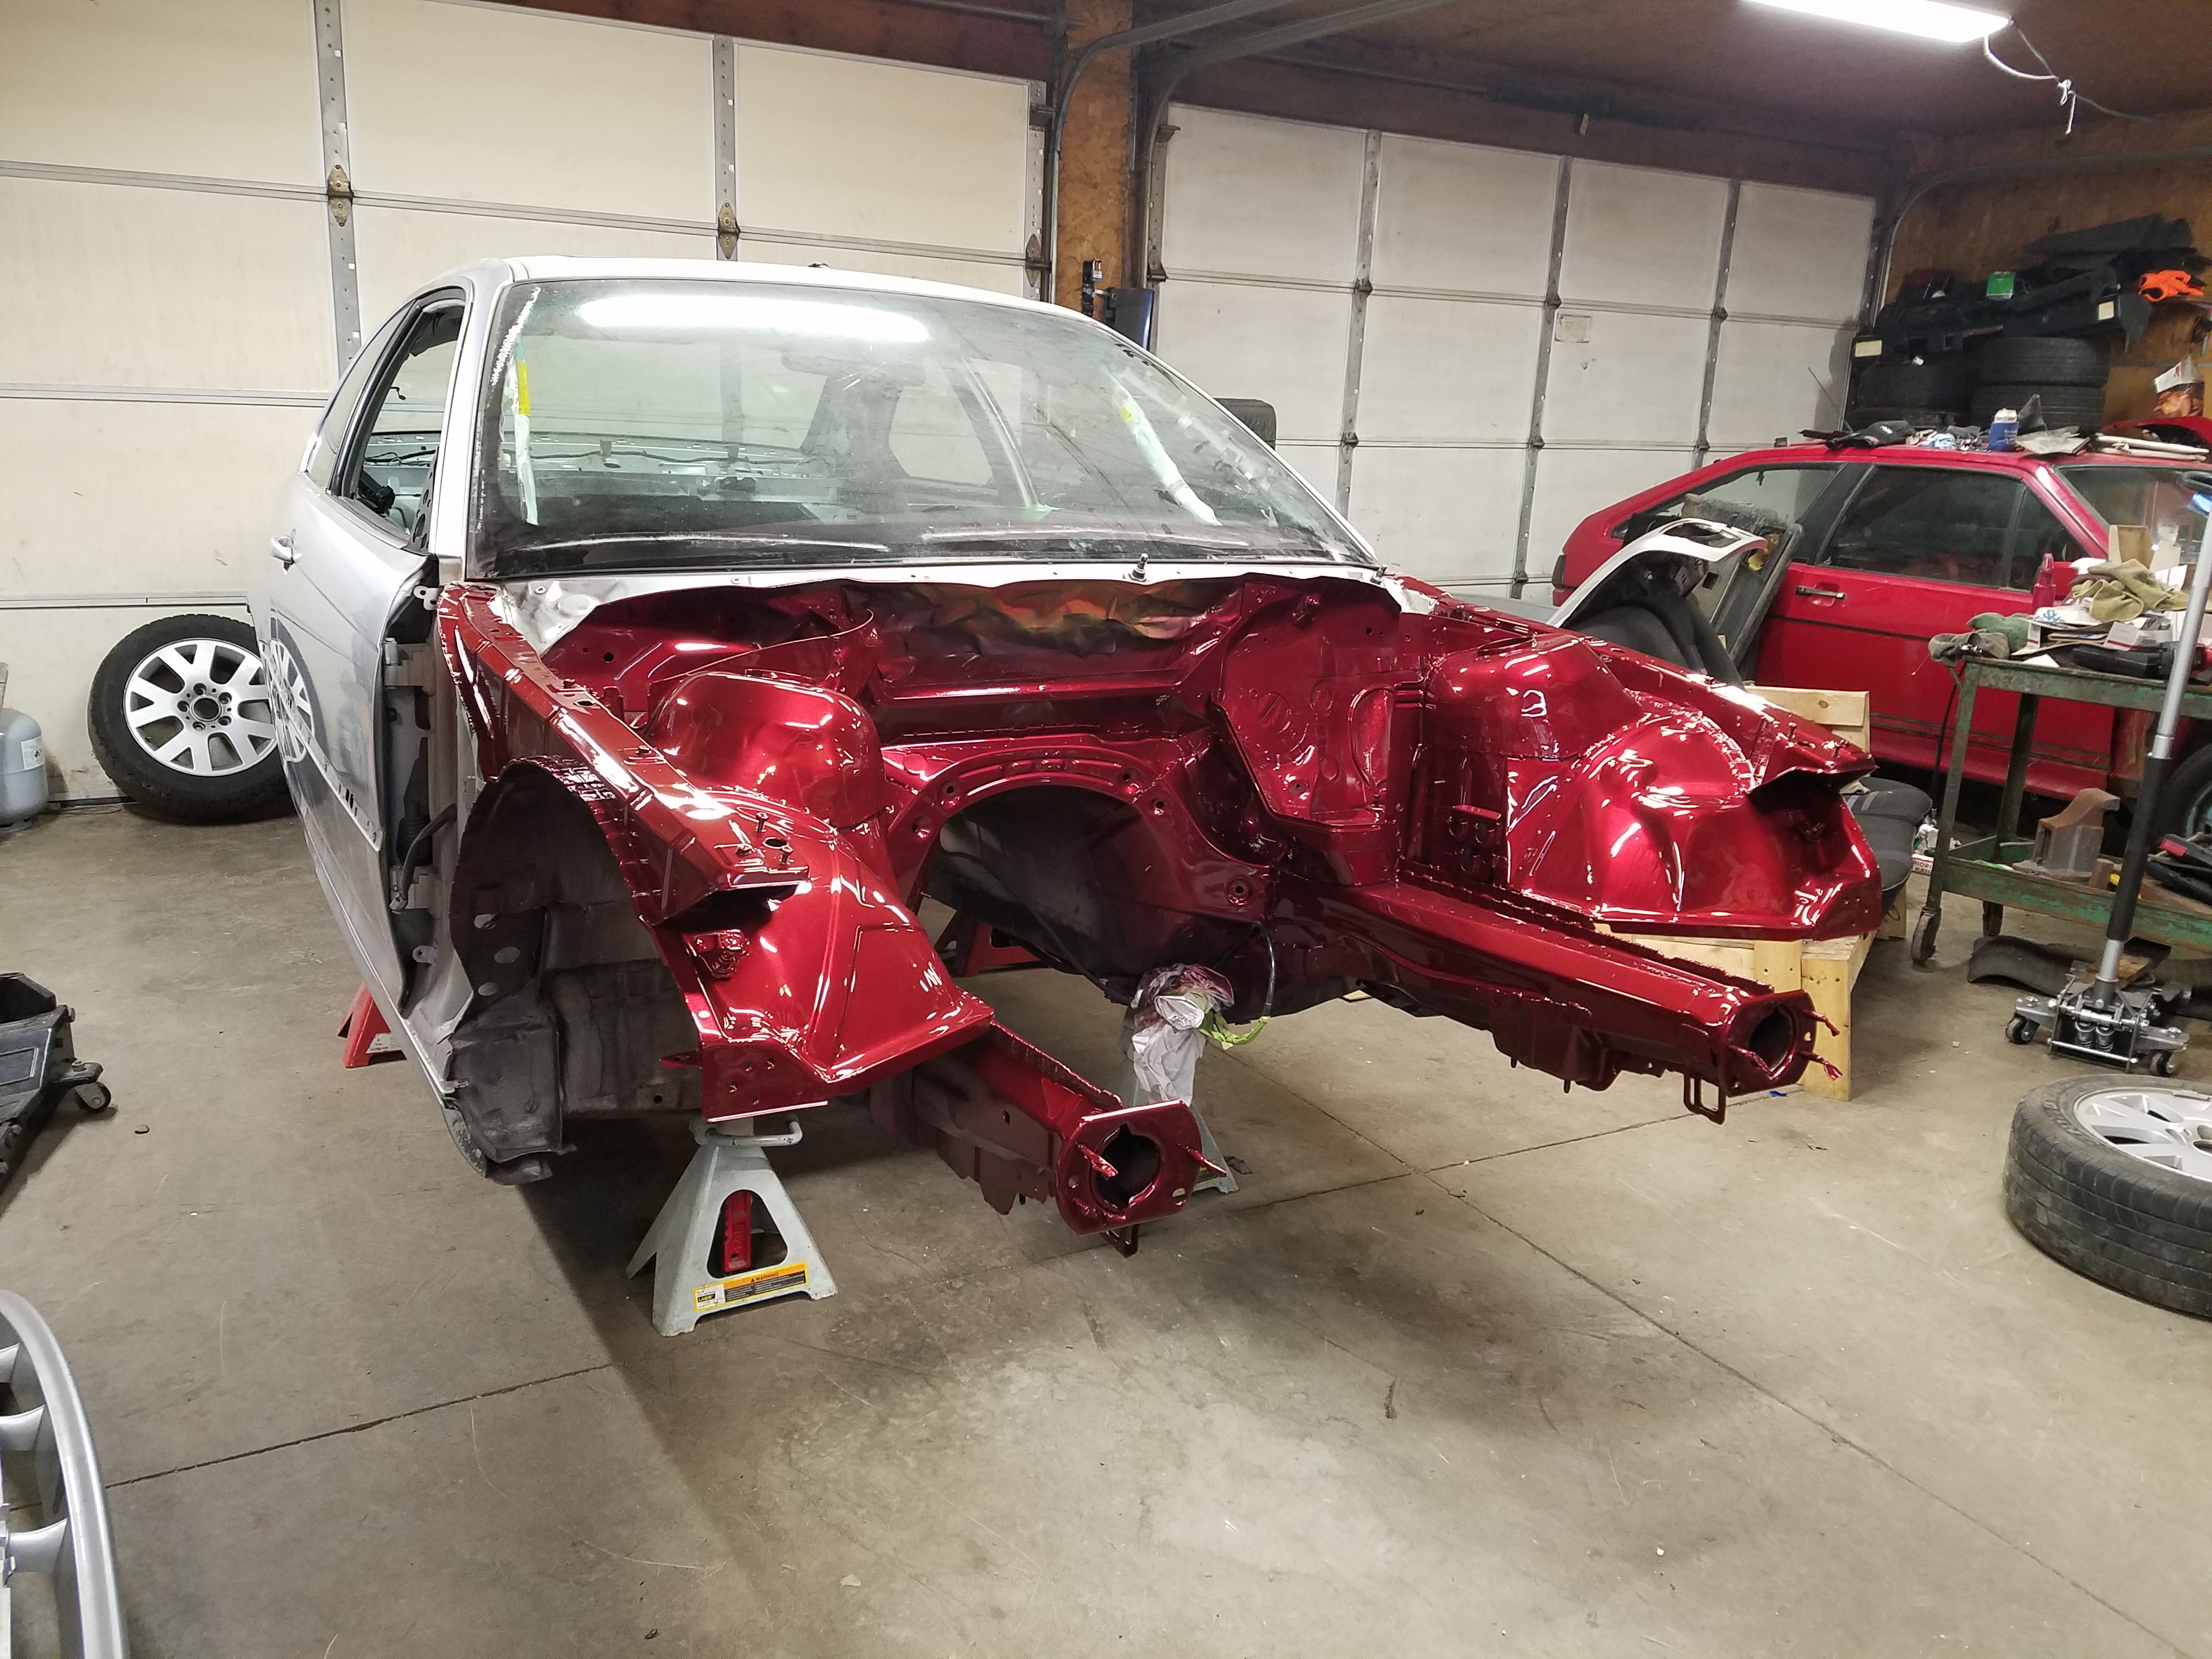
I have mostly everything off the car as I am getting ready for the color change.
-
A purists nightmare - E46 drift buildUPDATE.
Sorry for the lack of updates. This last 2 weeks have been a super hard push to get the car done for an event on the 30th for testing.
That being said there is a long story to get into about the tune, but first... I finished wrapping everything but the modded rear diffuser along with spending a Saturday morning putting down some gtequnick HALO ceramic coat for wrap.
Super hyped on the way this thing is looking with bigger lips and all one color!
I also forgot to mention that I had the trunk worked on, a friend was able to make it ALOT nicer than it was with lots of sanding and a re-clear. Not perfect but its alot better looking!
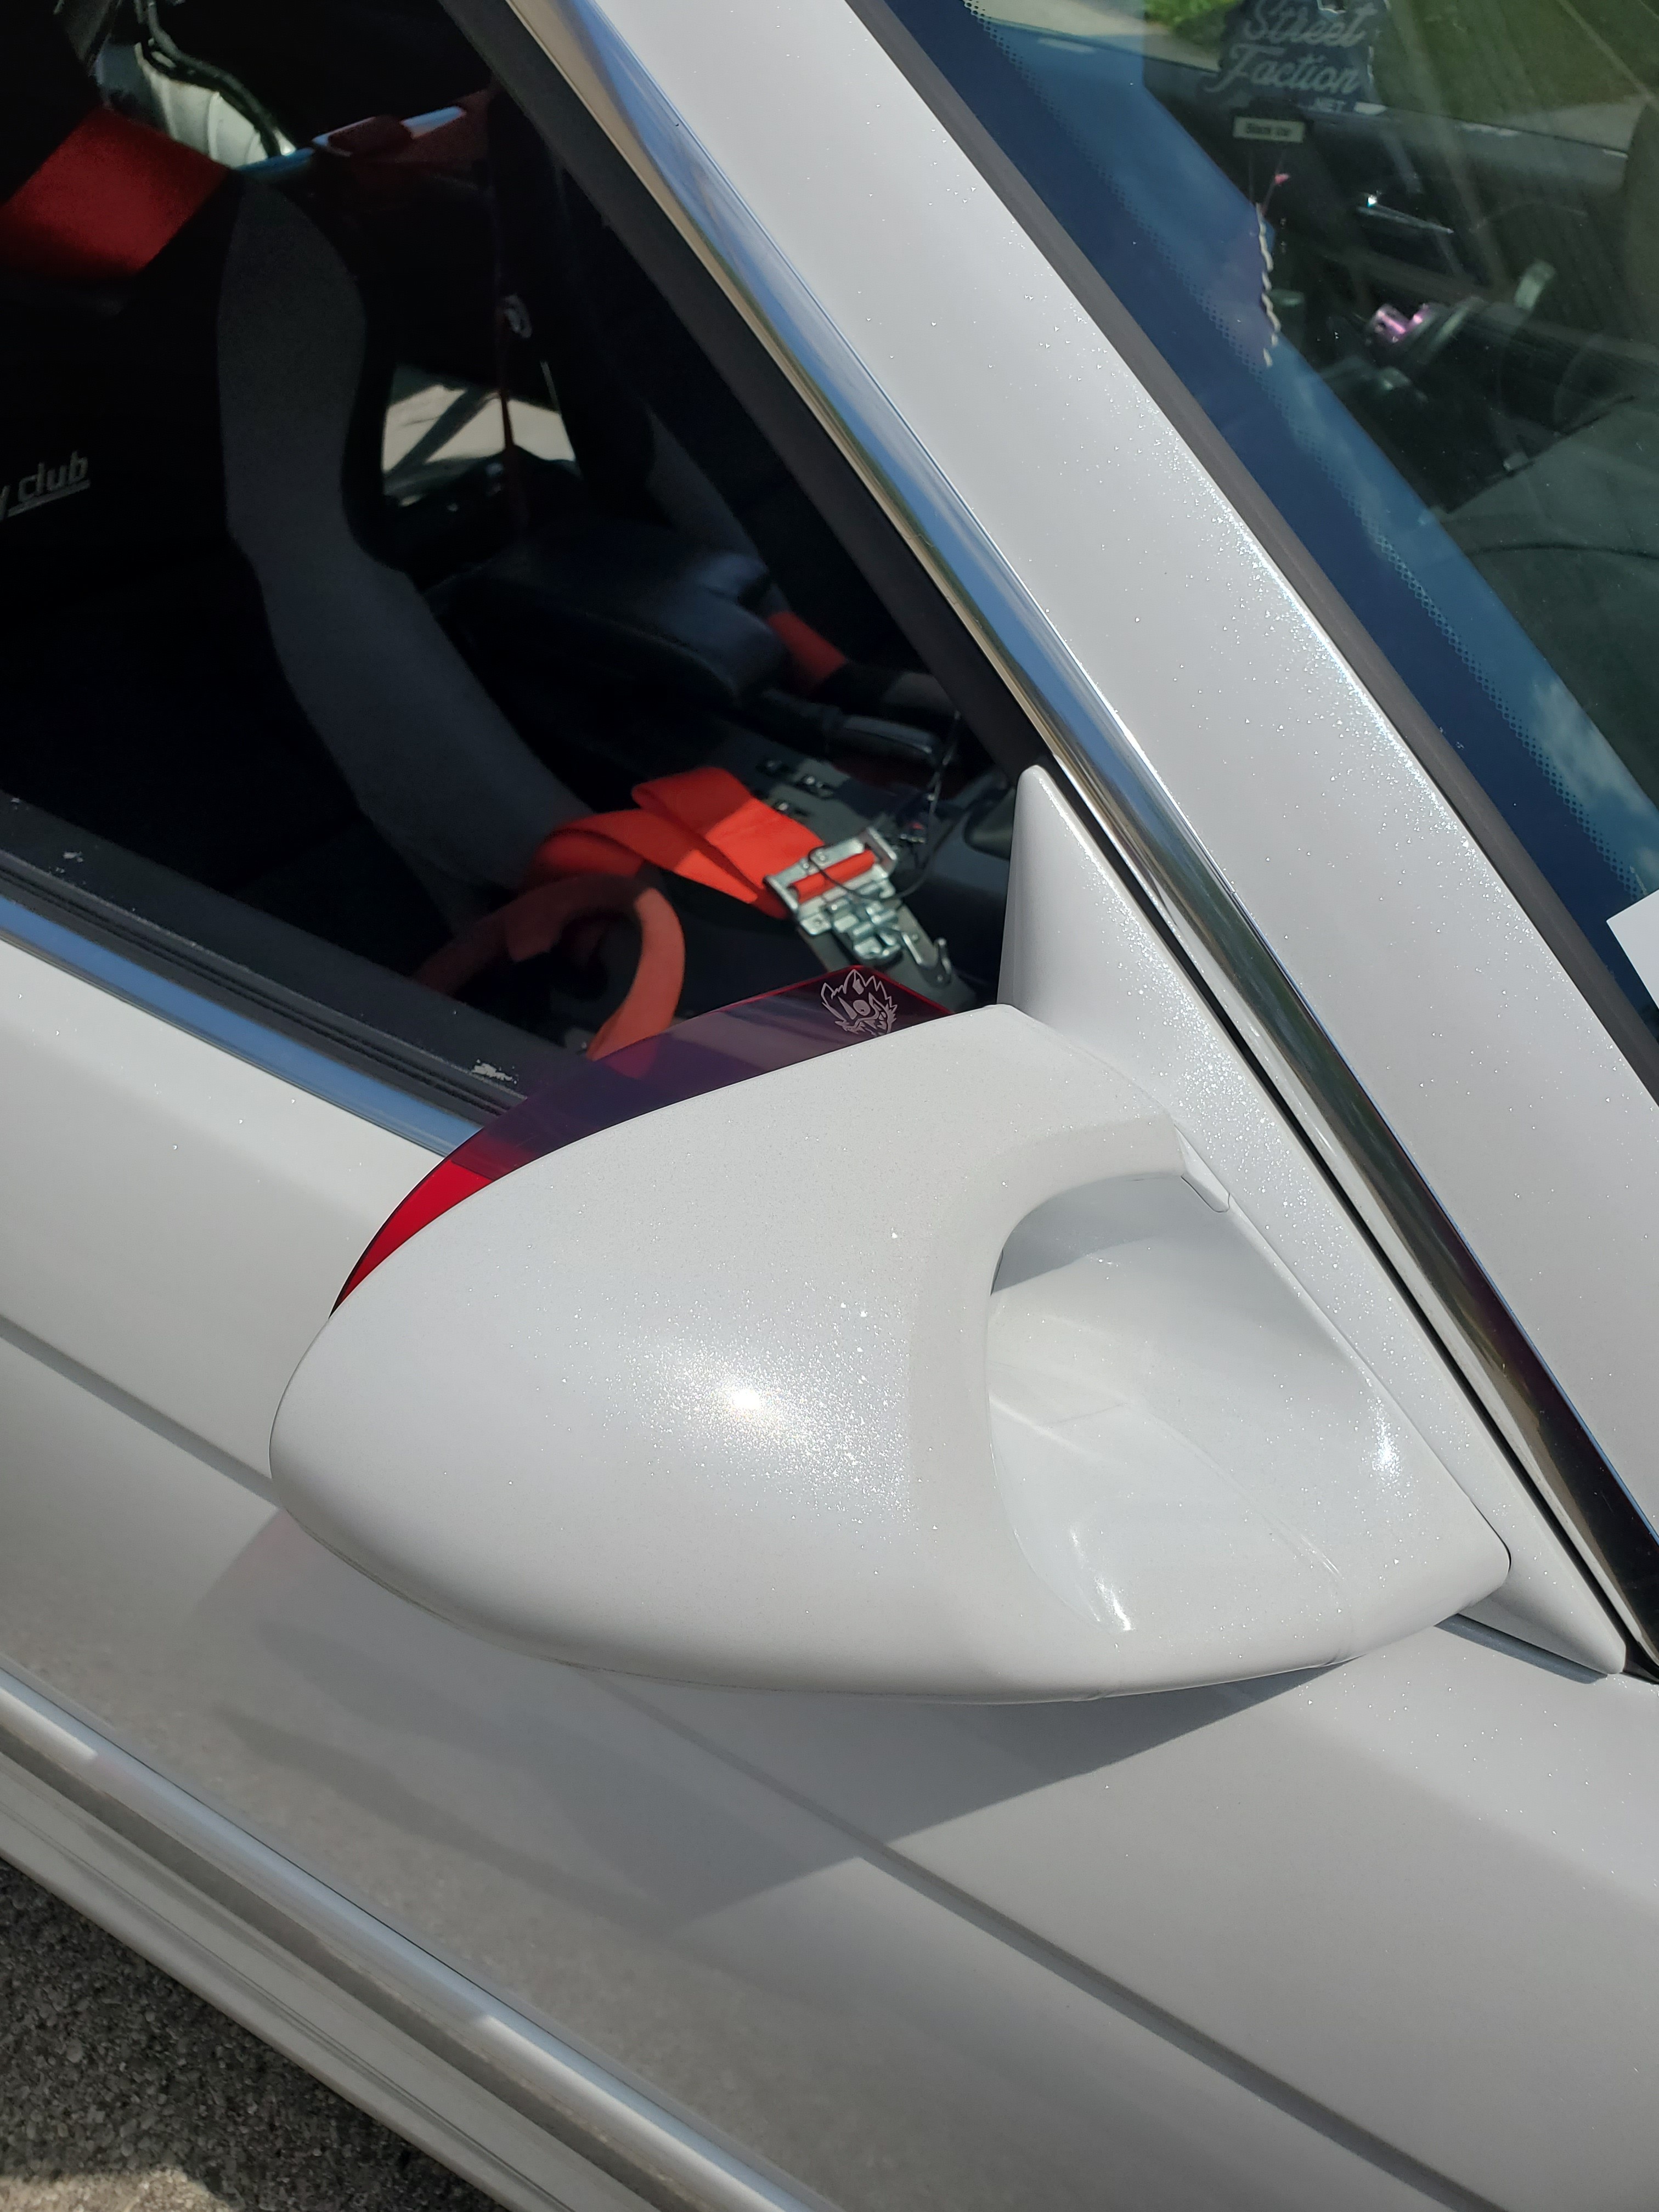
I also installed the aero wolf mirror visors I have been hoarding for a year.
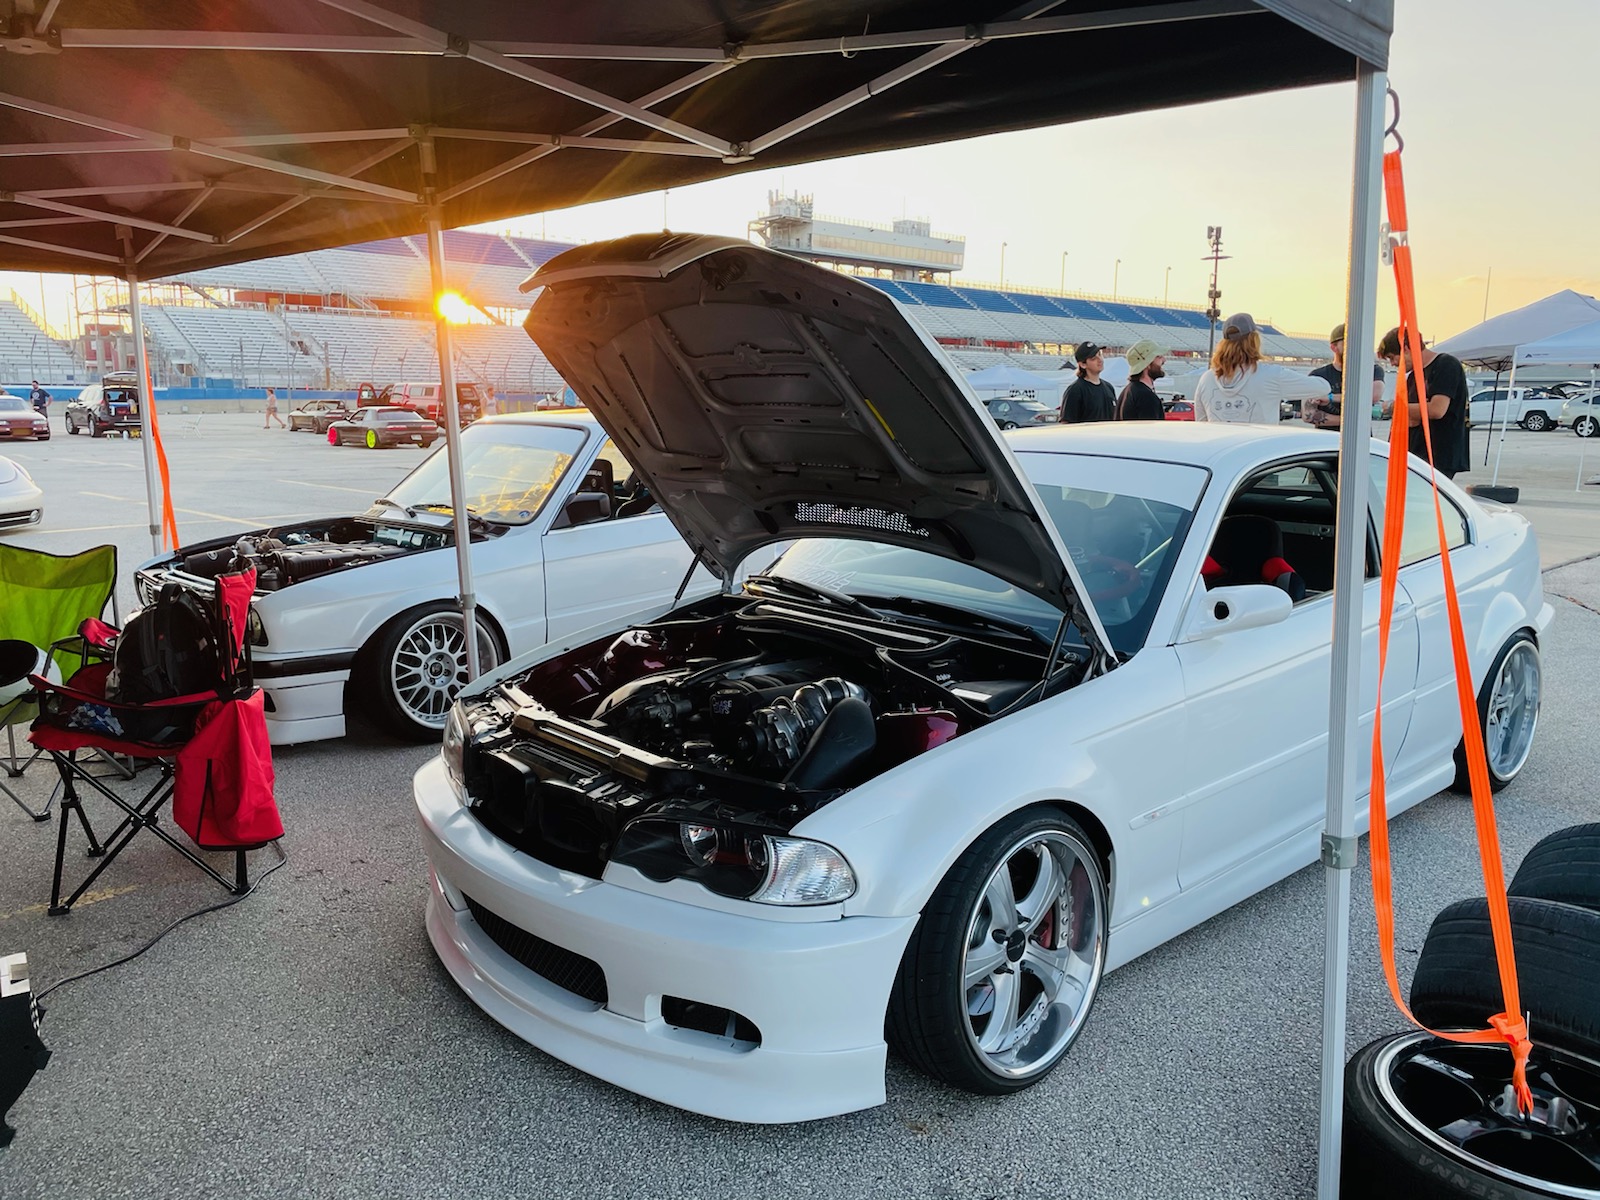
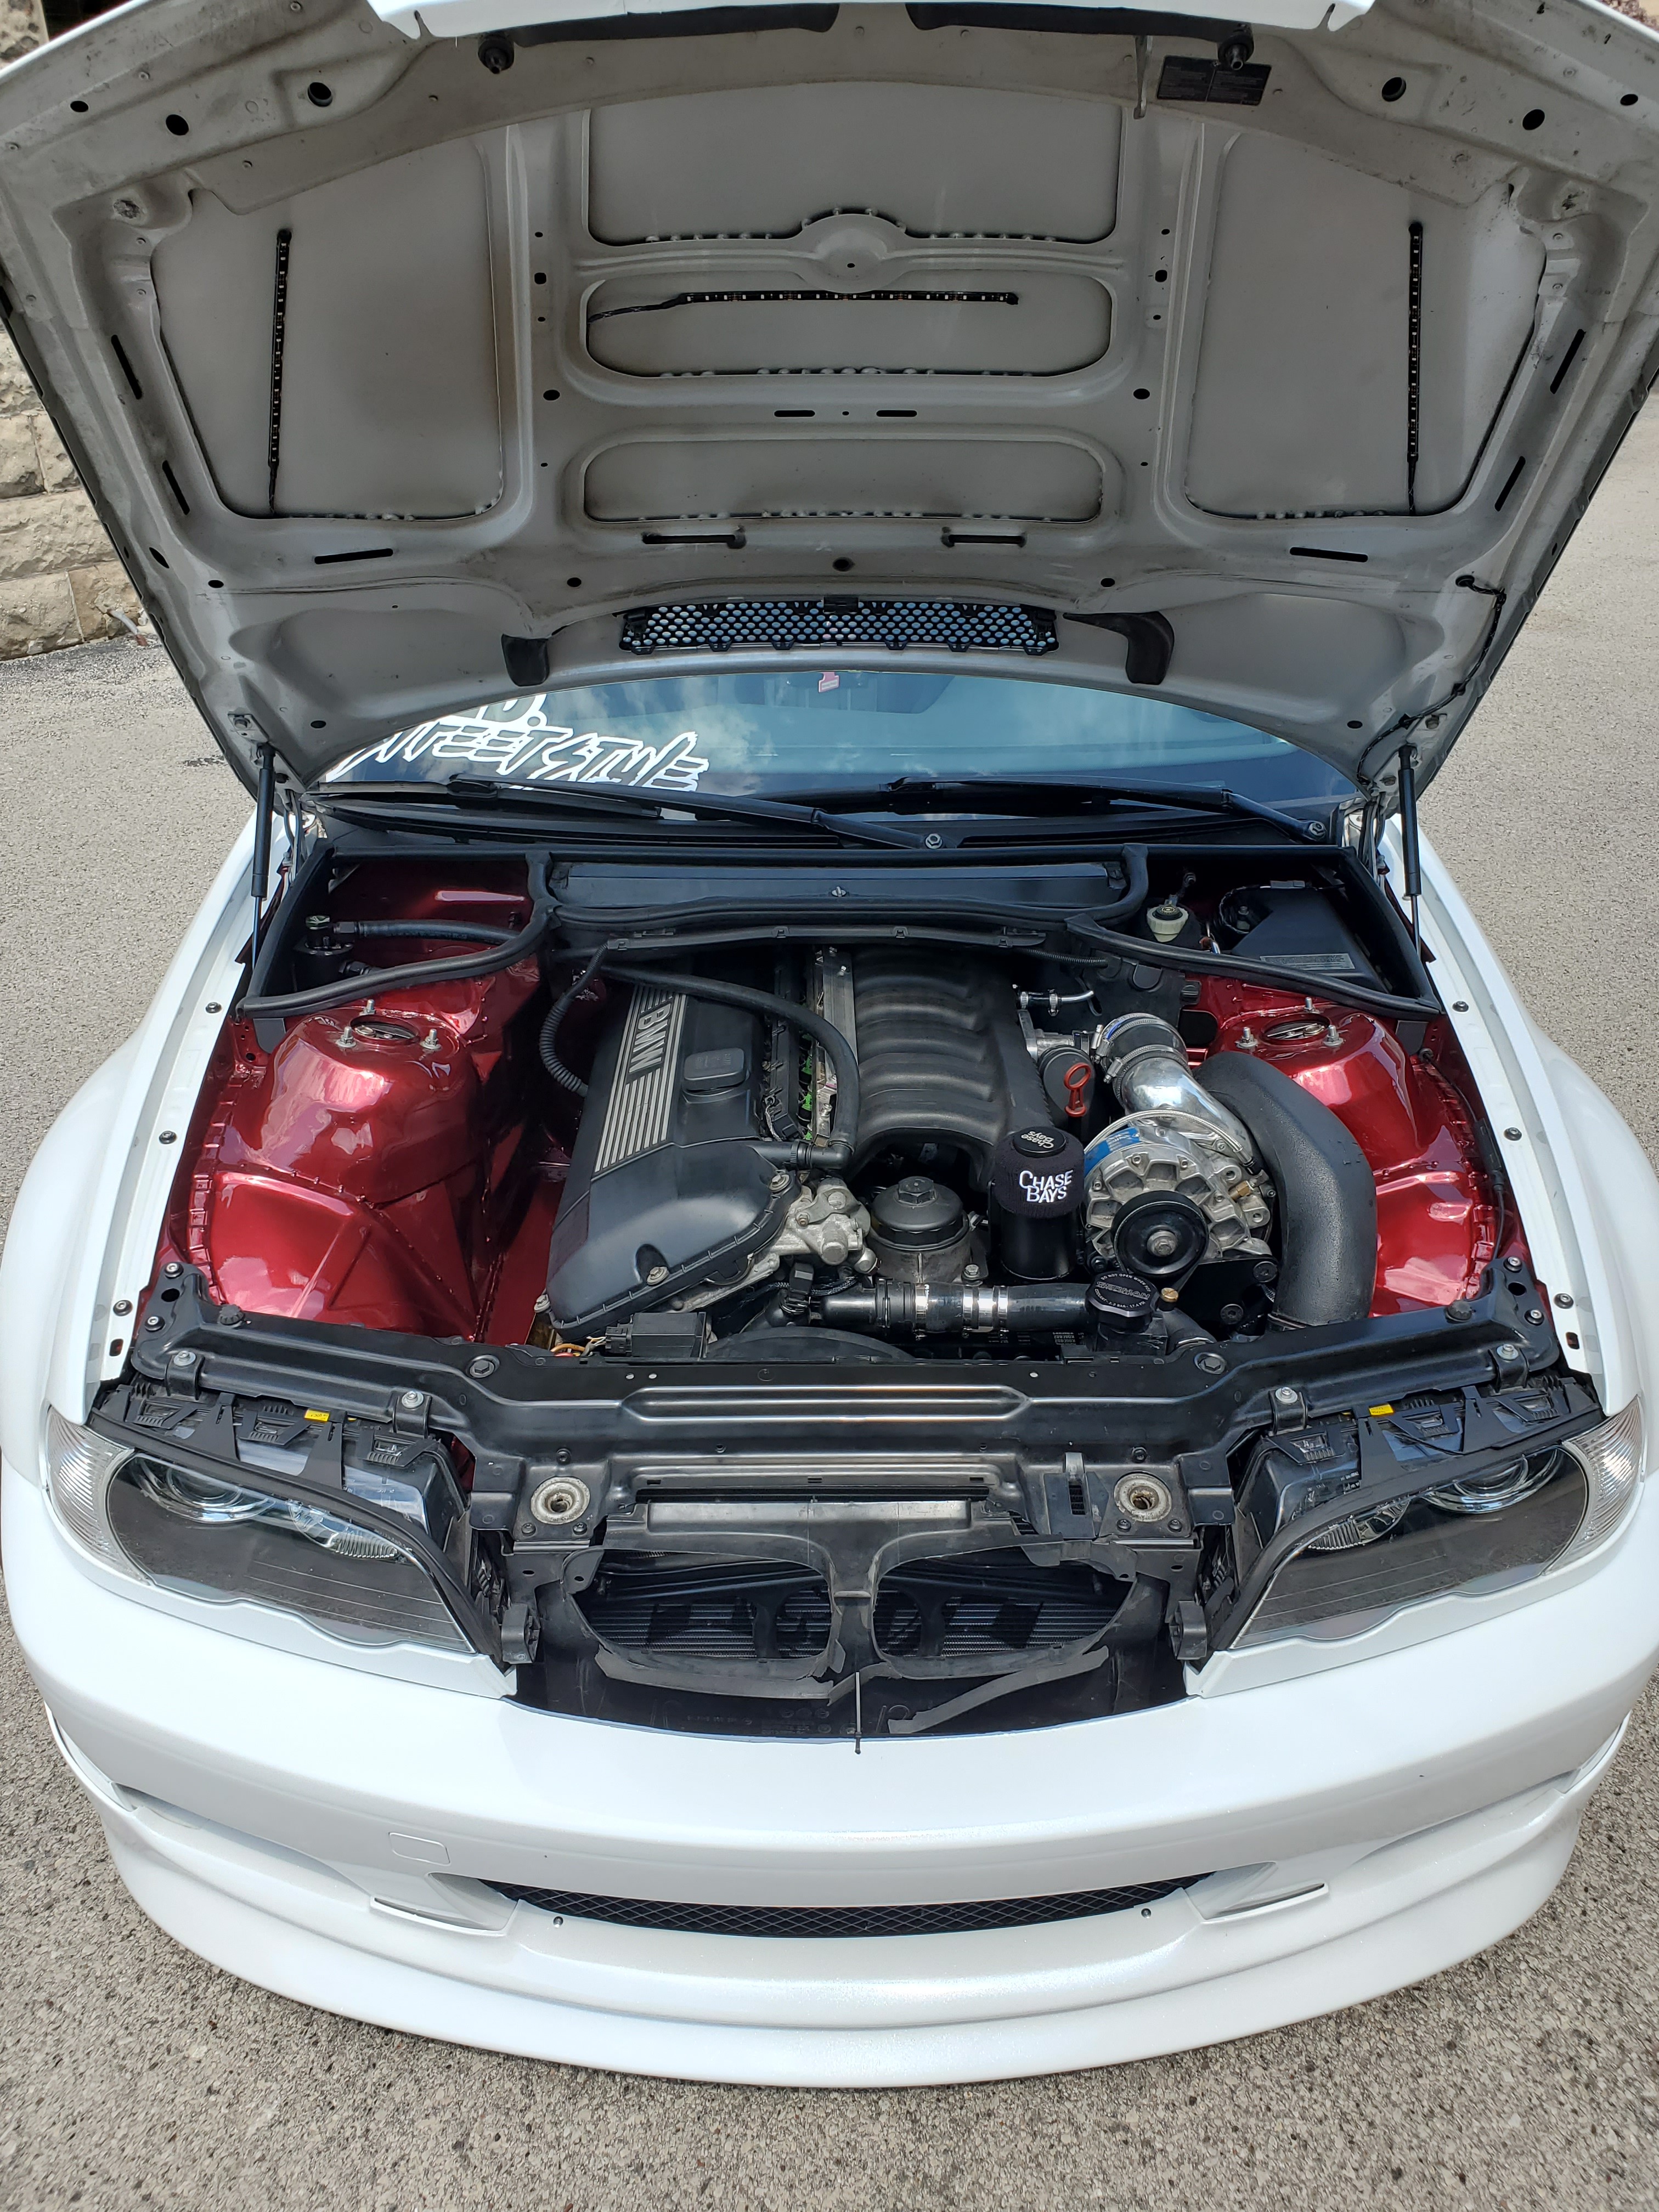
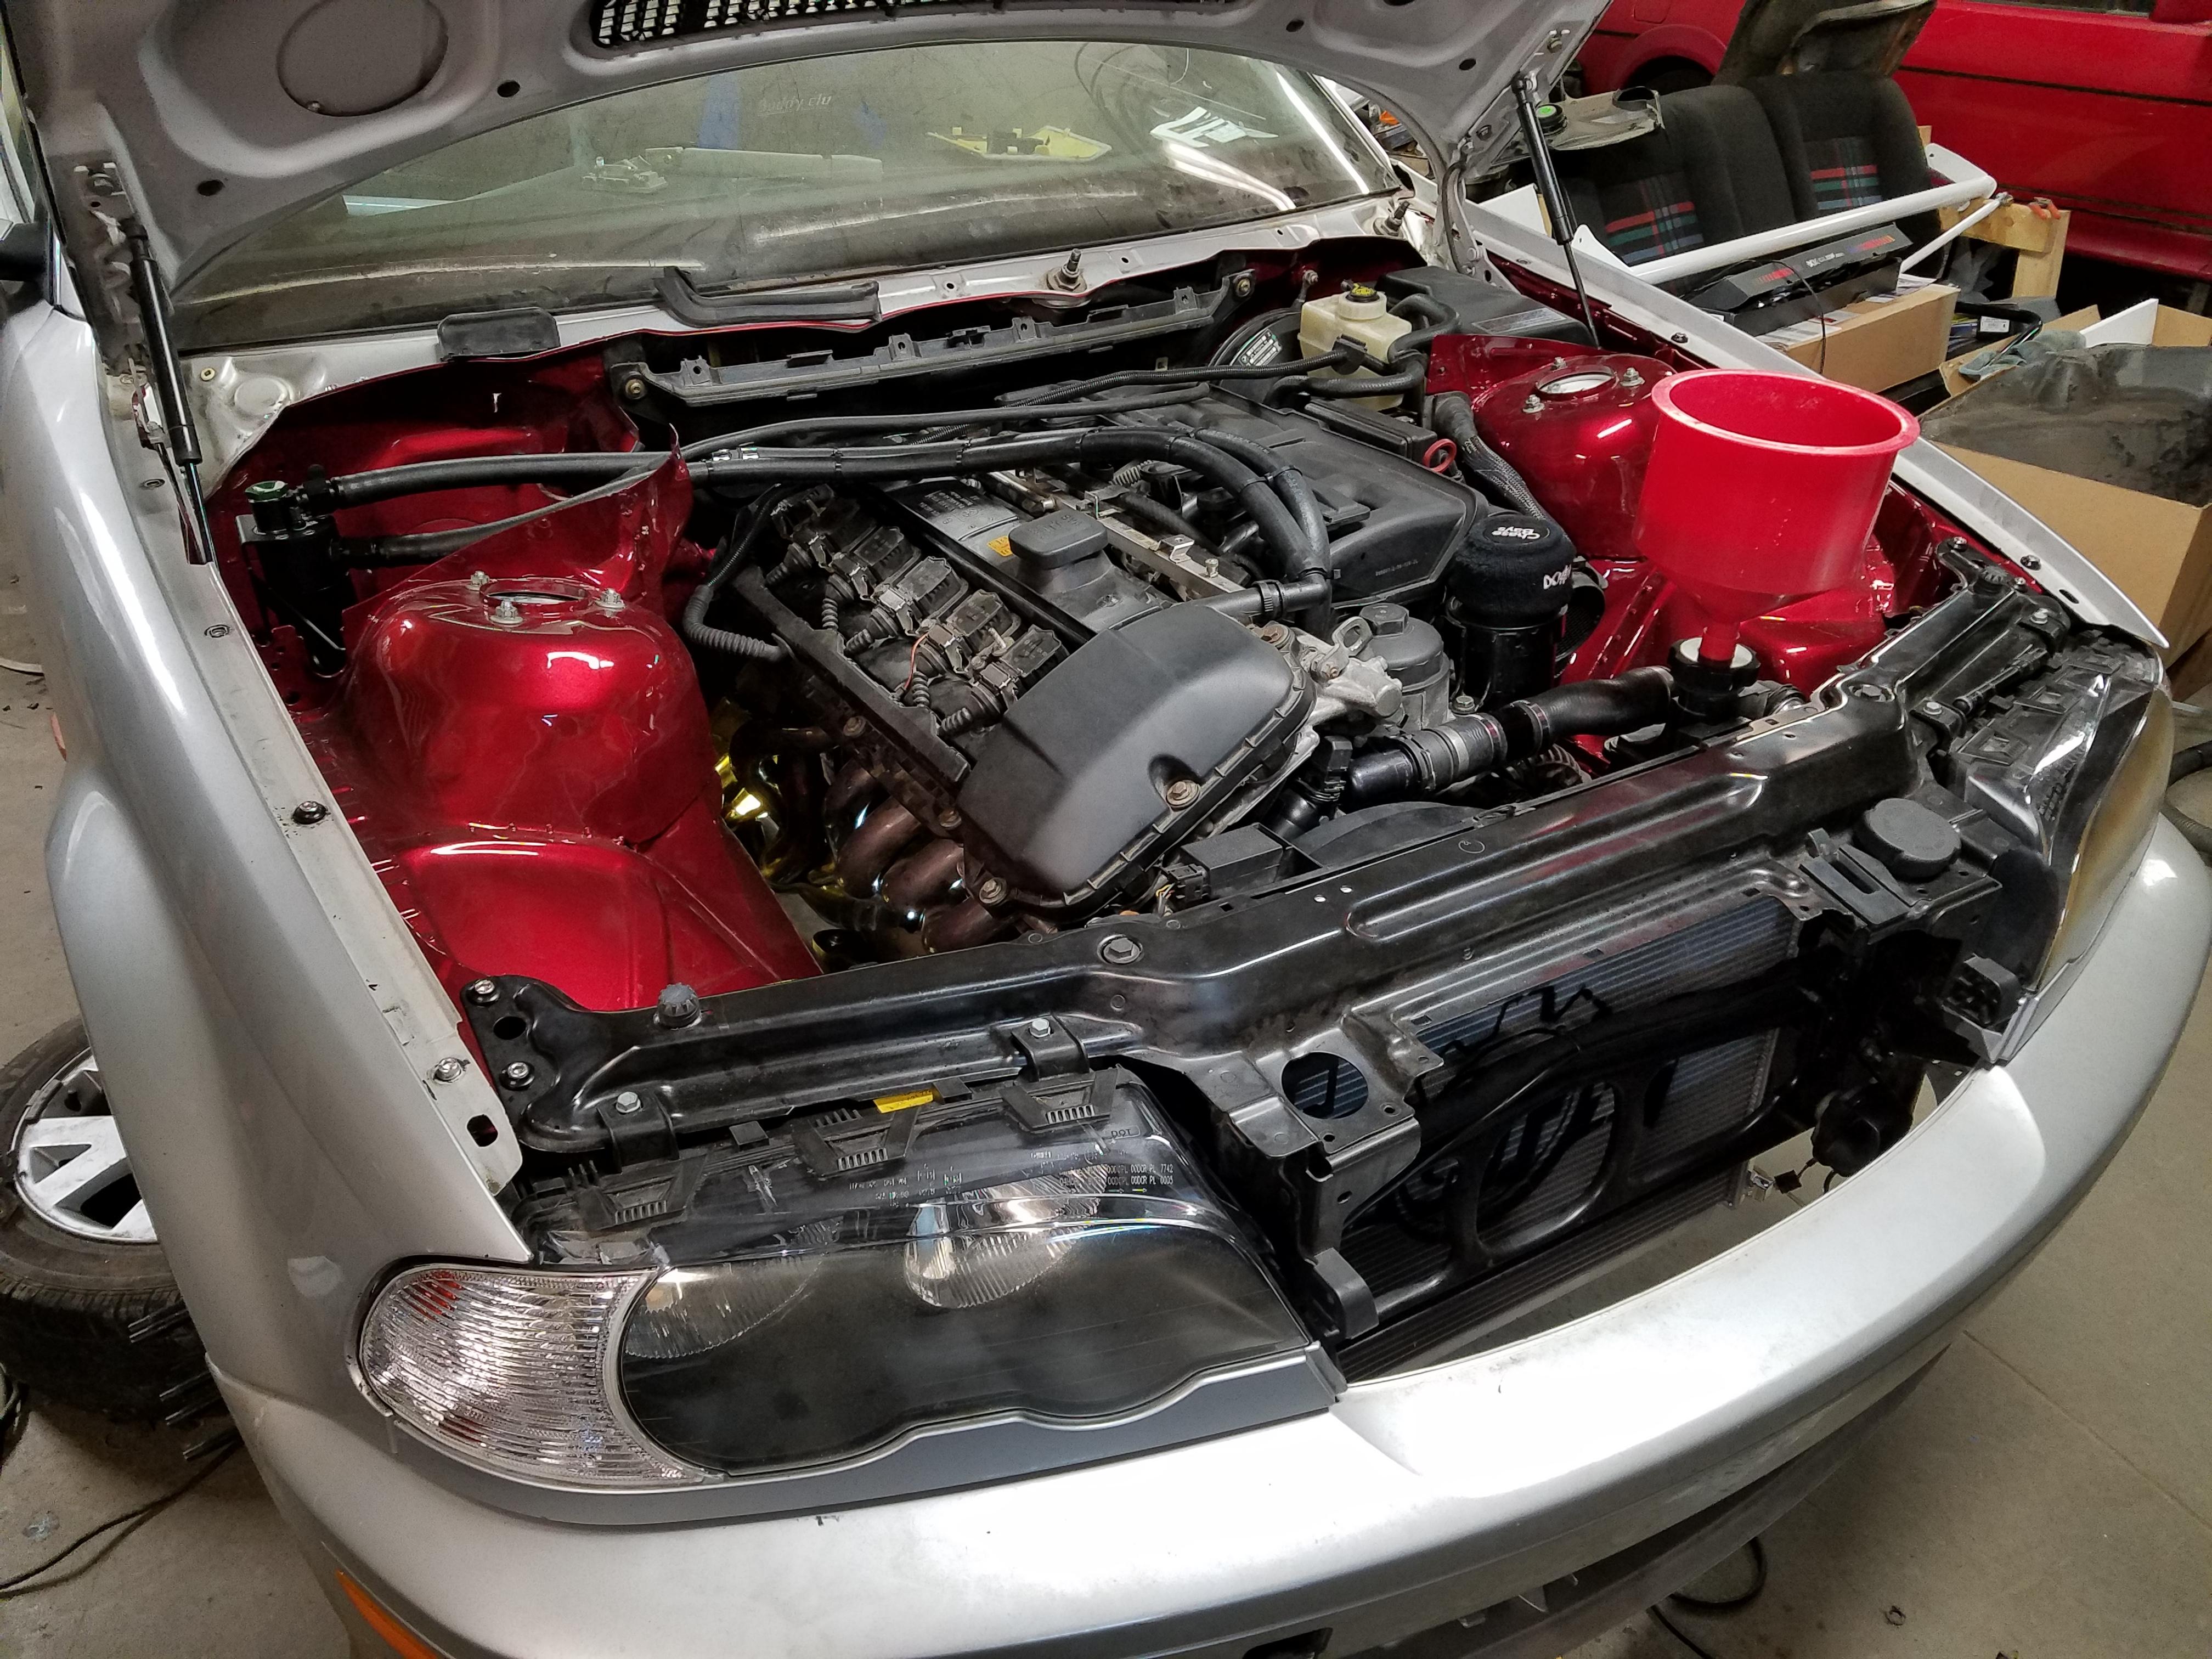
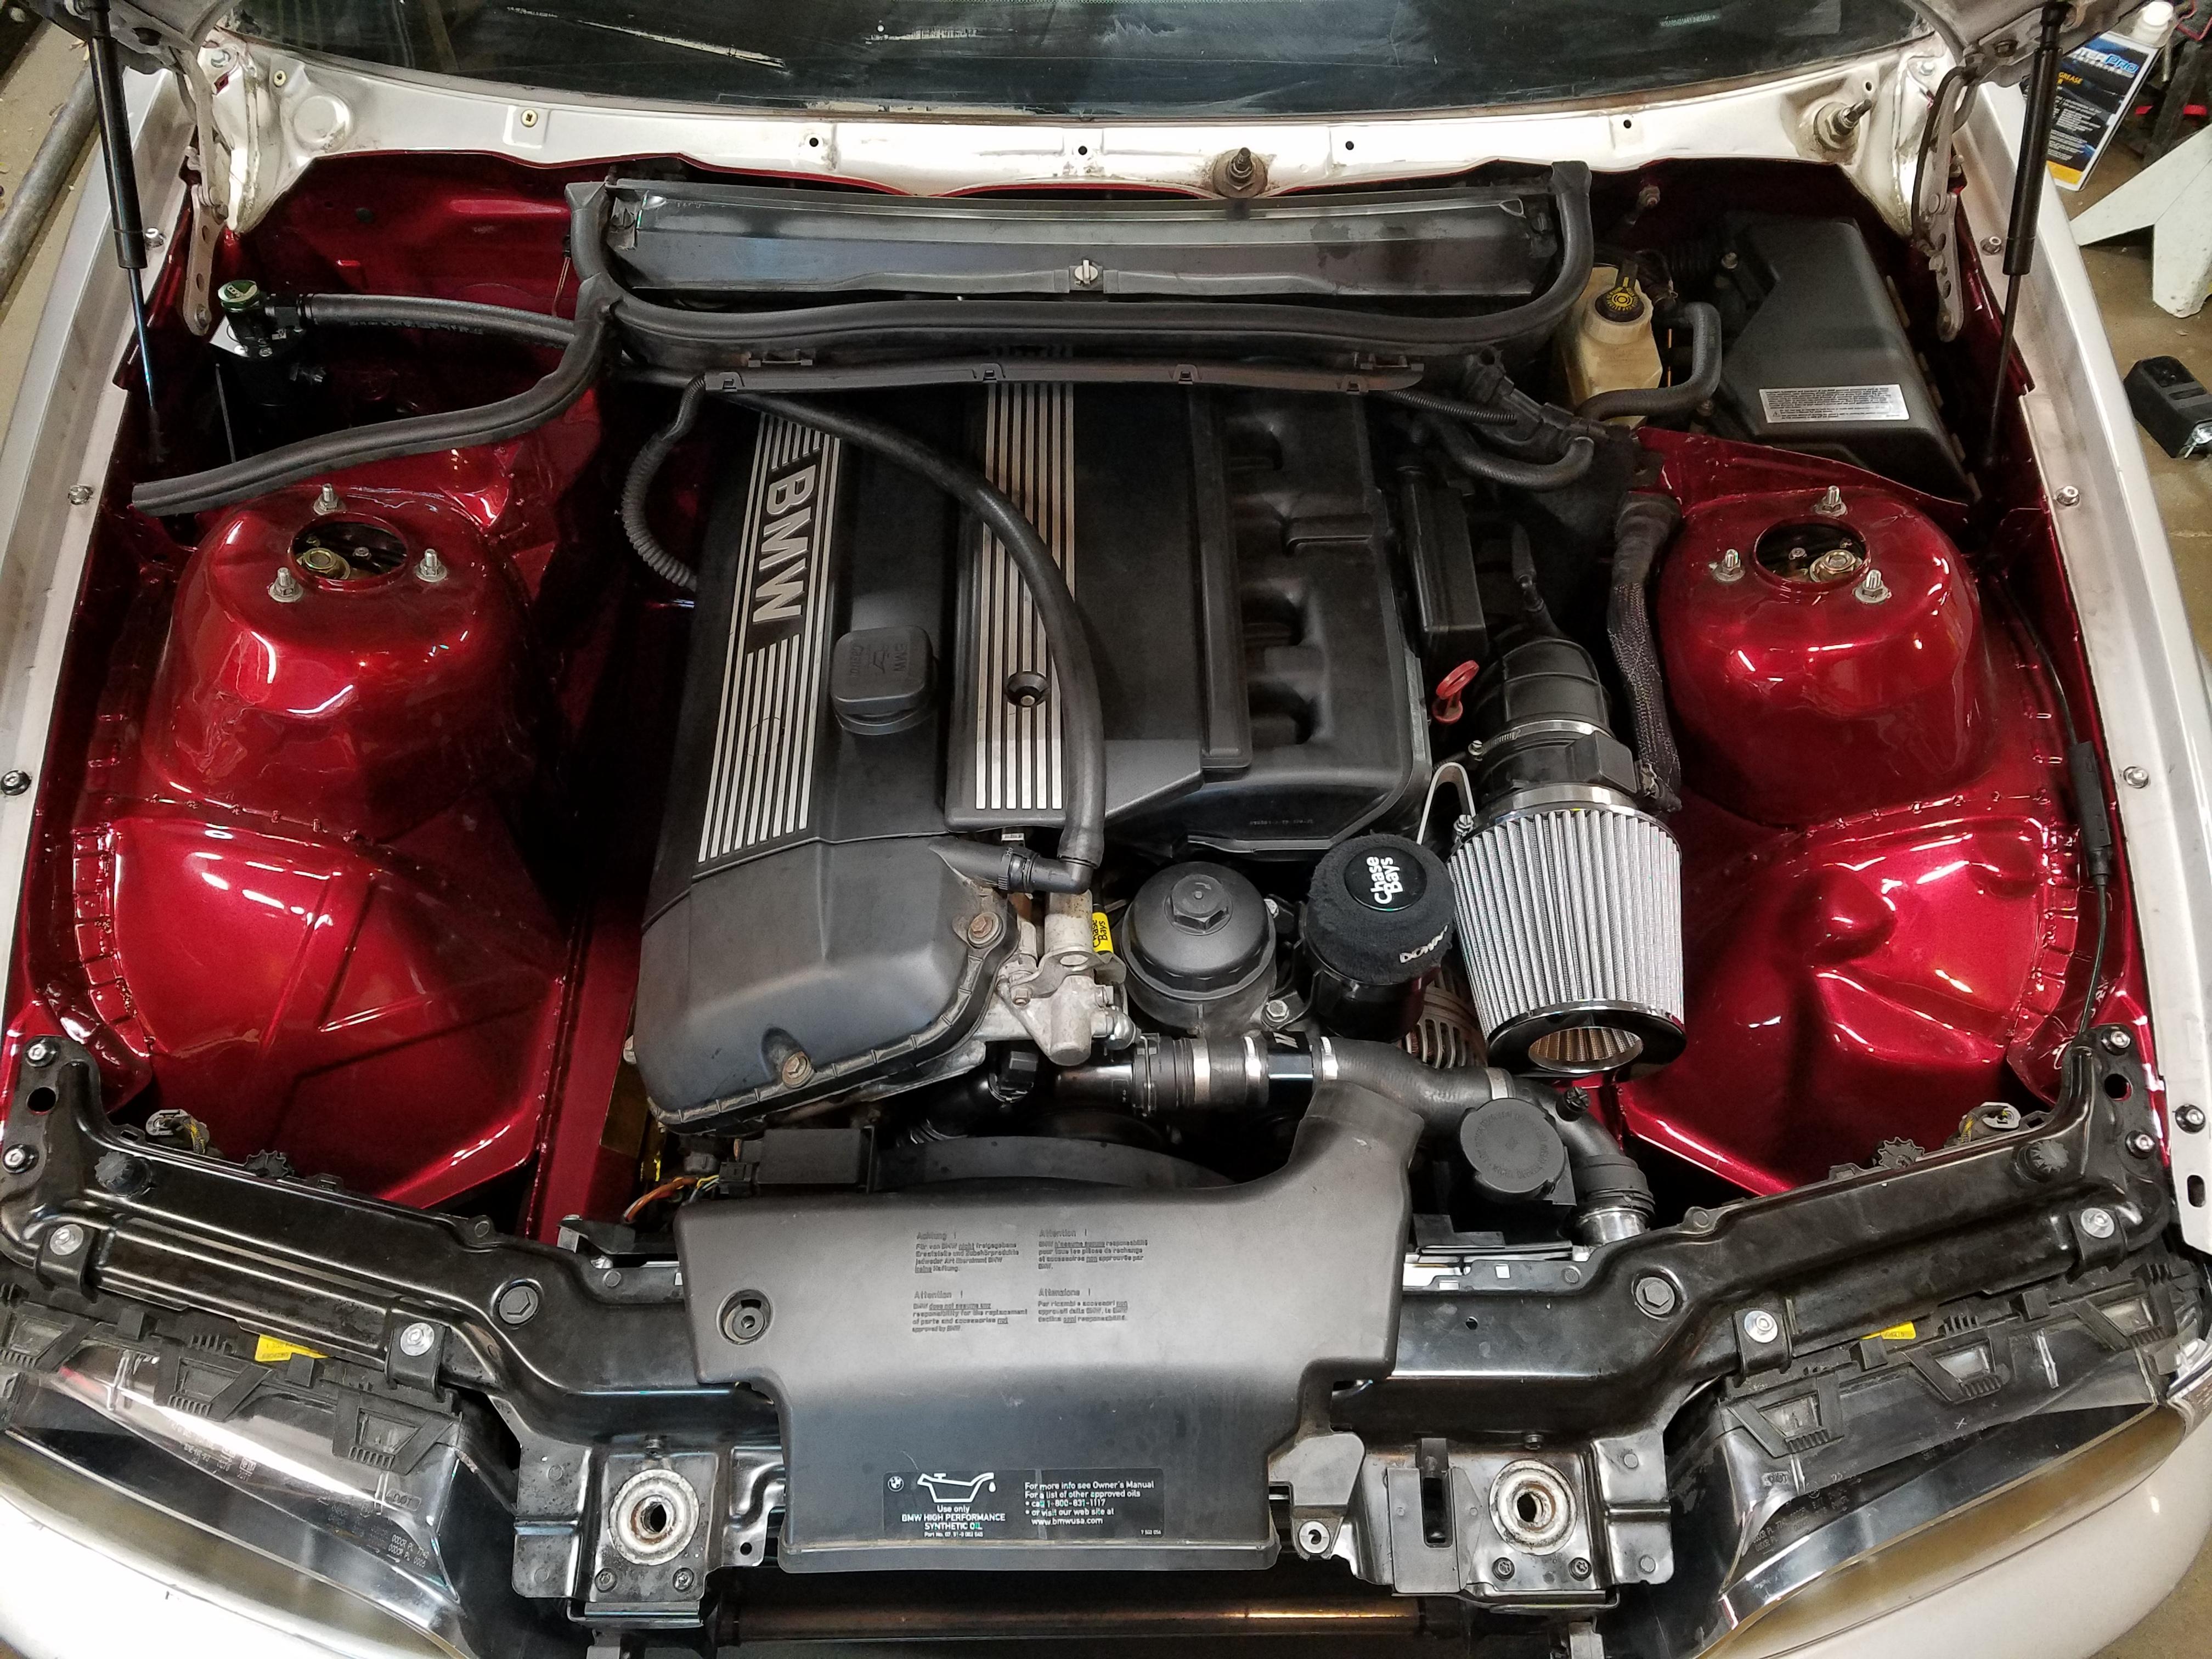
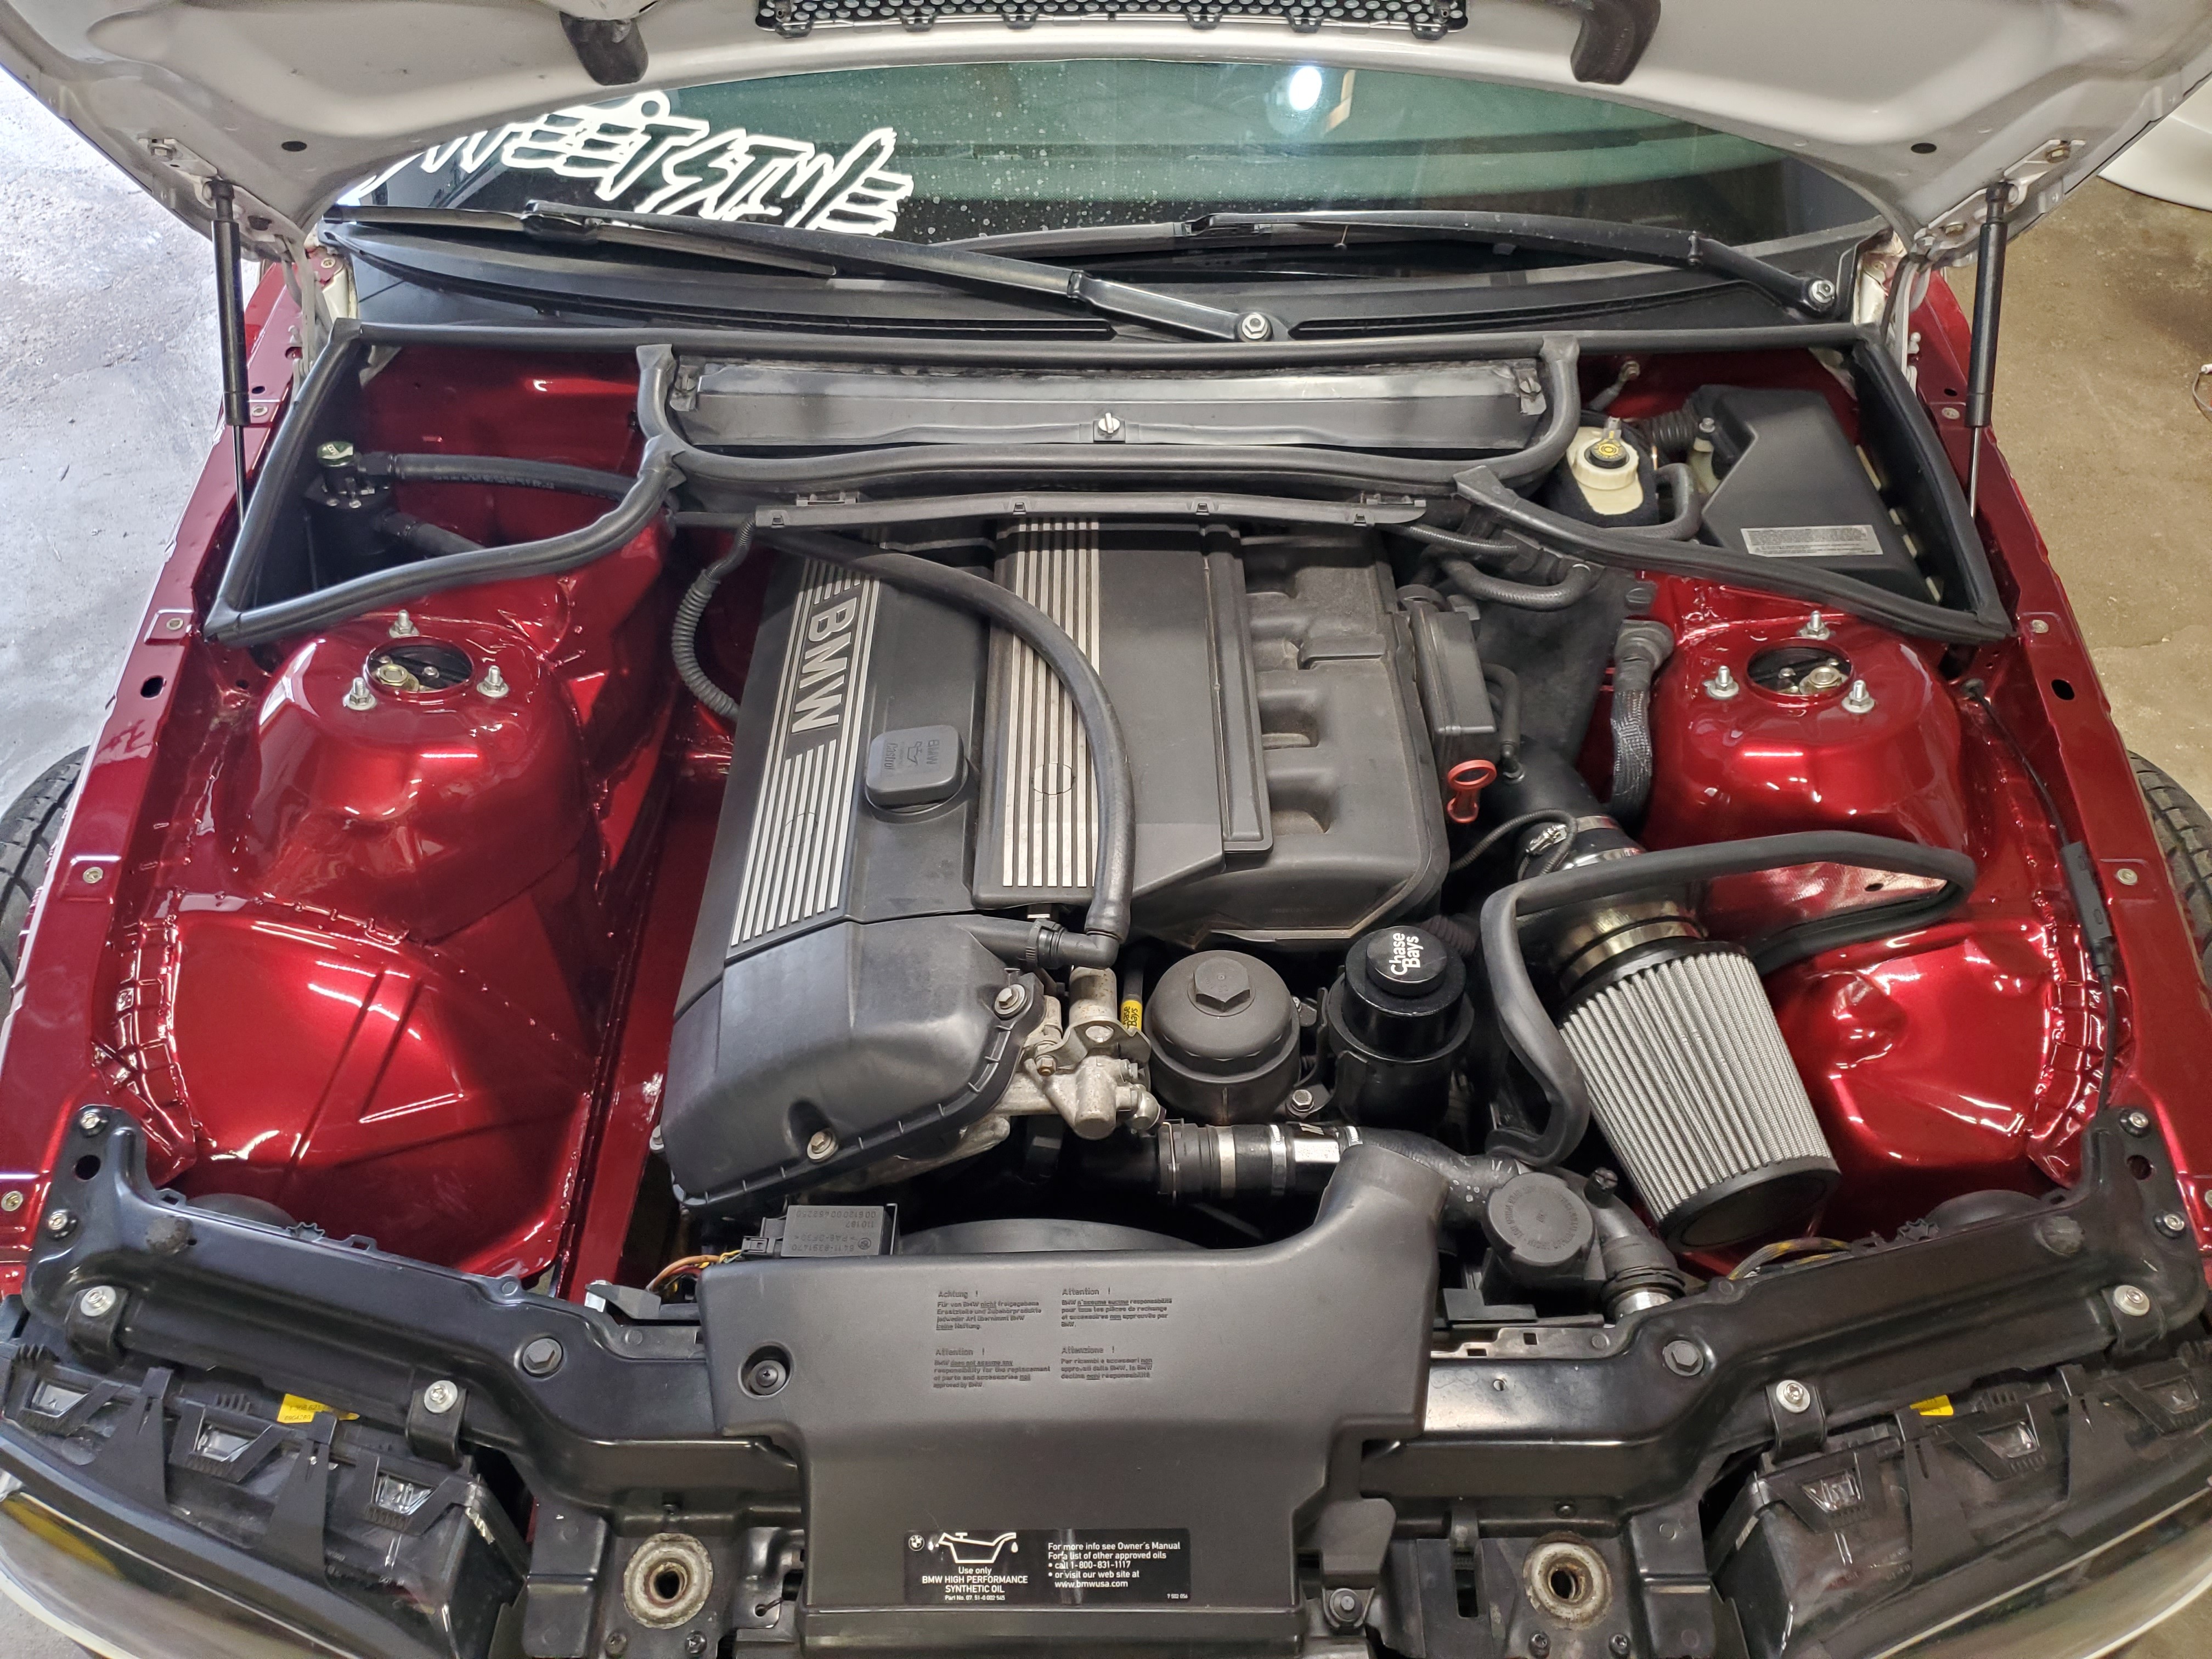
And here is the engine bay with all the body panels surrounding it.

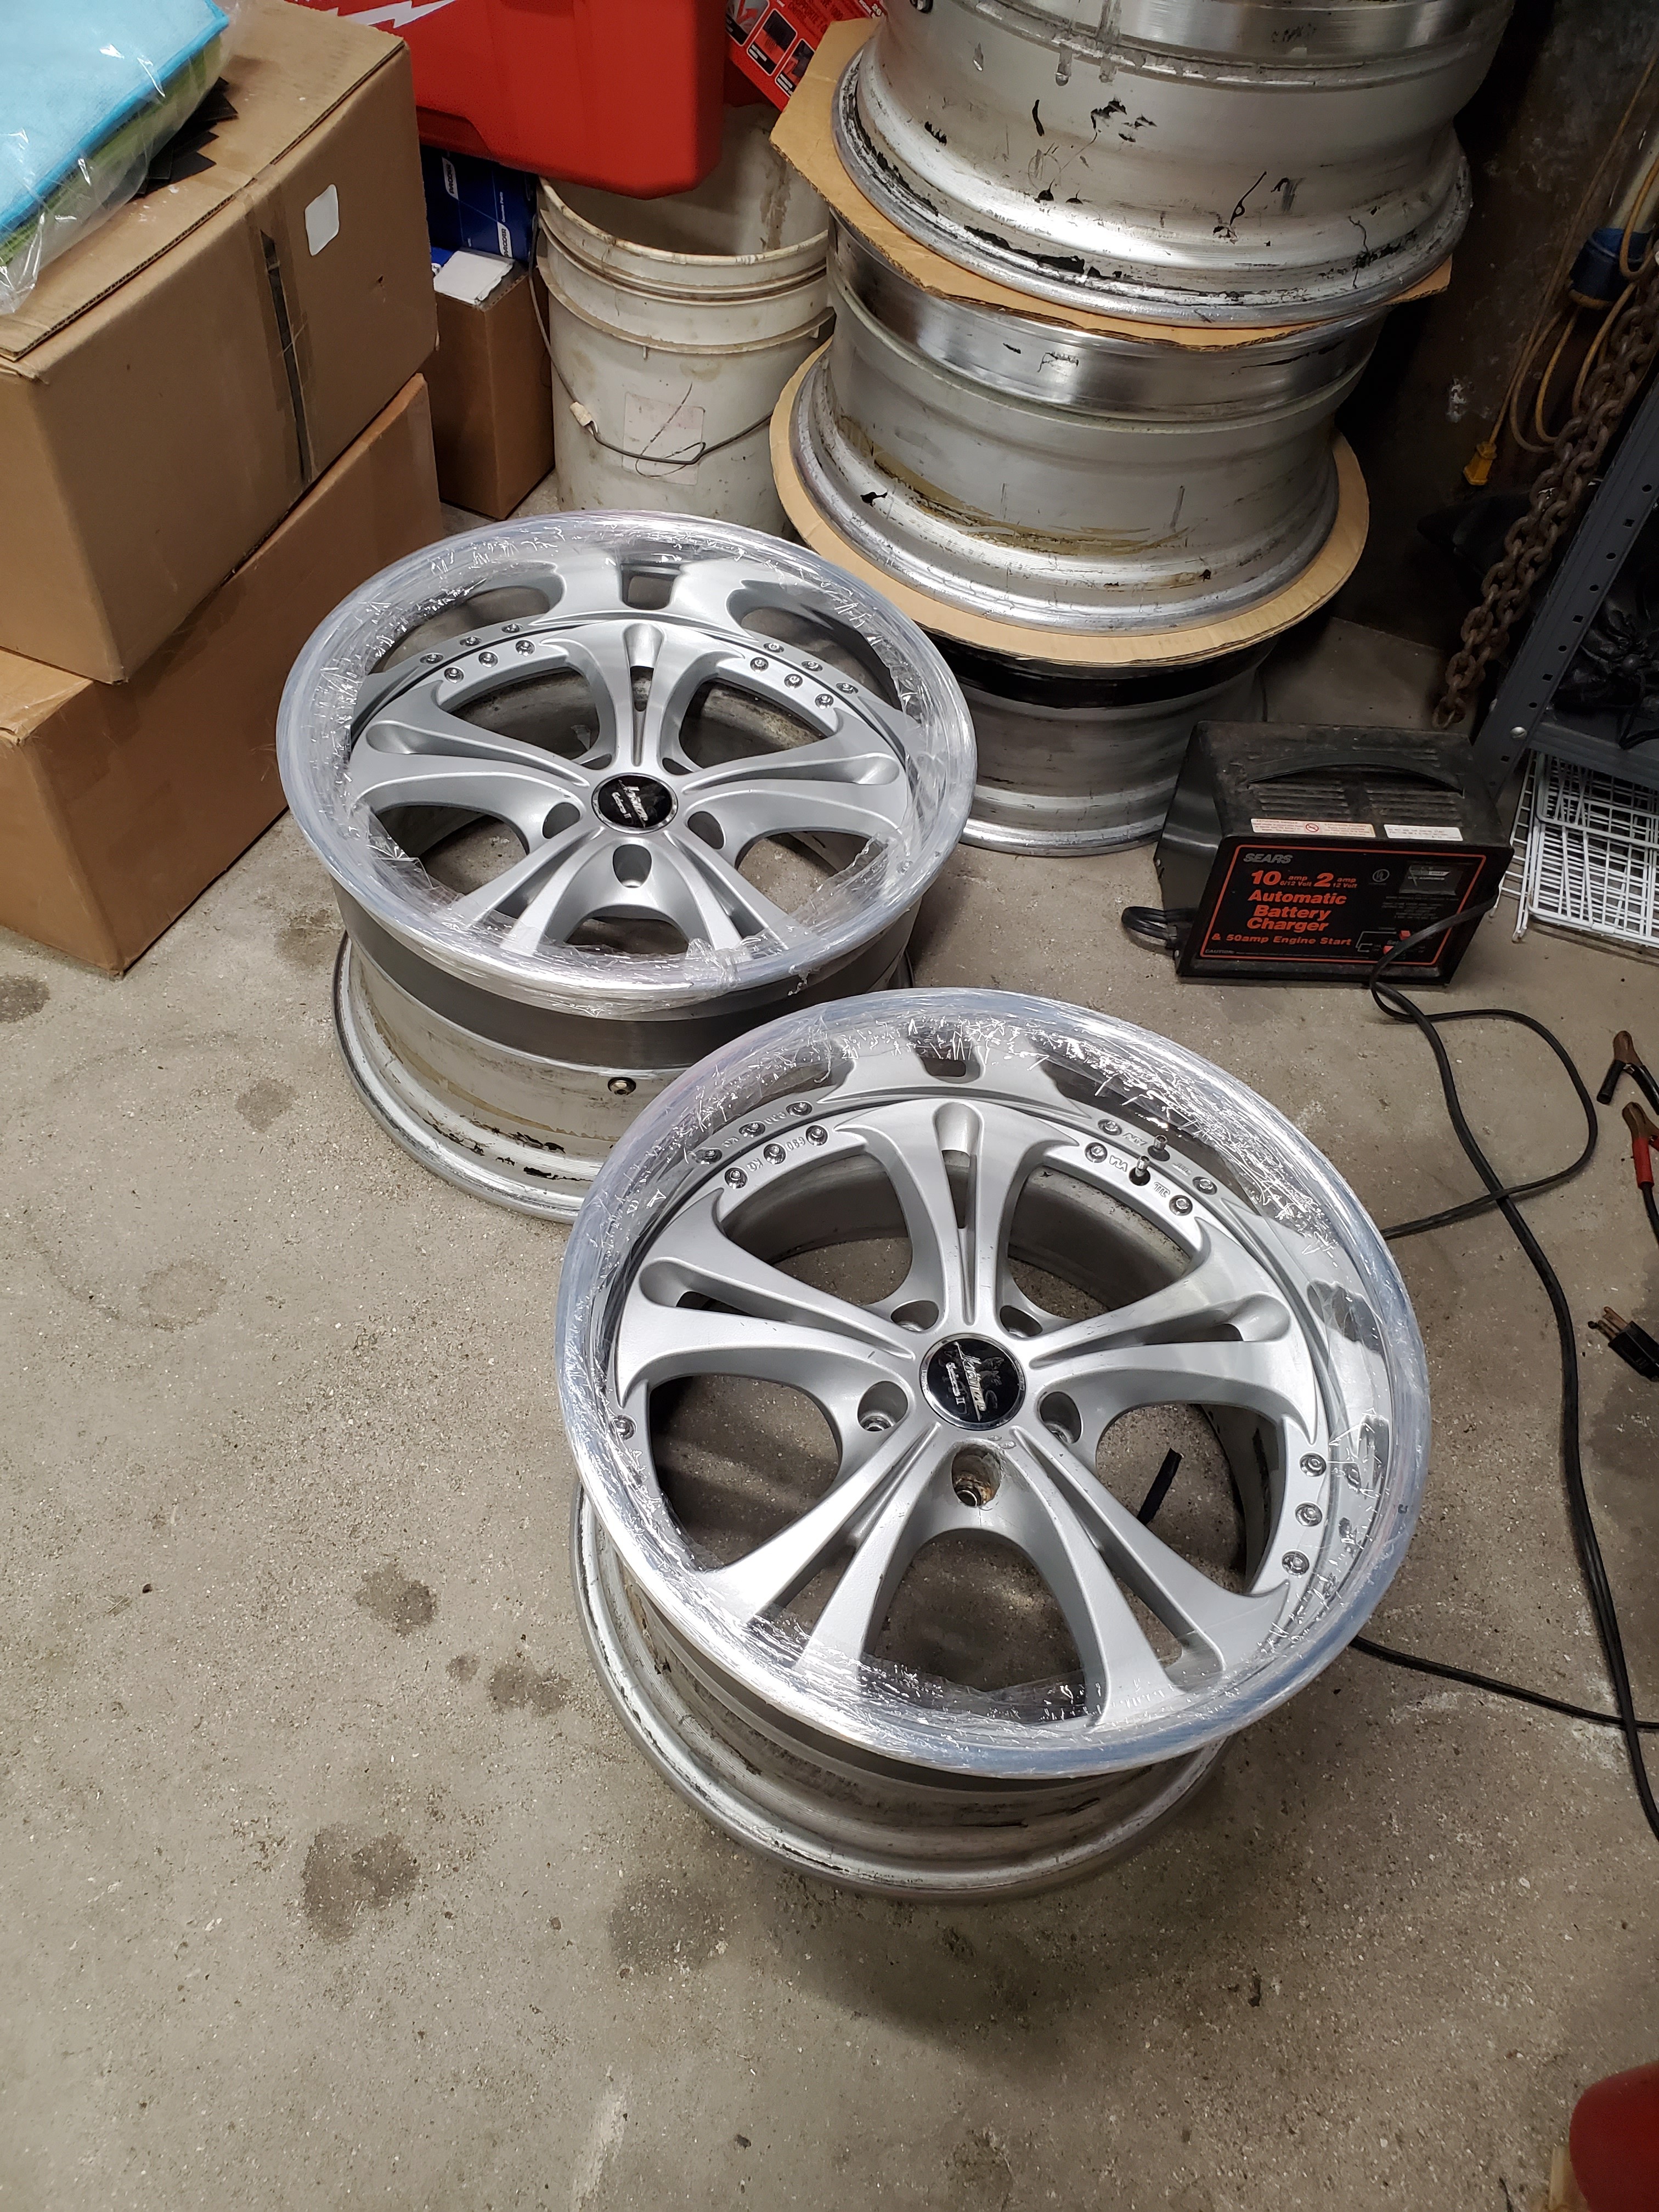
I also got another pair of lips in so I mounted those up on another pair of weds kranze Cerebus 2s.
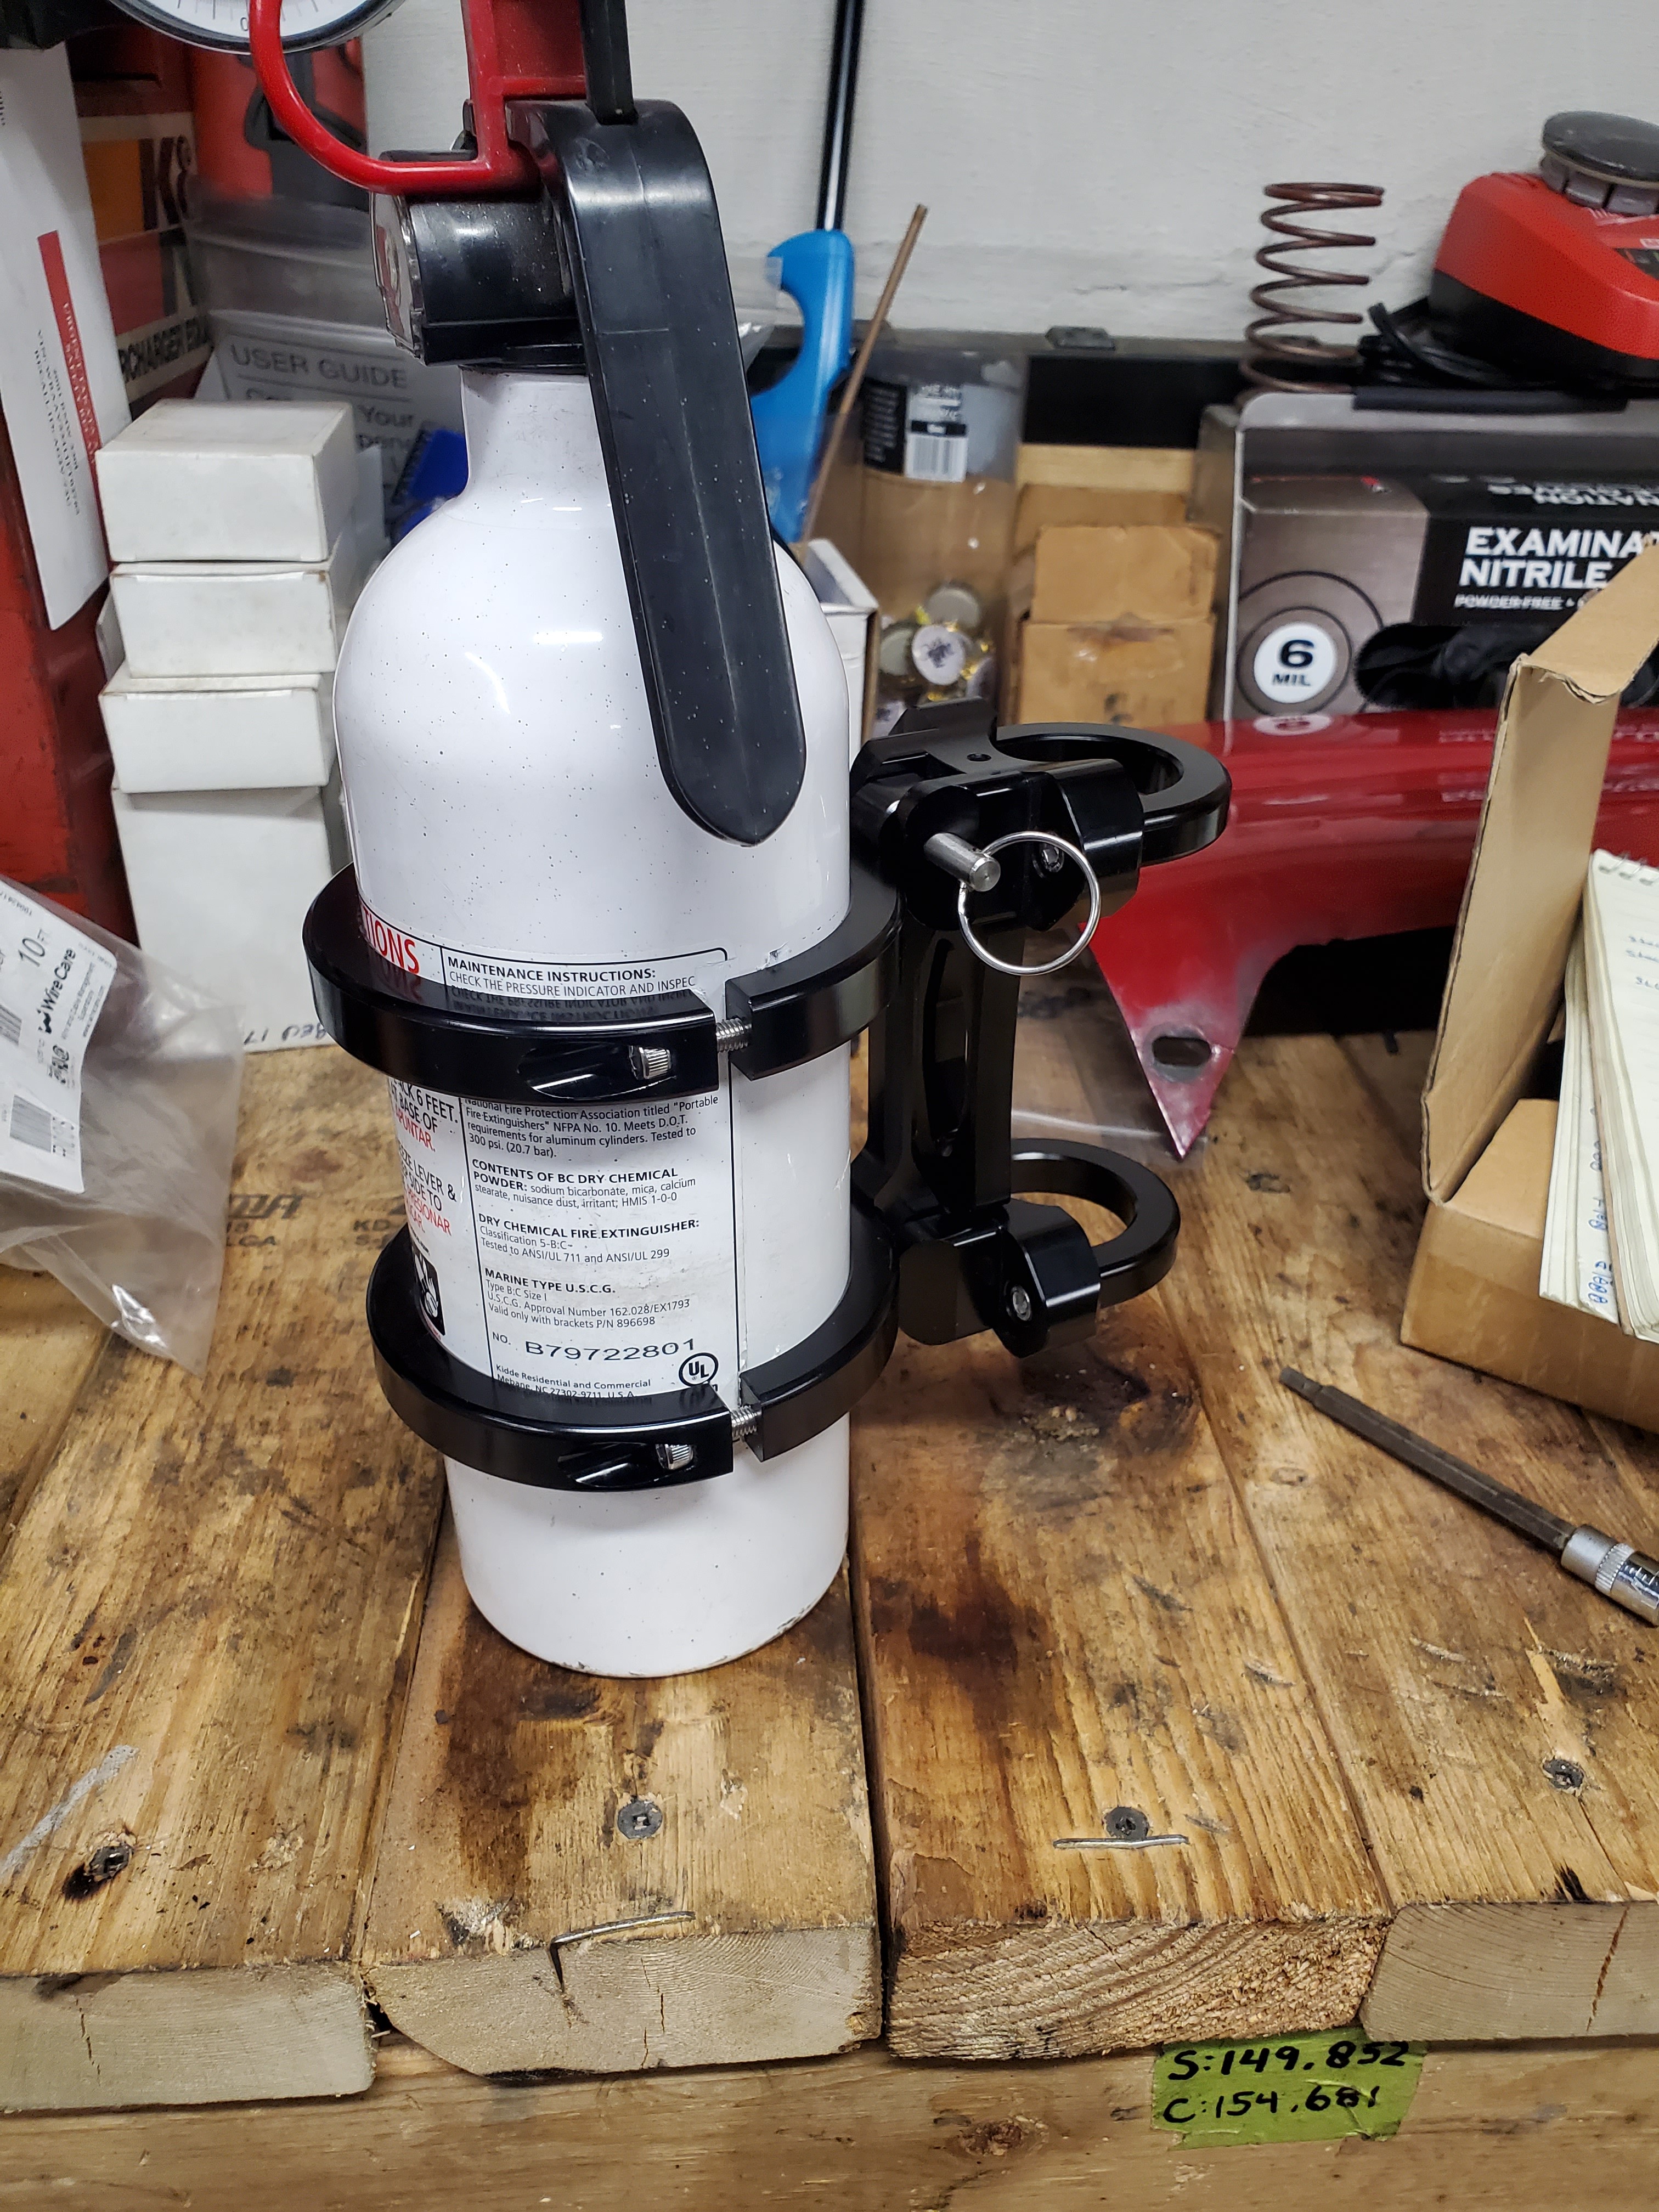
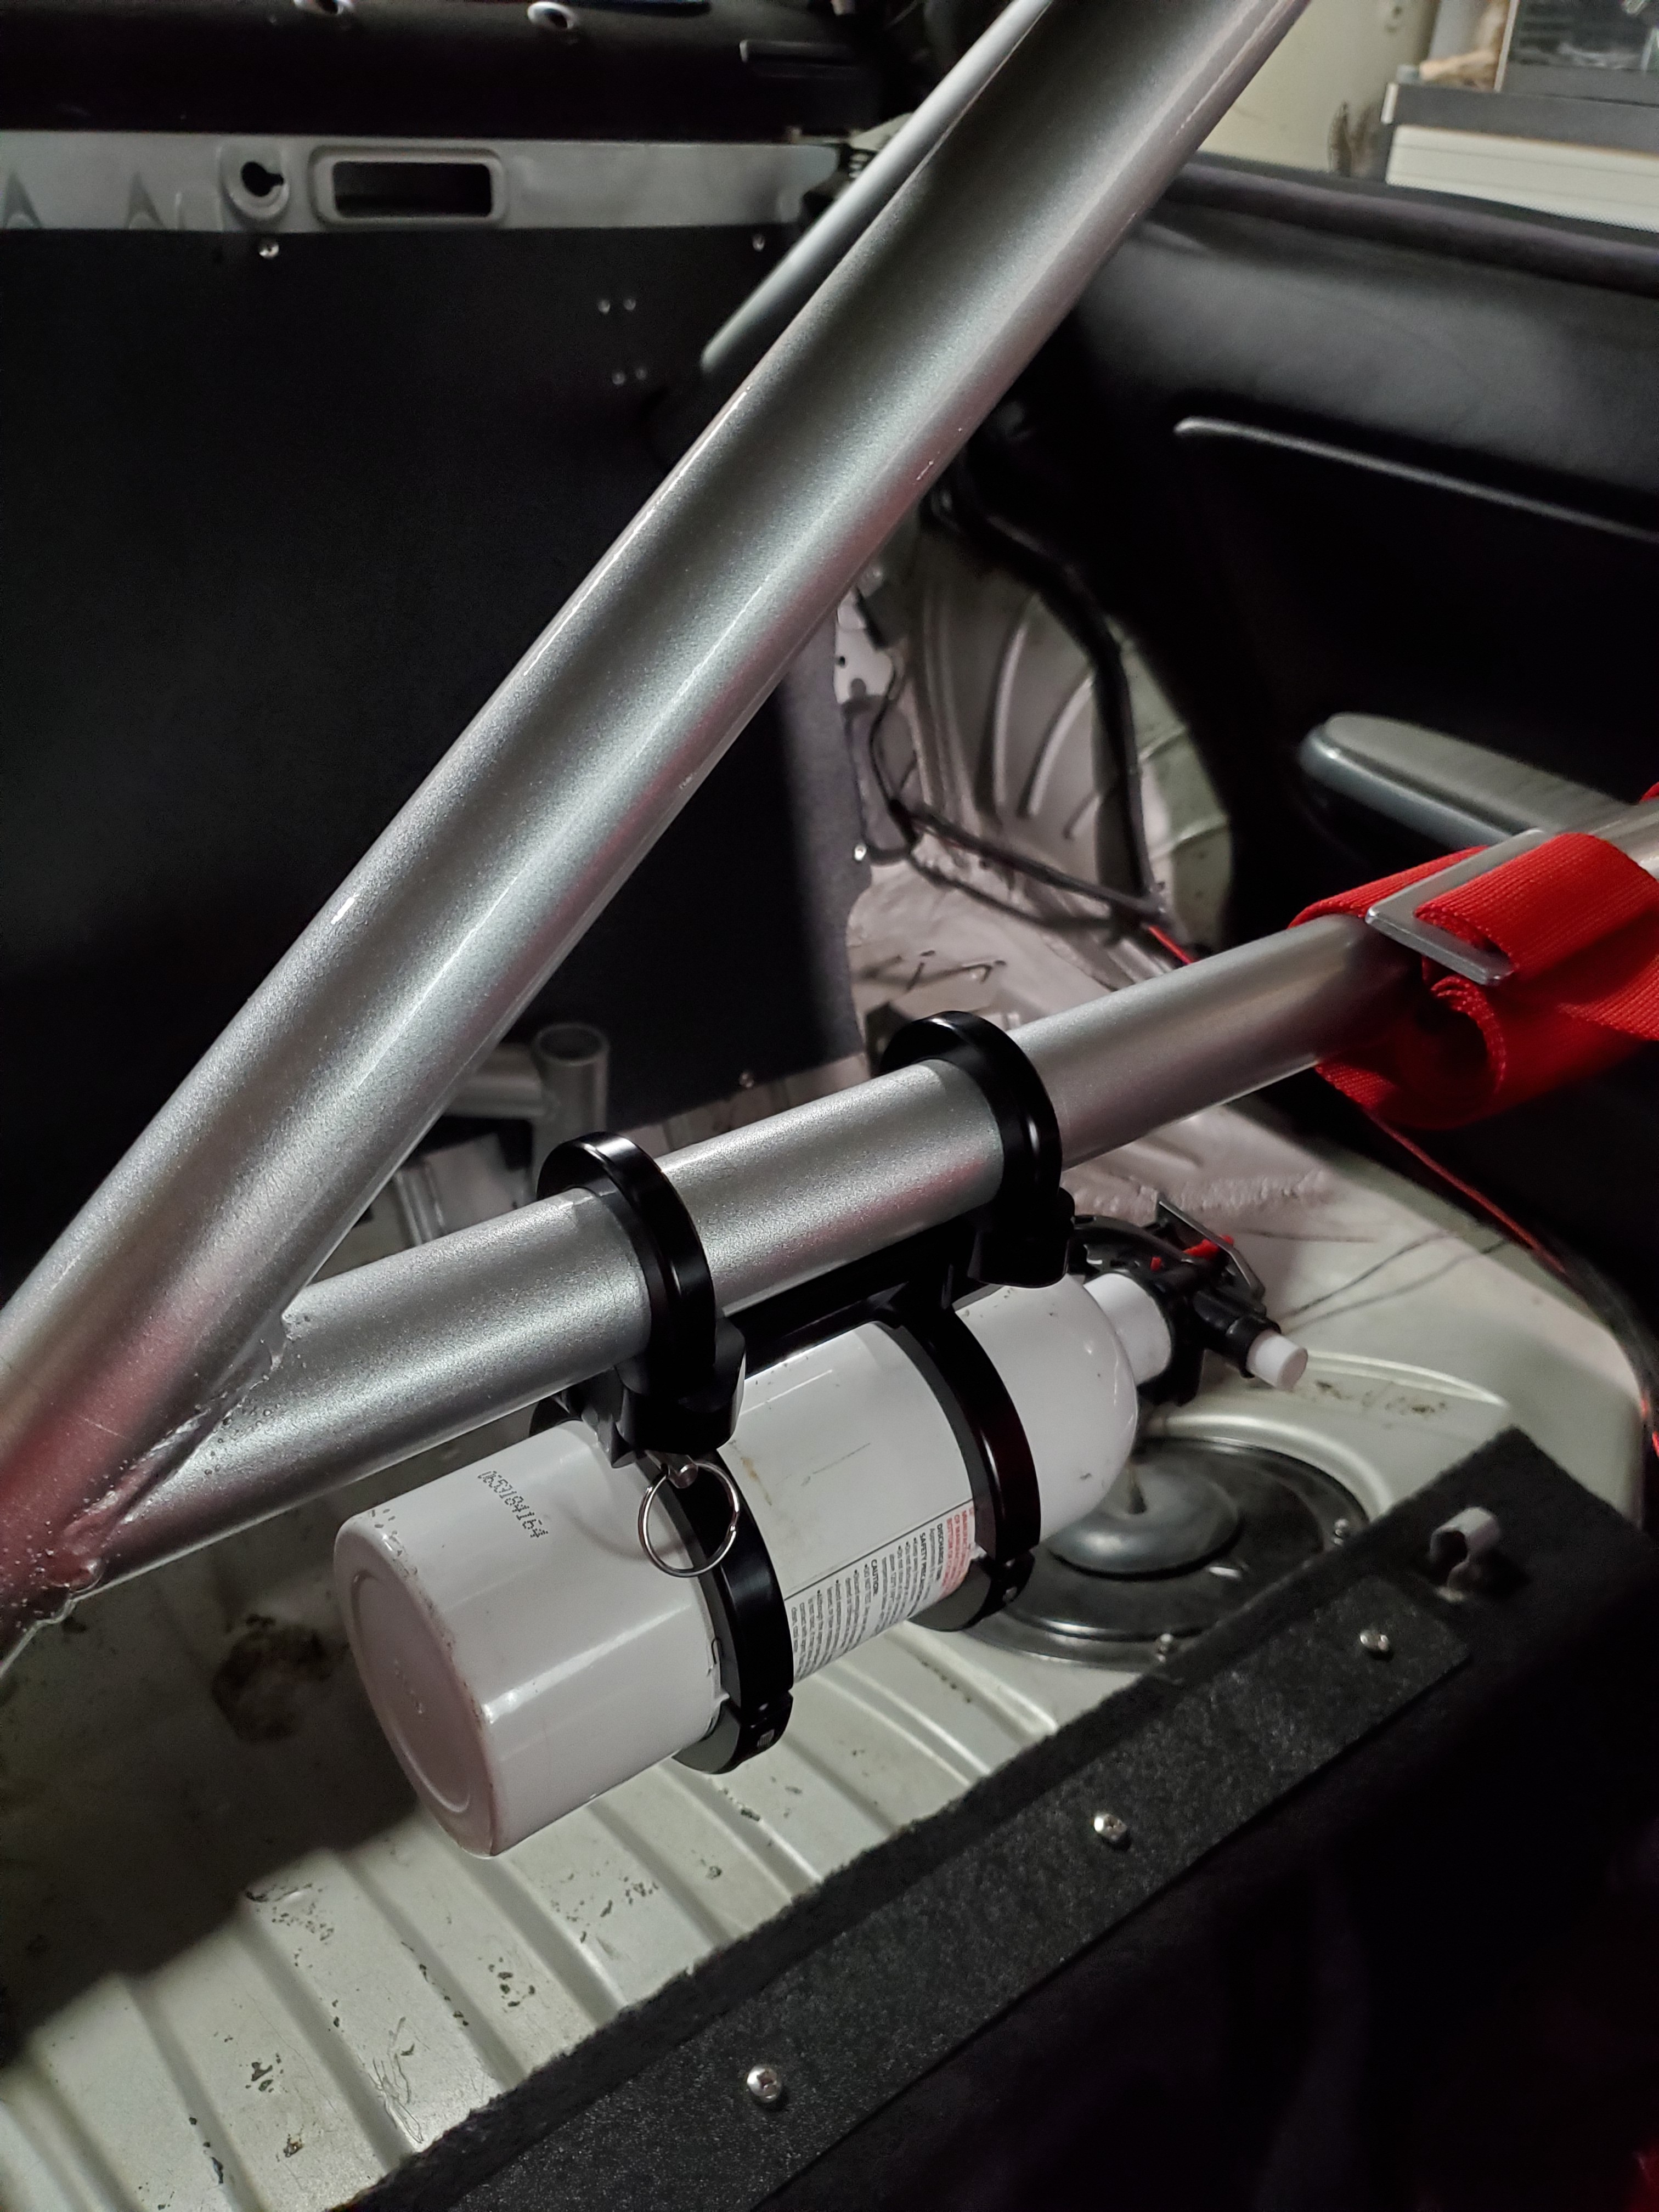
I ordered and mounted a fire extinguisher bracket FINALLY. I always had the extinguisher but since putting in the cage and interior I needed a bracket.
Just need to get a pull keychain.
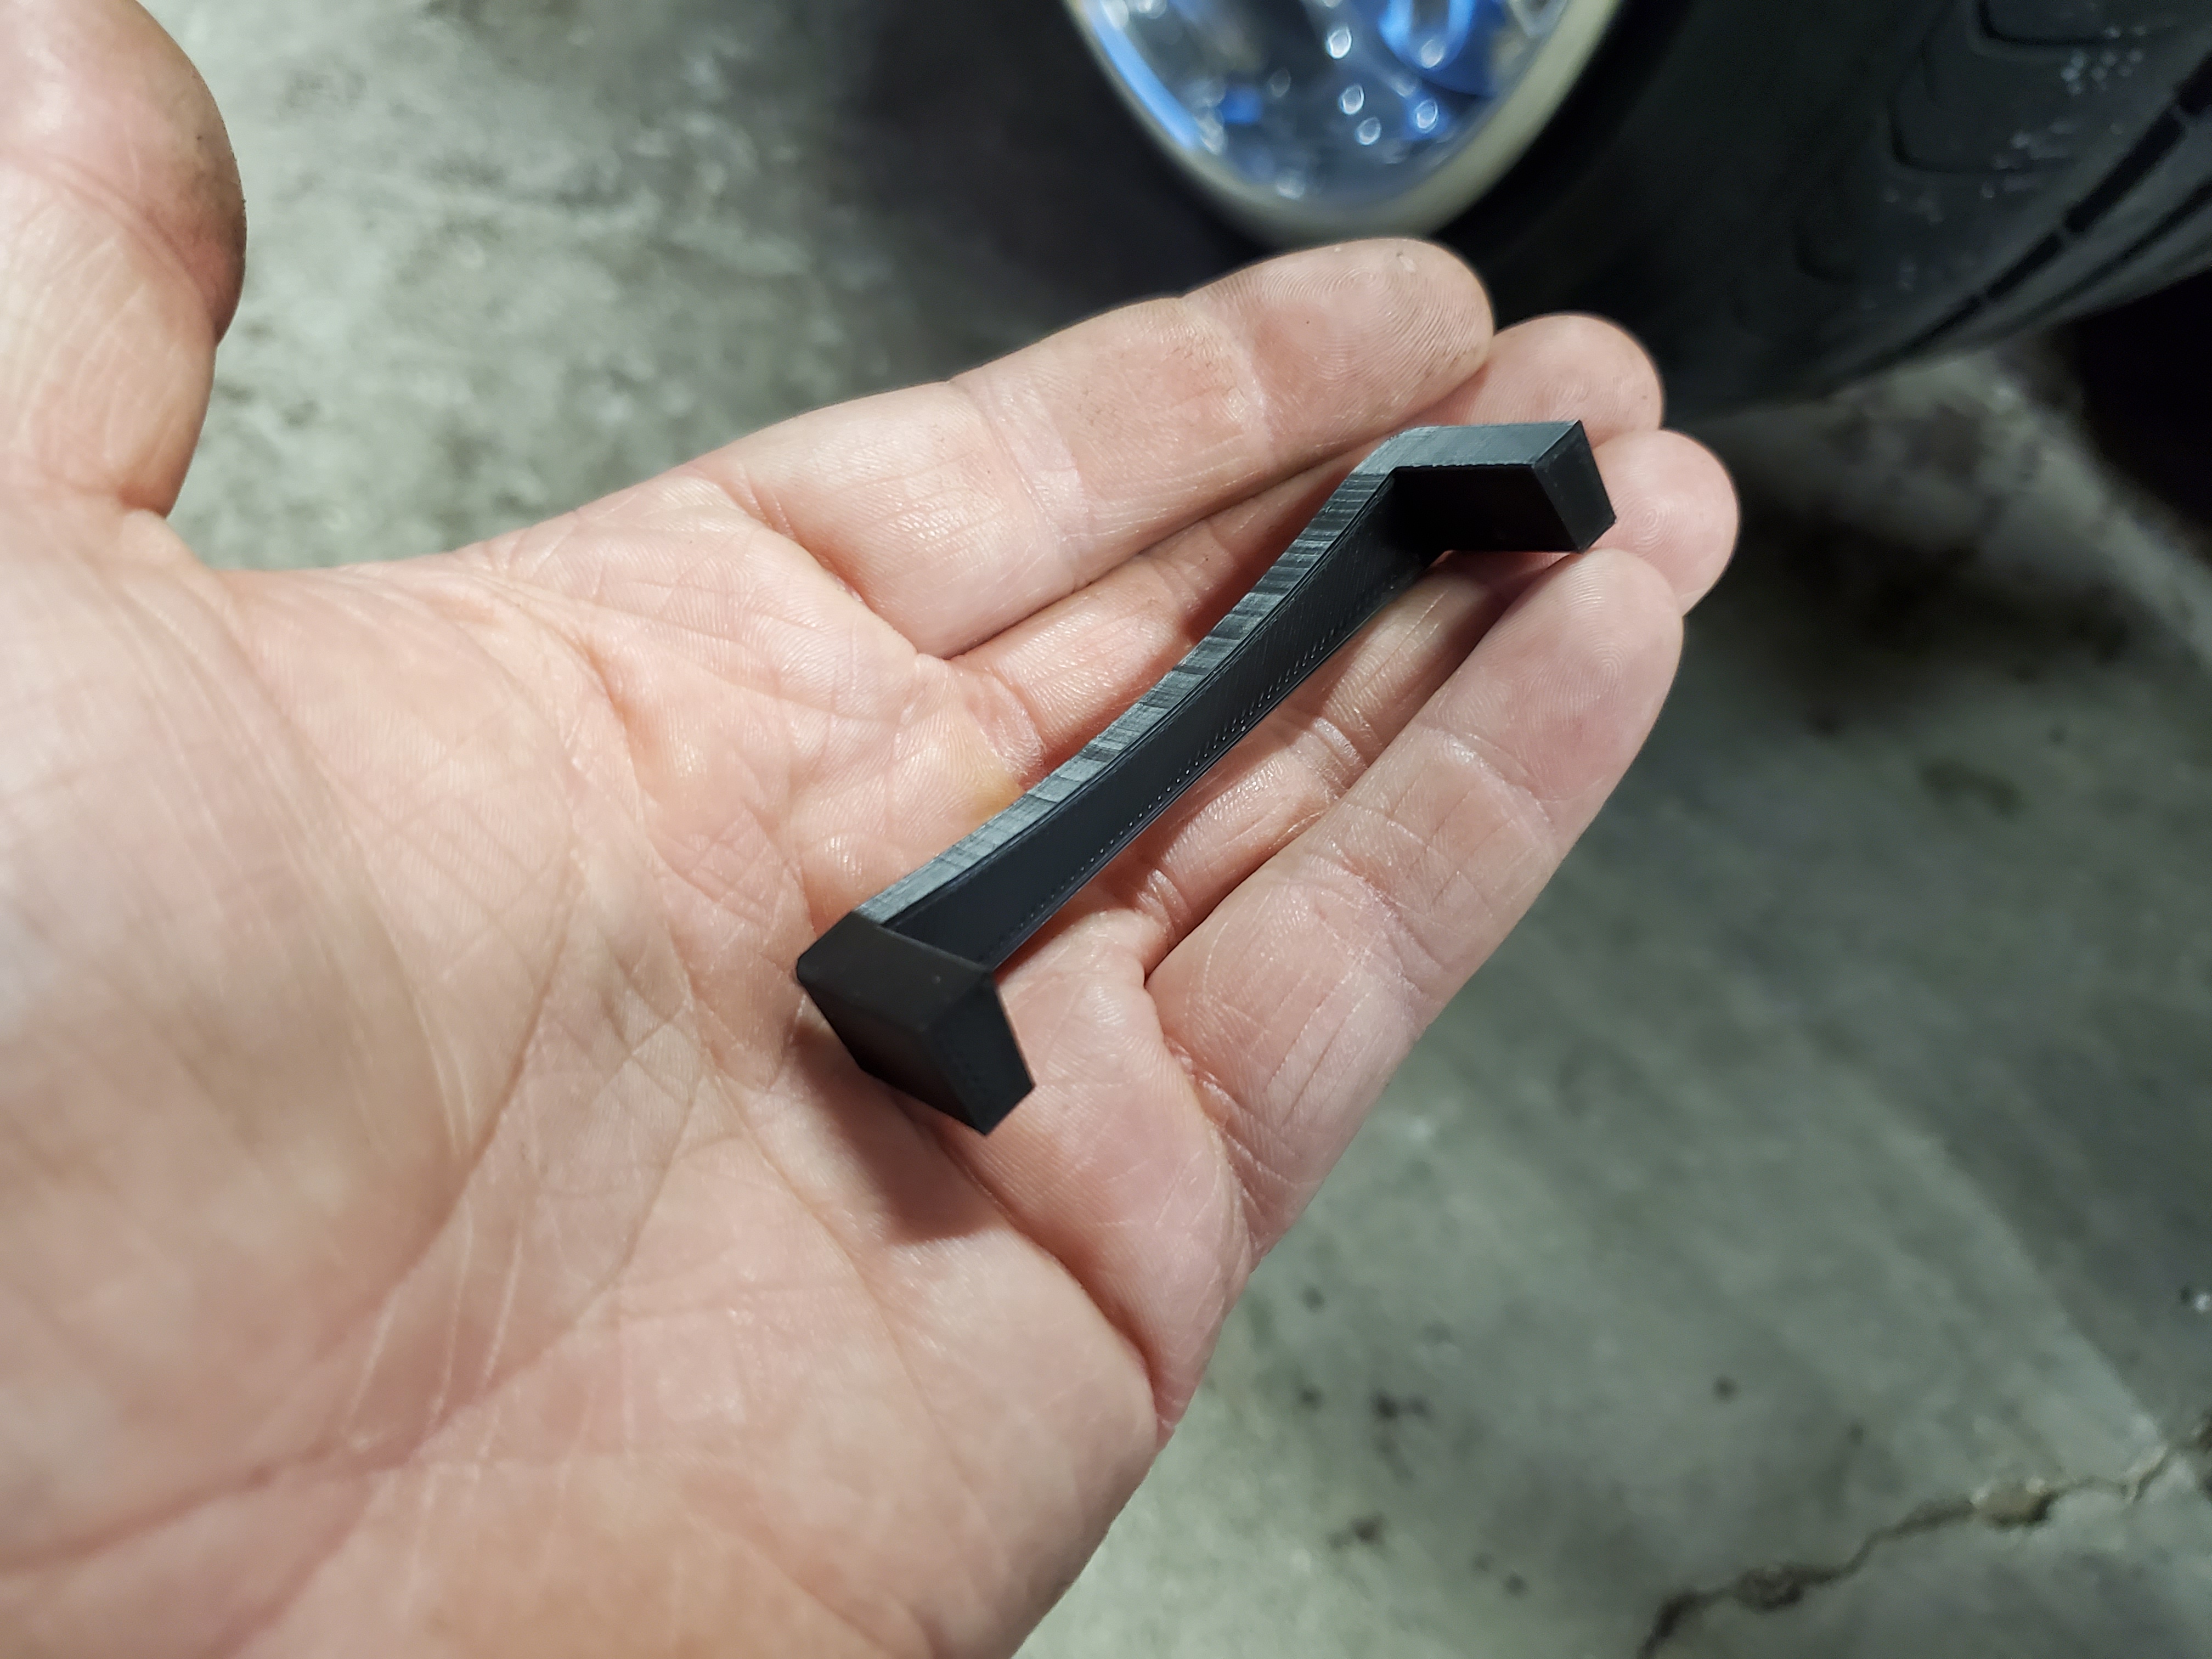
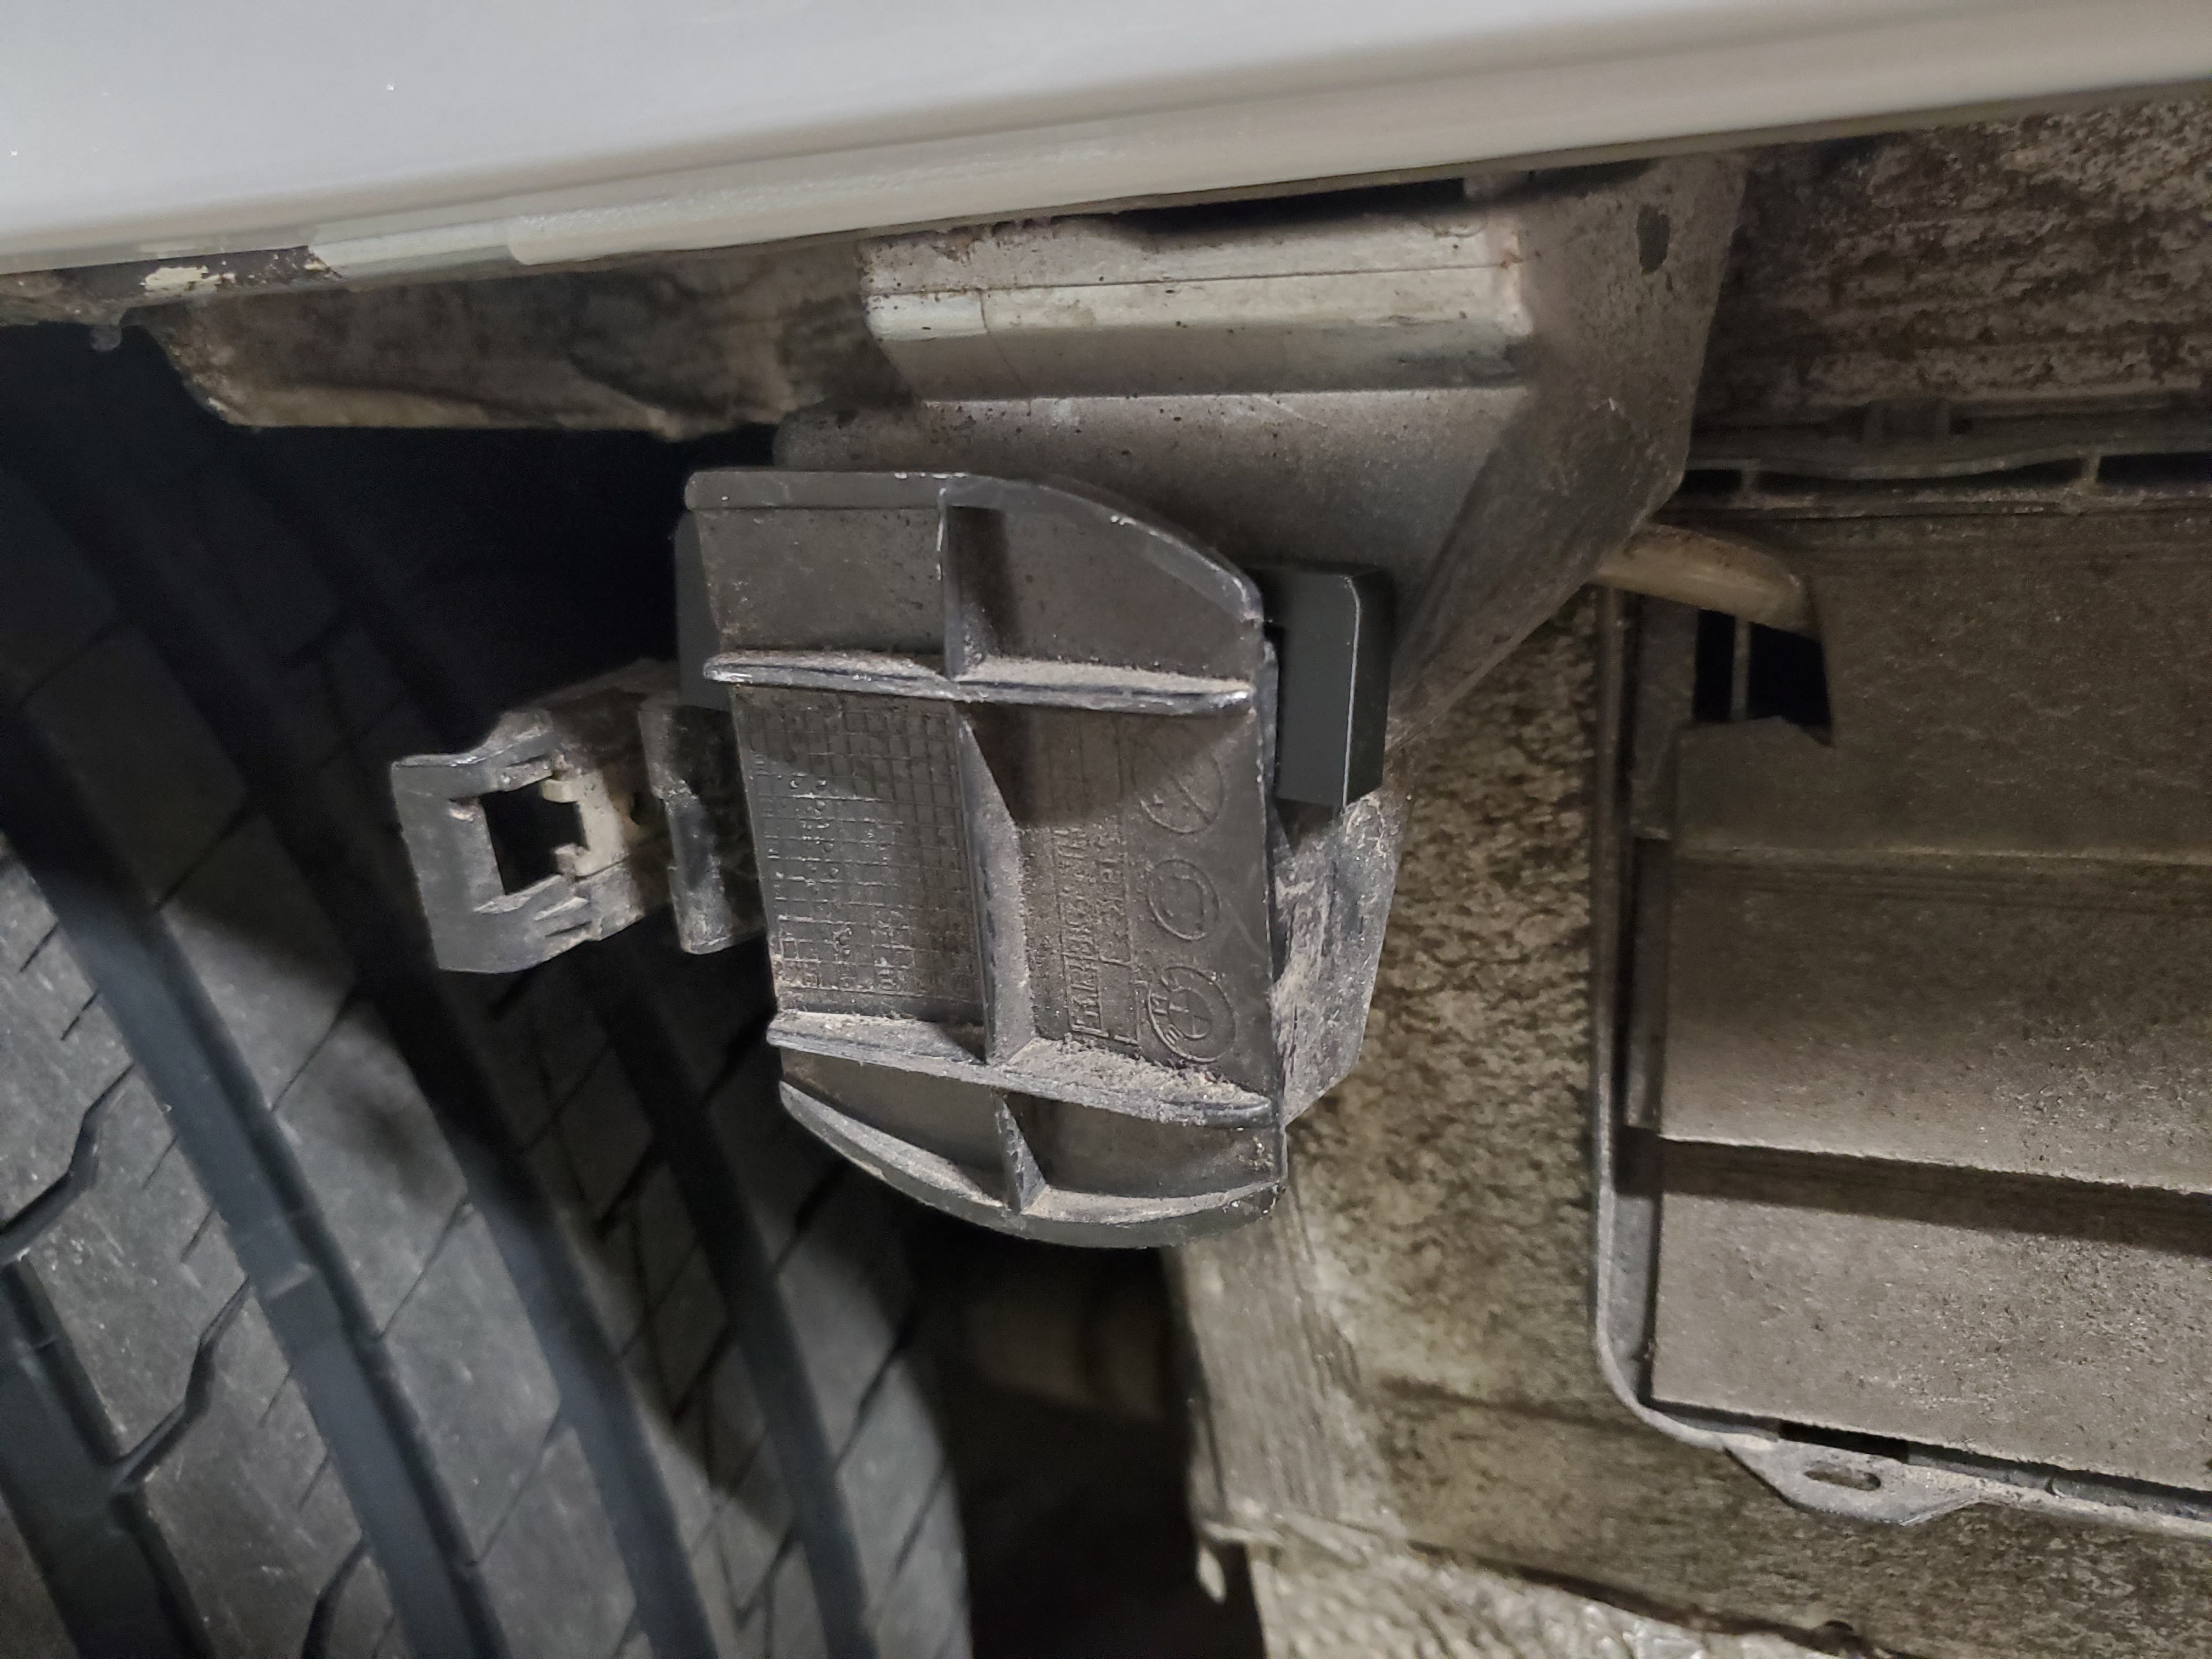
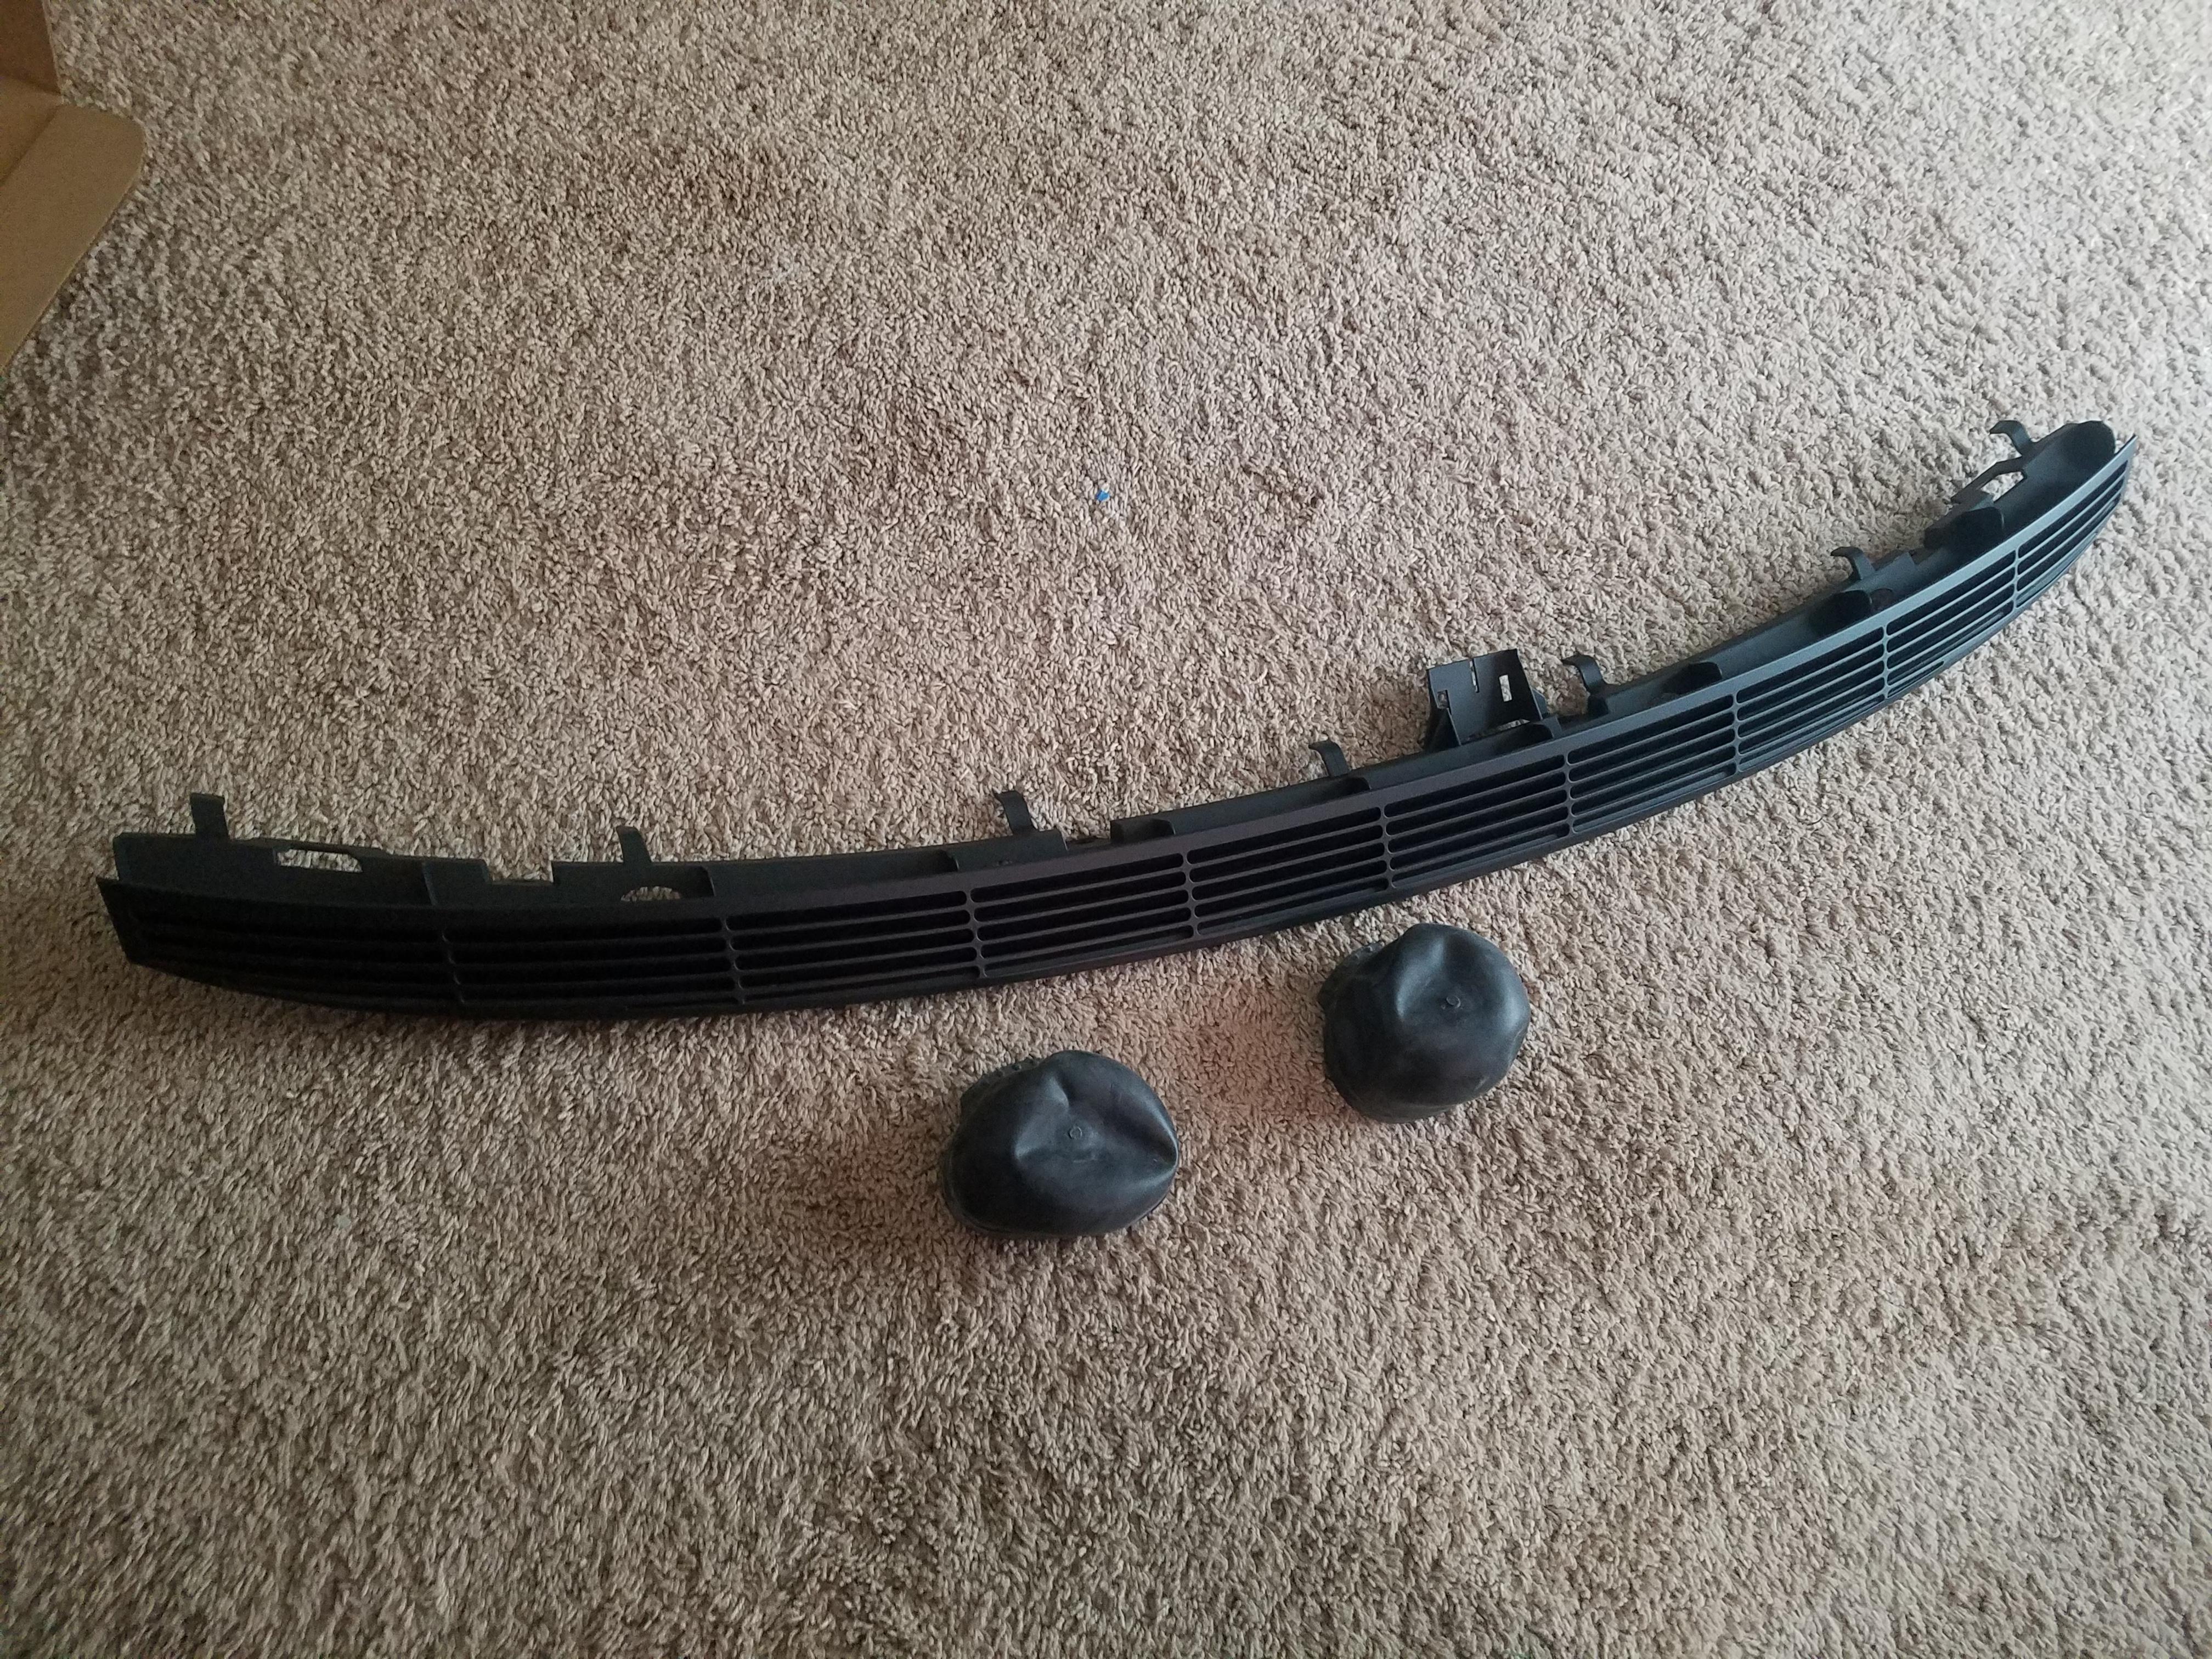
I also drew up and printed some inserts for the rear bumper slides to take care of the M3 bumper sag issue.
They aren't perfect and need some work but they will work for now and creating an entire bumper slide bracket is out of the question time wise right now lol
Before.
After.
NOW.
ALOT of shit has happened with the tuning/troubleshooting but this is the best I can type it out.
The original tune with the supercharger came from Classic Daily (CD). It barely started the car on cold starts and took atleast 4 tries and the car ran like absolute shit. The throttle response was super lazy but I was able to drive the car but there were some spots that it was sluggish and leaned way out.
Talking to the tuner from CD we did all kinds of diagnostics including smoking for vacuum leaks, checking fuel pressure and even bypassing the charger by putting the maf straight off the throttle body.
Nothing really solved the problem and showed a definite smoking gun.
The only thing that made me 100% sure of the tune being the problem was I could take my old DME with the n/a m54b30 with b30 manifold tune plug it in and the car would start, run and respond better to throttle LMAO
So I hit the internet searching for the best options and the quickest as there is essentially less than 2 weeks before the first event I will be driving.
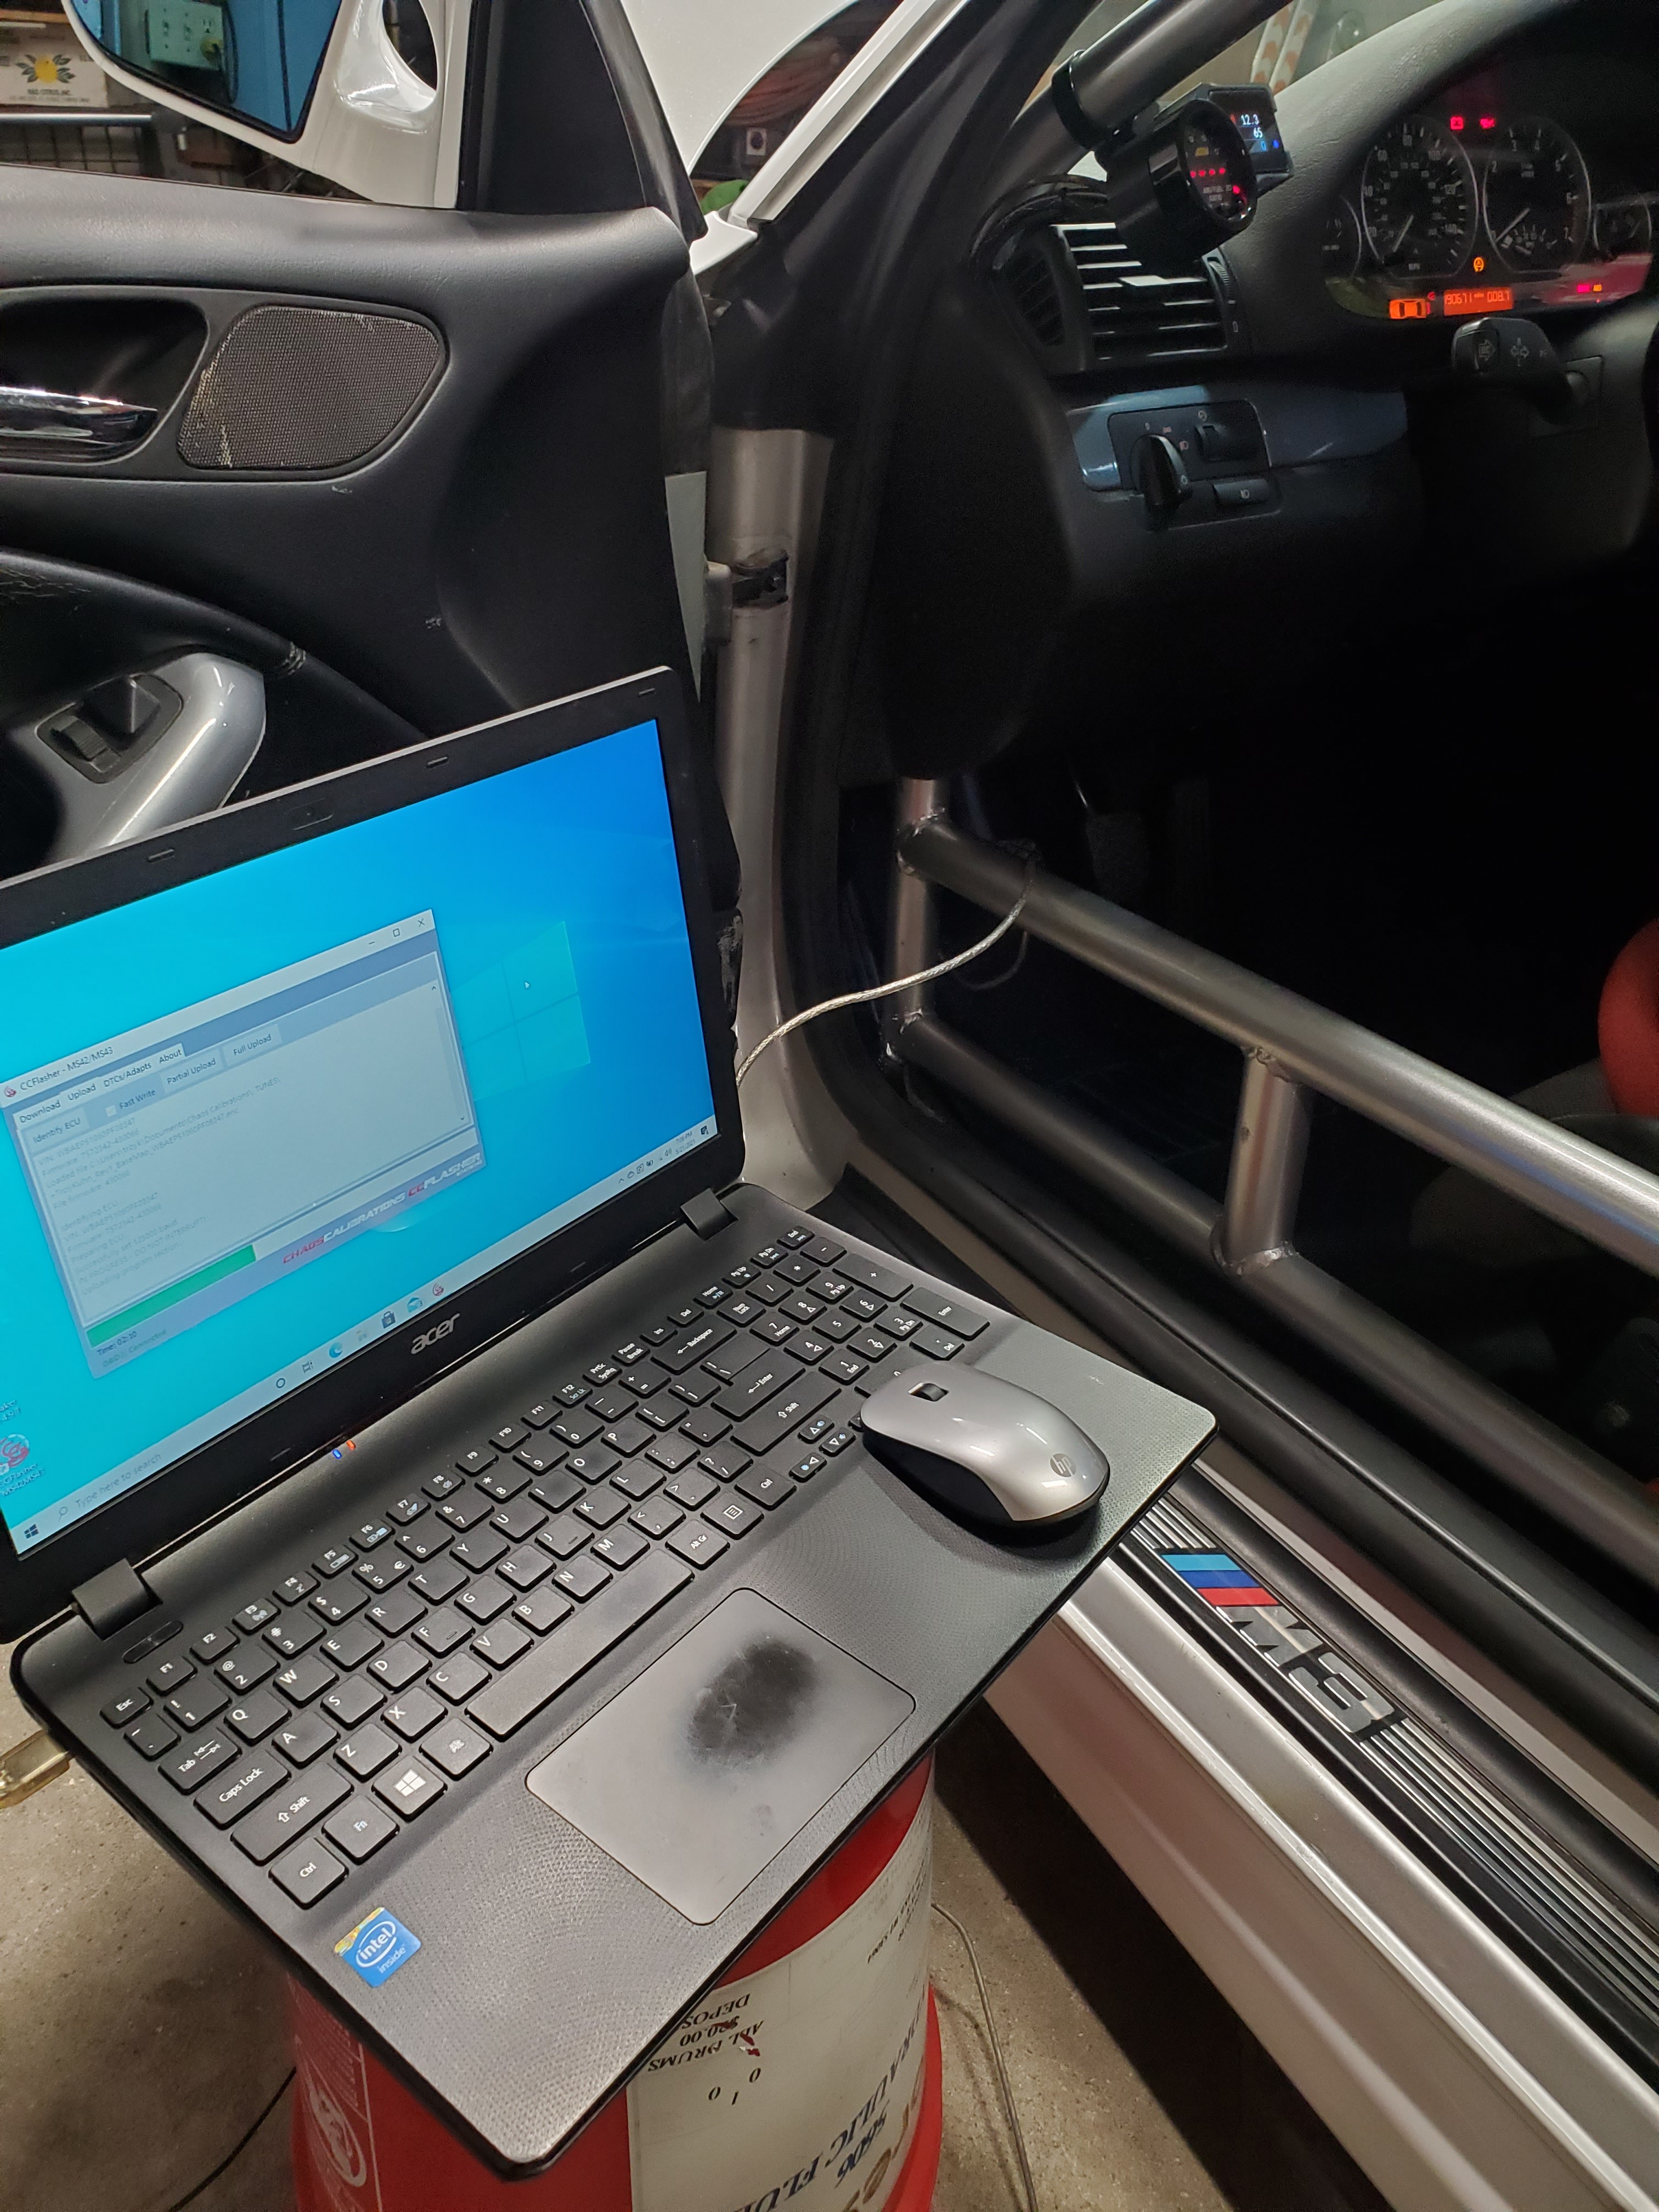
I found a tuner that has good reviews, is communicating super well and we began communicating/sending tunes on Wednesday the 19th. Today is Saturday the 22nd and I already have been sent a new basemap, taken some data logs of driving and idling and sent them off for revisions.


Now that that's out of the way the final update goes along with the tuning.
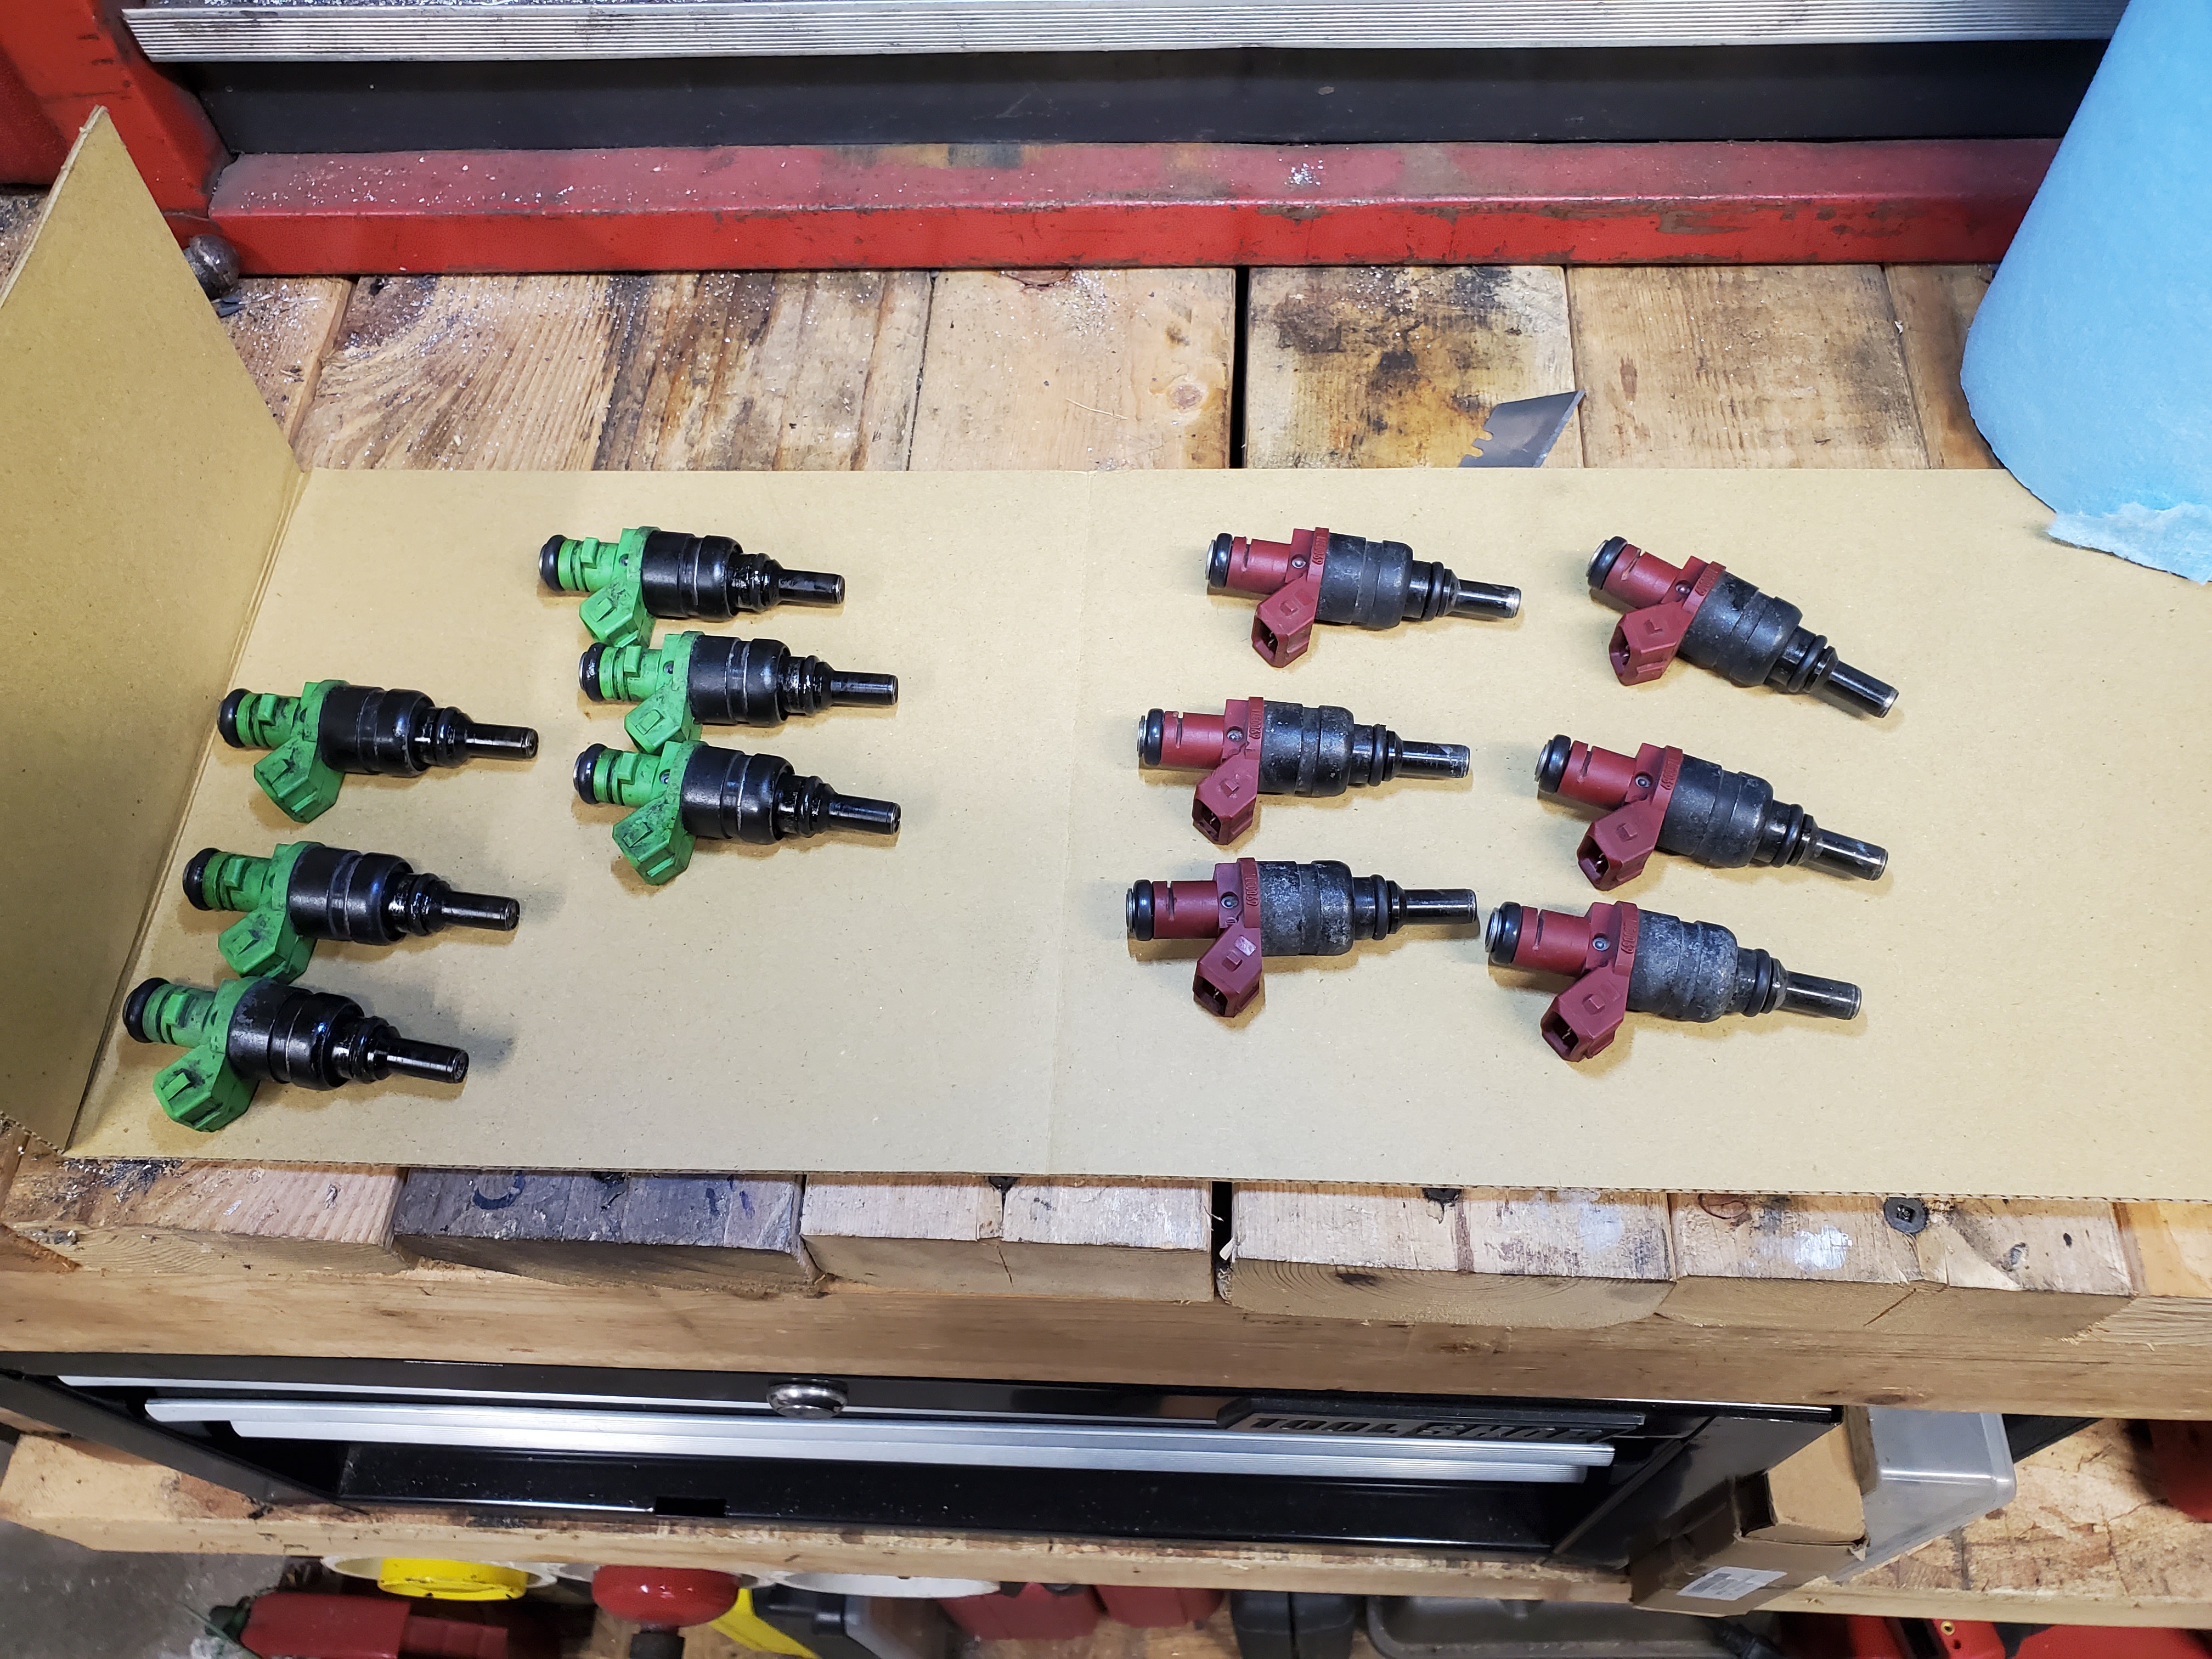
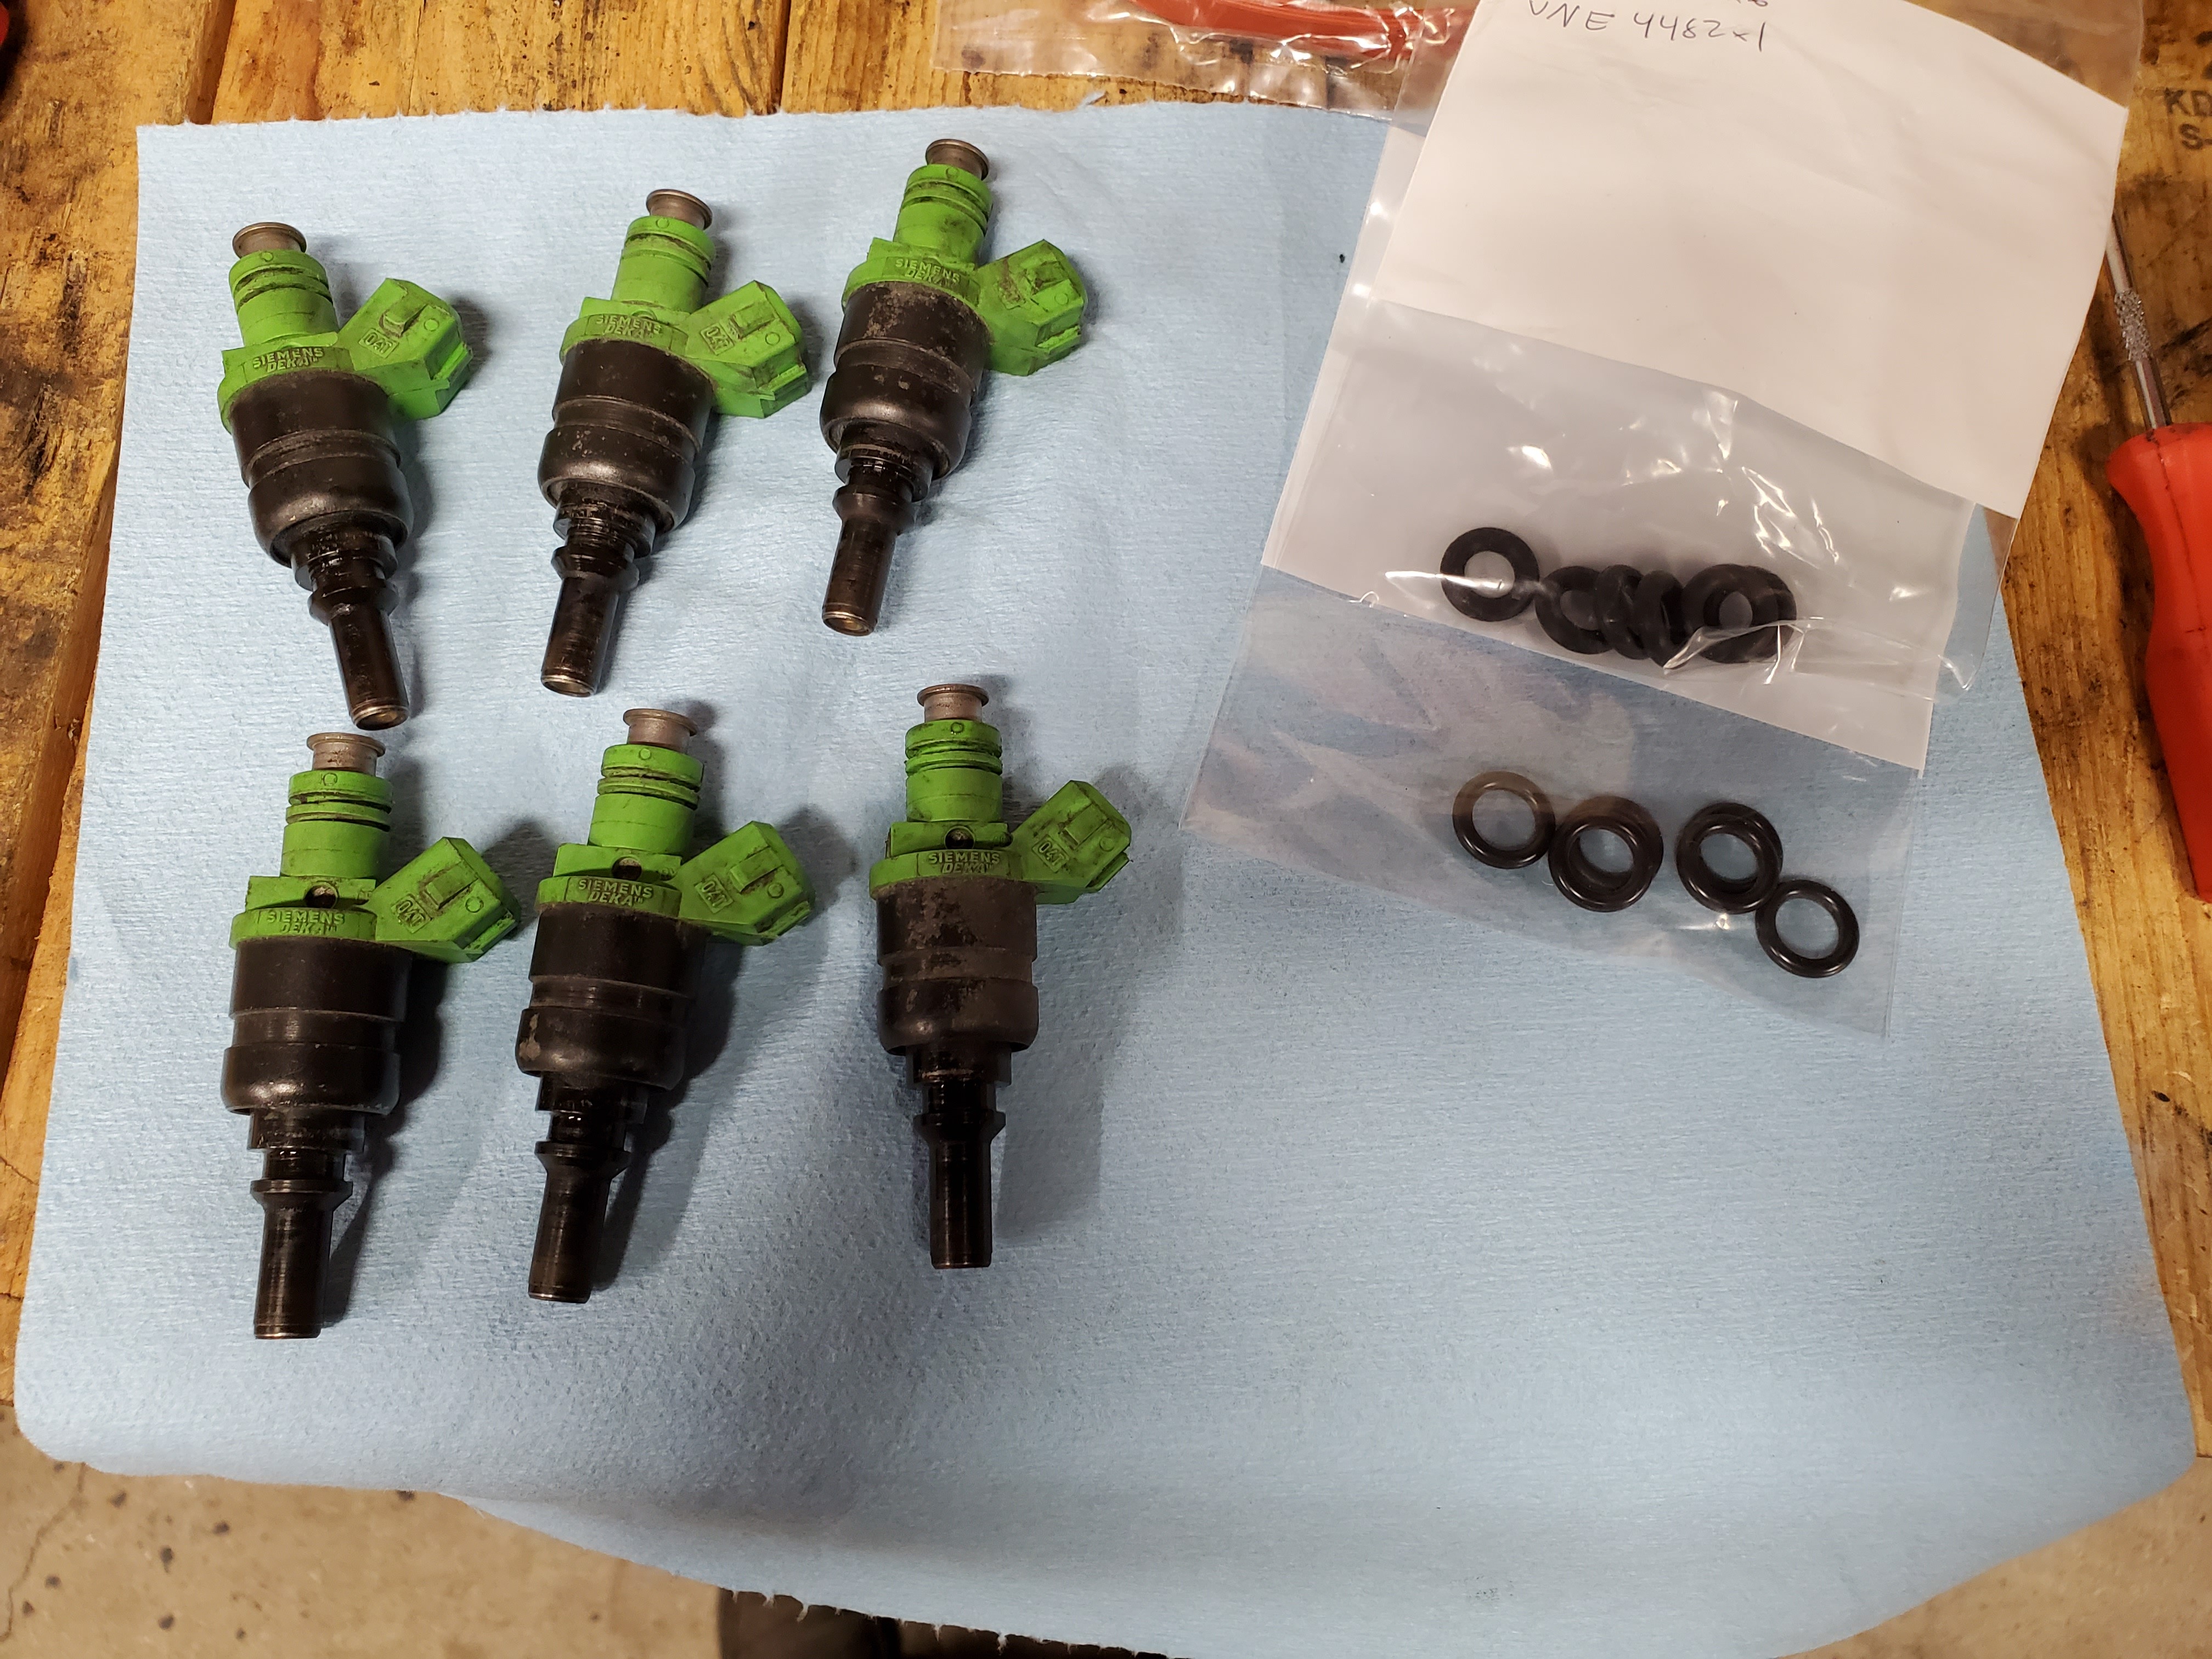
The injectors I got with the kit are green seimens deka of some sort. All we can find online is that they are from a Mercedes. No part number on the injectors. SO I got a set of maroon? Seimens dekas from a friend they are still 440cc injectors but they have part numbers and good info on dead times online.
Swapped them out on Friday along with uploaded the first base map then drove and data logged today! (Saturday)
Now we wait for the map revisions and hope the remote process continues as smoothly as it has so far!
-
A purists nightmare - E46 drift build -
A purists nightmare - E46 drift buildBeen a bit since an update!
Did a few things before DD72 last weekend.
Put the stock front sway bar back on the car to eliminate some of the body roll in the from end that I believed was causing the car to grip up a bit too much. I had shortened end links that came with my coils but when I ran them on the sedan last year they caused binding due to the angle kit and actually bent the mounting tabs on the shock body. Did some testing with the stock end links and they worked out perfectly!
Also changed up the front tire size from a 205/40 to a 215/35 which in turn gave me alot more room to lower the front of the car, it was killing me looks wise at the original height. Ended up being able to lower the front end 7/8" more with the new tires!
Oh and unrelated to things that needed to be done before drift day I also snagged a new quarter window motor from a yard since my driver side one was dead. Made me so happy to have both rear windows functioning!
DD72 went really well and I'm pleased with getting a front sway bar back on the car along with the new height and tire set up in front!
-
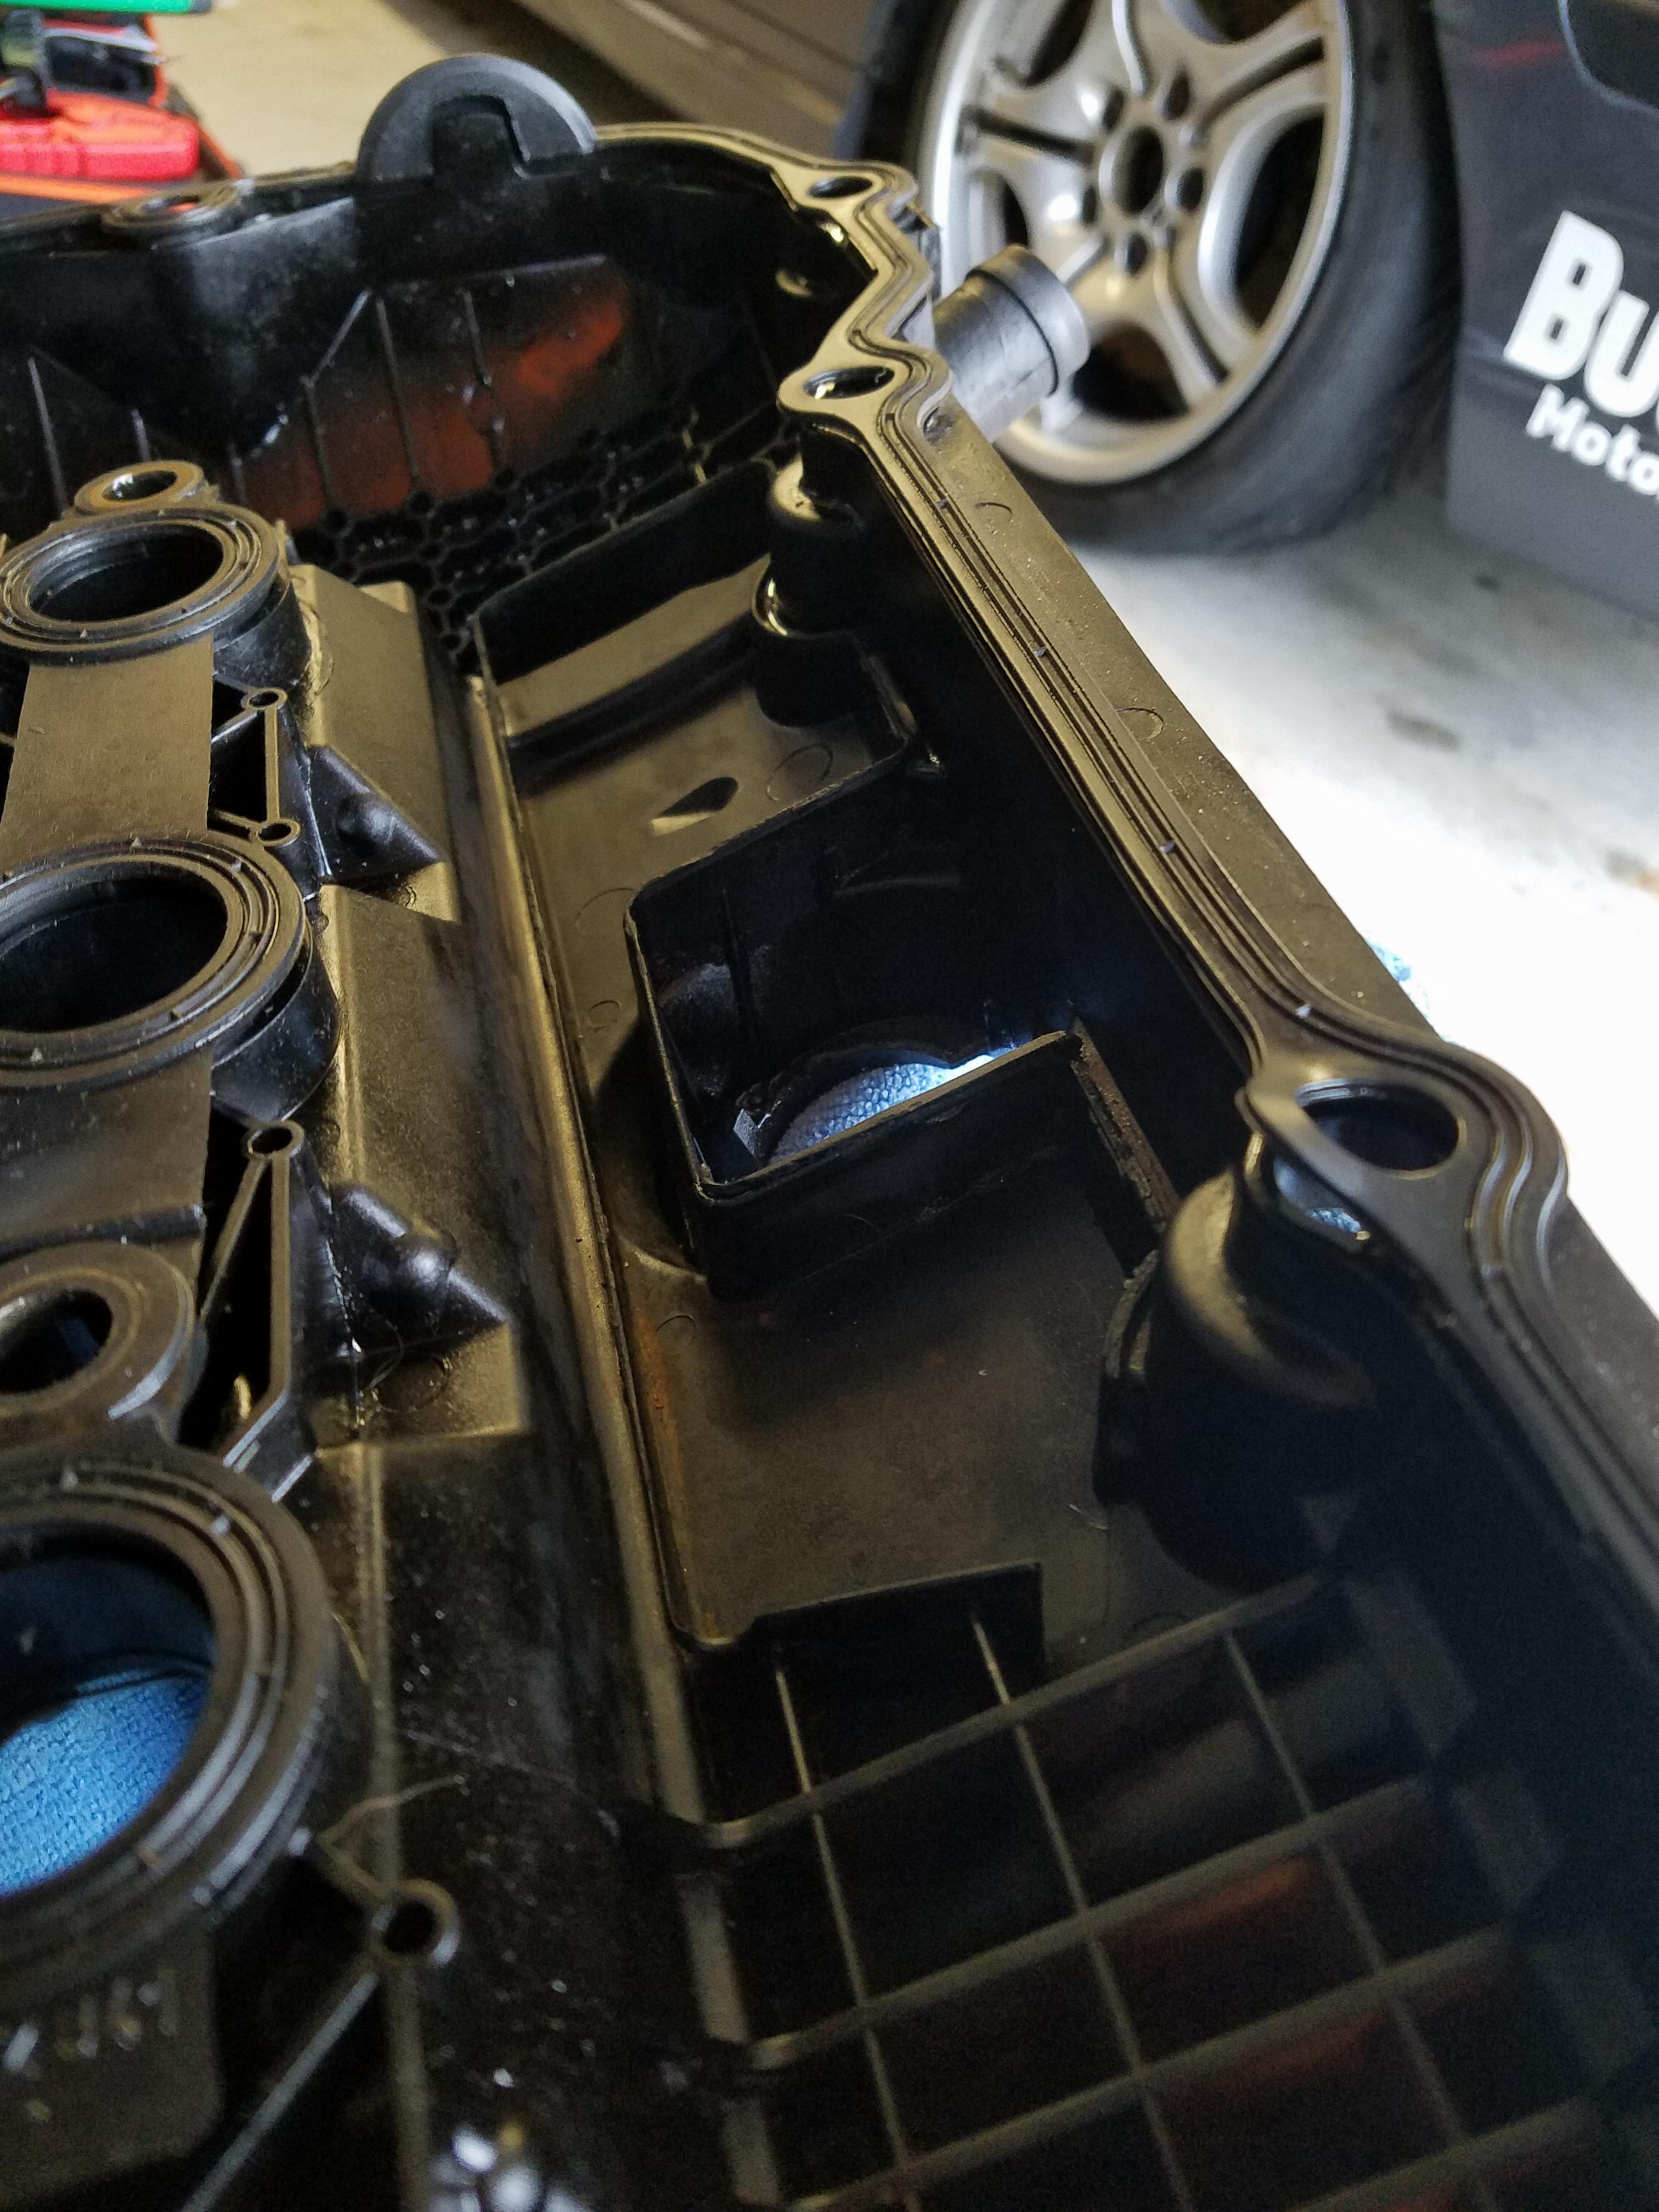
Calling all M54 gurus! HELP!Ok boys.. I believe I solved the problem today. I was thinking last night about when the issue occurred. This started happening about halfway though the first day of a 2 day event. Now, Friday night when I arrived we swapped the valve cover that was on the car to a spare that I had that was uncracked, the existing one was cracked. So the uncracked one was on the car for the entire event.
Now when i was cleaning the uncracked one the previous week I removed the baffle that is under the outlet on the VC that goes to the catch can. I didnt think anything of it considering the system had a catch can in it rather than the CCV.
With that being said my logic thought that maybe the large open gap now allowed oil being thrown around in the head to be sucked into the catch can tubes easier due to the engine vacuum being drawn through the catch can.
I made one last attempt to solve this today and re-installed the cracked valve cover that still had a baffle in it.
Started the car and instantly it smoked less. Drove the car a few miles and once I was back home blipped the throttle a few times and nowhere near as much smoke came out.
Let the car sit for 20ish minuates and started it and almost no smoke came out, and I did this multiple times throughout the night and the smoking on start up has ceased and same with when the throttle is blipped.
I will attach a photo of the valve cover with the baffle that I removed.
So for anyone that was interested in the outcome, I saved myself alot of time by not having to do valve seals. lol
-
A purists nightmare - E46 drift buildUPDATE
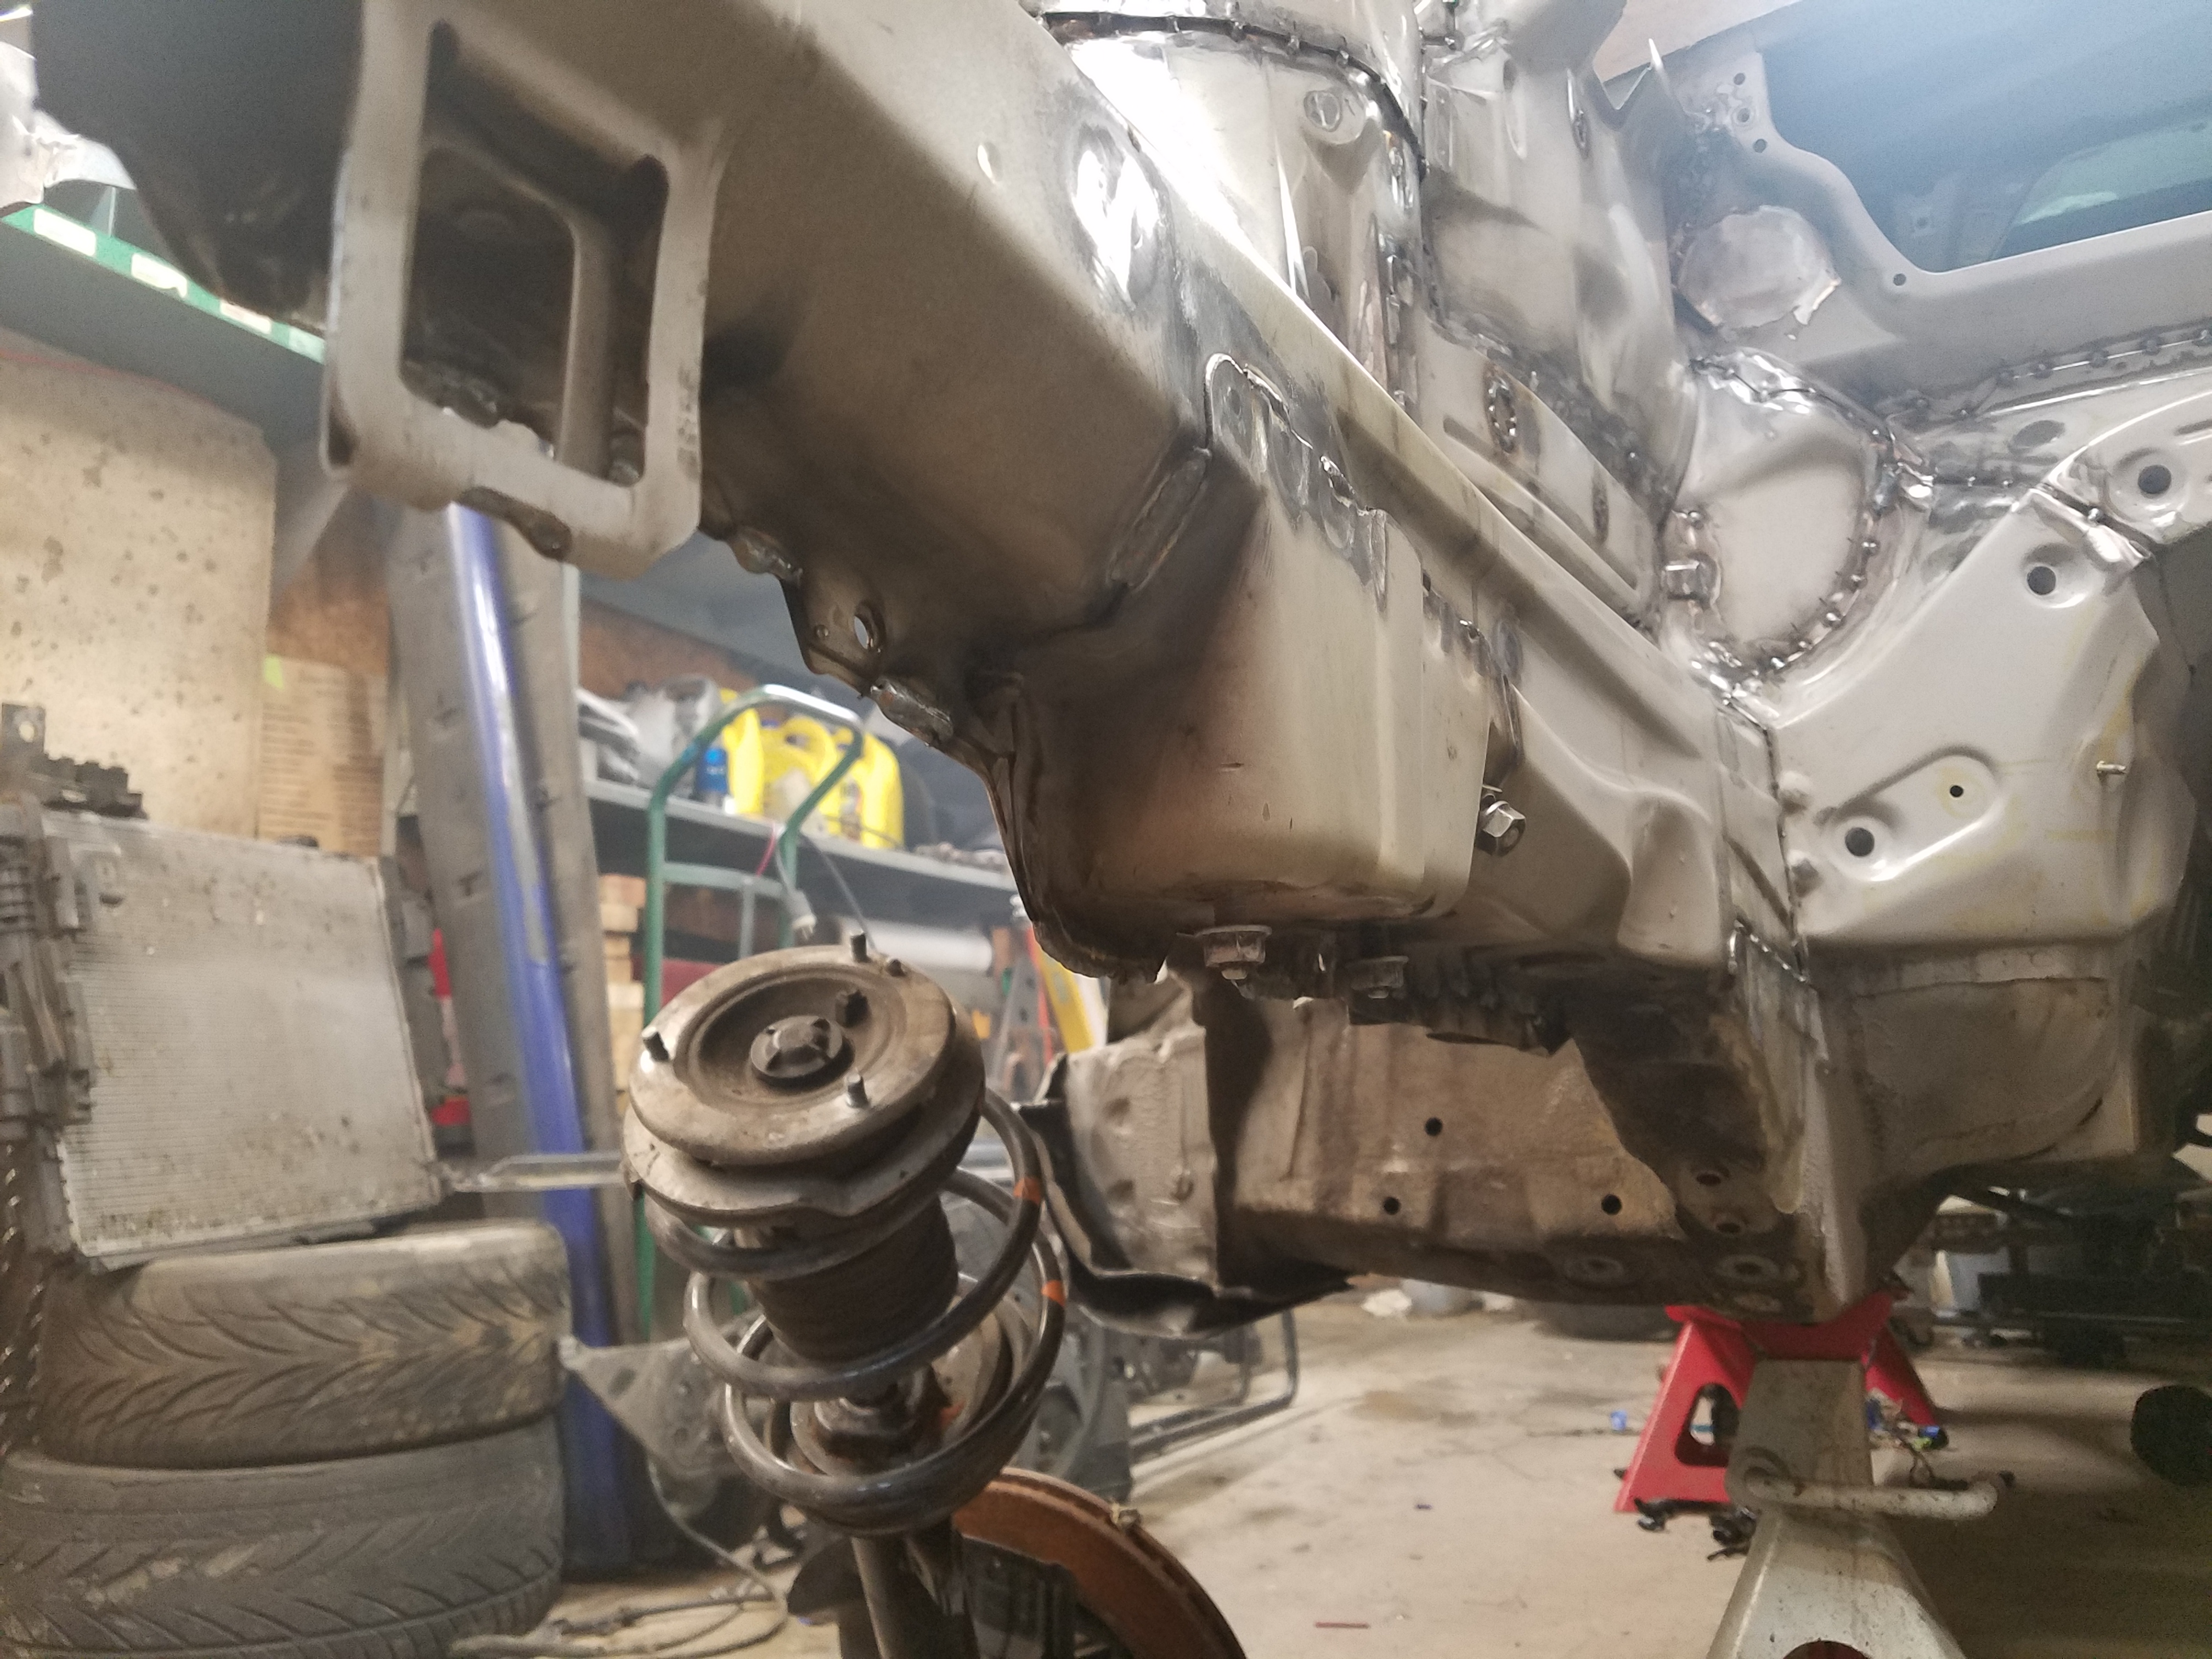
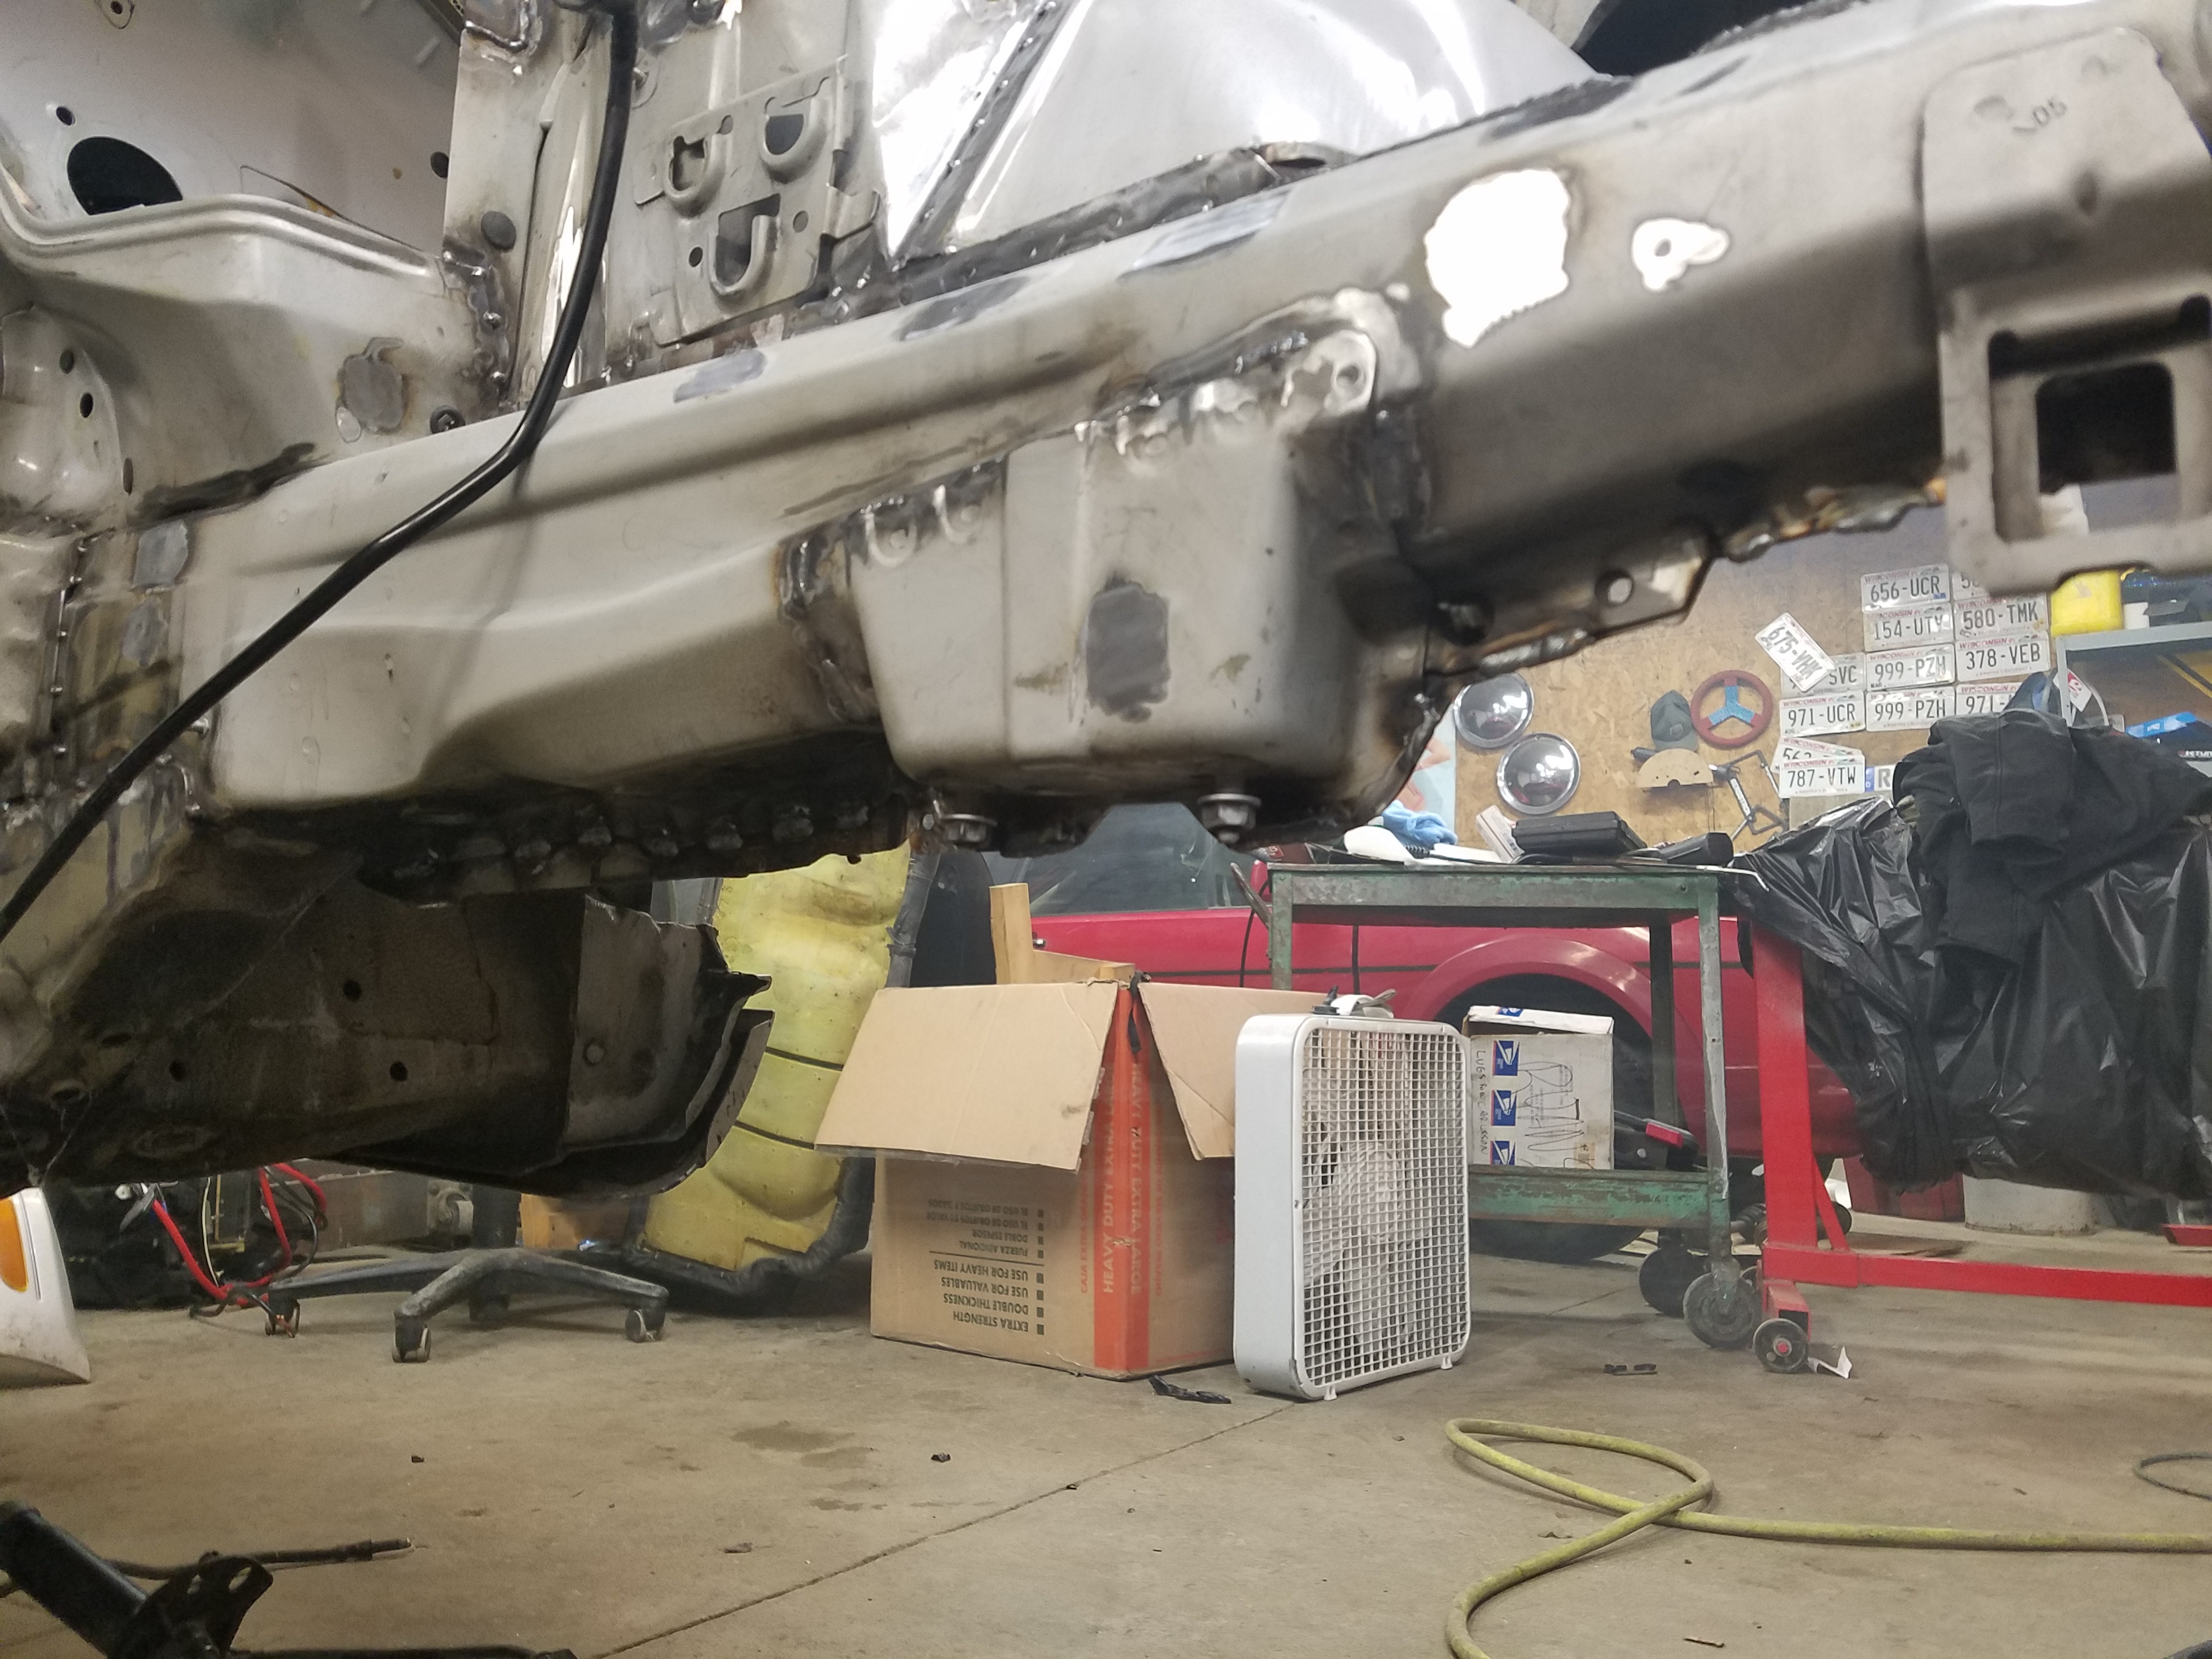
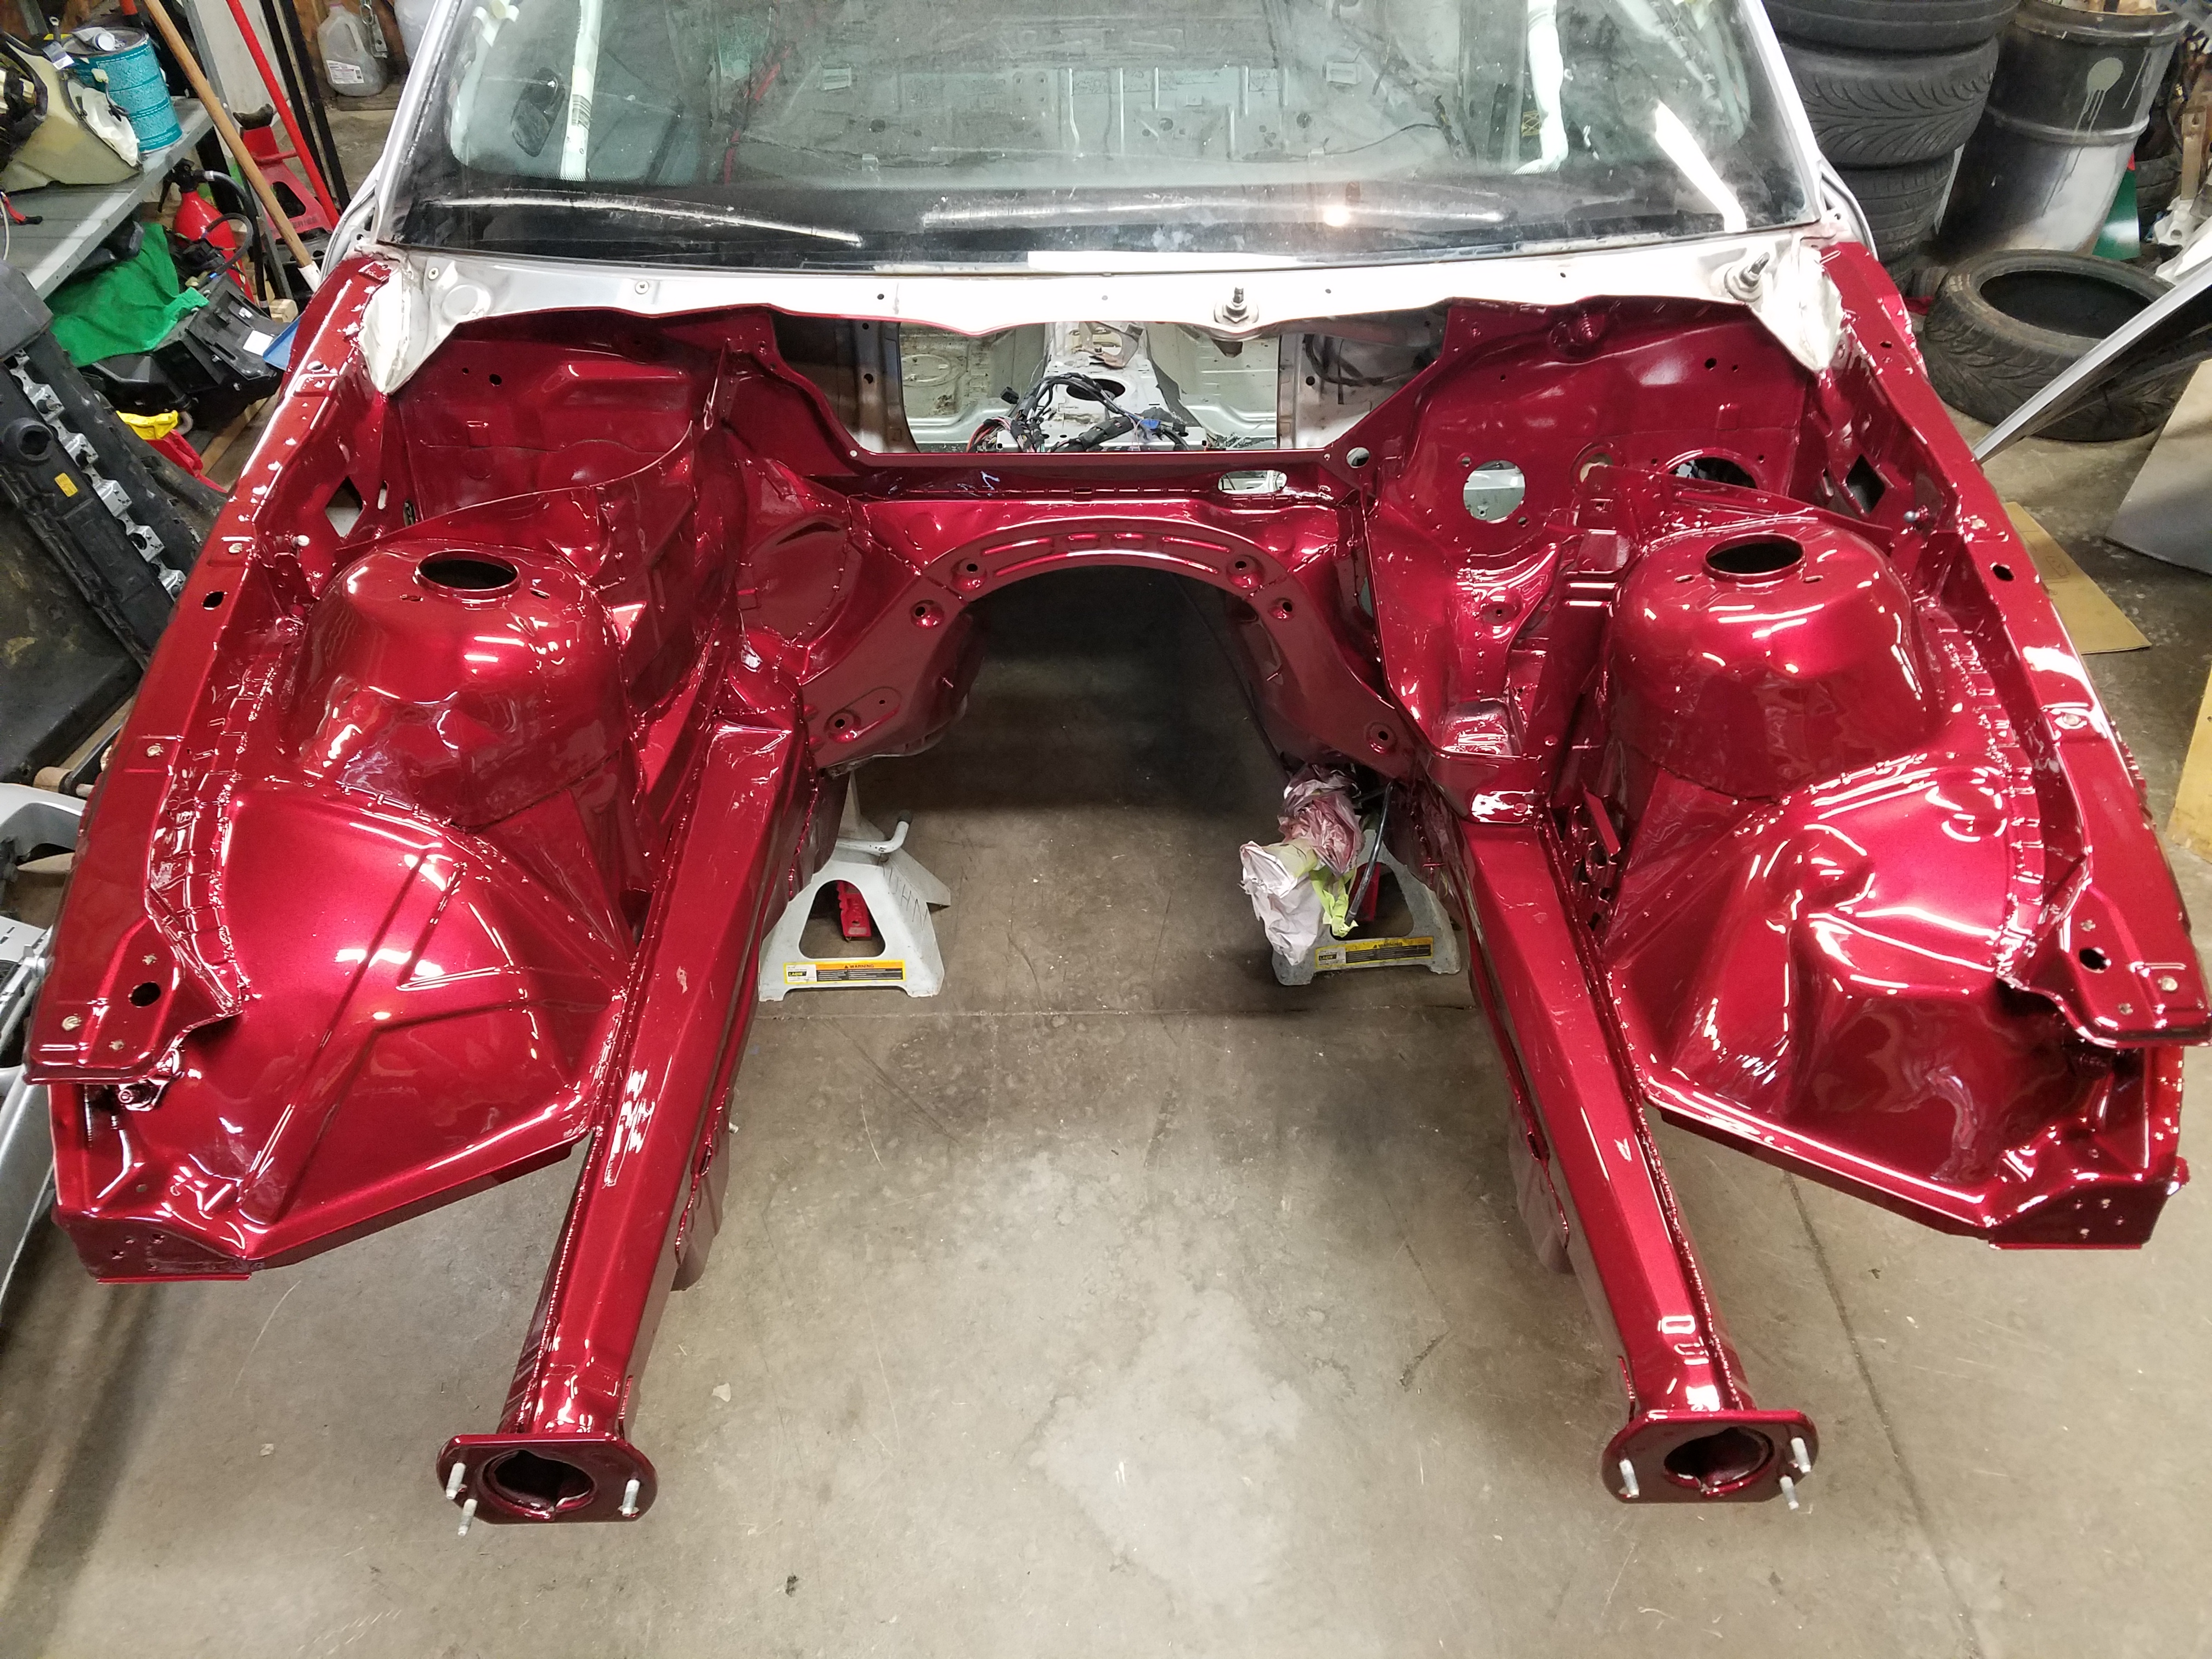
Welding has been completed on the bay. All of the holes that I wanted to have filled to be shaved are completed as well as the stitch welding on the under sides of the frame rails. Next up is some more grinding then filler, sanding and paint!
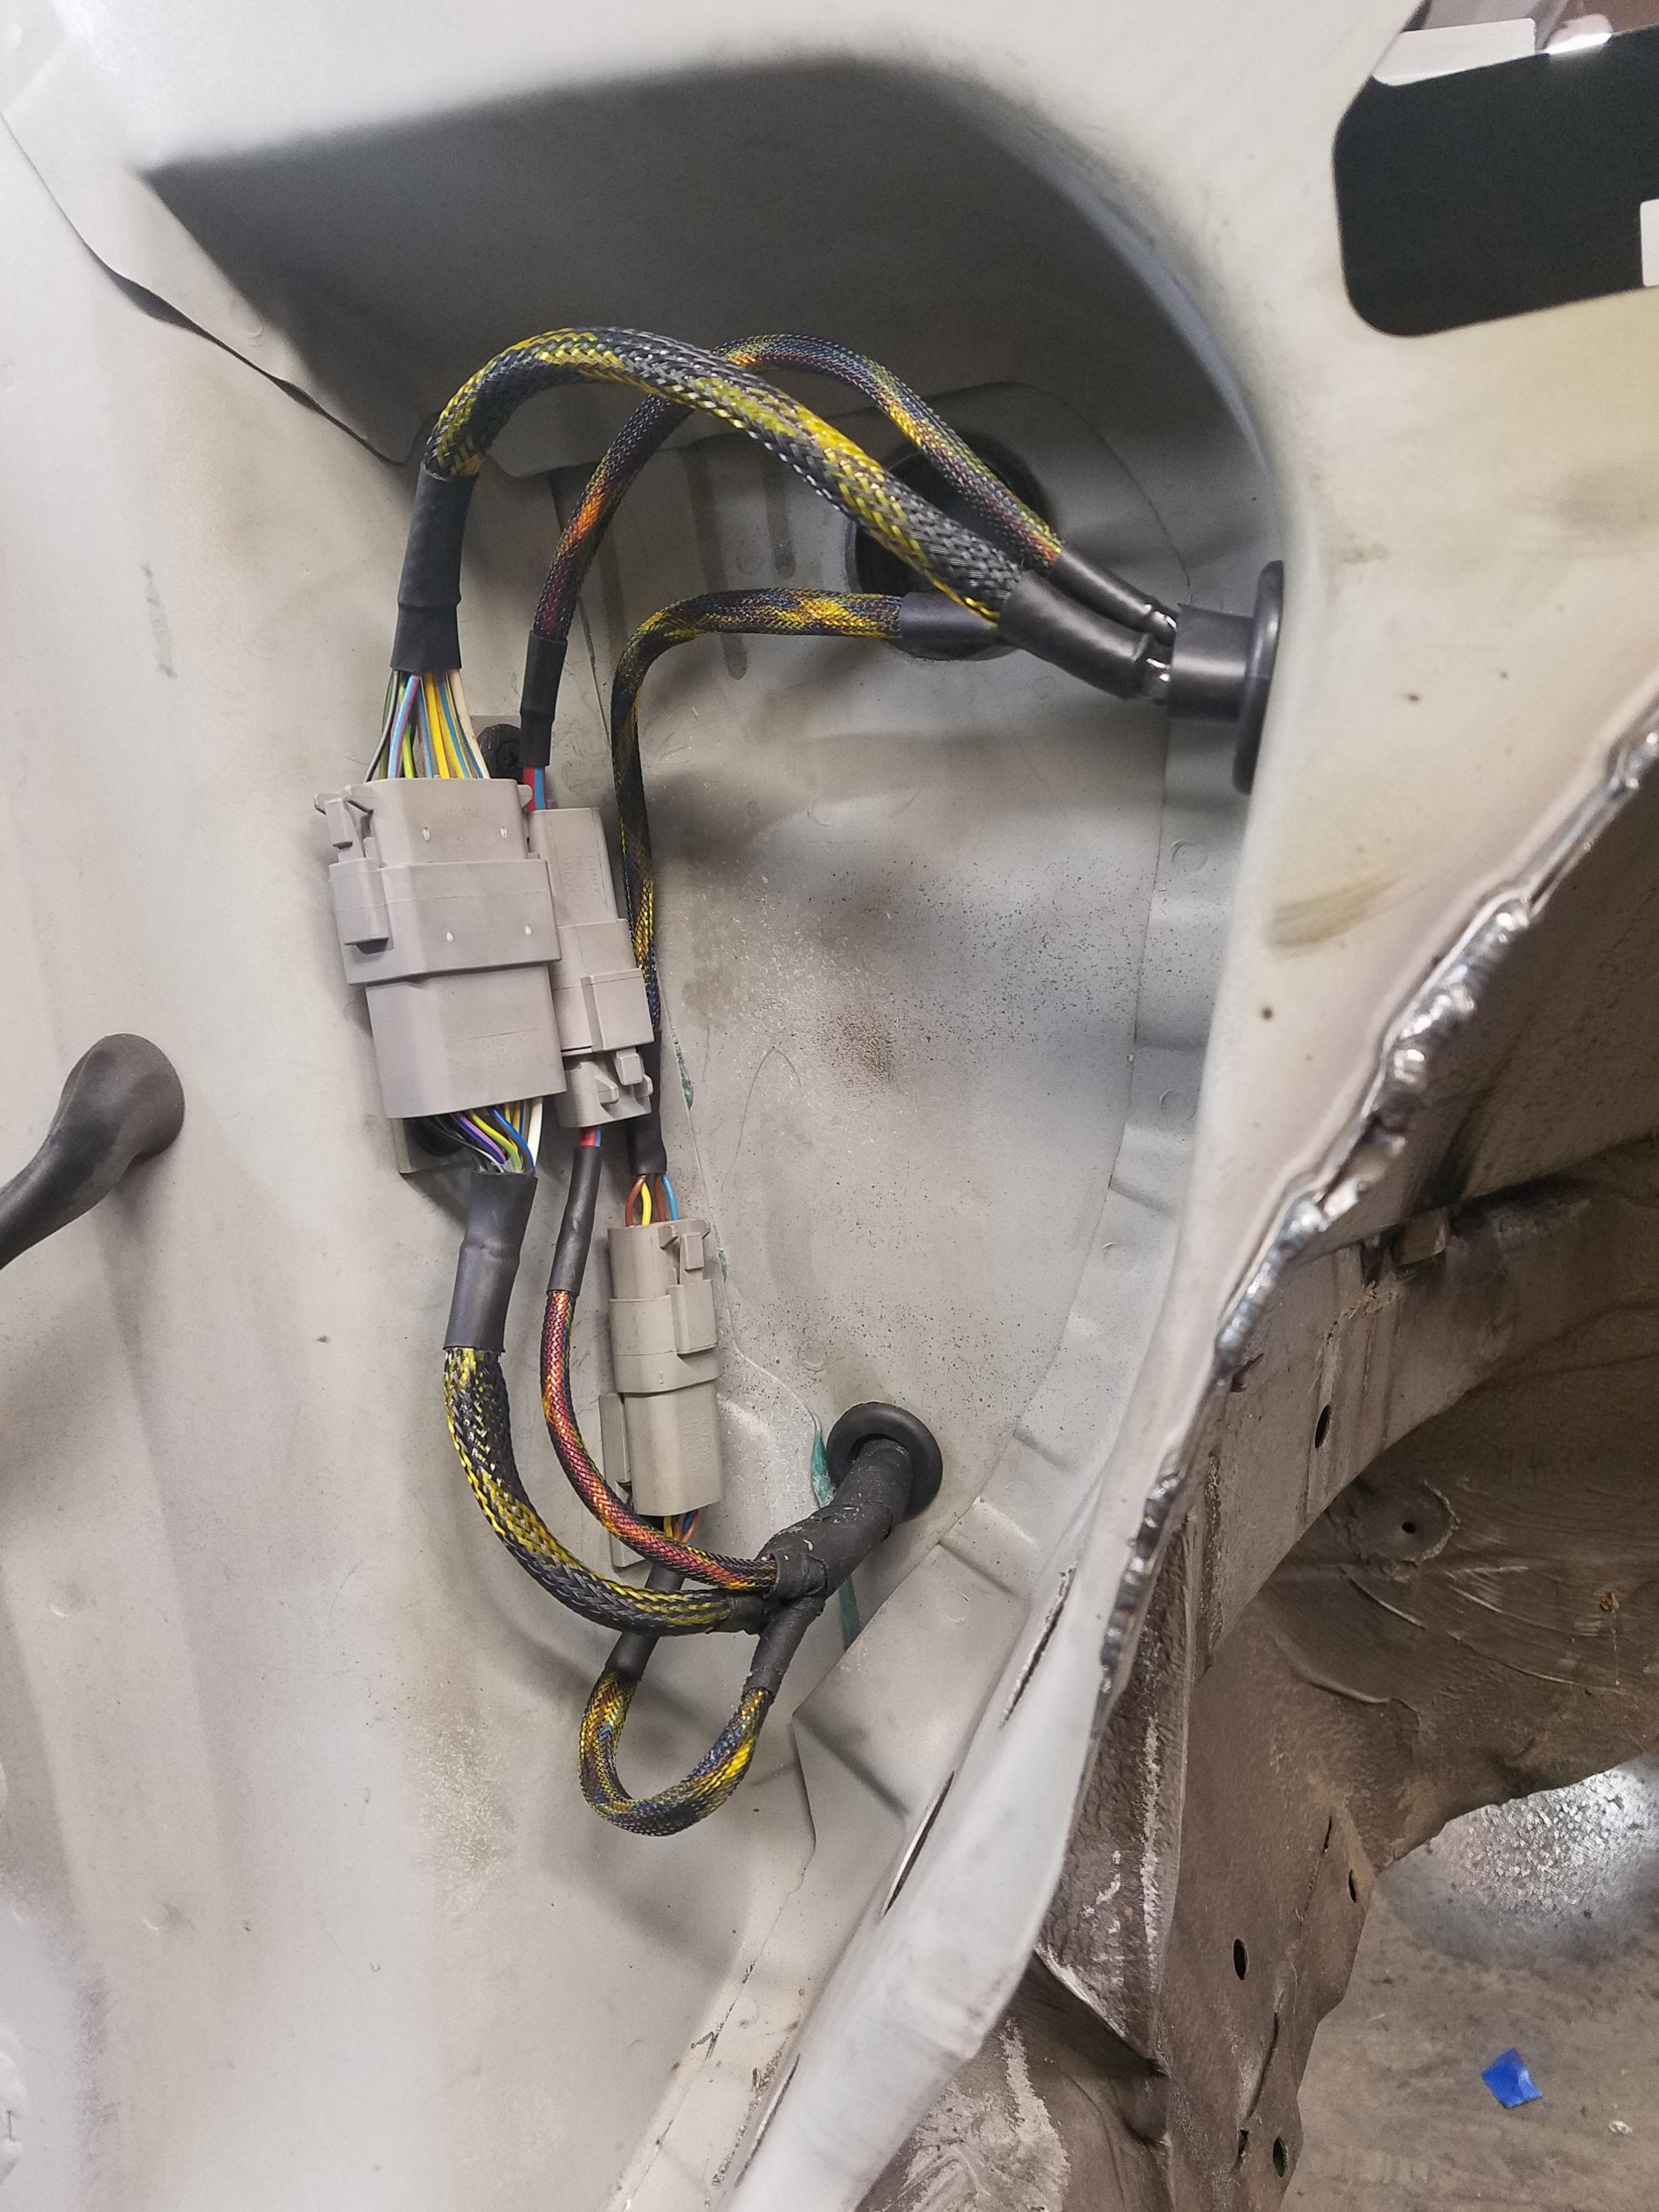
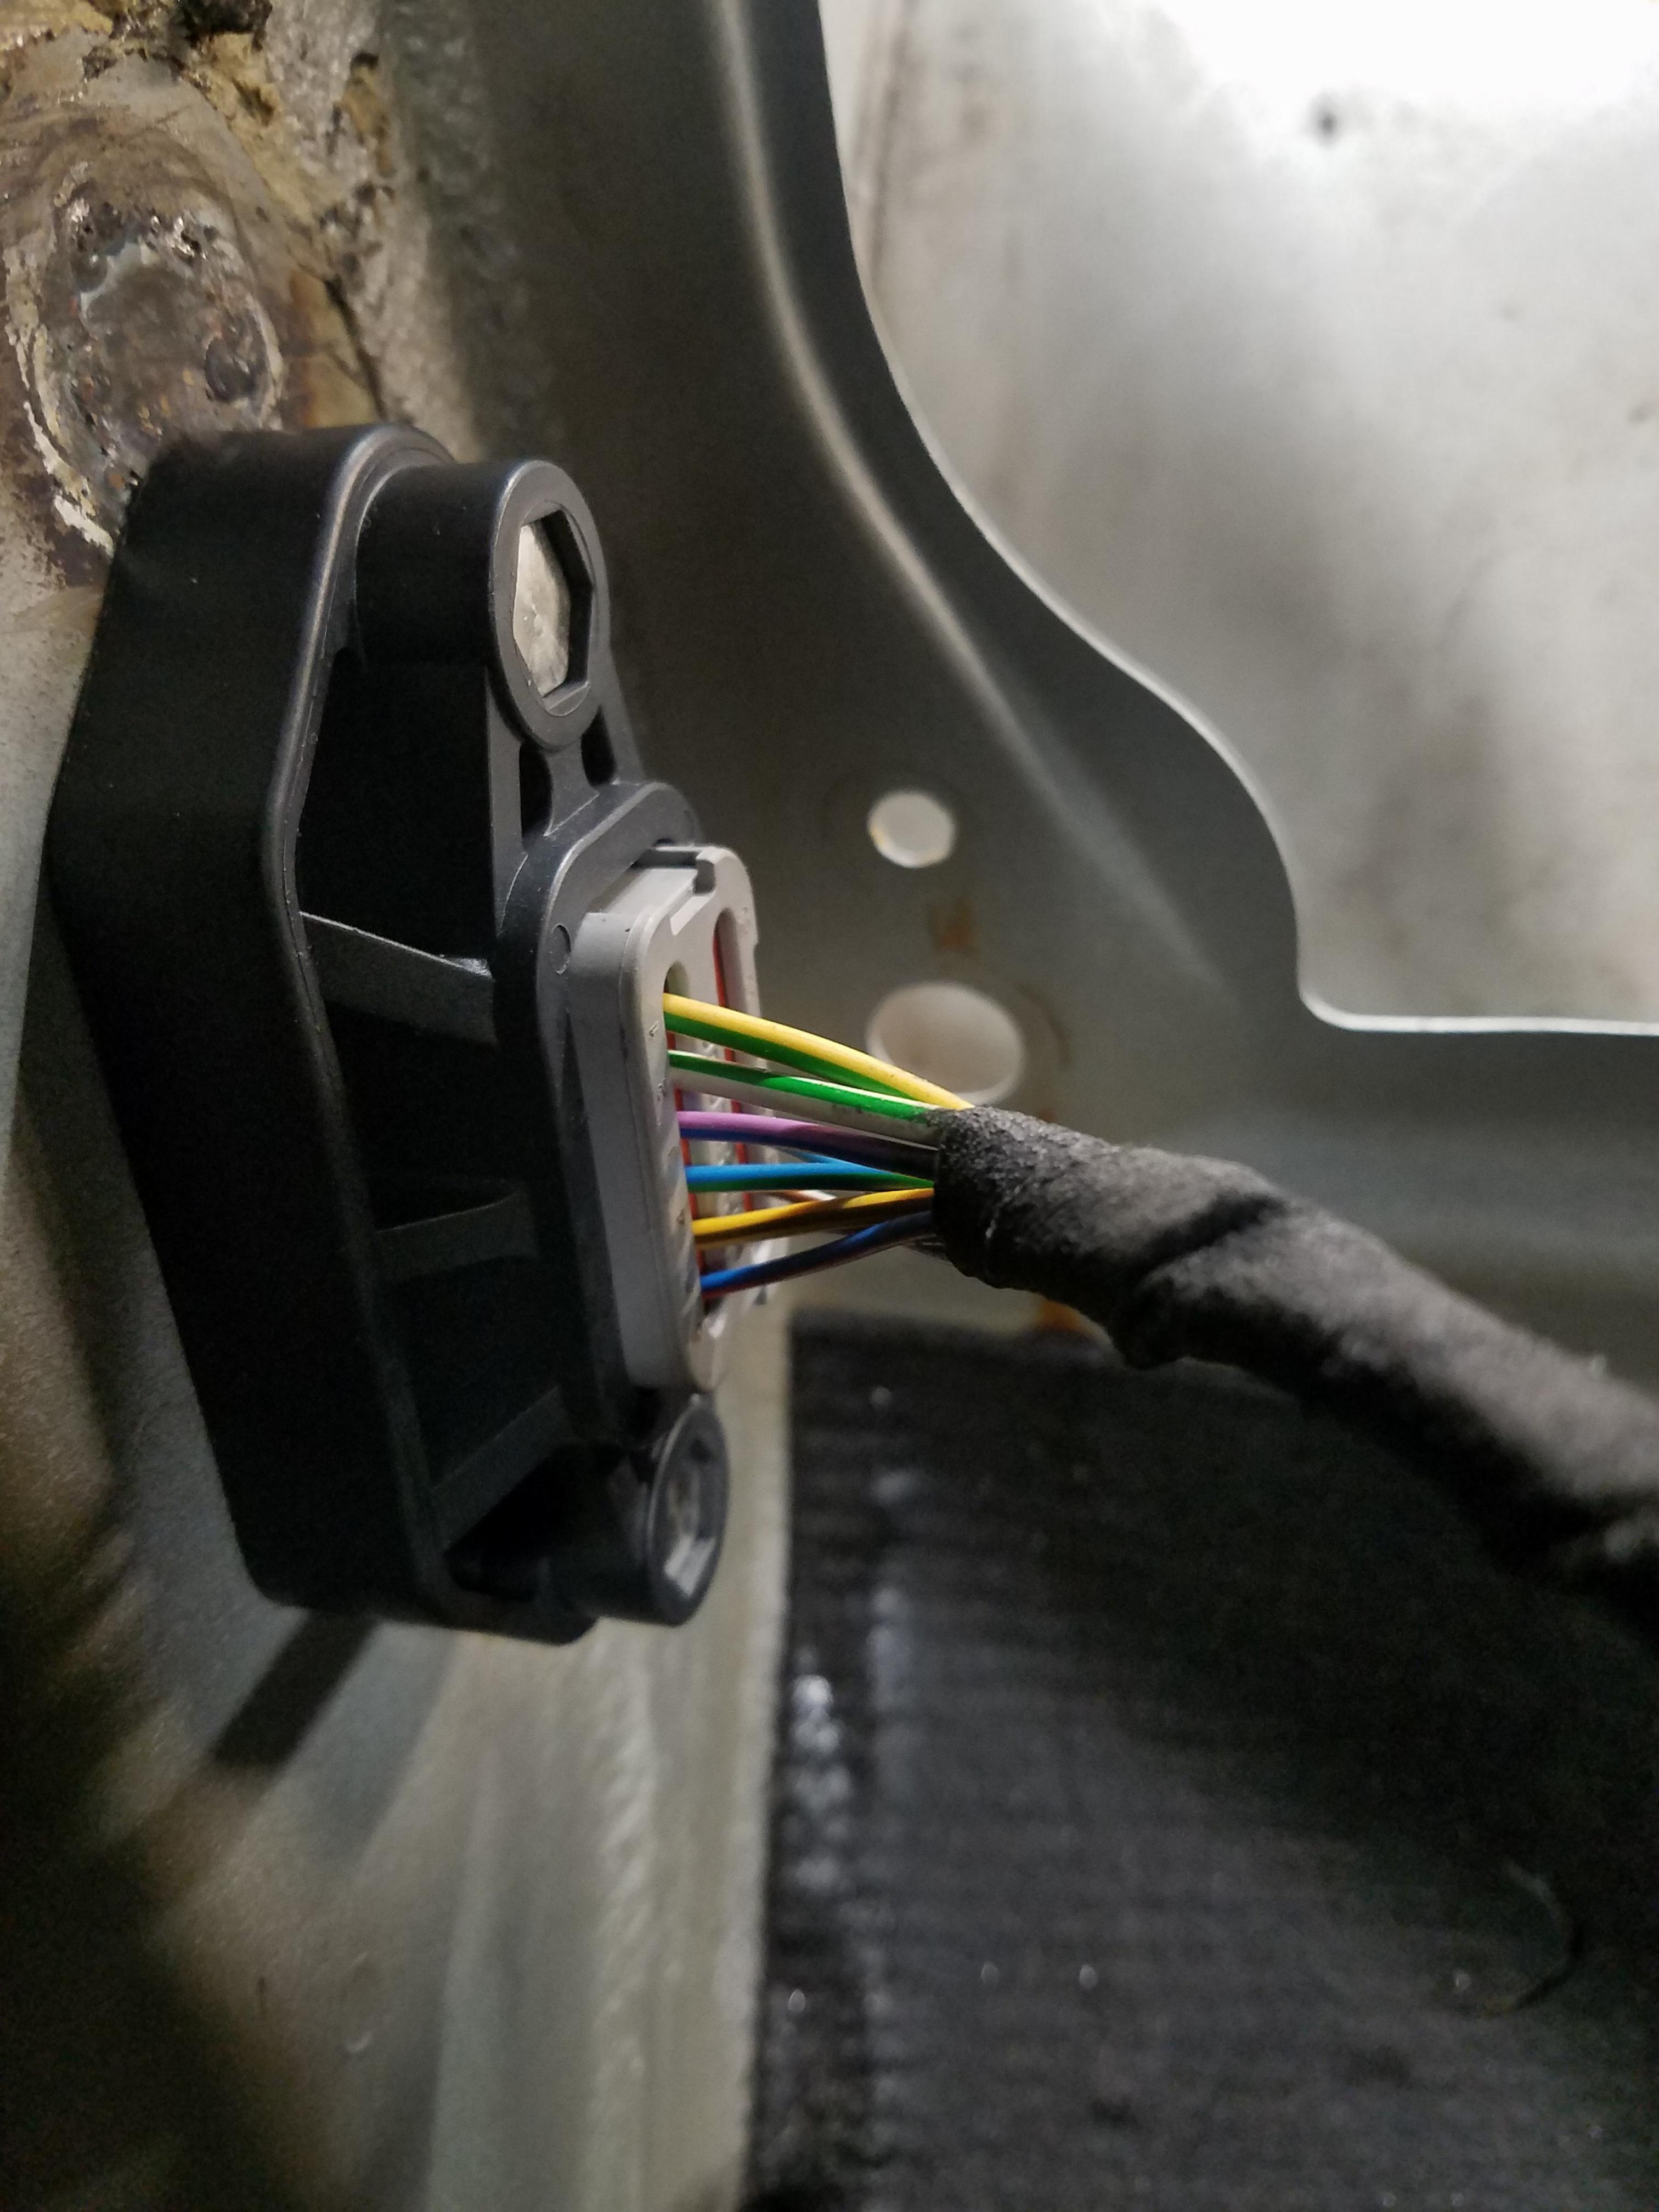
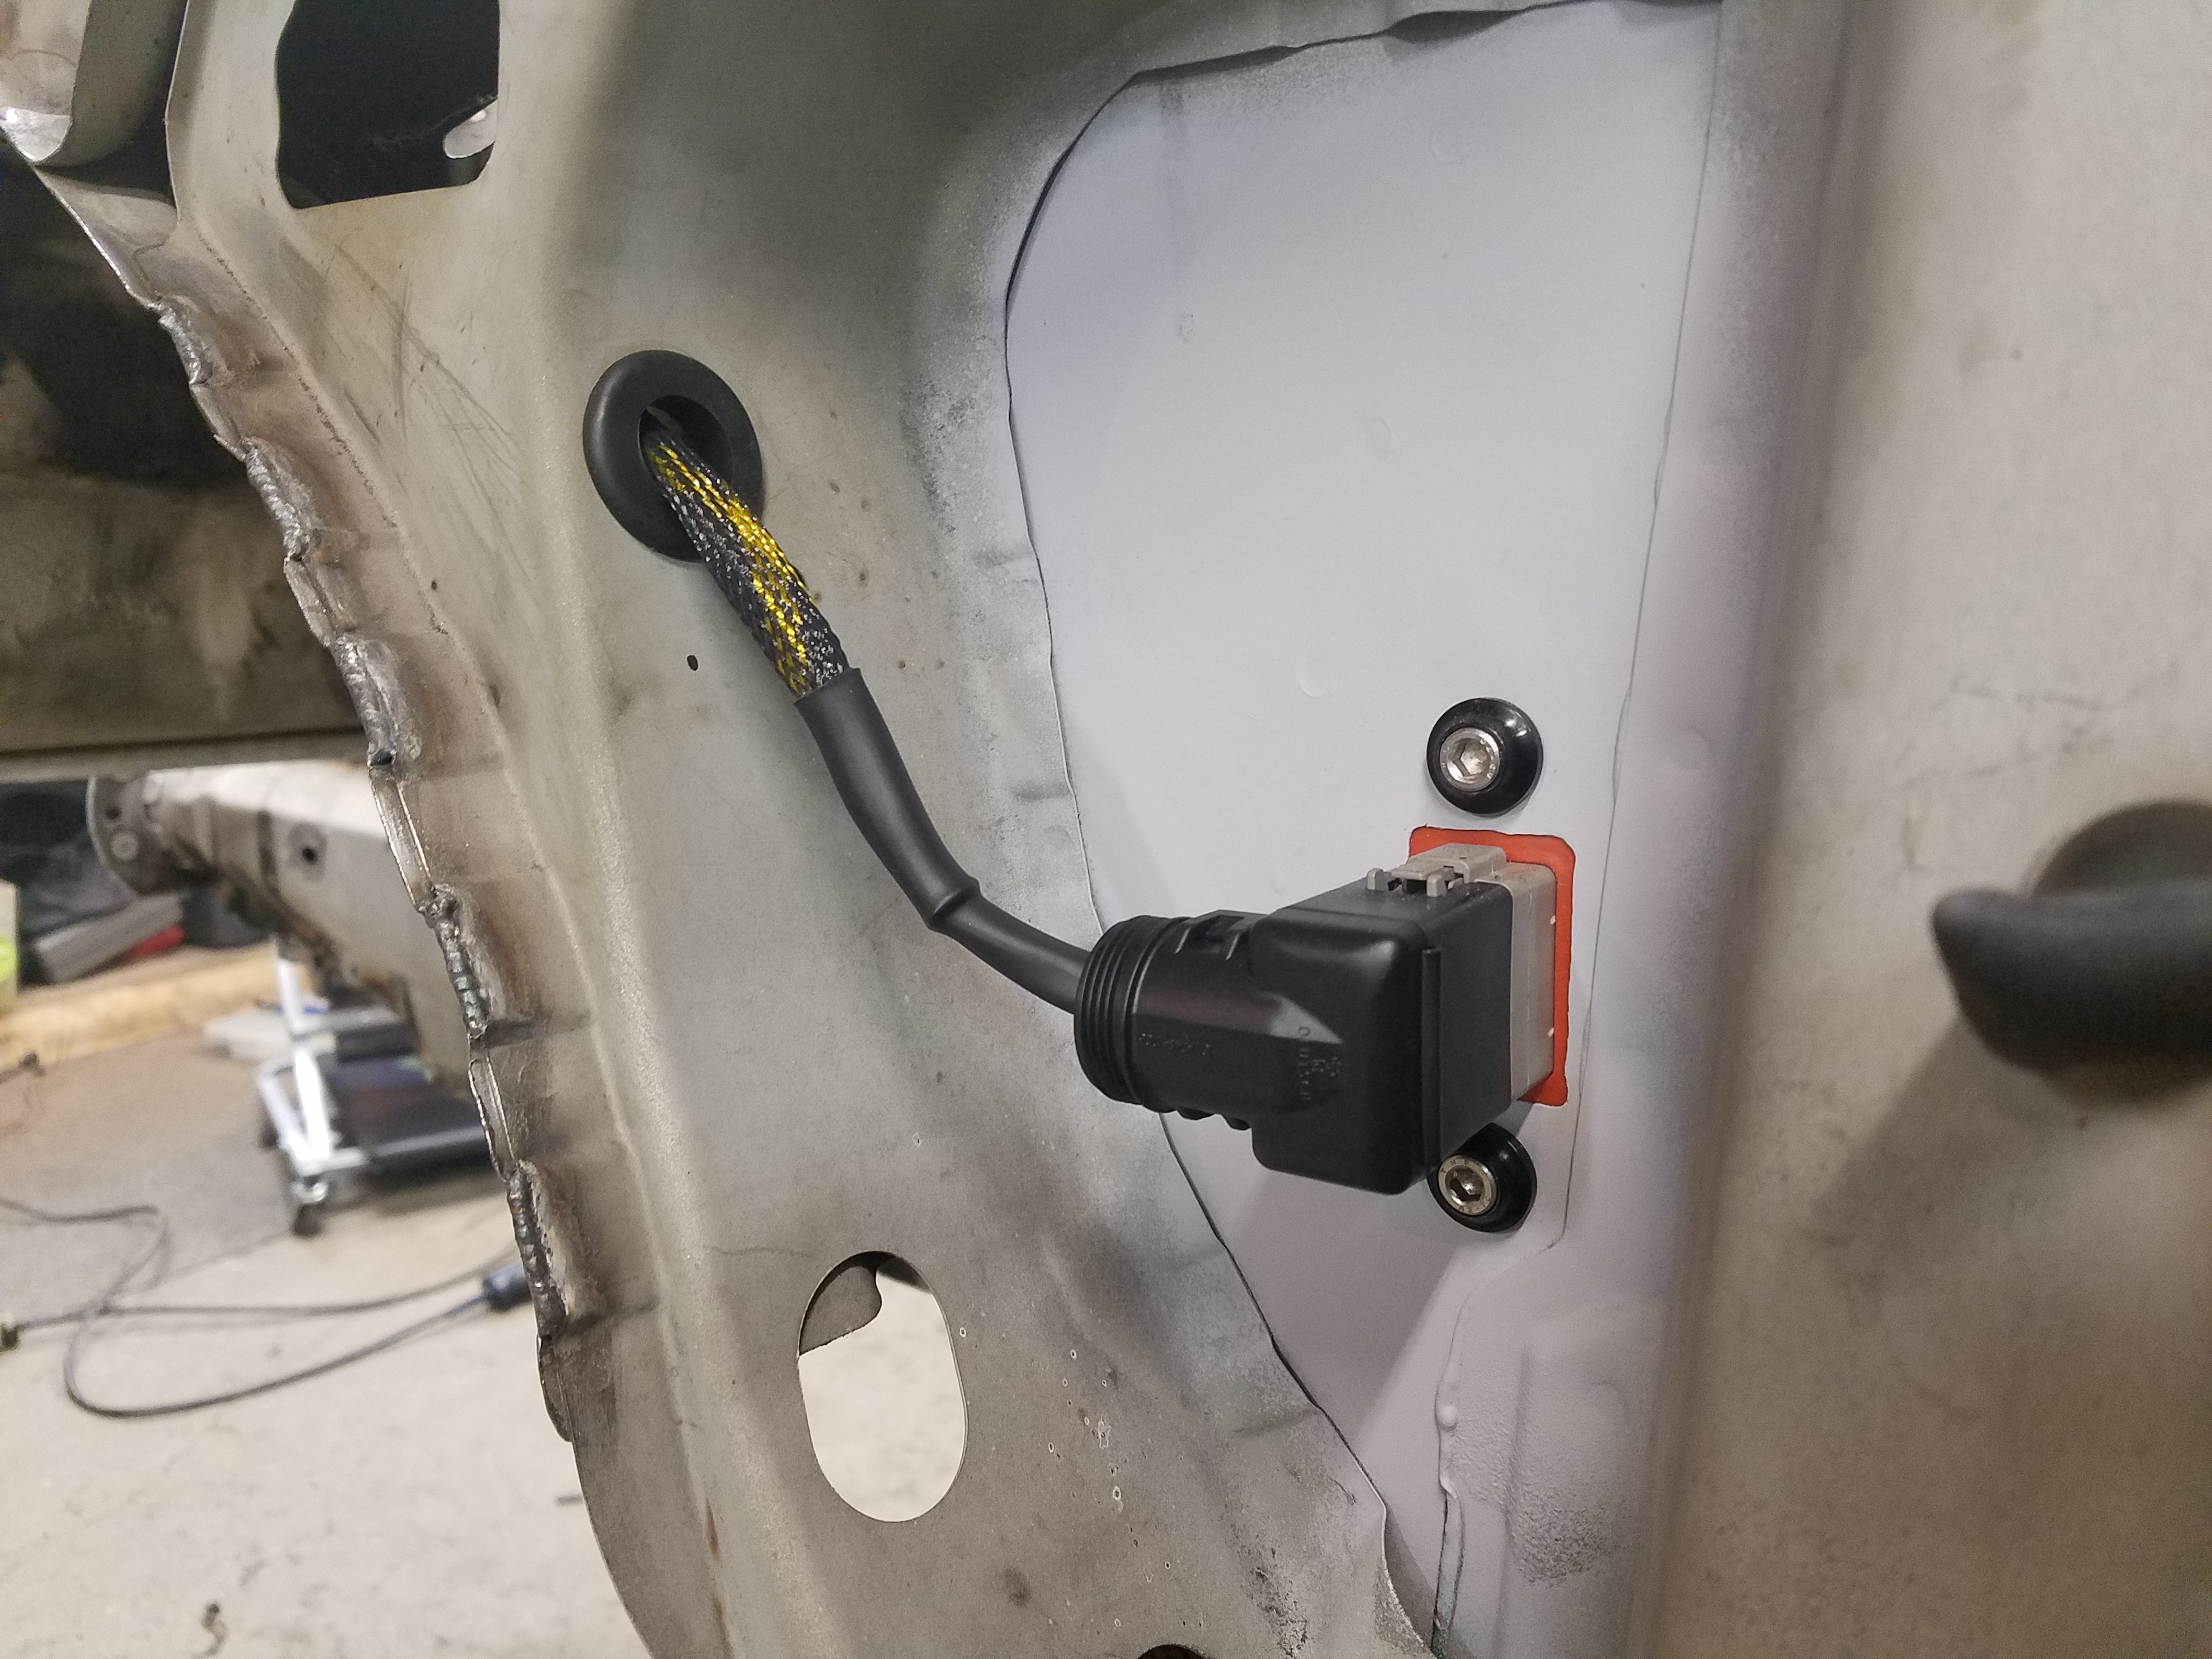
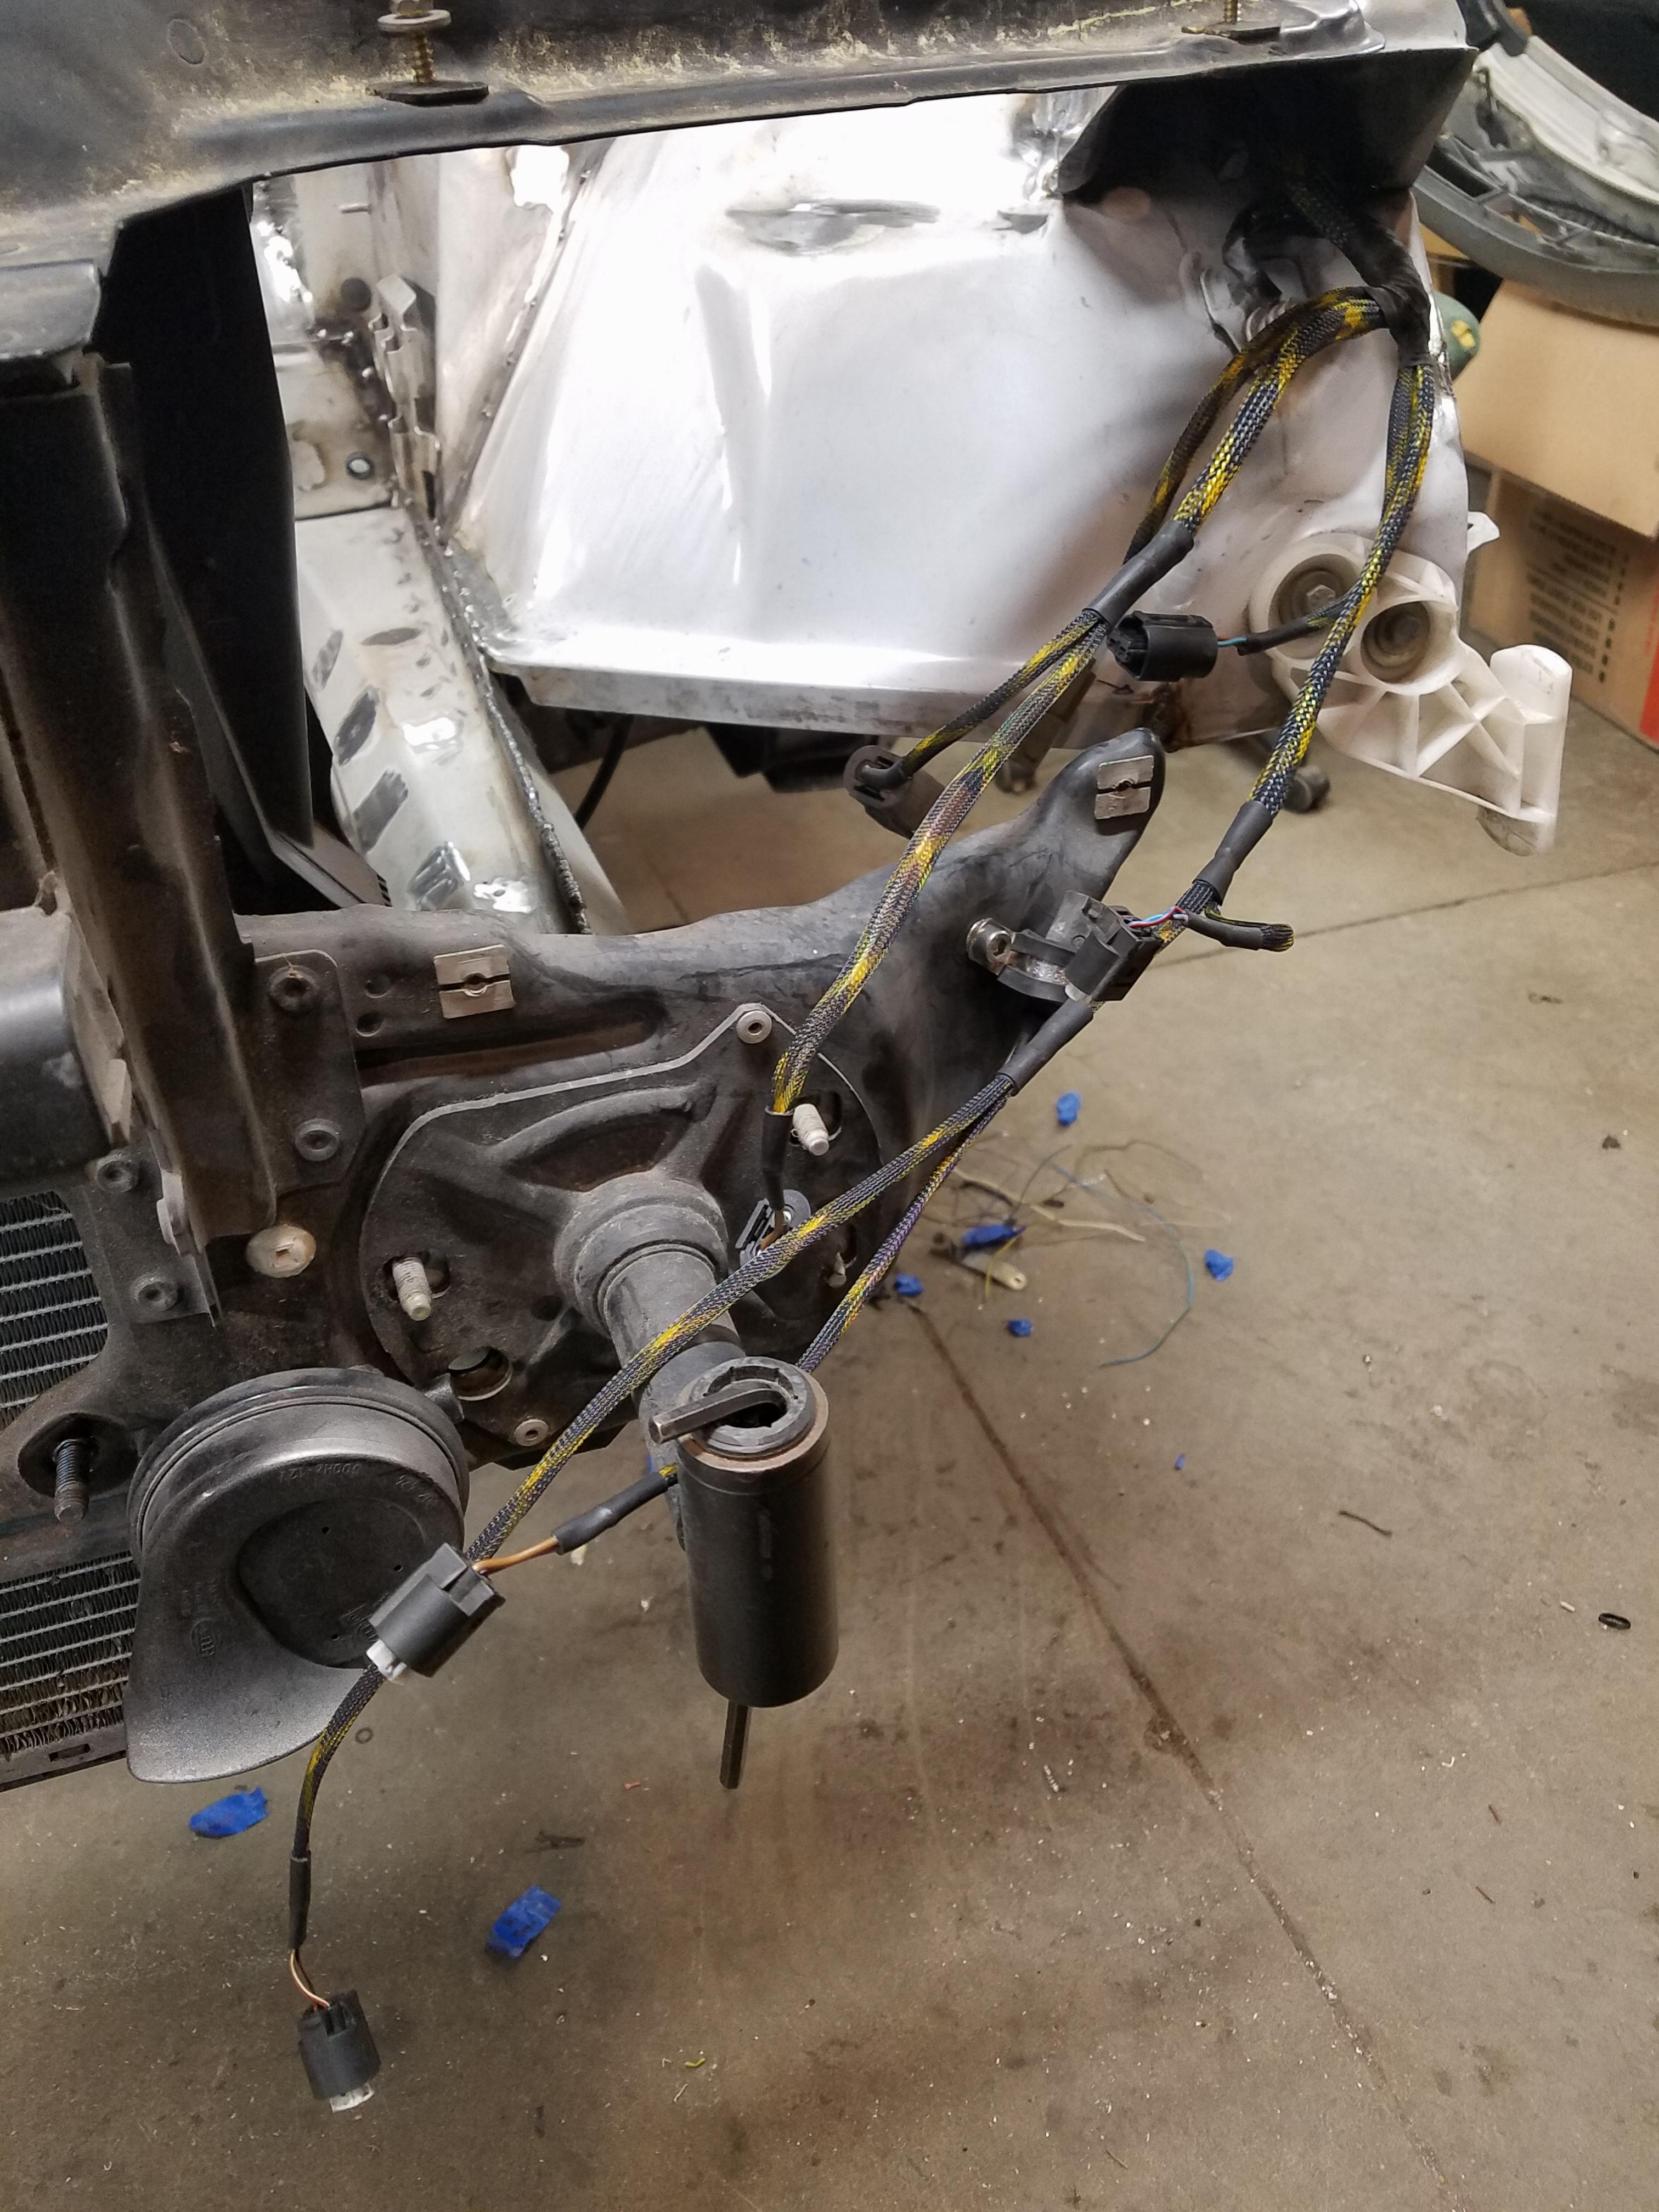
My wiring supplies came in as well and I am super happy with the way things are turning out. Got both of the harnesses finalized where they exit the cabin of the car and are routed up though the fender frames. I learned alot about wiring and my work developed alot over the years that I was building my civic, if there is one thing I learned its do it right the first time (I redid the wiring on my hatch 4 times before I was close to happy with it). So with that being said I am going into this car with every bit of knowledge I have and doing everything right the first time.
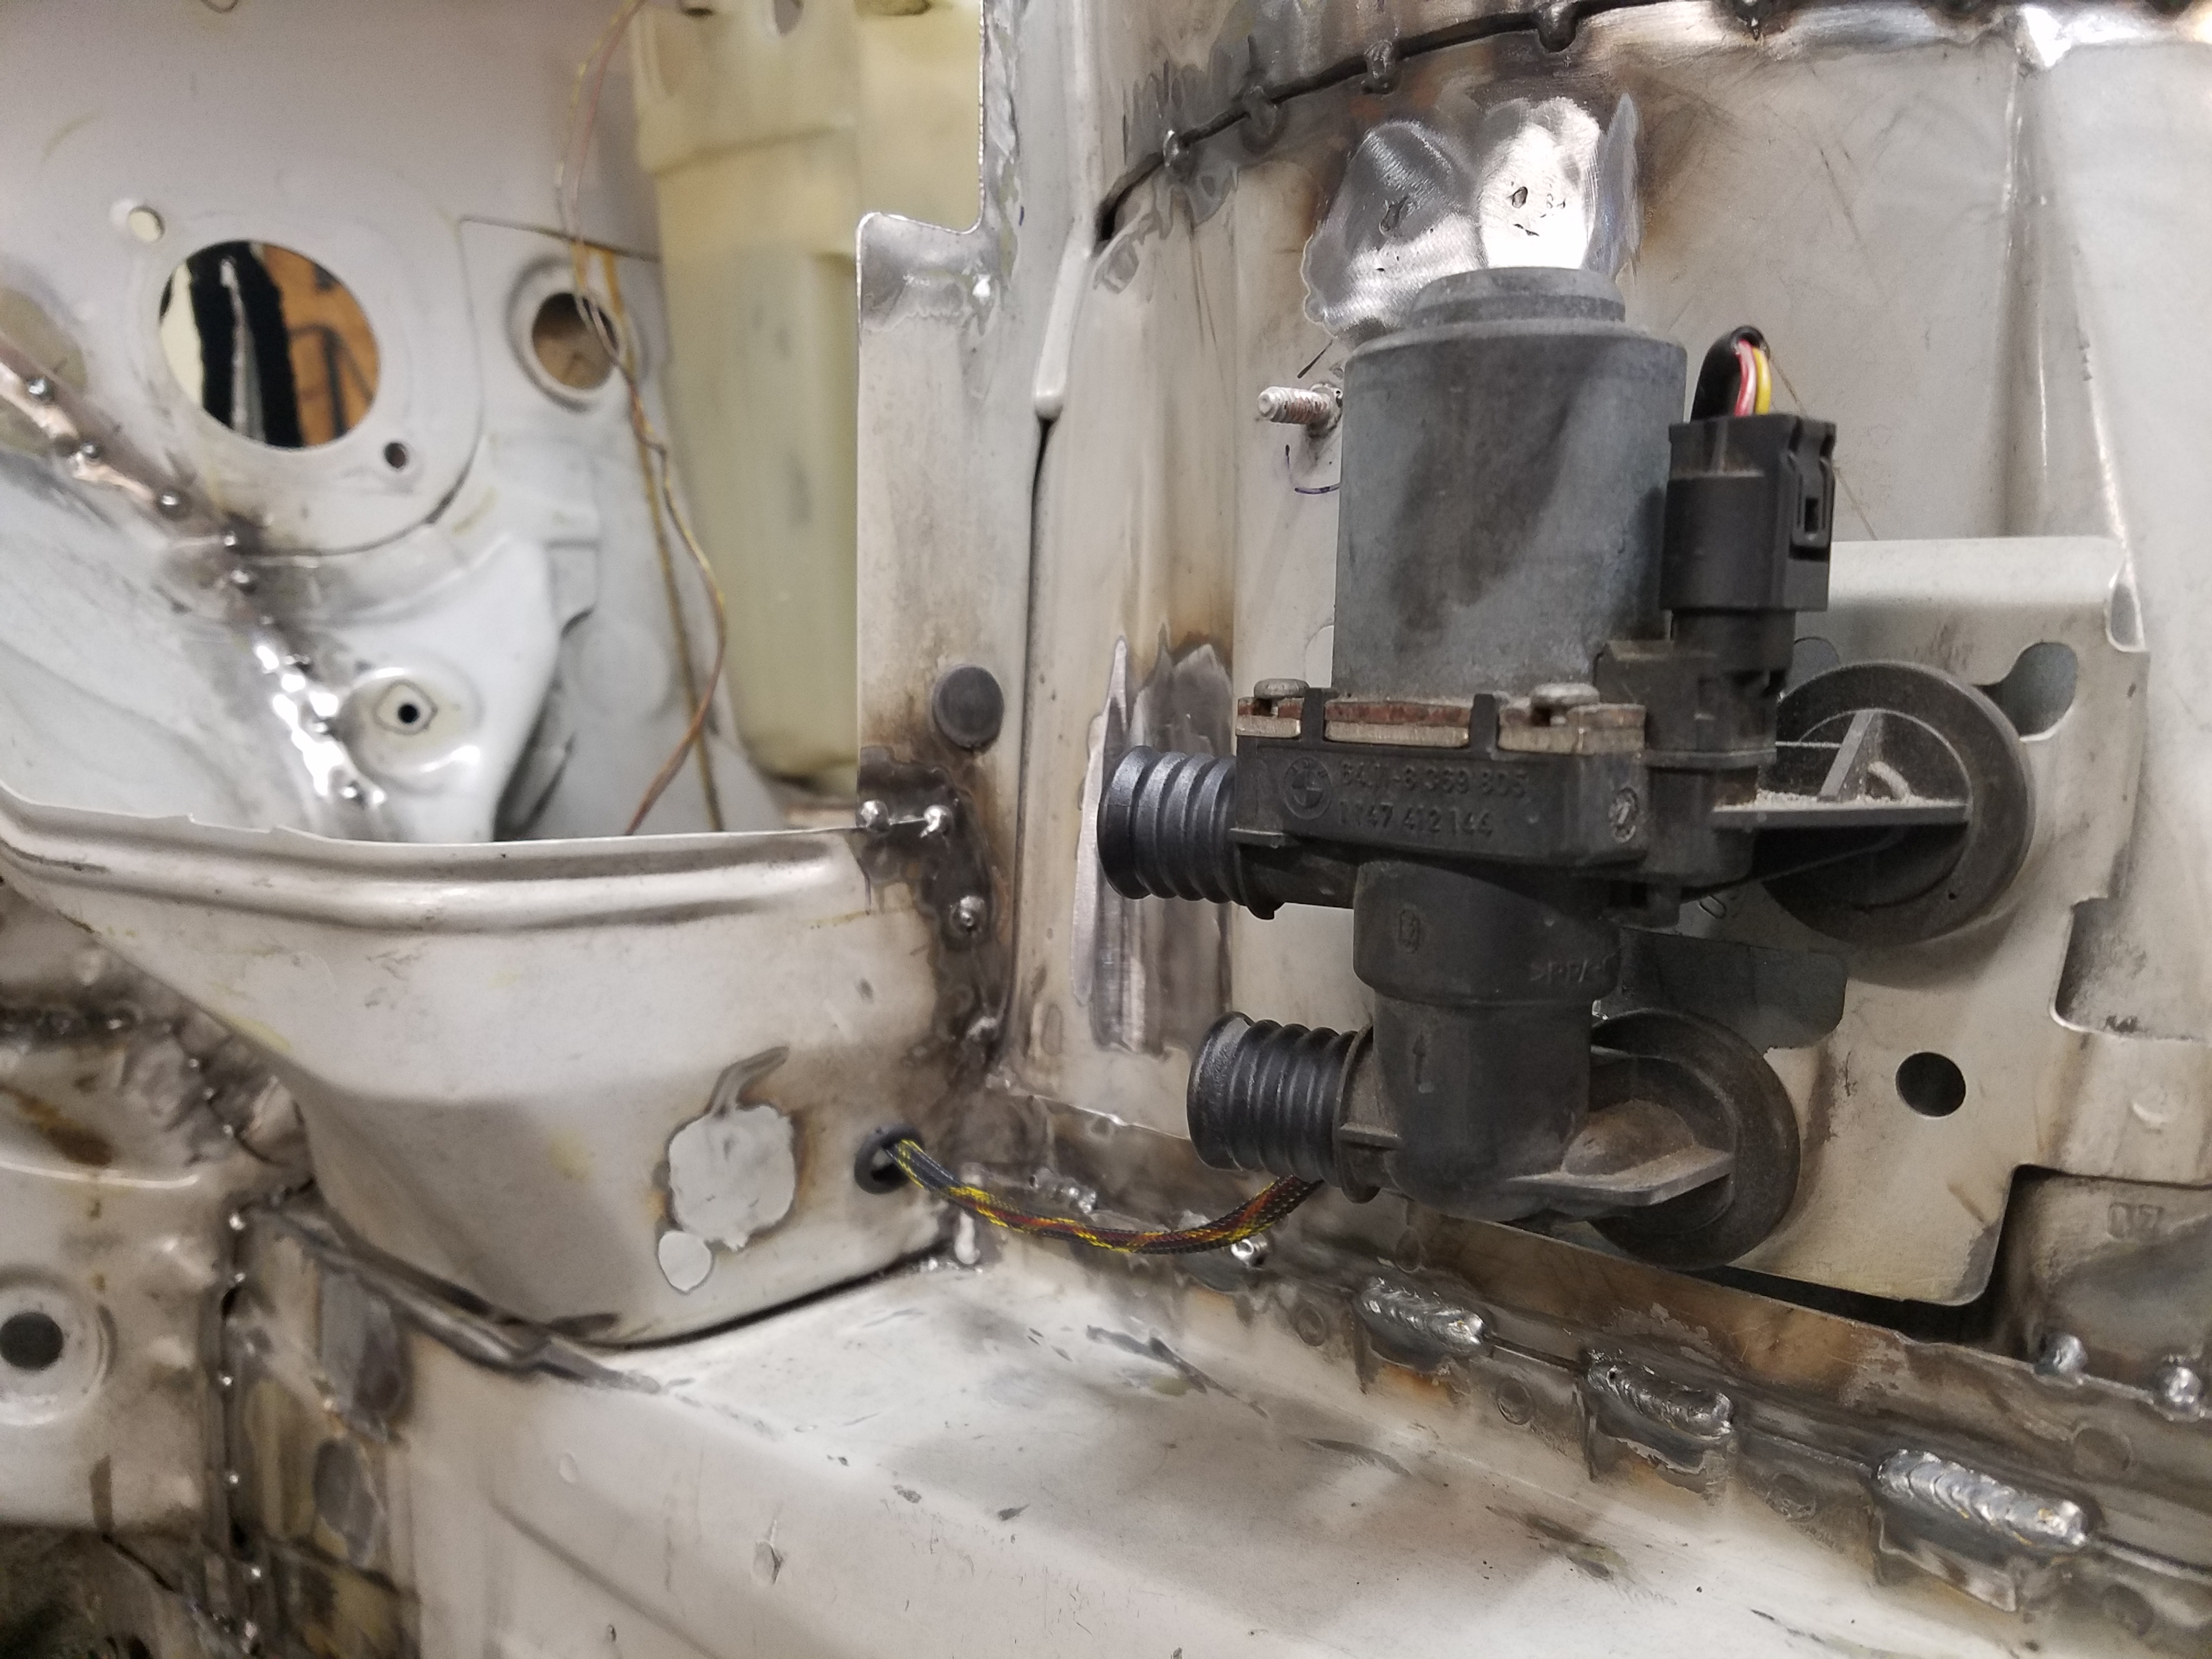
All of the wiring is wrapped in flame resistant tech-flex and the harness connections are Deutsch plugs as well.
Here is the passenger side connections.
And on the driver side I was able to use just one 12 pin bulkhead style connector.
And I was also able to figure out the routing and set up for the heater valve wiring. This car will still have a heater core and heat, because I enjoy driving in fall with the windows down and the heat on haha.
That's it for now. Grinding, filler and sanding will hopefully start this week. Then once the bay is near ready (or i get sick of not feeling my fingers) I will be continuing the wire tuck with routing to all of the components on the front end.
-
A purists nightmare - E46 drift build -
A purists nightmare - E46 drift buildHoly shit I have been slacking on the updates. Lots of parts have come in and things are slowly coming together.
So here we go.
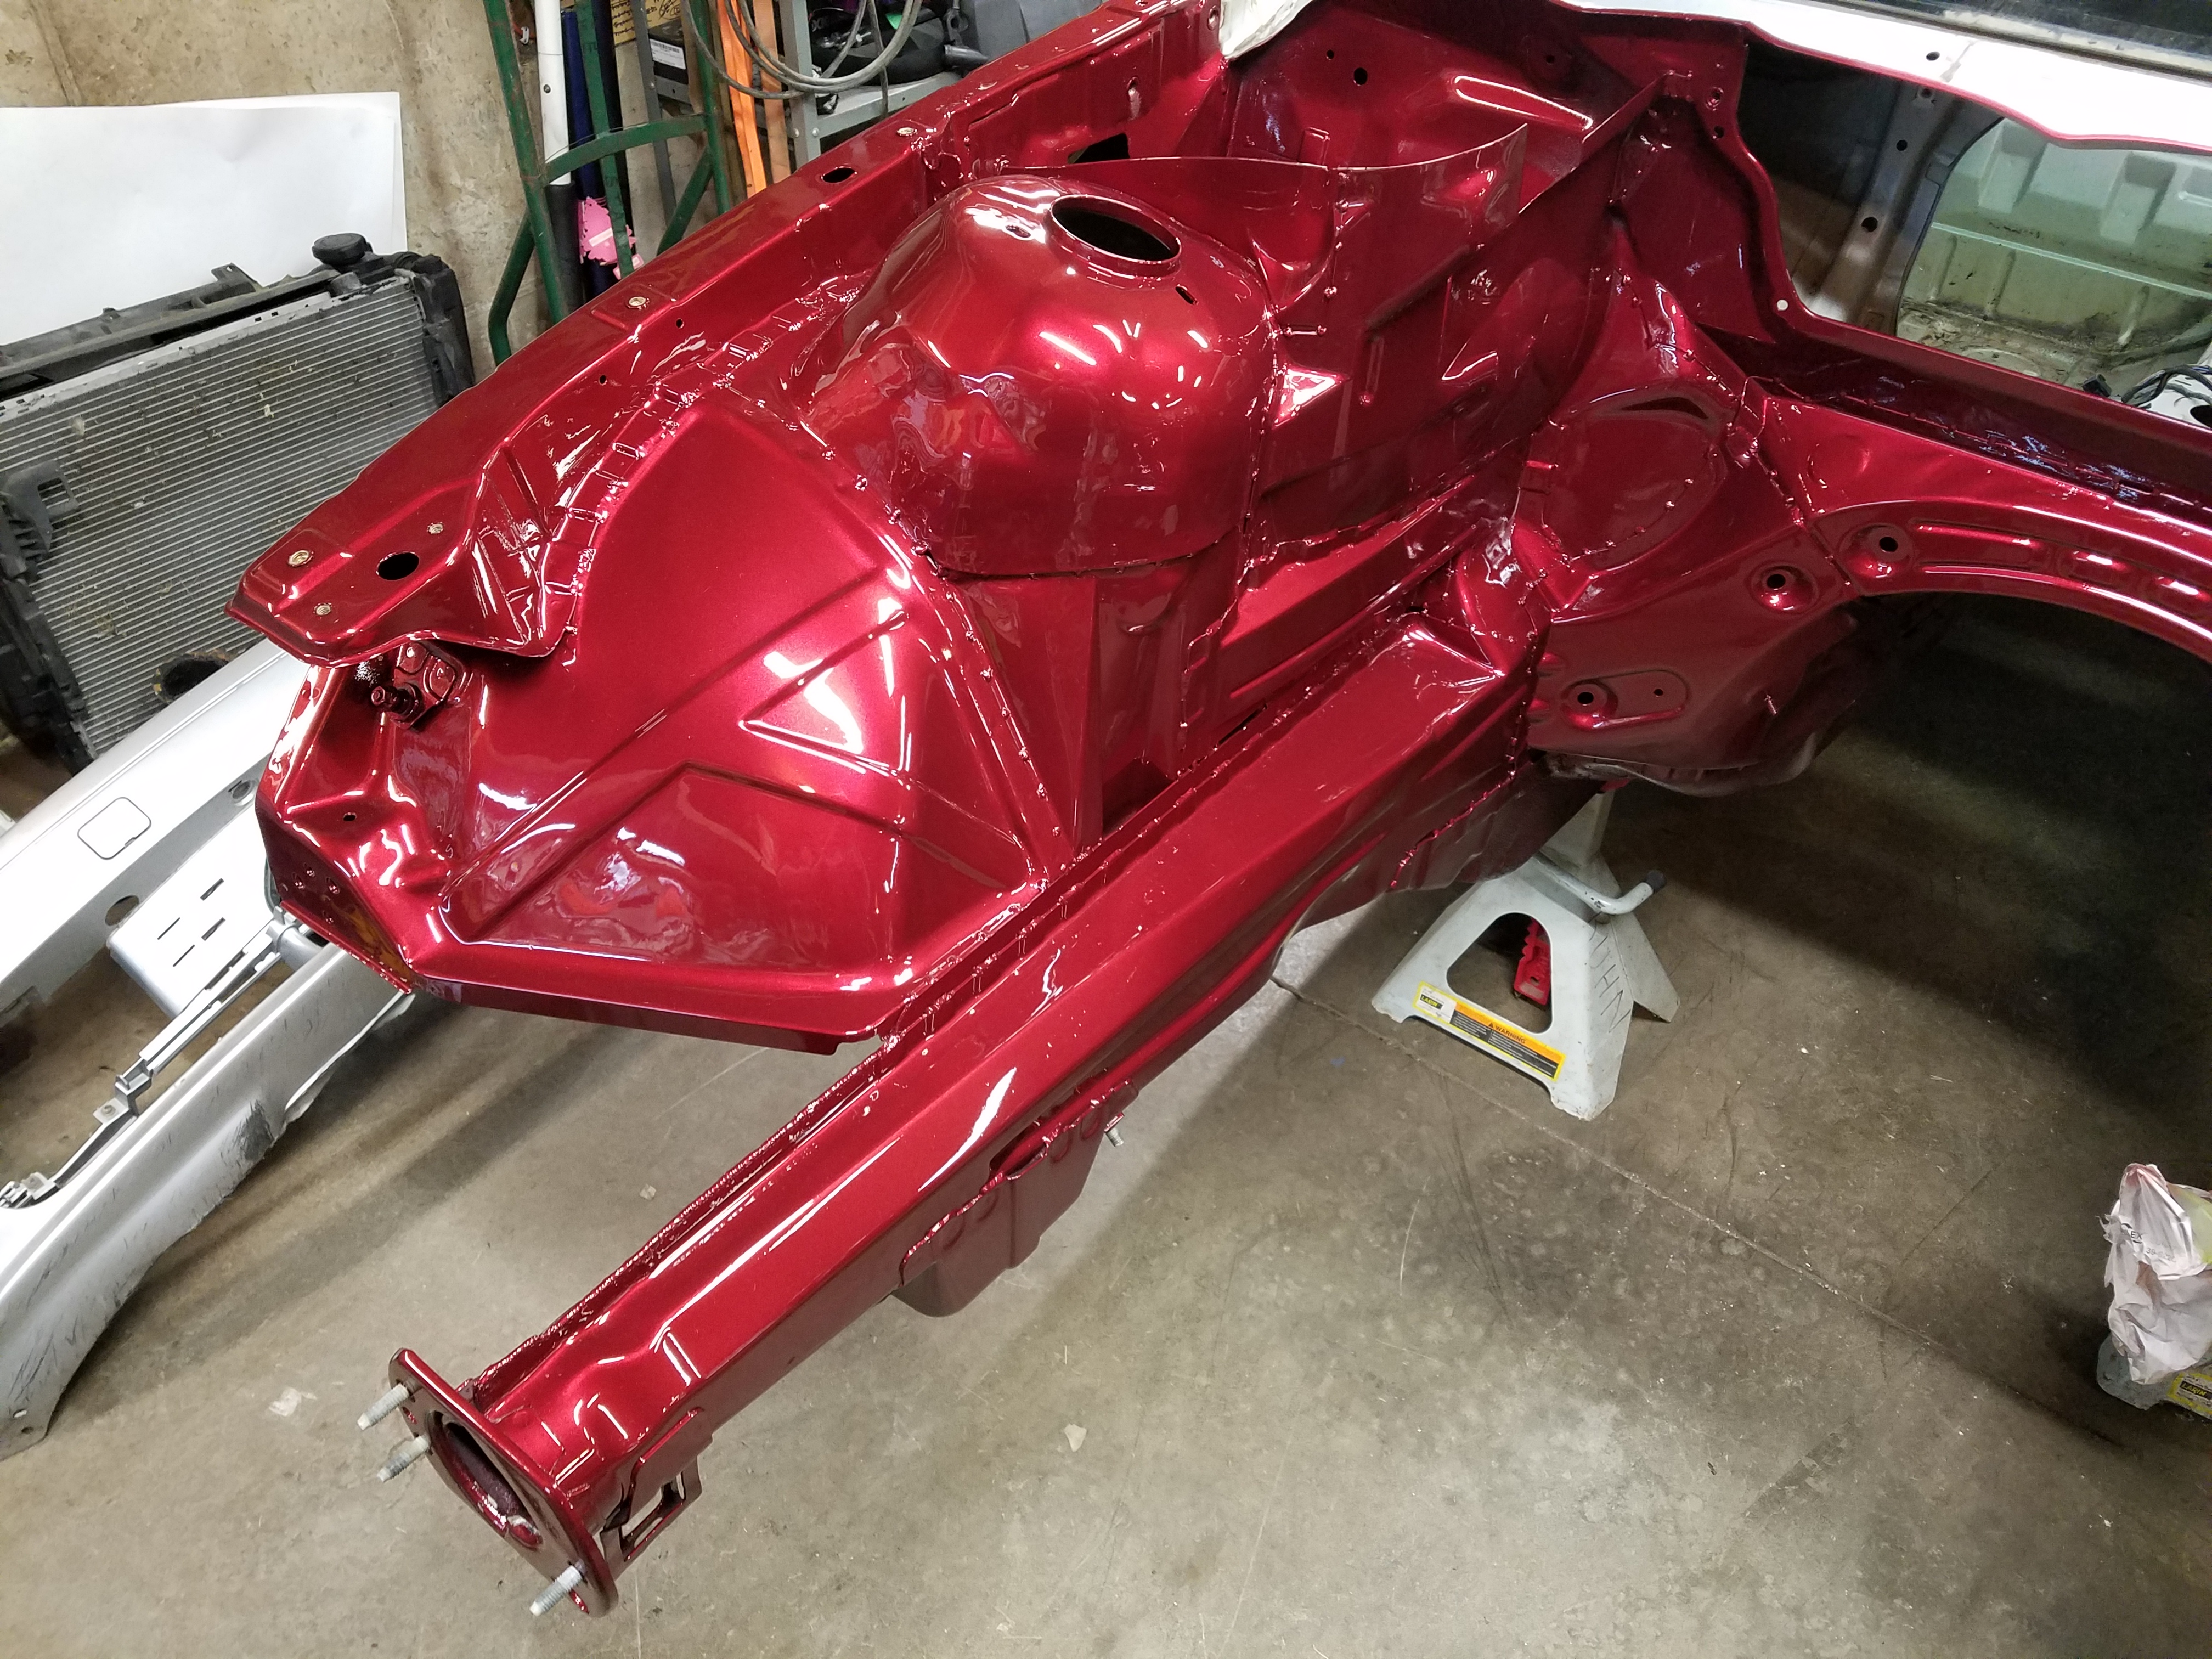
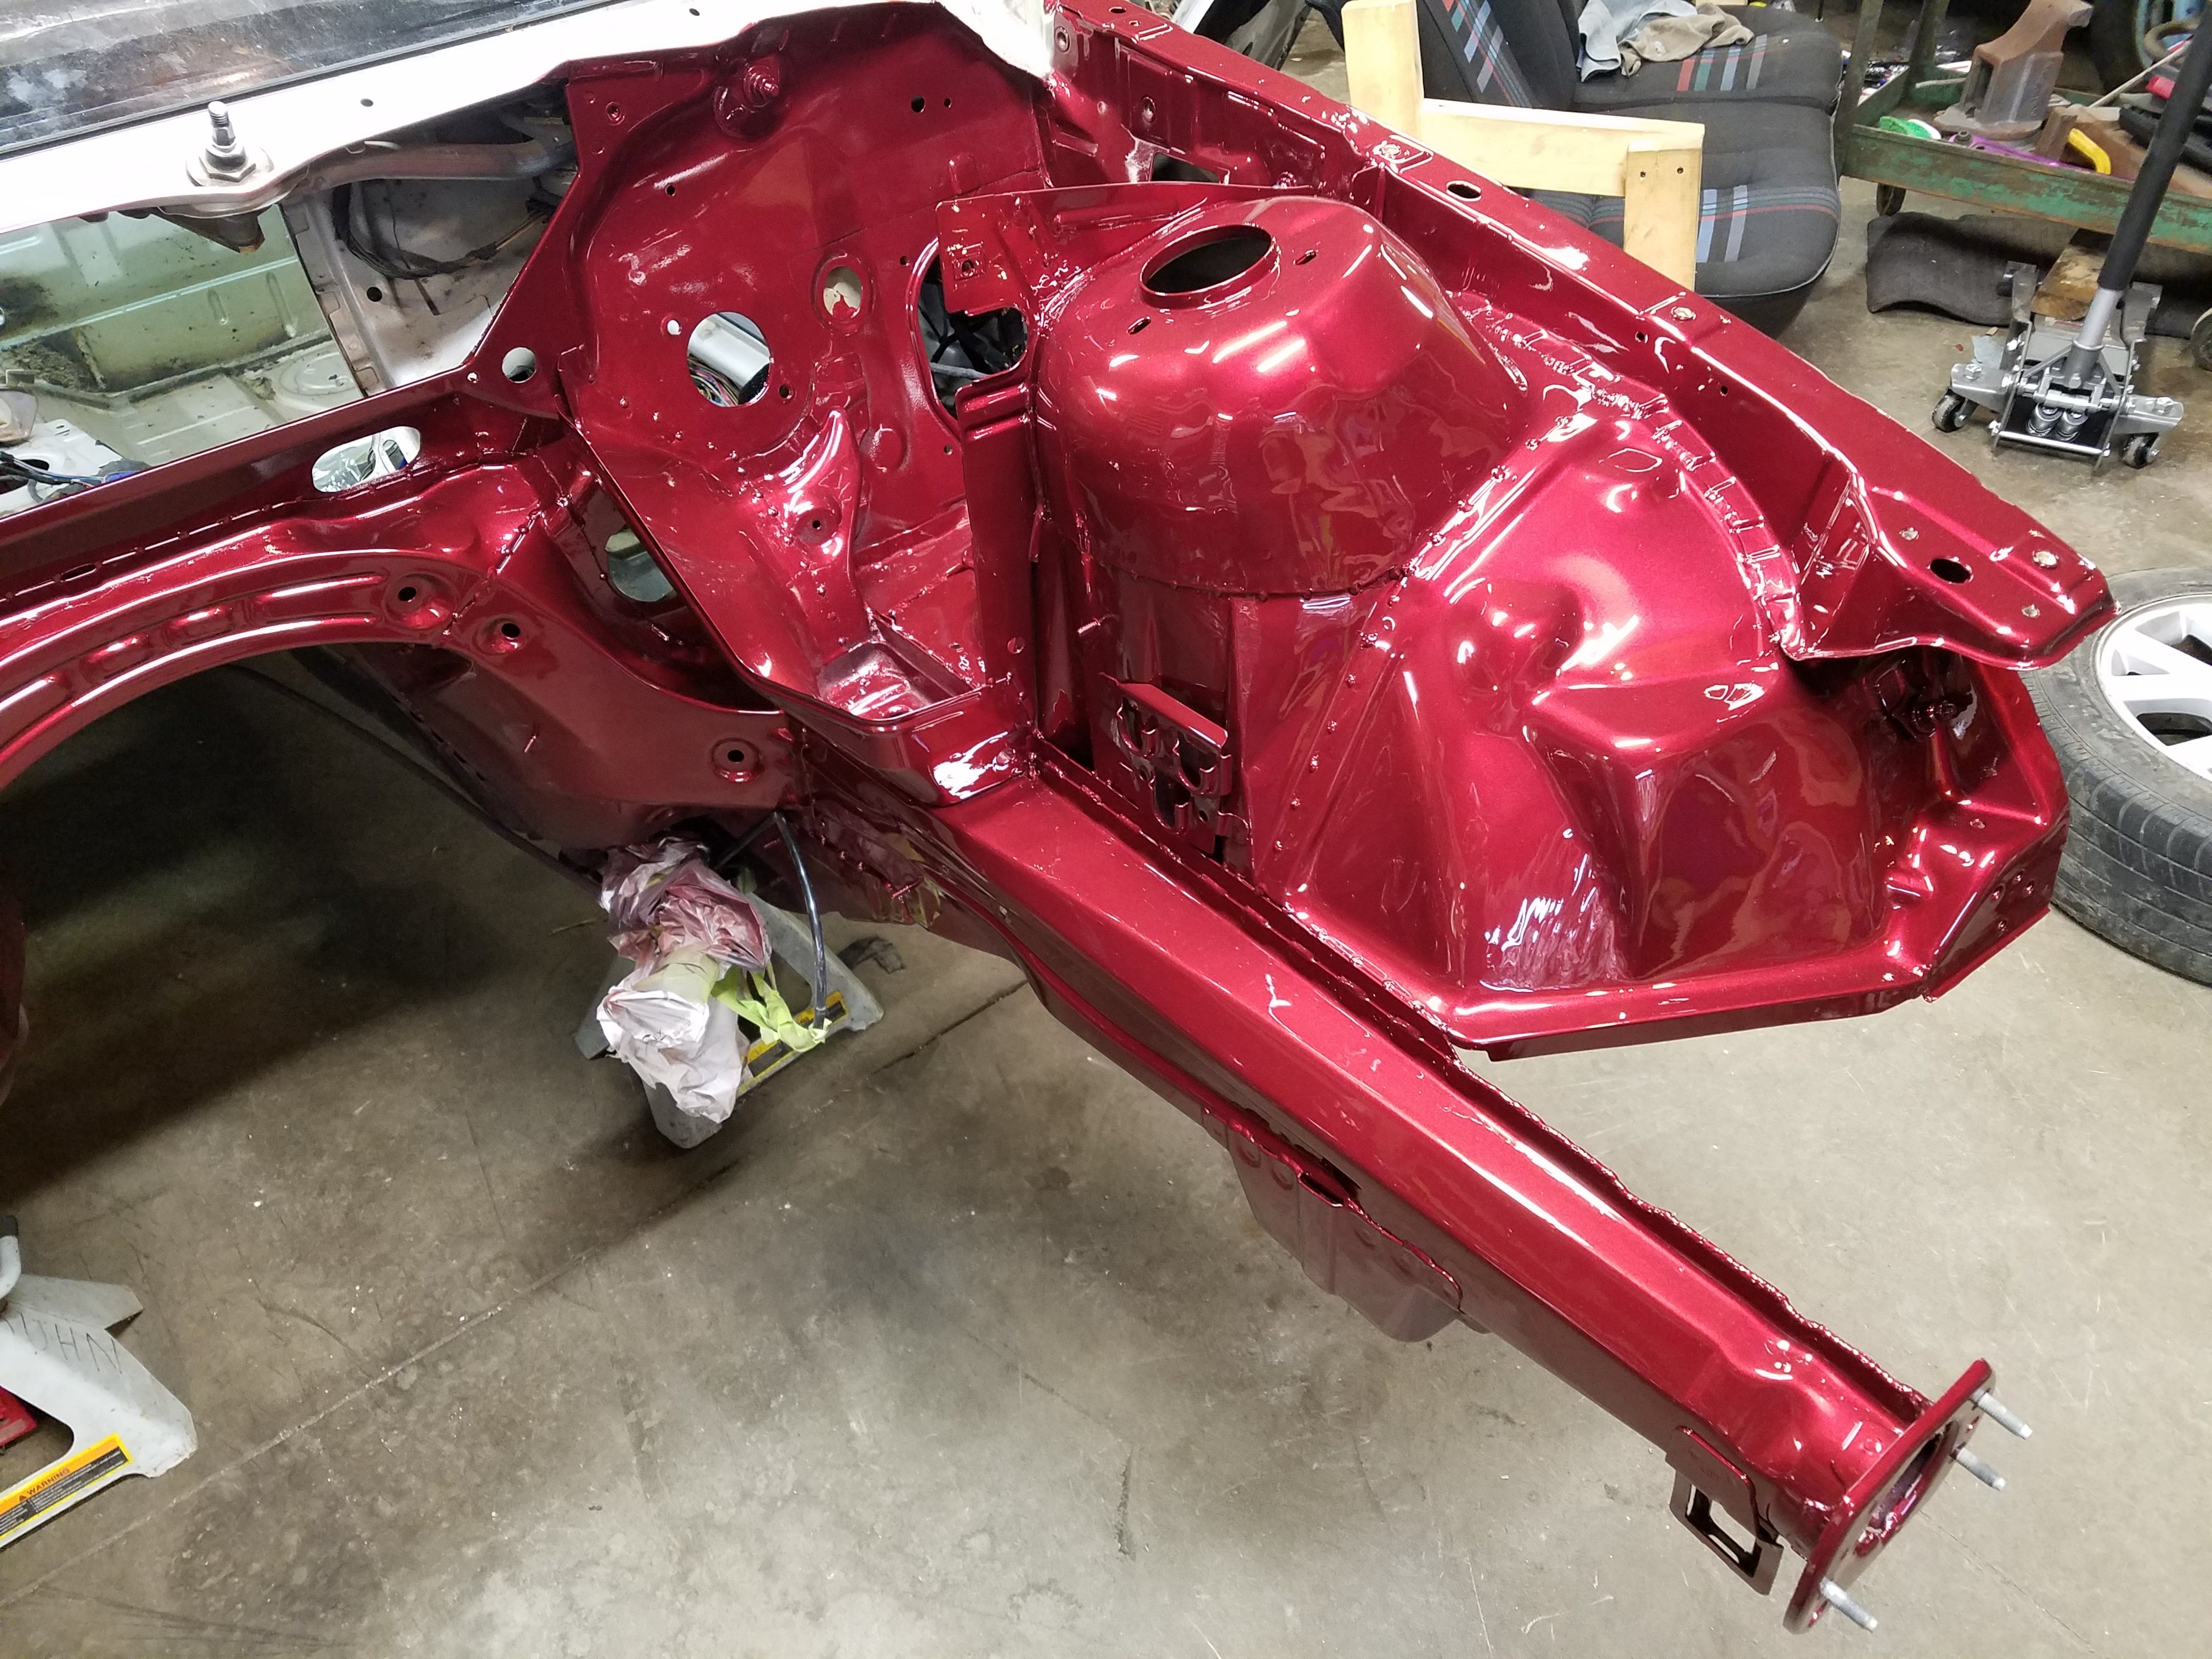
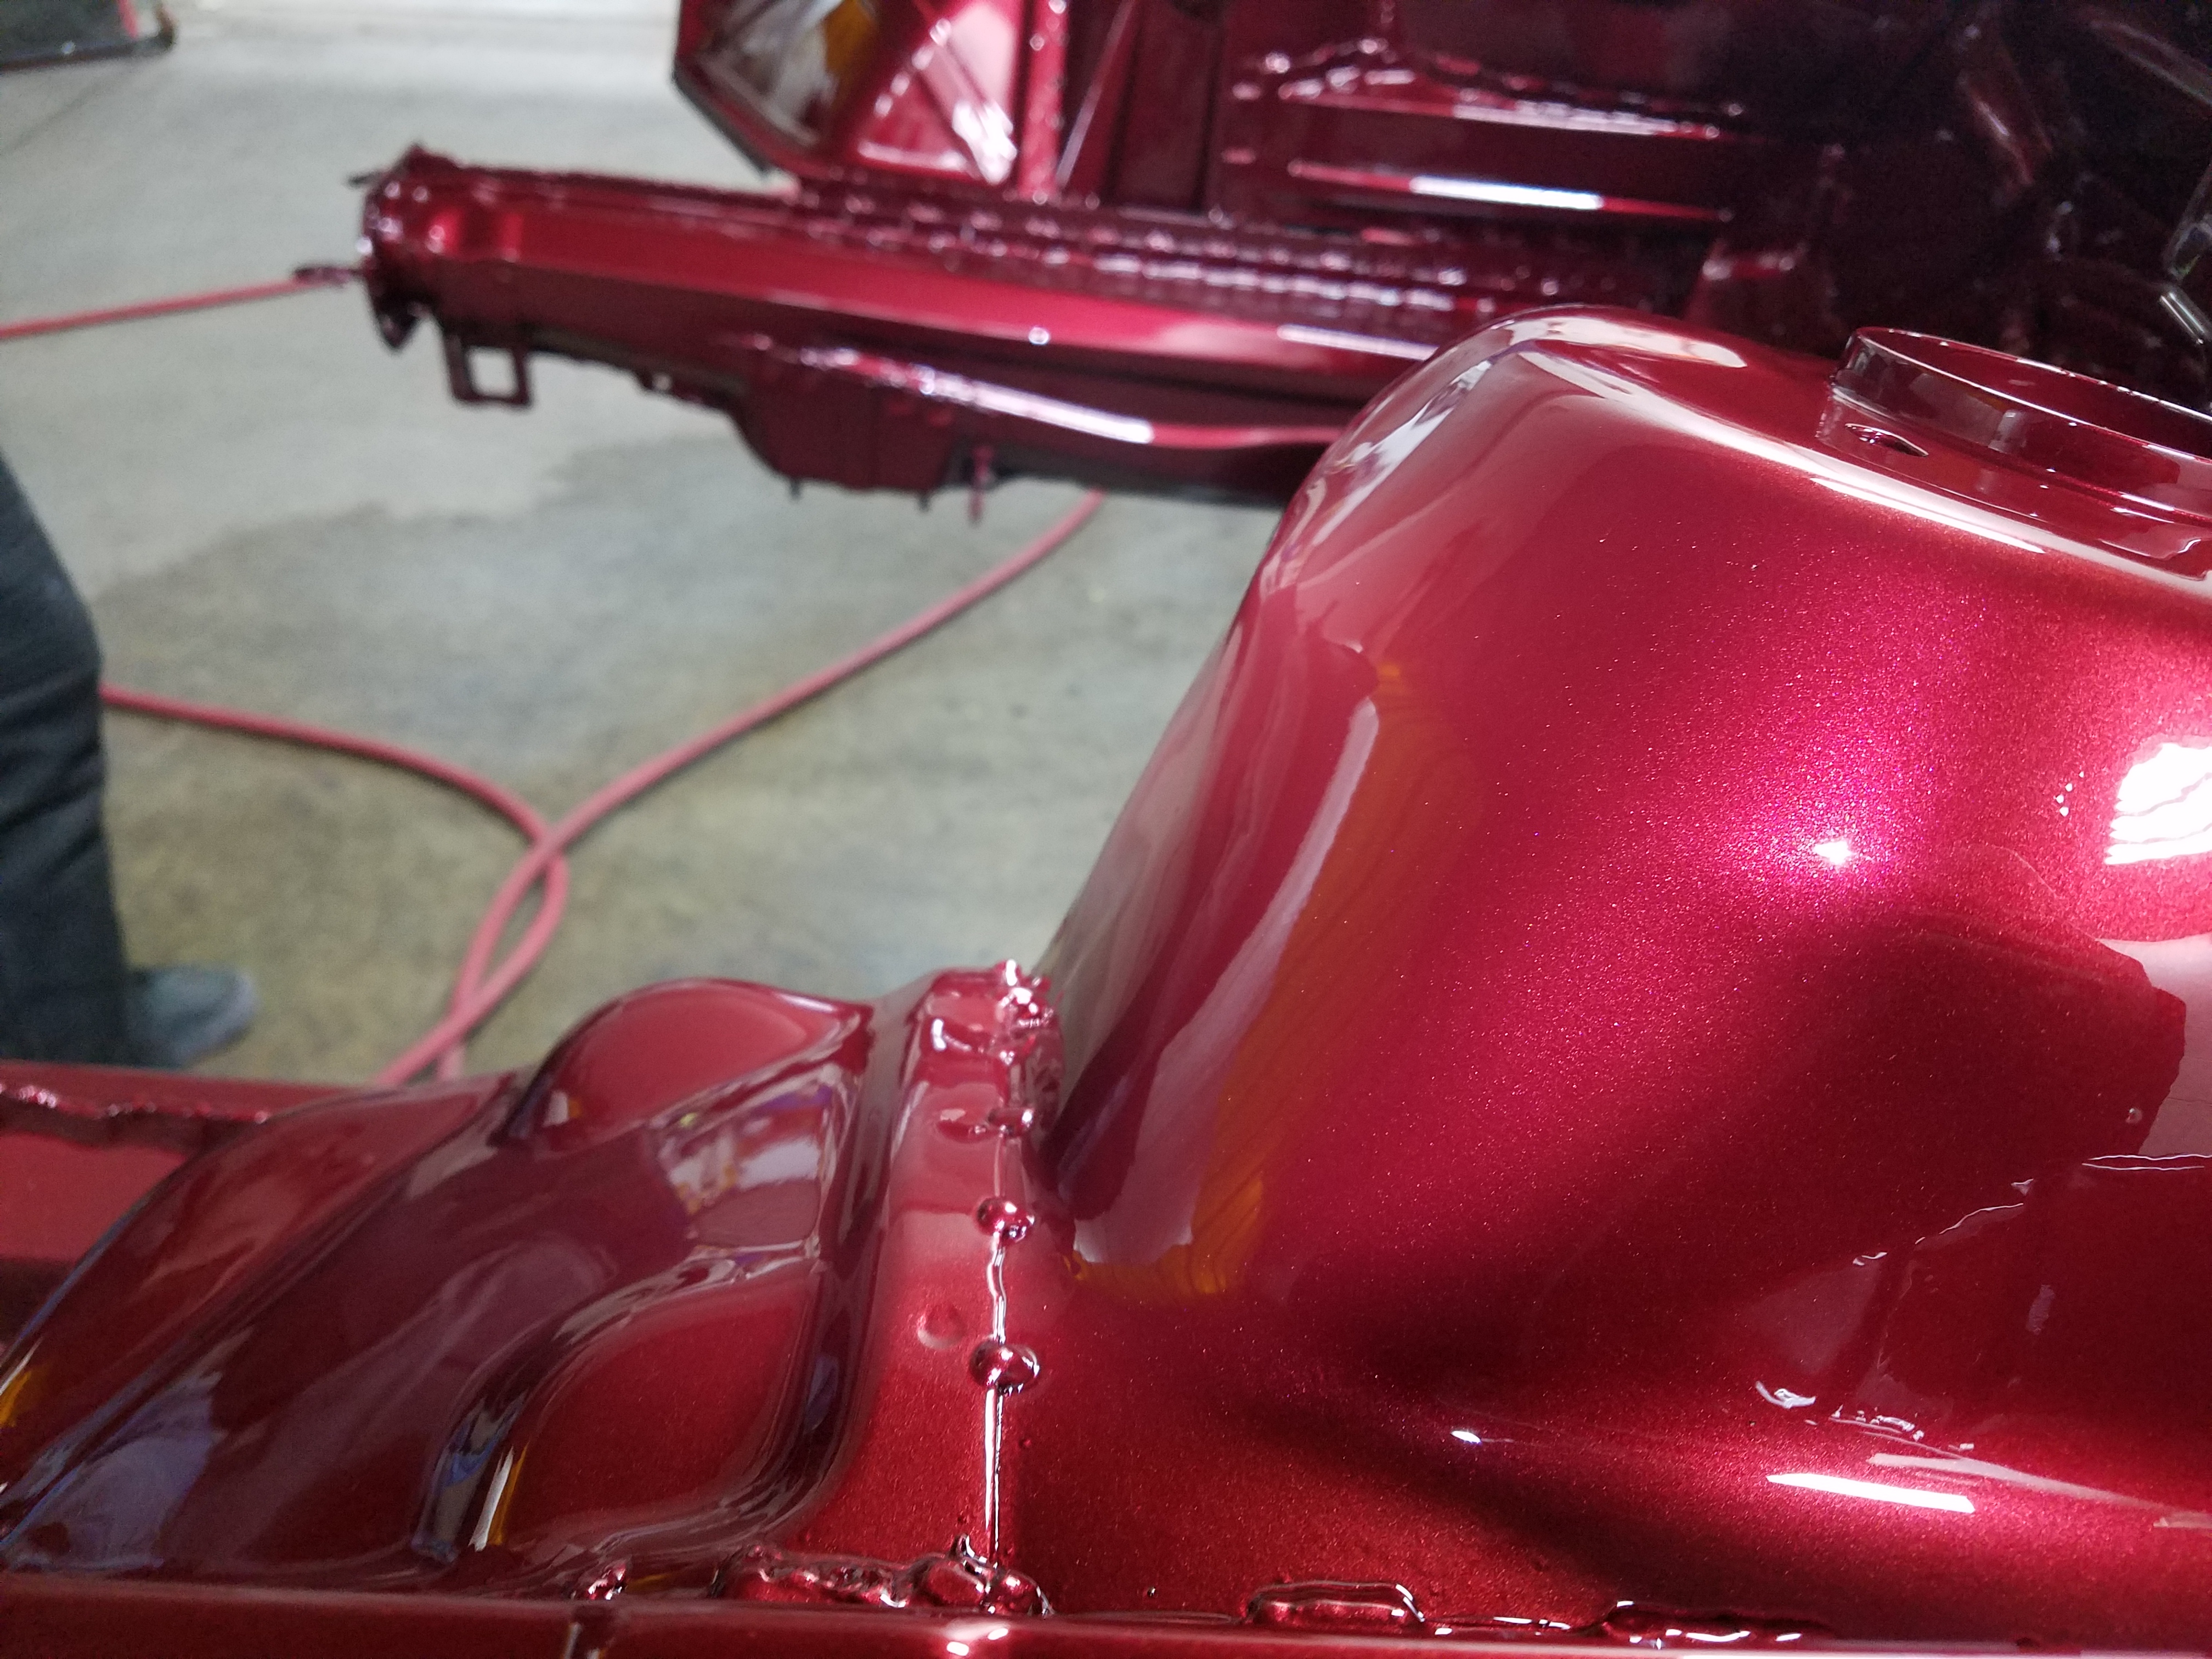
The bay is painted.
Once the car was back to my shop I dropped the rear end out of the car along with the fuel tank. With that came some bad news.
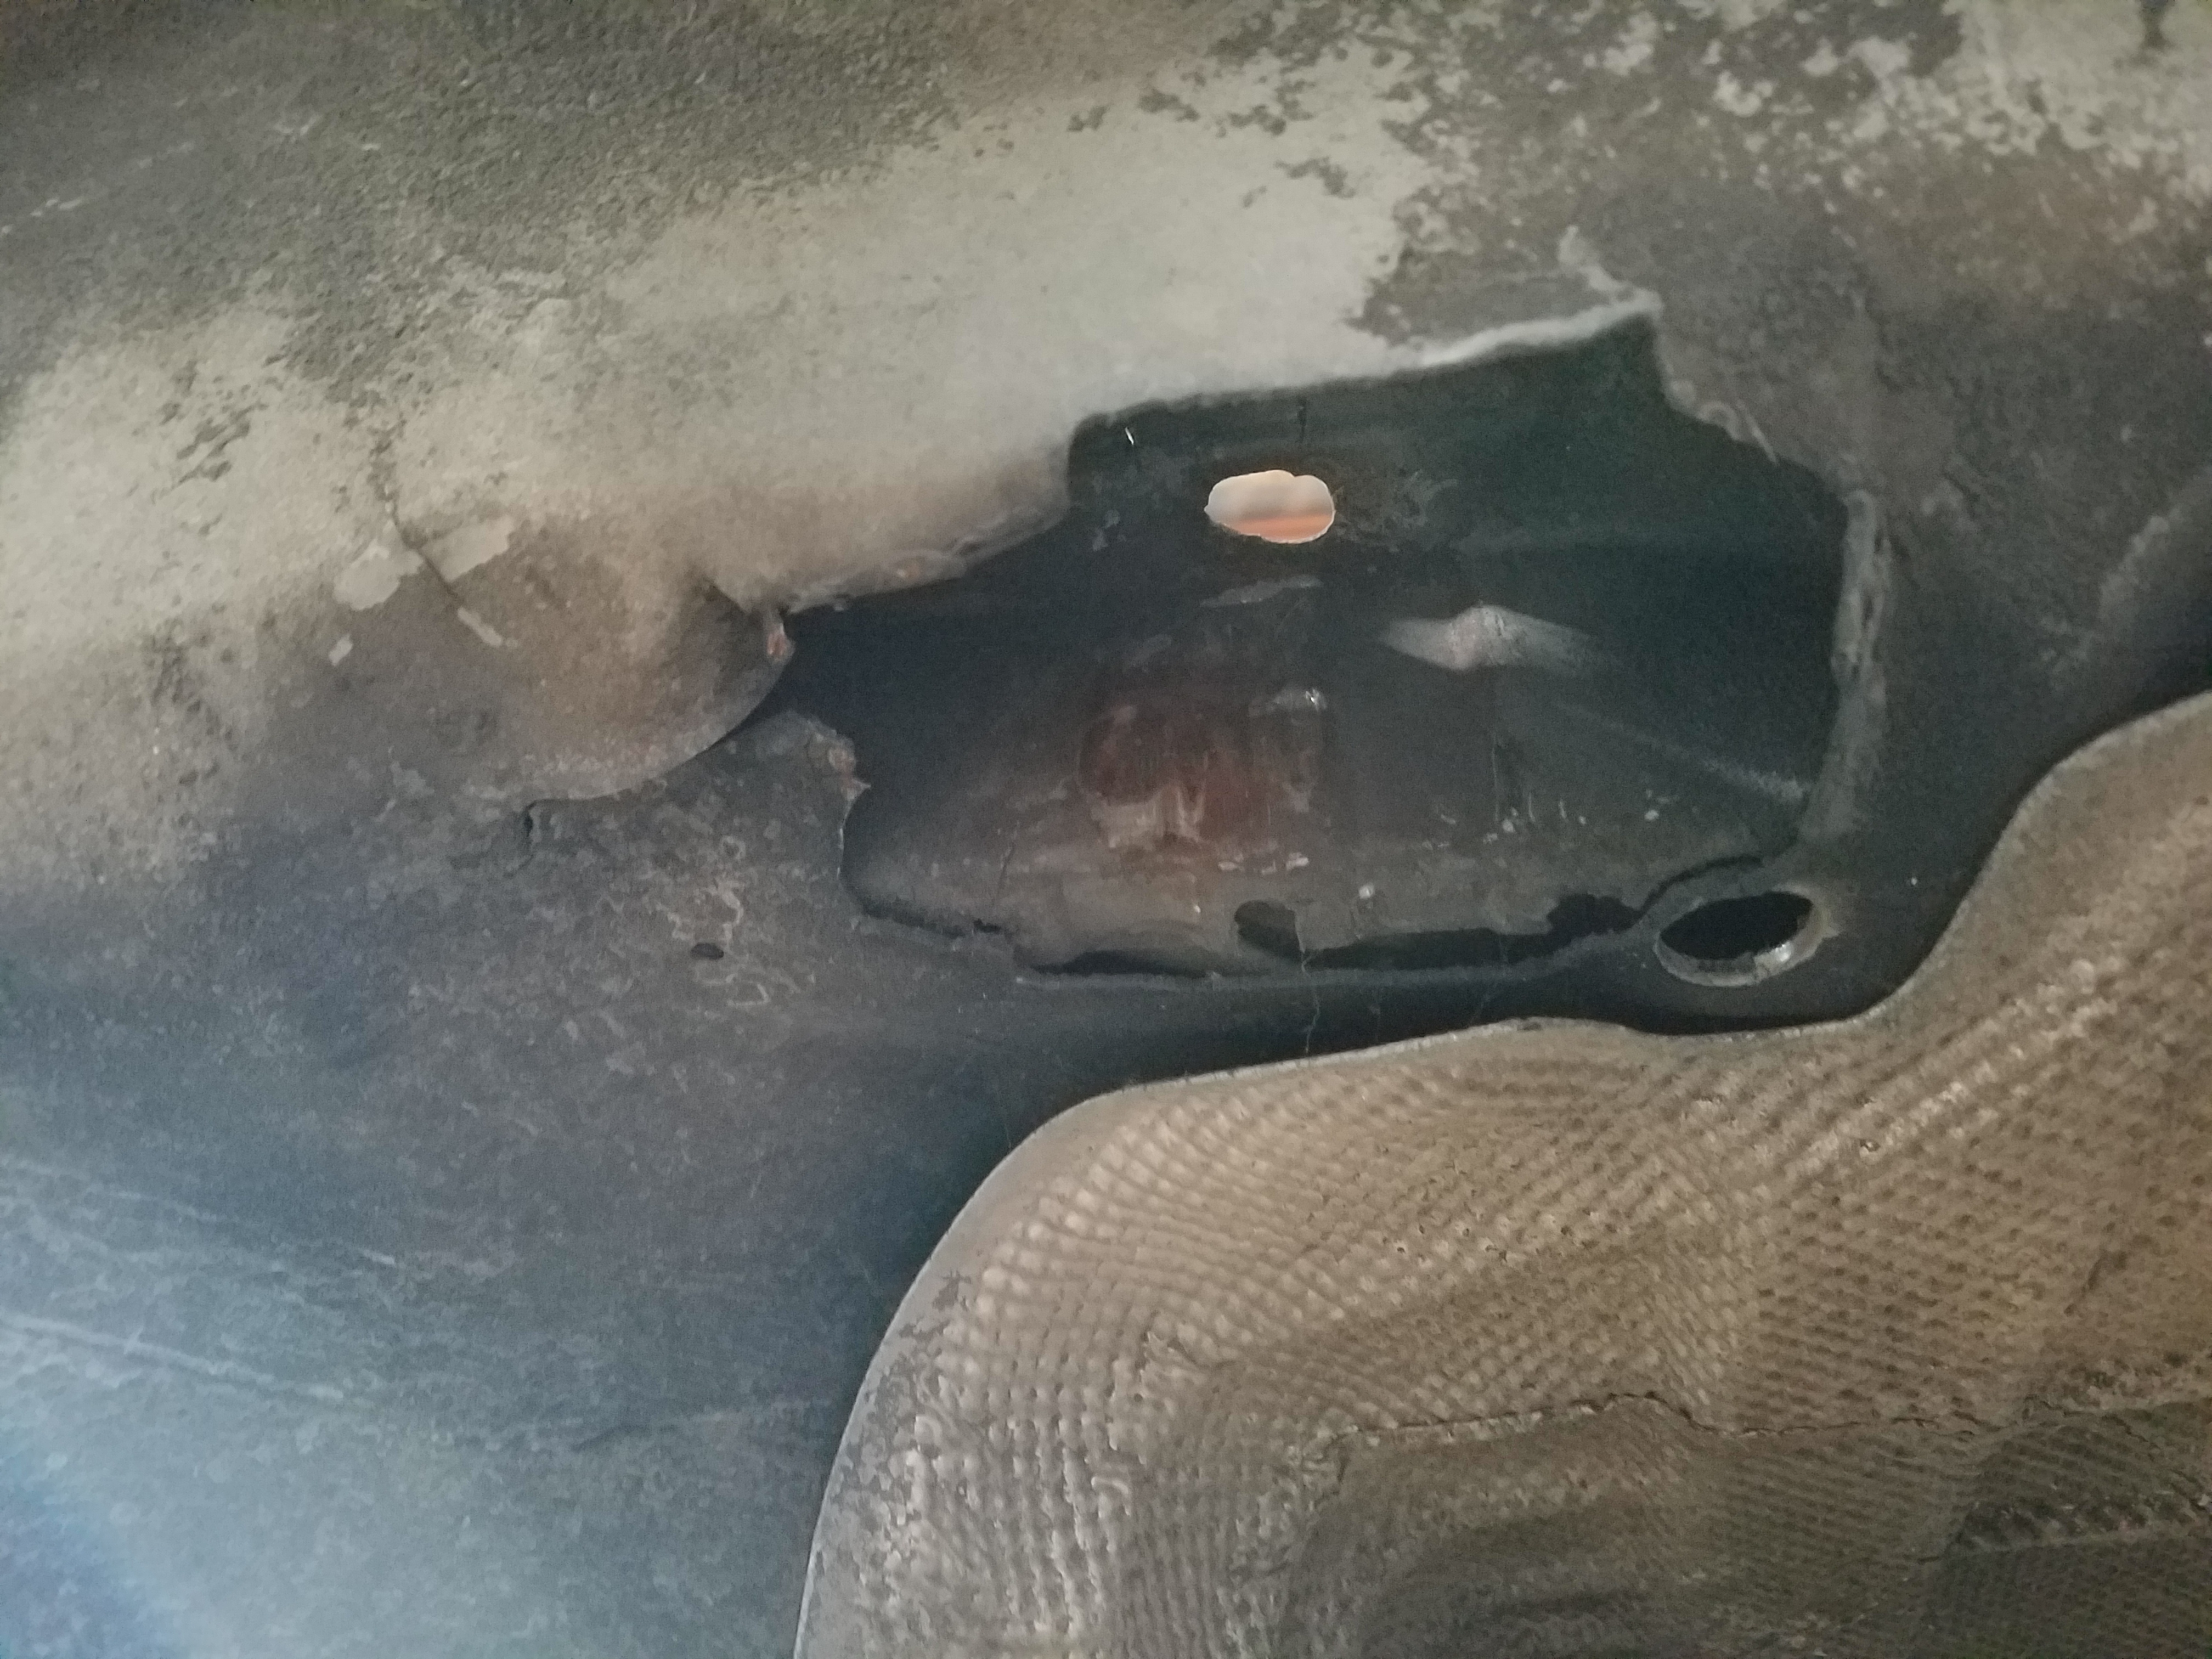
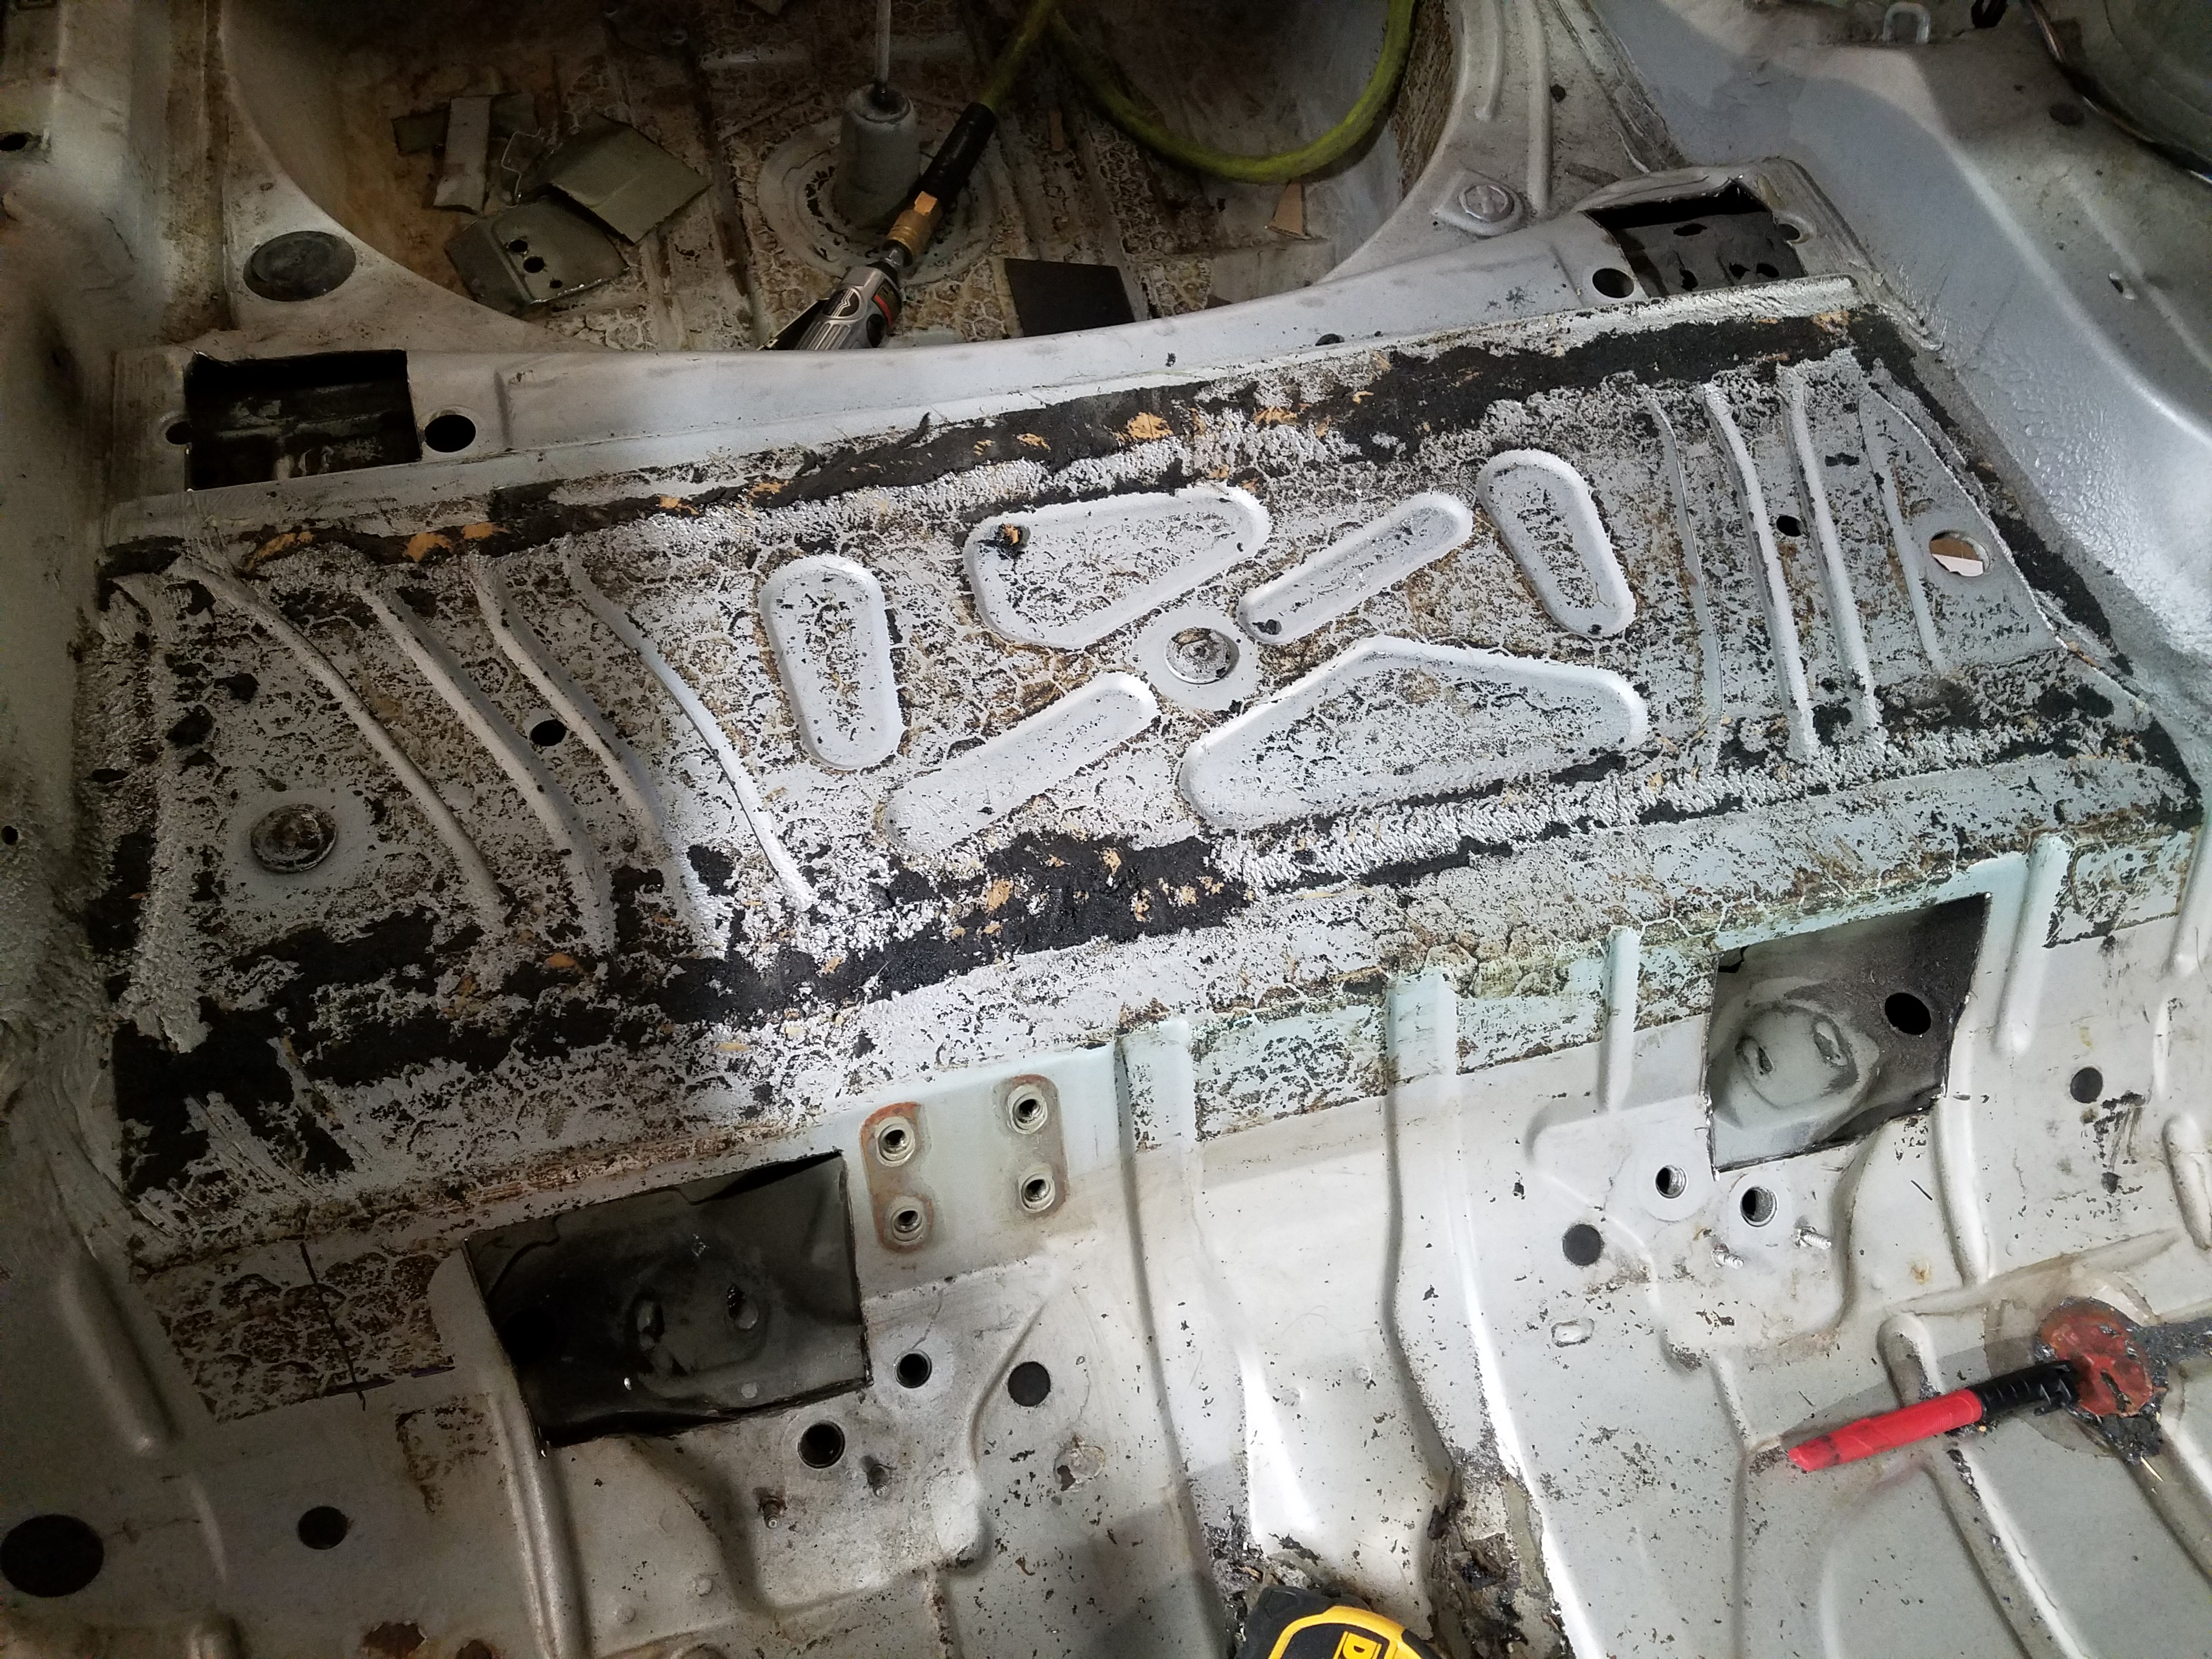
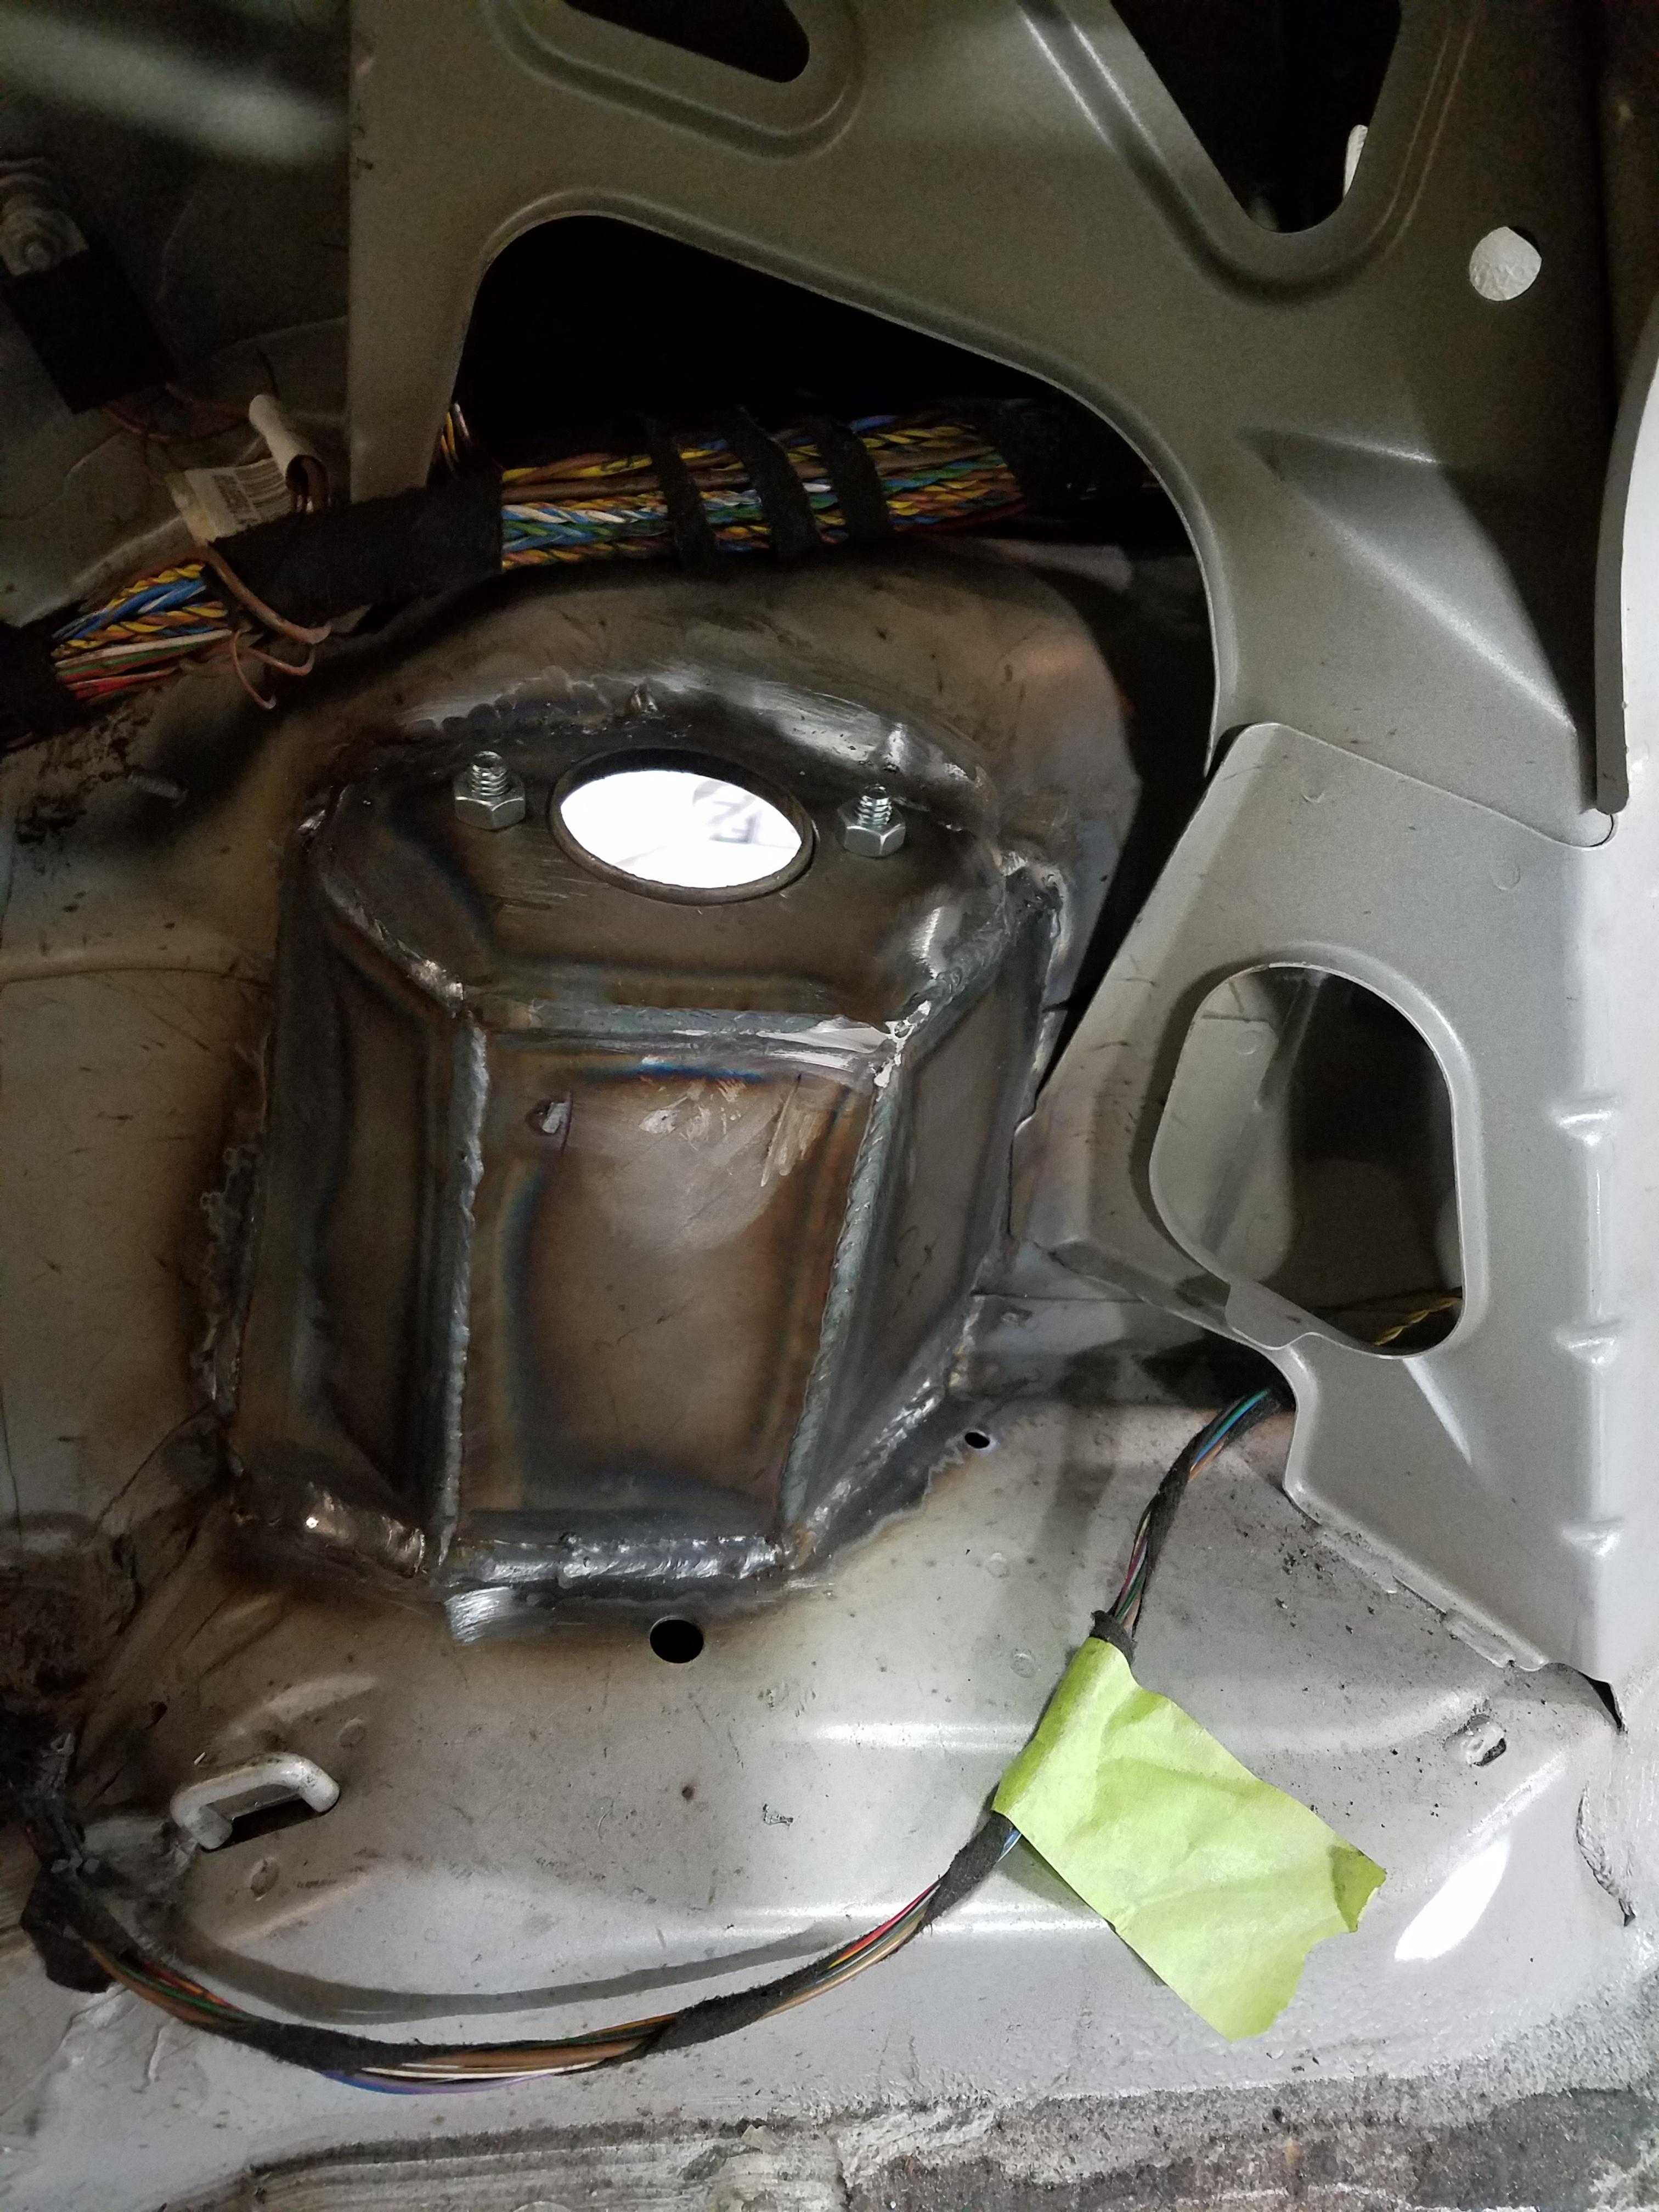
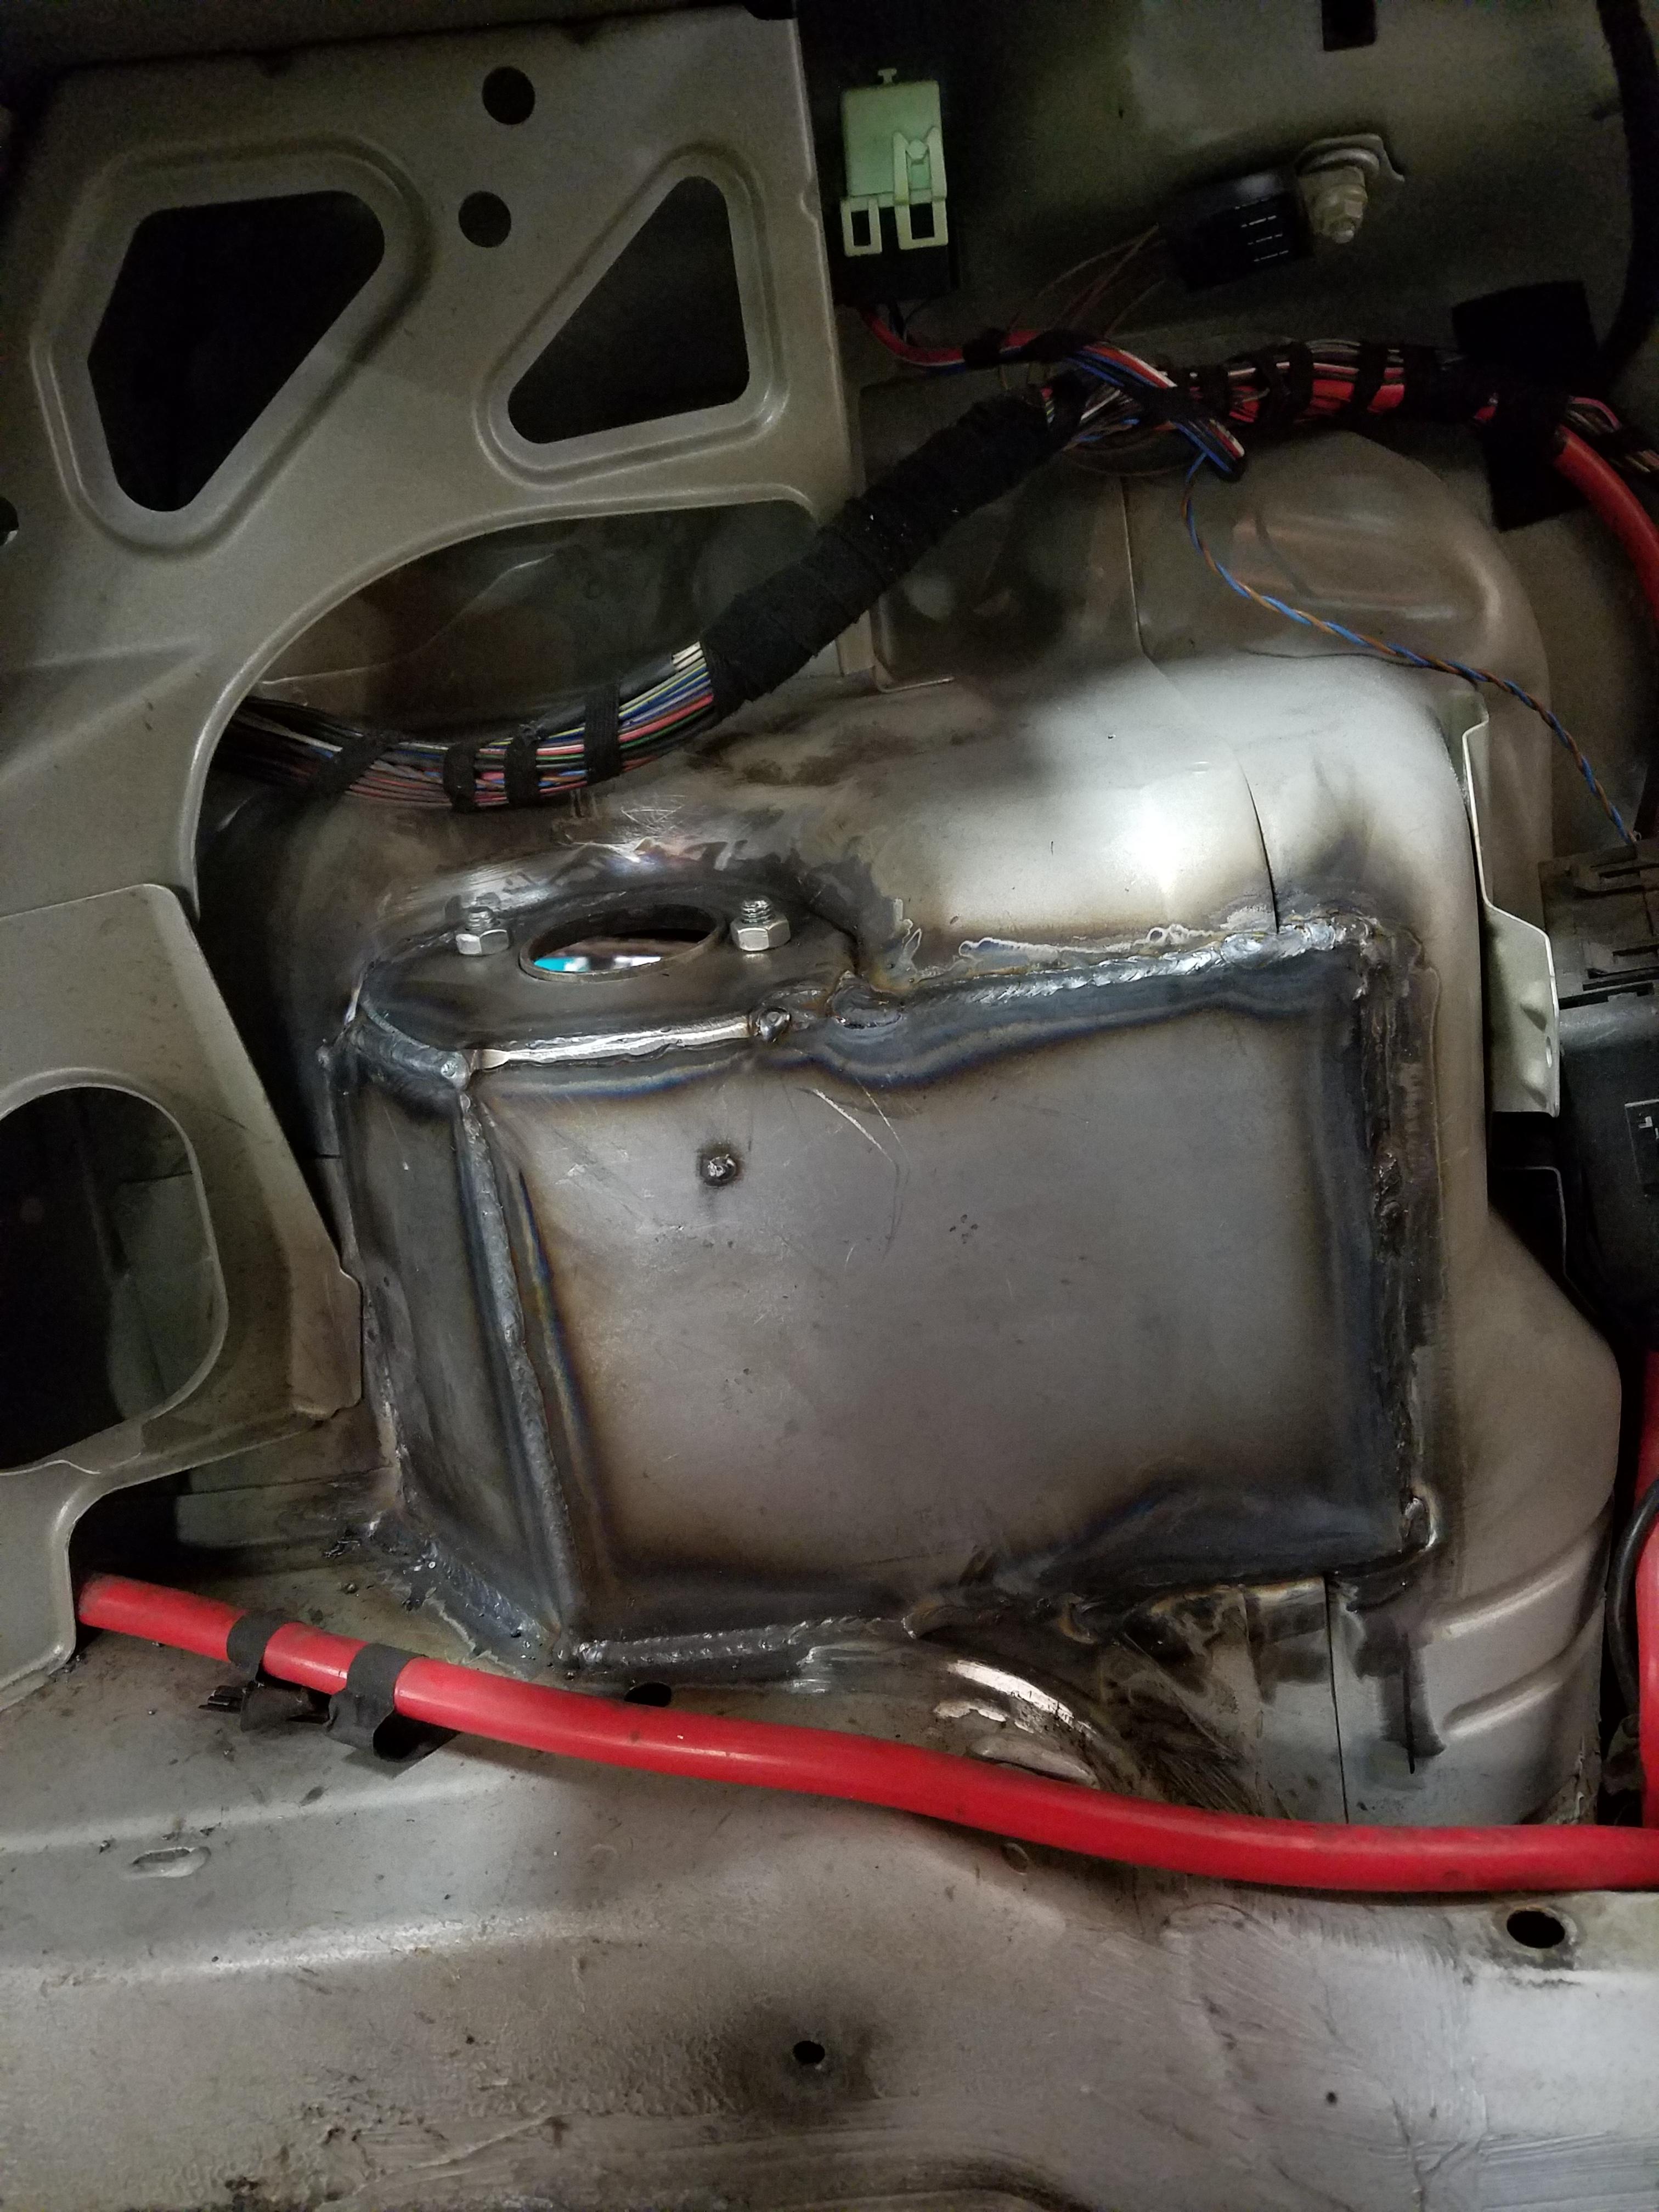
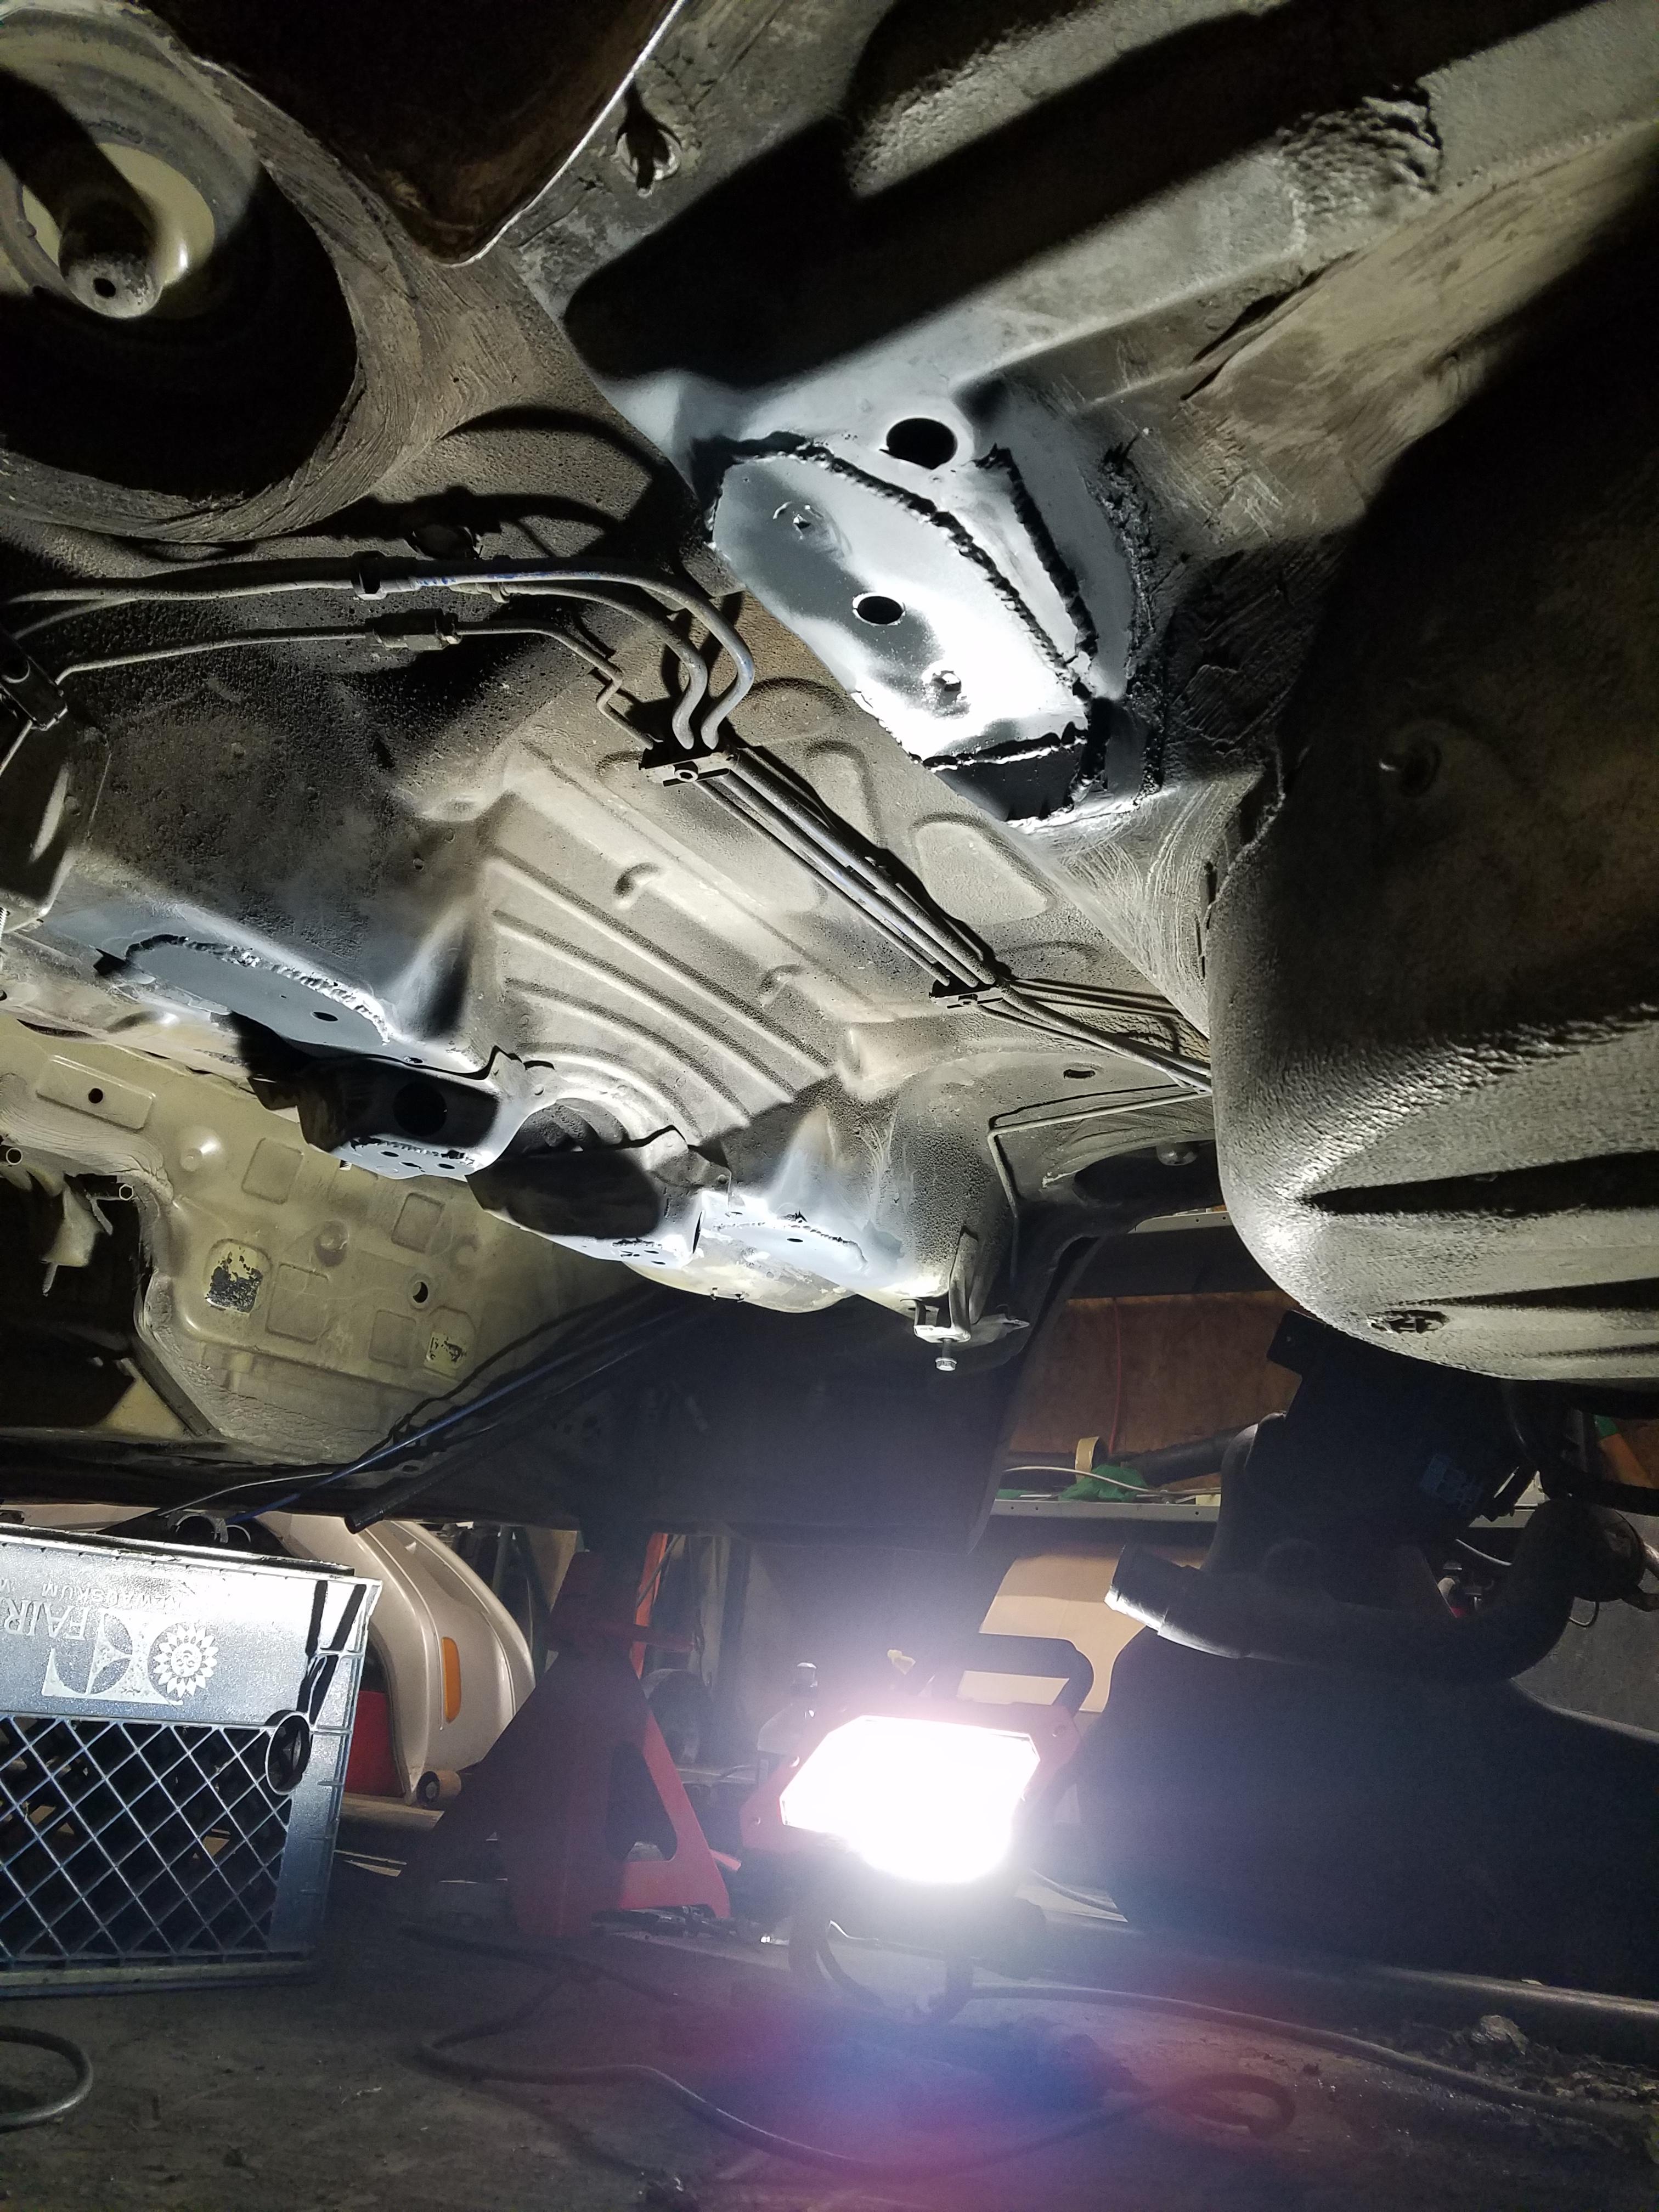
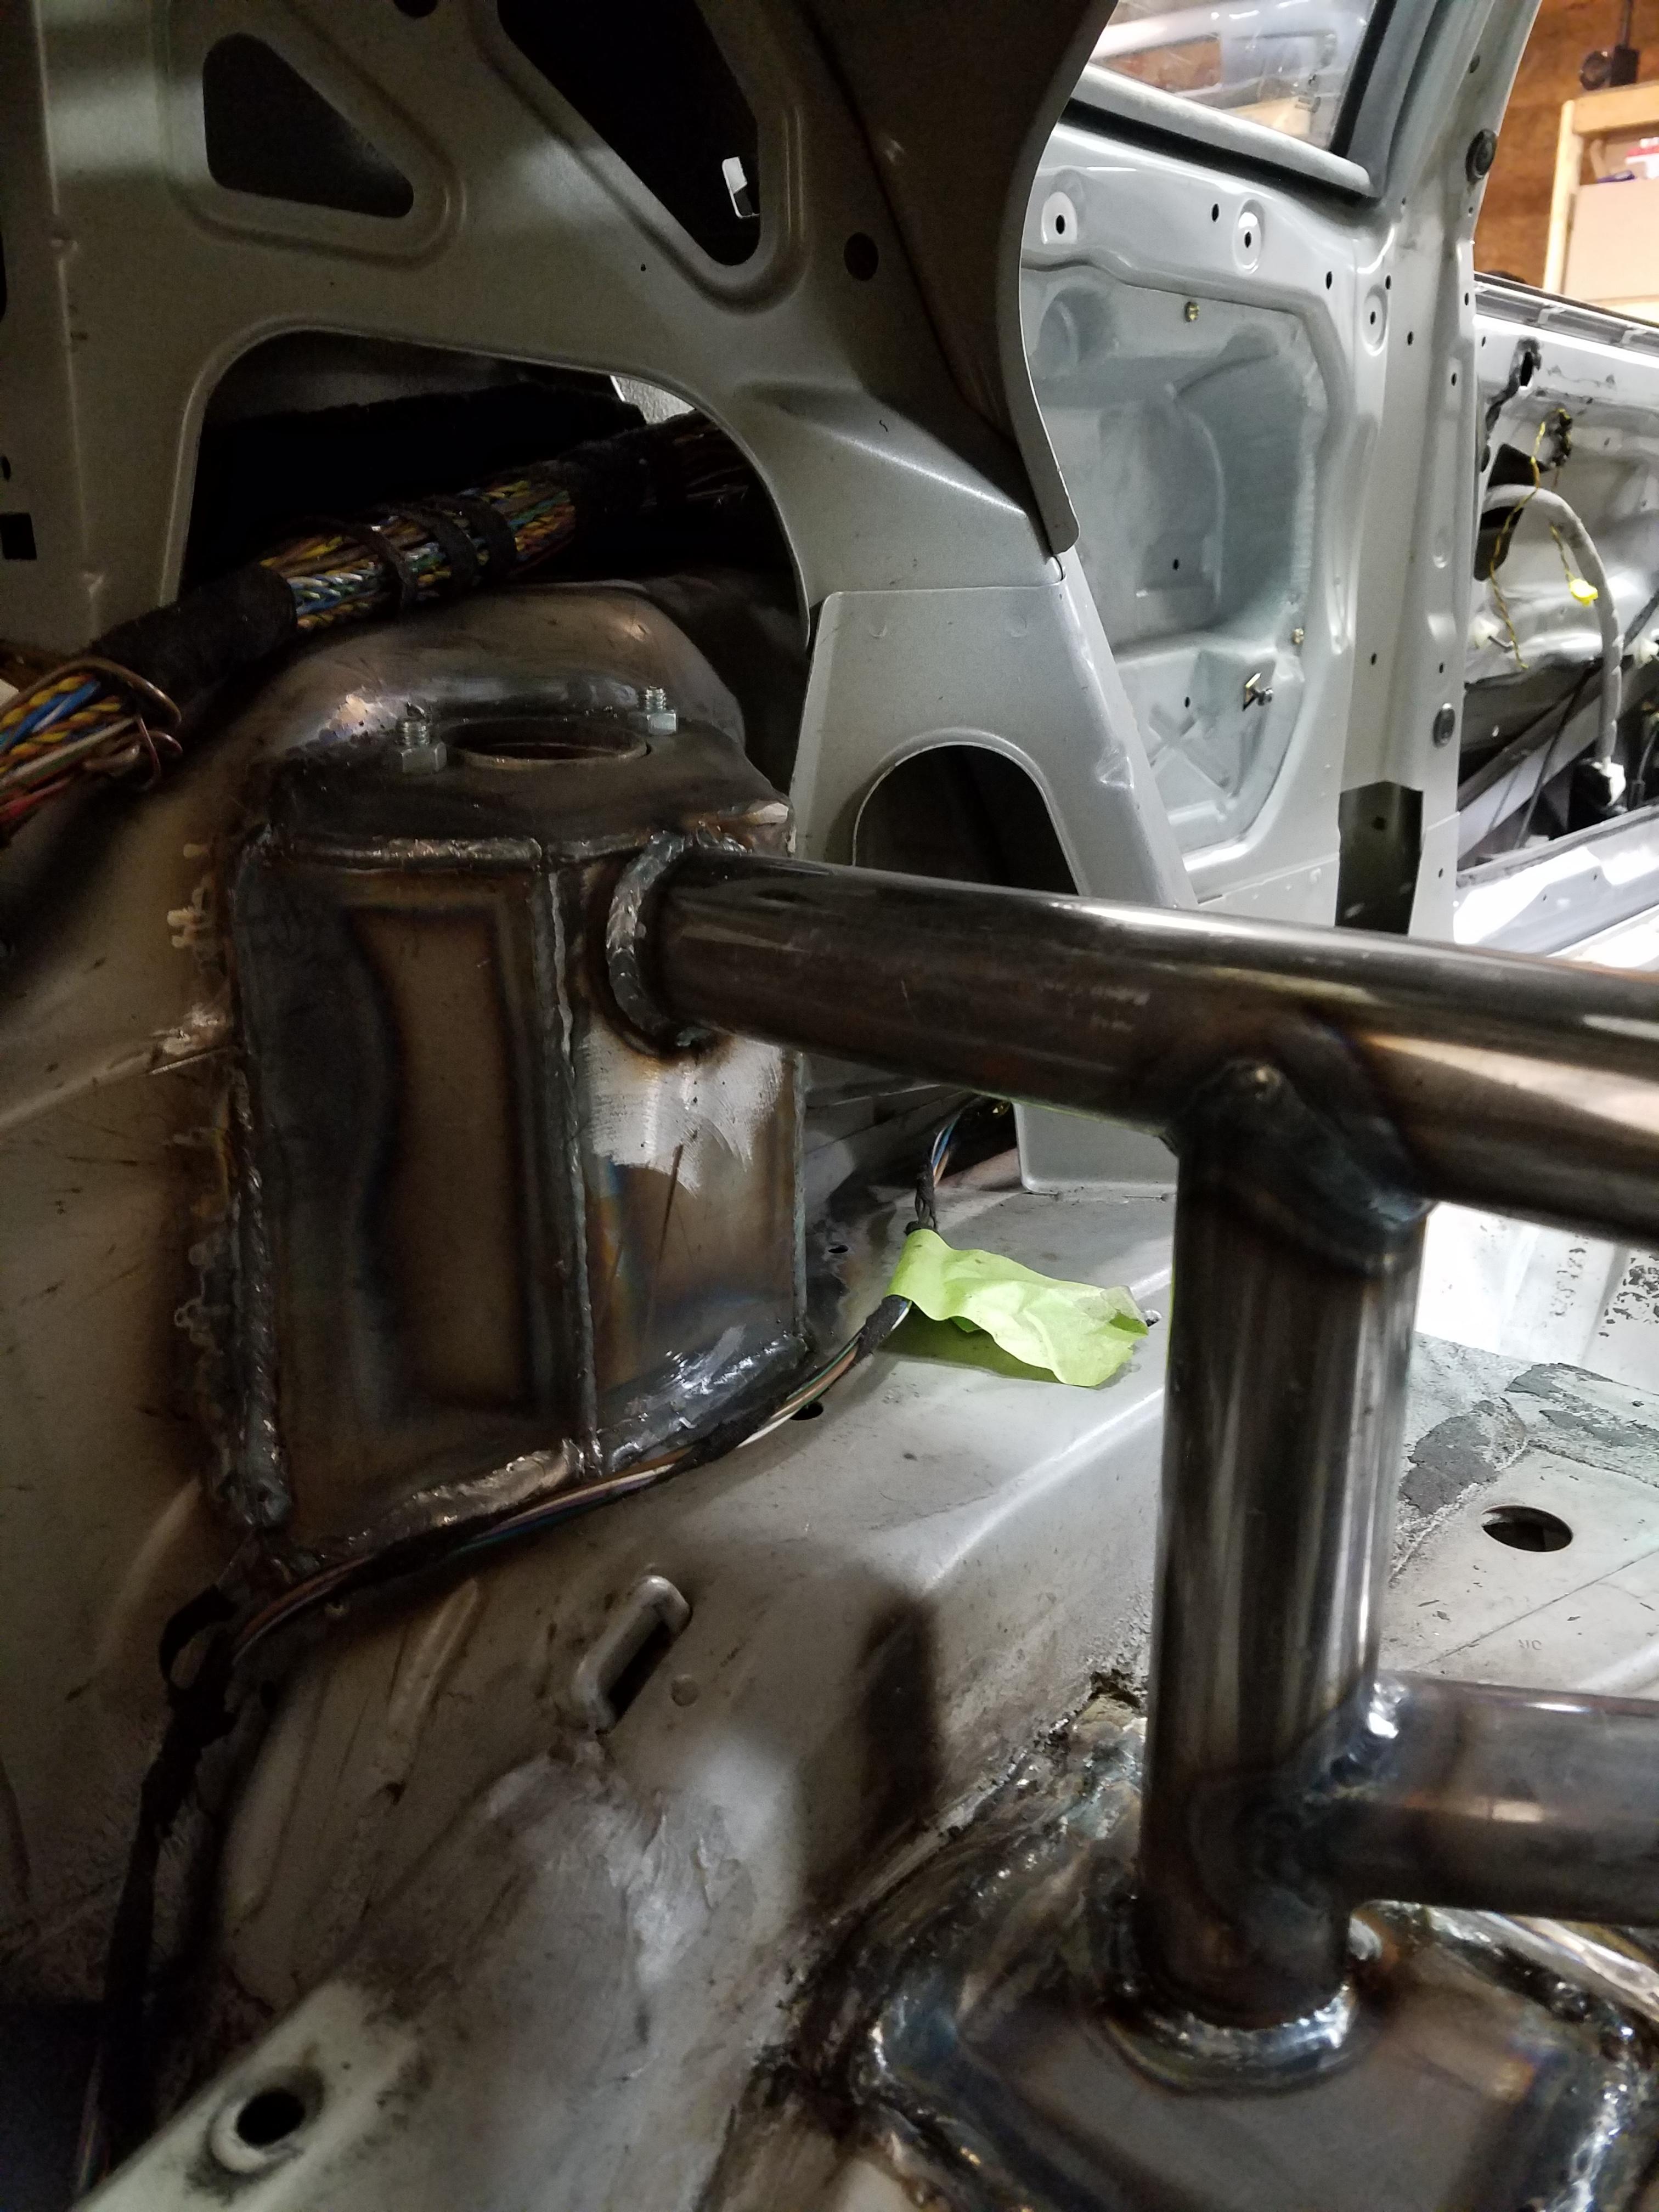
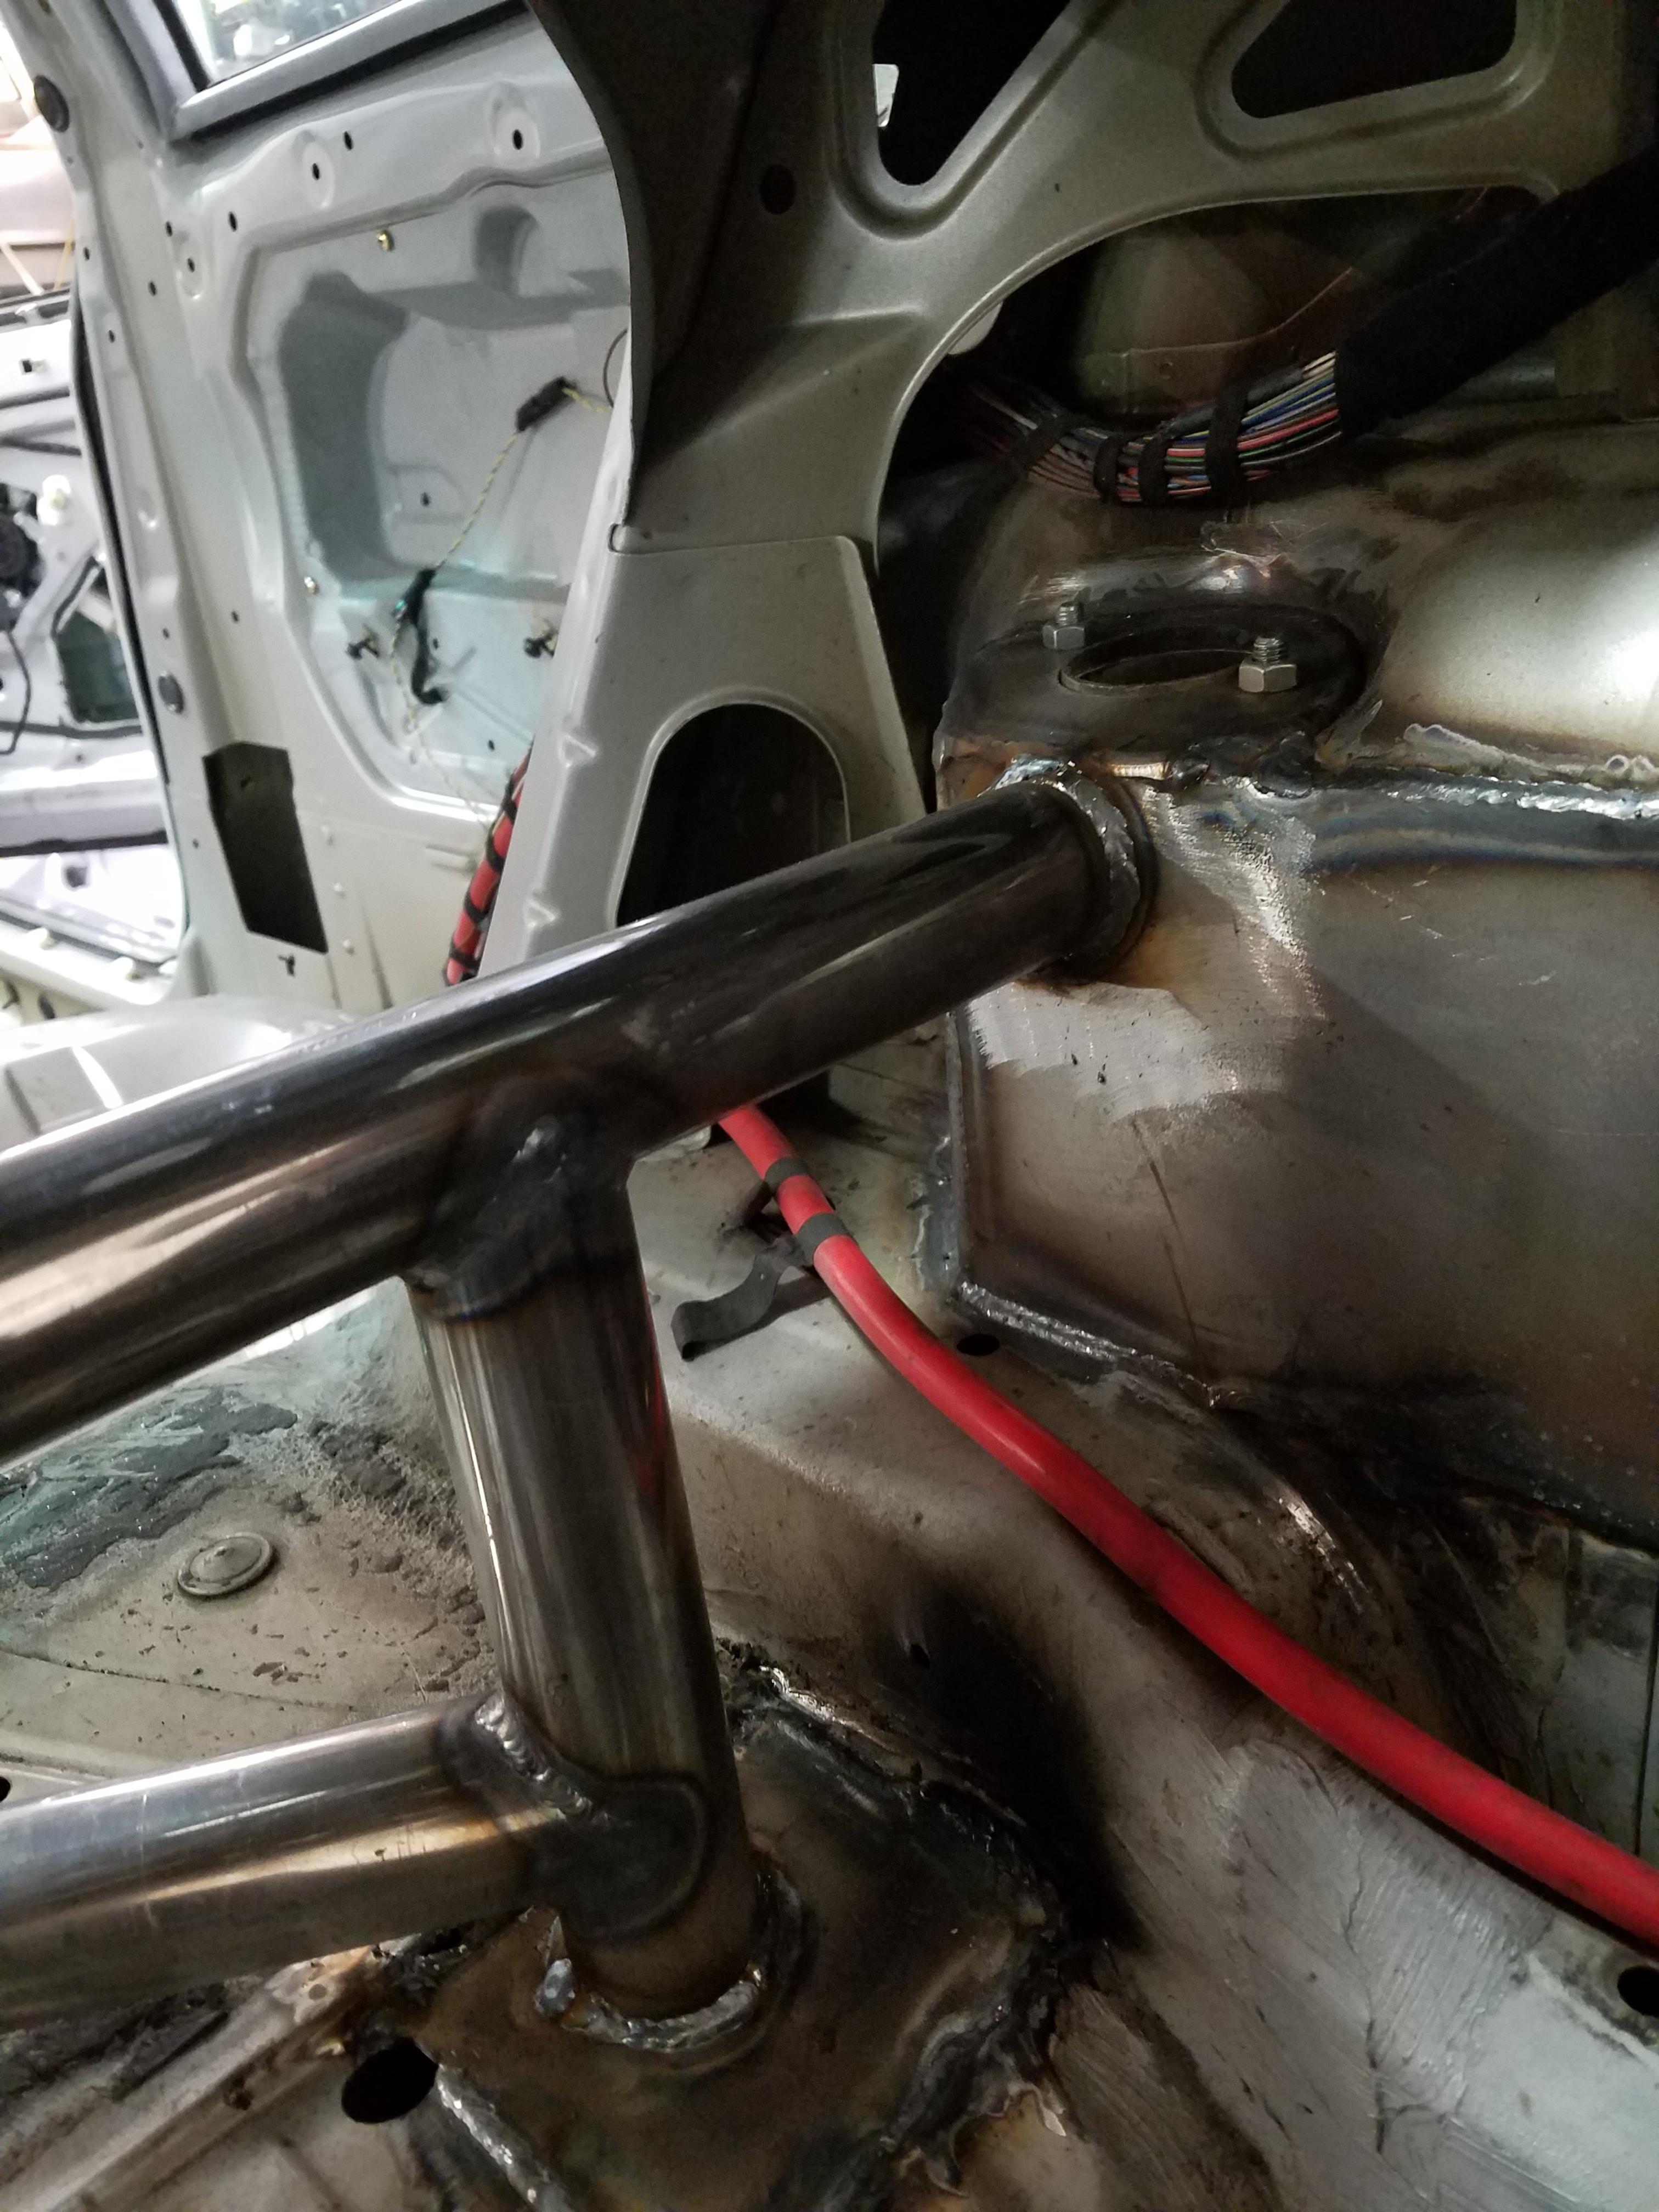
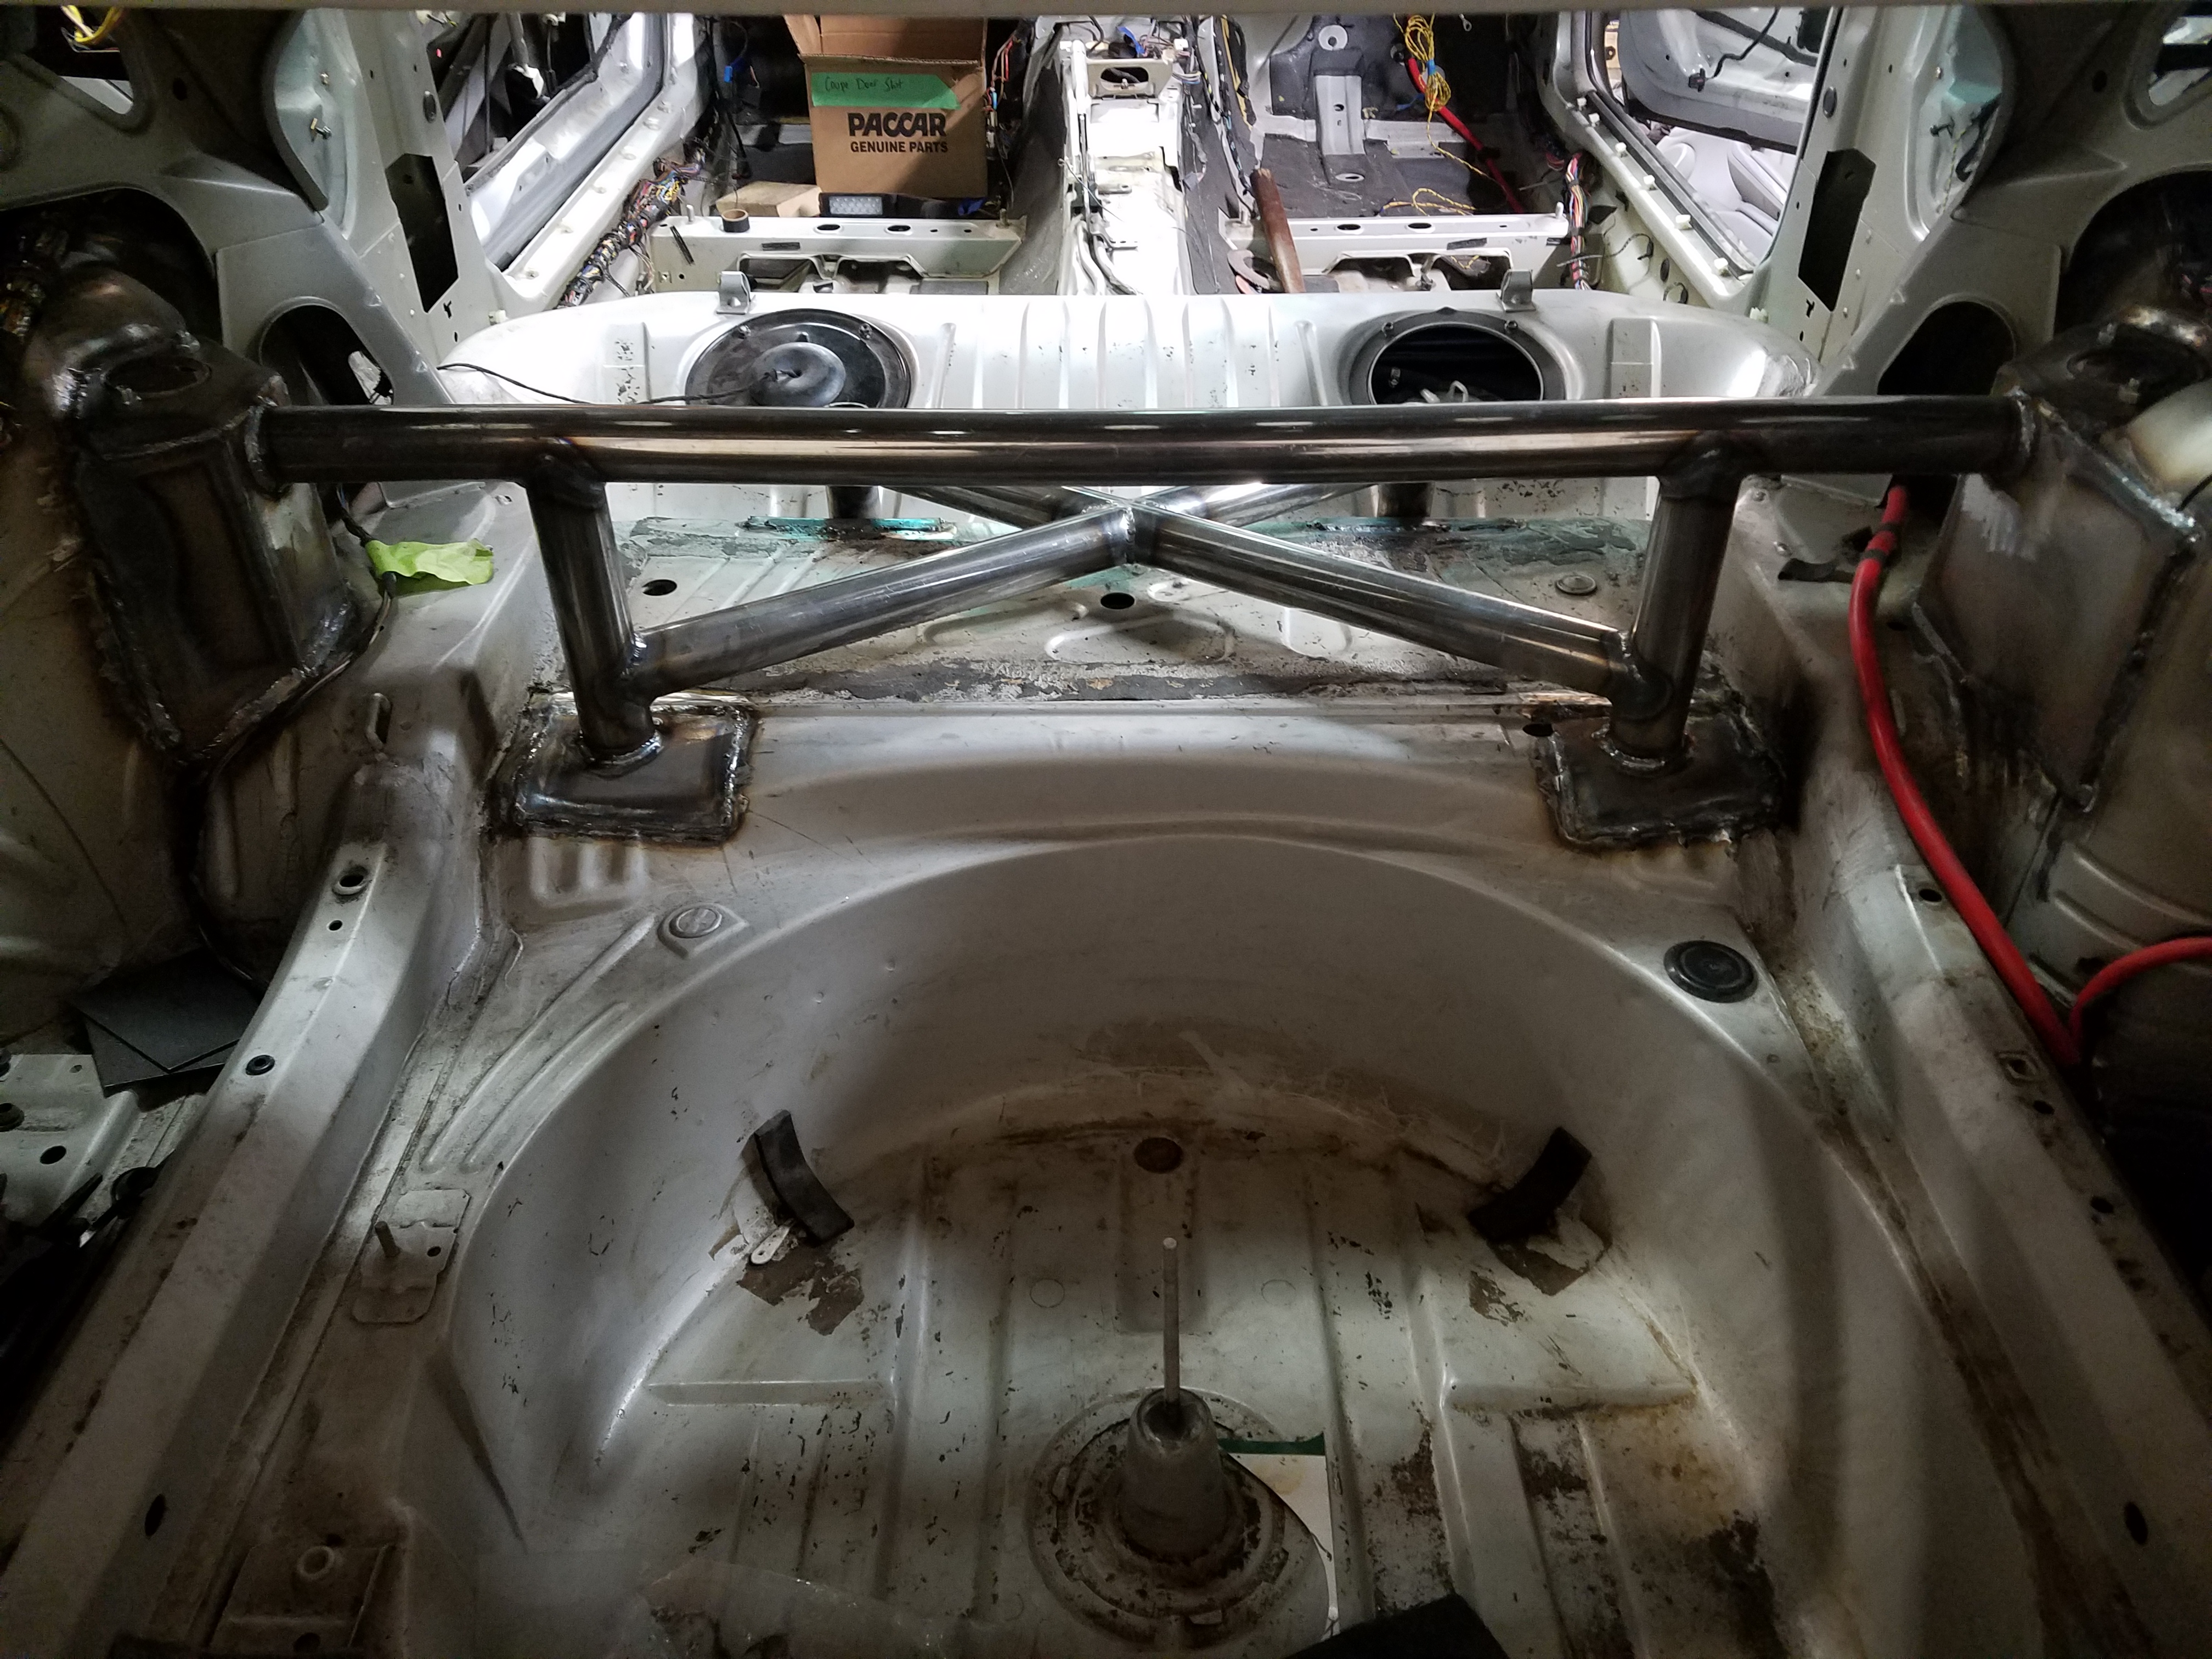
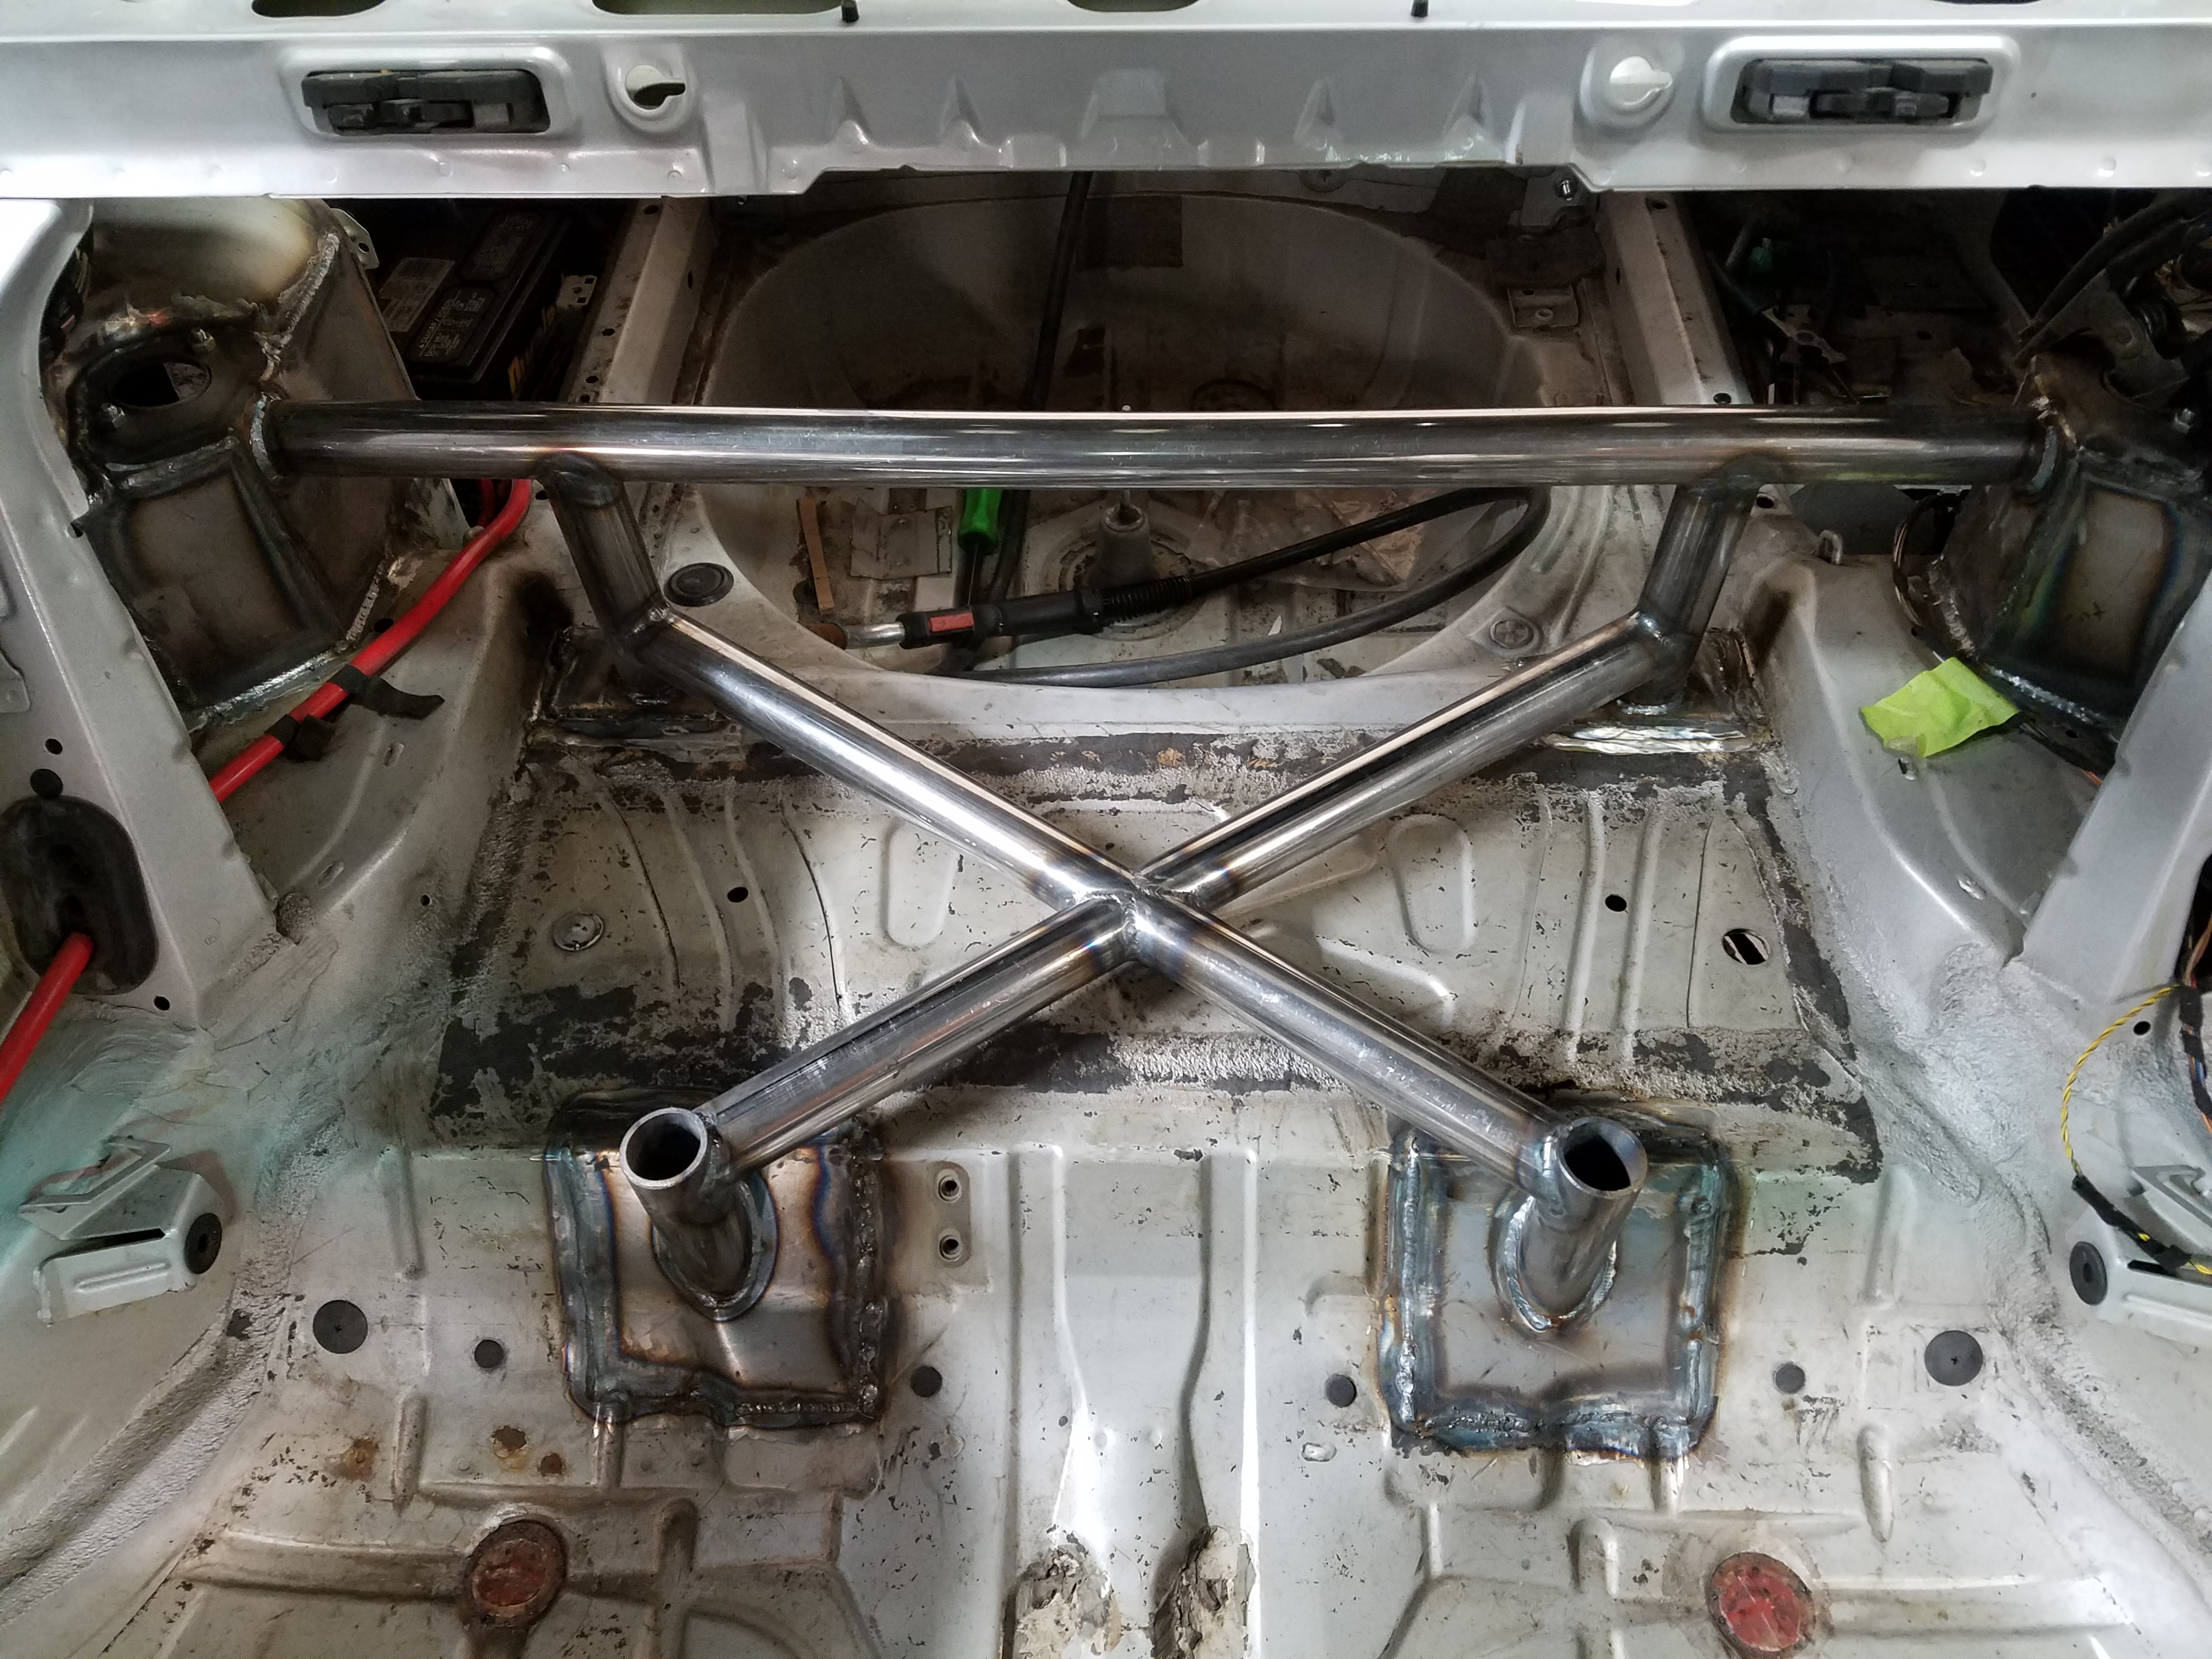
One of the subframe mounts was ripped out and another loose and plenty of cracks lol. So with the help of a good friend we were able to replace the torn area. and get the confor reinforcement kit welded in and then opened up the upper areas inside the chassis where the tops of the mounts were. We then created a tubing brace that connects all 4 of the subframe mounting points to the rear bar which was welded in to support the rear strut towers that was plated in preparation of the rear true coil set up.
I have alot more progress to share and will upload more when i get a chance!
-
A purists nightmare - E46 drift buildUPDATE!
Ill be honest with you guys I feel like this update will not be as in depth as it should. With my deadline for the weekend of May 19th quickly approaching a lot of work needed to get done and I slacked a bit on taking photos.
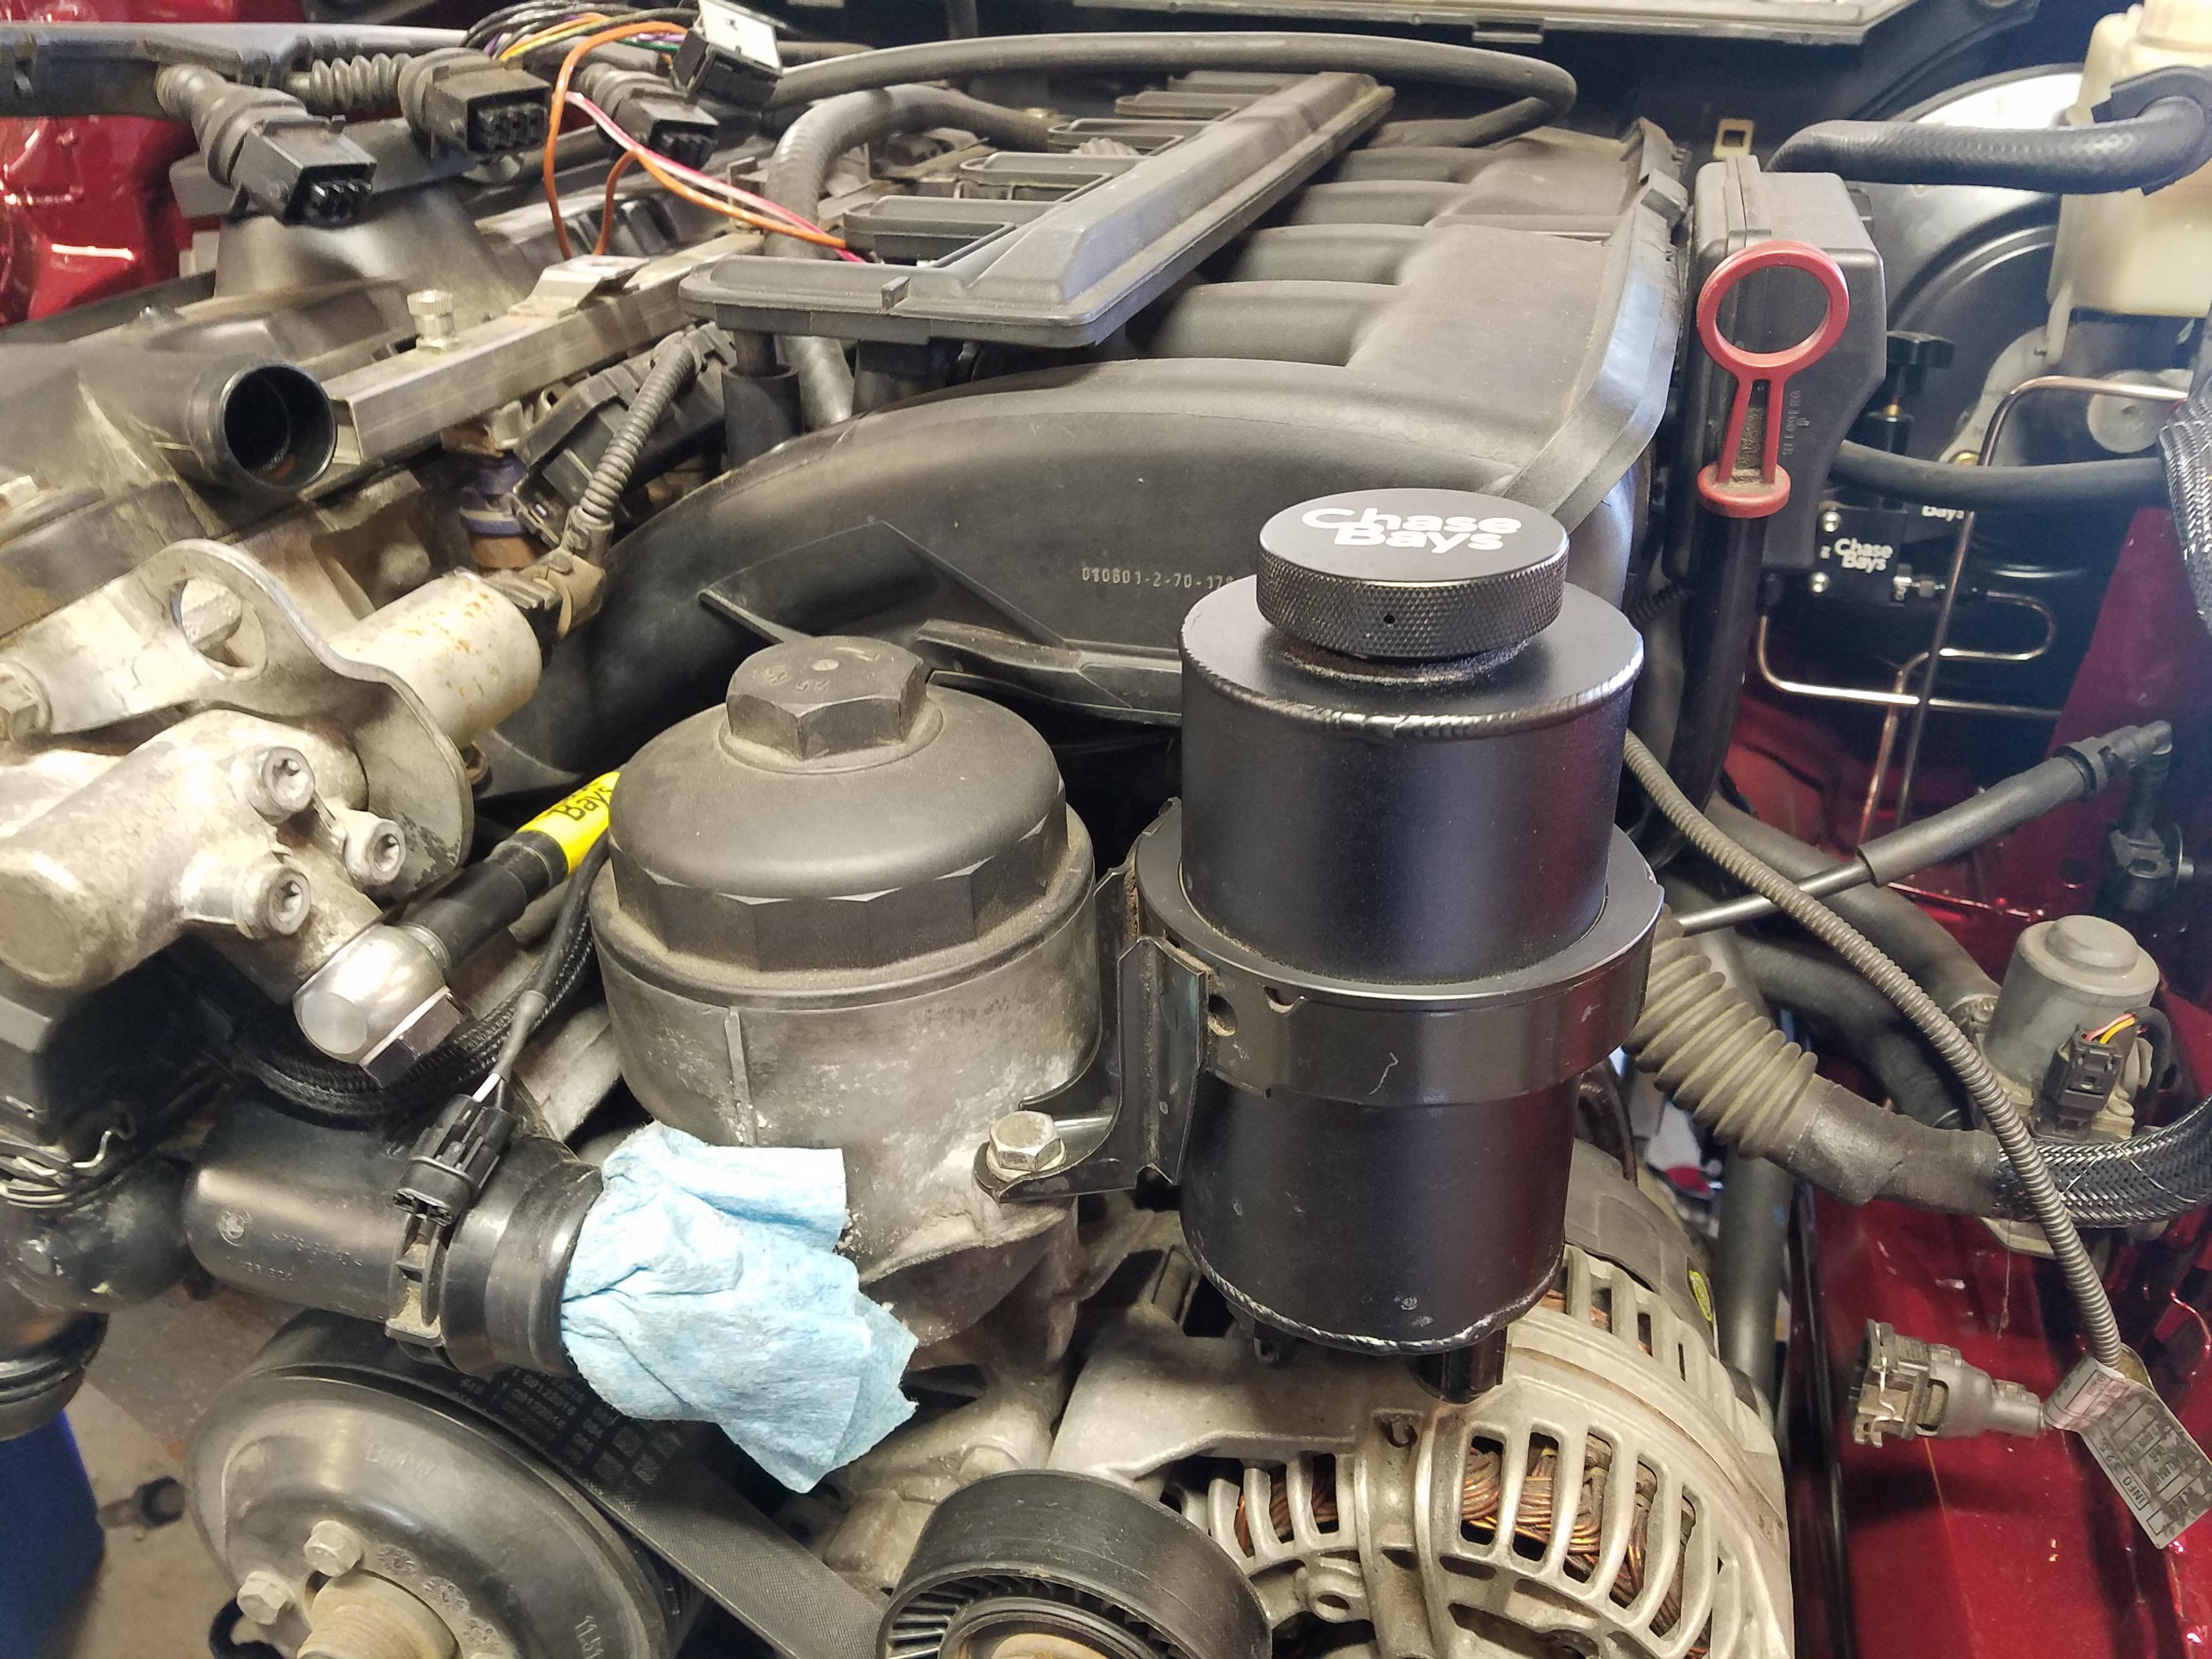
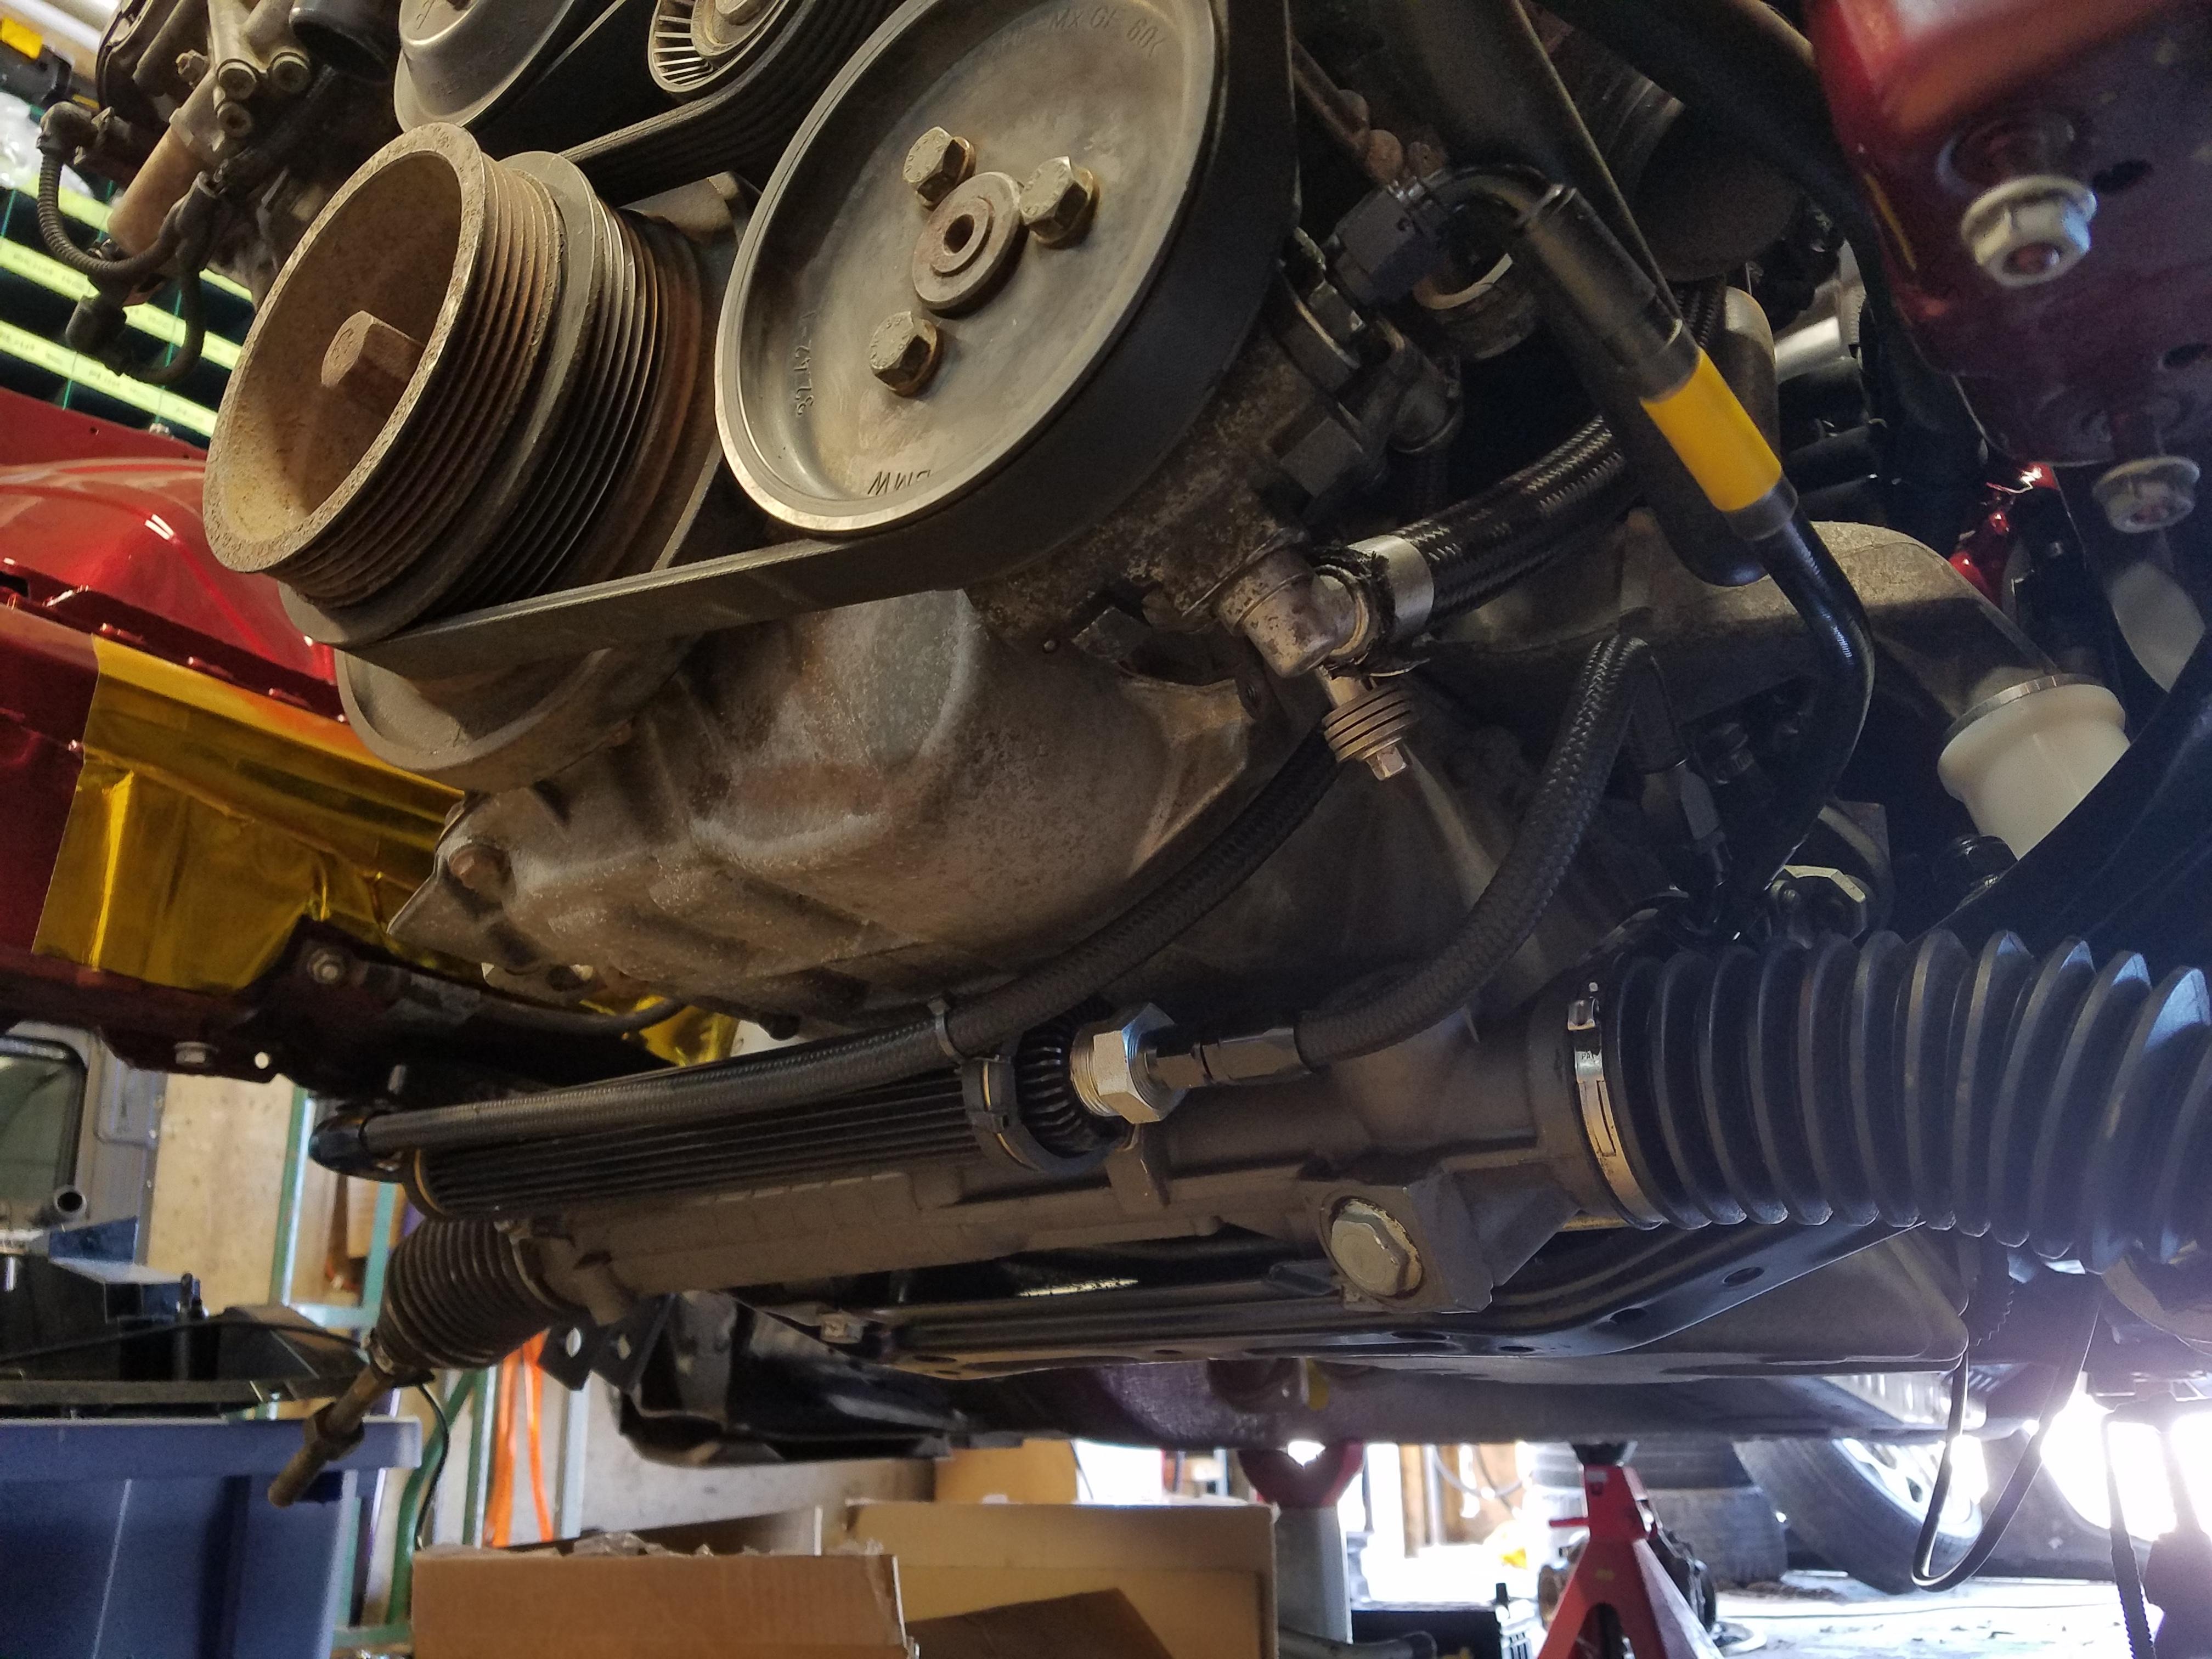
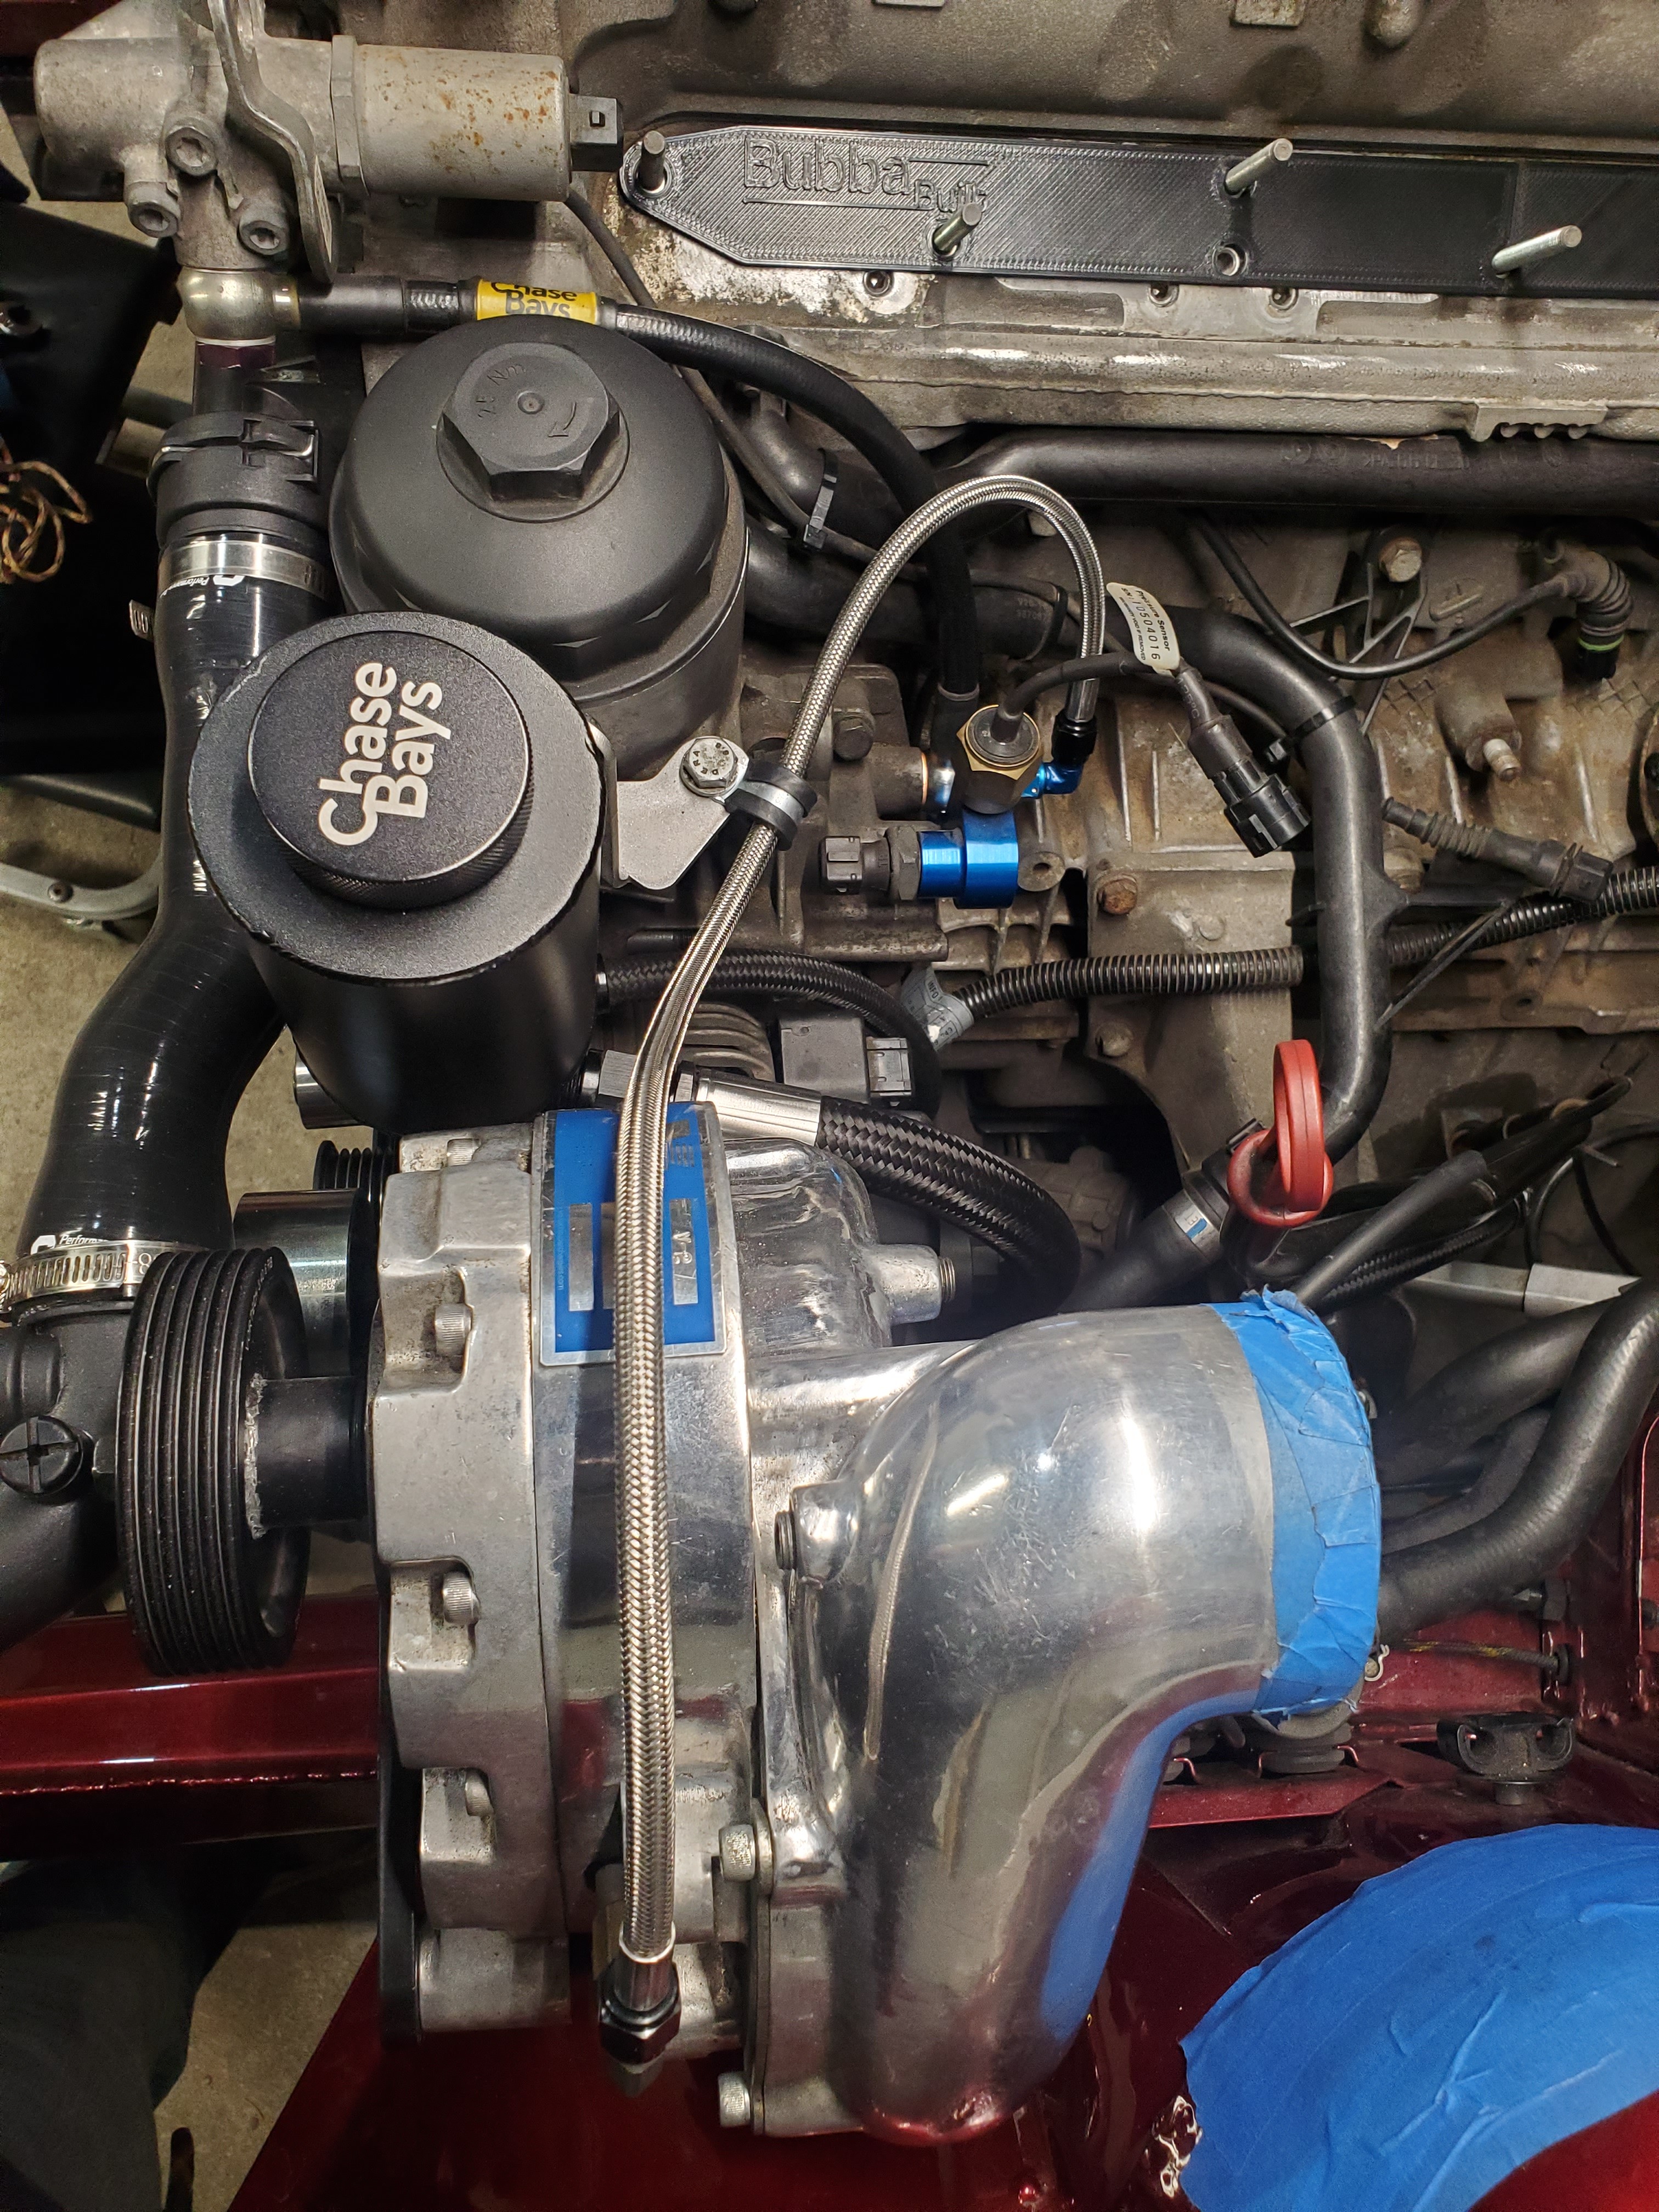
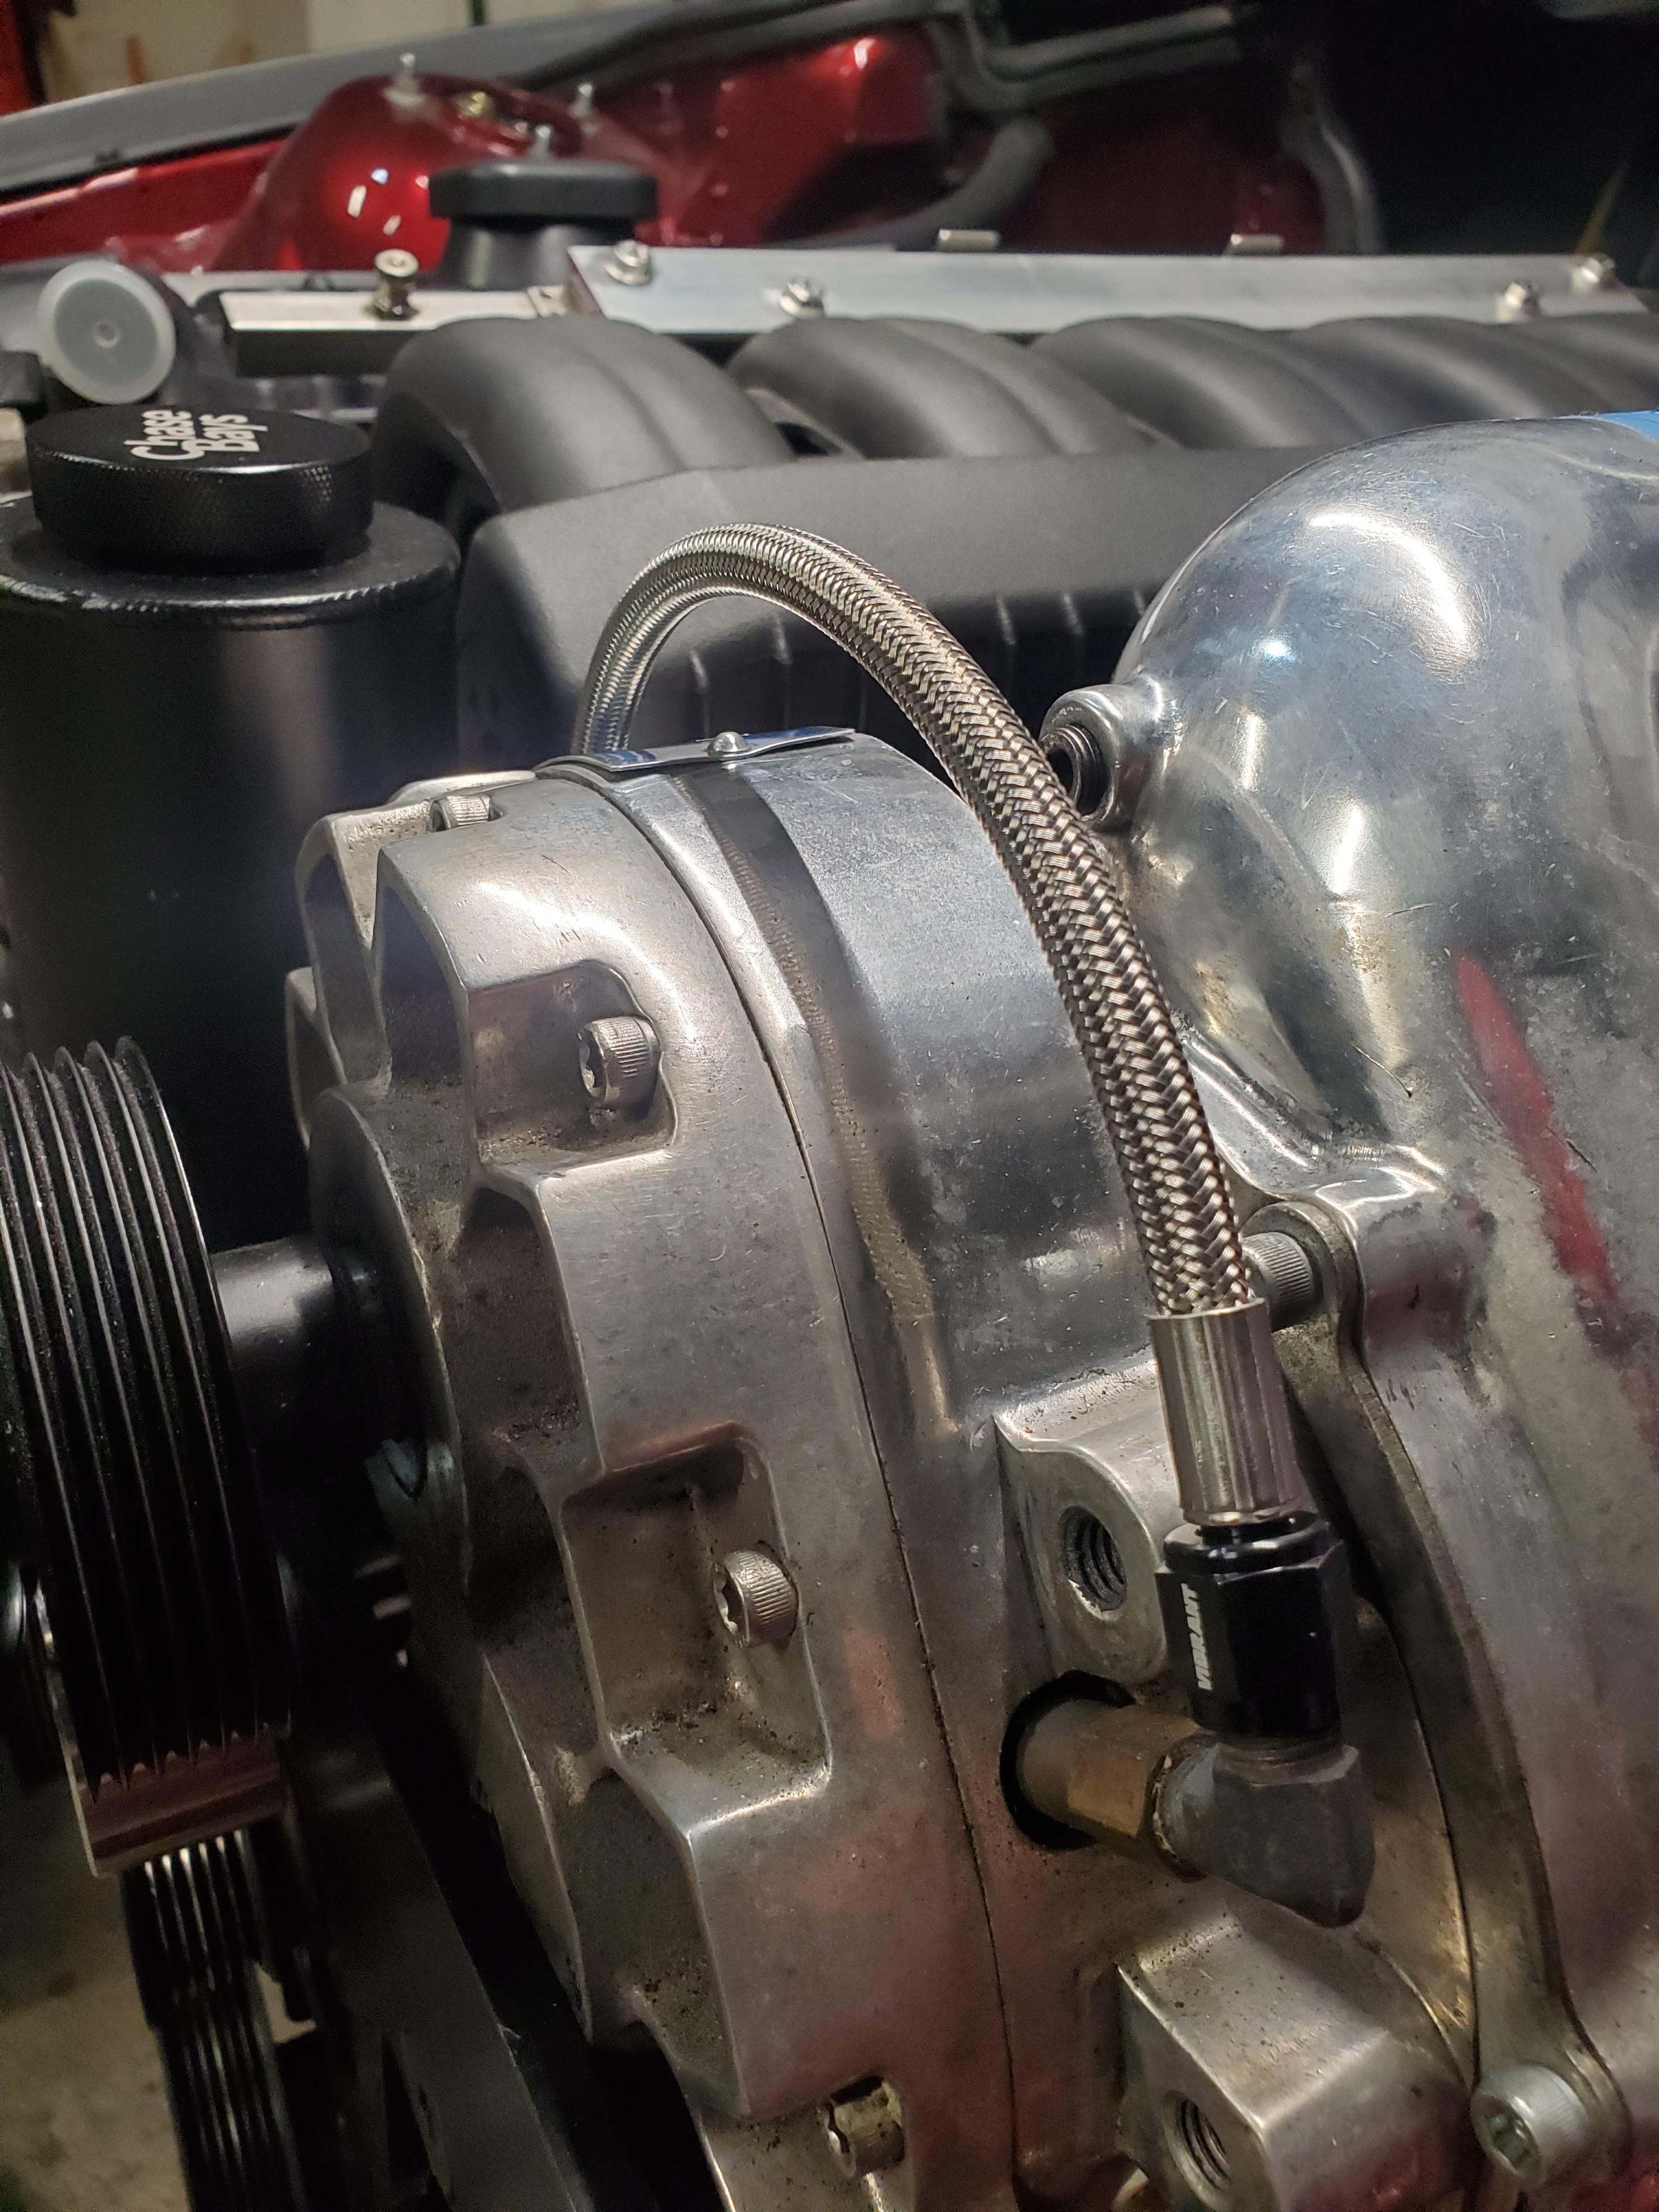
Chase Bays power steering resiviour, lines and cooler installed (Had this on my 330i previously.)
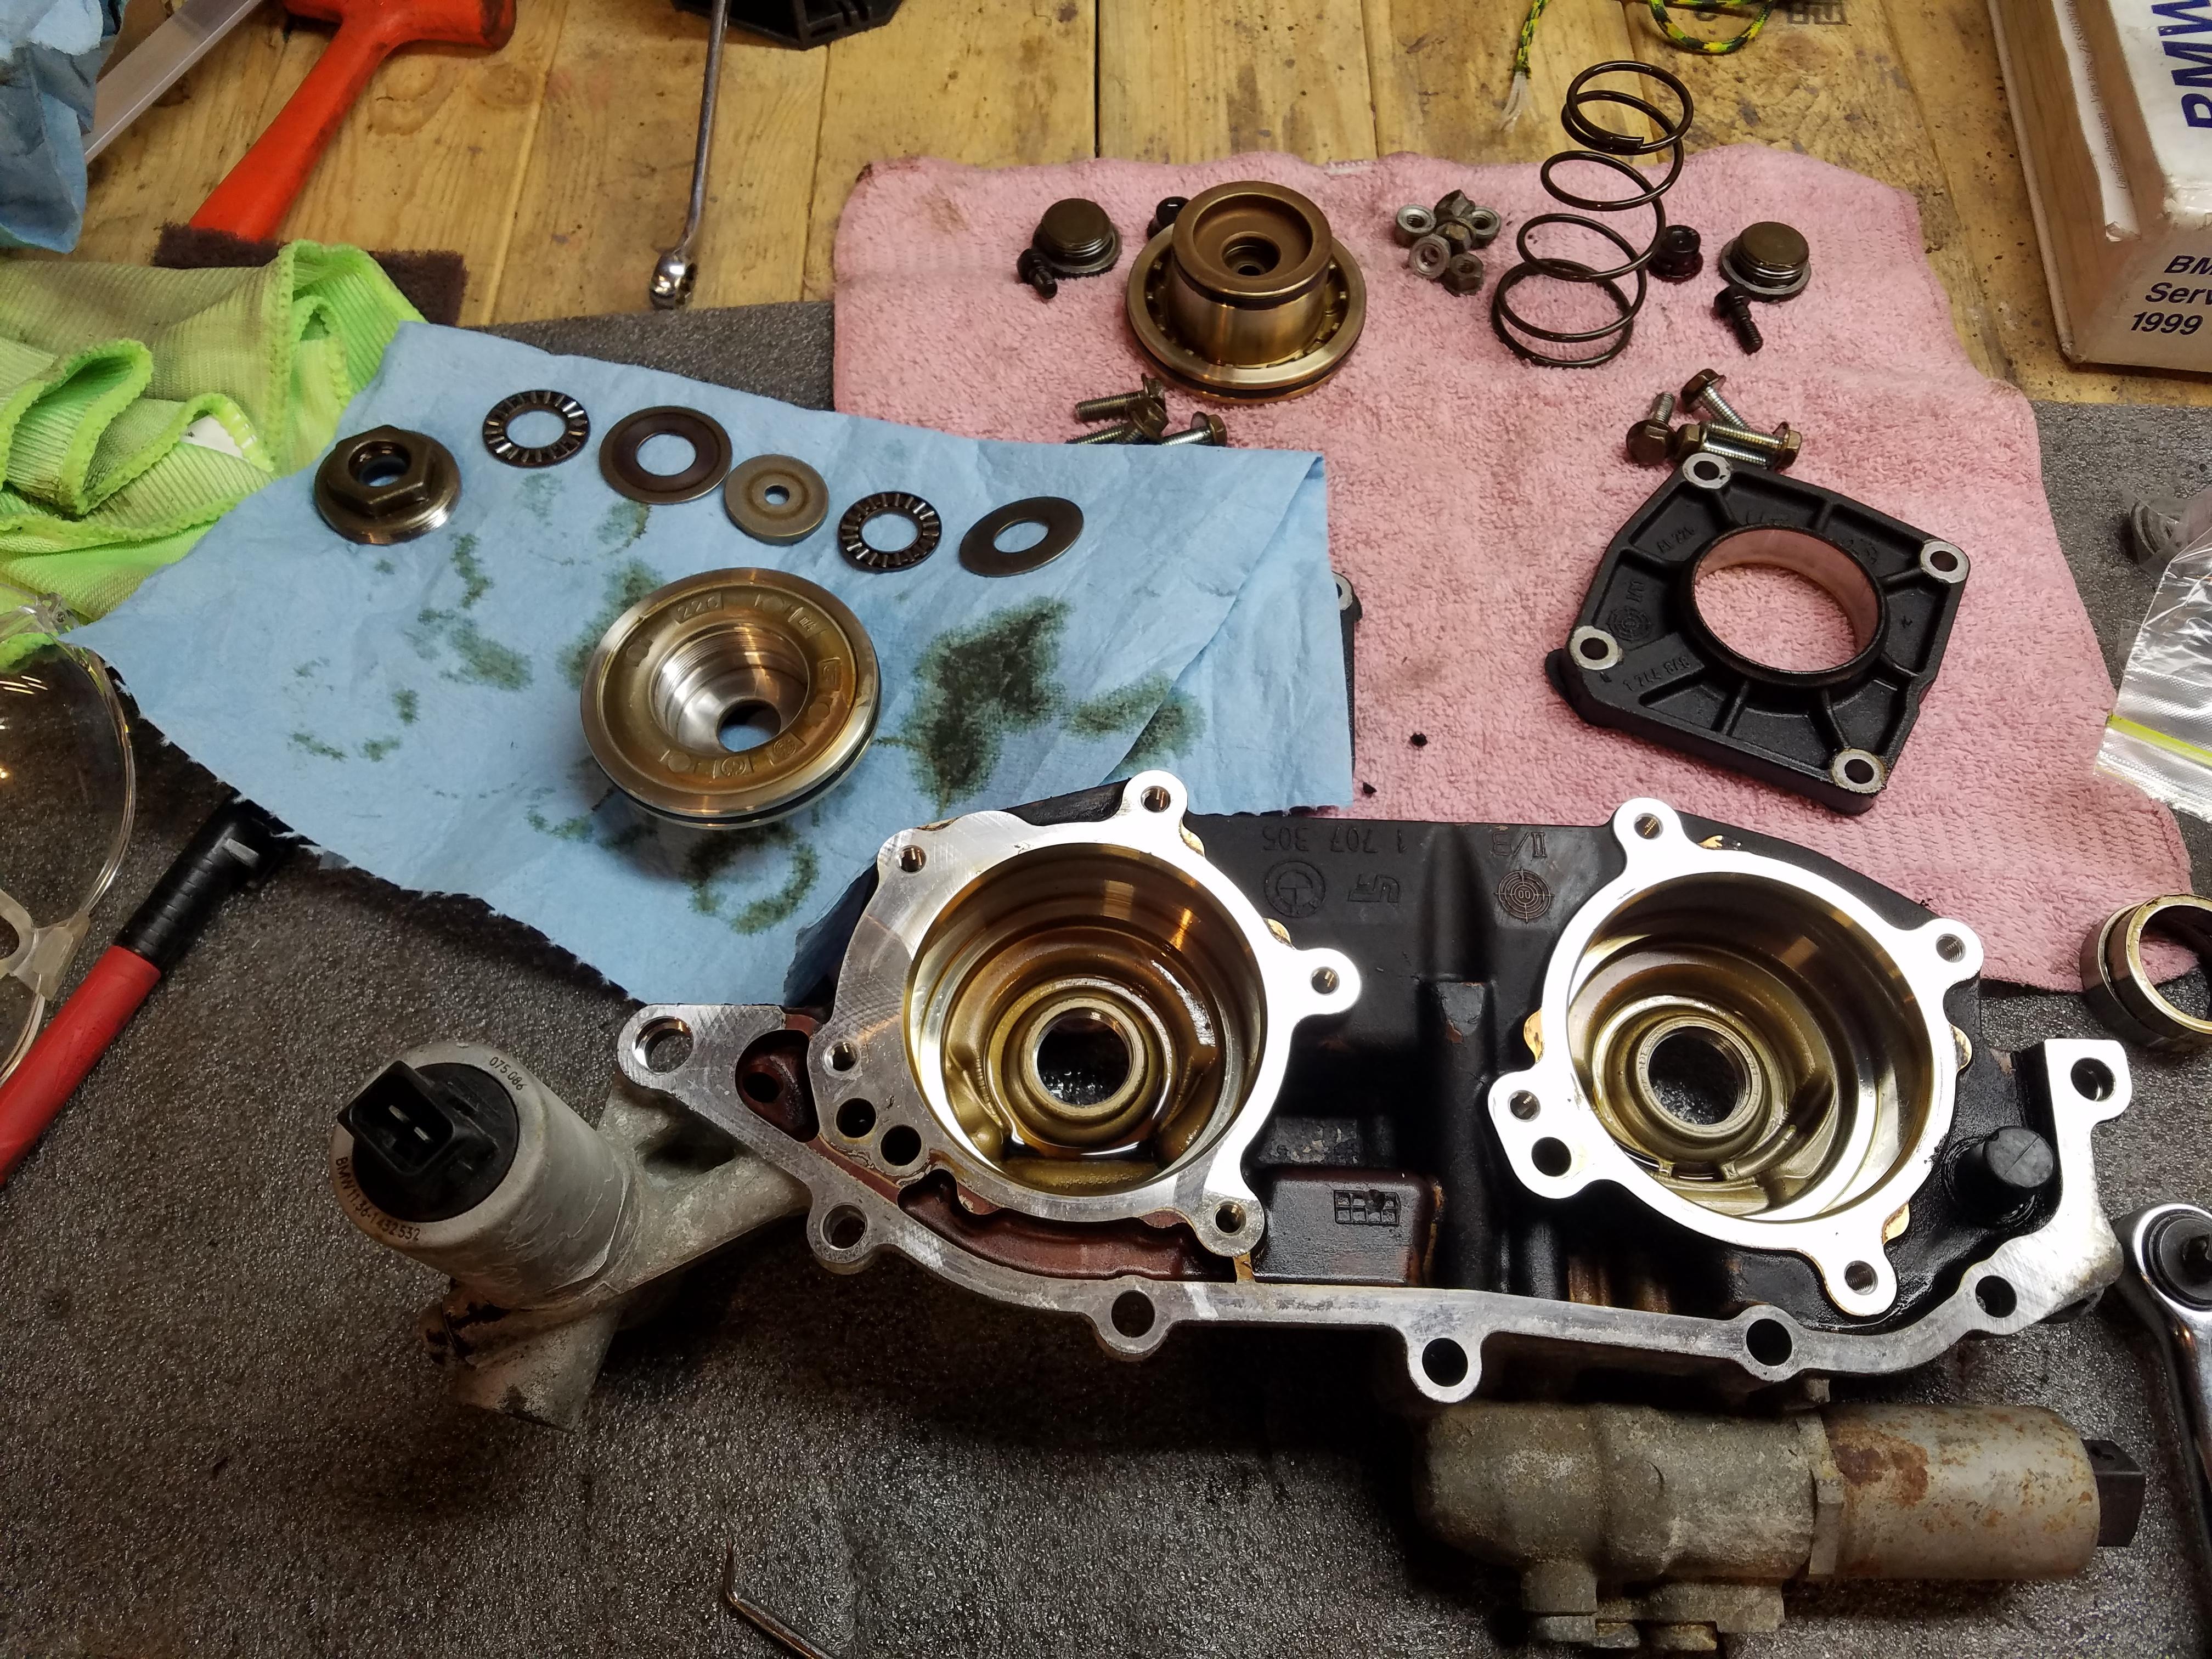
Rebuilt my vanos with new seals and the anti rattle kit from Beisan.
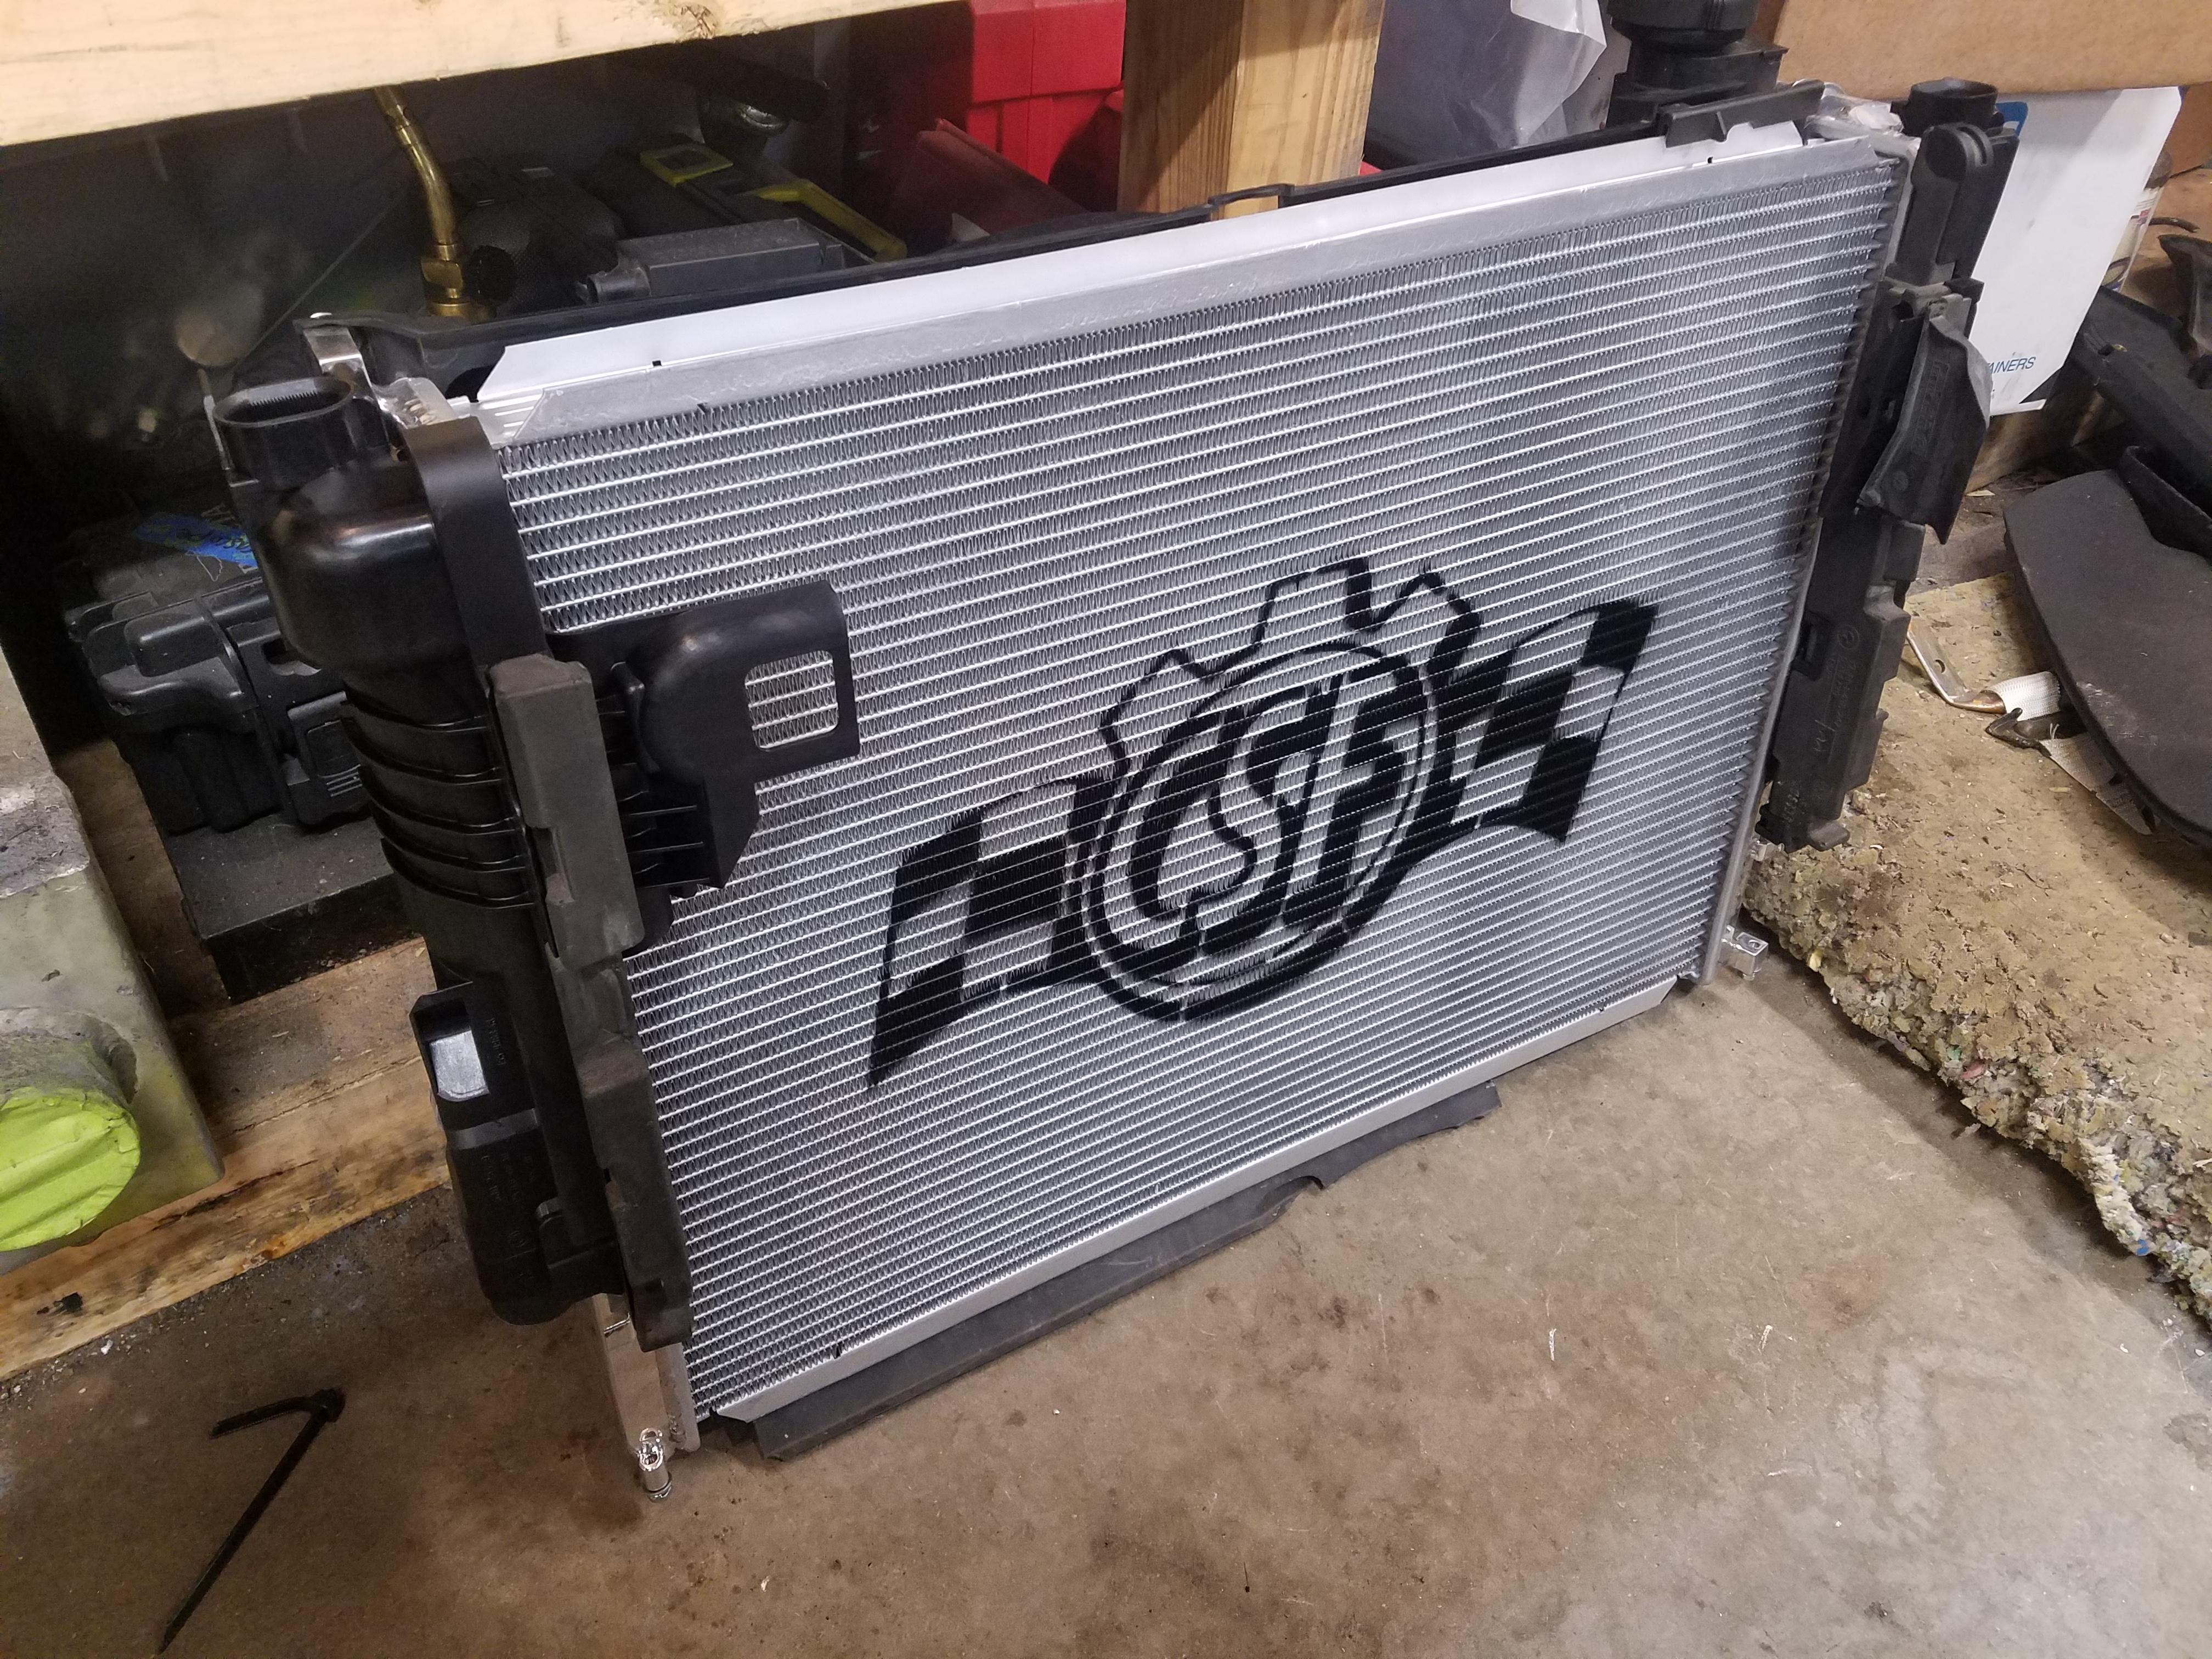
New radiator mounts strapped to the new CSF radiator.
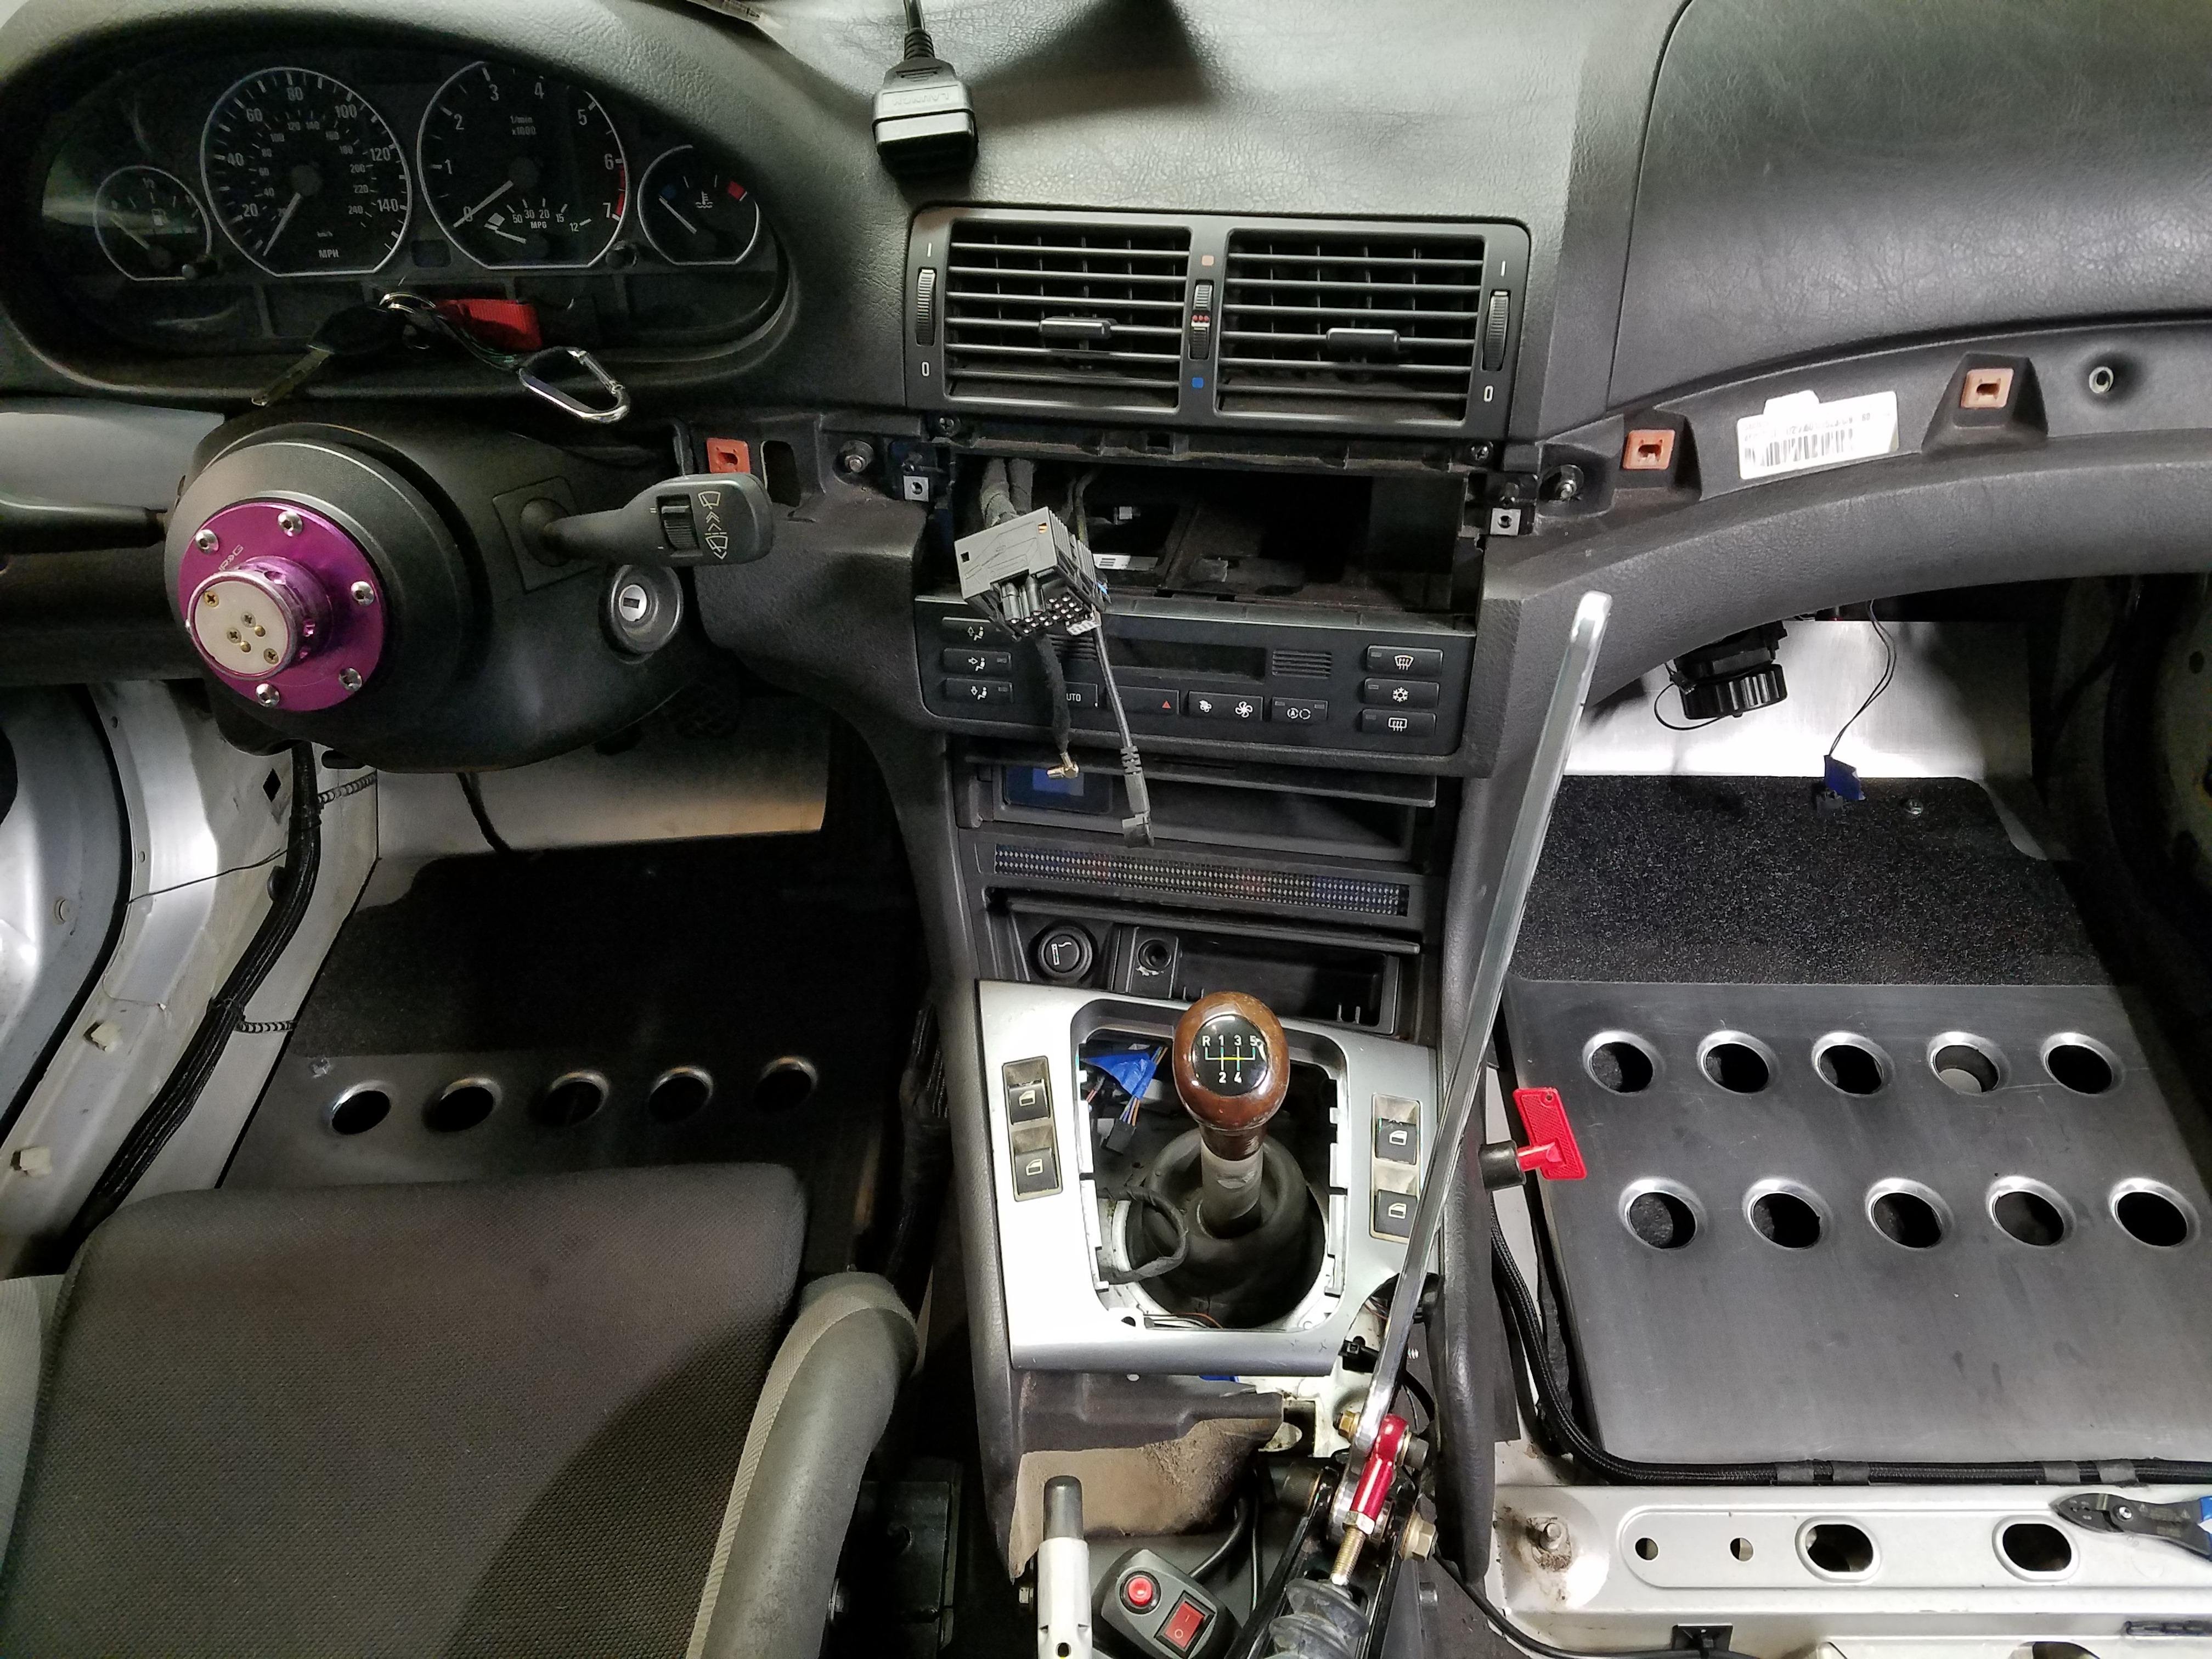
Got the dash installed and with that came a lot of progress getting all the wiring under the dash and etc figured out.
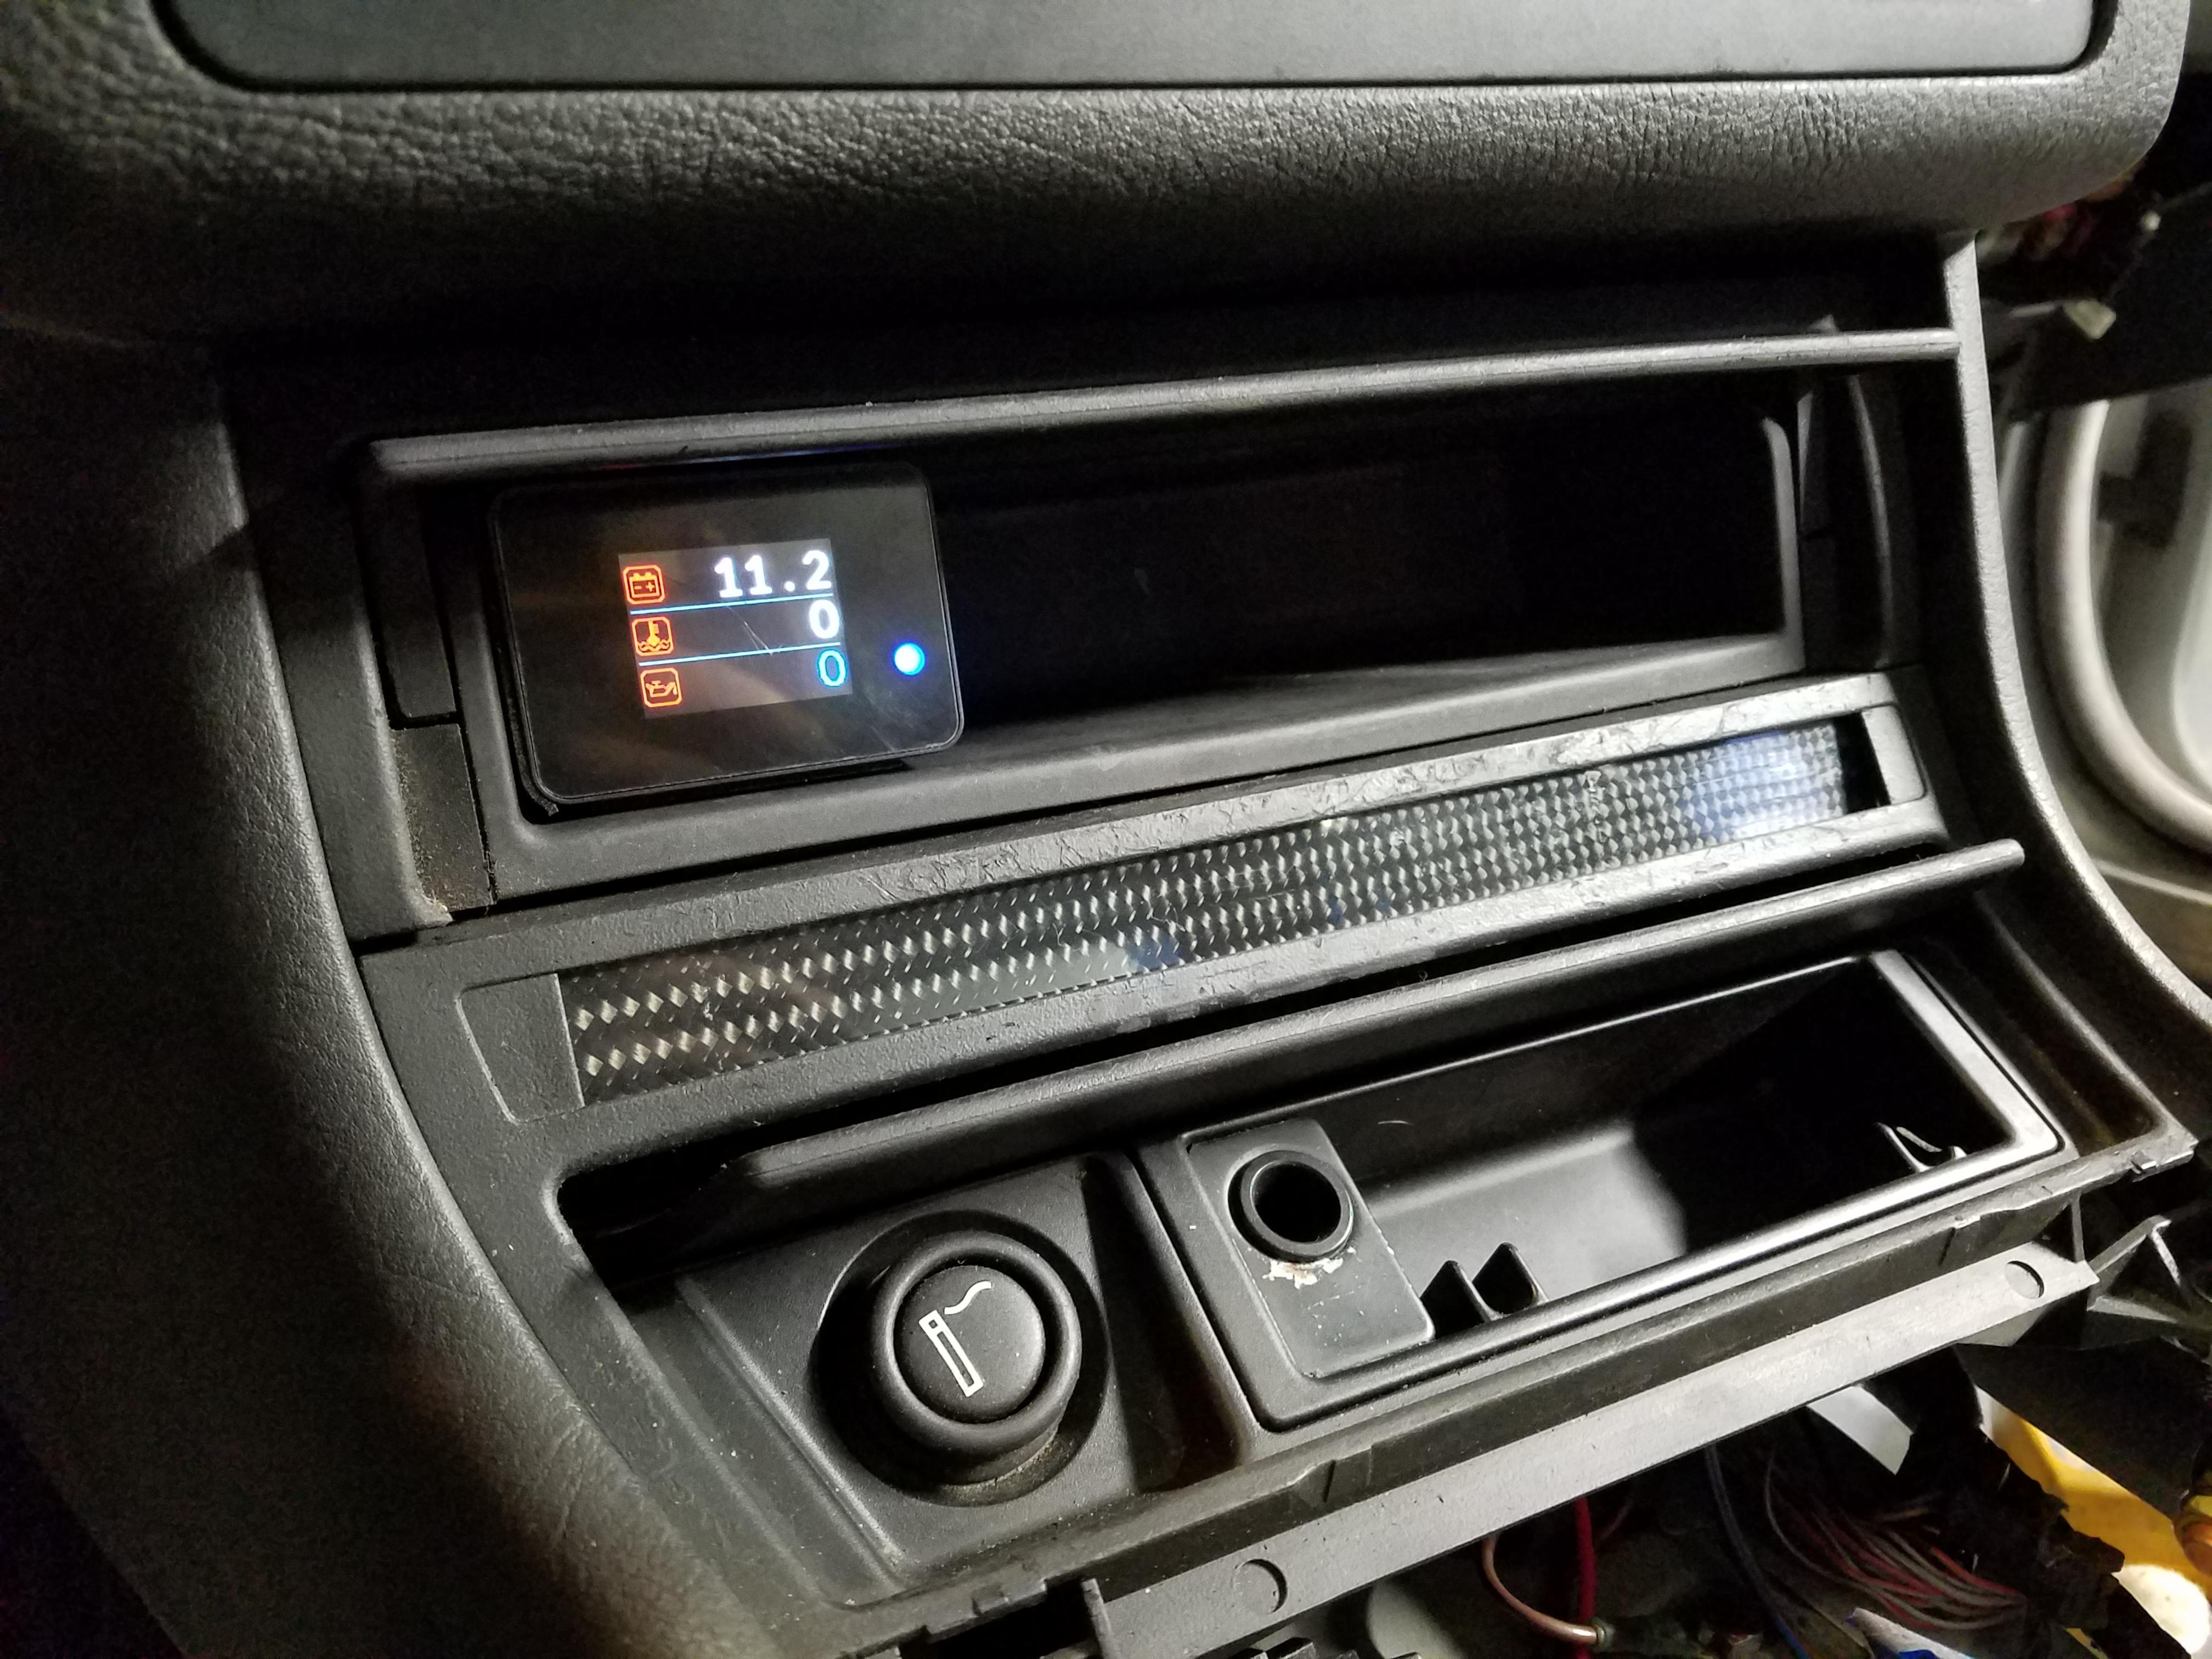
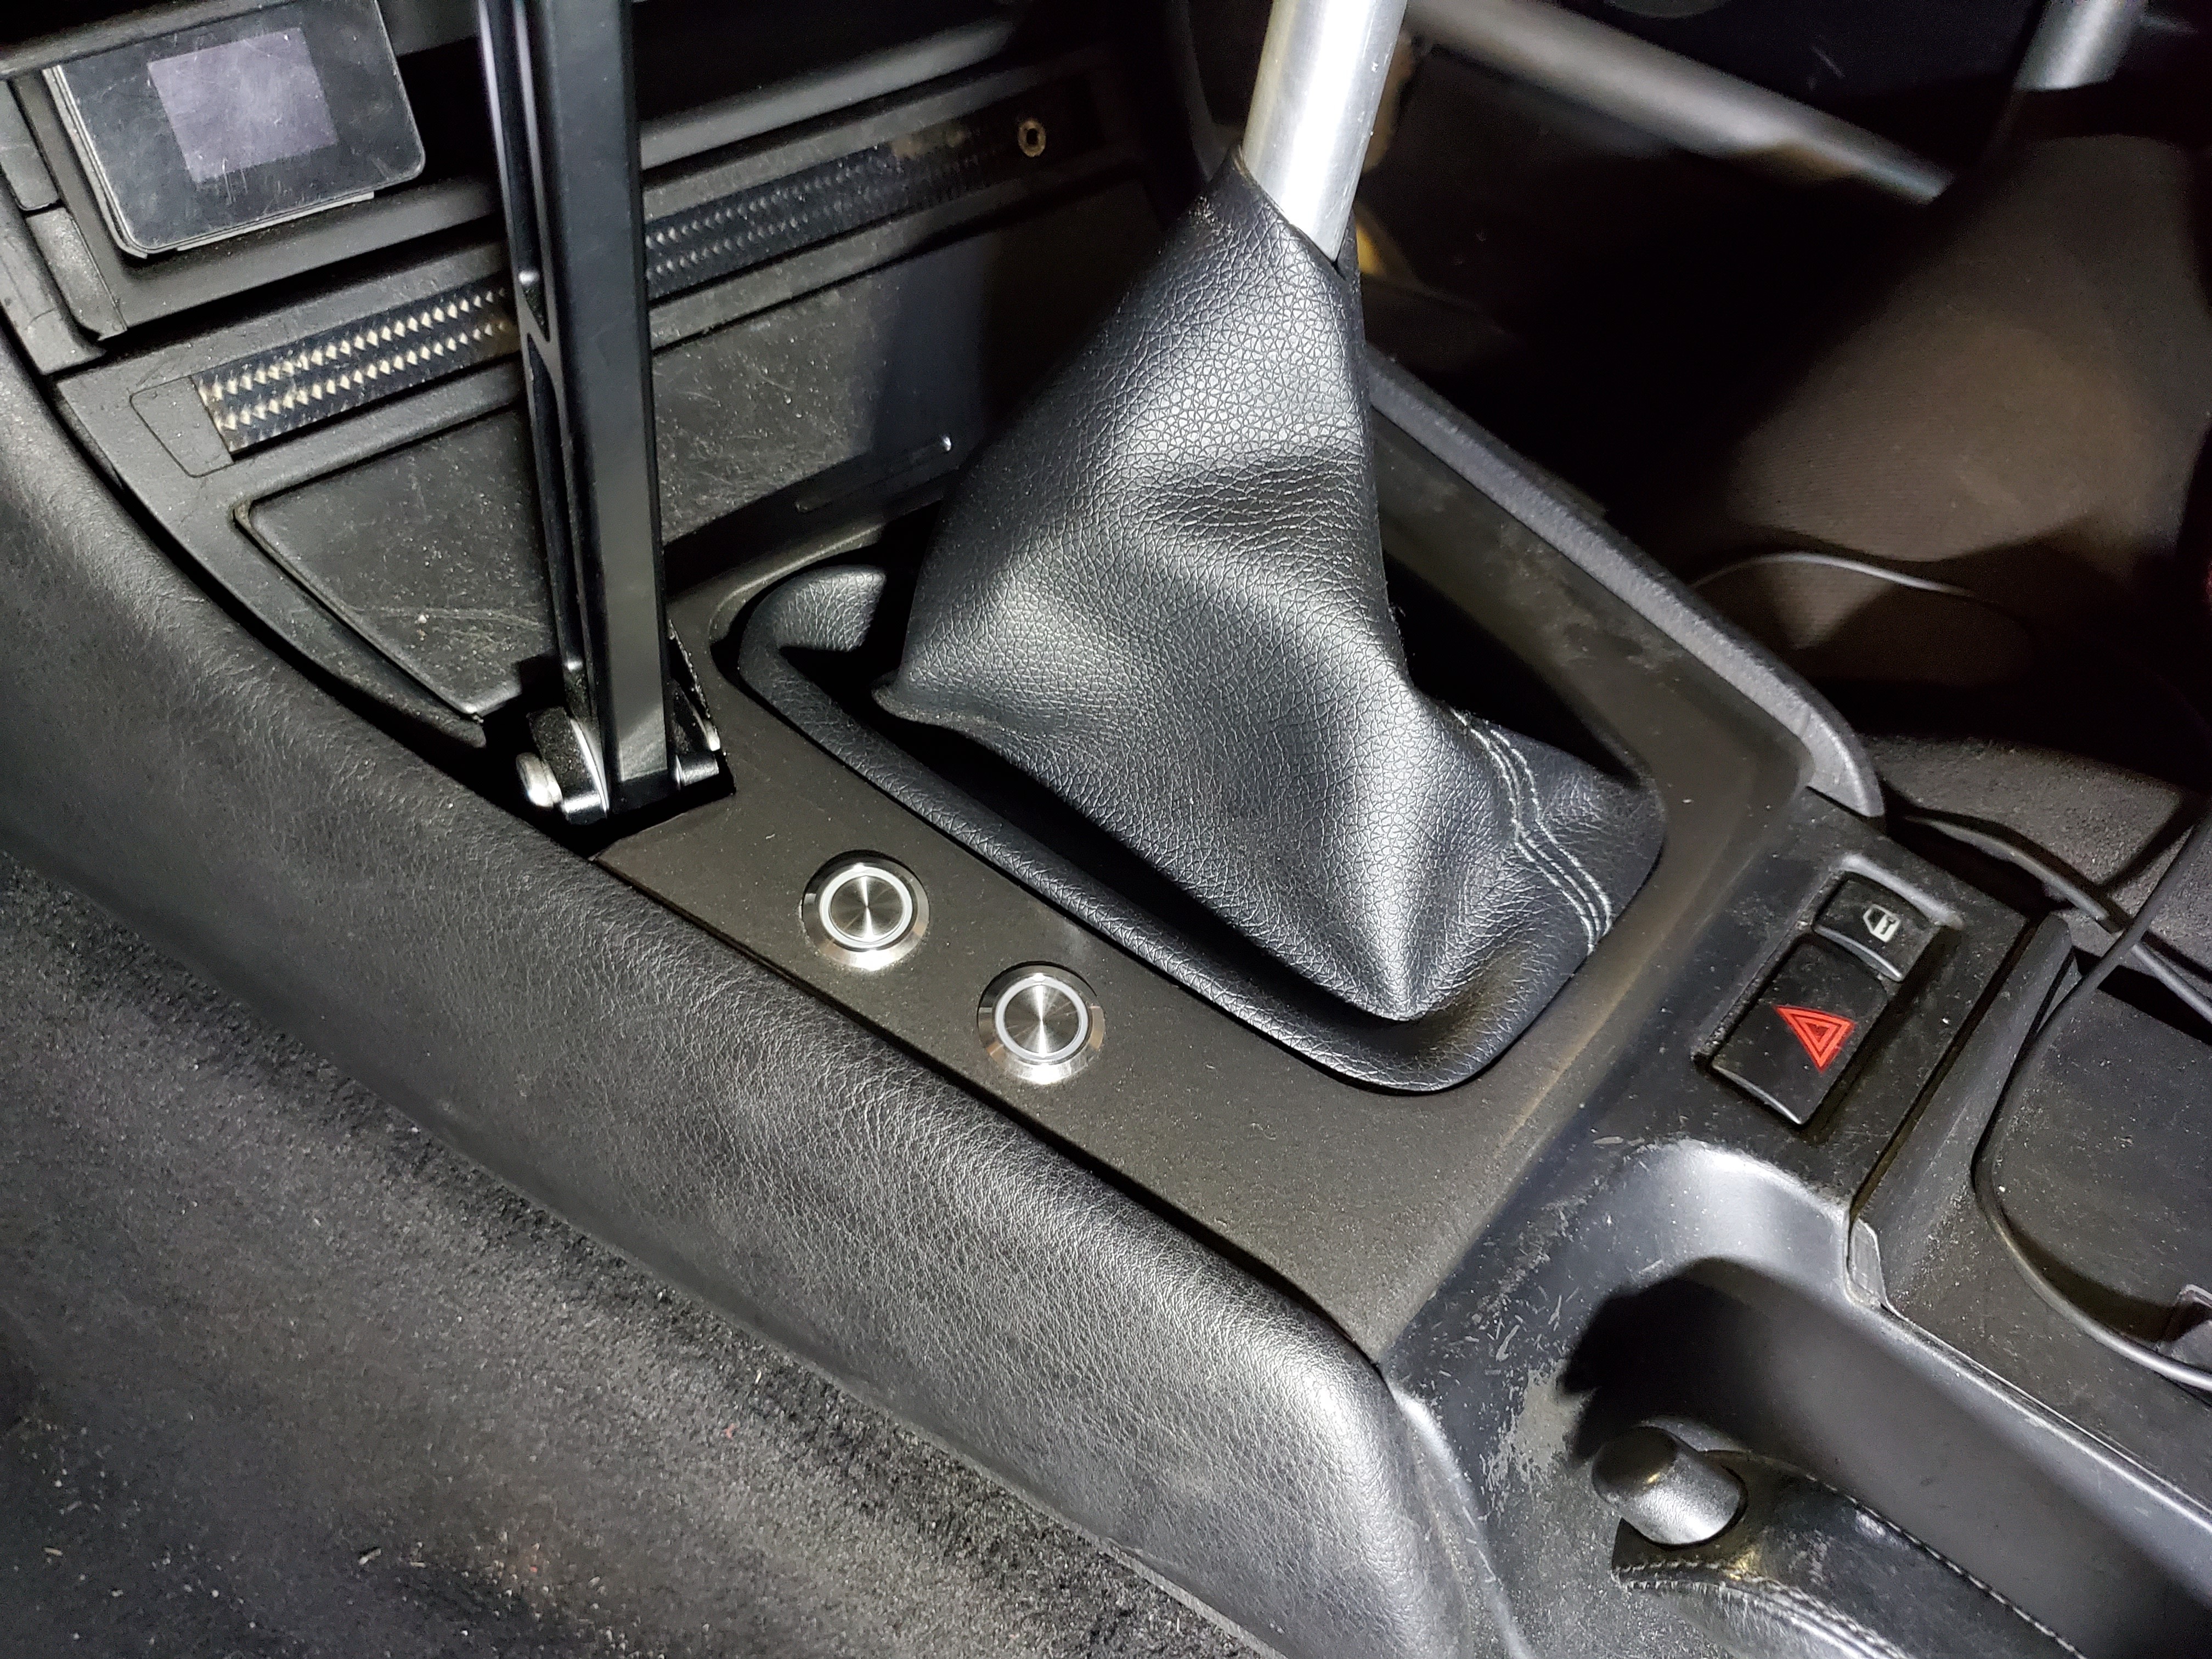
Also installed this Parts Shop Maxx engine vitals gauge. The one i went with has settings for oil pressure and coolant temp along with voltage. Awesome little gauge for the price i must say. Also in this pic you can see where i removed the DSC button and the panel there and made a carbon panel to go into place.
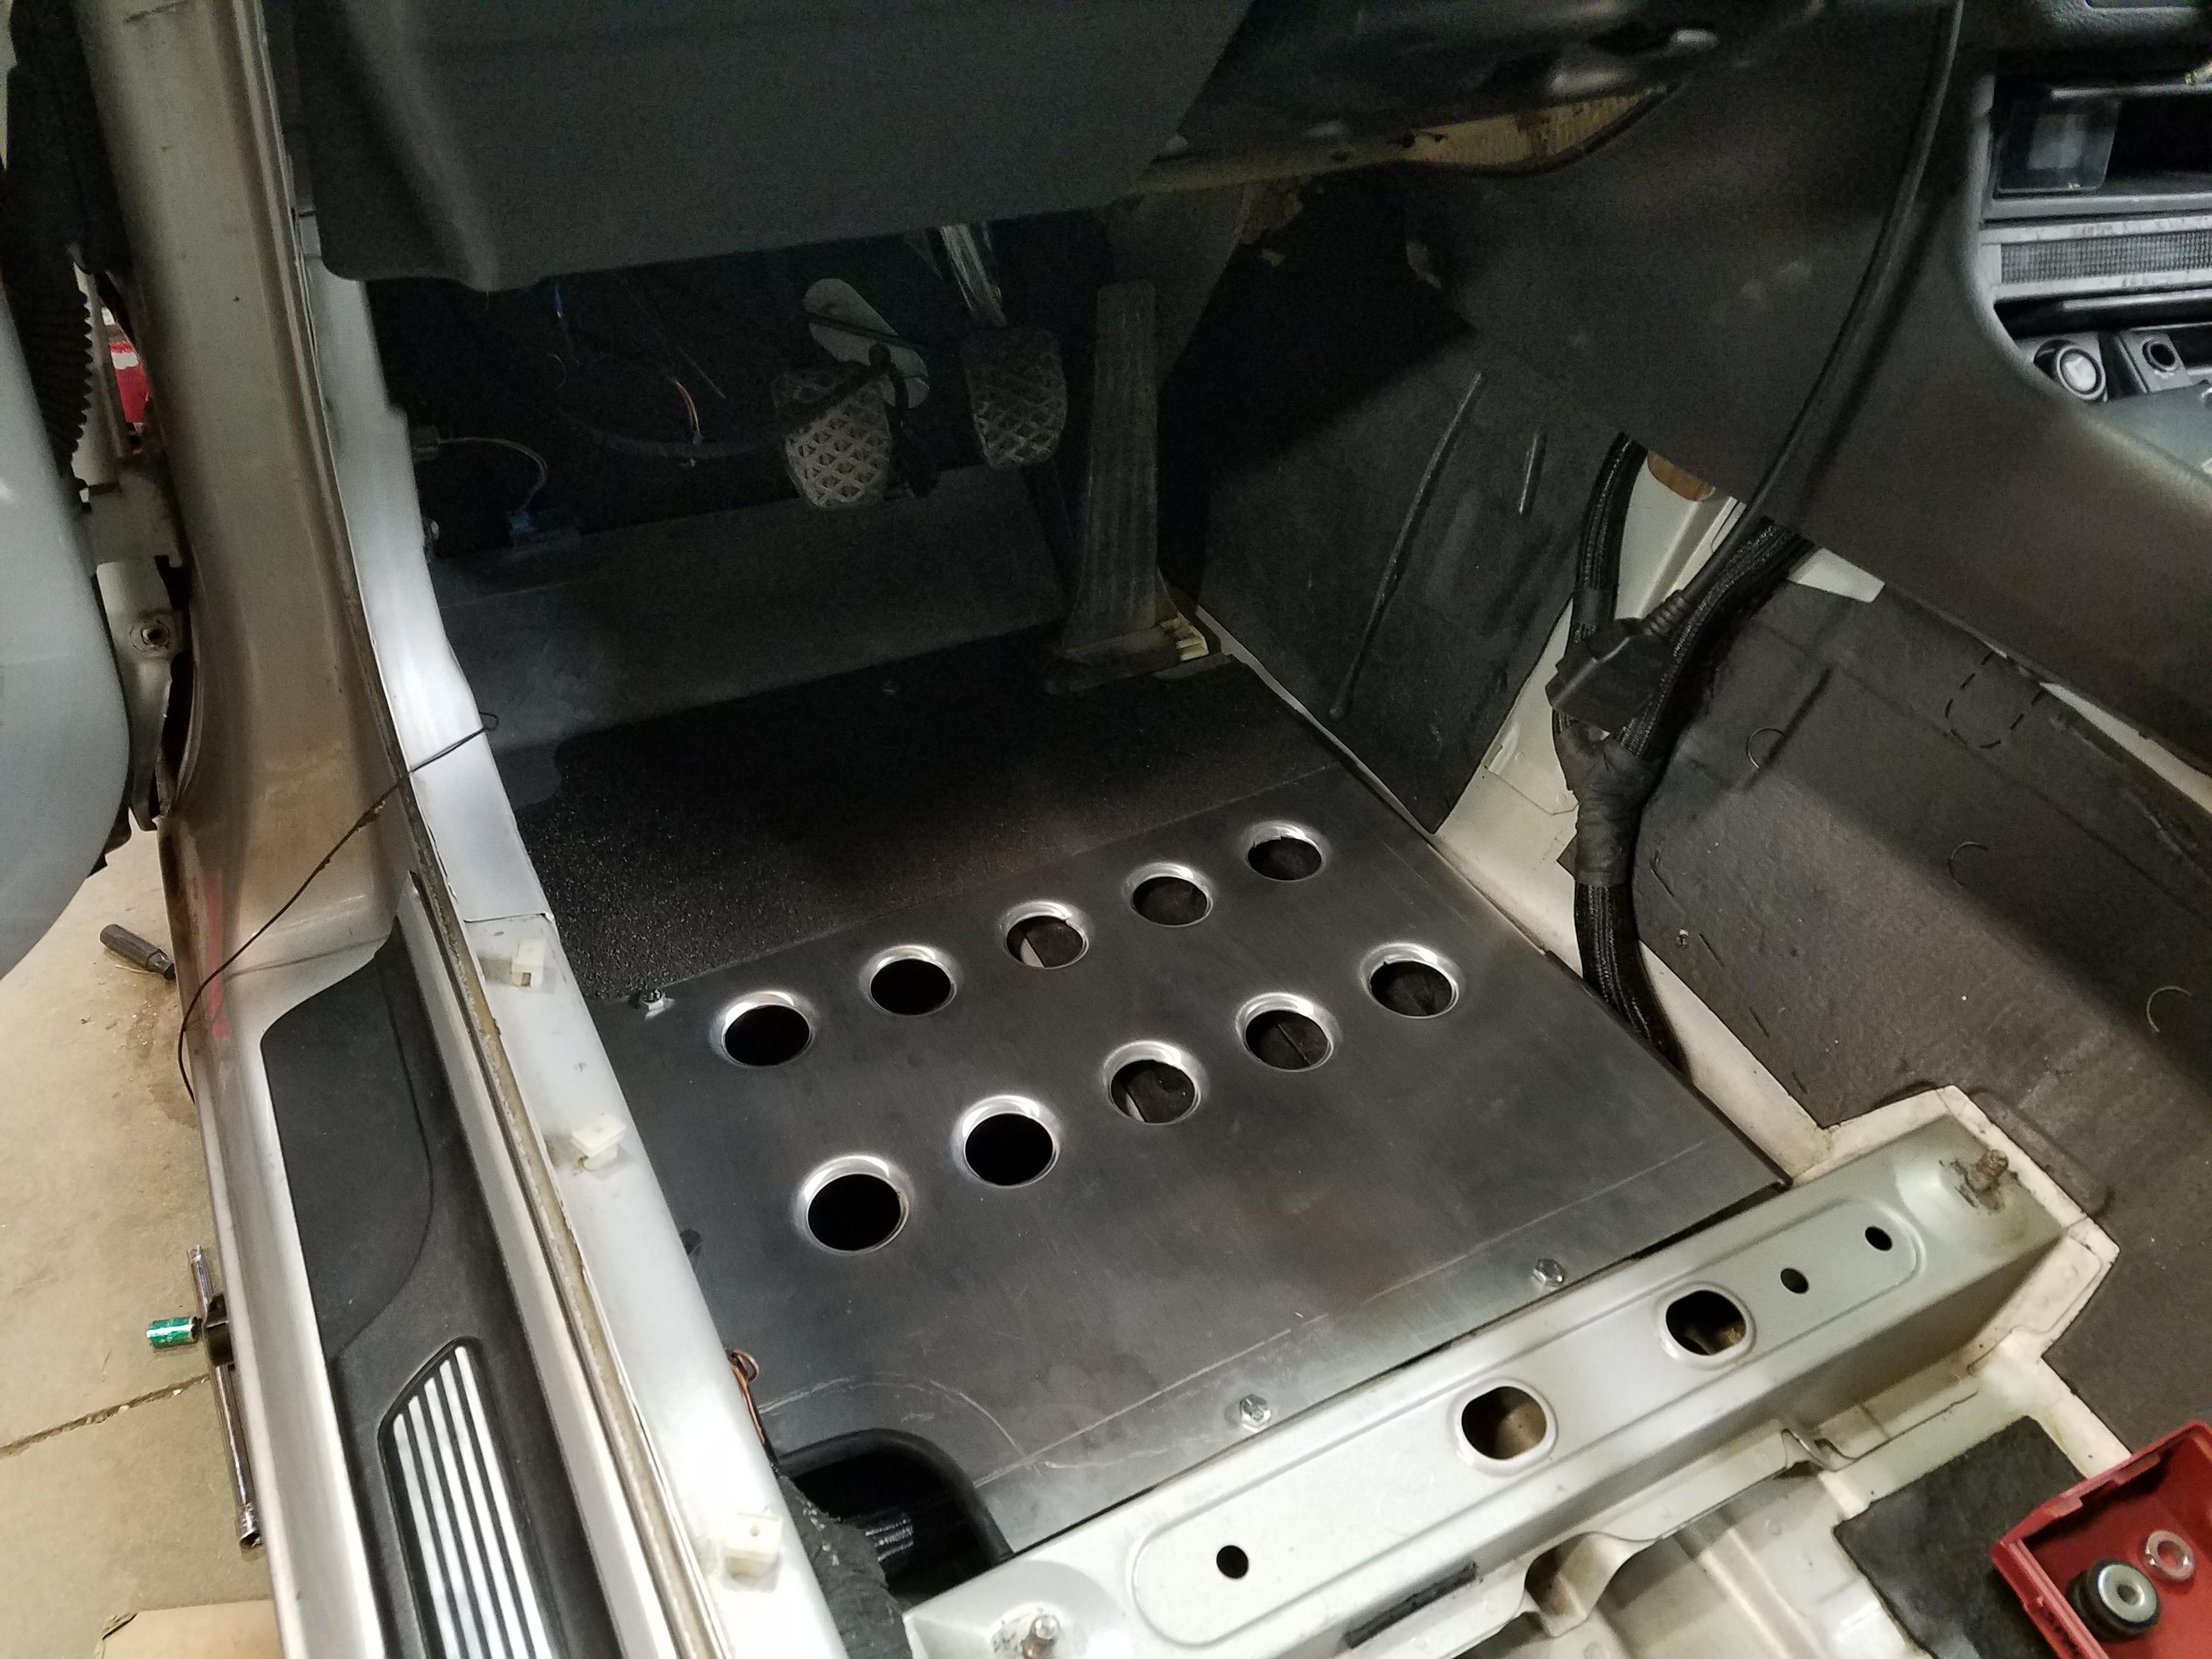
Made floor plates thanks to the help of @Sam_Holzmann and another friend.
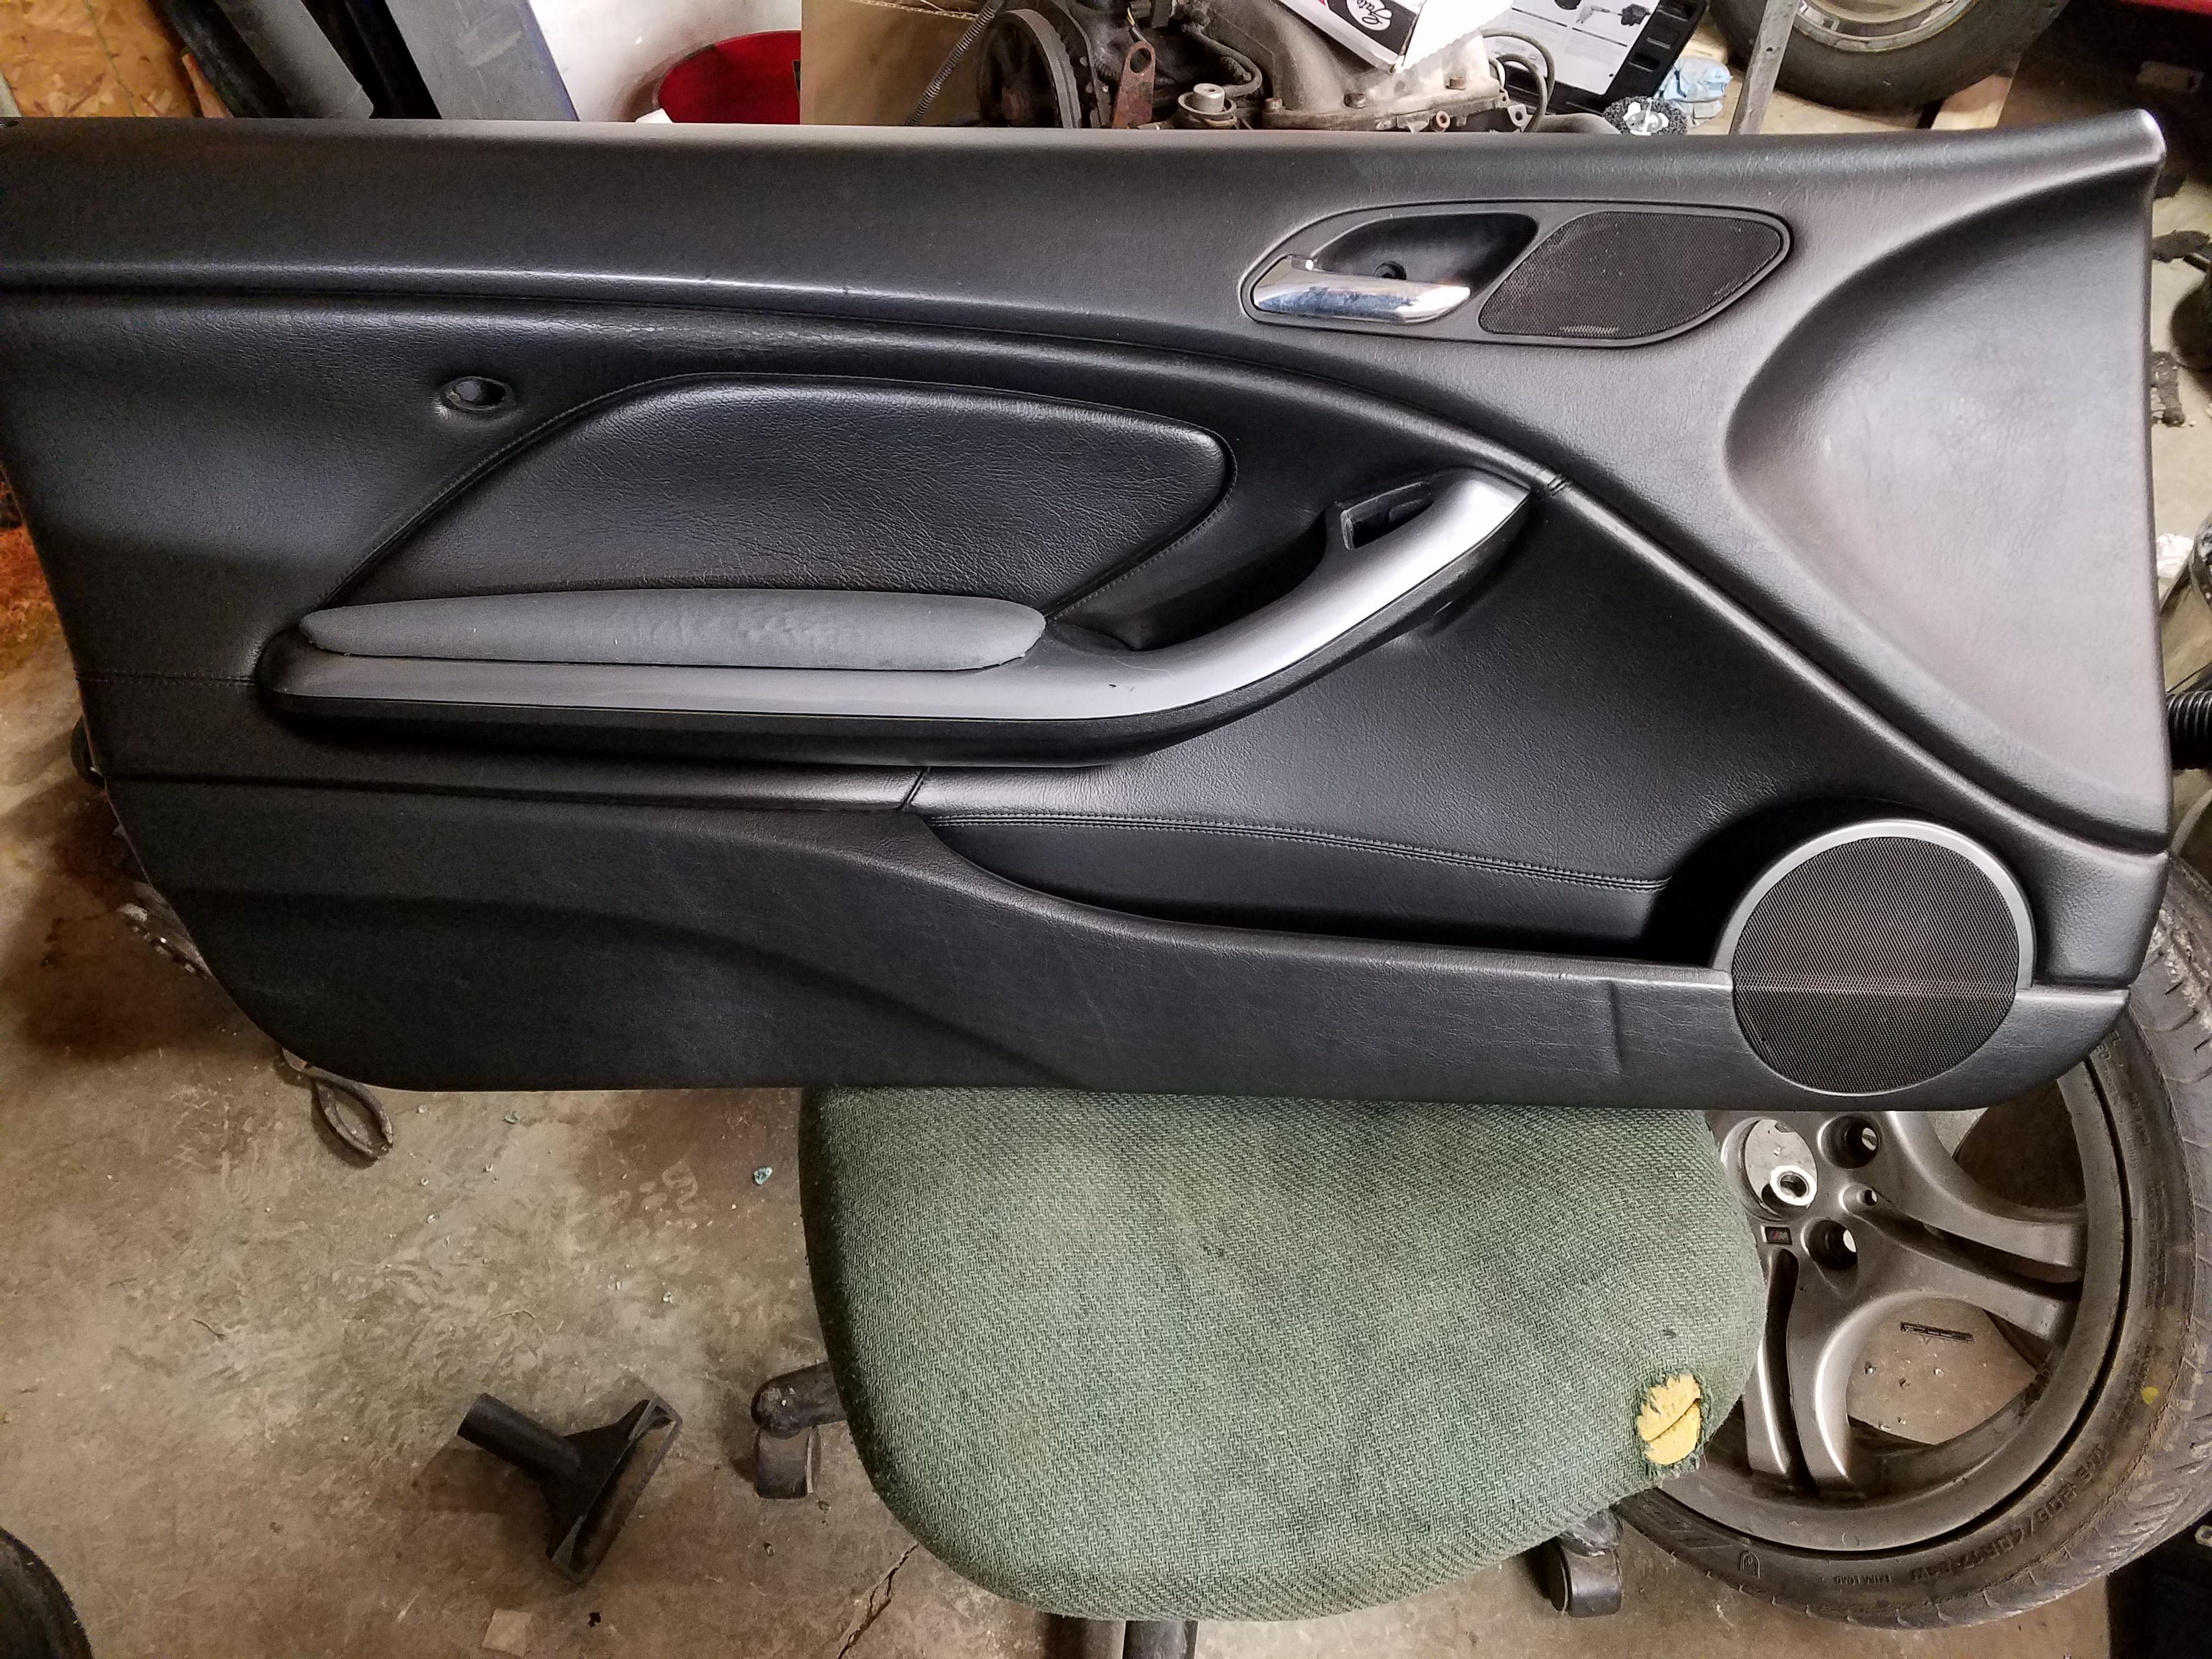
Now onto something I am not super proud of but with the price of black door panels in these cars I decided to clean them up and use interior paint to make them black LOL. I must say they turned out really well. Also re-wrapped the arm rest panels along with the A pillars (I dont have a photo) Was also able to transfer over the Harmon Kardon speakers and amp from my 330 into the car.
And got the car running!!
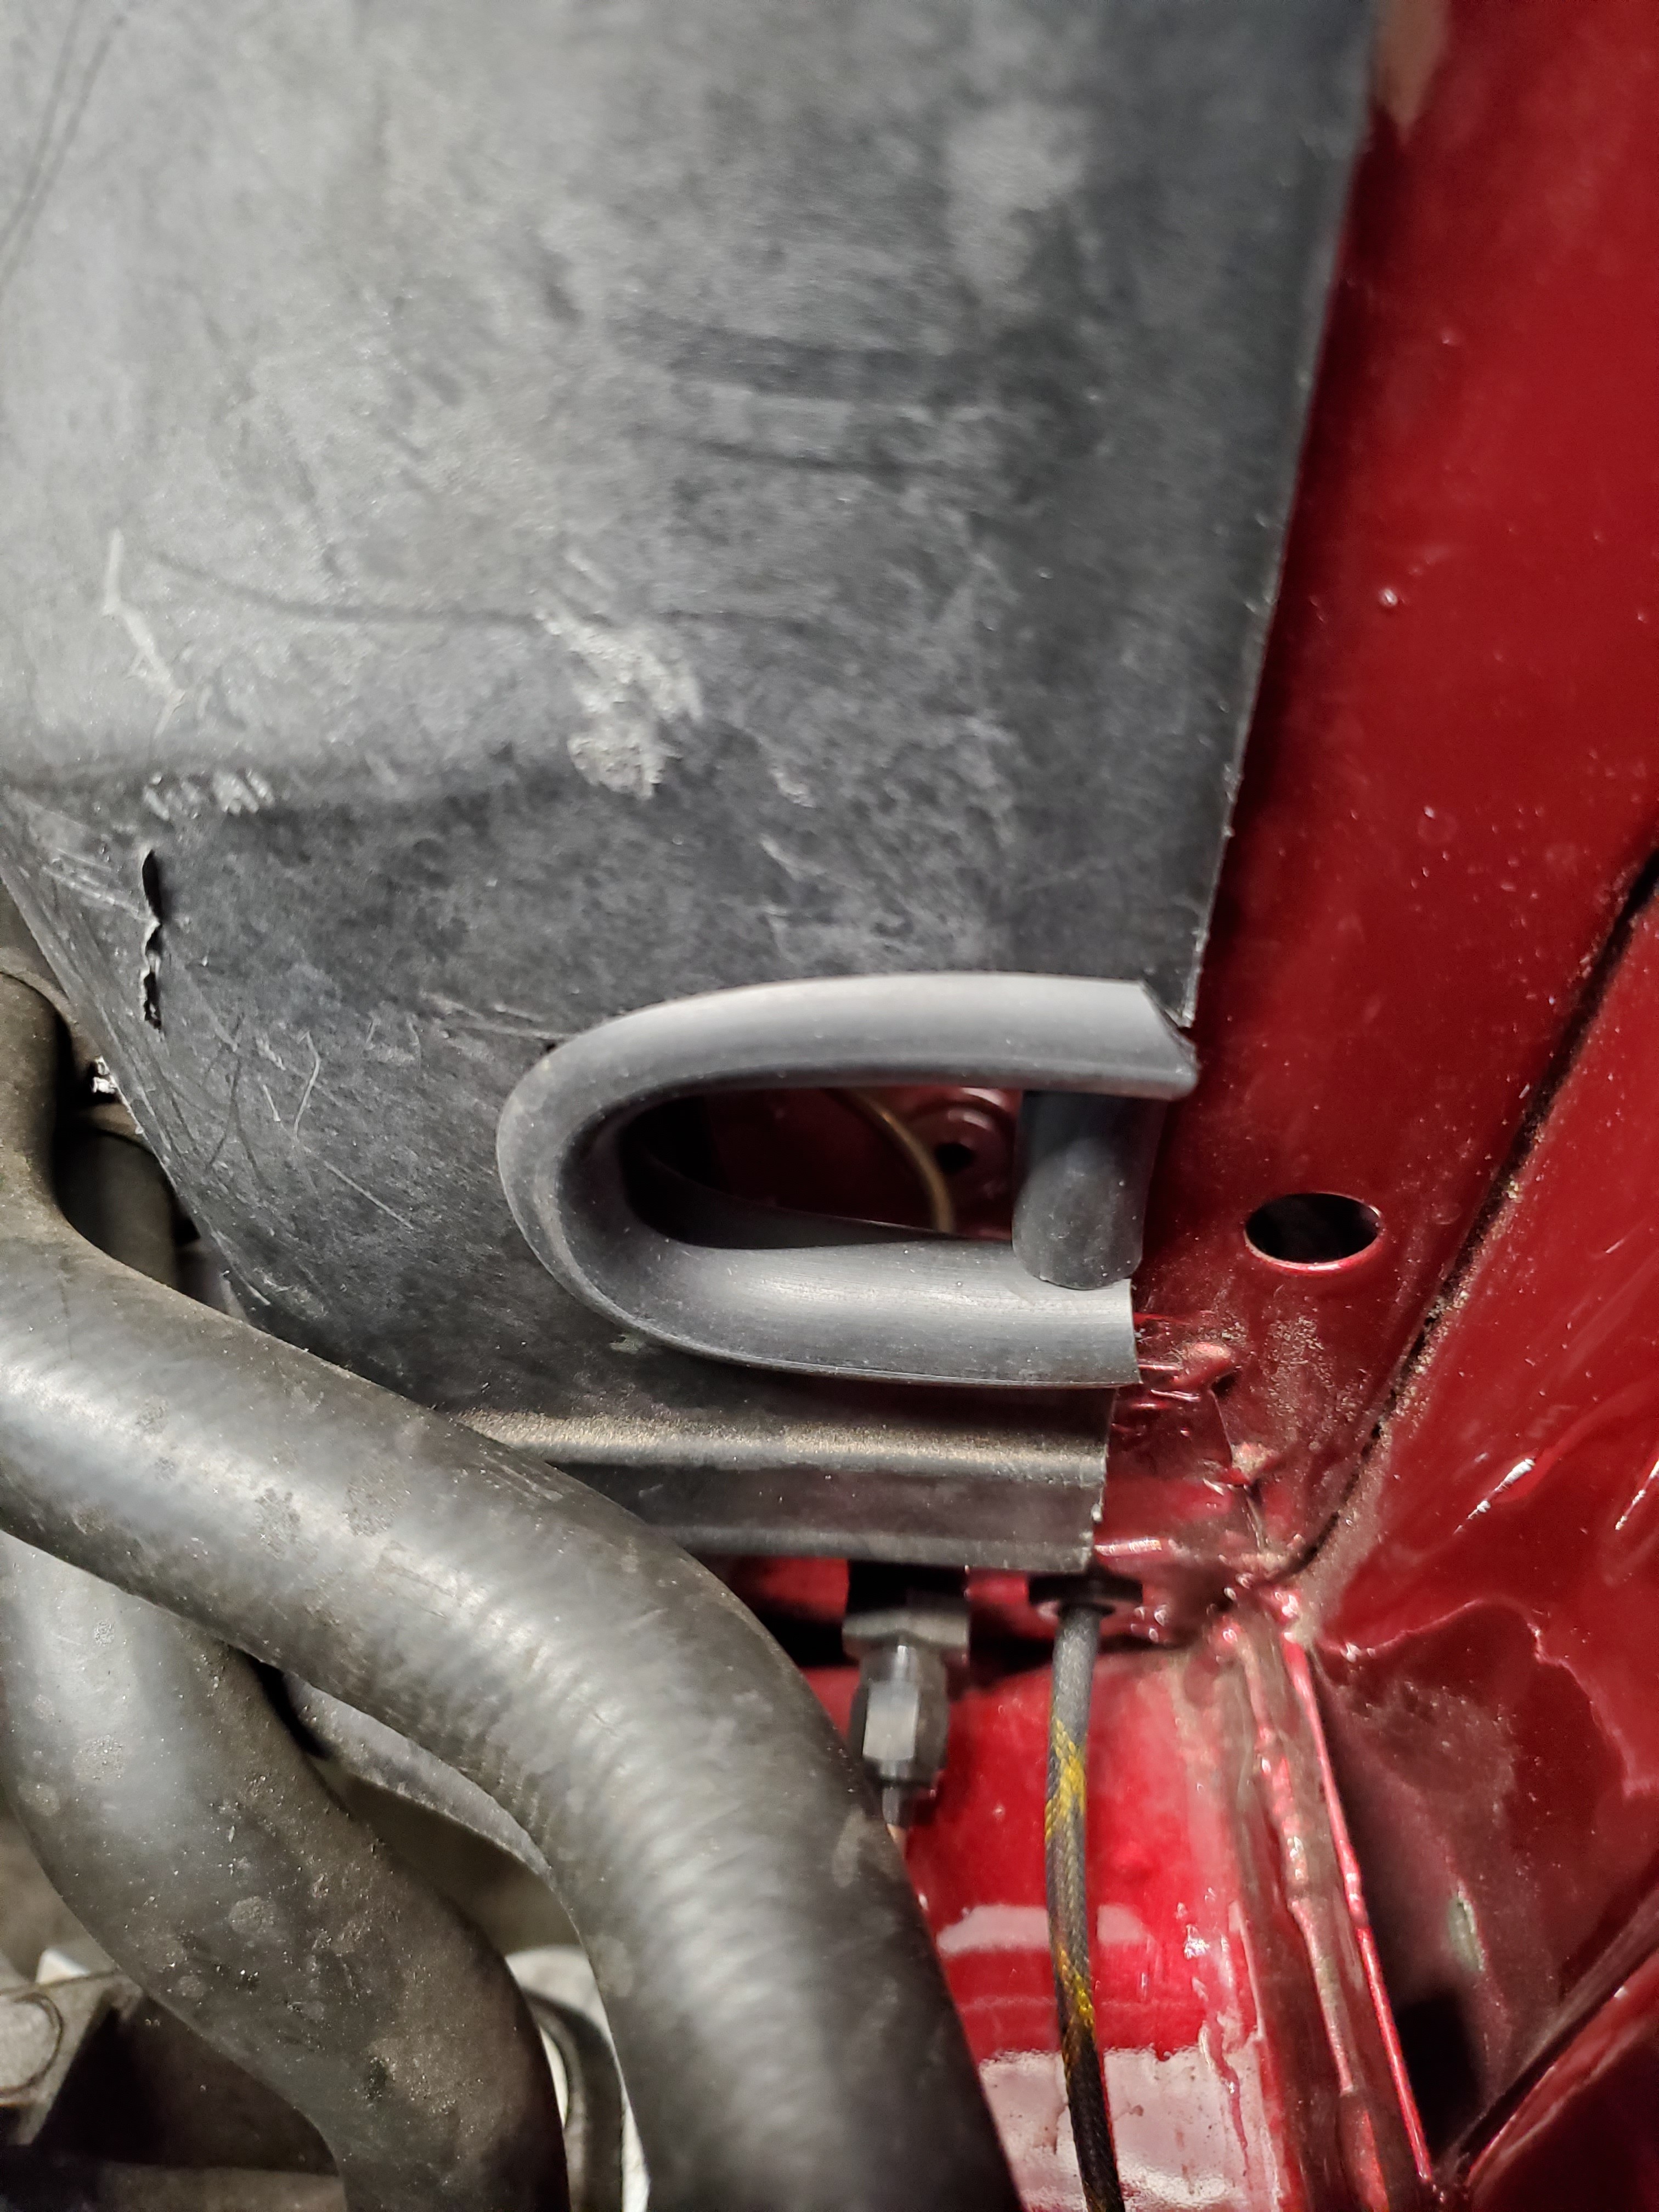
Had some serious time consuming hiccups with this. First was the expansion tank rubbing on the power steering pulley due to the thicker radiator. Really suerprised that CSF doesnt have a solution for that but we were able to shave some plastic and make clearance for the pulley.
Then there was some odd clacking coming from what sounded like the intake on start up and went away after awhile. Was a very intermittent problem as well. Also was throwing multiple misfire codes and misfire on start up codes.
After chasing the problem trying multiple different things we found that a hose came disconnected under the manifold causing a gigantic vacuum leak. Once that was fixed the car idled awesome and everything was looking great.
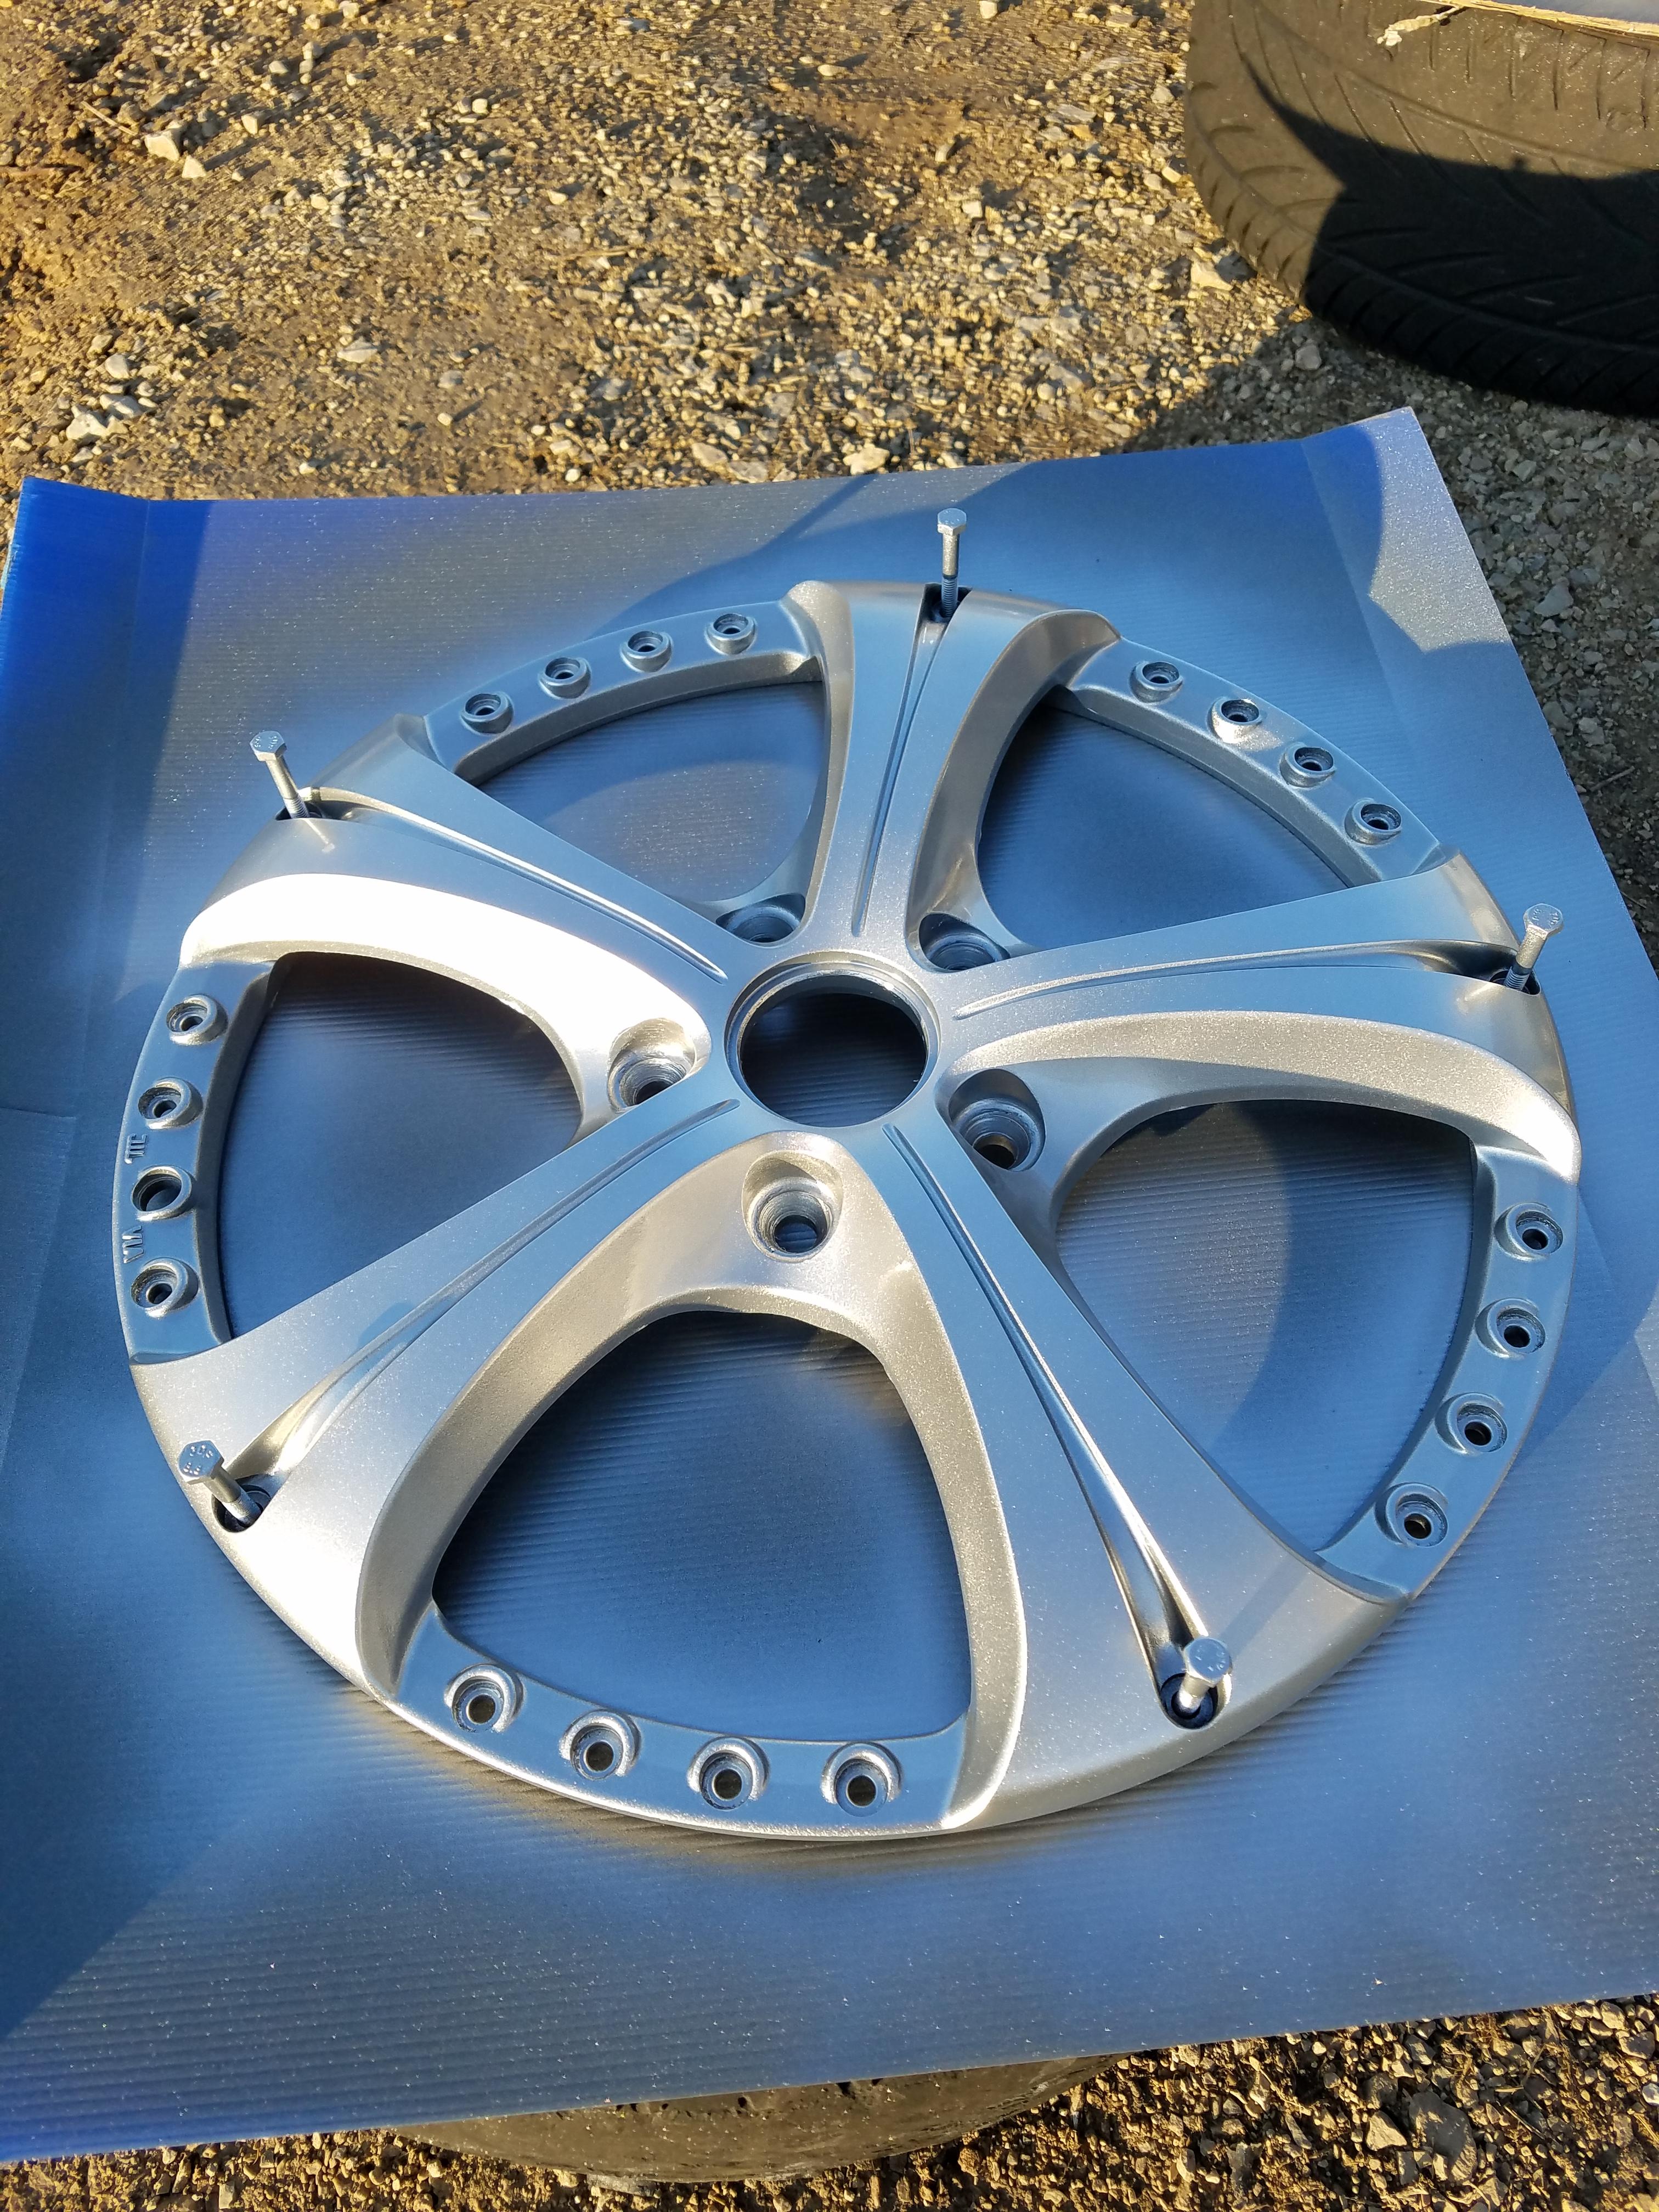
Now onto the wheels. To be completely honest the build was running out of time and money so i used the ole rattle can on my wheel faces.
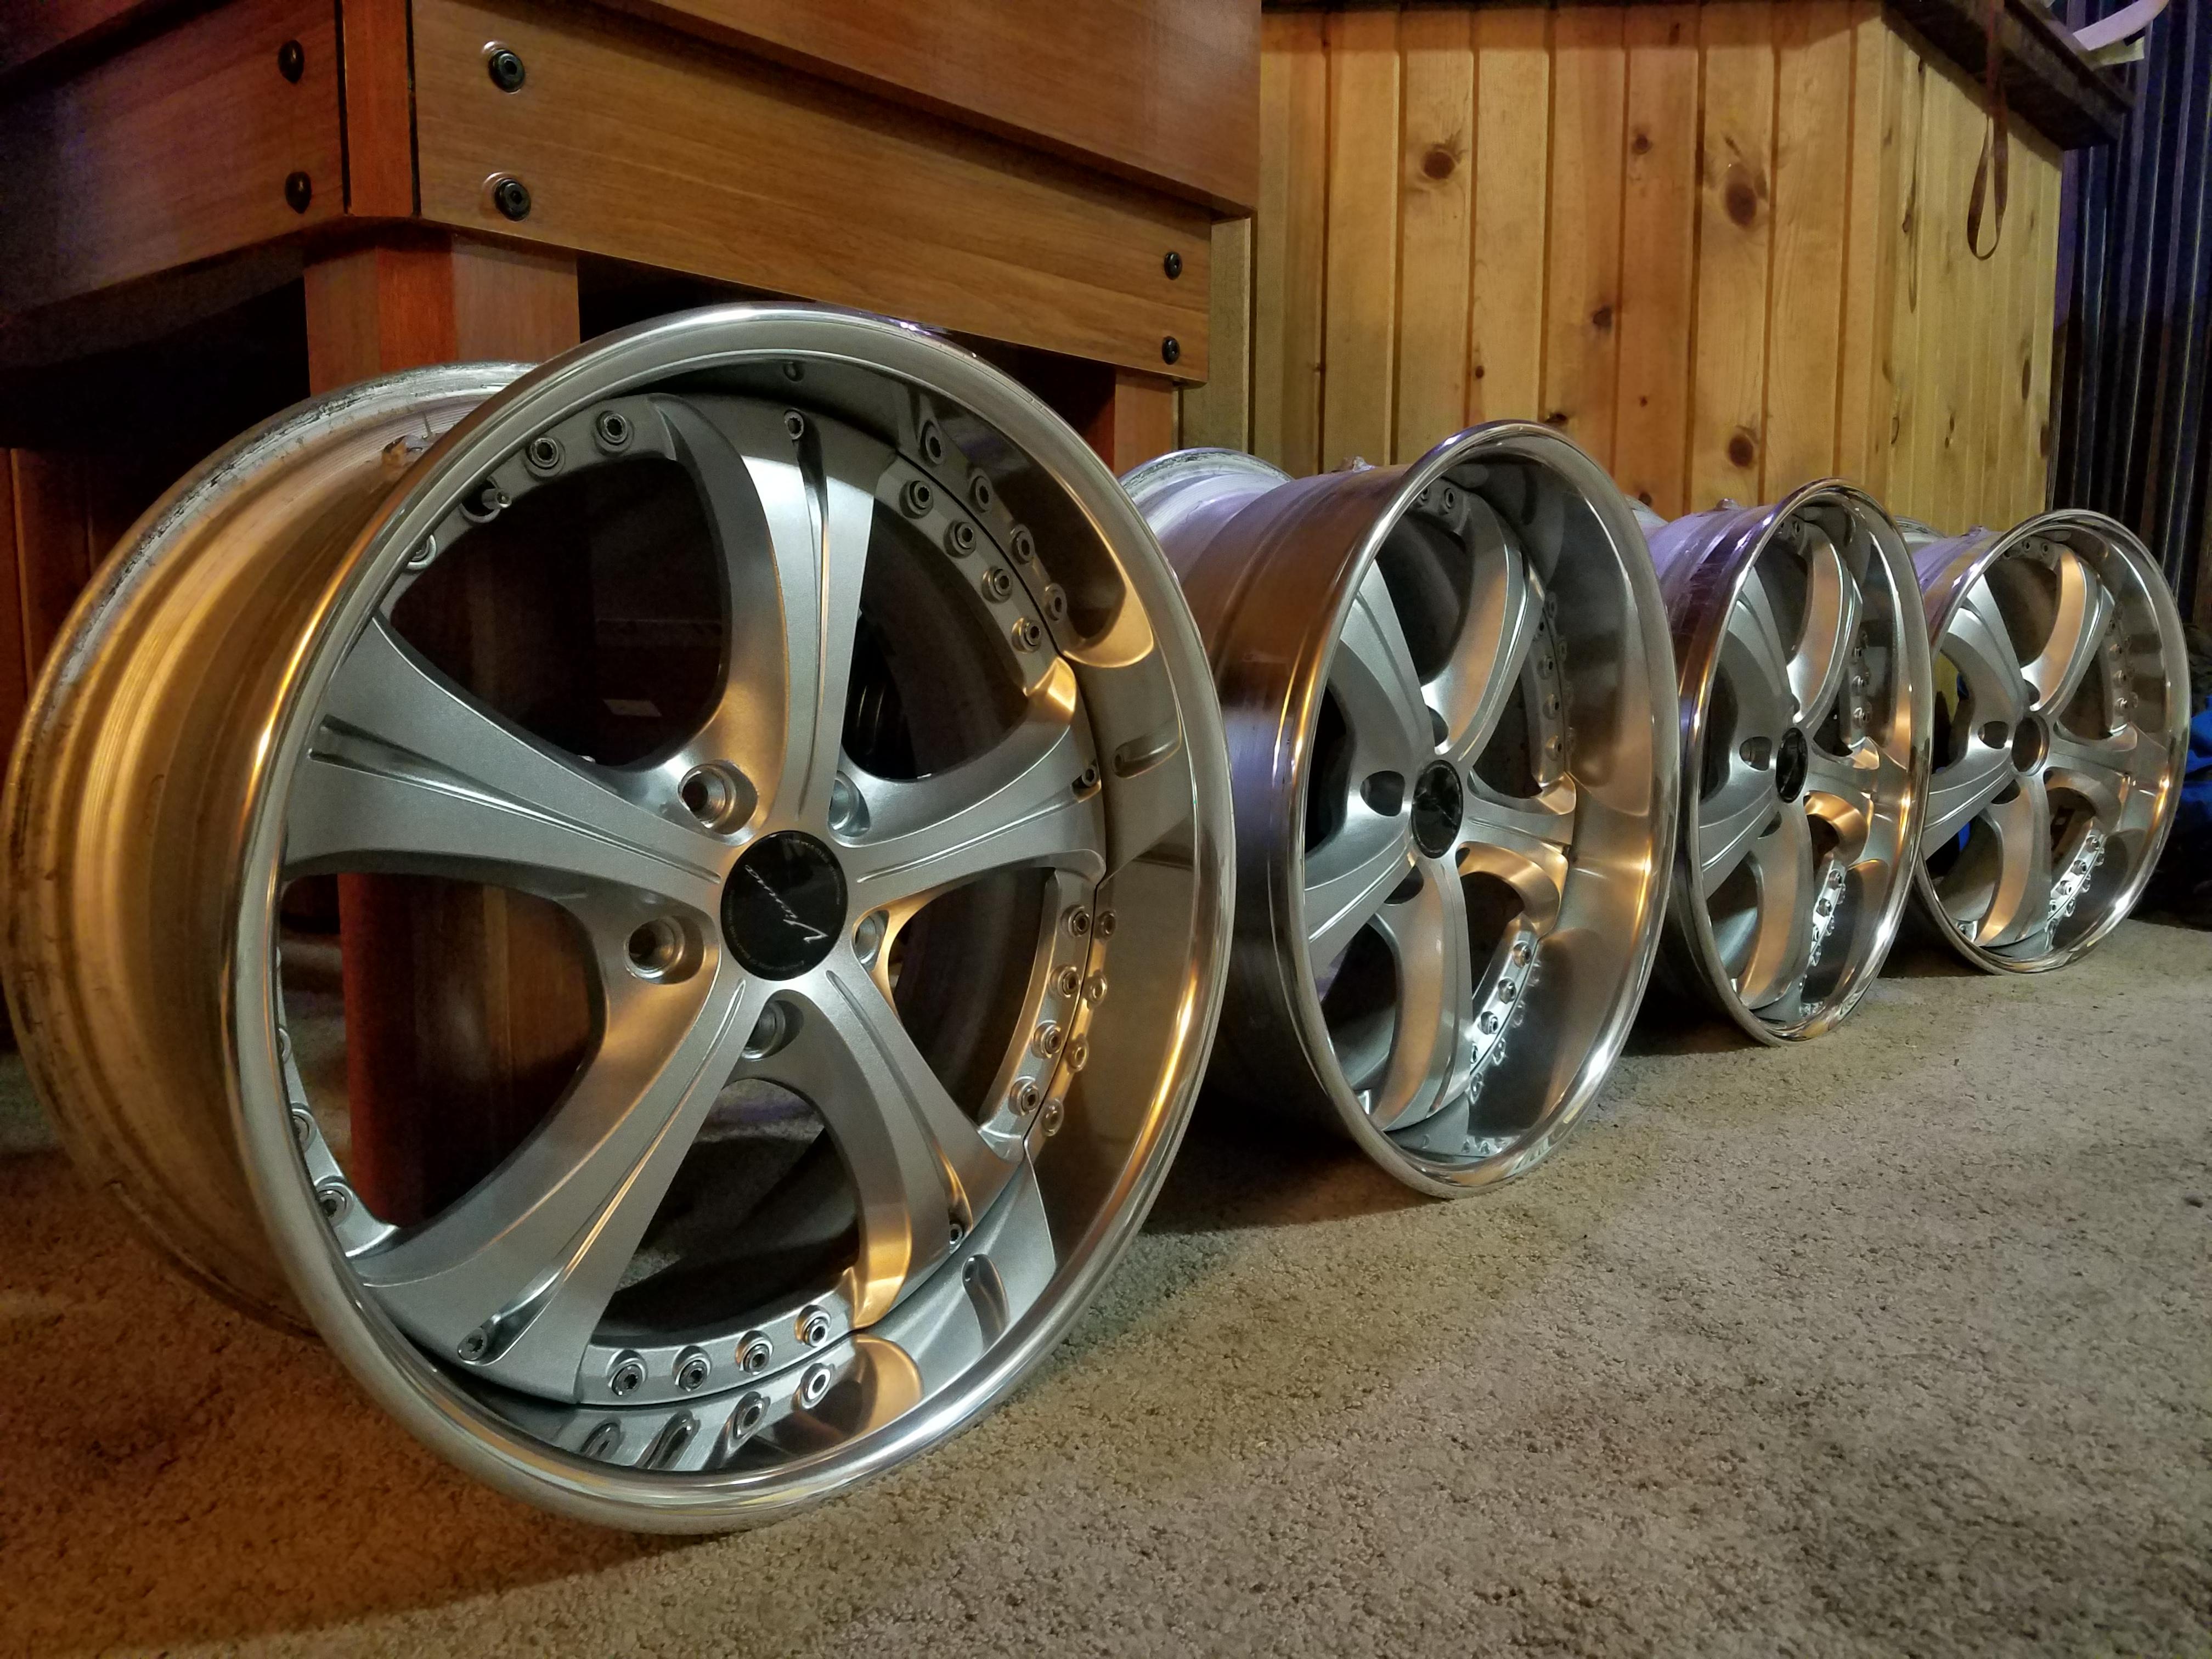
And I sanded the lips to prep them for a friend who is able to polish much more efficently than I am able to.
With new valve stems and new hardware installed I was able to get the wheels together, get tires and have them mounted pretty quickly.
Wheels are SSR Vienna Courages, 18x8 +37, 18x9 +37 and to be honest I had no idea how they were going to fit the car because by the time I had my re drilled hubs on the car I had the wheels apart to refinish them.
Id say it worked out pretty damn well for guessing.
Next up was the daunting task of aligning the car which we did all in shop (its damn close to straight and even). With everything being completely adjustable in the rear and front it was quite interesting, but we got it.
Finished up some things in the engine bay like all the seals and etc. Also have the radium catch can installed but I have it routed not the way they intended as I dont have a CCv and it is meant to work with the CCV, Id like to get one and hook it up correctly in the near future though.
Took the car for a drive and ran into some issues... the m54b30 which was from my 330i had a flash tune from RK-Tunes. Everything was done correctly wiring wise other wise I know the car would nit have started. When driving the car it was rev limited at around 5200 RPM. Tried a few things including swapping a MAF with no luck. After doing some research I figured out that it may be because the cars ABS was completely removed and the cluster no longer has a module to talk to. With that being said I emailed Jordan at RK-Tunes knowing that with my past experiences along with a friends there was a good chance I would not get an email in the time frame that I needed to. So while talking to someone on a facebook page I came across the fact that he also does flash tunes. He runs a website that he sells his own products as well as comissions other peoples products that they have specially made for these cars but have not broken through to the big companies. His name is Mike Dodge from Seemslegitgarage.com . So he hooked me up with an all new DME, ews deleted and tuned to my specific needs for this chassis and build. I swapped the DMEs and drove the car and BAMMM were in business. While Jordan may be a great tuner he lacks in customer service and Mike promised me he prides himself on making sure he is there for customer support.
Still some finishing touches to touch on but the car is running, driving and now at home where i can work on it more frequently without driving to the shop.
Also a big thanks to @Earl for gifting me the Euro M3 style roof extension for the rear window!
-
A purists nightmare - E46 drift buildGot a few part in the mail recently. No photos but nothing extremely exciting. The new clutch came in, intake manifold gaskets, a cv boot rebuild kit and a rear plastic thing (idk what the proper name is haha) and then the covers for the low beam side of my headlights.
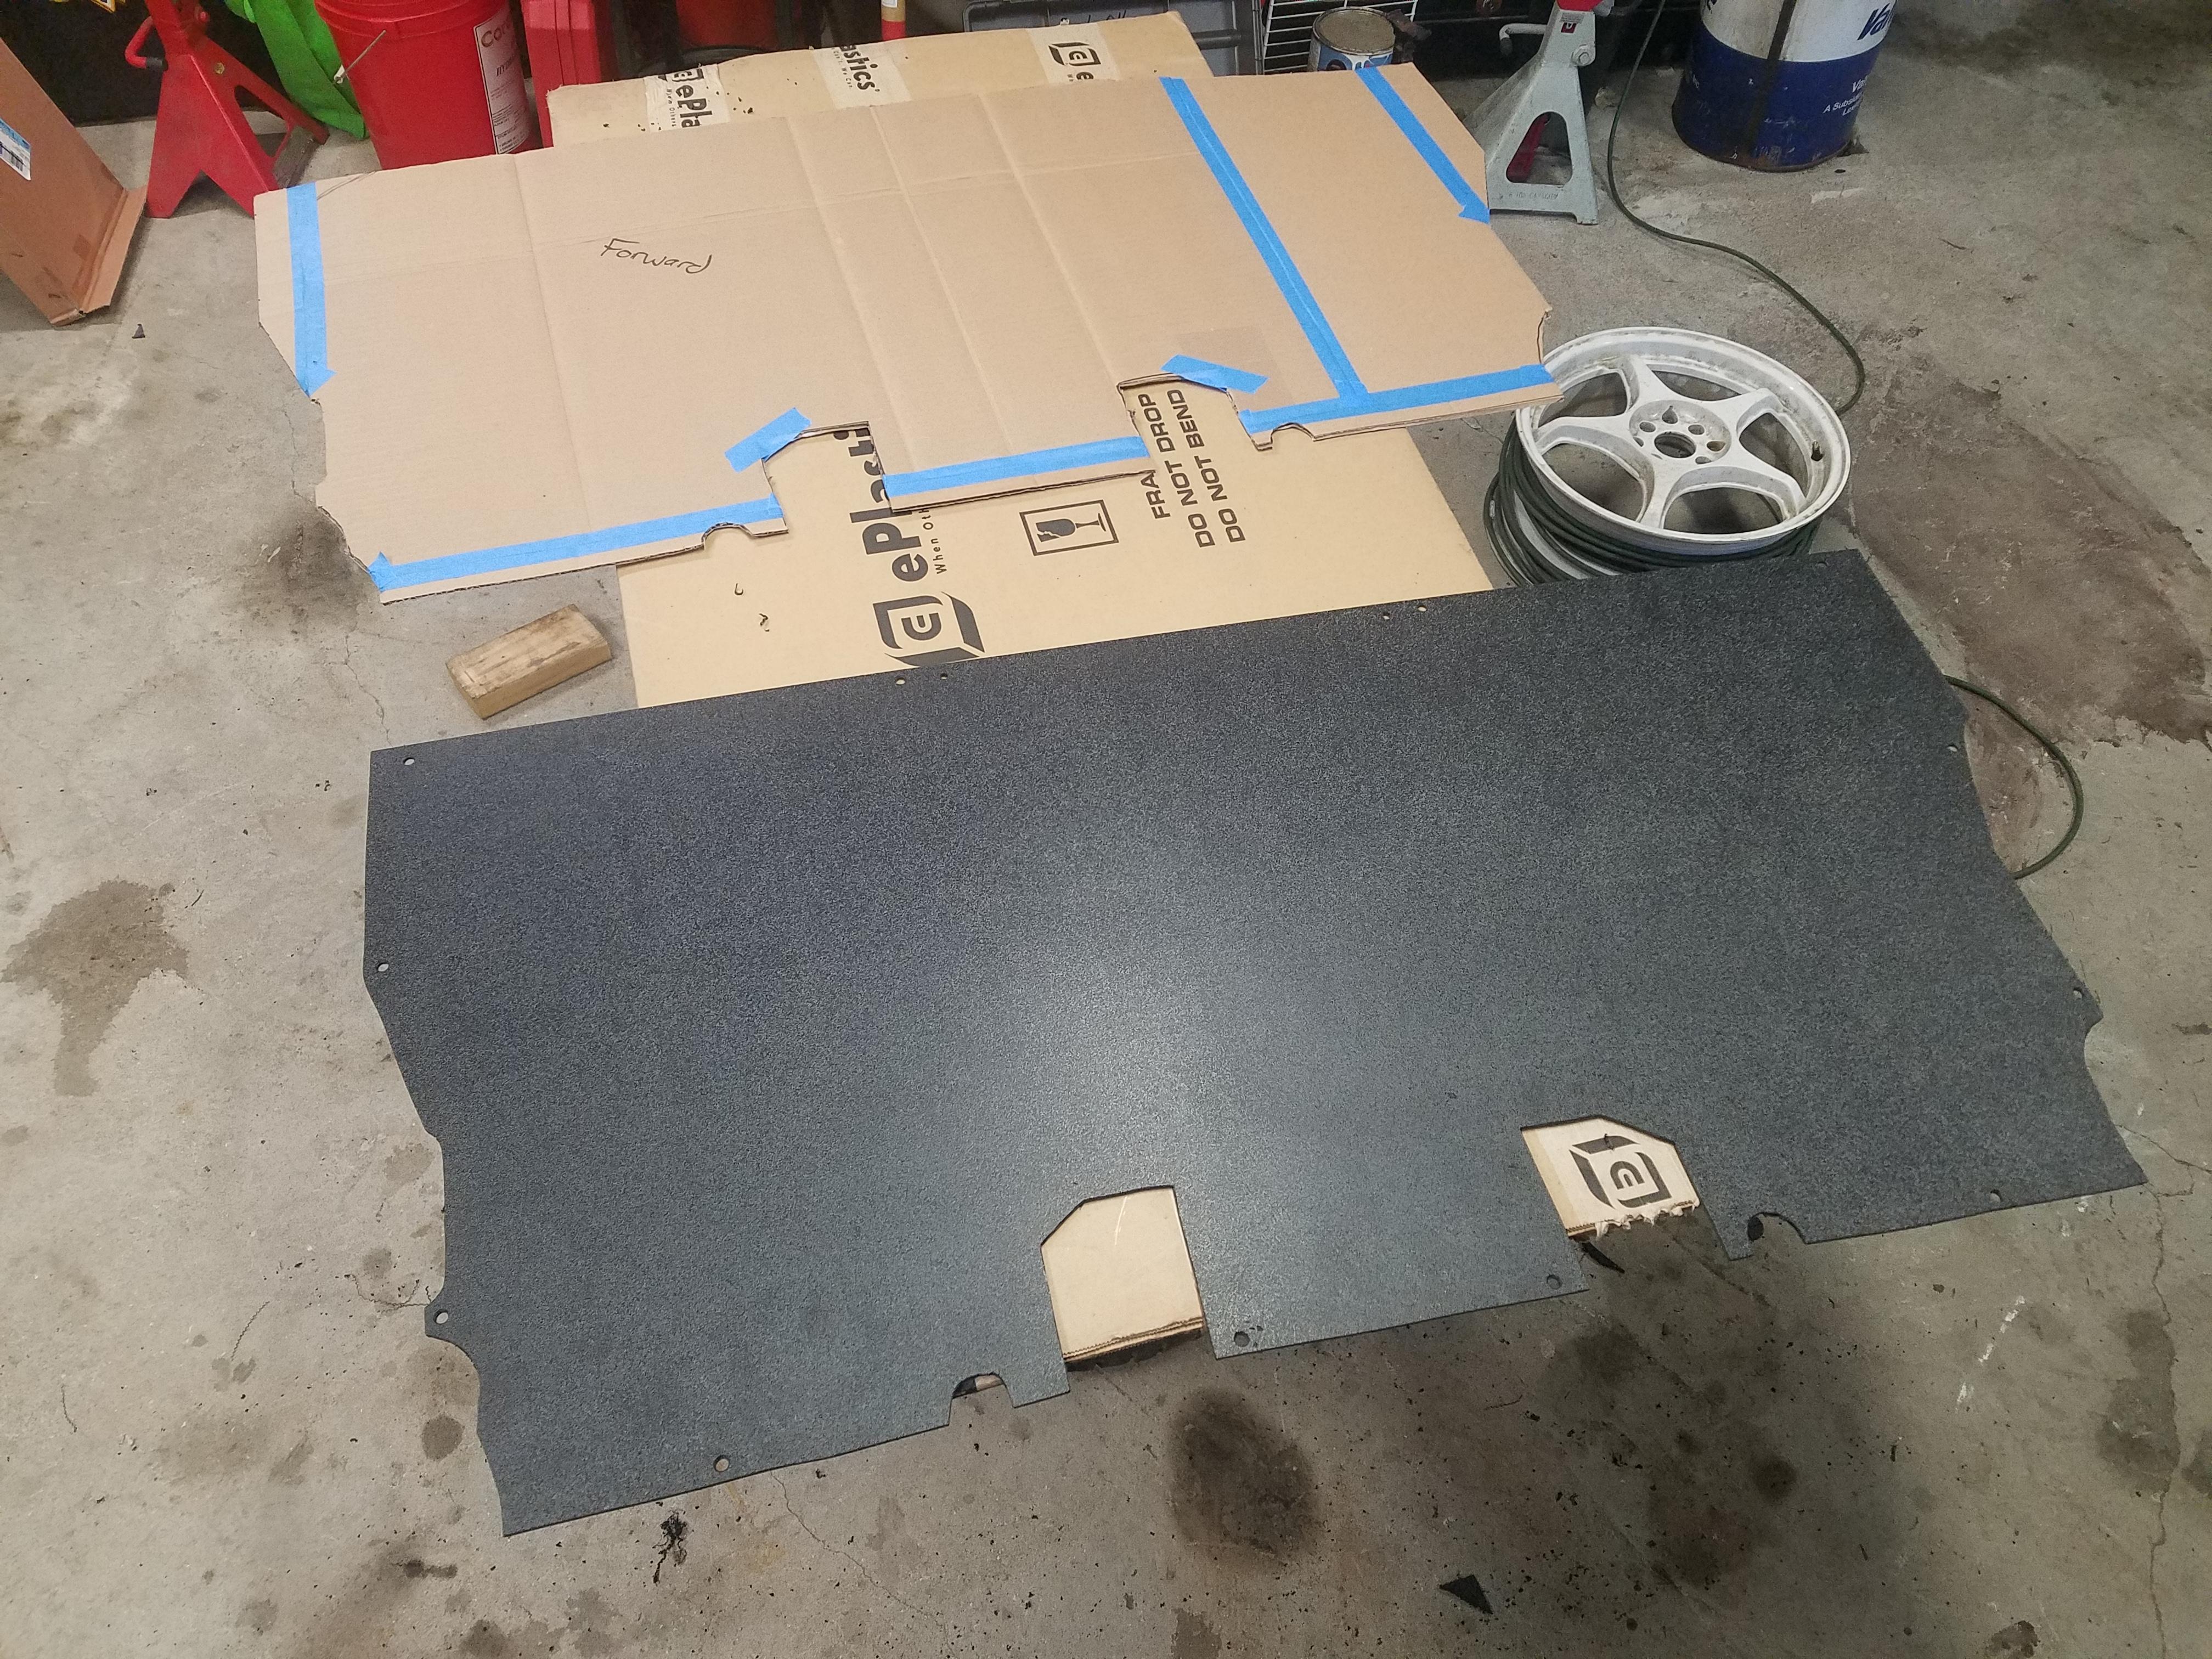
Also got my abs plastic in to finish the rear bulkhead too. Used my CAD (cardboard aided design) template traced it out and started cutting.
Got everything trimmed right then drilled some holes. Used M5 nutzerts and some stainless M5 hardware to secure it.
-
A purists nightmare - E46 drift build -
A purists nightmare - E46 drift buildUpdate.
Been busy with some personal stuff but finally got some time to get to the shop.
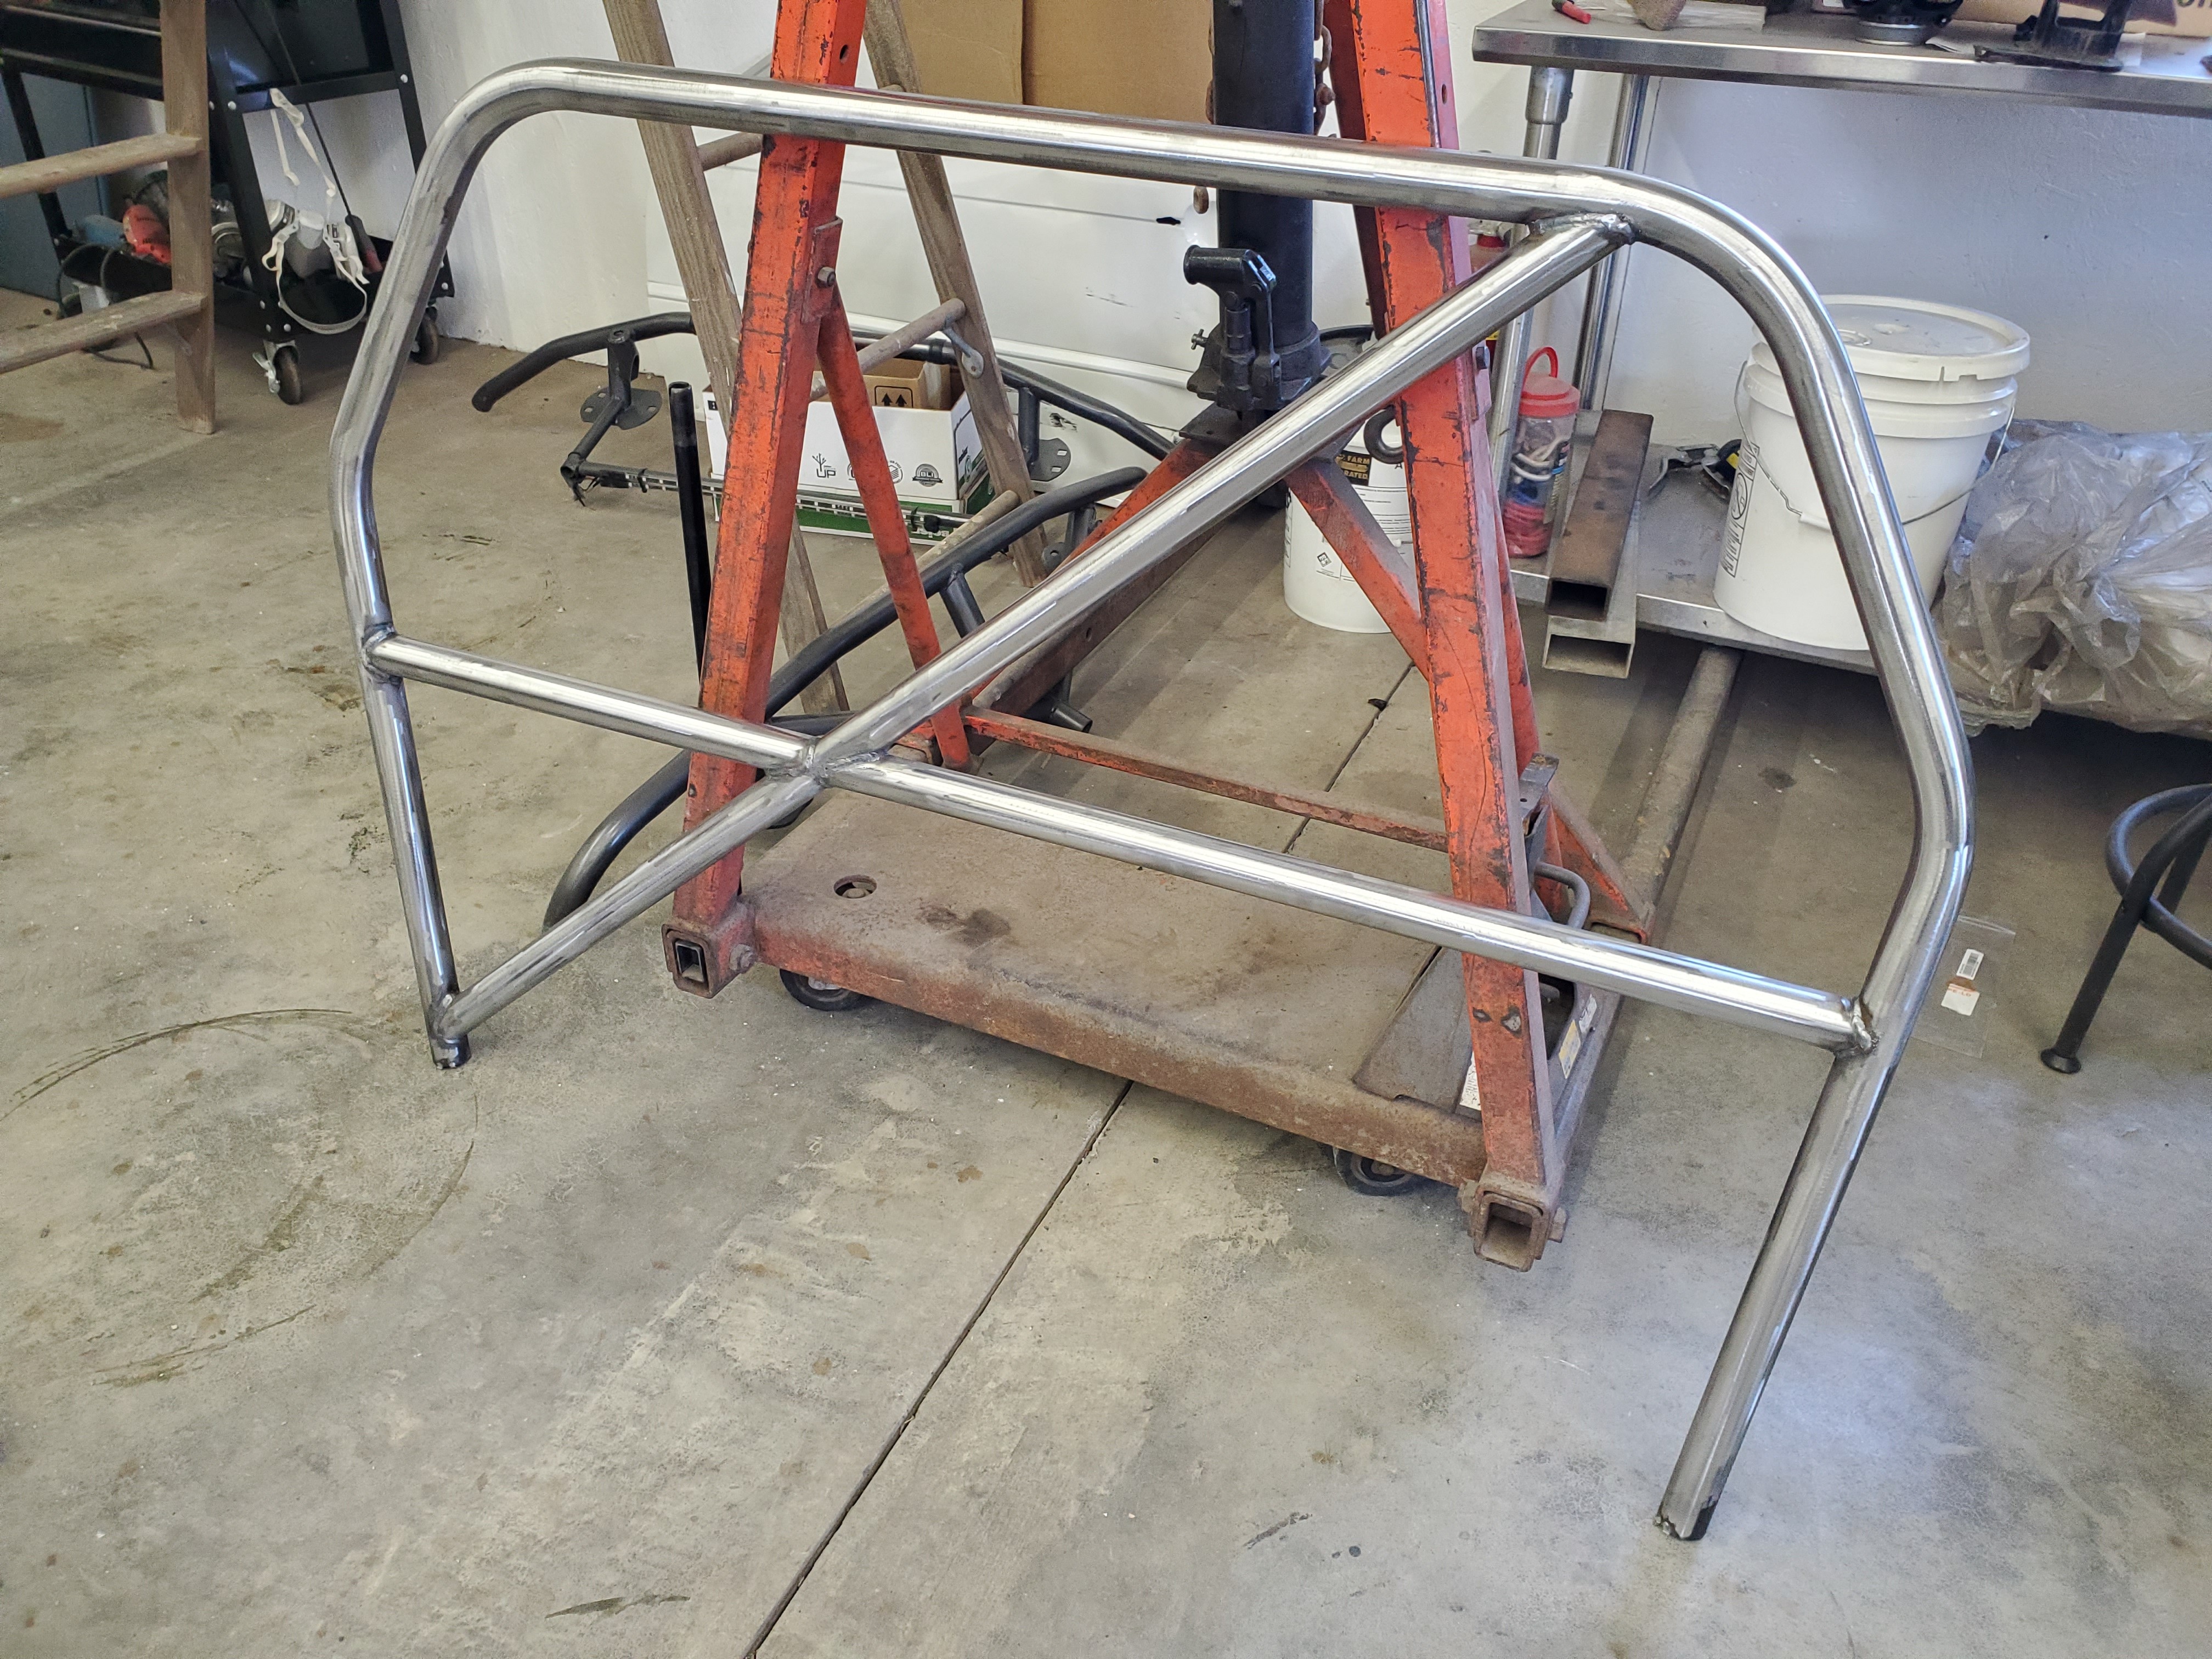
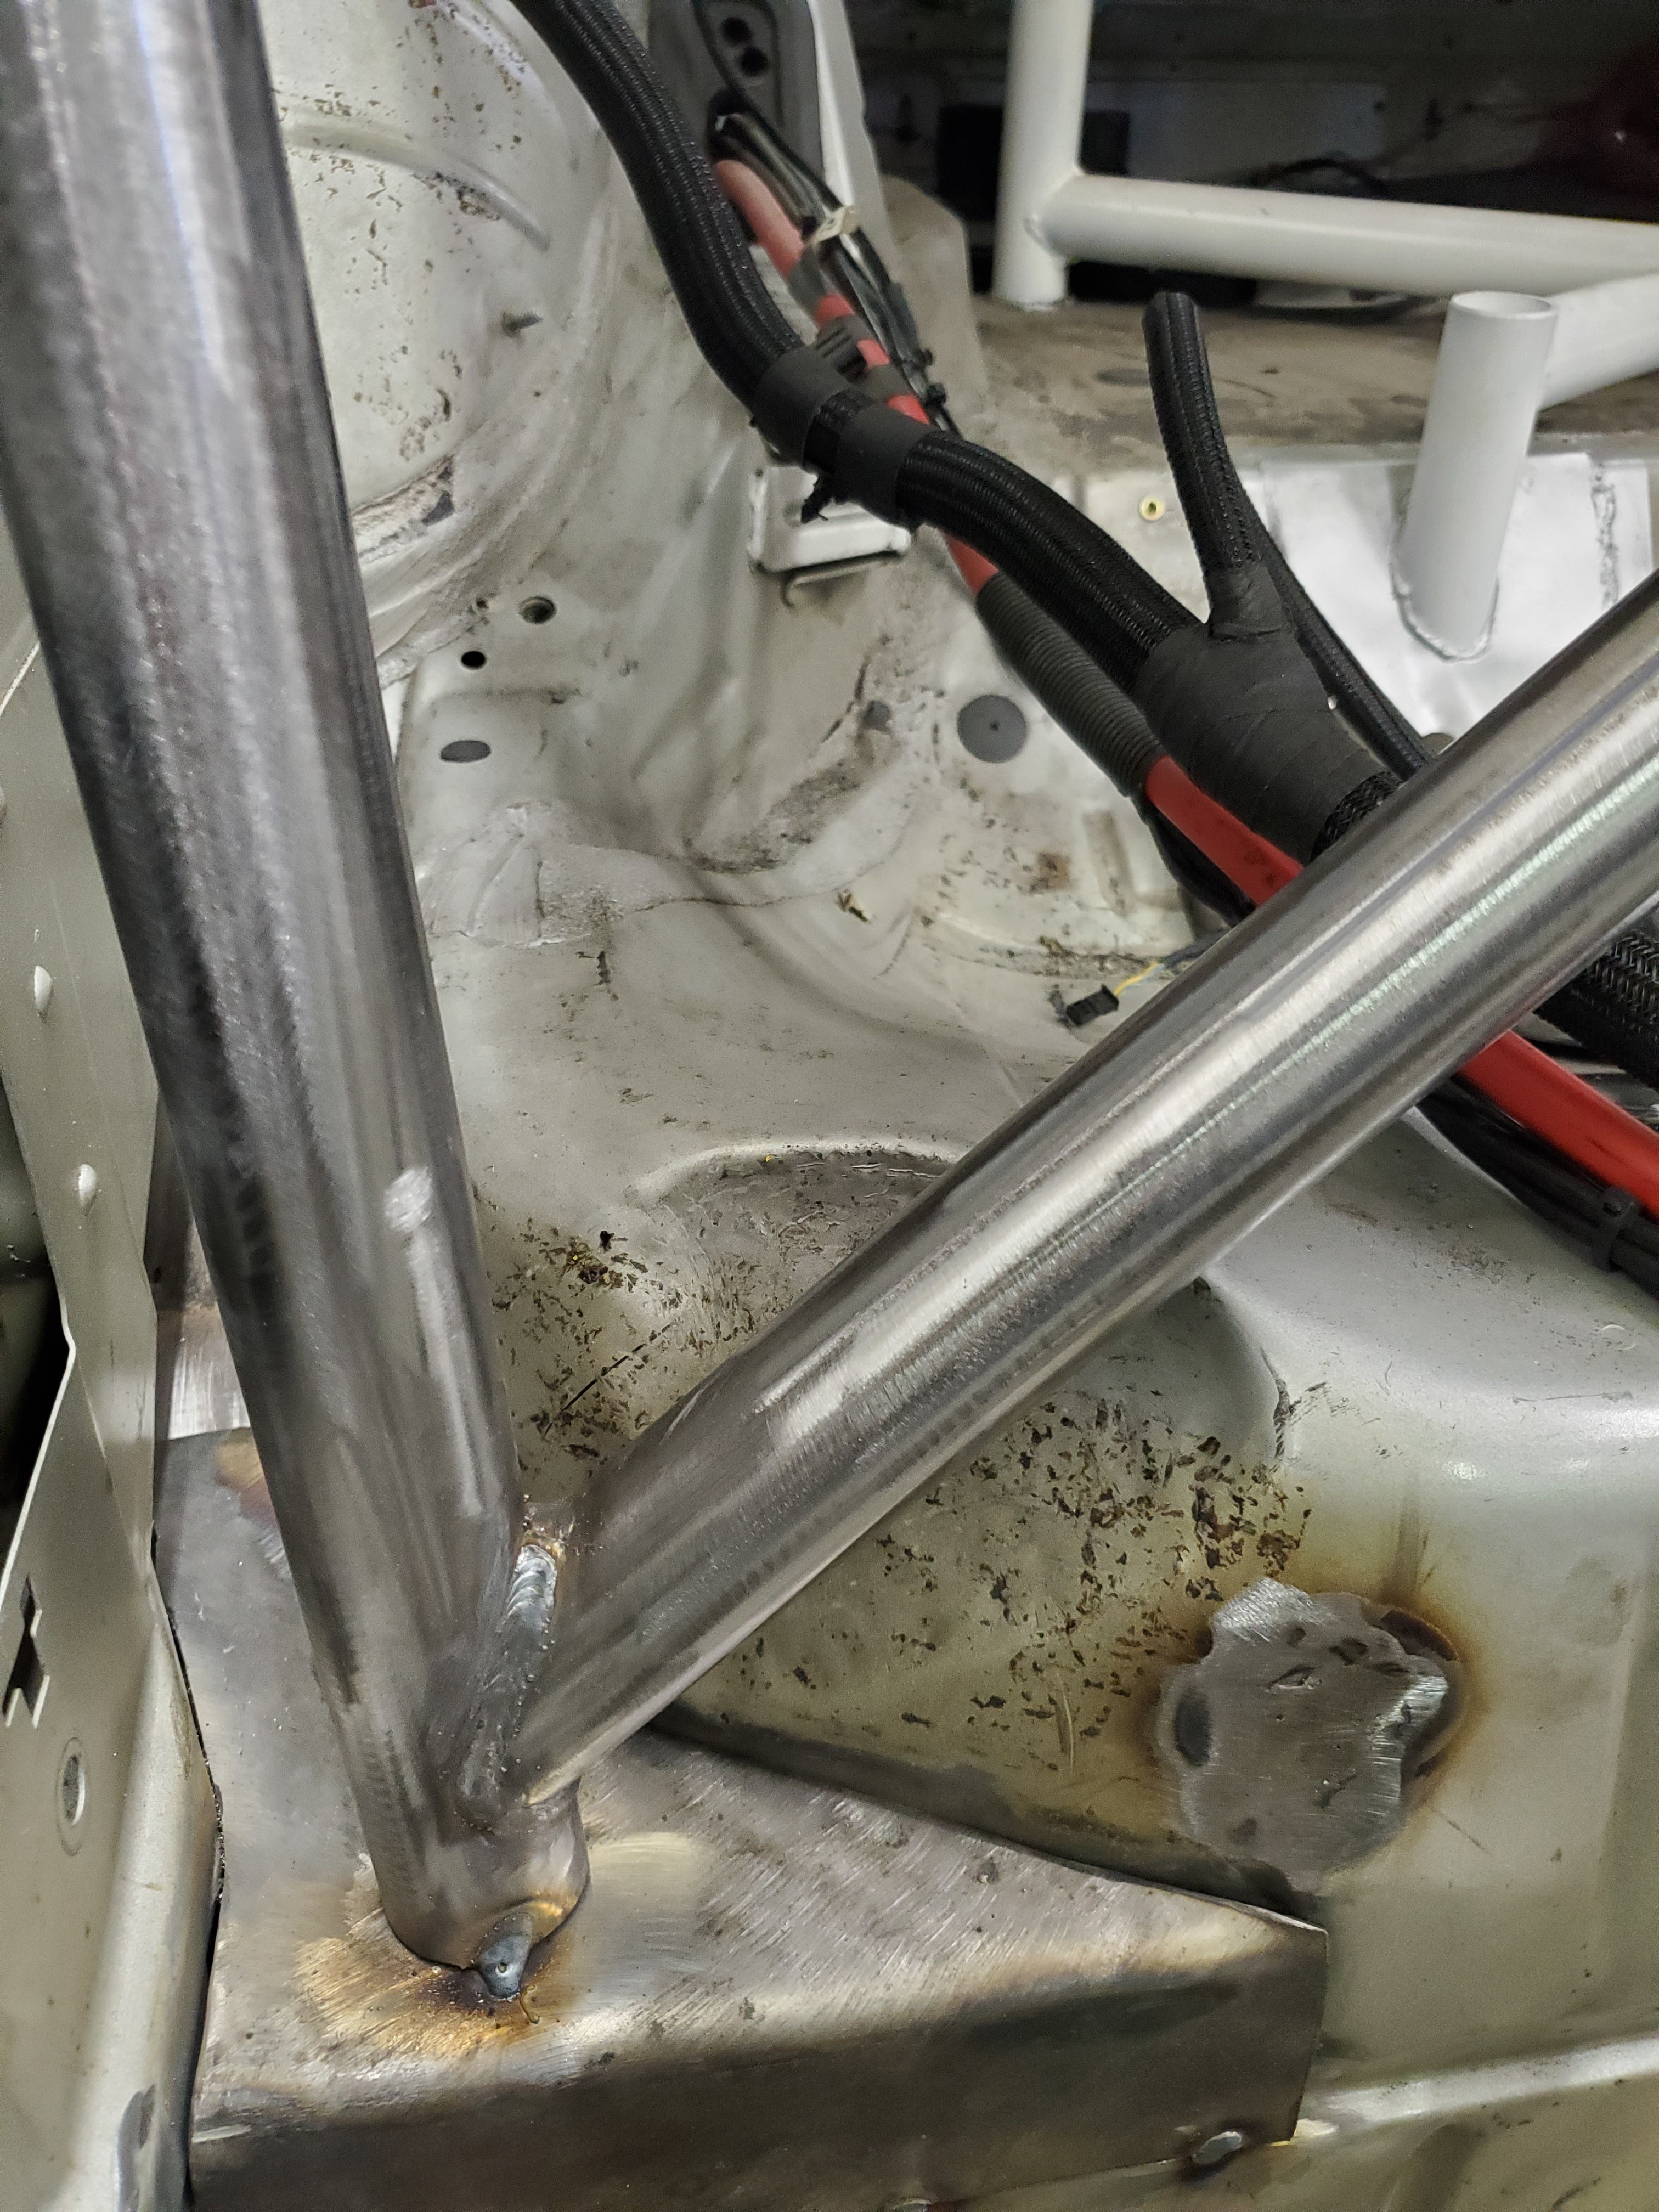
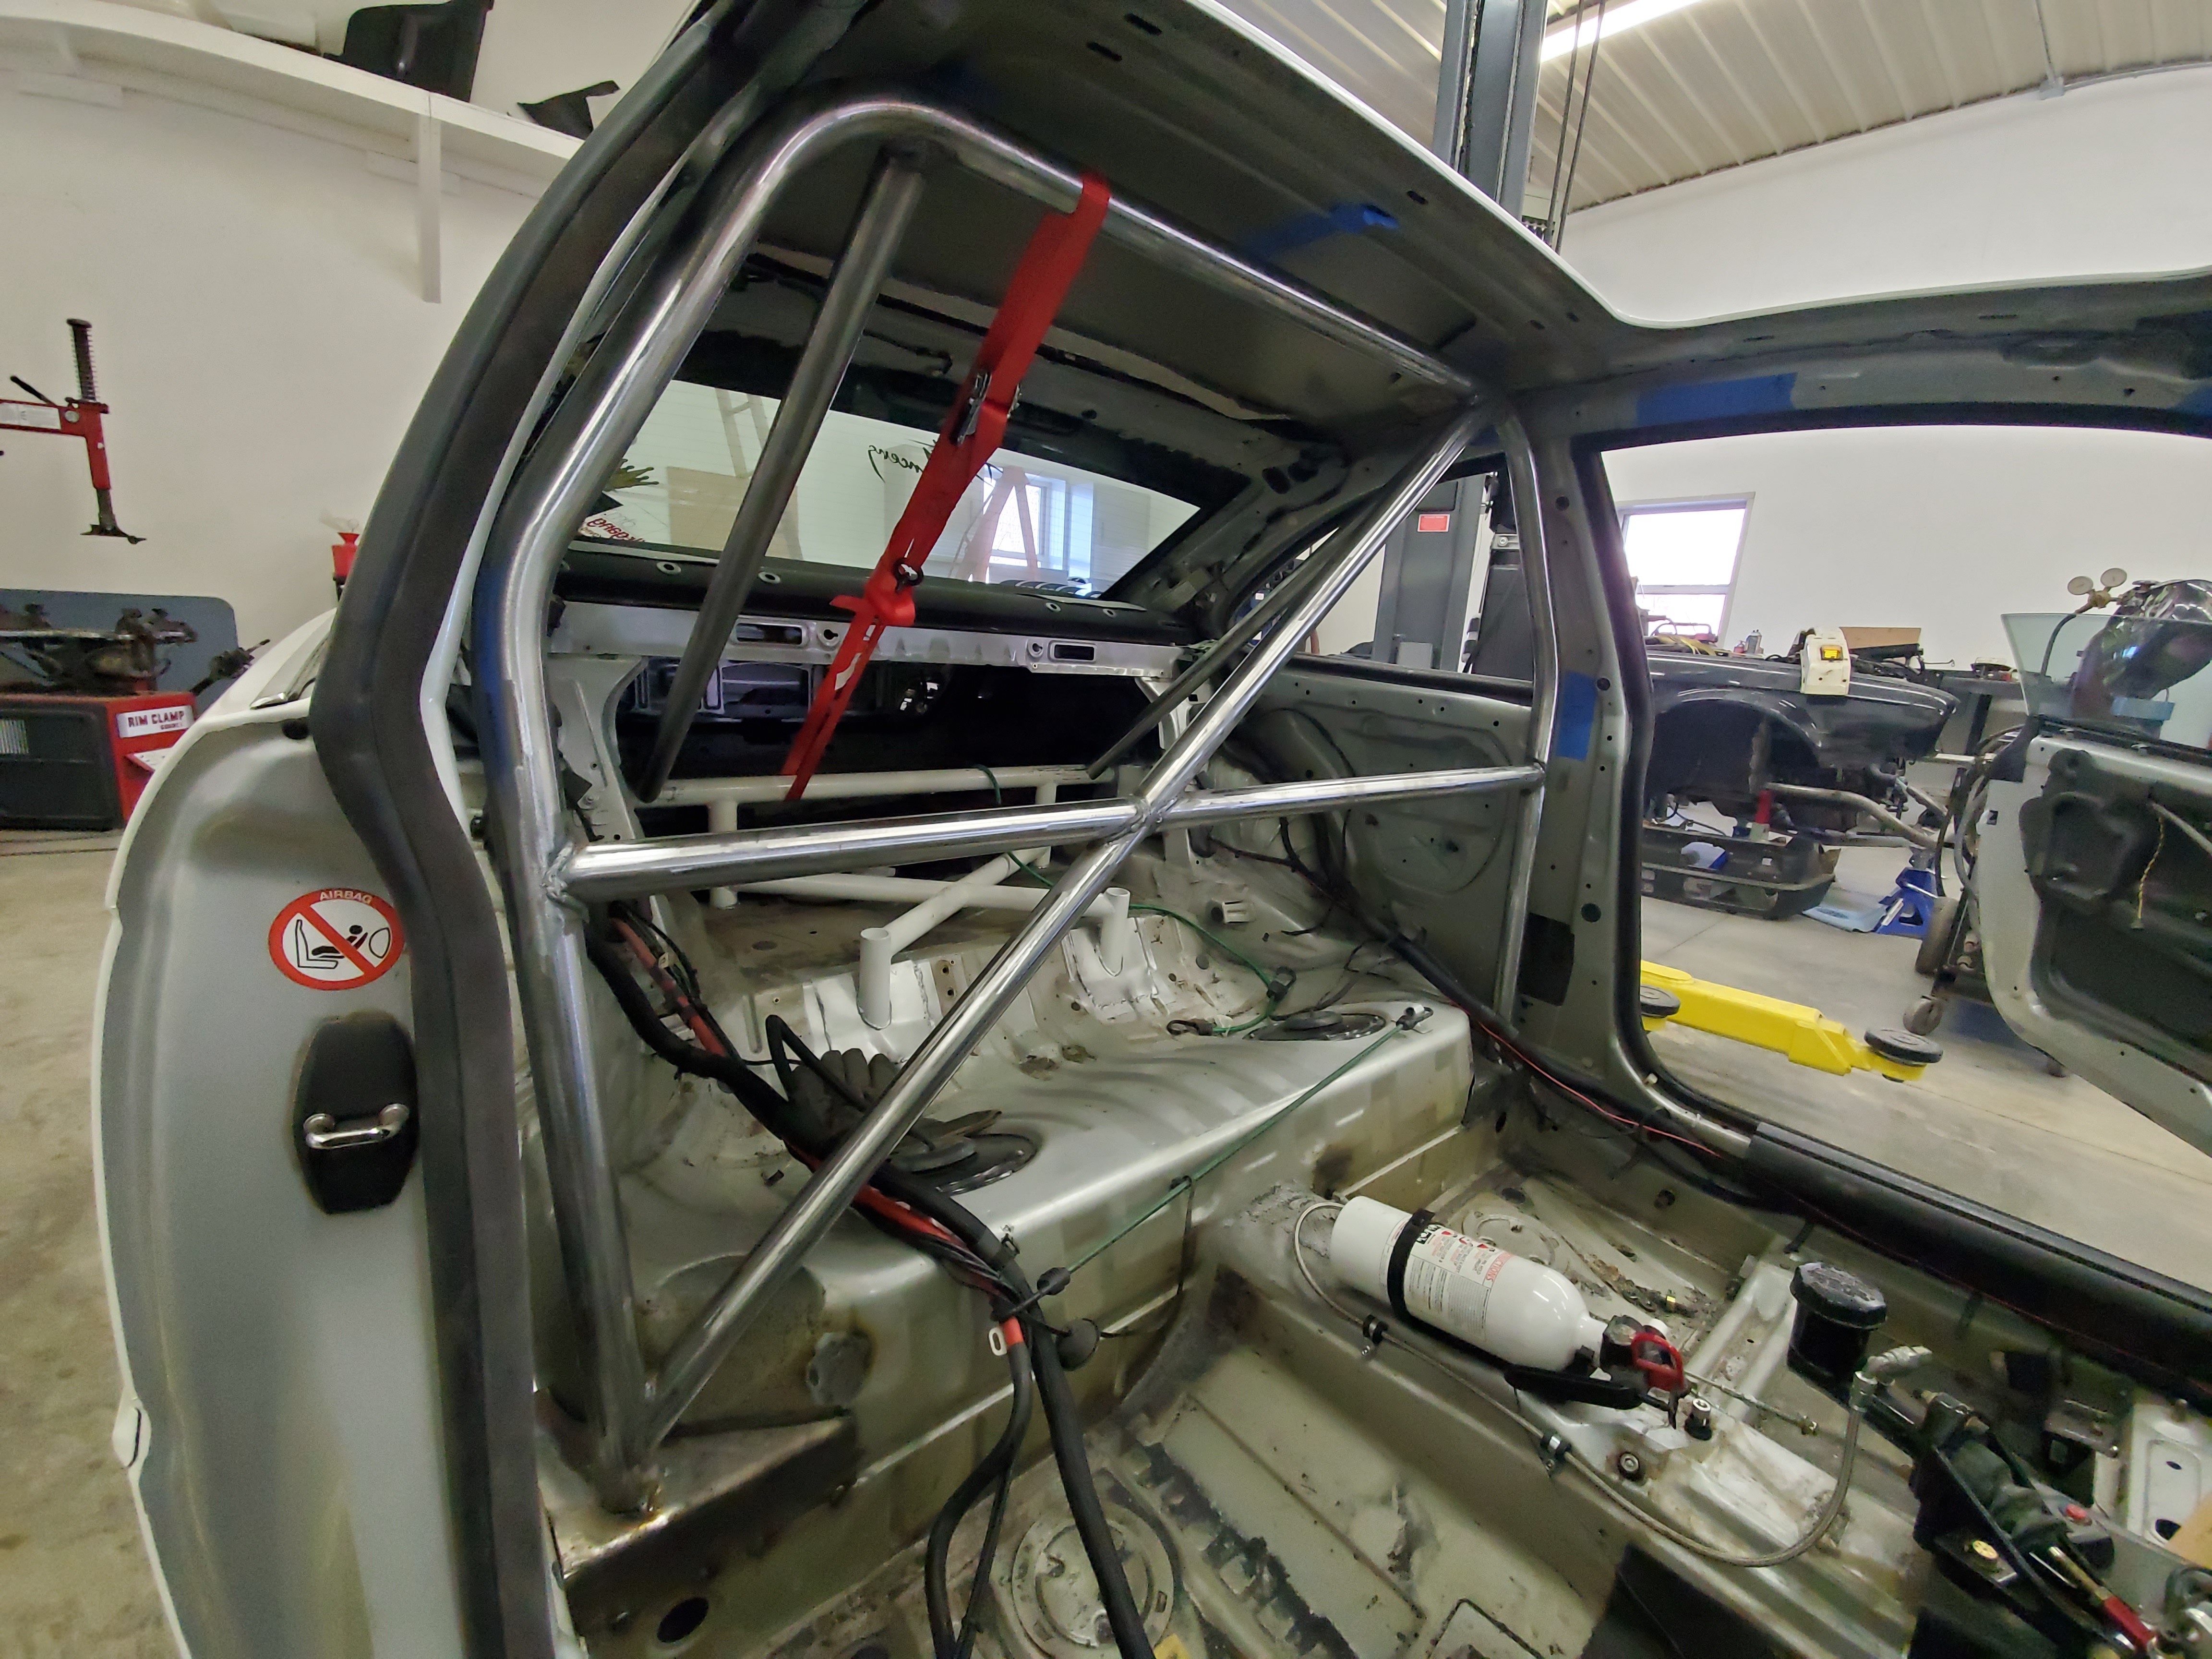
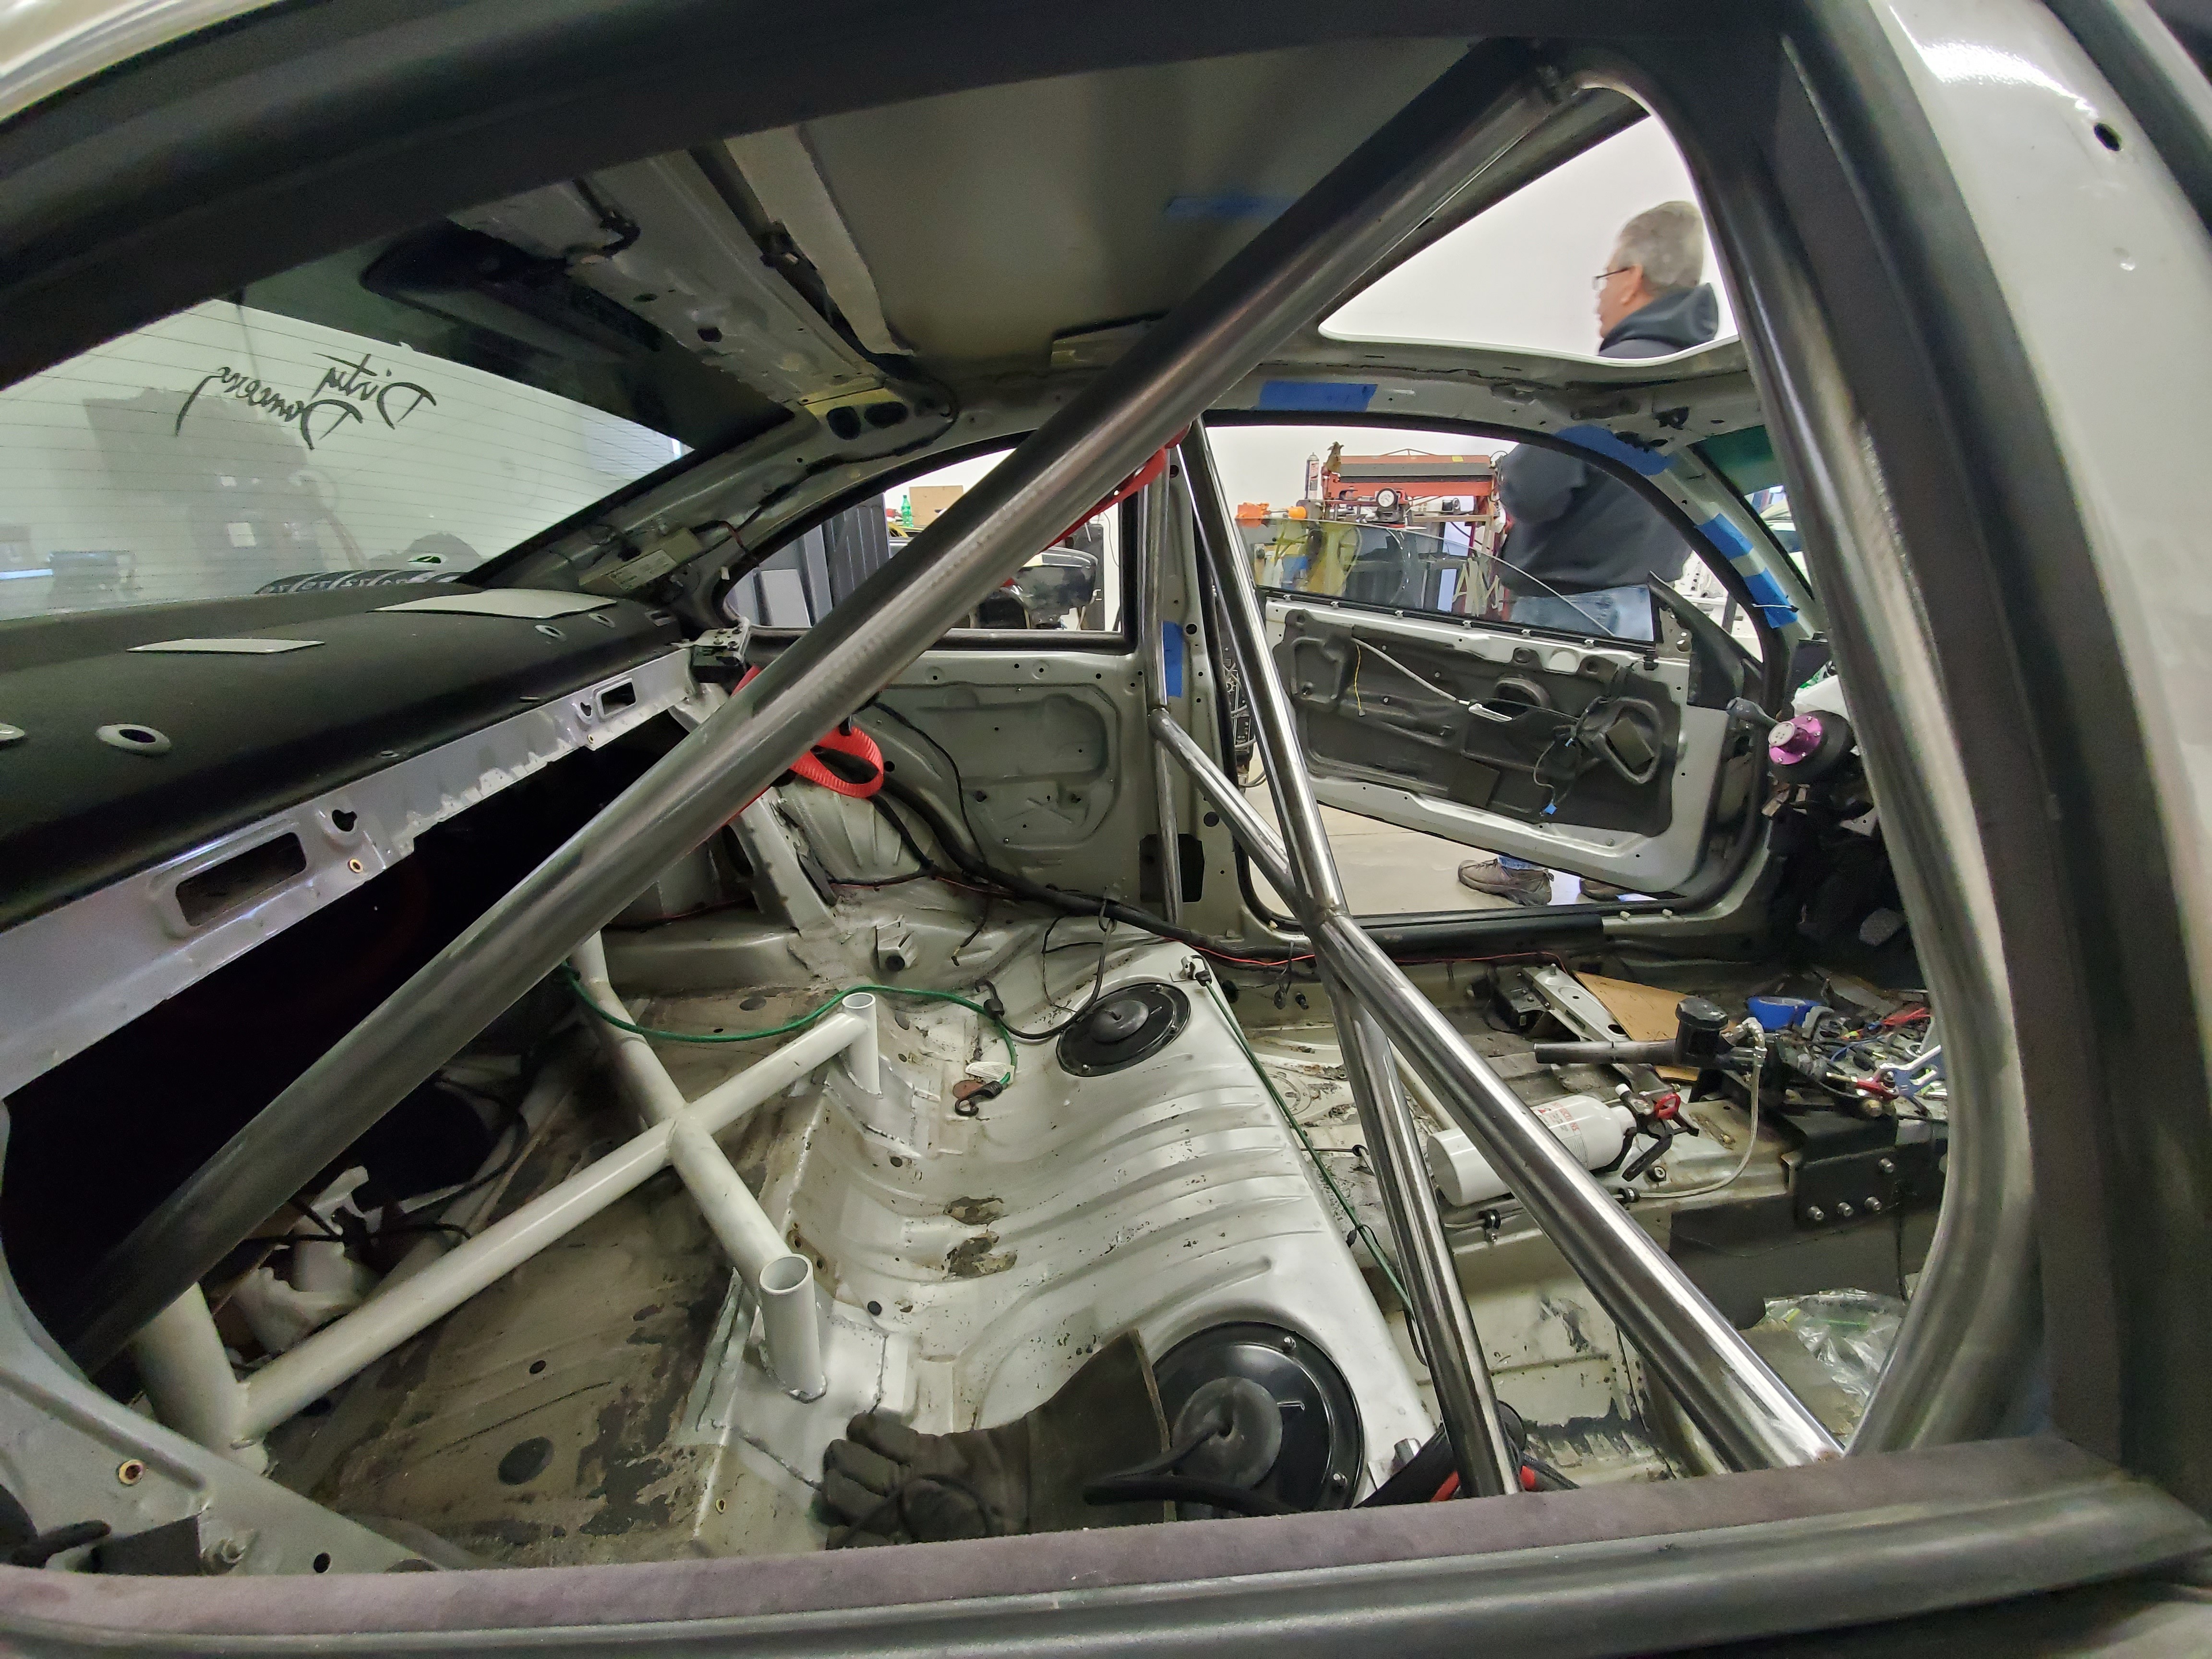
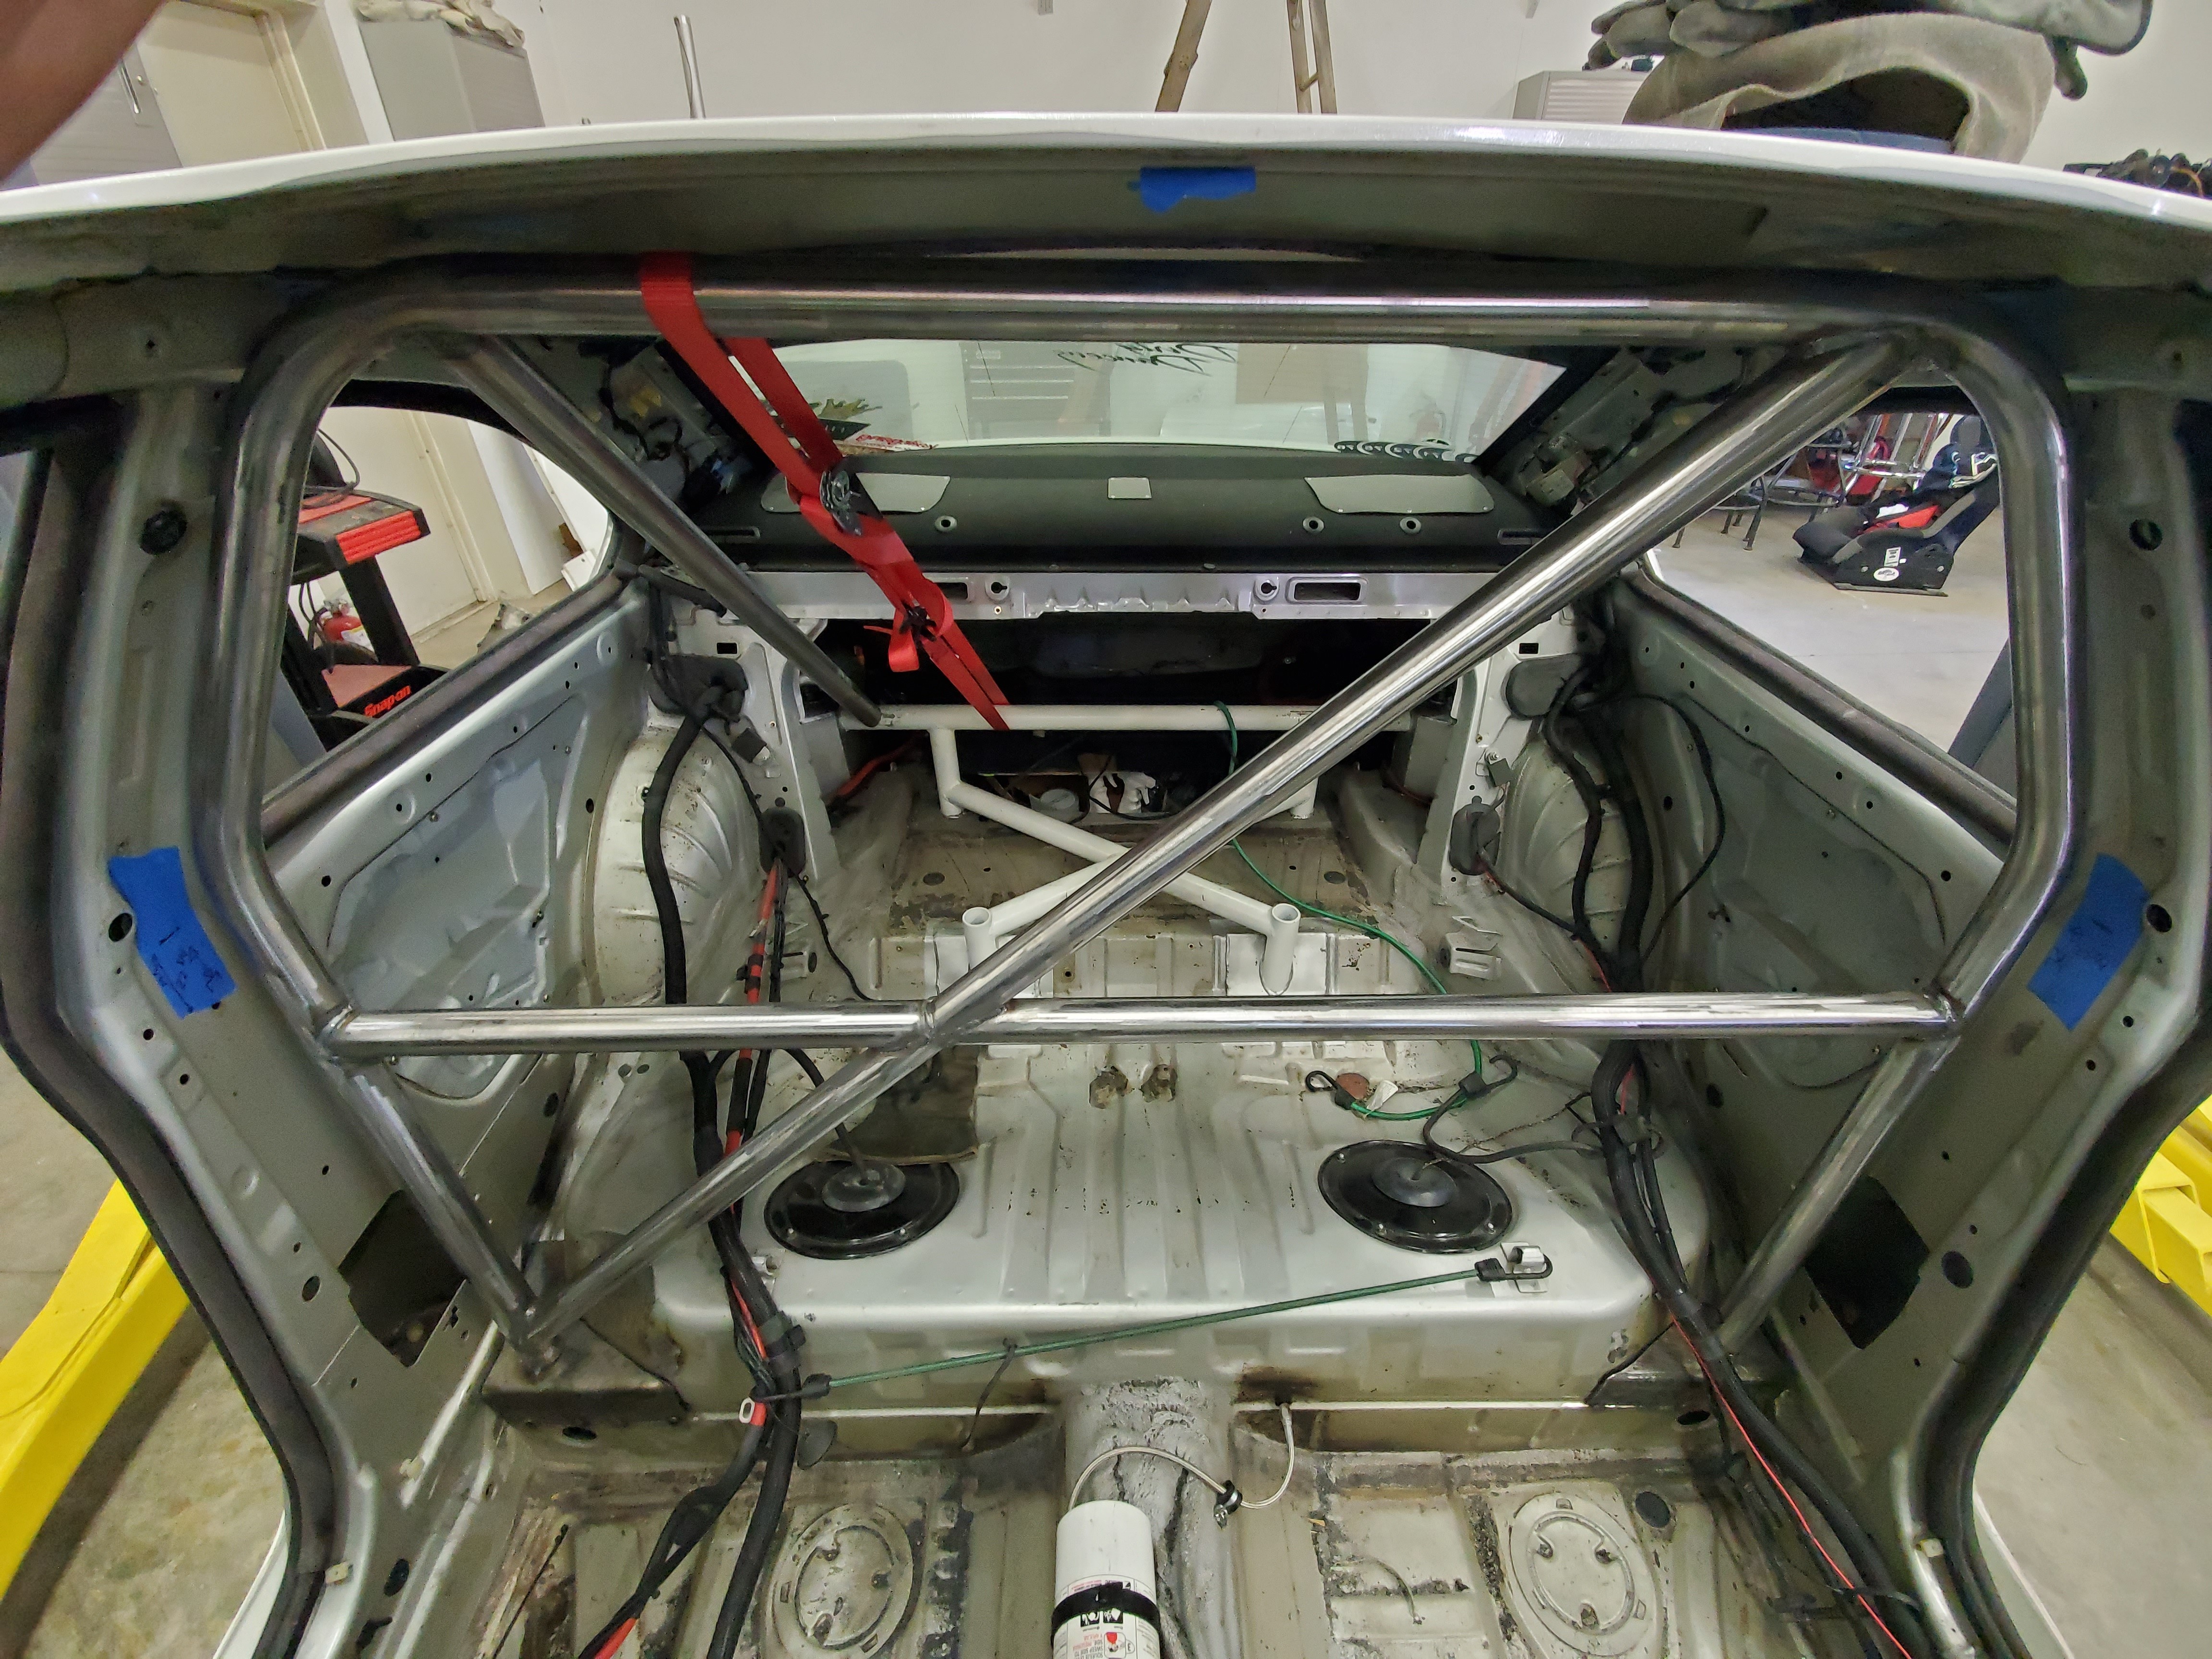
Pulled out the main hoop and got it completely welded.
Which was a daunting task for me leading up to it. I can weld and do fab work but when it came to something this permanent I got nervous about my welding skills.
But it went well
so confidence re-instilled.Then I cleaned up all the seam sealer under where the rear box plated for the main hoop will be and re-tacked them in. Forgot to take a pic but it wasnt much of anything exciting.
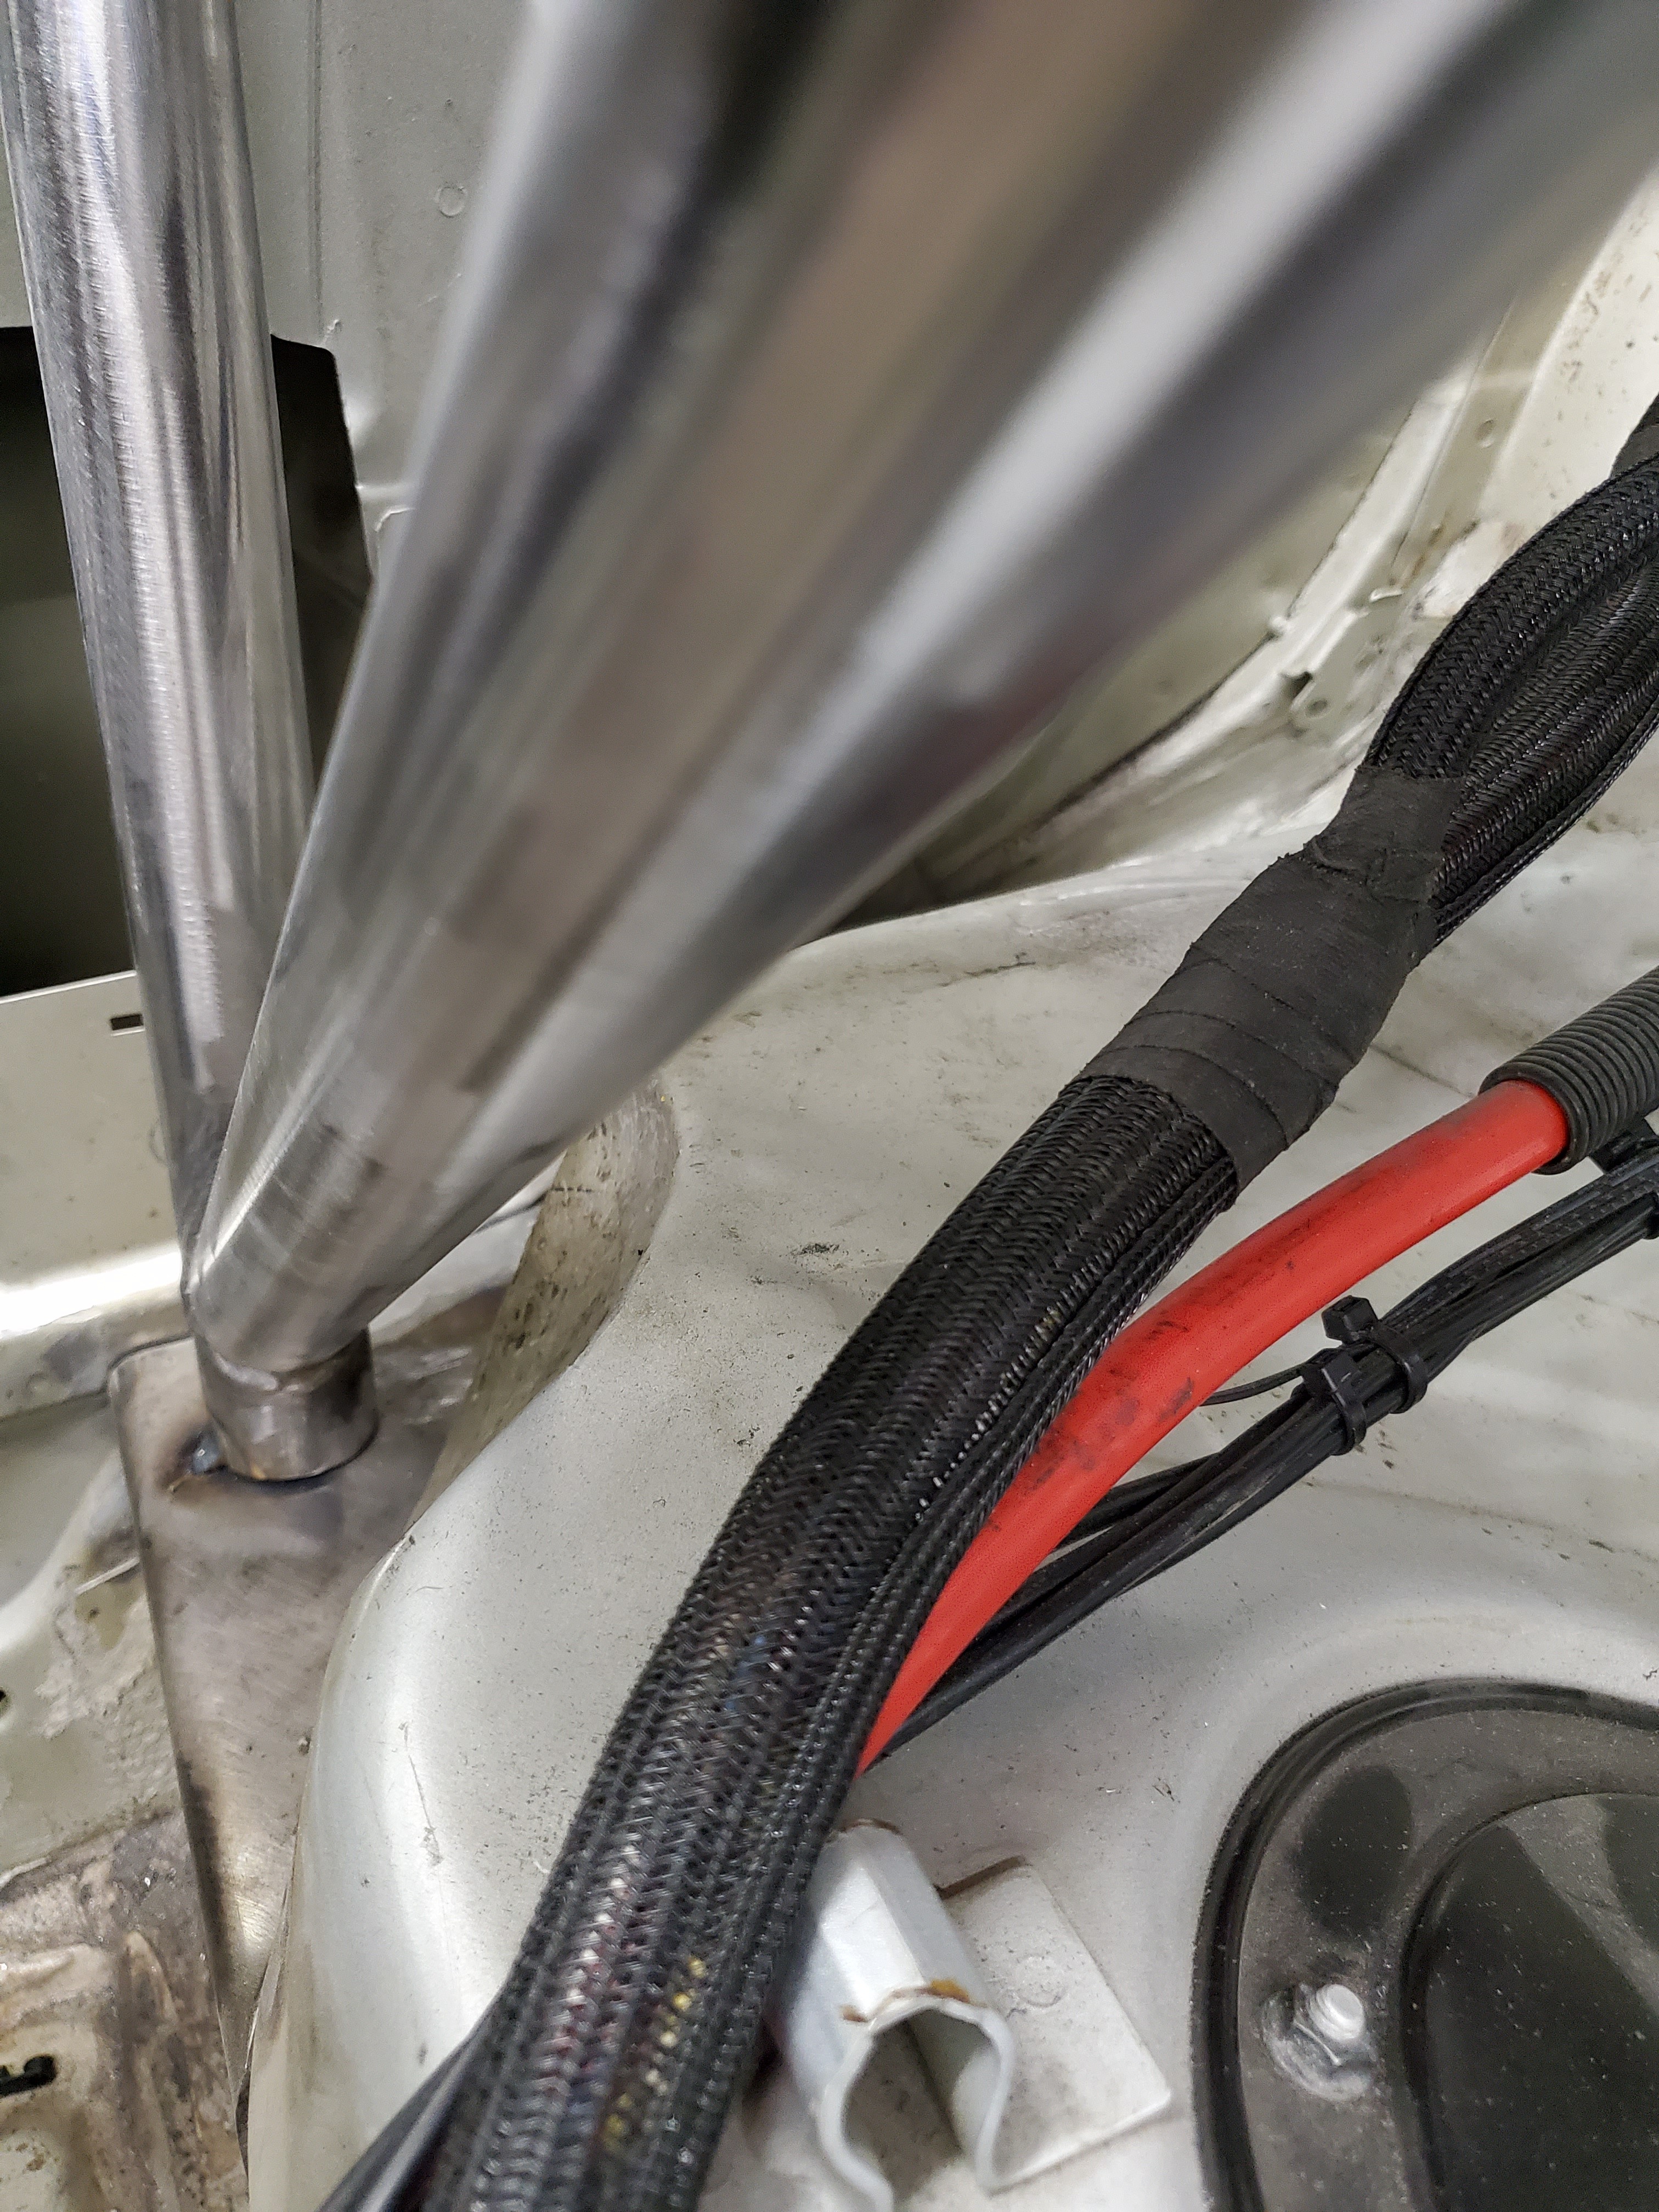
Before putting the main hoop back in we "clearanced" the rear seat area with the good ole attitude adjuster. Aka hammer. The idea was to make room for the chassis harness to slide back down next to the bottom of the main hoop. Really excited on how that little detail turned out.
Next we threw in the main hoop and tacked it in place again, then I got the rear down bars properly aligned and squared up and did a final weld on them to the main hoop.
Hoping to make more progress next weekend!
-
A purists nightmare - E46 drift buildUPDATE
Got some parts in!
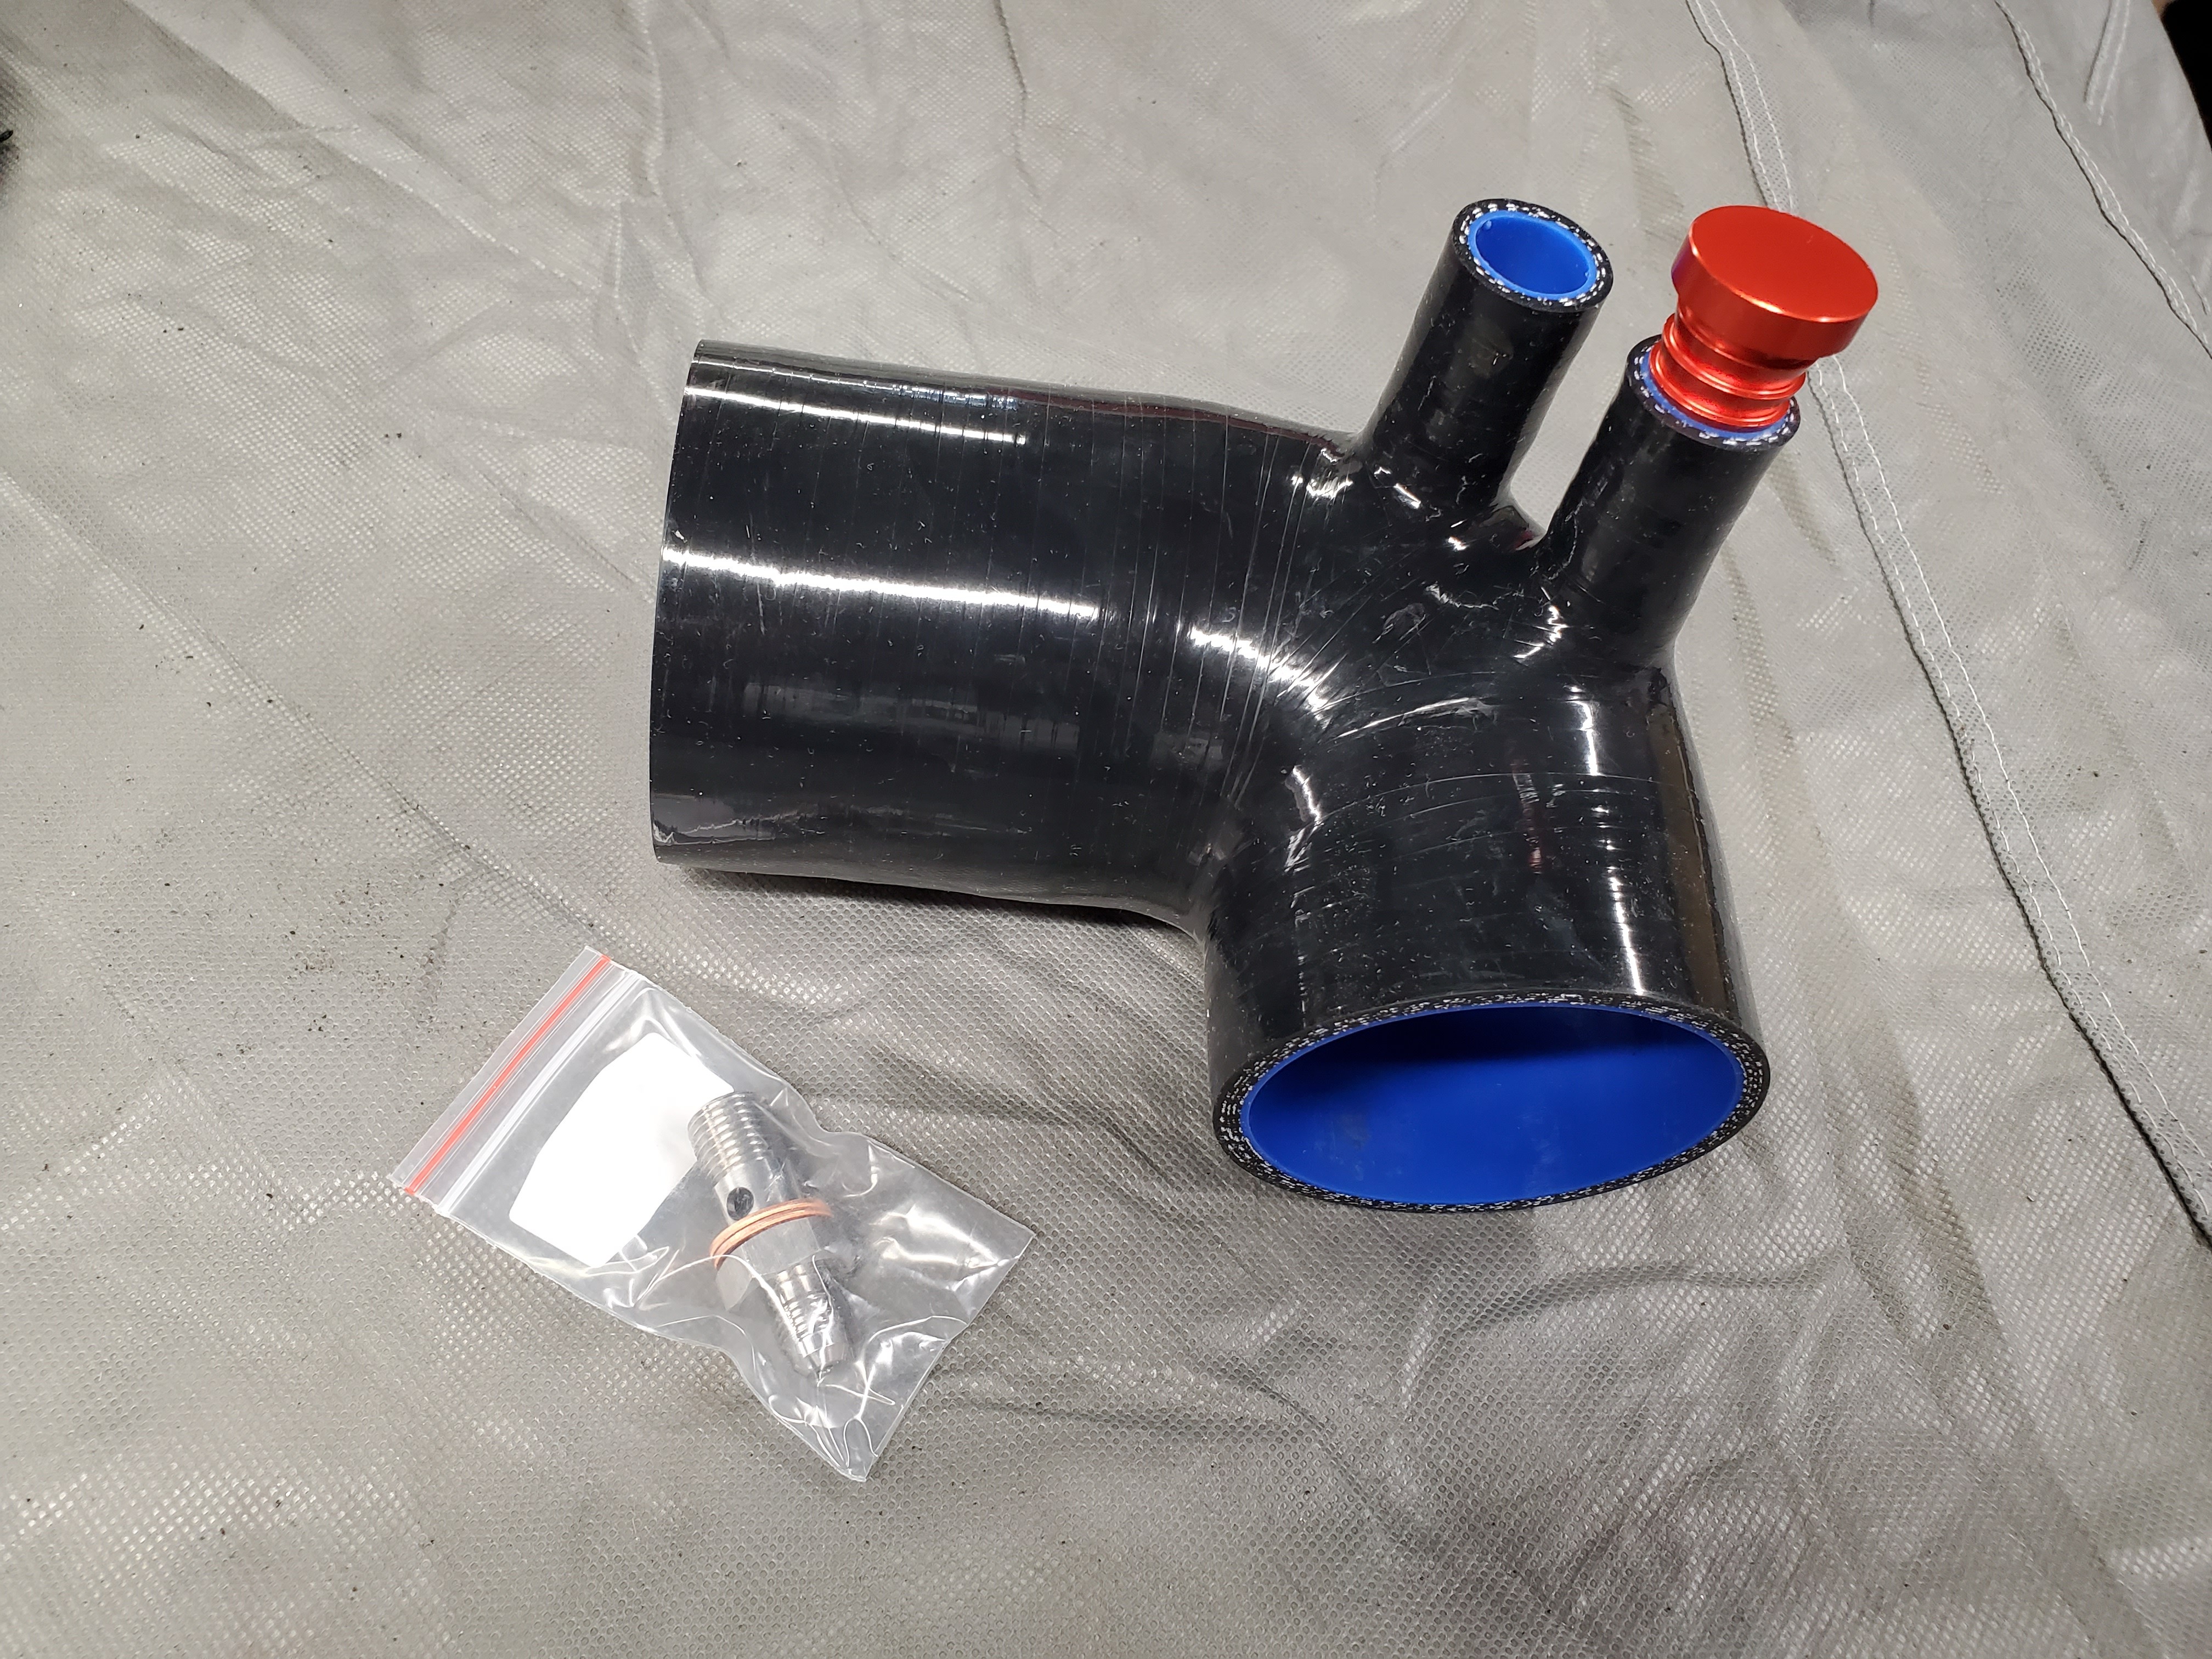
Throttle body coupler with 2 ports and a -4 banjo adapter for the vanos oil line.
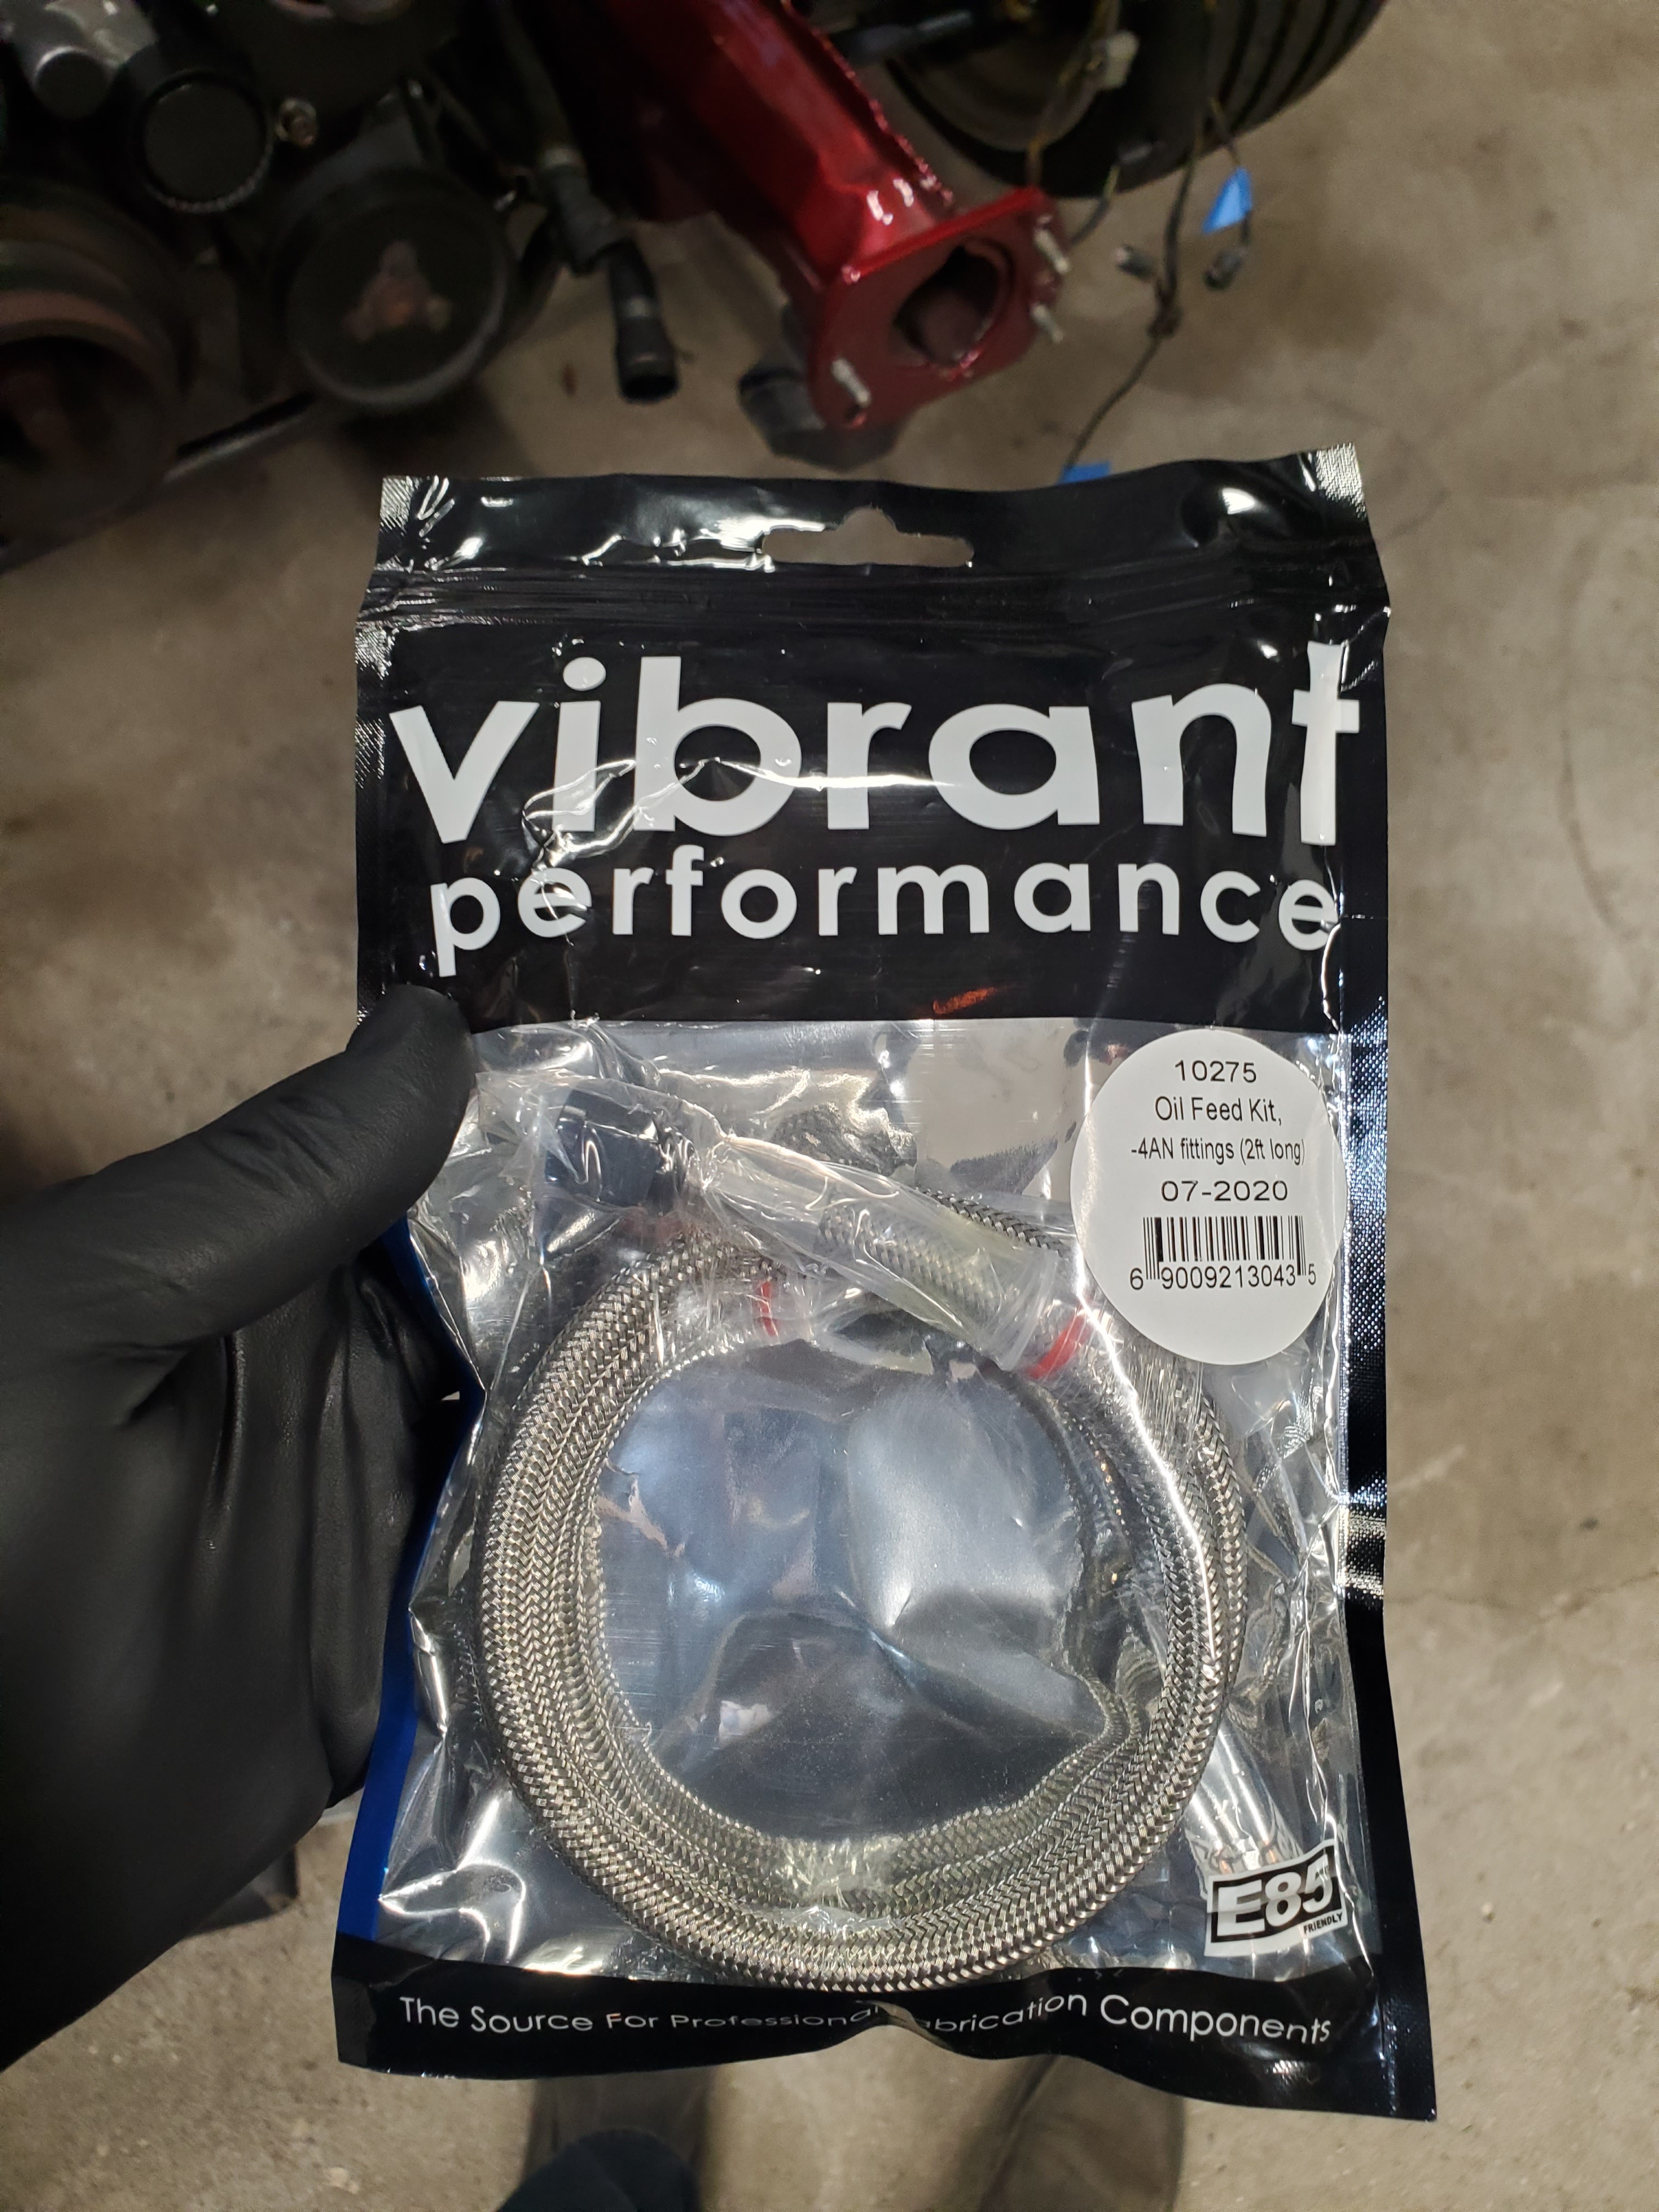
Vibrant -4 oil feed line
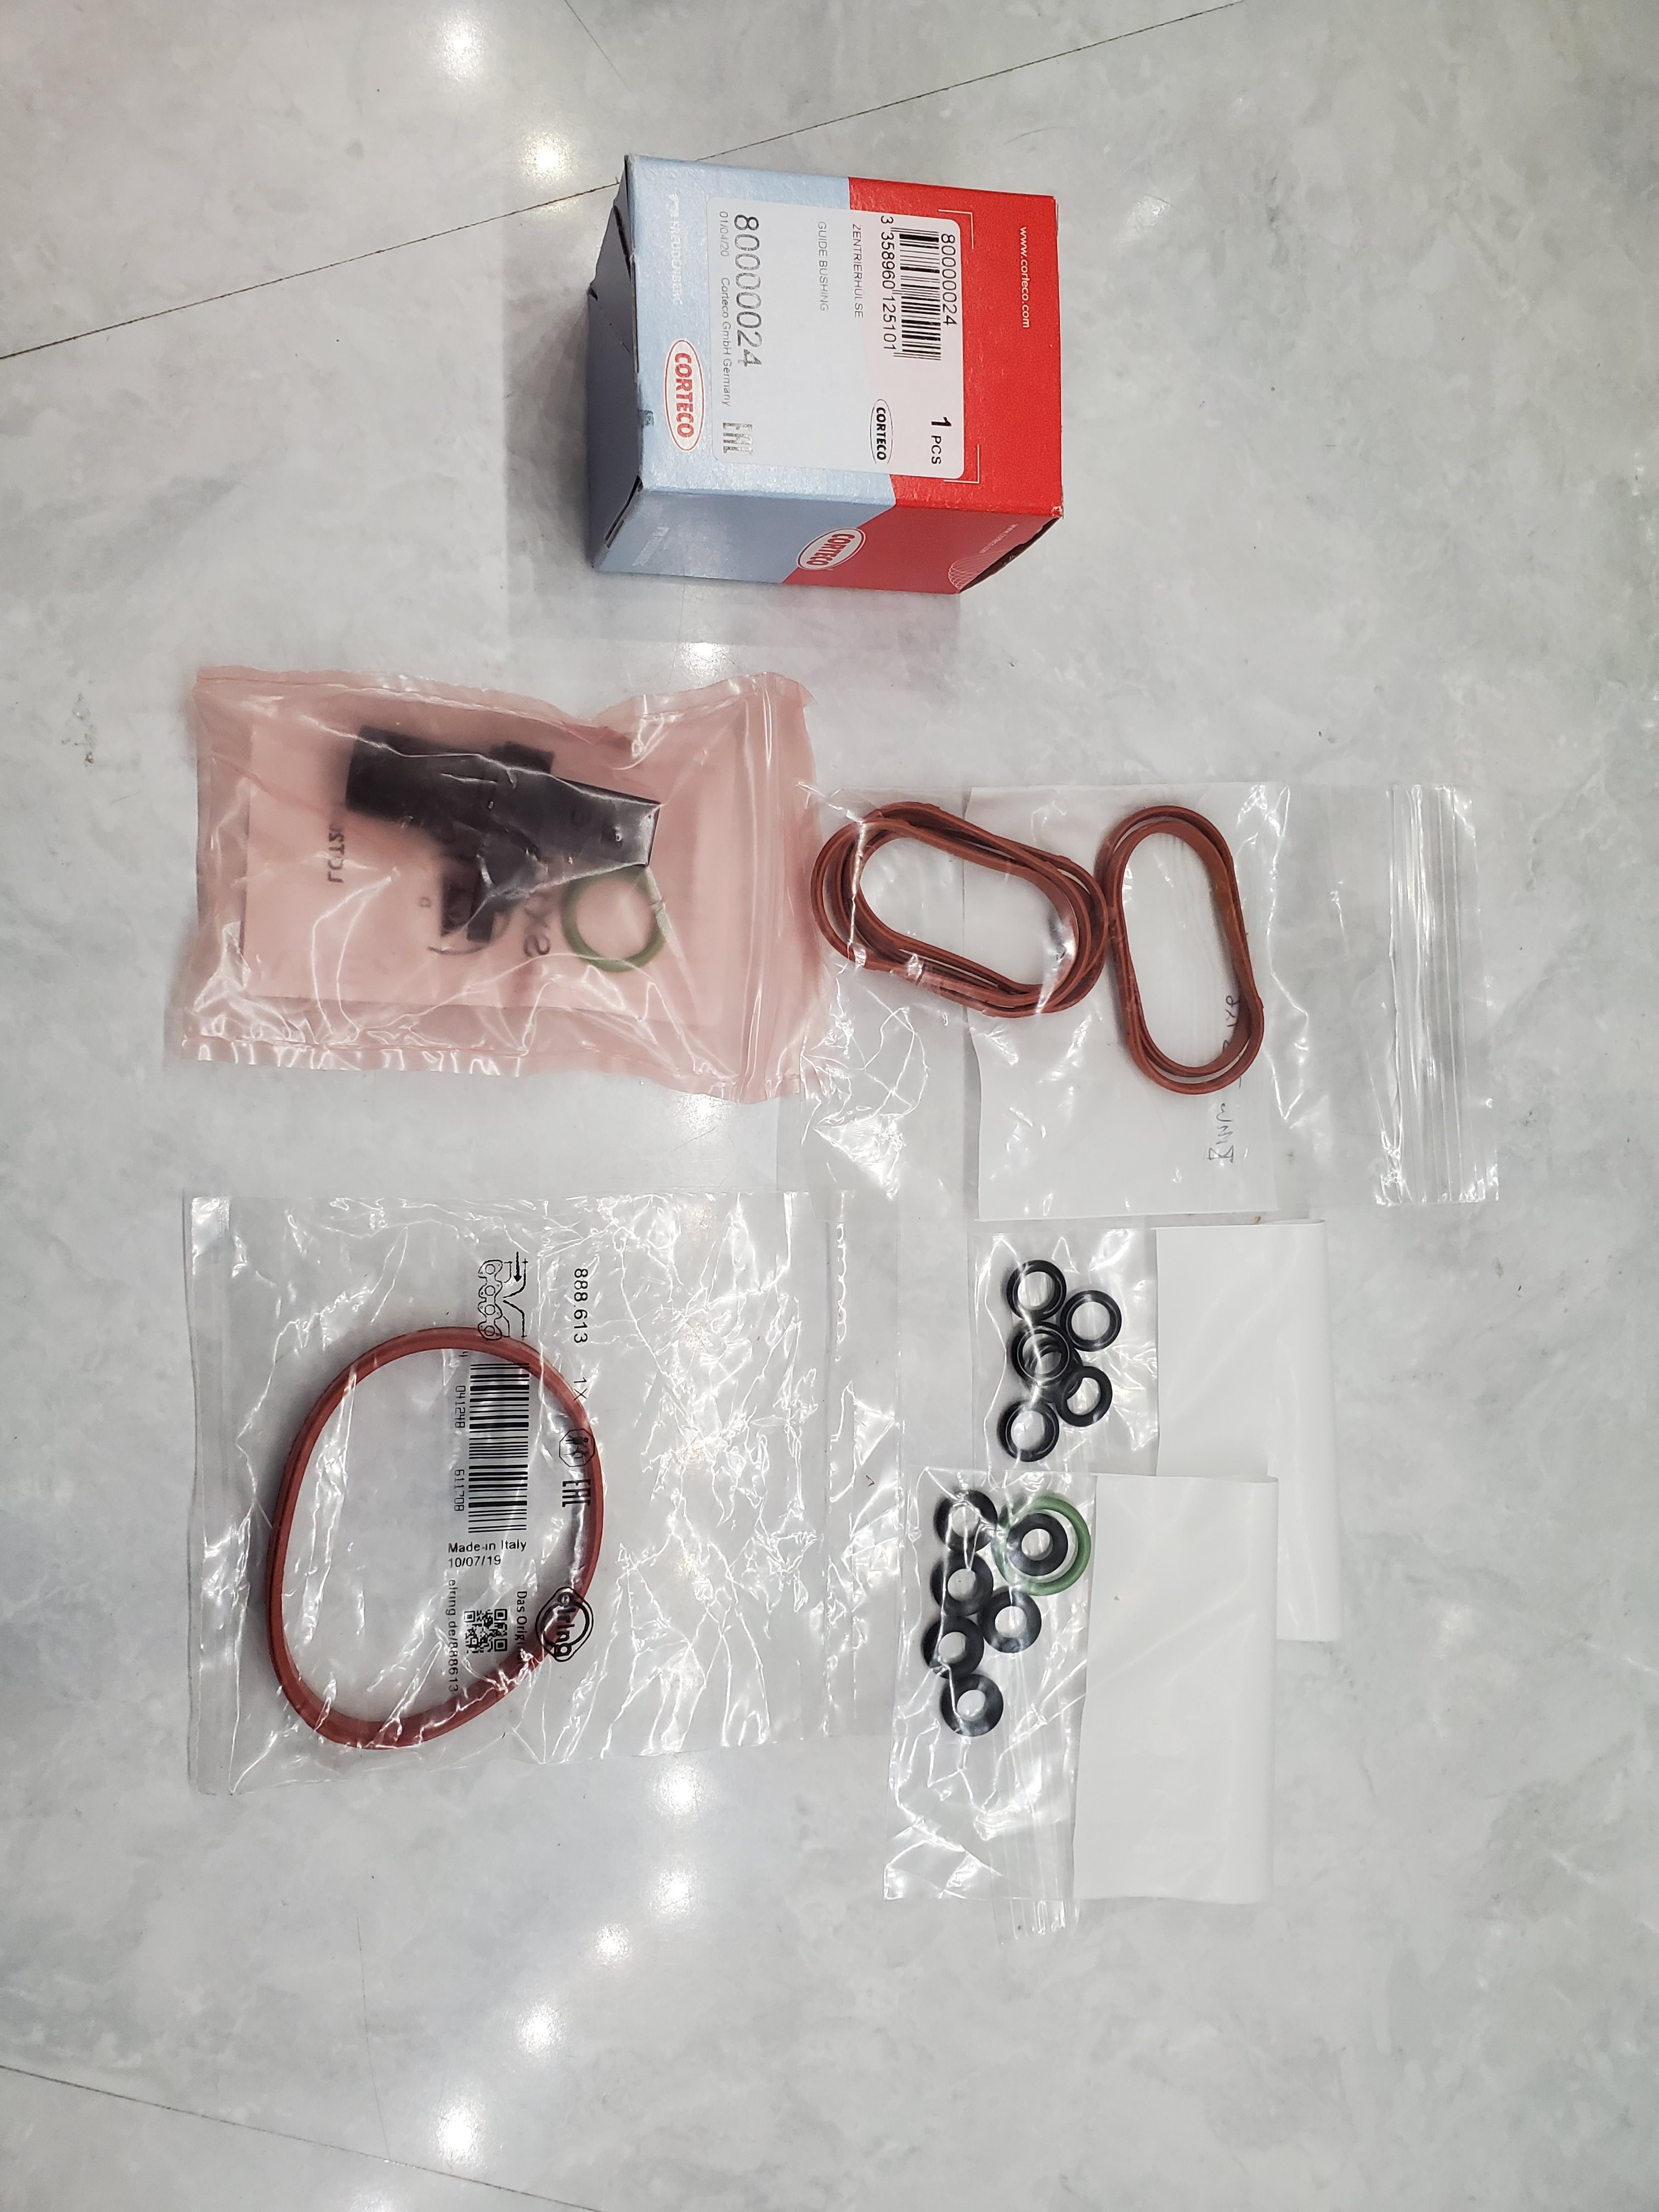
New o rings for the injectors, new intake manifold gaskets, throttle body gasket for the m50 manifold side, exhaust cam sensor (found out mine was cracked), and also a centering bushing for the driveshaft.
and finally for parts the sleeving for the engine harness came as well.
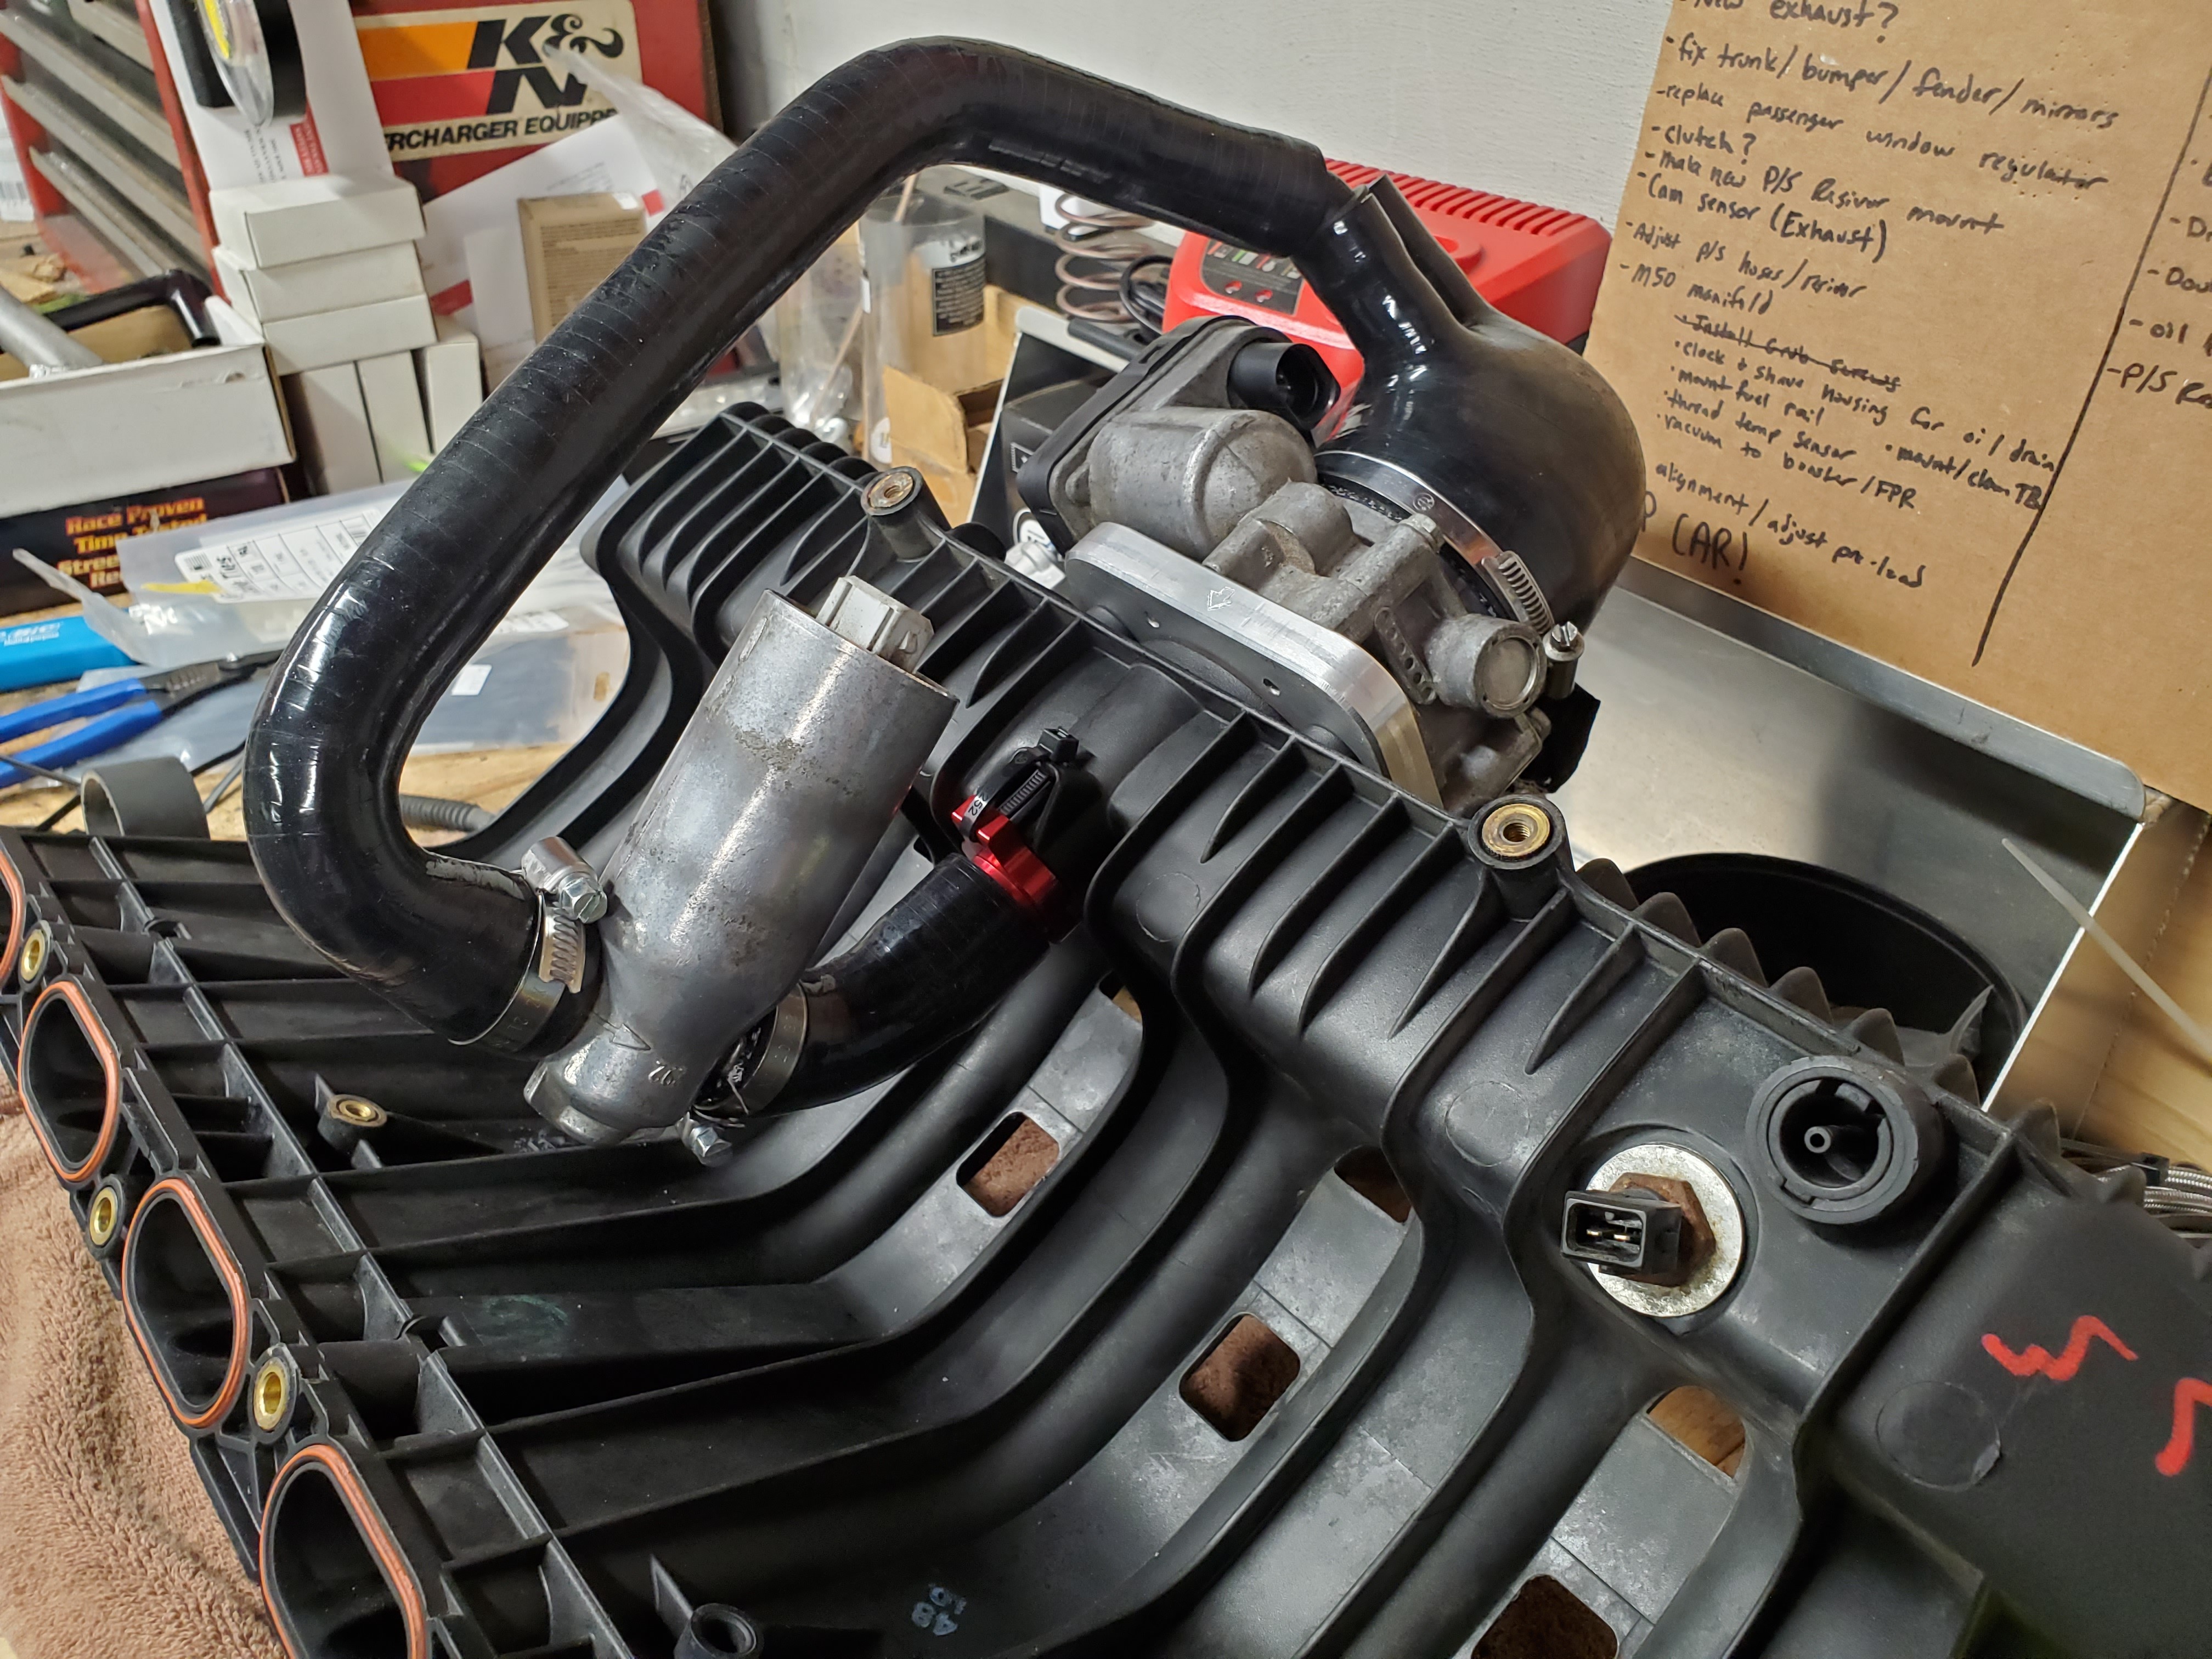
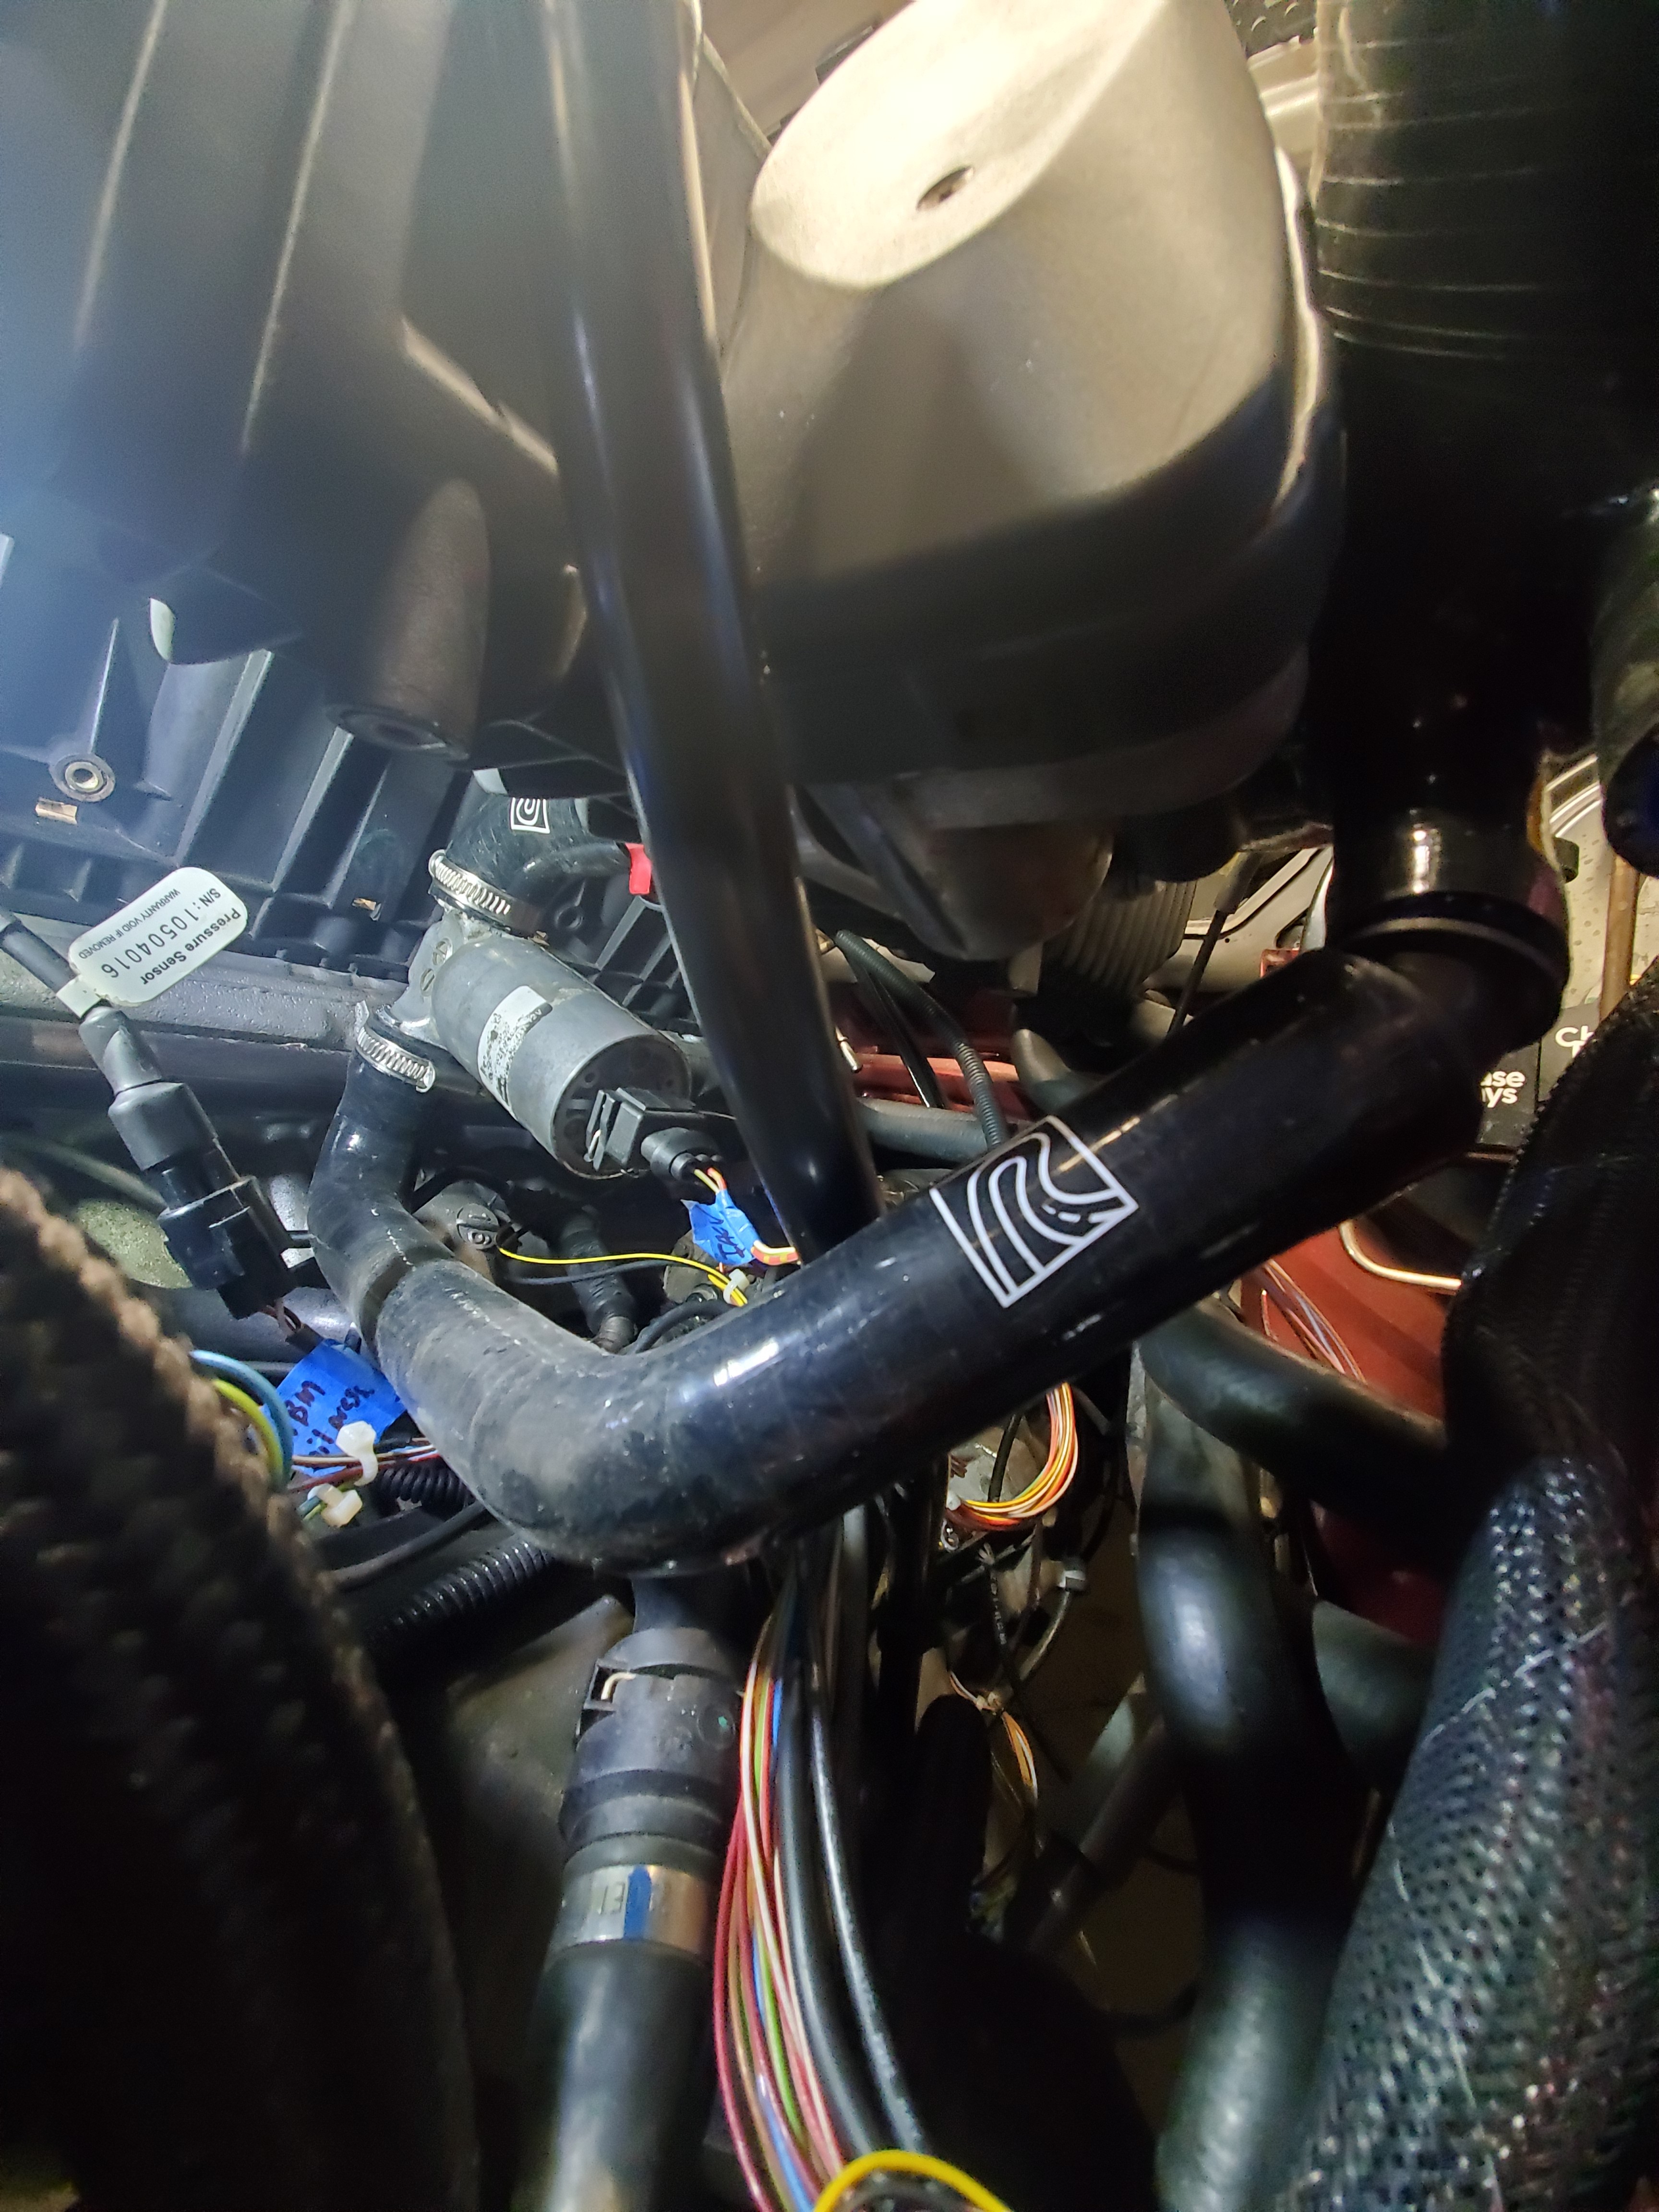
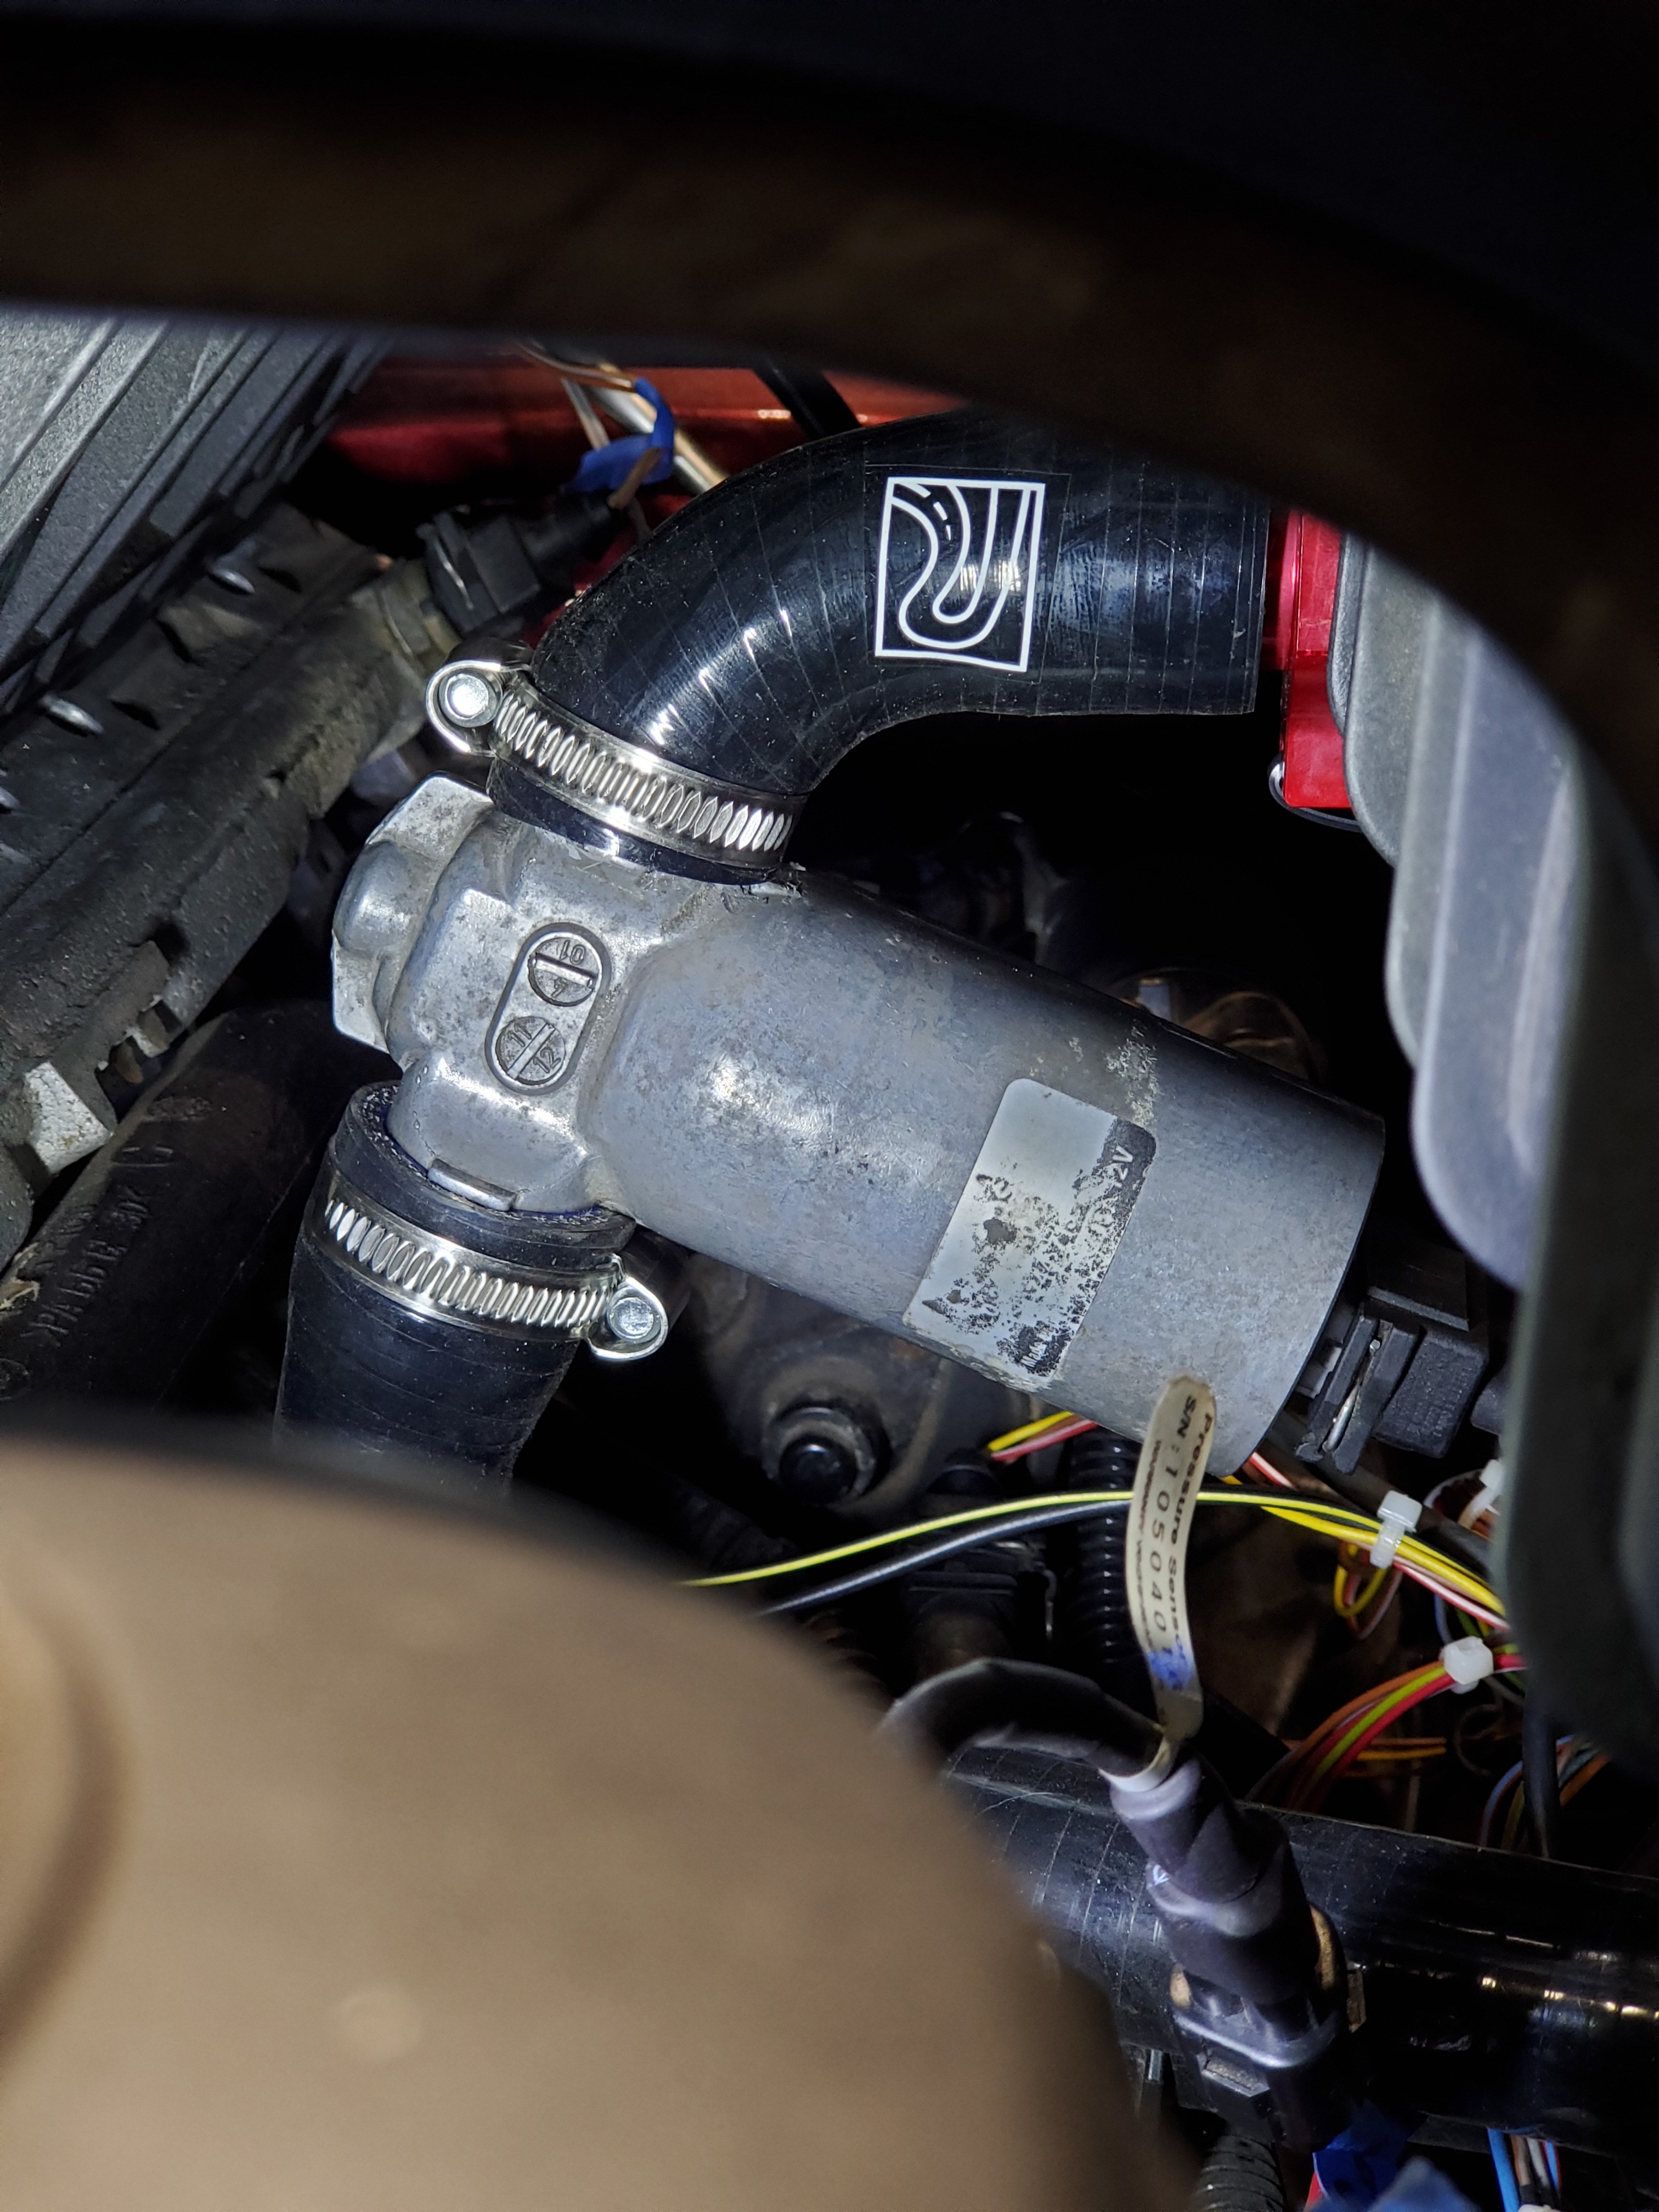
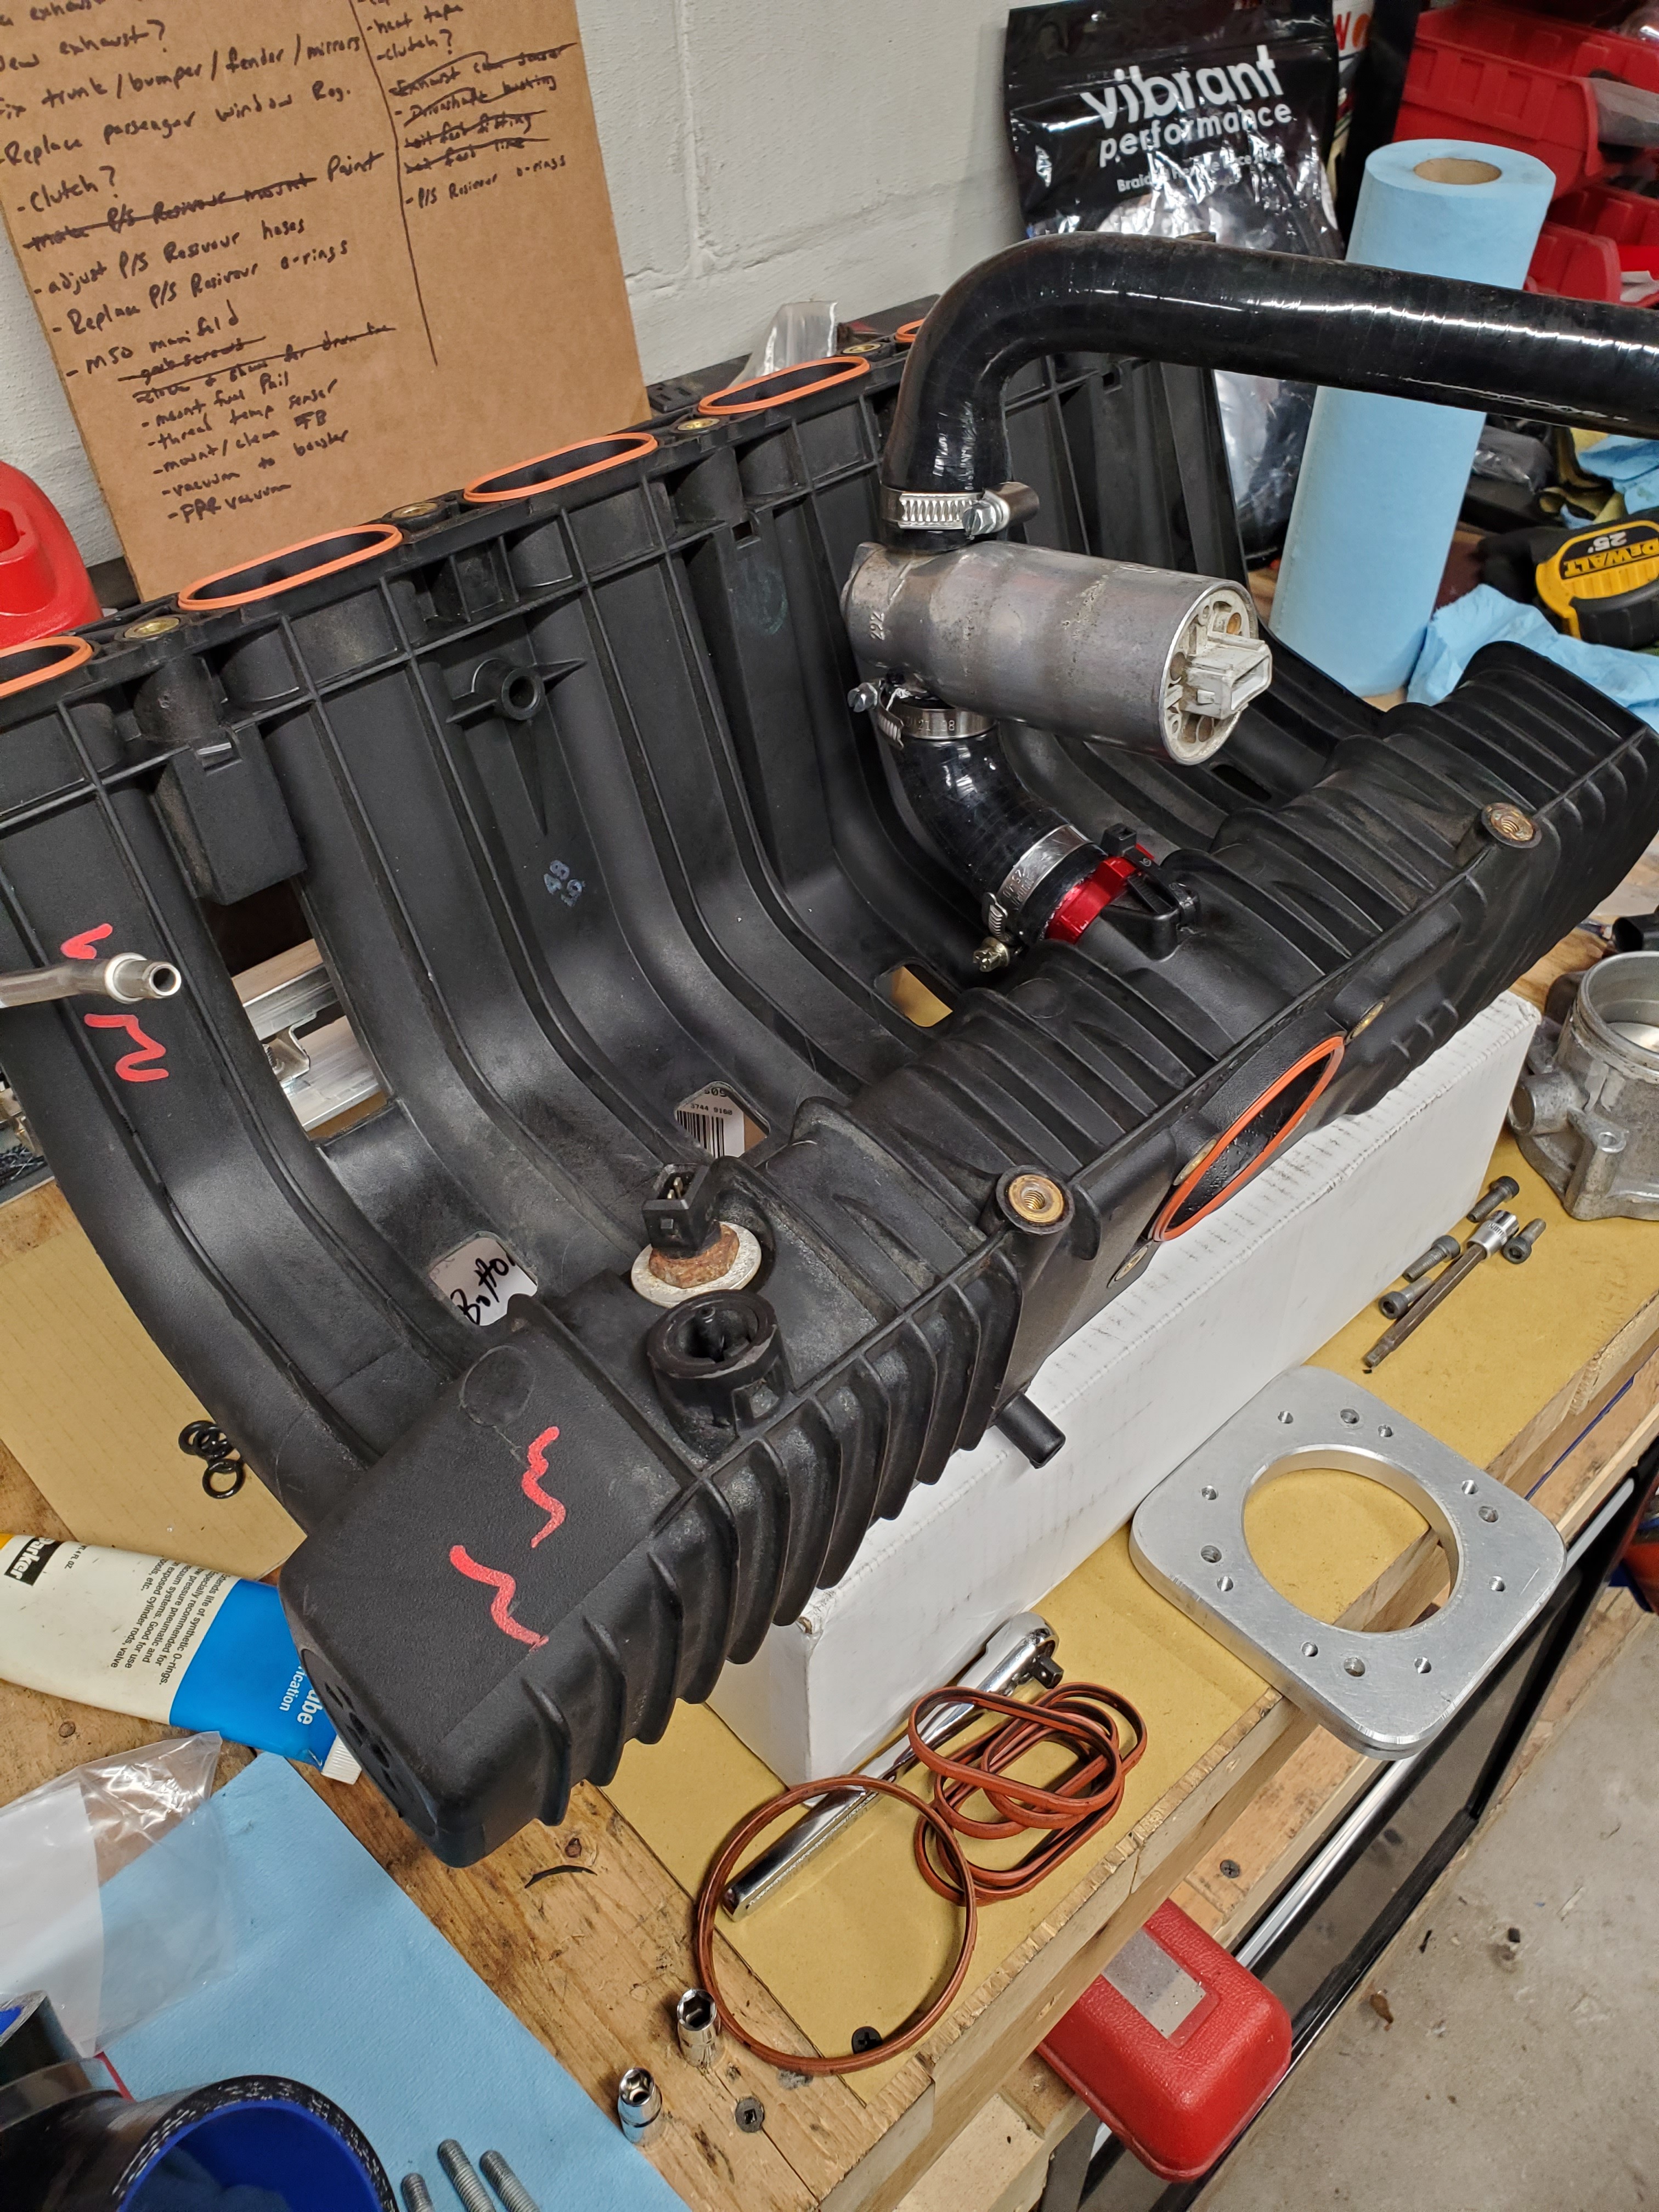
While I still had the manifold on I got to setting up the new double port coupler. The reason I went with the double port one was to be able to connect the iacv separate from the diverter valve. Ended up chopping quite a bit off both sides but it fits pretty well now.
Once the throttle body elbow angle was finalized I was able to set up the IACV hoses. I ended up trimming the U shaped hose that the kit comes with because I was not liking how it was intended to sit.
Here's what I came up with.
This way tucks really well under the manifold when it's bolted on the engine.
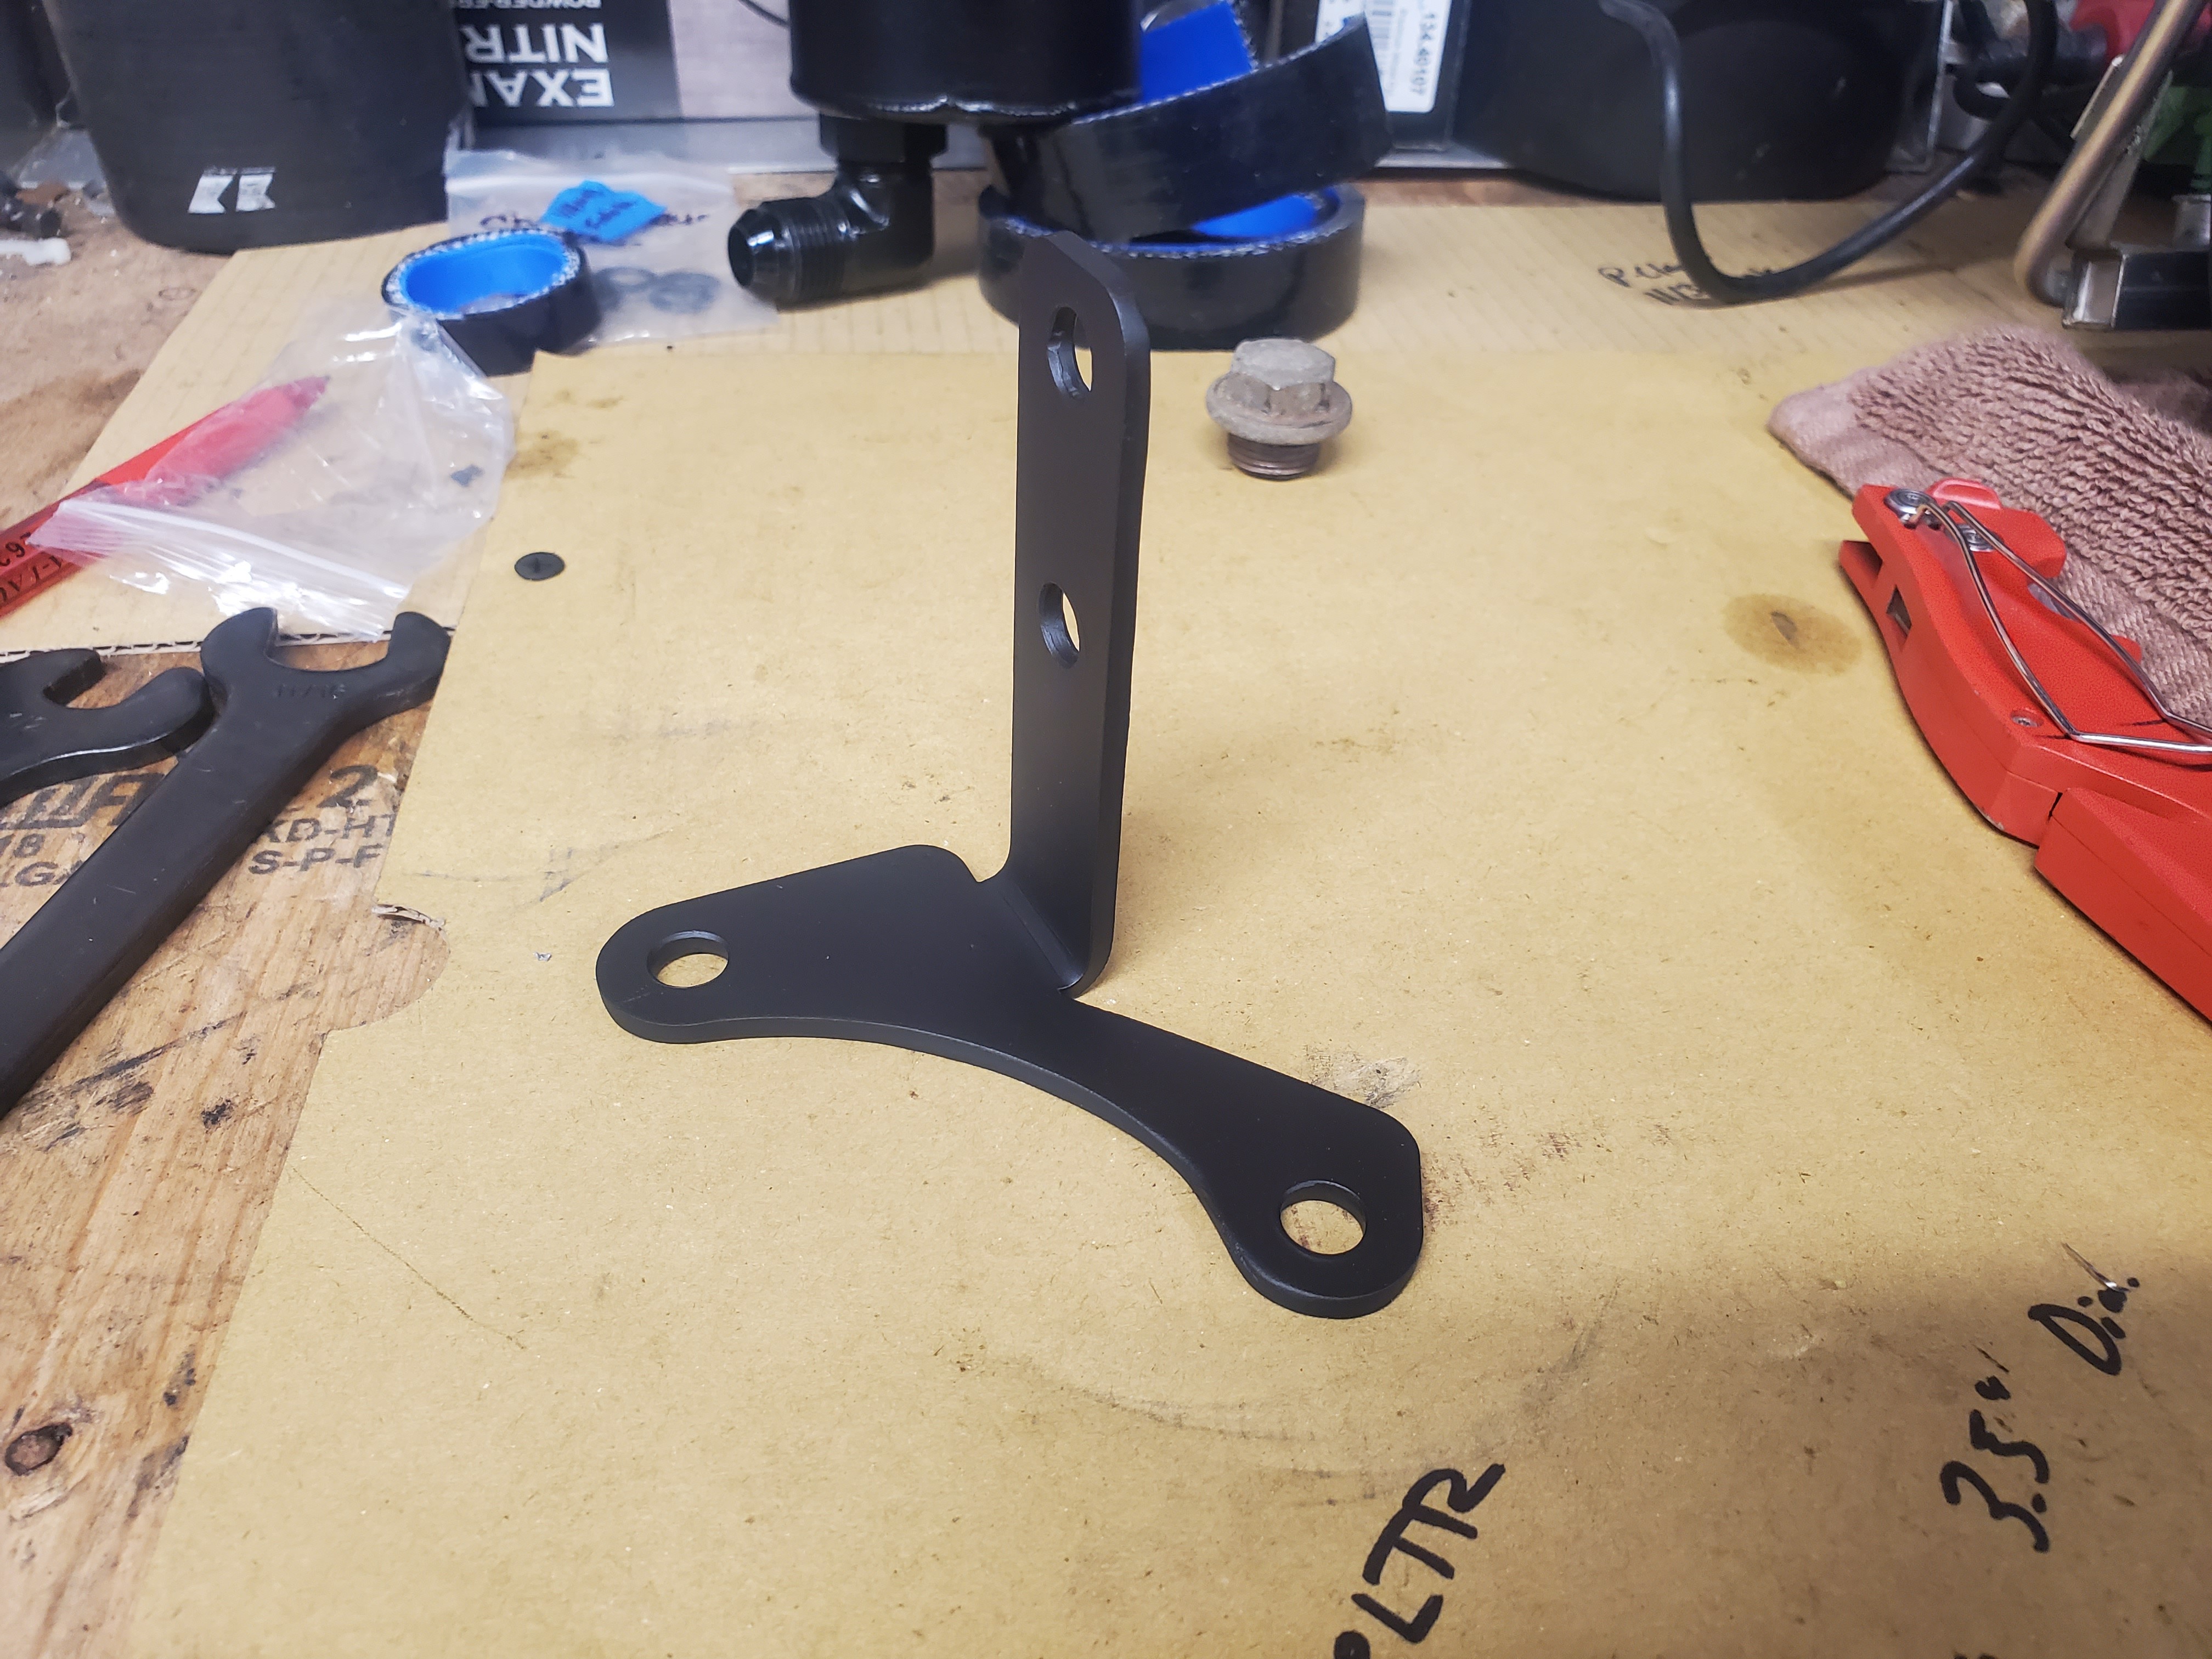
I was also able to take my "prototype" power steering resiviour bracket to @Sam_Holzmann and he drew it into digital form and cut it out on the plasma.
Here is "V1"
And it fits great just like the prototype version.
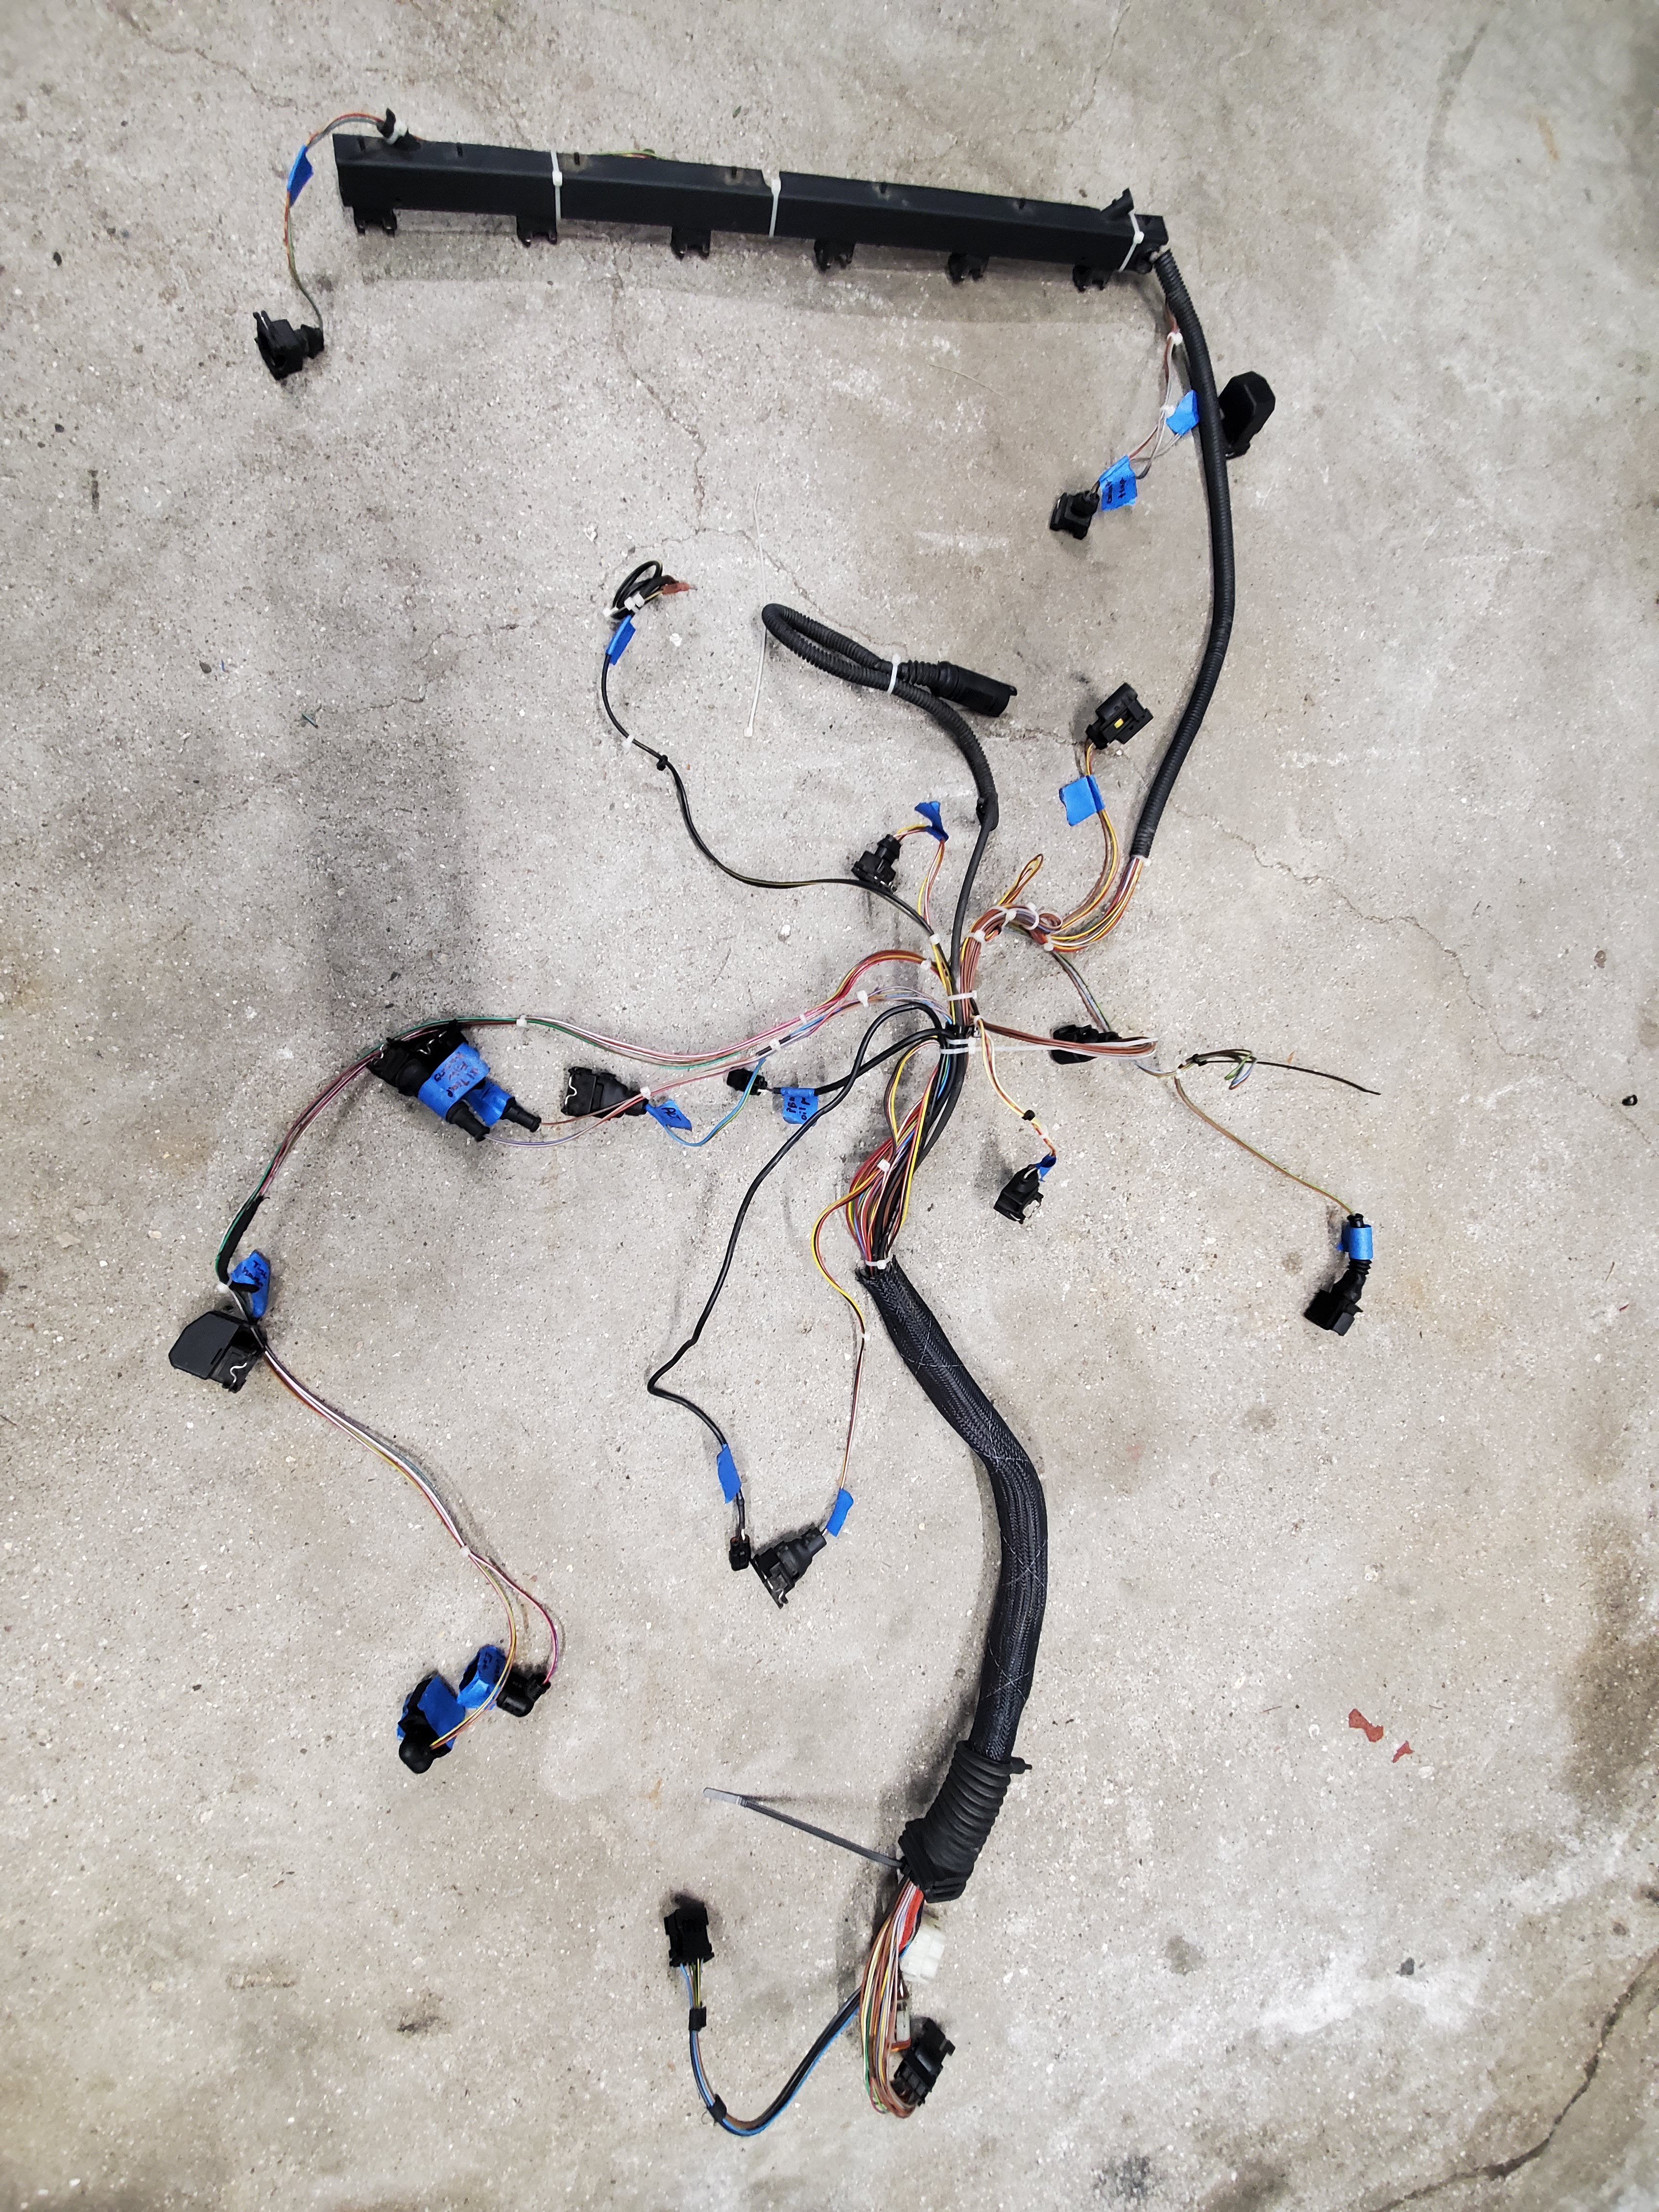
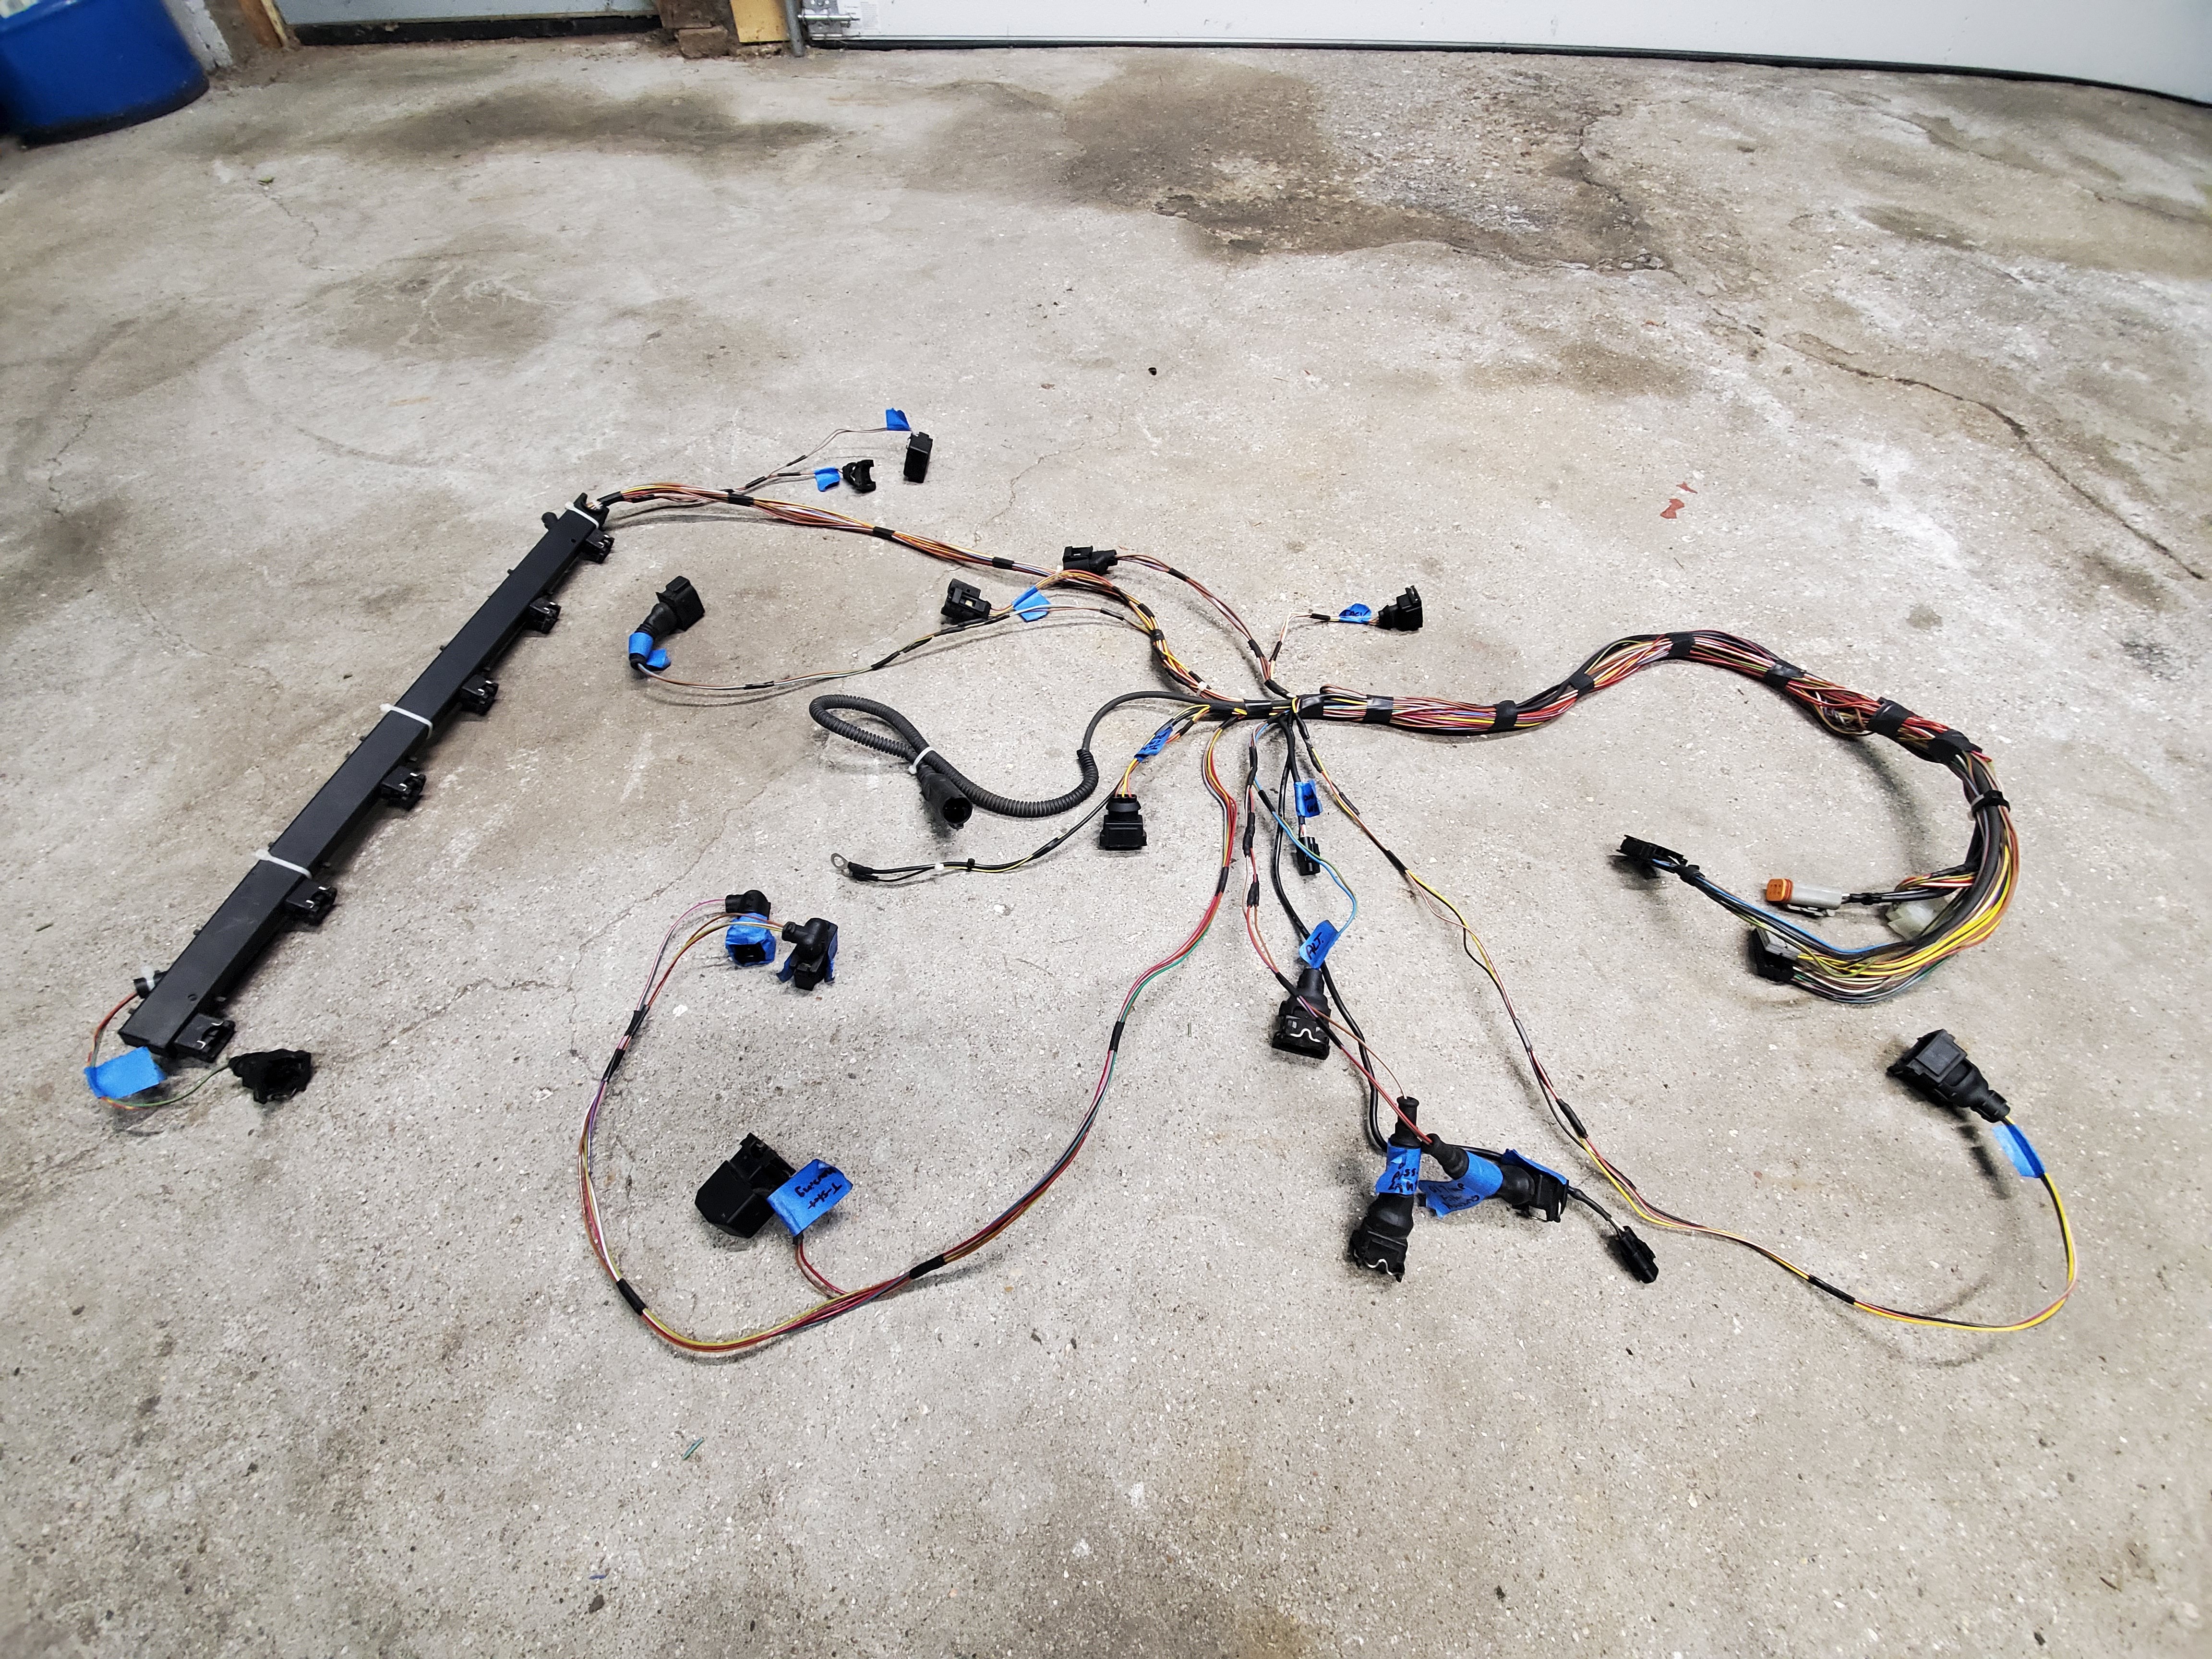
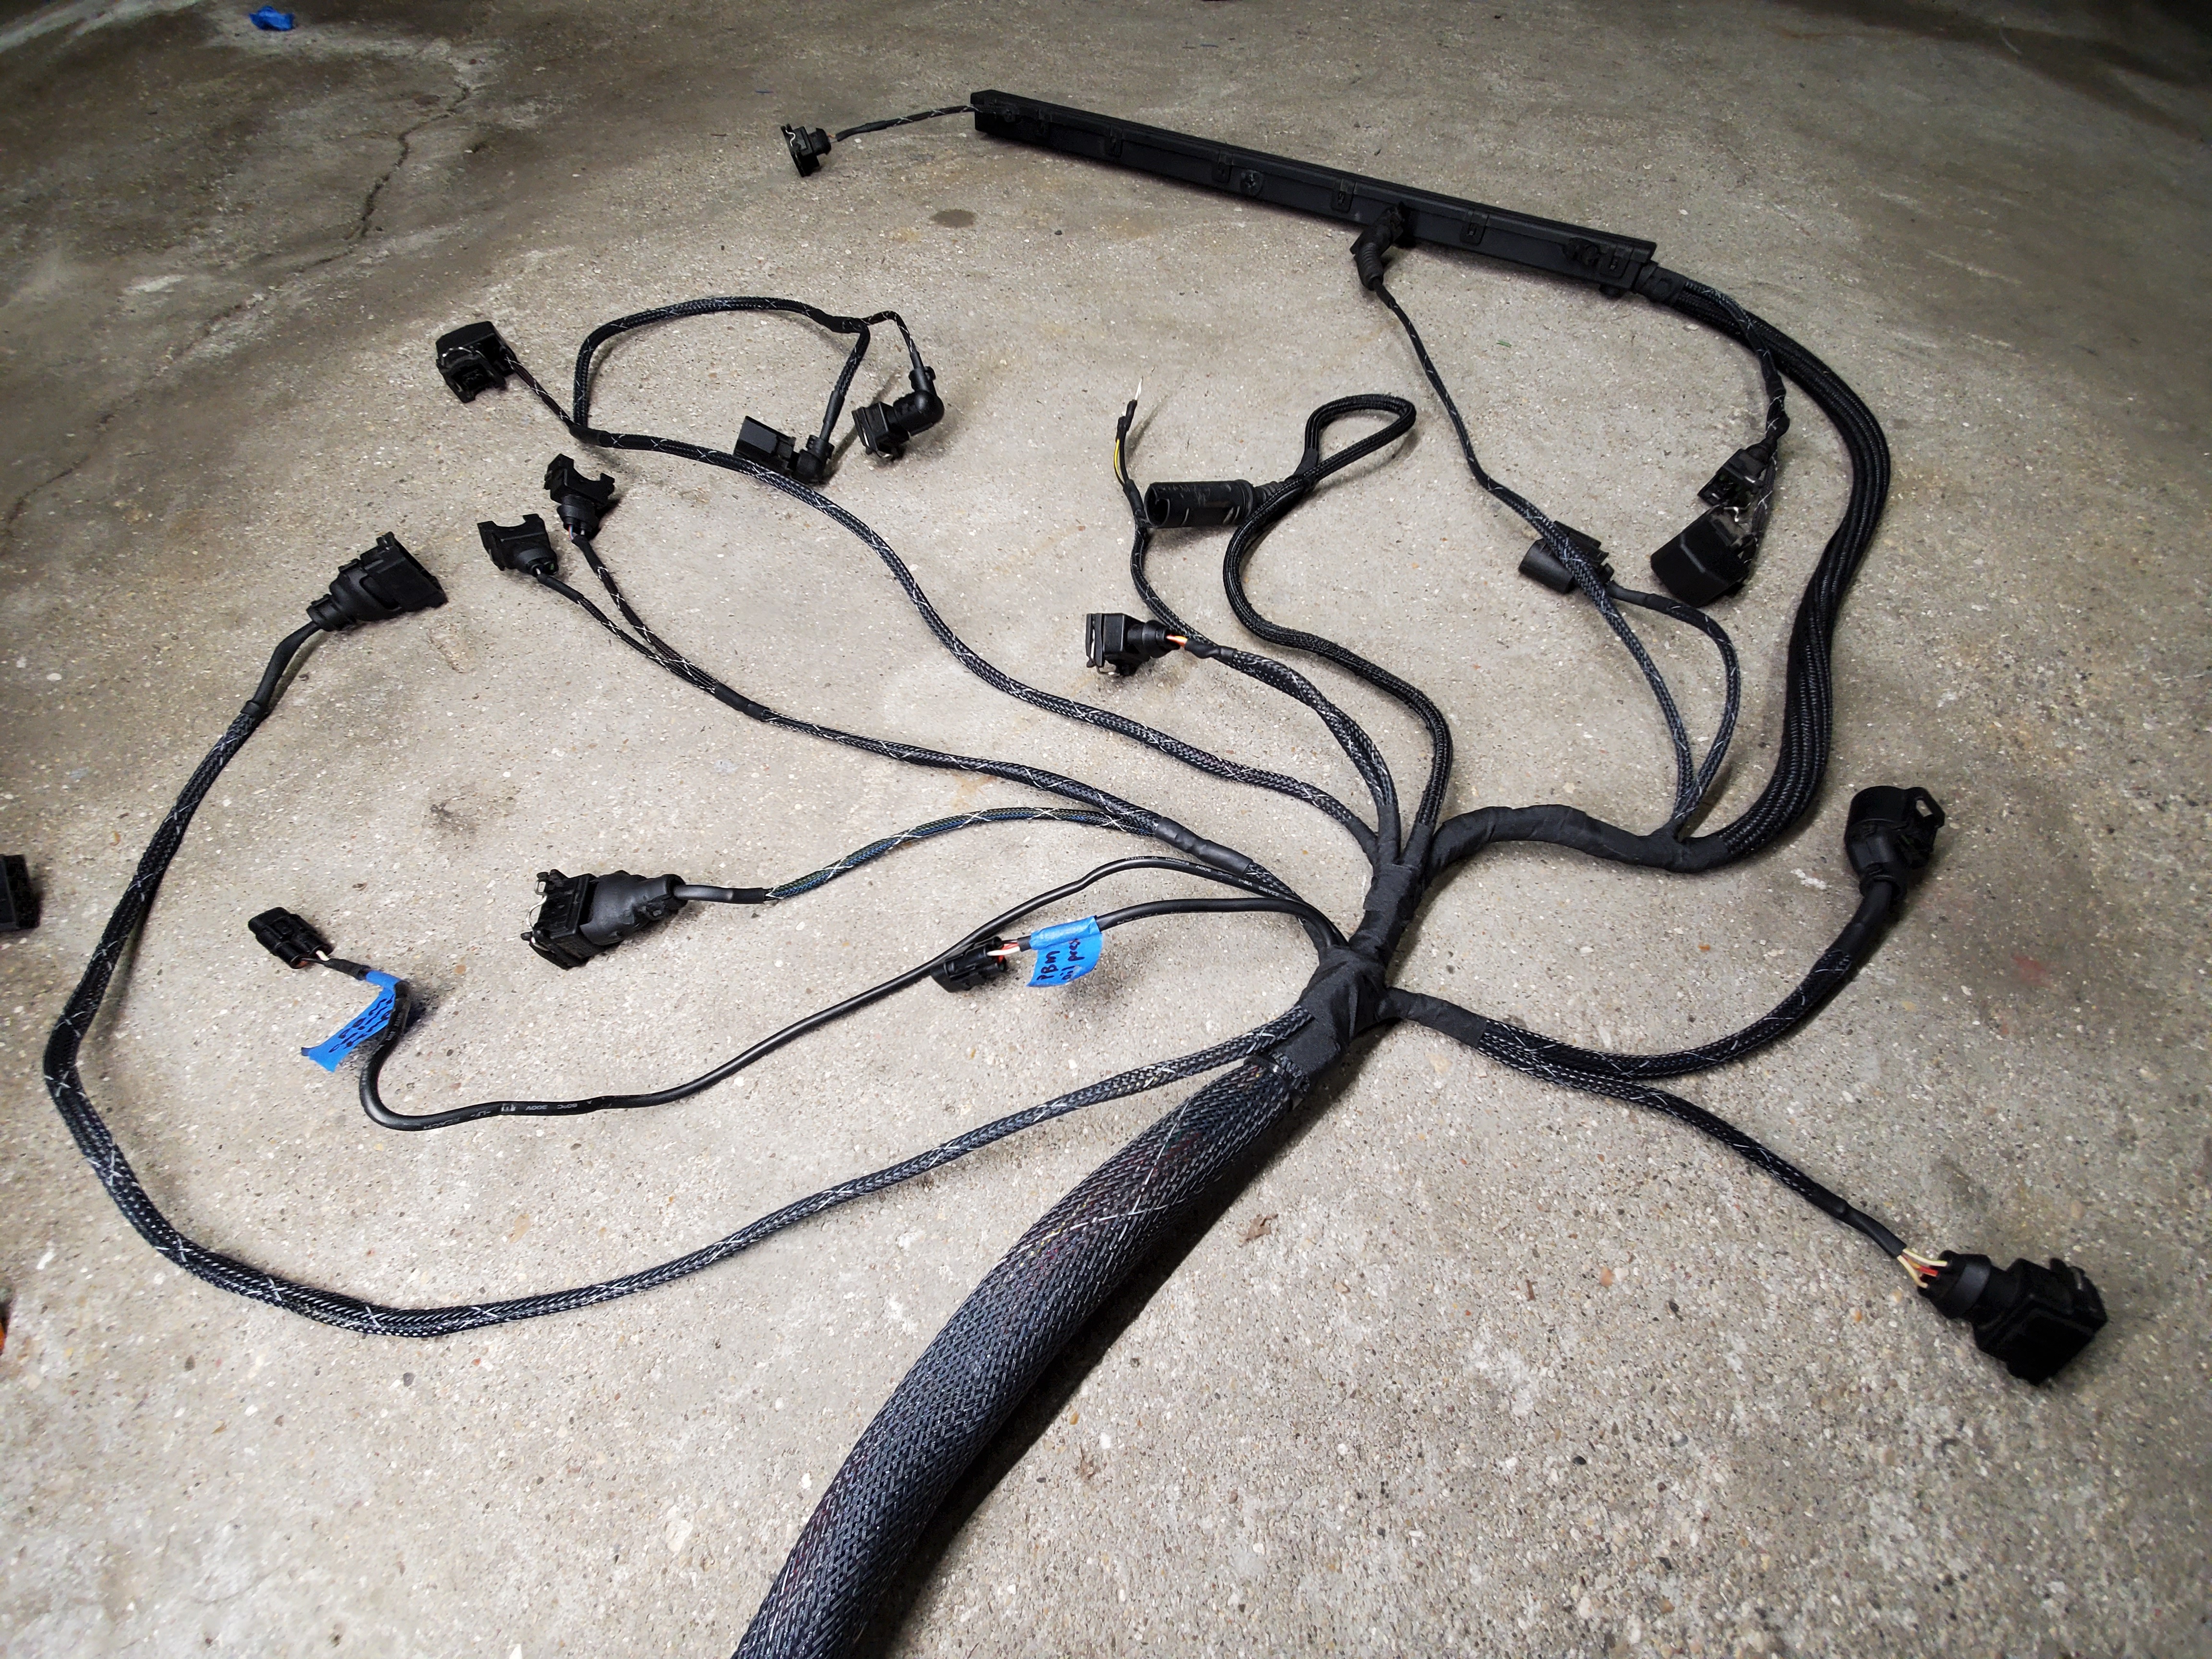
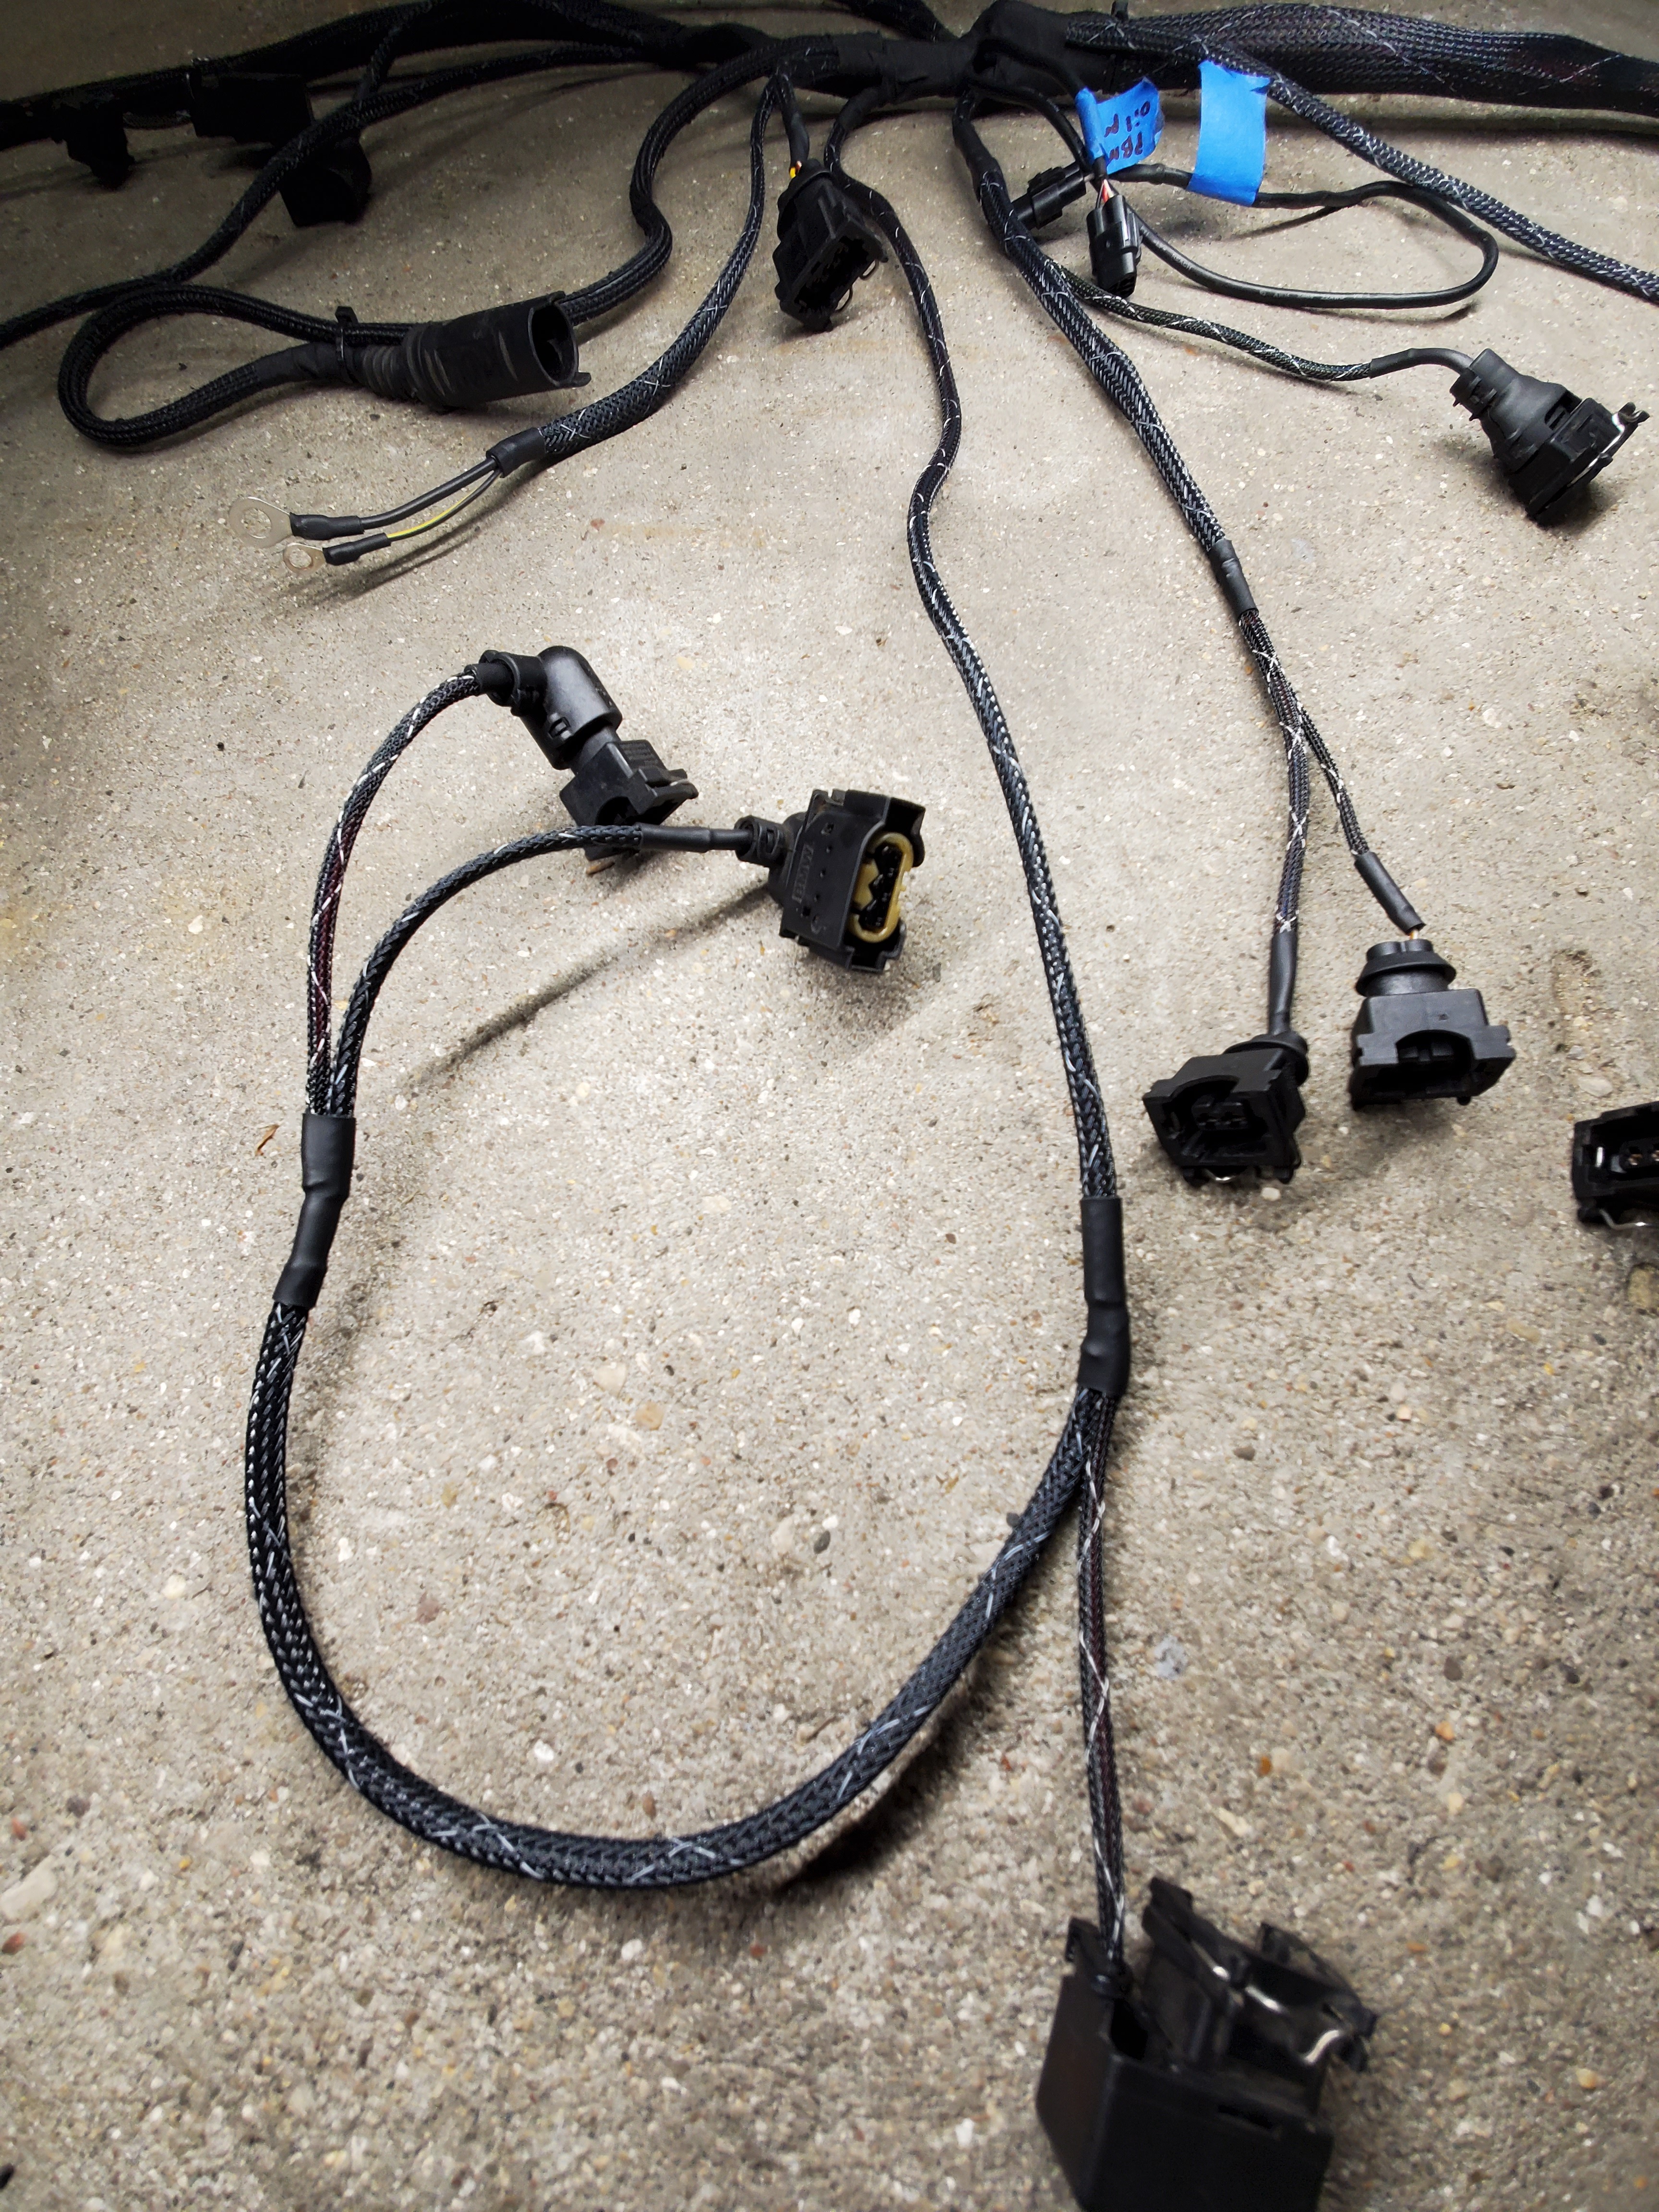
Next I got to work on finishing the engine harness. I finalized some lengths and removed the harness from the engine one last time.
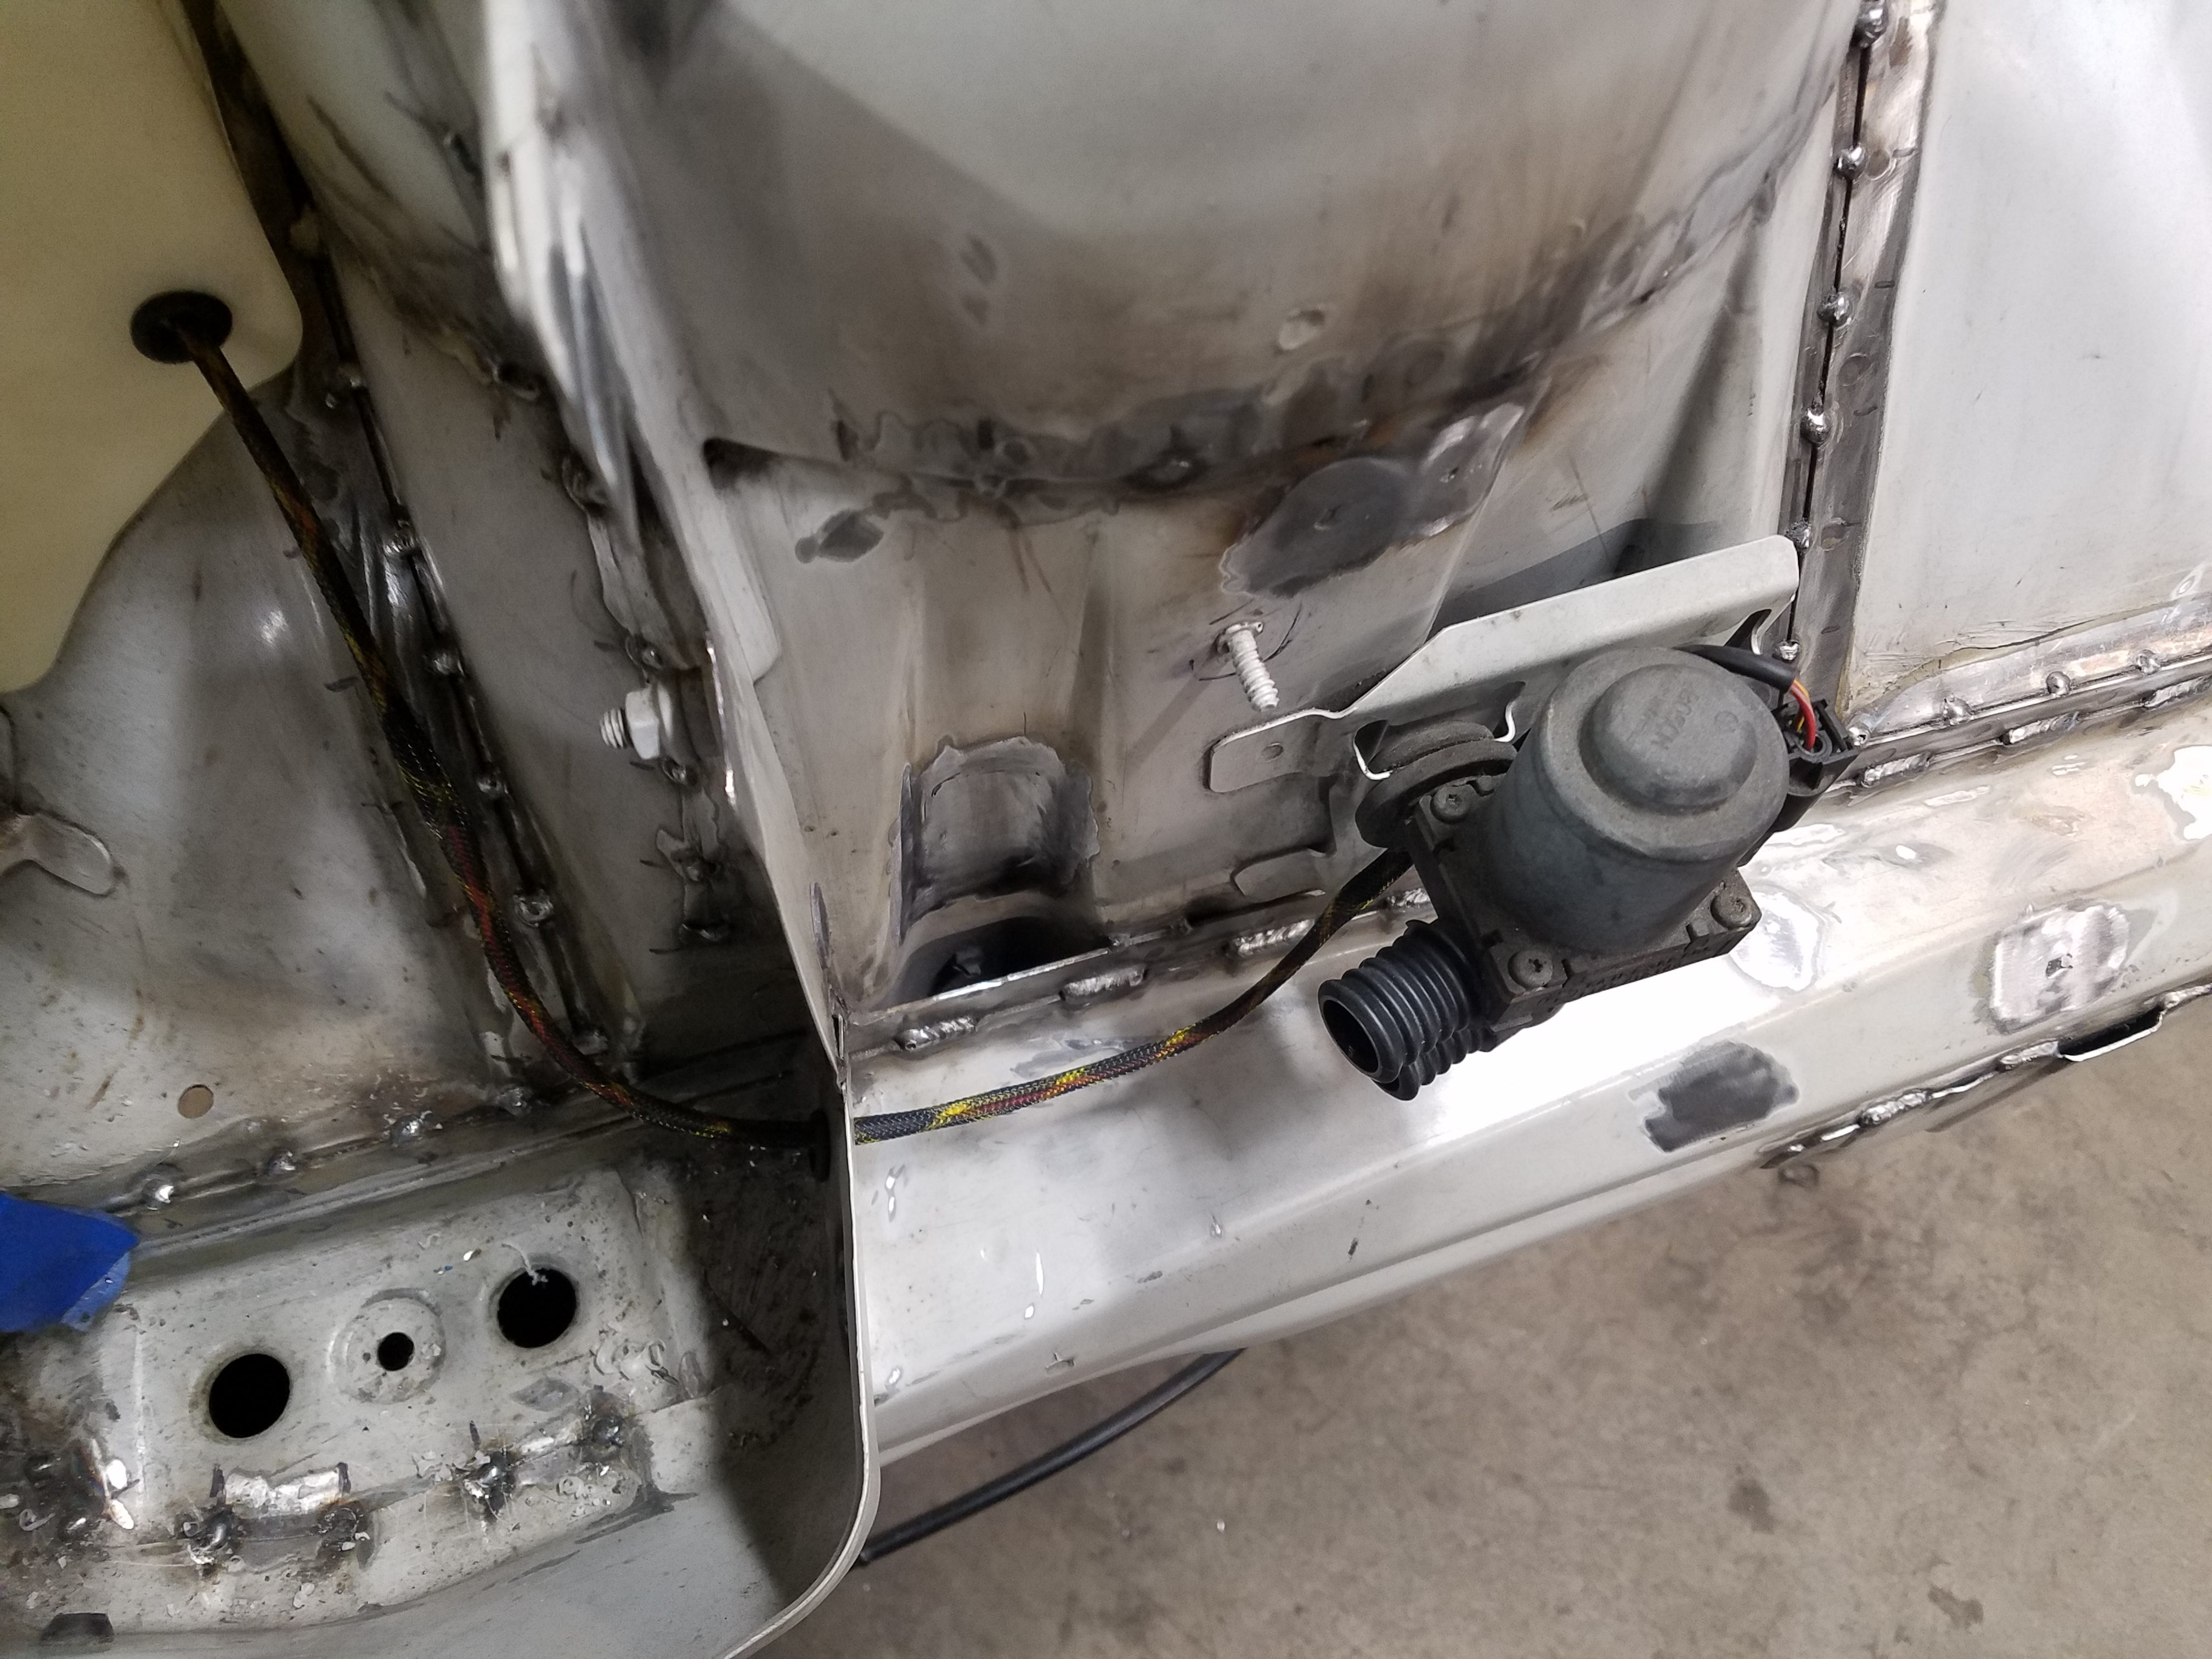
After lengthening some leads and shortening a couple others this is the bare harness.
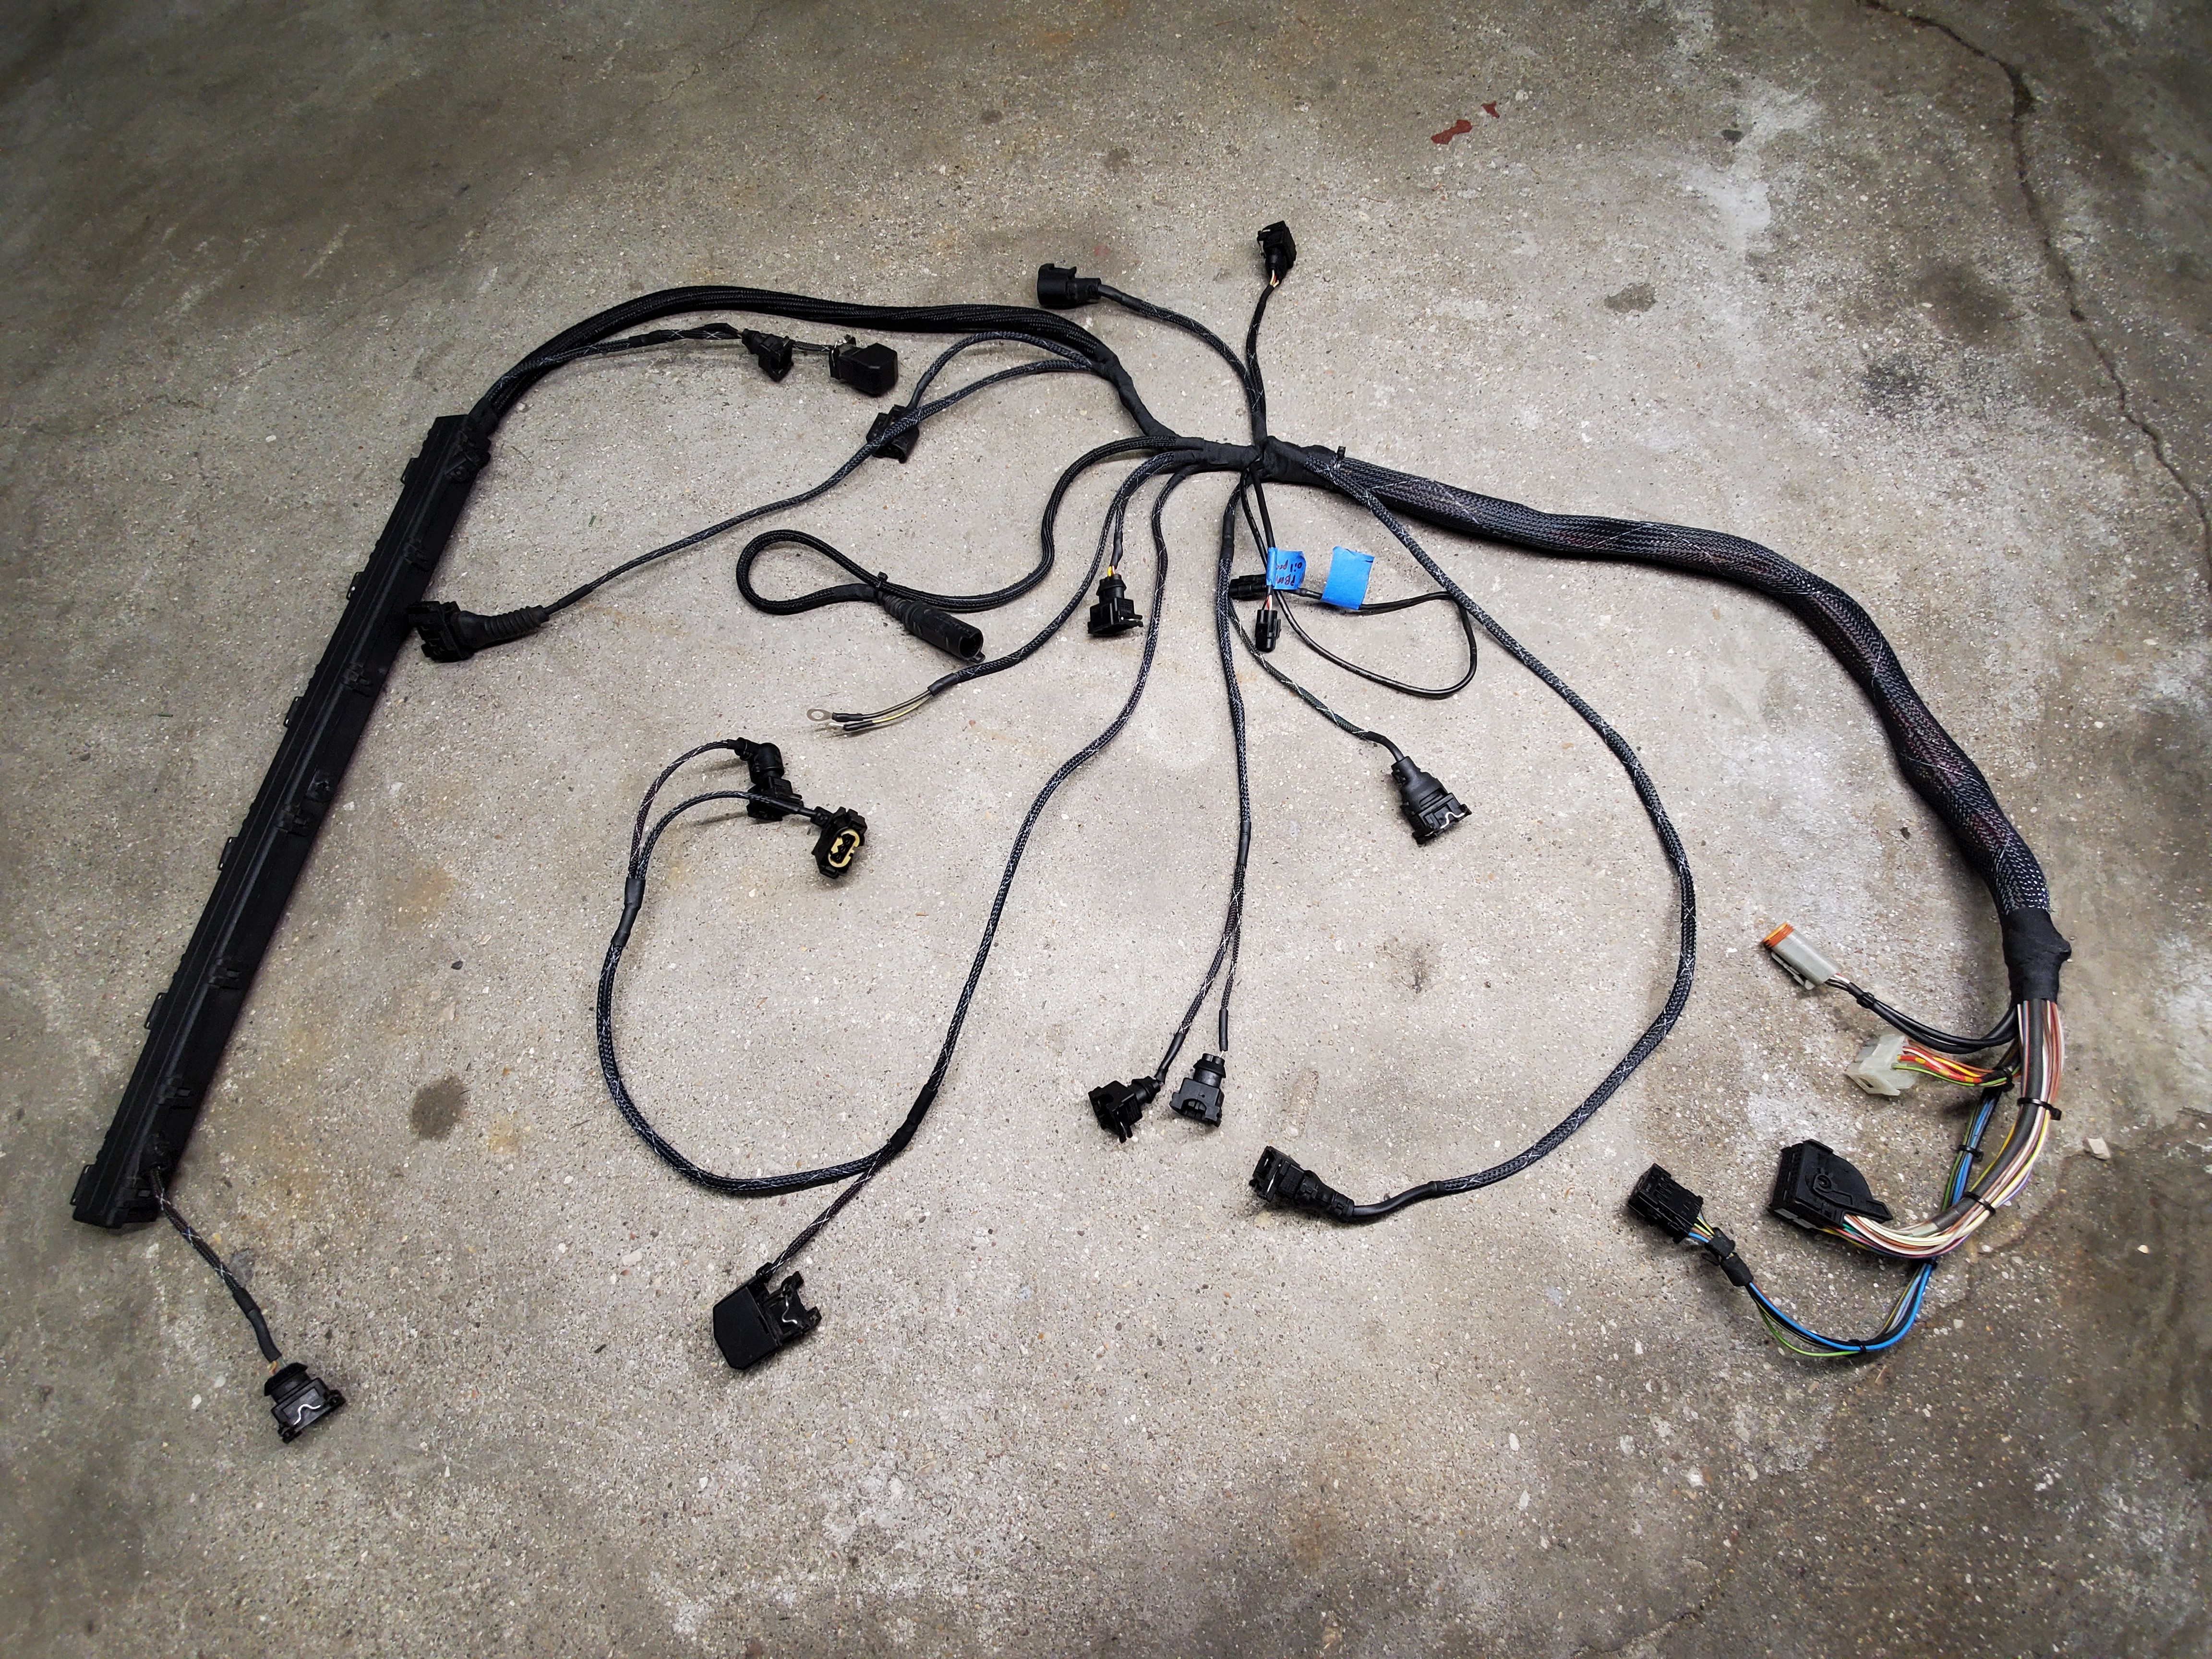
And finally after about 4 hours of looming it is complete

Super happy with how this harness turned out.
Now that the harness is done I got the new injector o-rings, throttle body gasket on the manifold side, and the 6 manifold to head gaskets.
I also went ahead and notched the panel that separates the ebox compartment for the engine bay where the harness is going to come through now.
And finally I got that new oil feed line installed along with the vanos banjo bolt fitting. The line that came with the kit was not going to work for my set up but this way worked out exactly how I had hoped and looks super clean.
Thats it for now! Have a few more parts to order that were further down on the immediate priority list along with figuring out how I want to run the diverter valve hoses. Then on to final assembly I think haha.
-
A purists nightmare - E46 drift buildUPDATE!
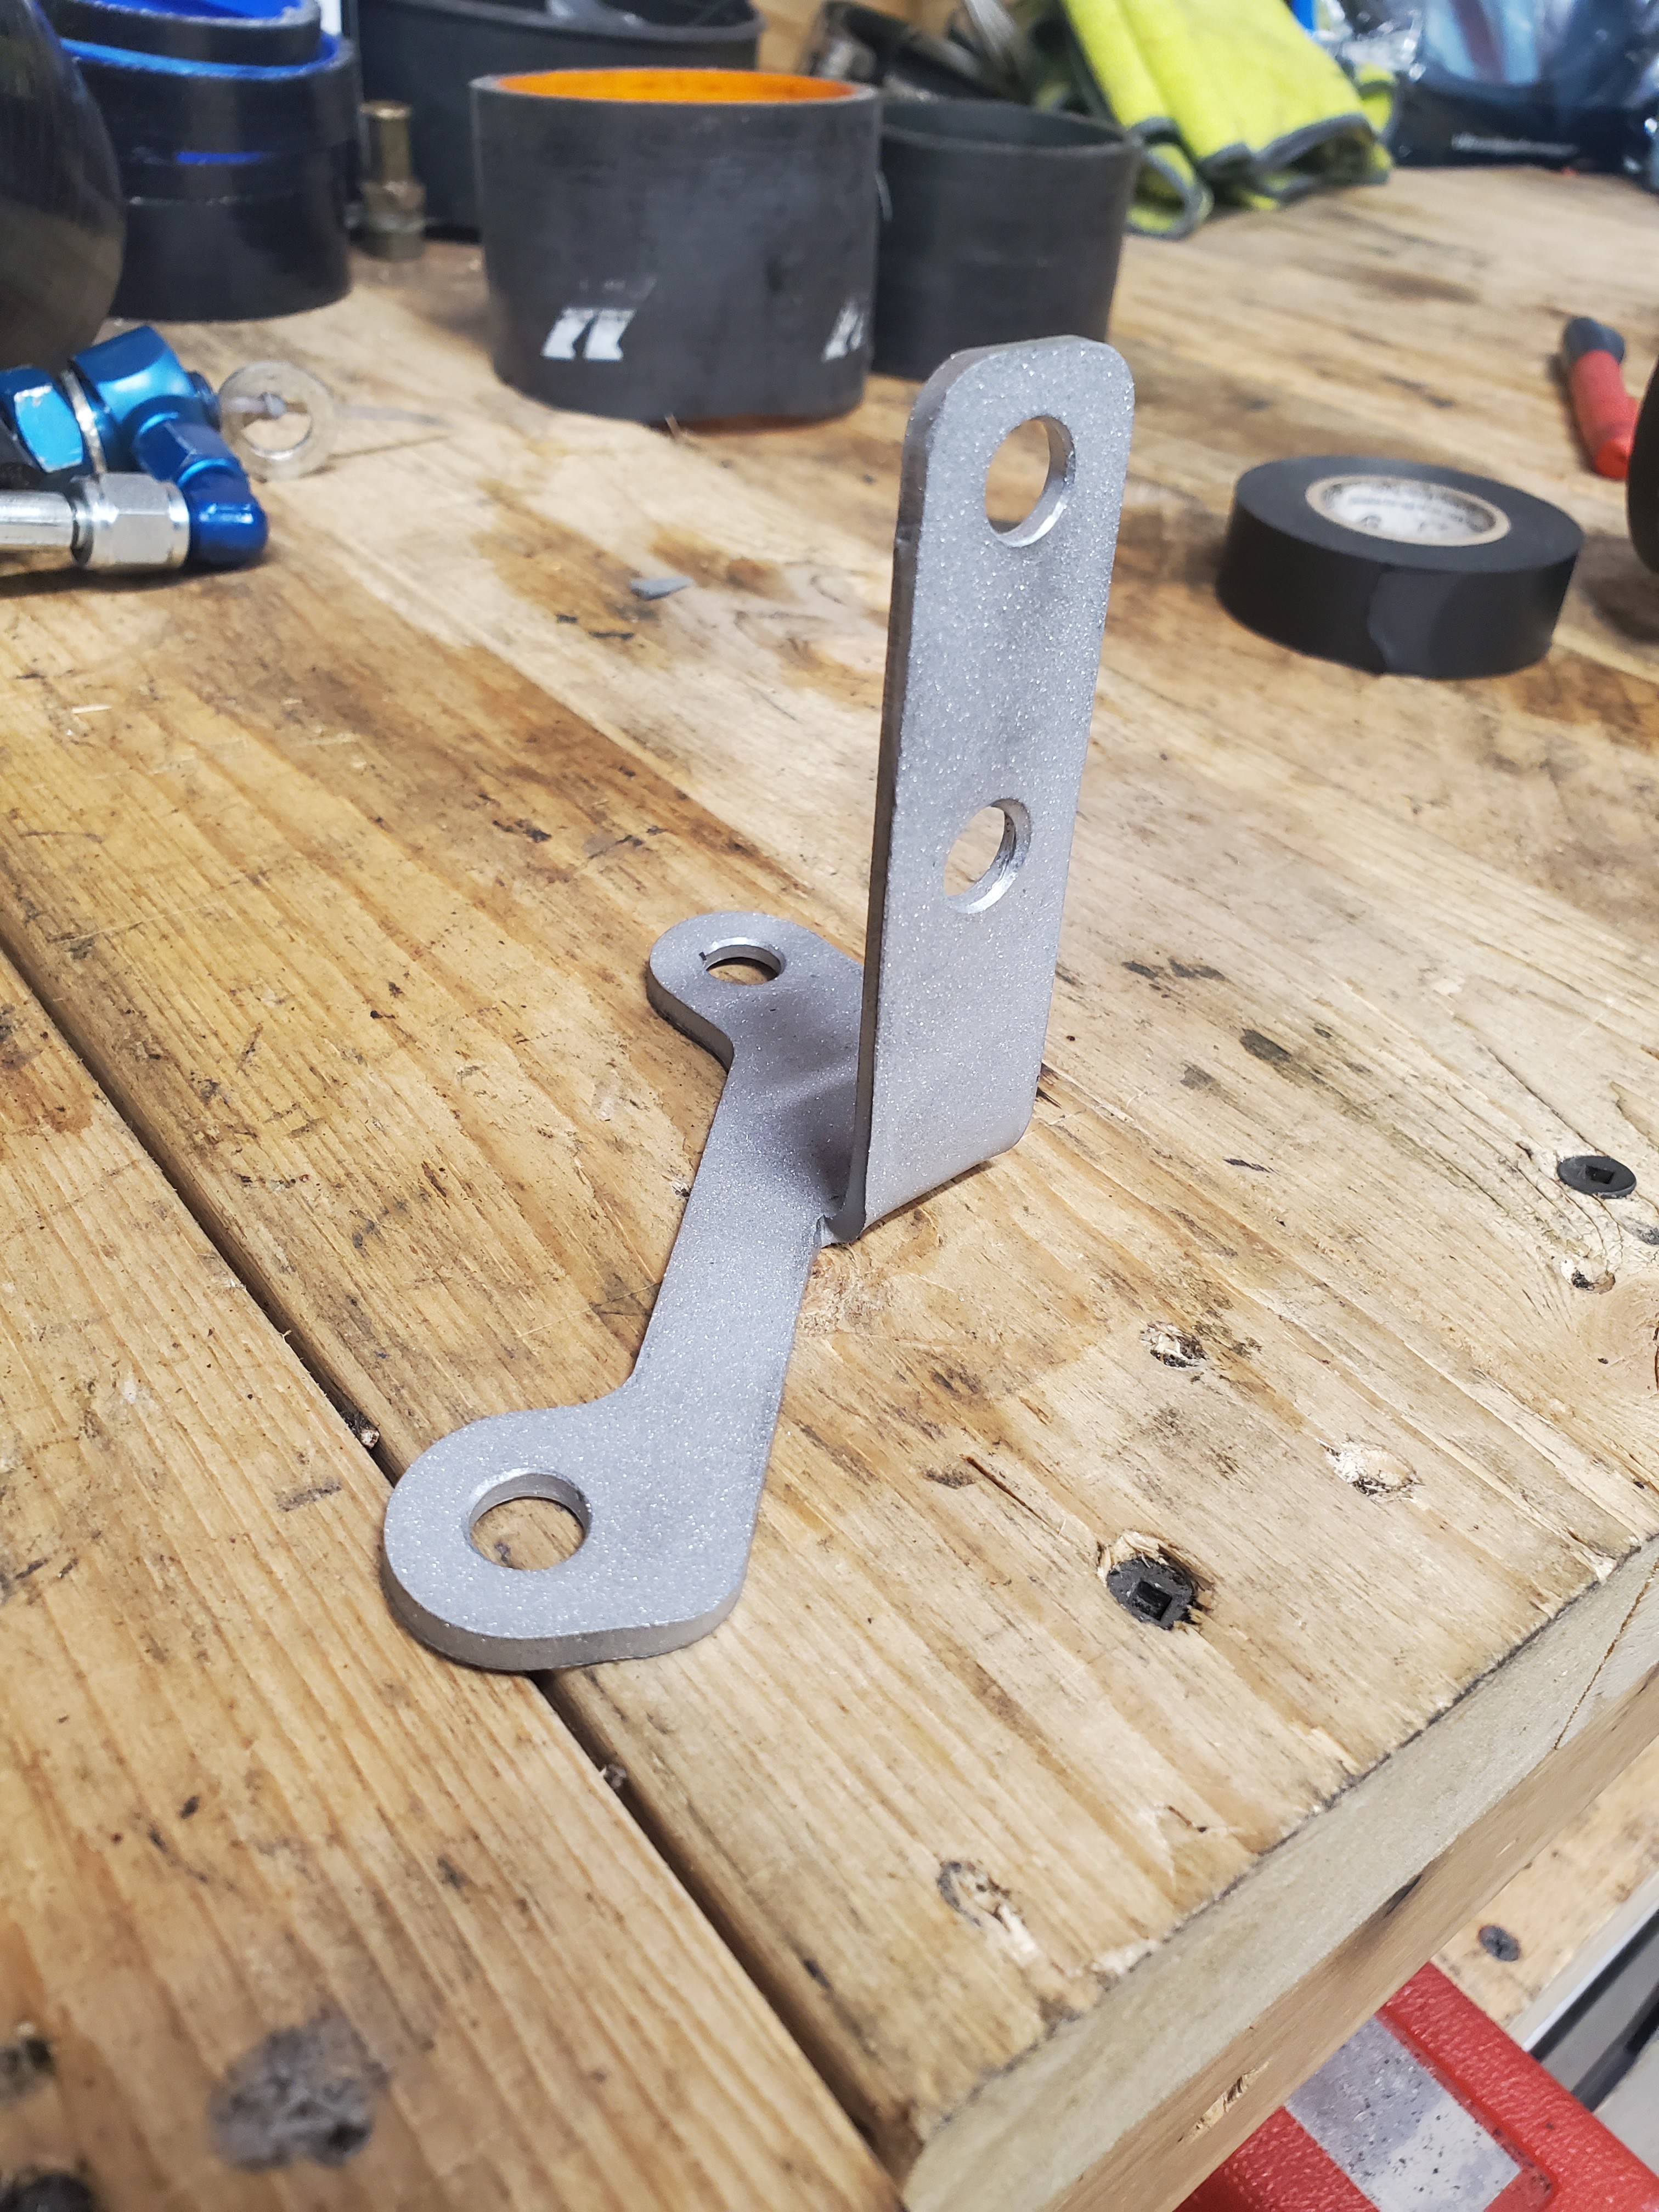
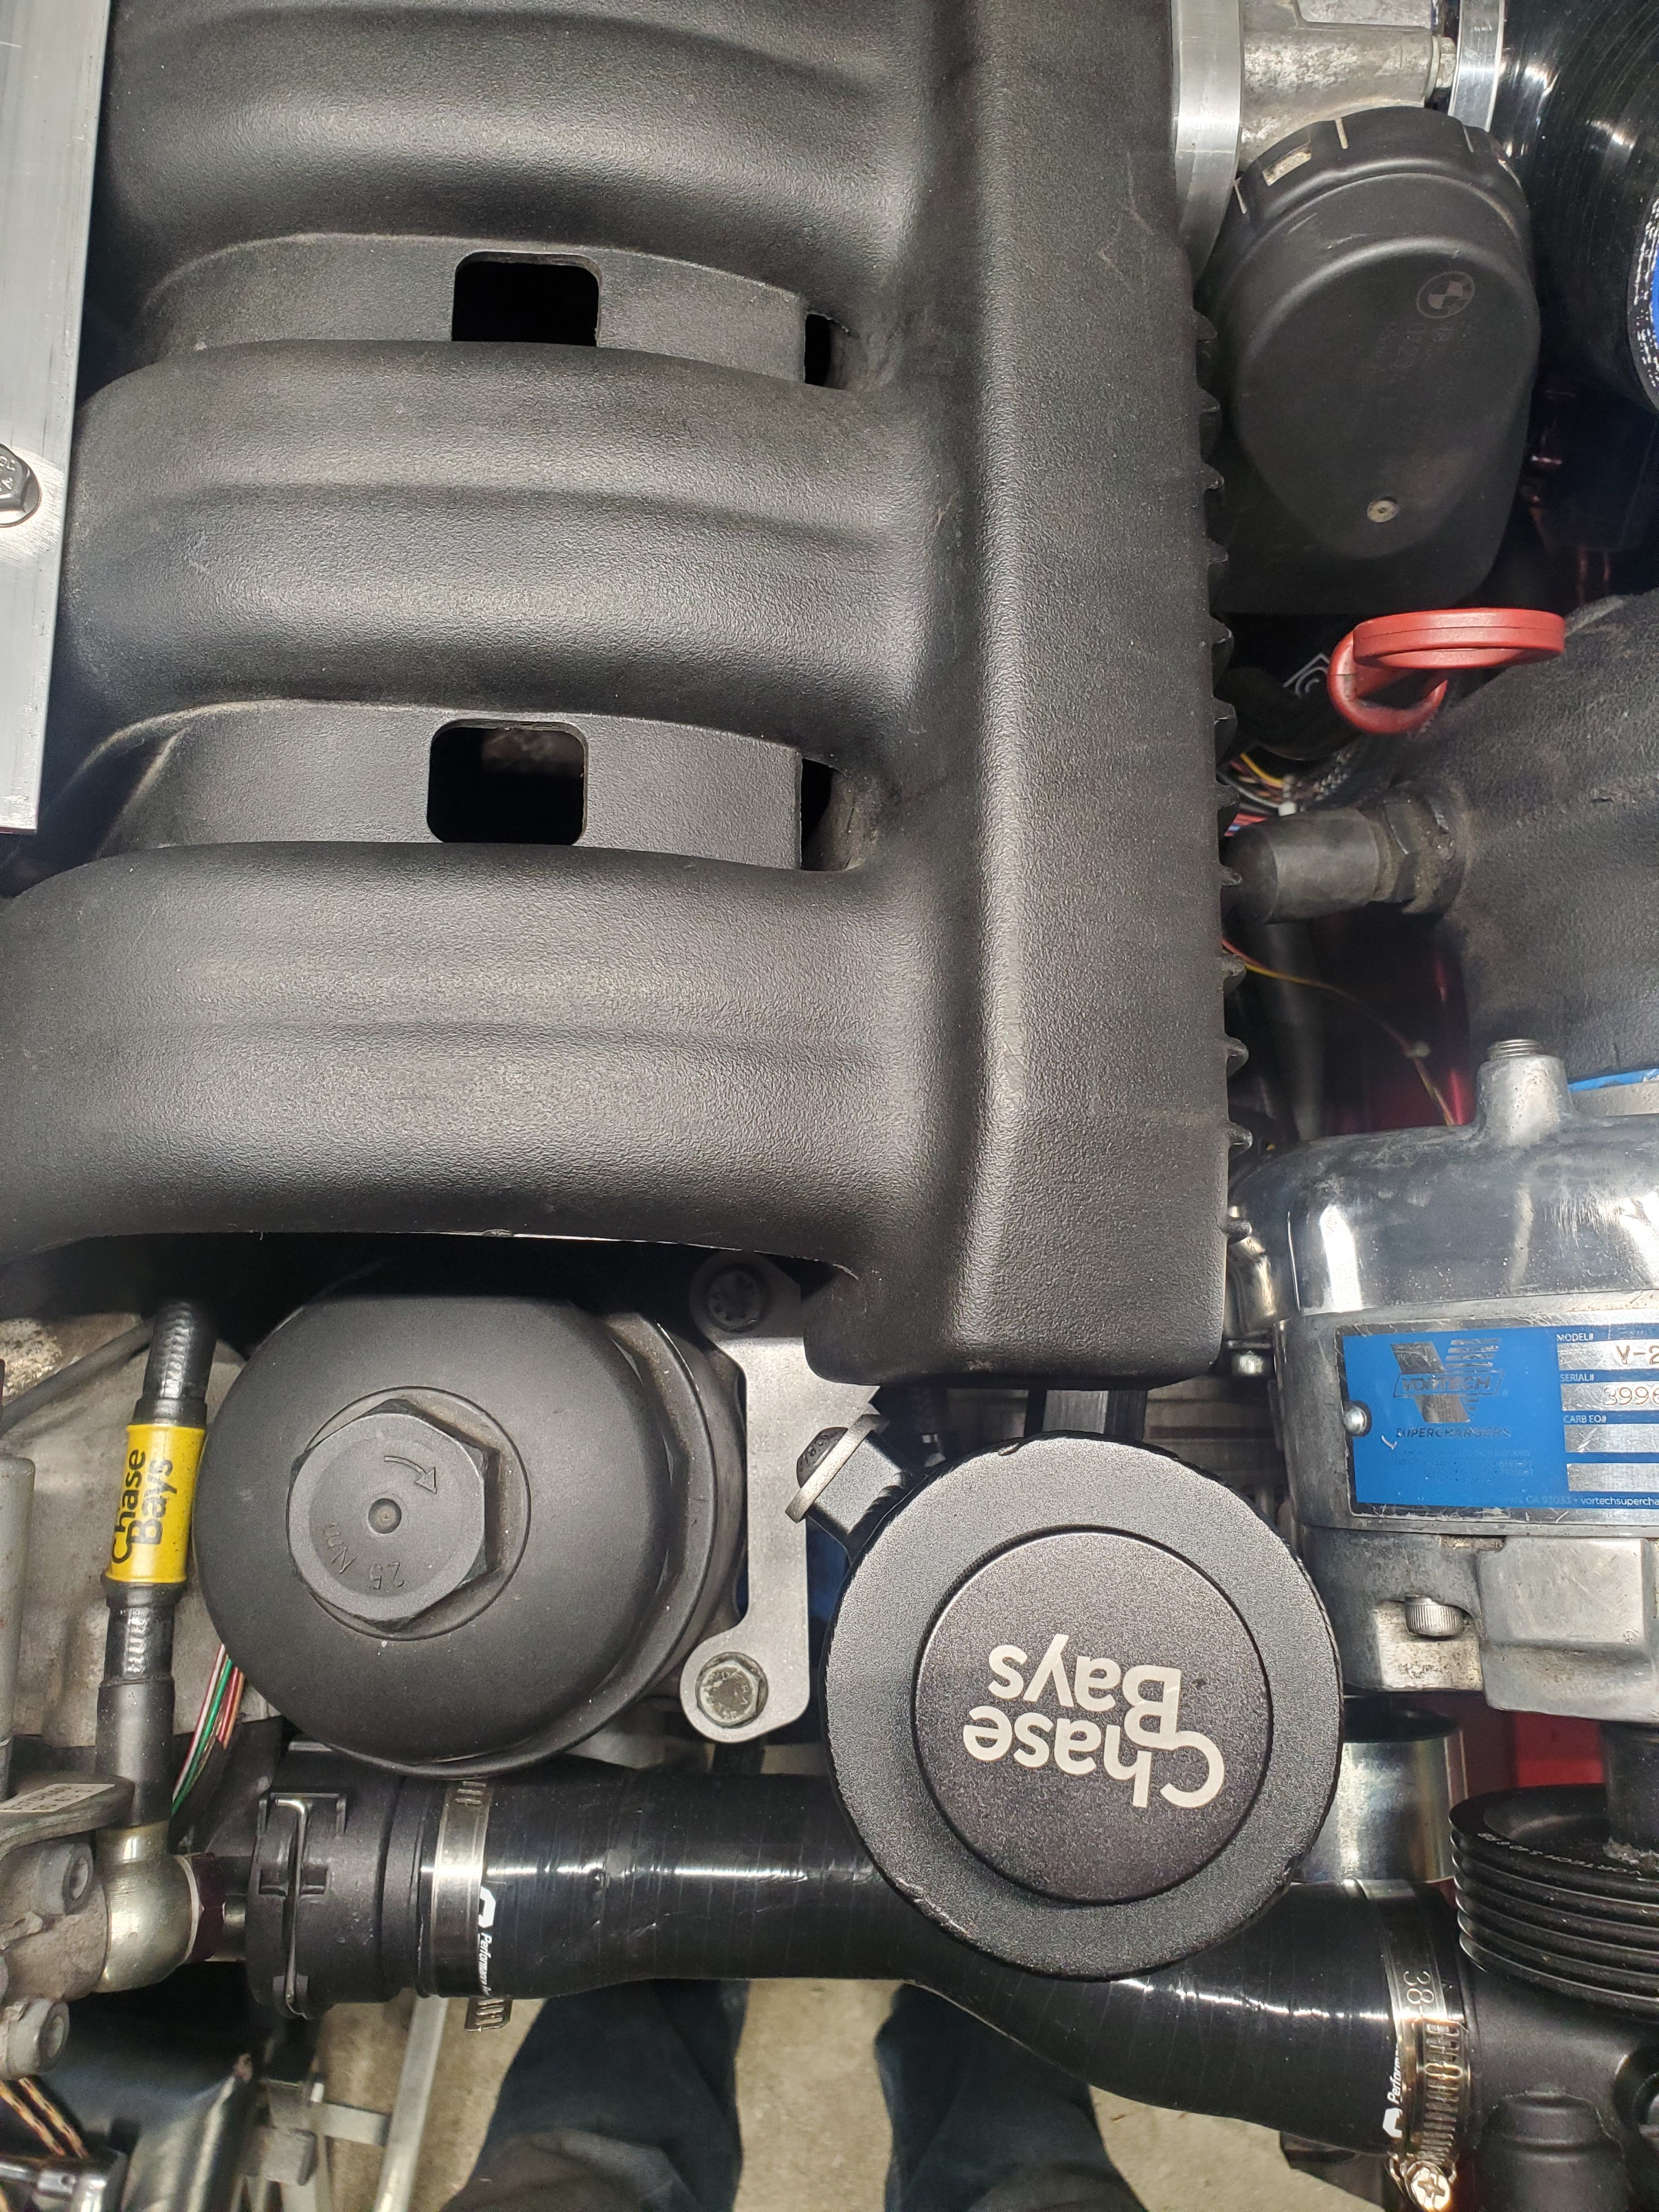
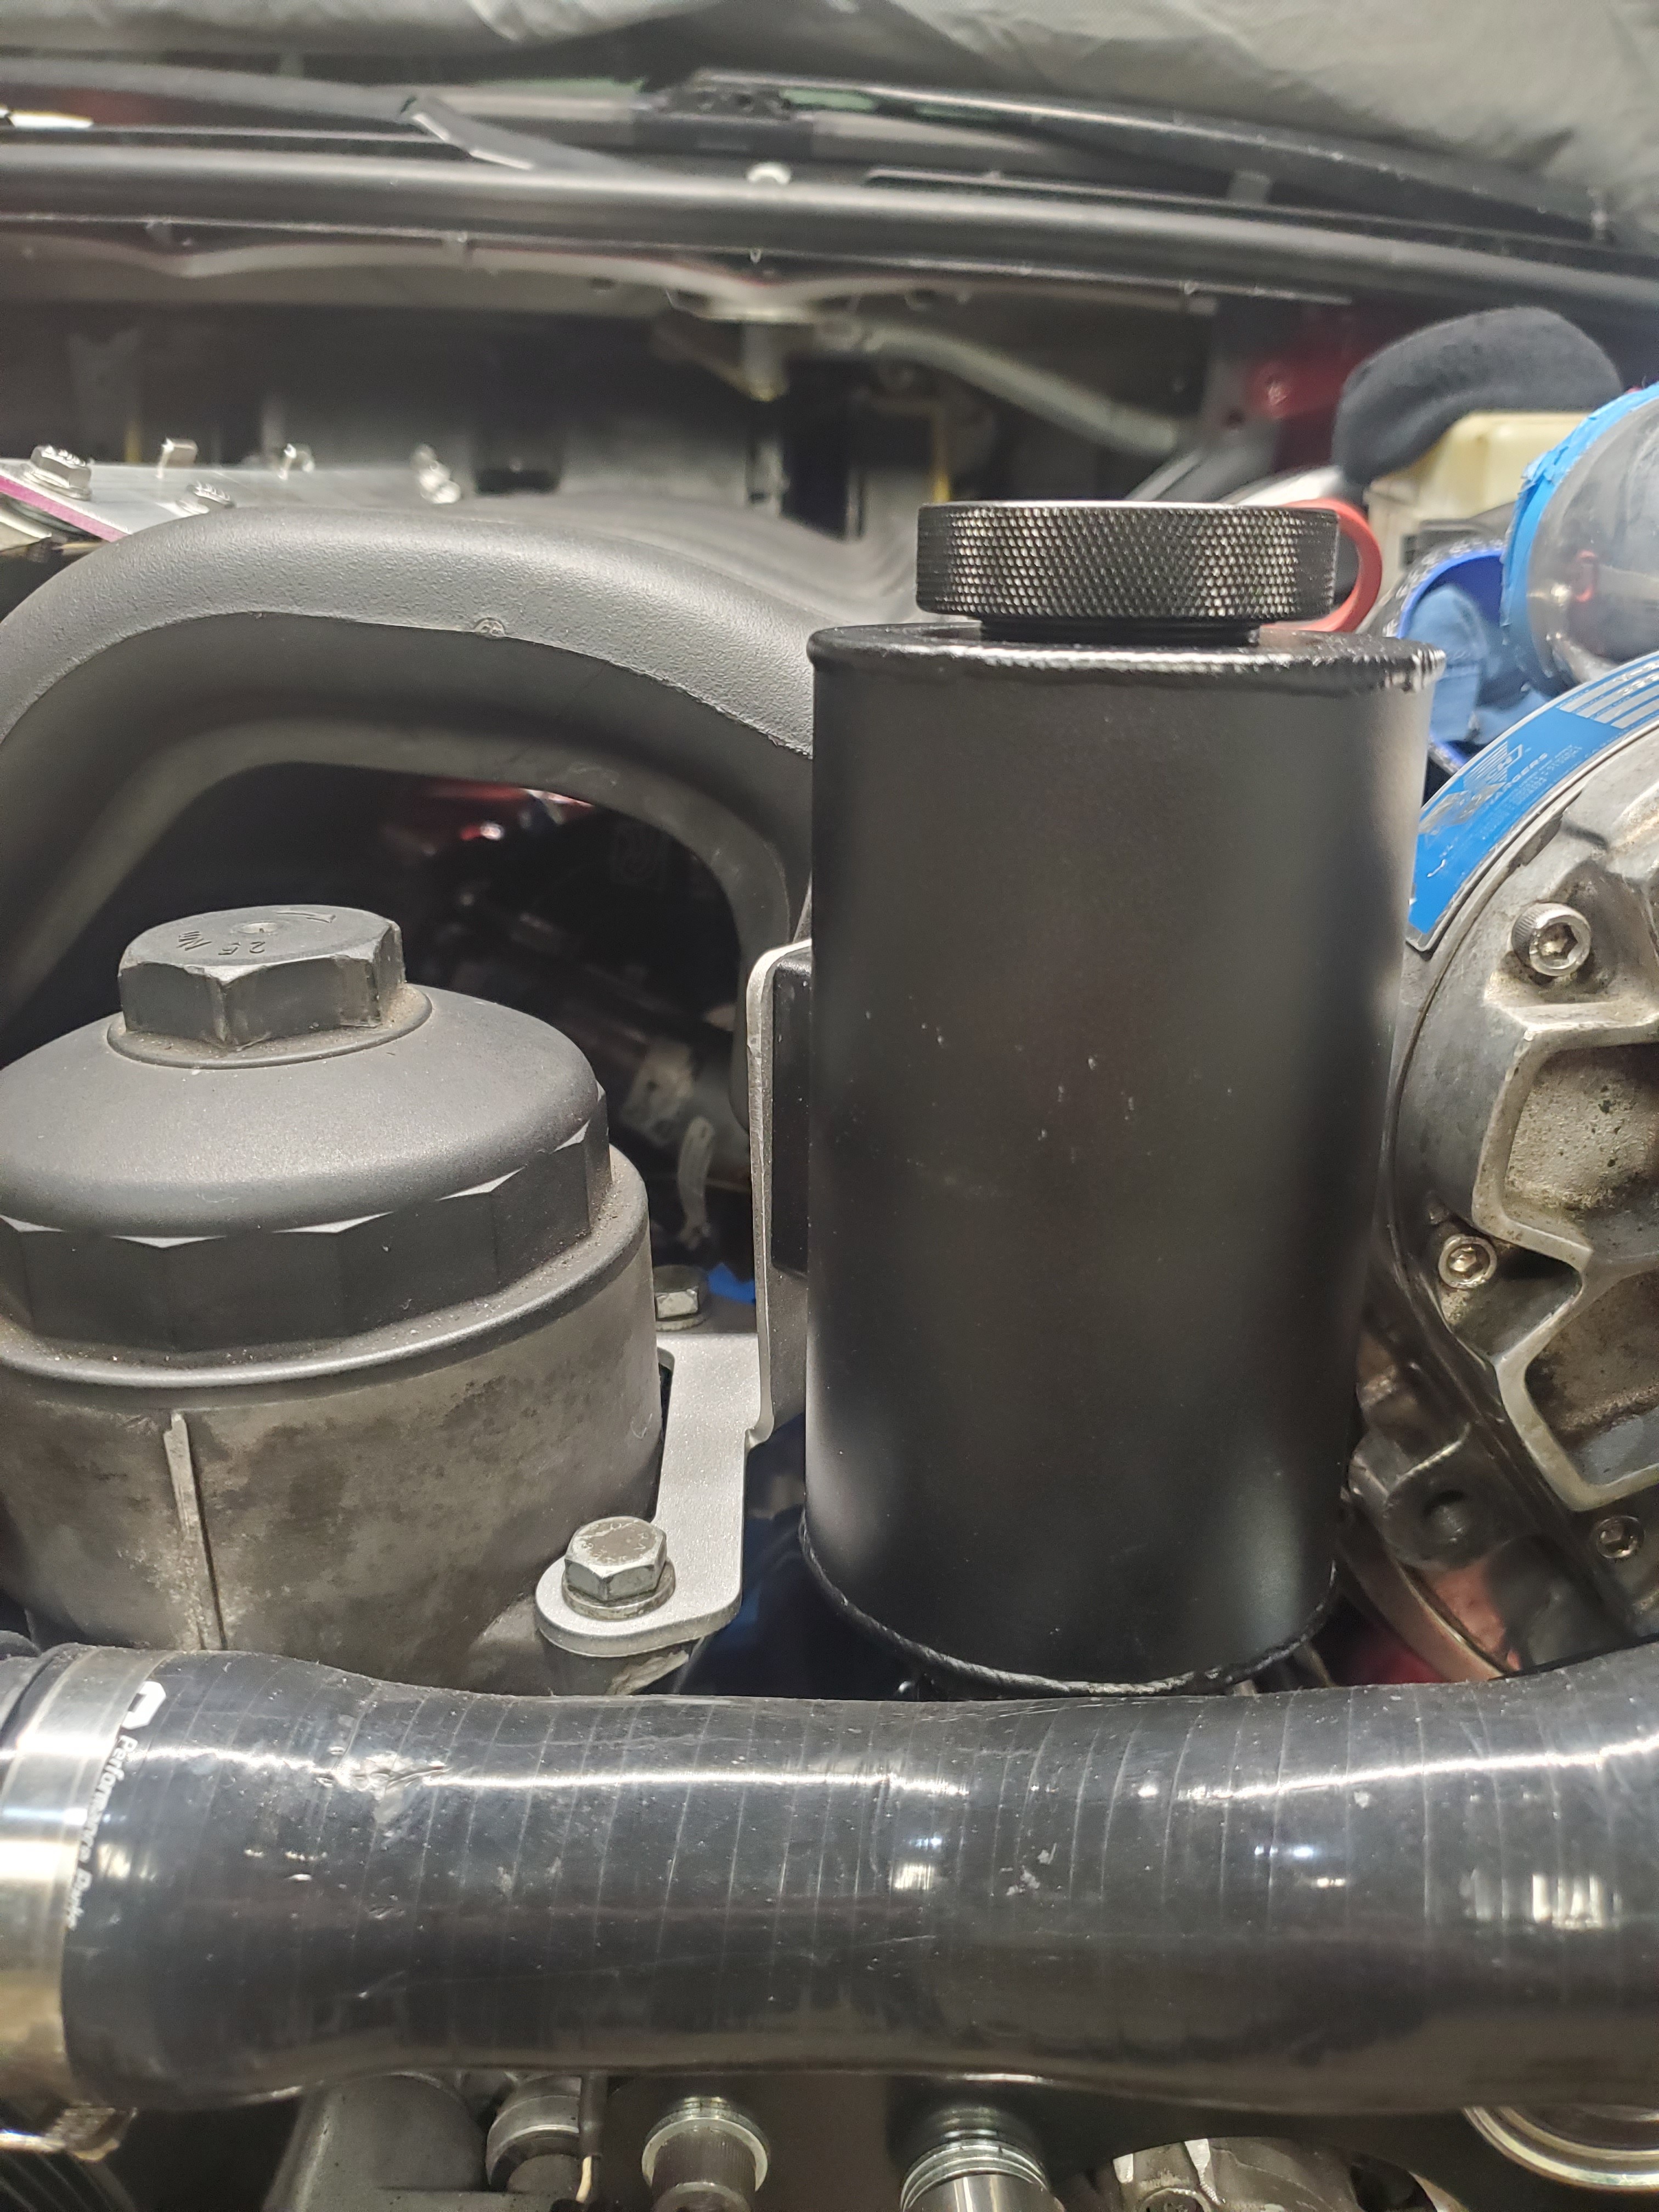
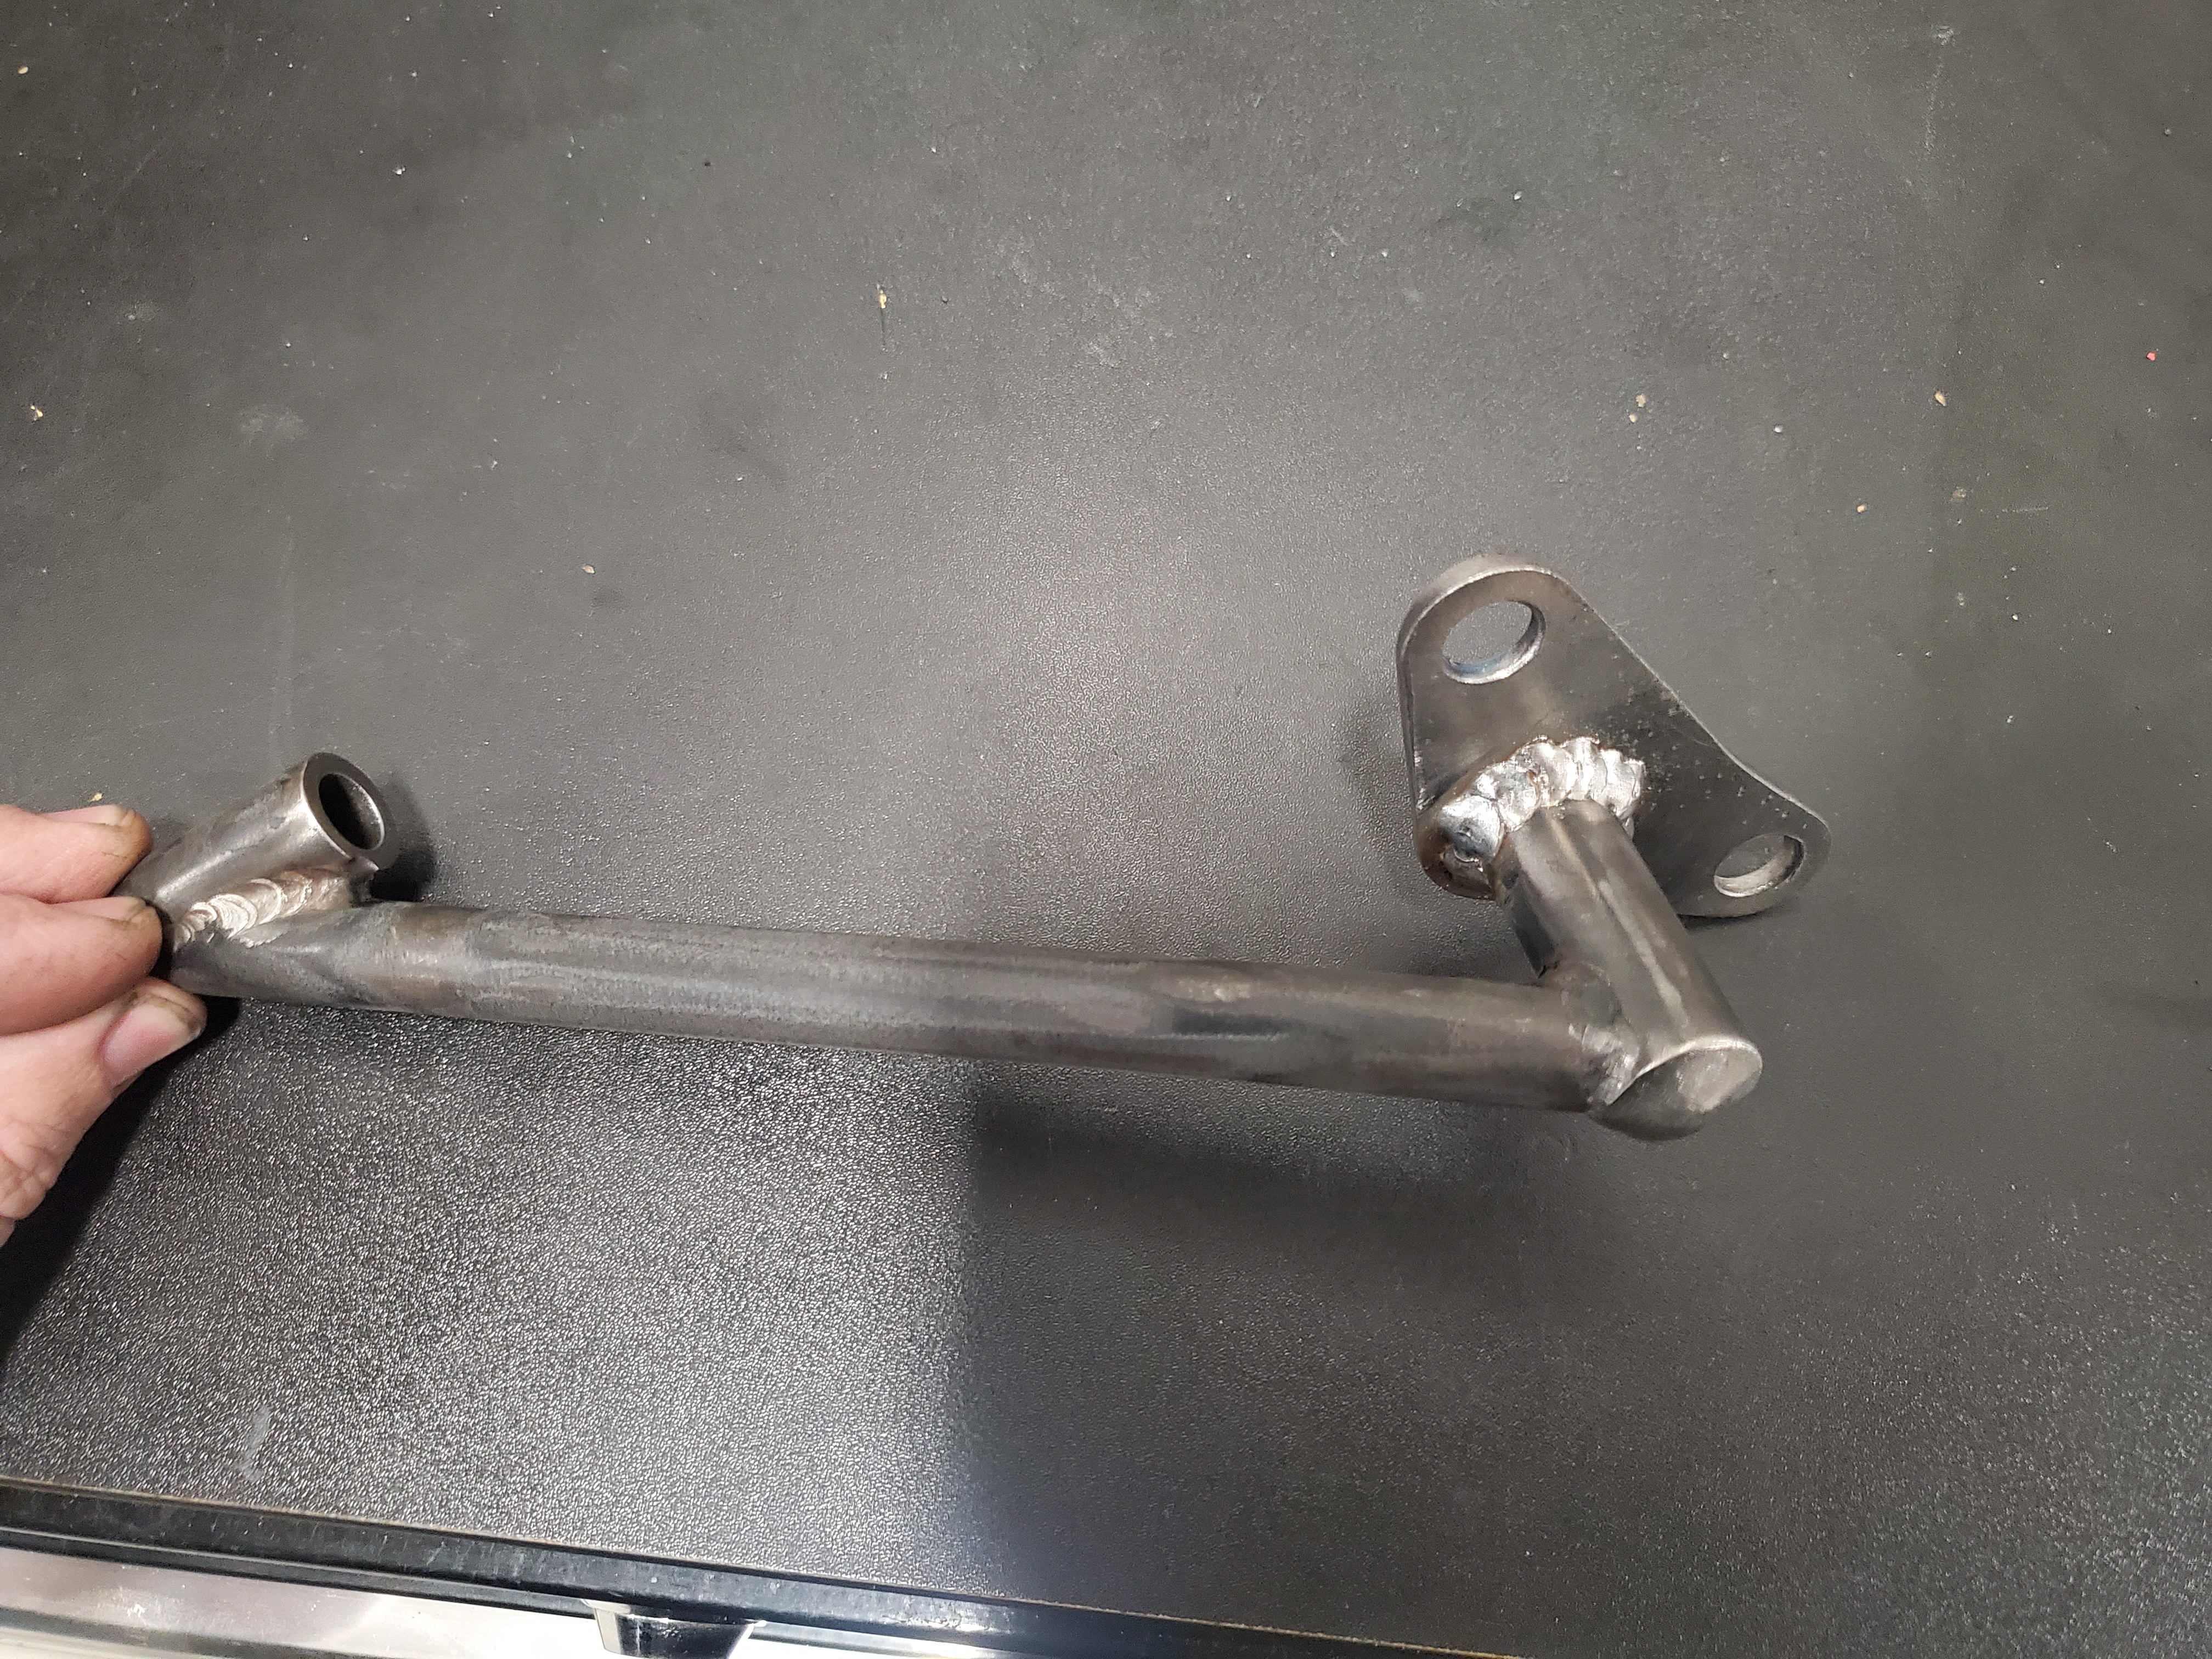
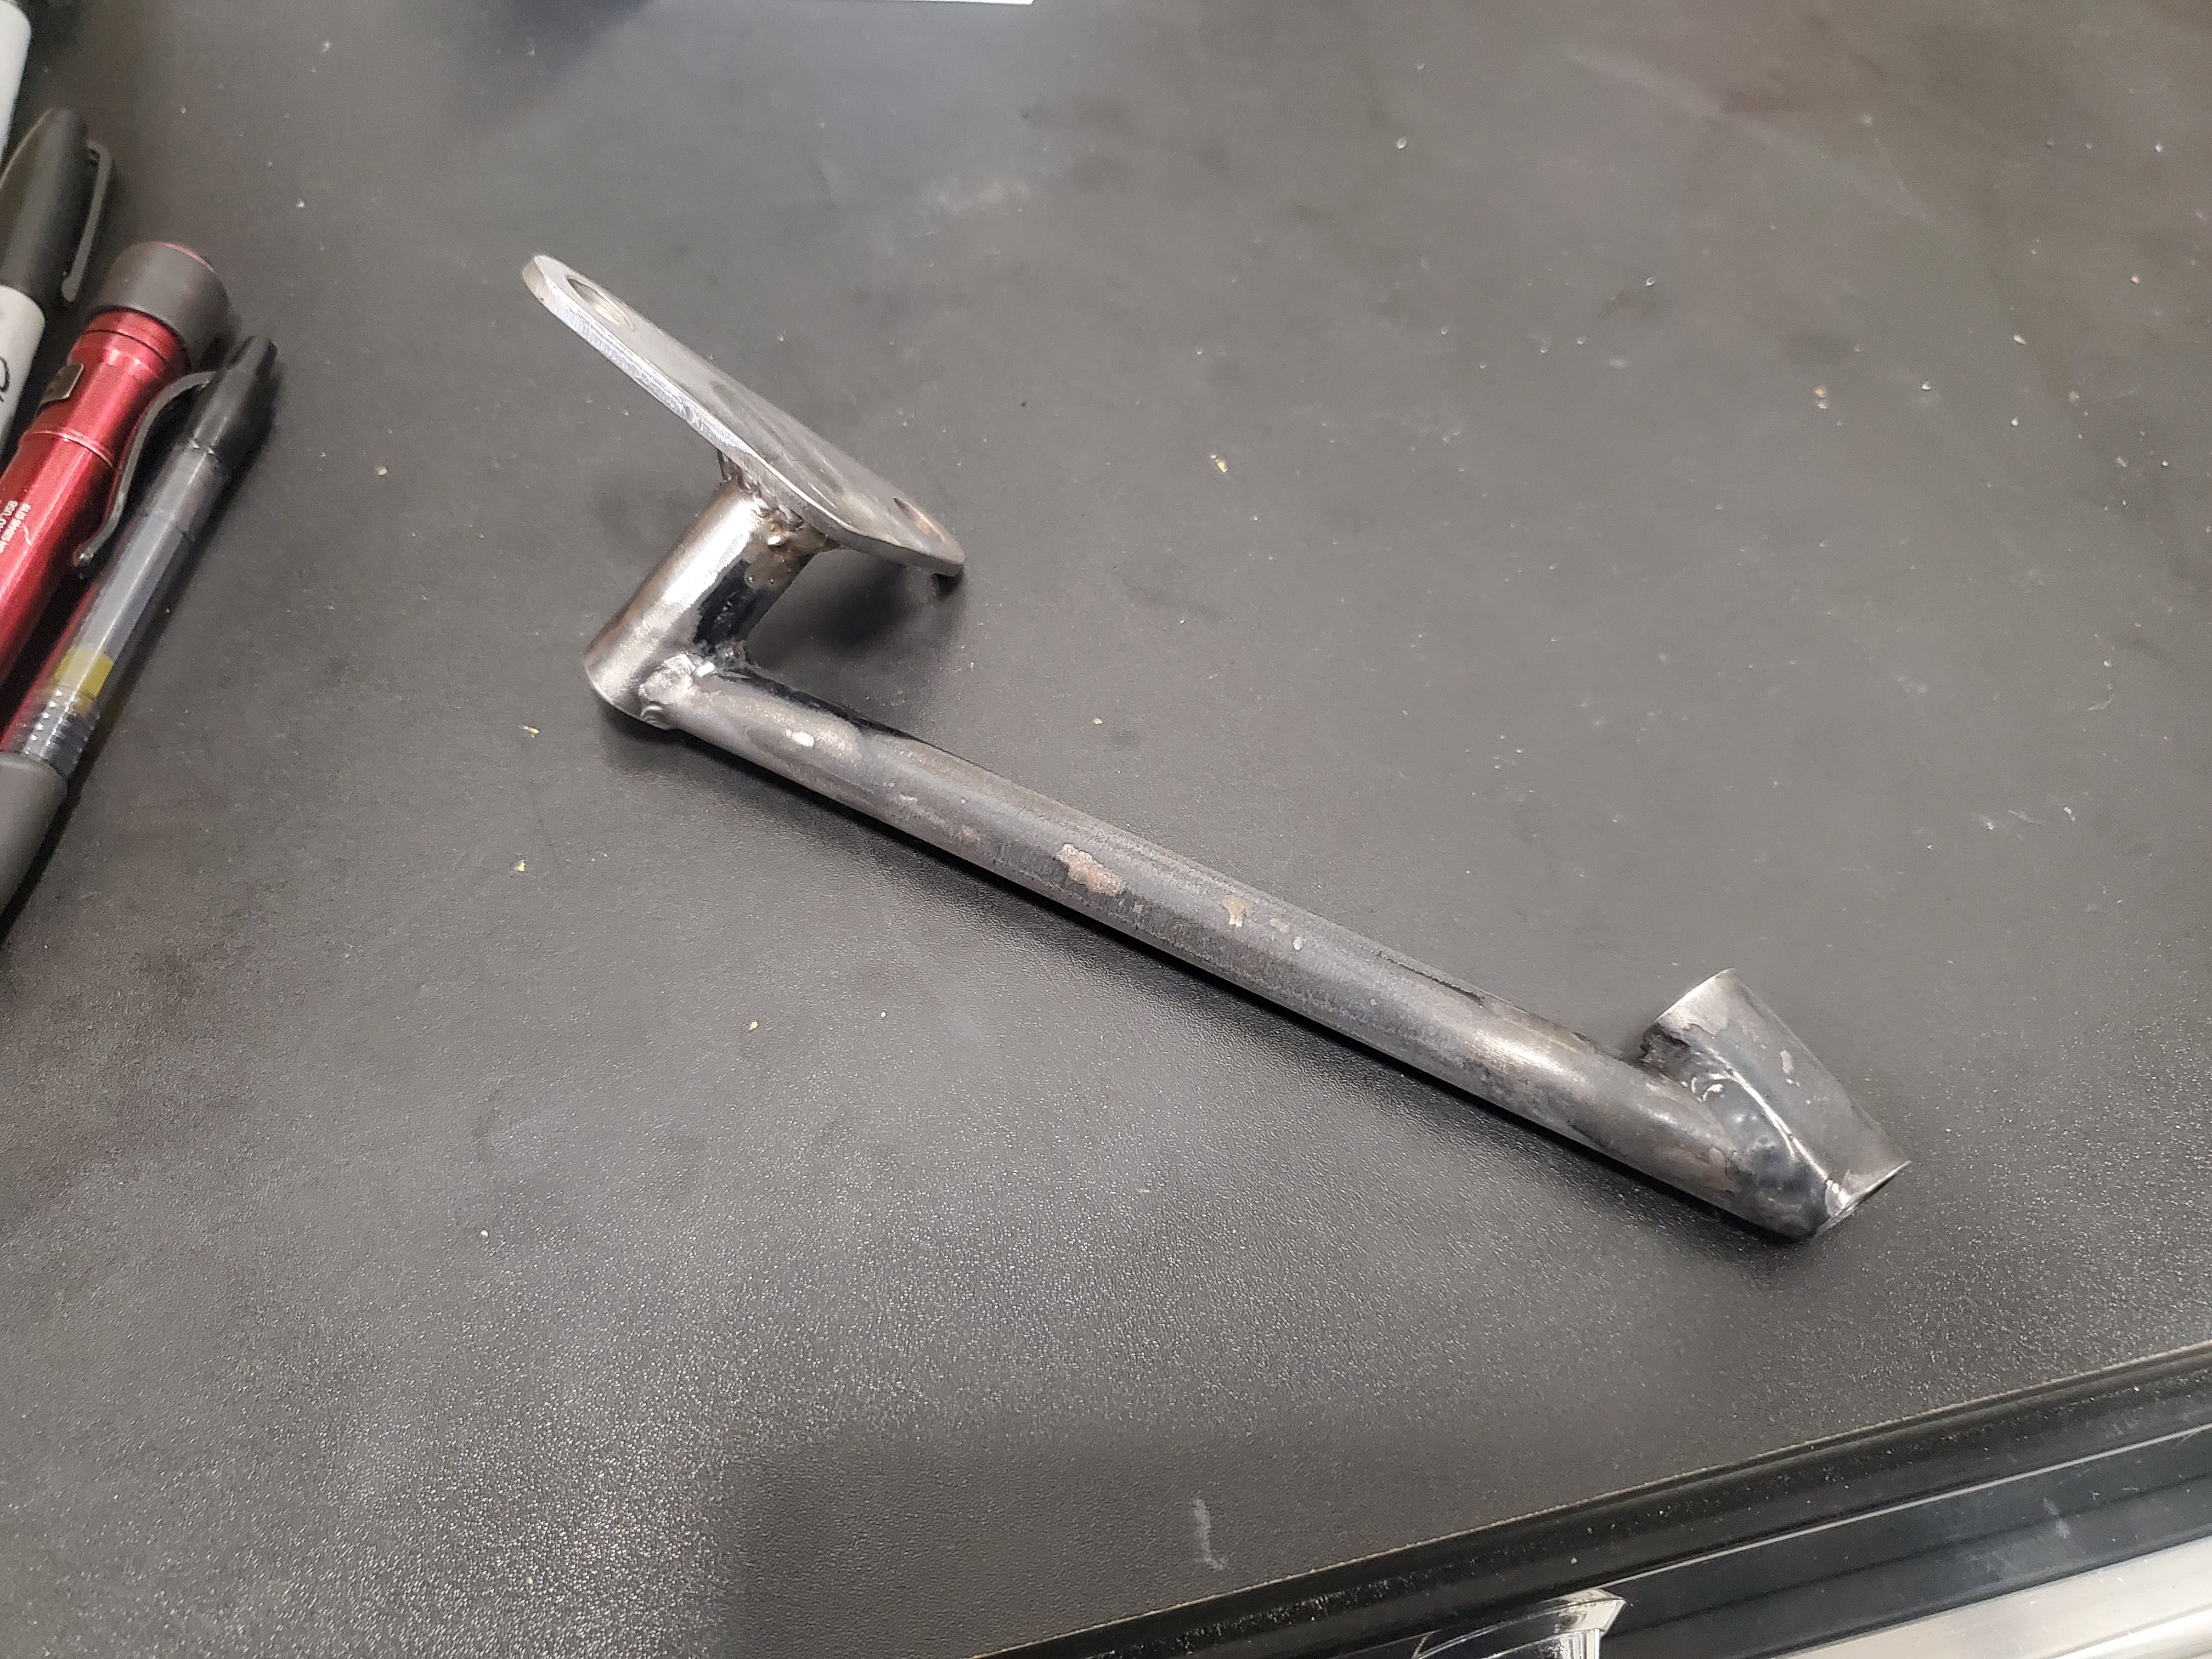
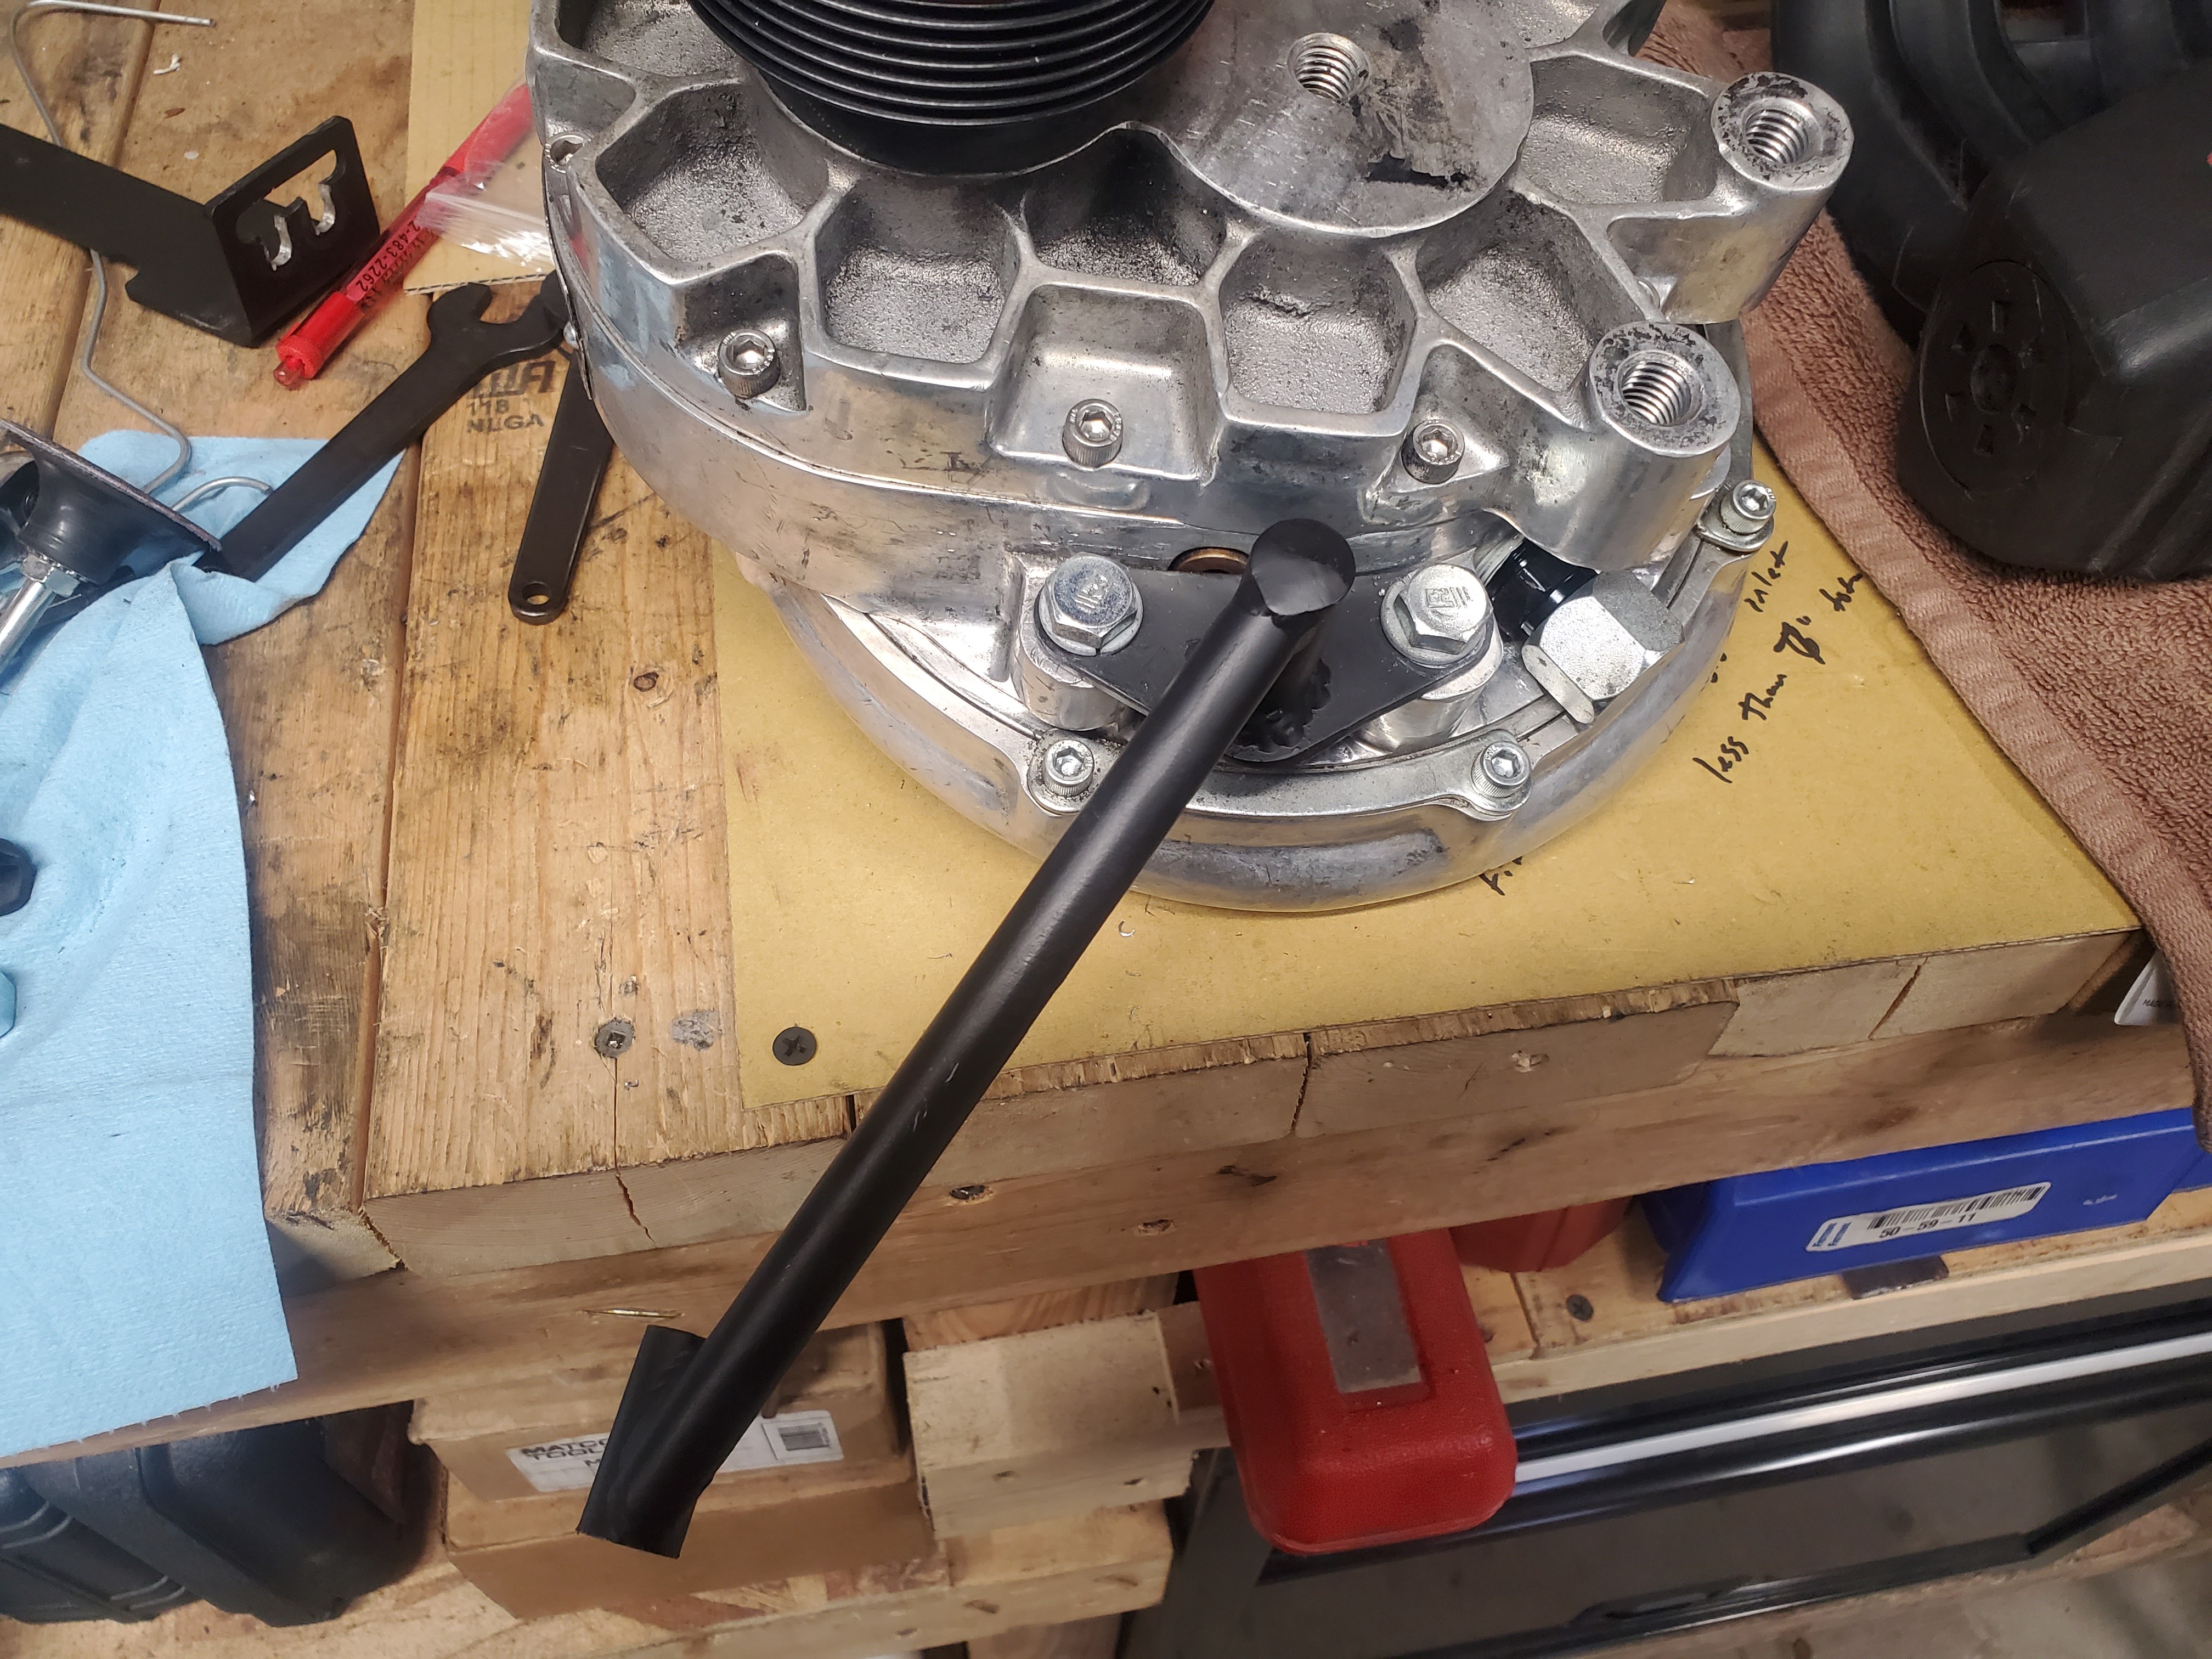
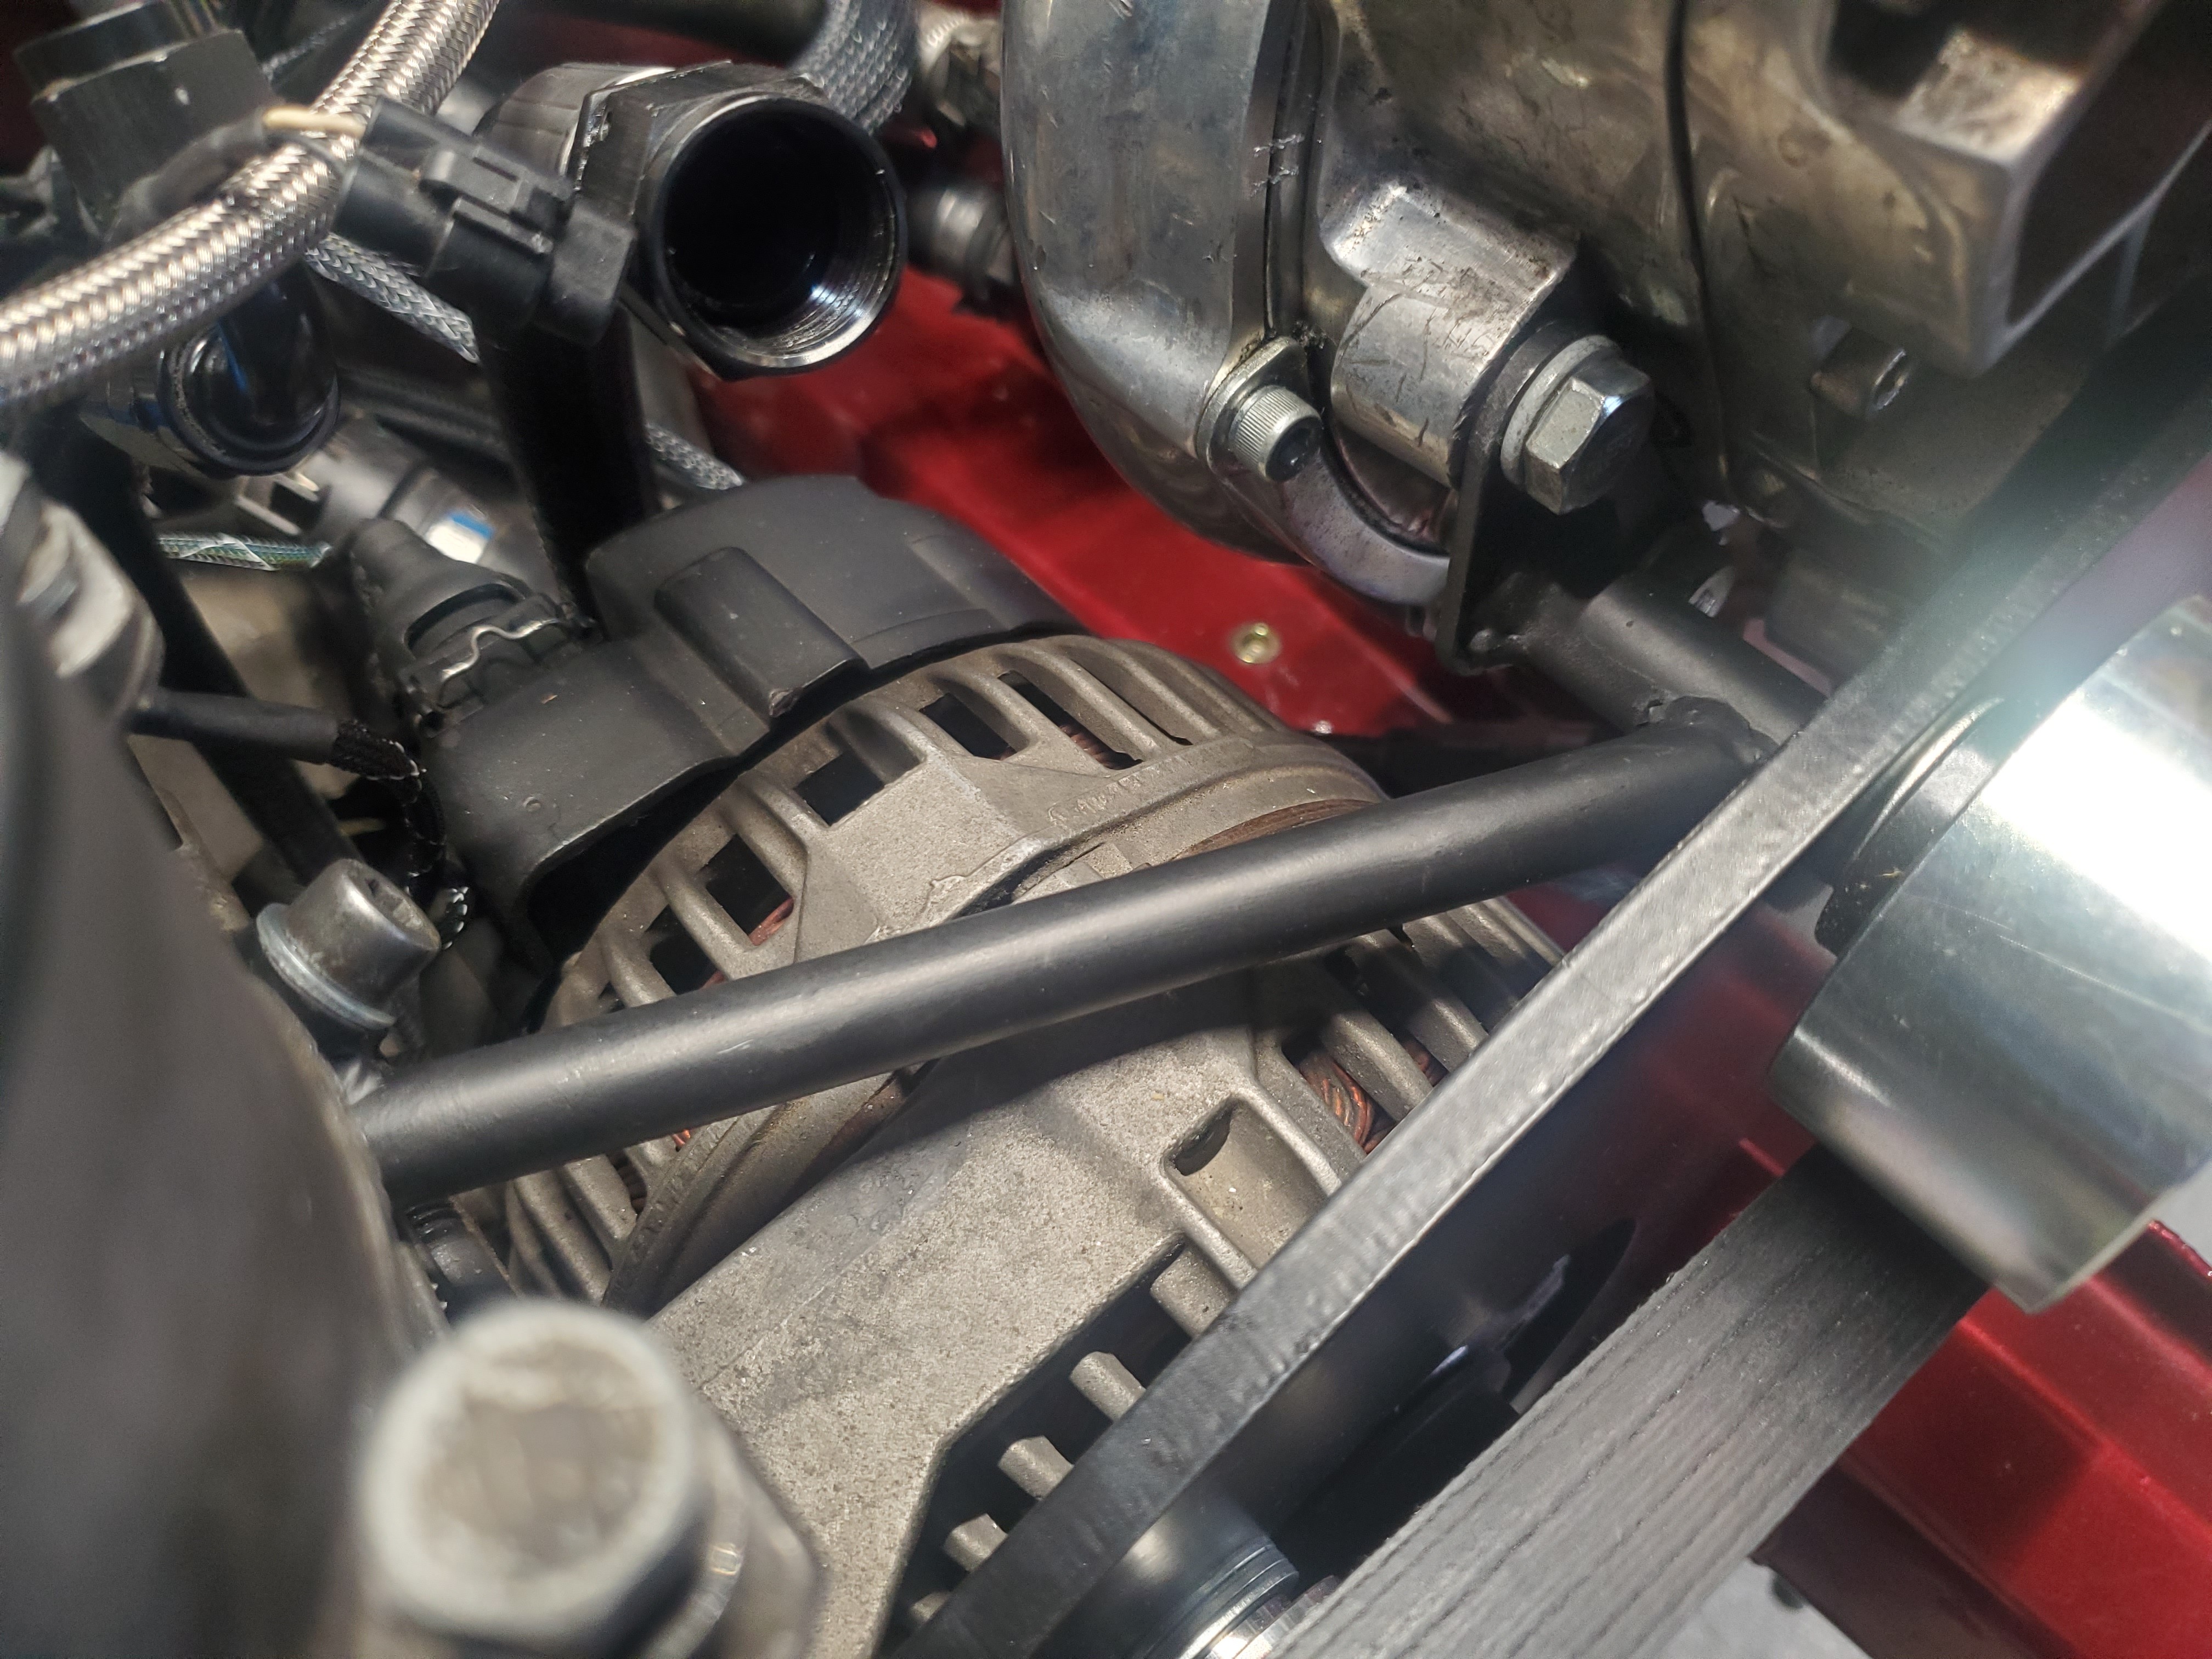
Finished up the charger to oil filter housing bracket mods.
Then painted it along with the power steering resiviour bracket.
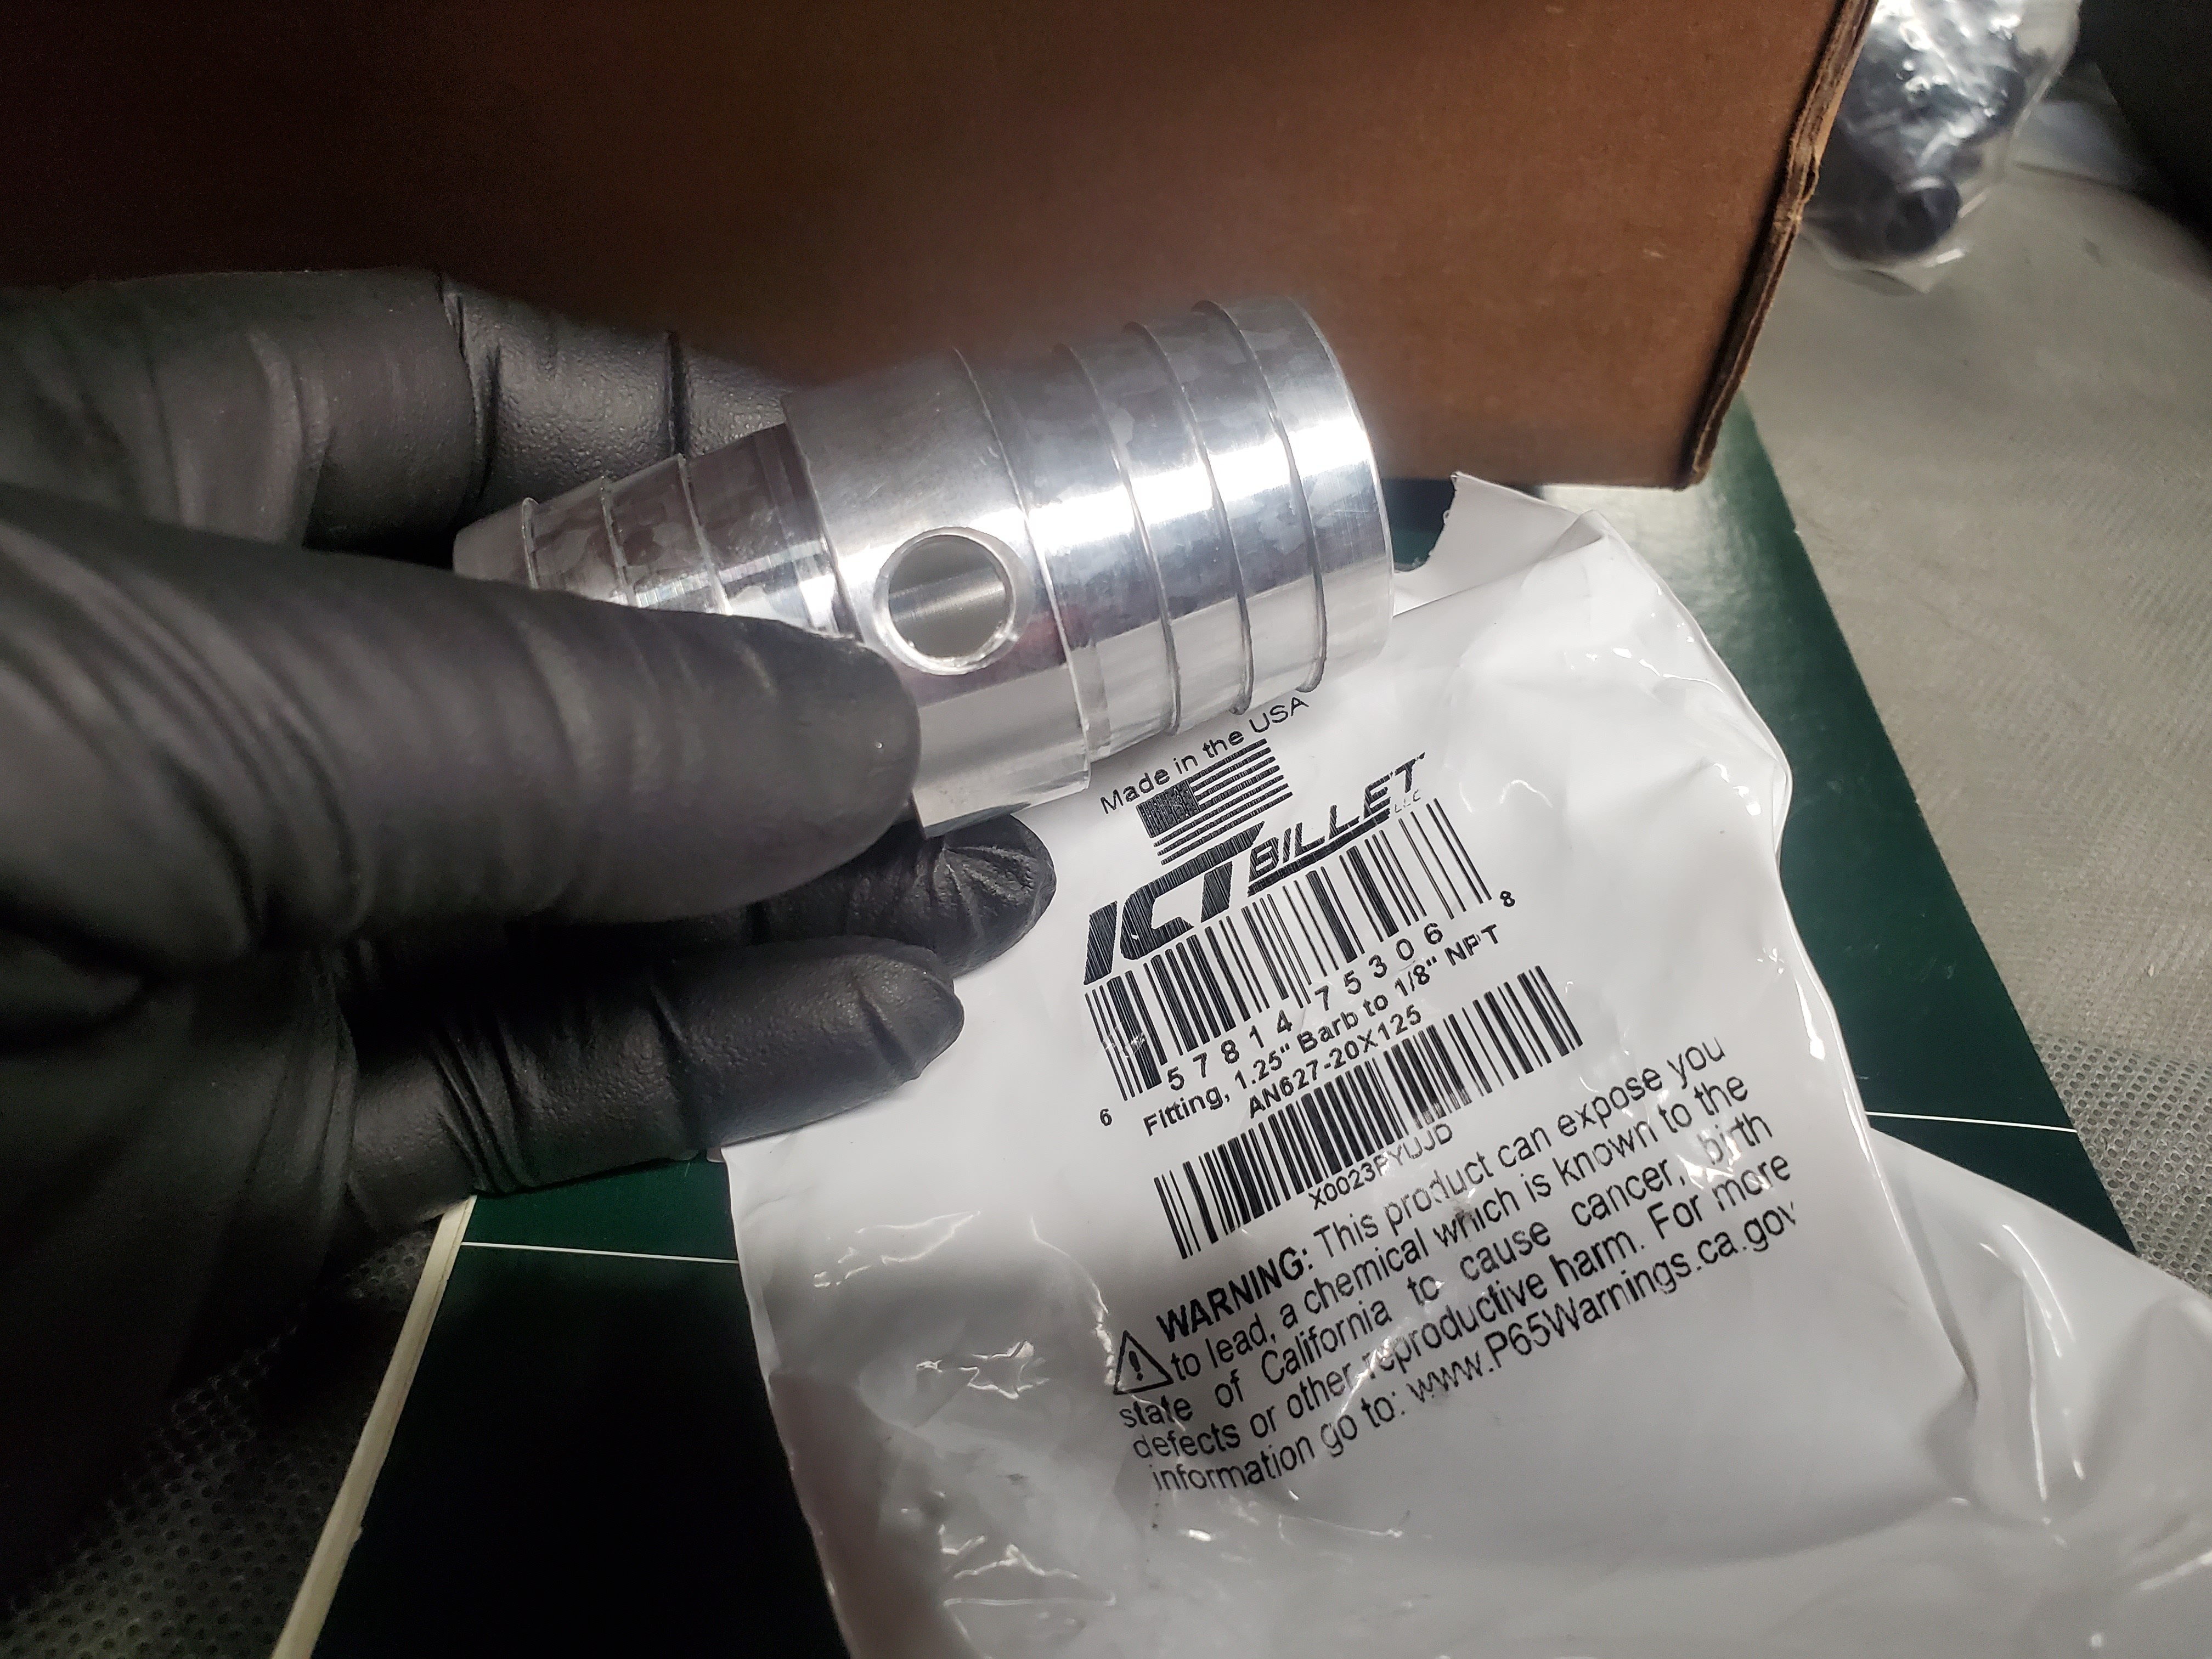
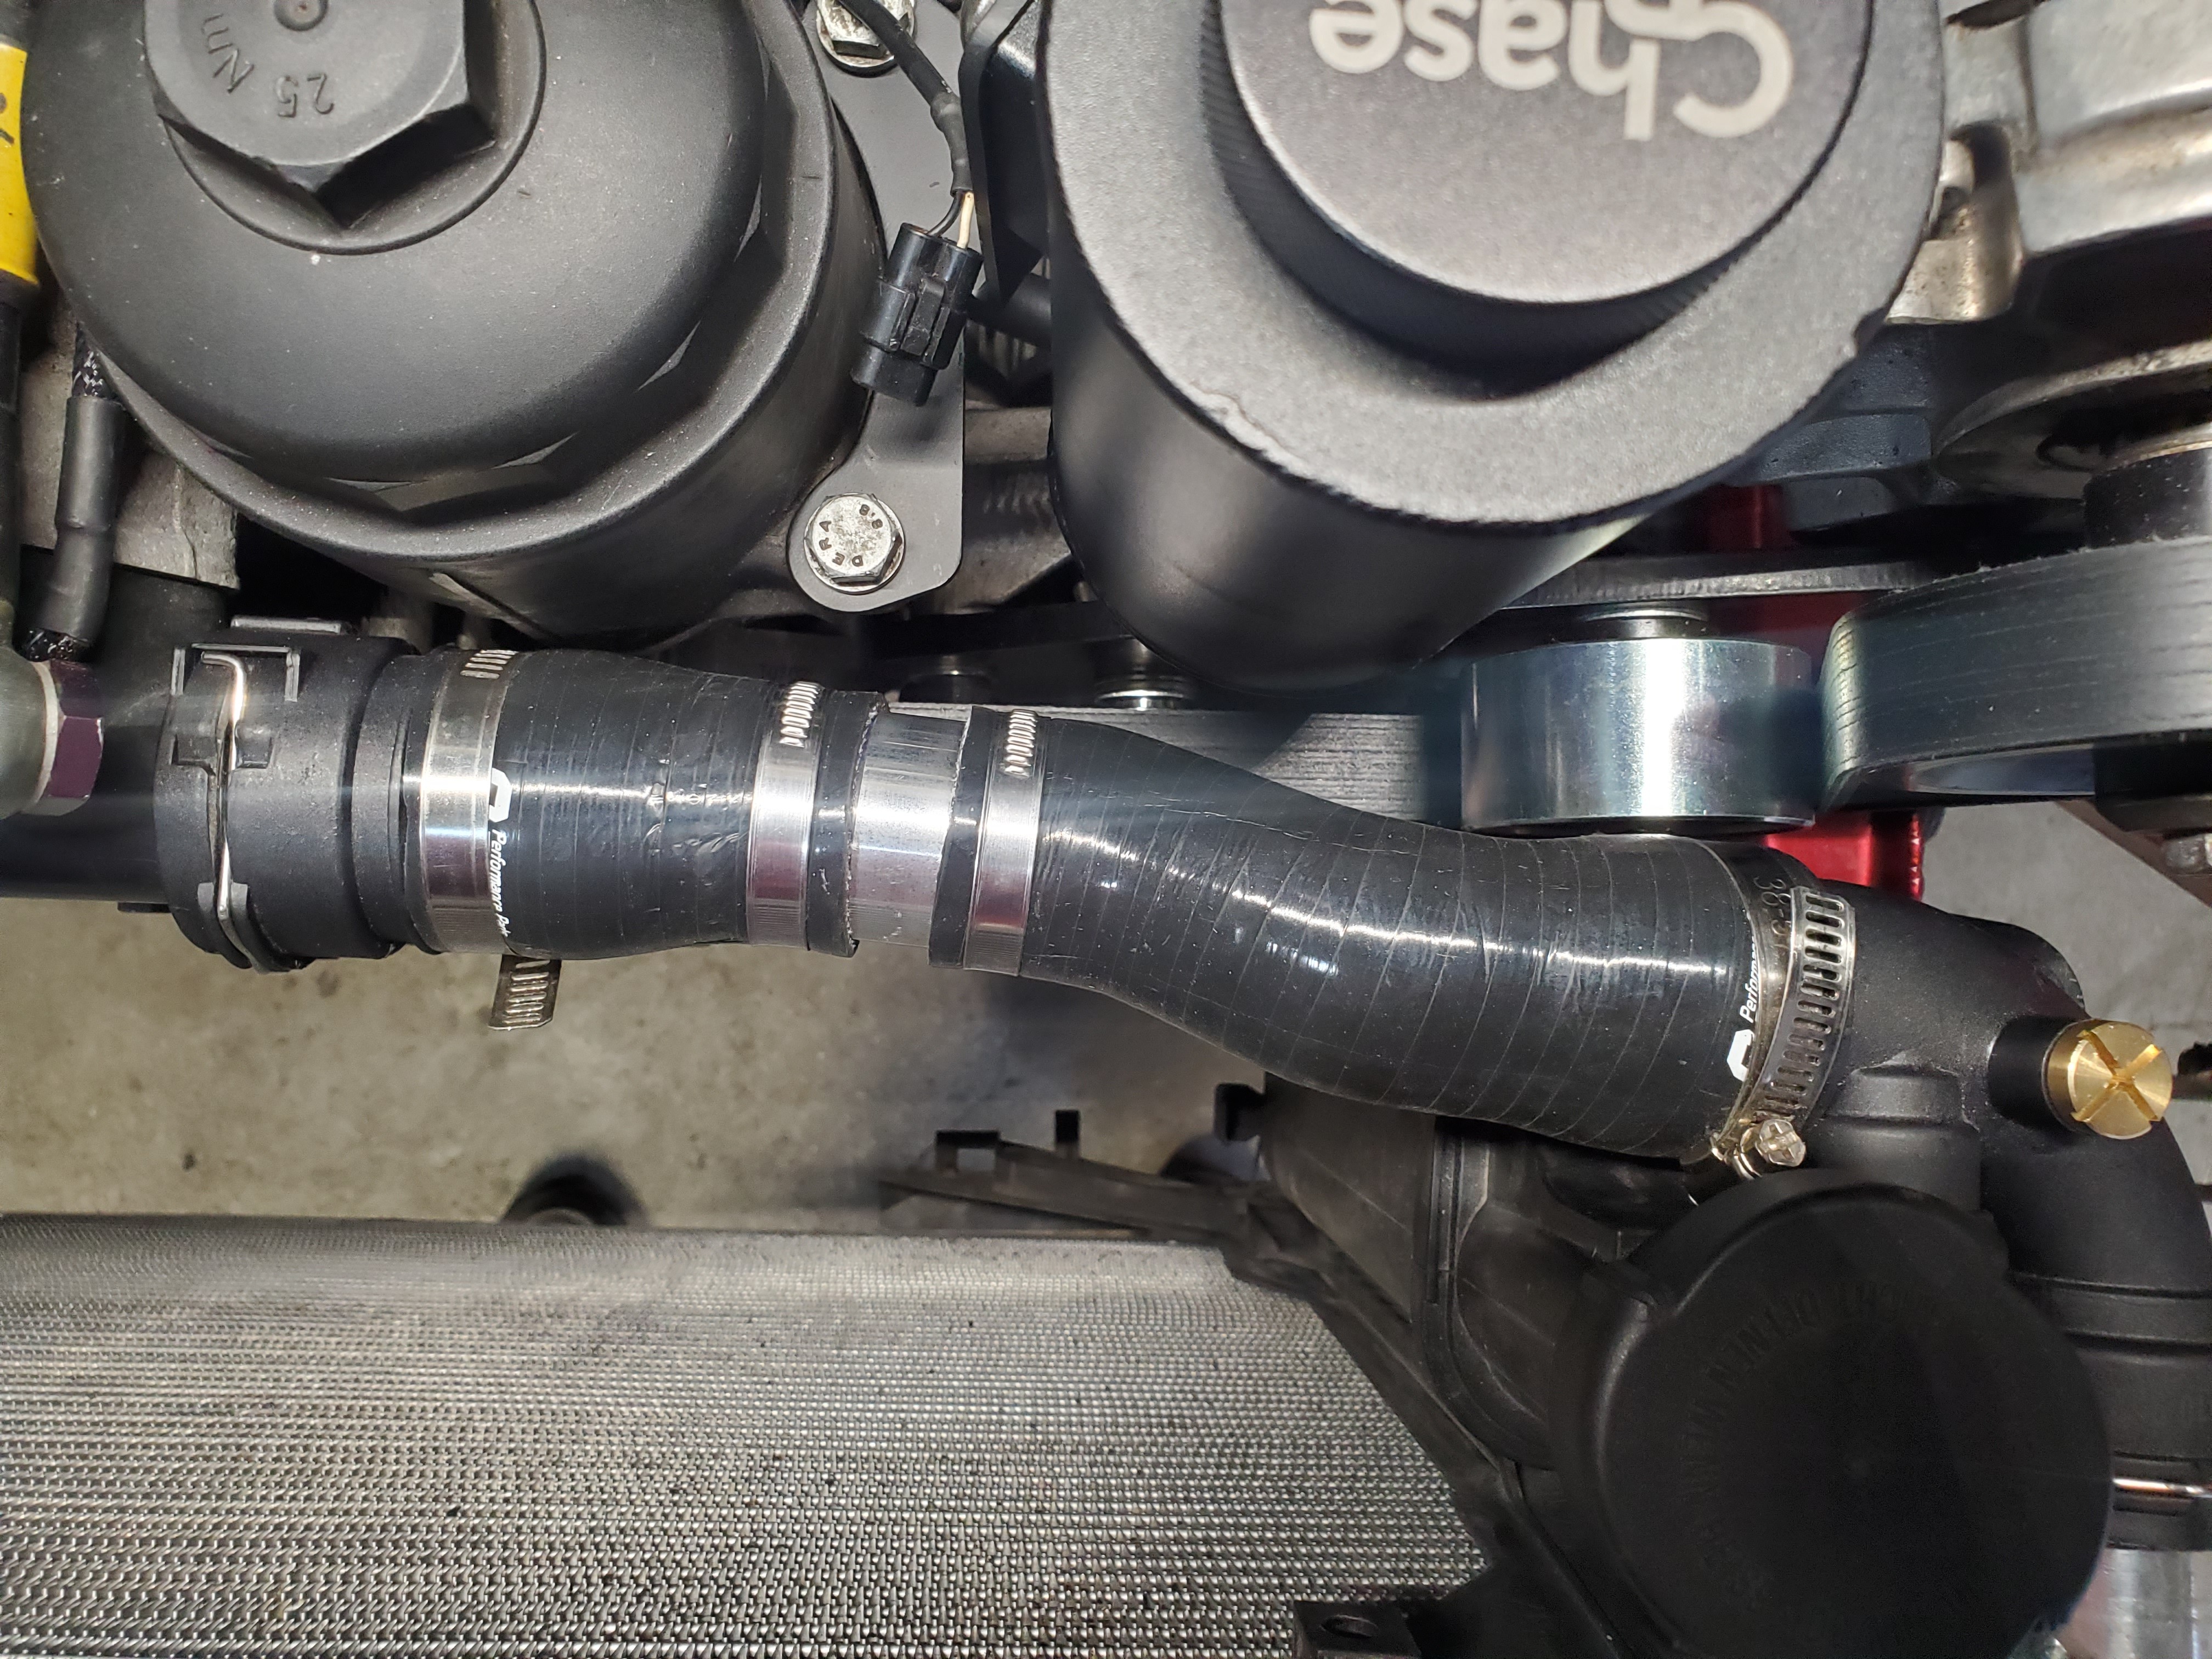
Also got in the upper radiator hose adapter from ICT billet.
and installed.
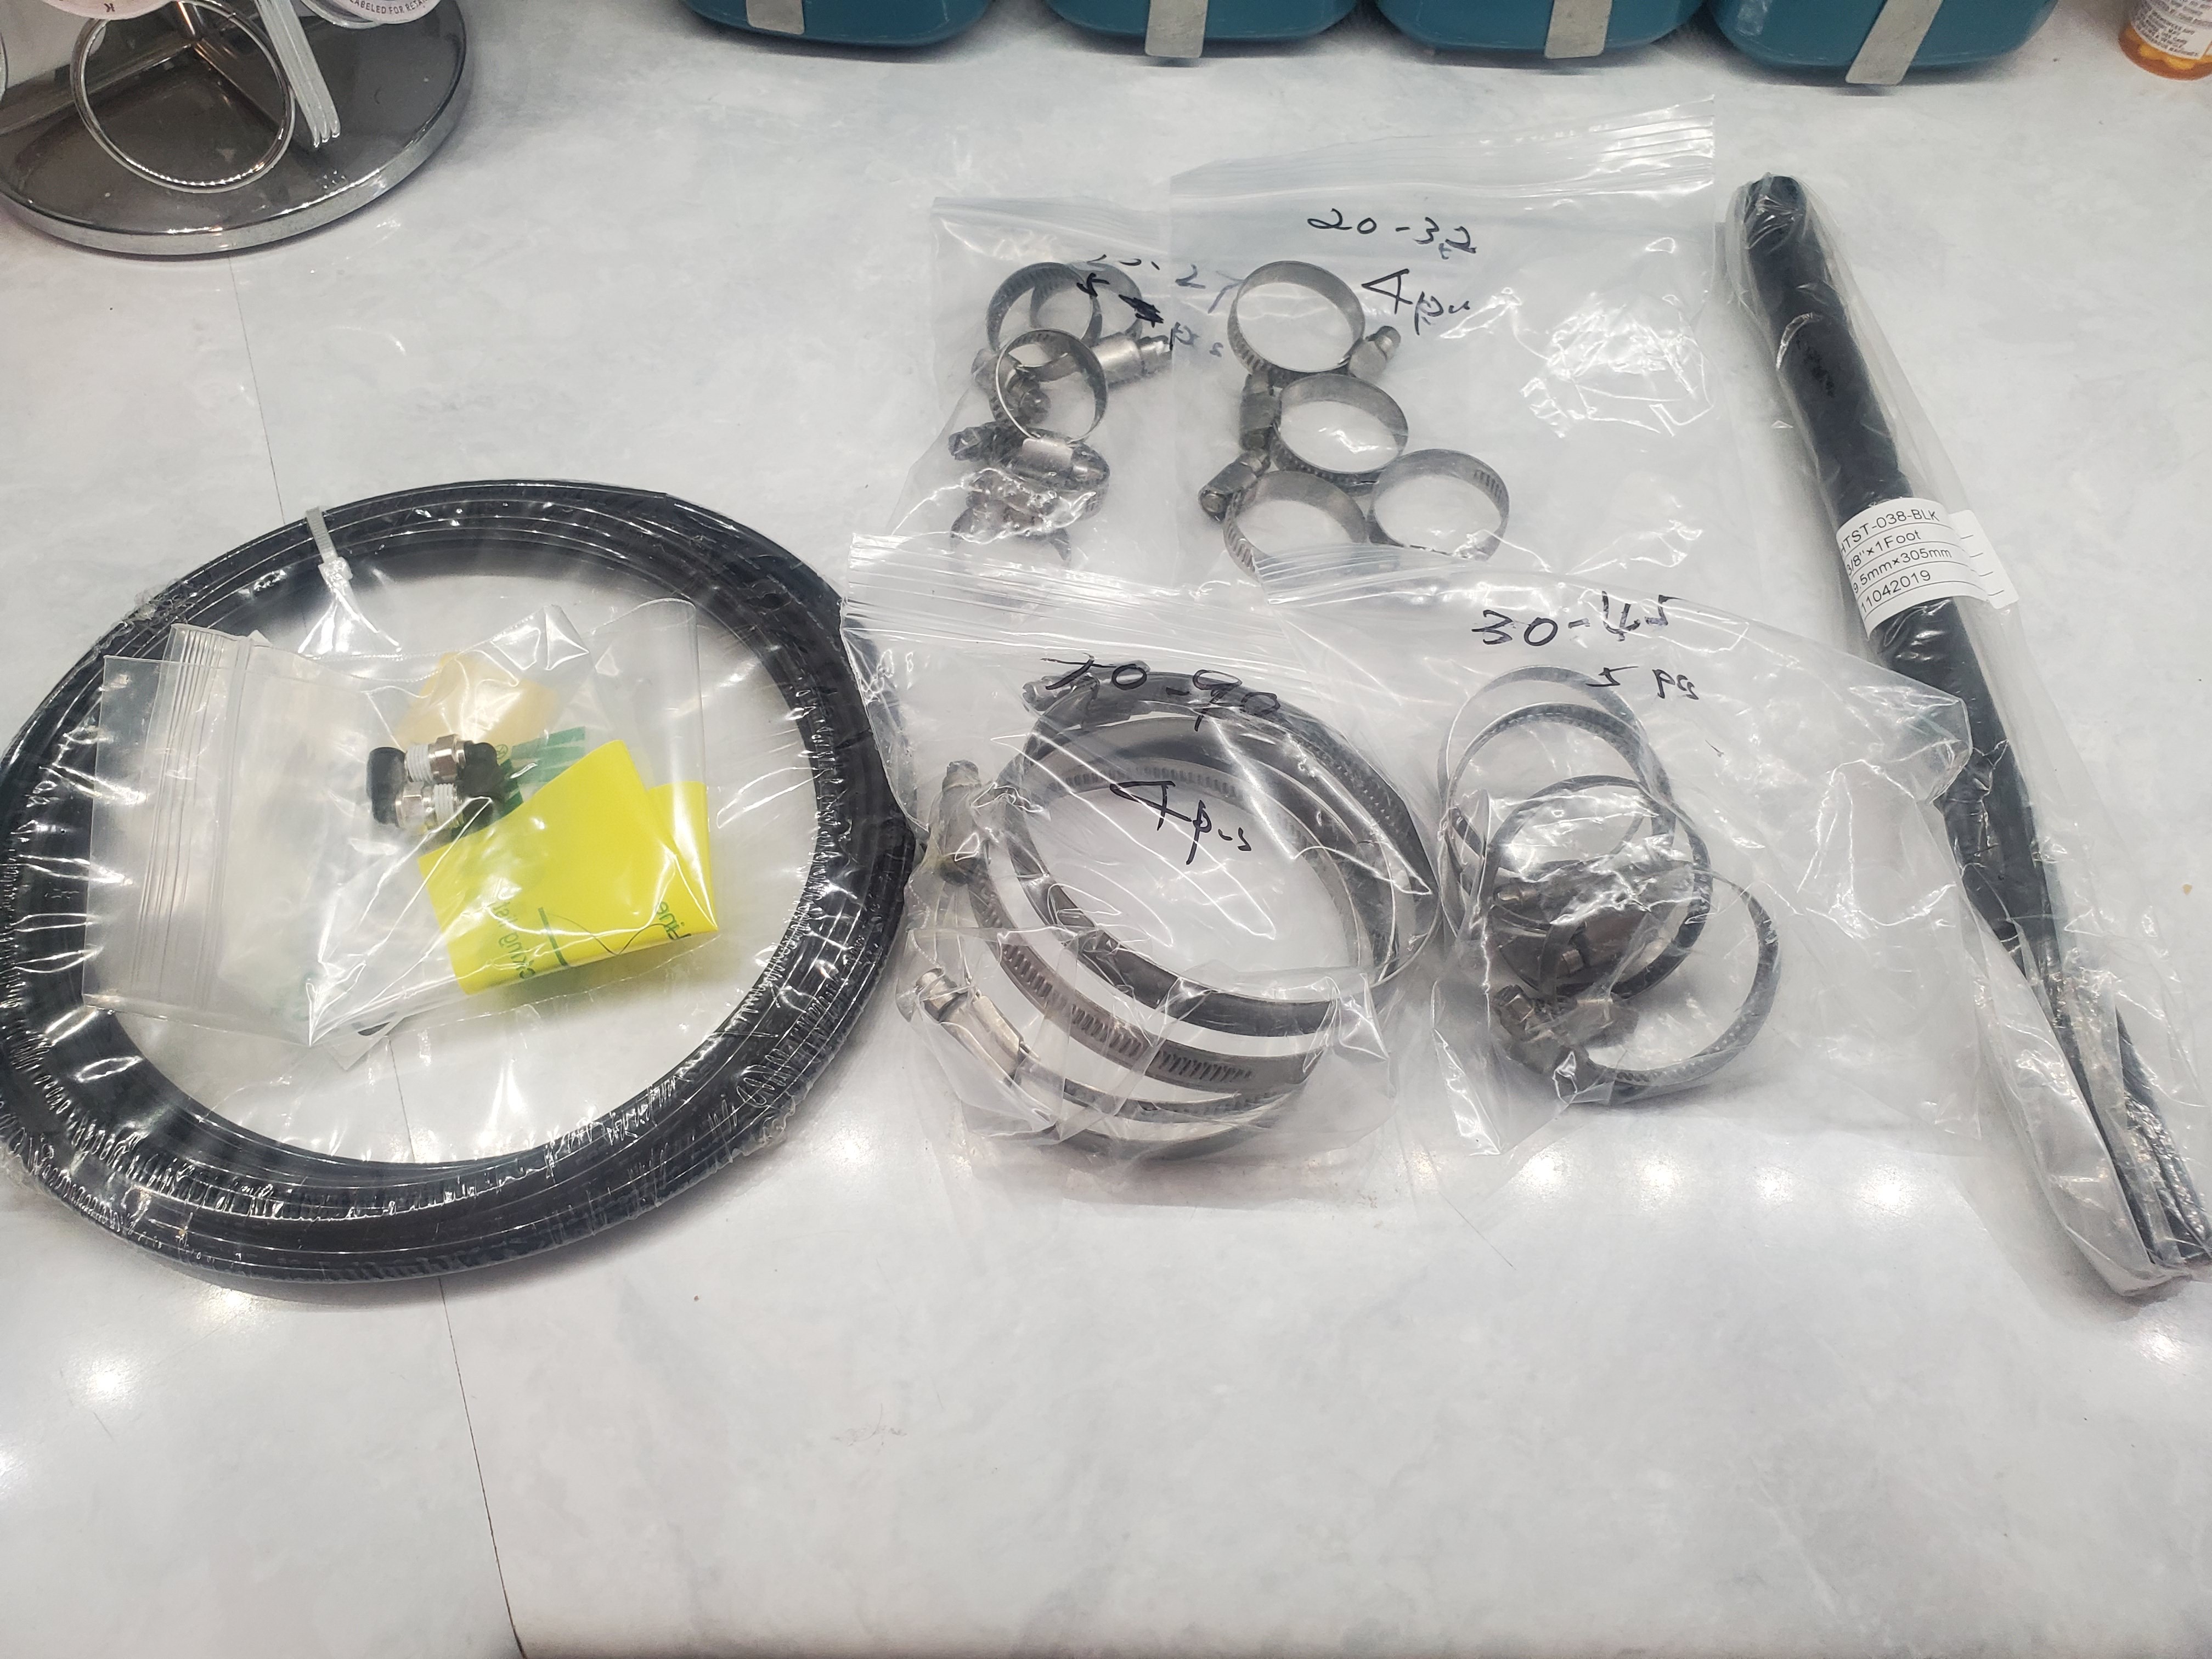
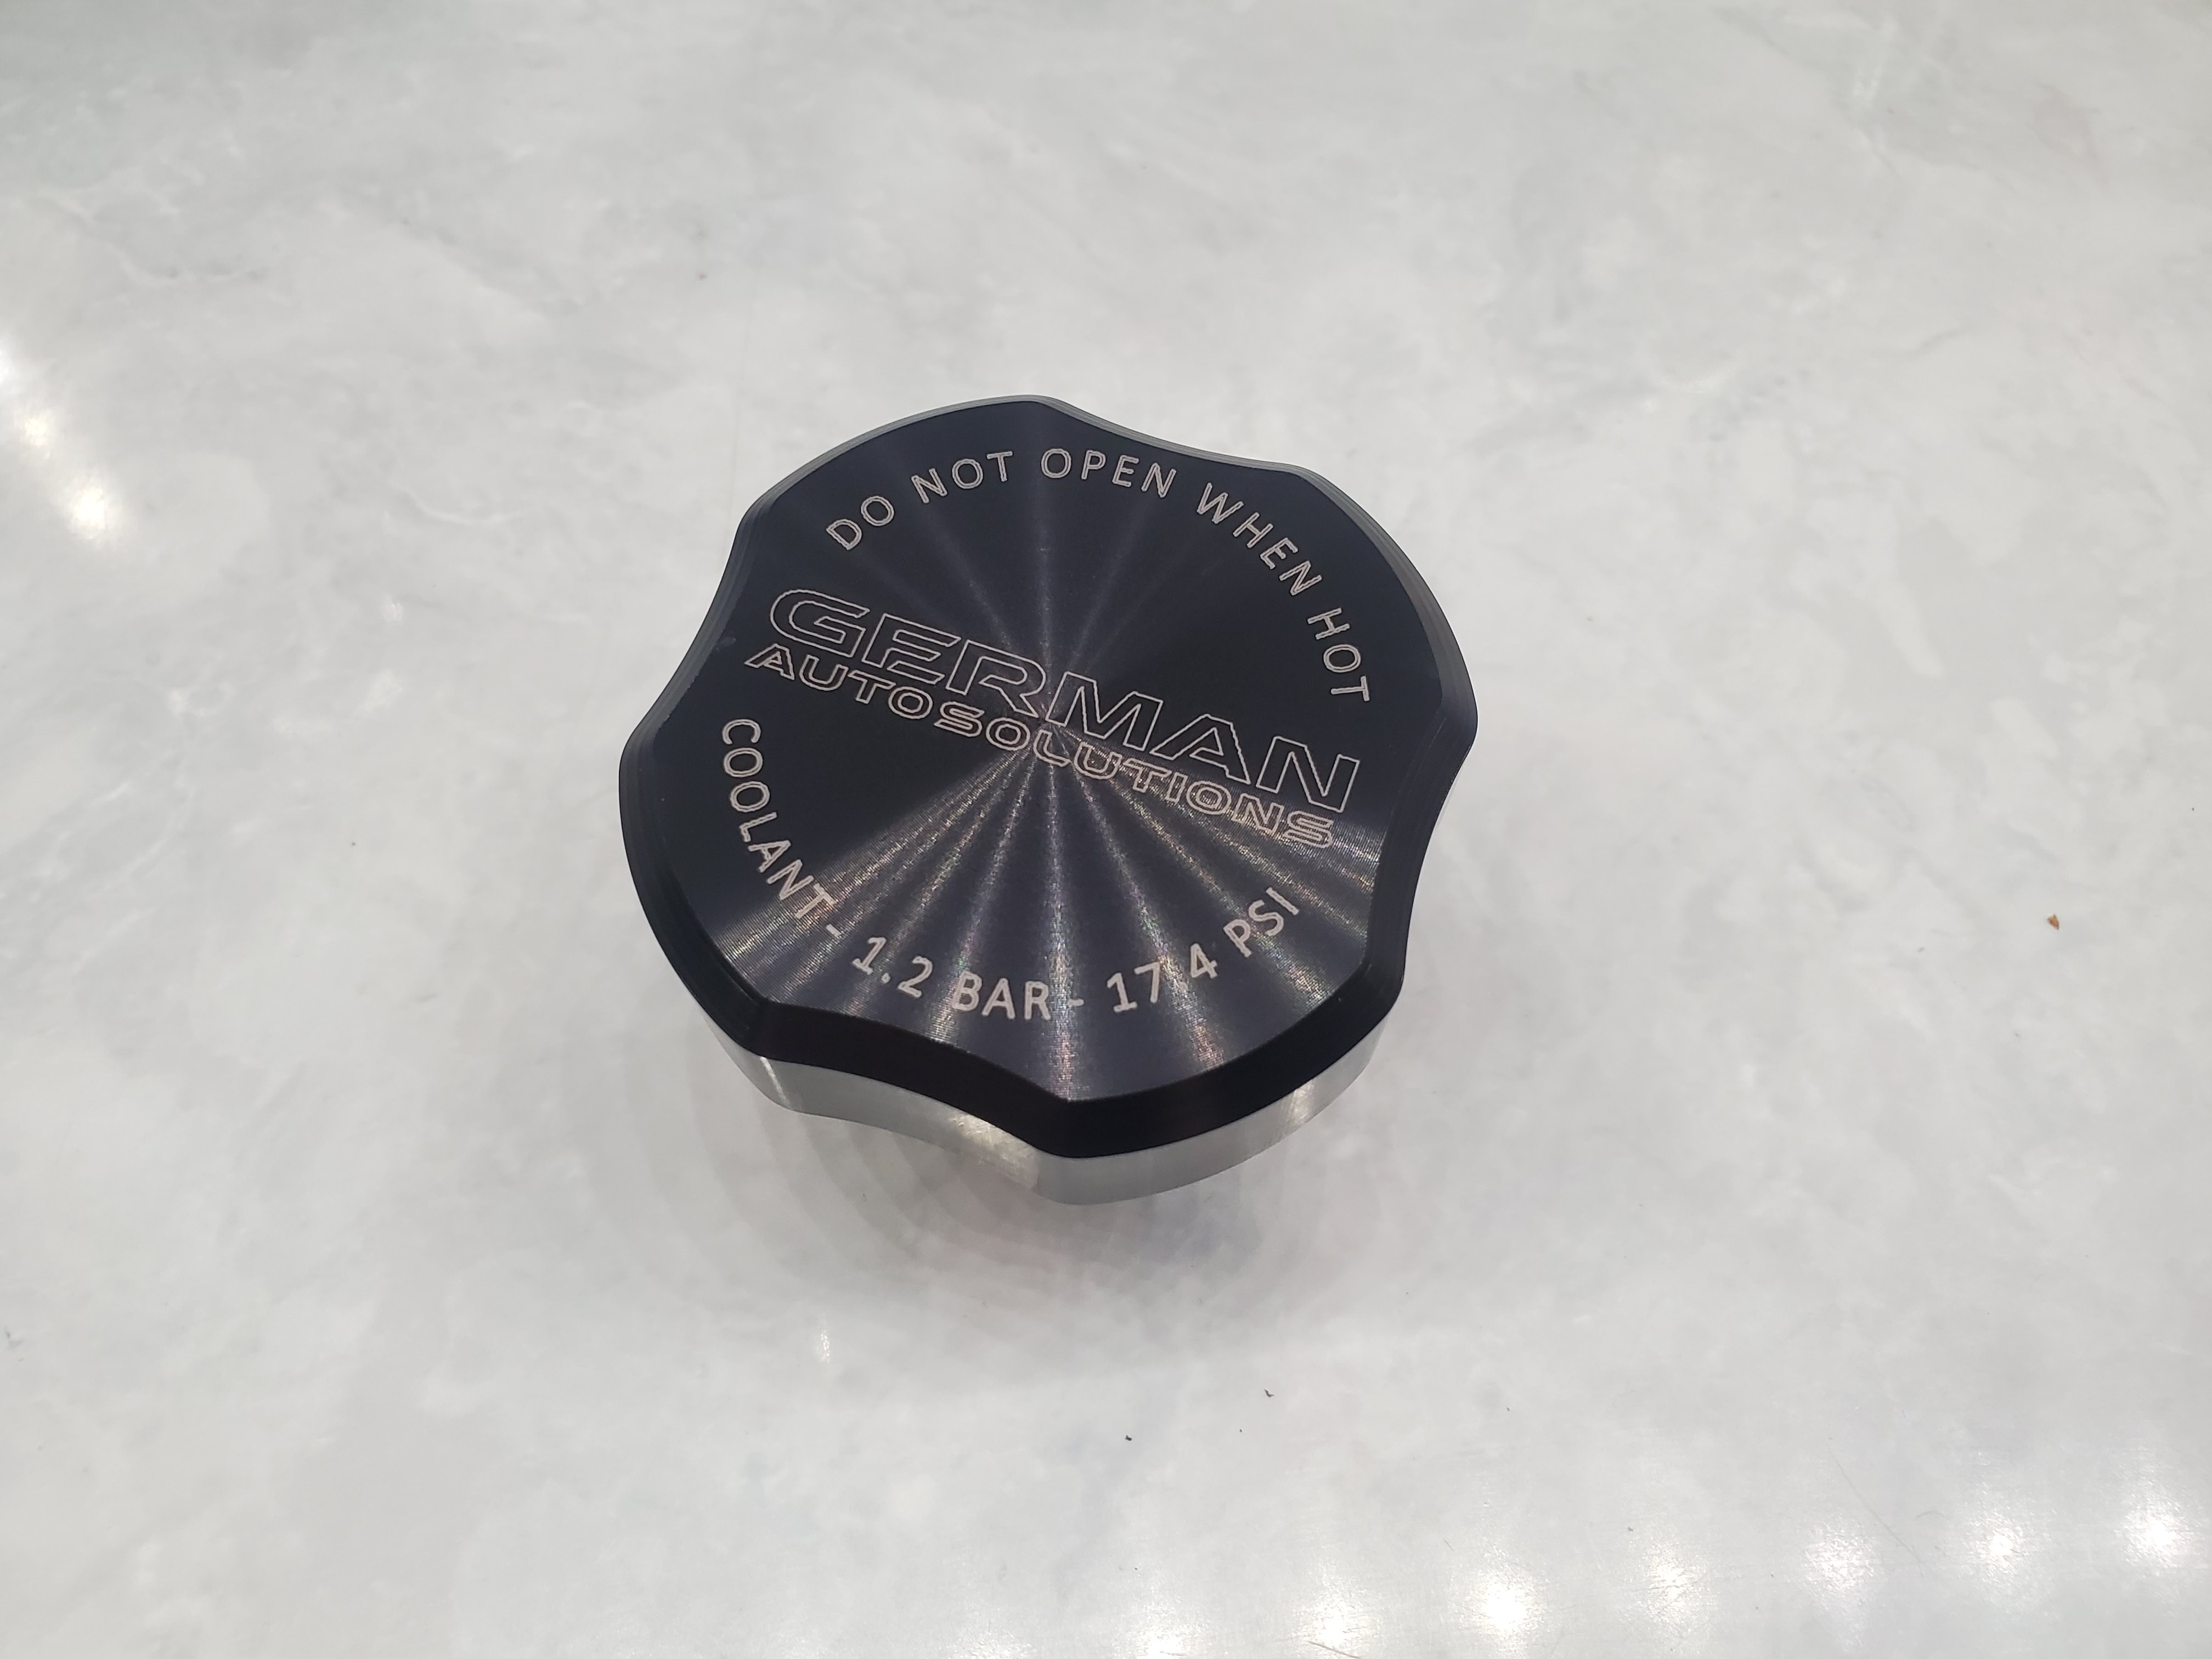
I also got in my clamps, the manifold vacuum fitting, the line for those fittings, and a section of 3/8 silicone hose plus my German Auto Solutions coolant cap came in.
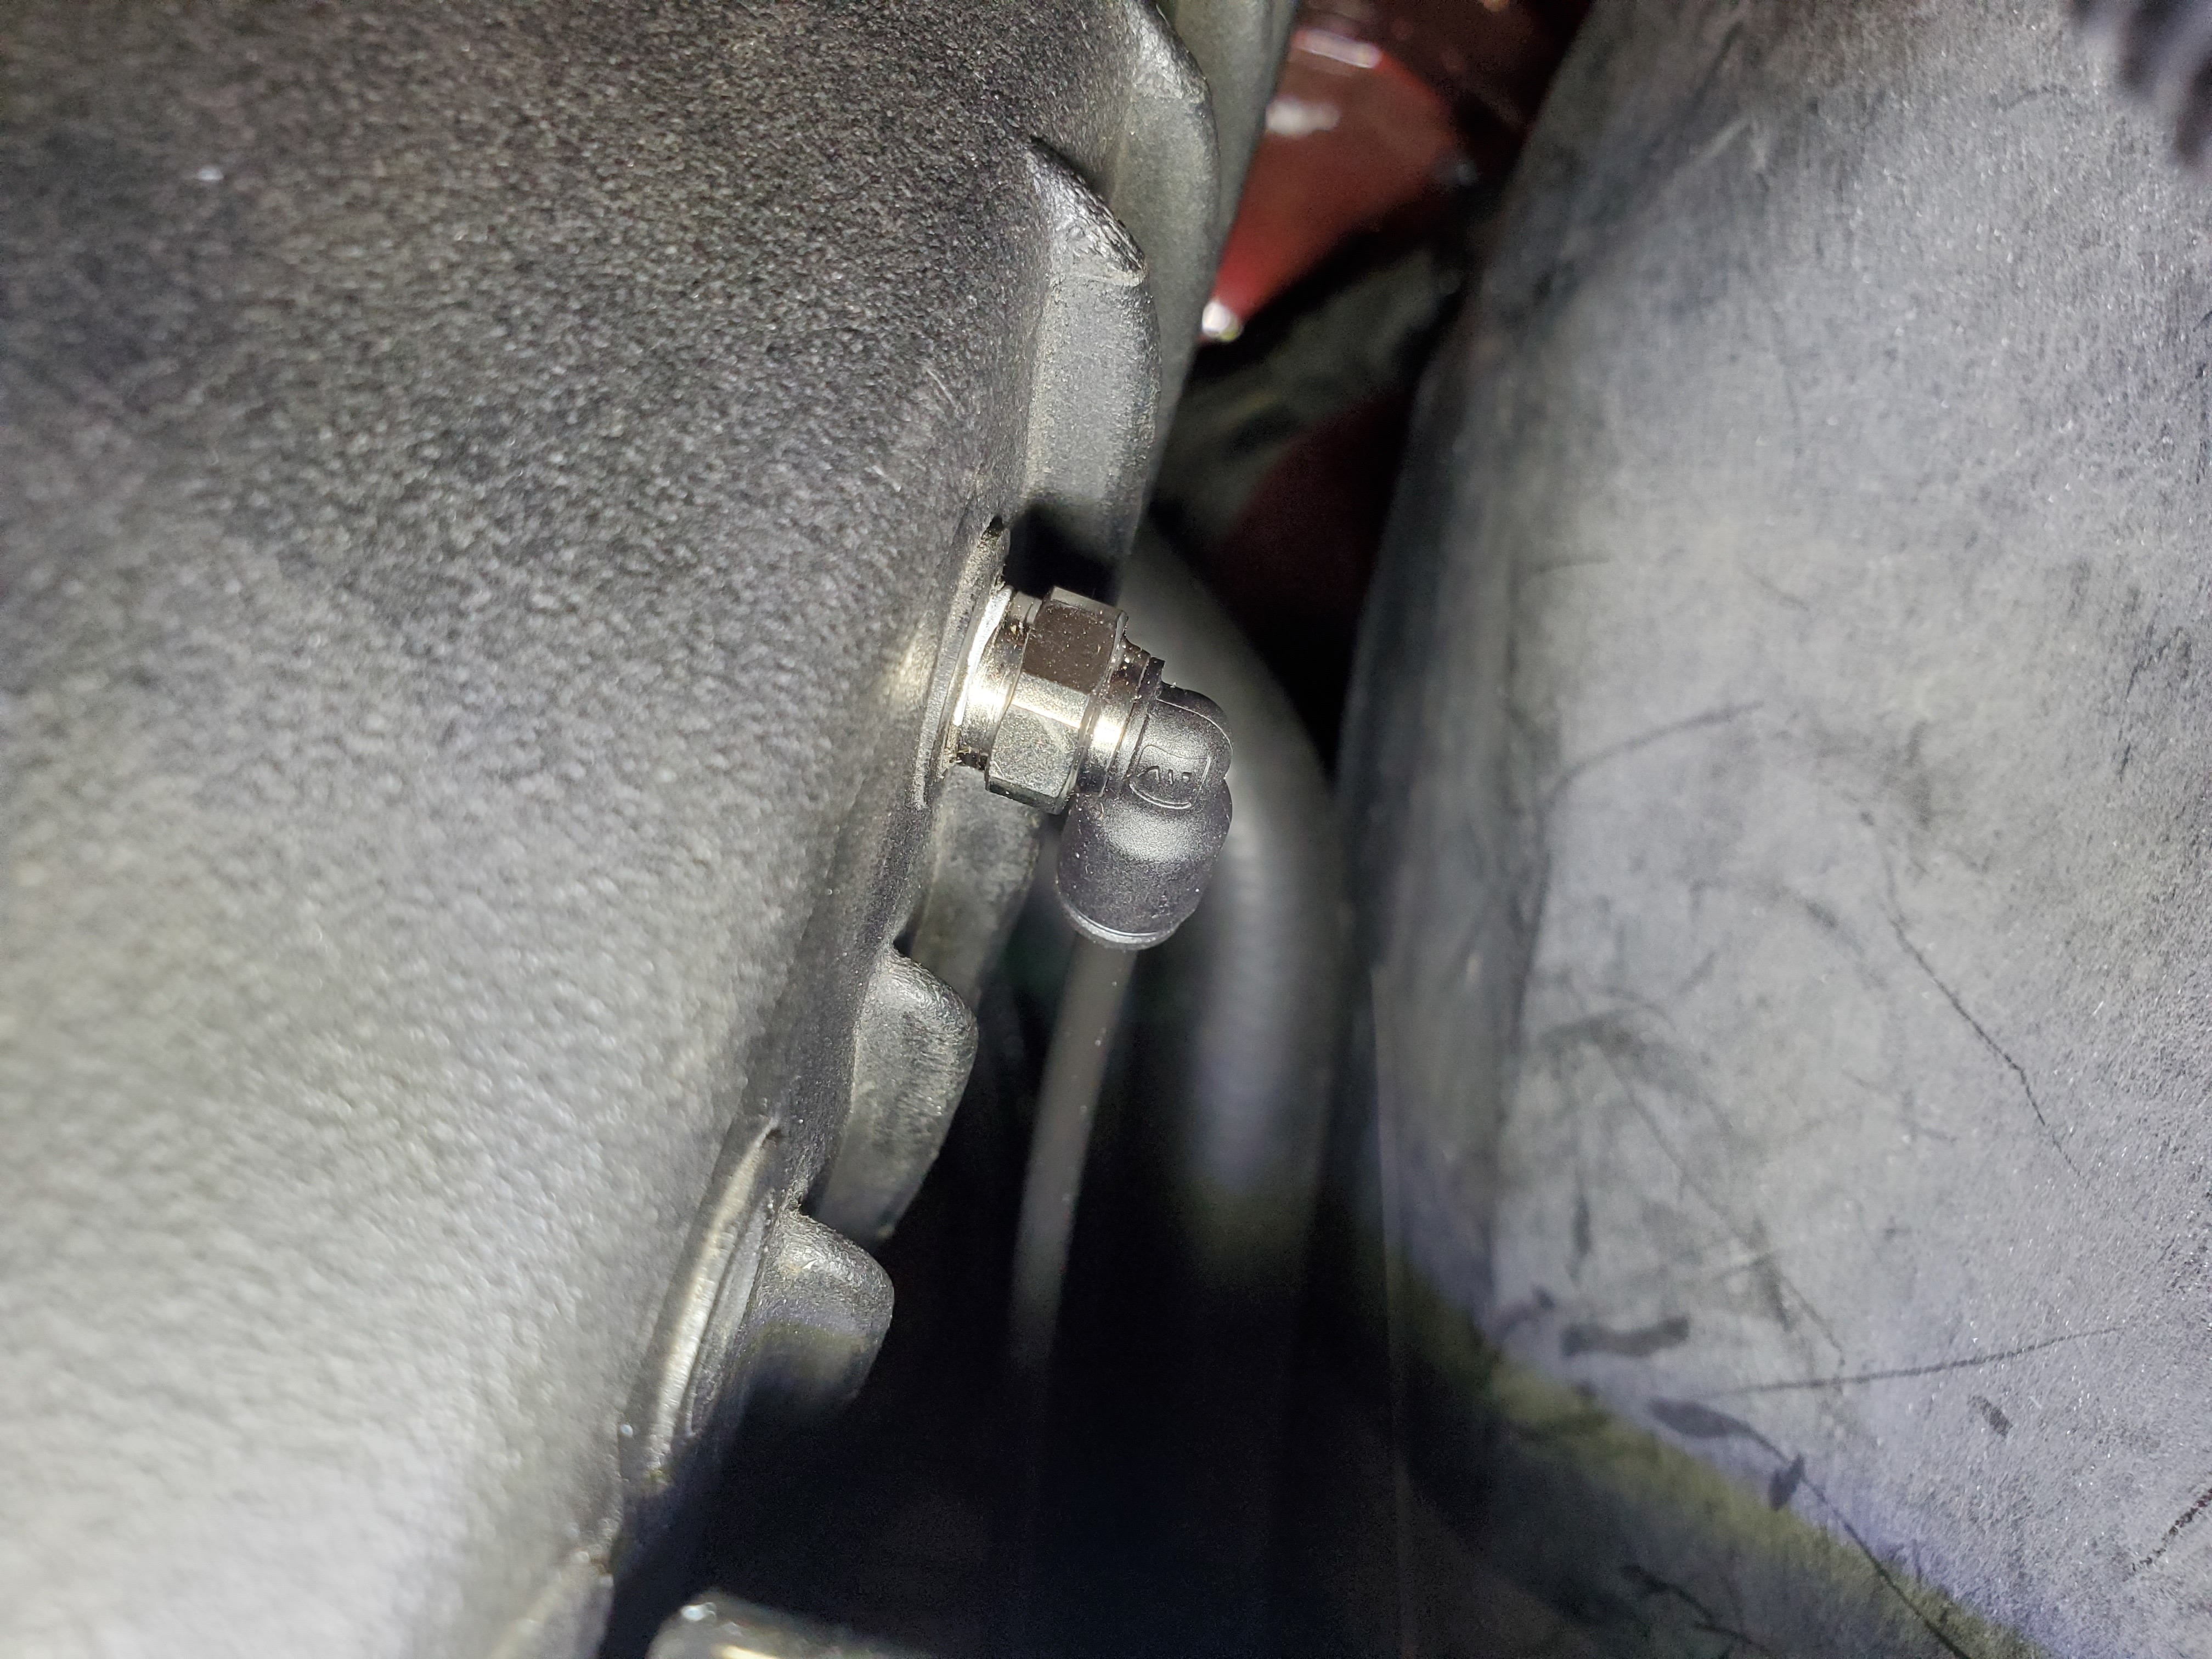
Drilled and tapped the manifold for this DOT push loc fitting and then routed the hose from the recirc valve to the manifold.
Really excited for how this worked out, too bad no one will see it hahahha.
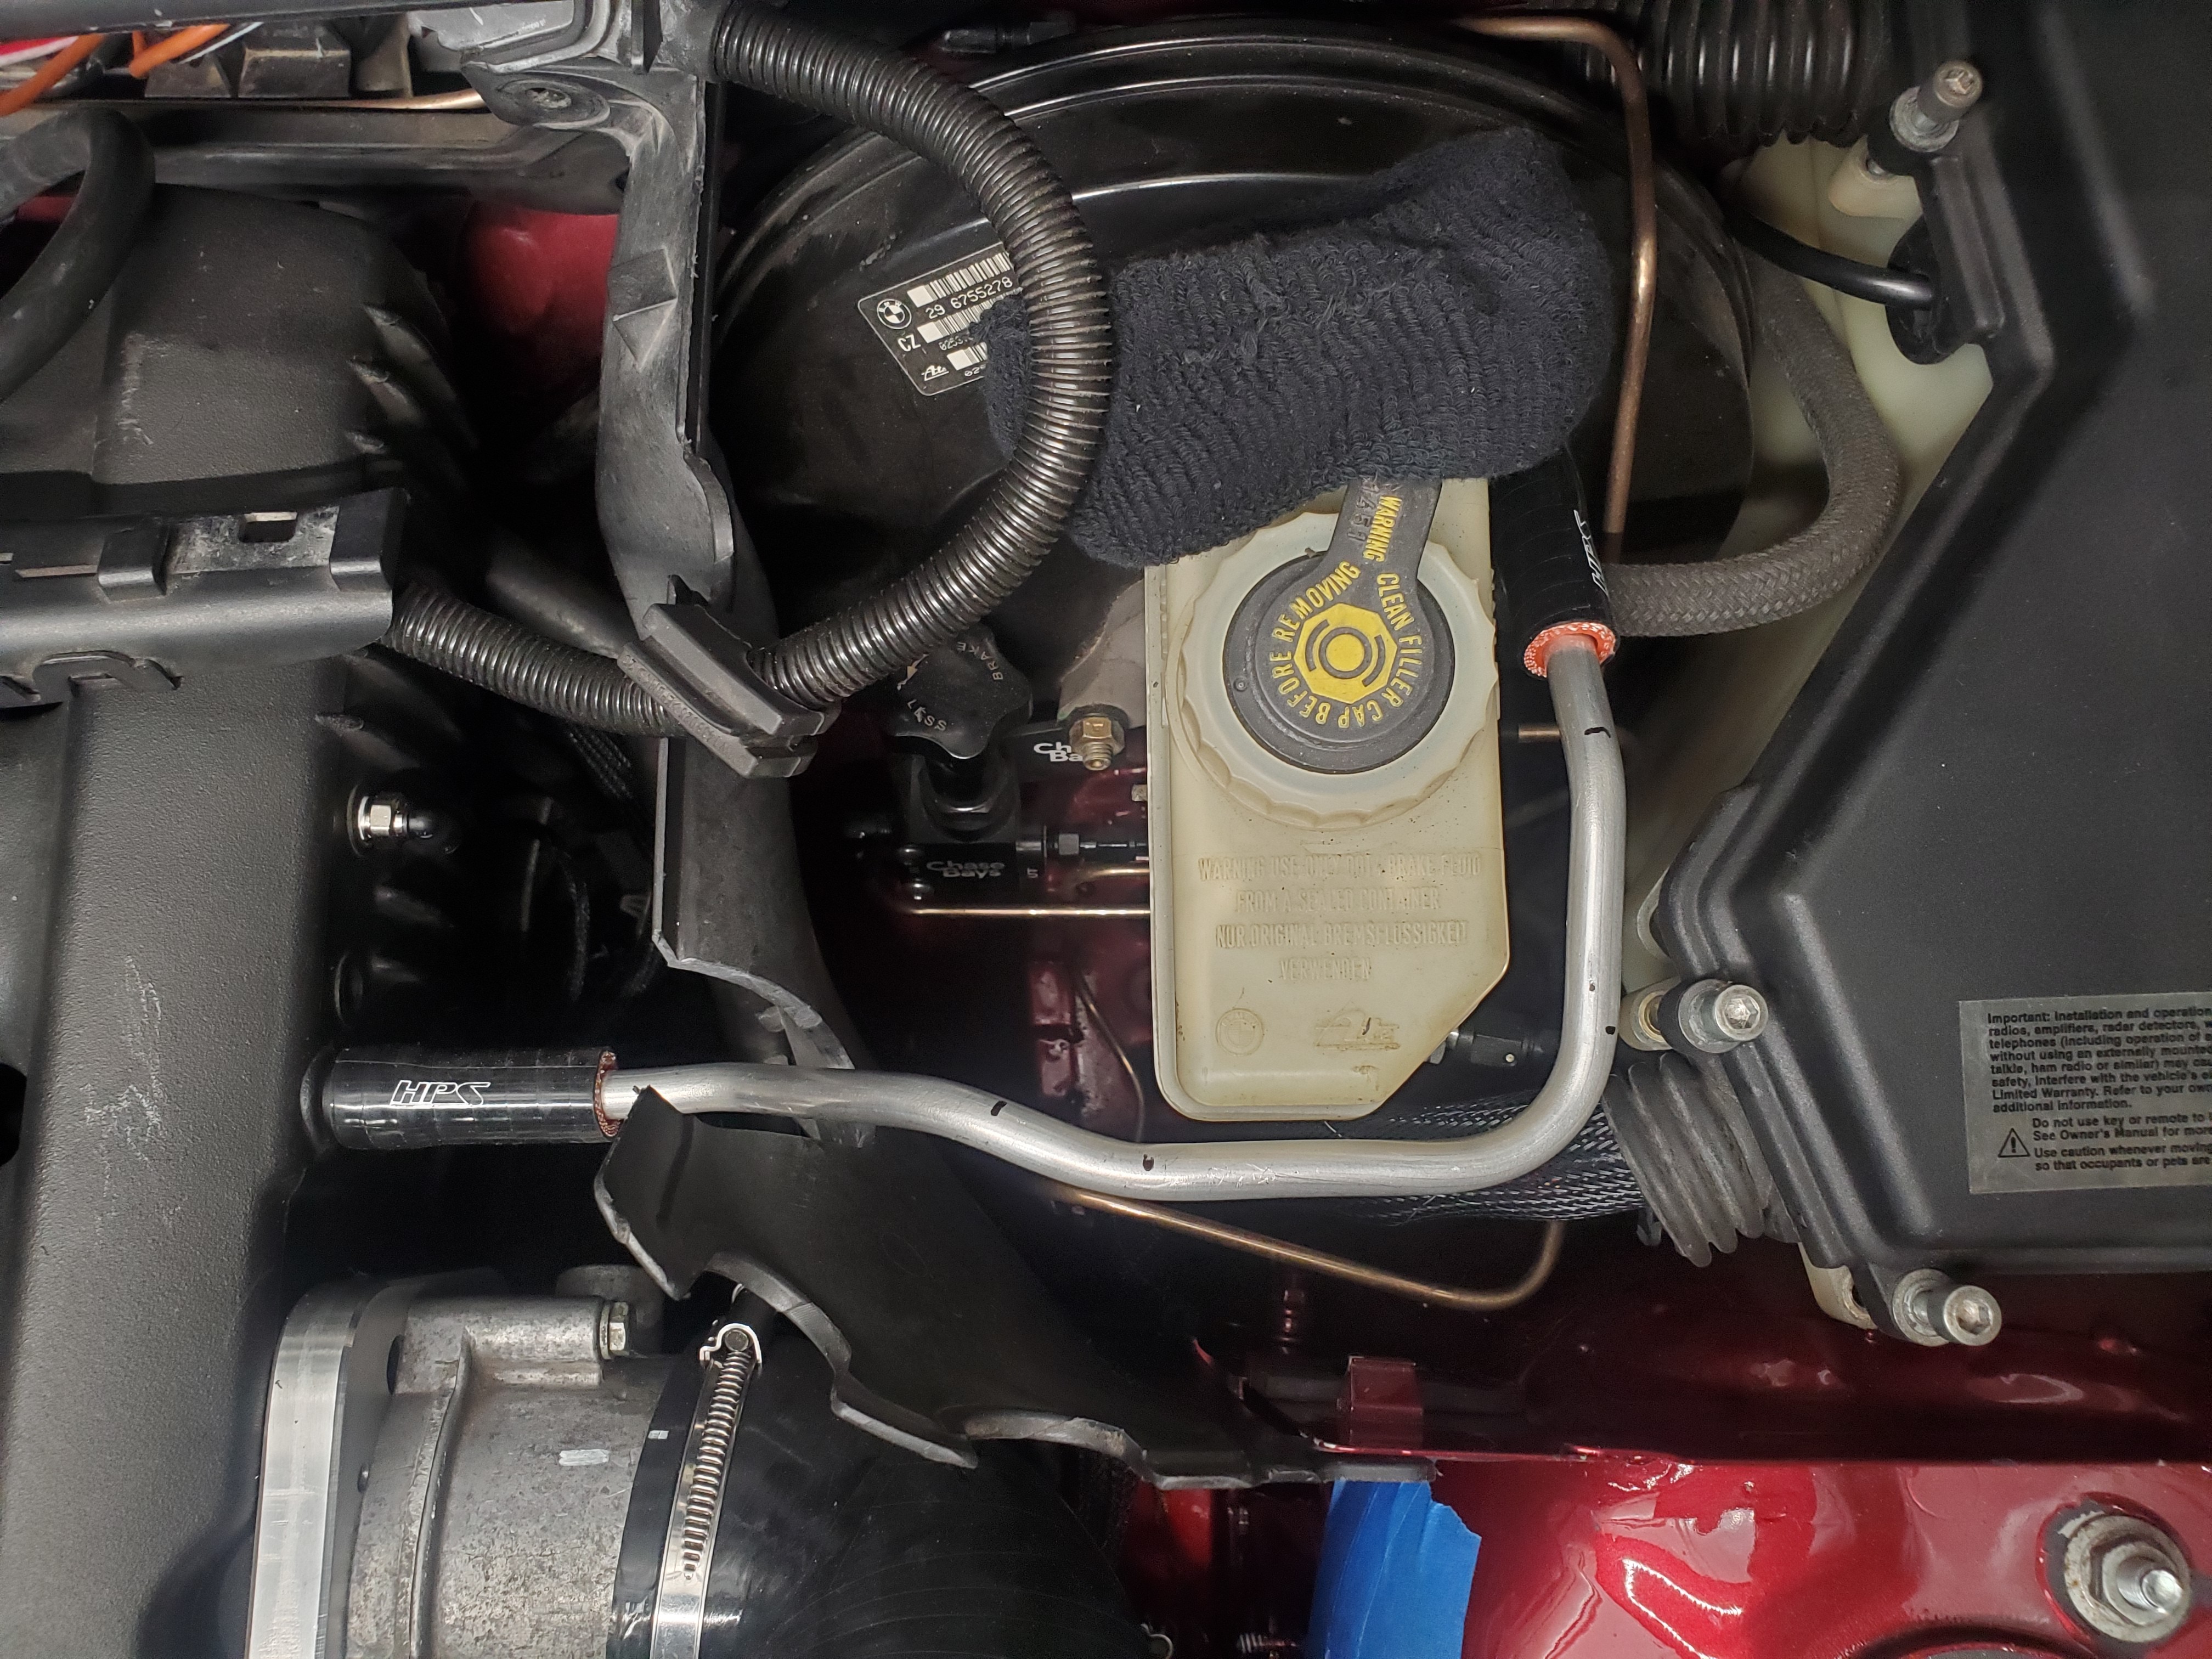
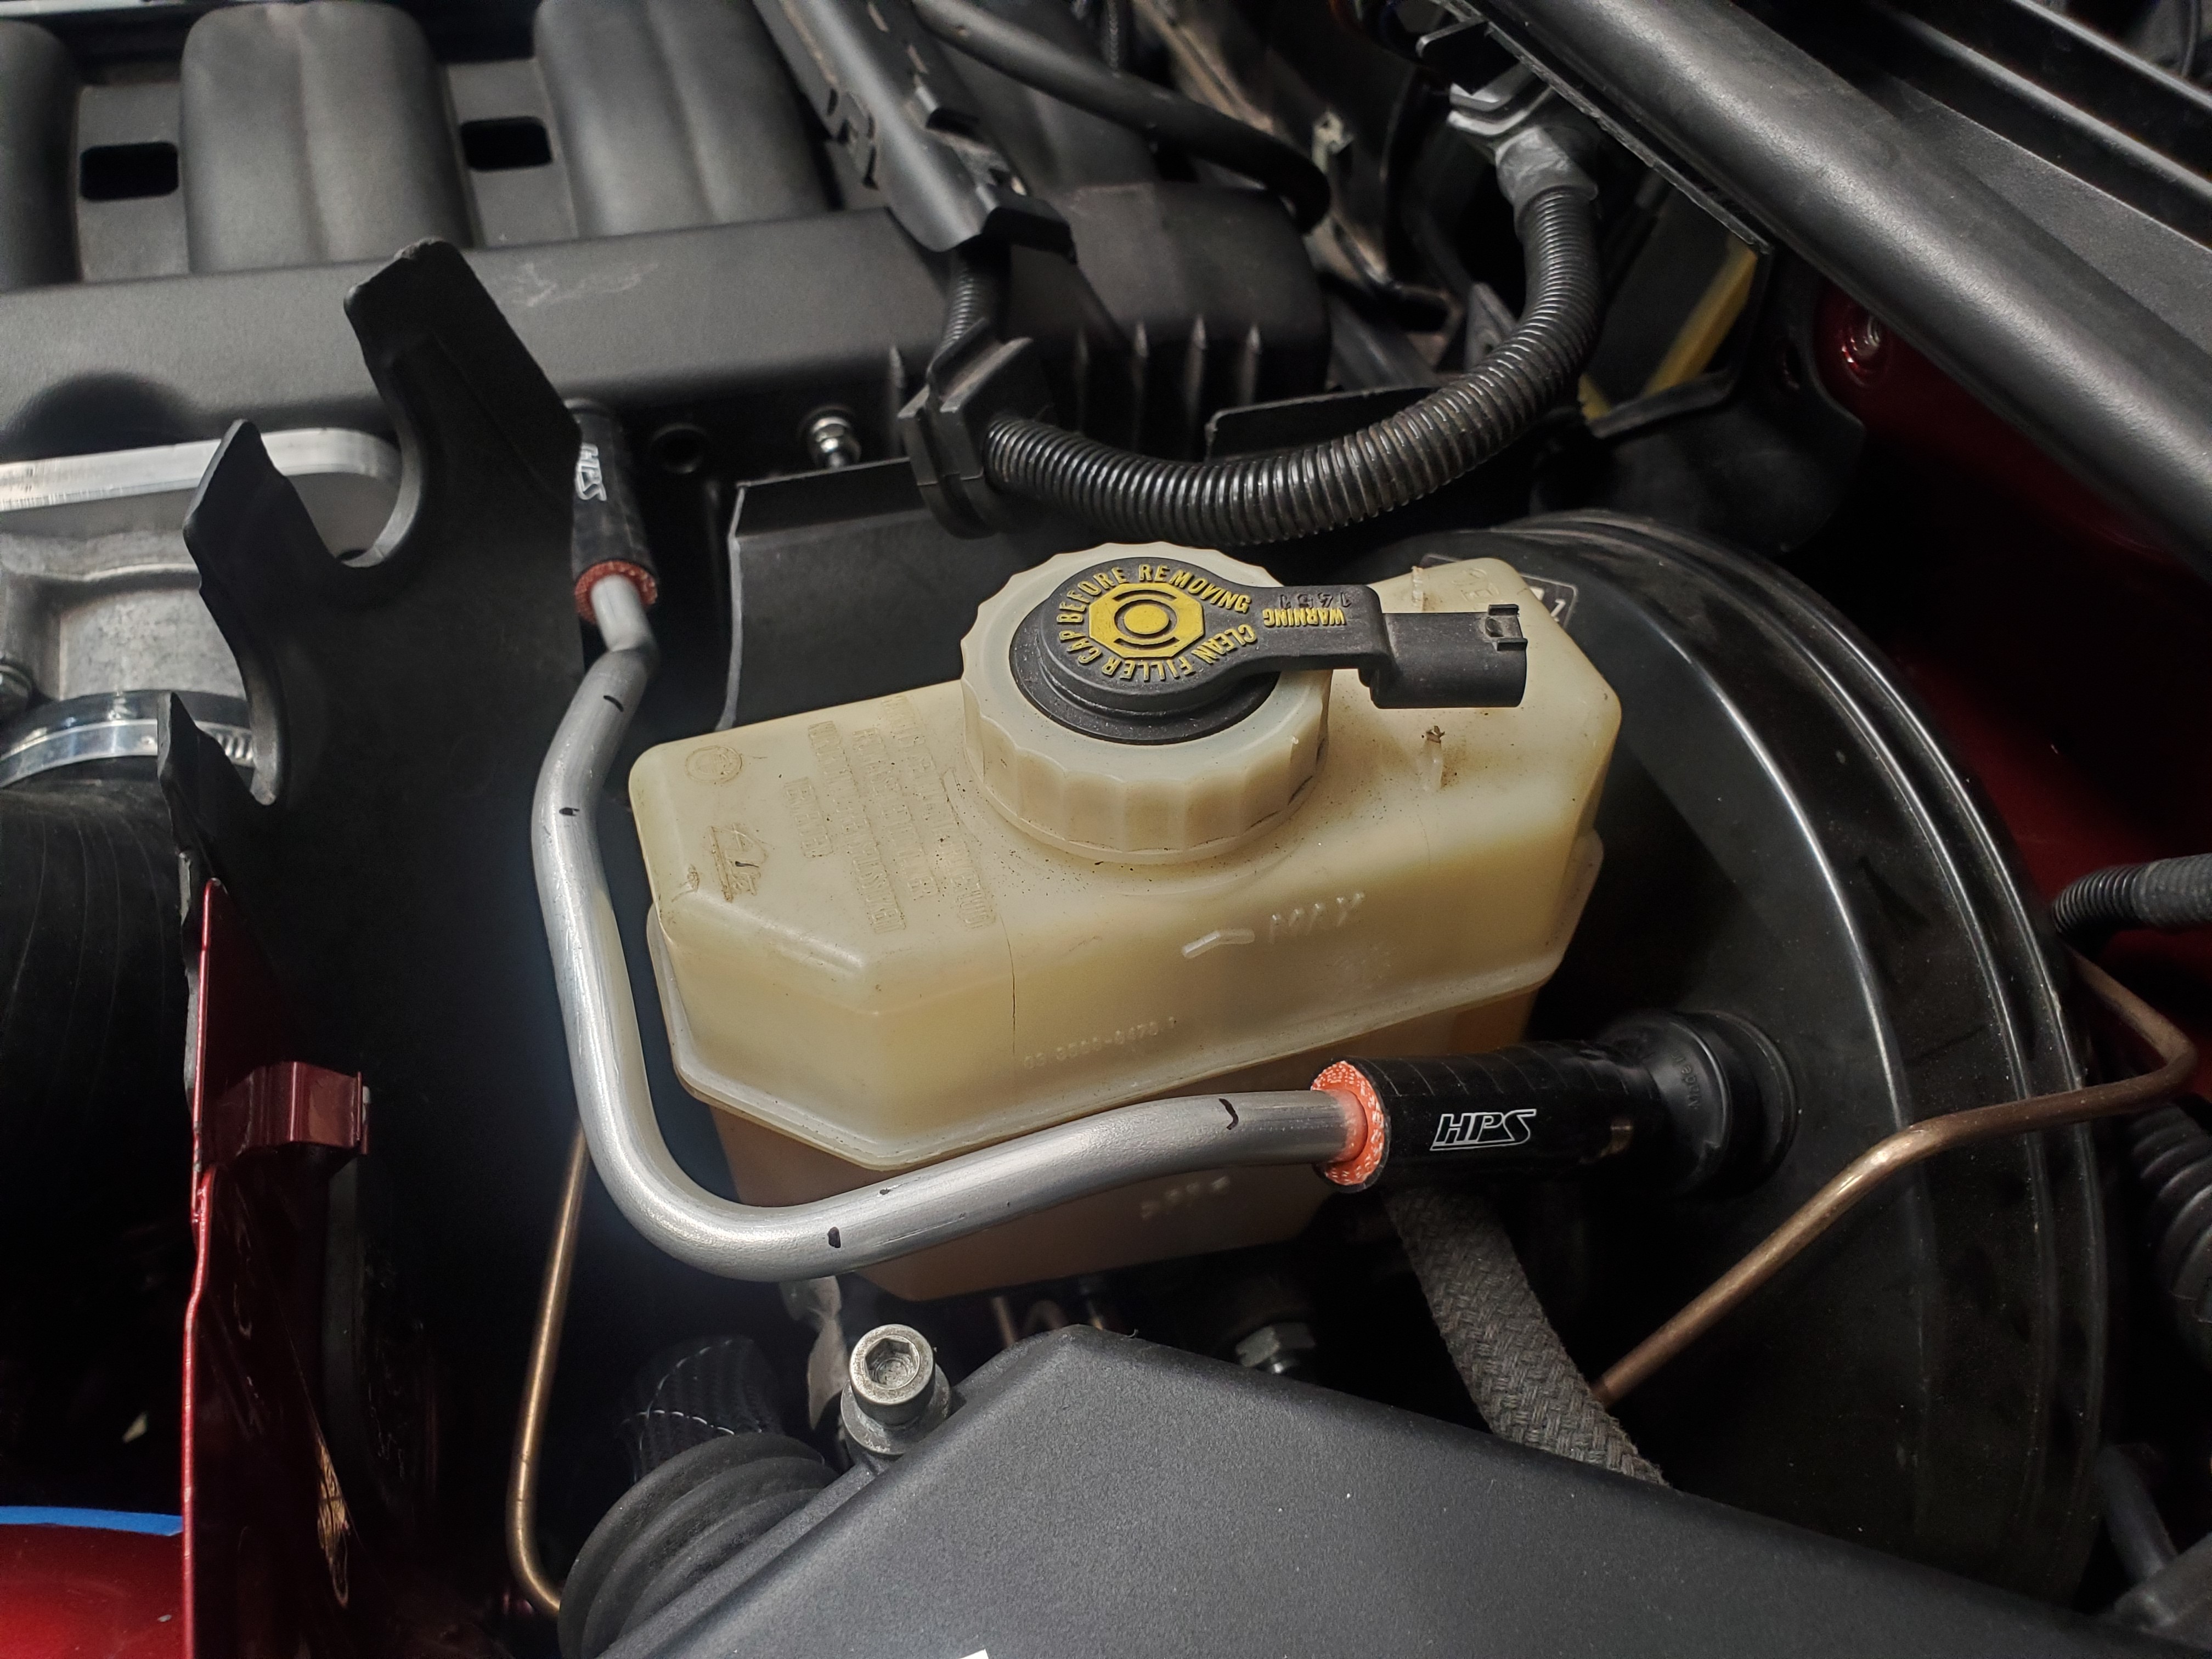
I then cut the section of 3/8 silicone into sections to act as couplers with the hardline I bent up for the vacuum to the booster. Just waiting on some more clamps to come in, because you know I forgot to get these ones lol.
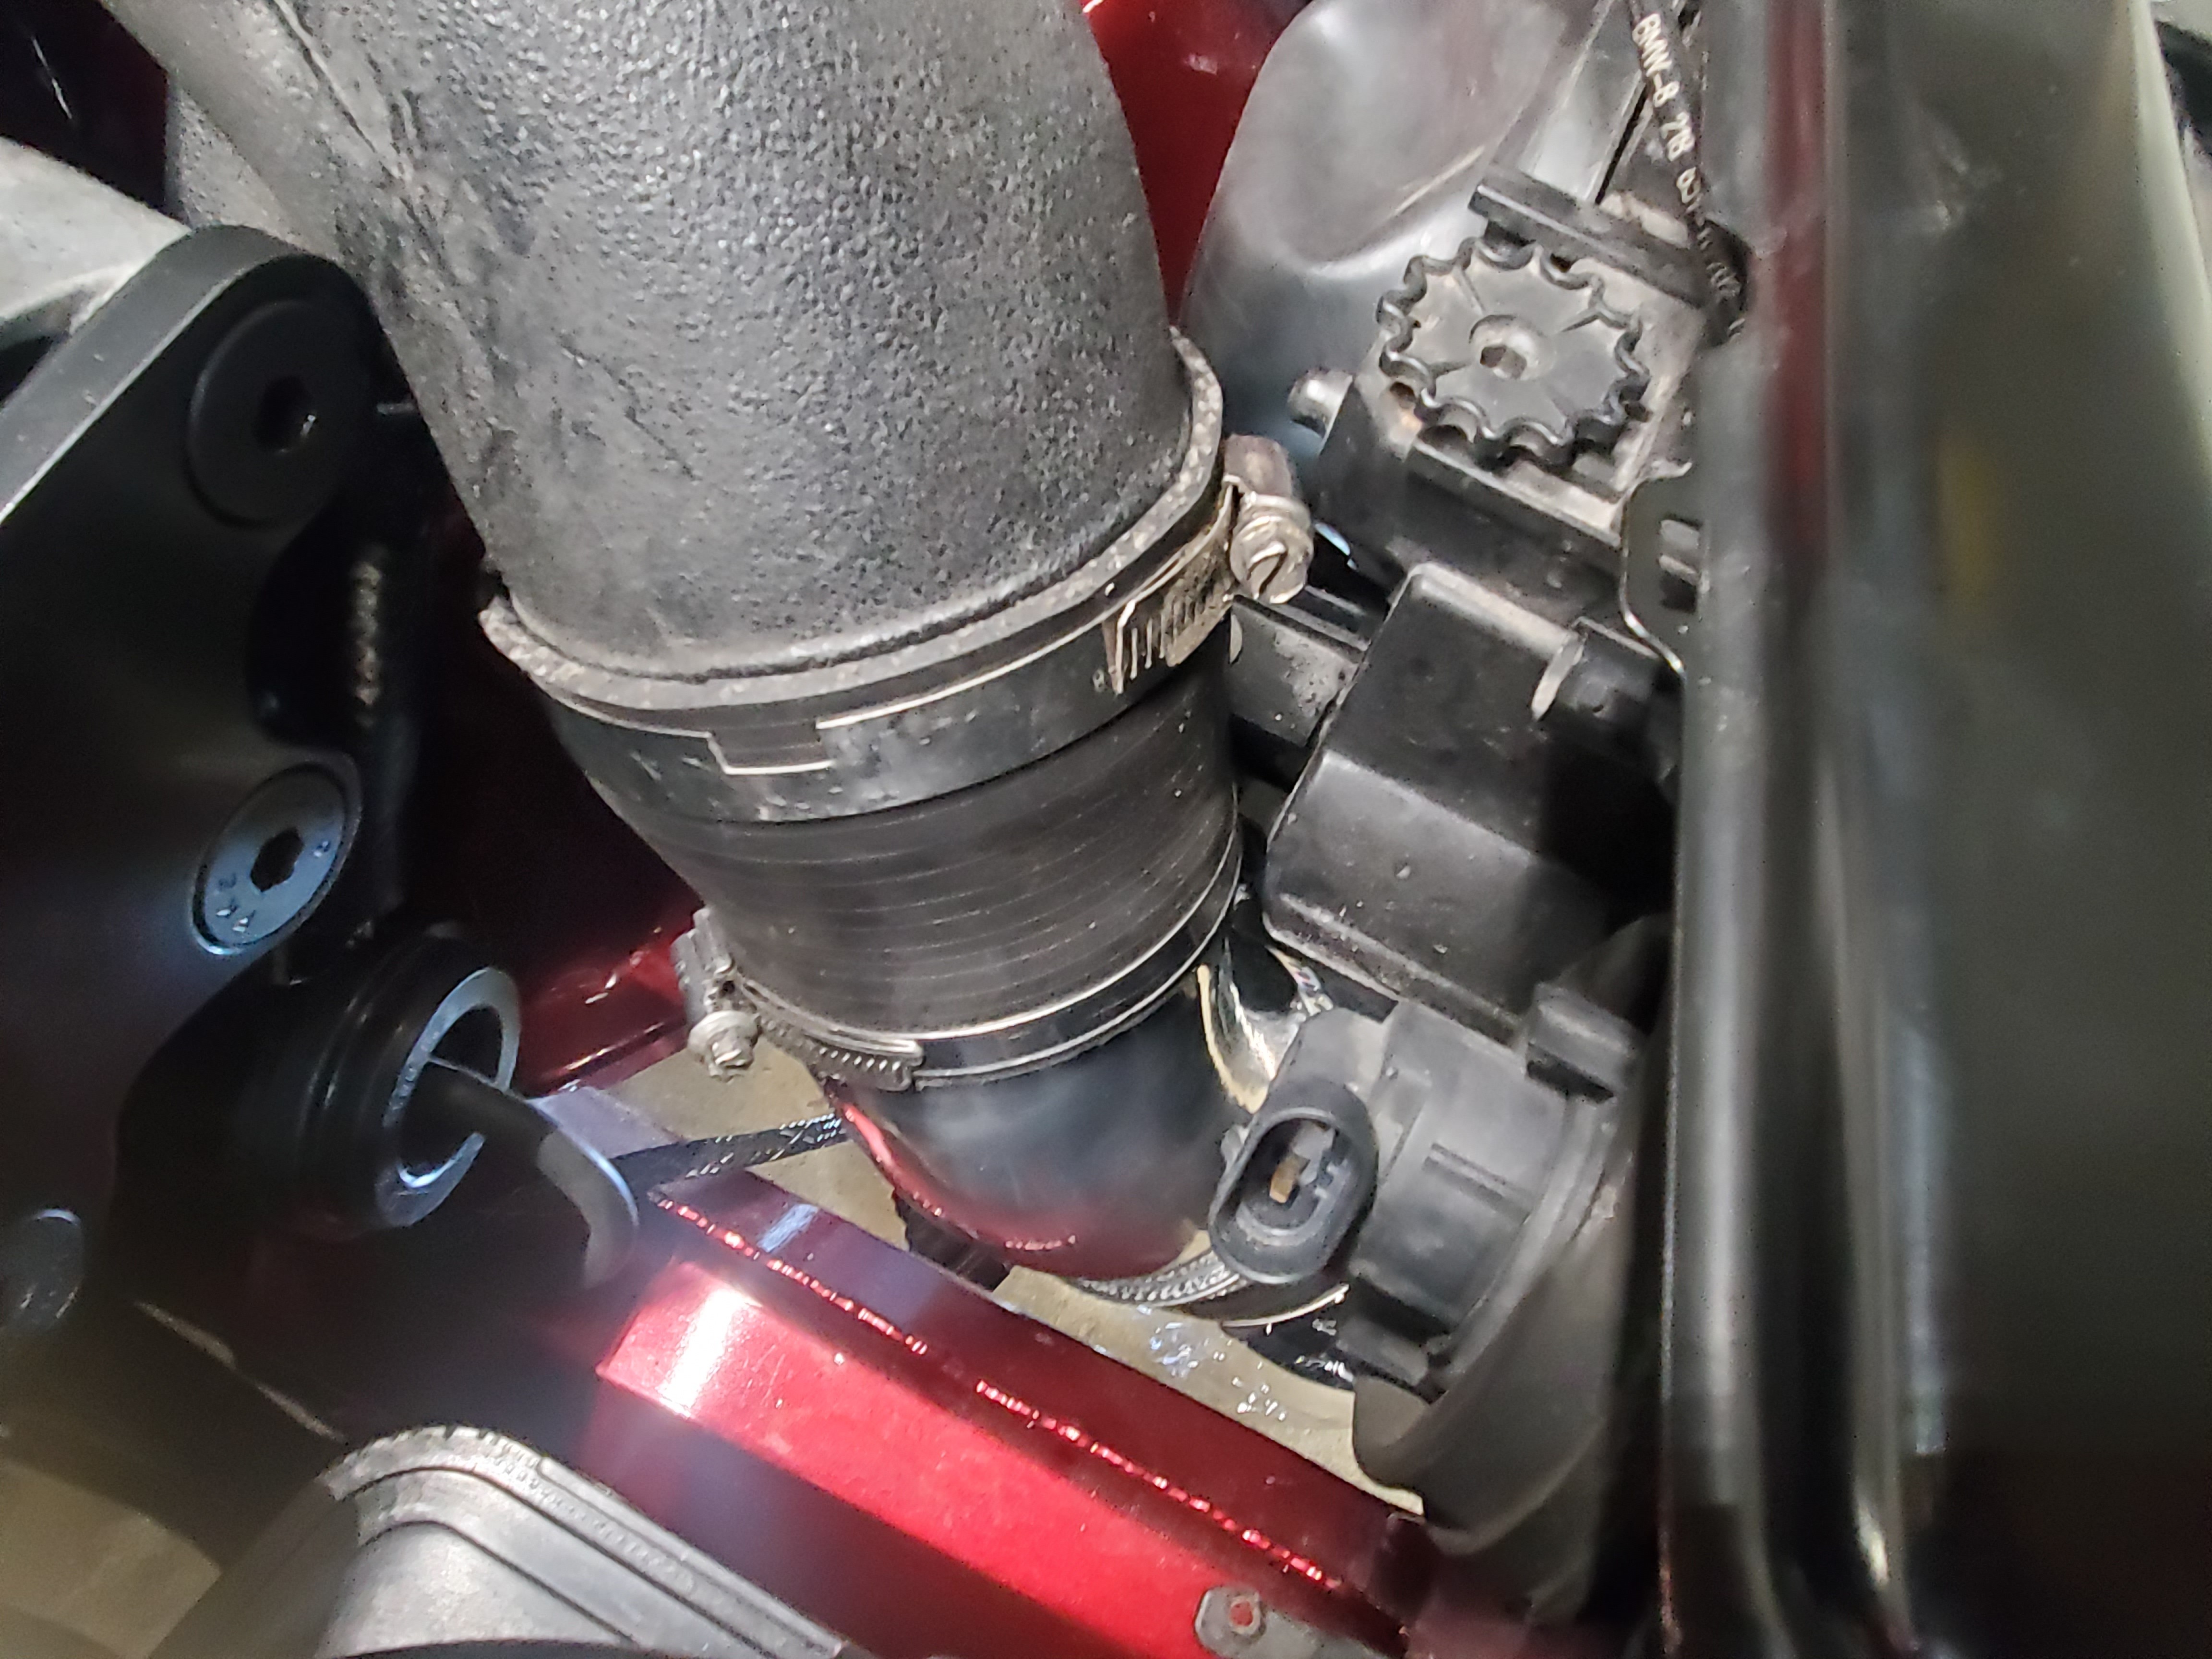
Next I wanted to see how the HELL the headlight was supposed to fit with the intake. The way the kit came had a 45" coupler off the main intake and then the maf attached to that followed by a plastic piece that went from the maf to the filter.
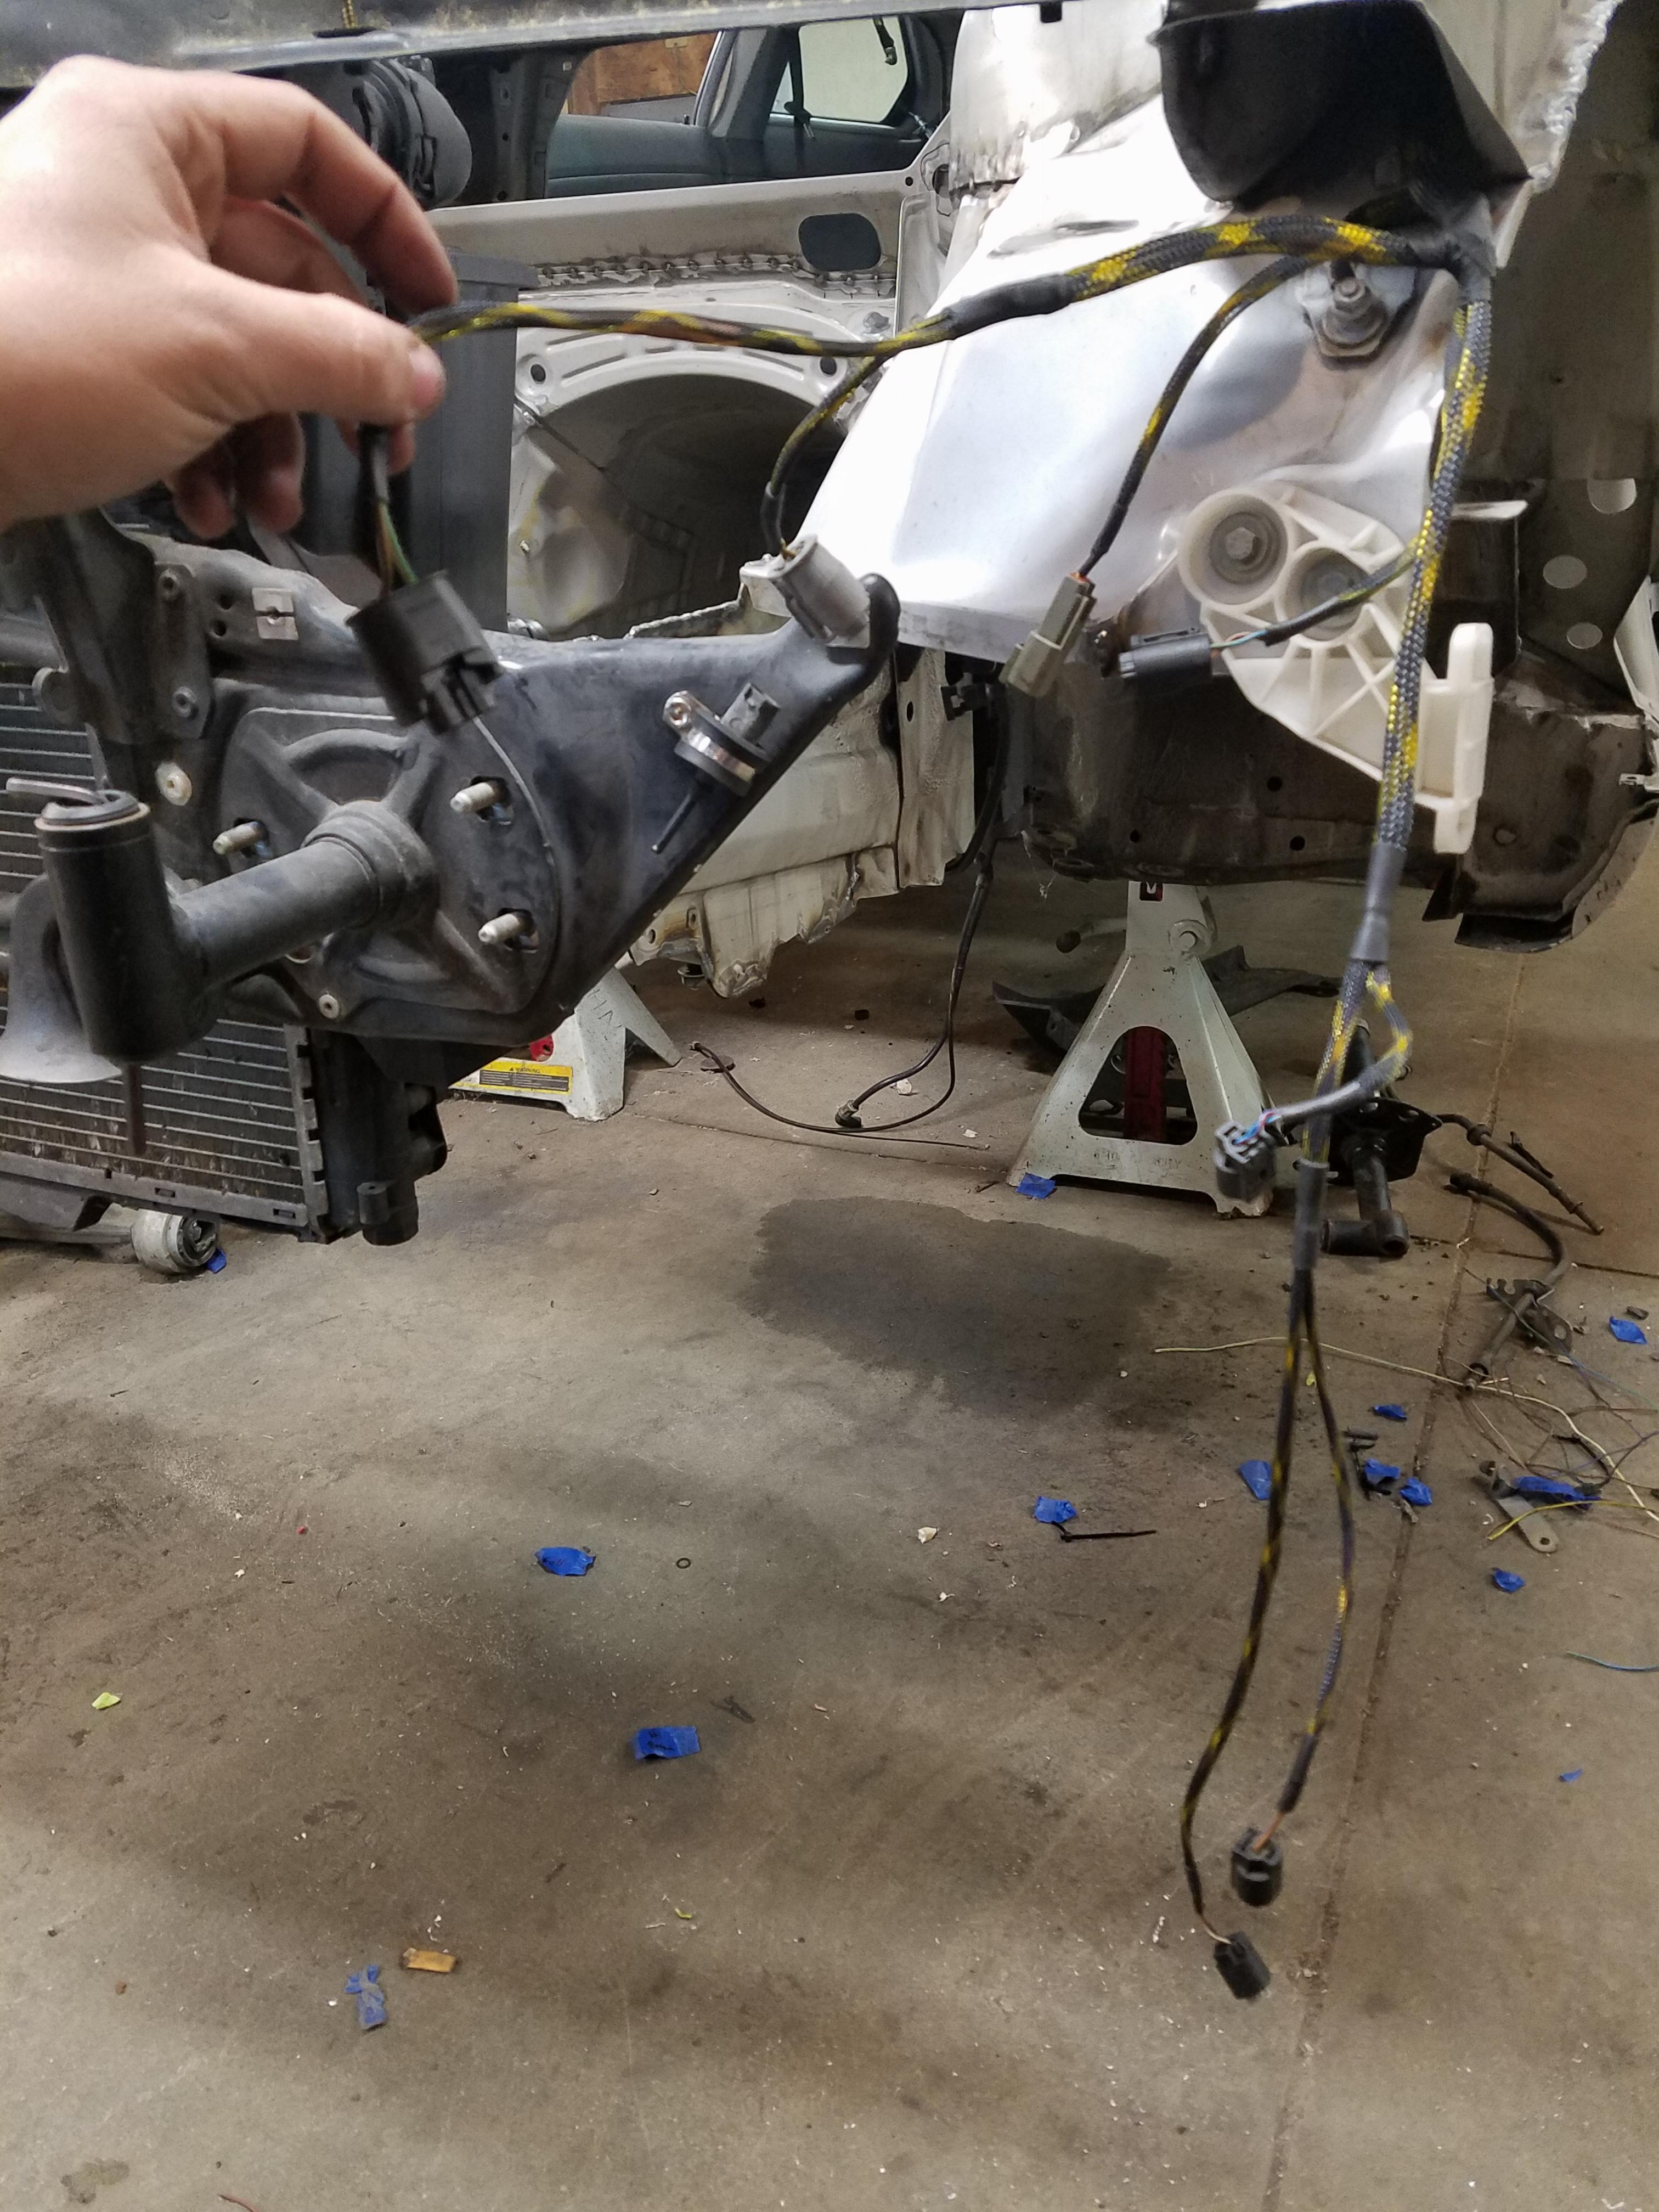
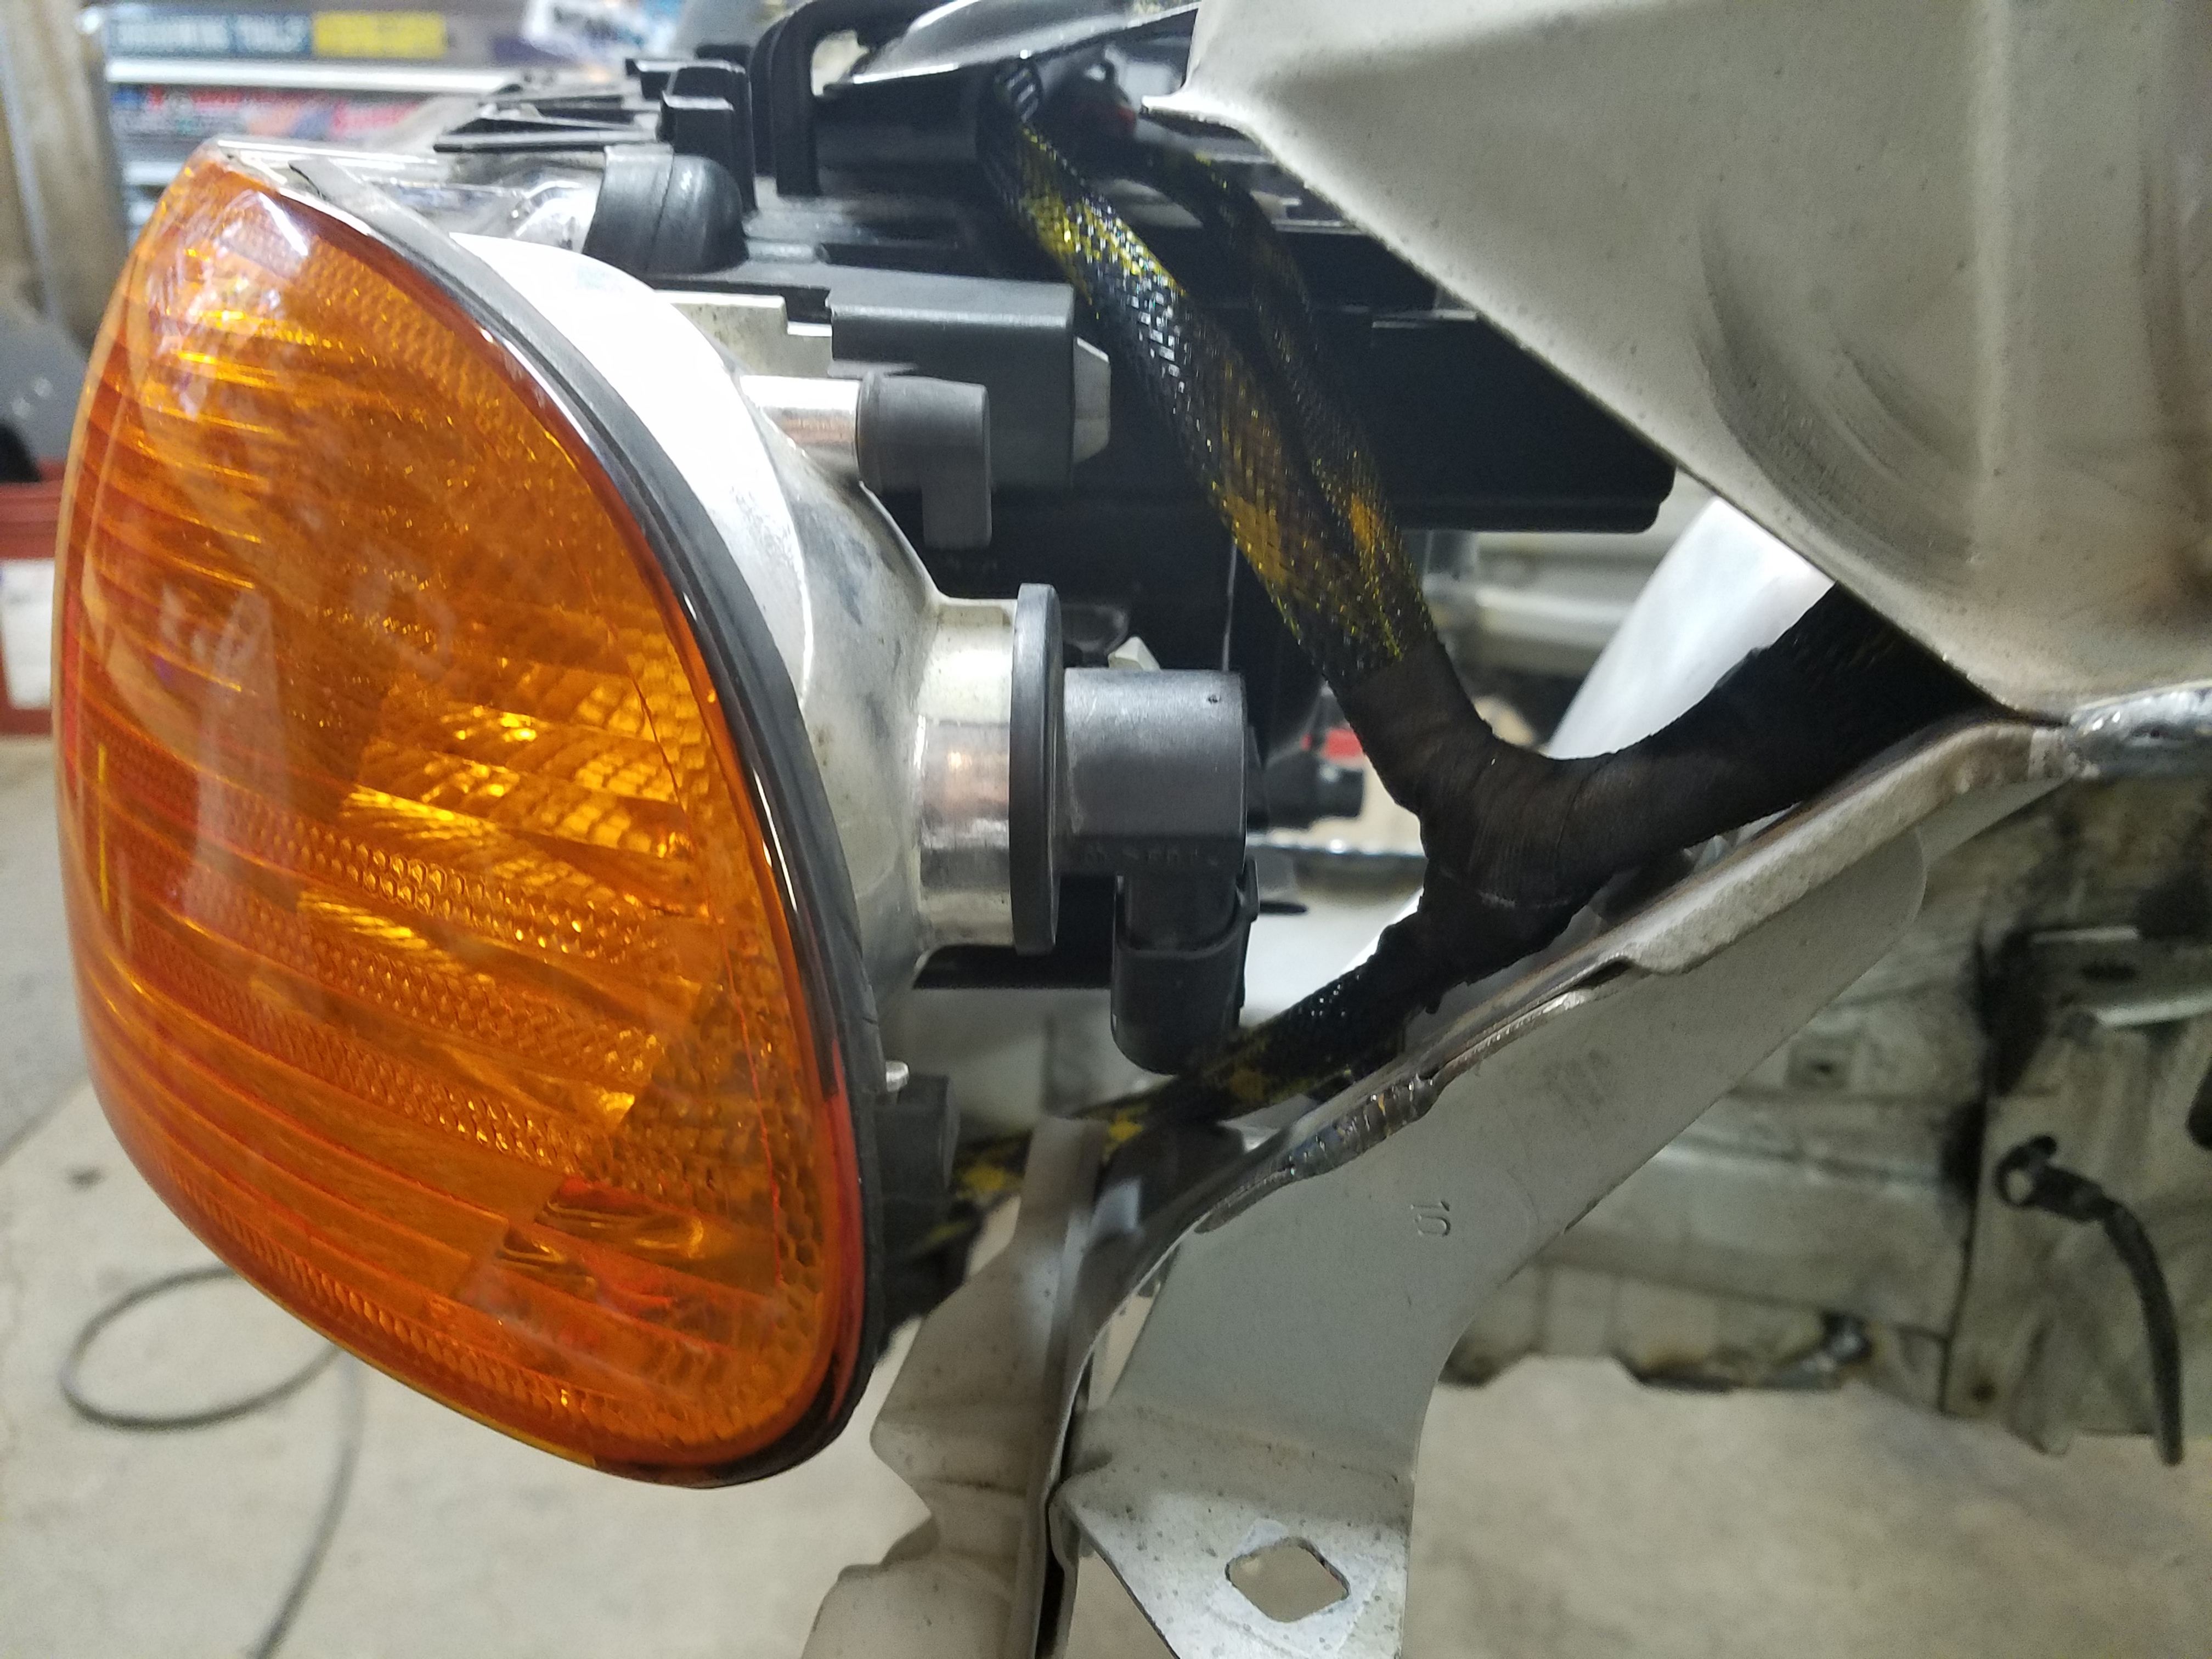
I dont have pictures but theres no way I was jamming that behind the headlight and pinching and pushing things around. Not to mention I have Xenon headlights so the ballast would need to be "moved". I have a solution for that once the parts come I will.share that!
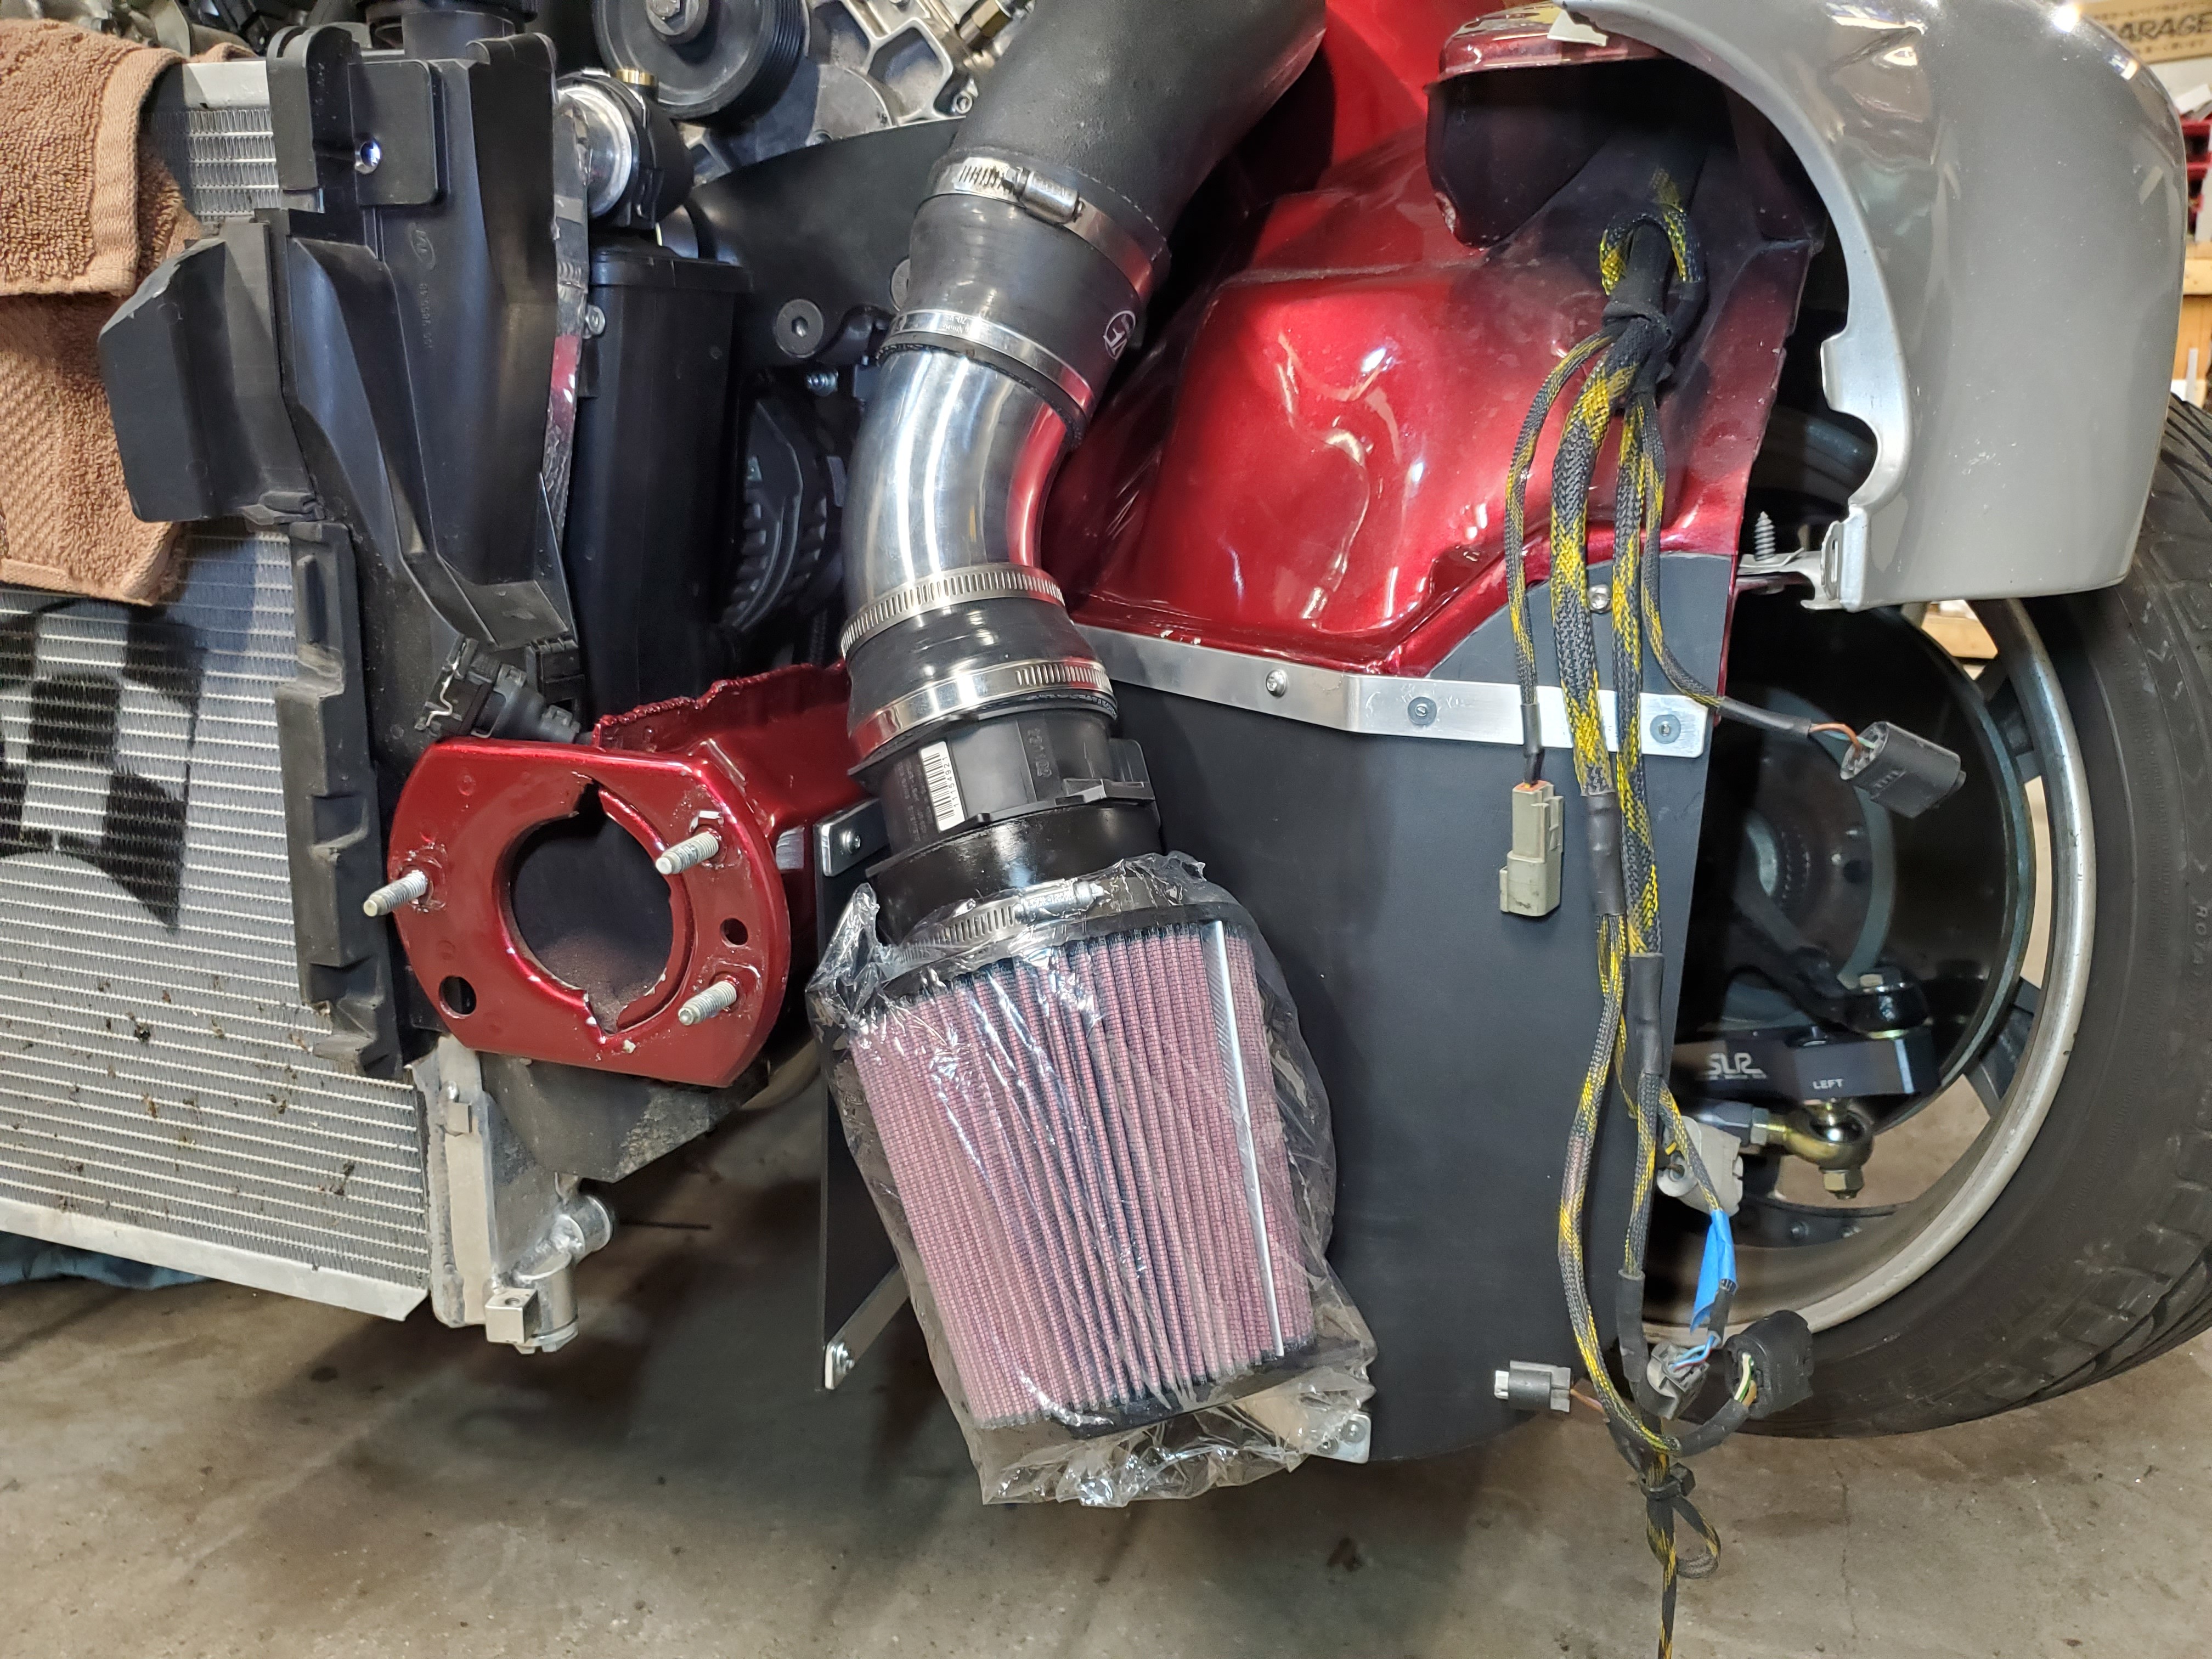
So here is what I came up with for the intake.
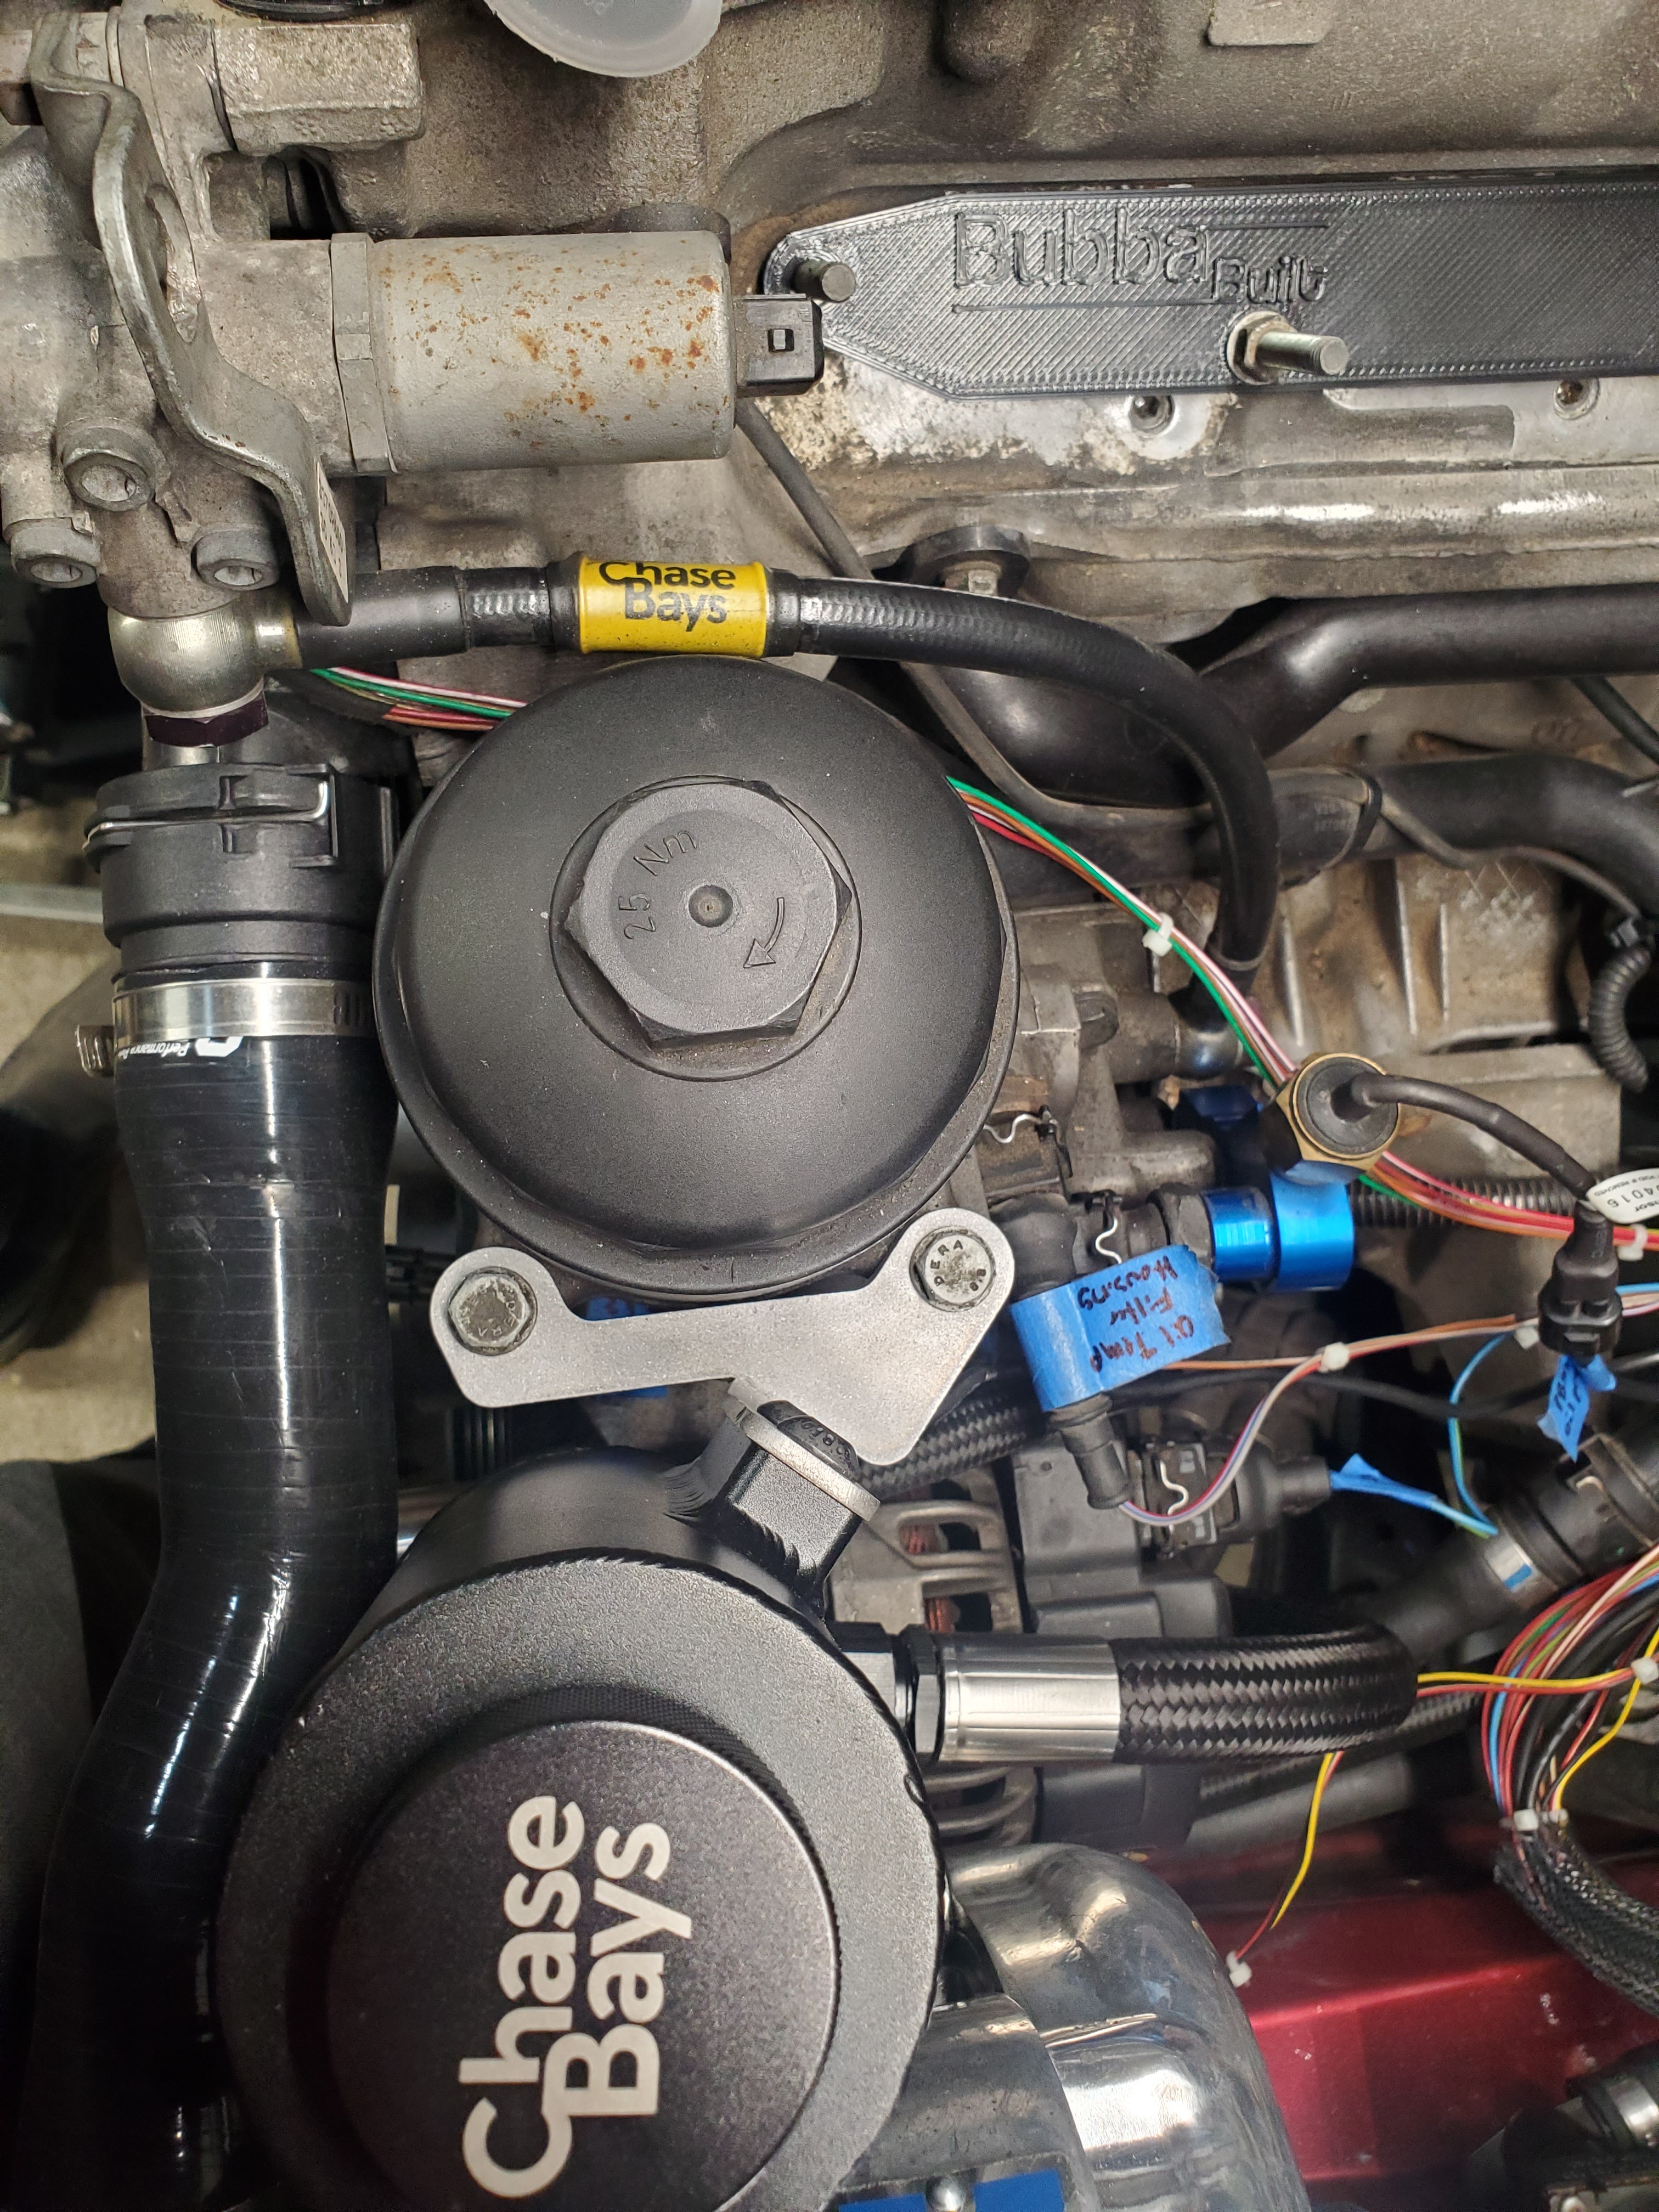
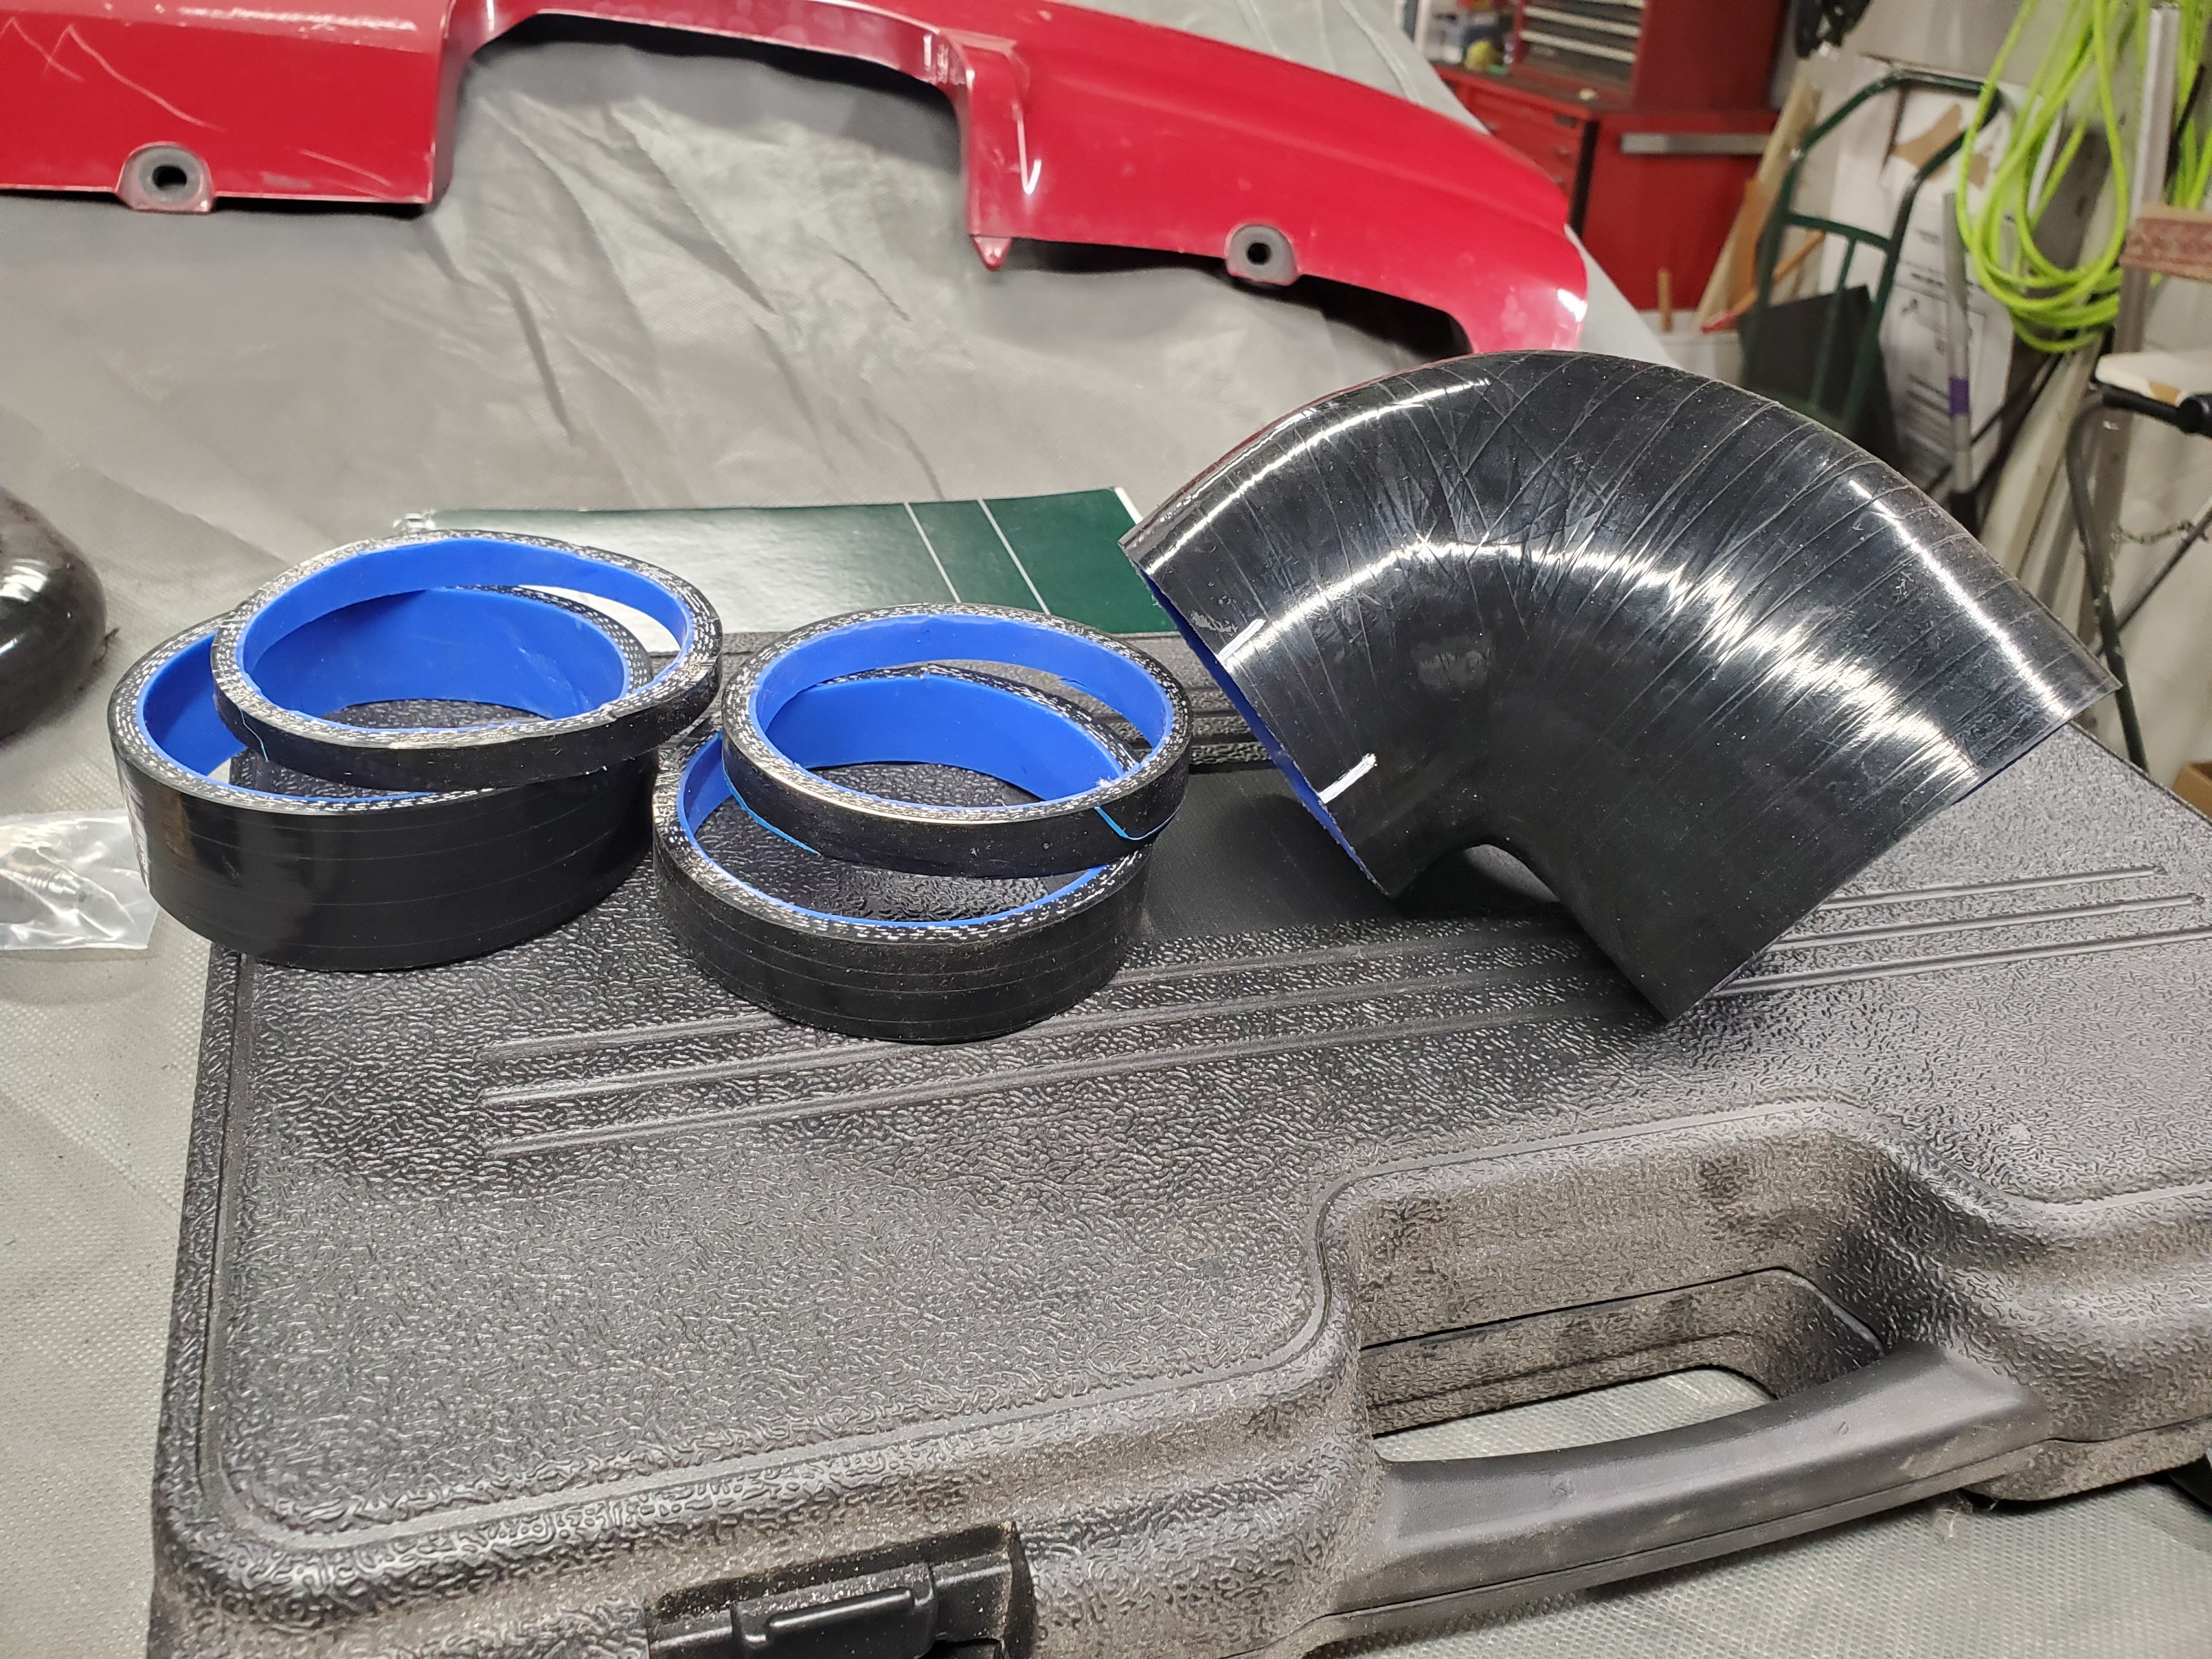
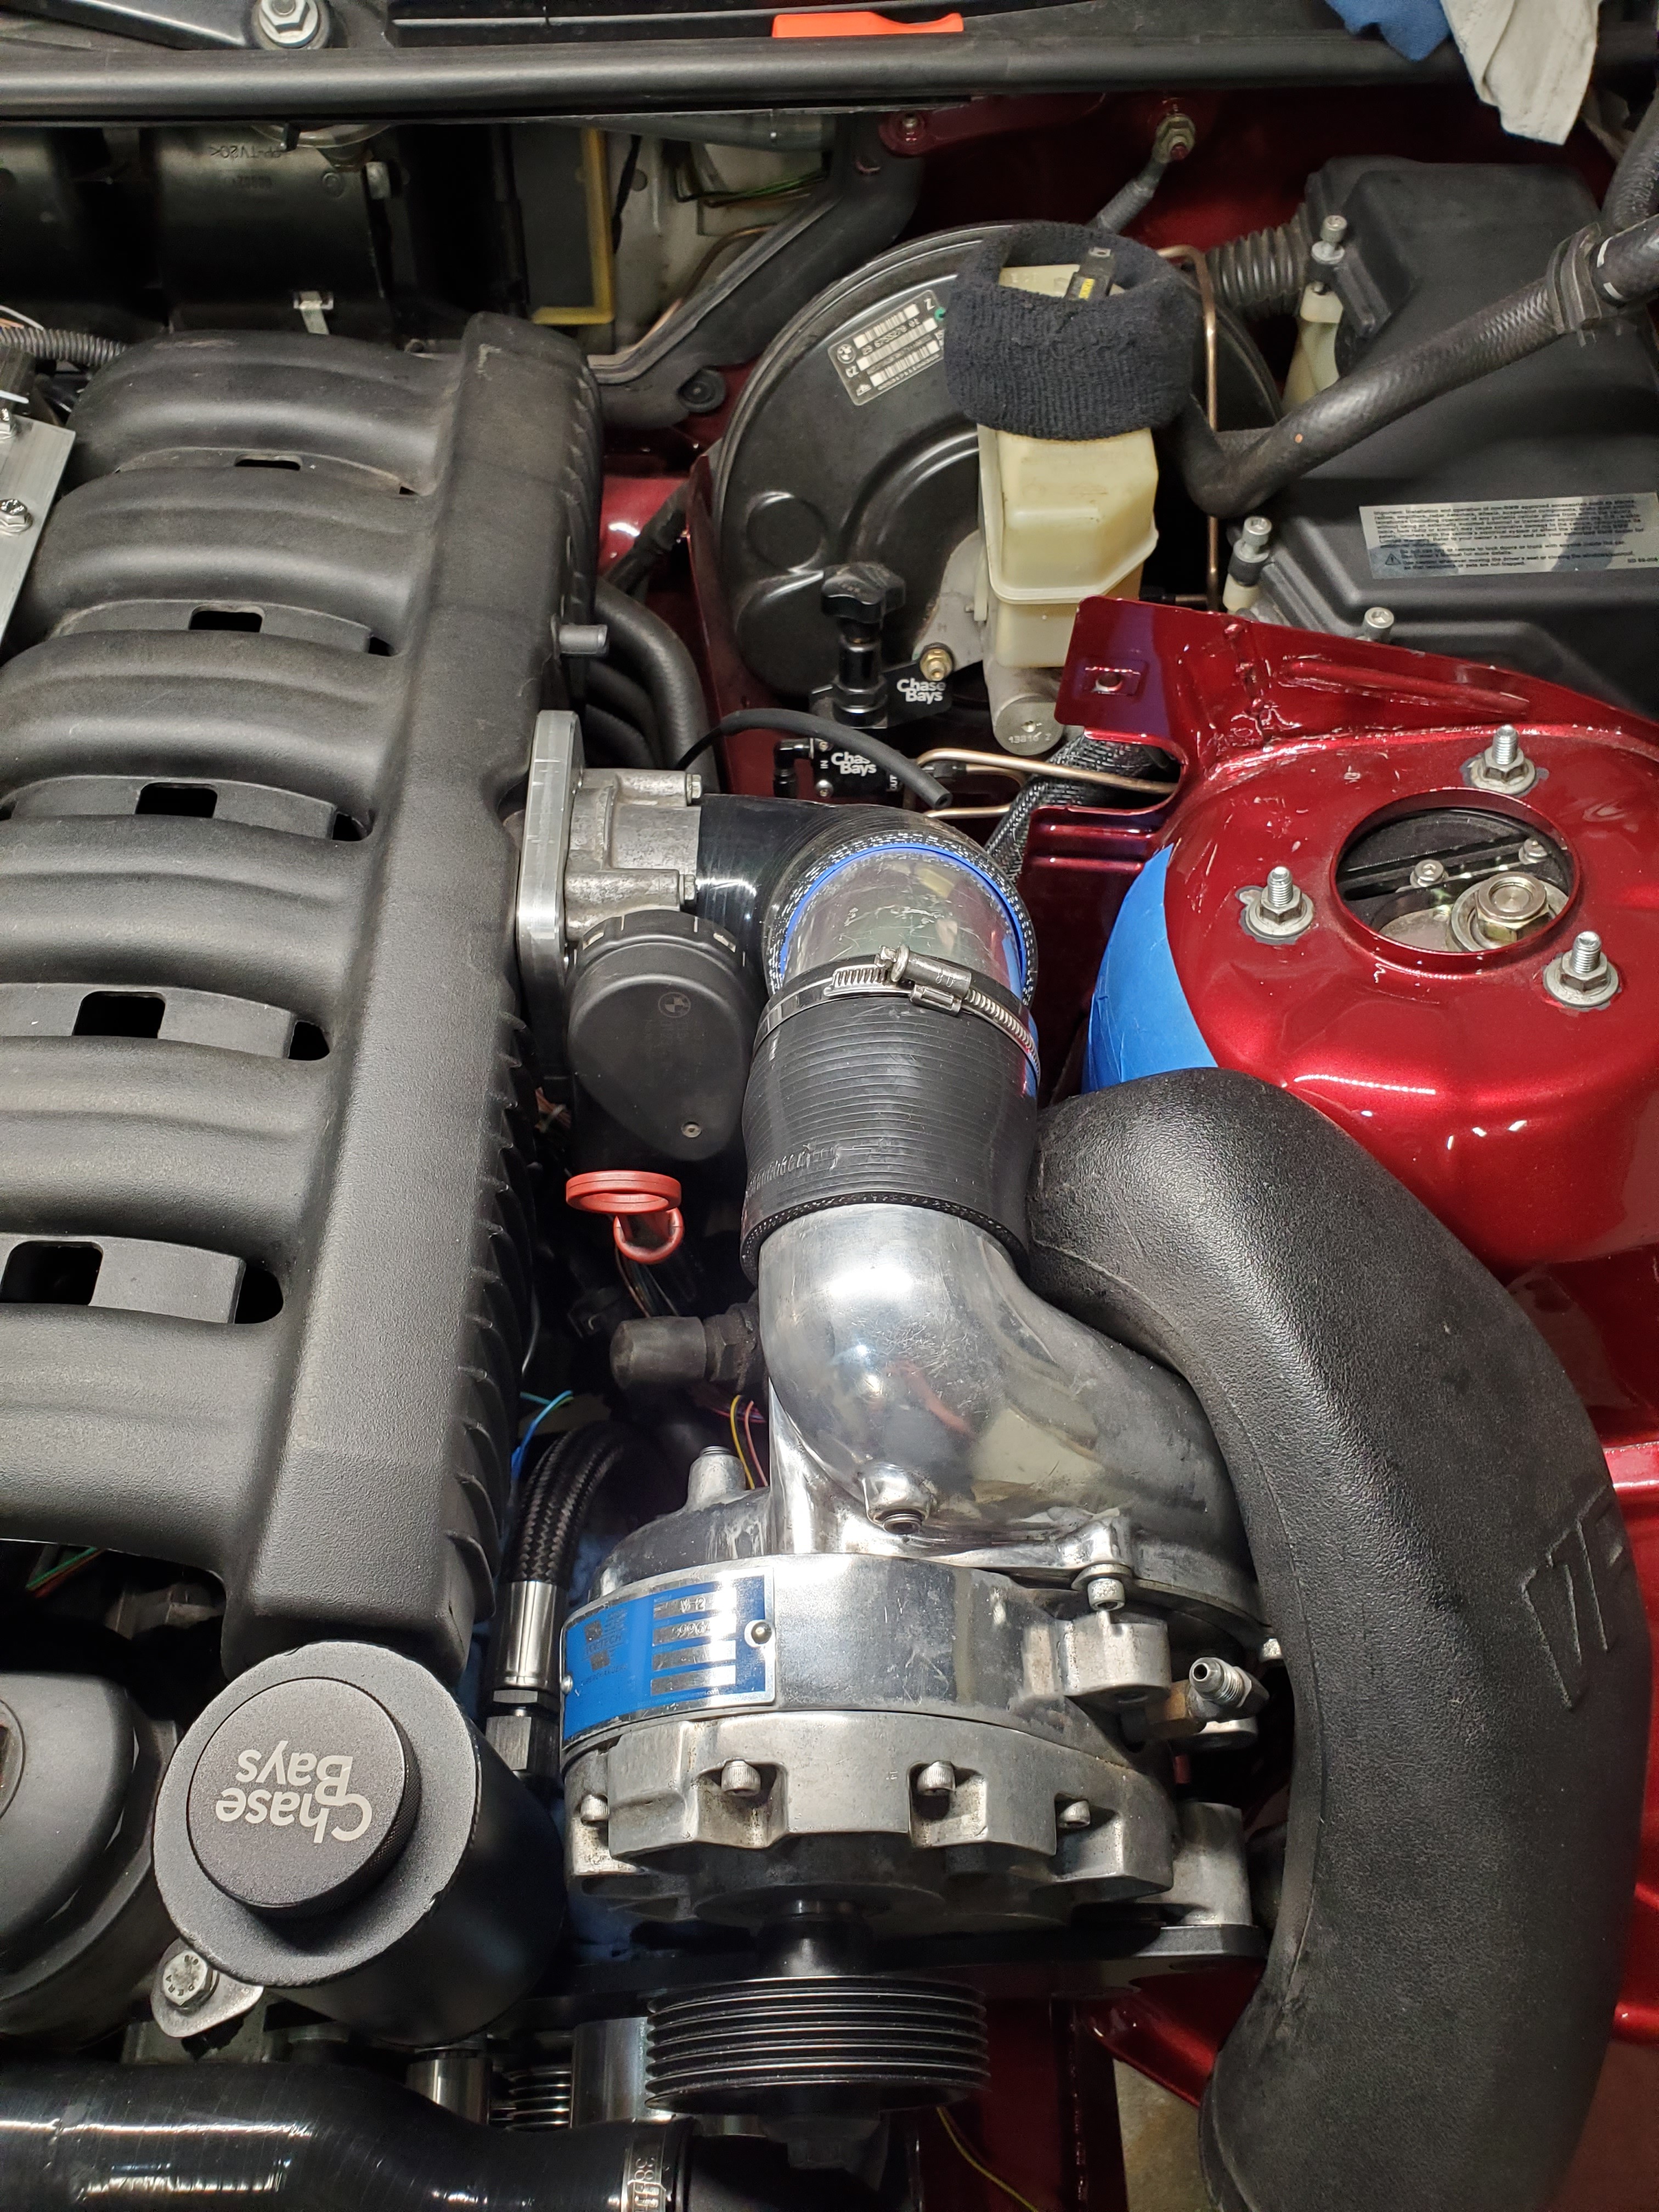
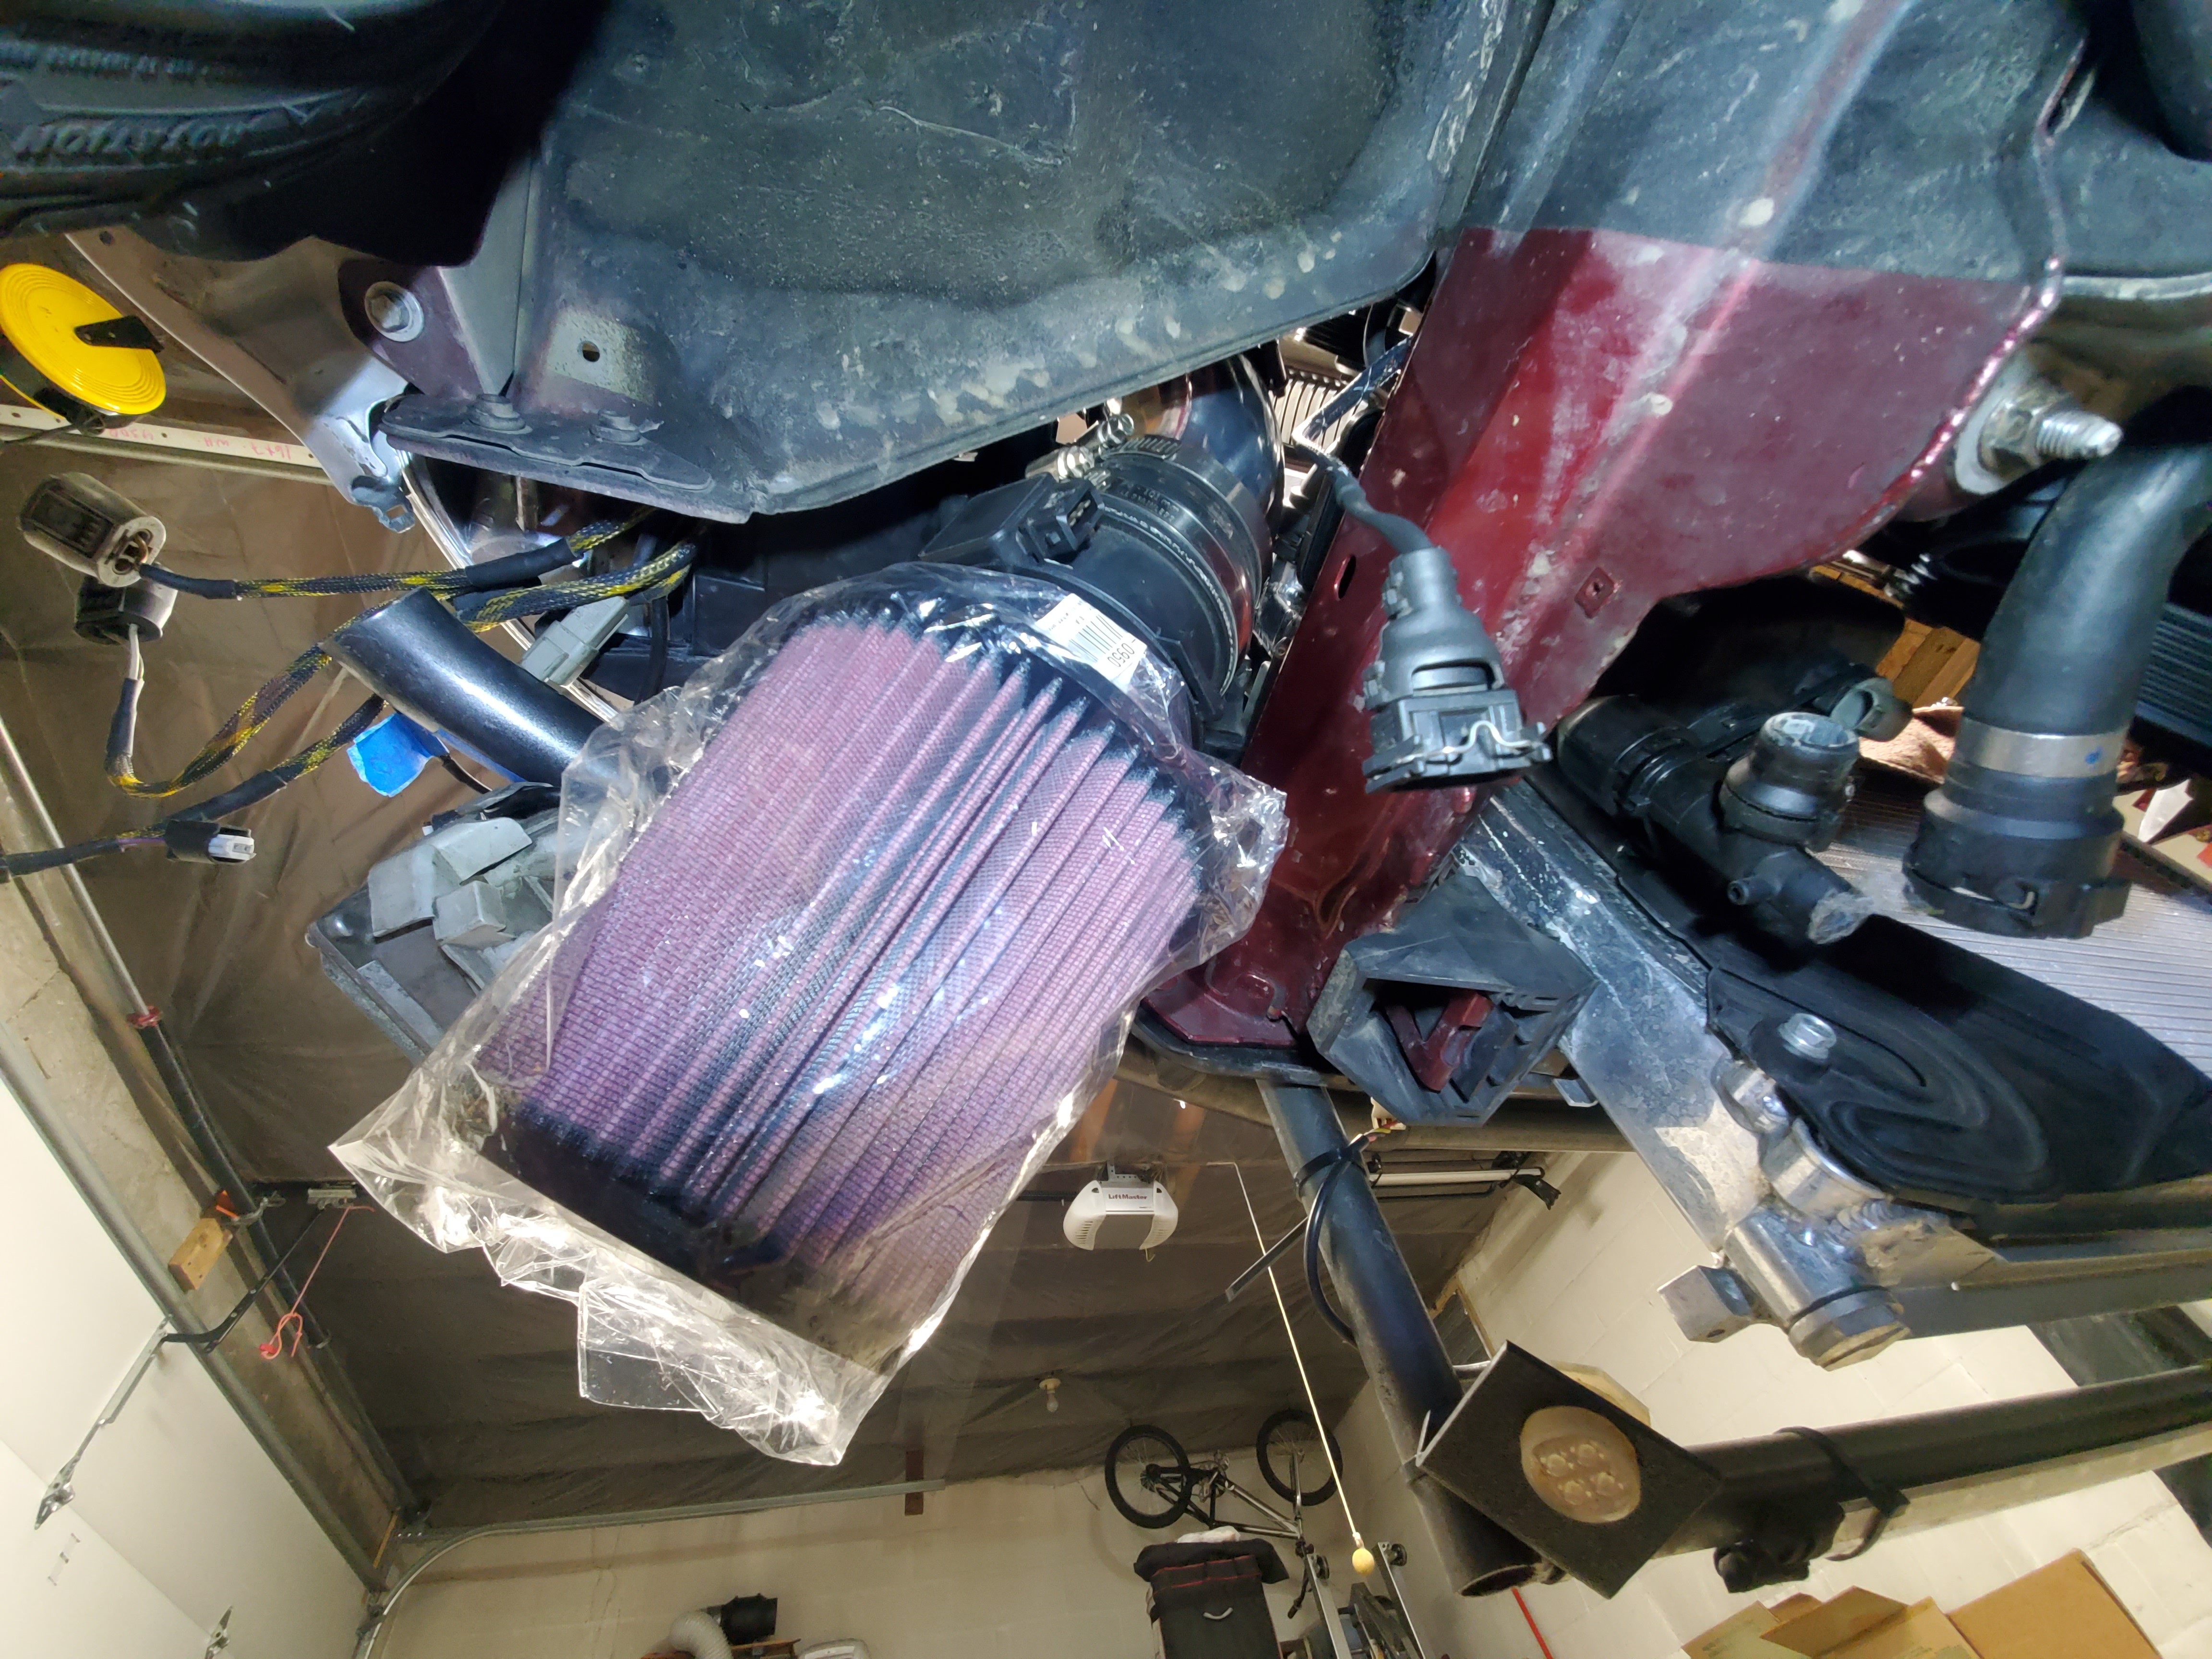
I stepped the main intake tube down to a 3" then used a aluminum 45° to get past the back of the headlight. Then stepped back from 3" to 3.5" to the MAF and then the MAF straight to the filter.
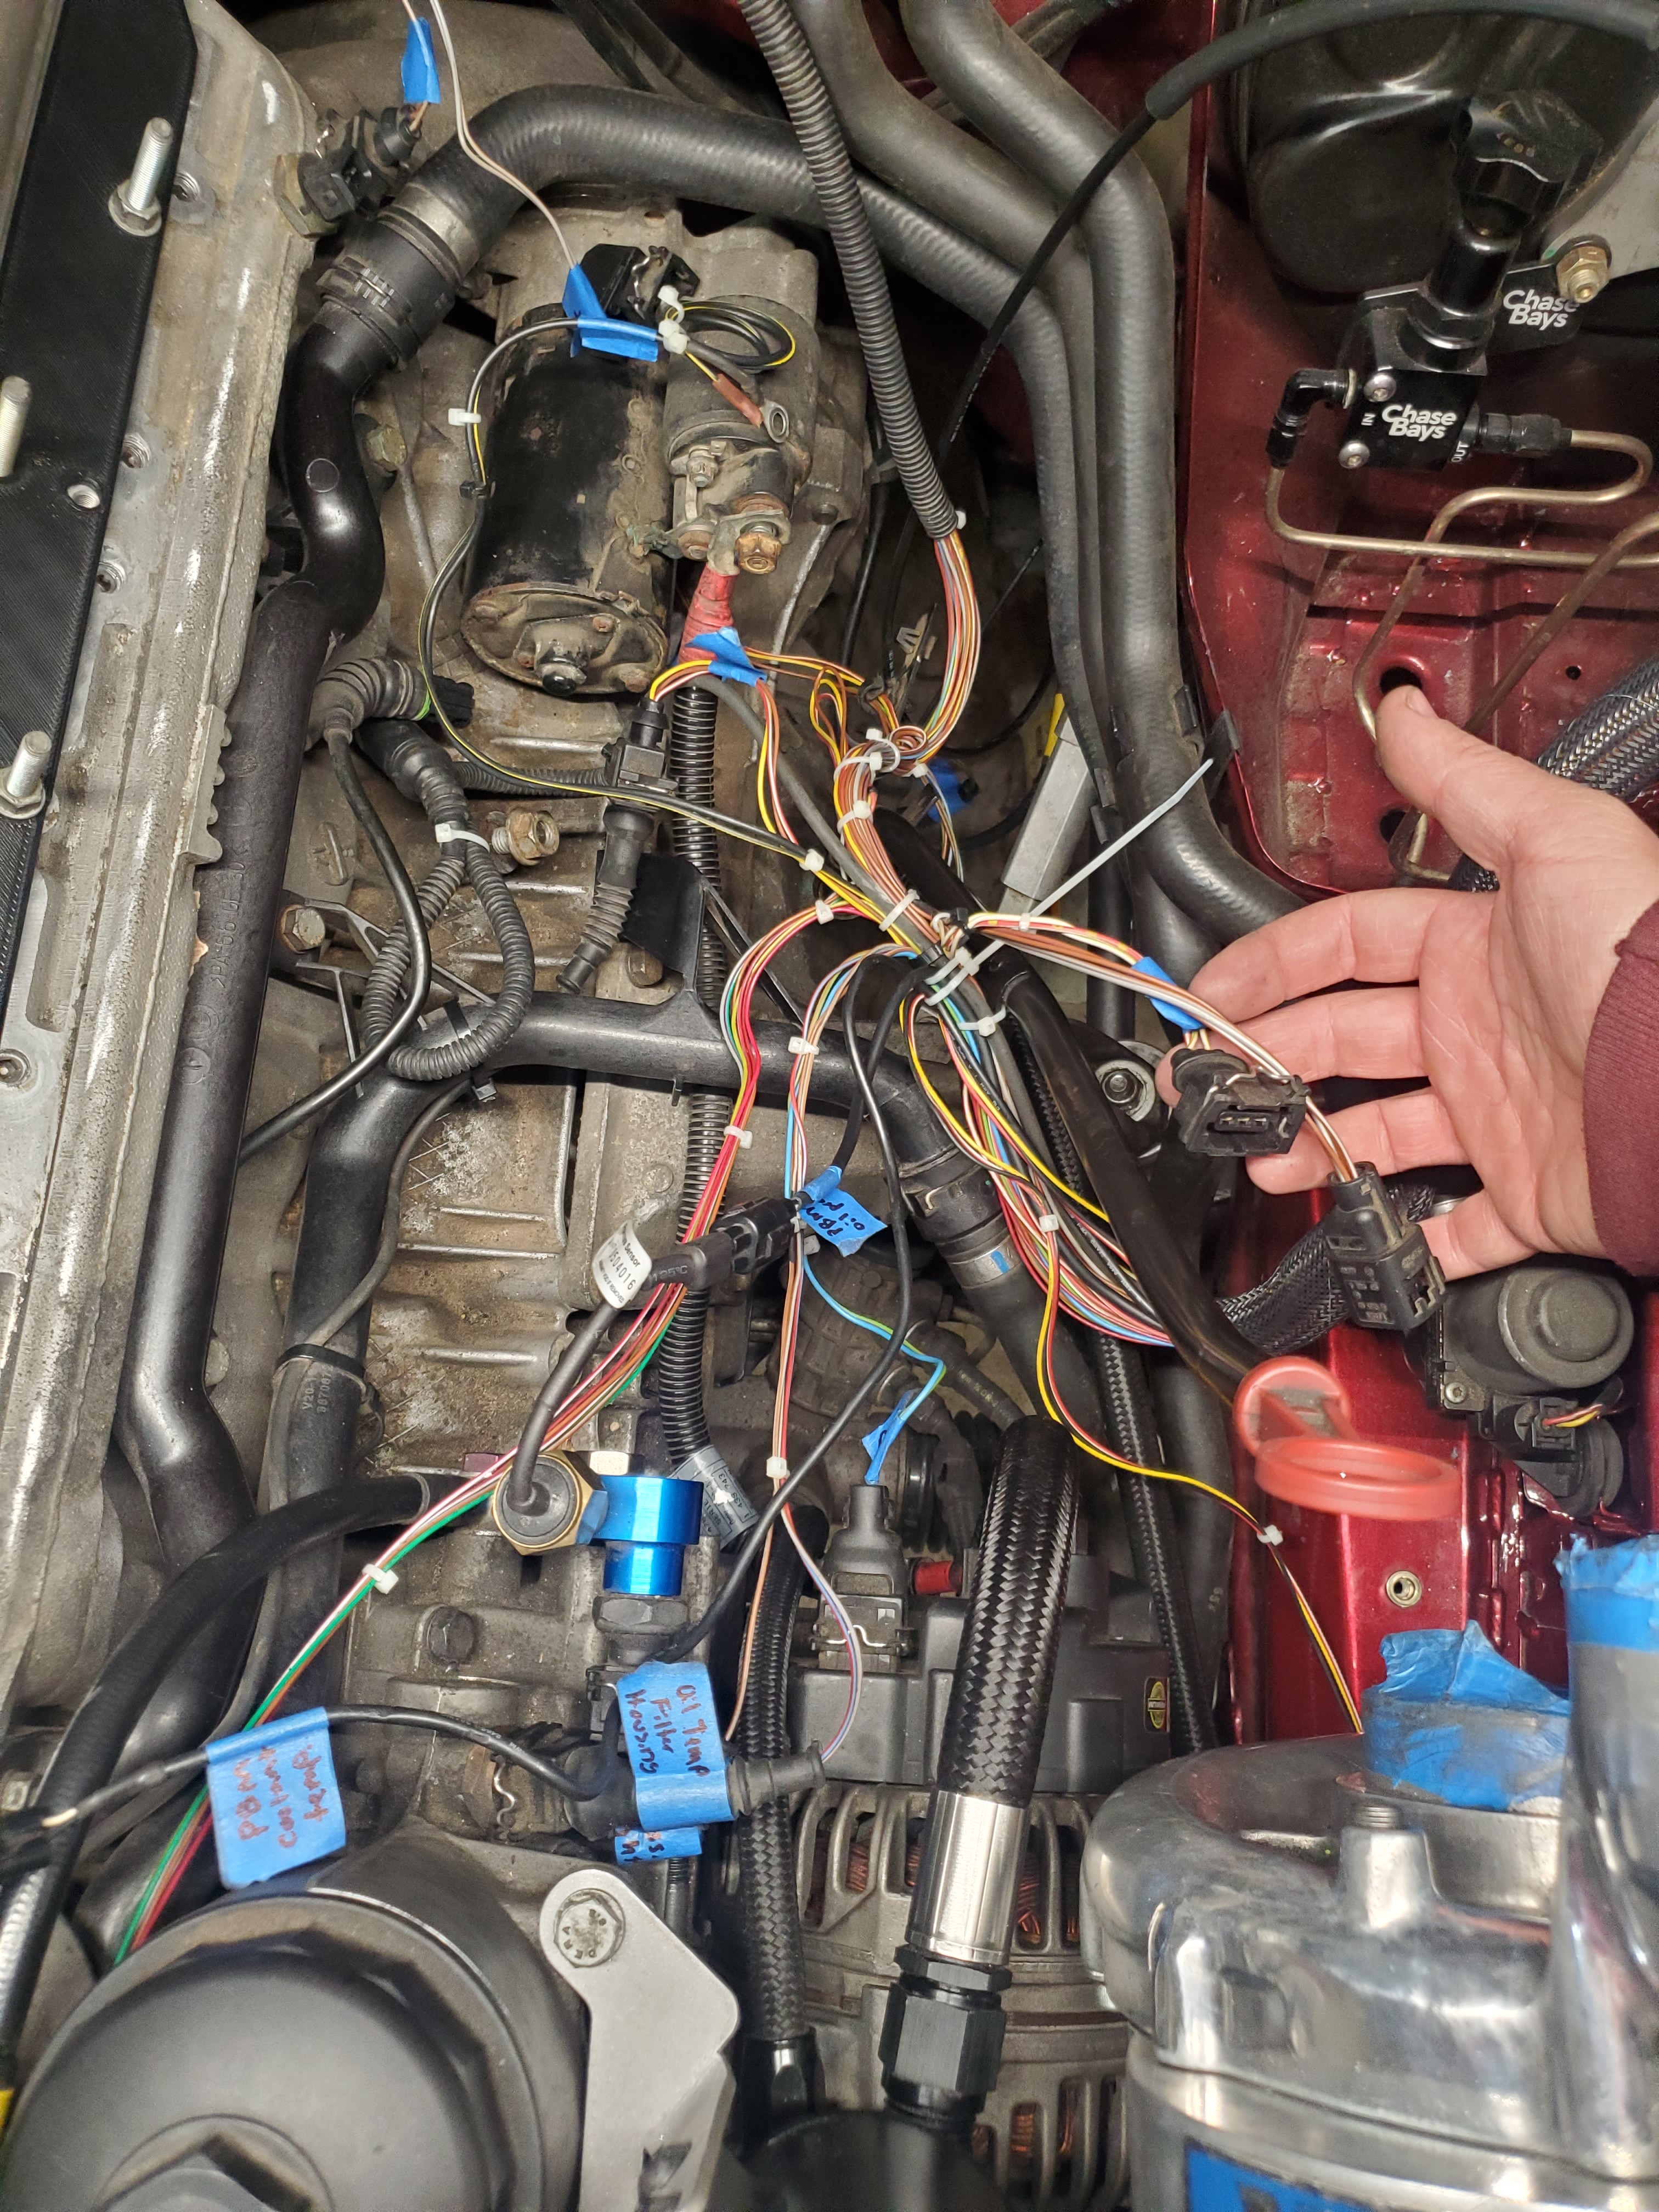
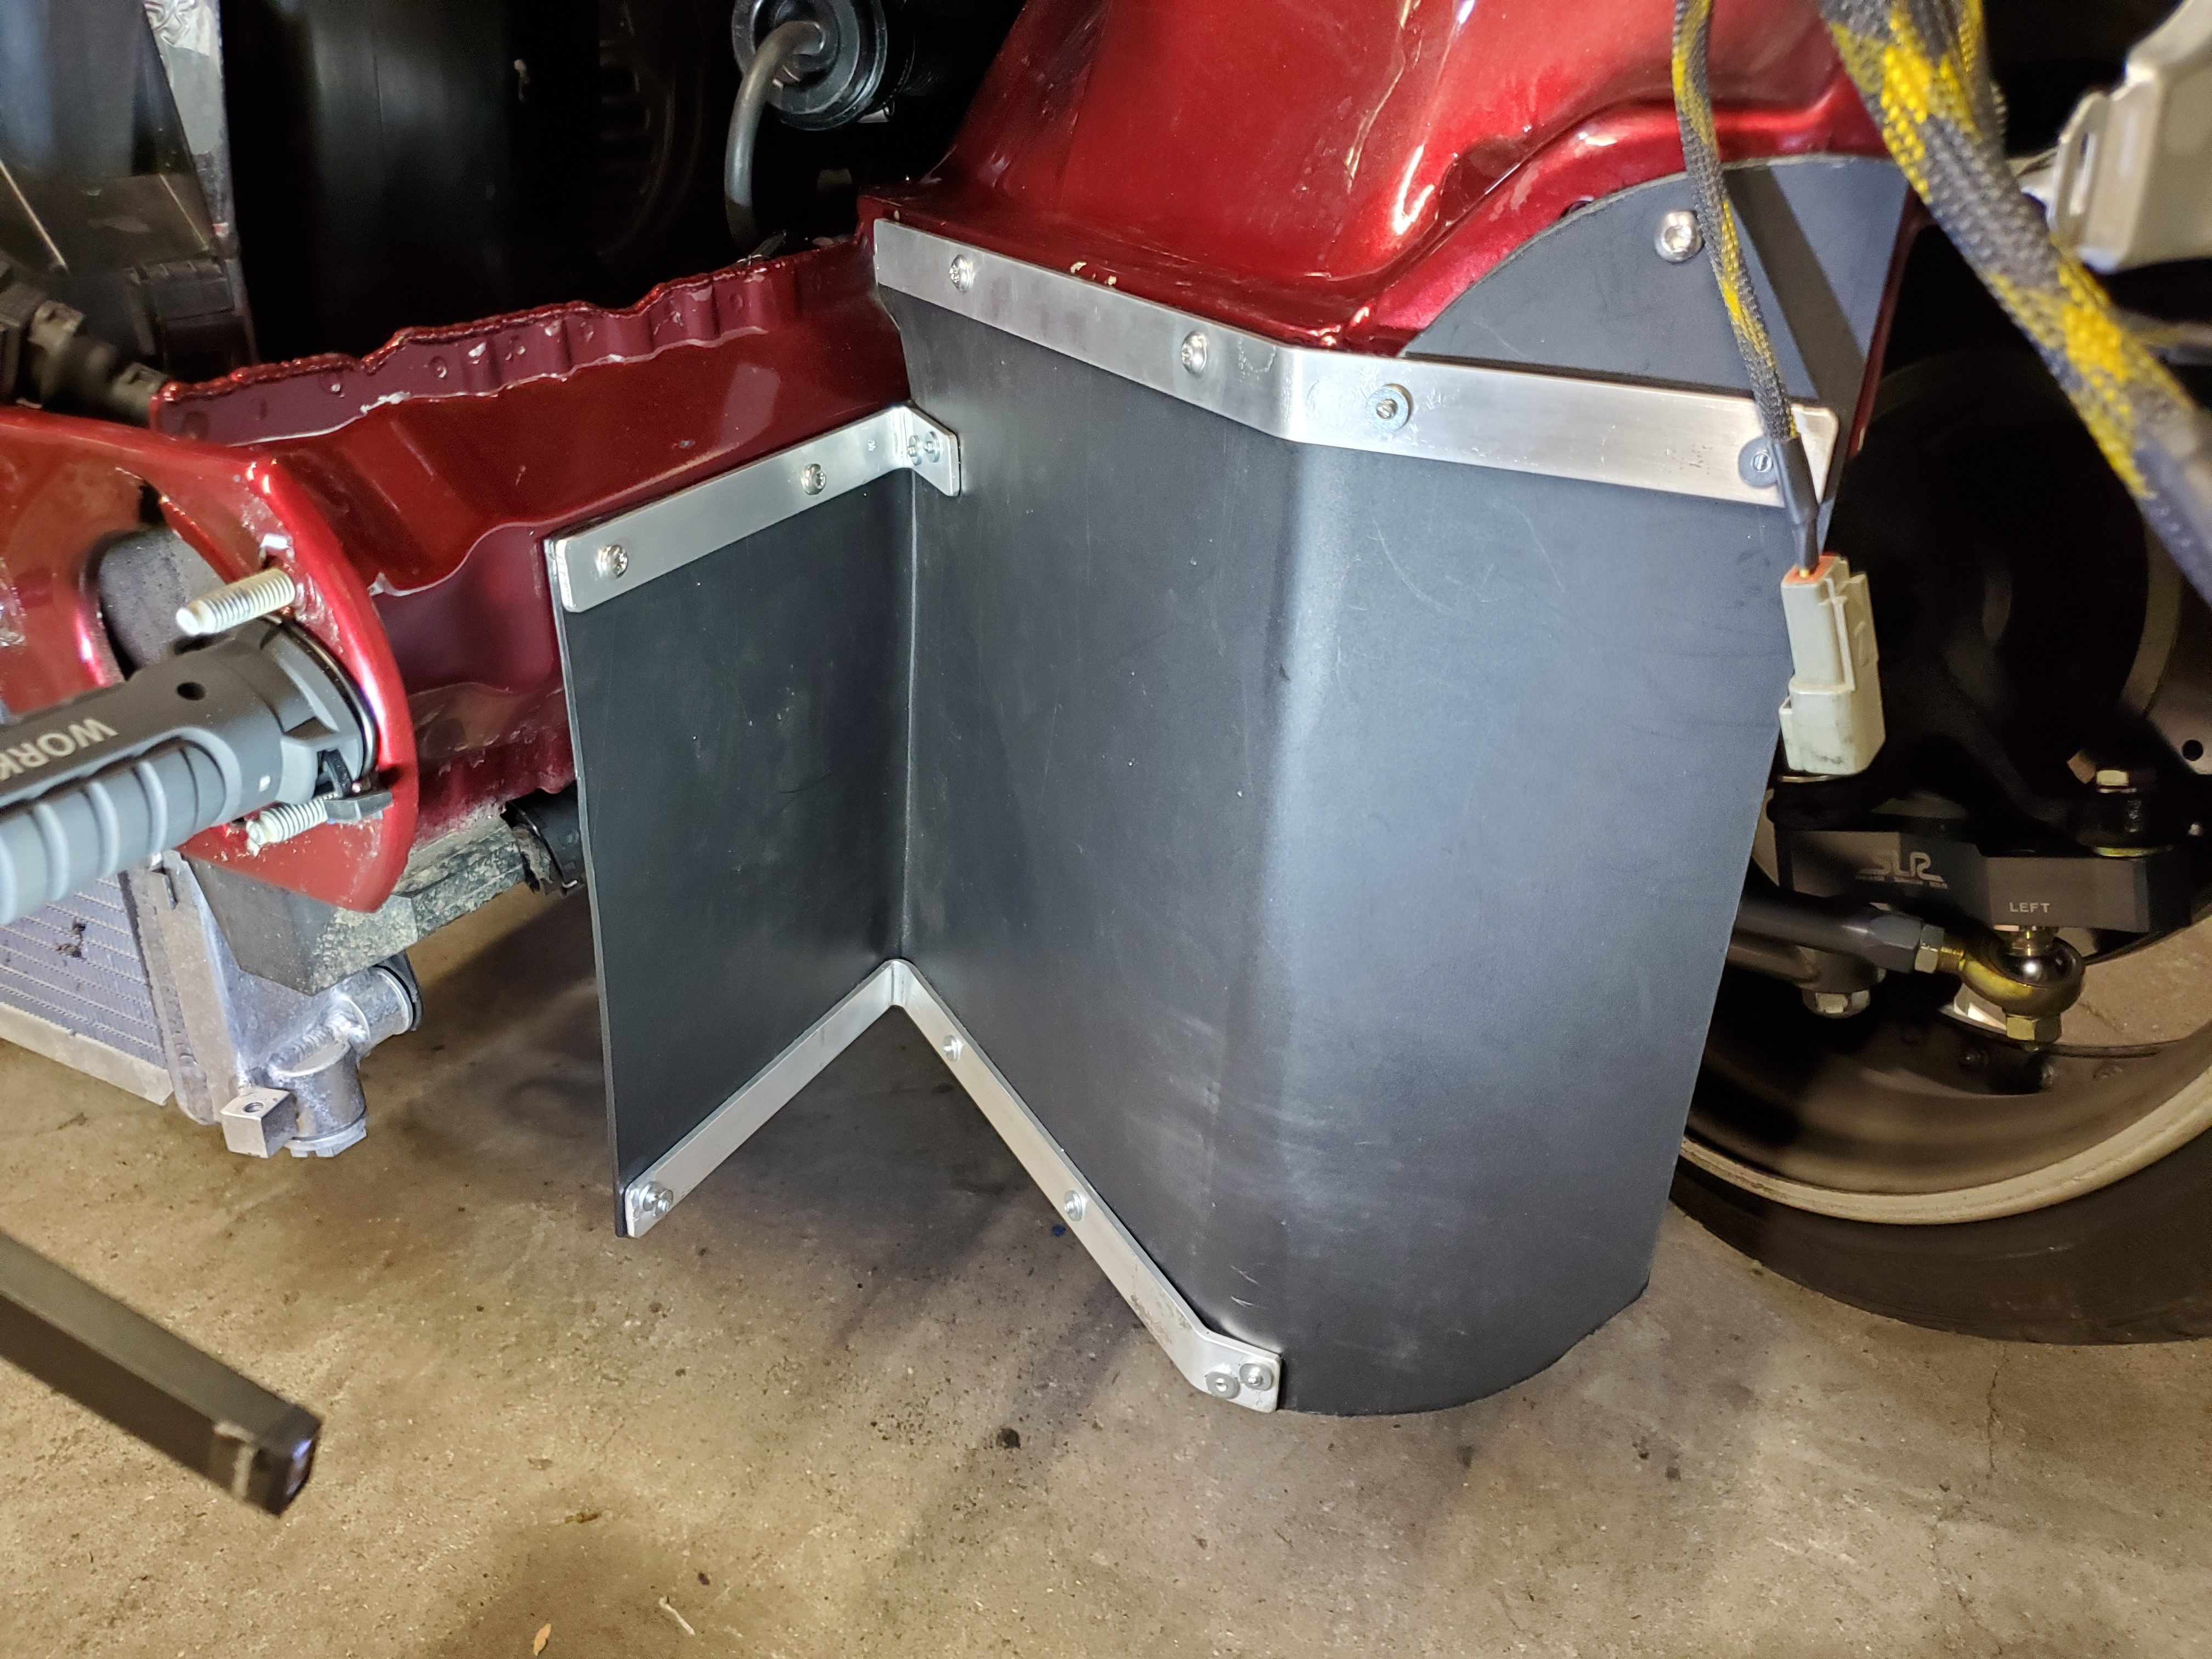
I have a sock for the filter to keep water off as well as I made this splash sheild.
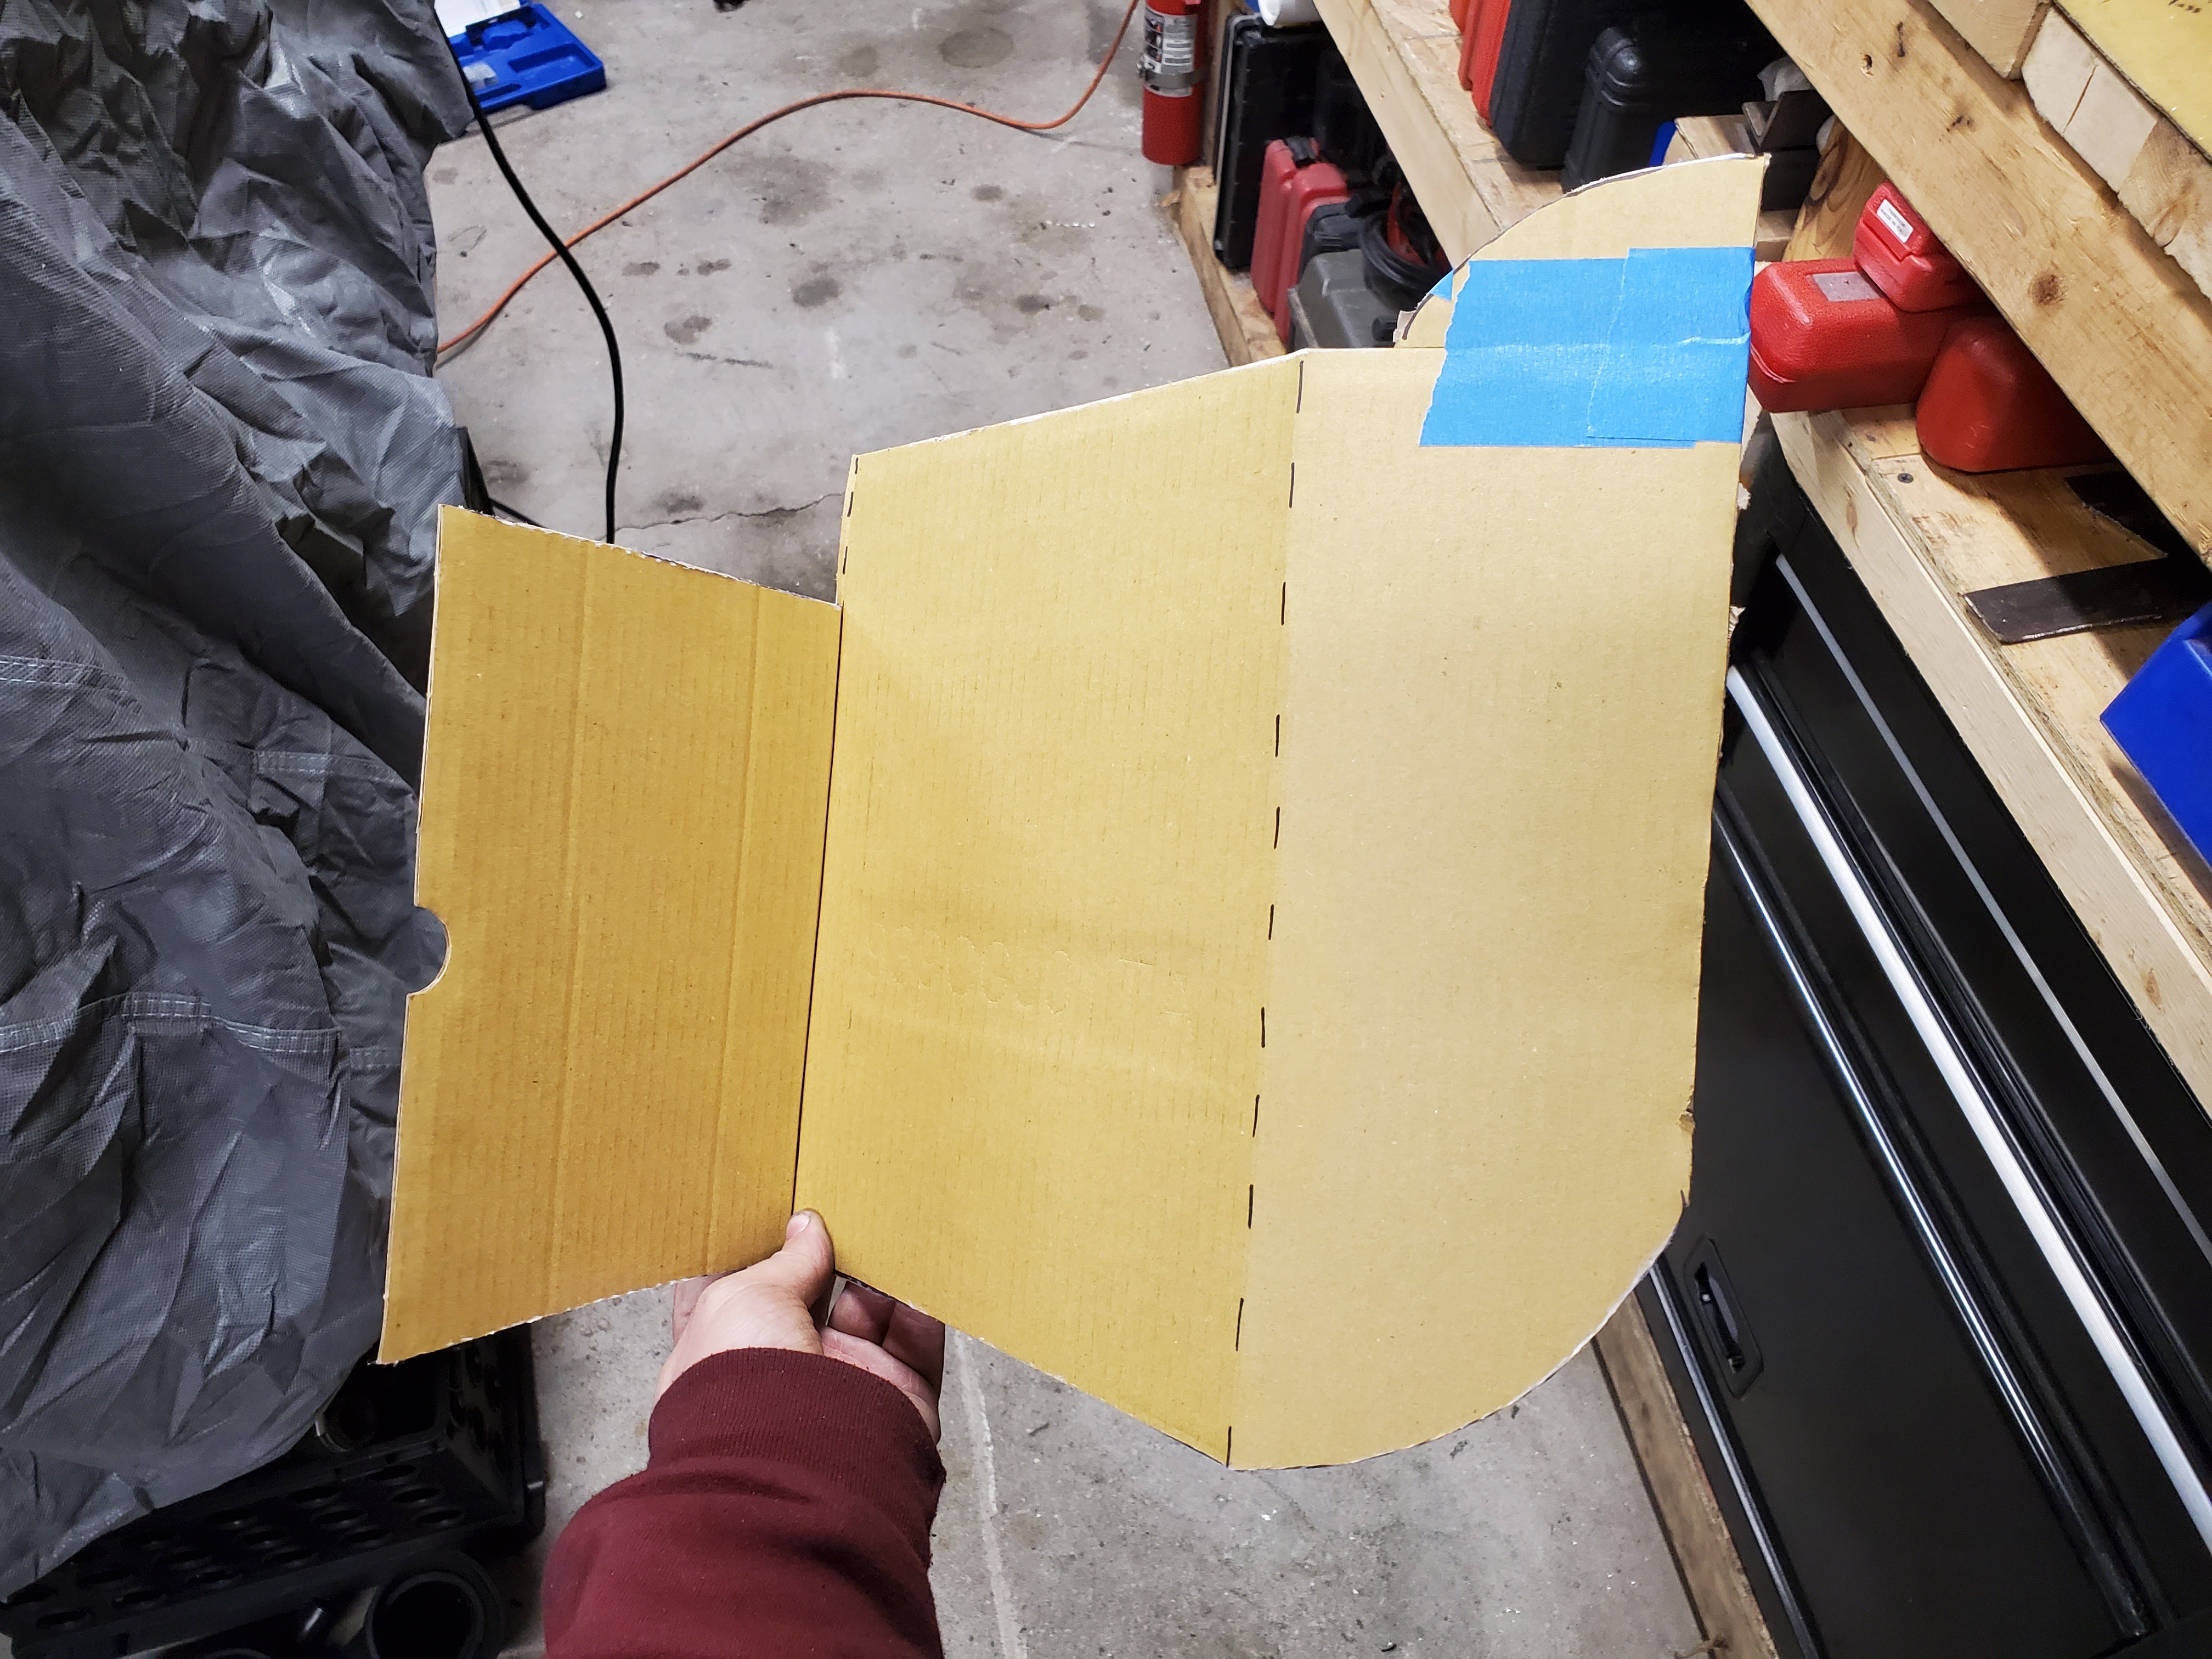
Started as a good ole CAD template.
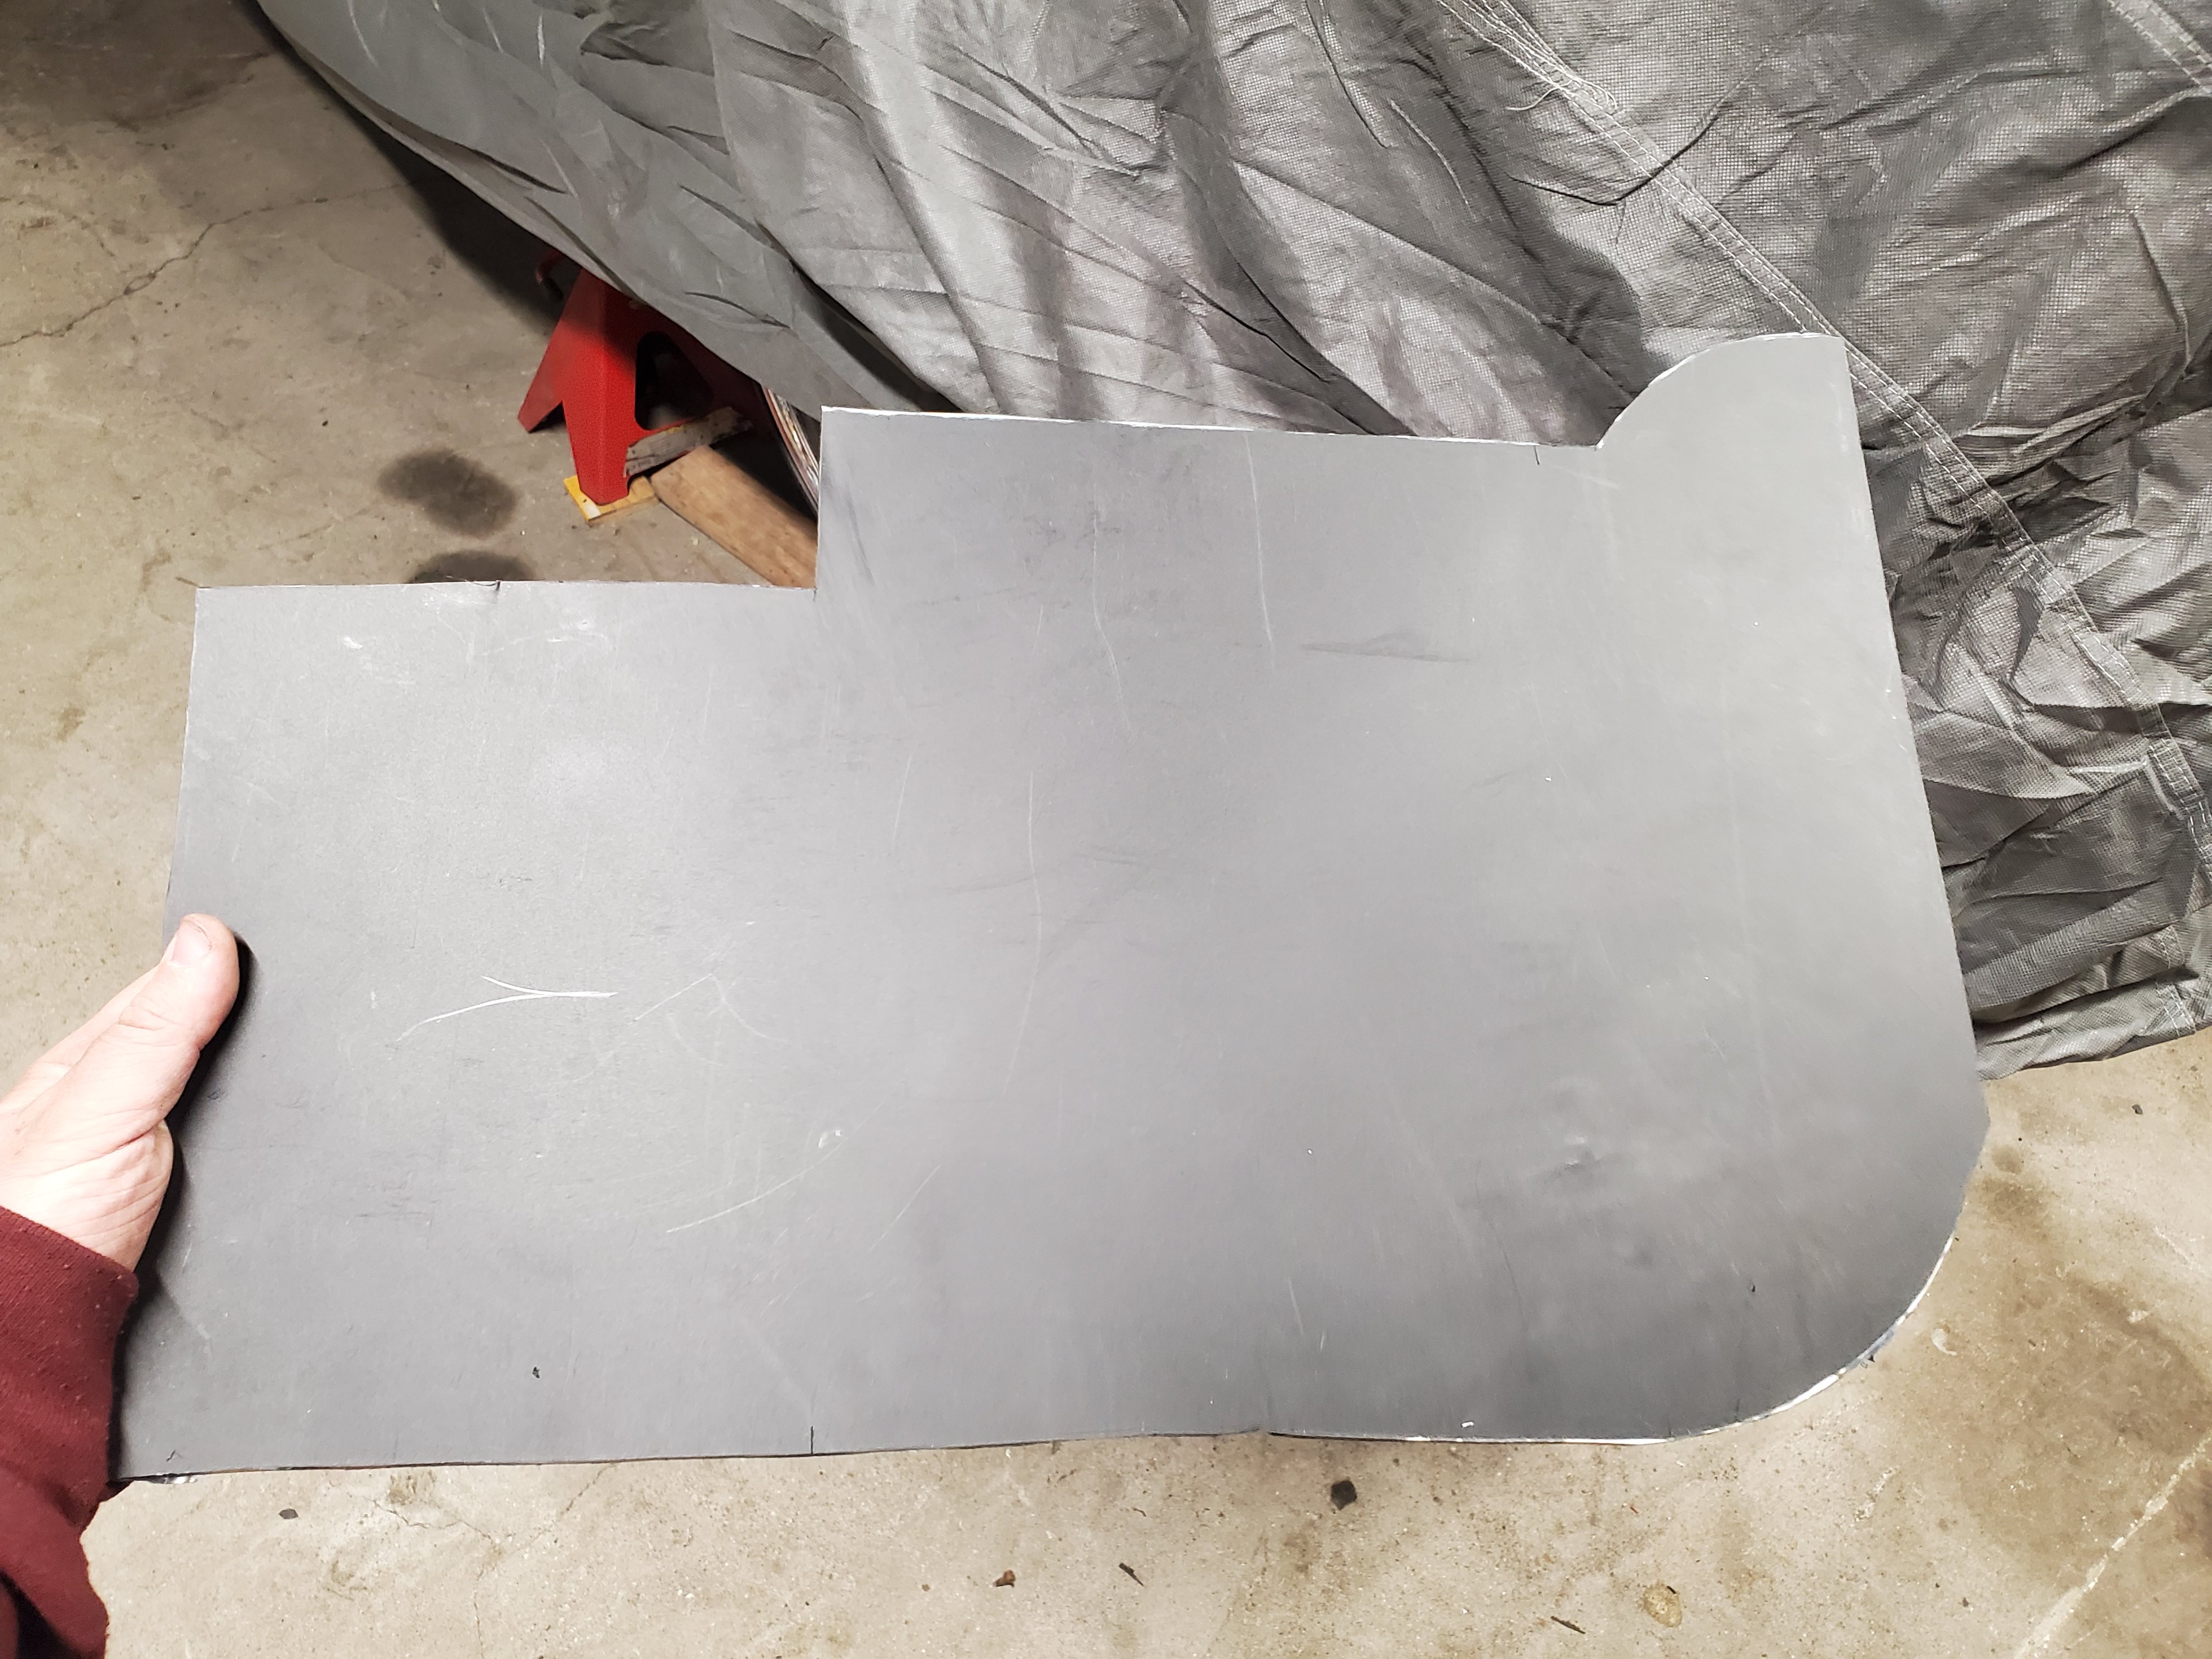
Then cut it out of some plastic sheet.
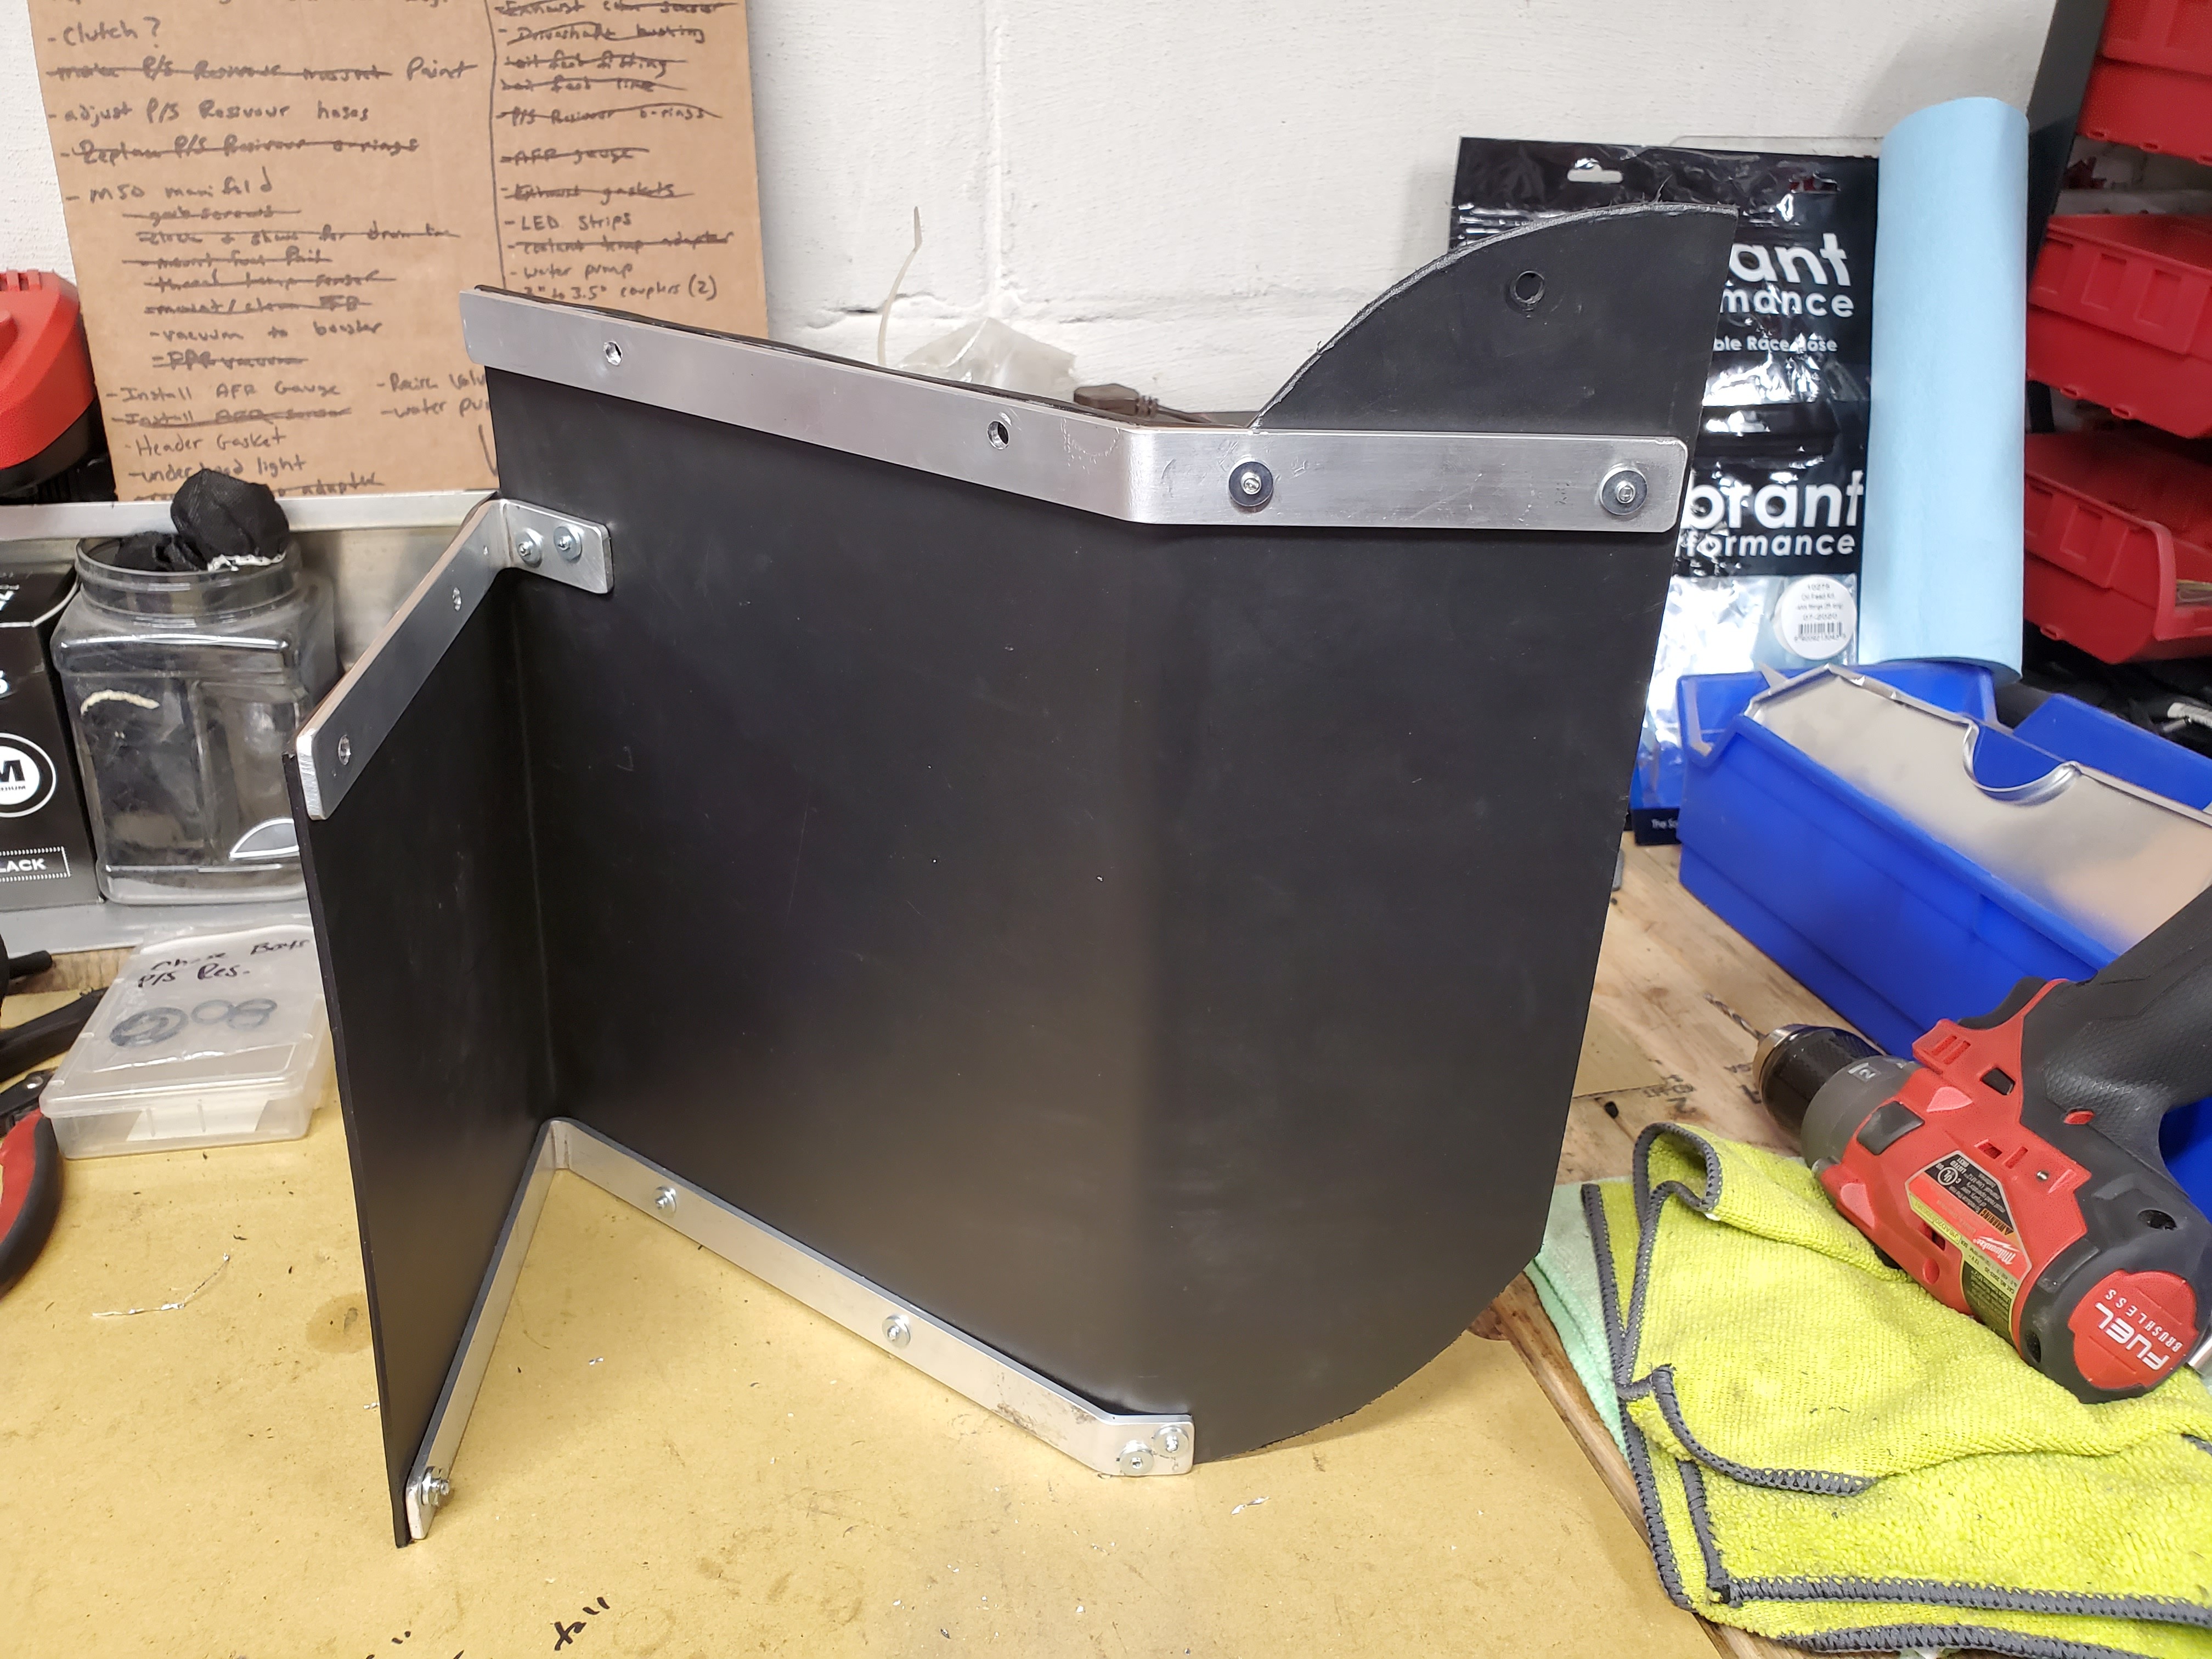
Once I formed it to the corner to mount it I added some supports of aluminum.
Pretty happy with the outcome especially considering I used what I had. We will see how well it performs.
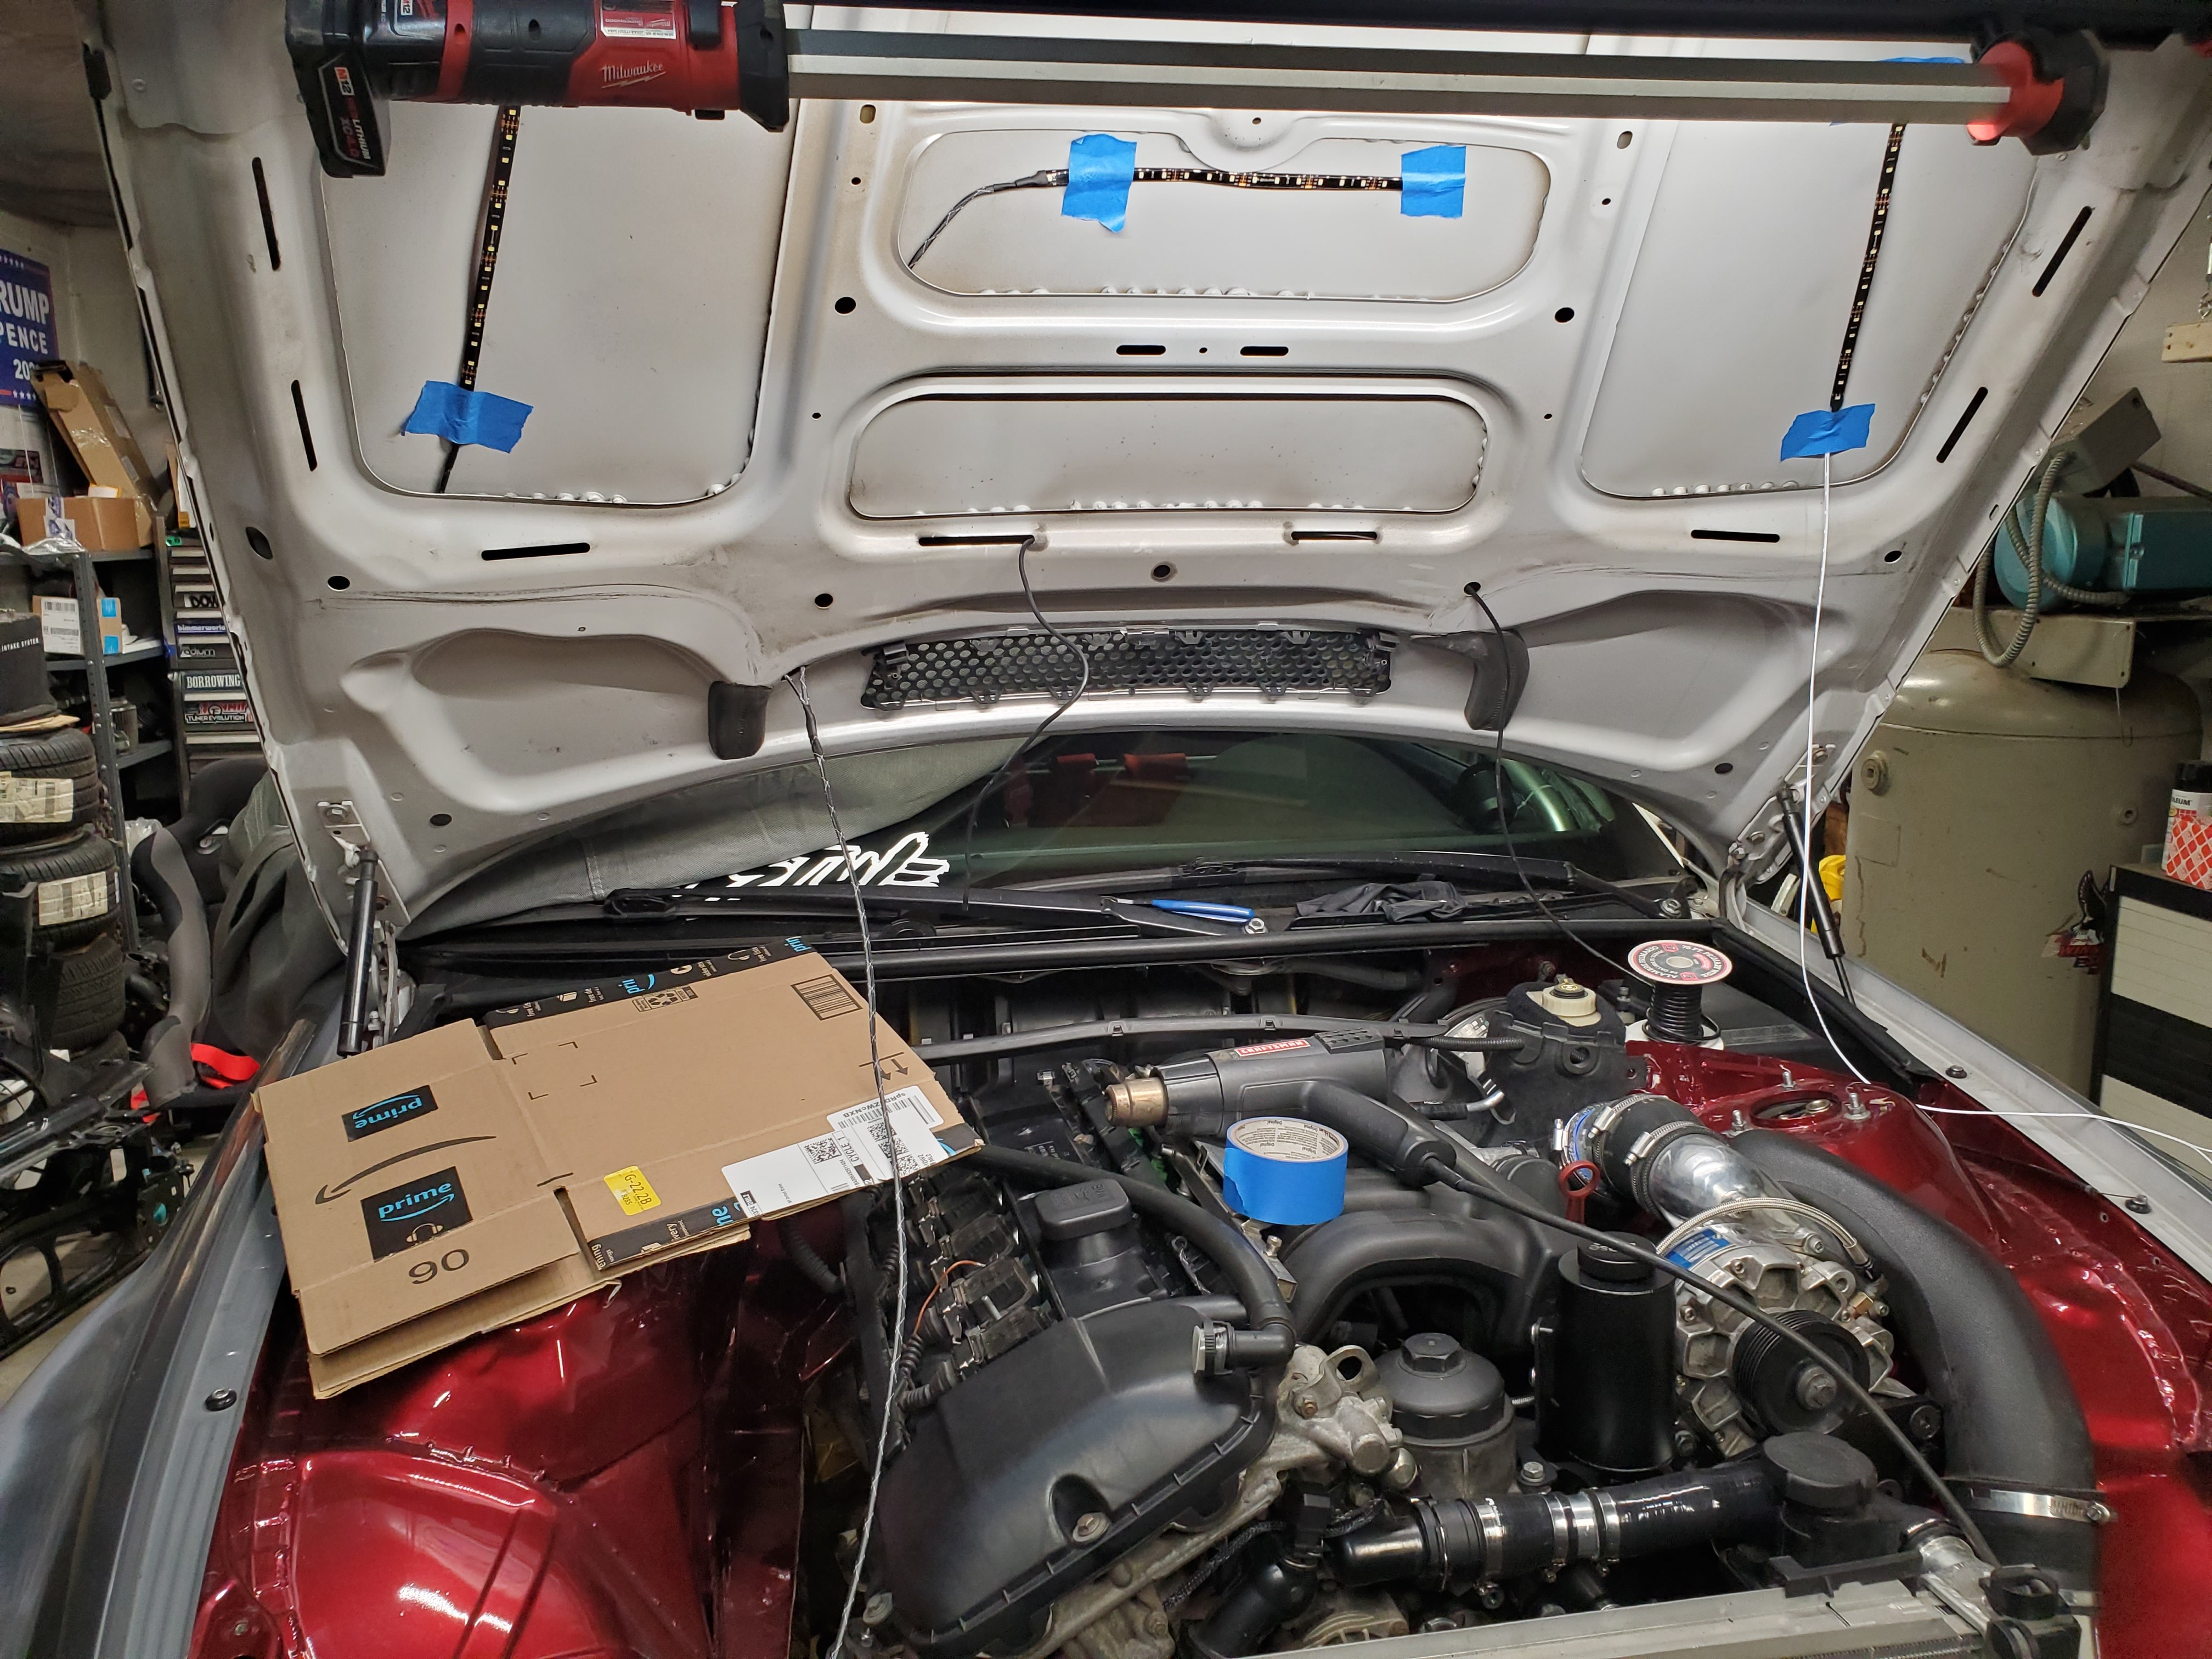
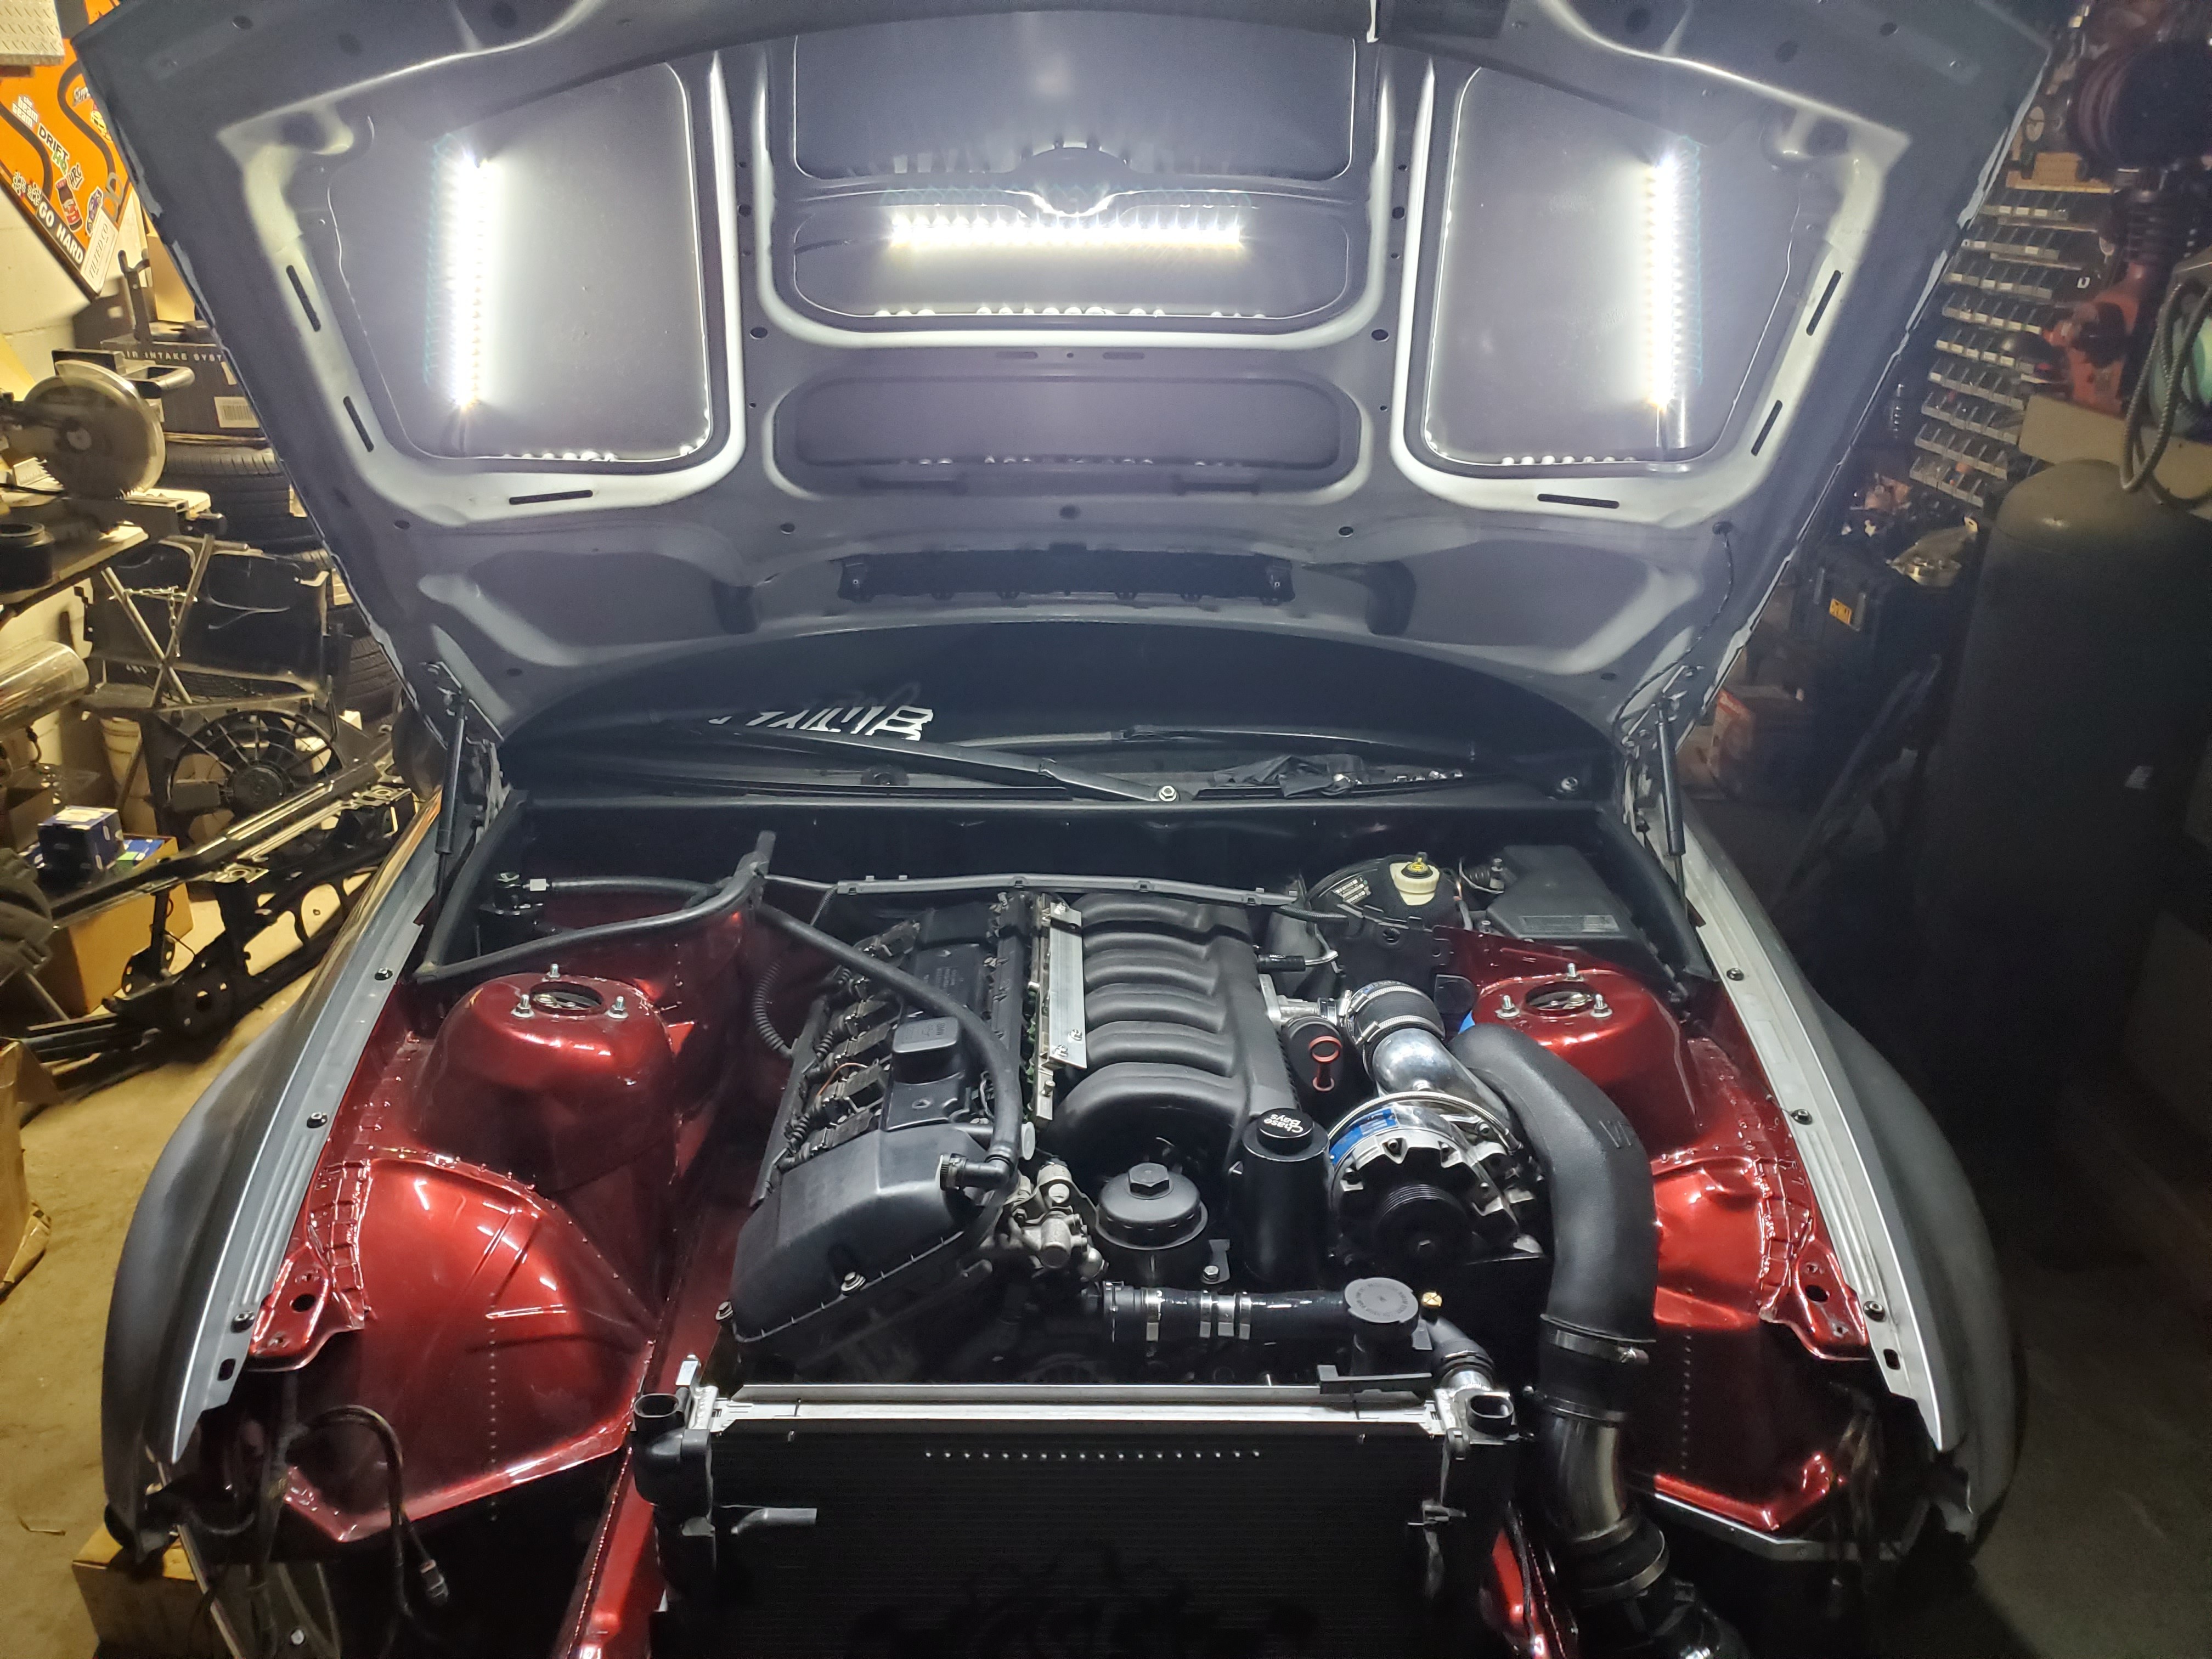
And finally I got everything in to add my under hood lights.

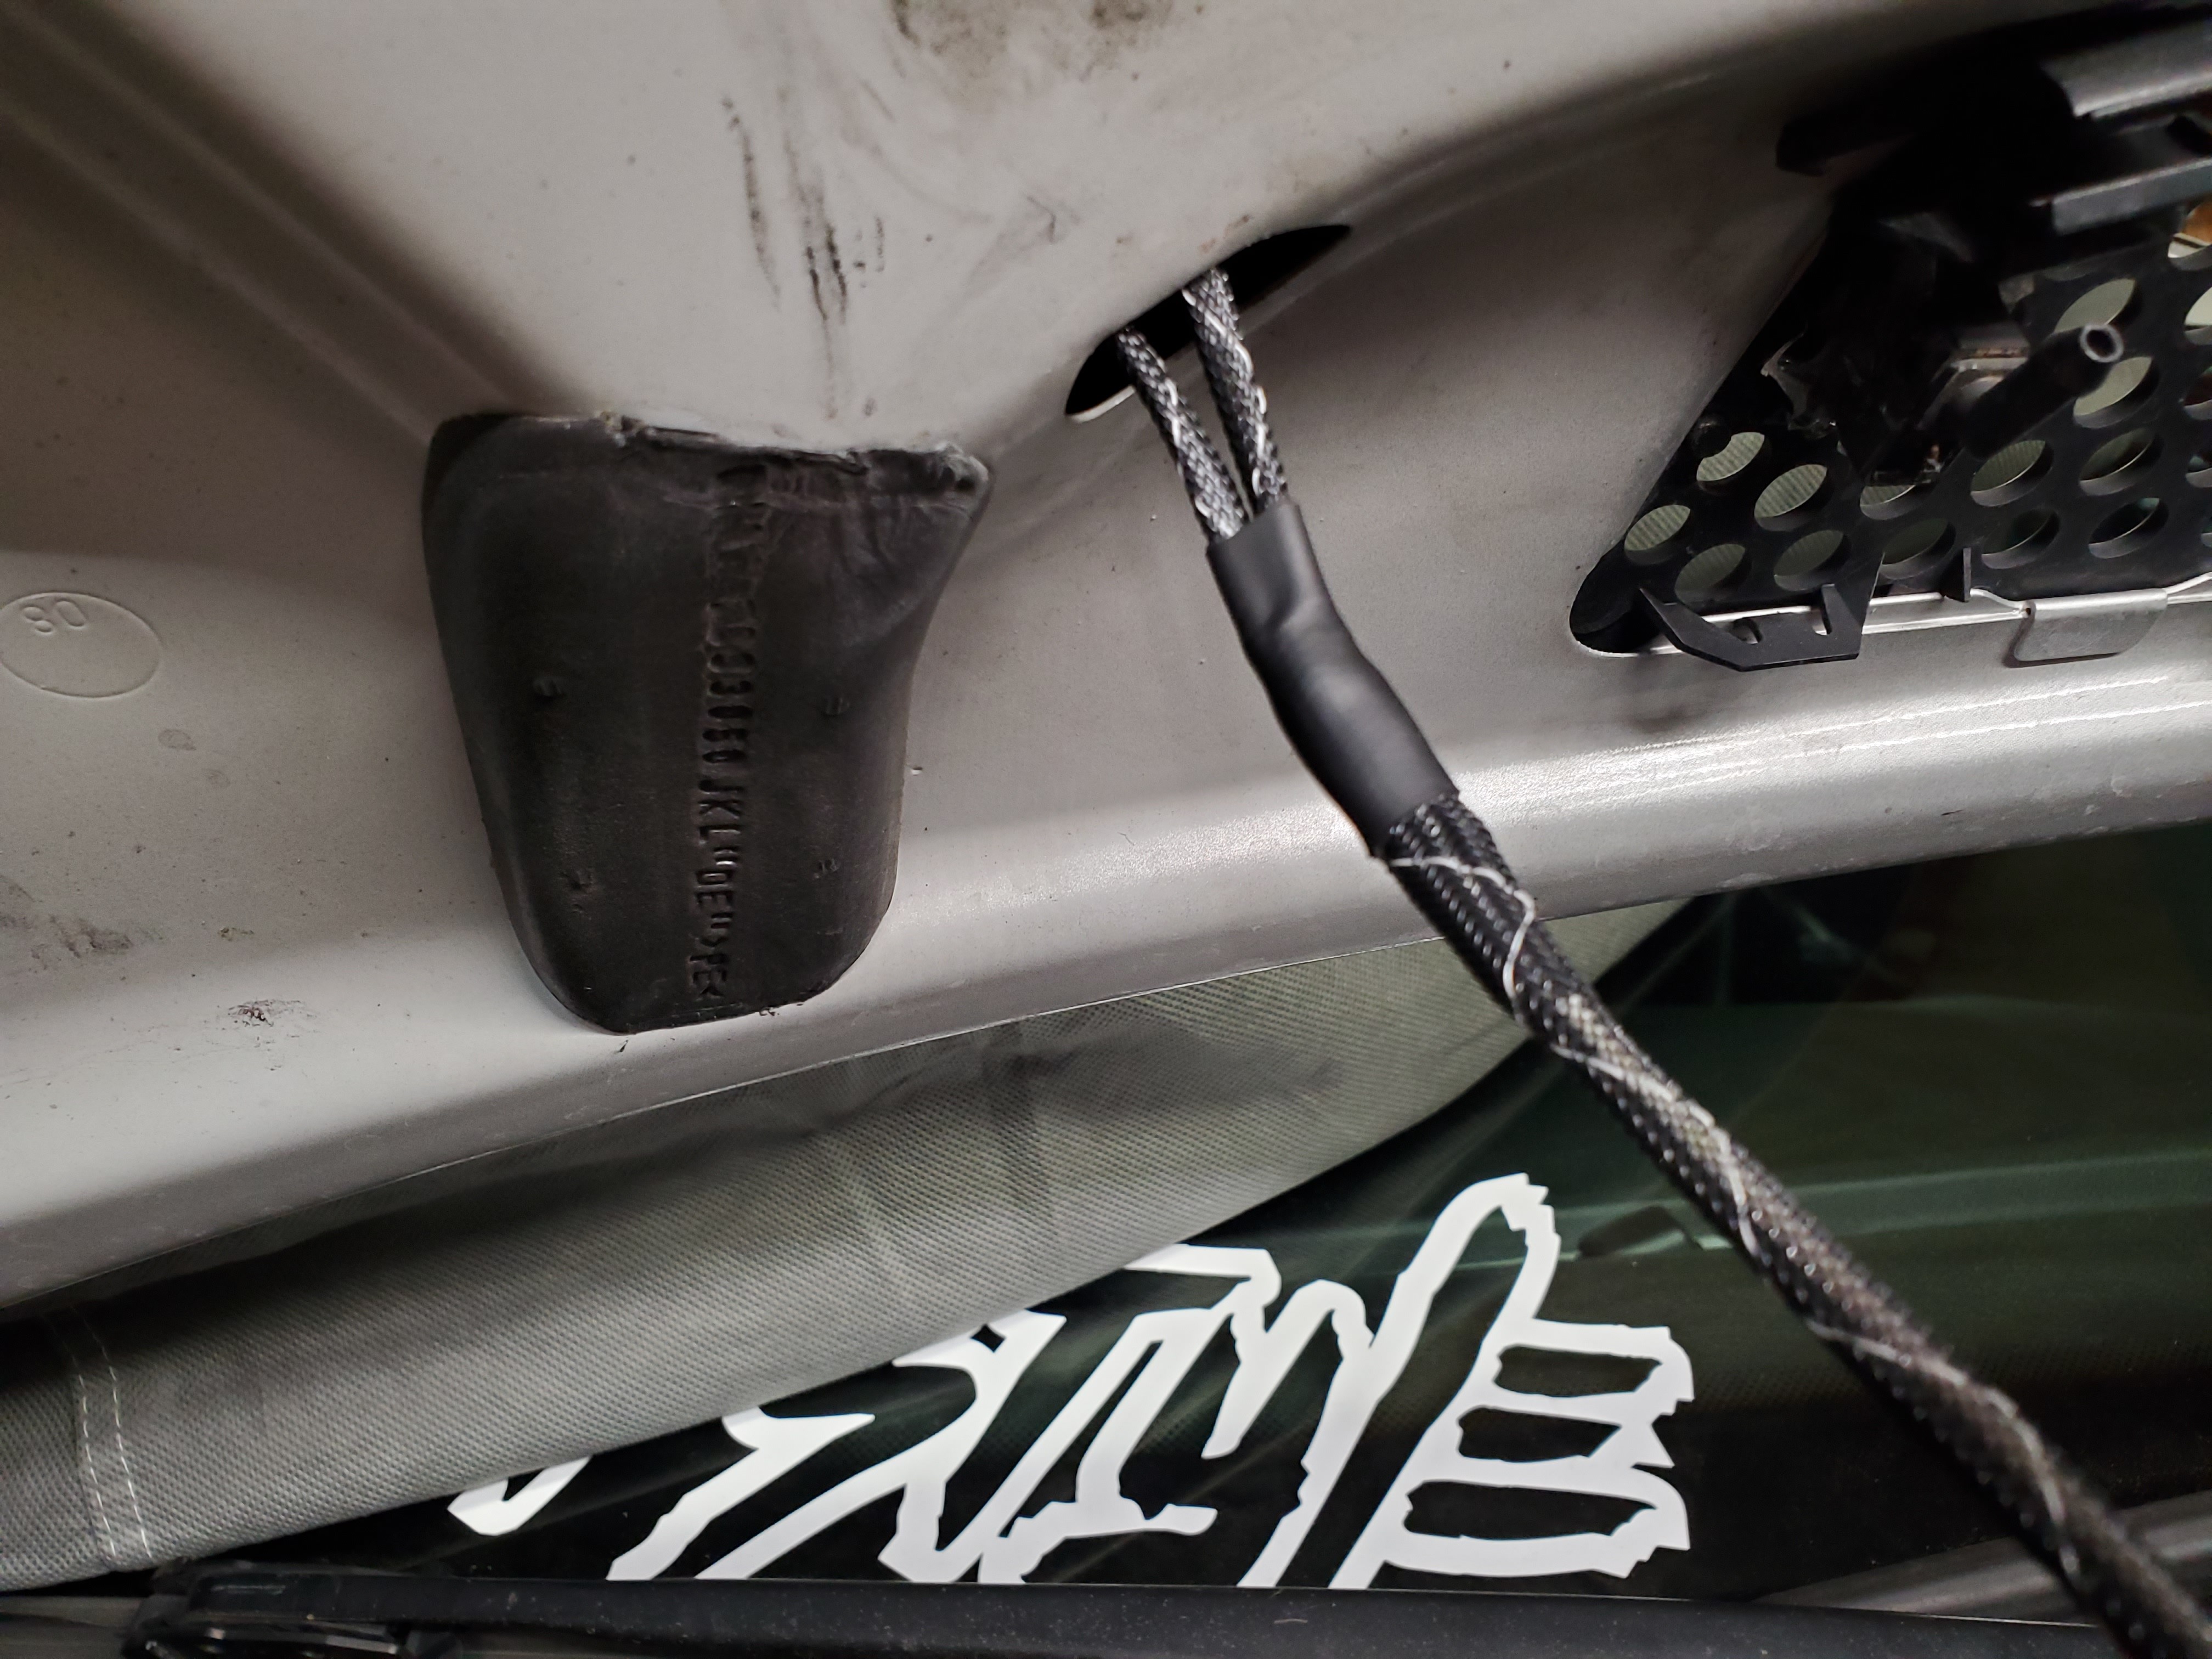
I wrapped all the wiring in the same flexo stuff I use on the engine and chassis harness, and then routed it through the ribs on the hood.
I added a switch similar to the switch for the tire sprayer but it is an on/off rather than a momentary switch.
And here it is all lit up! Really hyped to see it once it's on the ground with the underglow on too


Thats about it for now, waiting on a few more parts. (Seems to be the usual latley lol)
More updates as parts roll in!
-
A purists nightmare - E46 drift buildShort update.
Still trying to find time to get the fuel pump and fluids in the car for start up.
But I have made some more progress.
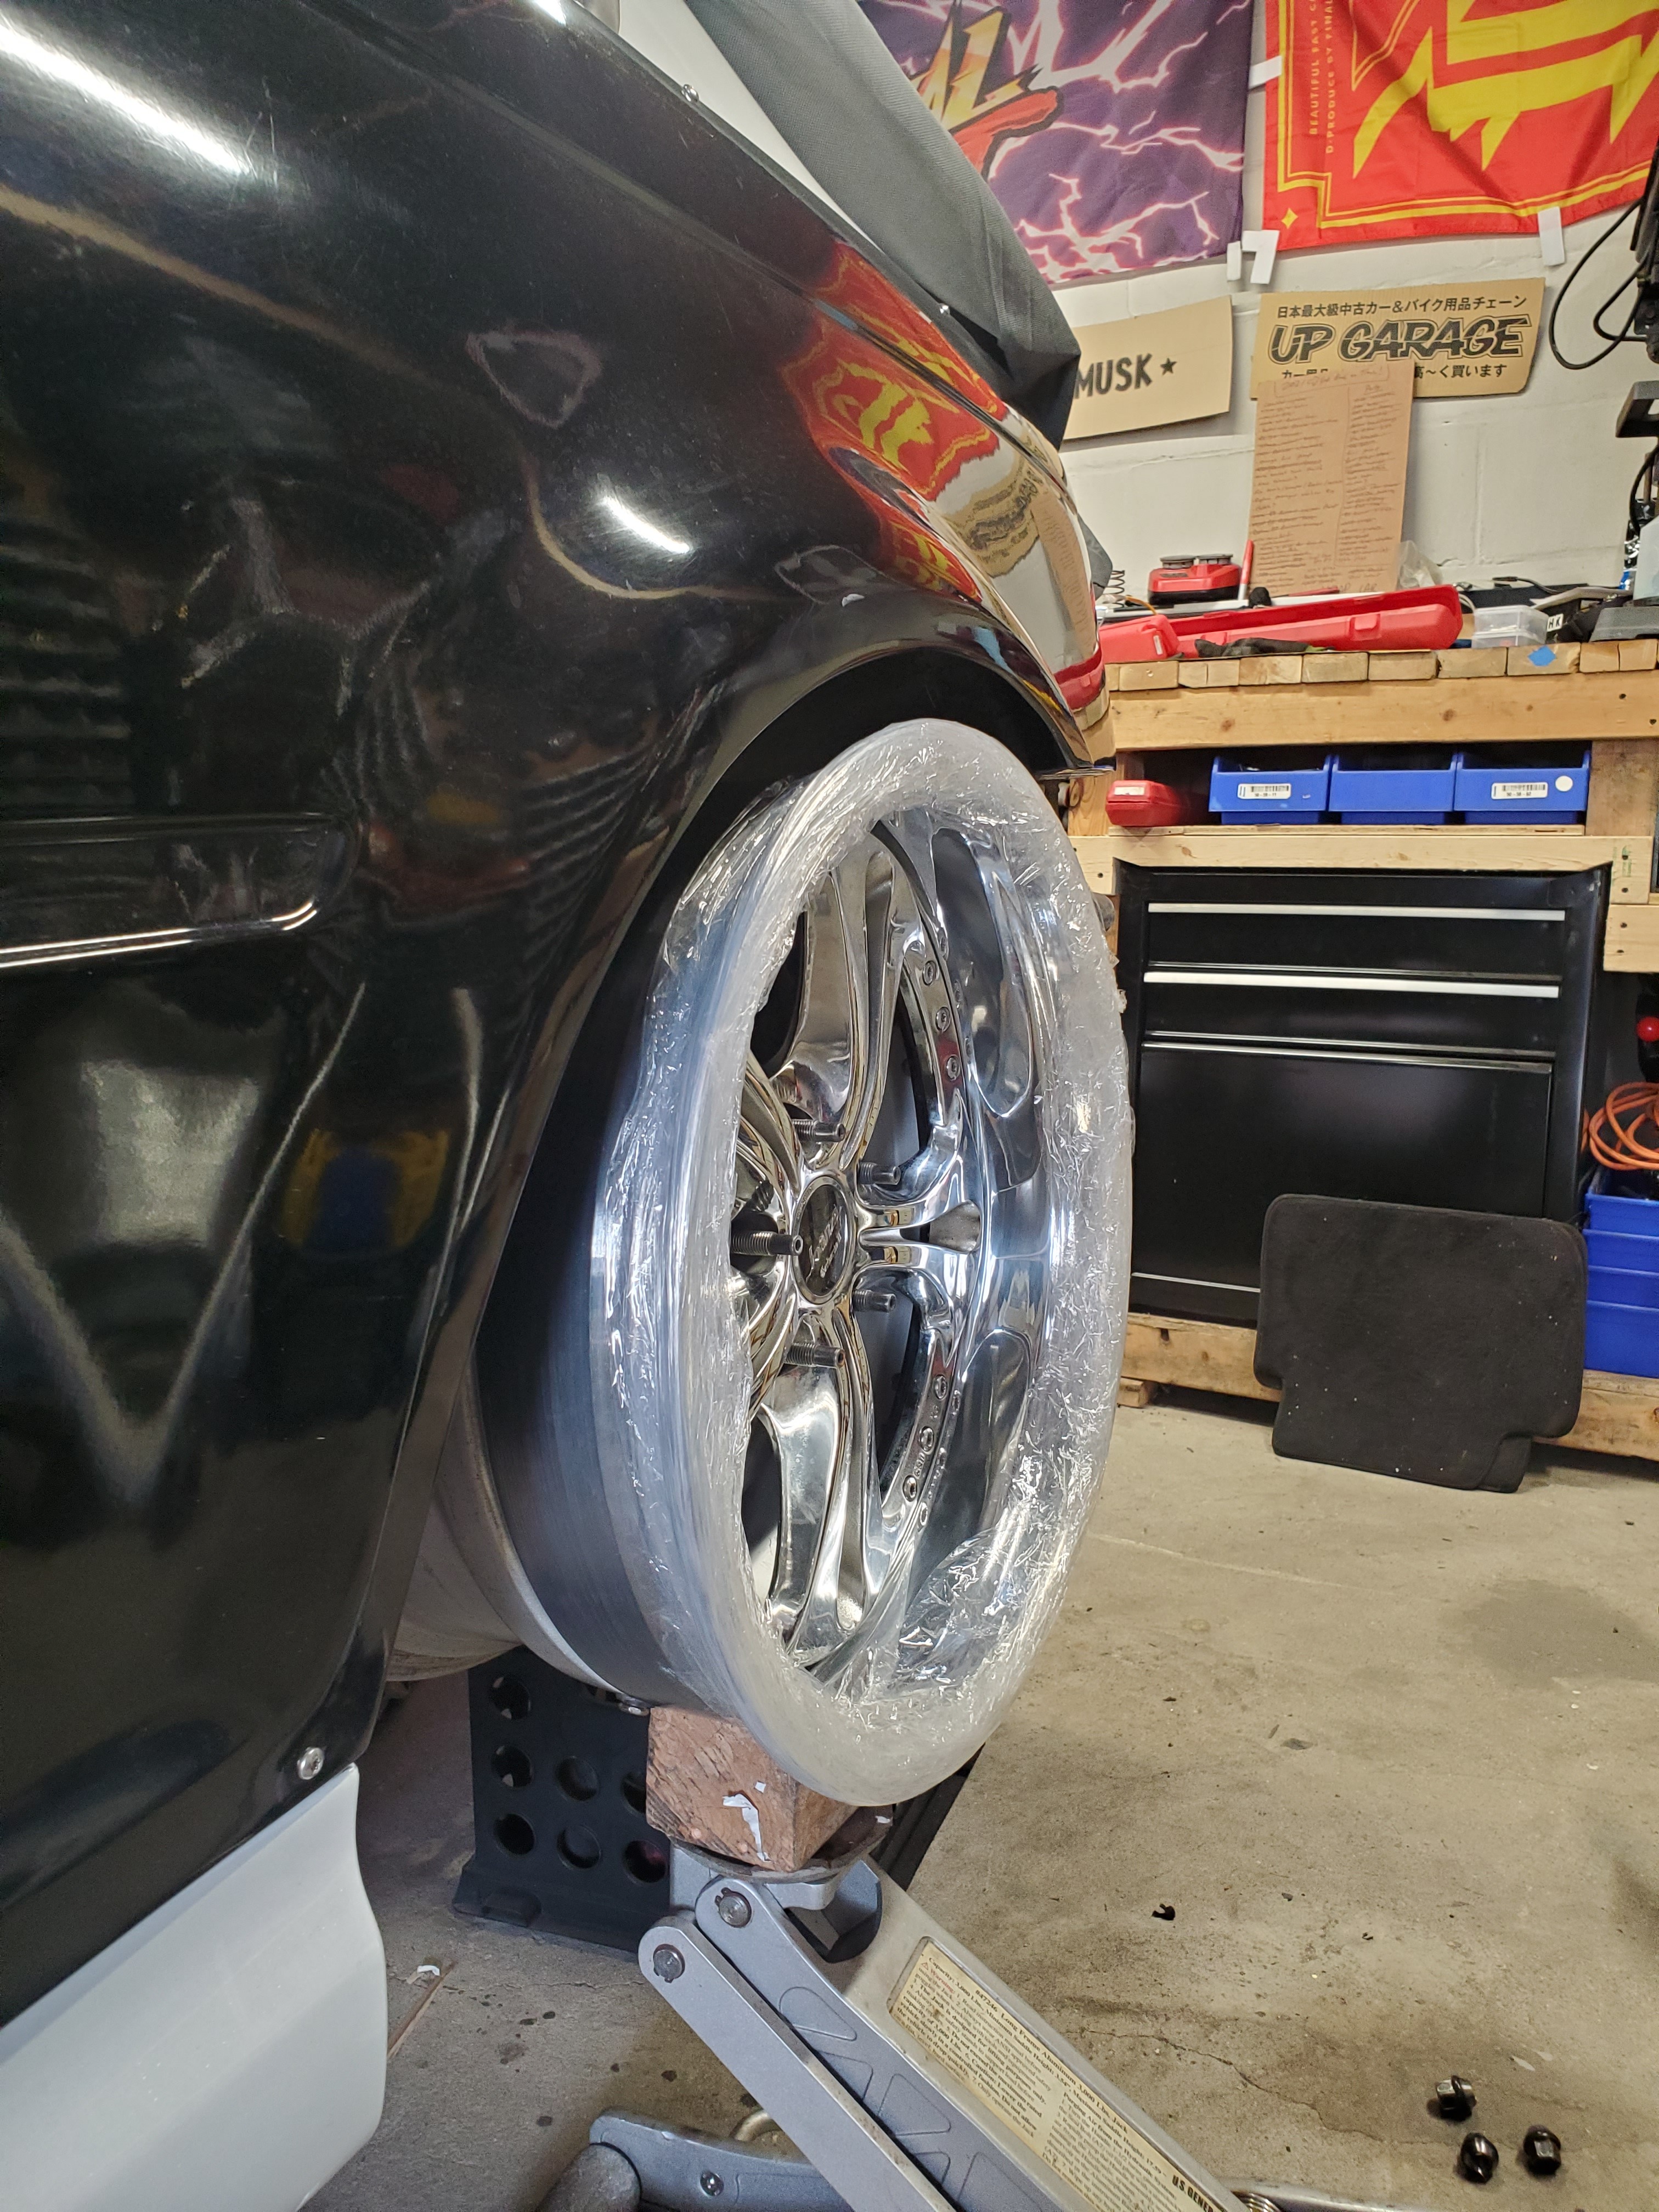
One of my pairs of lips came in so I split and replaced the lips on some of my Weds Kranze Cerebus 2s.
They went from 18x8 to 18x10.5. My plan is to make all the rears 10.5s.
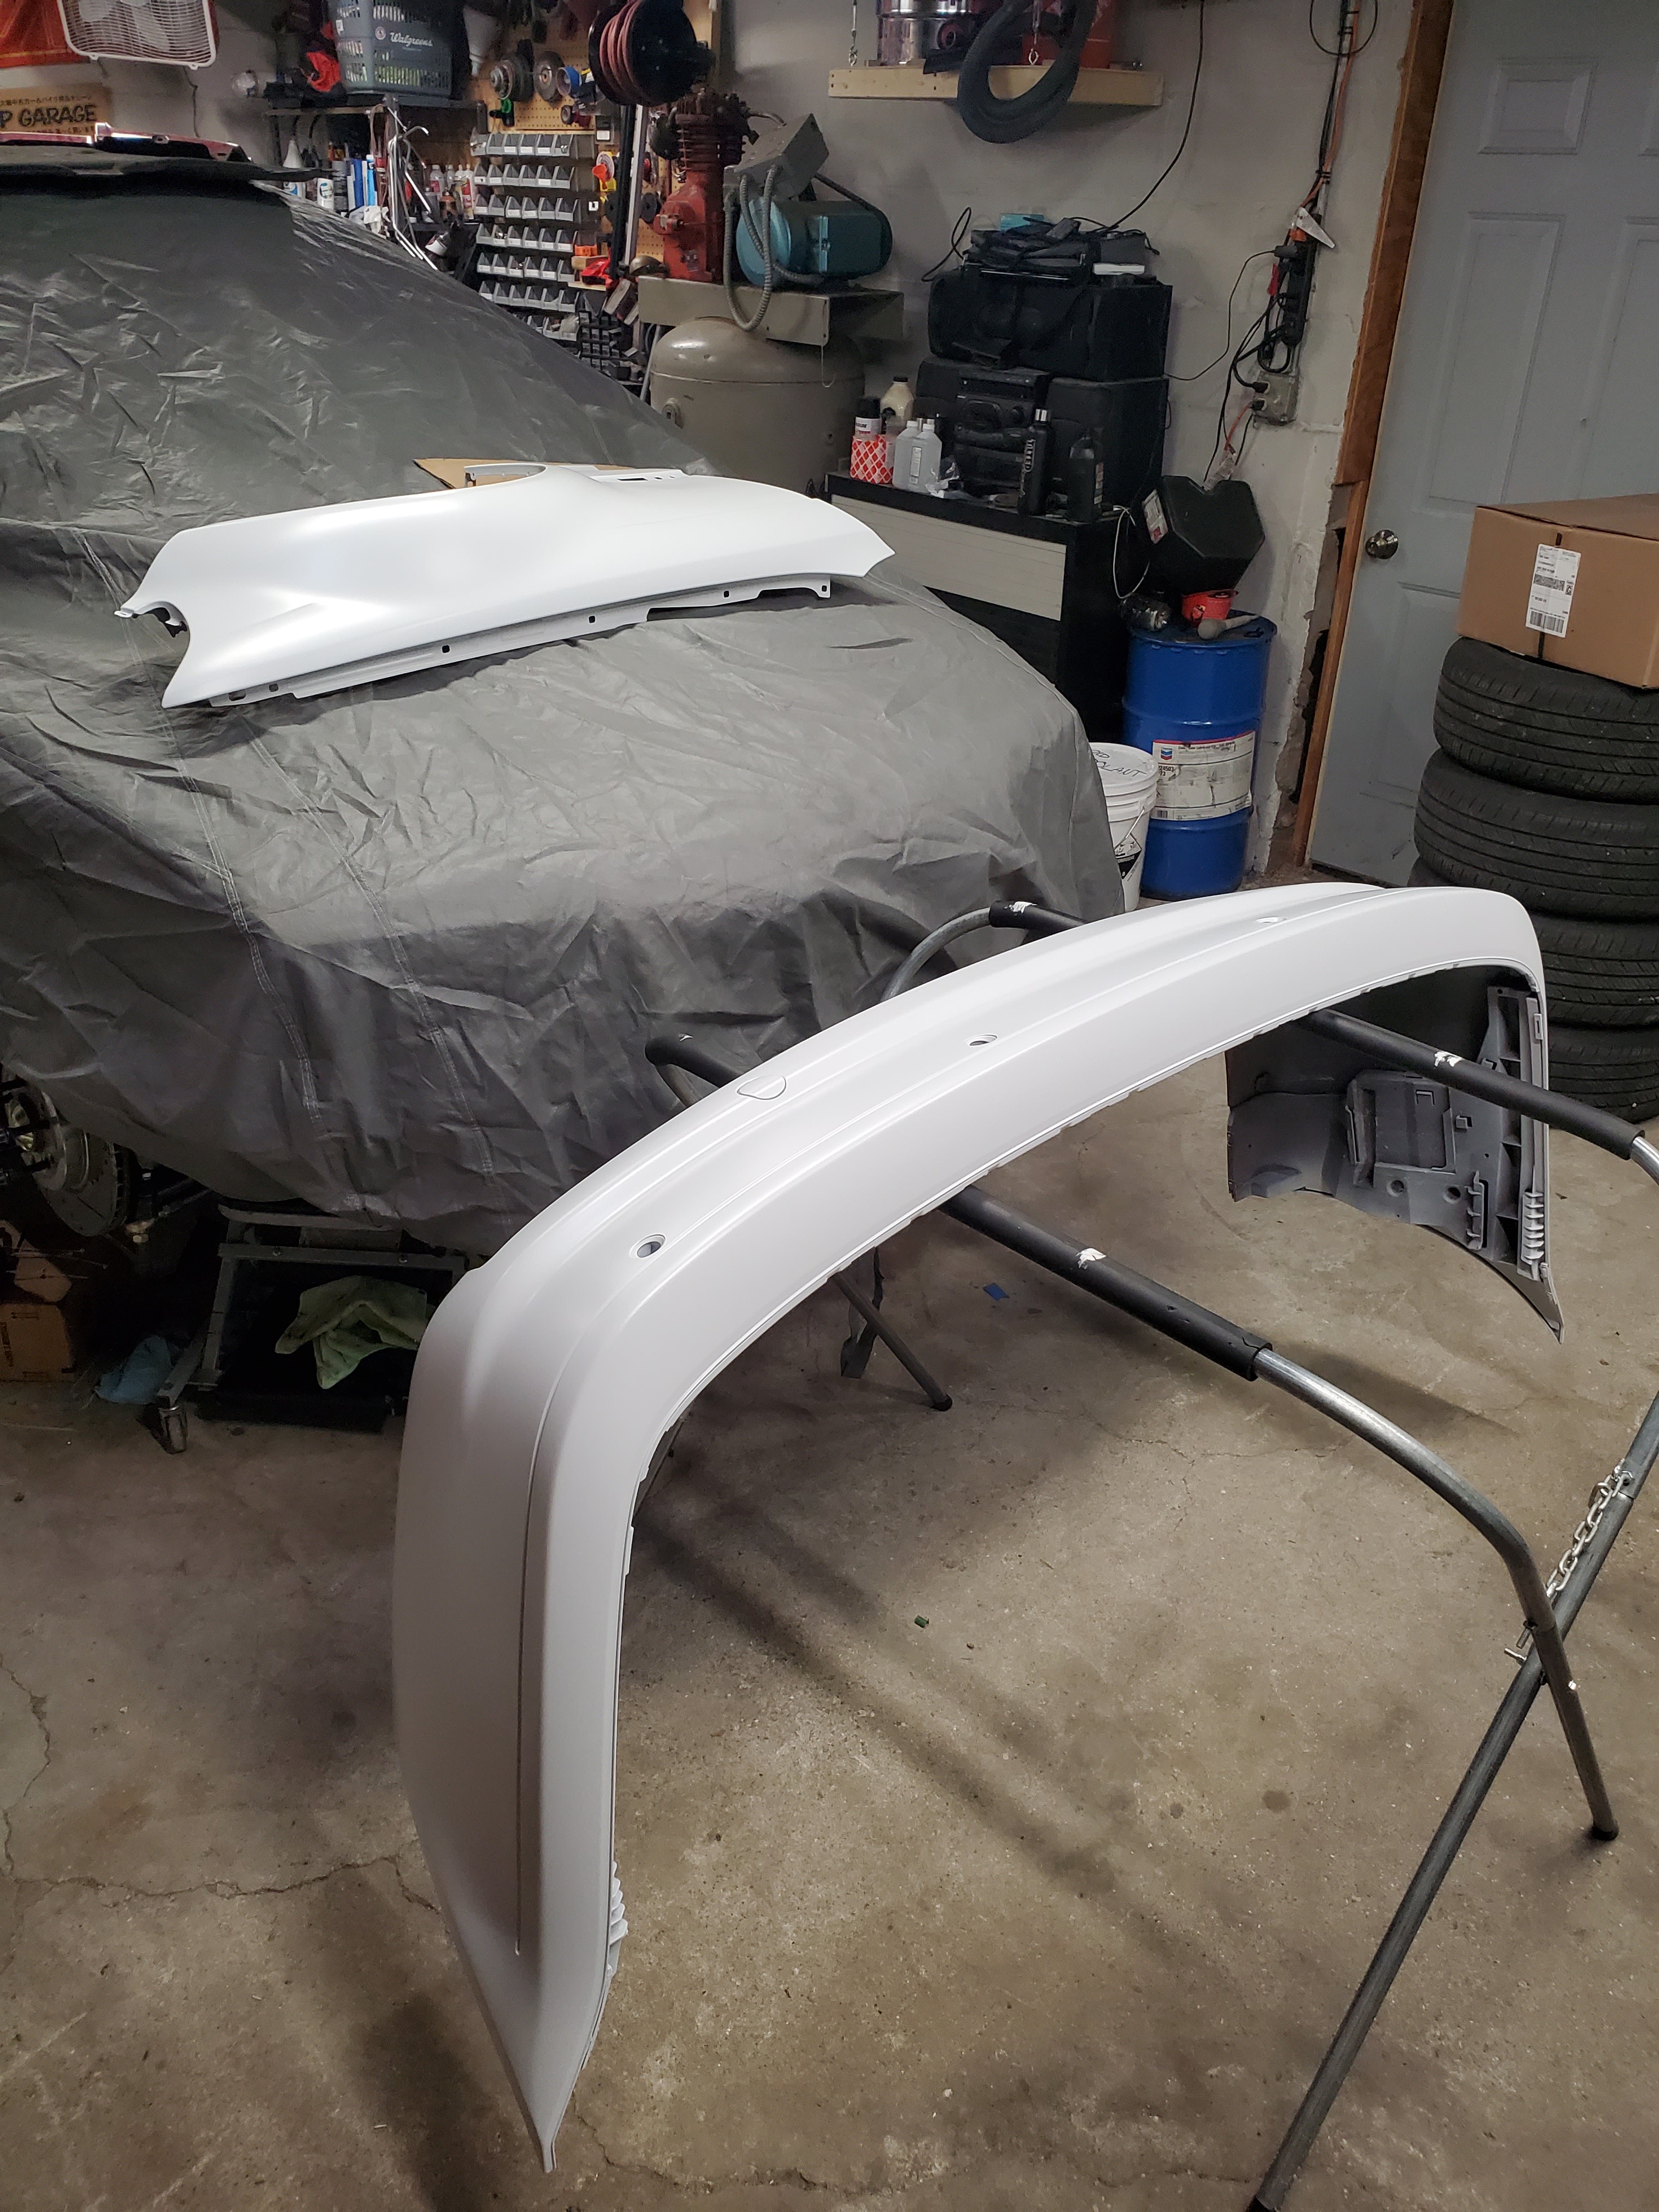
I also got my rear bumper and the right side fender back from being repaired.
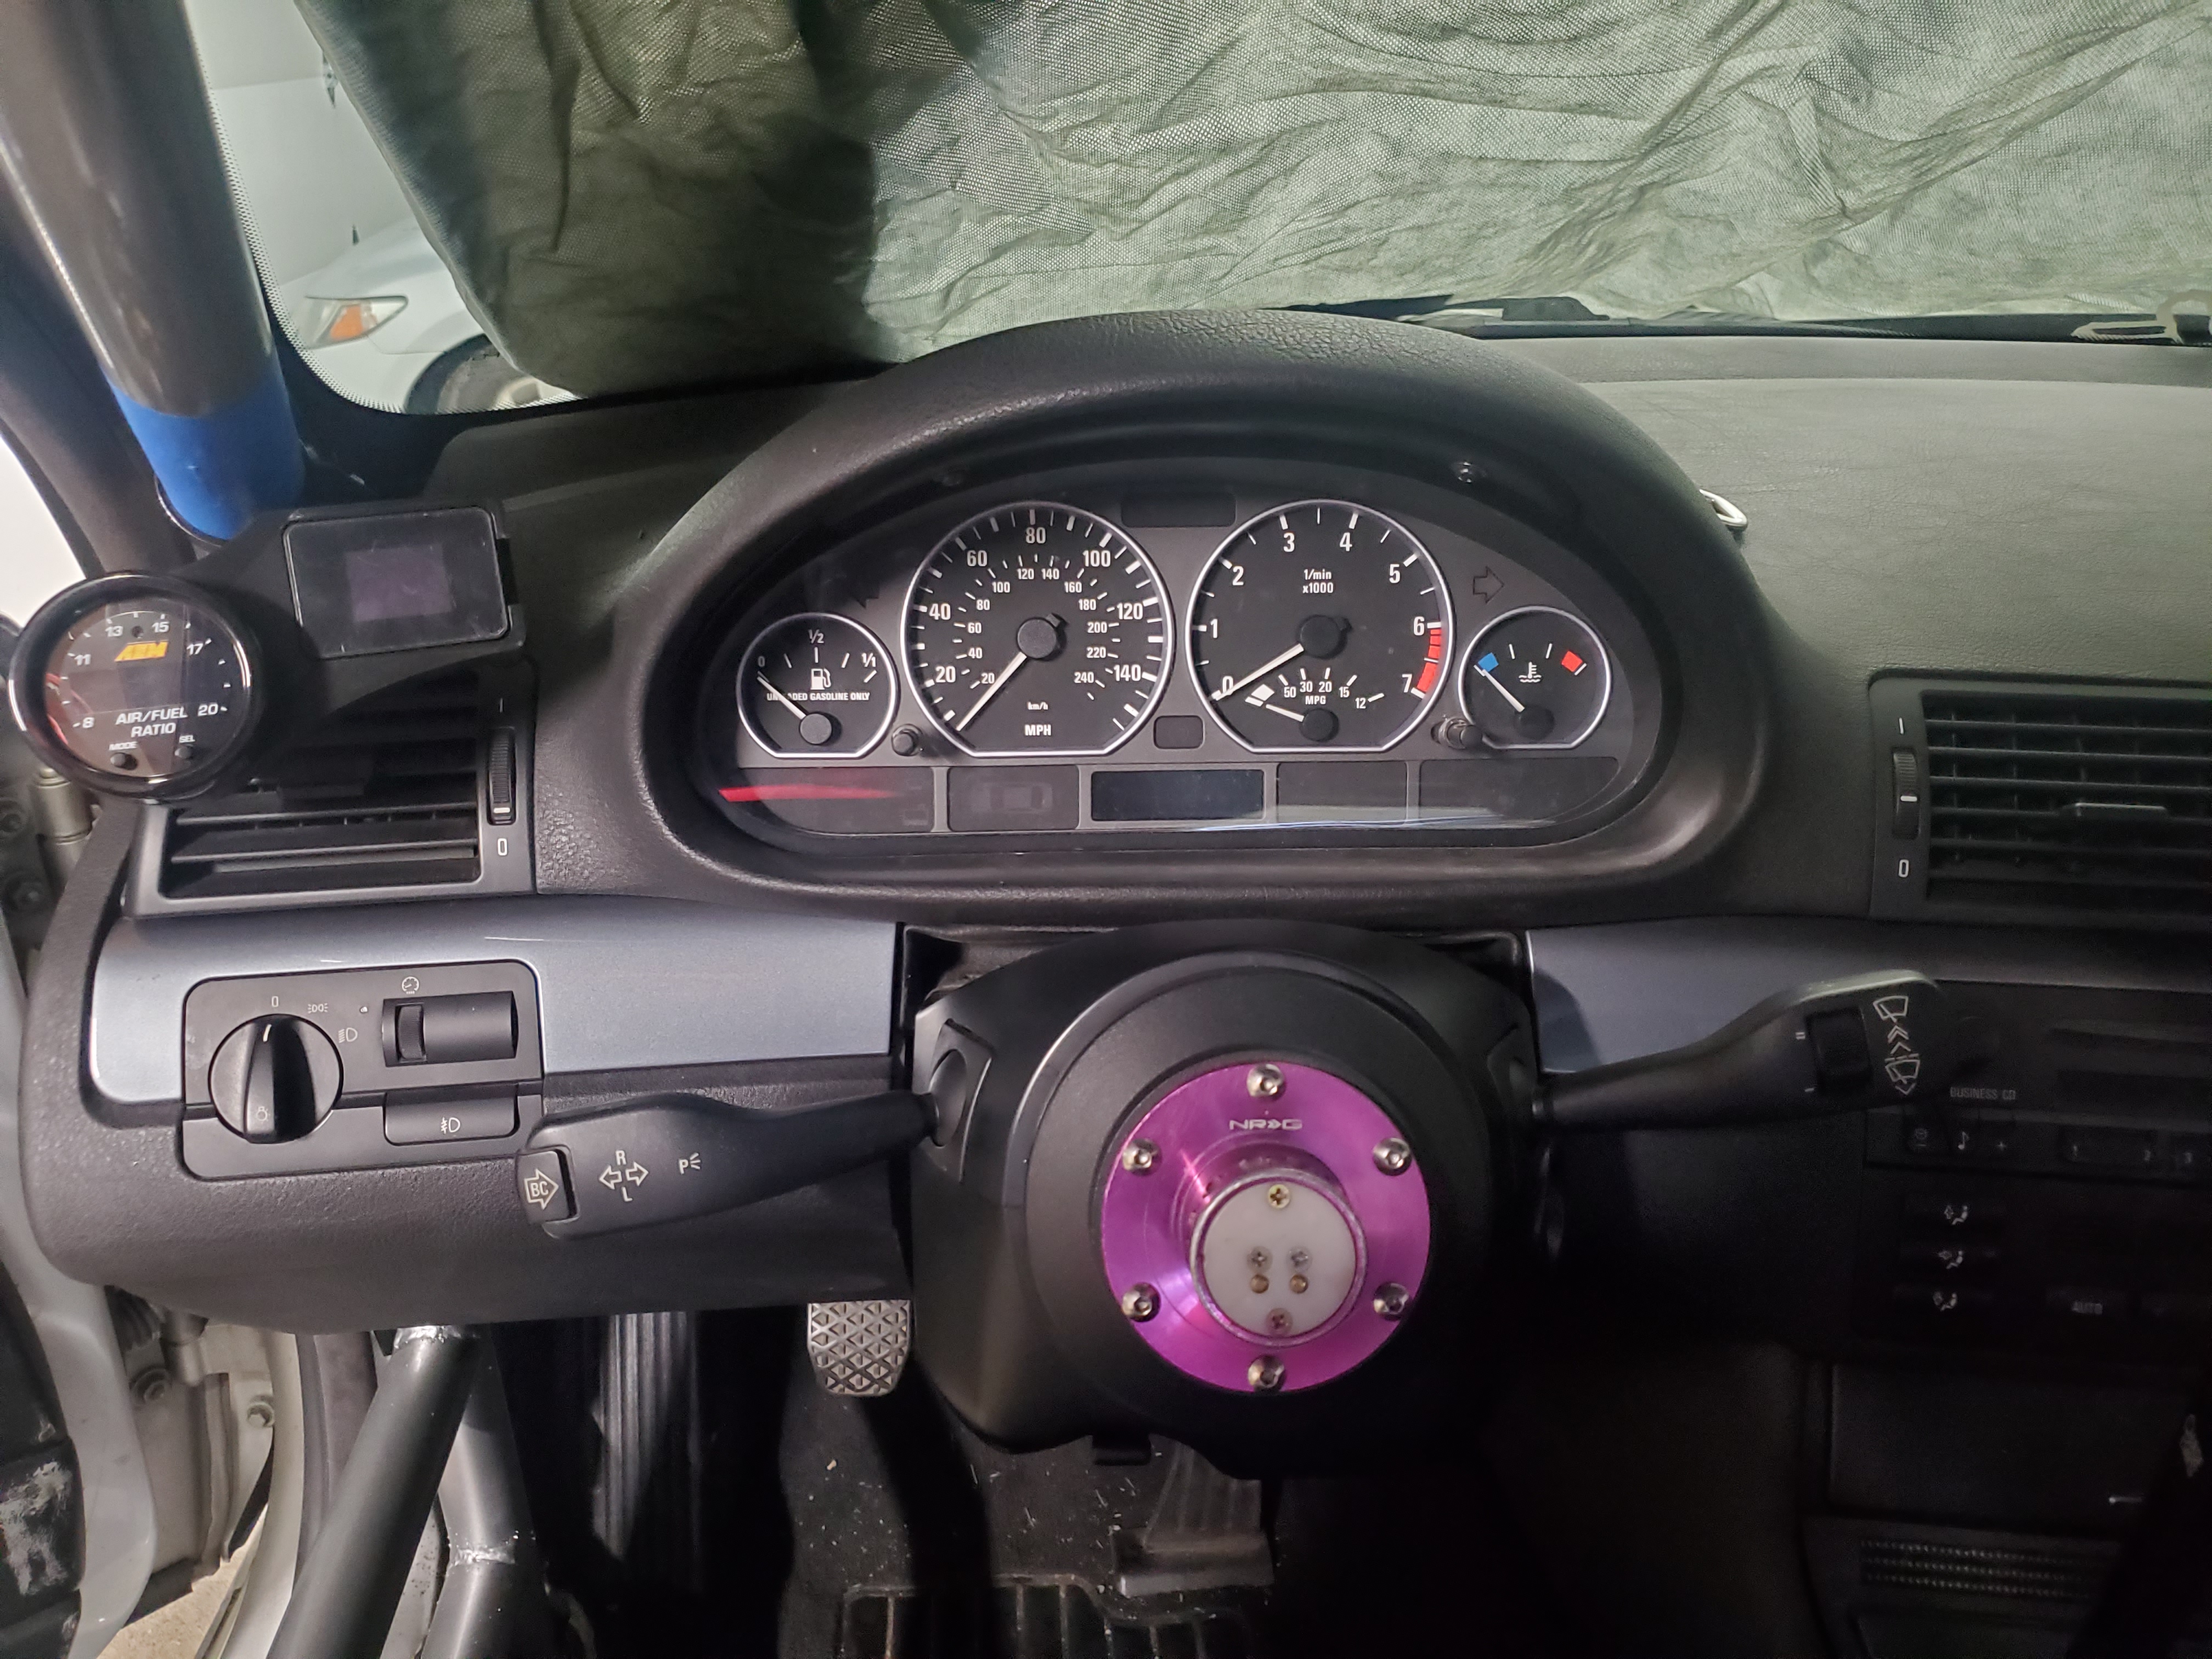
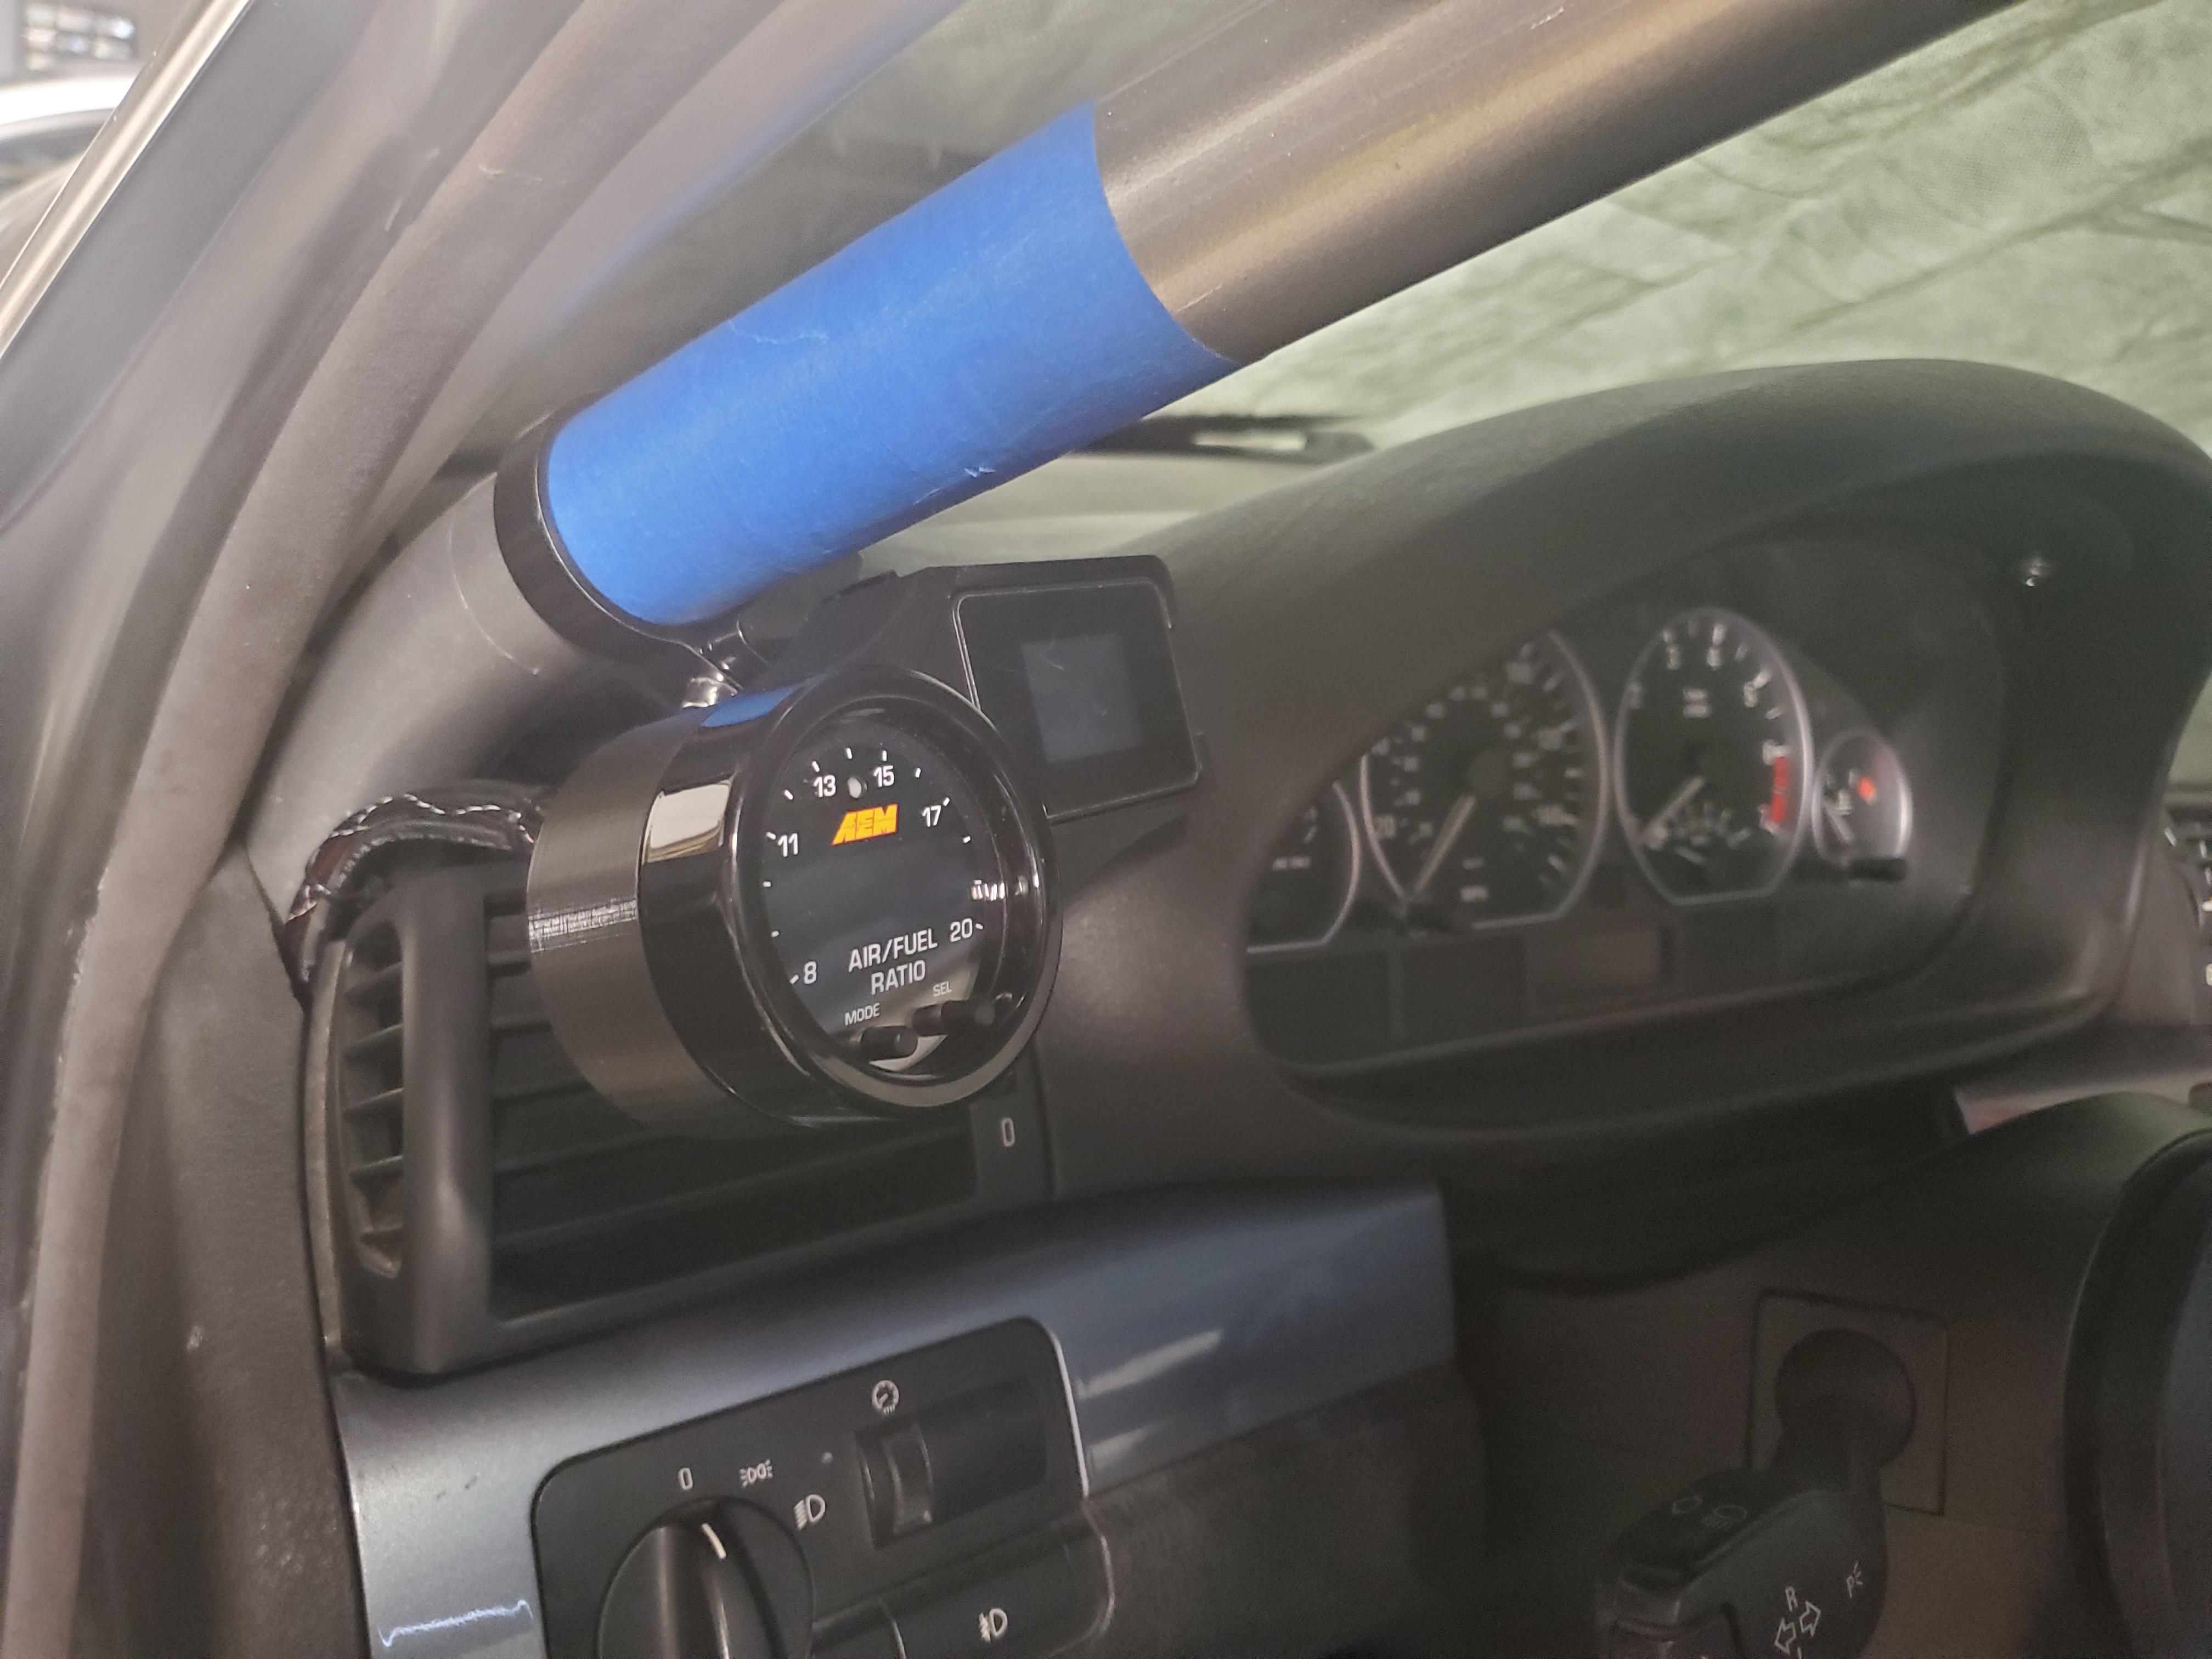
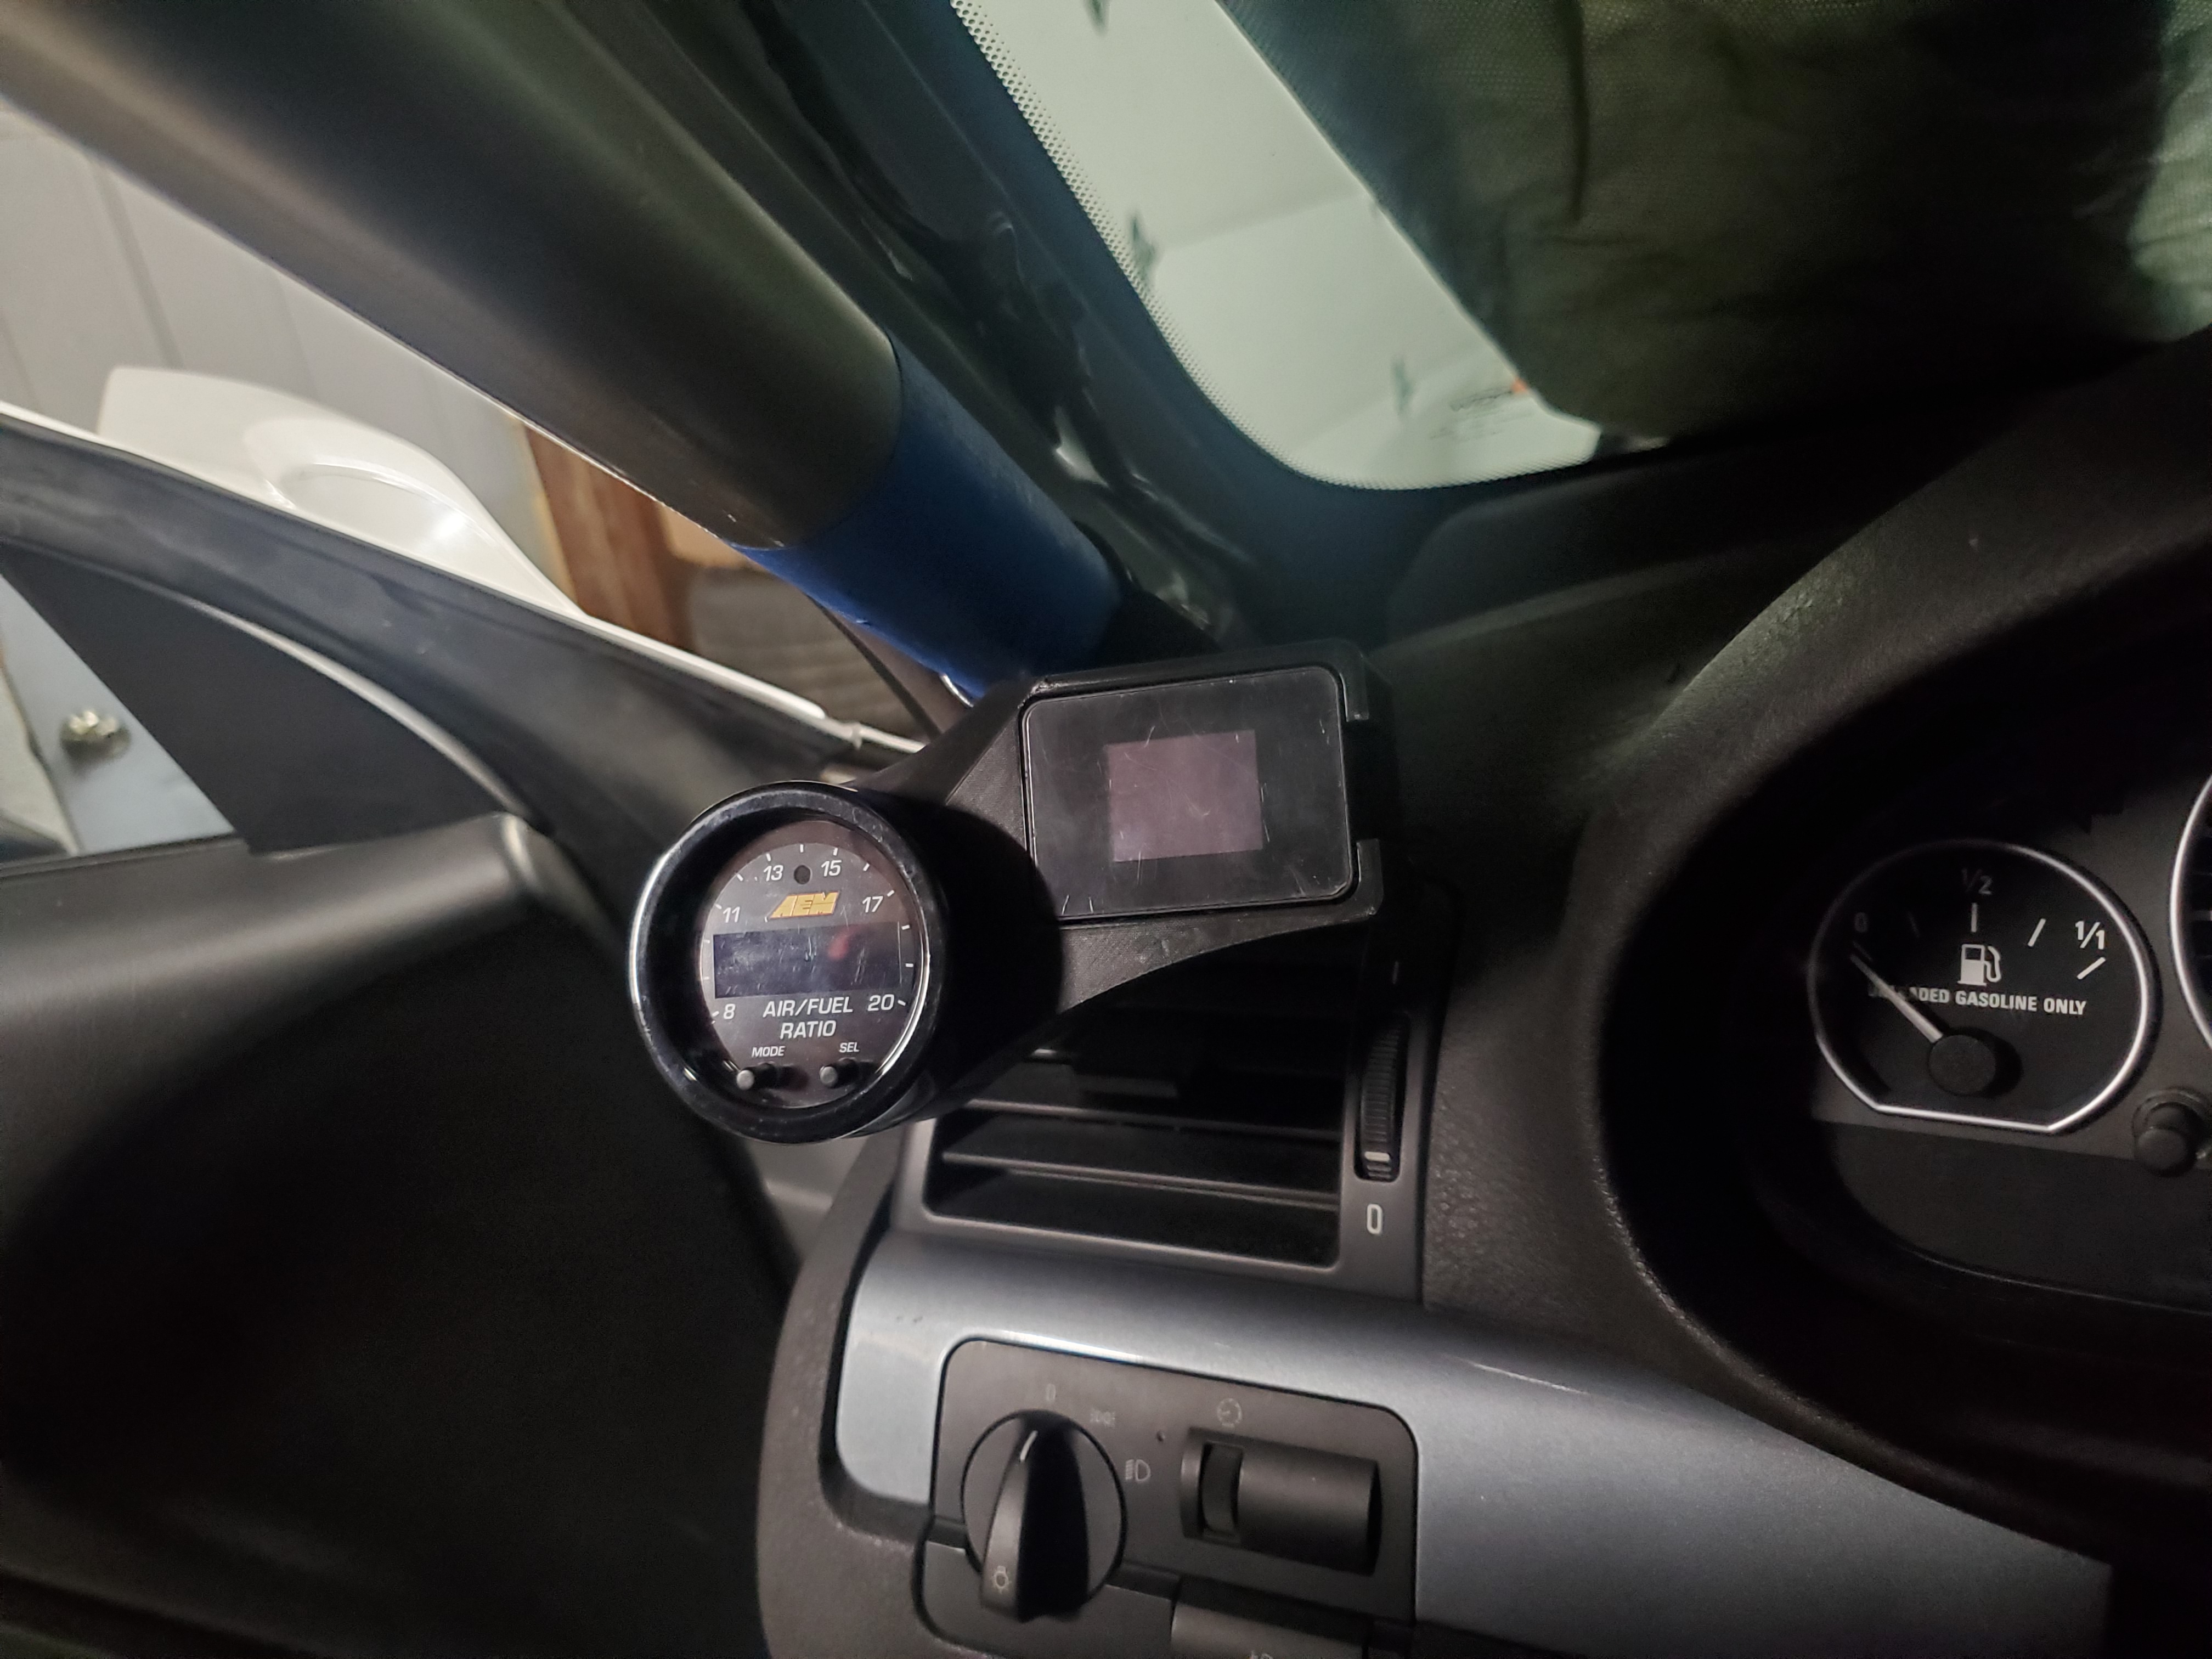
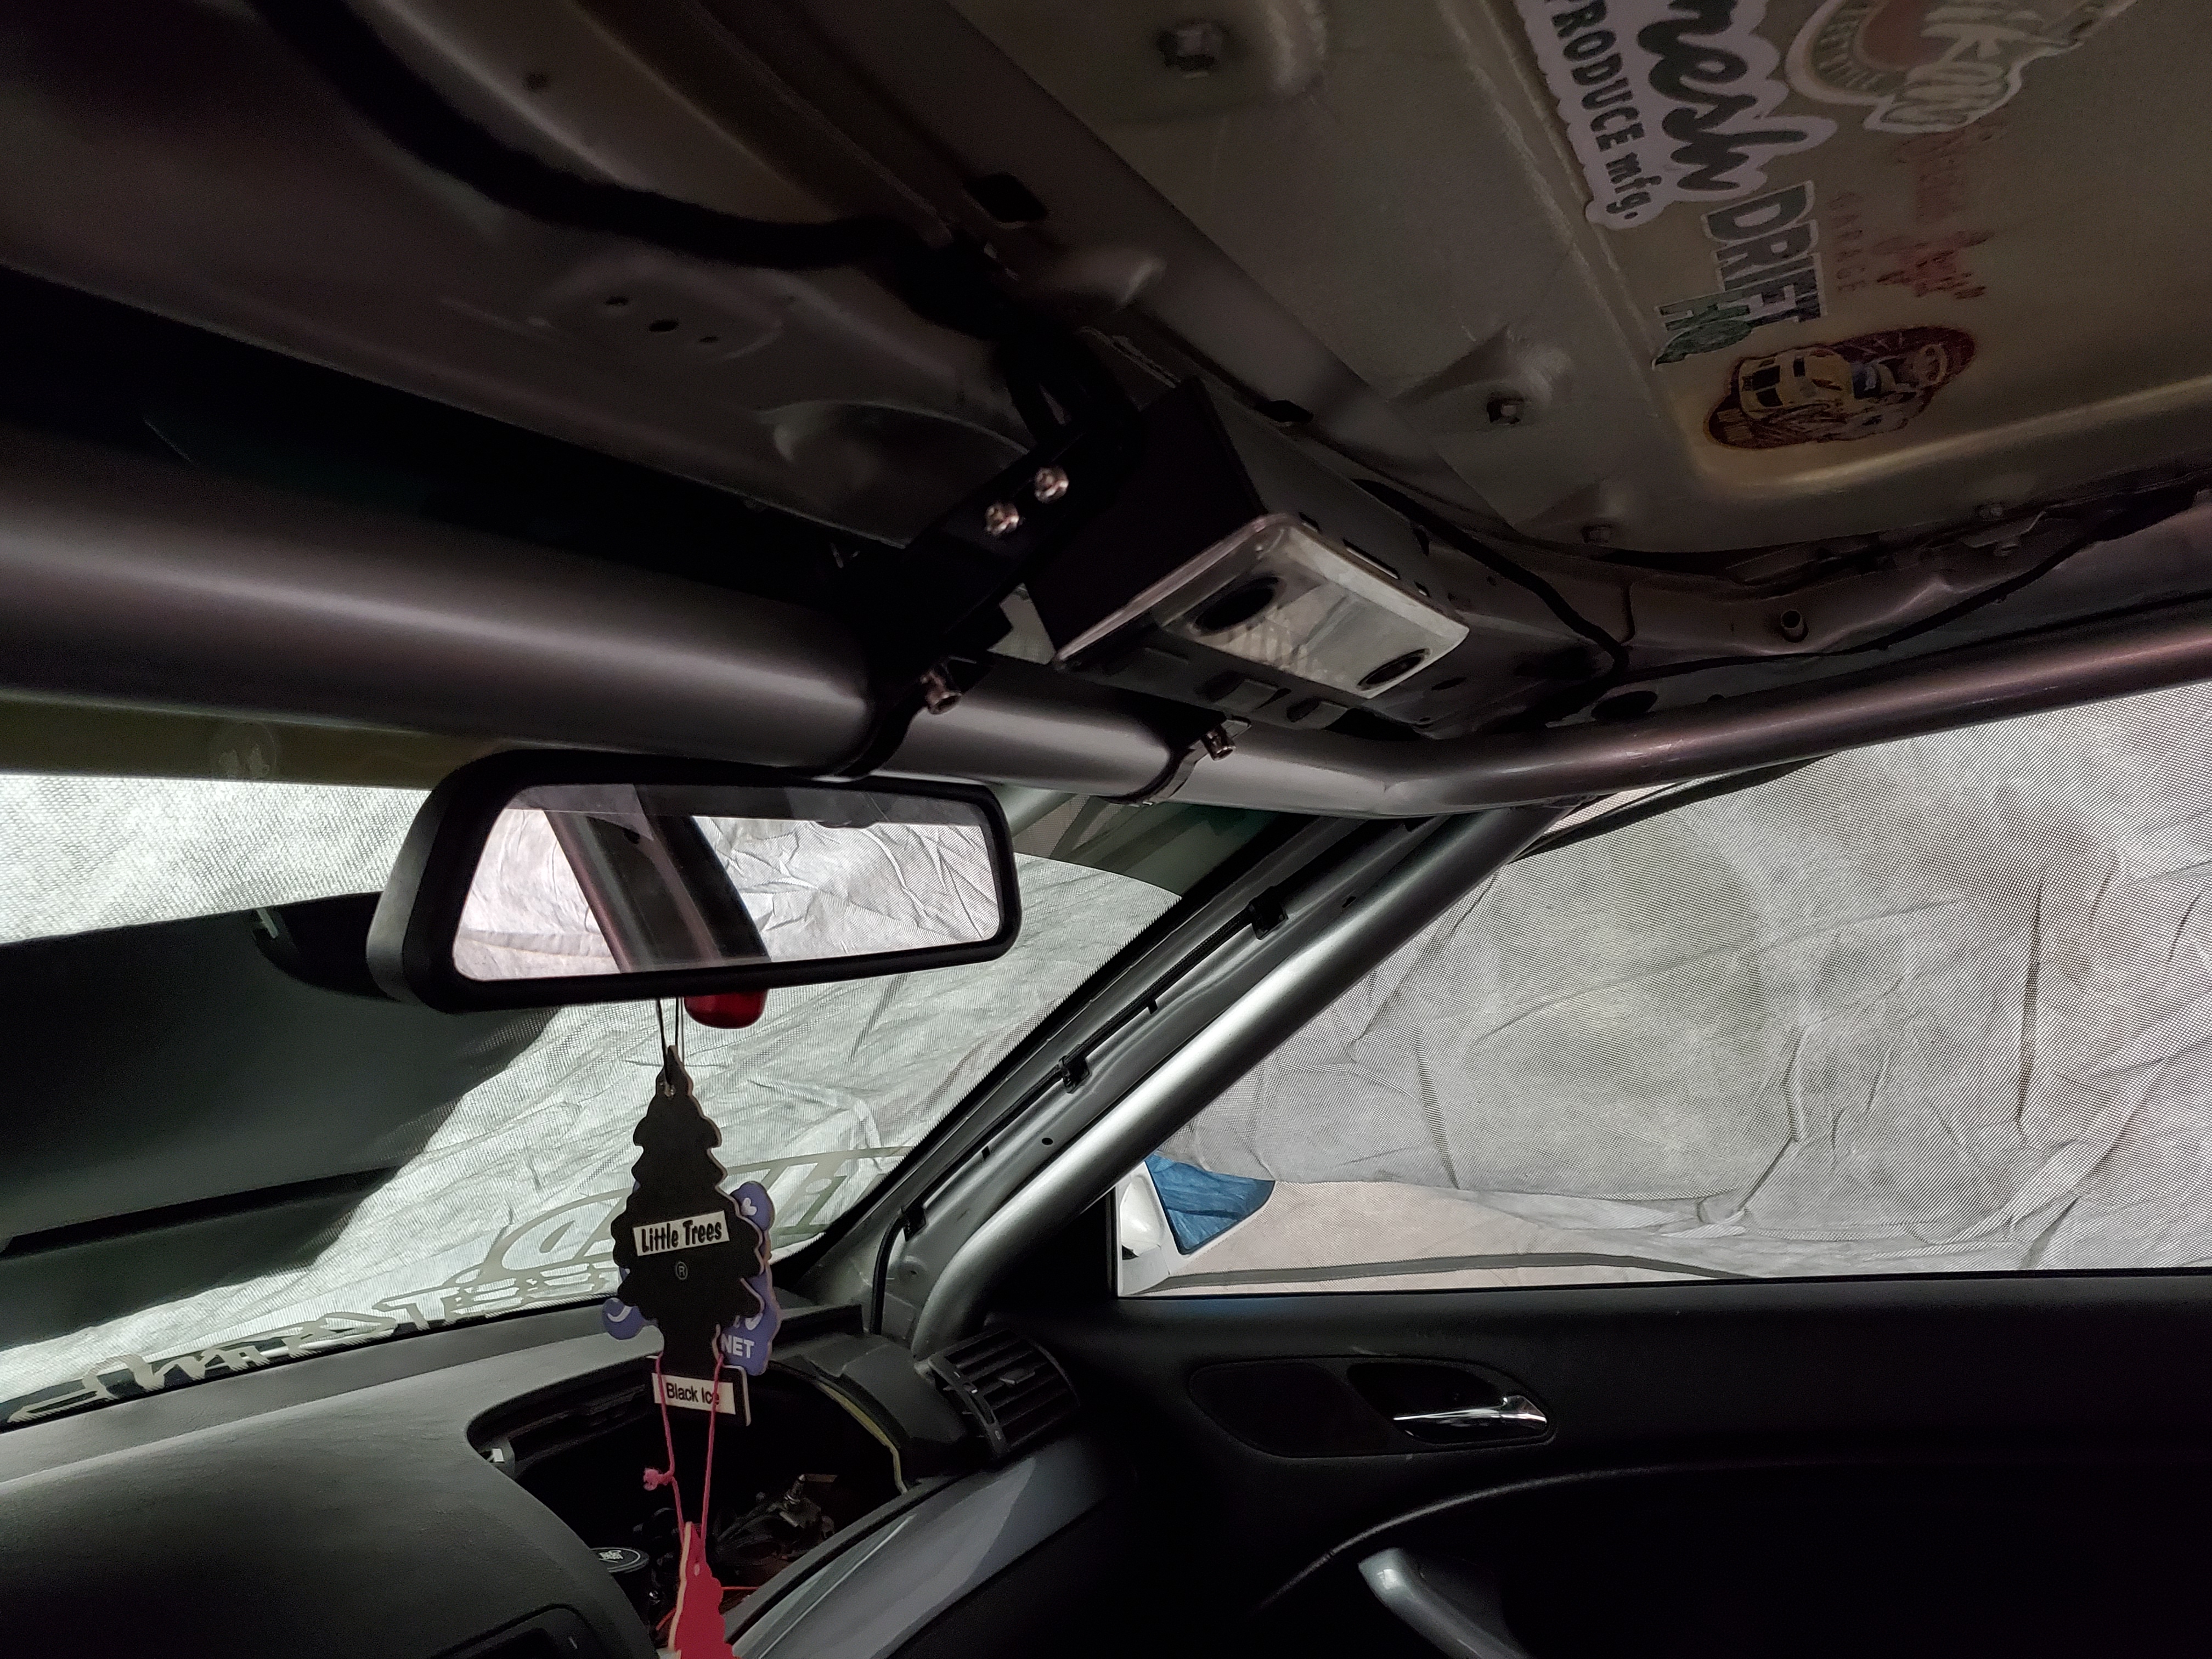
And finally something I have been working on that I am really excited about, I did not think I'd be drawing and printing this so soon but here is the custom gauge pod that I created to house the new wideband and also the PBM digital multi gauge I previously had in the center console.
I used a lightbar mount to mount it to the roll cage.
And here is is mounted!
Some adjusting needs to be done yet but I am excited with the result for now!
Hopefully I will get time to install the new fuel pump and get the first start up out of the way this weekend!
-
A purists nightmare - E46 drift buildSmall UPDATE
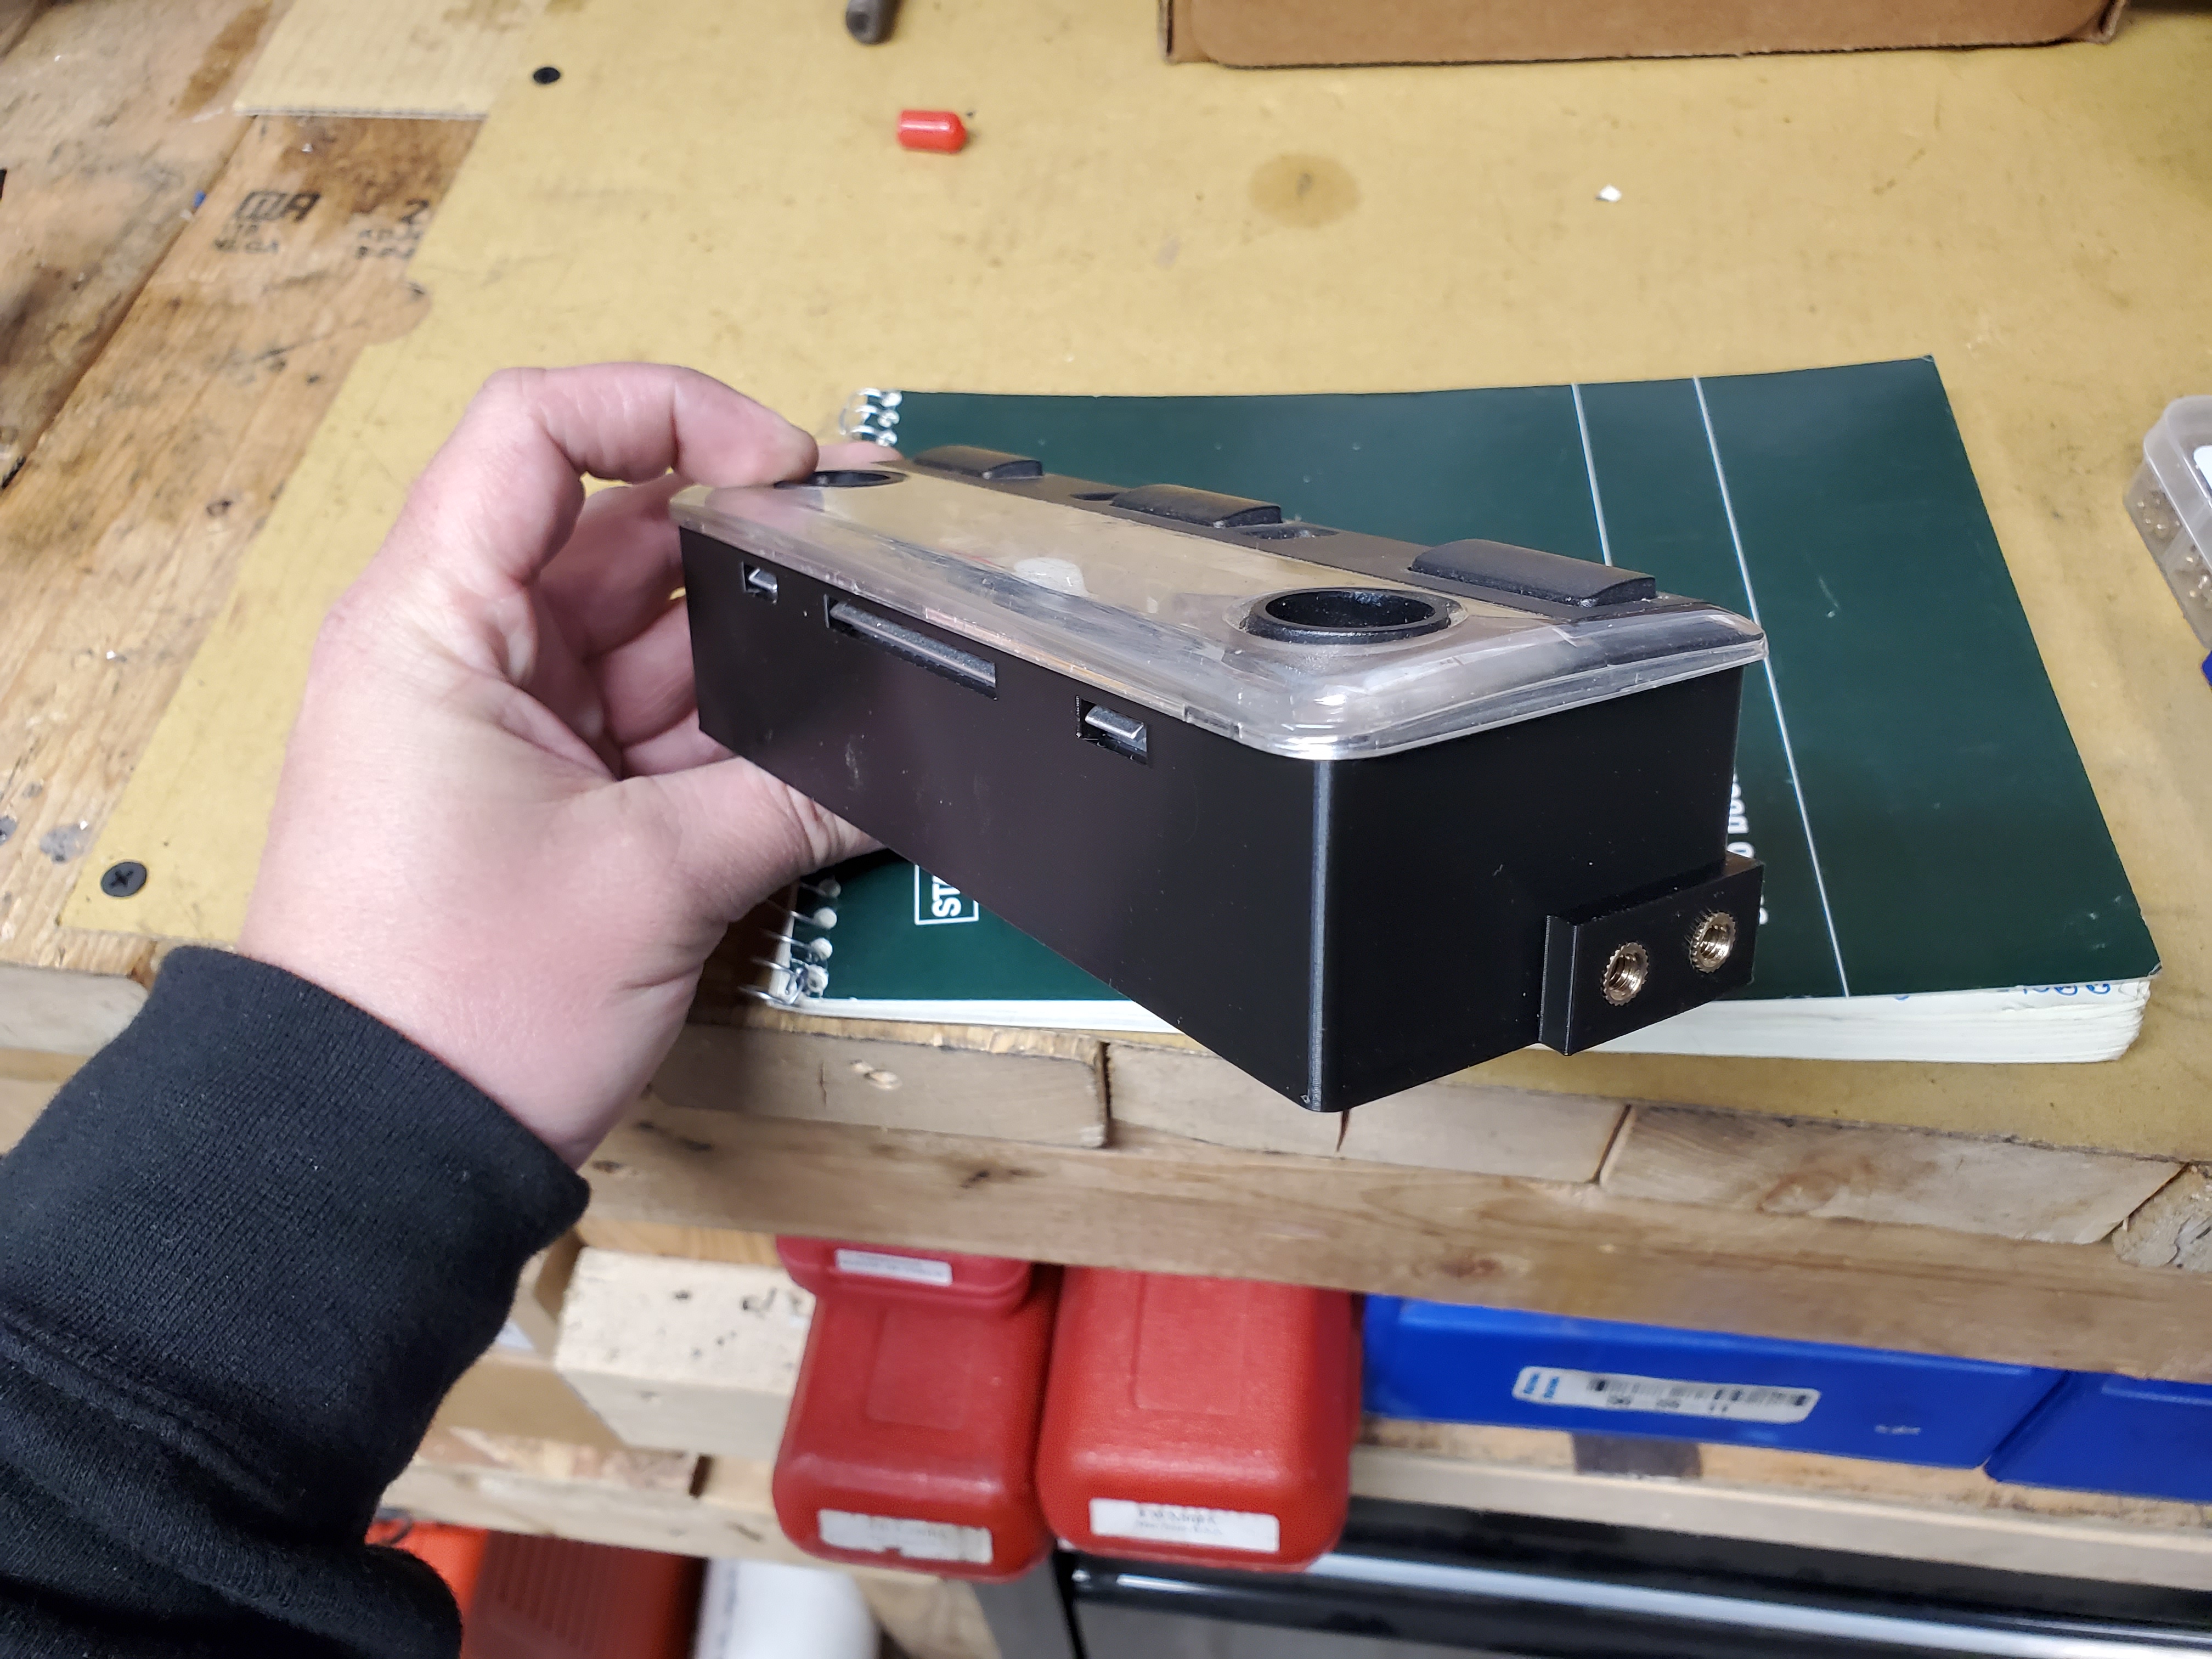
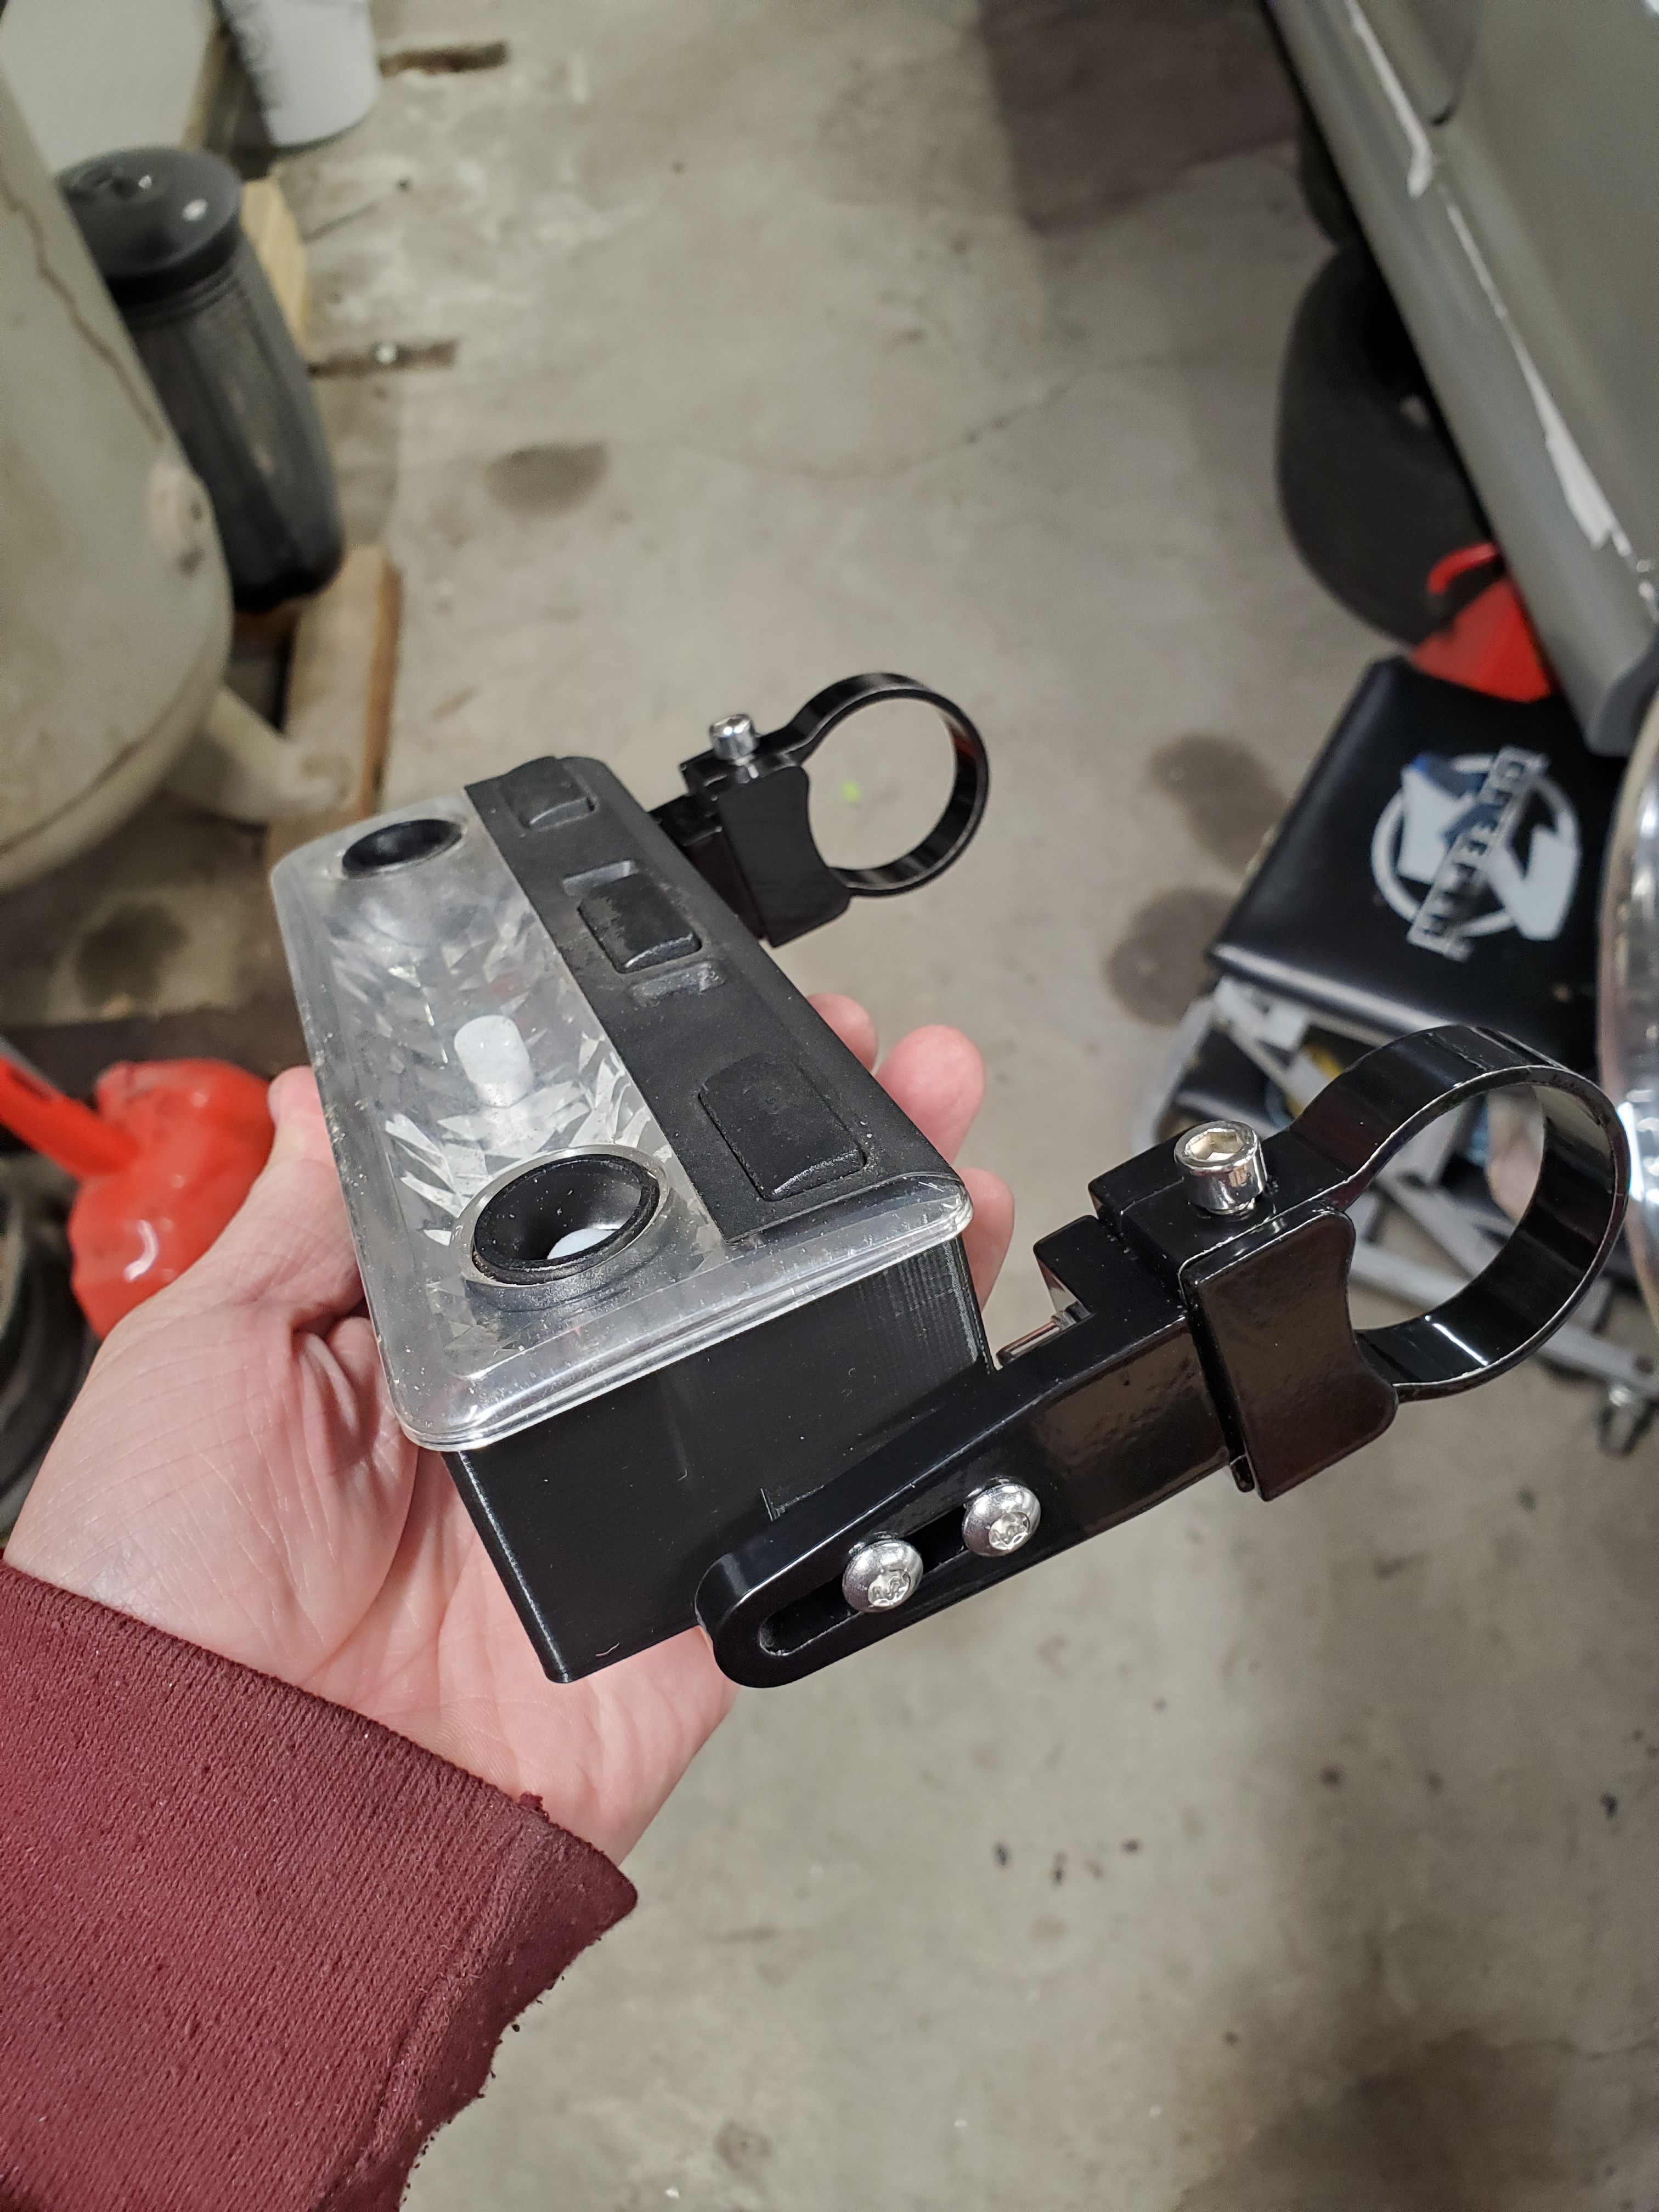
The whole no dome light thing has been bothering me ever since the first attempt at Sam designing and 3D printing a housing didn't work out and fell to the wayside respectively.
So now that I have my own printer I recreated the housing and added some holes for threaded inserts to be able to use some roll bar mounts.
Here it is with the mounts bolted up. It's not super great looking but it works. Definitely could stand to have some fine tuning done.
And here it is mounted in the car. I have some ideas on how to improve it but for now this works.
And rewrapping the car has also begun!
I am very excited to see this thing in all fresh white again!
Thats about it for now!
-
A purists nightmare - E46 drift buildNot much new with the car as of now. Replaced the left axle again before DD76. Which was due to my own dumbassery, the outer joint was leaking grease from me using a persuader tonget it in the hub against my better judgement, and the cup bent allowing the grease to escape.
Anywayssss.
The event went well, my first few runs I thought I heard a clunking in the rear end but it was inconsistent and ended up being my 2x4 e-brake and a beer cap
️
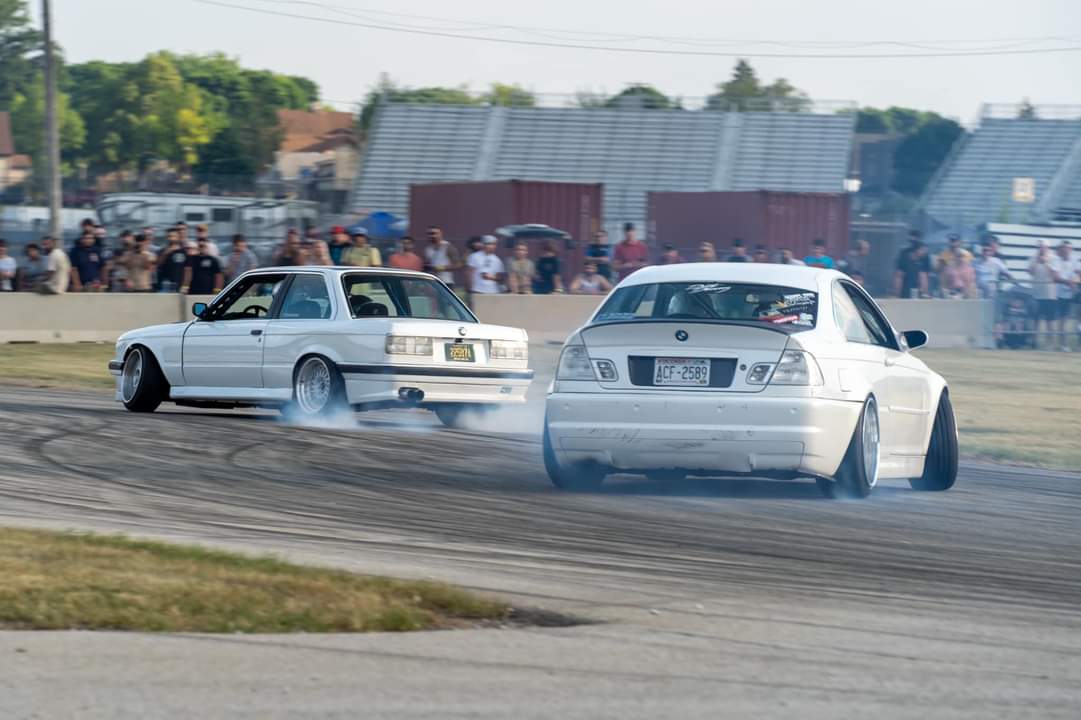
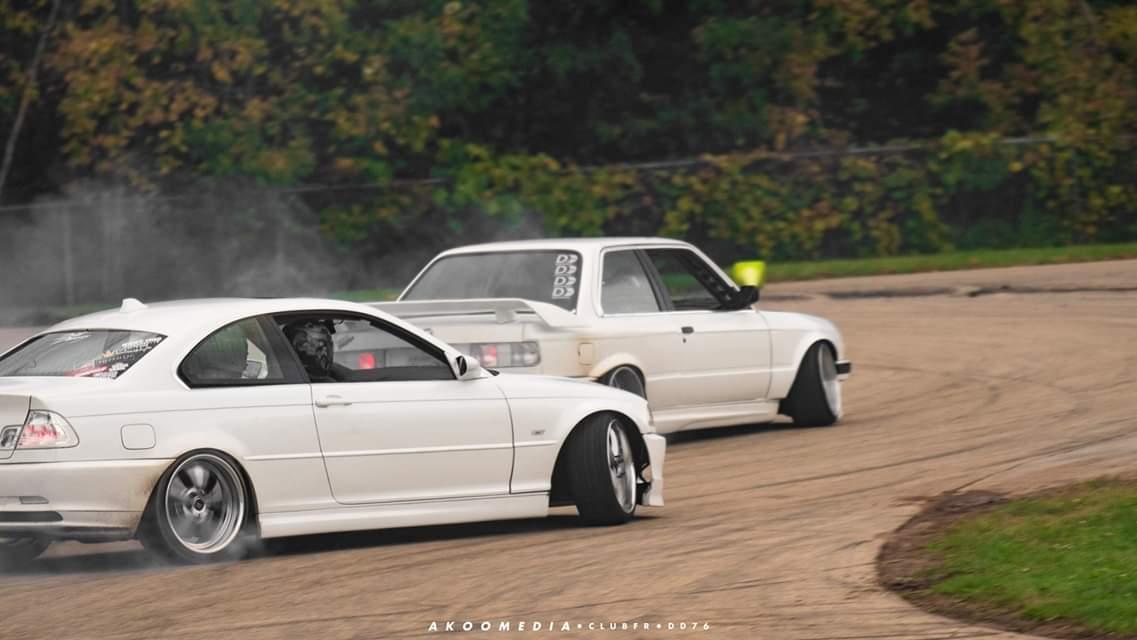
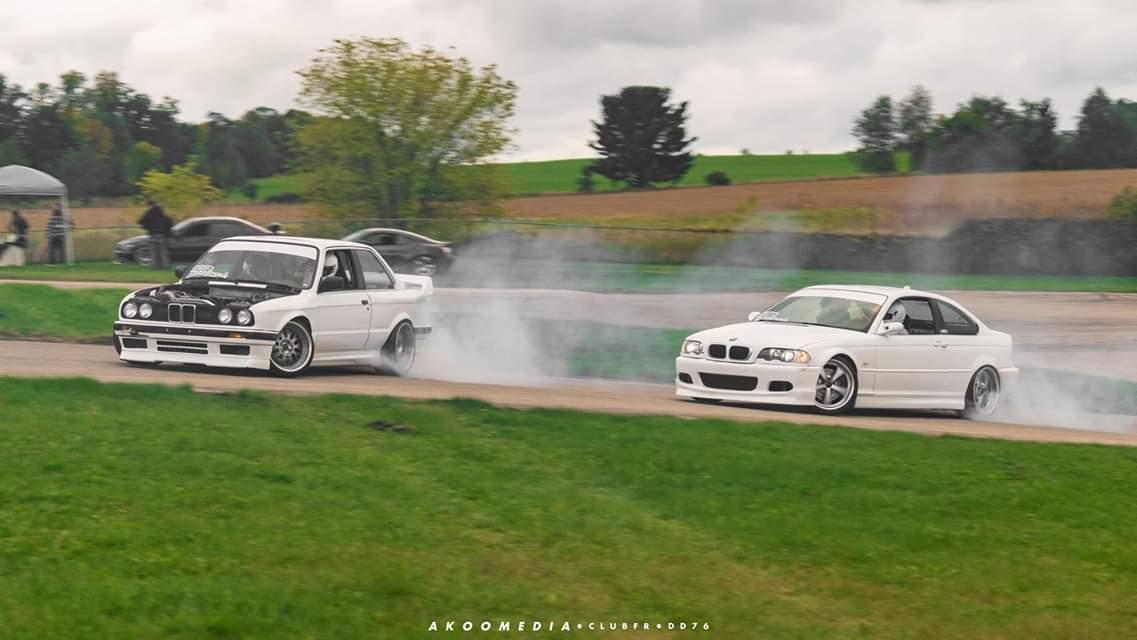
Also @Sam_Holzmann and I finally touched tips, which was bound to happen with how close we get to eachother. Luckily there was no major damage. My bumper ejecto-ed as designed (3 small zip ties with the intent to break under pressure and then my bash bar bent in a bit. Which was easily bent back.
@Jdesign was in Sam's car when it happened even

Here's a pic of the "damage" the bash bar was already bent back before this pic.
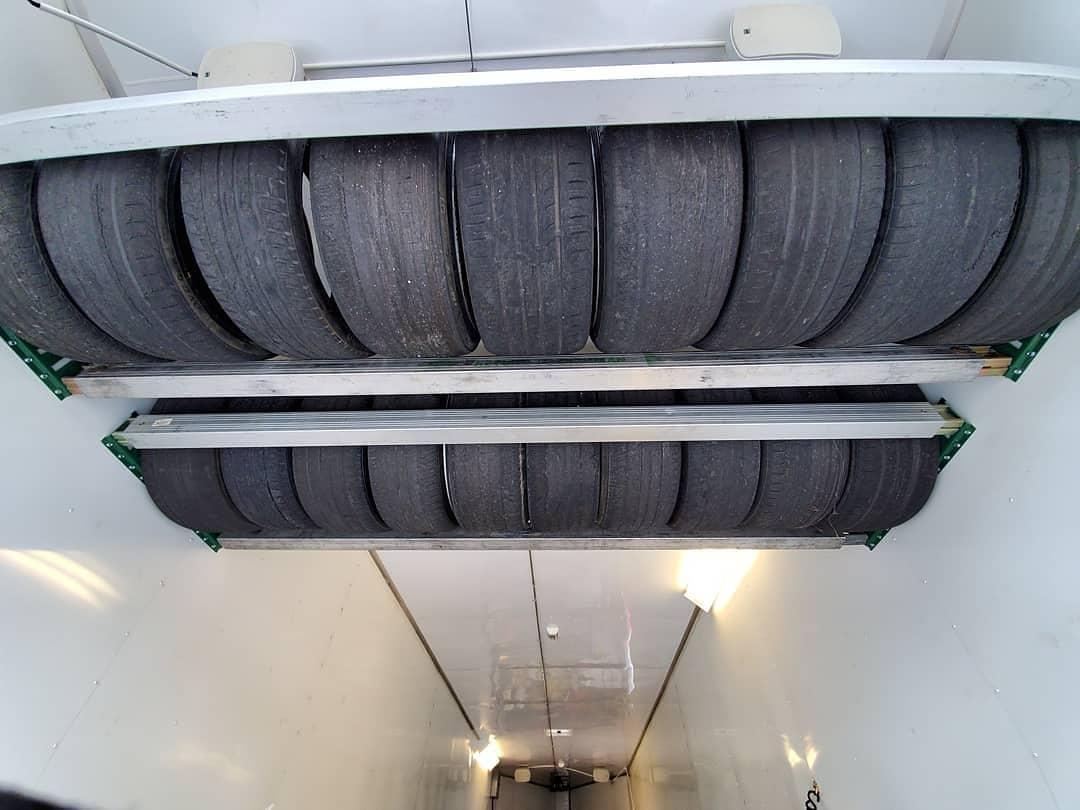
And a full rack of burnt tires from both sam and i.
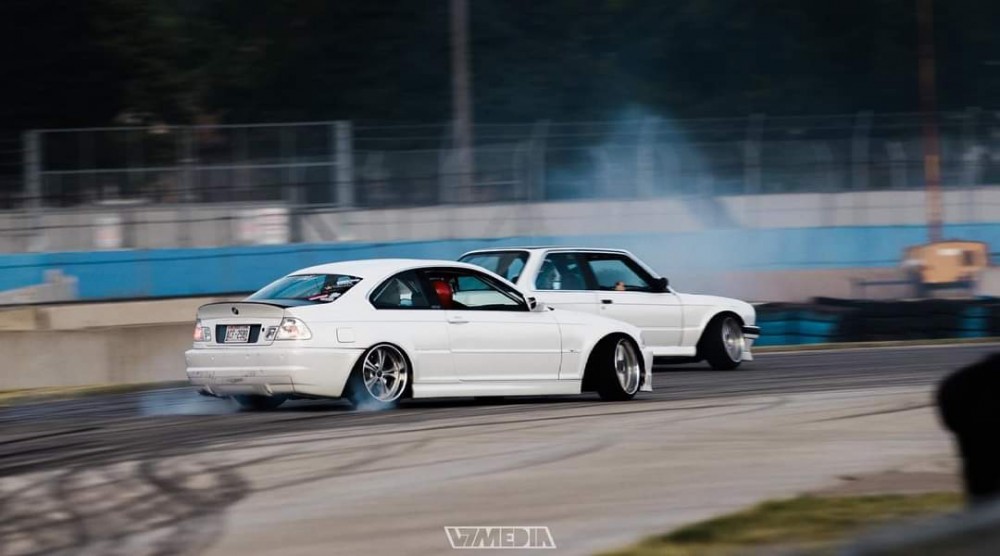
And a few pics from media!
-
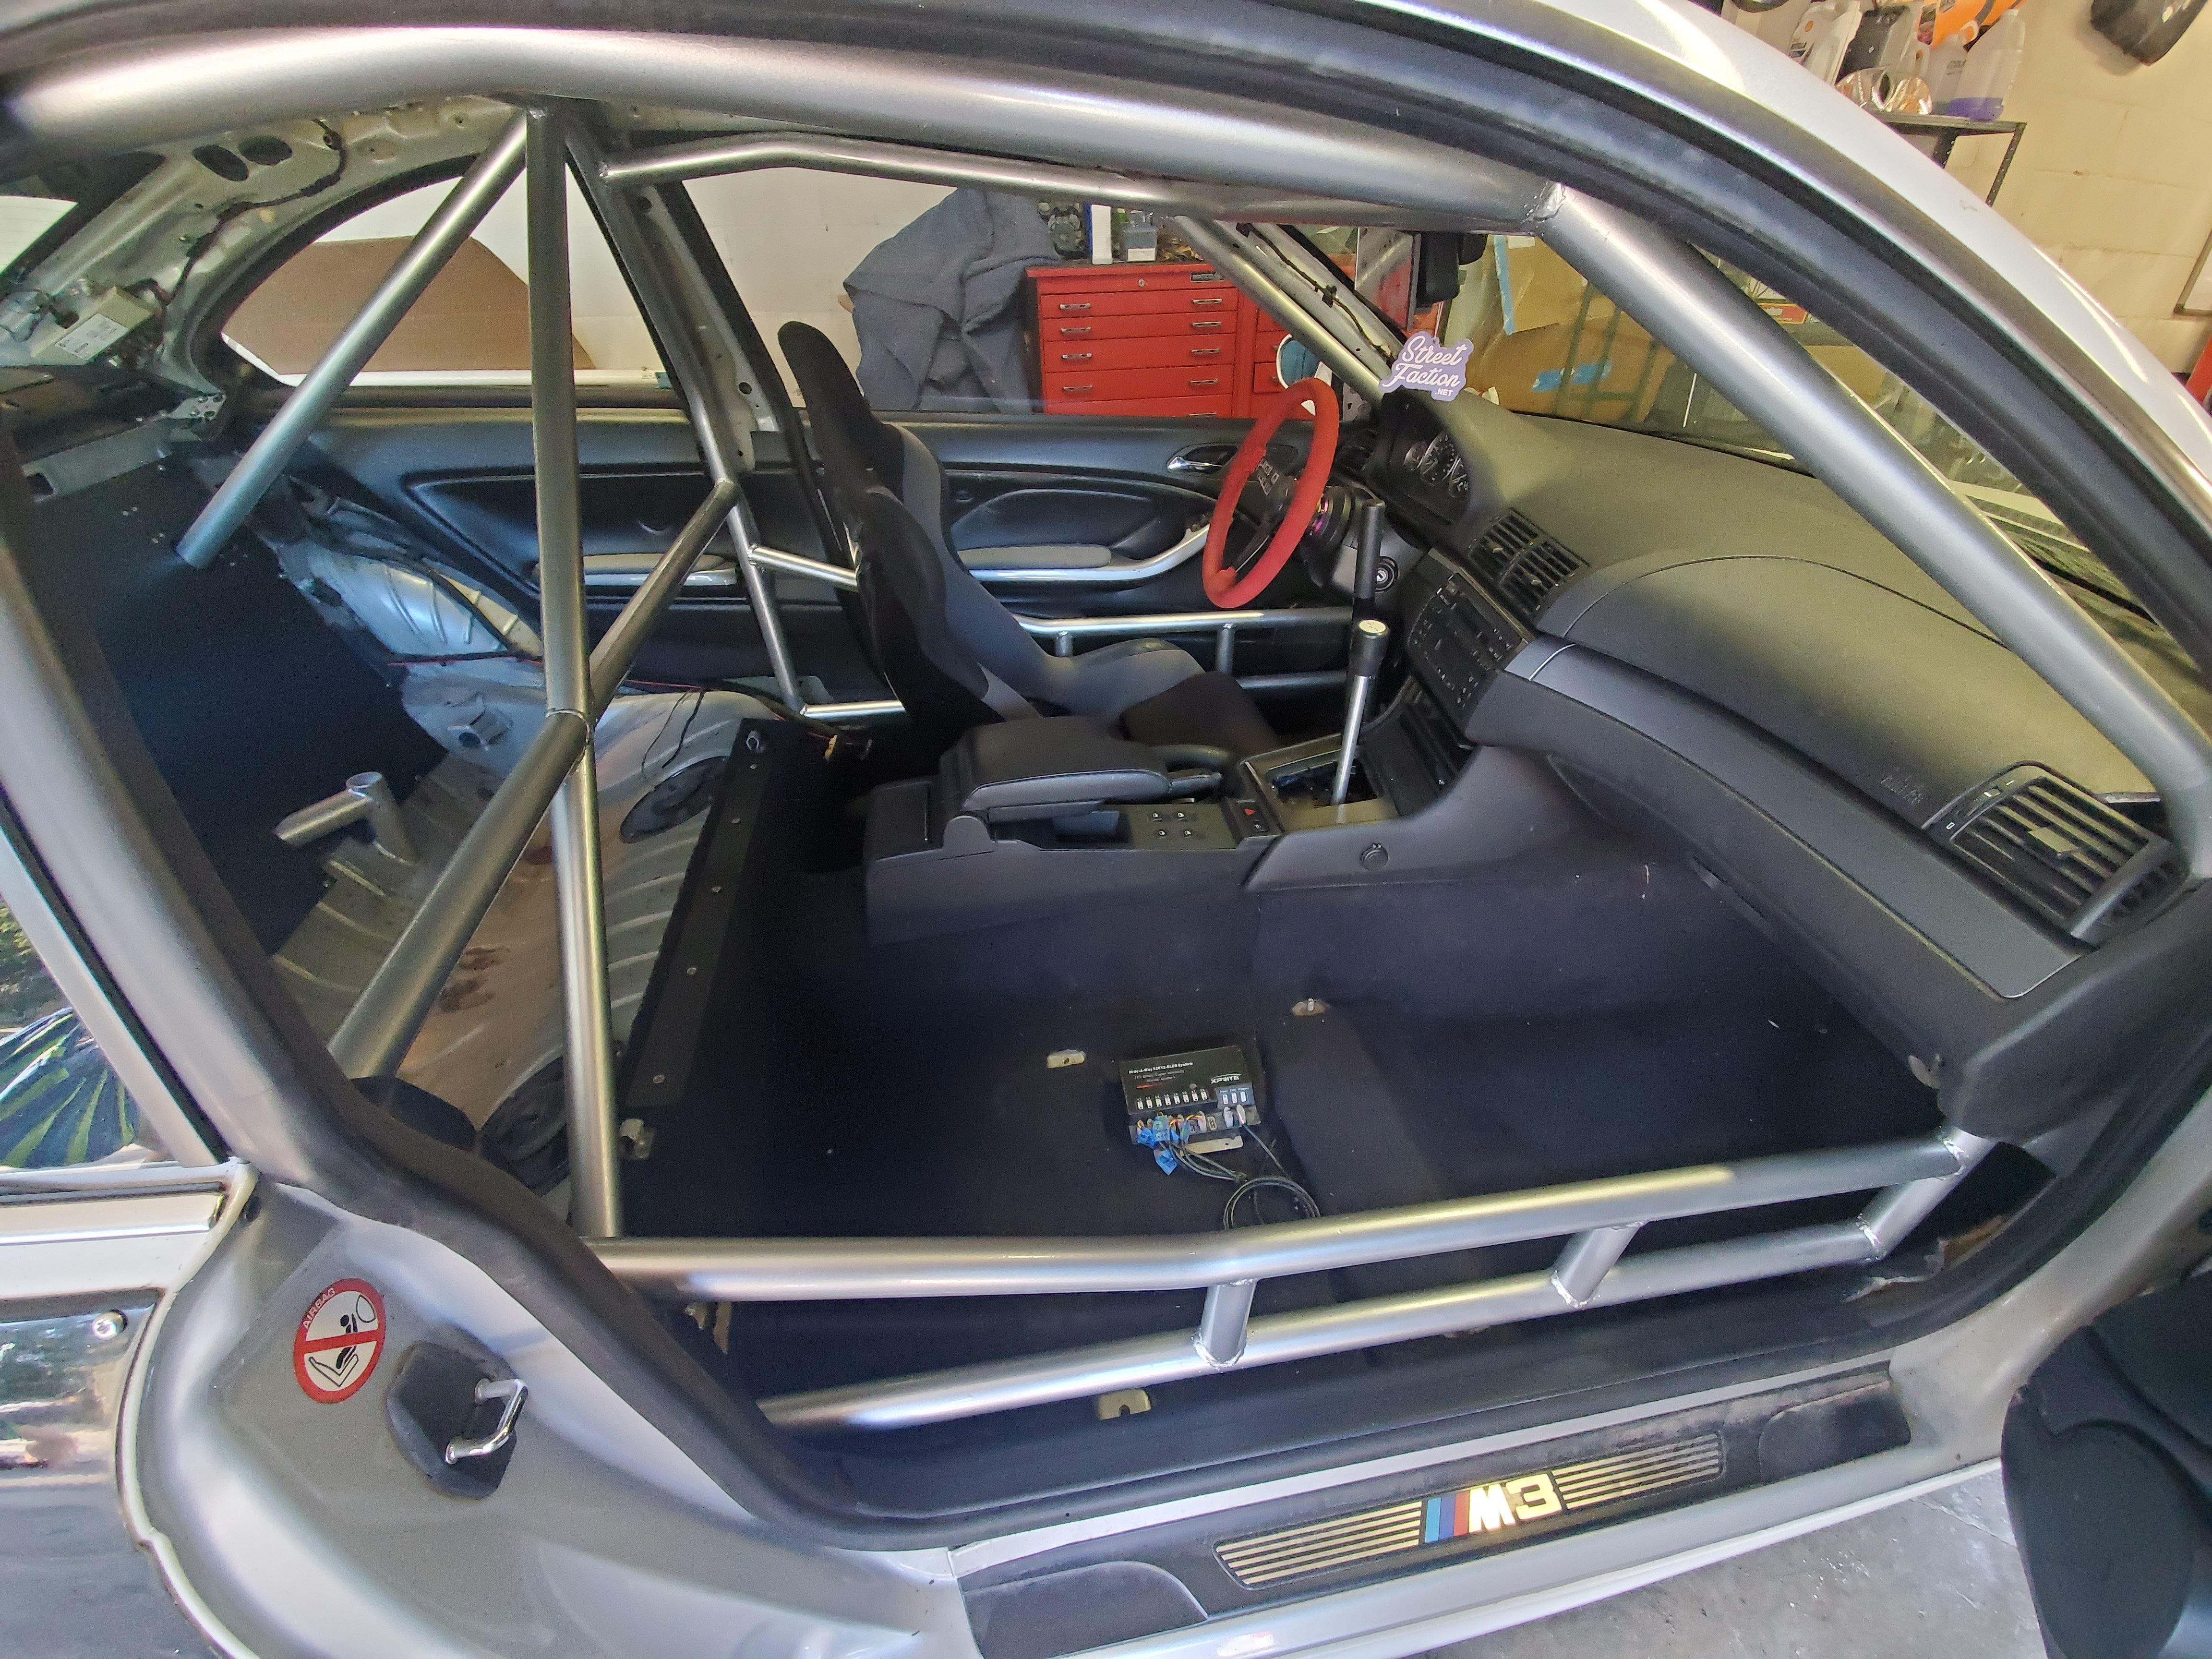
A purists nightmare - E46 drift buildFinally got around to putting the clear vinyl on the cage to protect it. Obviously can't see much in the photo but its nice to have the cage fully exposed and not covered.
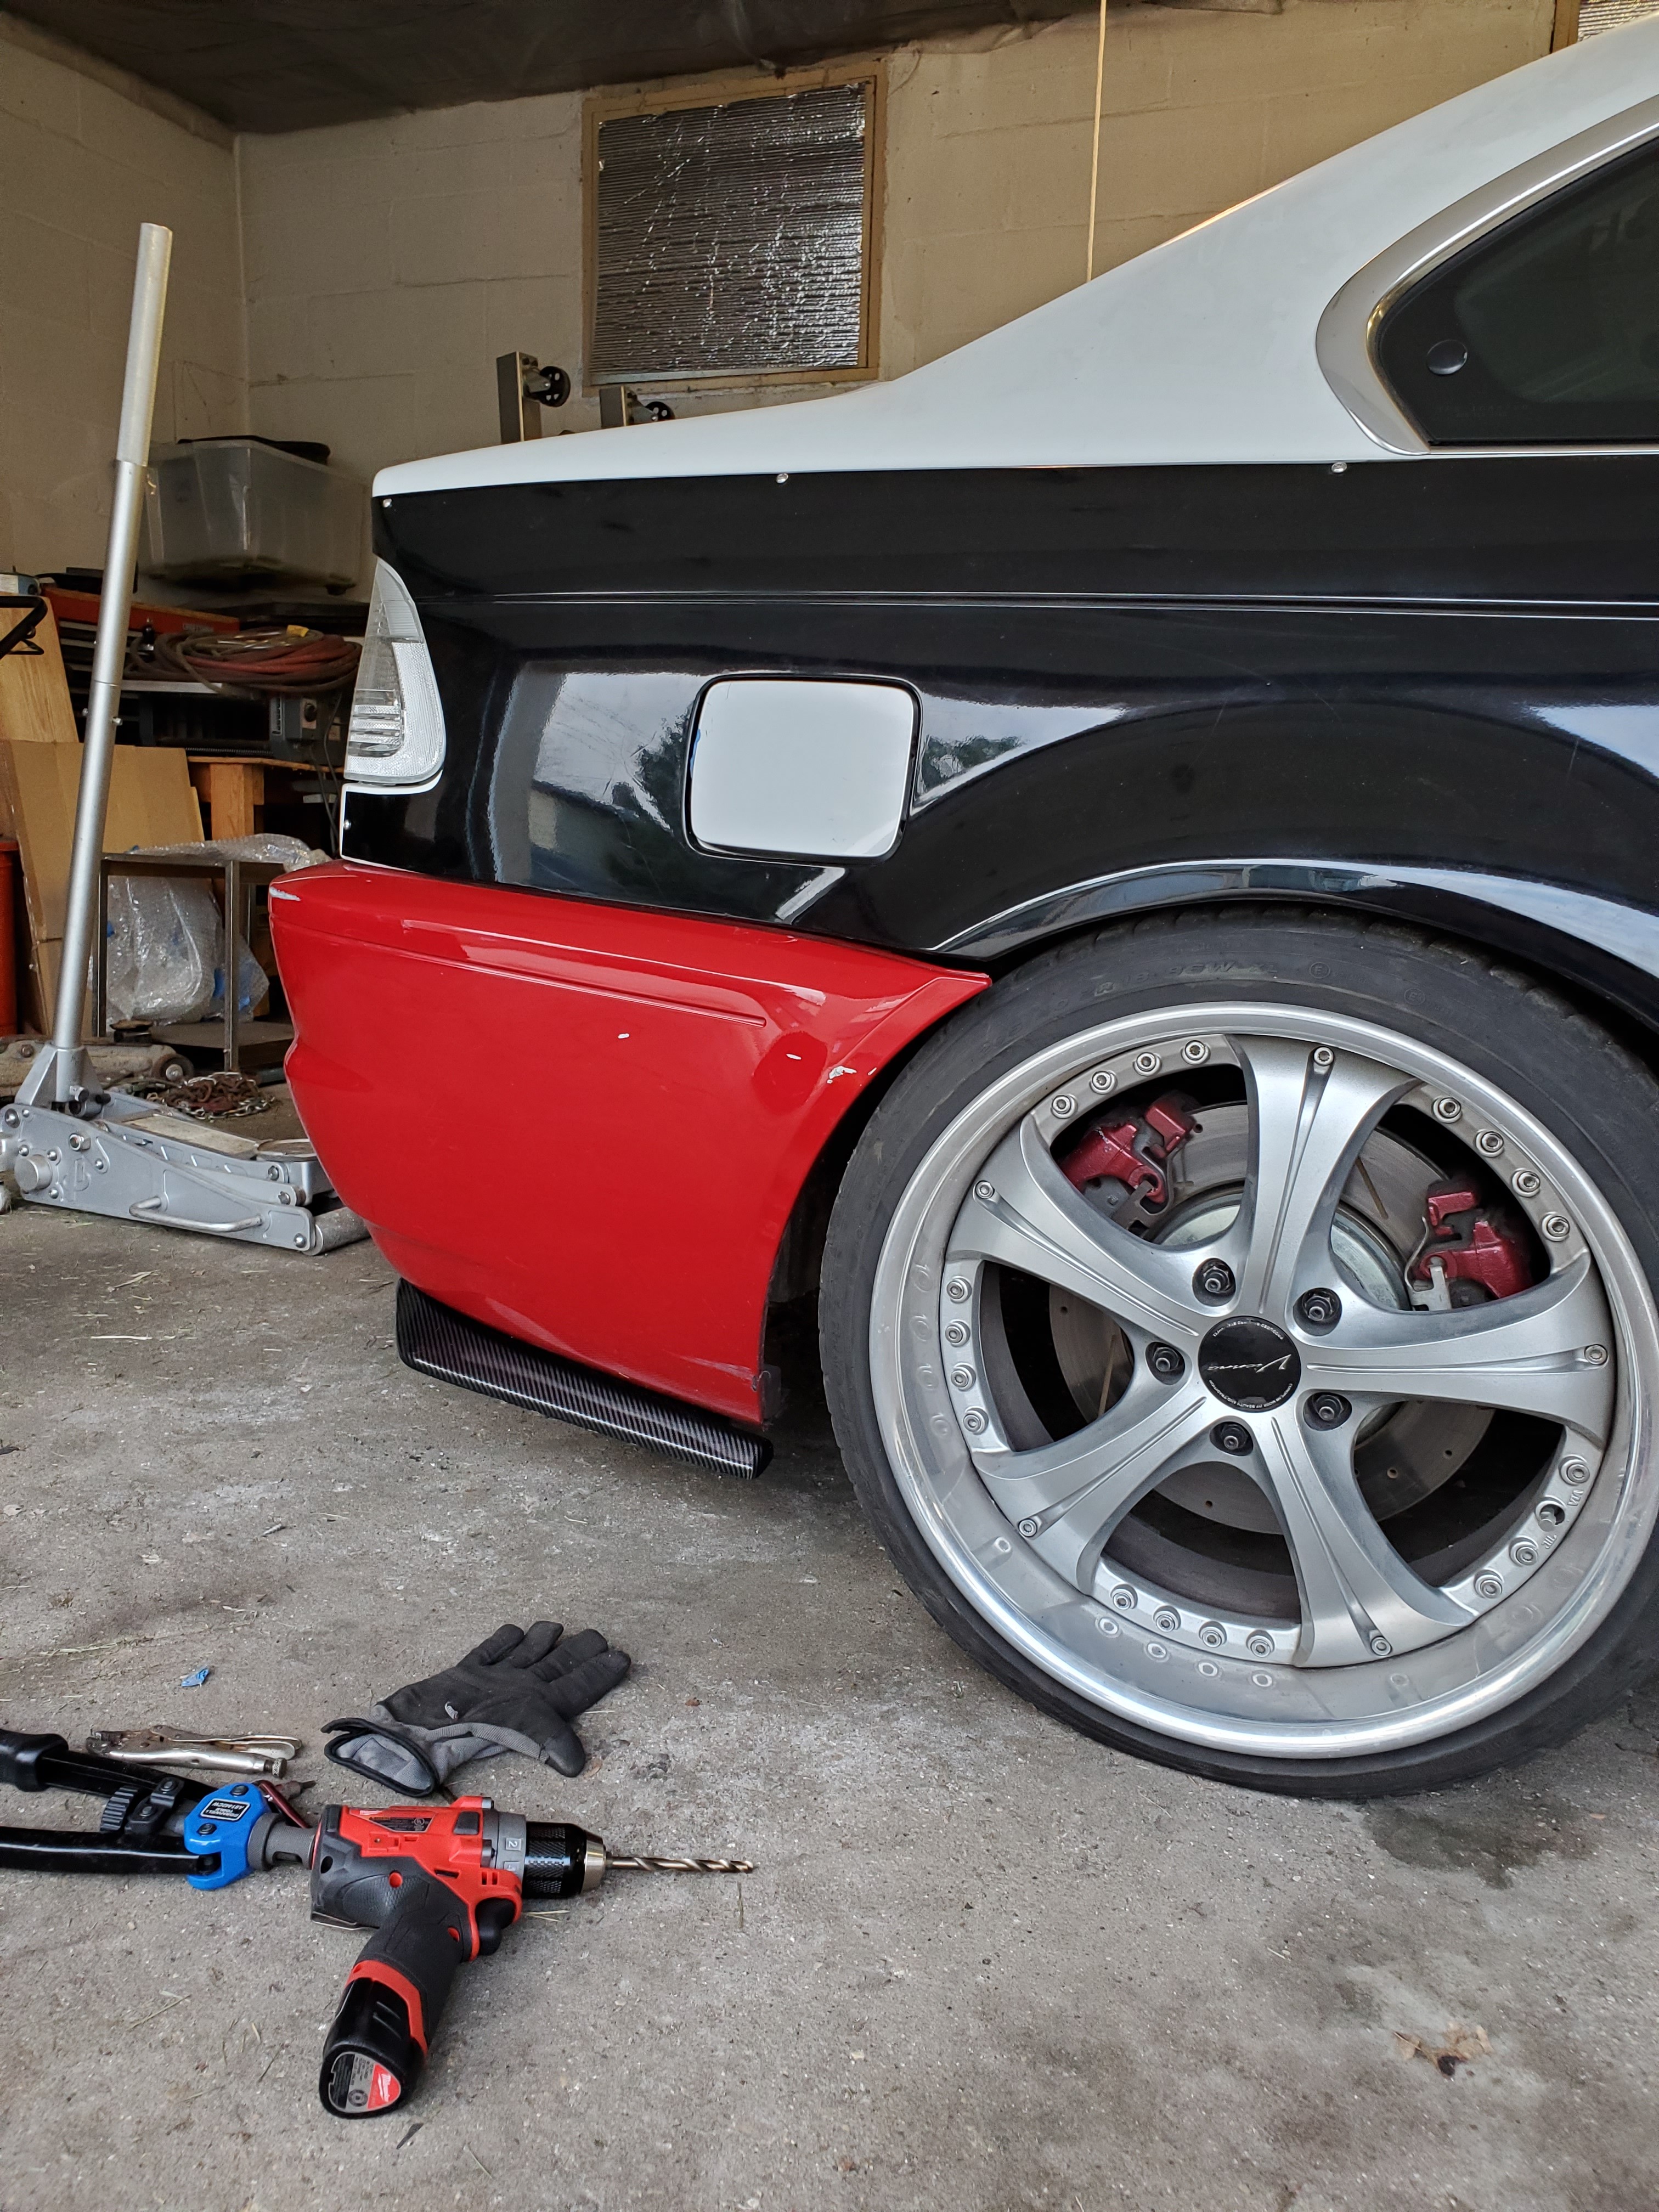
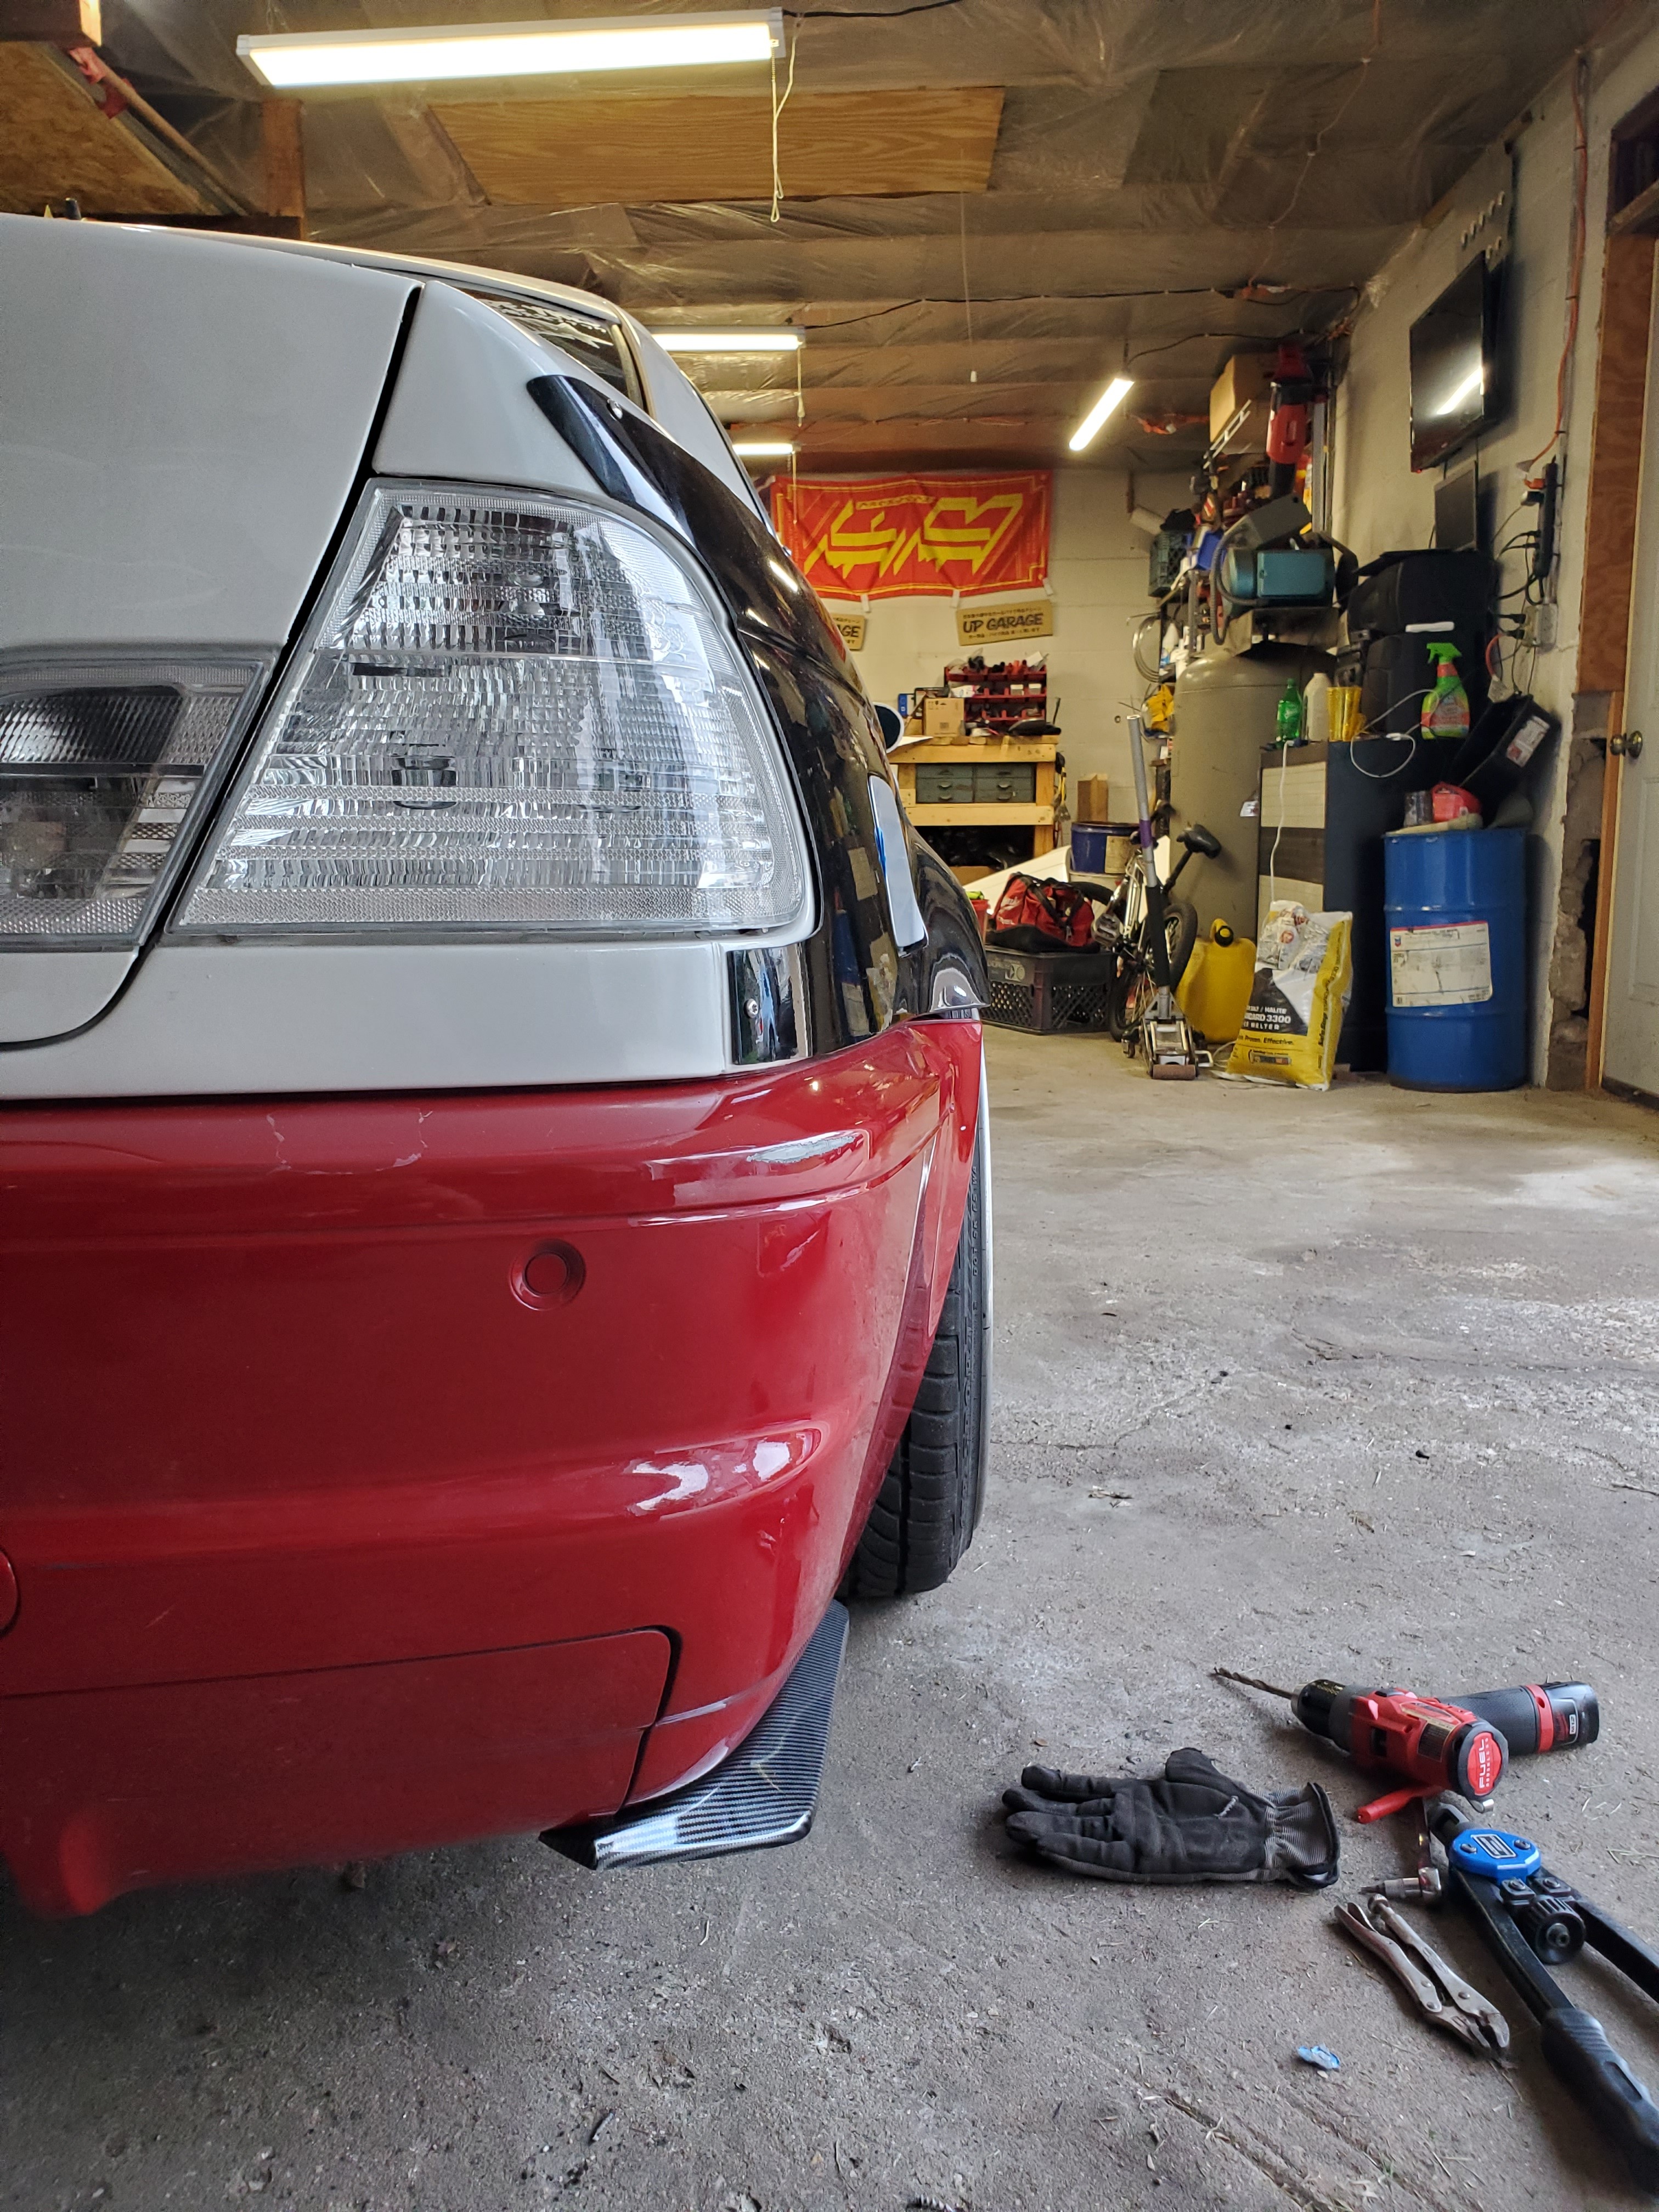
Also ordered these rear bumper extensions off of ebay, and I am pleasantly surprised with how they look!
Hard to get a decent photo with my phone of them but it was a decent $25 gamble lmao.
And also finally got the car and engine bay washed.
Just a few things left to tidy up before its ready to drive, even though it will be 5 different colors lol.