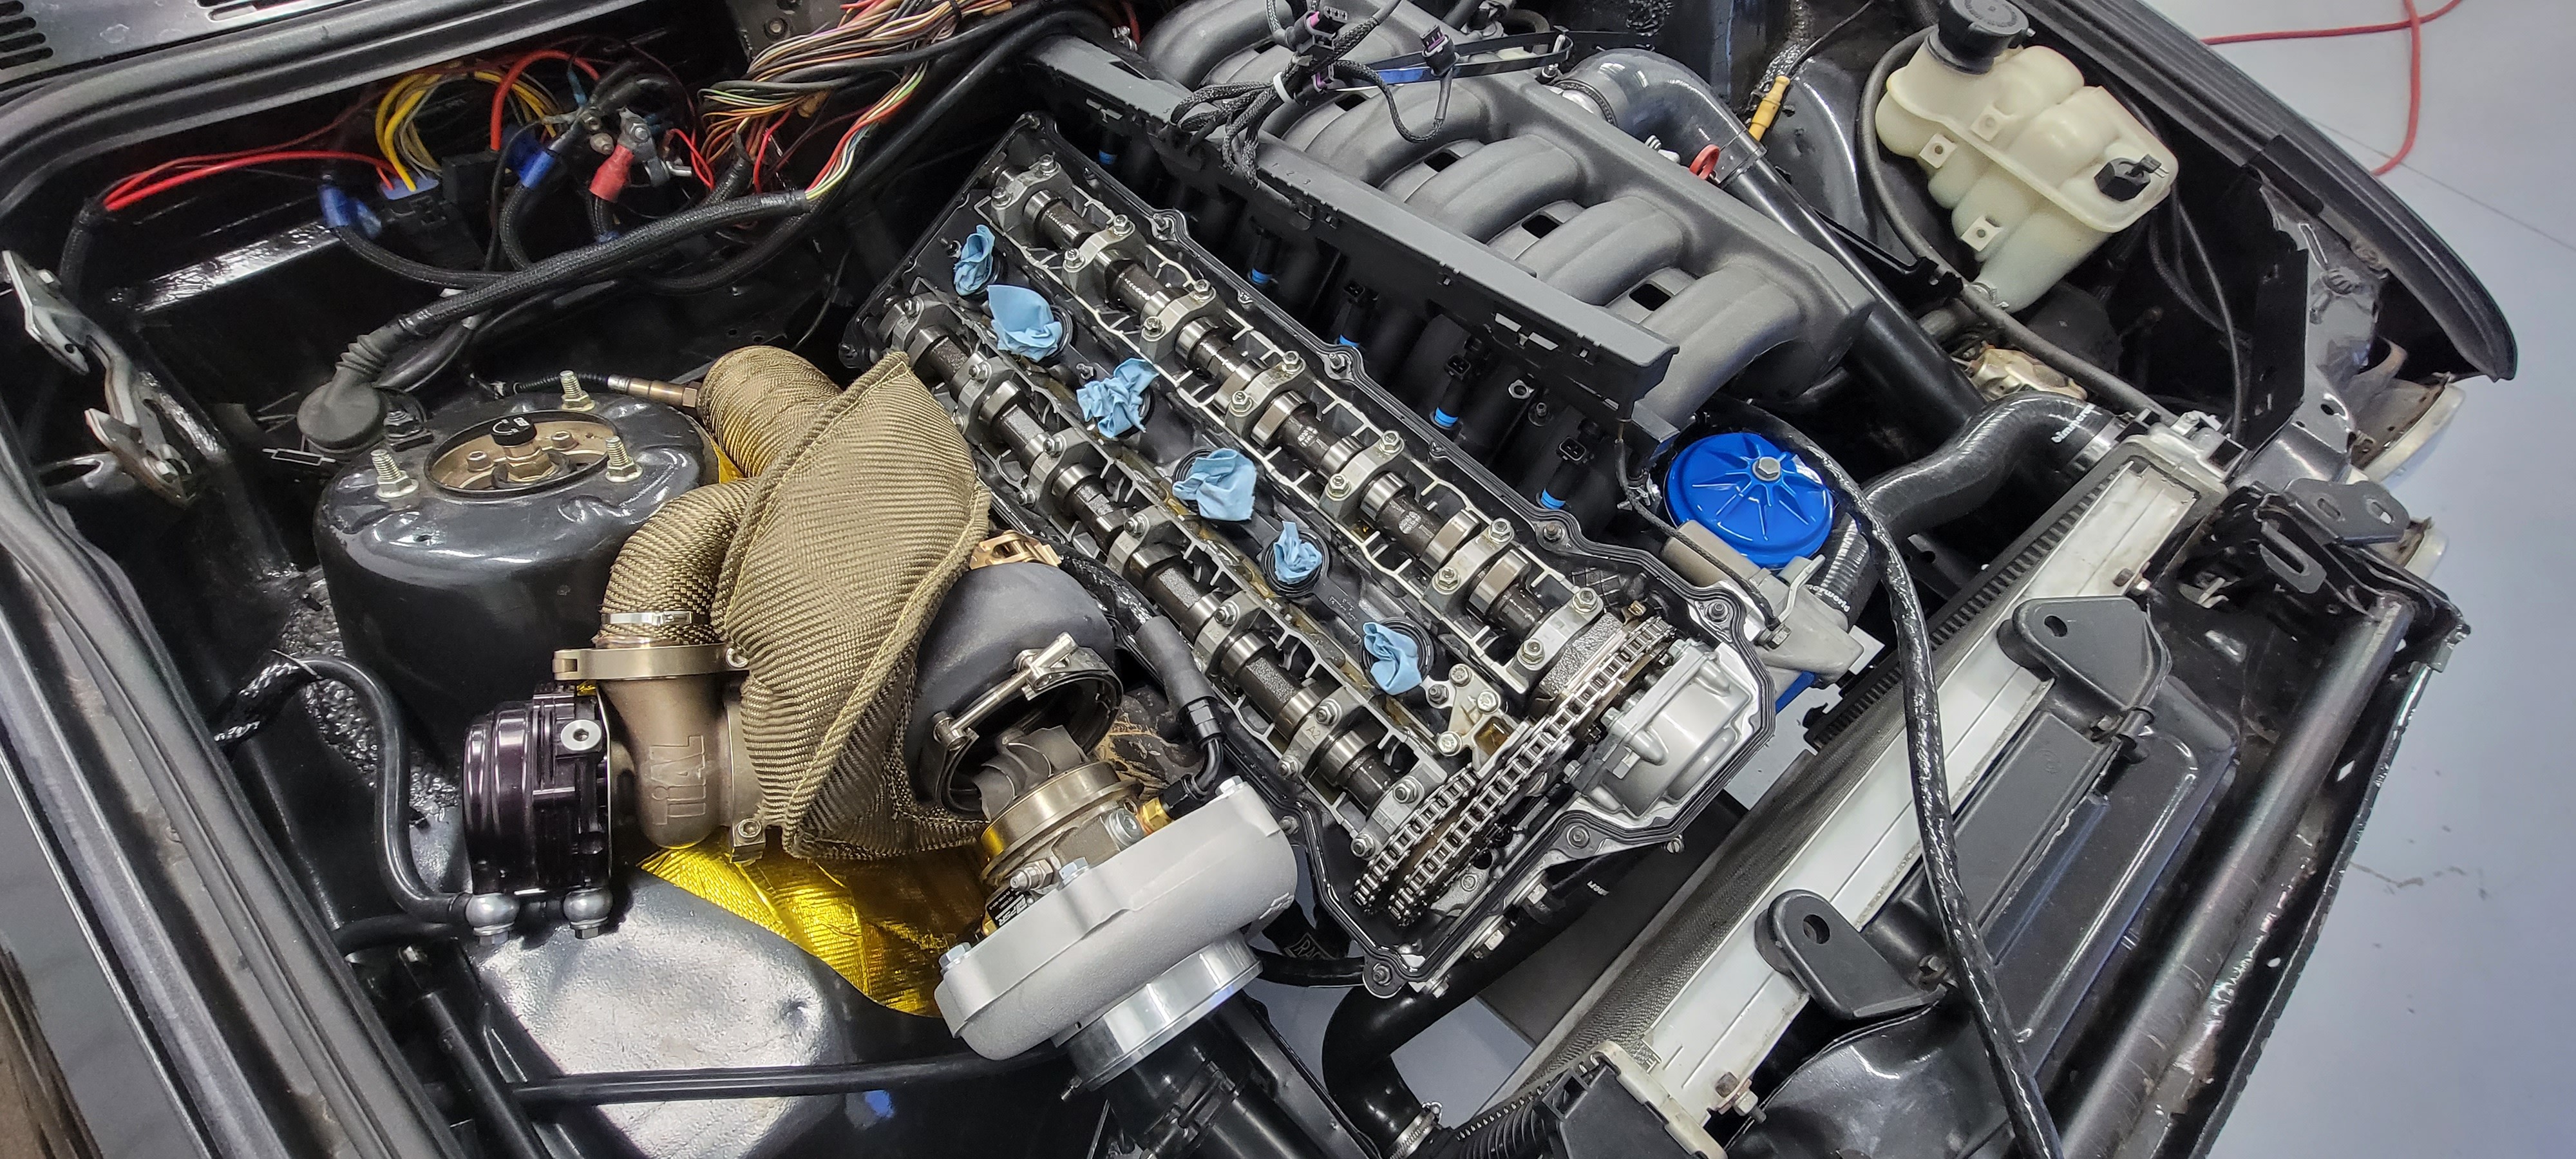
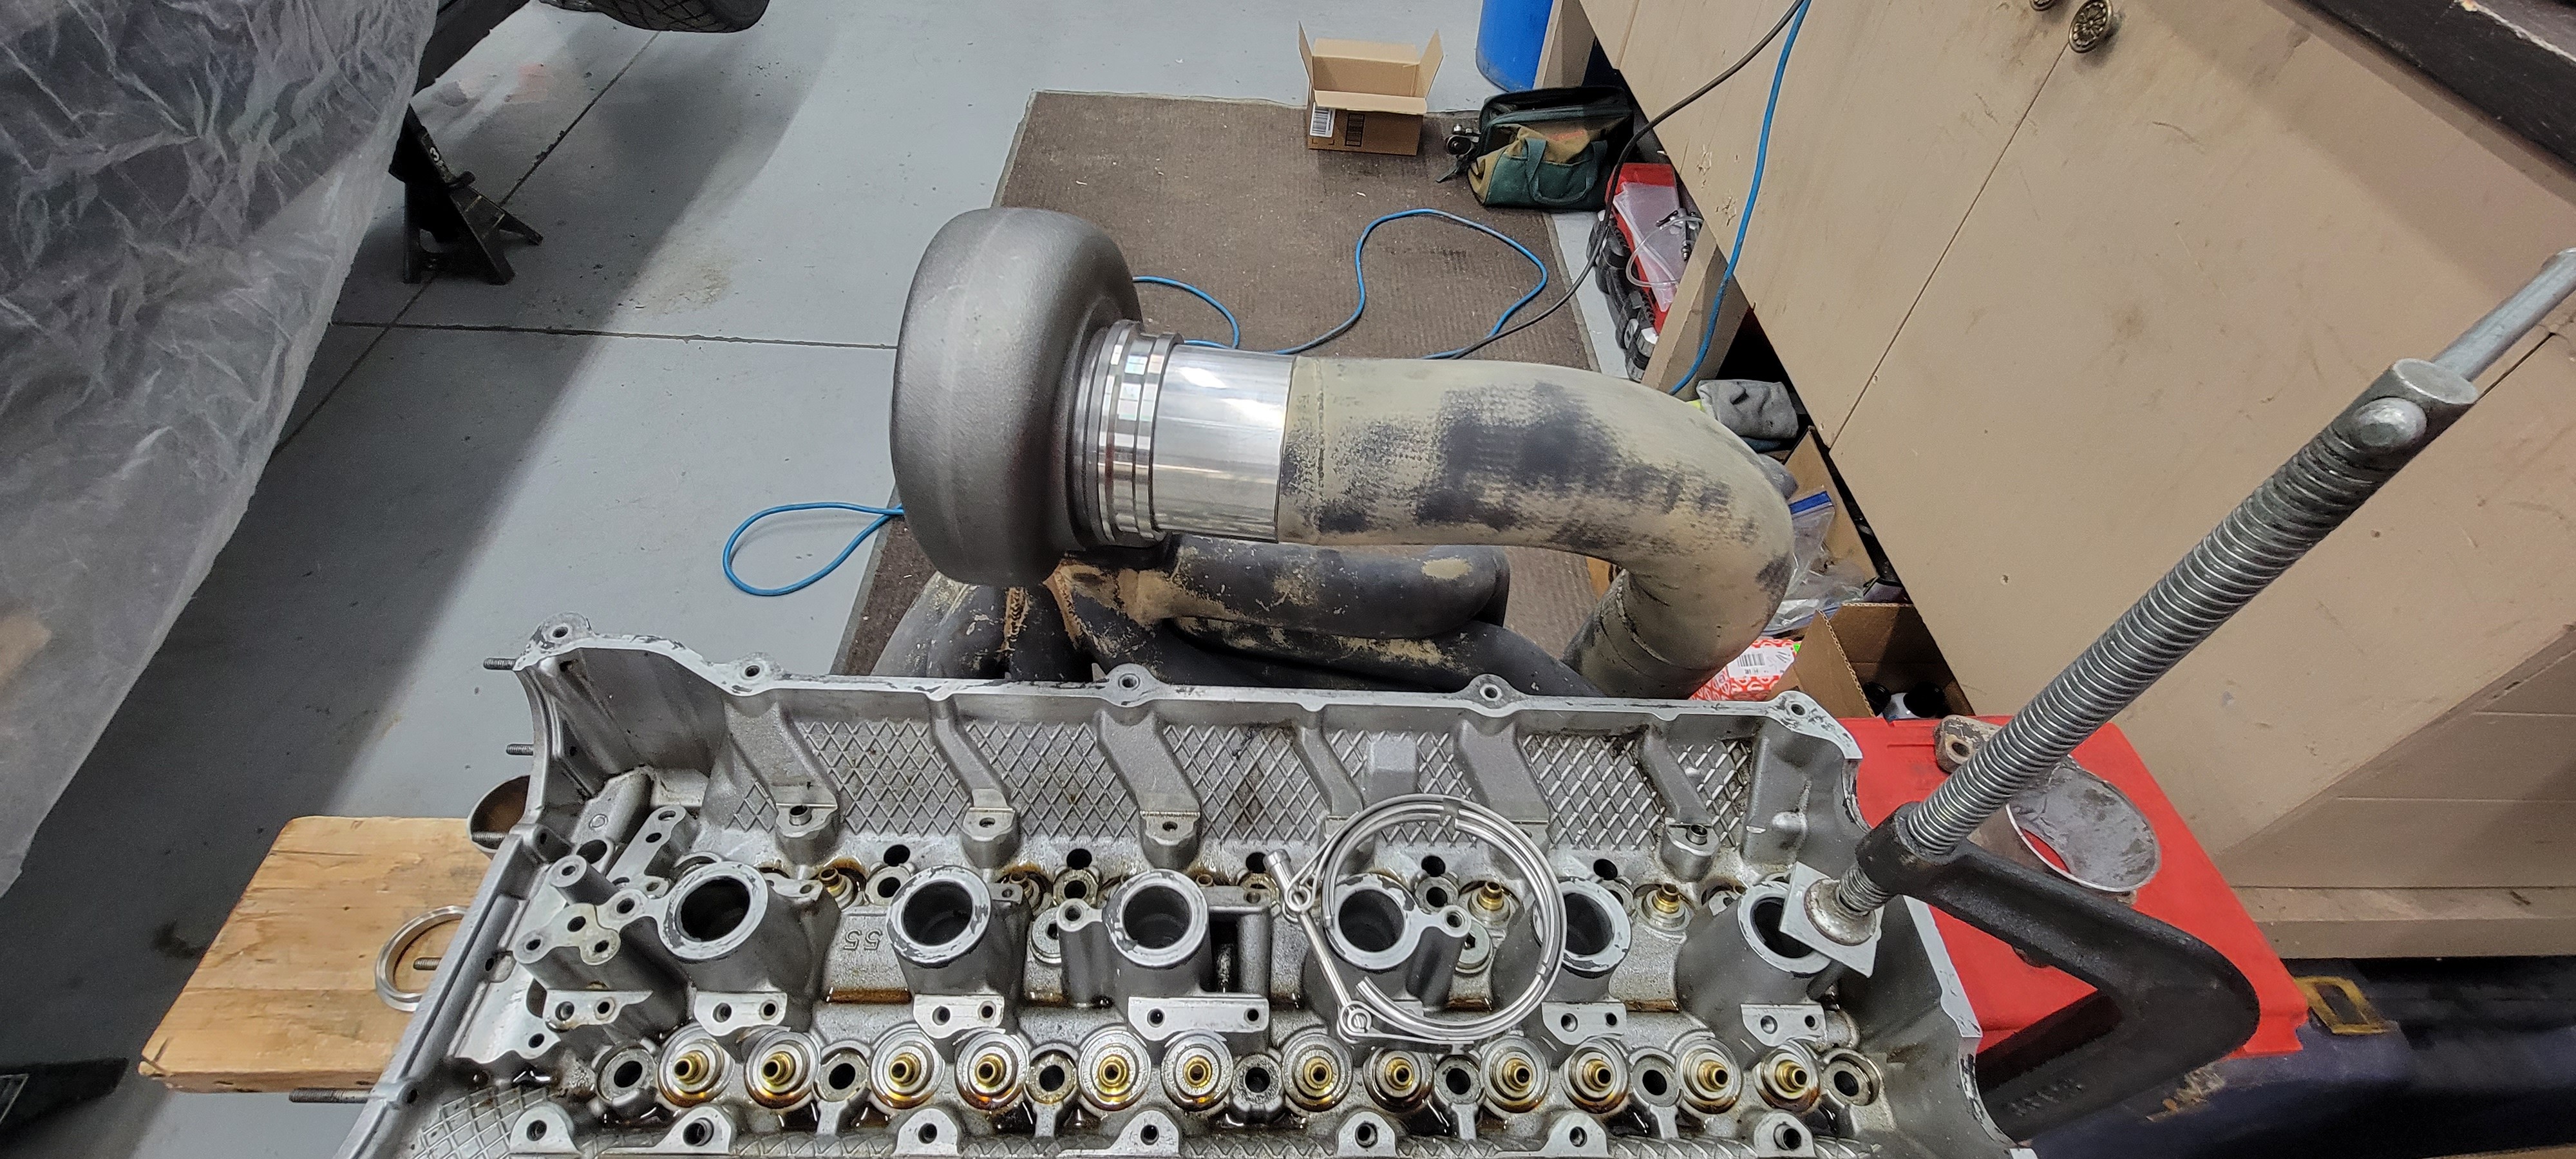
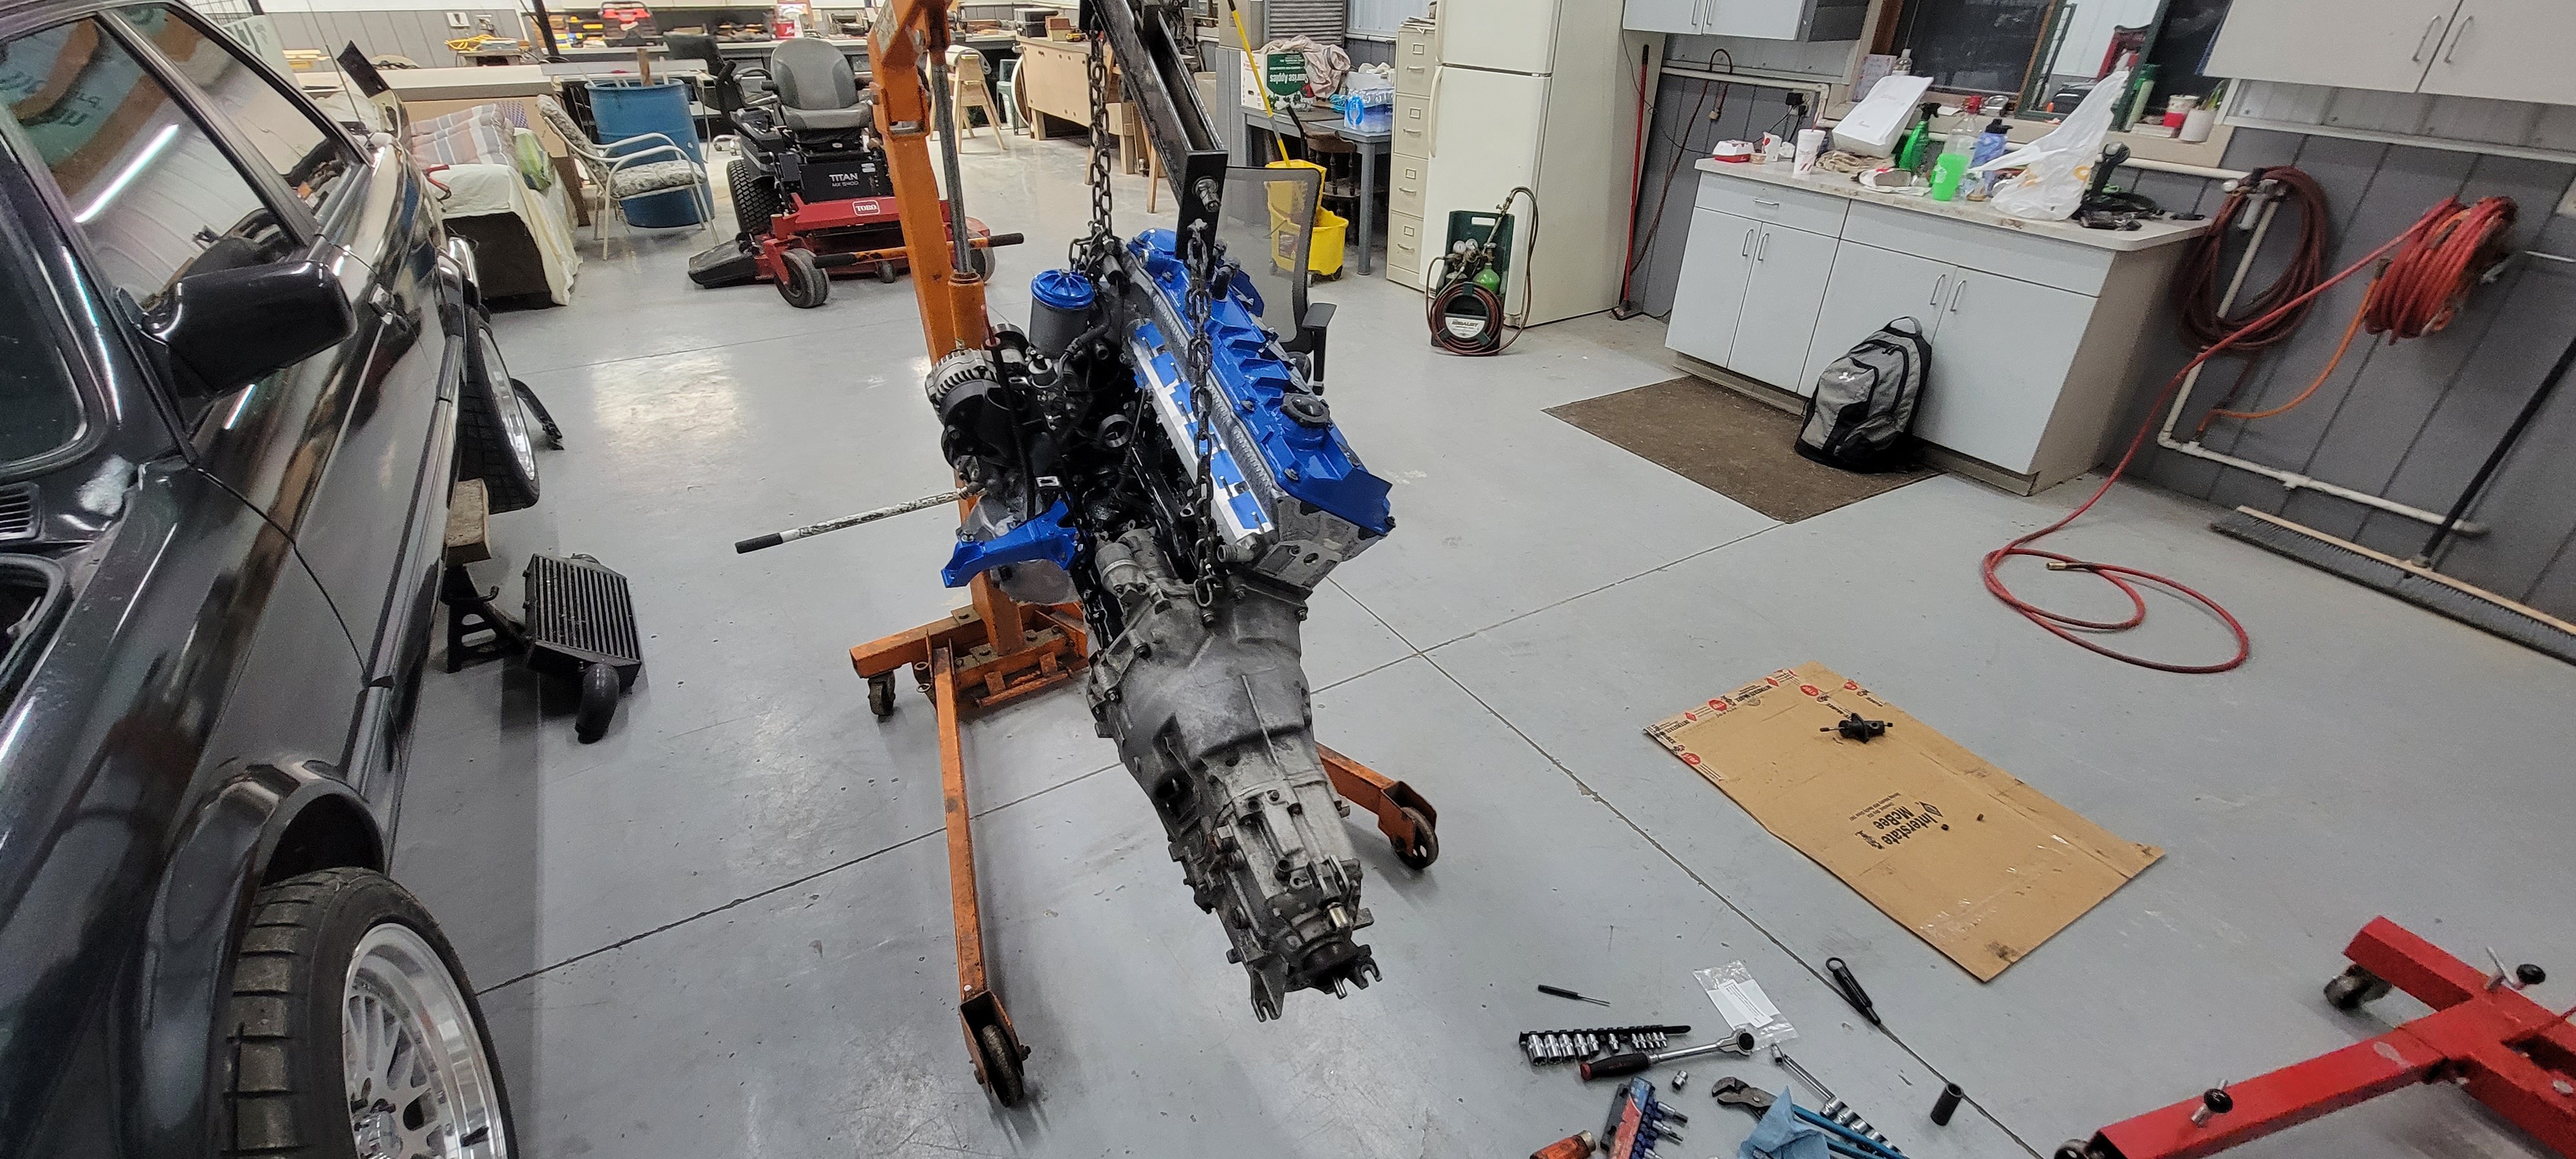
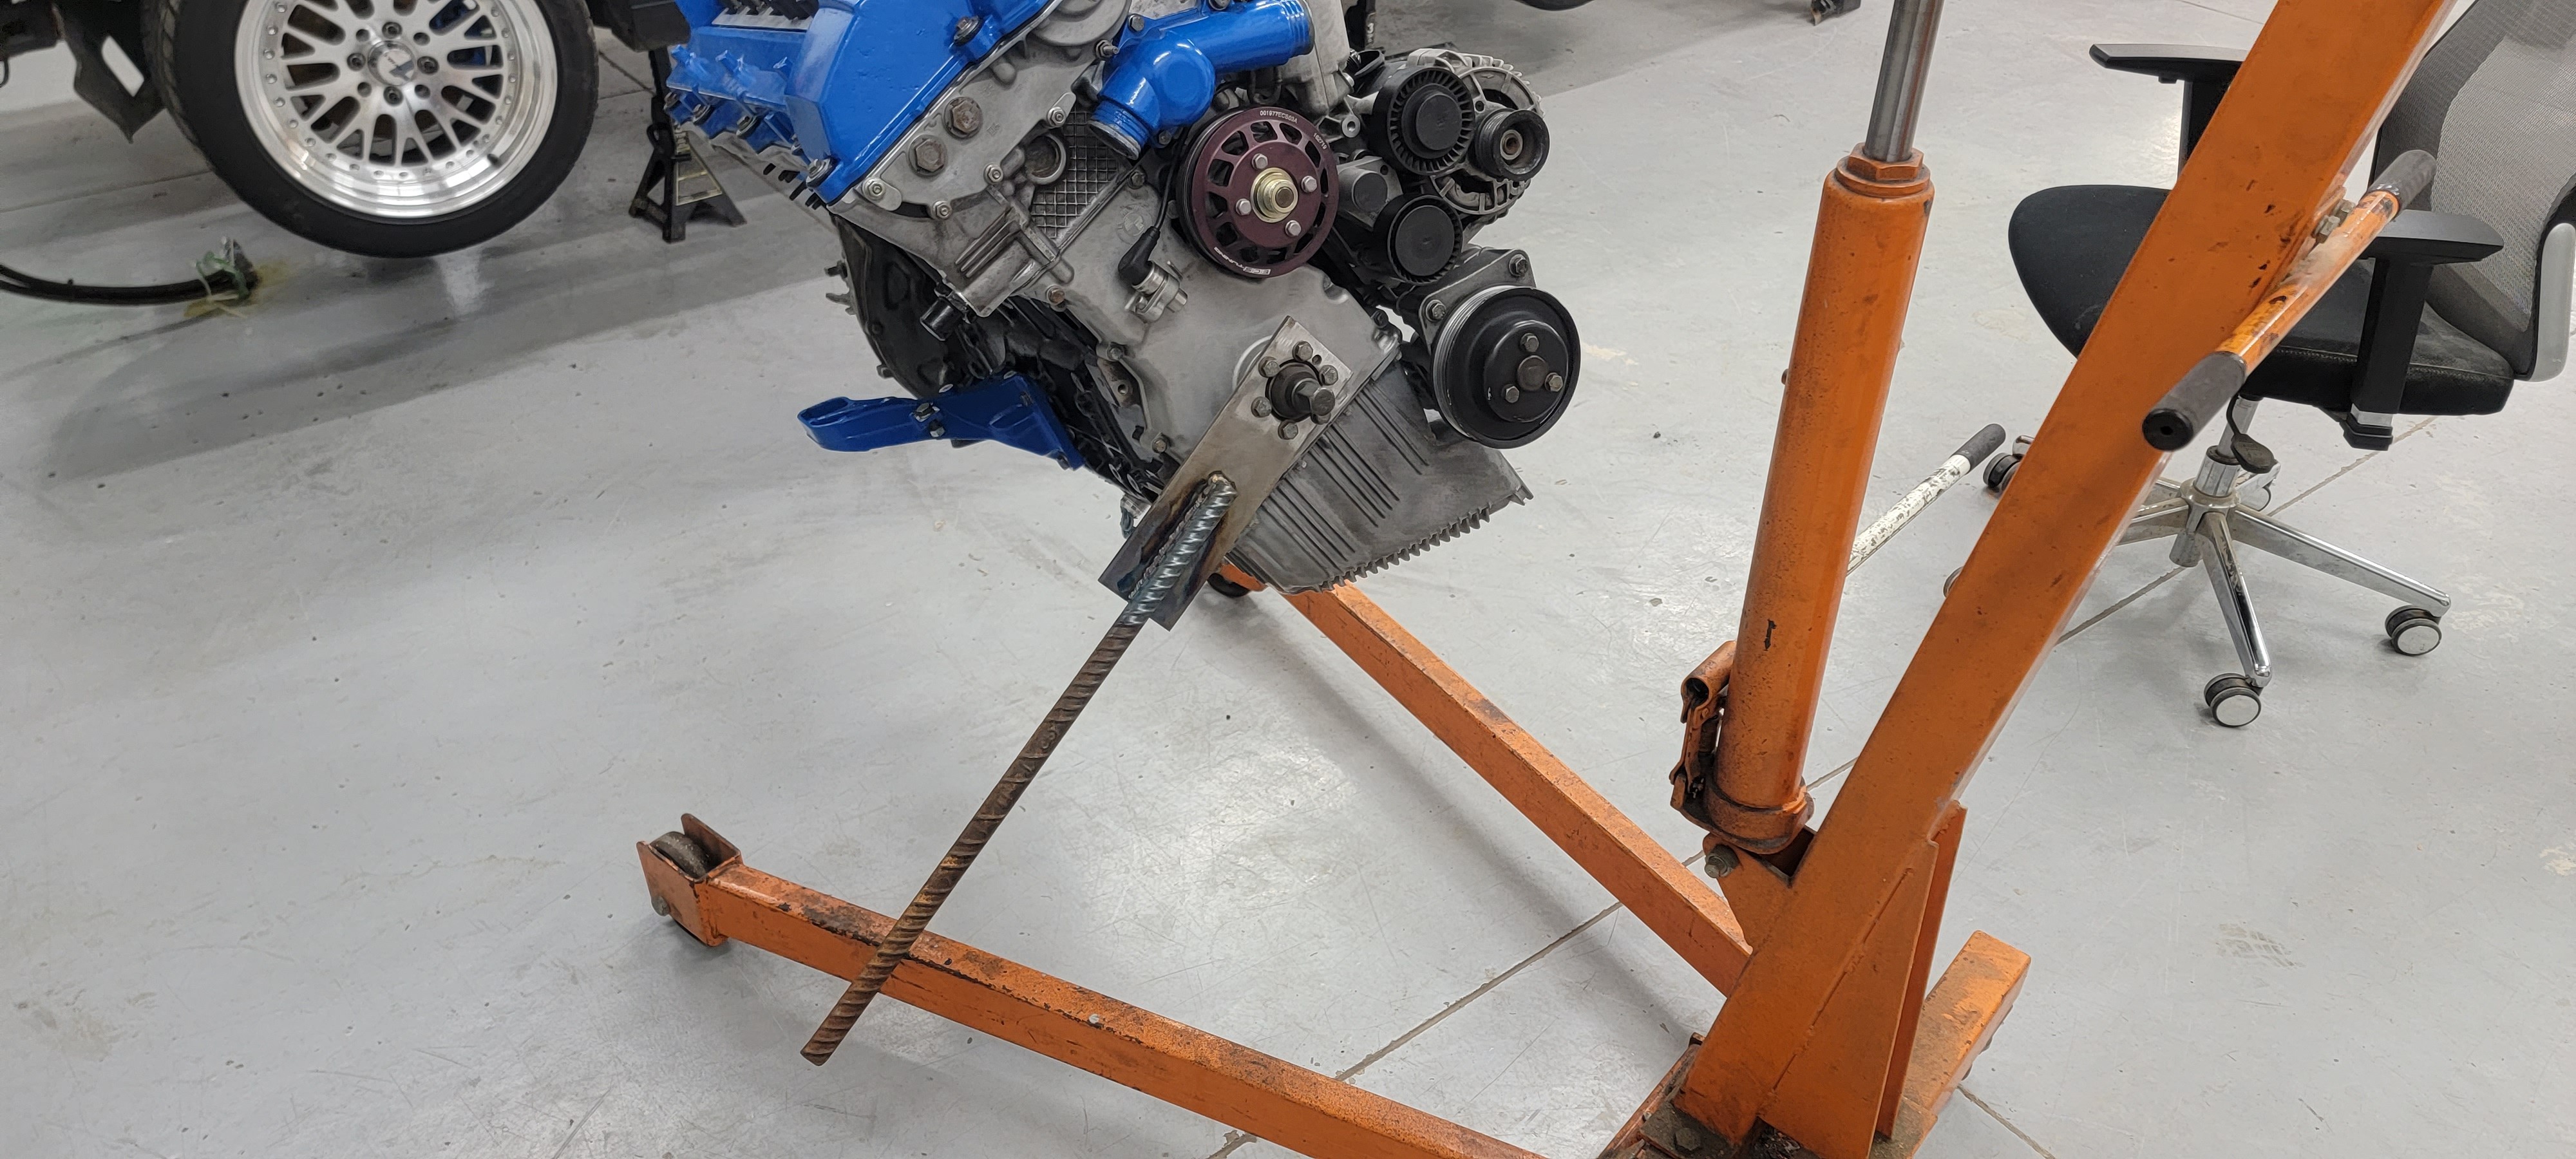
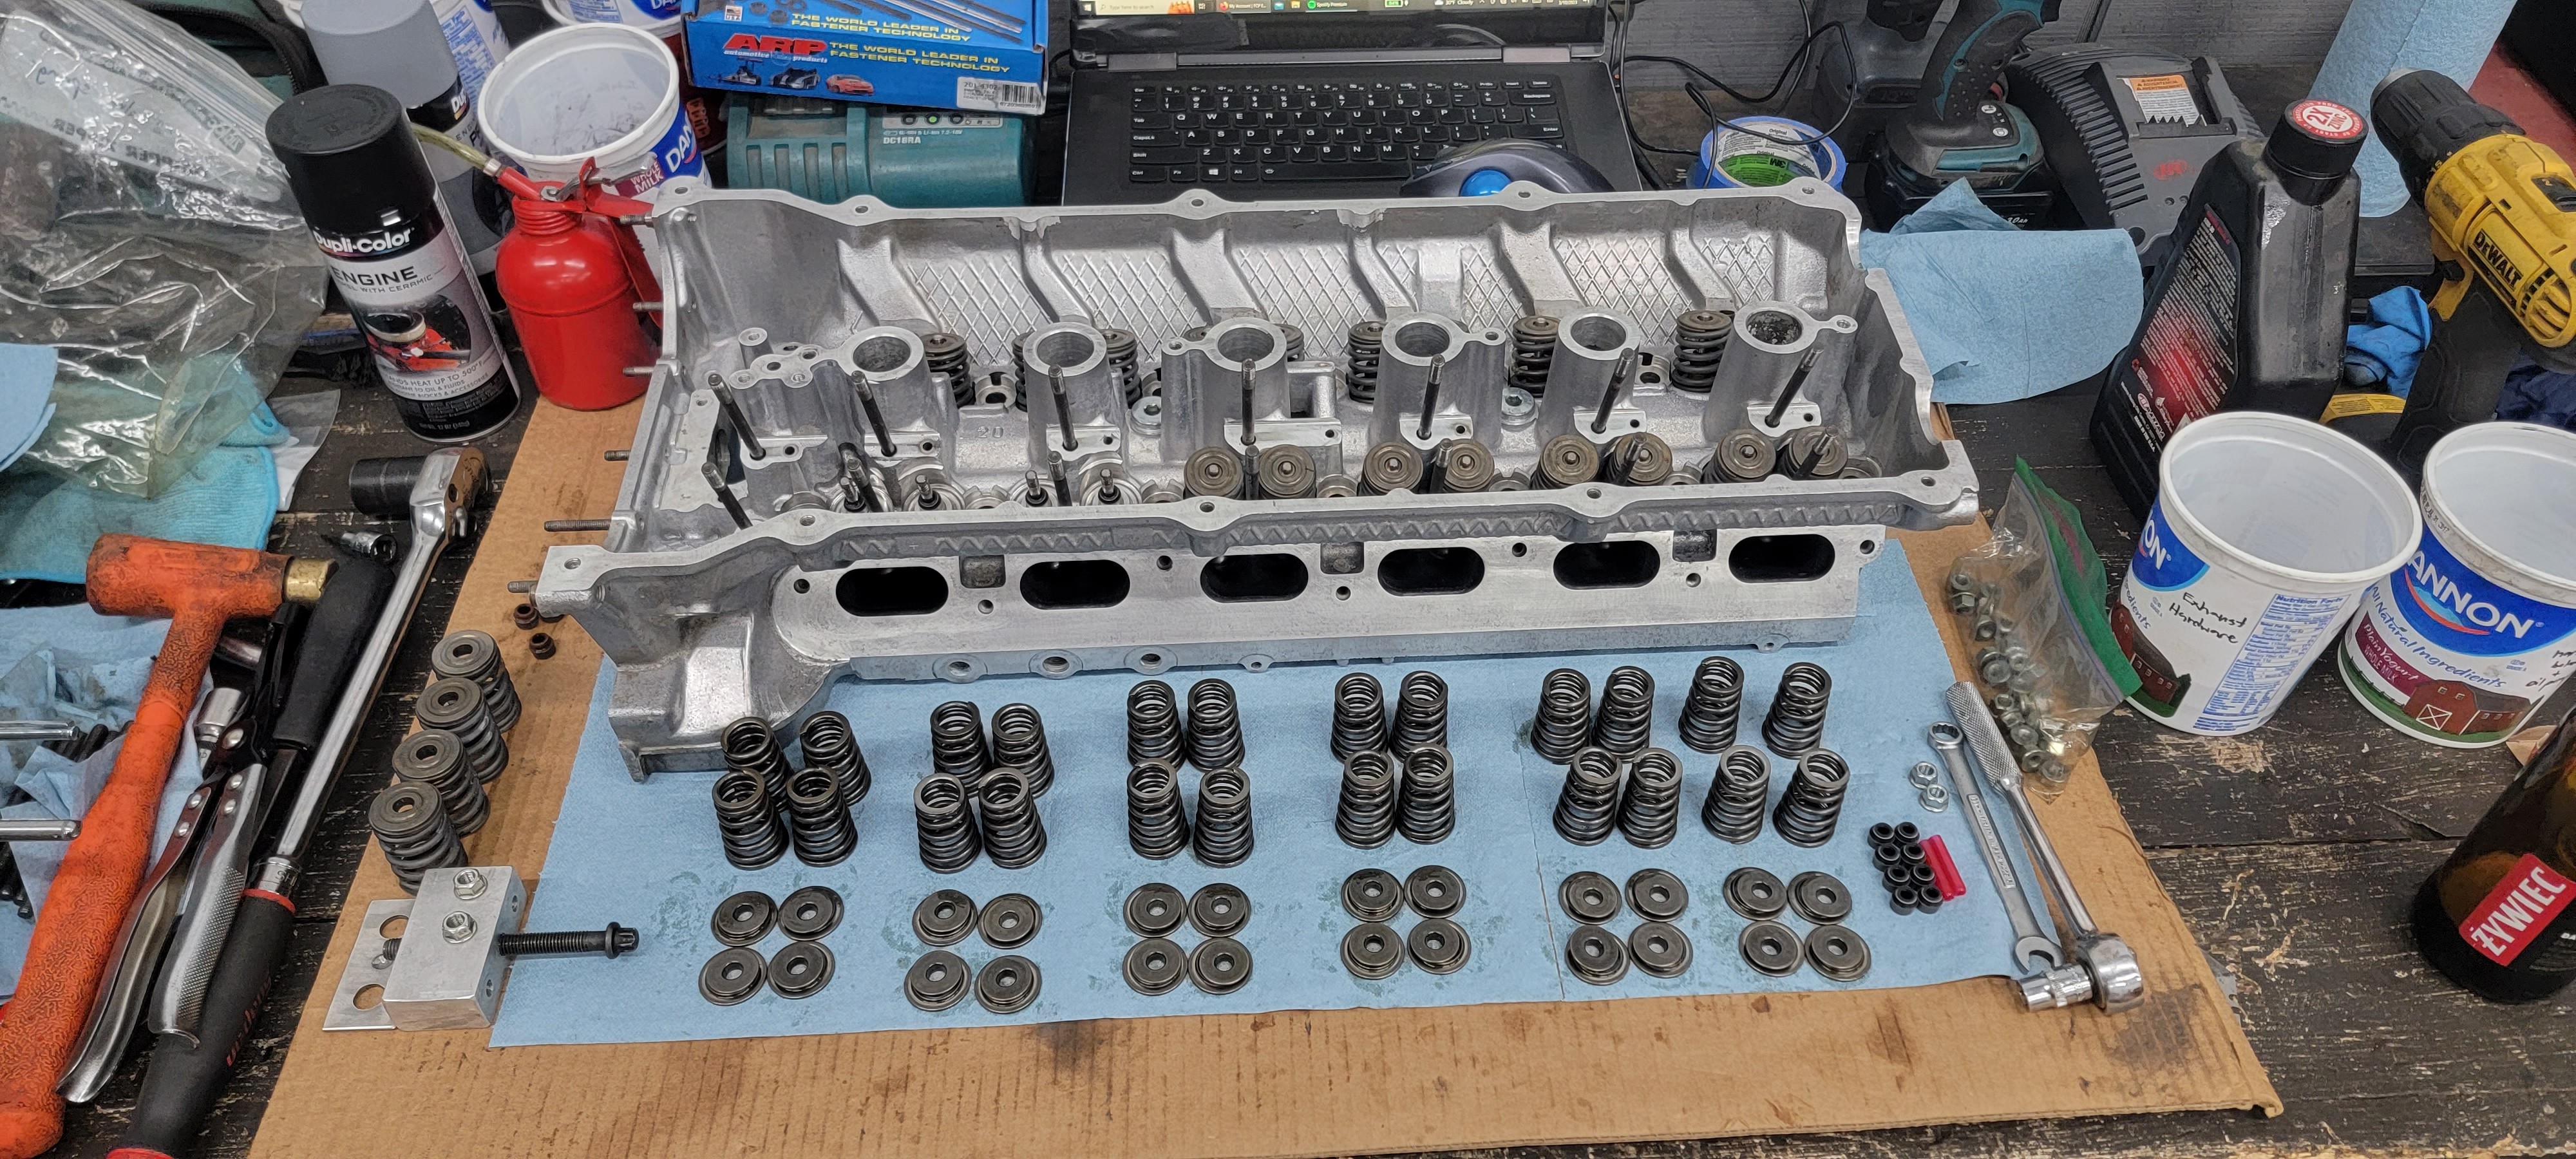
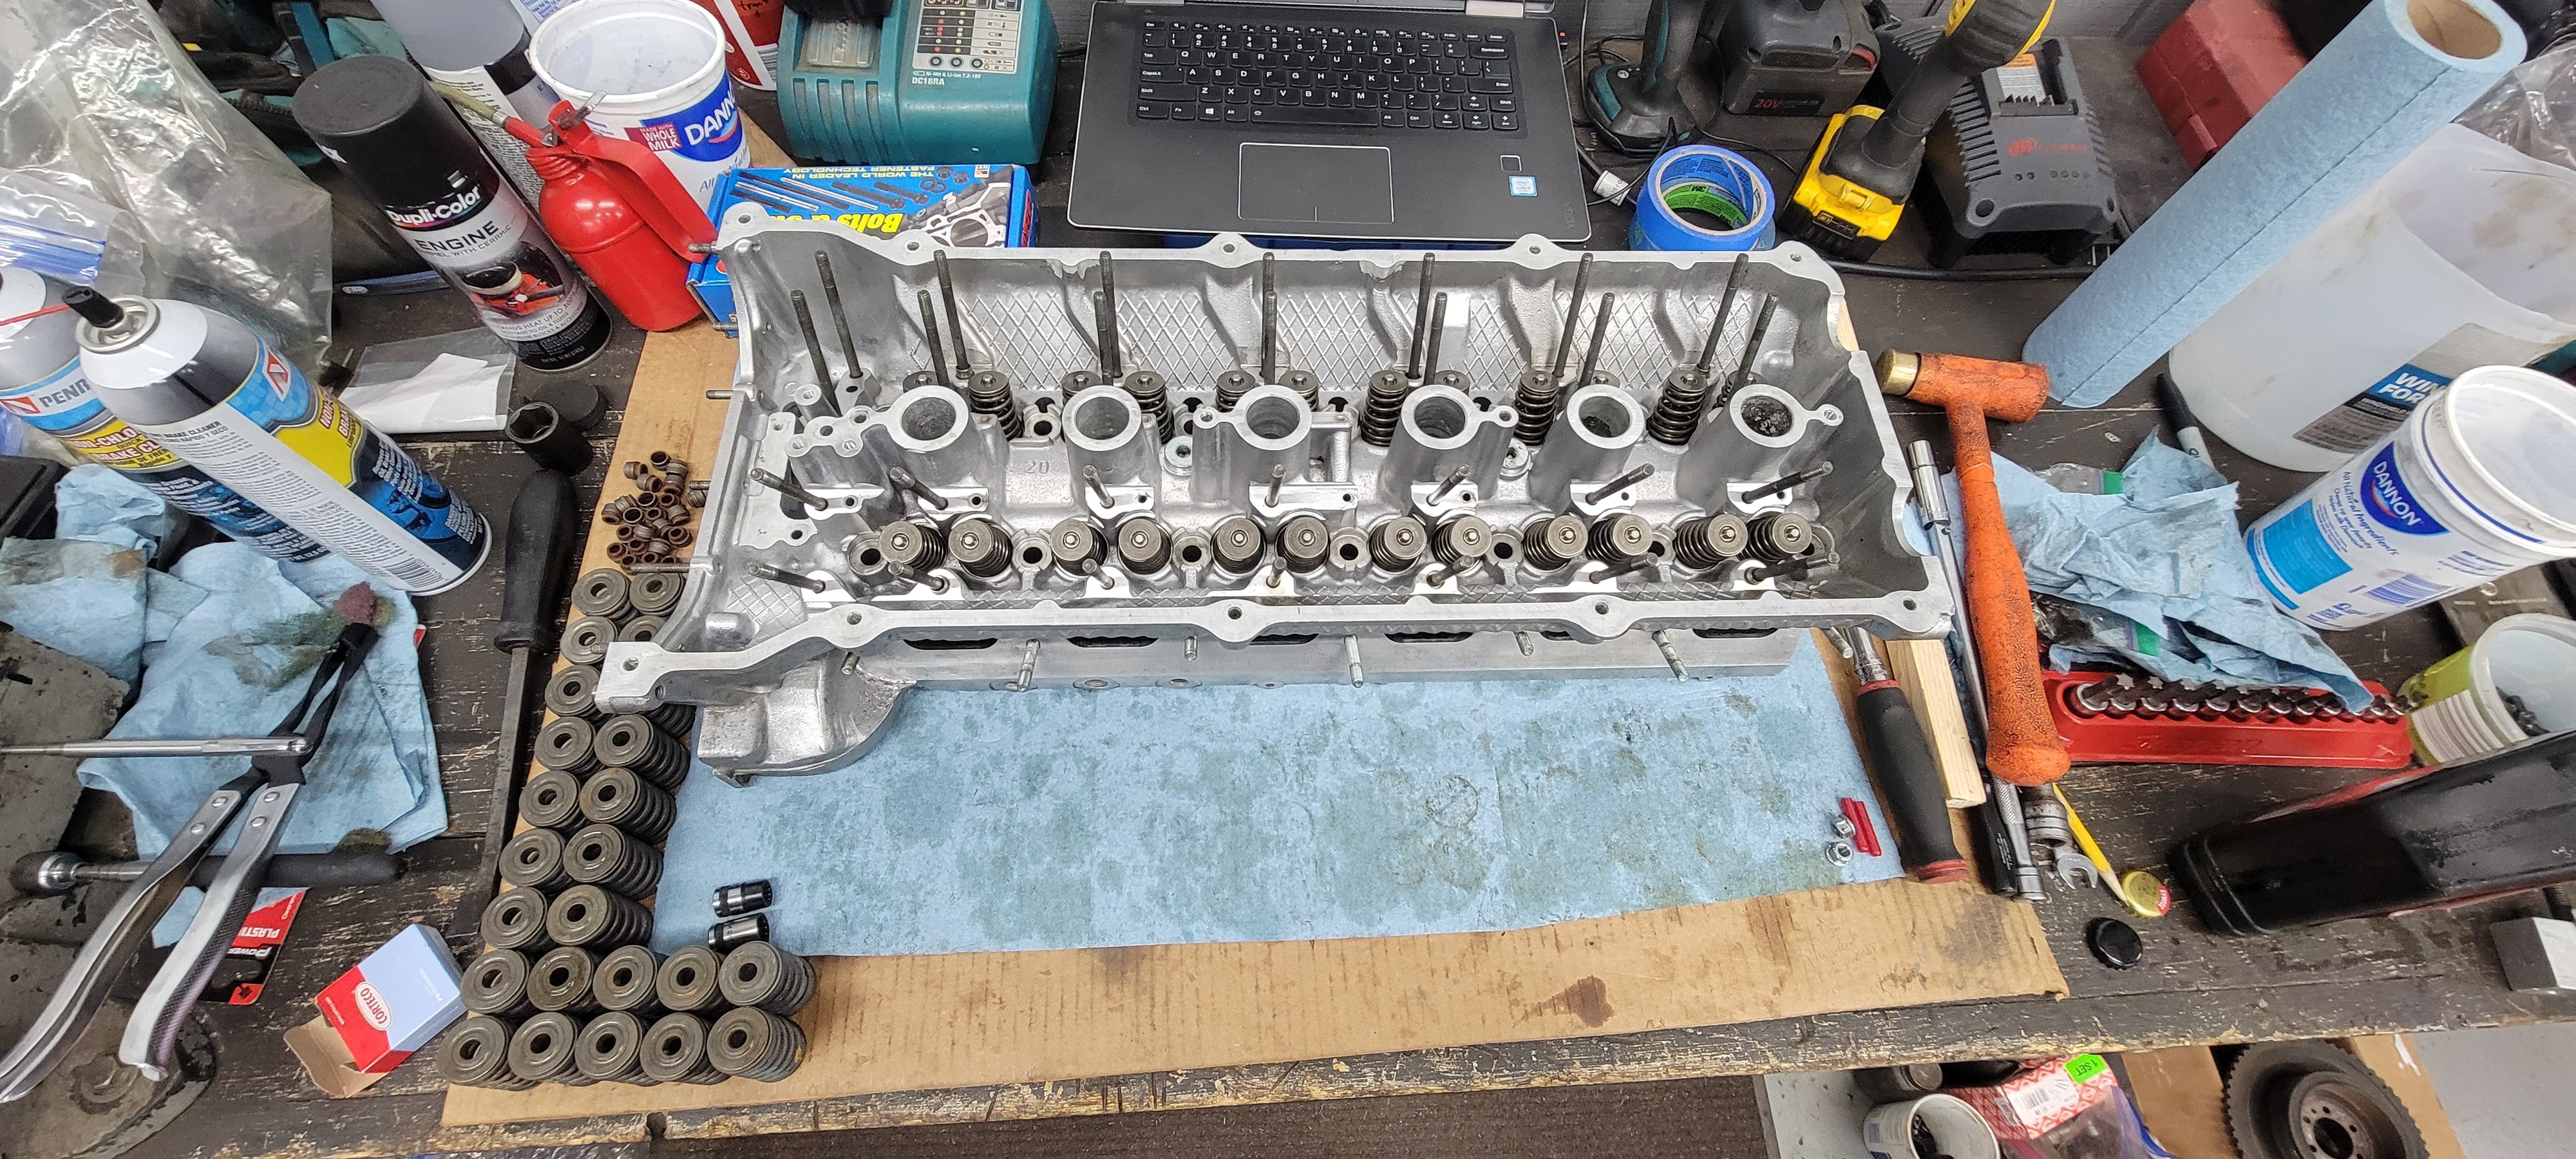
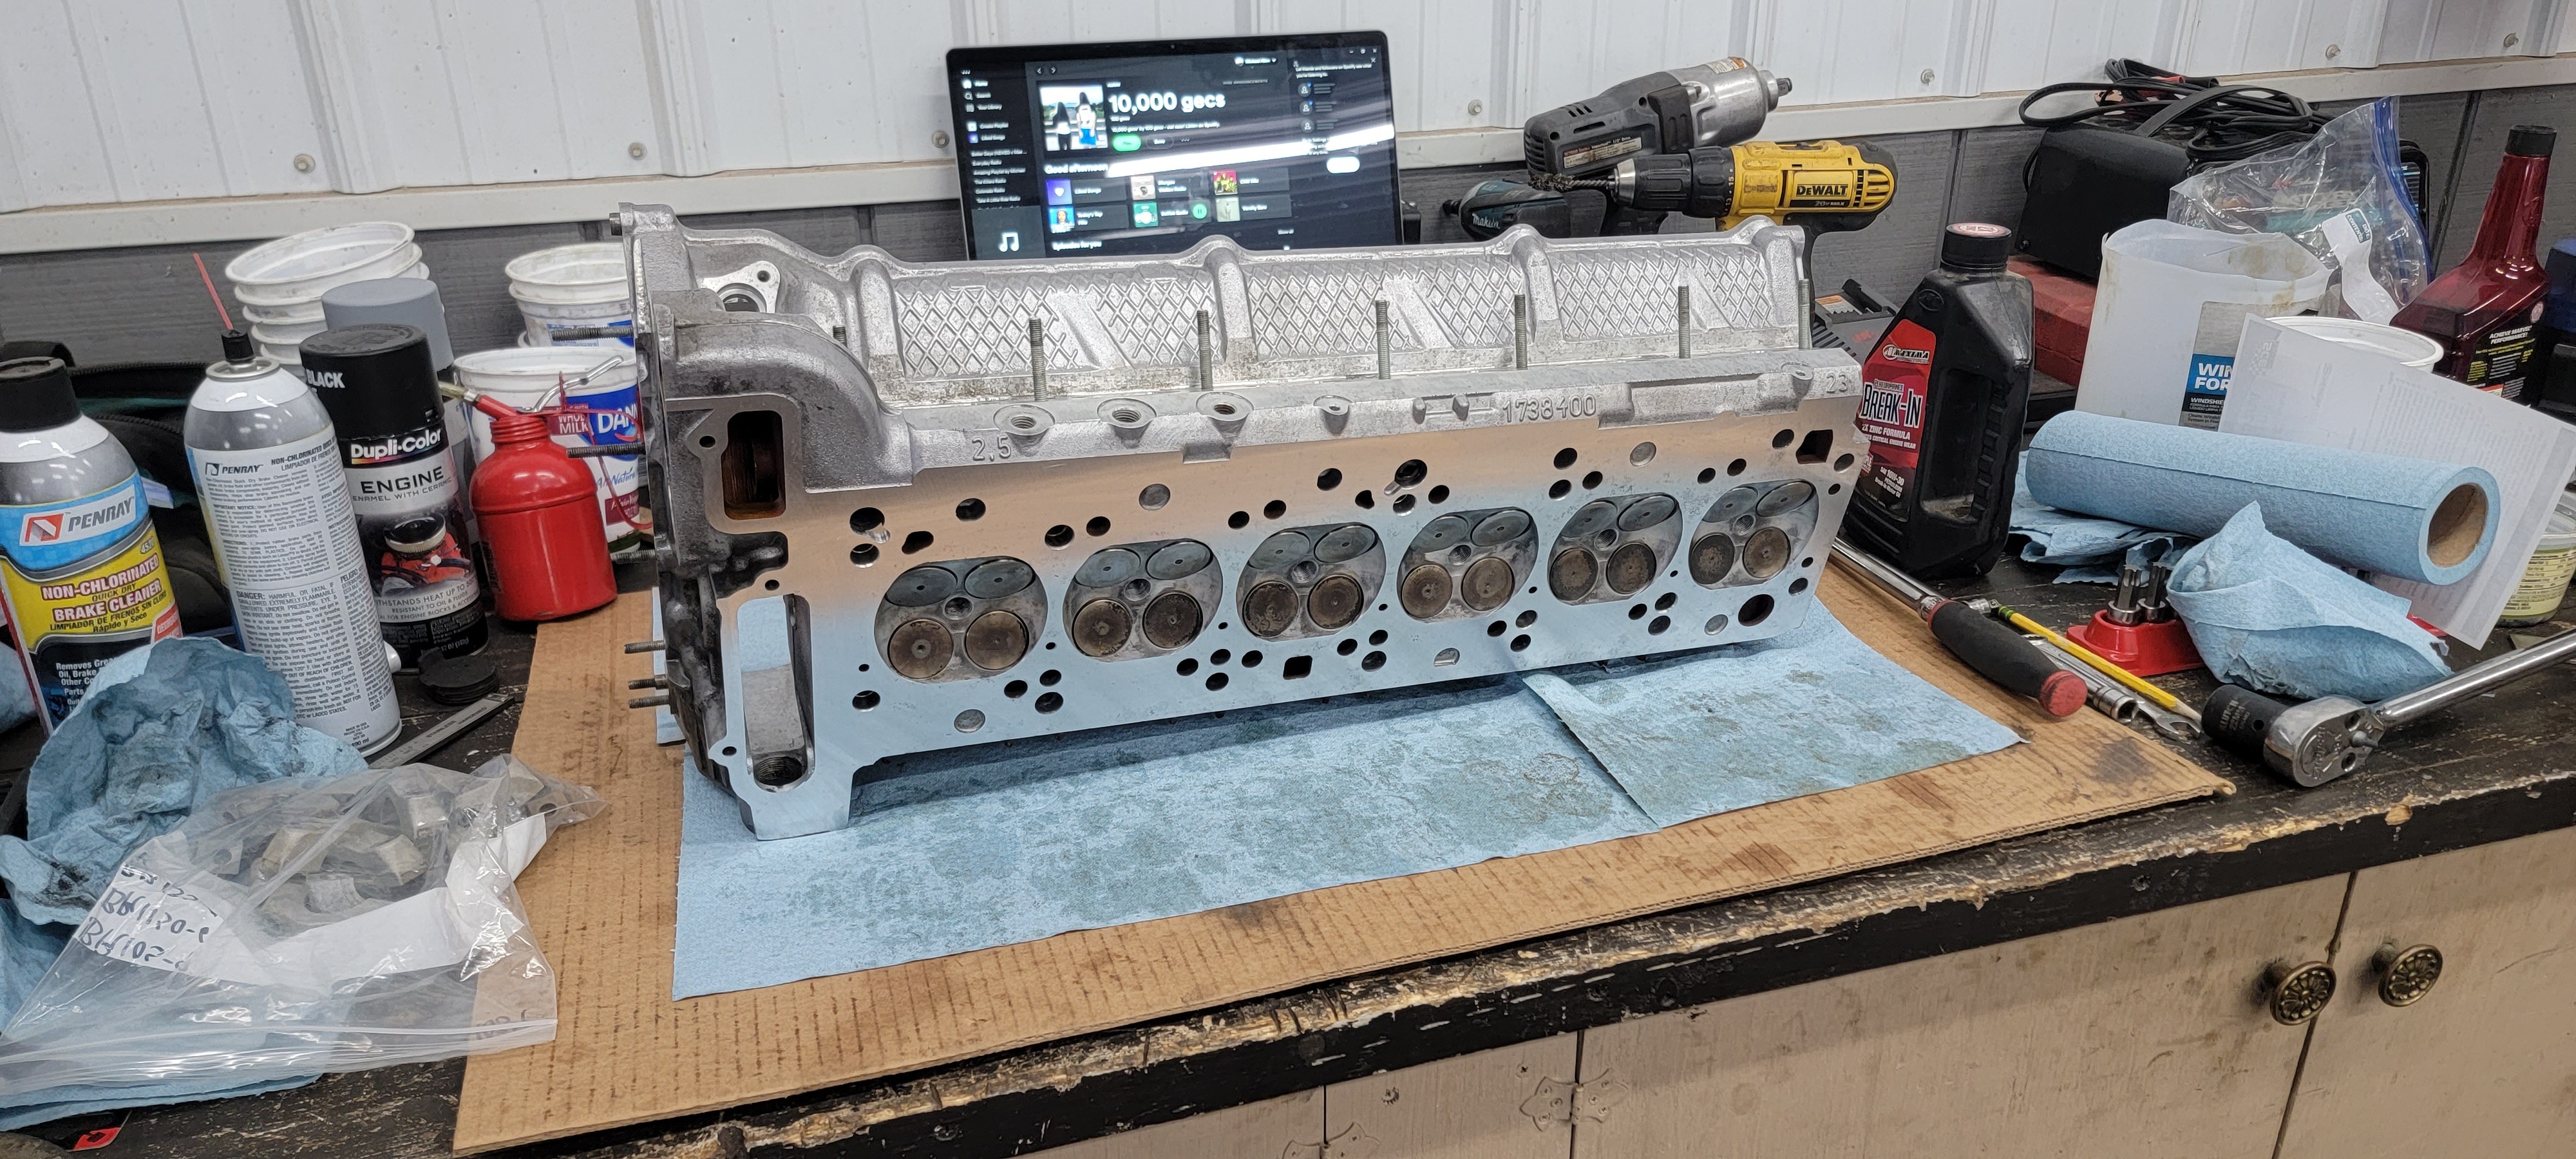
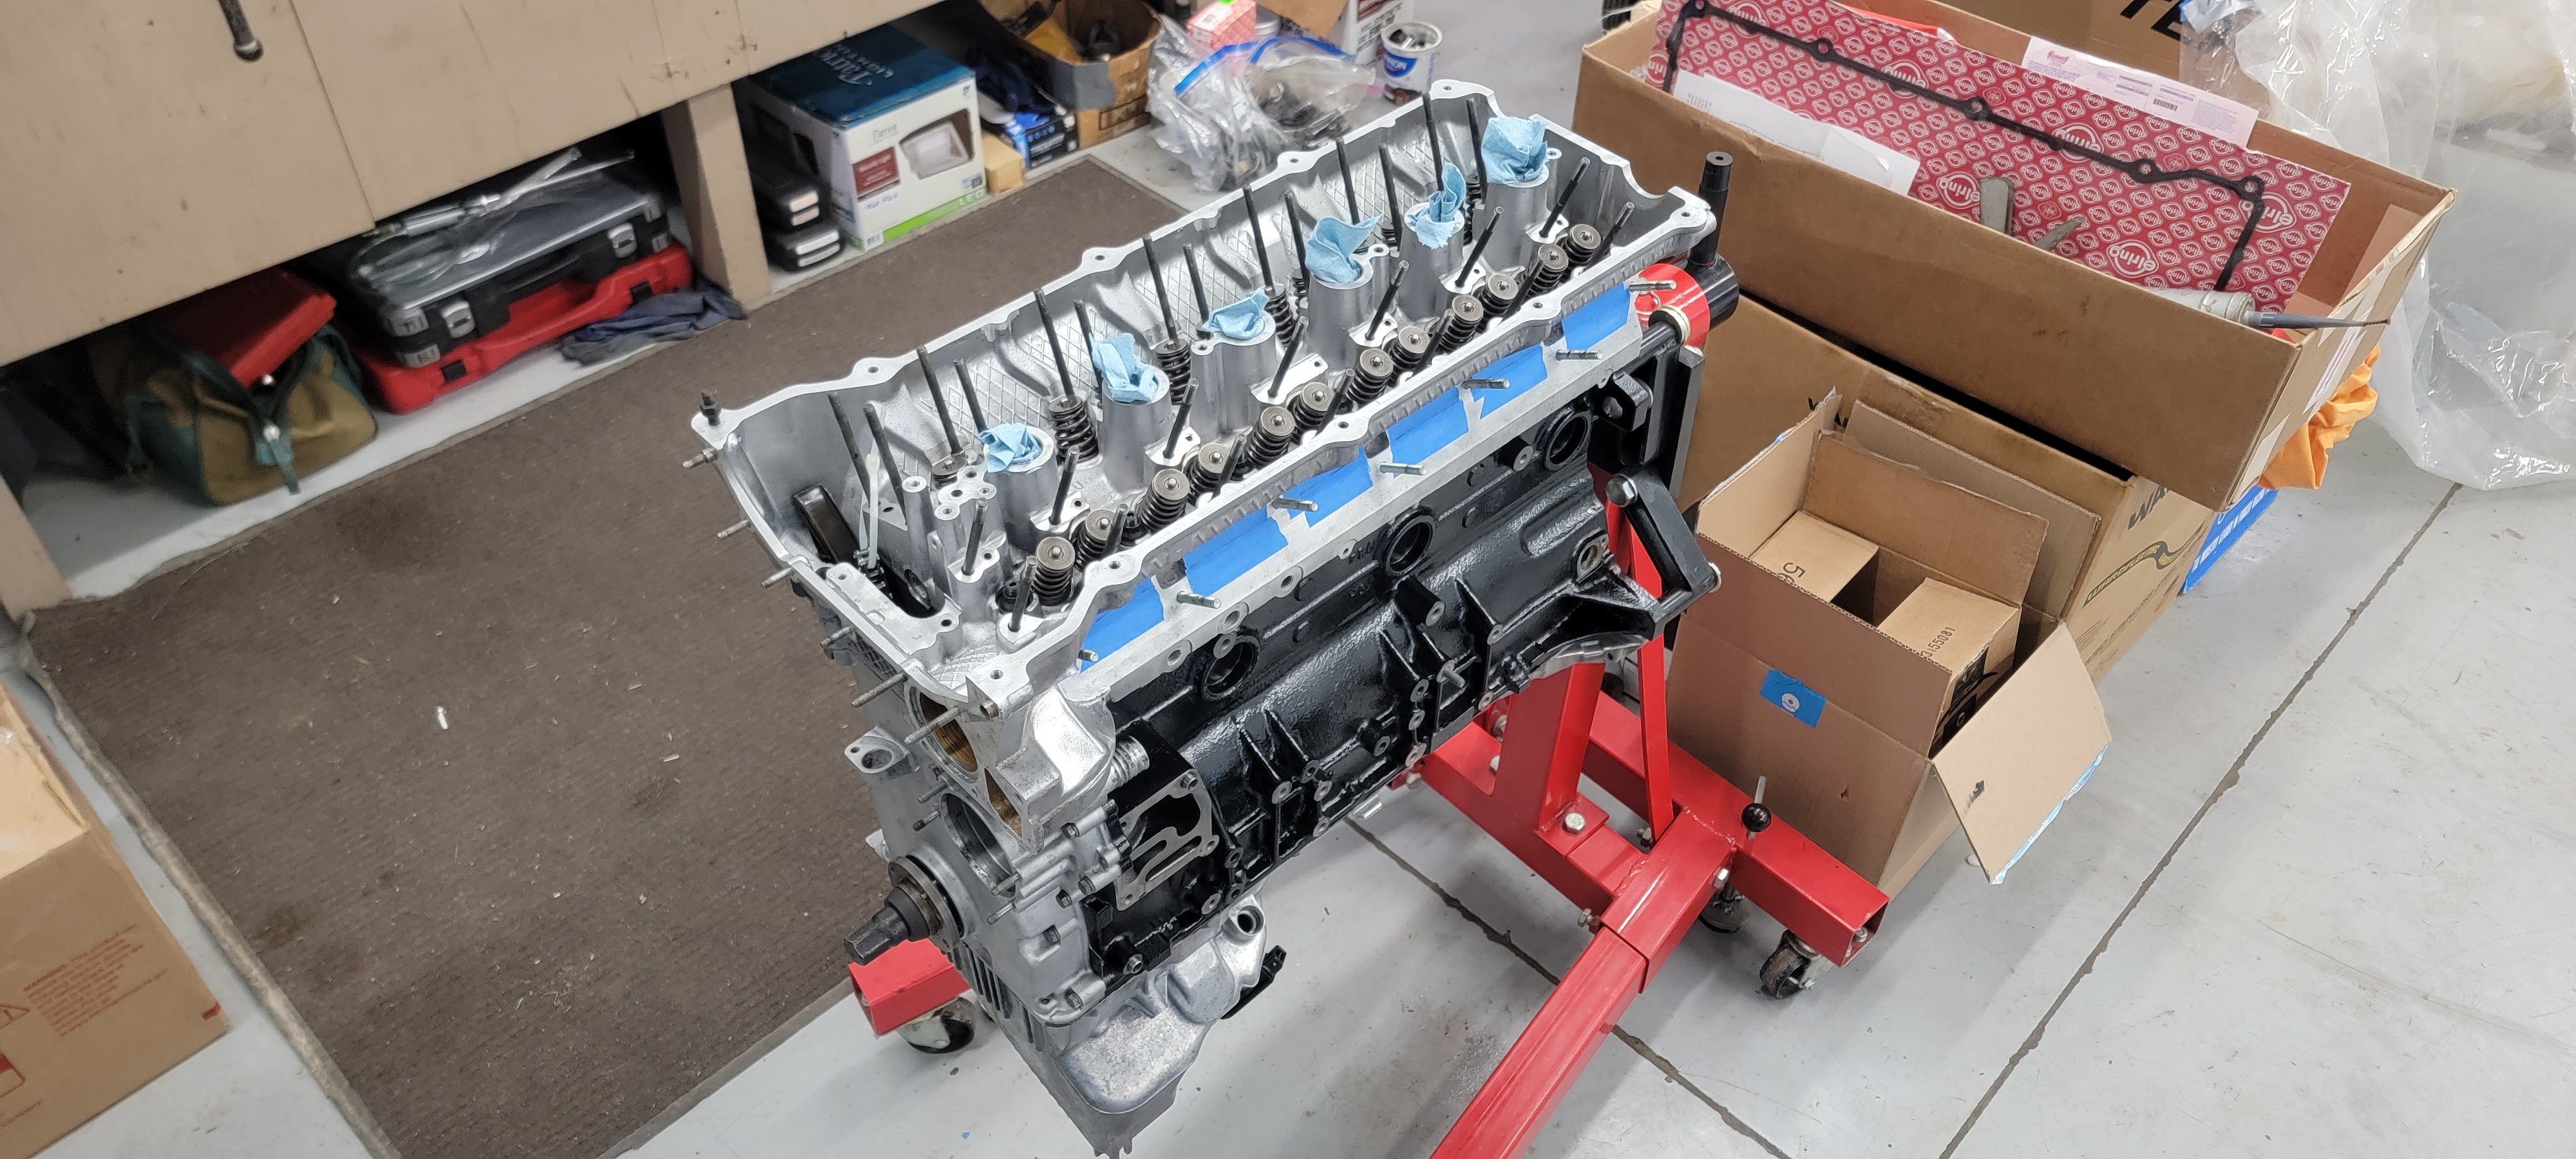
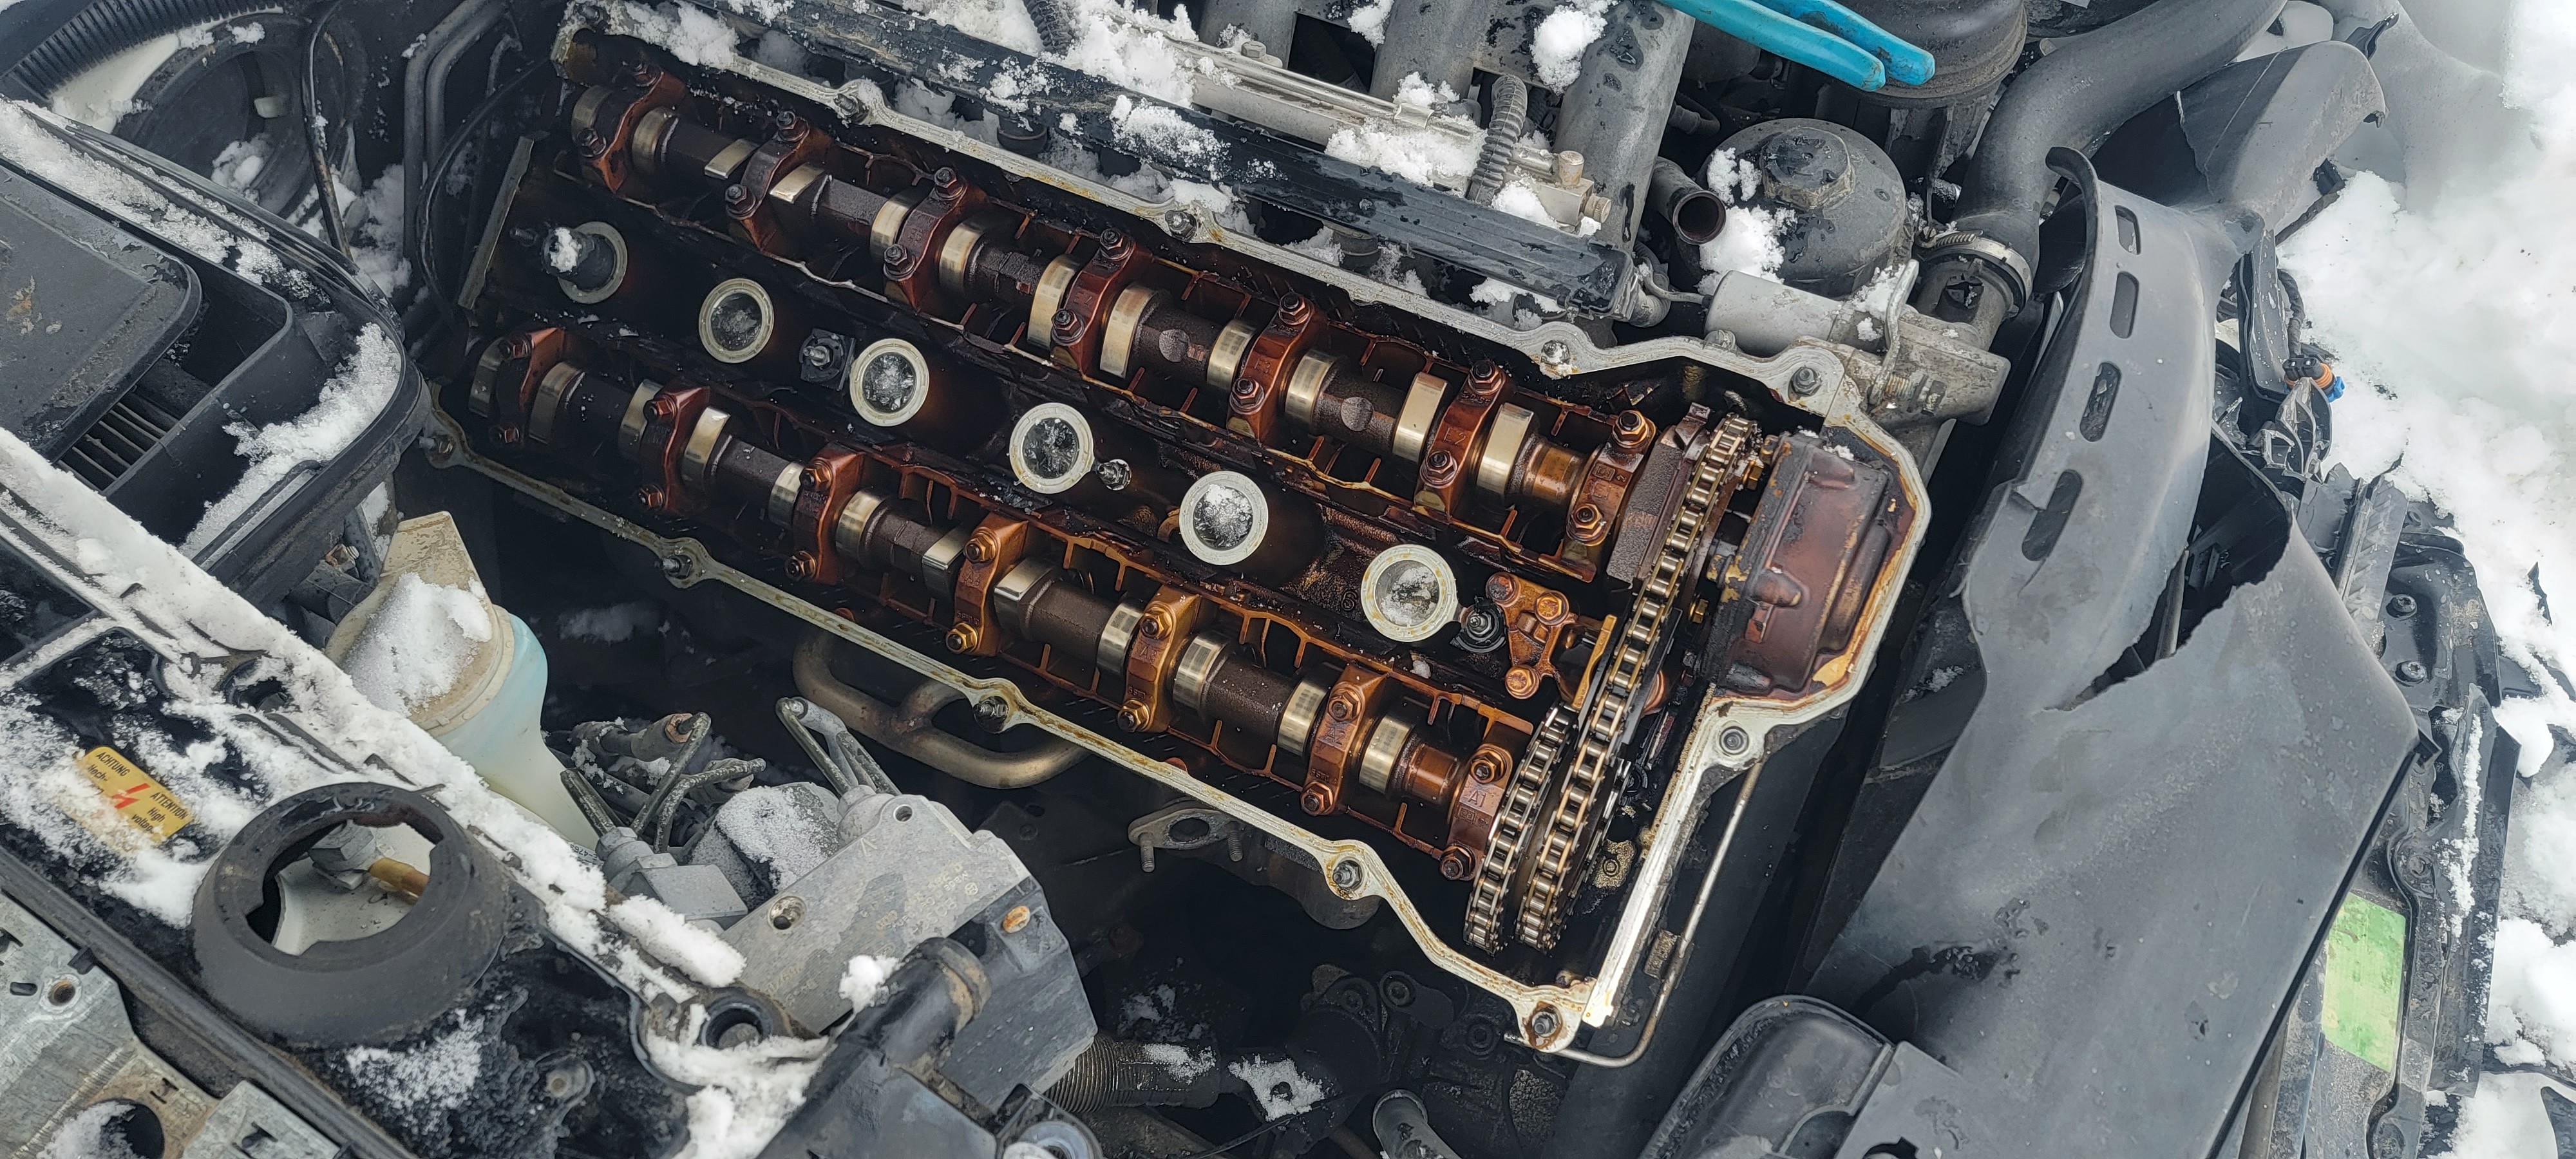
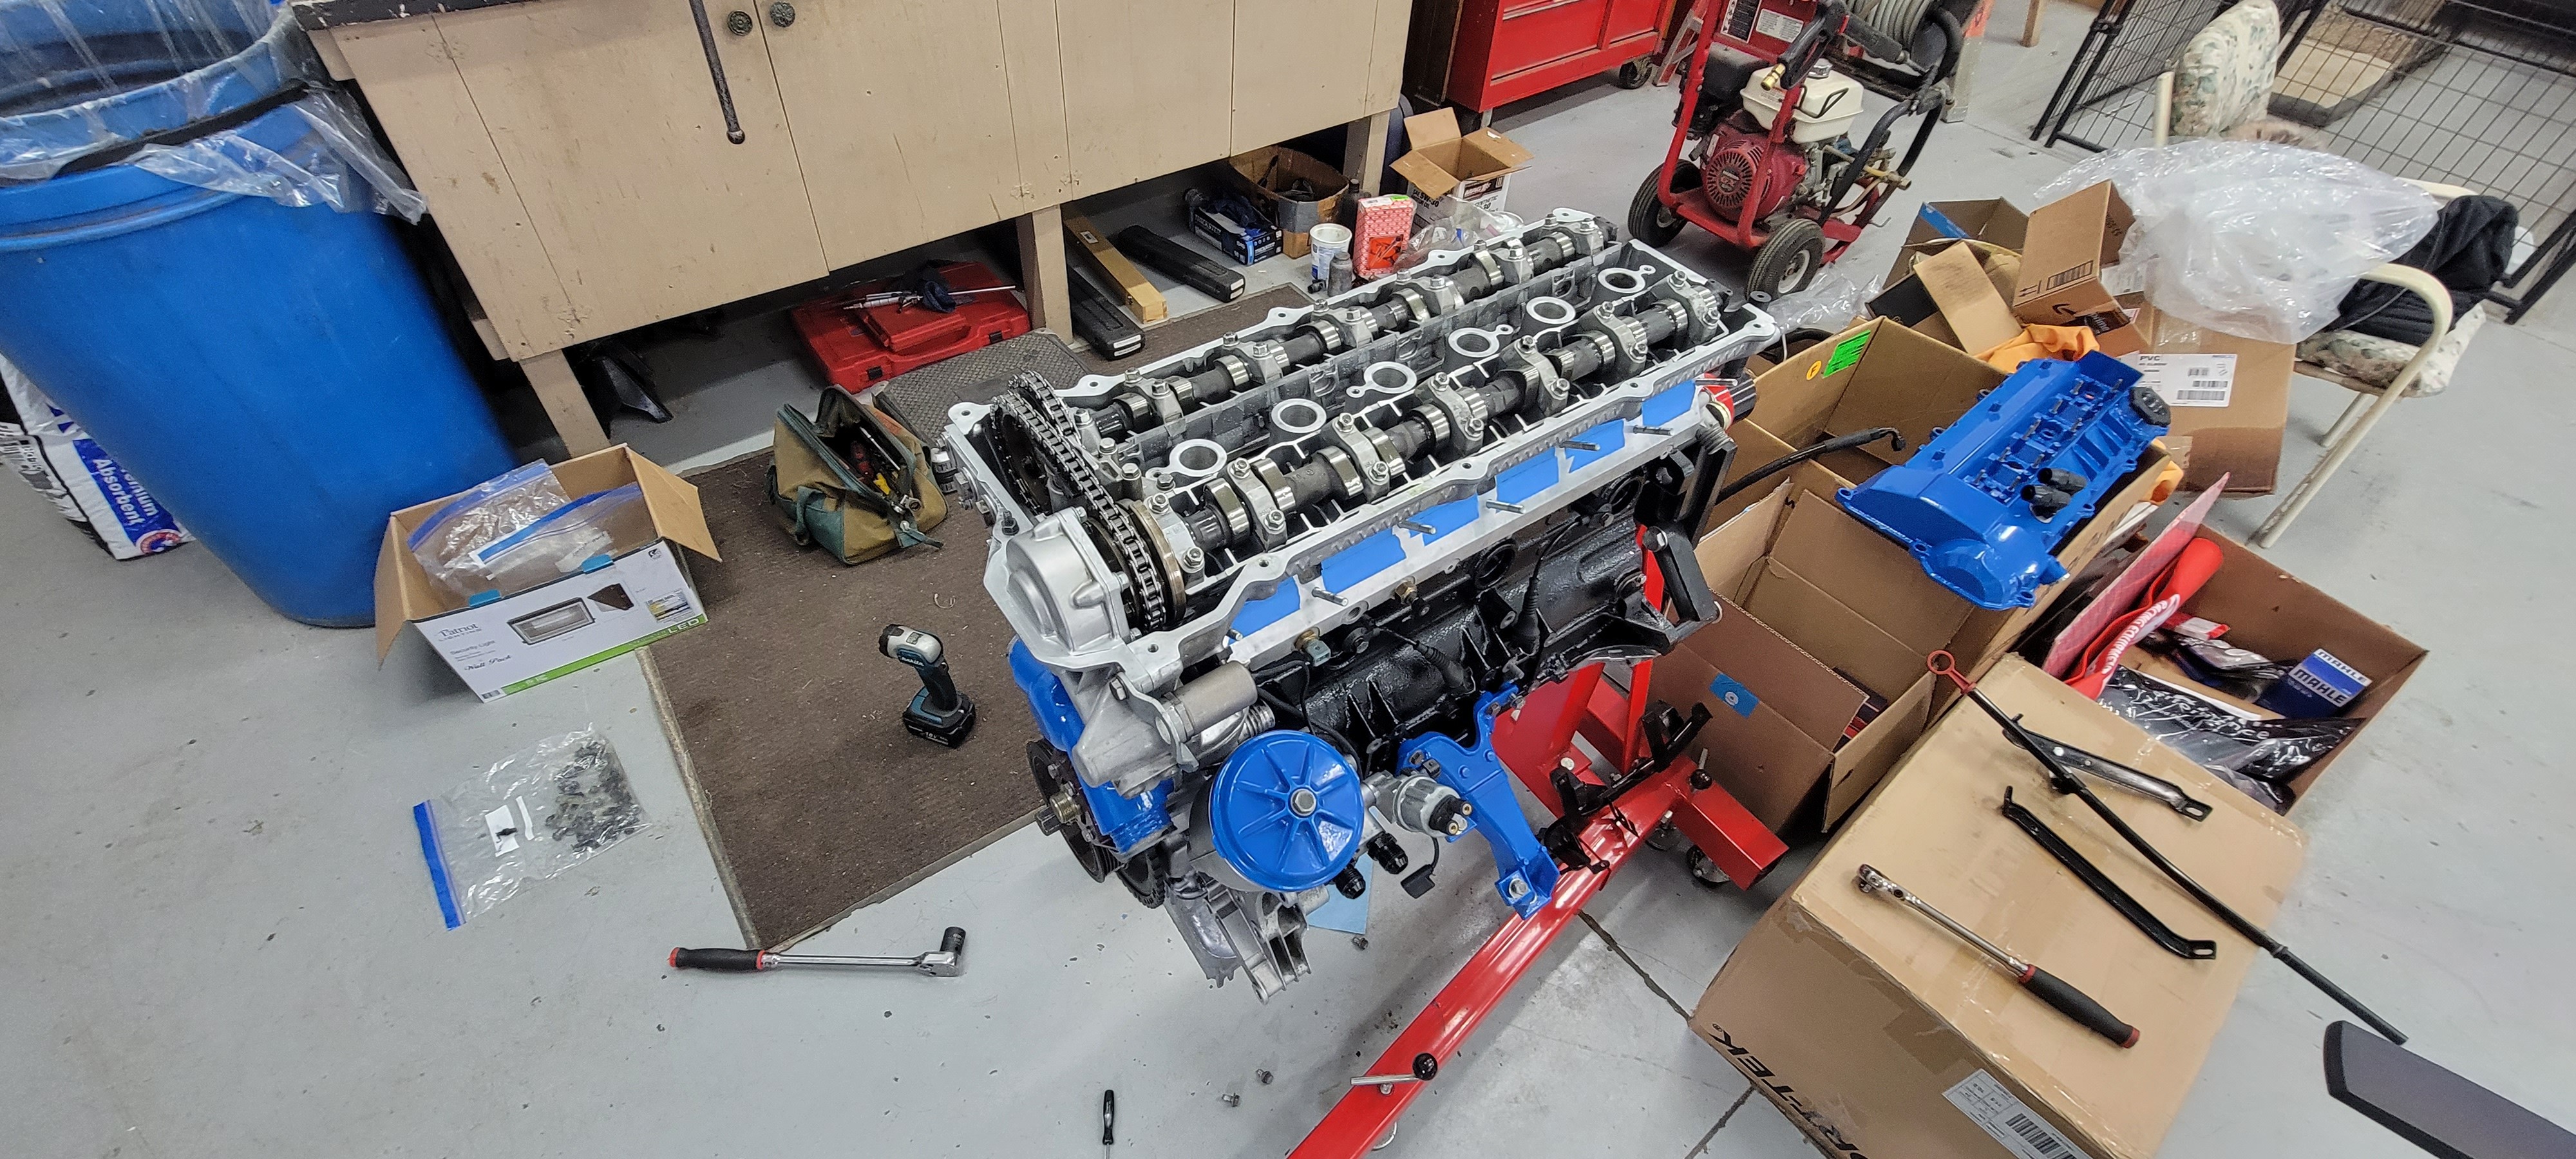
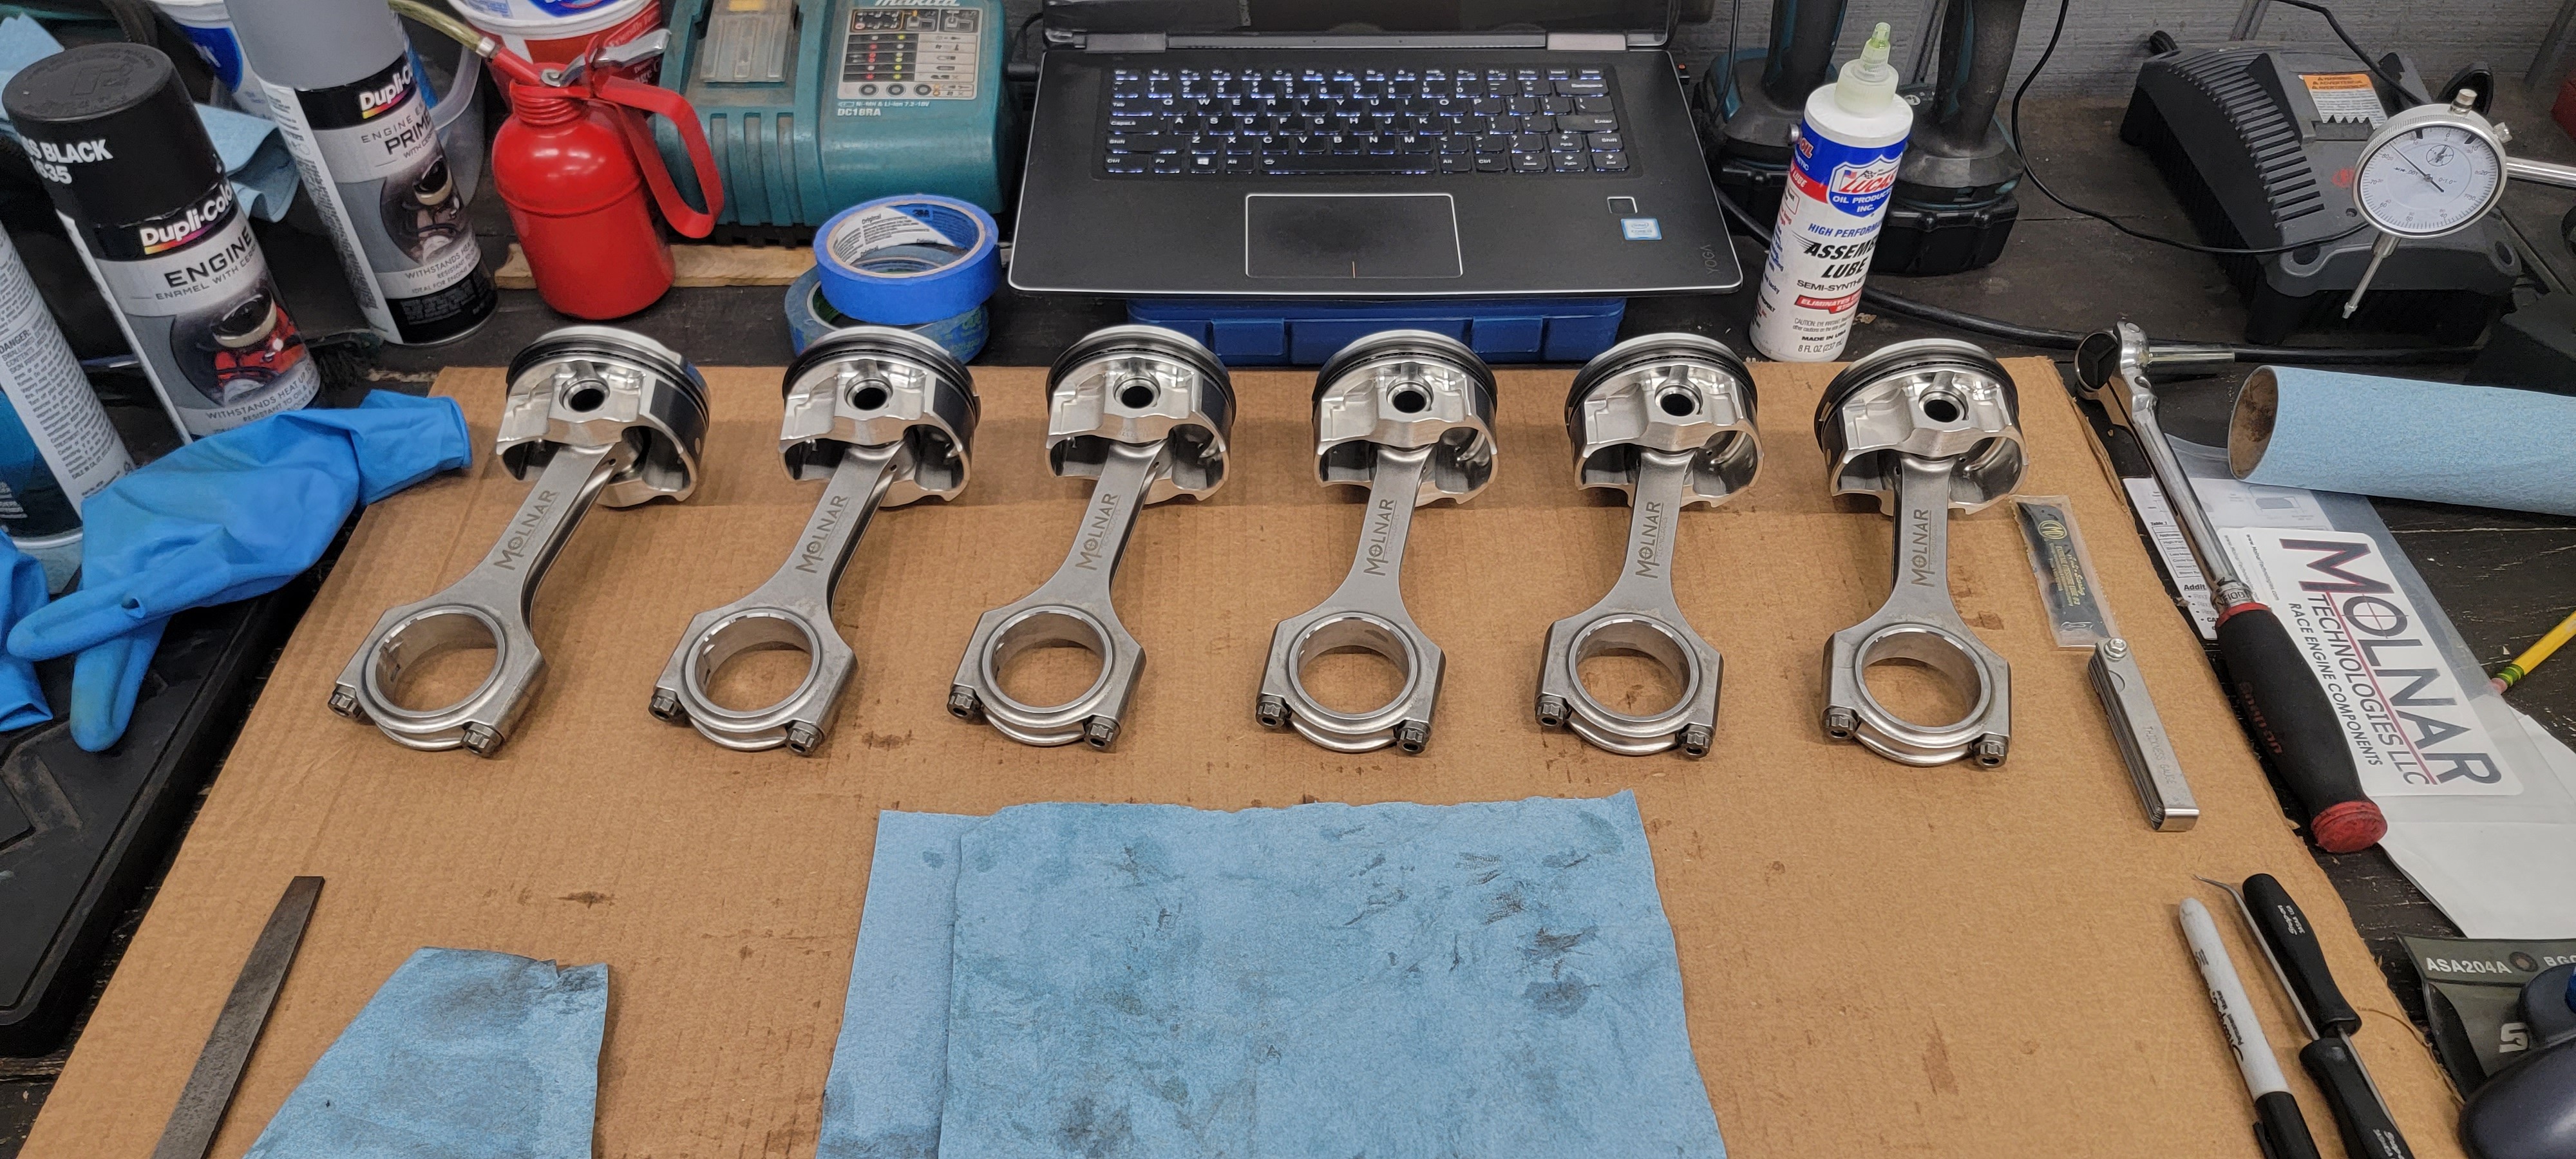
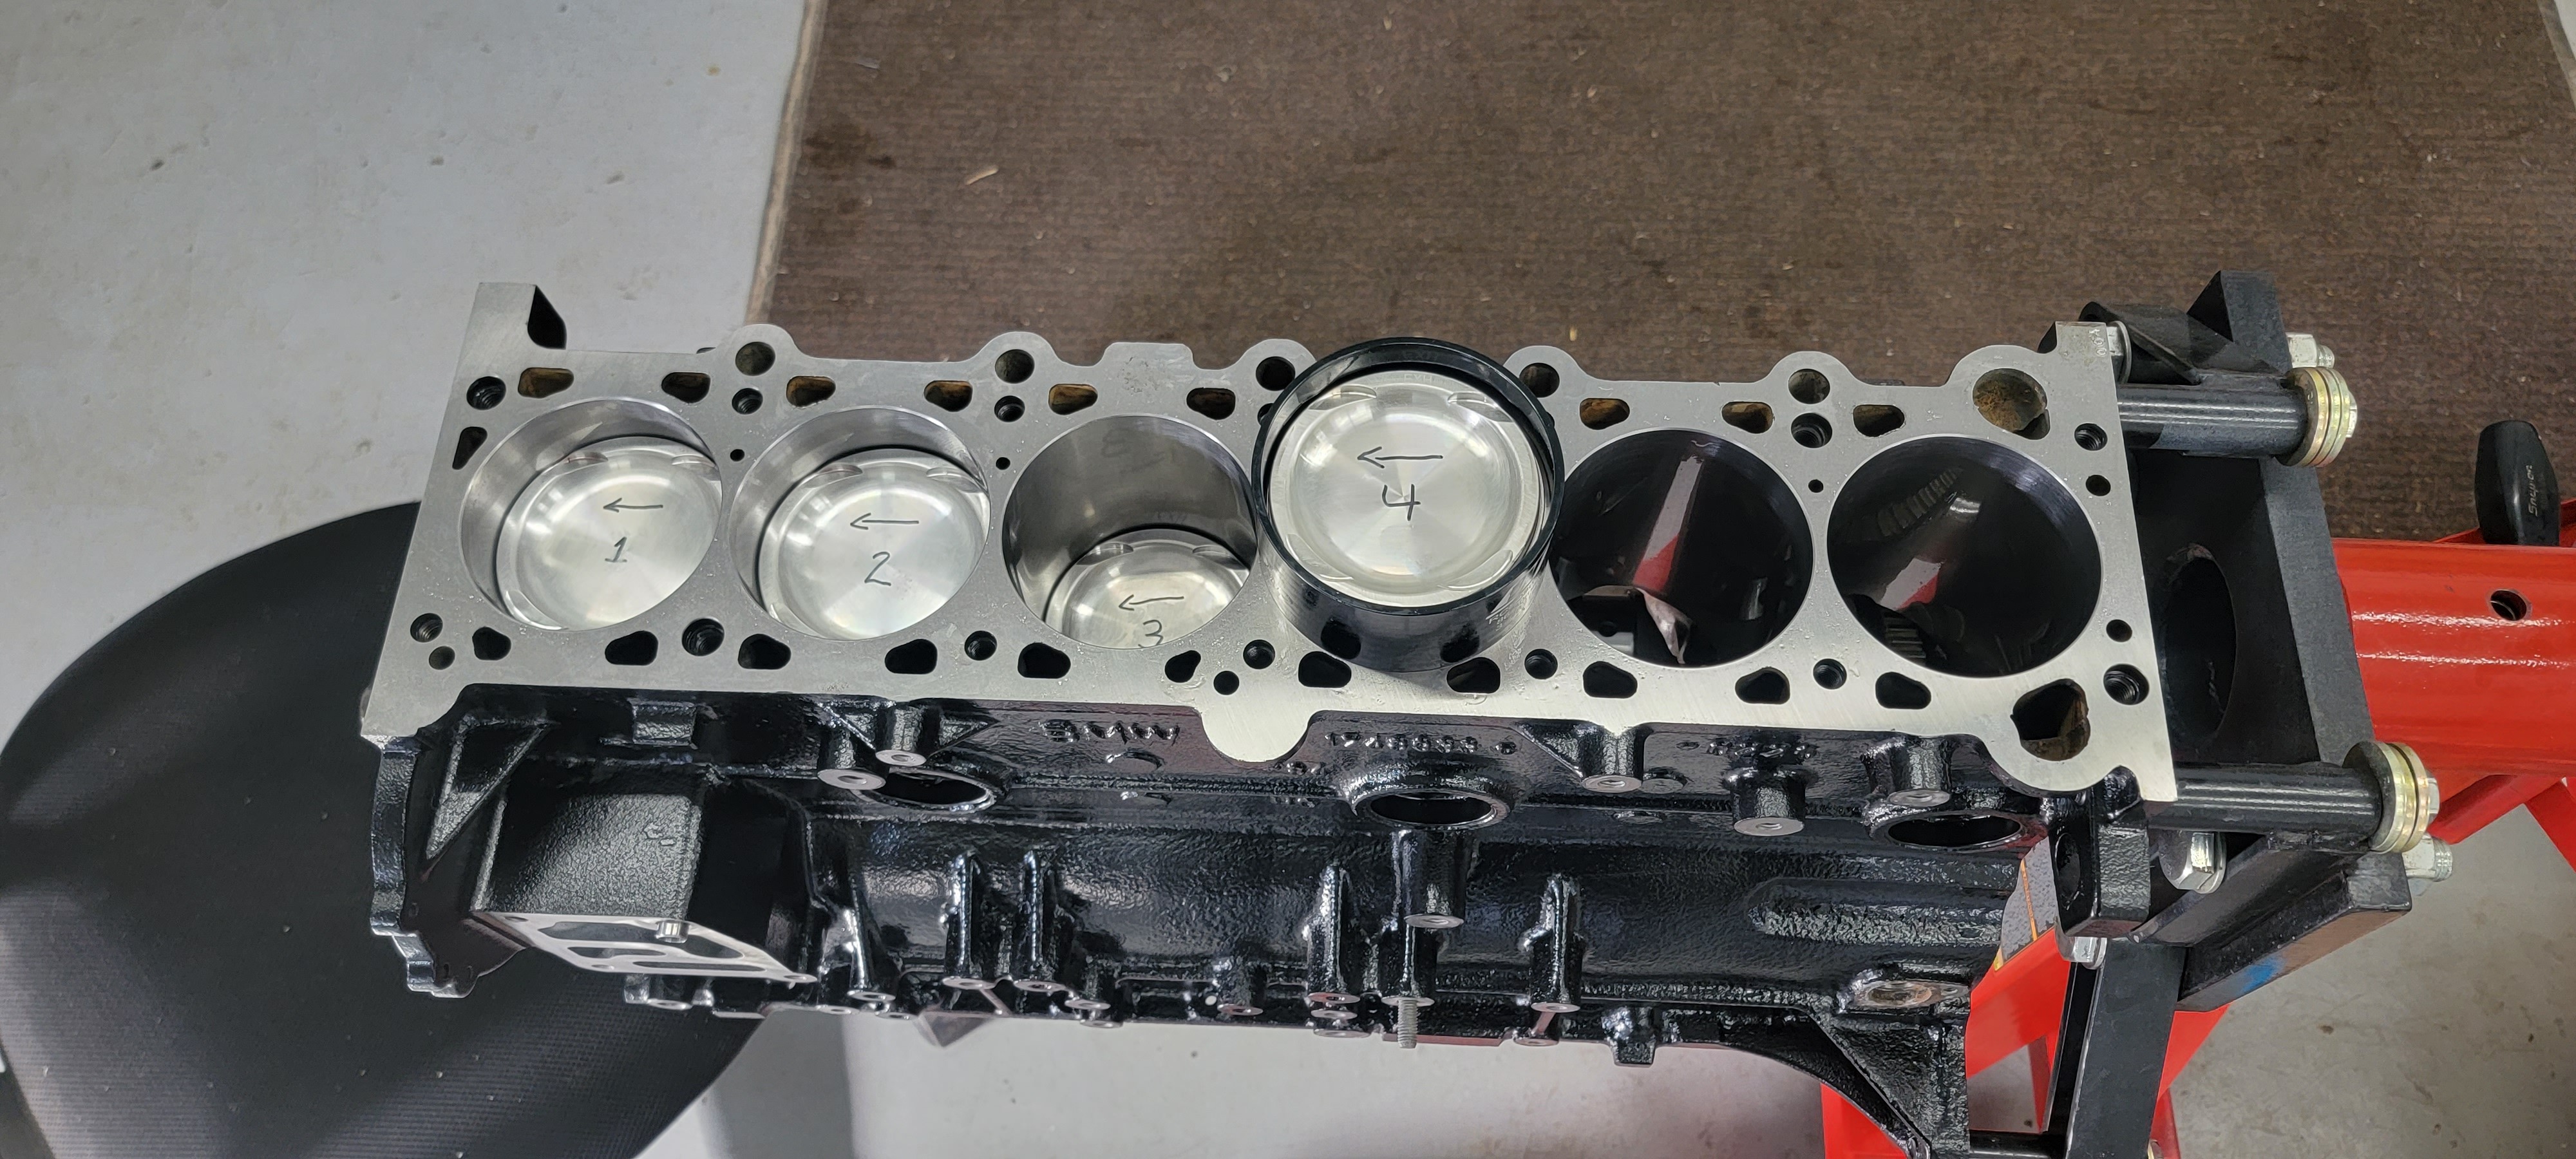
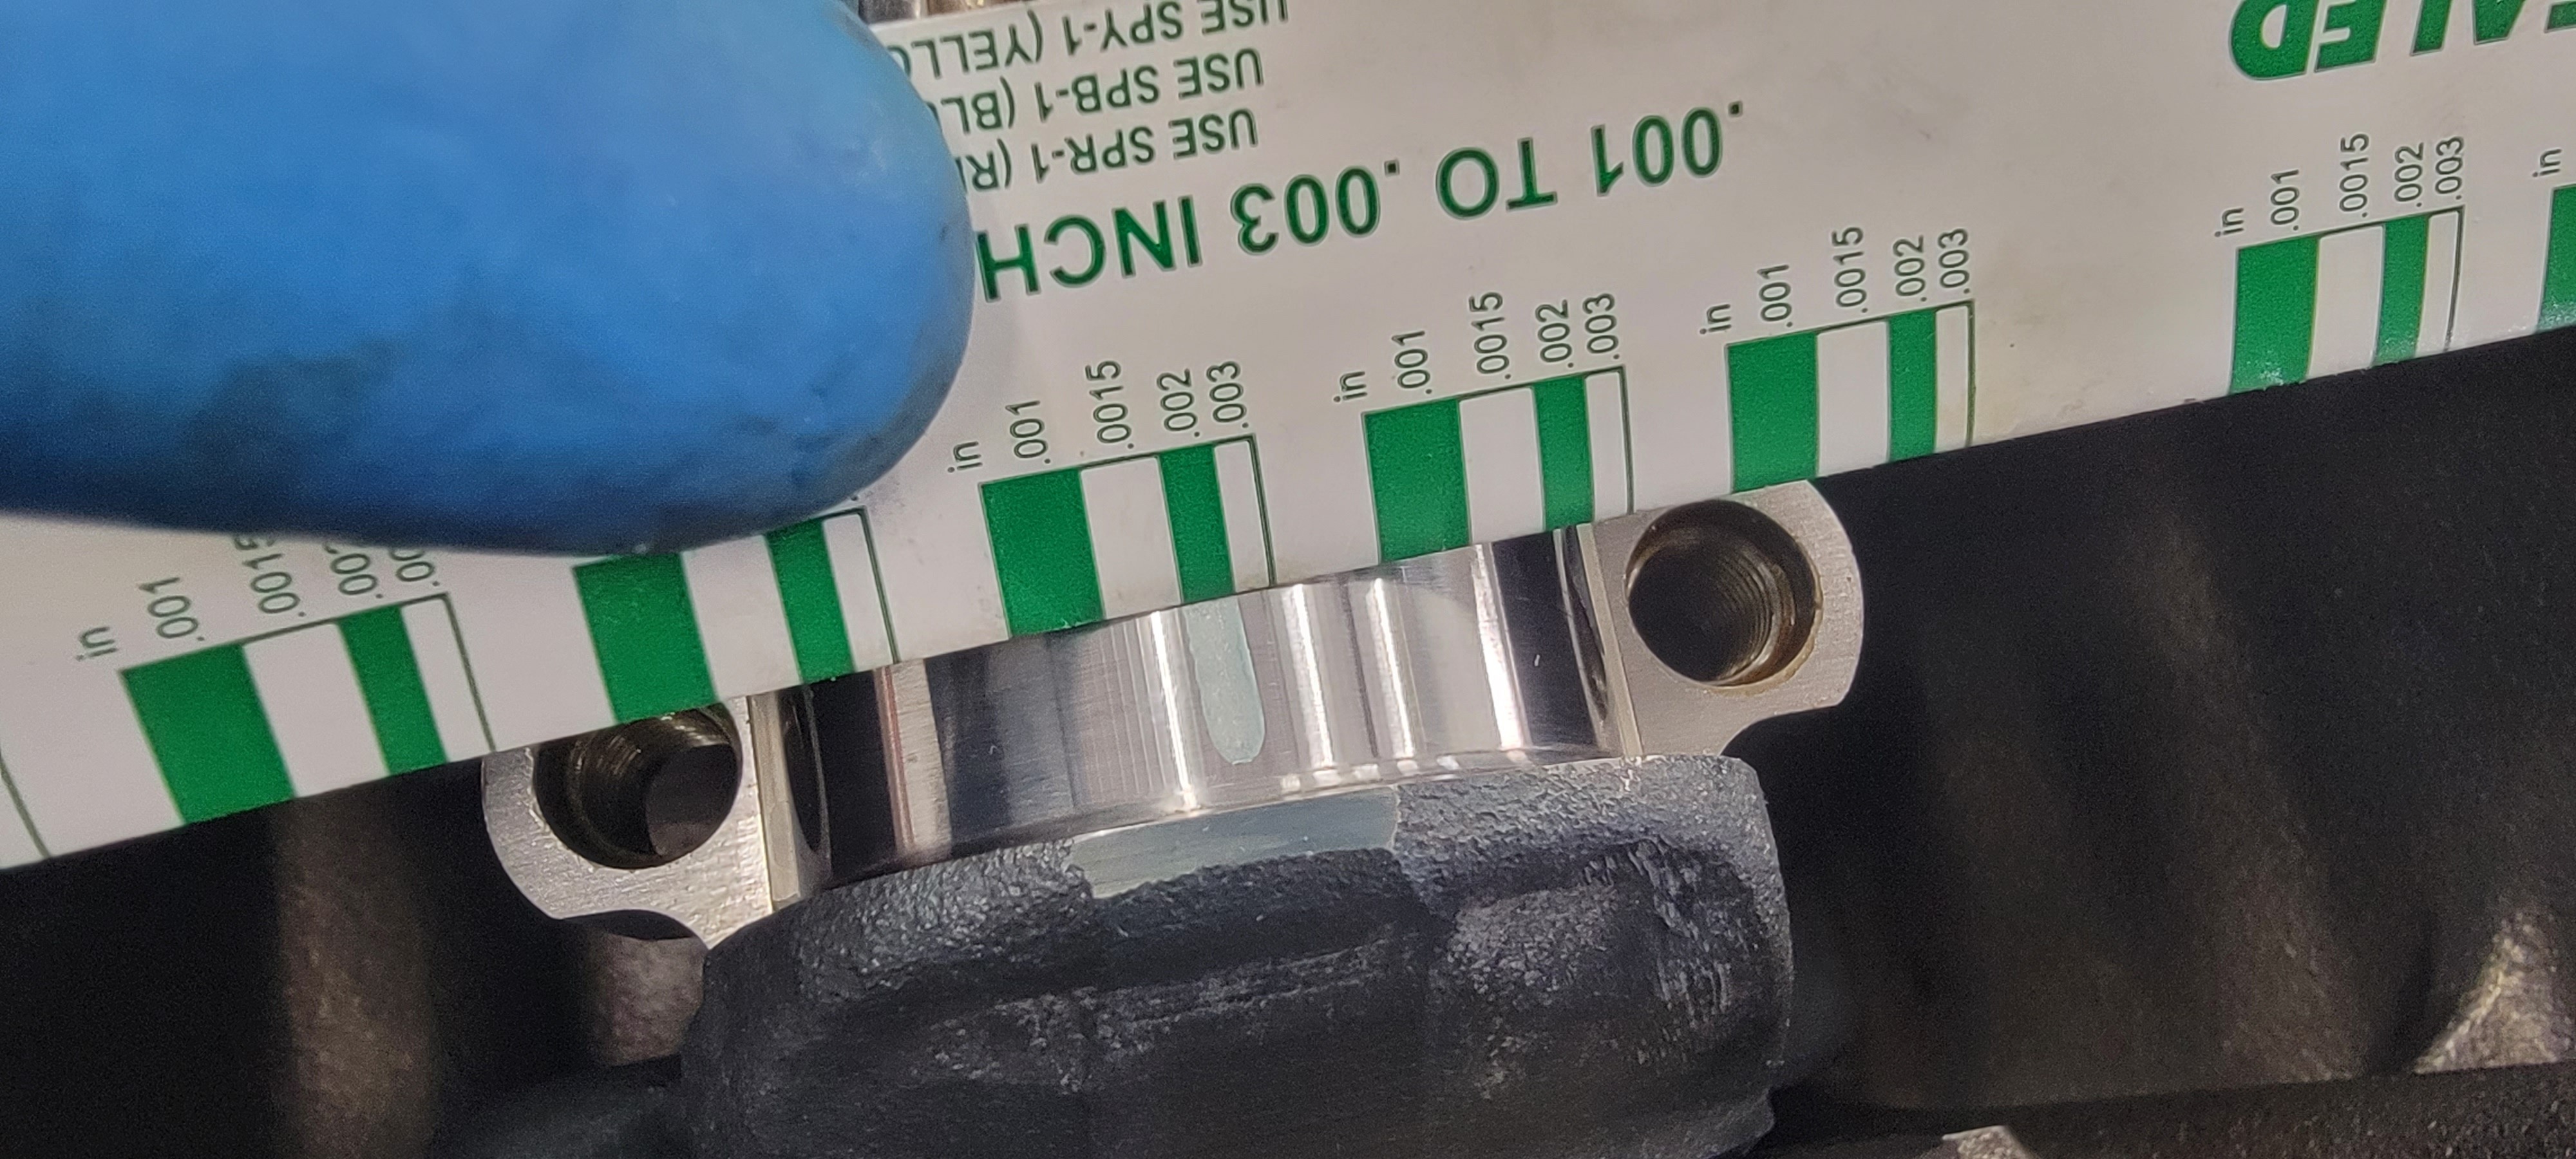
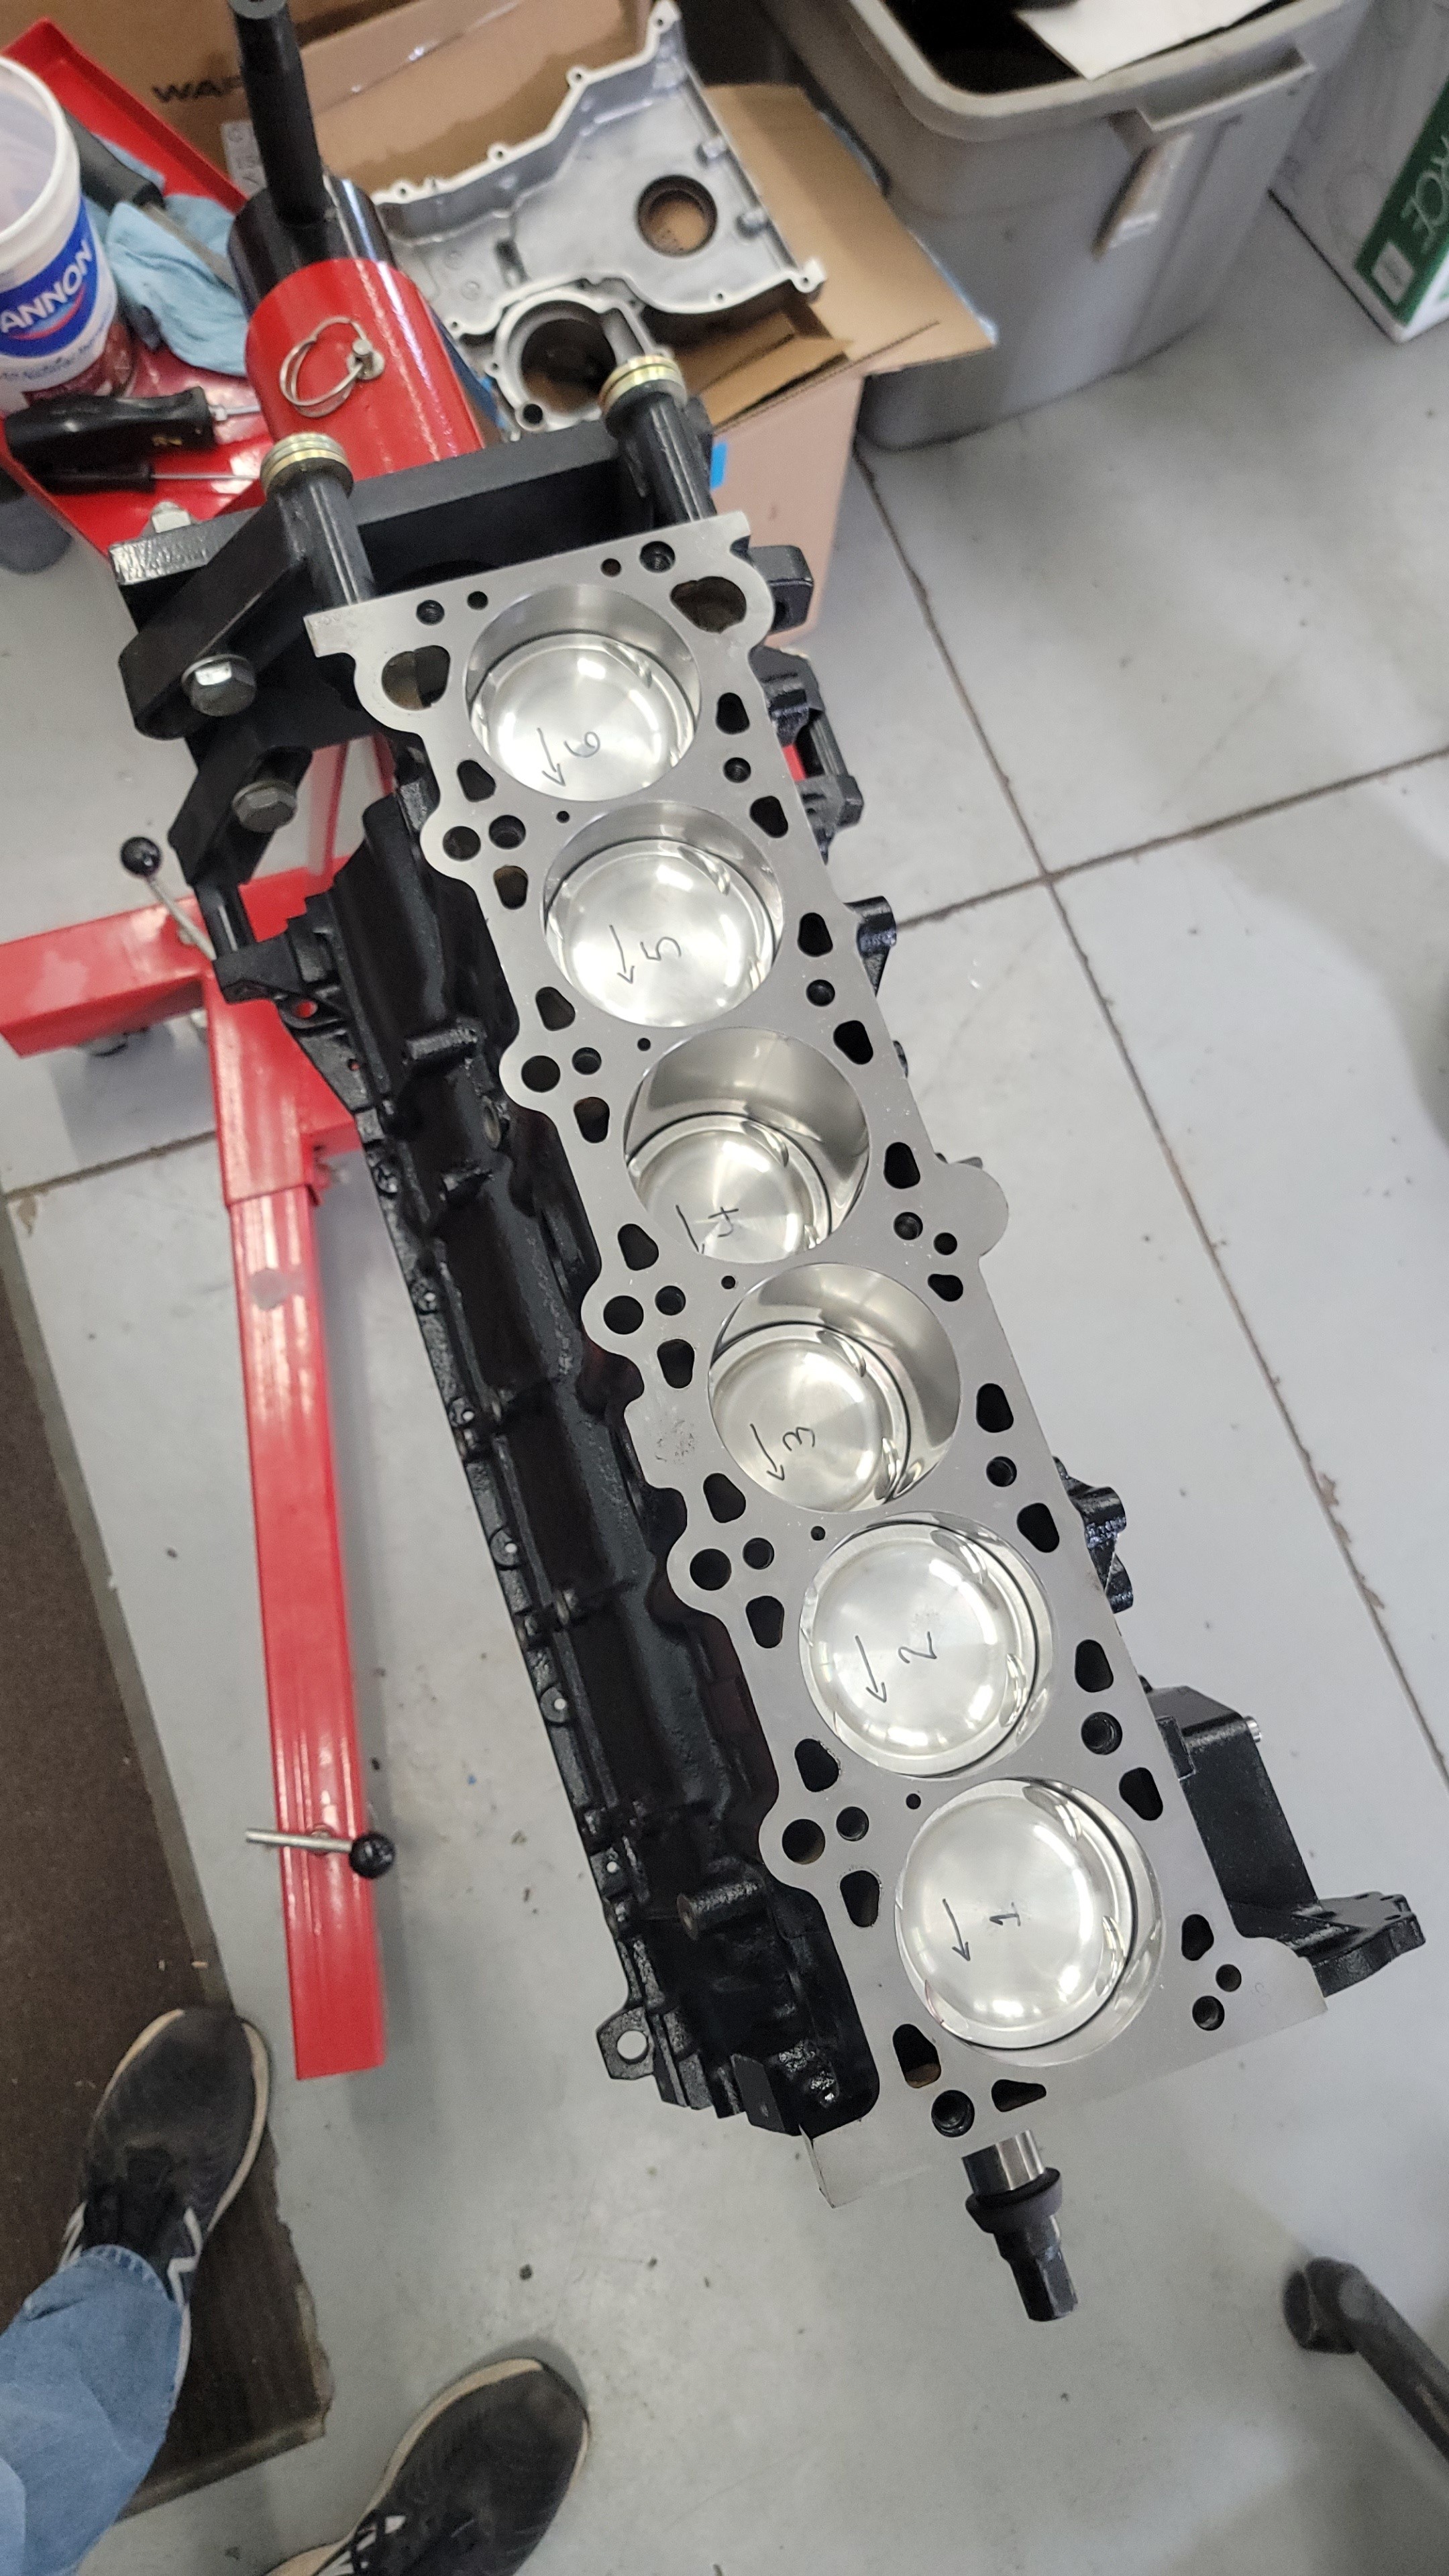
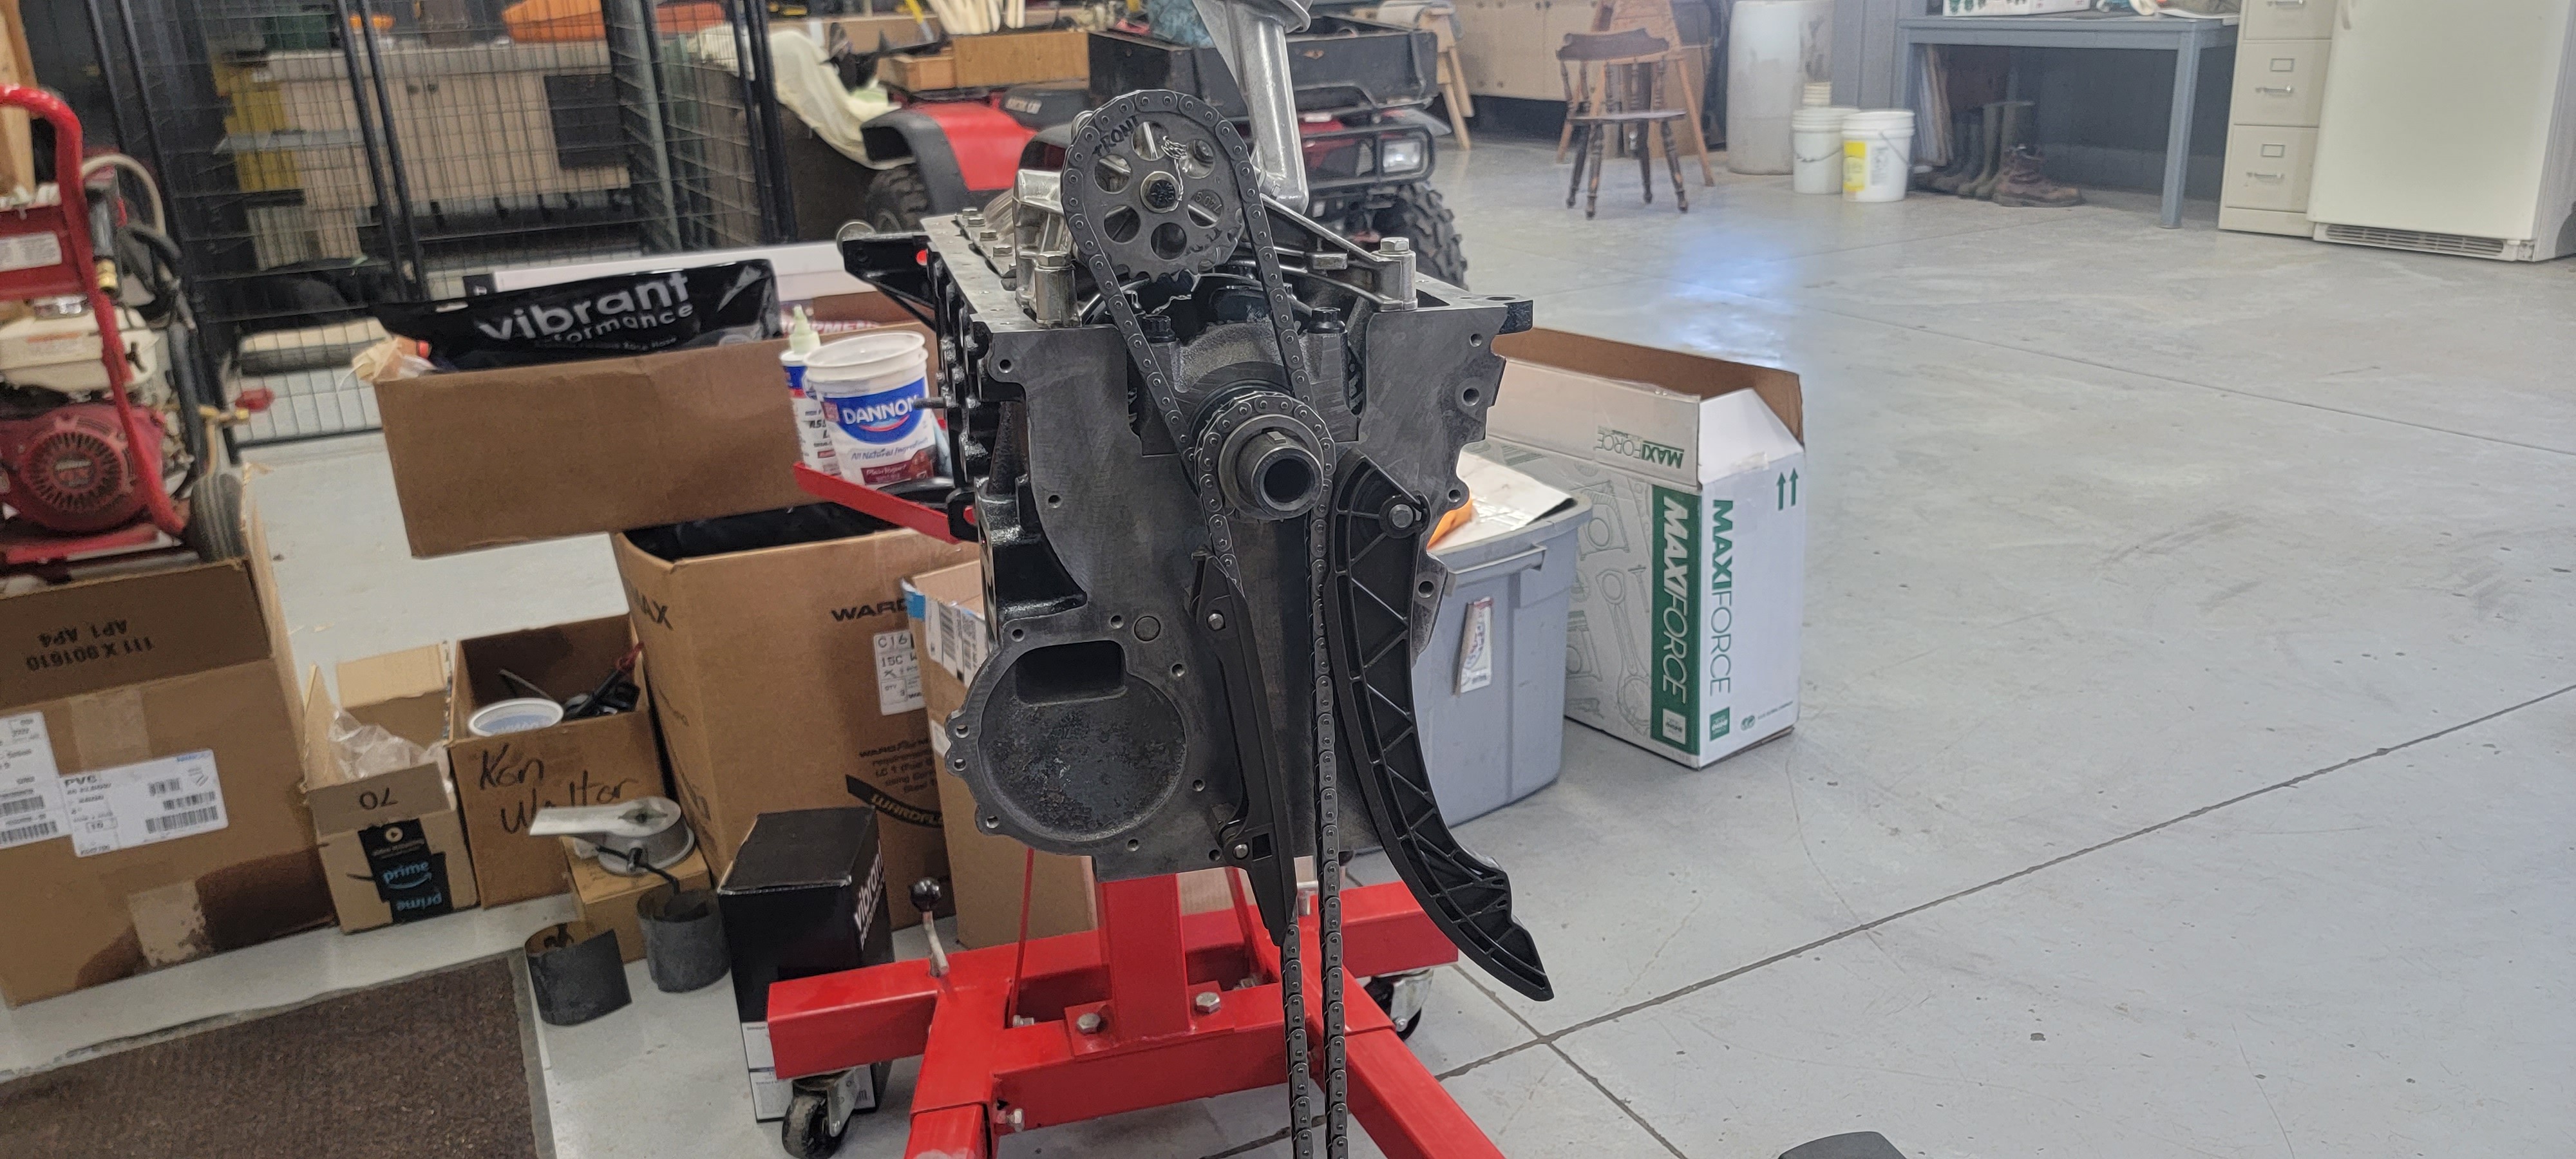
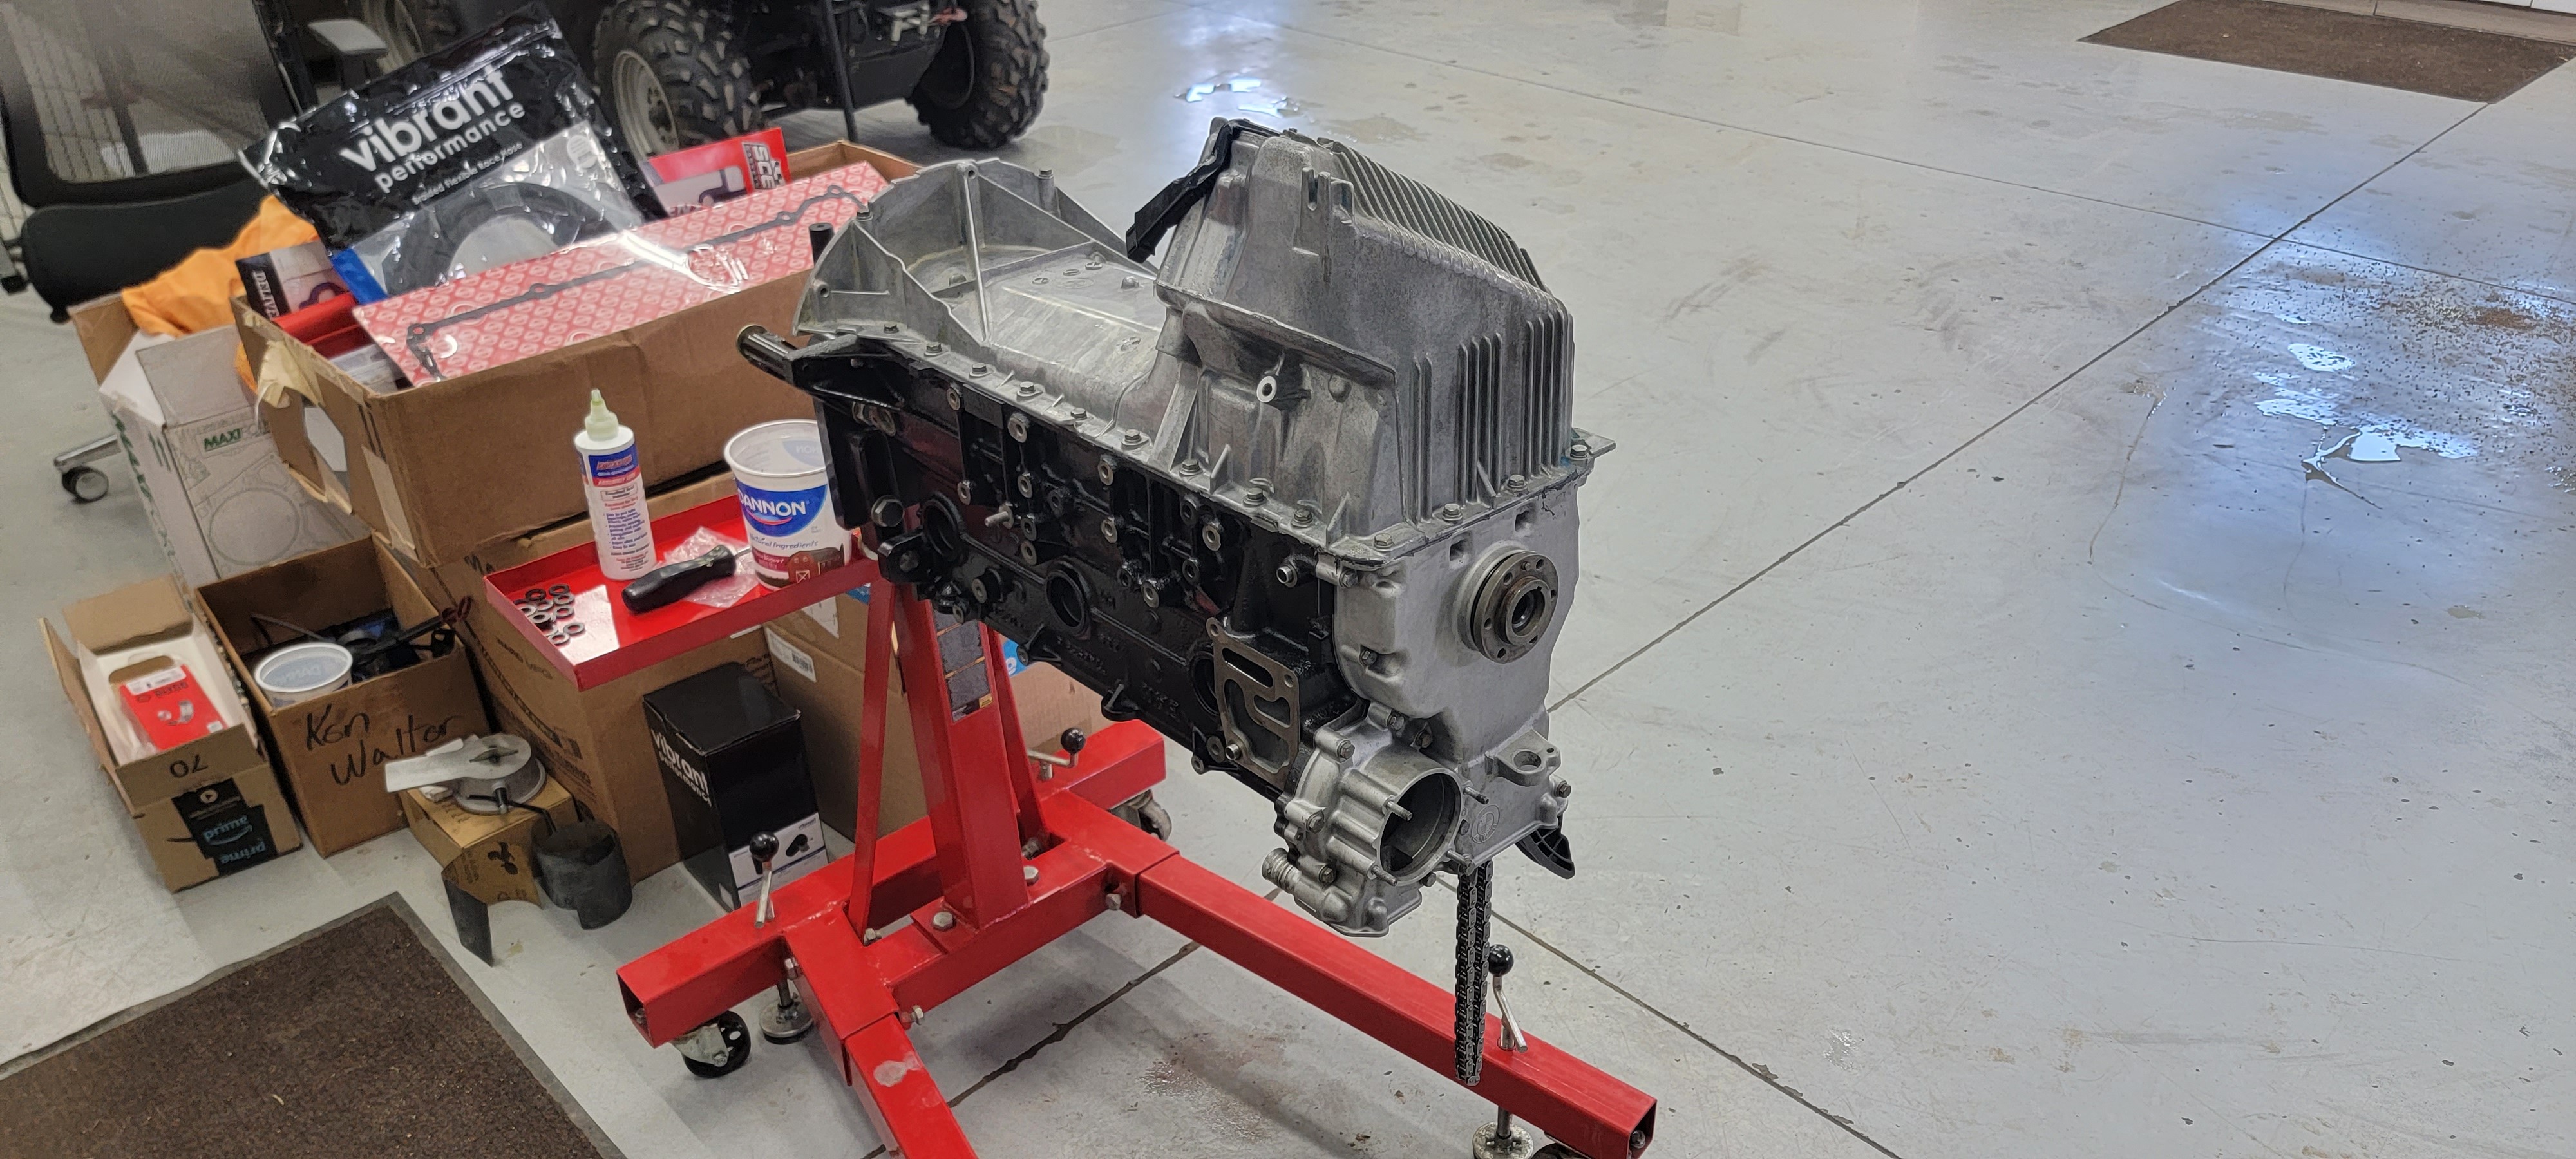
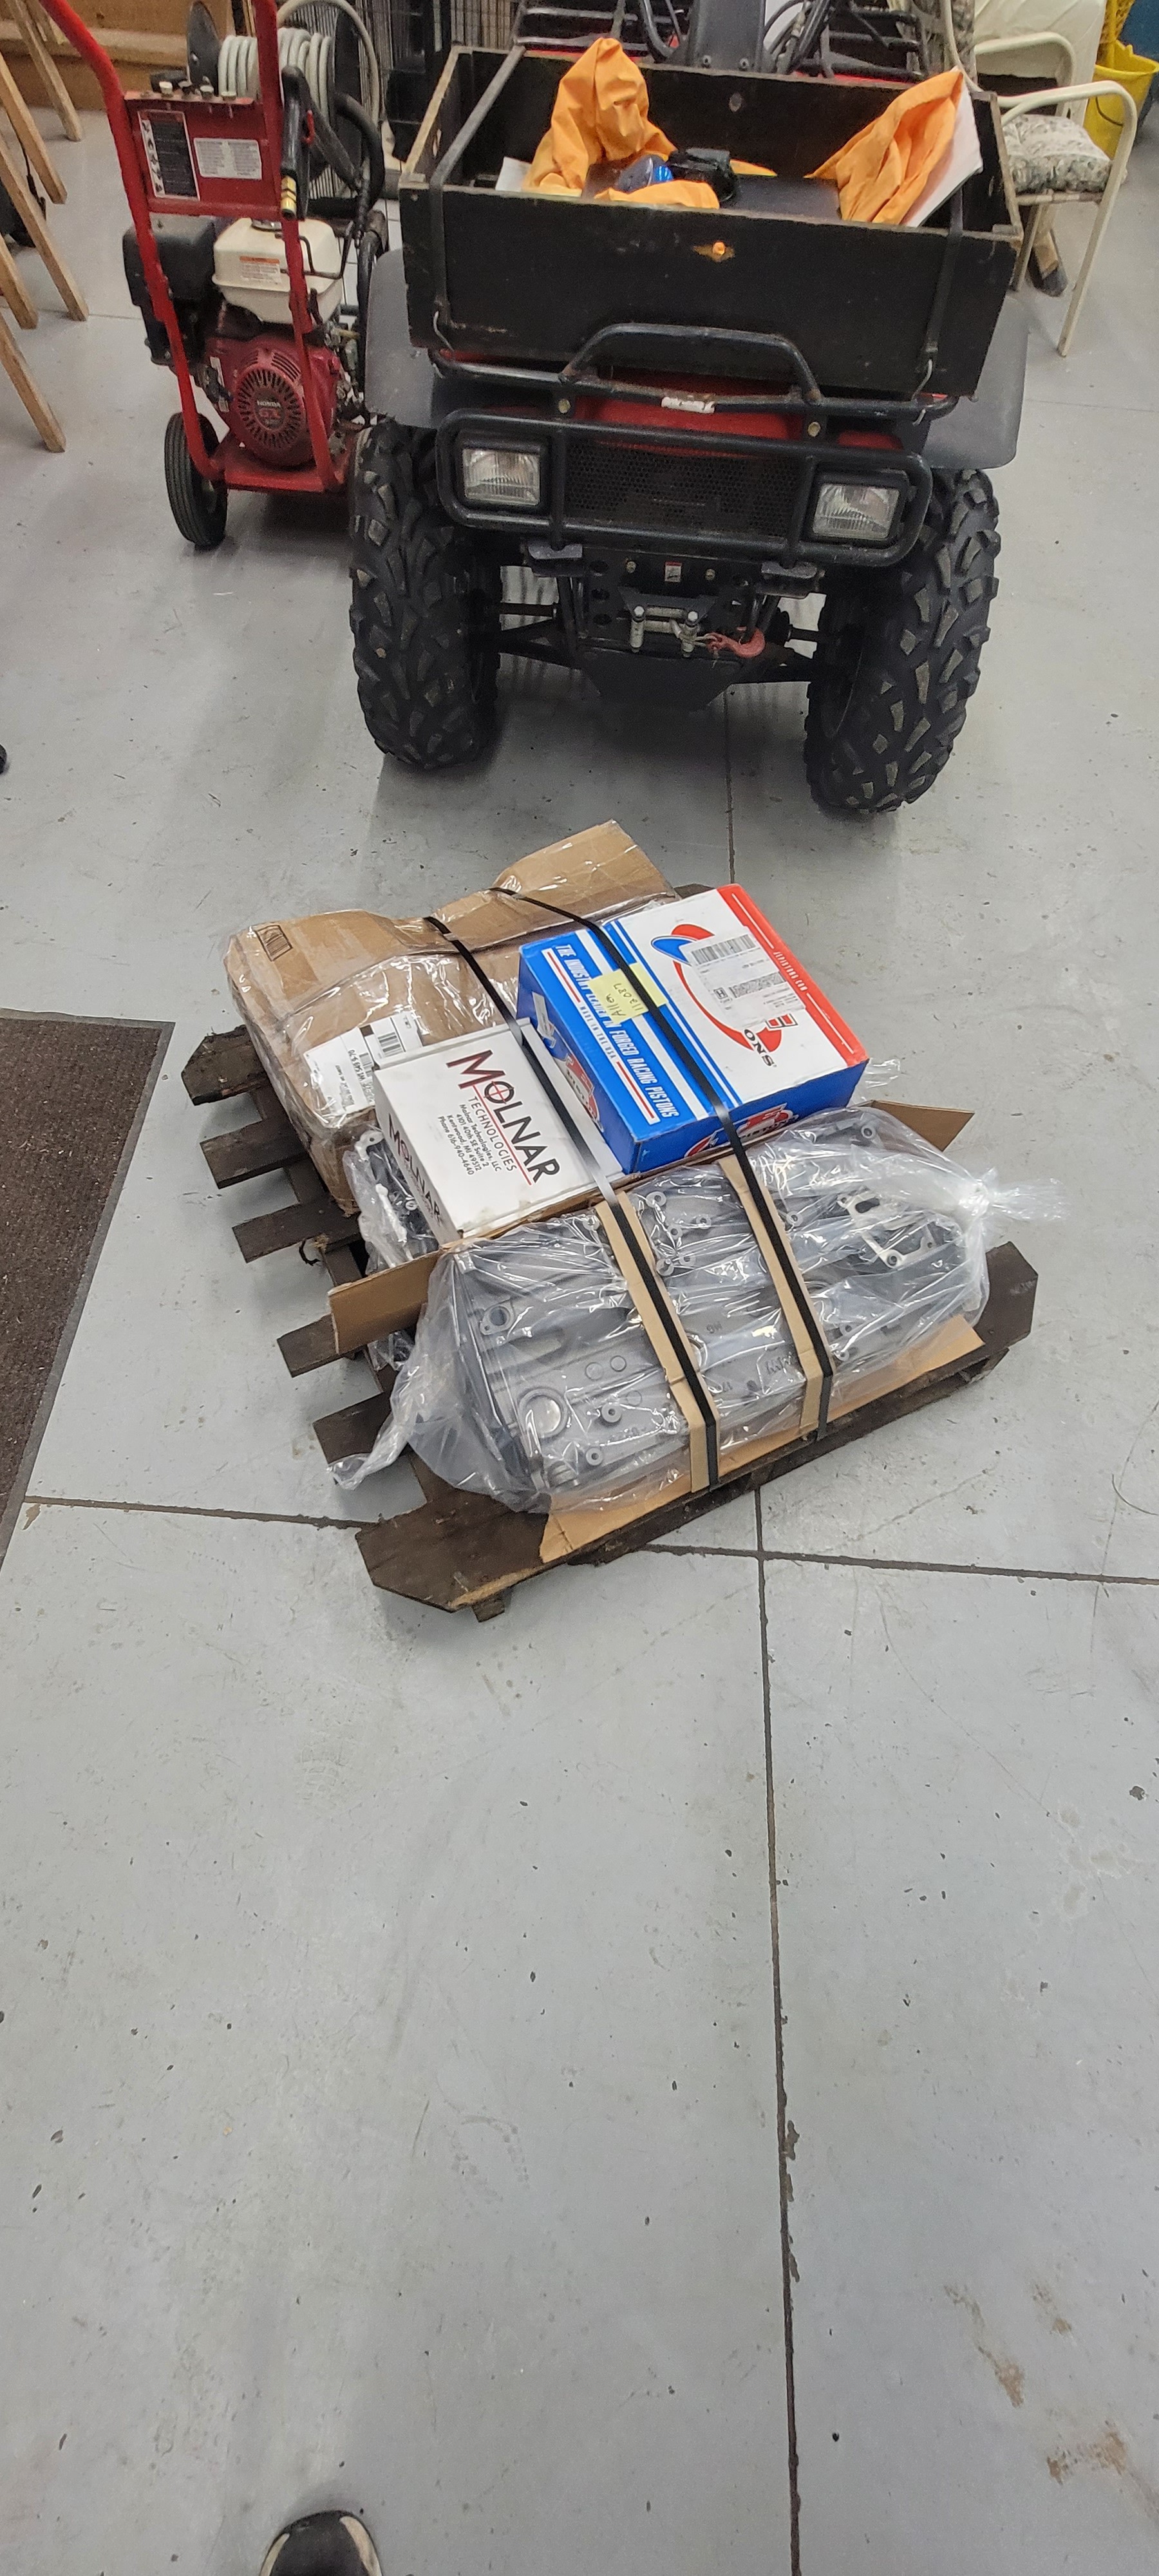
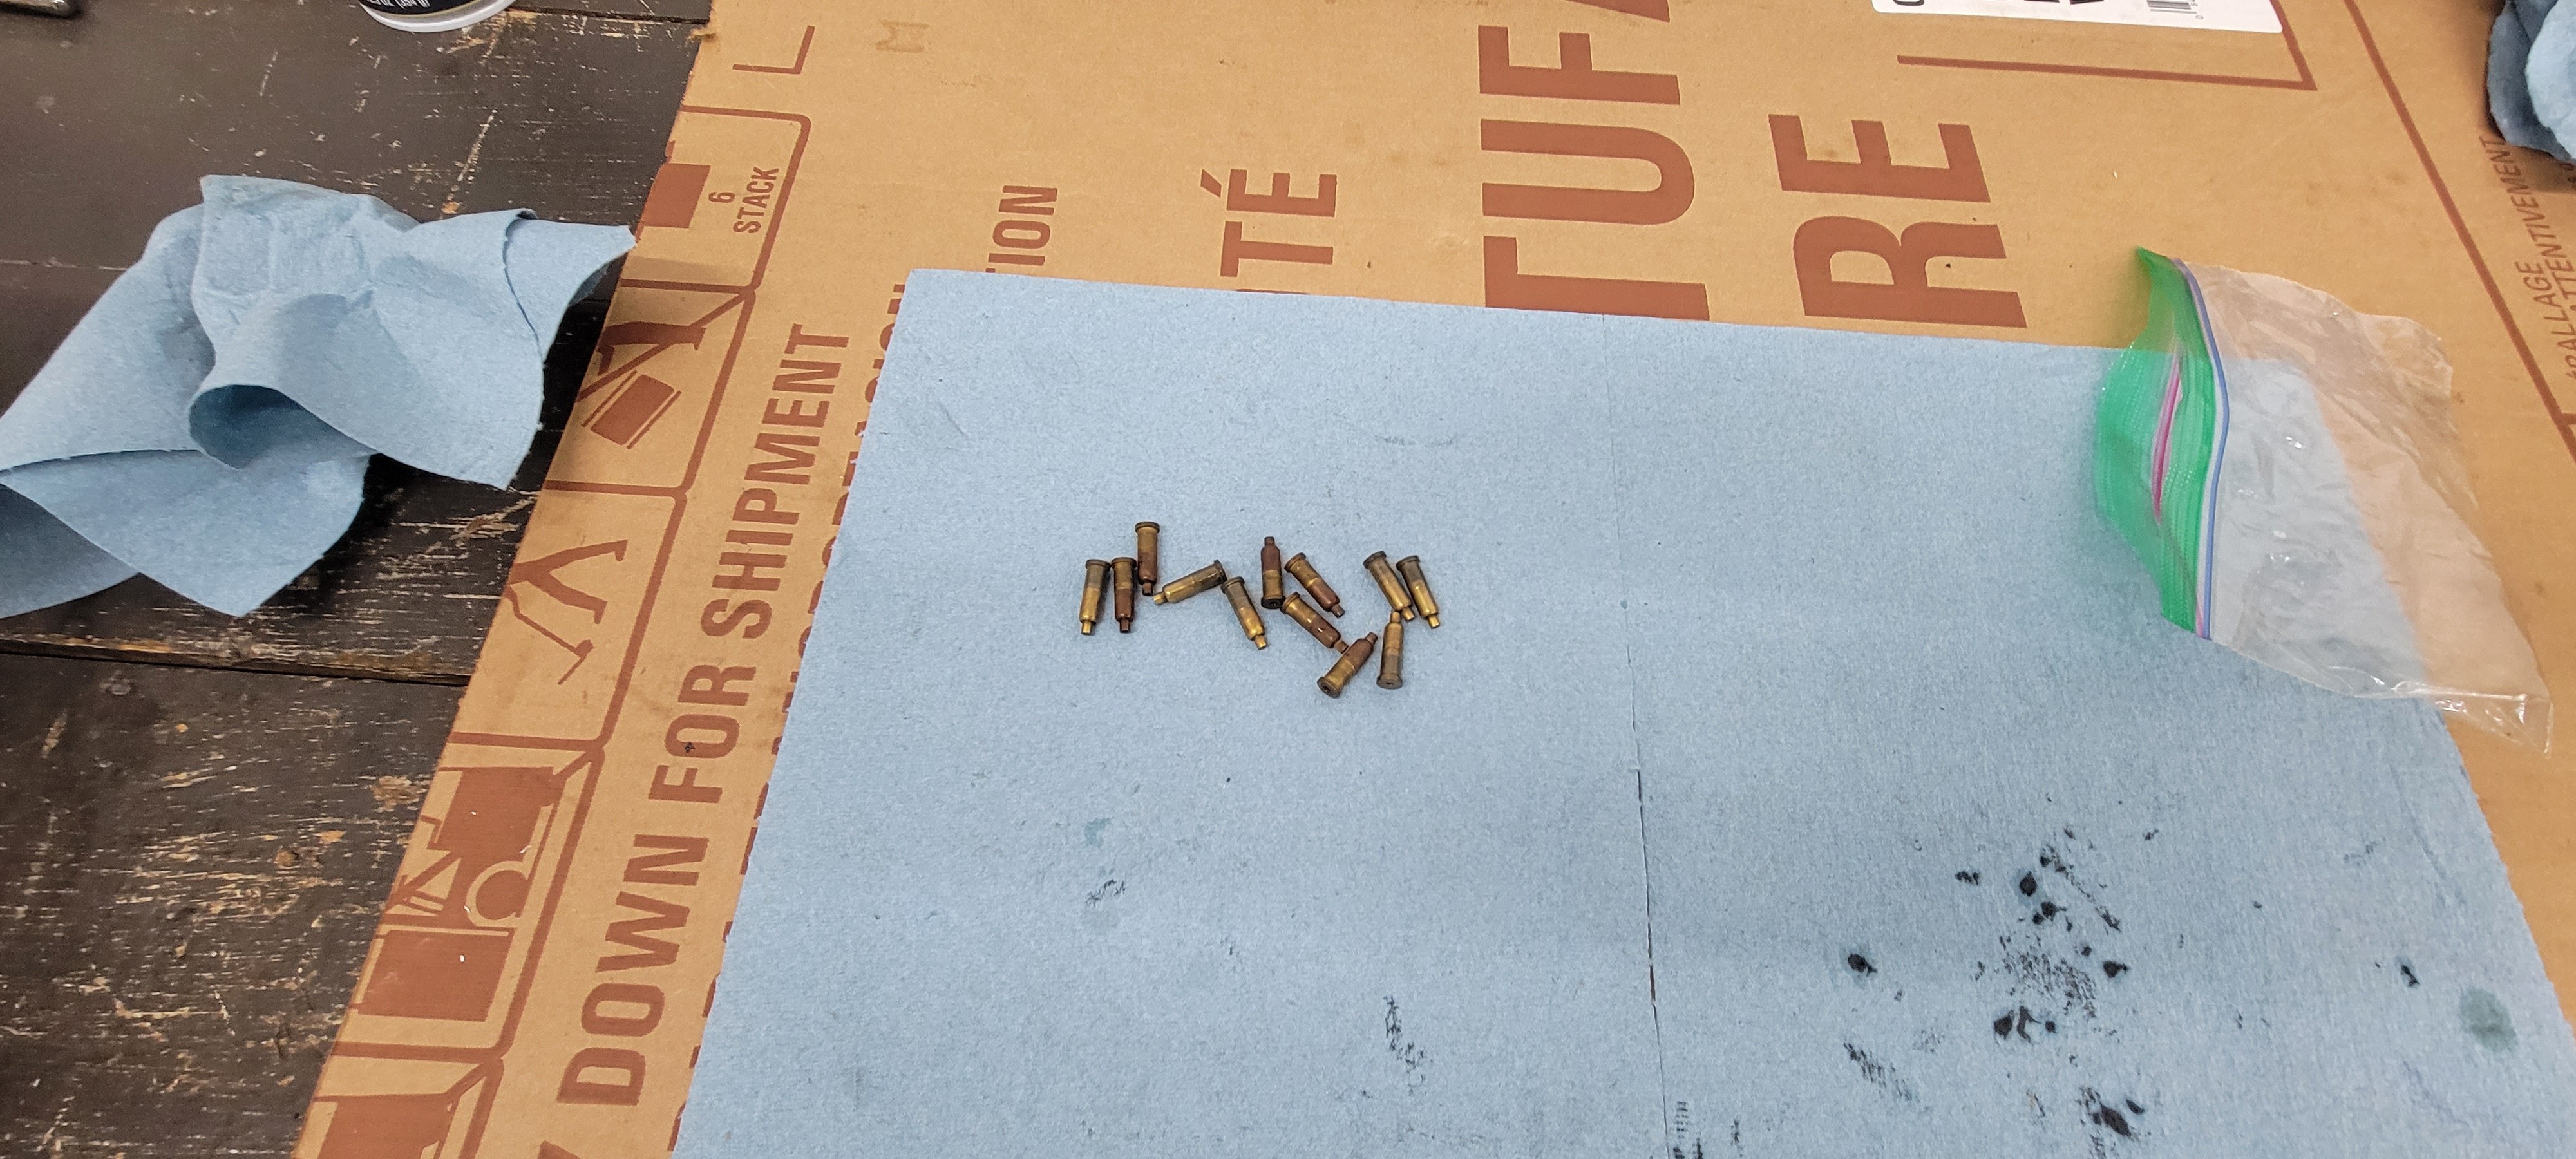
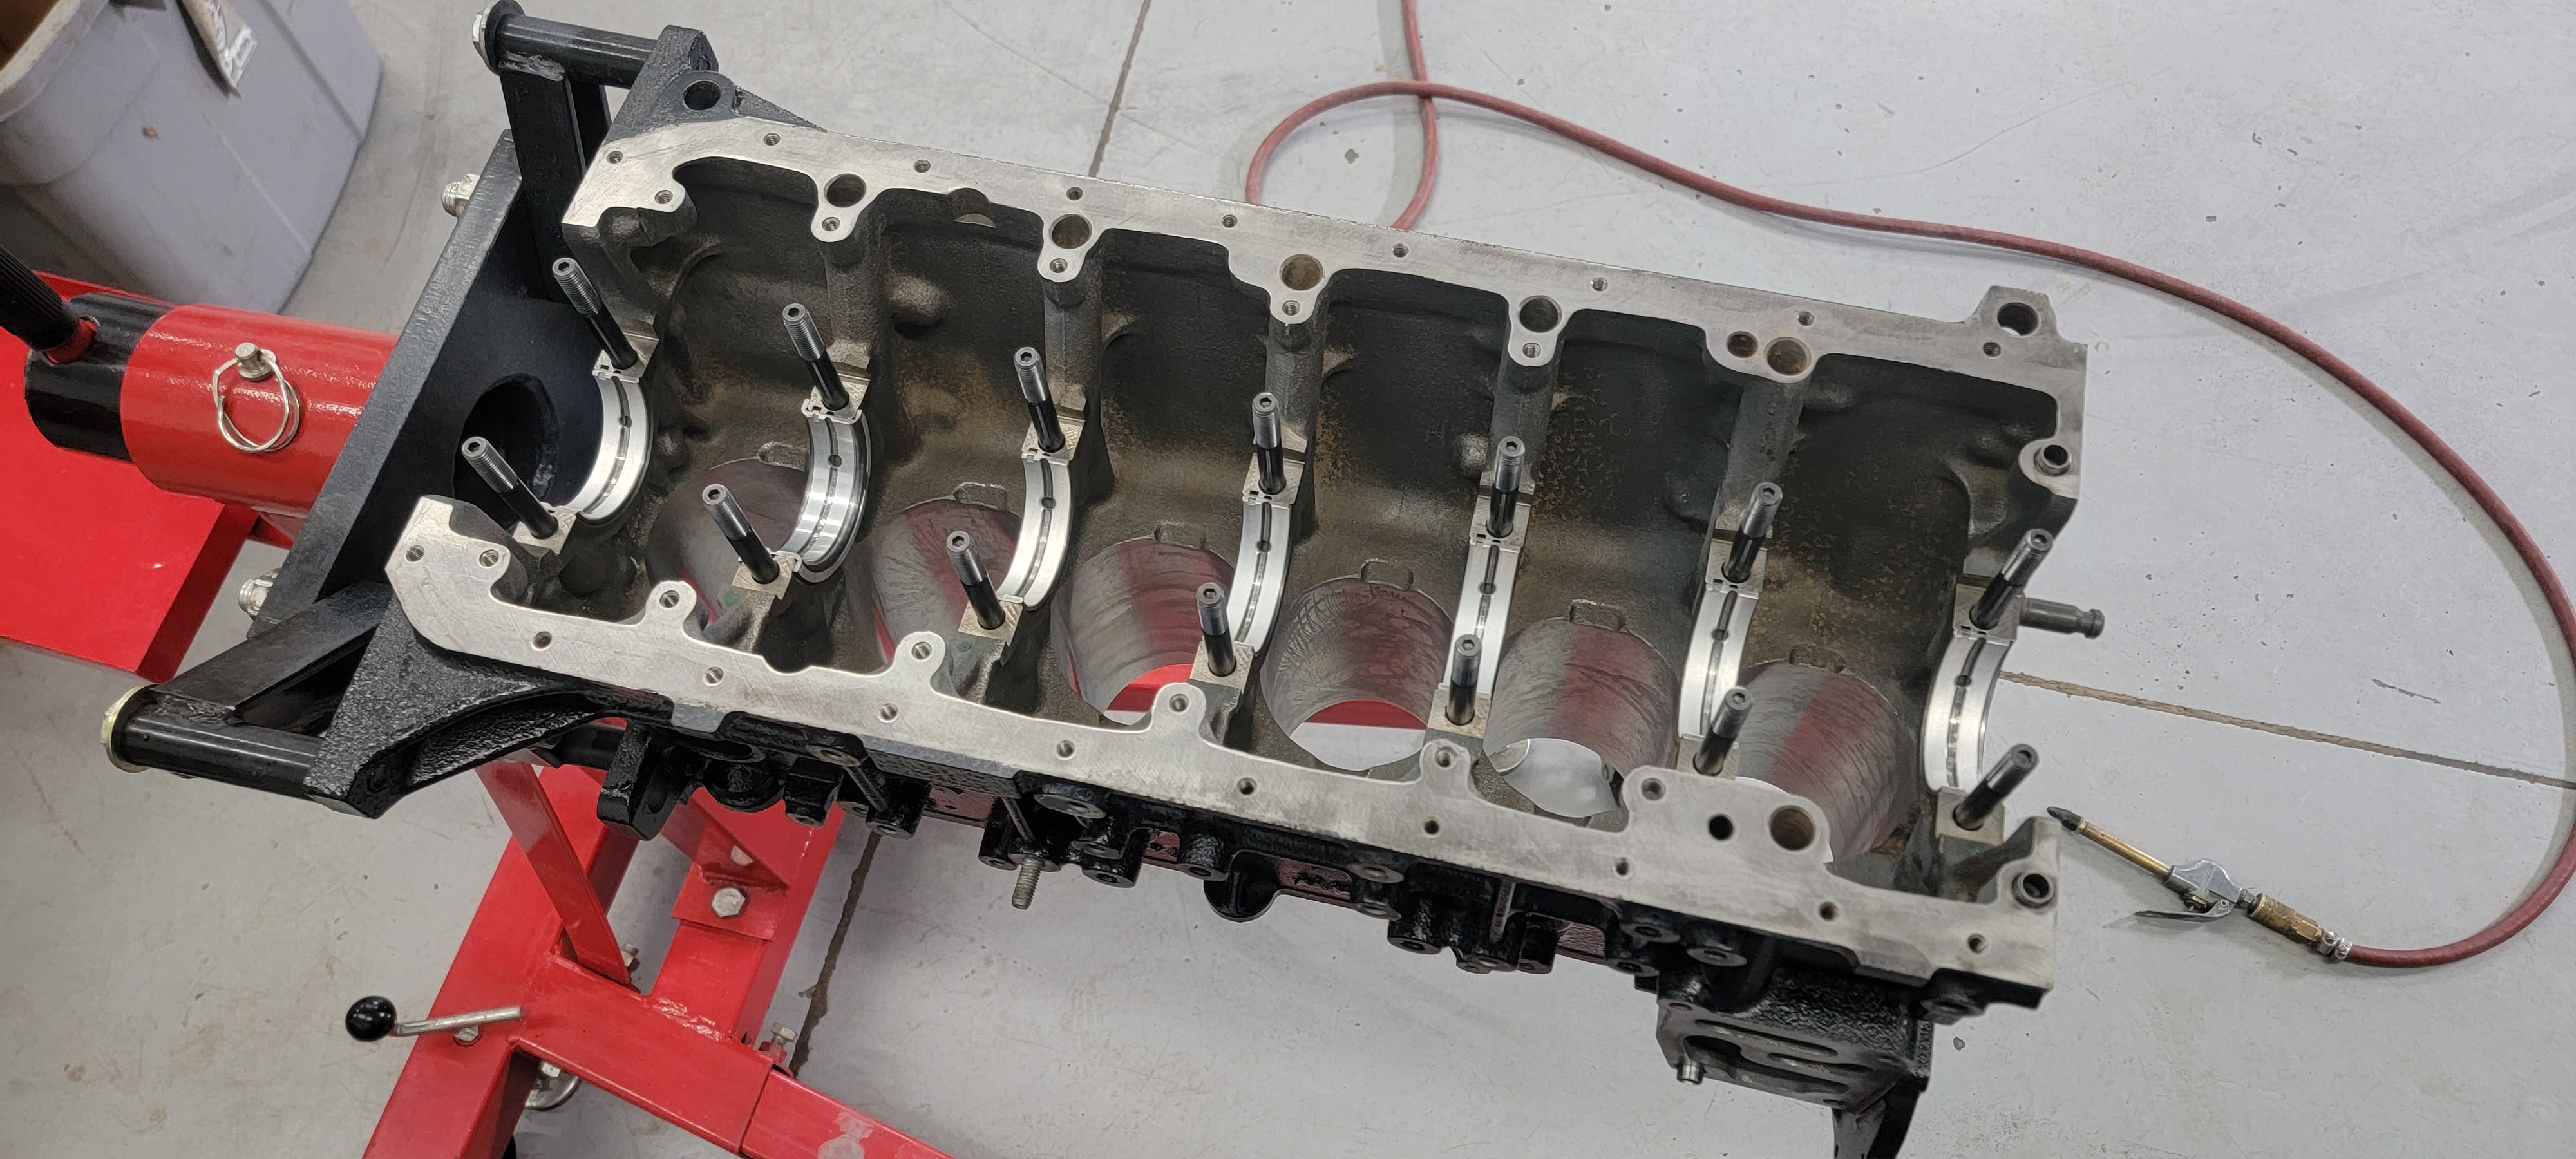
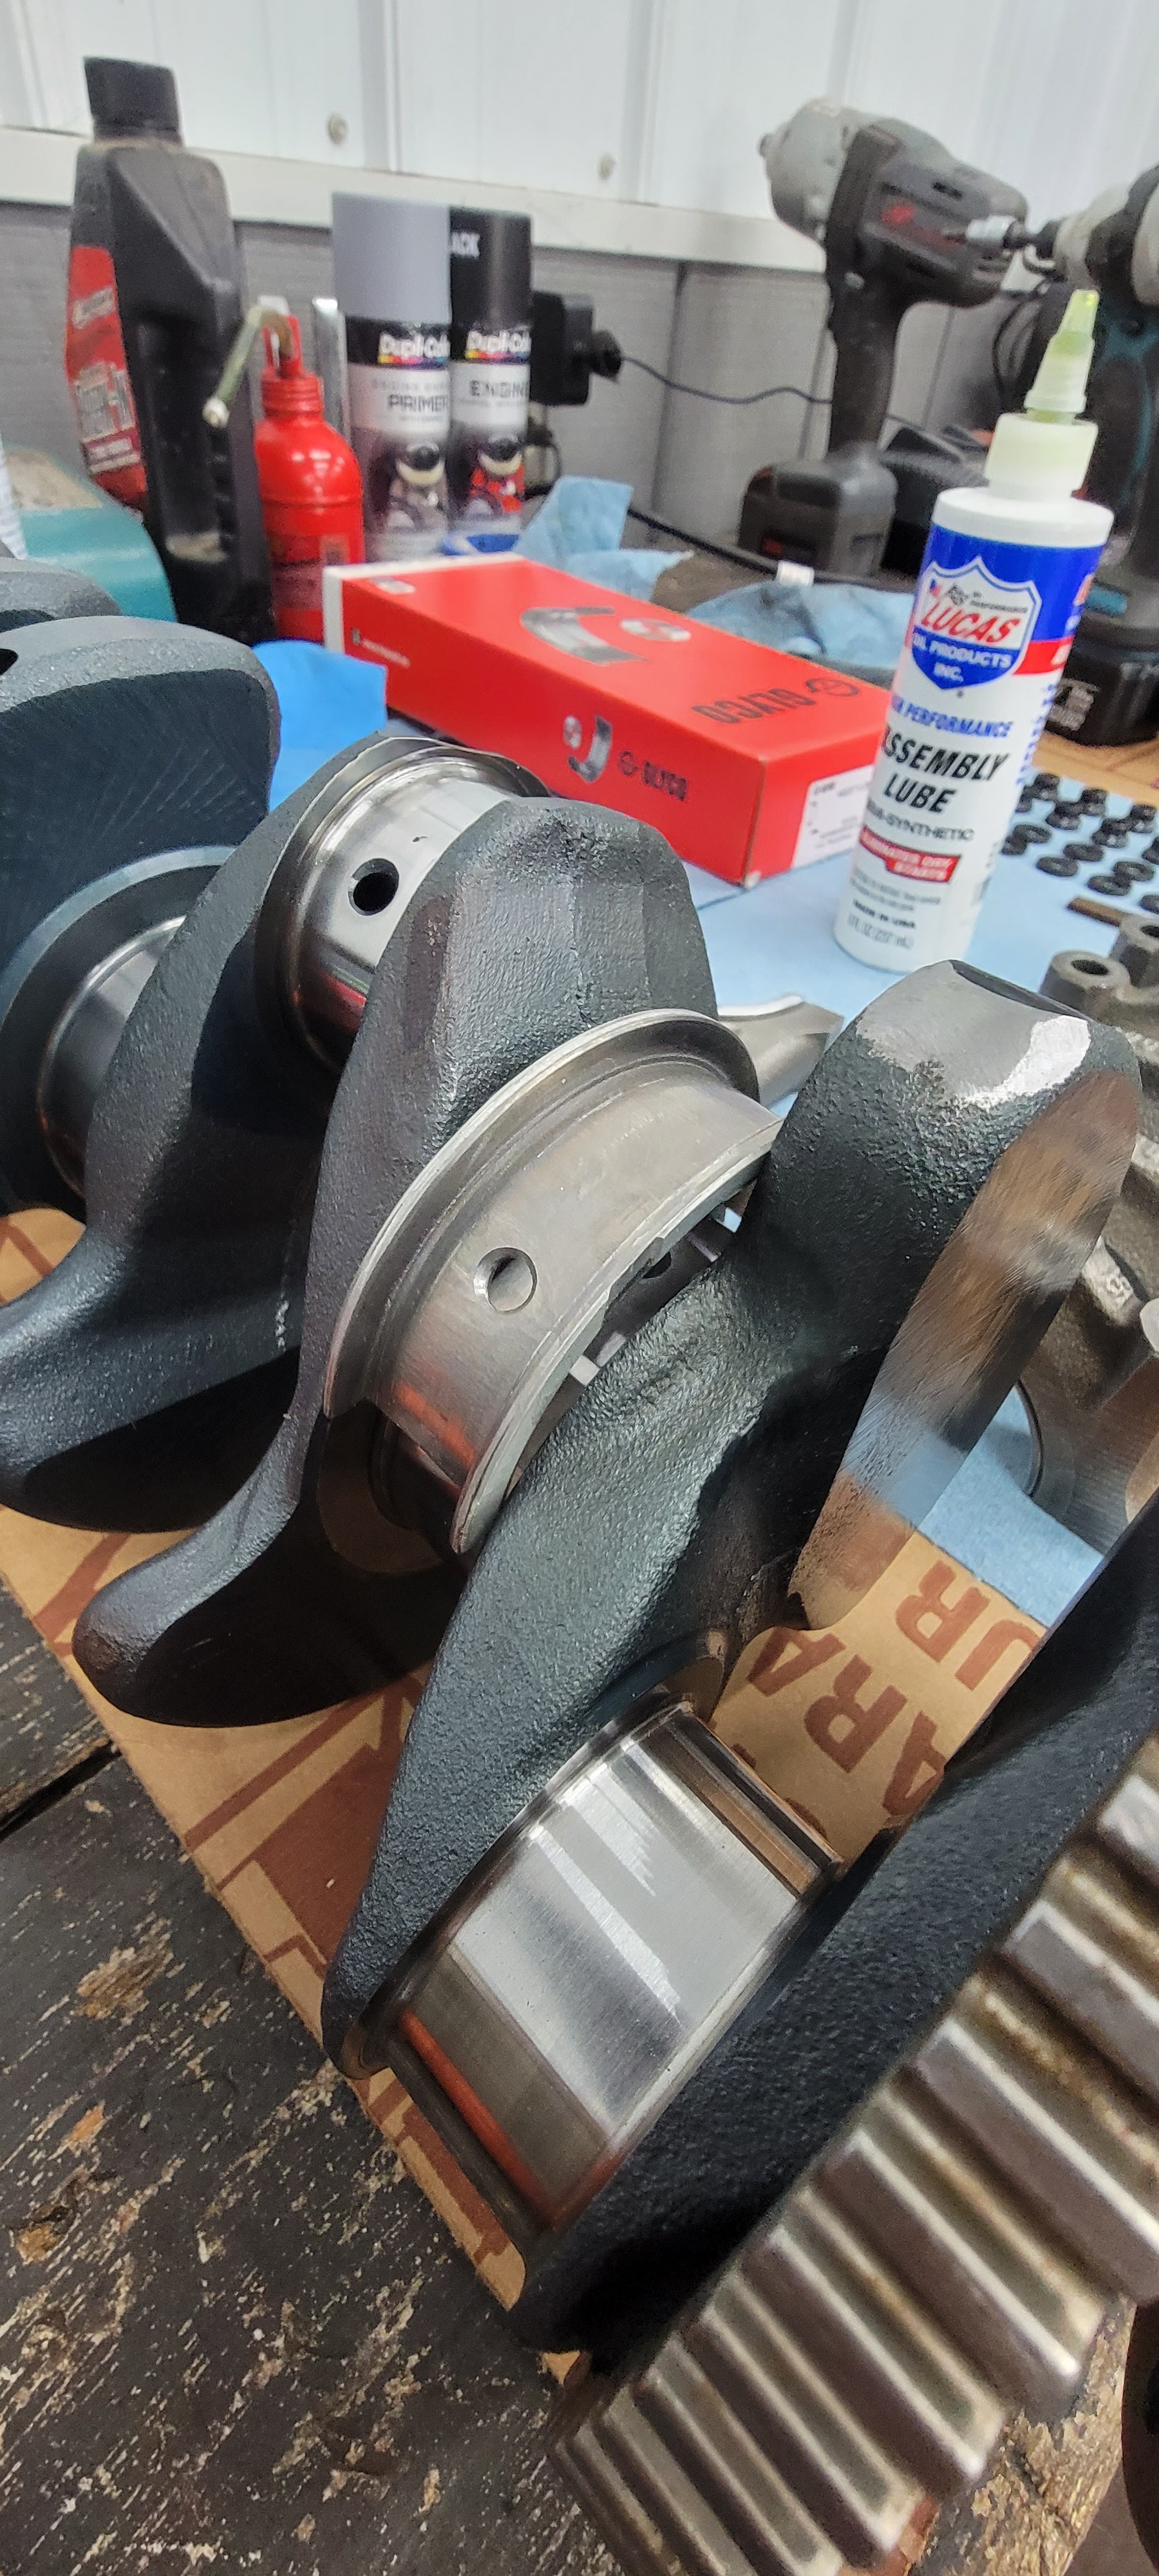
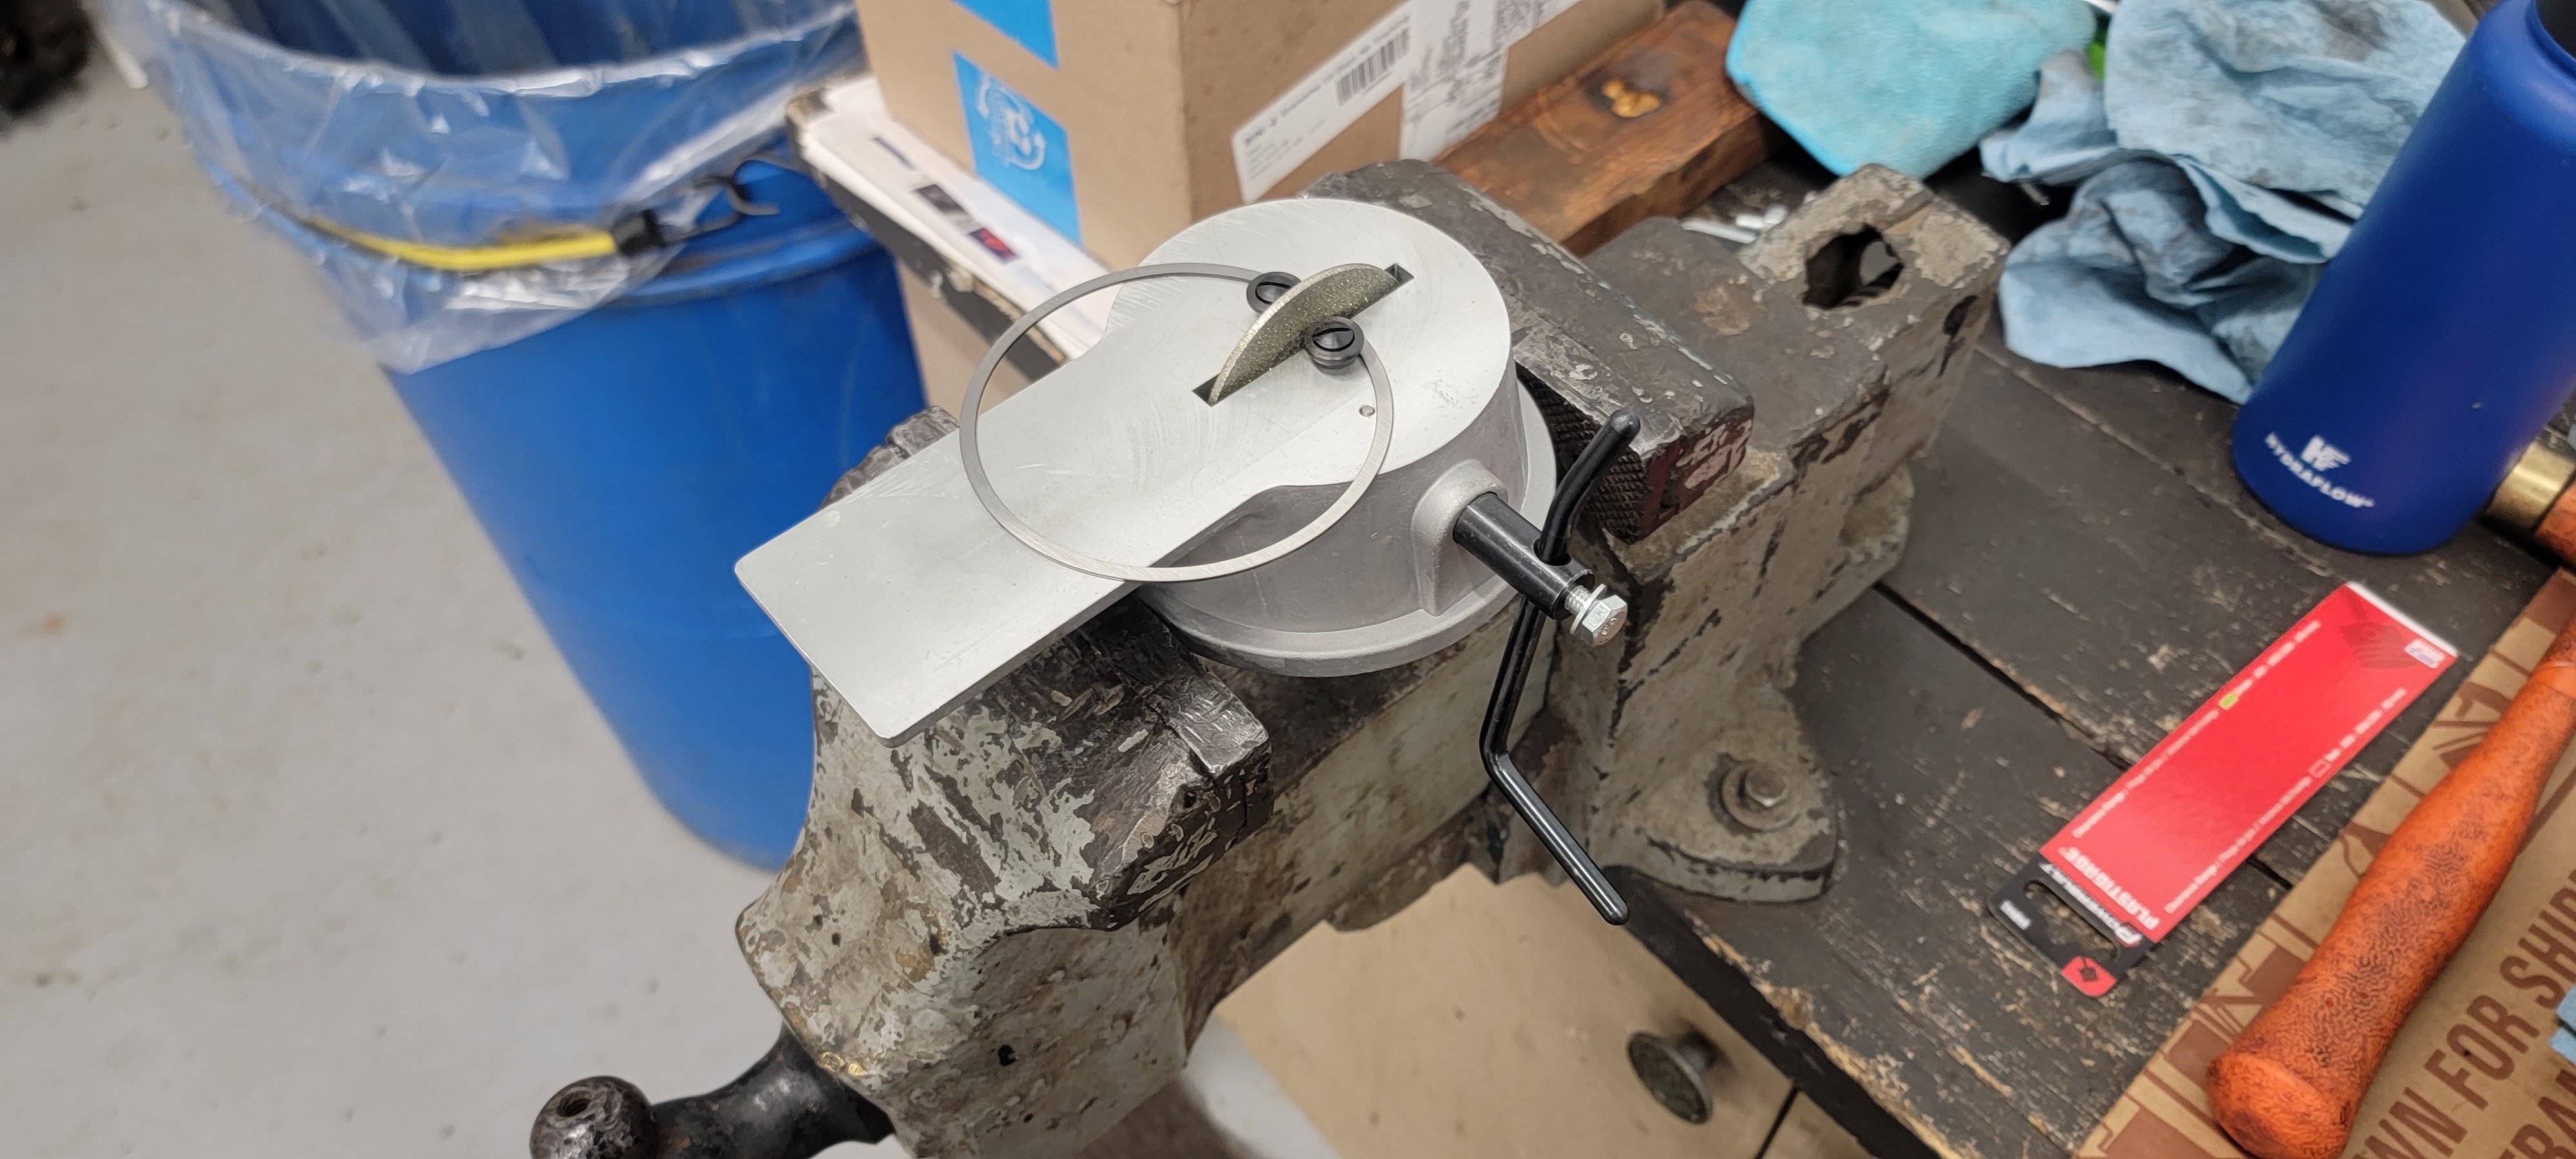
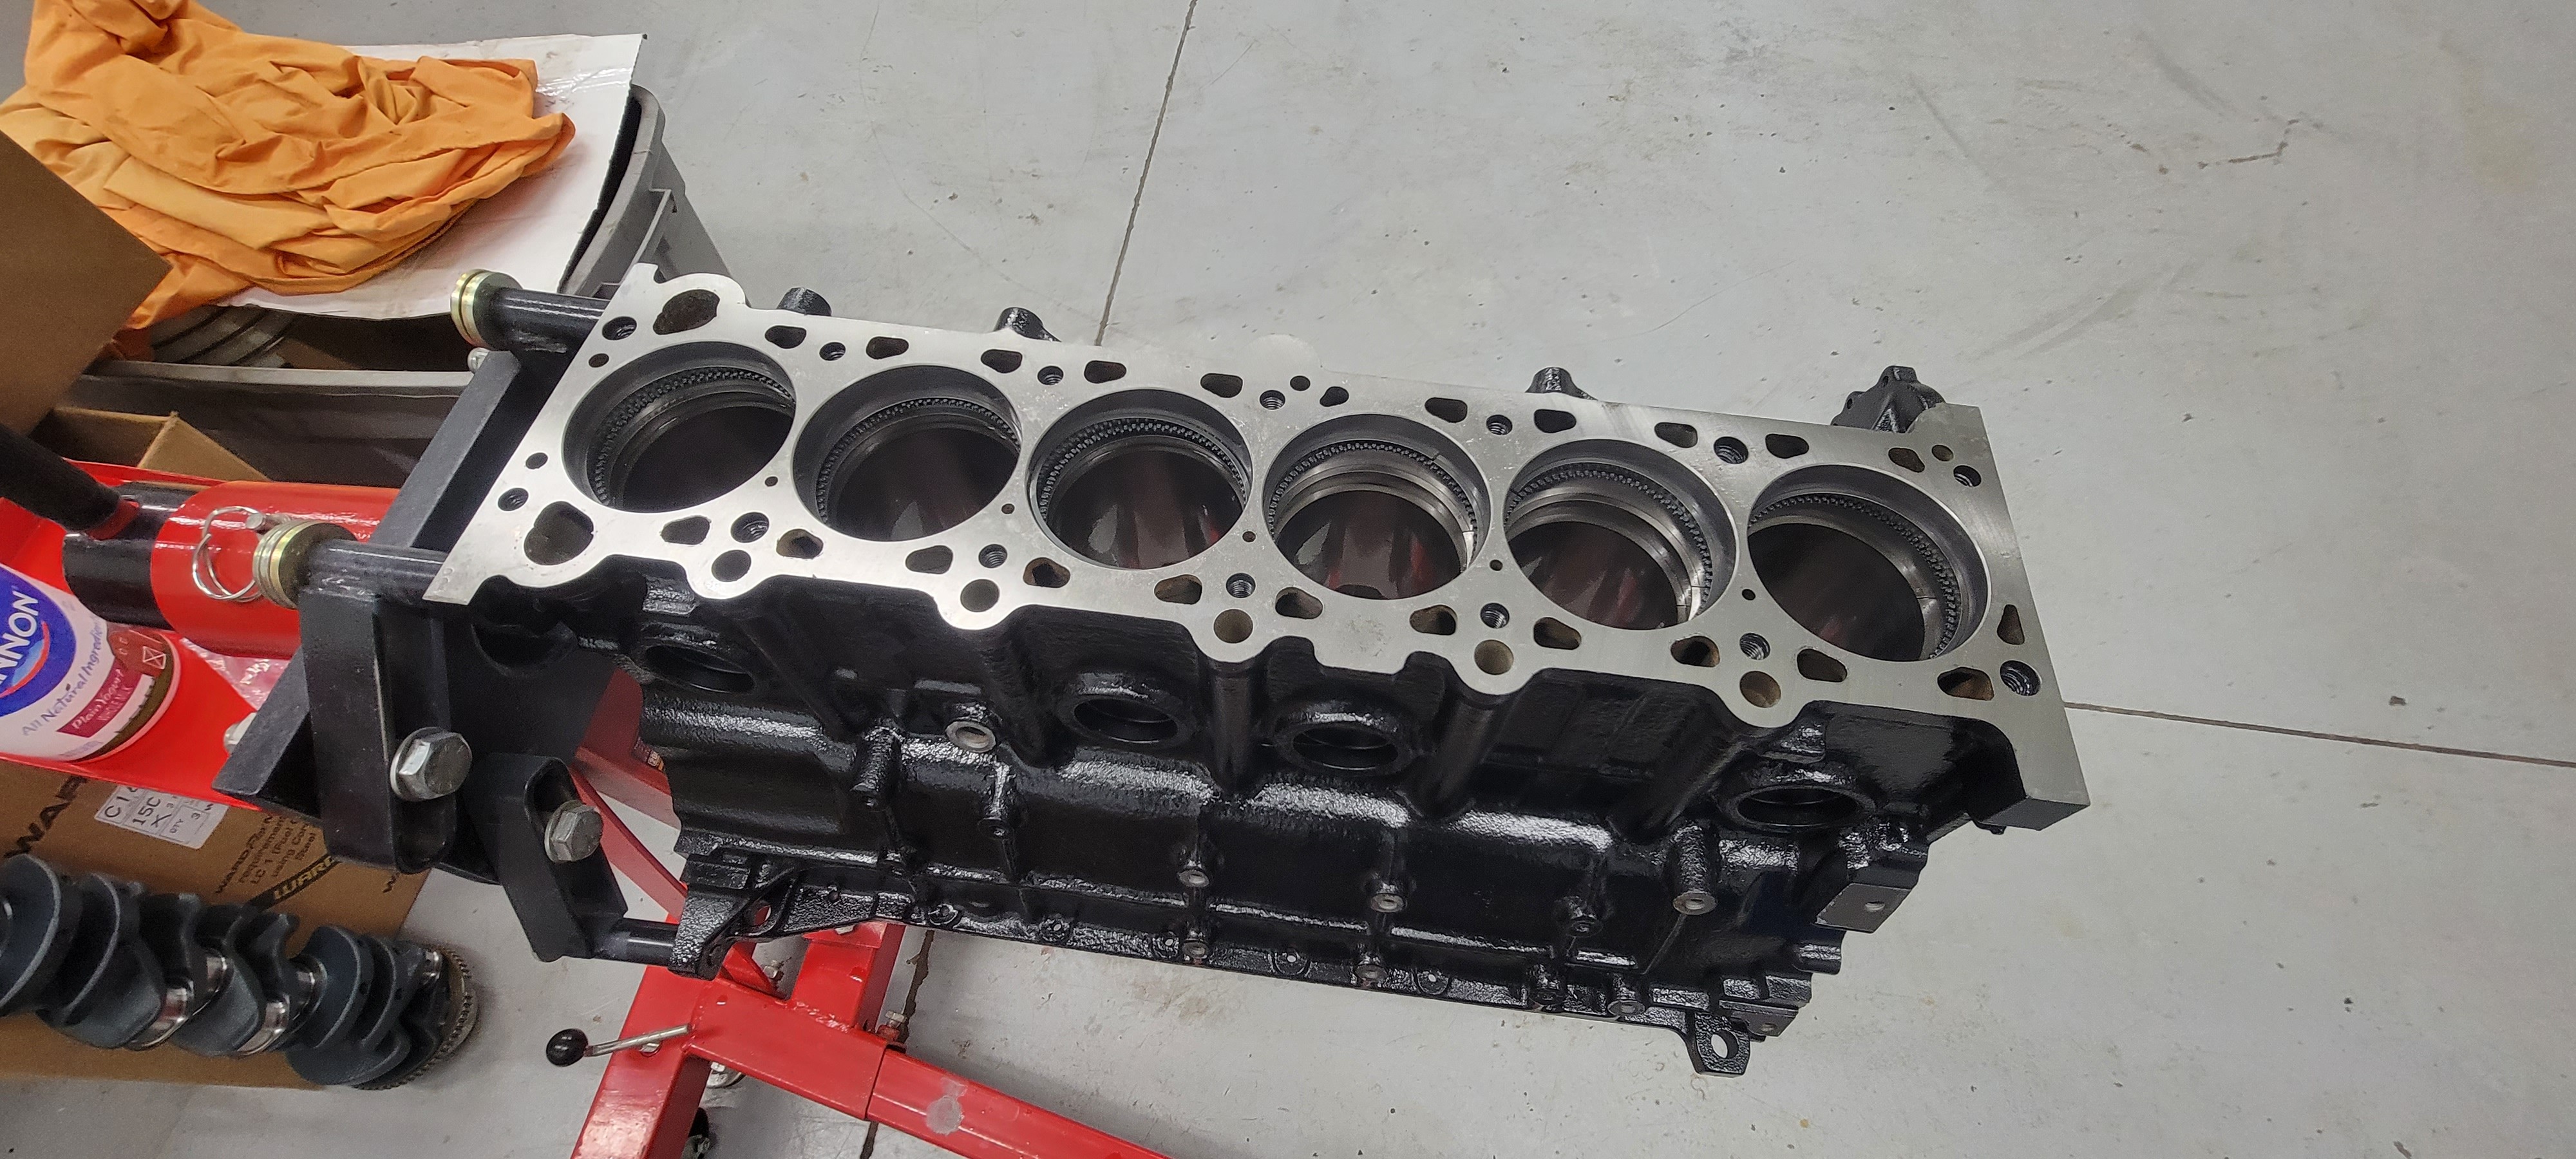
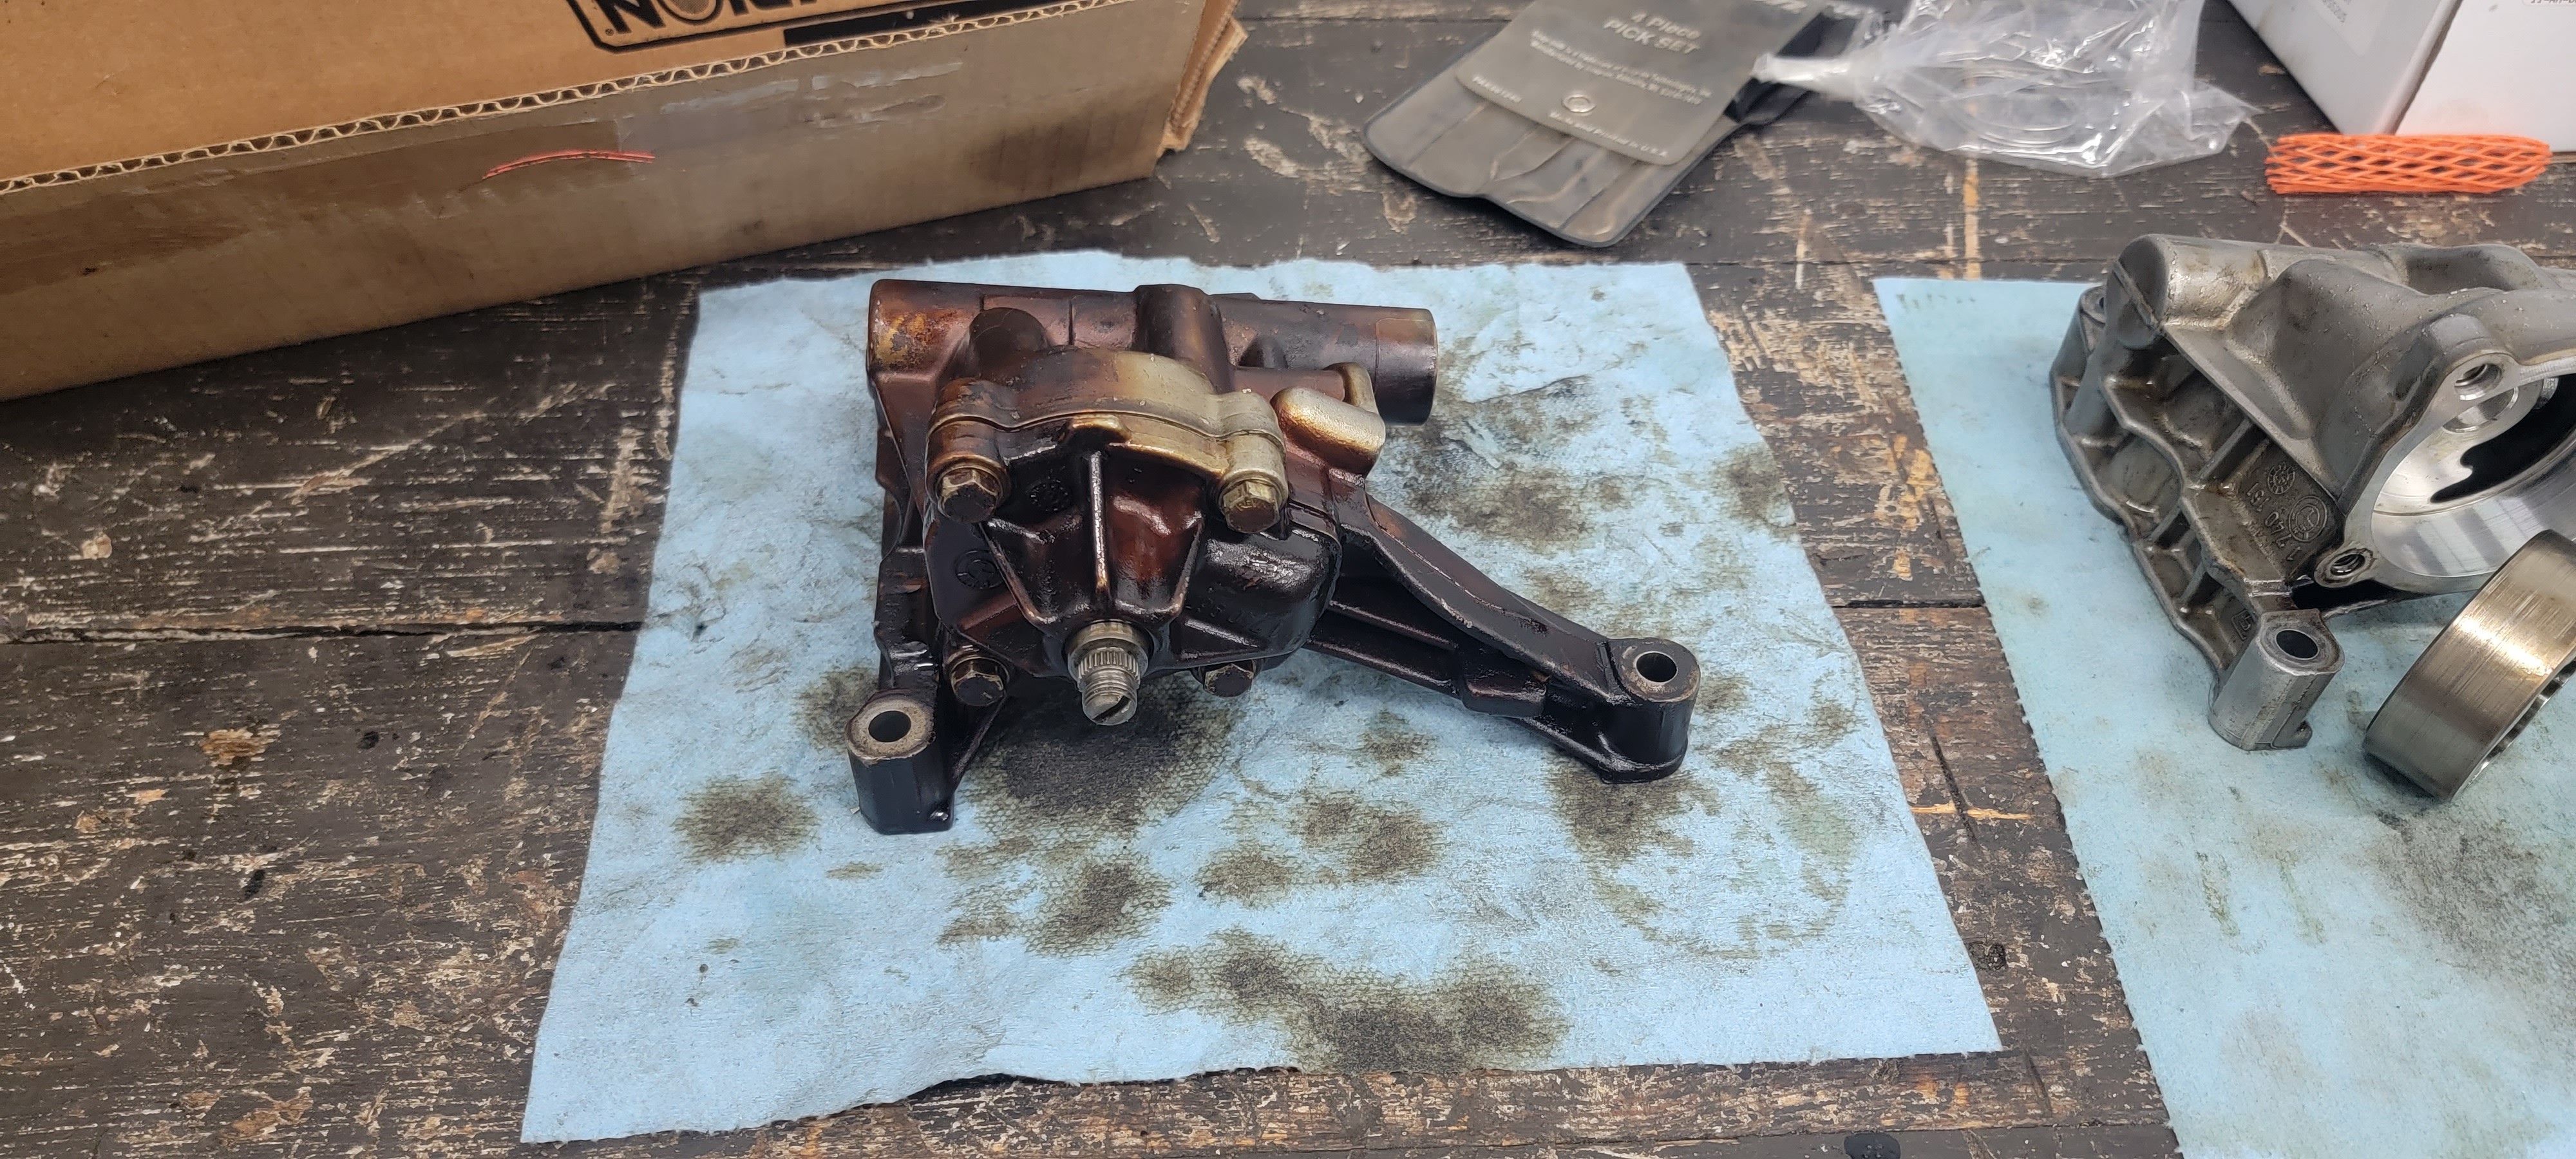
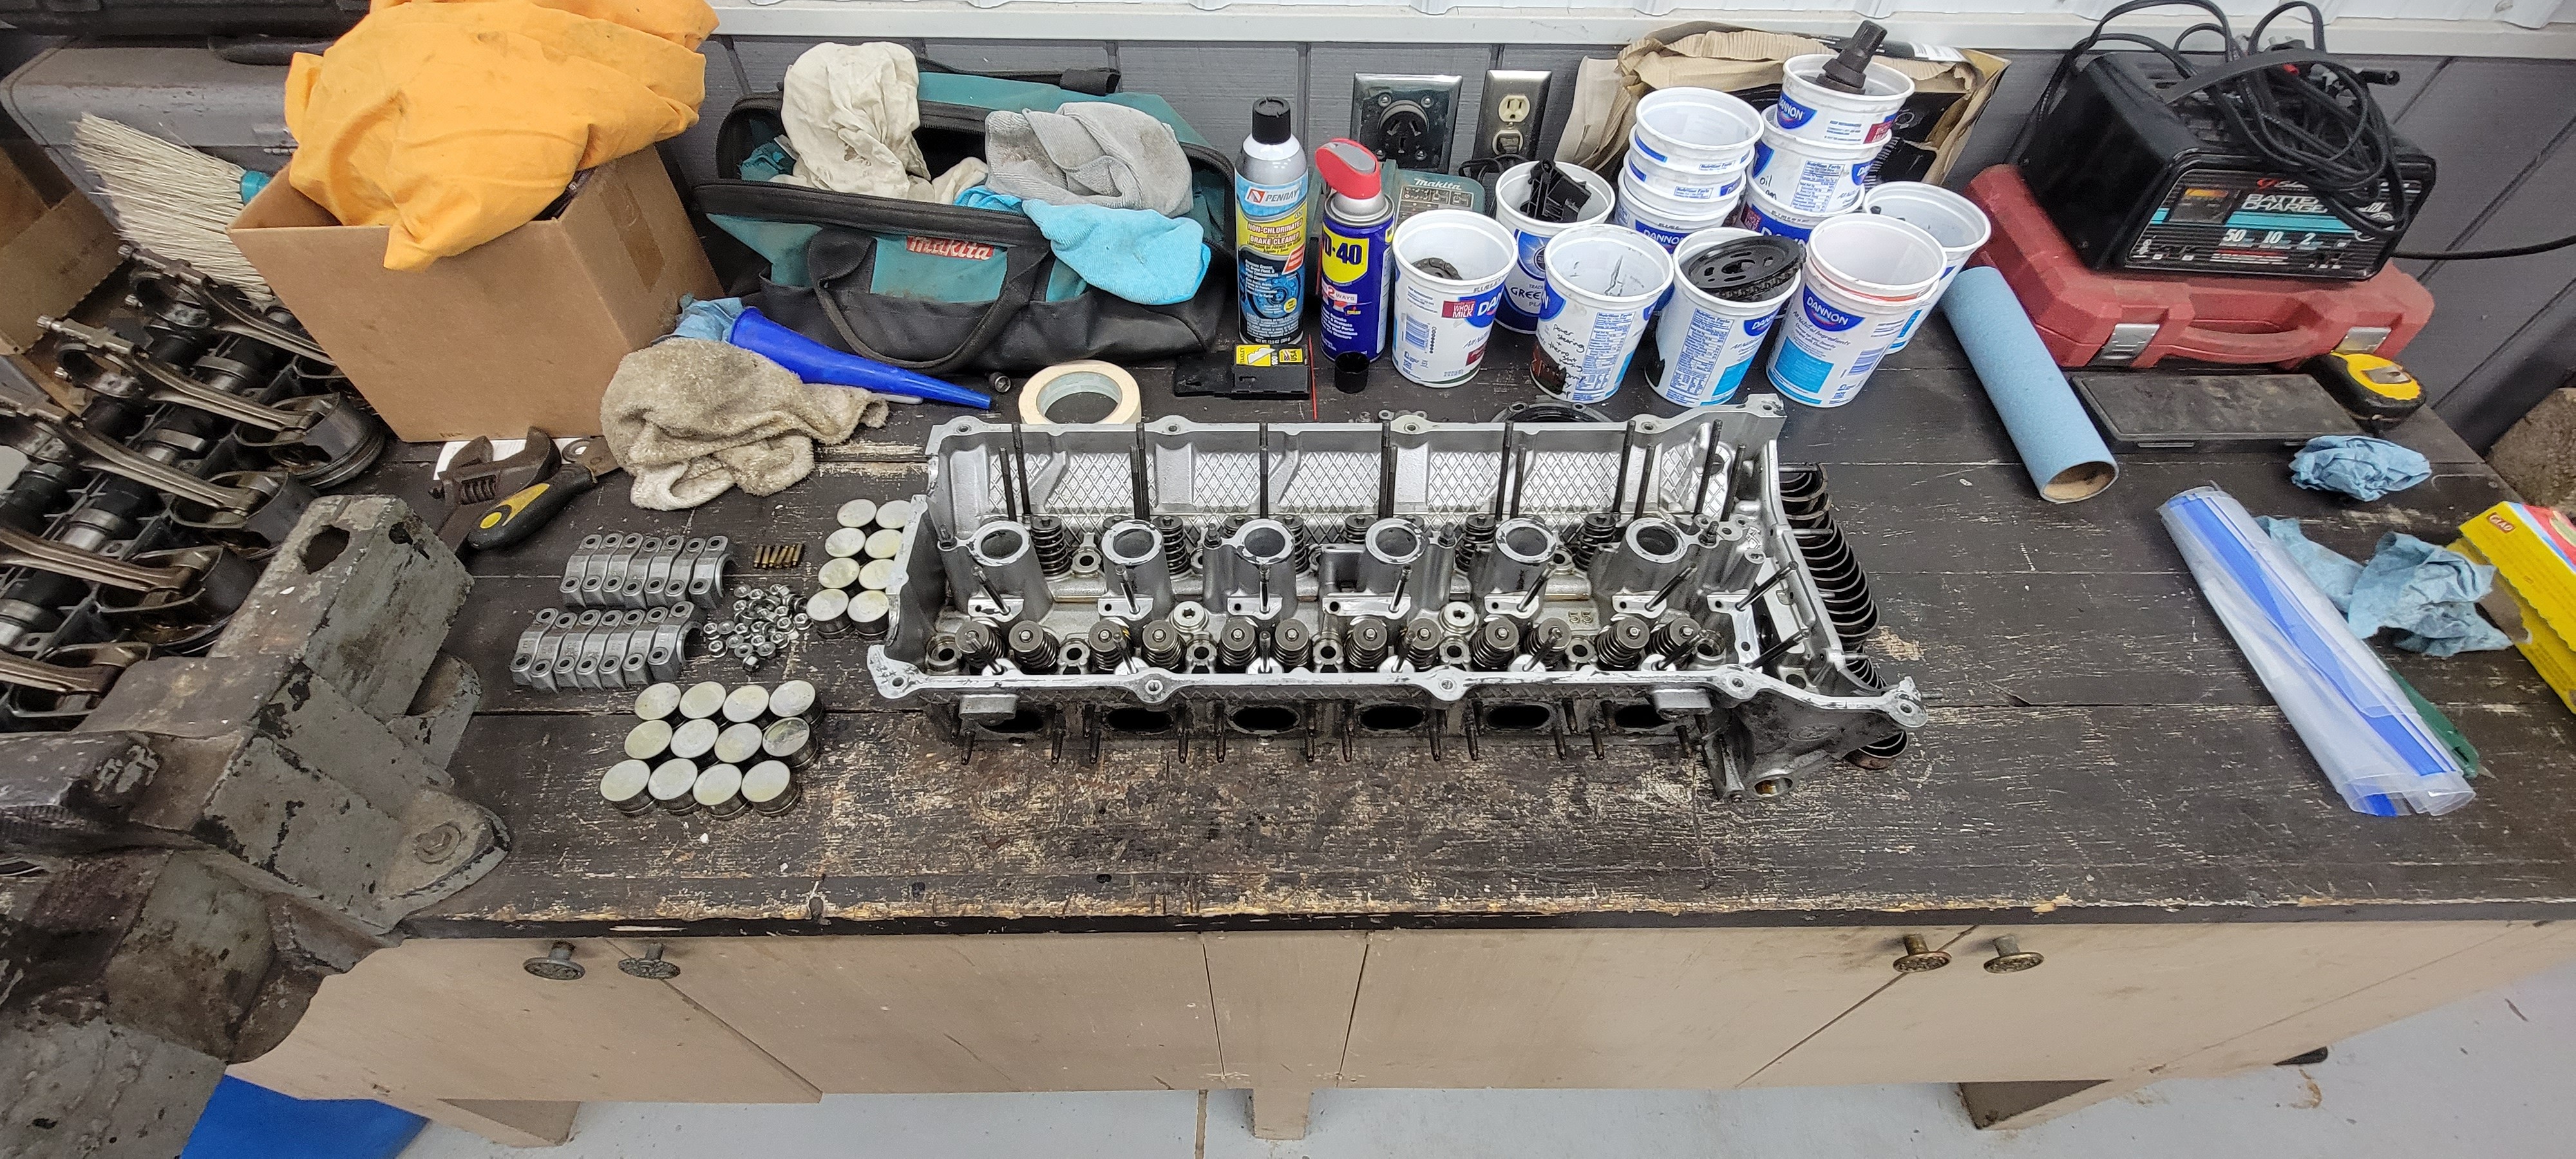
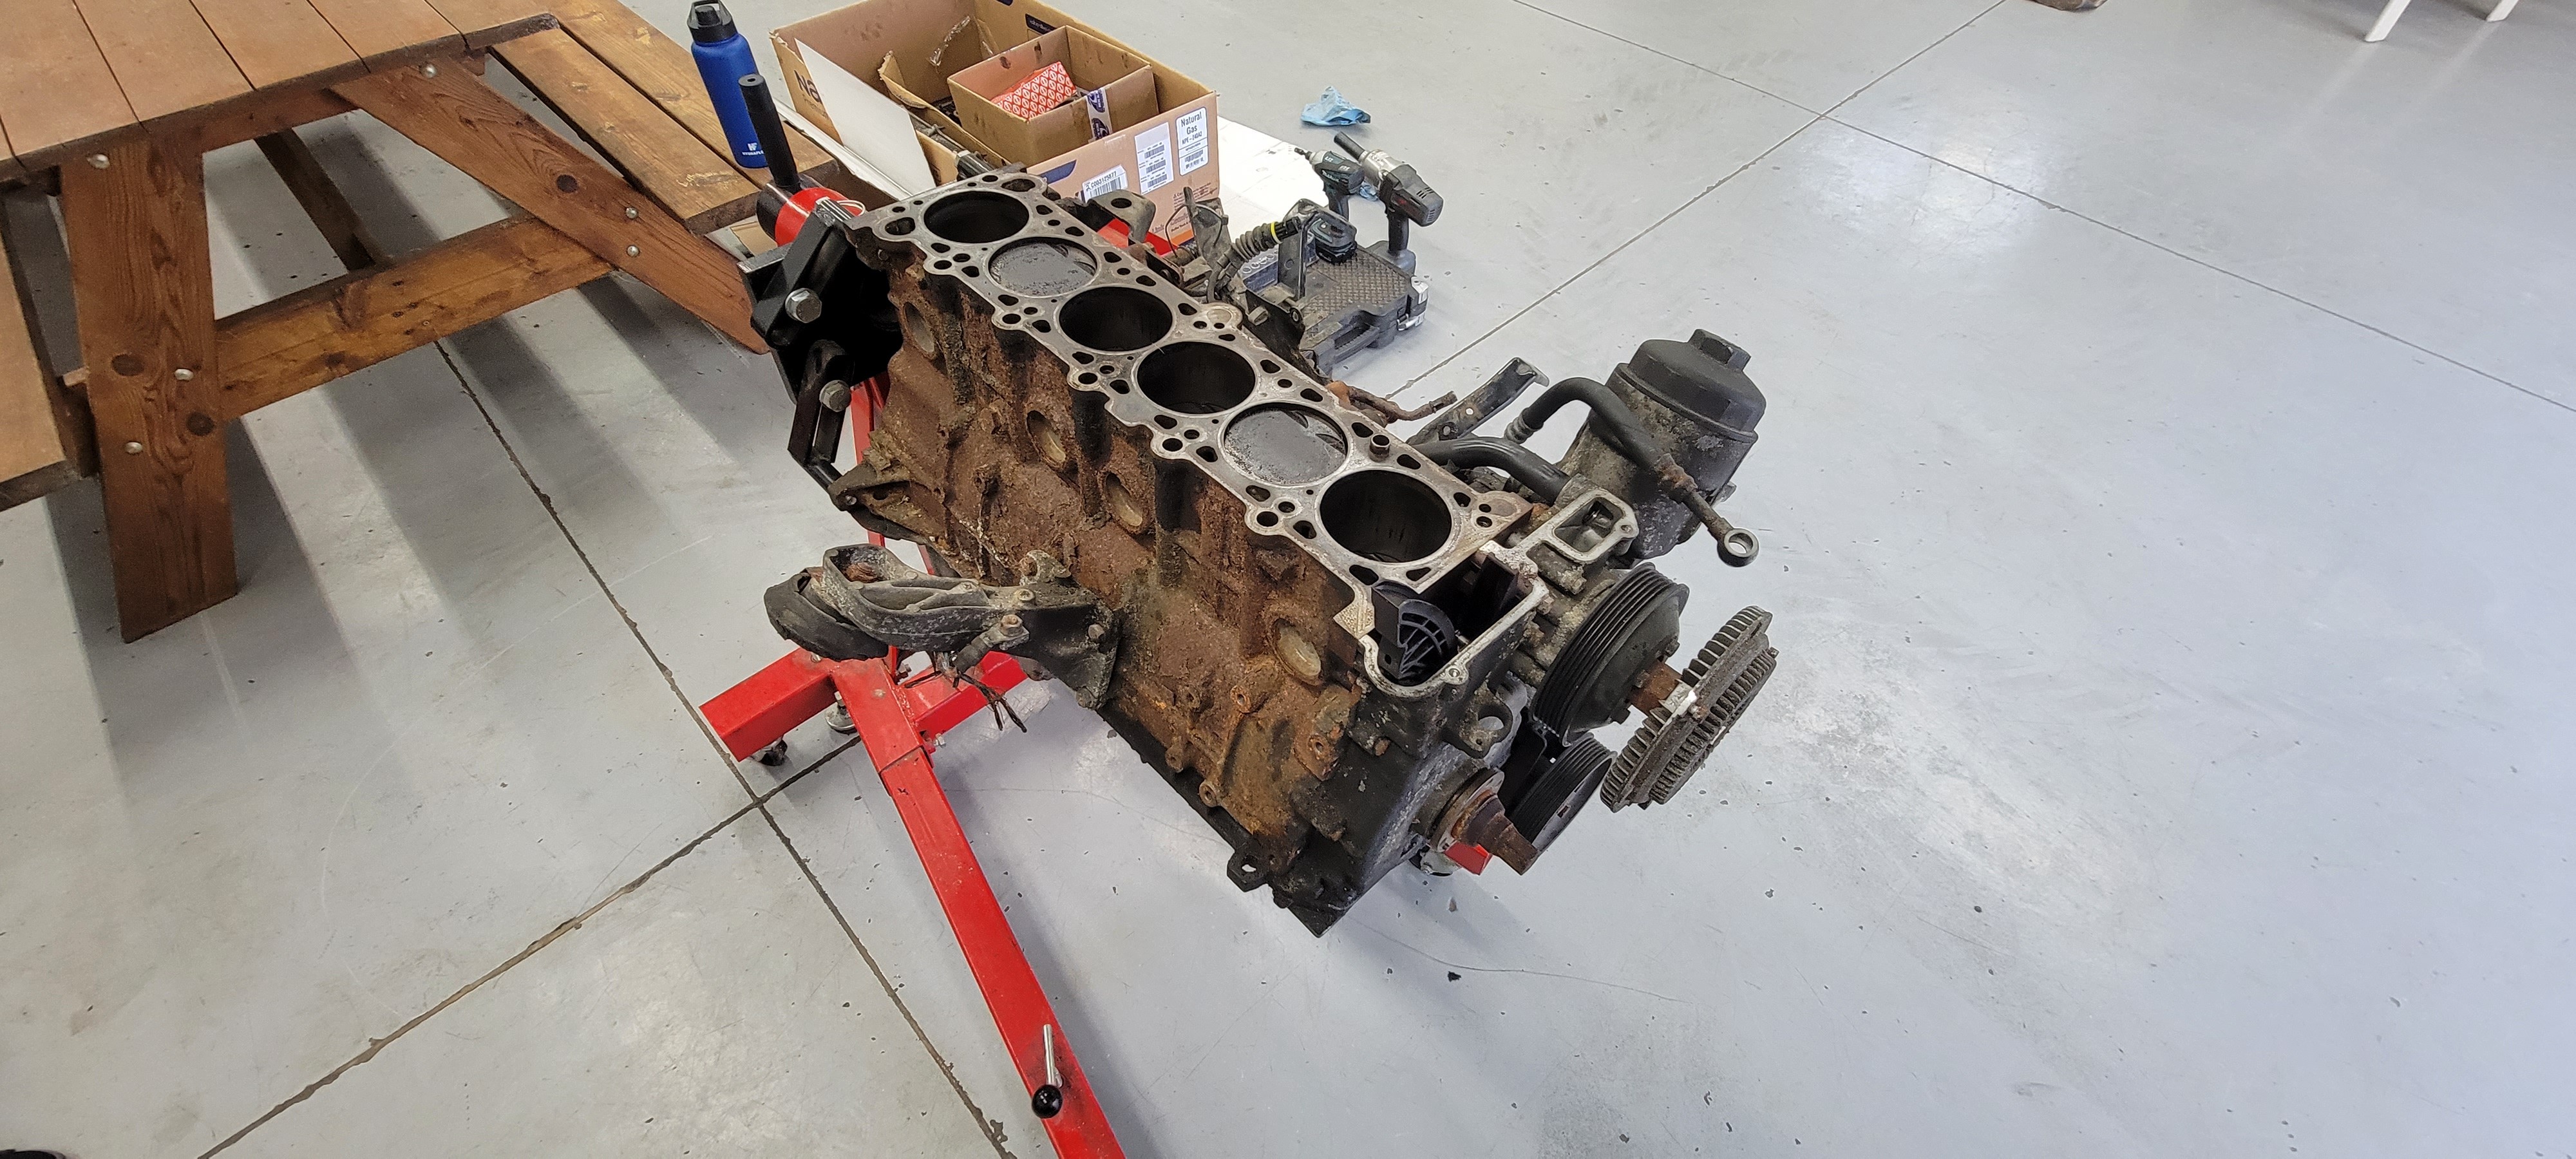
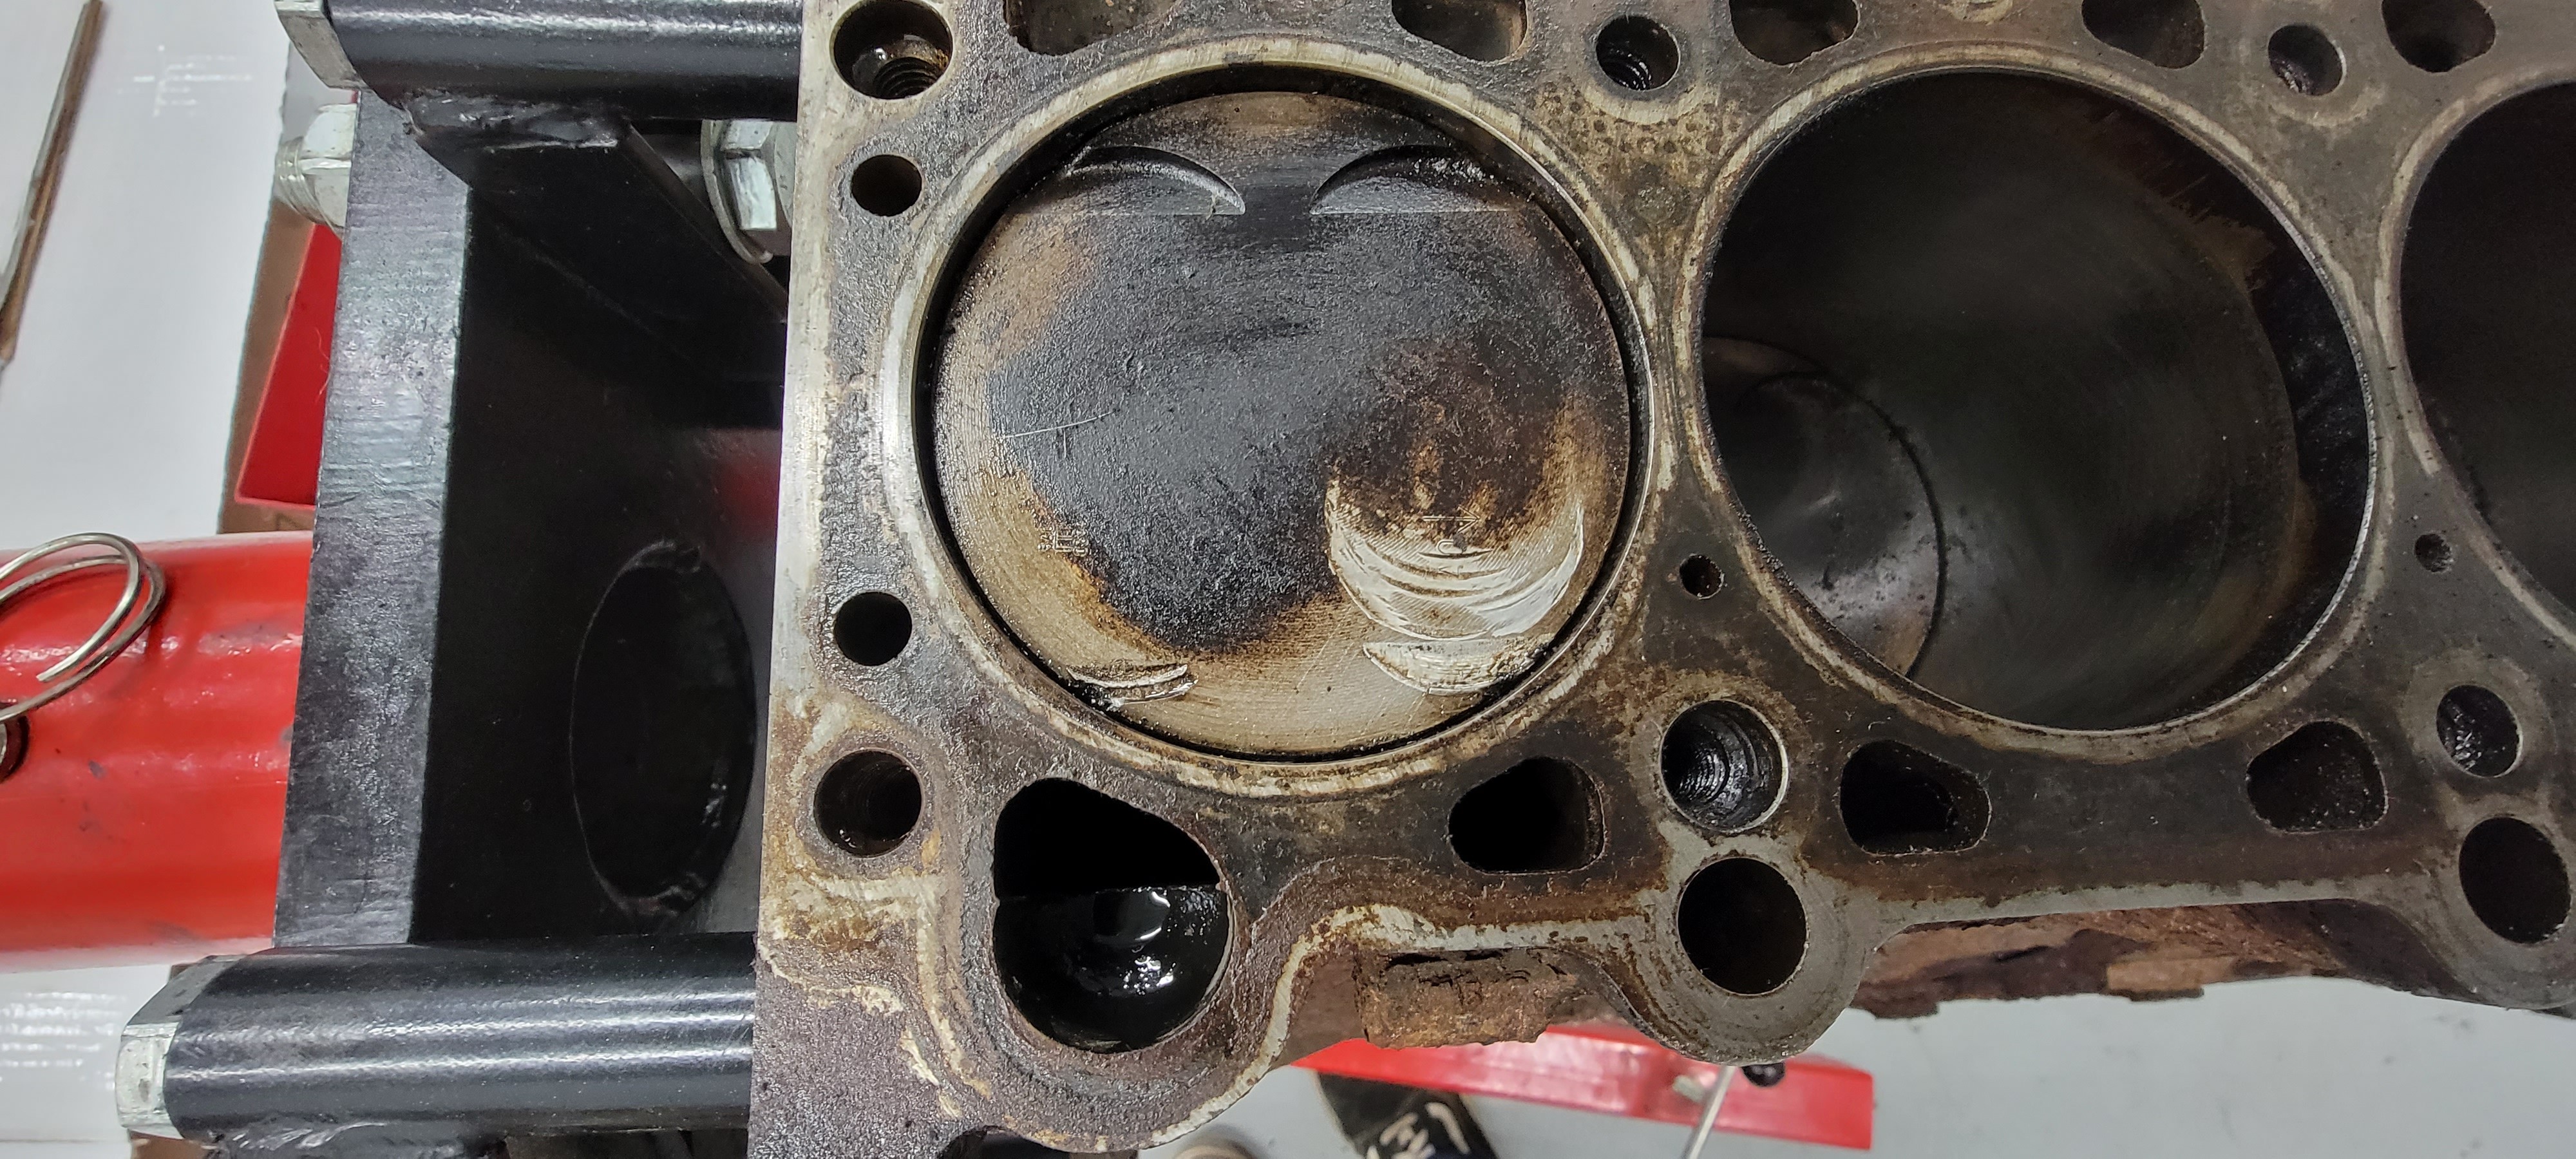
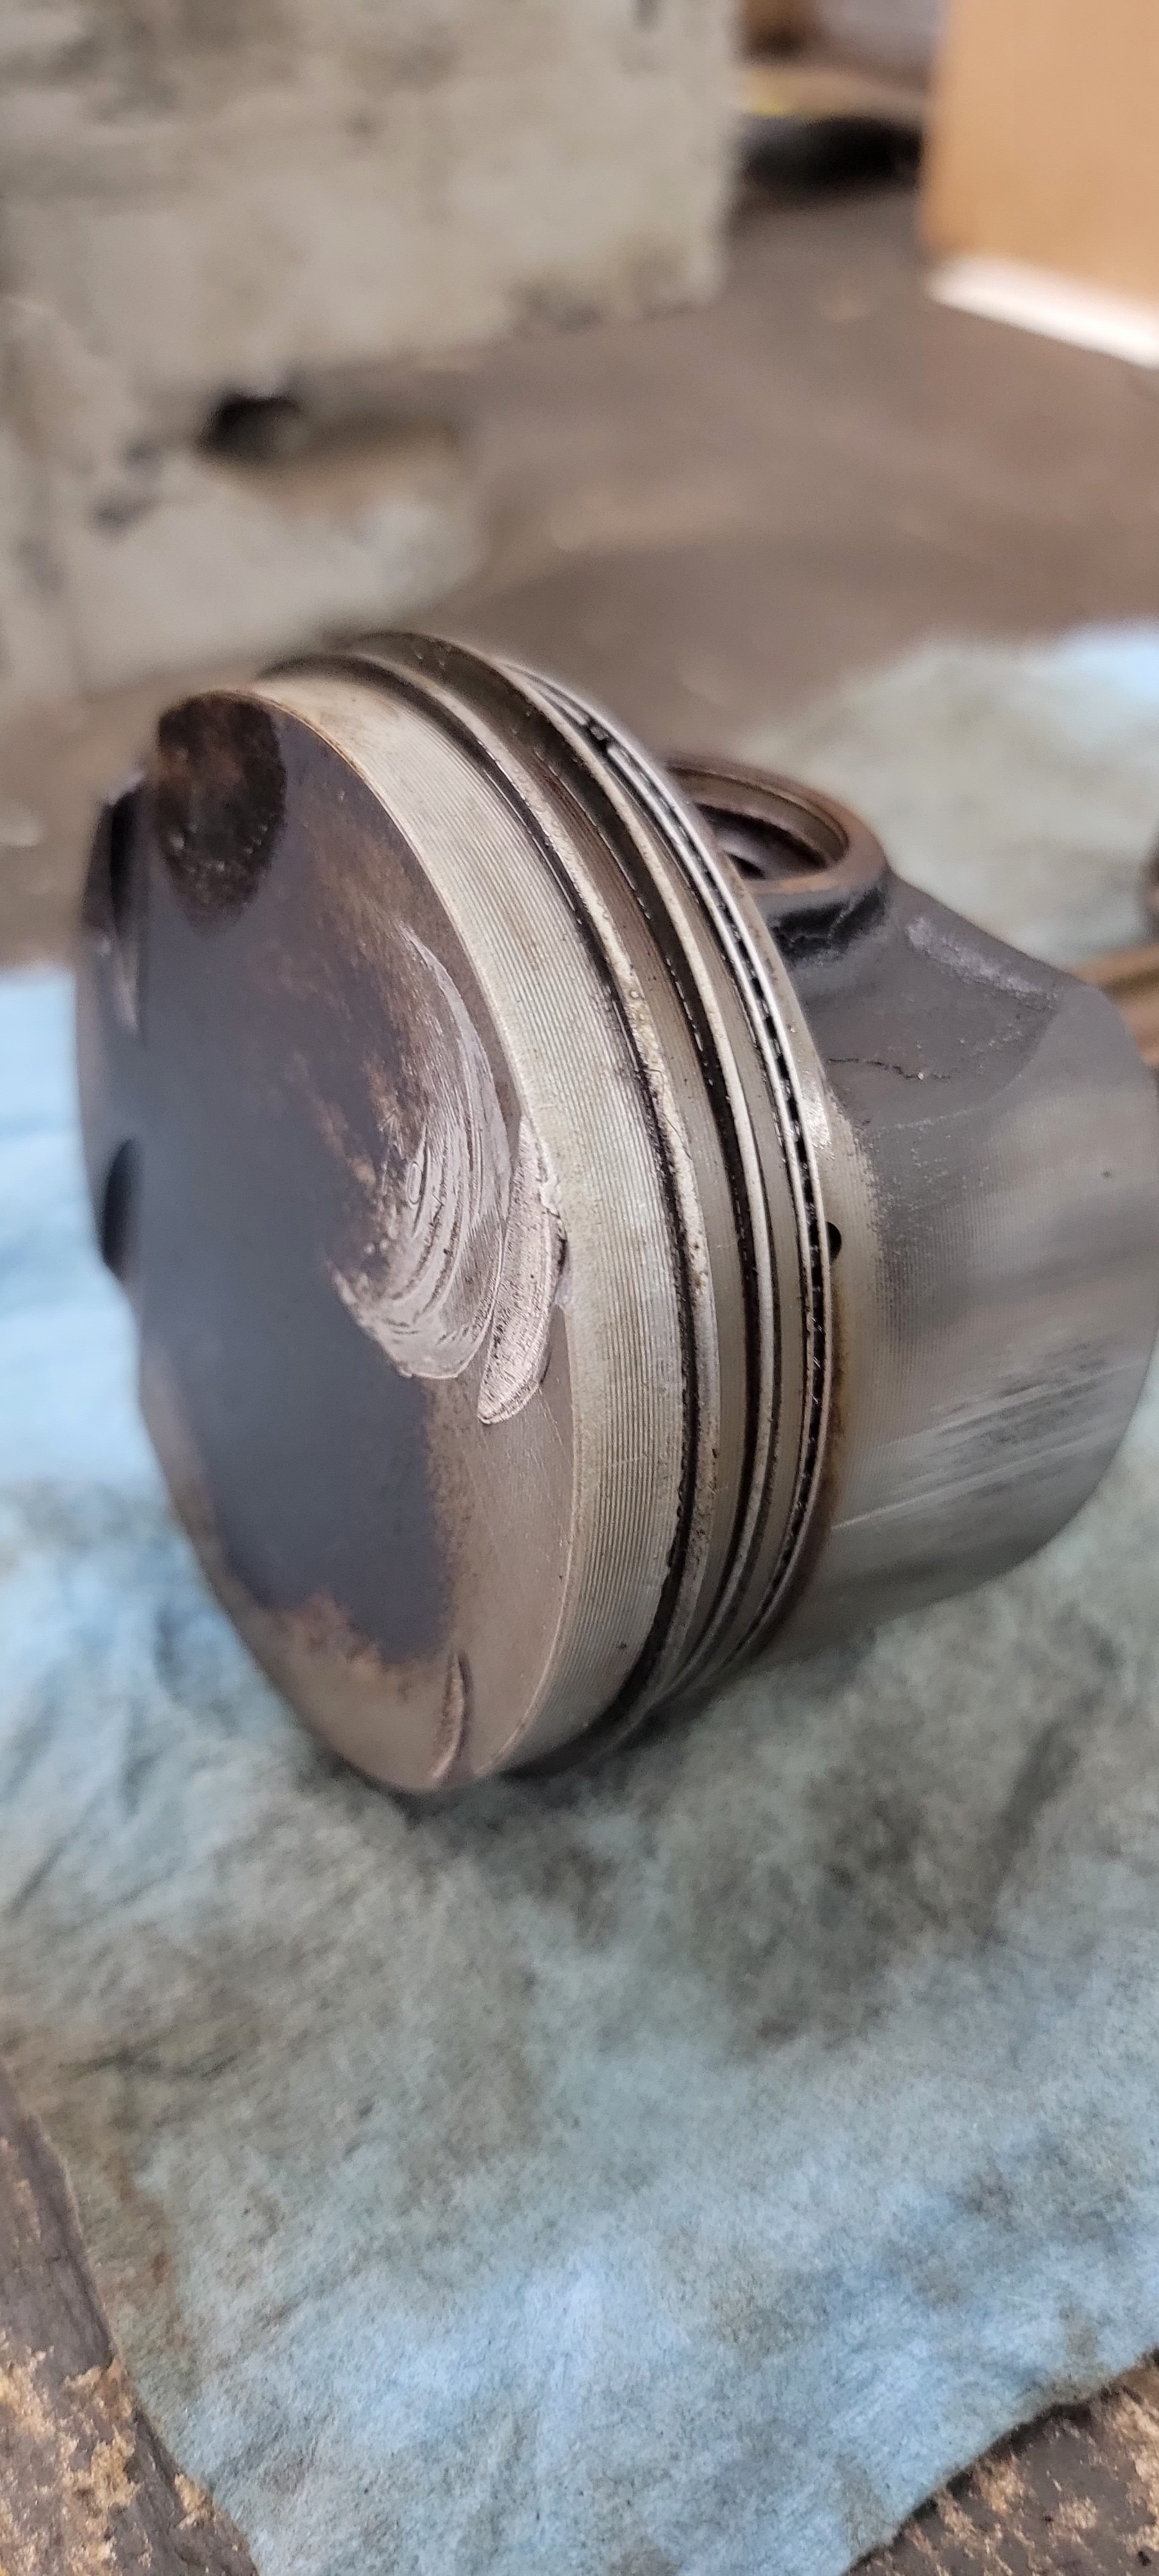
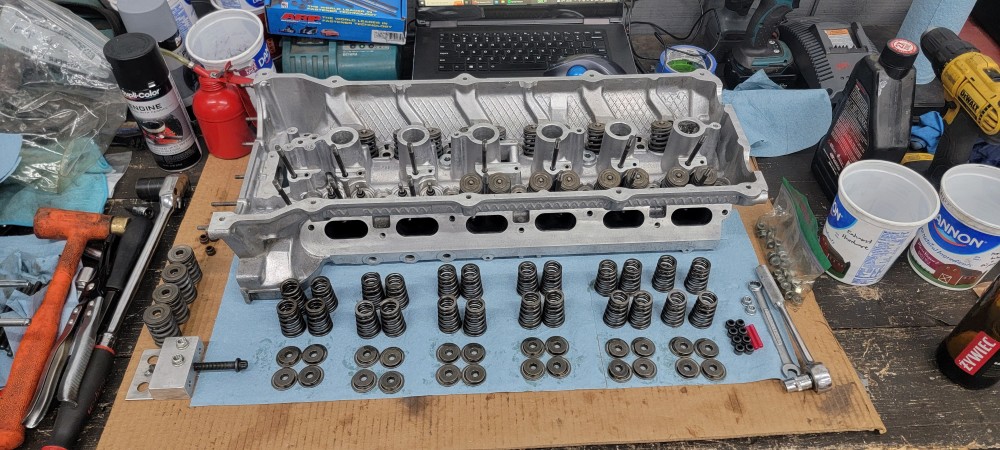
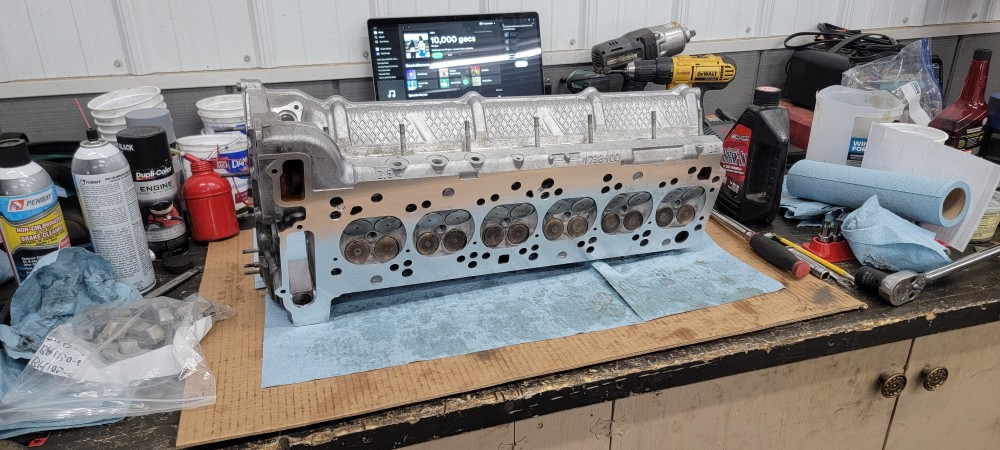
So as far the head I decided on leaving it fairly stock. As for right now I don't have plans of revving past 7k so it should be safe just running the stock valve train. The head I'm using was originally from a M50 vanos. The only difference between the head from a s52 and a M50 non vanos were the springs and retainers. I kept the springs matched with the cams I was running which was from the s52 so I needed to swap those over. I went ahead and installed all new valve stem seals at the same time.
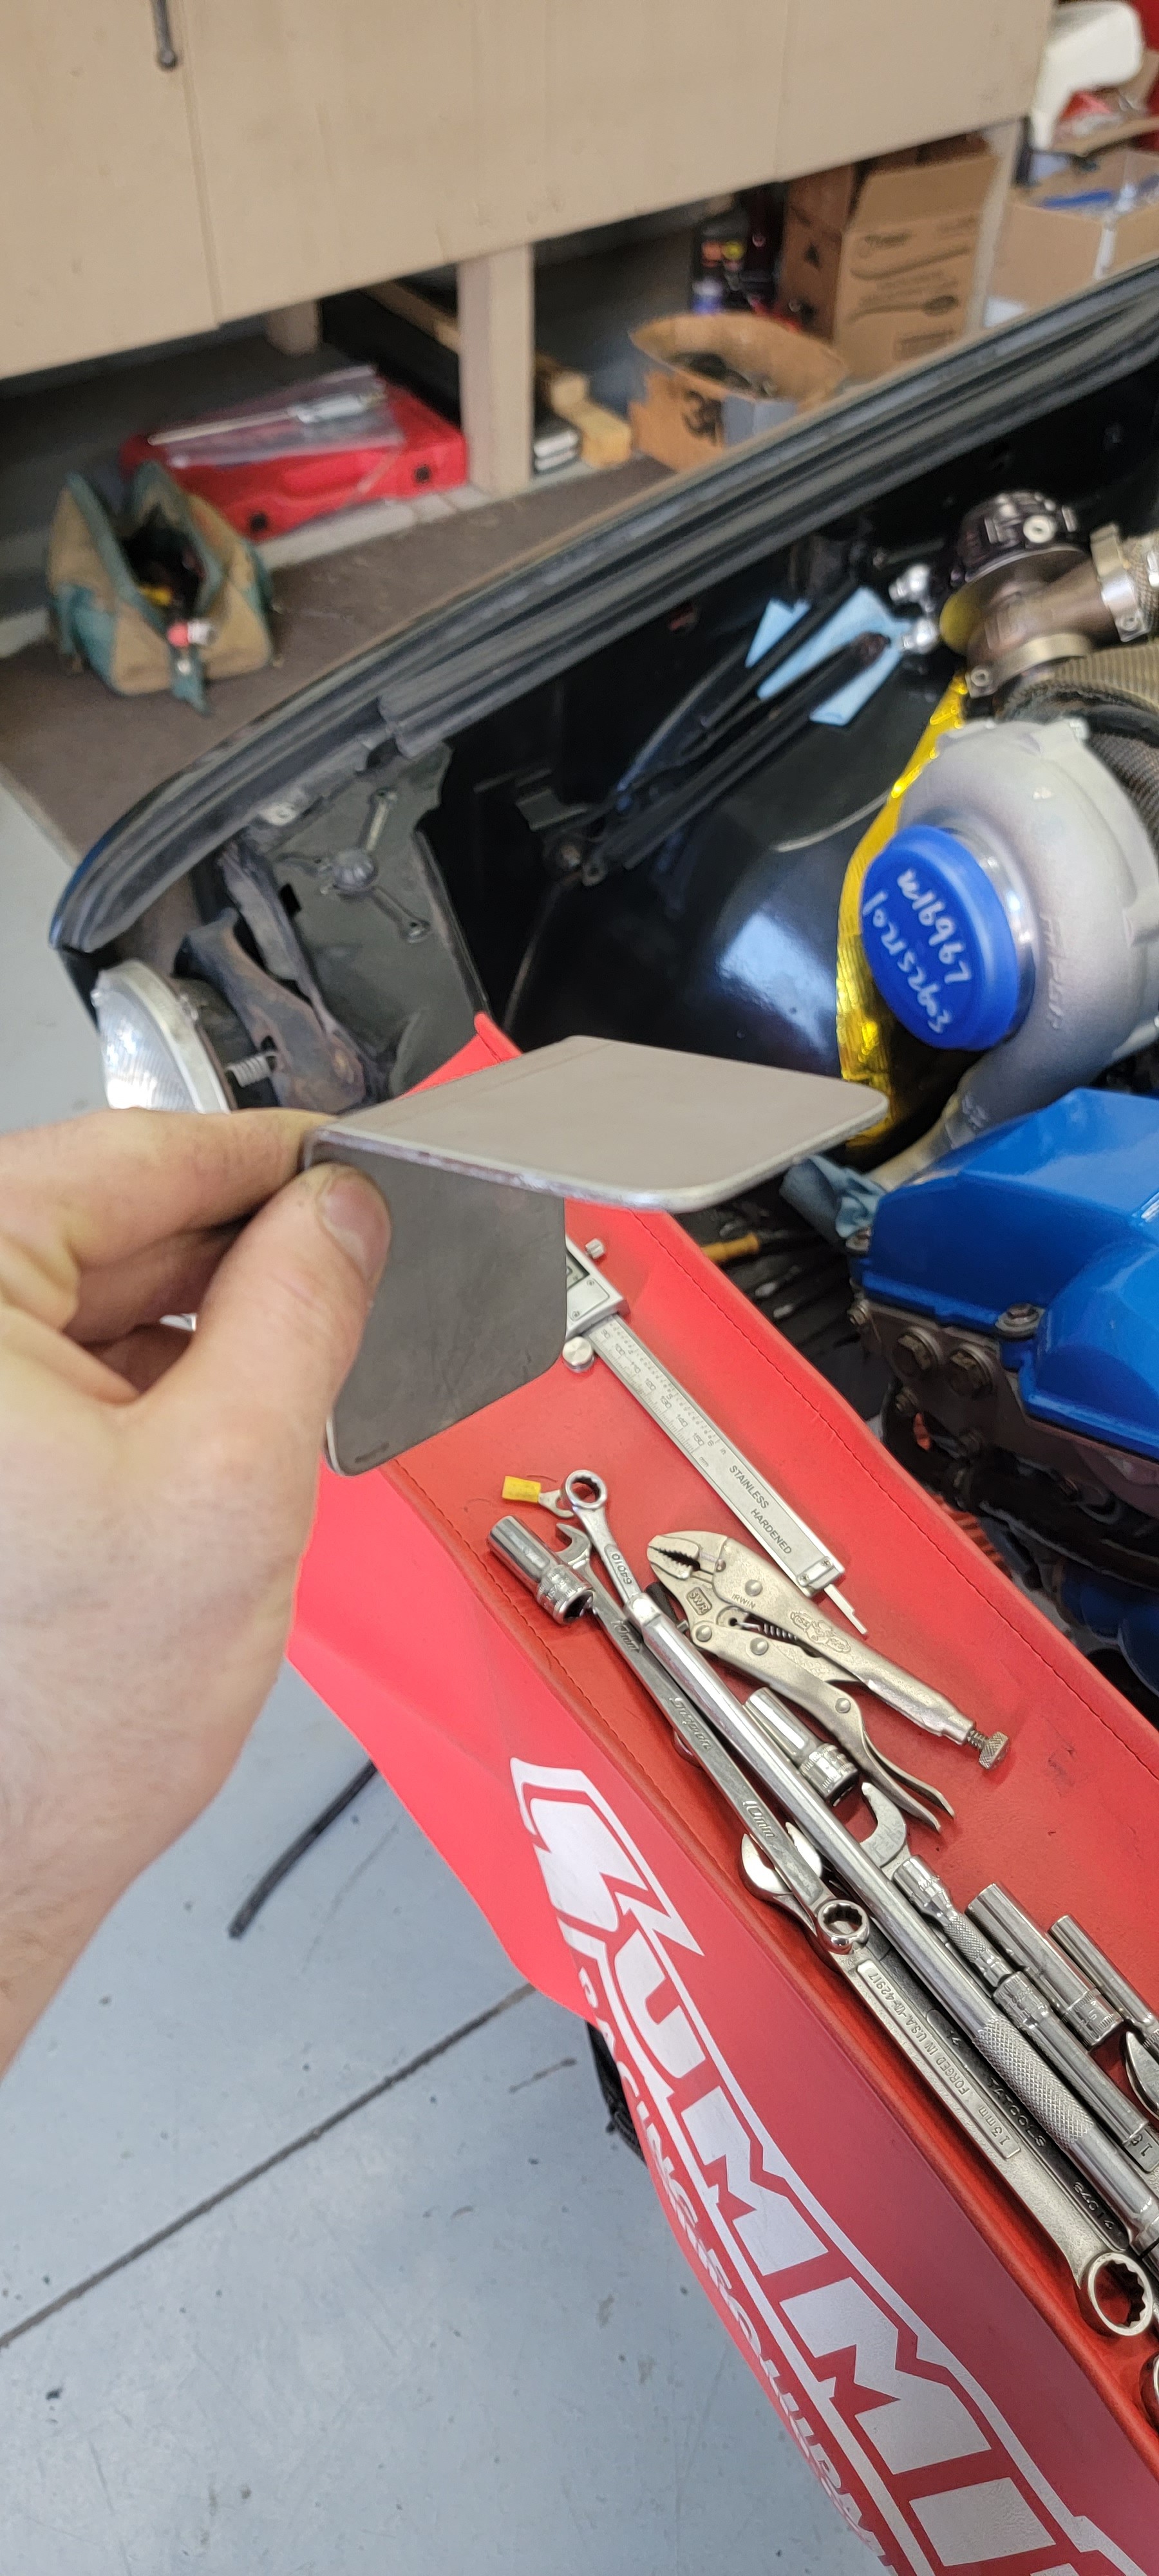
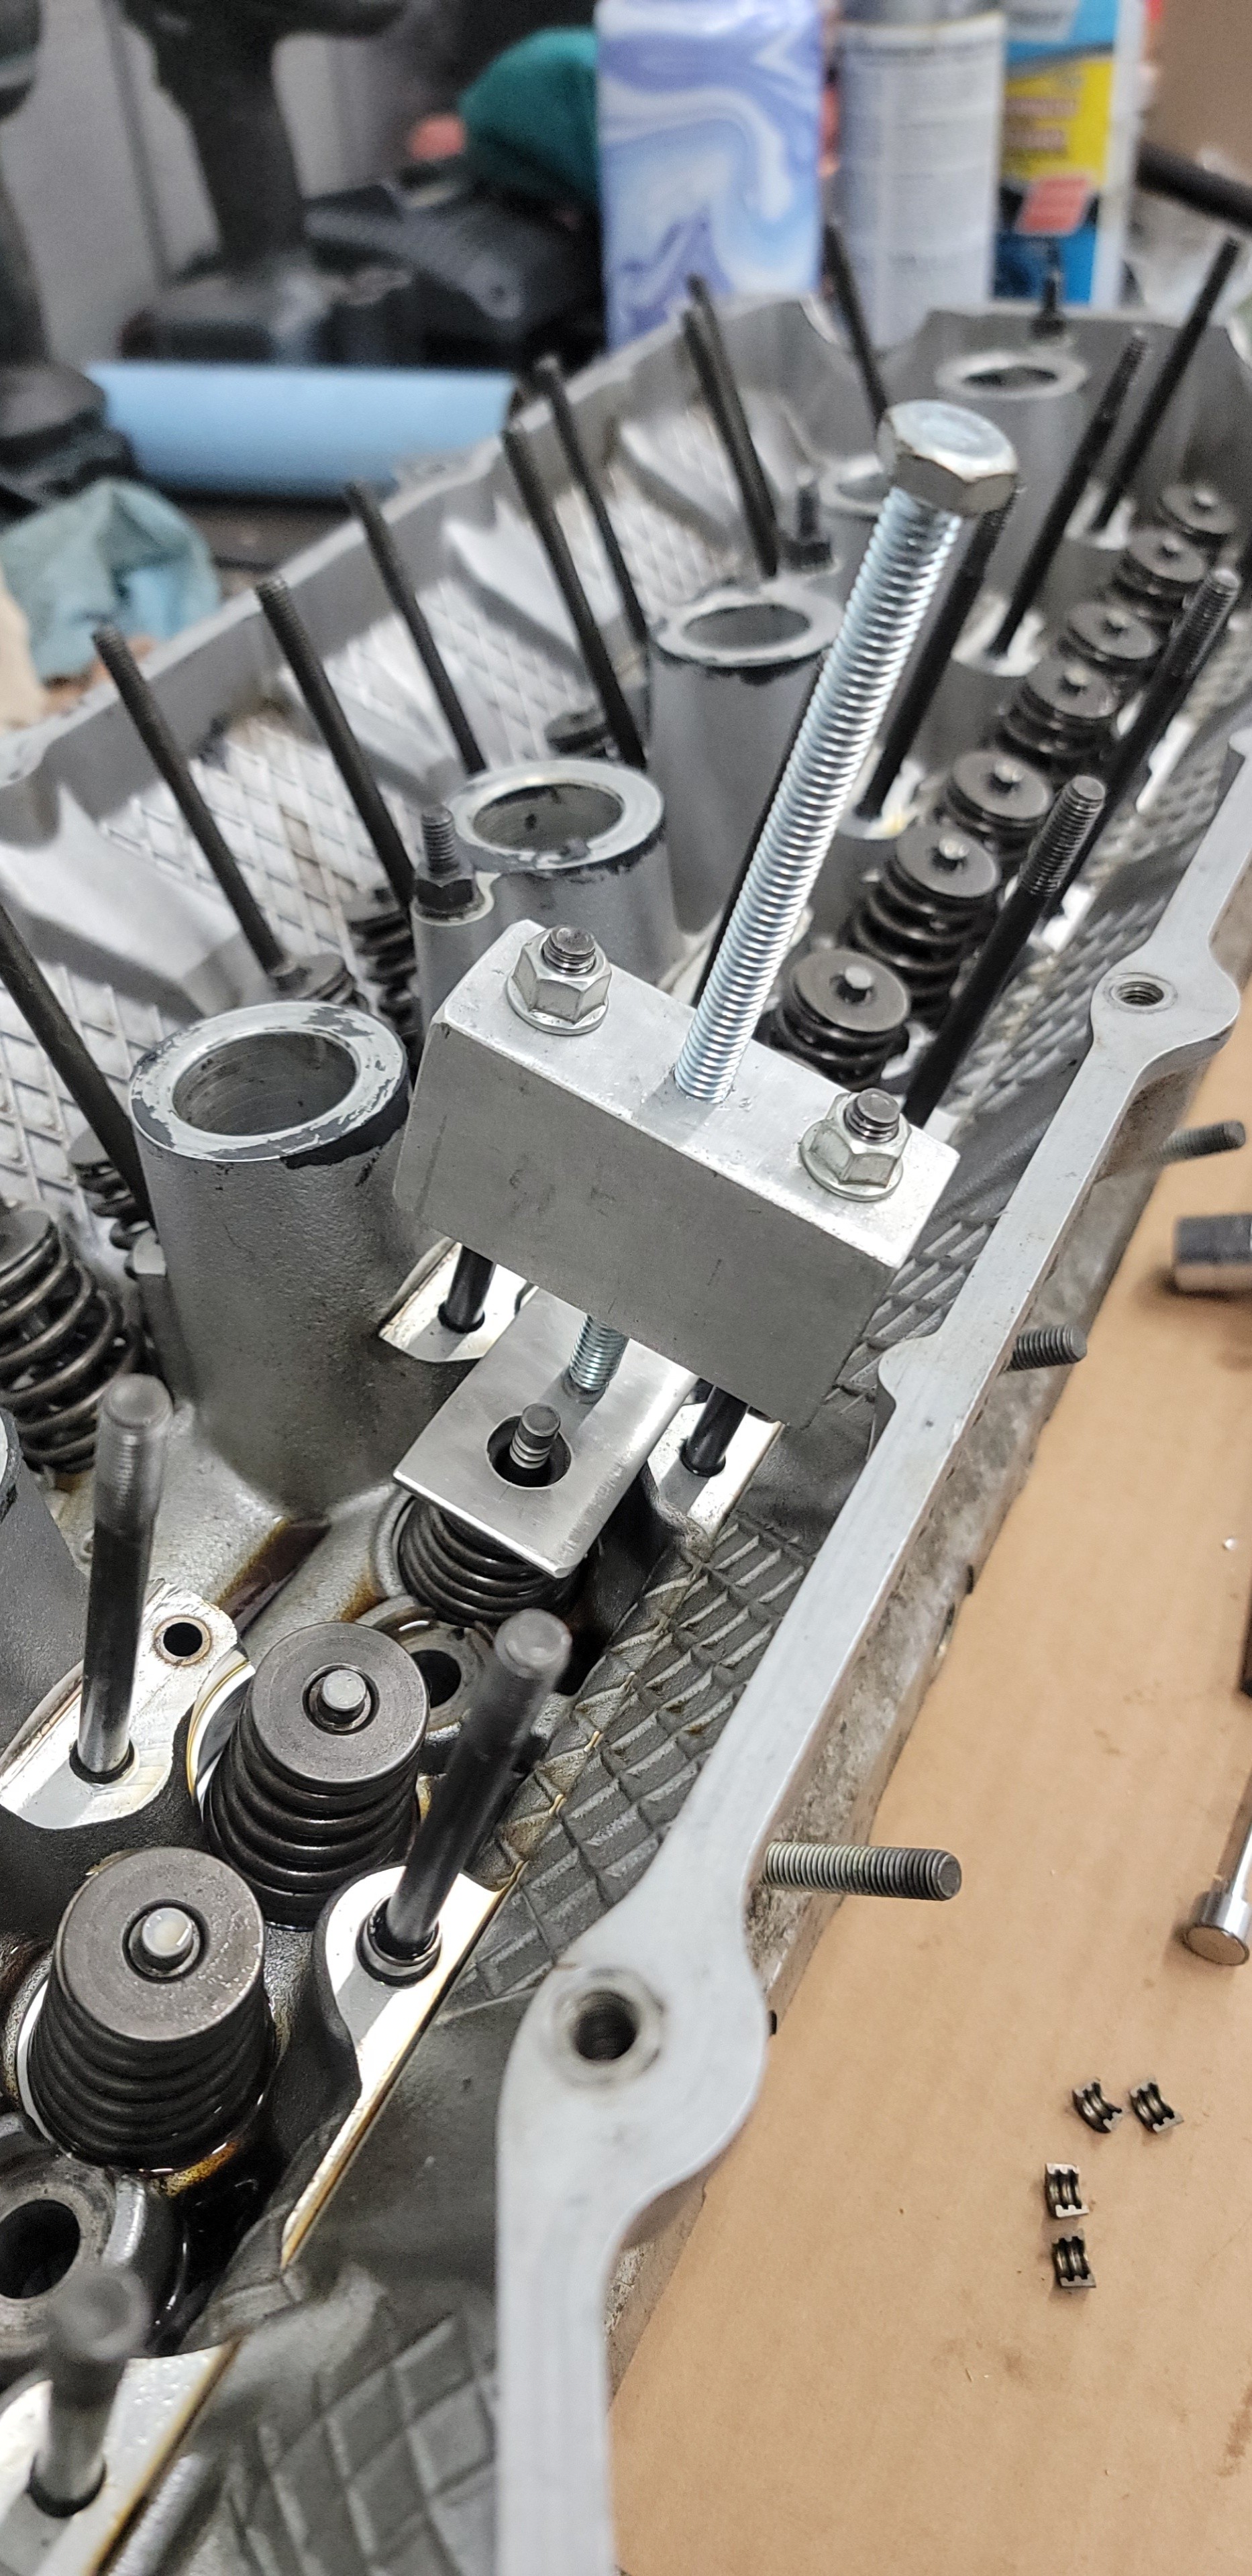
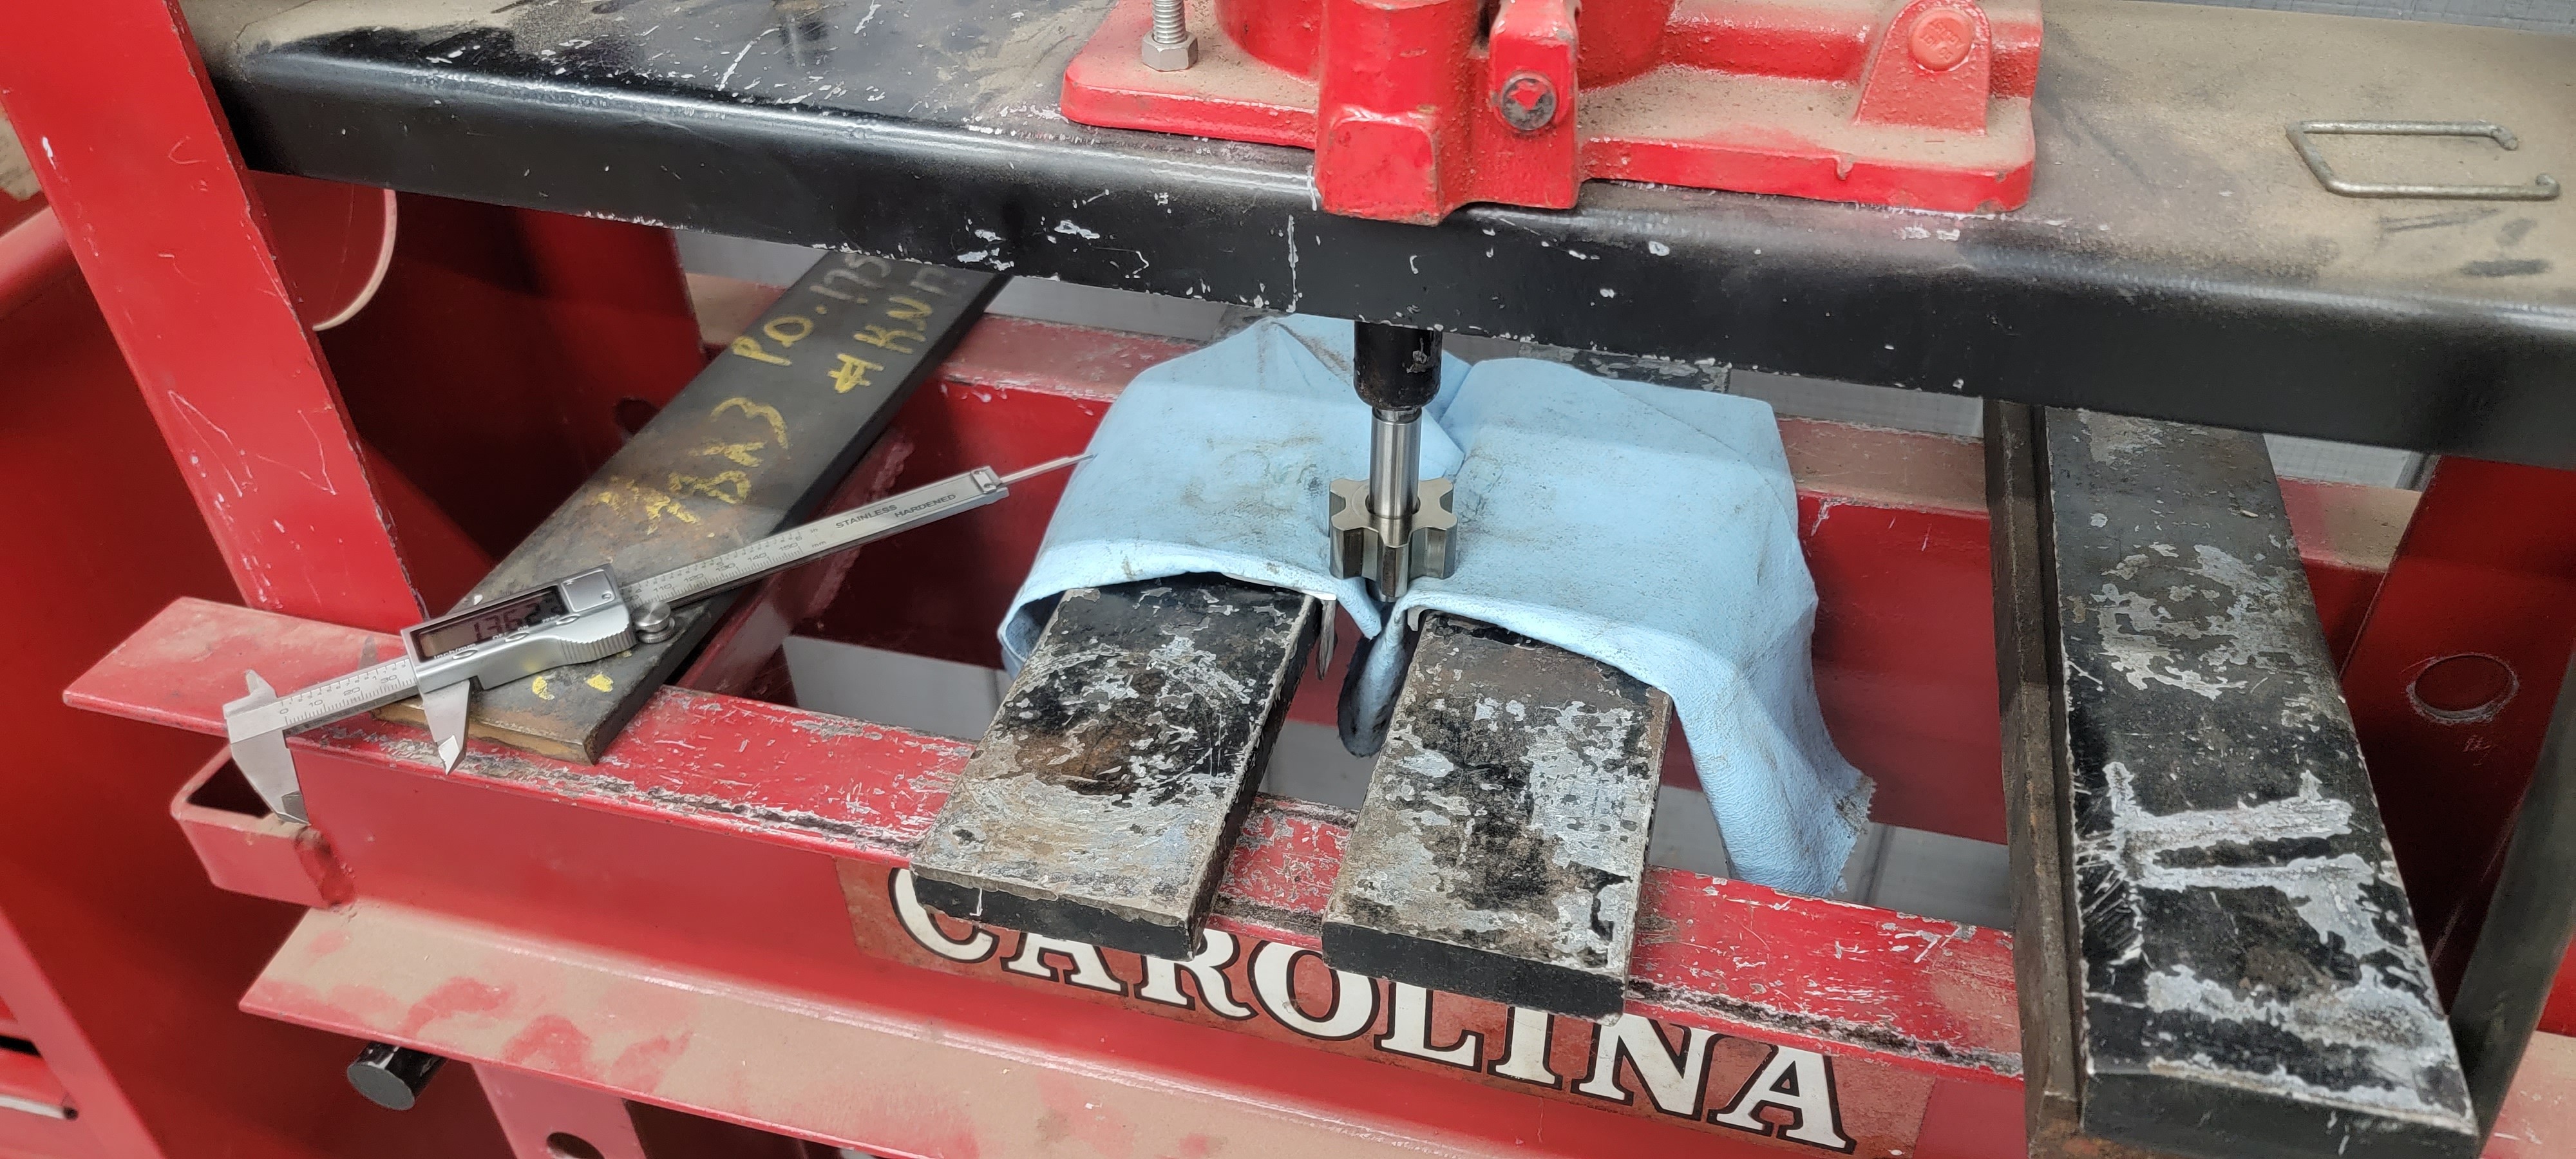
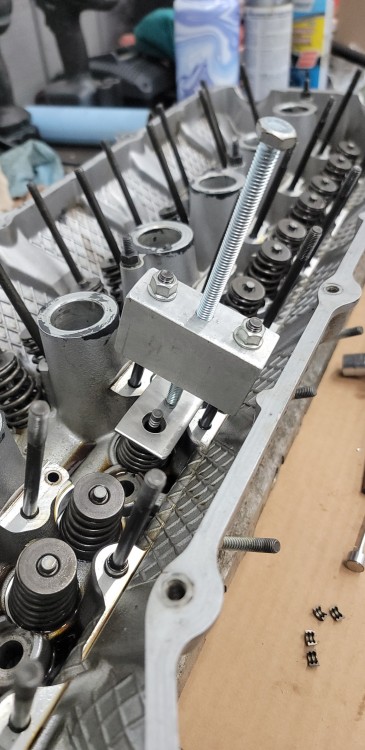
Made myself a little tool for spring removal and installation. Not quite as nice as some of the ones you can buy out there but it did the job well.
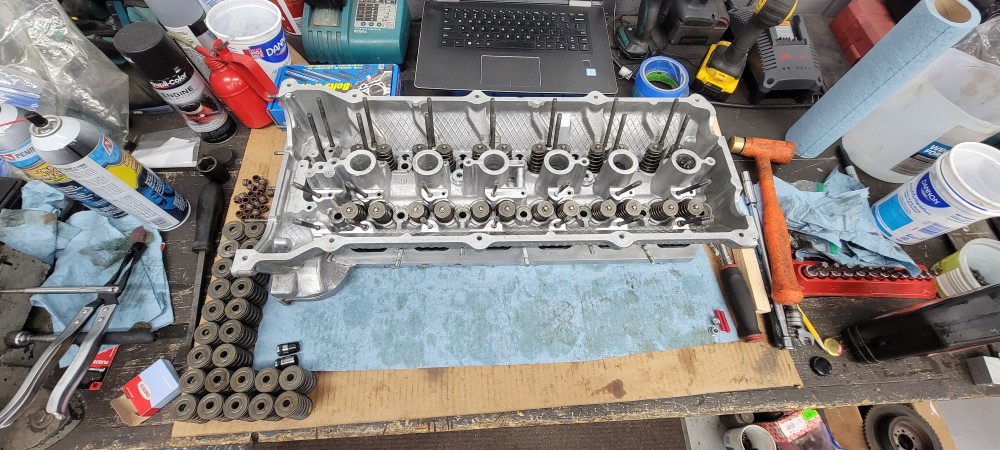
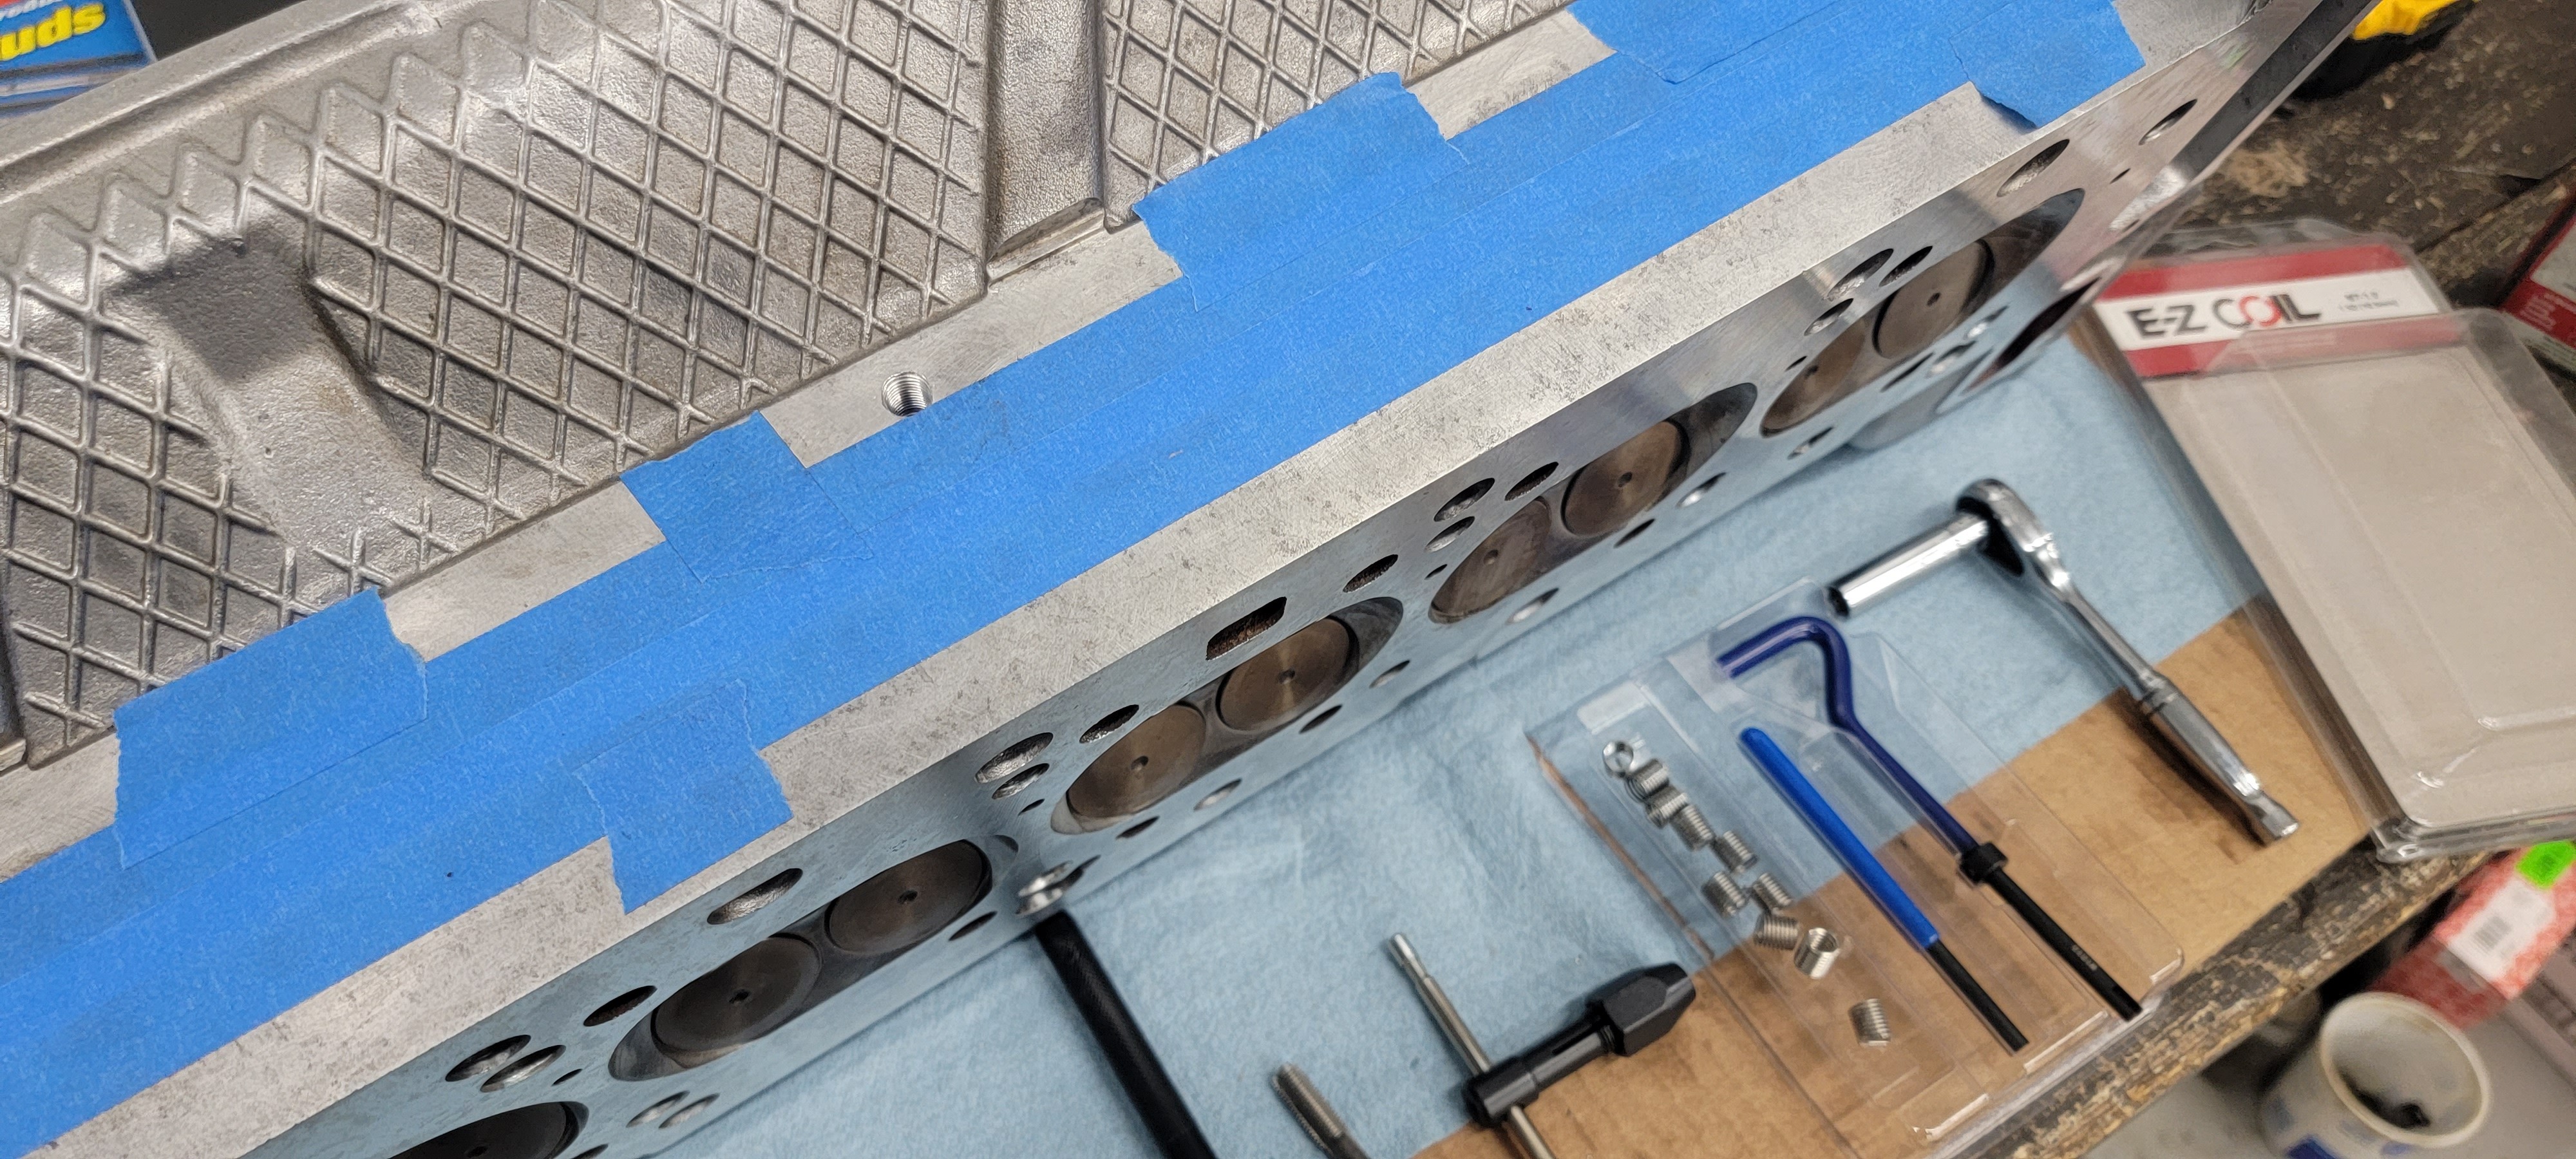
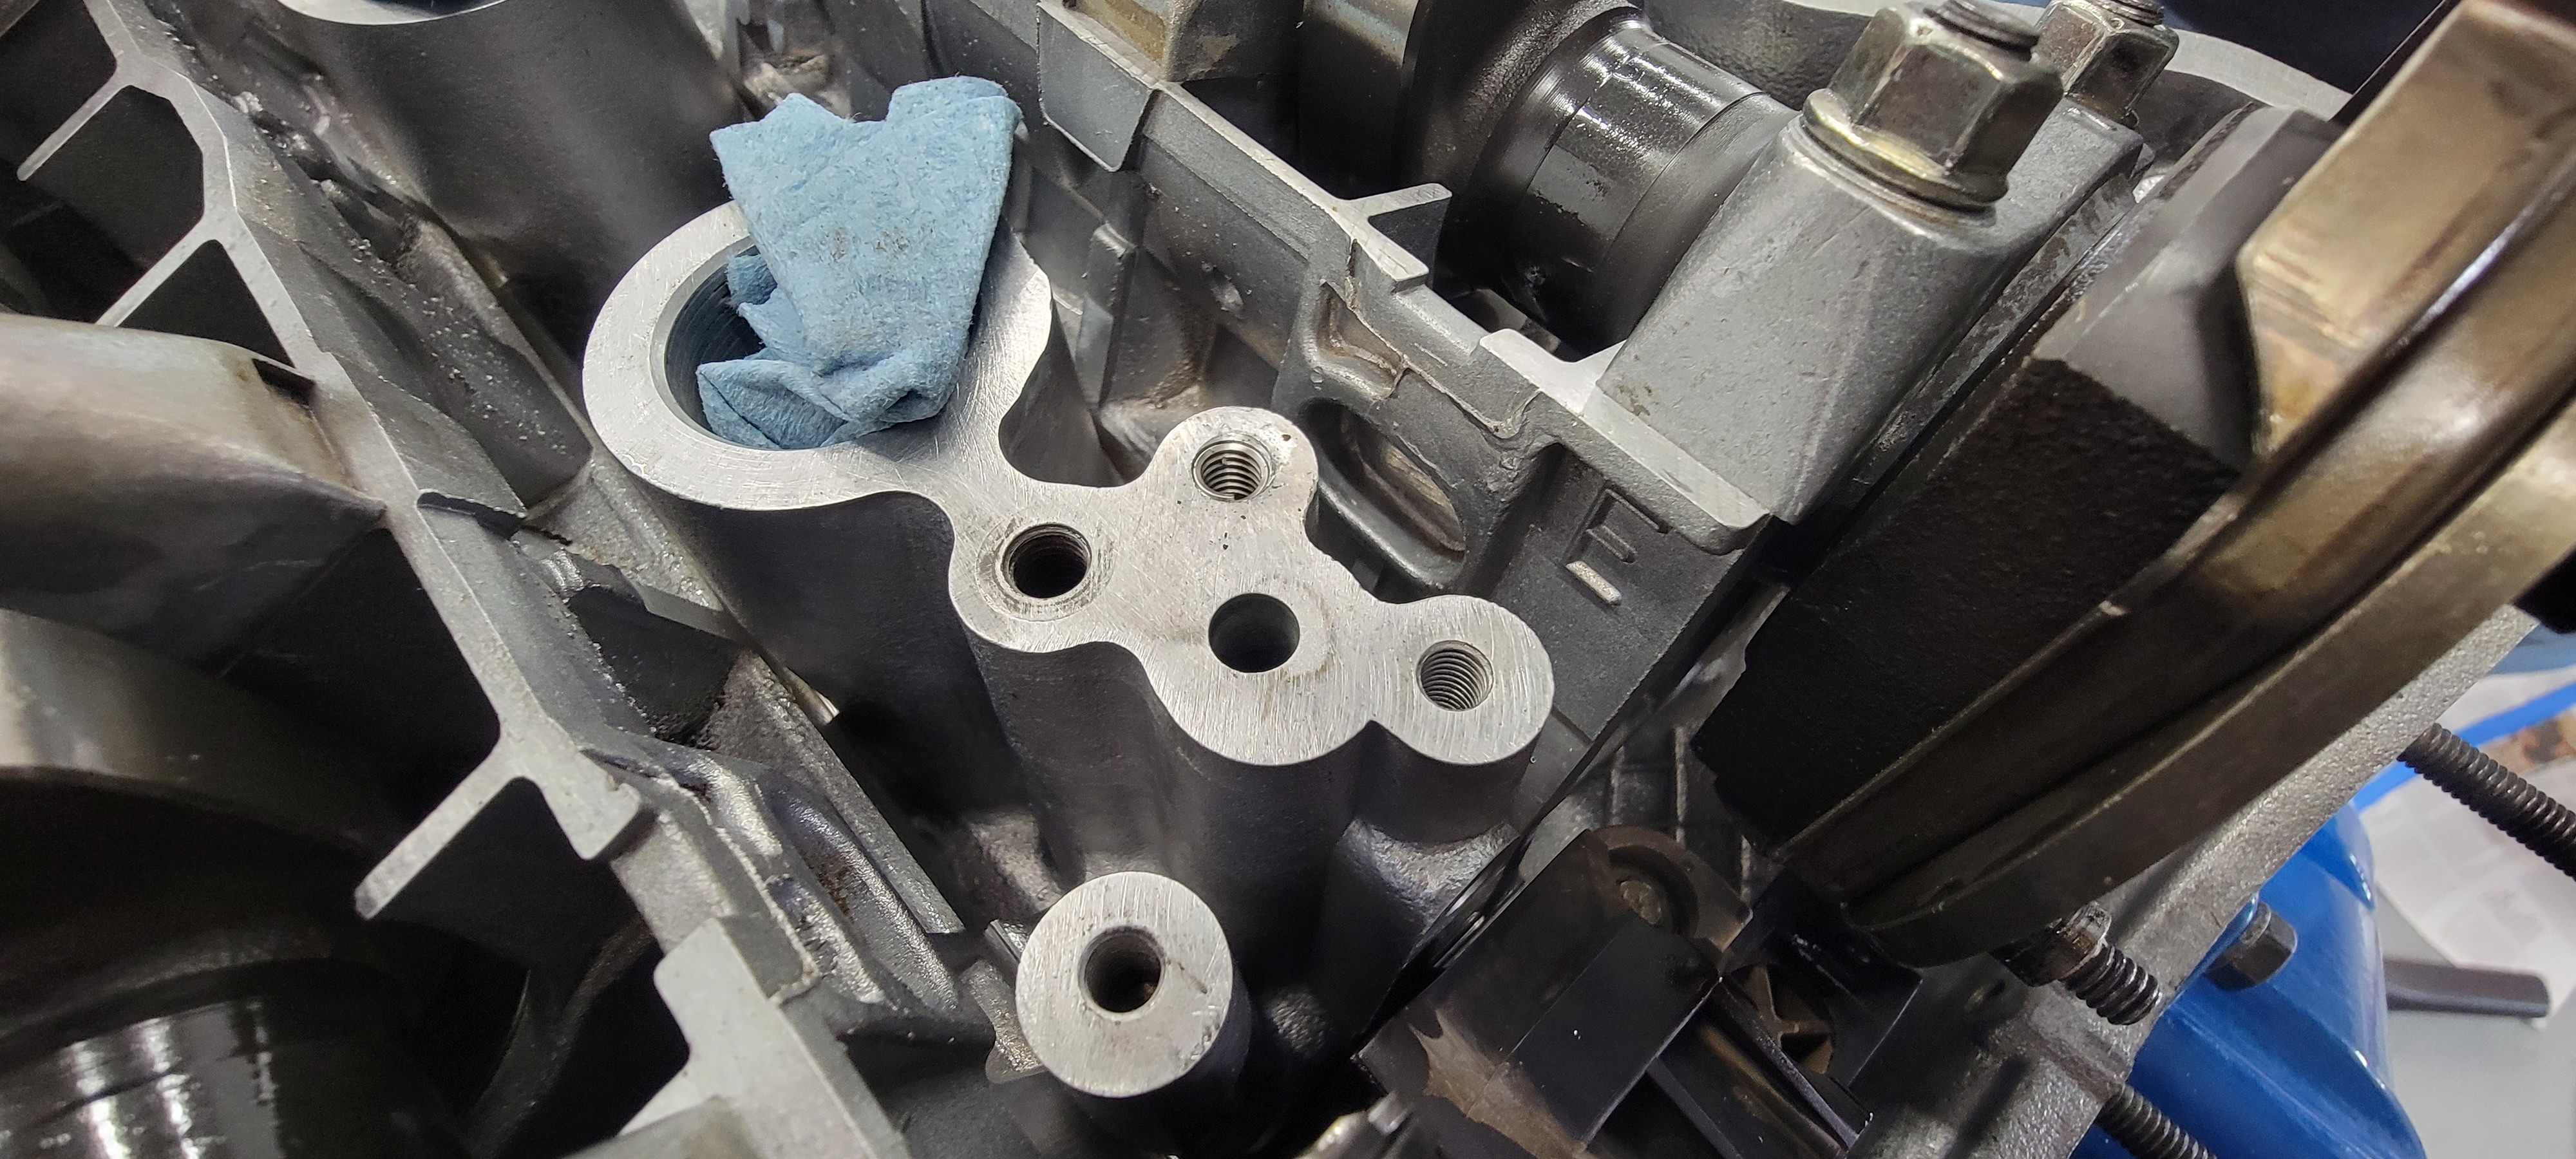
Once that was complete I began reinstalling the intake and exhaust studs. For the exhaust side I reused the N54 studs from the previous motor for ease of installation. After inspecting all the holes I noticed one of them was missing half the threads in it, wonderful. So out came the Heli-coil kit.
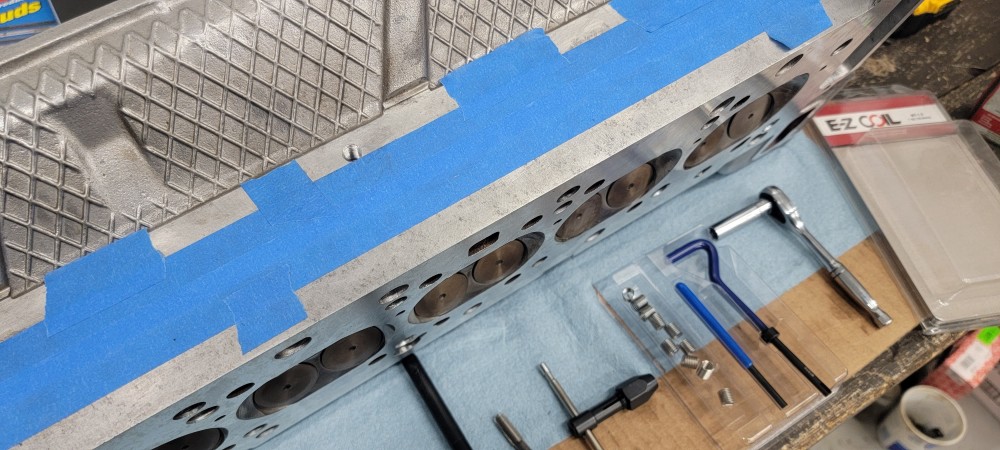
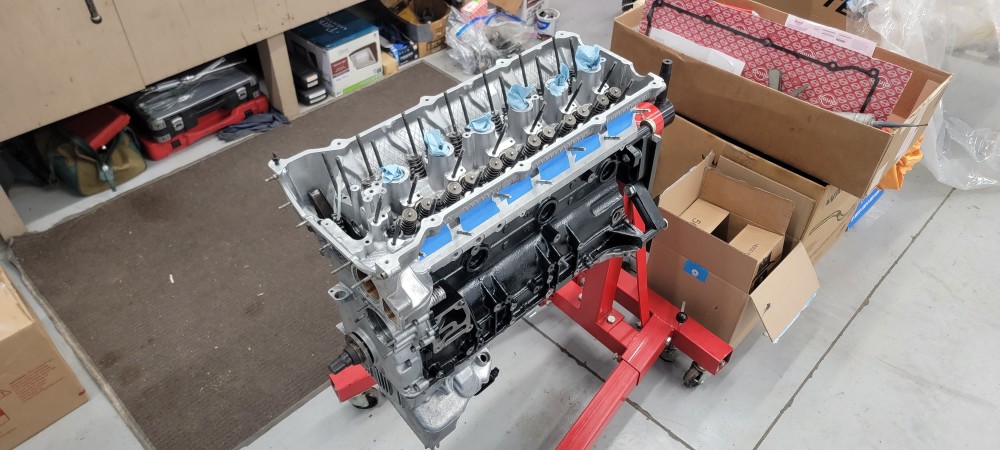
Springs and new valve stem seals were in. Studs were all installed. Time to go on the motor.
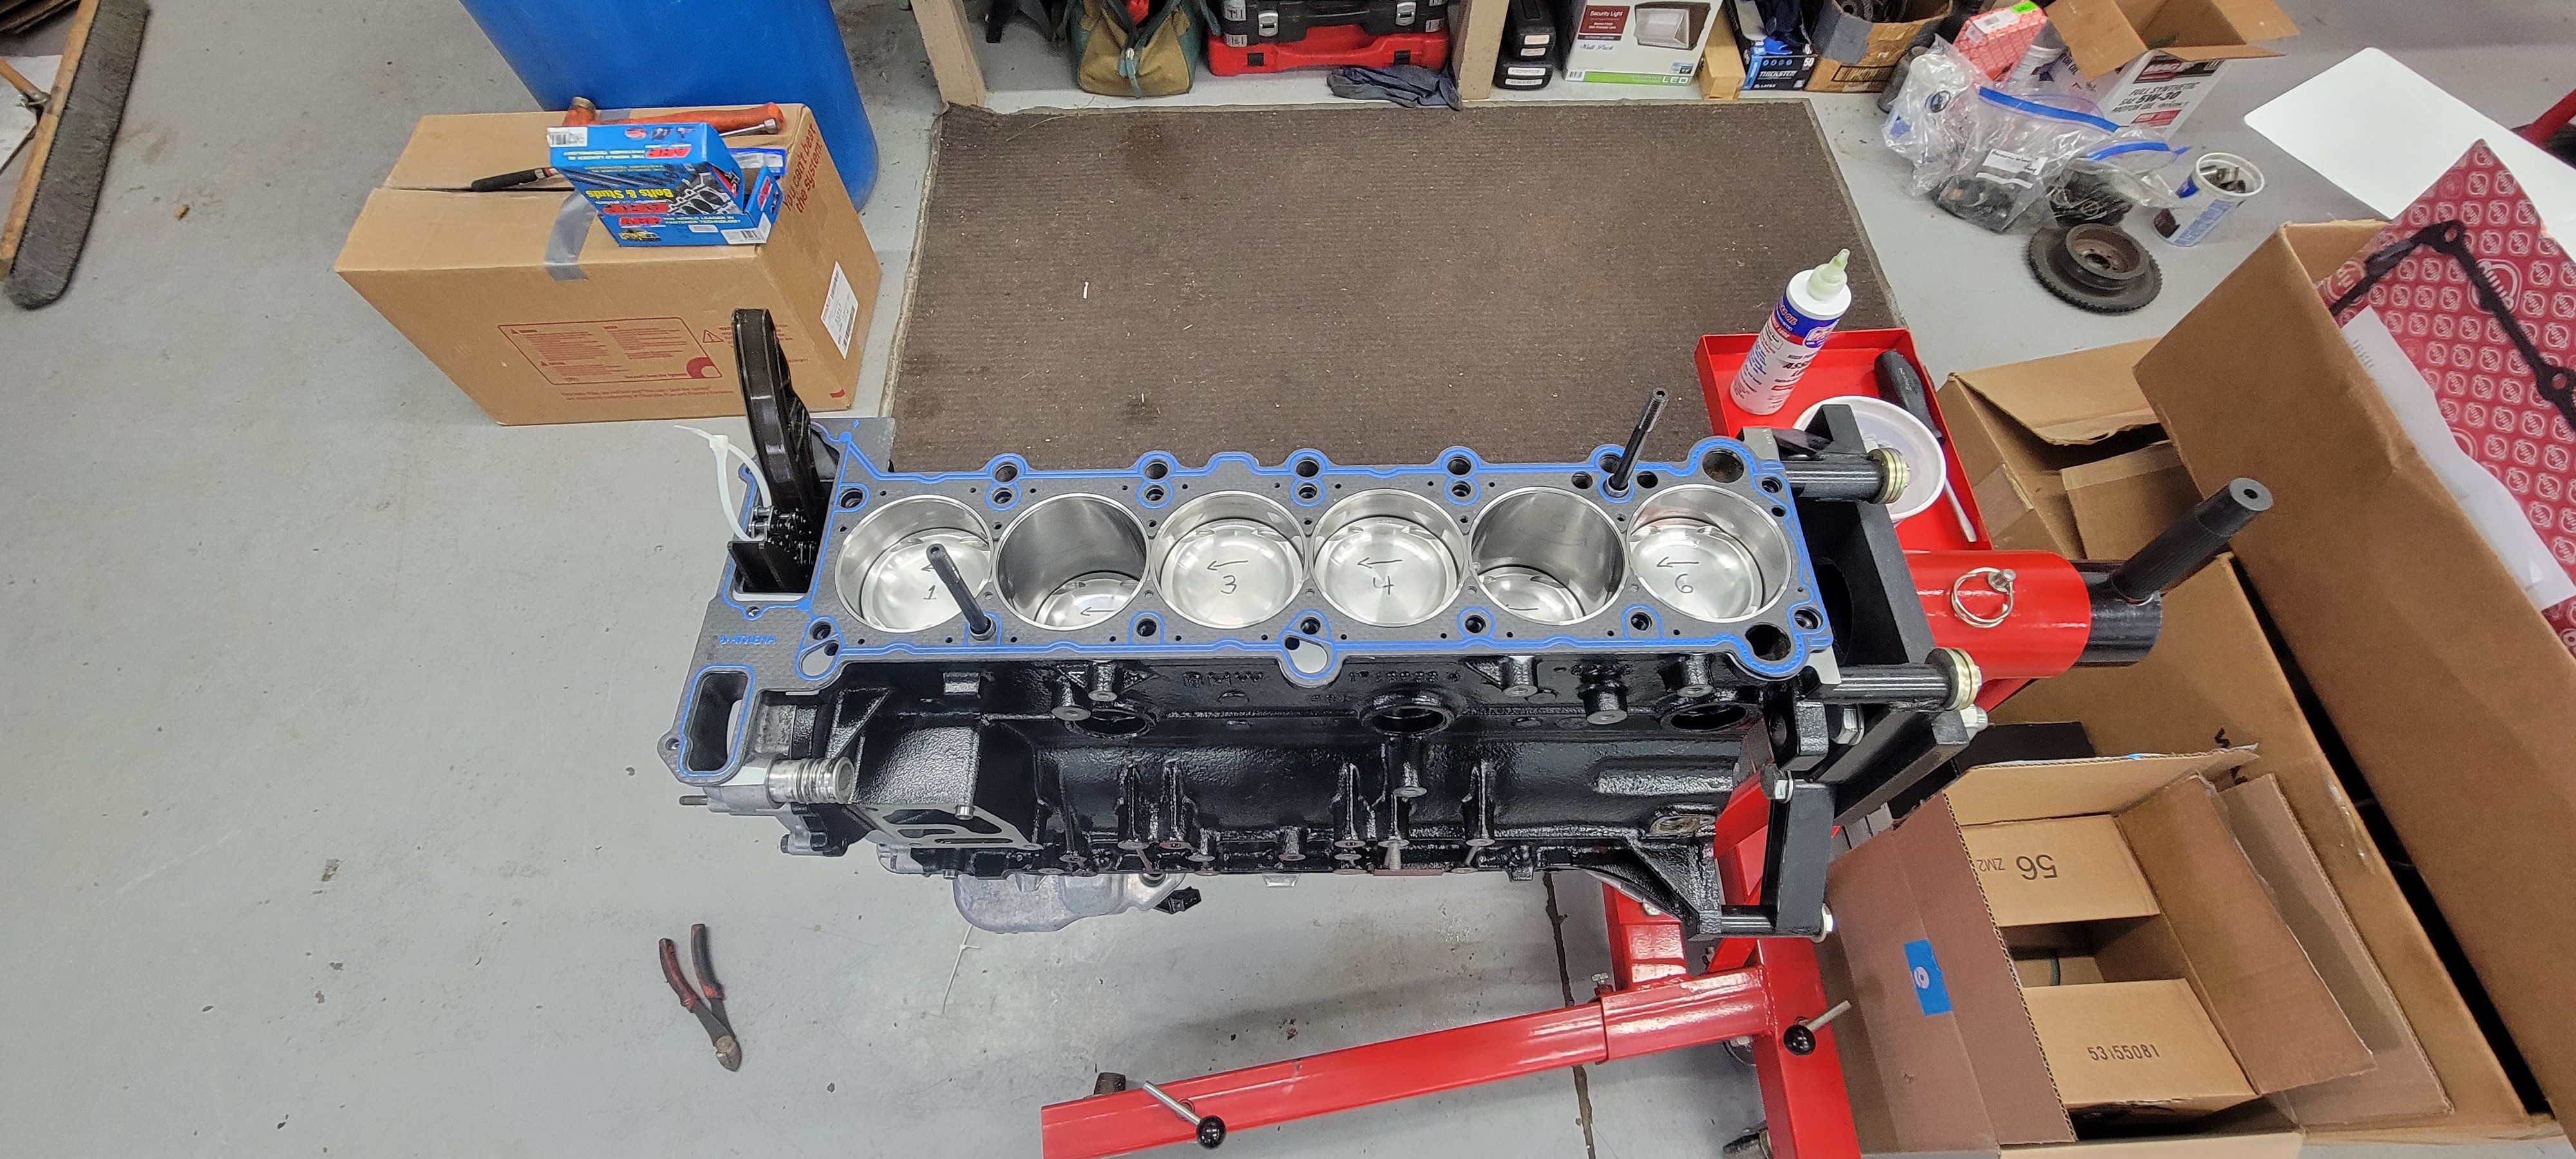
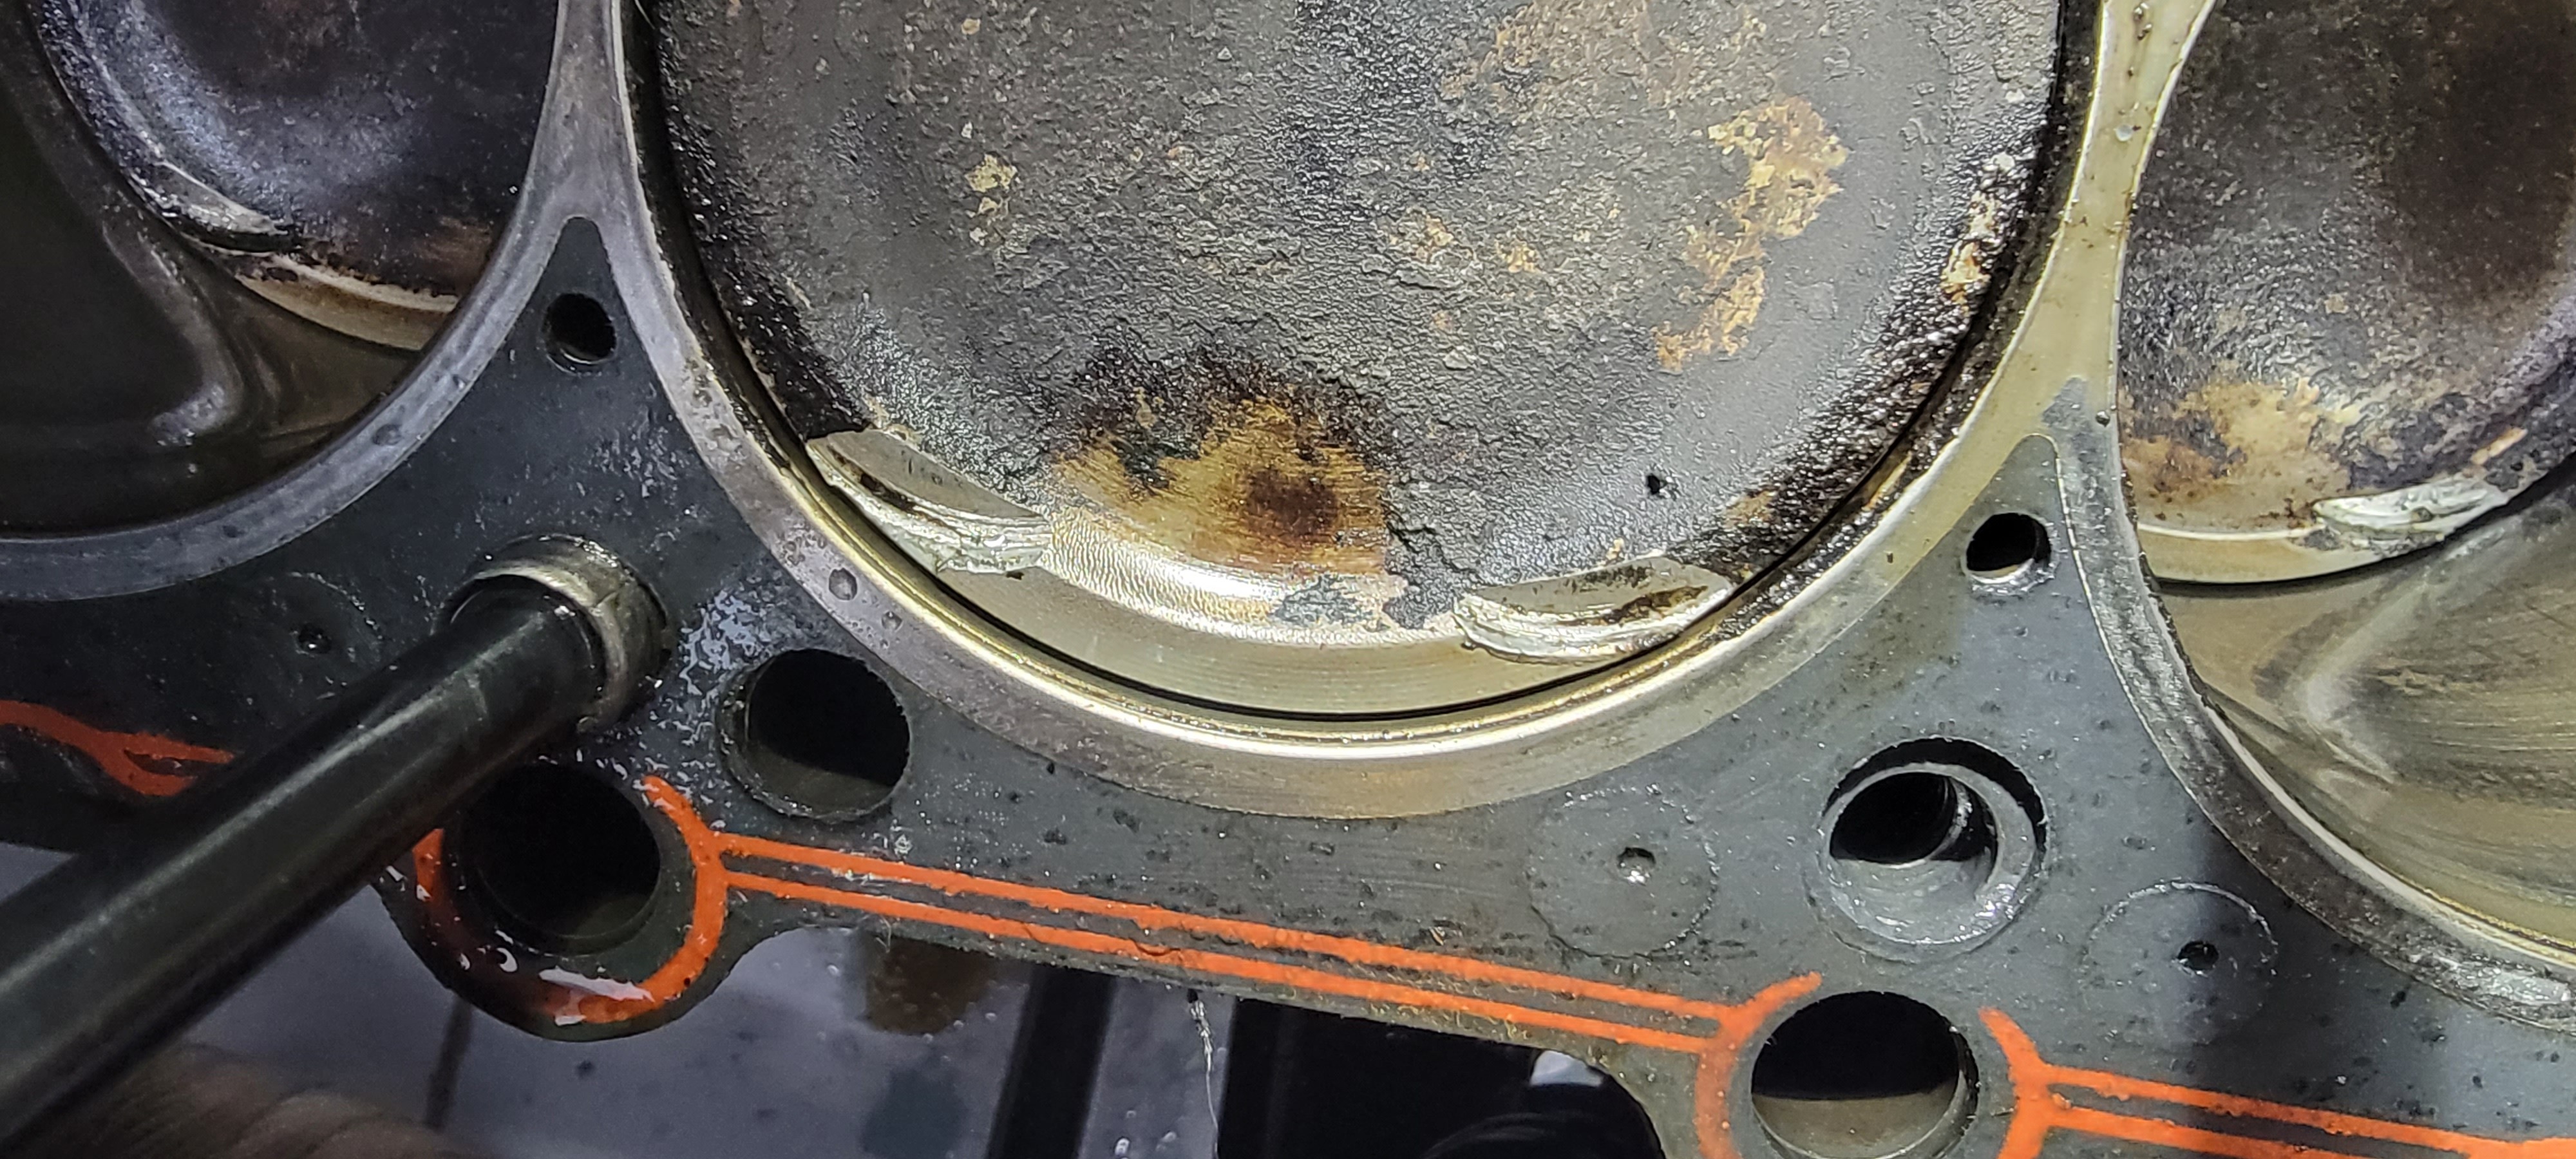
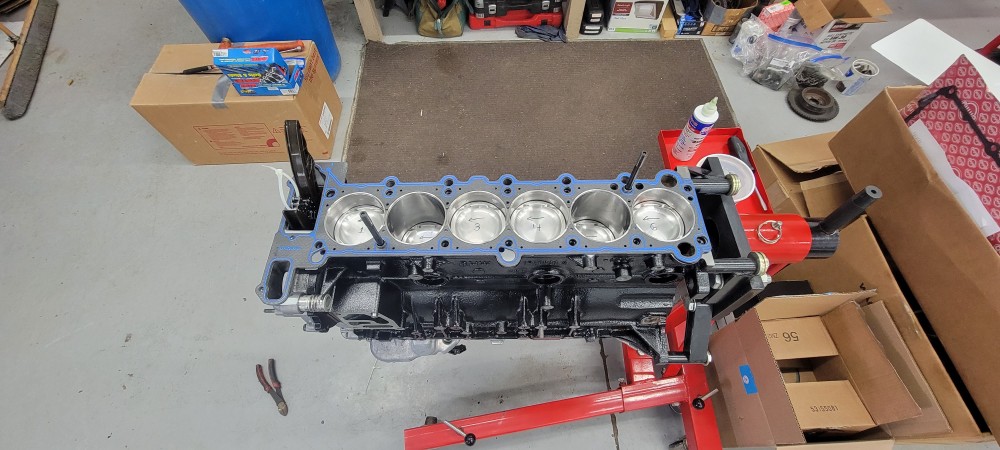
For the head gasket I went with a stock thickness 87 mm Athena cut ring headgasket. I tapped in some new dowels and then test fitted the gasket first to make sure everything cleared and all the cut rings fitted properly.
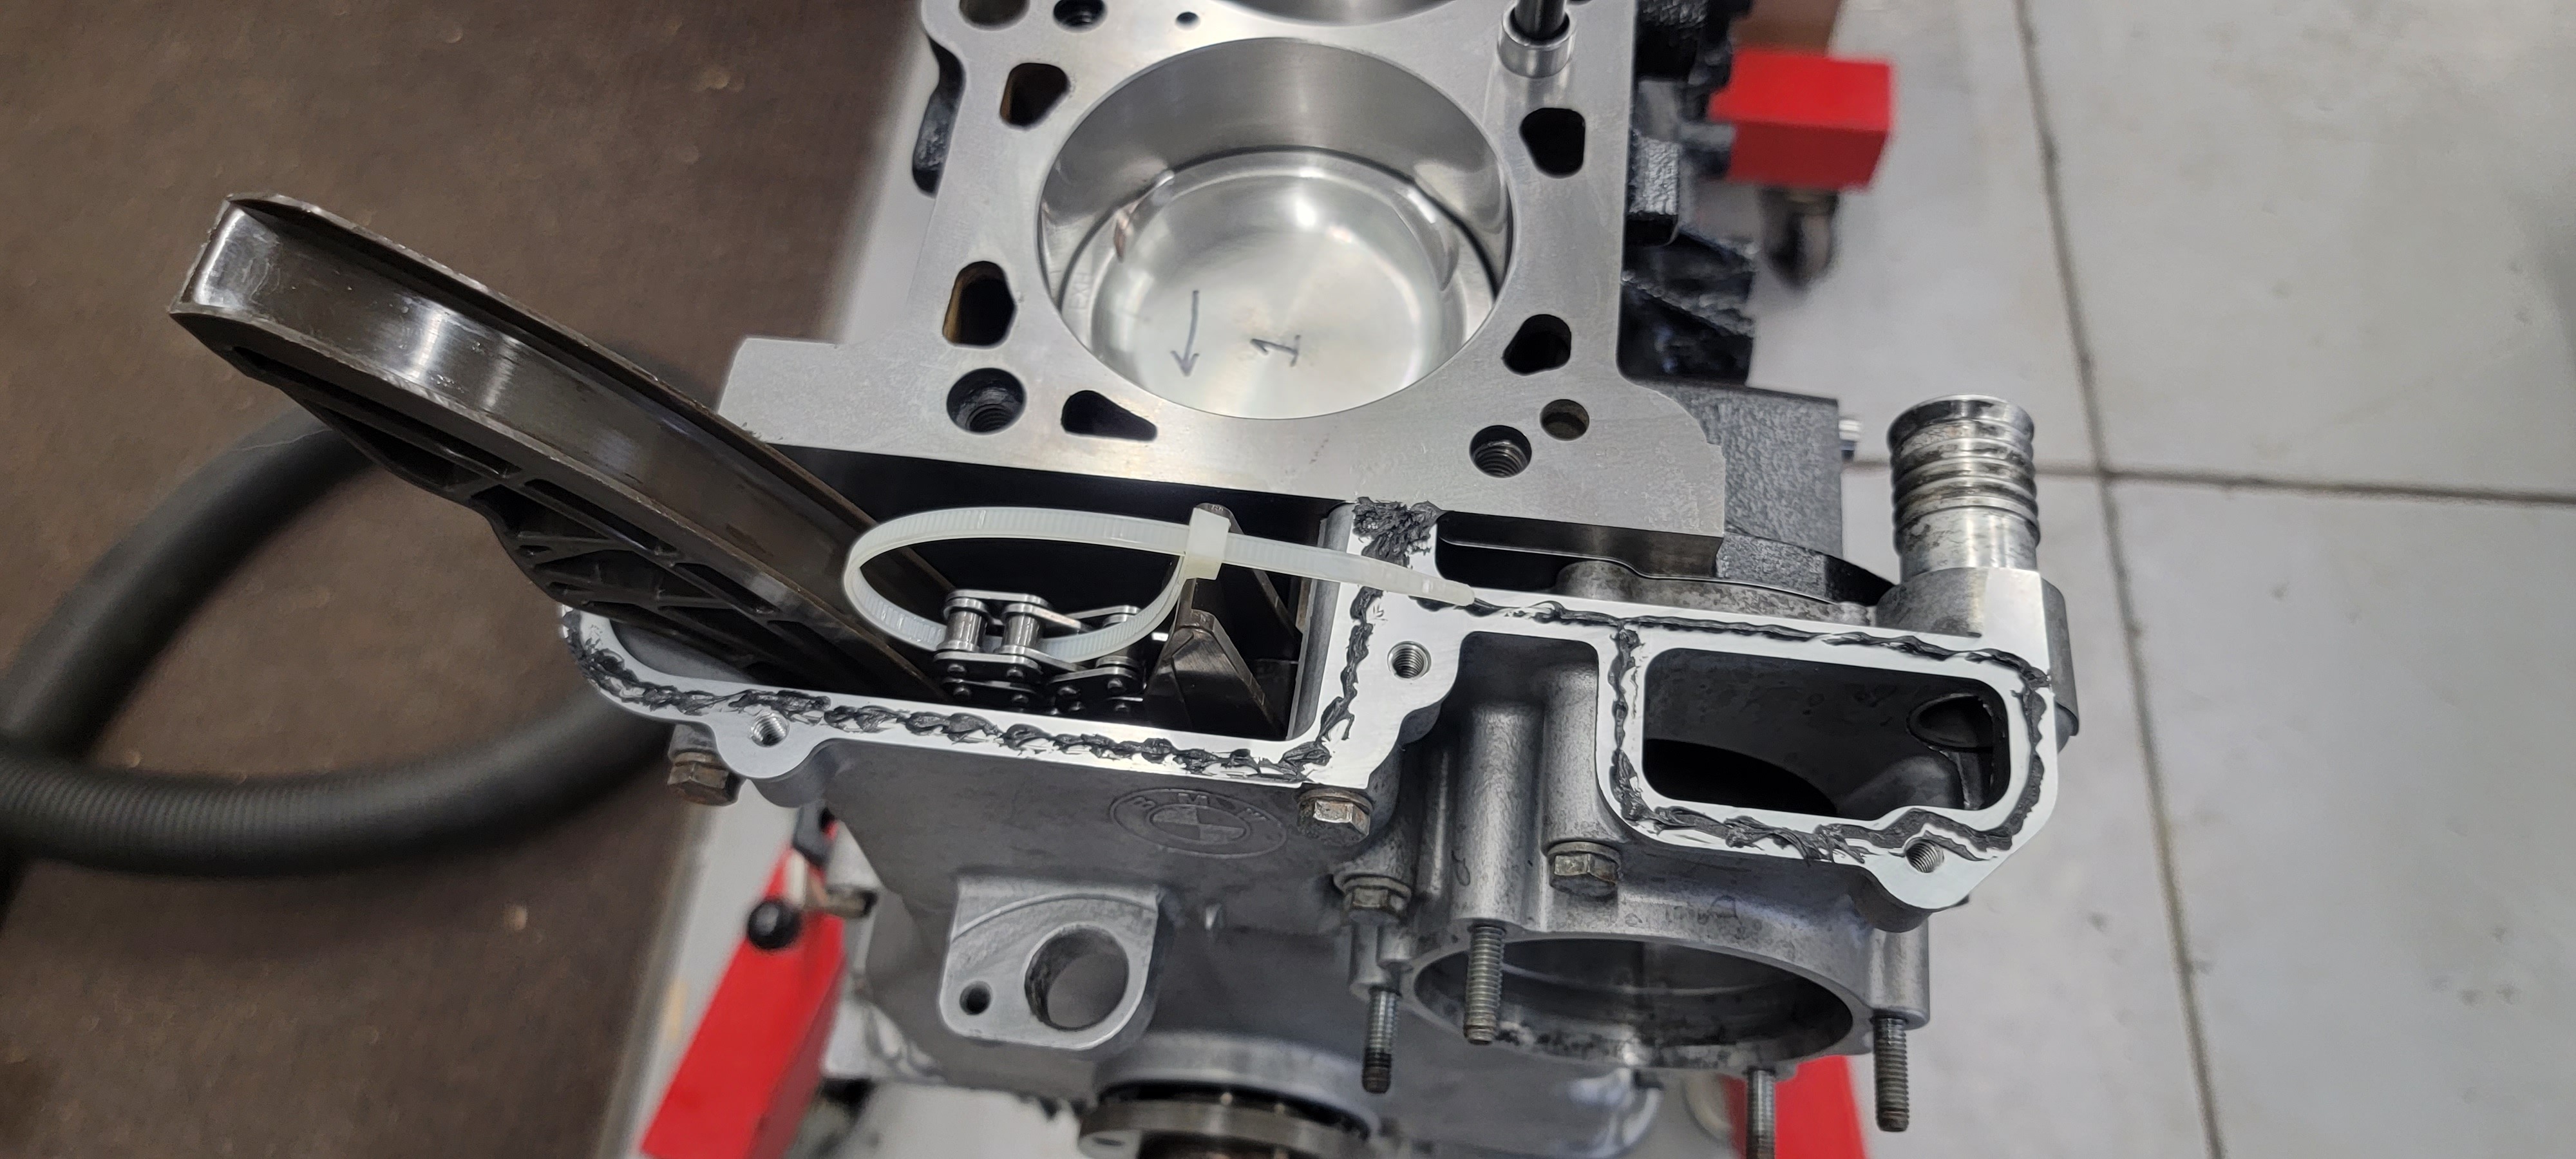
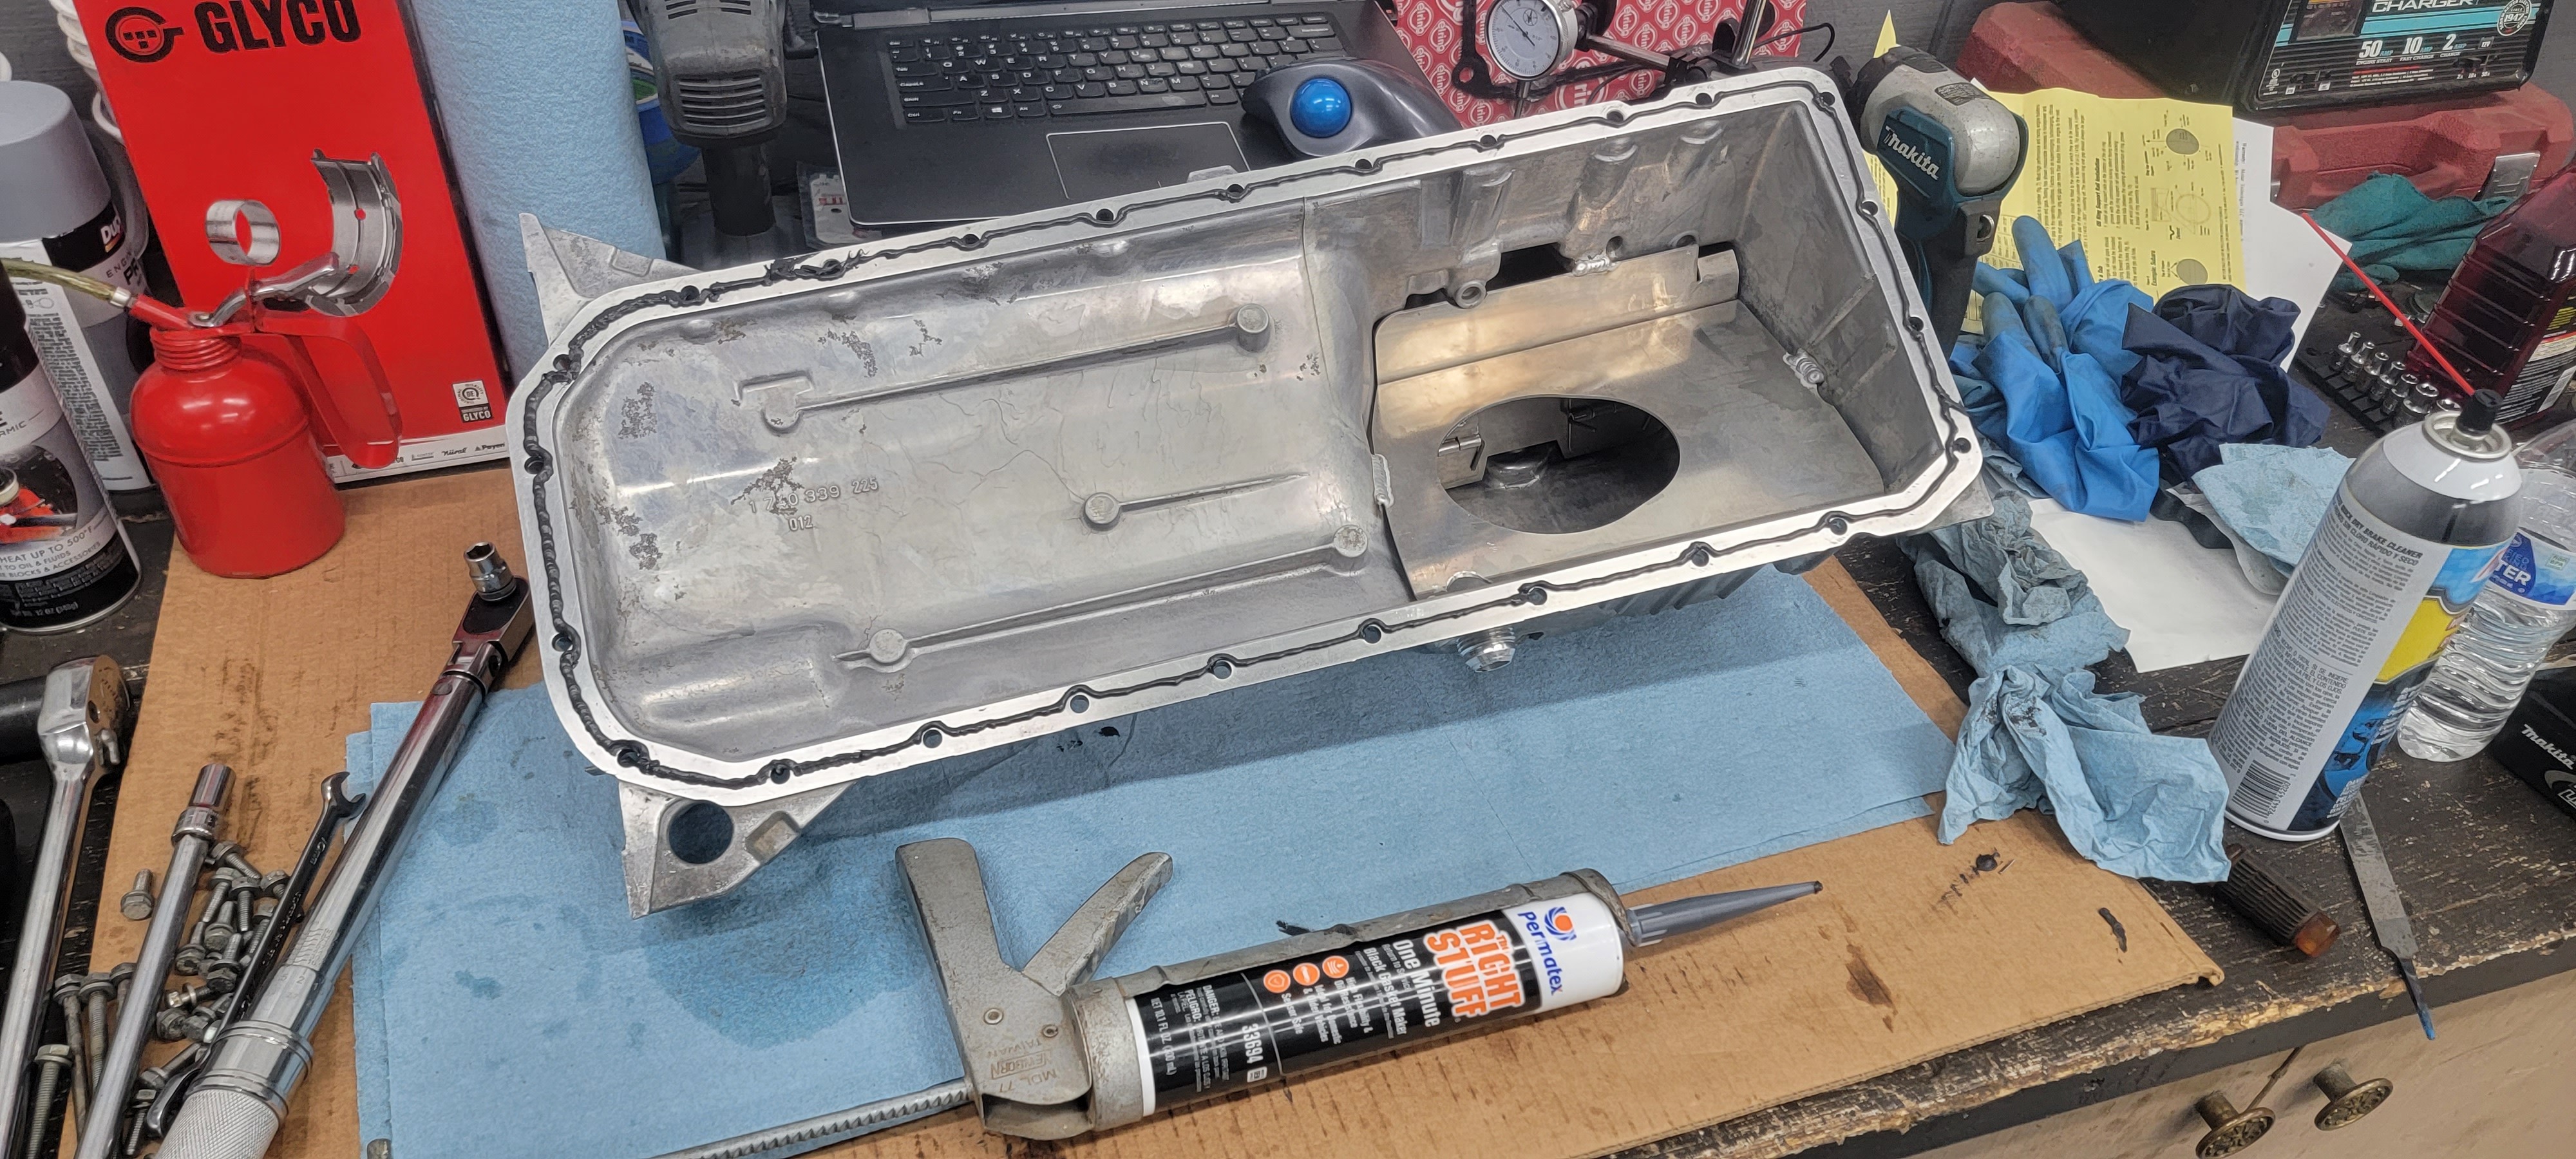
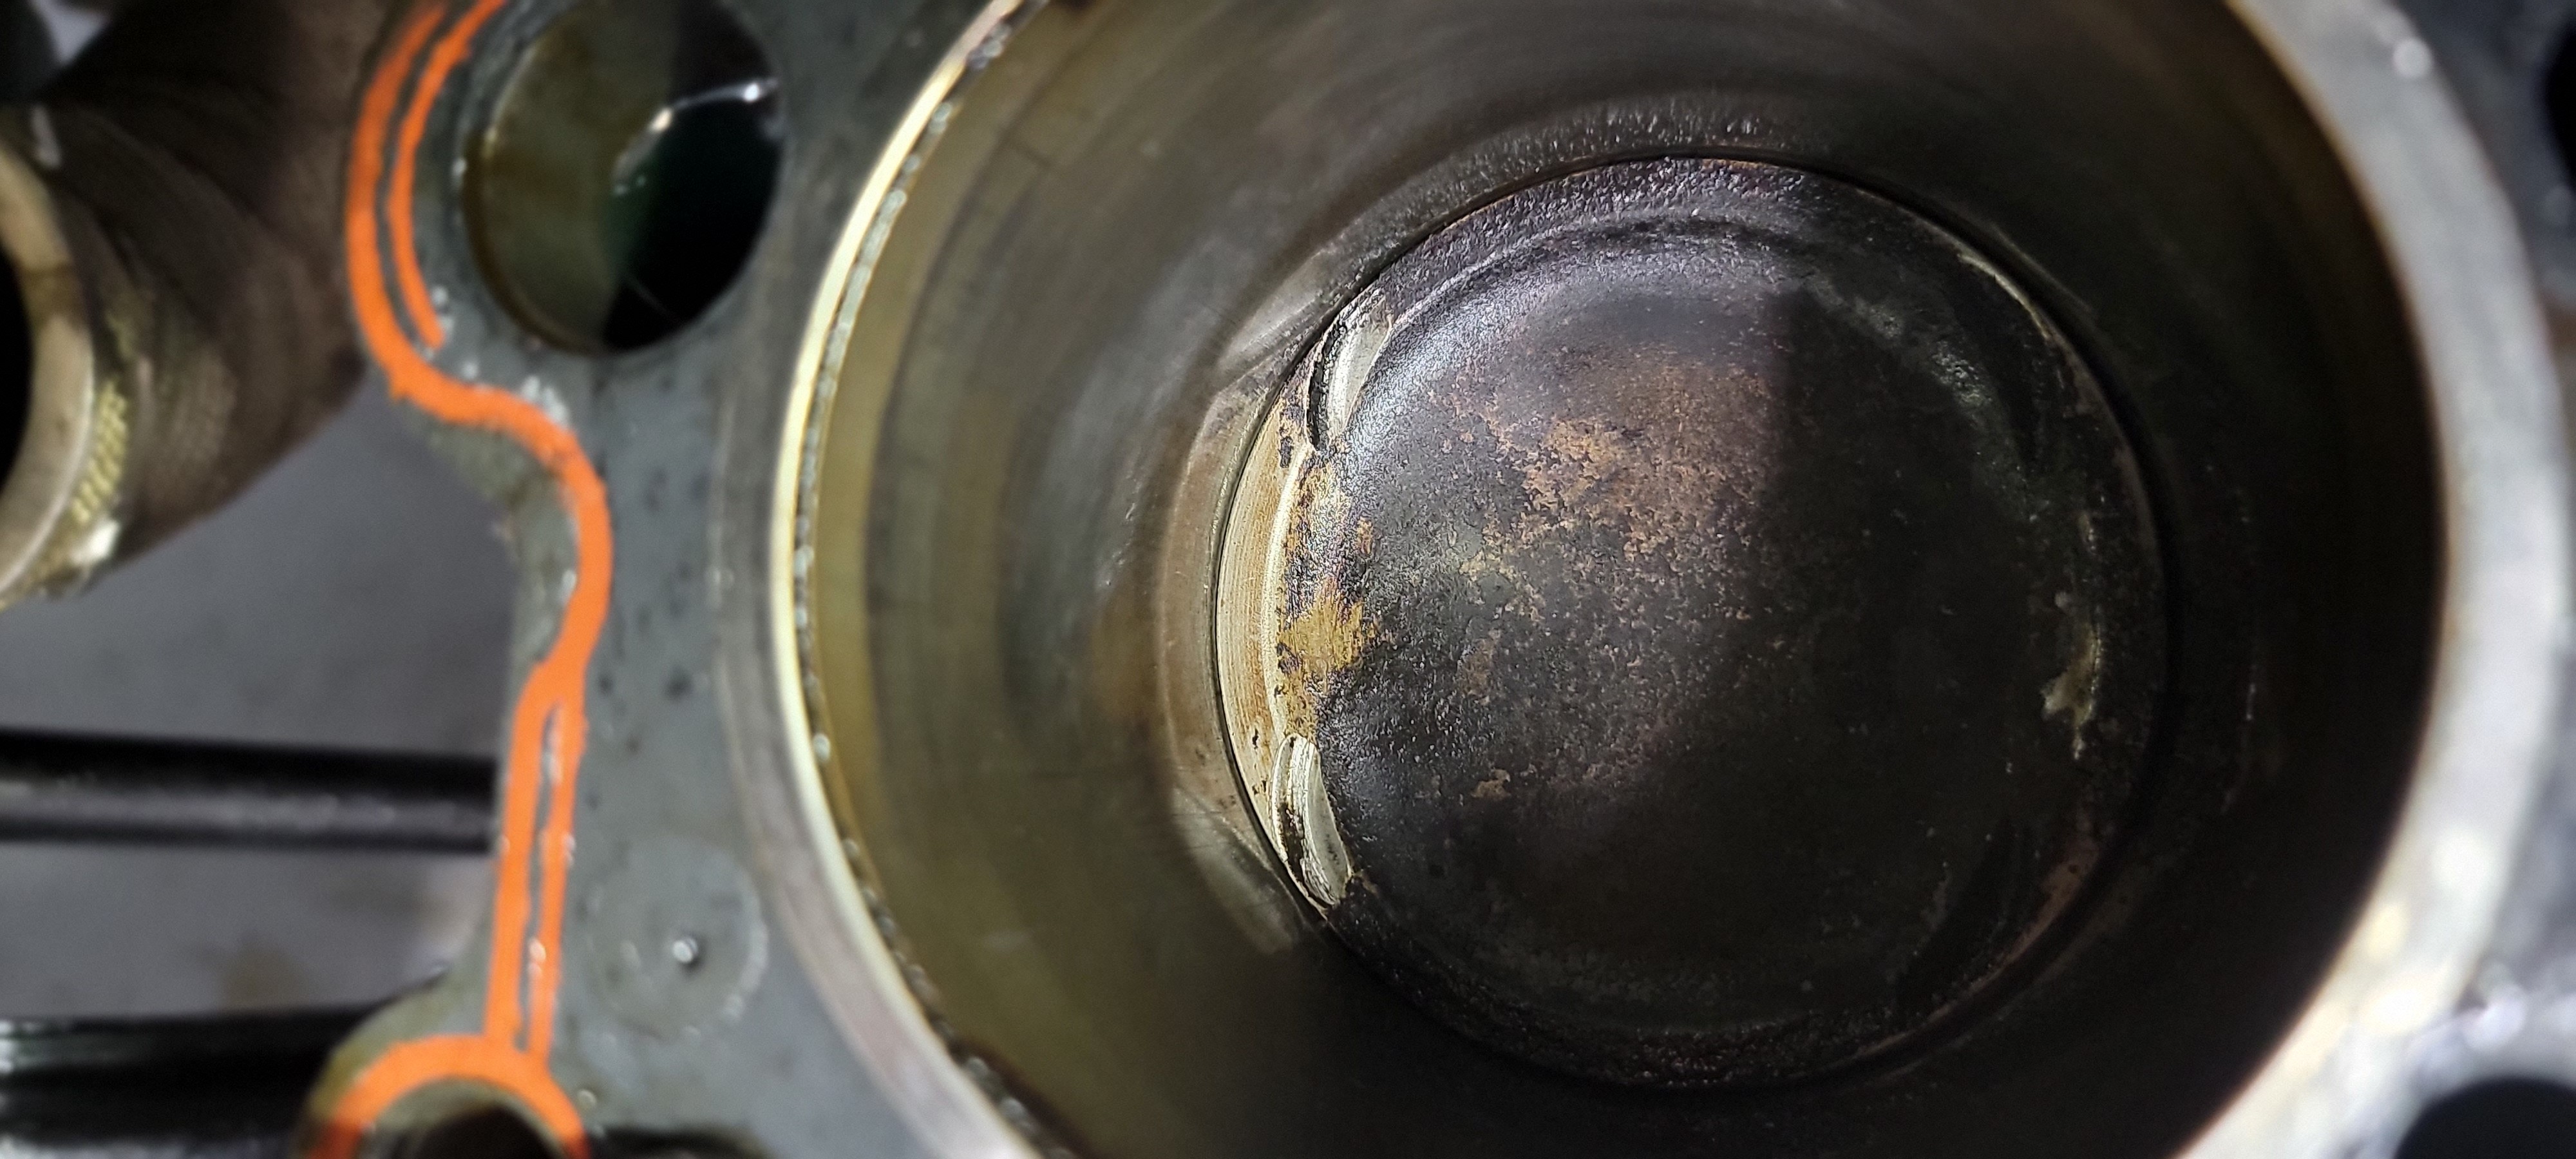
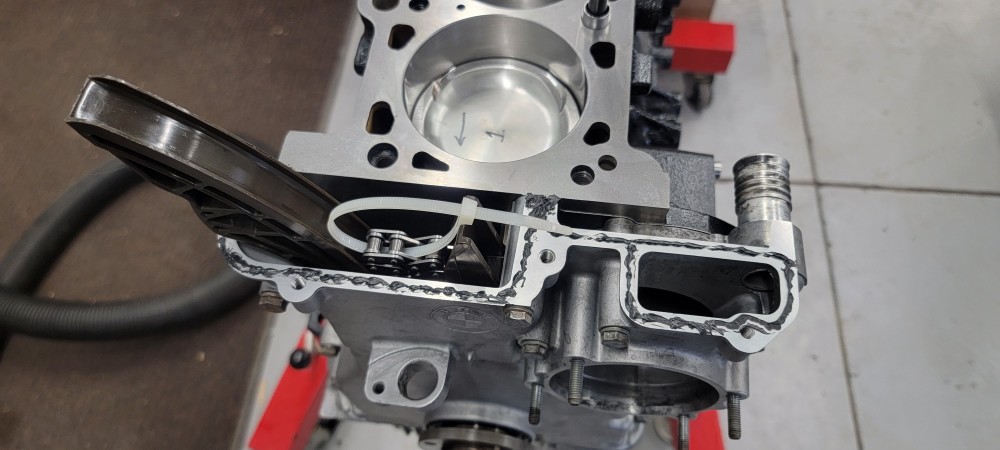
Everything checked out good on the HG so before installing the head I popped it back off and ran a small bead of the right stuff gasket maker around the entire timing cover area. Most say it is only necessary to dab a little where the cover meets with the block but I feared since there was only M6 bolts compressing the head down in this area there was still a chance it could possibly still leak. I should also note that before installing the head I made sure all the pistons were all shifted to as close to the center of the bore as I could to avoid any valves coming into contact when the cams are installed.
Once the head was on I threaded in the rest of the arp studs using the moly lube provided and torqued them in three equal steps to 75 ft lbs.
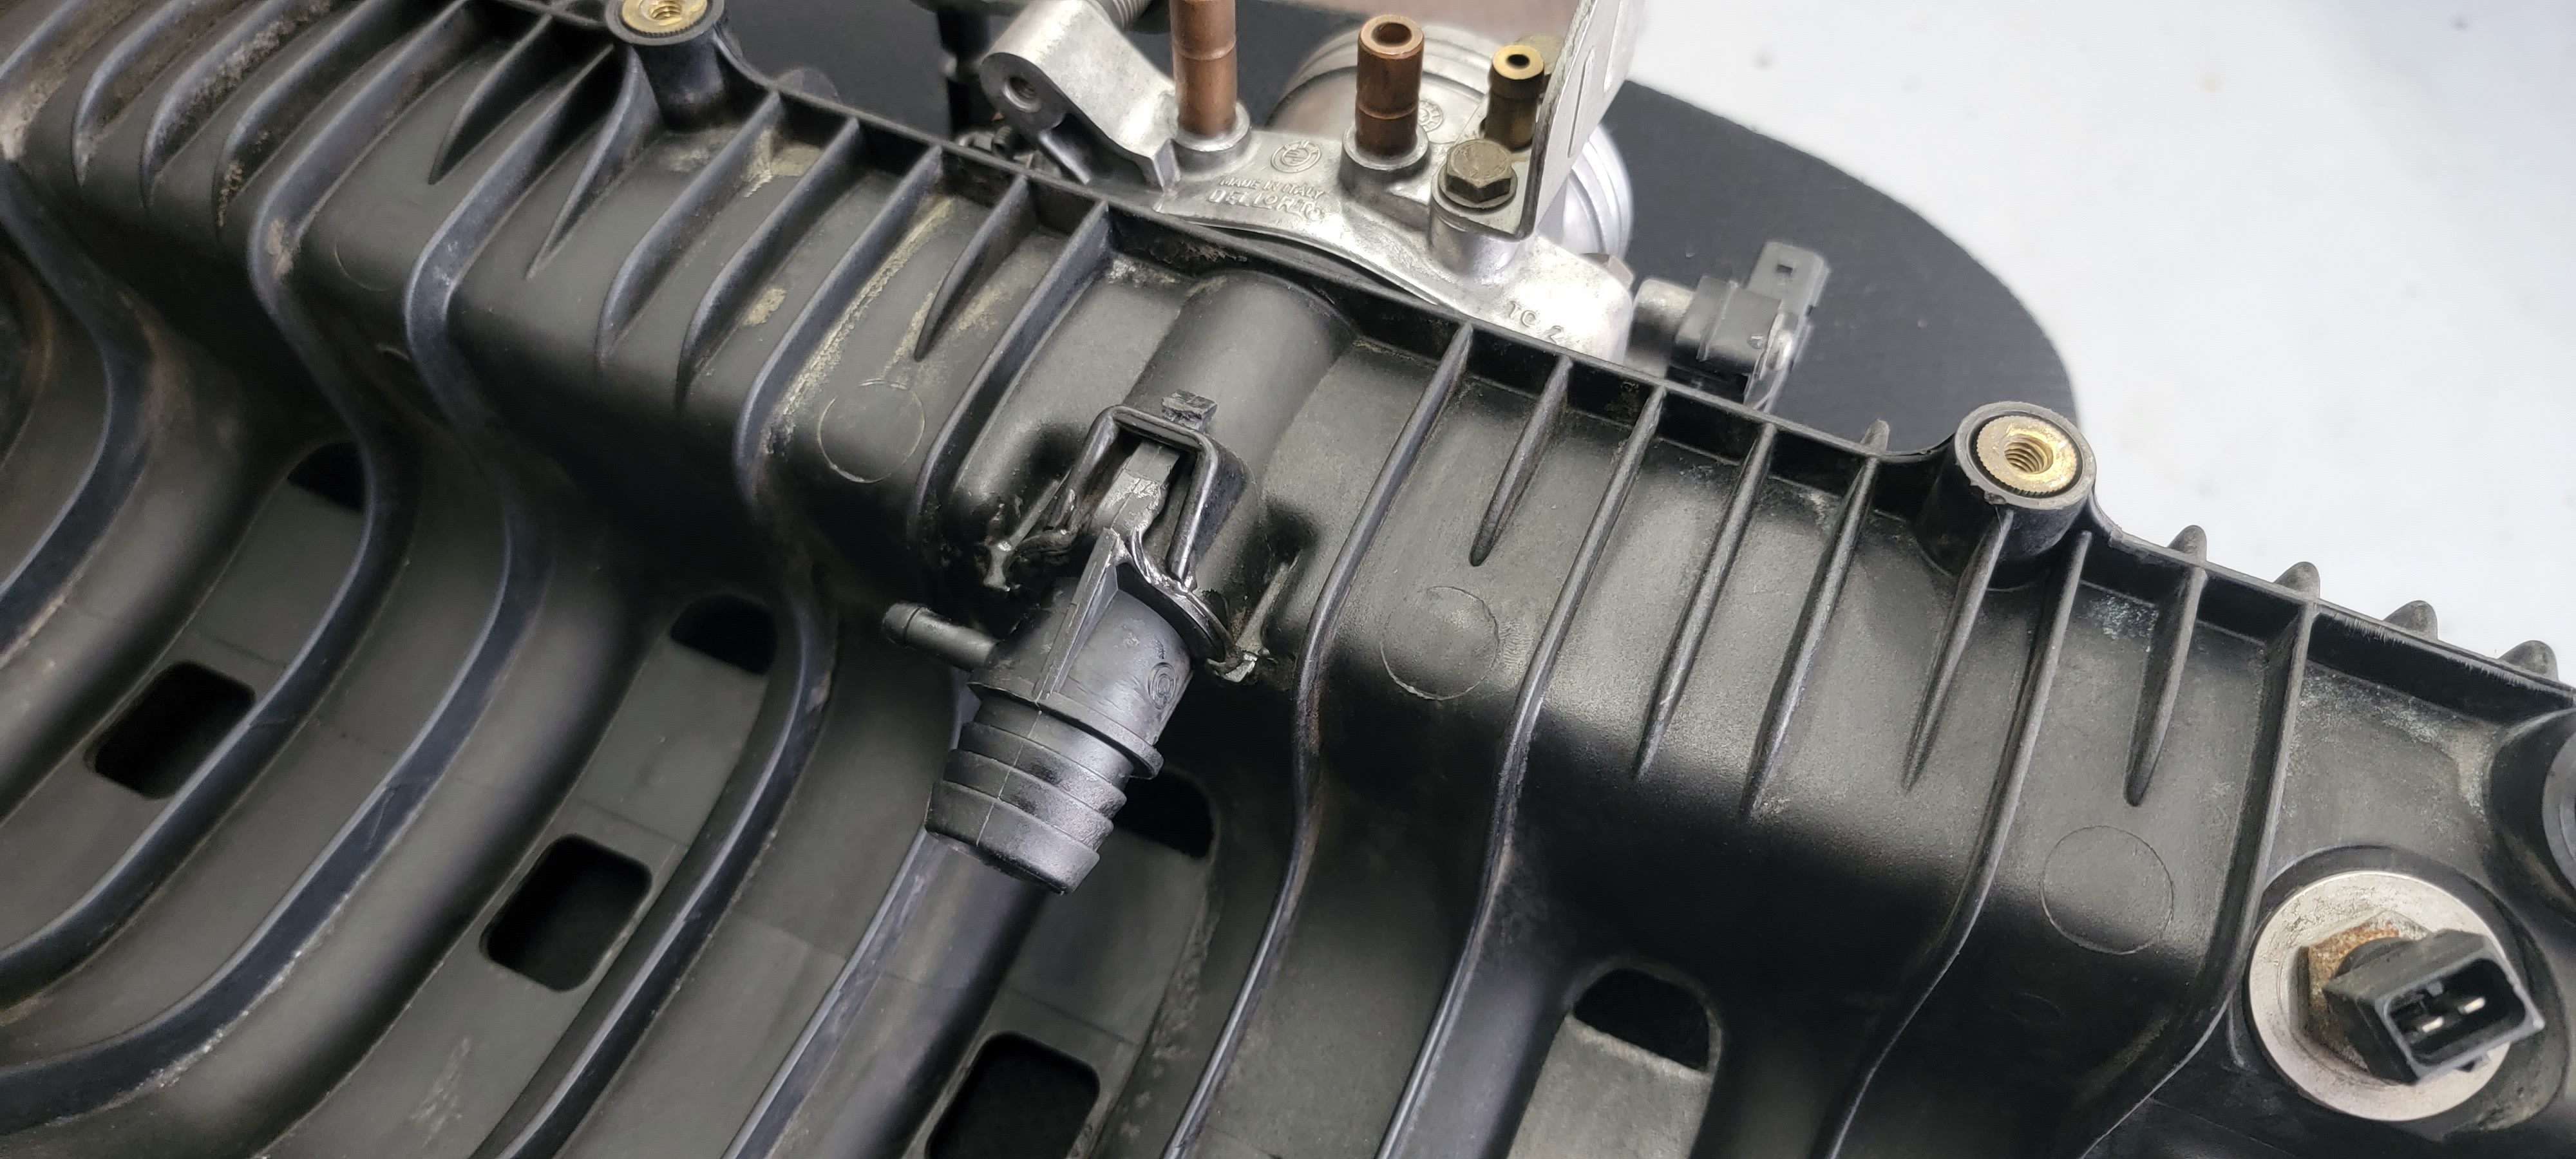
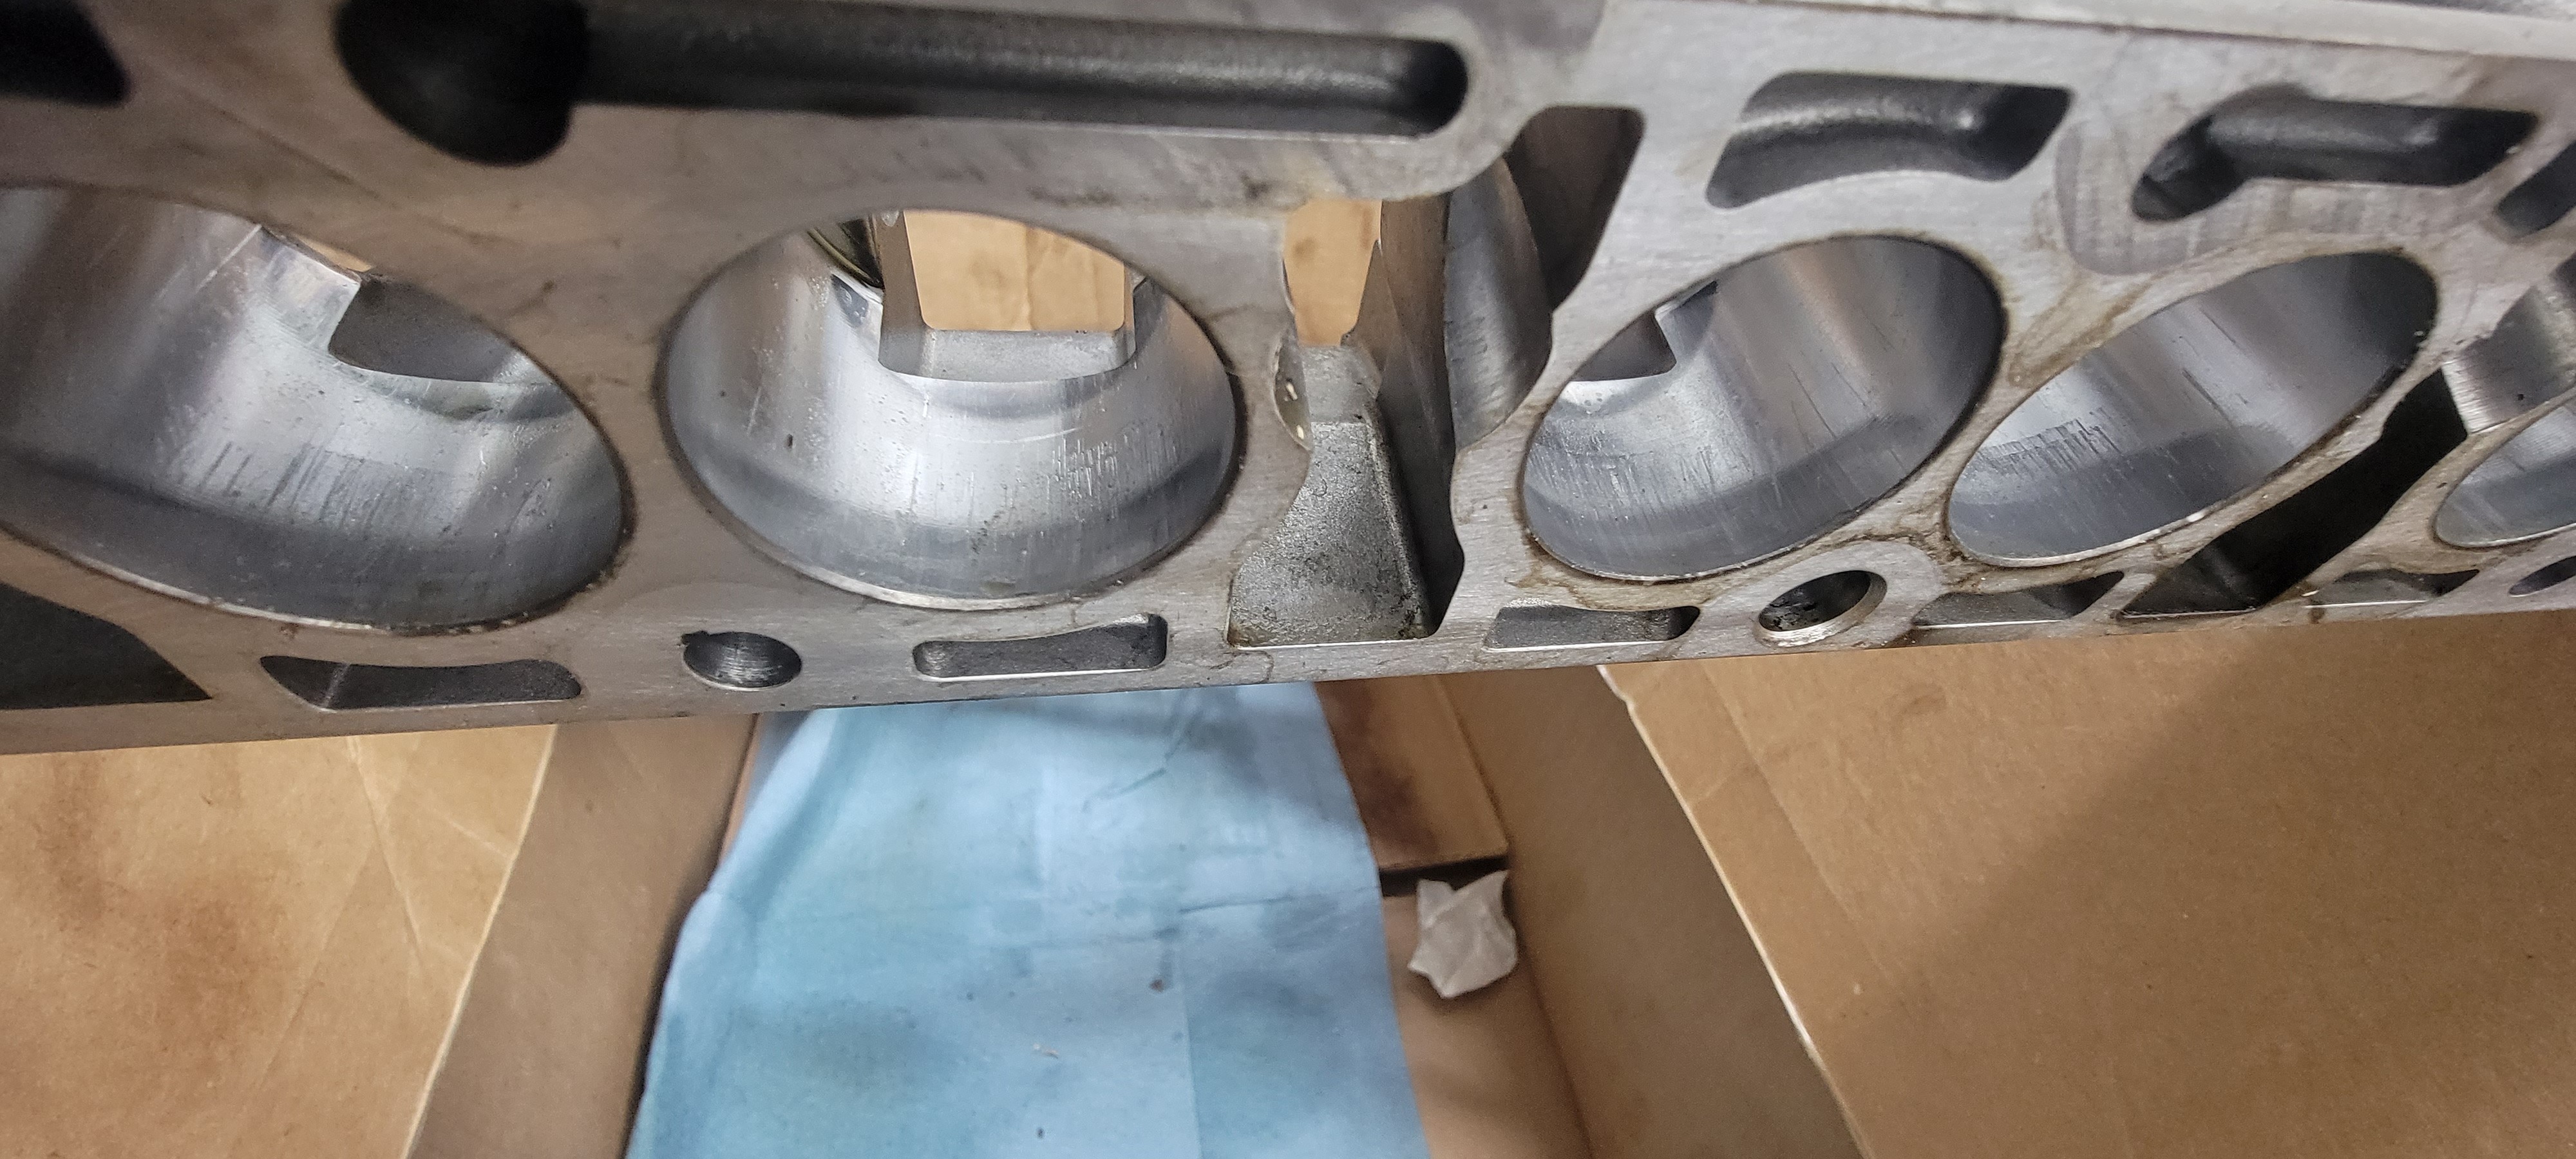
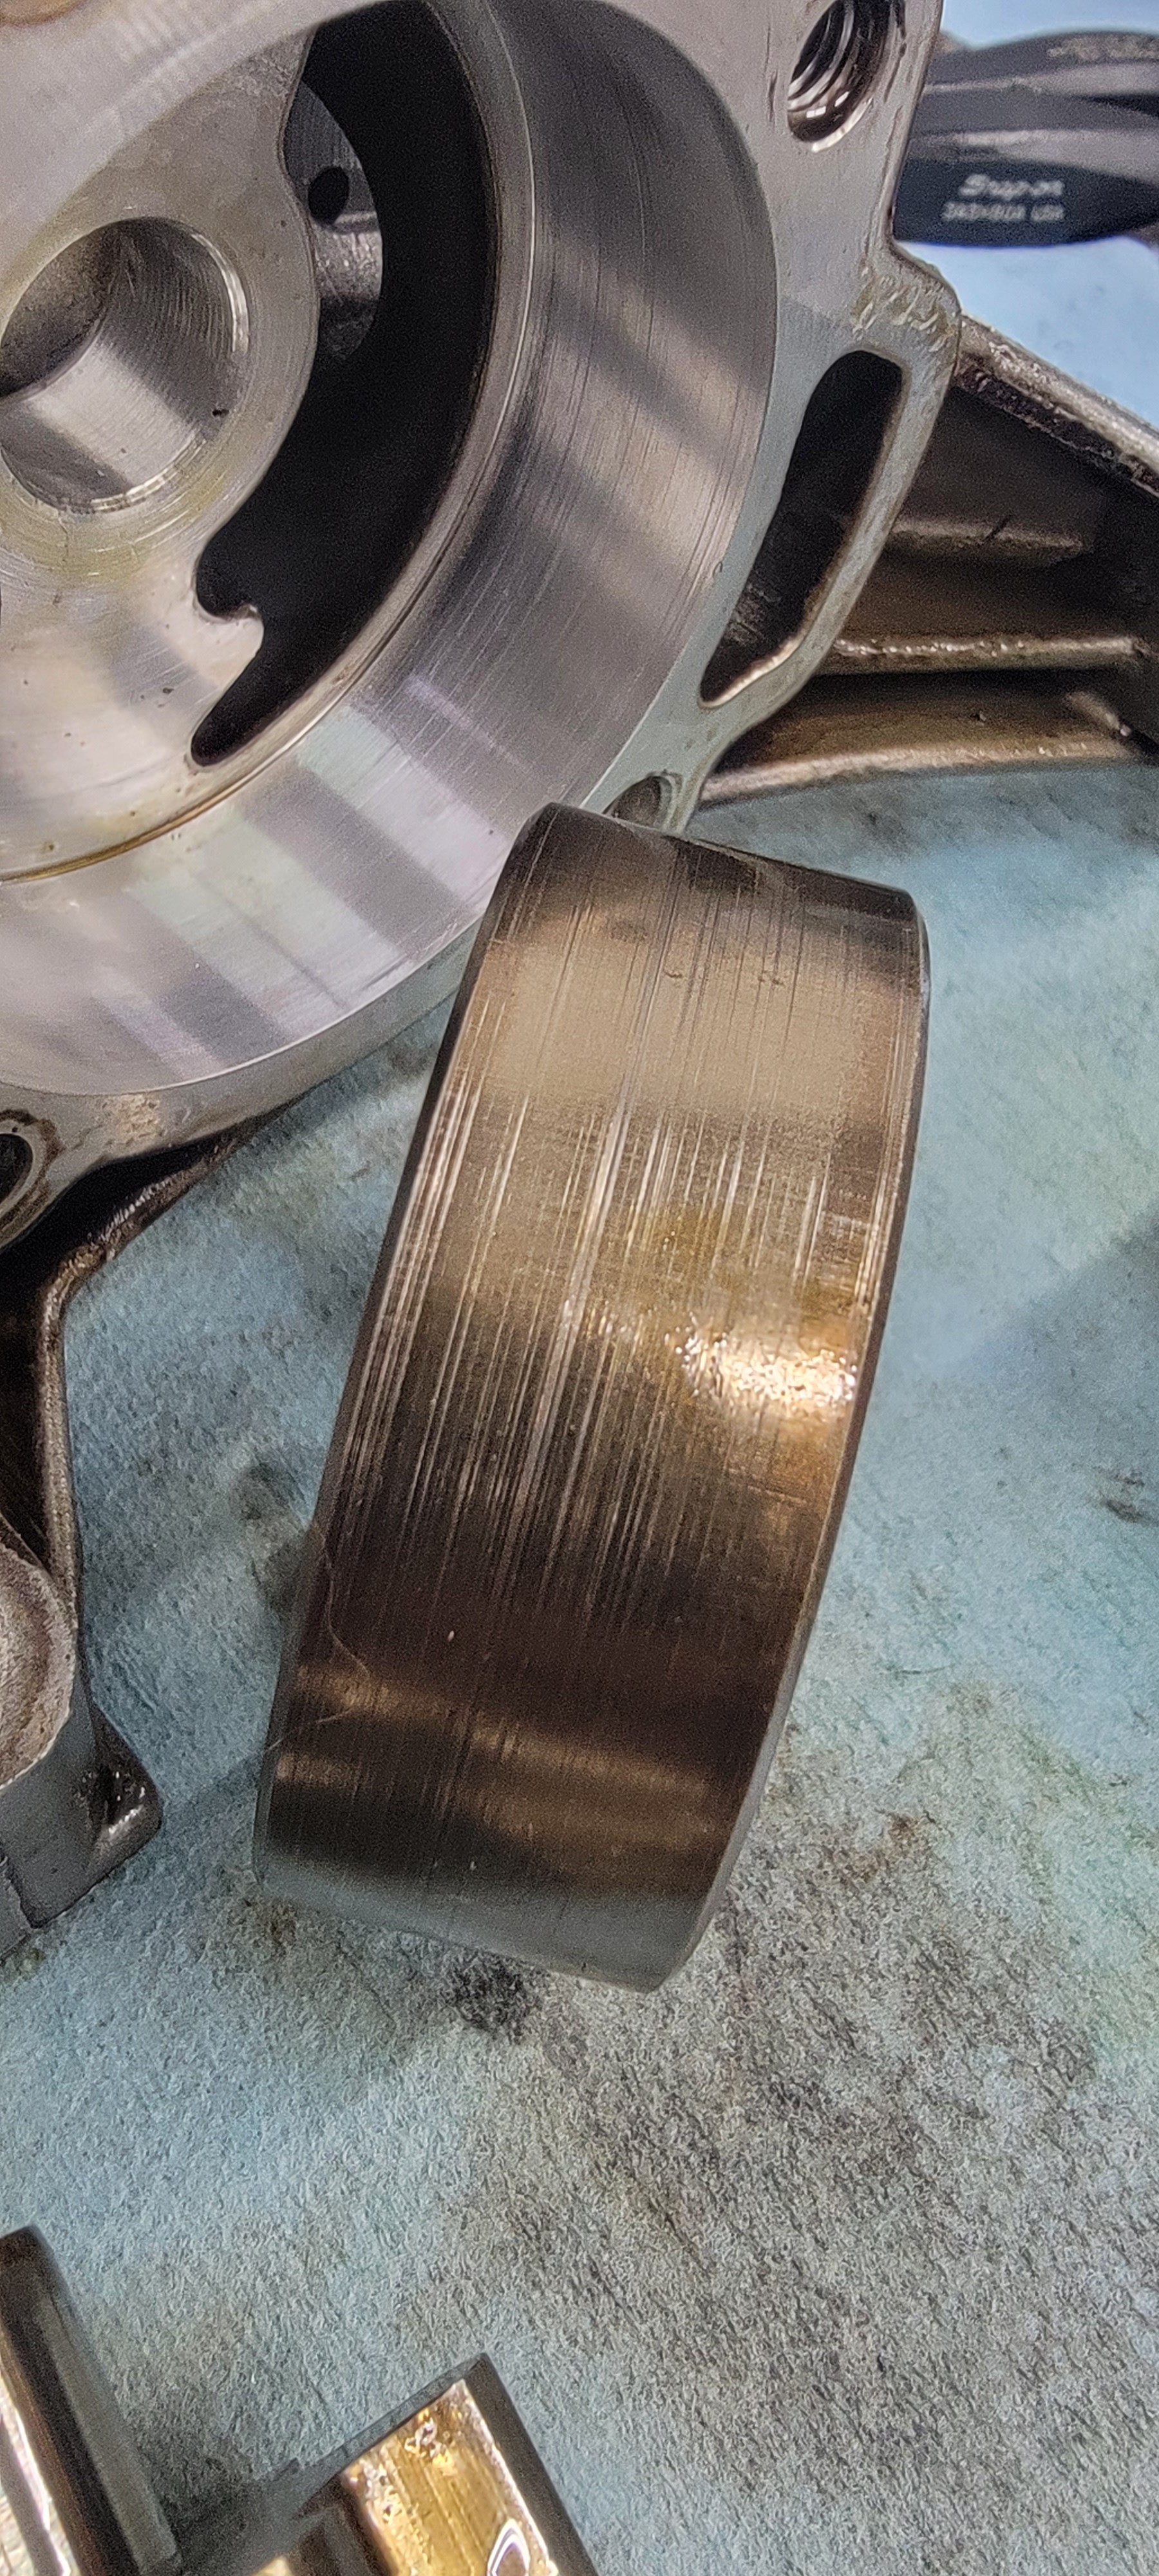
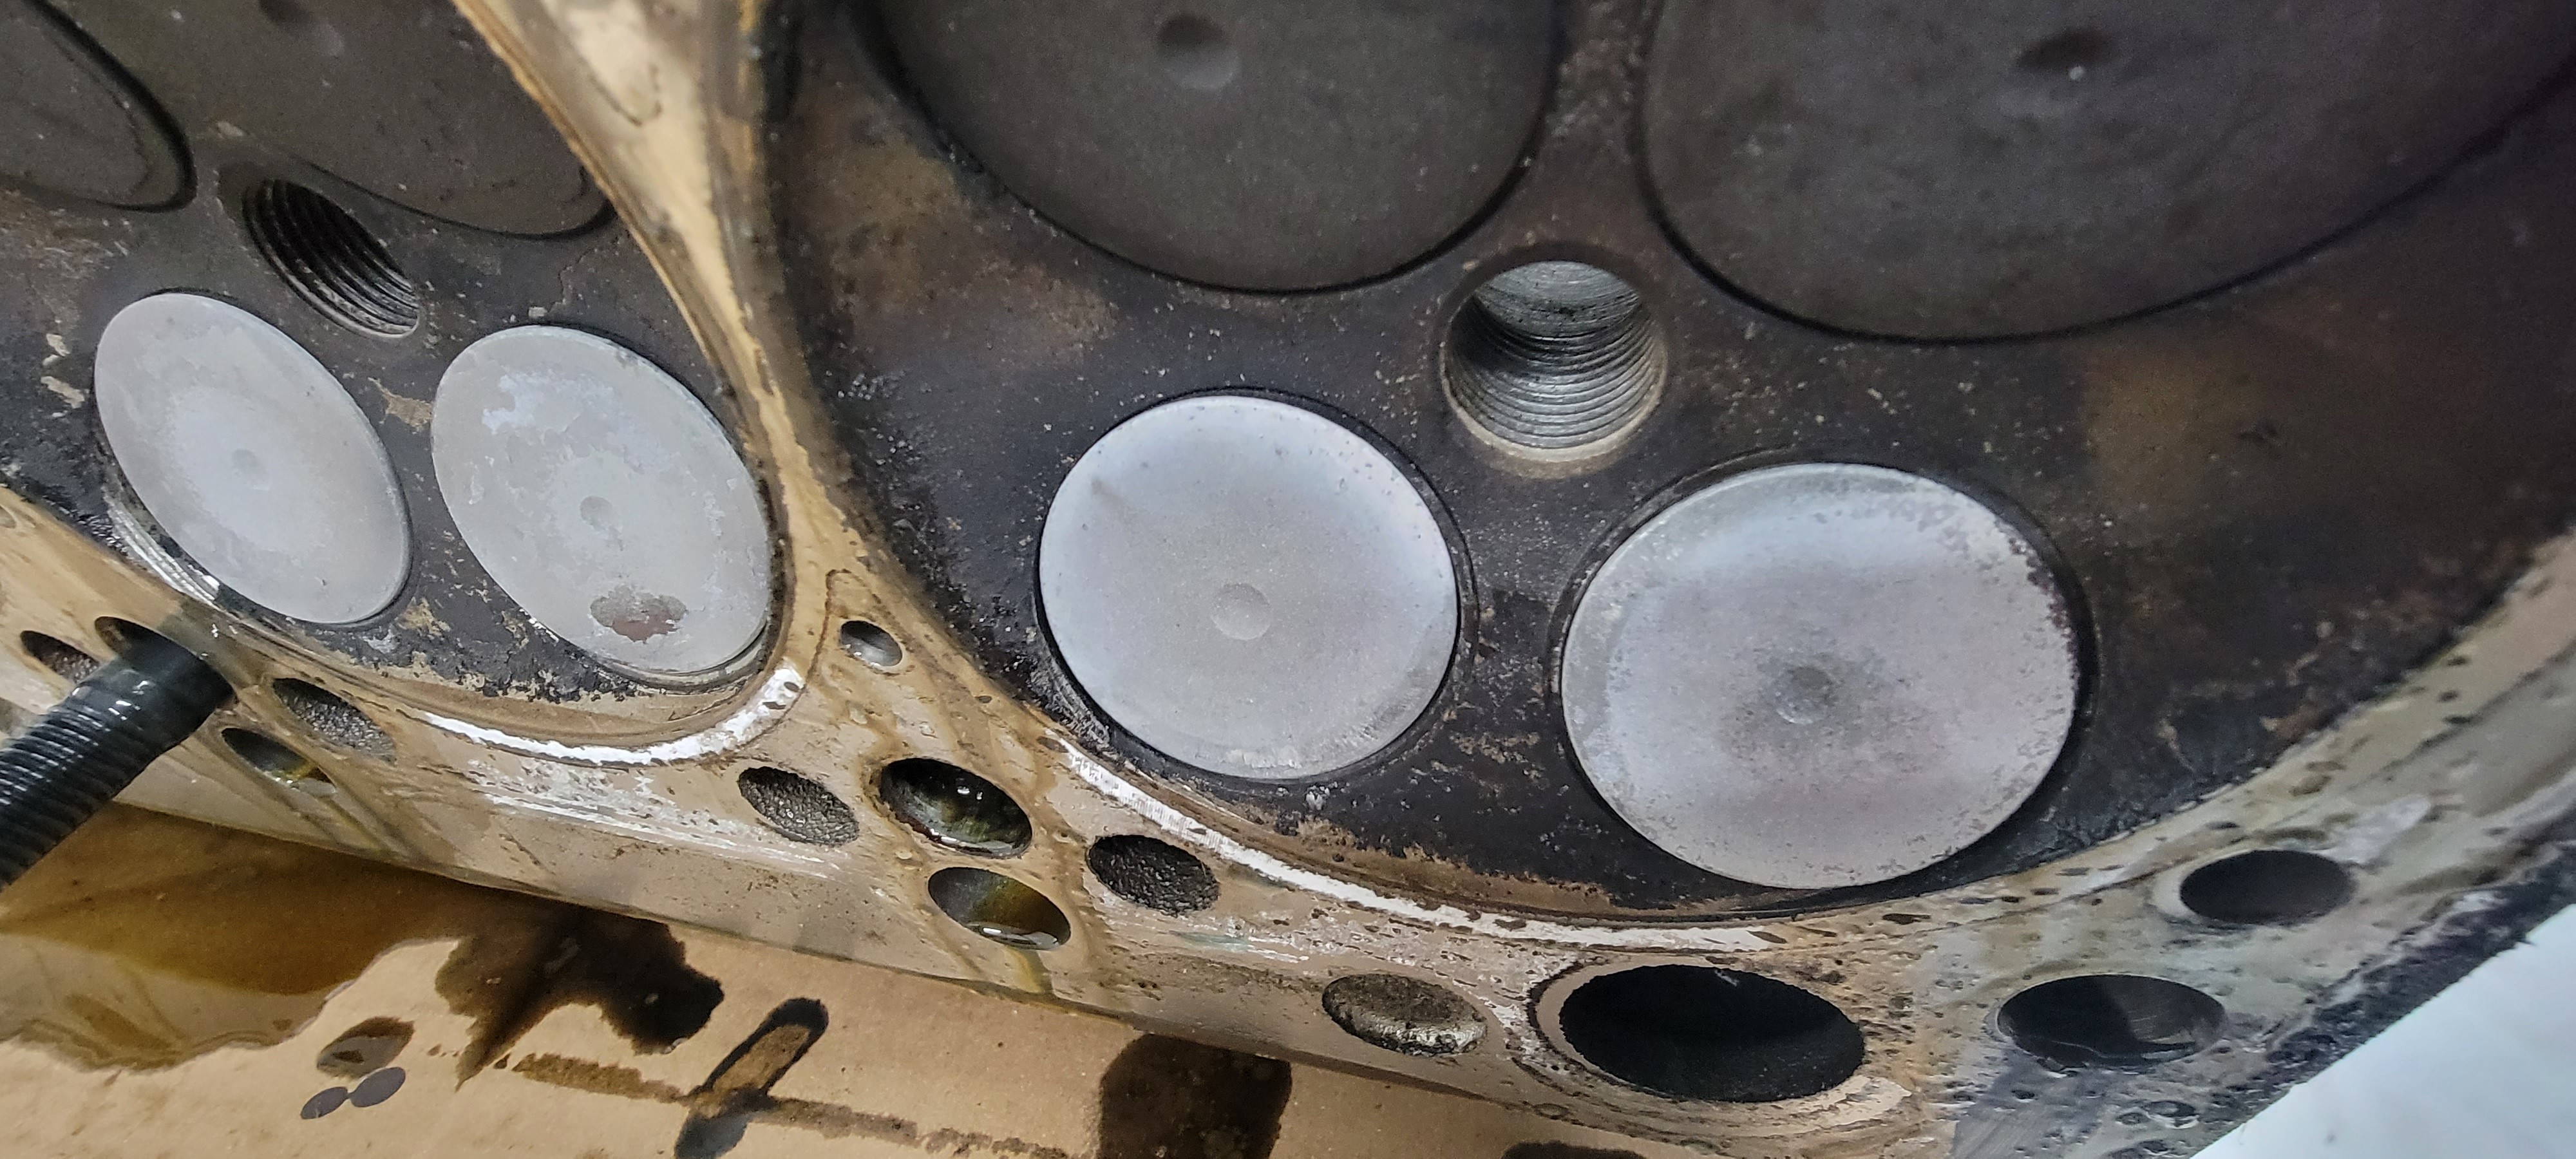
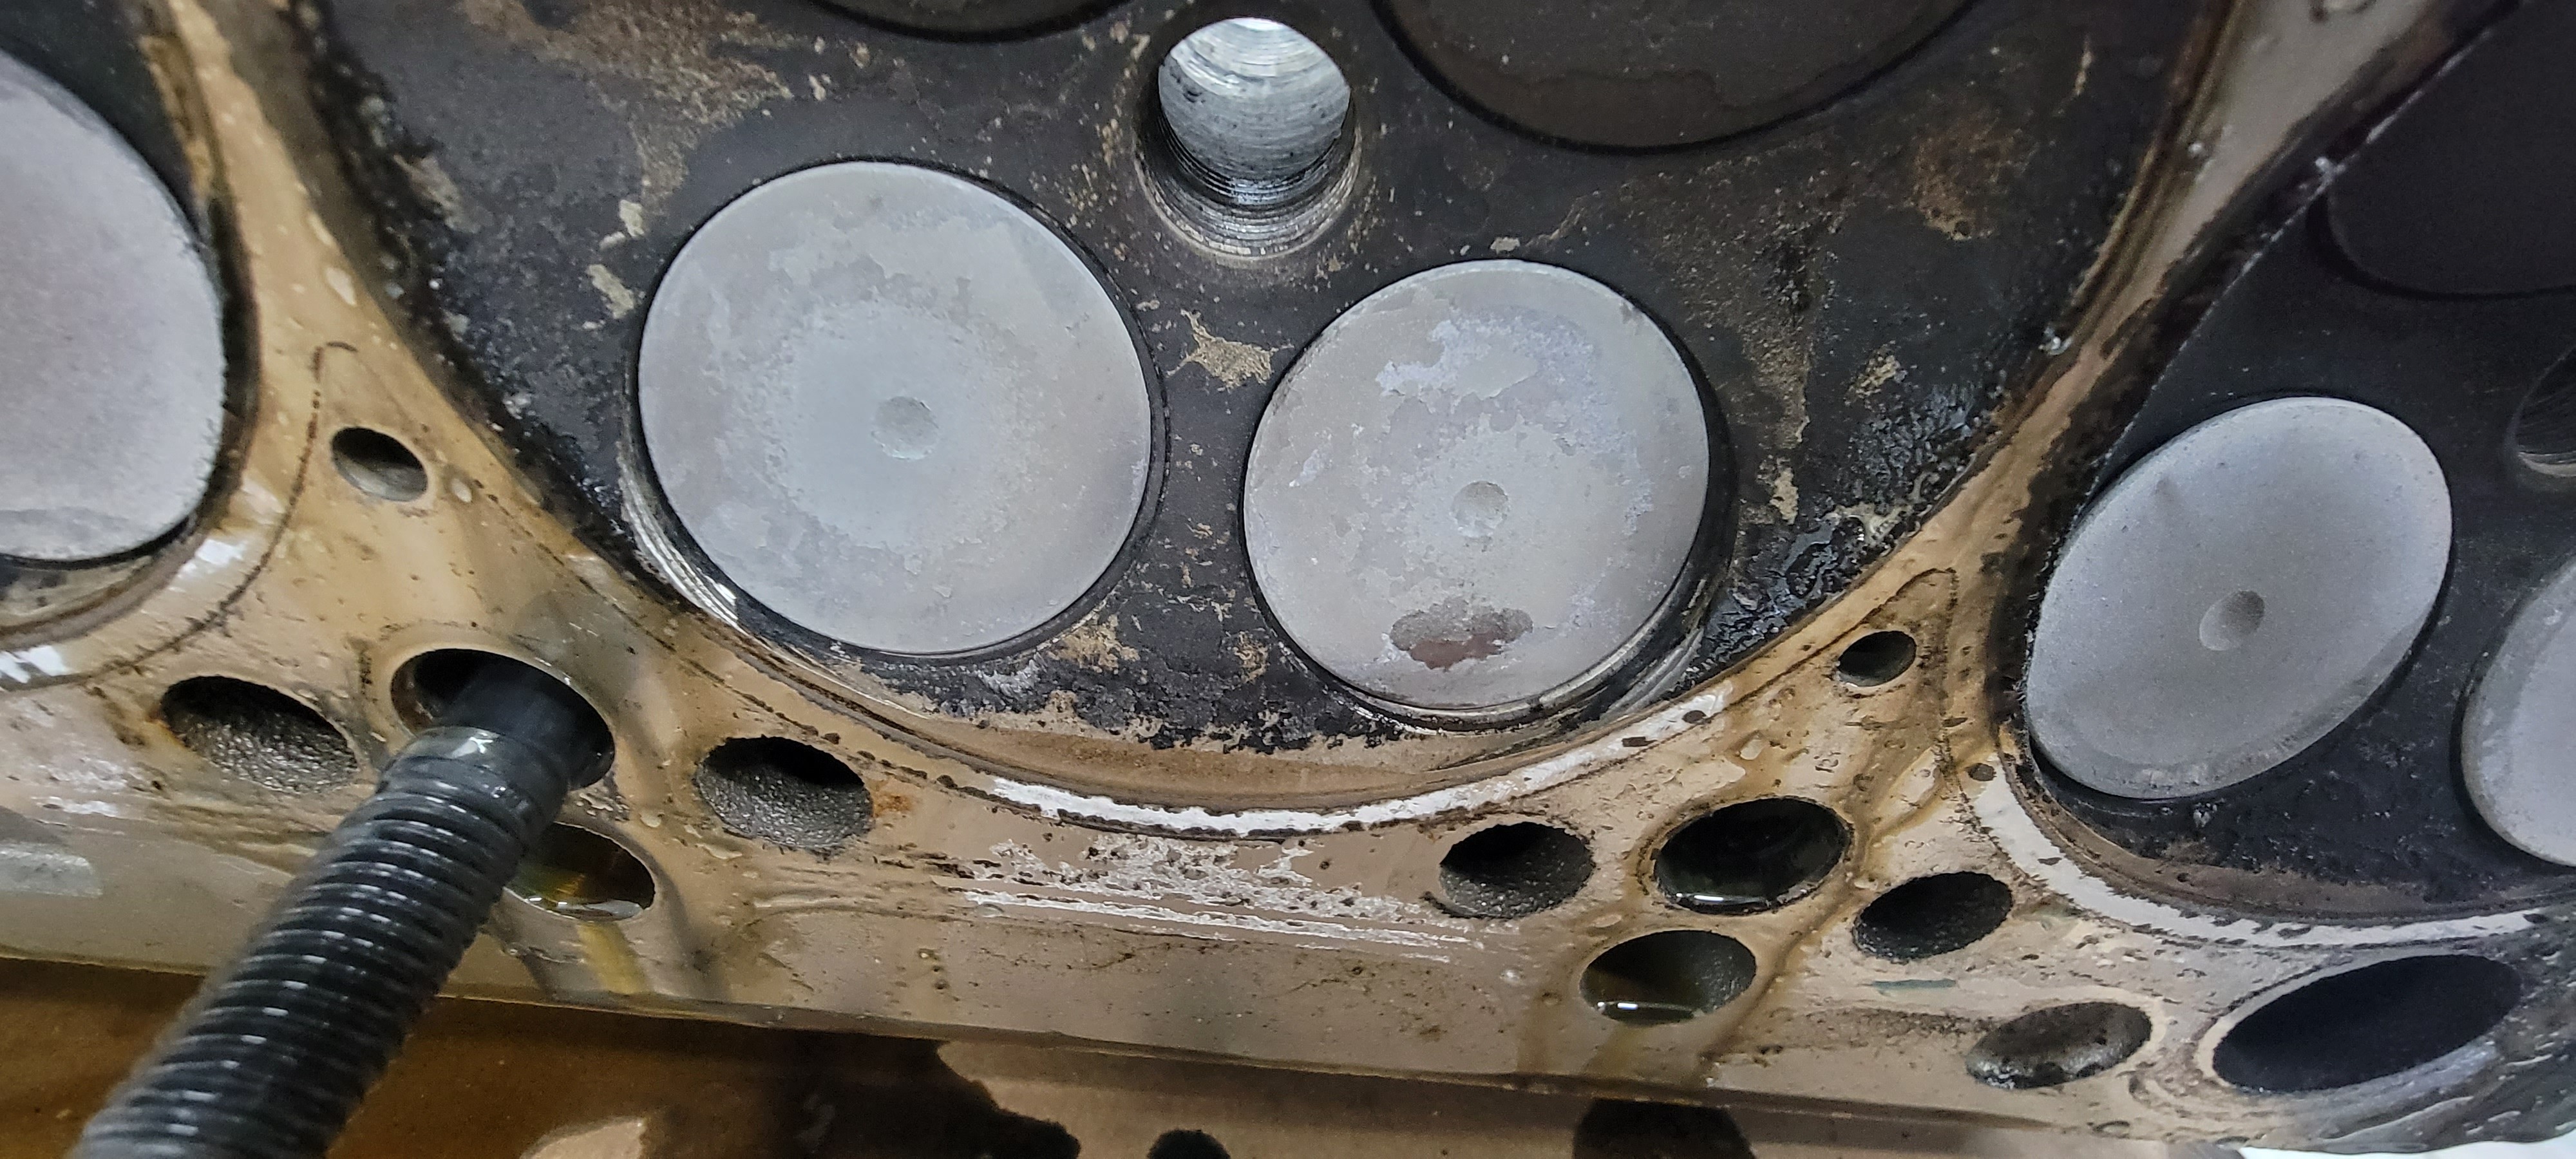
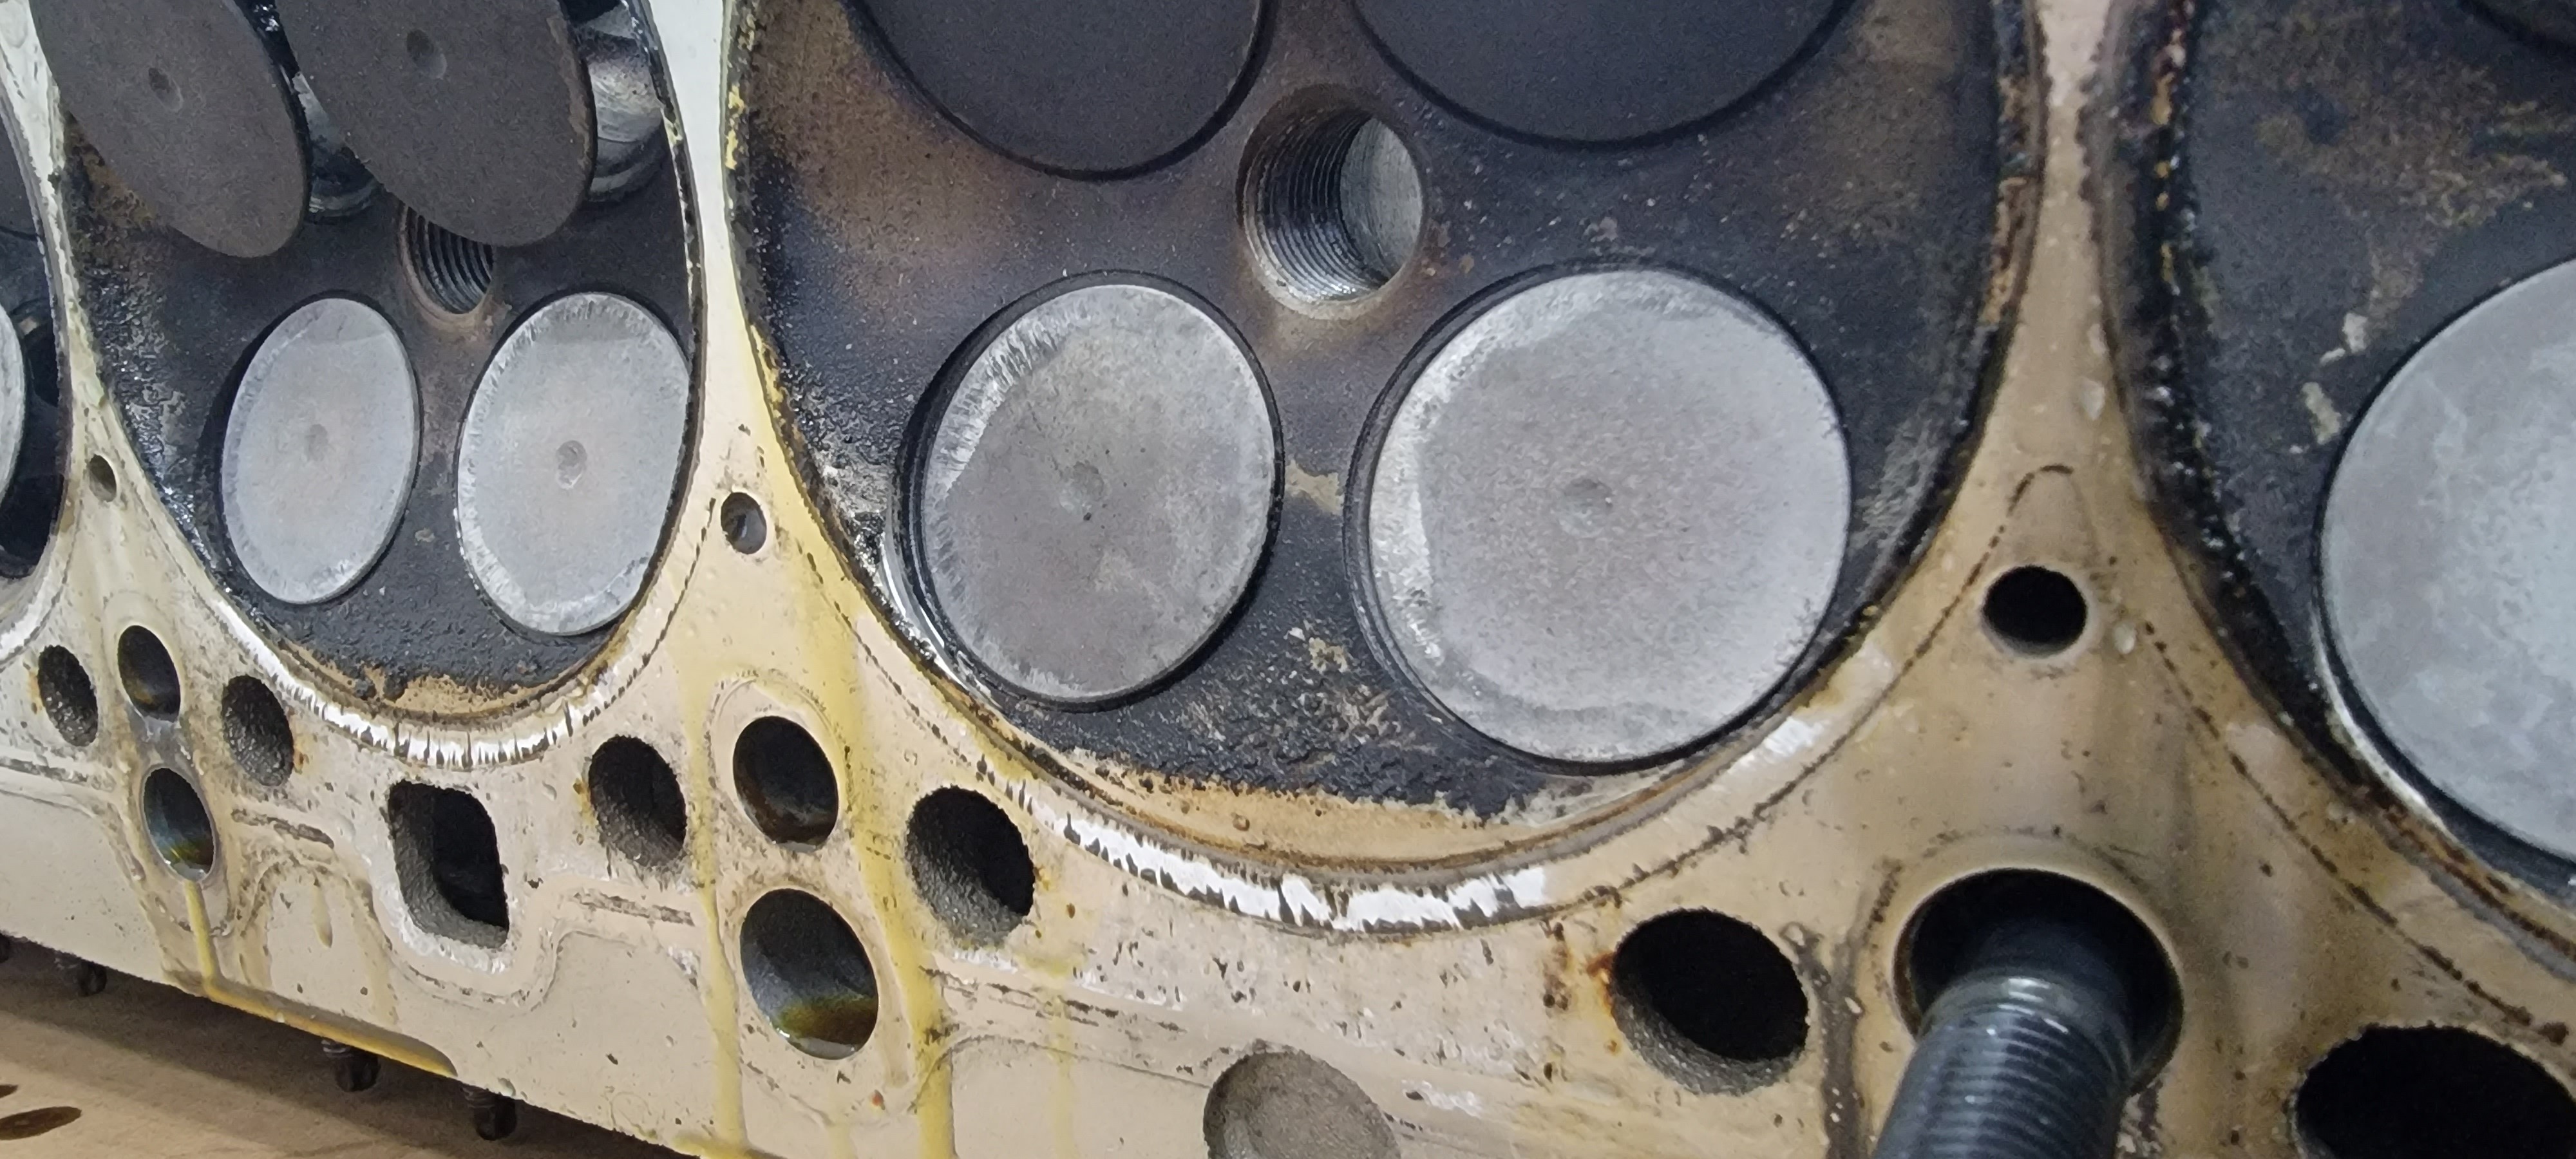
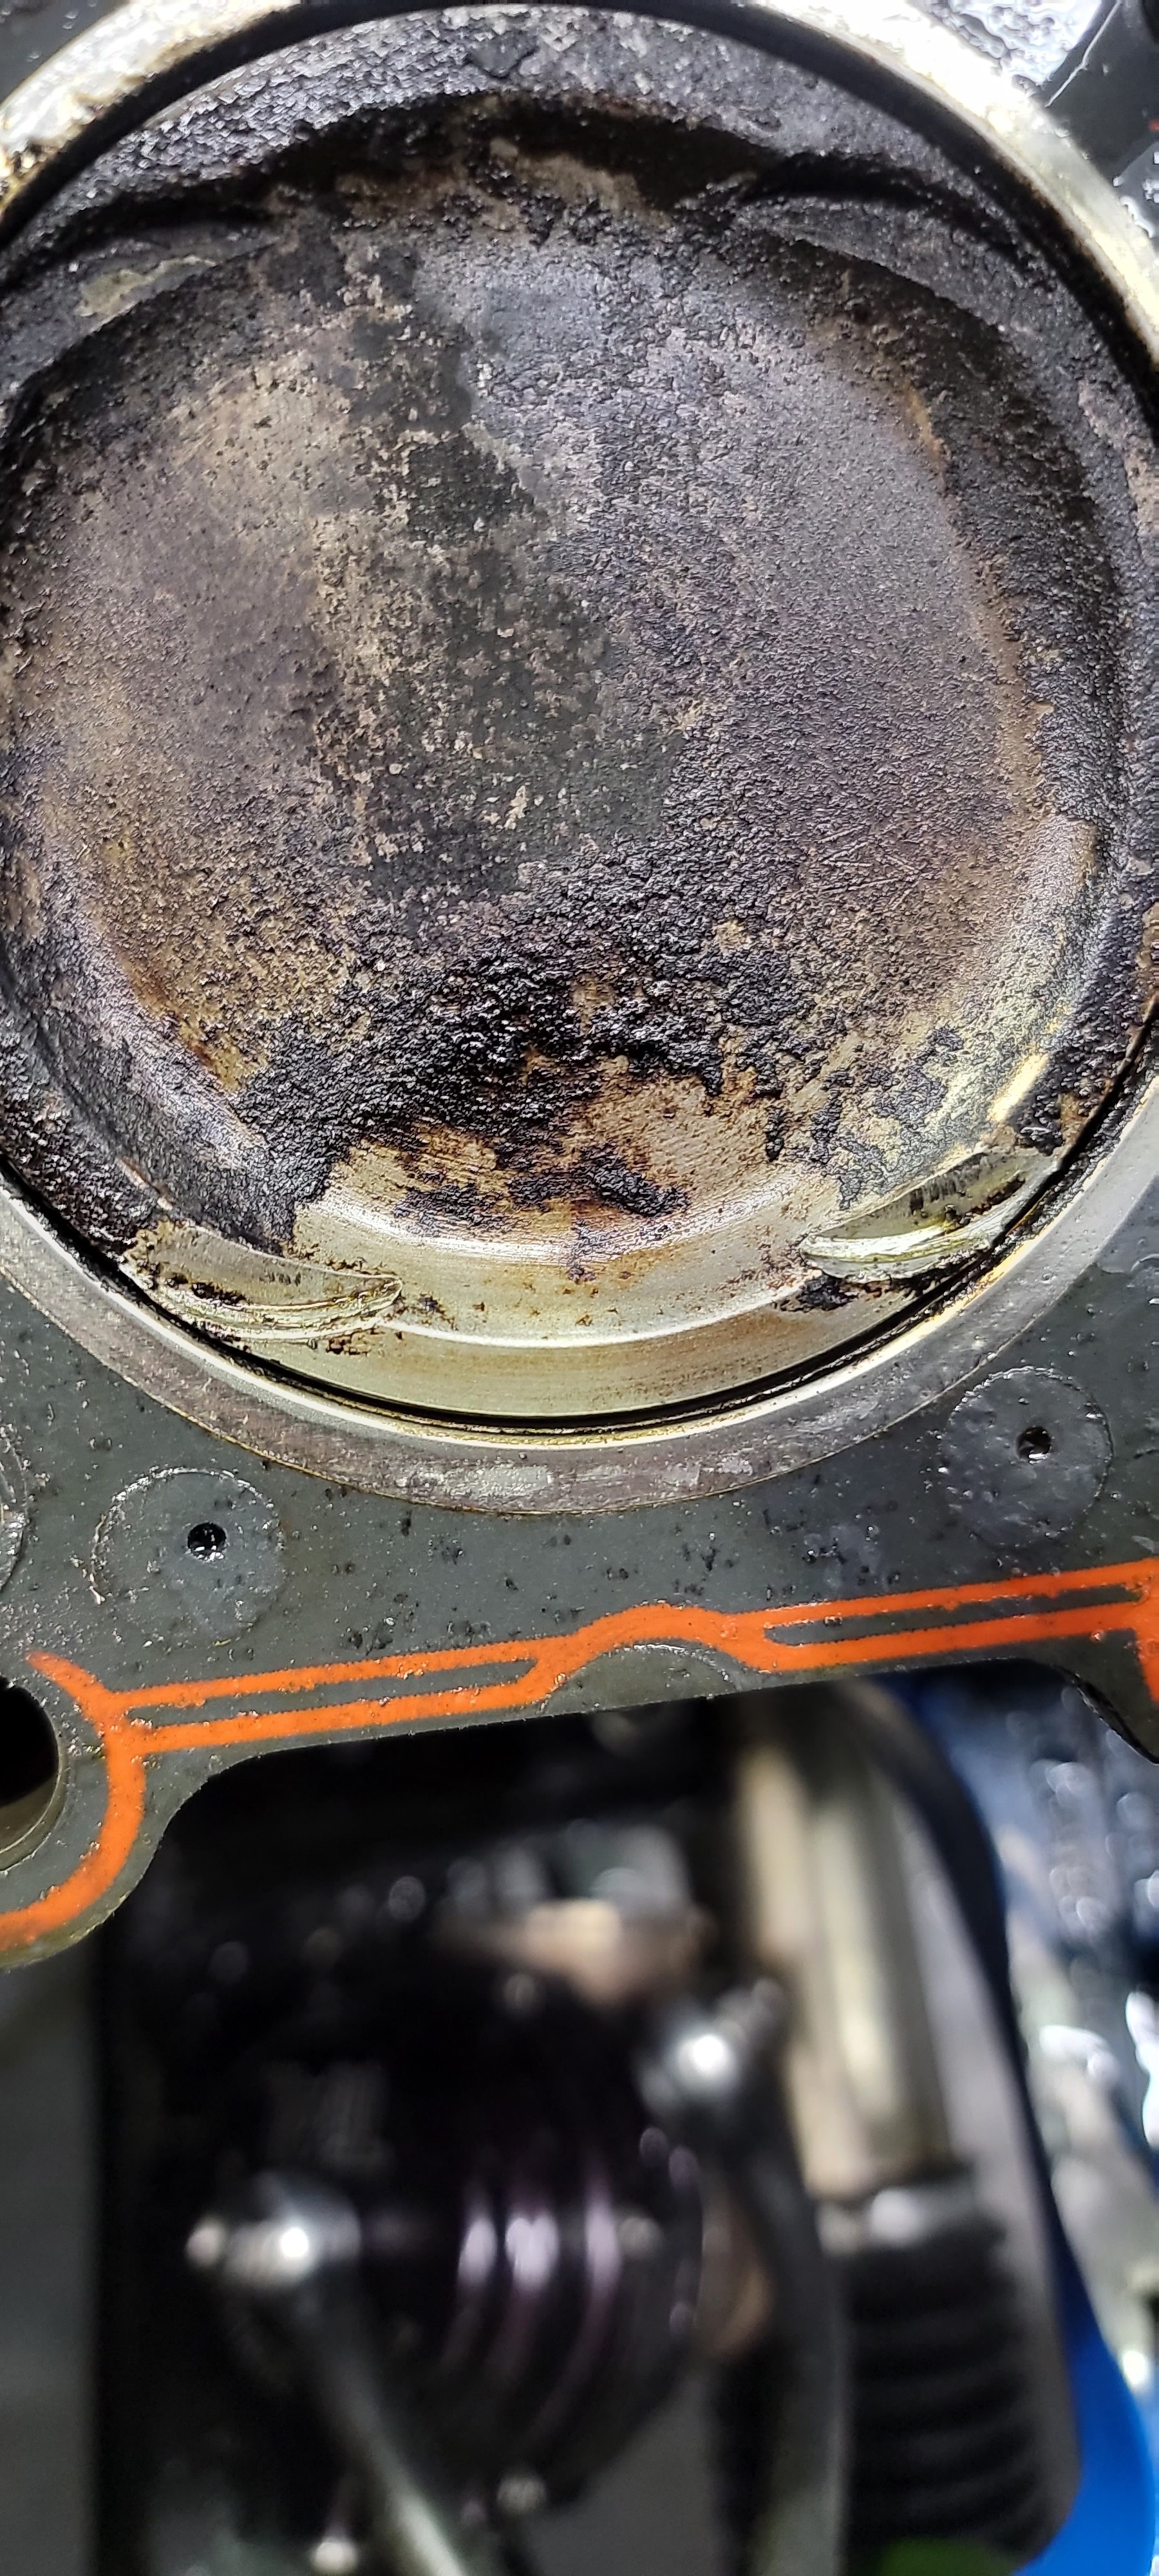
Trays and lifters were about ready to go in and then I noticed this in some of the bores on the exhaust tray  .
.
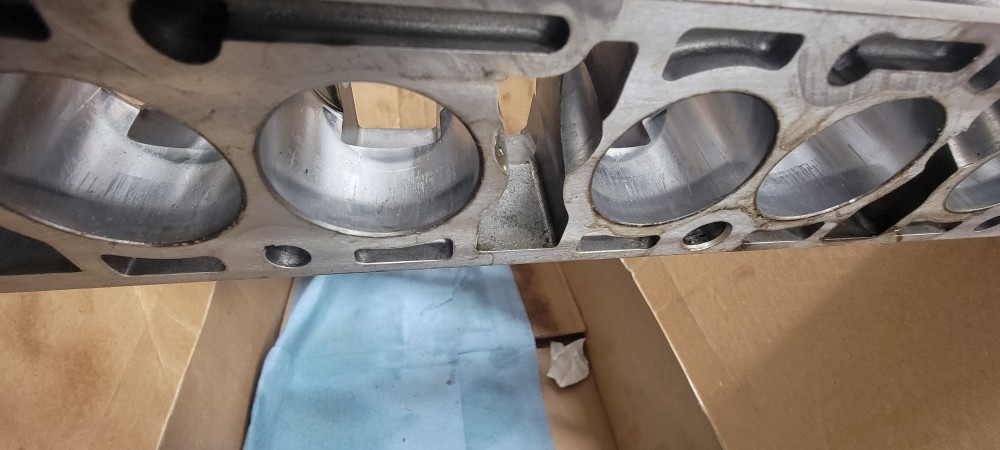
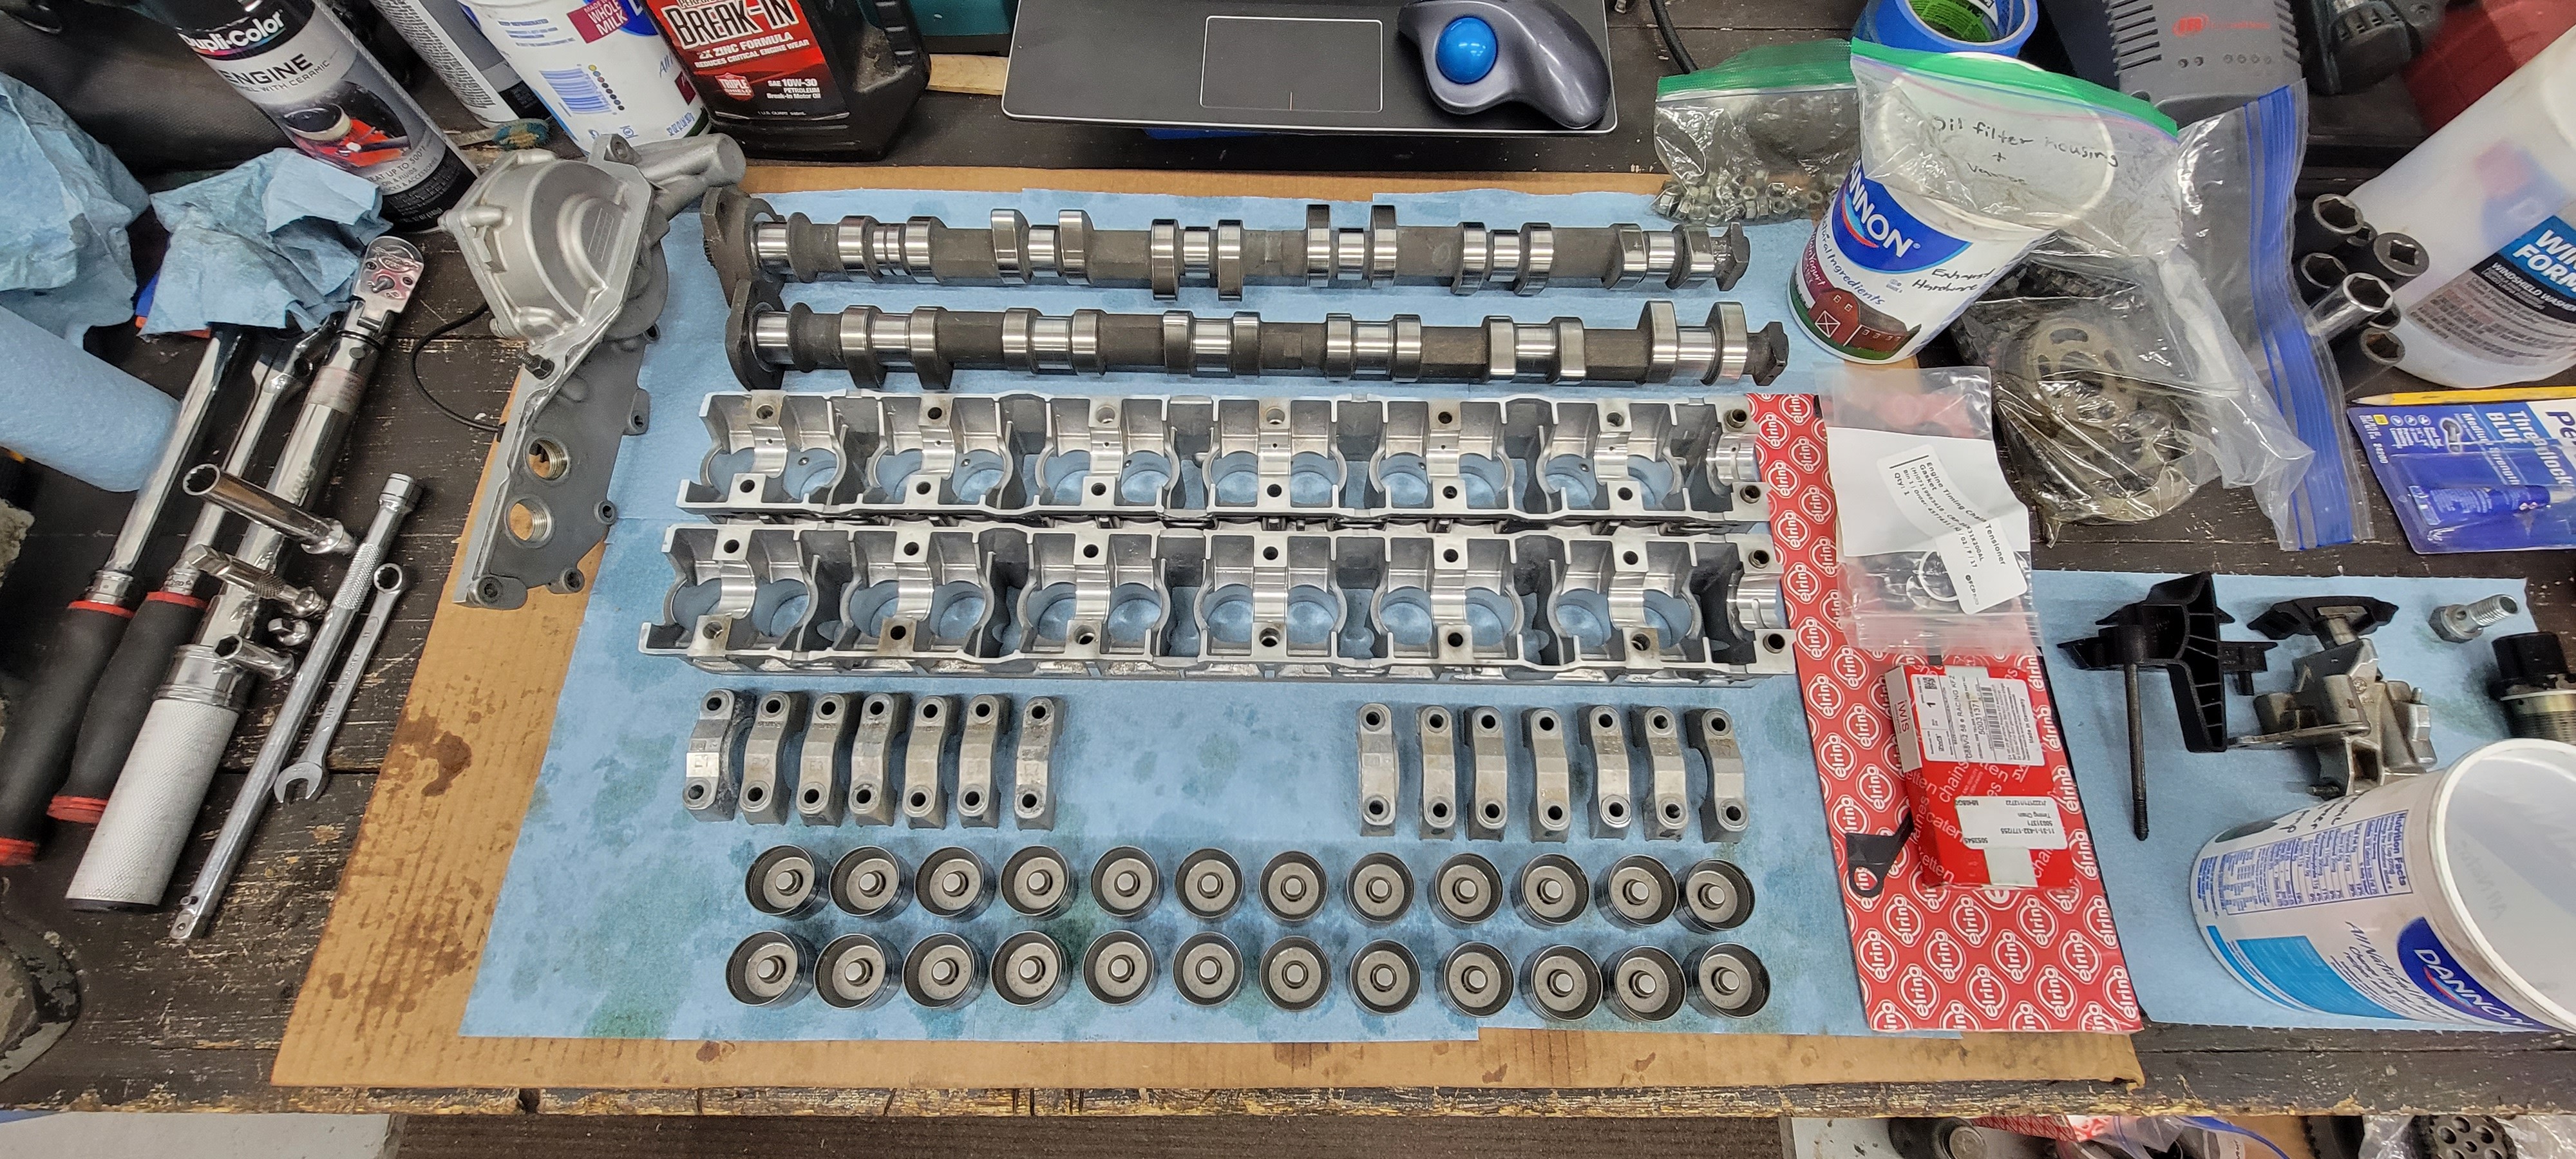
Some light scoring in these areas is typically normal but this was far beyond that which pretty much made them scrap metal now. Unfortunately the cam trays that I got with the M52 were different. One of them was for a M52 but the other was from a M50 non vanos head so that wasn't gonna work out either. Thankfully after some research I found that M52 and S52's actually use identical cam trays so I took a trip out to the local junk yard and luckily found an untouched M52 from a 98 528i with trays and caps that ended up being in great shape!
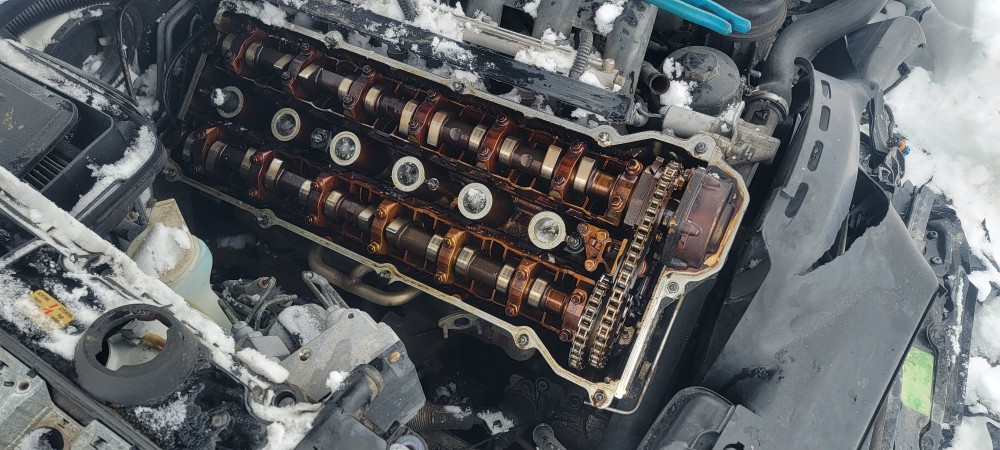
Since they were pretty heavily varnished I dropped them off at a local machine shop to run through a hot tank.
With those back and cleaned up I went through my two sets of lifters from the M52 and S52. The lifters from the S52 worked well for me in the last motor but they were also pretty scored up similar to the cam trays they were in and I was unsure about the ones from the M52 and how many miles were on them. So, instead of trying to clean those up and risking some of them still causing issues I resorted to just purchasing all new ones.
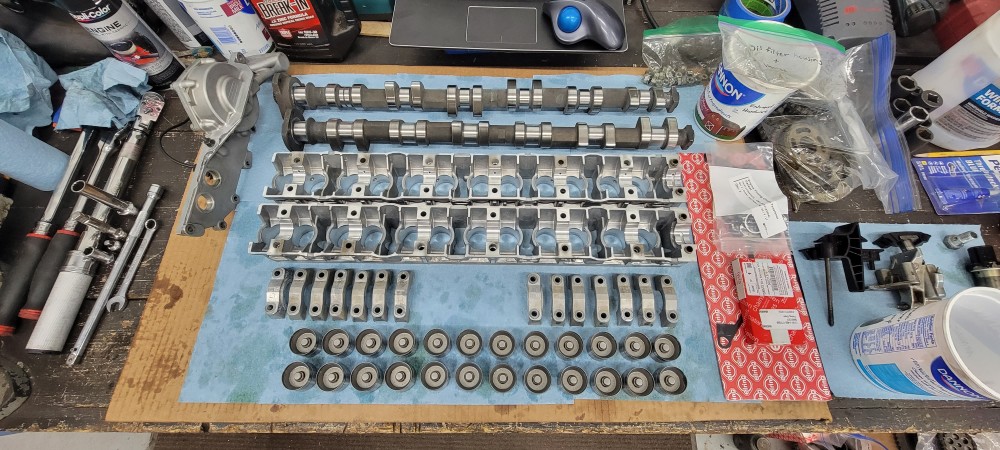
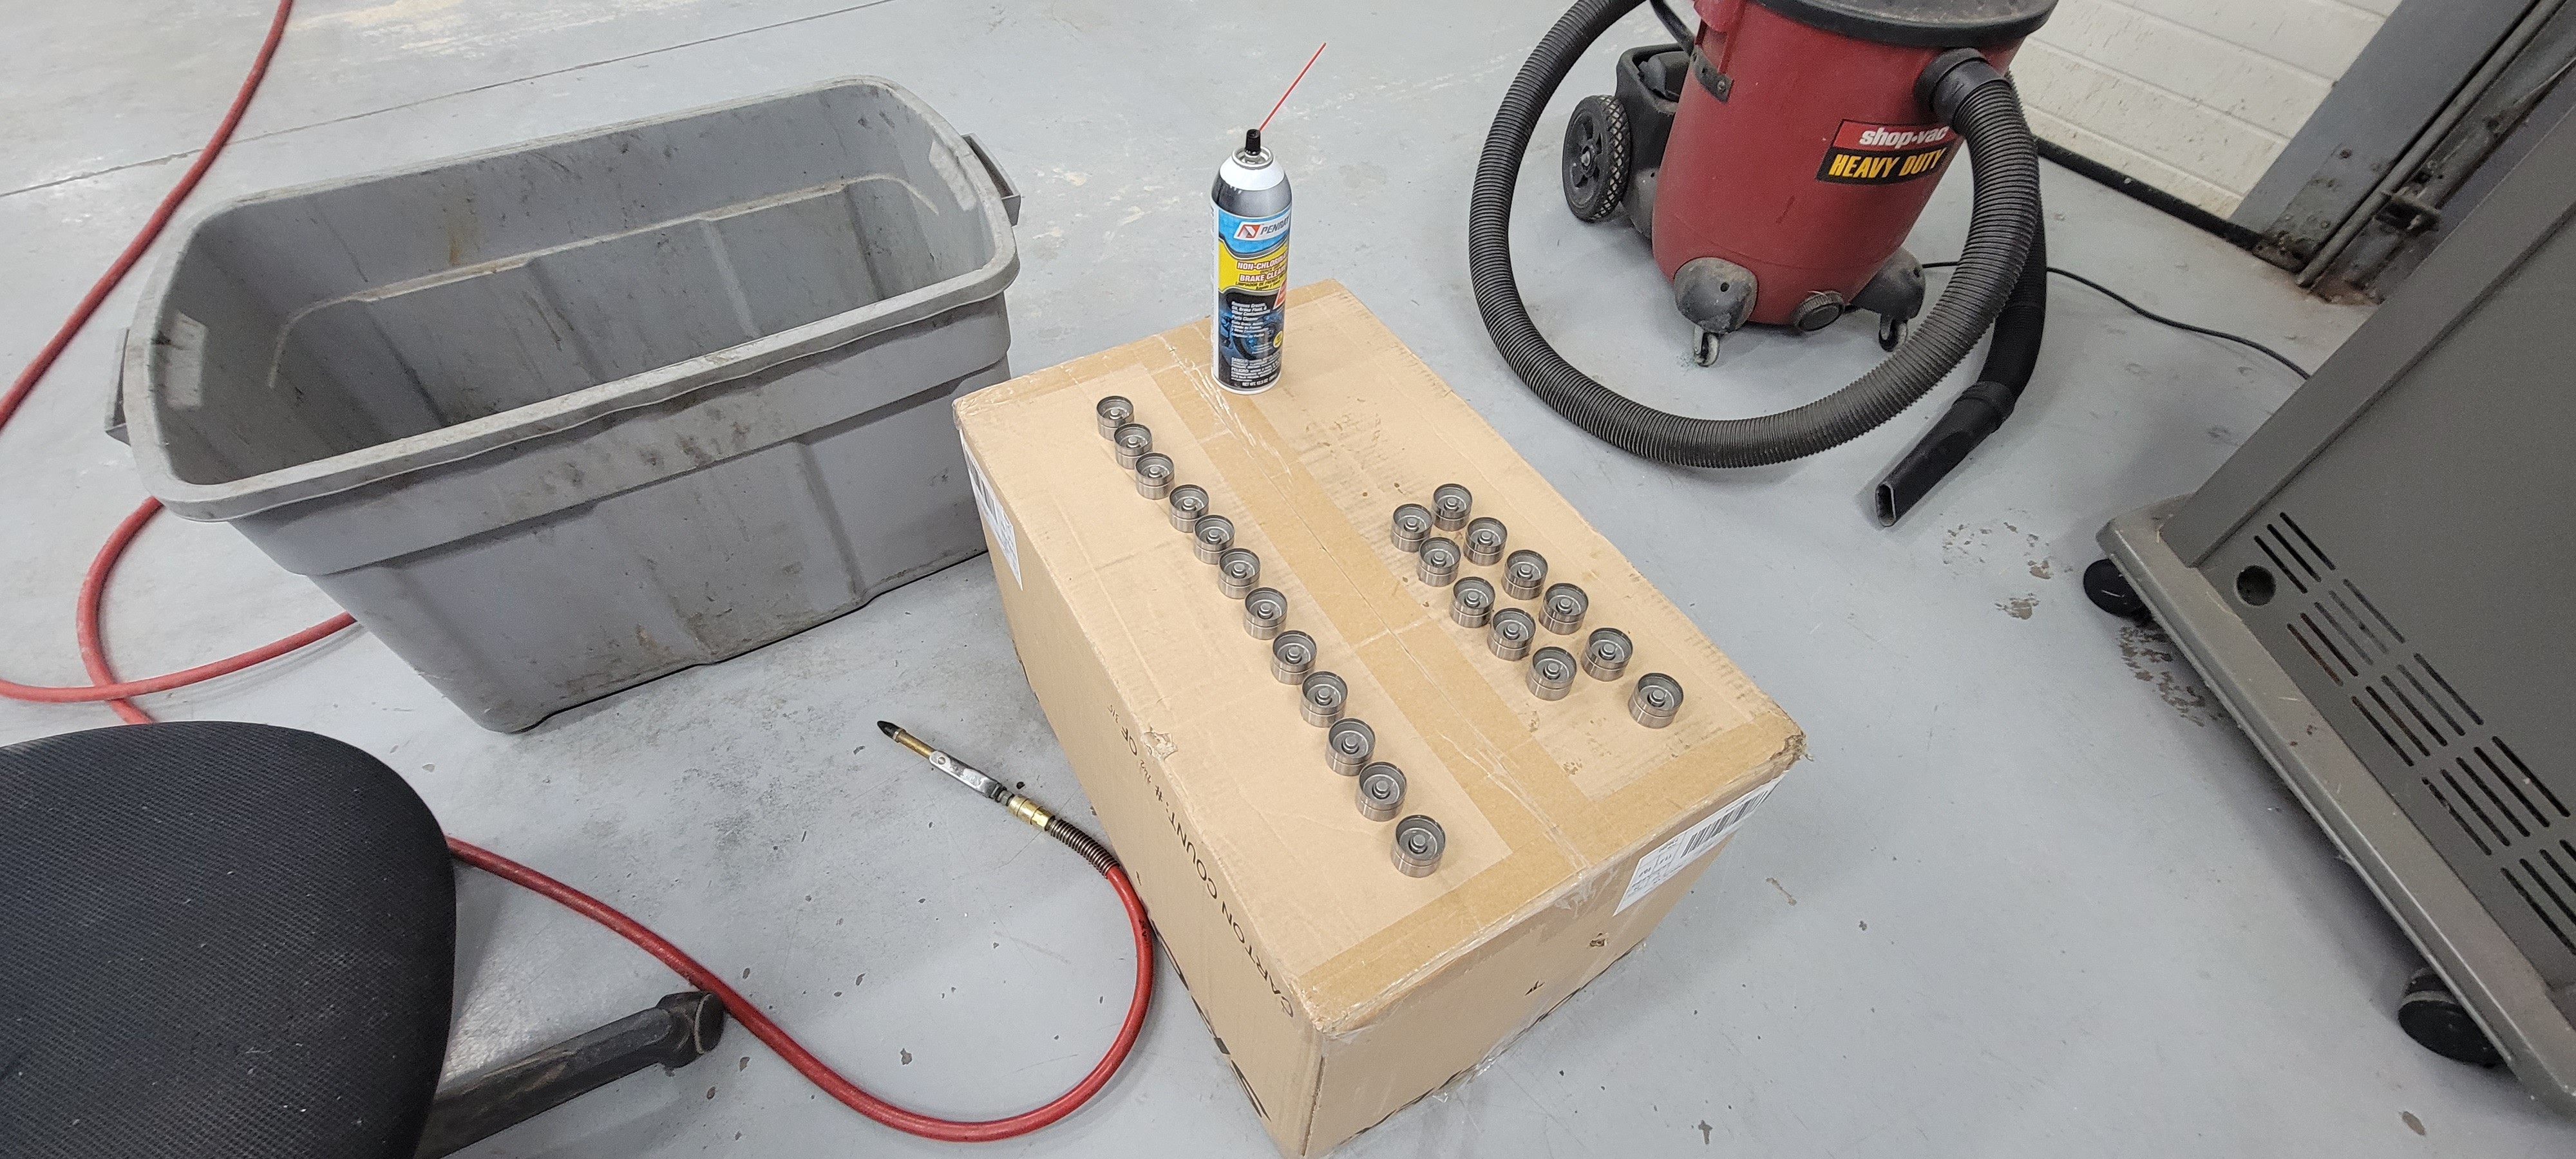
Sprayed all the new lifters down with some break cleaner and compressed air to remove the protective oil that they came covered in.
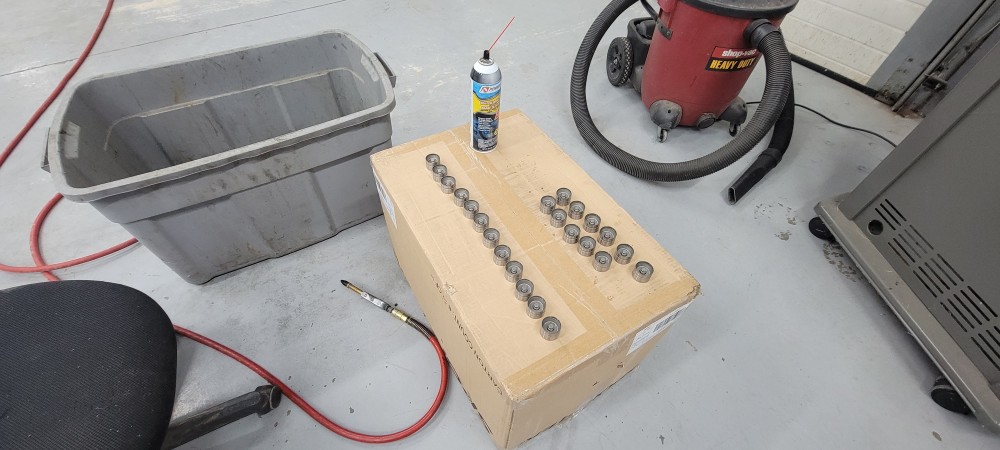
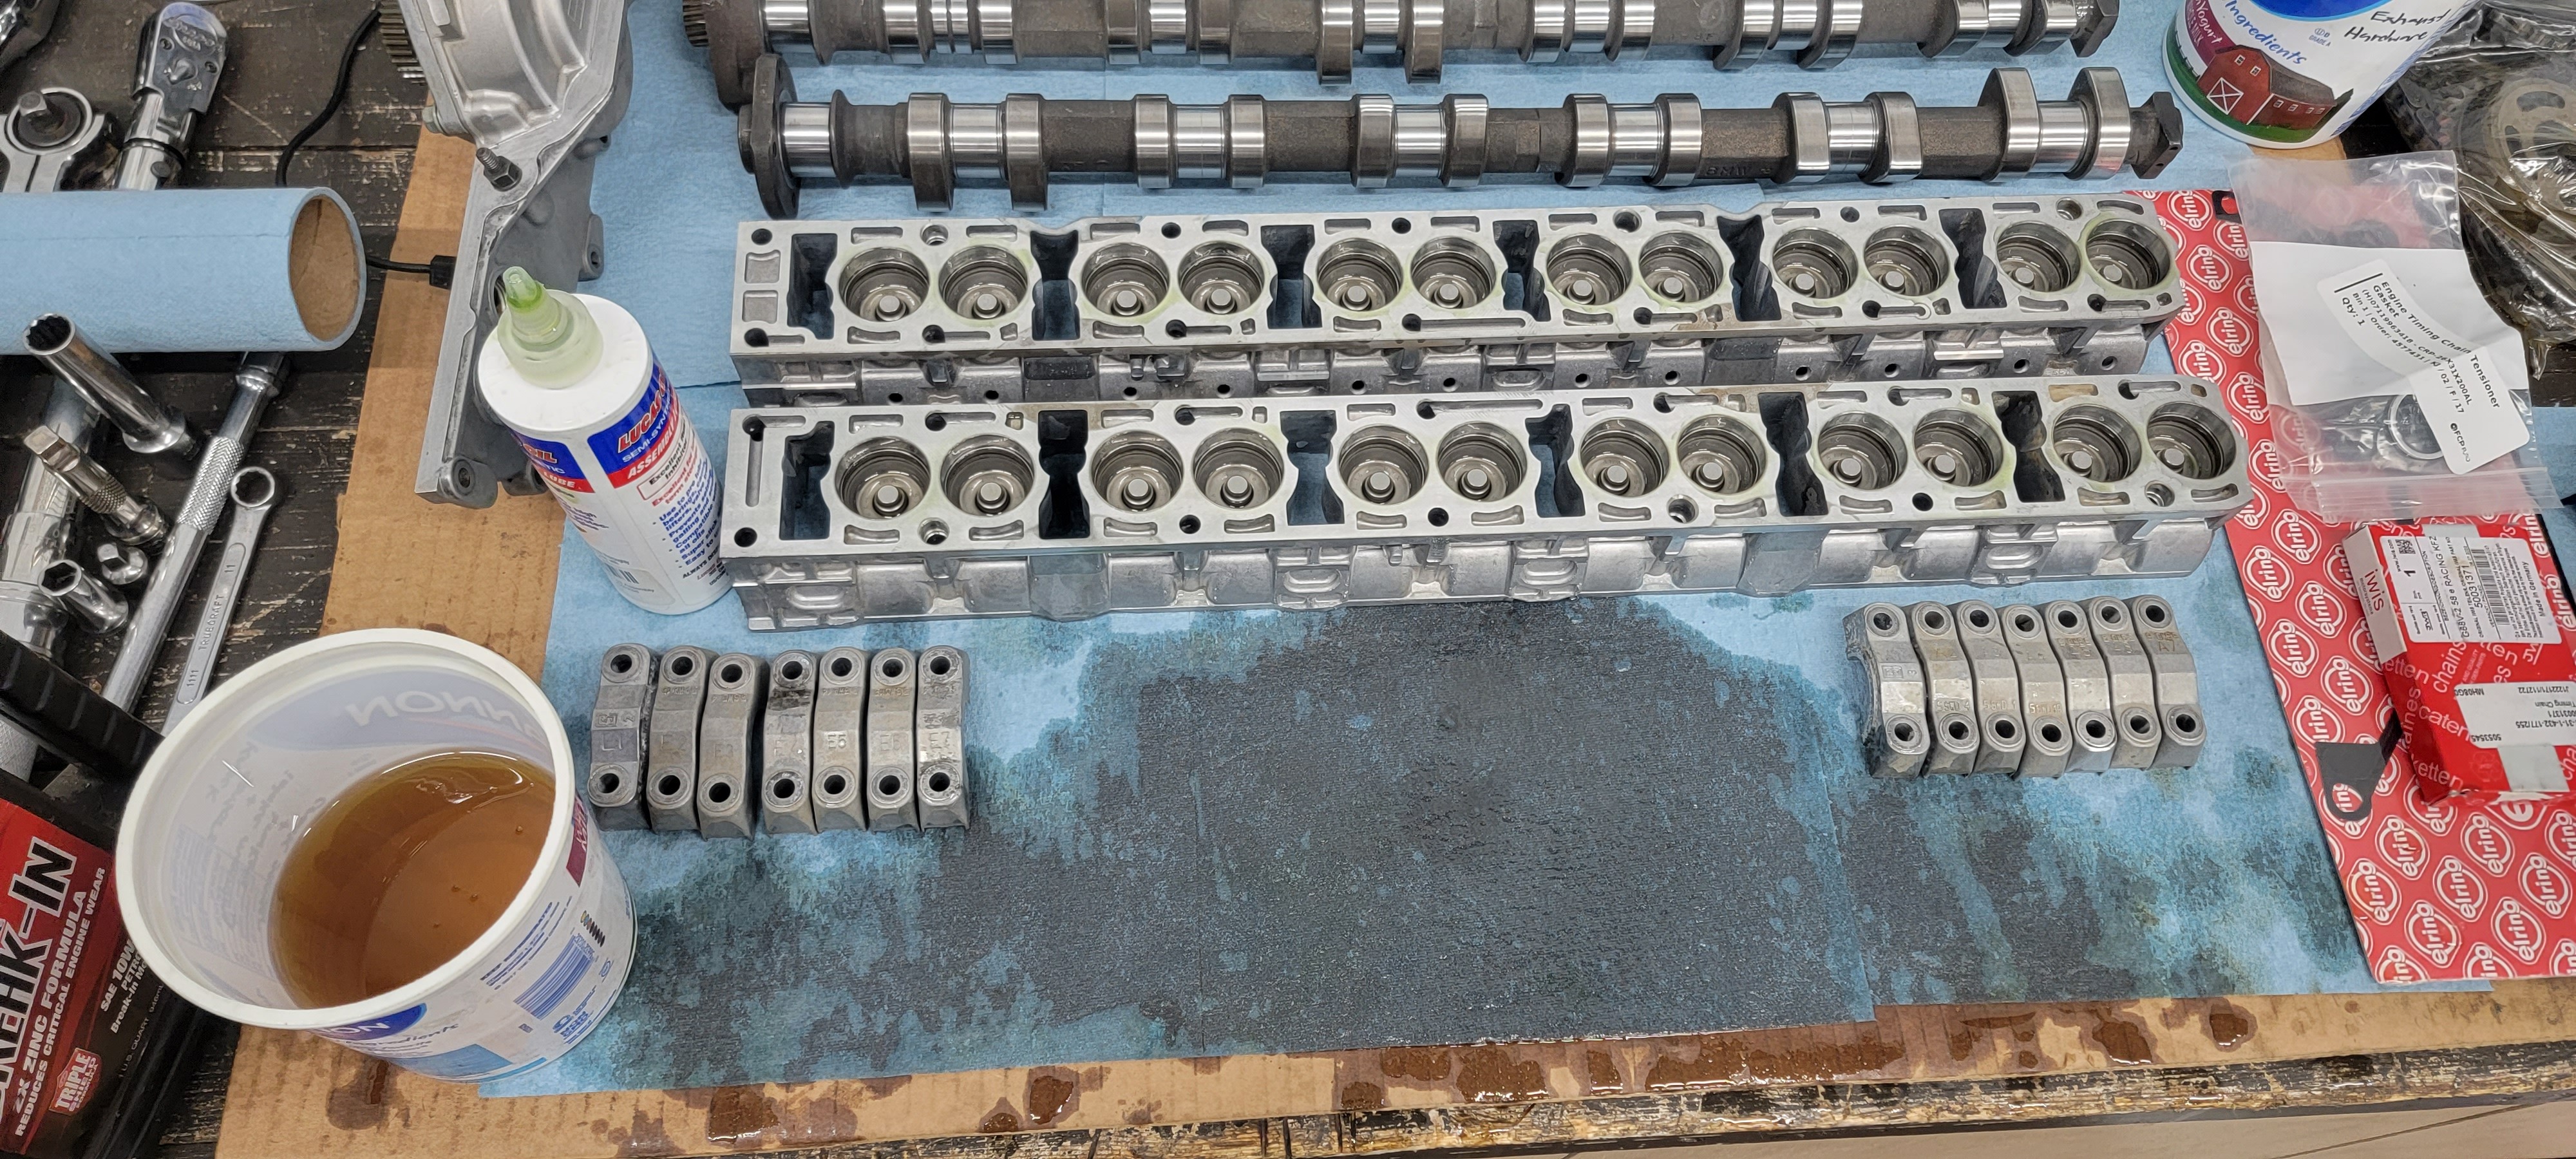
Before Sliding them in to the trays I dunked each lifter in some break in oil and compressed the inner piston a few times with my fingers tell the piston felt a little softer to compress. This was done to prime them with a little oil so they weren't dry on first start. After rubbing a little assembly oil in each bore of the trays I popped them all in.
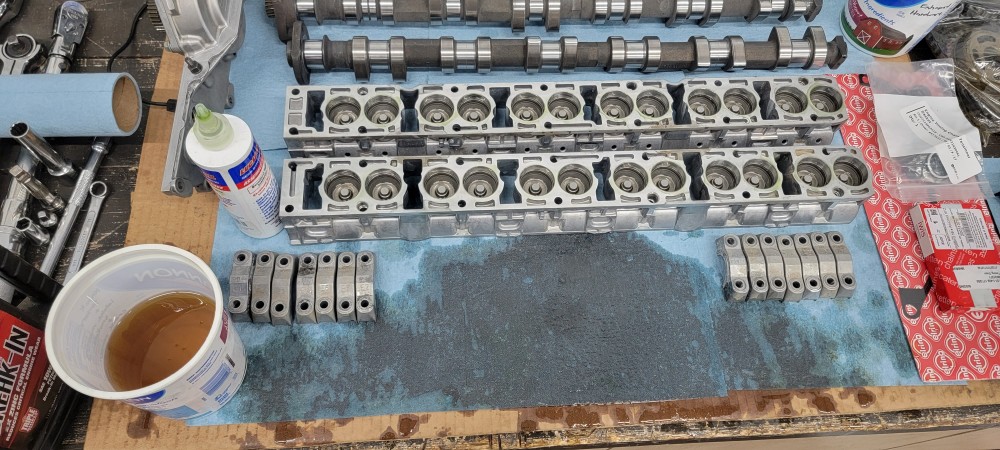
I didn't snap any pics of the next part but the install of the trays and cams went smoothly. I dropped some assembly lube on all of the lifter tops as well as on the cam caps and bearing locations on the trays.
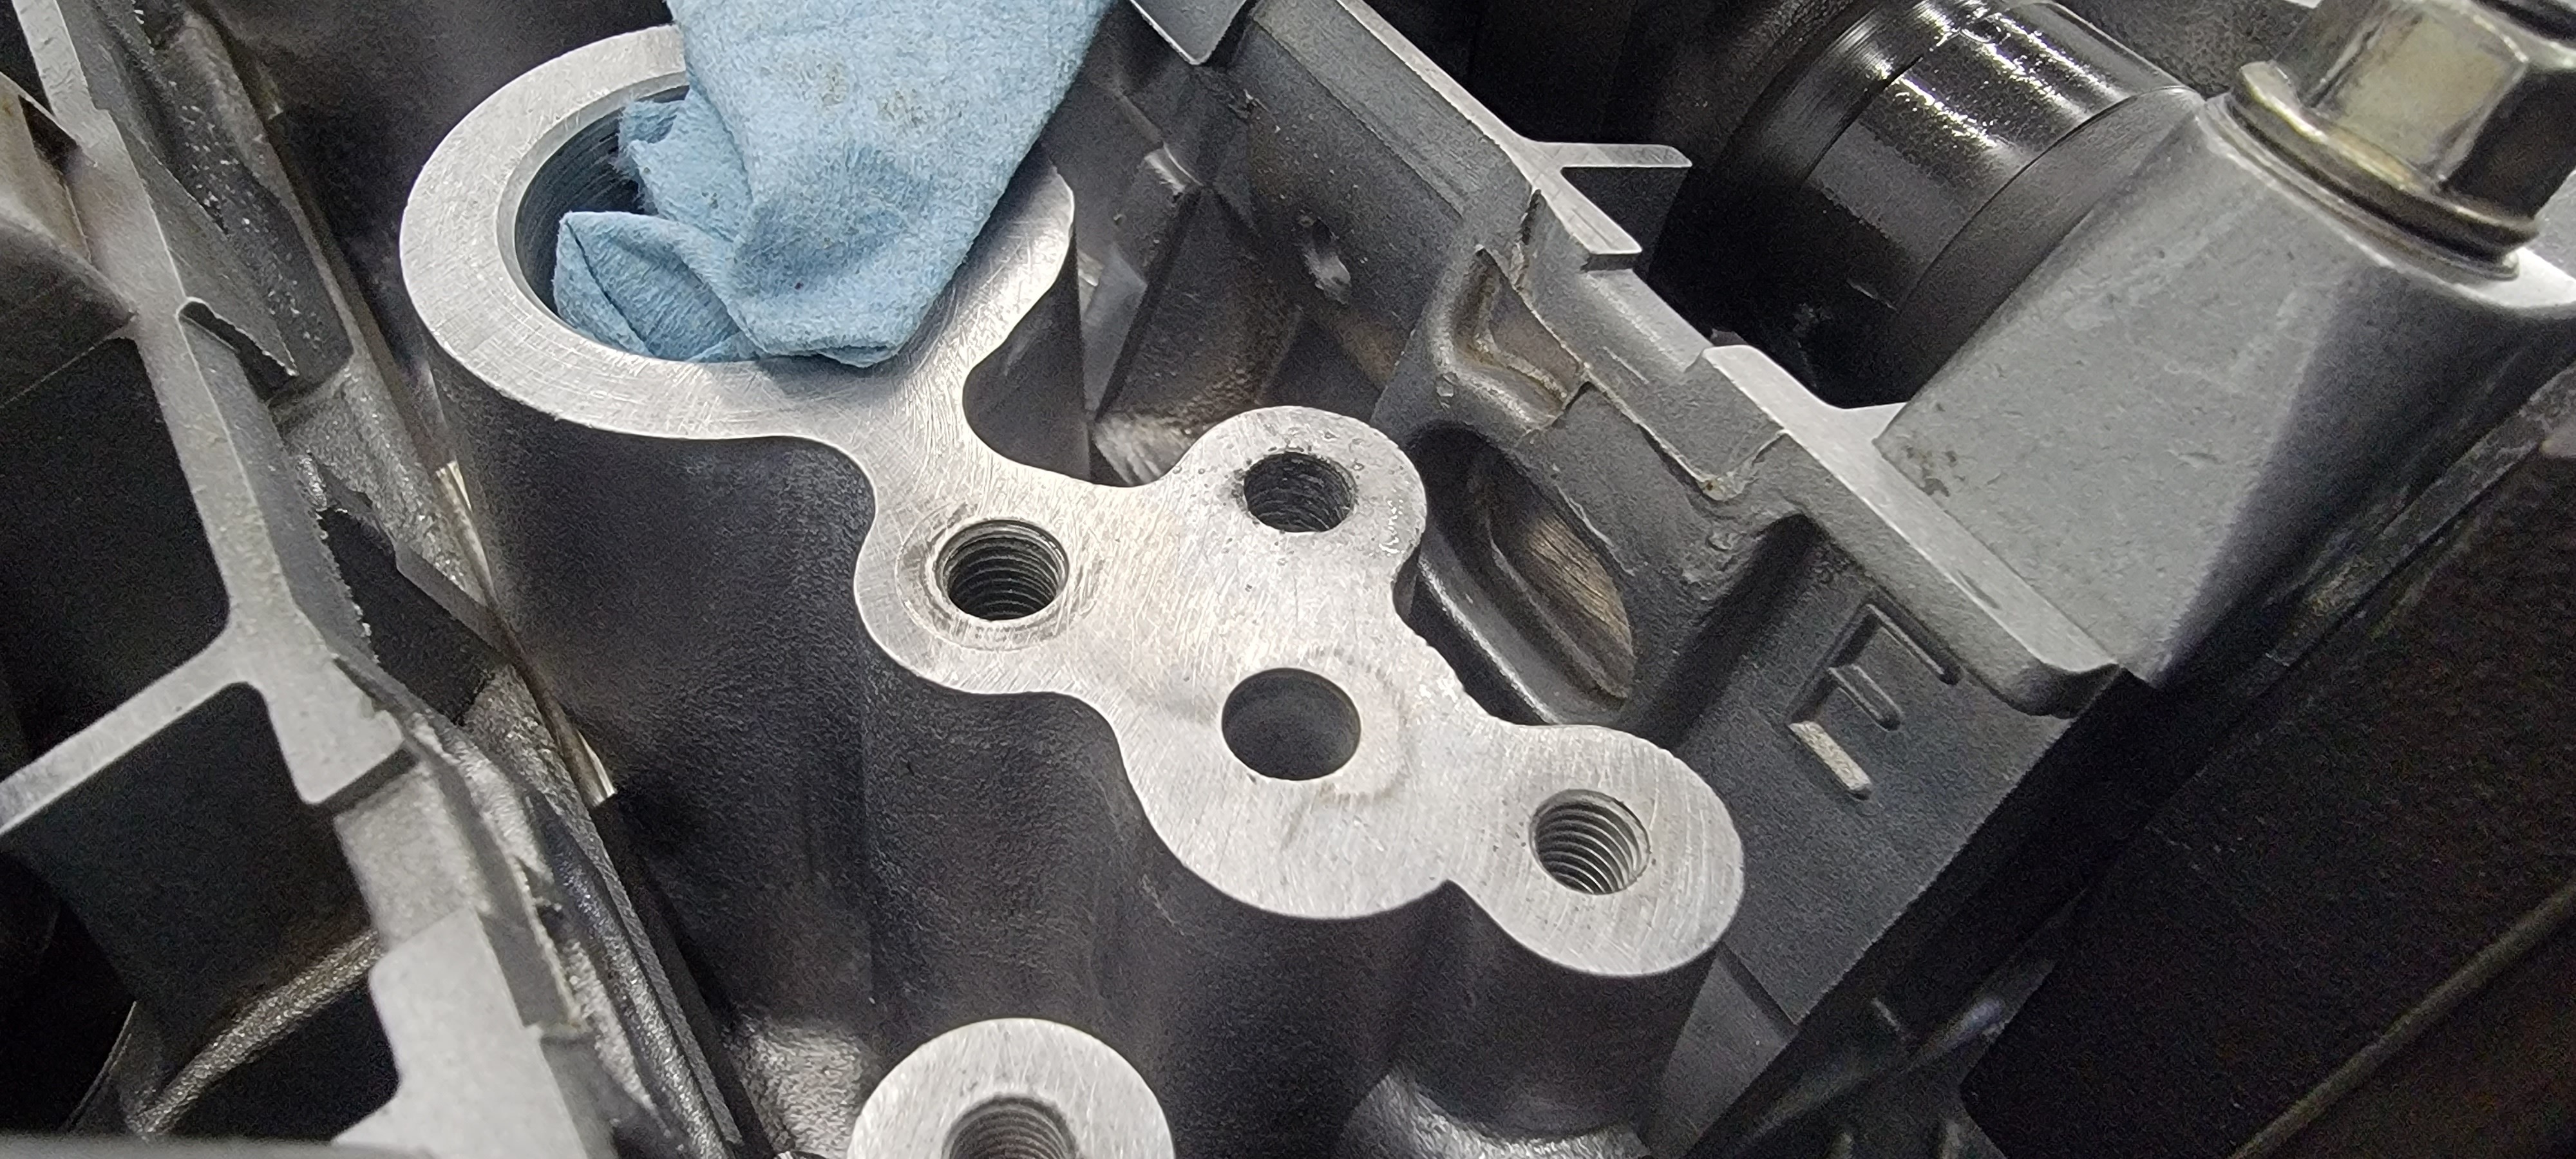
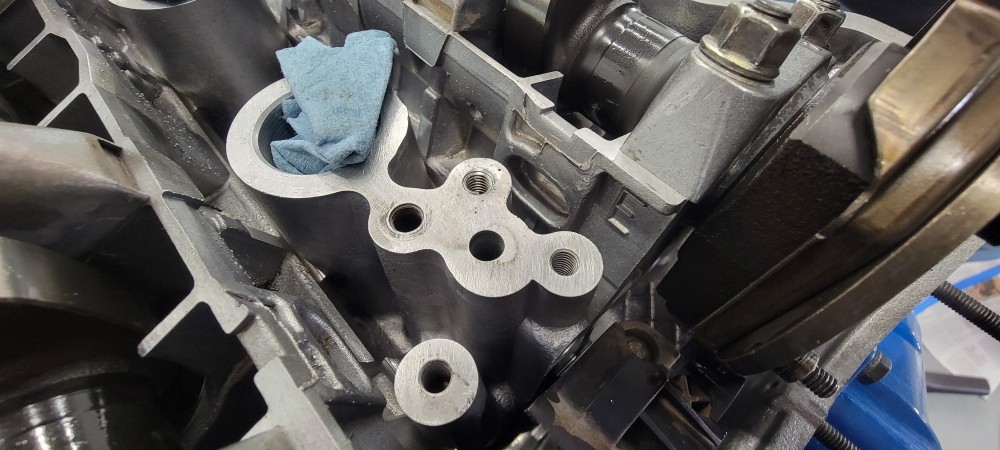
I then began installing all the upper timing components. When I was torquing down the four bolts that held the upper timing chain guide into place I was finishing up torquing down the last bolt on the back side to 10 NM when I felt that wonderful feeling of it come back lose again when I was just about torqued. Backed the bolt back out of the hole with broken pieces of threads attached to it. Out came the Heli-coil kit, again.
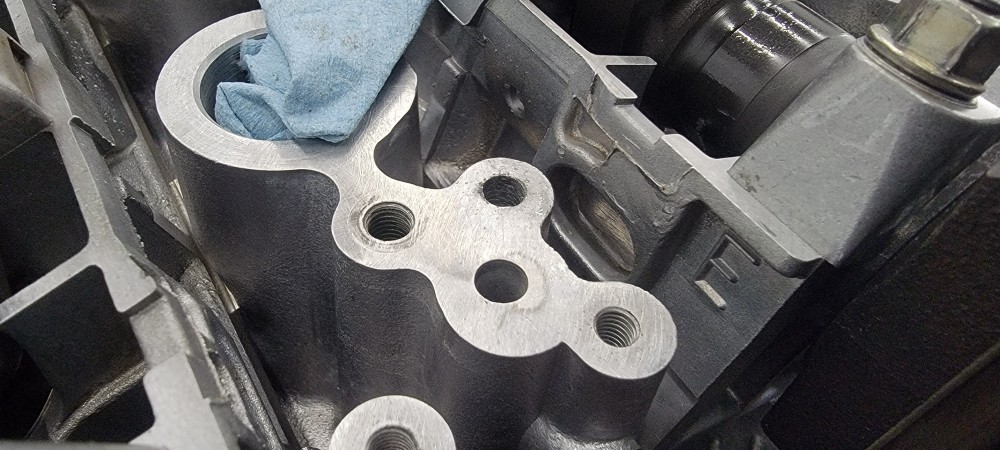
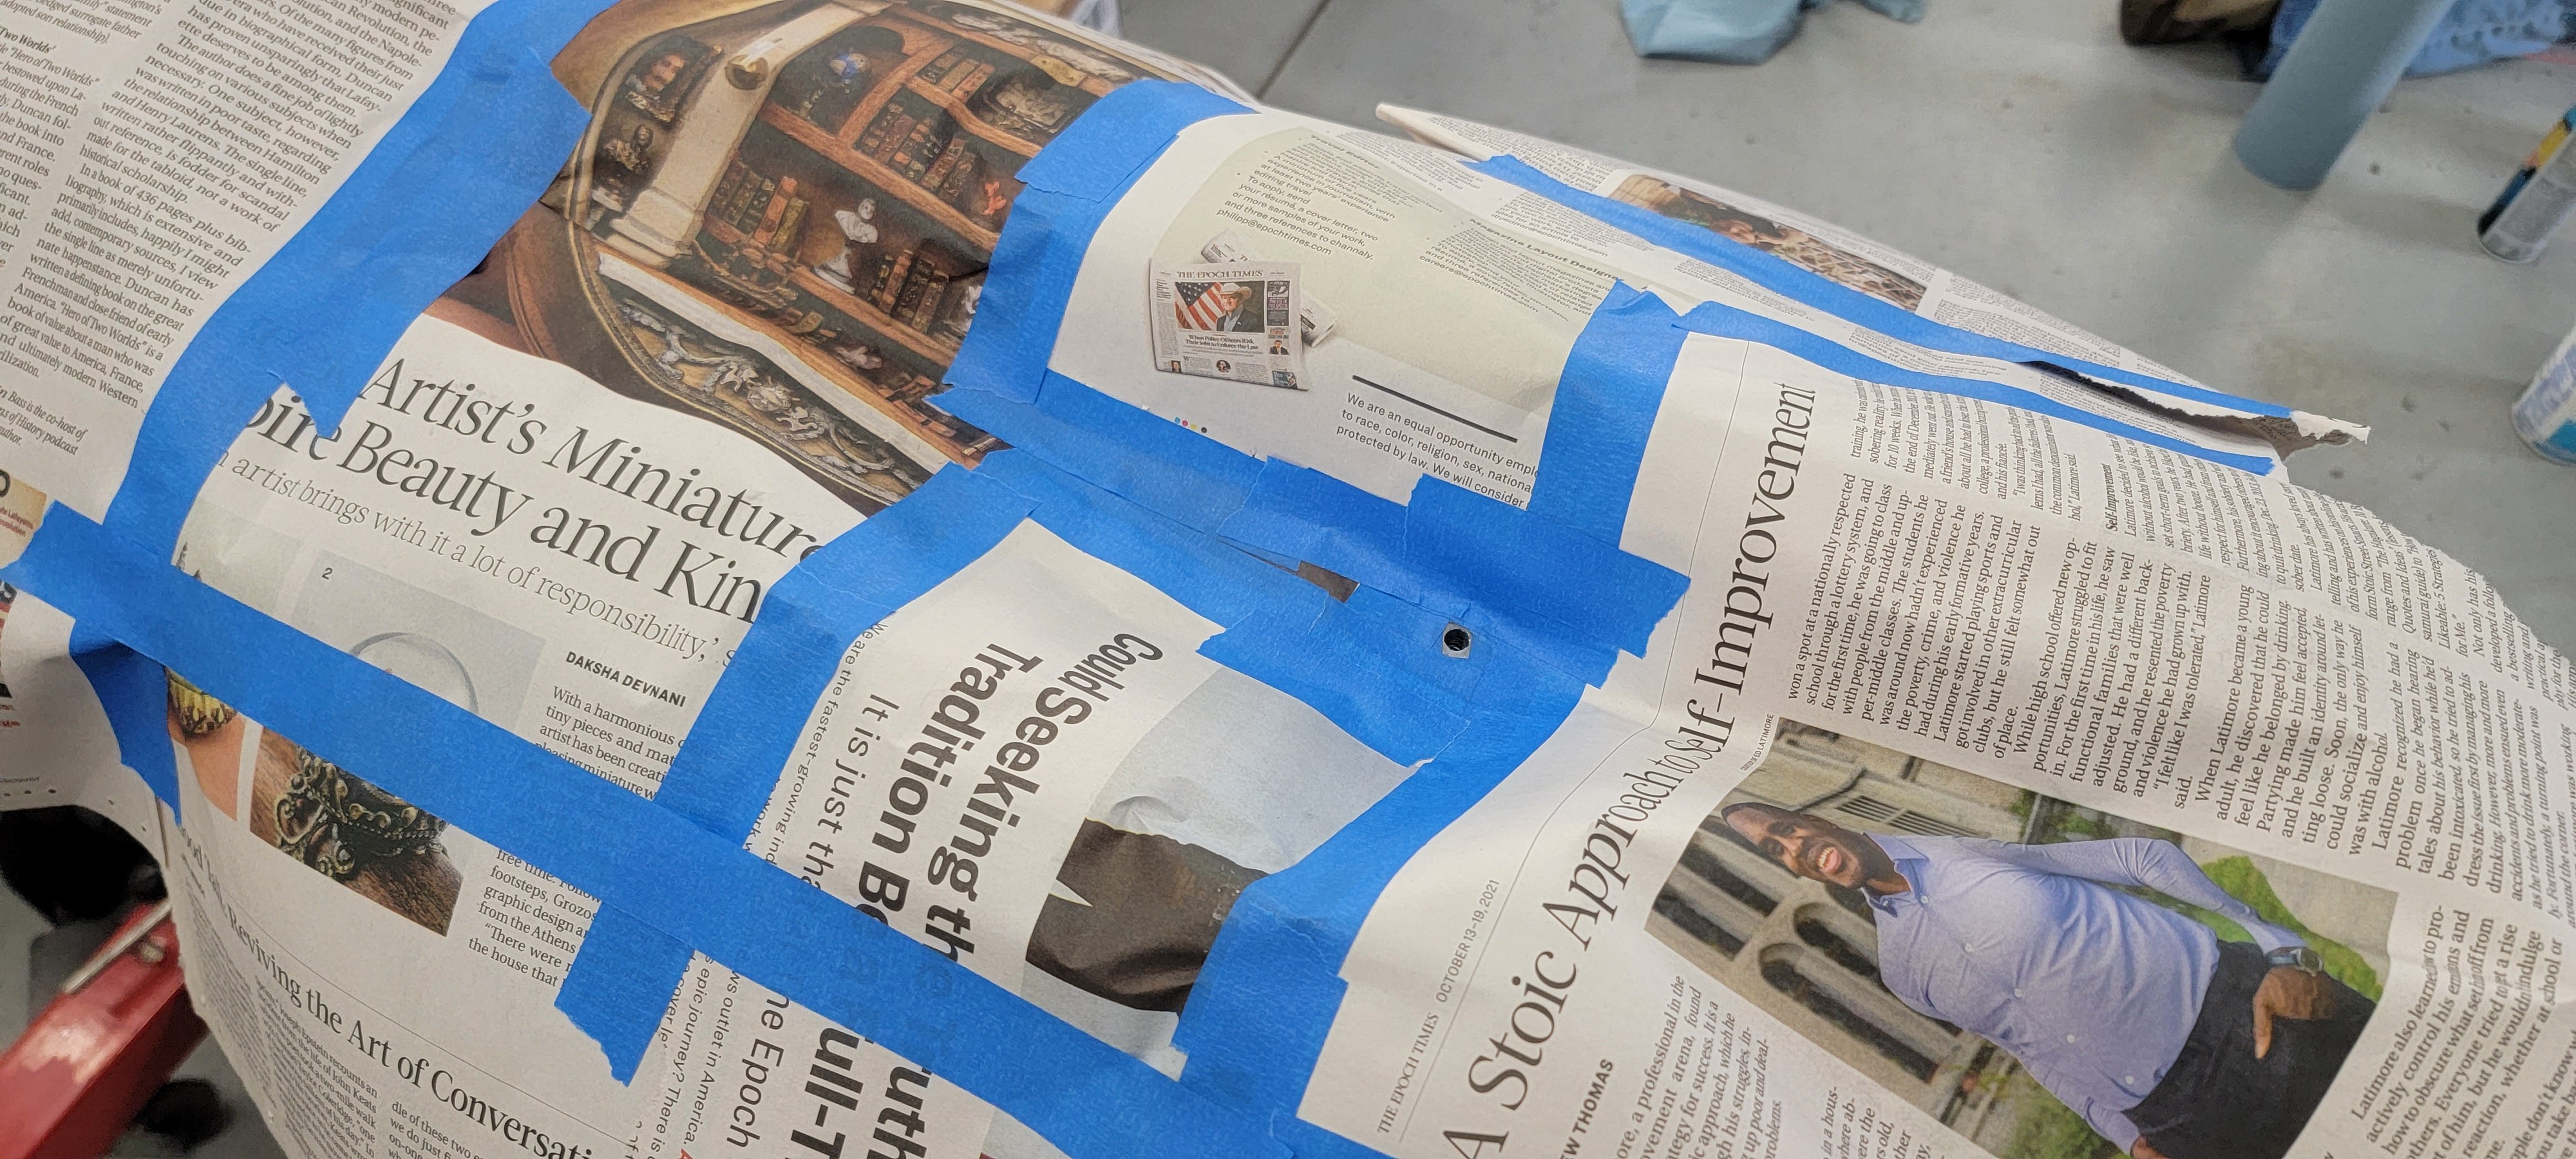
Covered and taped off all areas of the motor leaving only the hole exposed. While drilling and tapping the hole I had help with holding a vacuum right next to the hole to suck up any metal shavings.
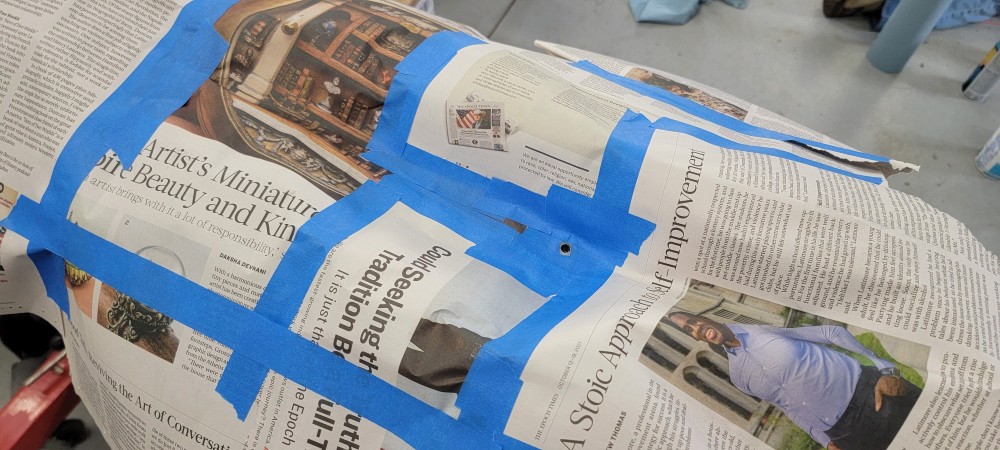
New insert was installed and I got back to installing the timing components. This time everything was torqued down to the proper spec with no issue.
When installing the front cam sprockets a new upper timing chain was used. With everything timed correctly I got the vanos unit installed with a fresh oem gasket. Once that was all completed and all bolts were torqued down to spec I spun the motor around 720 degrees to make sure everything spun smoothly and nothing was interfering with each other.
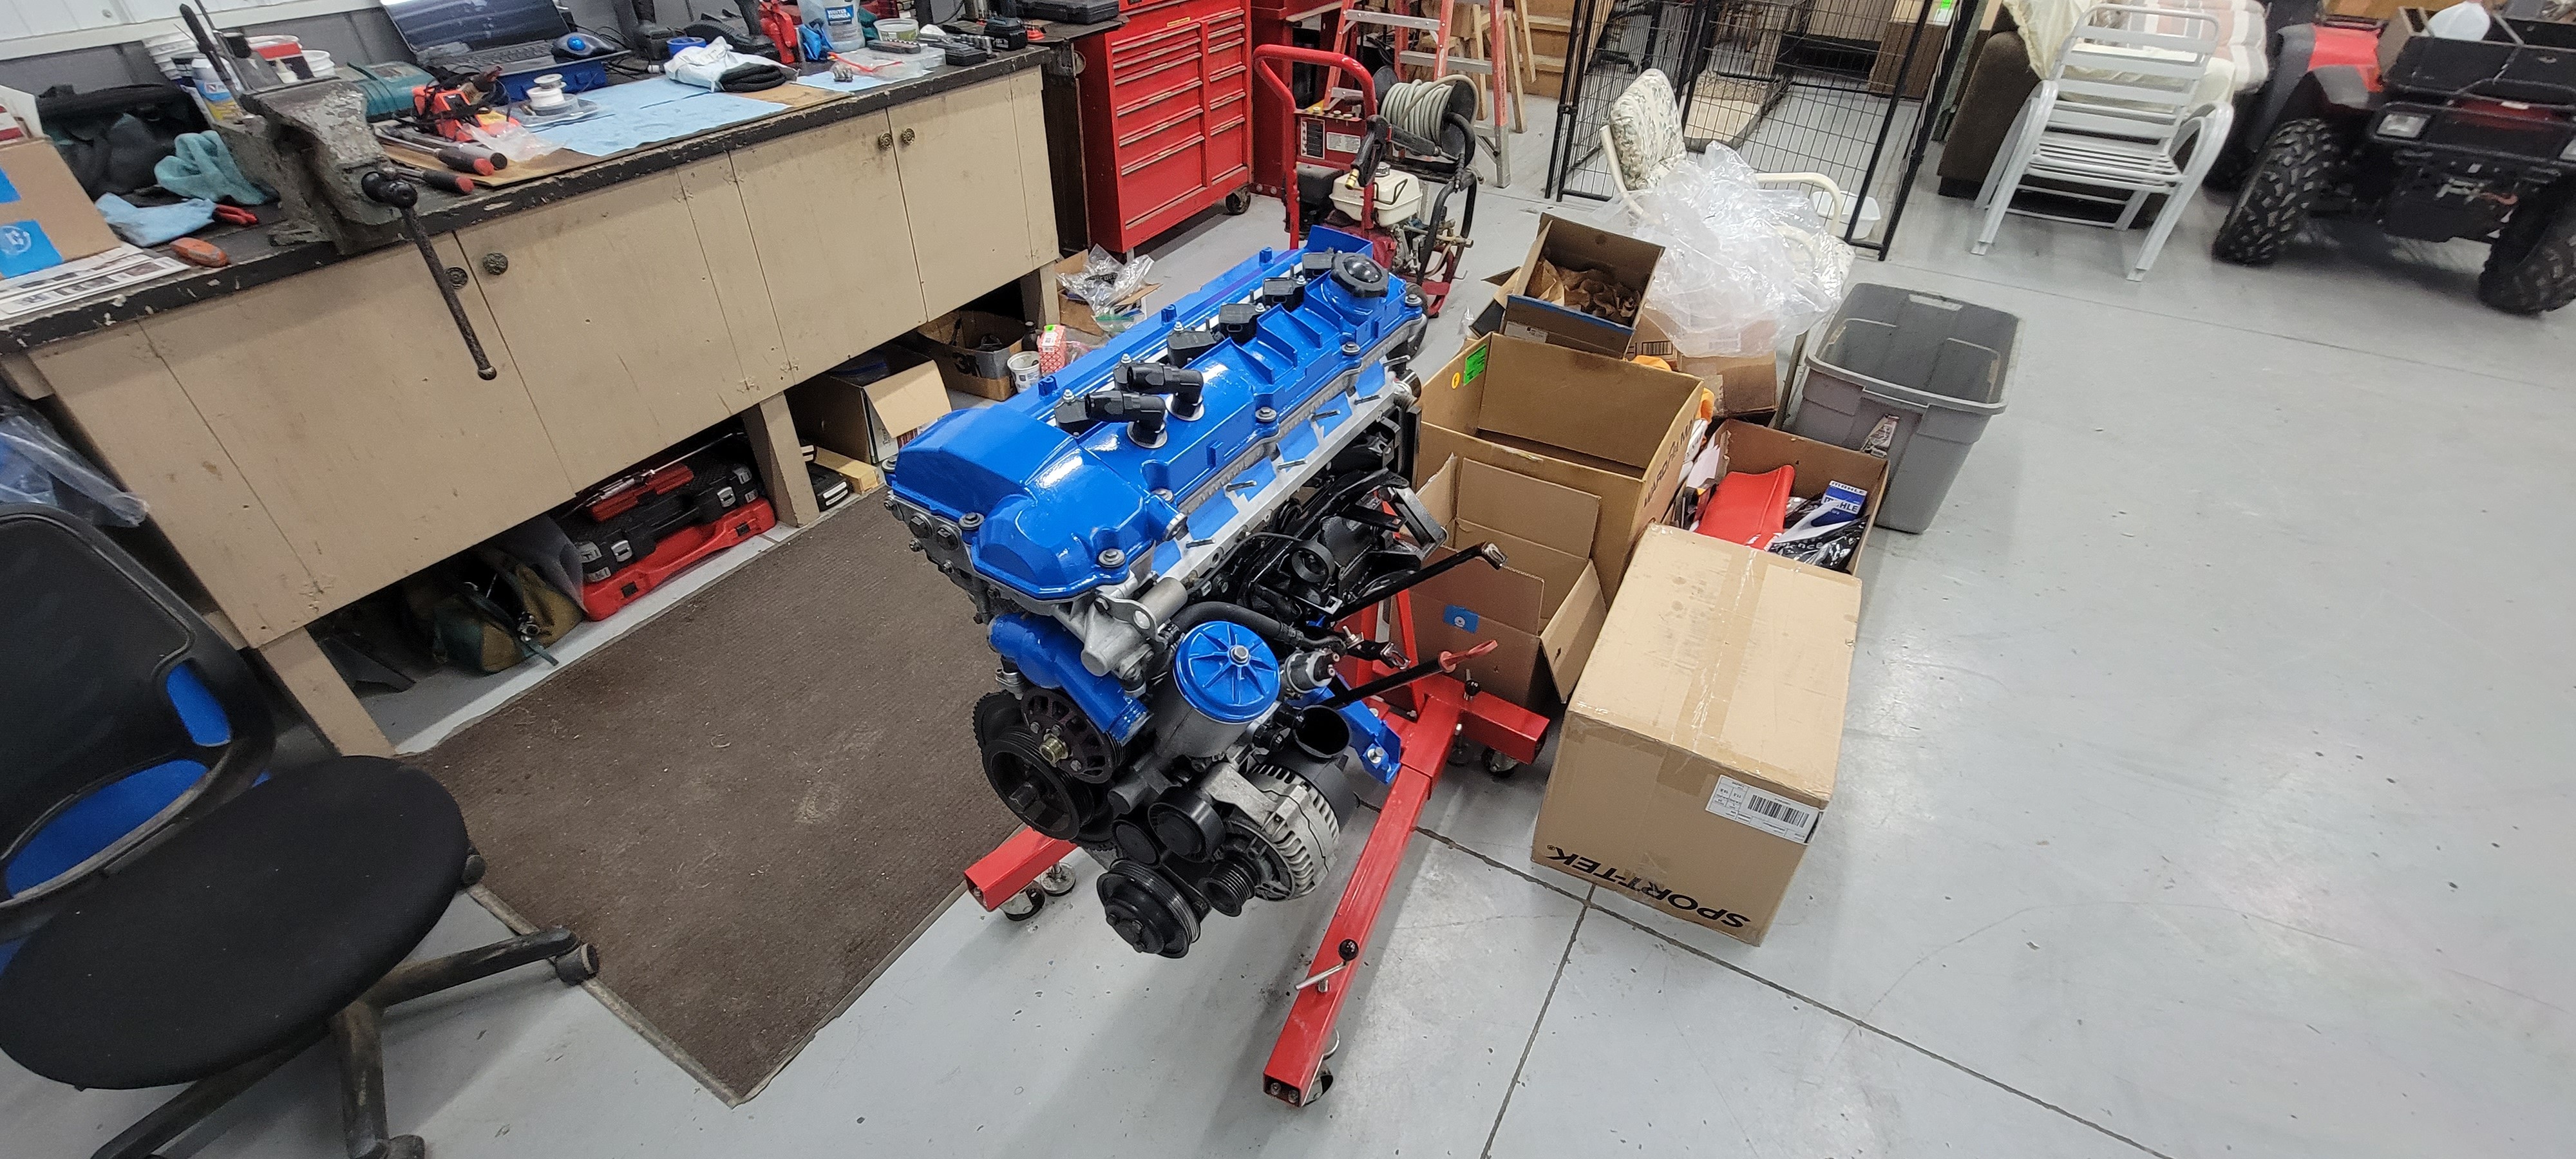
Onto installing the valve cover and getting this thing closed up.
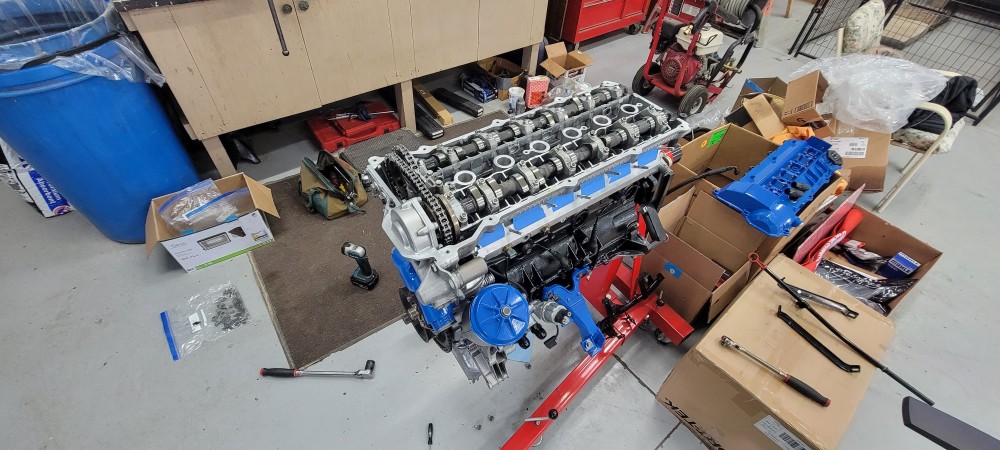
After the timing was complete I did start installing a lot of the outer parts and accessories as well.
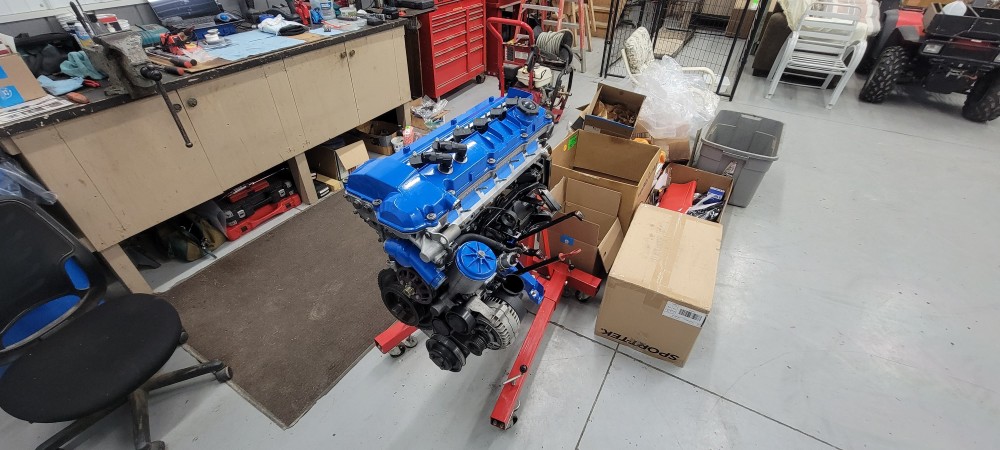
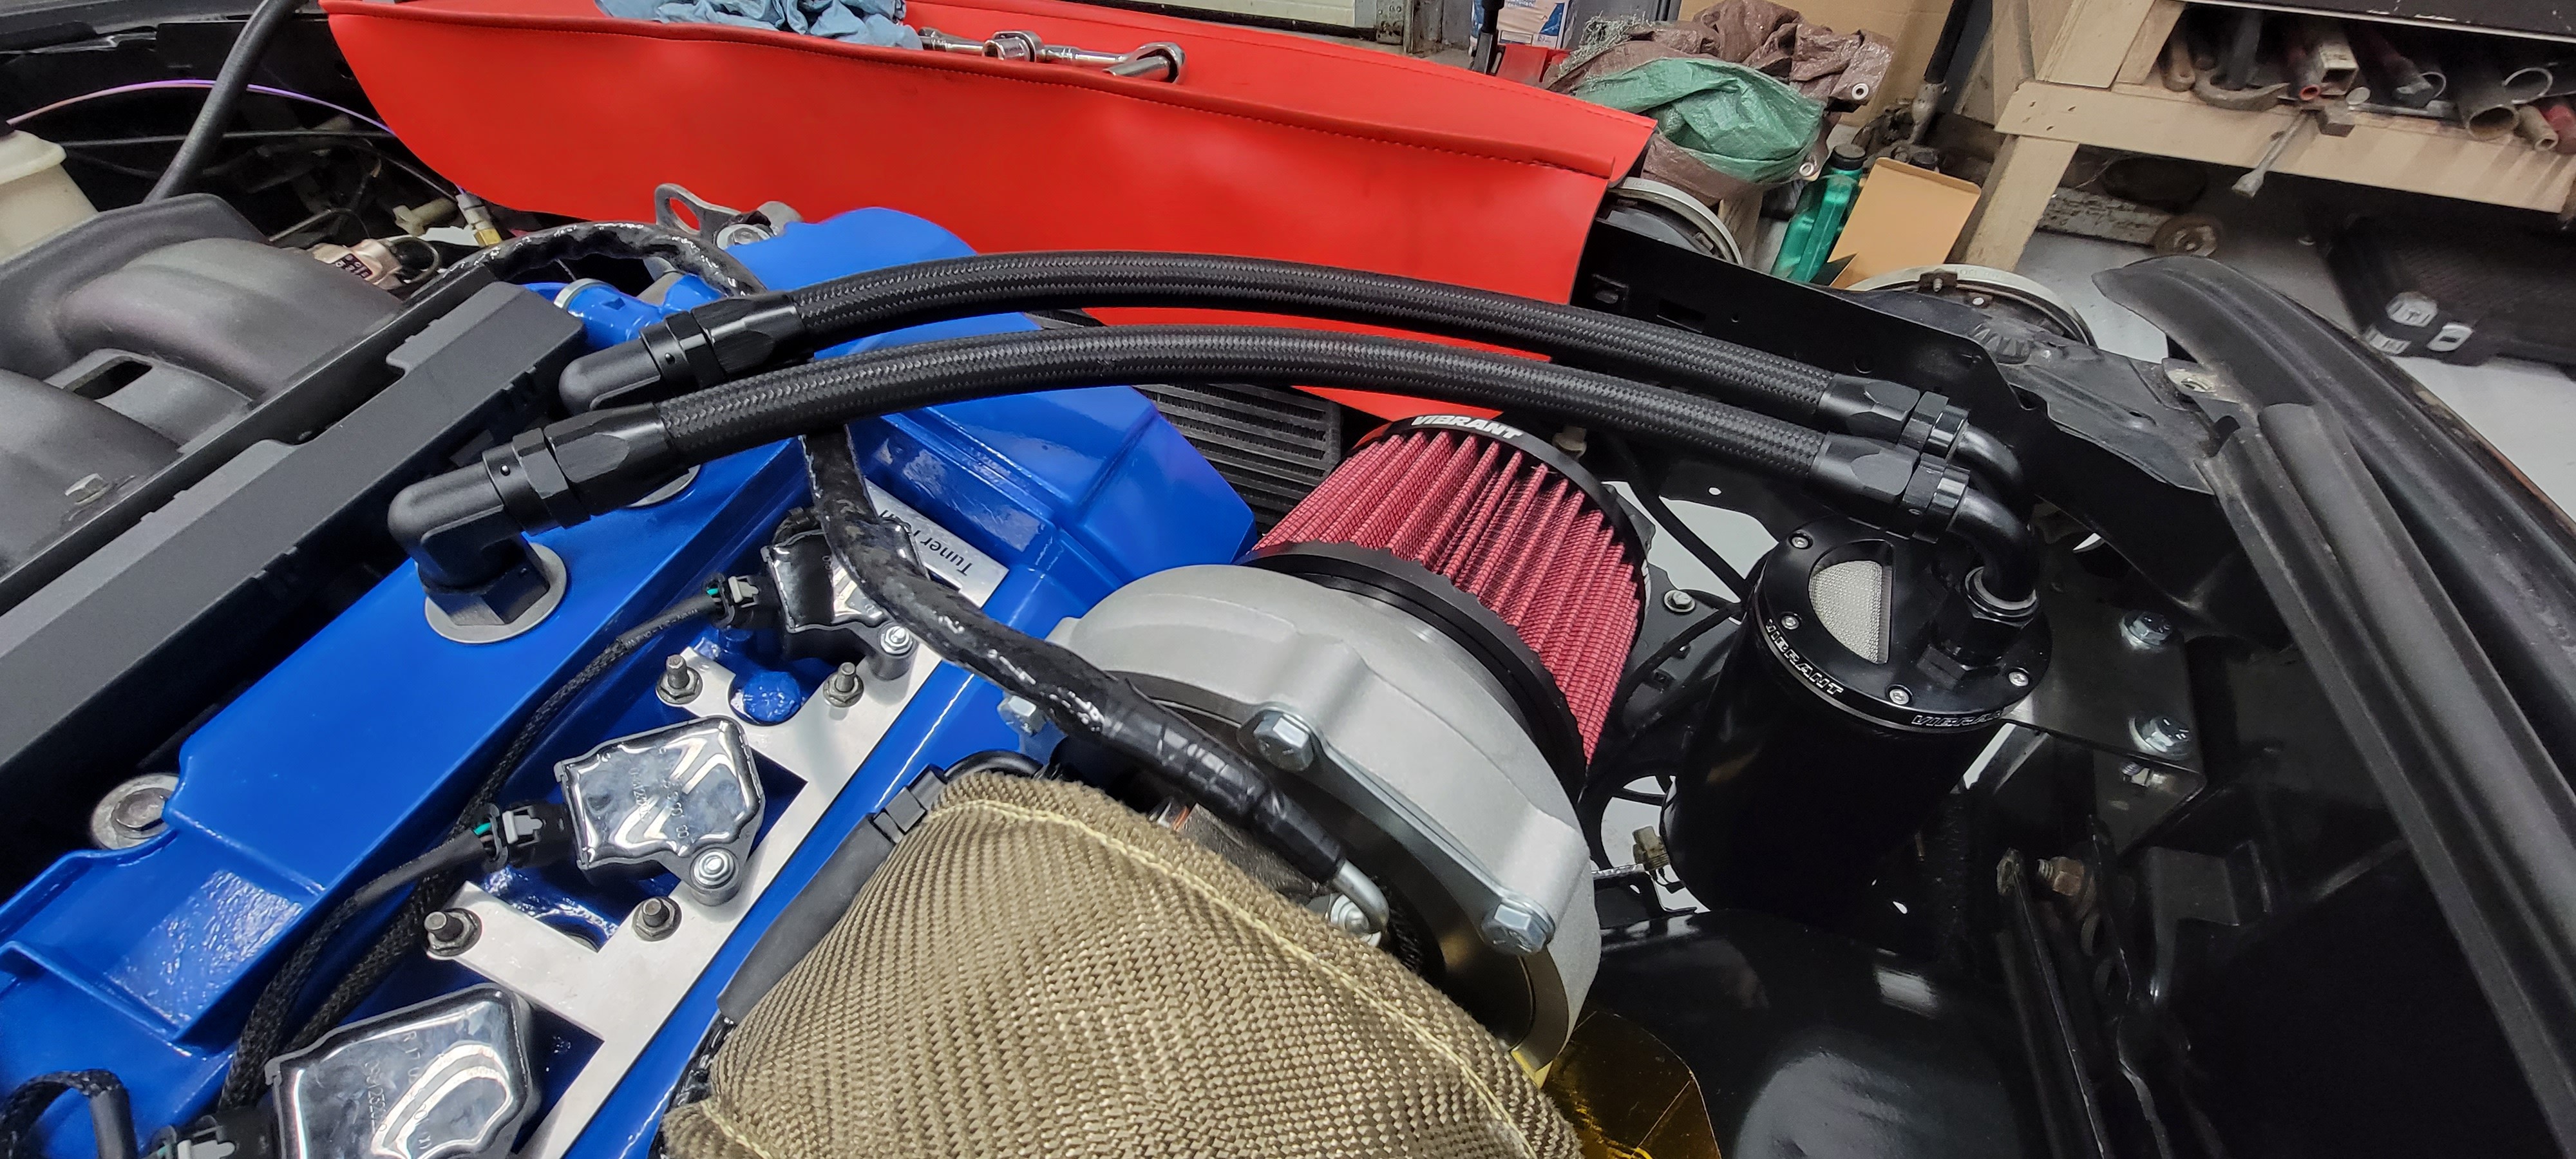
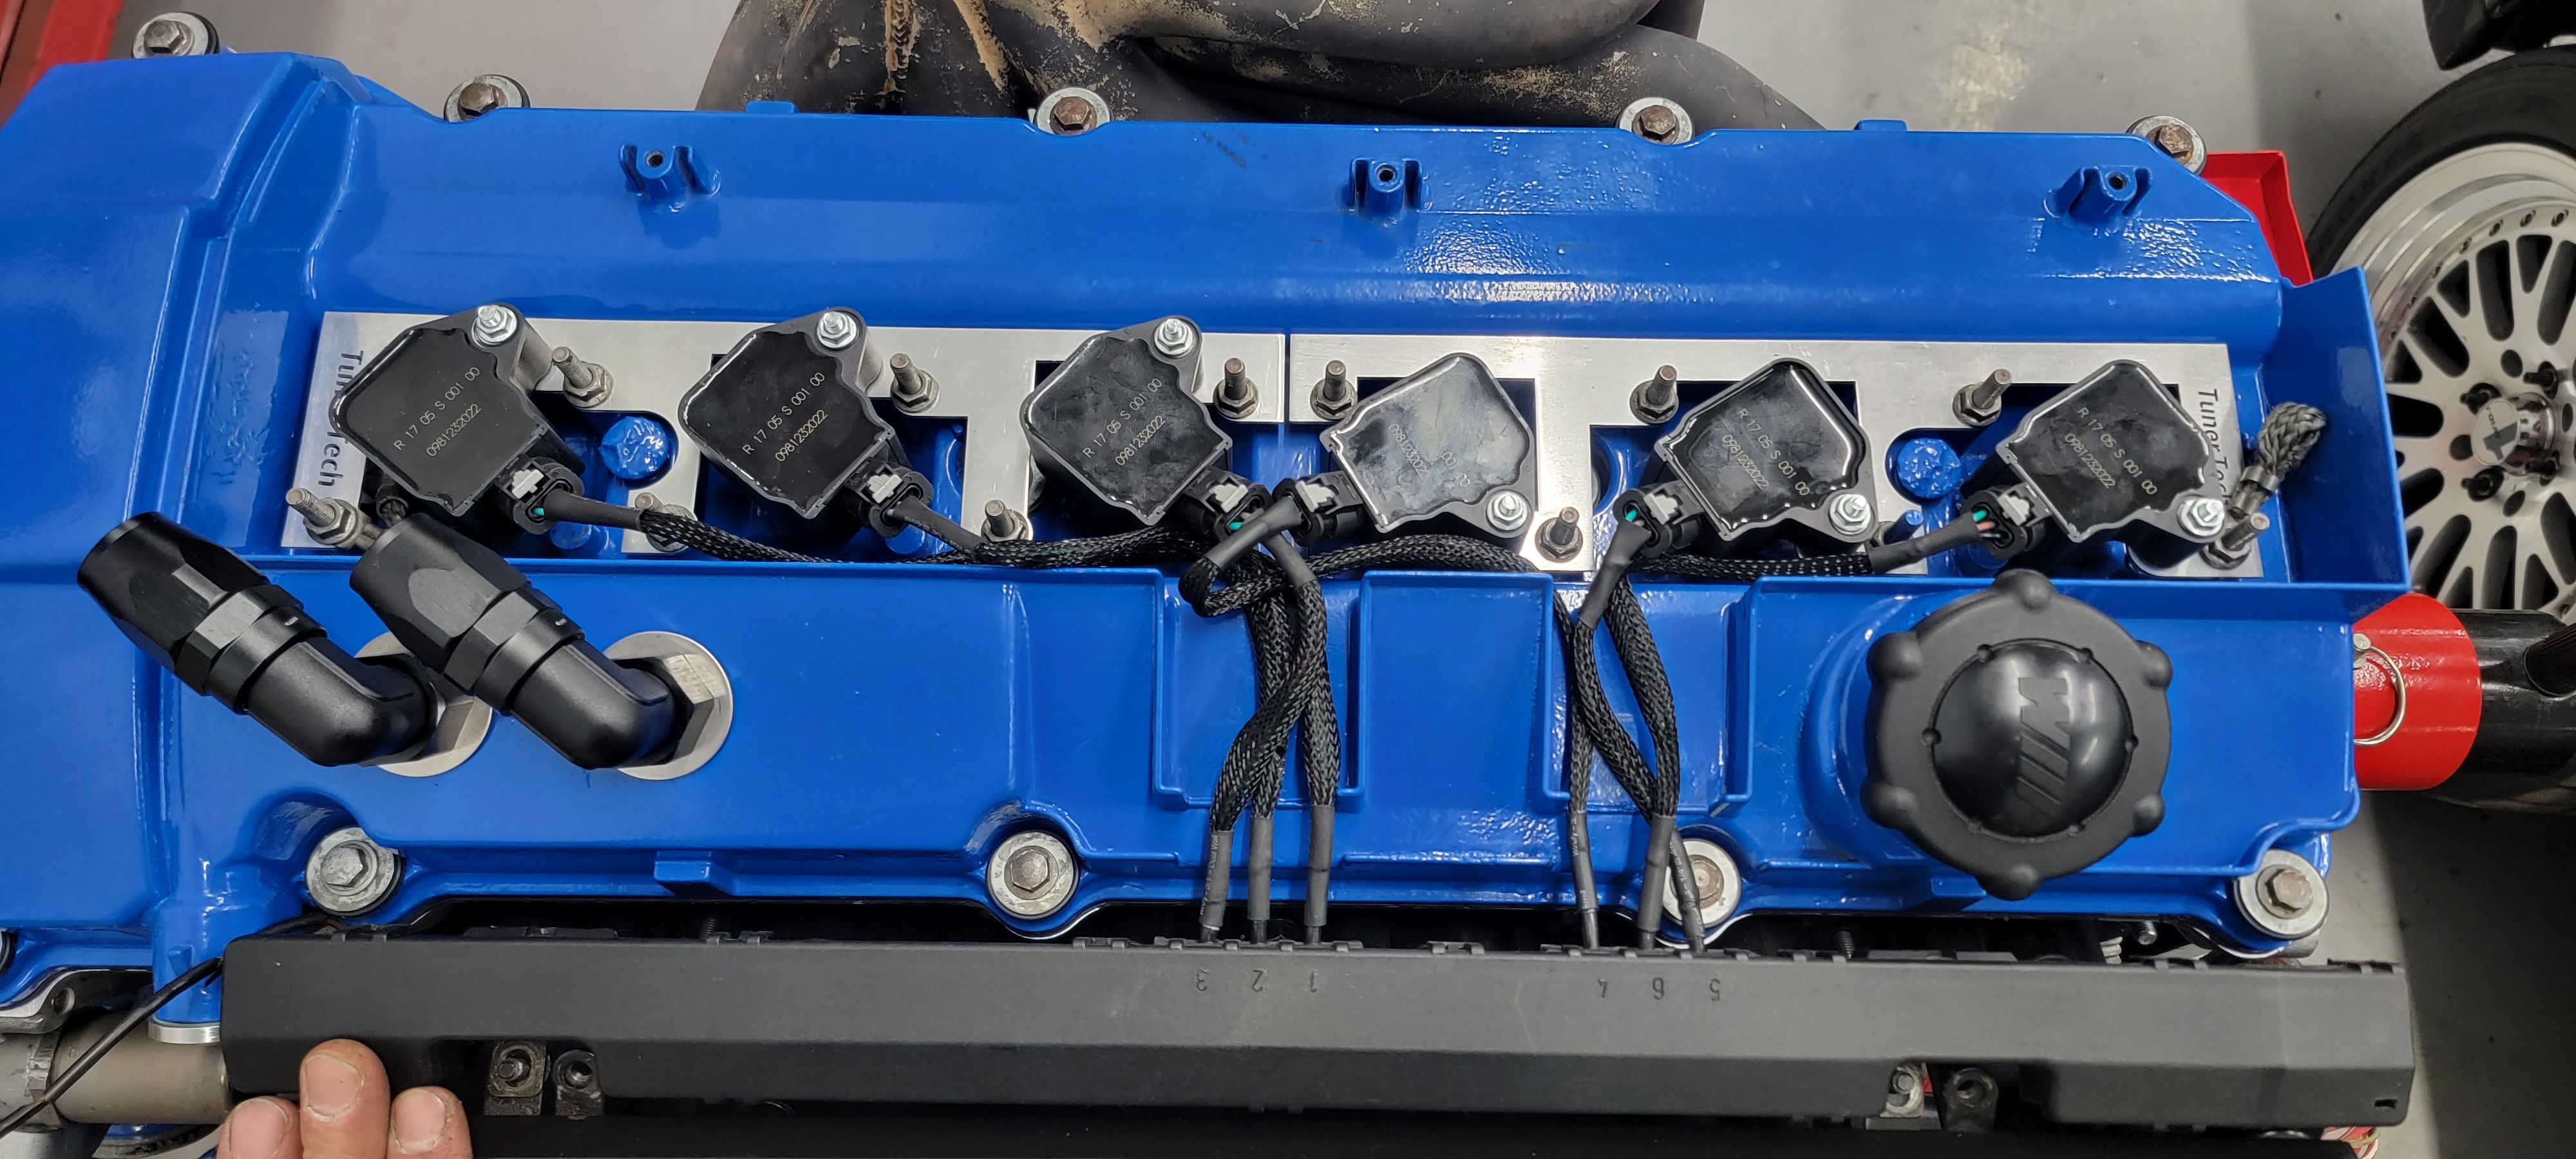
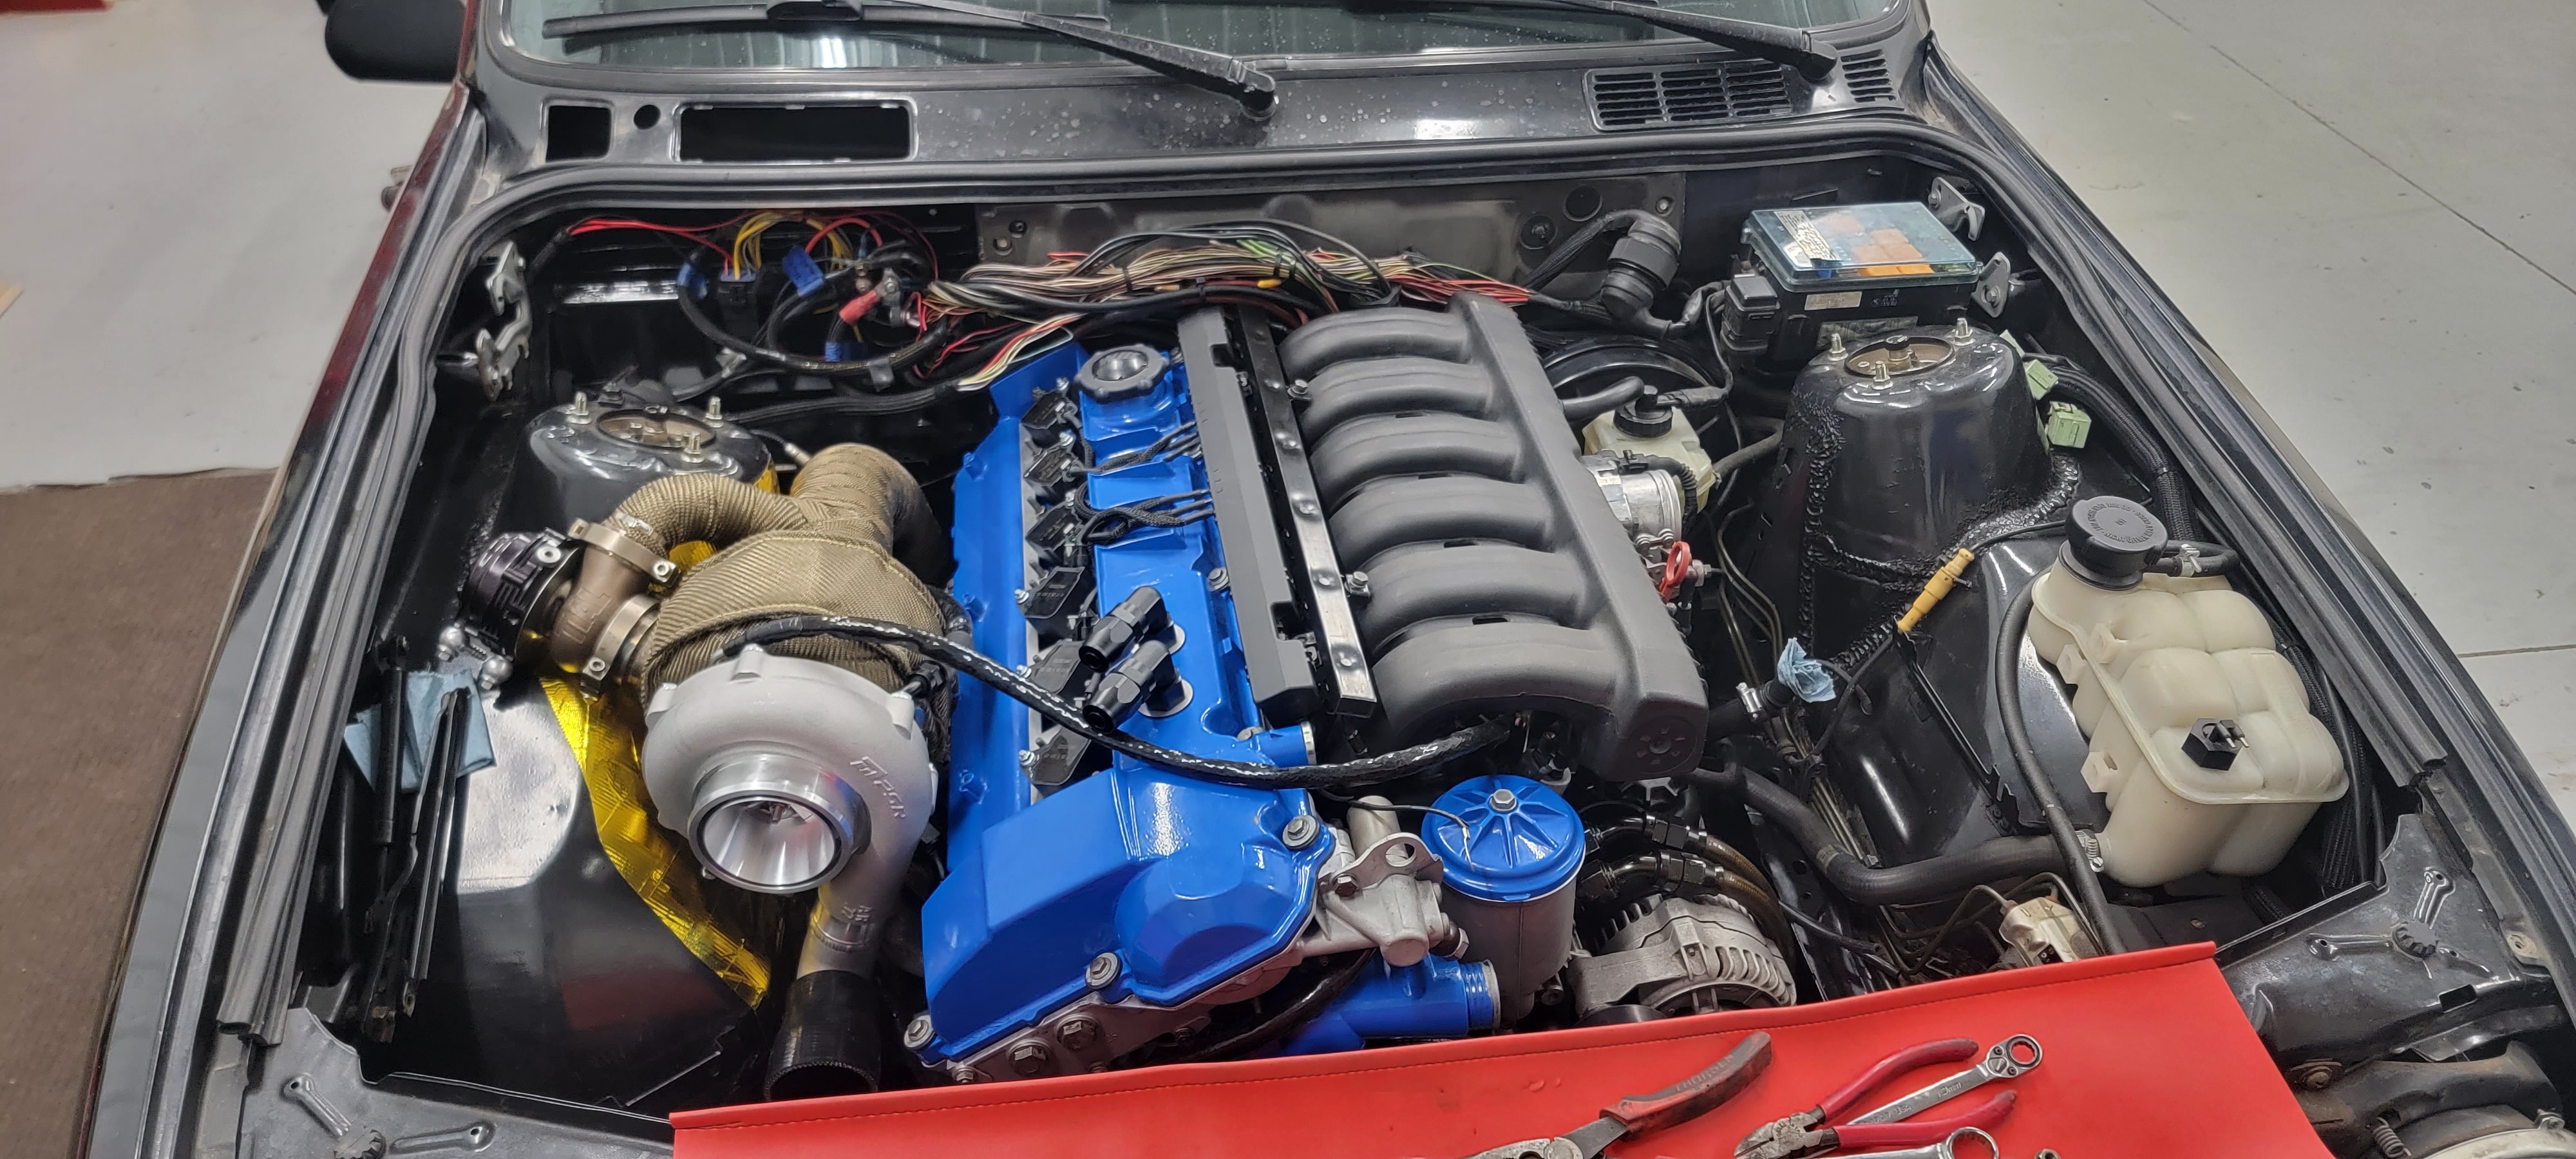
Two things I added from the old setup included an upgrade to my crankcase breathing setup. The single oem port I was using on the old setup I felt was just not gonna be adequate enough so I purchased the catch can kit offered by SLG. The kit is pretty slick and comes with all the drill bits and taps needed for modifying the cover and plugging the factory hole as well as all the necessary AN fittings to install for the new catch can lines.
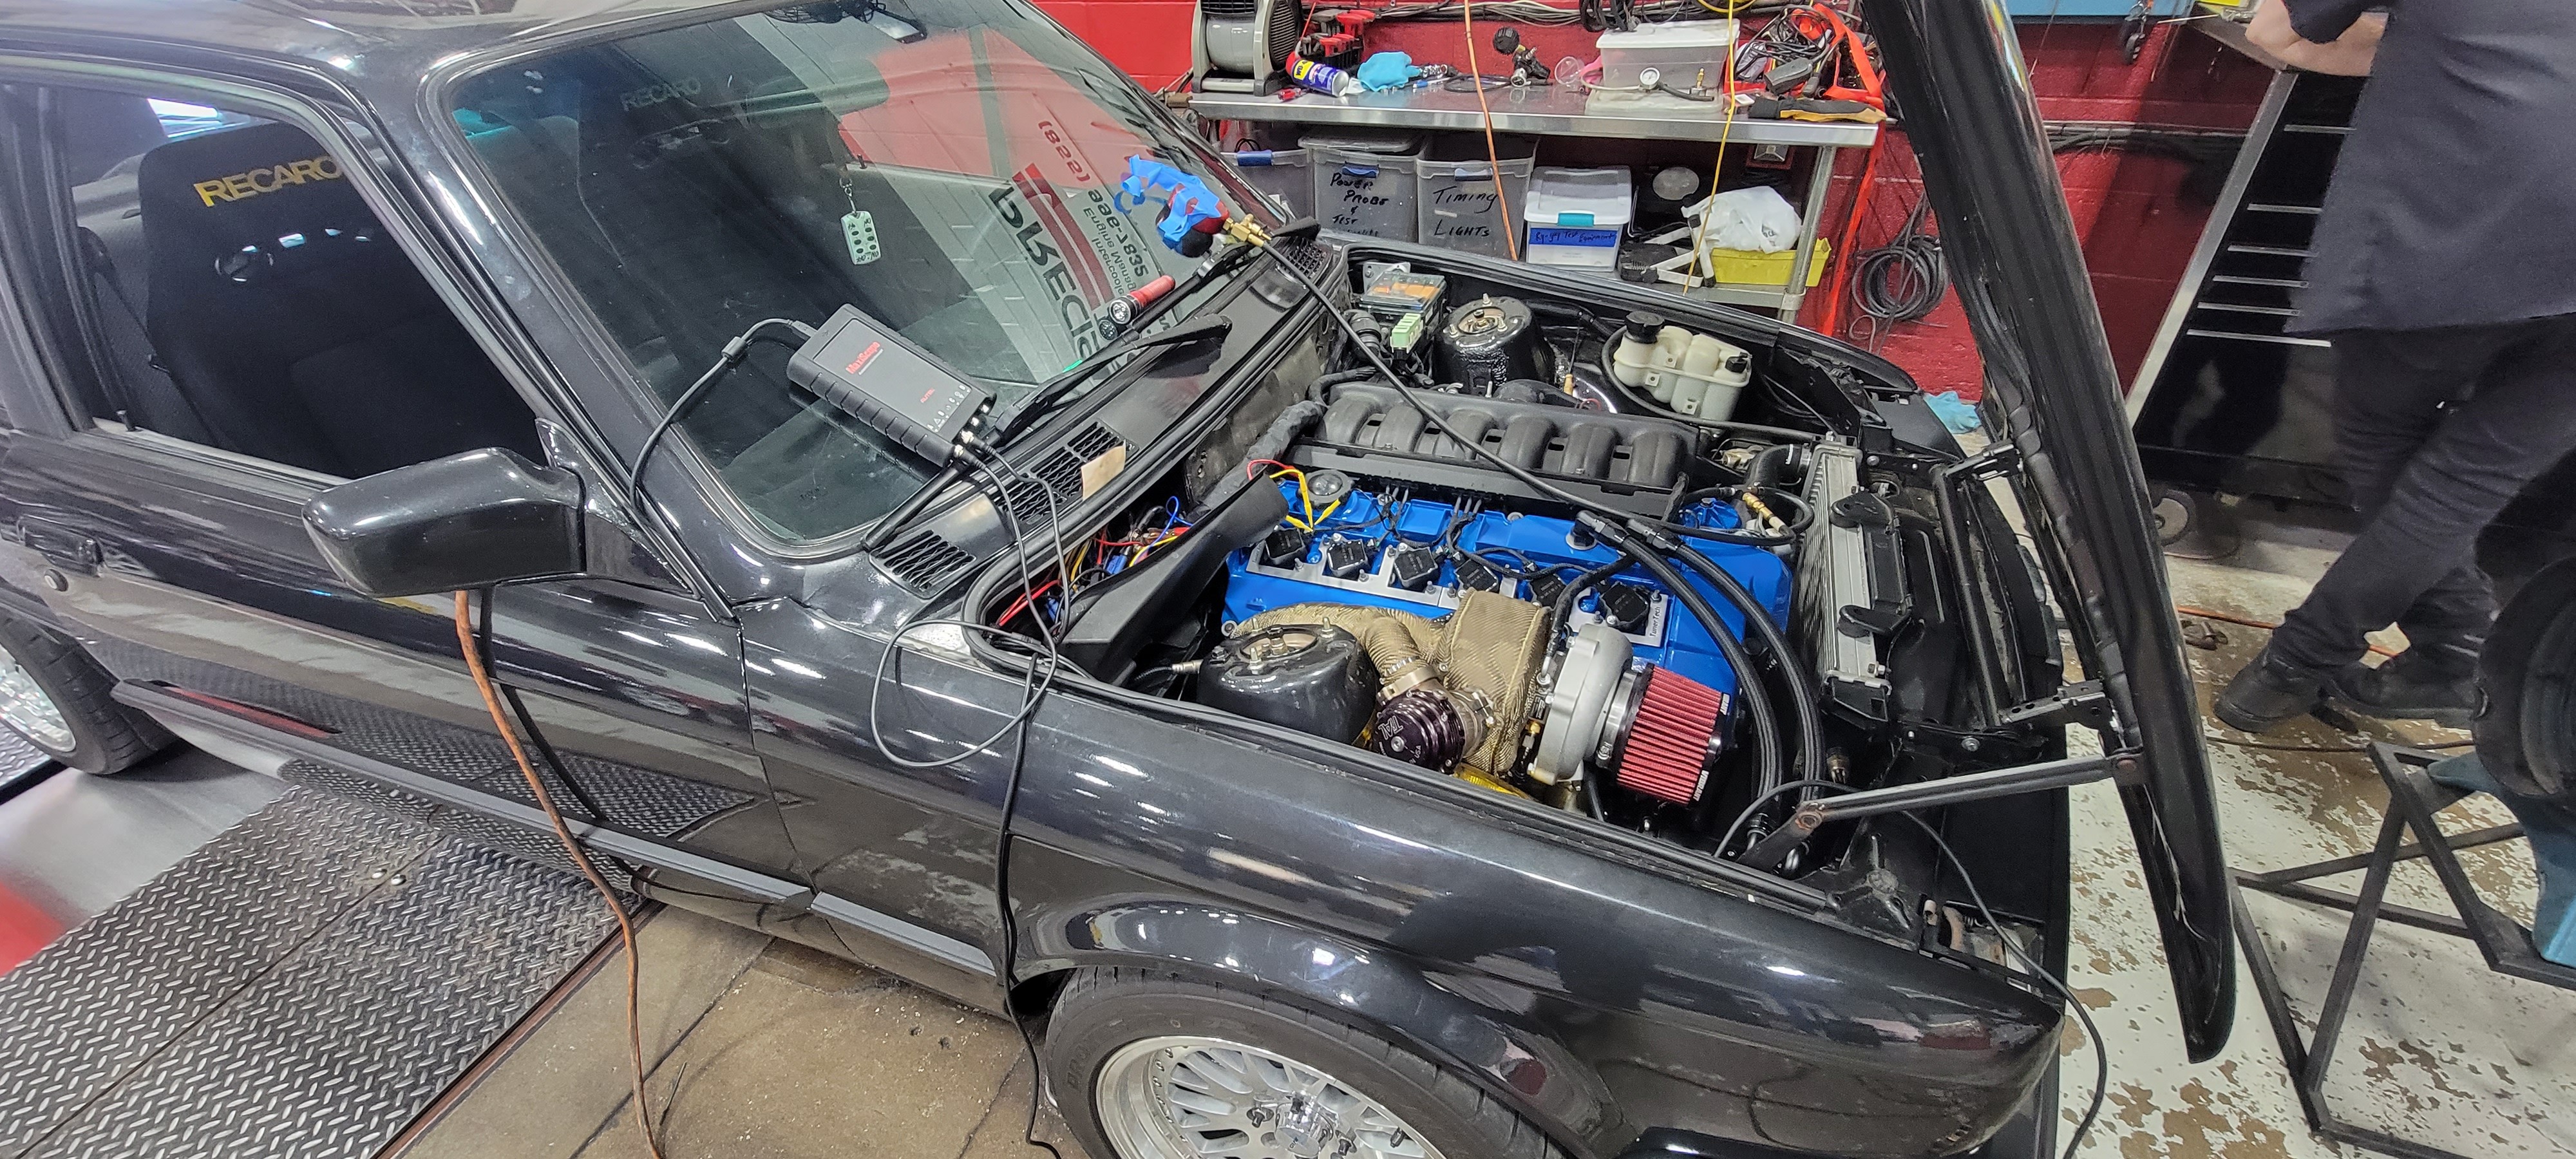
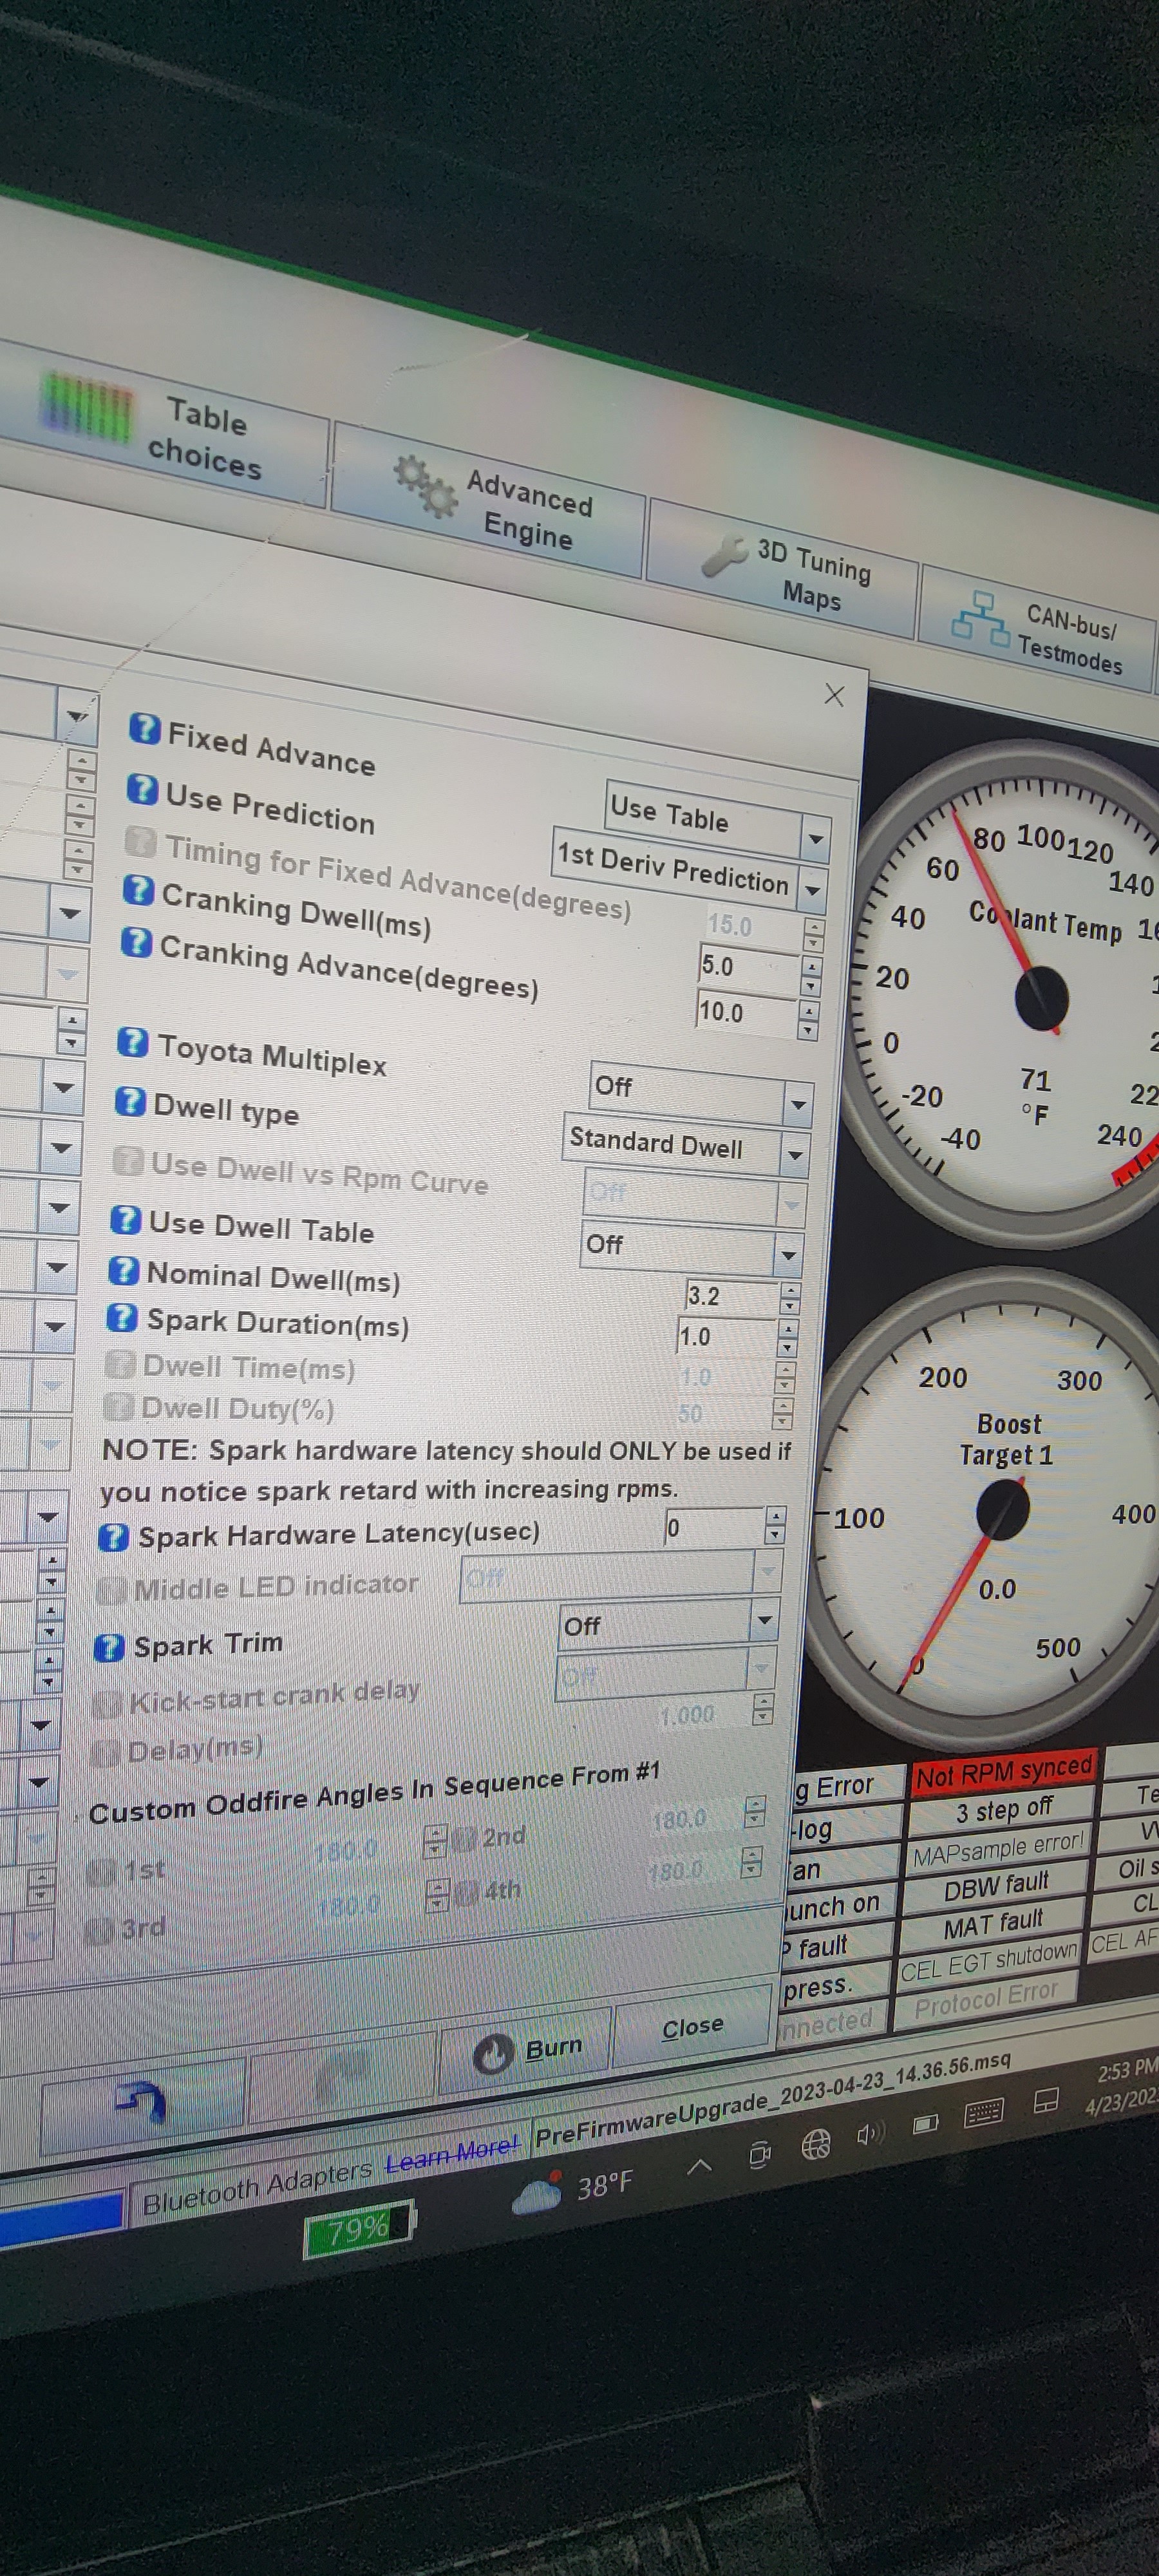
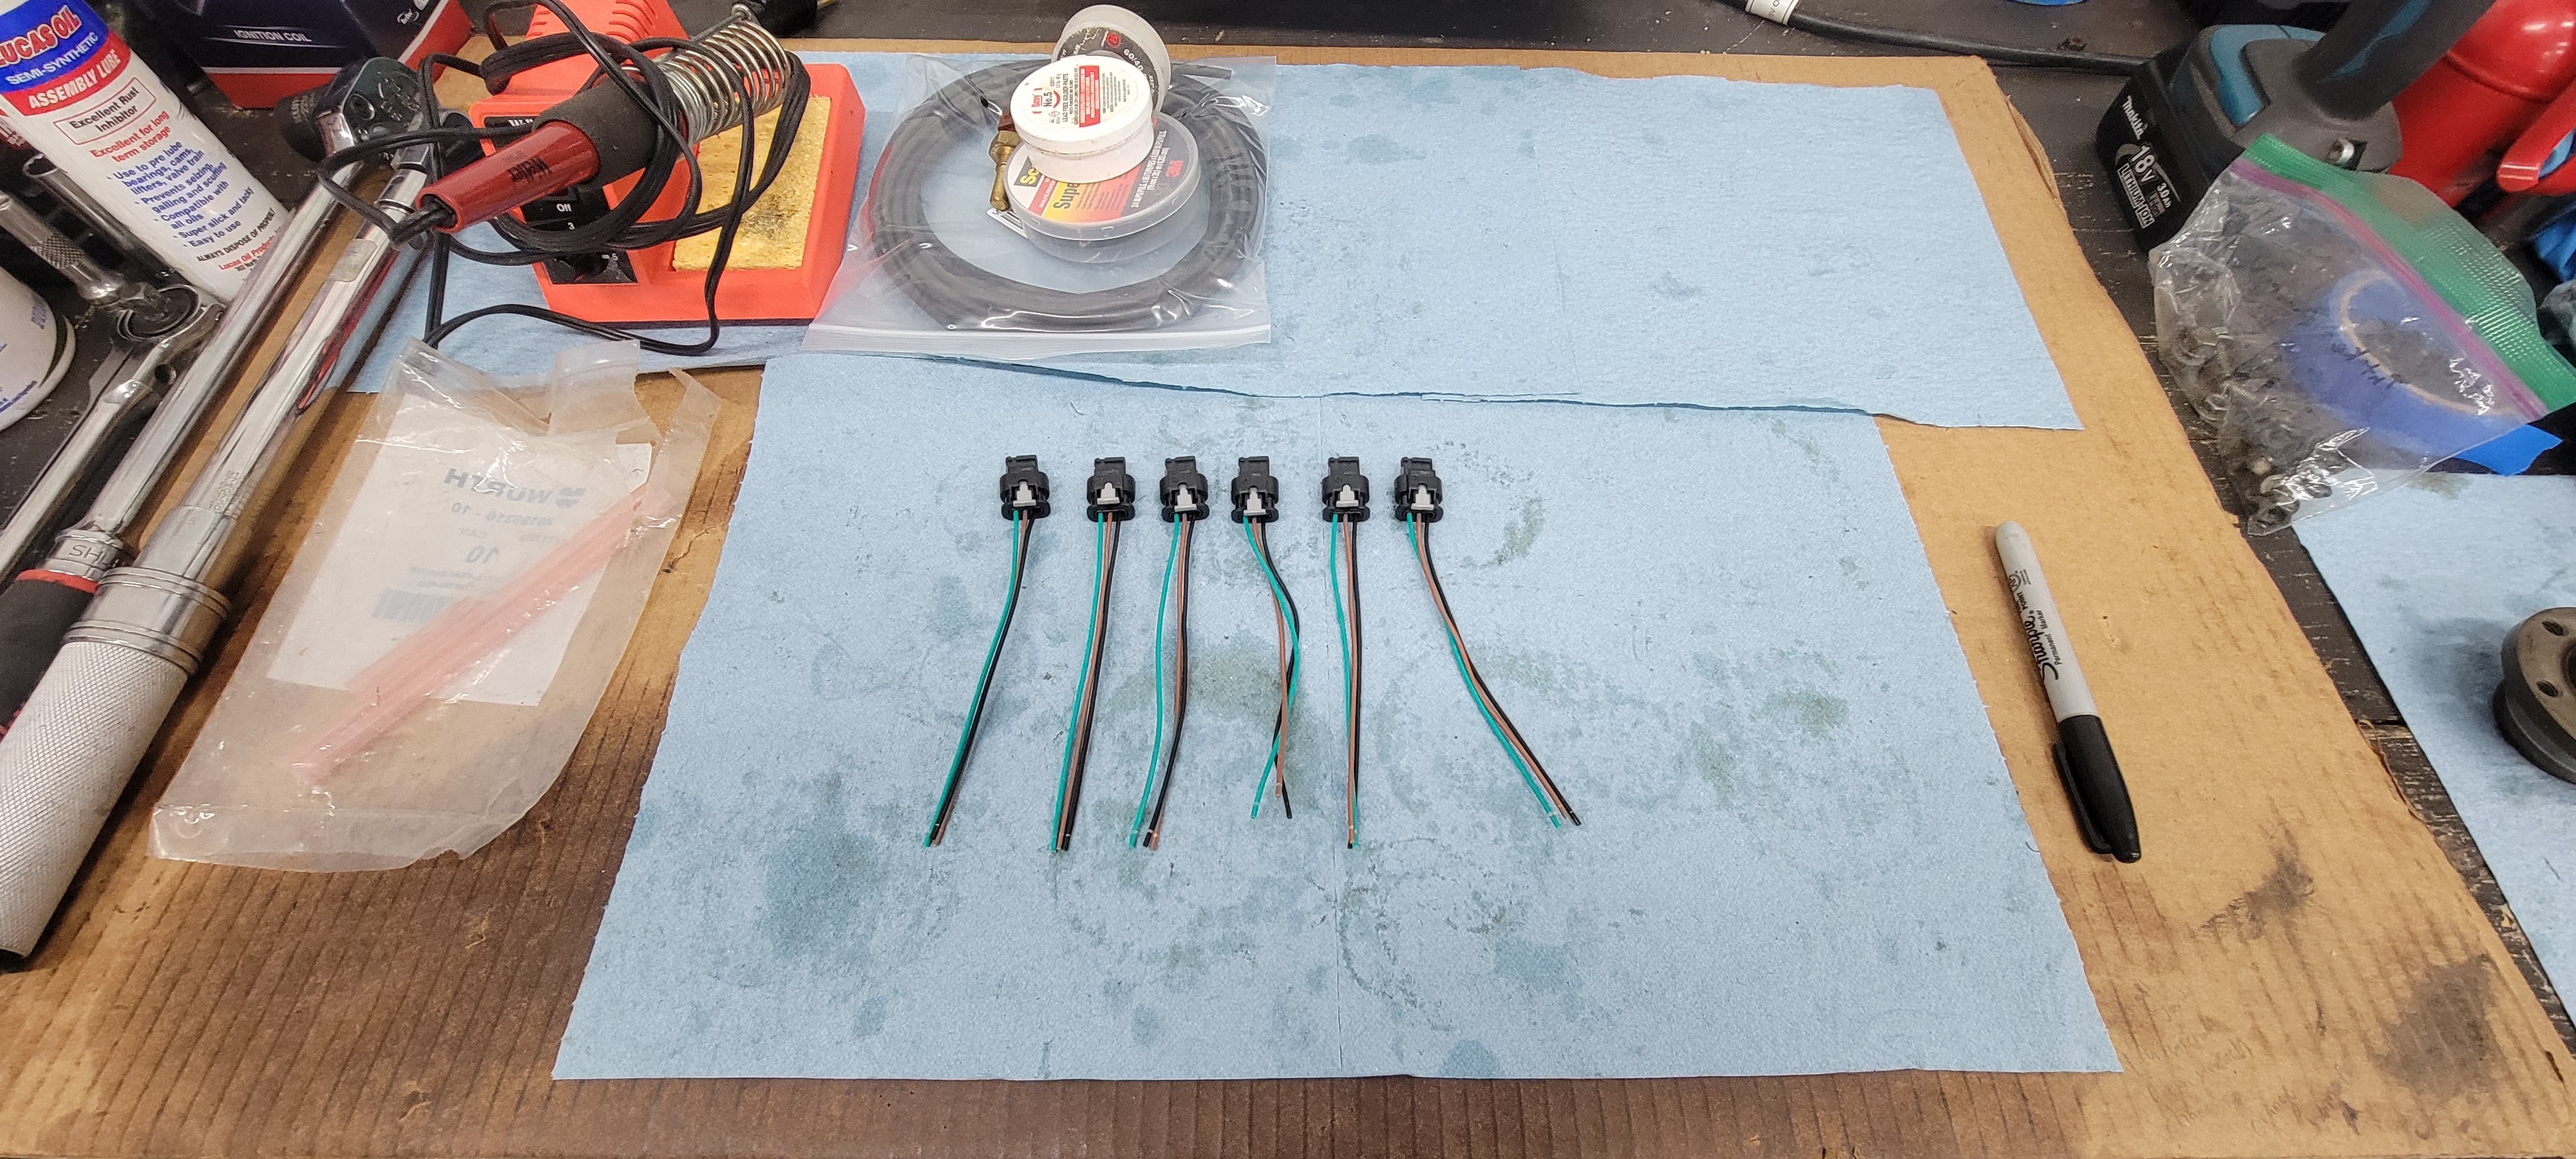
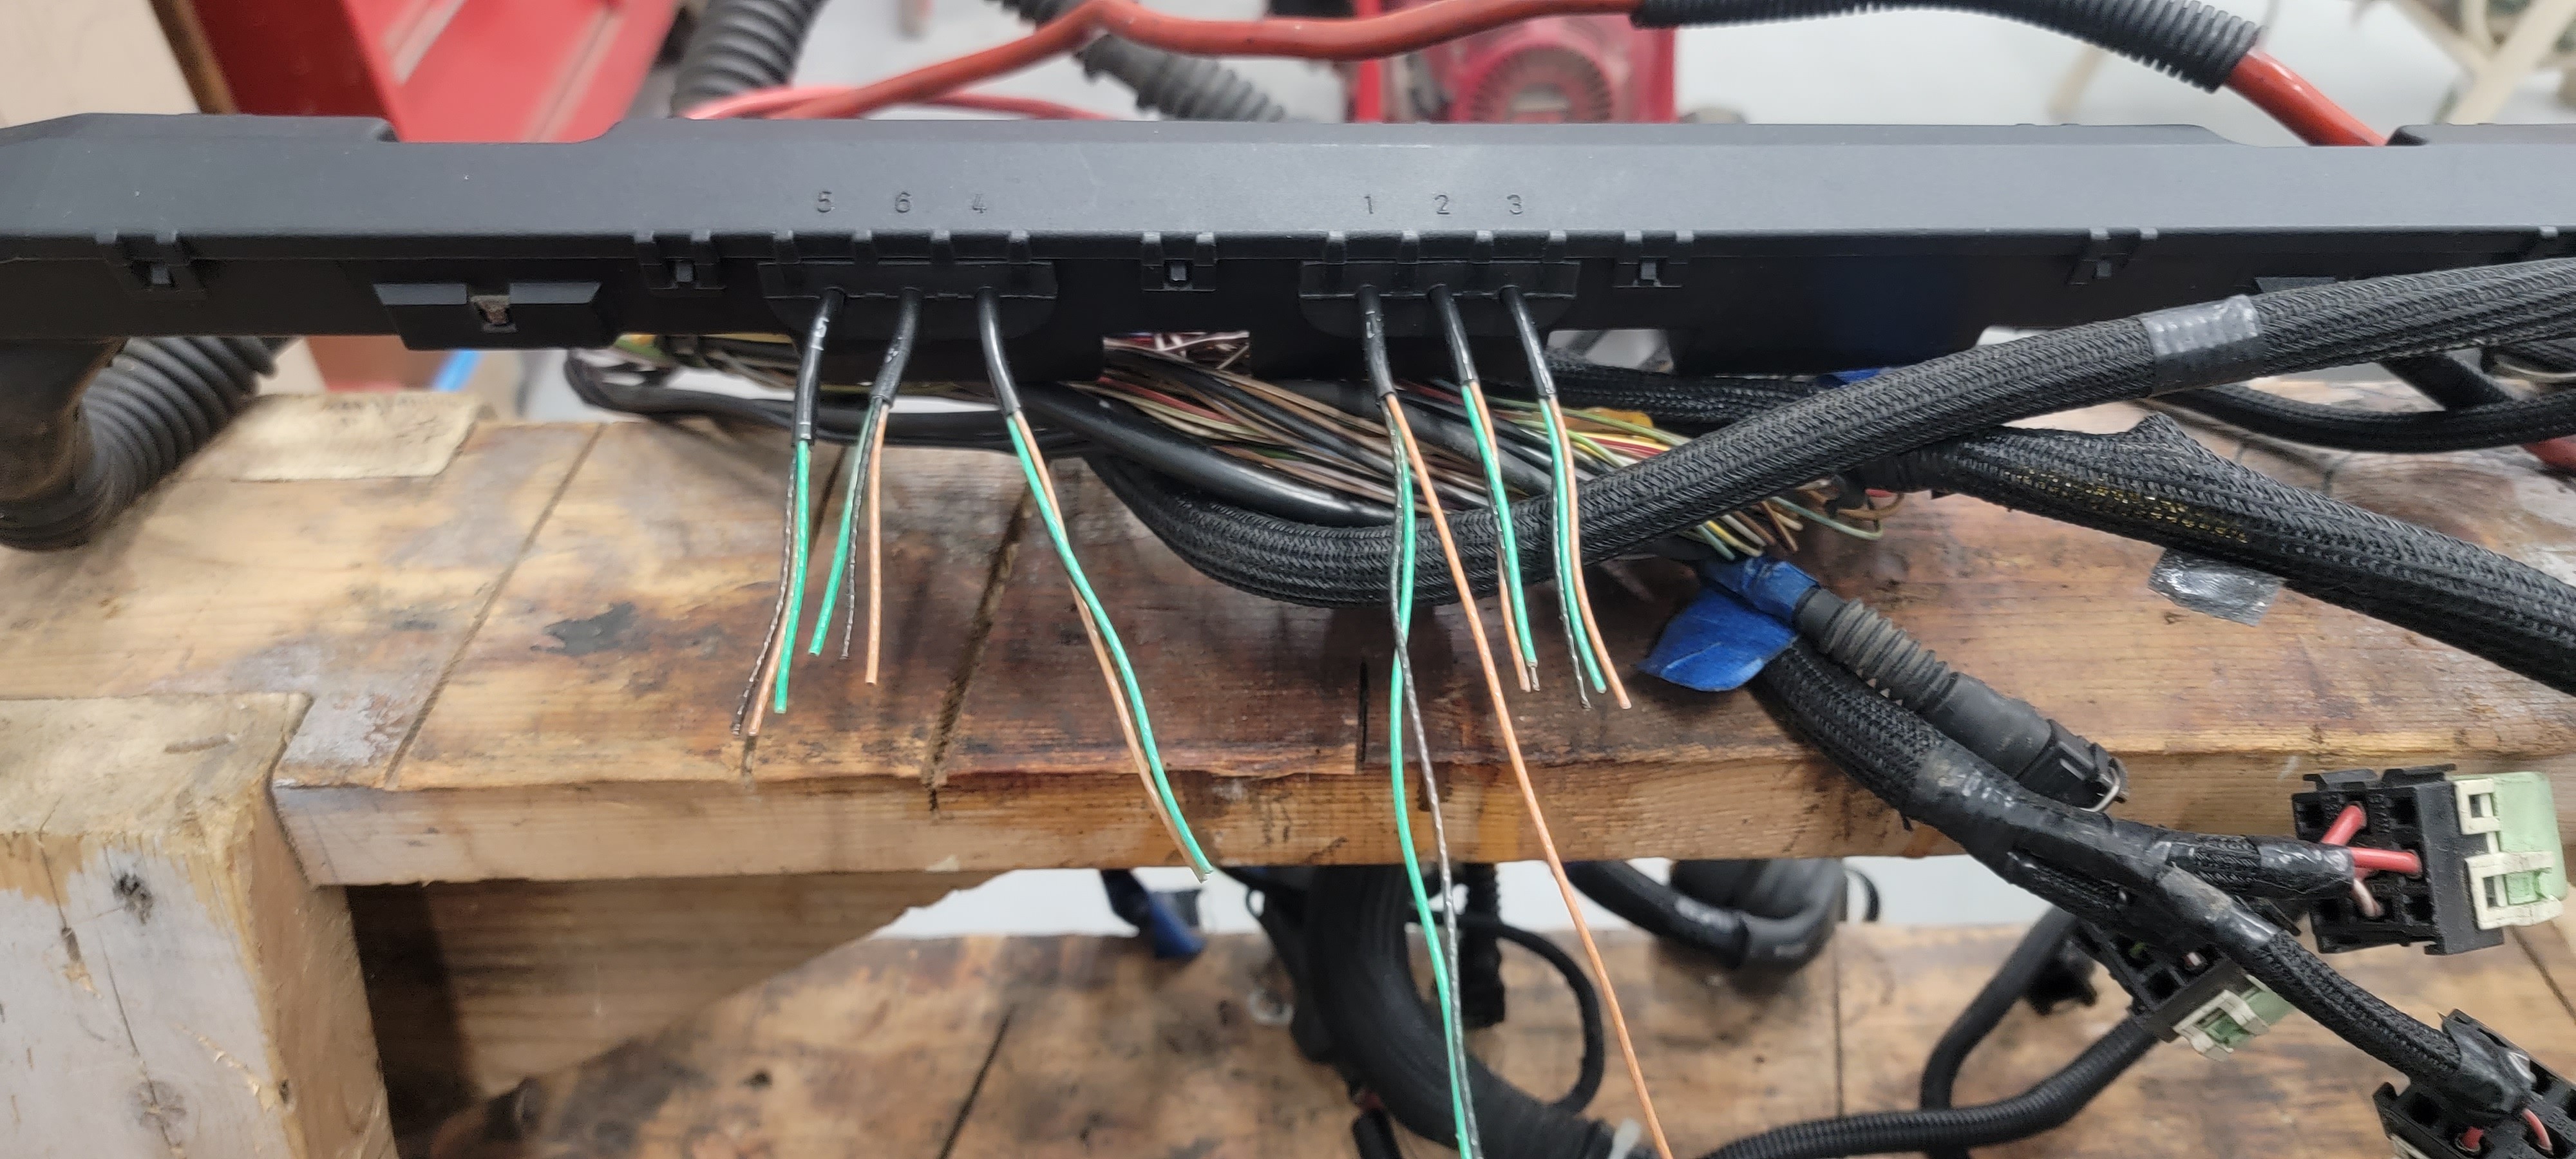
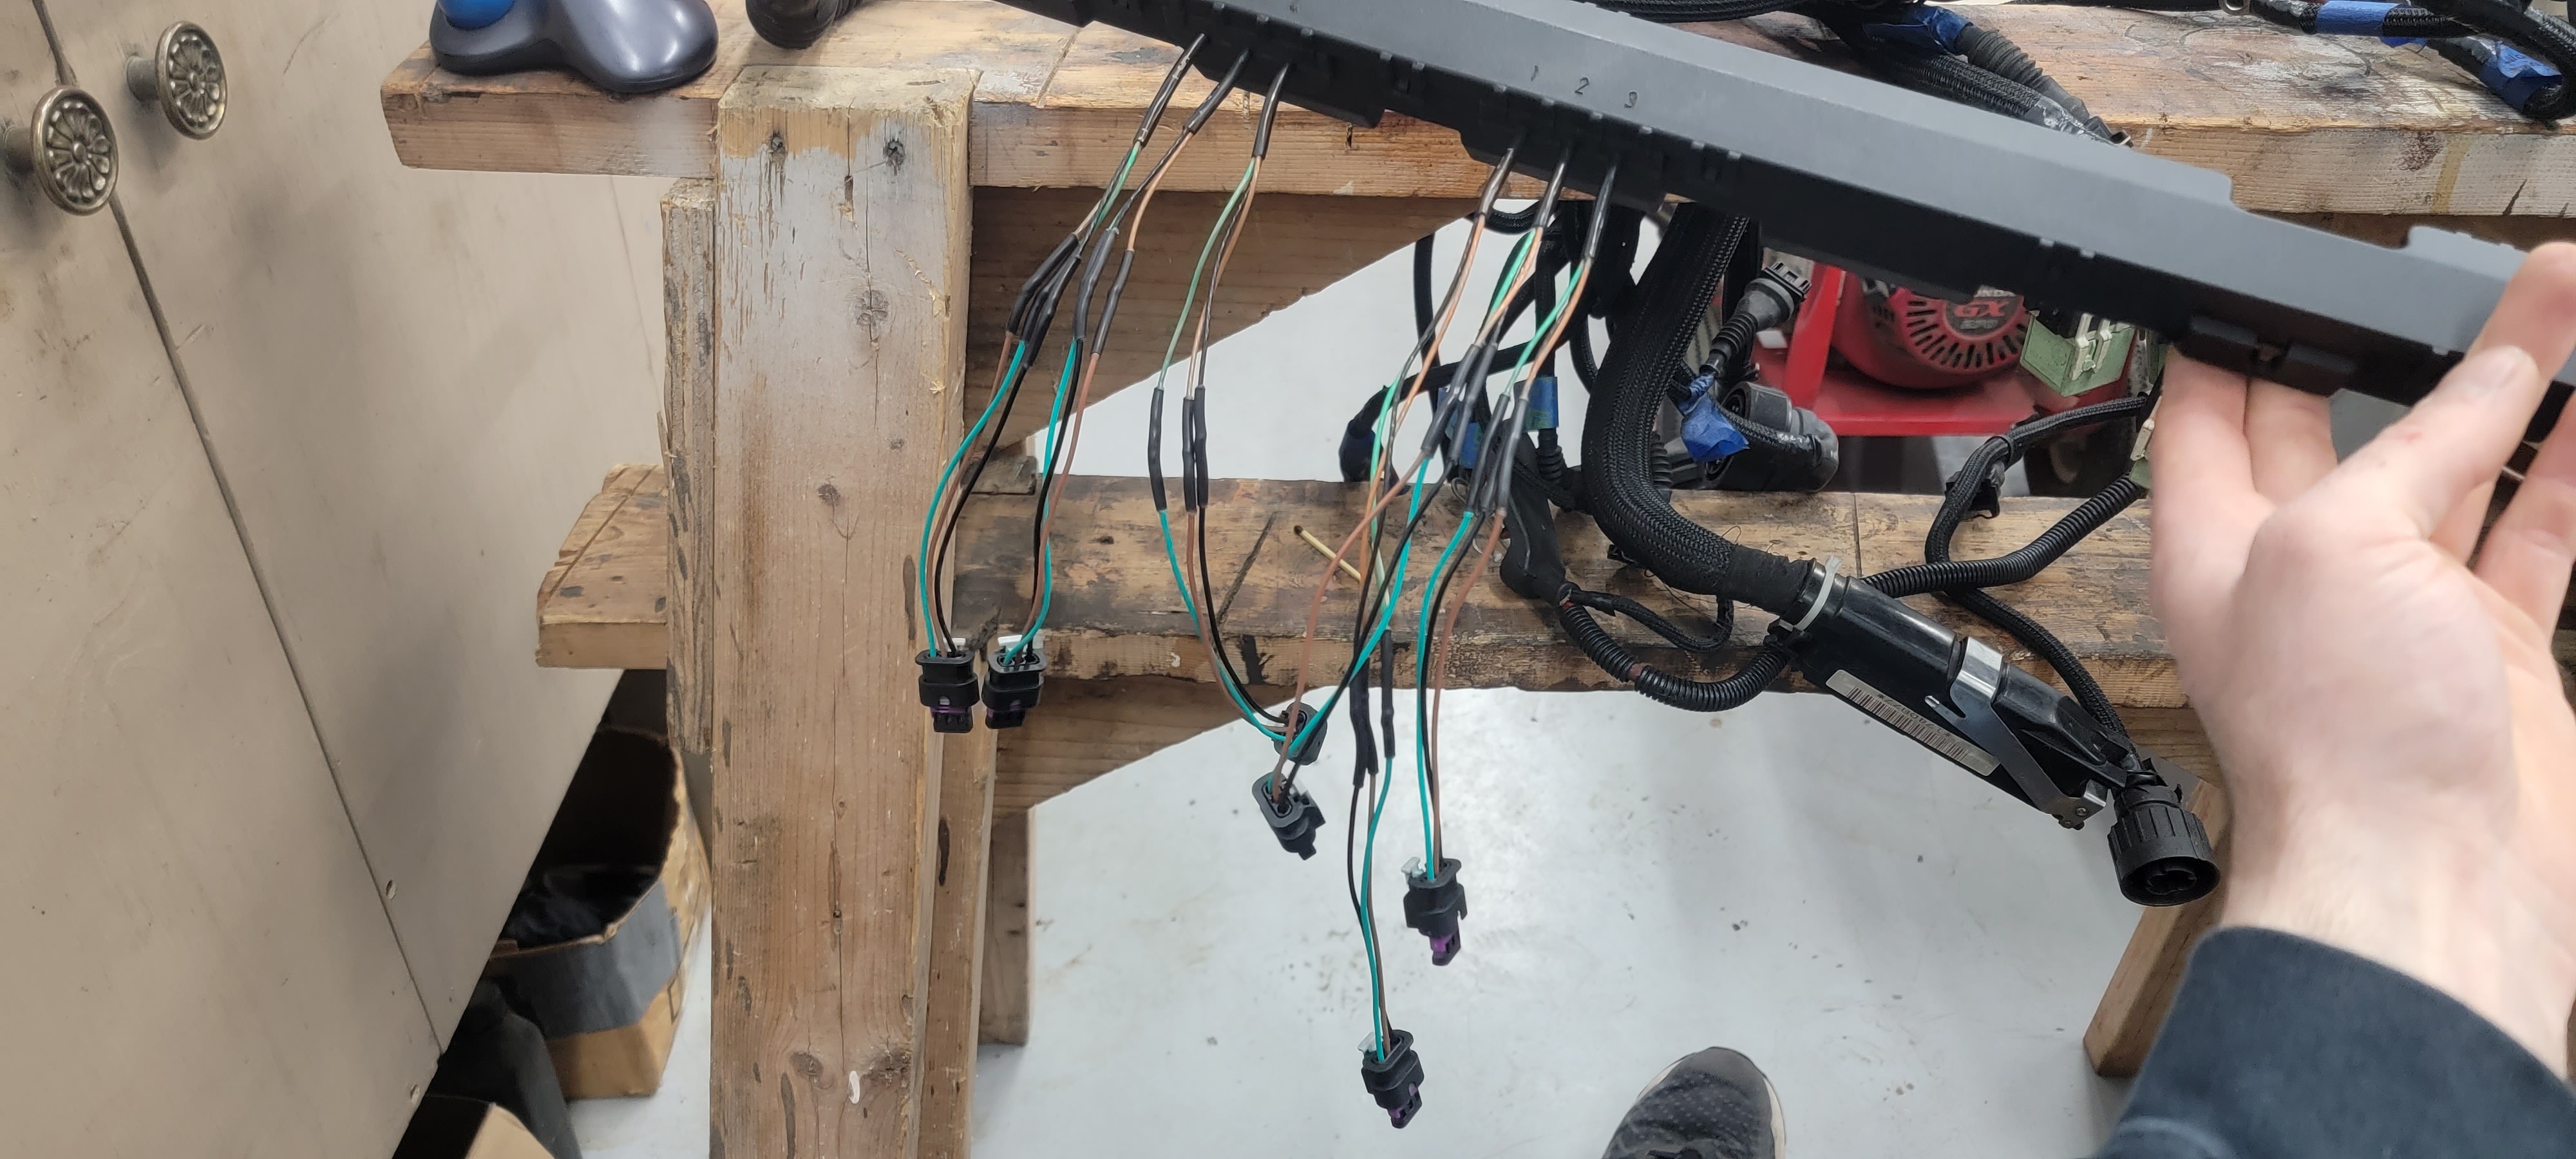
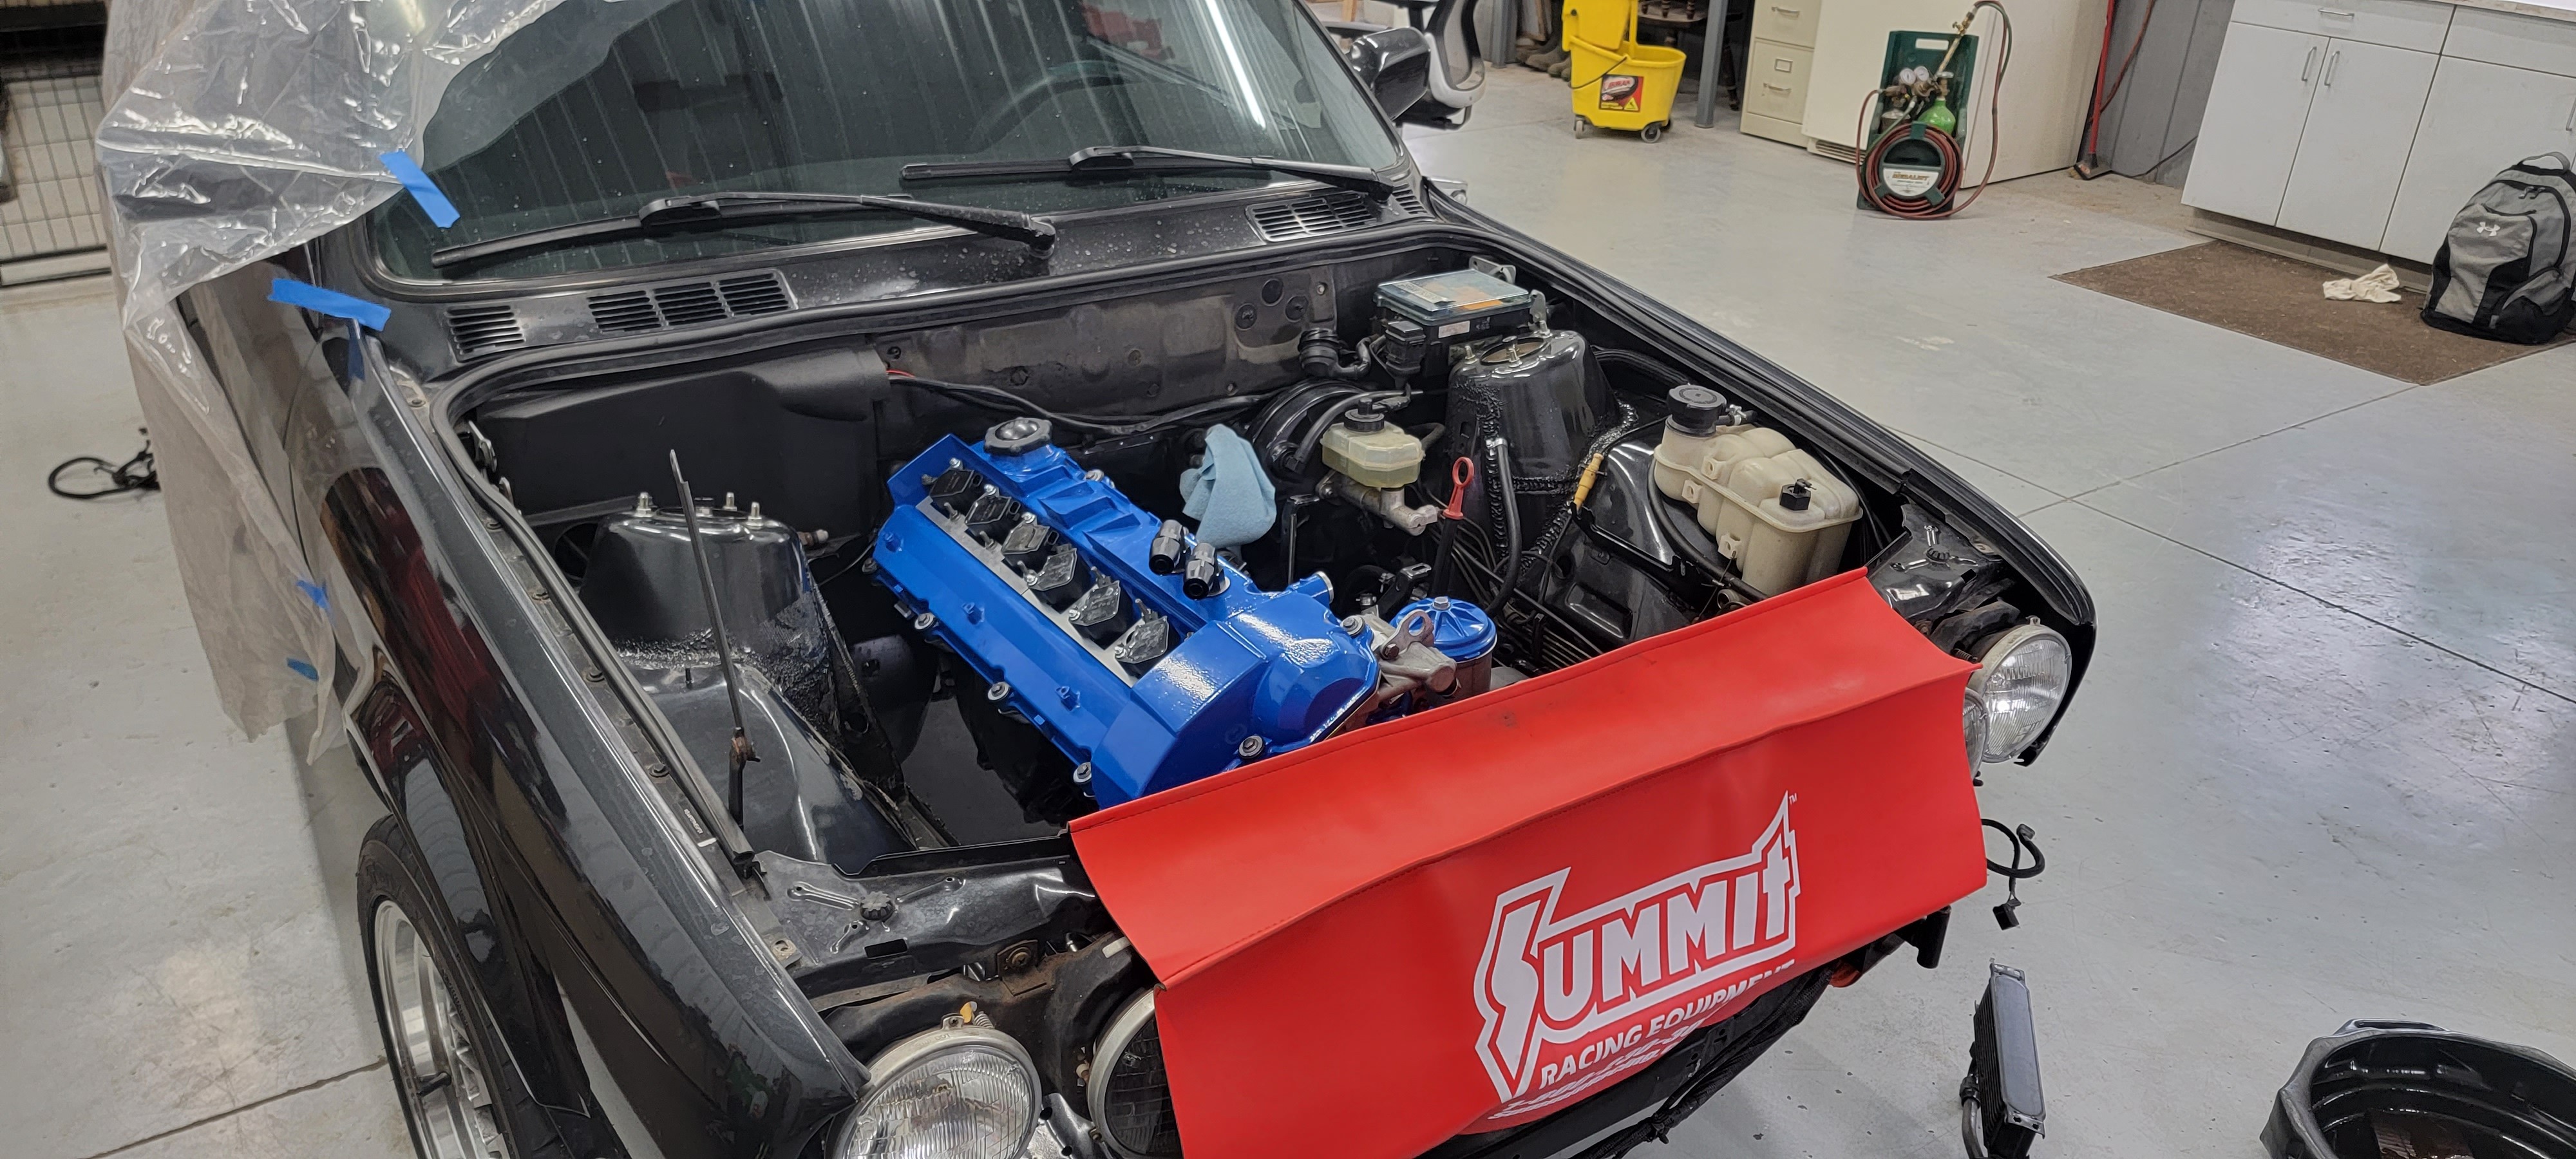
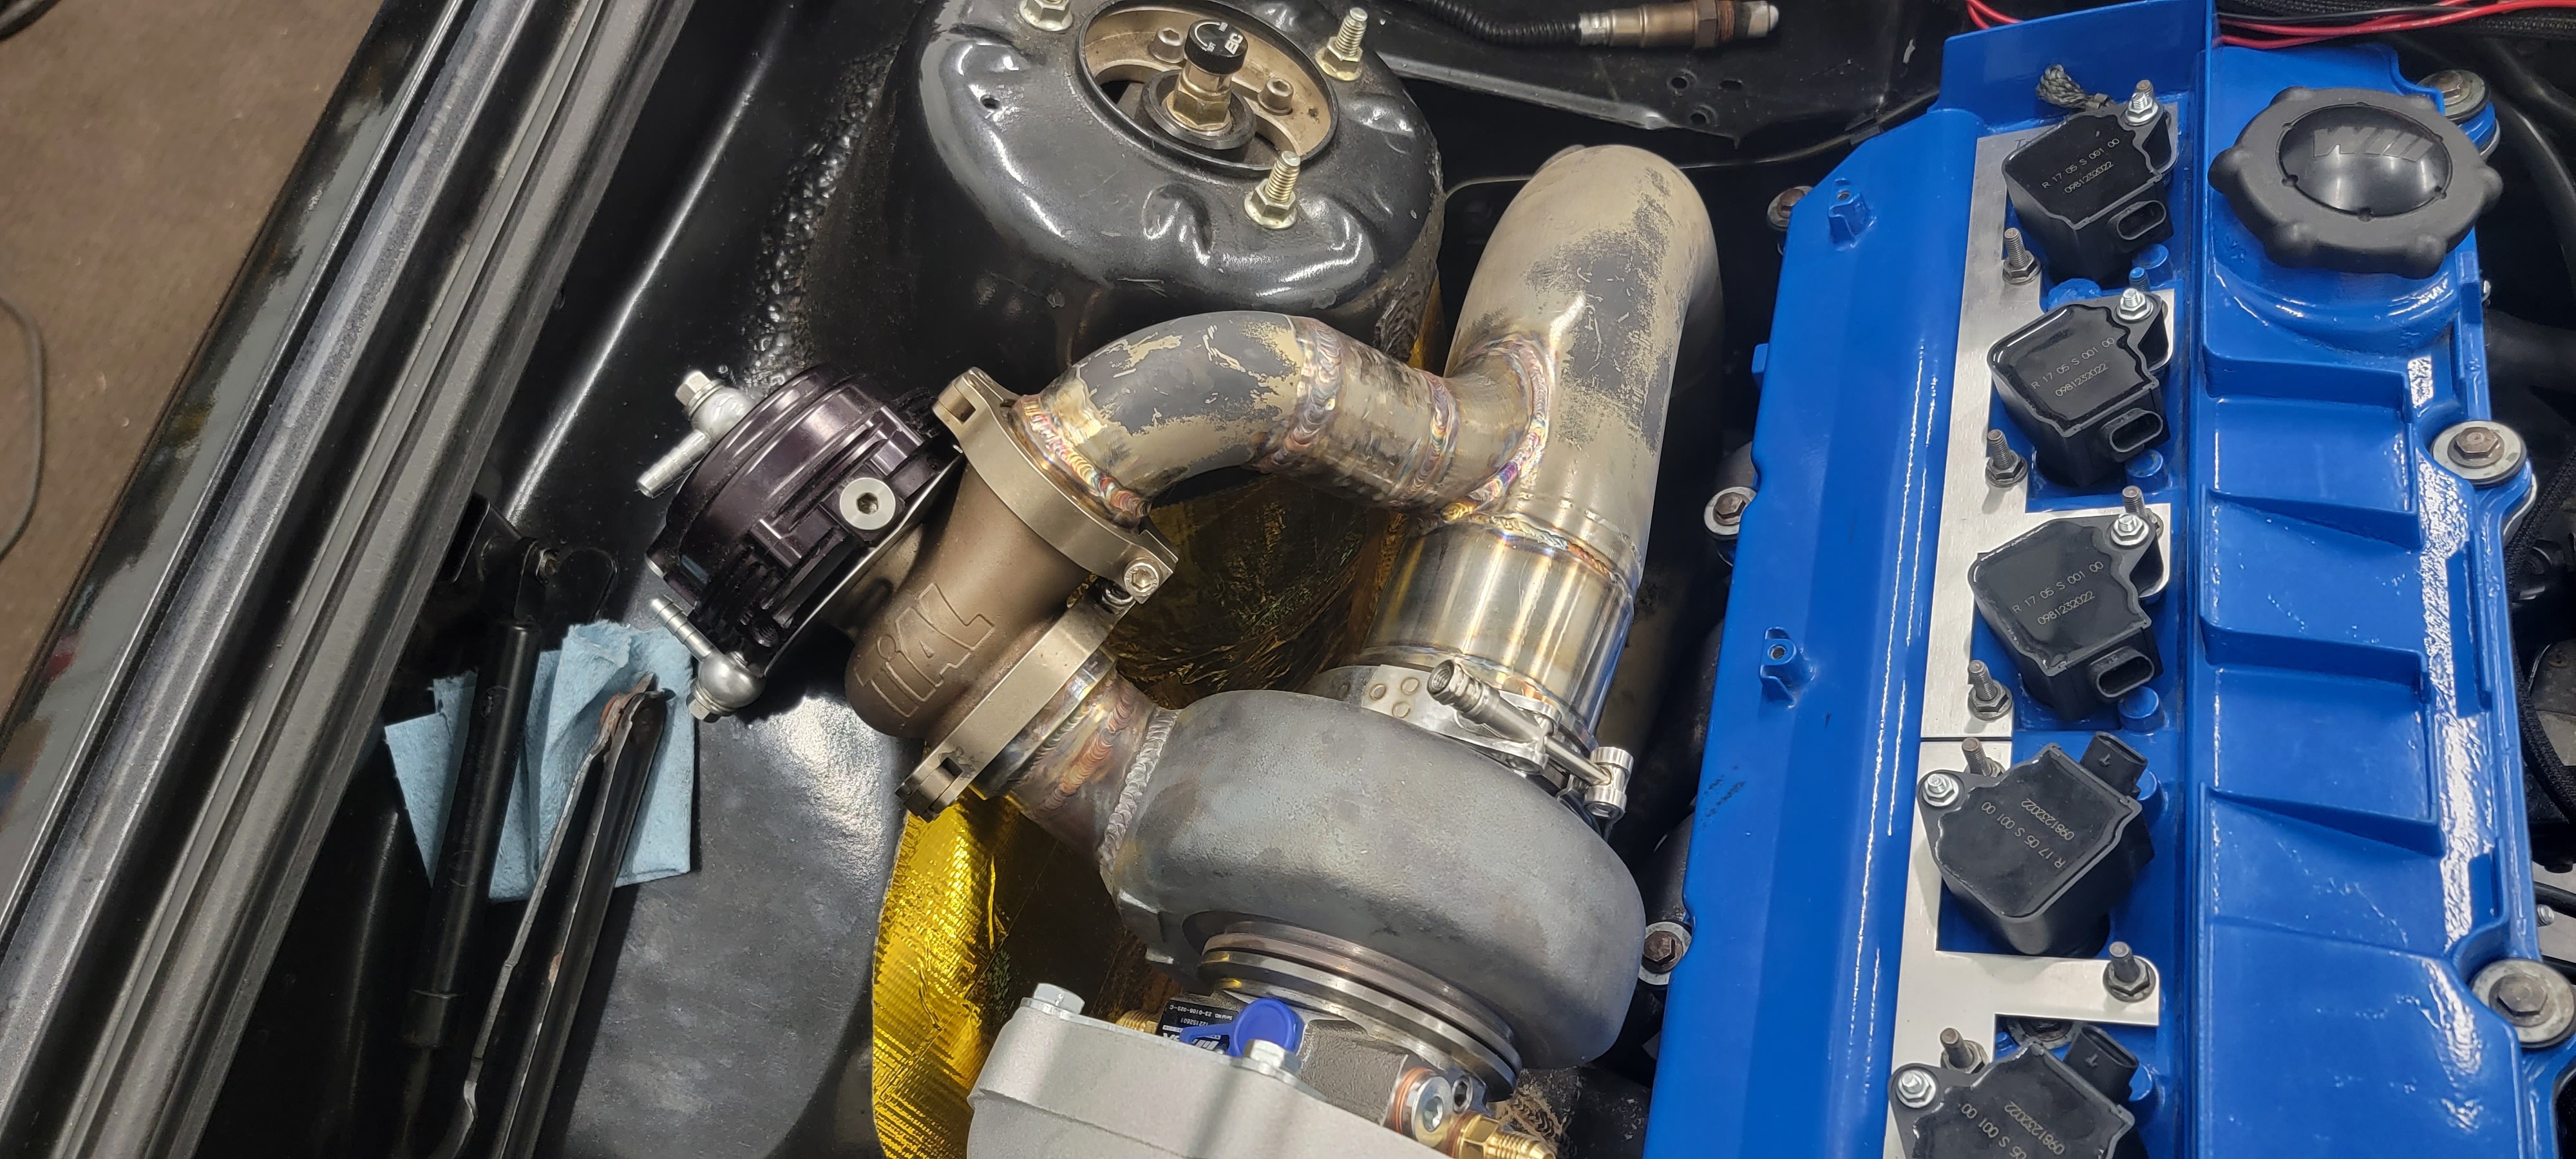
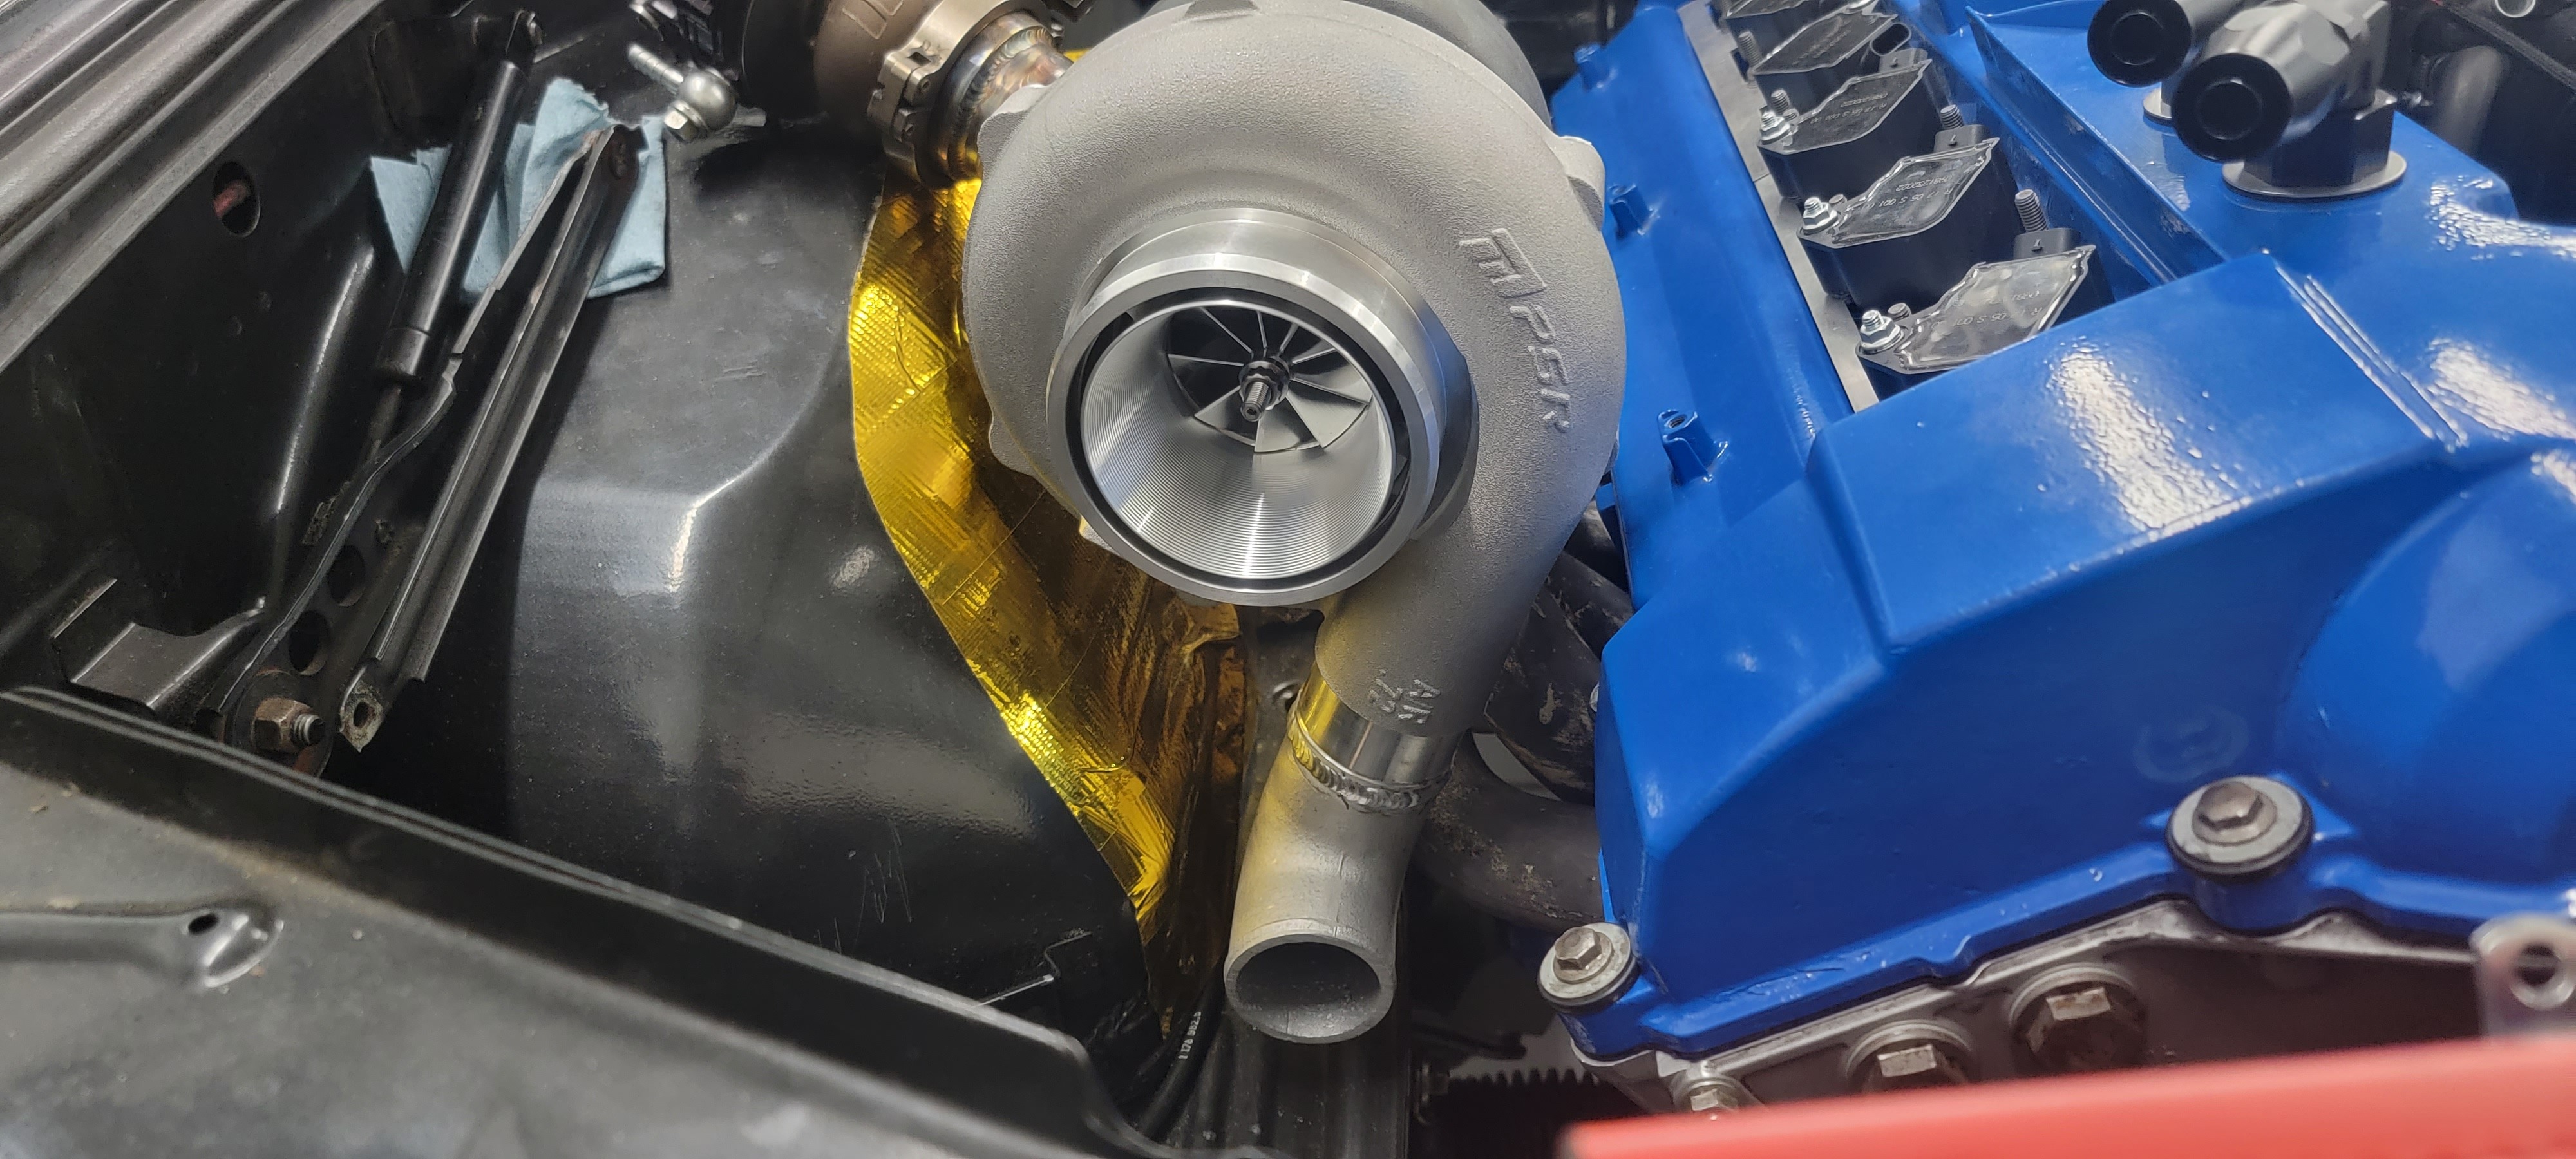
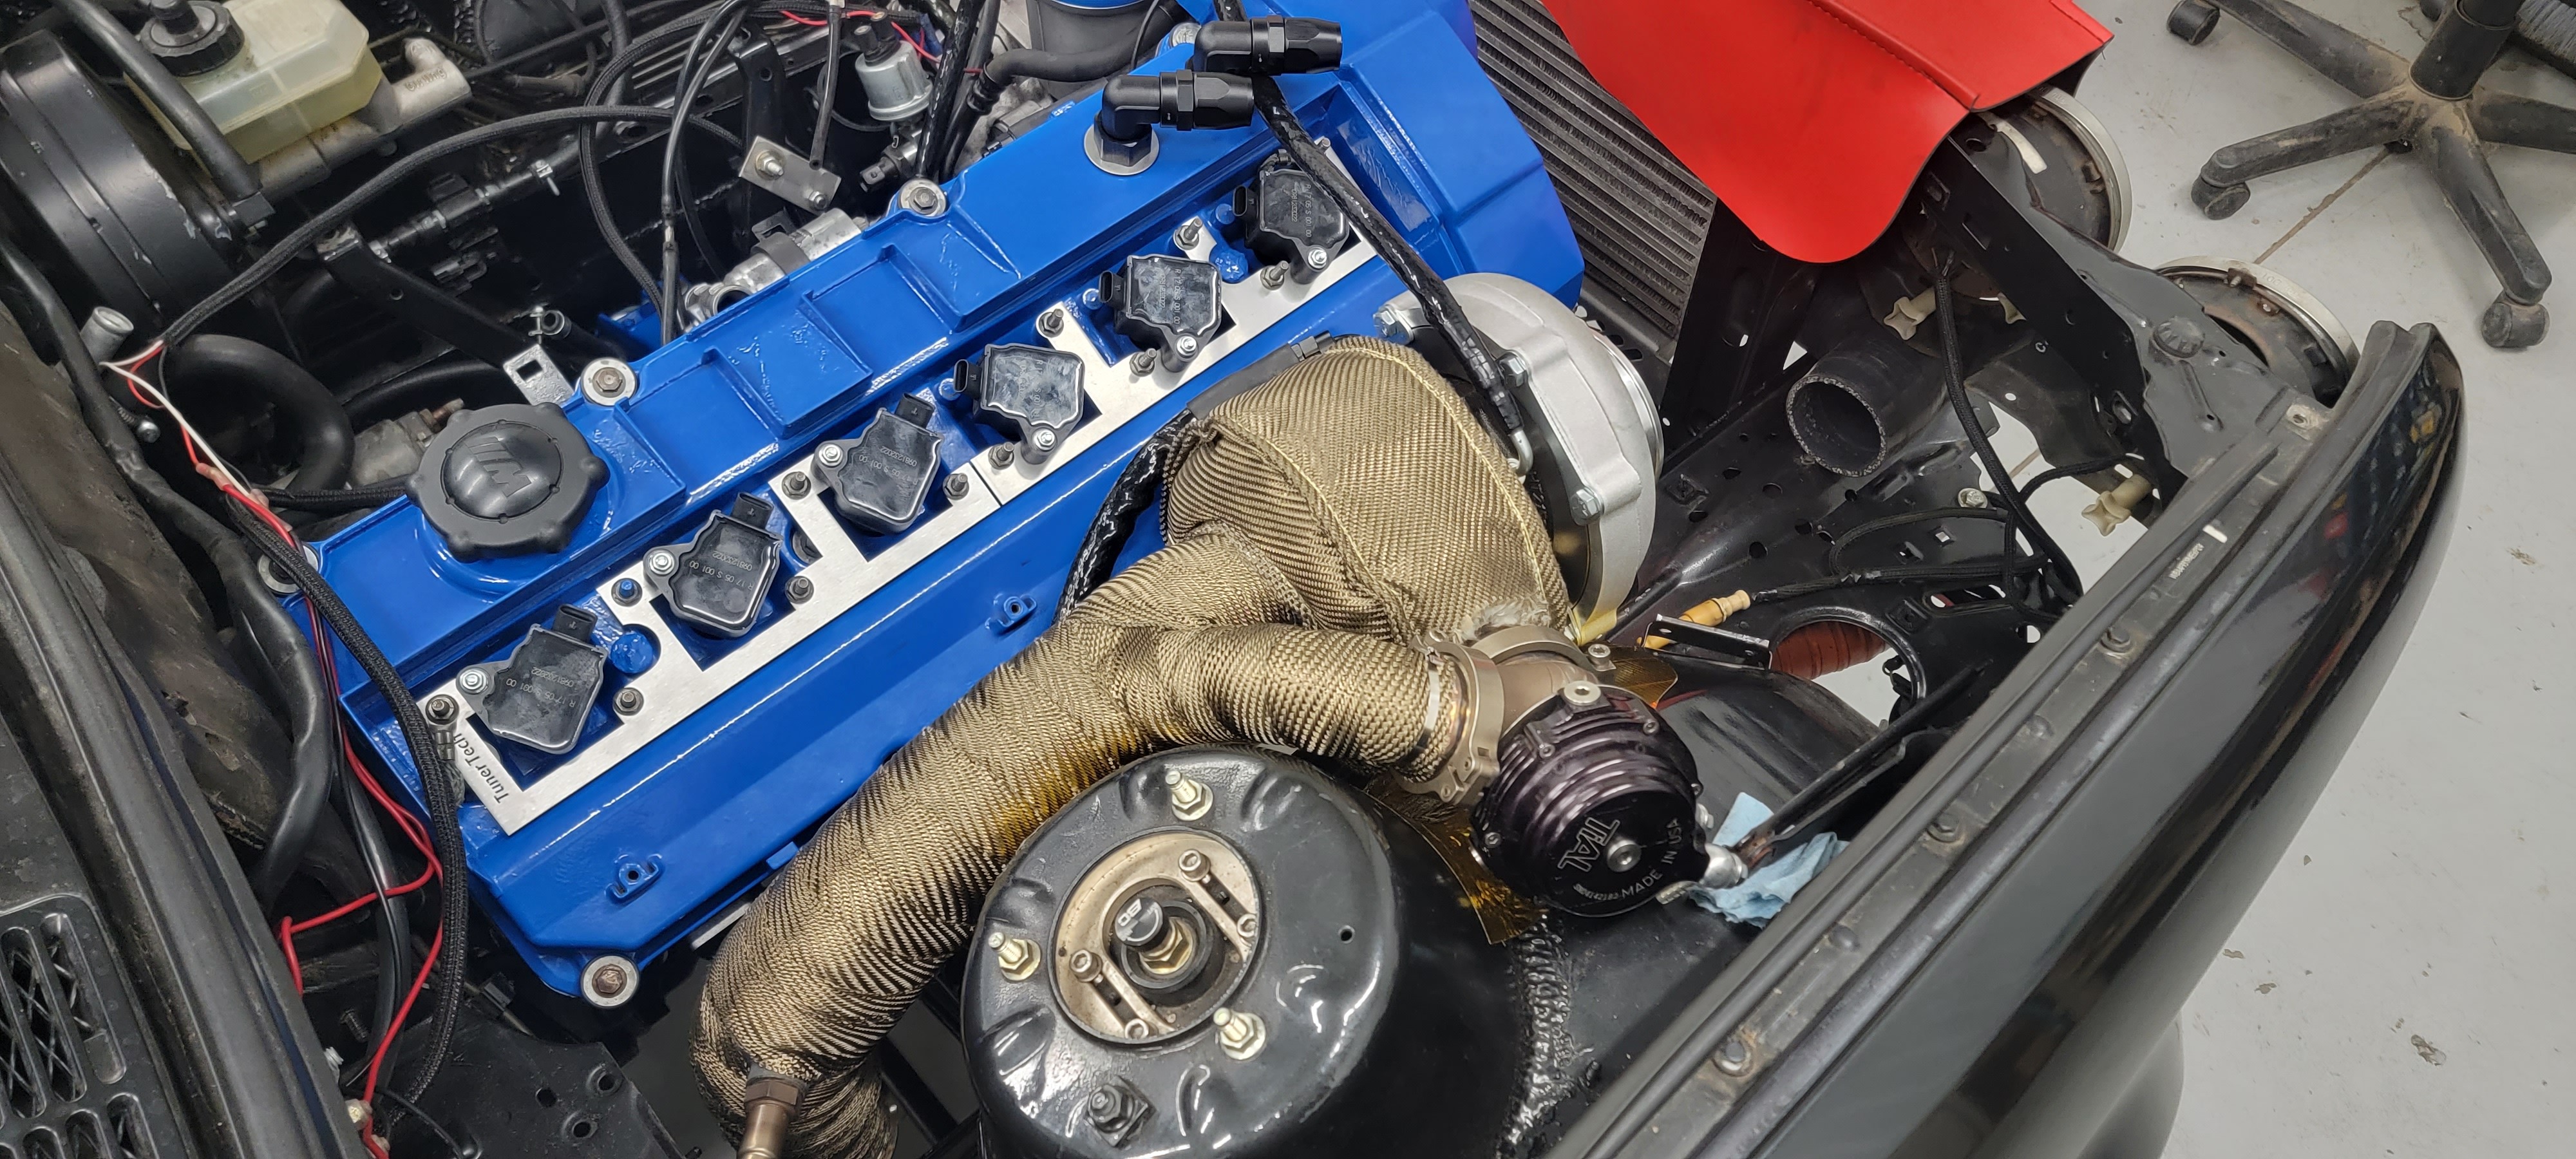
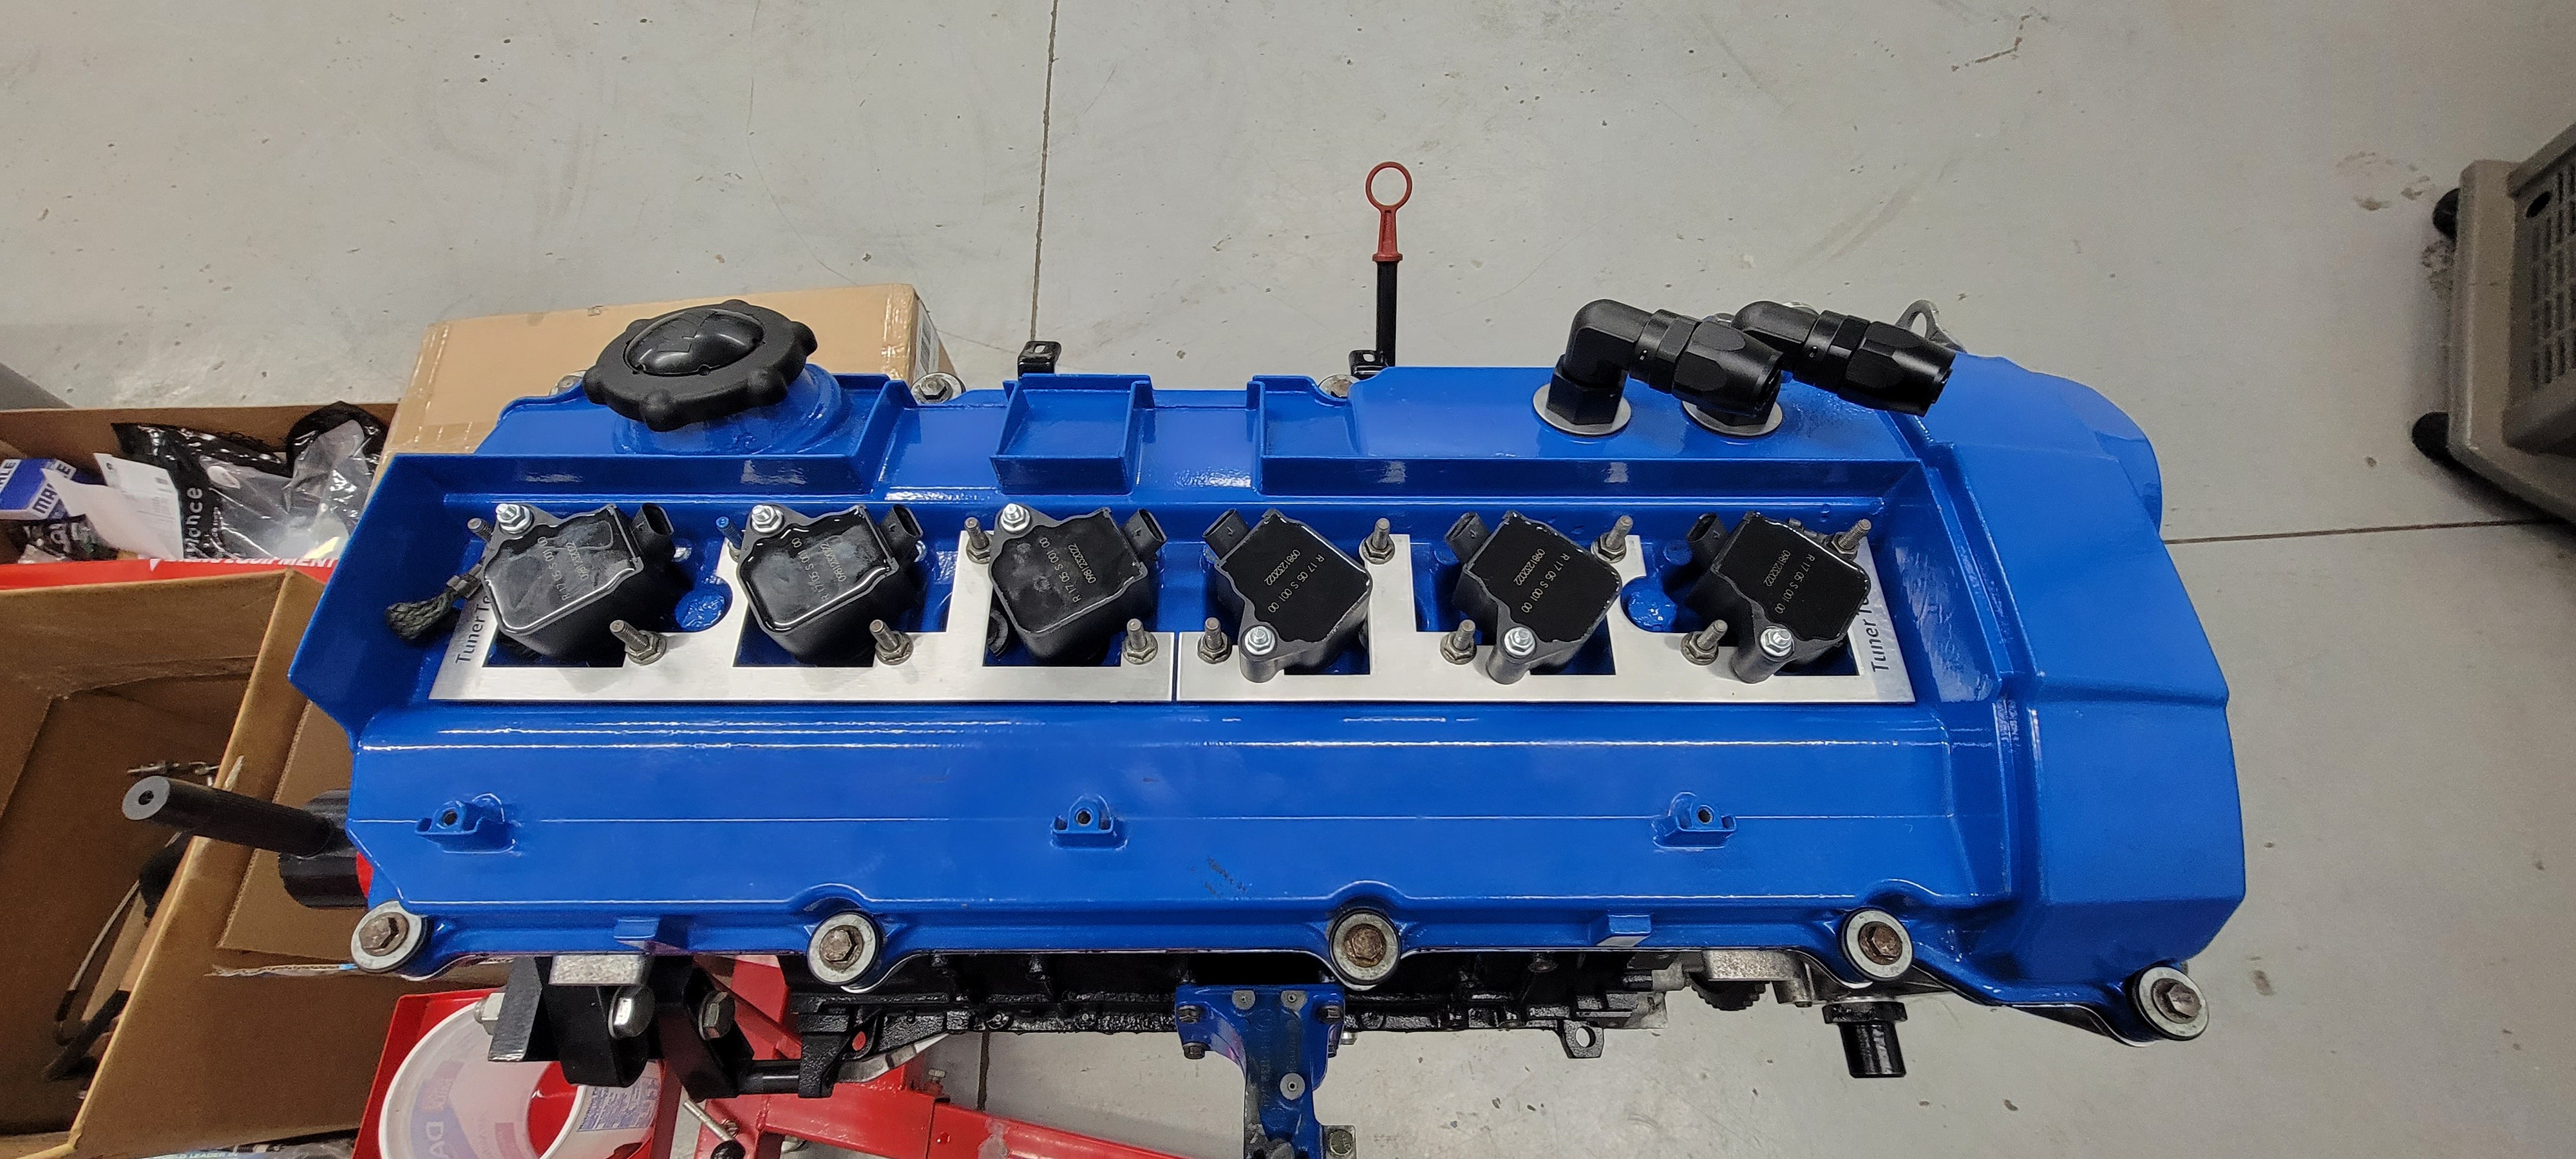
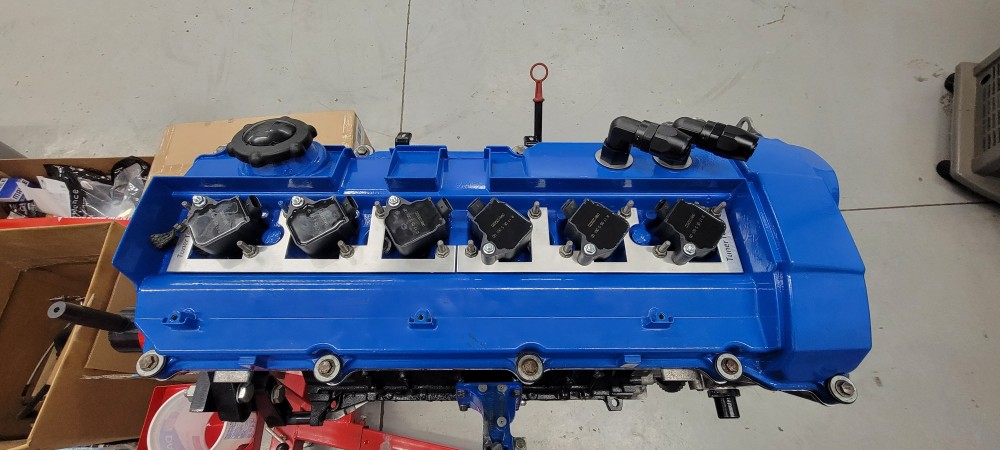
The other addition was the ignition coils. On the old setup I ran the original 20 year old obd1 coil packs. For the most part they worked just fine but they started showing their age when during an auto-x event they got heat soaked and caused the engine to misfire. Of course I didn't wanna run into that issue again so I either had to get a new set of oem ones or try something else. New set of coils would set me back close to $600 so I looked around to see what else was out there. Well sure enough I noticed quite a few other boosted e36 guys running coils out of a b58. I then came across a company called Tunertech that actually designed a full swap kit with custom brackets to fit the coils in the e36 valve covers and the necessary pigtails to splice into the harness to run em. The main advantages of running these coils were that they produce stronger spark energy over stock, allow you to run a looser spark plug gap resulting in smoother idle and the cost of the coils come in at around half the cost of the stock ones. Because of these advantages I figured it was worth the try. One other thing I really liked was the fact that these brackets position the coils away from the down pipe so I don't have to worry about any wires burning over time.
Up next:
Clean and prepare clutch, flywheel, and trans
Wiring for ignition coils
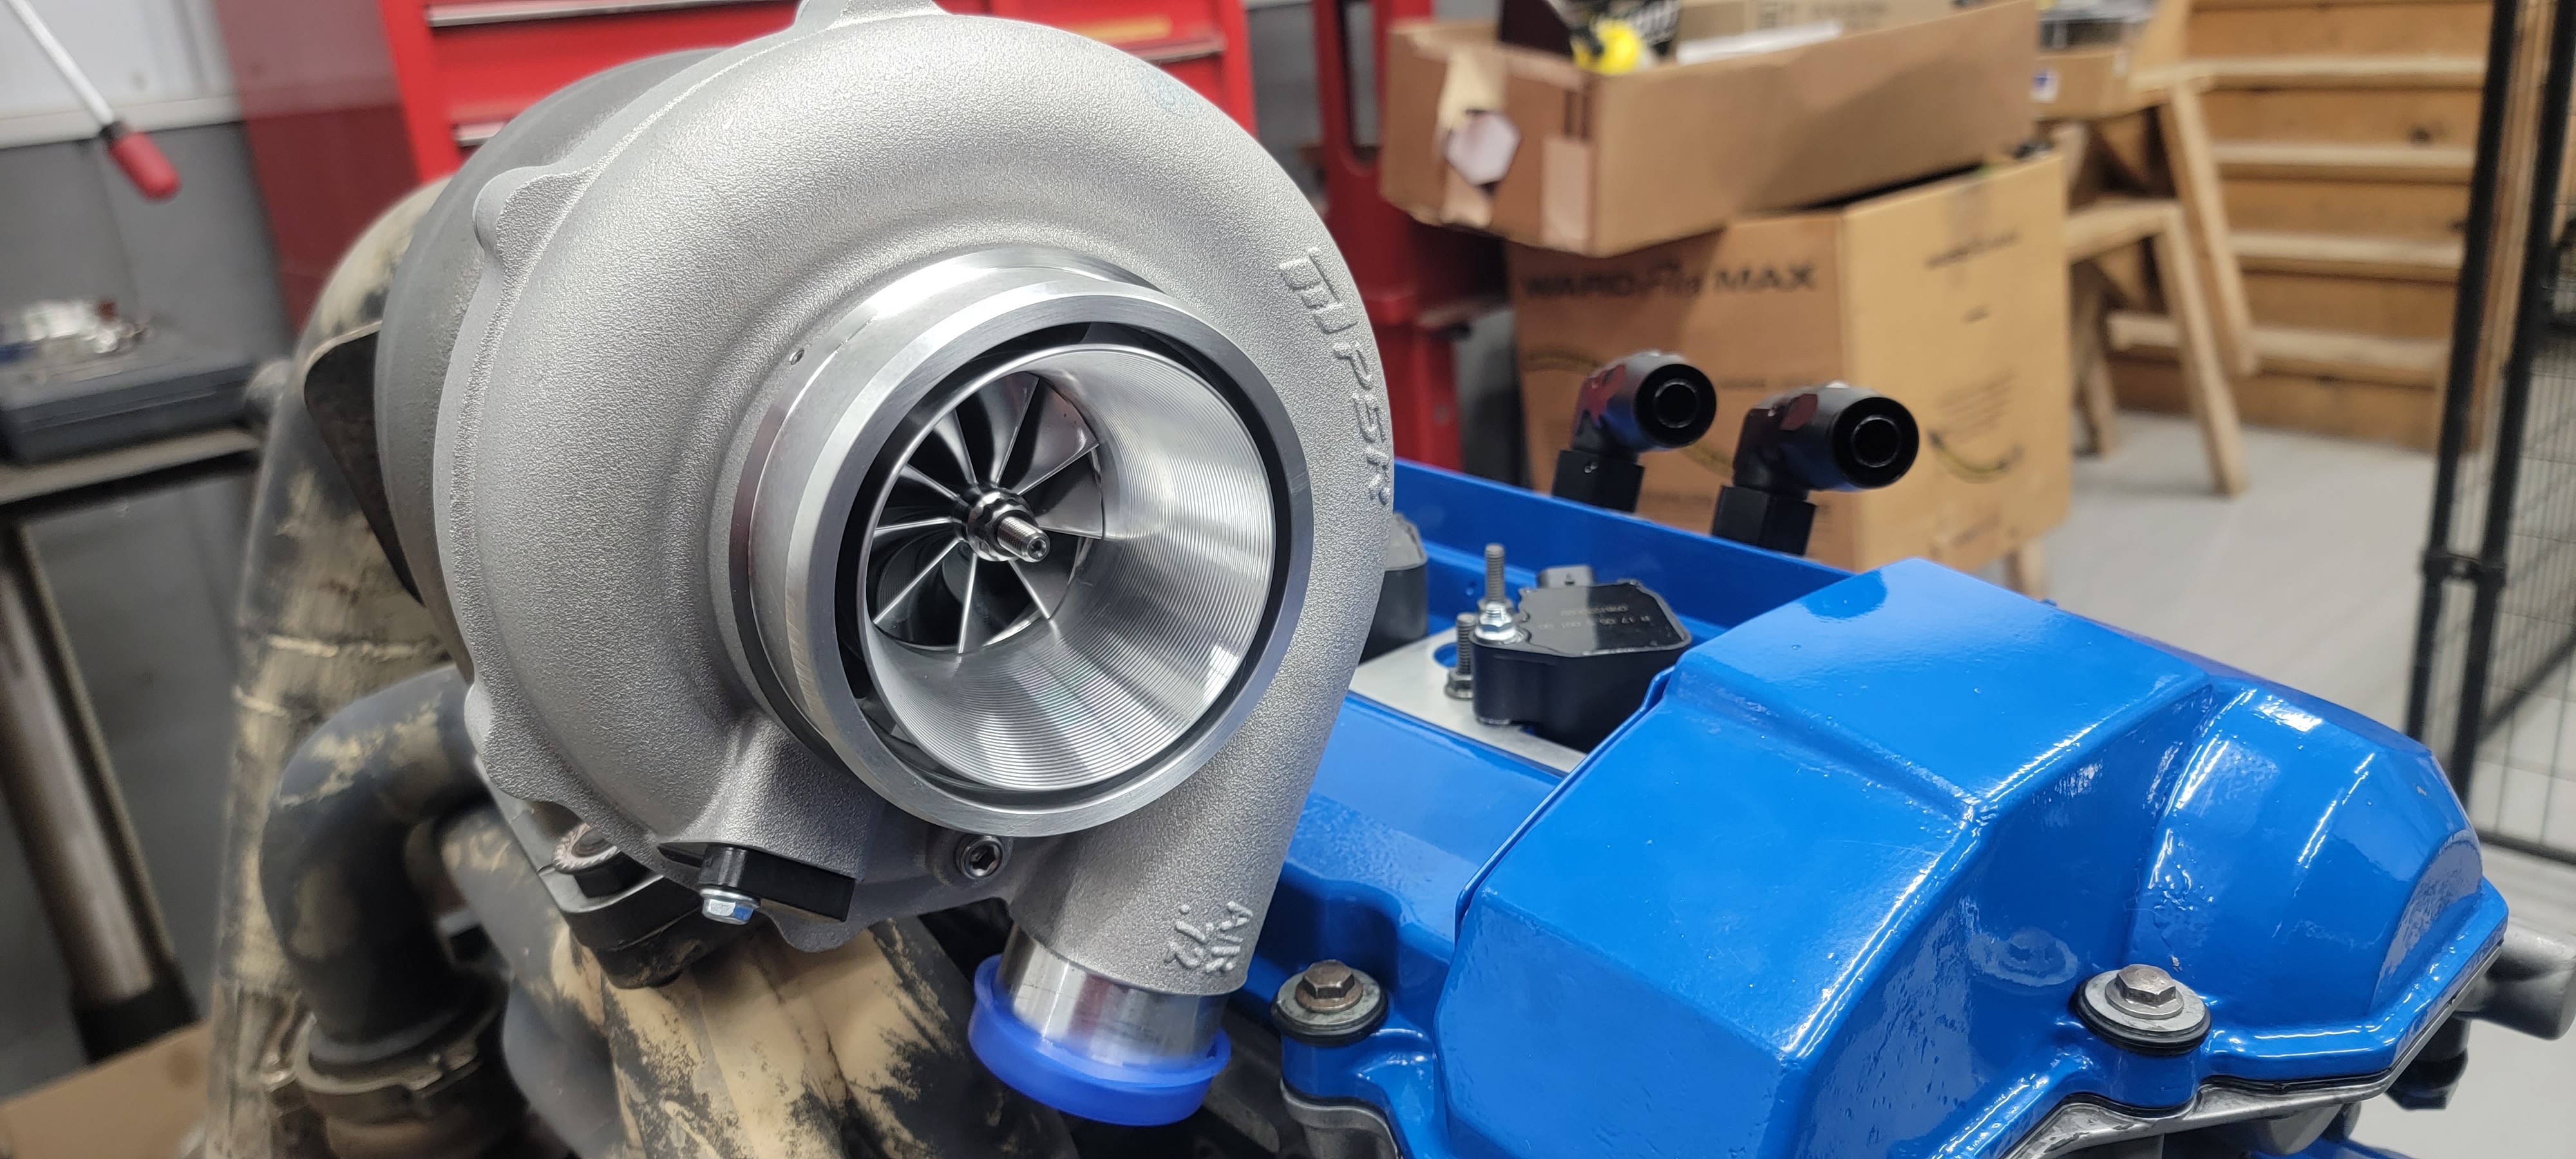
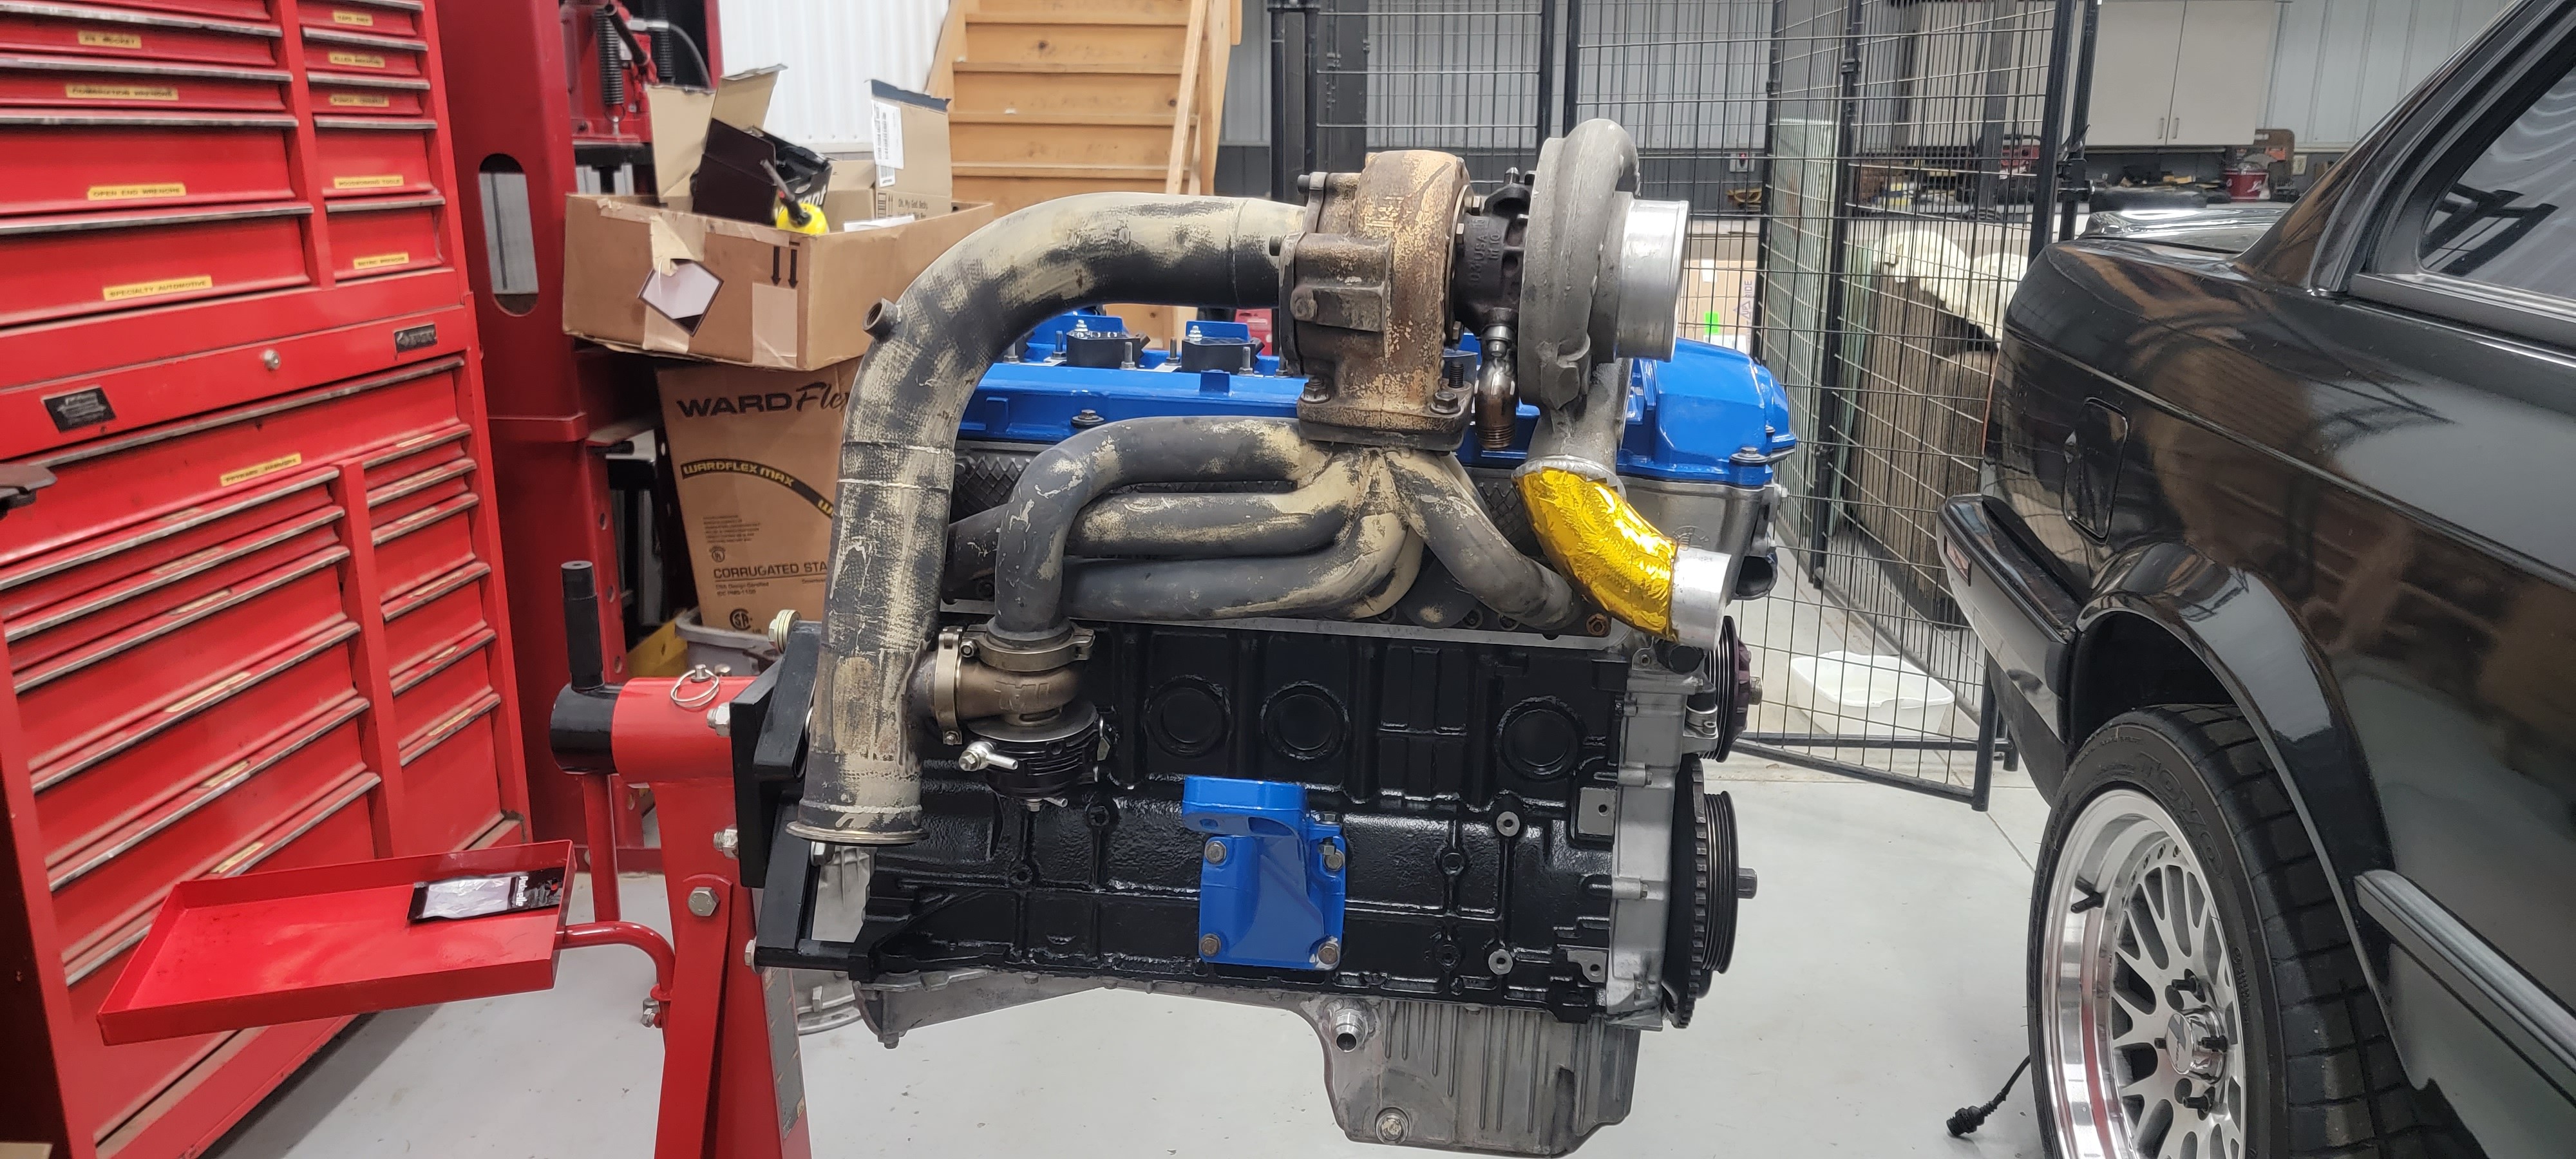
Re fabrication to the down pipe for new turbo