
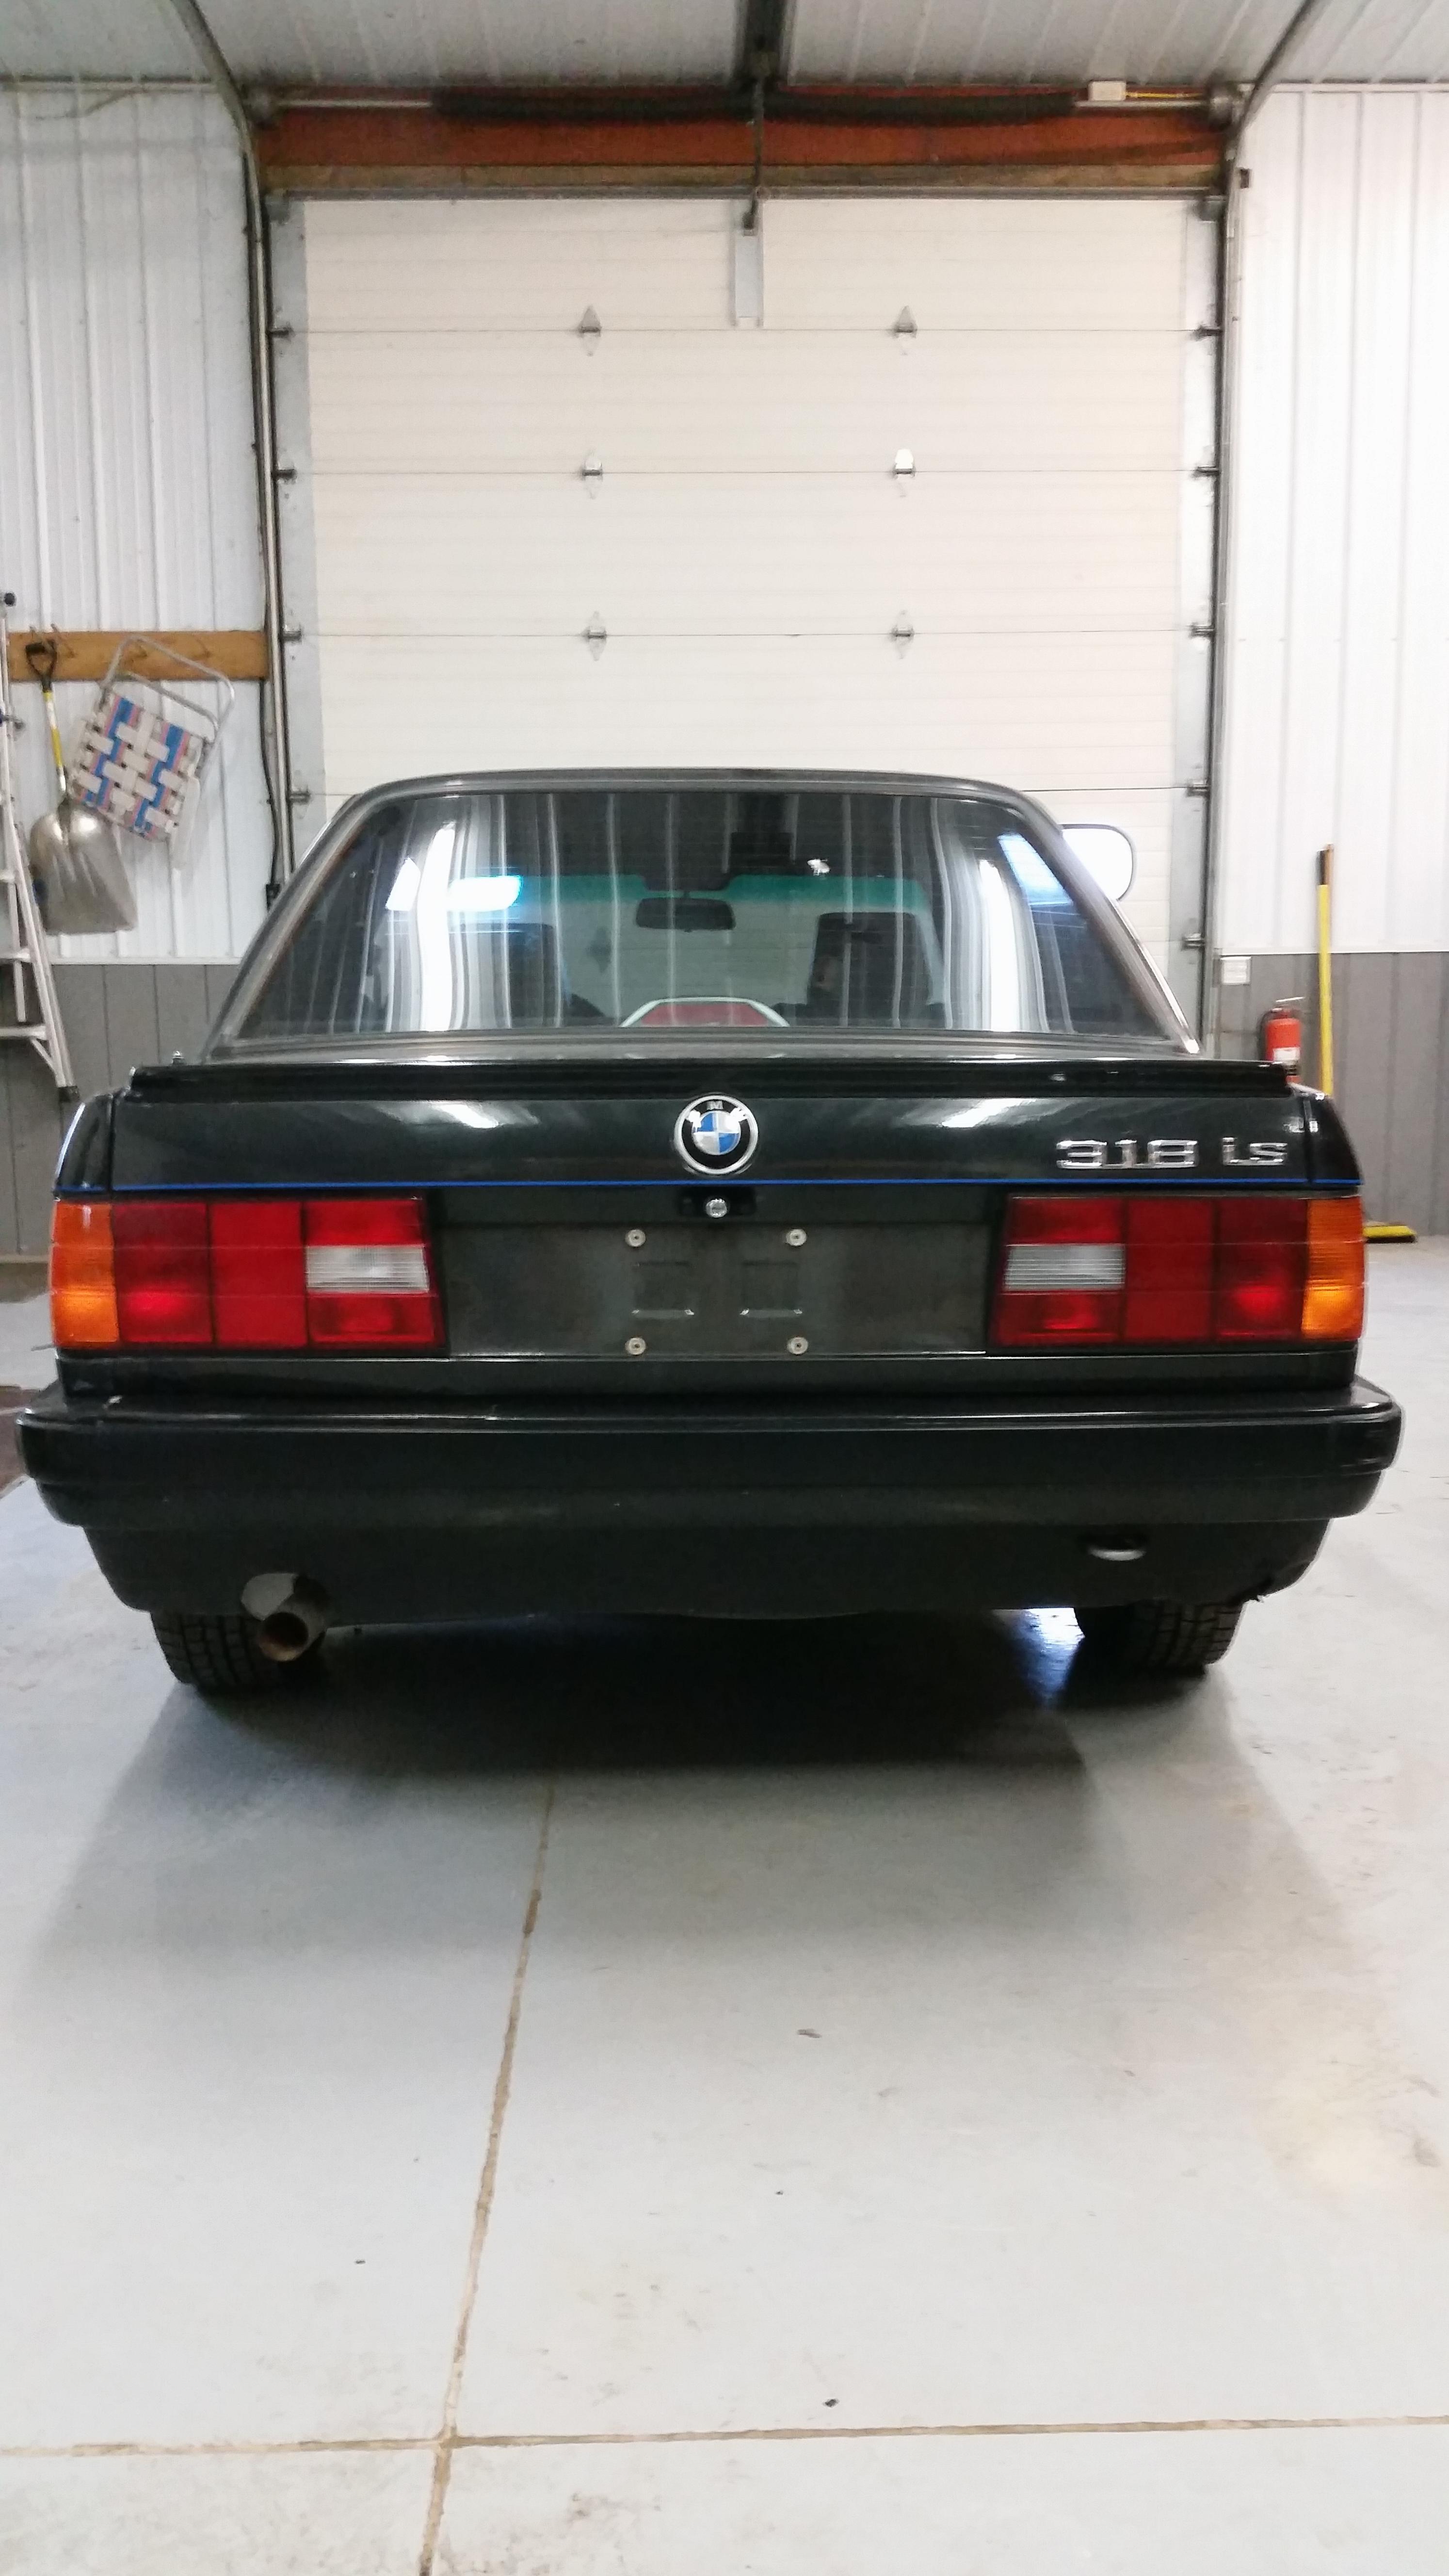
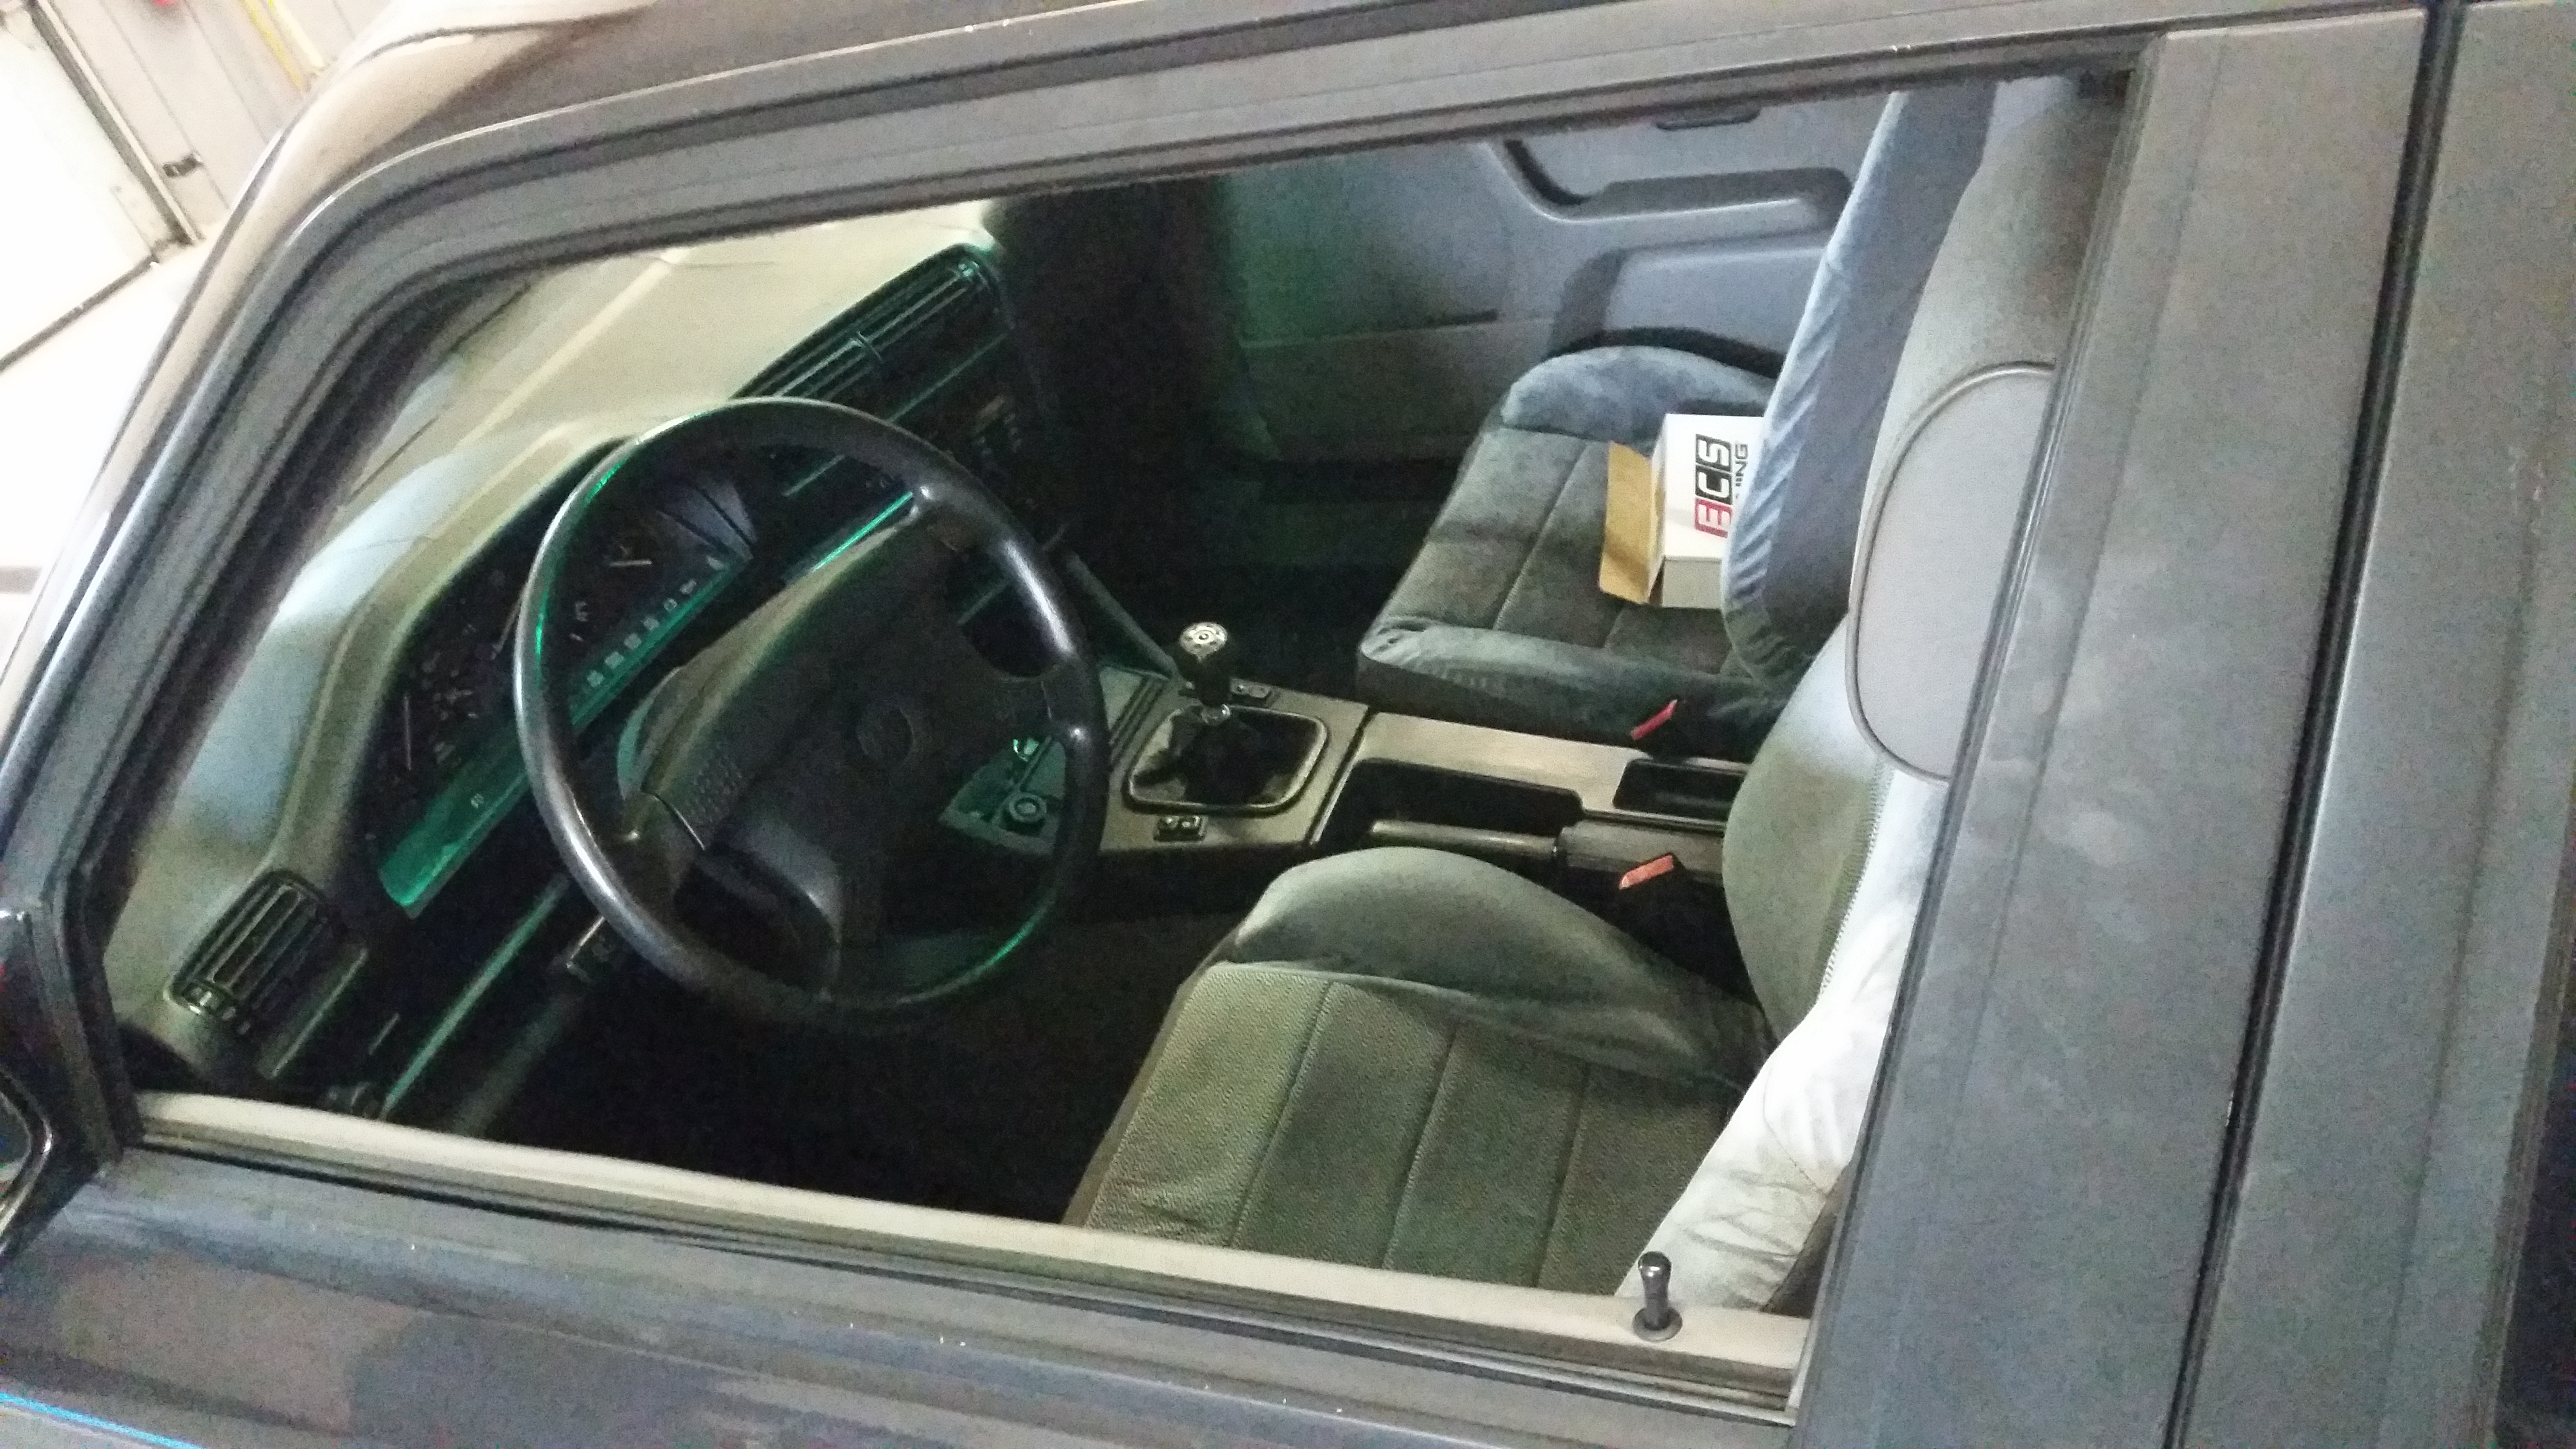
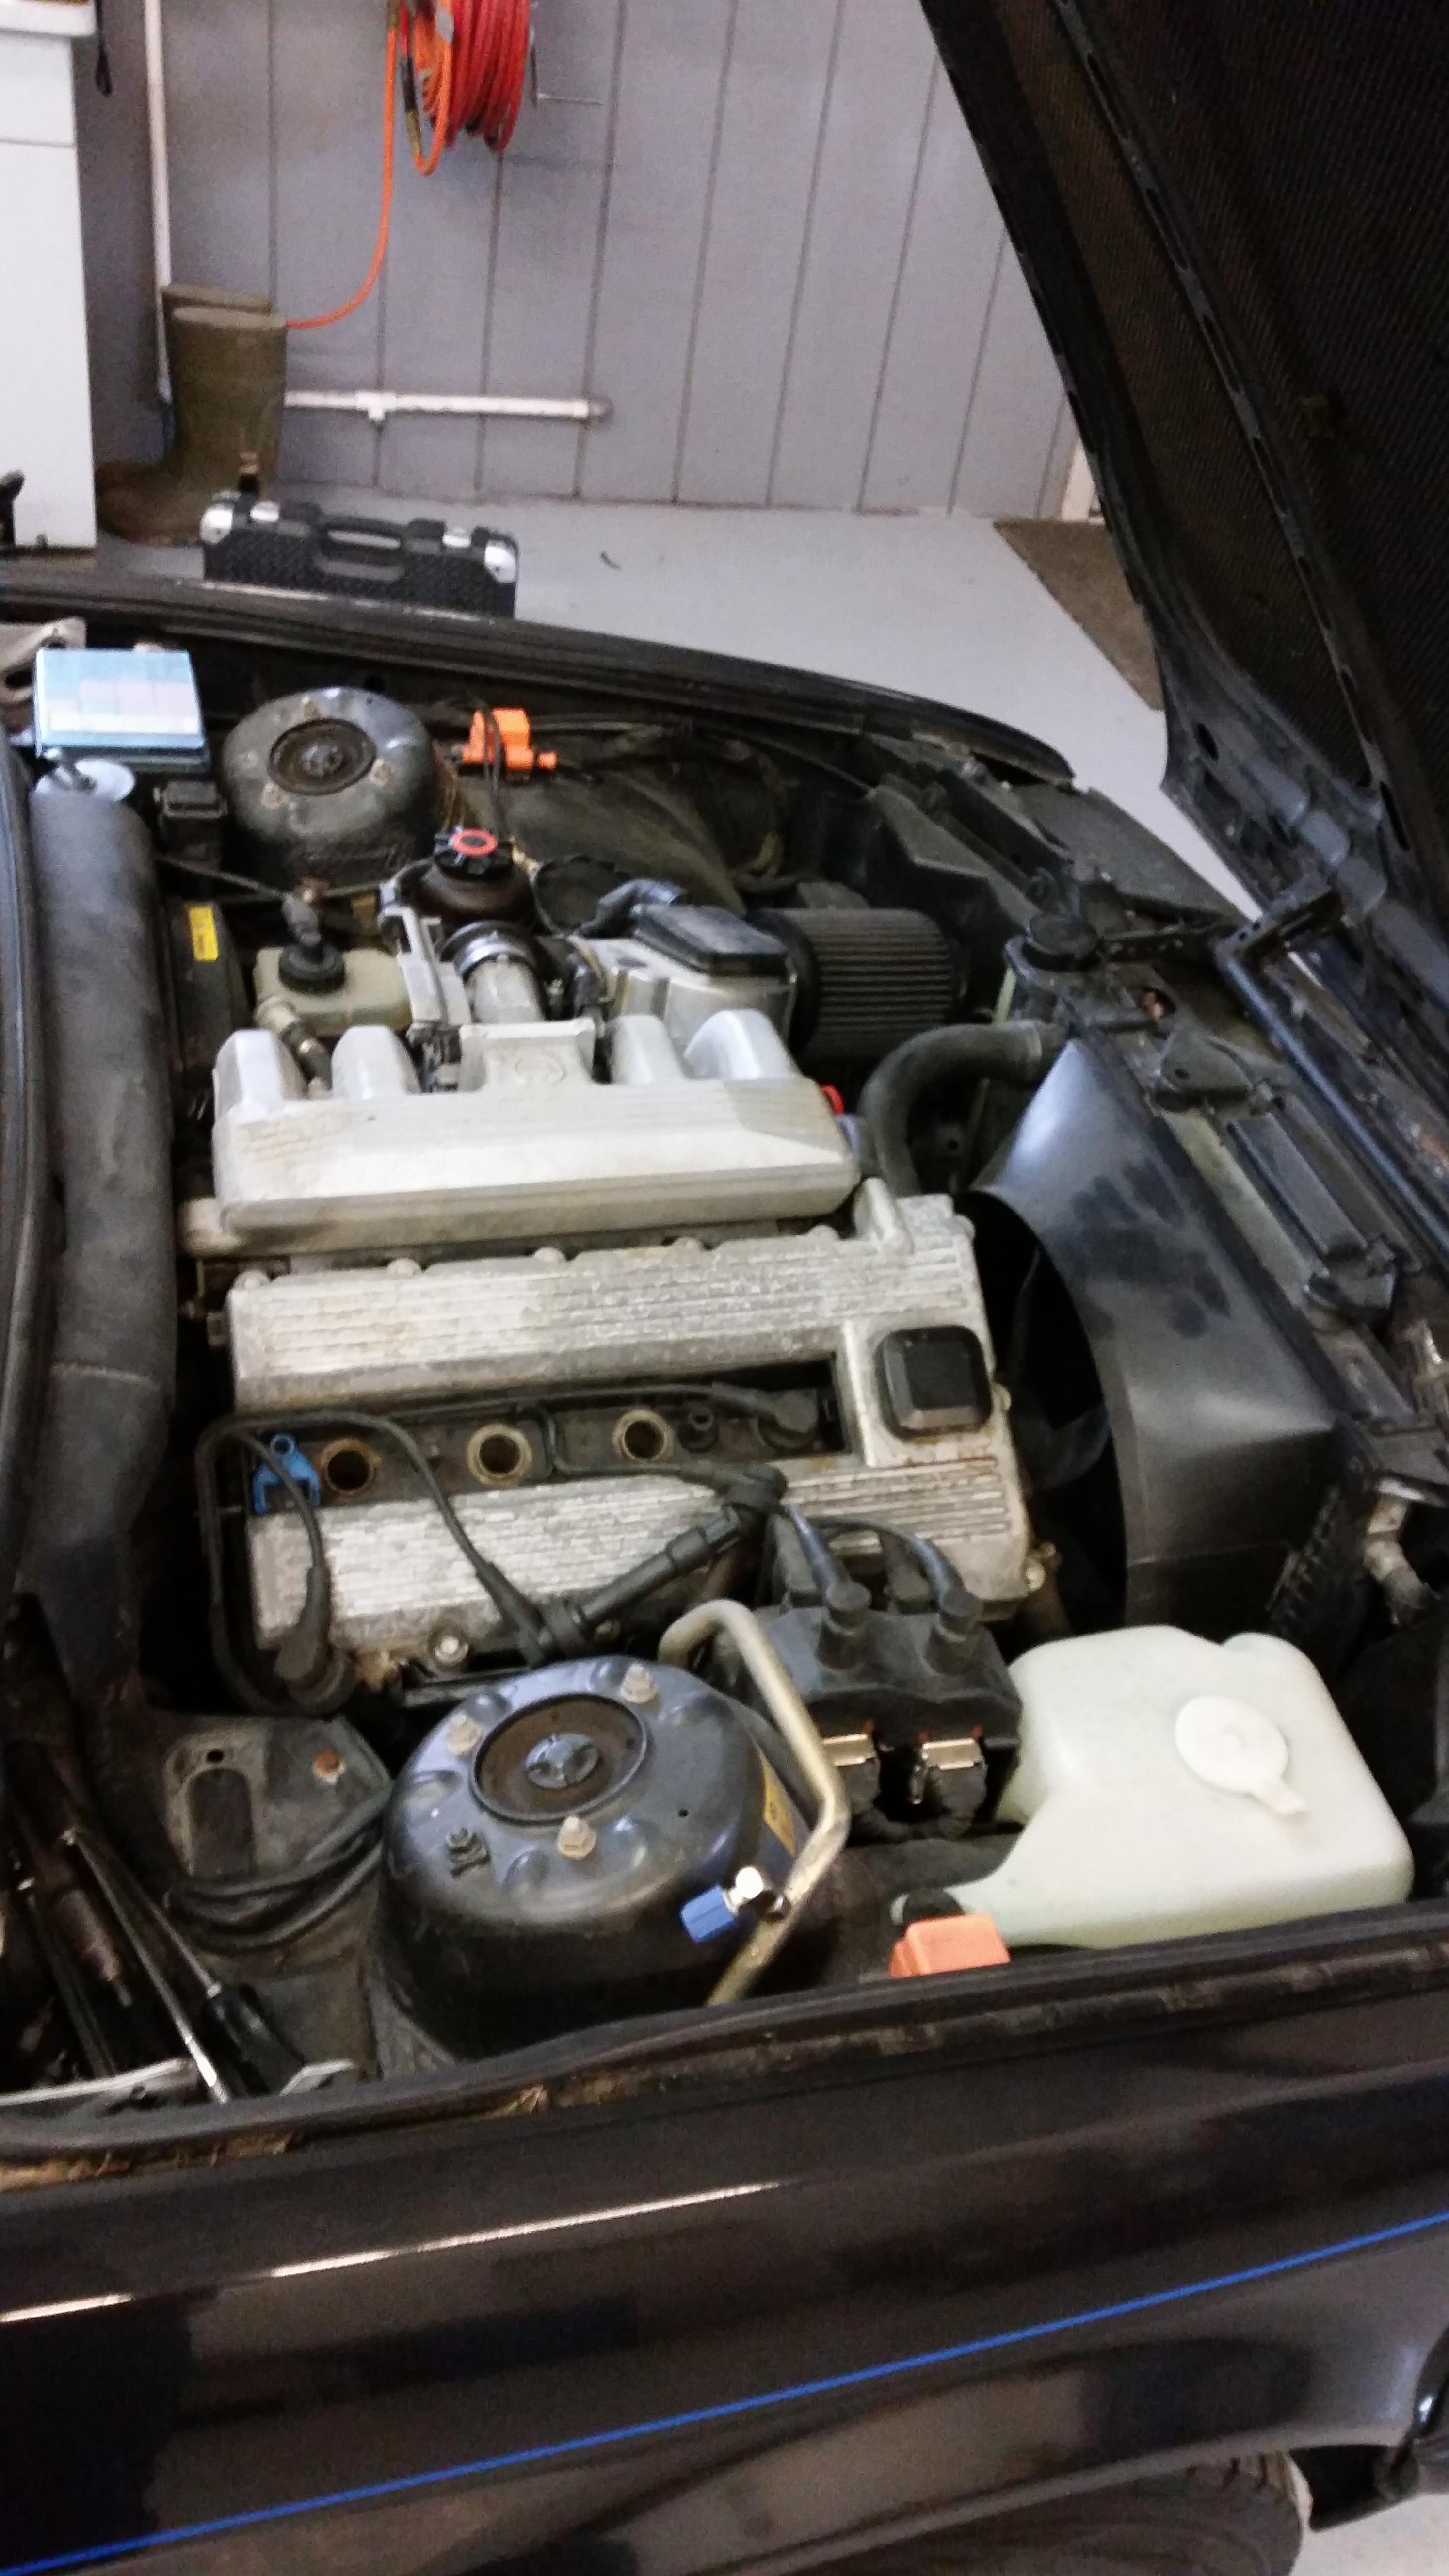
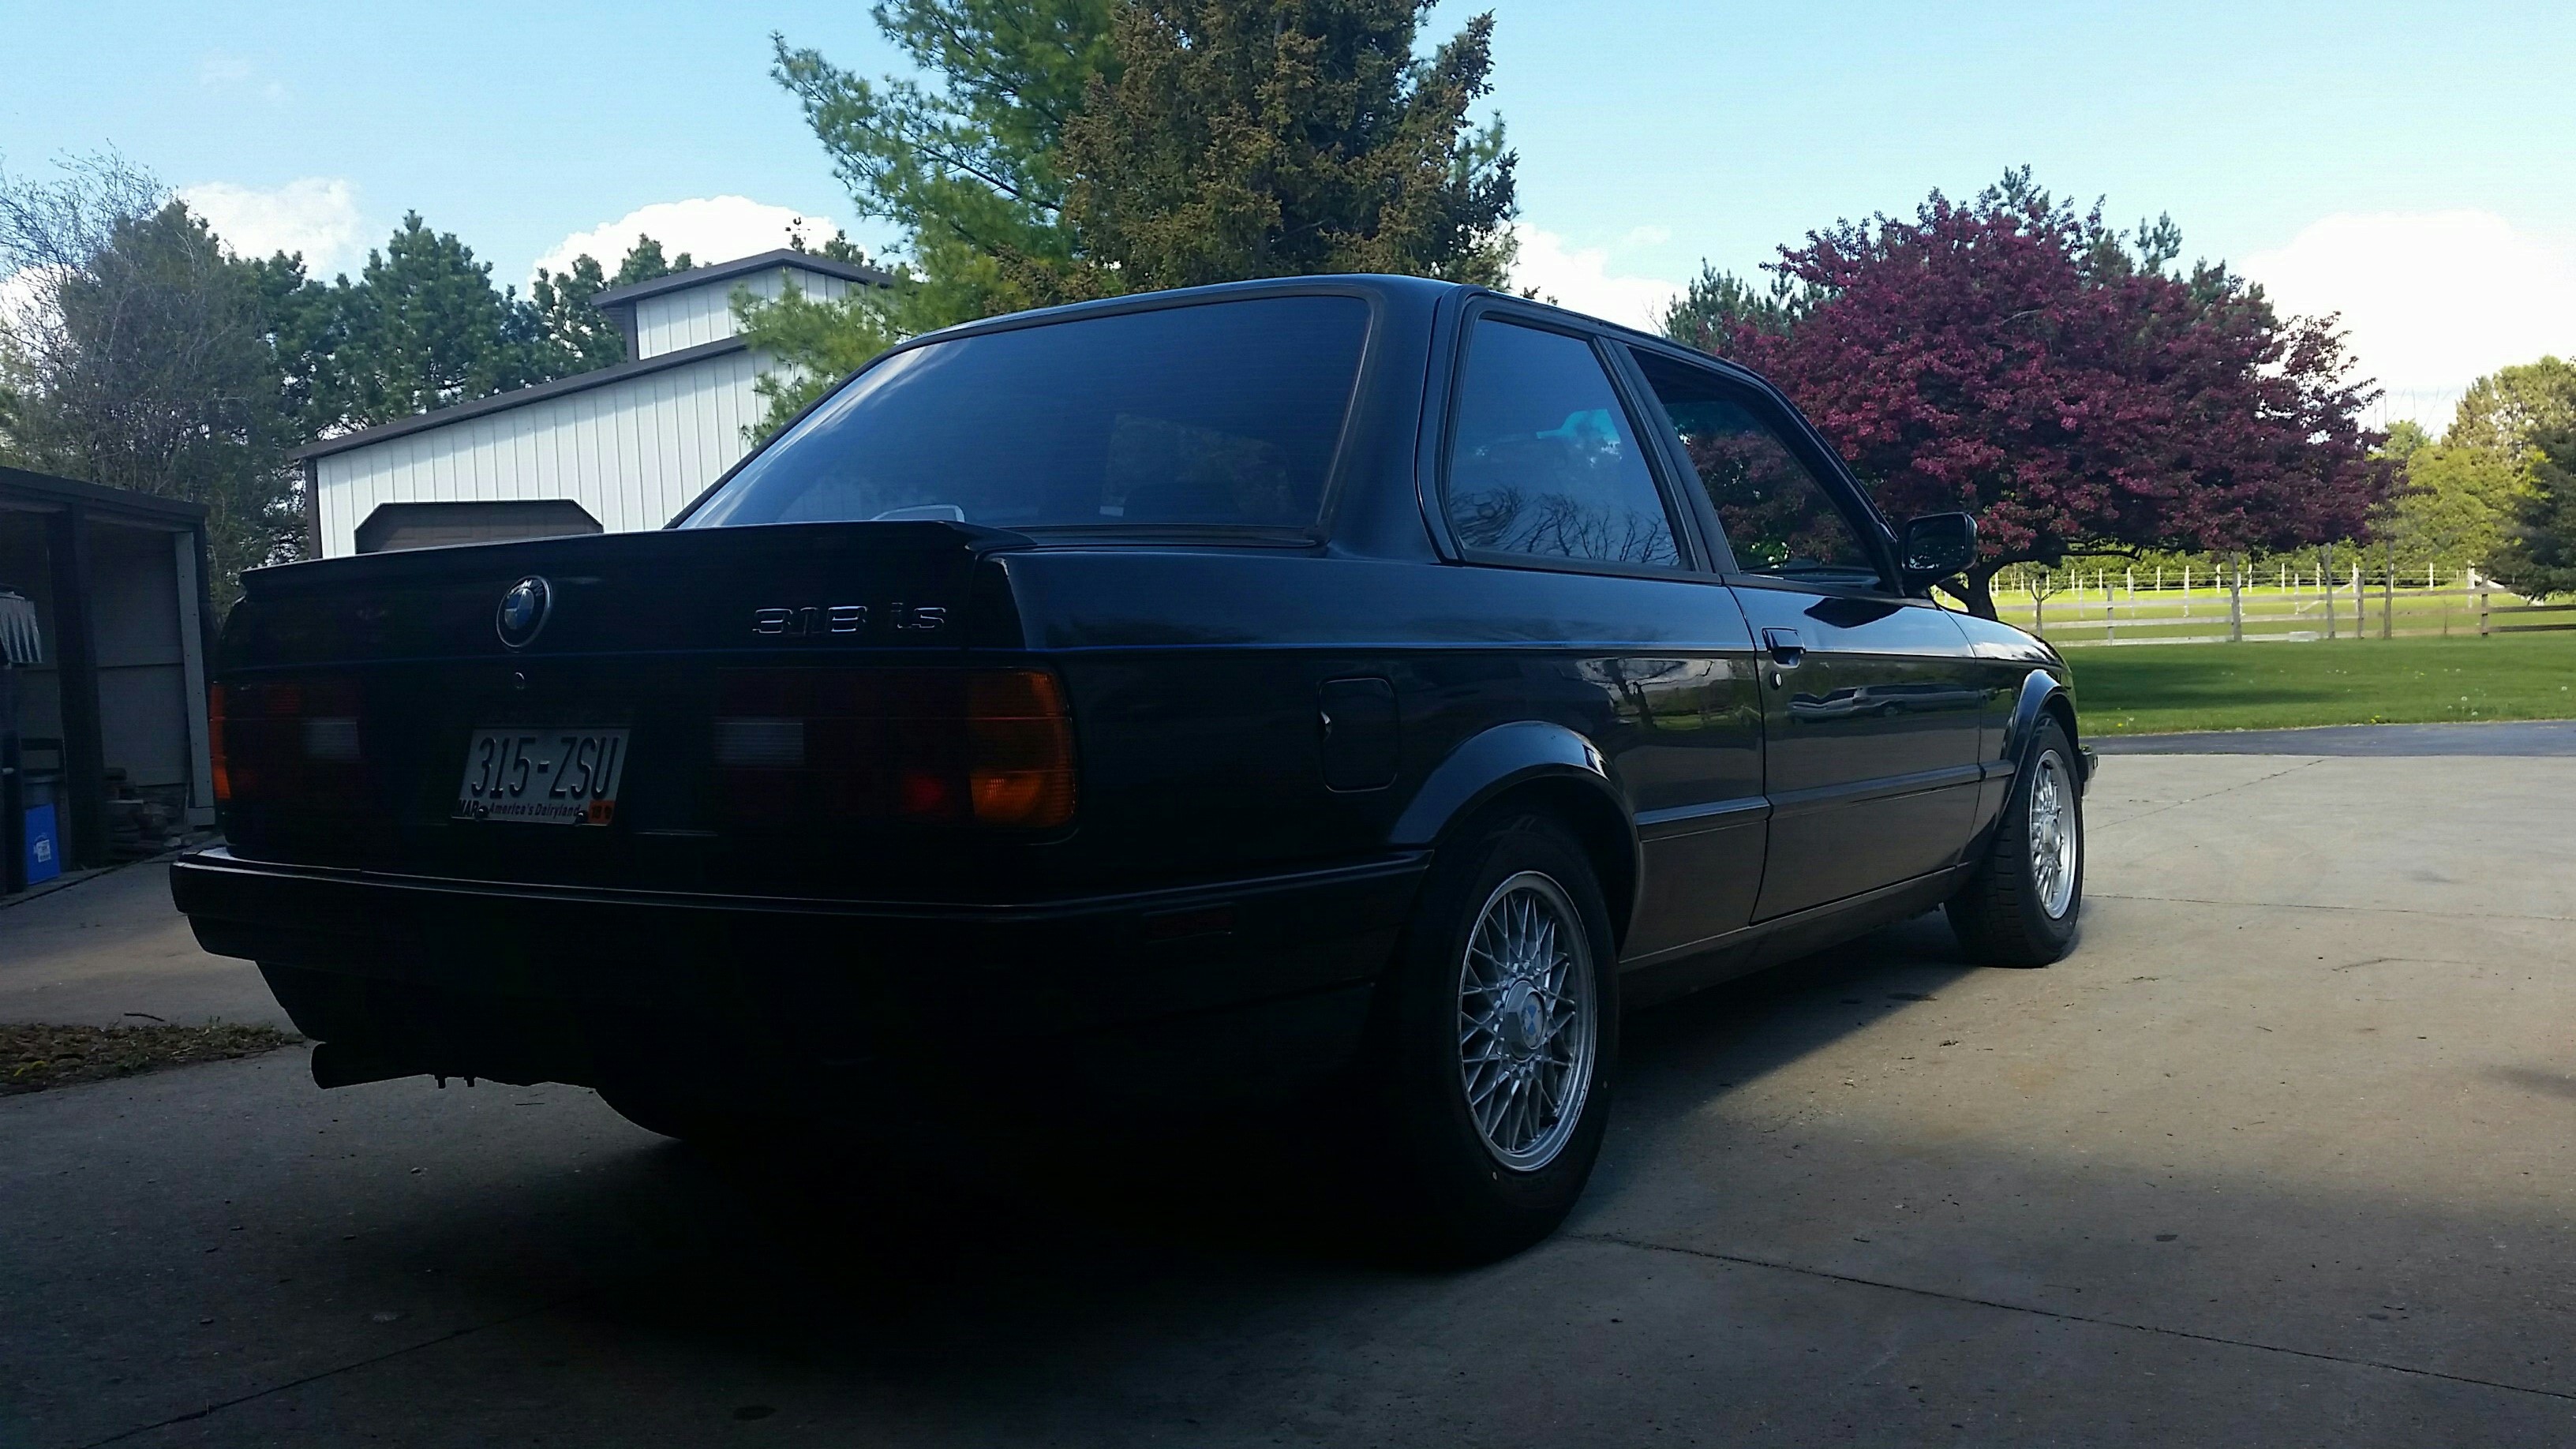
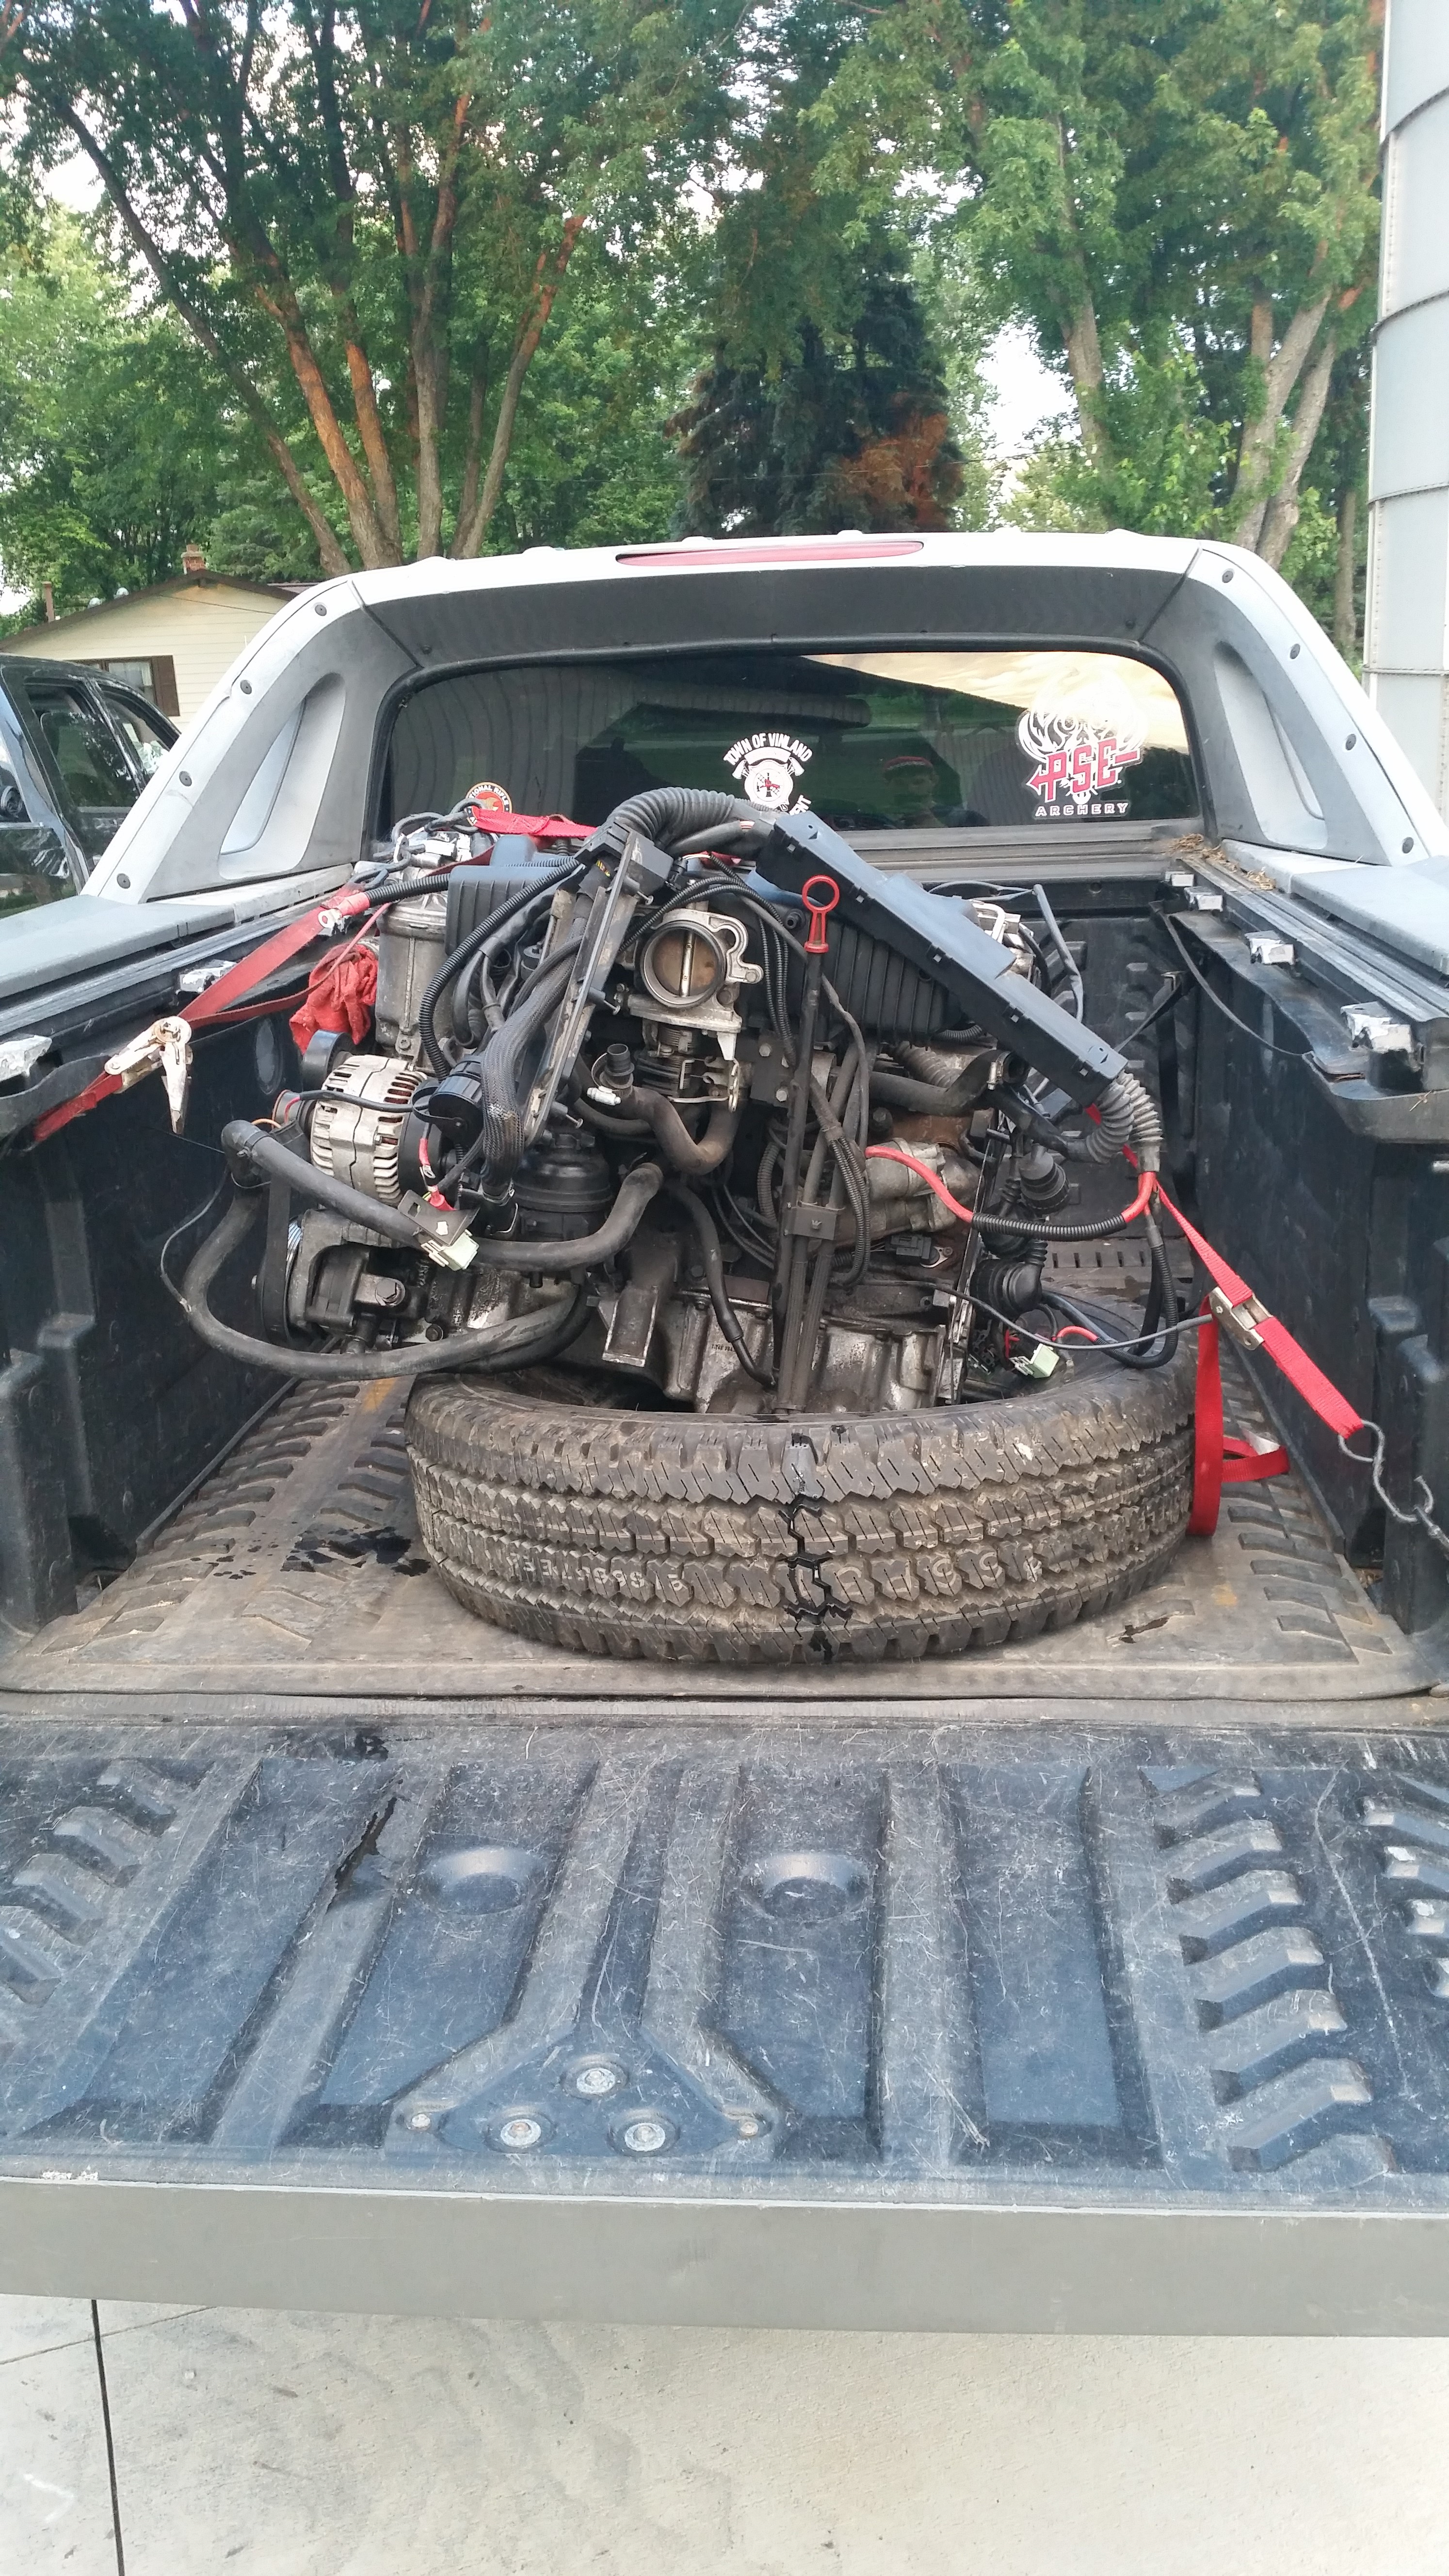
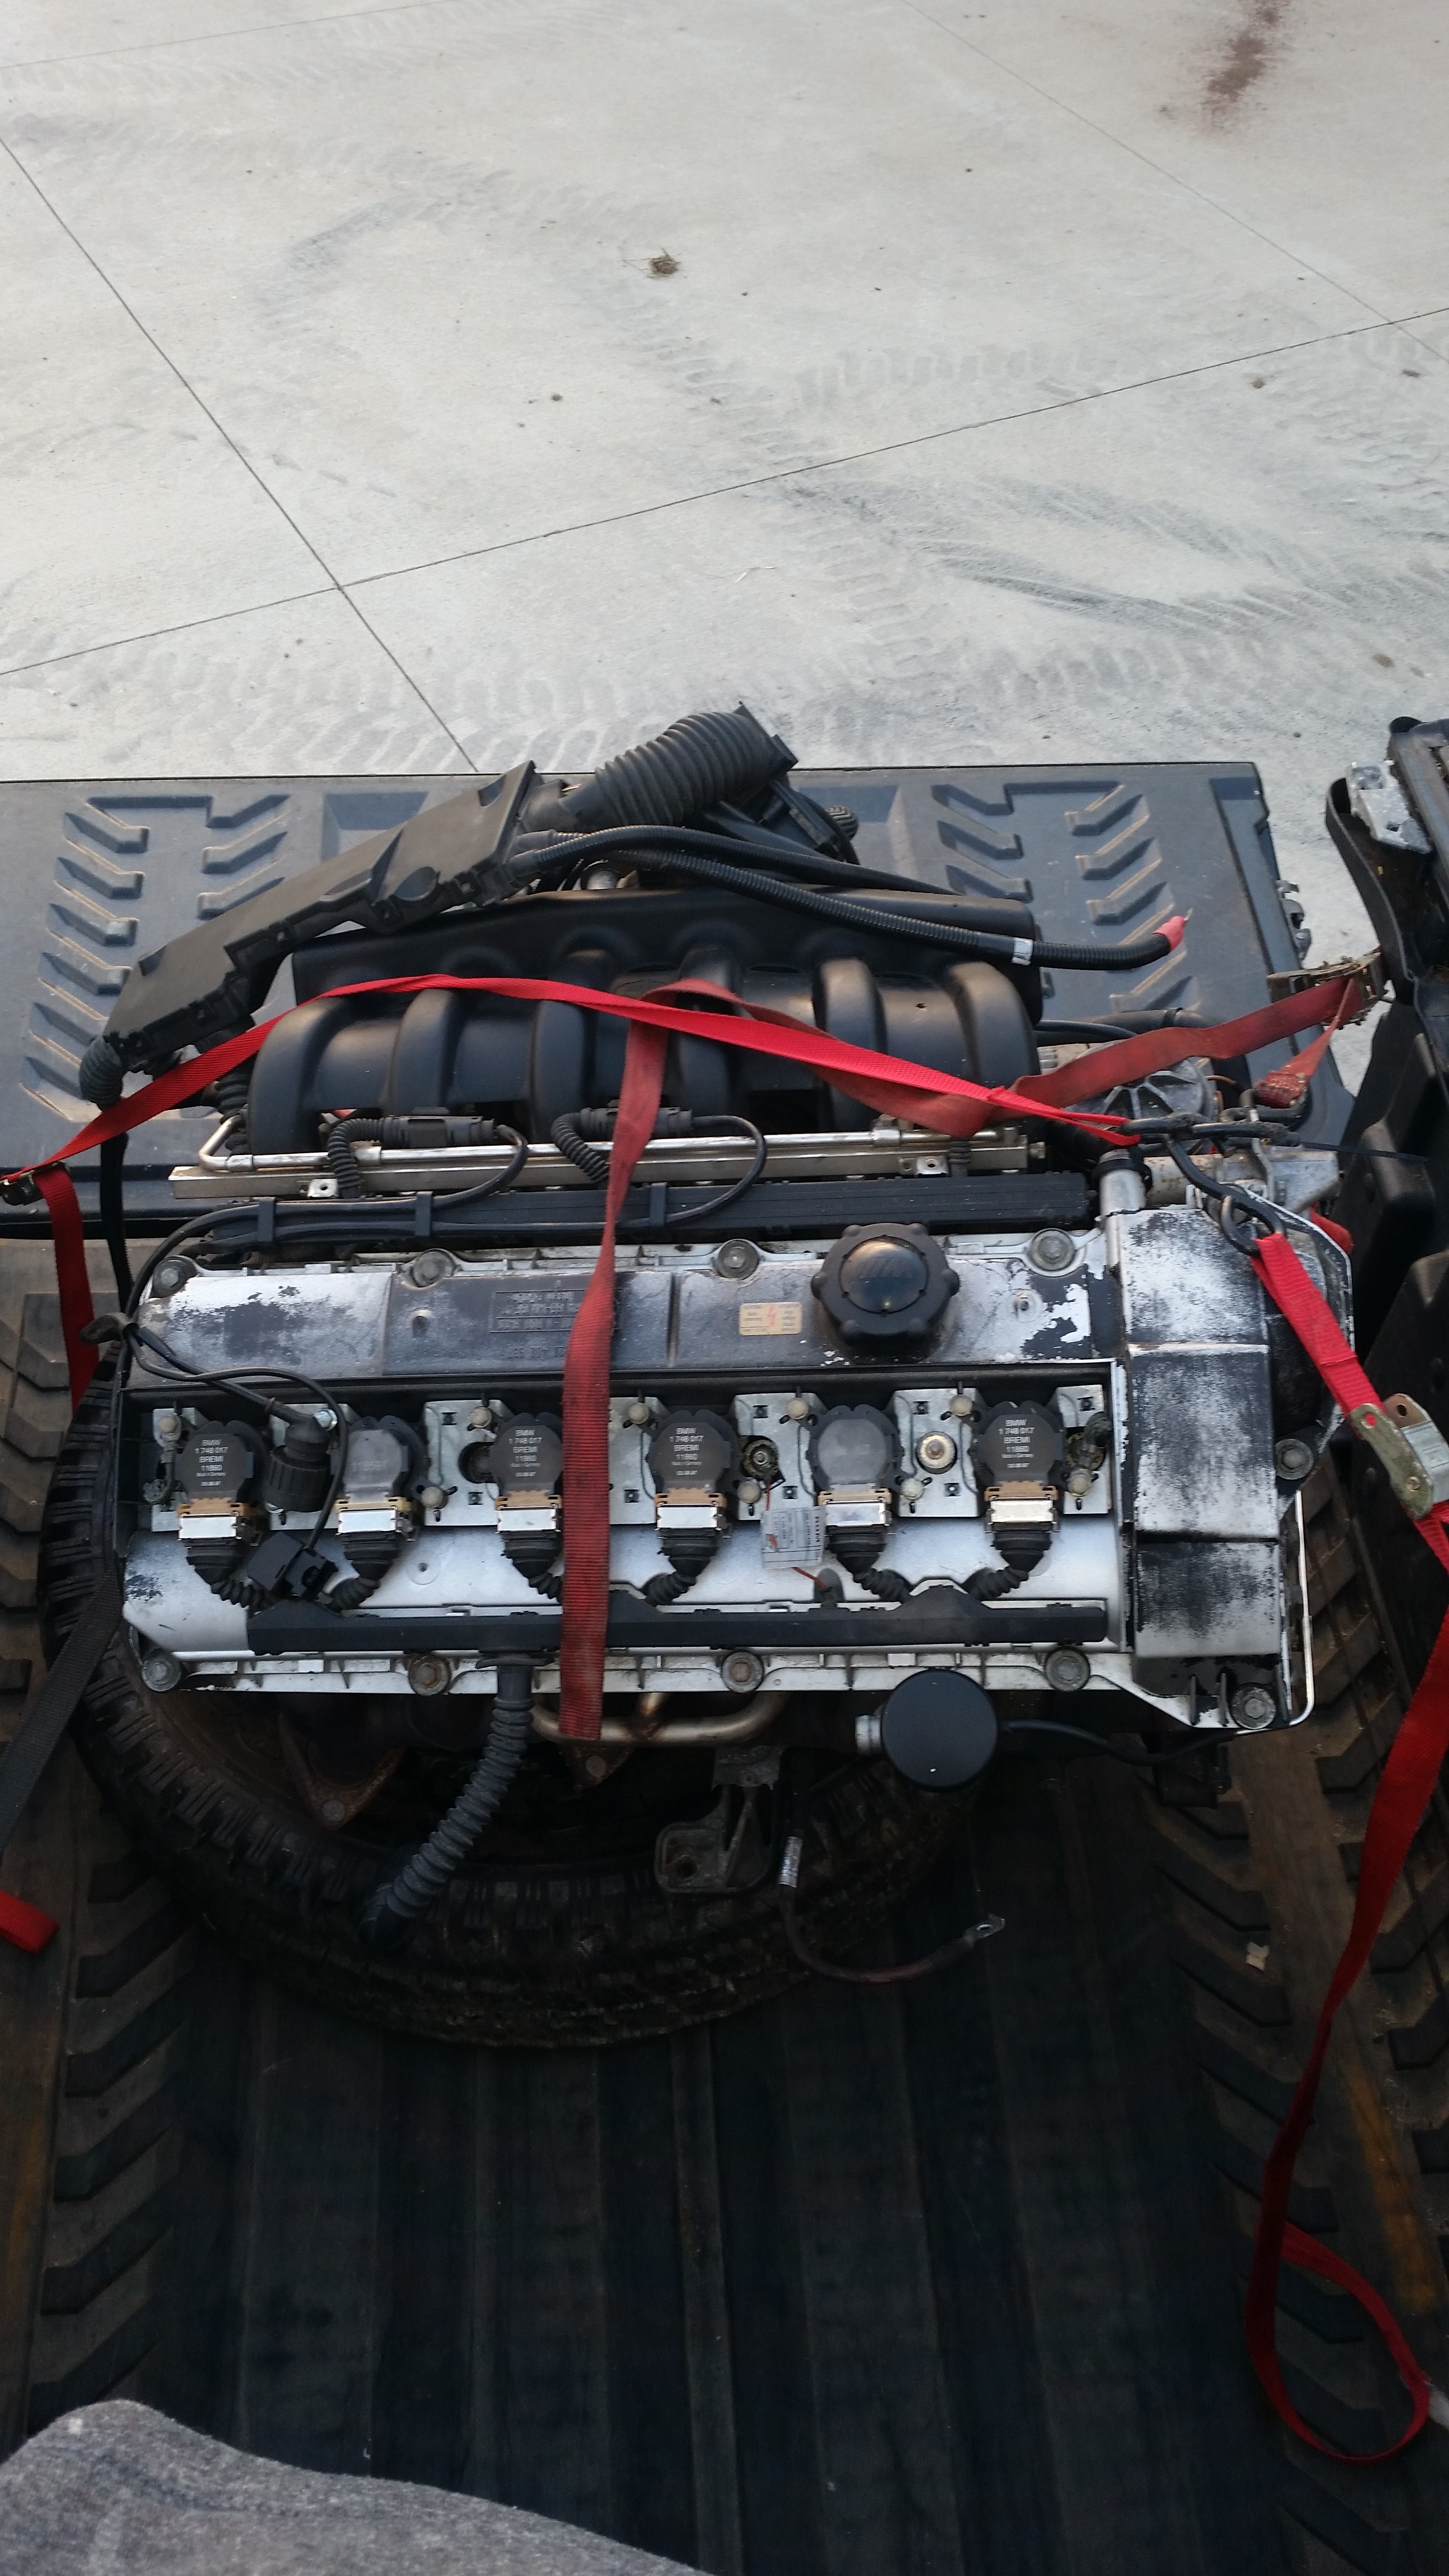
the one and only e30 s52 engine swap
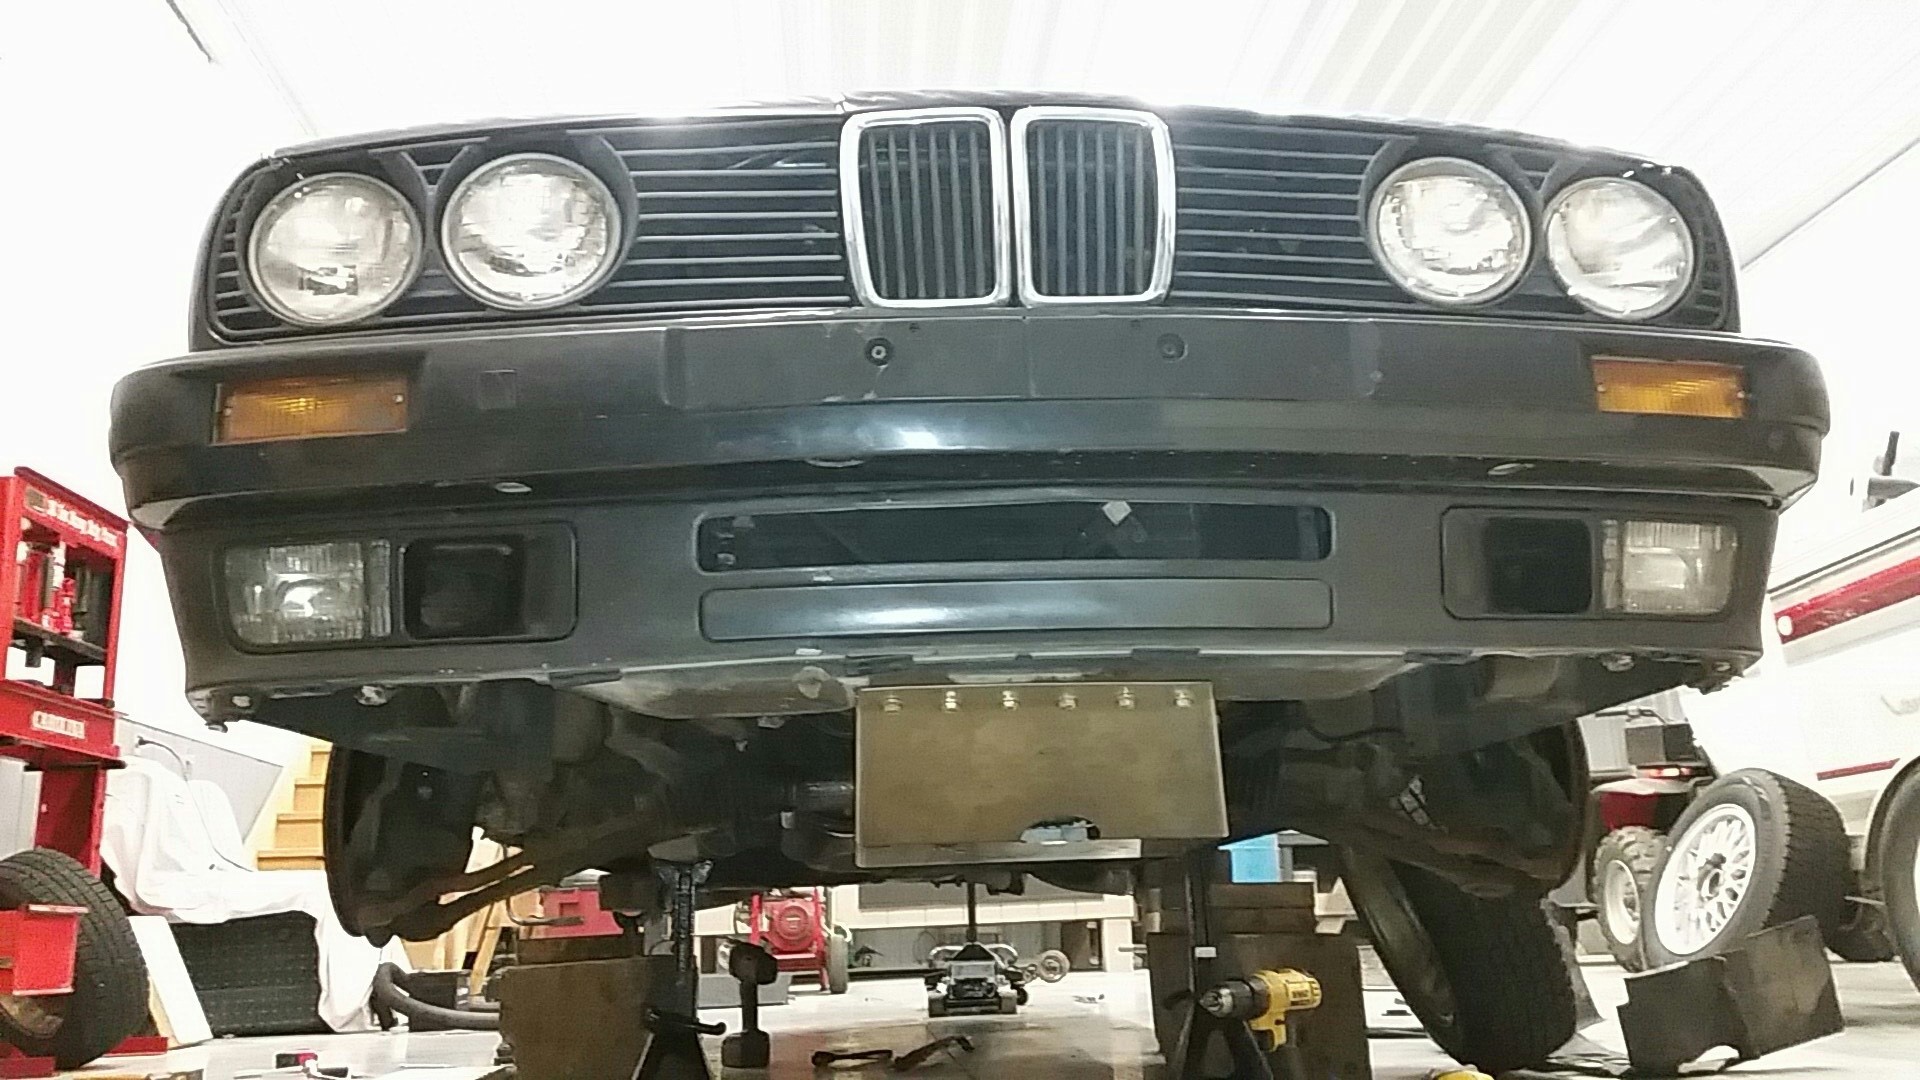
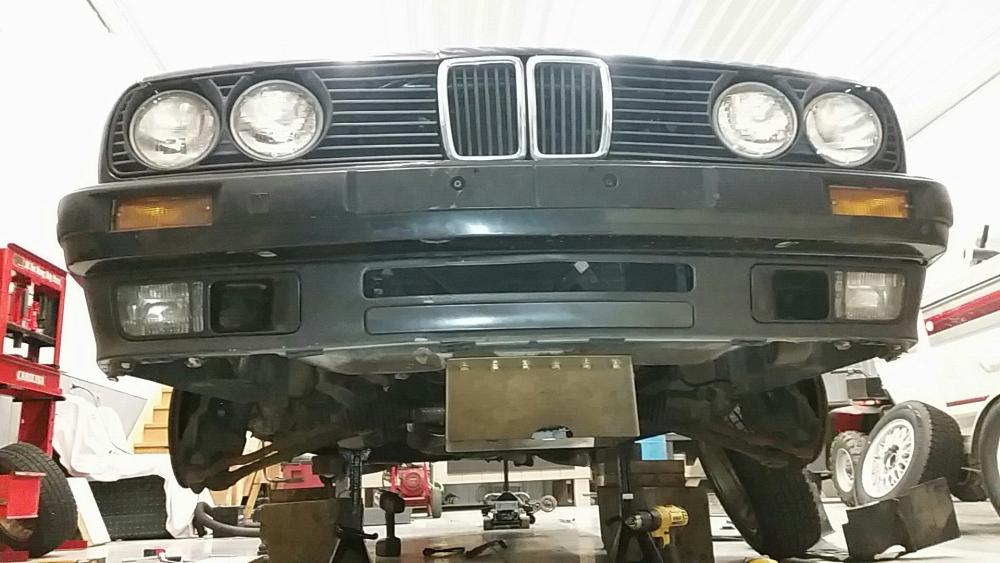
-
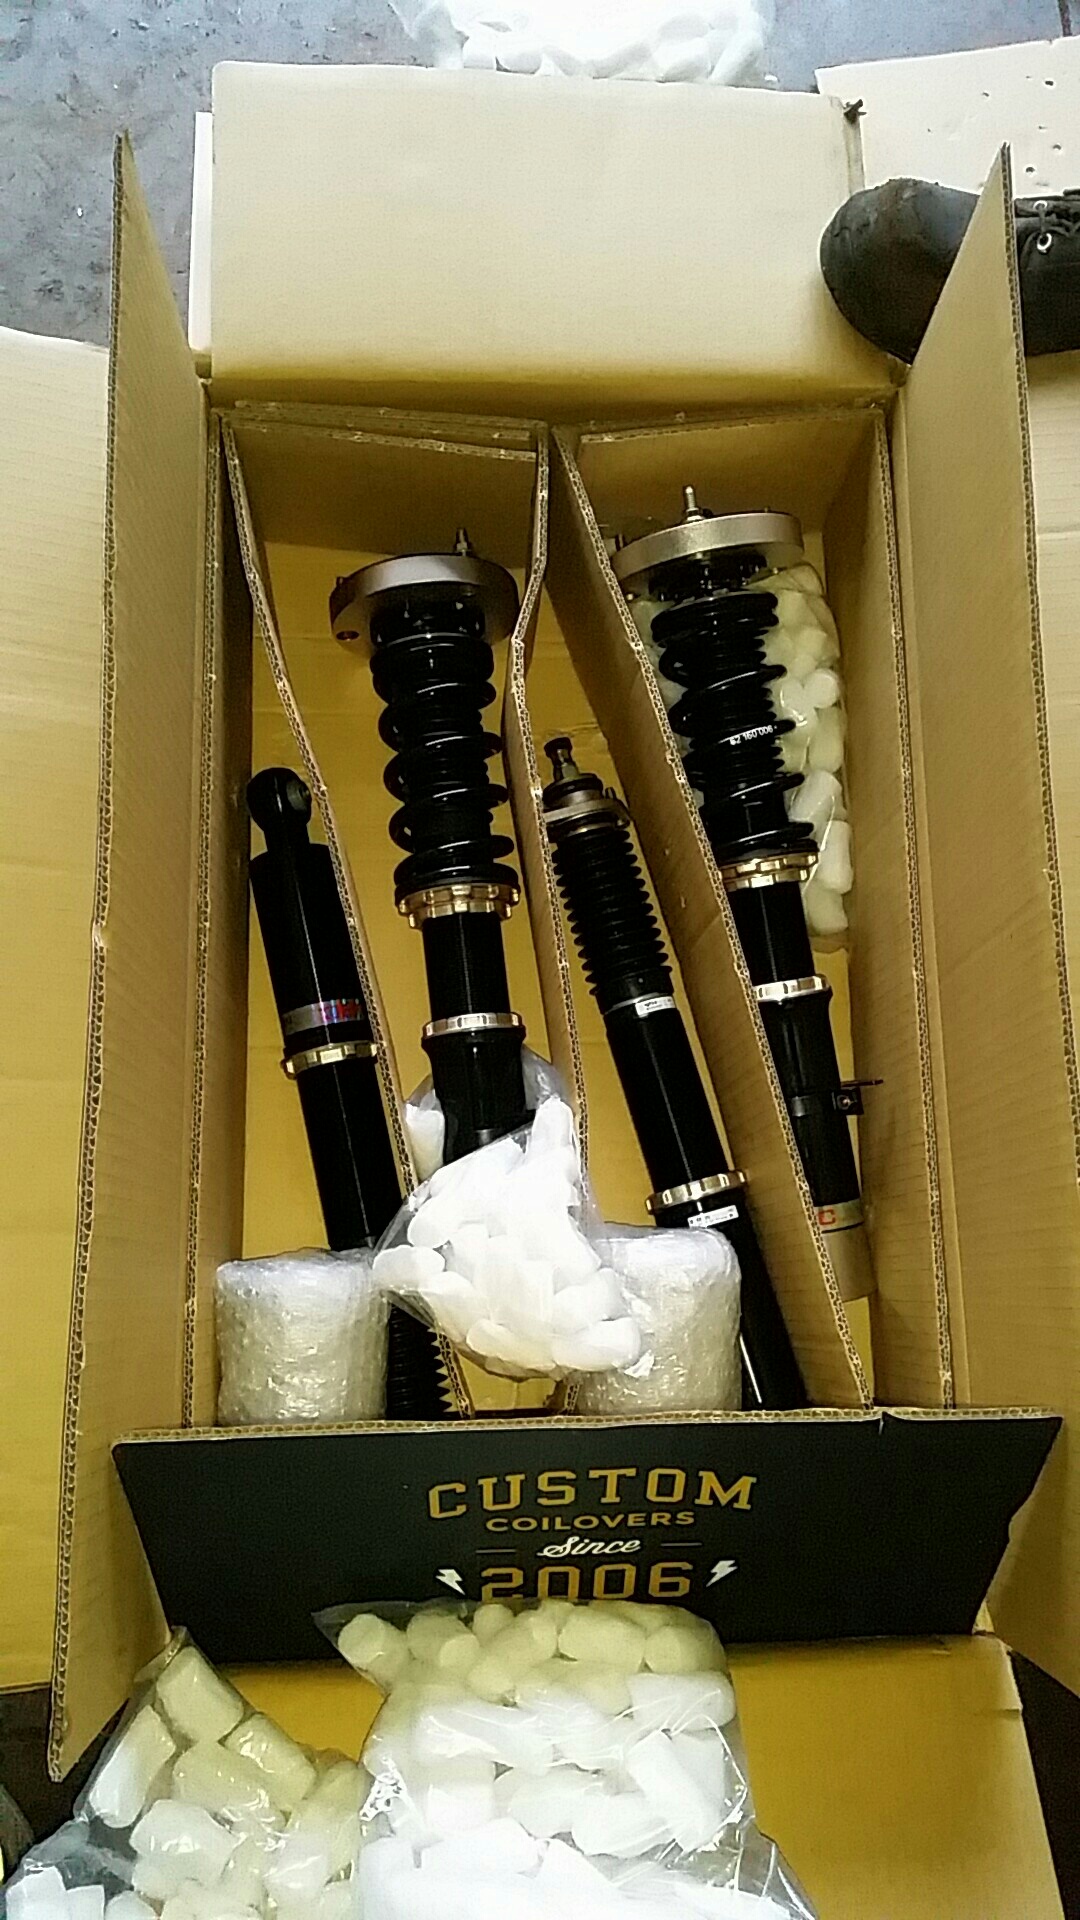
So I fixed/improved a few things on this car a couple weekends back. Even though I had thought I had fixed it entirely with the turbo drain line I have still been having some oil leaking issues lately, Just couldn't pinpoint where it was coming from. After some close inspecting I had reason to believe my valve cover gasket was leaking. A few days later a new valve cover gasket appeared on my door step and I spent an evening swapping them out.
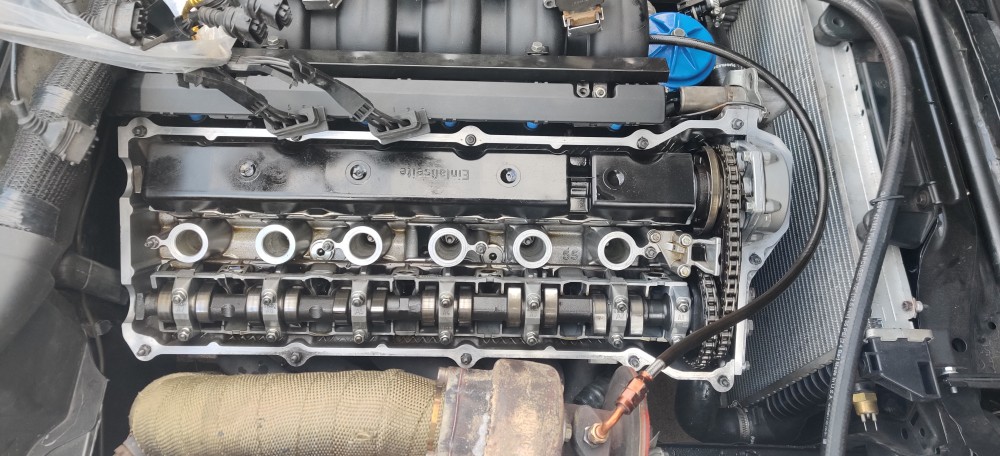
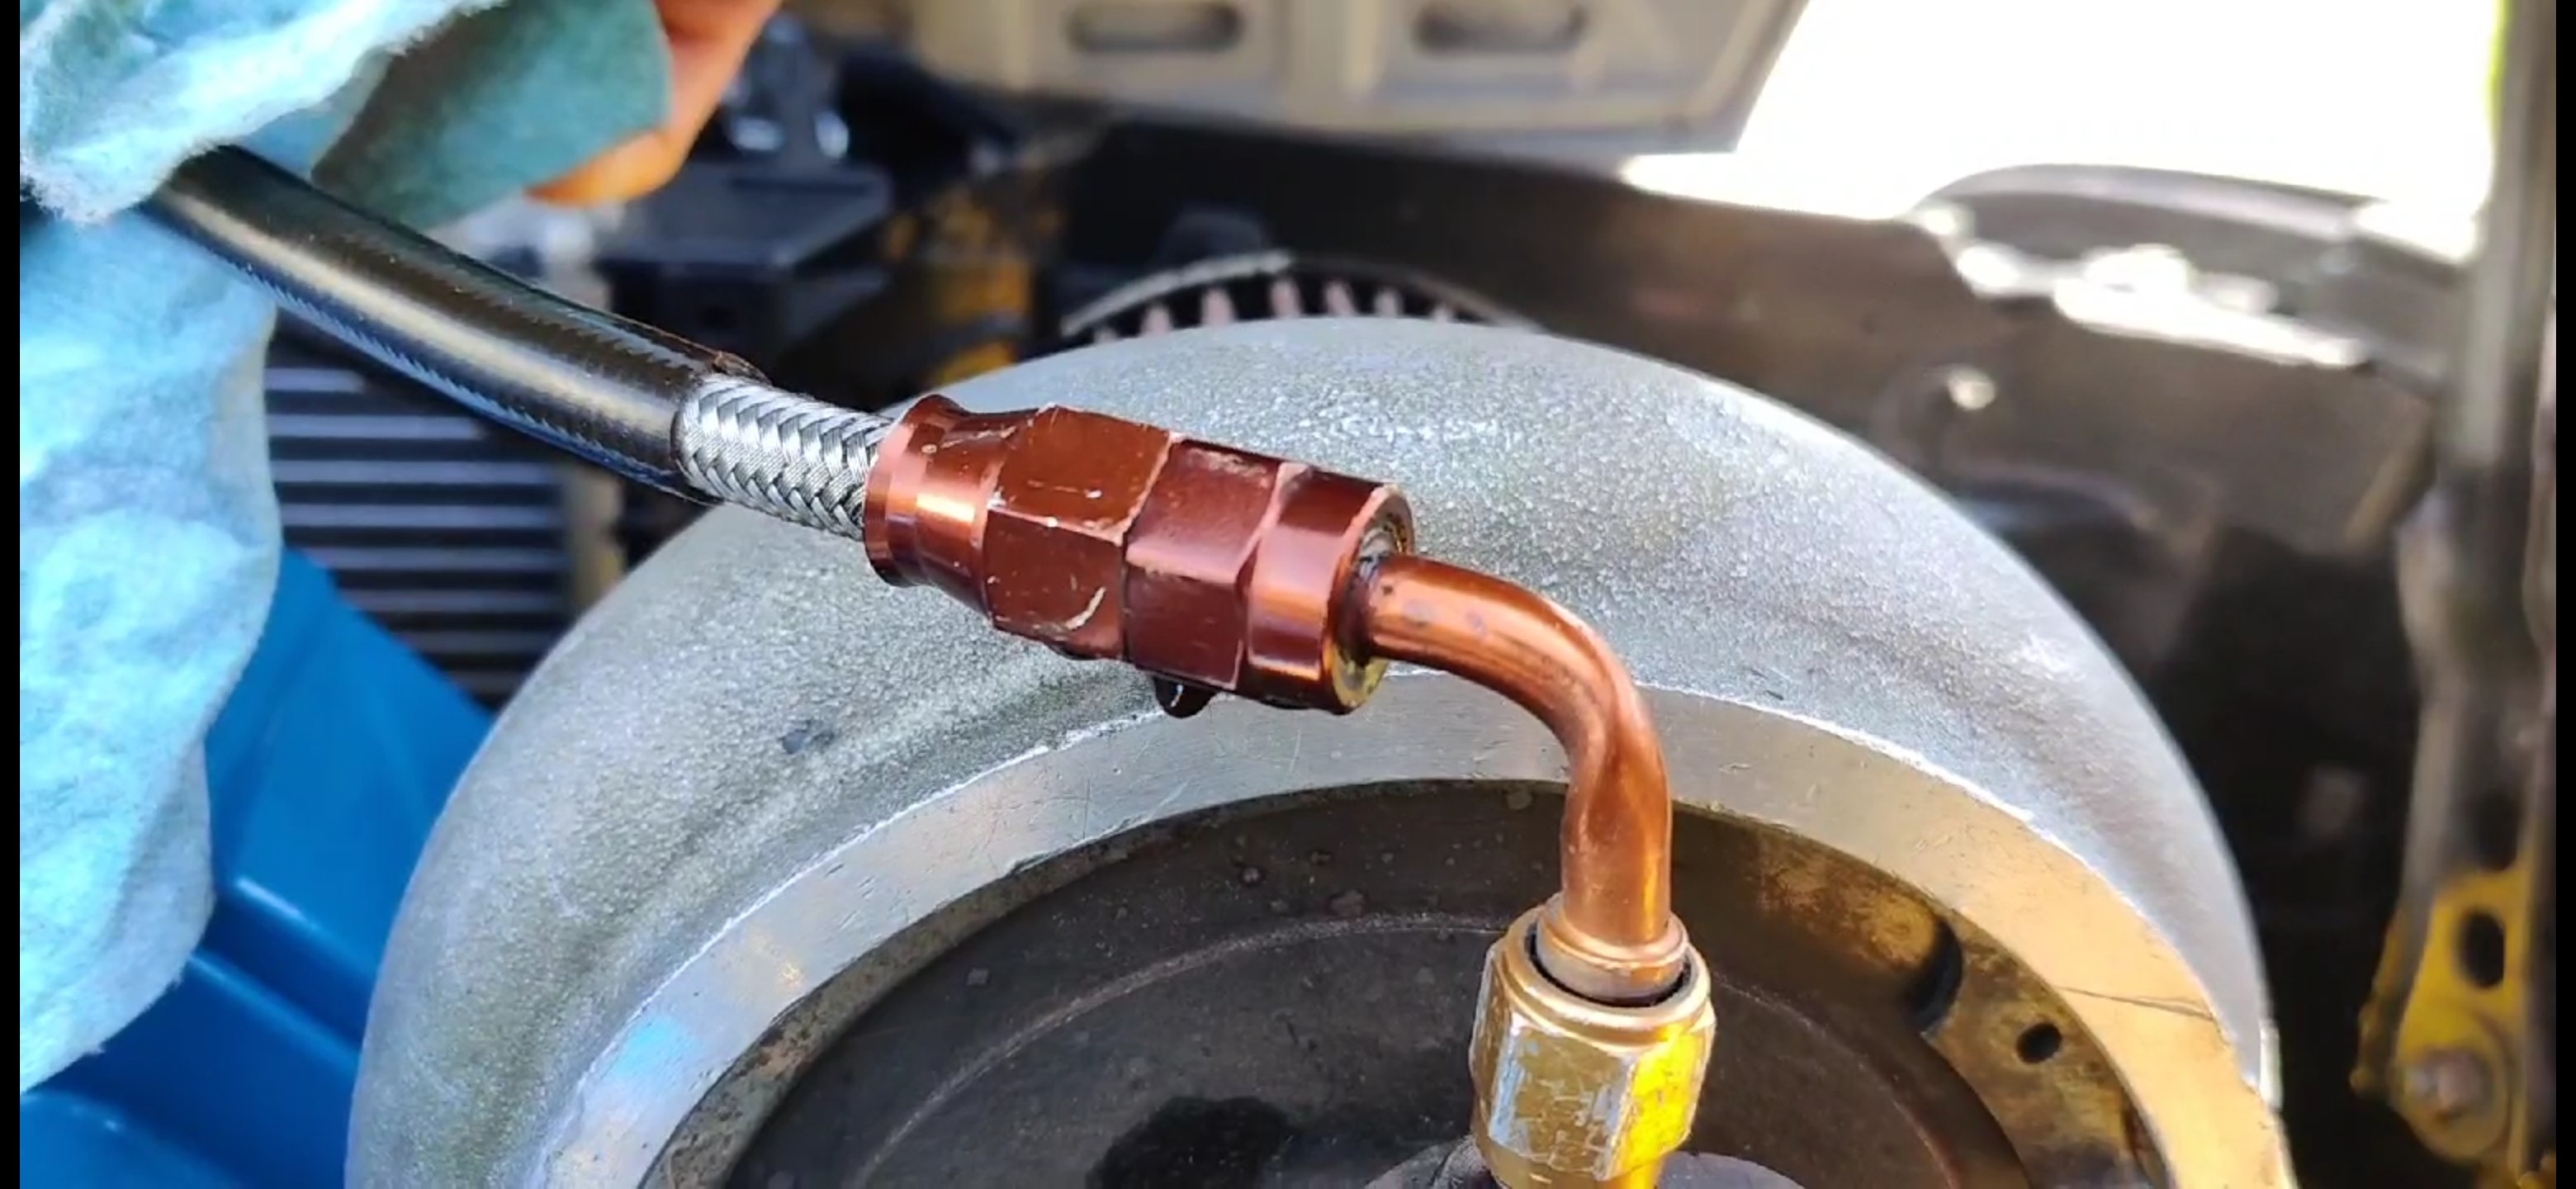
After that was finished I started the car up and began inspecting. That's when I noticed something after bumping the oil feed line for the turbo...
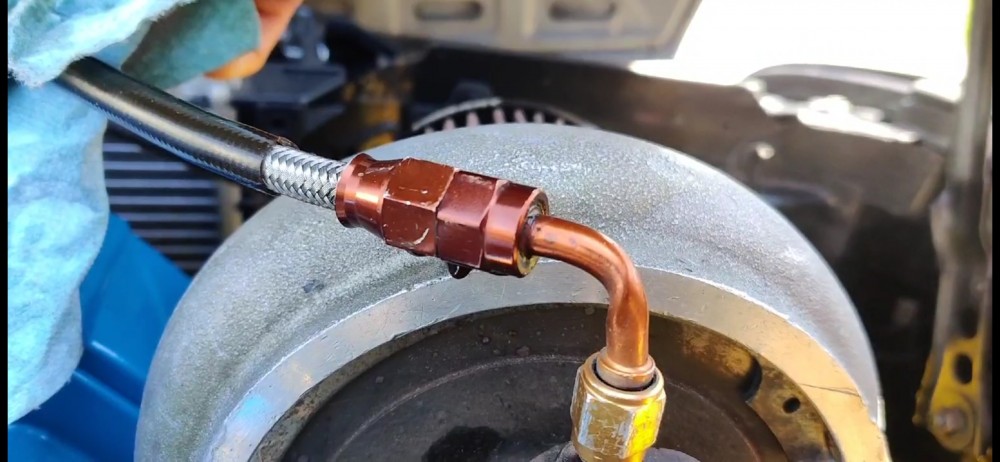
You can also see that the 90 on the -an fitting had been kinked. I knew about this prior to the leak but new that oil still flowed through it fine and kind of just put it off. well sure enough that's where the leak was all along. When I lifted the line ever so slightly it would begin dripping drastically. After spending a few hours searching around I ordered a new -4 an line from rally road. Also, after some more inspecting I found that the oem breather fitting coming out of the valve cover wasn't cutting it anymore and blow by was getting past the fitting and making an oily mess underneath. While on rally road's site I also found that they sold a fitting to fix this exact issue so I ordered that as well.
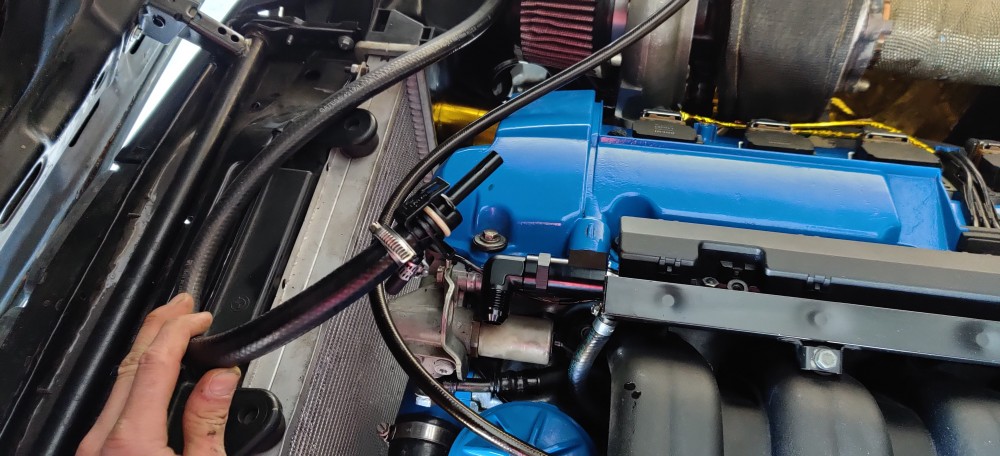
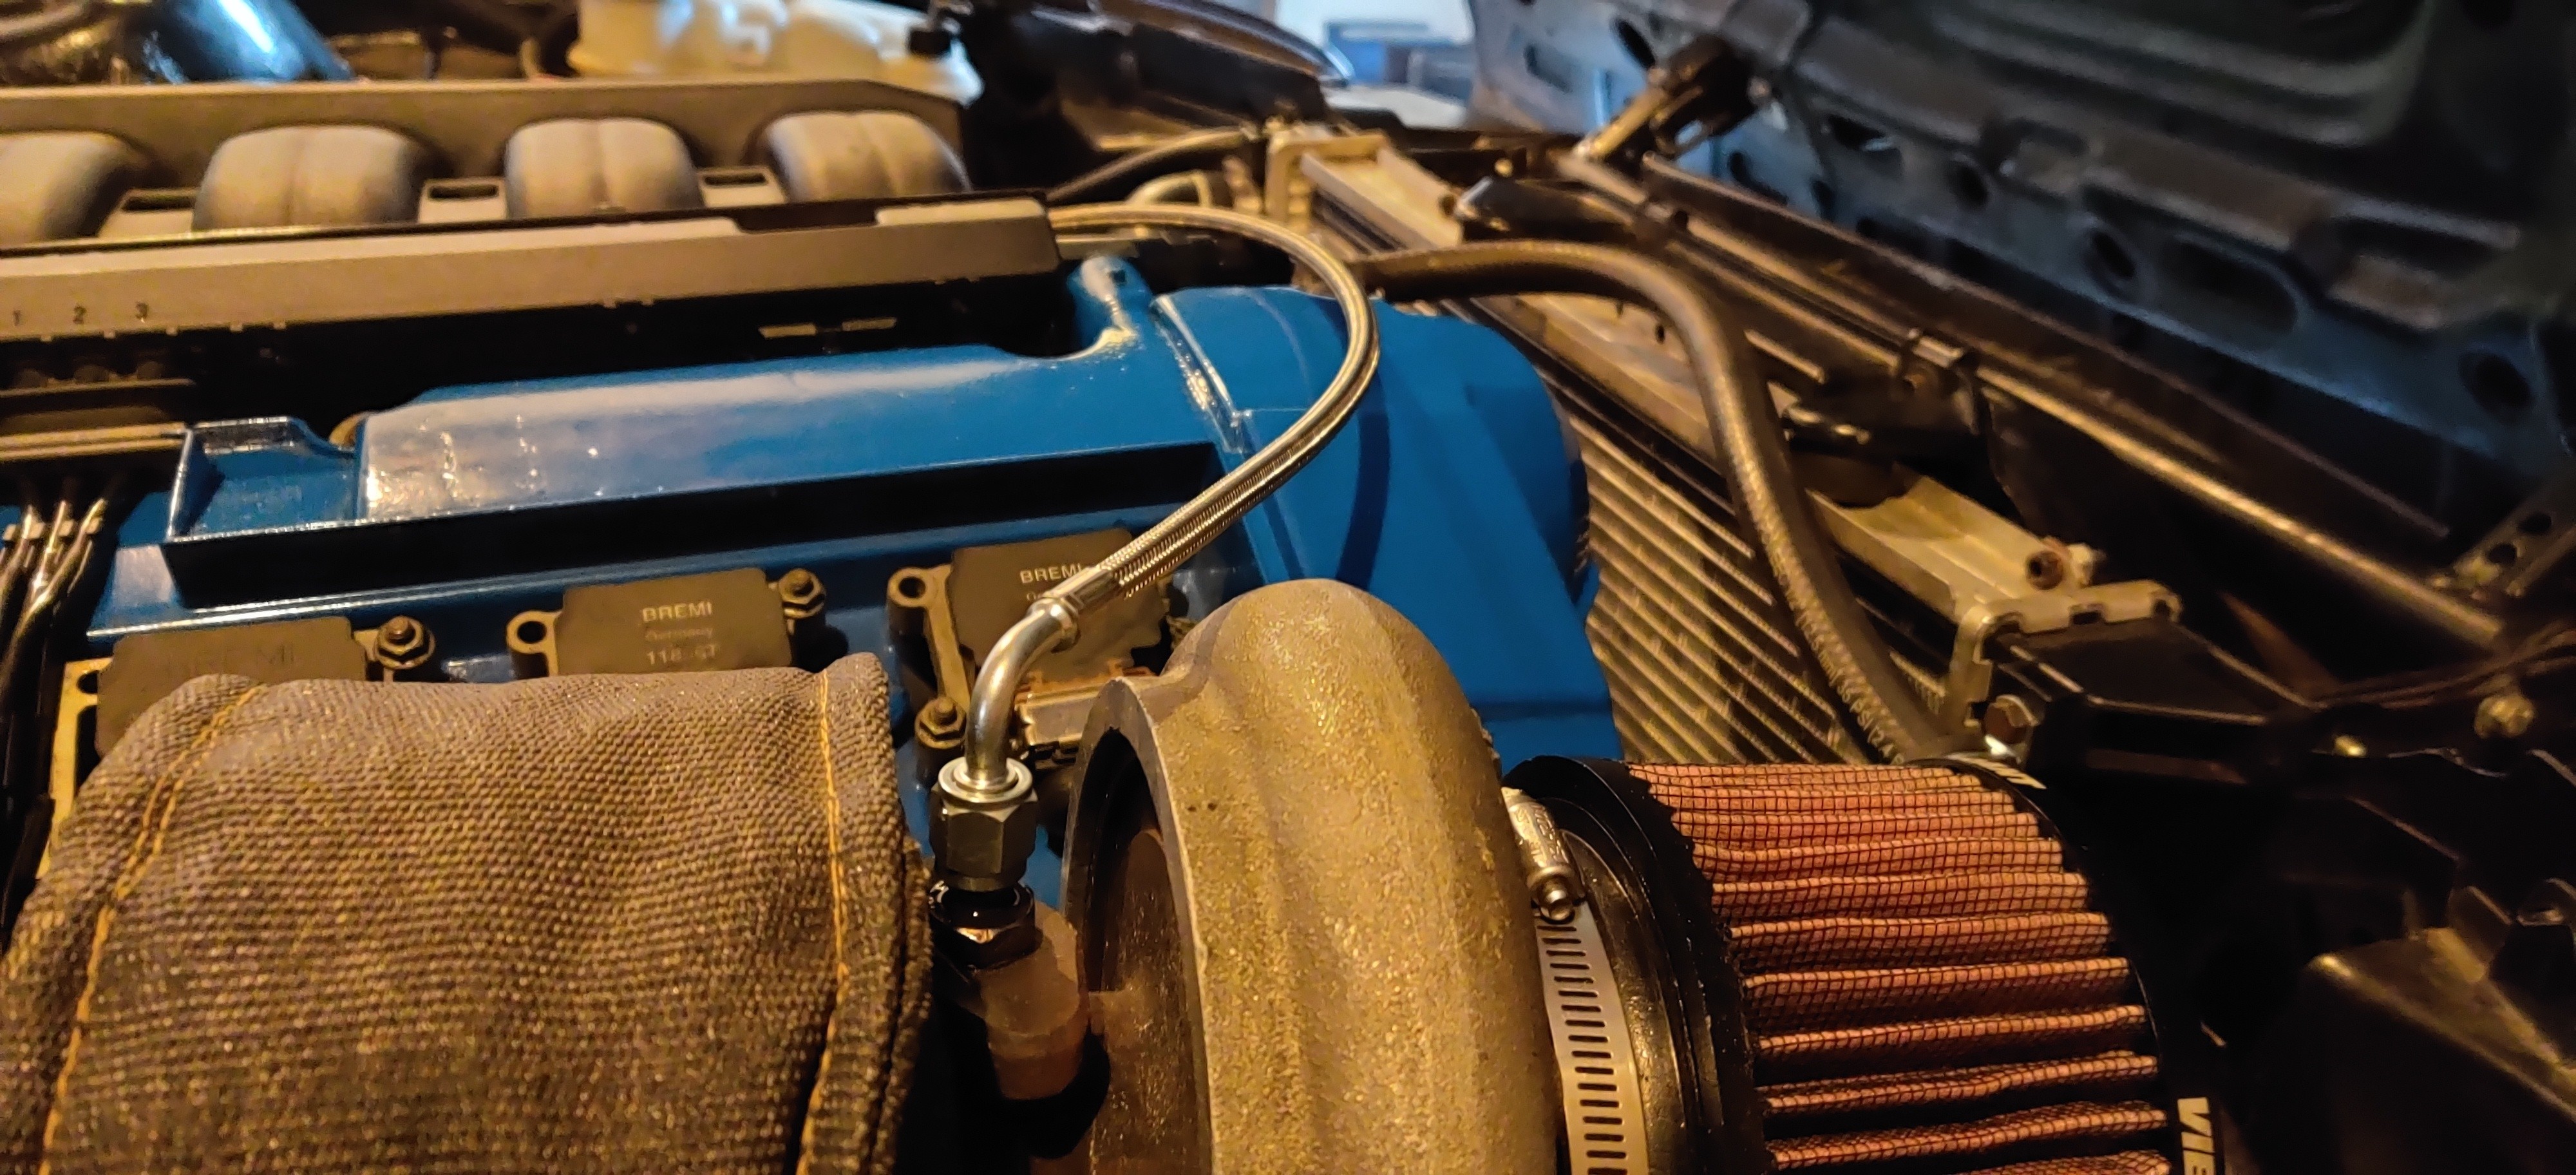
A week later or so and the fitting and line were here. The following day after work I got to installing the new pieces.
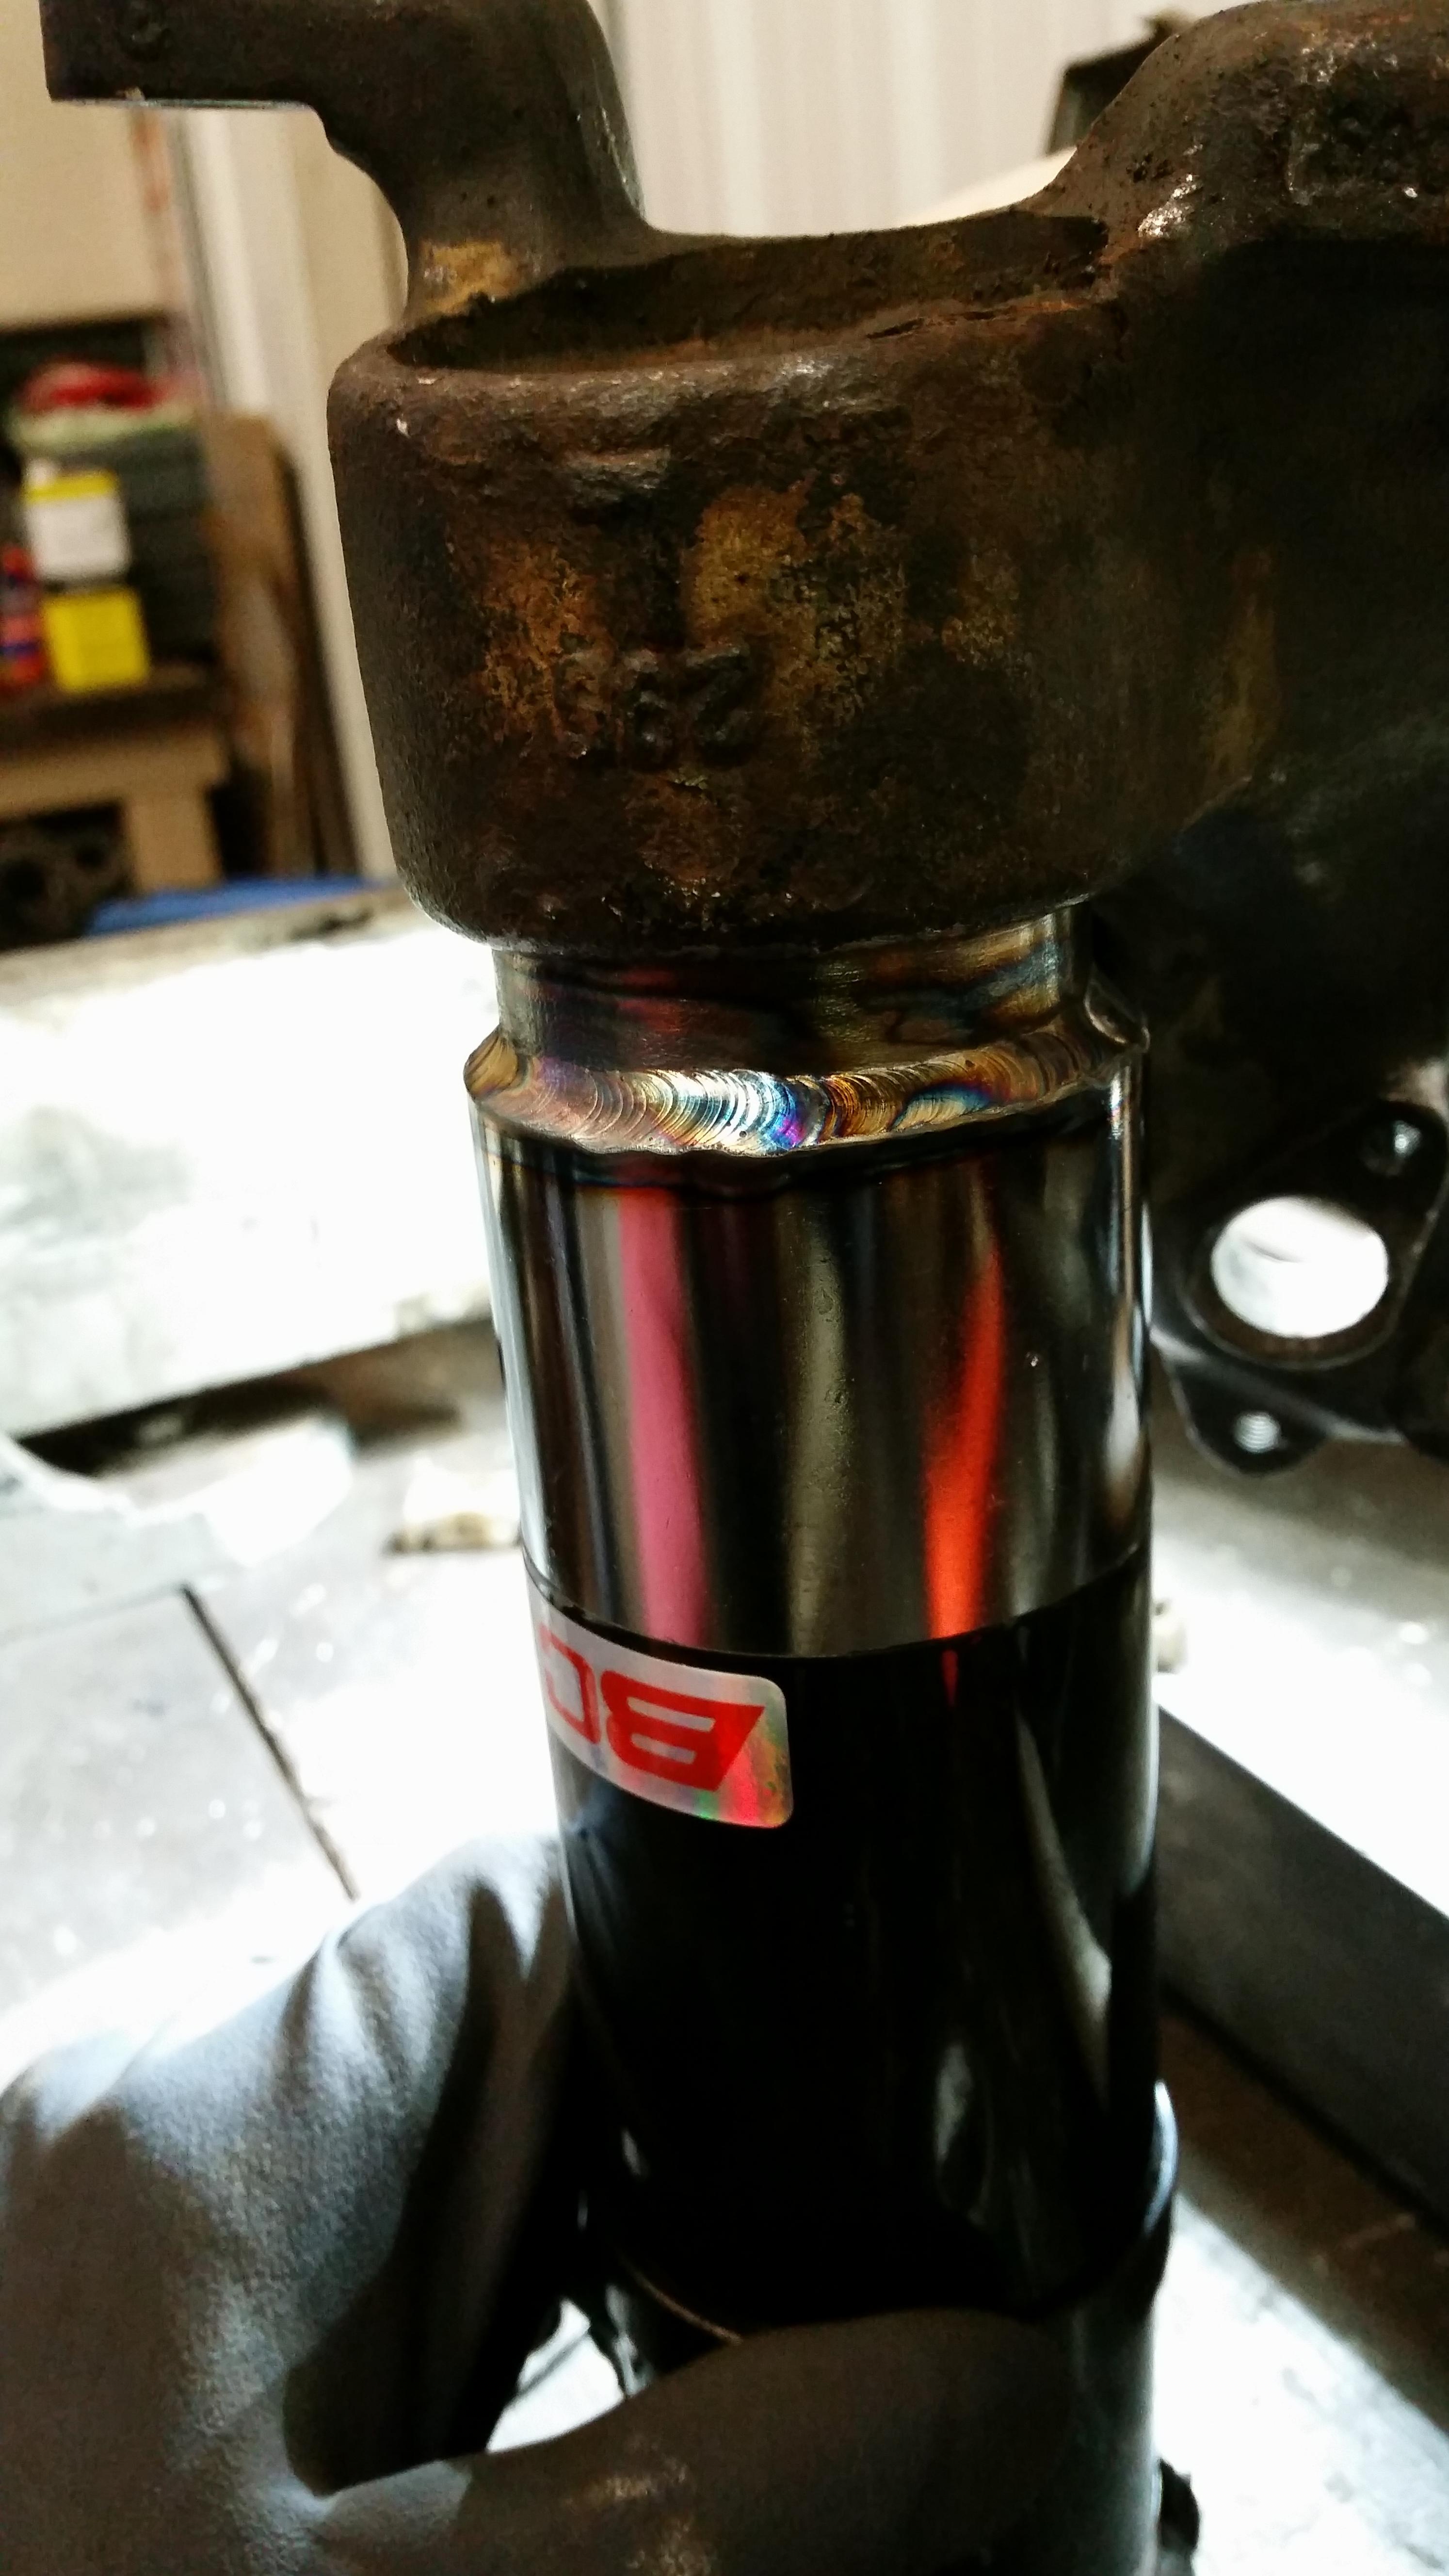
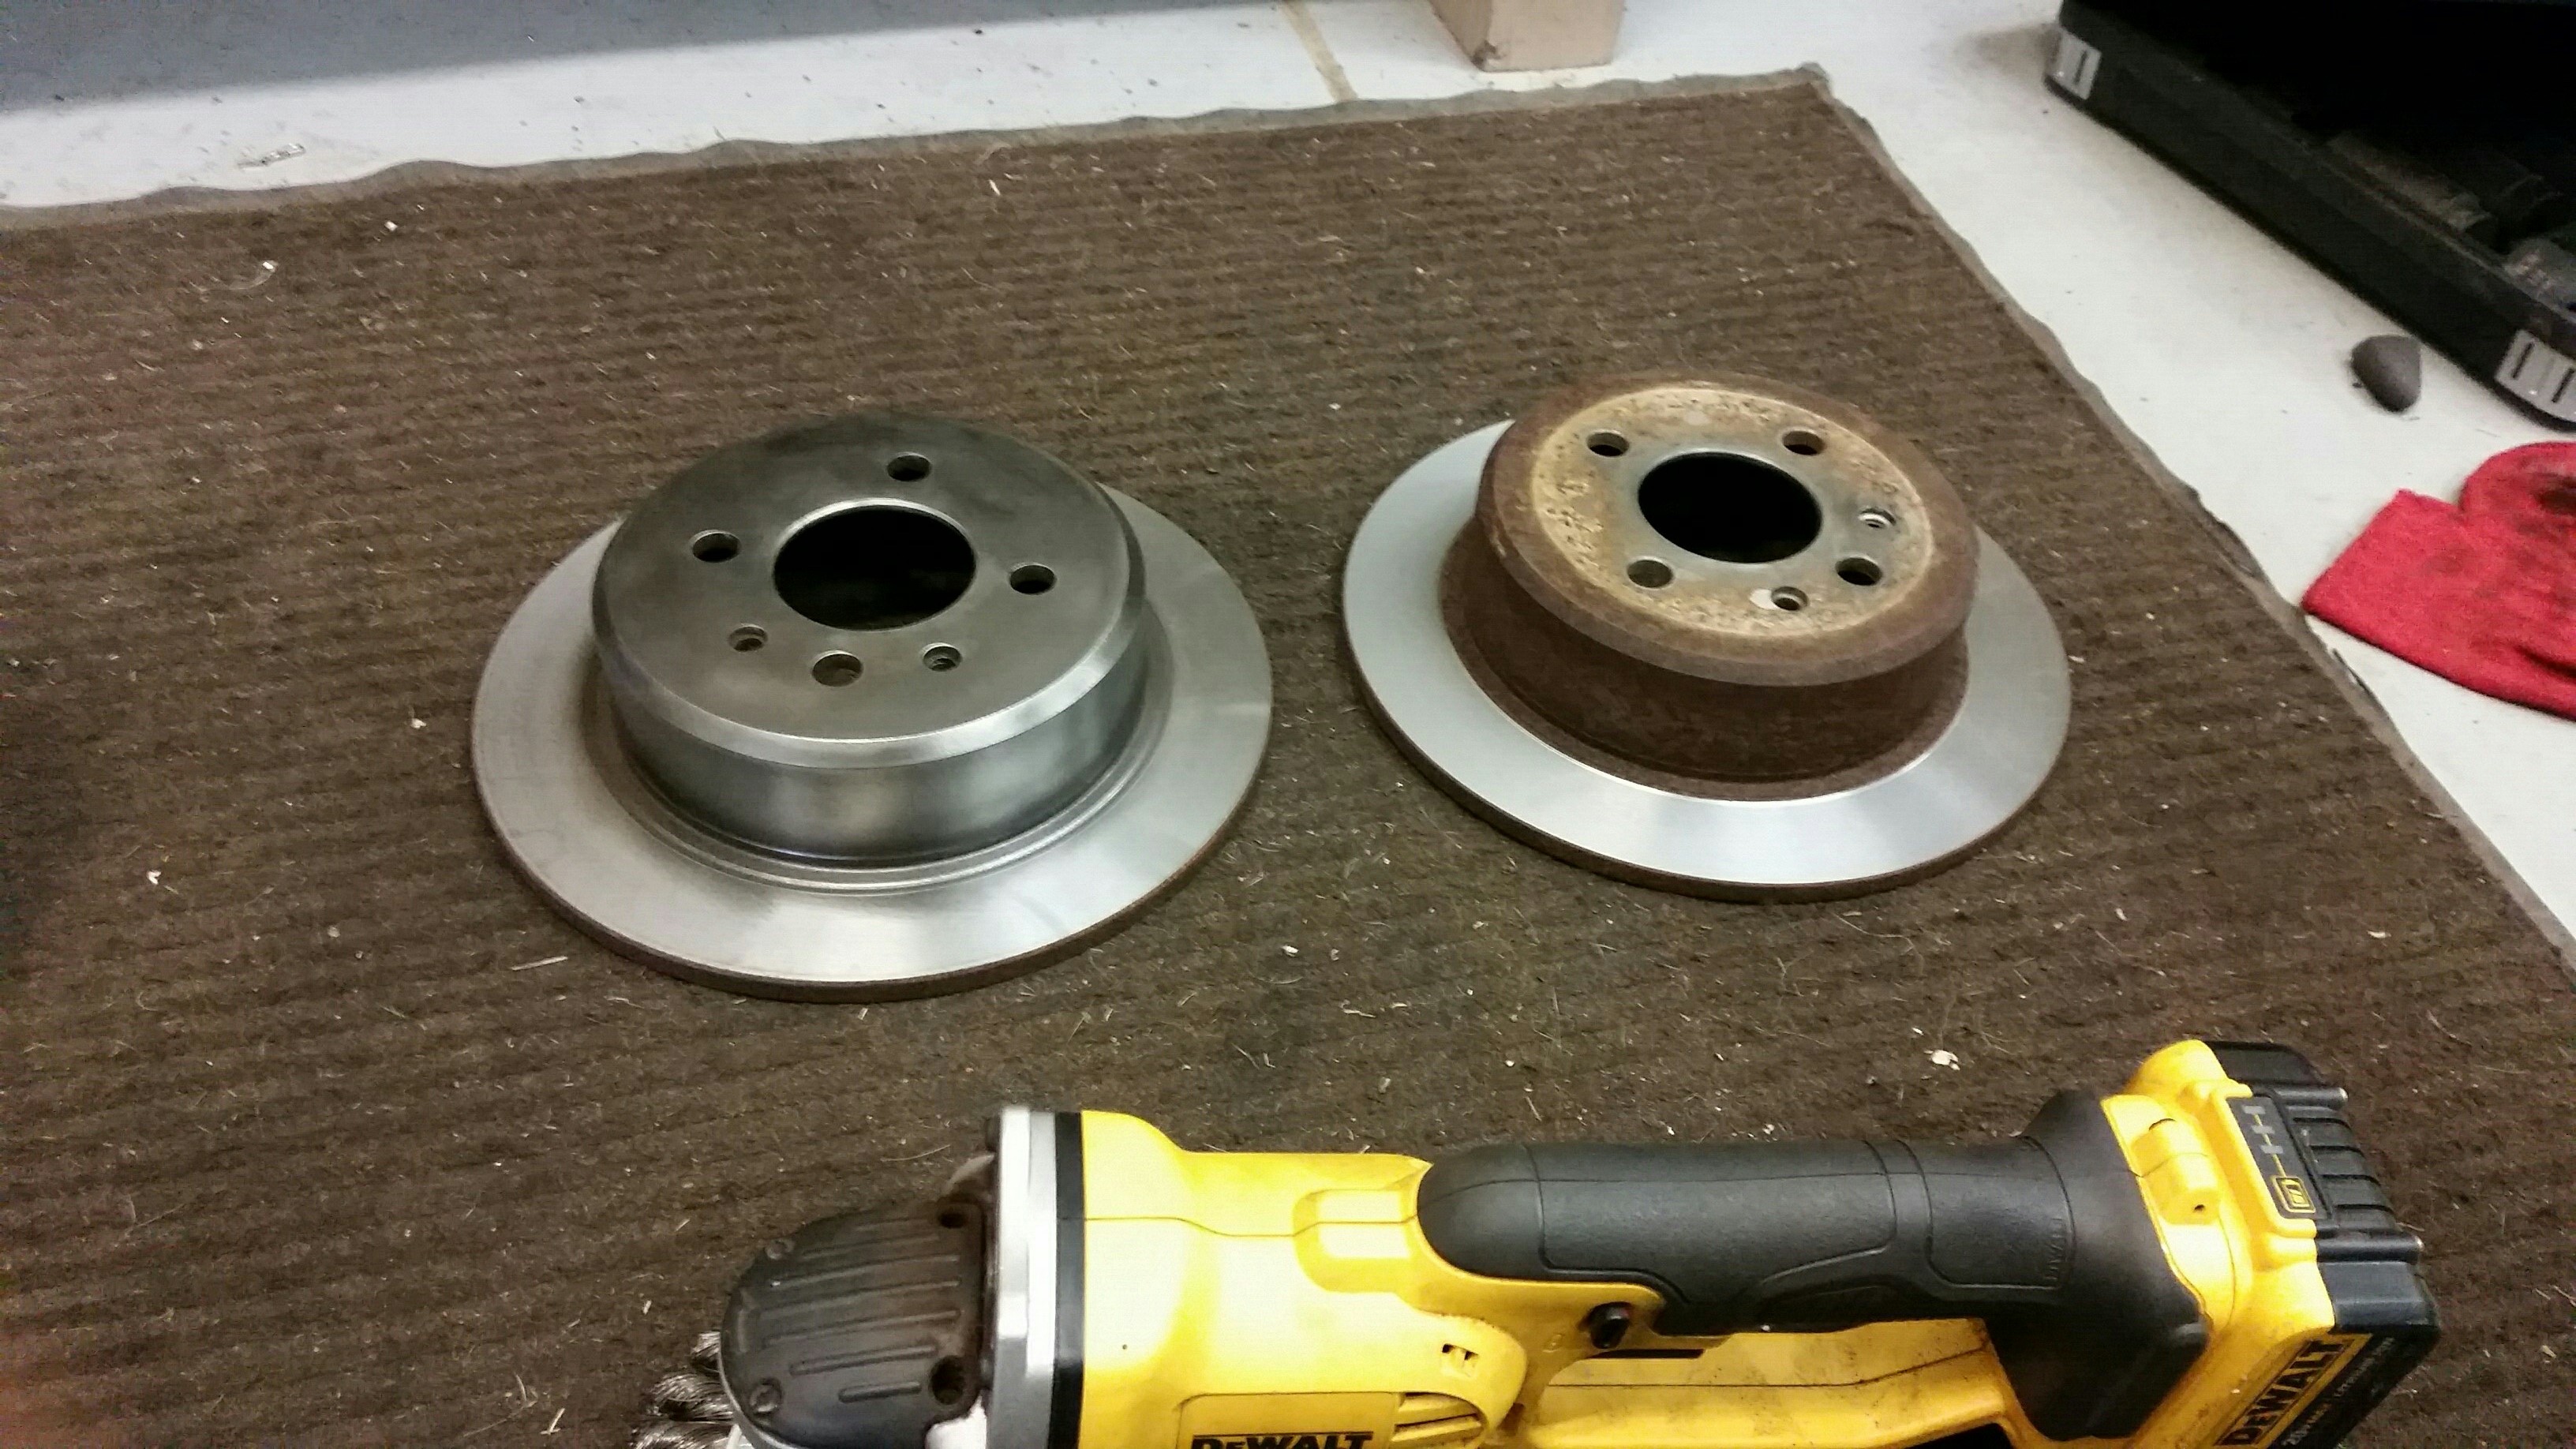
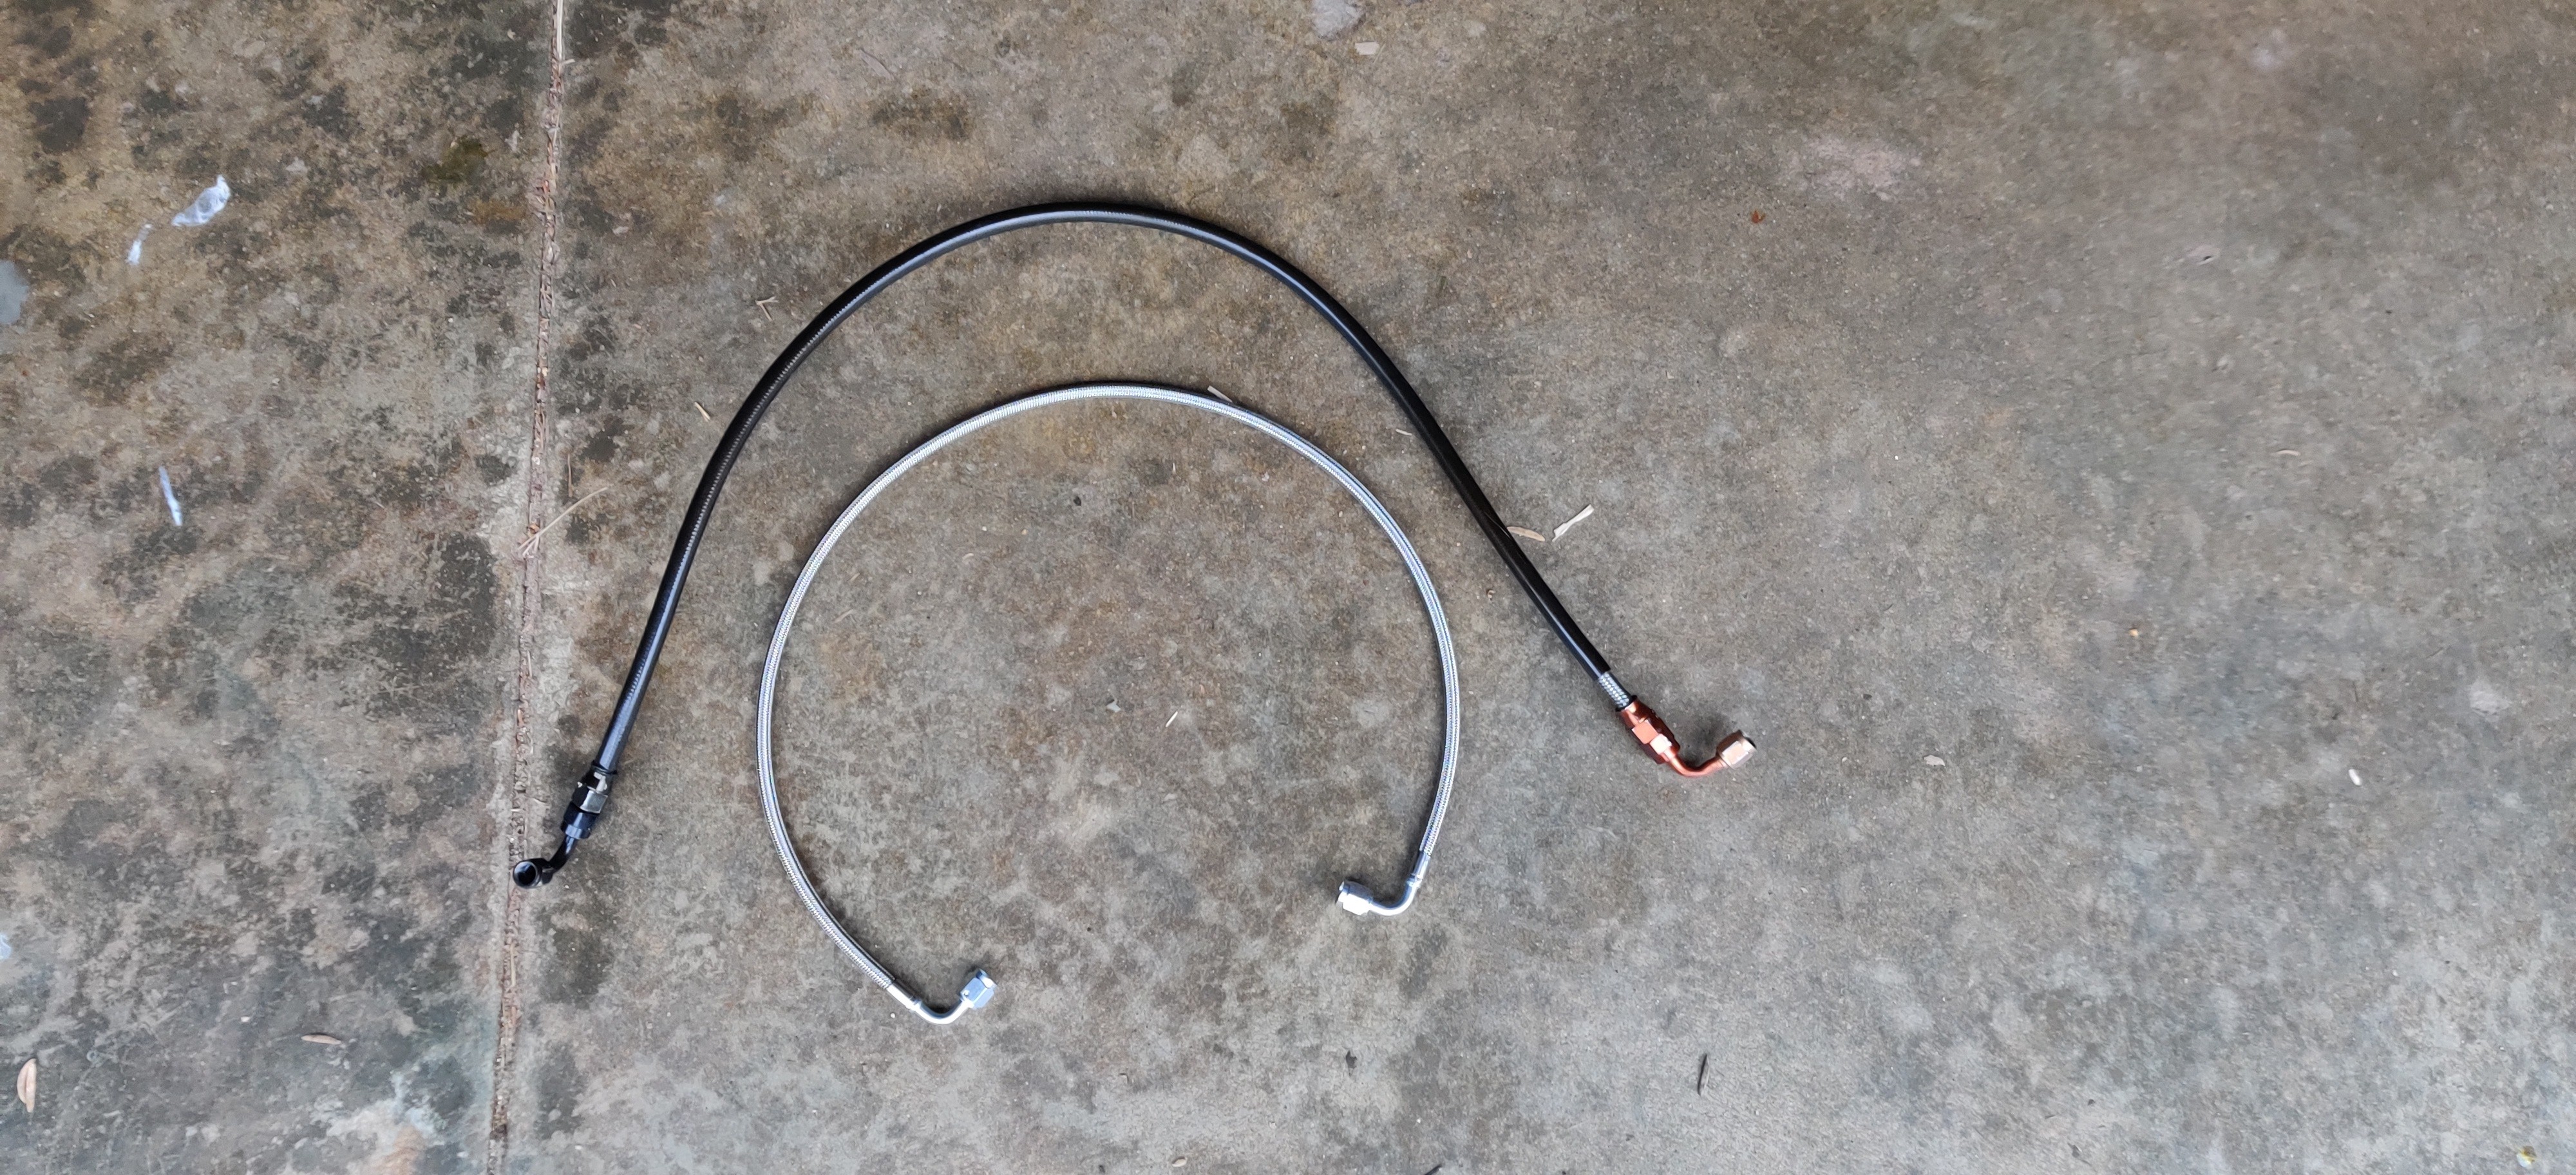
Old line vs. new
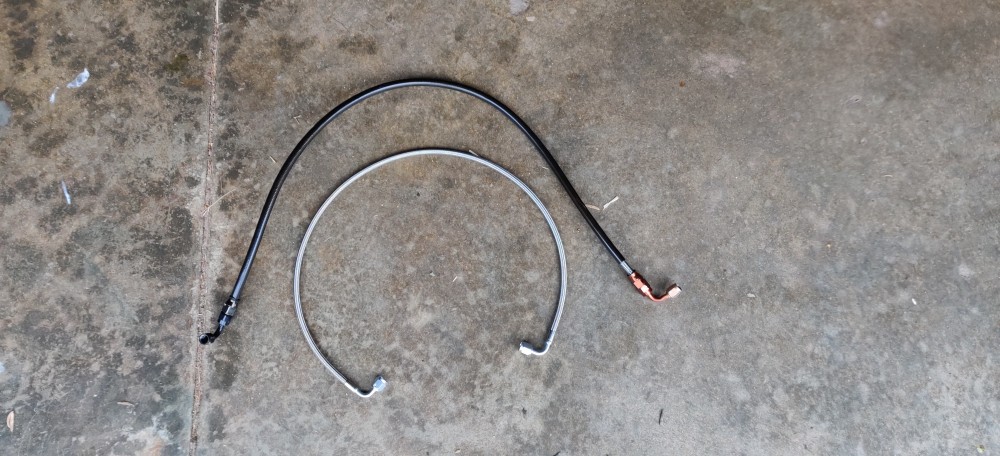
Unfortunately I could not find a -4 an line in black which would have been a little more ideal looks wise but it is what it is.
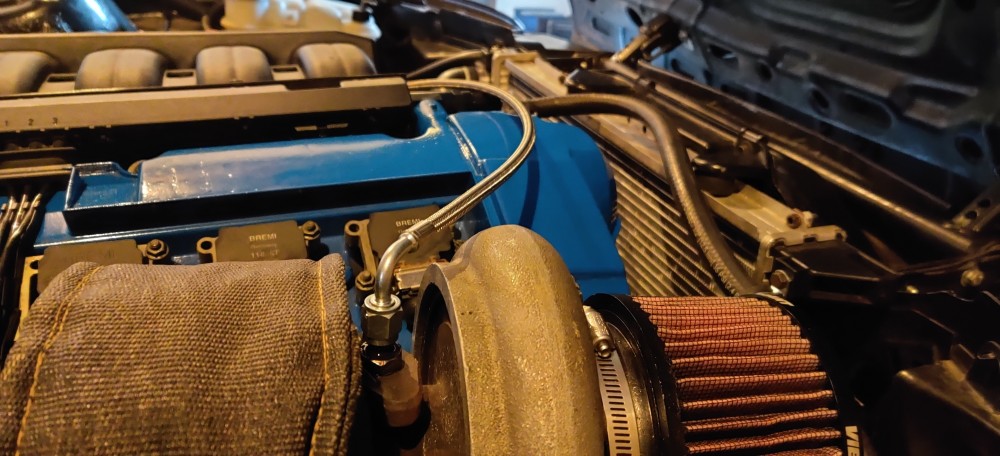
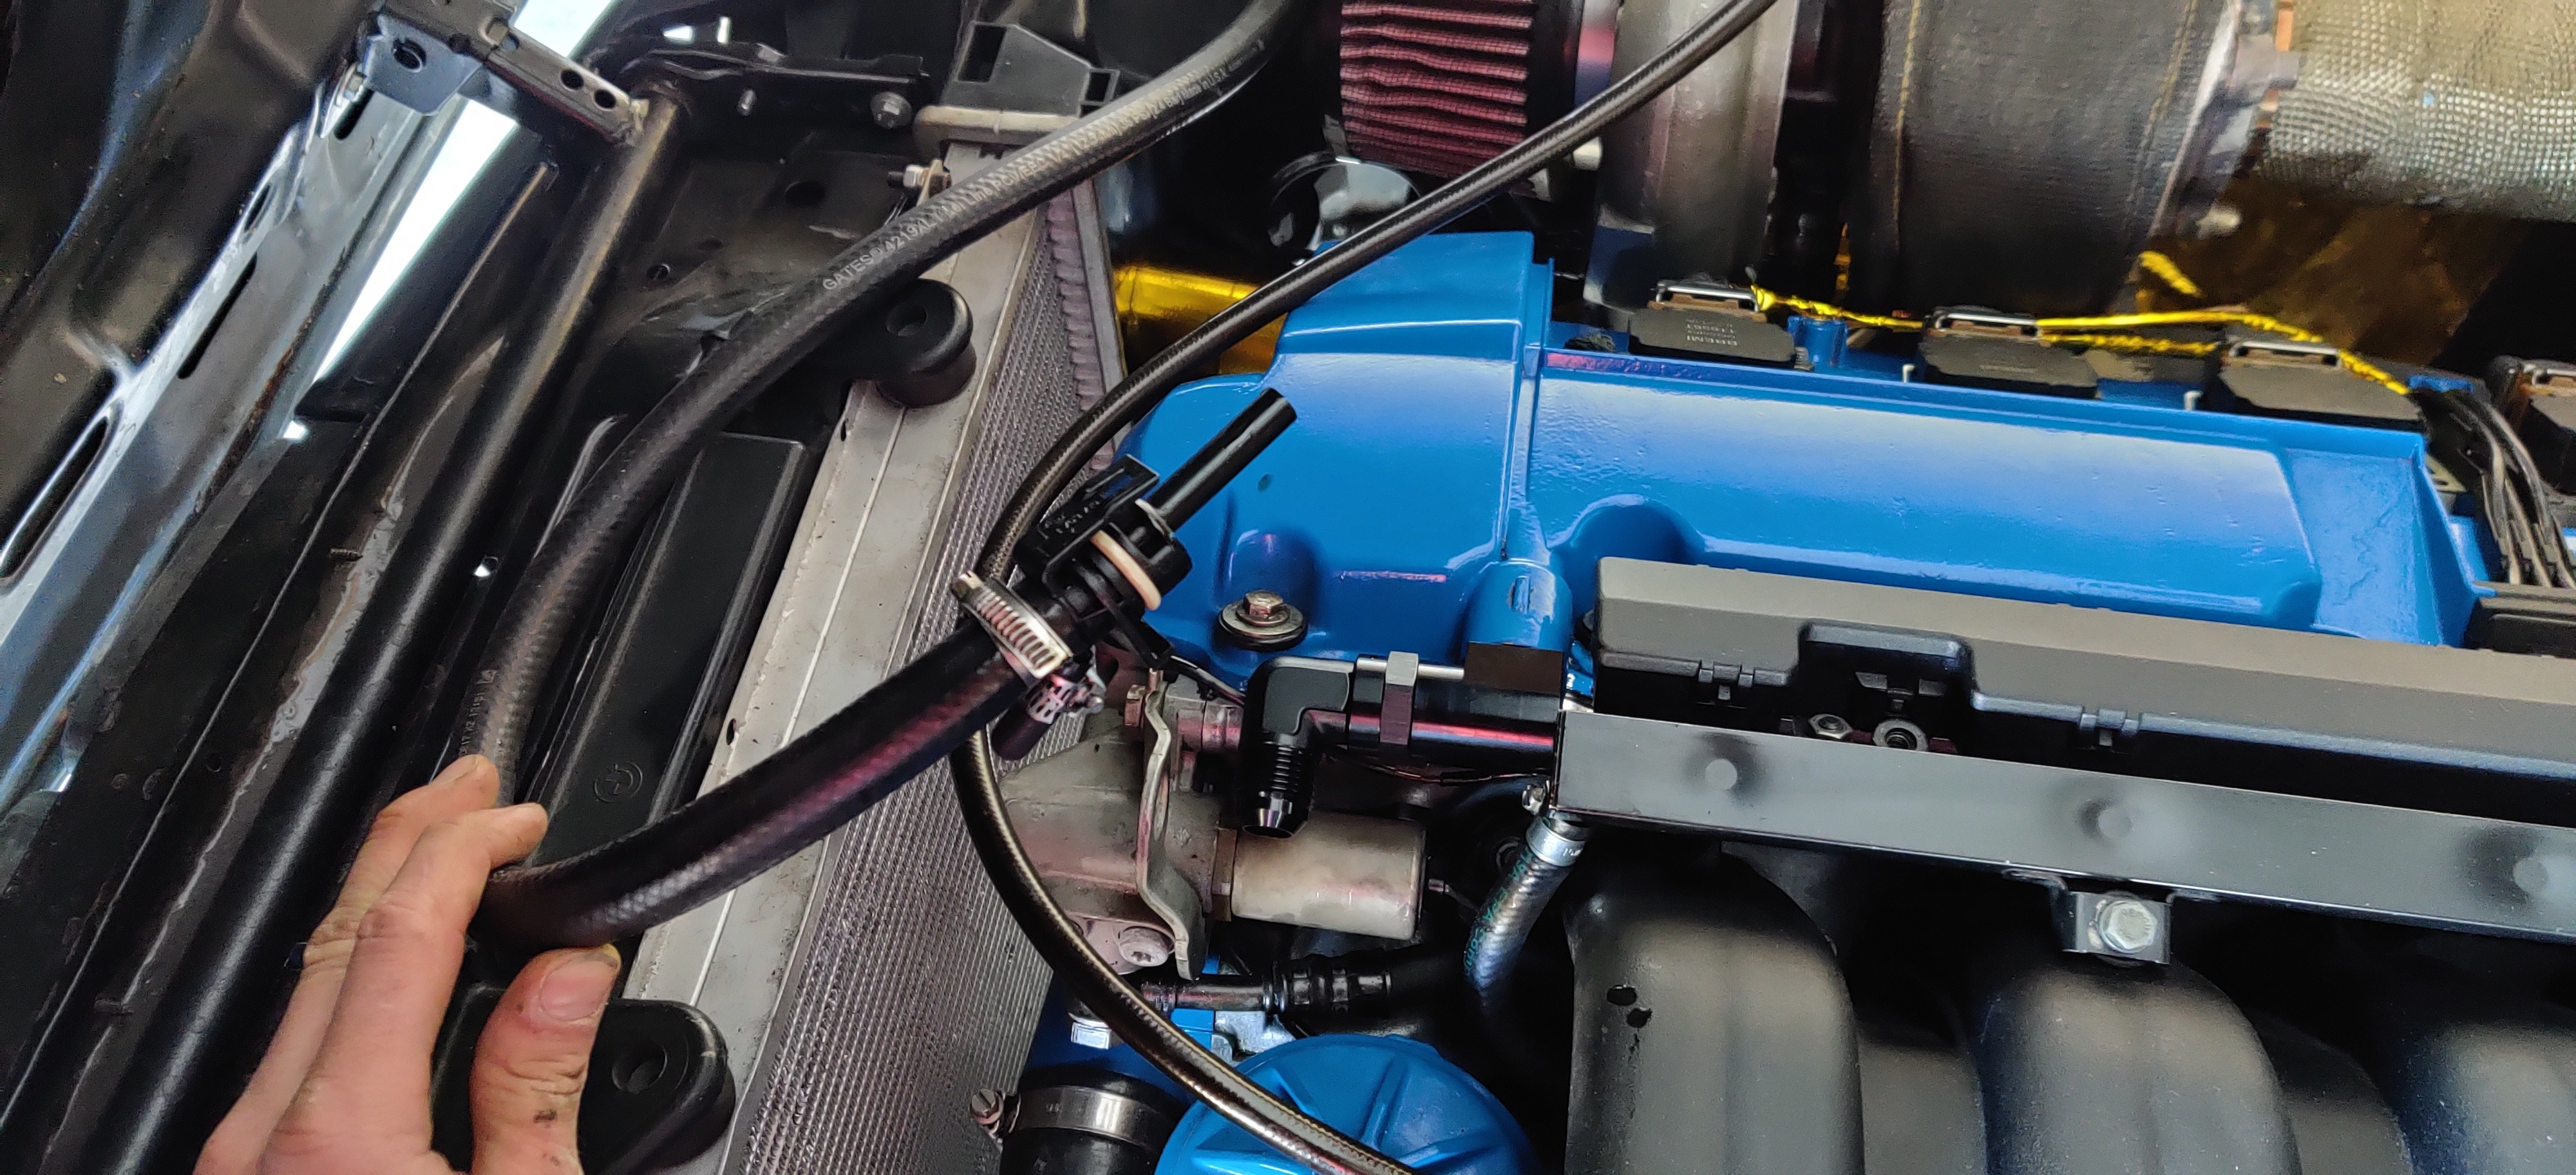
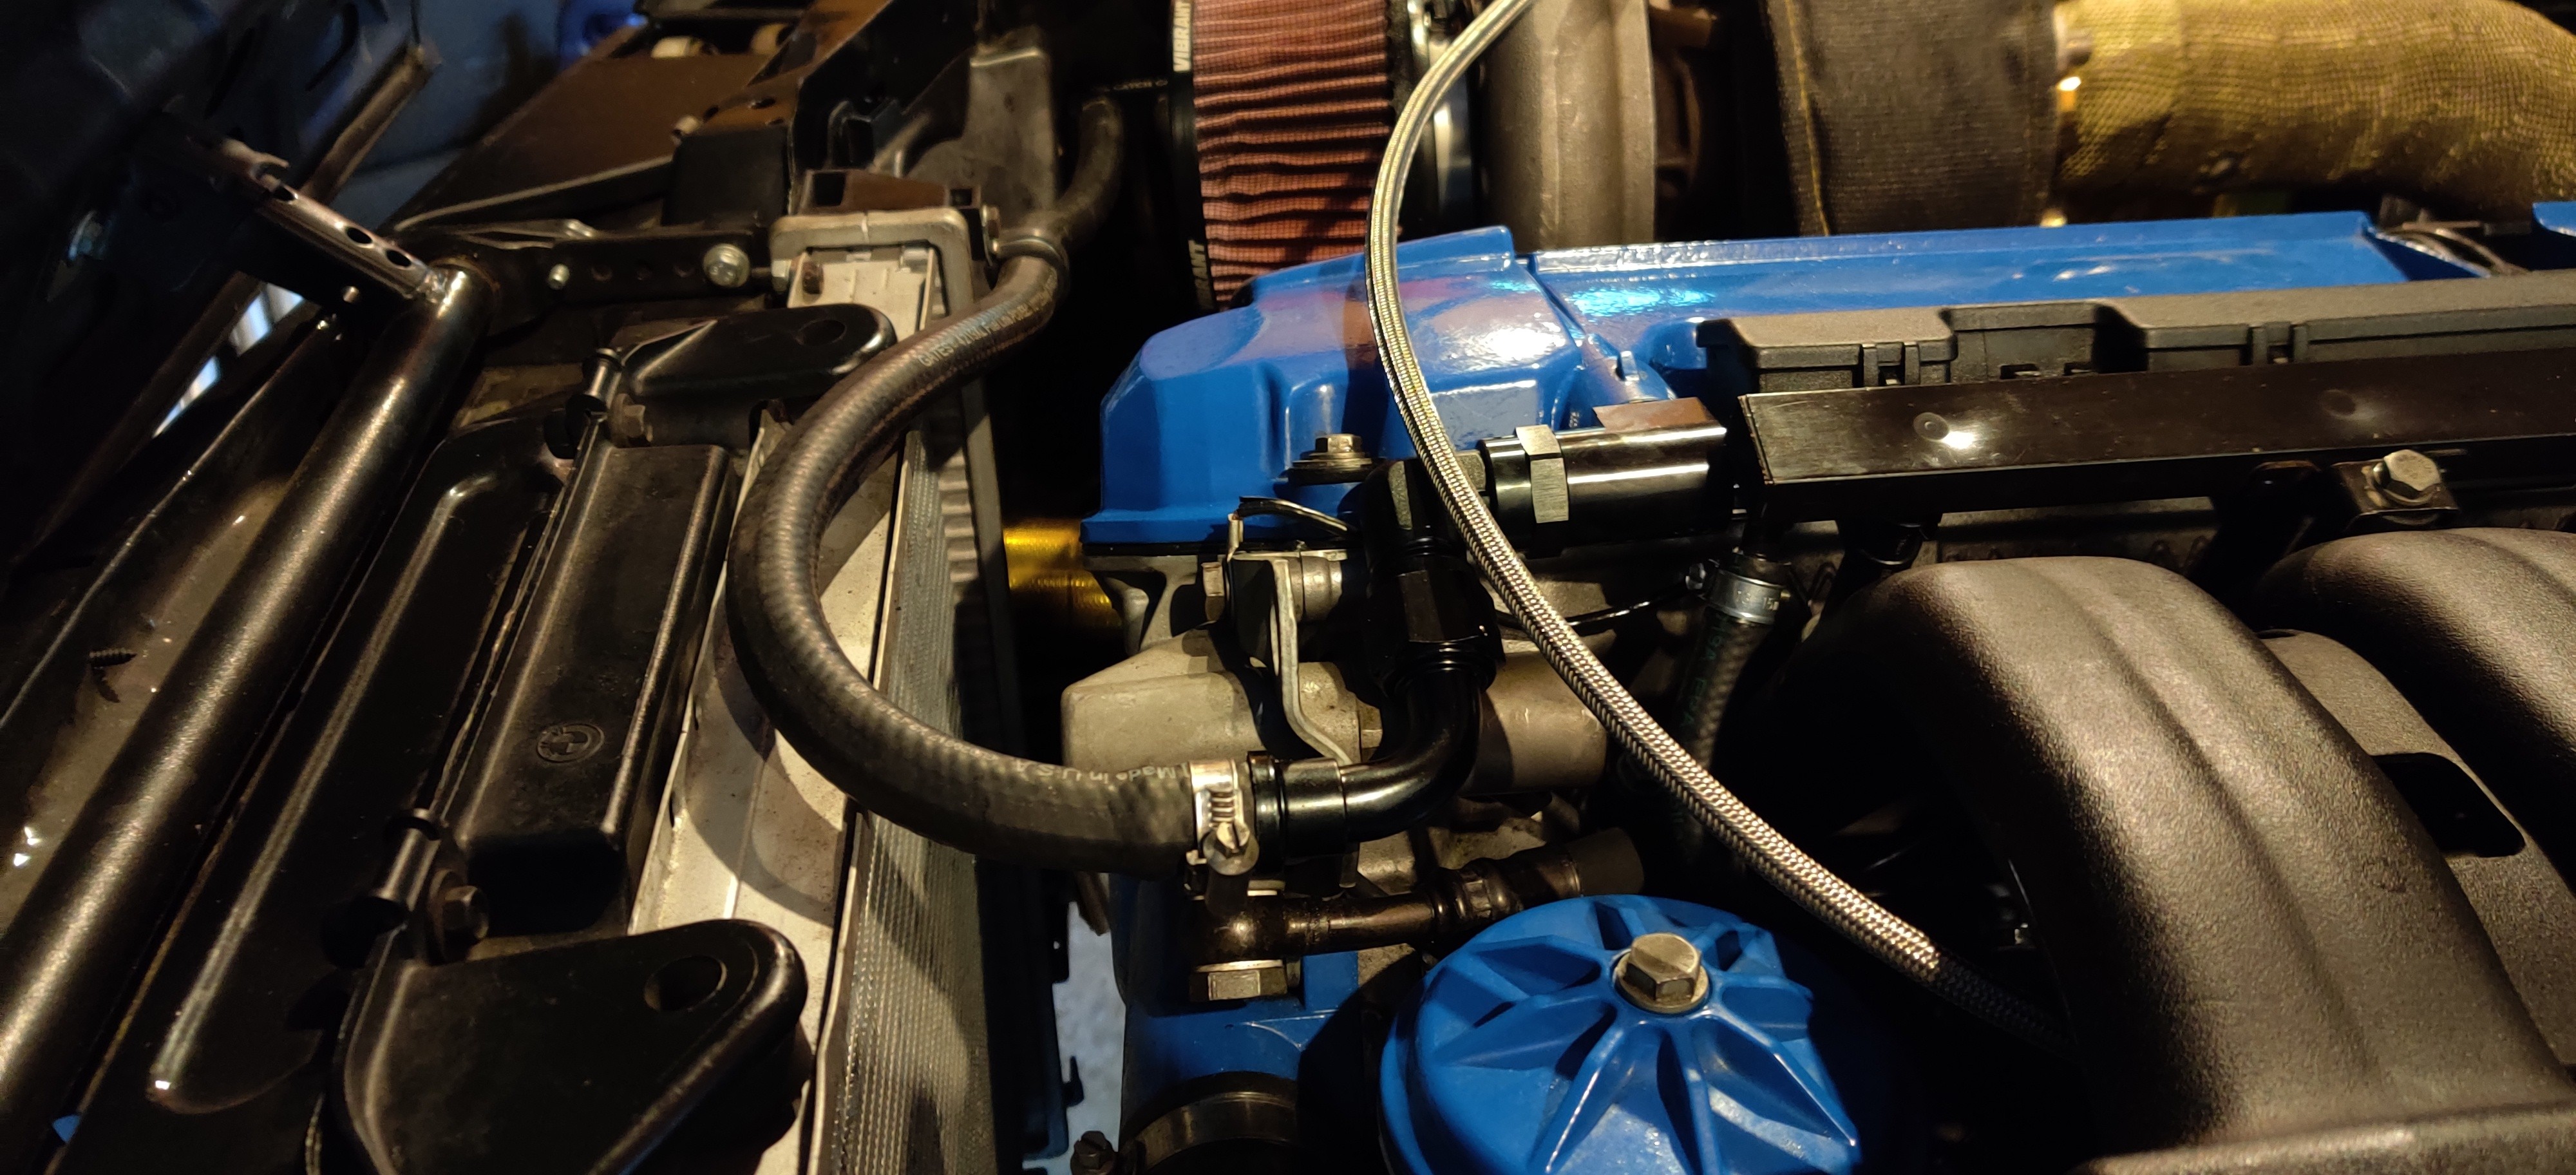
New breather setup installed.
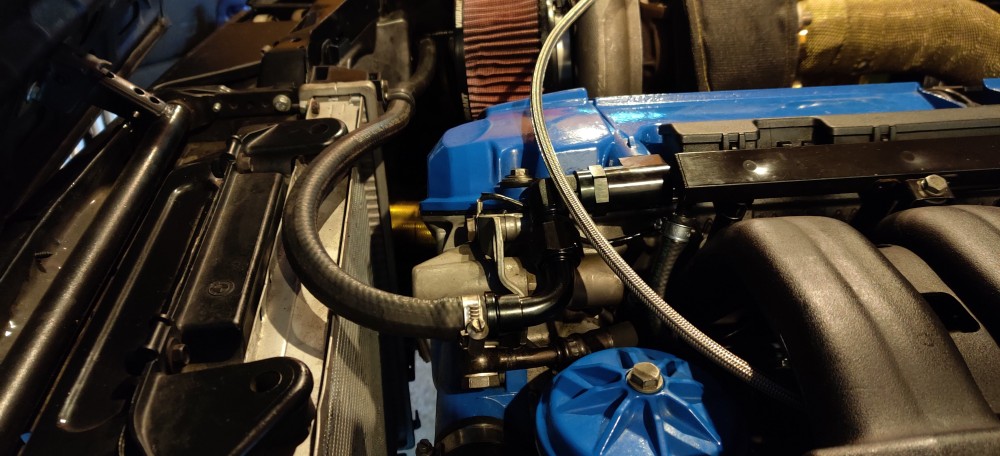
The rally road breather fitting was an awesome piece! It has two o-rings on the shaft that slides into the valve cover hole which sort of snaps into place, its a tight fit. Coming out of the other side is a -an fitting so I ordered a -10 an 90 with a hose barb on the other end to adapt to my rubber hose running to the catch can. I love the look of the new setup and best of all, no more leaks!
After all this was finished I figured it was also about time for an oil change as well. After some debating back and forth I figured it was time to switch over to synthetic. I had been running shell t4 15w-40 for the last 12,000ish miles with a zddp additive and I had been doing this partly because of engine break in reasons and the fact that if I switched to synthetic that the leaks would get worse. With the new fittings and valve cover gasket I felt much better about making the switch. I chose a t6 5w-40 full synthetic oil.
Underneath the car was an oily mess so after completing the change I pulled the skid plate and used about 4 cans of brake clean spraying down everything top to bottom. Two weeks later and no signs of oil leaks anywhere!
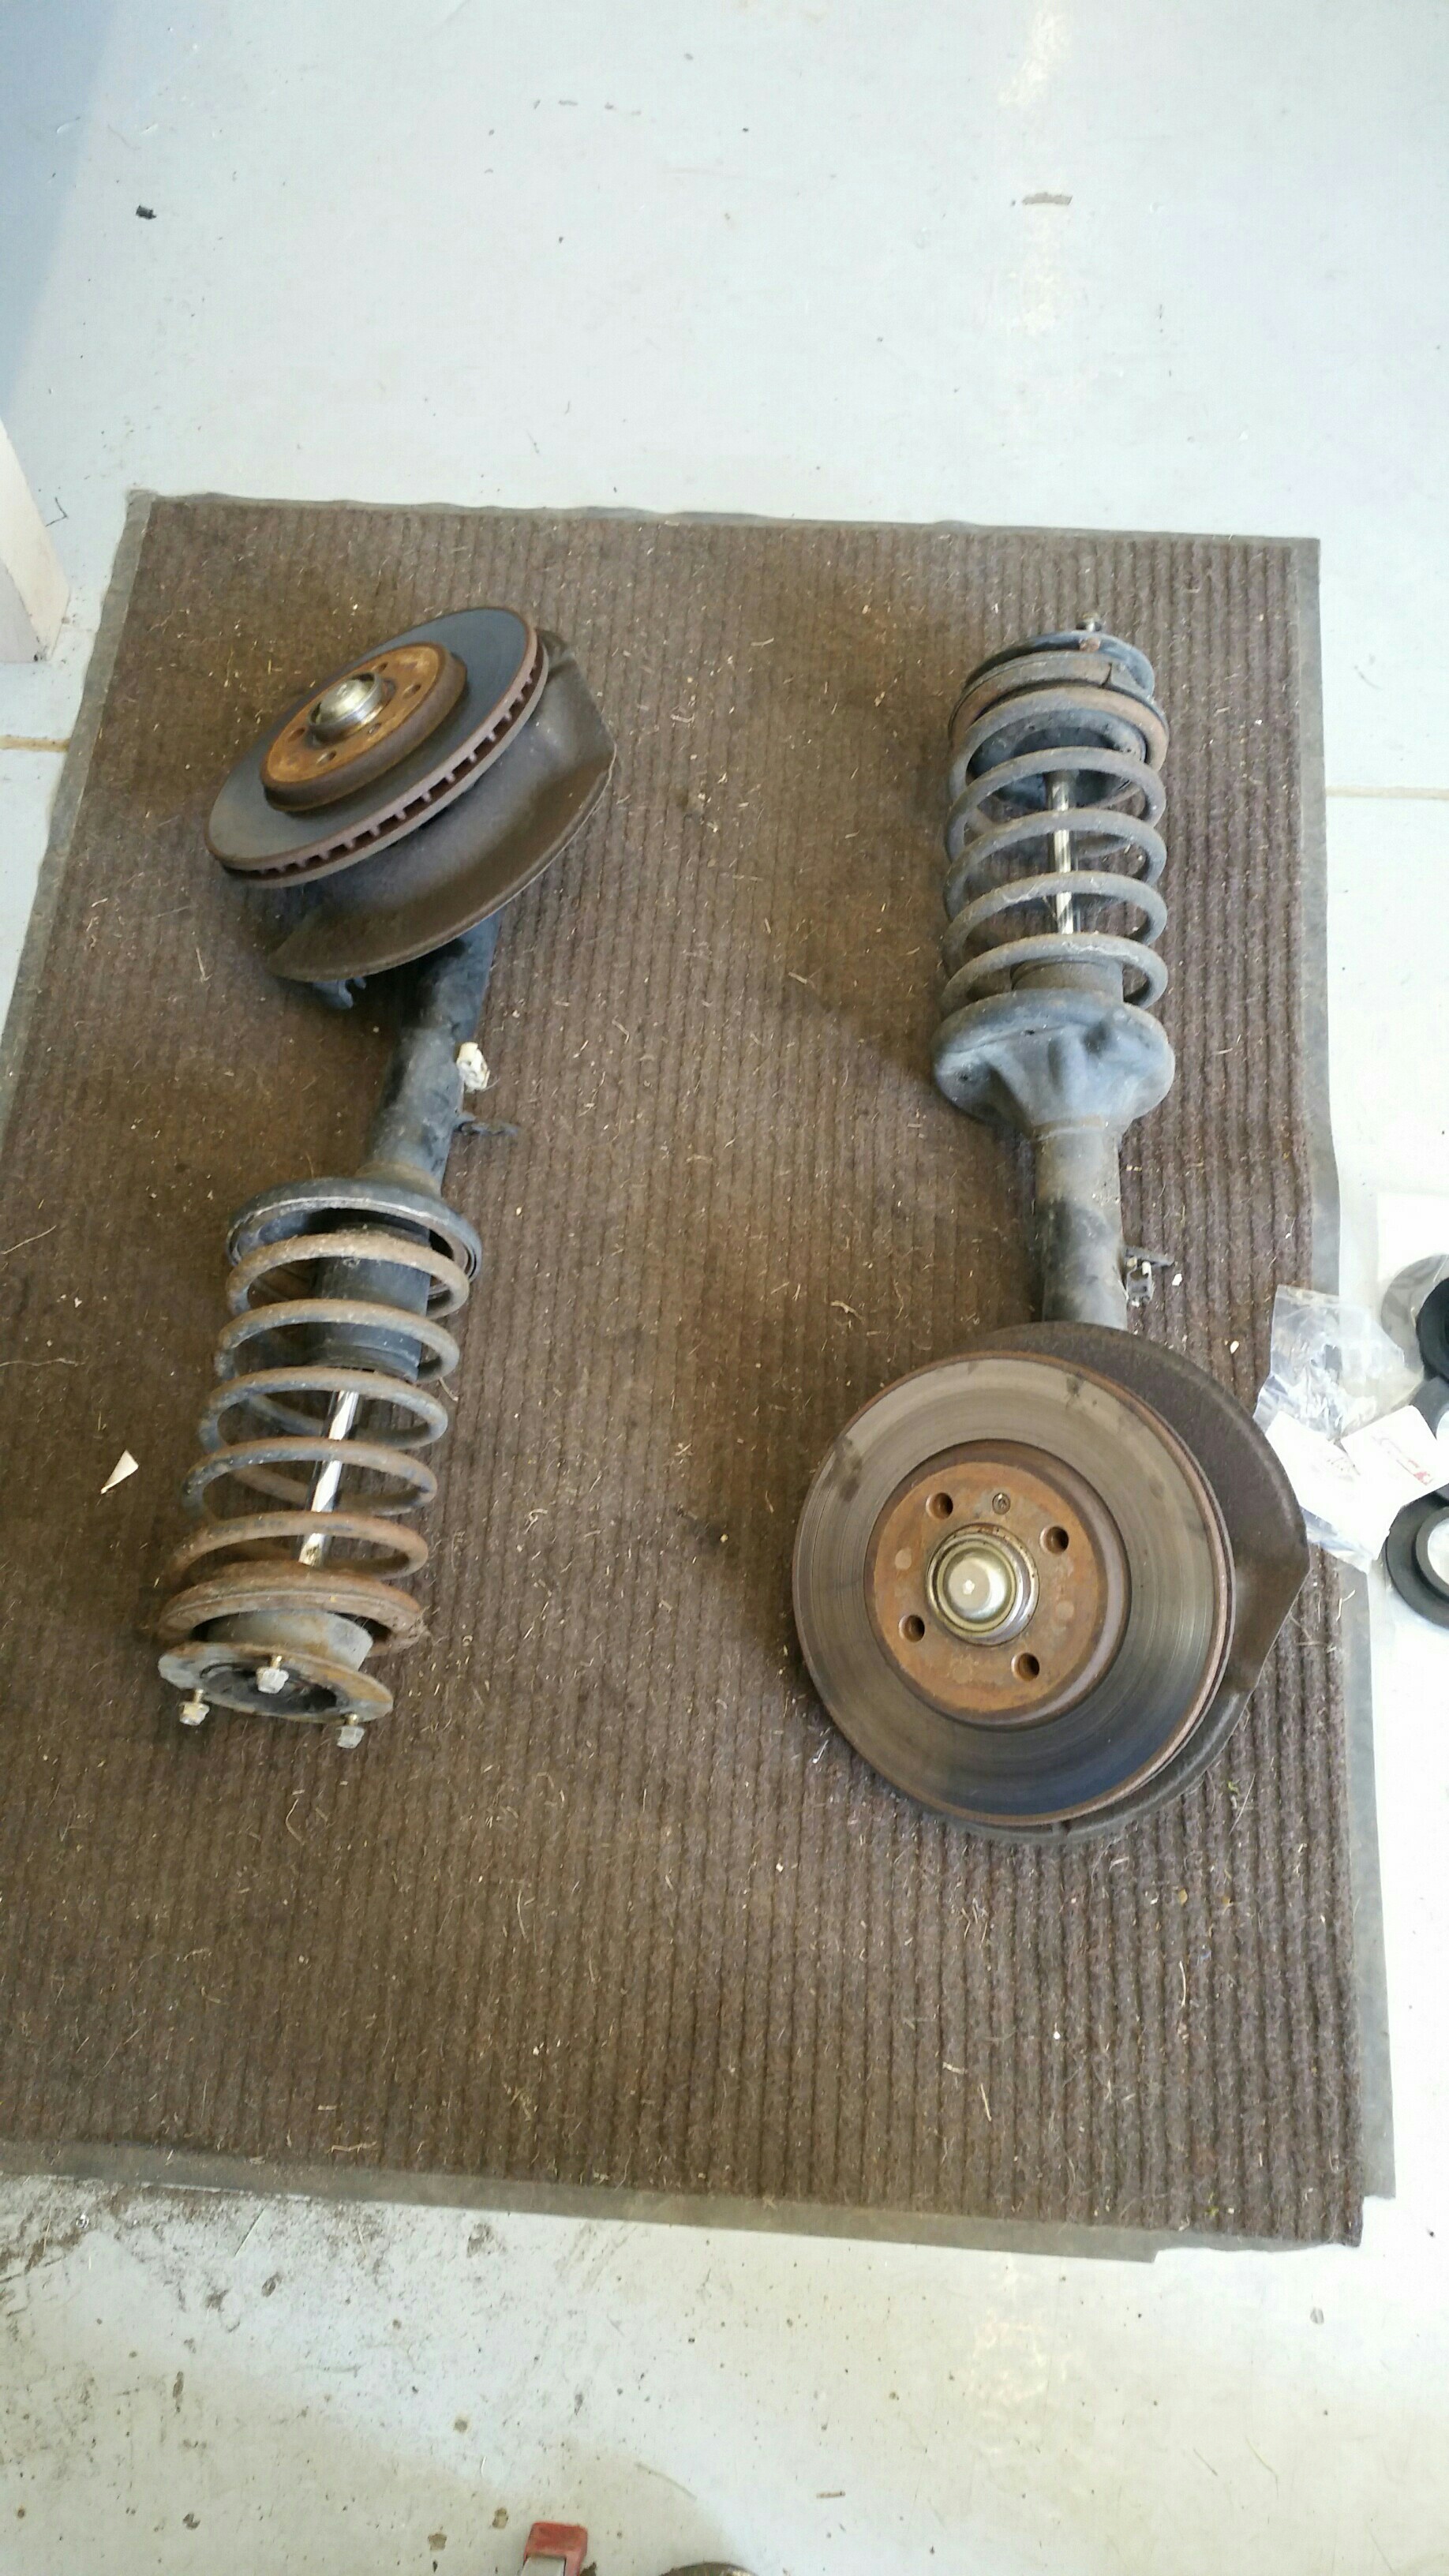
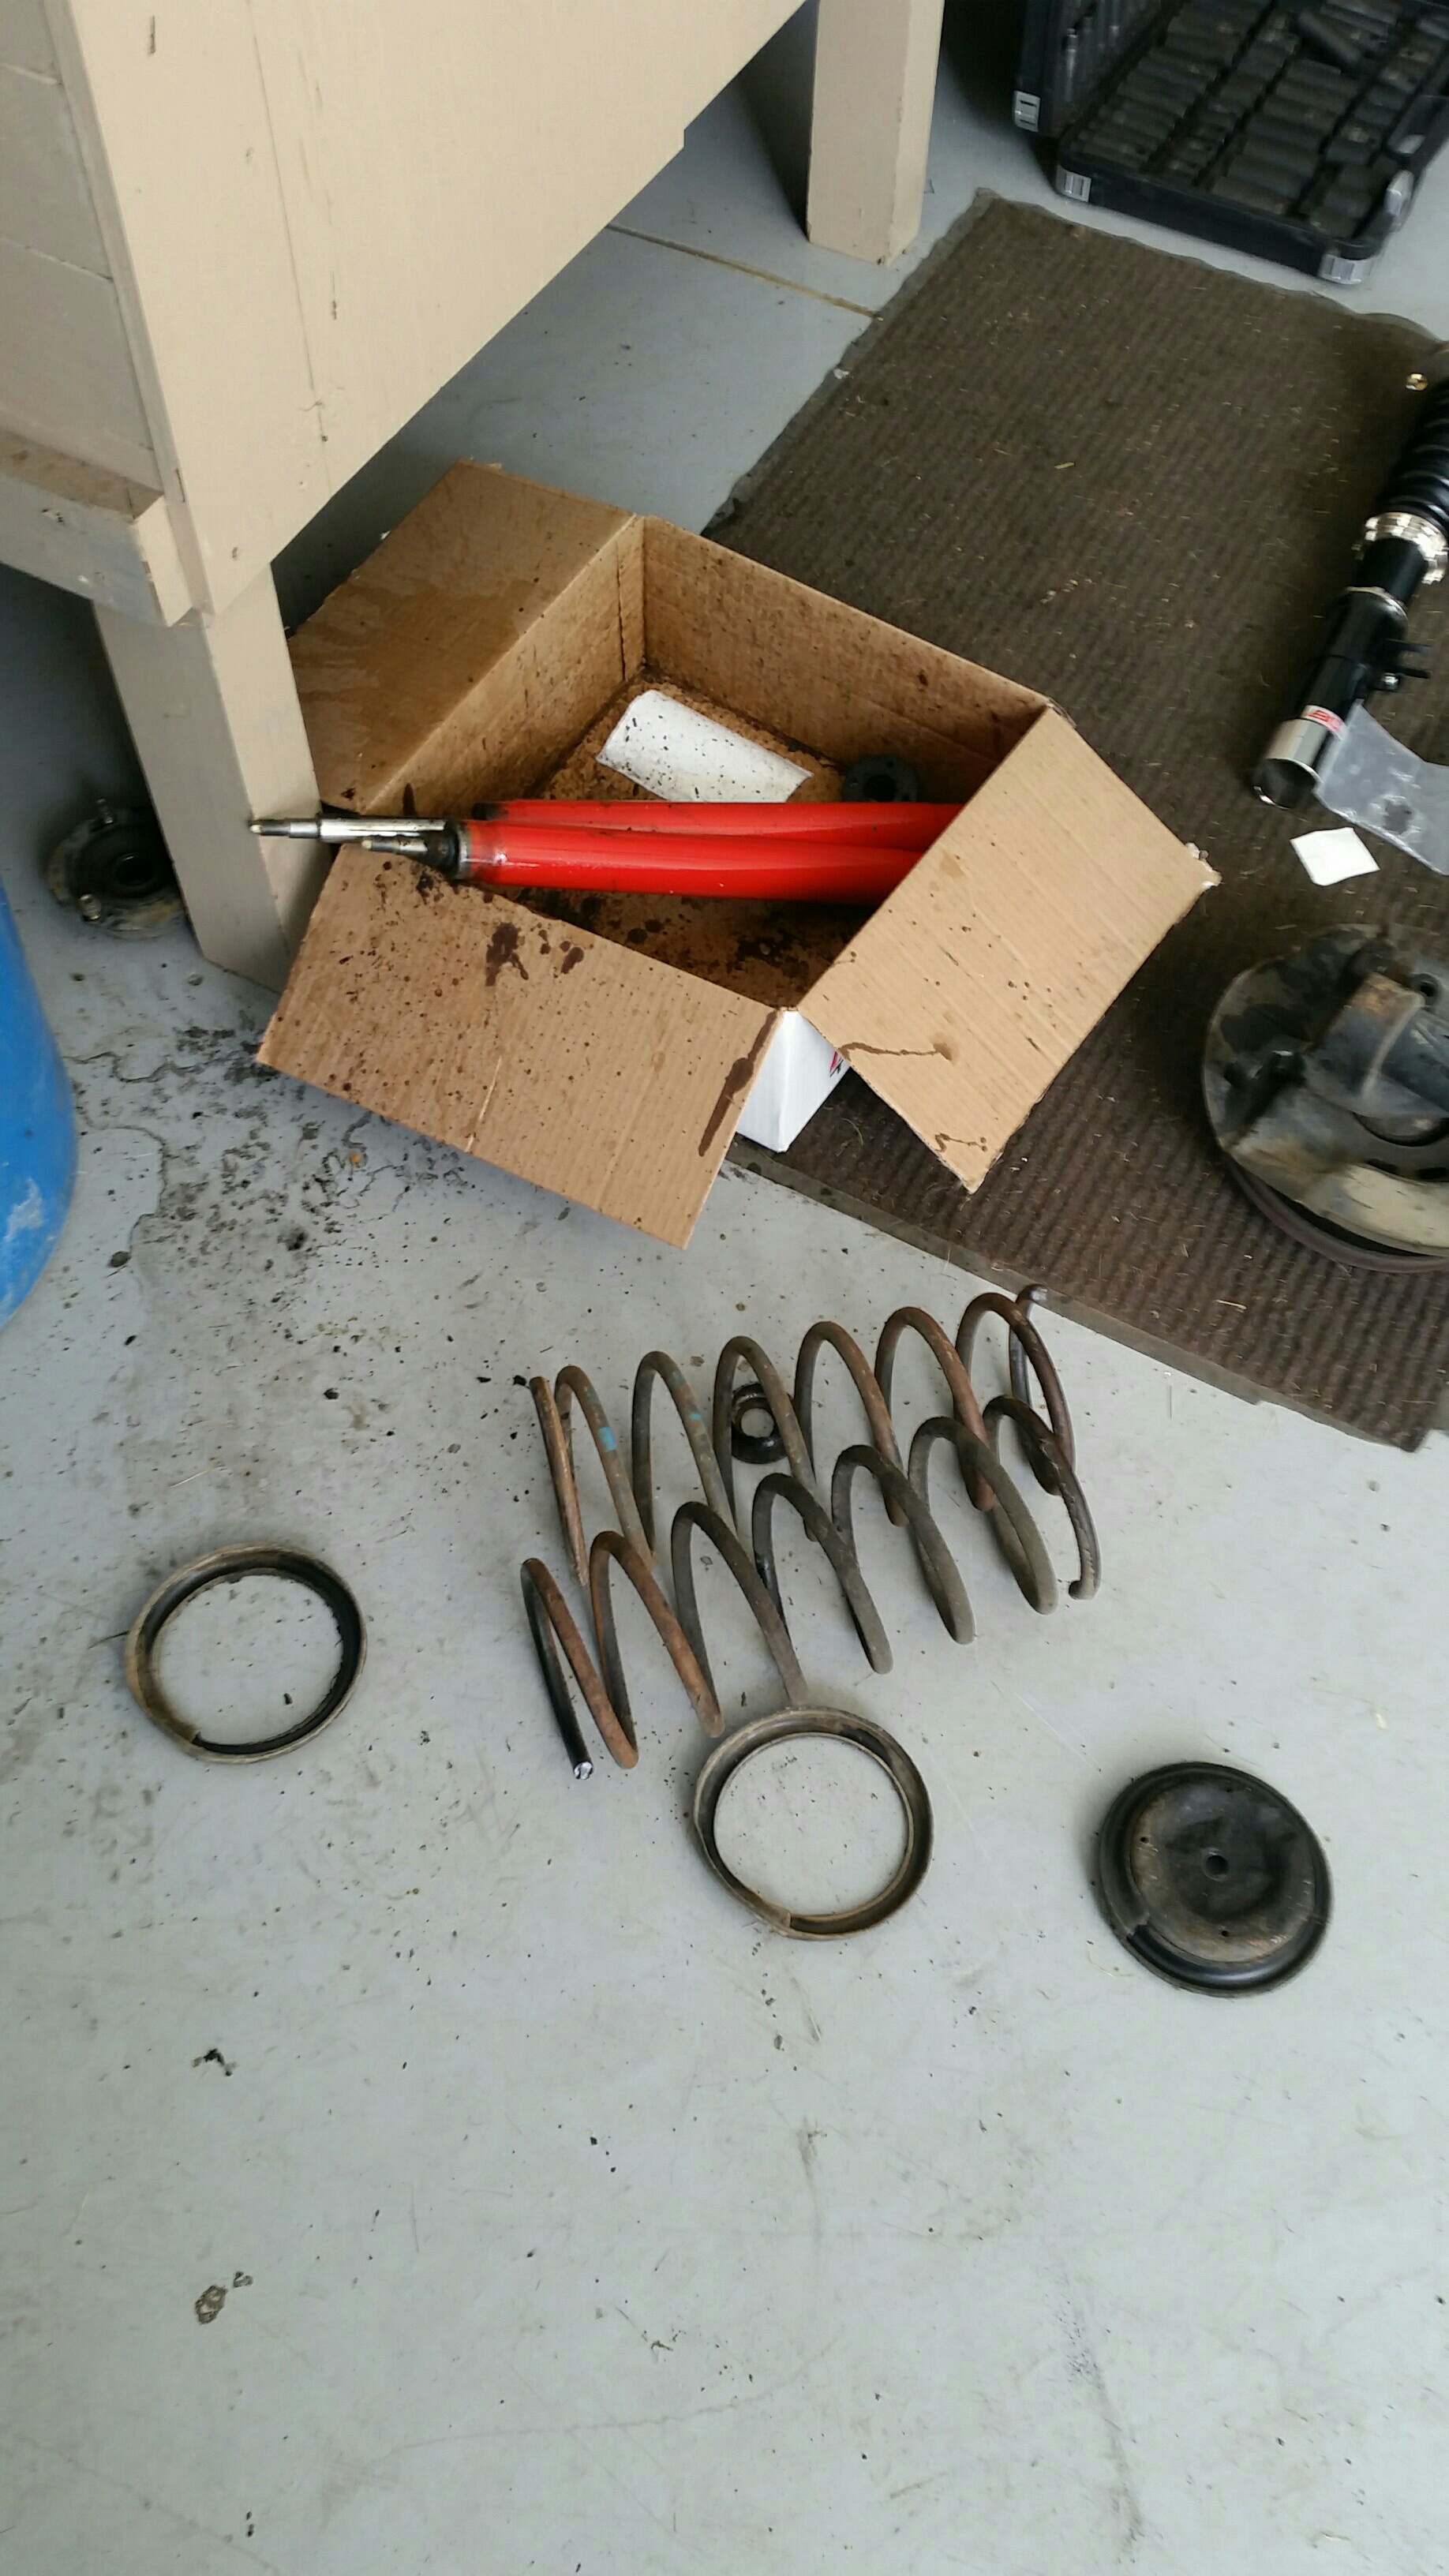
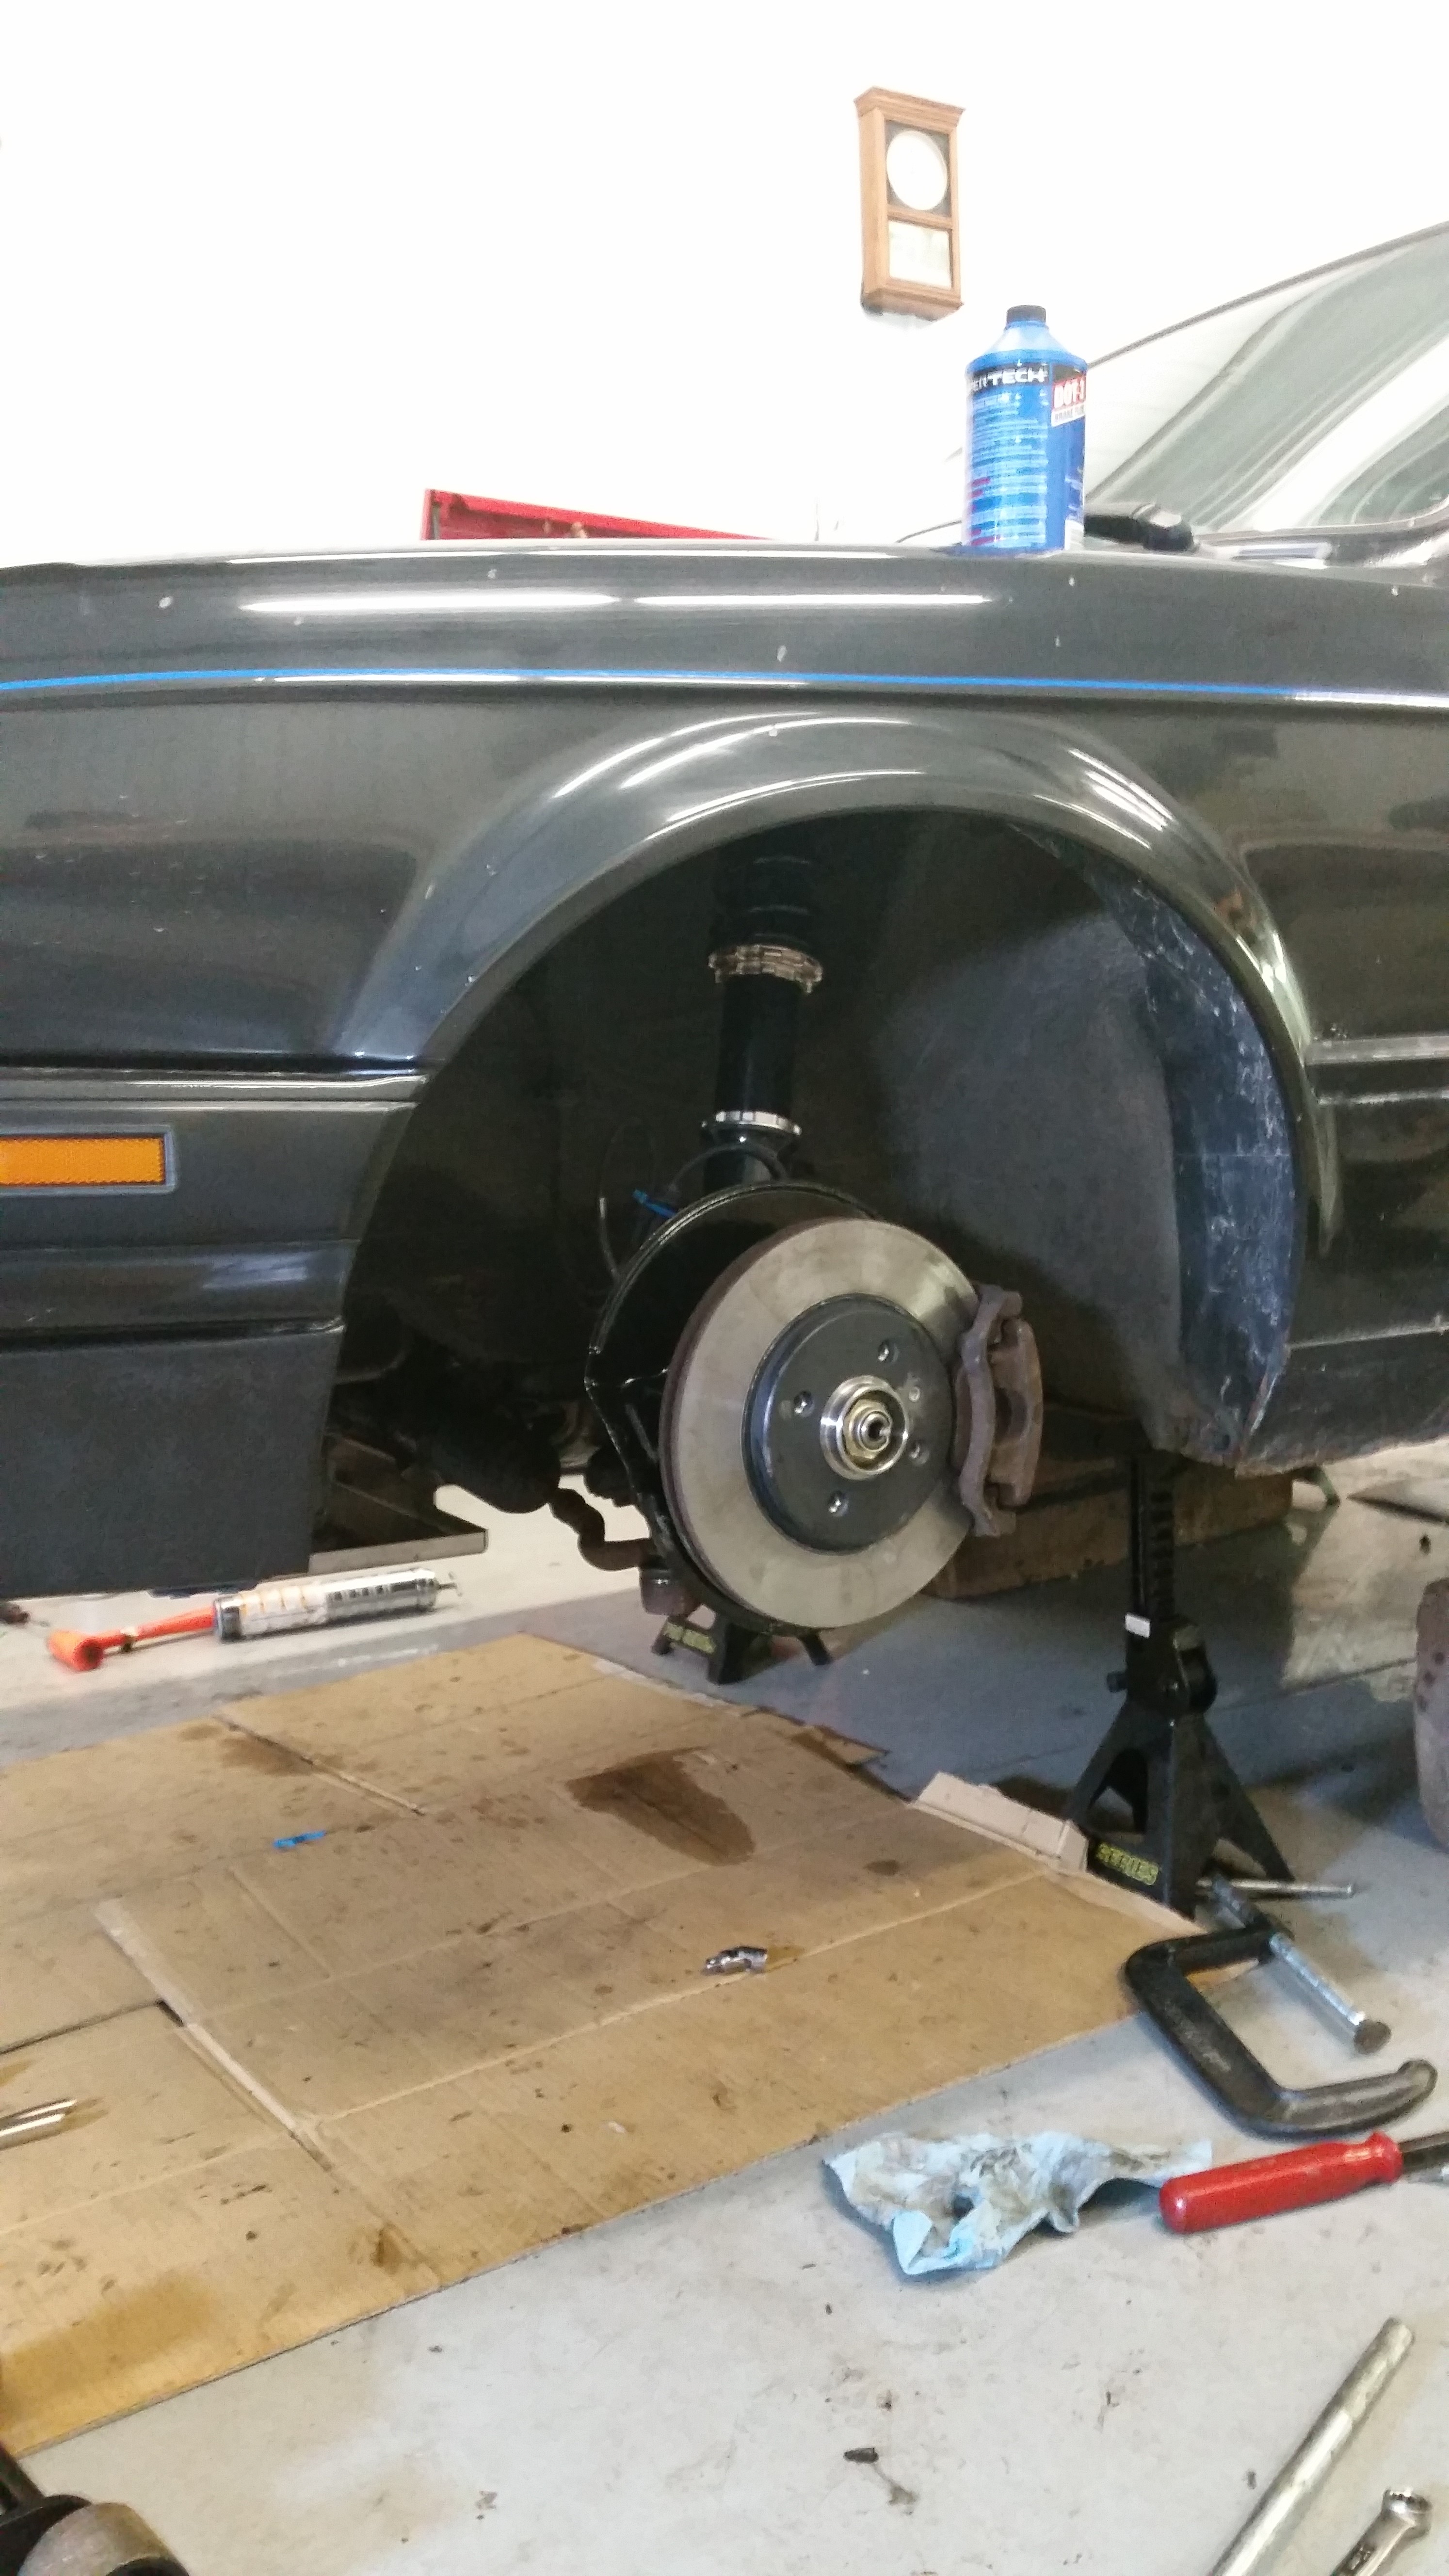
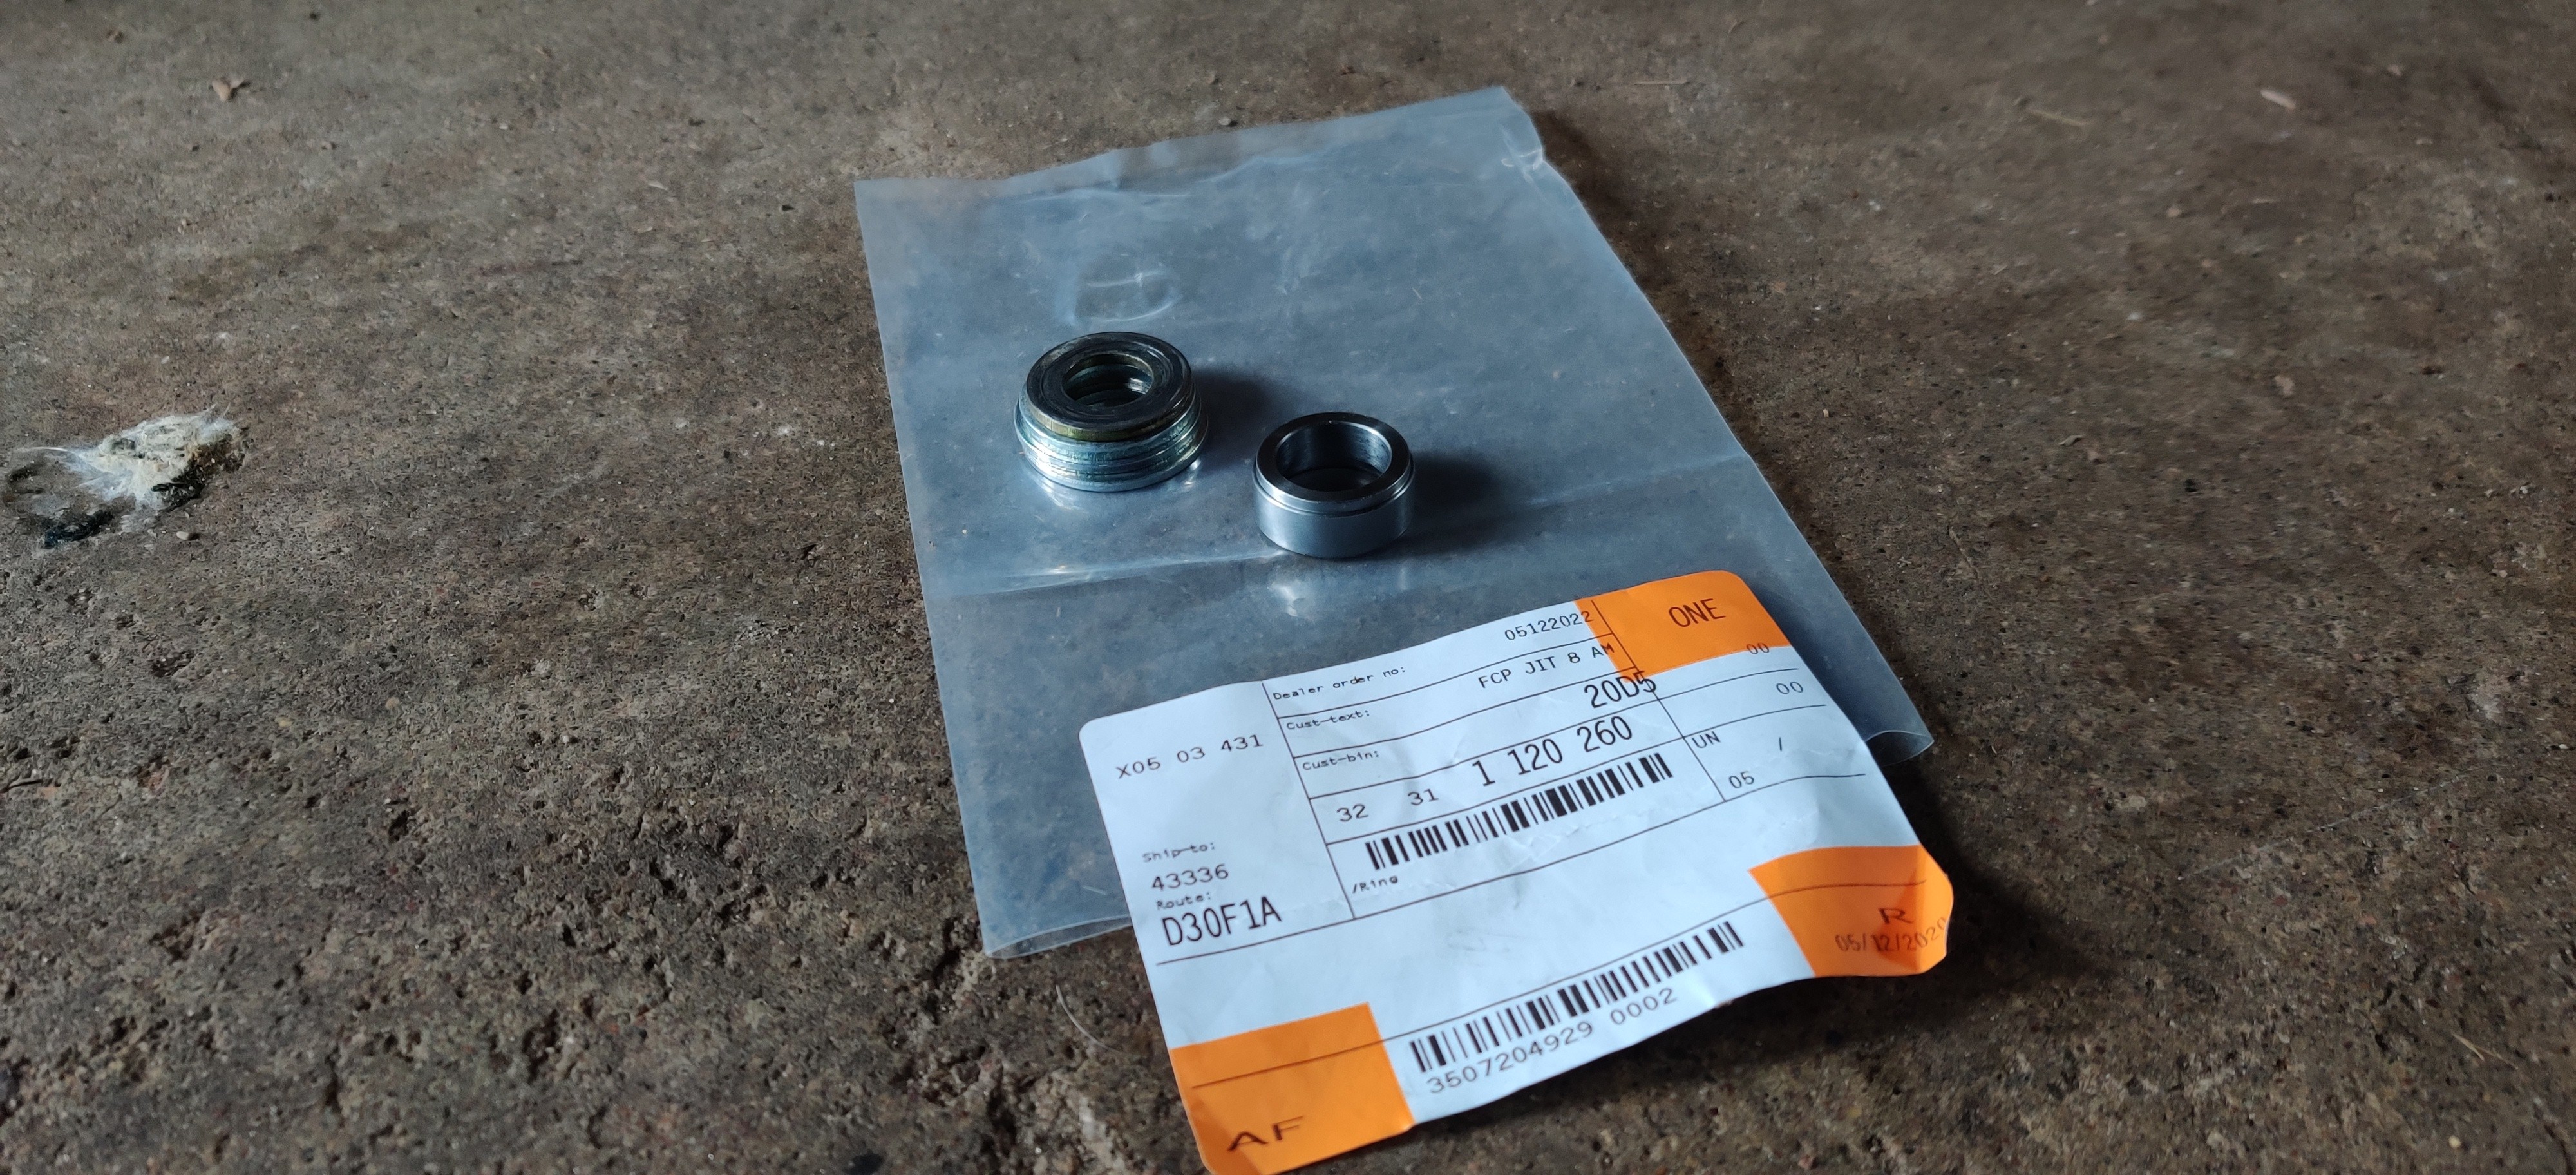
For the longest time I had been running stacked washers to space the nut out for the momo hub instead of buying the oem spacer. Well when i ordered the valve cover gasket I threw it in with and decided it was time to swap it out for the right part.
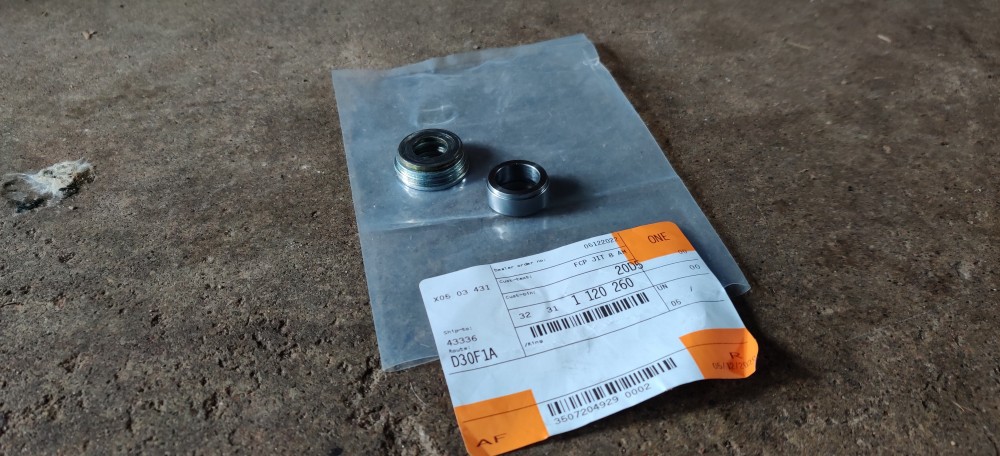
The spacer was a few mm longer then my washer stack and actually fixed a steering wheel squeak I had been dealing with sometime now so that was neat!
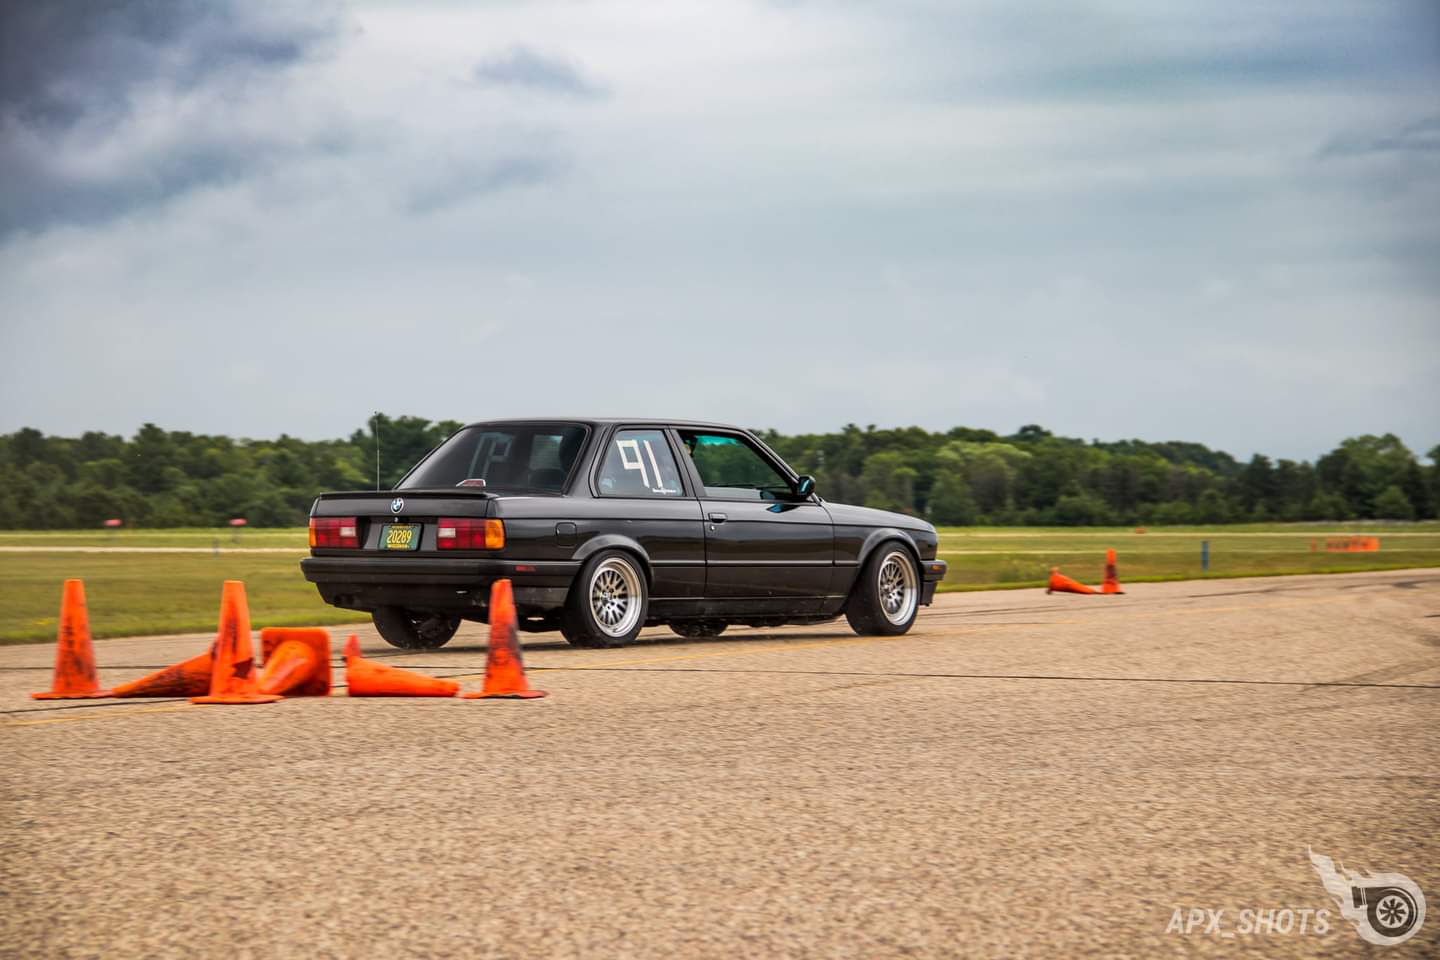
First auto-x of the season for me this weekend. Looking forward to seeing how the car feels on the track with the new gearing setup and a non-squeaky steering wheel.
-
A few days later a new valve cover gasket appeared on my door step and I spent an evening swapping them out.
Is it possible to learn this power?
-
Unfortunately I could not find a -4 an line in black which would have been a little more ideal looks wise but it is what it is.
100% why I ordered stuff to make my own lines, though you had the exposed silver end on the turbo so it was a bit of a wash anyway lol.
It's crazy to think the motor has seen 12k miles! I look forward to seeing many more updates after many more miles! -
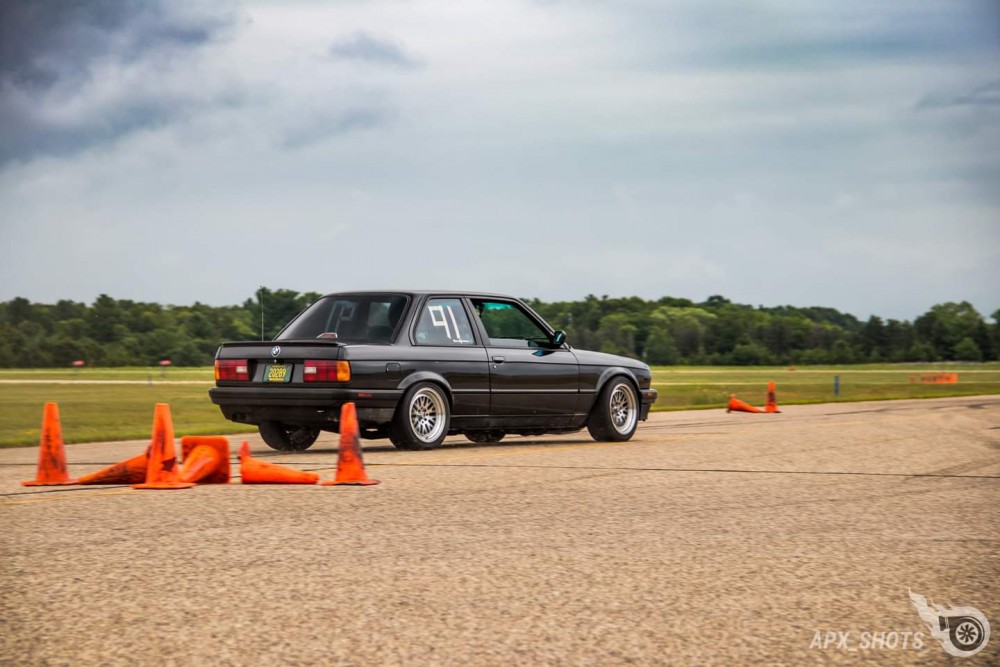
Well I figured it was time I come back and update this thread lol. Last season was an absolute blast with this thing. I got a fair amount of seat time in and got a better grasp on controlling the car and it's power.
(FVSCC auto-x at the Waupaca airport last year)
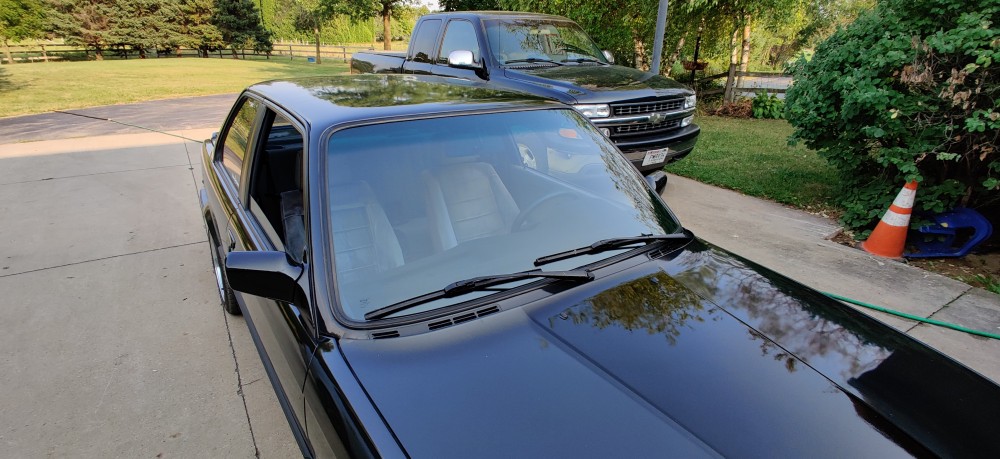
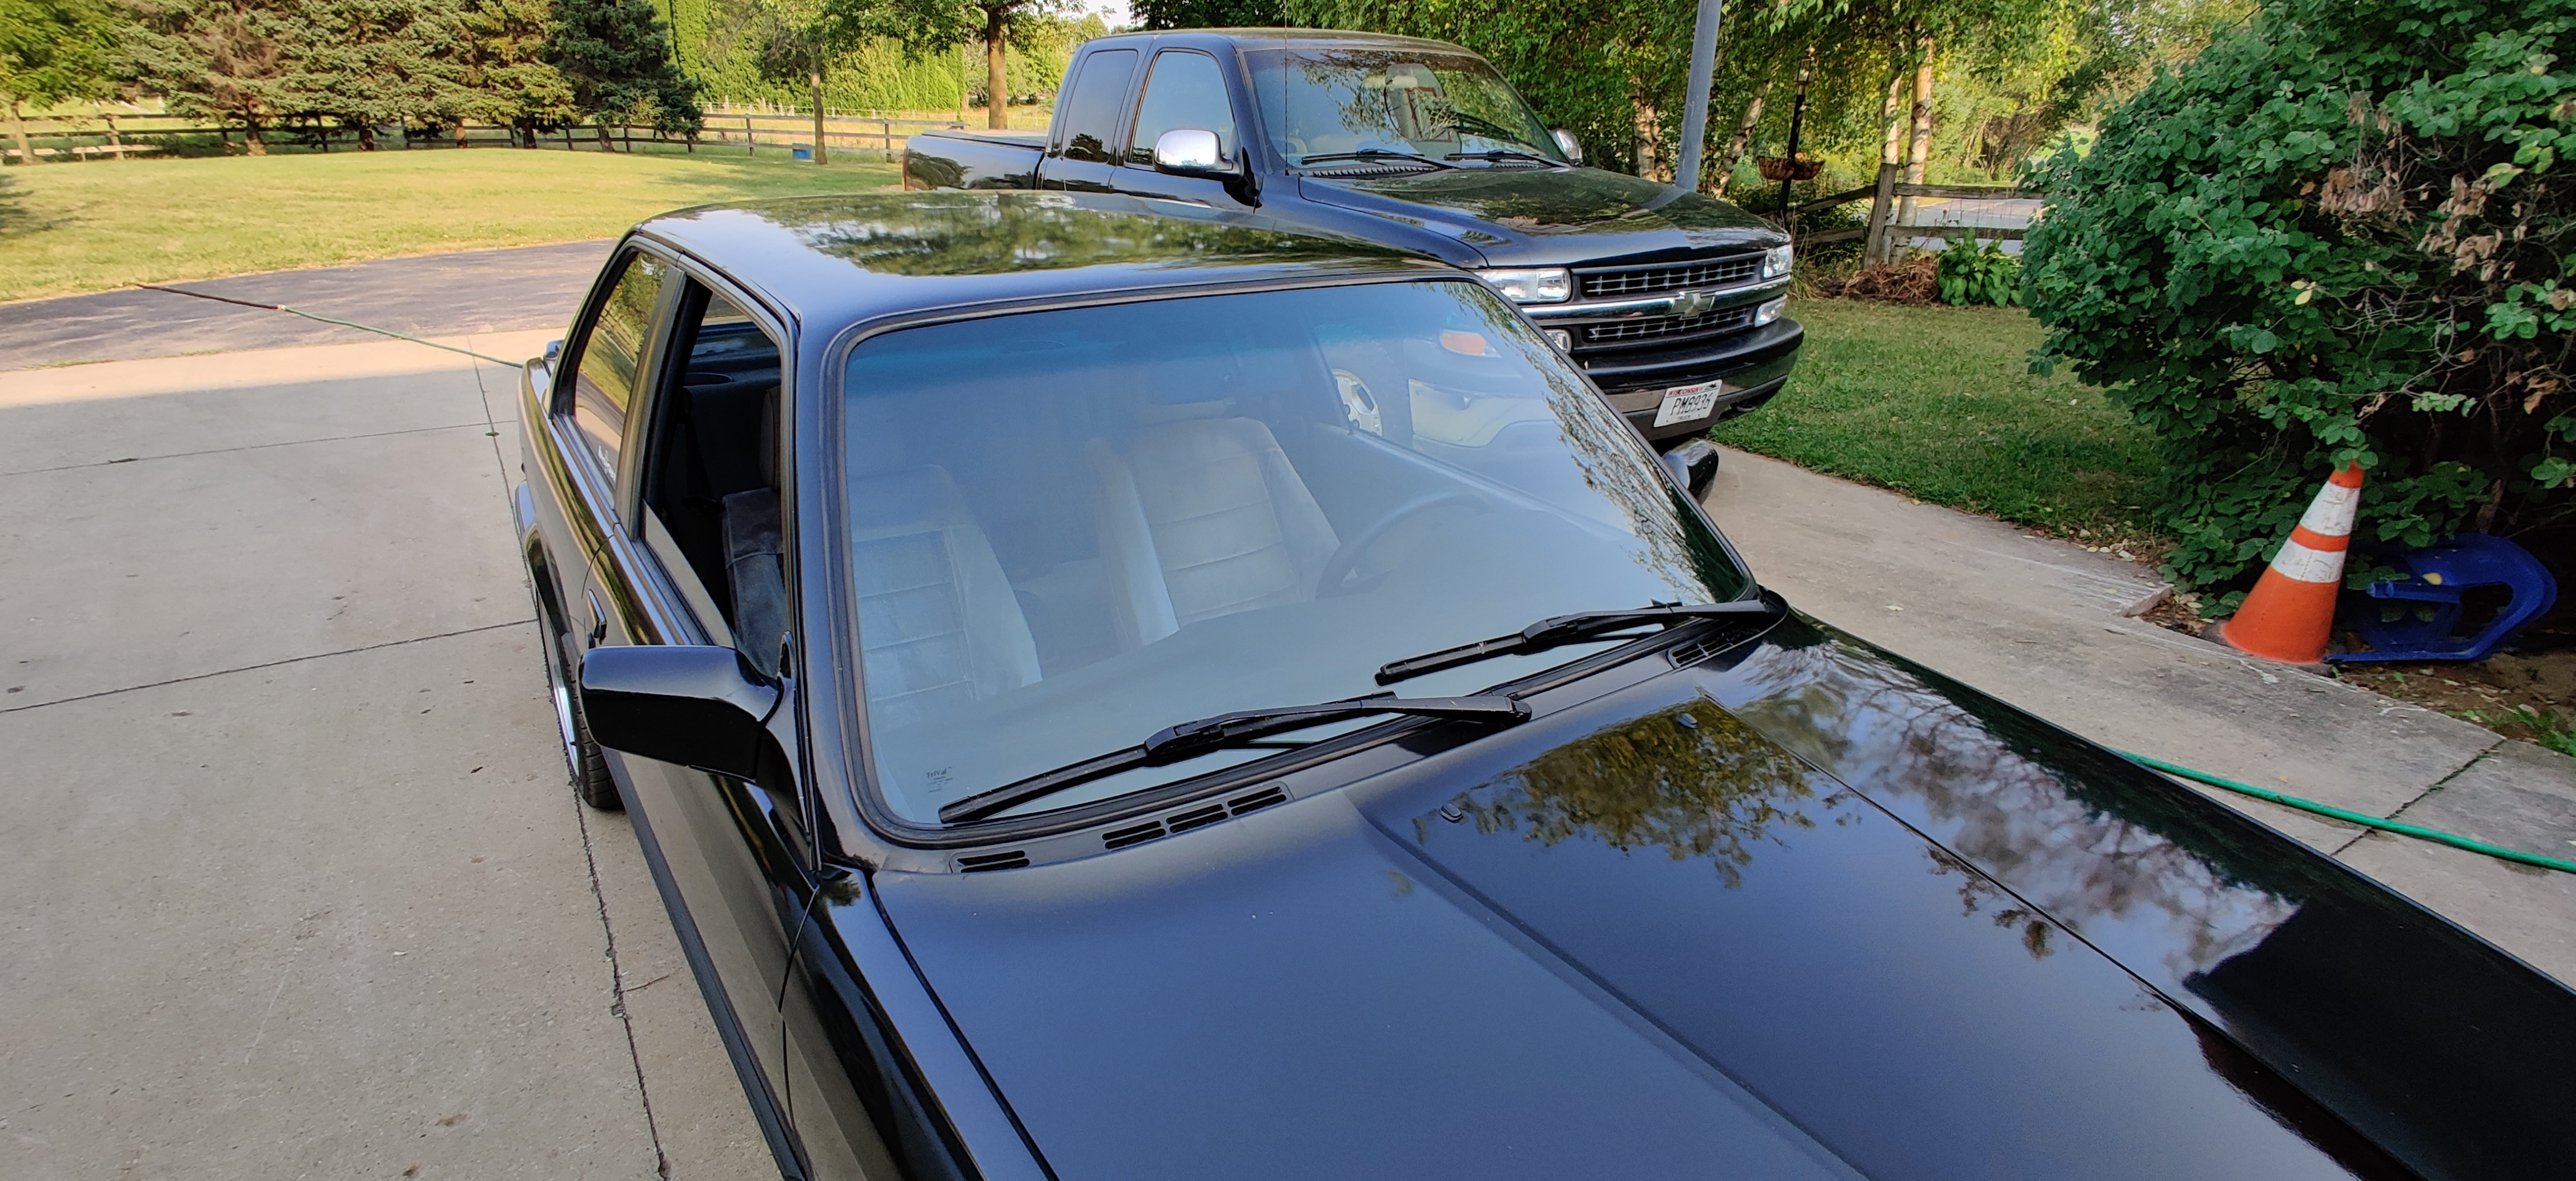
Other then regular maintenance and up keep I didn't do much to the car in terms of upgrades. However, I did end up having a stone hit the windshield causing a small crack on the lower passenger side. On top of the crack there were many scratches all over and it was beginning to become a pain to see through (it was the original one). So I set up an appointment and had it replaced by Tri City glass and door up in Appleton. They did an excellent job and I was very pleased with the finished product.
That was about it. After the last auto-x in October I enjoyed the car for another week or so and put it away in storage for the season. Unfortunately I was unable to gain access to my grandfather's shop over the winter to work on it and I had a lot of other things going on that I just wasn't gonna have anytime to work on it anyways. I shared a cold storage unit instead with my cousin where it sat for the winter.
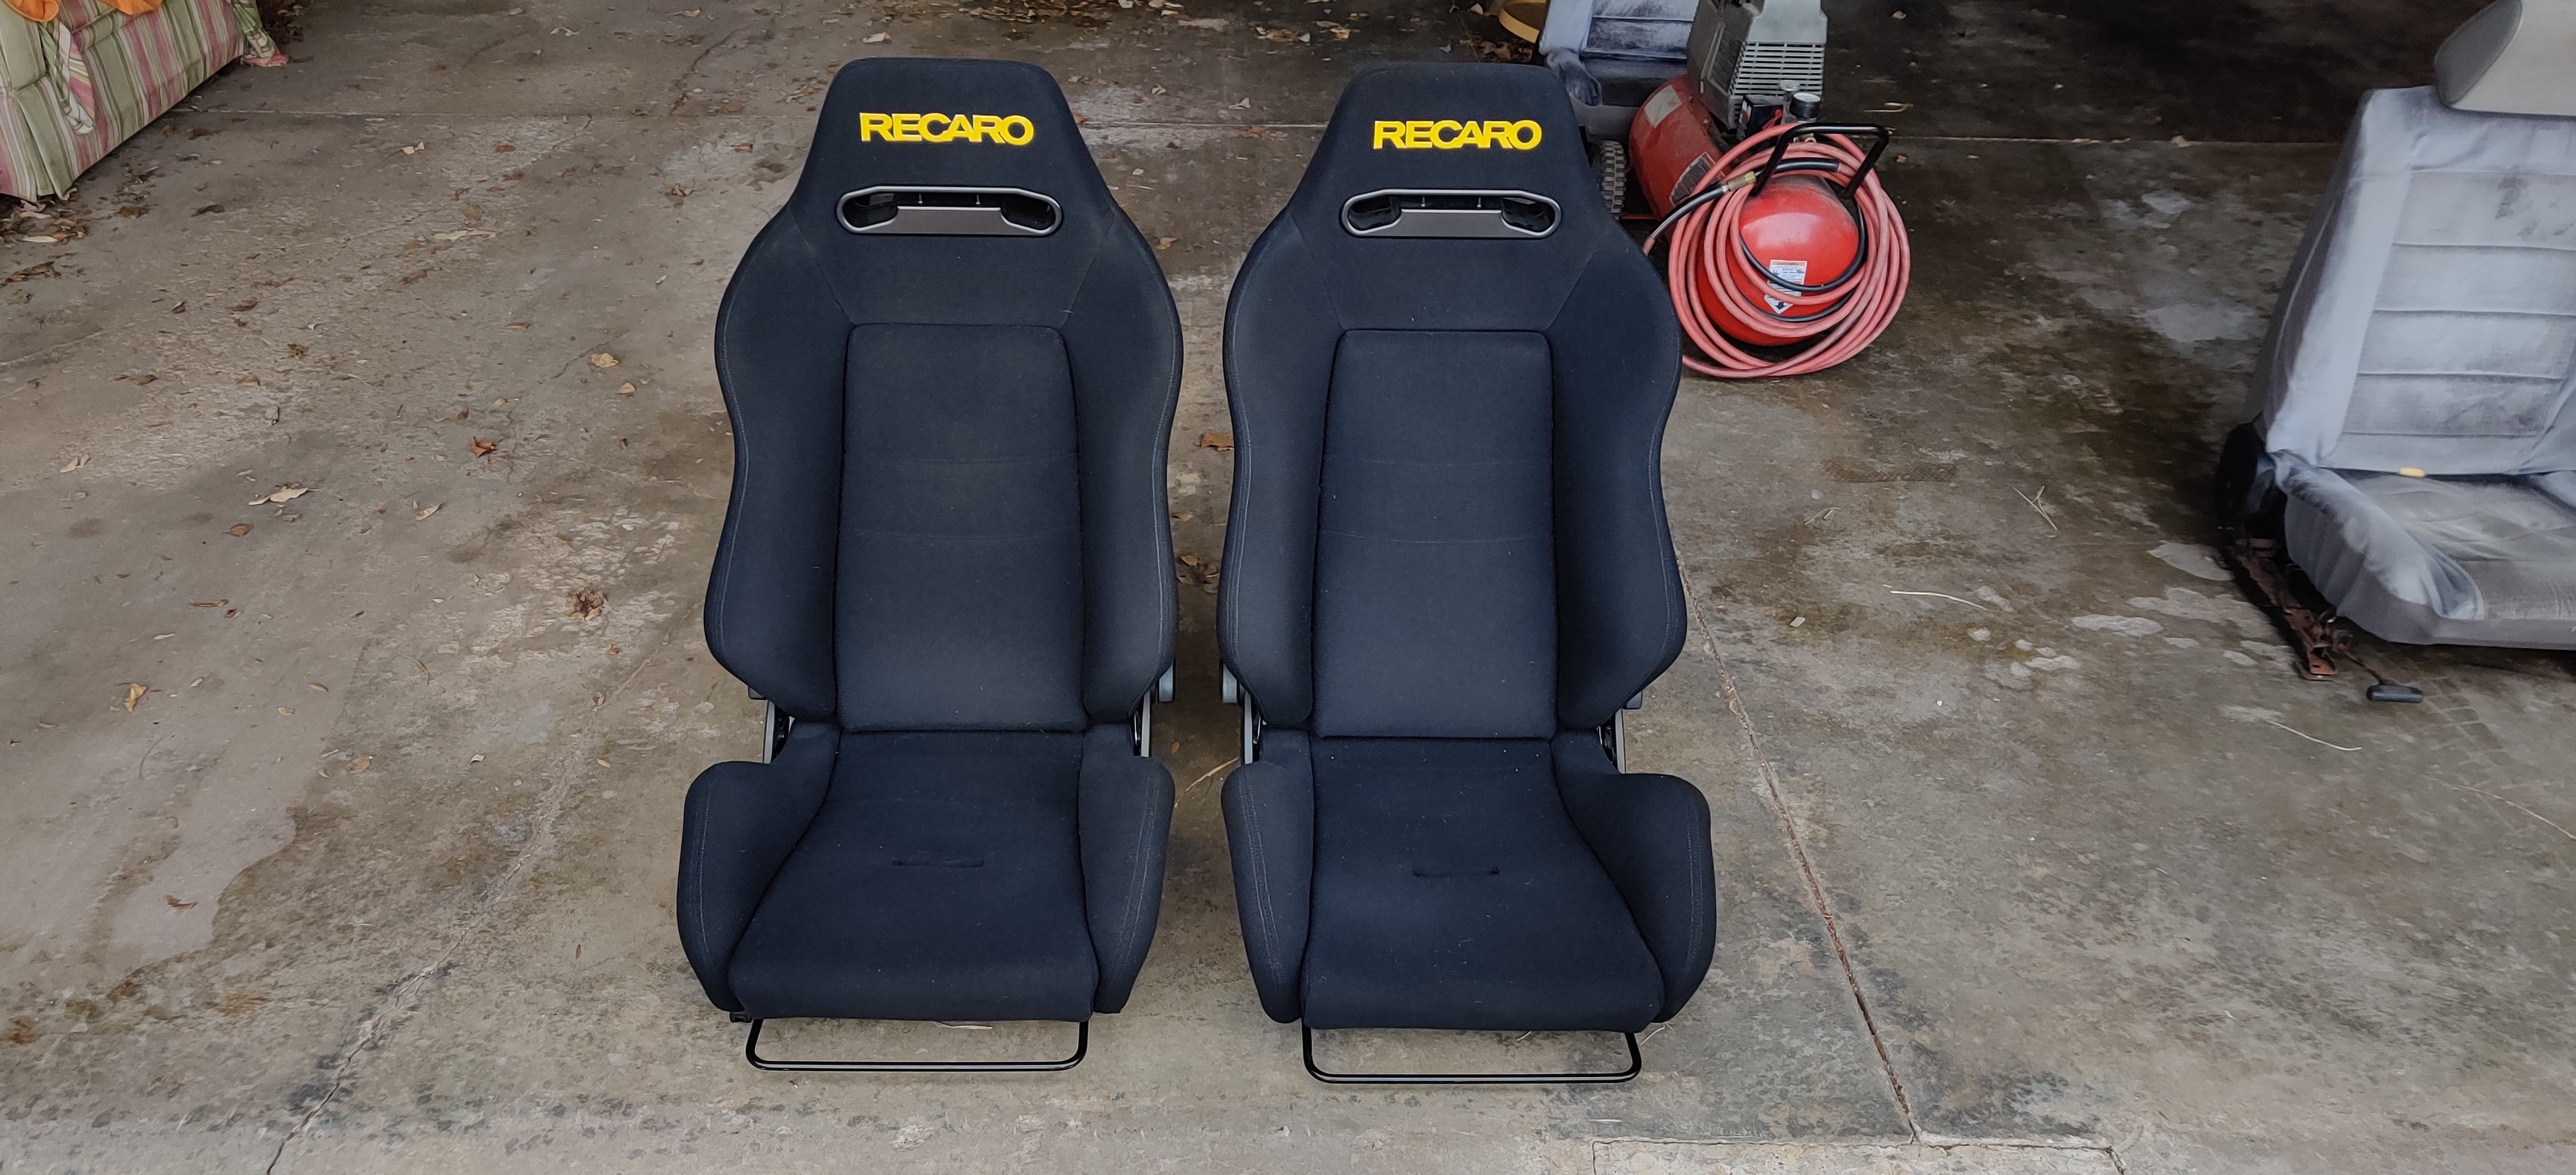
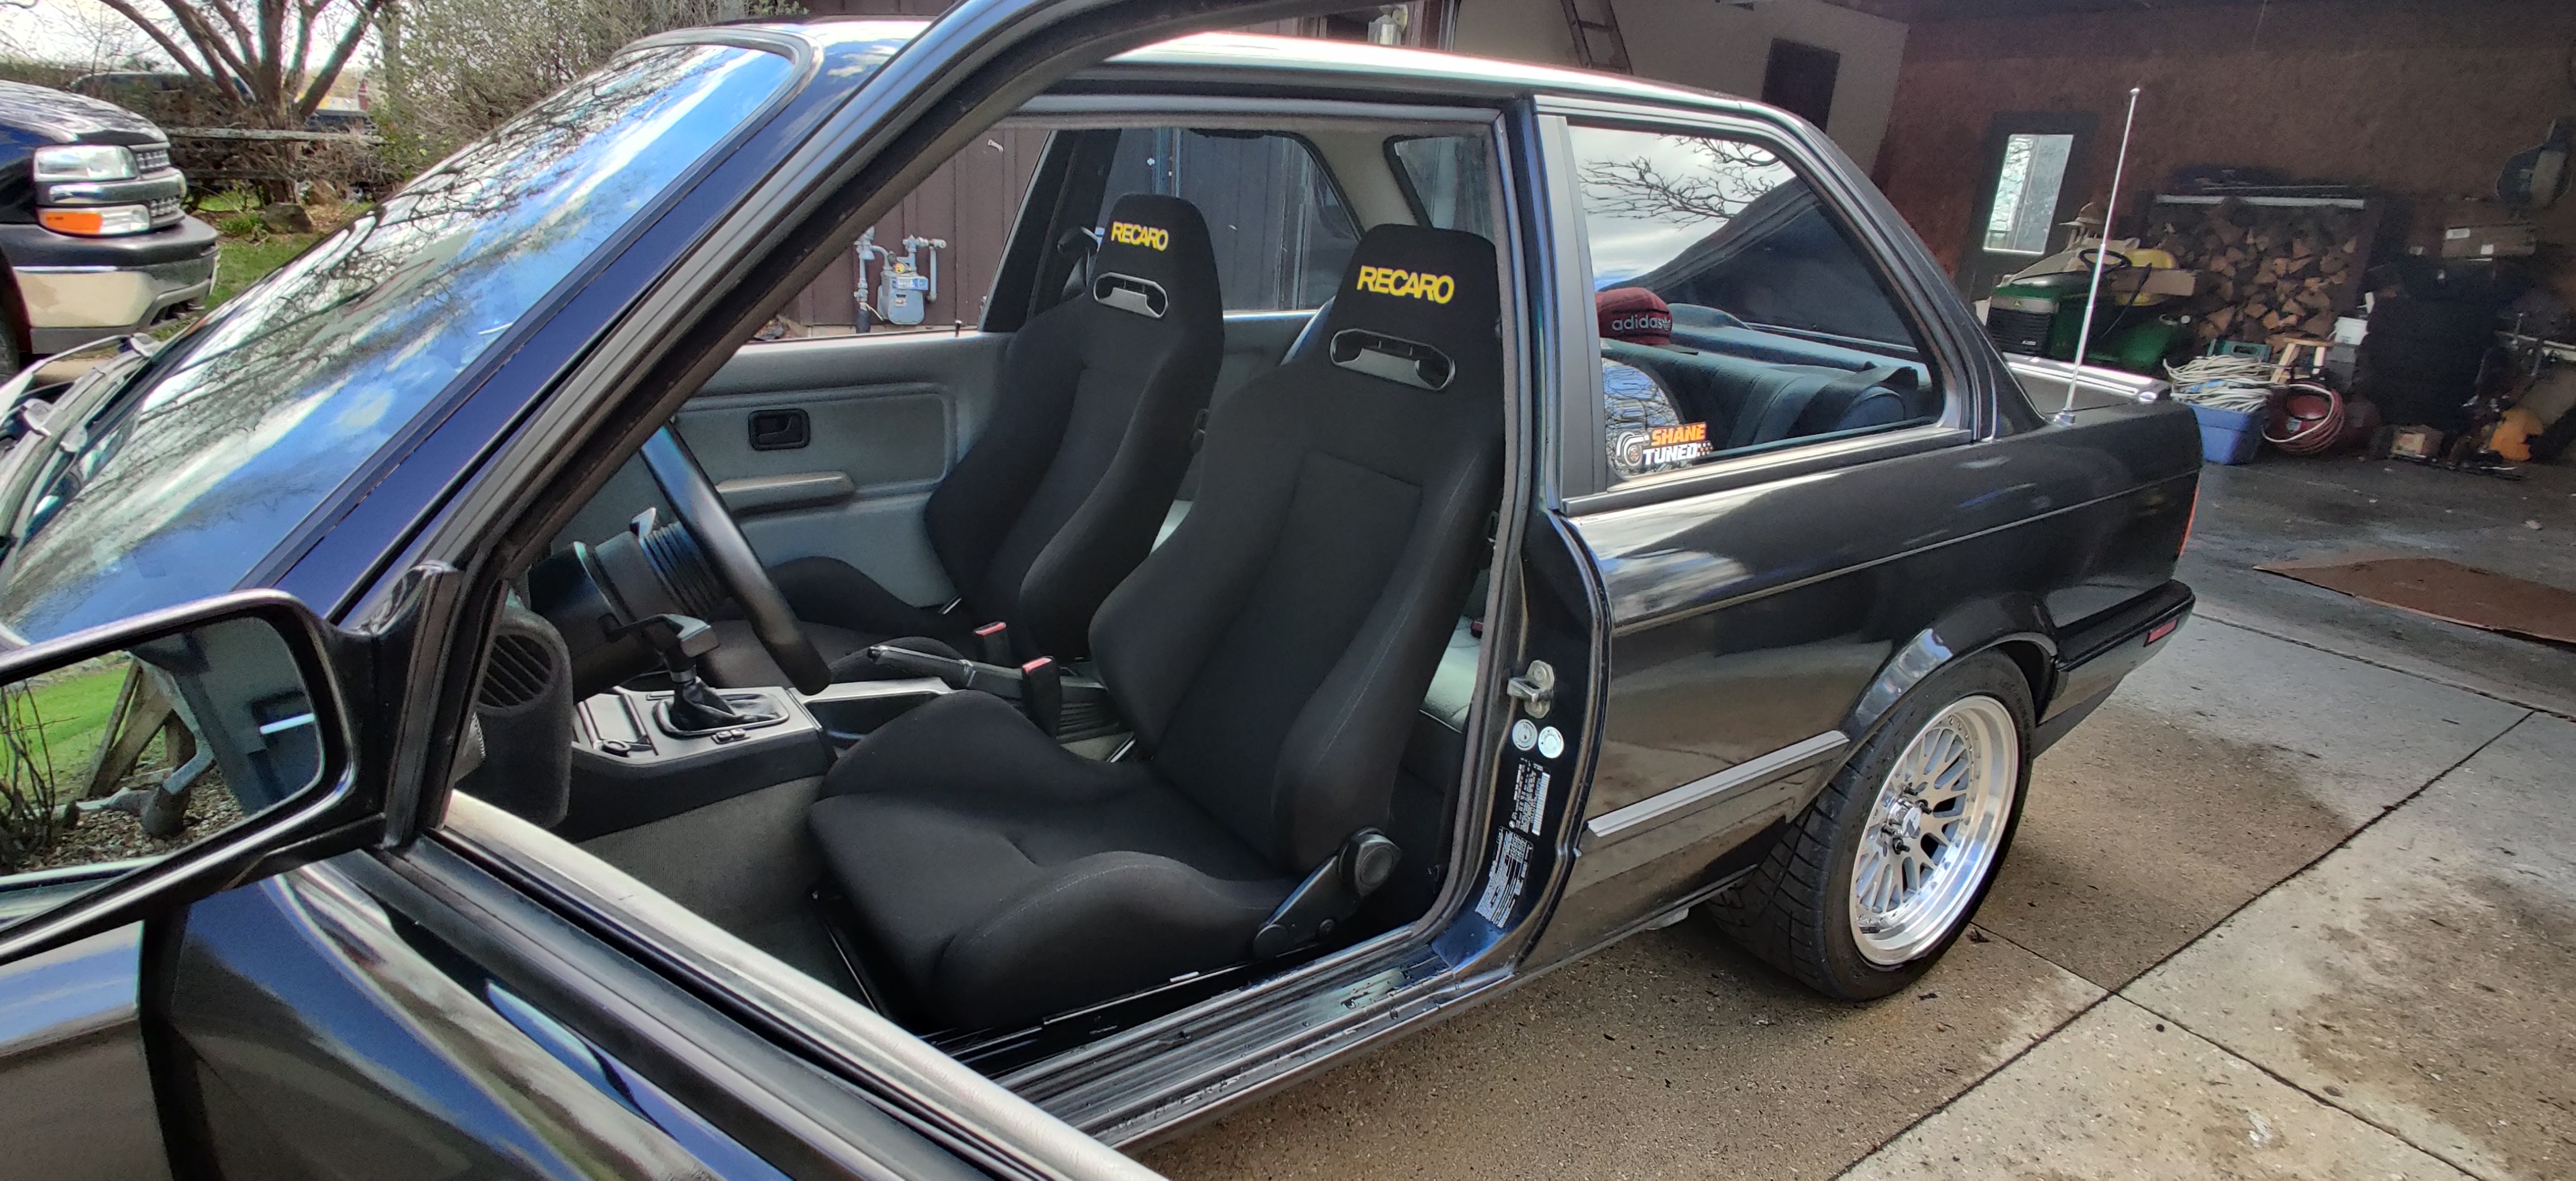
March rolled around and I started thinking about the upcoming warm weather and what I wanted to improve on the car before I started driving it again. Seats were the biggest thing on my mind as I still had the old ones that were getting pretty bad to drive in and I had a hard time getting comfortable in them. I was set on finding a set of Recaro srd's. I knew that was the set I wanted in the car and I did not want to compromise for anything else so worse comes to worse I was willing to drive with the old seats a while longer tell I found the right set. Well after several weeks of watching marketplace and other bmw pages/forums I came up with nothing. It seemed that the only sets that were going up for sale were selling within a few days and fetching to high of a price for the condition they were in. I gave up on looking in the midwest area and for shits and giggles started looking around the whole country to see what would pop up. Sure enough a set popped up In Denver, CO. The owner had them mounted in a mustang but sold the car so the seats had to go. I jokingly shared the ad to a friend of mine asking if he wanted to do a road trip to pick these up in which he replied "lets do it!" Over the following days since I had talked with him I thought it over while messaging the owner to see if he would be willing to hold them with money down tell I got out there. He agreed and that weekend my buddy and I made the 32 hour round trip to go pick these seats up.
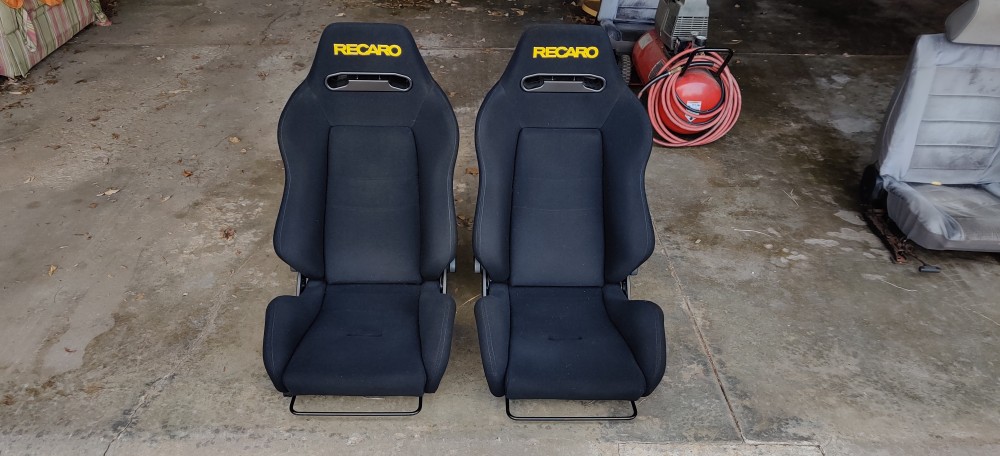
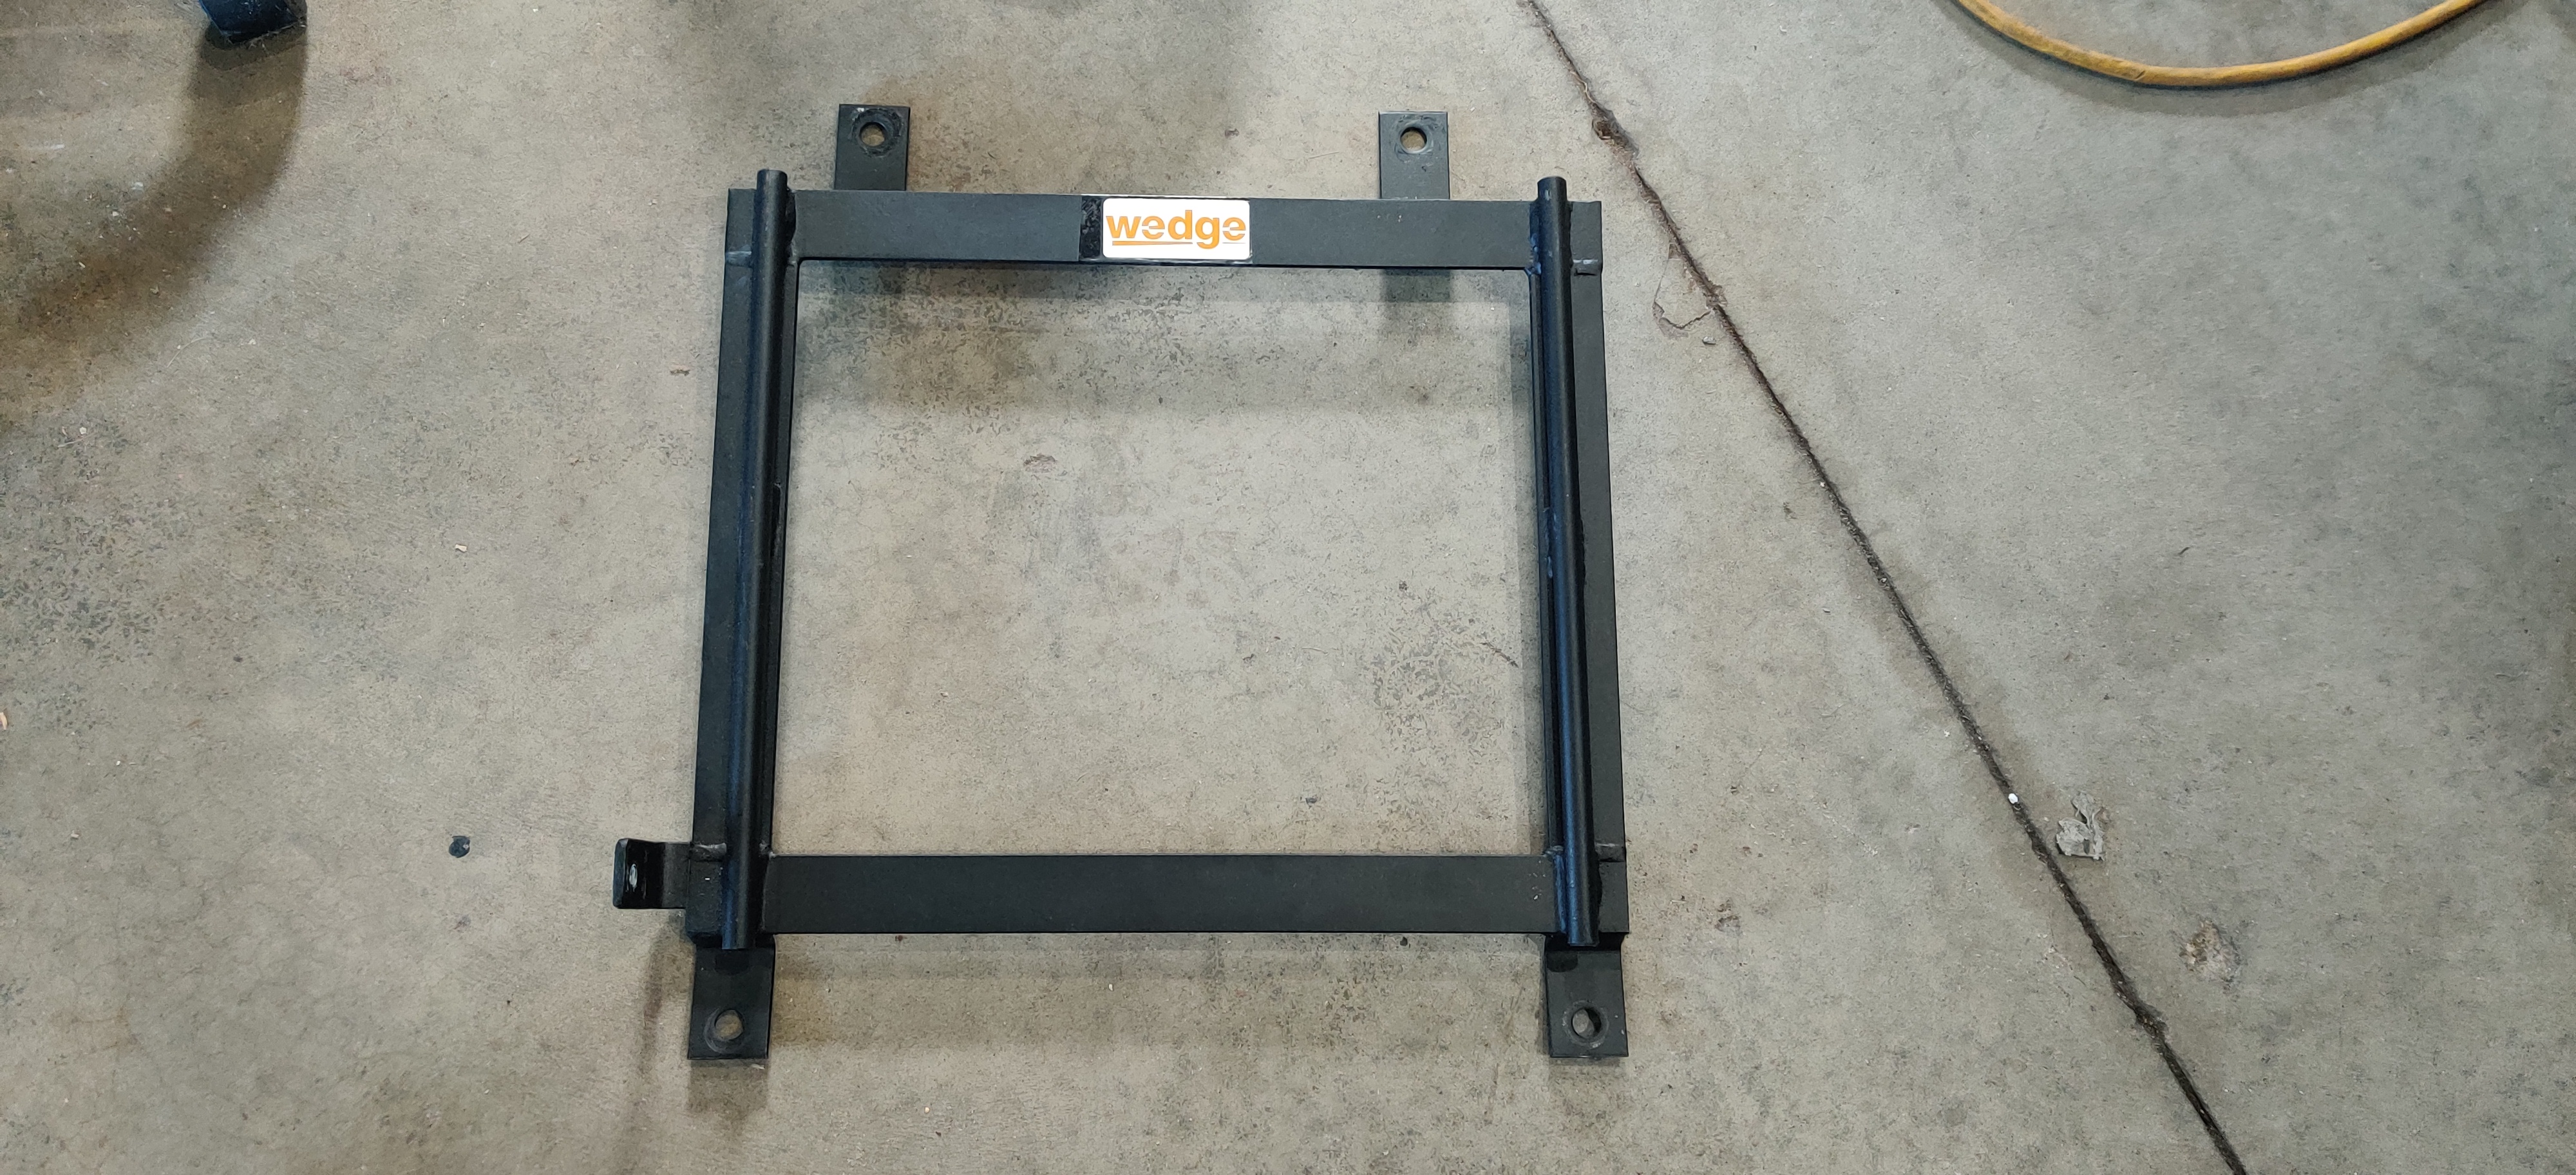
He was the original owner of this set and had taken very good care of them. On top of that he was including wedge brackets and sliders that he used to mount them in his mustang.
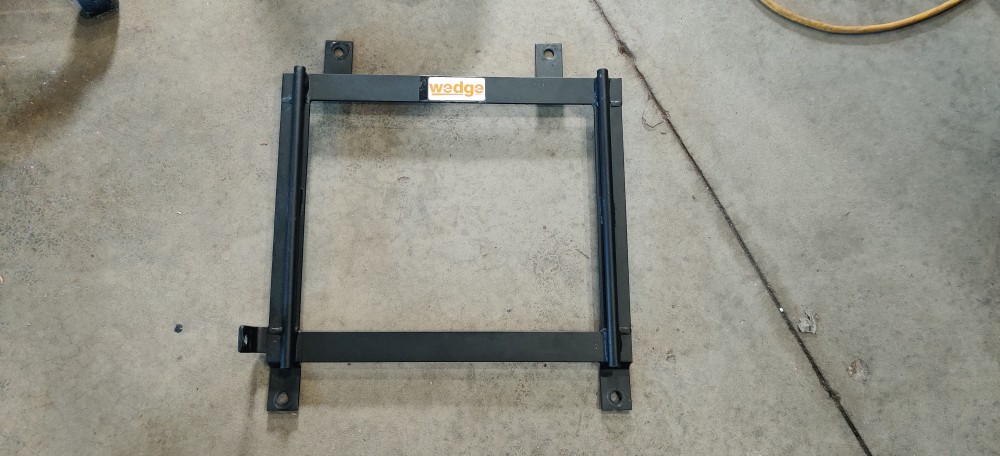
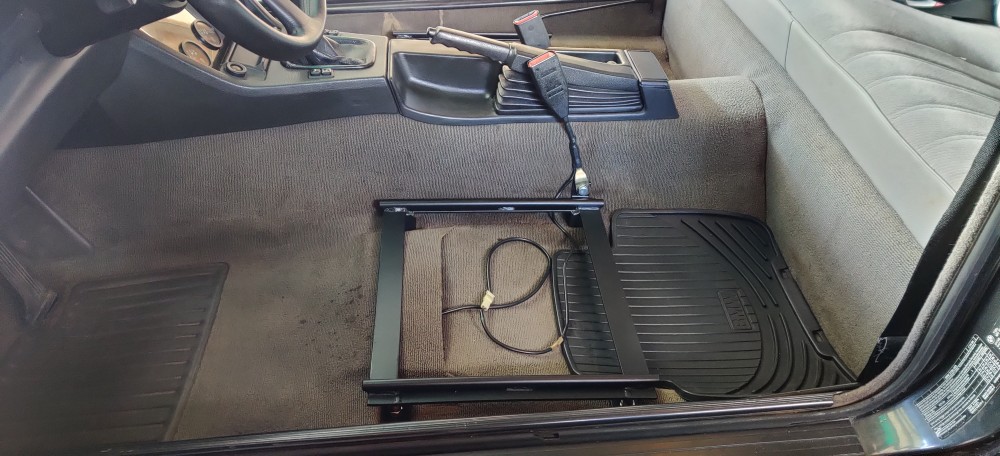
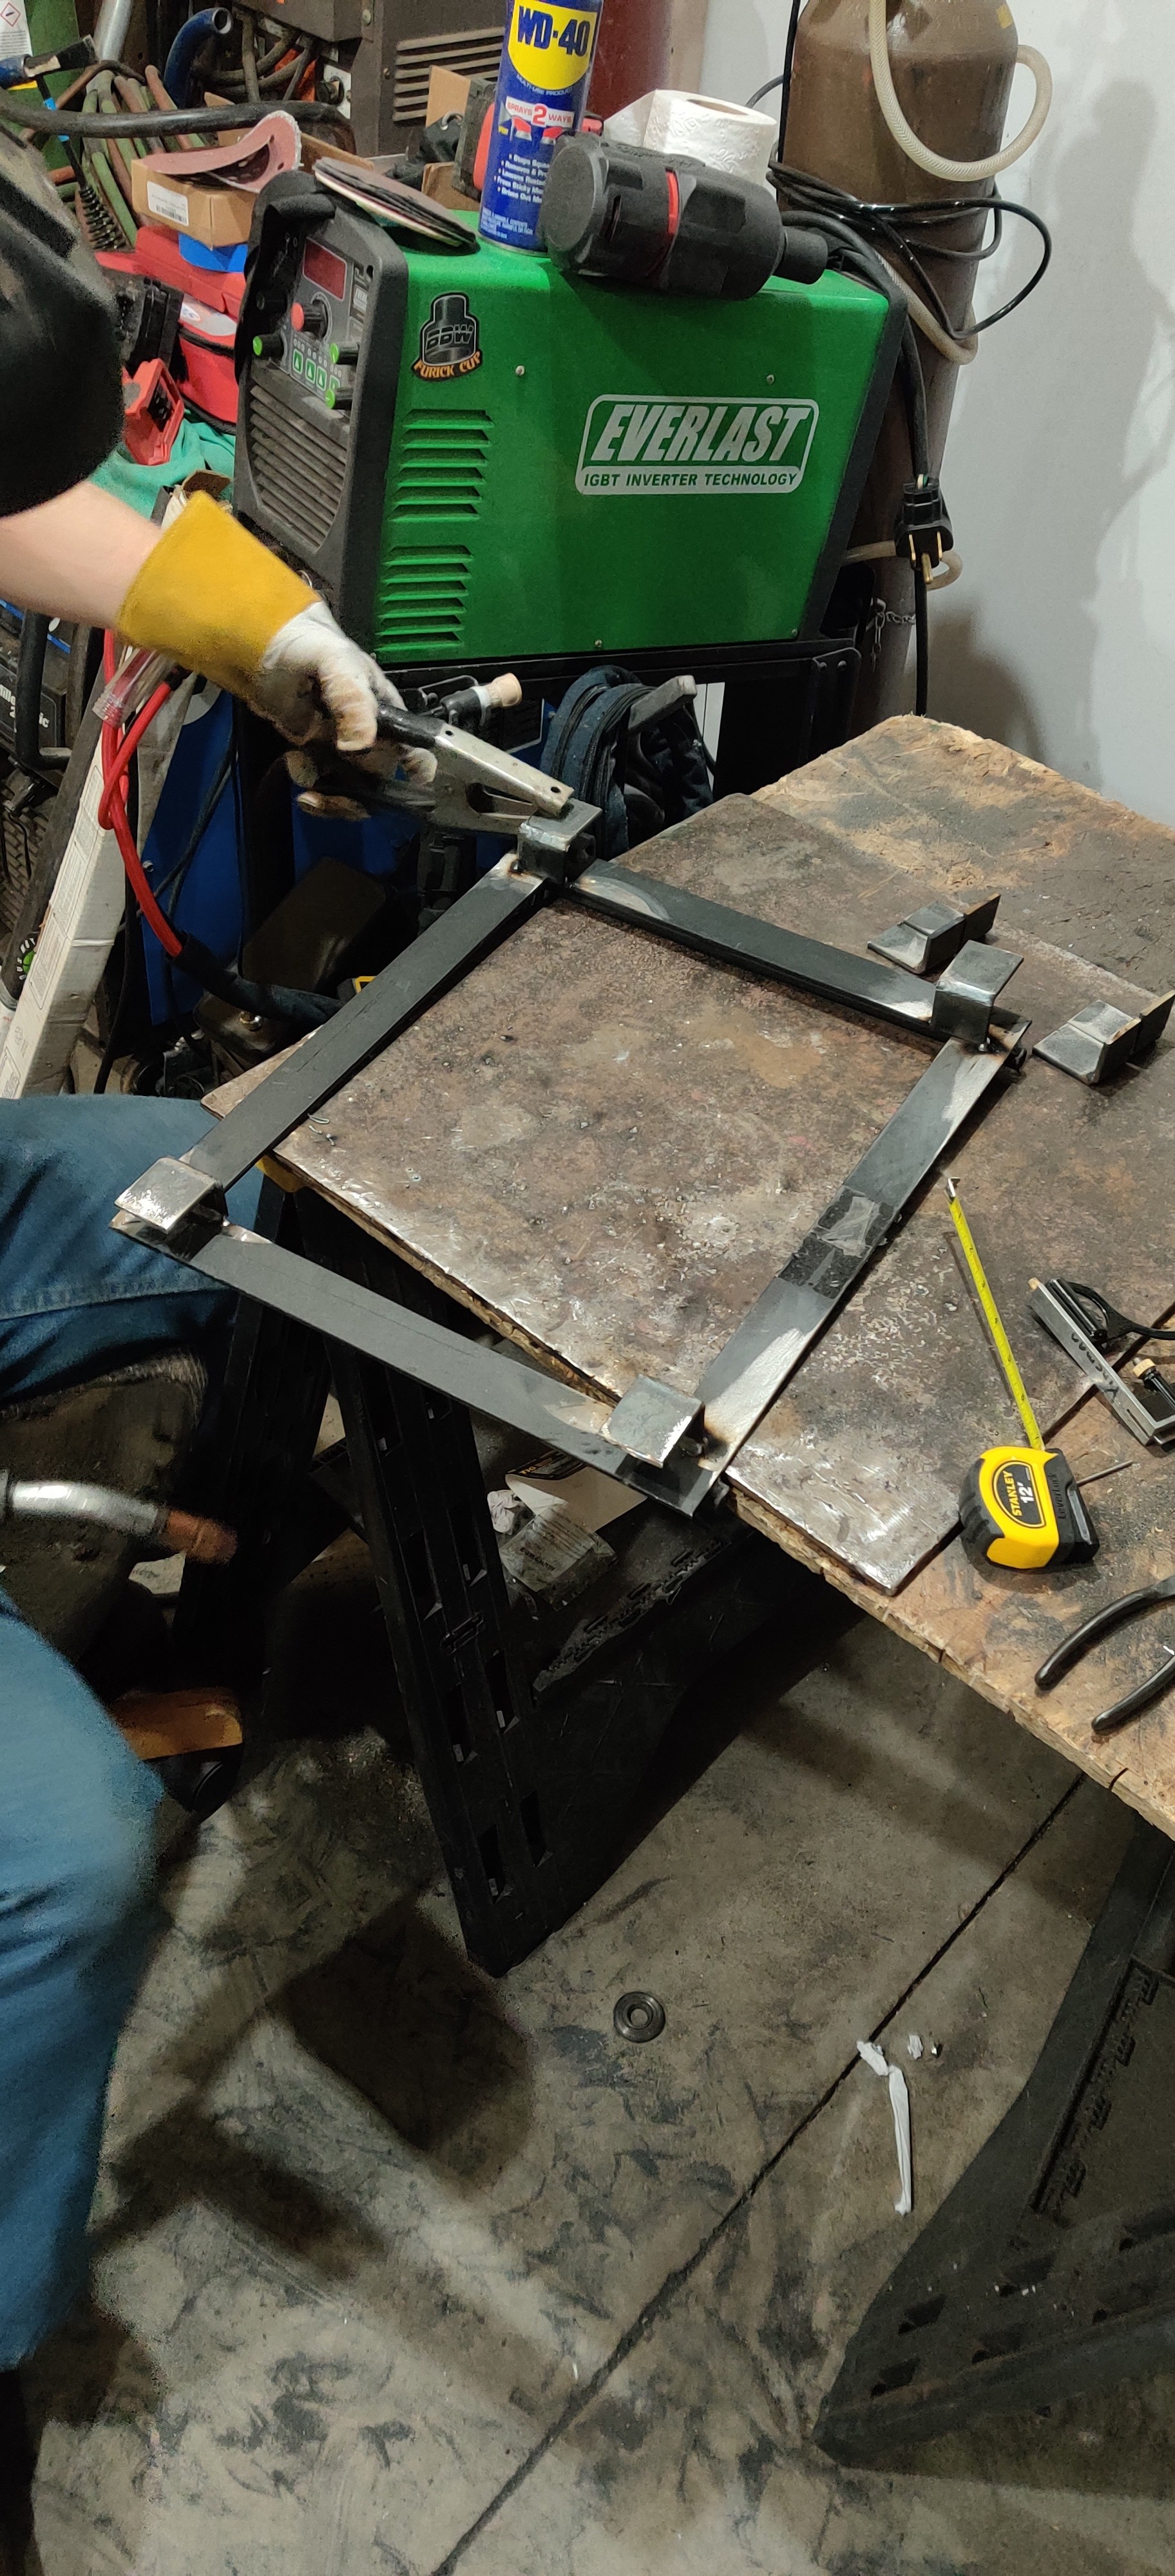
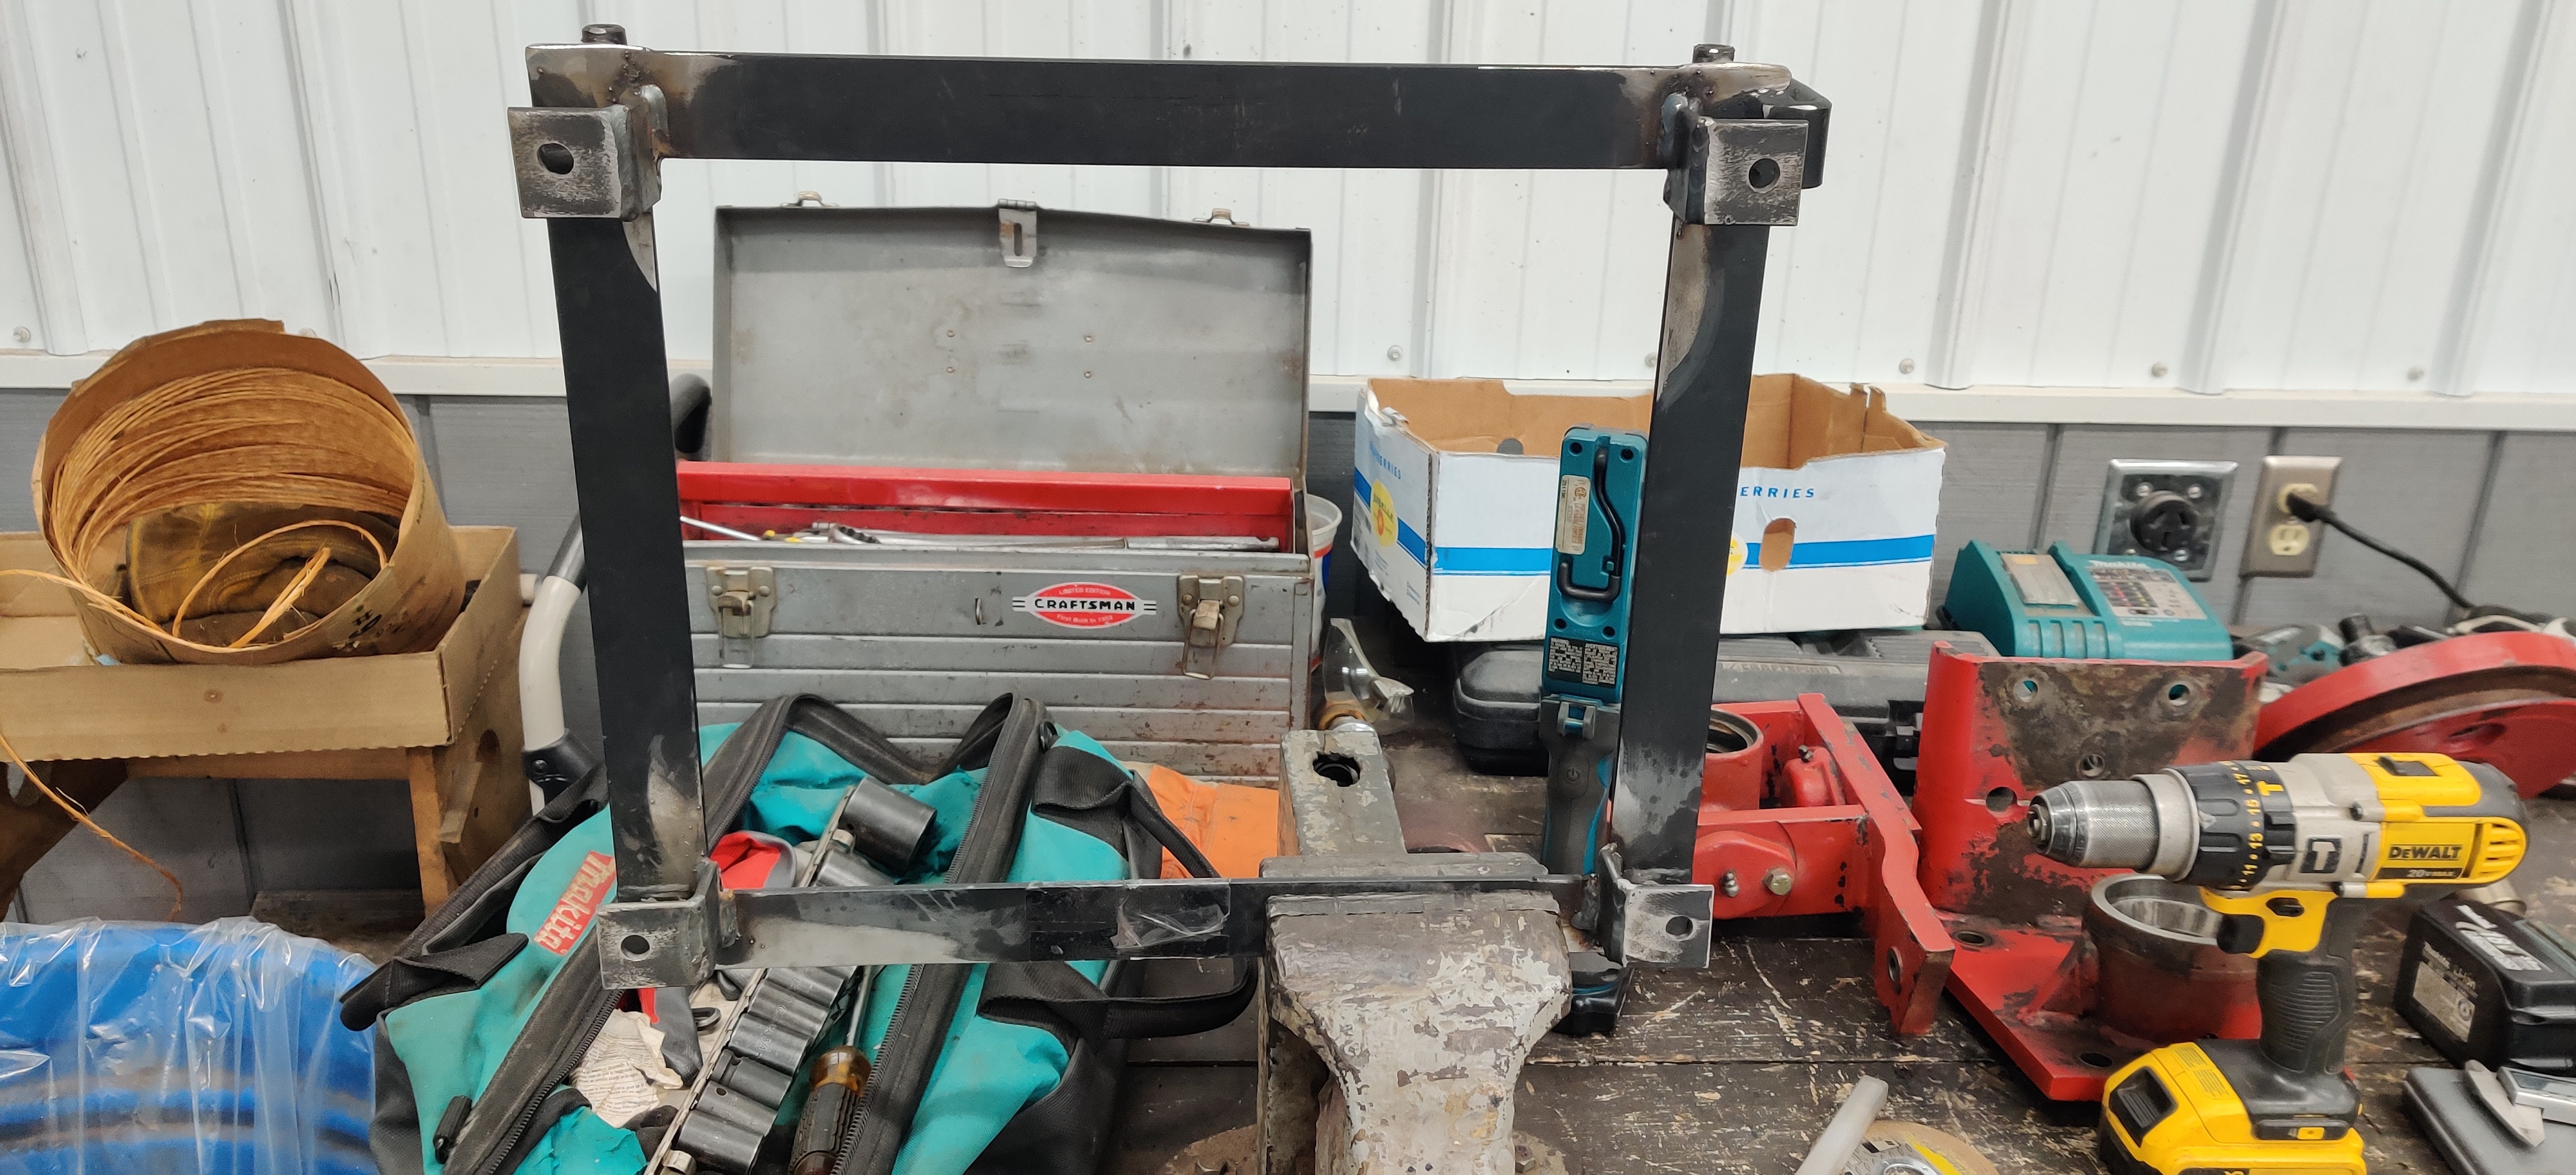
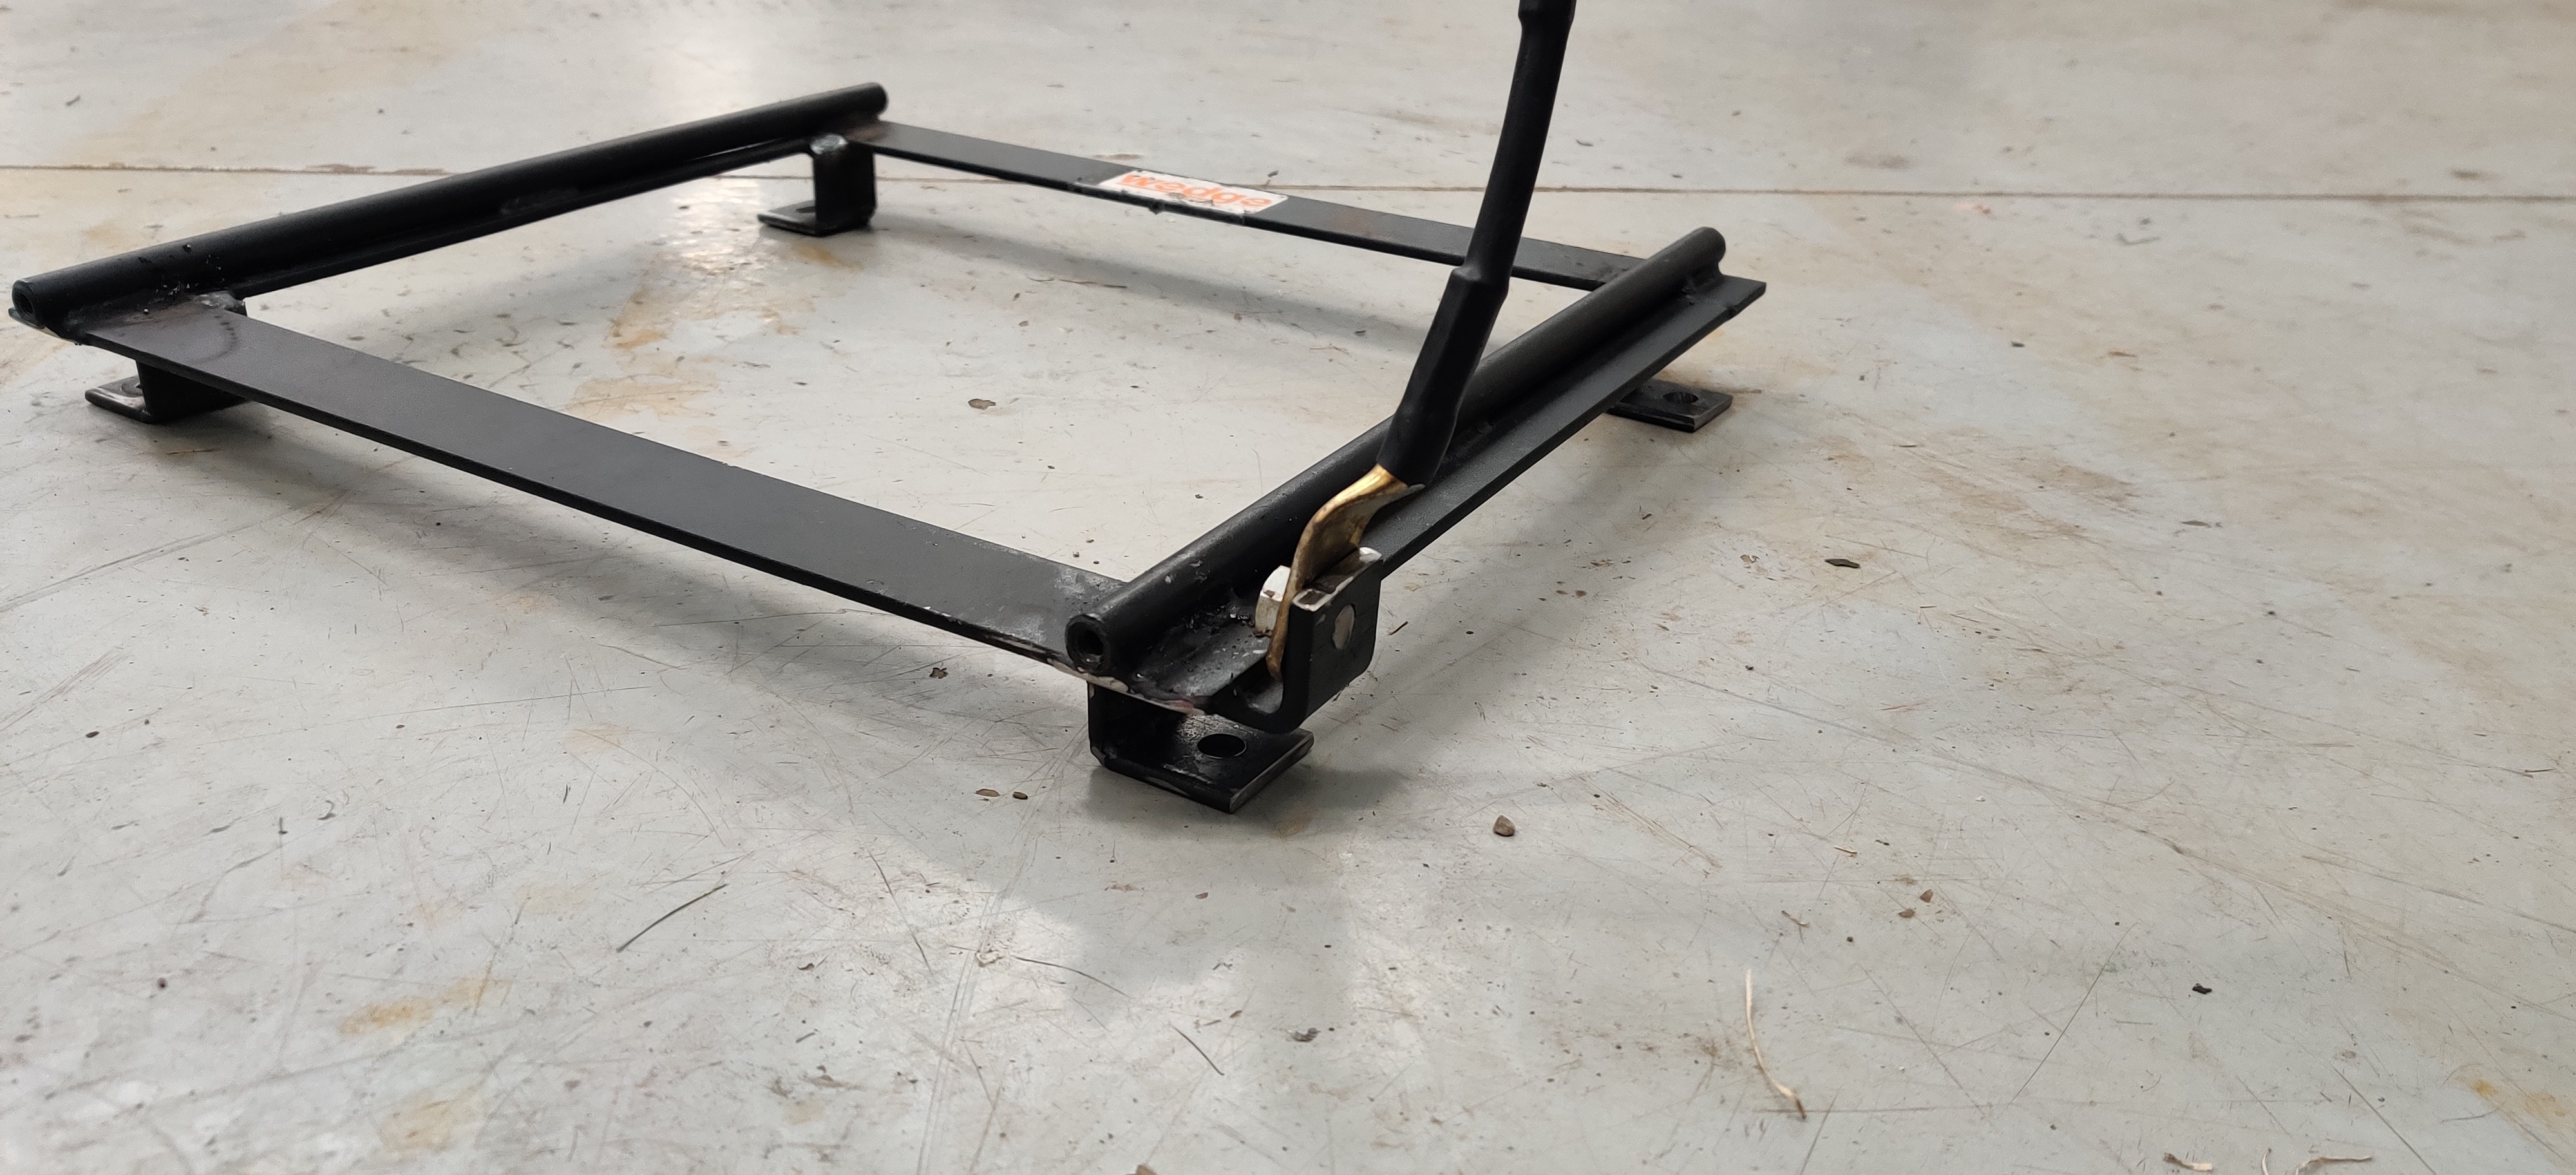
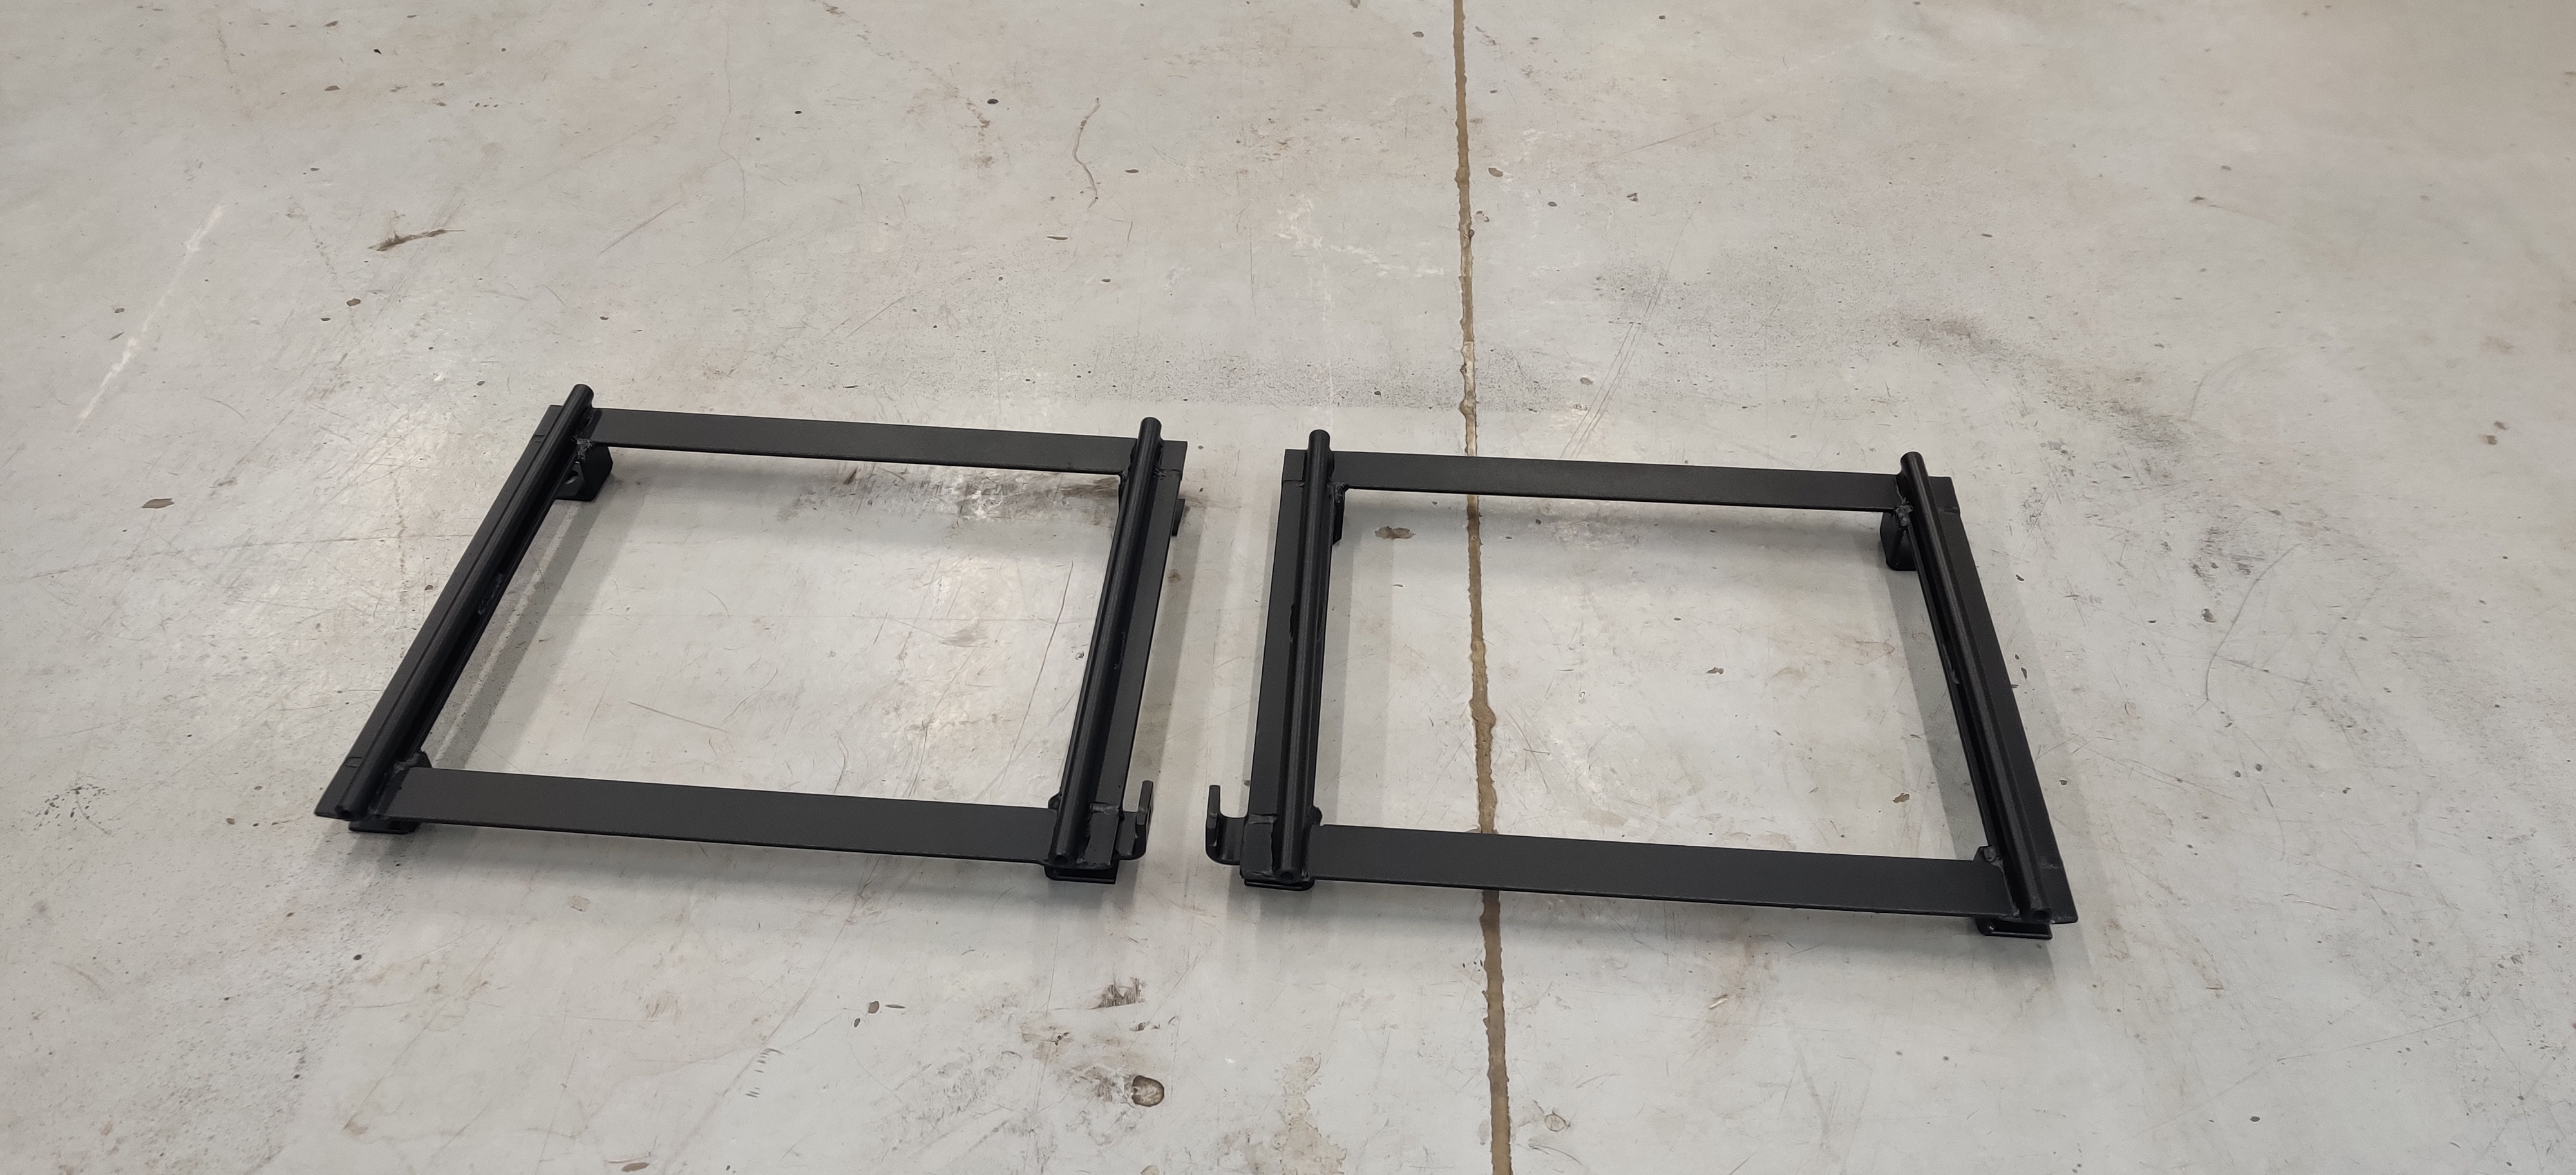
Being that a new set of brackets and sliders were gonna run me upwards of around four hundred bucks for both seats I wanted to see if I could make the mustang ones work first. I took some measurements of the bolt hole distances and what I would need to modify to get them to fit properly. The following day I took them over to a friends and we went at modifying the brackets to fit the car.
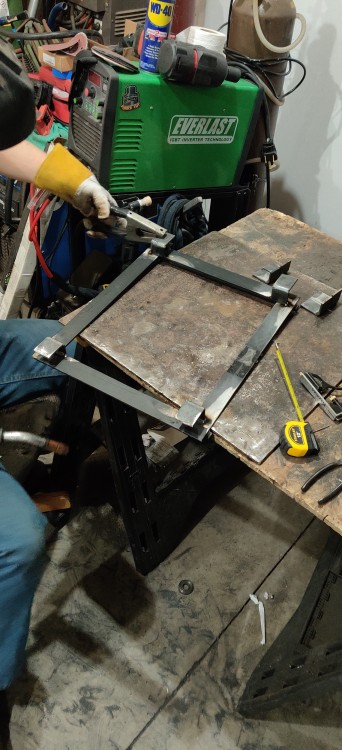
After they were all welded up I took them over to the shop and drilled and slotted the holes.
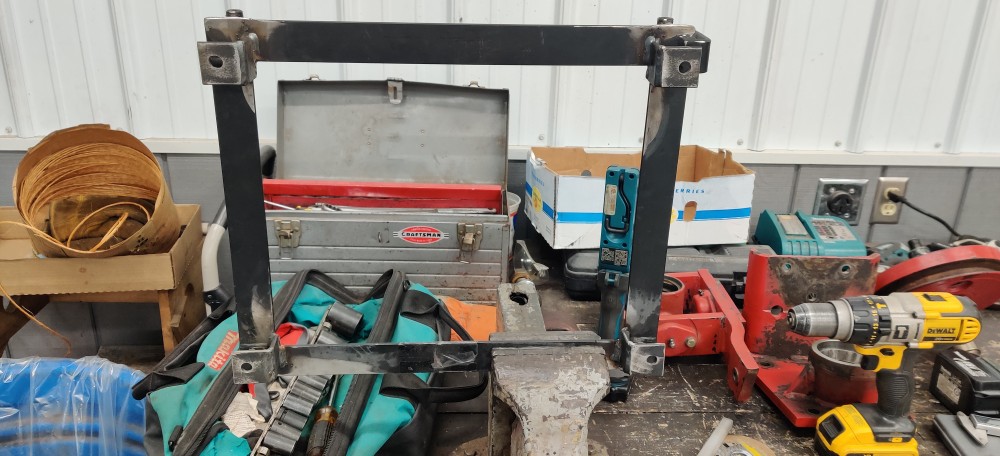
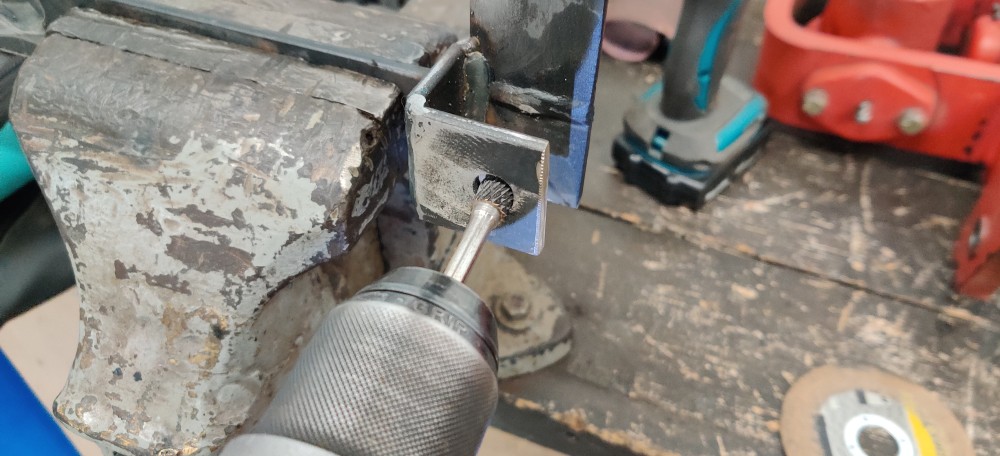
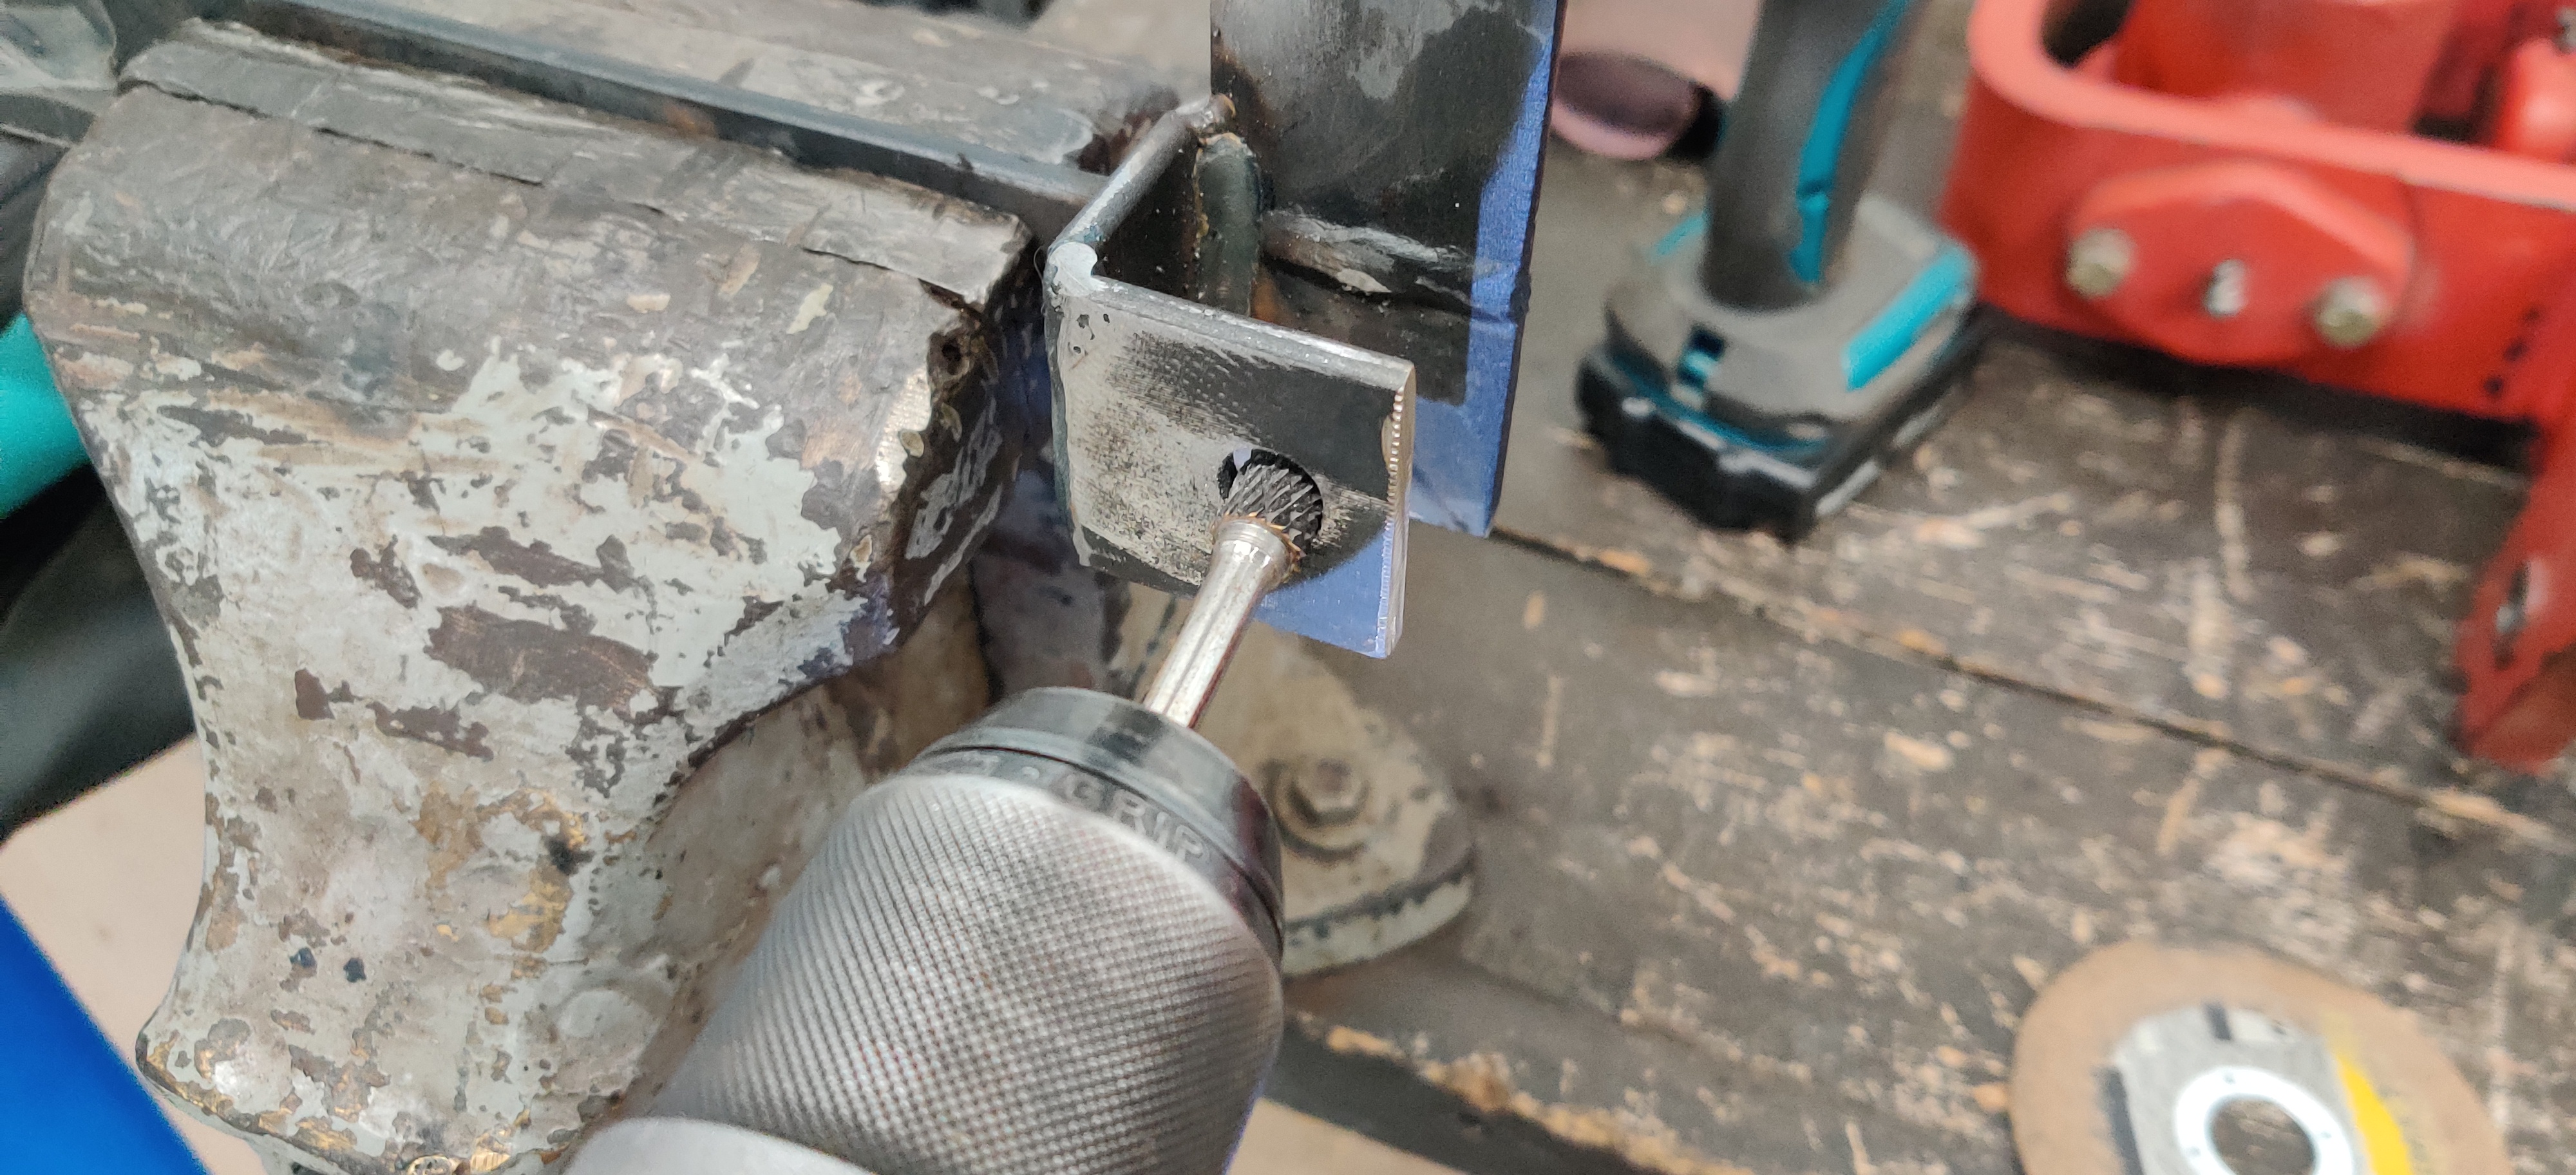
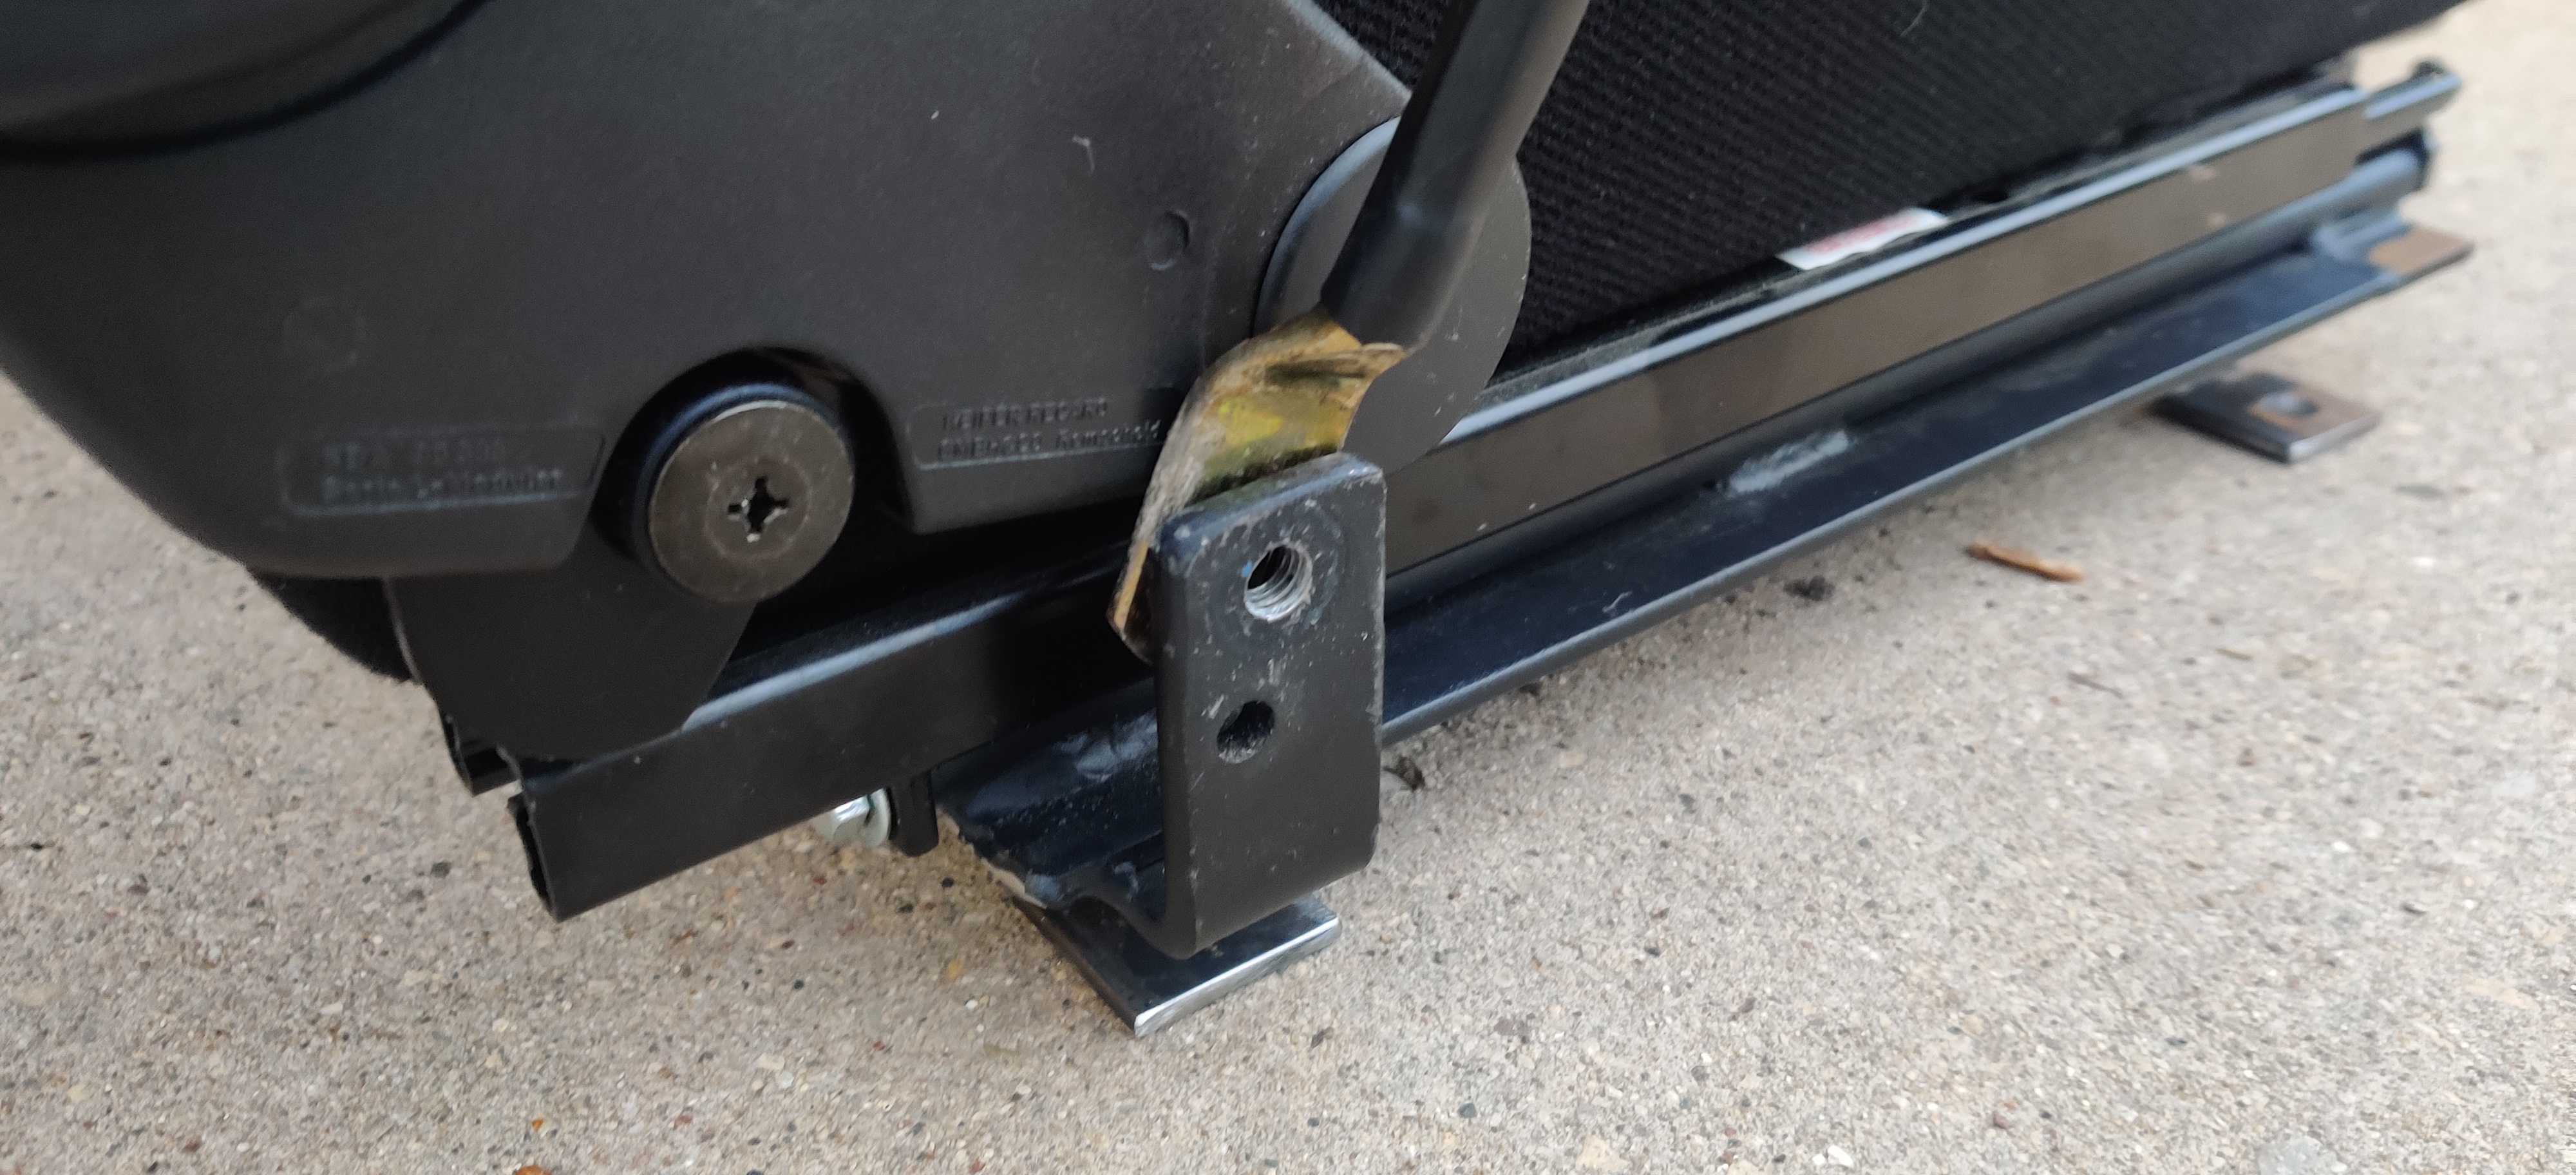
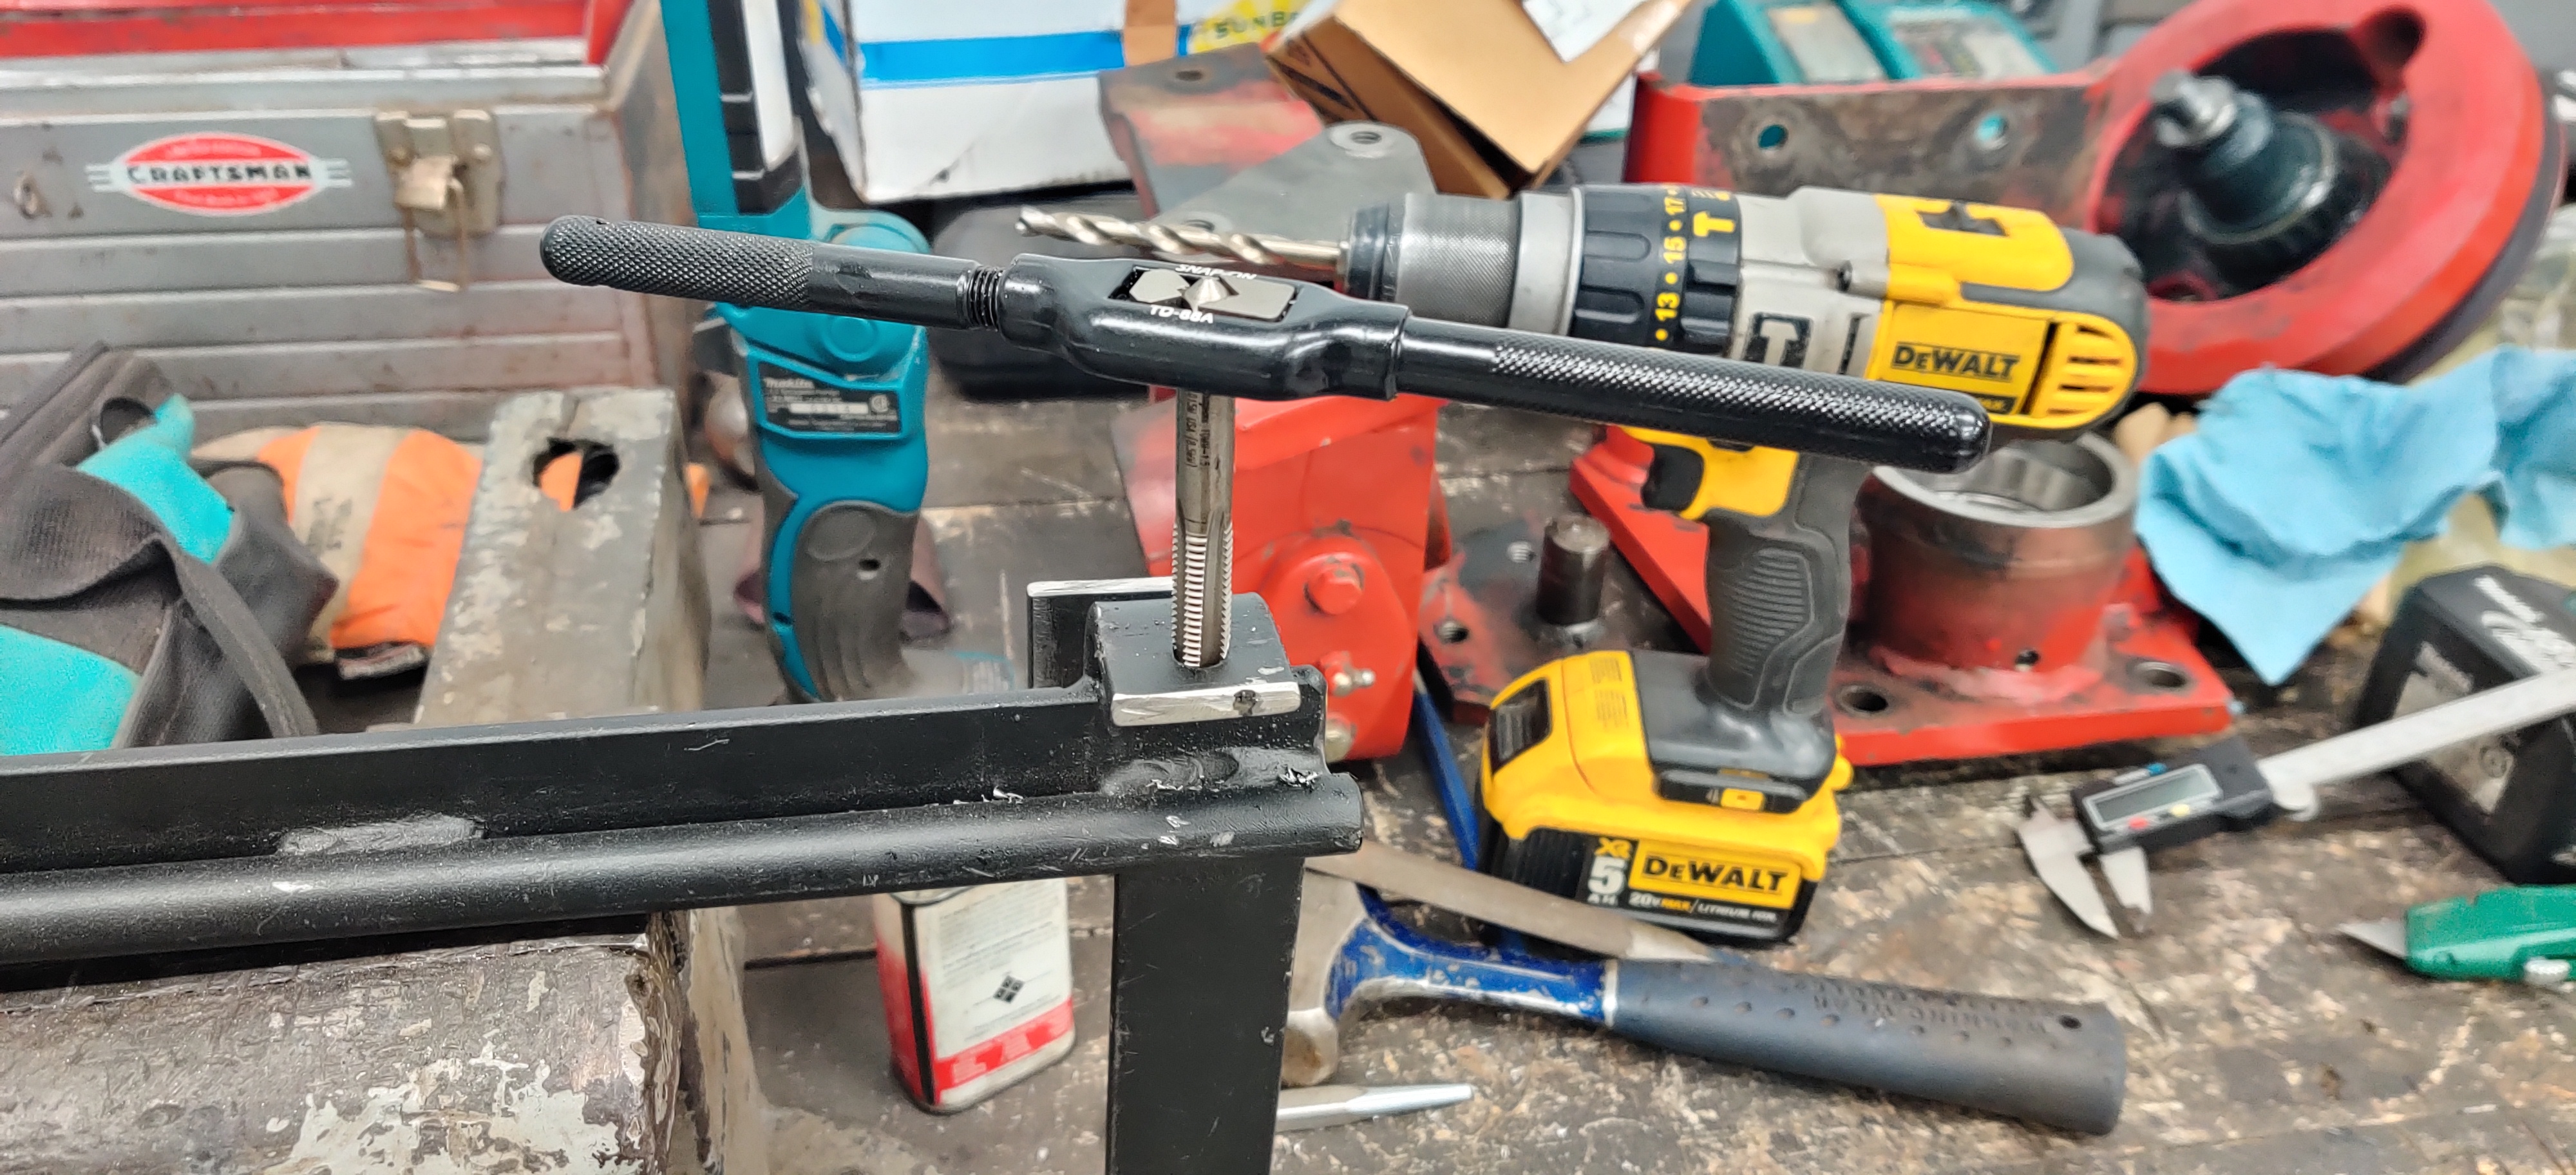
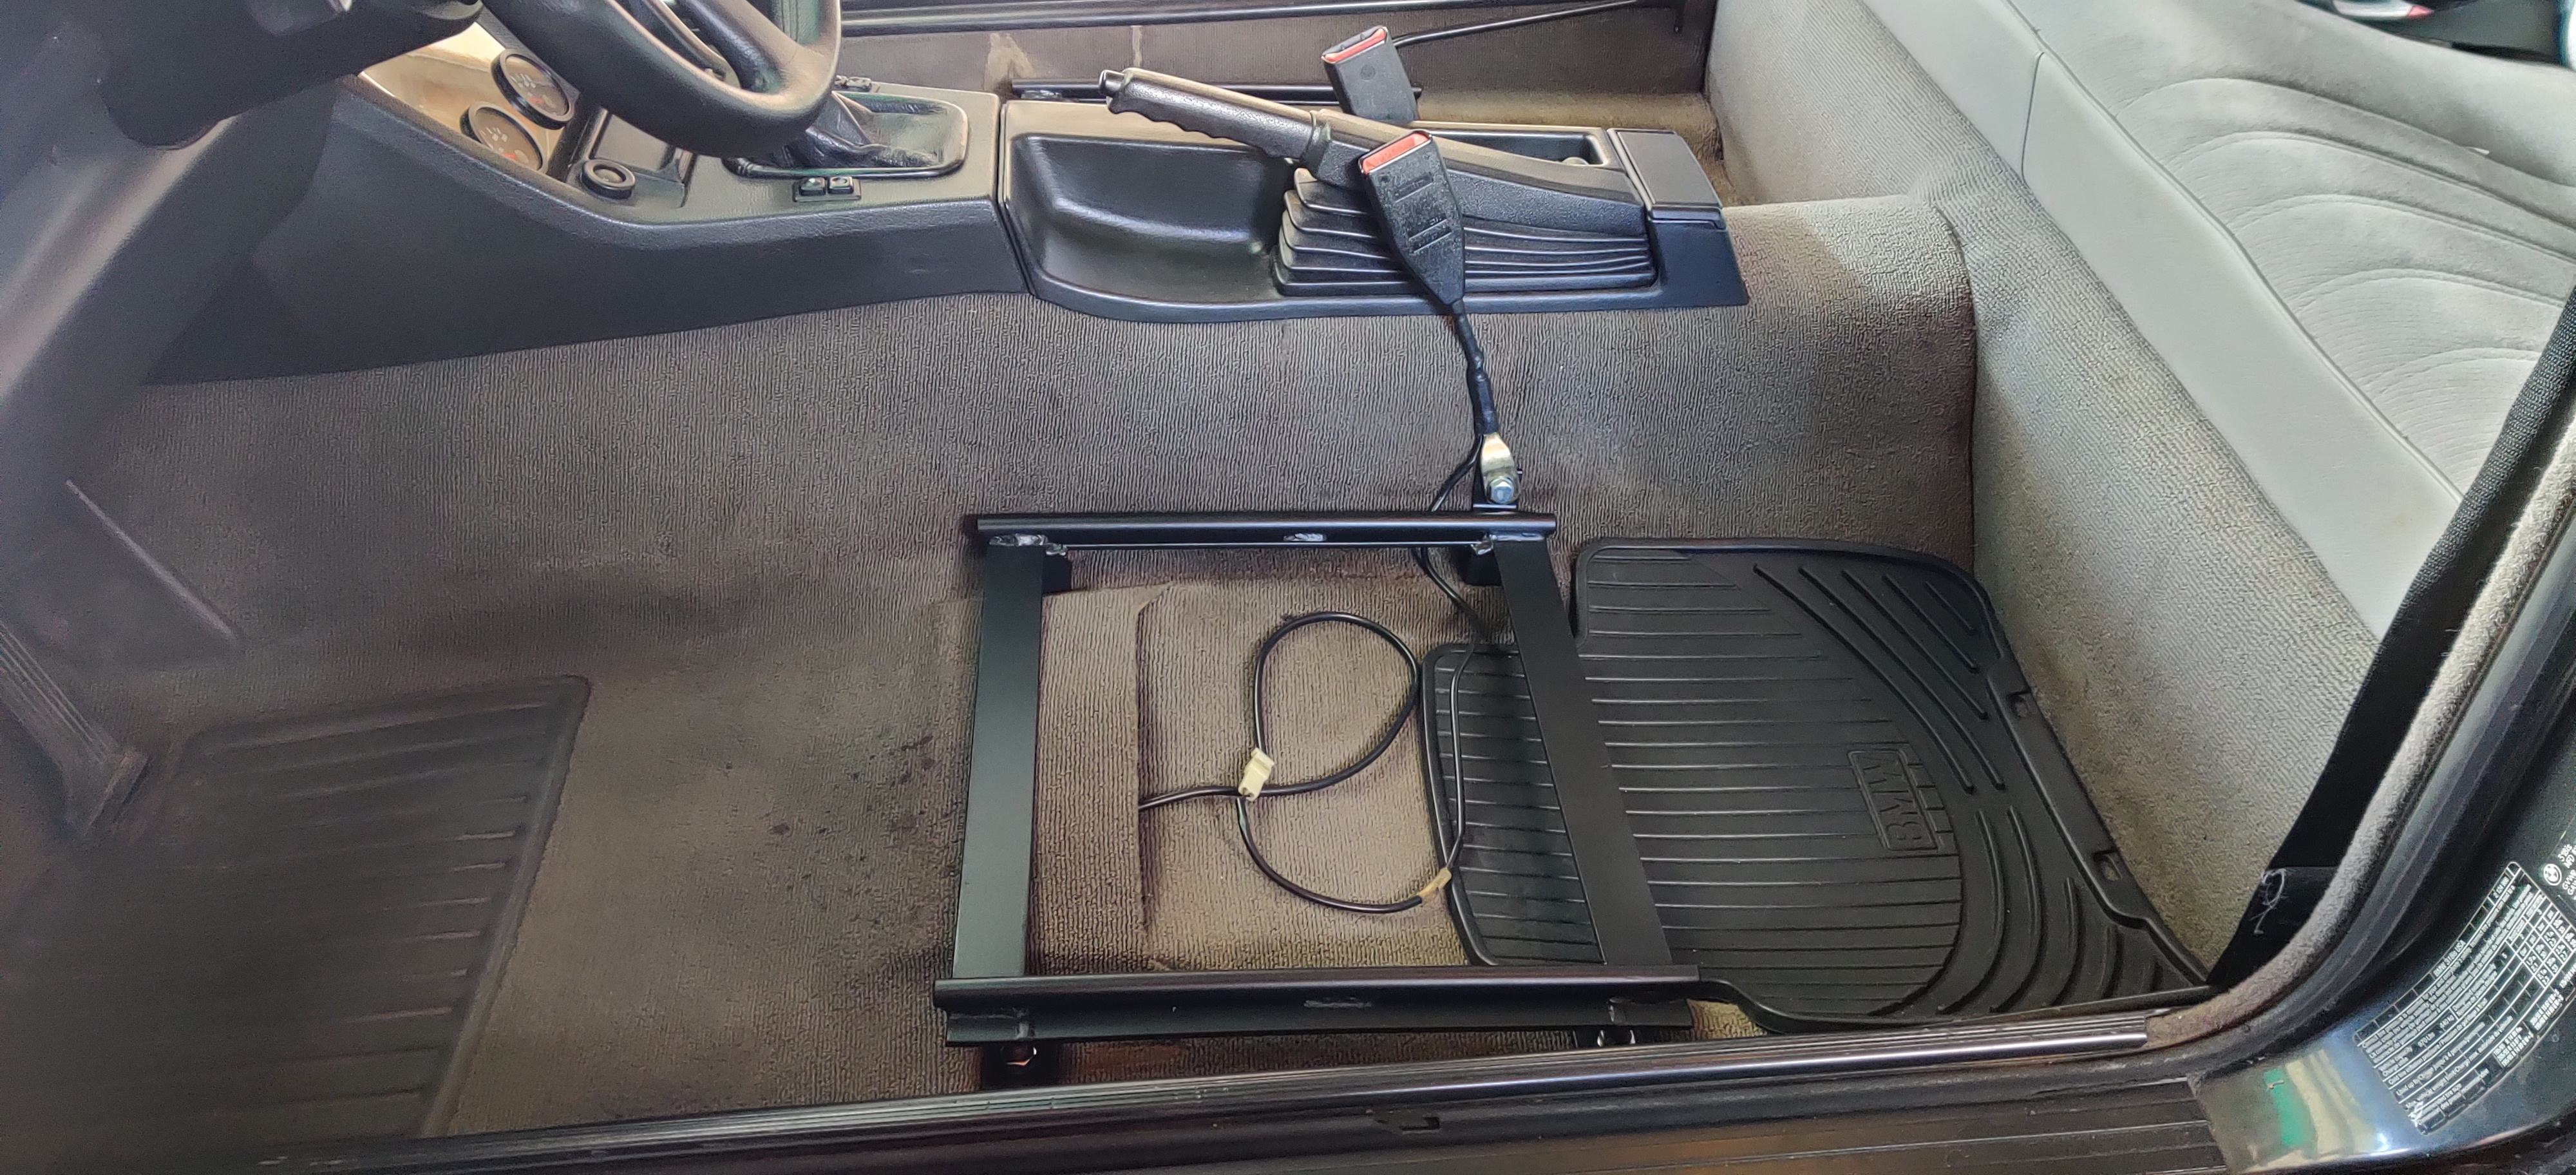
The next thing was to figure out how I was gonna get the seat belt buckles to mount. I liked where the mounts were originally but with the e30 buckles it was not gonna work. In order to keep the location and fit the buckles I cut down the vertical piece of metal in half and drilled and tapped a new hole for the bolt.
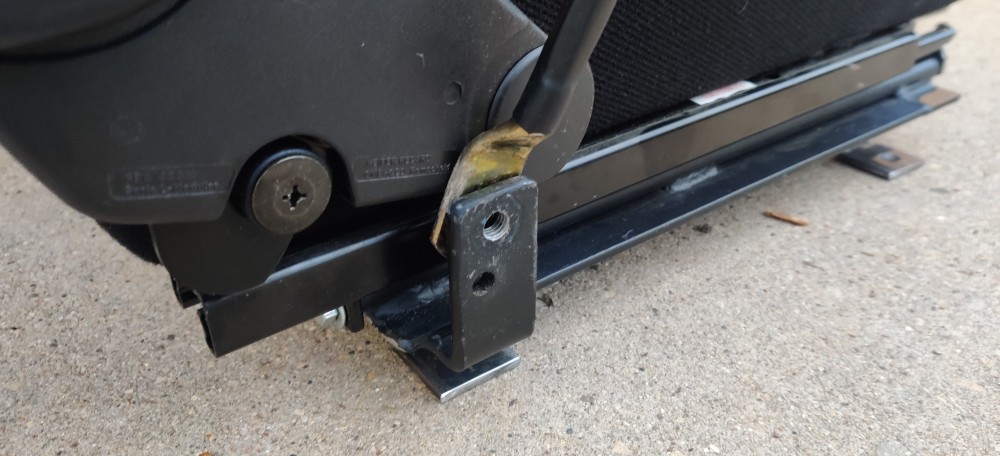
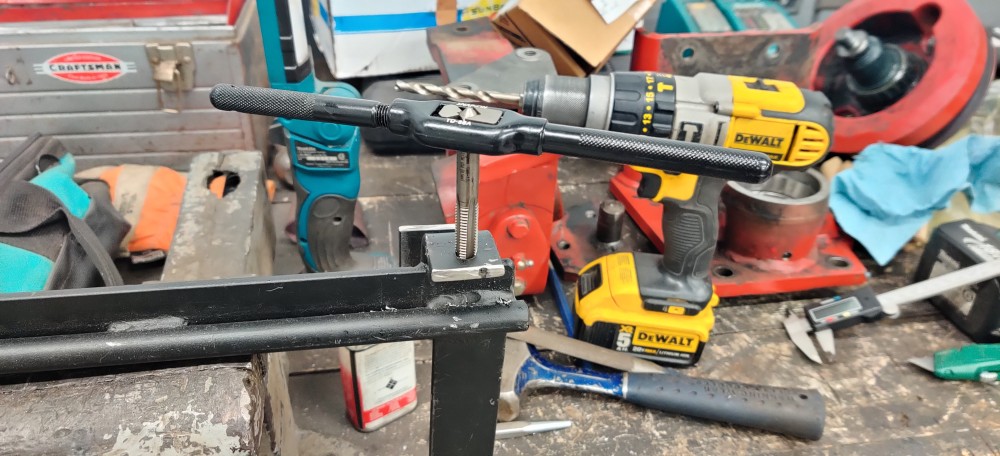
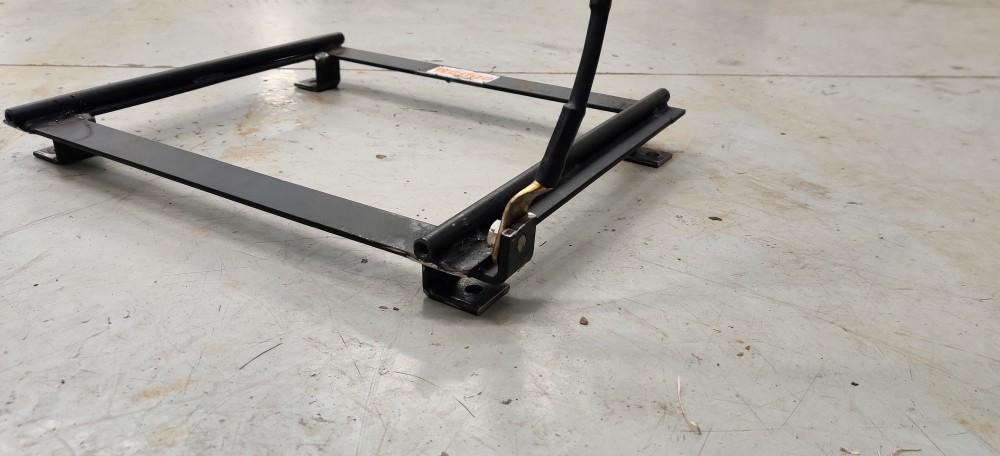
I ended up snagging some 5/8's size bolts from my grandfather's spare bolt bins at the shop and hacked them down so they were smooth without the outside surface. Worked like a charm and I mounted the seats back up to confirm there was no rubbing with the new set up. All that was left was to get them sand blasted and repainted.
I put one coat of etching primer and two coats of SEM black trim paint.
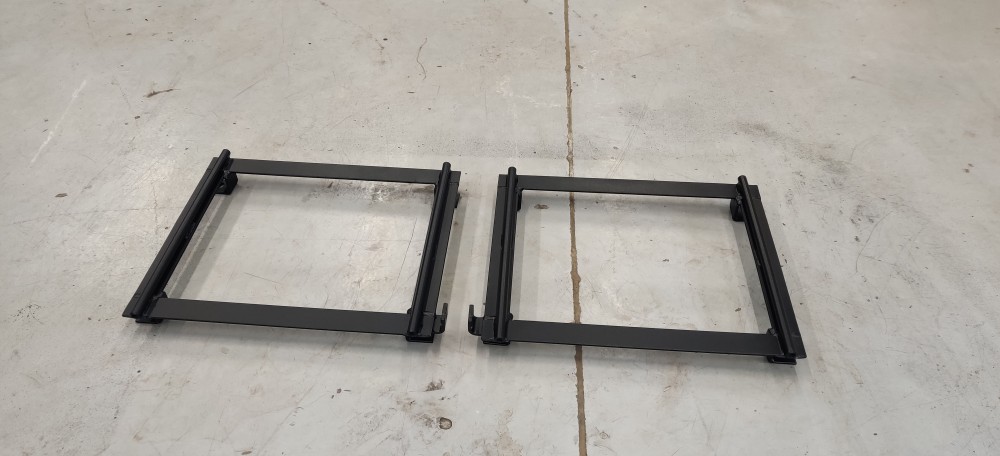
Purchased some new stainless hardware to bolt down the brackets to the car.
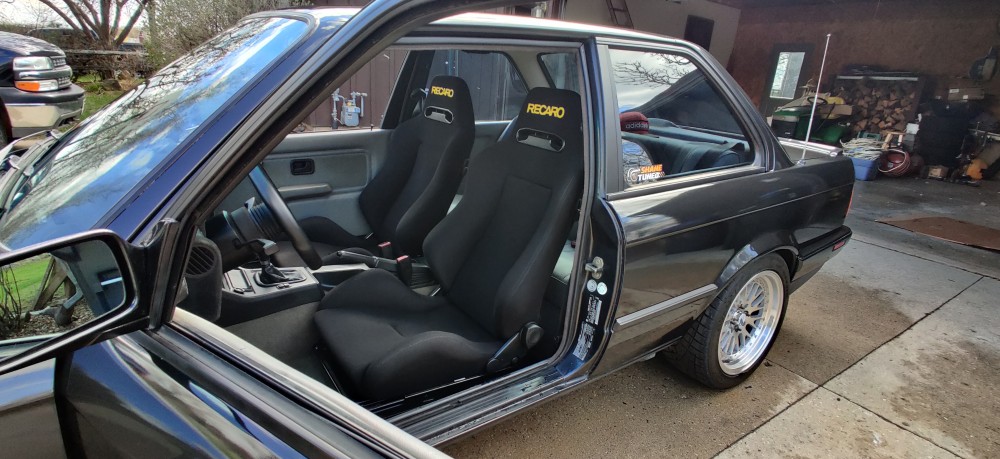
The fitment of the seats in the car was exactly what I had hoped for. The fact that I sat lower and could slide back further to get more comfortable and secure in the car was awesome! These definitely were a game changer for the cars comfort and secureness. I can't wait to put these to proper use!
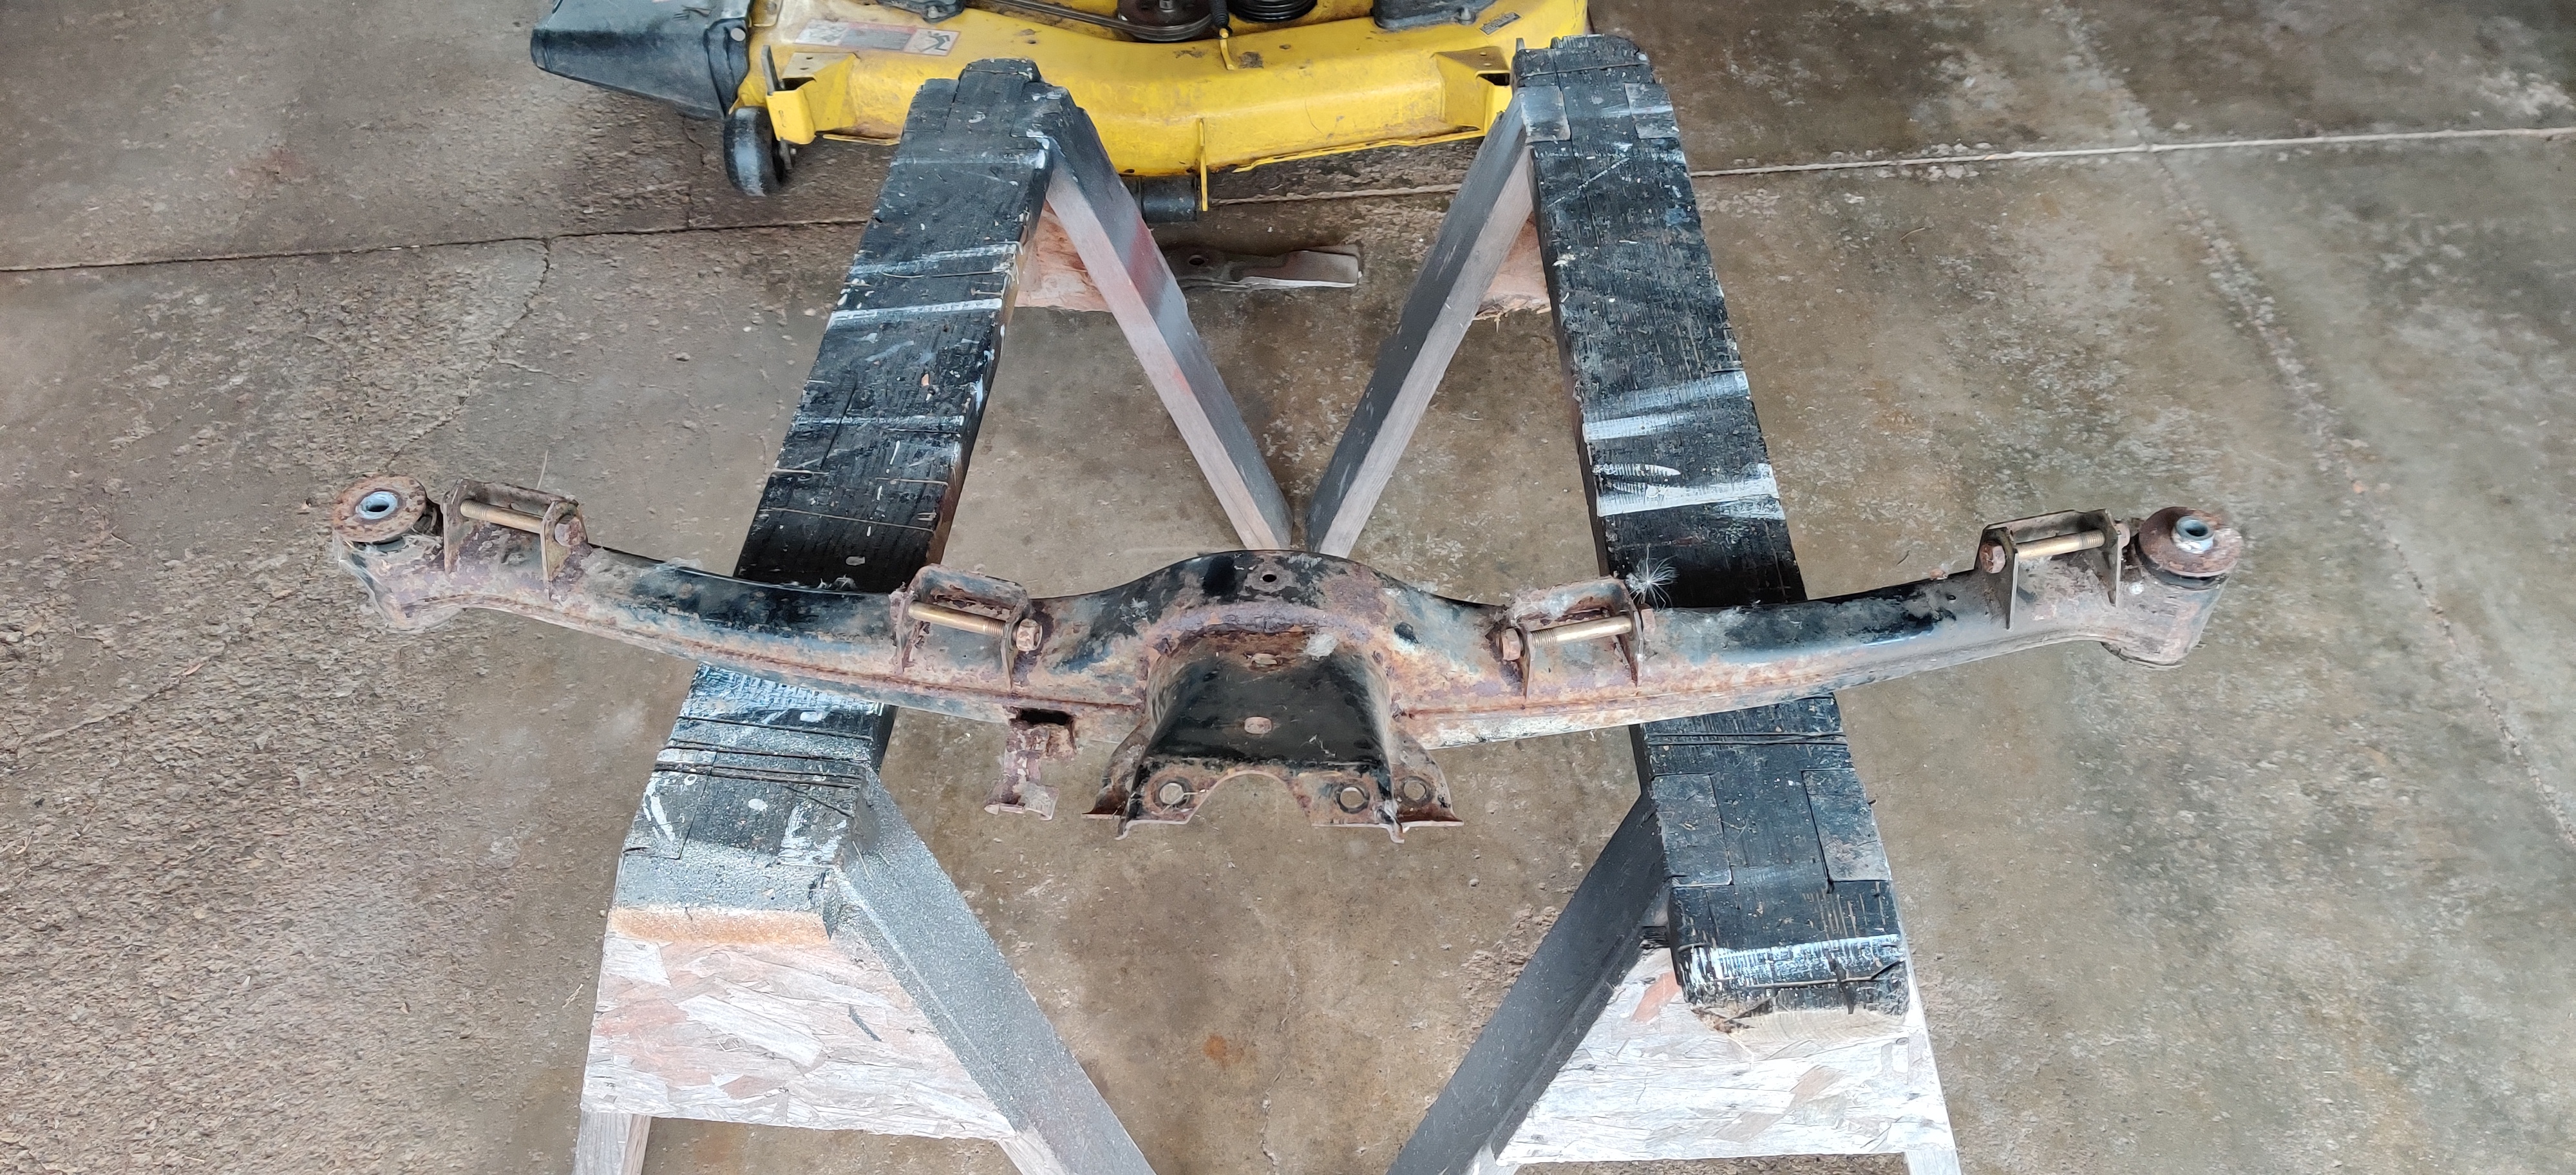
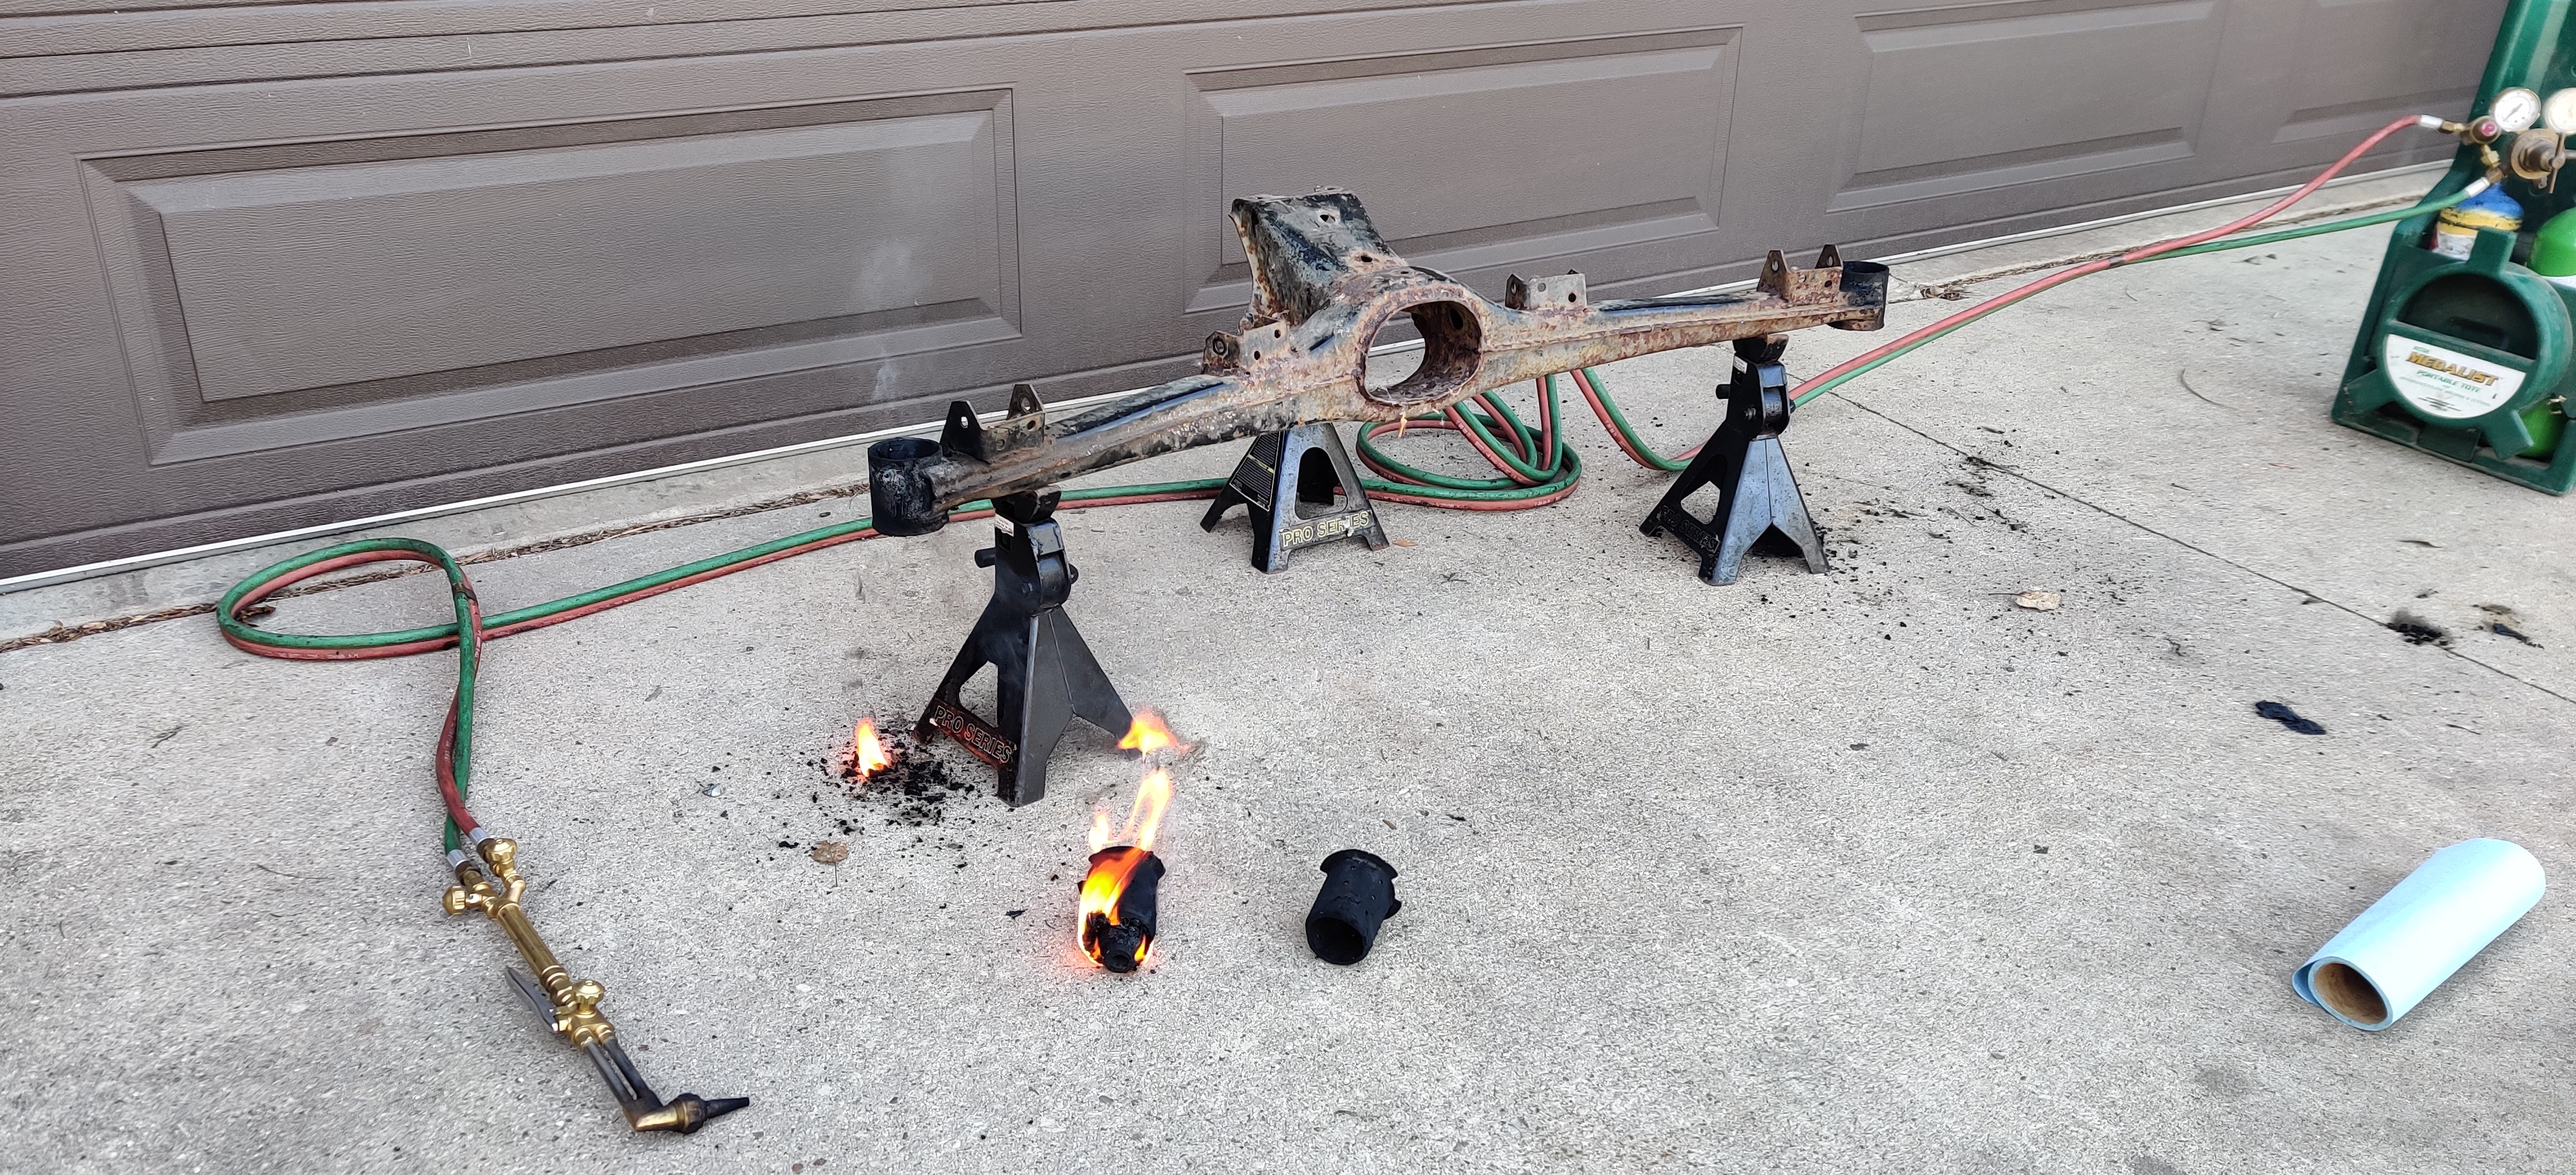
After I finished those up I switched gears and started working on a spare sub-frame I had bought the year before. After having enough trouble with not being able to adjust the eccentric bolts I had in the rear (because of the raised sub-frame bushings) and driving the car with something like 2 or 3 degrees of toe out on one side and 1 degree toe in on the other was nothing short of a headache. Same went for the camber adjustments in the rear. I came to the conclusion that I need to swap out the rear sub-frame all together for another one and do everything besides the adjusting bolts. The spare I had was pretty rusty and still had the old rubber bushings in it.
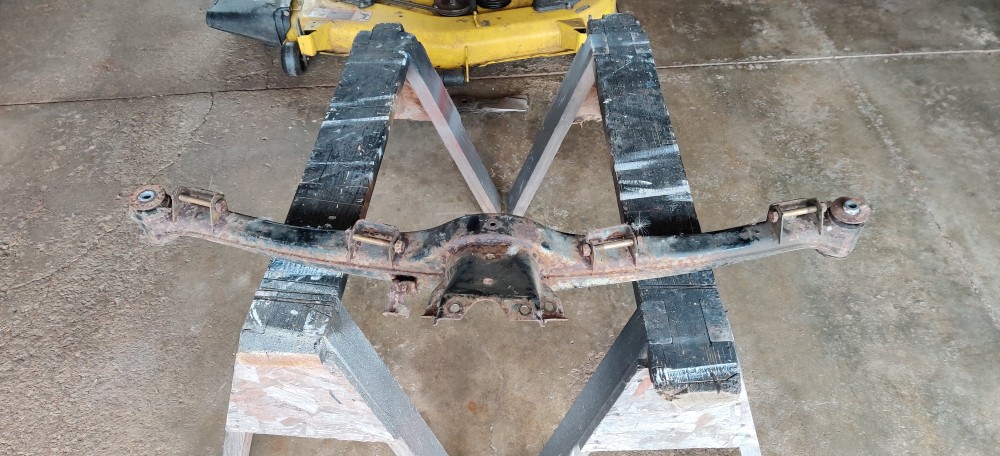
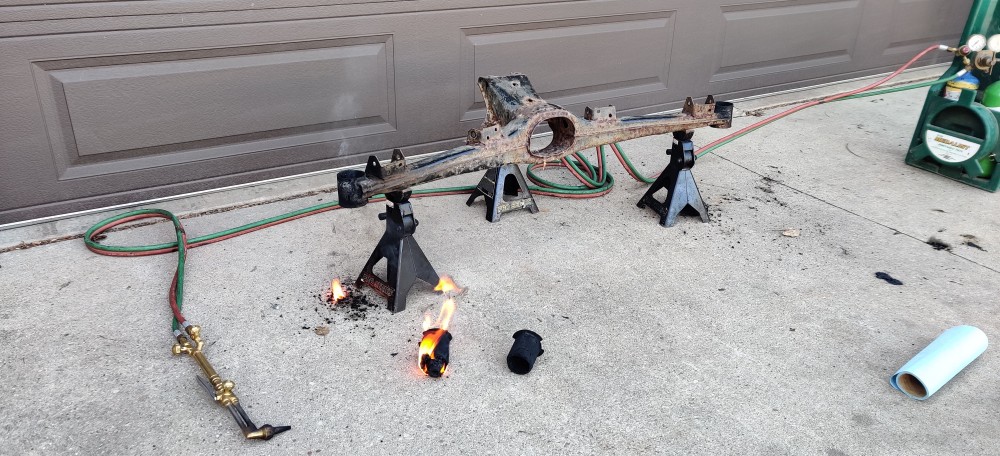
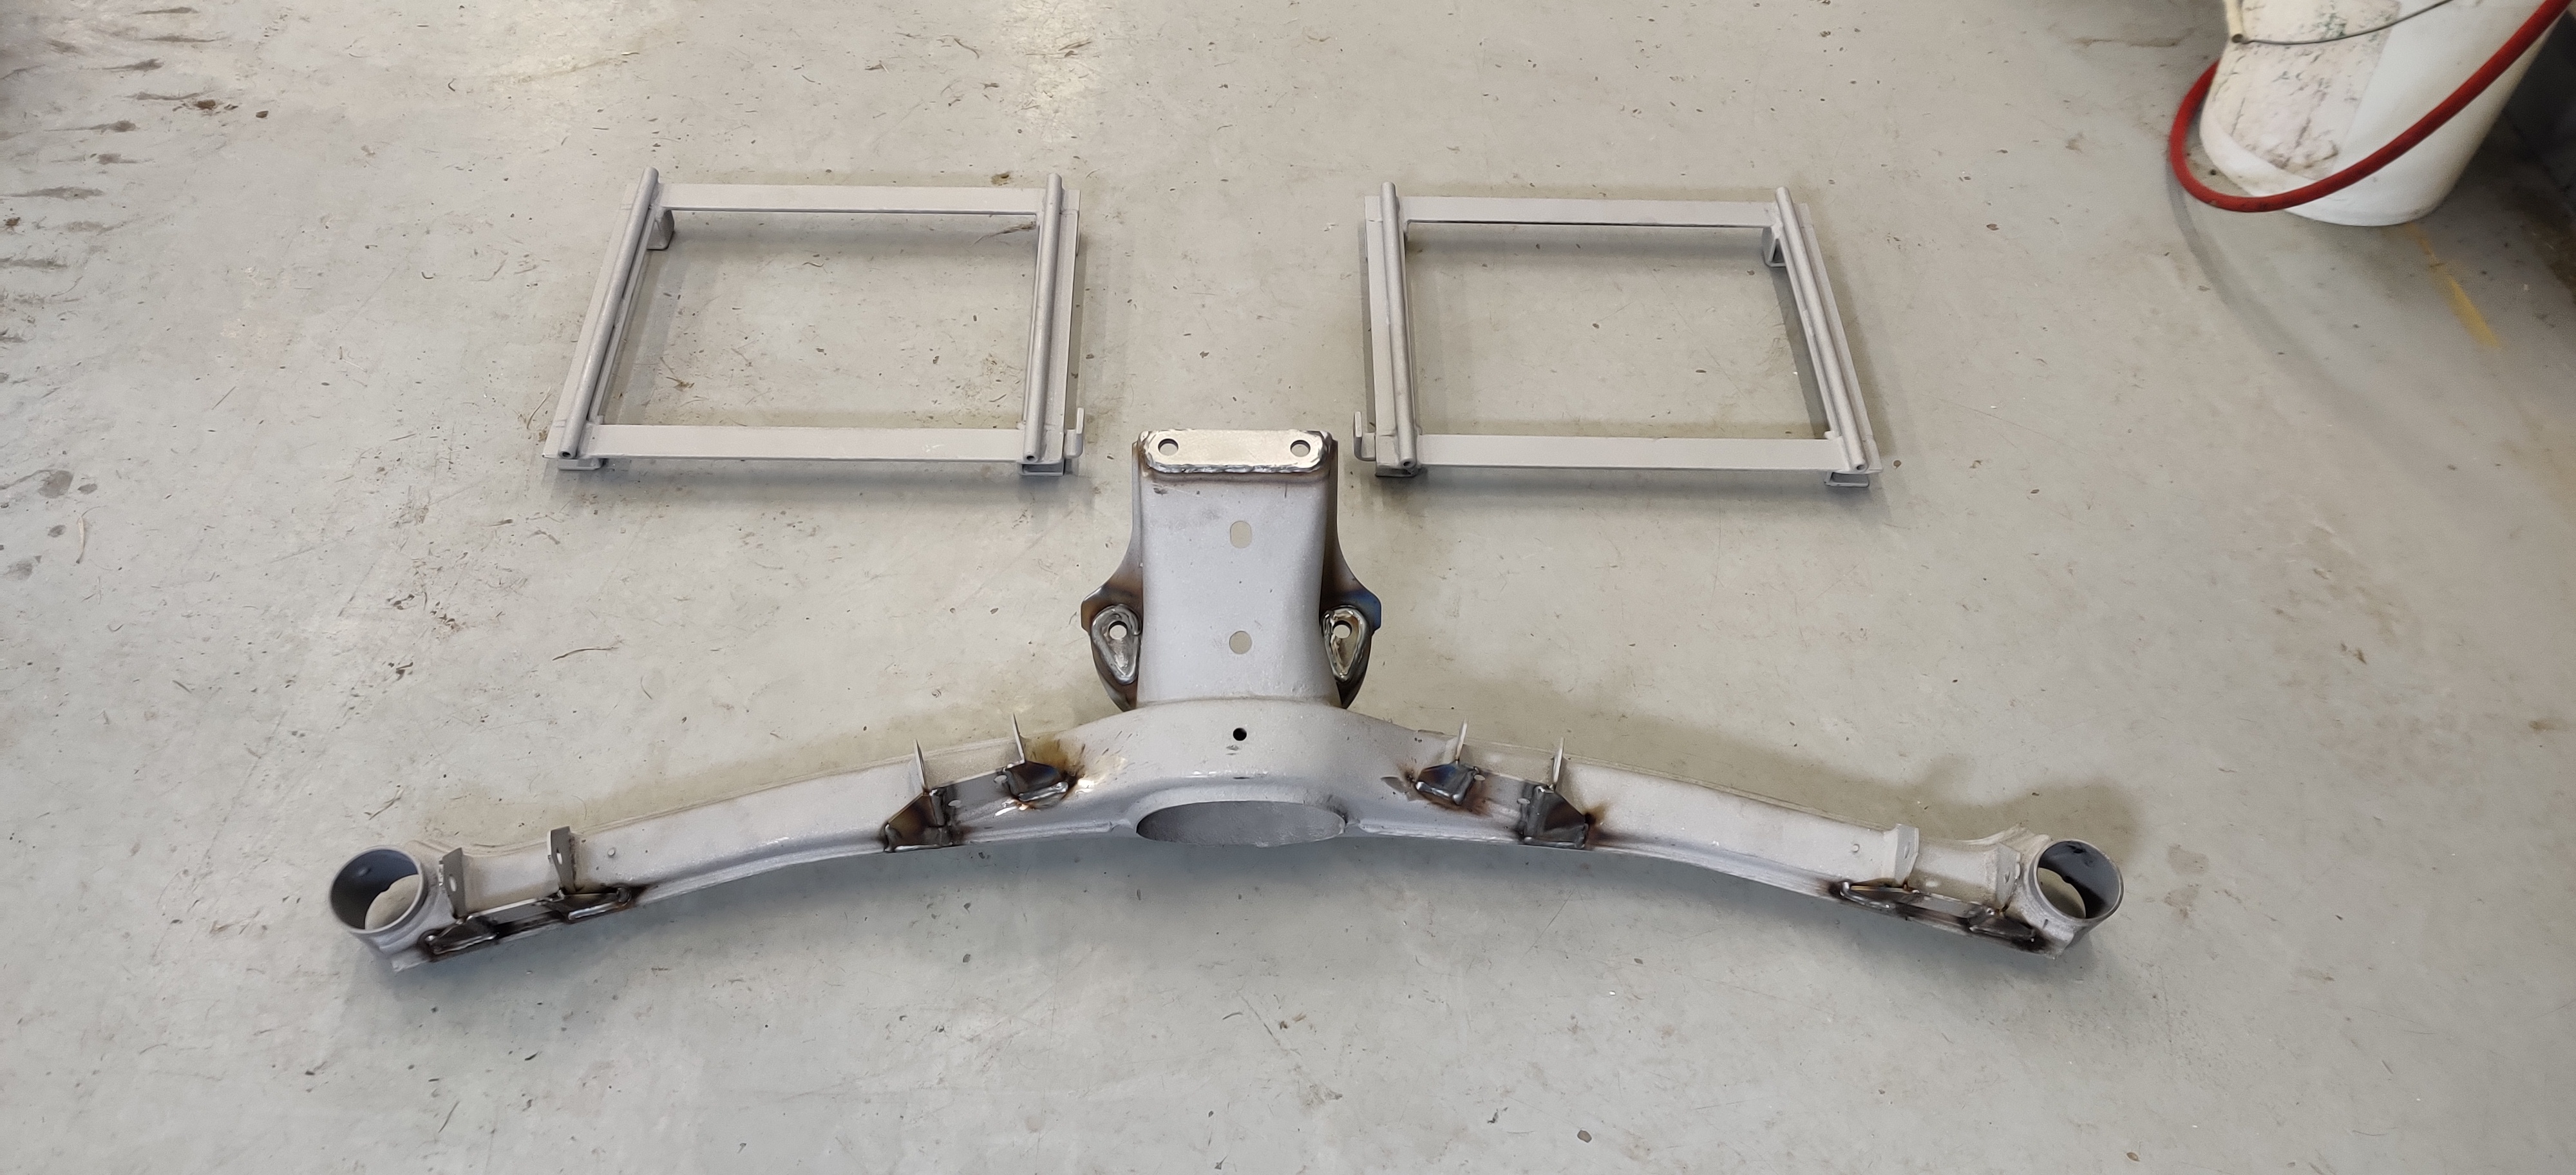
After taking an angle grinder and wire wheel to knock off most of the big chunks I sent it in to be sandblasted. I had ordered some new reinforcements for it from garagistic which included the differential mounting holes and trailing arm plates. Once I received the frame back from blasting I brought it over to my friend's place to get welded up.
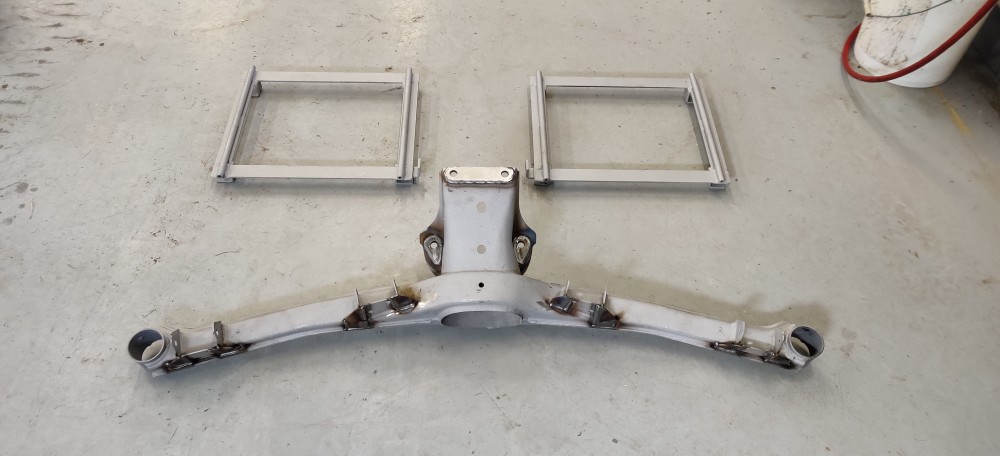
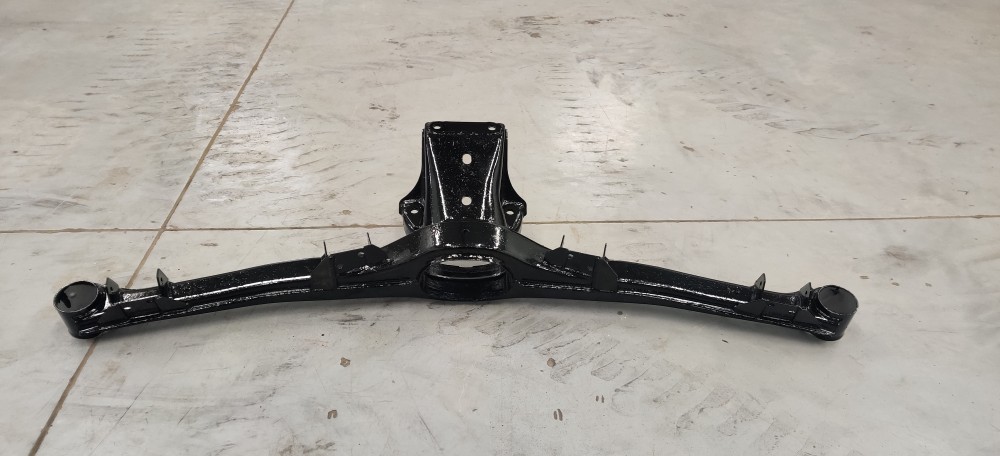
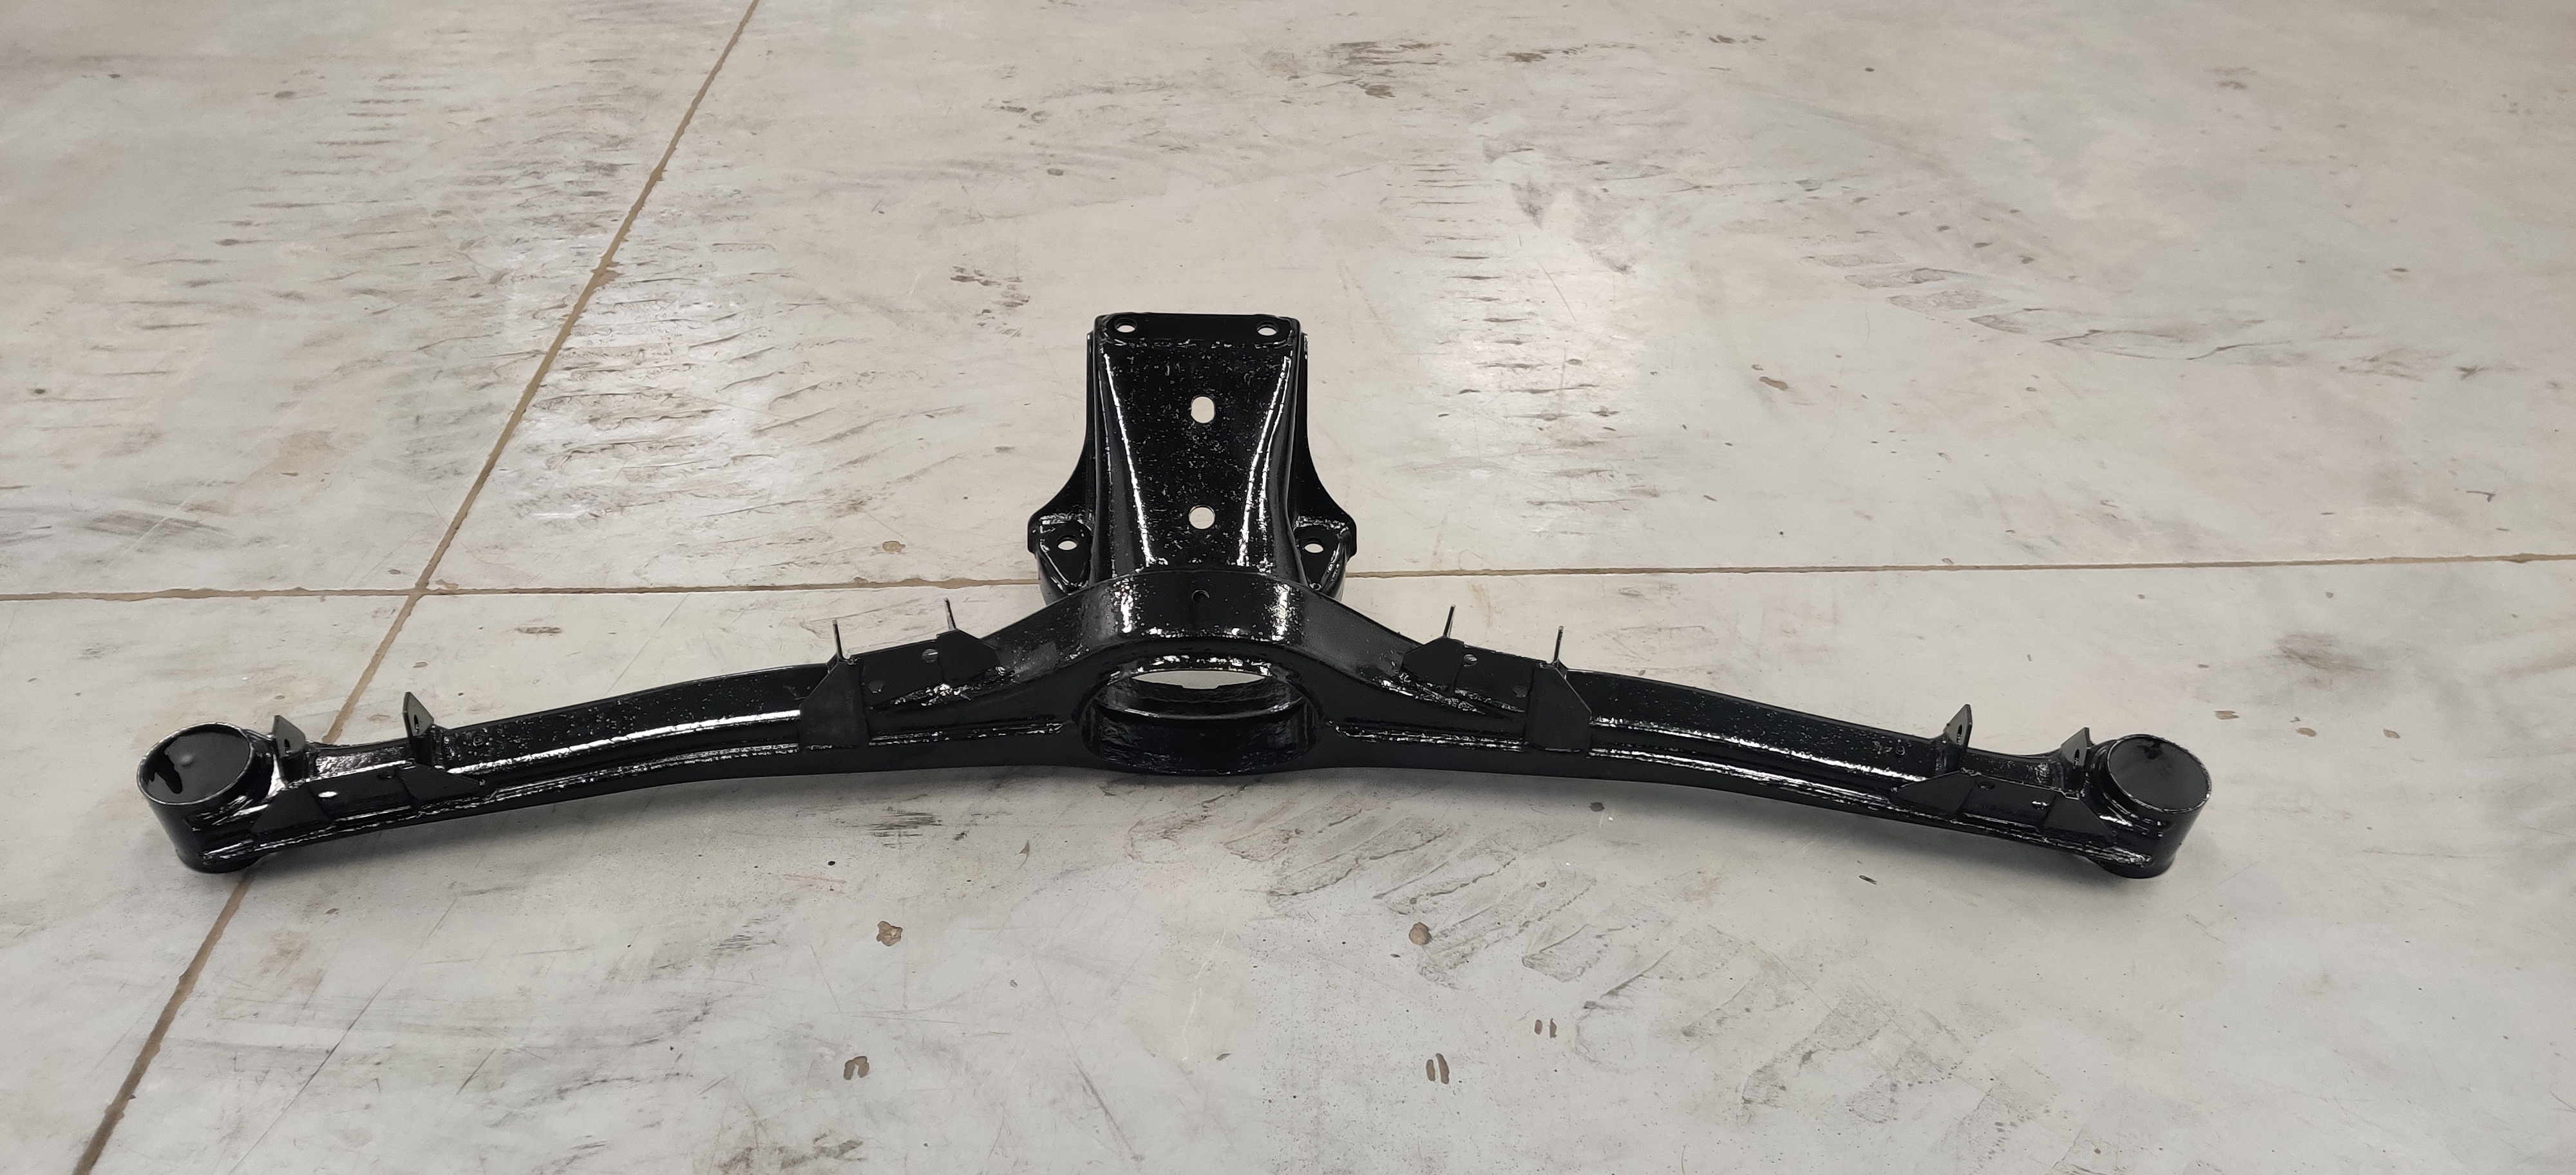
Time for a little por-15 for protection!
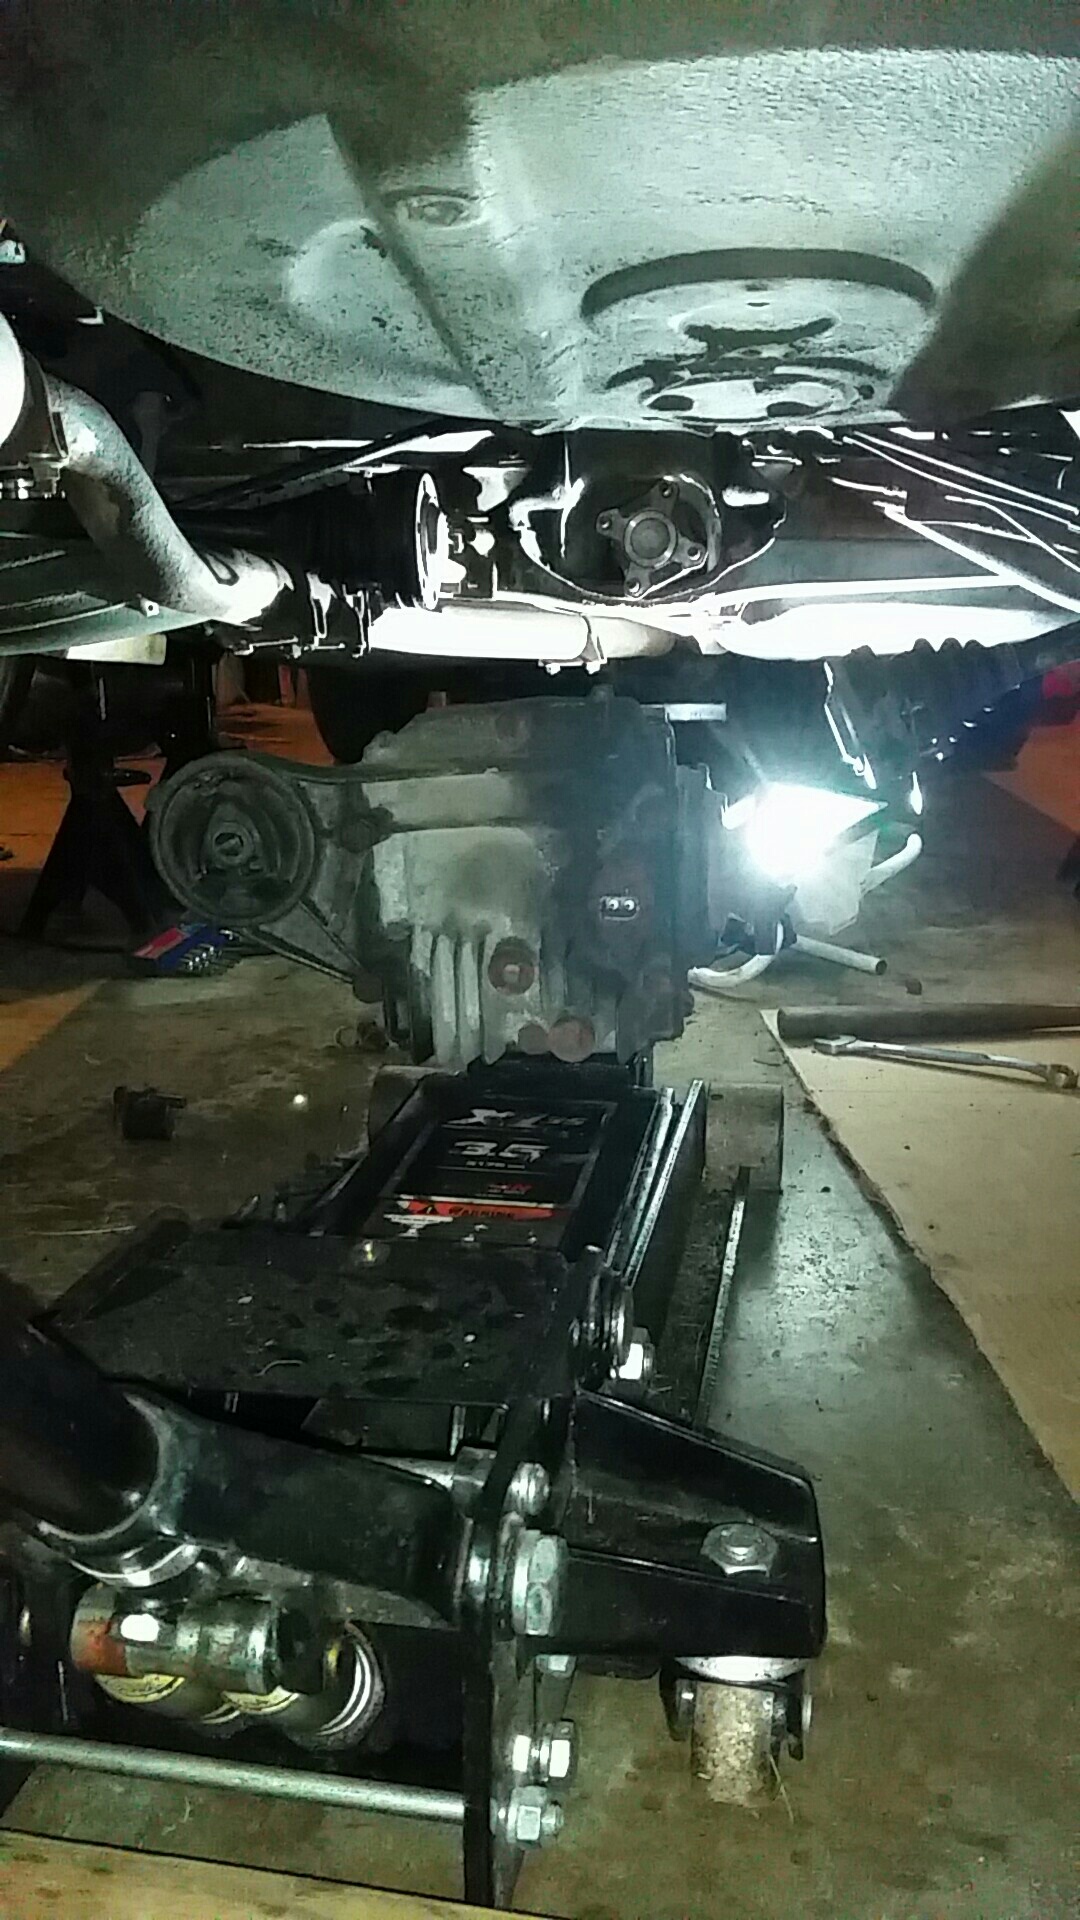
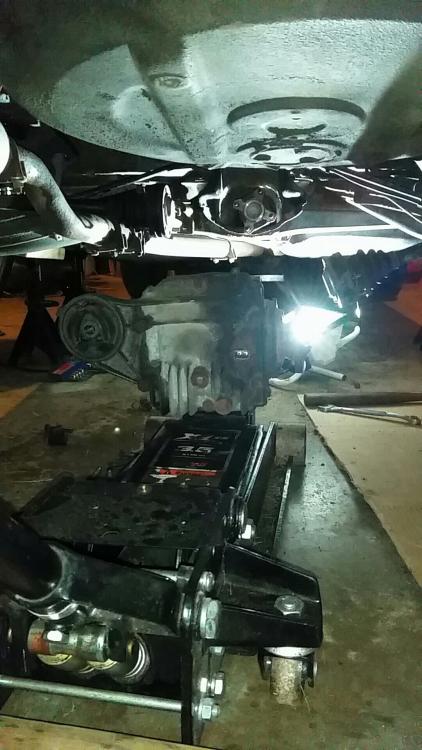
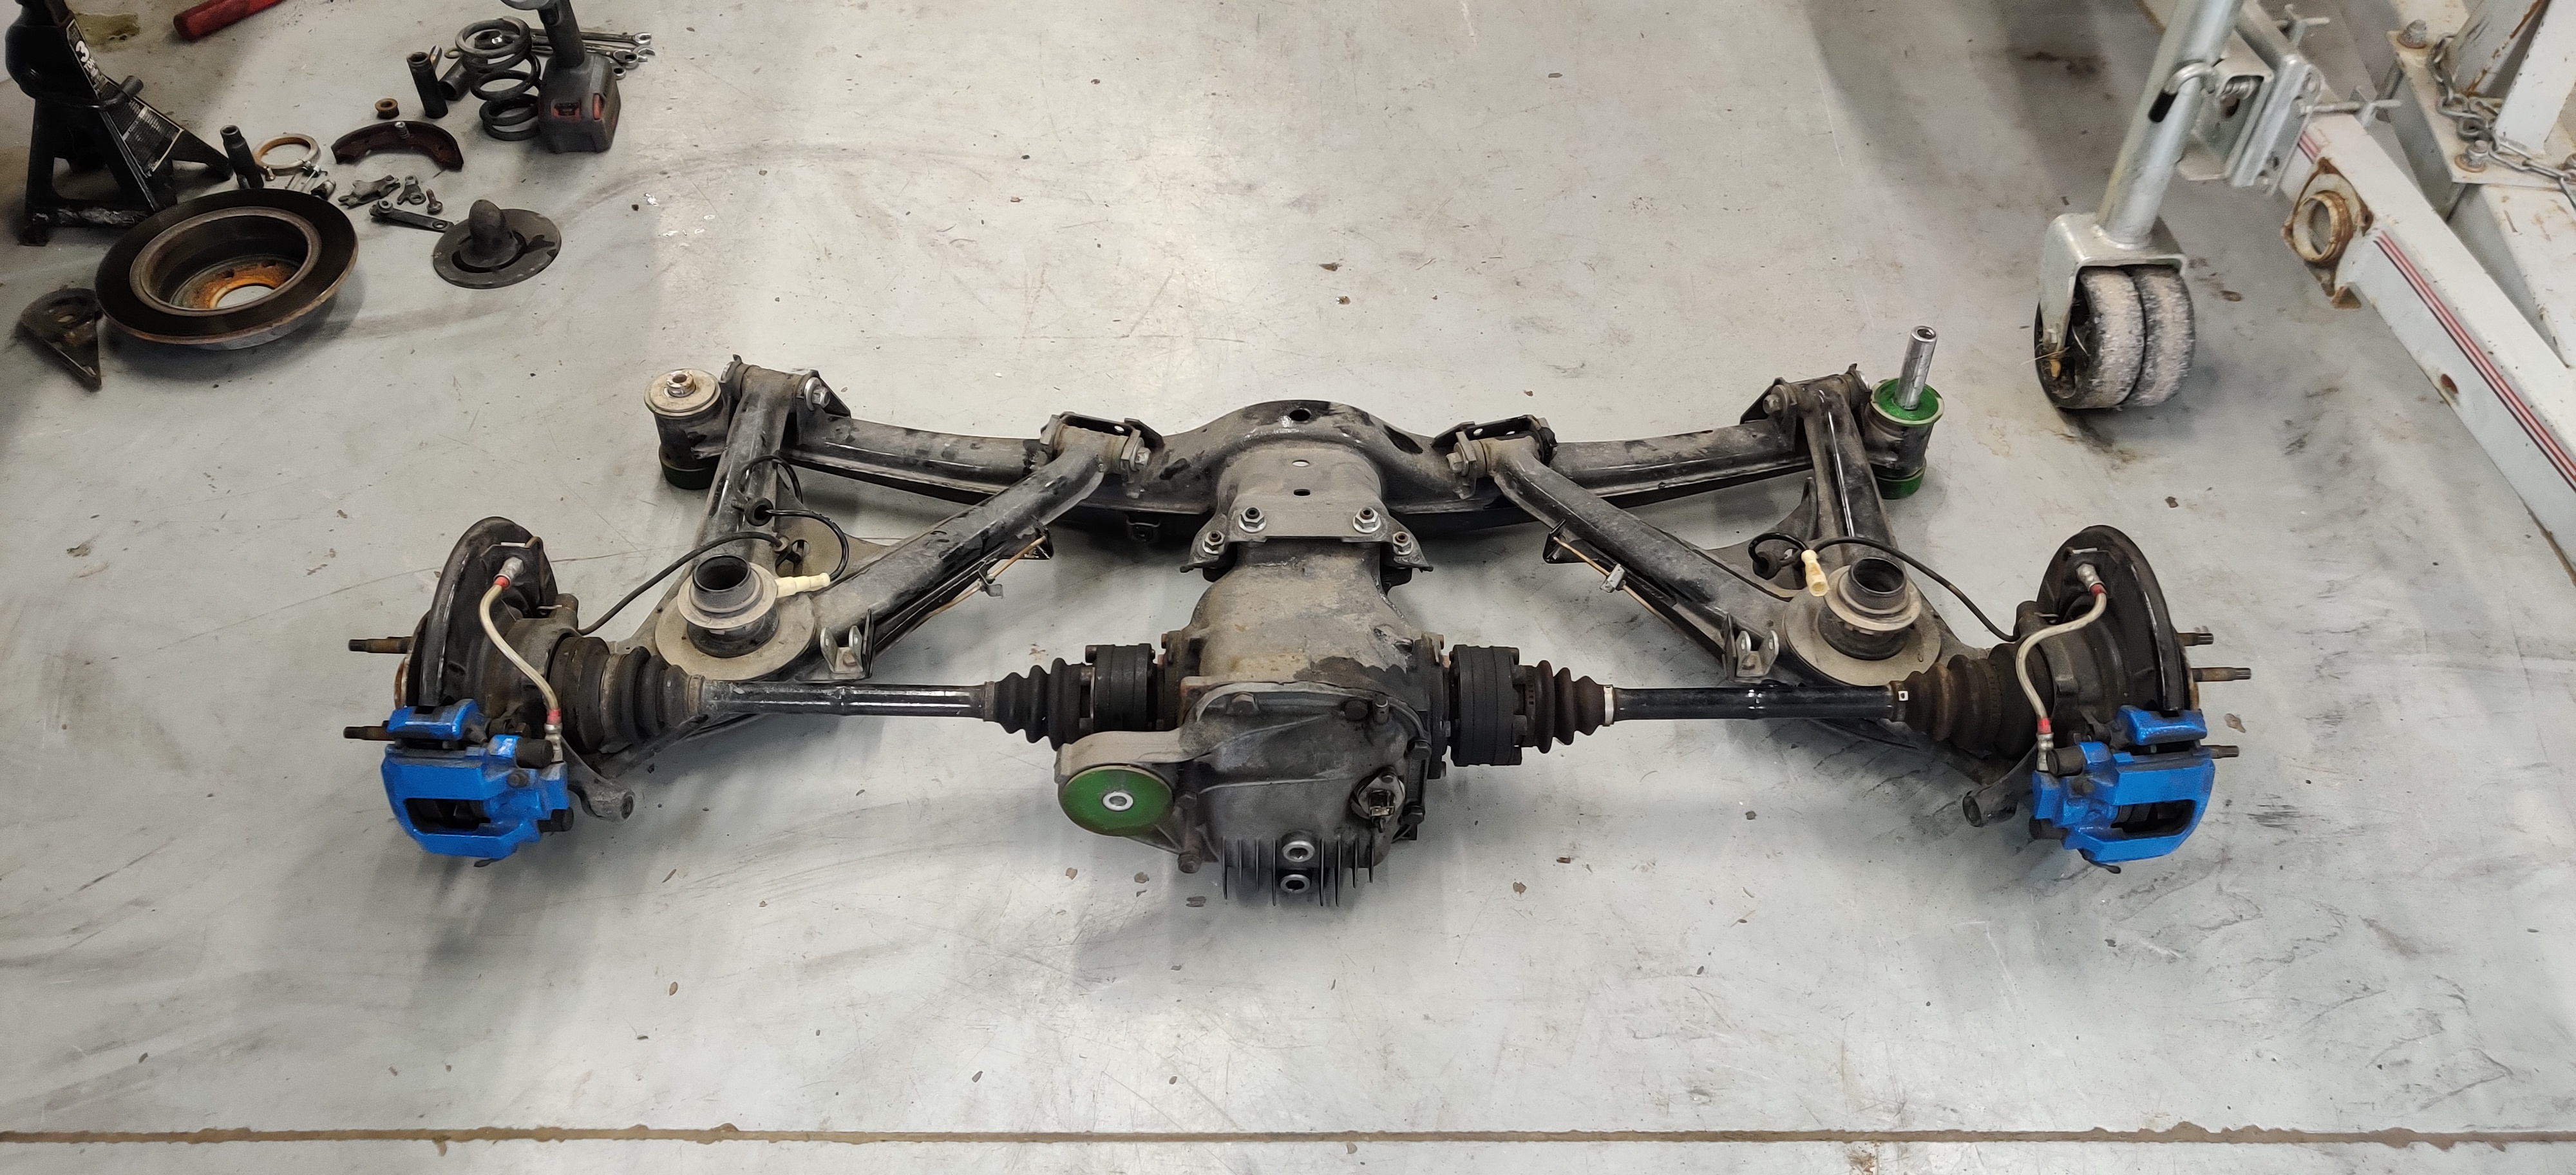
A few days later the car was brought to the shop and I went to work pulling the rear end out. Took me a whopping two hours to pull it all out. It sure is nice when things come apart nicely.
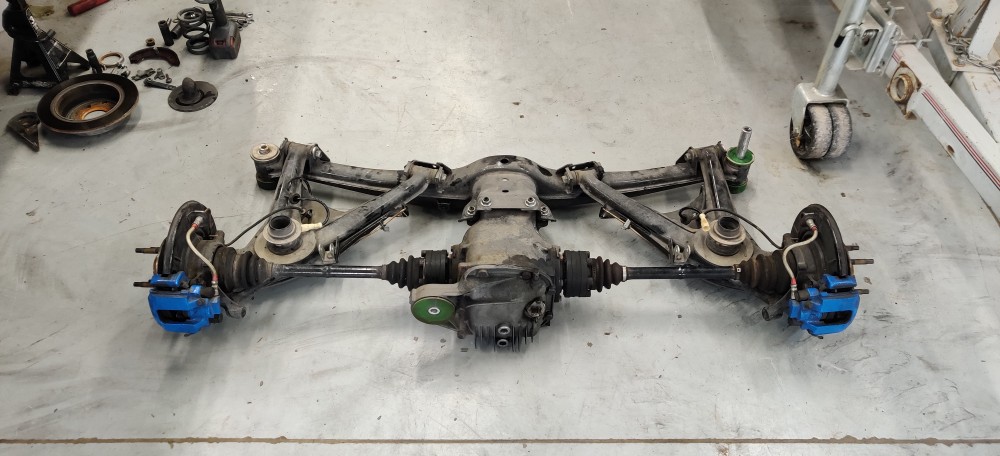
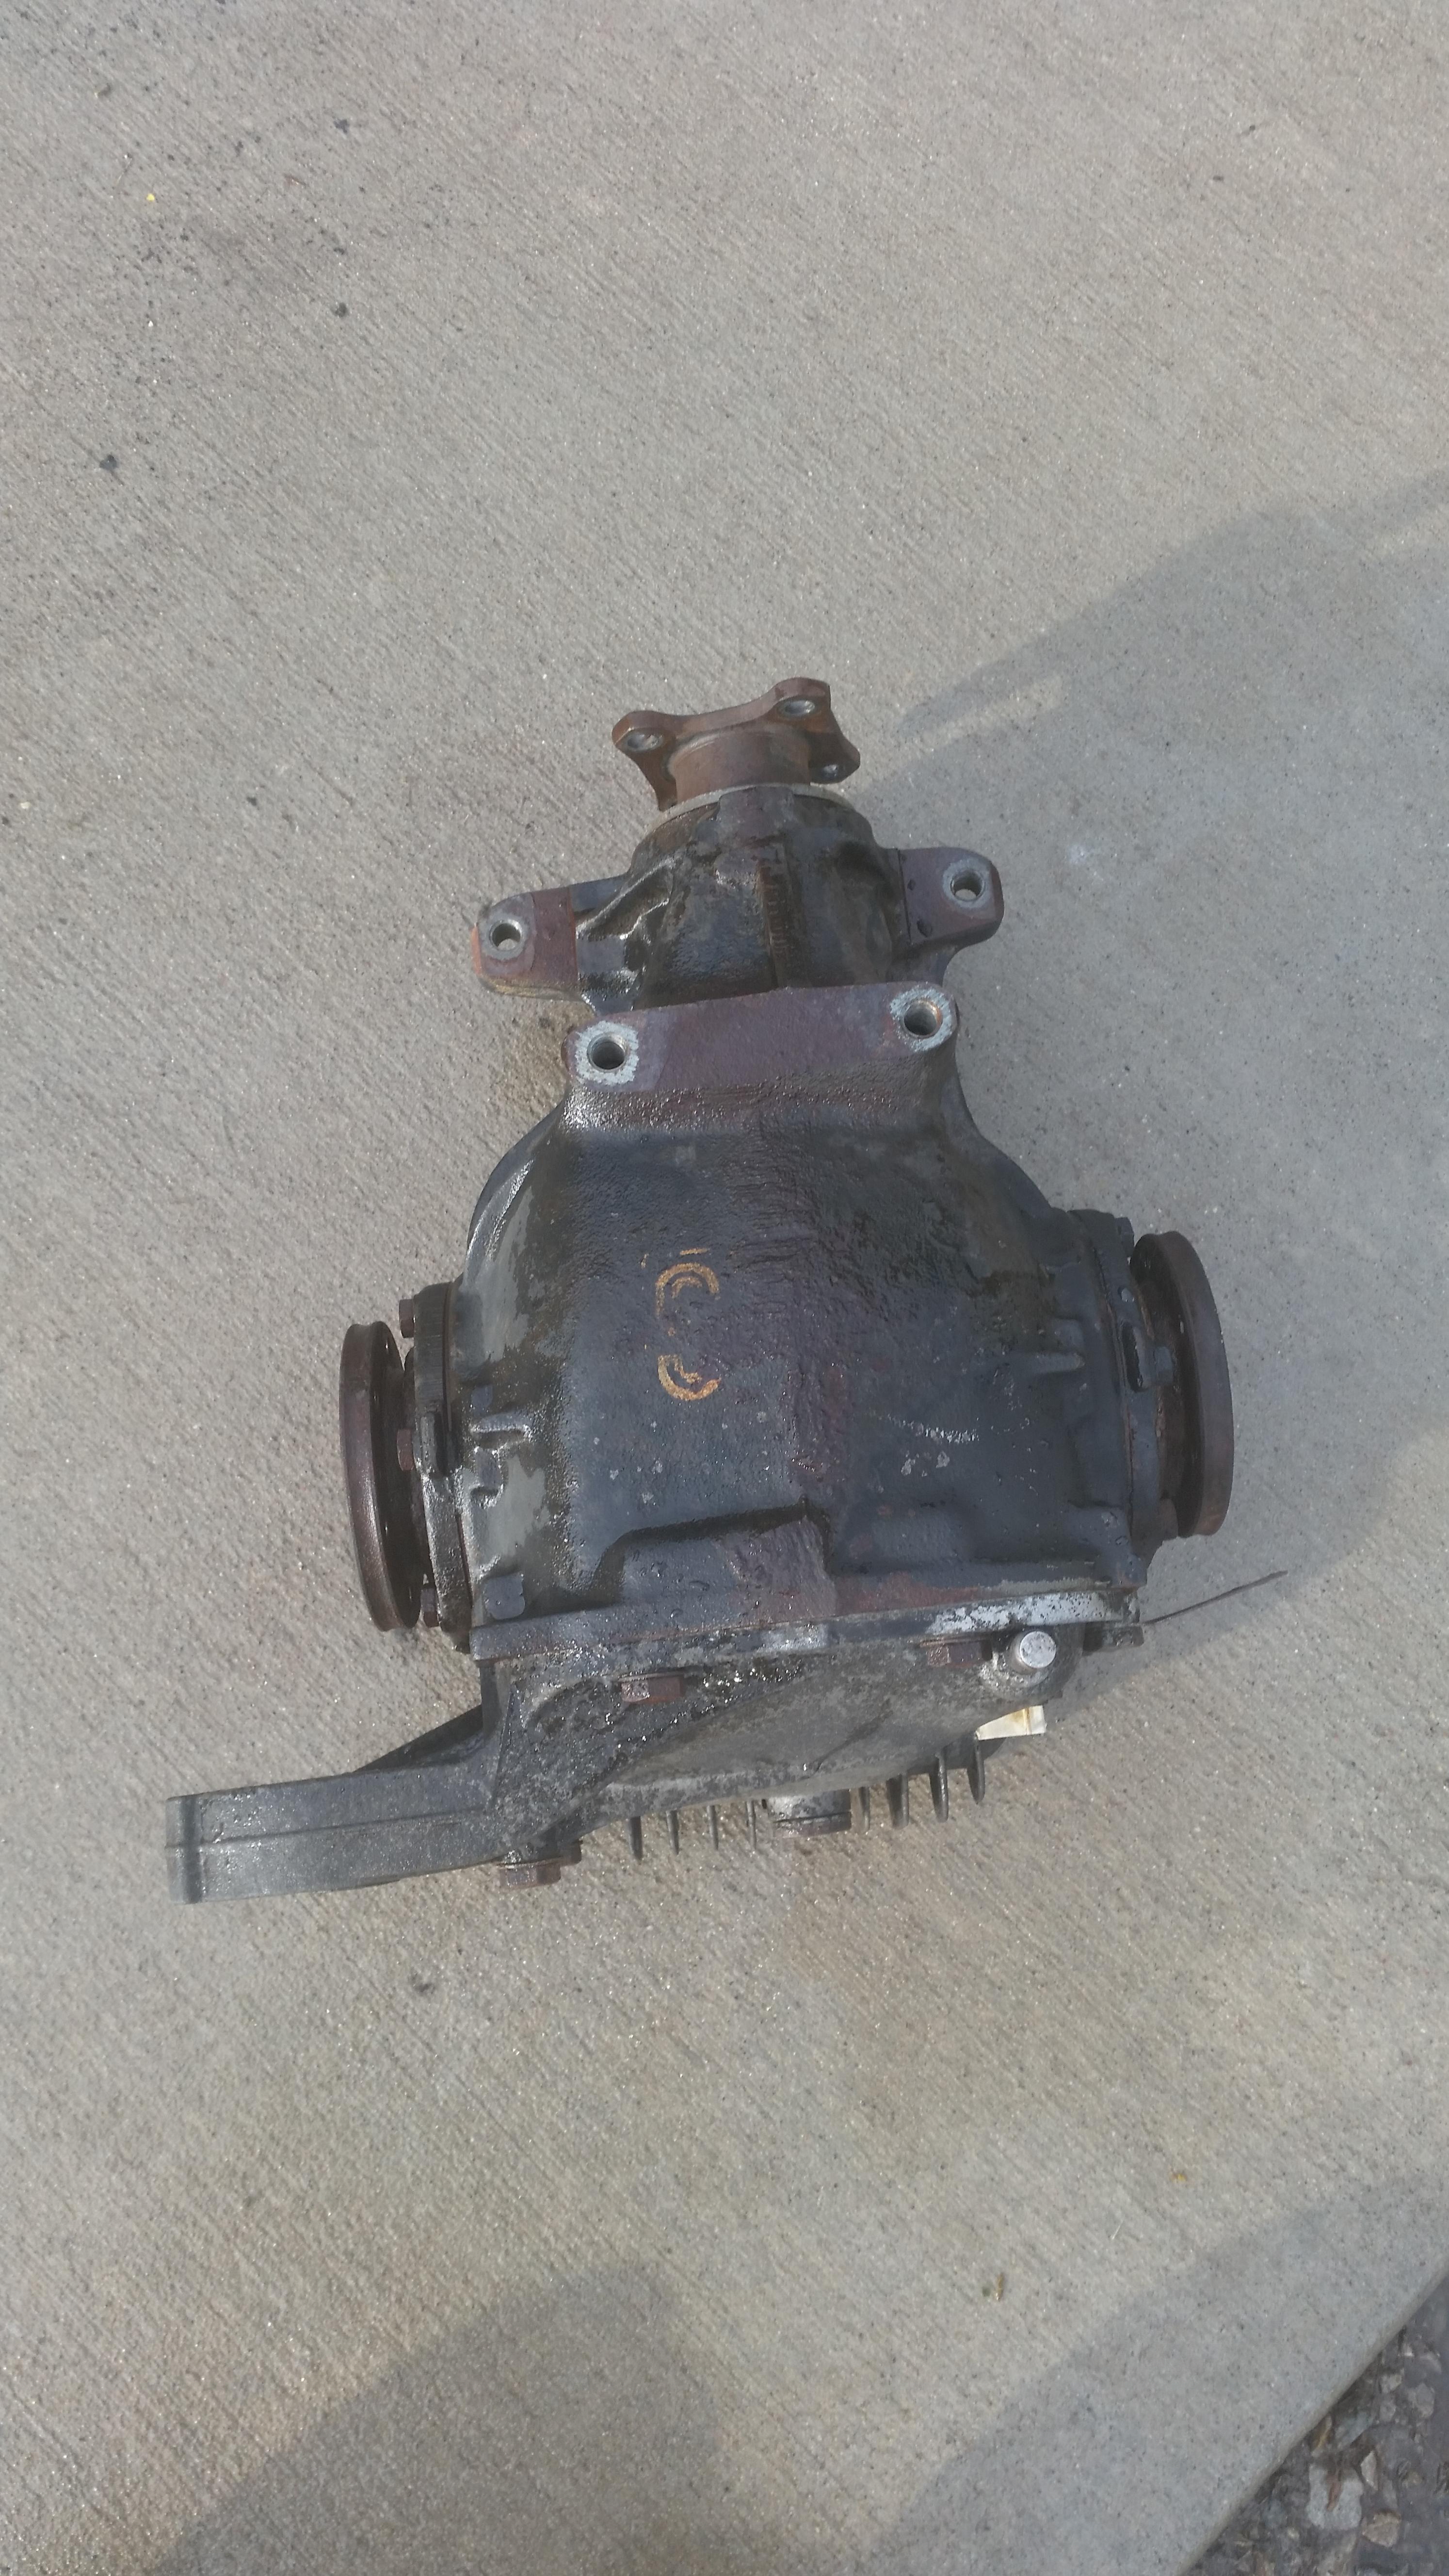
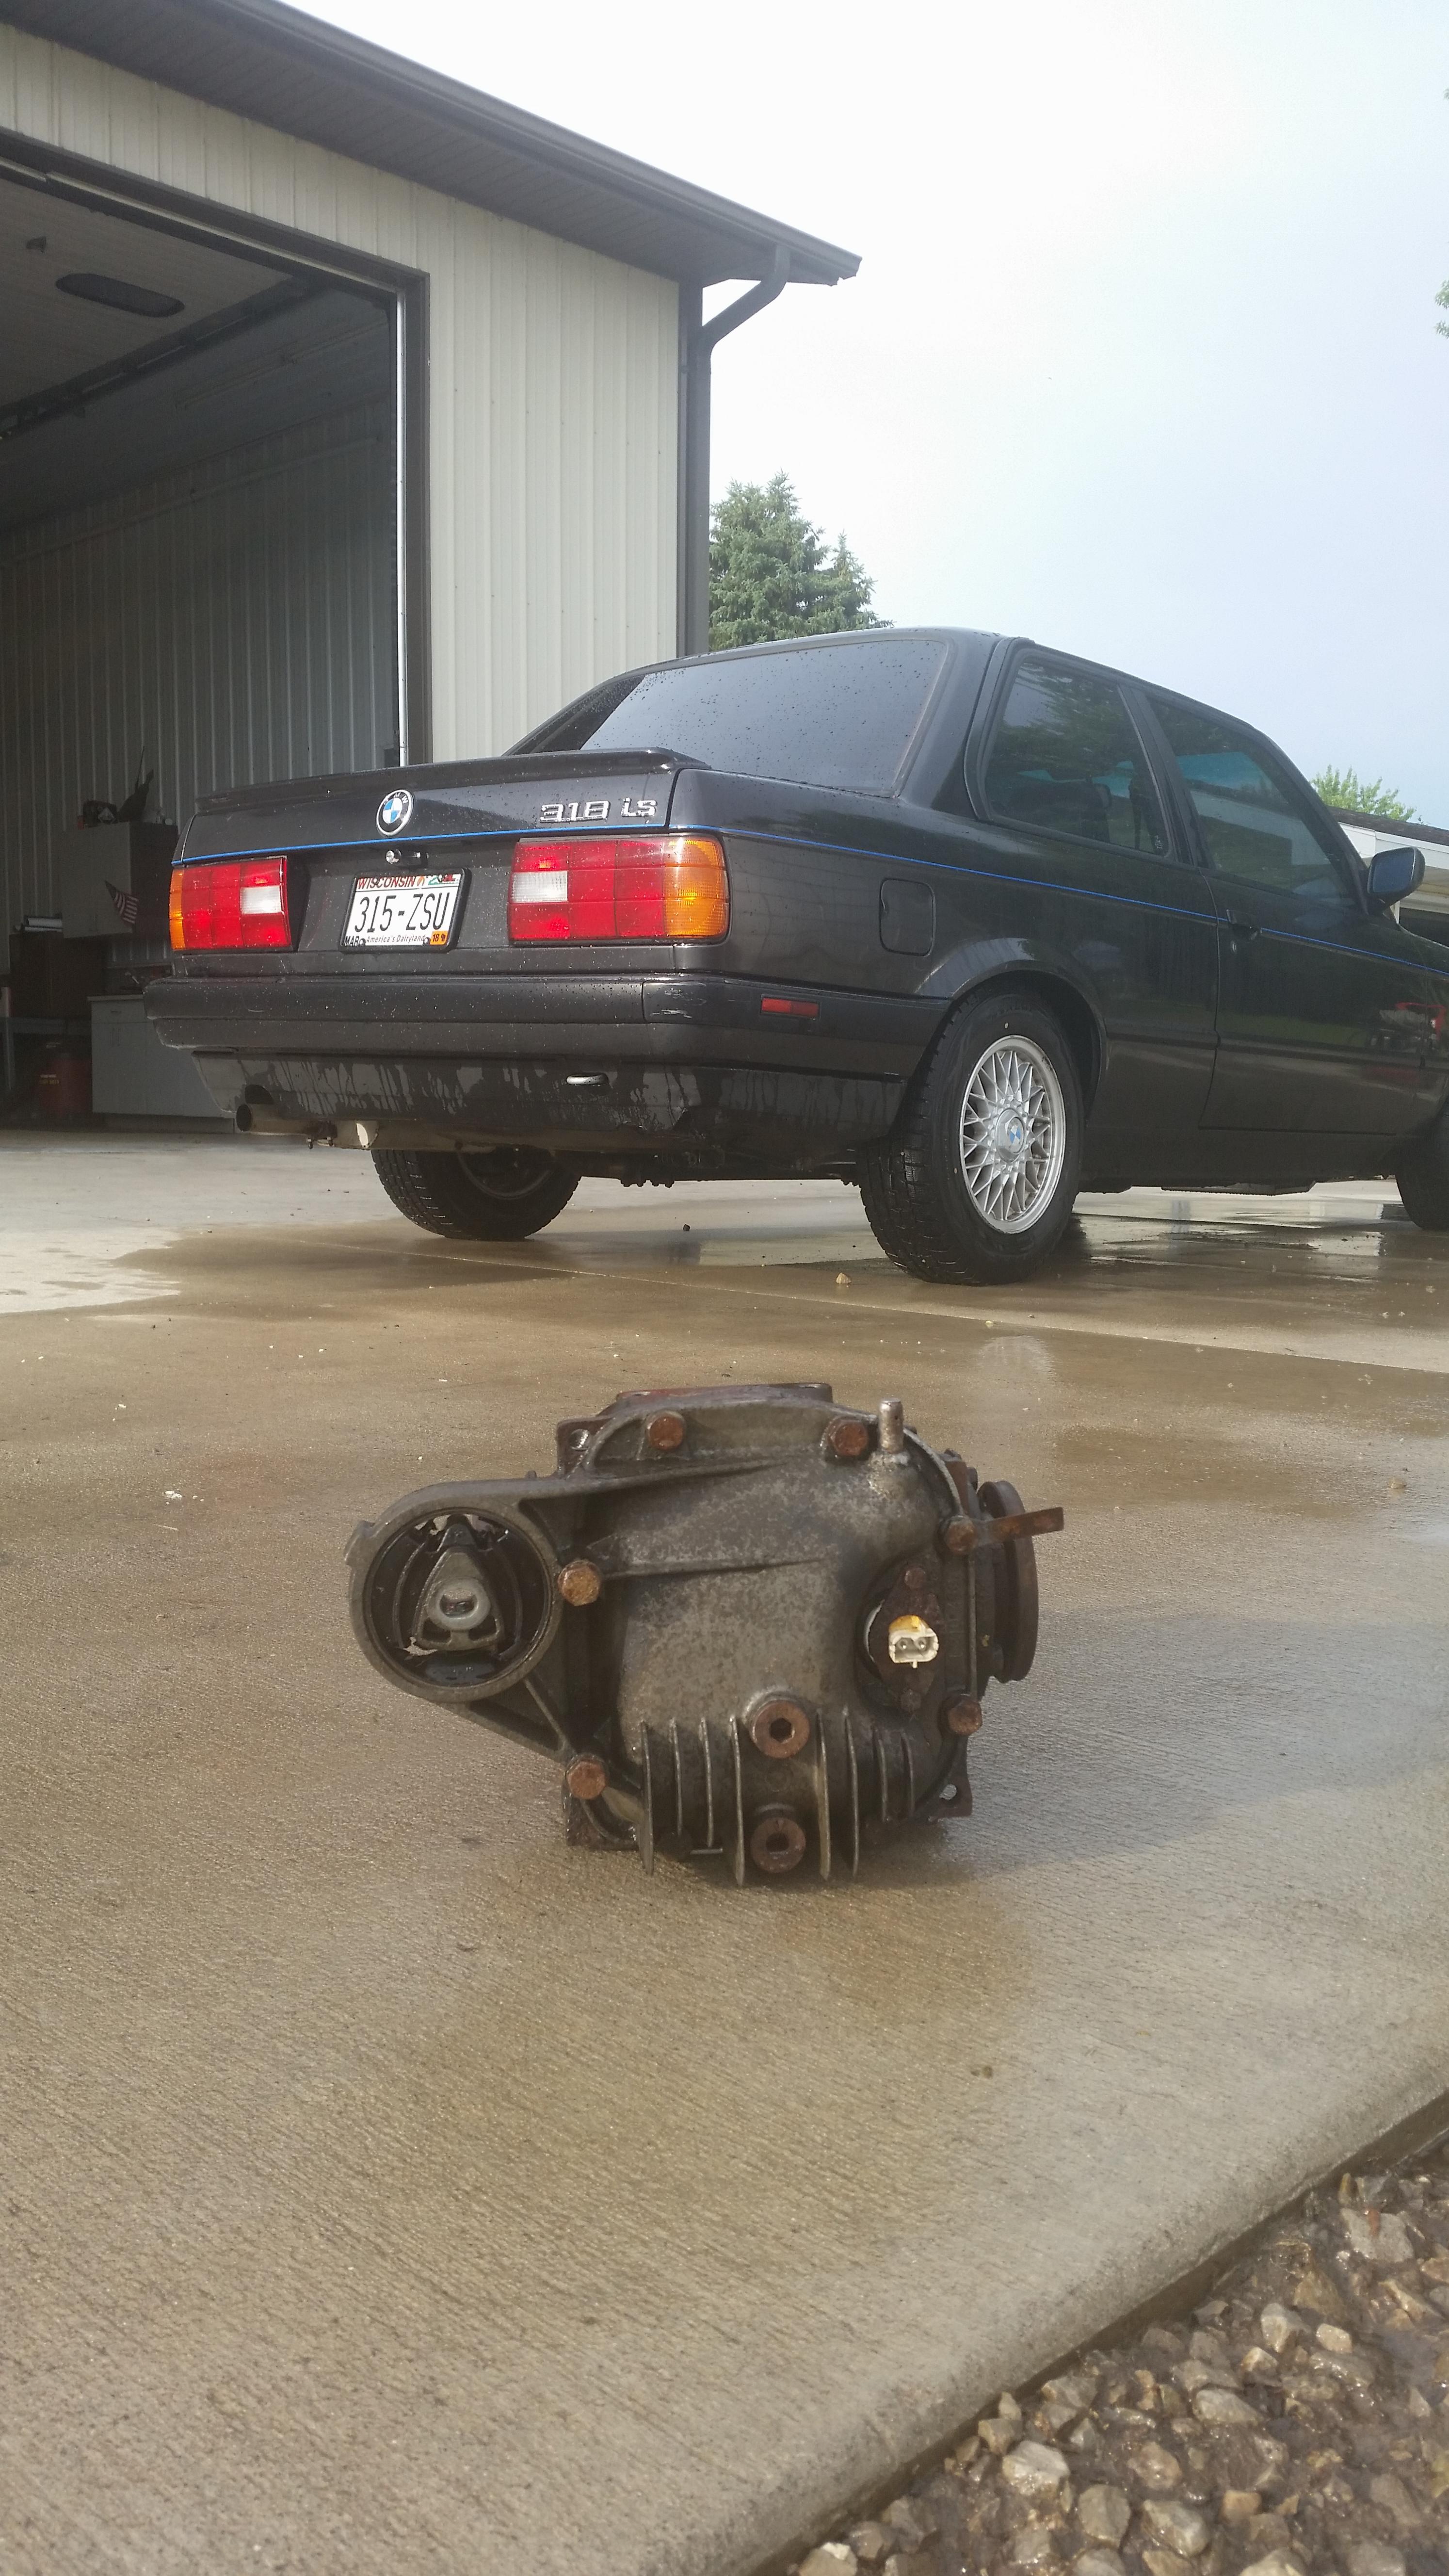
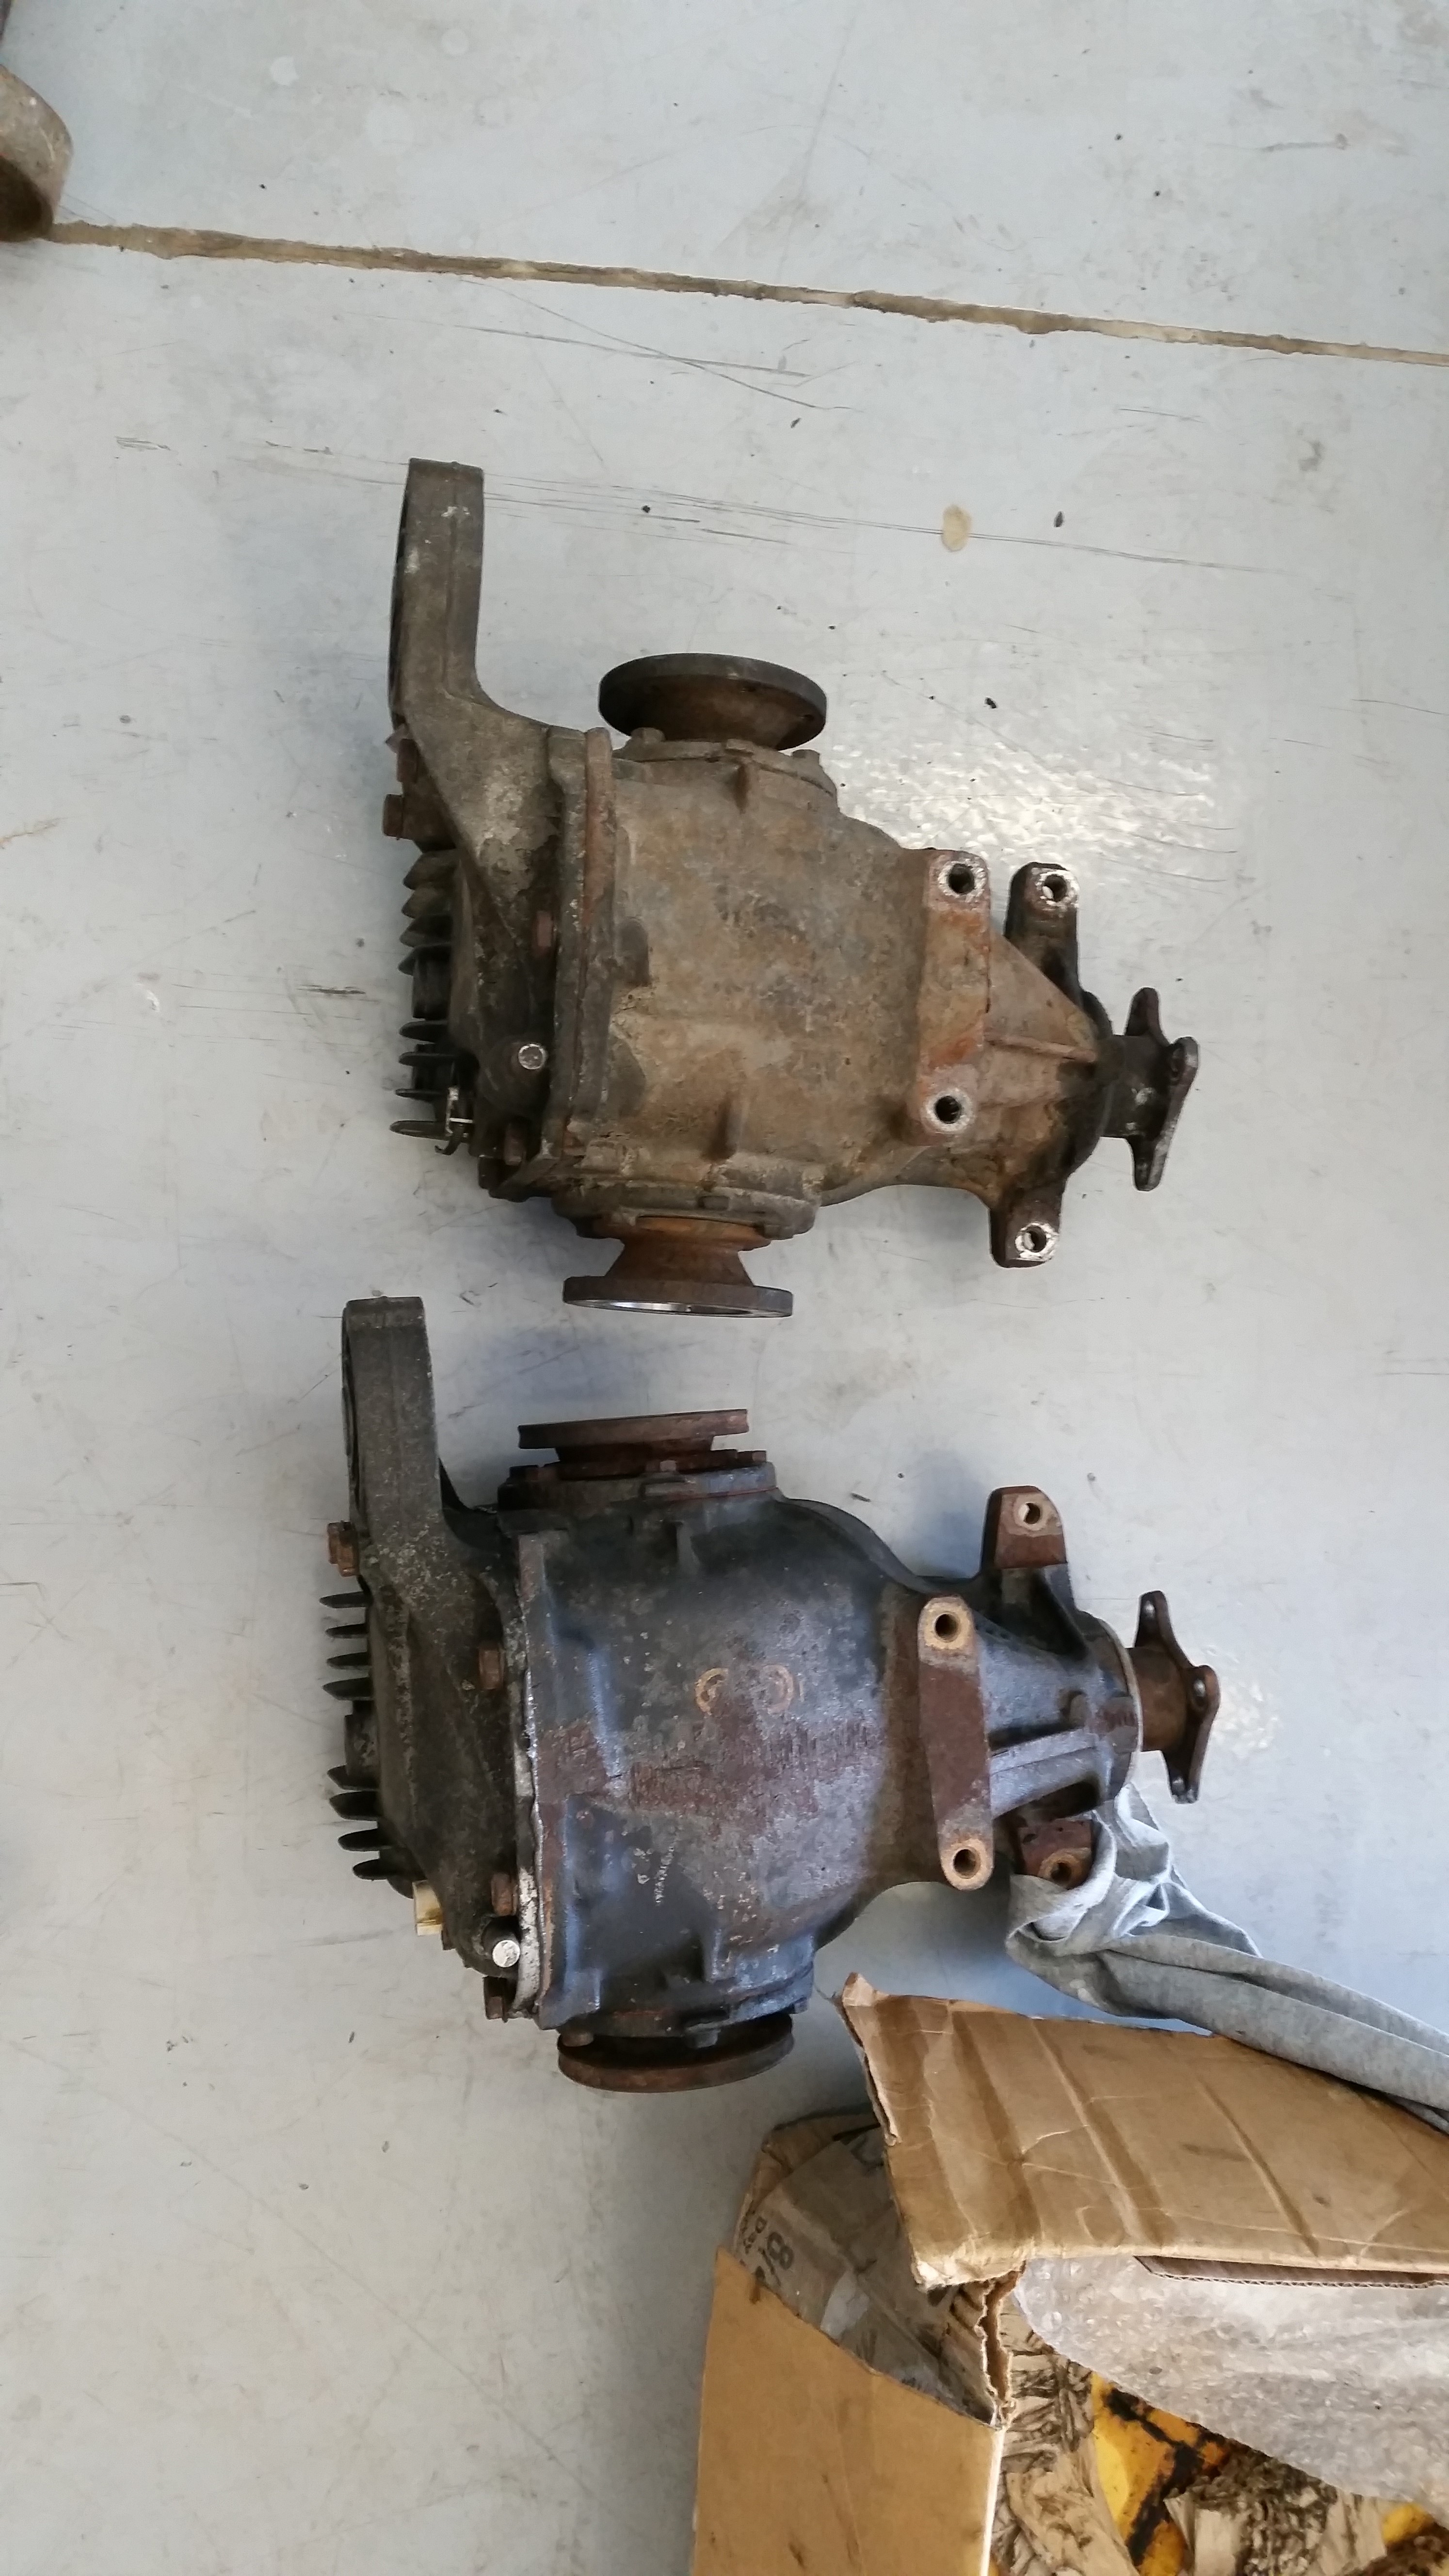
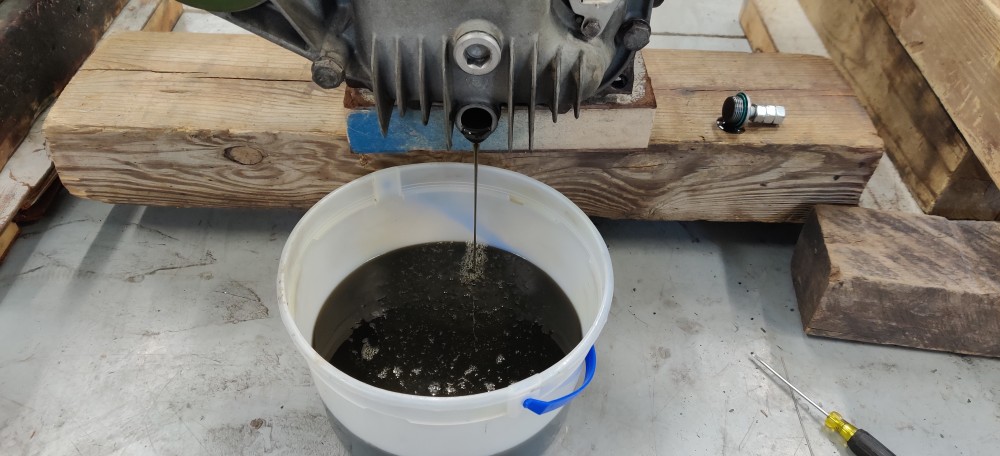
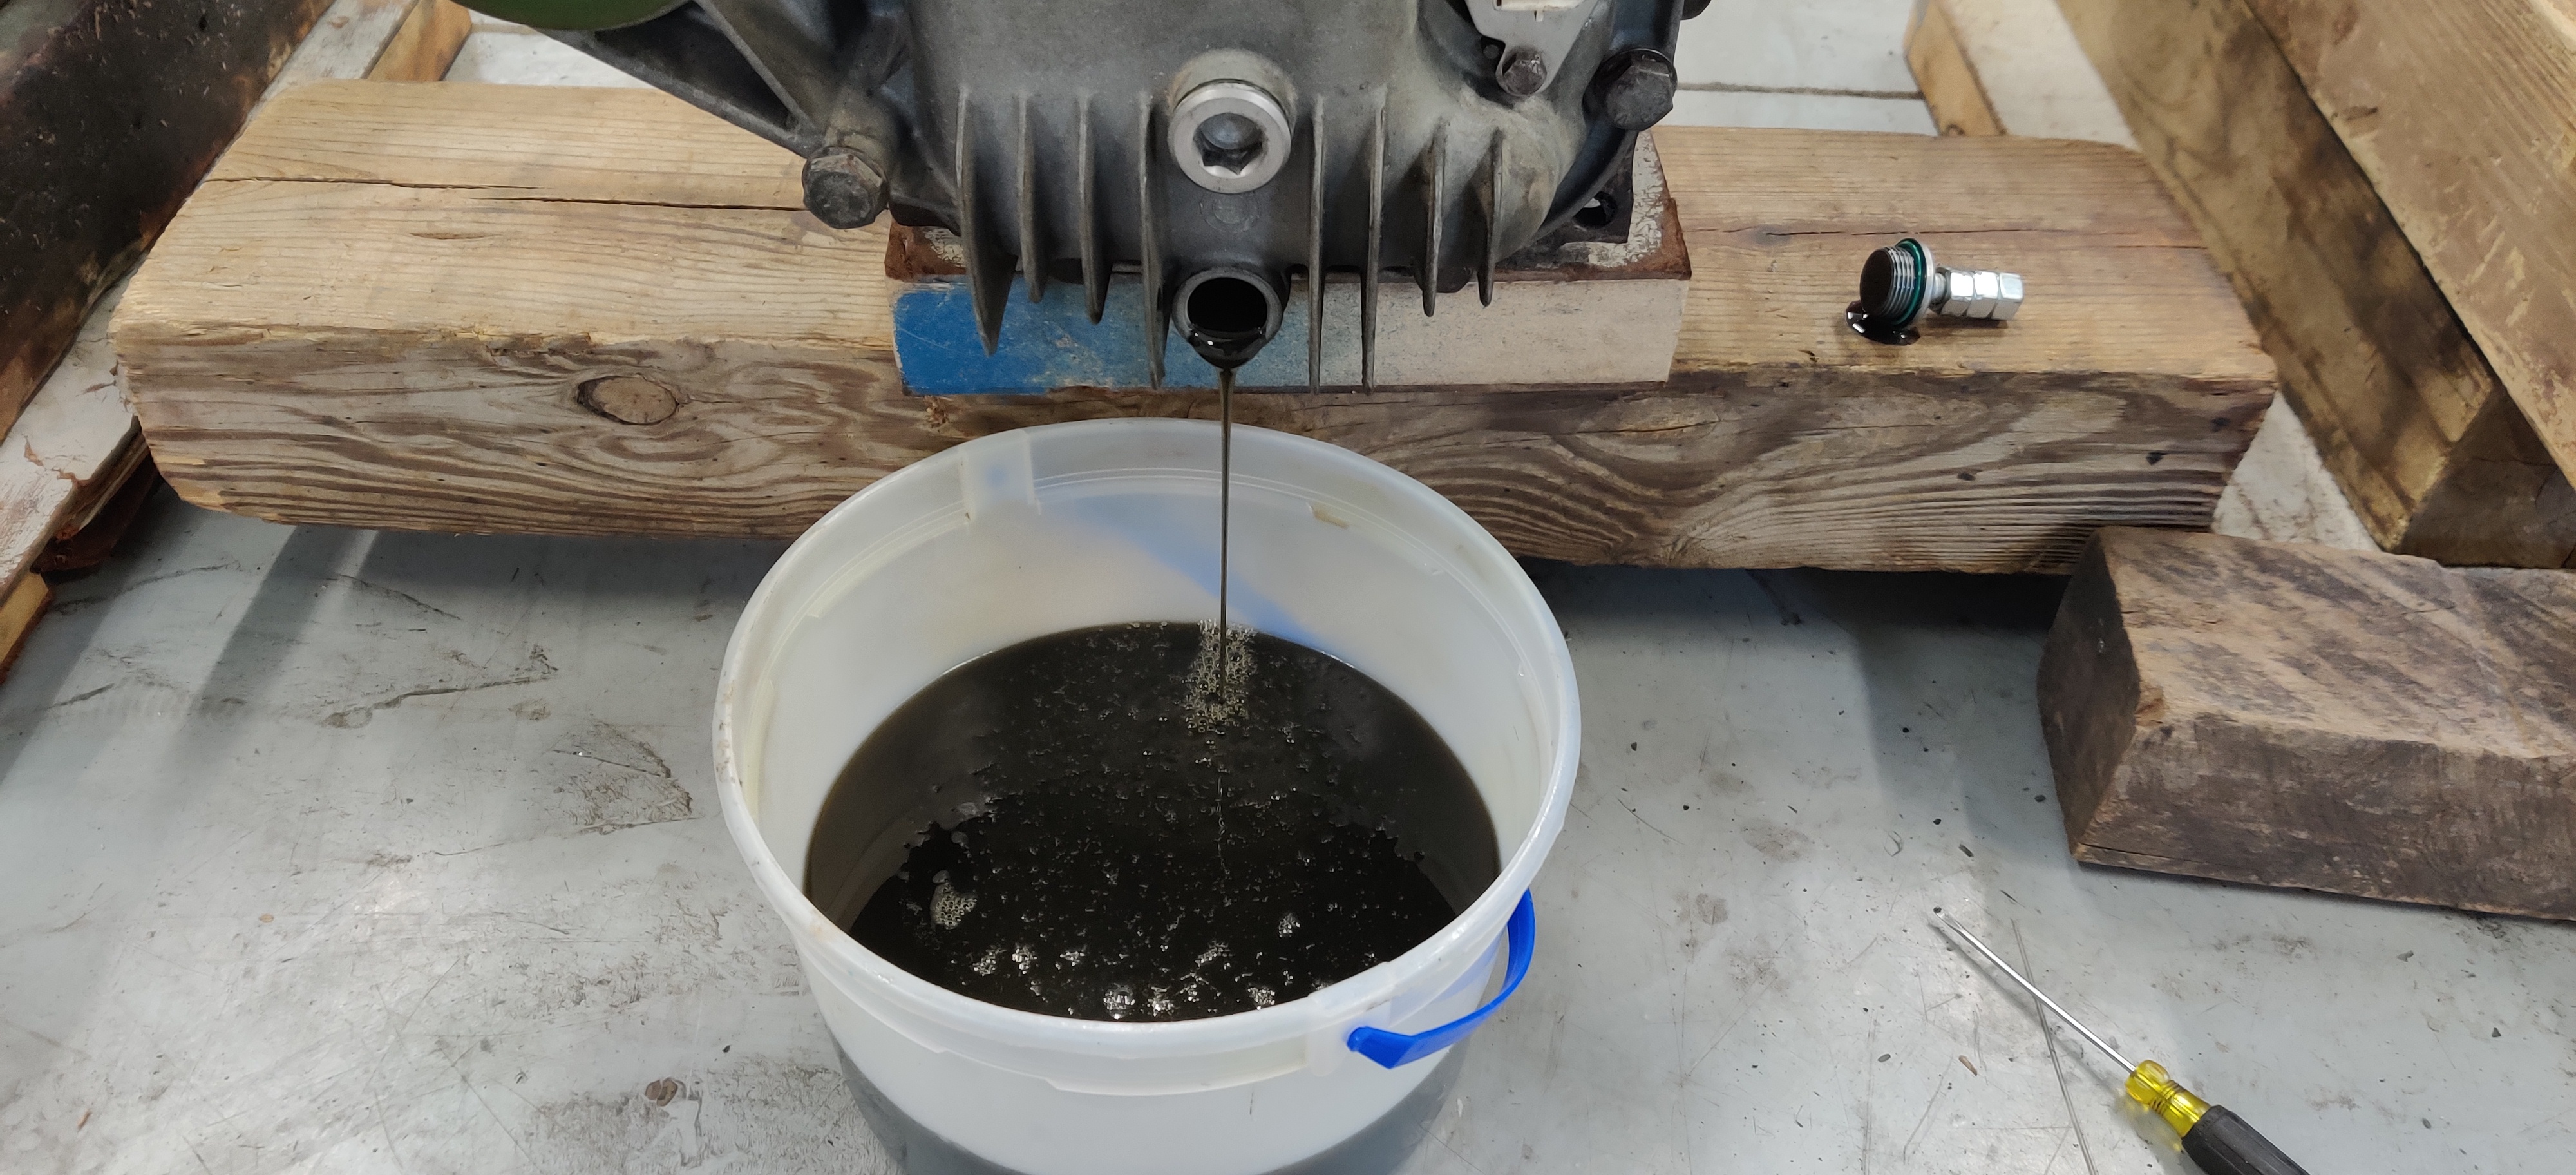
When I had everything apart I went ahead and re-greased the RCAB's and sub-frame bushings as they were already pretty dry from last season. Once the new sub-frame was bolted in and torqued down I went ahead and changed the diff oil out. Checked the old oil for any metal shavings or odd debris and then added some fresh Castrol Syntrax 75w-140.
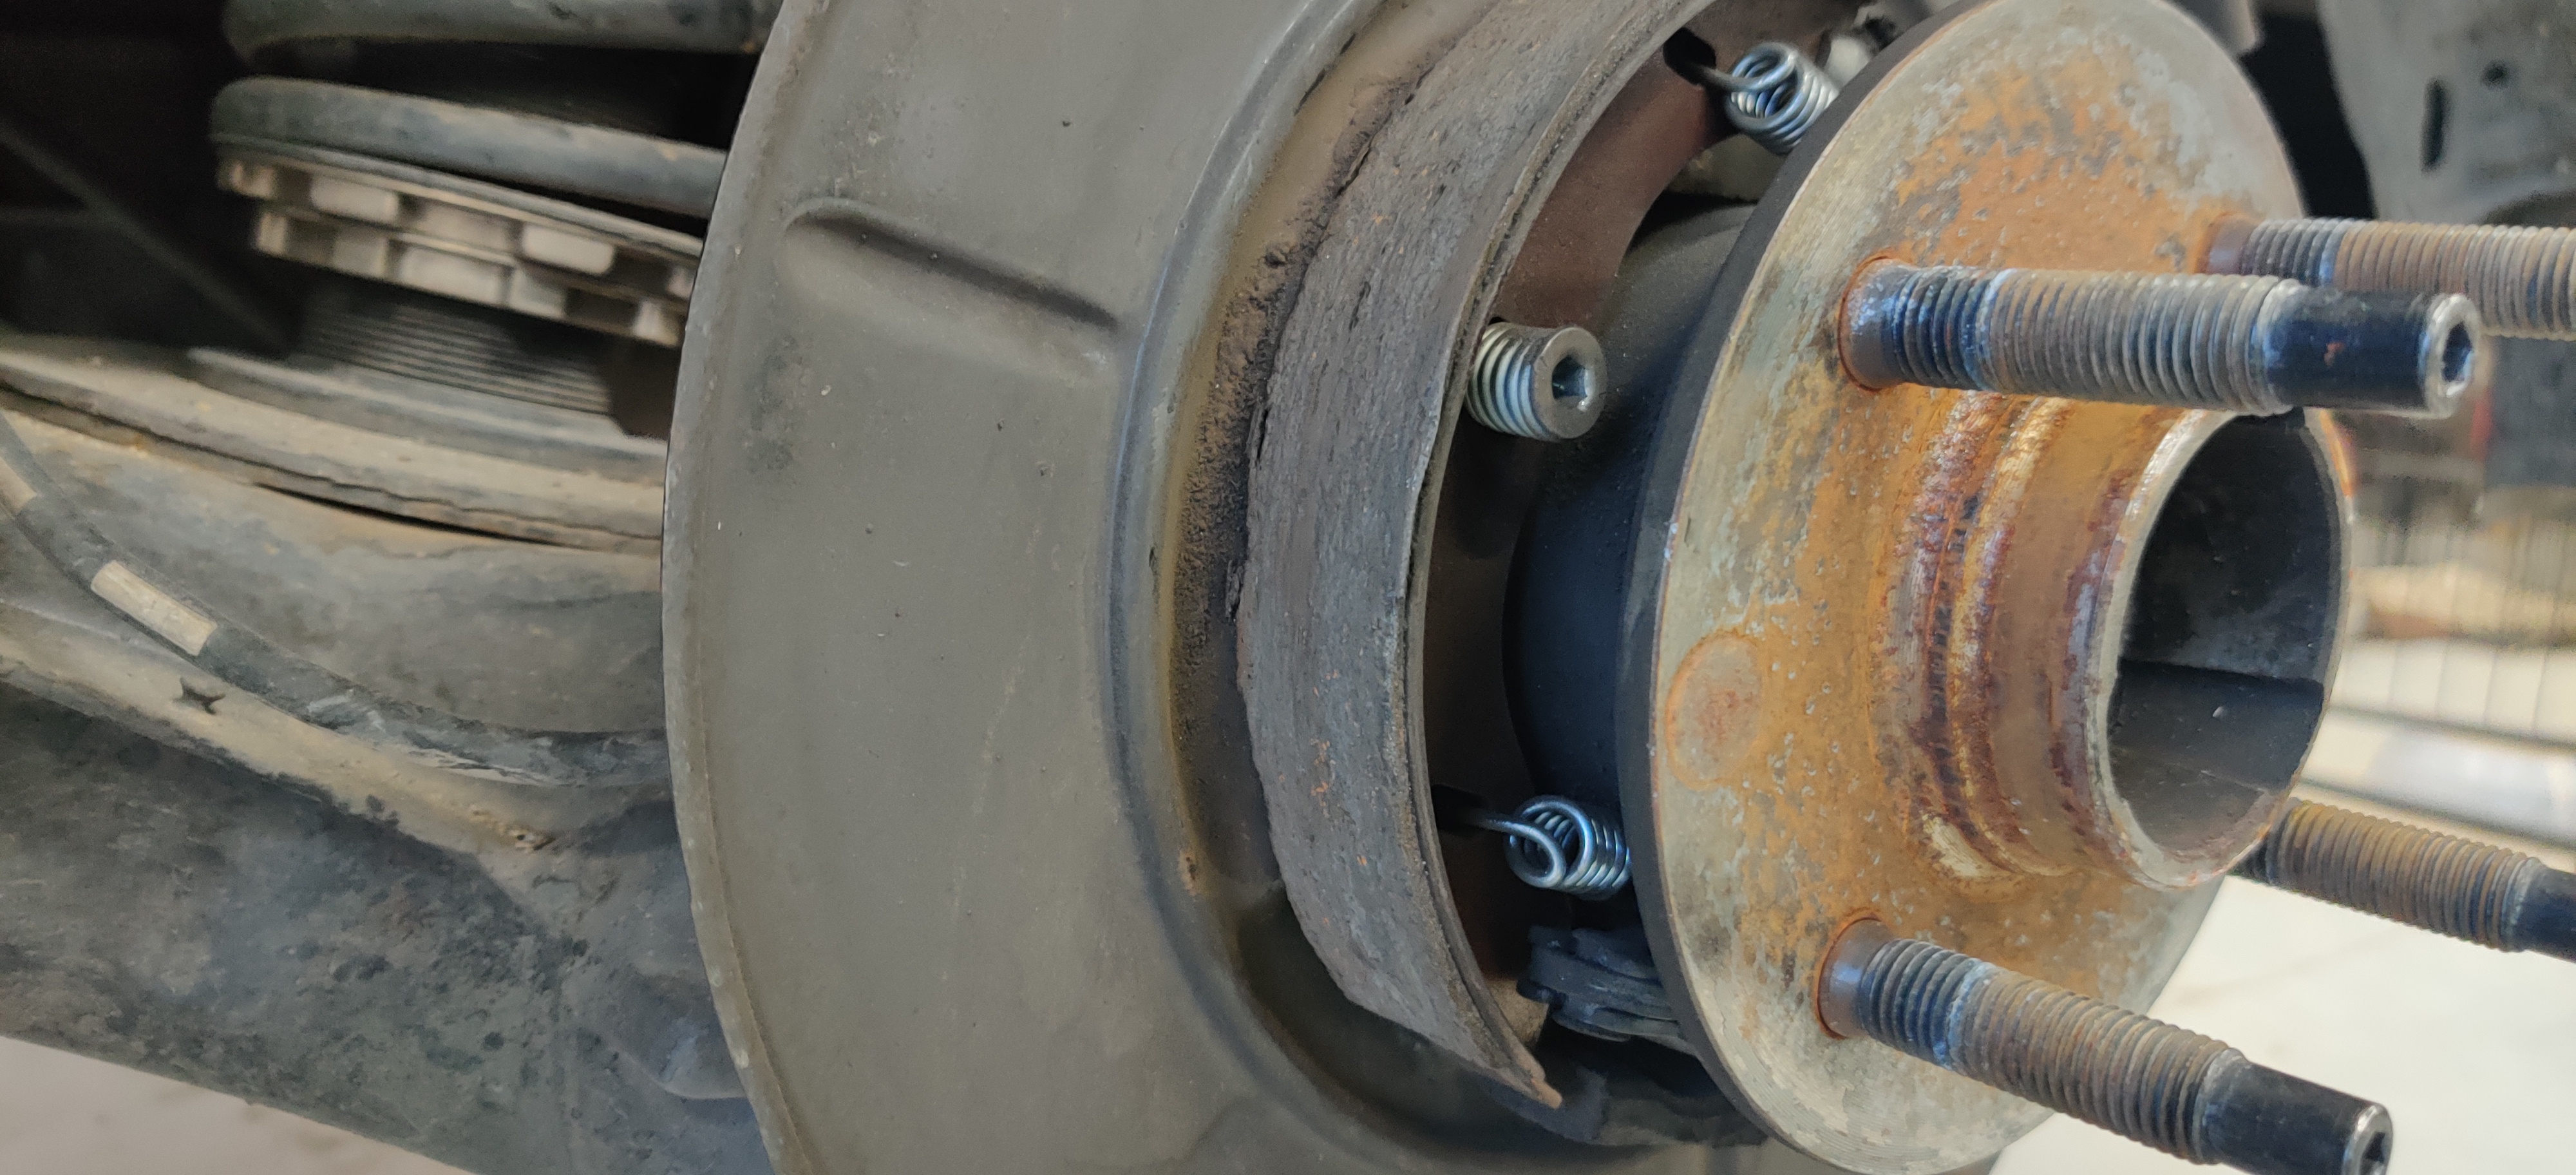
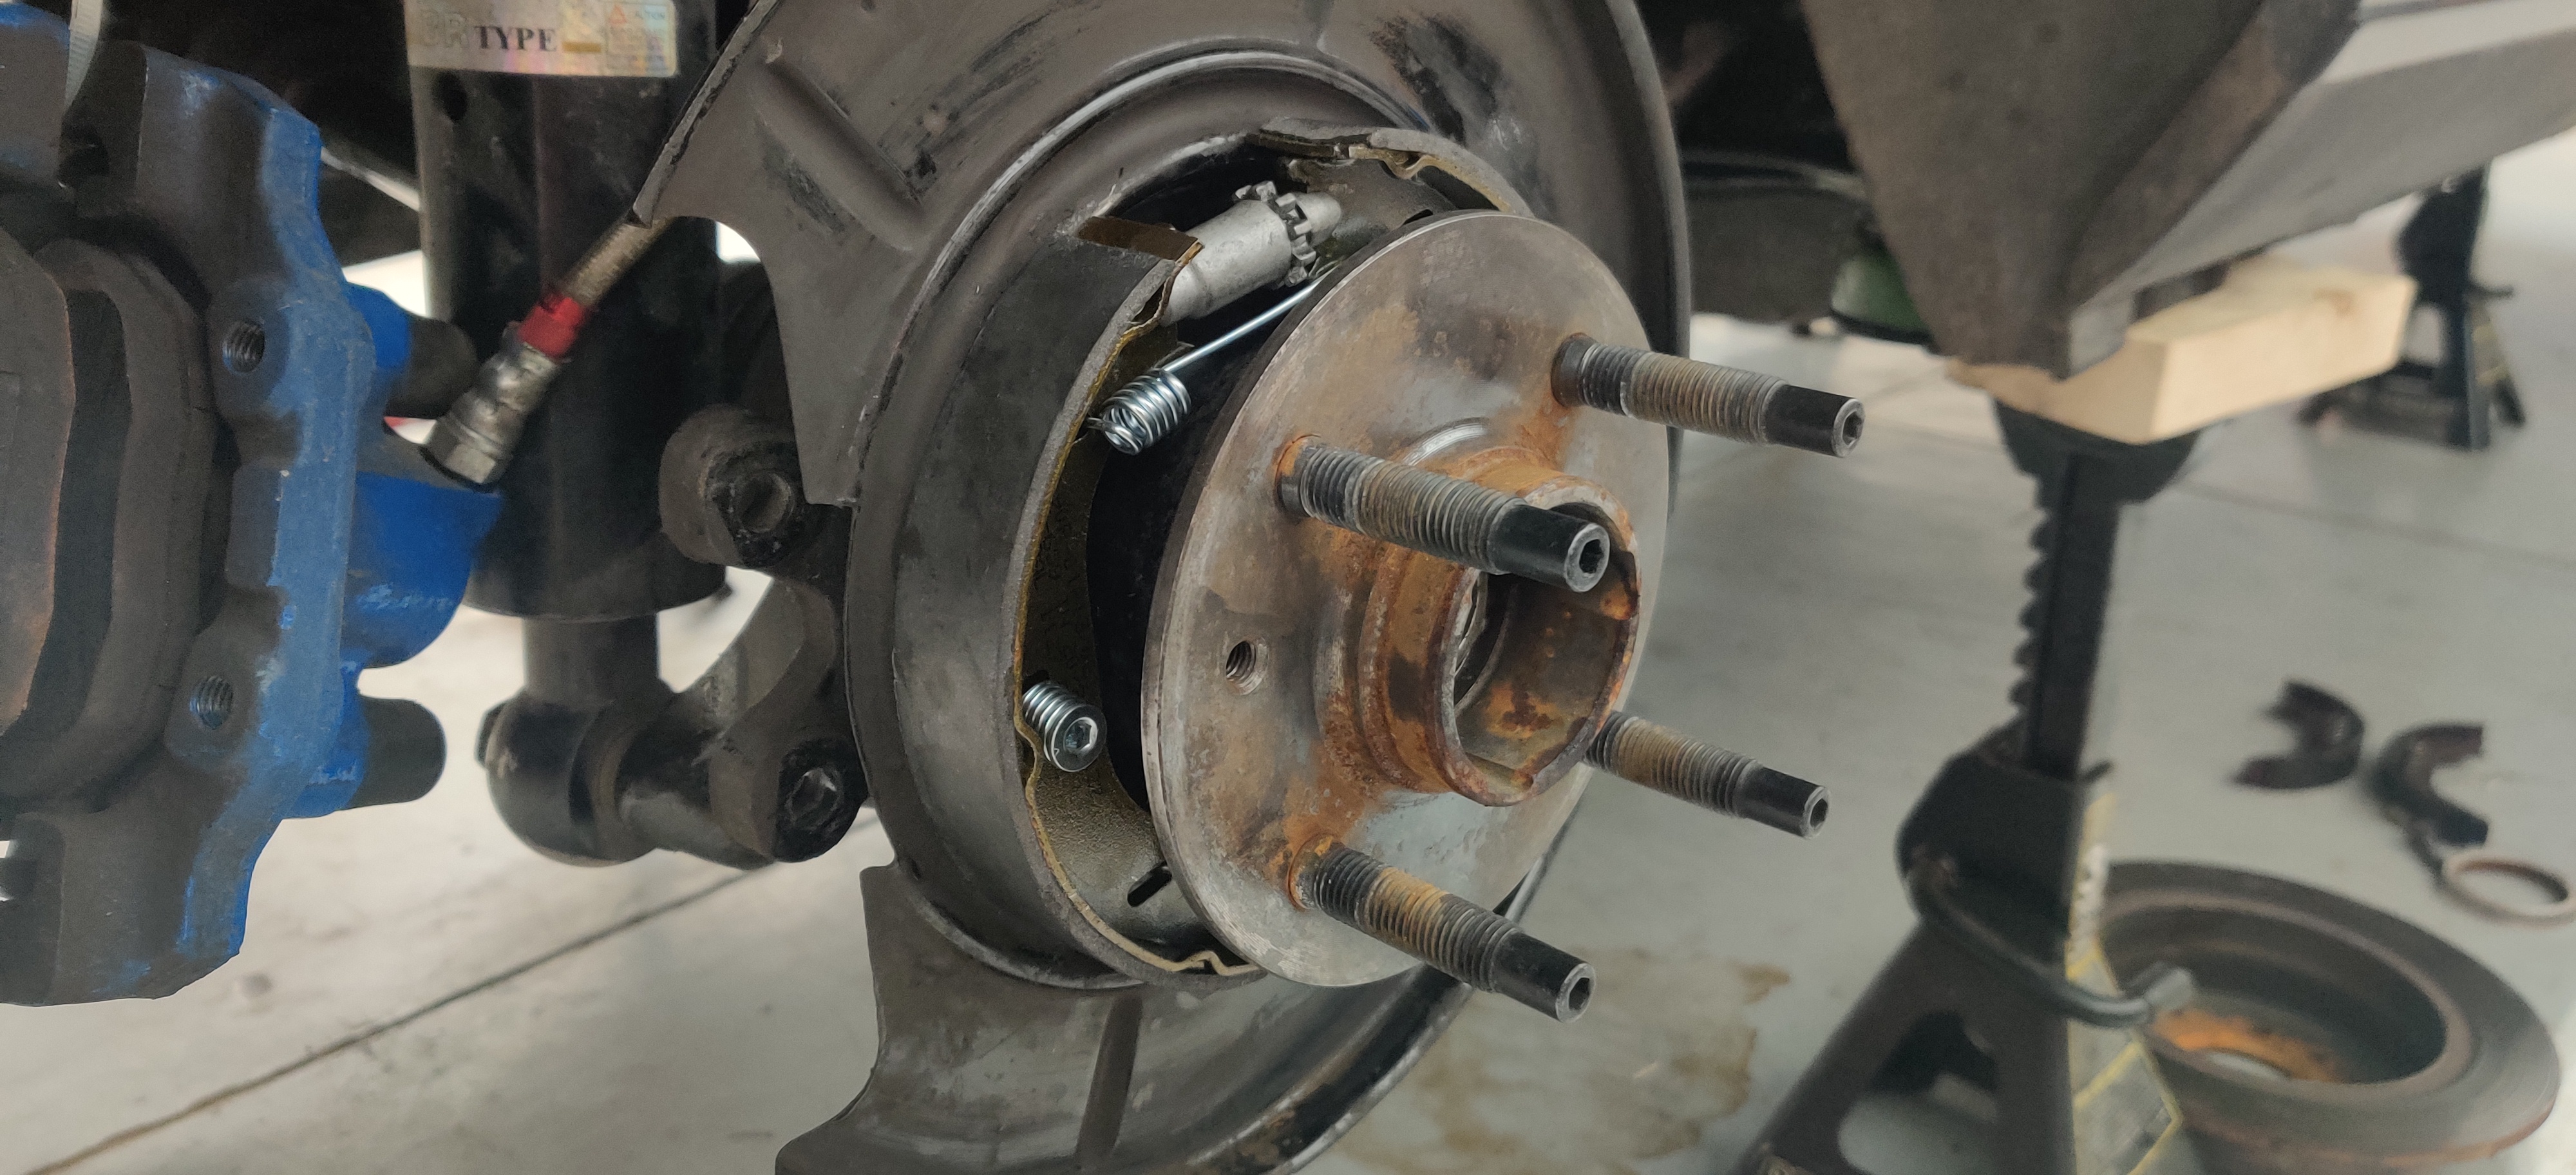
Rear end was popped back in the car afterwards and I swapped out the e-brake shoes and springs with some fresh ones.
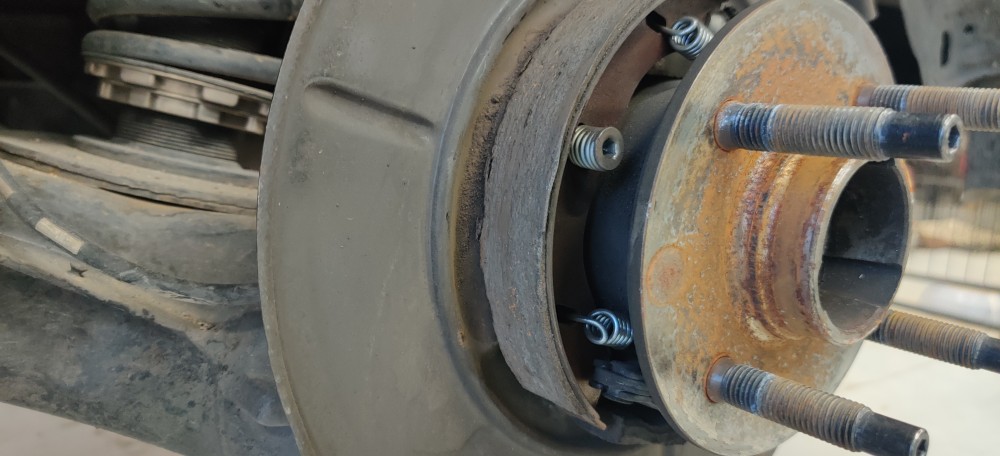
Over the summer last year the e-brake got left on by accident once or twice while driving the car. That just about roasted the shoe pads off to the point that it no longer could hold the car on a slant. Thankfully those parts were ordered through fcp euro so I went ahead and took advantage of that life time warranty.
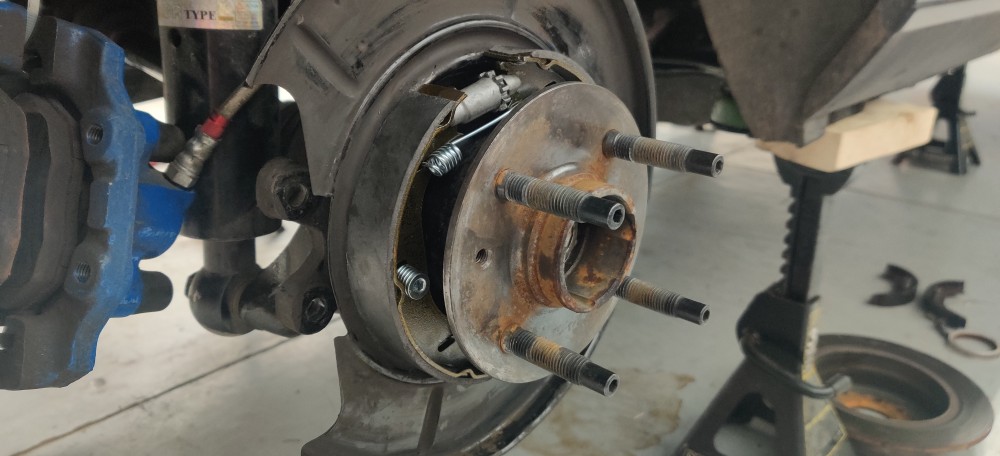
Once I was done torquing the rest of the bolts down holding the rear end in and inspected everything thoroughly I bled the brakes flushing out the system and added some fresh ATE typ 200 brake fluid.
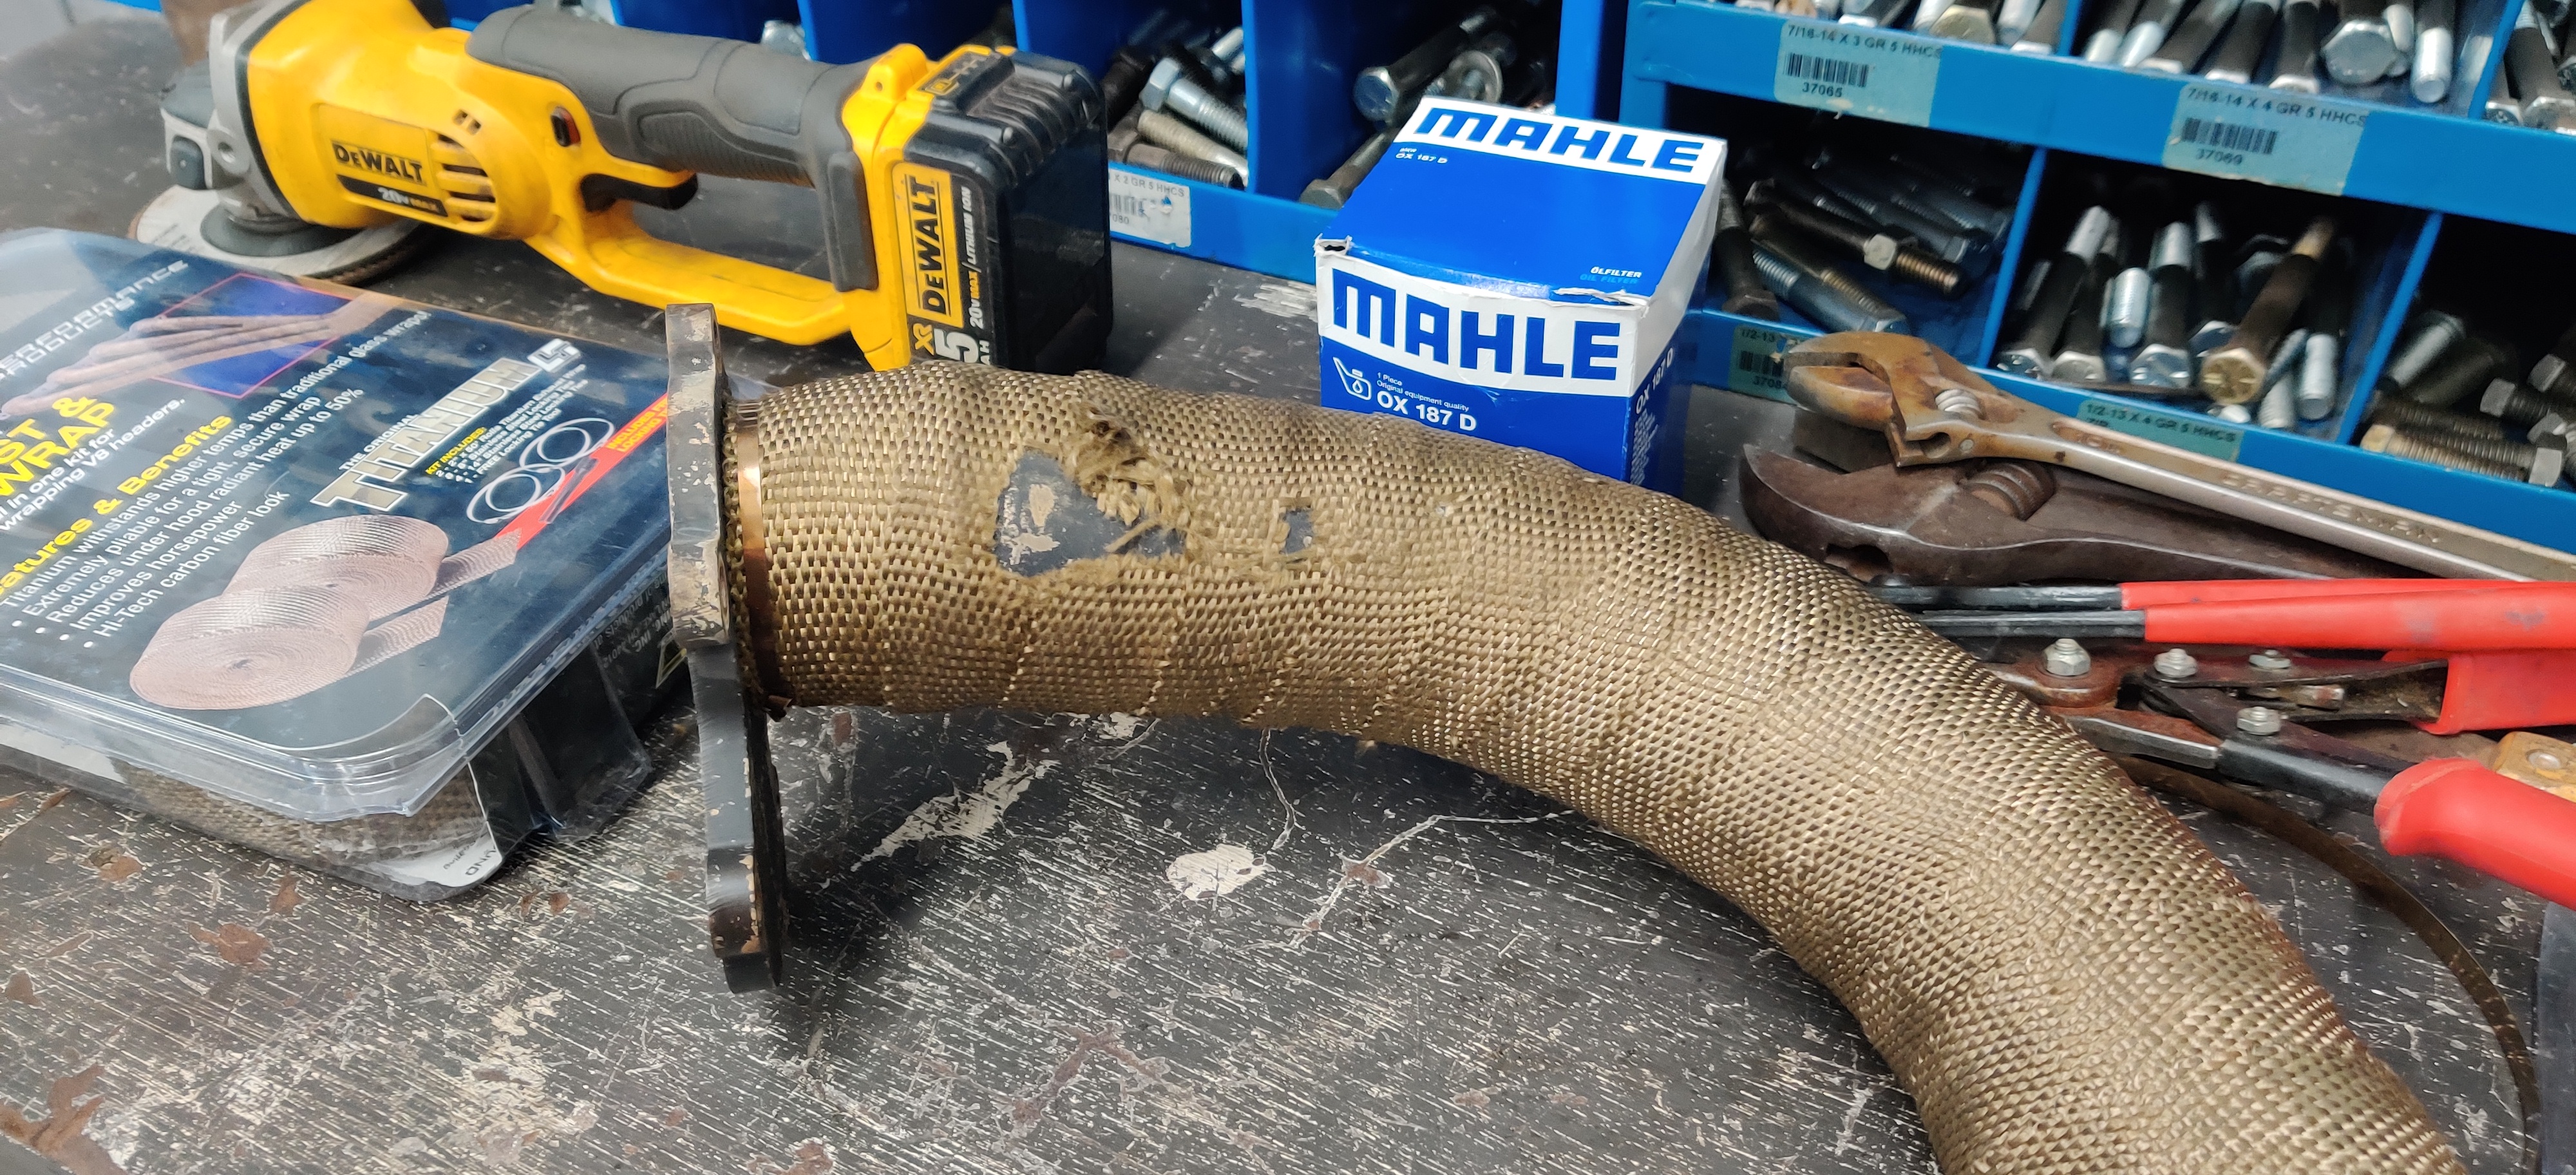
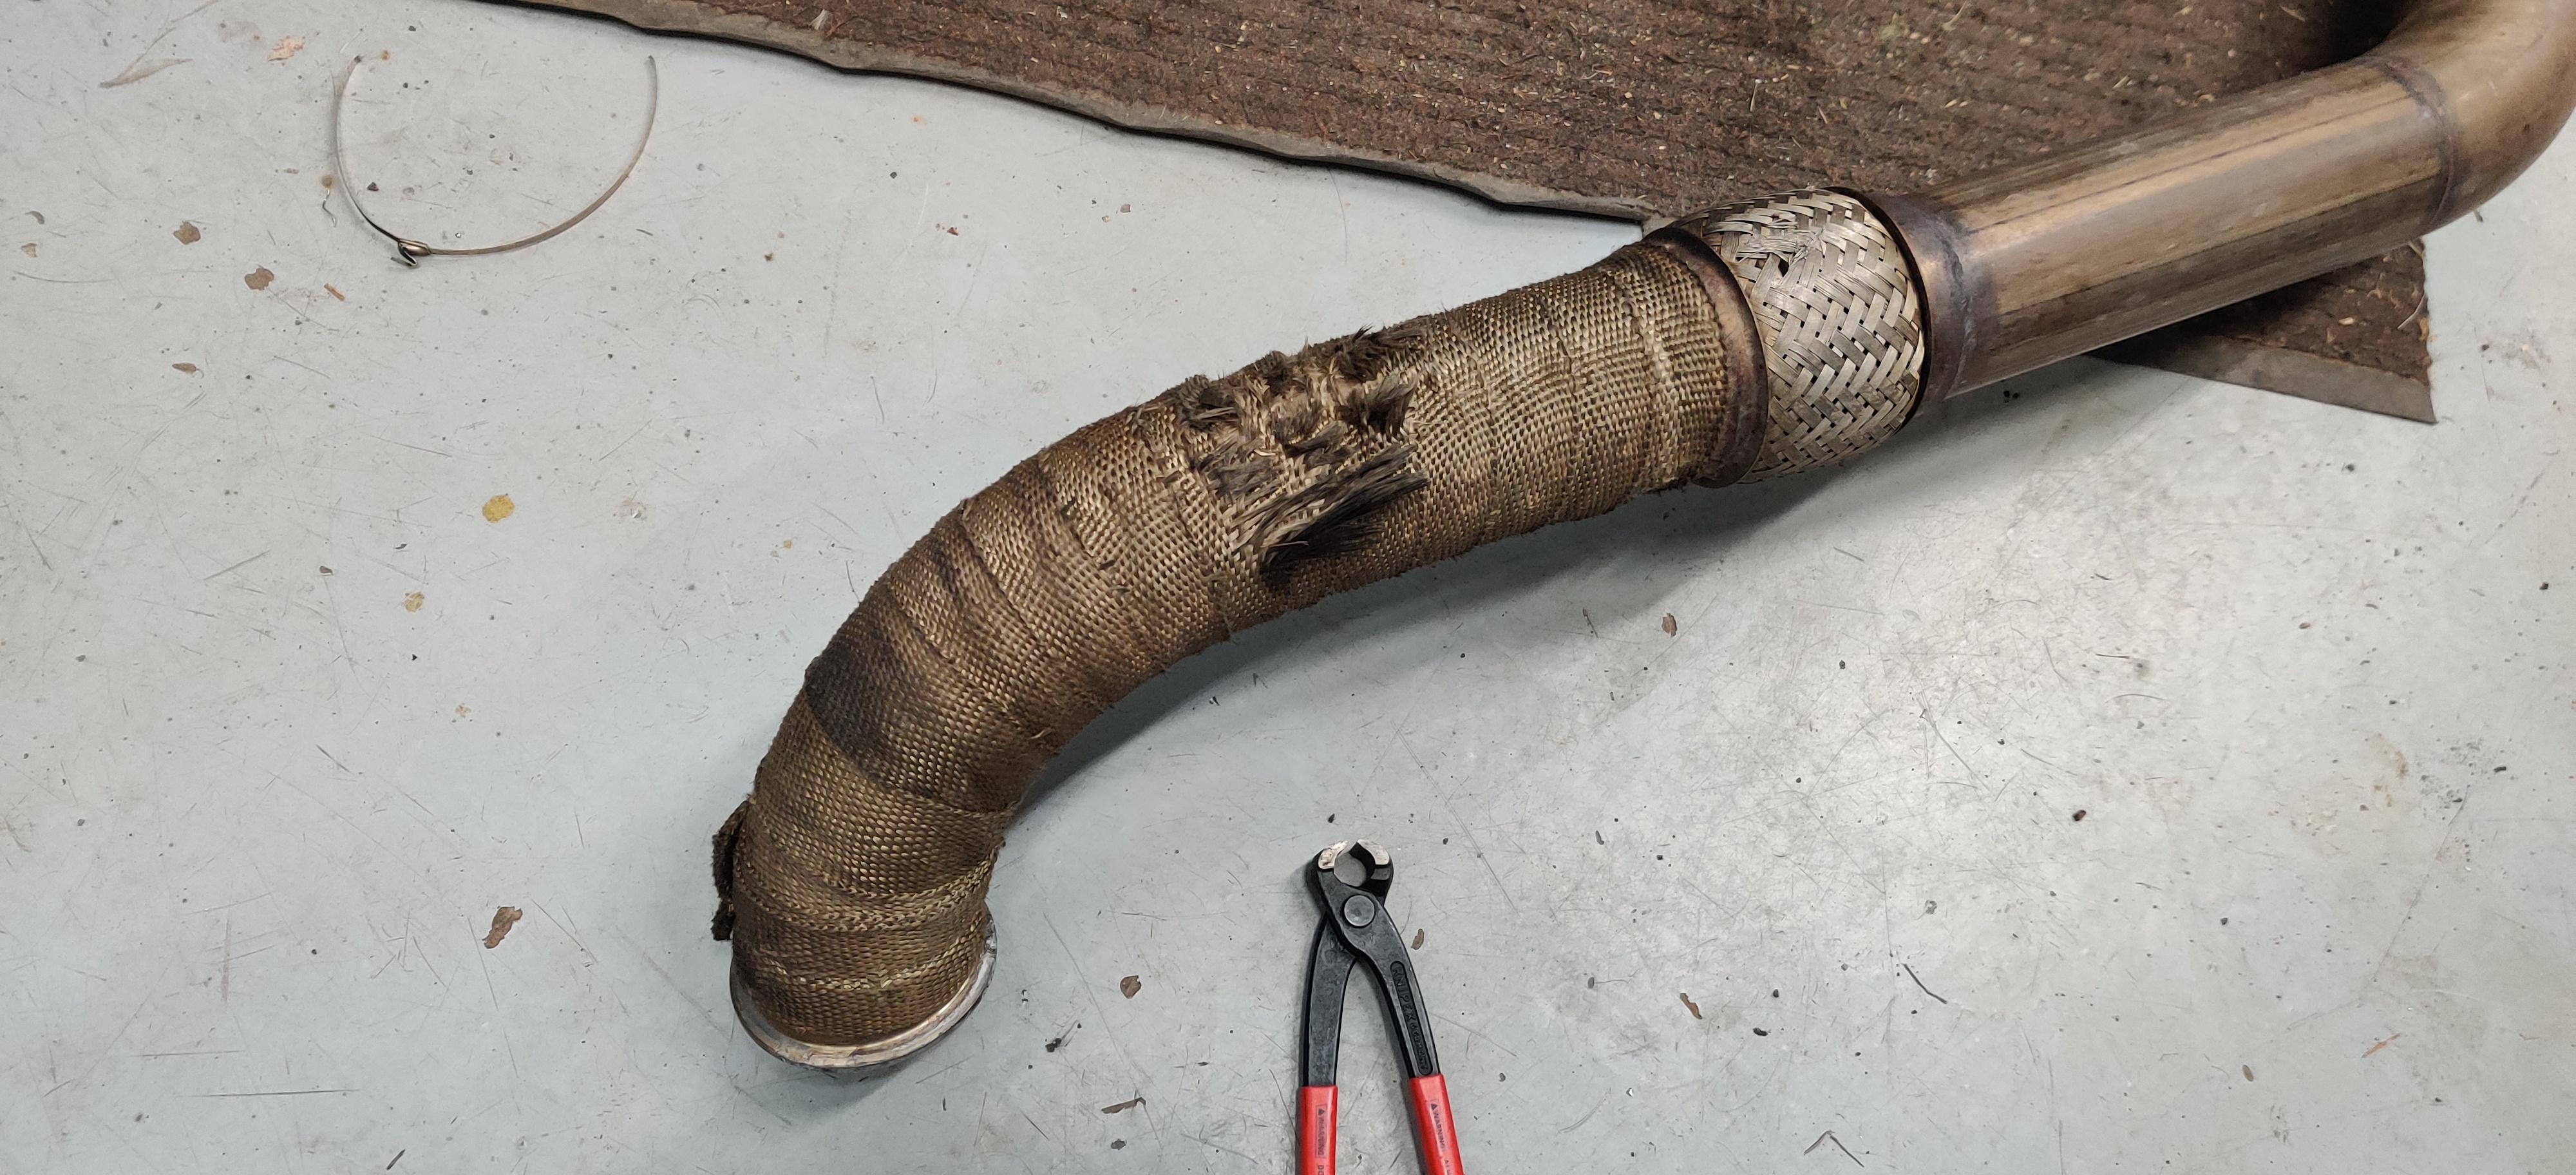
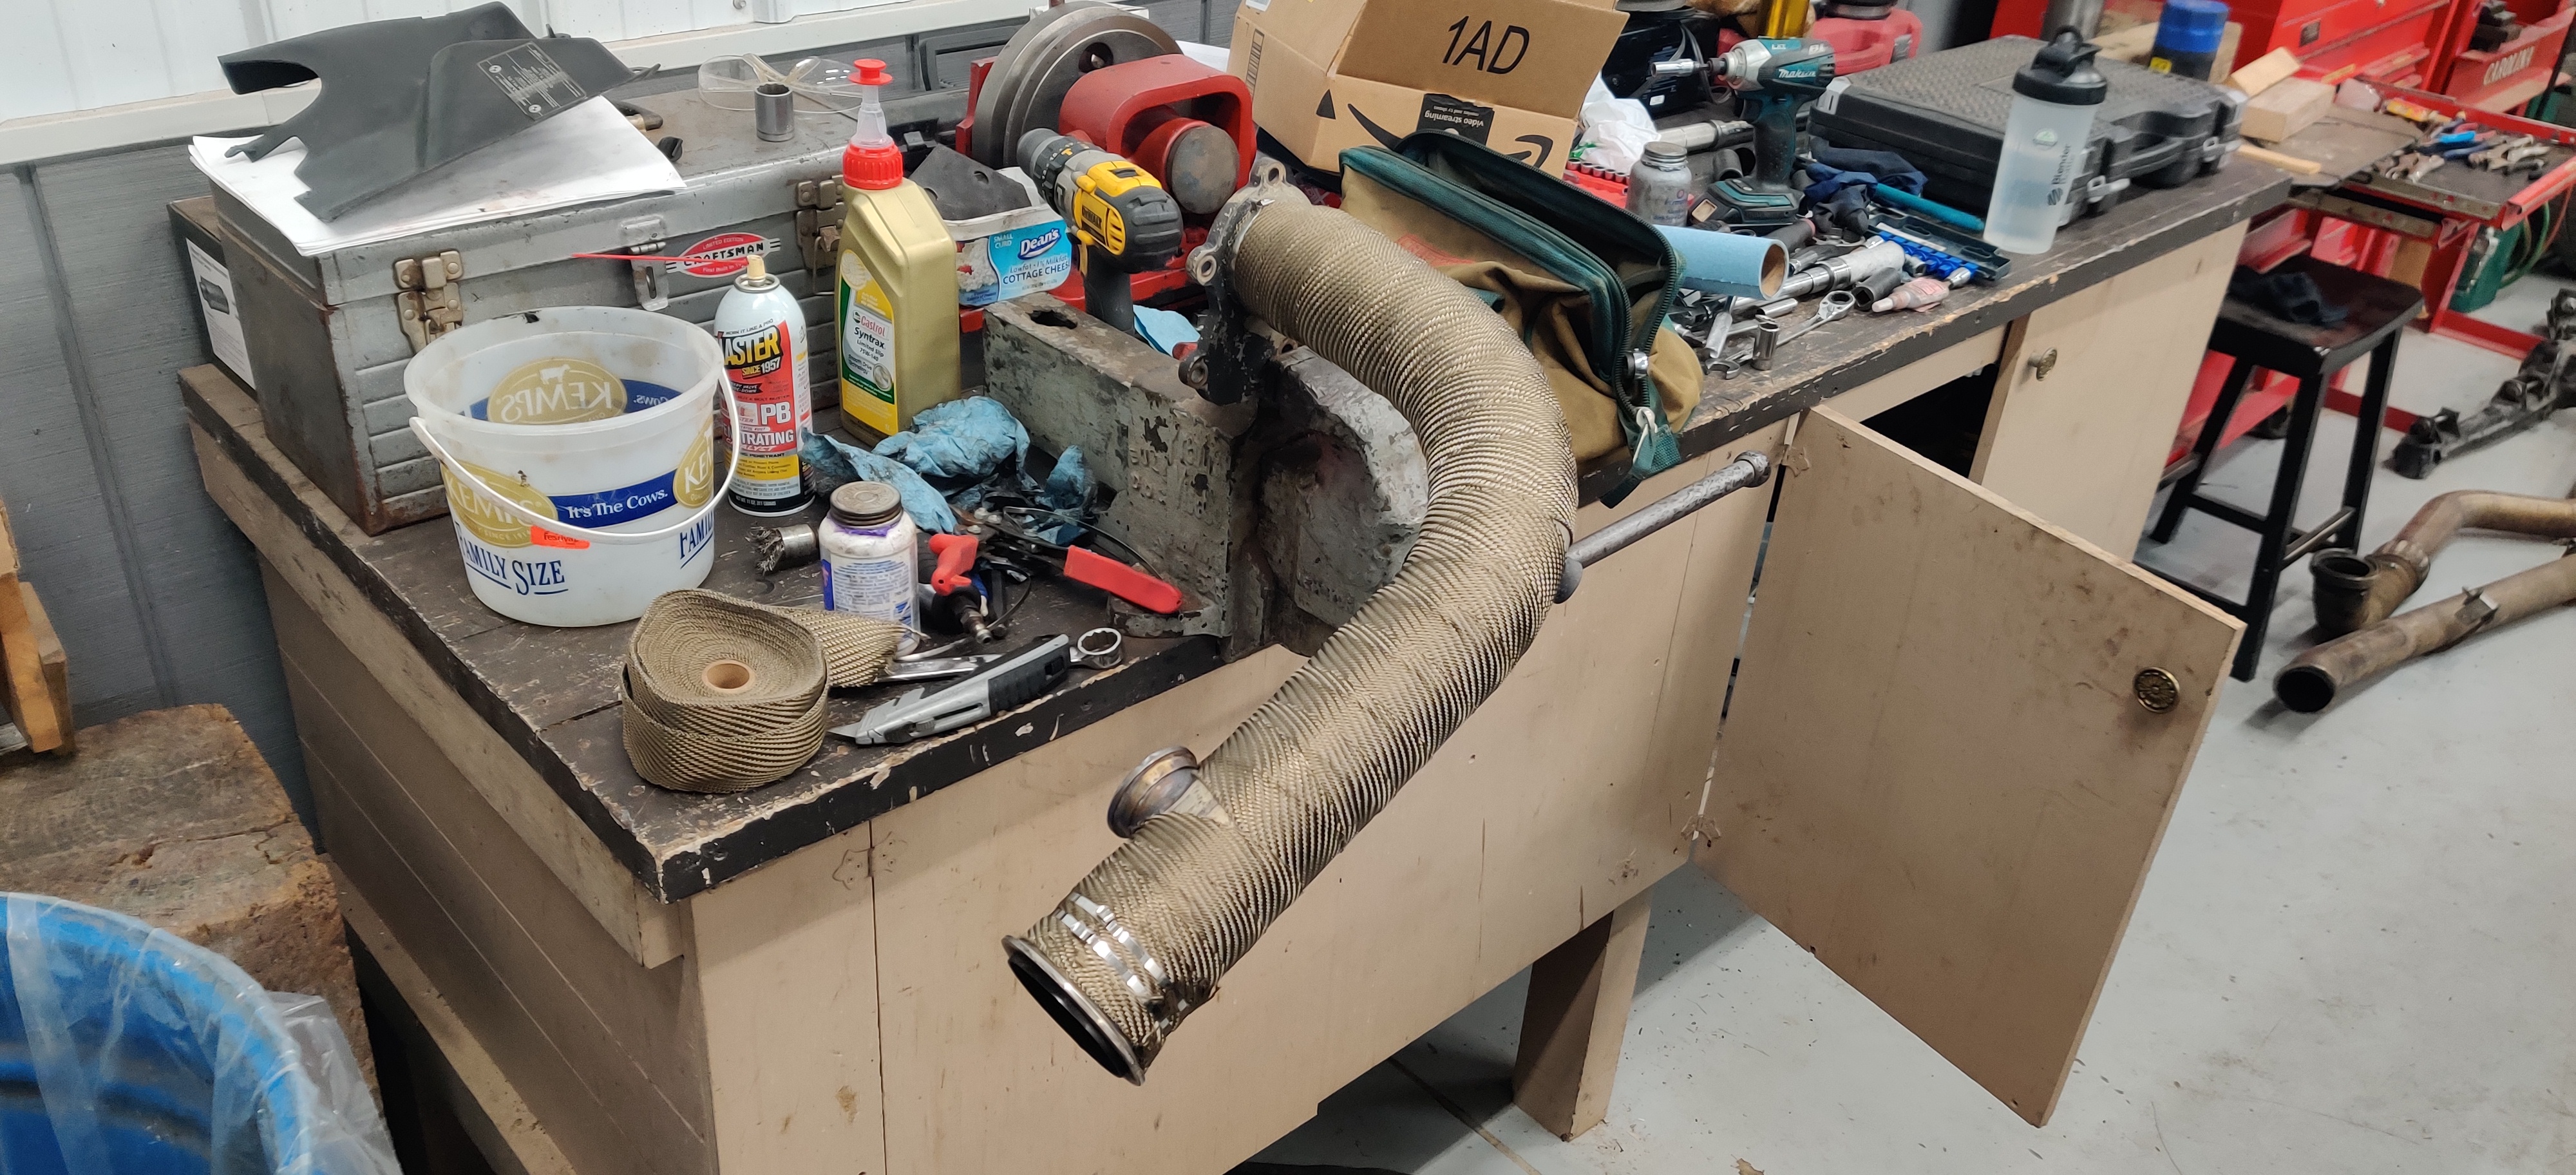
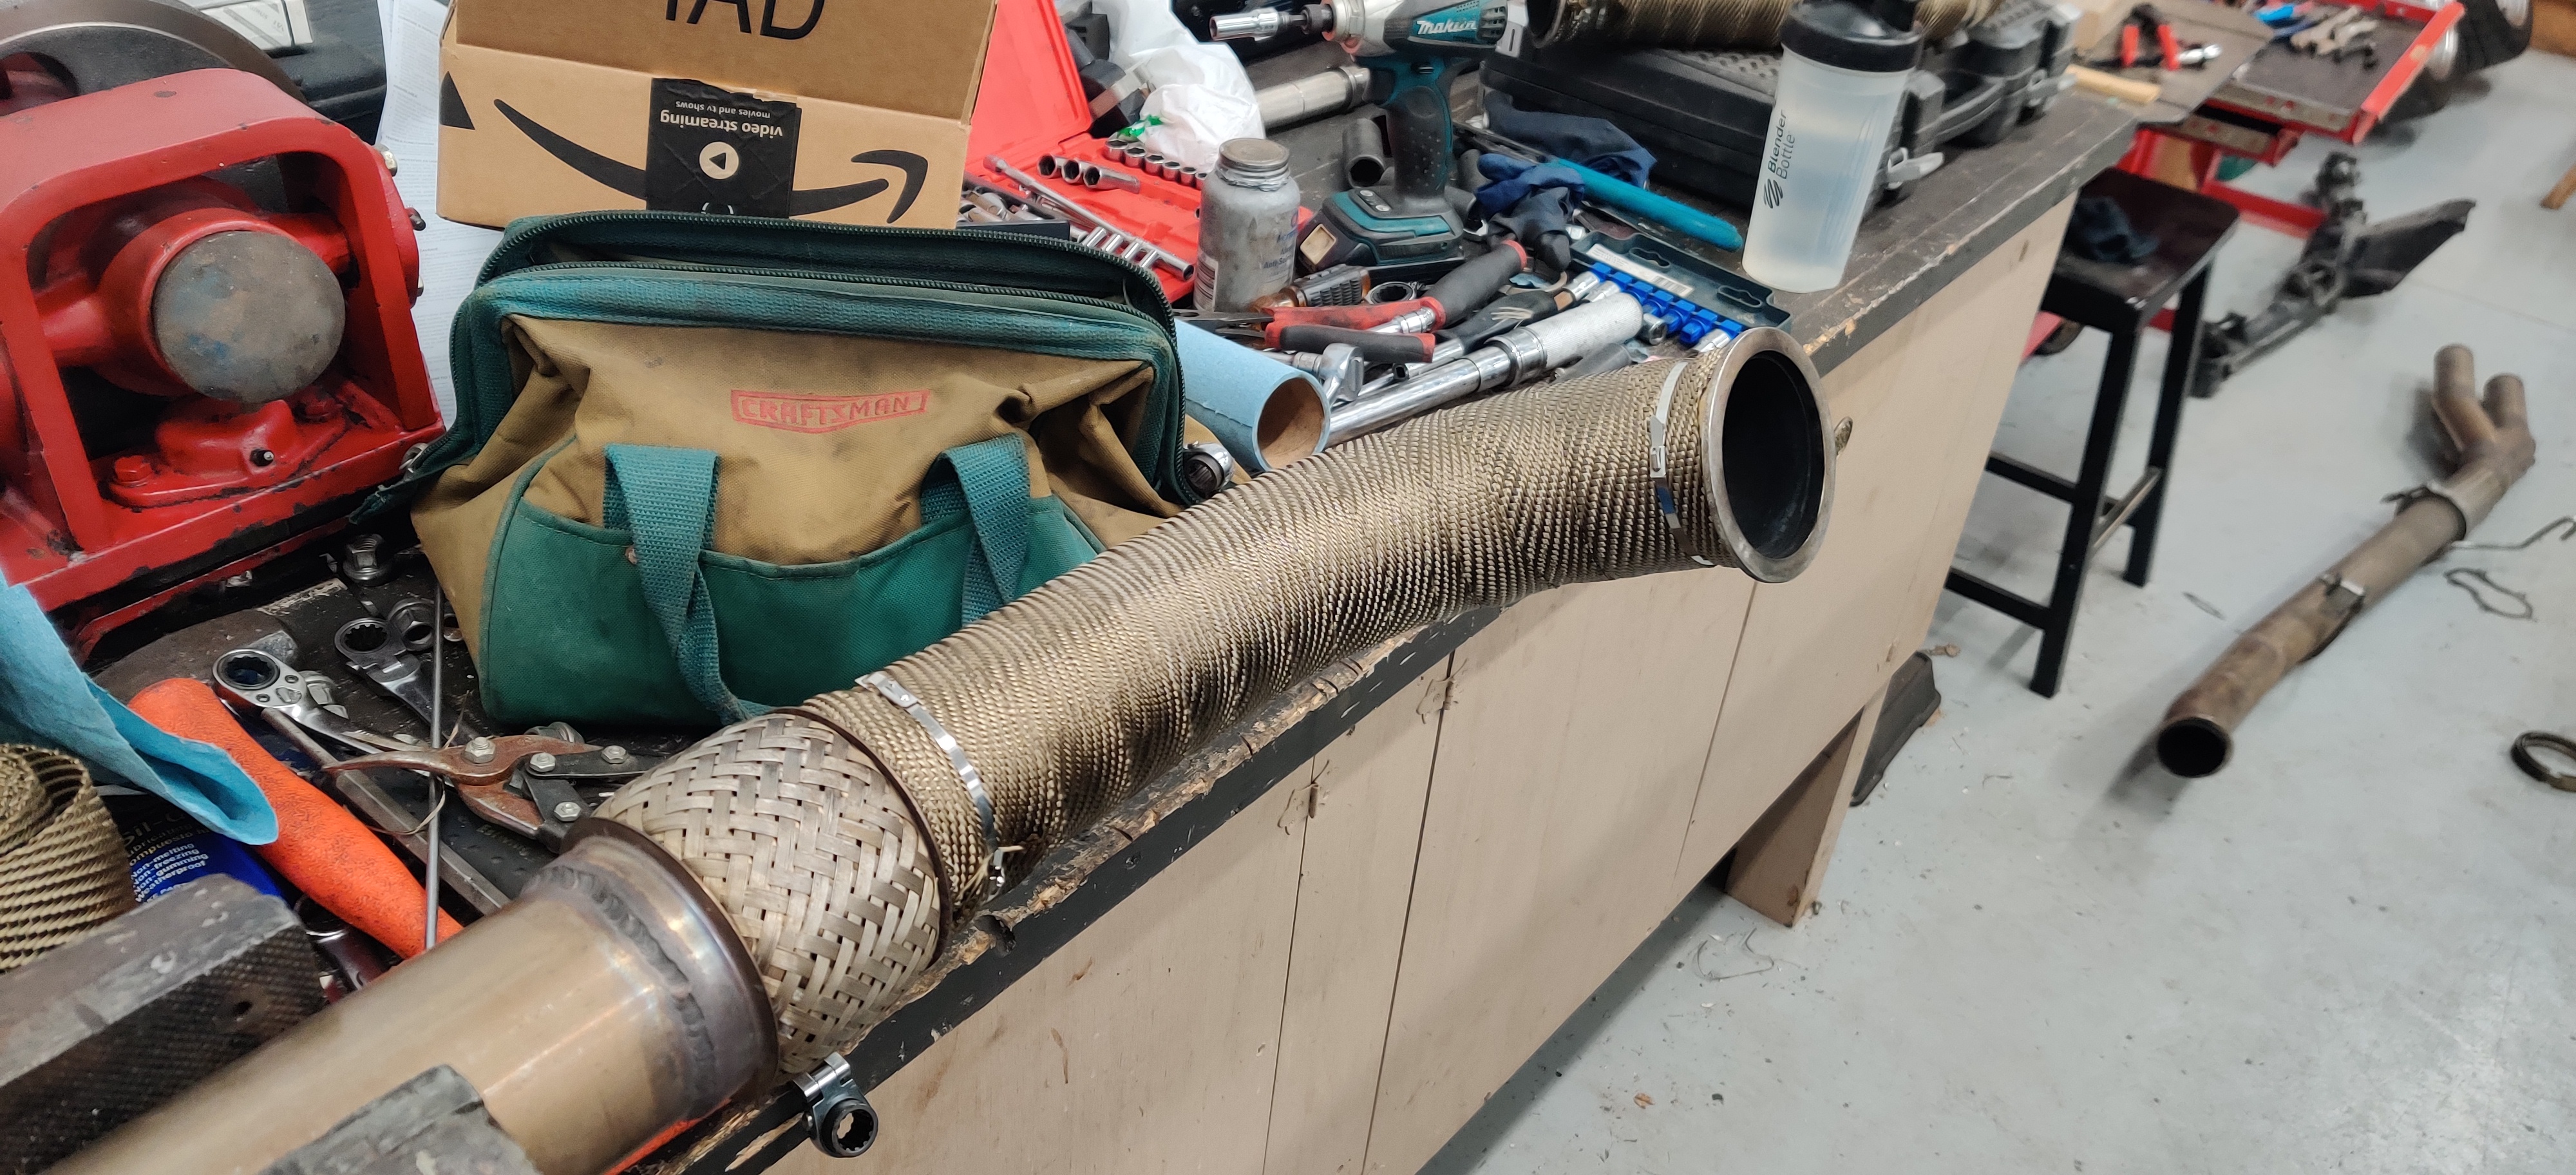
Switching over to the engine side of things I pulled apart the exhaust system and re-wrapped the down pipe and a section of the exhaust pipe. The old wrap had tore in a few places and wasn't looking to great.
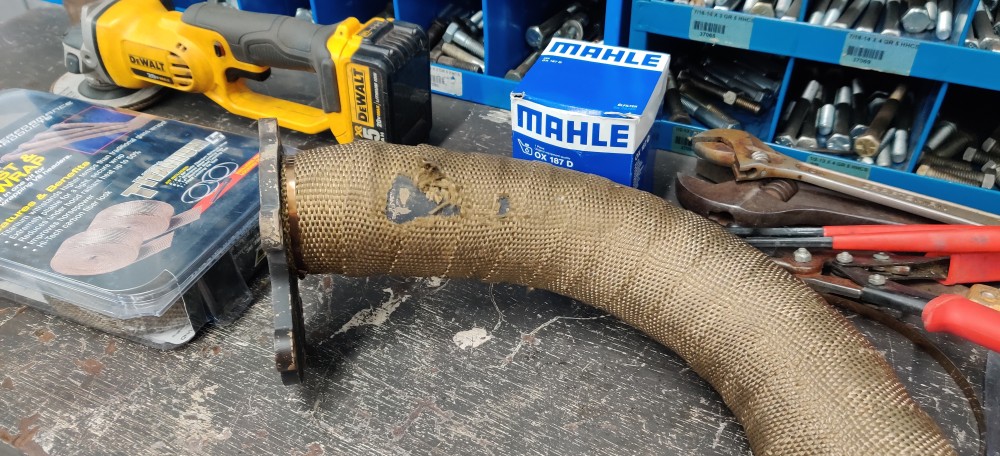
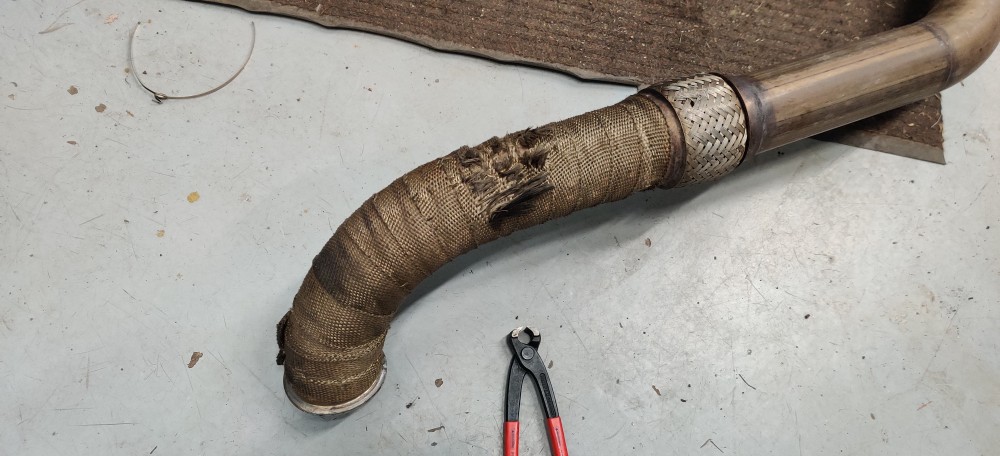
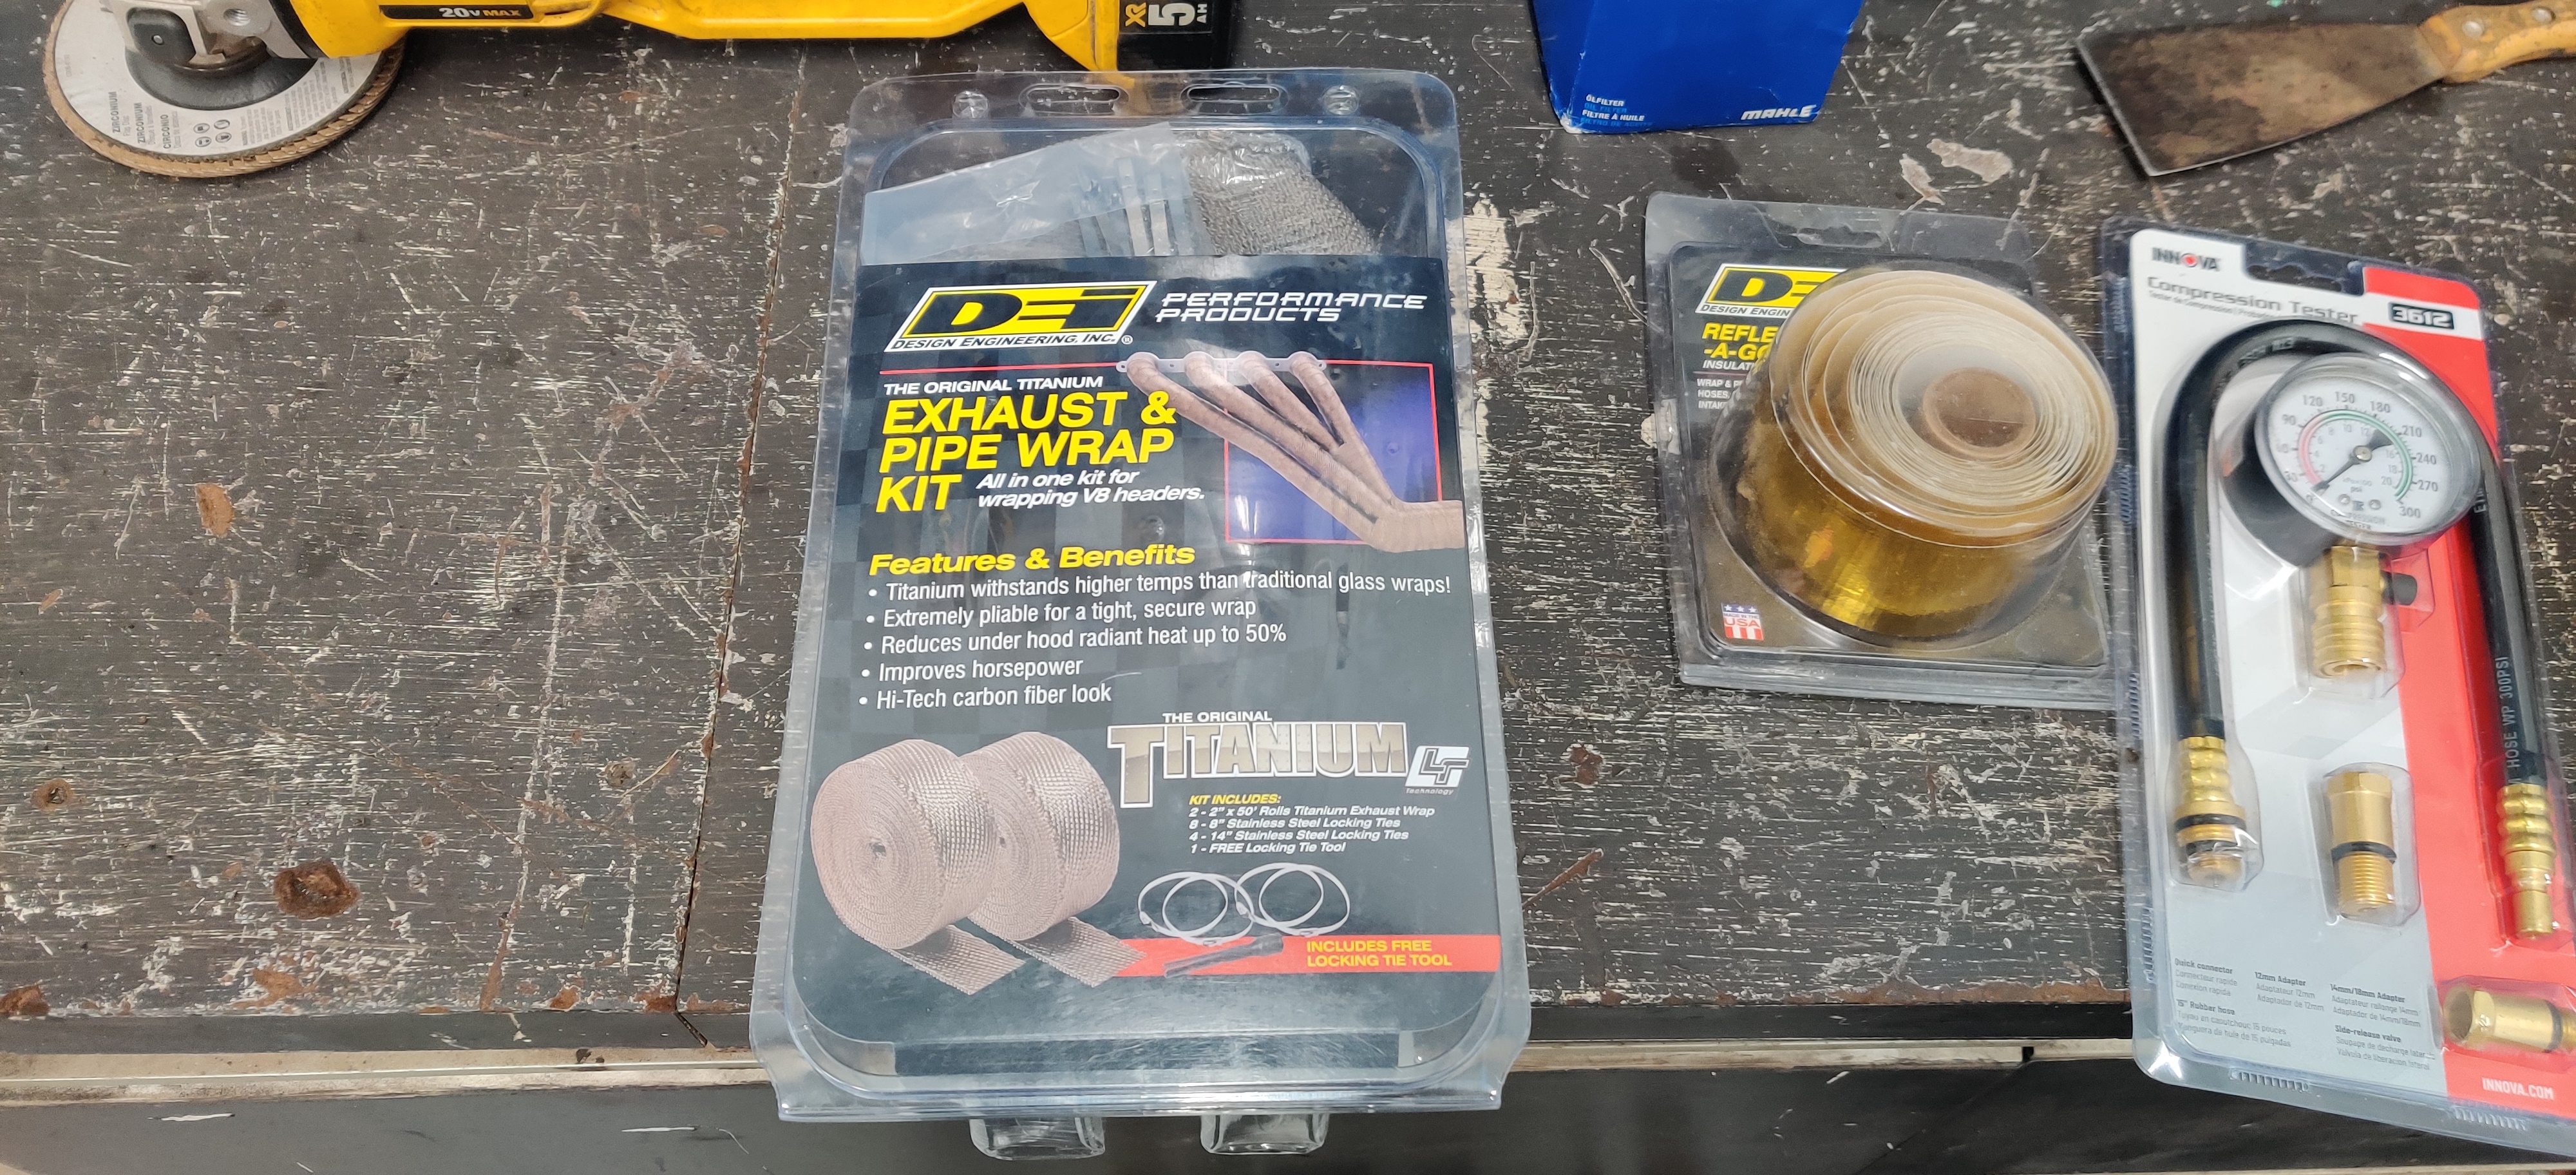
Ordered some Design engineering titanium wrap as a replacement hoping it will do a little better job at reducing exhaust temps in the engine bay.
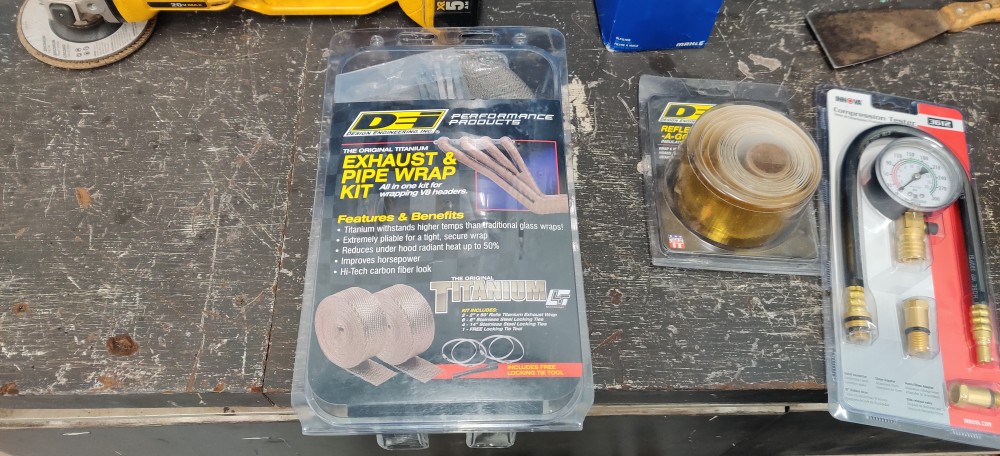
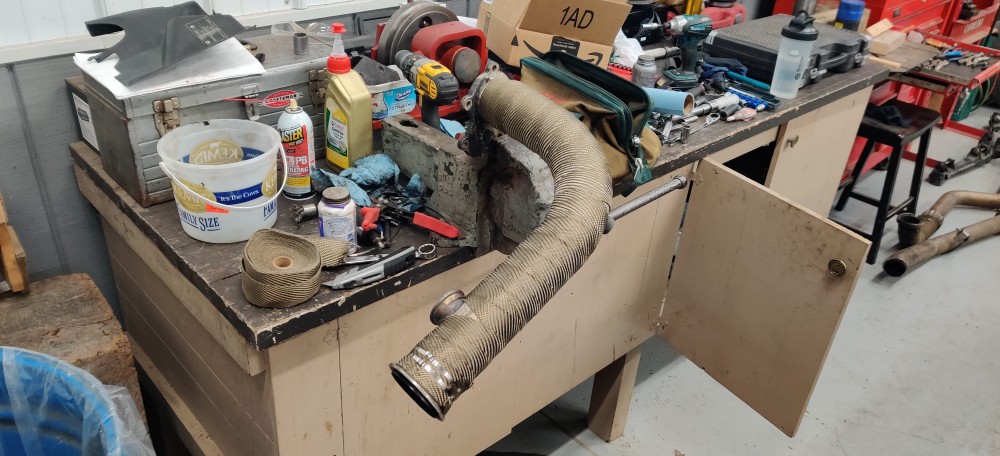
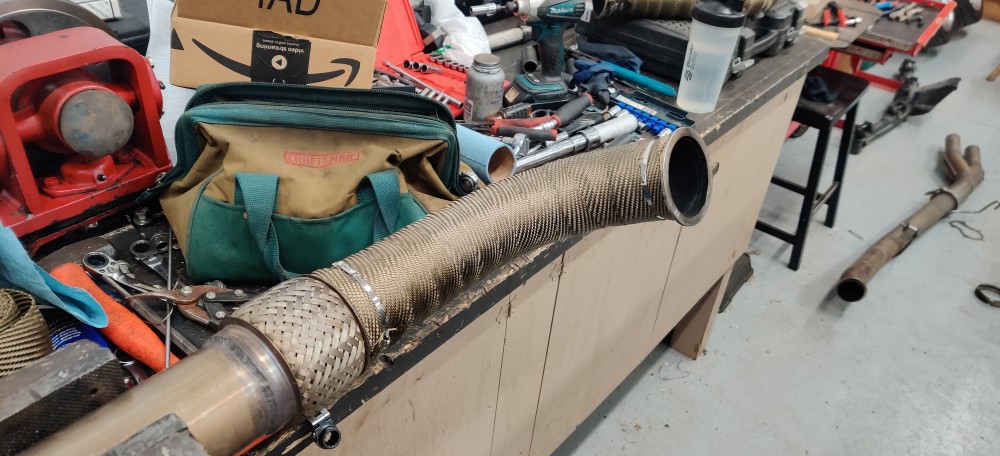
The kit I bought came with clamps and a tool for easily tightening them down. Unfortunately it took me a few to figure out how tight I could go before the clamp would break so that was a learning process but overall I was very pleased with the finished look.
After that was back in and installed I did some maintenance related things: Changed the oil and filter, pulled the plugs and inspected/gapped them, and thoroughly cleaned the under side from oil and grease. The following day I took the car into town for a good wash and detail.
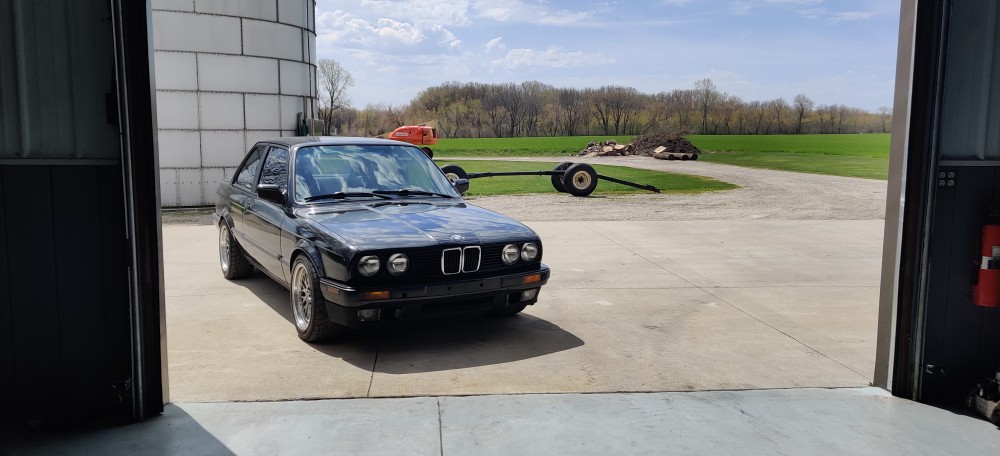
I am working on possibly ordering a new breather setup for my pcv system. The catch can I'm running on it currently is sort of a cheapo and is doing a lousy job at filtering out the fluids so I'm looking into something a little better. Also would like to get the car back to the tuner at some point and get a 93 pump gas tune made now that I have a flex fuel sensor in there.
Other then that the car is running great! Definitely looking forward to the upcoming season!
-
I envy your SRD's, I have a soft spot for those and always keep an eye out.
Glad to see this thing is still ripping! -
Mistakes were made this past weekend

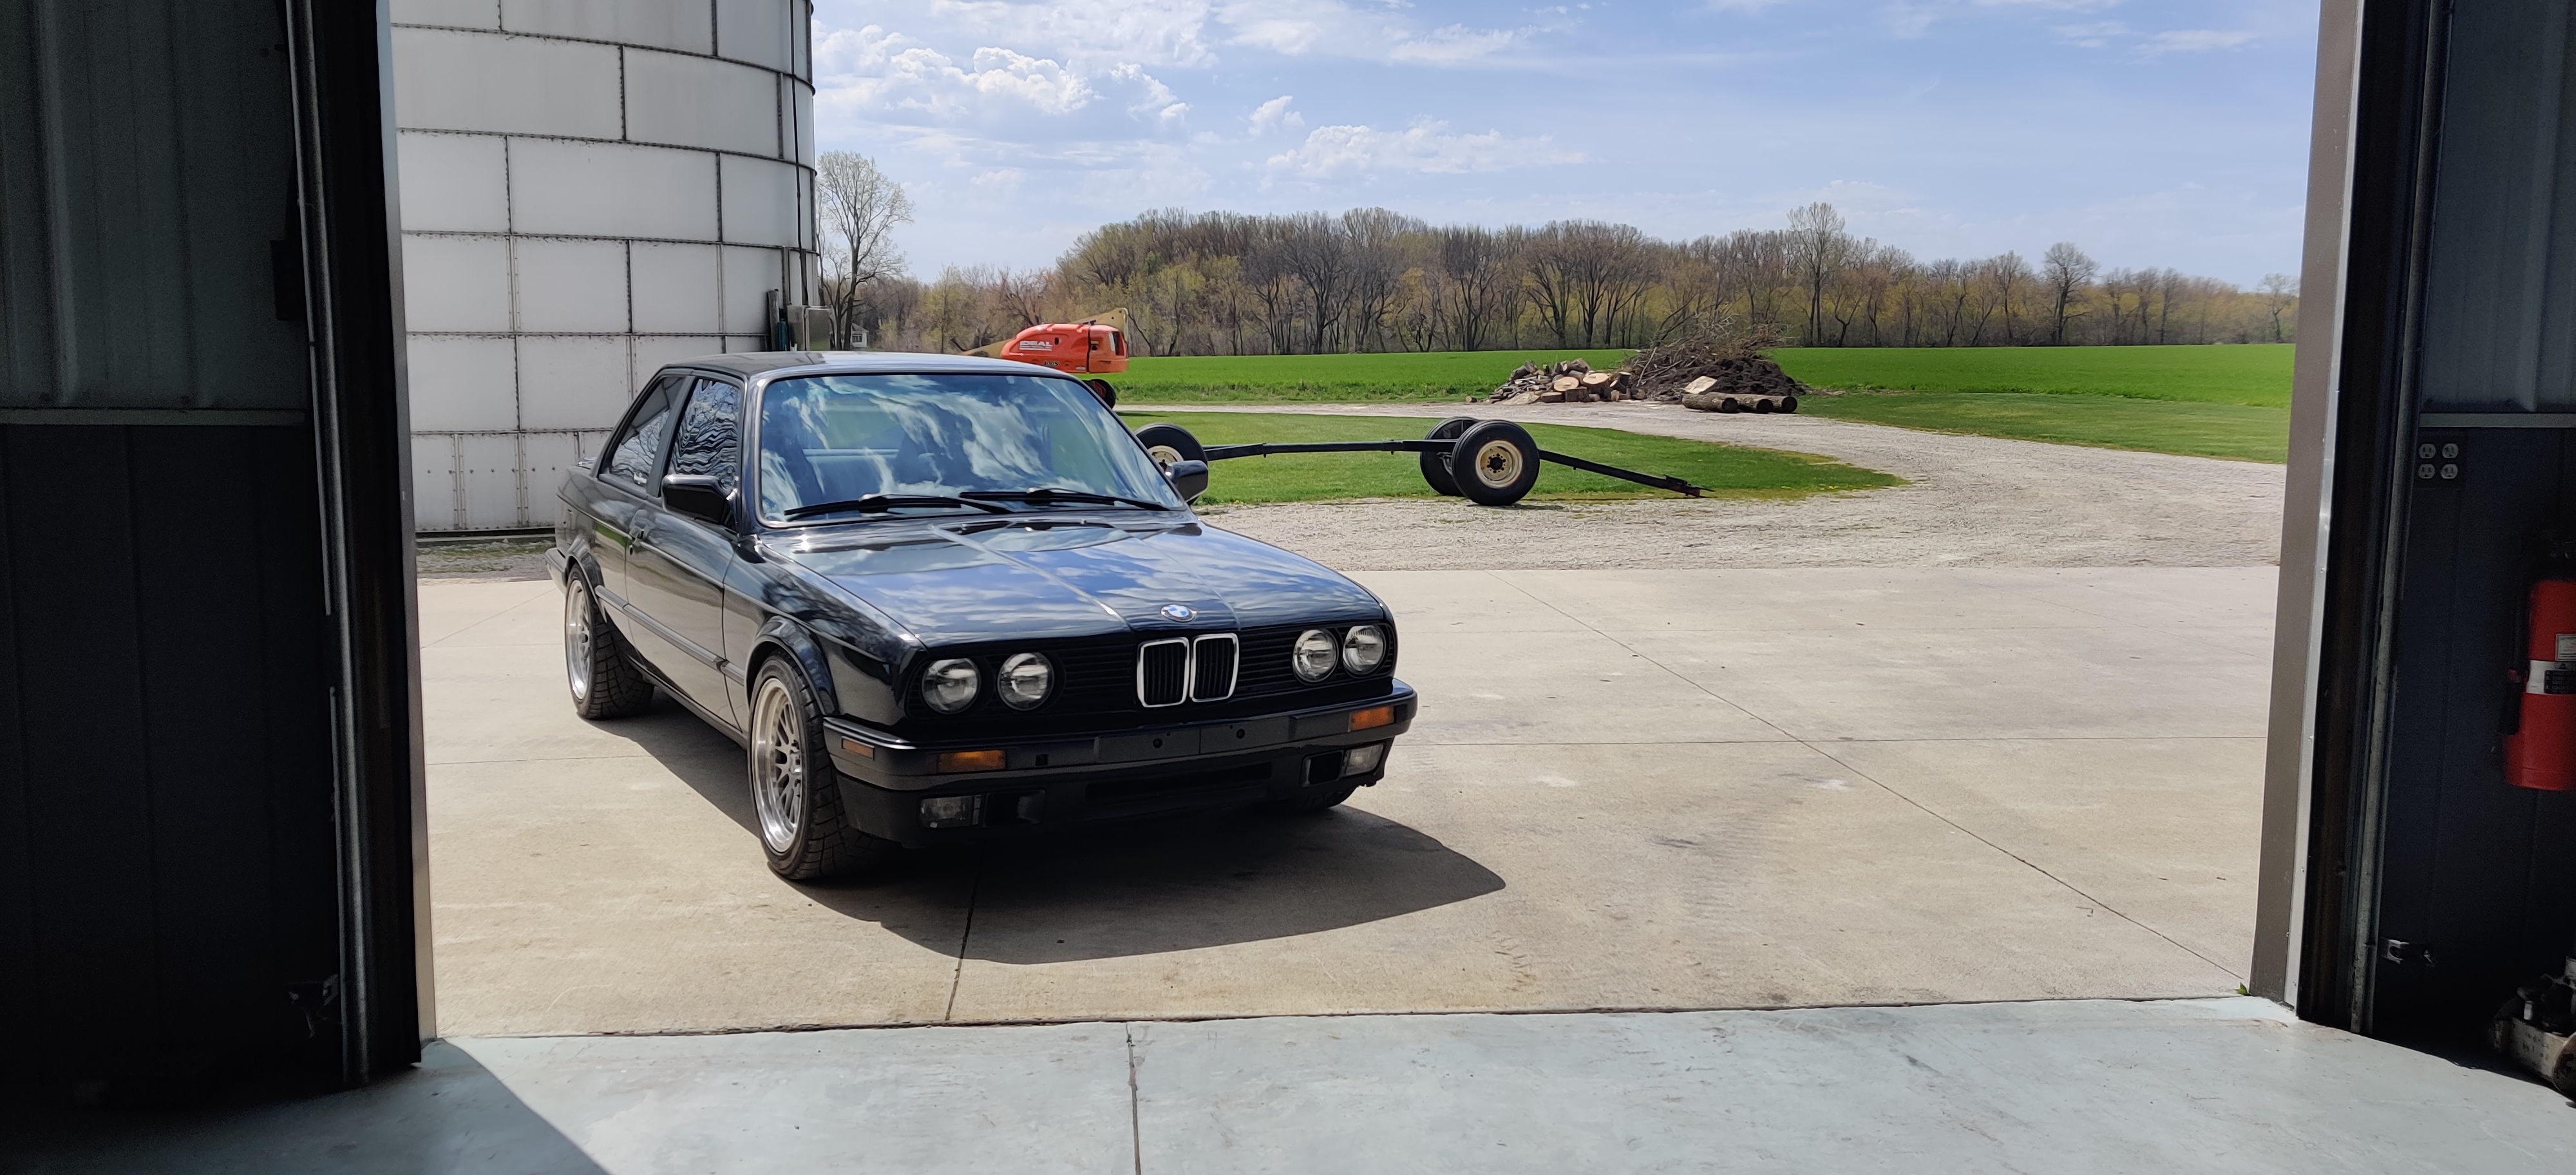
Pulled the car out of winter storage on Saturday. After taking it out for a little shake down I went for a ride over to a little local car meet going on. Well one thing led to another and here I am on the highway doing a few pulls against a couple quick cars. Downshifted down to 2nd... 3rd, went for 4th and instead grabbed 2nd again and dropped the clutch. Car banged the rev limiter once or twice before I got the clutch depressed again. As I'm rolling in neutral I checked my gauges, still got oil pressure and the engine is still running and sounds somewhat fine so I continued to drive along another half mile tell I found an exit to pull off. Came to a stop and I find myself driving to what seems to have about the power of a 3 cylinder. Luckily my buddies house was only about a mile up the road so I slowly limped the car, which still had good oil pressure, over to his place and shut it off. Got a ride home and the following day I came back with the truck and trailer and hauled it back over to my grandpa's shop who was less then excited to see it back so soon.
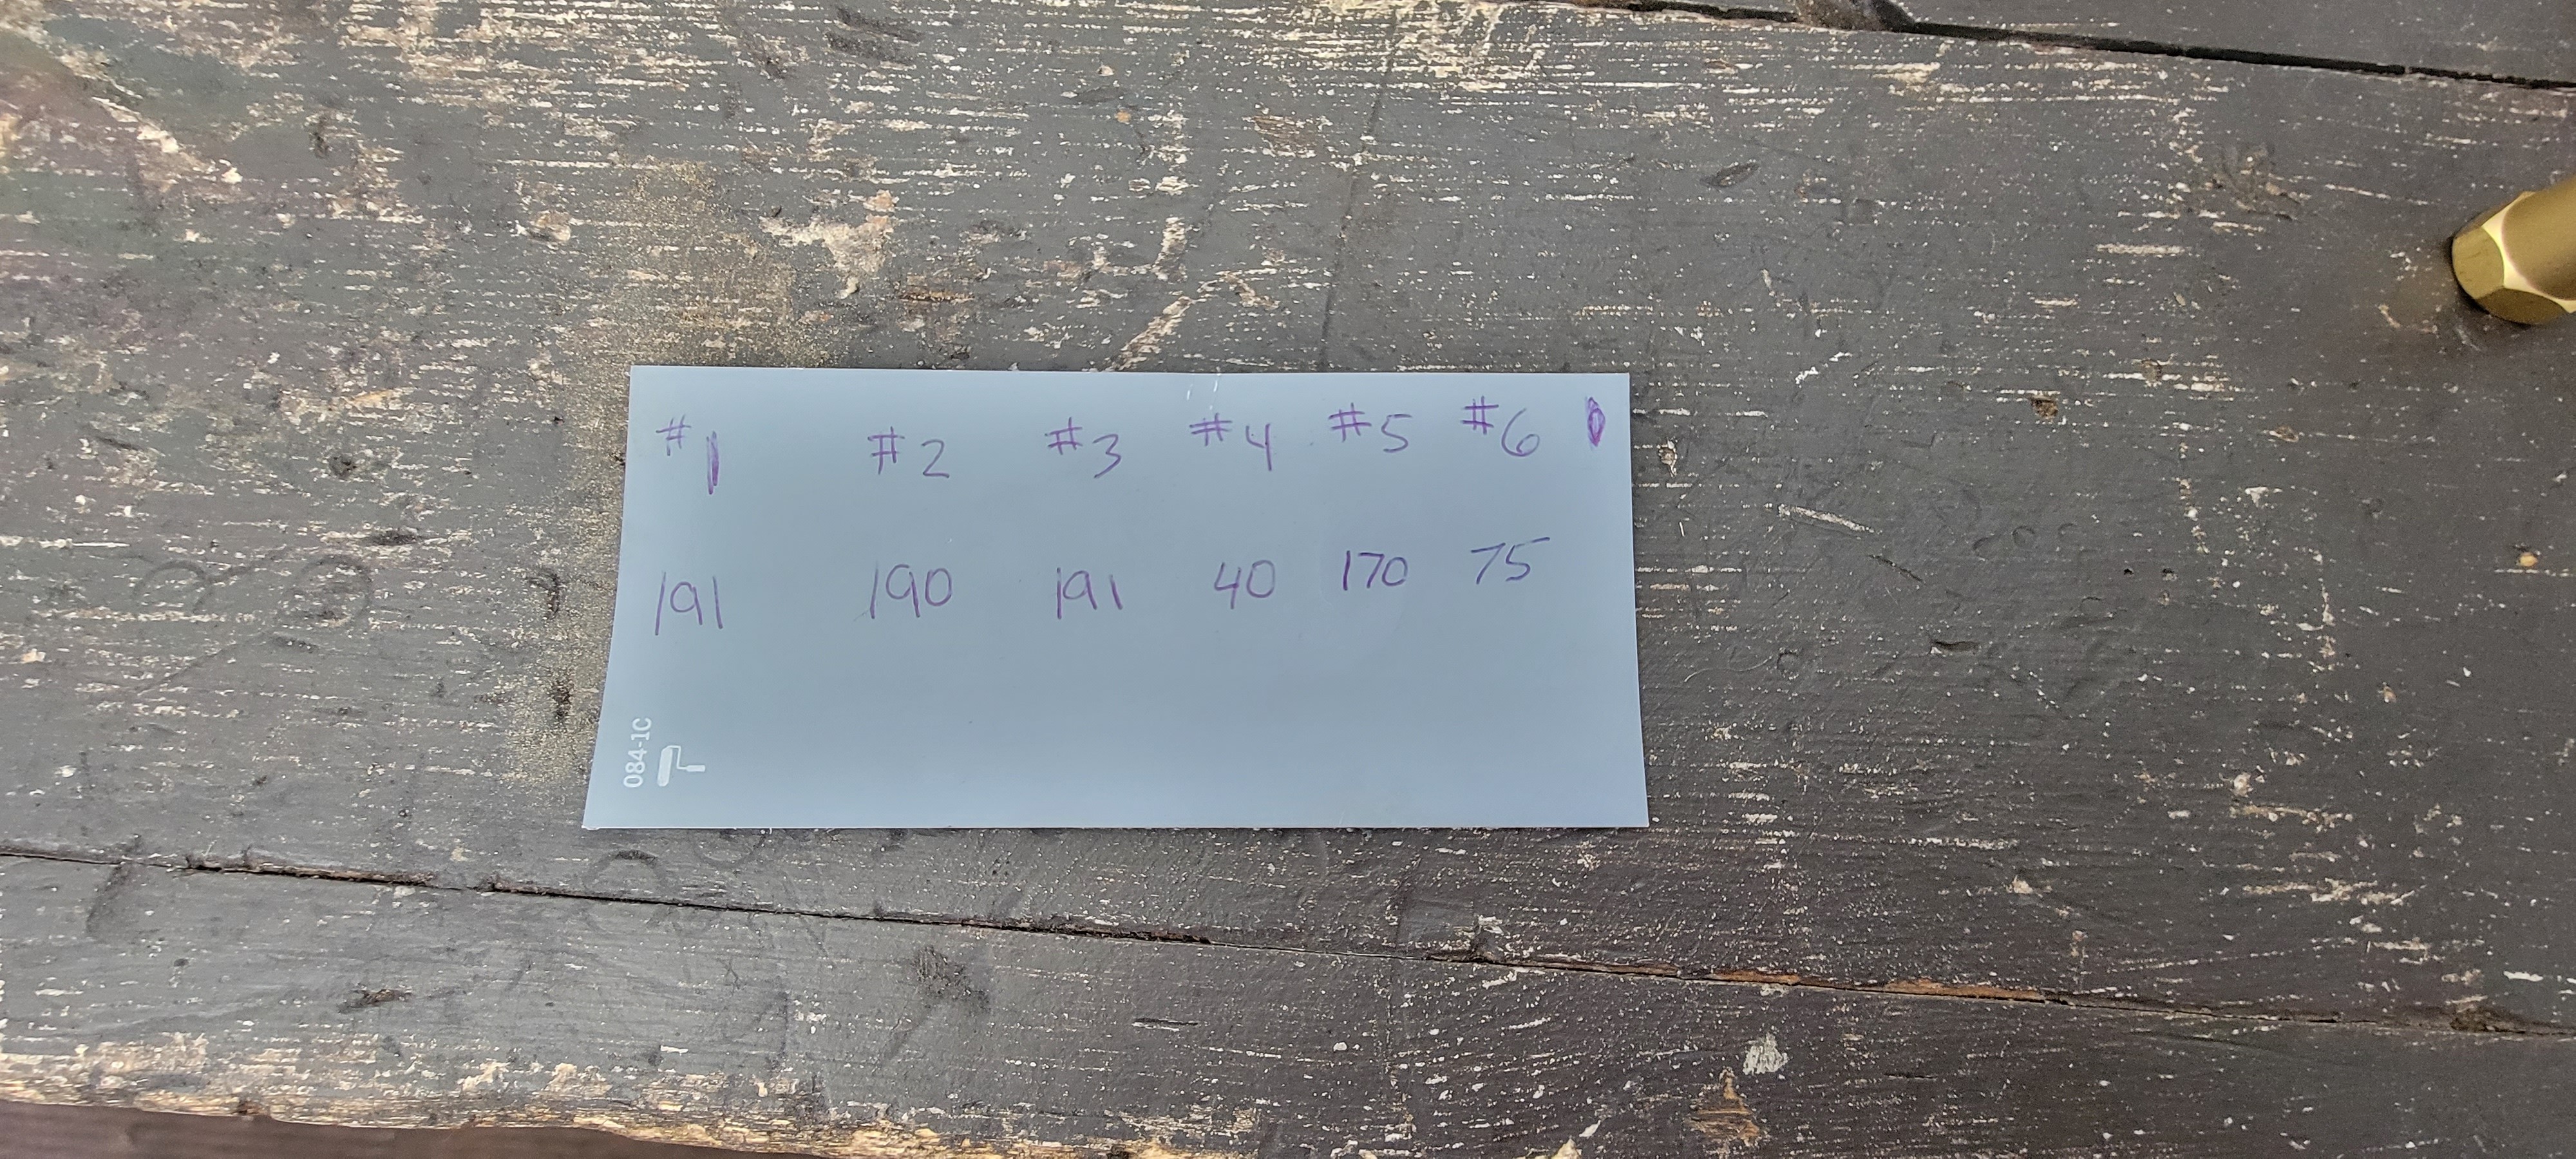
Right off the bat I whipped out the old trusty compression tester and started cranking.
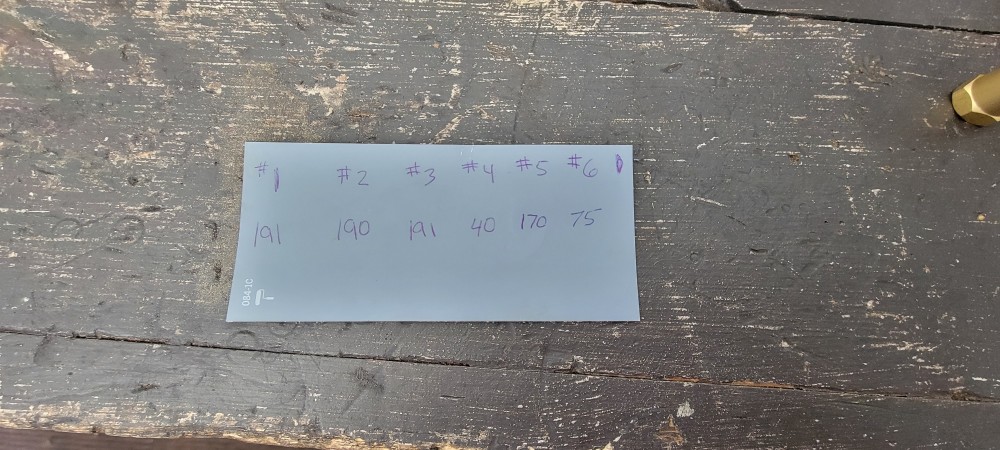
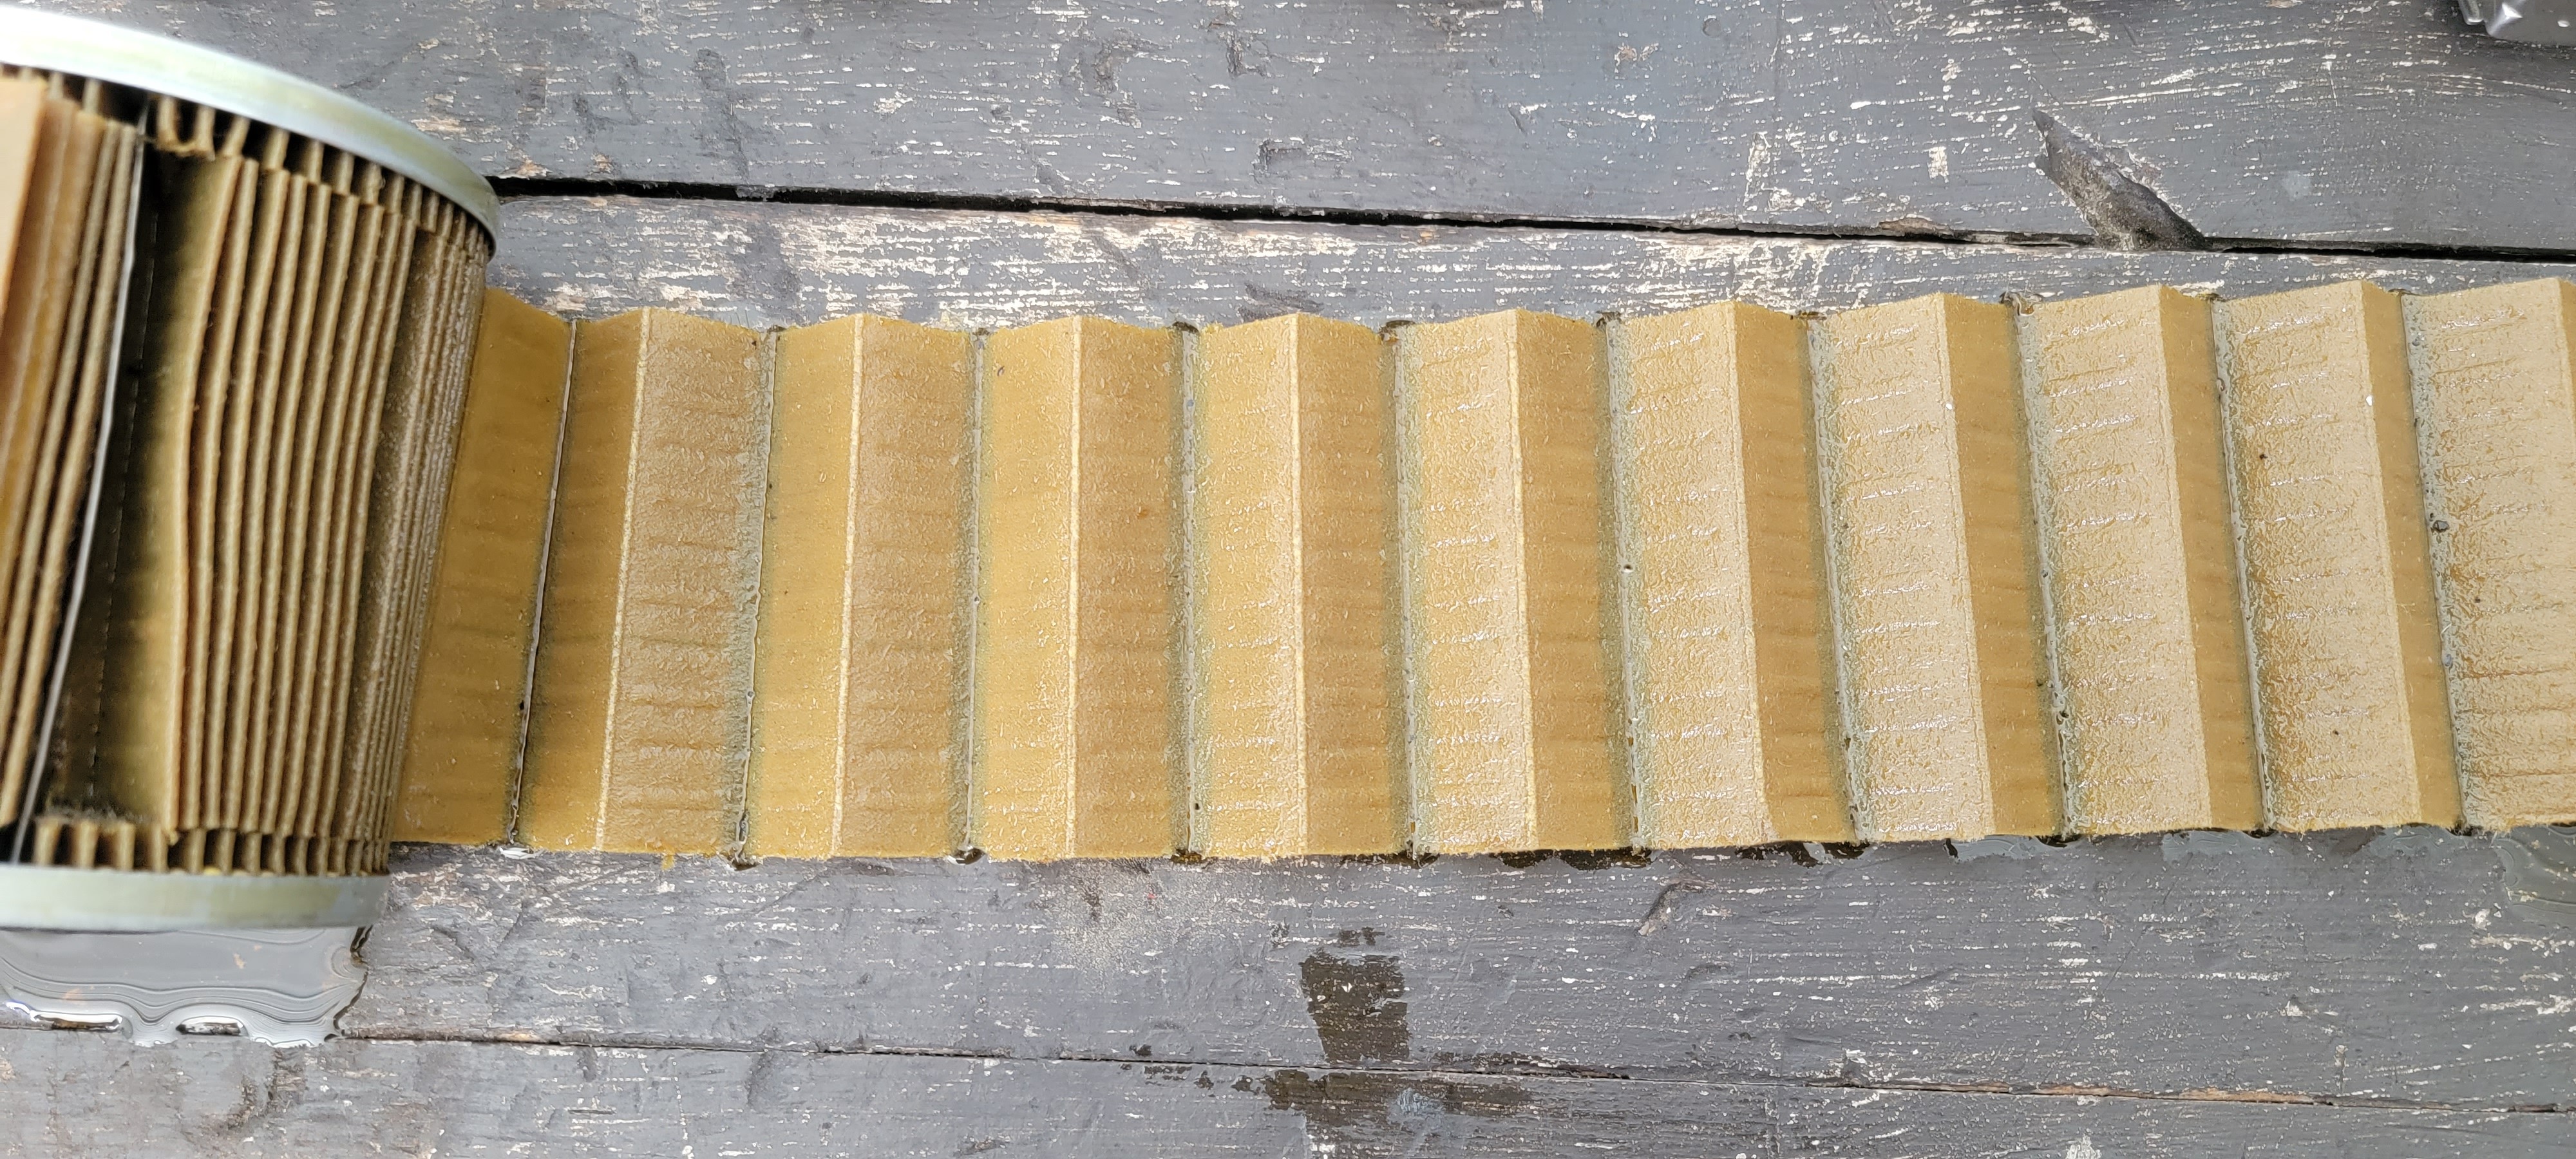
After seeing my low compression numbers on 4 and 6 I drained the oil and pulled the filter to check for metal pieces or shavings.
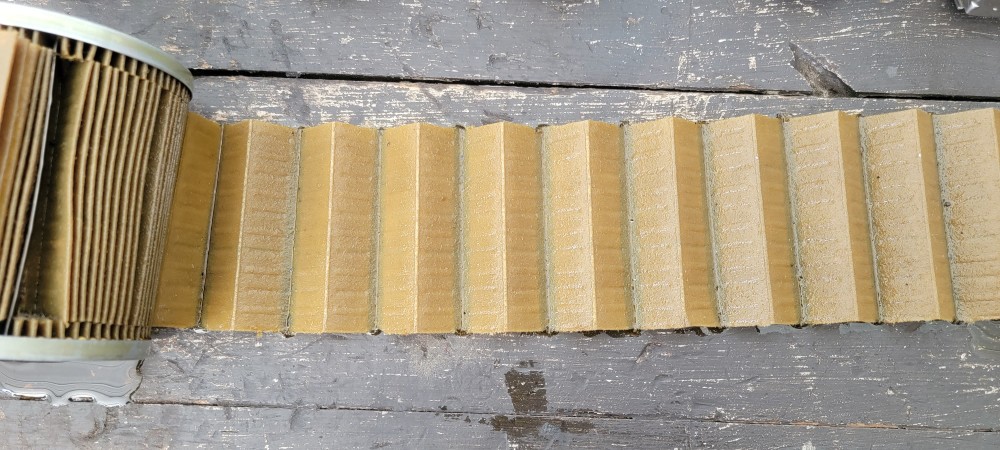
Oil looked clean and normal as well as the filter so that was at least somewhat encouraging.
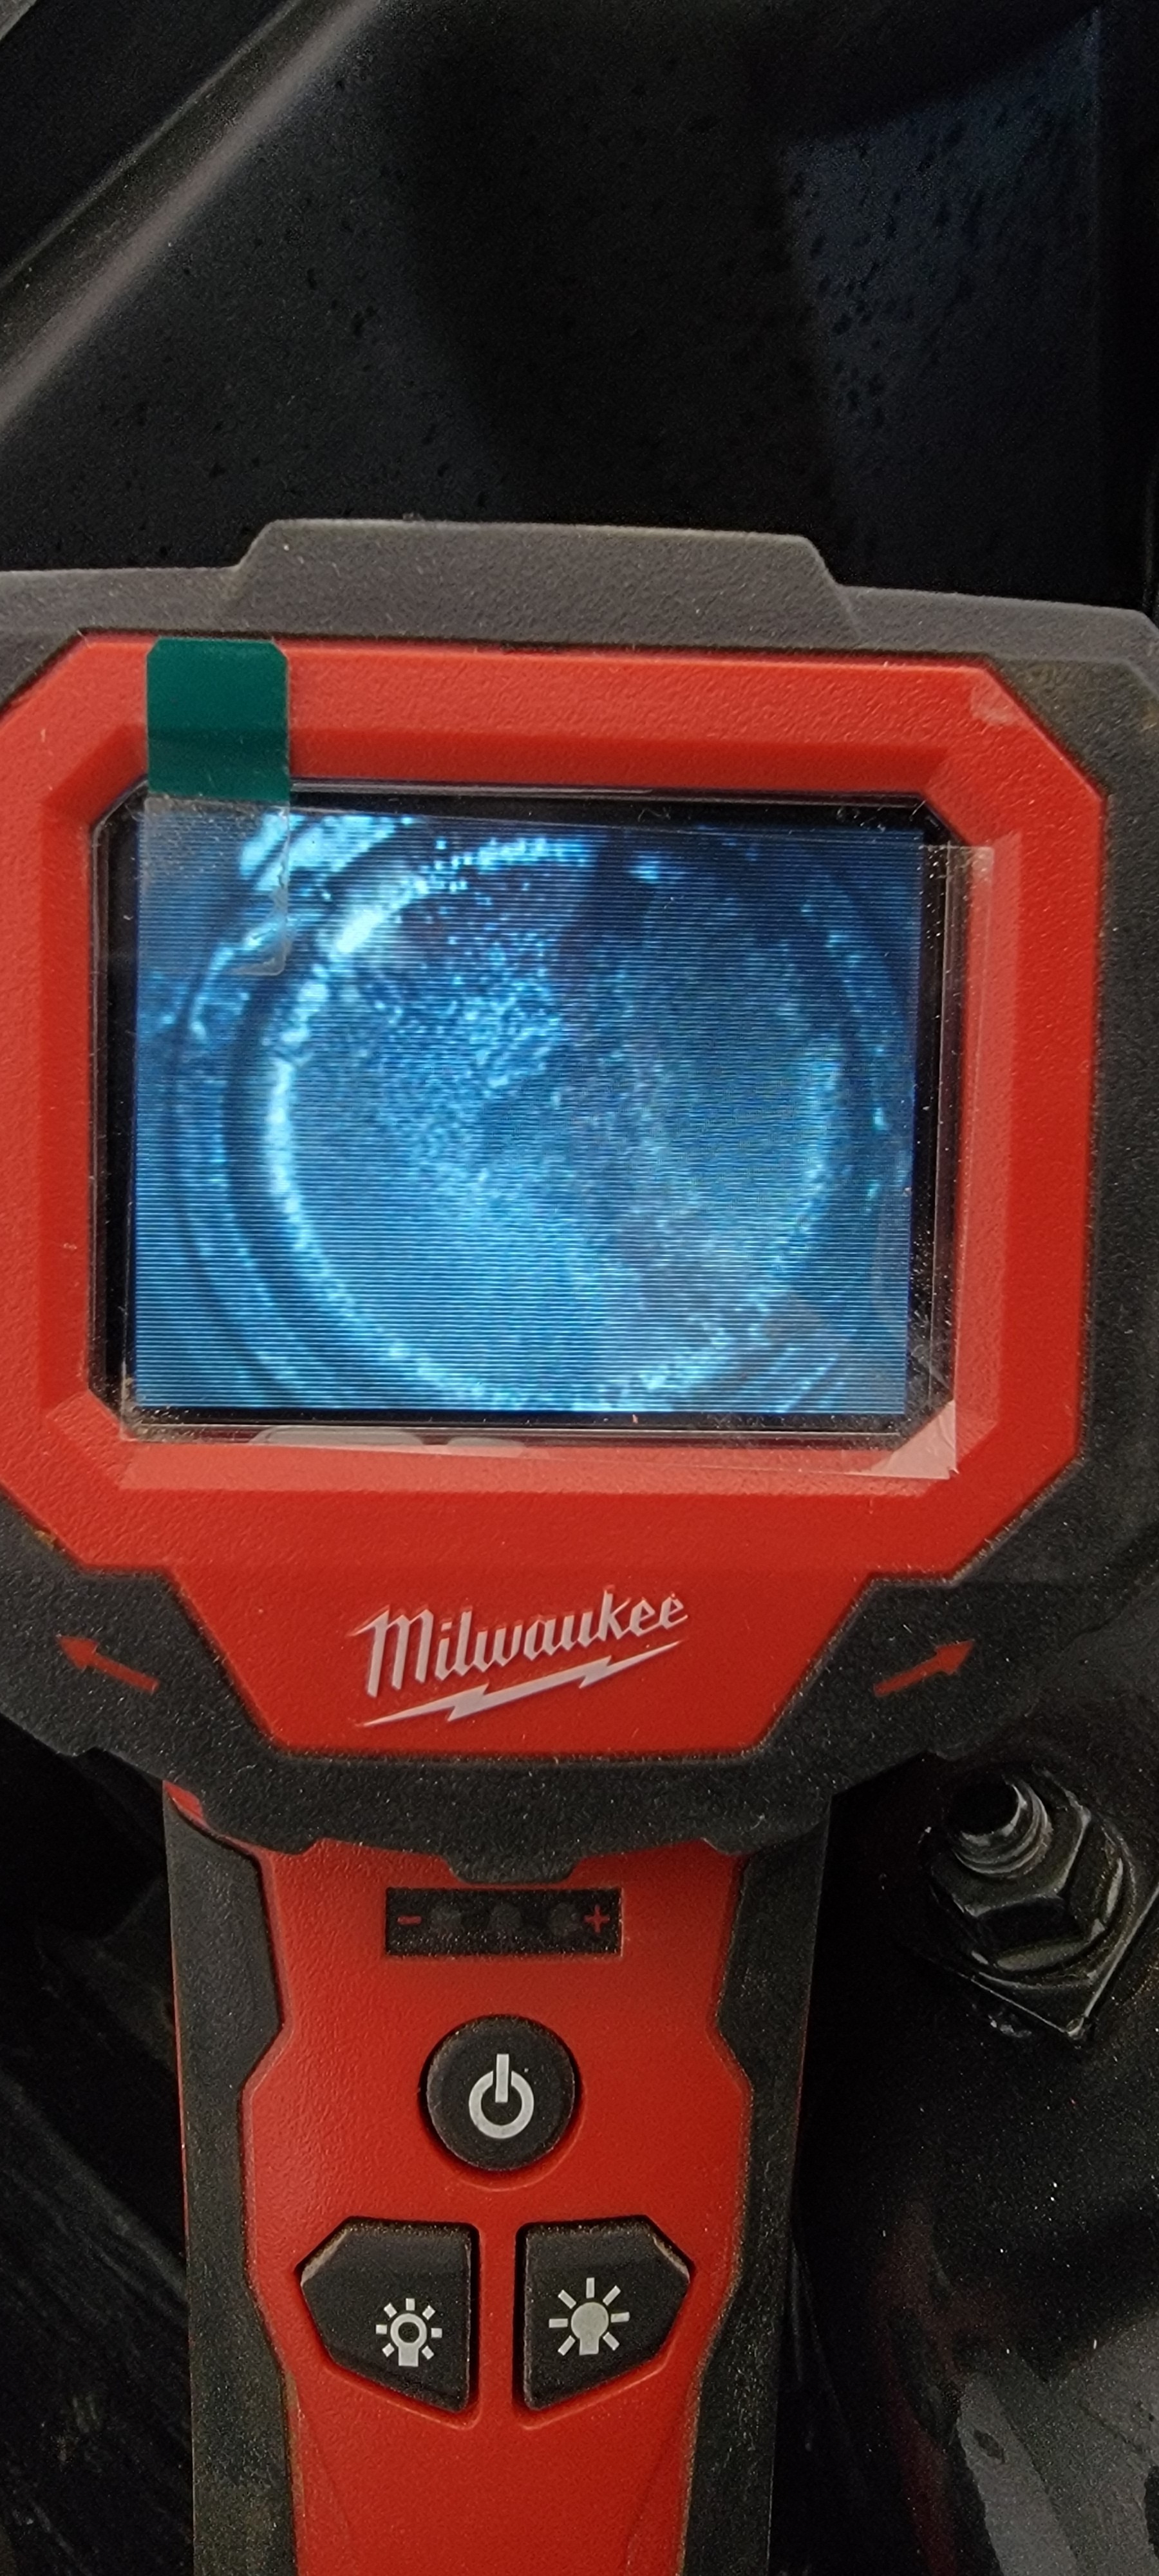
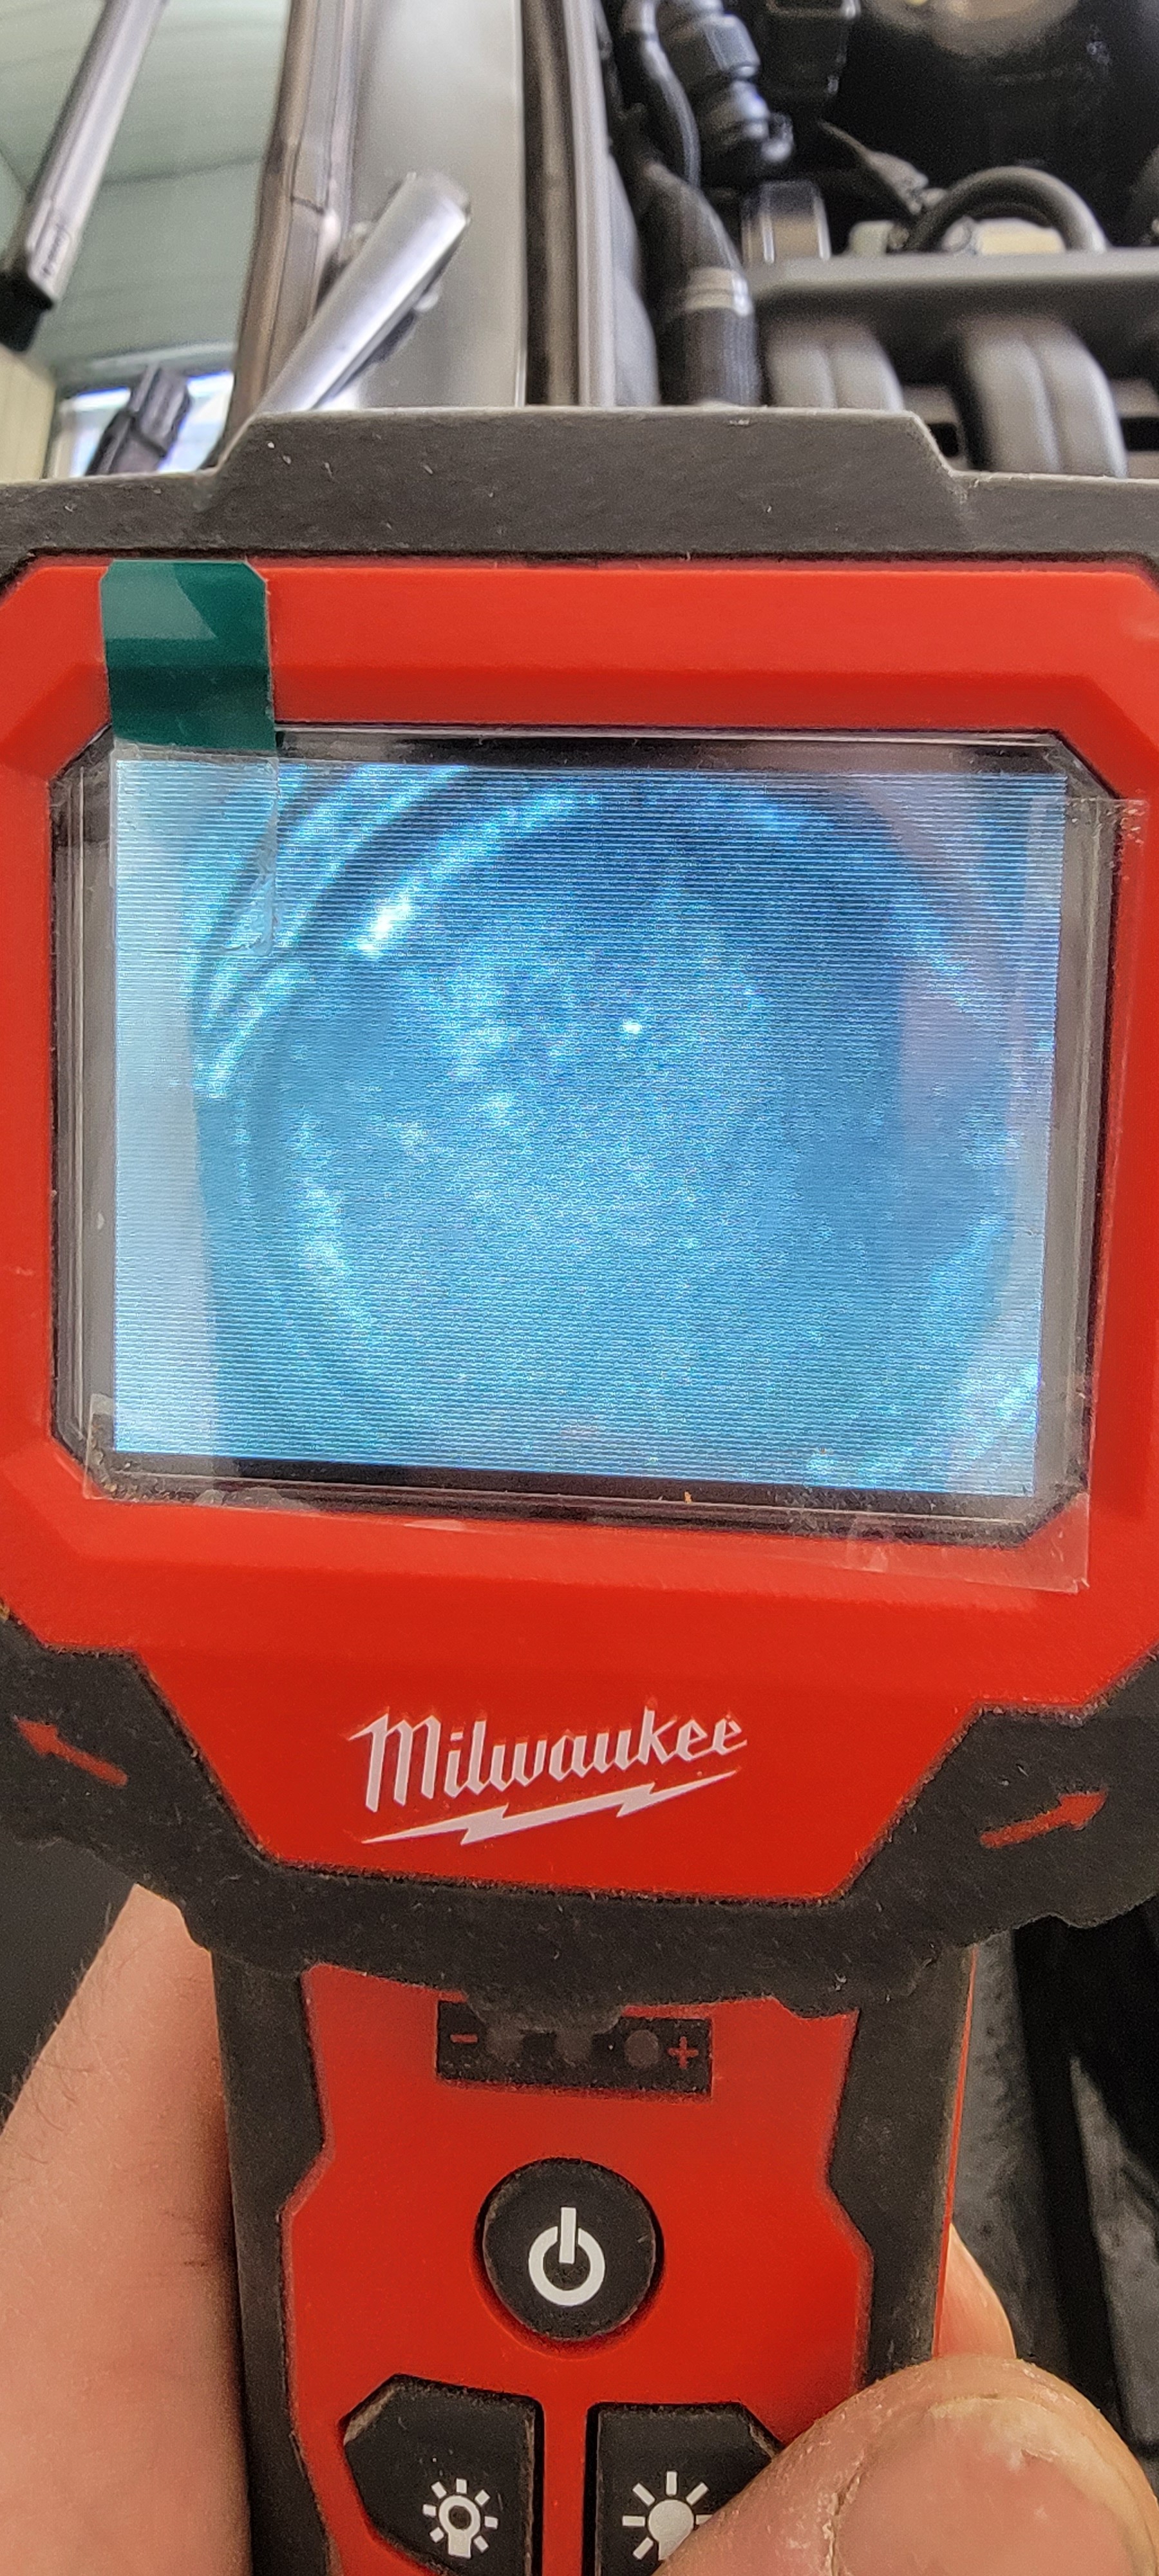
checked out each cylinder with an inspection camera and found that none of the piston heads appeared to have any markings from a valve hitting them.
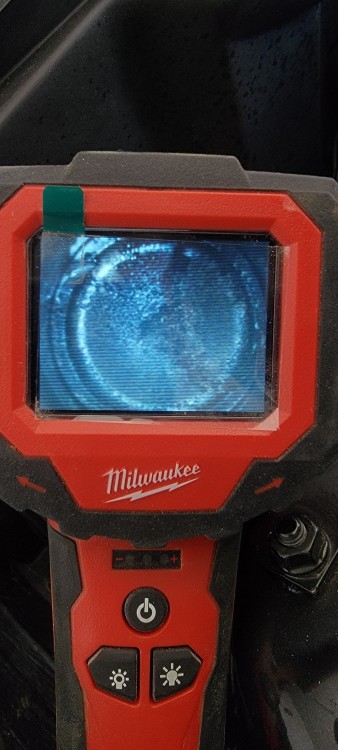
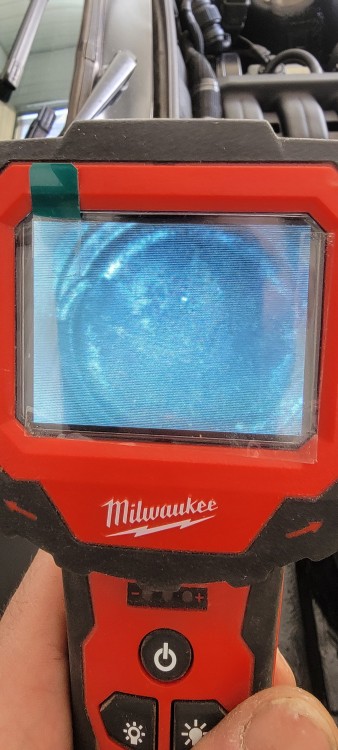
The quality of the images aren't the greatest so I can't be 100% on anything but it was nice to see the possibility of no valve damage.
As of right now i'm thinking one or more of the following things happened:
Bent connecting rod
bent valve (but seeming less likely after what I found)
blown headgasket (it was just an oem one)
or recked piston rings
Things to consider: When I pulled the car into my buddies I shut it off and restarted it in which it fired right up again but was of course misfiring and had a slight knocking noise from the bottom end. I can also spin the engine by hand no problem and it doesn't feel like there is any binding.
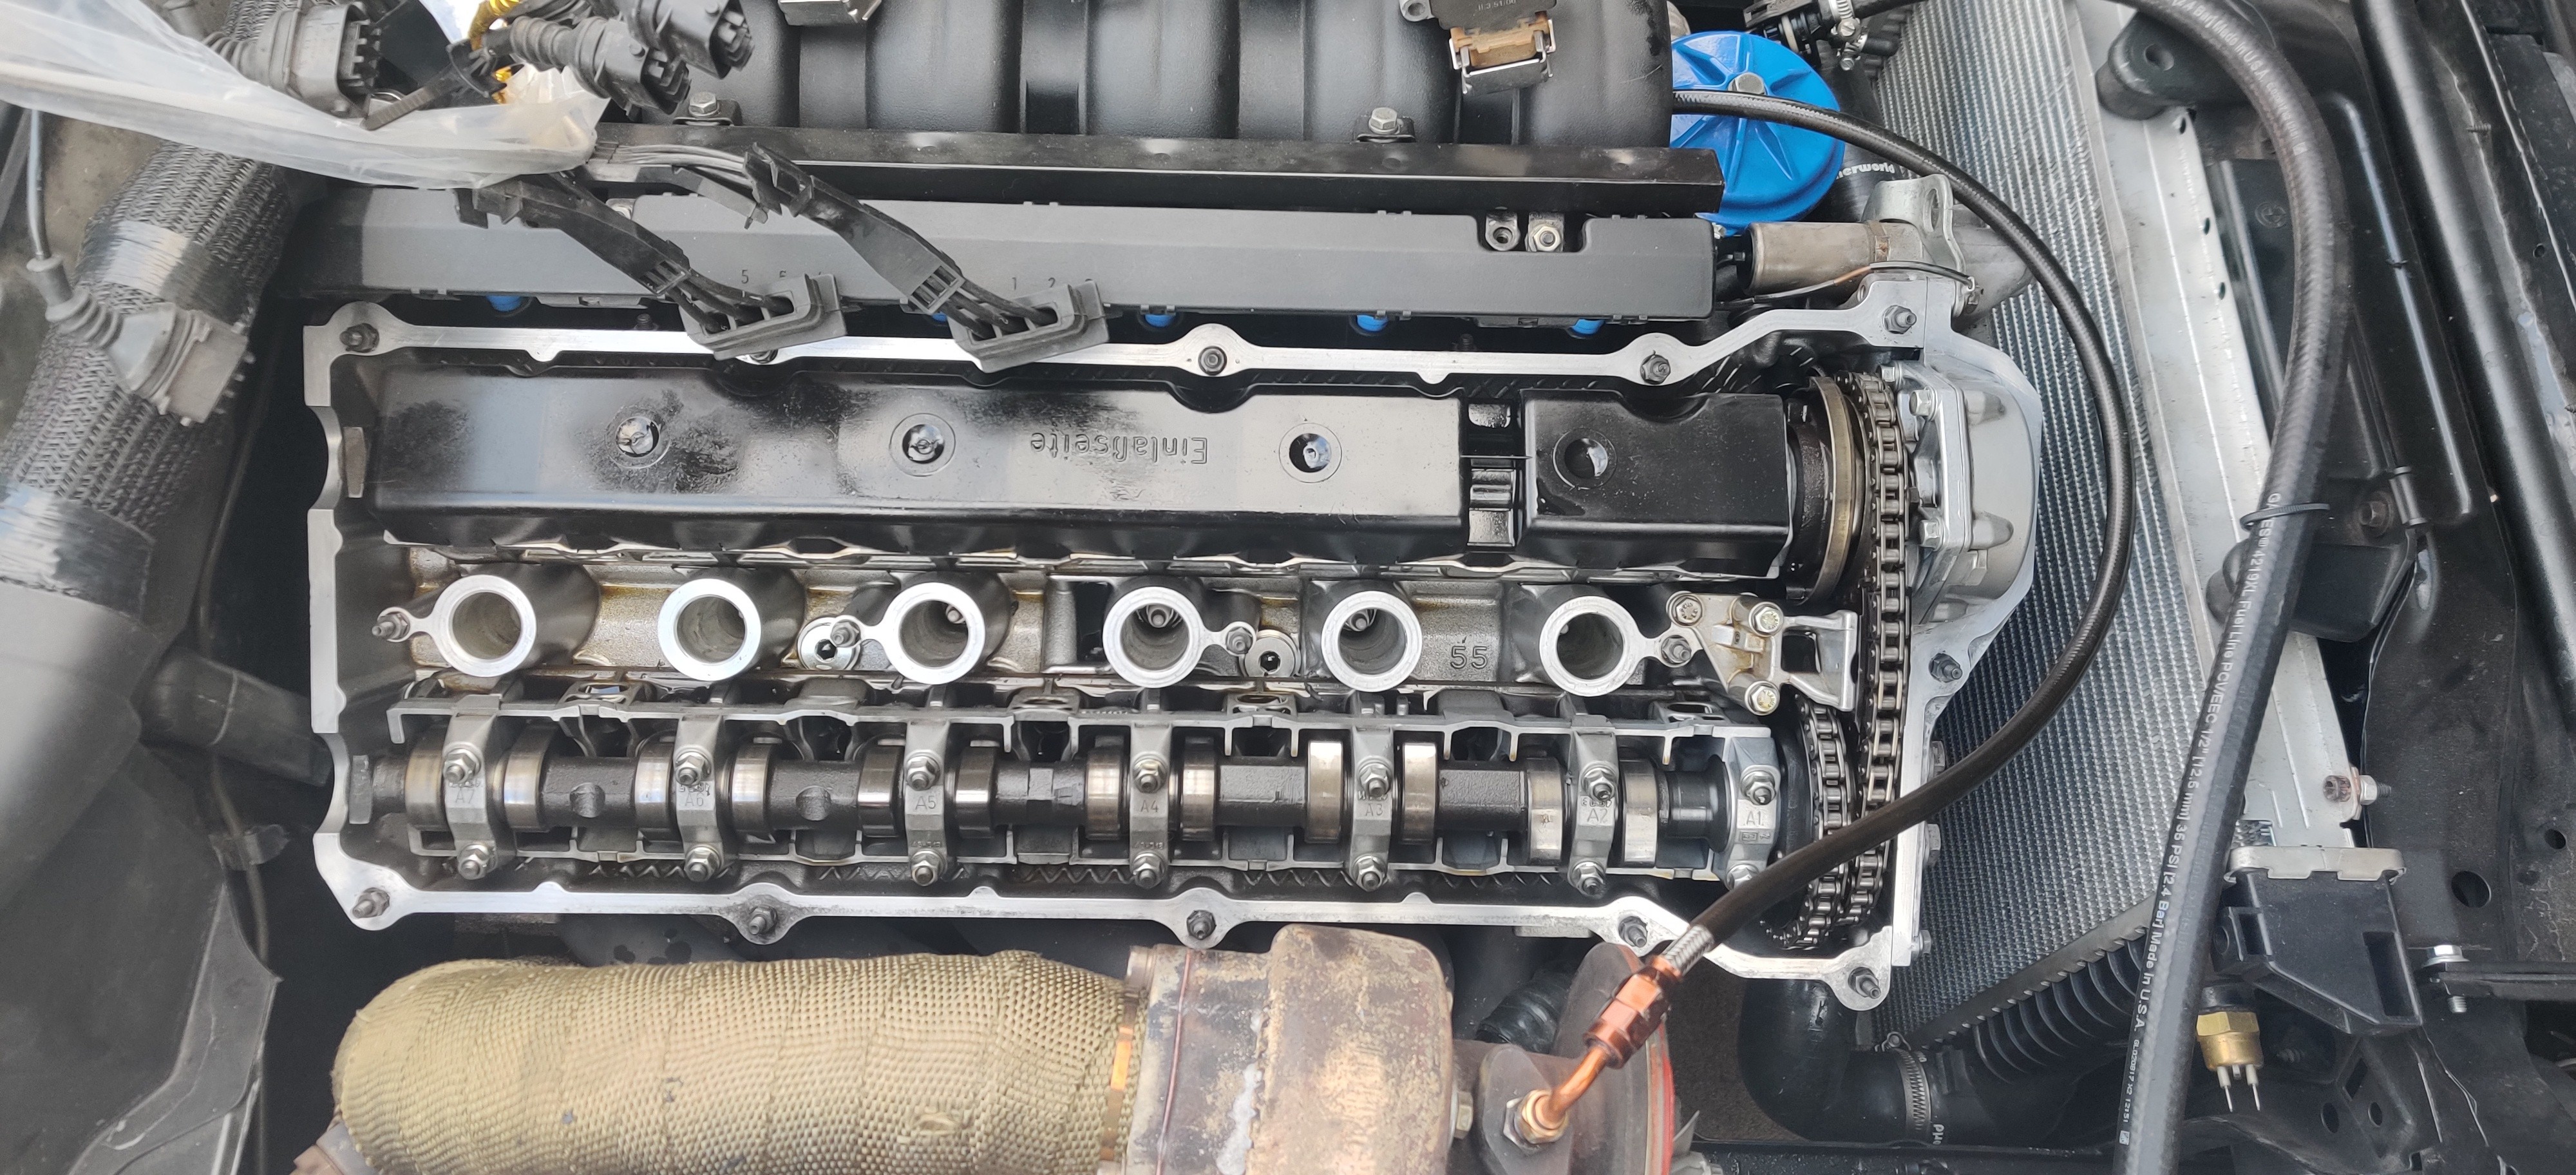
Gonna try to start disassembly and removal of the head tonight.
-
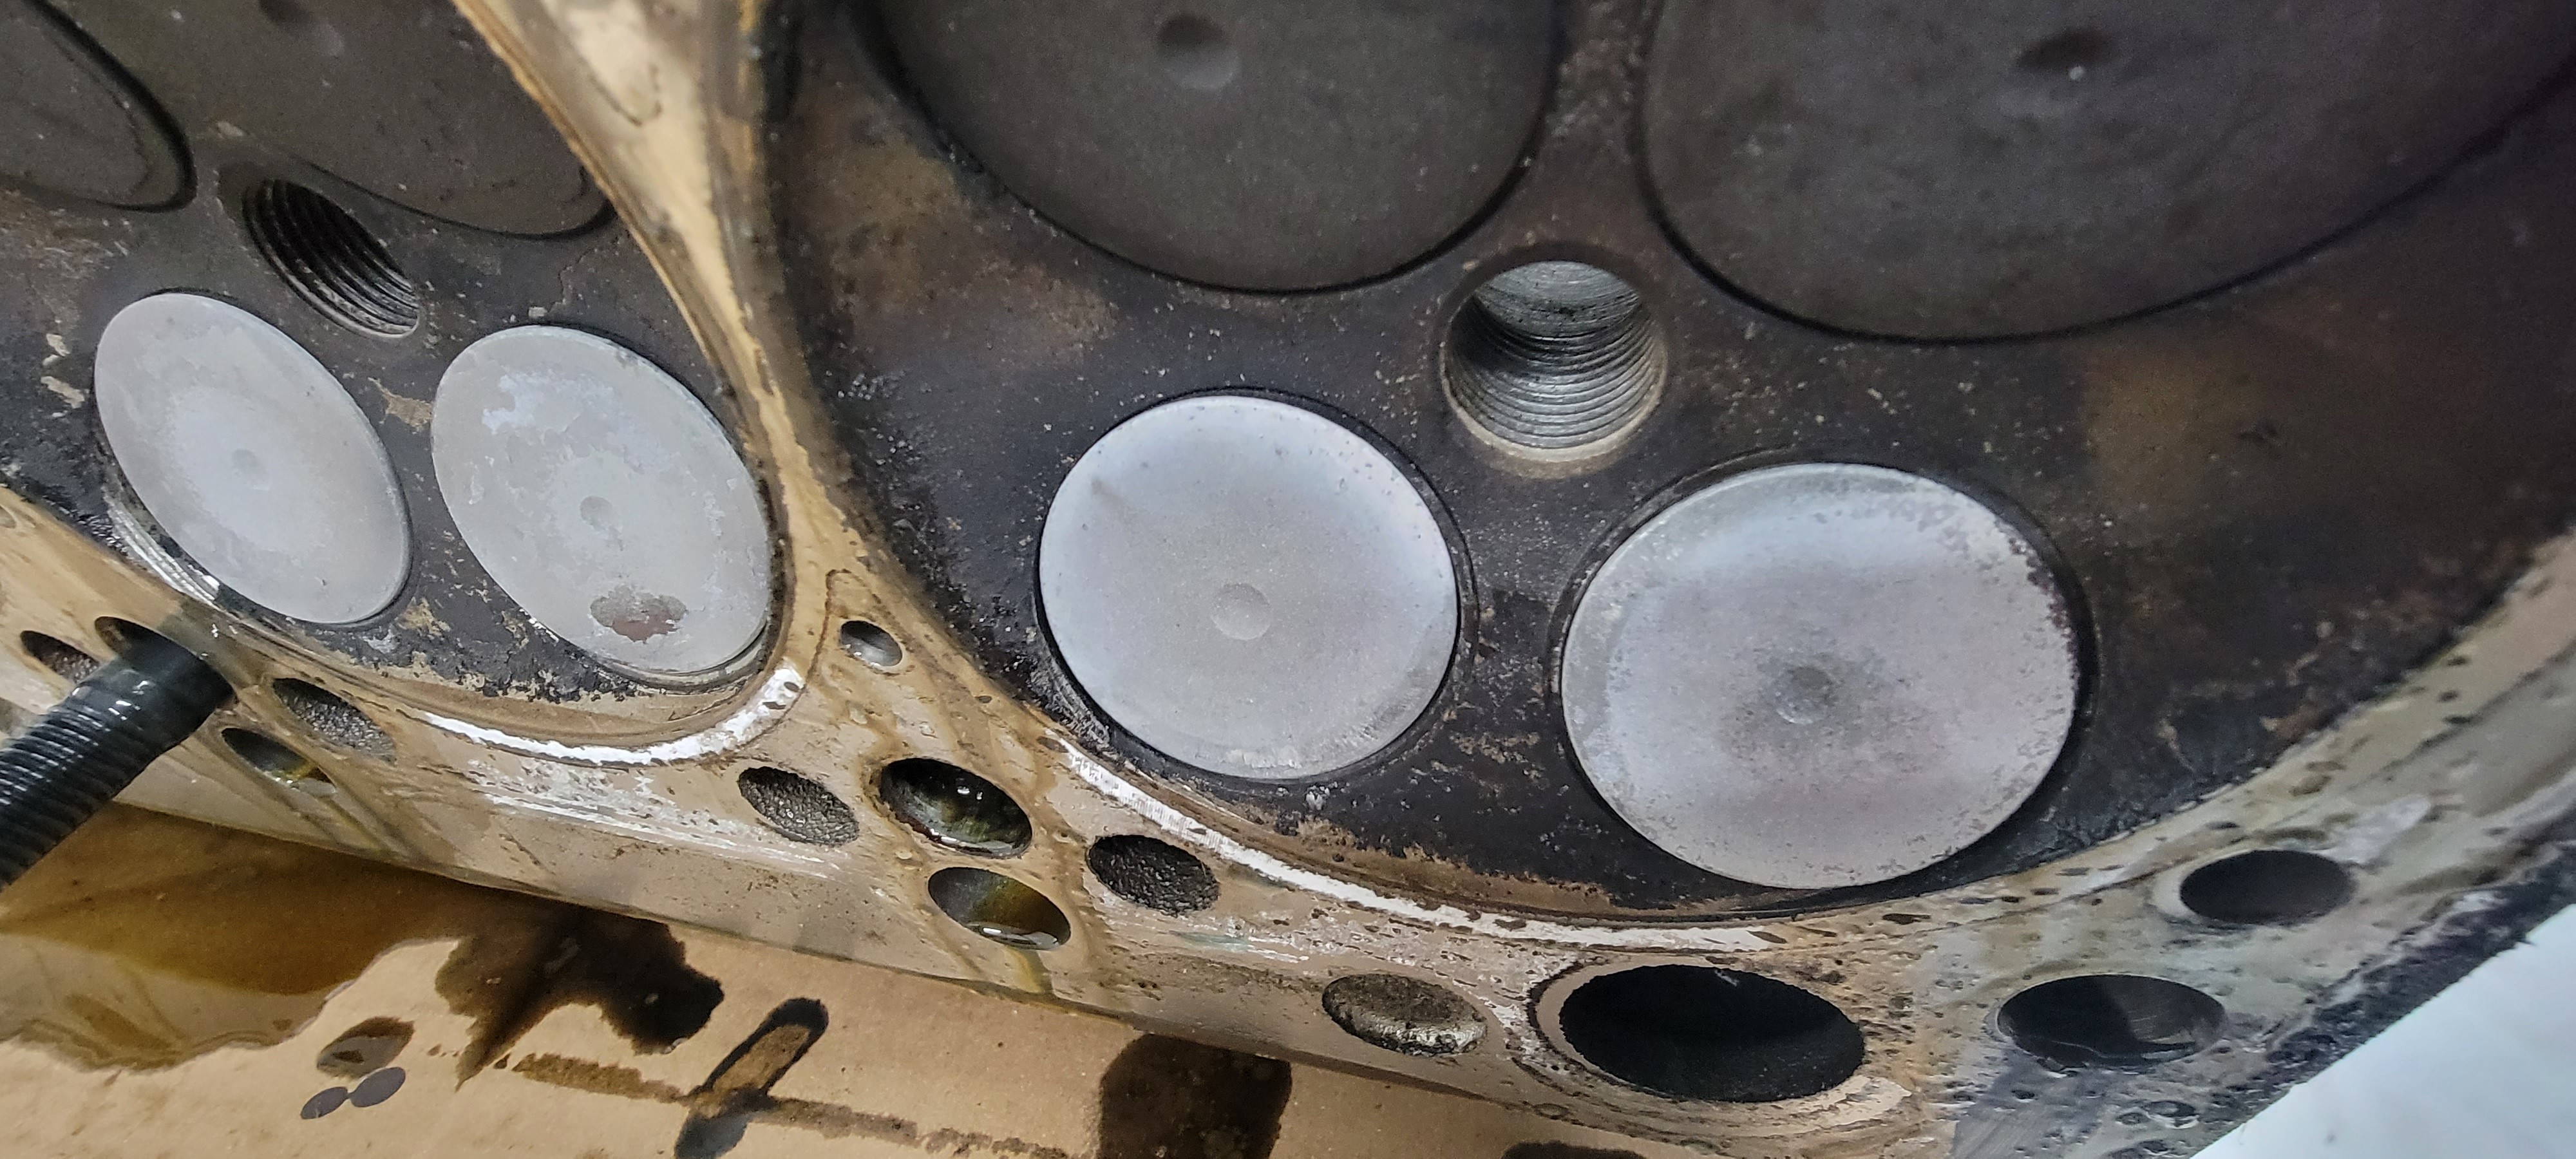
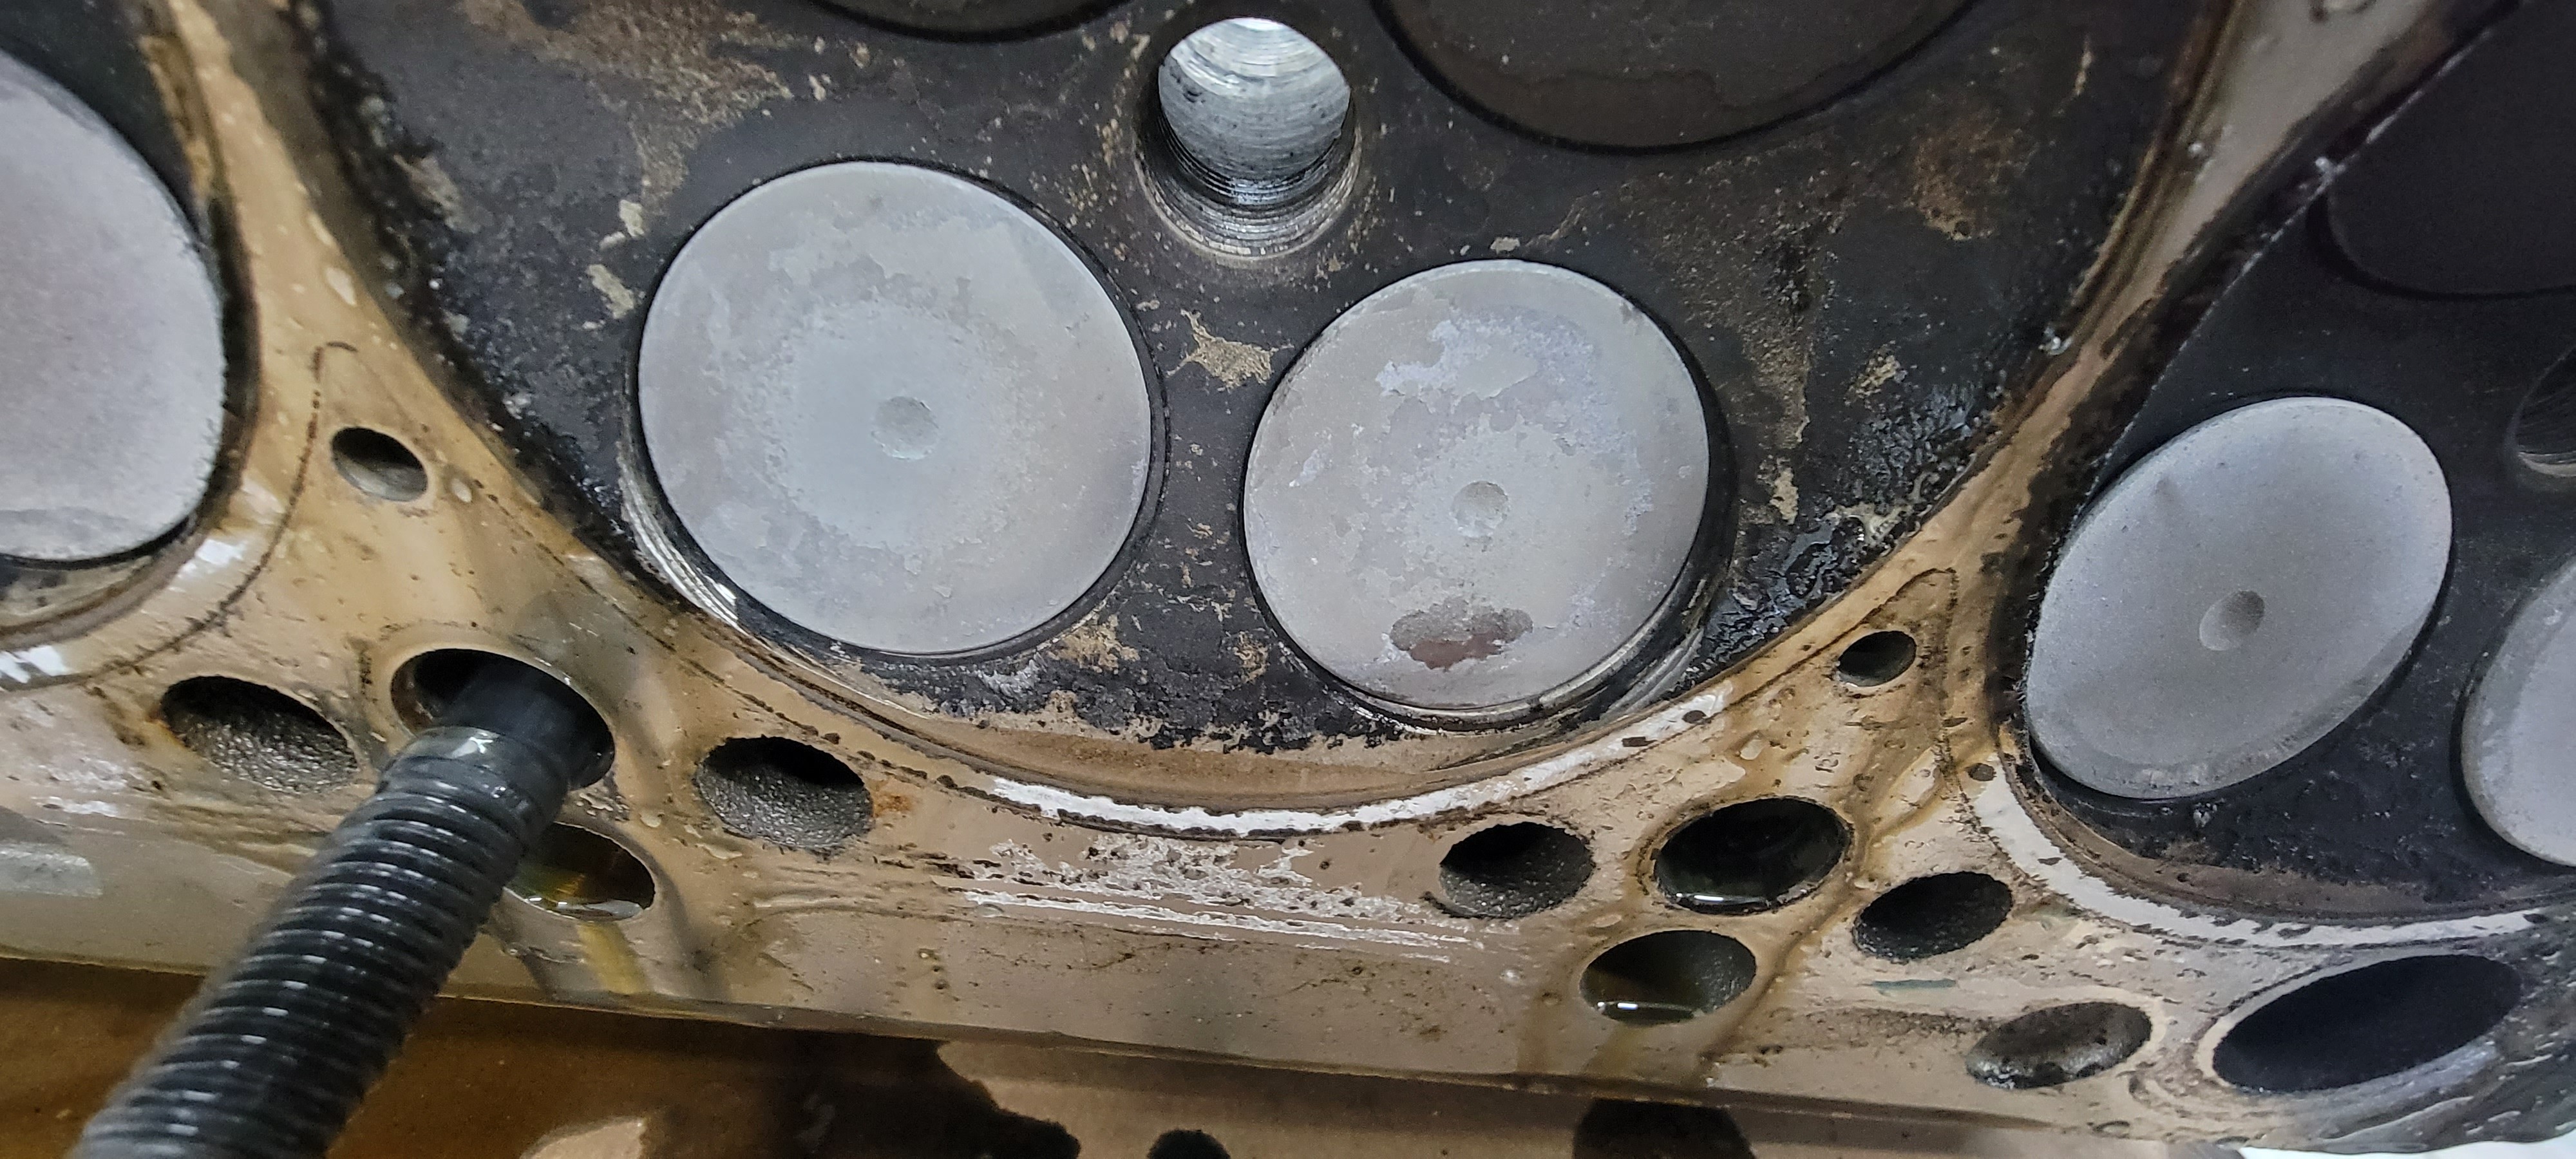
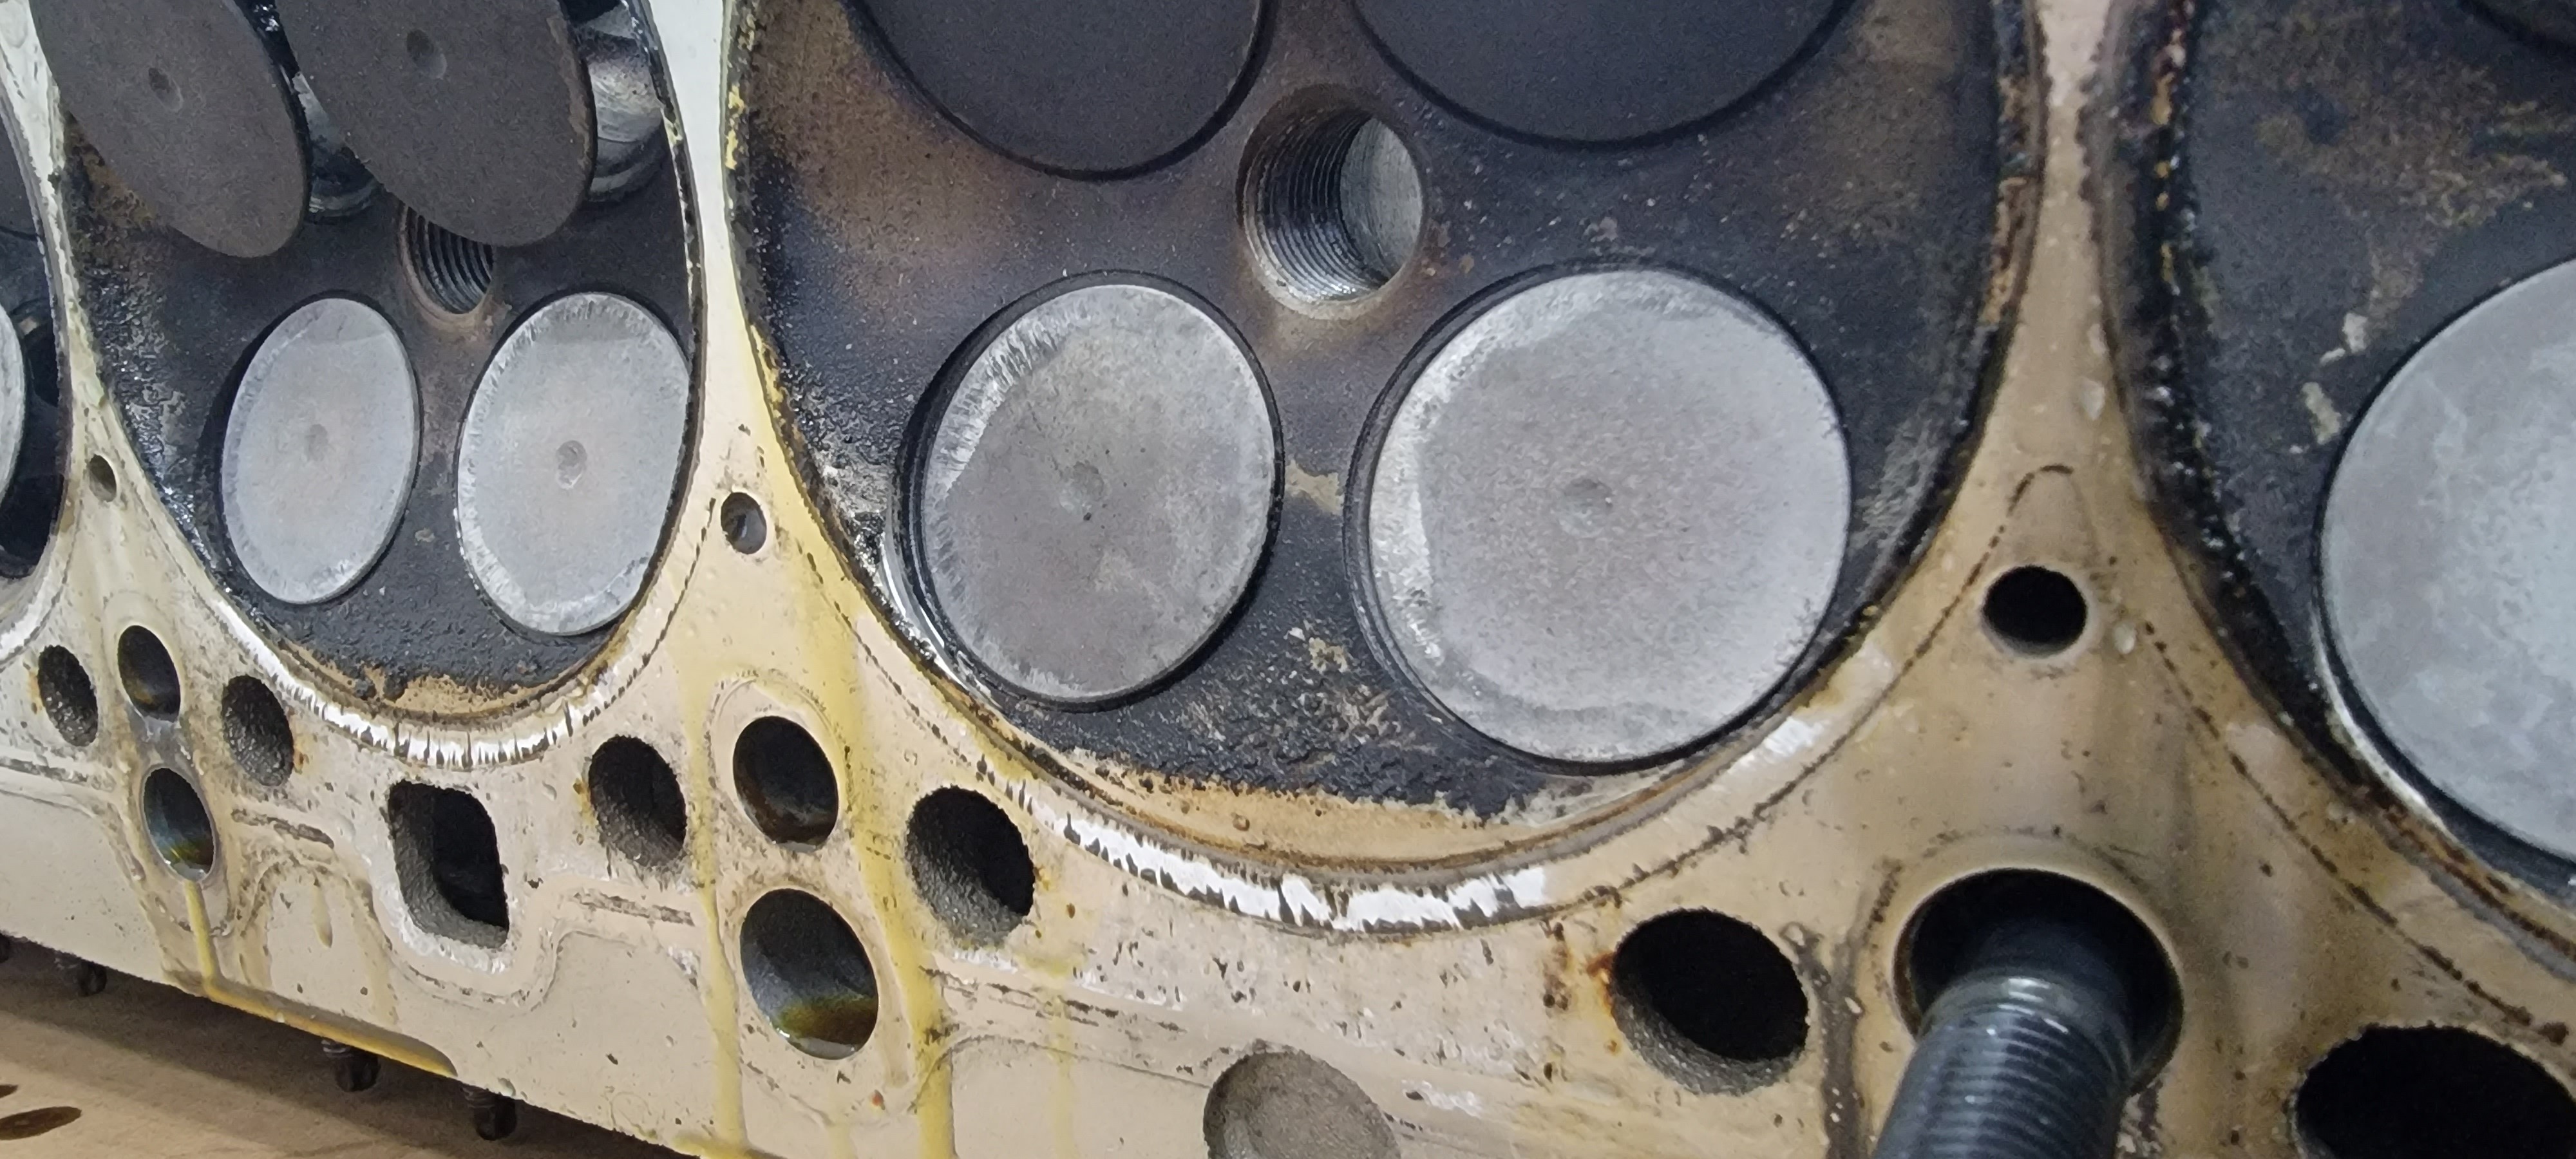
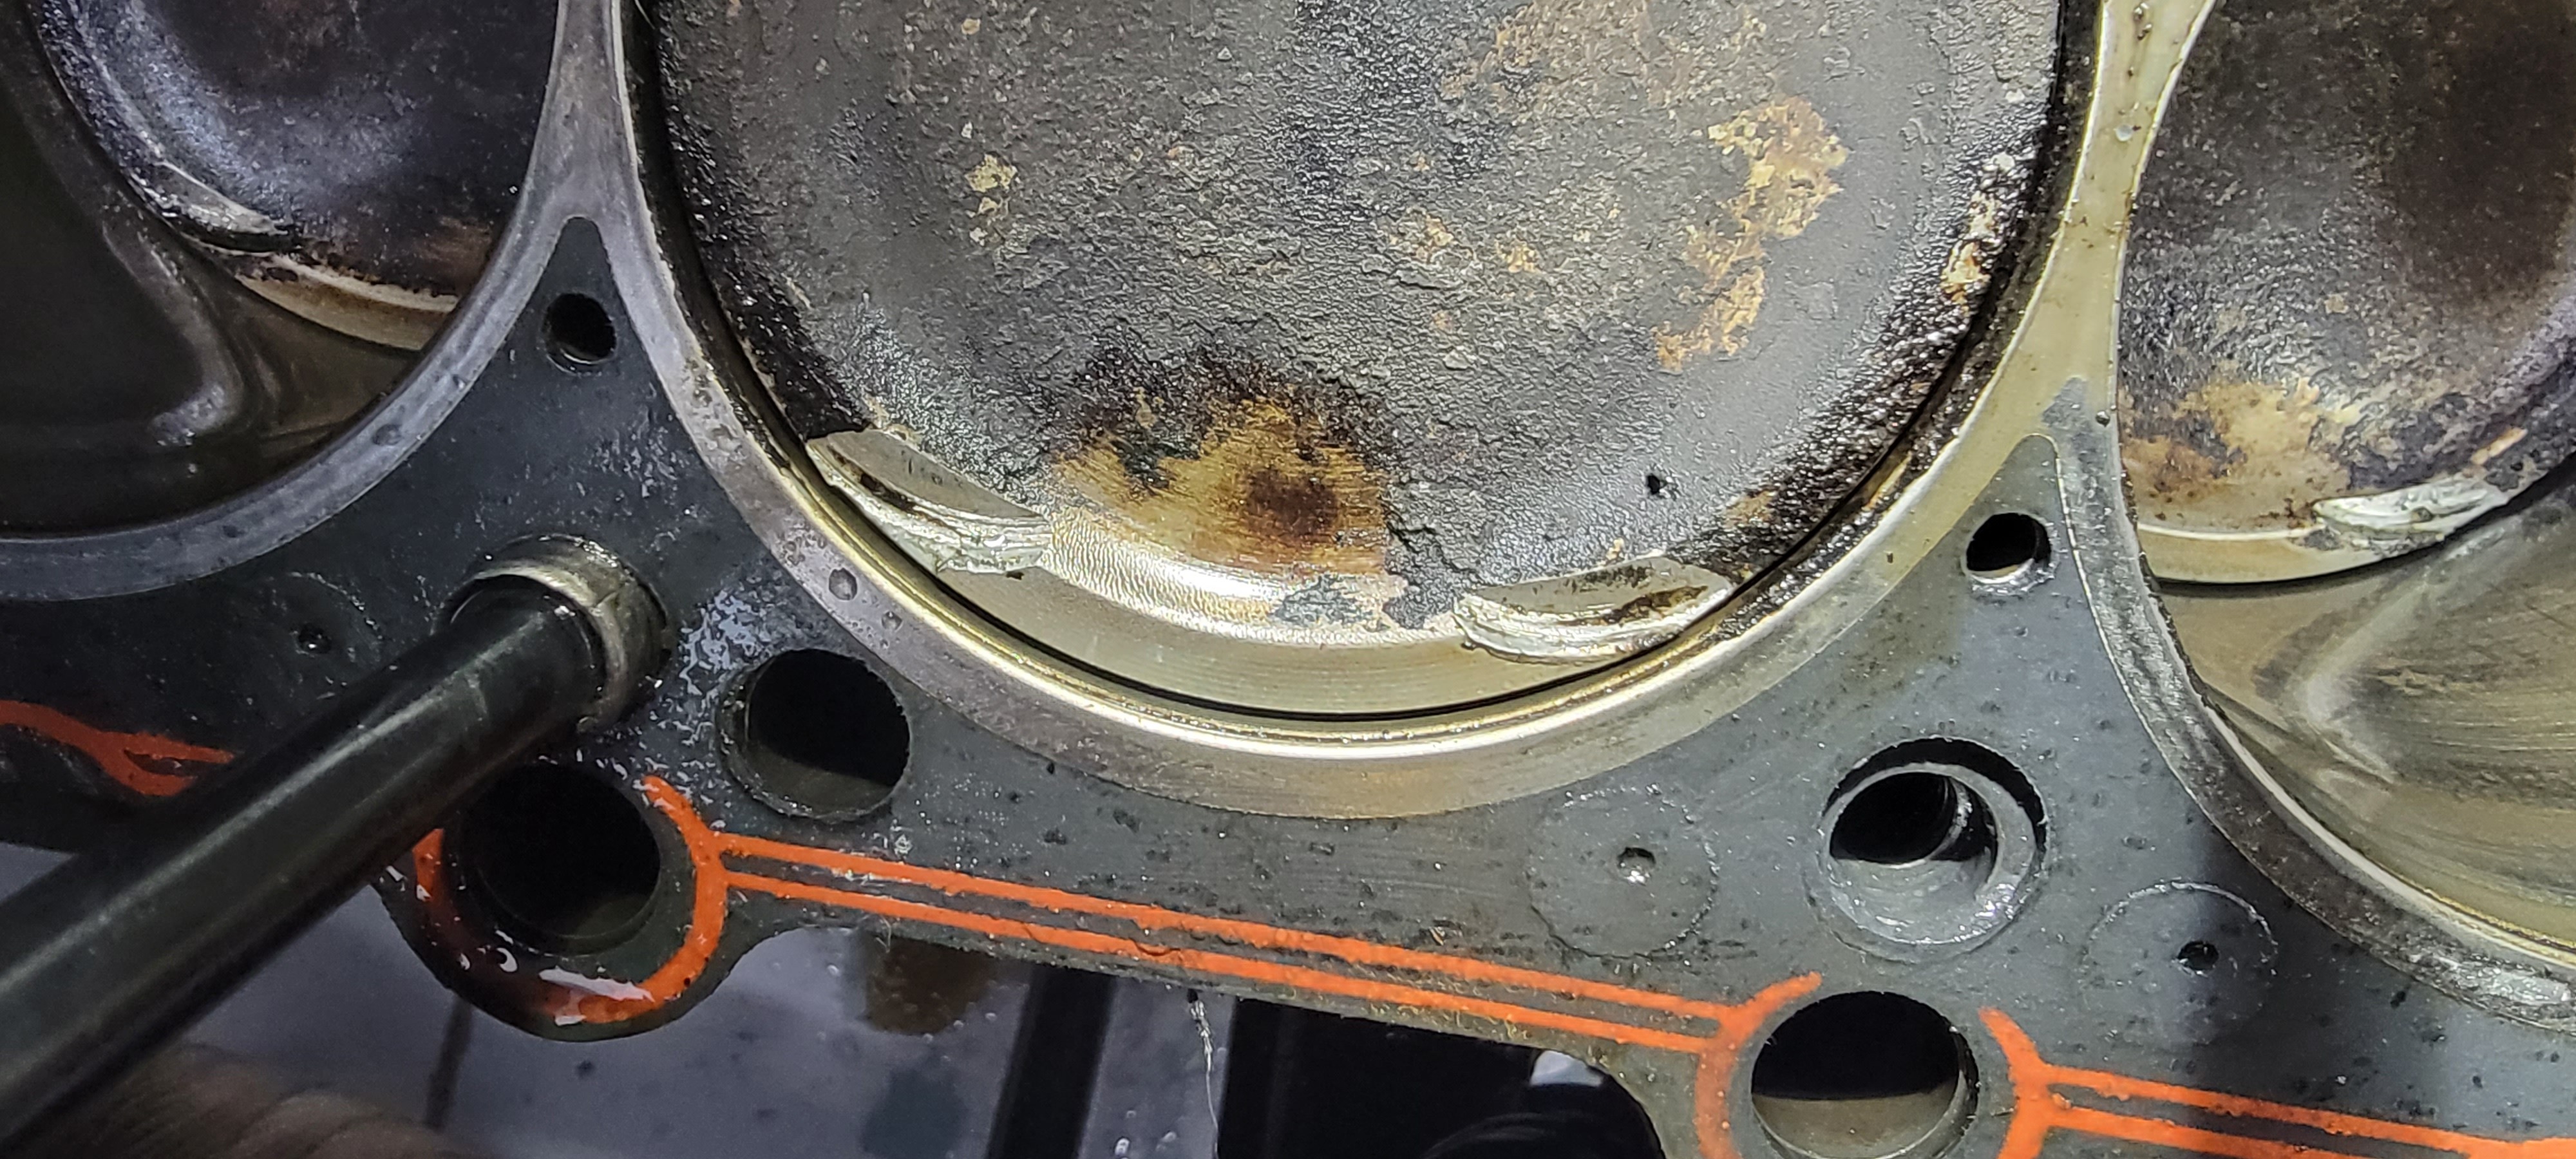
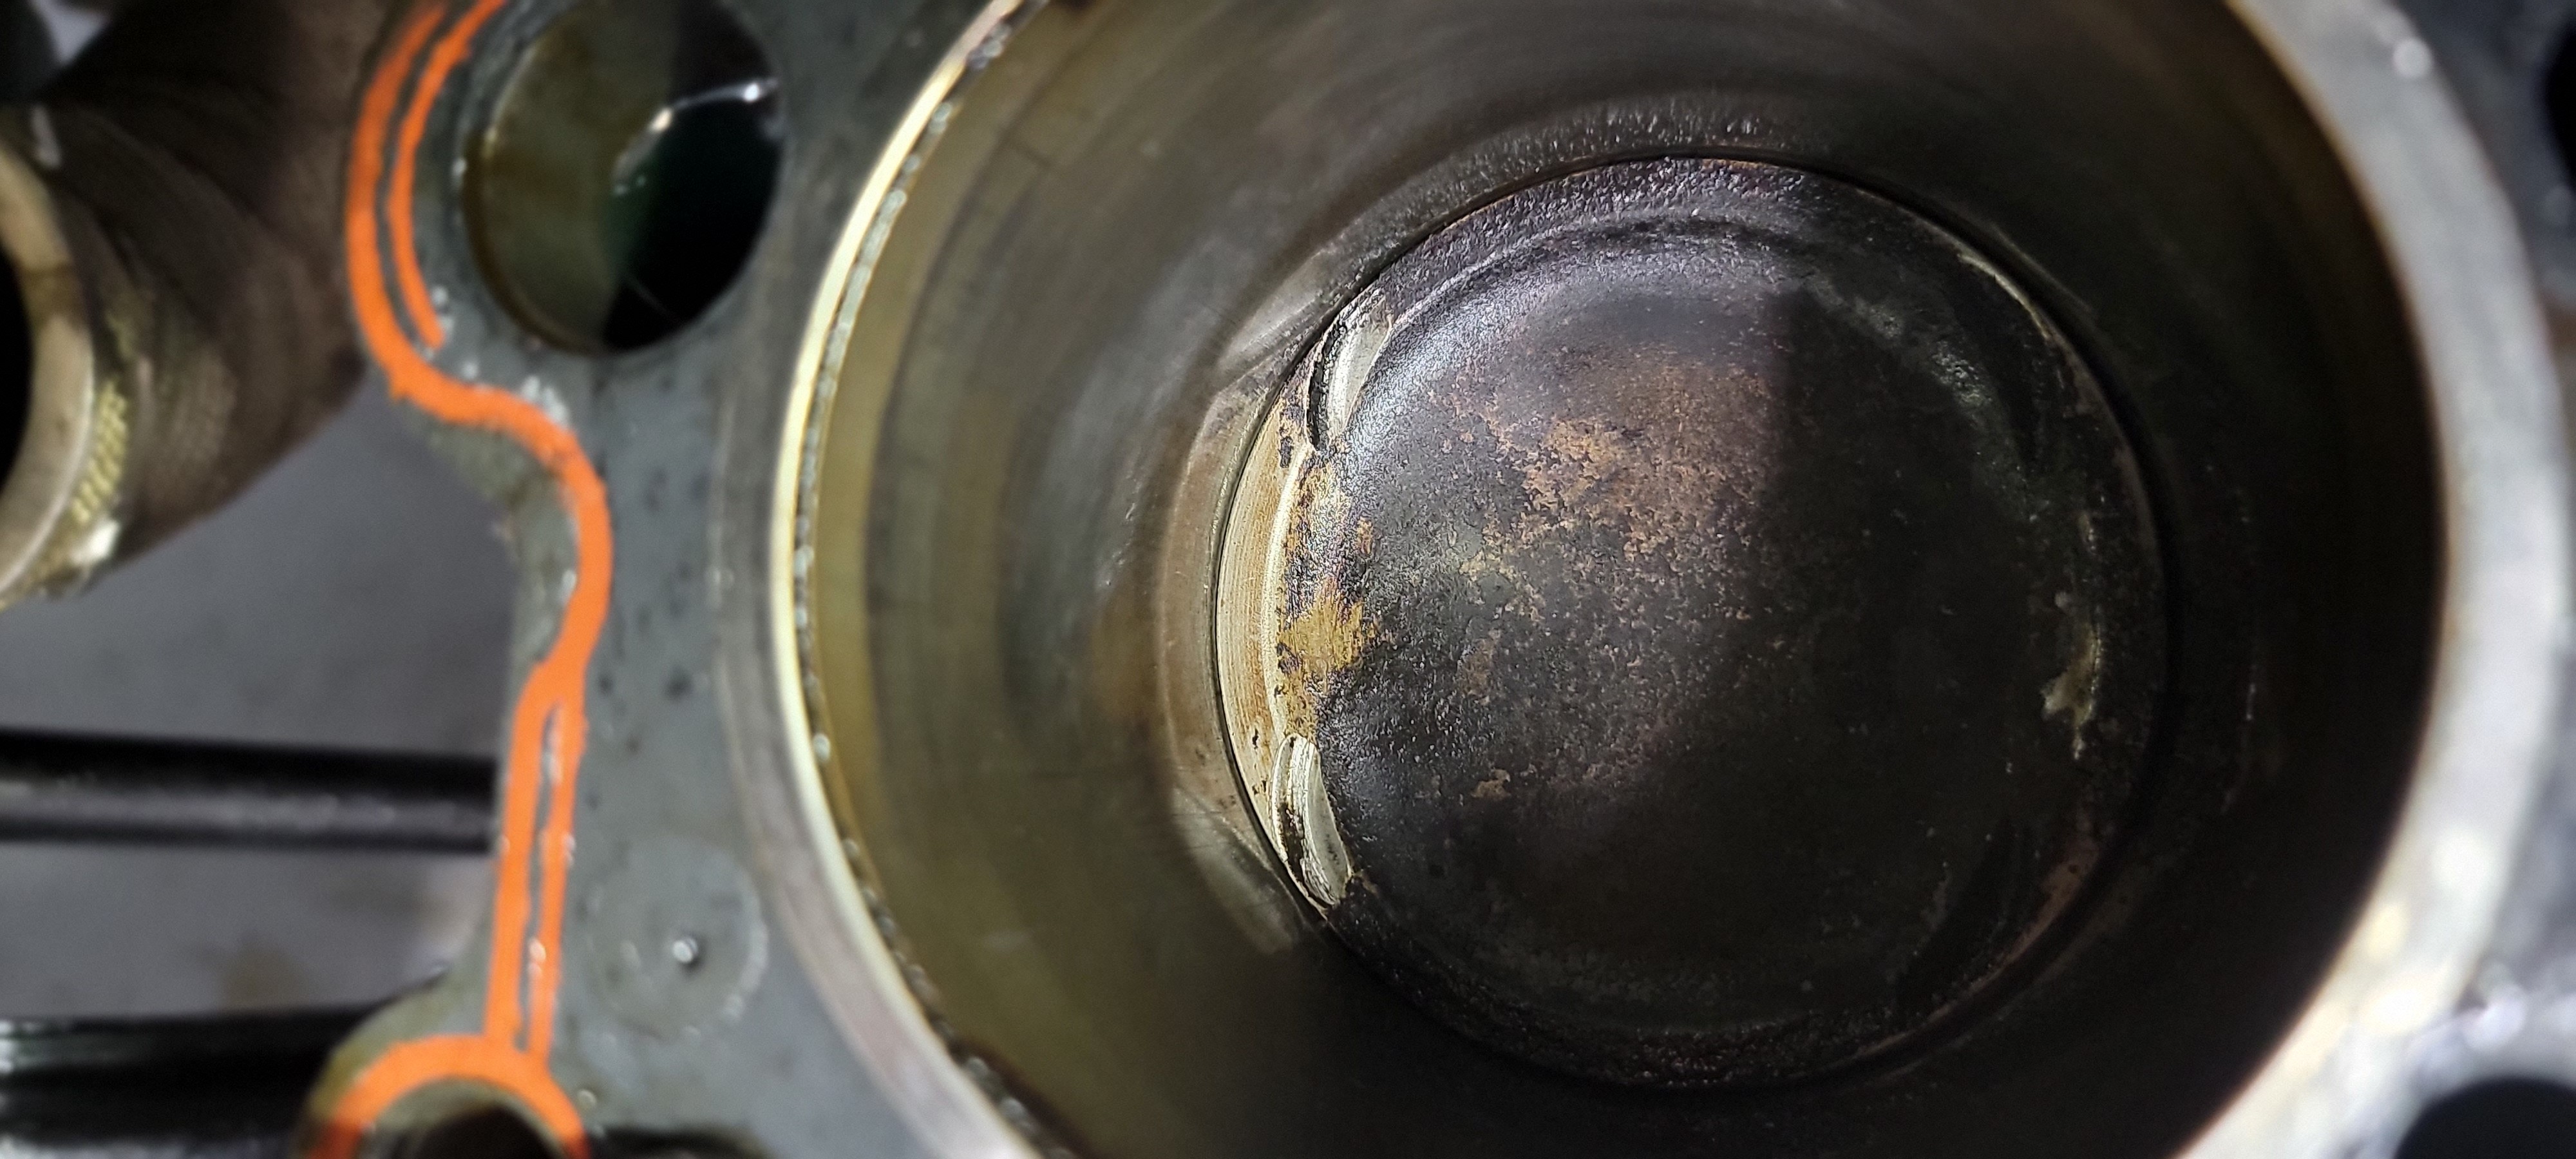
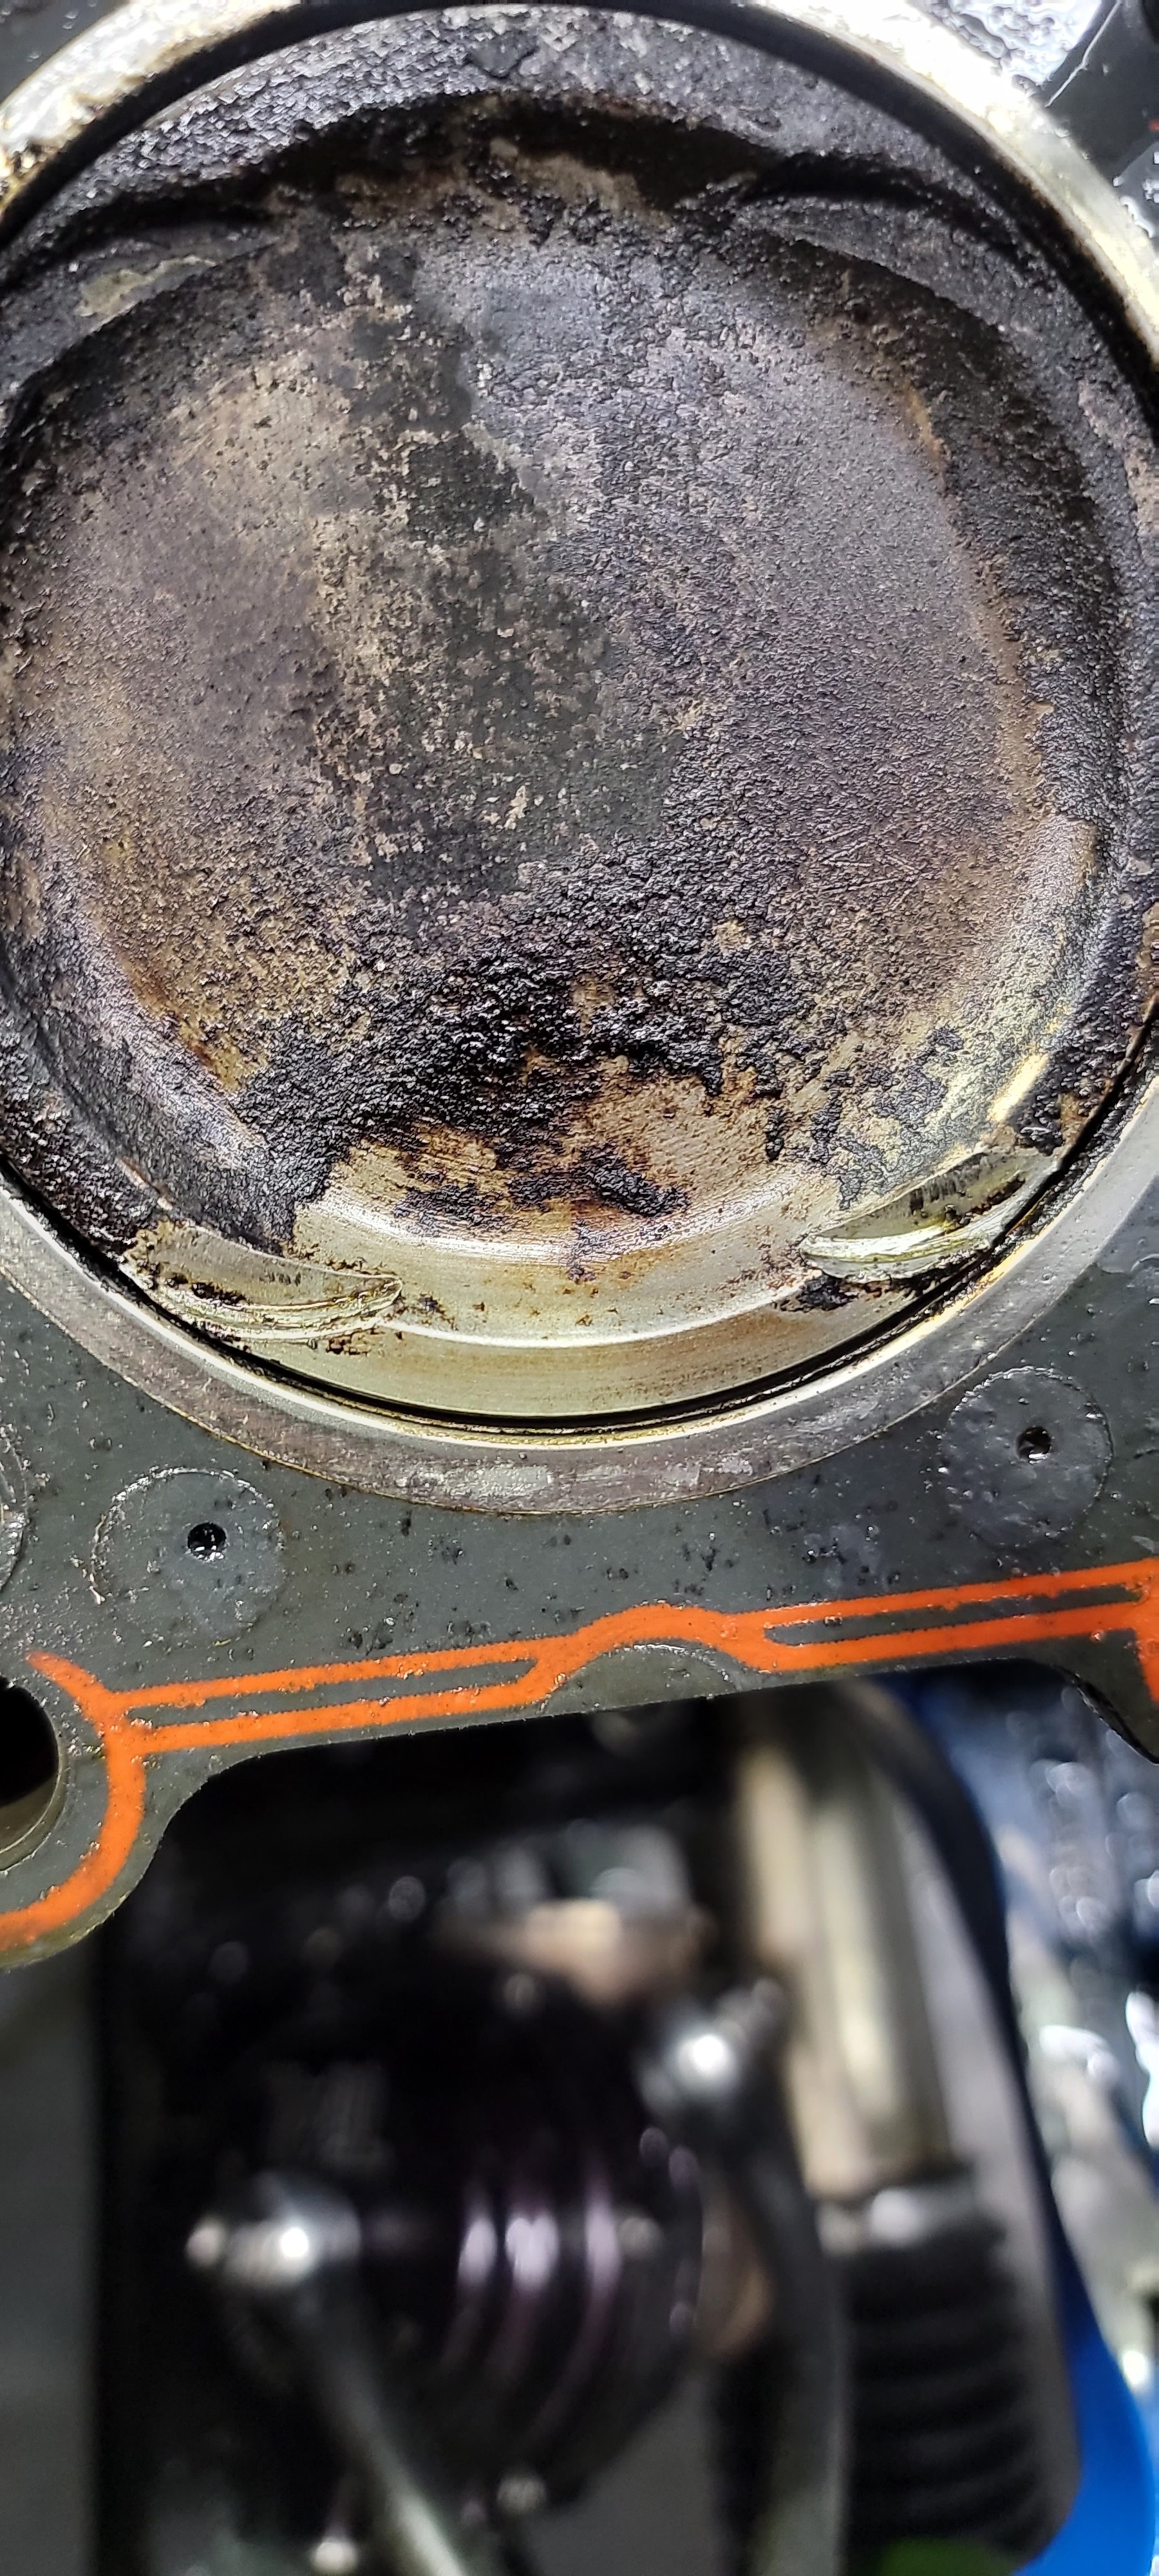
Yup, six bent exhaust valves.
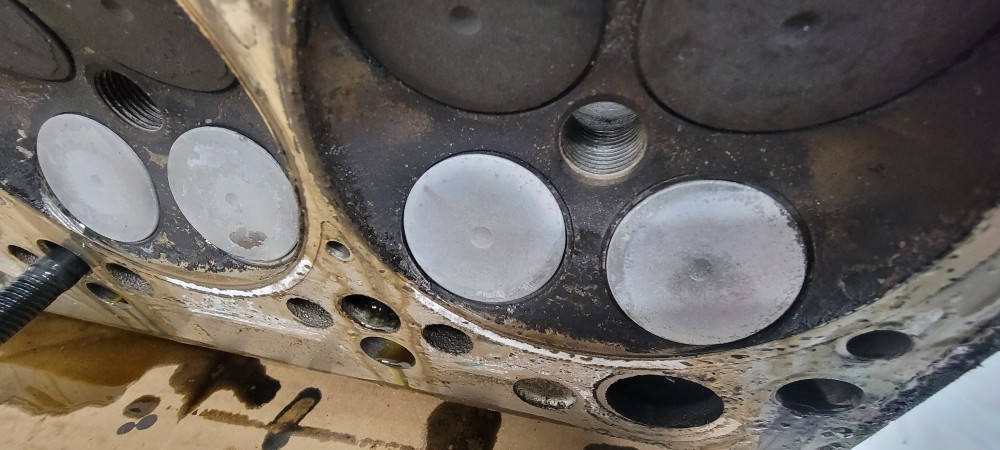
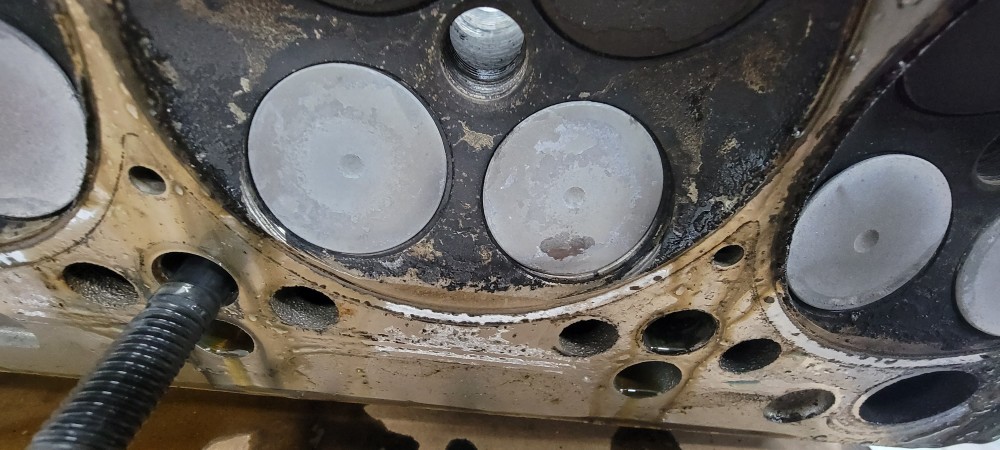
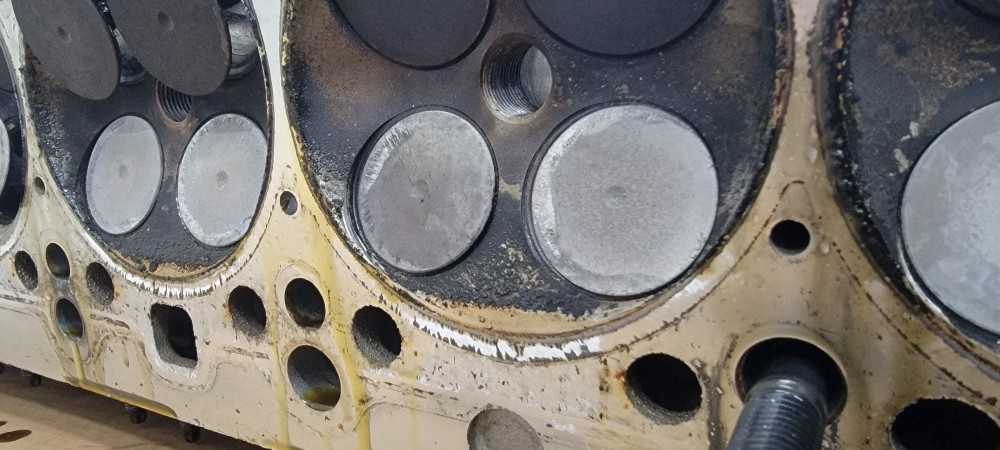
More concerning is the nicks in the pistons that I think are beyond salvageable.
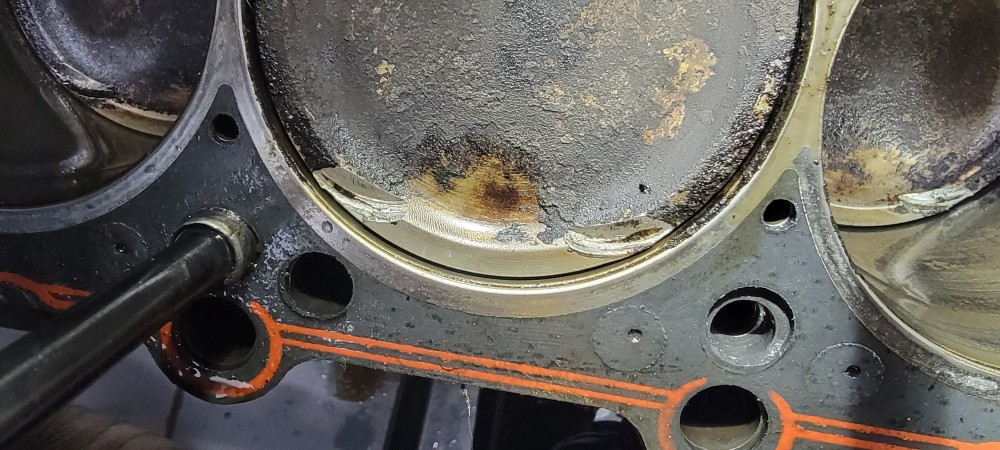
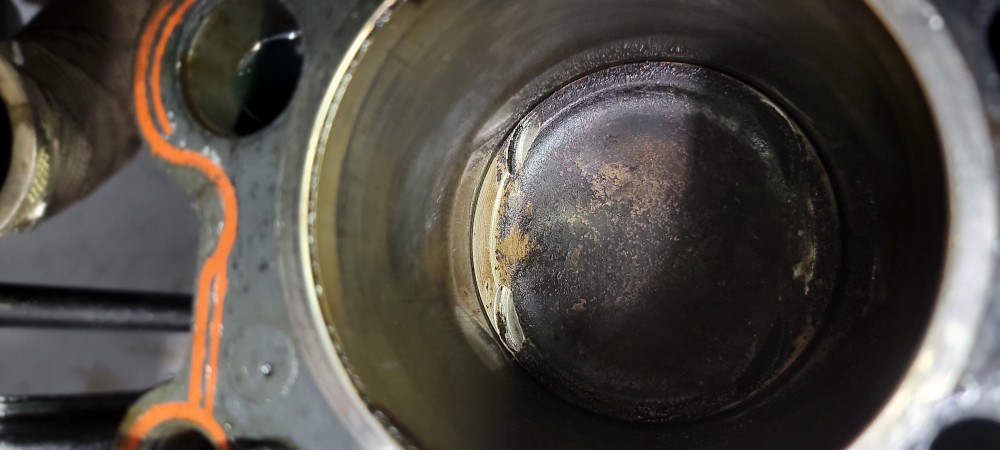
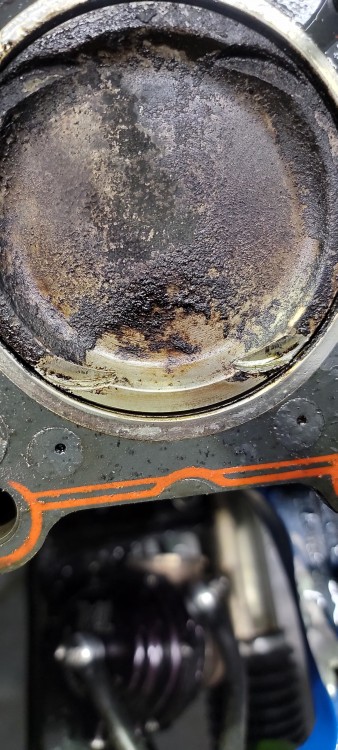
I'm afraid this rotating assembly is toast.
-
 These are not the updates I like here
 -
Bummer. On the plus side it sounds like an opportunity to make more power....

https://www.instagram.com/_jdesigner_/ http://nevertoolow.tumblr.com/
🥳SOLD BMW E24 633CSI - BMW M30B32 🧪SOLD HCH ES9 - 1.3 LDA
👽BMW E30 325IC - Toyota 1JZ-GTE ⏰ HONDA EF9 CIVIC SI - JDM B18C5
☠️BMW E36 318i - Ford 5.0 FE302 🚴♂️ GT-Labomba - 26x2.75 Freeride
🤹♀️SOLD BMW E36/7 Z3 - BMW M54B25 🧓SOLD BMW E10 2002 - BMW M10M05 -
Pain.
What actually causes the valves to contact the piston? When it over rev's, it exceeds the limits on the springs and the valve extends further than it should contacting the piston?
Ya I imagine the valves stretched a bit at the higher rpm and the cam spun faster than the valves could reciprocate, causing the valve stem to separate from the cam during the close cycle.
-
Ya I imagine the valves stretched a bit at the higher rpm and the cam spun faster than the valves could reciprocate, causing the valve stem to separate from the cam during the close cycle.
Is that kind of the same principal why they offer HD springs for higher horsepower and higher revving builds?
-
Is that kind of the same principal why they offer HD springs for higher horsepower and higher revving builds?
Correct
You want the lowest amount of spring force required to match the speed of the cam, as anything above is just added friction and wear.
When you over rev the spring force is not great enough to accelerate the valve fast enough to follow the cam and you get valve float, which can in turn cause the valve to contact the piston if the discrepancy is high enough.I did supertech springs in my S52 head and the spring force change becomes VERY noticeable when you try to get the cams back in...
-
Correct
You want the lowest amount of spring force required to match the speed of the cam, as anything above is just added friction and wear.
When you over rev the spring force is not great enough to accelerate the valve fast enough to follow the cam and you get valve float, which can in turn cause the valve to contact the piston if the discrepancy is high enough.I did supertech springs in my S52 head and the spring force change becomes VERY noticeable when you try to get the cams back in...
Correct. Only thing that I would add is that the actual contact between valve and piston occurs due the valve bouncing off the seat. The cam profile is designed to decelerate the valve so that it gets placed "gently" onto the seat. When the valves "float", by the time the valve comes into contact with the seat, the cam has already rotated past the gentle decel part of the profile, and the valve slams hard into the seat and bounces back off, potentially multiple times, before the piston comes up and hits it.







Hello! It looks like you're interested in this conversation, but you don't have an account yet.
Getting fed up of having to scroll through the same posts each visit? When you register for an account, you'll always come back to exactly where you were before, and choose to be notified of new replies (either via email, or push notification). You'll also be able to save bookmarks and upvote posts to show your appreciation to other community members.
With your input, this post could be even better 💗
Register Login