
Tossed a different set of wheels on the 240 today...
-
crossposting from my thread in volvo-la-la-land. apologies if anything doesn't make sense.
I've been trying to keep good forward momentum with this project. It seems like I've gotten a lot done recently, but these pictures make it seem otherwise somehow...
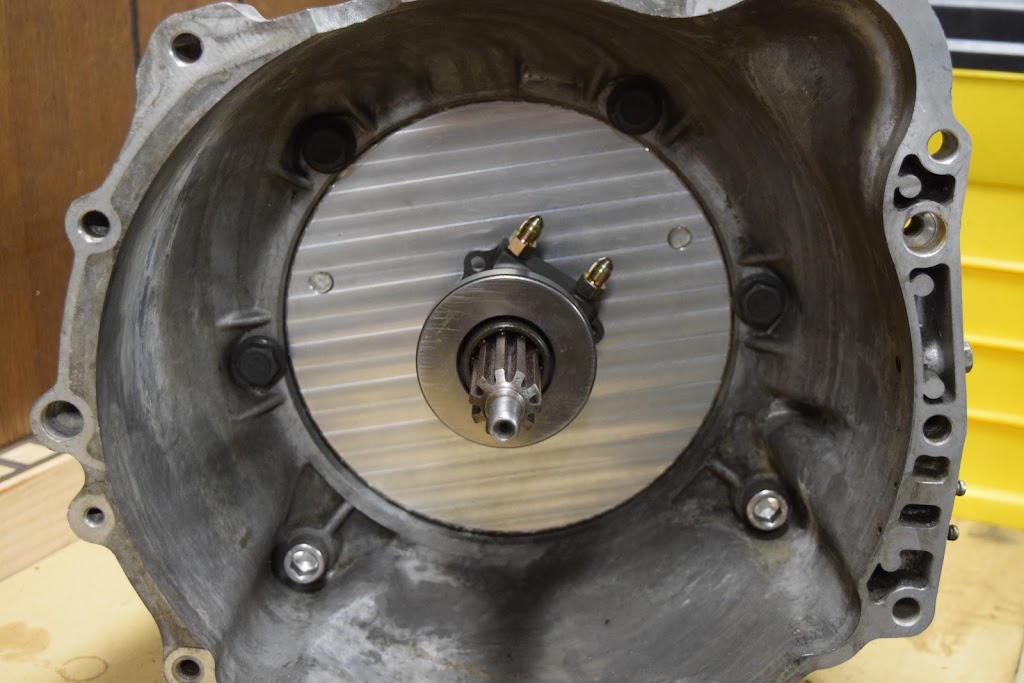
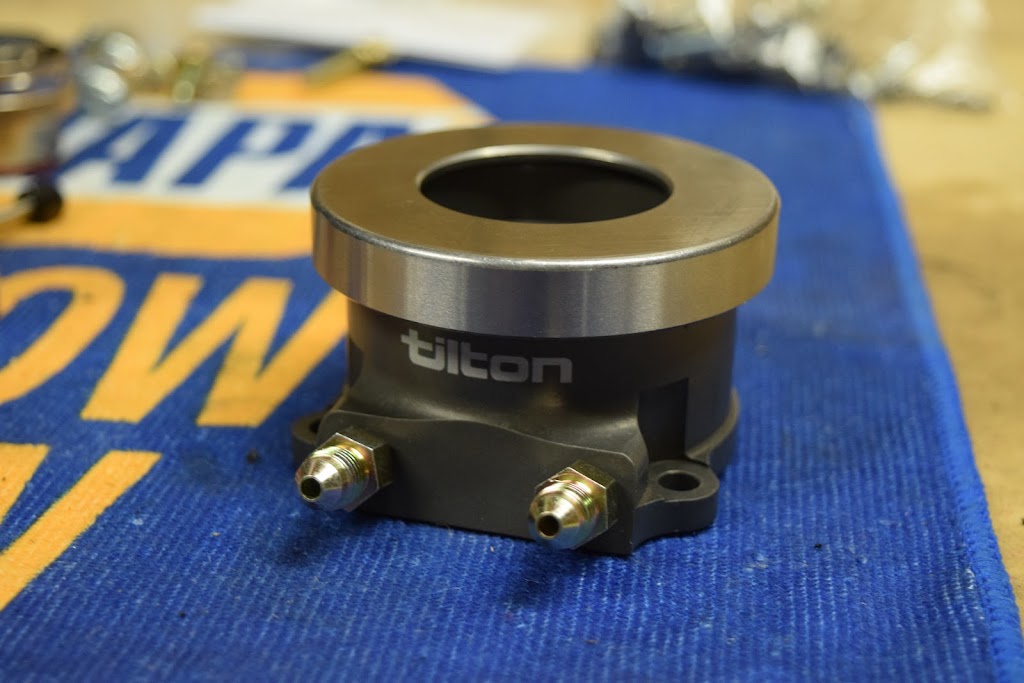
I got a proper Tilton throwout bearing--so far it seems really nice. I need to drill and tap mounting holes for this and then space it out to the right position (~.75" of spacer if I recall correctly, but I need to triple check the measurements)
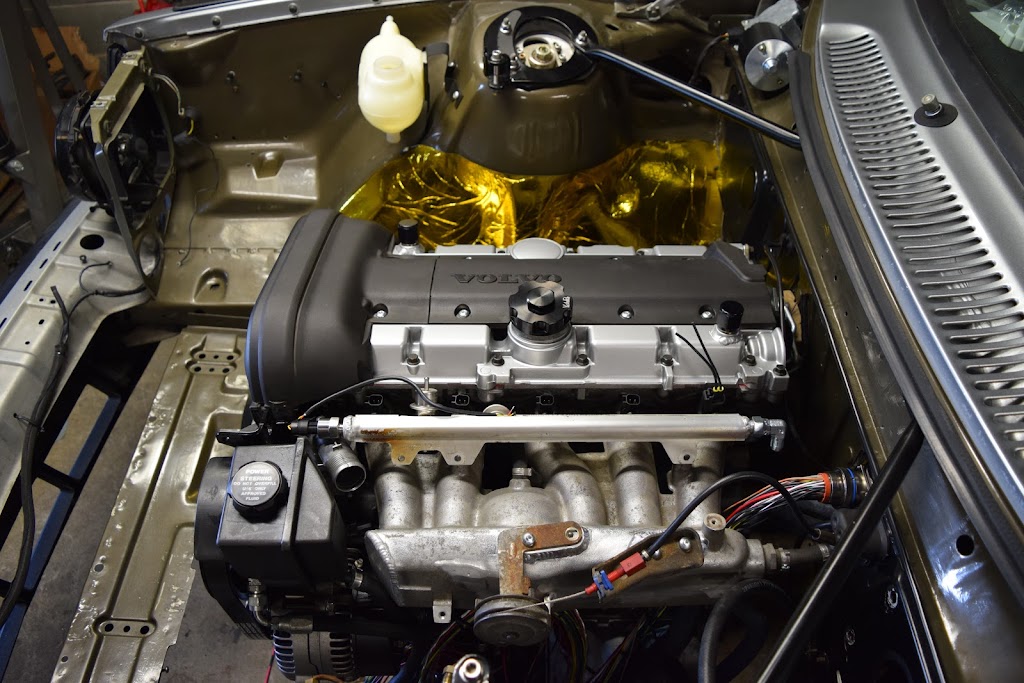
Today, a fuel rail came together, thanks to heavy intervention from a couple friends. I wanted a bolt-on fuel rail without too much internal restriction, and provisions for a 6AN feed fitting on the firewall end, a 1/8" NPT bung for a pressure transducer on the other end, and a FPR mounted on the rail between runners 1 and 2...
This is what we ended up with:

It's an S70 rail that has less internal restriction than the 850 rail, which we milled to accept the 850 FPR, and countersunk to fit beneath the factory injector retainer. We drilled out the original brass end cap and then milled an aluminum 1/8" NPT bung that was then welded in. My friend also welded a 6AN male bung to the firewall end of the rail. Additionally, I decided to take advantage of the extra port in the manifold (what was intended for the factory feed line) to also install a pulse dampener... if that actually does anything. A lot of fiddling, but I'm very pleased with it.

Let's see... what else. Cams and valve cover are installed, and the engine is timed. Zach powdercoated a bunch of stuff for me and it came out fantastic (which is now all dusty in the pictures). Wiring has also started.
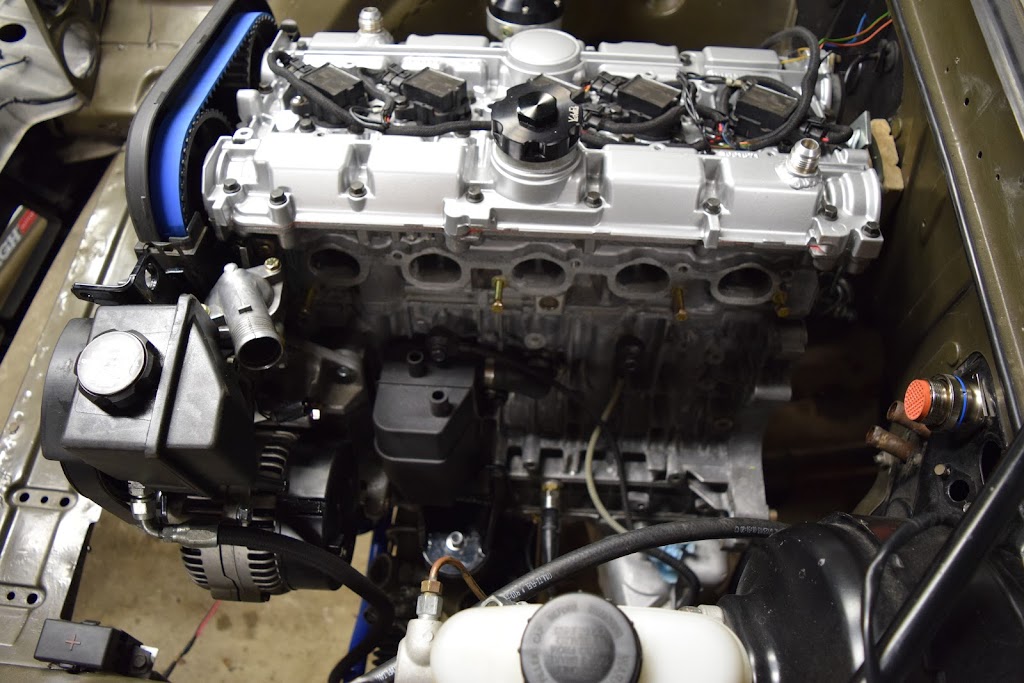
I also have a great little bulkhead connector for the engine wiring at the firewall. I'm currently using 47 of 55 pins. A large chunk of megasquirt wiring inside the car is in progress.

I did buy a new stainless heater hose connector plate dingus that will get rid of that rusty eyesore...
Engine mounts brackets are in with new Yoshifab HD rubber engine mounts. As it turns out, these mounts are shorter than factory 240 mounts, so I had to compensate by adding spacers to get them to the 50mm total height I need. My friend milled these spacers as well.
In the process of getting the engine to fit, I had to pull it out a couple times to clearance the webbing on the oil pan until it was pretty flush with the oil transfer tube pocket.


Next step? I really need to buy my turbo. Also, throttle body linkage needs to get sorted out.
and then everything else.
-
So you will have a return loop fuel setup? I just had my fuel pump electronic module fail on my P2 and discovered the complexity of the non return system...
Sent from my 831C using Tapatalk
Yep, using a standard return loop setup. Sticking with what I know works.
-
It'll be convenient for my 4 minute F1 pit crew engine removals.
-
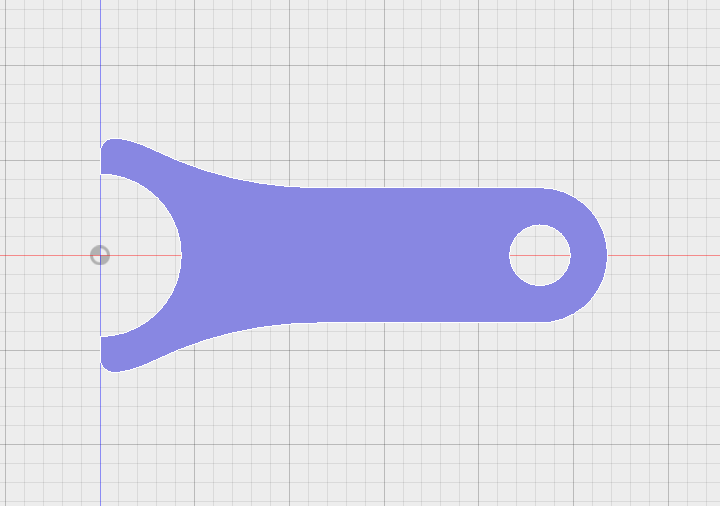
Drew up another little part tonight. A tab to weld on to the clutch pedal to aid in converting it from cable to hydraulic operation.
-
Correct, one is for bleeding, the other connects to the master.
-
Yep, im bending up stainless hard lines that will connect to bulkhead AN fittings in the bellhousing wall.
-
More things:
Fancy stainless heater hose fittings showed up, so I replaced the crusty original fittings.

I used 3/16" stainless with tube sleeves and nuts from McMaster, and bent up some hardlines for the hydraulic release bearing. They exit the bellhousing through 3an bulkhead fittings.


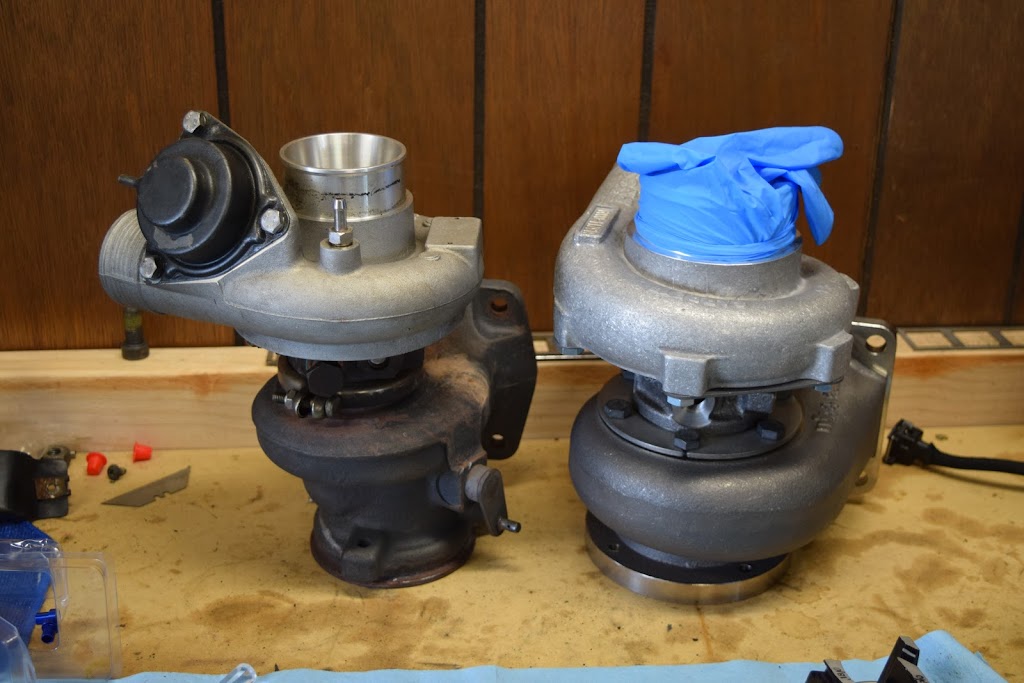
20t versus gtx3067r (this is with the wrong turbine housing that I had to send back)
Ford GT500 60lb injectors with spacers

Intake manifold is all welded up, ready for powdercoat.

Clutch pedal lengthened and new bracket welded on for the hydraulic master.


Transmission is ready to go in now. Bearing setup is complete (fingers crossed...), adapter is good to go, and all seals are replaced.

In the process of replacing my wiper motor, it became apparent that the source of a leak into the cabin was a missing seal. I found a PCV grommet at O'Reilly that fit (which was so tight that I had to press in) and I finished it off with some fresh butyl around the base. This was strangely gratifying to fix.

NOS 240 turbo coolant bottle installed on a powdercoated bracket I had laying around

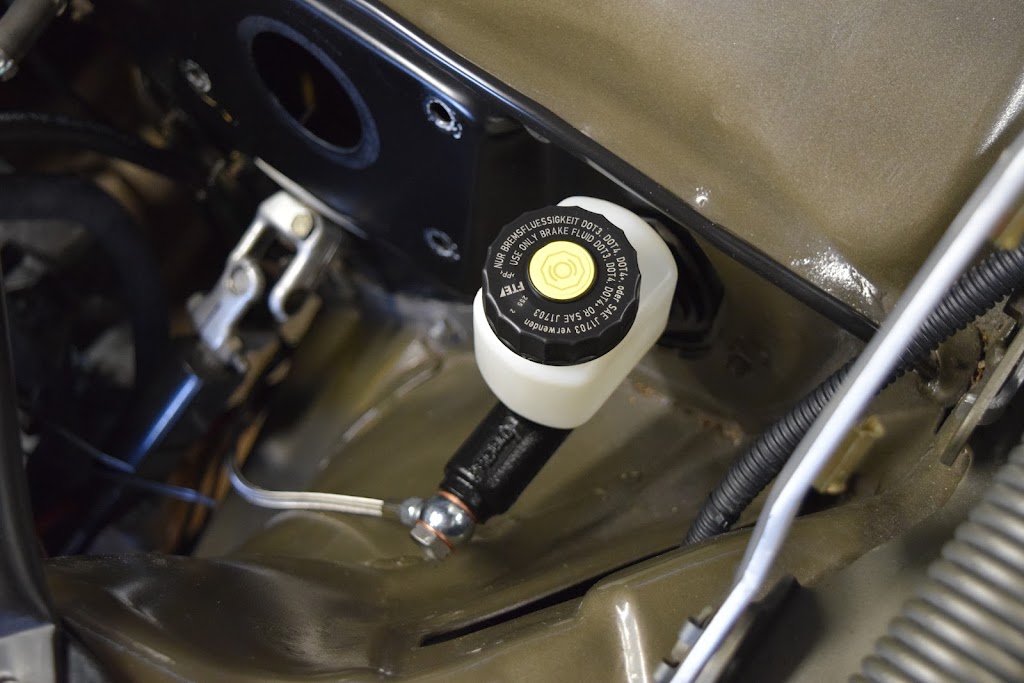
Volvo 260 clutch master cylinder installed. I used a m12x1.0 banjo bolt and fitting that then connects to a 3an braided stainless line. I will end up routing this a bit more cleanly with a bent hardline.
My brother came down and helped me get the engine side of the bulkhead wiring harness connector fully terminated. You can also see the feed on the fuel rail--this will allow me to use the same fuel line I had made for the b21f manifold.

And a nice sealed Bussmann fuse and relay box to keep things simple for the Megasquirt wiring.

I'm behind "schedule" but I decided I would rather take a little more time and get the details just how I want them.
Turbine housing and exhaust manifold are out for ceramic coating right now... pretty excited to get those back from Count Snapula

-
Intake manifold back from powdercoat


IAC bung and bracket for mounting the valve itself

I had a ton of help from two friends that came in from Kansas City and LA last weekend to visit. We managed to get the charge pipes and water pipe finished up, the downpipe started, and bunch of other miscellaneous things done. Also had a transformer nearby grenade while we were under the car attempting to install the transmission. That was fun.
Some miscellaneous pictures of the aftermath:
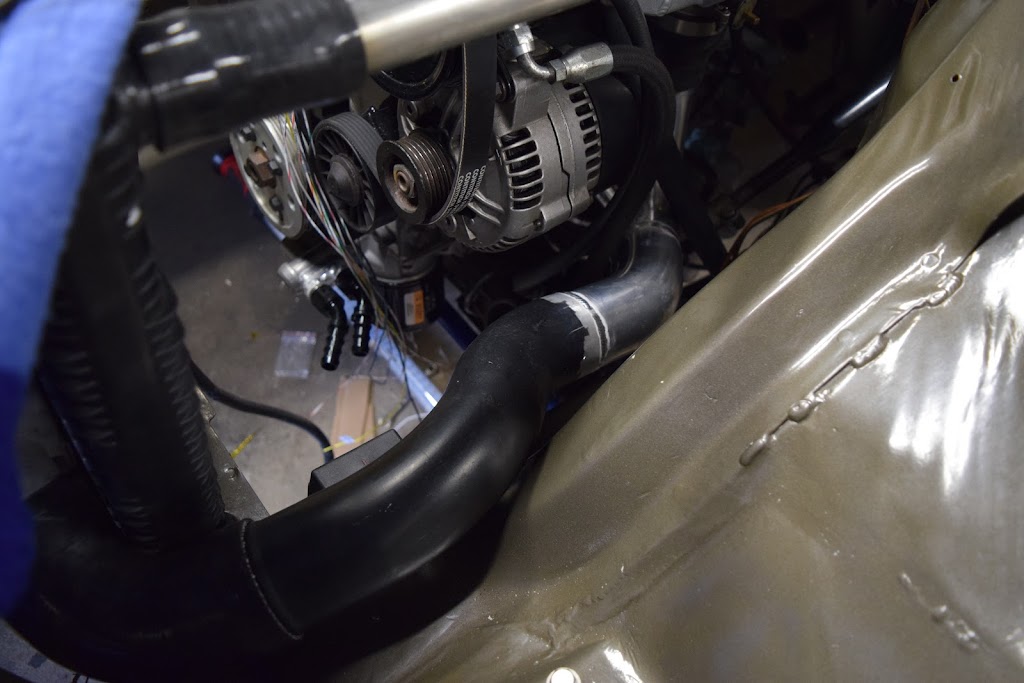
Hot-side charge pipe

Turbo and exhaust manifold both ceramic coated and installed


Cold-side intercooler pipe with IAC and IAT bungs


Flywheel, m5 clutch, 707 pressure plate installed

Lower heater hose installed. 960 heater hose cut in half connecting to factory fitting turned 90 degrees using a 3/8 NPT 90* elbow

Current state: wires everywhere

Today I'm working on getting the transmission in (I had to ditch the straight bulkhead fittings and replace them with 90 degree fittings to clear the tunnel) and then perhaps tonight I'll spend more time on the engine wiring harness. I've done a fair bit of work planning it out, but there's more I need to figure out and learn before I dive too deep into it. This part is not a strength of mine.
Overall, I'm really happy with how this is all coming together. I really can't wait to drive it.
-
Well, Snap has already beat me by a mile in the race to a running, driving car, but here's where this is at:
A couple pictures of things as I left them in the garage tonight. There's a bunch of other things going on (namely the engine wiring harness) but are the things you can actually tell what is going on.
Most of the bits are on the intake now. You can also see the banjo bolt on the far end of the plenum... that's one the factory Volvo bolts that has a check valve built in for use with PCV.
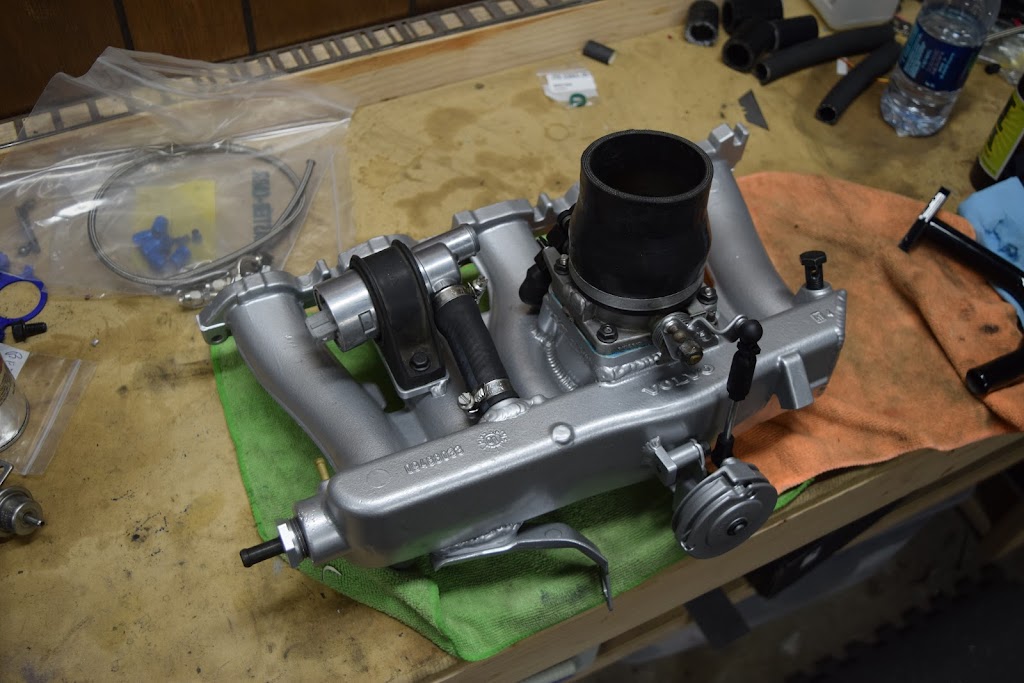
I decided I wanted to try making vacuum lines out of 3/16" stainless tubing.
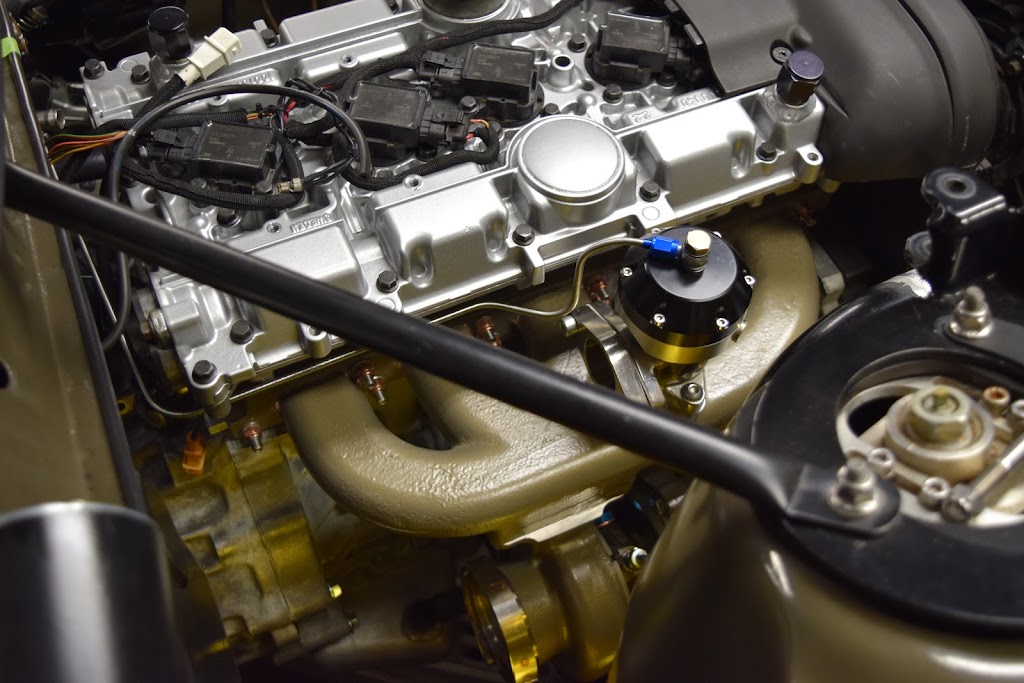
Serpentine belt and associated bits are installed.

The oil cooler, thermostat, lines, and associated bracketry is all made/modified and installed now. I'm pretty happy with how this all worked out. Eat your heart out, Snap.
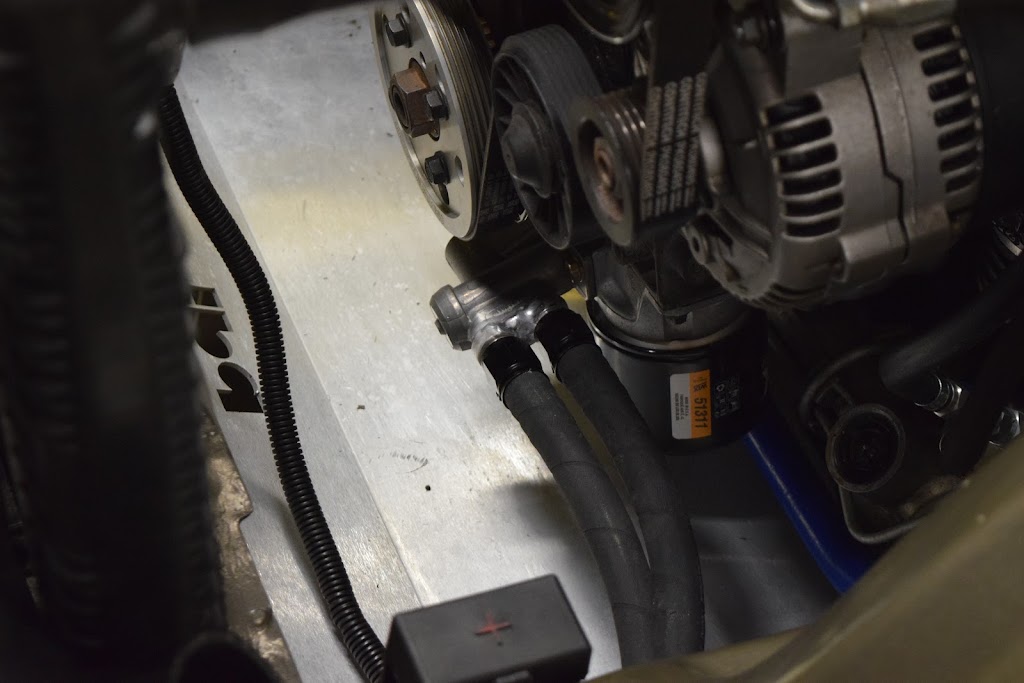


-
I used a cheap little bending tool from Harbor Freight. It works fairly well. The hardest part of the whole thing is getting a decent flare on the tubing.
-
Looking amazing!!!
Sent from my SM-G930R4 using Tapatalk
-
I've been working on this a lot, except when it's over 90 degrees in the garage because forget that. Yesterday afternoon I got the car back down on the ground for the first time since February. I drove it 8 feet back and forward, and then decided that I needed to wash it.
It's clean again, phew.
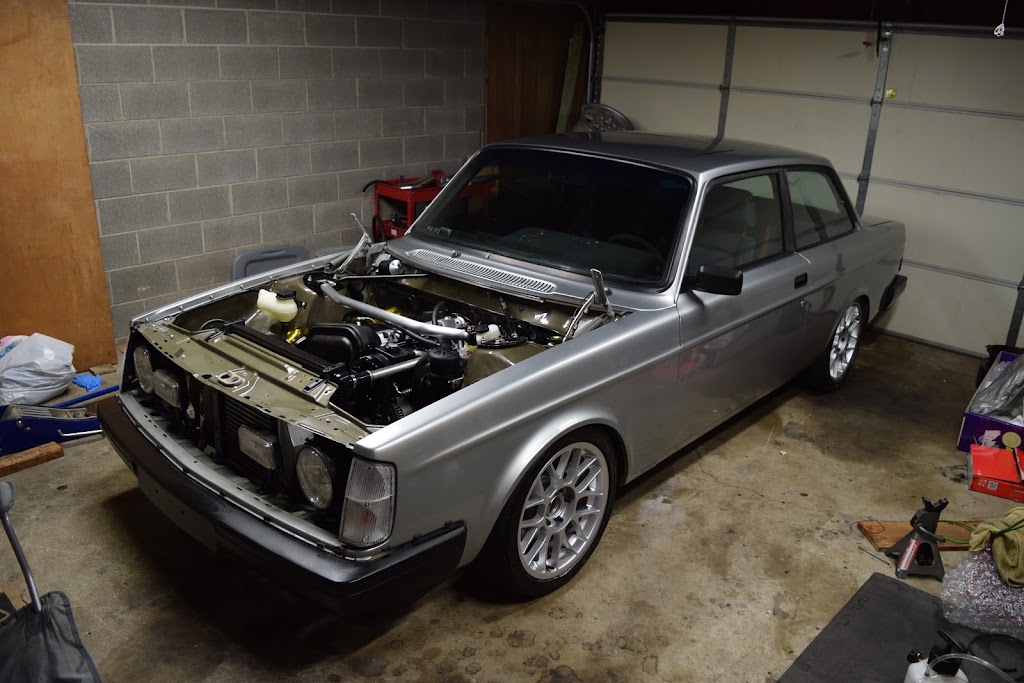

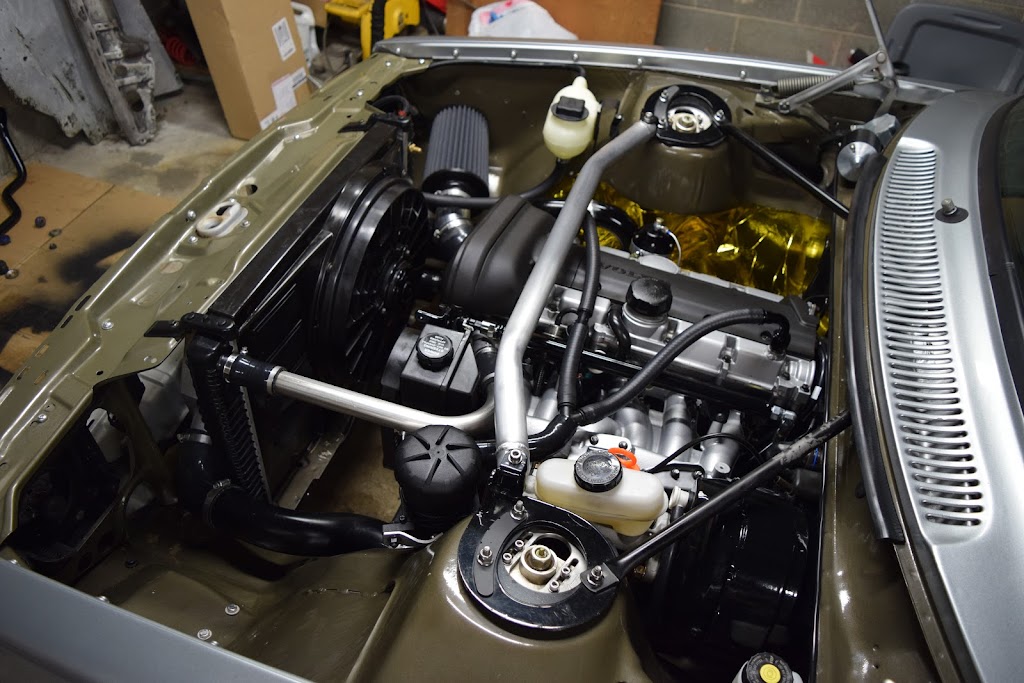
For extra content to offset my lazy post, here are a couple other details:
Stainless hardlines that control the wastegate, and a bracket to secure them (the plastic bit will be replaced with something aluminum or stainless)

Crankcase ventilation system is all plumbed as well (although I will be replacing these hoses with some Aeroquip hose when I get around to it). Two valve cover vents and the factory oil separator box outlet are plumbed into the ProVent, which returns to the intake pipe via a silicone hose underneath the front of the engine. The ProVent drains back into the oil pan through a fitting next to the dipstick.


I bought a 28mm drop swaybar. This was necessary to clear my oil pan, and is the largest swaybar available for this car.

And here's the harness connector finished off with some raychem 4:1 shrink and a 90 degree shrink boot.

I've left out about 95% of things, so this seems like a good place to end this post. Next up is getting the car running well on megasquirt.




Hello! It looks like you're interested in this conversation, but you don't have an account yet.
Getting fed up of having to scroll through the same posts each visit? When you register for an account, you'll always come back to exactly where you were before, and choose to be notified of new replies (either via email, or push notification). You'll also be able to save bookmarks and upvote posts to show your appreciation to other community members.
With your input, this post could be even better 💗
Register Login