
Z3 Coupe content
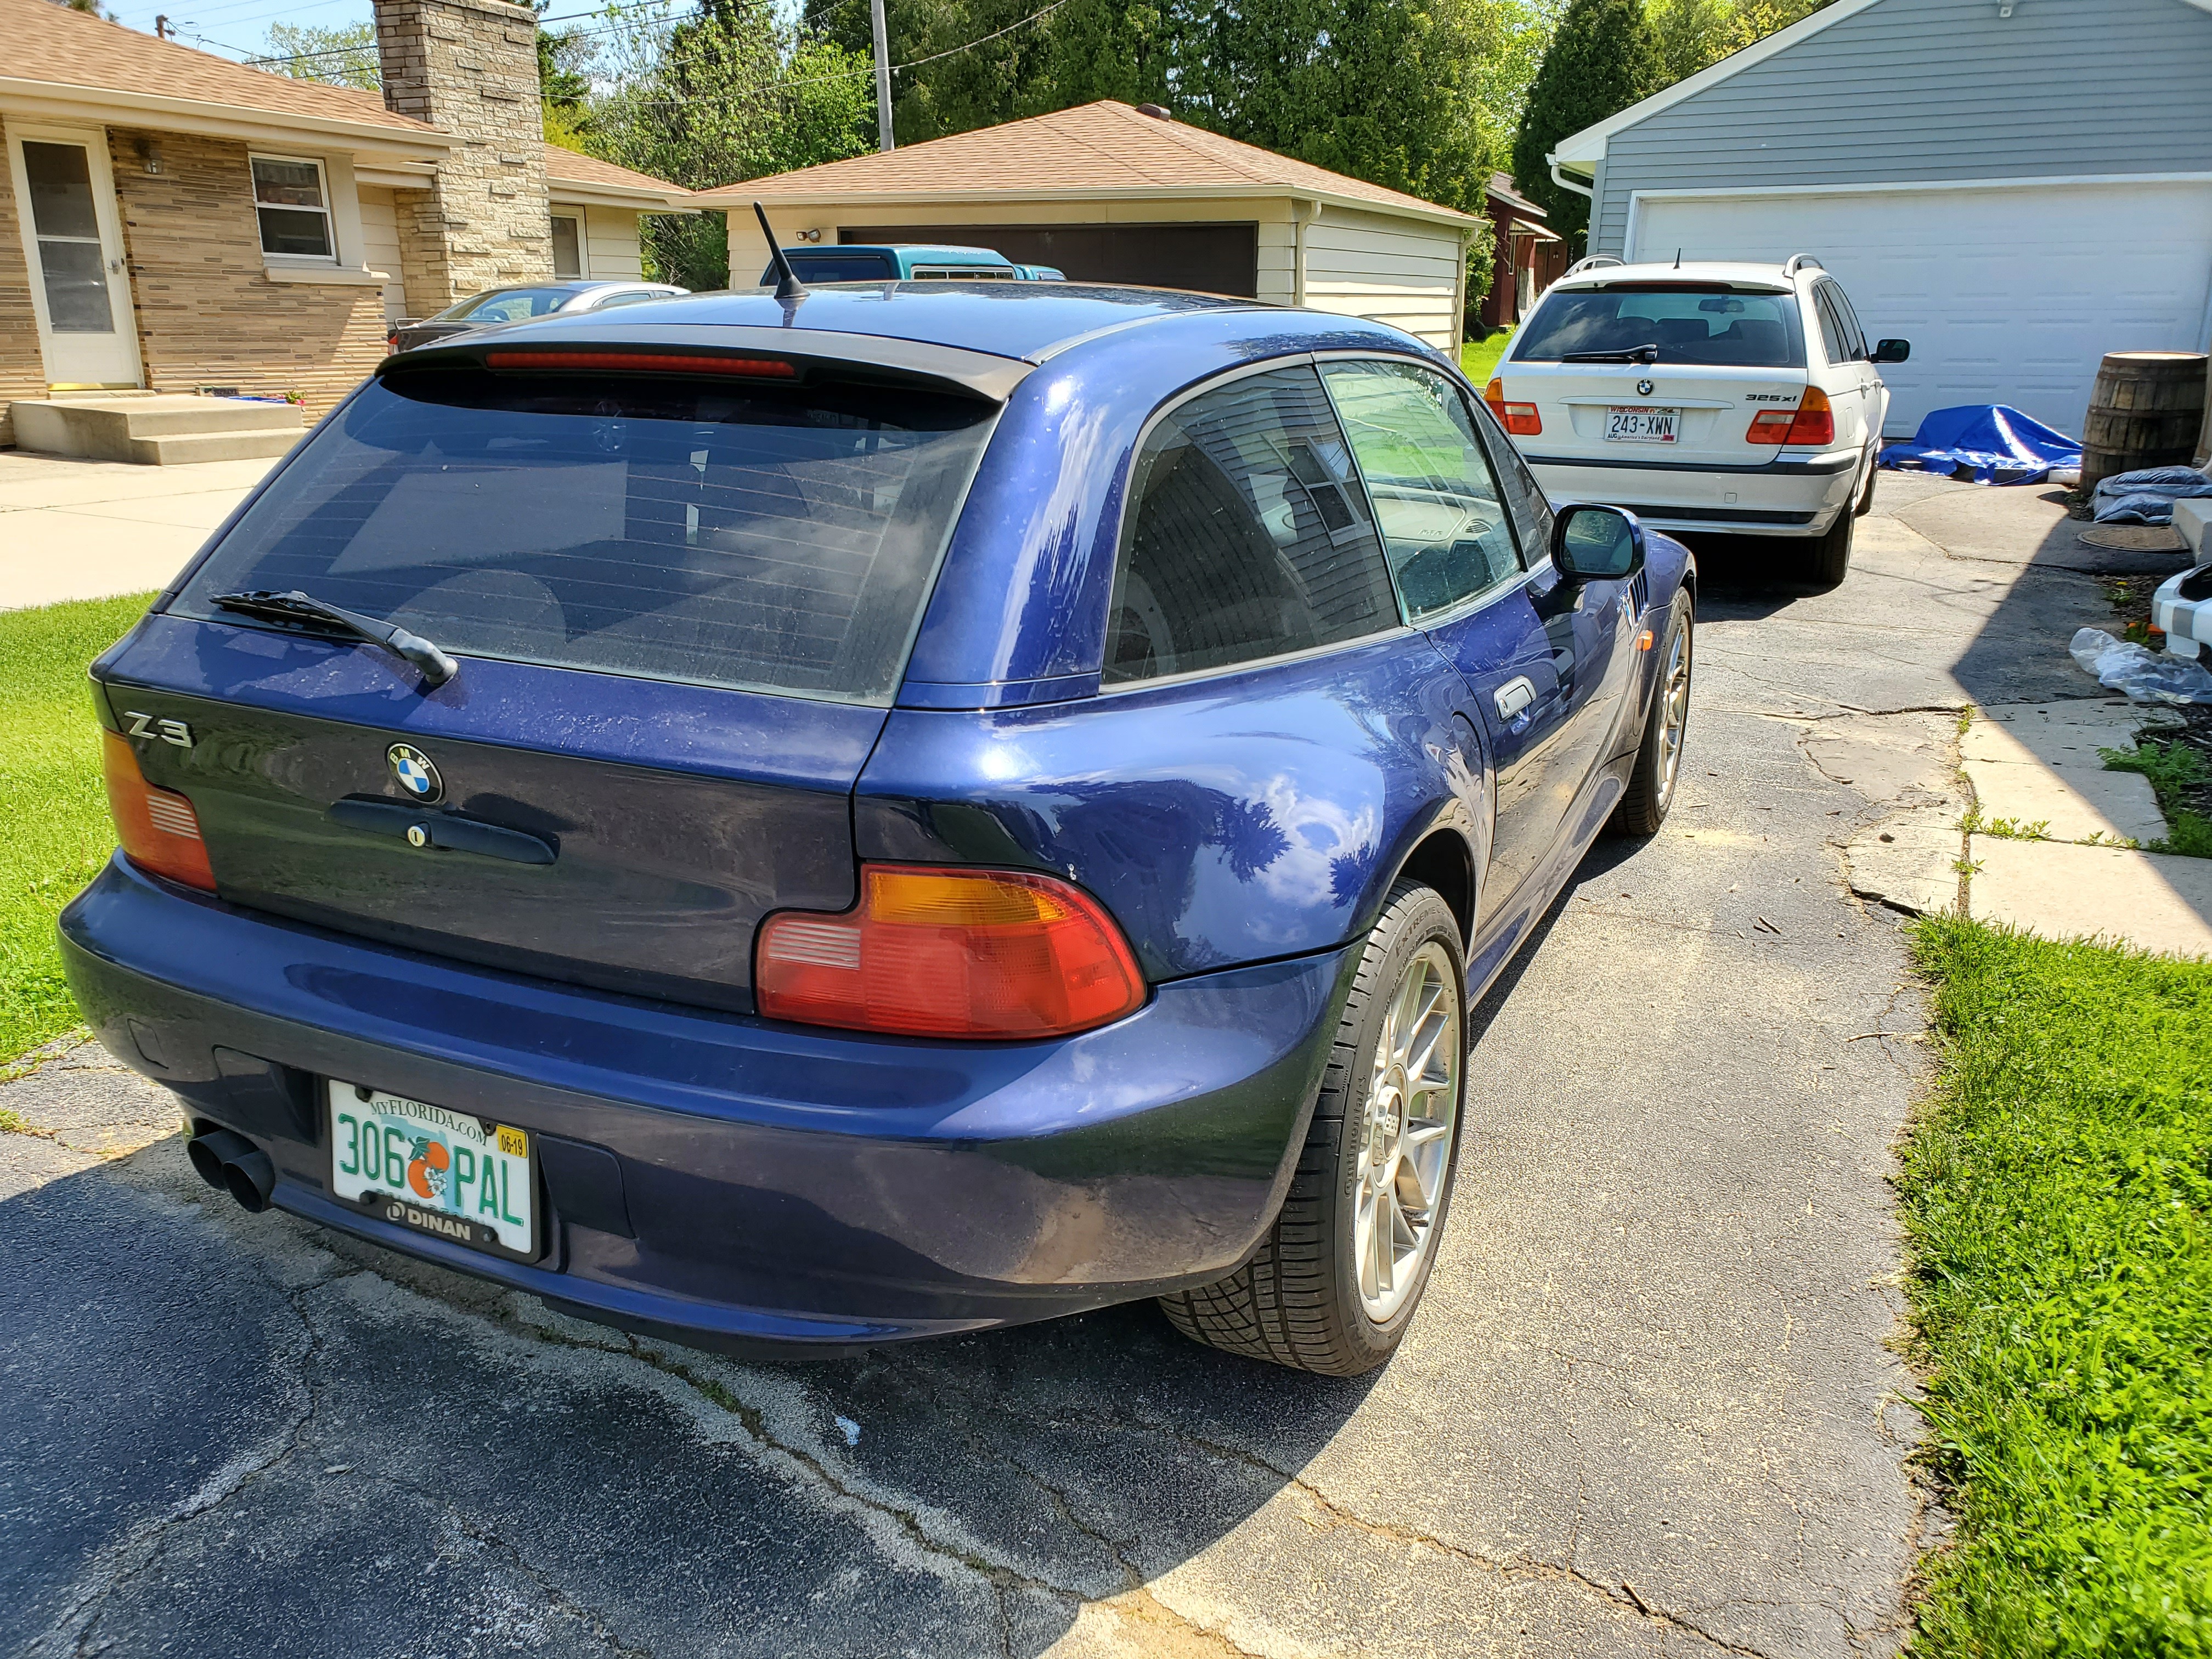
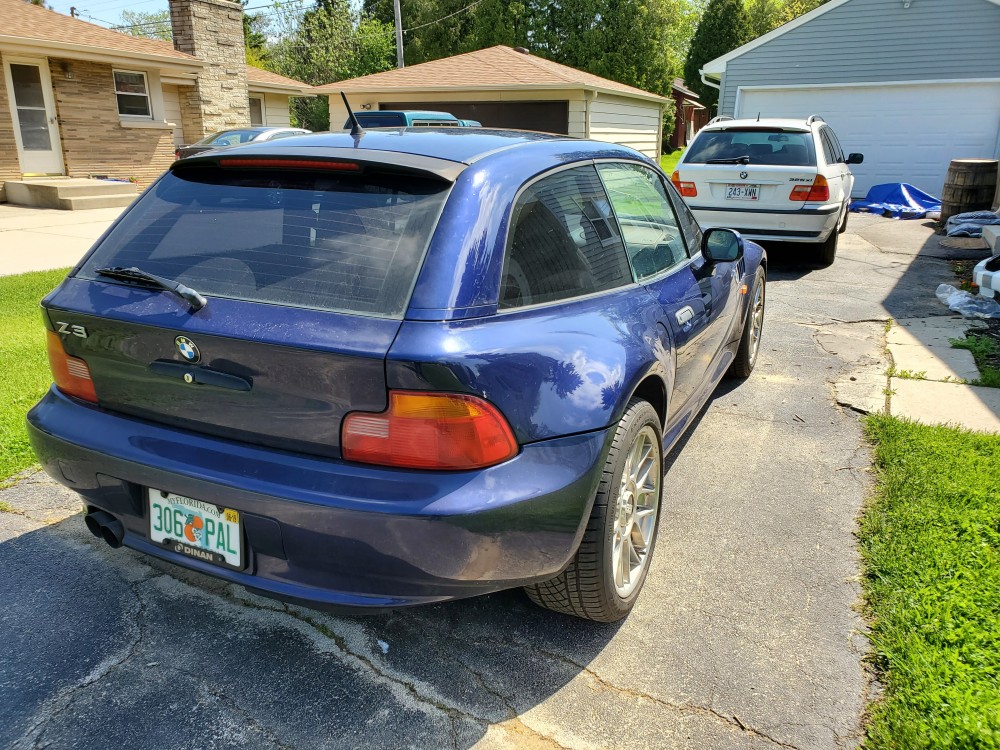
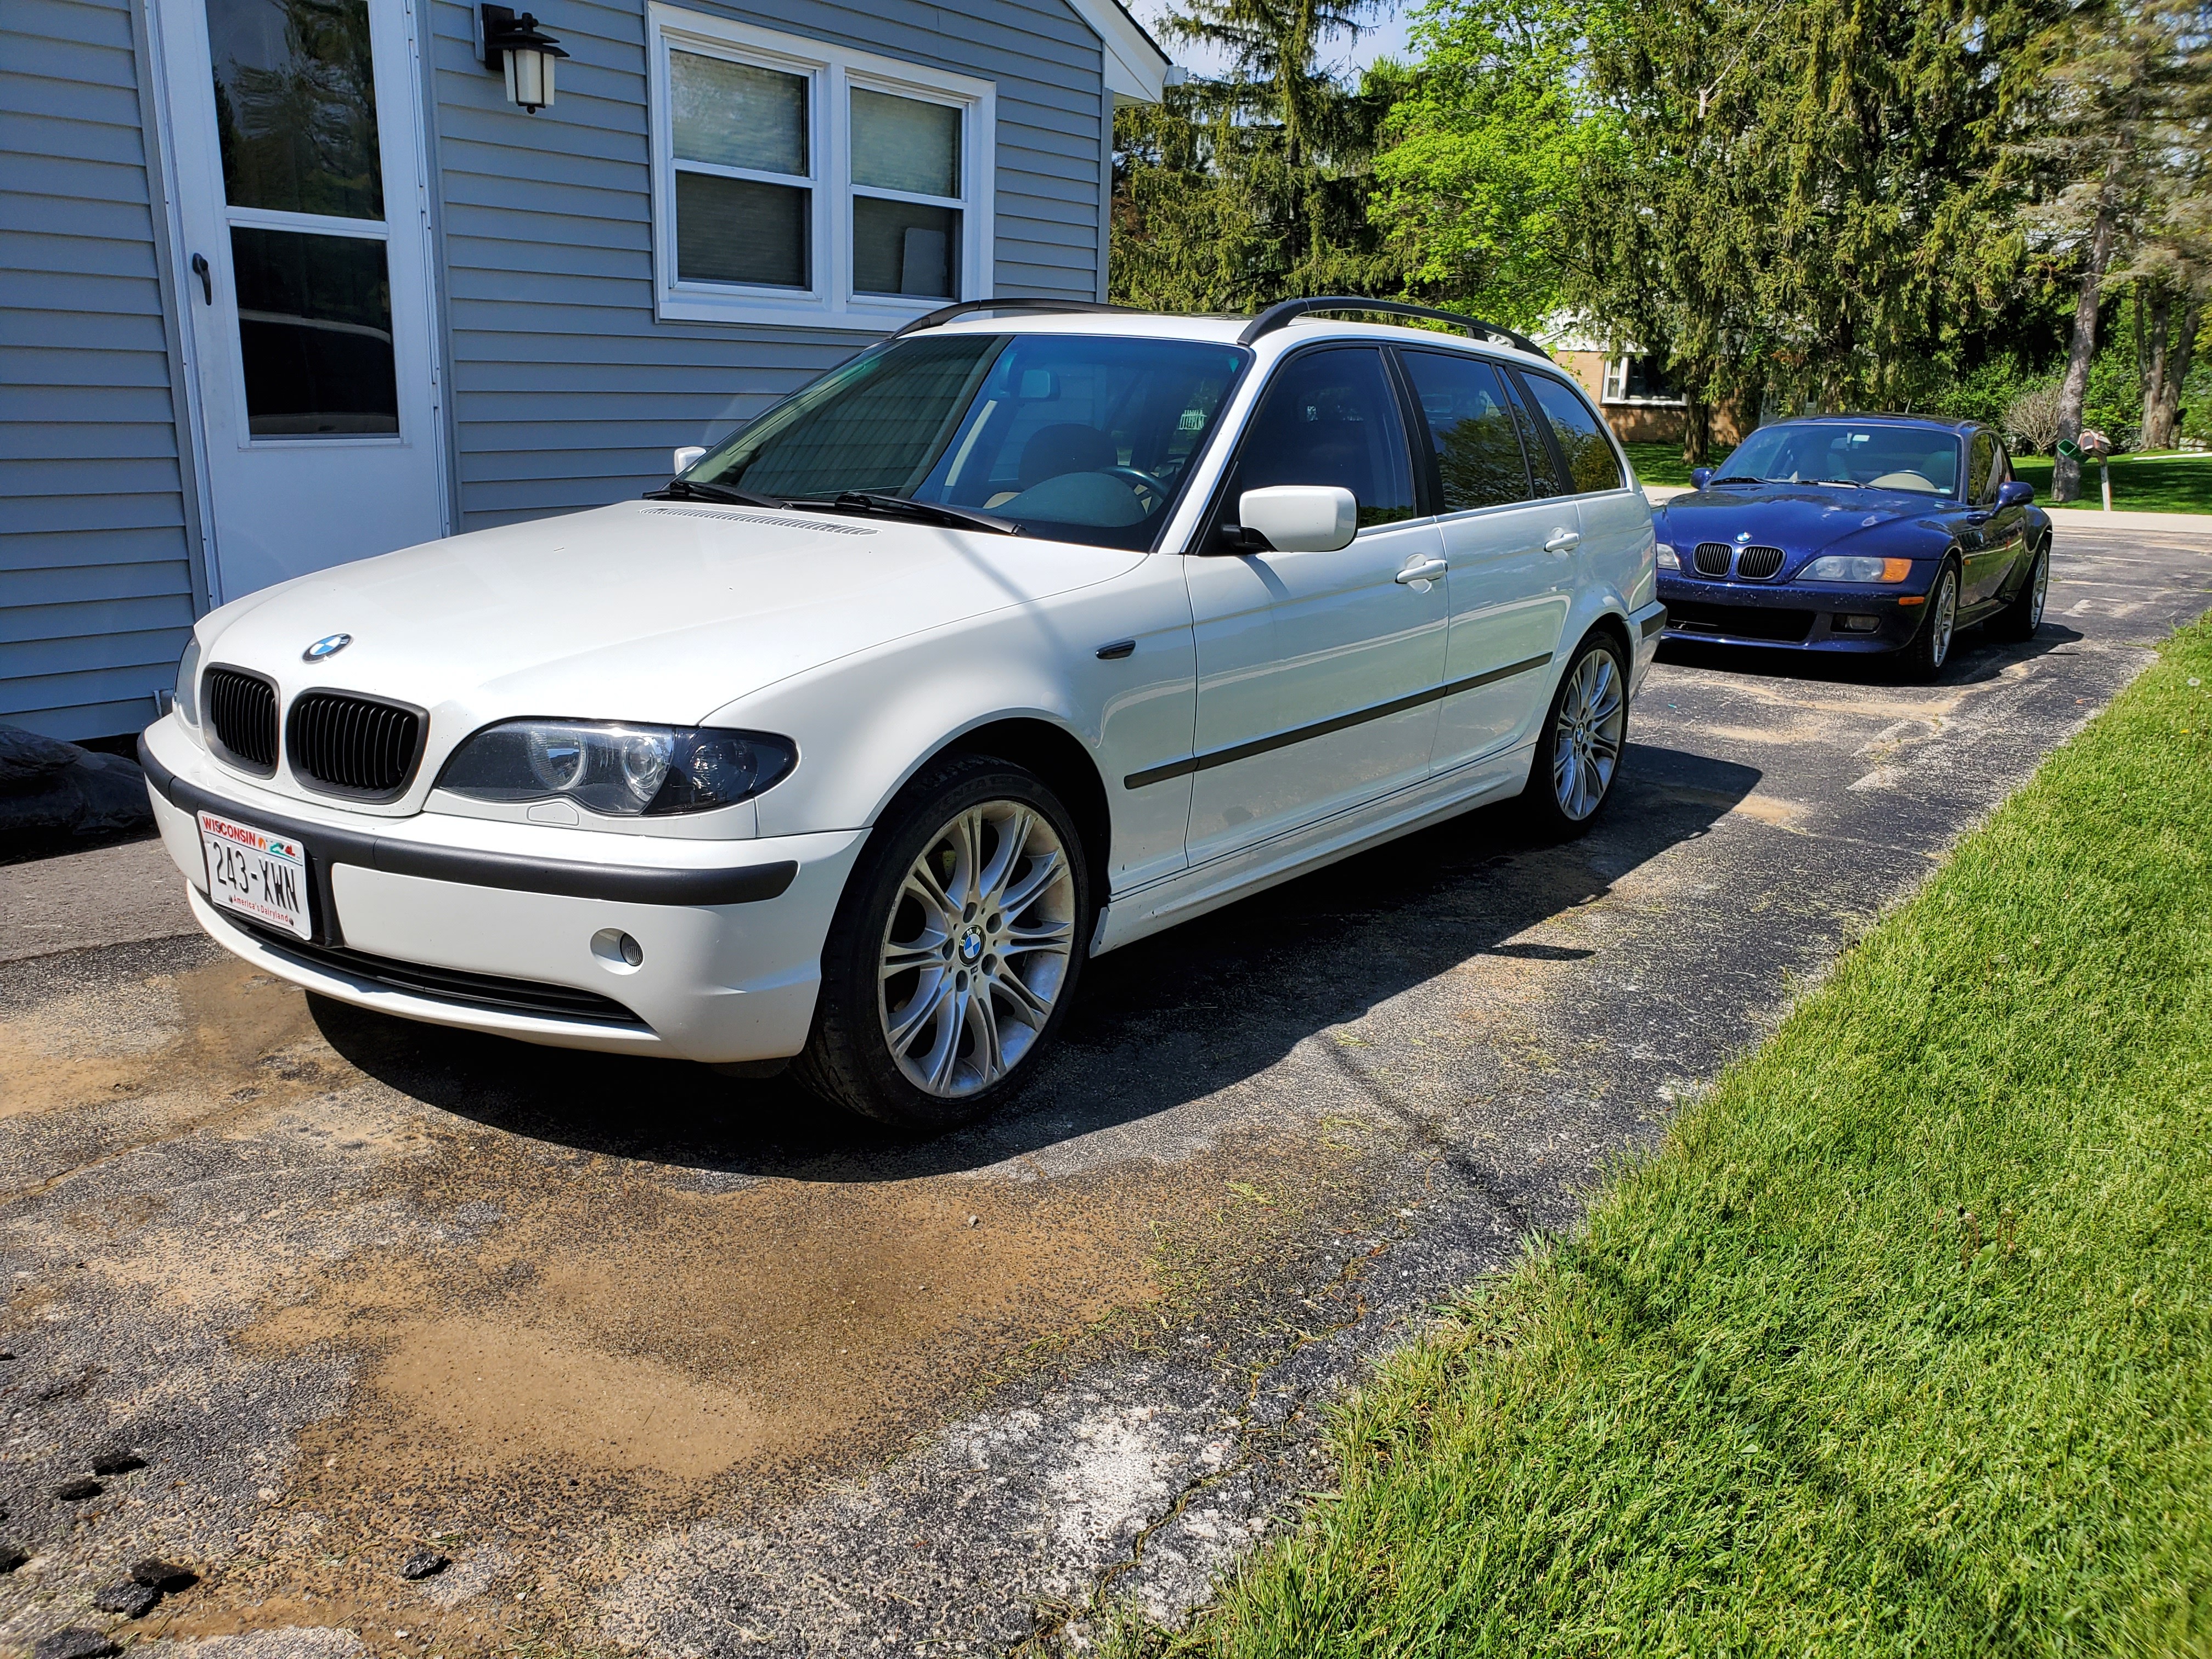
-
I've been working on a side project for the Coupe. Knowing that you have to remove the entire interior to access the top rear strut mounts, wasn't ideal for coilovers and dampening adjustments.
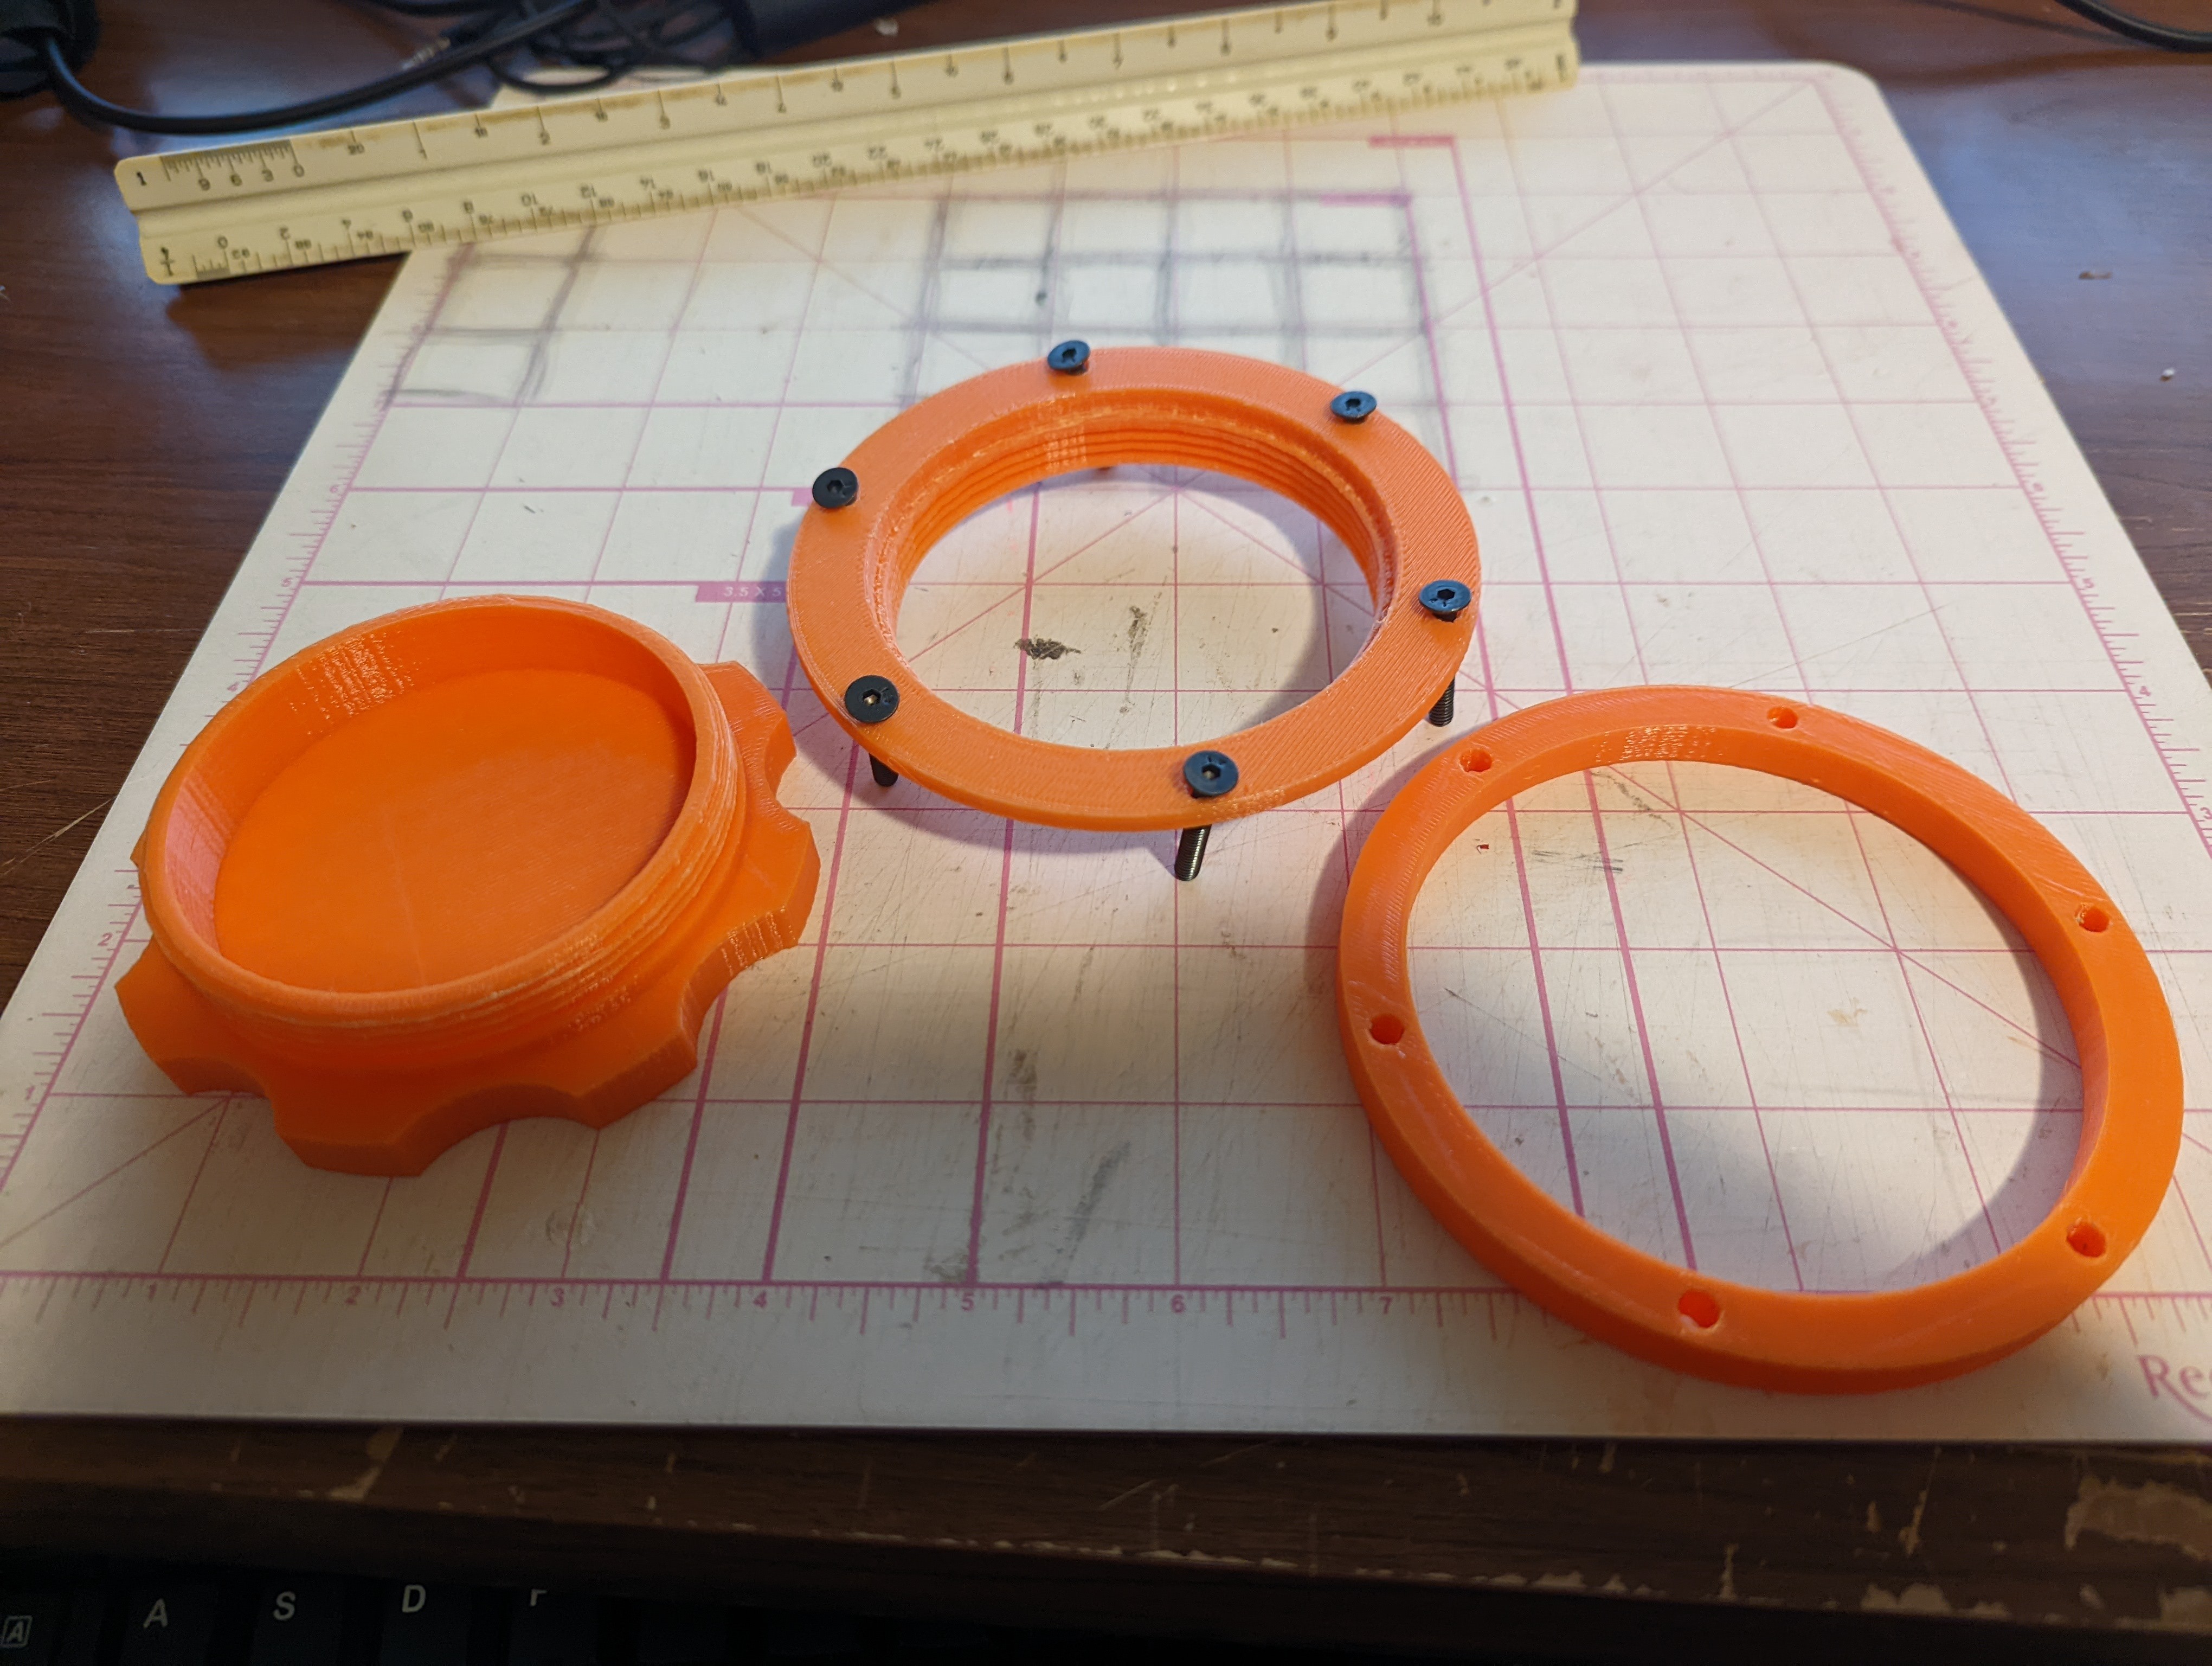
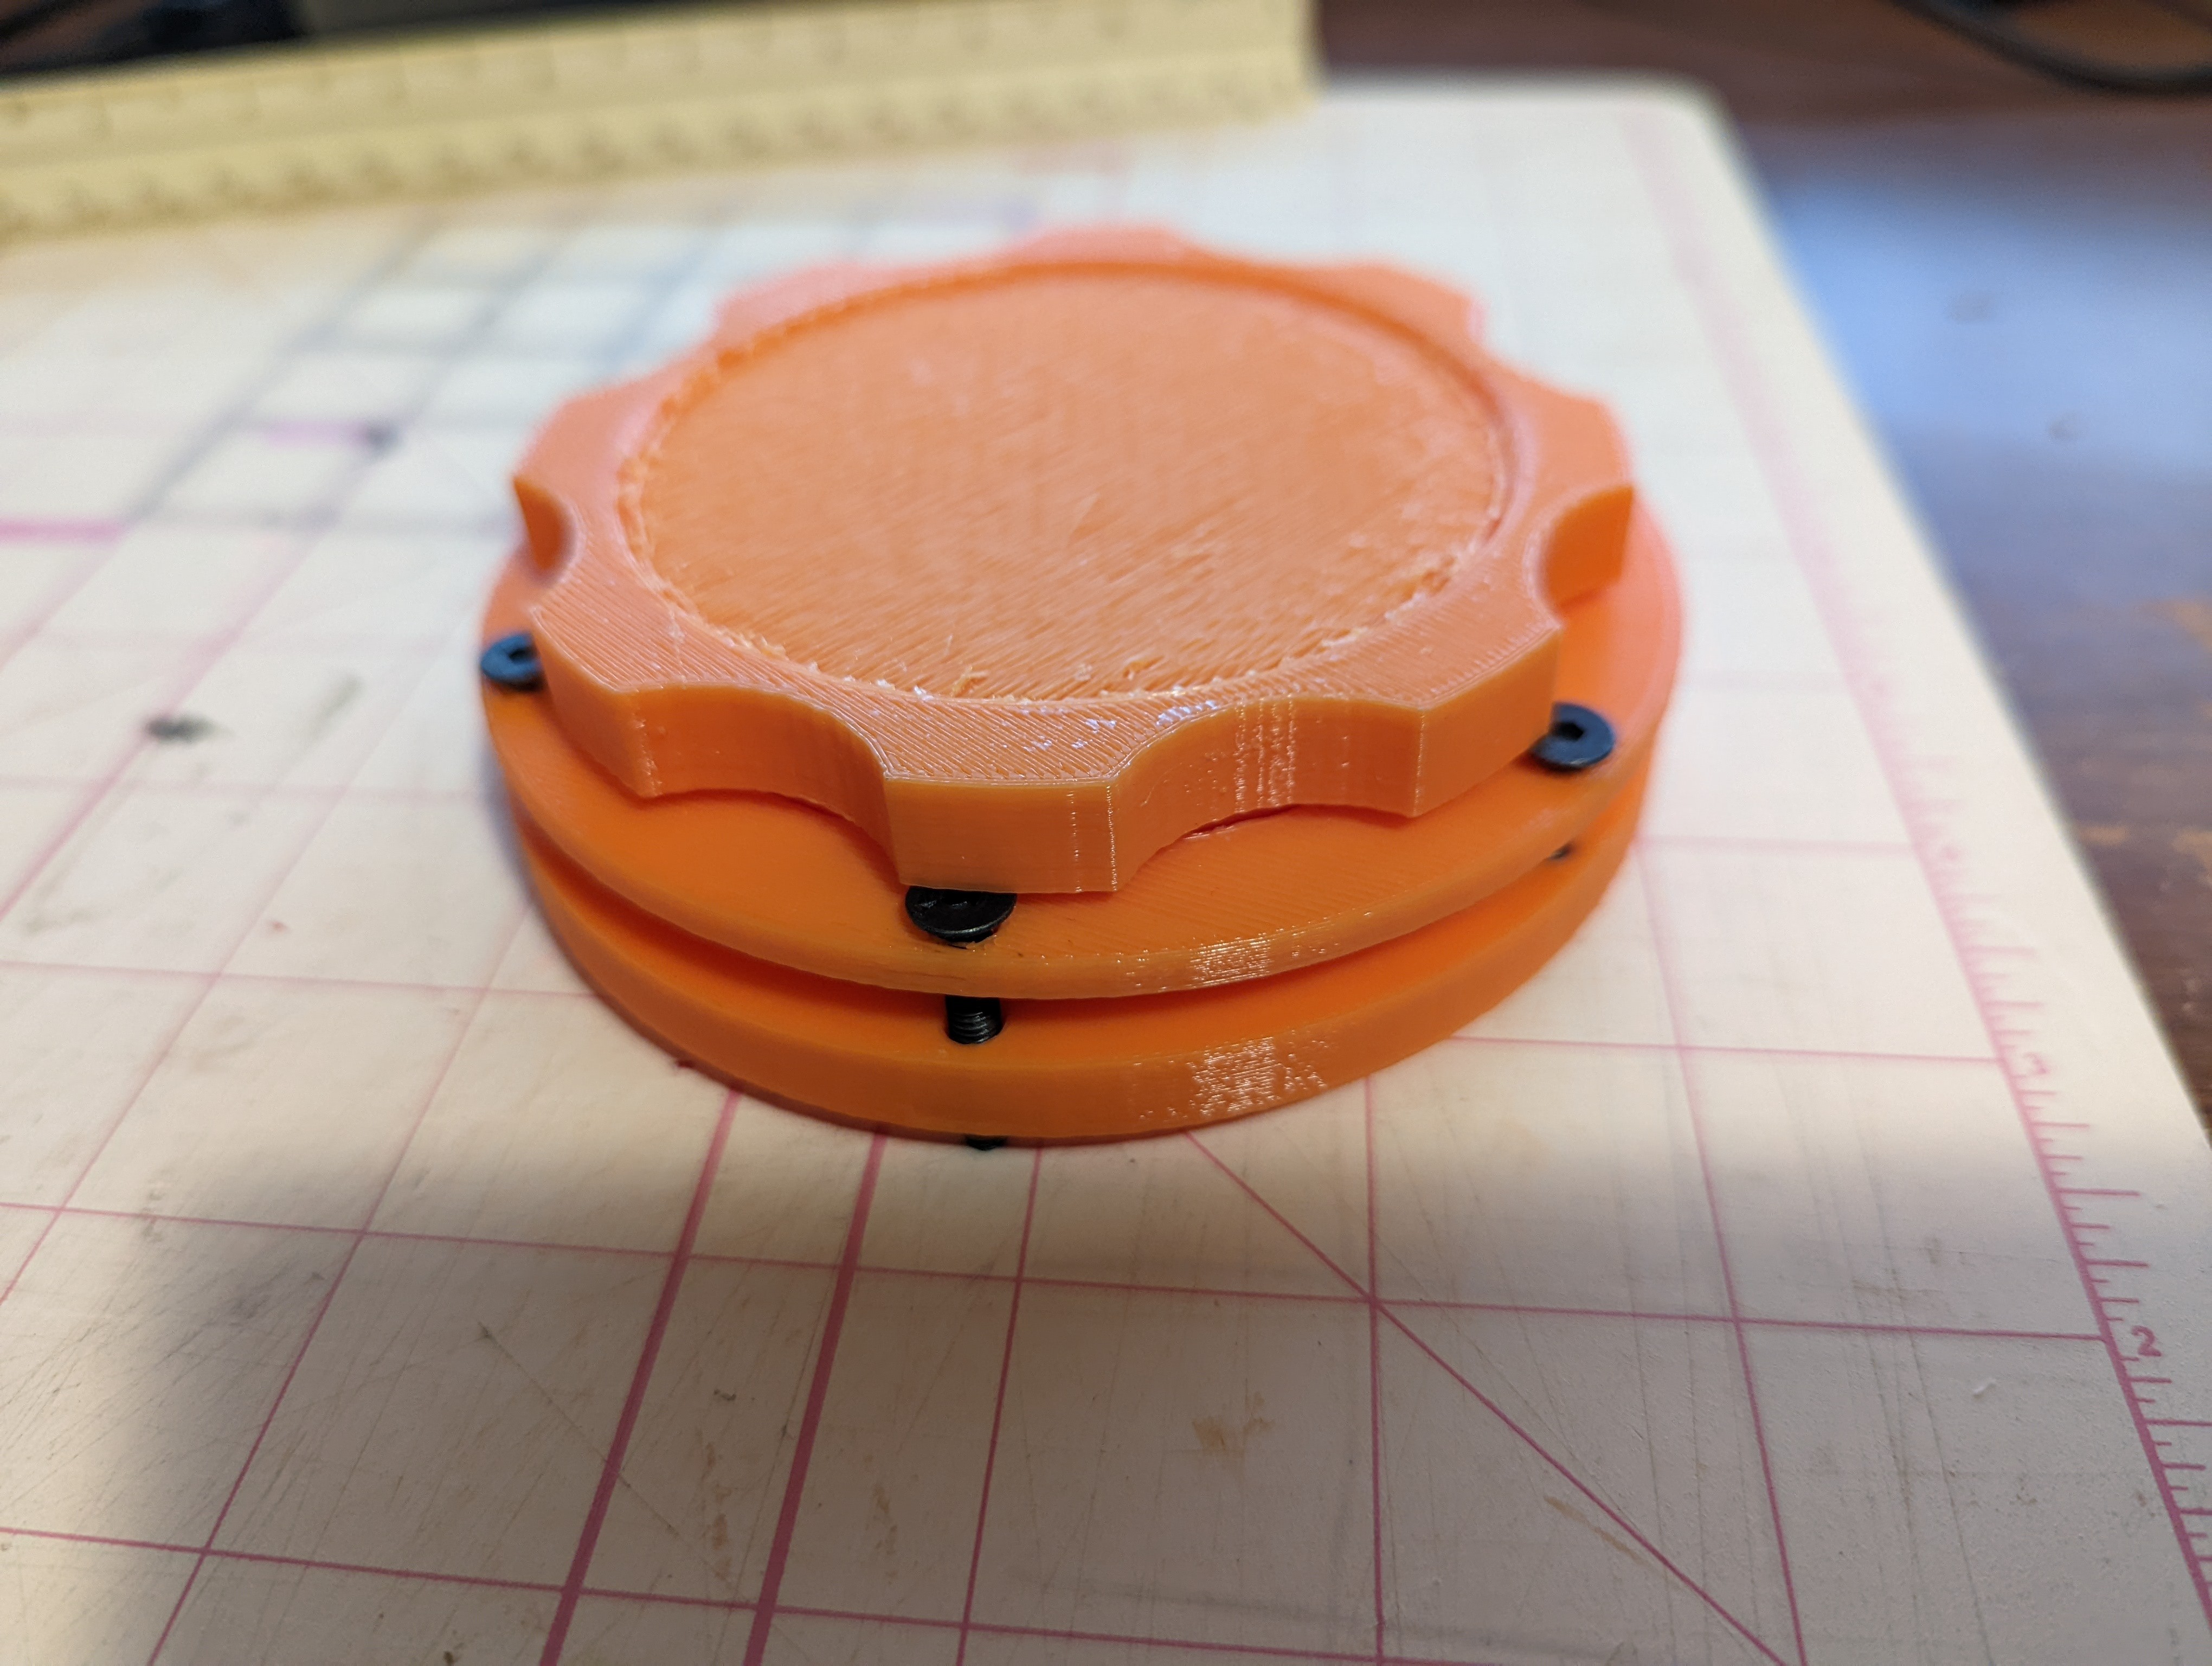
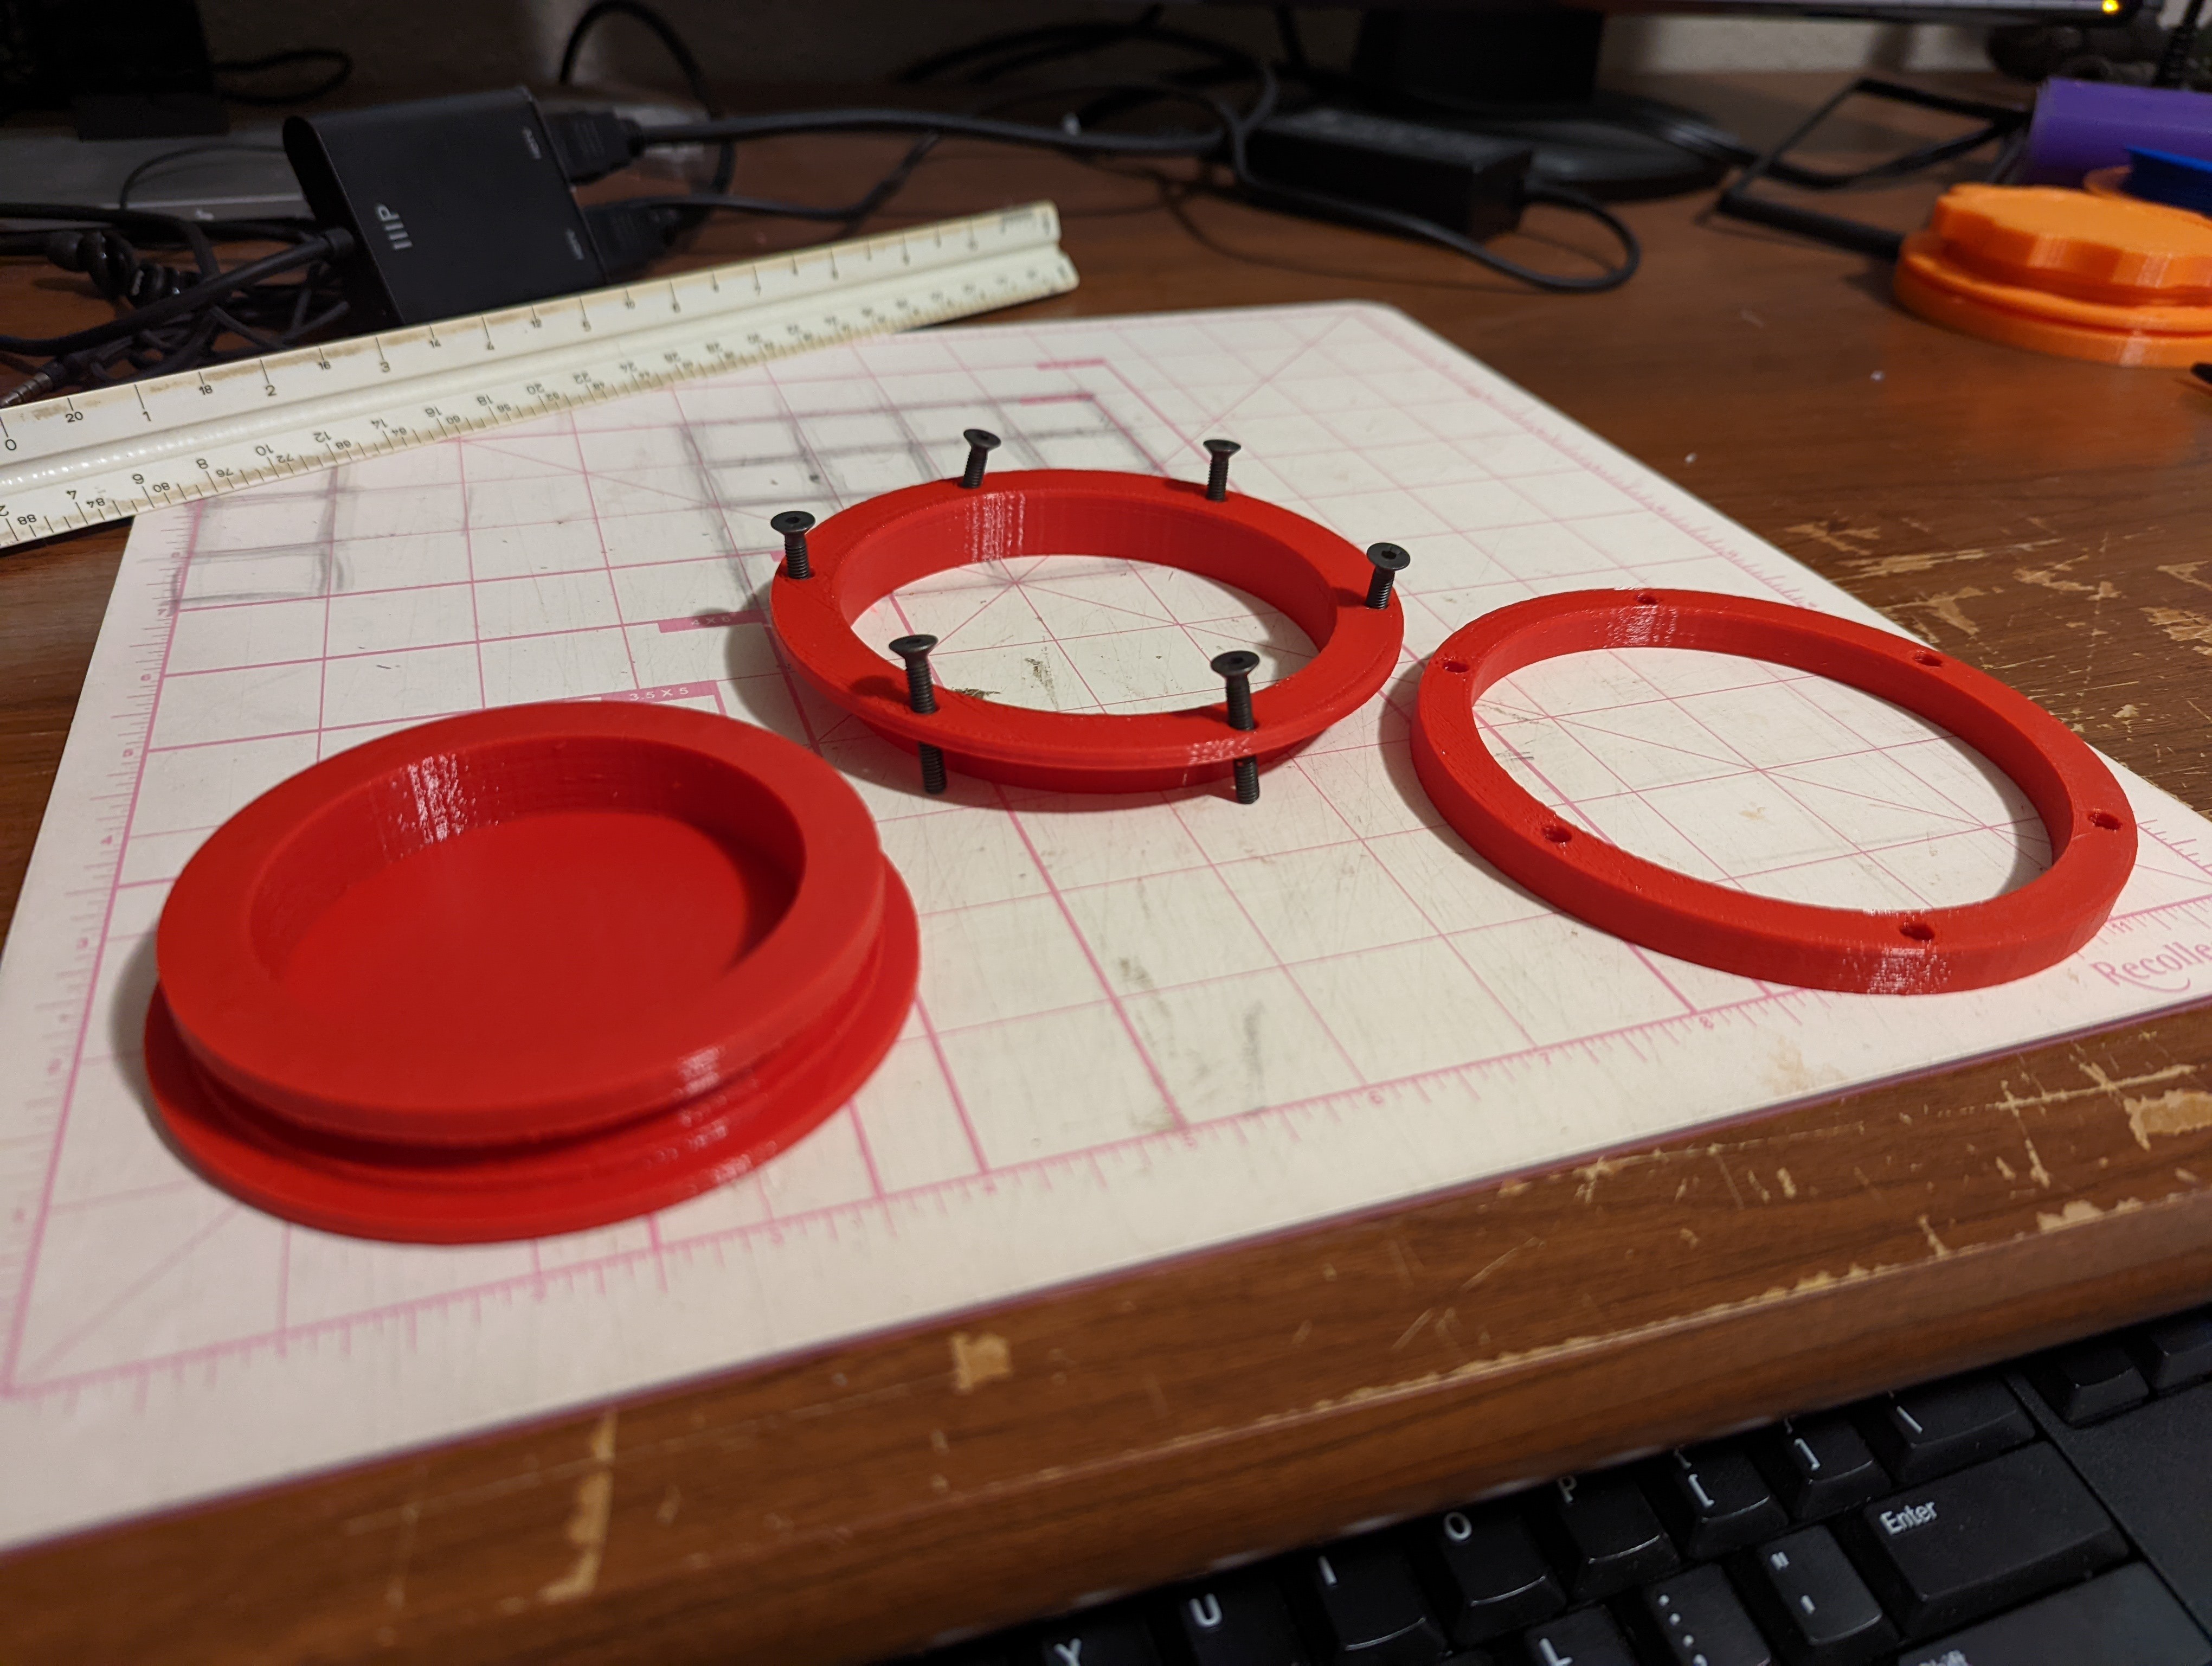
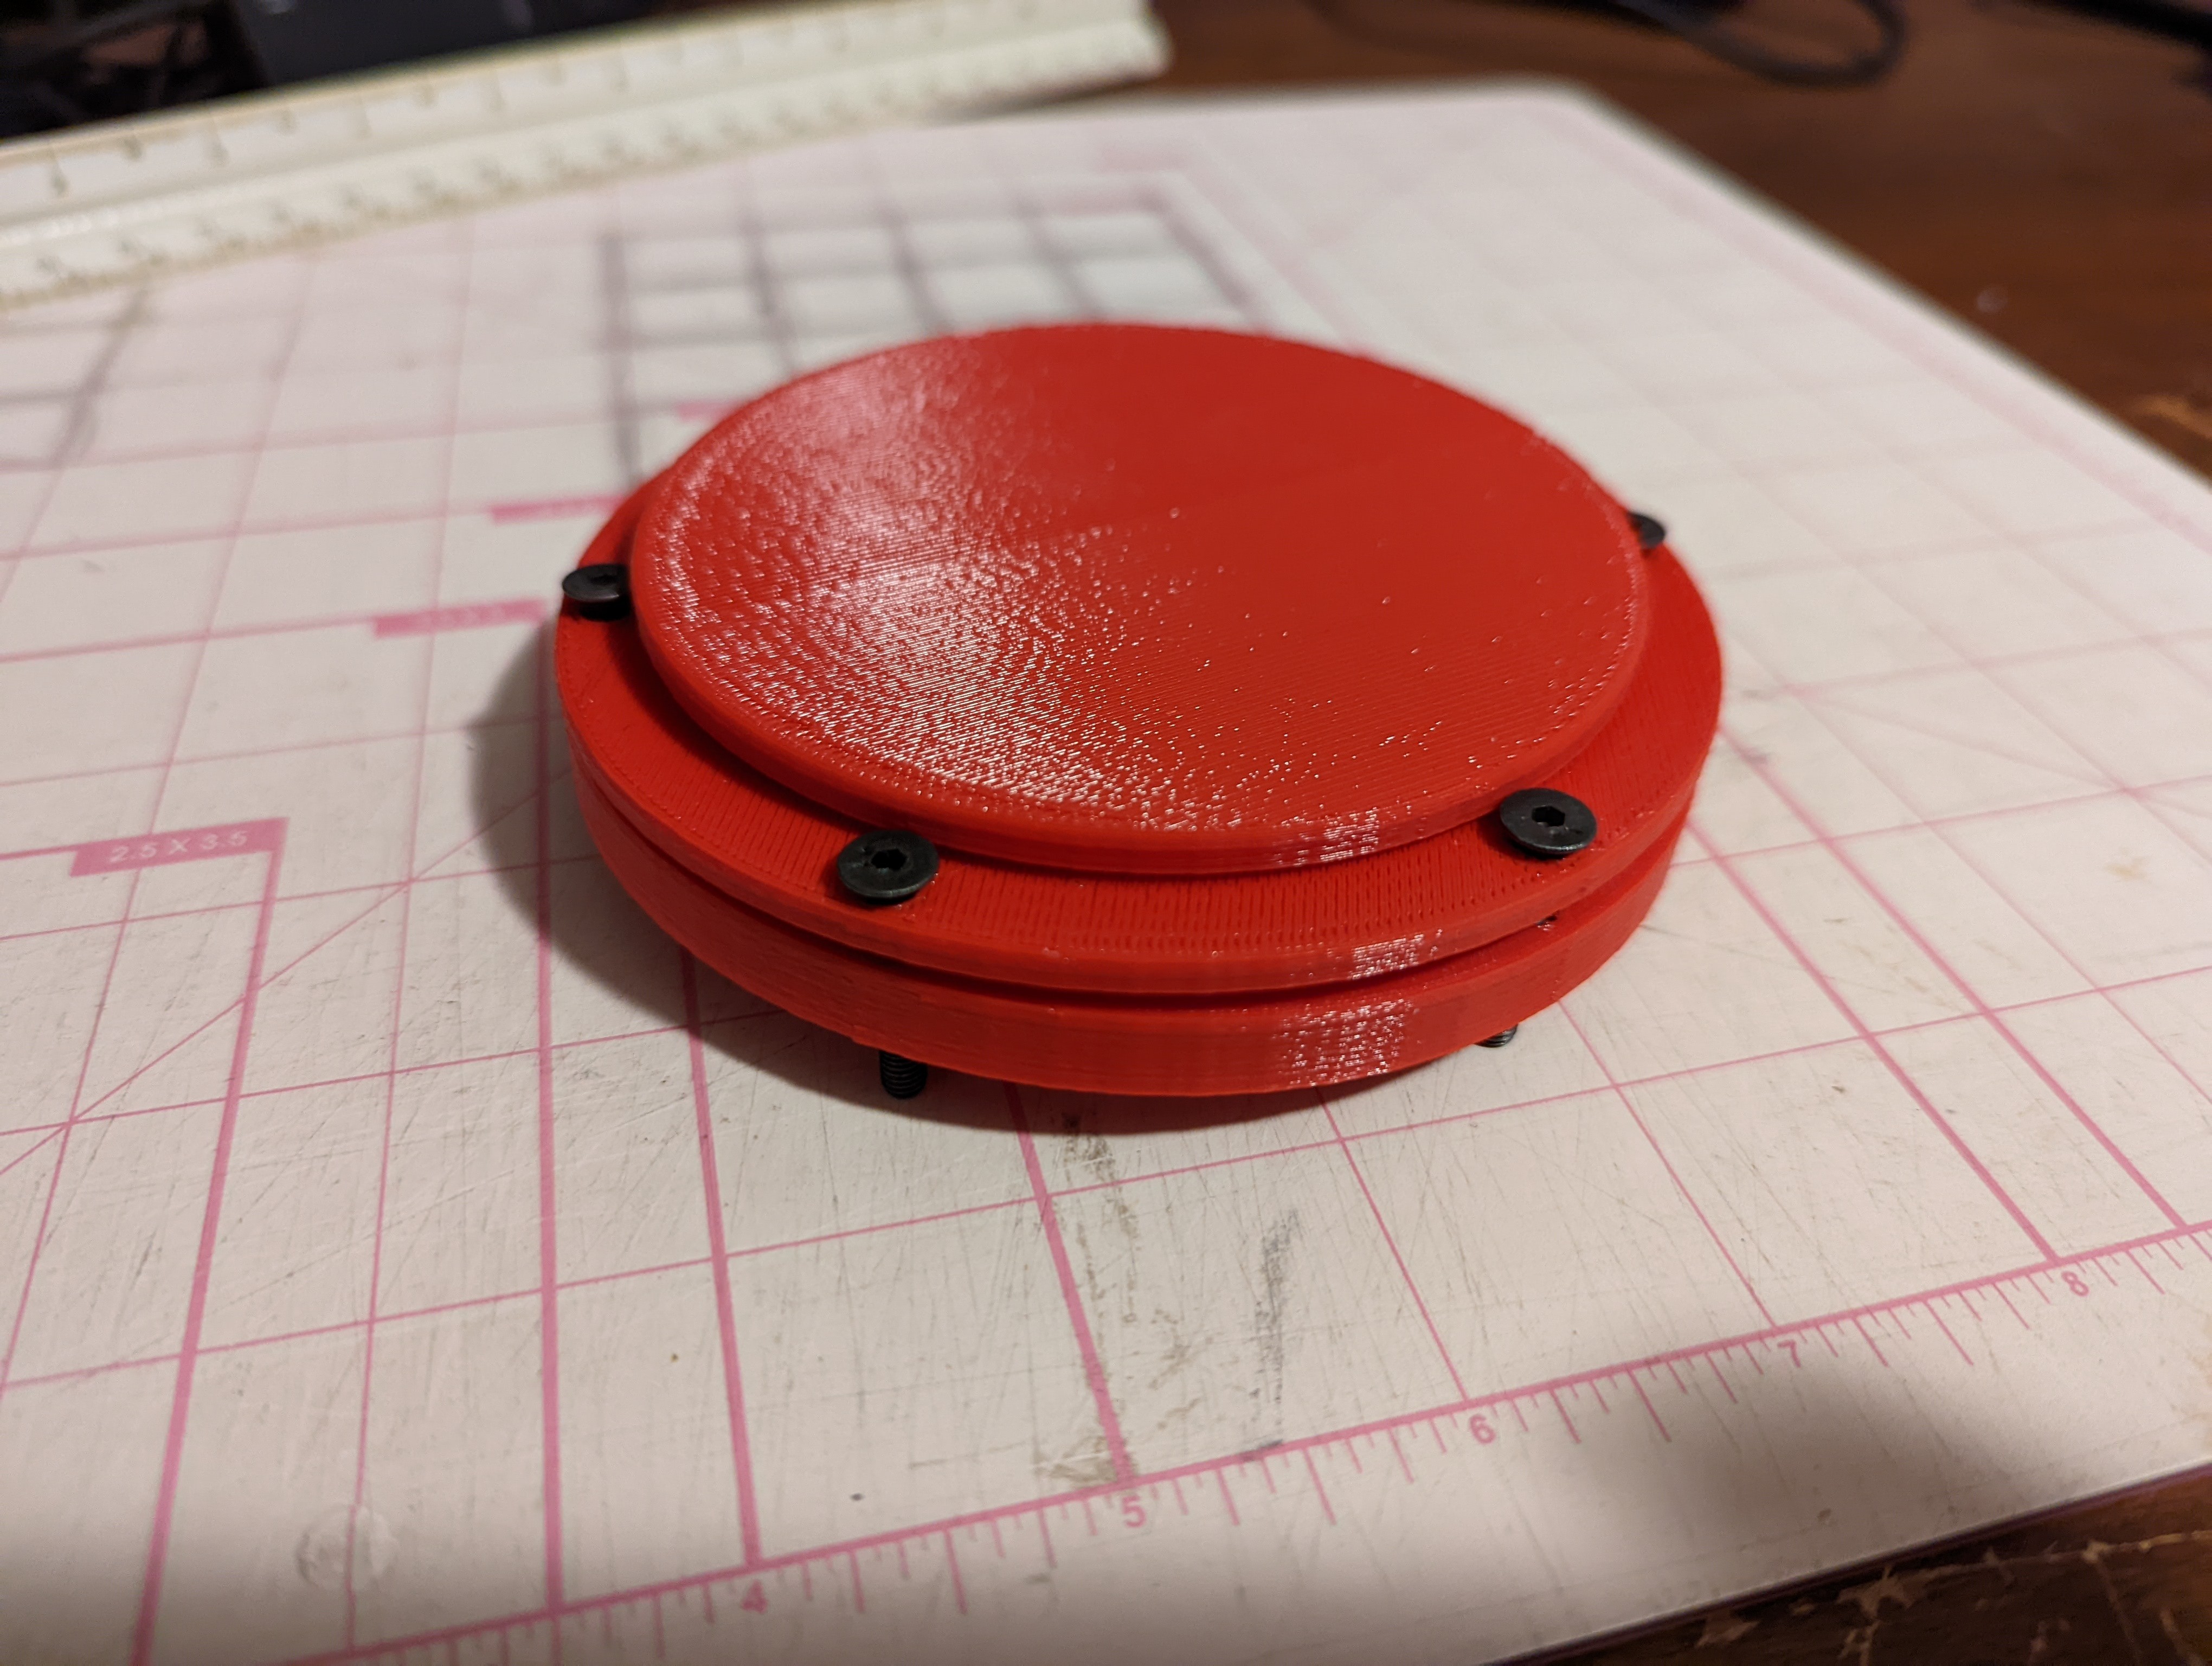
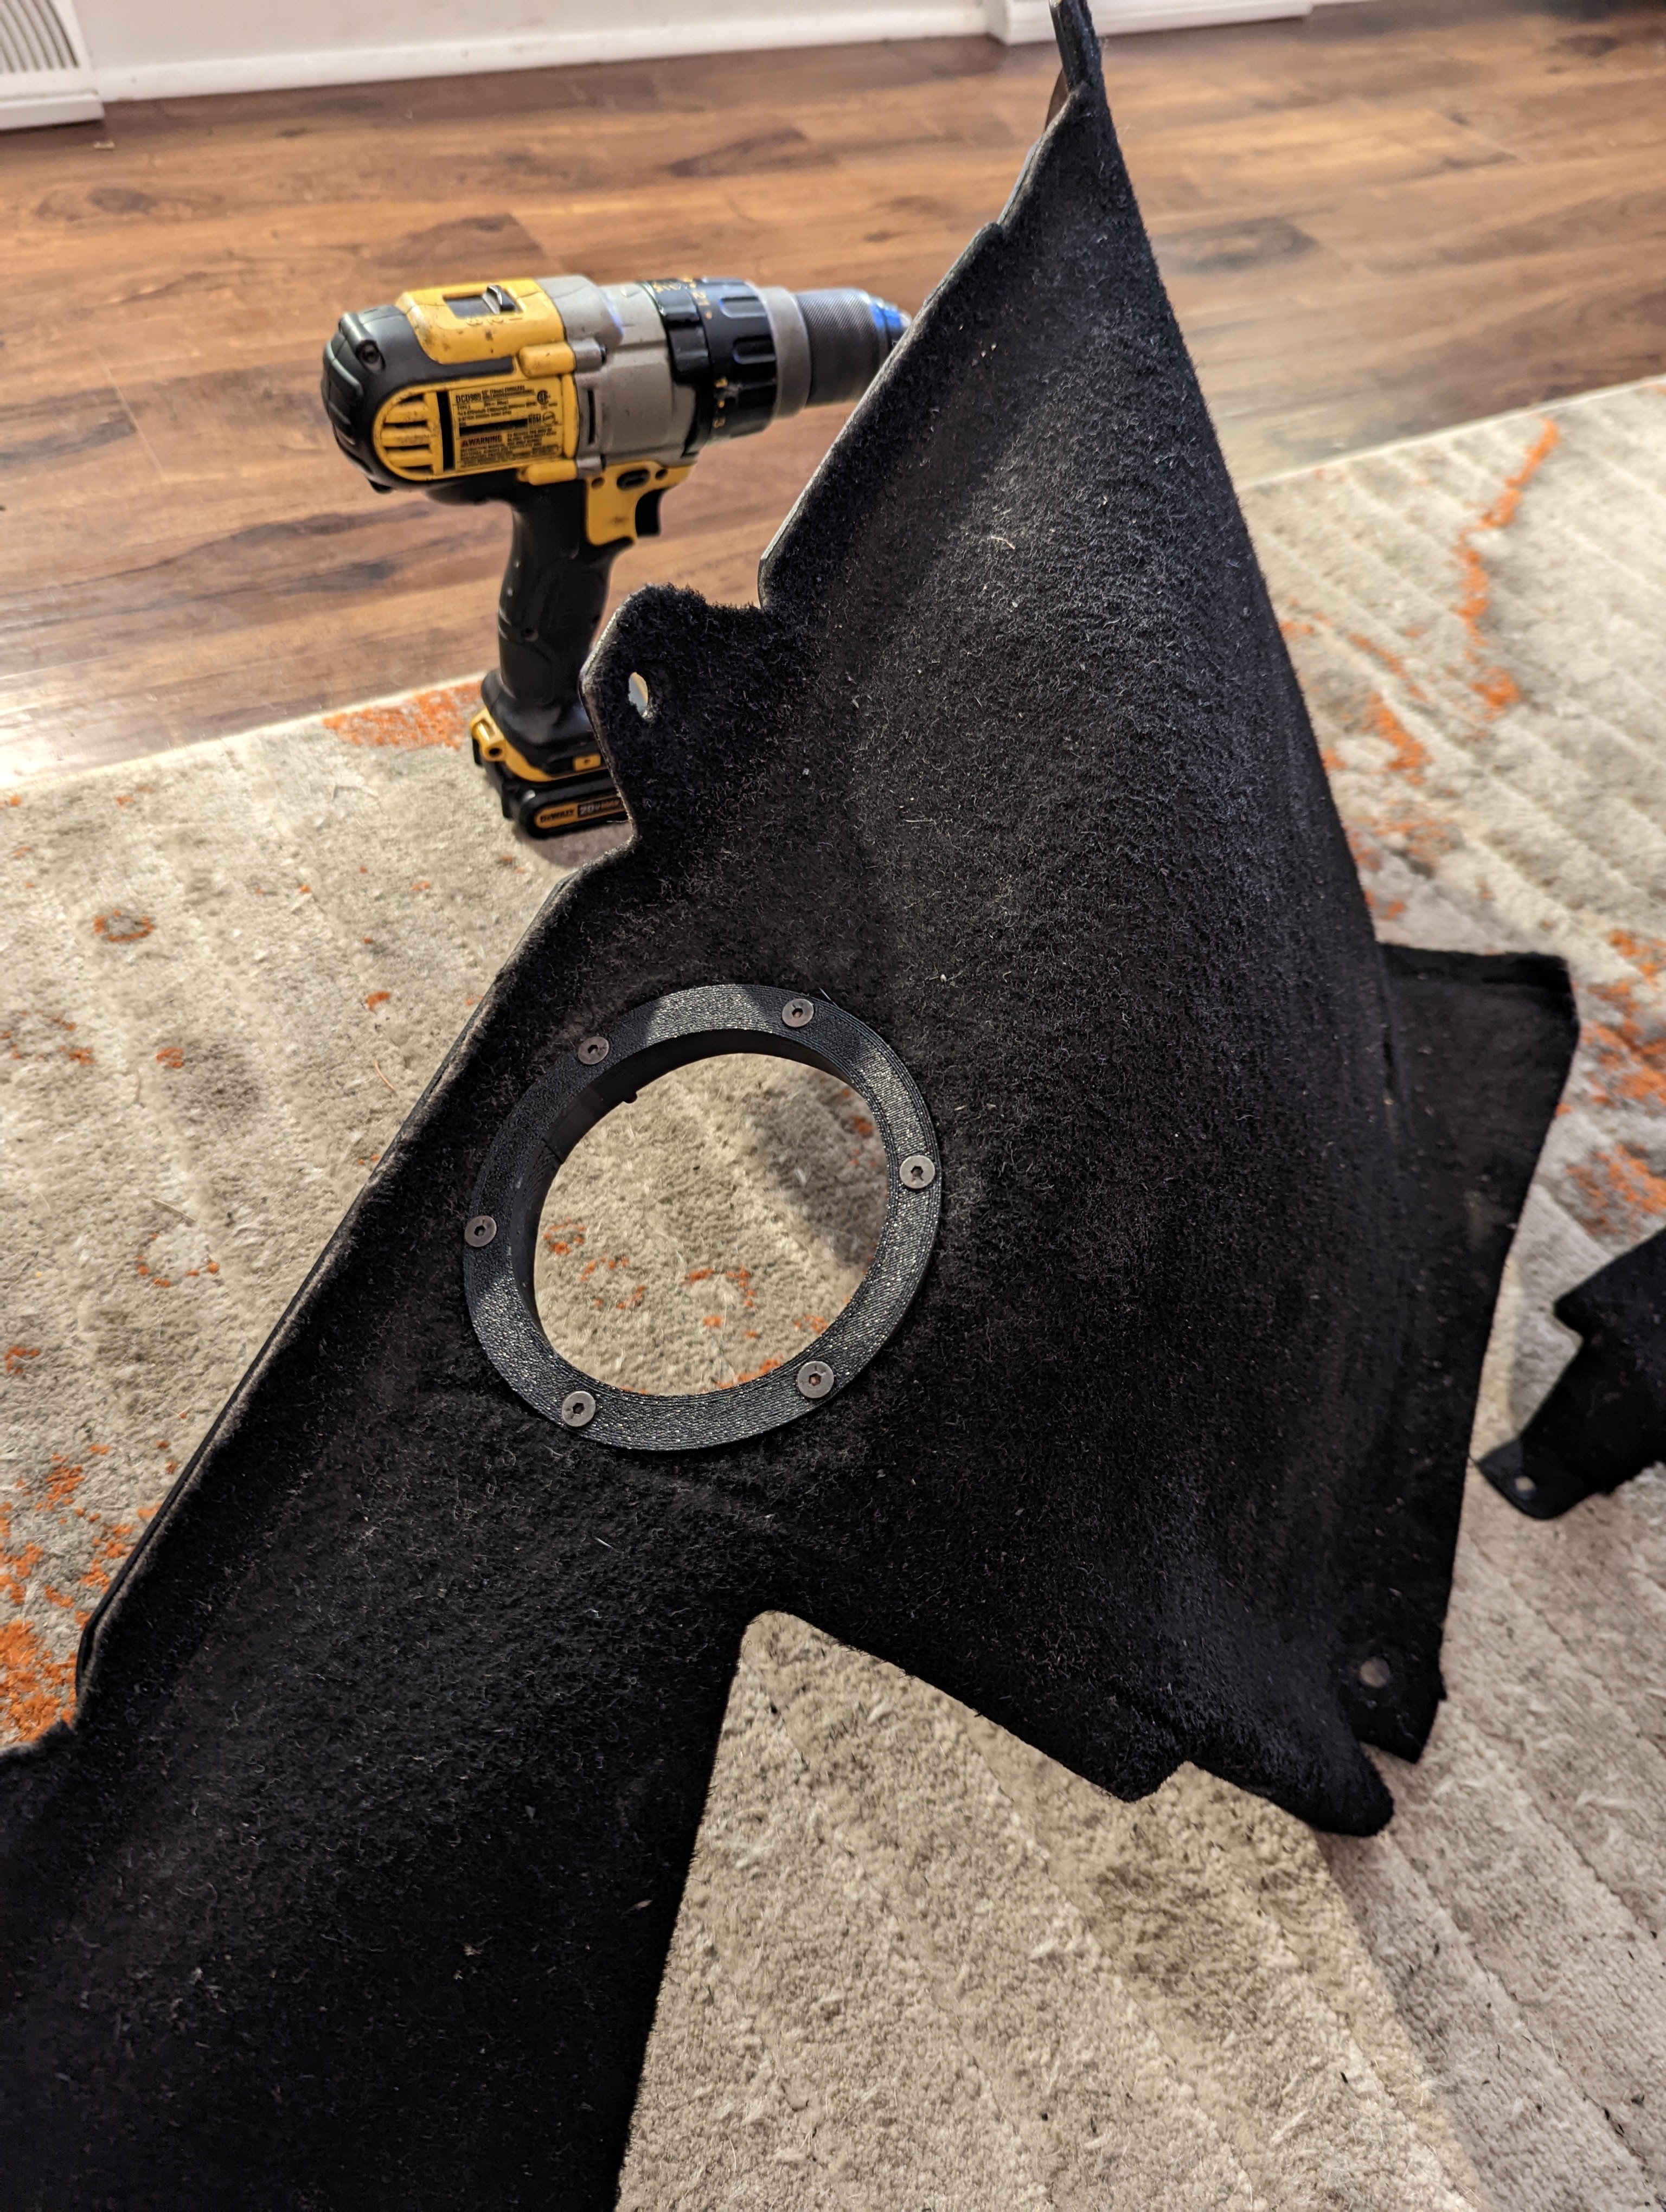
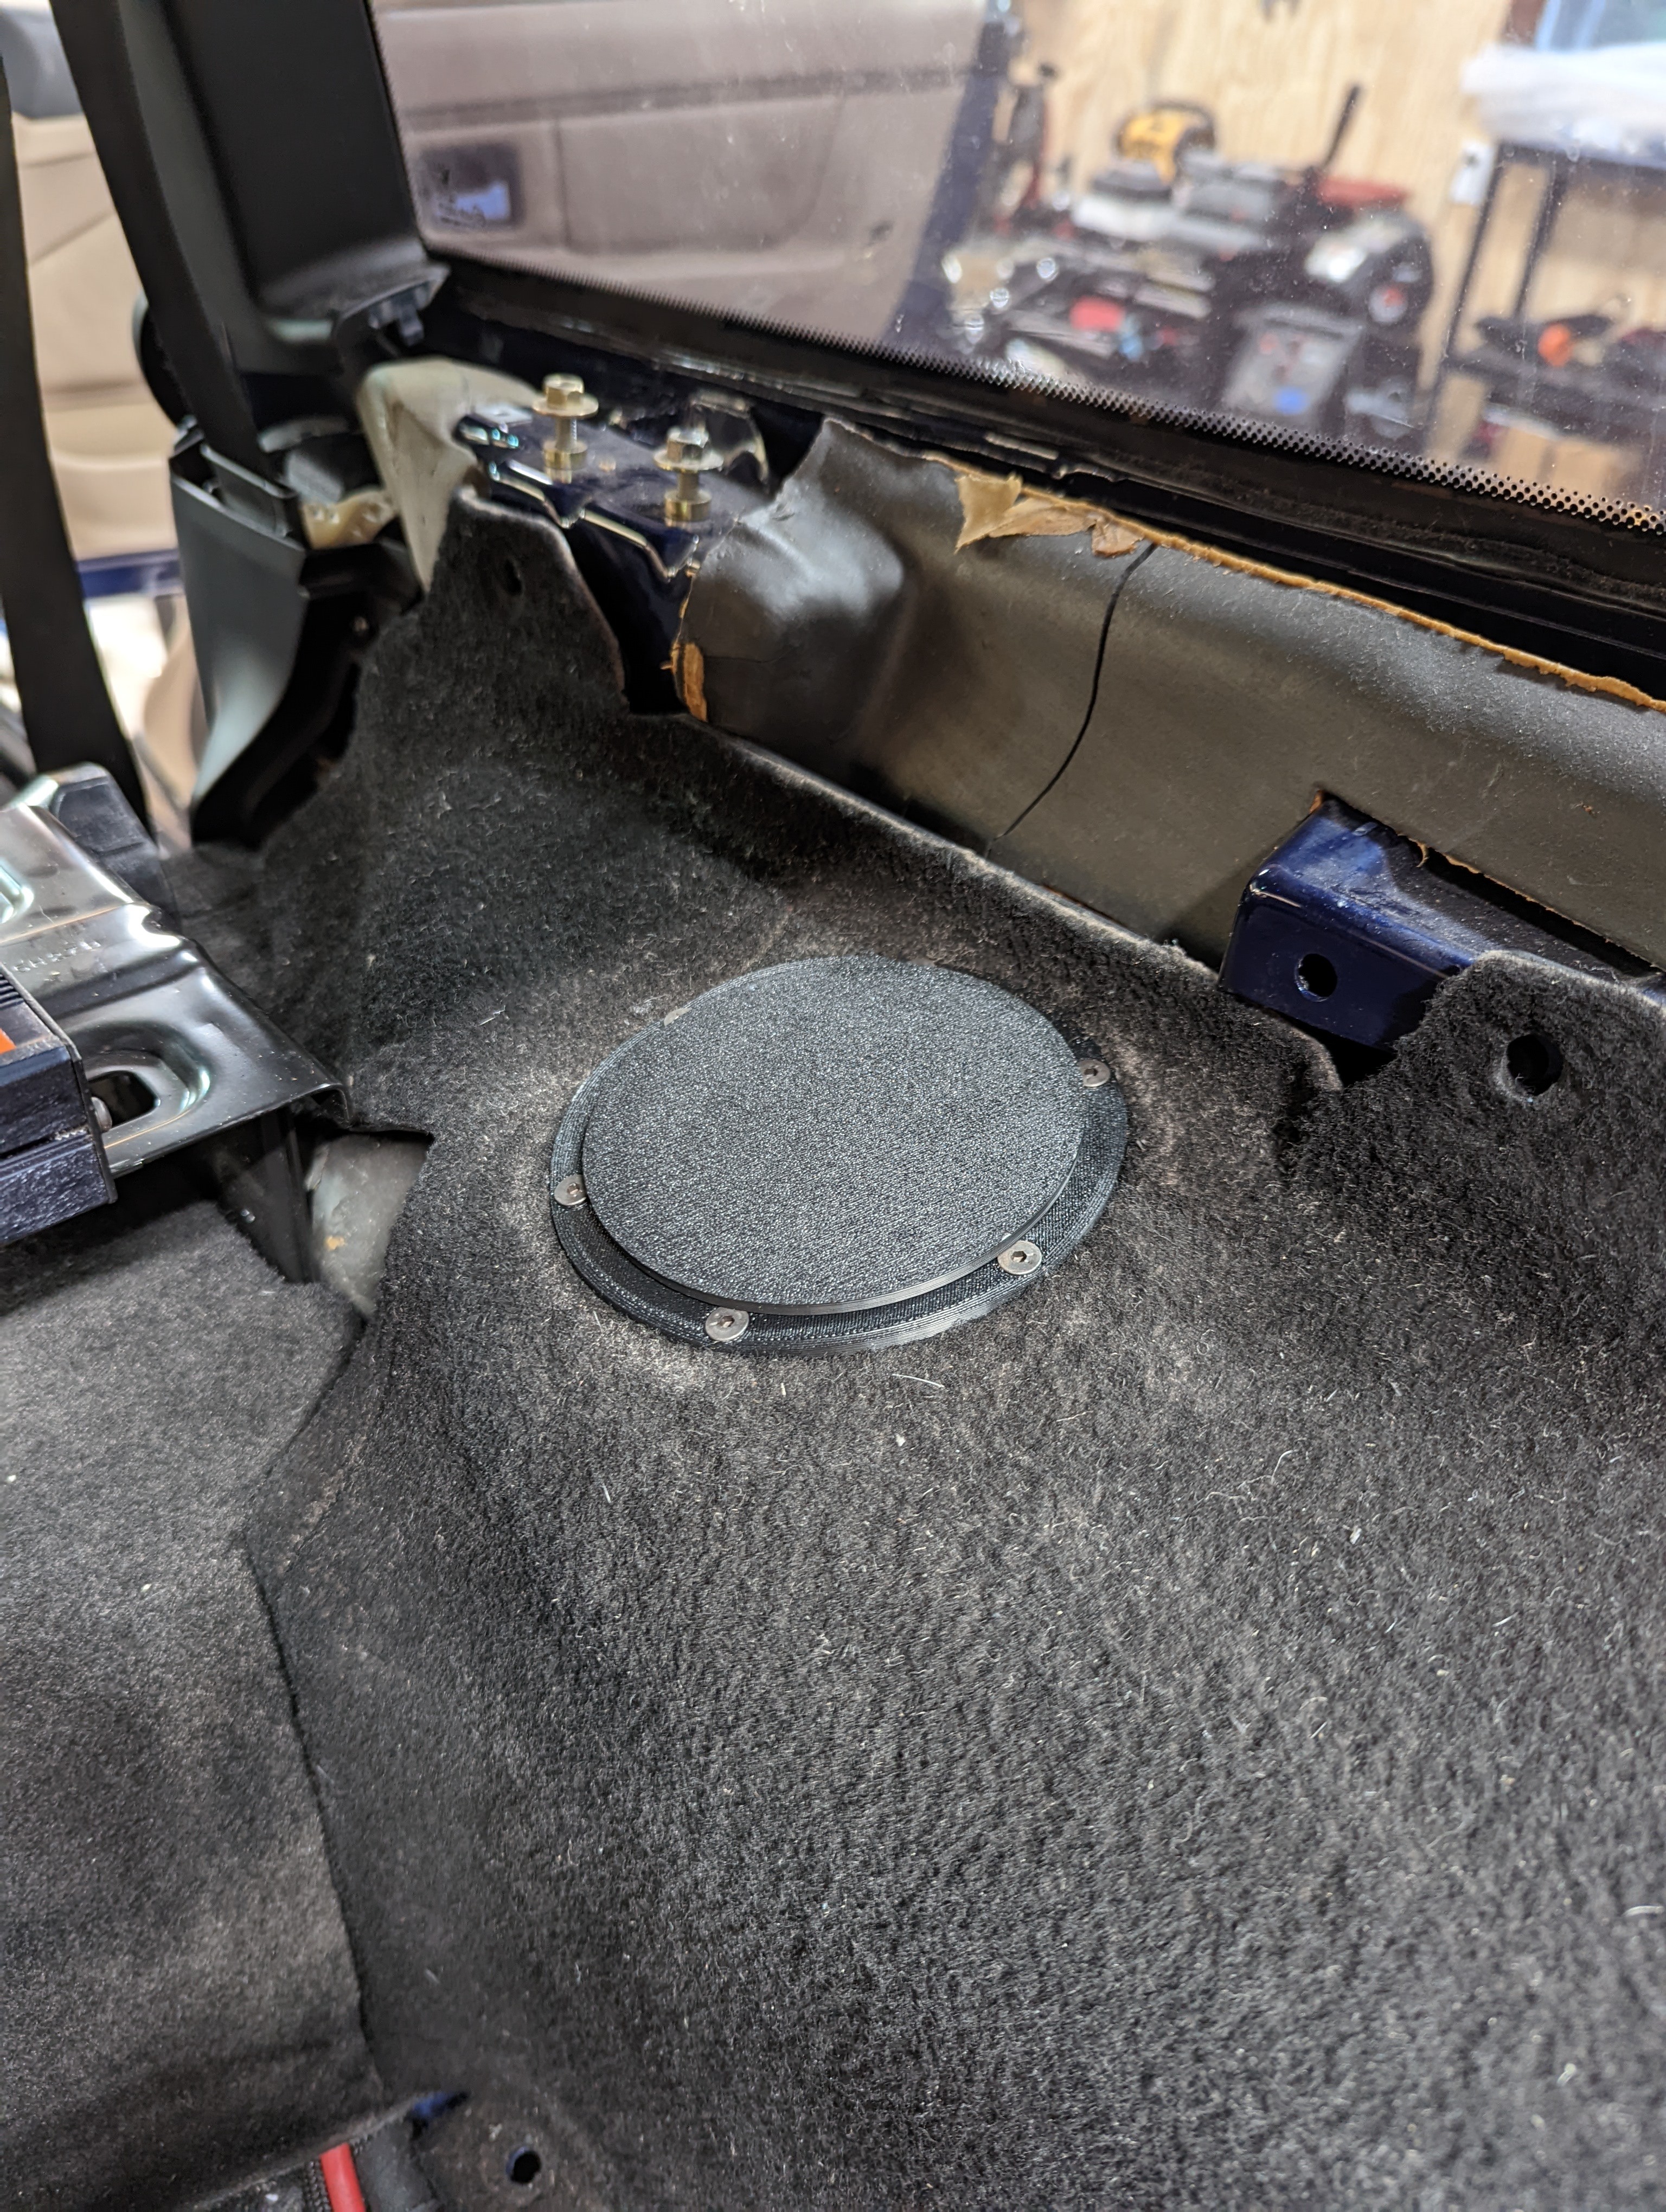
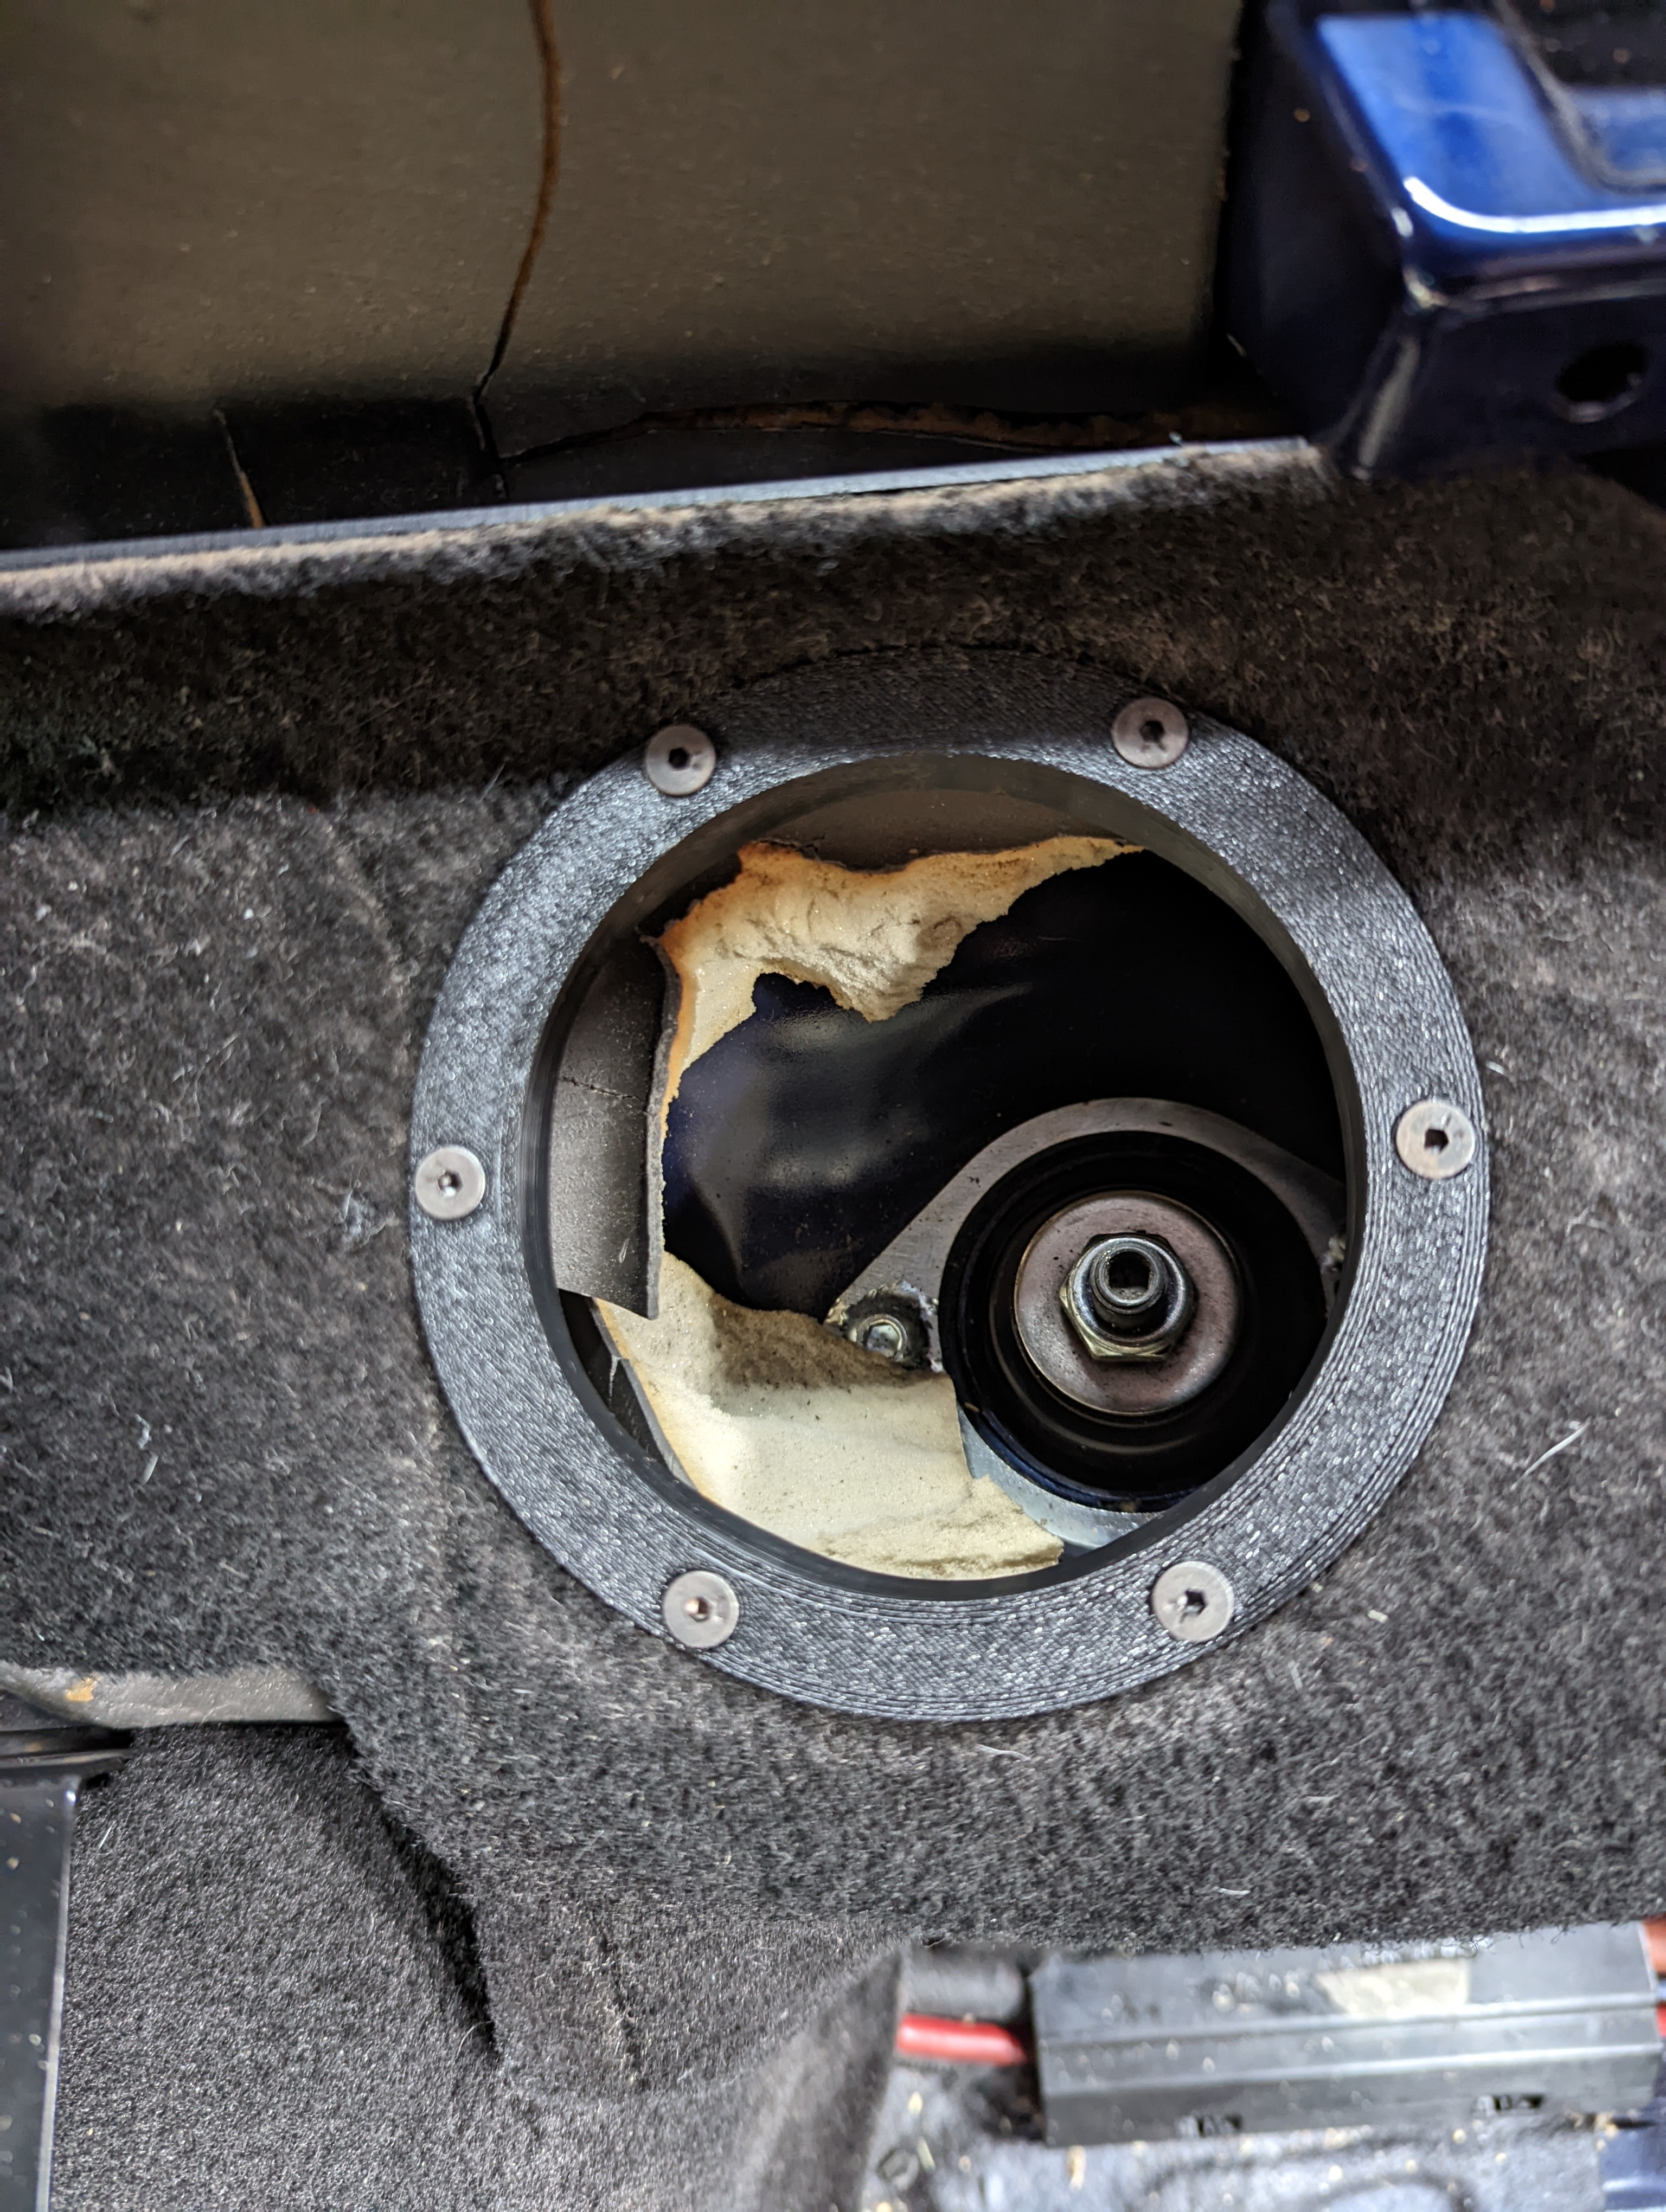
Took a chance to design some 3d printed access caps that can be installed in the carpet humps that cover the strut tops. Will allow dampening adjustments for coilovers or regular access to the strut tops for replacements or repairs without the need to remove the interior.
First go around was a little ambitious with a threaded cap into a flange set that sandwiches the carpet for mounting.
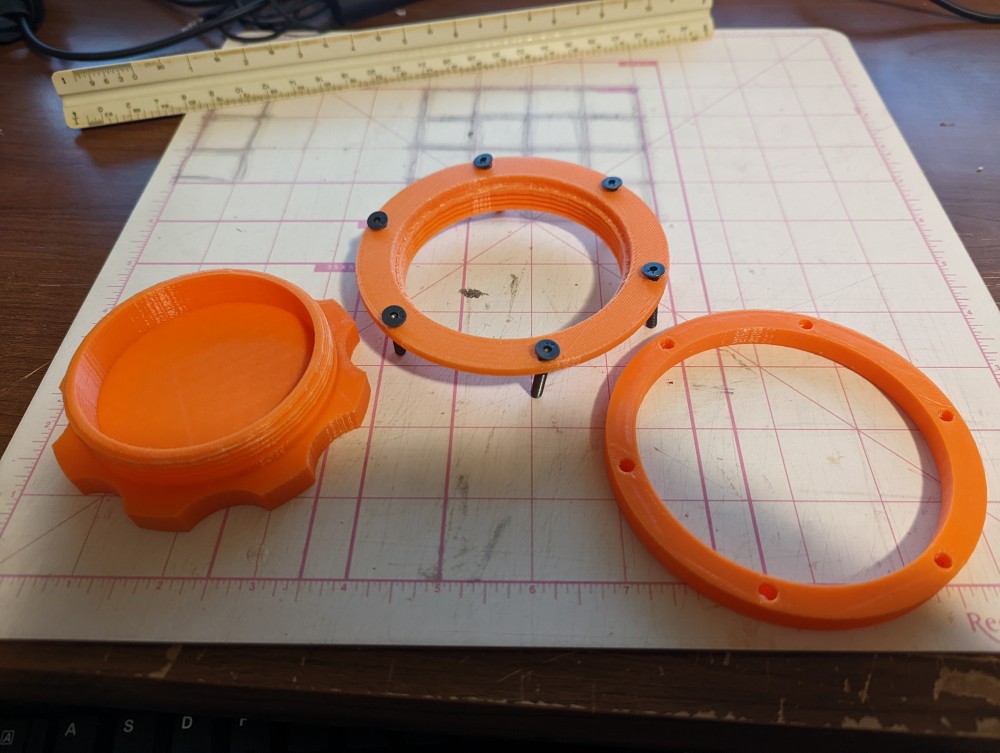
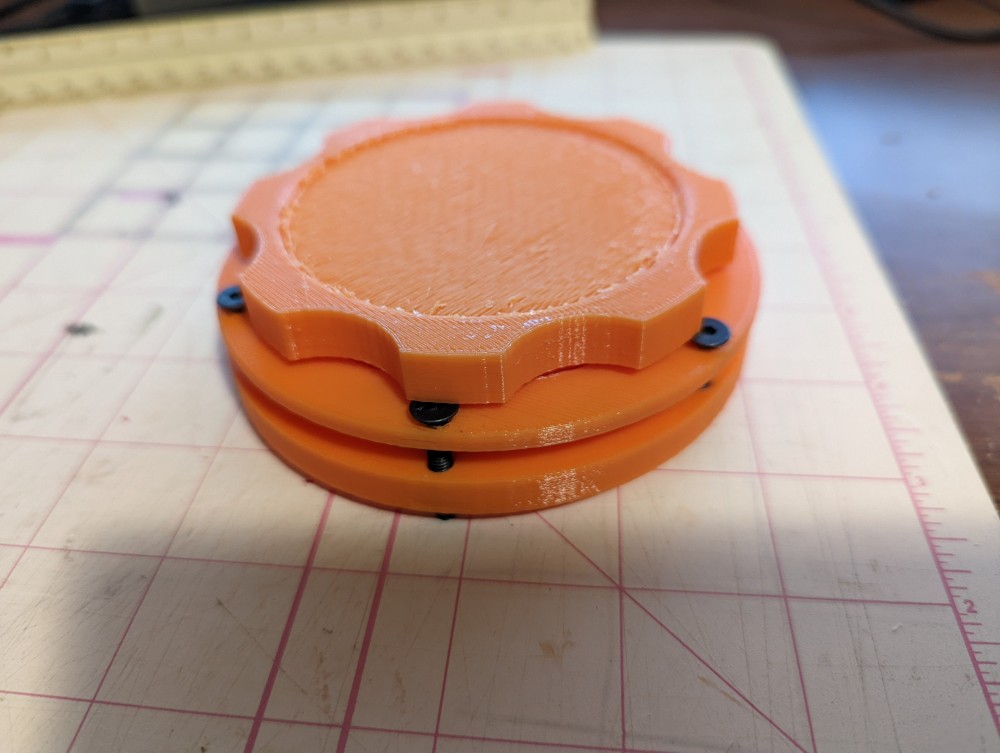
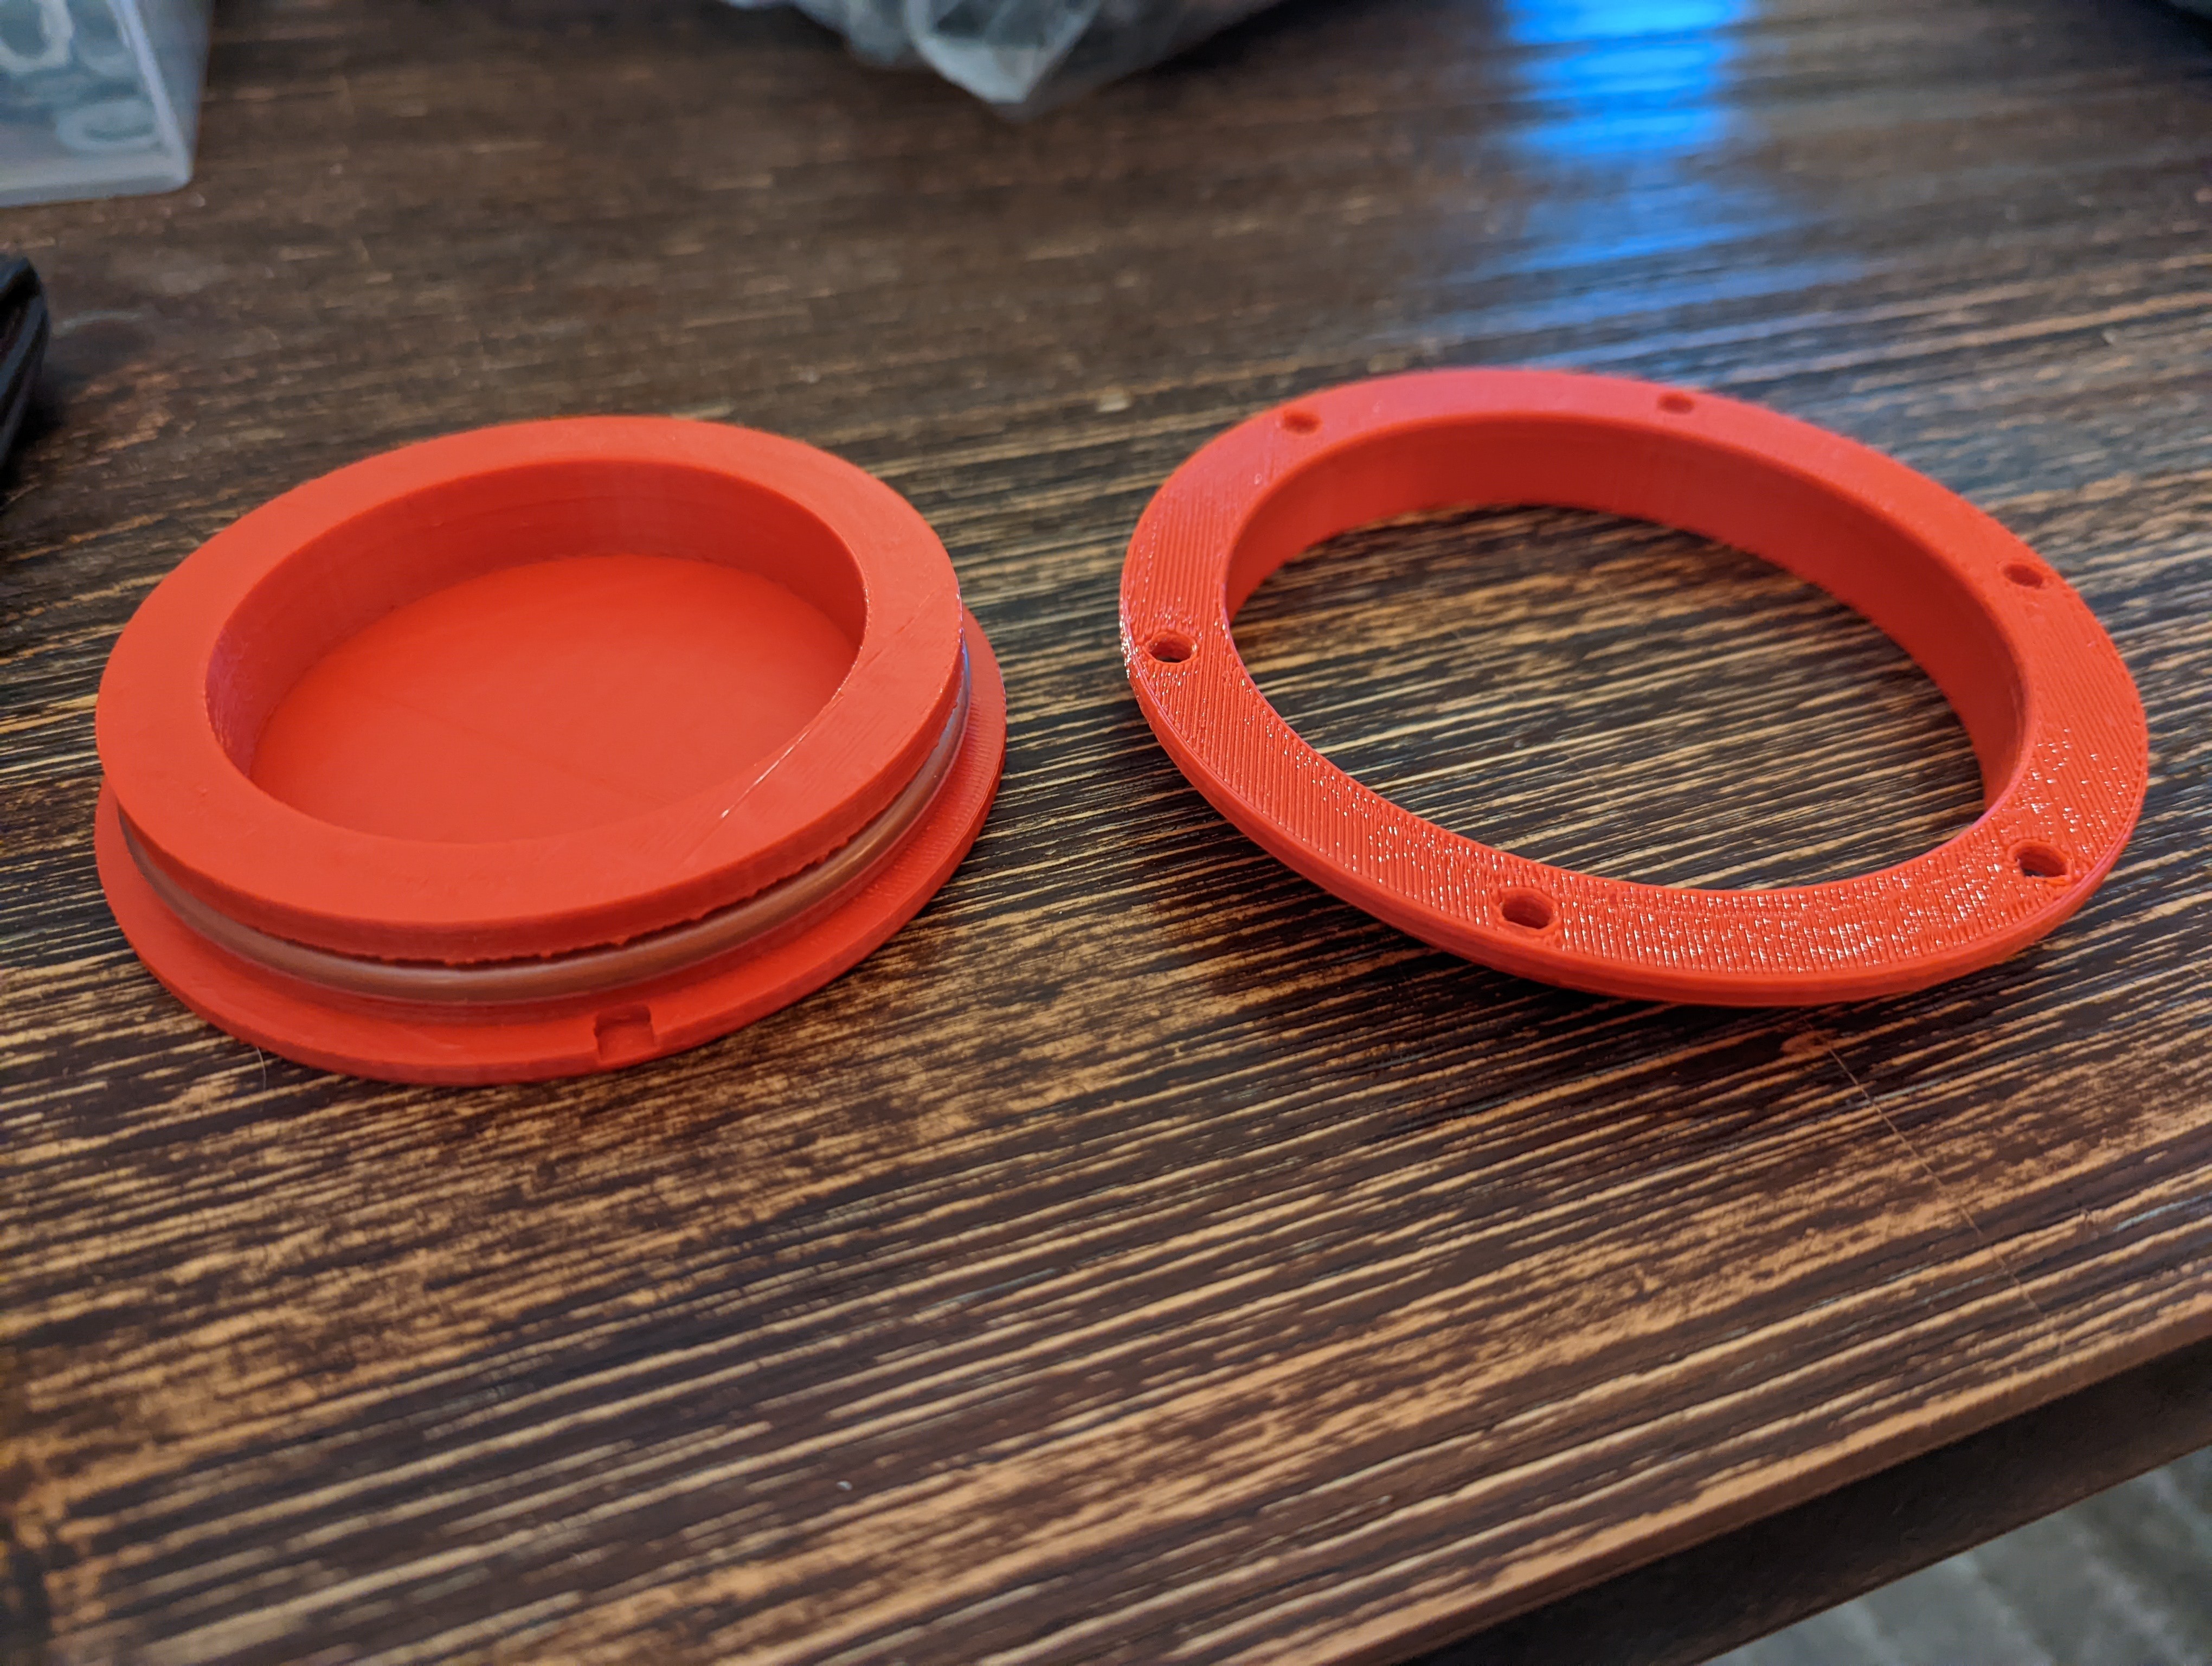
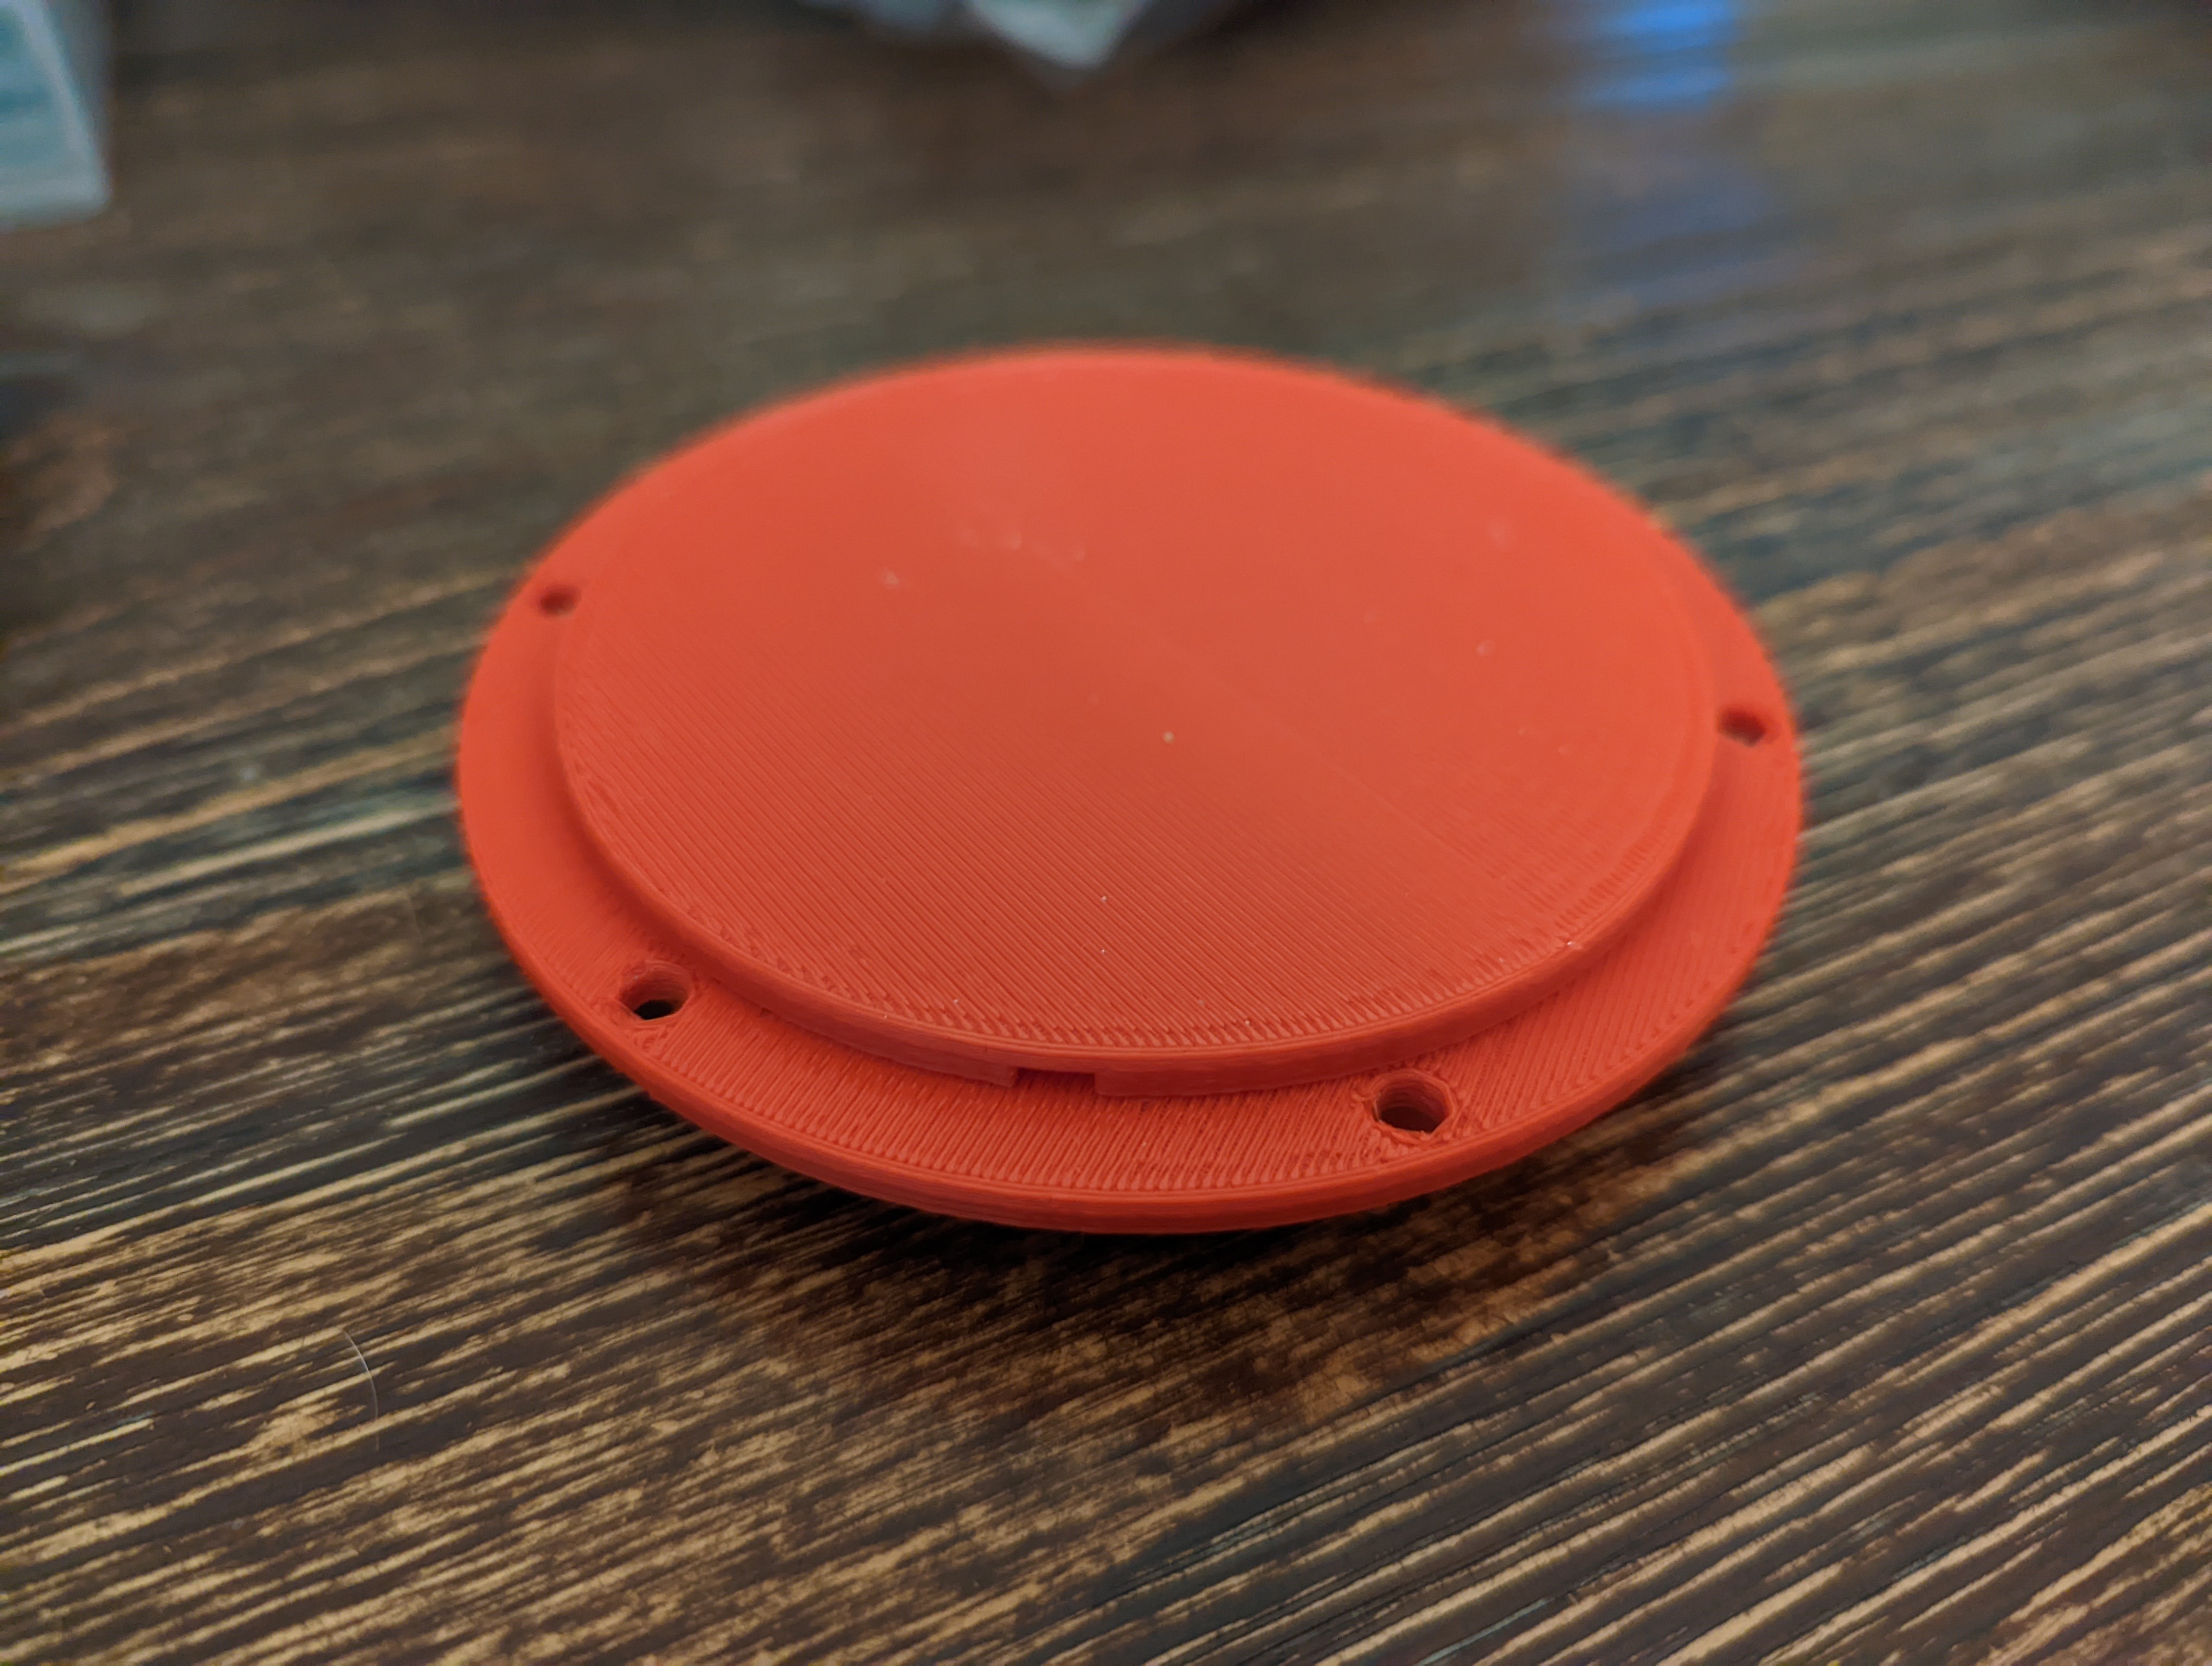
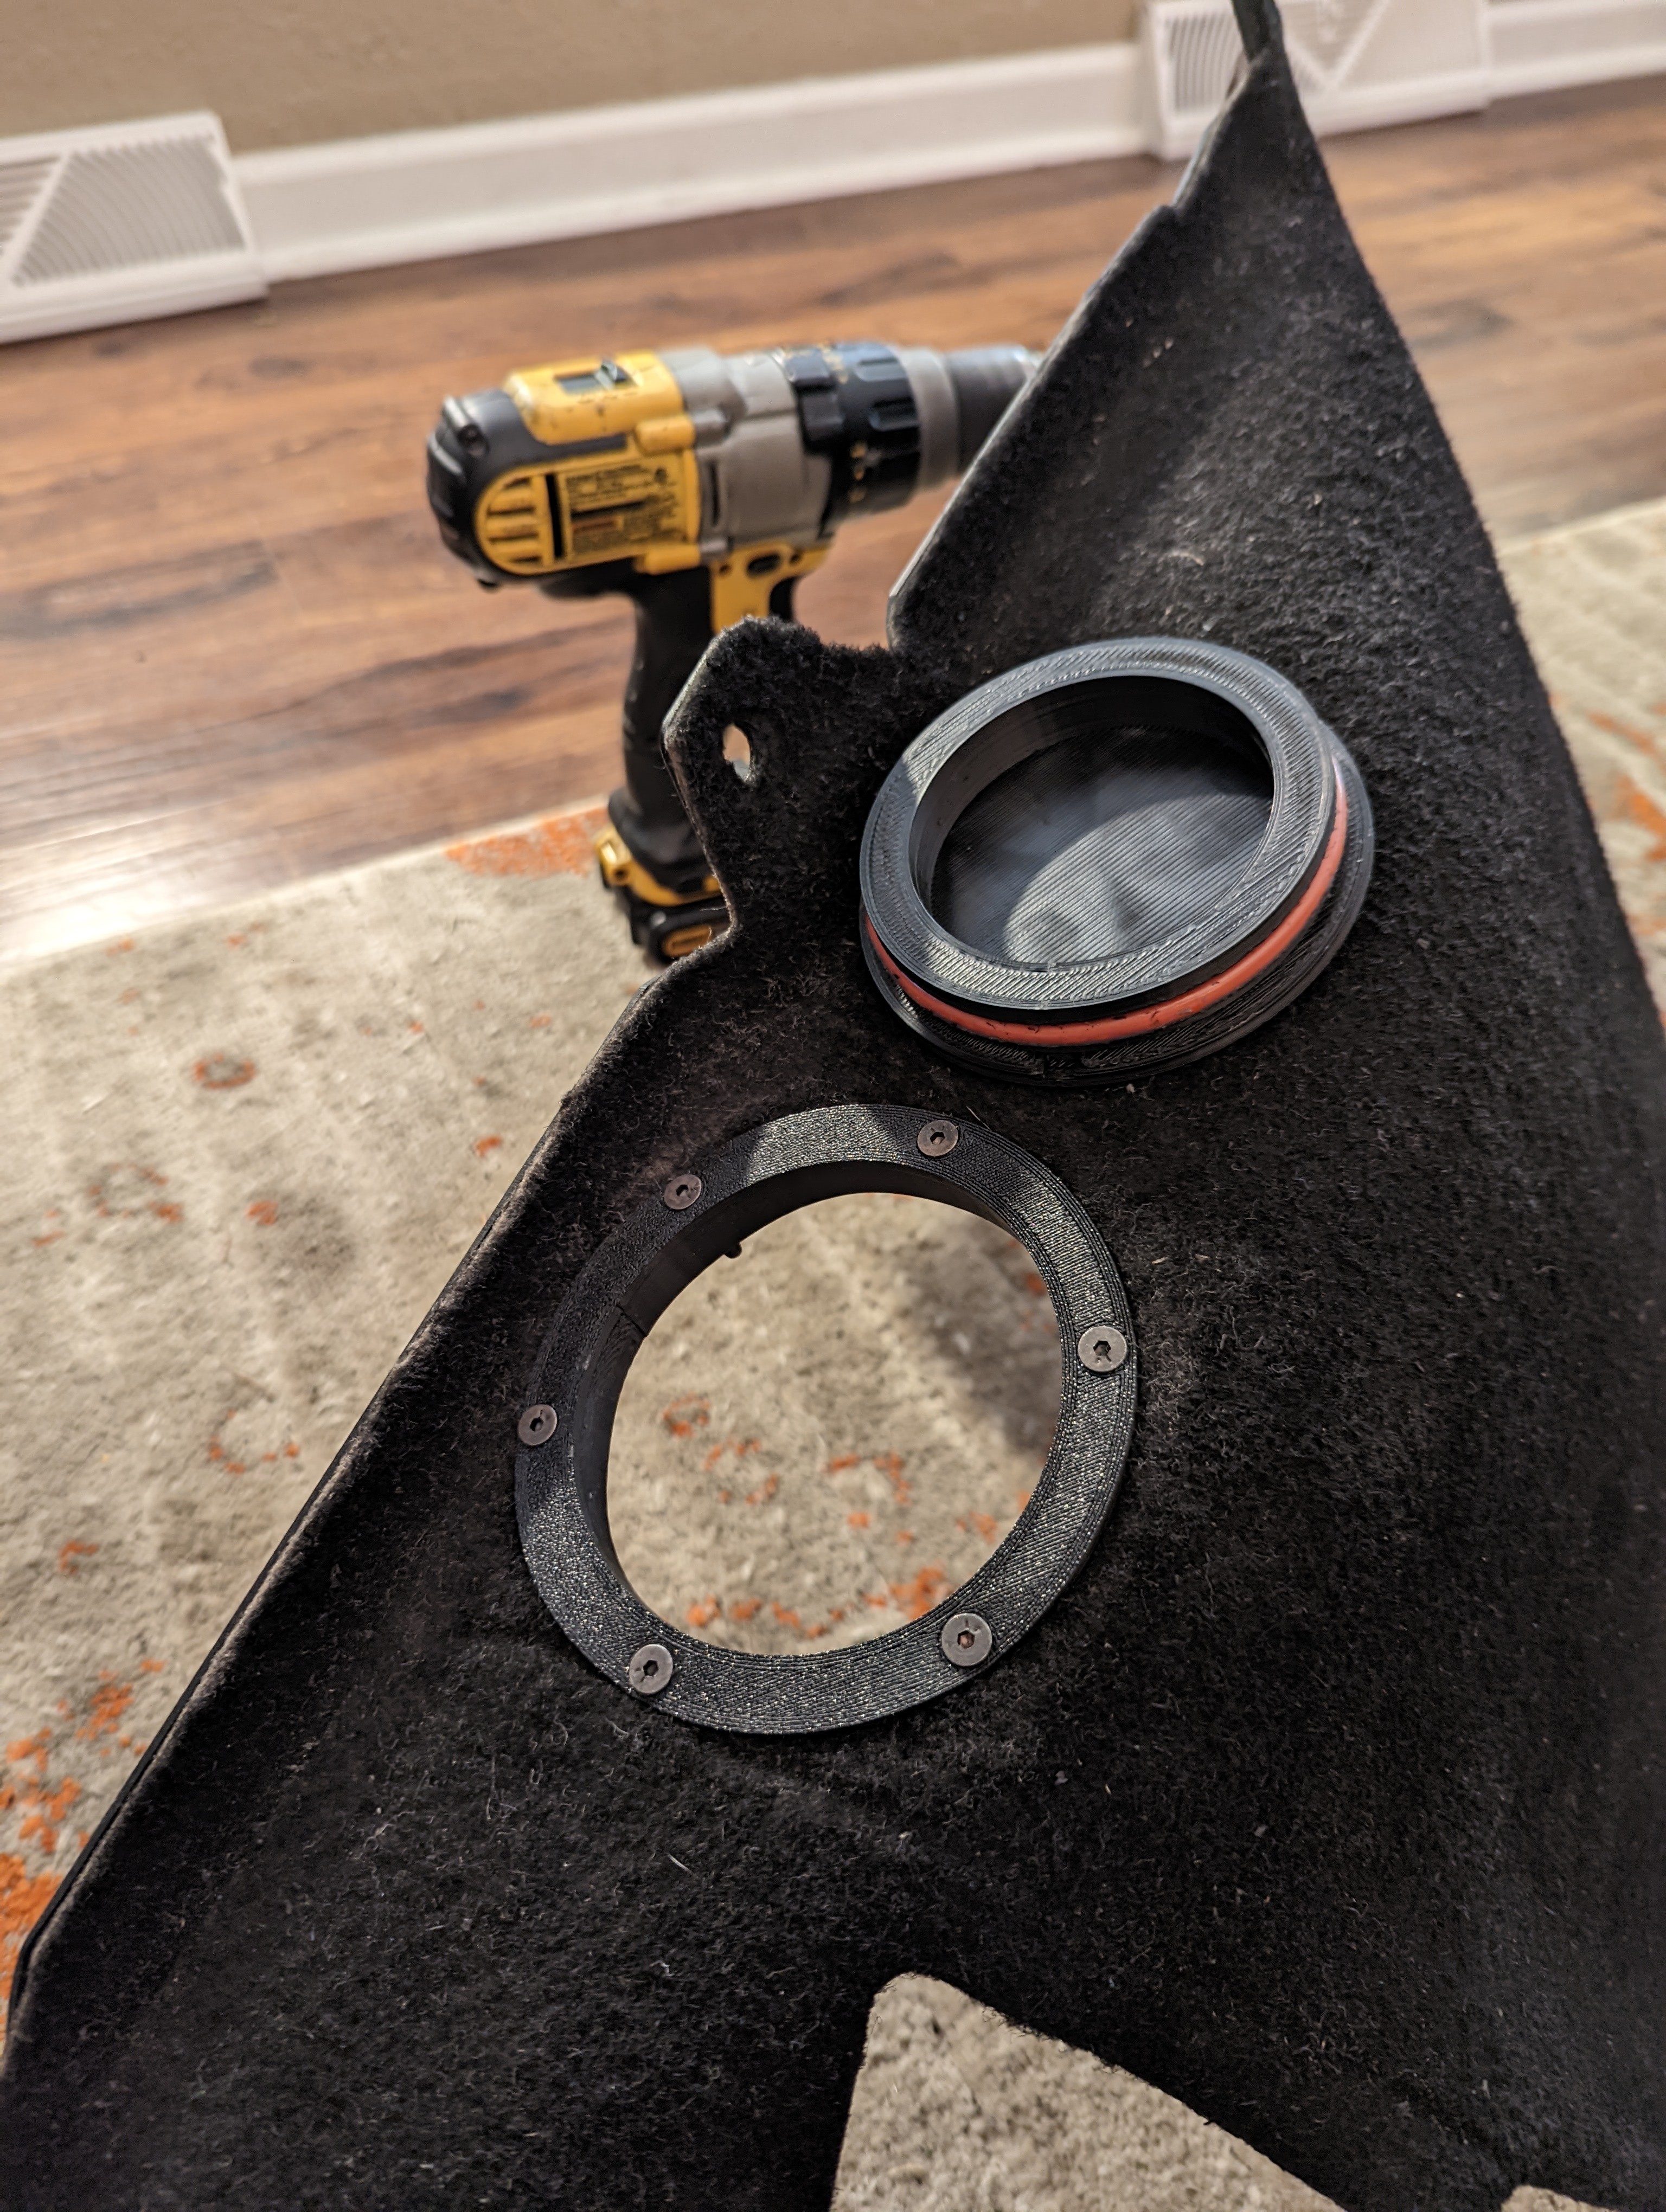
Got the opinion of a true mechanical engineer (aka Brian) who gave me the idea of making it a press fit with oring instead of threads. Made designing and printing easier. Also added a slot on the side for a flat head screwdriver to pry cap off when removing. Seems to work pretty well.
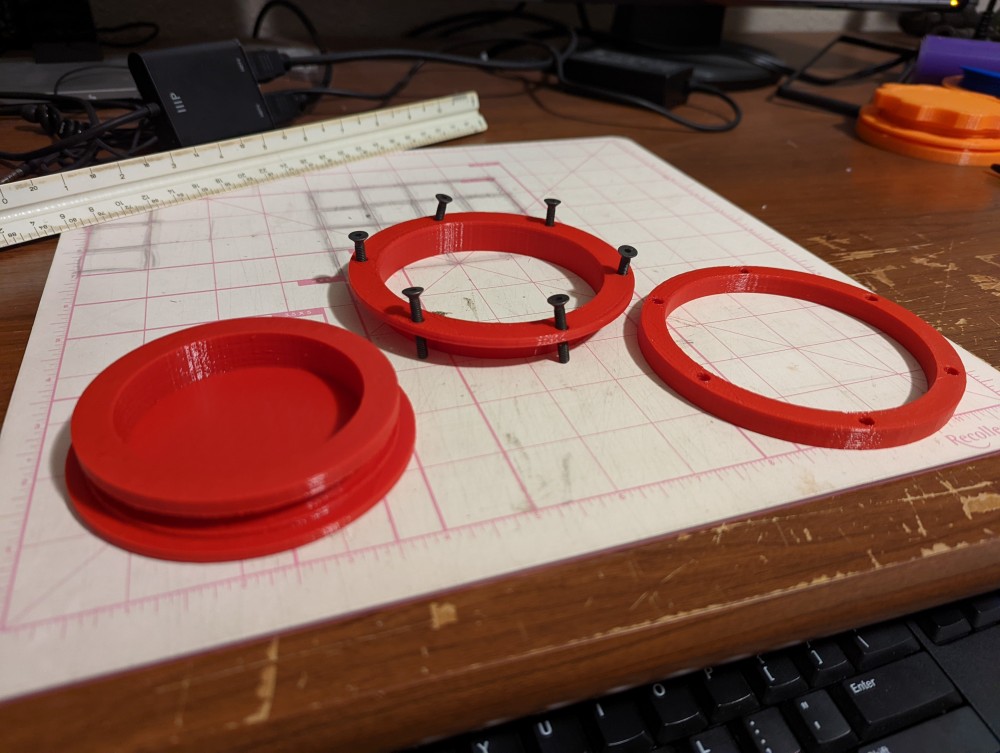
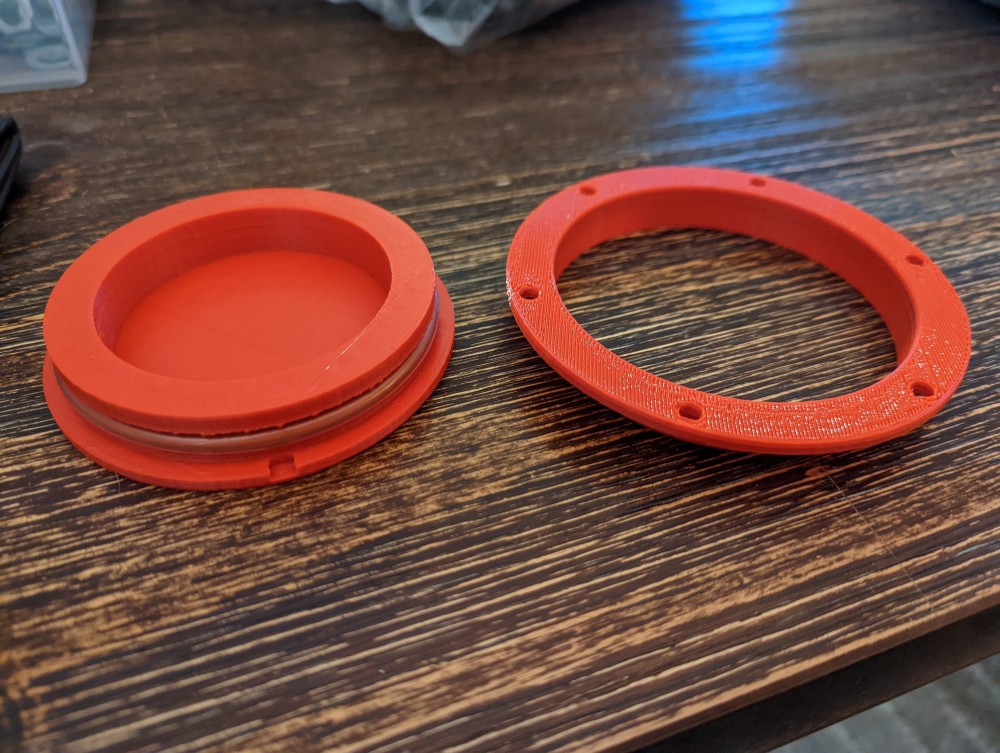
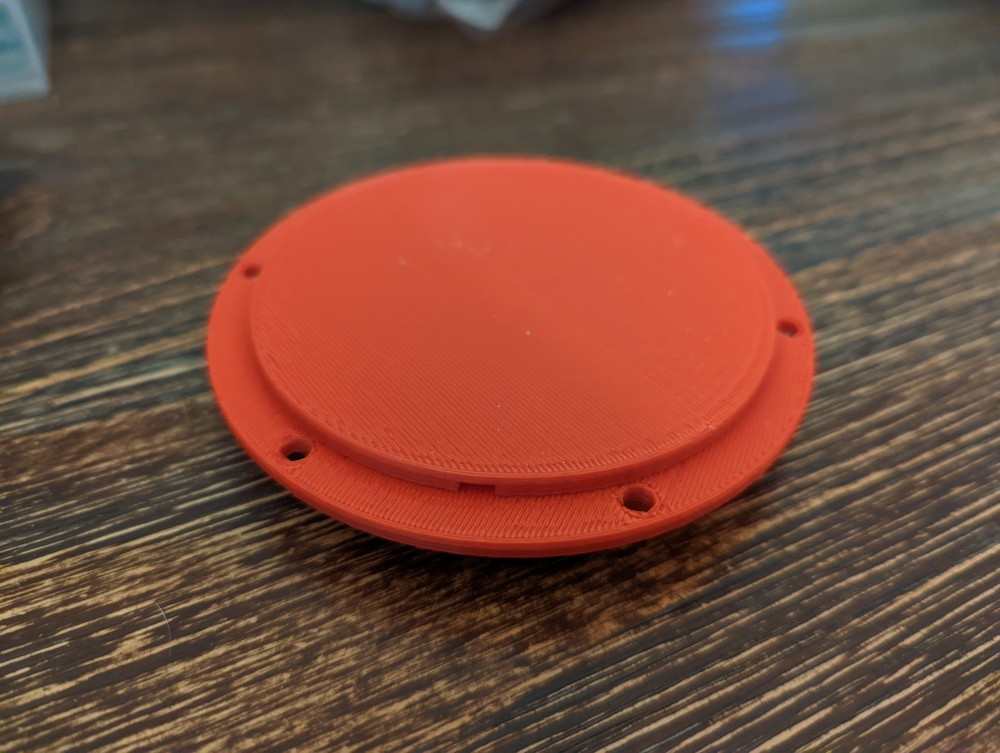
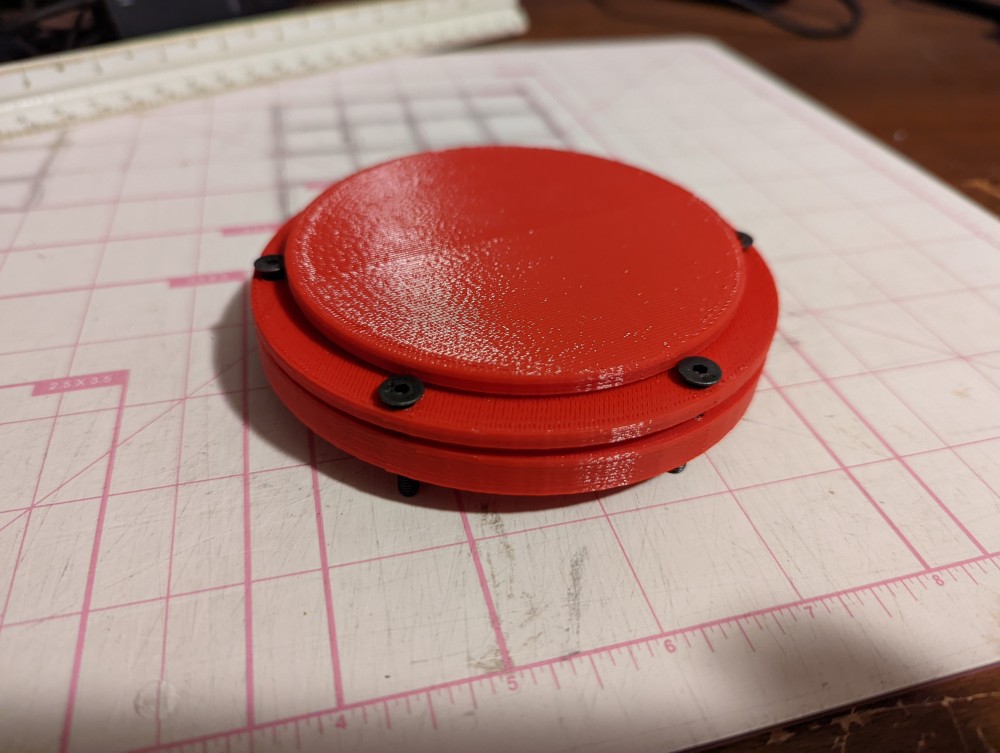
Next up is test fitting to the carpet and if all is good, getting these printed in ABS for longevity and heat resistance.
-
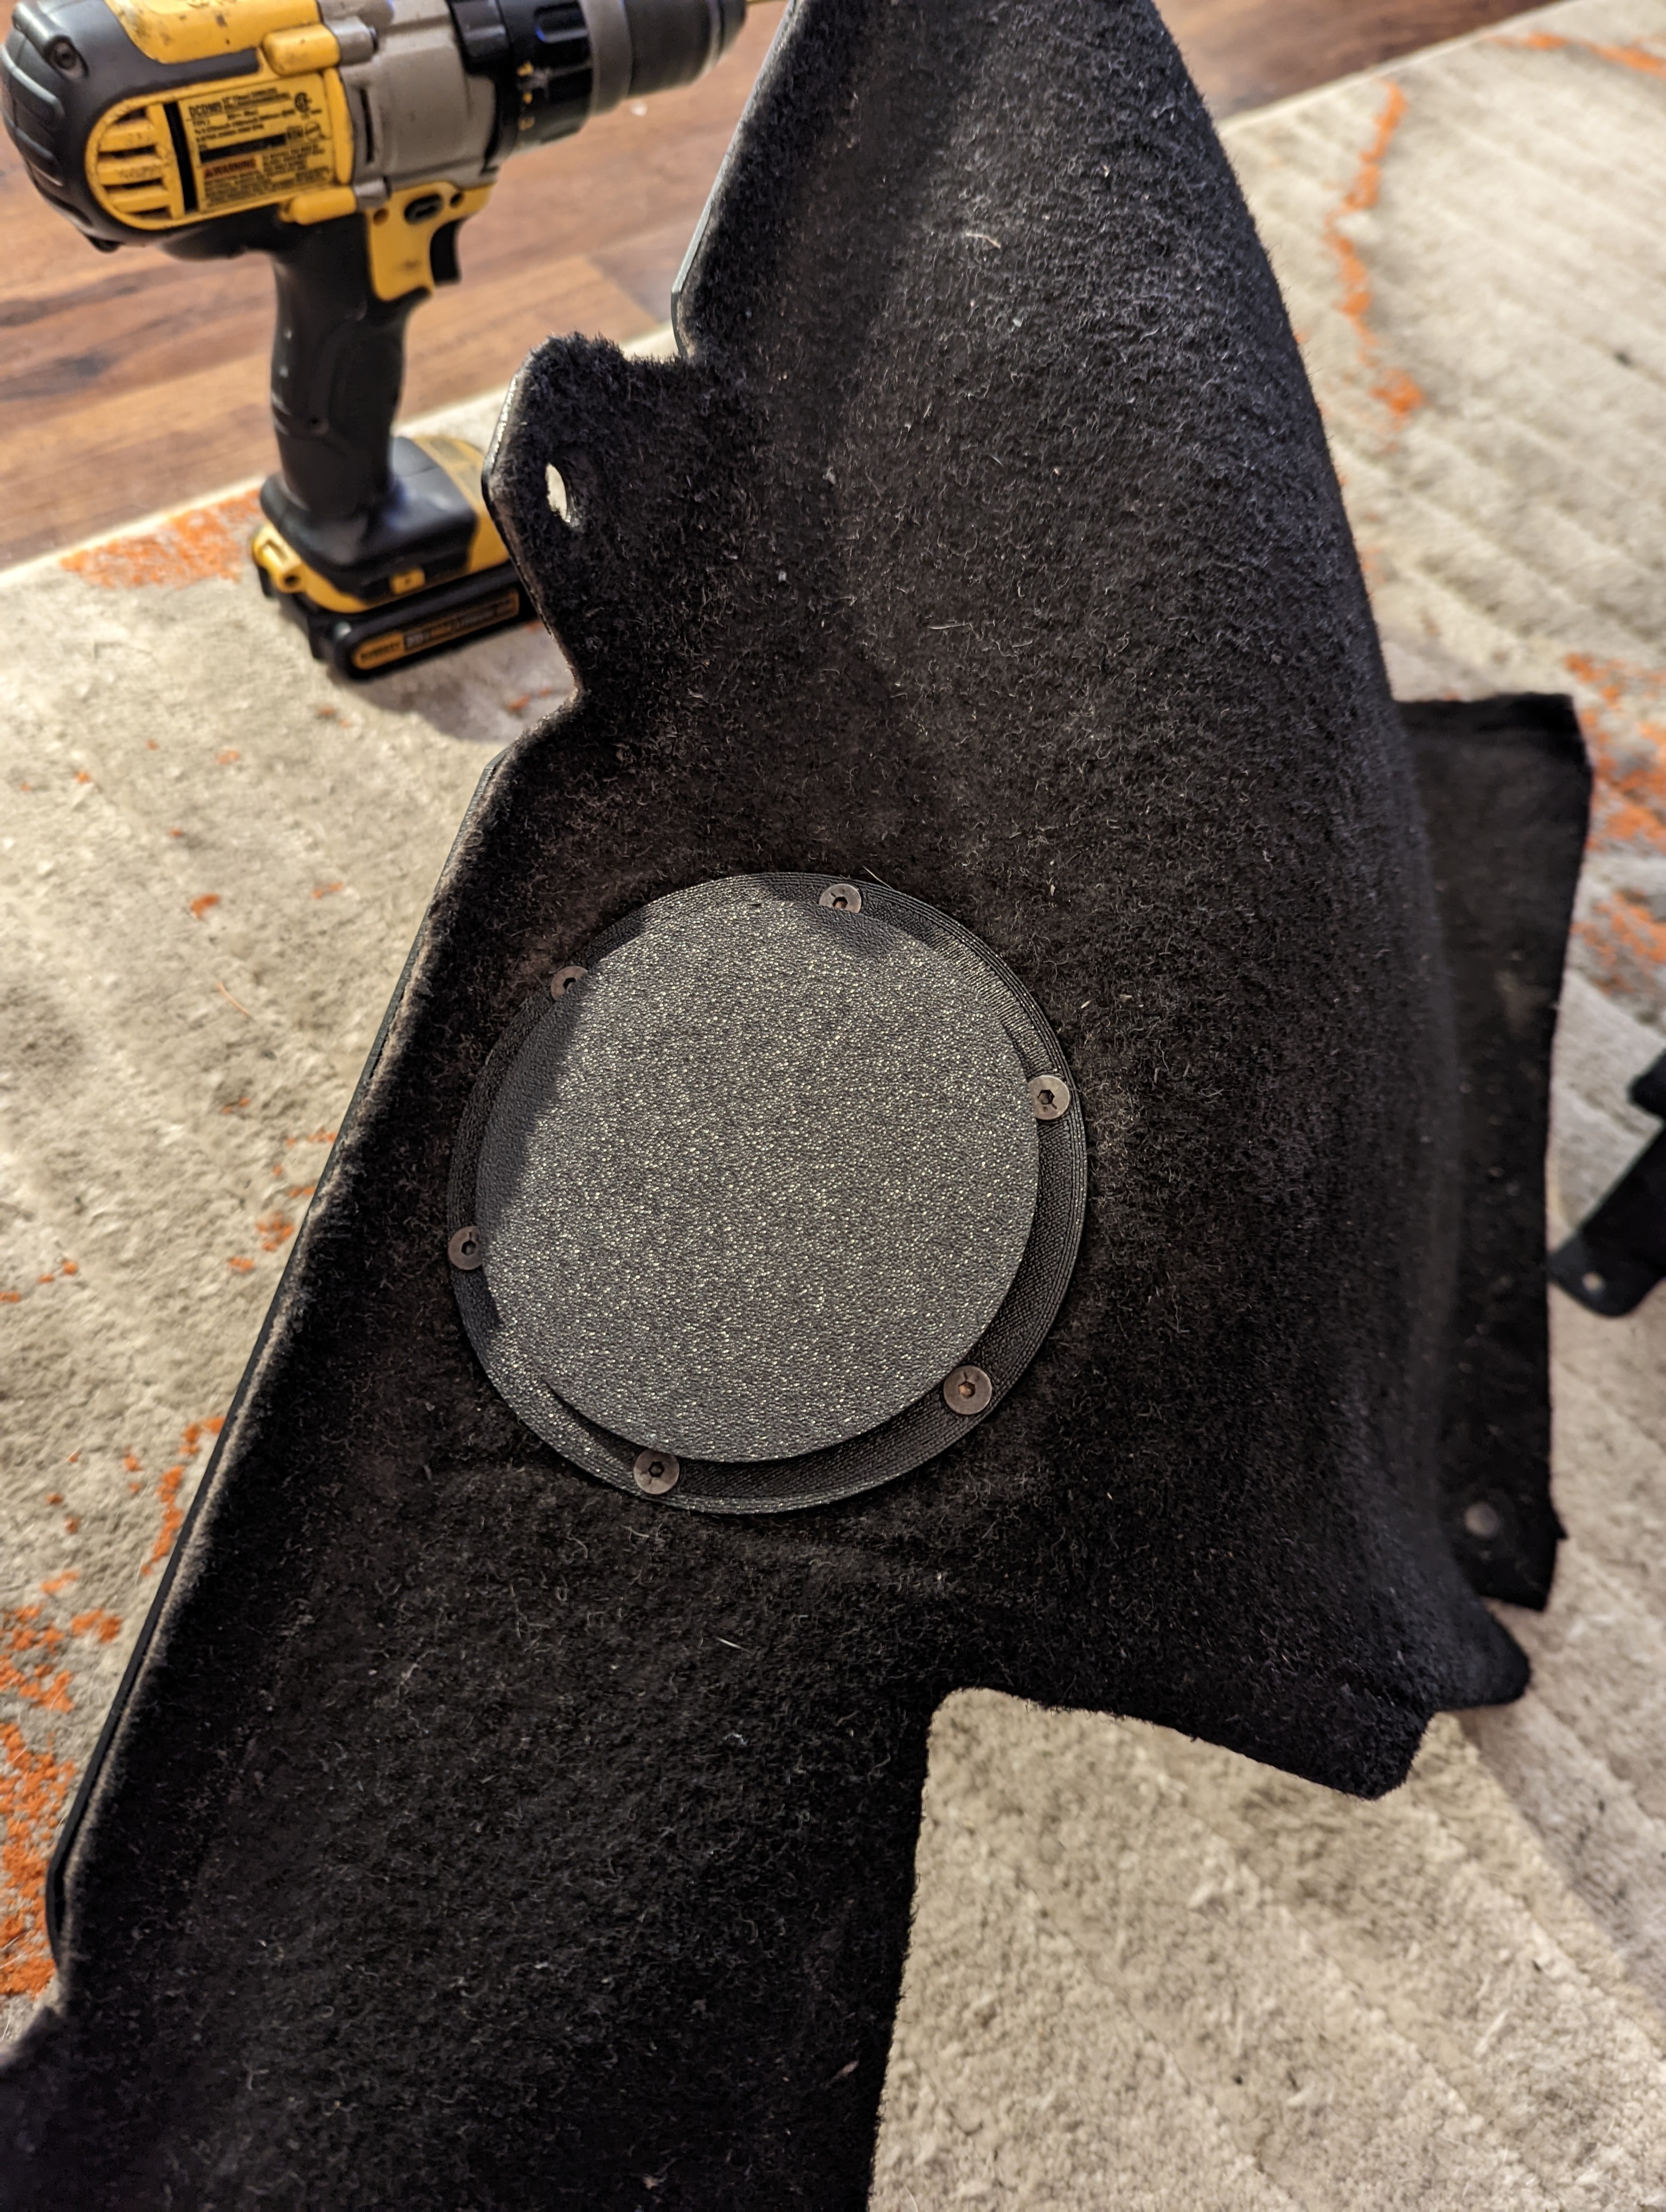
Ended up finding a guy to 3d print my design in black ABS and just got them back. My 3d printer doesn't have an enclosure which is necessary for ABS due to warping if cooled too rapidly without one. Bought the o-rings from mcbastard and off I went.
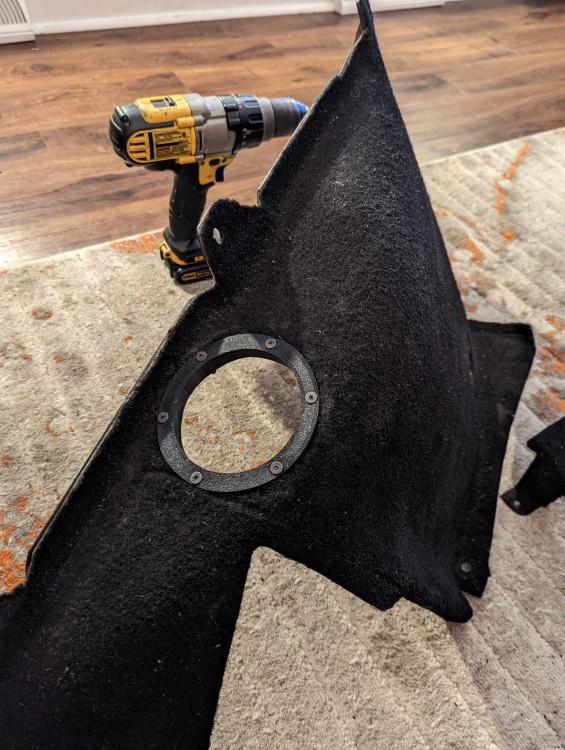
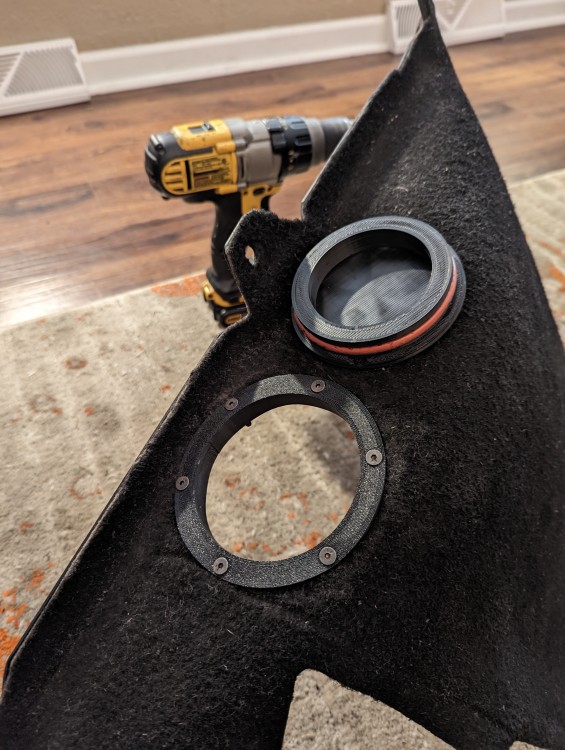
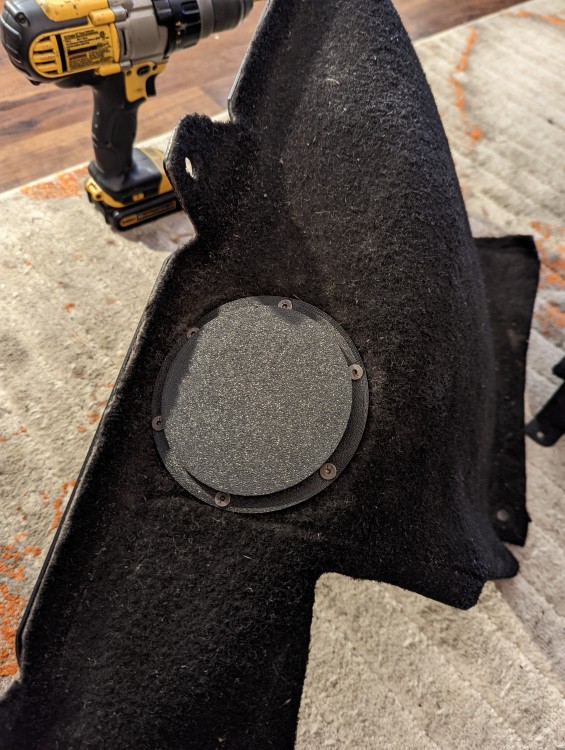
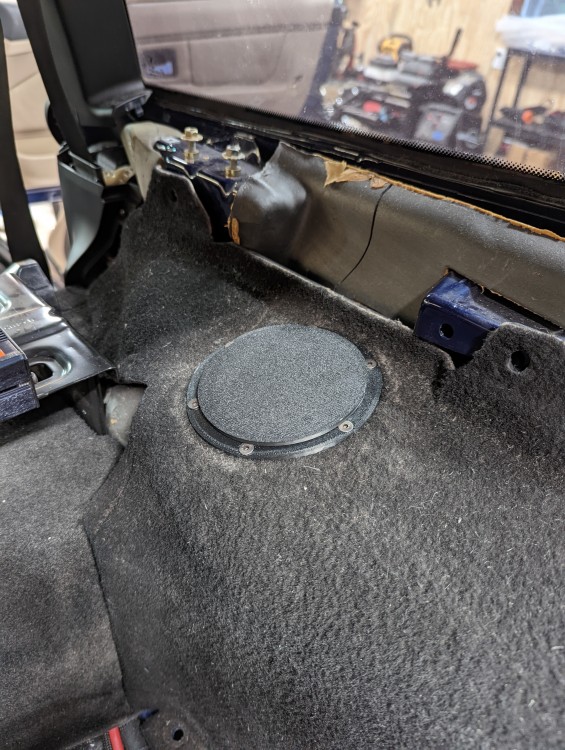
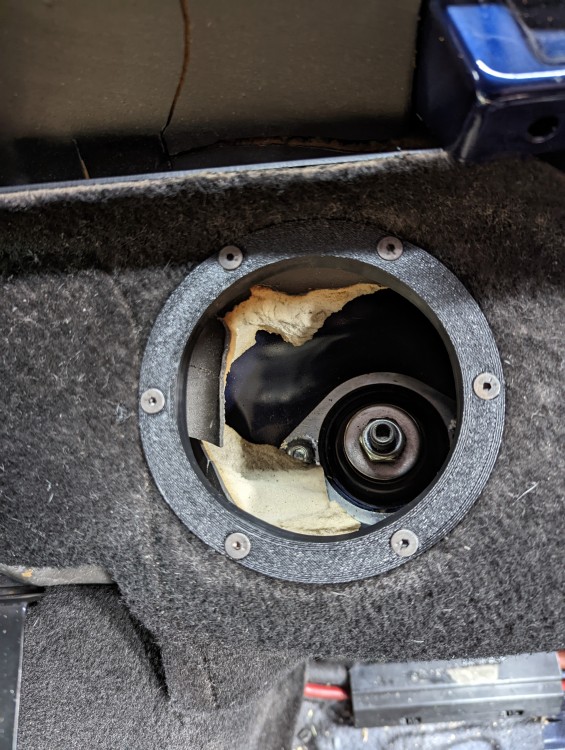
I think it turned out pretty awesome. The angle of the last pic was off since I was on a step stool with car on the lift, lol. But it's centered over the strut and hole is big enough to fit your hand in and adjust comfortably.
The cap snaps in snug and pry's off with a small amount of force, which is perfect. I'm happy with it.
-
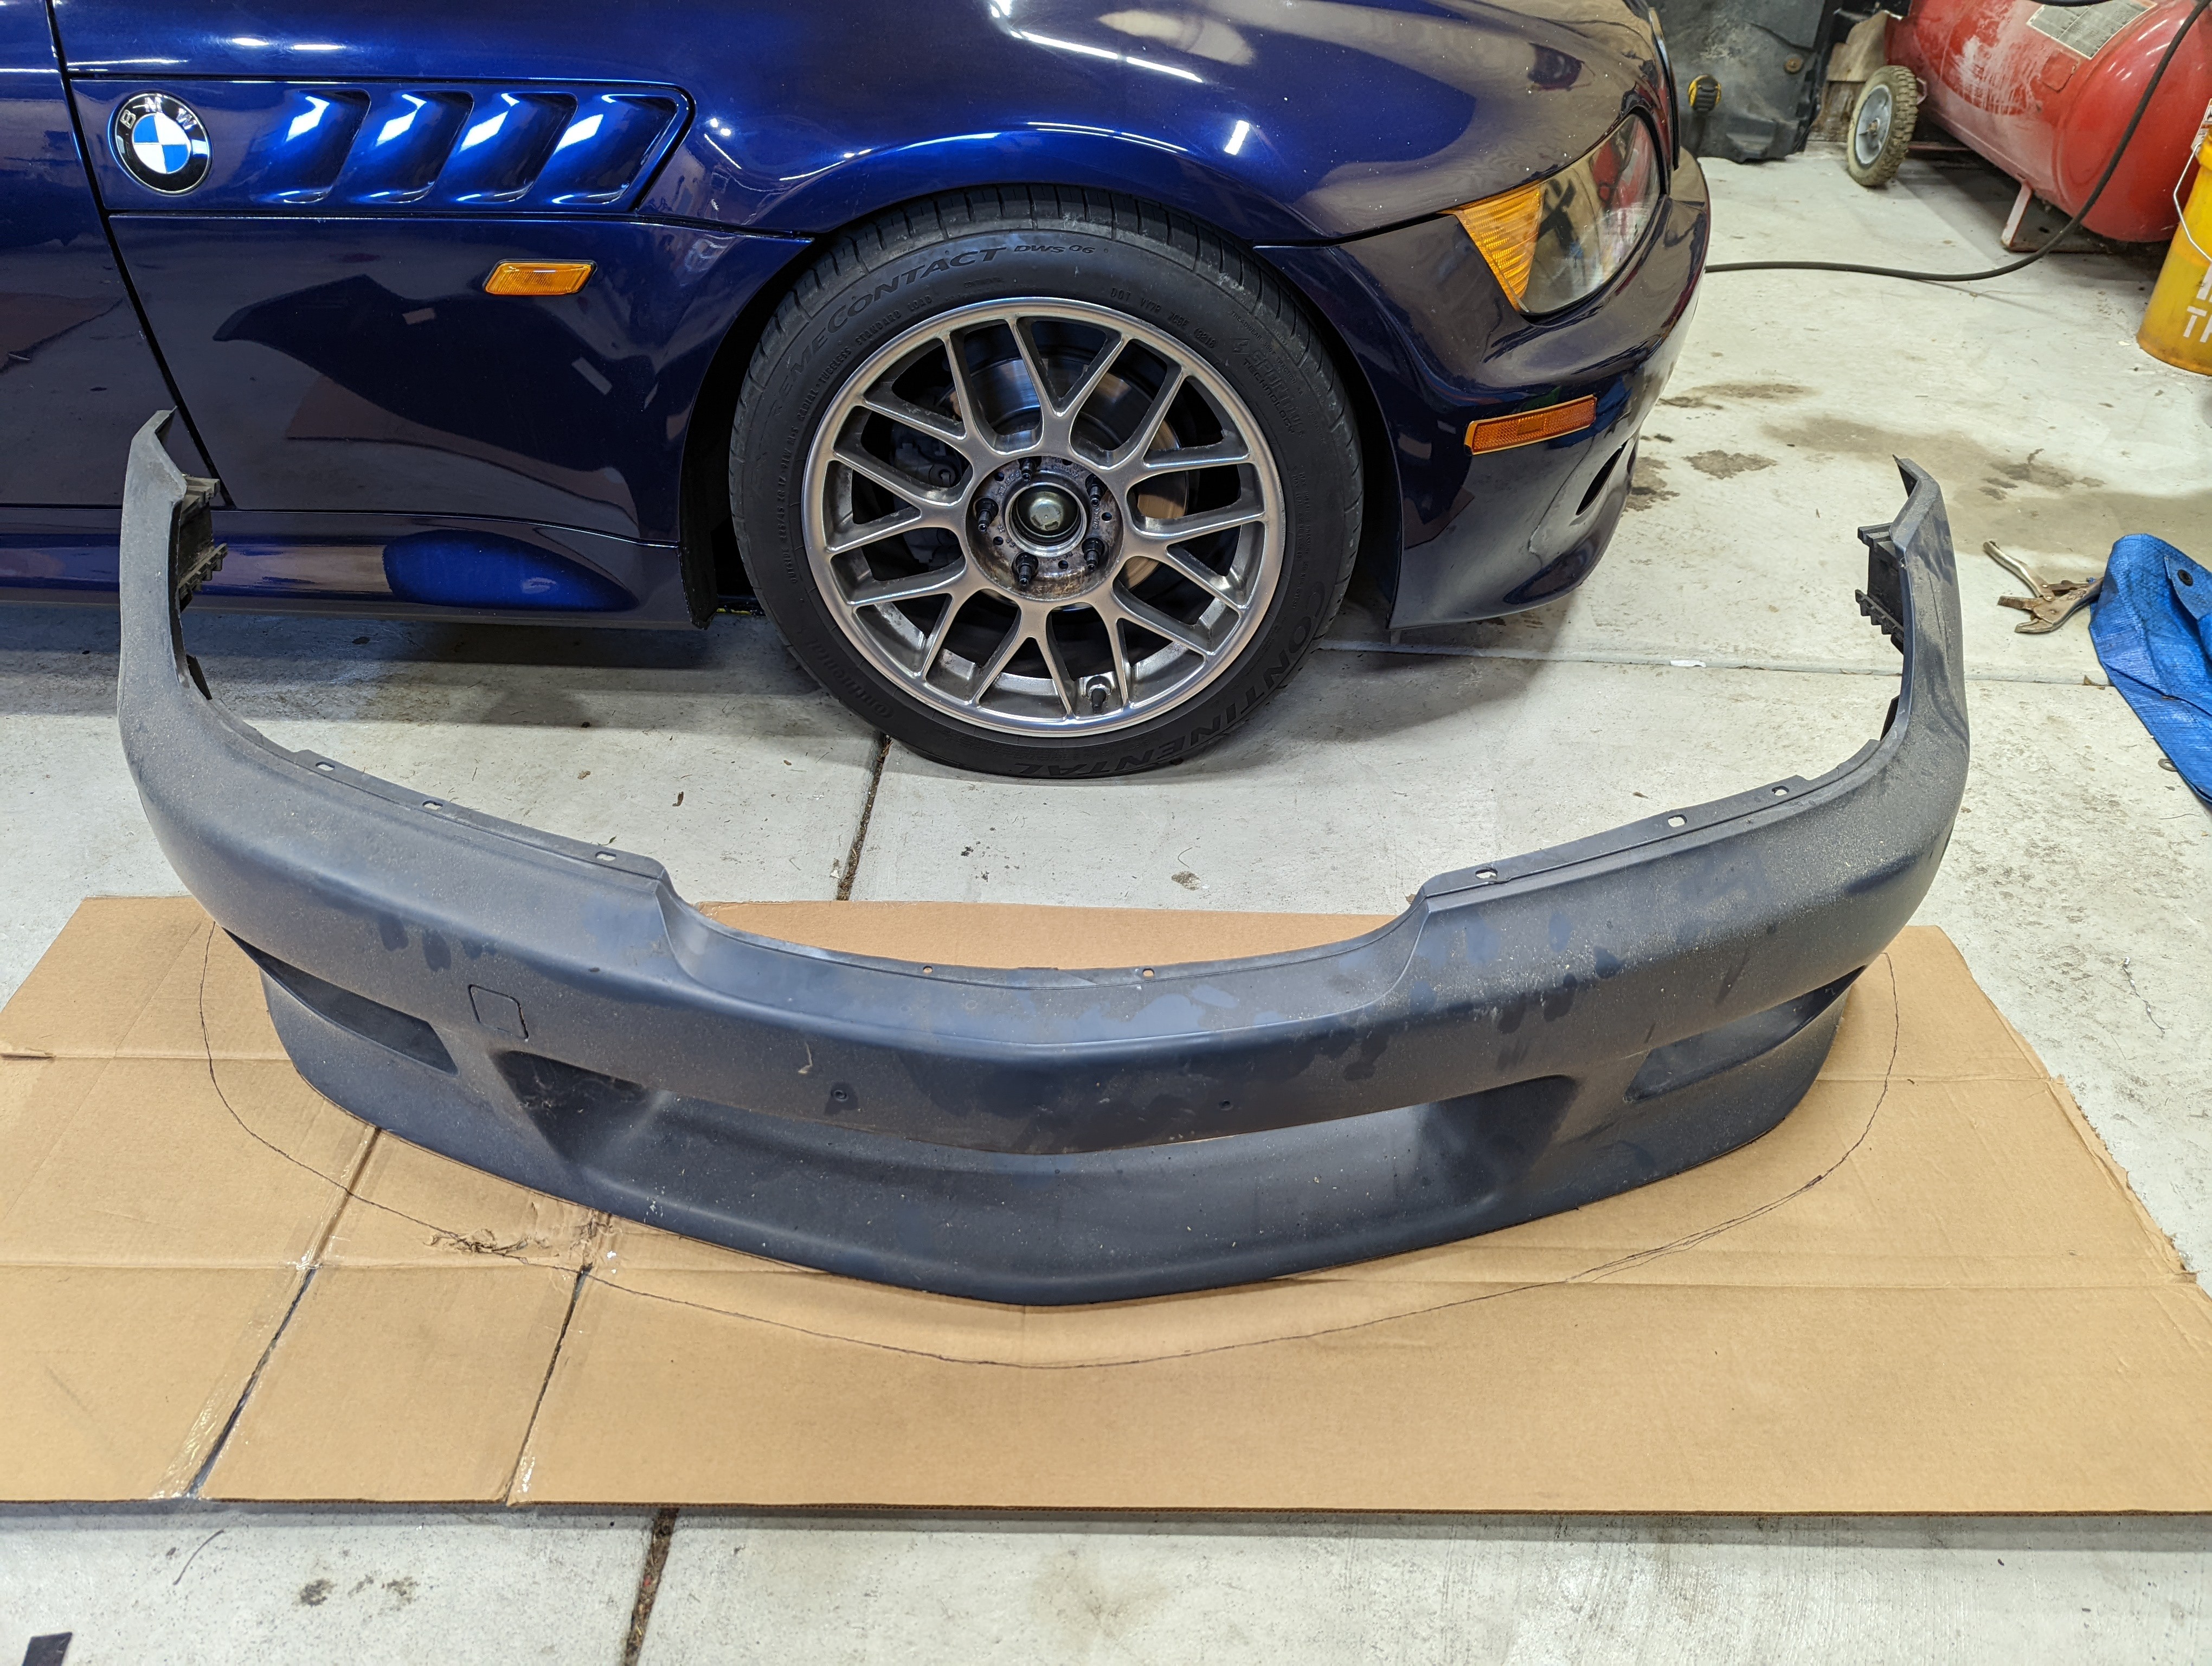
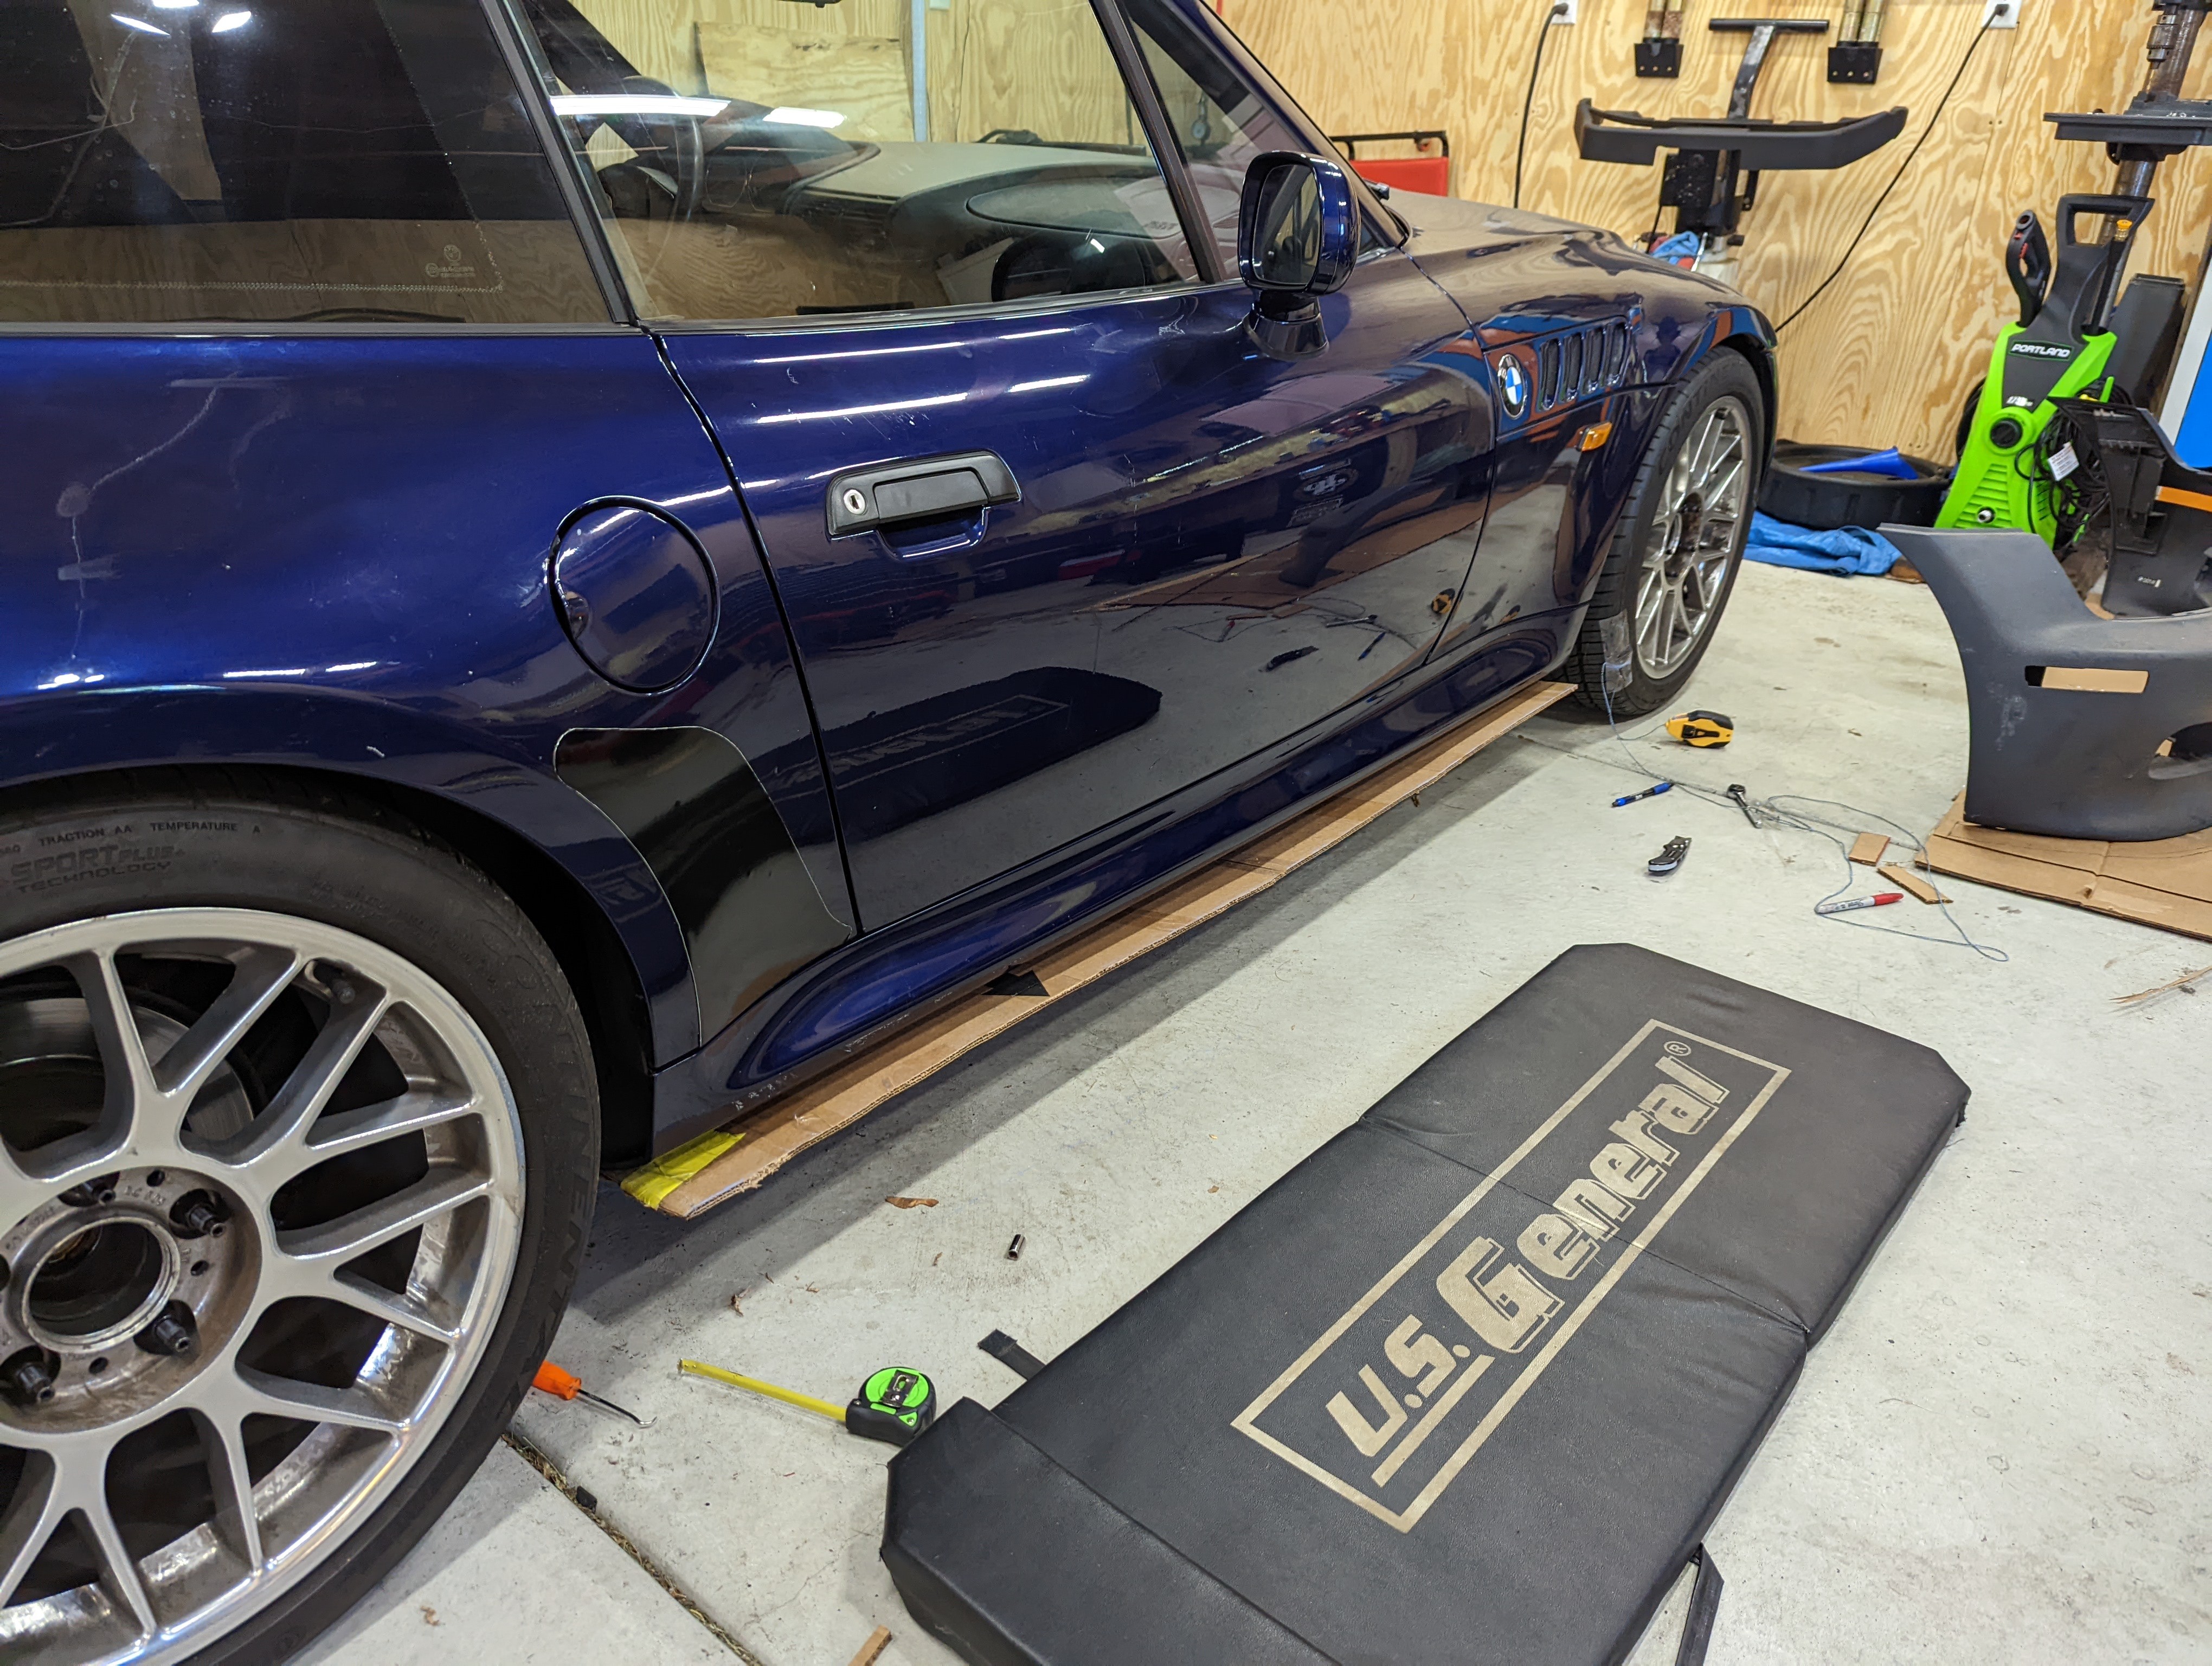
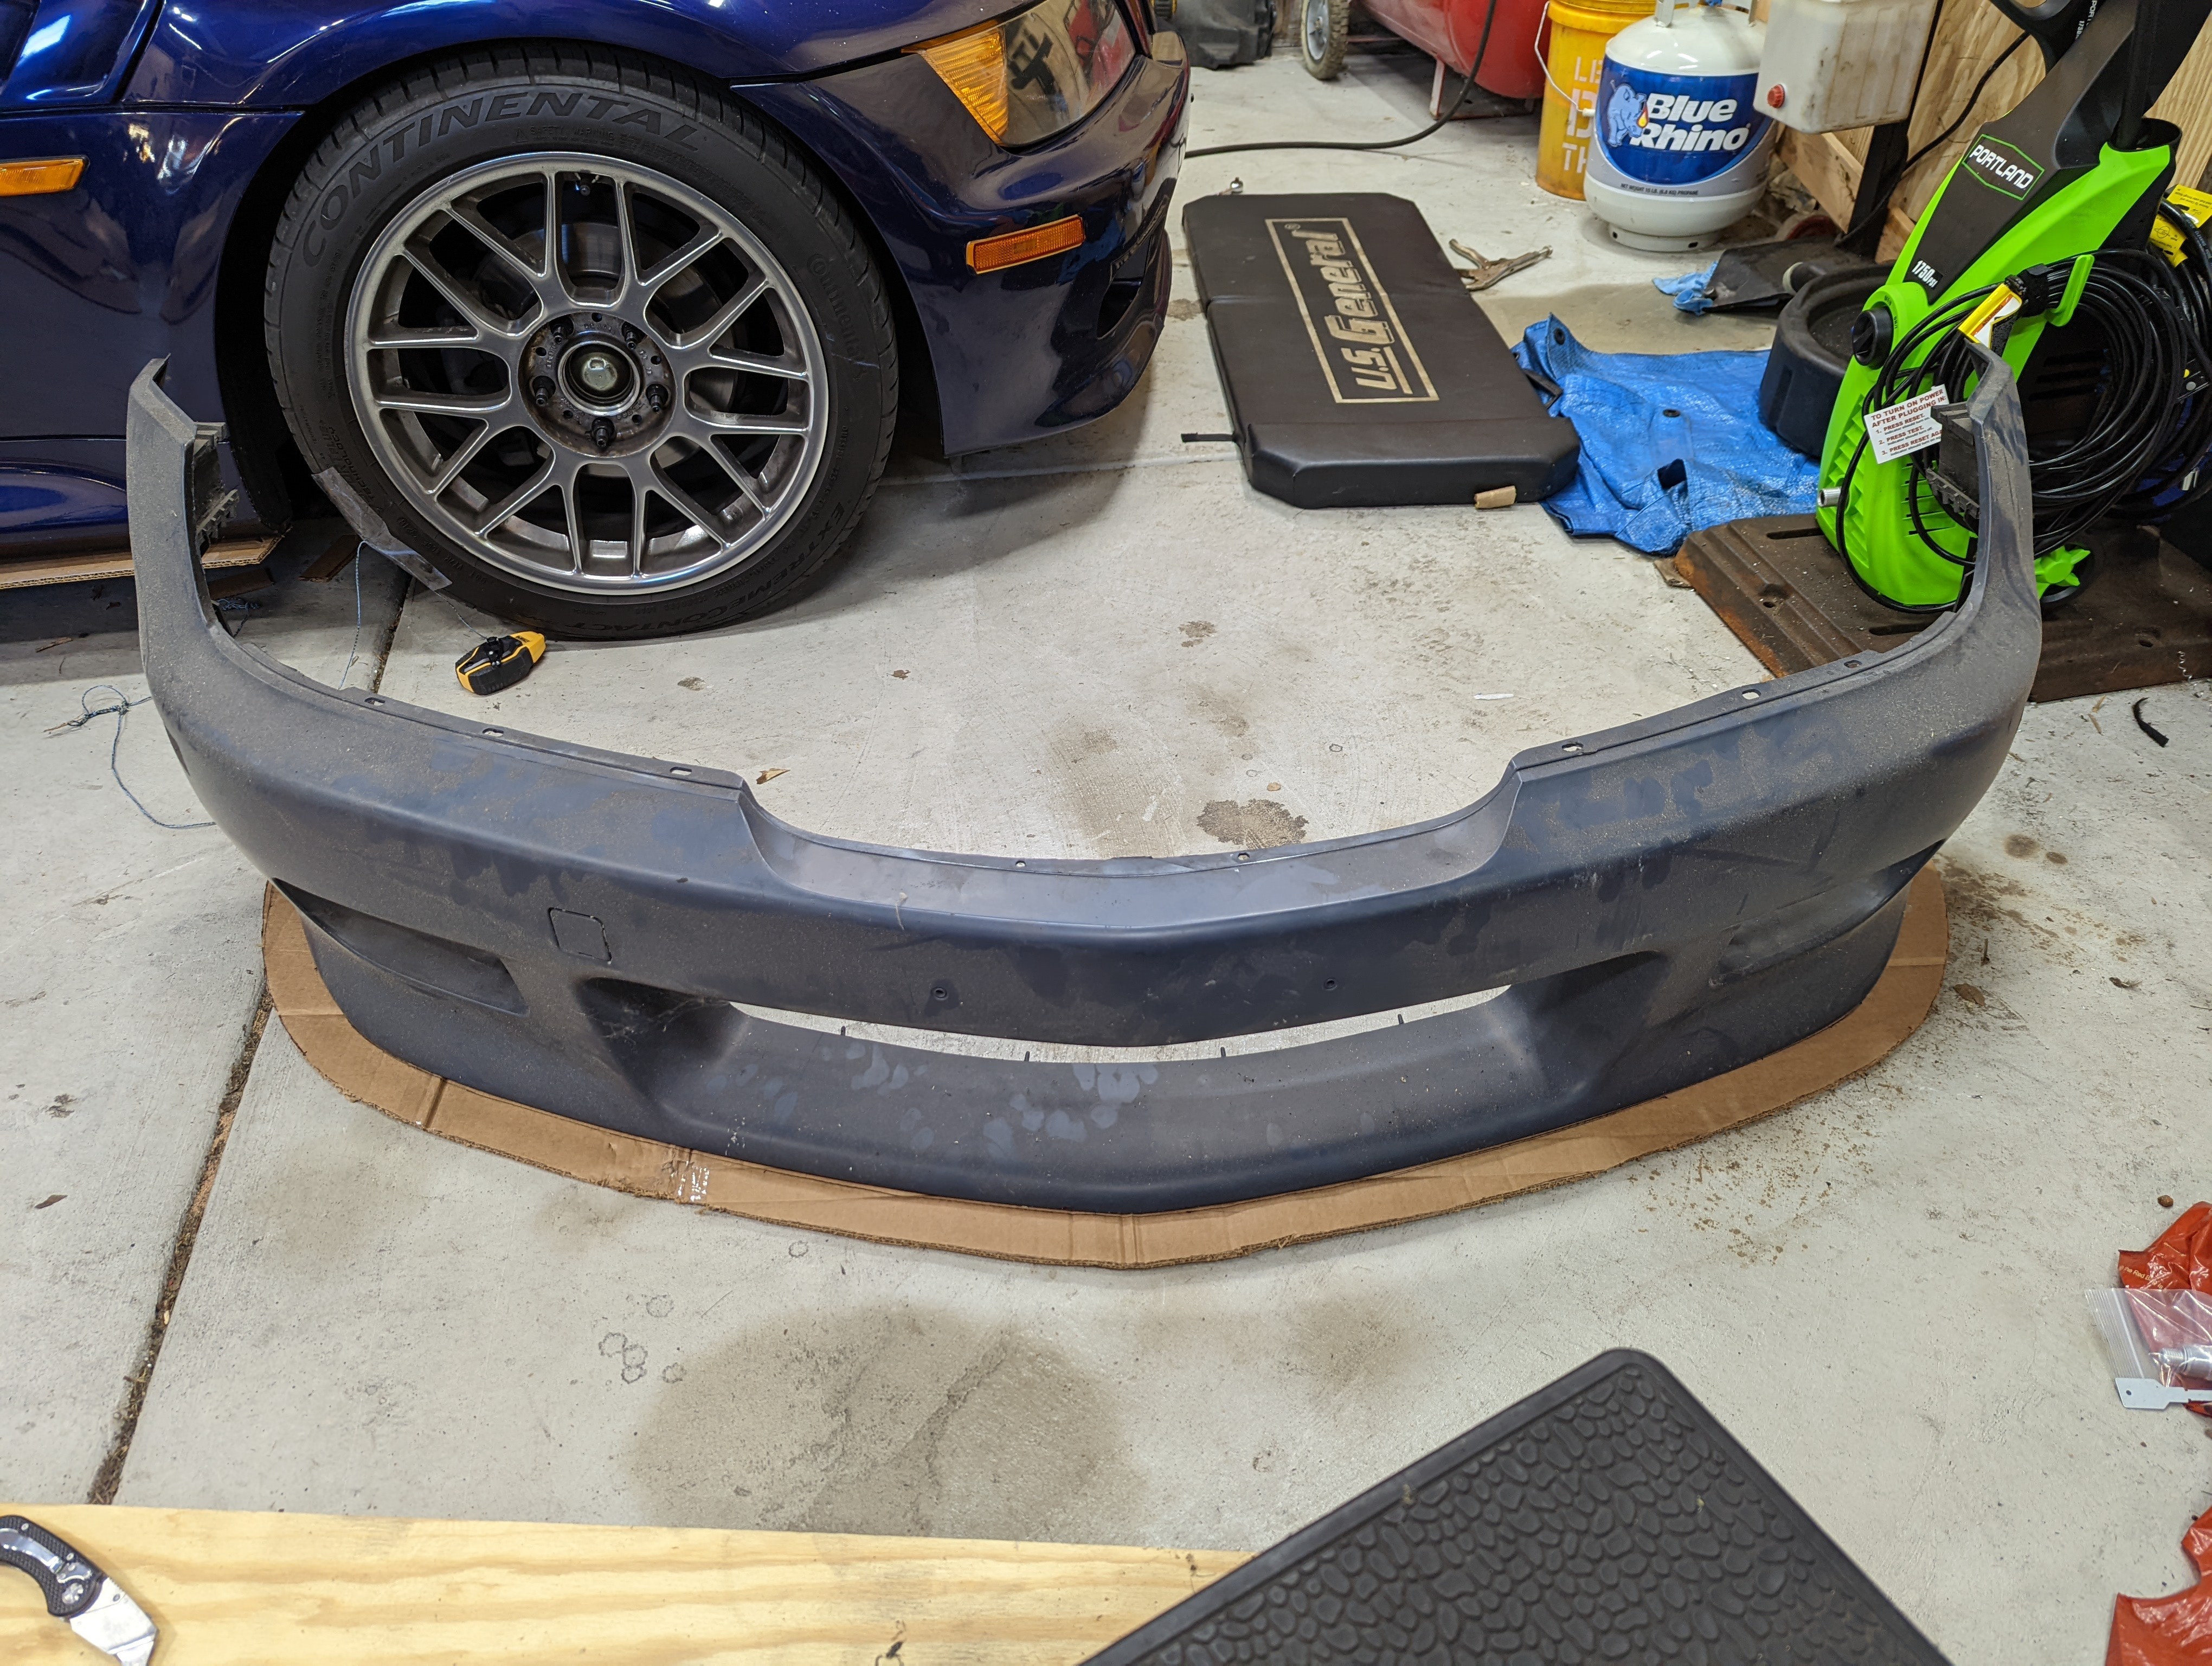
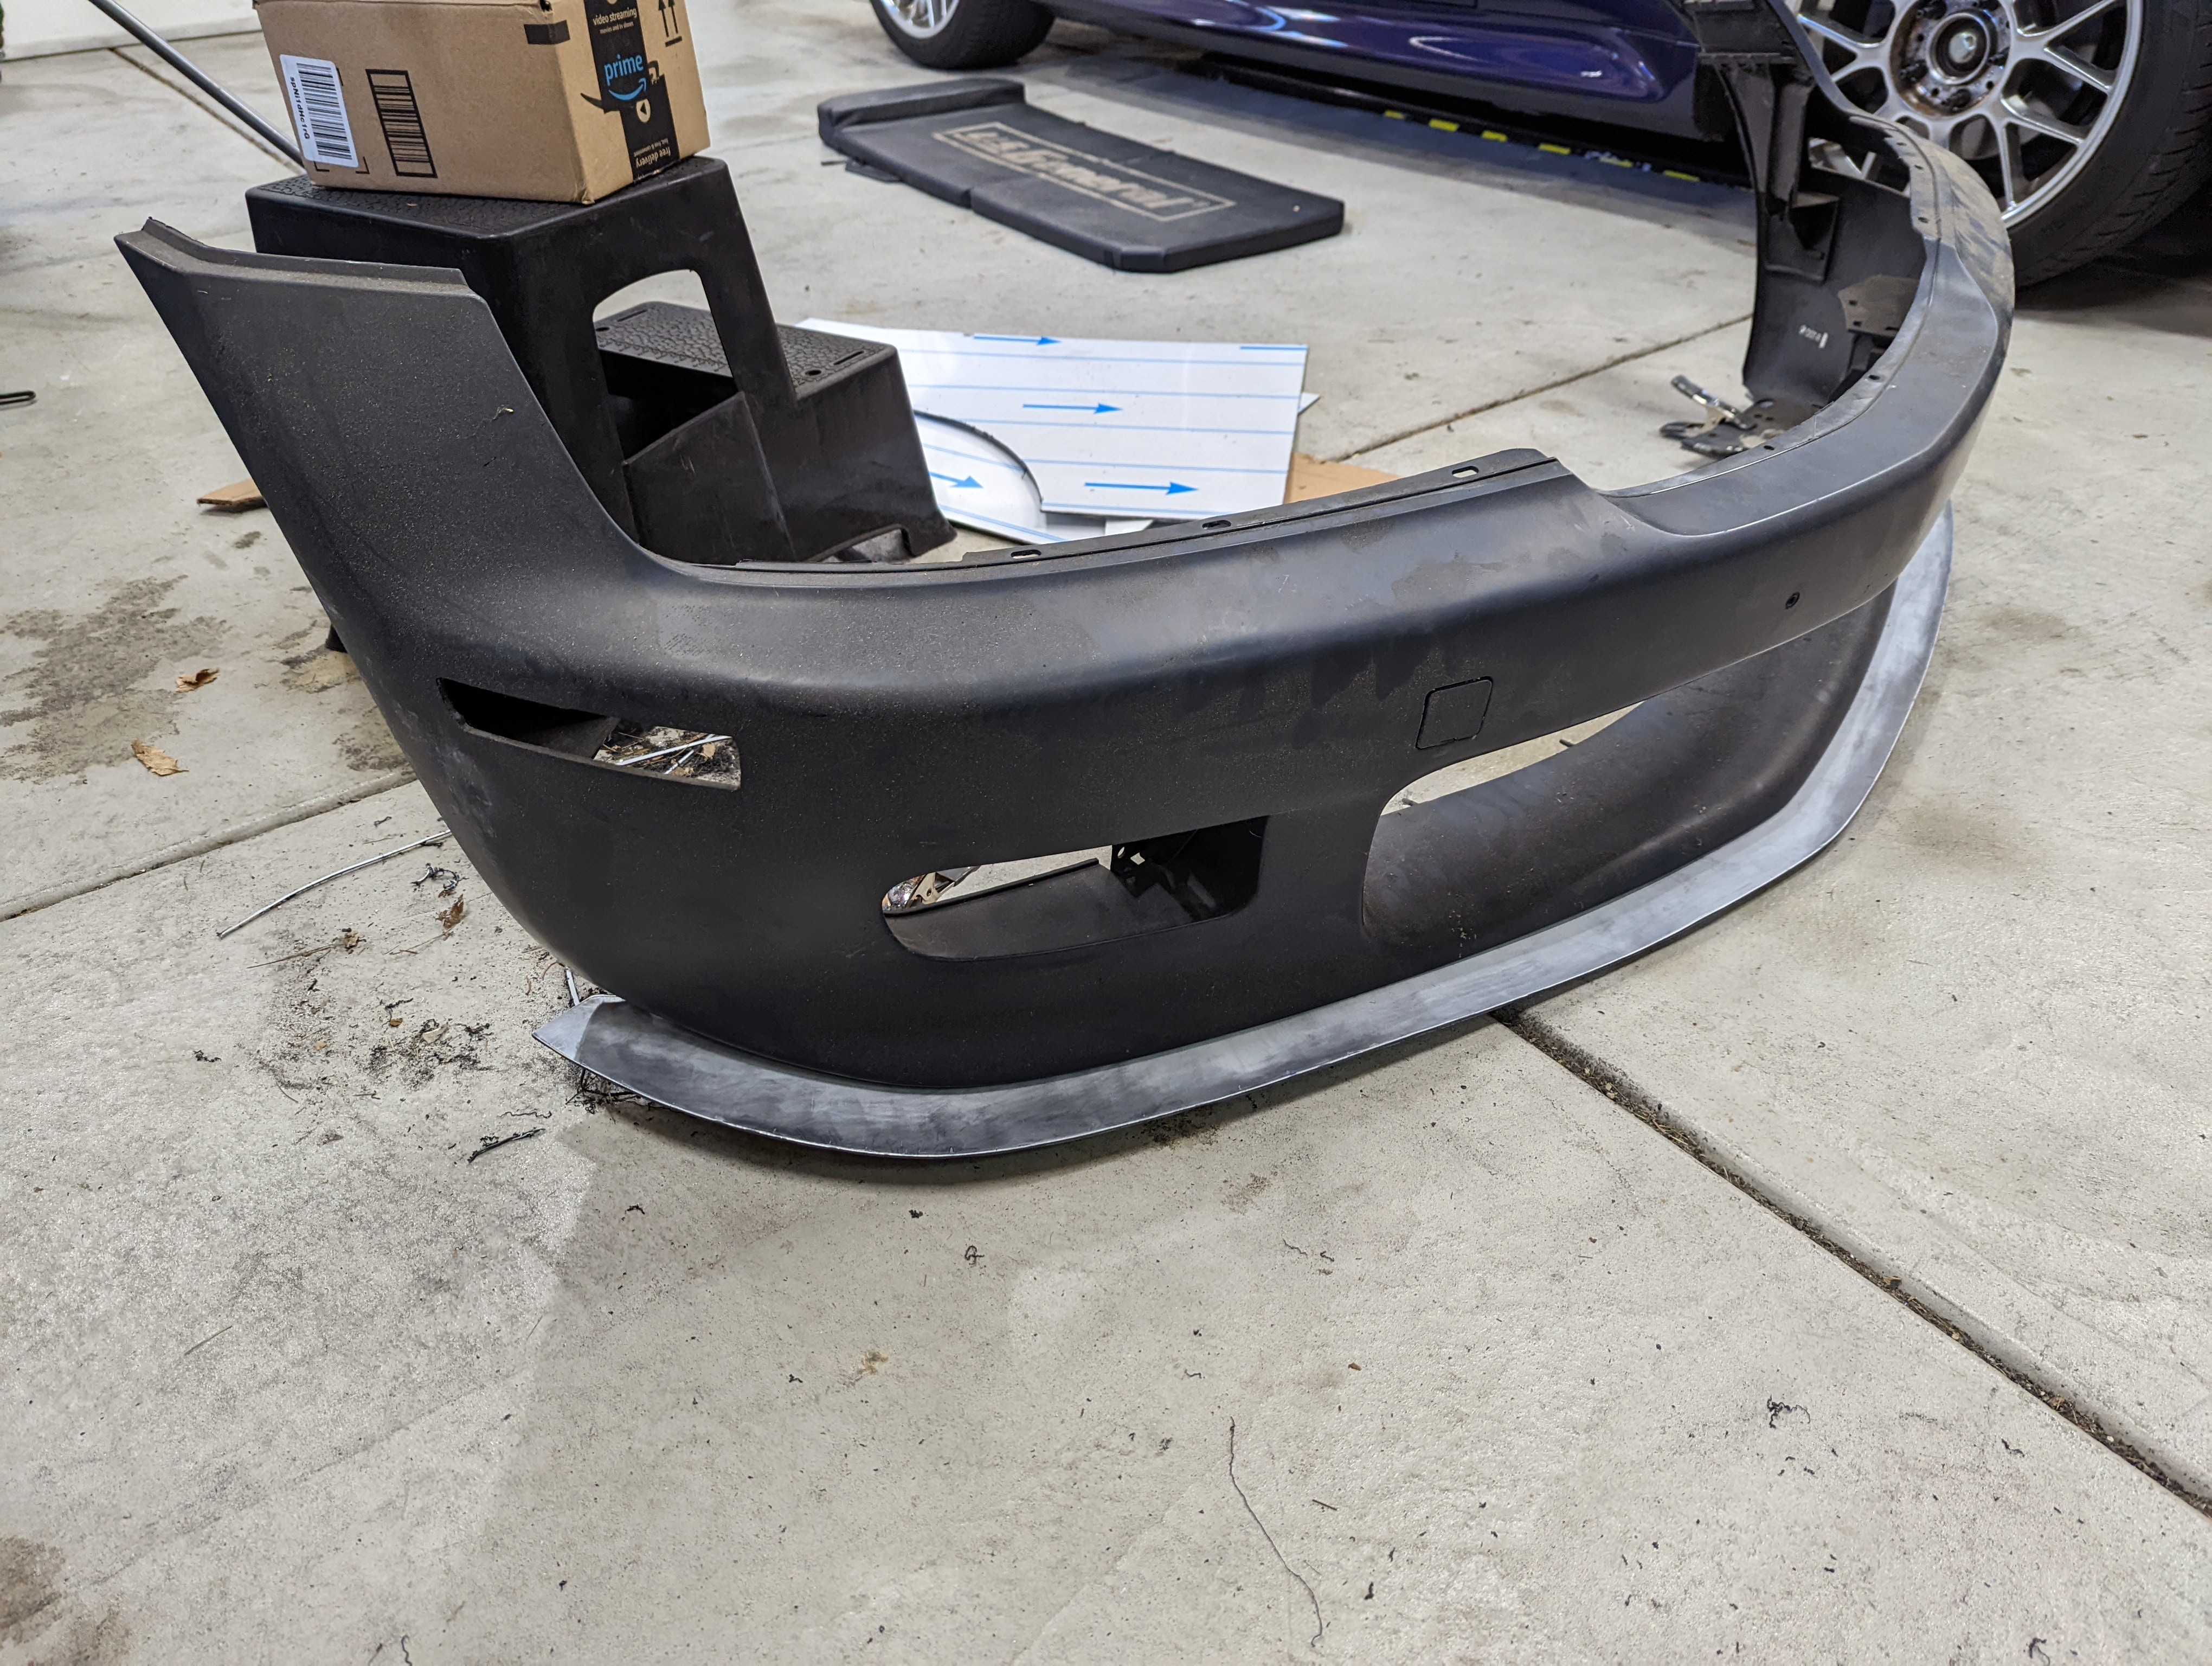
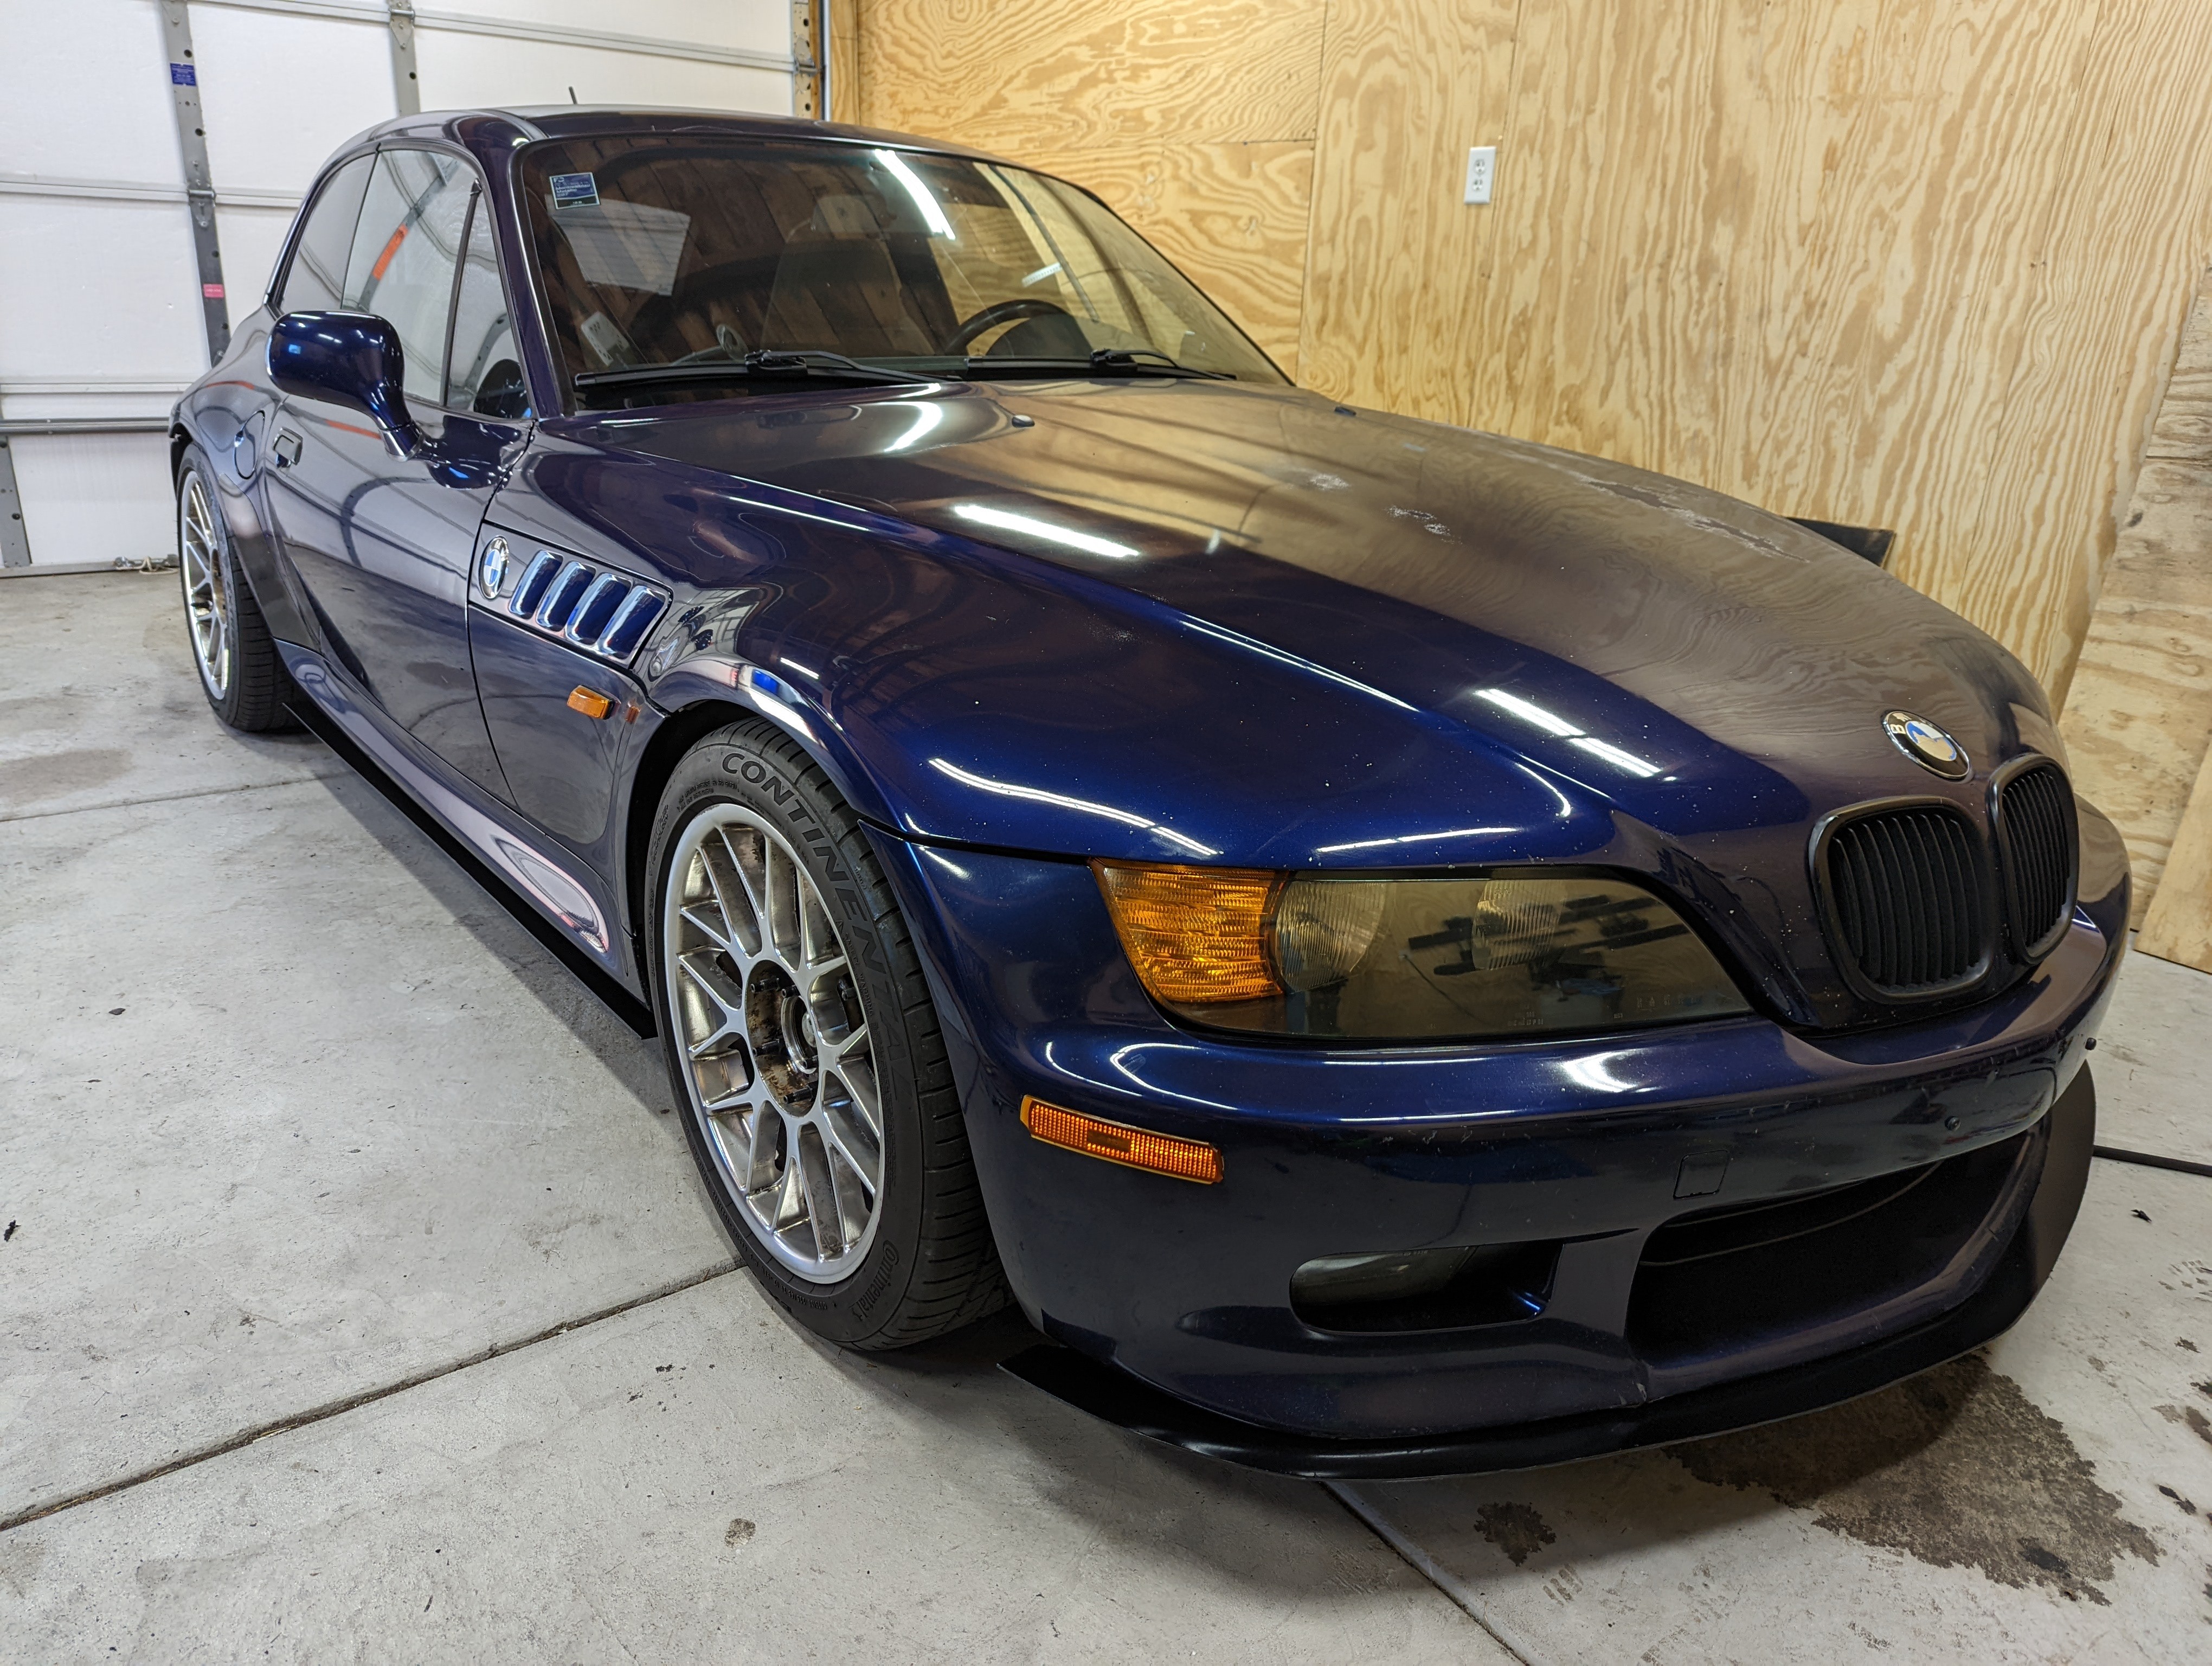
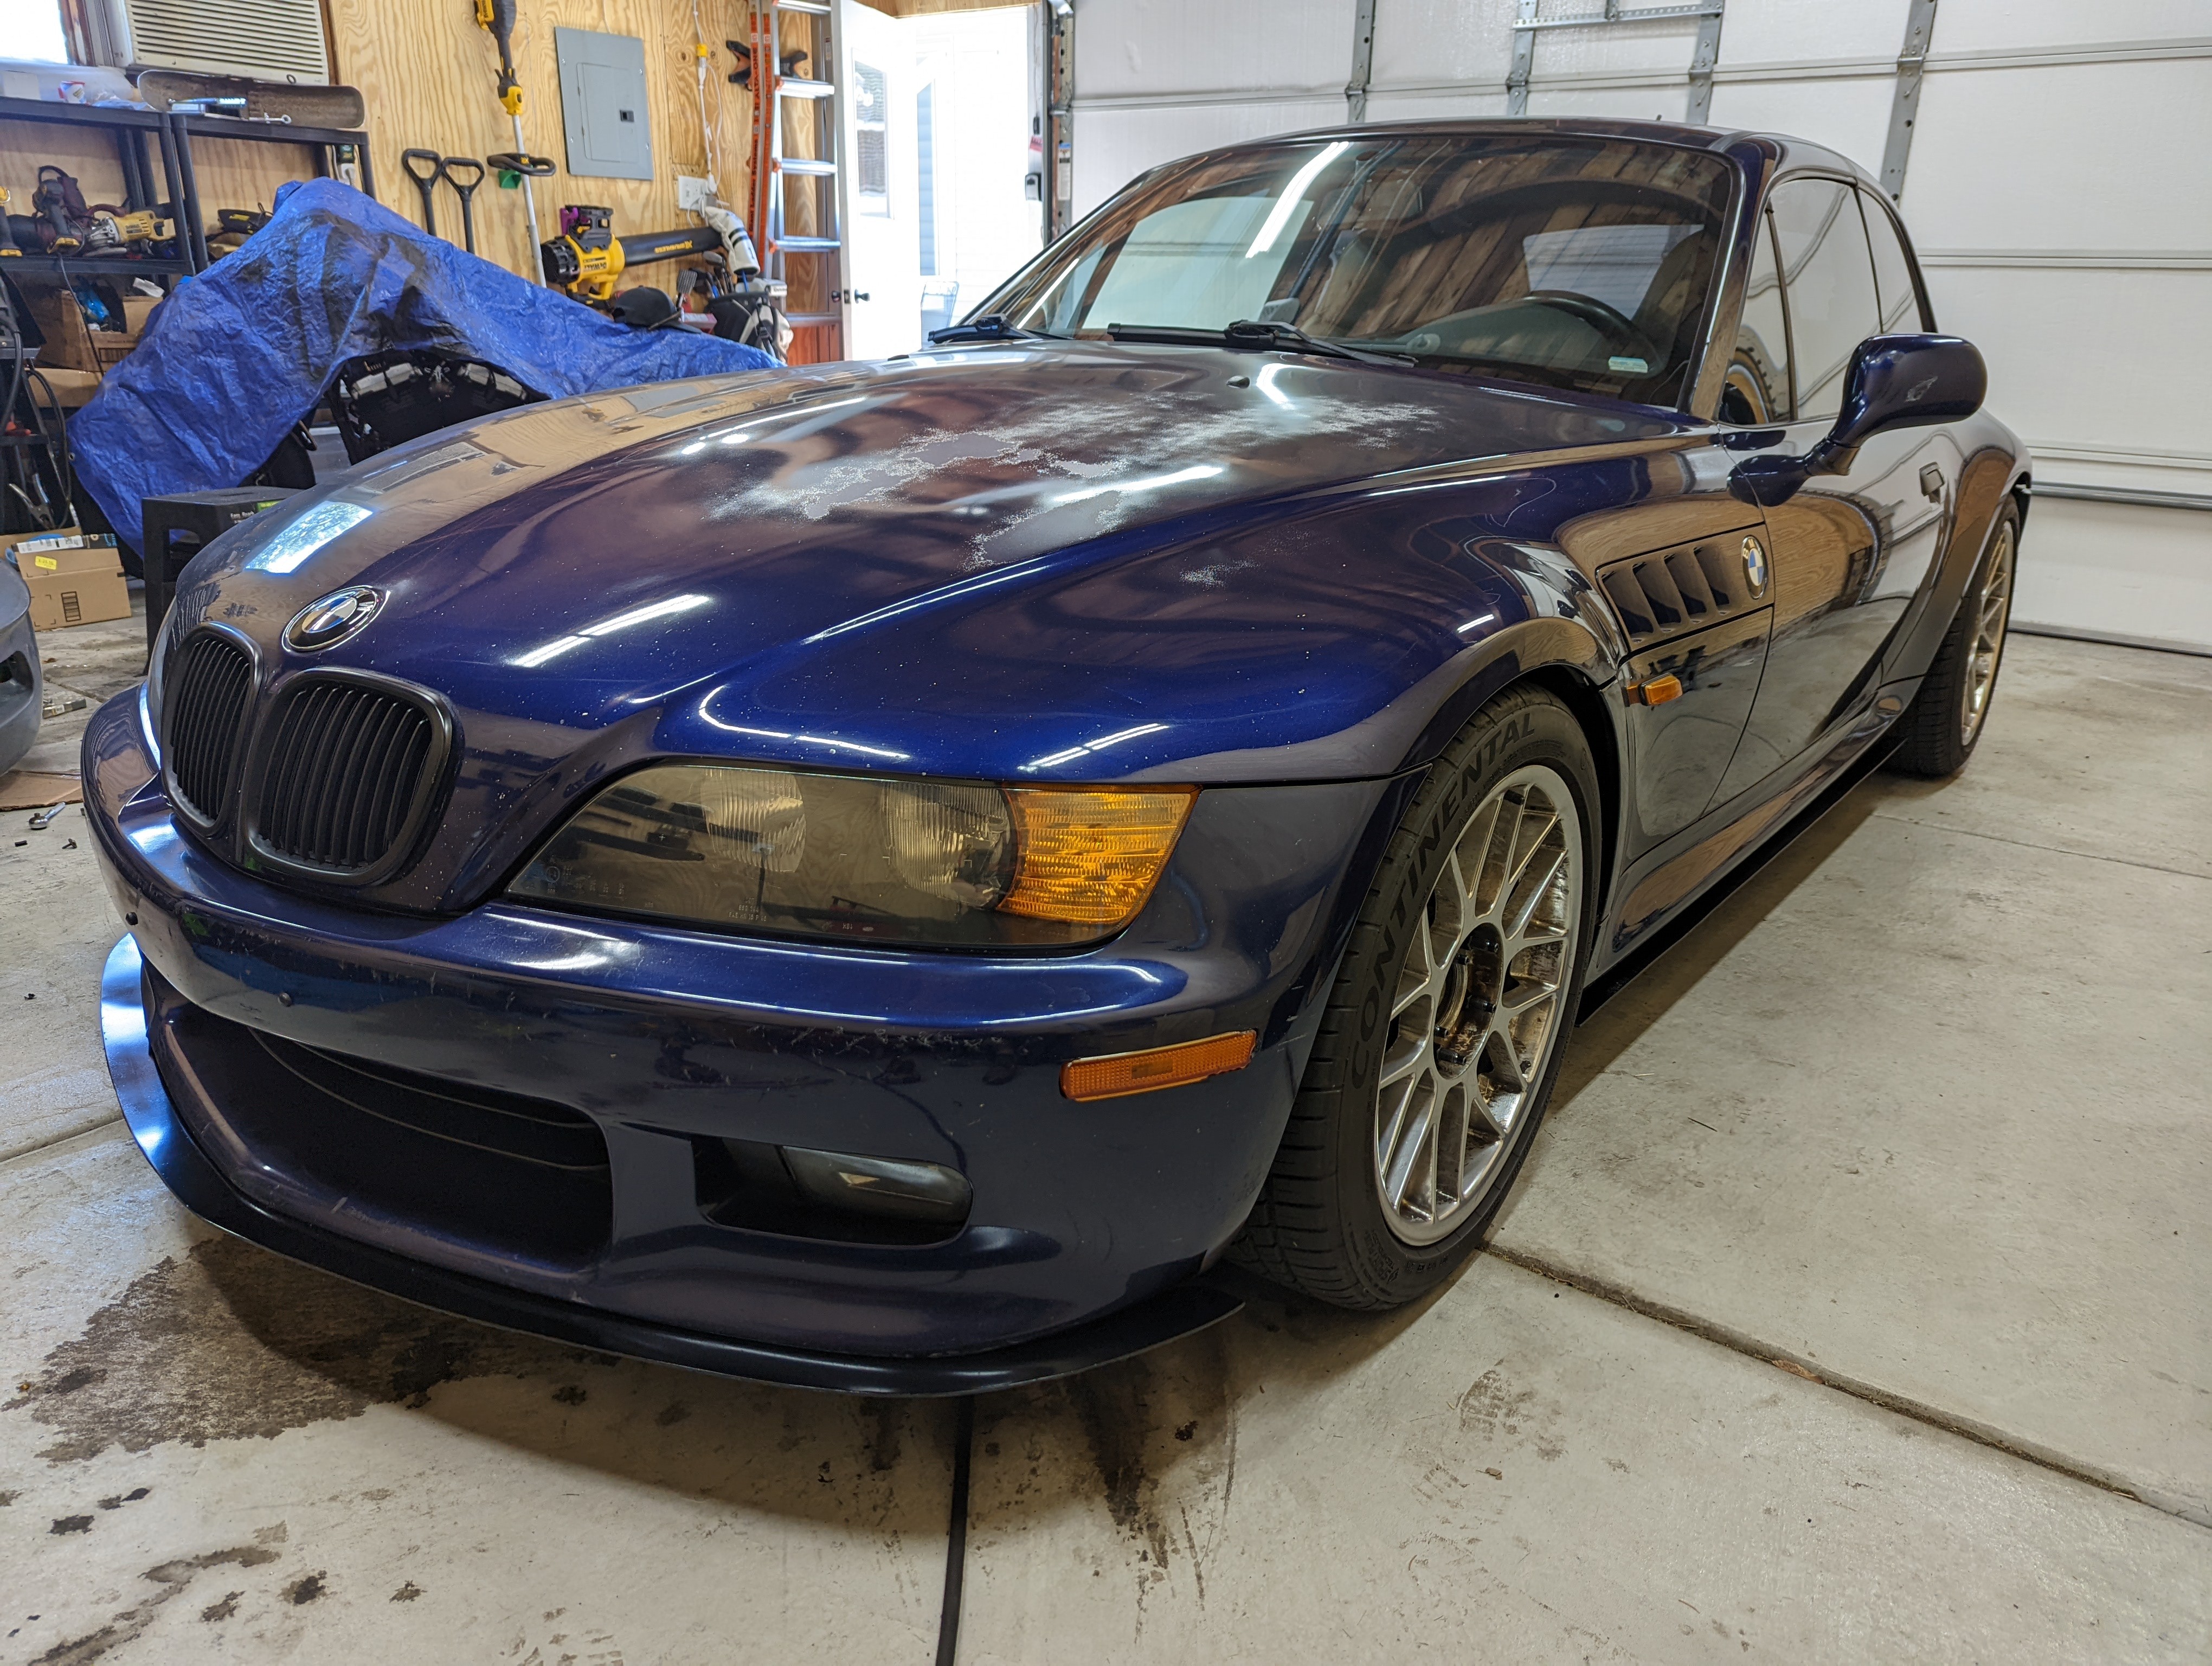
Tried my hand at making a splitter and side skirt extensions. First made some cardboard templates that I fitted to the car and spare front bumper.
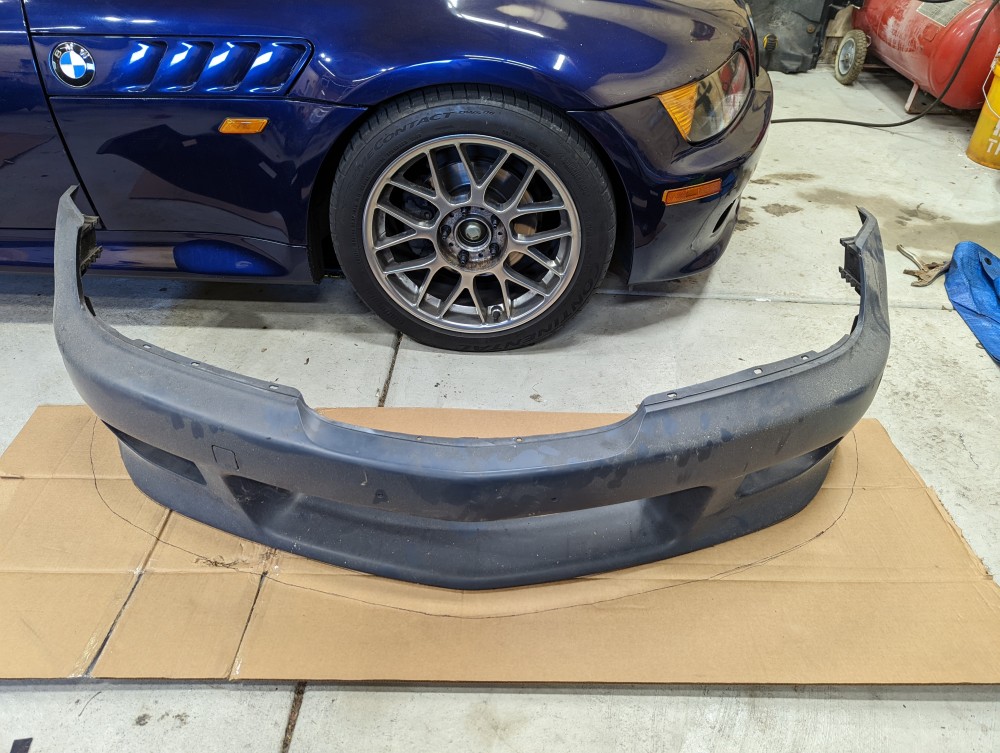
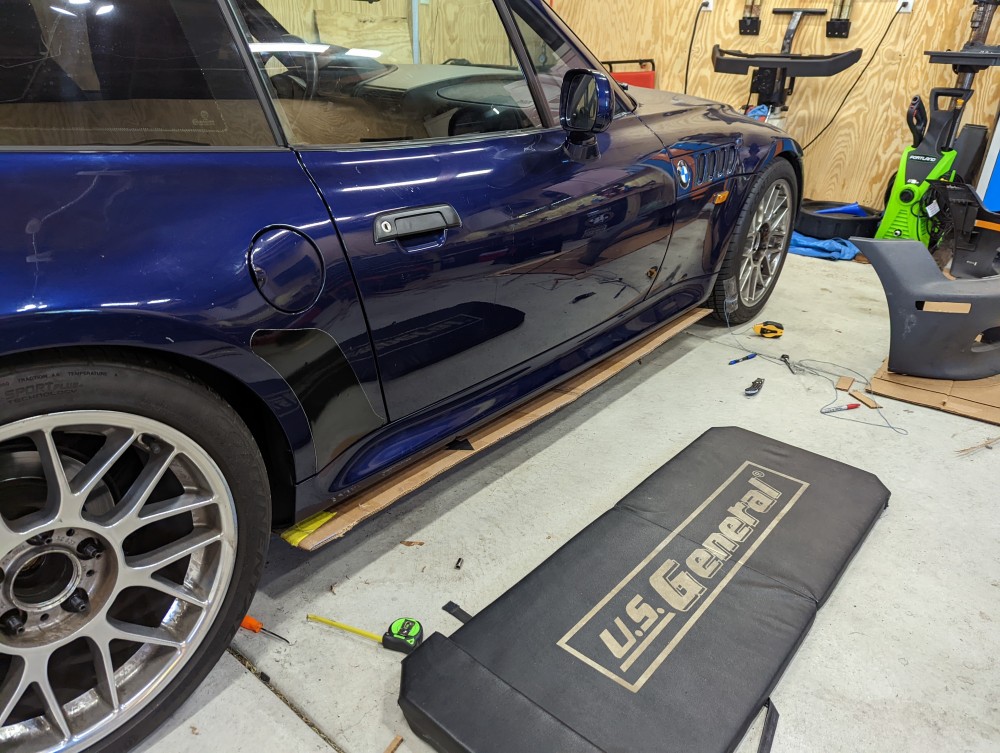
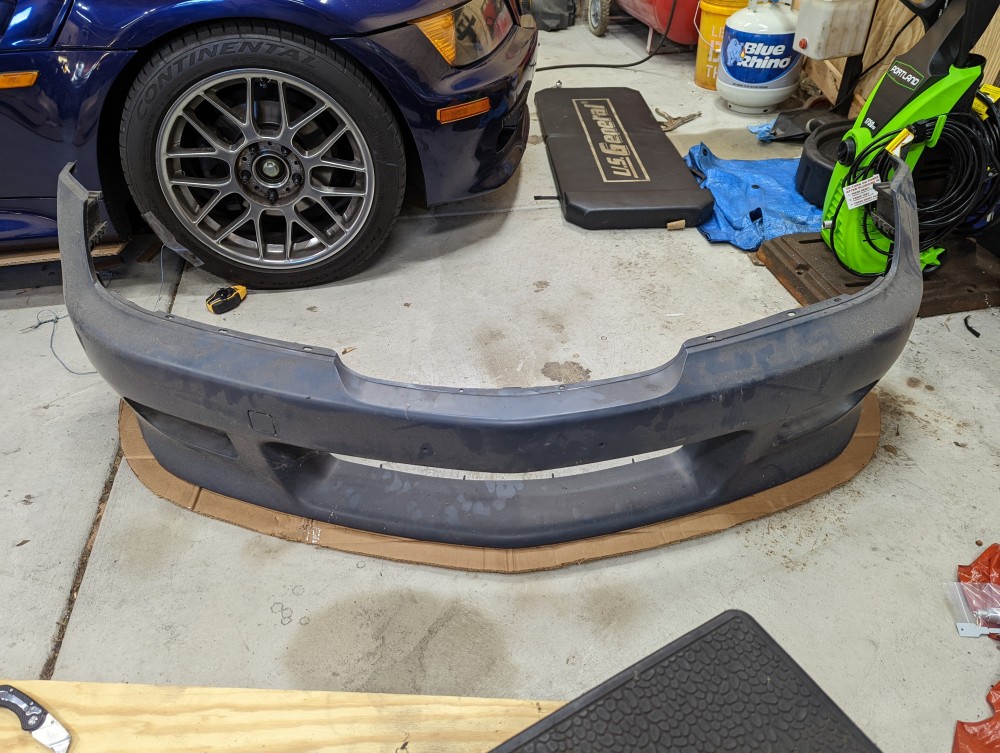
Once I had it where I thought looked good, I went to a local sign shop in New Berlin and had them cut me some rough sized aluminum composite. Also know as poly-metal. It's two very thin sheets of aluminum with composite plastic sandwich led between them. Super lightweight yet strong and sturdy.
I traced out the templates and cut the pieces out of the poly-metal with an oscillating tool.
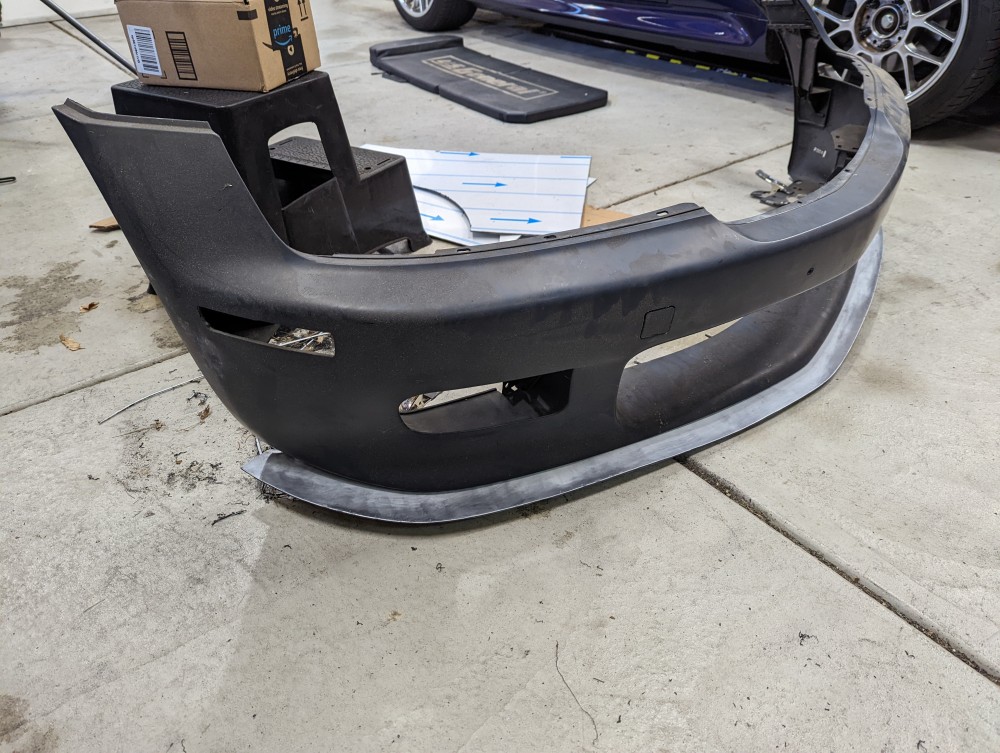
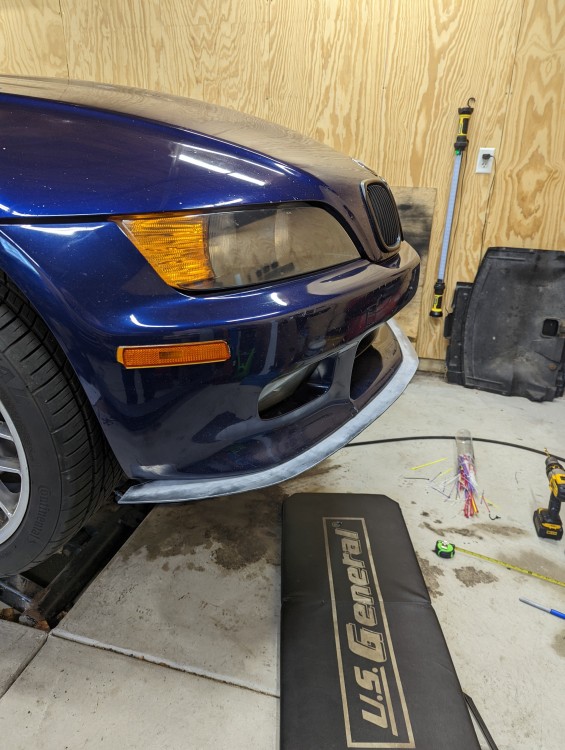
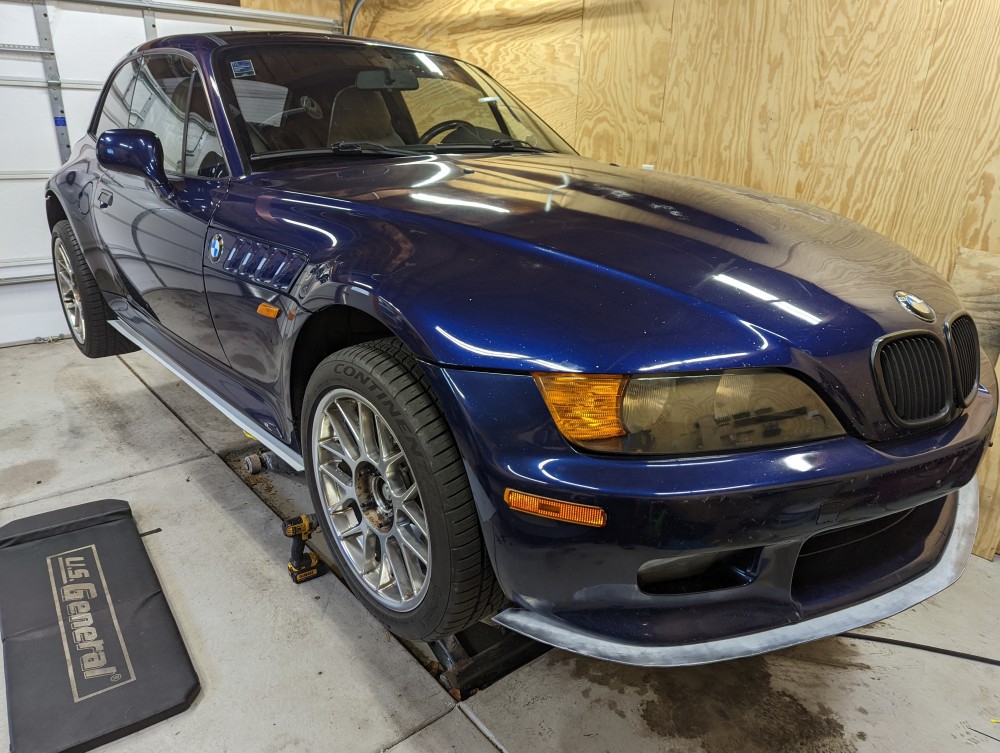
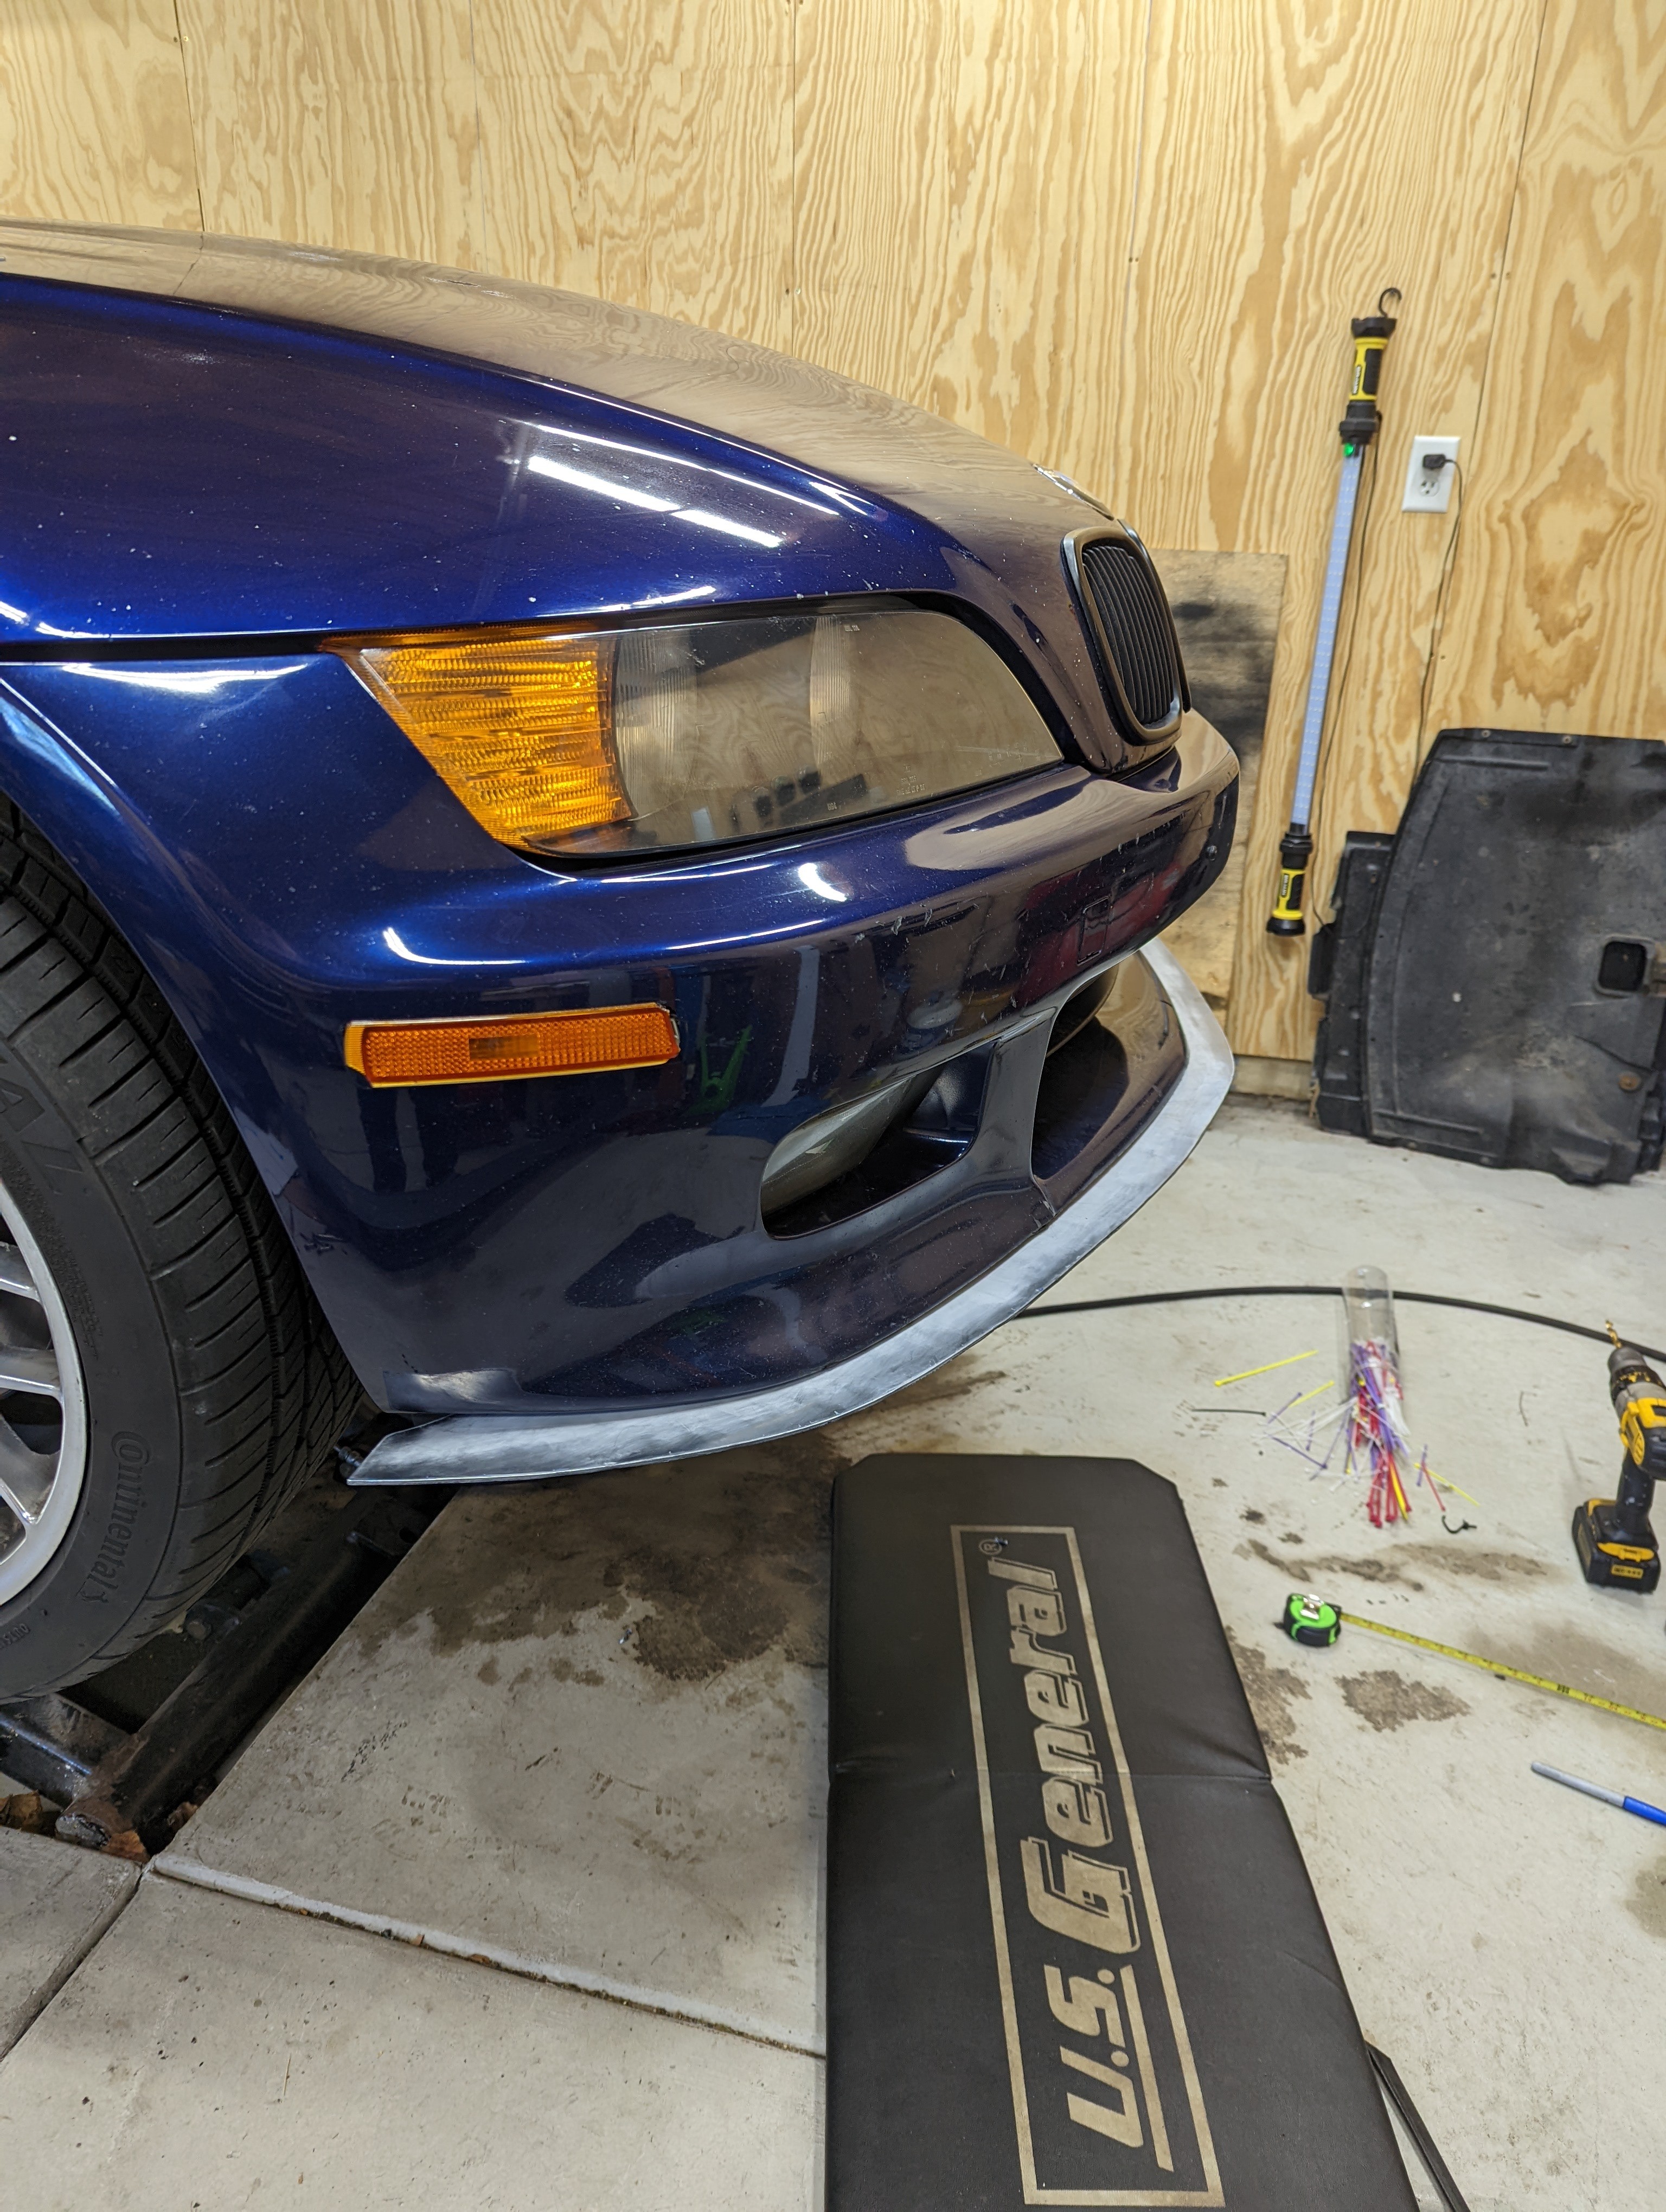
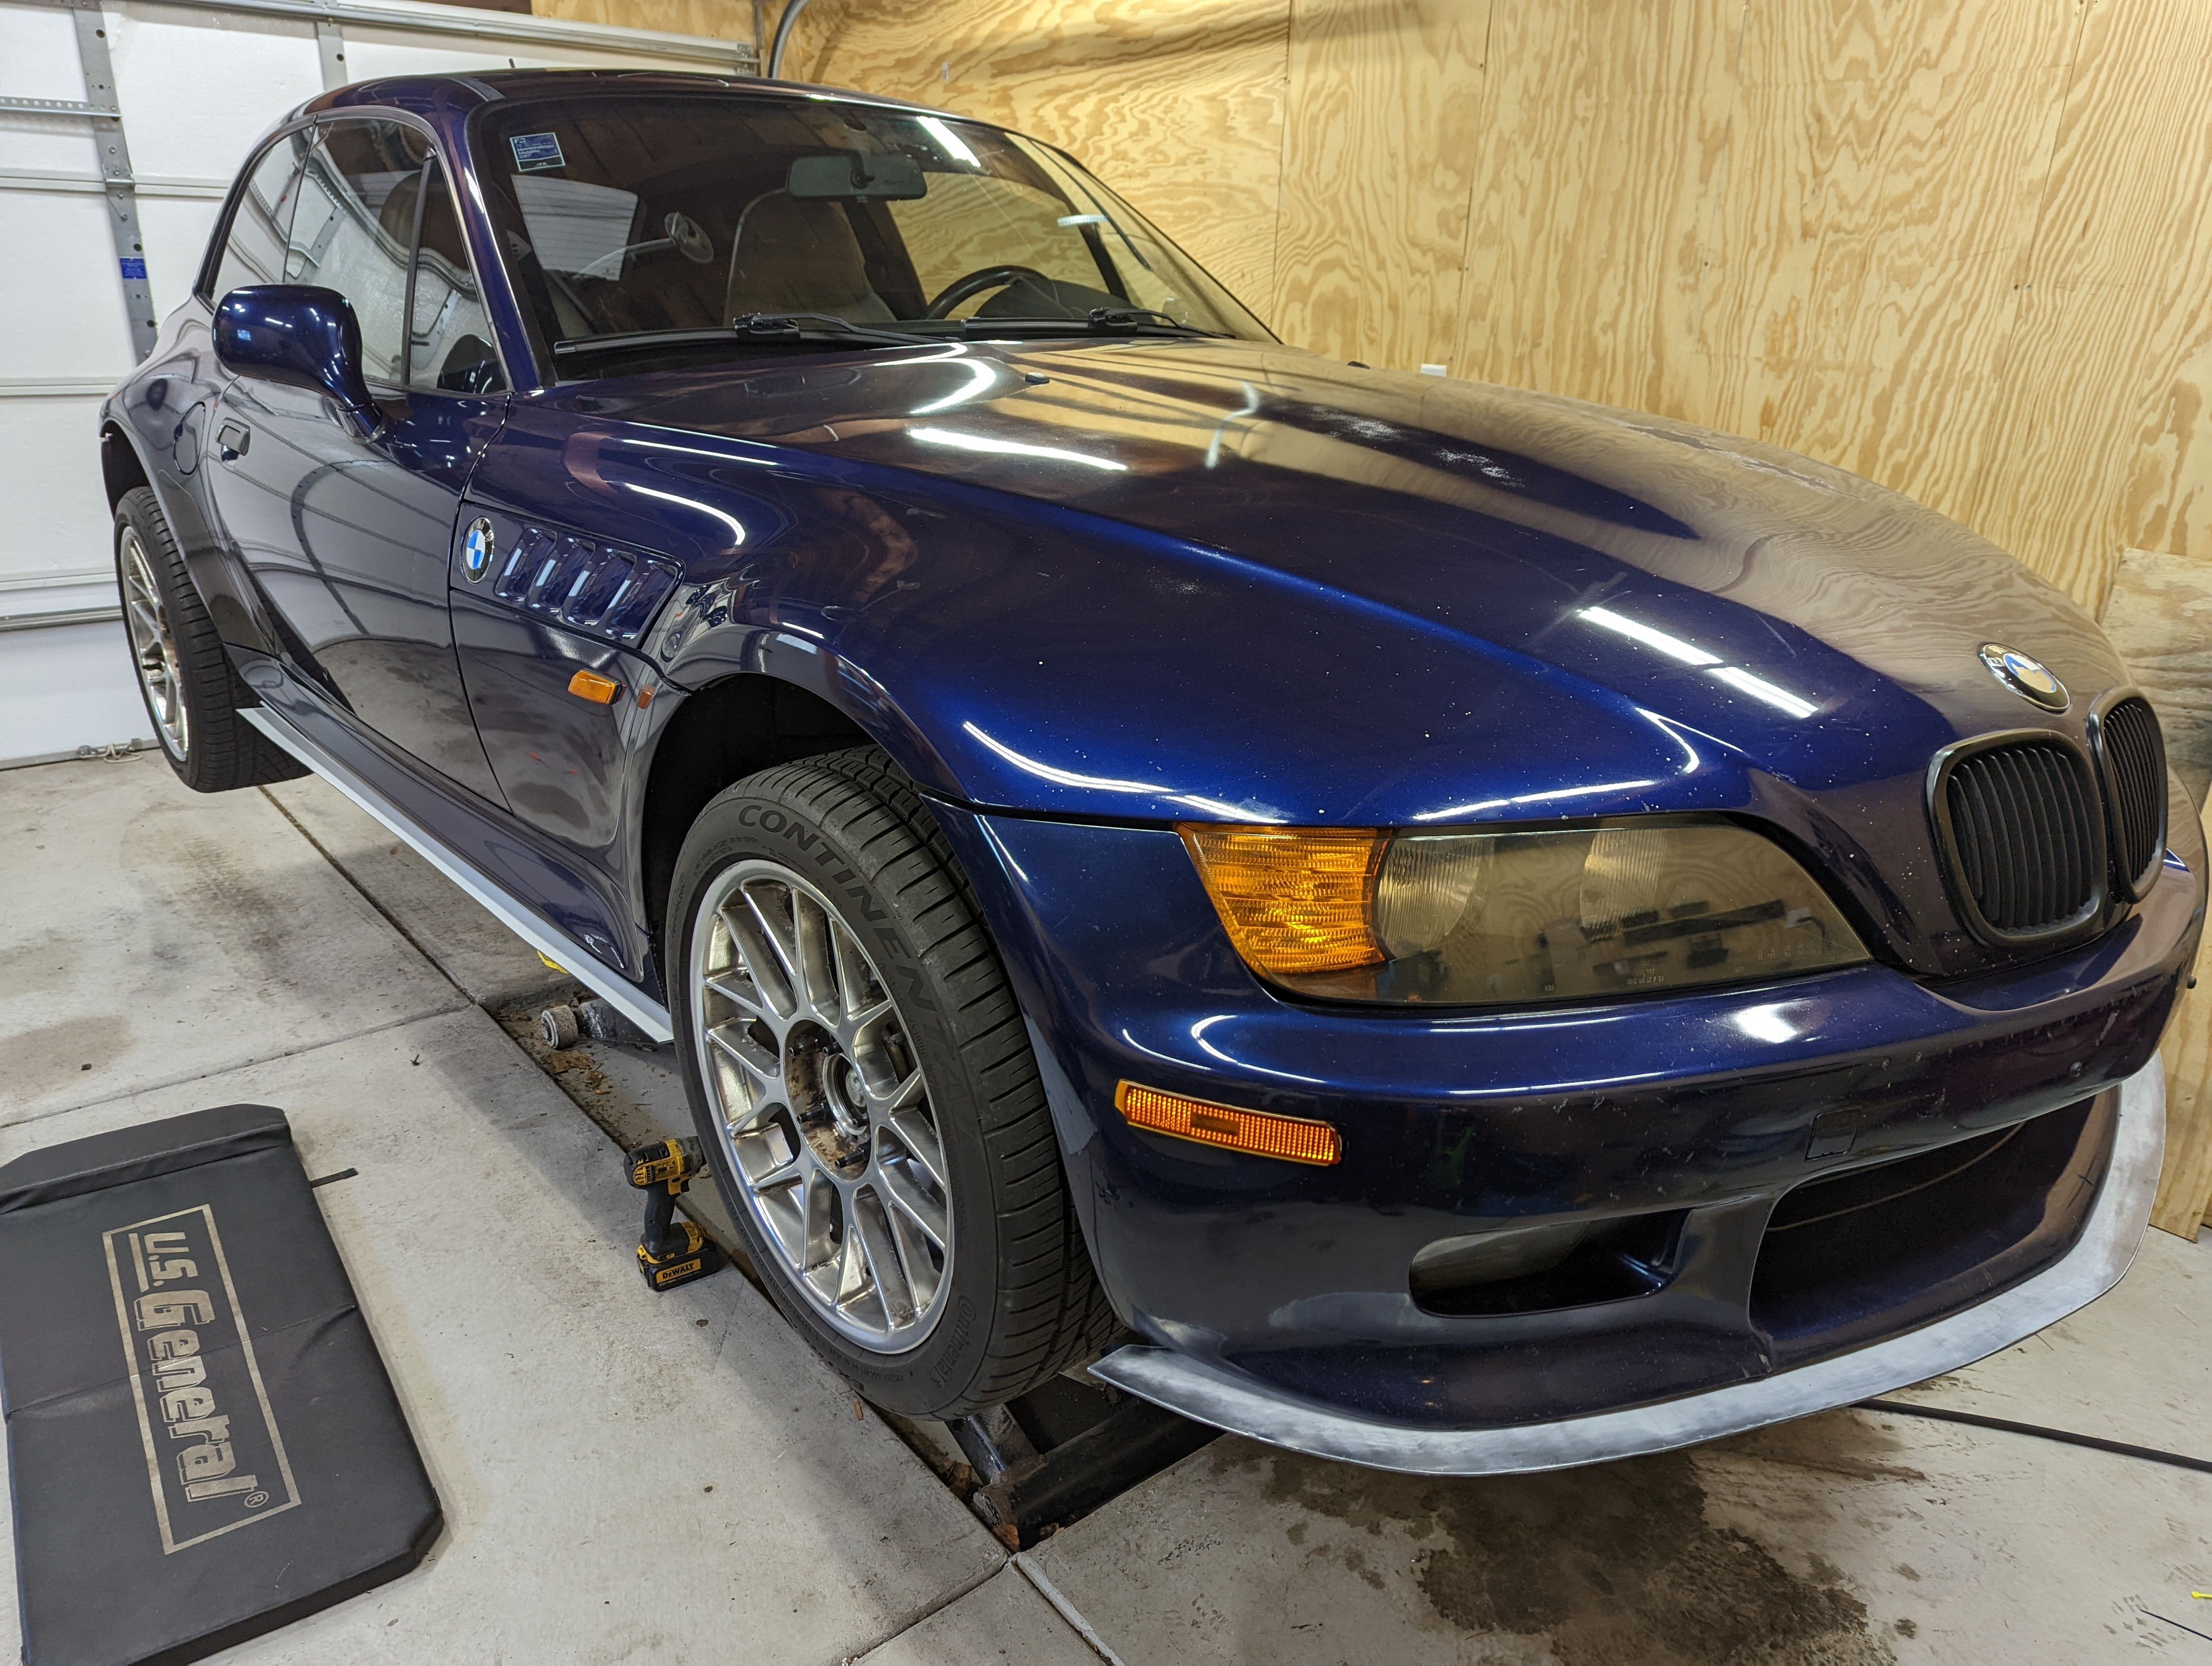
I used the stock mounting screw locations to also secure the splitter pieces which worked out well. Sanded them down and gave em a coat of semi gloss black paint and done.
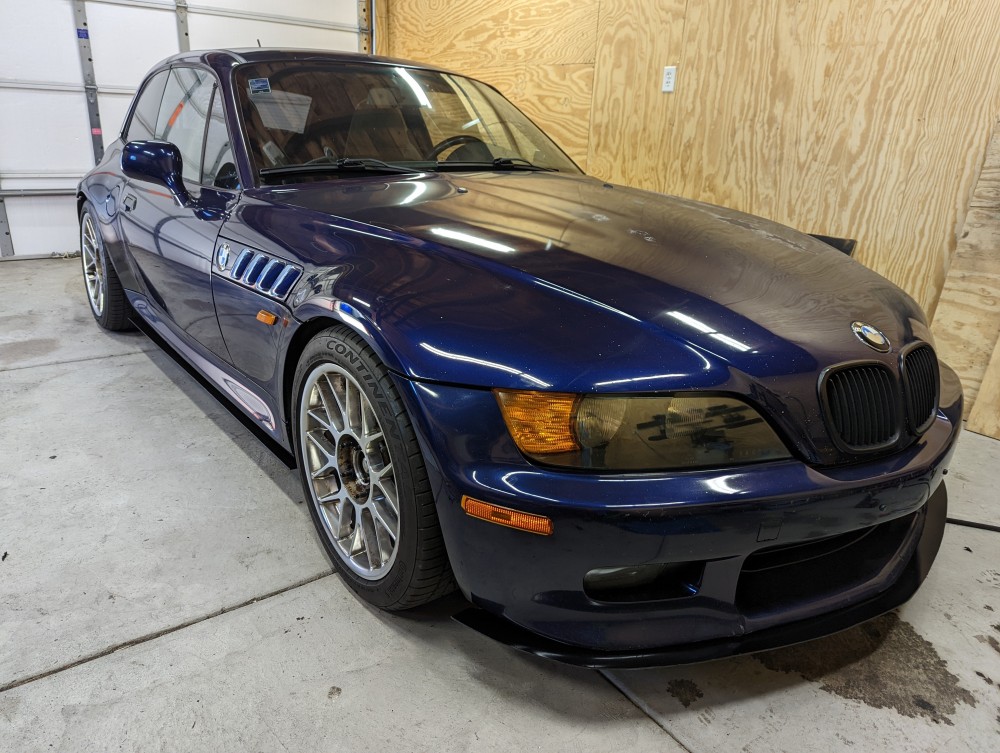
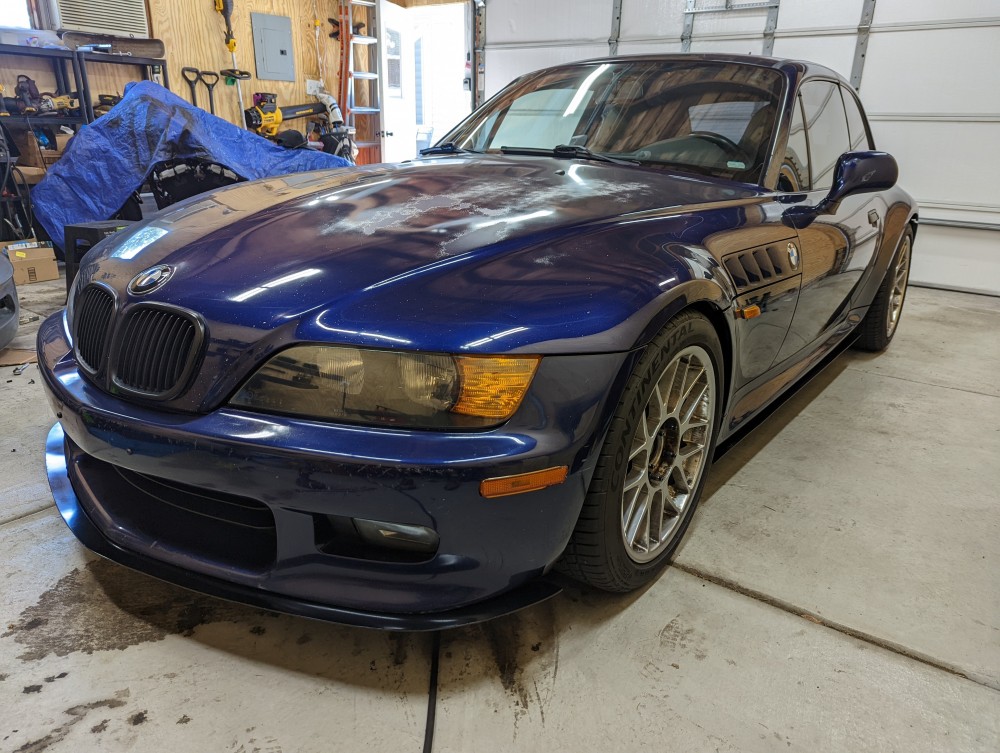
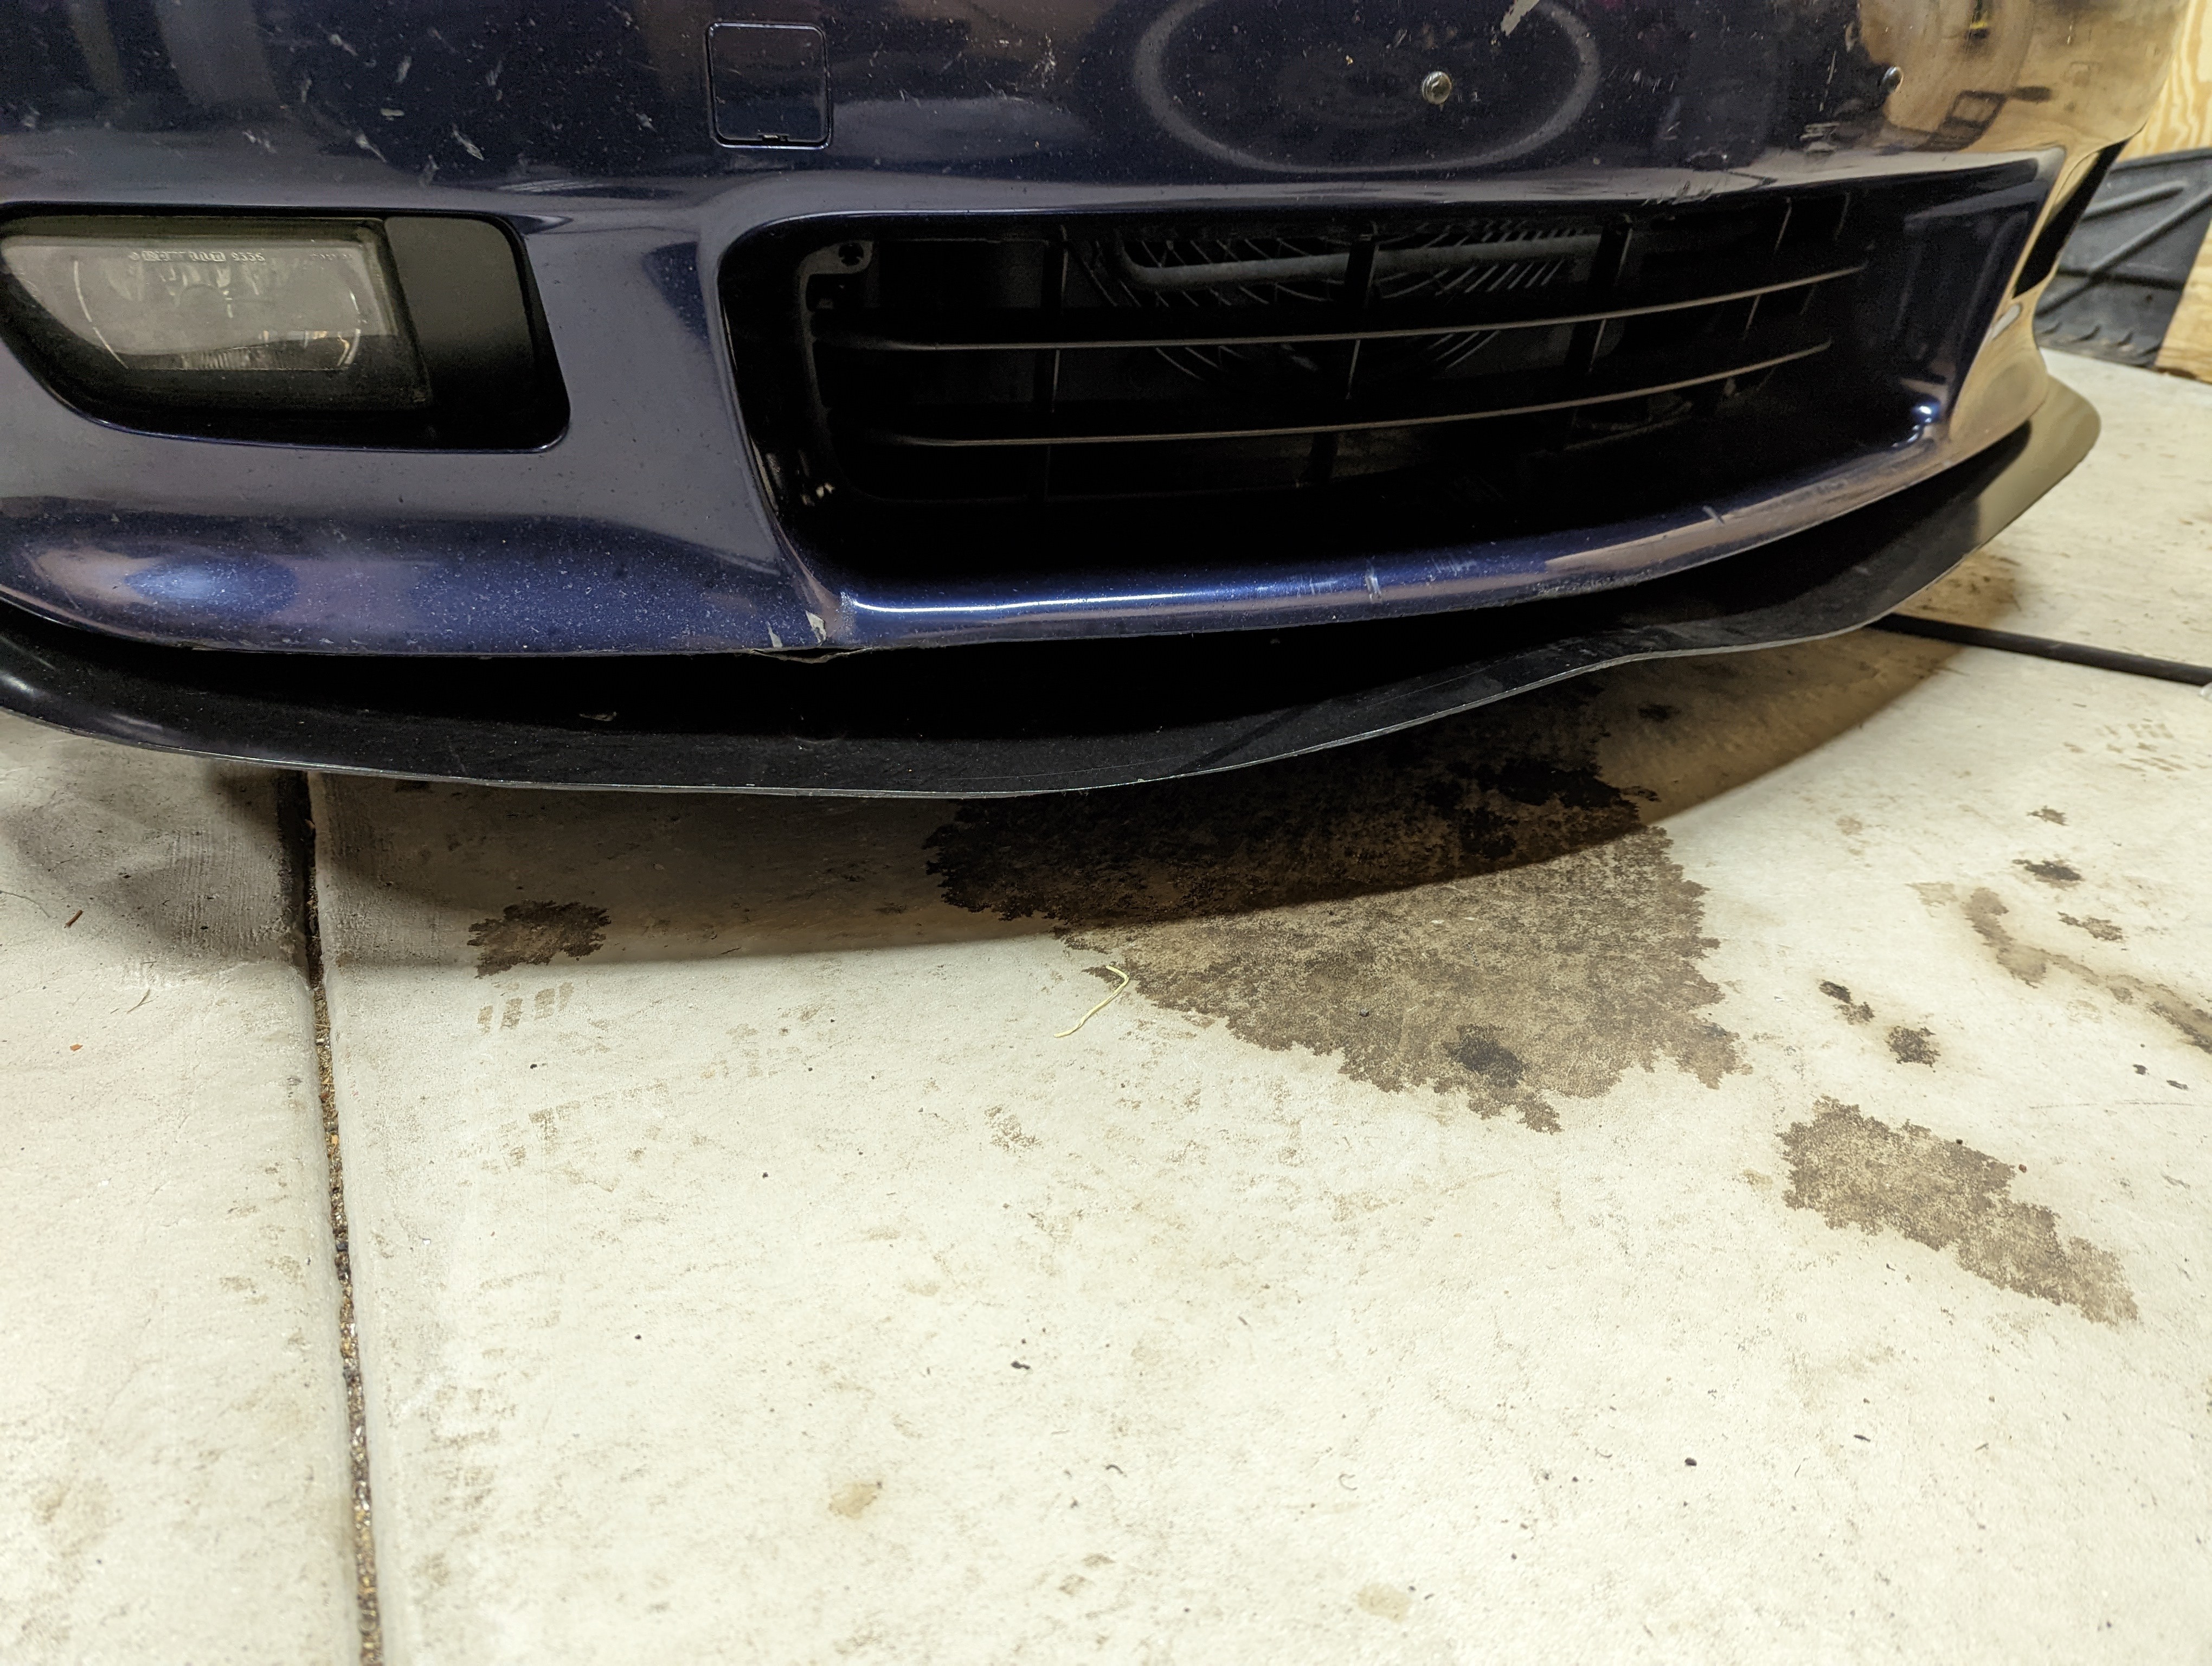
Paint isn't perfect as the coating on the poly-metal was still uneven even after sanding. Good part is I can always unbolt it, sand again and repaint down the road.
I think it turned out nice. The subtle look goes well with the car I think. On to the next project, whatever that may be.
-
Very cool! Never thought I’d see Dibond used on a car lol. Did the paint hold well to the edge?
It is hit or miss to be honest. It will definitely need to be re-prepped and painted at some point. Kinda testing it this summer to see how well it handles the rock chips and such, then will see what it needs over winter.
-
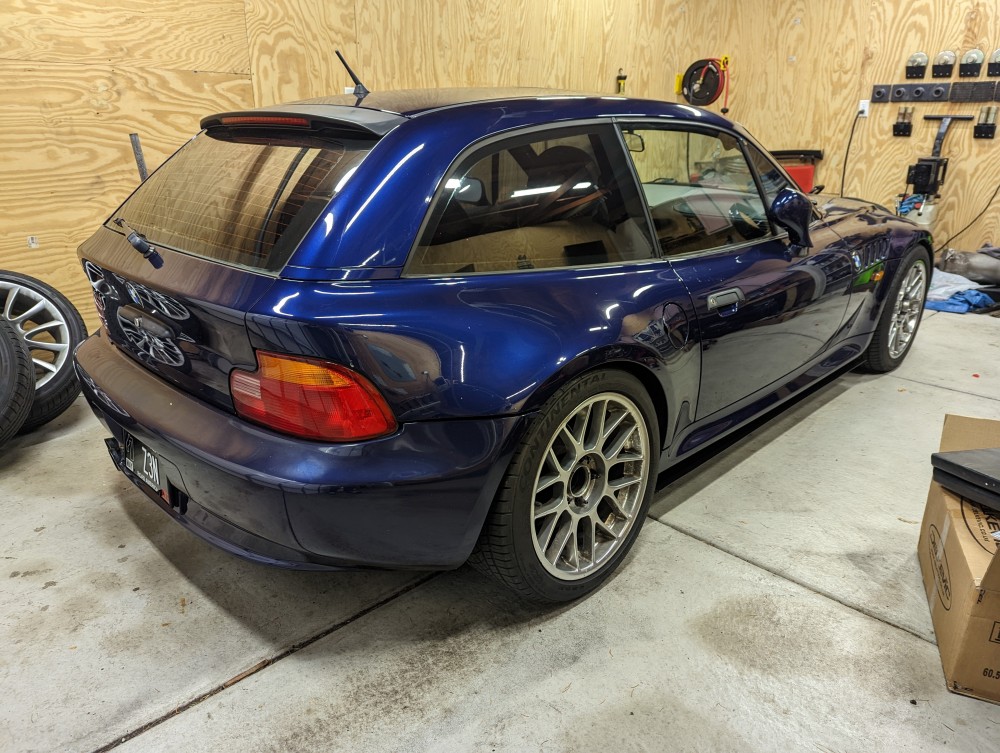
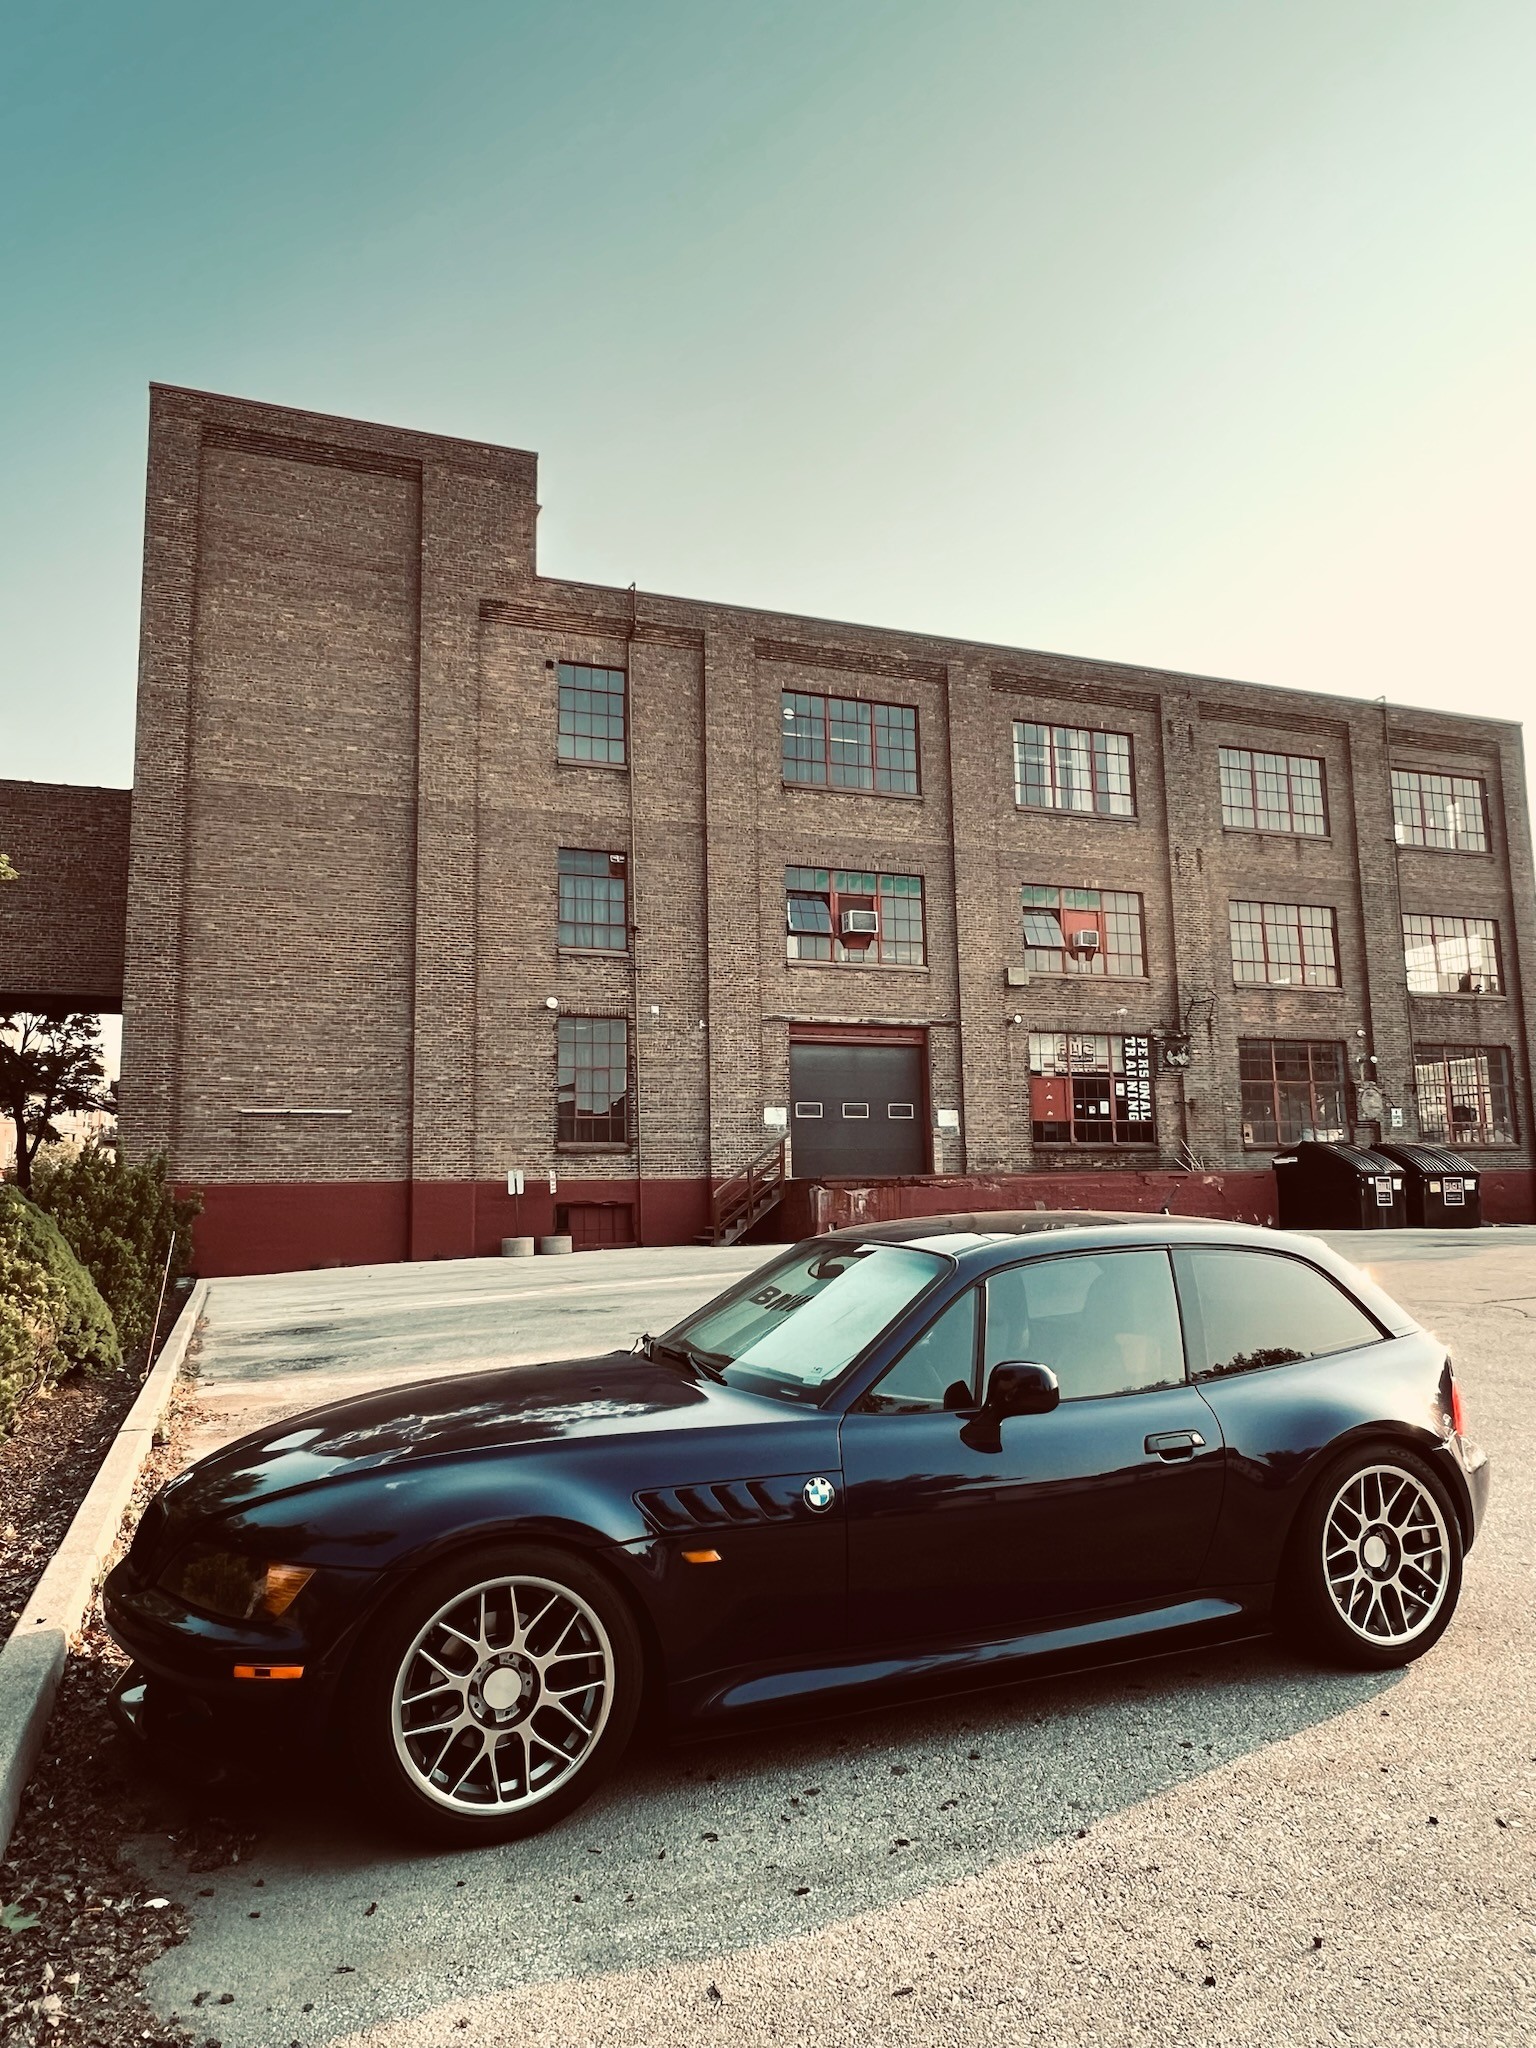
Can't end the driving season without a little carnage. Had a run in with a fat squirrel while out on my last drive before winter storage. Bent and broke the front splitter I made. Was slapping the bumper the whole ride home. Give me something to do over winter I suppose.
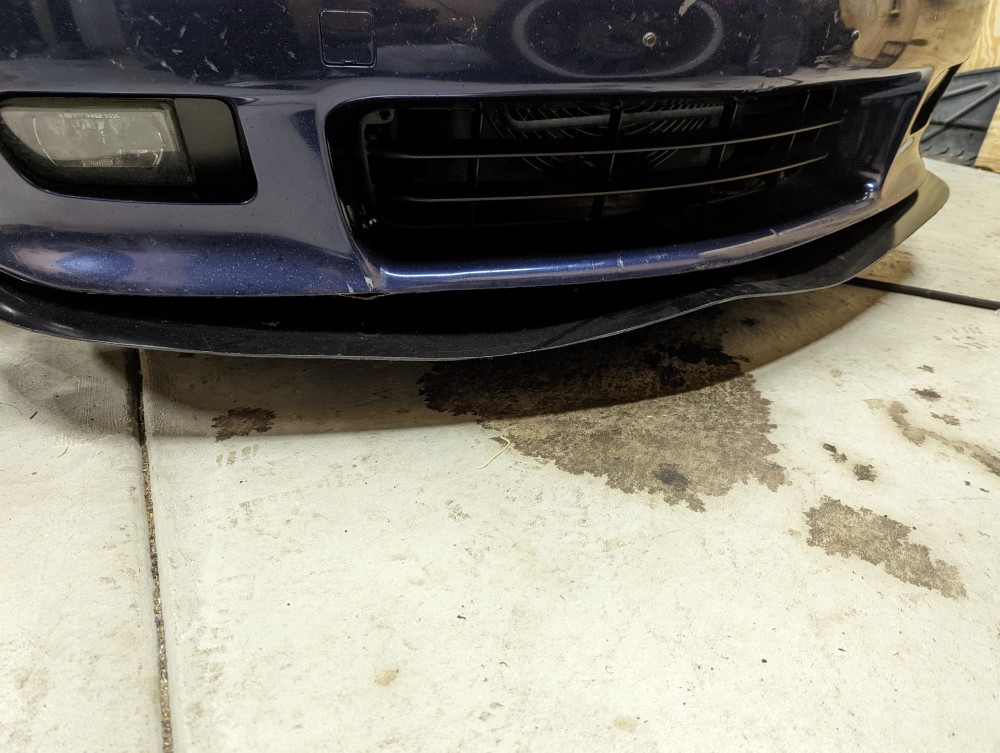
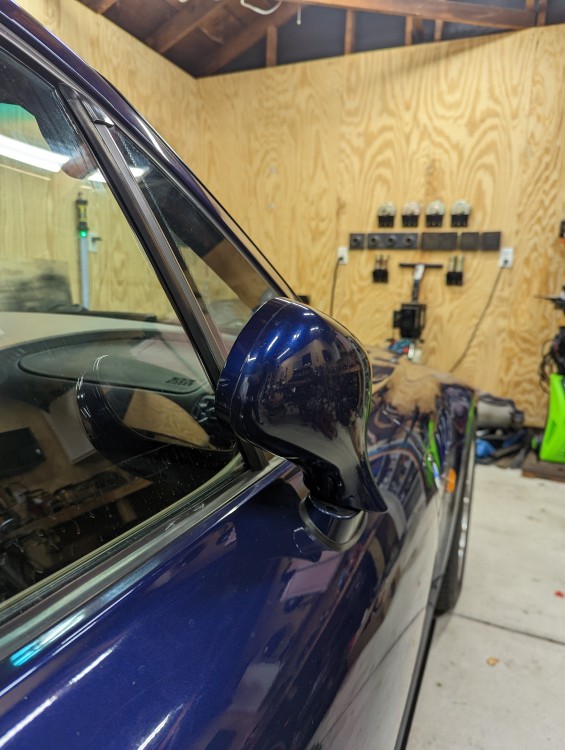
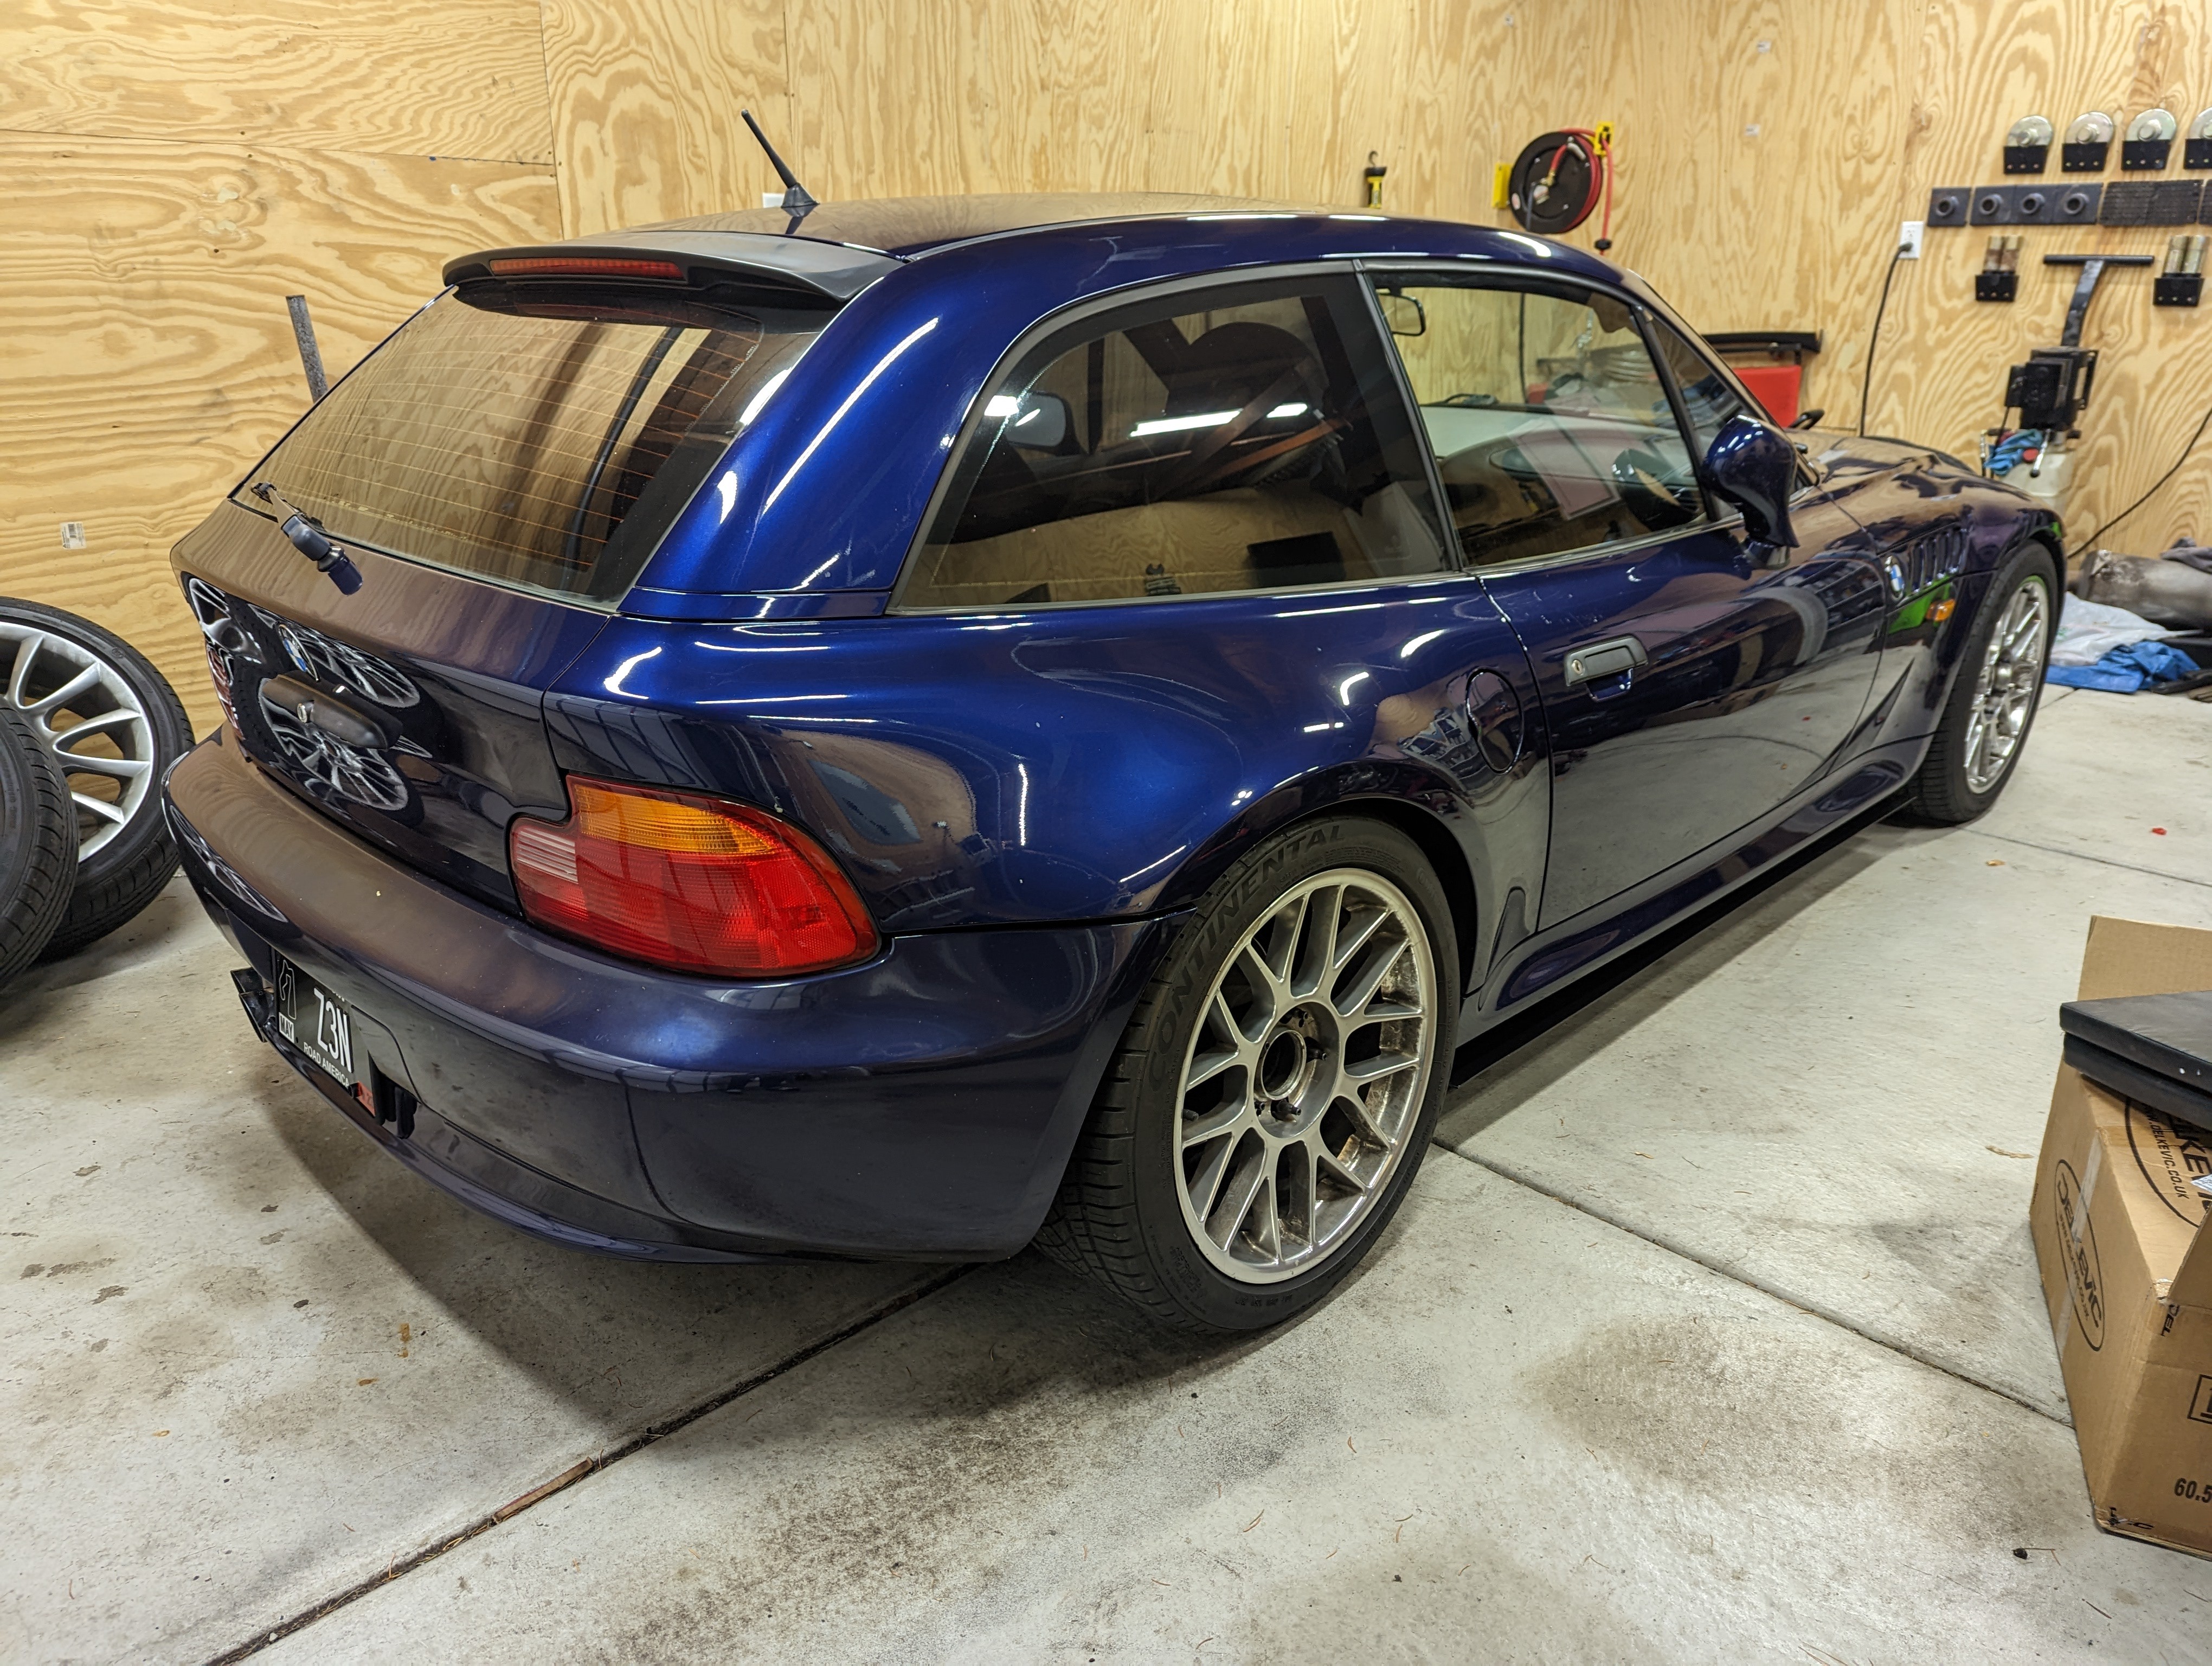
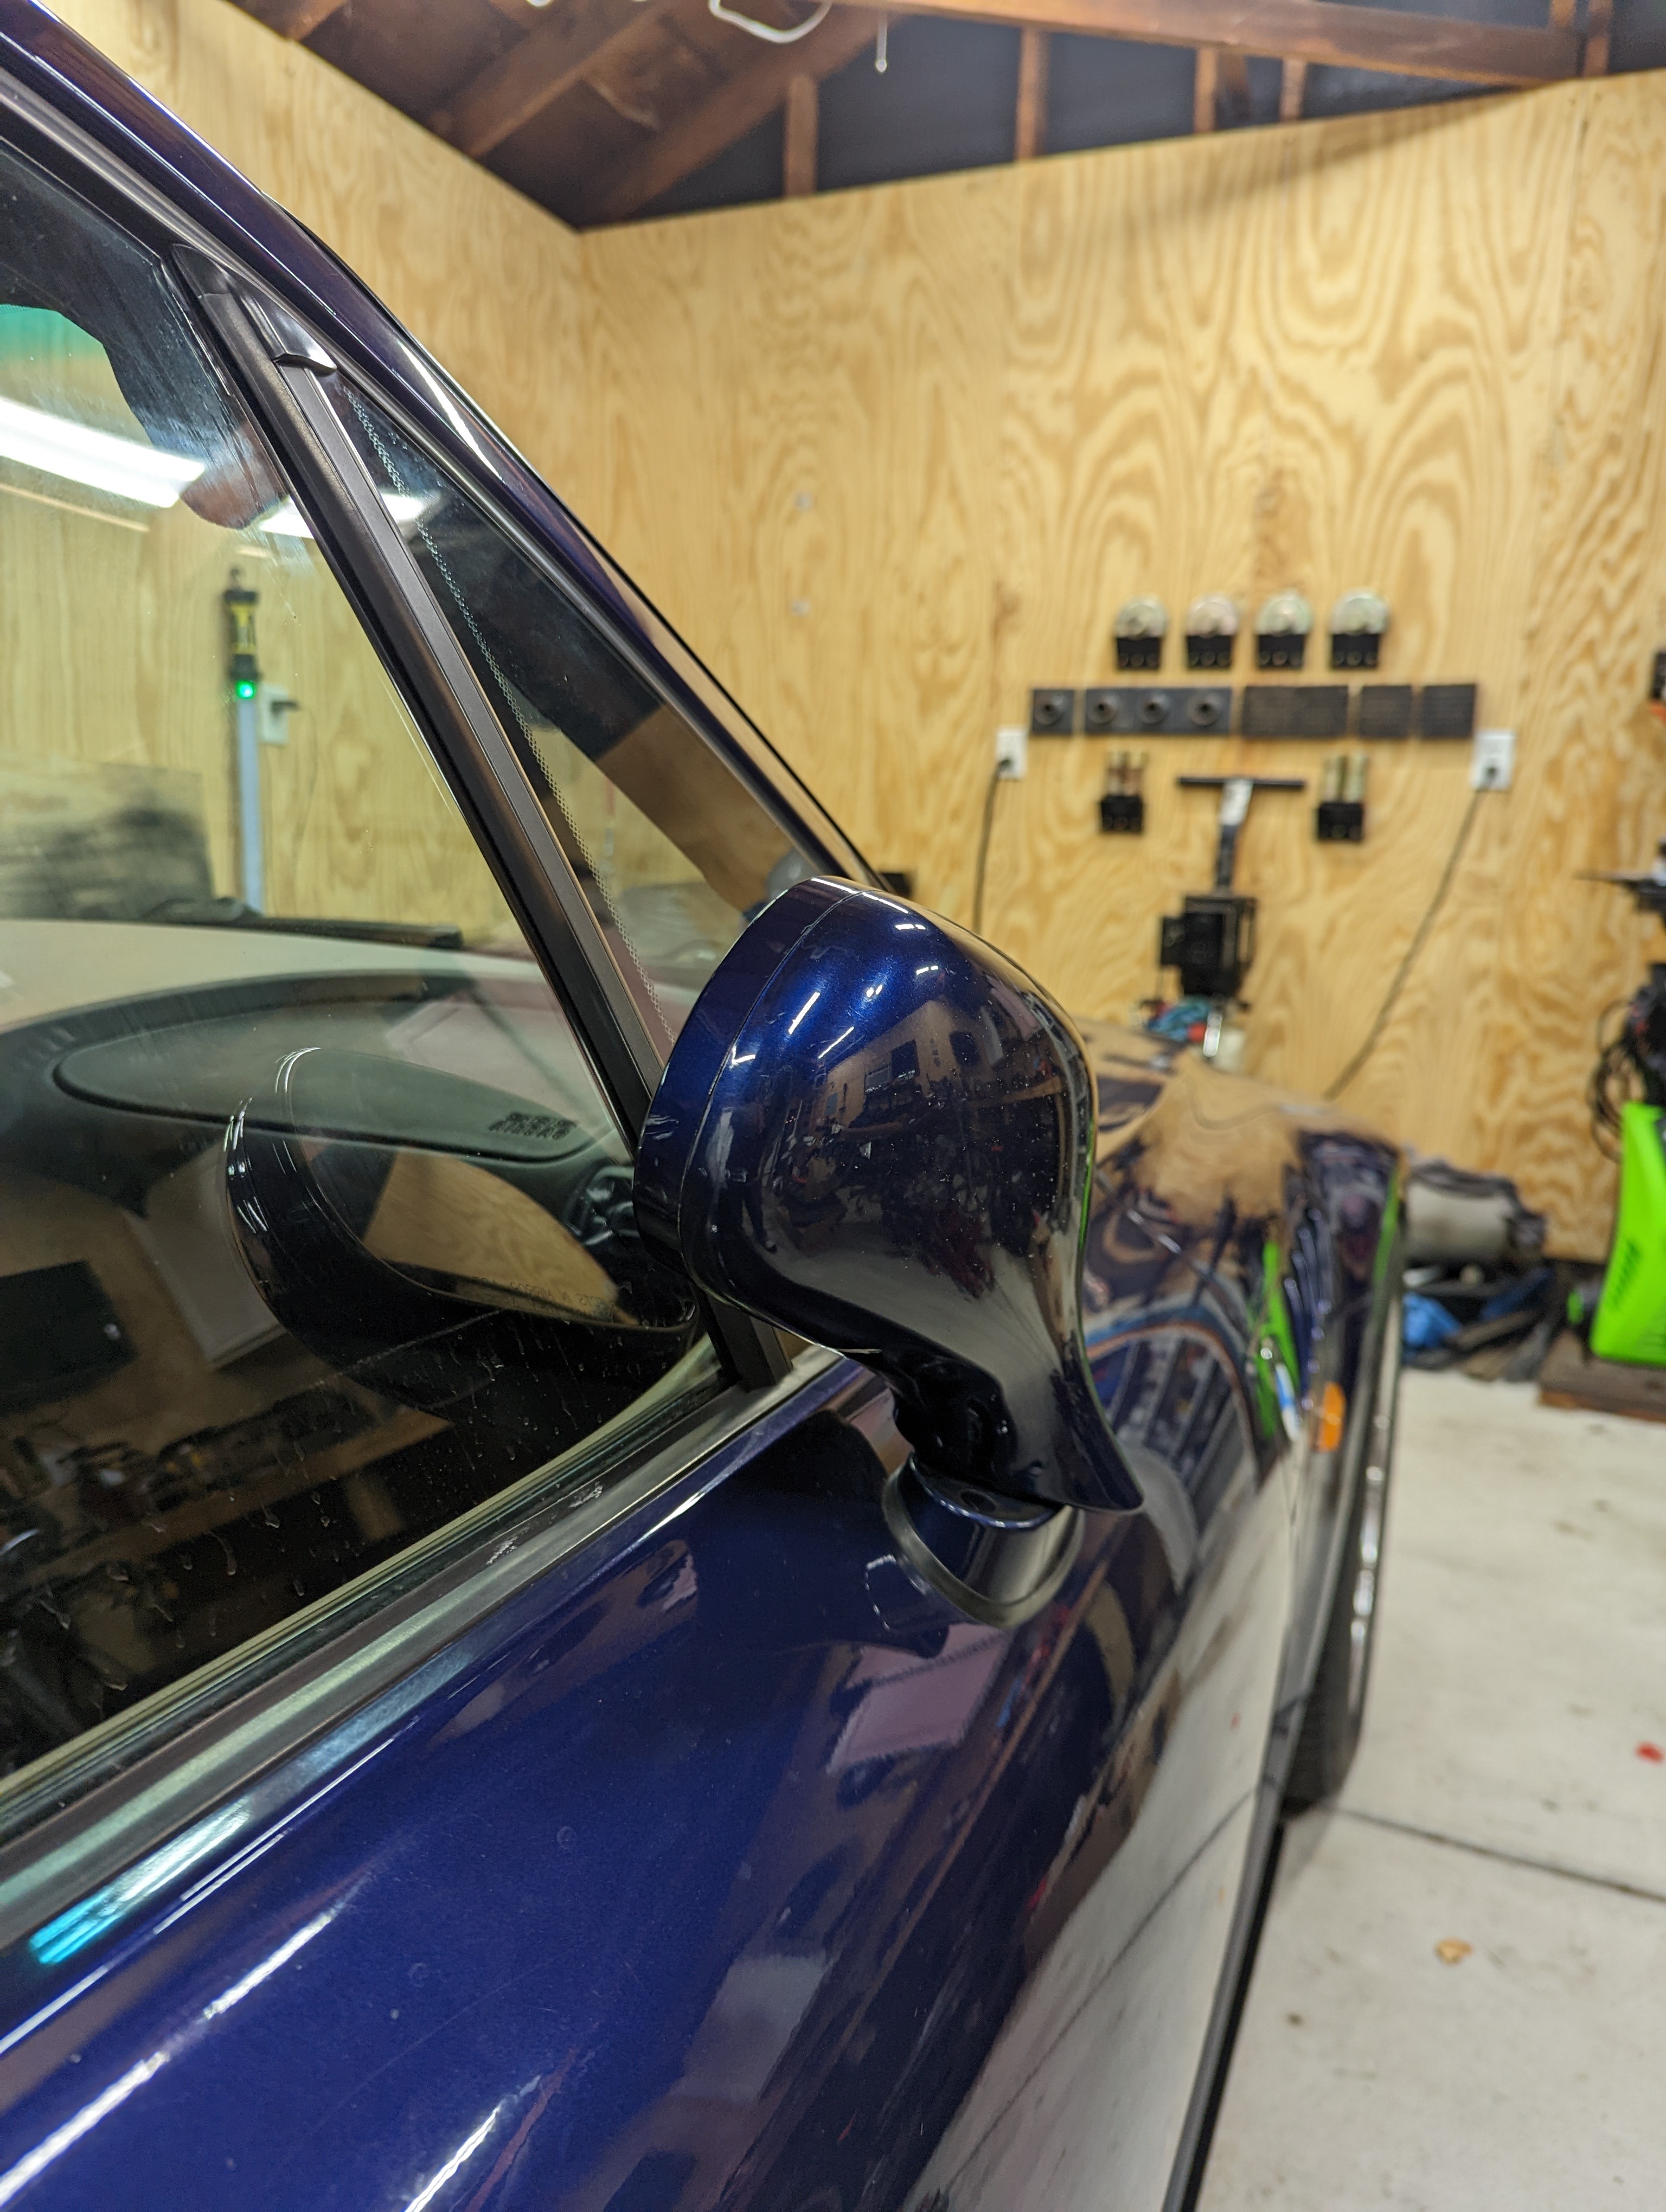
Car has been washed, gassed up with stabil and in it's spot for the long hibernation. Mirrors are tucked, it's official!
-
Bummer. You and @patsbimmer1 can start keeping score on squirrel hits
-
Fucking squirrels man. Every fucking time!
-
That must have been one fat squirrel!!!
Speeds may have been a factor as well

-
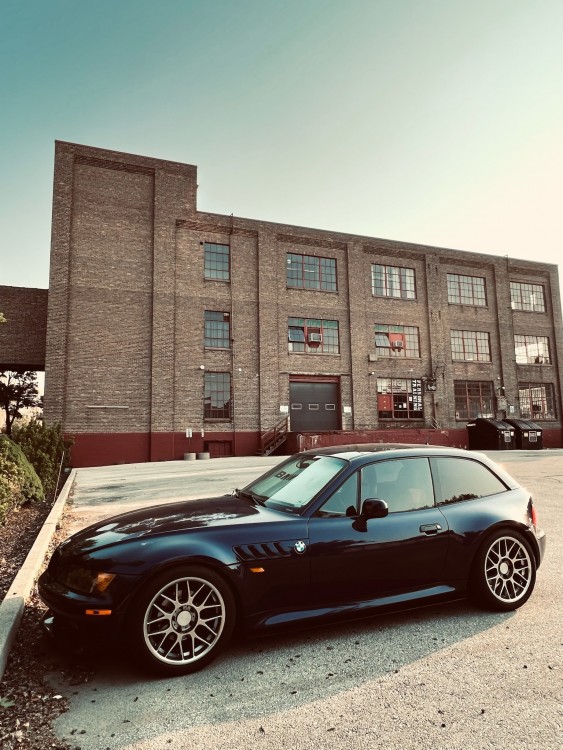
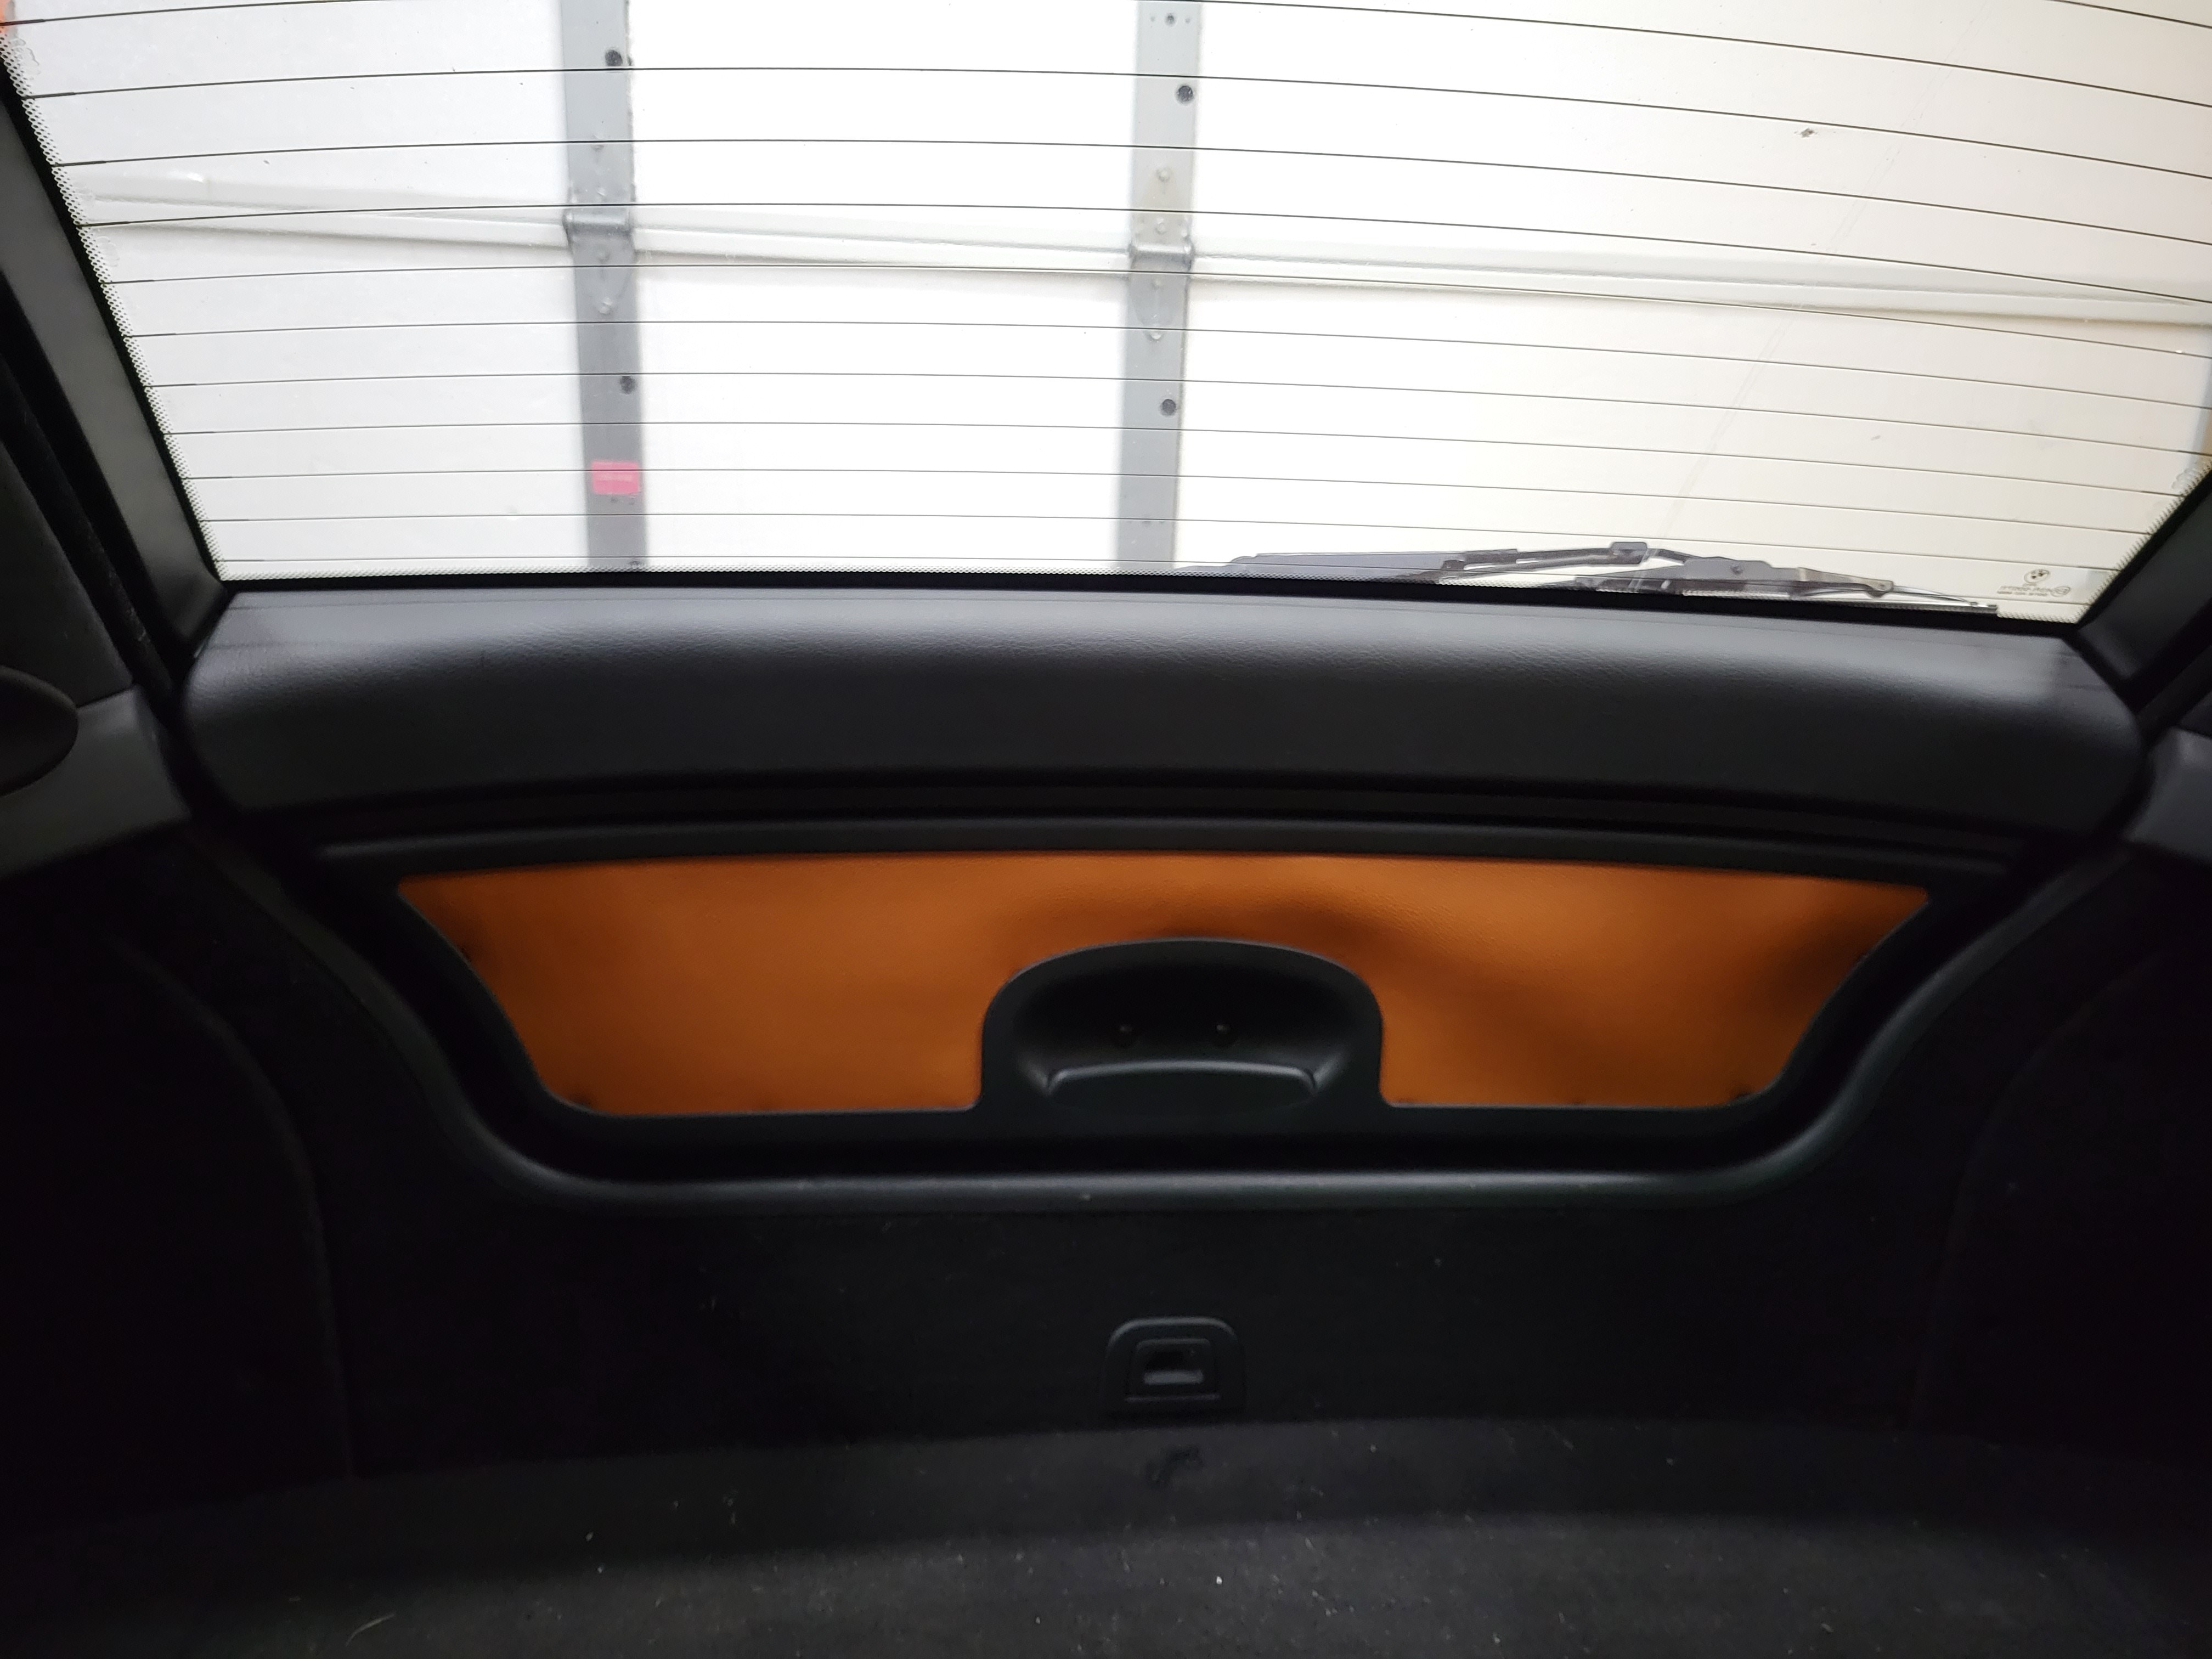
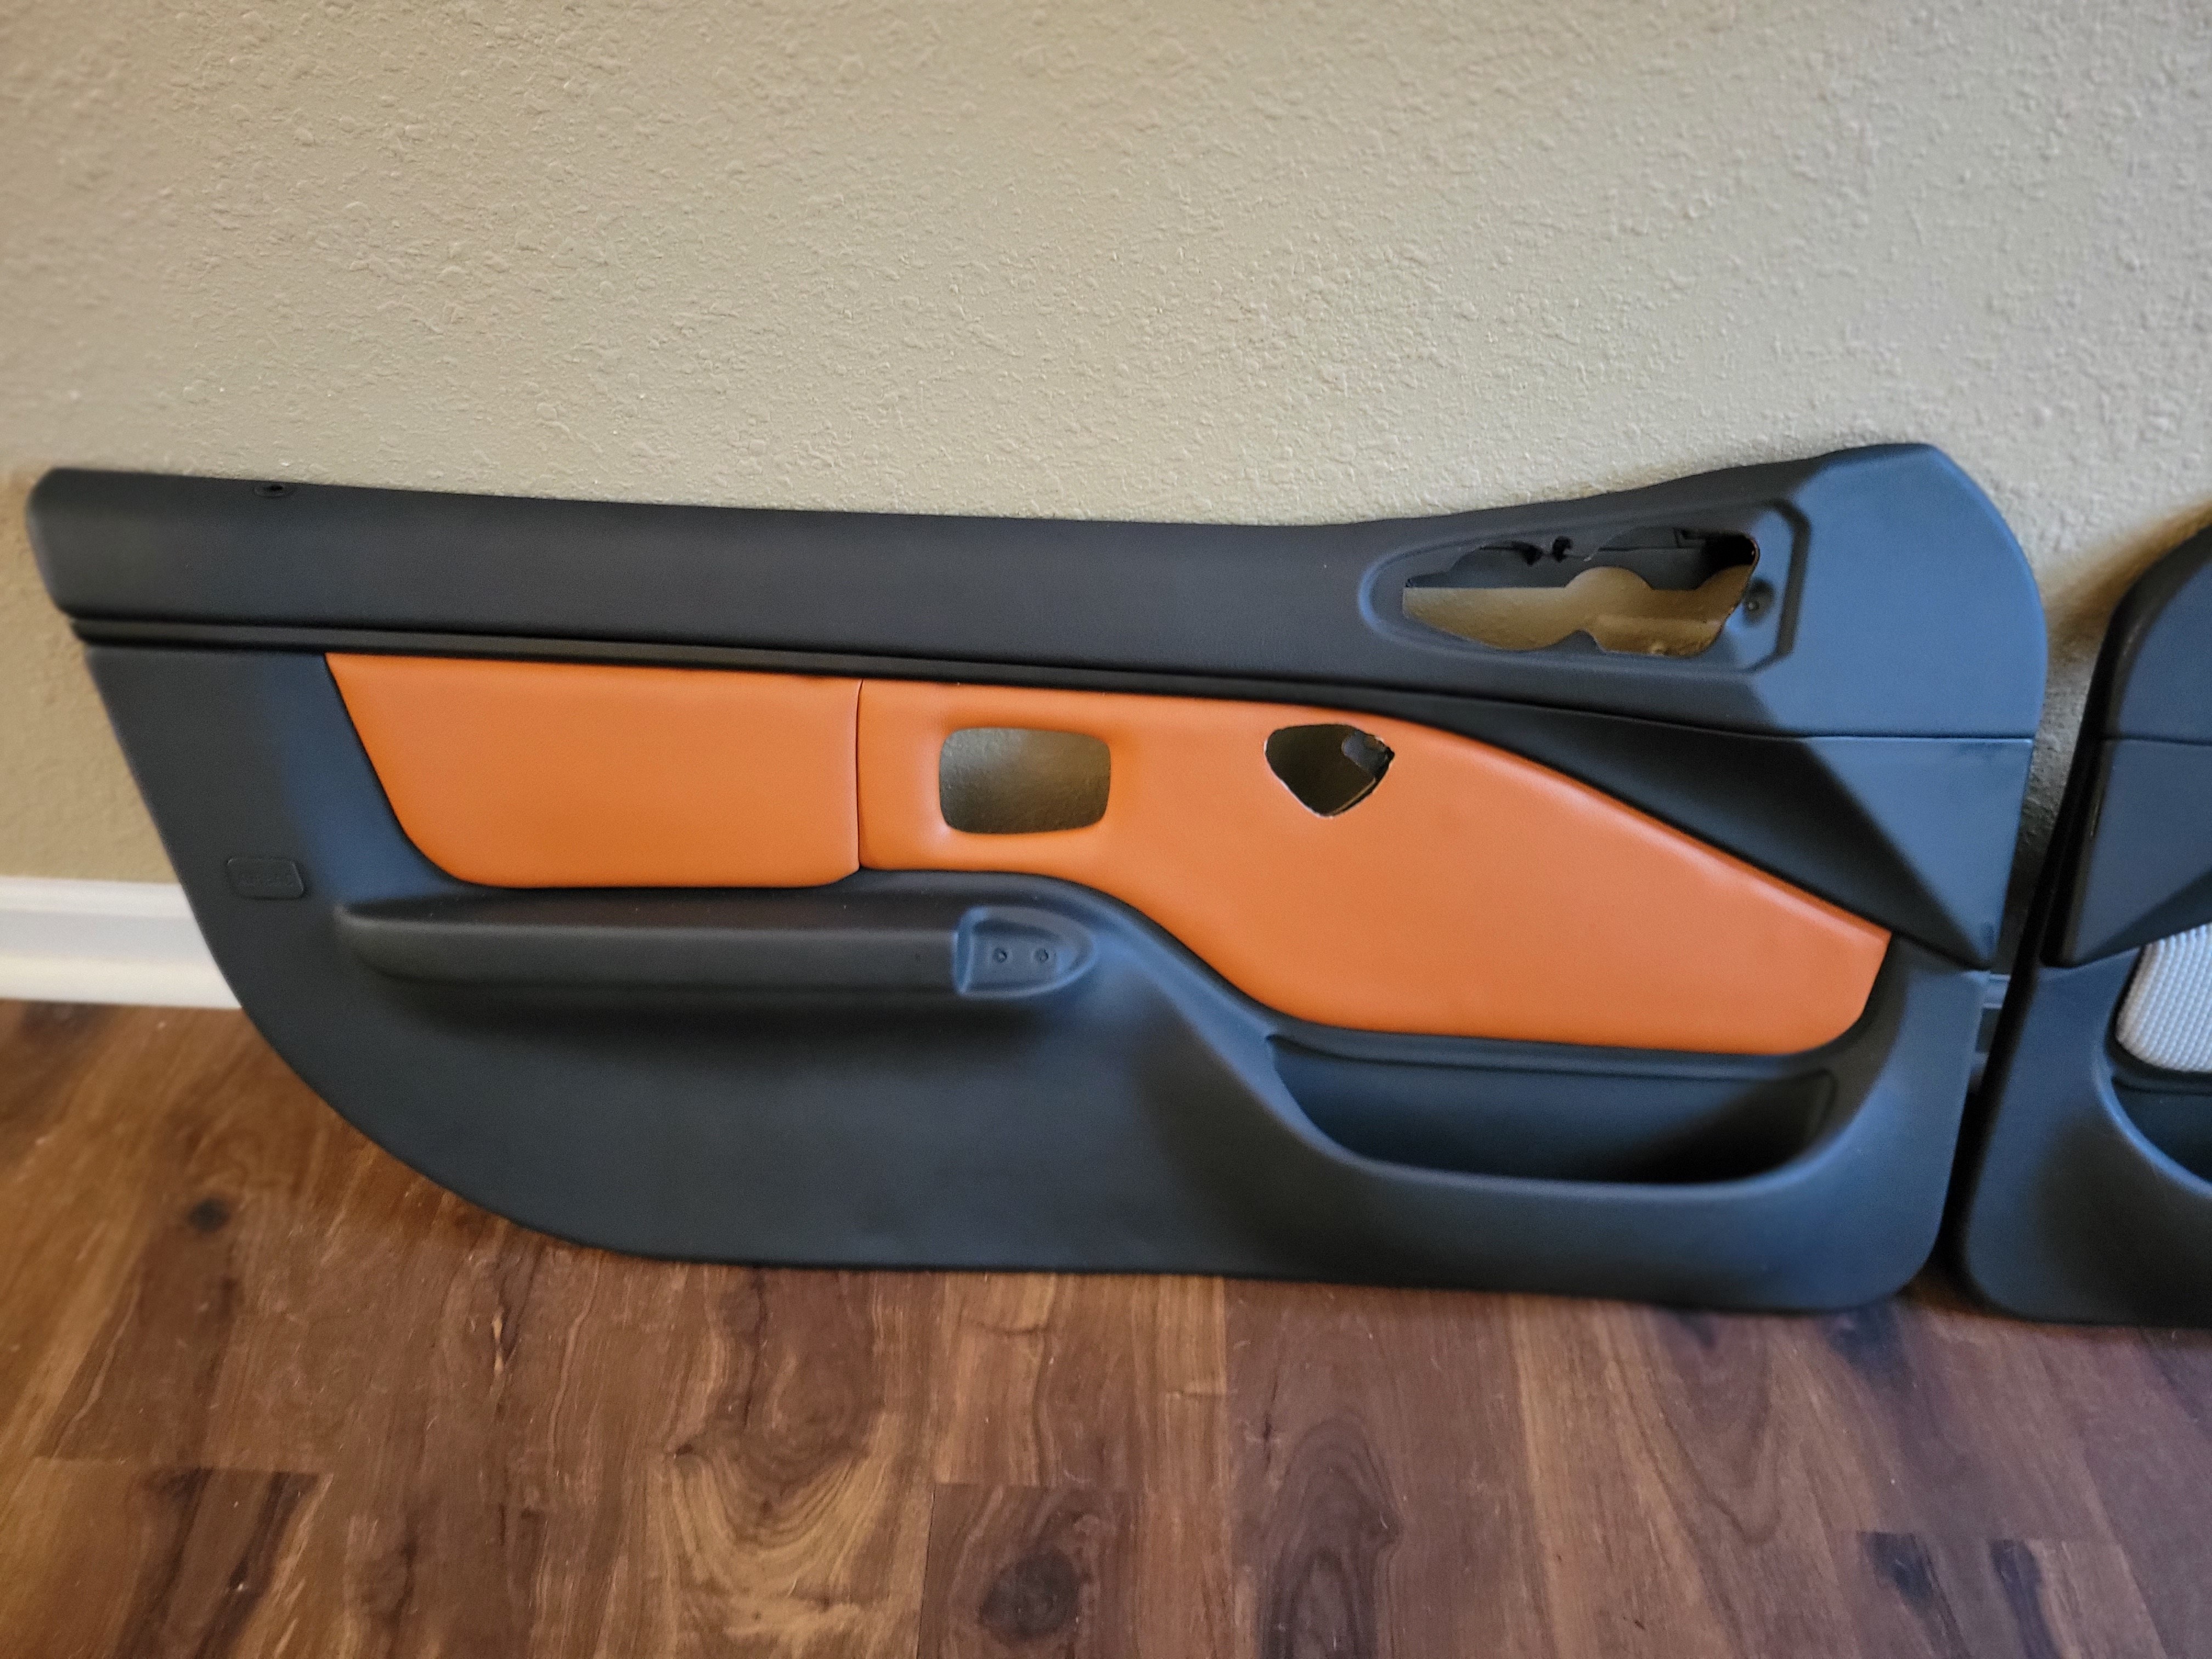
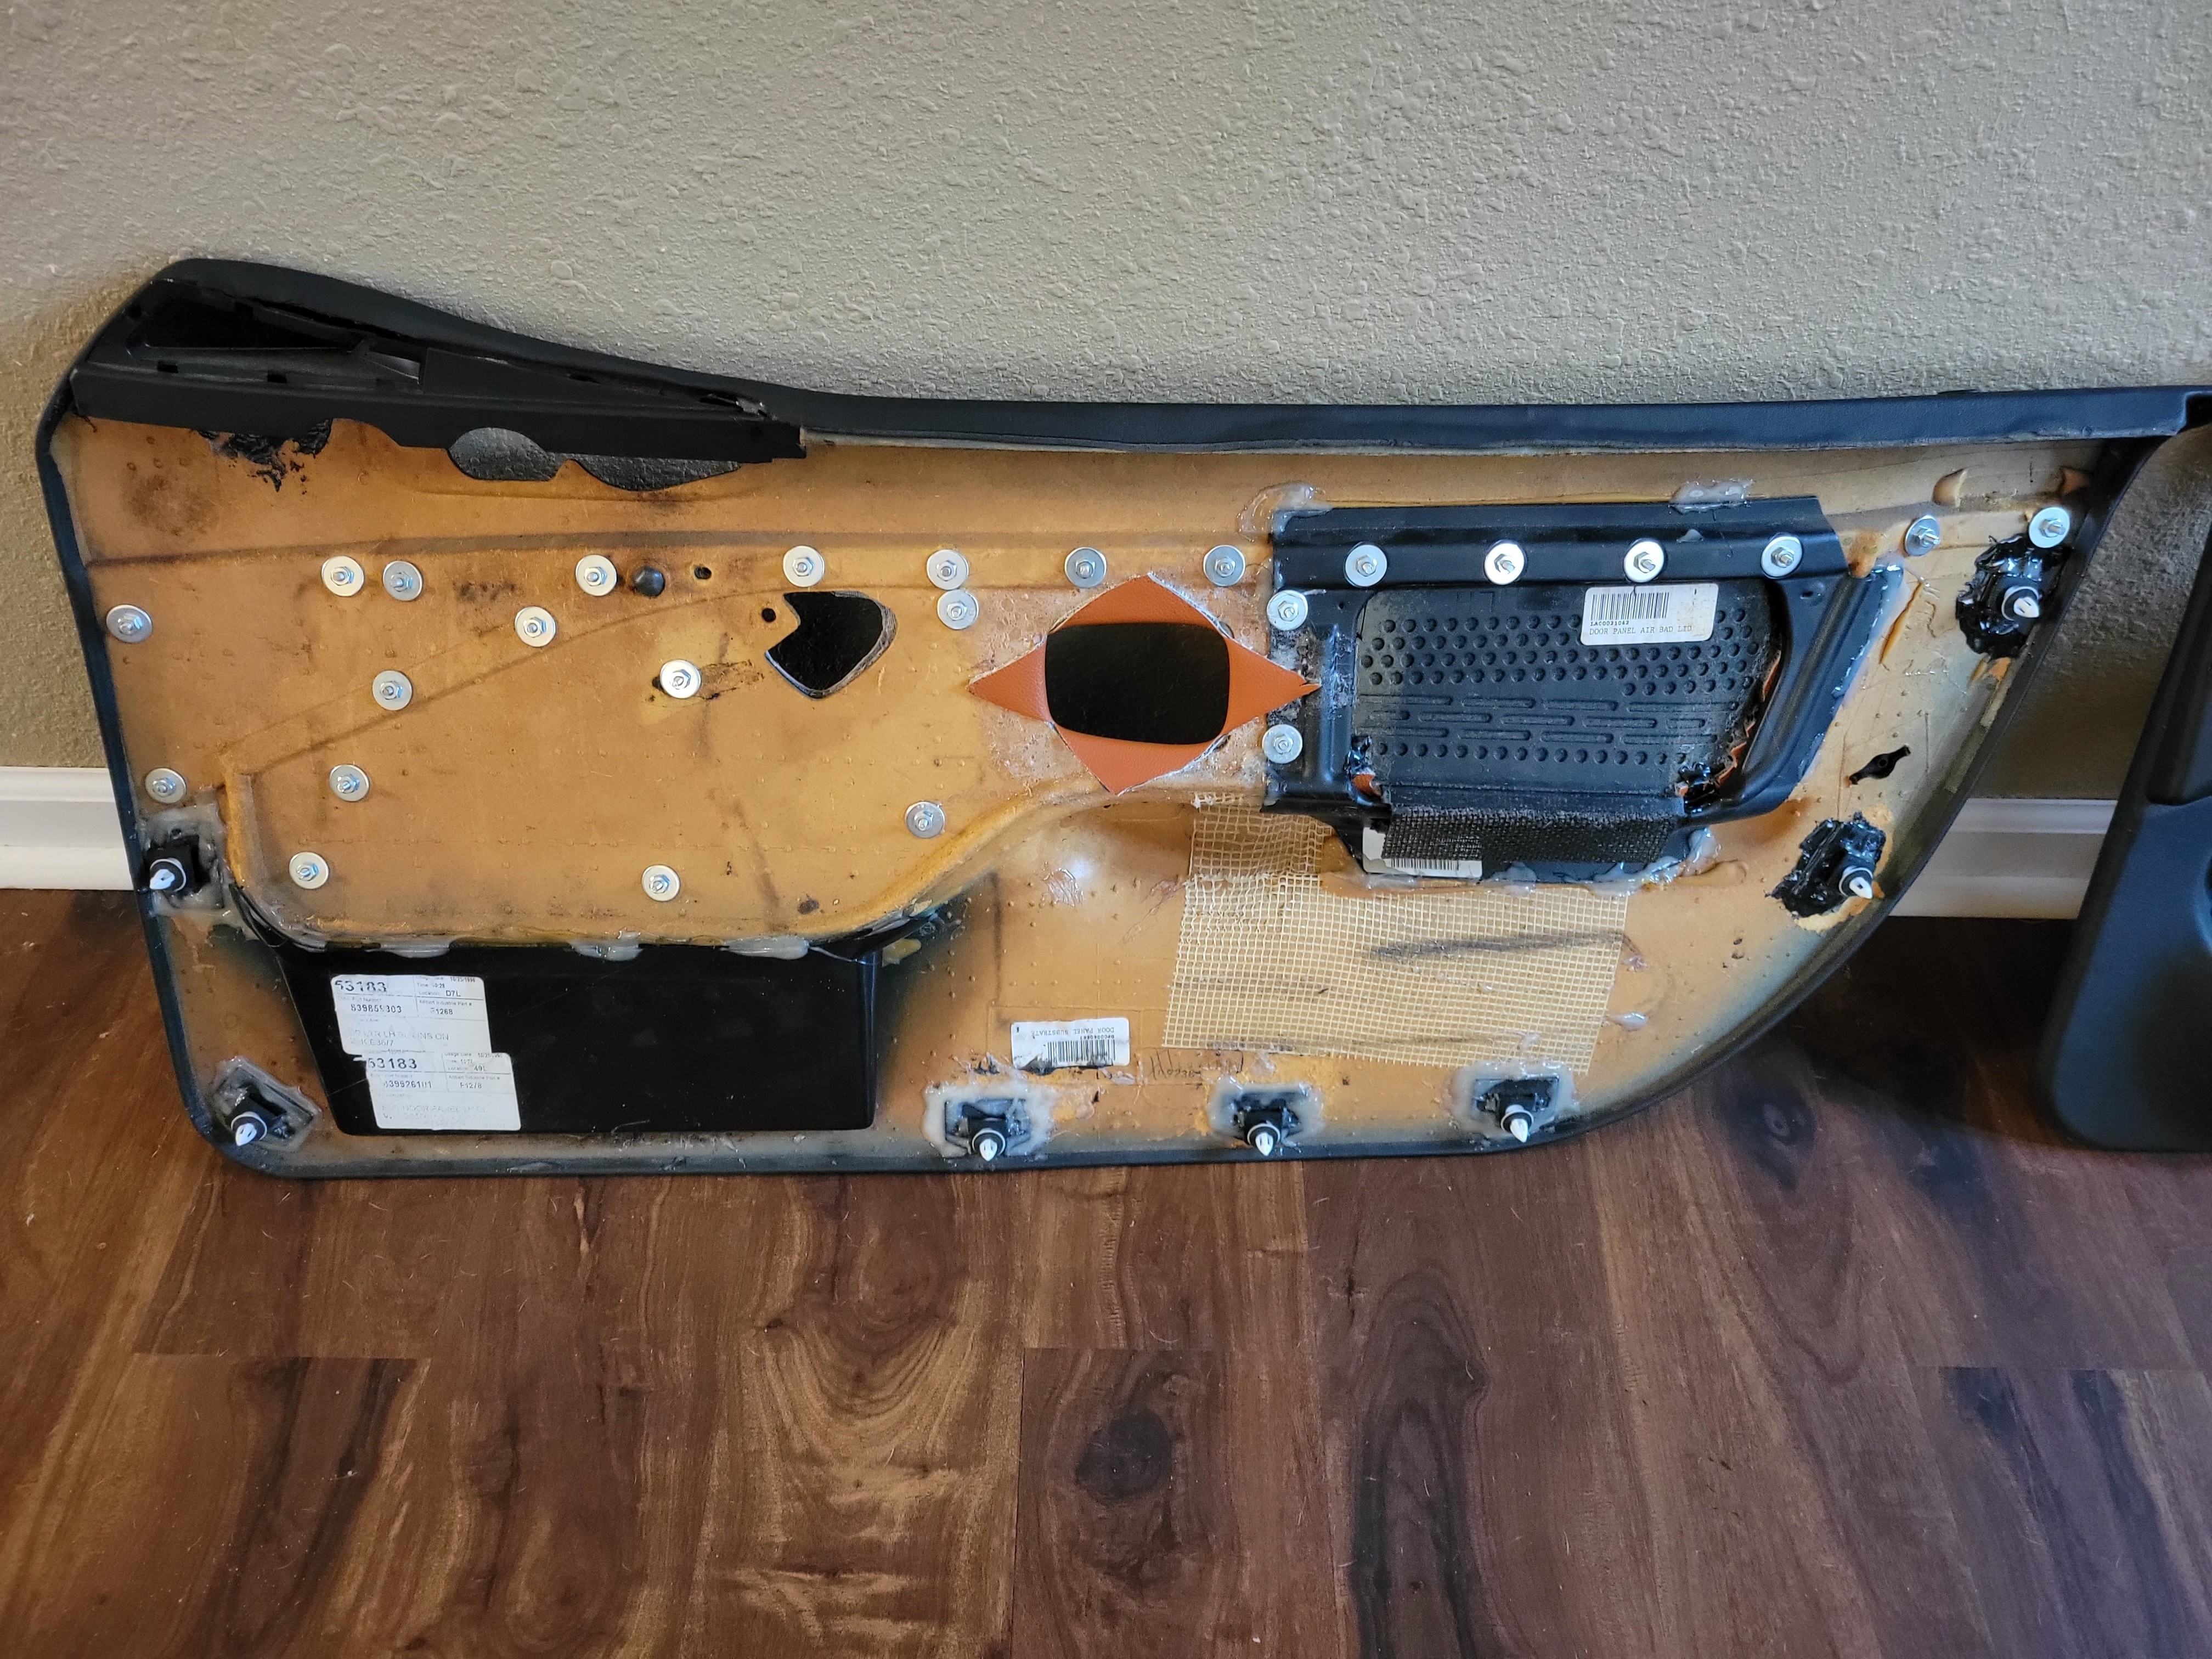
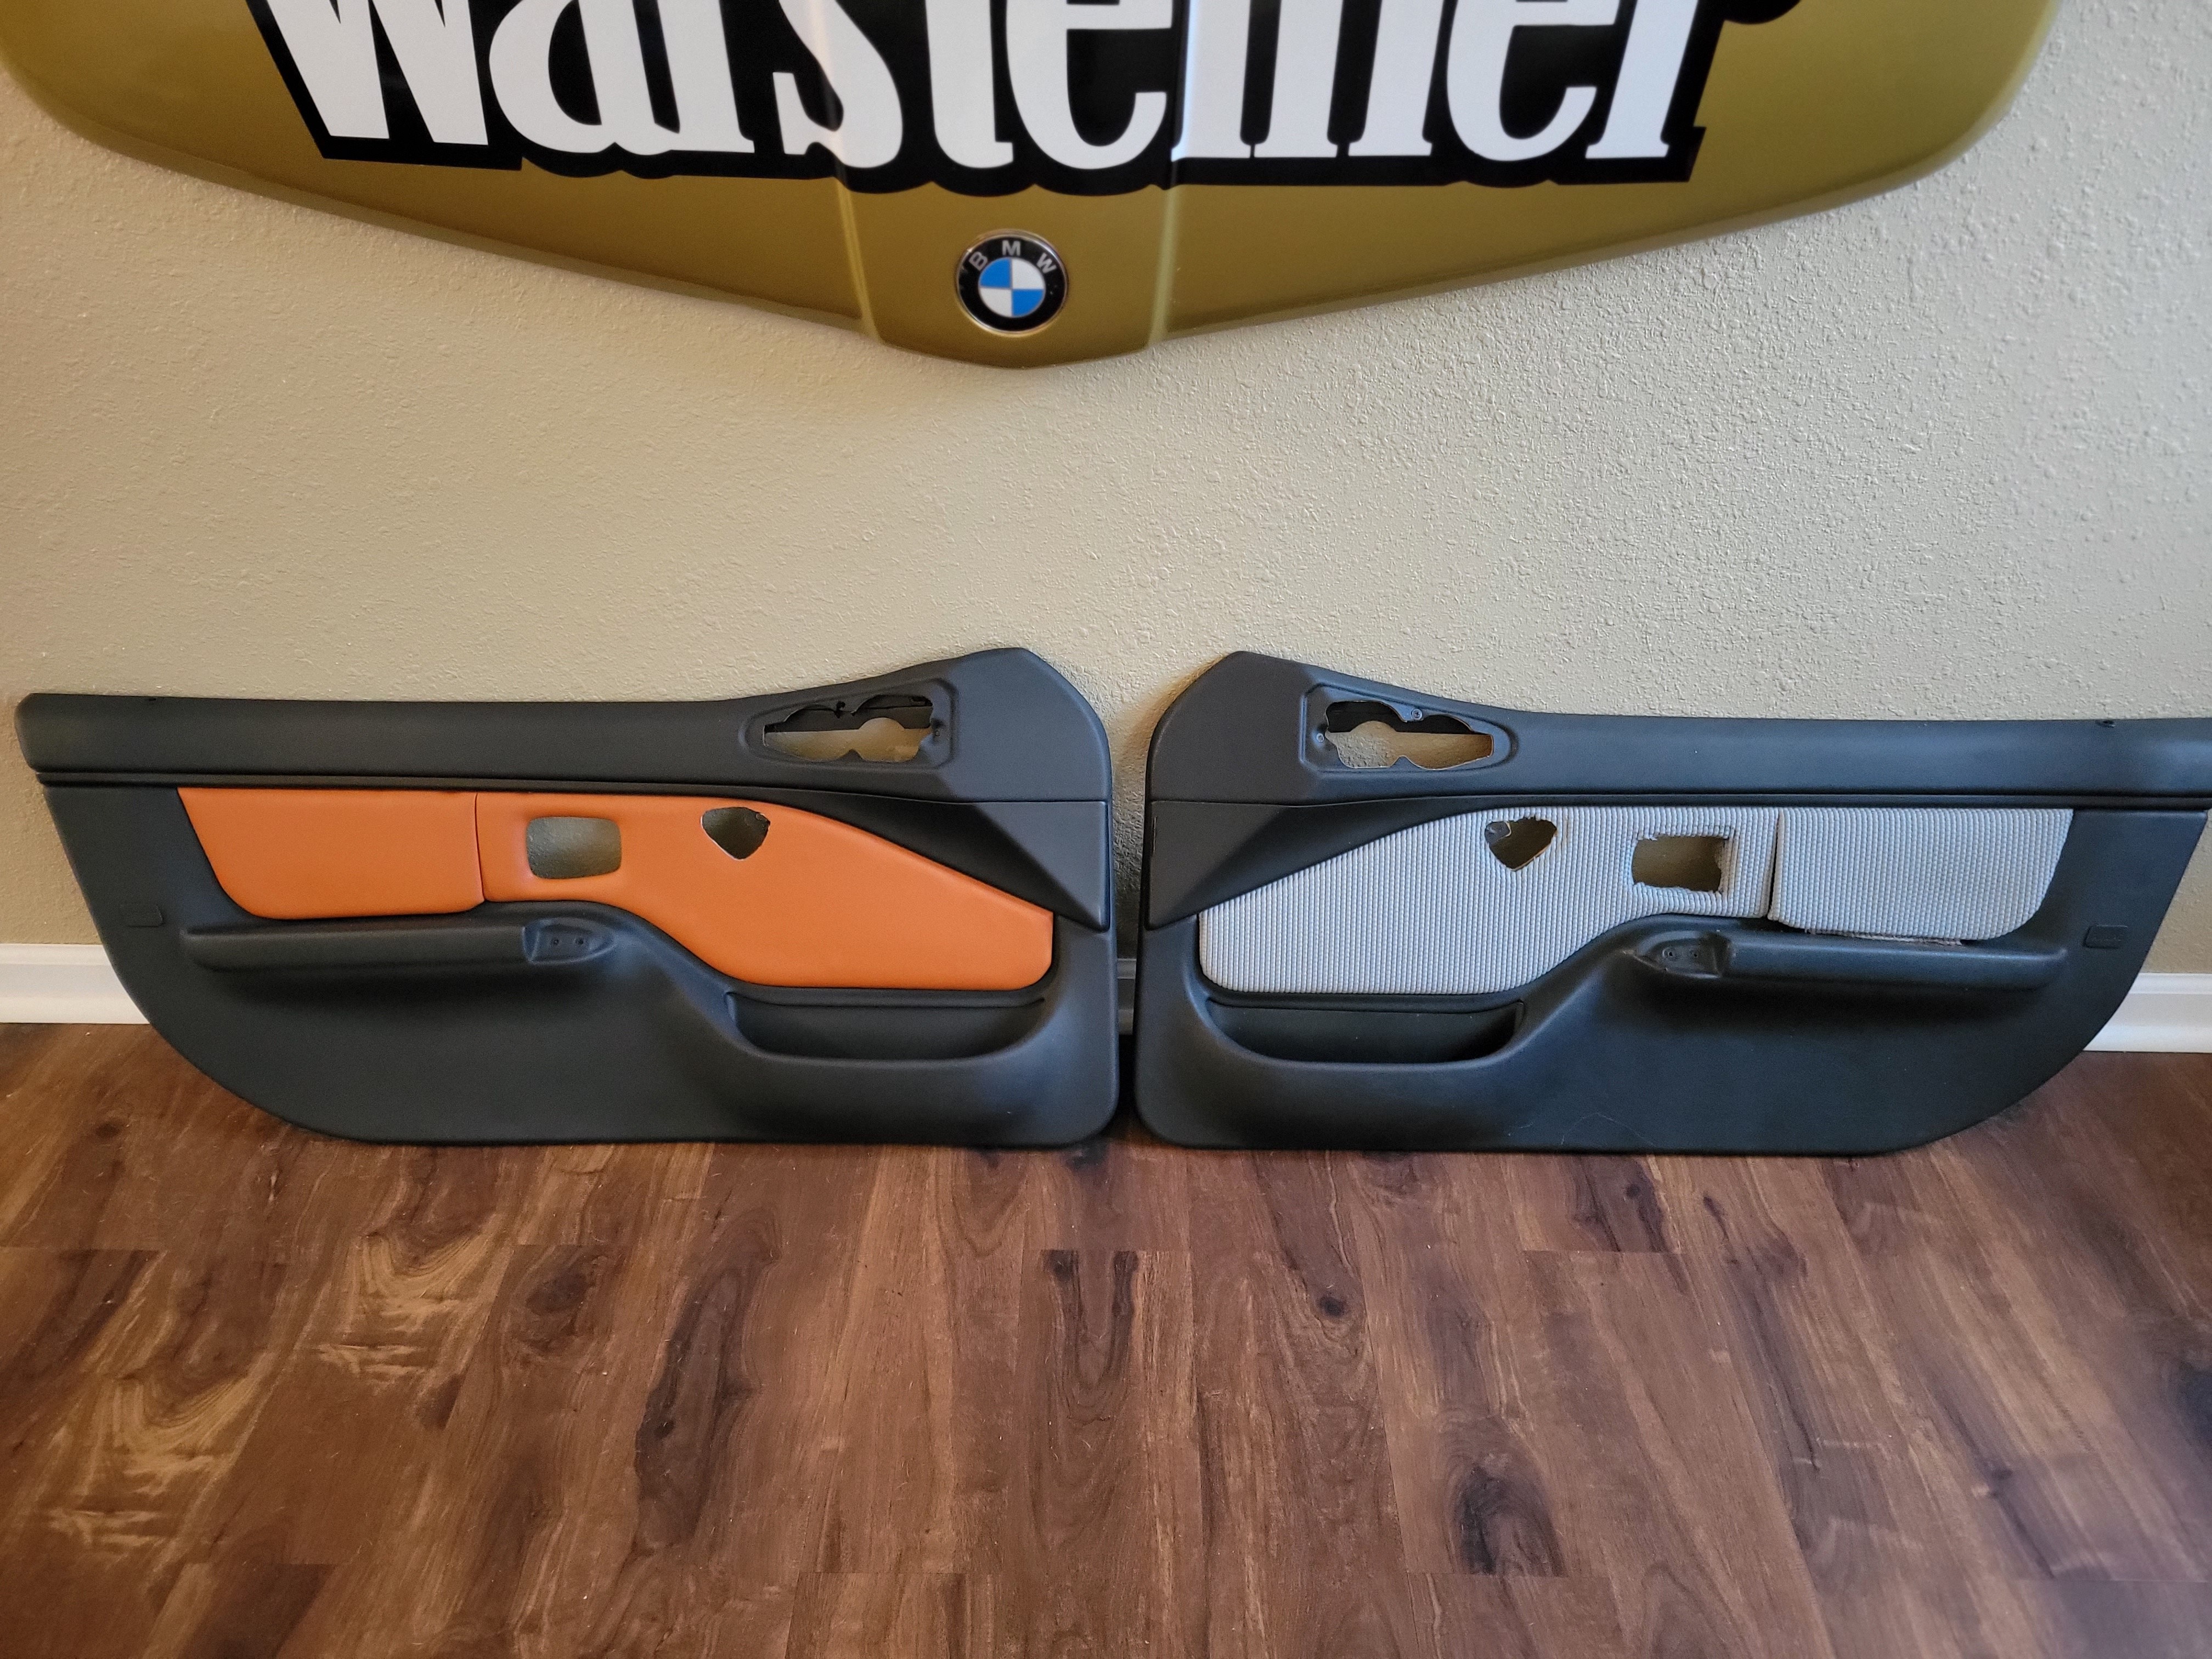
Just been enjoying the car and driving it a lot lately. Not too much more has been done unfortunately. Still working on custom interior work too.
-
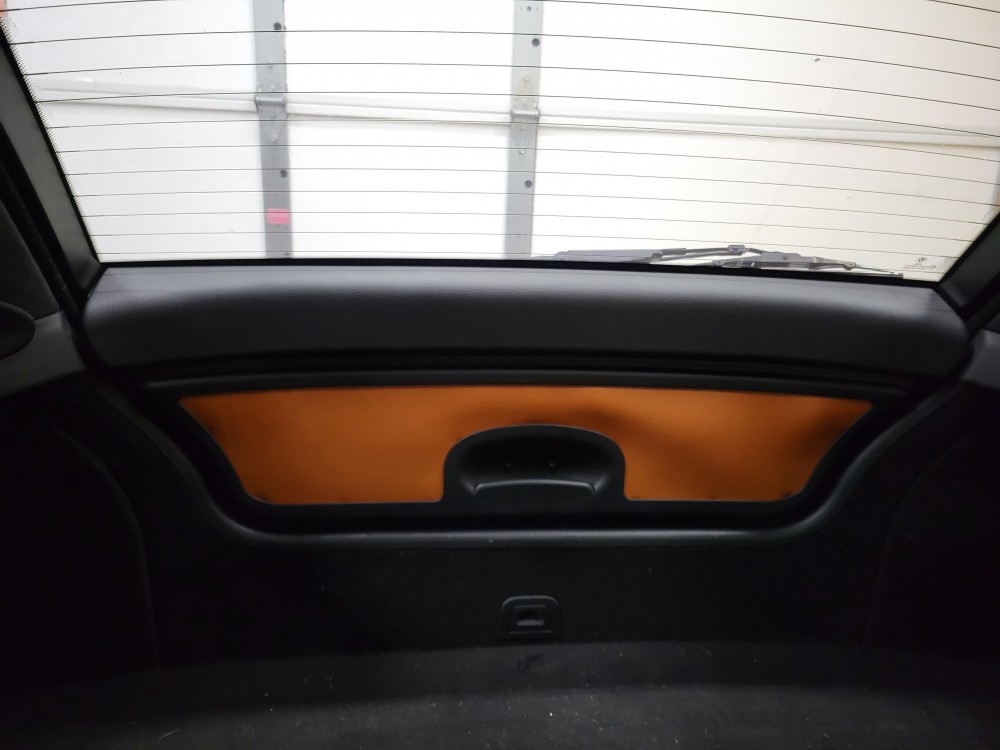
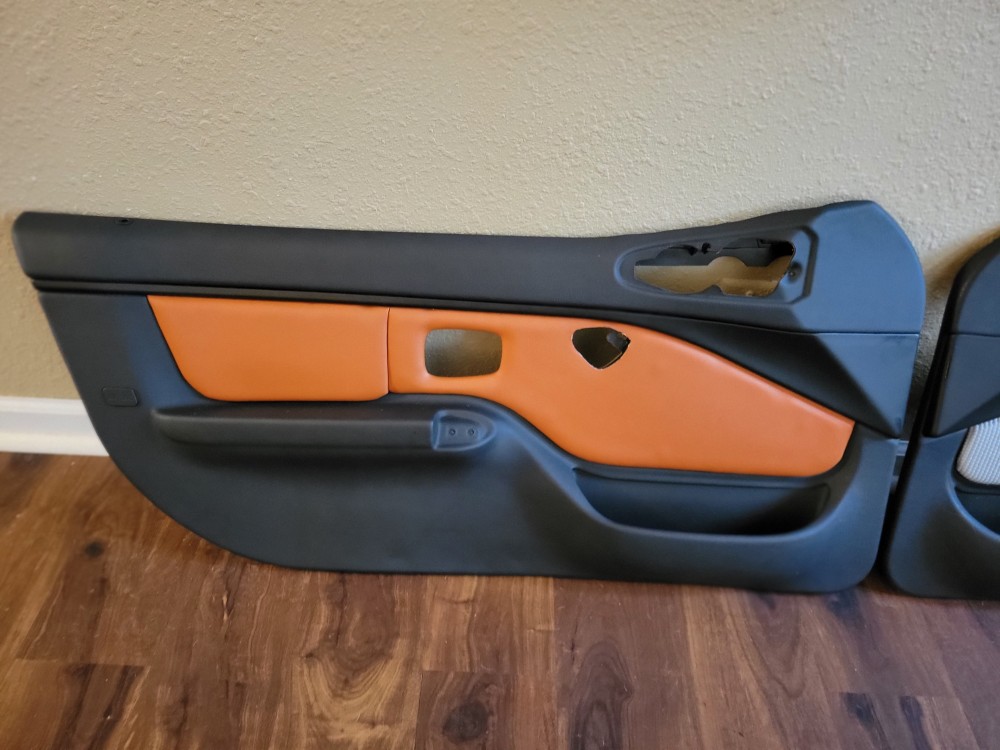
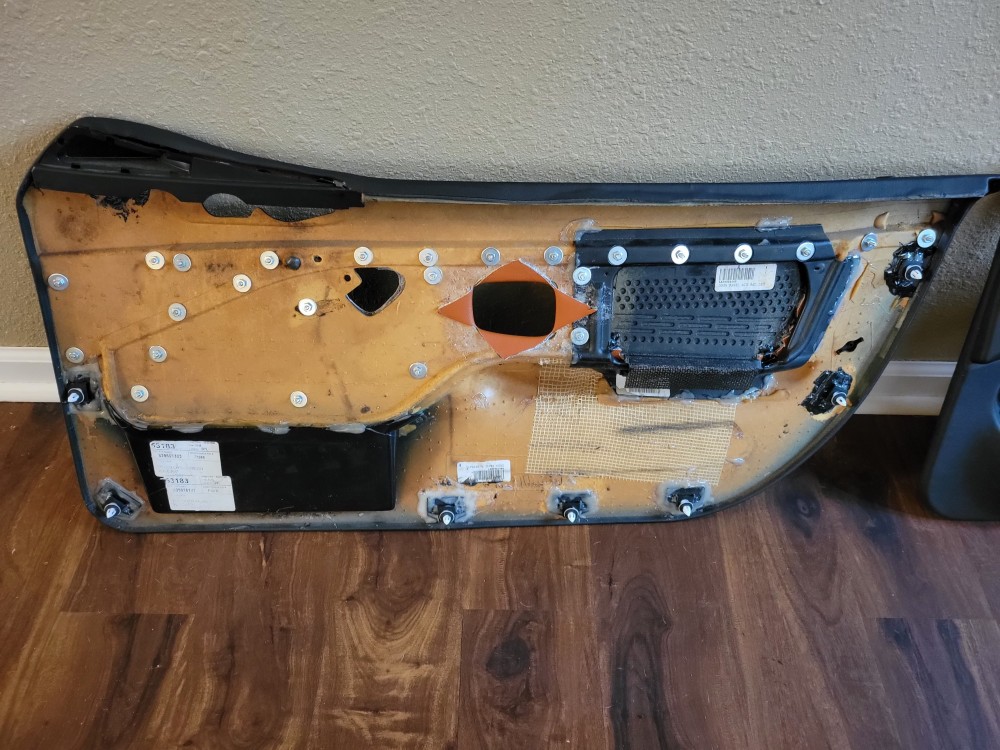
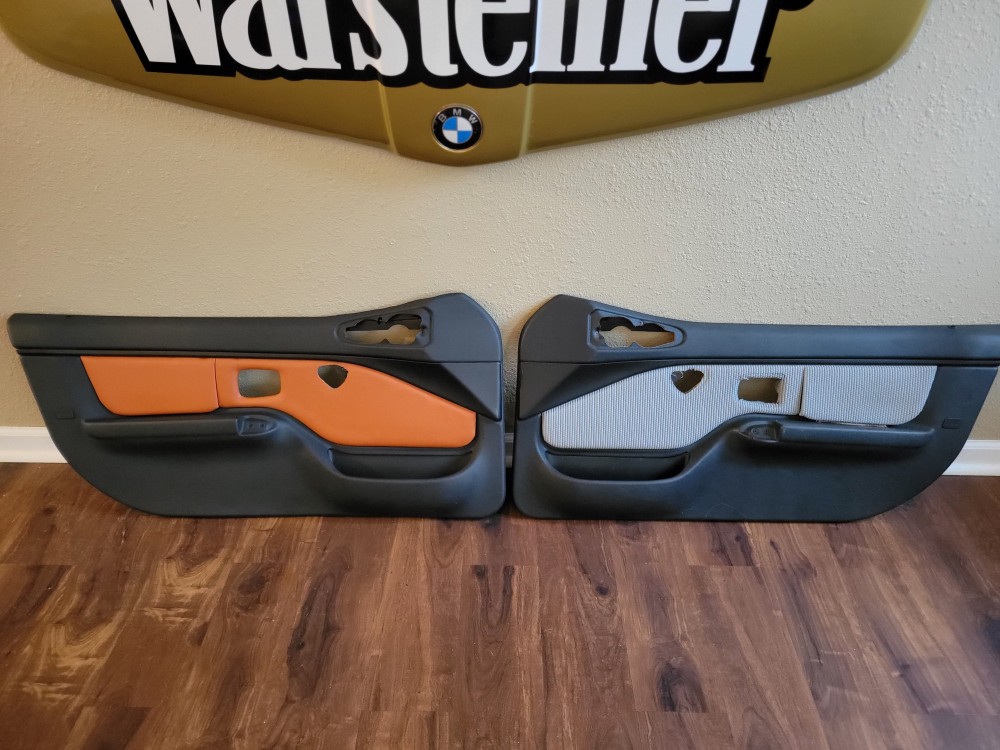
Rear hatch panel and one door panel done. One door panel to go. The door panels are a pain in the ass!!!! Far from perfect, but good enough for me.





Hello! It looks like you're interested in this conversation, but you don't have an account yet.
Getting fed up of having to scroll through the same posts each visit? When you register for an account, you'll always come back to exactly where you were before, and choose to be notified of new replies (either via email, or push notification). You'll also be able to save bookmarks and upvote posts to show your appreciation to other community members.
With your input, this post could be even better 💗
Register Login