
Non-BMW Stuff on a BMW Forum
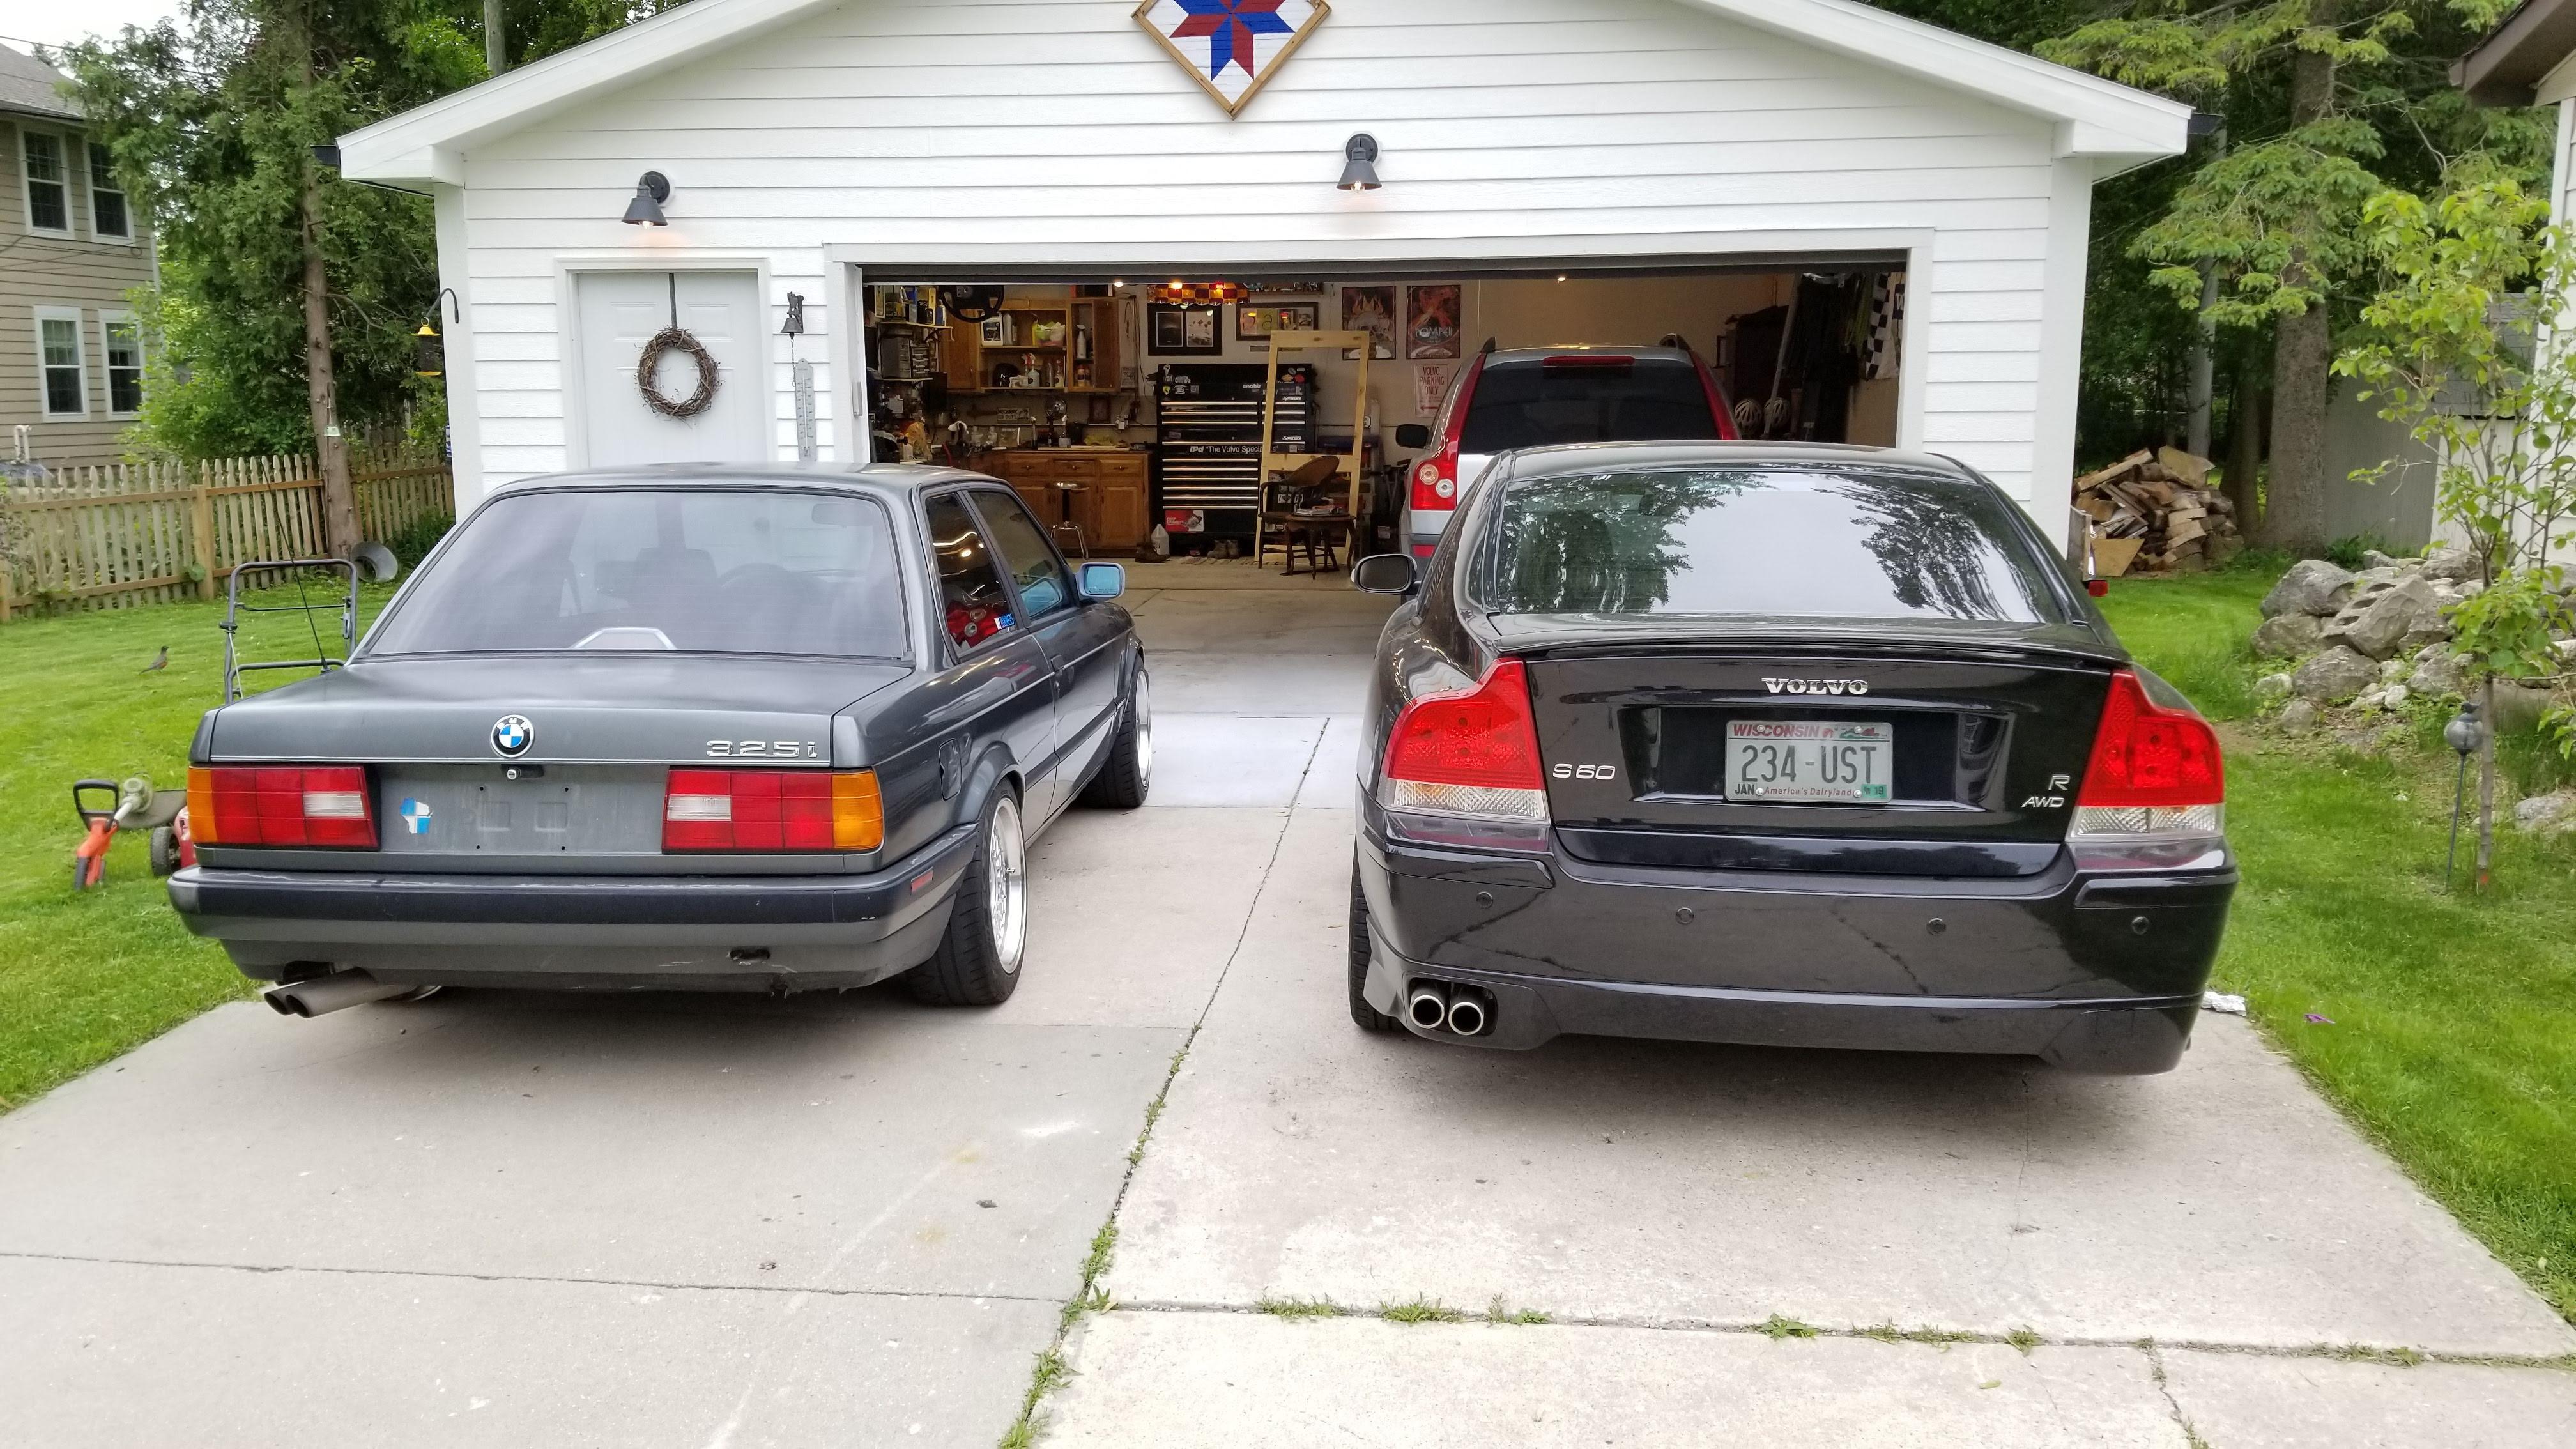
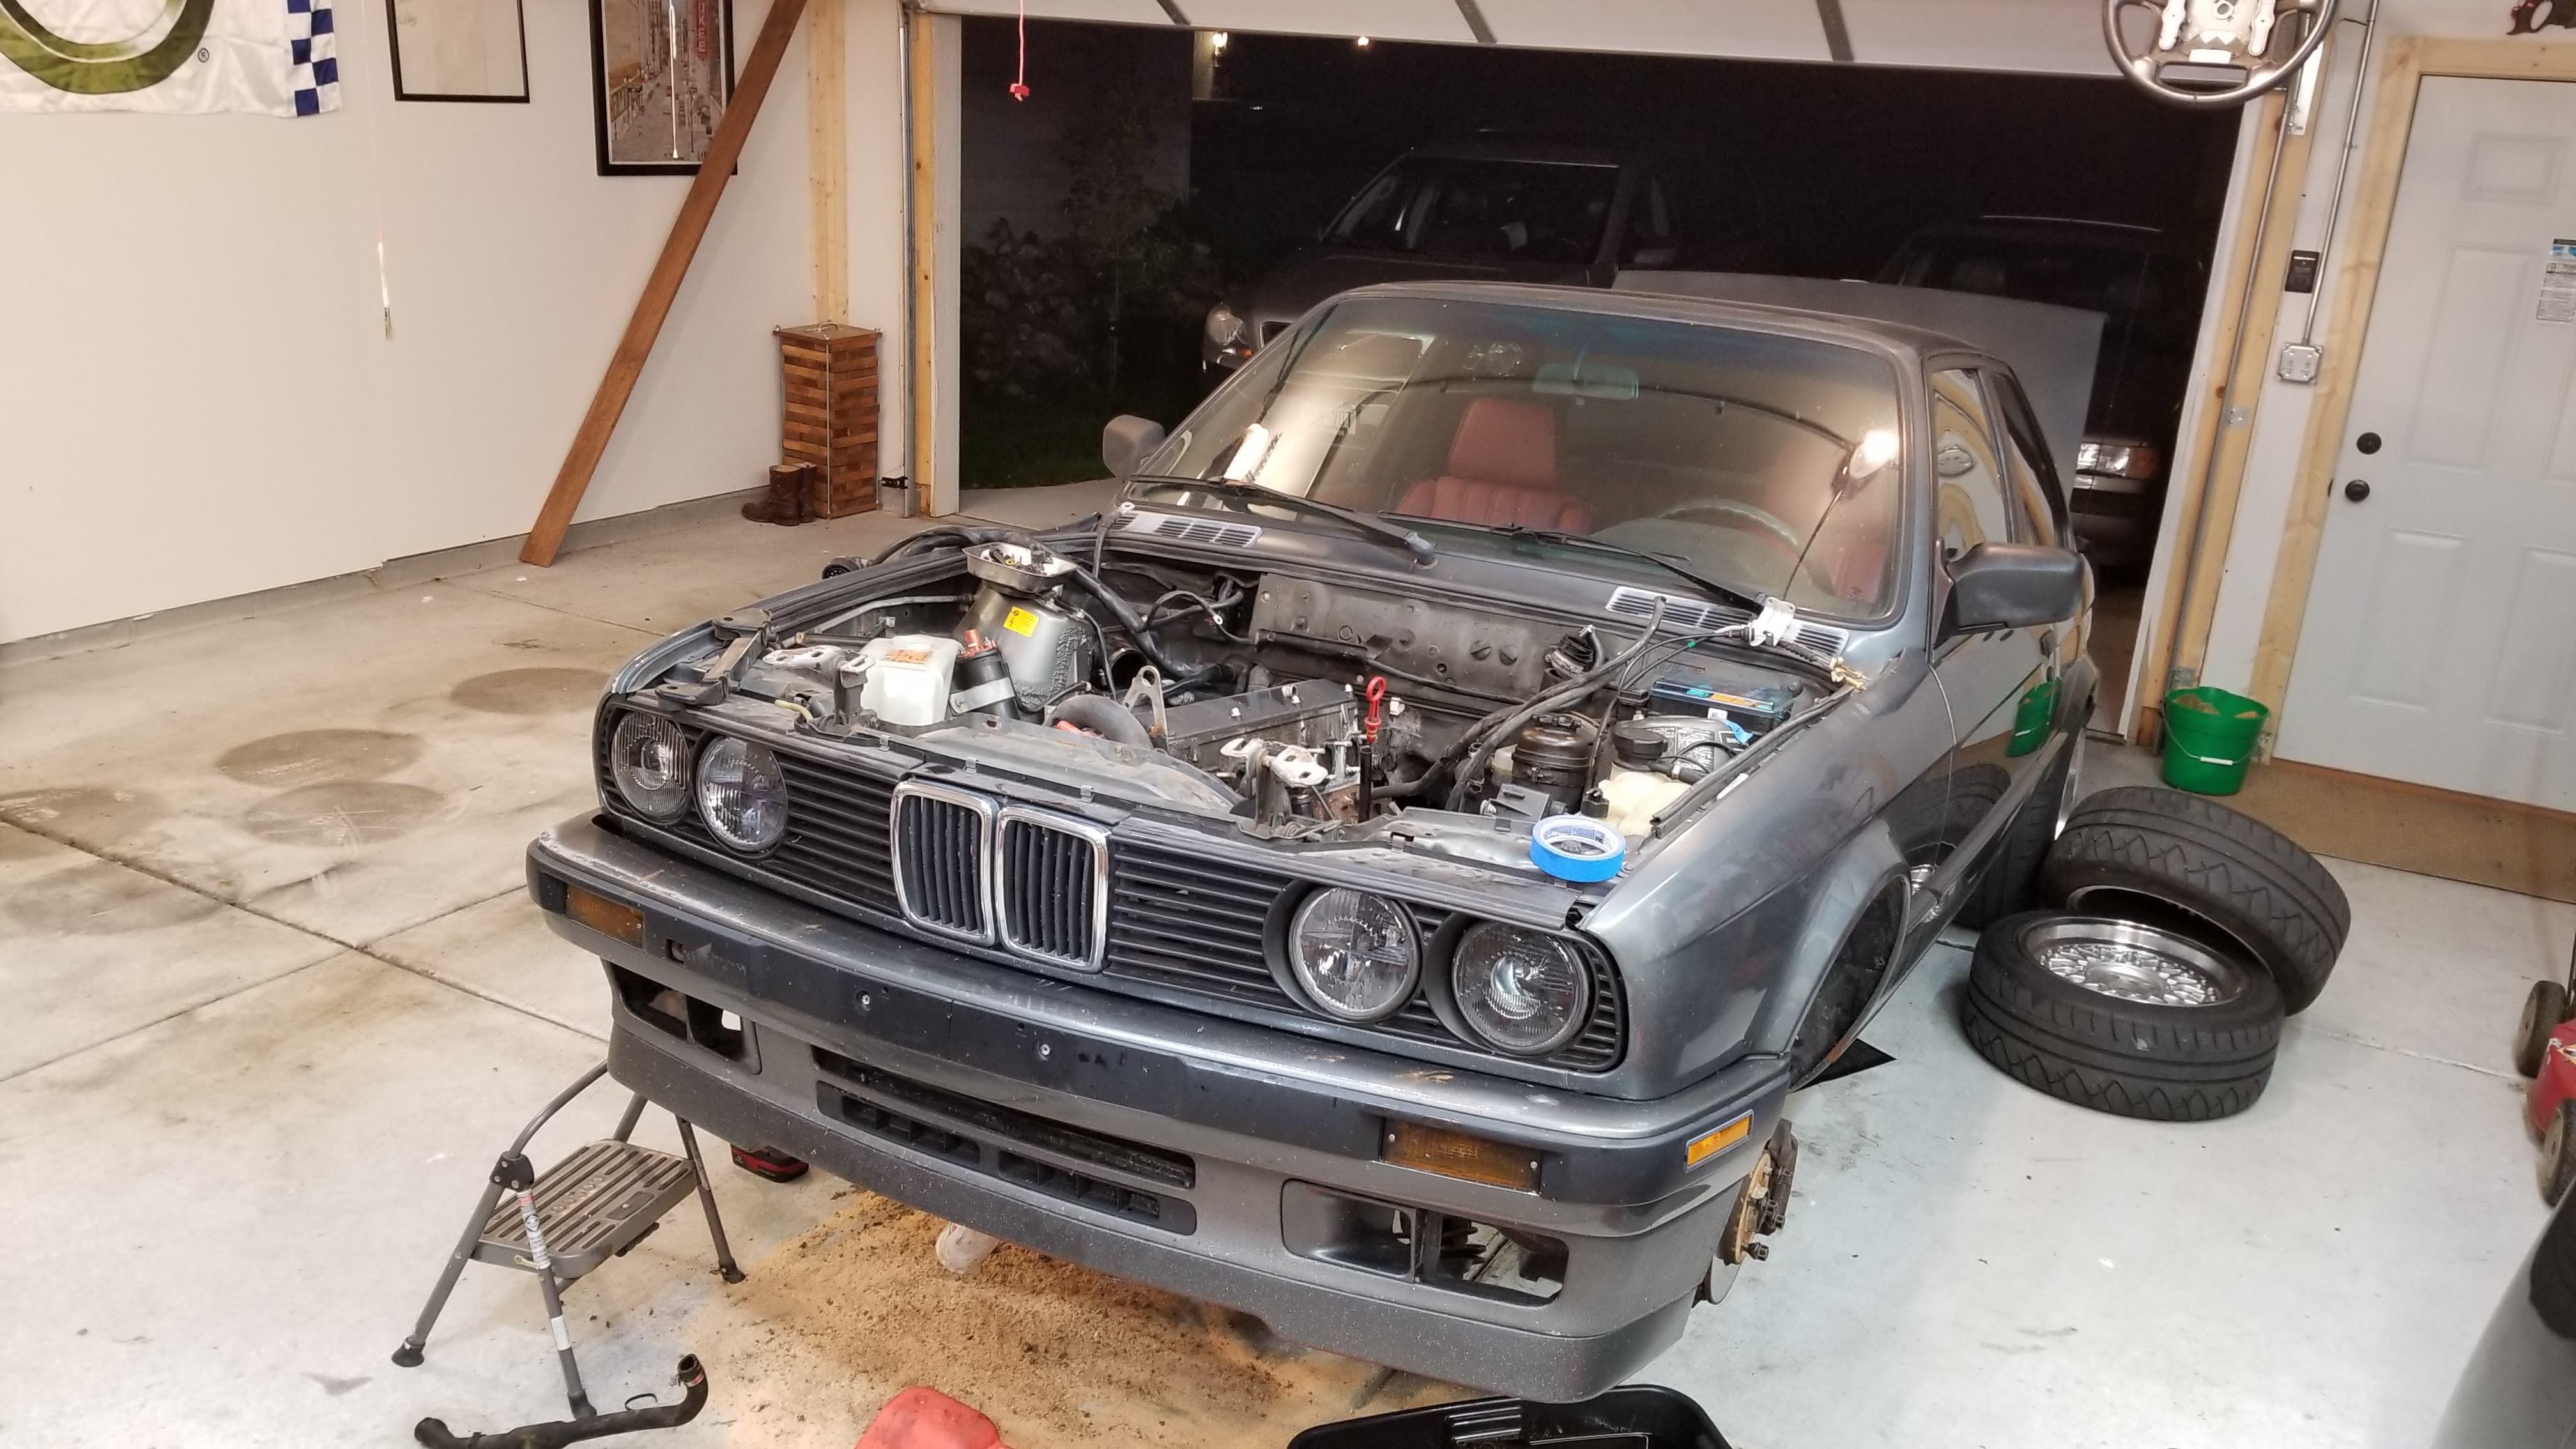
-
These wire colors should be checked on your car and in the ETM. The ETM actually has some of its own helpful diagnostic information for the AC system.
compressor - 3 prong round (Red/Black, ?, ?)
drier - (the one with the rubber boot)
radiator temp switch - 3 prong round (Black/Brown, Black/Green, Black)
aux fan - 3 prong (you are missing the plug?) (Black/Green, Black/Blue, Brown)
you might as well use a better aftermarket fan instead of the factory aux fan in which case you'd use your own plug/wiring anyways.
Dan

-
These wire colors should be checked on your car and in the ETM. The ETM actually has some of its own helpful diagnostic information for the AC system.
compressor - 3 prong round (Red/Black, ?, ?)
drier - (the one with the rubber boot)
radiator temp switch - 3 prong round (Black/Brown, Black/Green, Black)
aux fan - 3 prong (you are missing the plug?) (Black/Green, Black/Blue, Brown)
you might as well use a better aftermarket fan instead of the factory aux fan in which case you'd use your own plug/wiring anyways.
I found the plug. Whoever removed the fan just cut its harness instead if unplugging it.
But it appears I have everything I need to install the AC system. Now to find it all. Haha
-
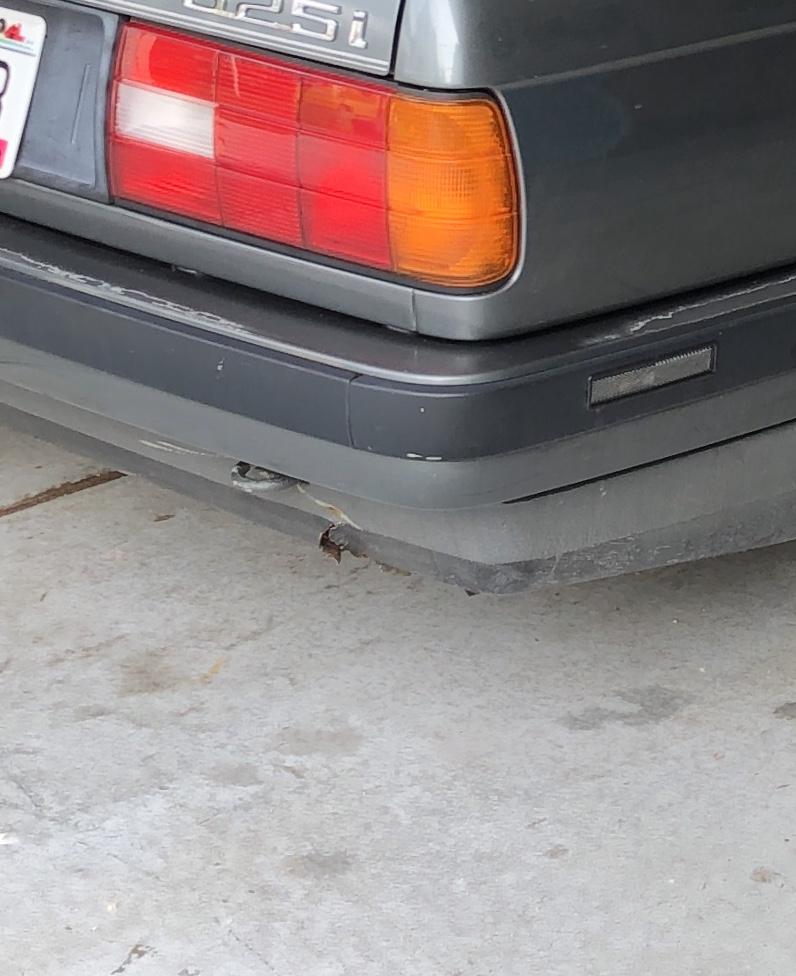
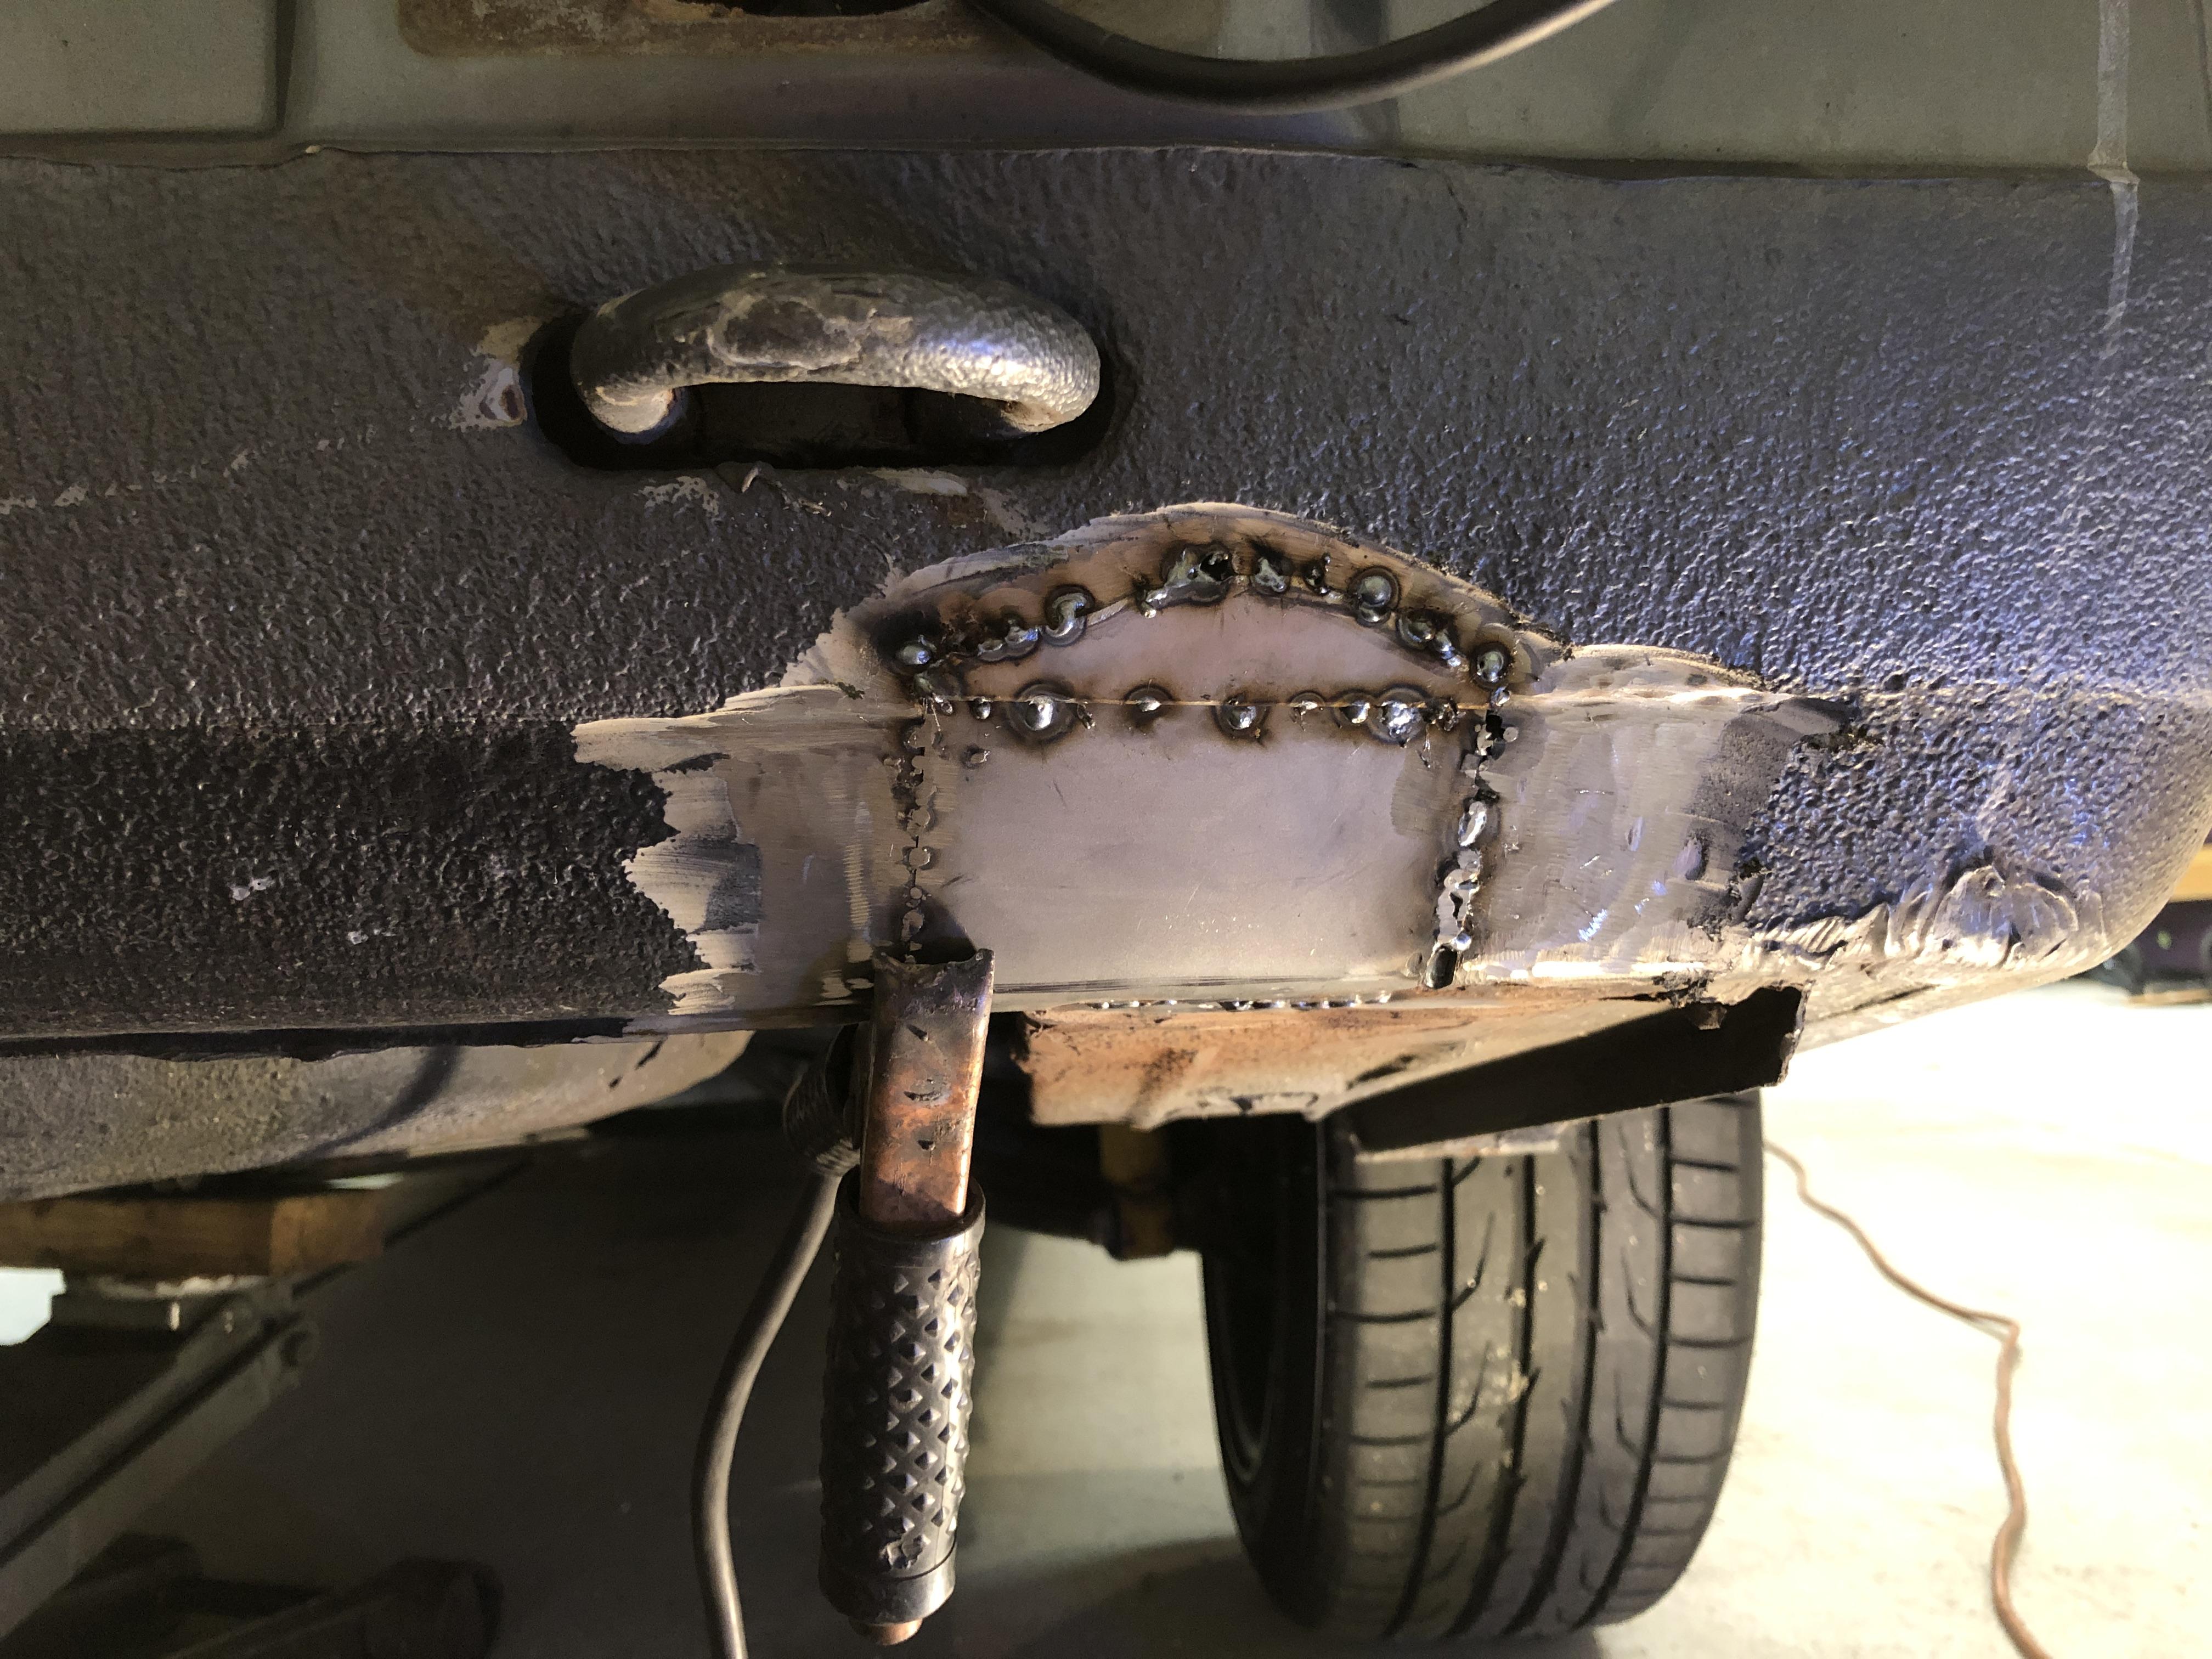
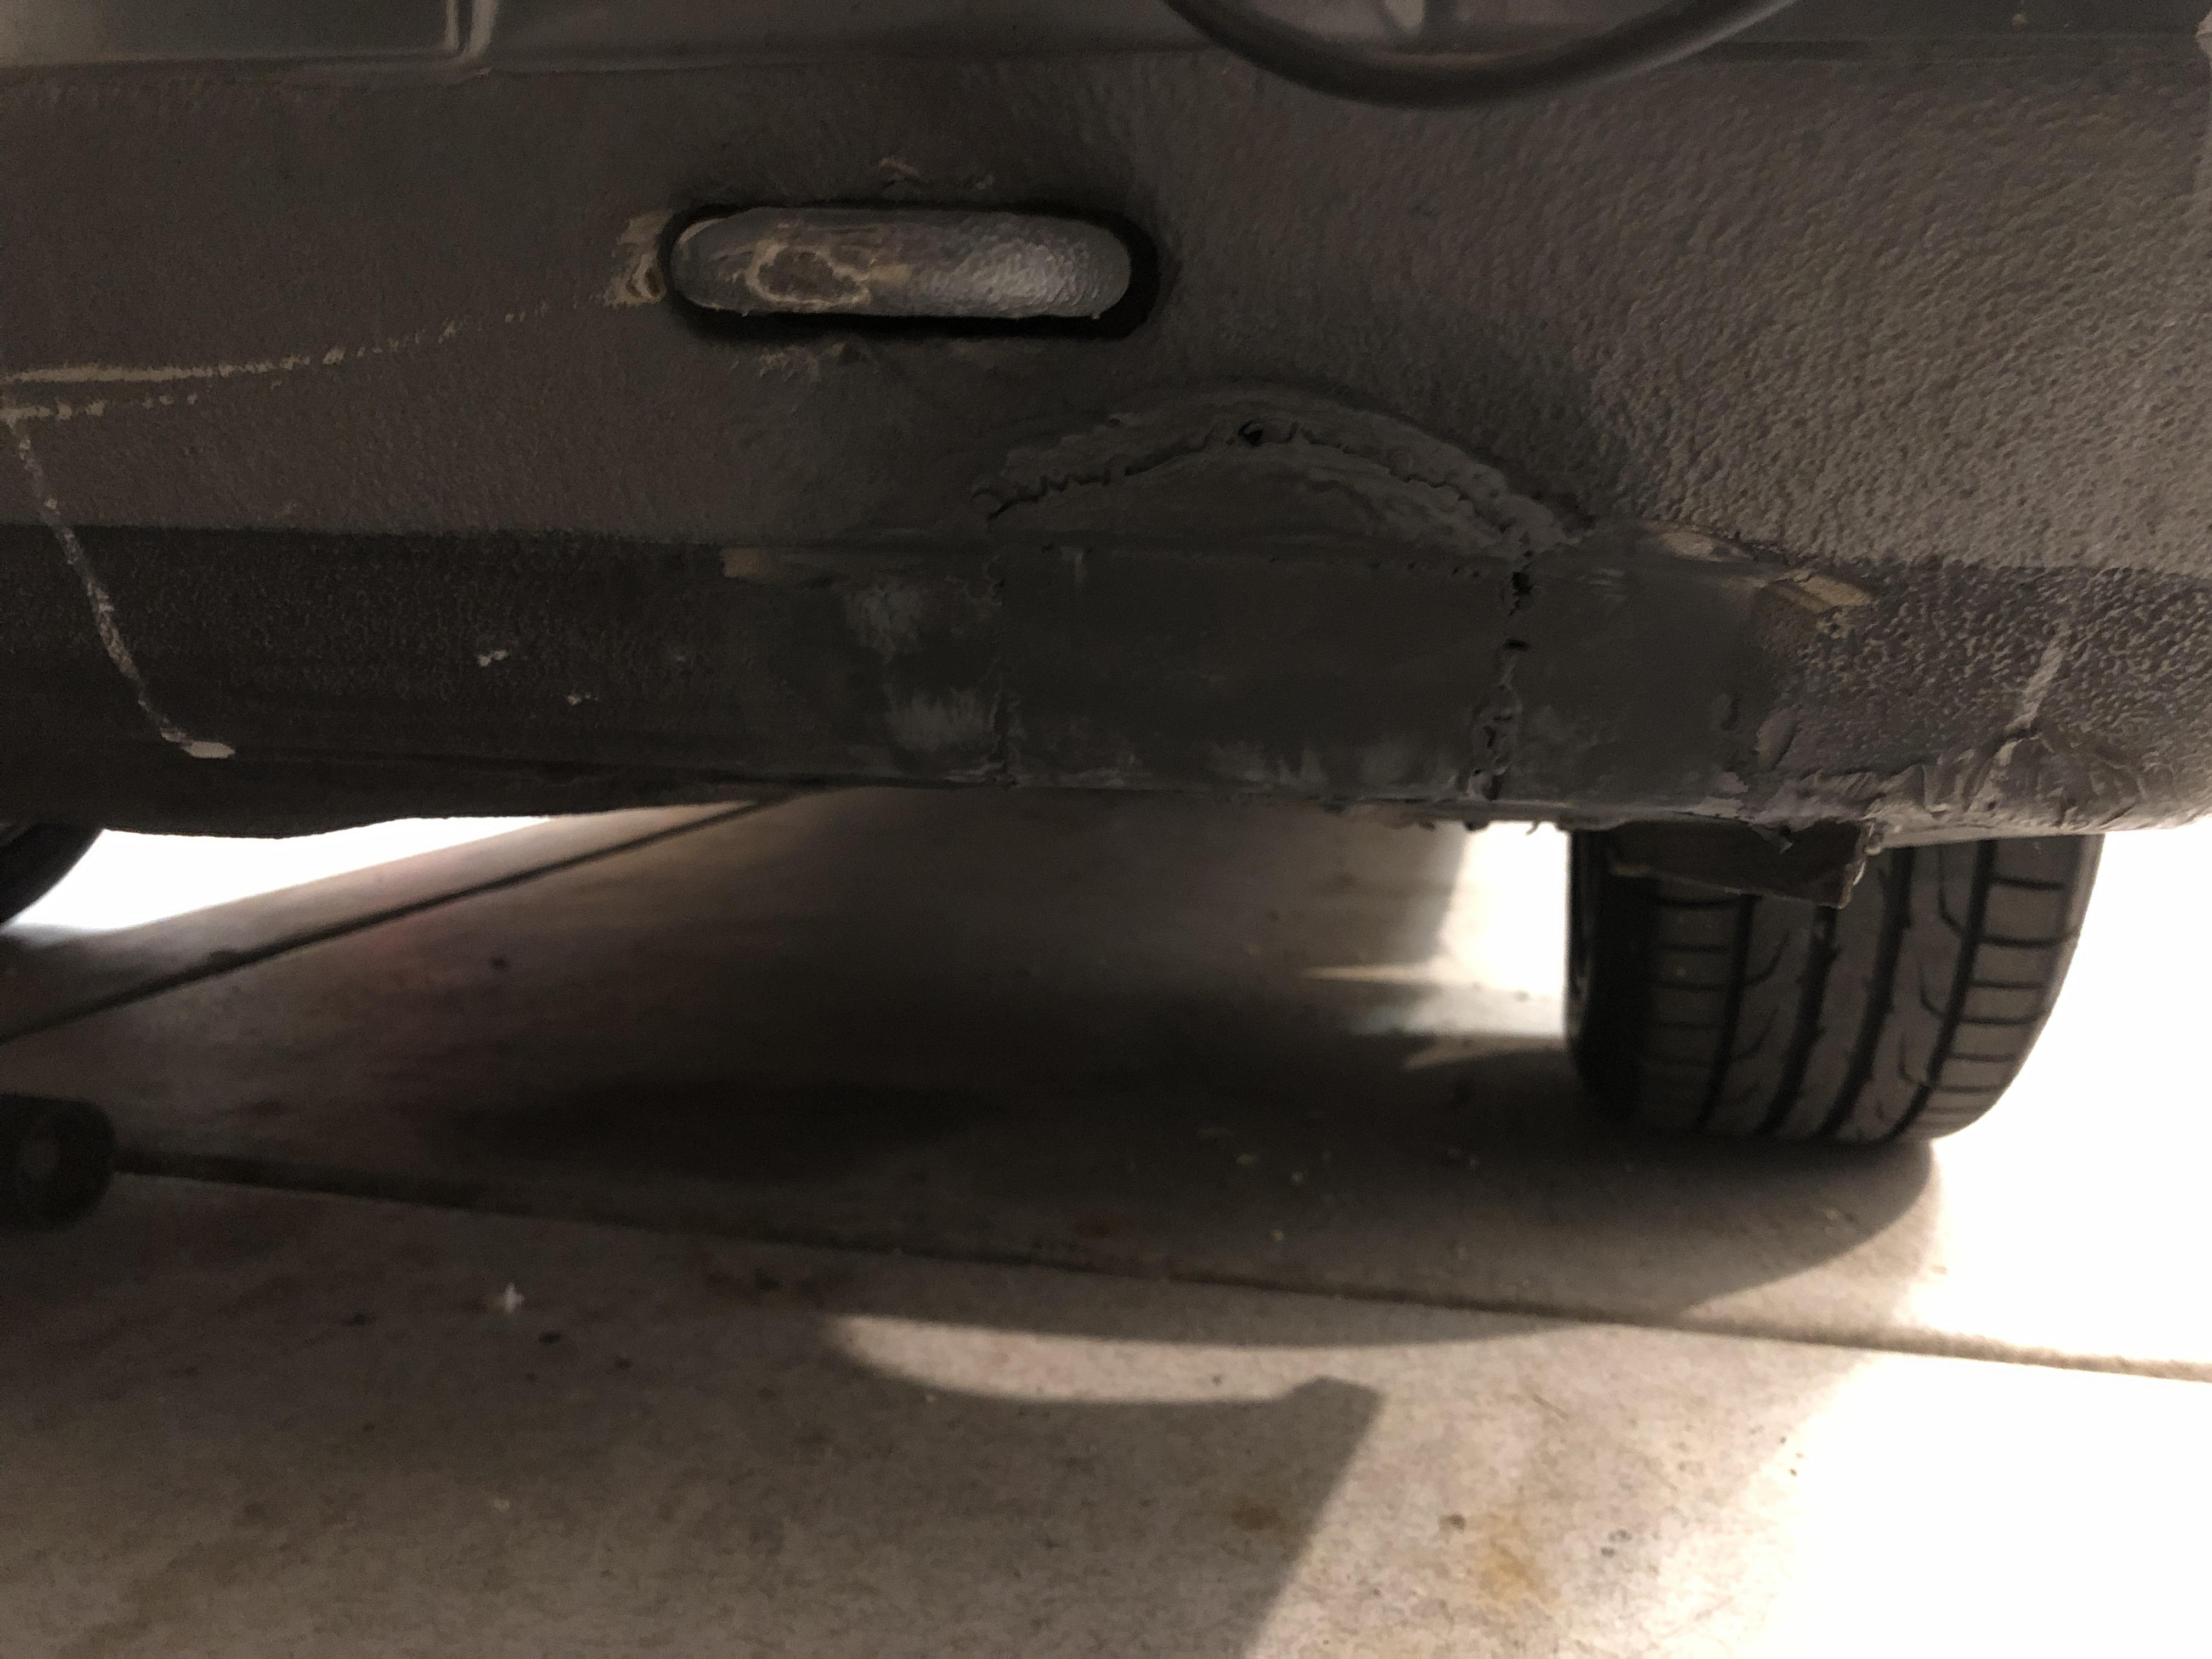
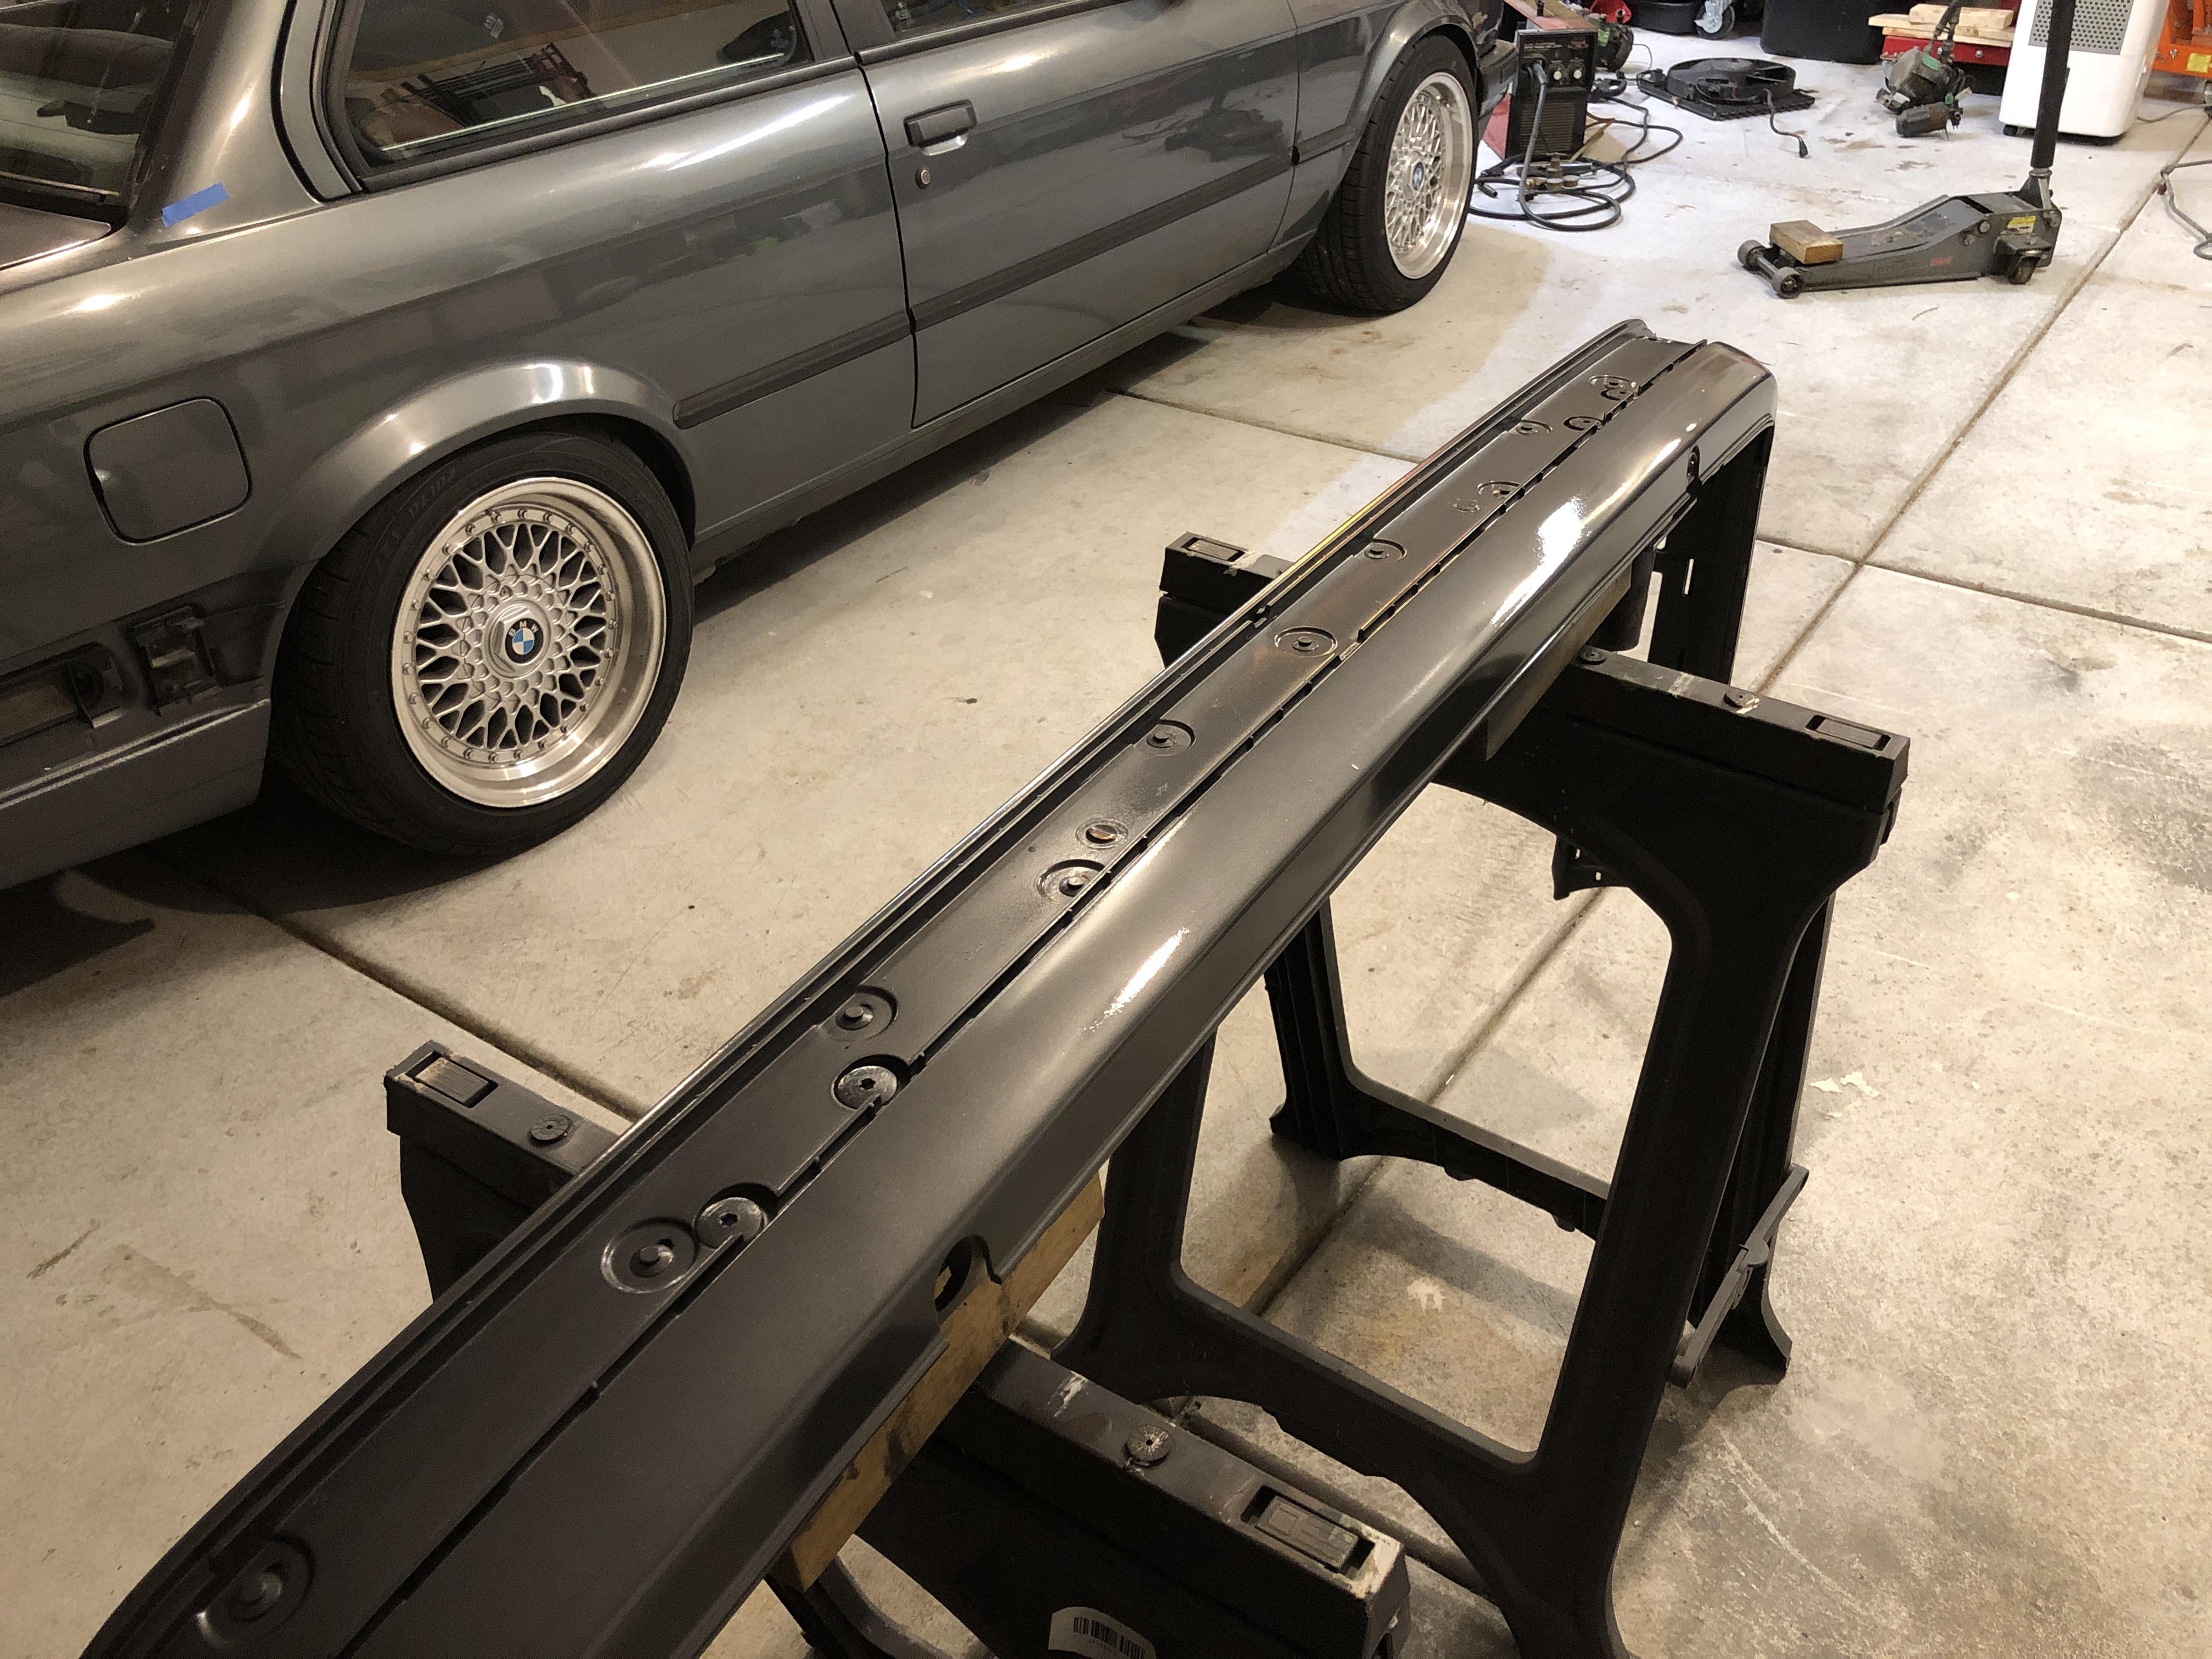
After my welder went out and I was able to meet my dad so I could borrow his, I finally was able to patch the other rust hole in the rear bumper. You can kind of see it here:
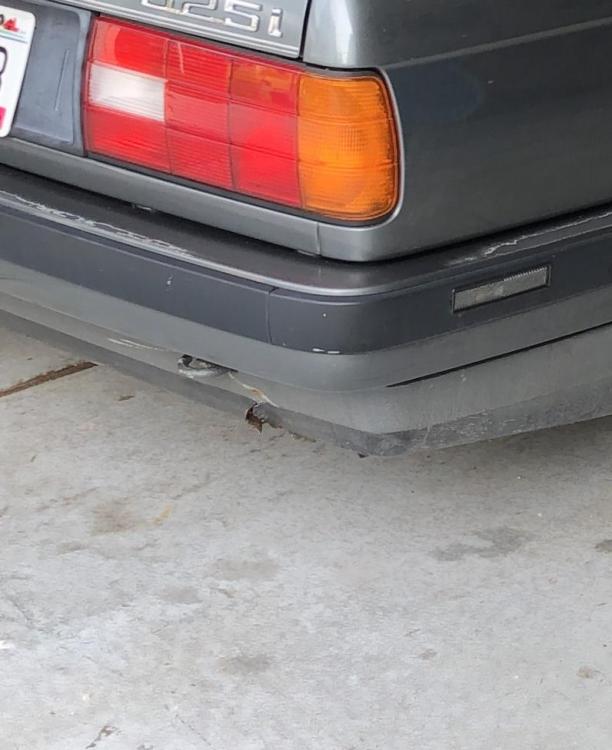
I cut it out and welded in some new metal and the primed it for now. It’s not the prettiest, but I did it myself with my own tools, and that was what I really wanted to accomplish
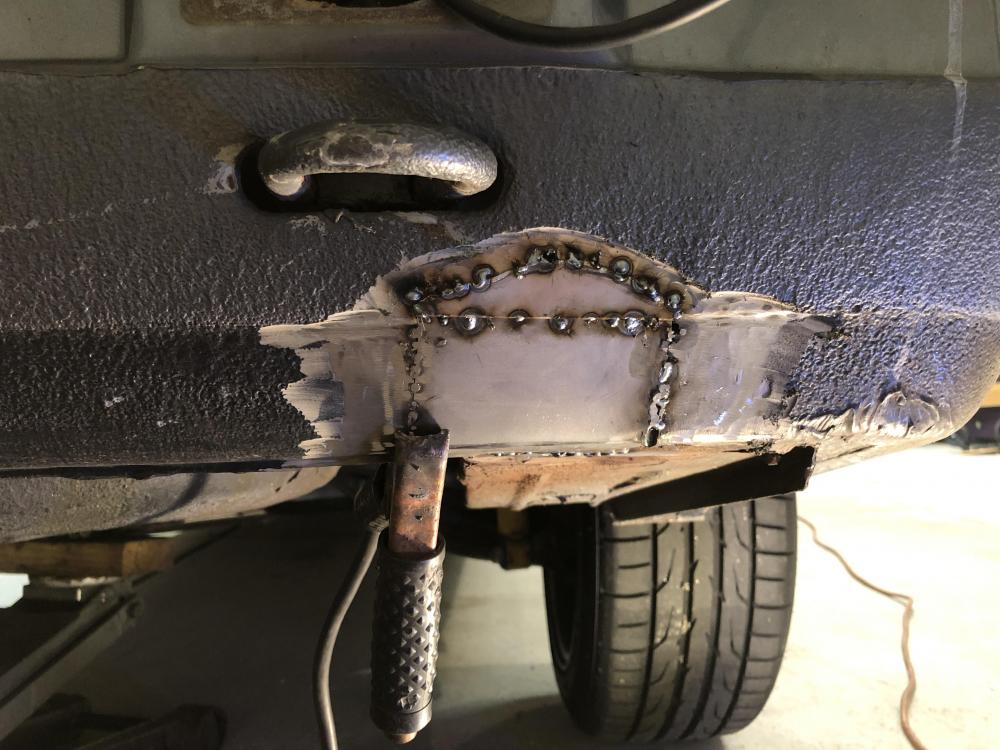
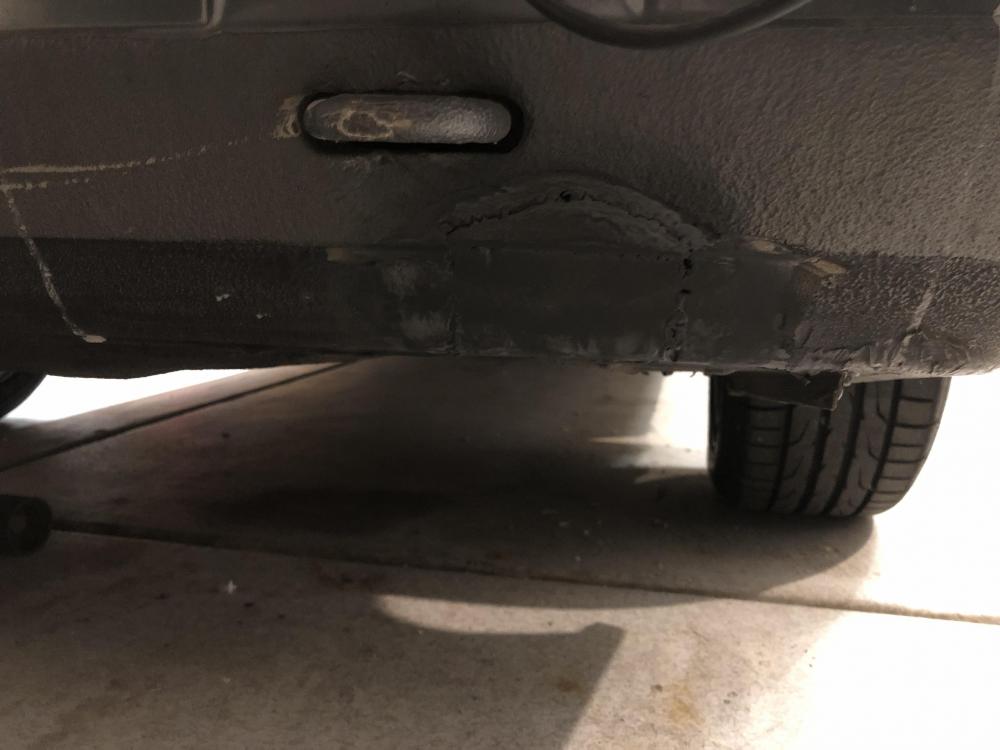
I need to get some type of seam sealer to go around the patch and then I need to bring the area back up to the thickness of the existing bumper. My guess is a truck bed liner will give me the depth and texture of the bumper coating.
-
Look around for bed liners. Some have a much finer pattern than the one you are looking for. I'm sure there are ways to manipulate that tho.
Or as long as the surface is even and matches the lines of the valence, no ones gonna know as its black and so low on the car.
-
Look around for bed liners. Some have a much finer pattern than the one you are looking for. I'm sure there are ways to manipulate that tho.
Or as long as the surface is even and matches the lines of the valence, no ones gonna know as its black and so low on the car.
I want it to blend in, but doesn’t need to be perfect. I also plan to spray the valance when I spray the trunk lid and get rid on the lower black portion.
-
Any auto body supply store should have a textured rock chip spray in an aerosol can. that will be your best bet for an even texture. Otherwise basic autoparts bedliner works. you can vary the thickness of the spray pattern depending on how clost you spray to the surface.

https://www.instagram.com/_jdesigner_/ http://nevertoolow.tumblr.com/
🥳SOLD BMW E24 633CSI - BMW M30B32 🧪SOLD HCH ES9 - 1.3 LDA
👽BMW E30 325IC - Toyota 1JZ-GTE ⏰ HONDA EF9 CIVIC SI - JDM B18C5
☠️BMW E36 318i - Ford 5.0 FE302 🚴♂️ GT-Labomba - 26x2.75 Freeride
🤹♀️SOLD BMW E36/7 Z3 - BMW M54B25 🧓SOLD BMW E10 2002 - BMW M10M05 -
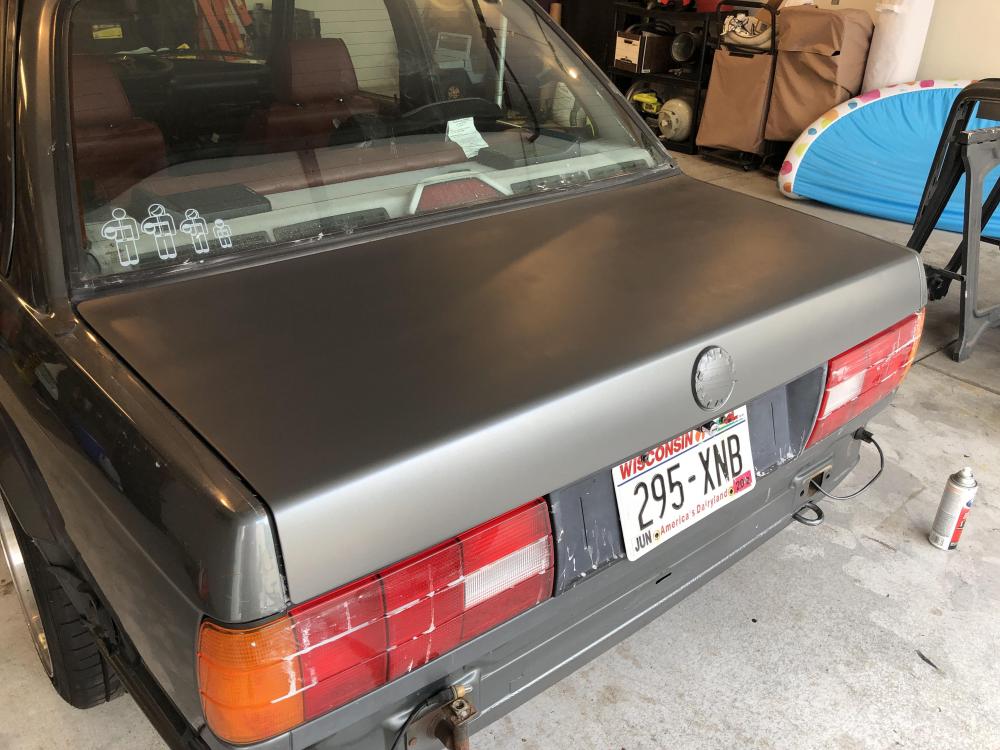
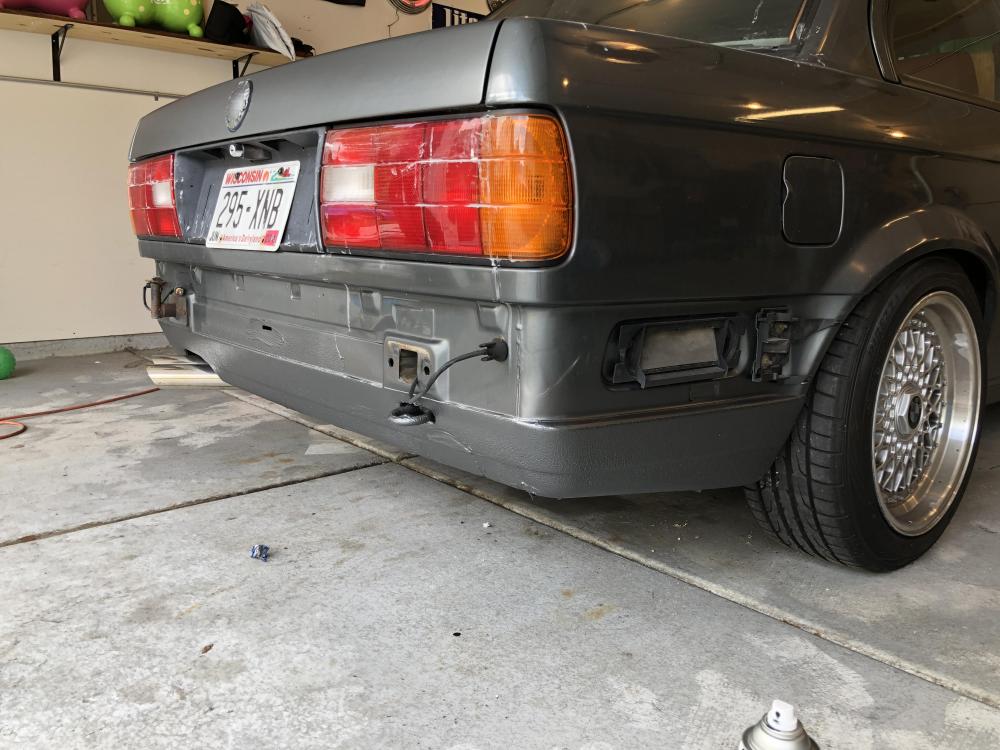
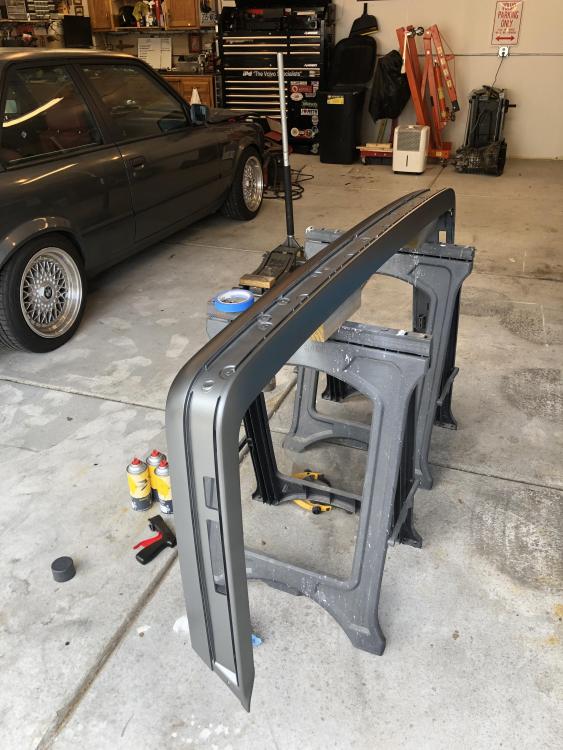
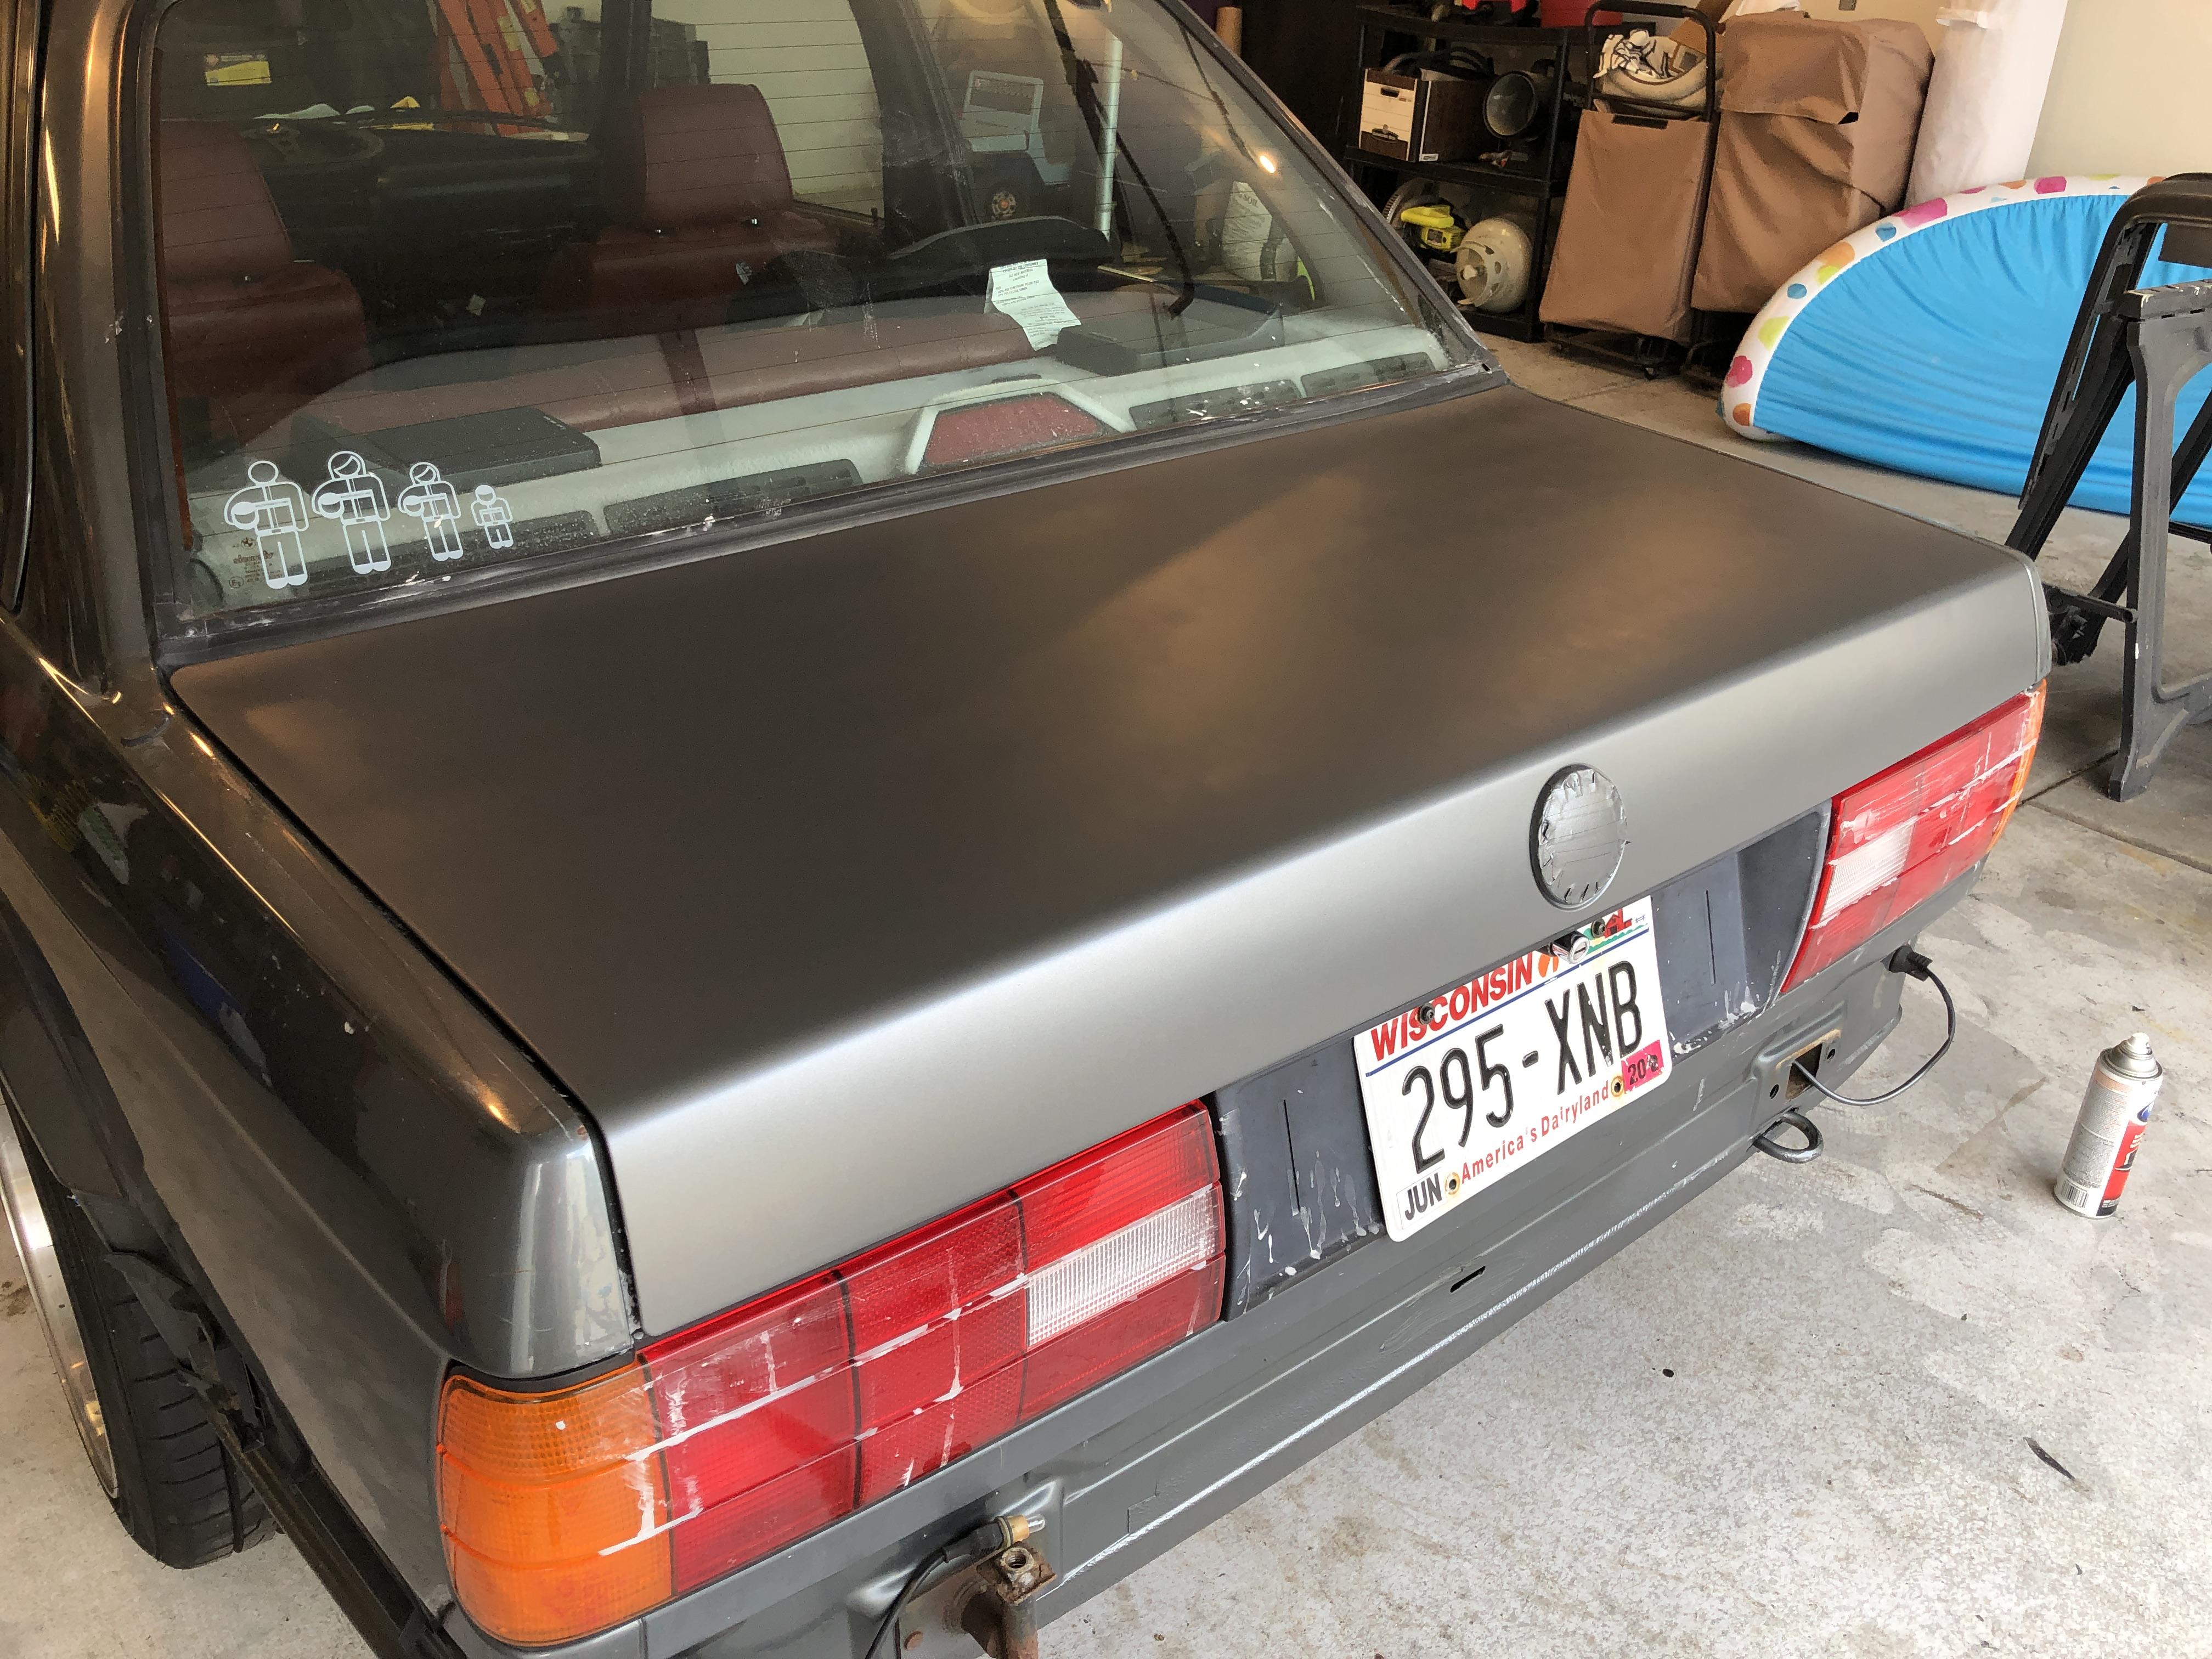
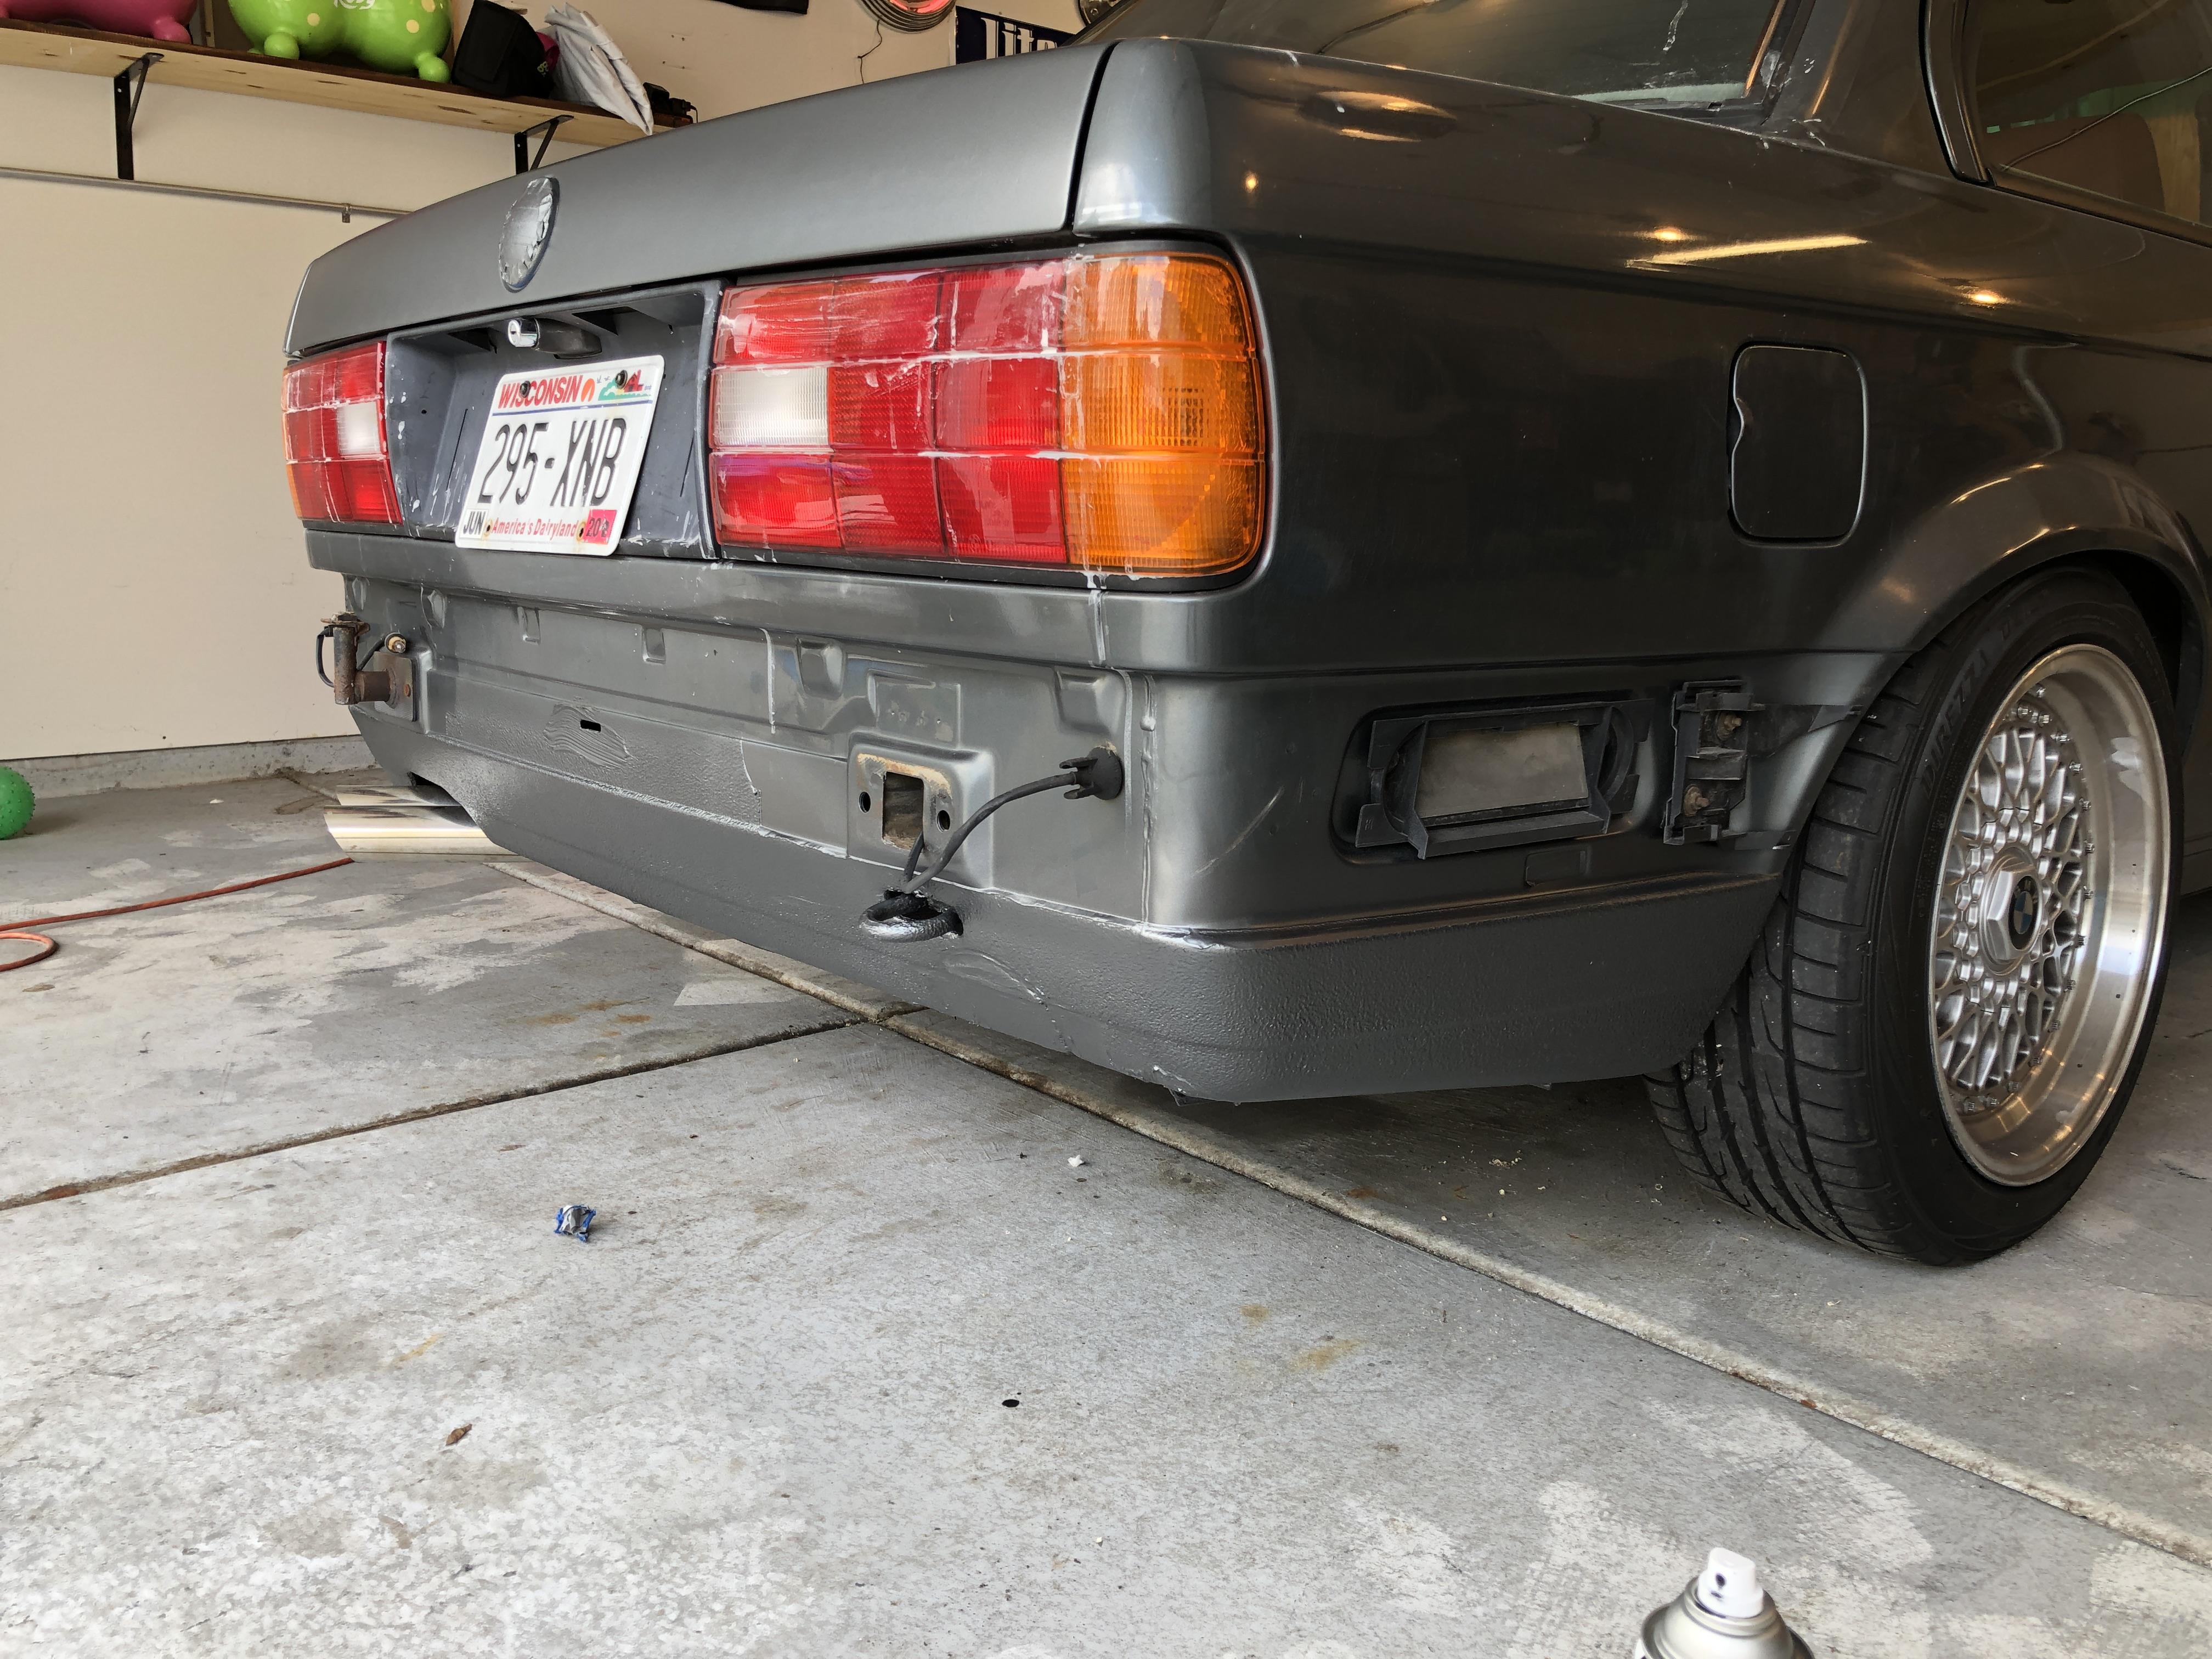
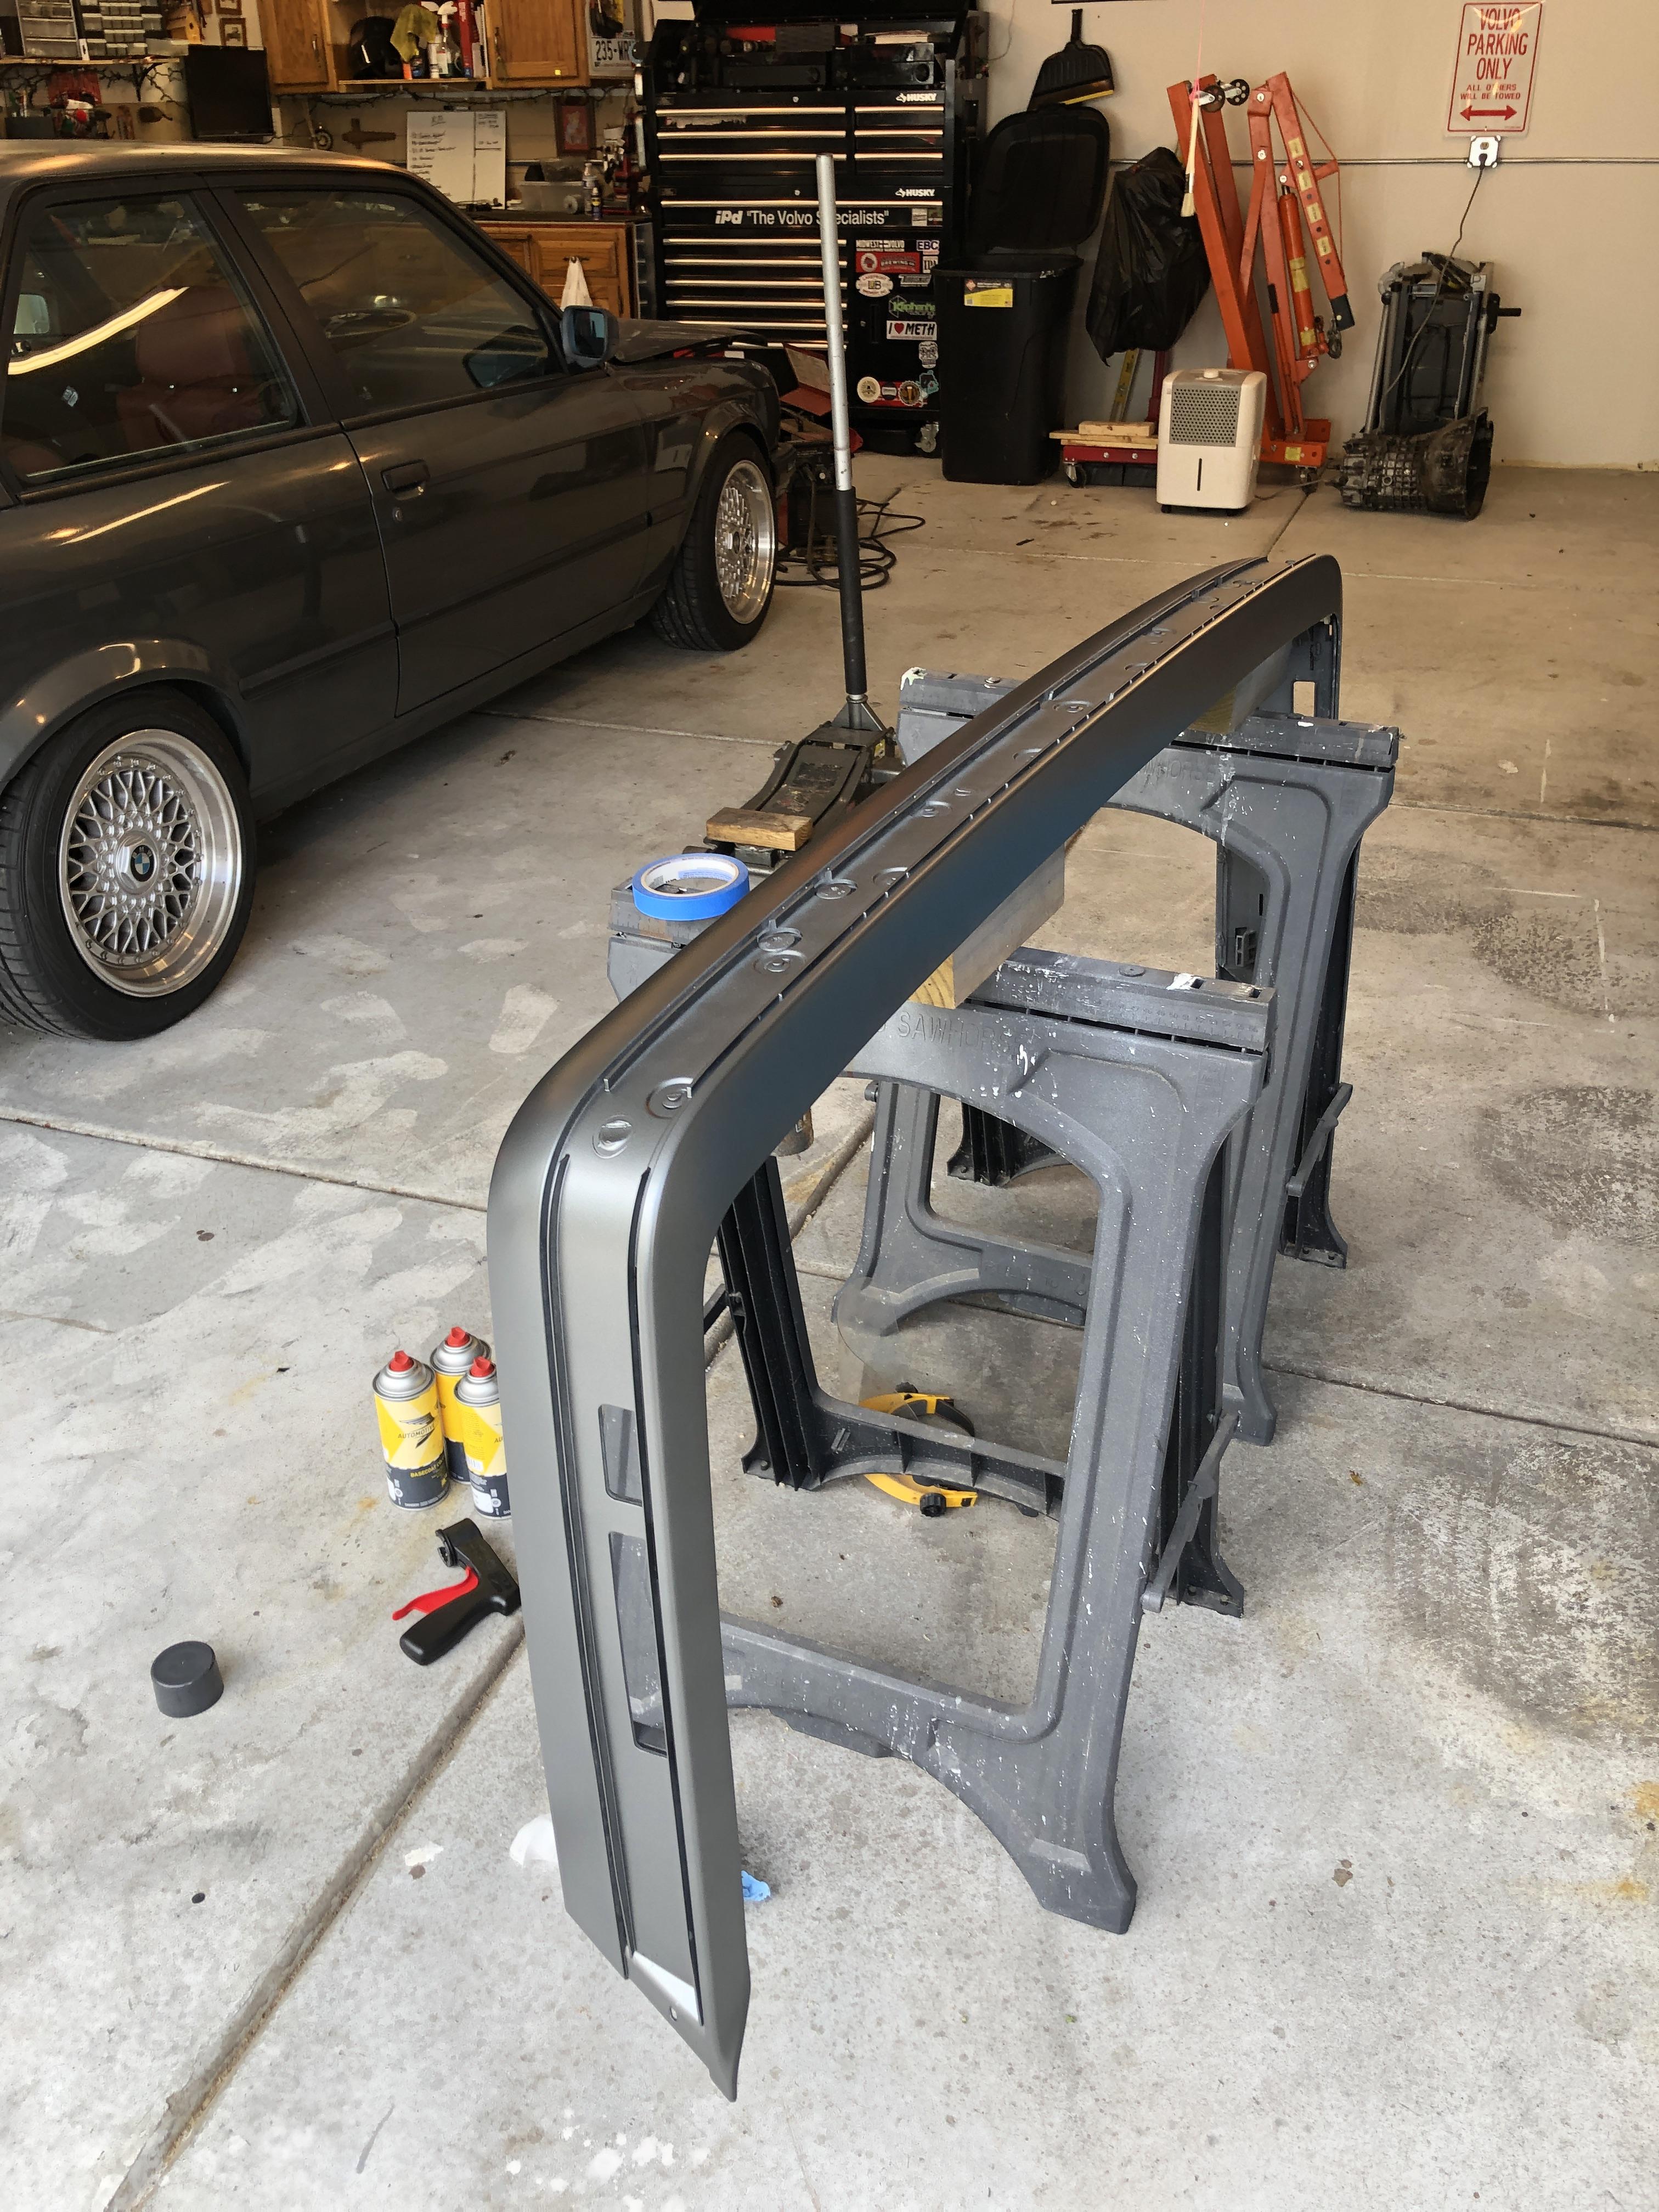
The color match is very good. The aerosol cans were okay. They didn’t cover very good and weren’t great on the horizontal surfaces. It’s good for and I think I learned some good things with prep and spraying. But I’m excited to do this again with an hvlp gun.
Letting dry and then I’ll mask it back off and do clear coat.
-
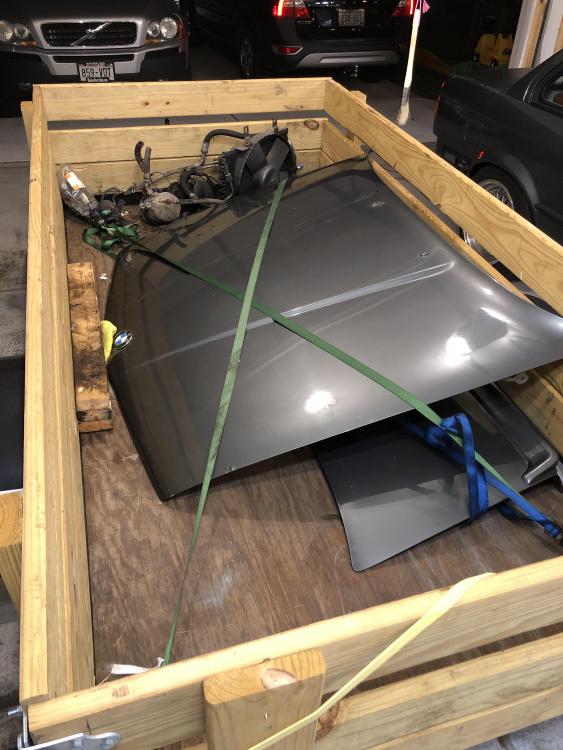
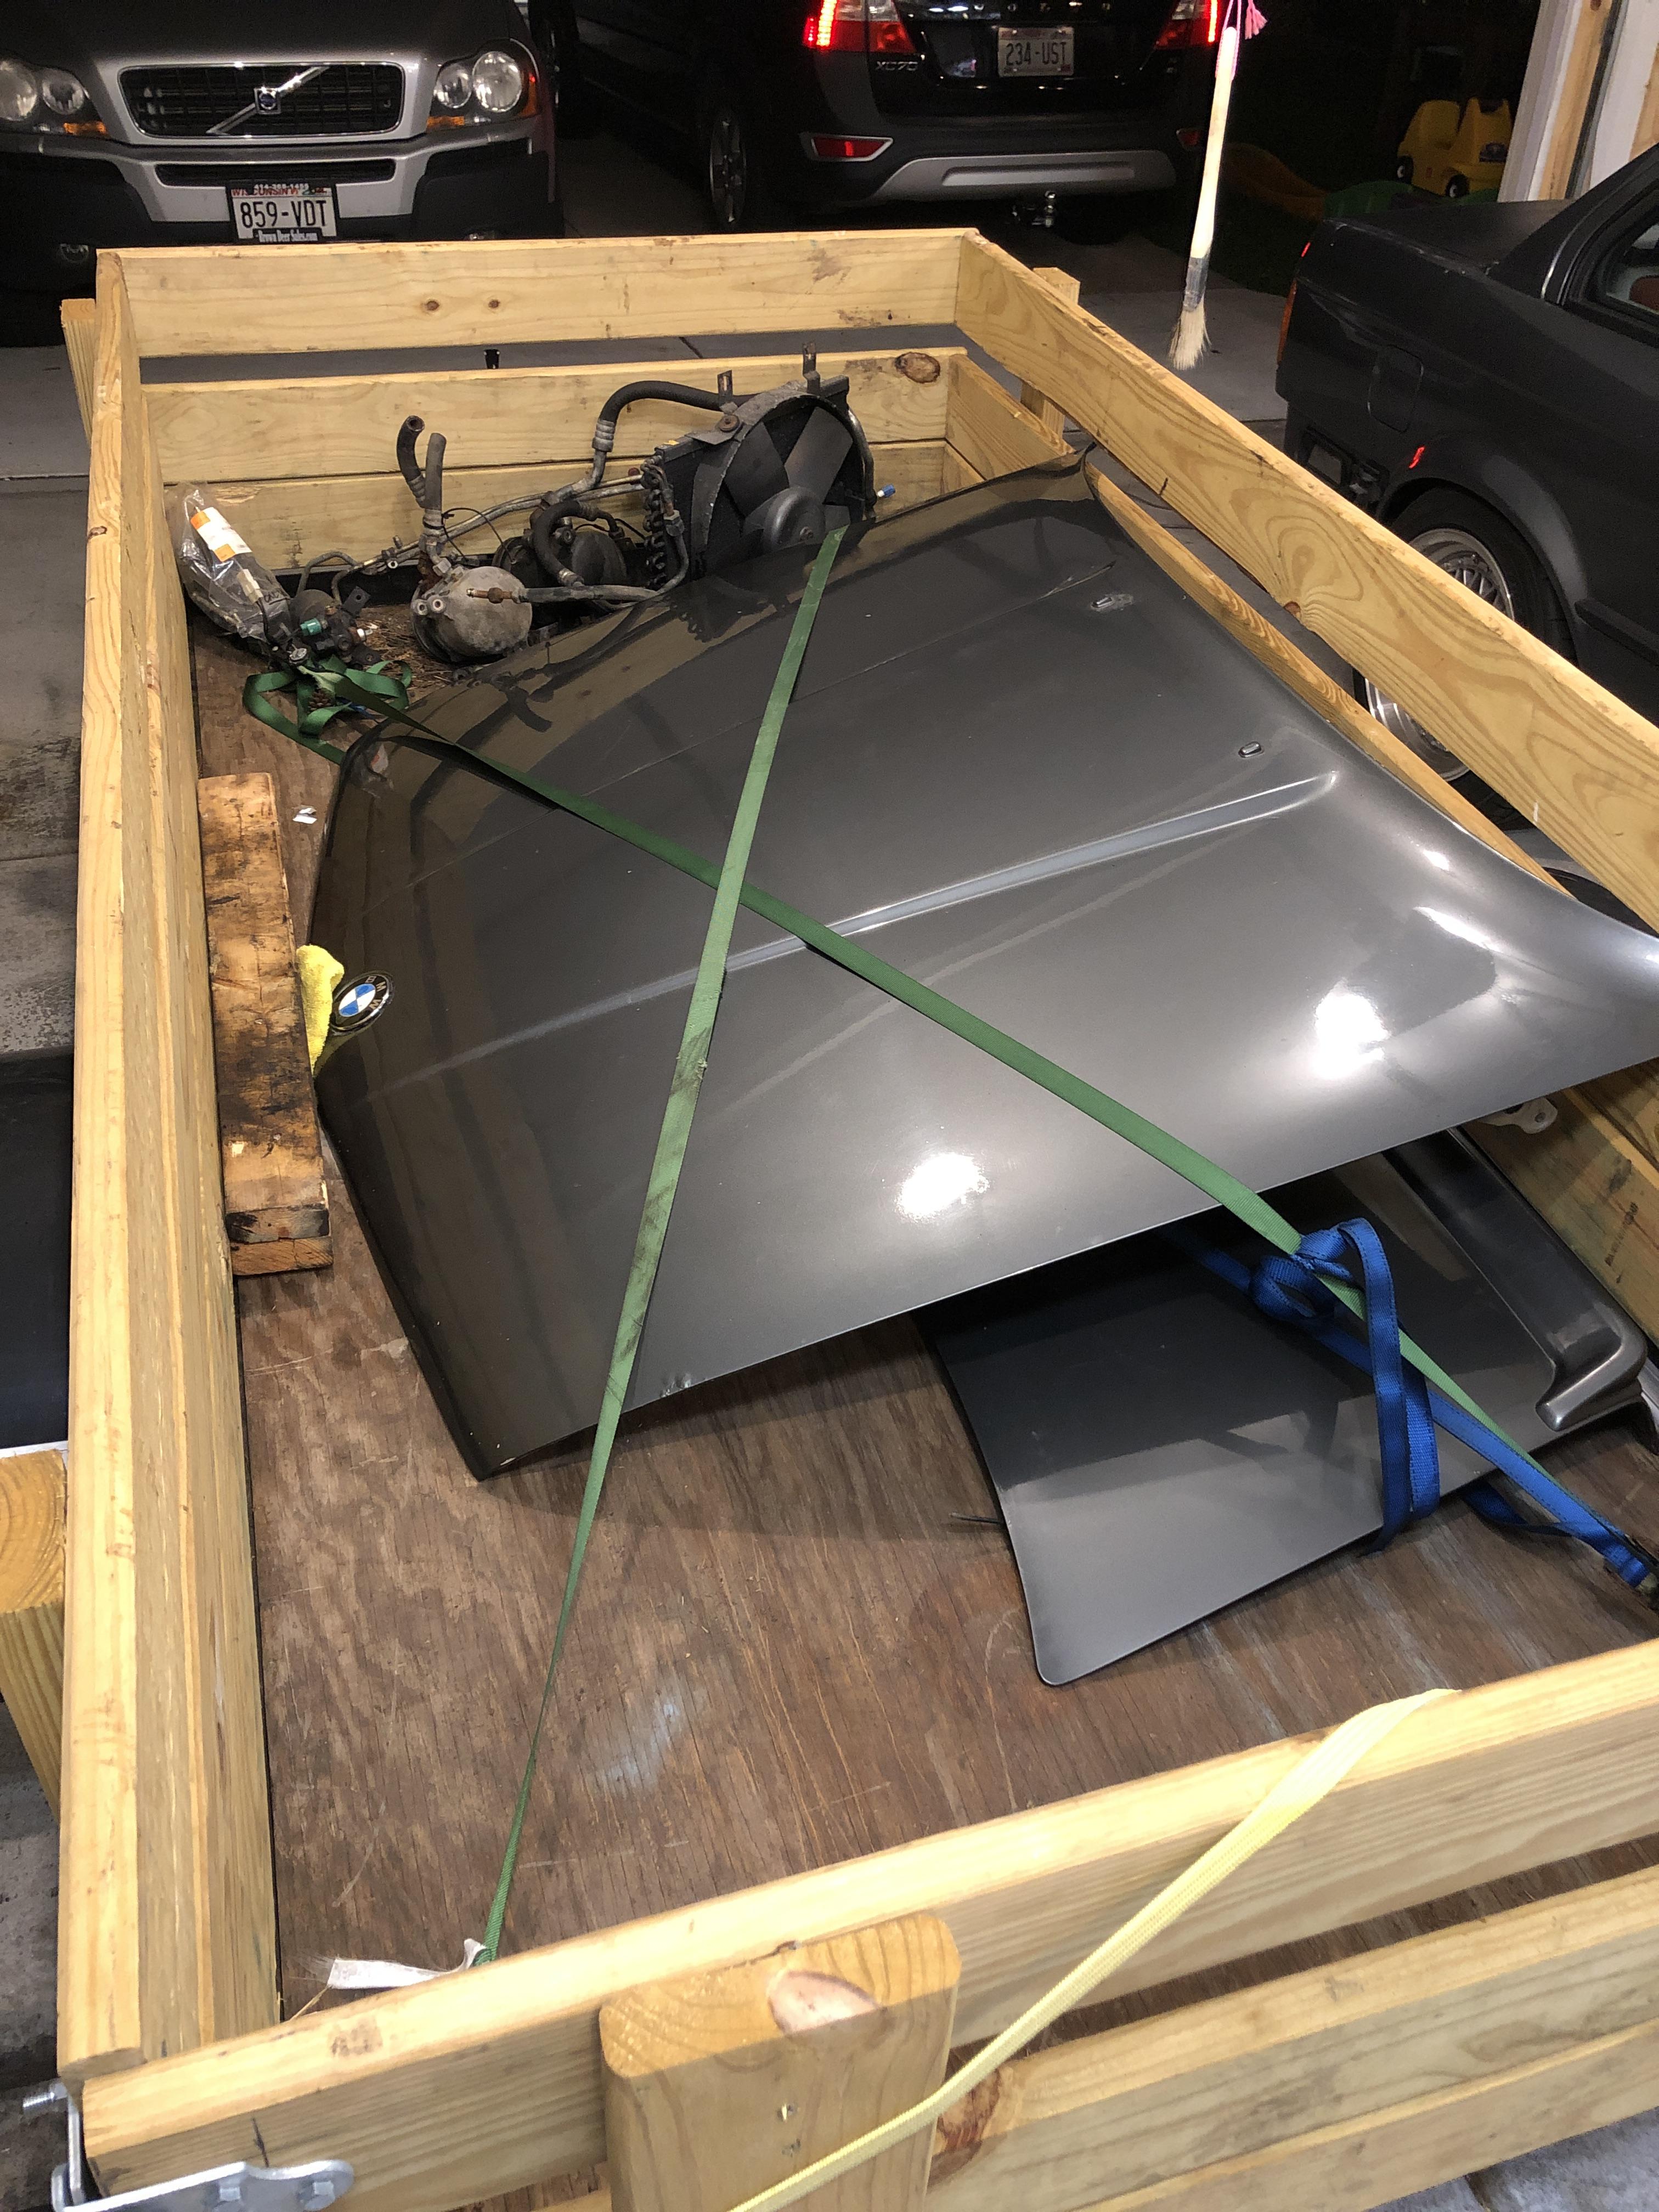
After dinner with the family I took a quick drive down to Roselle, IL where there was a guy parting out an 89 325ix. Ended up being a BMW hobby shop that had probably 6-7 e30s and a handful of other models in various stages of repair and parked.
I picked up a straight hood, straight trunk lid with a spoiler, and the full AC system under the hood. Both the trunk lid and hood need some cleaning up, but all in all, for $250 I think I did okay.
-
Paint looks good from here

 excited to see it with the clear on. Good deal on the parts too.
Thank you. Tonight it gets clear coat.
I also dug into the AC parts some more and having everything in front of me definitely helped understand how it's all routed. From the looks of it I will need to replace the suction hose, the condenser, and will get a new dryer.
Does anyone know the quality of the hoses by "4 Seasons"? They carry the suction hose for SIGNIFICANTLY cheaper than the OEM hose and seem to be the only aftermarket manufacturer of the hoses.
-
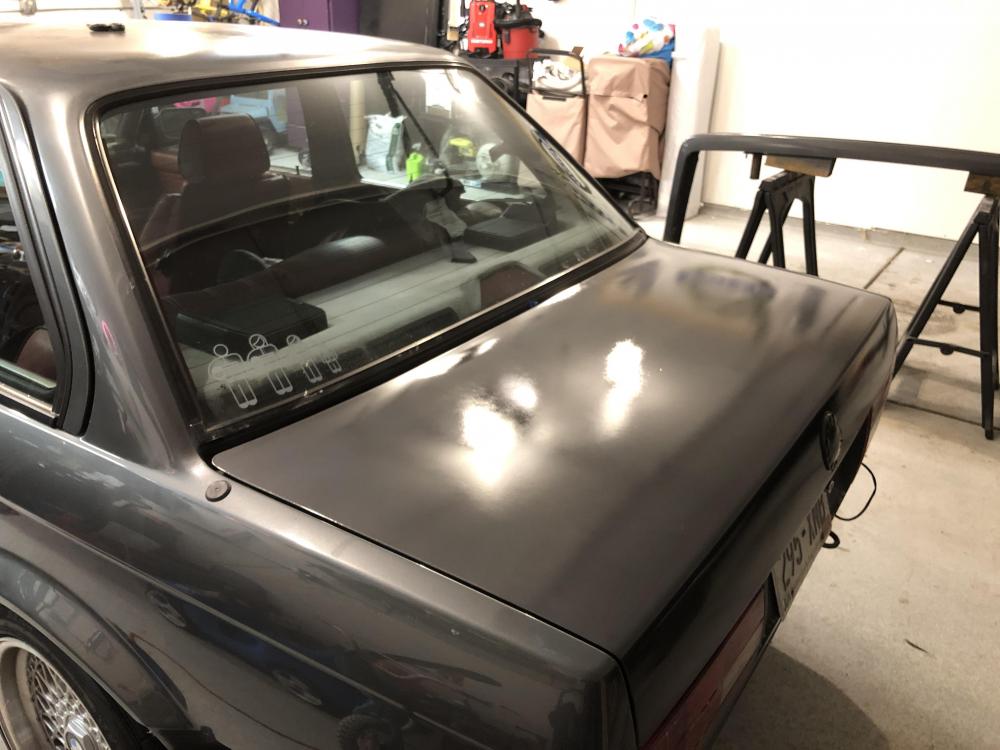
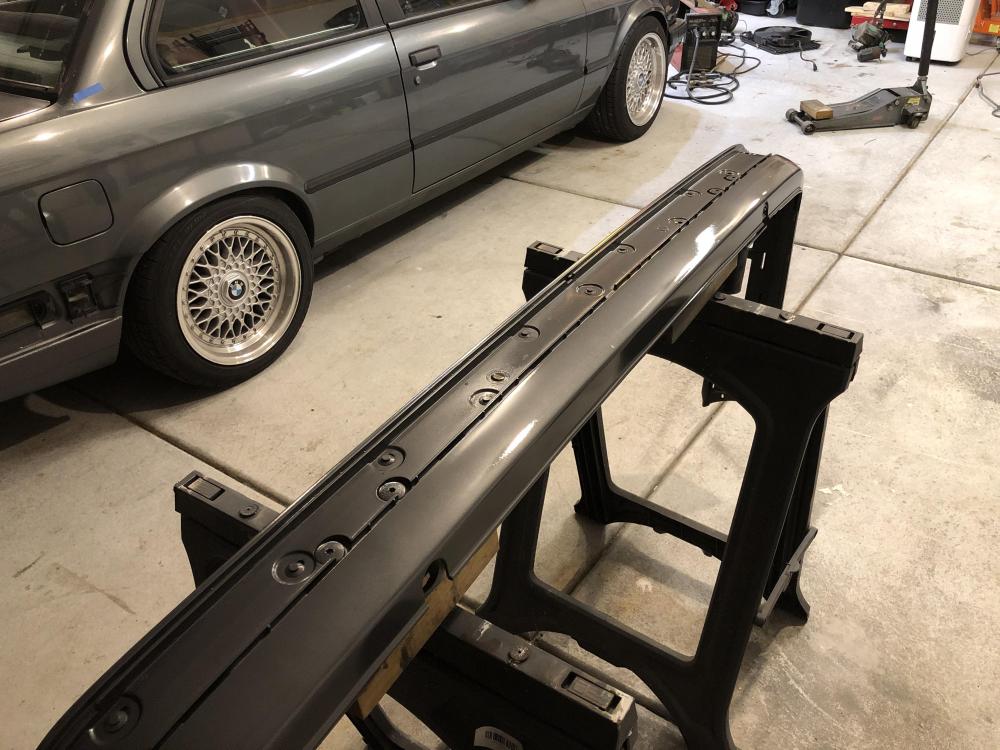
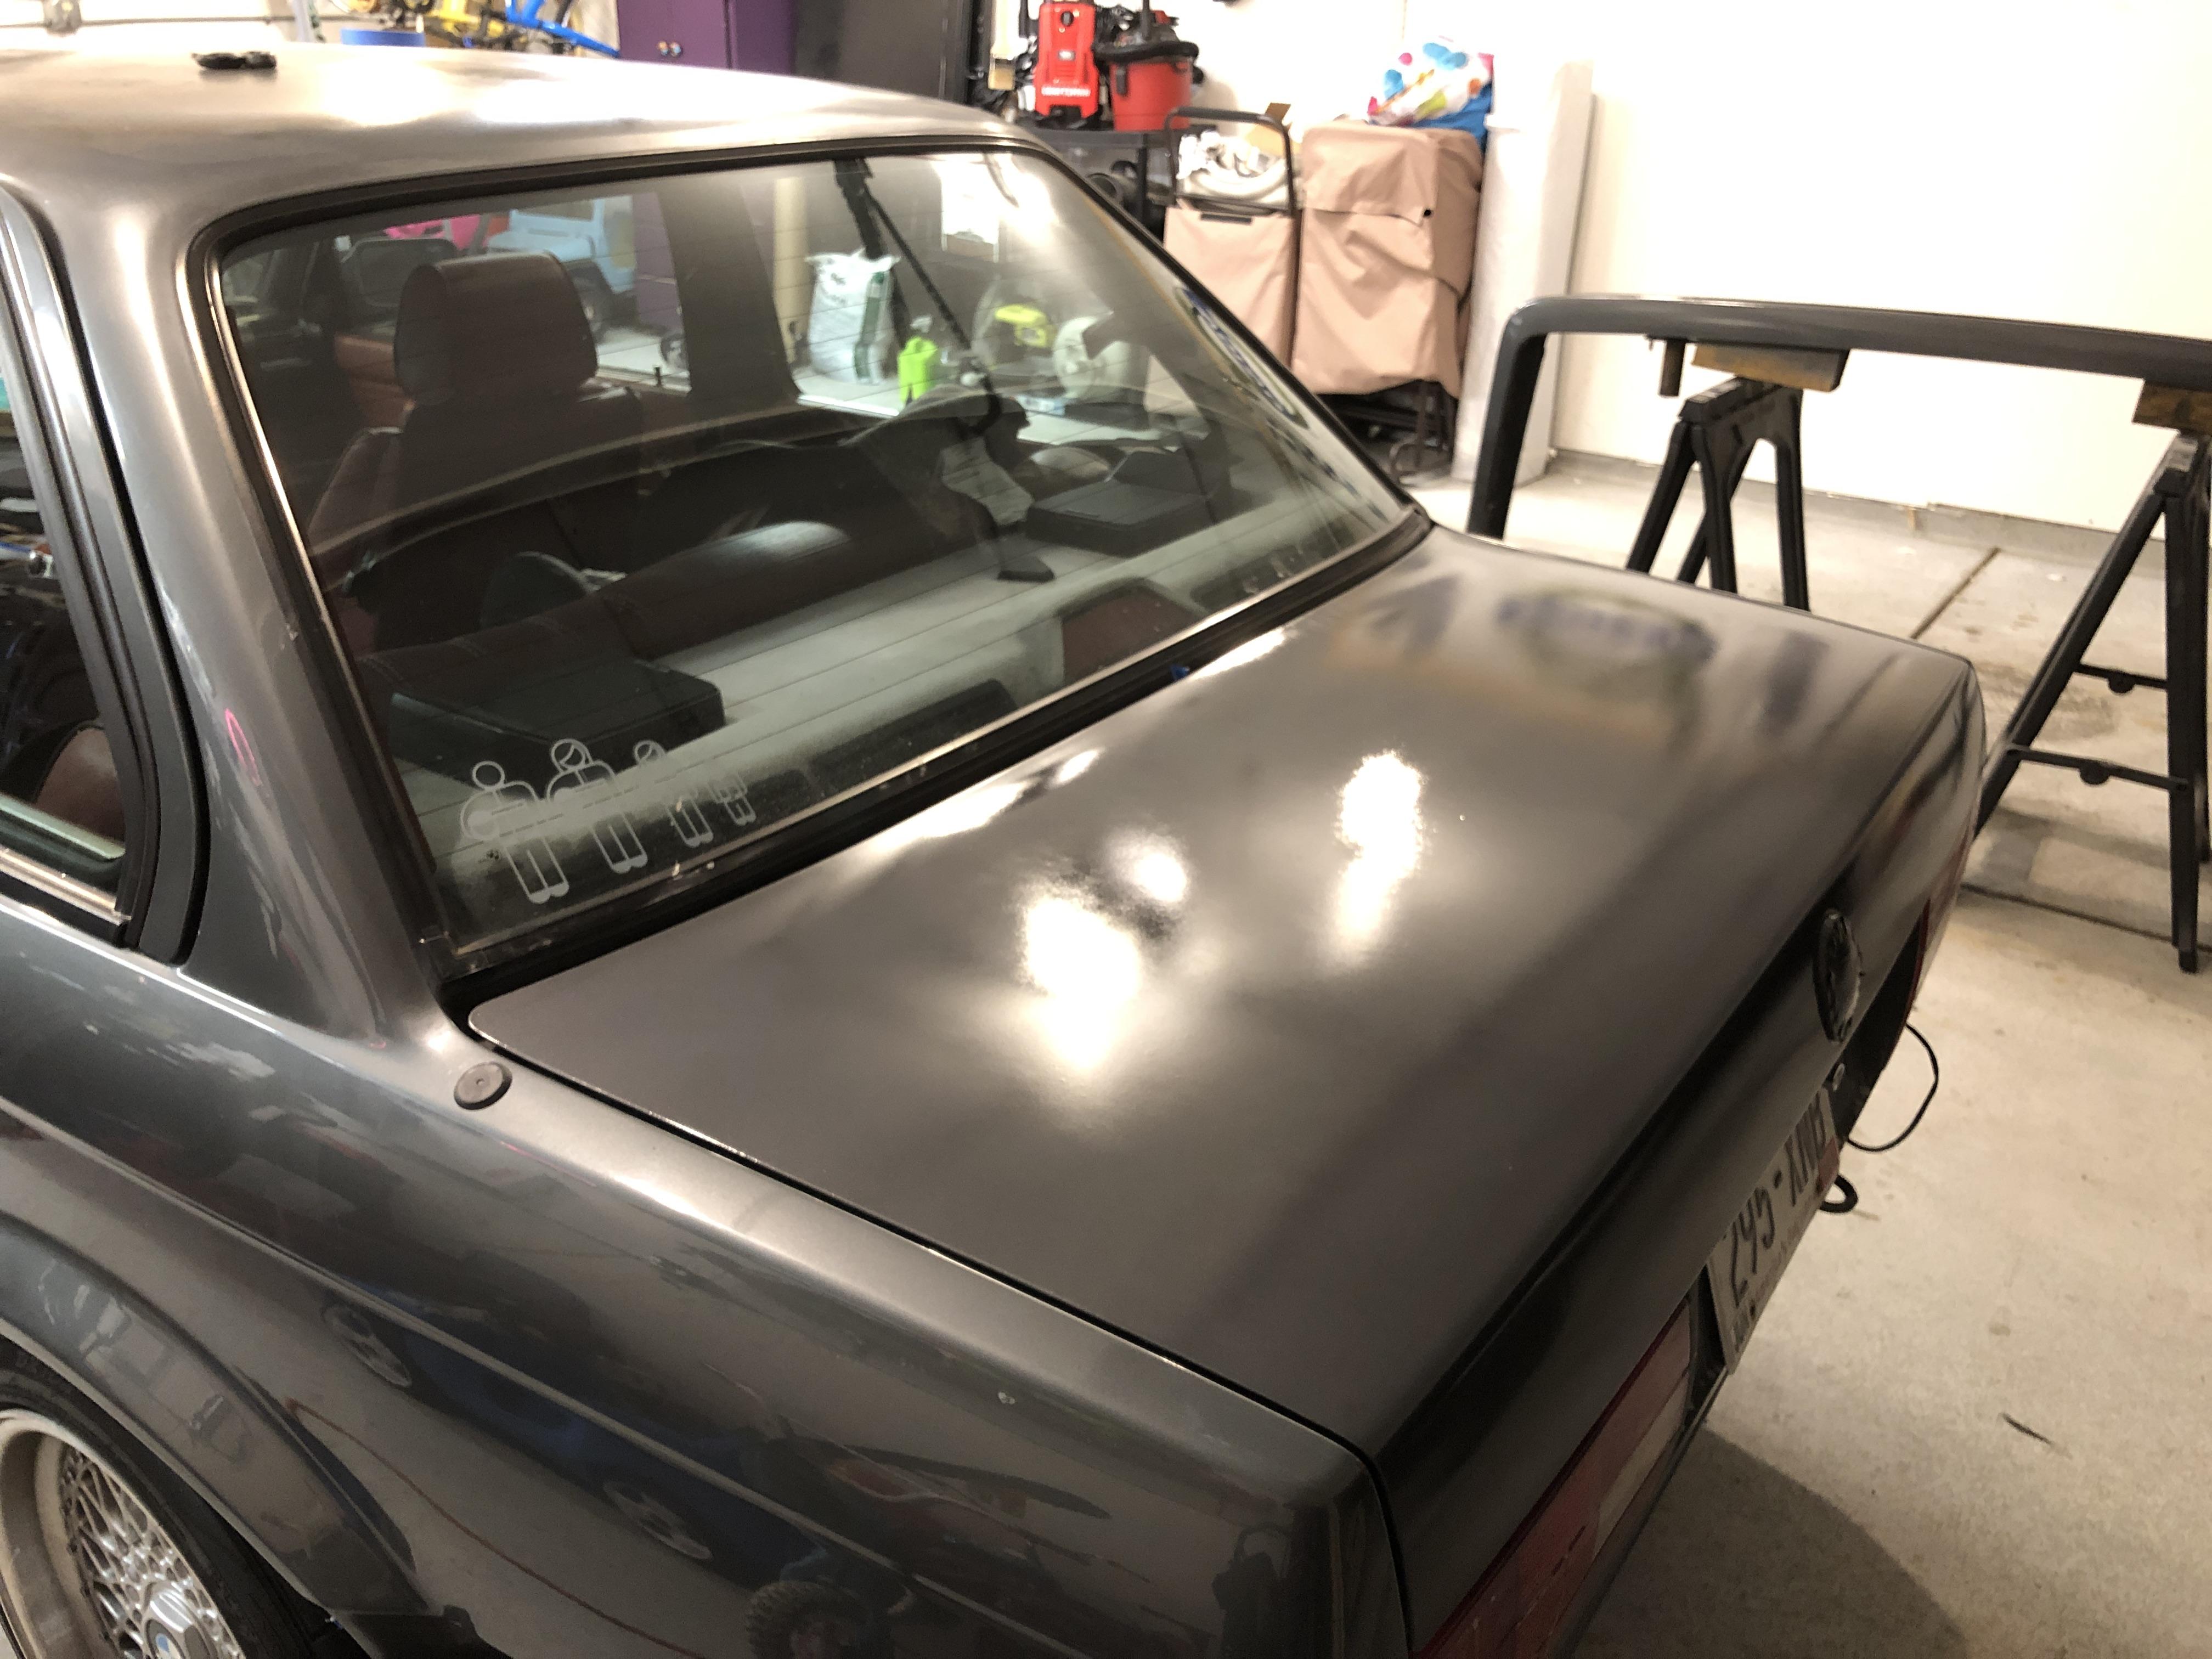
Well, the bumper turned out great, the trunk lid not so much. I think two things happened - the aerosol cans did not cover very well when using them on a horizontal surface and I think I was making my passes too quickly so the clear didn’t cover as well as it should have. I’ll wetsand and polish it, but since the other trunk lid will be going on, I’m taking this as a learning experience and leaving it at that.
-
Its too large of a surface to get an even "wetcoat" using a small aerosol can. You might be able to polish it out, but it will be much less work to just shoot it with a gun.
https://www.instagram.com/_jdesigner_/ http://nevertoolow.tumblr.com/
🥳SOLD BMW E24 633CSI - BMW M30B32 🧪SOLD HCH ES9 - 1.3 LDA
👽BMW E30 325IC - Toyota 1JZ-GTE ⏰ HONDA EF9 CIVIC SI - JDM B18C5
☠️BMW E36 318i - Ford 5.0 FE302 🚴♂️ GT-Labomba - 26x2.75 Freeride
🤹♀️SOLD BMW E36/7 Z3 - BMW M54B25 🧓SOLD BMW E10 2002 - BMW M10M05 -
Did you wetsand the base coat before laying the clear?
Everything I read said to not touch the base coat before clear as it will mess it up. That if you were to wetsand the base coat then you need to shoot another coat of base over that.
Its too large of a surface to get an even "wetcoat" using a small aerosol can. You might be able to polish it out, but it will be much less work to just shoot it with a gun.
I’ll polish and it will look fine for now. I’m looking forward to doing it with a gun. The more I read into it the more I see people with little experience achieving great results.
Gives me hope. Haha
-
Everything I read said to not touch the base coat before clear as it will mess it up. That if you were to wetsand the base coat then you need to shoot another coat of base over that.
I’ll polish and it will look fine for now. I’m looking forward to doing it with a gun. The more I read into it the more I see people with little experience achieving great results.
Gives me hope. Haha
Correct, sanding the base coat if it has metal flake will mess it up.
Yes it seems that you were not able to maintain the wet edge which allows the clear coat to flow over the surface evenly and smooth out.
Watch some videos on youtube with the guy from Eastwood, I found them very helpful to watch before I painted. It helped me know what to look for and what to do about it so I wasn't stuck with a problem after the gun was full of paint.
-
Correct, sanding the base coat if it has metal flake will mess it up.
Yes it seems that you were not able to maintain the wet edge which allows the clear coat to flow over the surface evenly and smooth out.
Watch some videos on youtube with the guy from Eastwood, I found them very helpful to watch before I painted. It helped me know what to look for and what to do about it so I wasn't stuck with a problem after the gun was full of paint.
I’ll watch some more videos. Part of my problem was the aerosol cans. They just didn’t seem to do well on the flat surface. Once I get an hvlp setup, I’ll do some more practicing and watch some more videos. The bumper turned out great though.
-
Anyone familiar with Coleman Powermate brand air compressors? I found one while casually perusing Marketplace that is 7.7scfm at 40psi for $100. Eastwood sells a gun that operates at 4.25scfm at 30psi.
It sounds like these two would pair together really well.
I don't need a larger air compressor for a while, but this seems like a good deal that could save me some money in the long run.
-
Everything I read said to not touch the base coat before clear as it will mess it up. That if you were to wetsand the base coat then you need to shoot another coat of base over that.
I’ll polish and it will look fine for now. I’m looking forward to doing it with a gun. The more I read into it the more I see people with little experience achieving great results.
Gives me hope. Haha
Its super easy, you could buy a cheap harbor freight gun and compressor and get great results.
Anyone familiar with Coleman Powermate brand air compressors? I found one while casually perusing Marketplace that is 7.7scfm at 40psi for $100. Eastwood sells a gun that operates at 4.25scfm at 30psi.
It sounds like these two would pair together really well.
I don't need a larger air compressor for a while, but this seems like a good deal that could save me some money in the long run.
That "should be" efficient to get a small job like a trunk done, but it will be running the entire time. If you are looking for a used unit you can get much larger ones for the same price if you have the room.
https://www.instagram.com/_jdesigner_/ http://nevertoolow.tumblr.com/
🥳SOLD BMW E24 633CSI - BMW M30B32 🧪SOLD HCH ES9 - 1.3 LDA
👽BMW E30 325IC - Toyota 1JZ-GTE ⏰ HONDA EF9 CIVIC SI - JDM B18C5
☠️BMW E36 318i - Ford 5.0 FE302 🚴♂️ GT-Labomba - 26x2.75 Freeride
🤹♀️SOLD BMW E36/7 Z3 - BMW M54B25 🧓SOLD BMW E10 2002 - BMW M10M05 -
Its super easy, you could buy a cheap harbor freight gun and compressor and get great results.
That "should be" efficient to get a small job like a trunk done, but it will be running the entire time. If you are looking for a used unit you can get much larger ones for the same price if you have the room.
The only issues is most large compressors that I have seen require 240 - which I do not have. The compressor I found on Marketplace is a 21 gallon compressor which is in the same size arena I'd be buying new - but this one pumps out a lot more air than the new ones I've put on my list.
I'm just not familiar with that brand of compressor.
It's been fun reading about how the compressor and gun work together and what to look for. There's way more to it than I thought, but from what I gathered the HF gun uses 6scfm @ 40psi. The Eastwood gun that's 4.25scfm @ 30psi would use less air and work better with the 20-30gallon tanks that are in my <$300 price range.
Unless I get a compressor with a 60 gallon tank, the compressor is going to be running off and on quite a bit - but if I can get a used compressor to justify spending a little more on a gun that's more efficient, I'm OK with that. Regardless, I'll be spraying the car in sections to minimize the continuous run time of the compressor. Because ANOTHER thing I read is the more it runs, the hotter it gets, the more condensation there is, and the more water you get in your lines (I'll still have in-line water separators).
***Sorry I beat topics to death, but I like talking about it and learning new things and how it all works together. And painting cars is new to me, so it's fun***
-
Painting metallic panels one at a time is not always the best. There are a bunch of variables to take into account that can cause uniformity issues.
For example;
Humidity and temp percentages can vary unless you have a controlled booth. This can cause differences in the curing and the overall density of the paint, thus a lighter or darker tone.
The angle in which your spray pattern occurs naturally. Let's say you spray a fender and a door on the same side of the car at the same time. If you paint the fender hanging from the ceiling upside down but the door right side up, the metallic will "lay" in a different direction causing the two to appear as slightly different colors/tones when the light hits them and they are right next to each other.
FYI I am not a painter by any means, so take this info with a grain of salt
 .
.https://www.instagram.com/_jdesigner_/ http://nevertoolow.tumblr.com/
🥳SOLD BMW E24 633CSI - BMW M30B32 🧪SOLD HCH ES9 - 1.3 LDA
👽BMW E30 325IC - Toyota 1JZ-GTE ⏰ HONDA EF9 CIVIC SI - JDM B18C5
☠️BMW E36 318i - Ford 5.0 FE302 🚴♂️ GT-Labomba - 26x2.75 Freeride
🤹♀️SOLD BMW E36/7 Z3 - BMW M54B25 🧓SOLD BMW E10 2002 - BMW M10M05




Hello! It looks like you're interested in this conversation, but you don't have an account yet.
Getting fed up of having to scroll through the same posts each visit? When you register for an account, you'll always come back to exactly where you were before, and choose to be notified of new replies (either via email, or push notification). You'll also be able to save bookmarks and upvote posts to show your appreciation to other community members.
With your input, this post could be even better 💗
Register Login