
Non-BMW Stuff on a BMW Forum
-
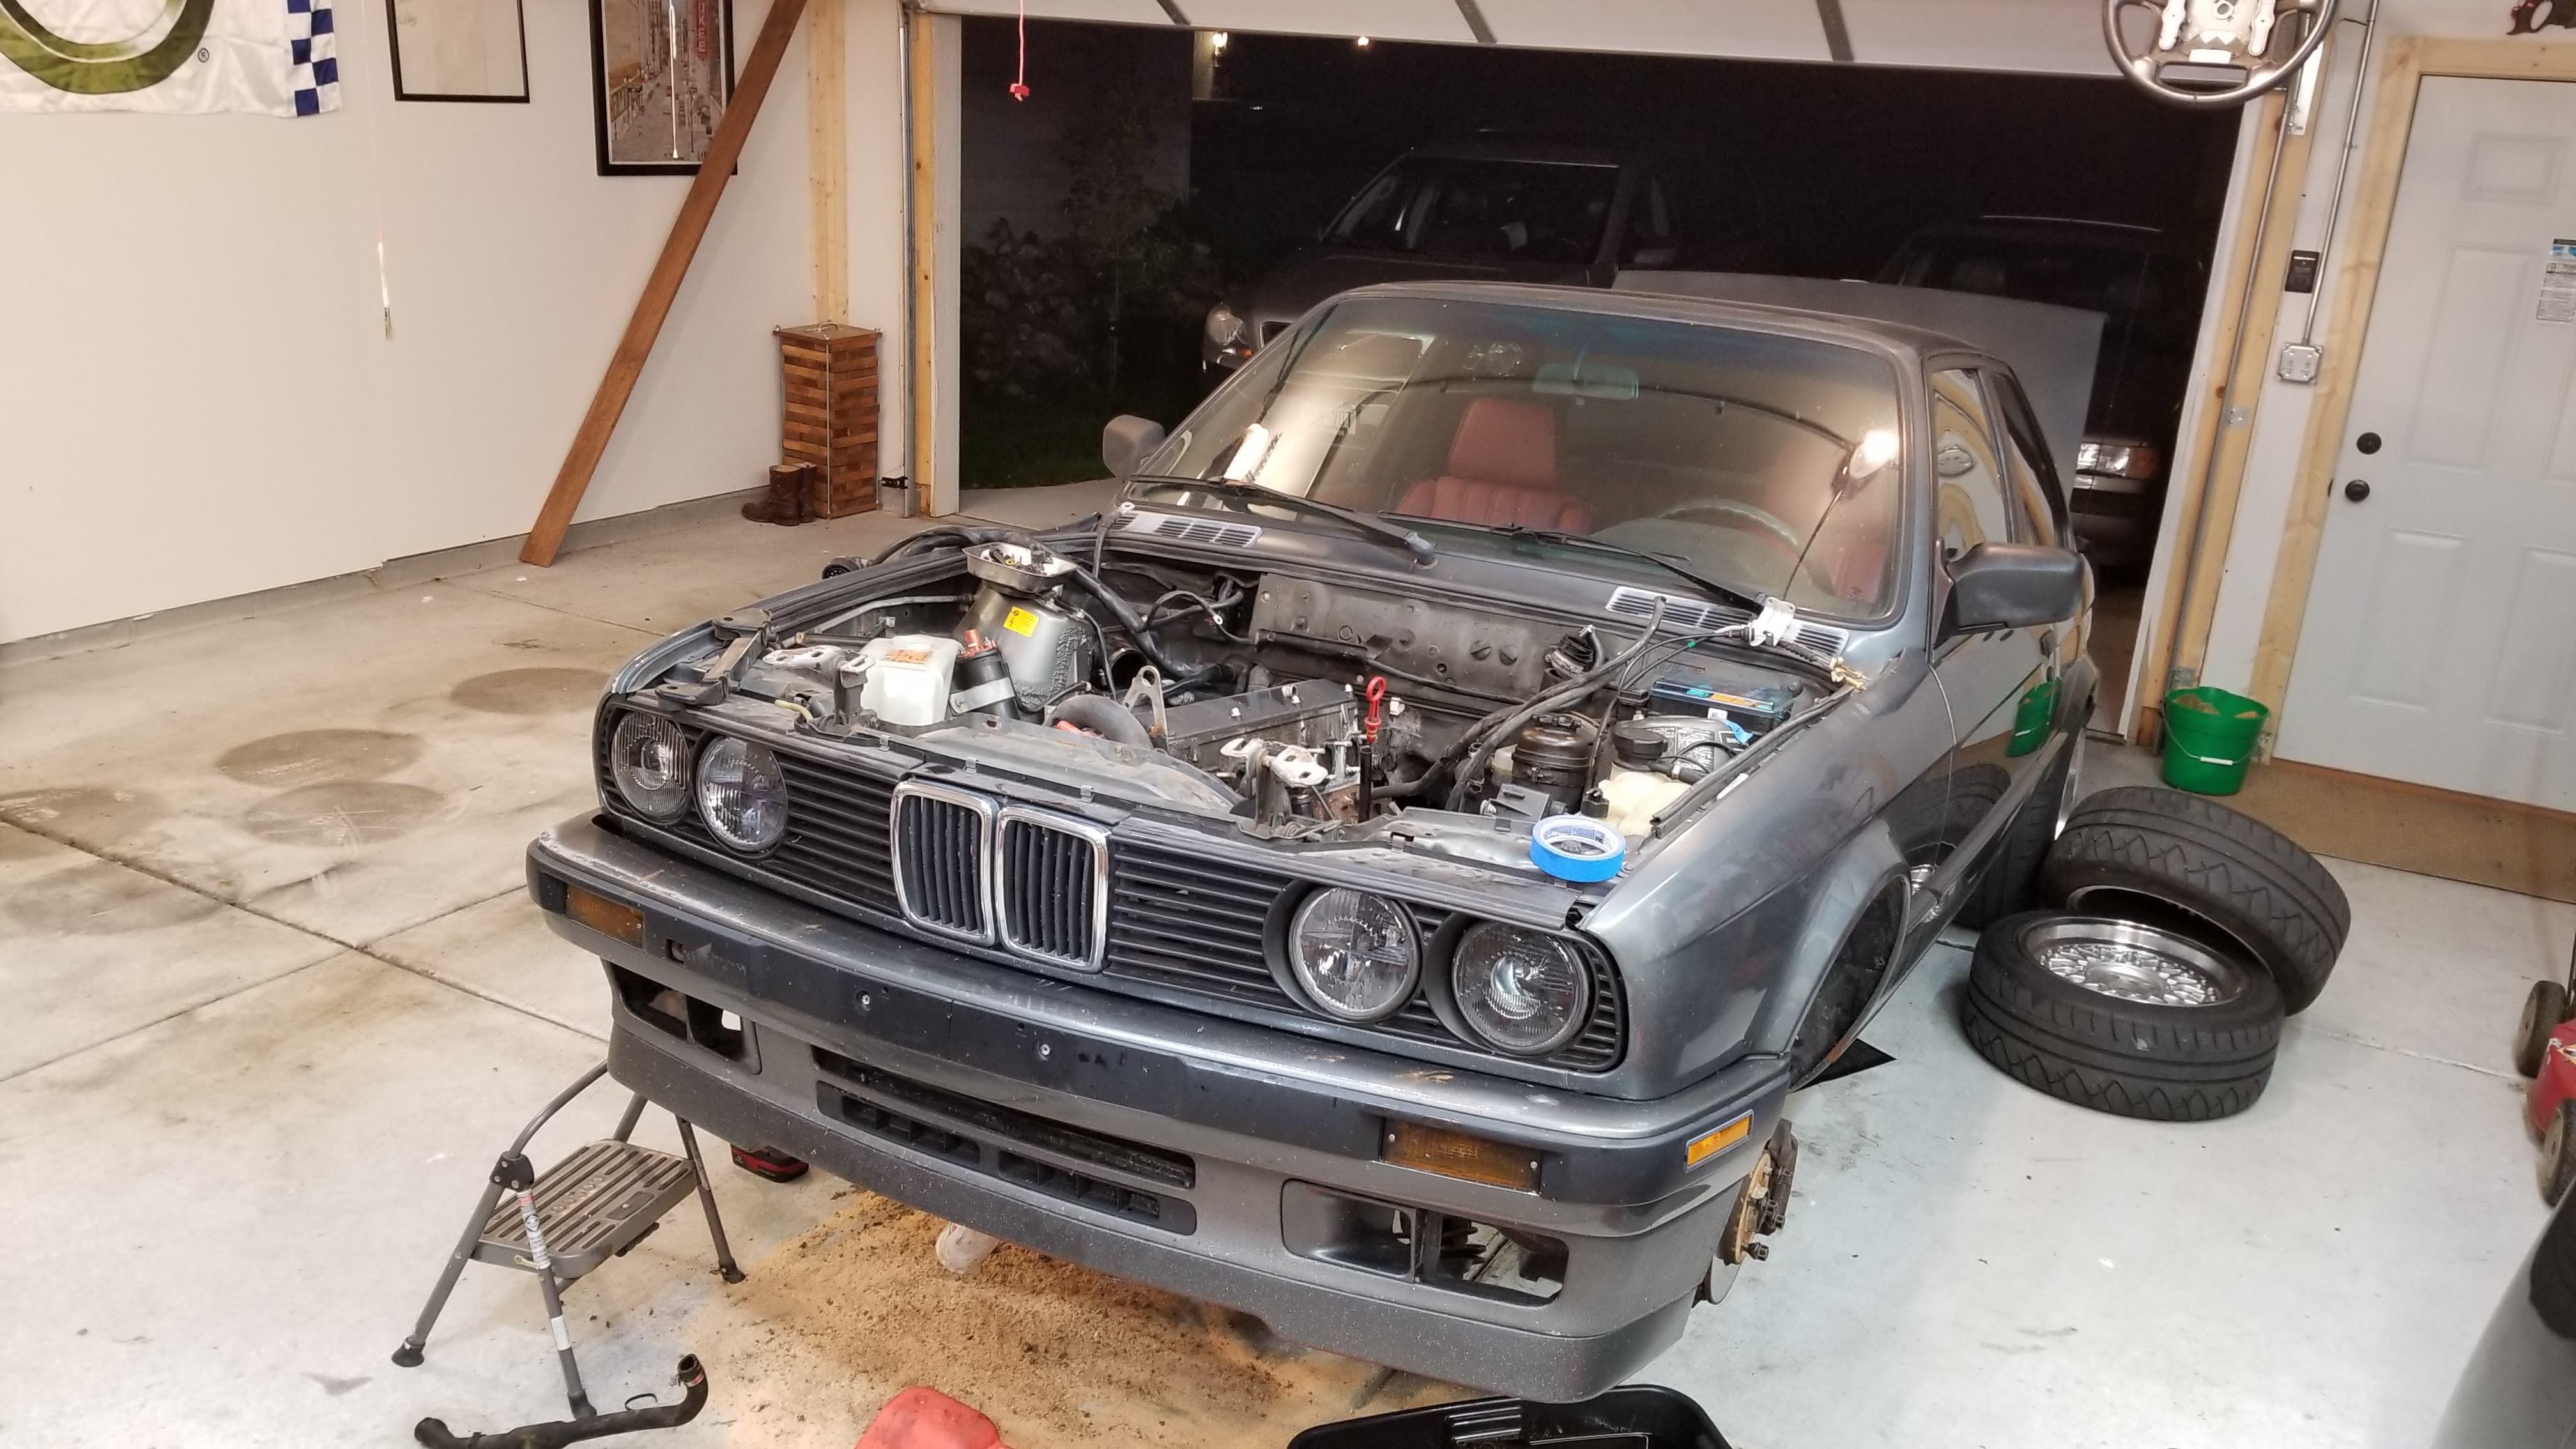
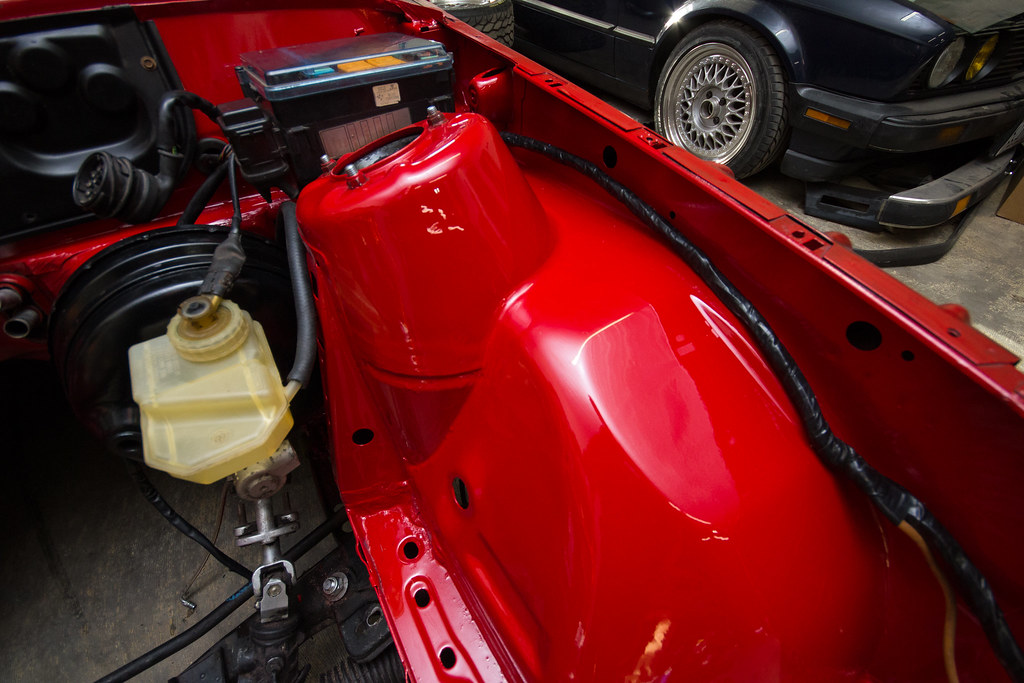
I know I'm late to the party on the comments, but my engine bay had been shot with a home depot HVLP, and a 10 gal craftsman air compressor.
The only large difference is that I didn't have large flat areas that I had to worry about air consistency as much. Using an inline water trap, and a water trap right at the gun makes the largest difference.
Painting is something I always wanted to spend more time with, but takes time and space!Engine bay for reference.

-
All the runs from sanding are behind the bumper and washes right off when I spray it with water.
I wetsanded the clear coat. The directions from the company were to do the several coats of primer and then wetsand before base coat.
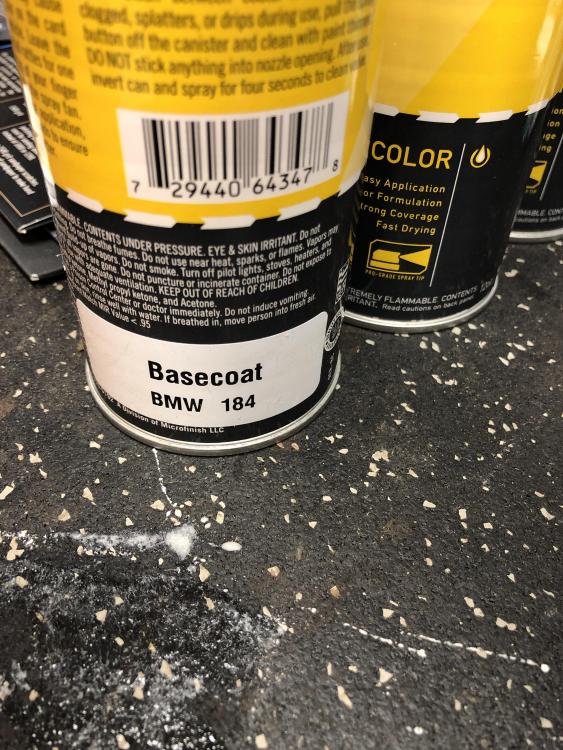
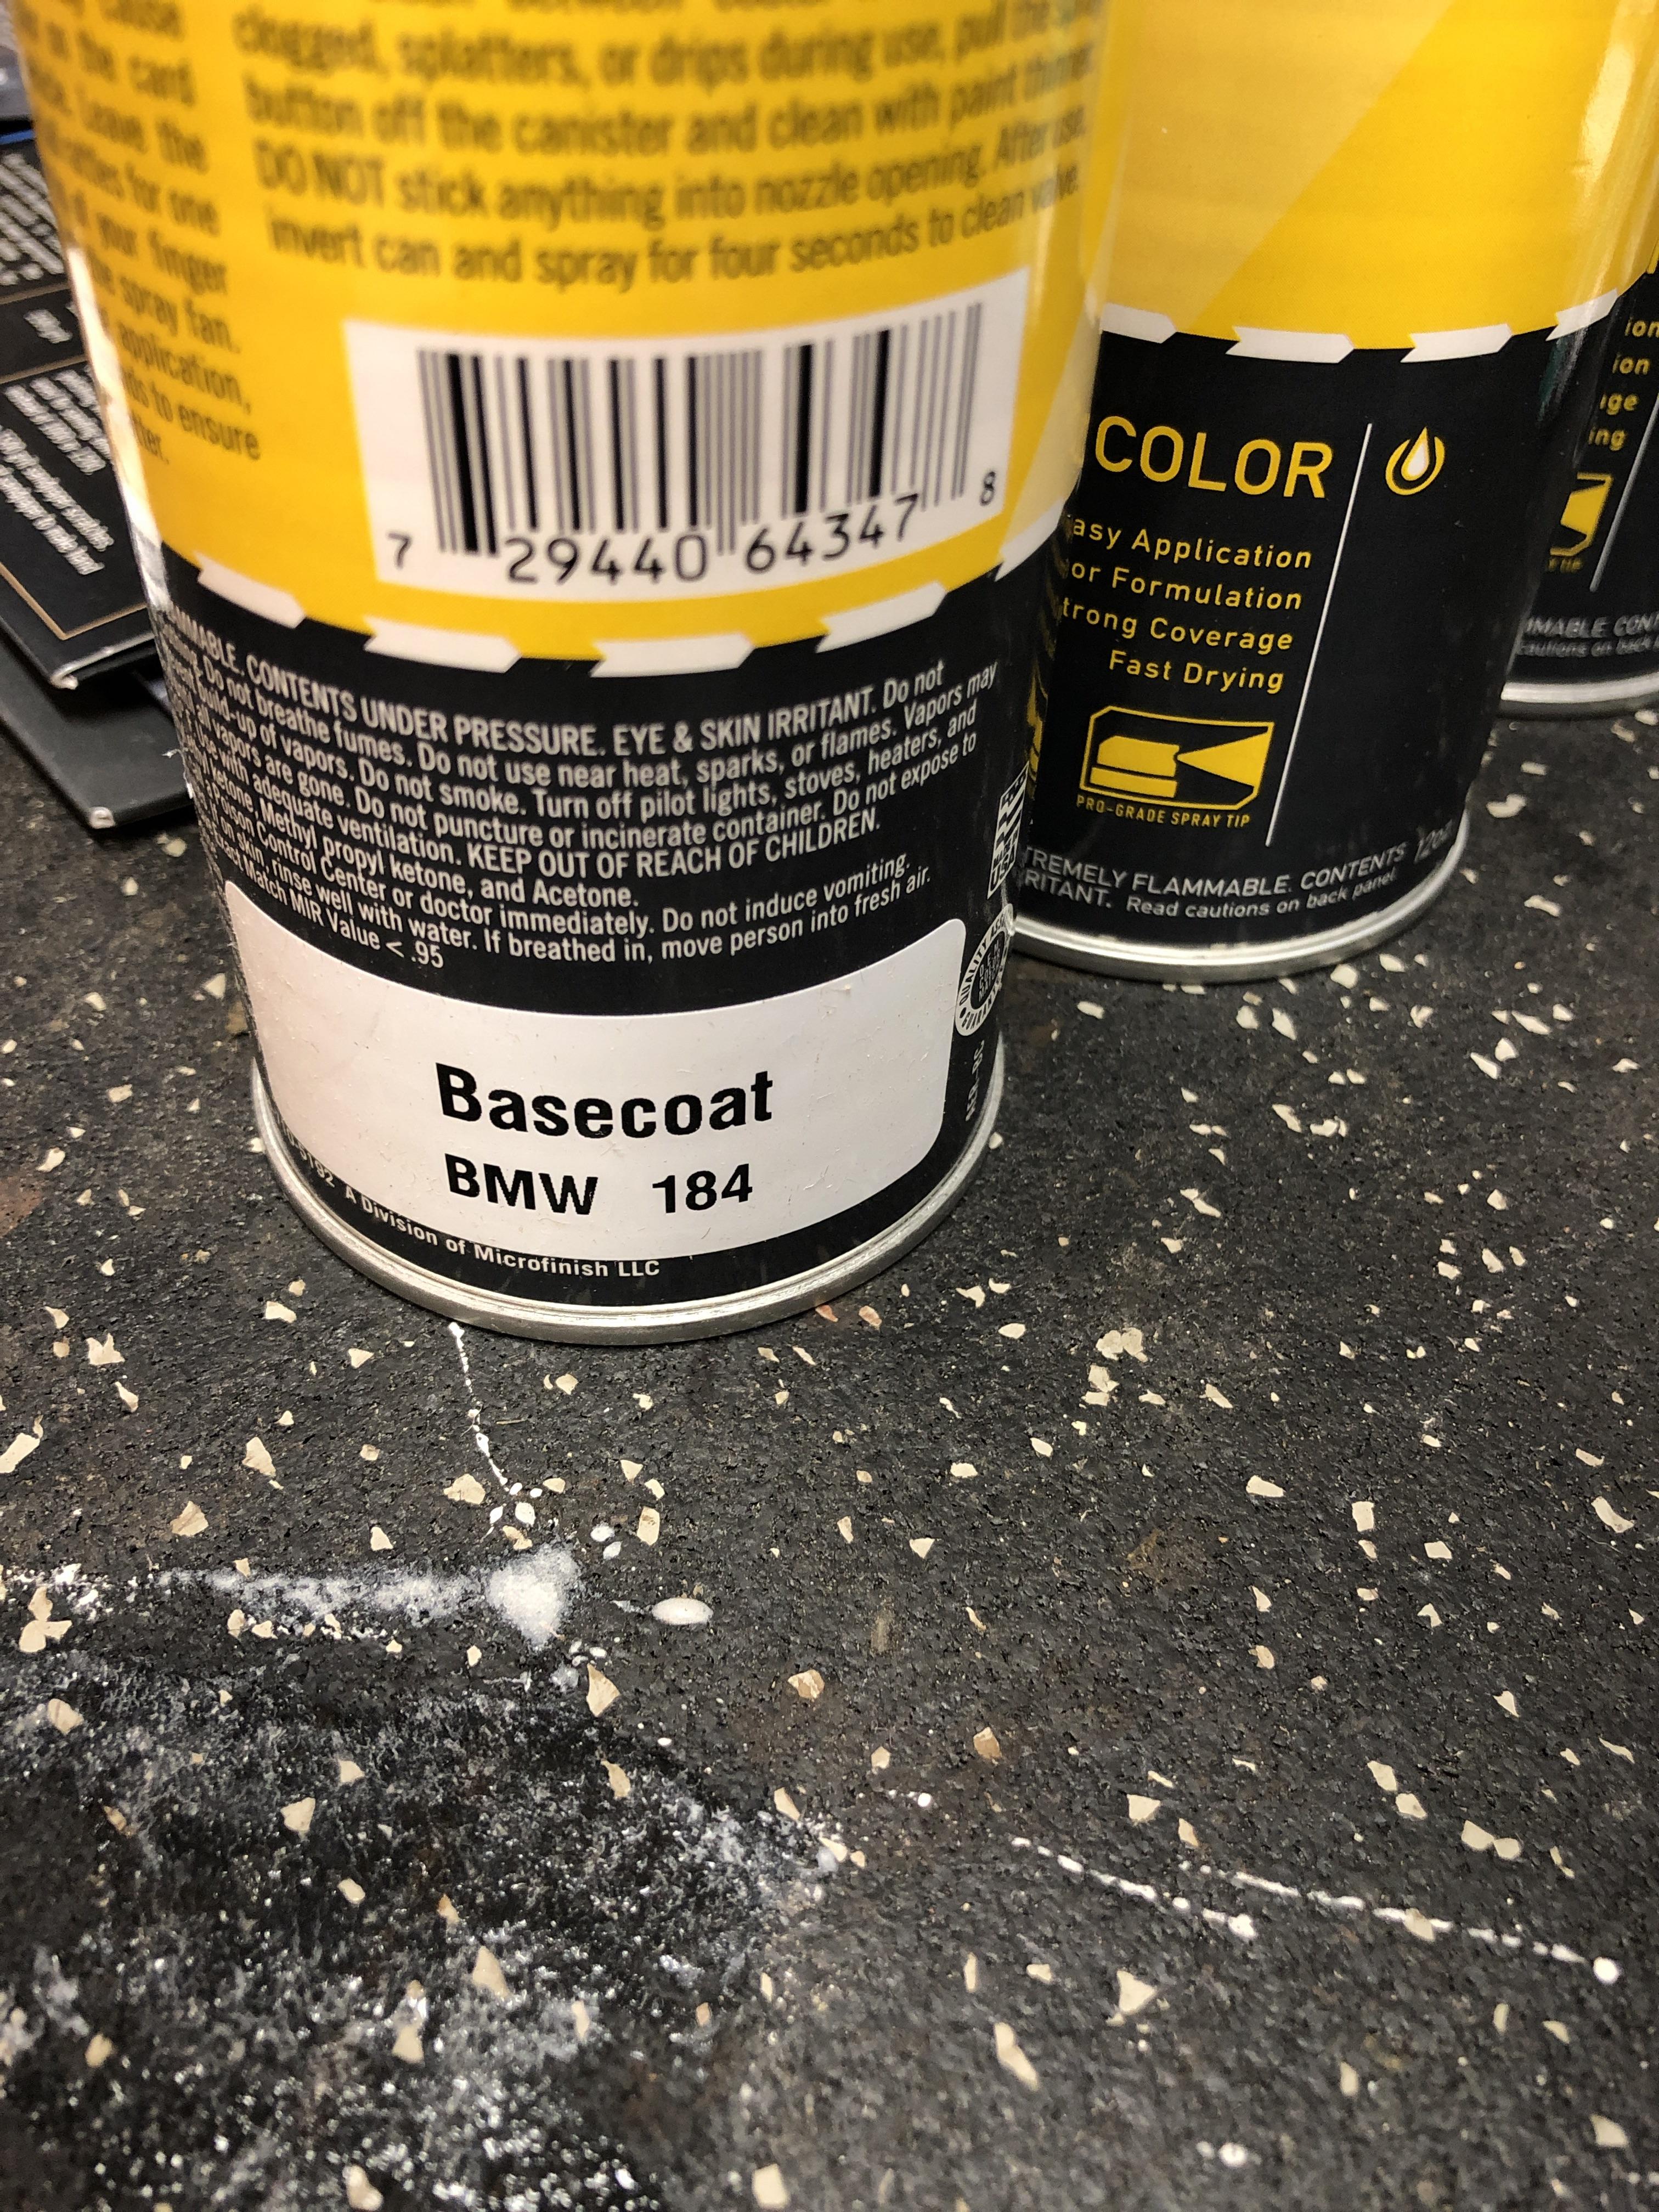
The paint is from automotive touchup. They mix your paint when you order it. So all the aerosol cans are premixed Delphin paint.
They also do ready to spray paint for hvlp which is where I’ll get the next batch.
-
I've used those guys for my spray cans as well in the past, their price is good and the paint quality seems to be top notch.
Good work sir!
-
I know I'm late to the party on the comments, but my engine bay had been shot with a home depot HVLP, and a 10 gal craftsman air compressor.
The only large difference is that I didn't have large flat areas that I had to worry about air consistency as much. Using an inline water trap, and a water trap right at the gun makes the largest difference.
Painting is something I always wanted to spend more time with, but takes time and space!Engine bay for reference.
That looks really great.
Ultimately I’m fine doing this in spraycans, but the rest I will do with a gun. I think this is giving me good practice for the process and the steps. Also, I can’t hand sand anymore, I need an air sander
This is my roof.
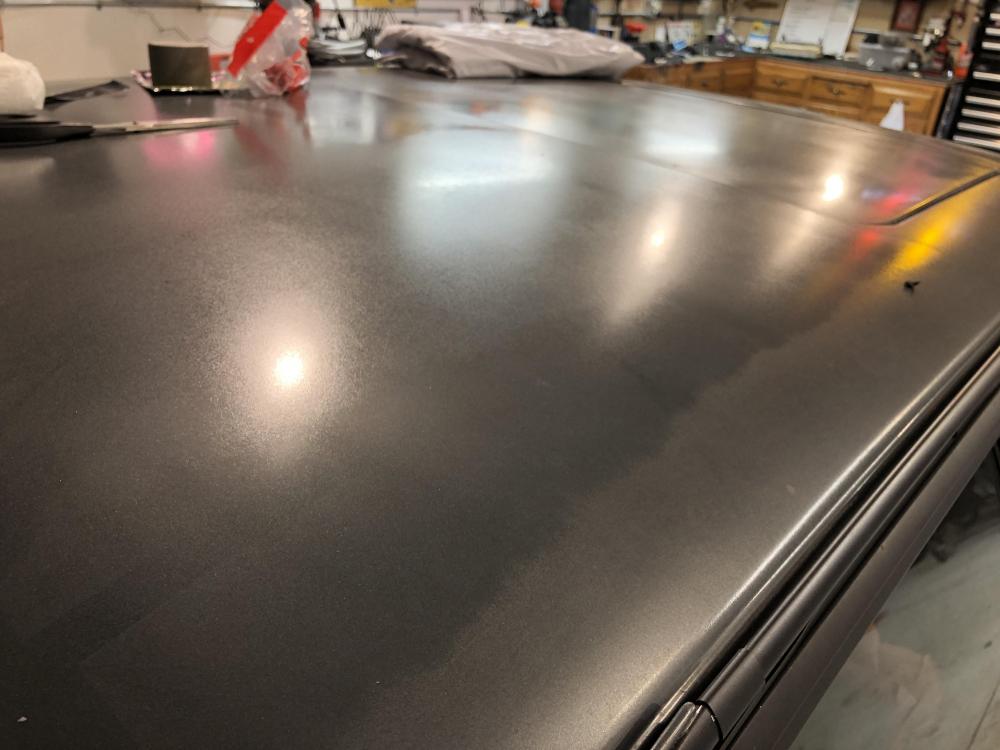
And I wish I could accurately take a picture of the rest of the car but it’s like the fender has clear coat on it and then the door has none. From afar, it’s not bad, but up close most of the clear coat is gone from the car.
-
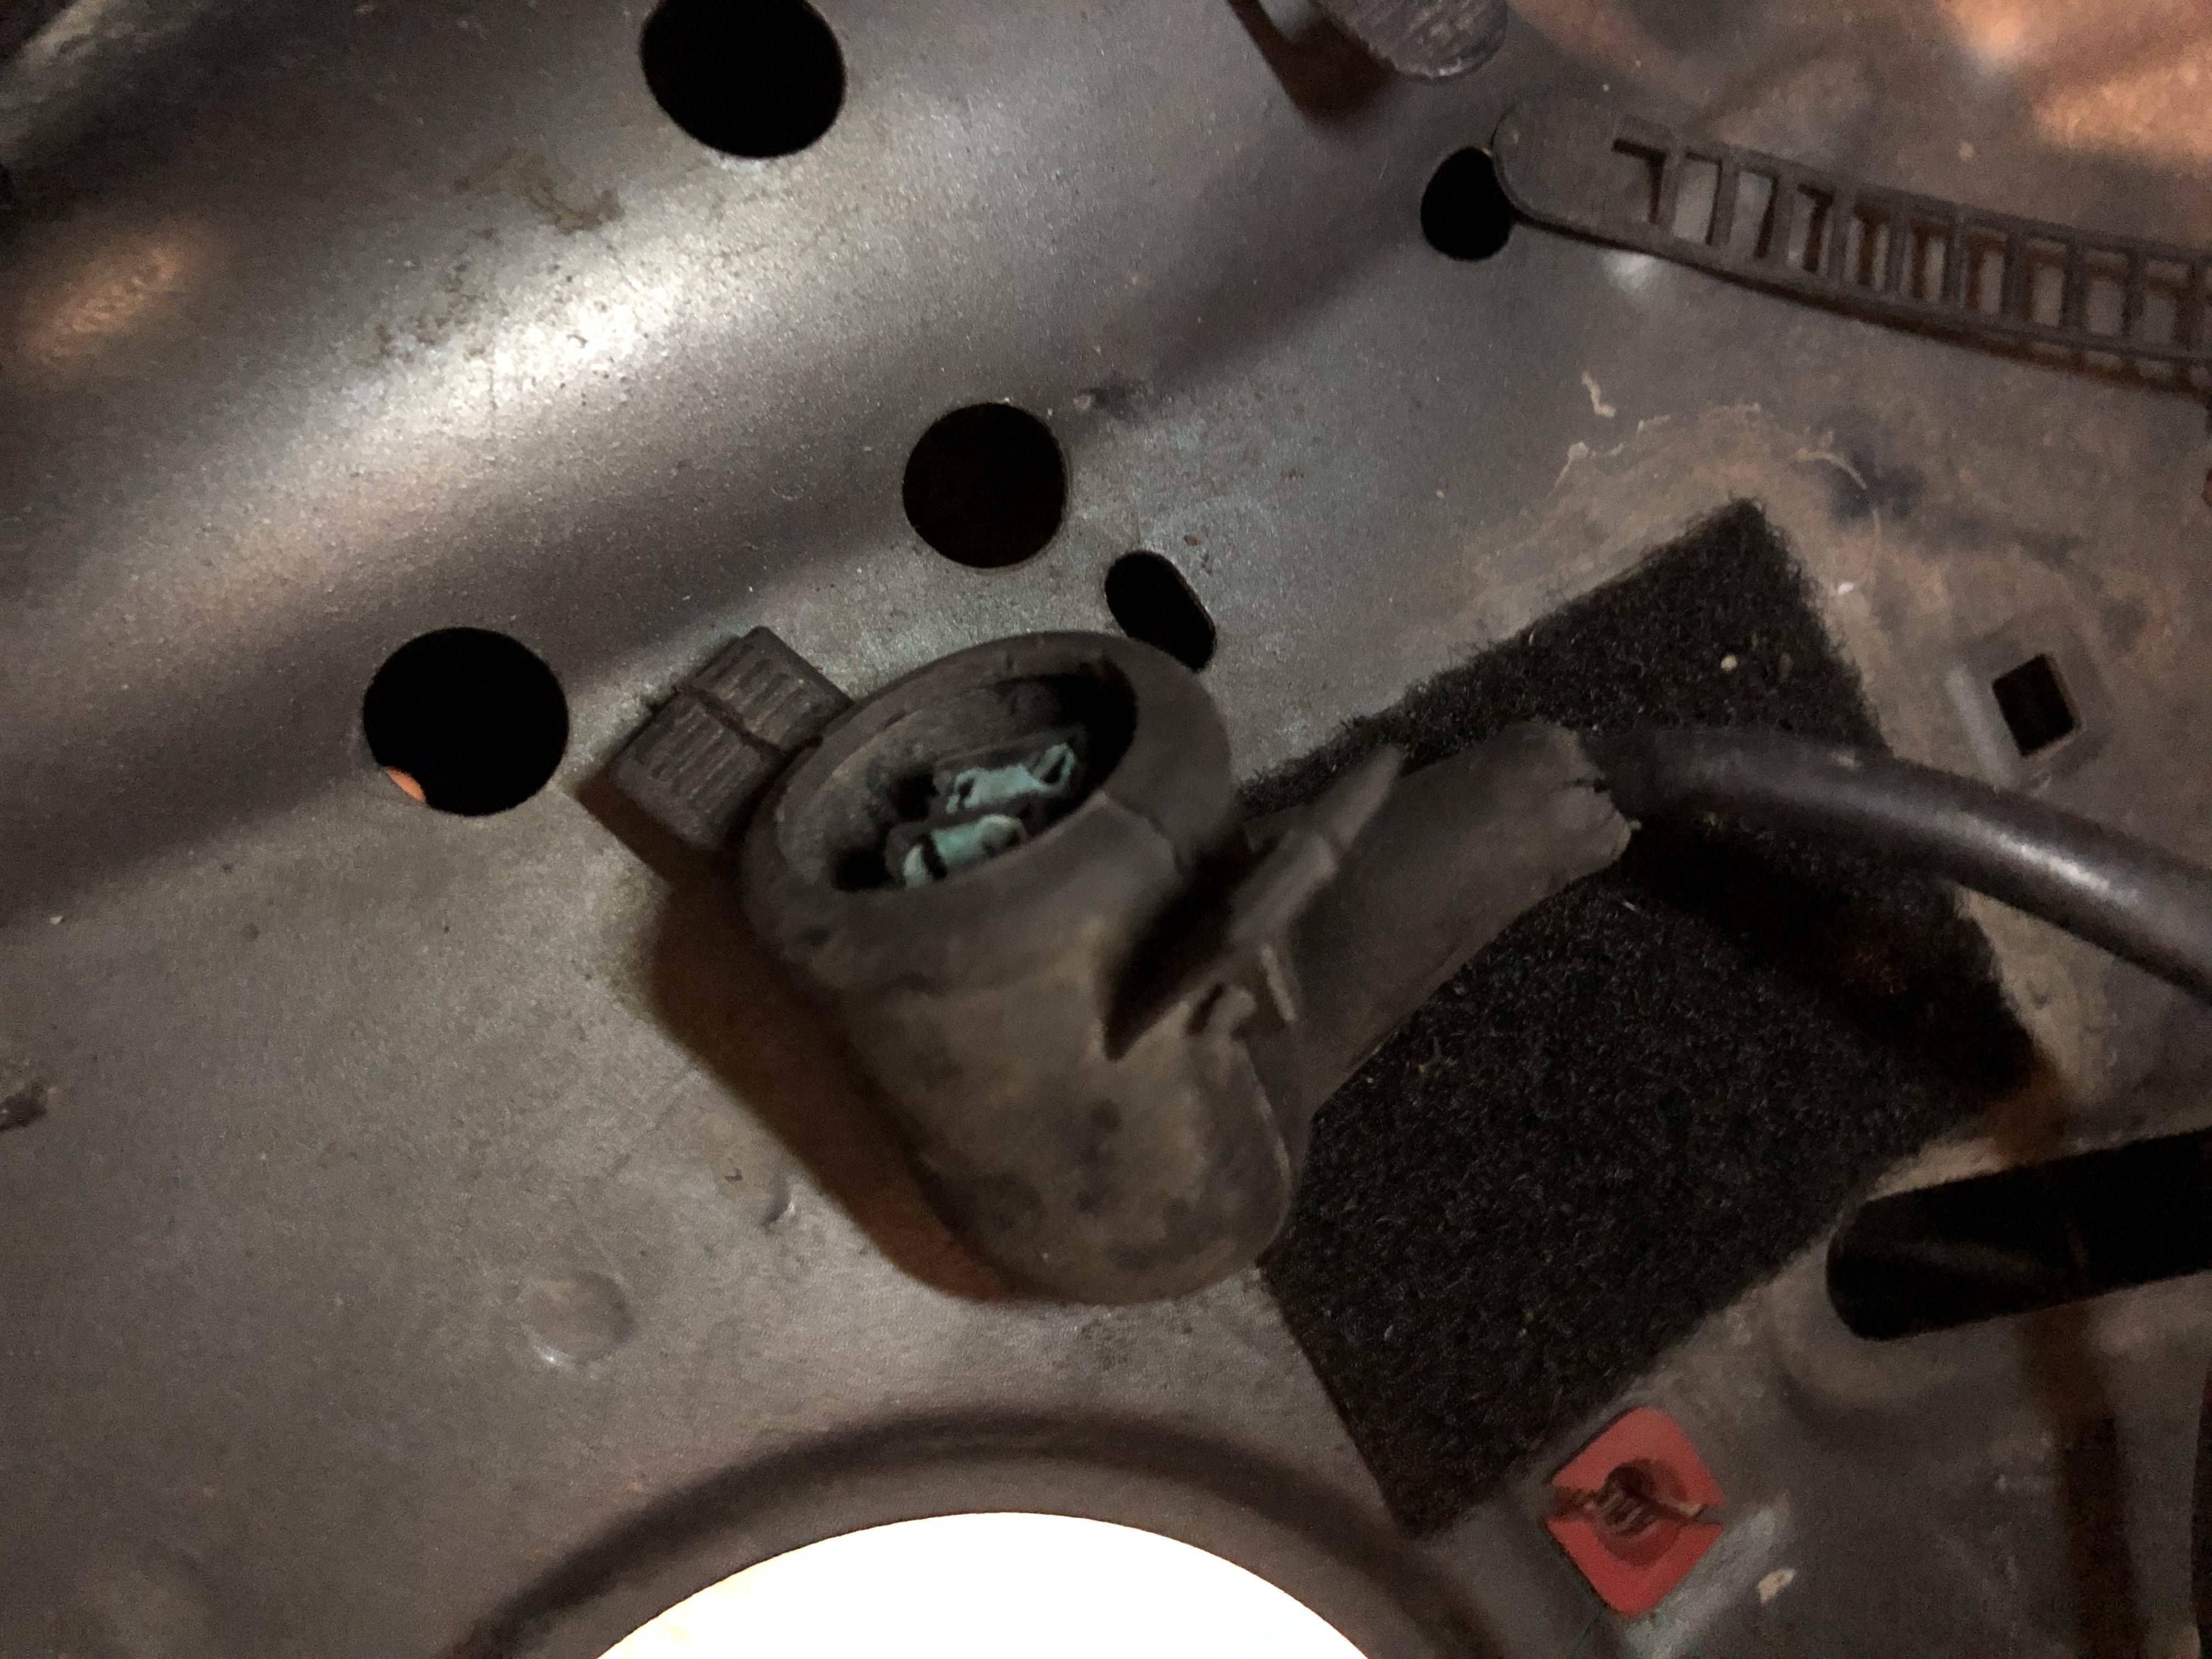
So one other project I’d like to starting compiling parts for is adding AC back to the car. The entire ac system on the engine side has been removed so I’m hoping someone can help me confirm I still have the connectors for it that I need.
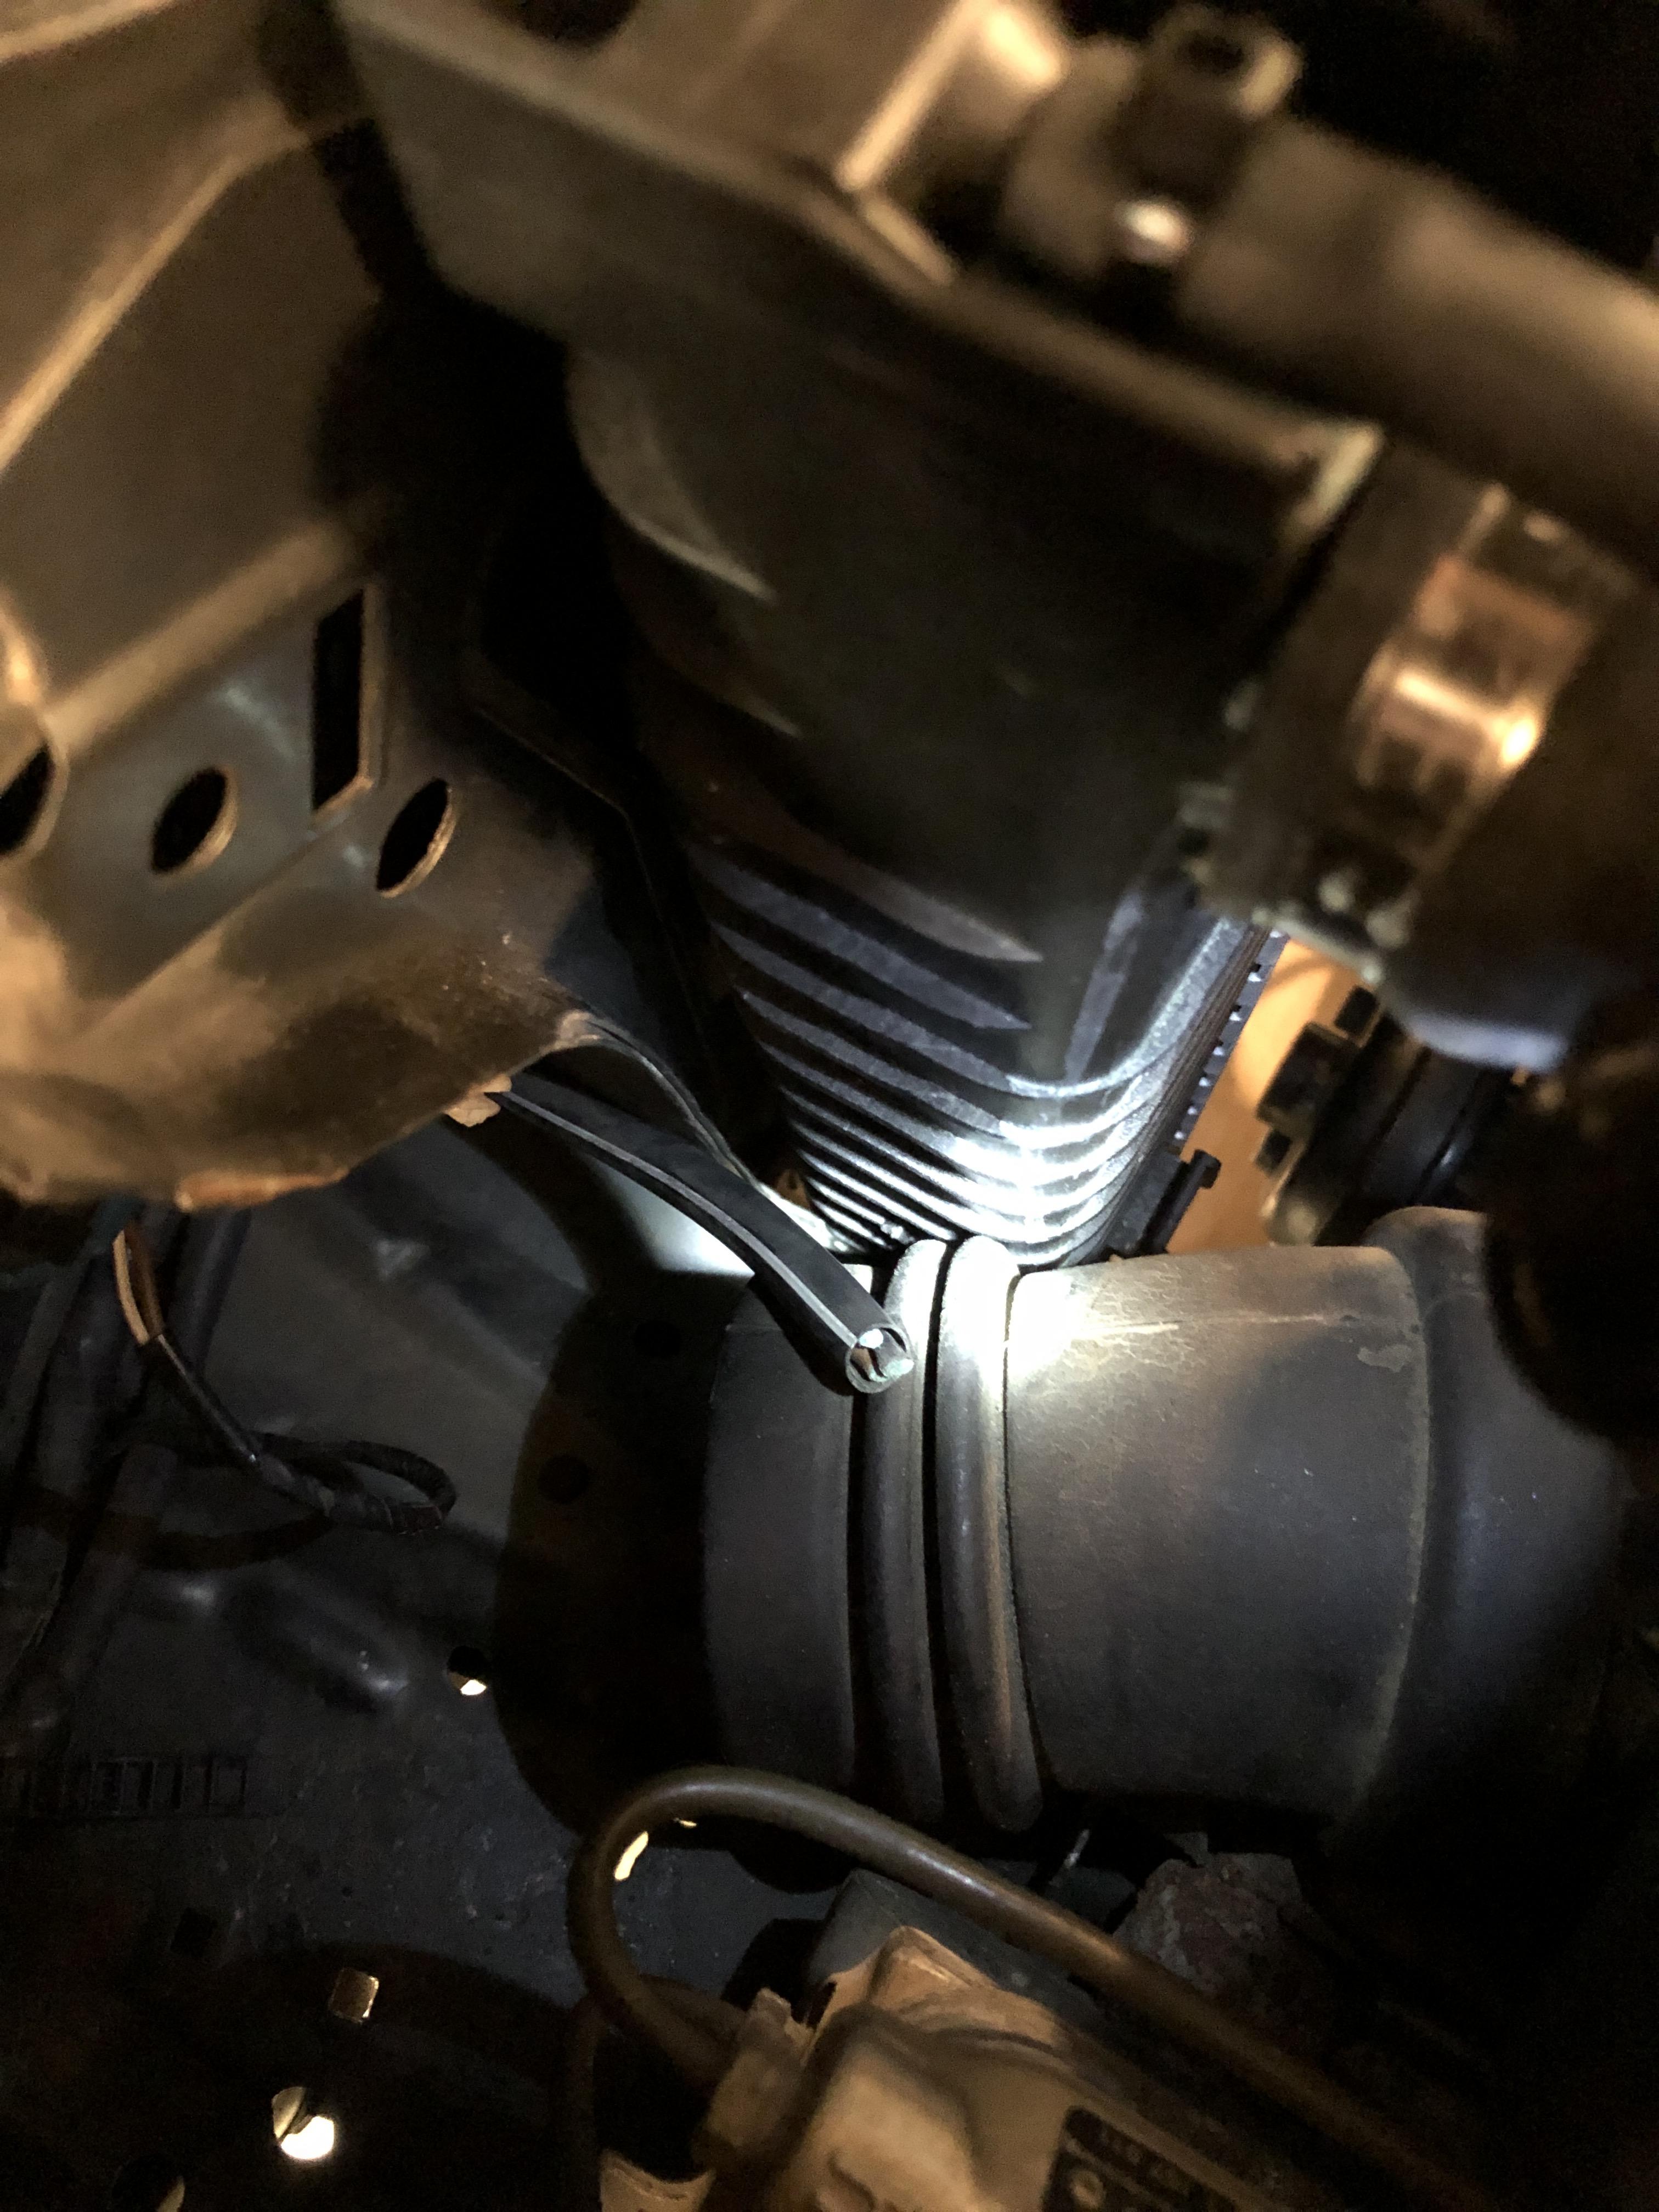
I have these three on the passenger side:
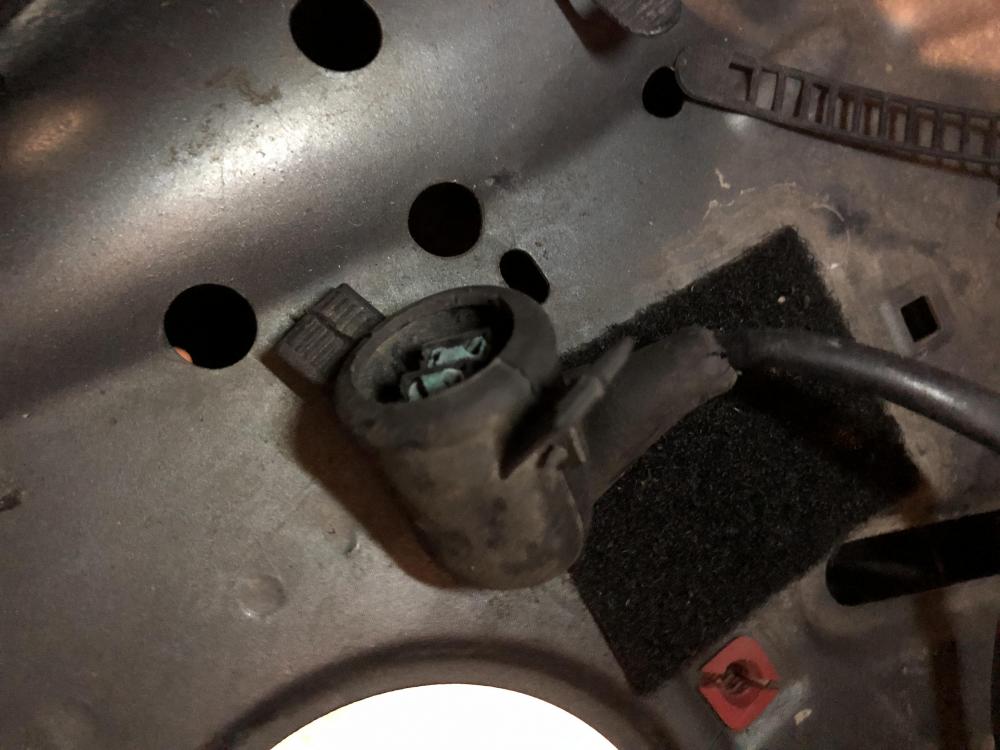
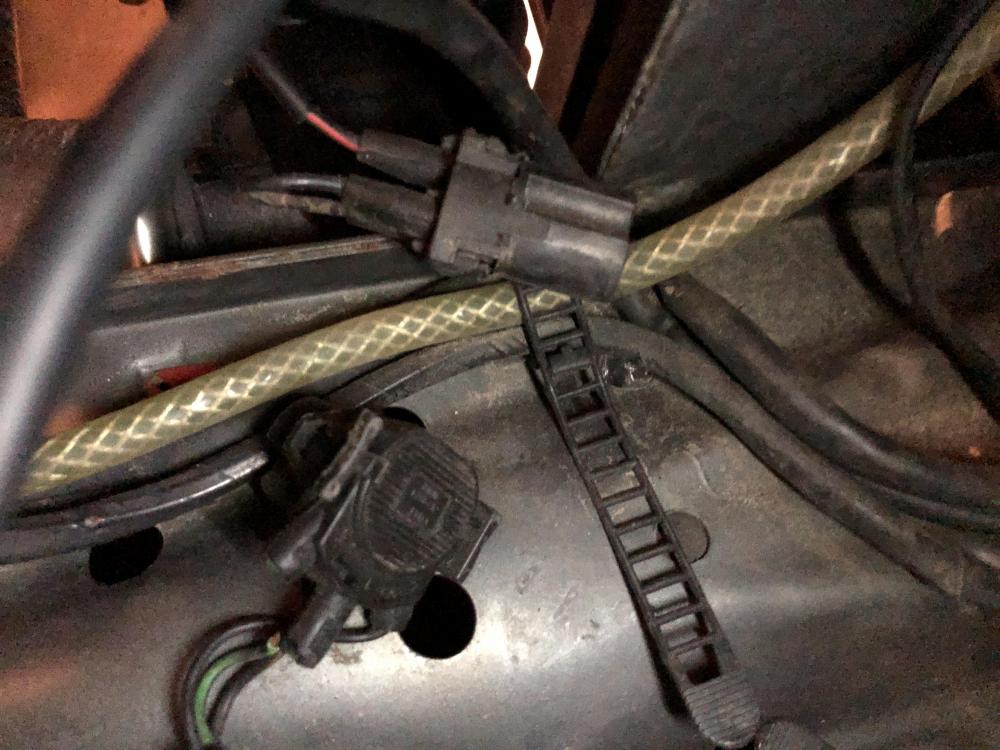
I’m assuming one is for the compressor, one fire the drier, and one for the temp sensor that would go in the radiator. Can anyone confirm that’s what these connectors are?
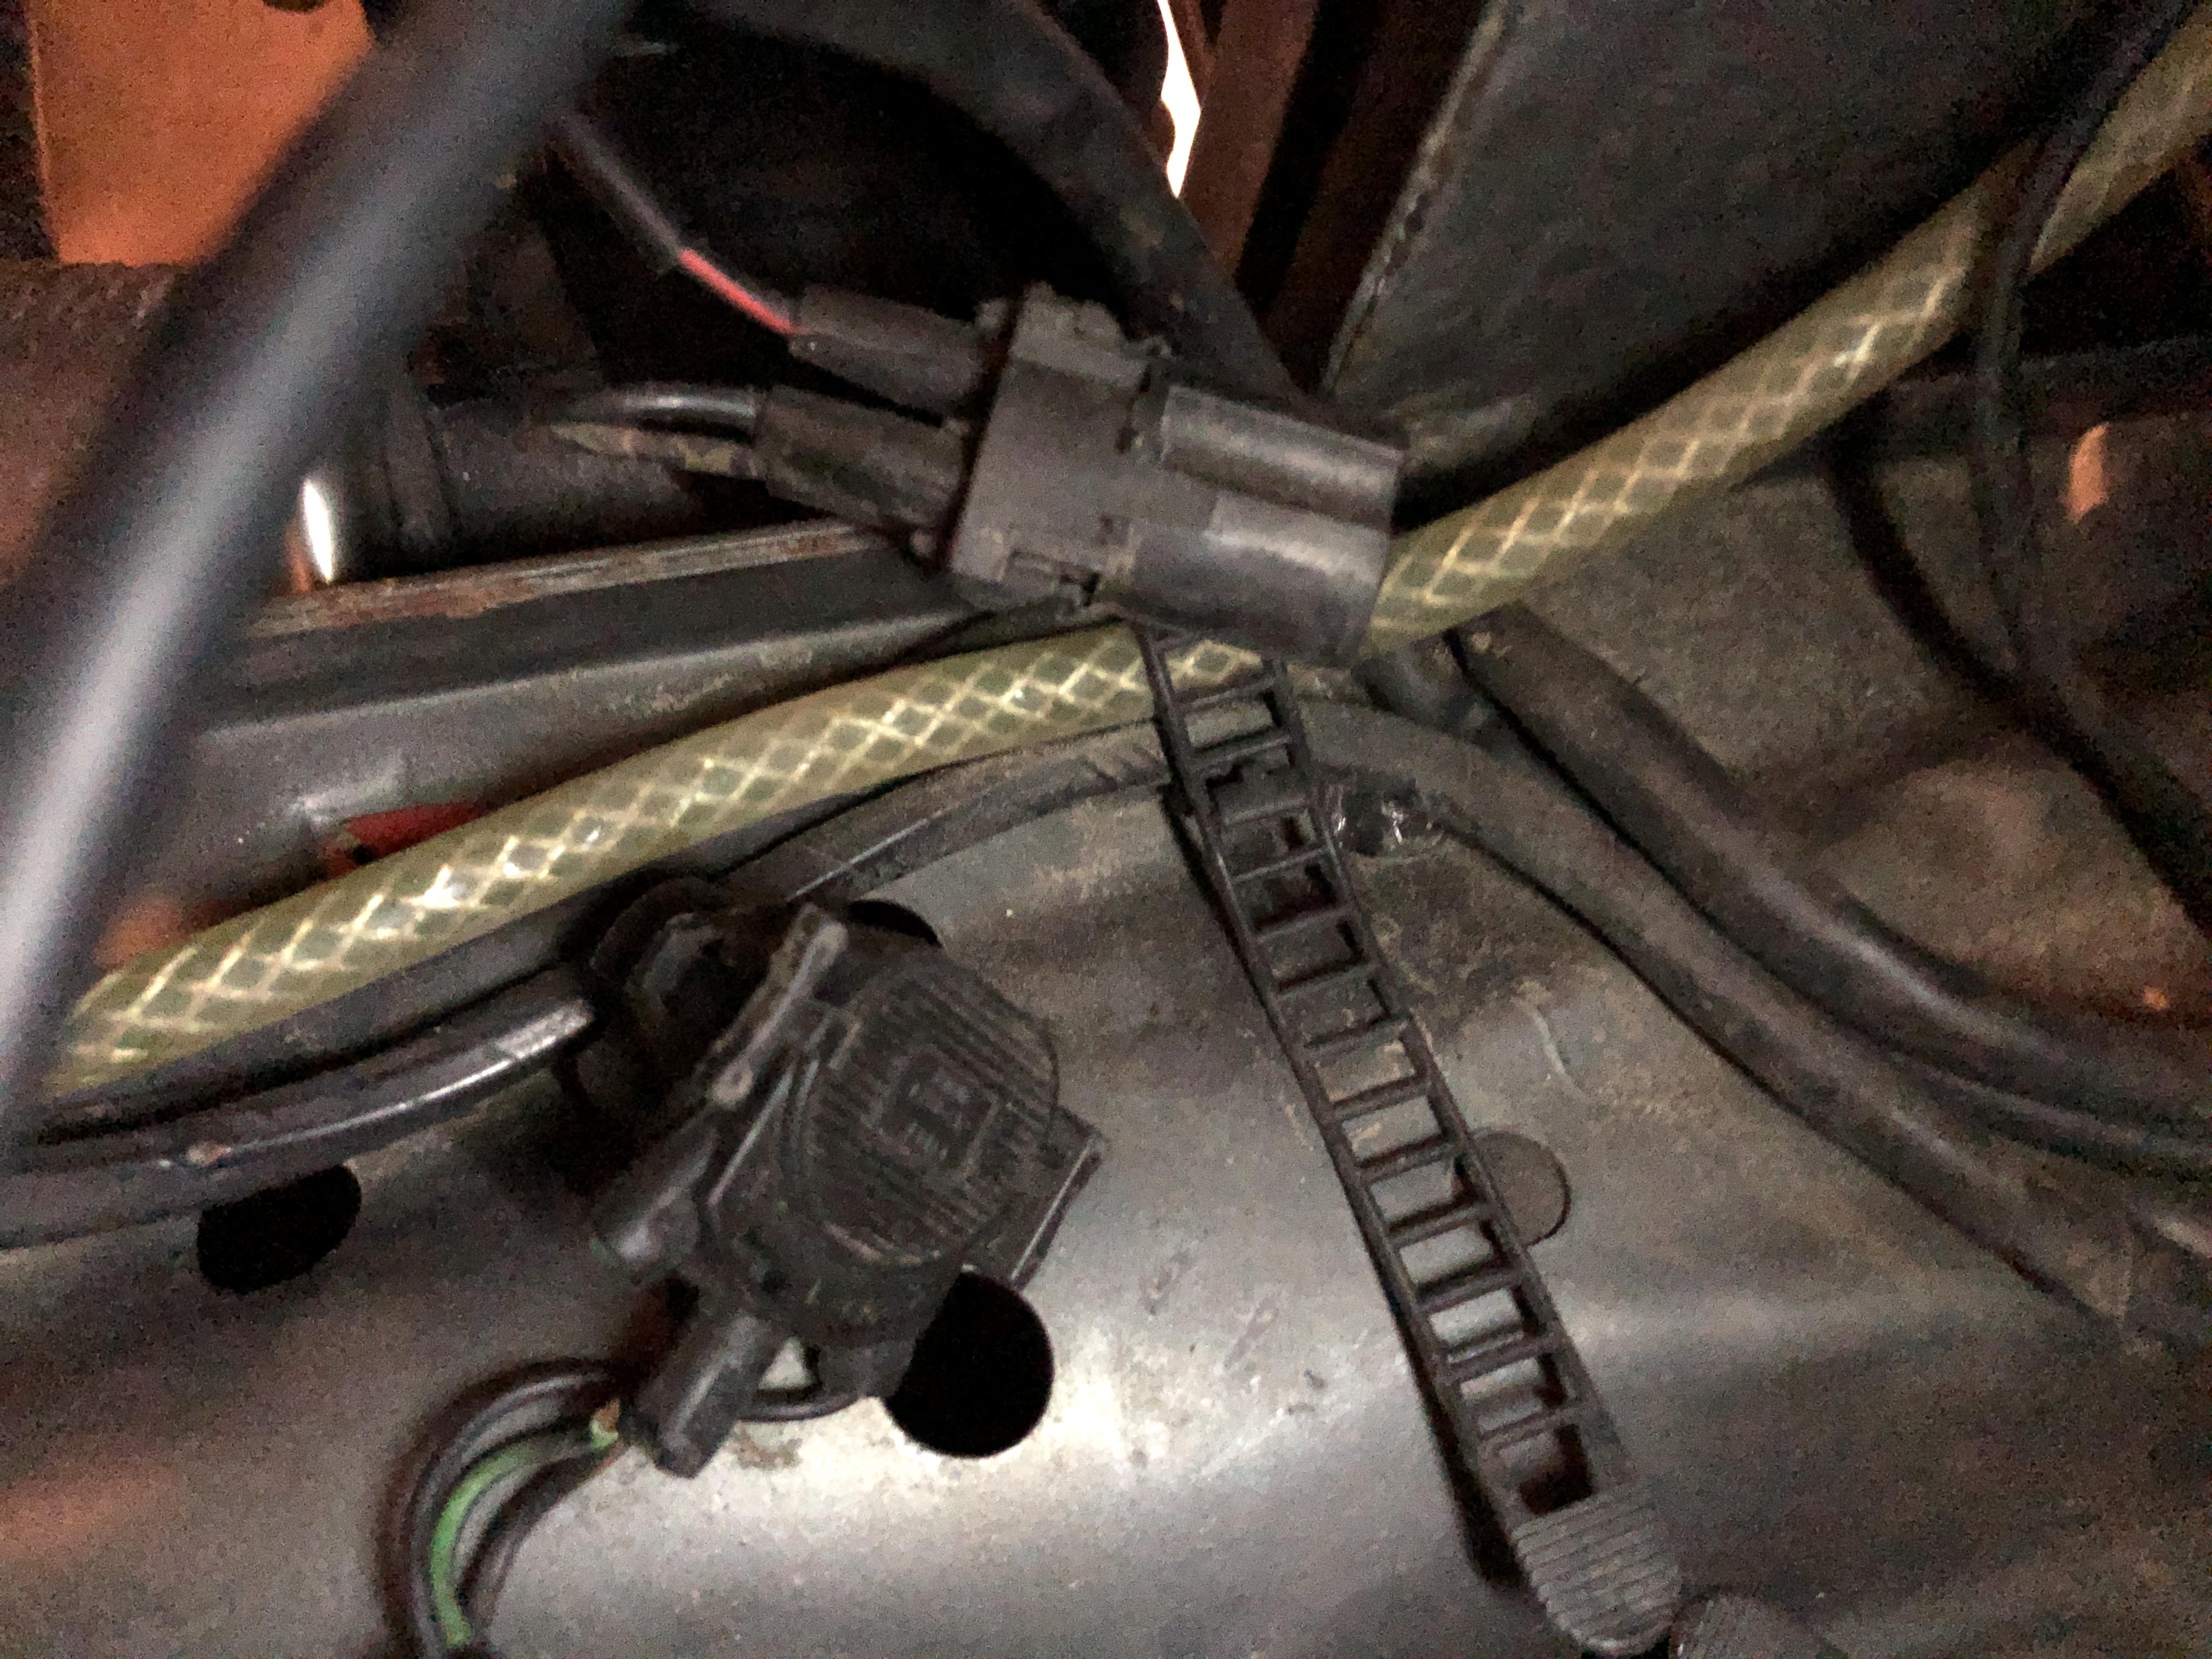
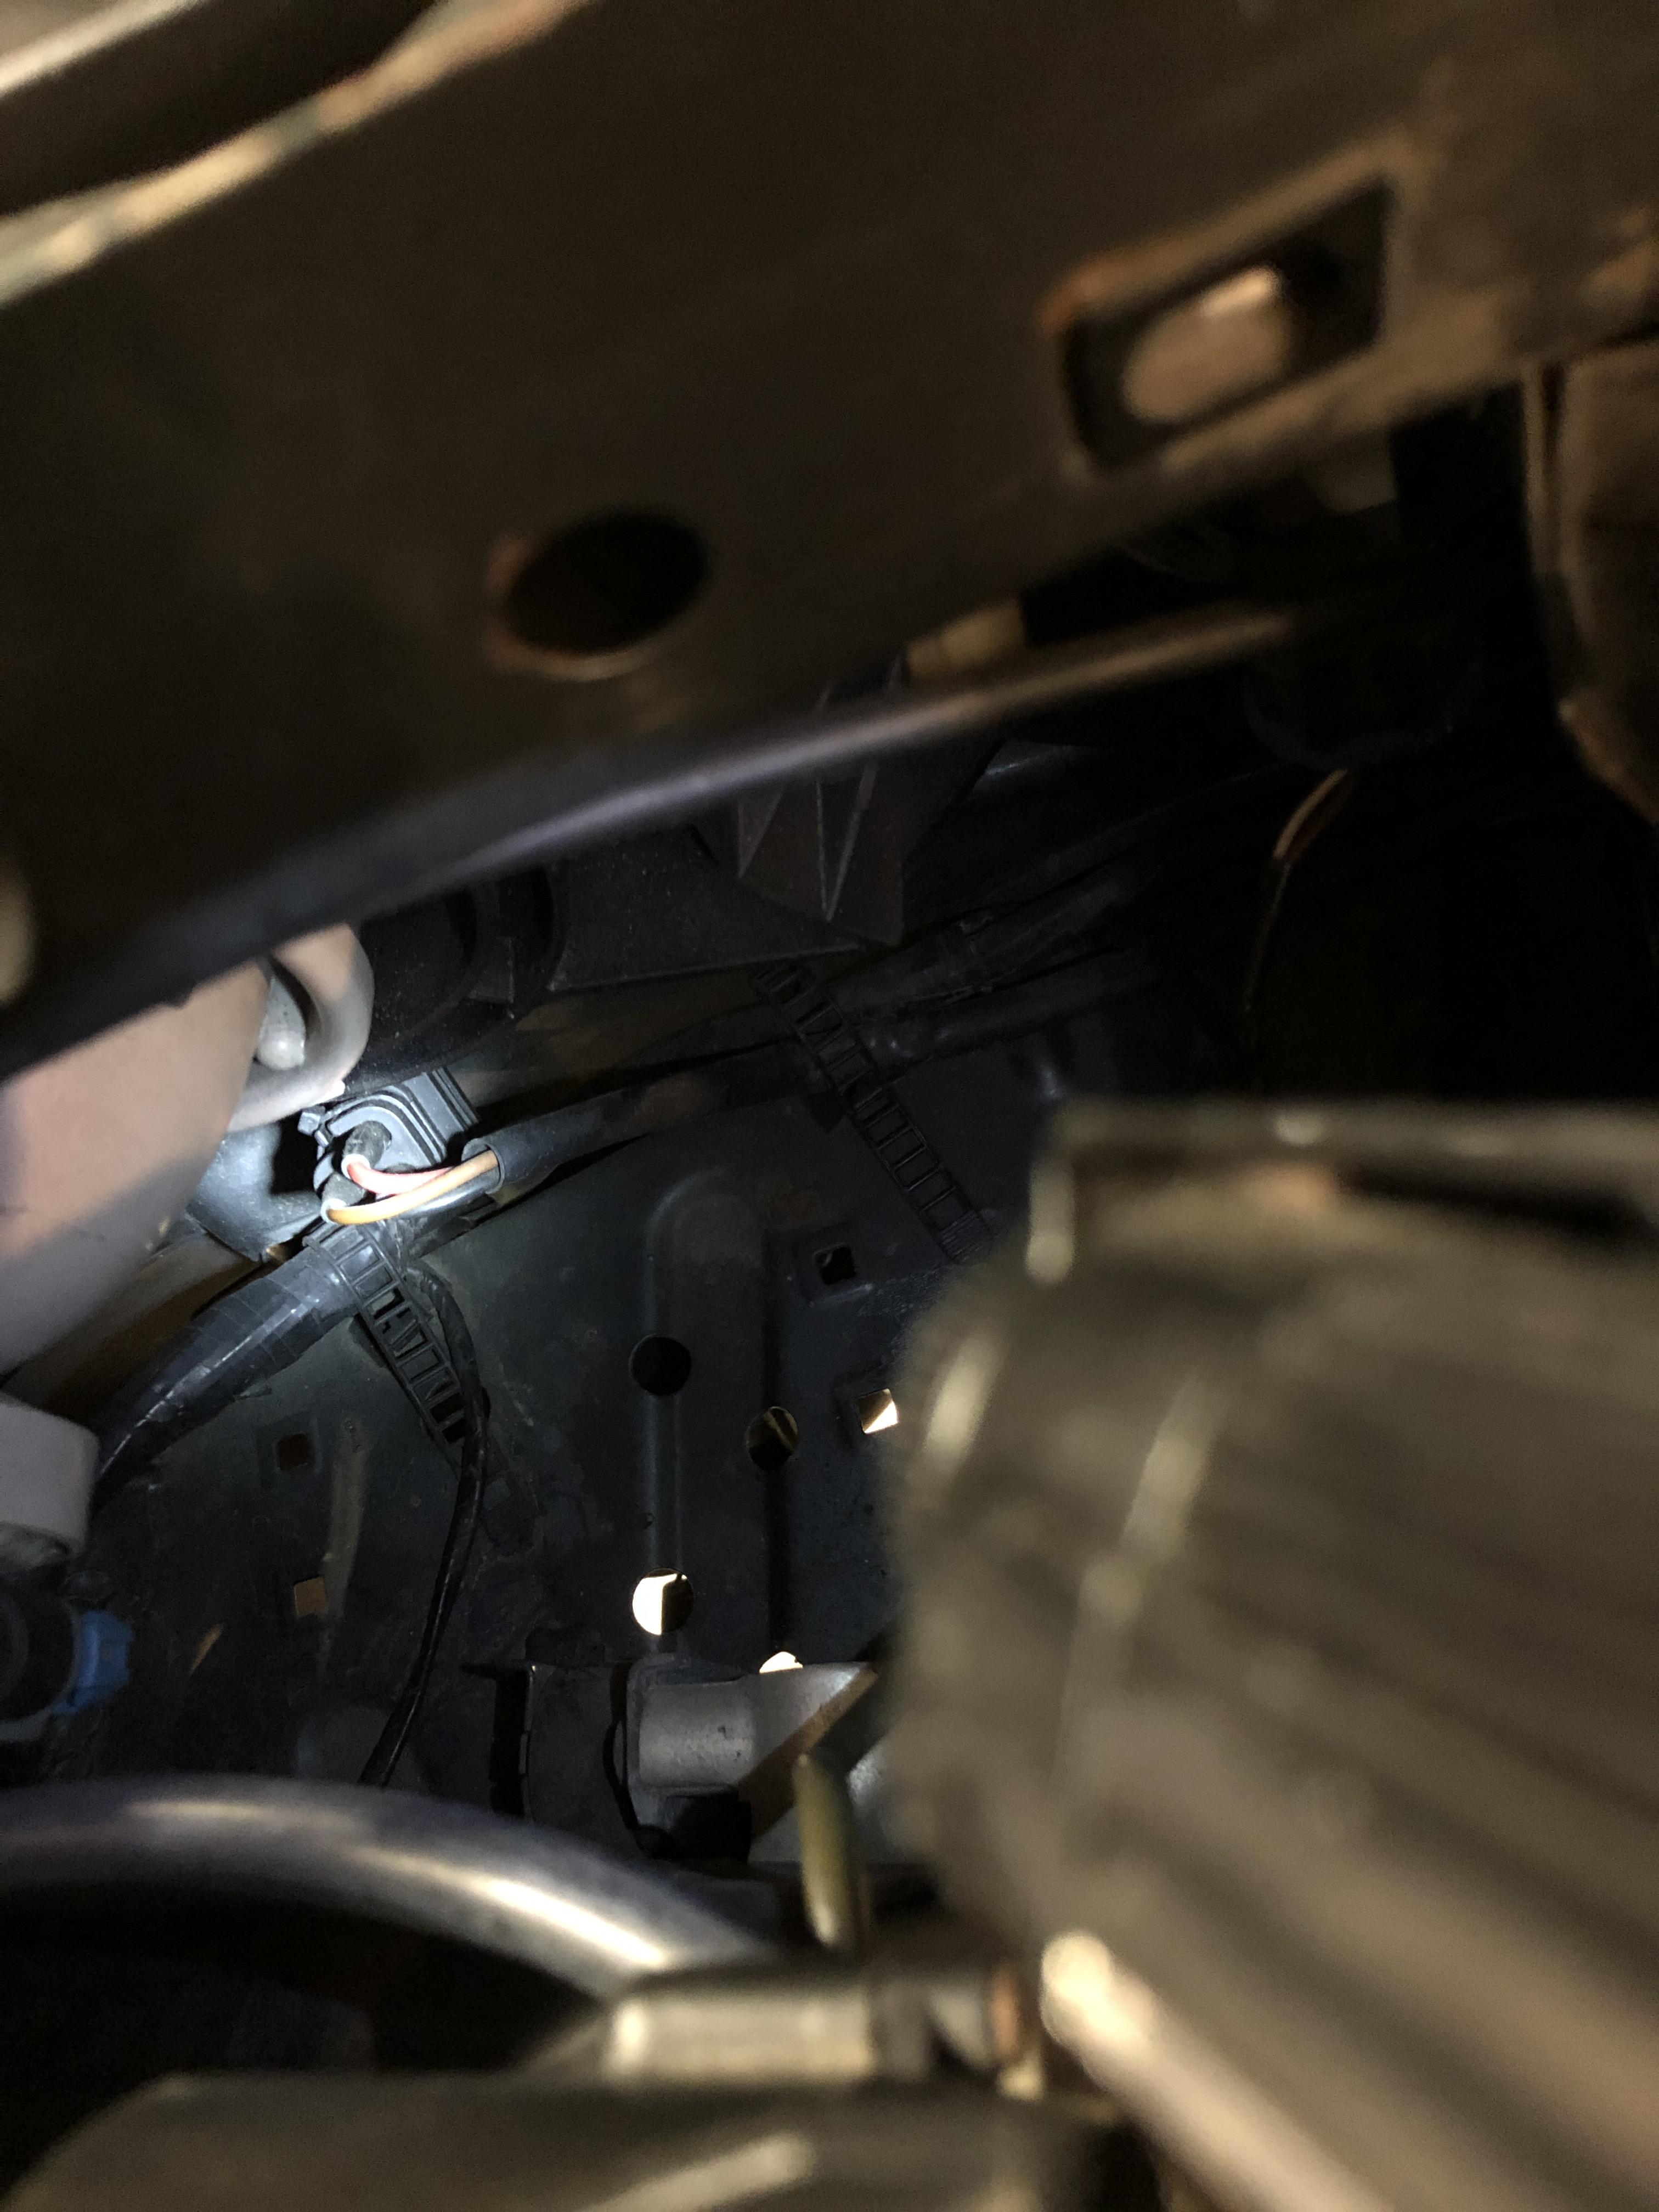
And then on the driver side I have this remnant pigtail which I assume is for the aux fan:
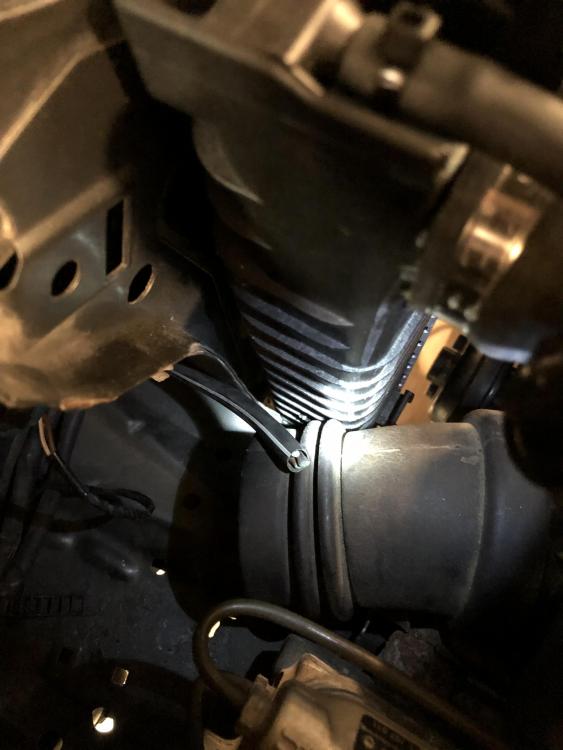
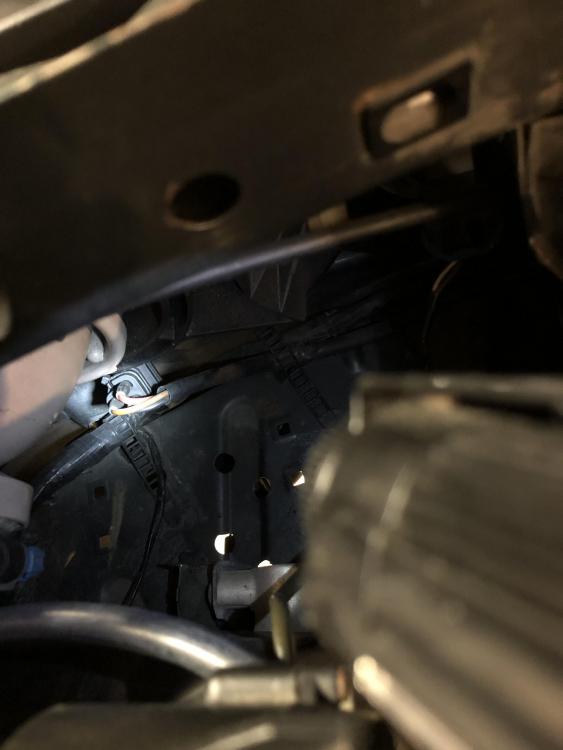
Are those all the connectors that I need? I can’t think of what else on the ac system would have a connection?
-
It should be easyish to figure out because all of the A/C stuff will be in one spot.
My fear is more that when it was removed, wires were cut rather than unplugged. Like the aux fan connector was cut instead of unplugged.
-
My fear is more that when it was removed, wires were cut rather than unplugged. Like the aux fan connector was cut instead of unplugged.
Right, you will be able to tell by the wire colors what they are/were for even when the plug is gone. And you can find what plugs/connectors you need. I might have some spare plugs depending what you need. The wire colors in the ETM are usually very accurately documented and reliable unlike wiring schematics in books like chiltons, and even the Bentley is not always right. BMW ETMs usually cover a specific model year like 08/89 to 07/90 so look for the right month/year.
-
These wire colors should be checked on your car and in the ETM. The ETM actually has some of its own helpful diagnostic information for the AC system.
compressor - 3 prong round (Red/Black, ?, ?)
drier - (the one with the rubber boot)
radiator temp switch - 3 prong round (Black/Brown, Black/Green, Black)
aux fan - 3 prong (you are missing the plug?) (Black/Green, Black/Blue, Brown)
you might as well use a better aftermarket fan instead of the factory aux fan in which case you'd use your own plug/wiring anyways.
Dan

-
These wire colors should be checked on your car and in the ETM. The ETM actually has some of its own helpful diagnostic information for the AC system.
compressor - 3 prong round (Red/Black, ?, ?)
drier - (the one with the rubber boot)
radiator temp switch - 3 prong round (Black/Brown, Black/Green, Black)
aux fan - 3 prong (you are missing the plug?) (Black/Green, Black/Blue, Brown)
you might as well use a better aftermarket fan instead of the factory aux fan in which case you'd use your own plug/wiring anyways.
I found the plug. Whoever removed the fan just cut its harness instead if unplugging it.
But it appears I have everything I need to install the AC system. Now to find it all. Haha
-
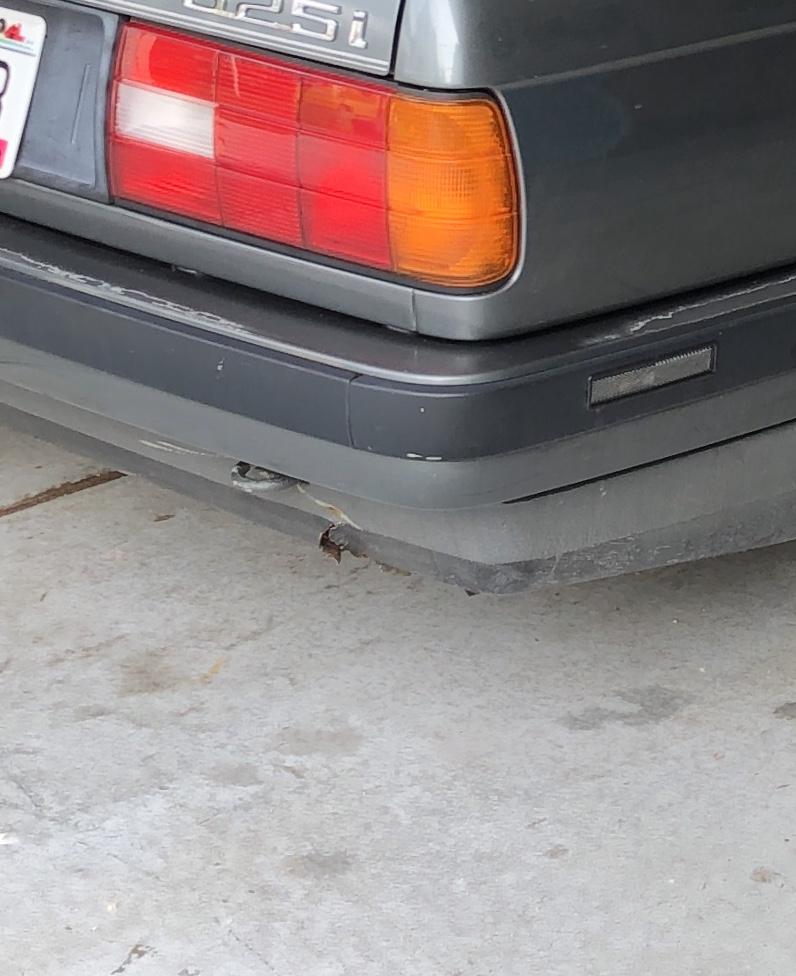
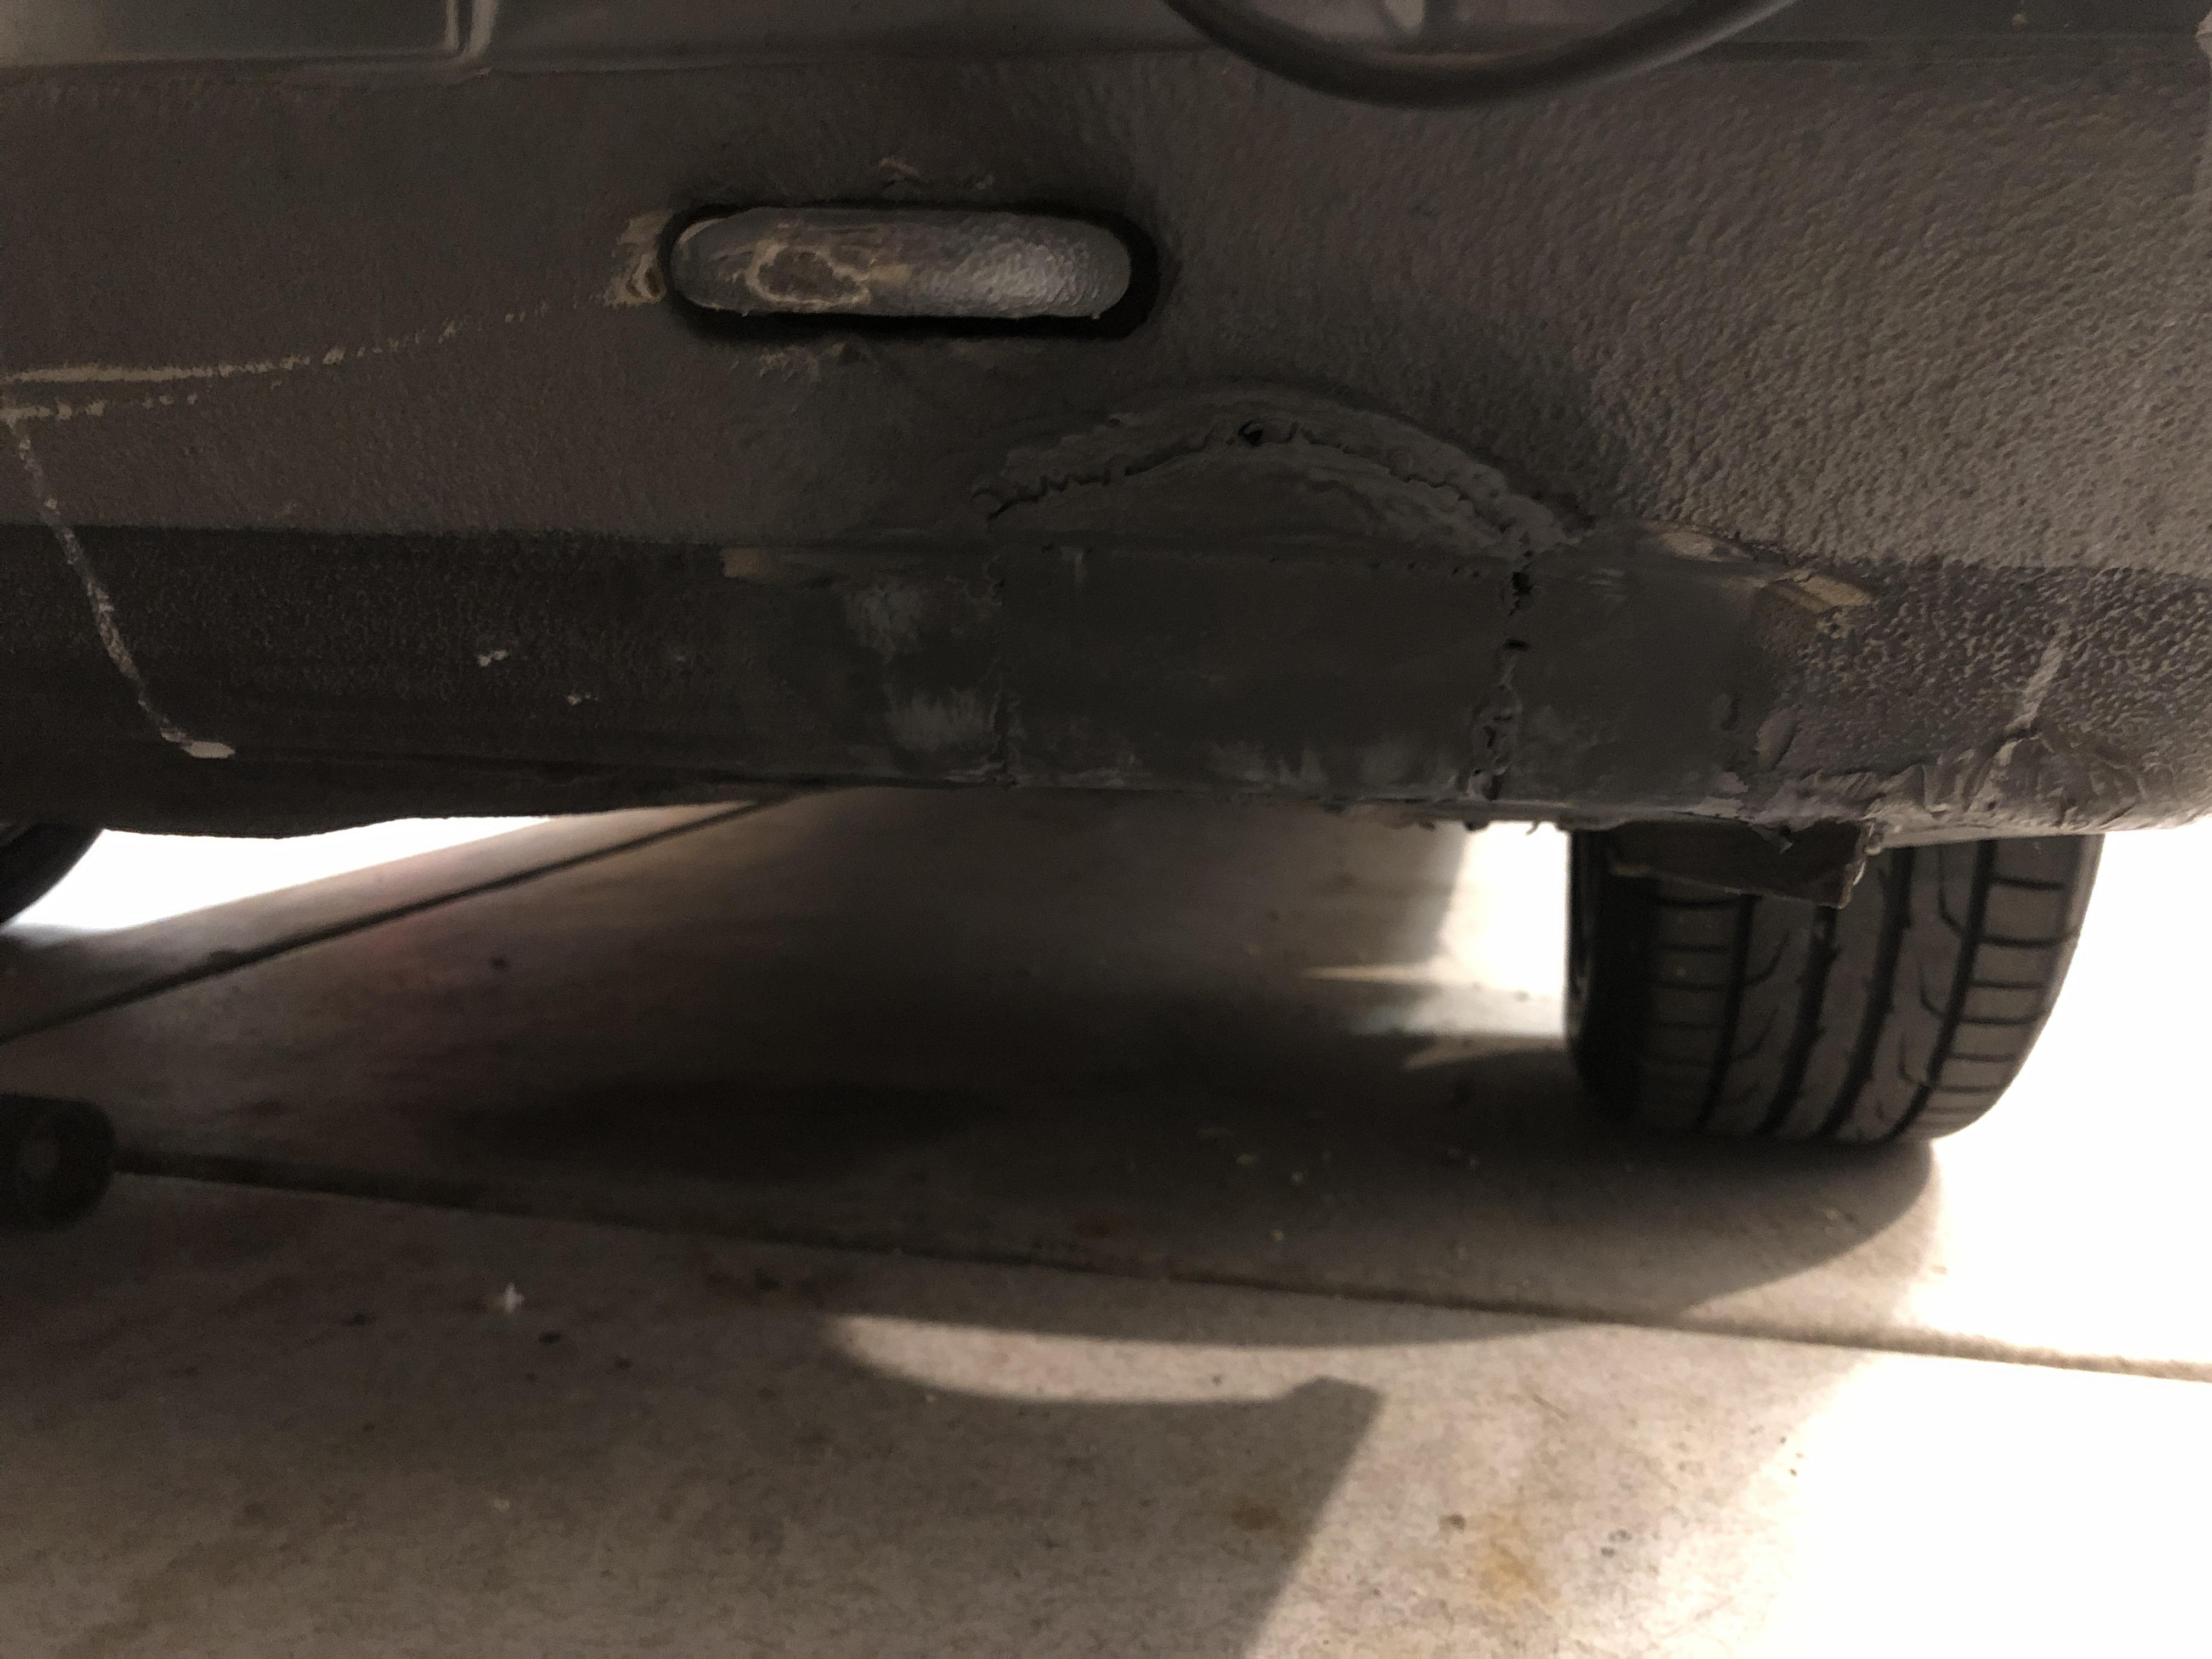
After my welder went out and I was able to meet my dad so I could borrow his, I finally was able to patch the other rust hole in the rear bumper. You can kind of see it here:
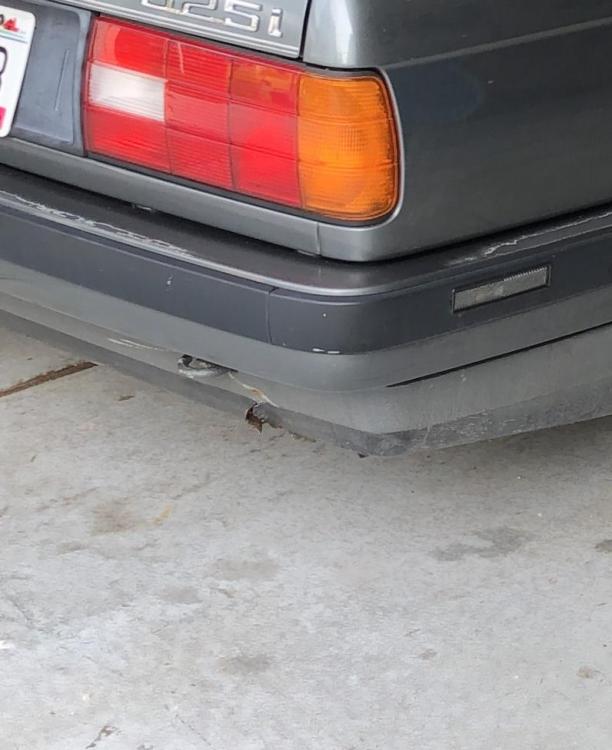
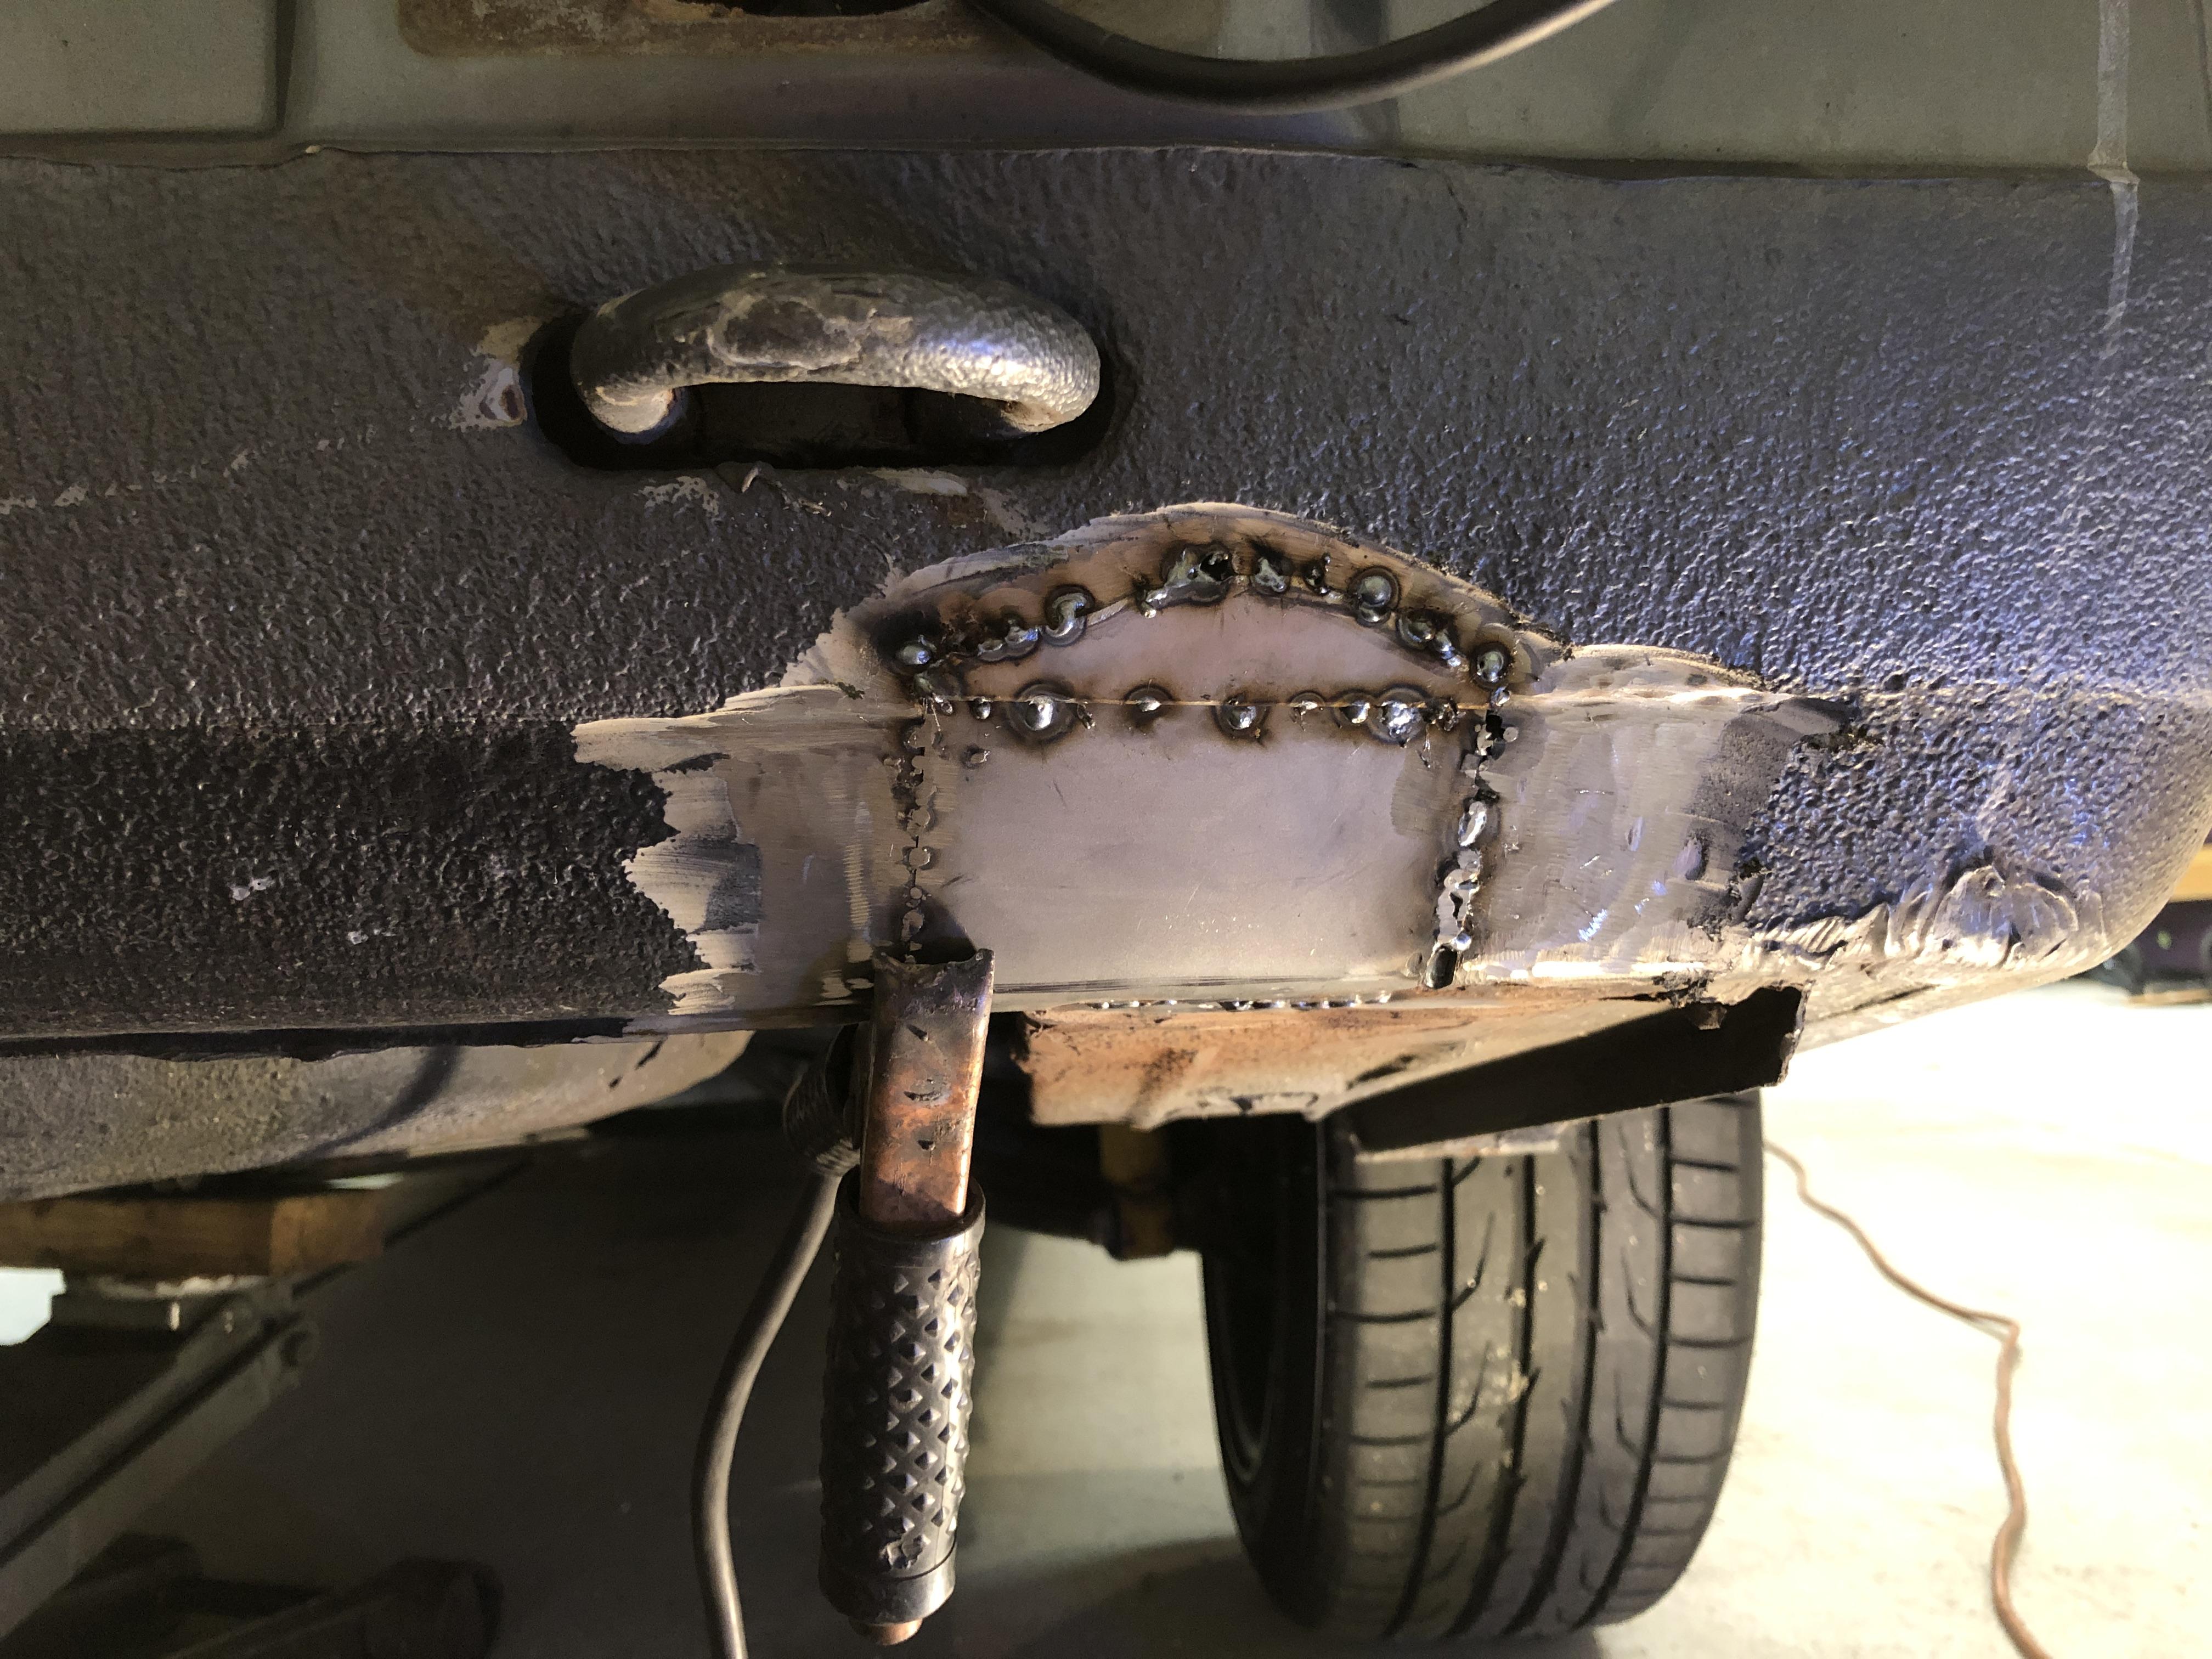
I cut it out and welded in some new metal and the primed it for now. It’s not the prettiest, but I did it myself with my own tools, and that was what I really wanted to accomplish
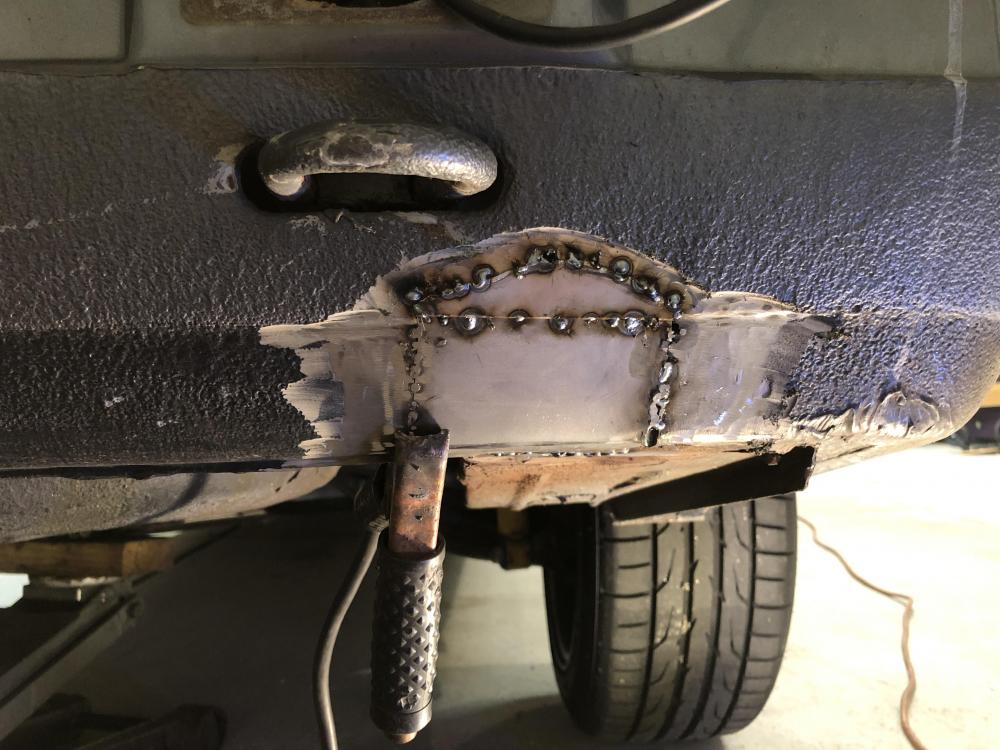
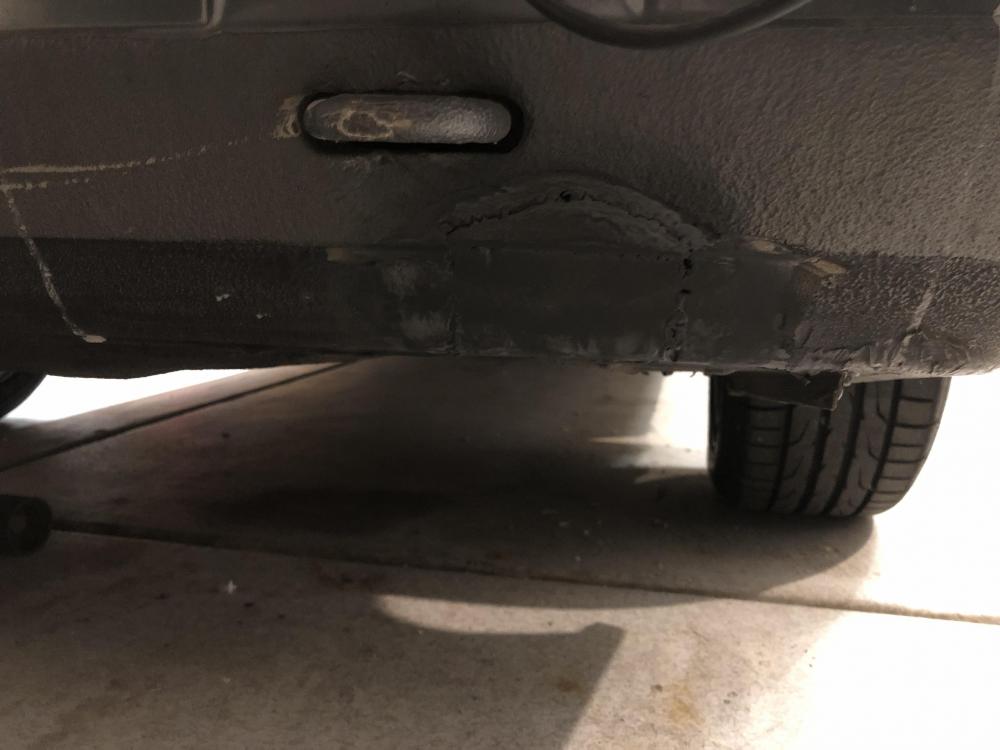
I need to get some type of seam sealer to go around the patch and then I need to bring the area back up to the thickness of the existing bumper. My guess is a truck bed liner will give me the depth and texture of the bumper coating.
-
Look around for bed liners. Some have a much finer pattern than the one you are looking for. I'm sure there are ways to manipulate that tho.
Or as long as the surface is even and matches the lines of the valence, no ones gonna know as its black and so low on the car.
-
Look around for bed liners. Some have a much finer pattern than the one you are looking for. I'm sure there are ways to manipulate that tho.
Or as long as the surface is even and matches the lines of the valence, no ones gonna know as its black and so low on the car.
I want it to blend in, but doesn’t need to be perfect. I also plan to spray the valance when I spray the trunk lid and get rid on the lower black portion.
-
Any auto body supply store should have a textured rock chip spray in an aerosol can. that will be your best bet for an even texture. Otherwise basic autoparts bedliner works. you can vary the thickness of the spray pattern depending on how clost you spray to the surface.

https://www.instagram.com/_jdesigner_/ http://nevertoolow.tumblr.com/
🥳SOLD BMW E24 633CSI - BMW M30B32 🧪SOLD HCH ES9 - 1.3 LDA
👽BMW E30 325IC - Toyota 1JZ-GTE ⏰ HONDA EF9 CIVIC SI - JDM B18C5
☠️BMW E36 318i - Ford 5.0 FE302 🚴♂️ GT-Labomba - 26x2.75 Freeride
🤹♀️SOLD BMW E36/7 Z3 - BMW M54B25 🧓SOLD BMW E10 2002 - BMW M10M05 -
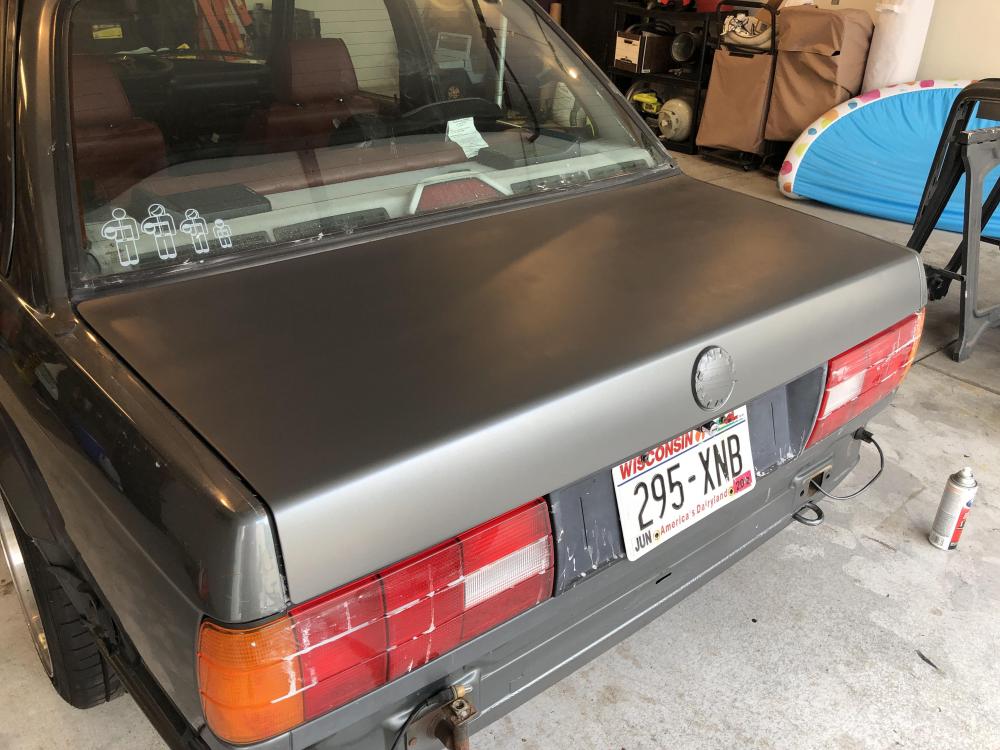
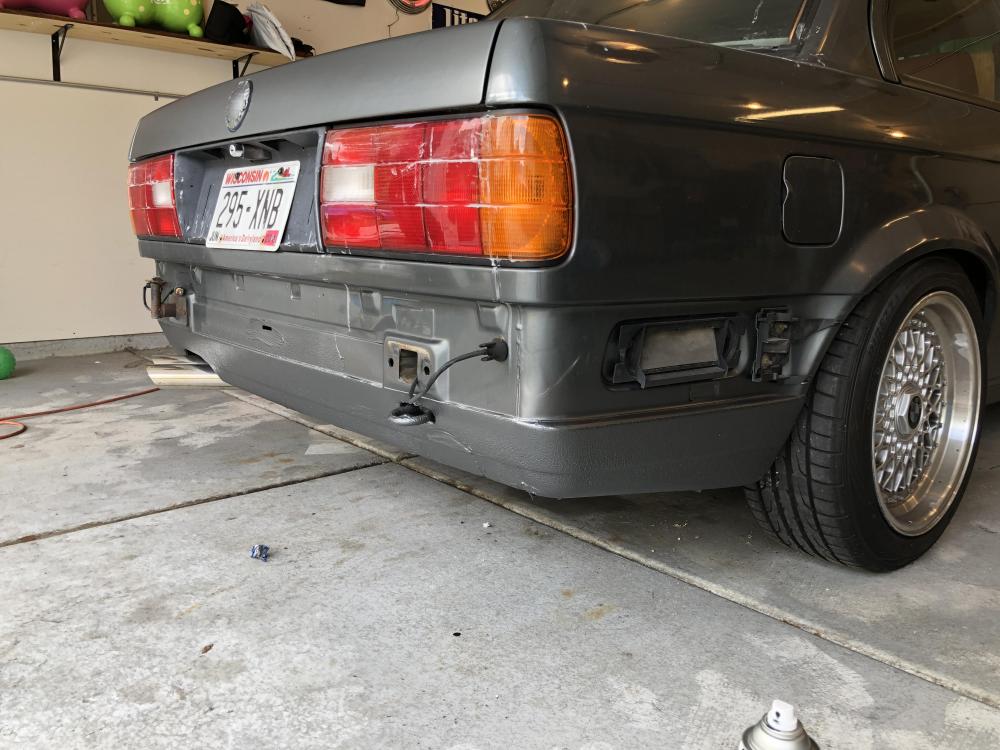
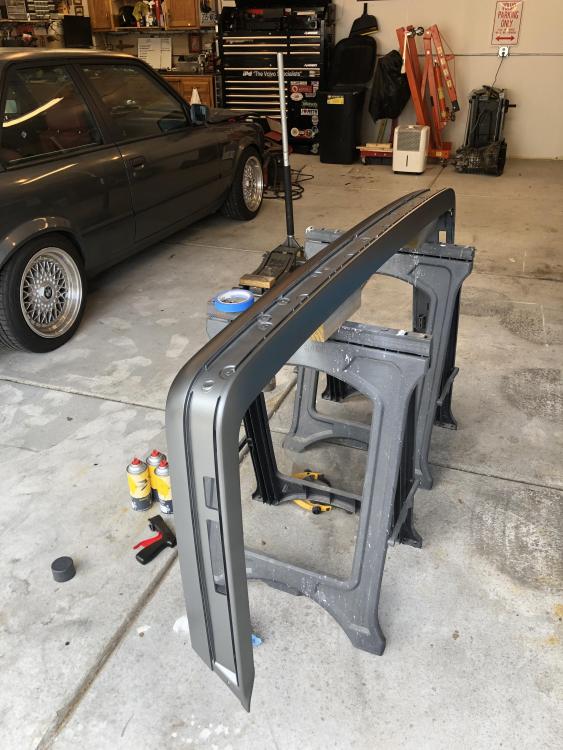
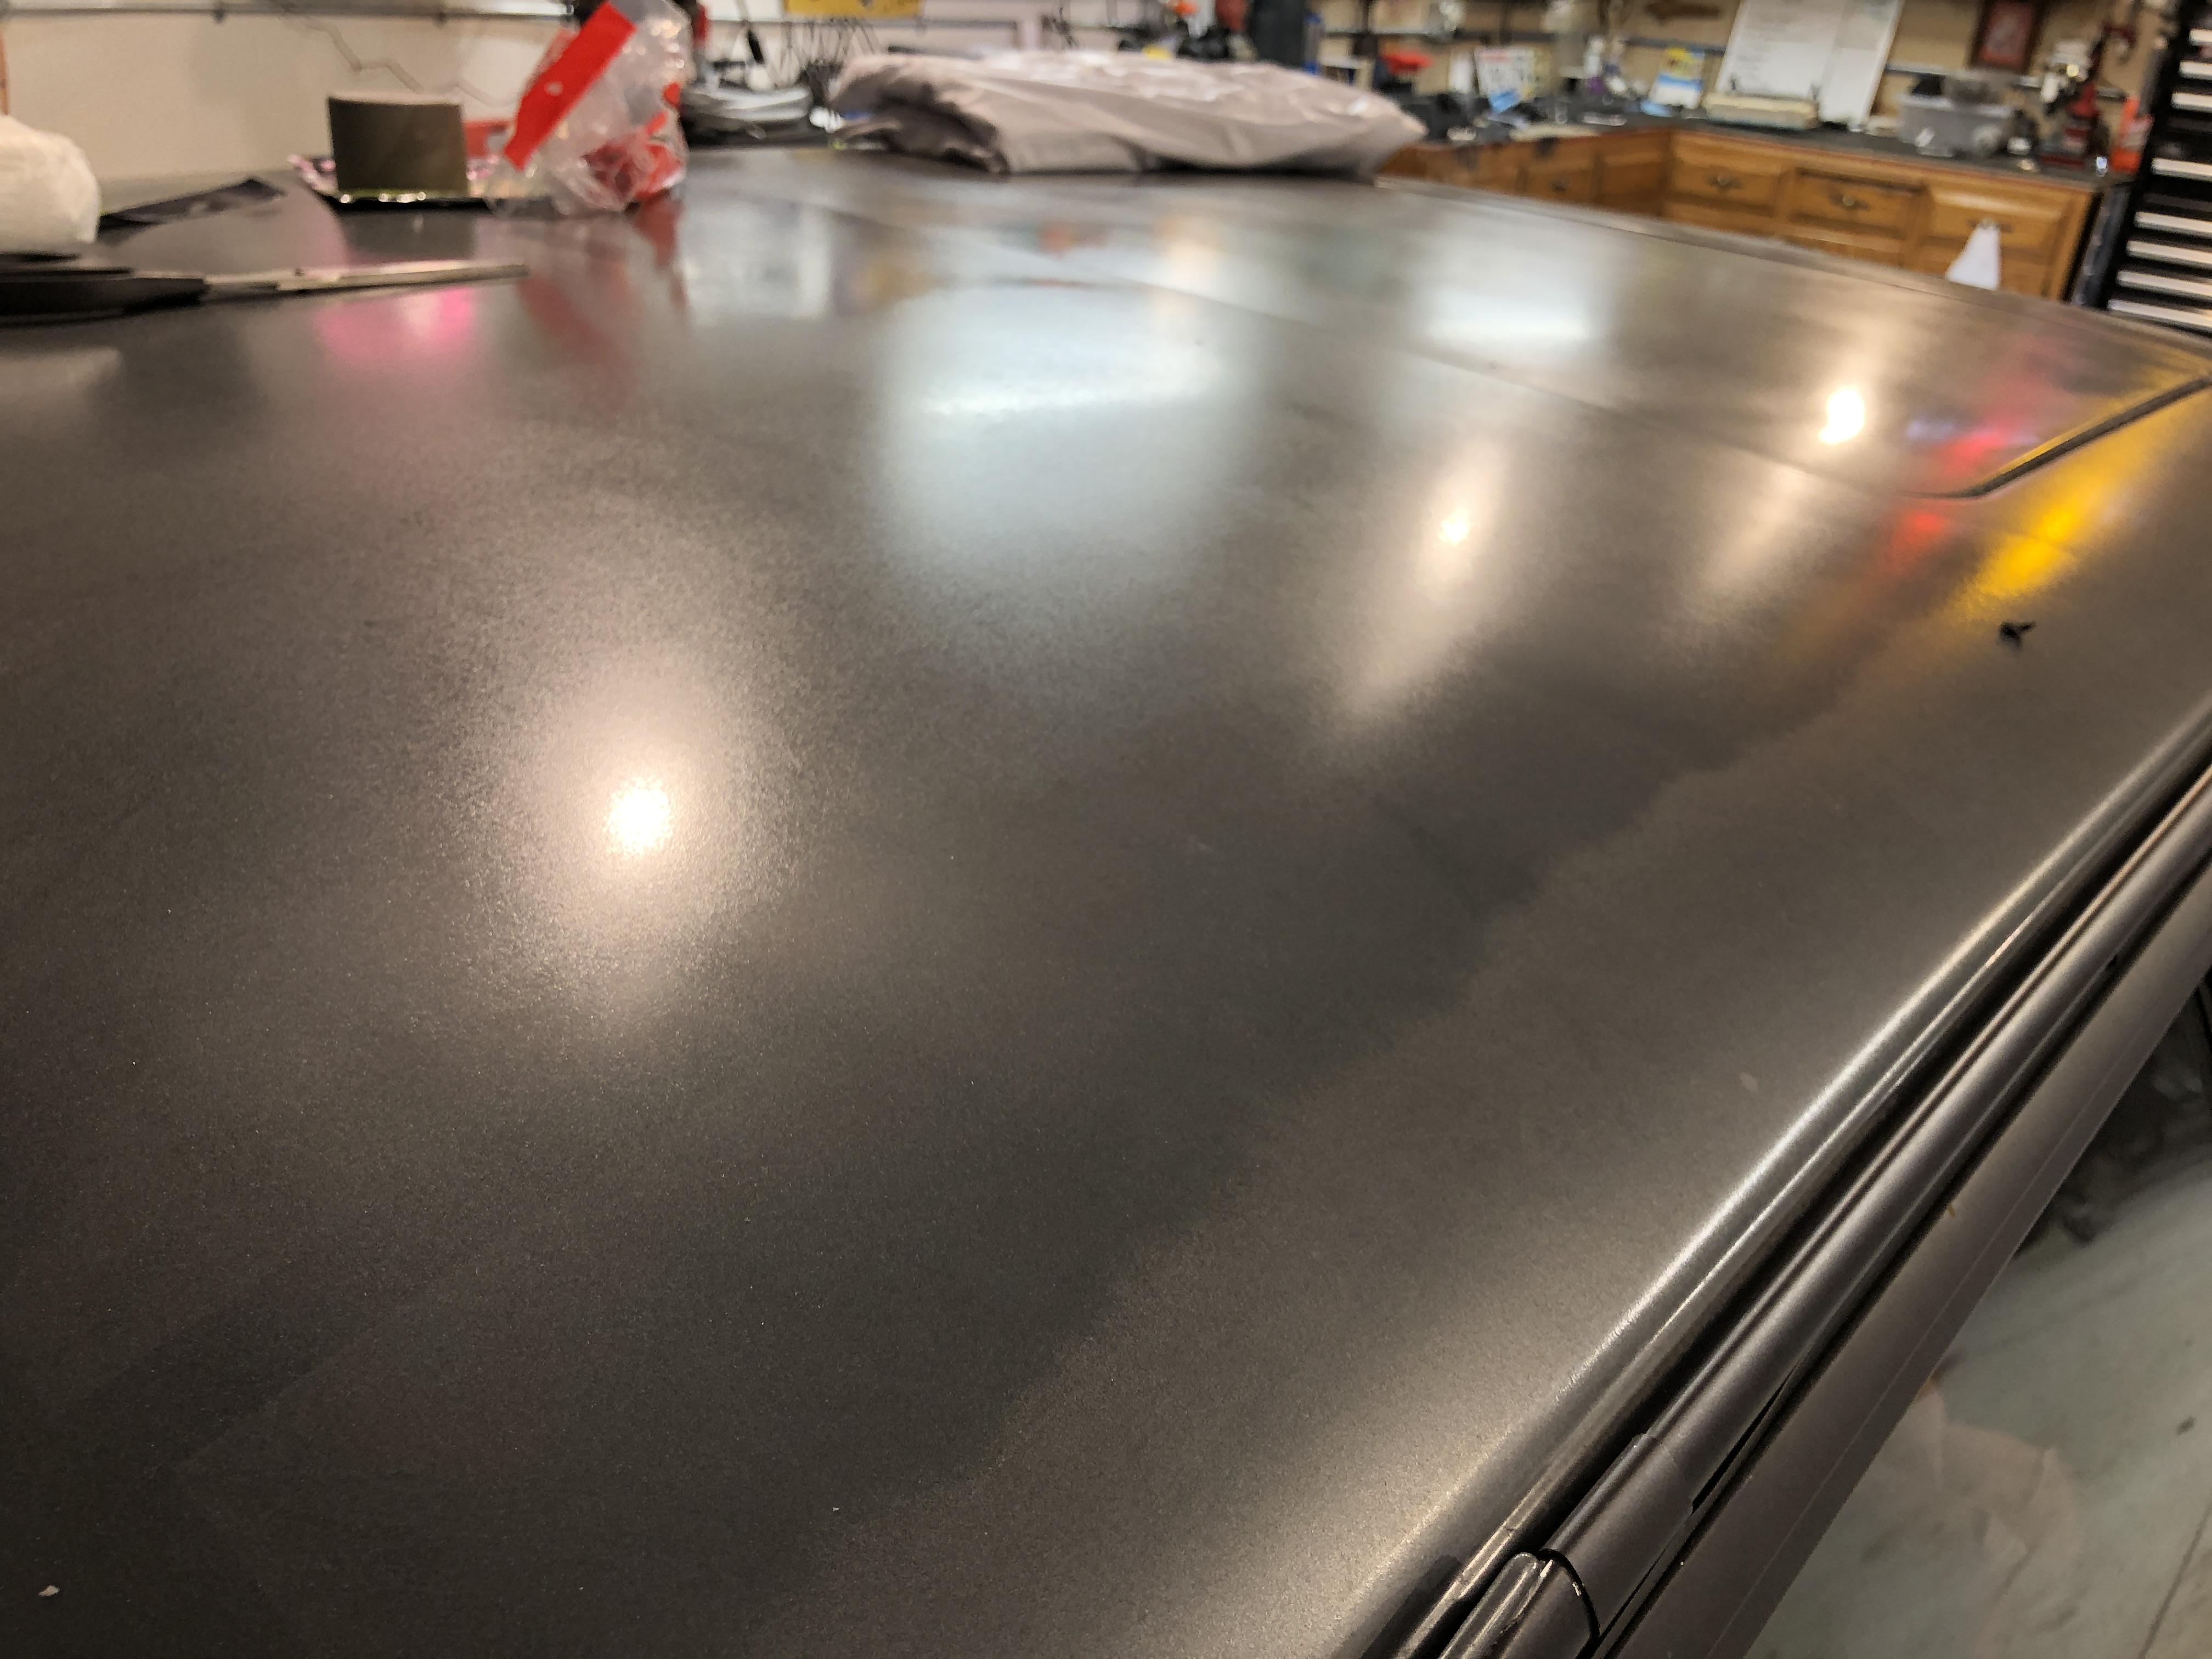
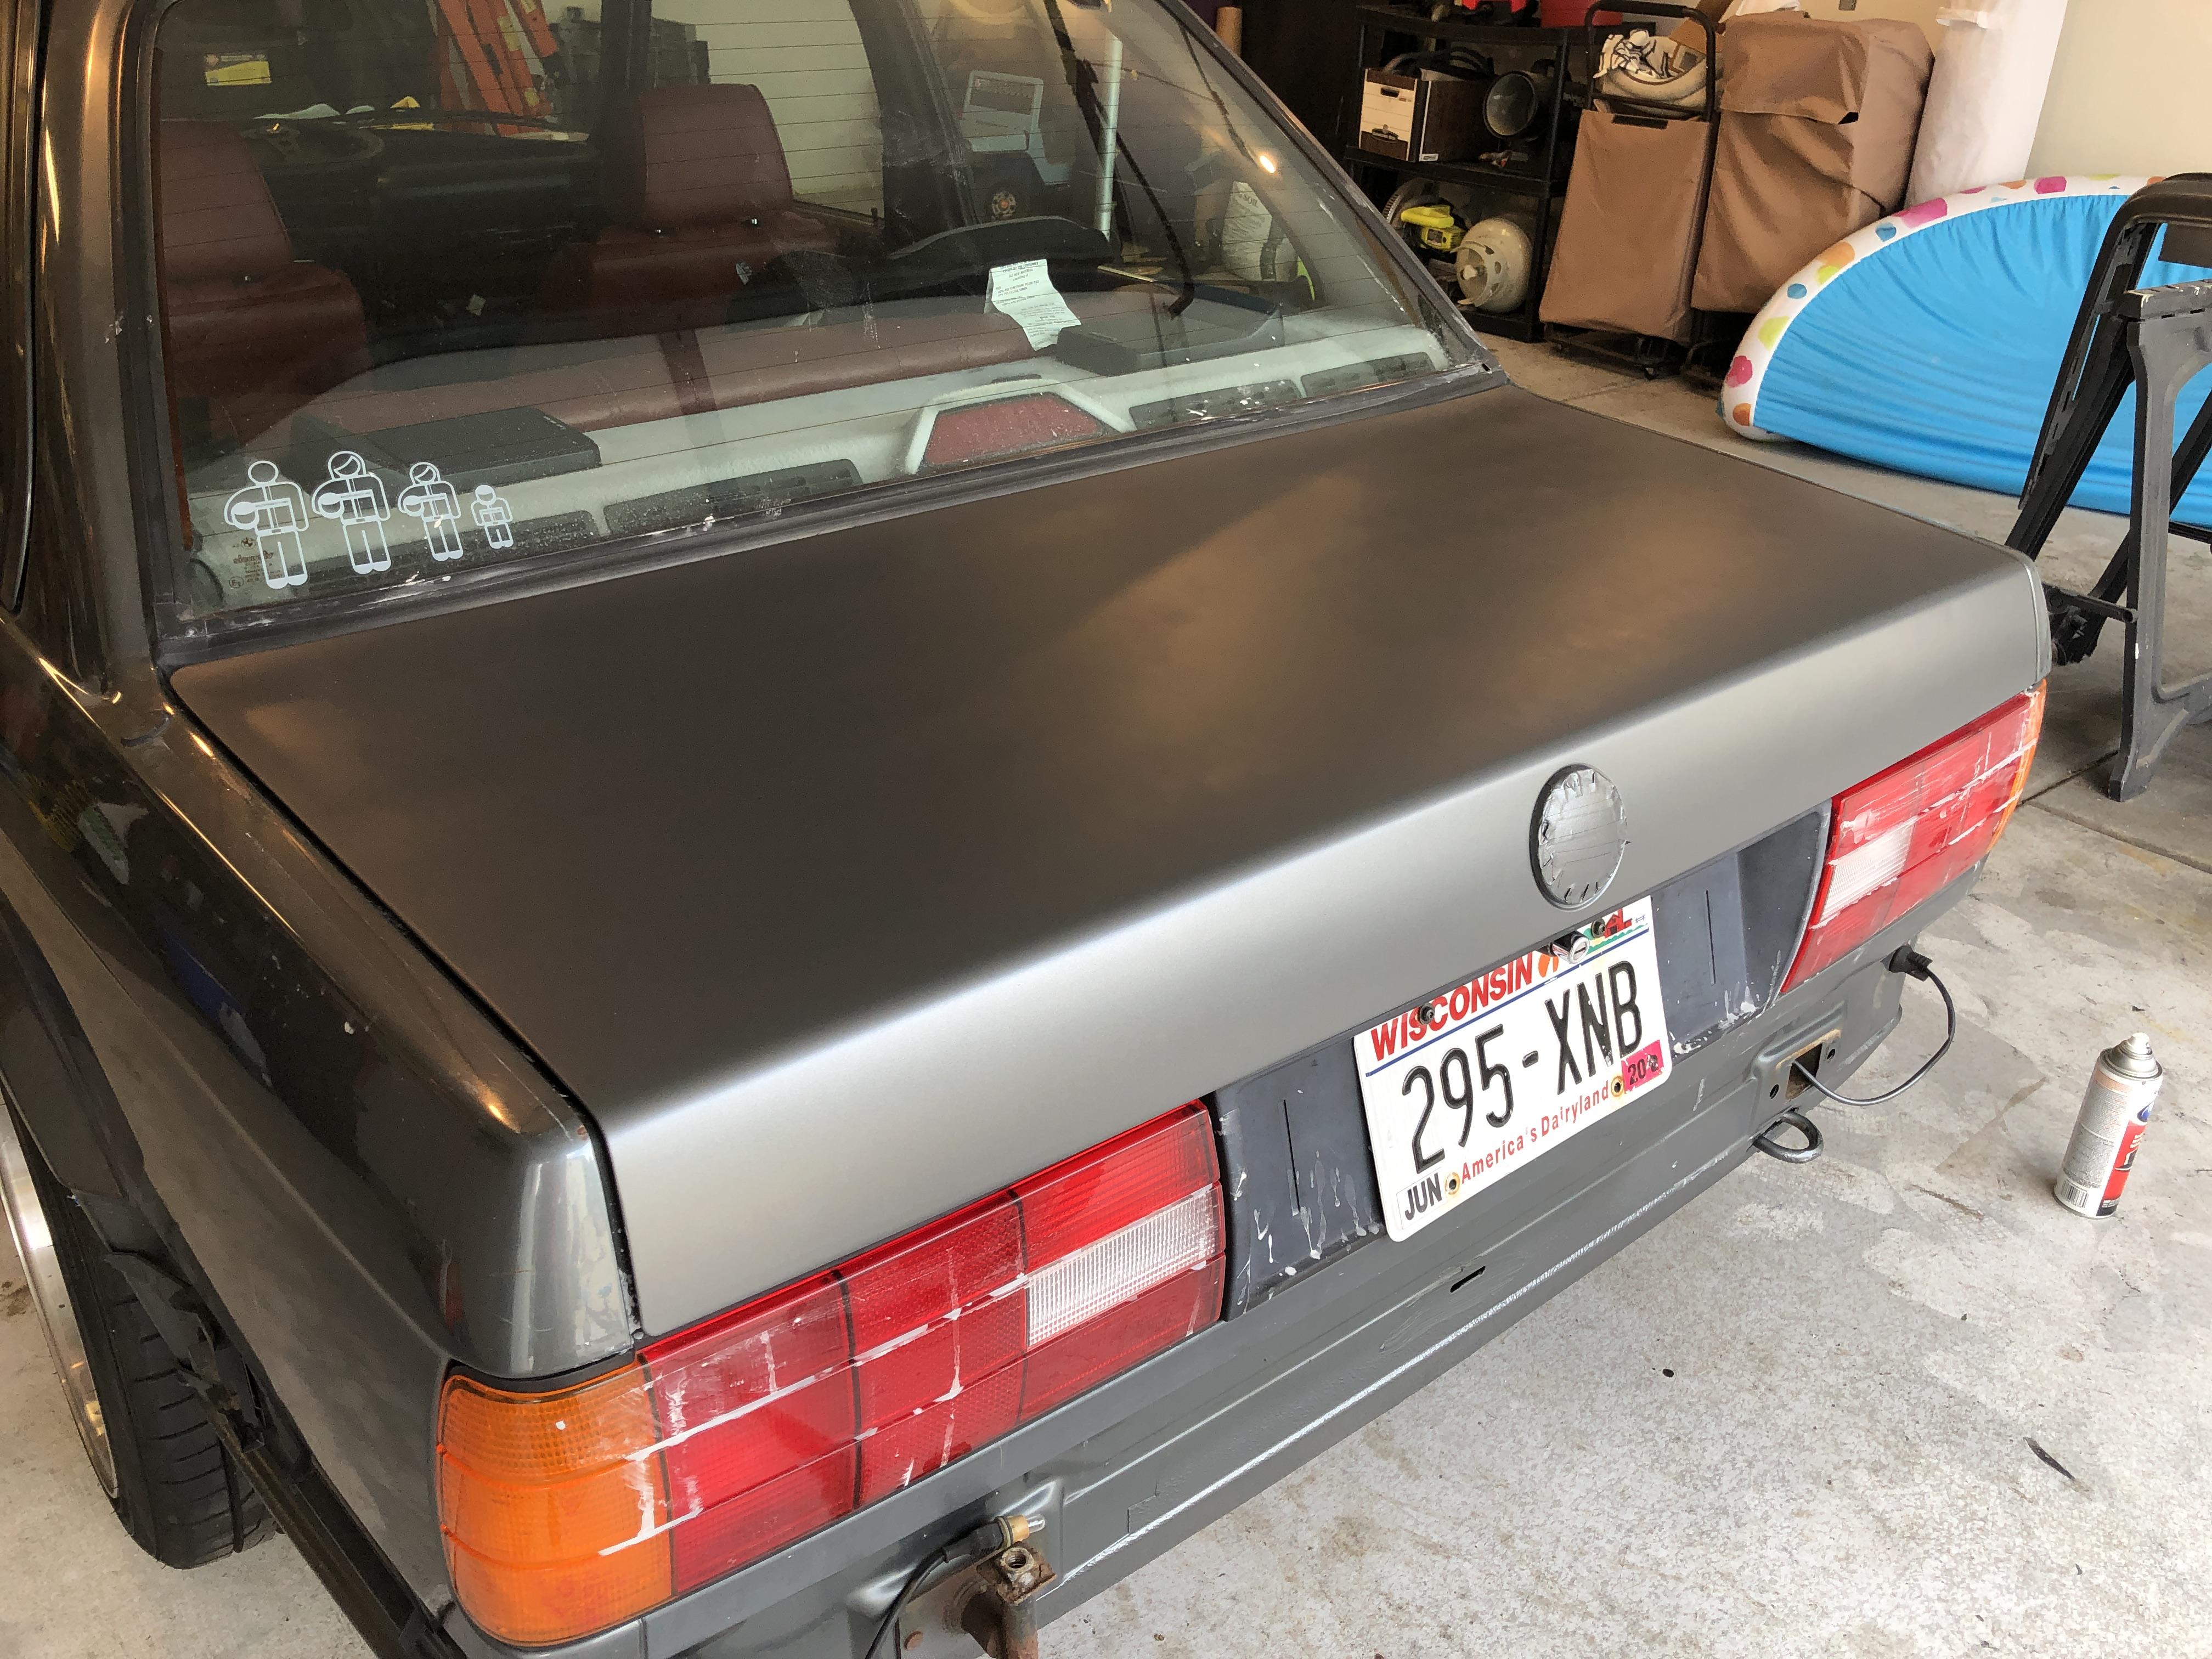
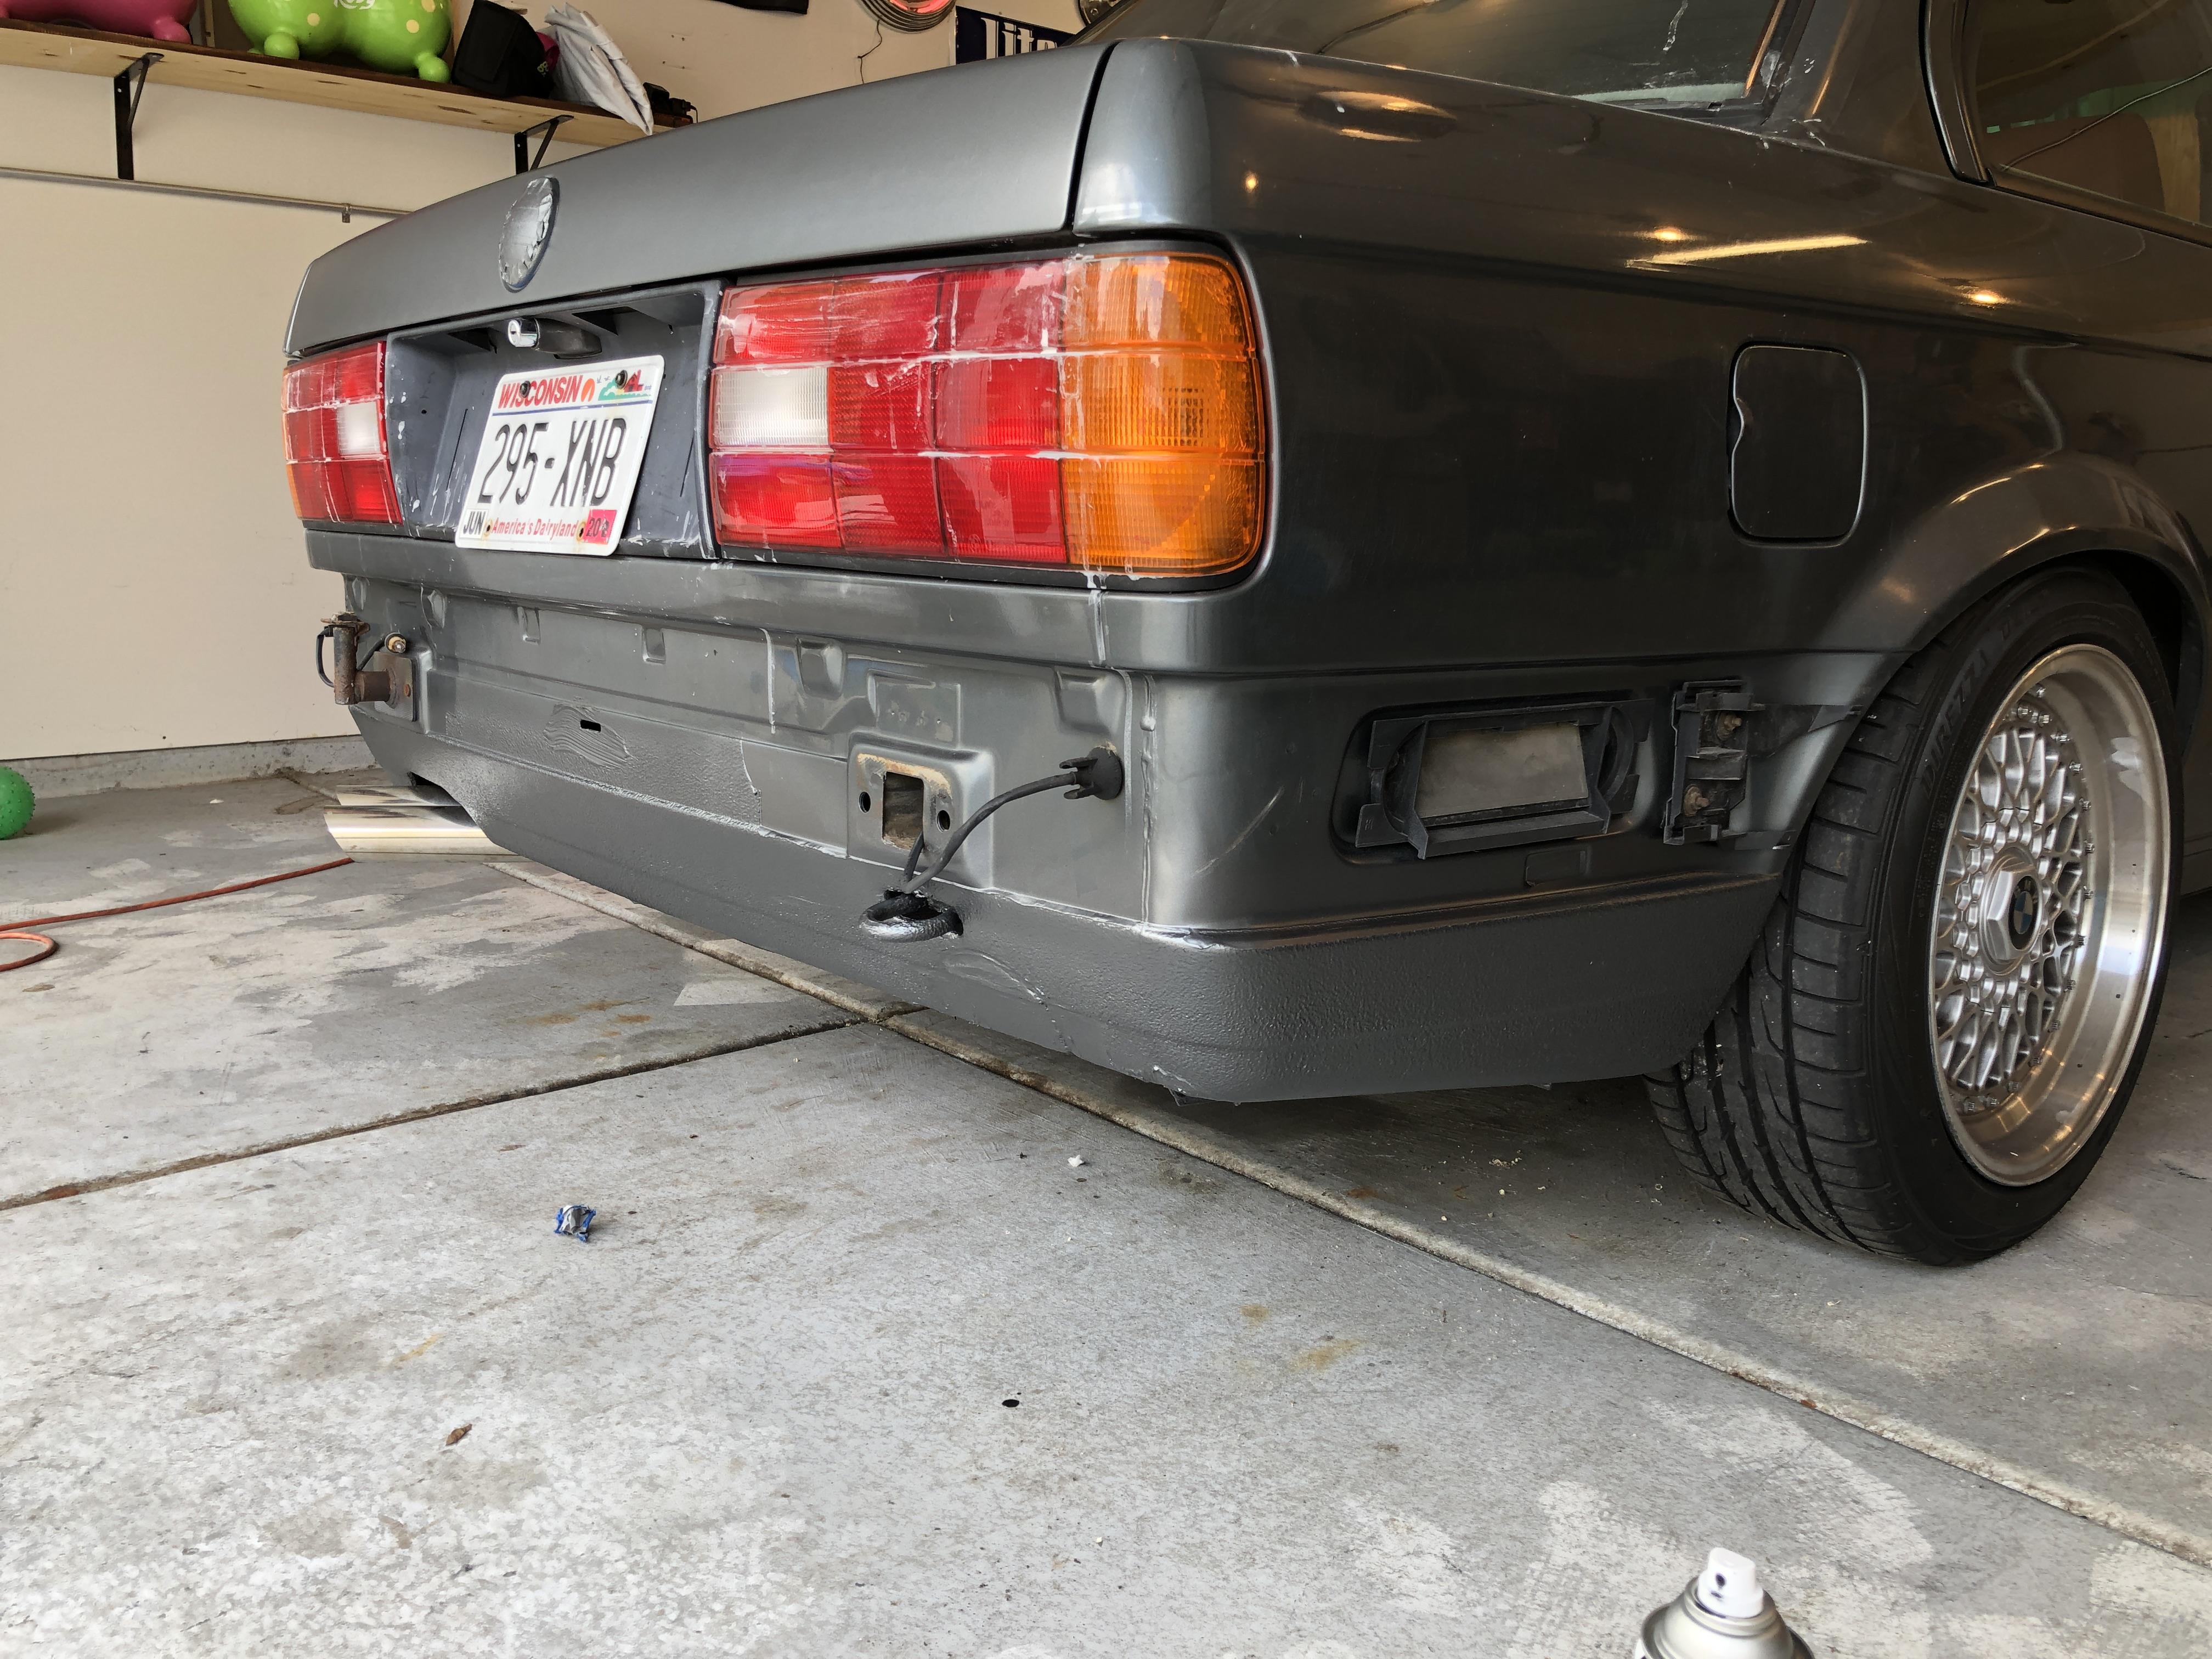
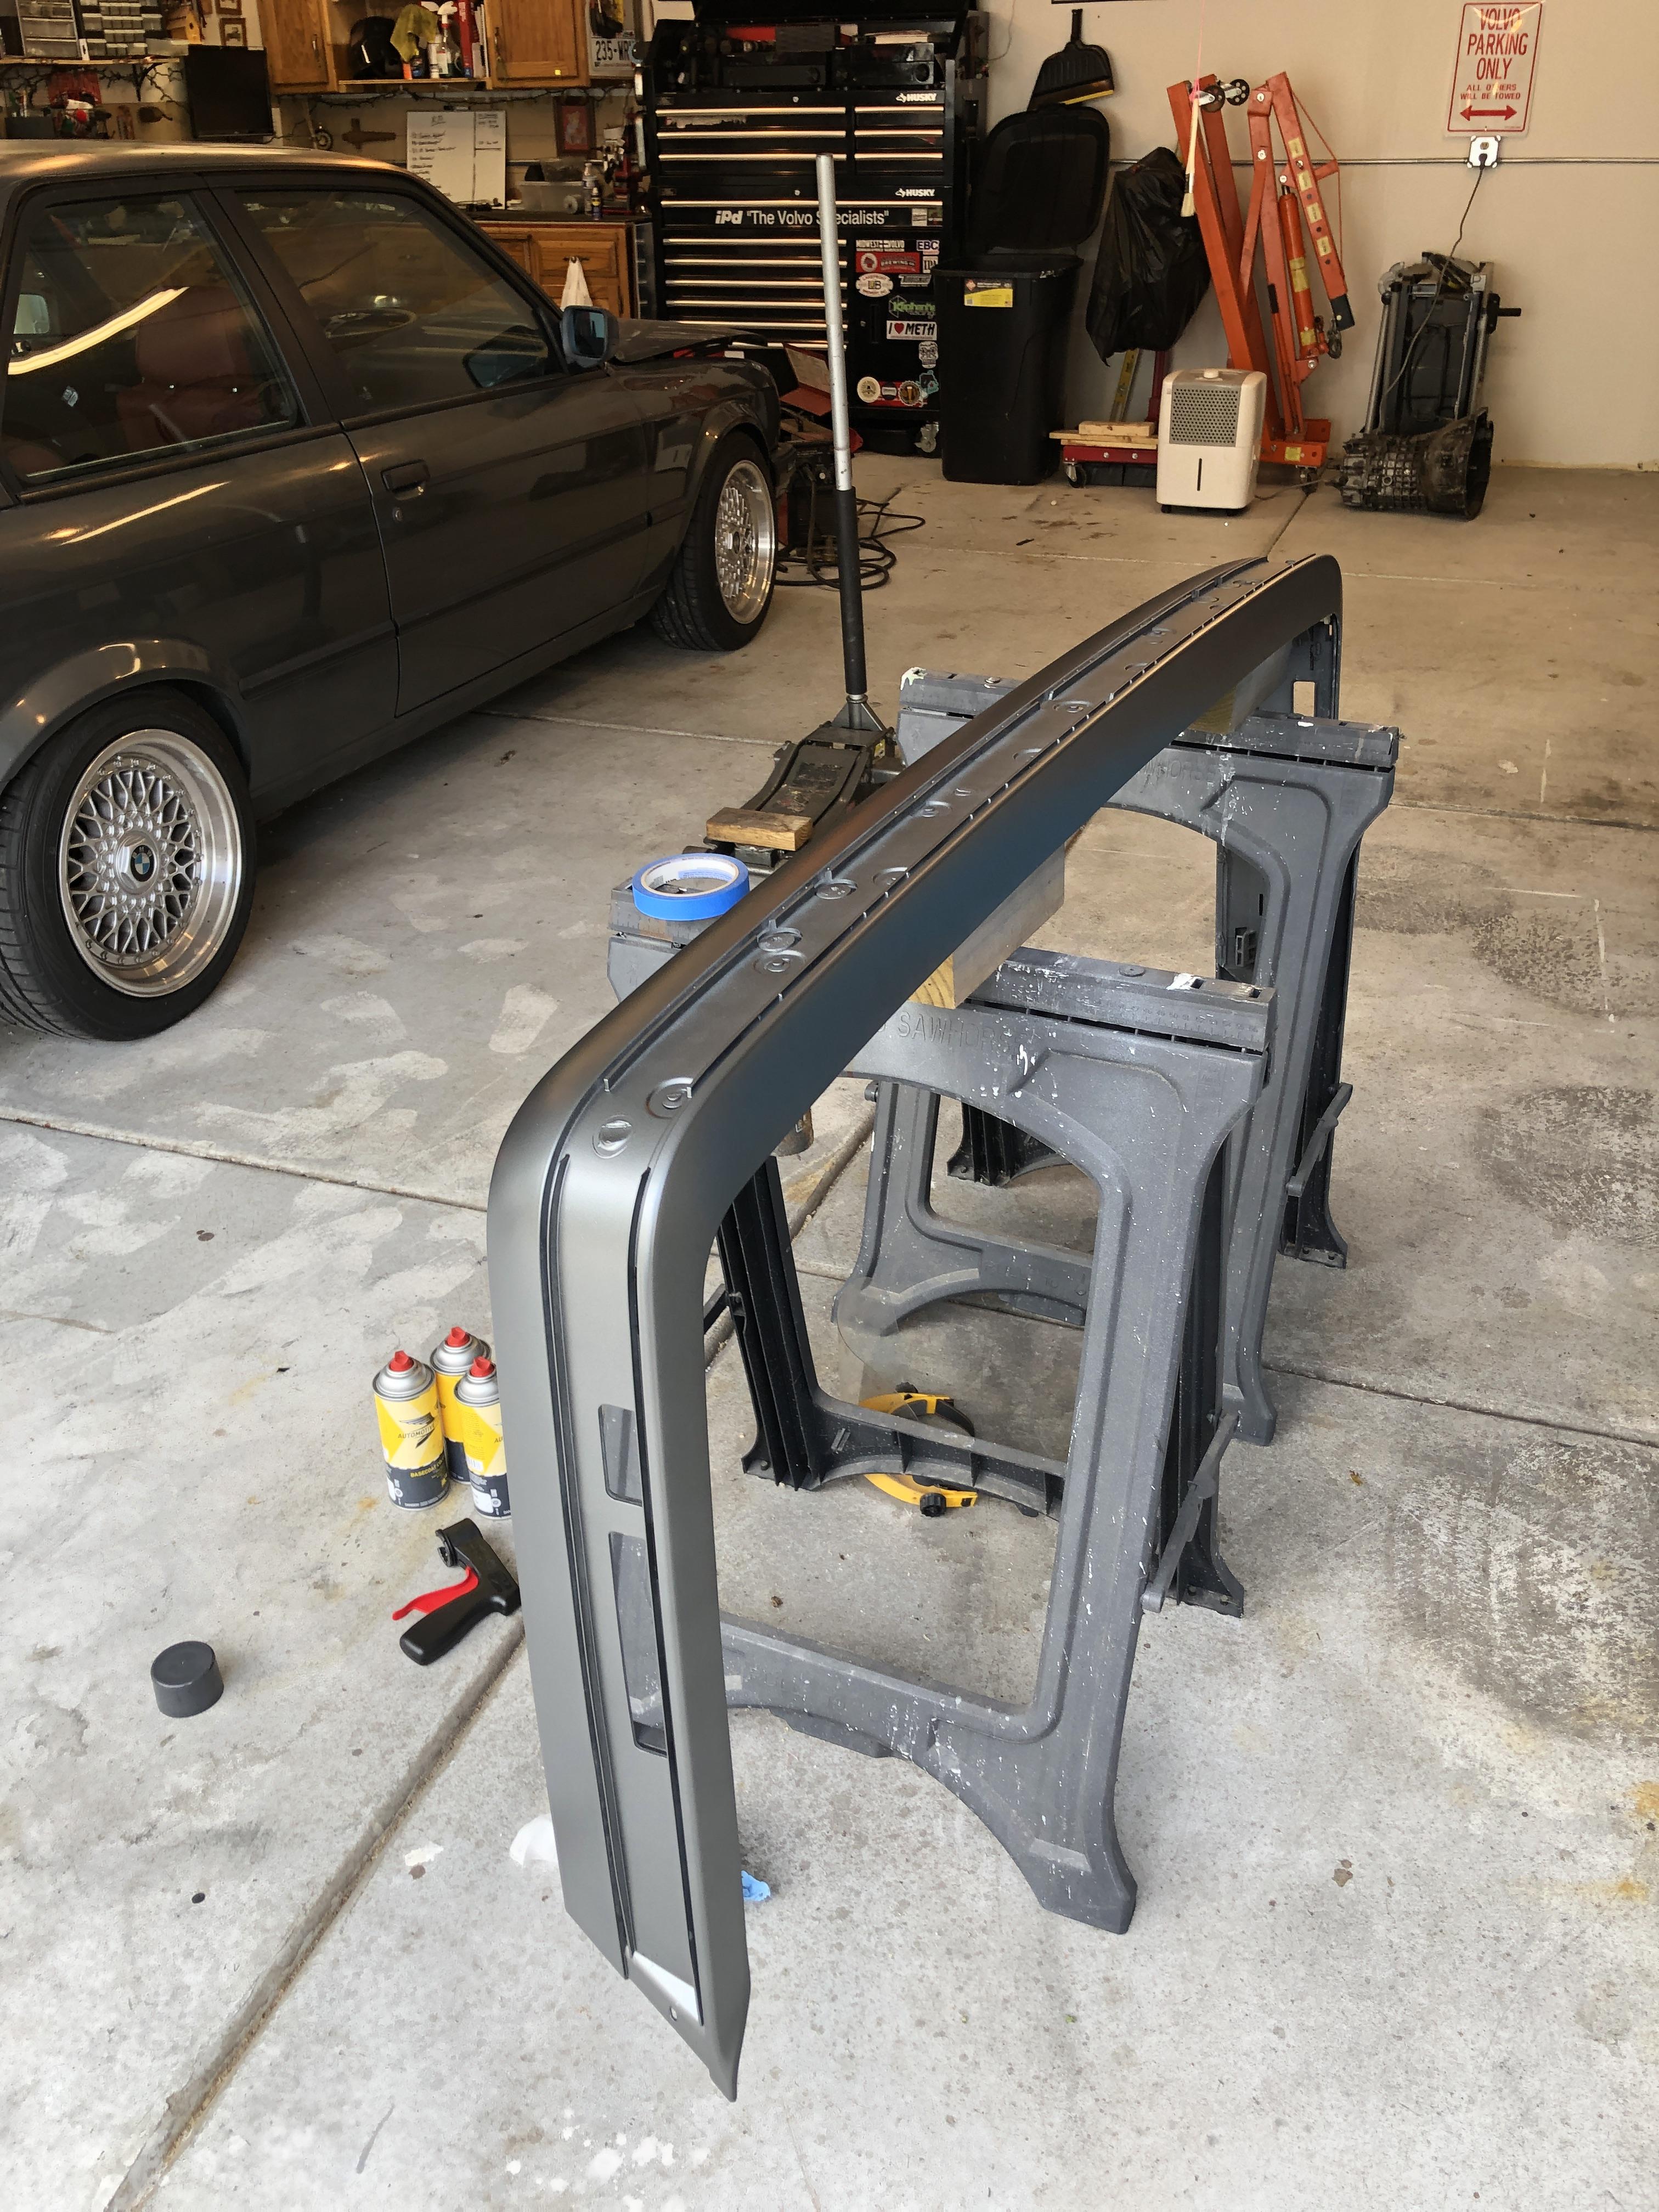
The color match is very good. The aerosol cans were okay. They didn’t cover very good and weren’t great on the horizontal surfaces. It’s good for and I think I learned some good things with prep and spraying. But I’m excited to do this again with an hvlp gun.
Letting dry and then I’ll mask it back off and do clear coat.
-
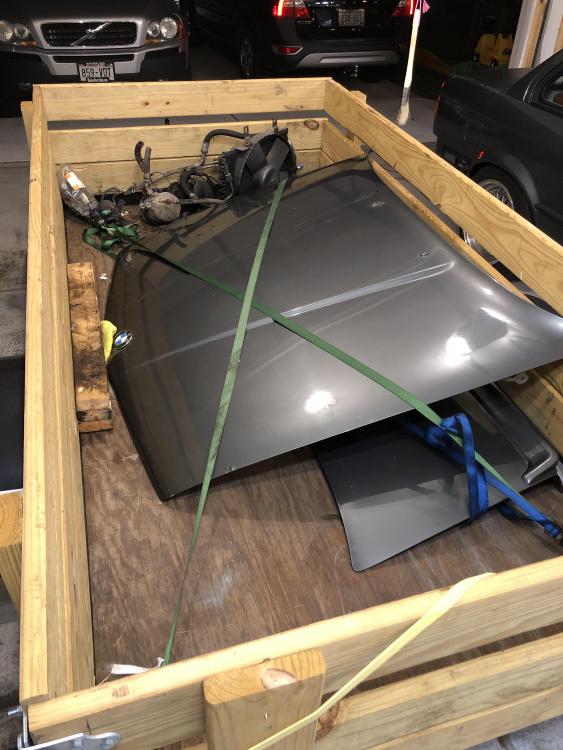
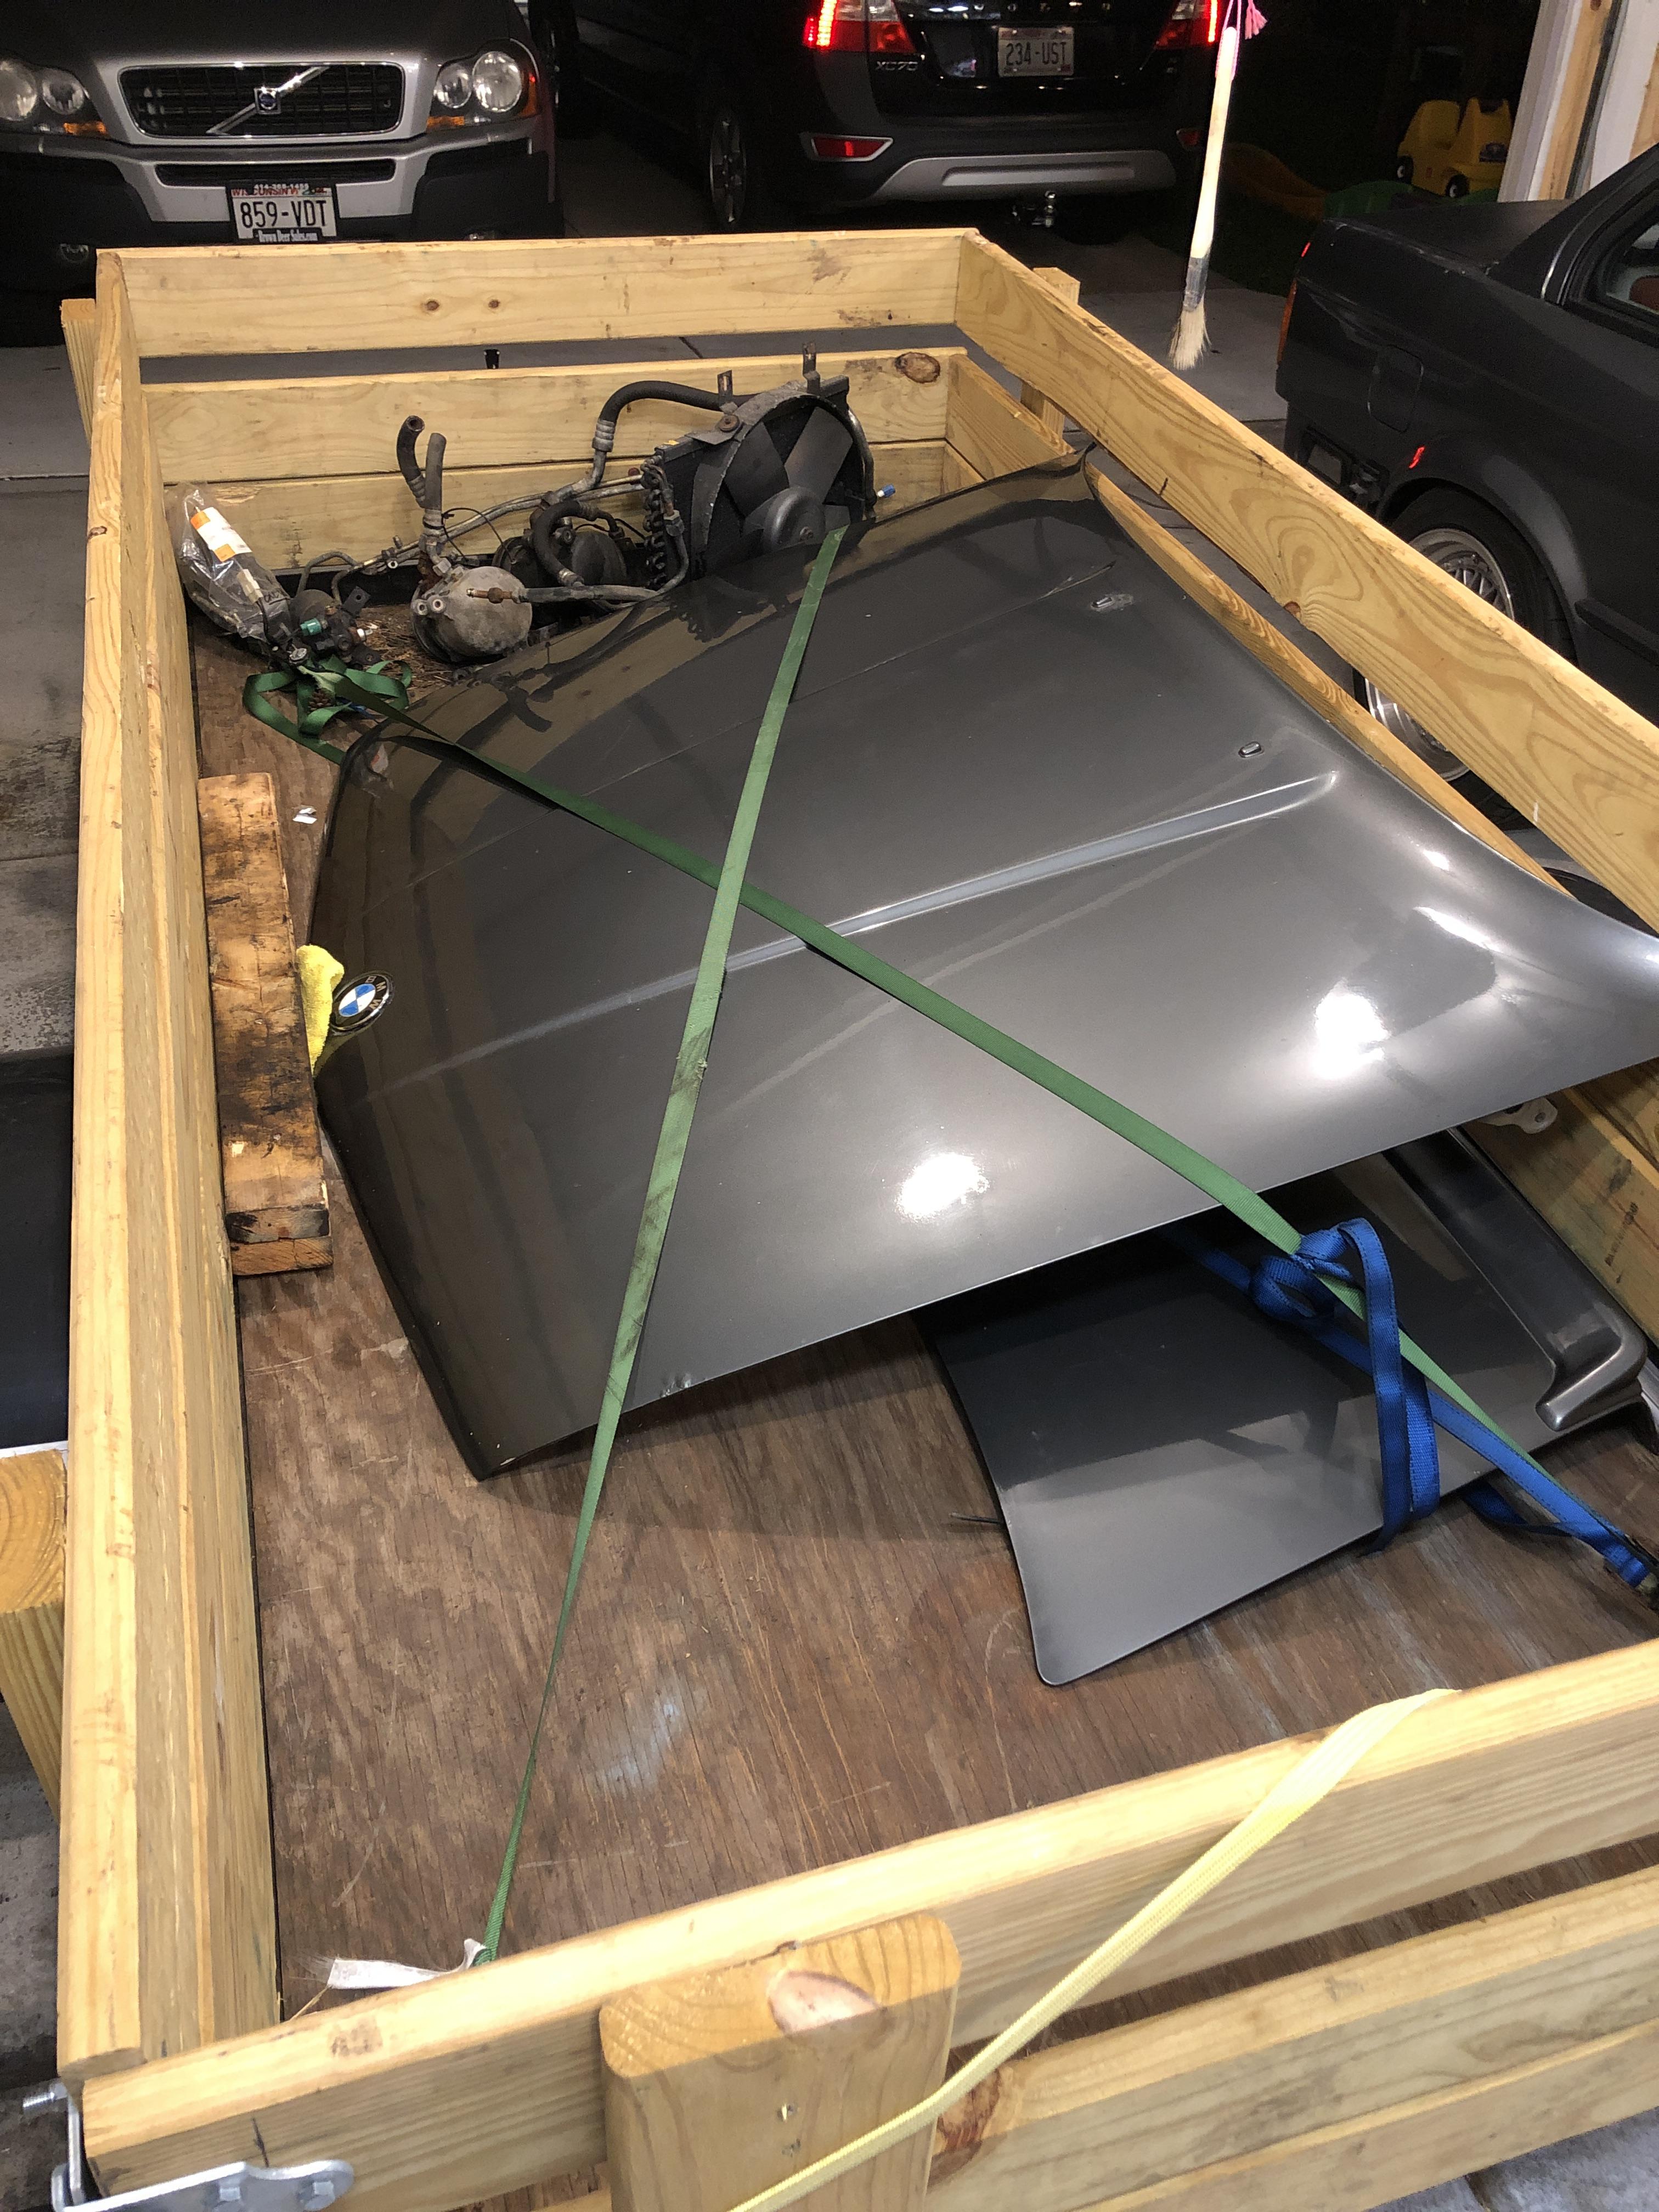
After dinner with the family I took a quick drive down to Roselle, IL where there was a guy parting out an 89 325ix. Ended up being a BMW hobby shop that had probably 6-7 e30s and a handful of other models in various stages of repair and parked.
I picked up a straight hood, straight trunk lid with a spoiler, and the full AC system under the hood. Both the trunk lid and hood need some cleaning up, but all in all, for $250 I think I did okay.
-
Paint looks good from here

 excited to see it with the clear on. Good deal on the parts too.
Thank you. Tonight it gets clear coat.
I also dug into the AC parts some more and having everything in front of me definitely helped understand how it's all routed. From the looks of it I will need to replace the suction hose, the condenser, and will get a new dryer.
Does anyone know the quality of the hoses by "4 Seasons"? They carry the suction hose for SIGNIFICANTLY cheaper than the OEM hose and seem to be the only aftermarket manufacturer of the hoses.






Hello! It looks like you're interested in this conversation, but you don't have an account yet.
Getting fed up of having to scroll through the same posts each visit? When you register for an account, you'll always come back to exactly where you were before, and choose to be notified of new replies (either via email, or push notification). You'll also be able to save bookmarks and upvote posts to show your appreciation to other community members.
With your input, this post could be even better 💗
Register Login