
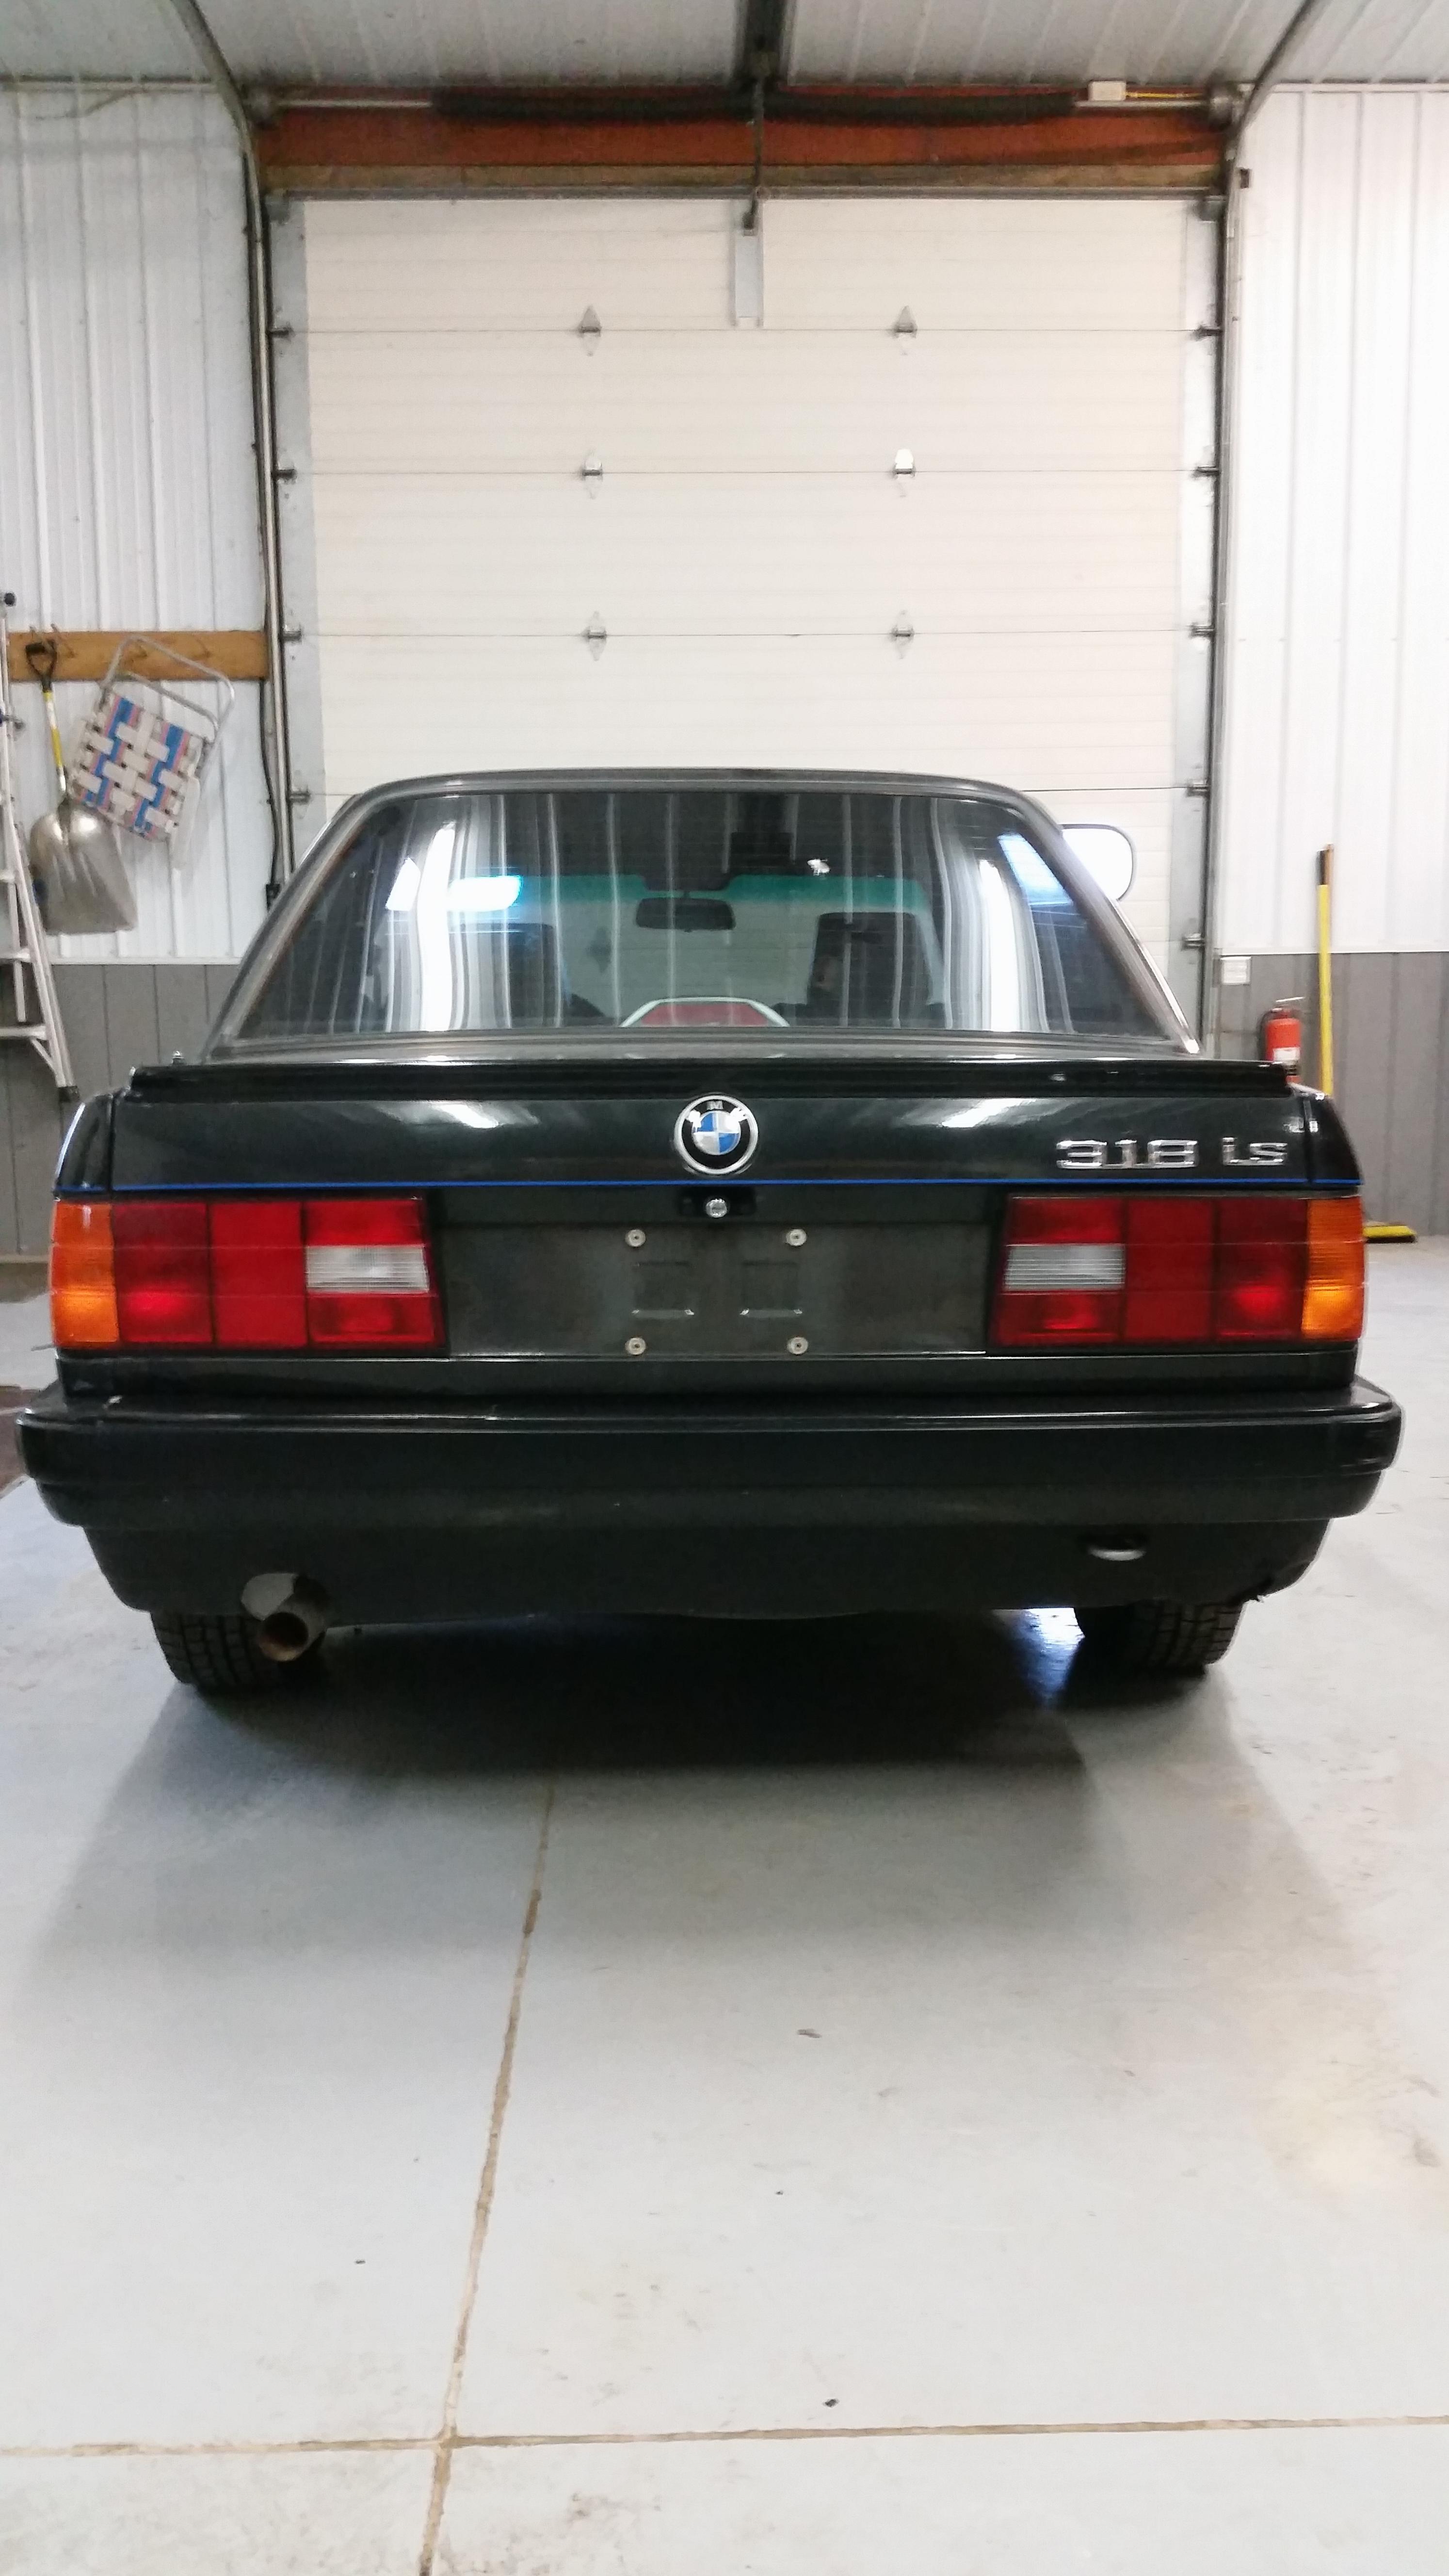
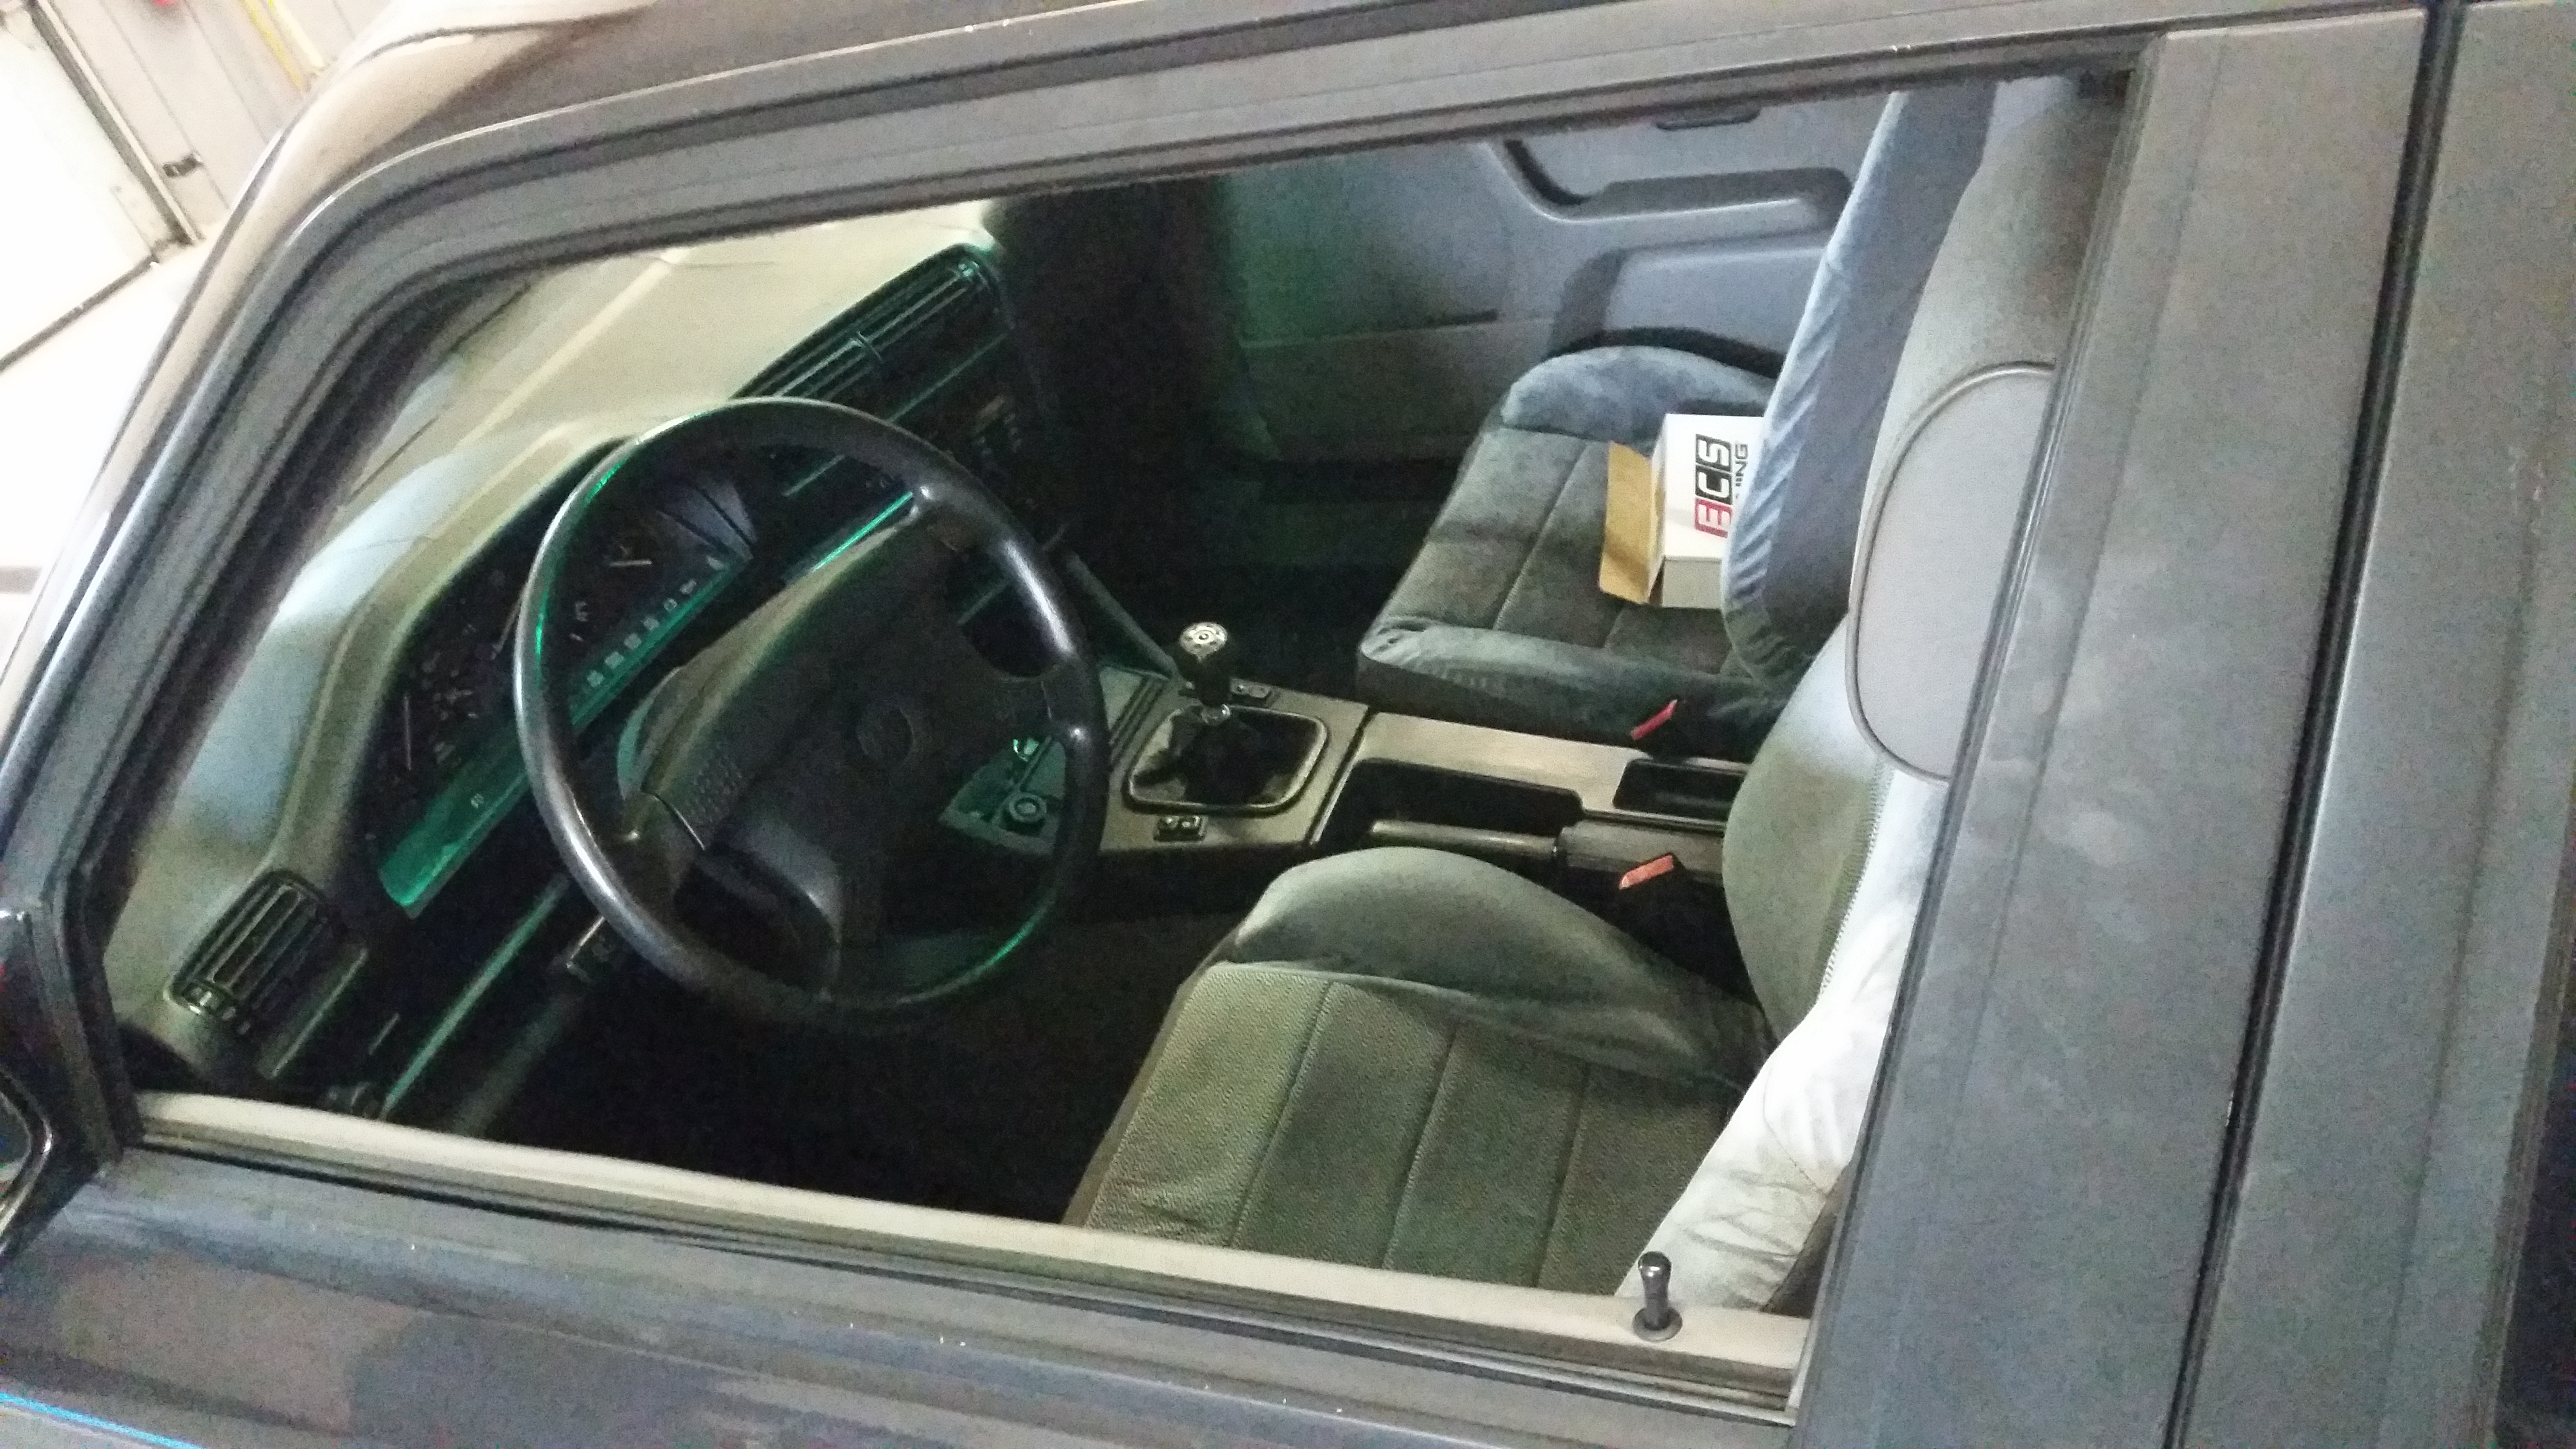
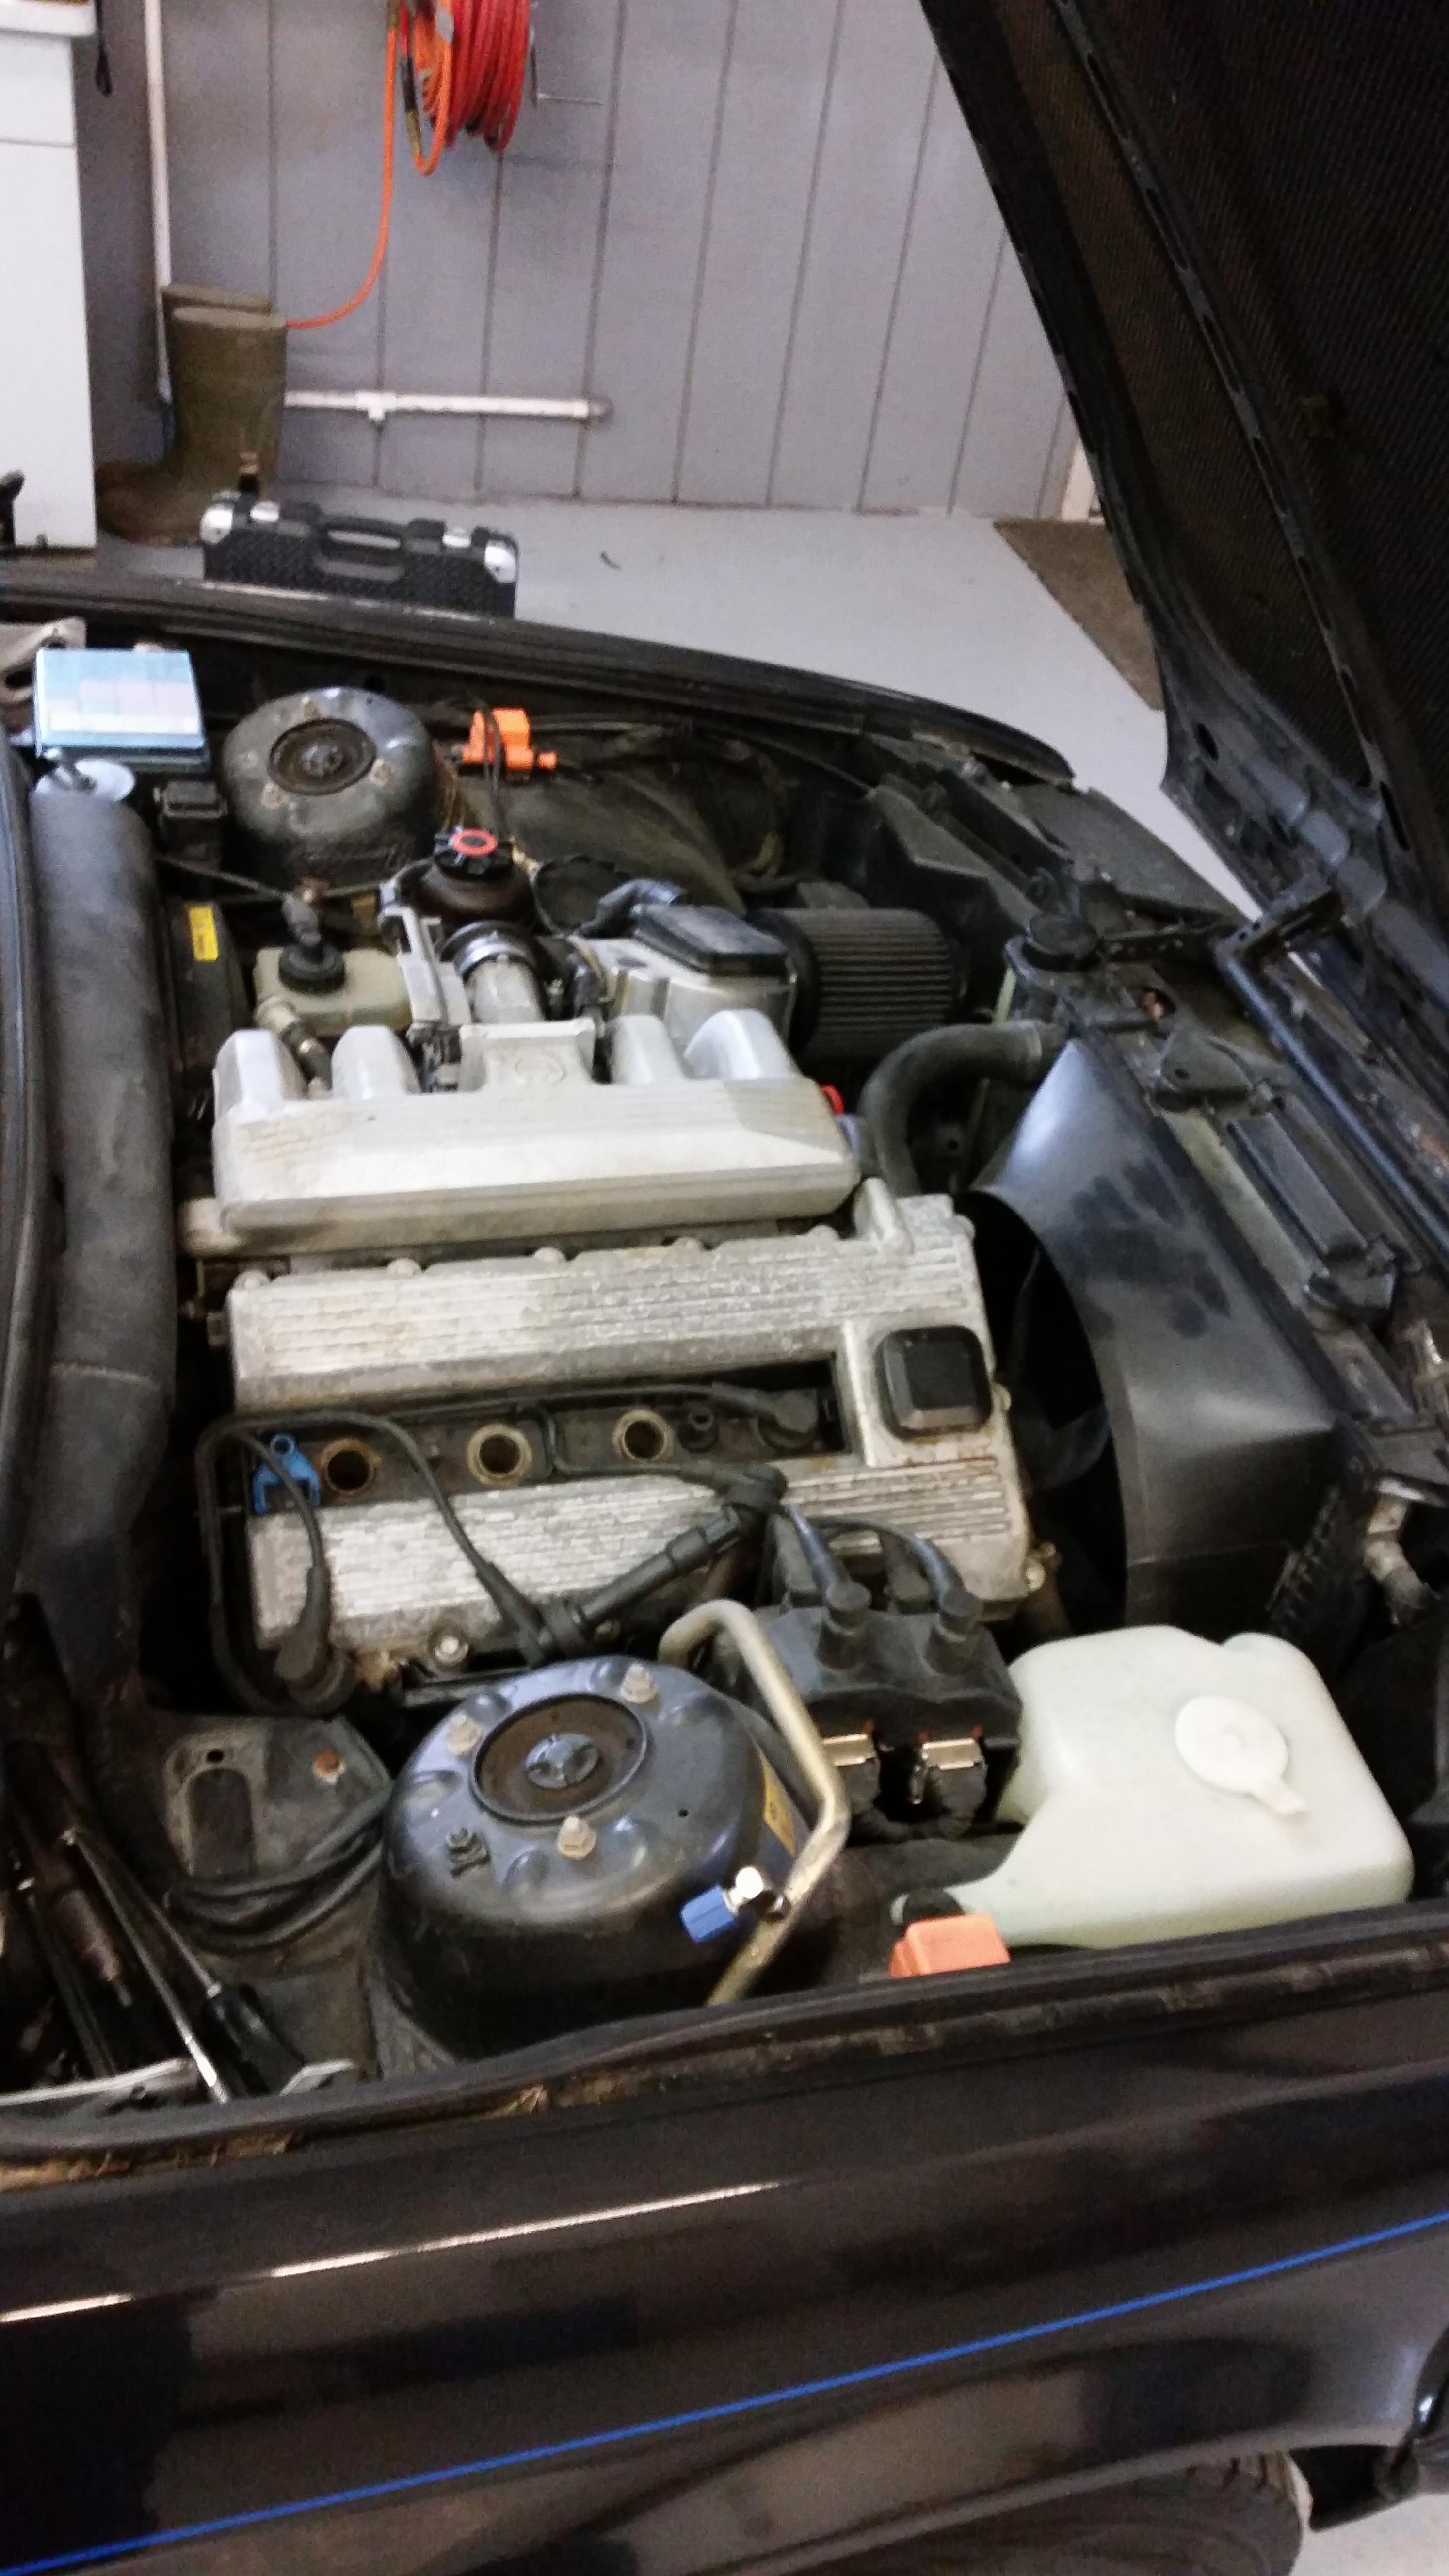
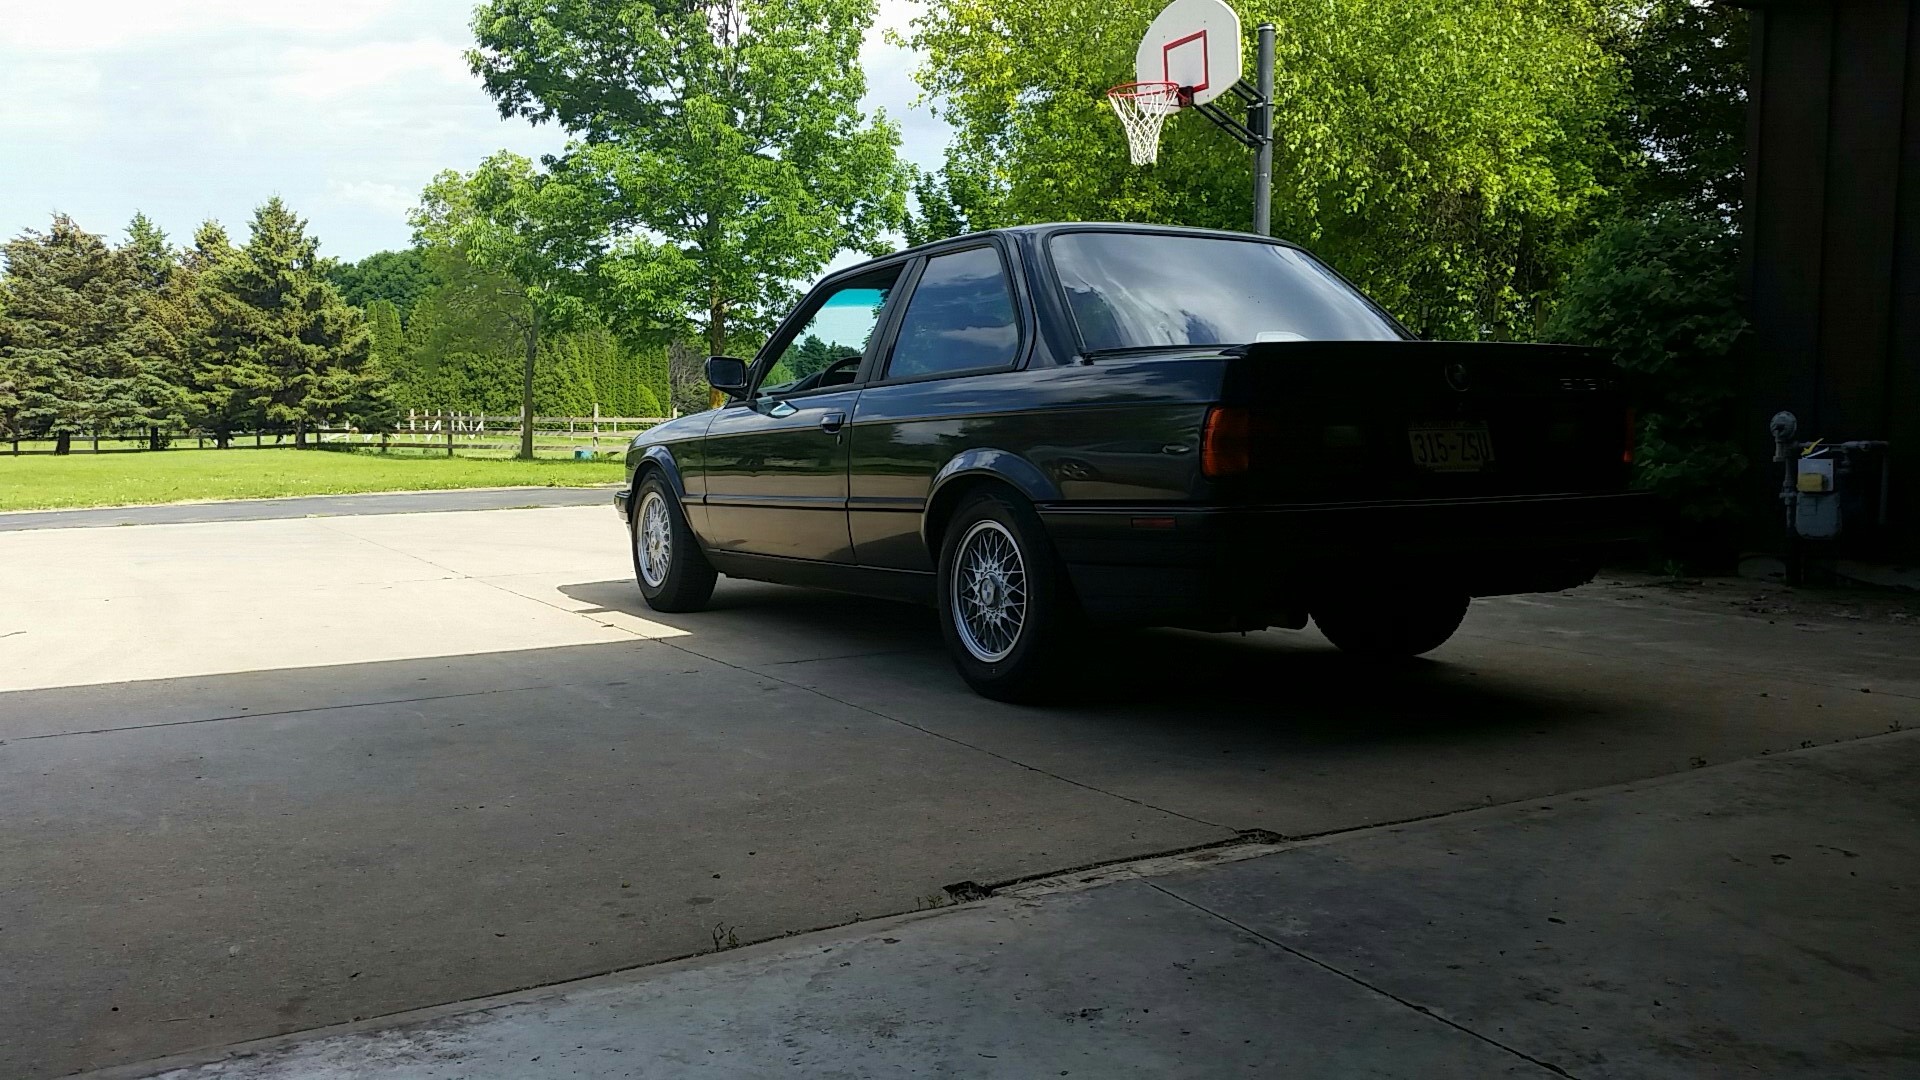
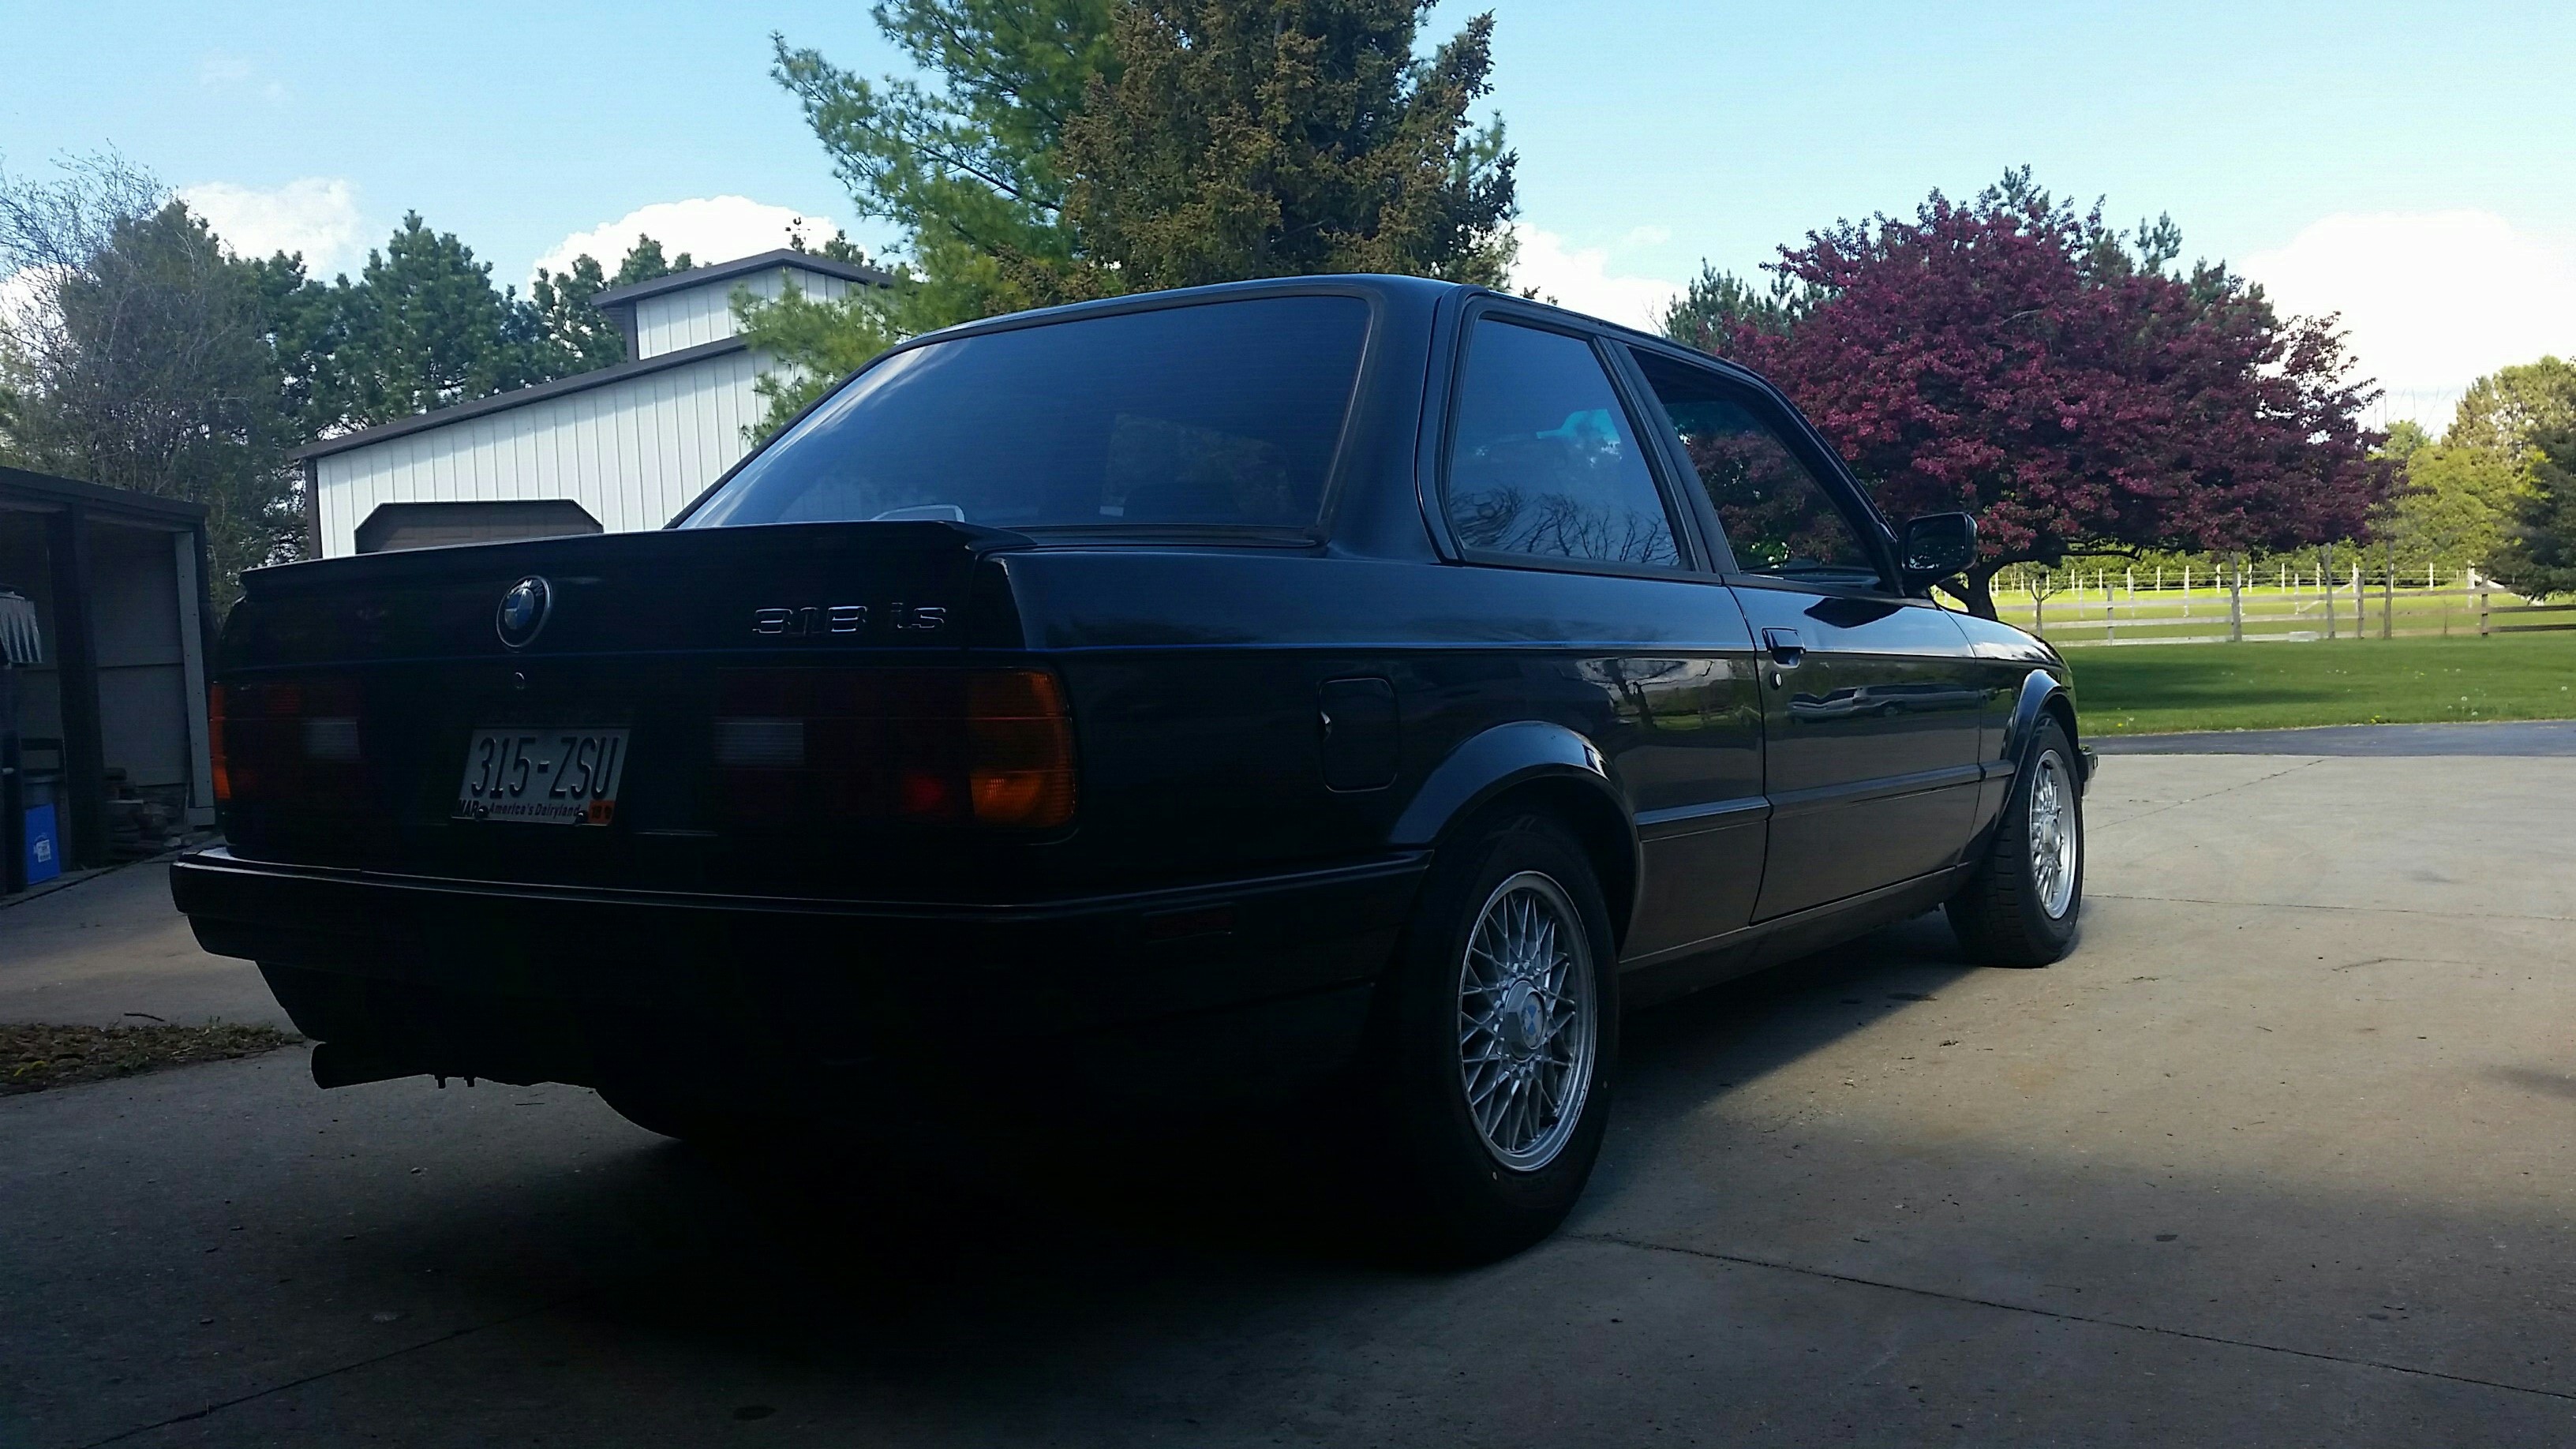
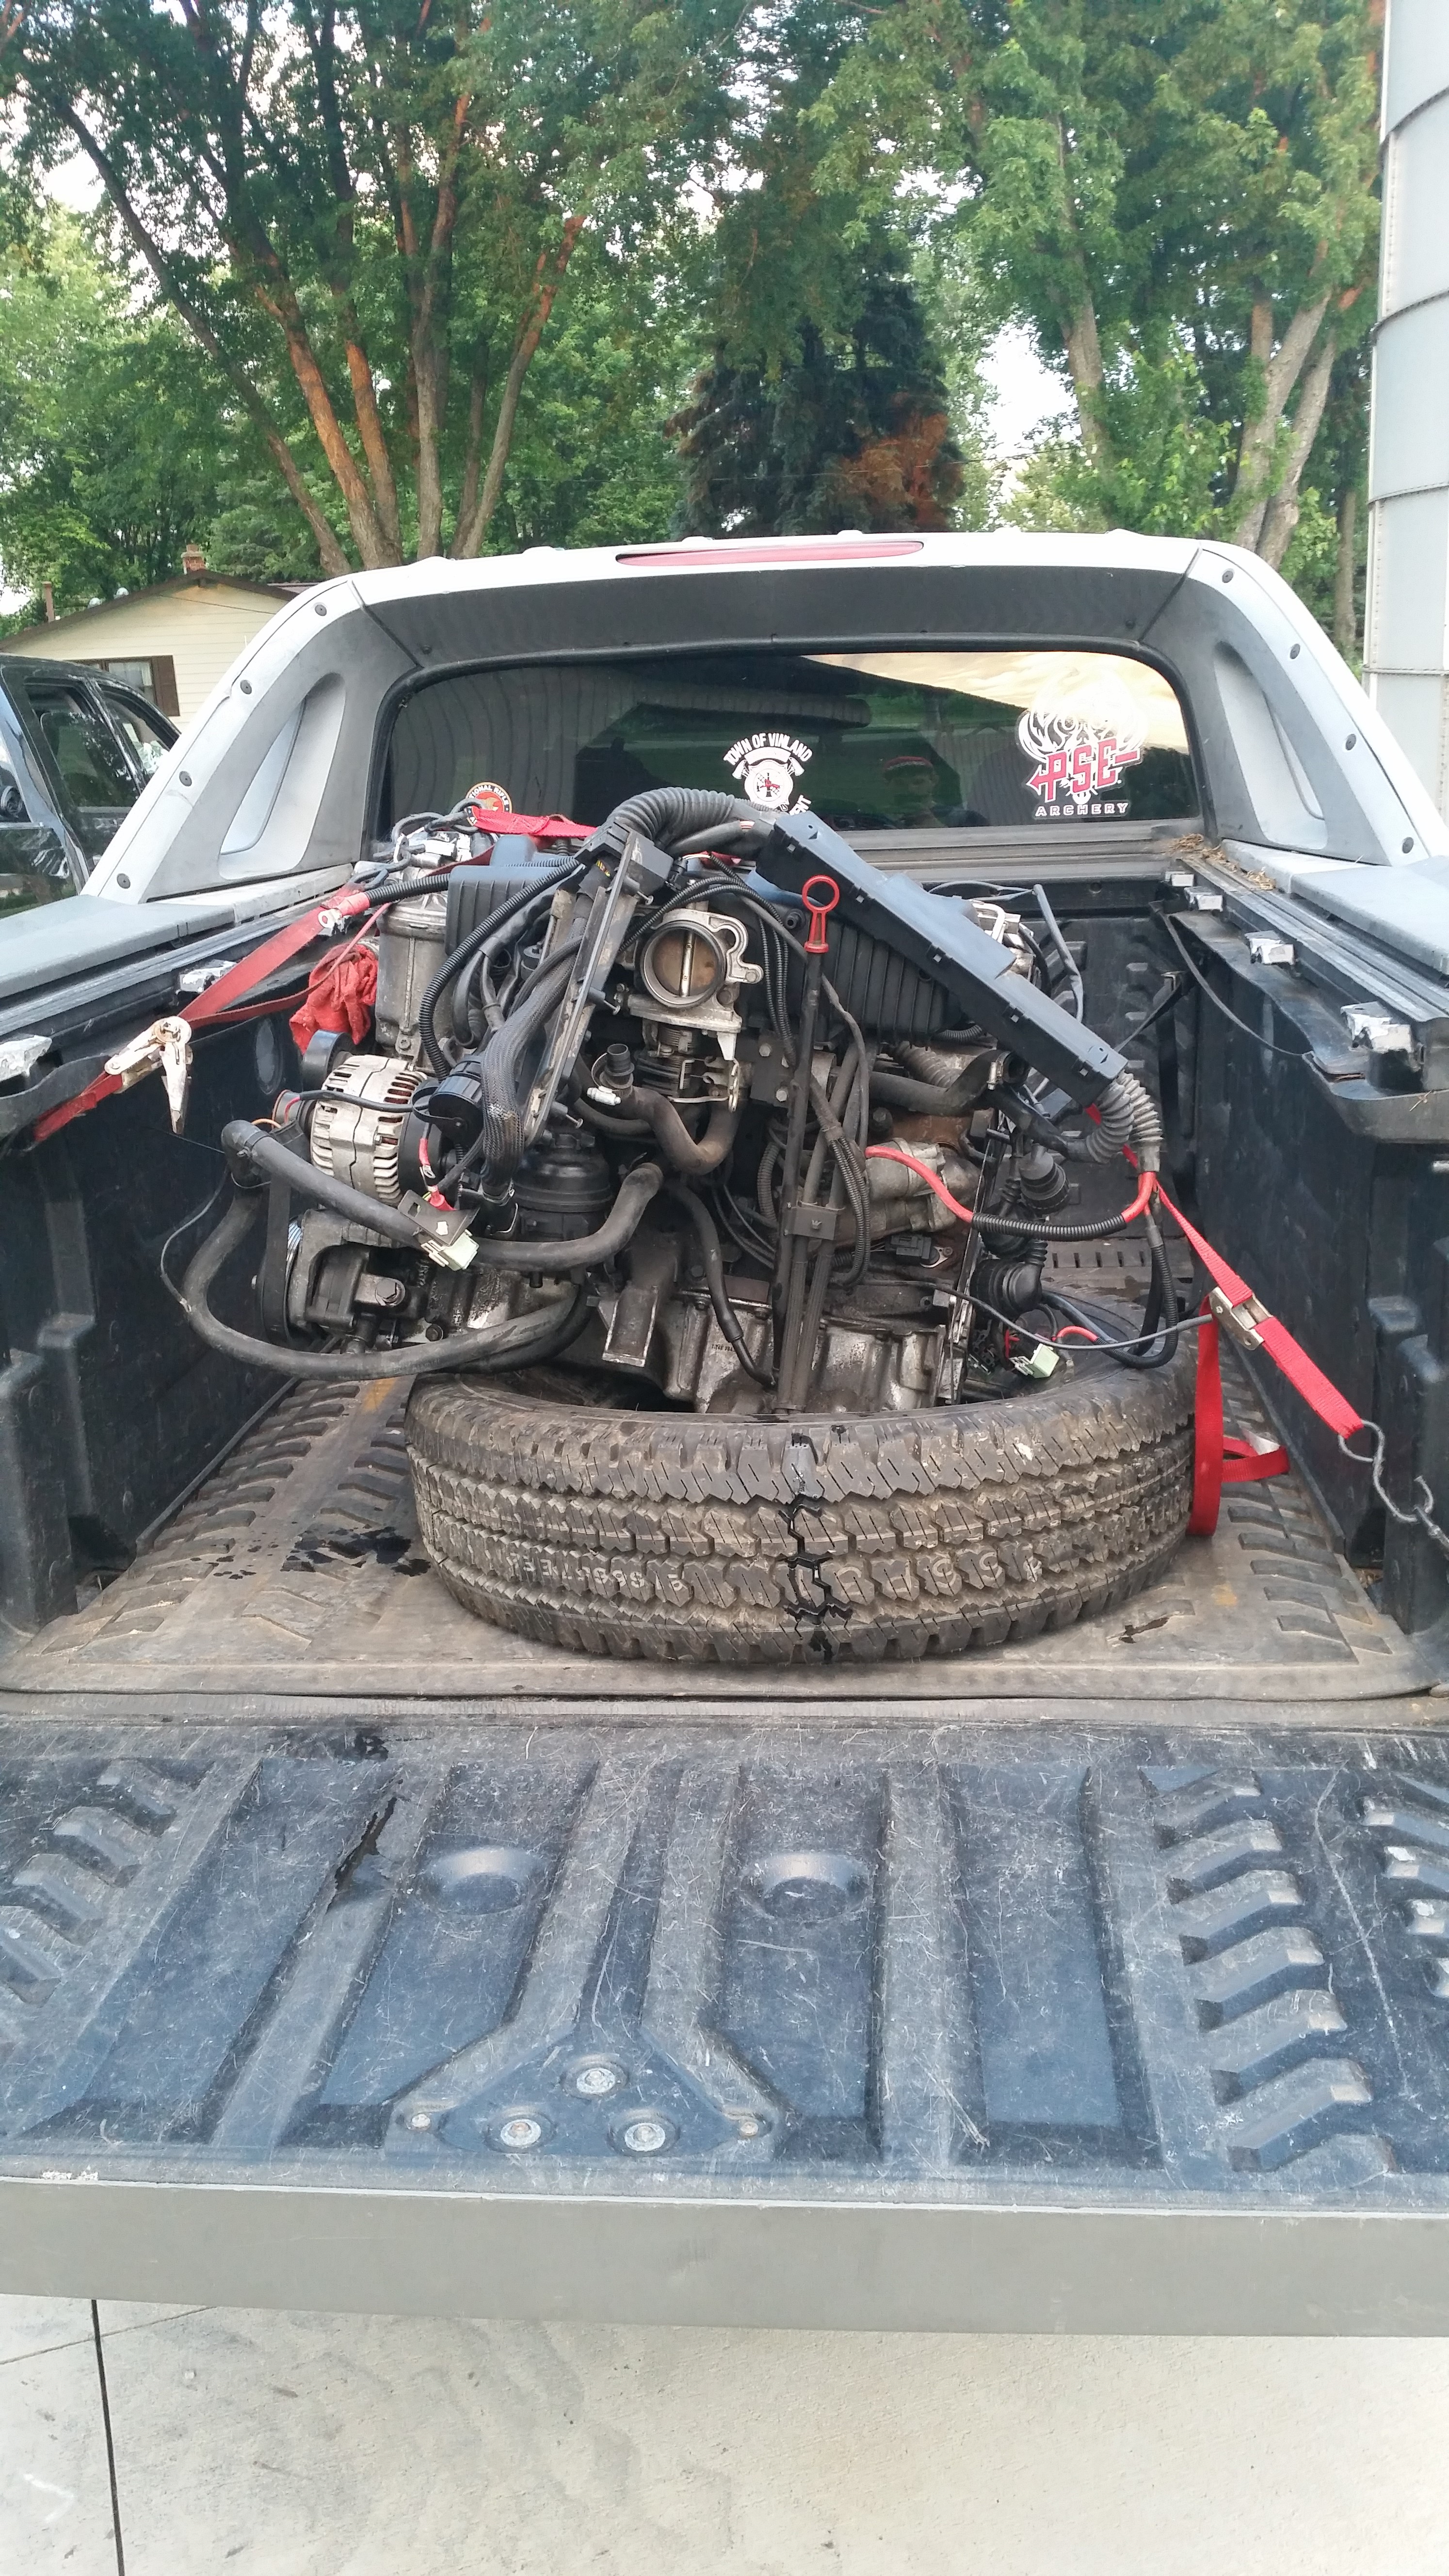
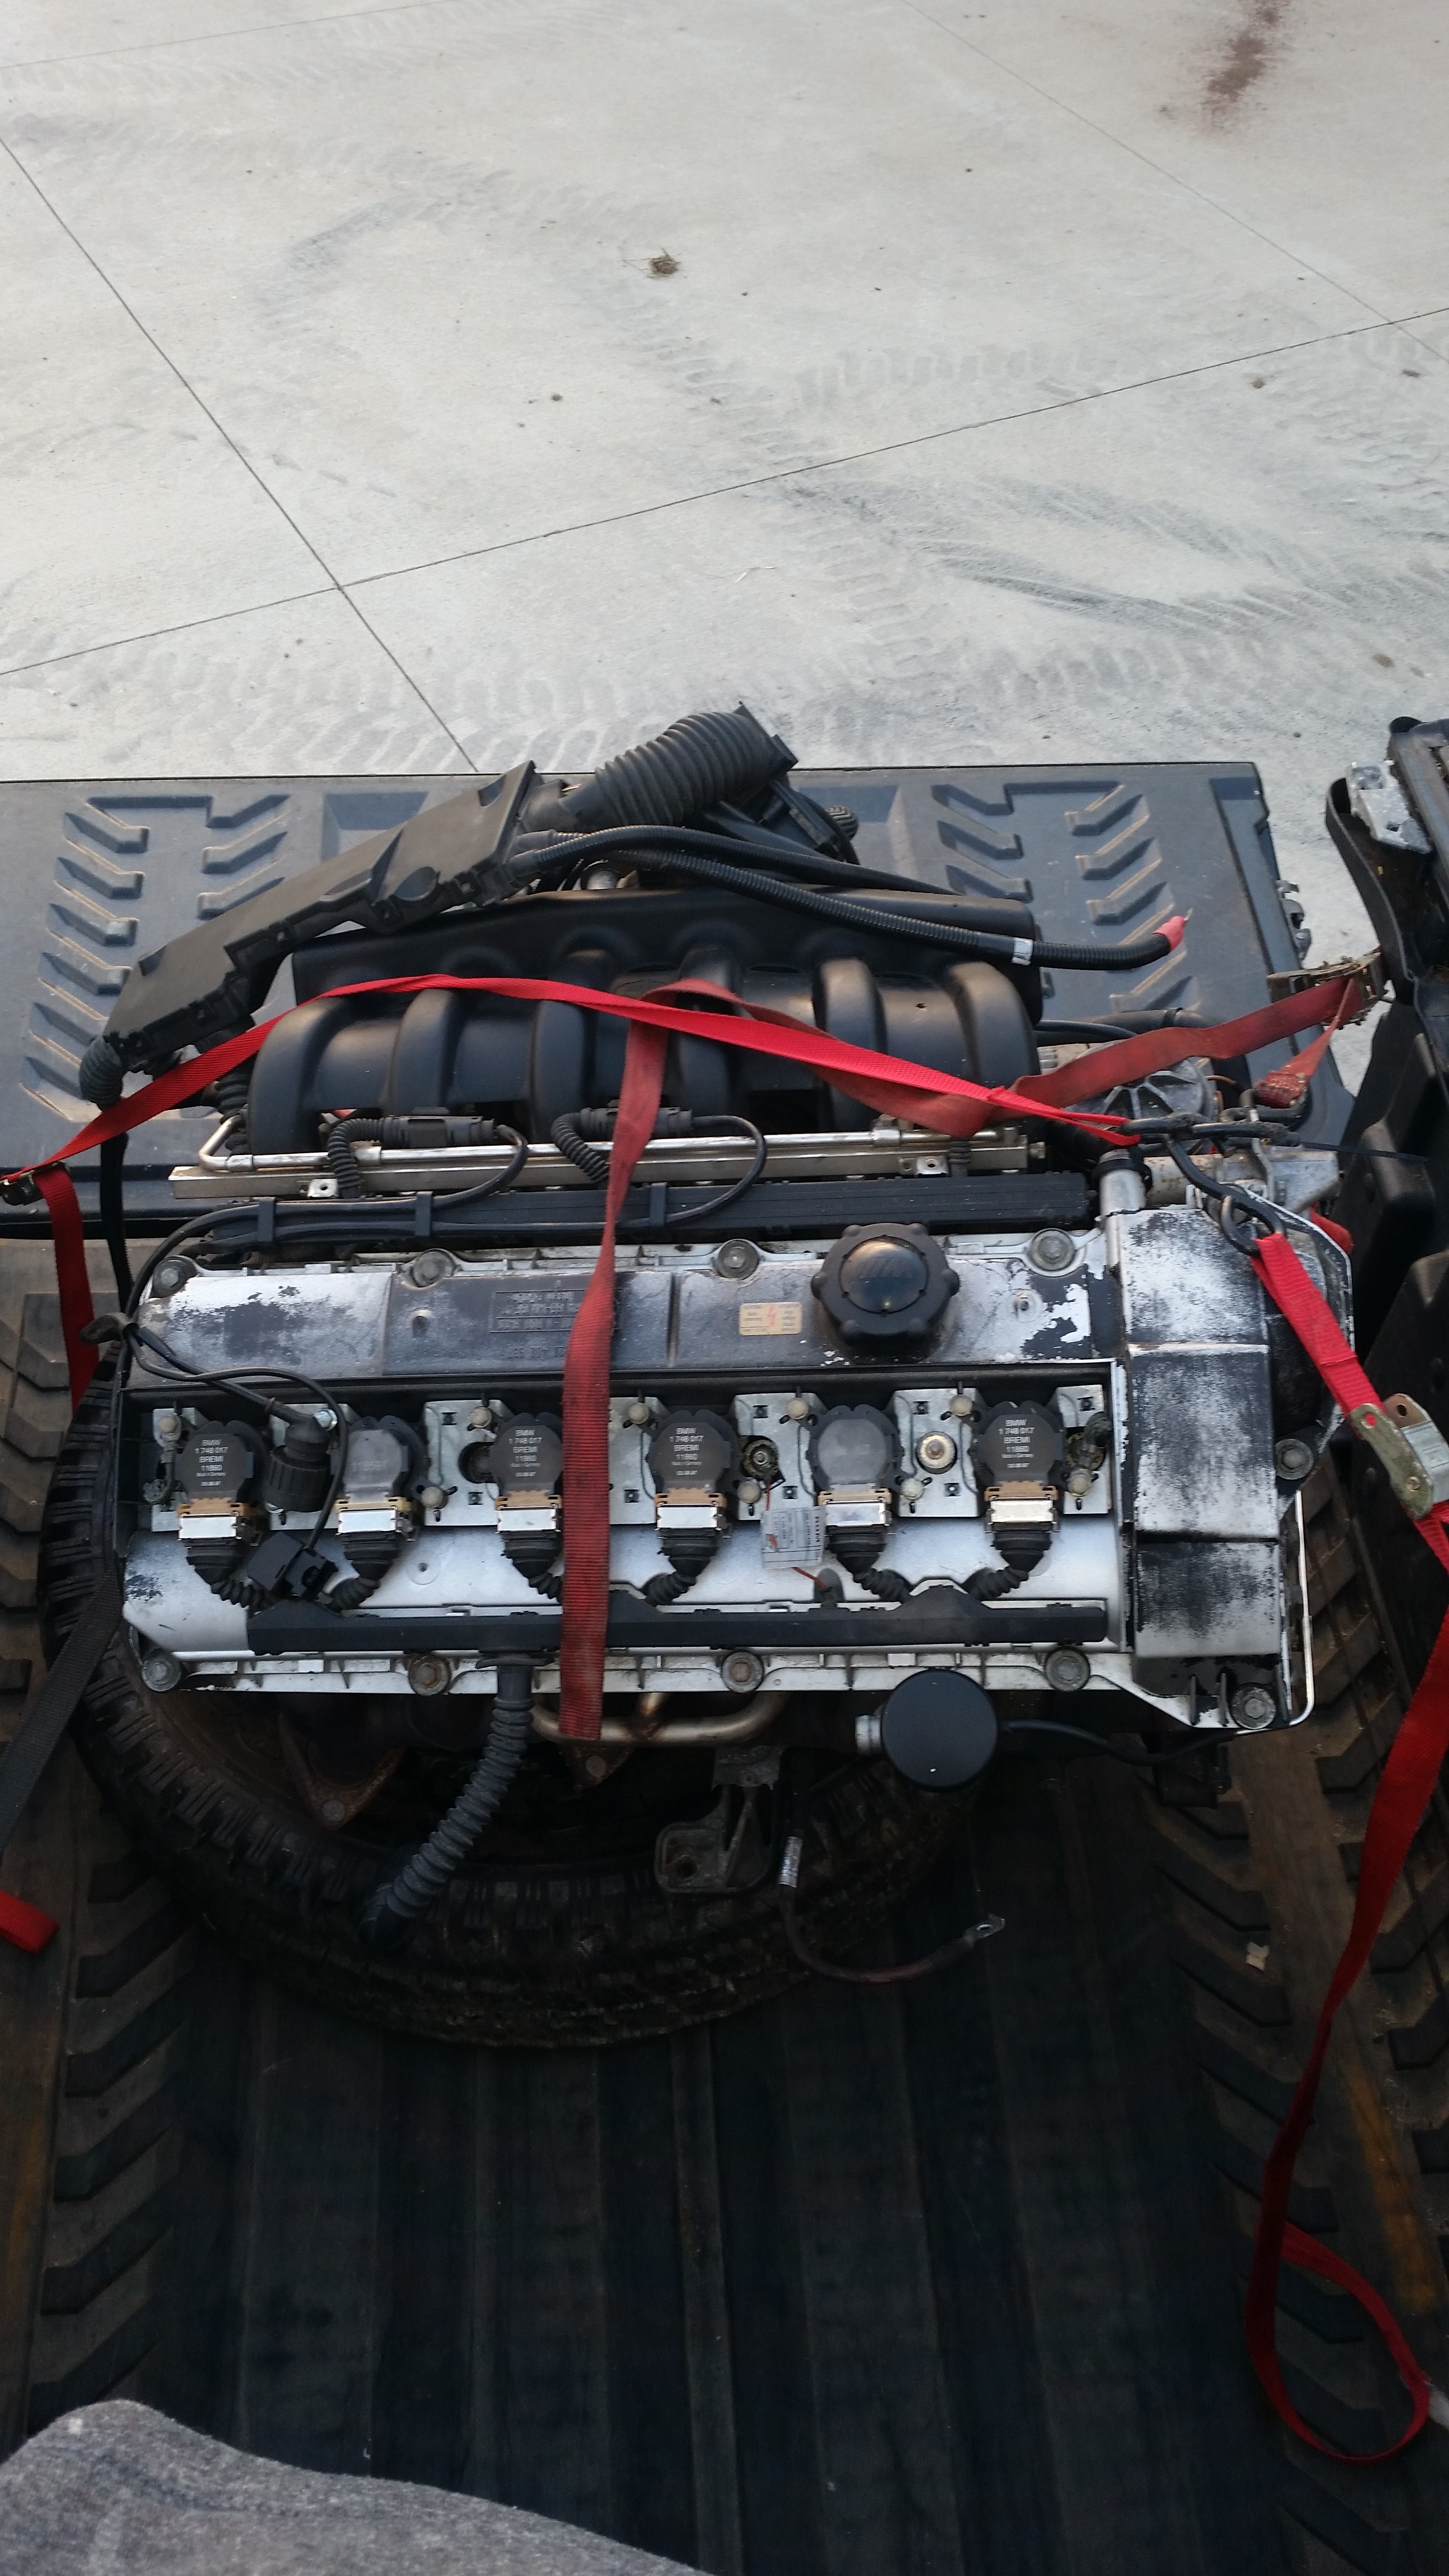
the one and only e30 s52 engine swap
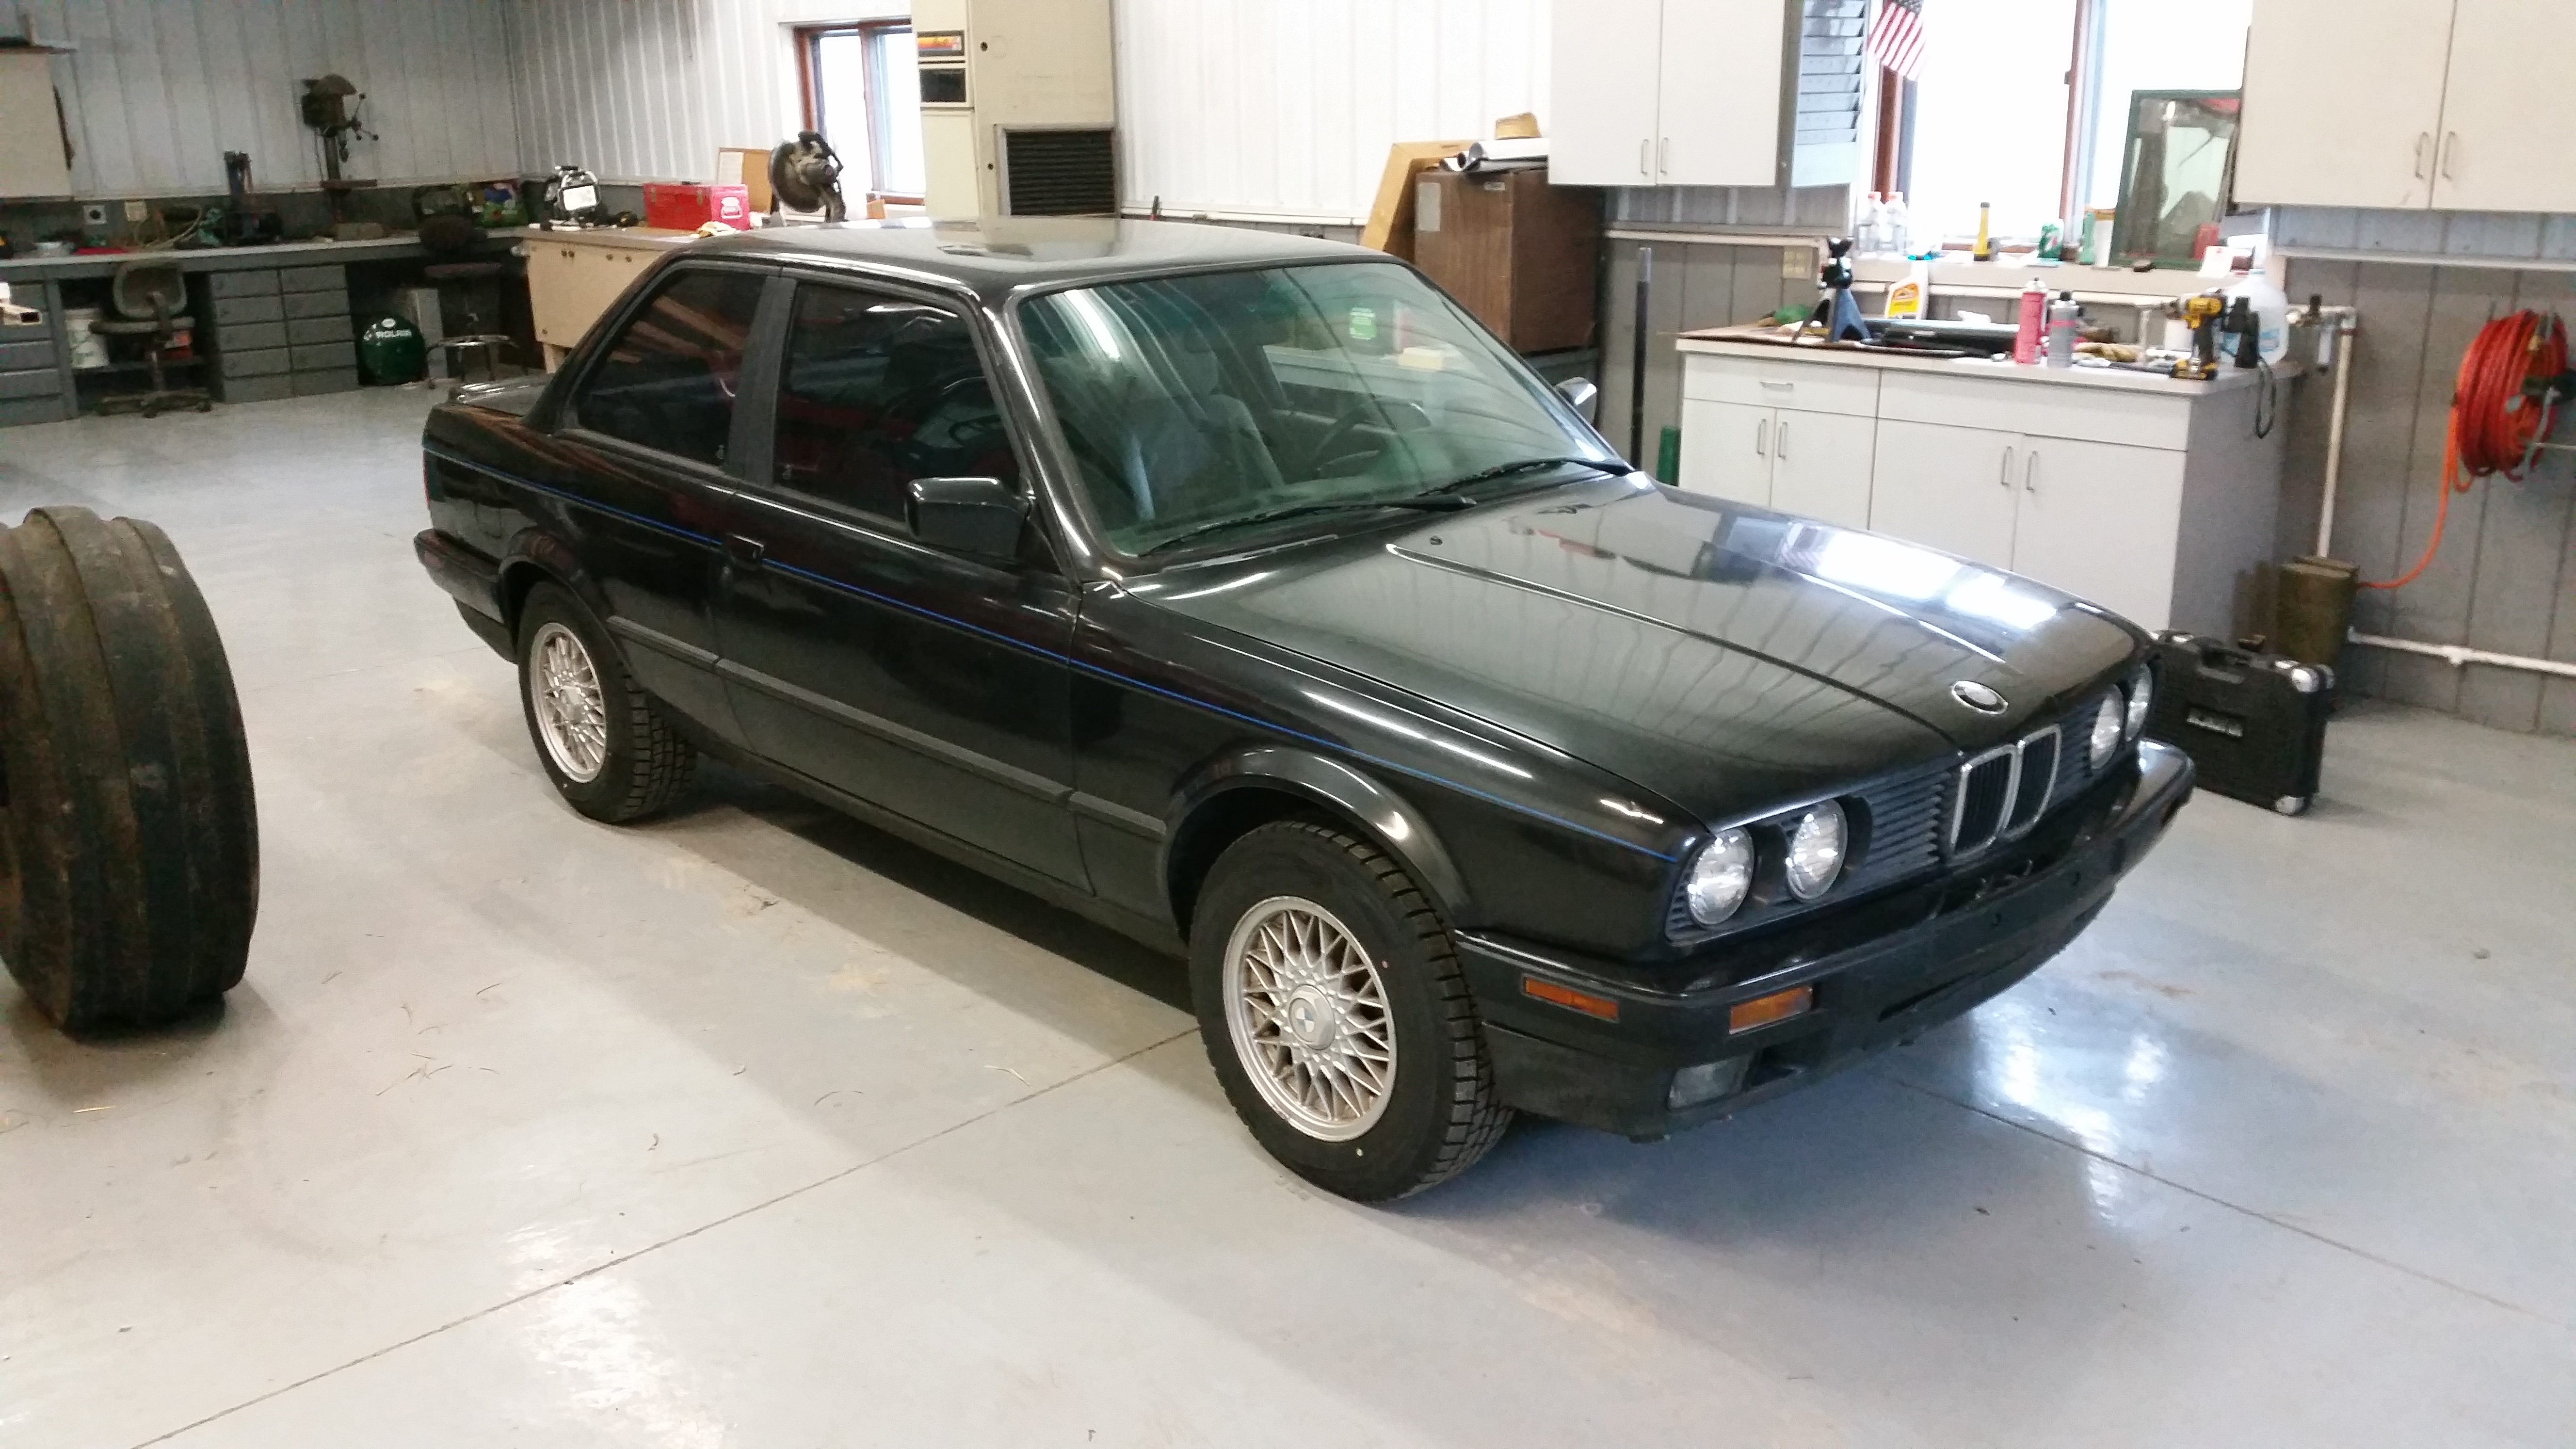
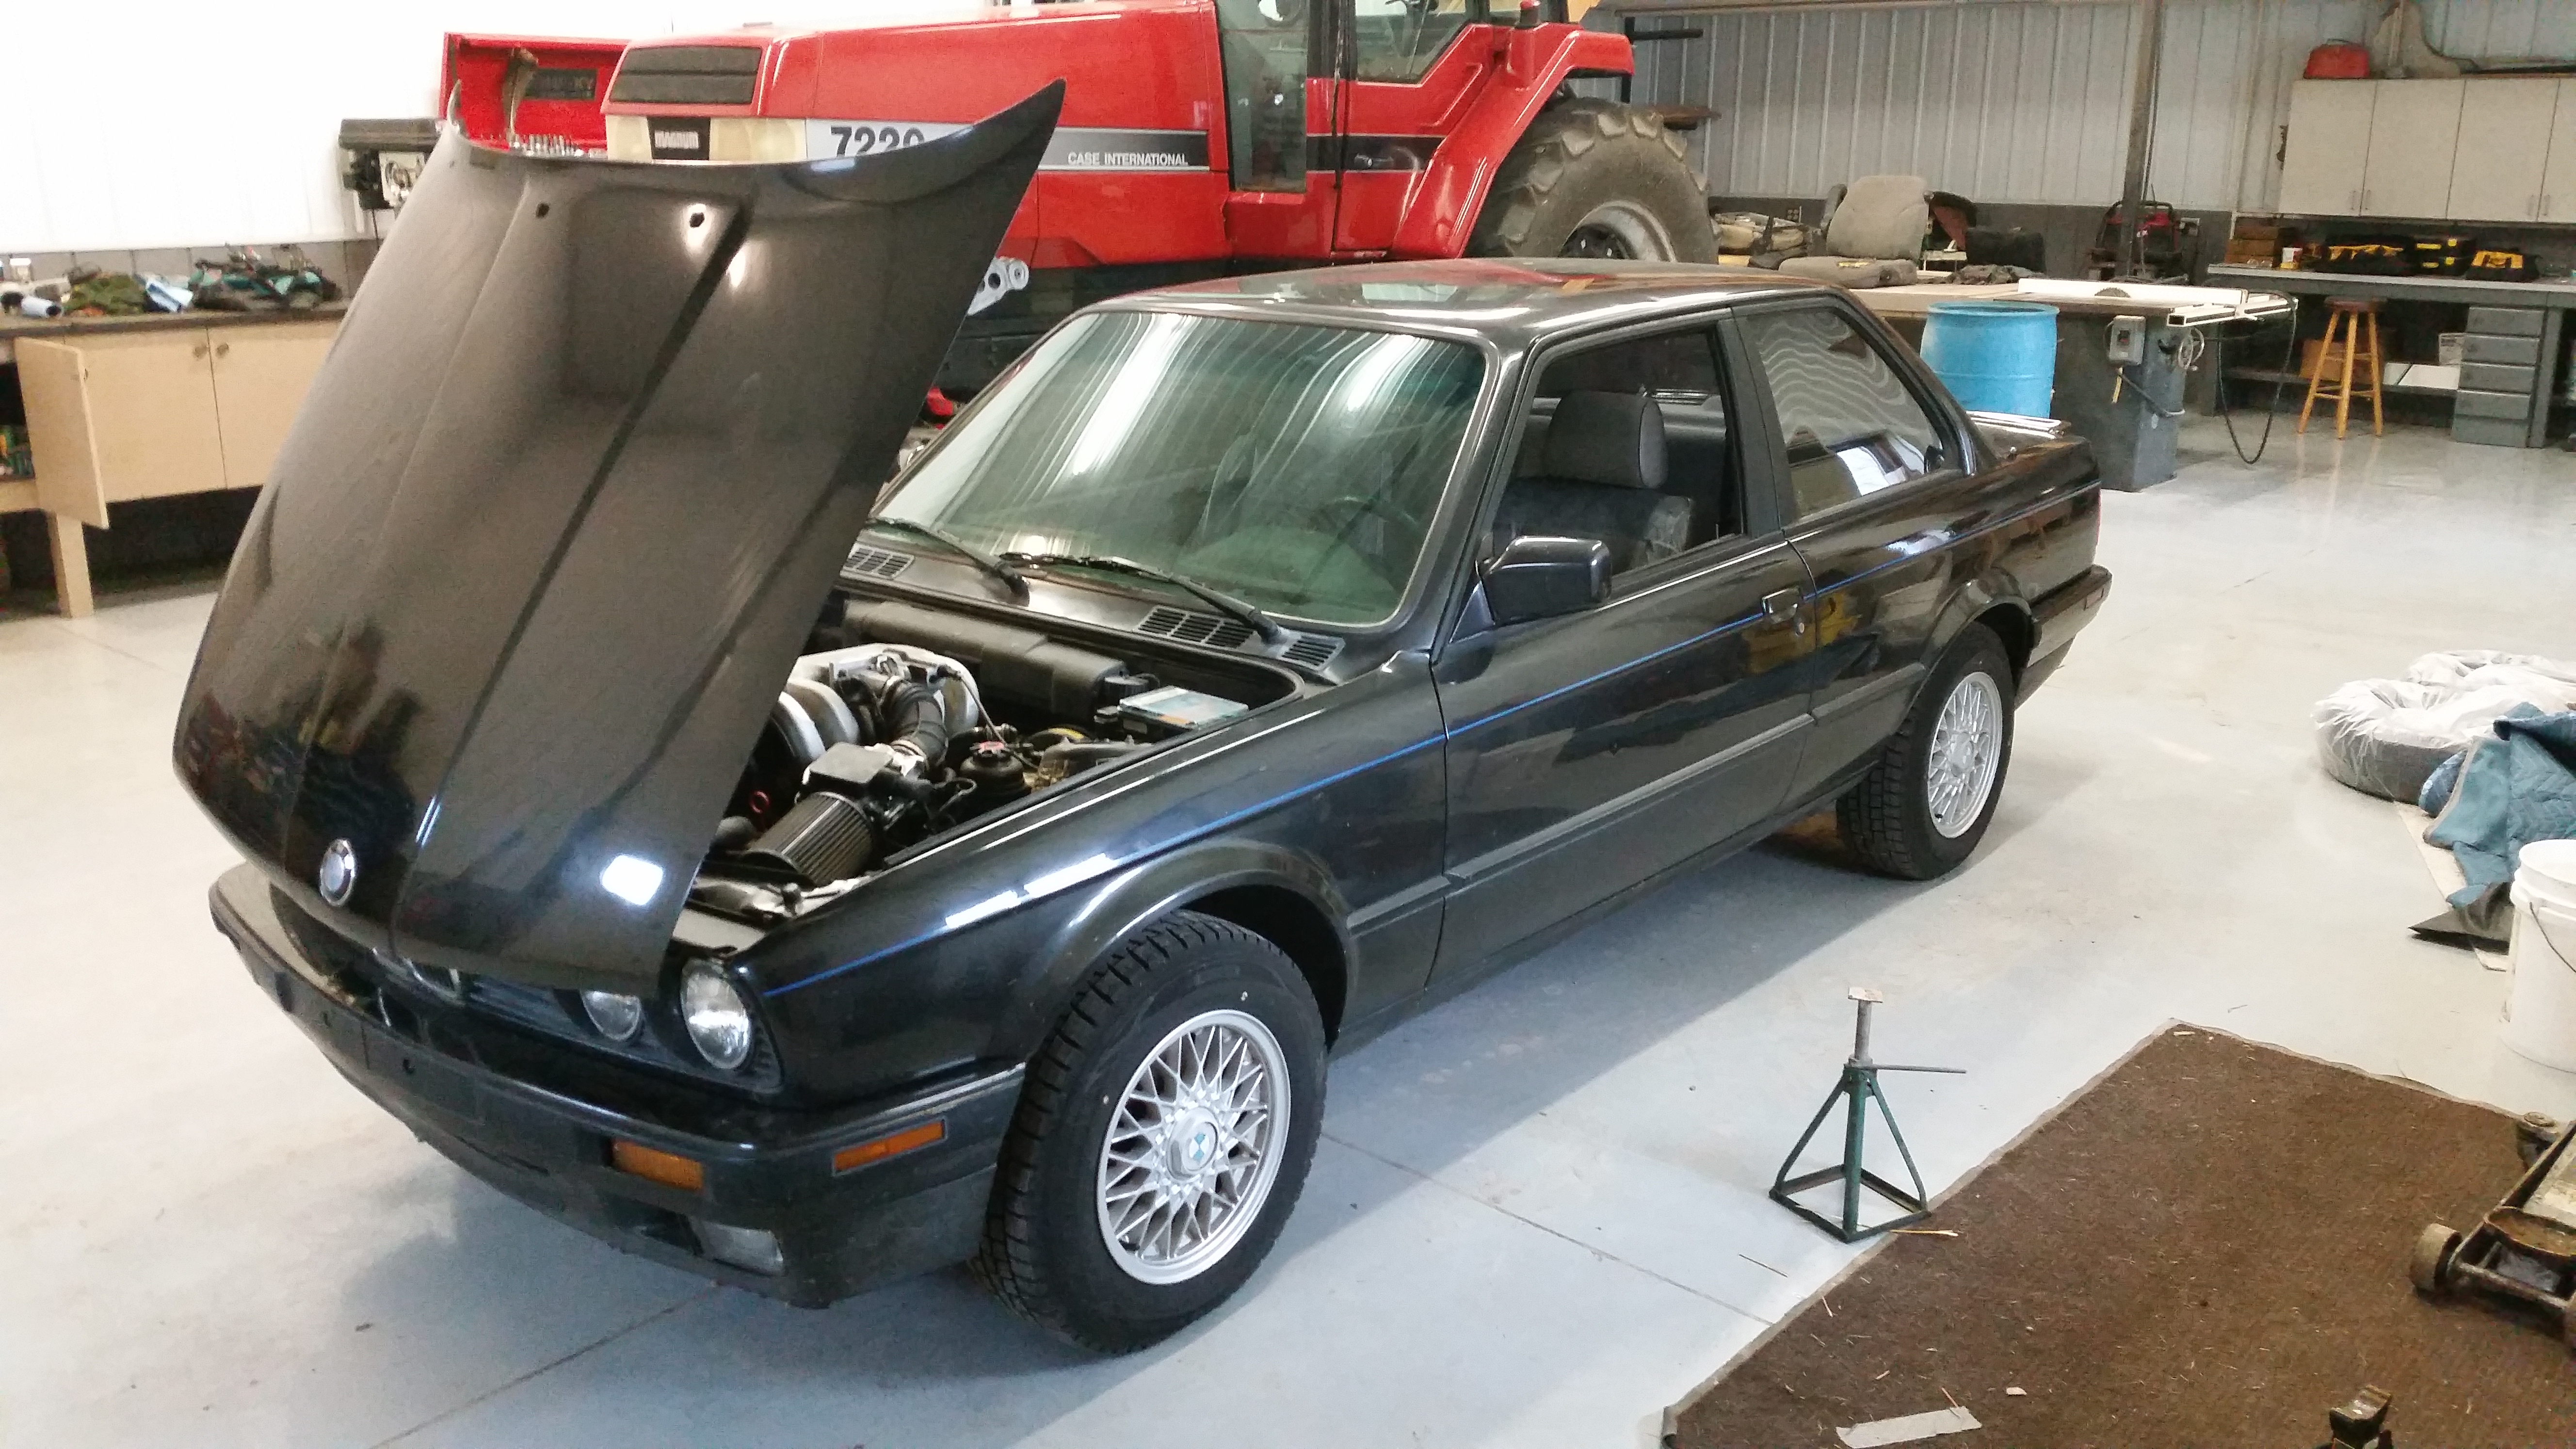
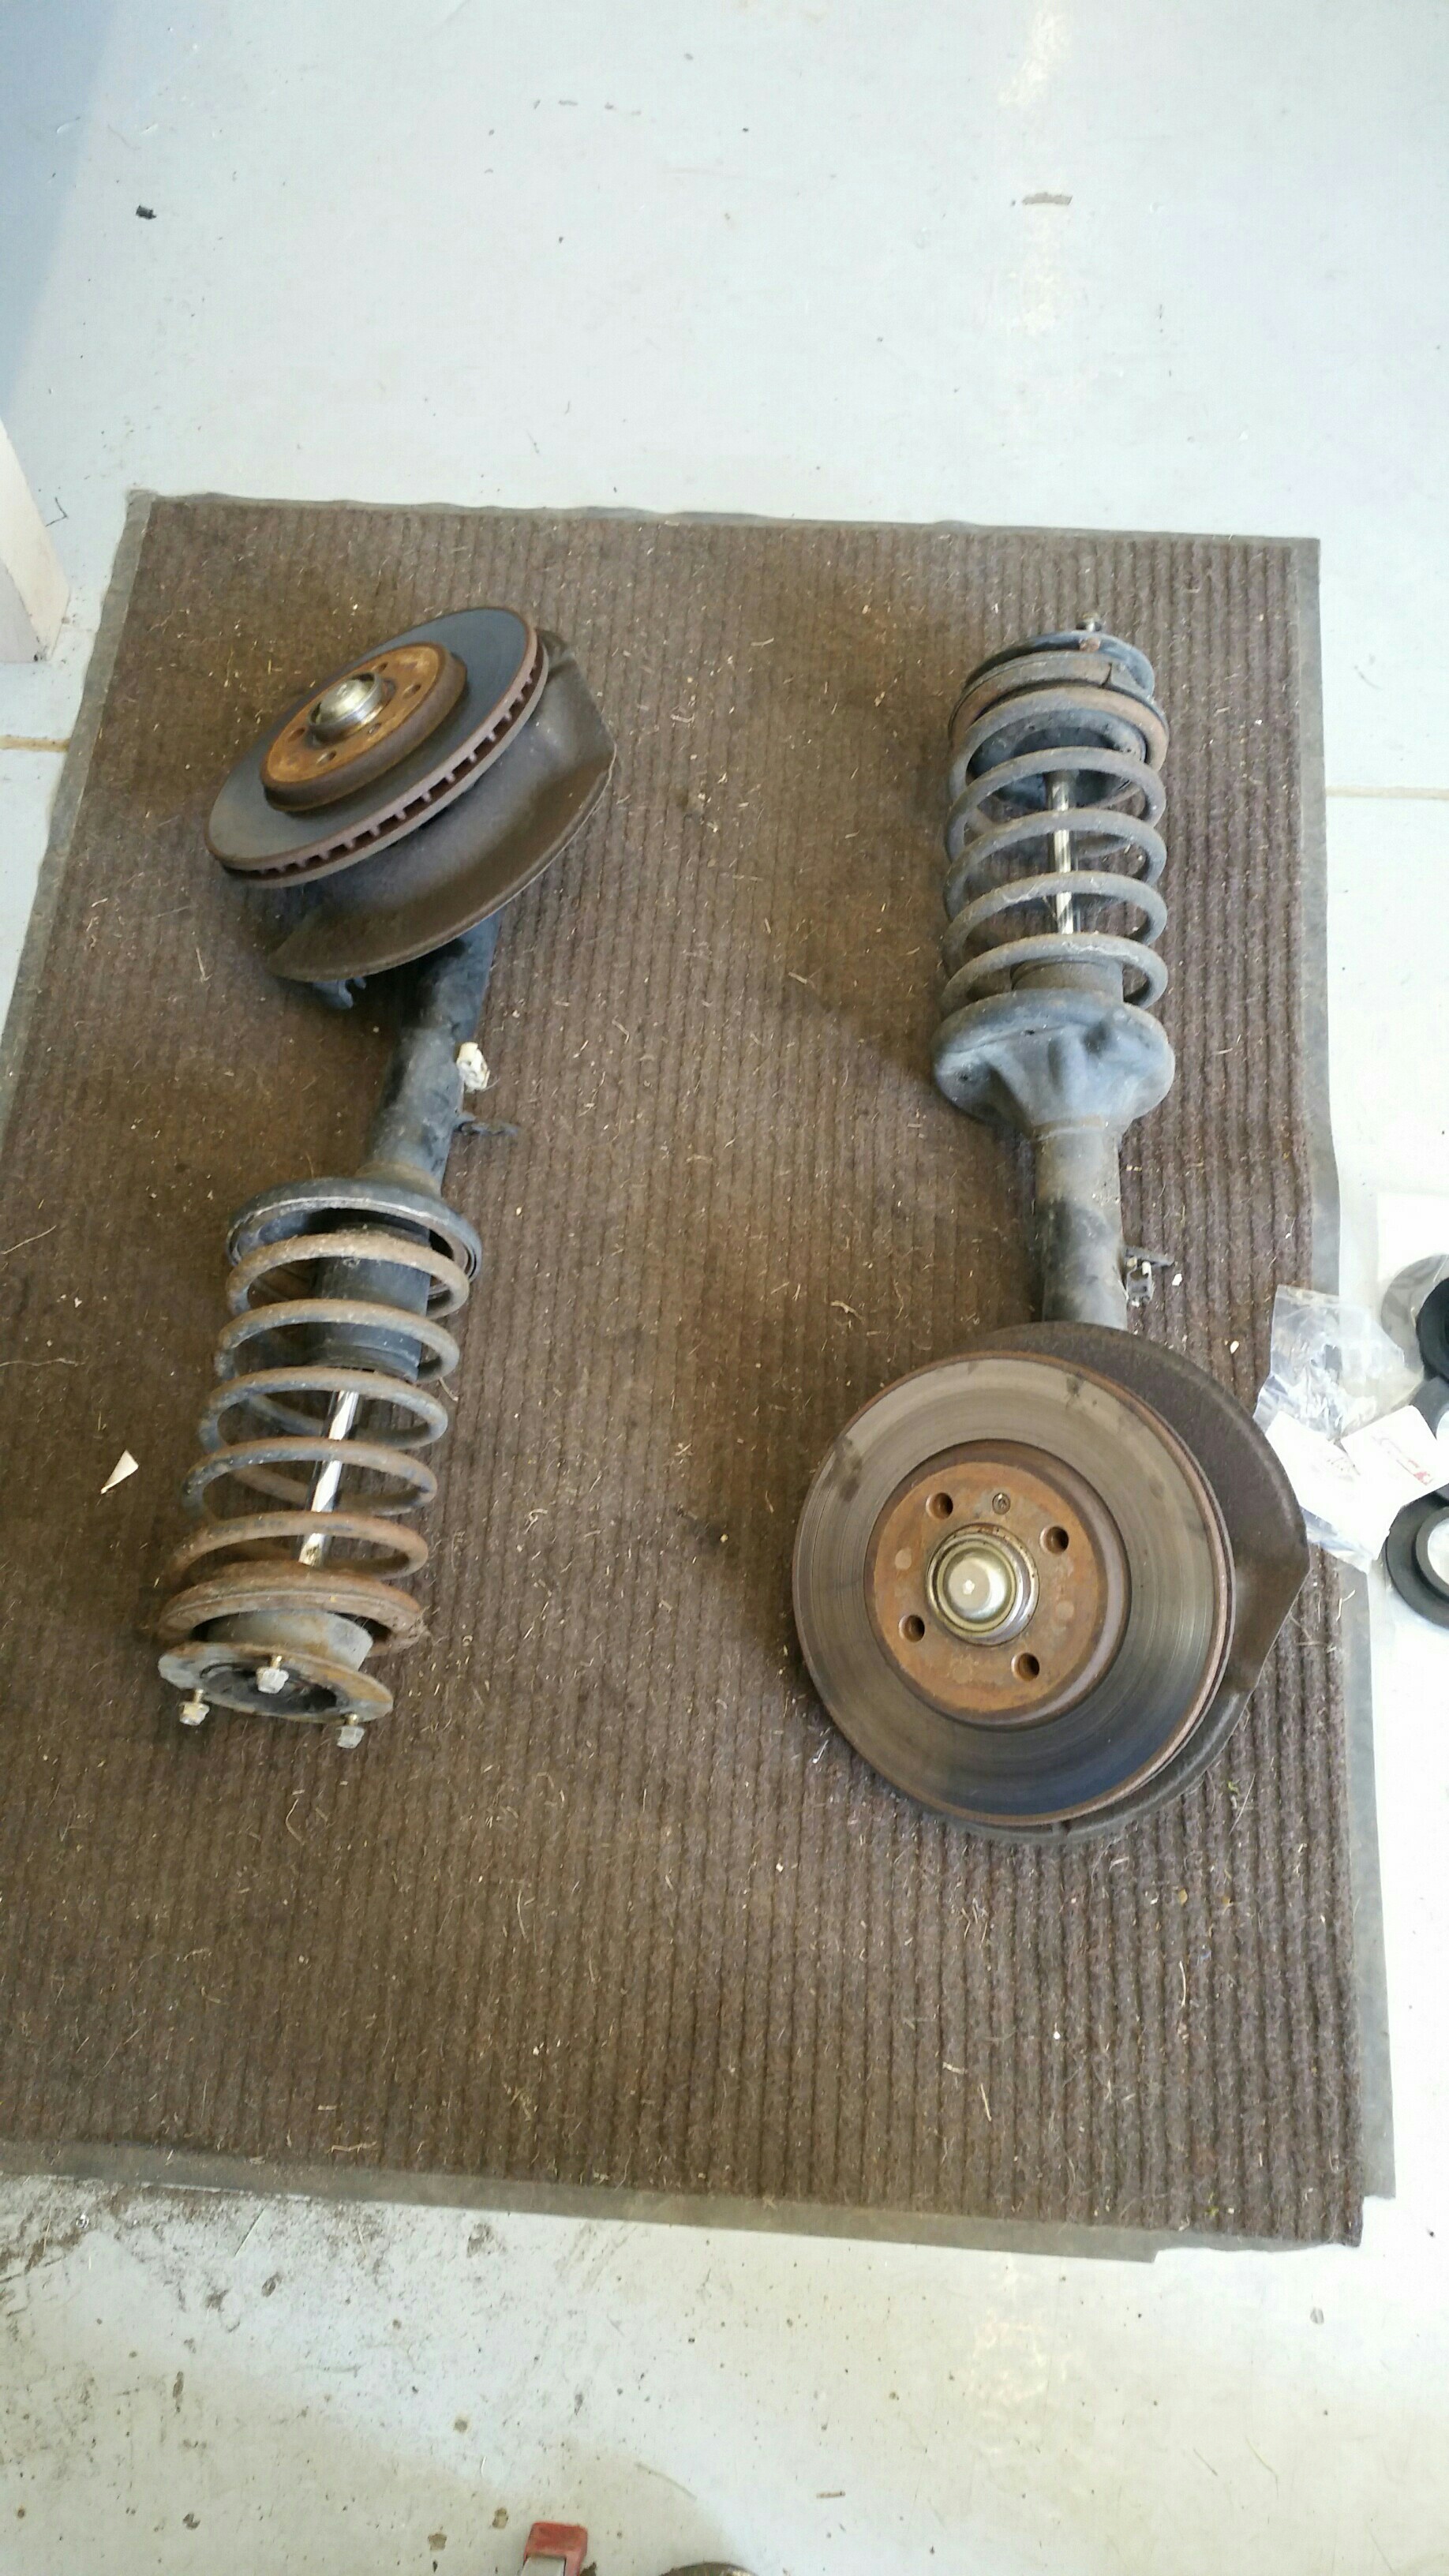
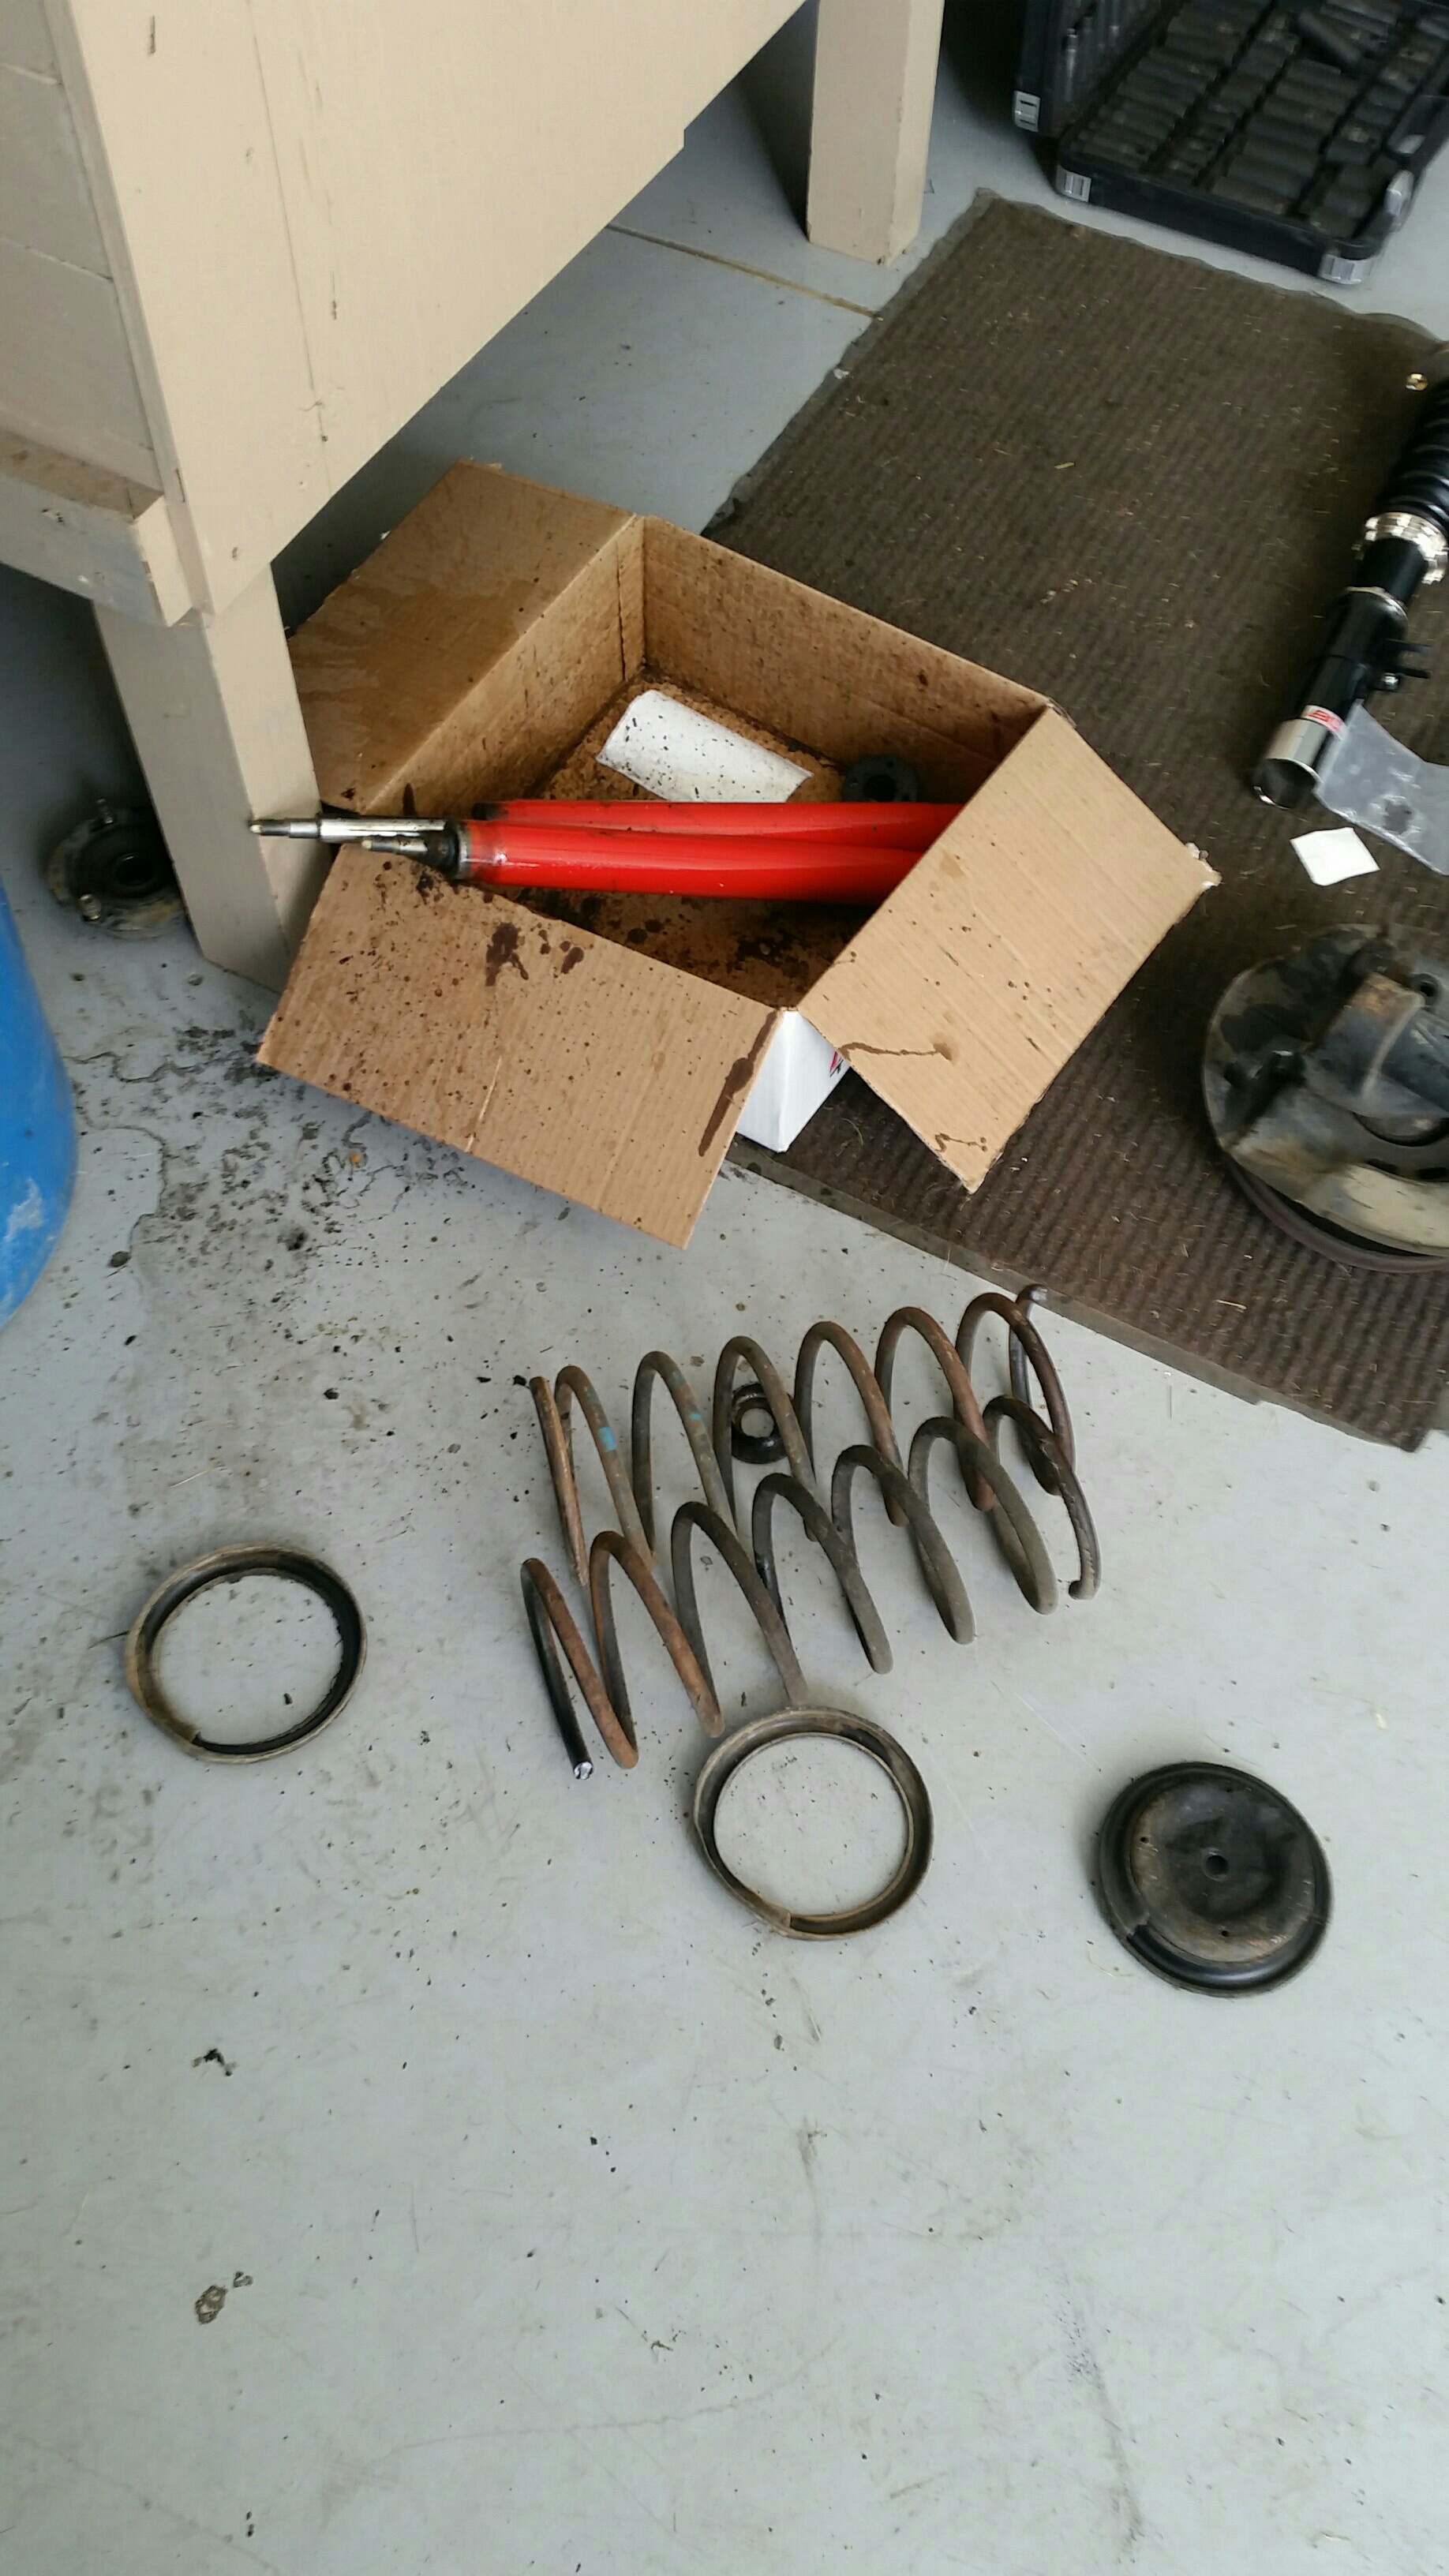
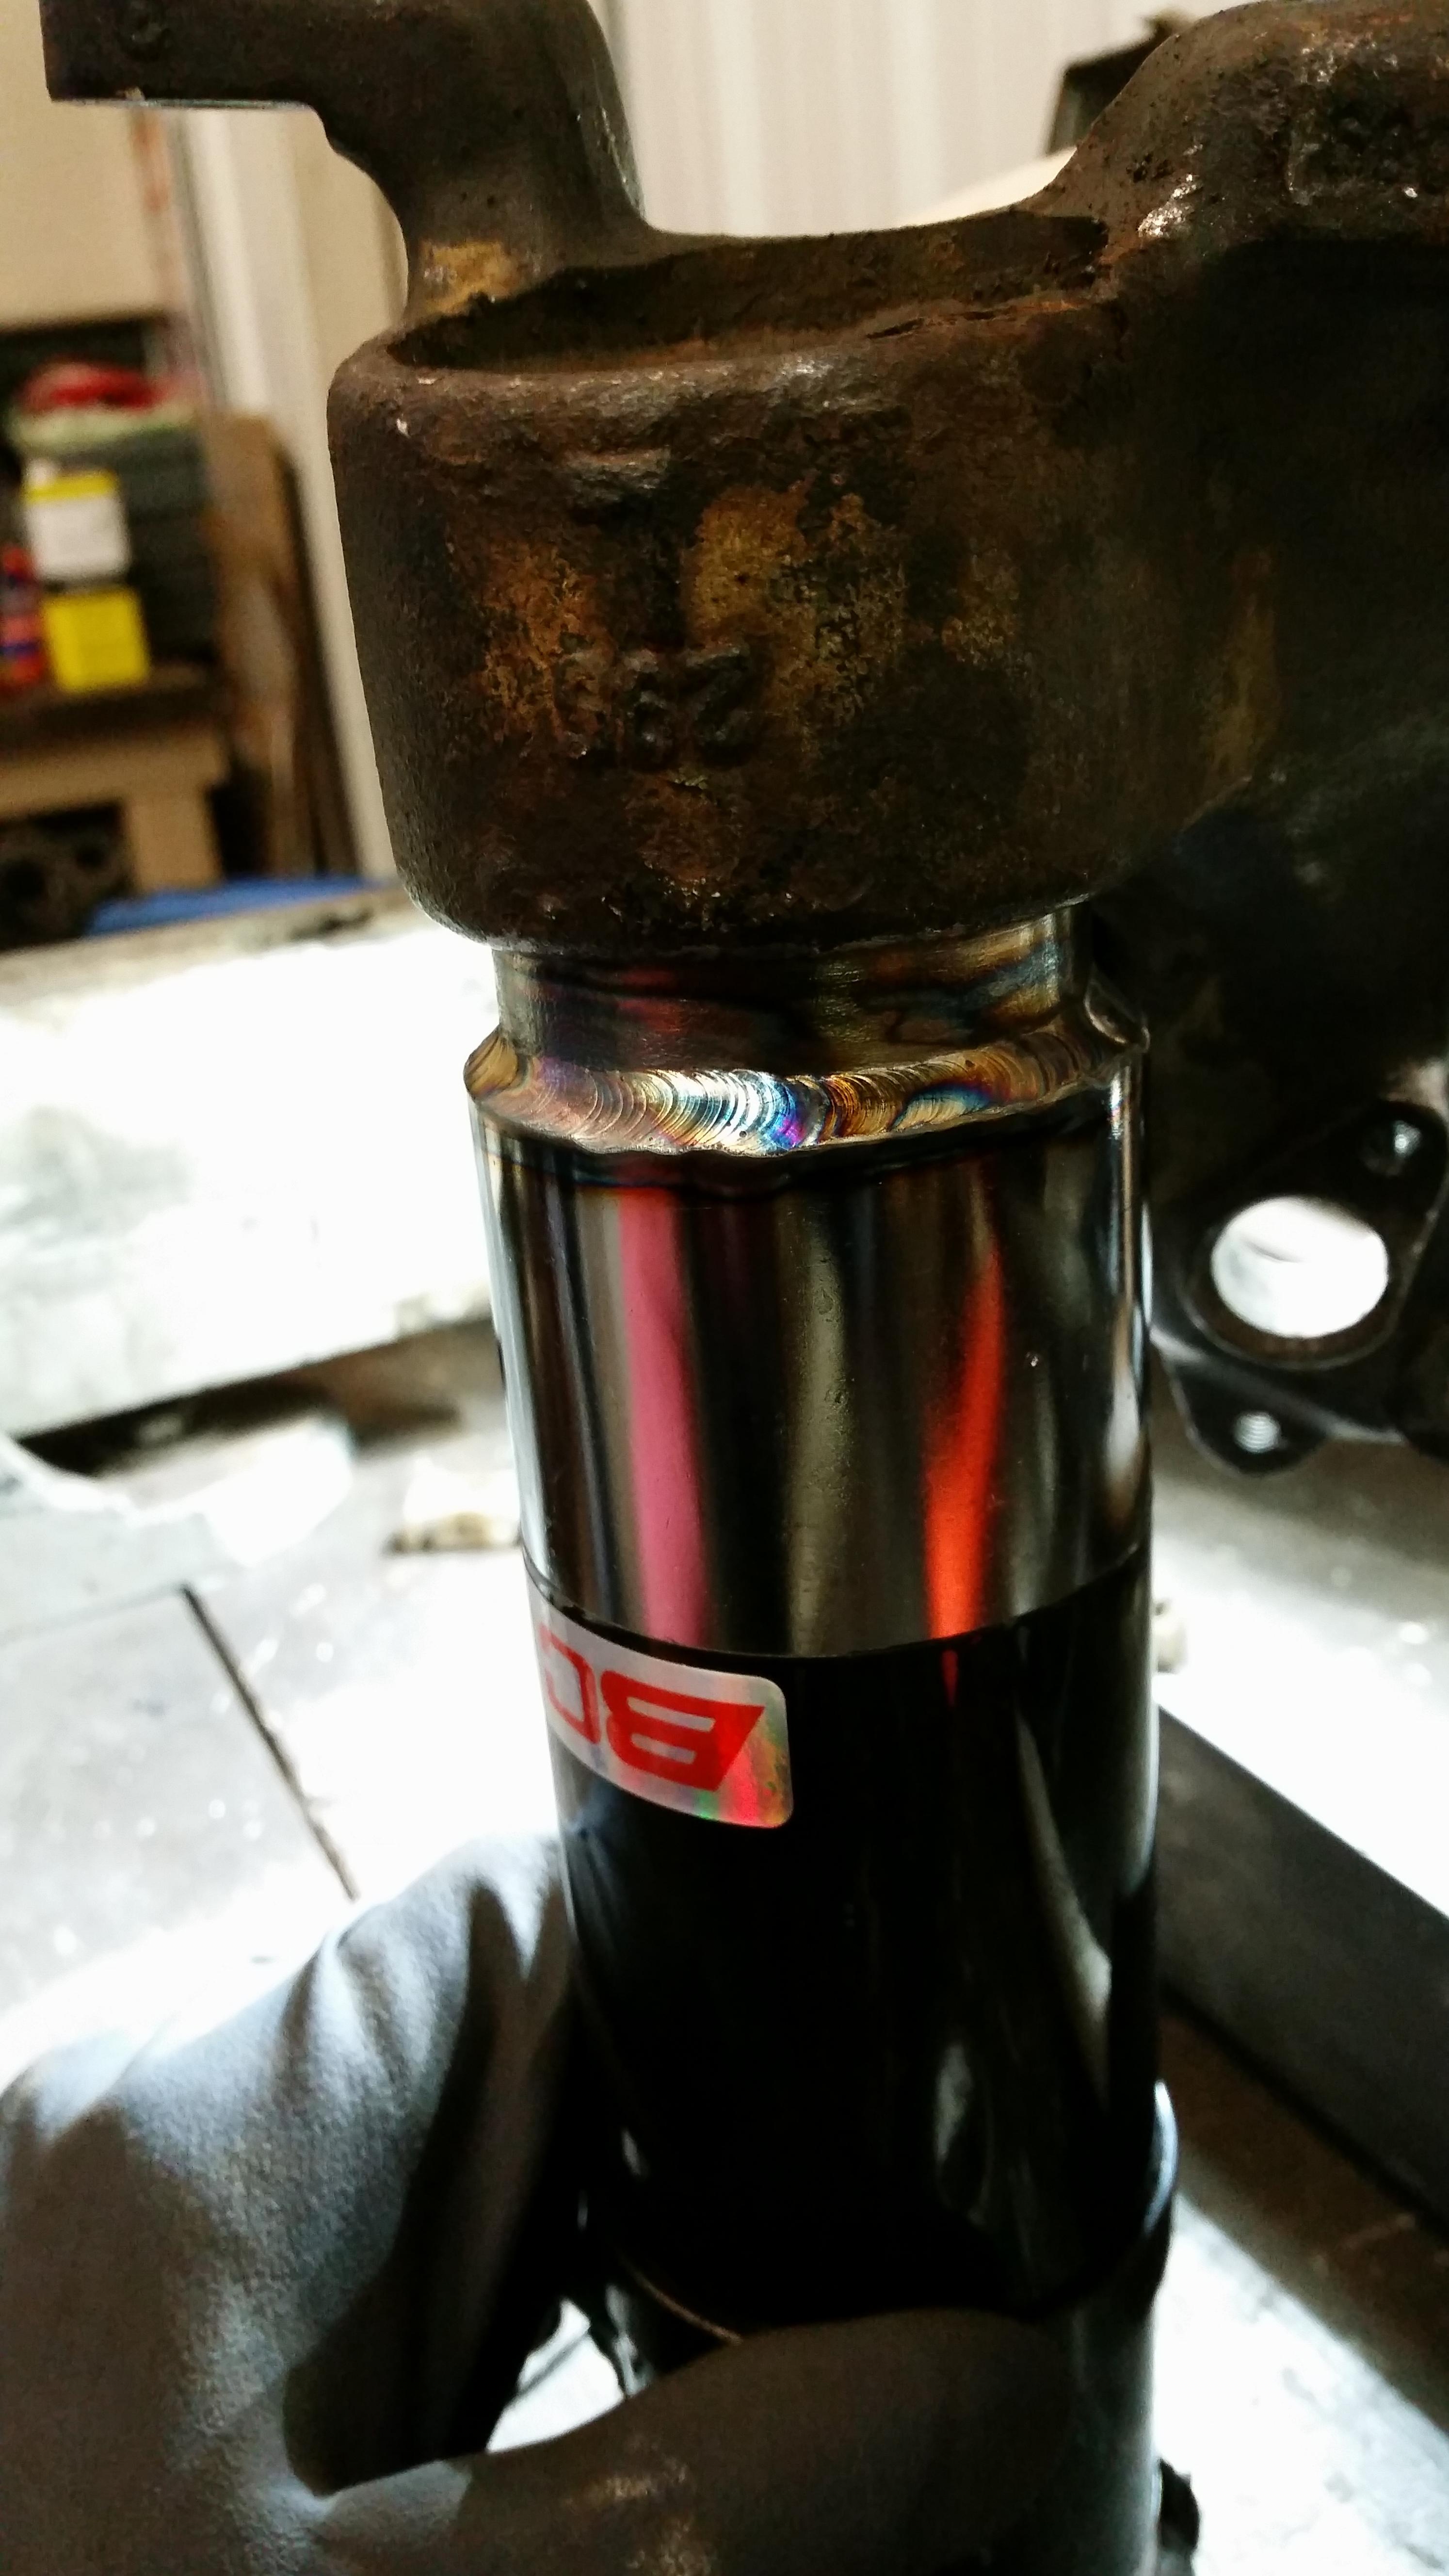
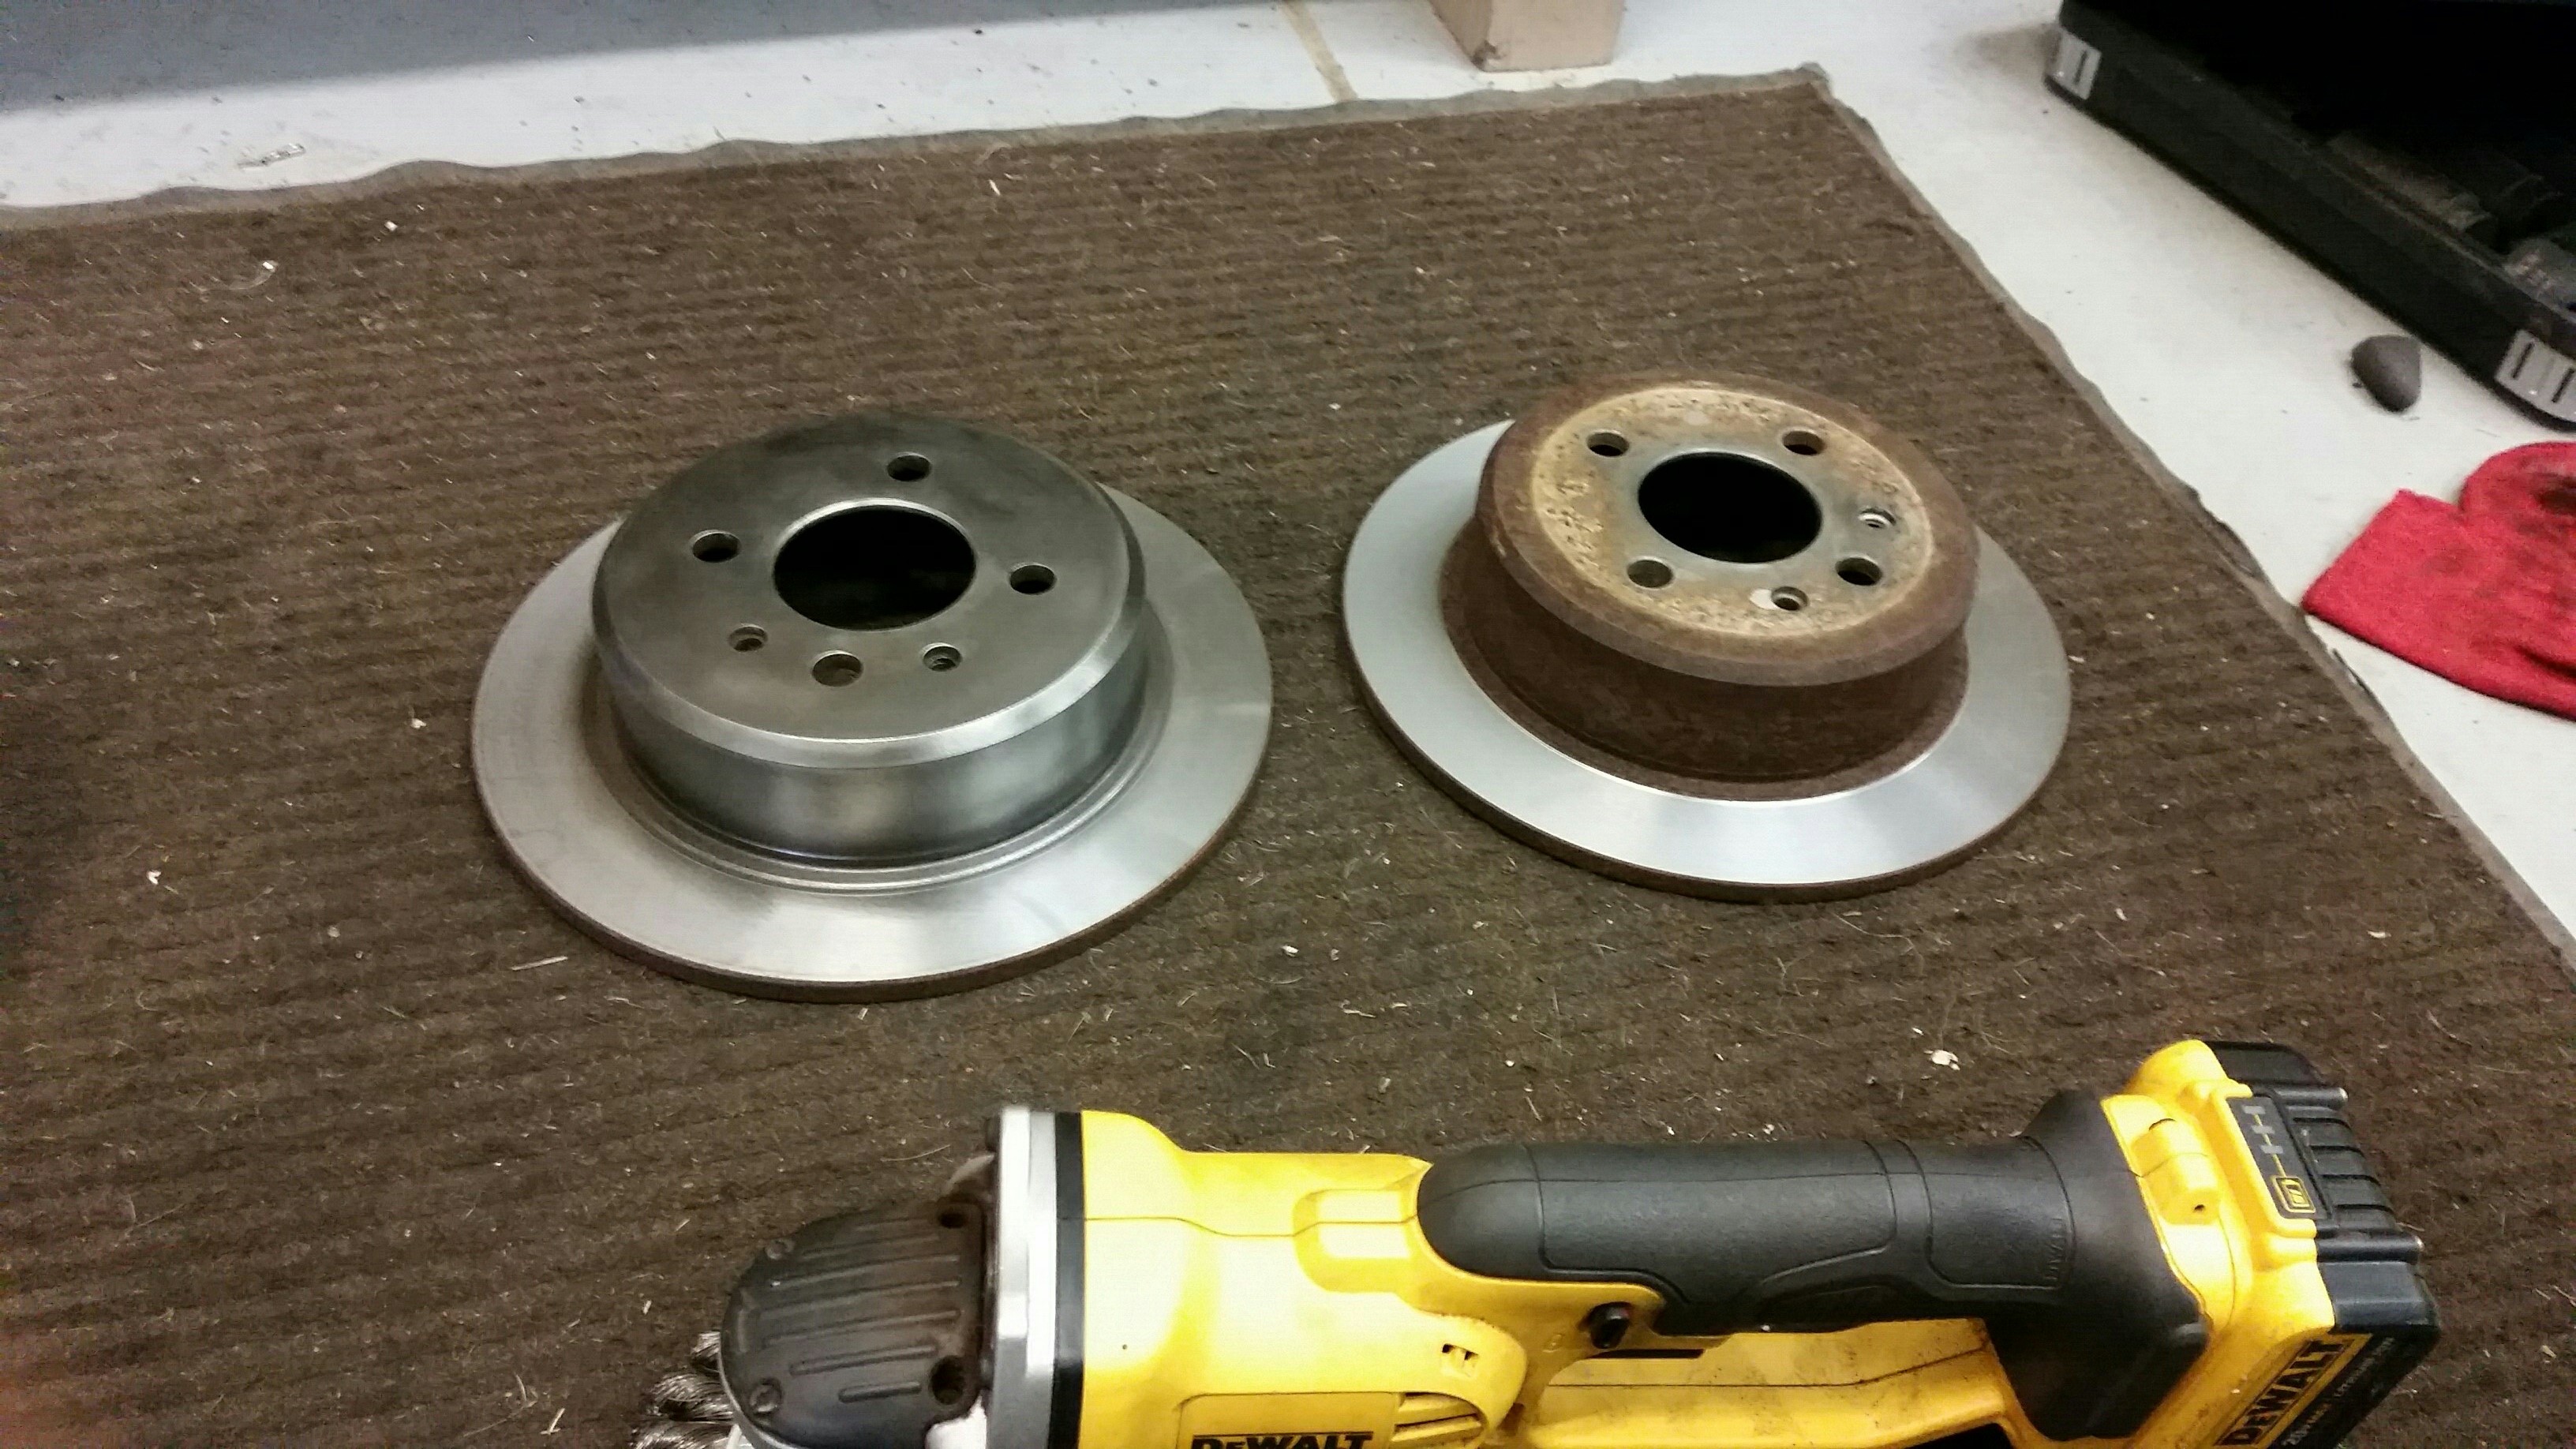
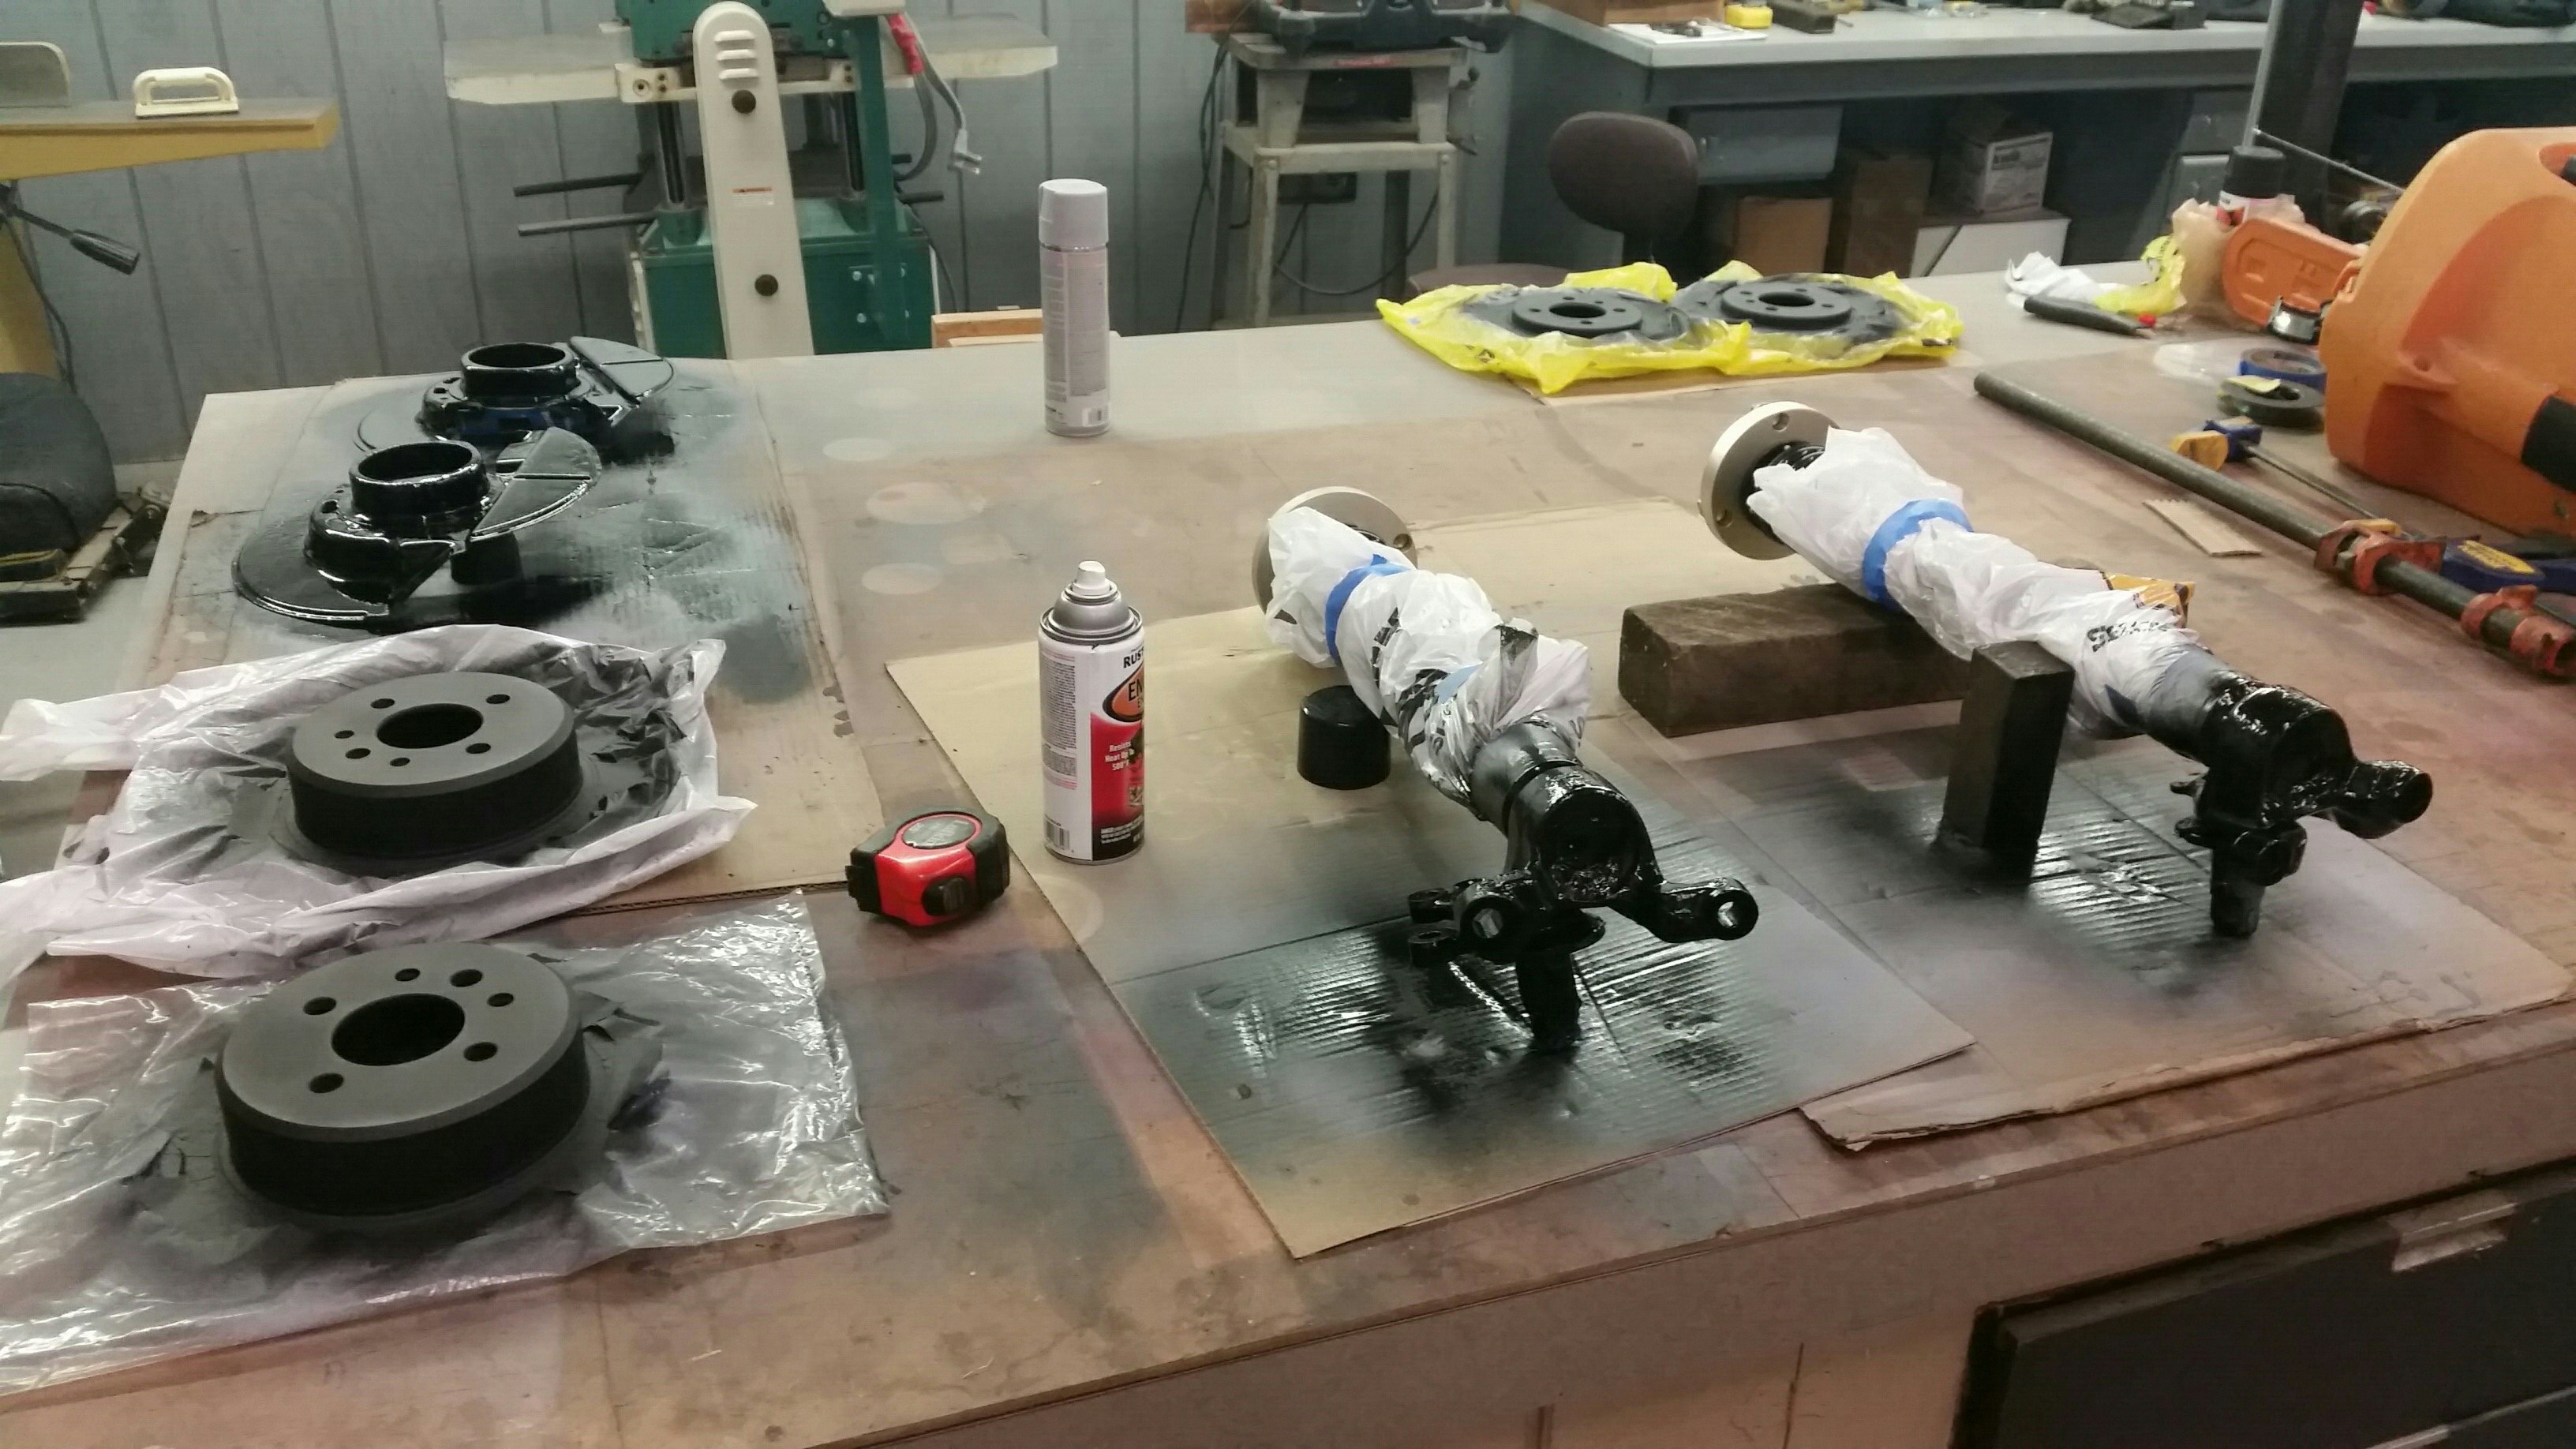
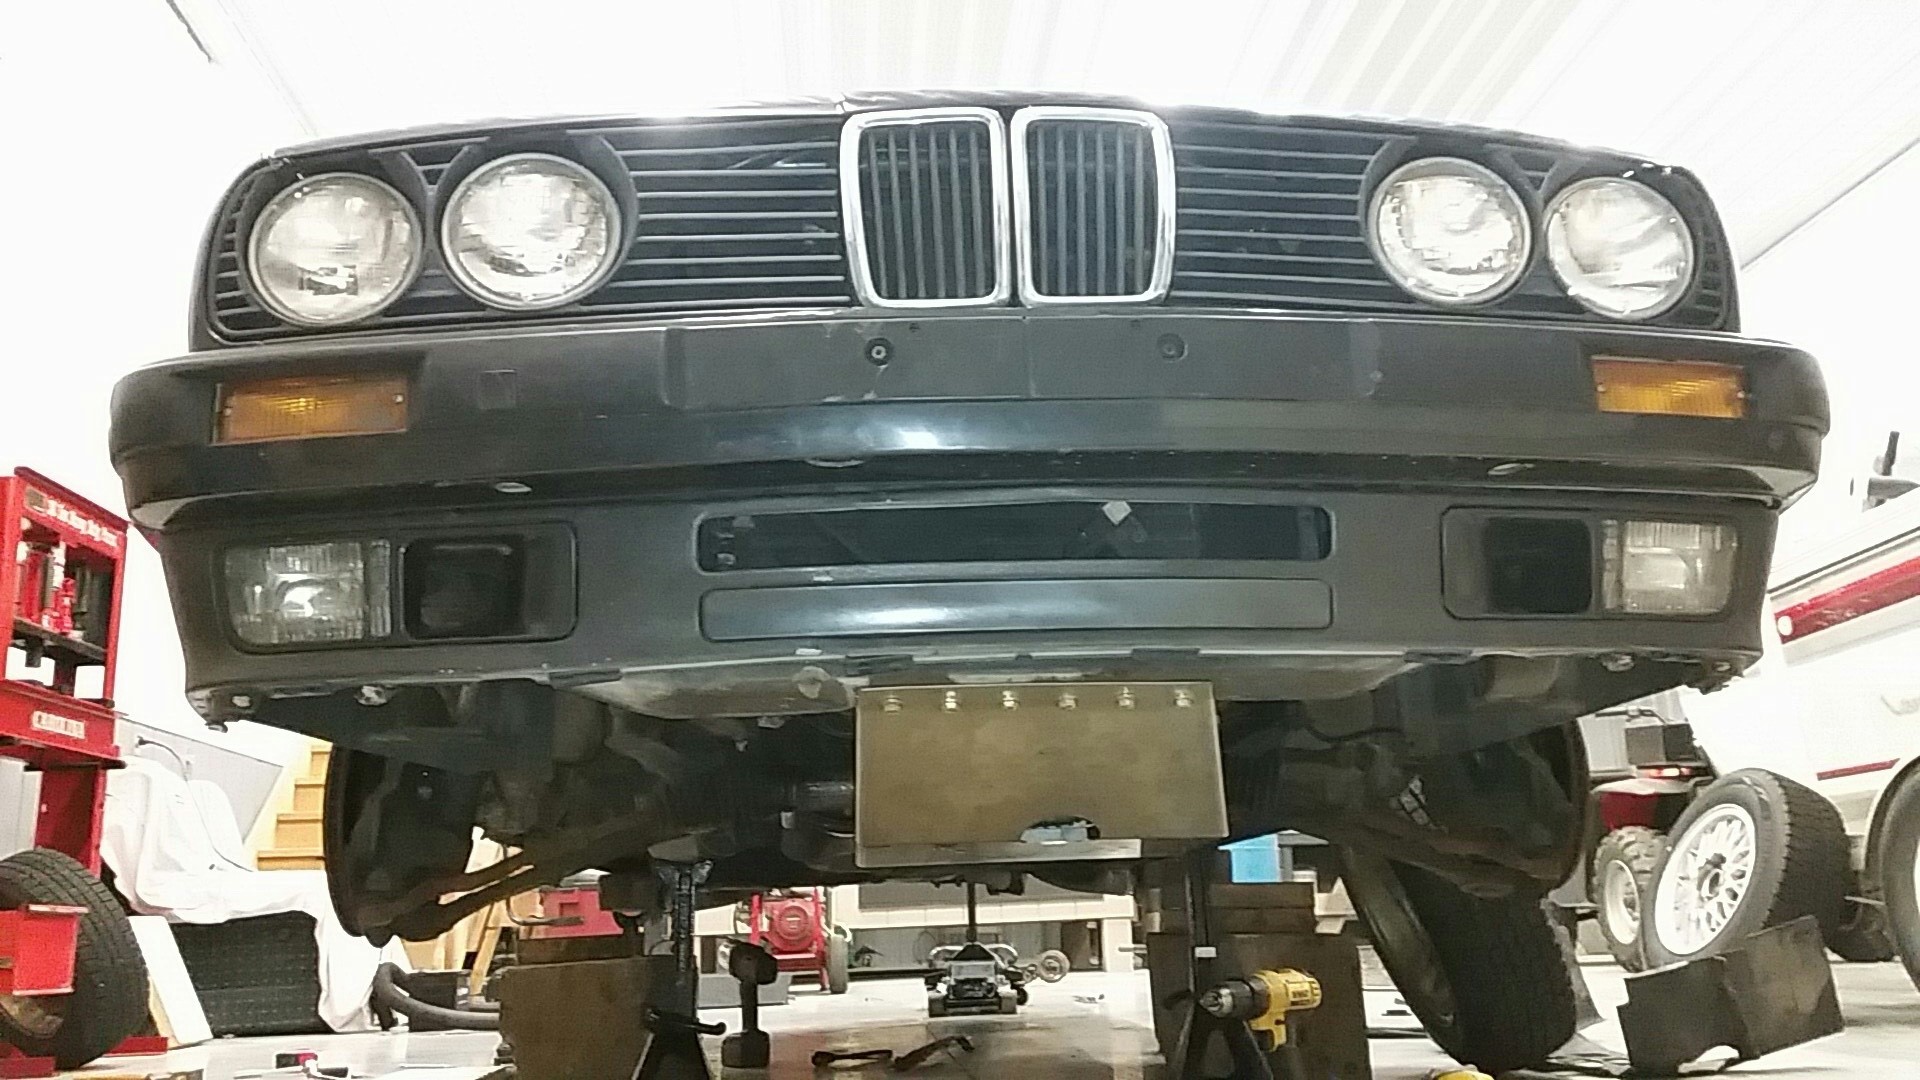
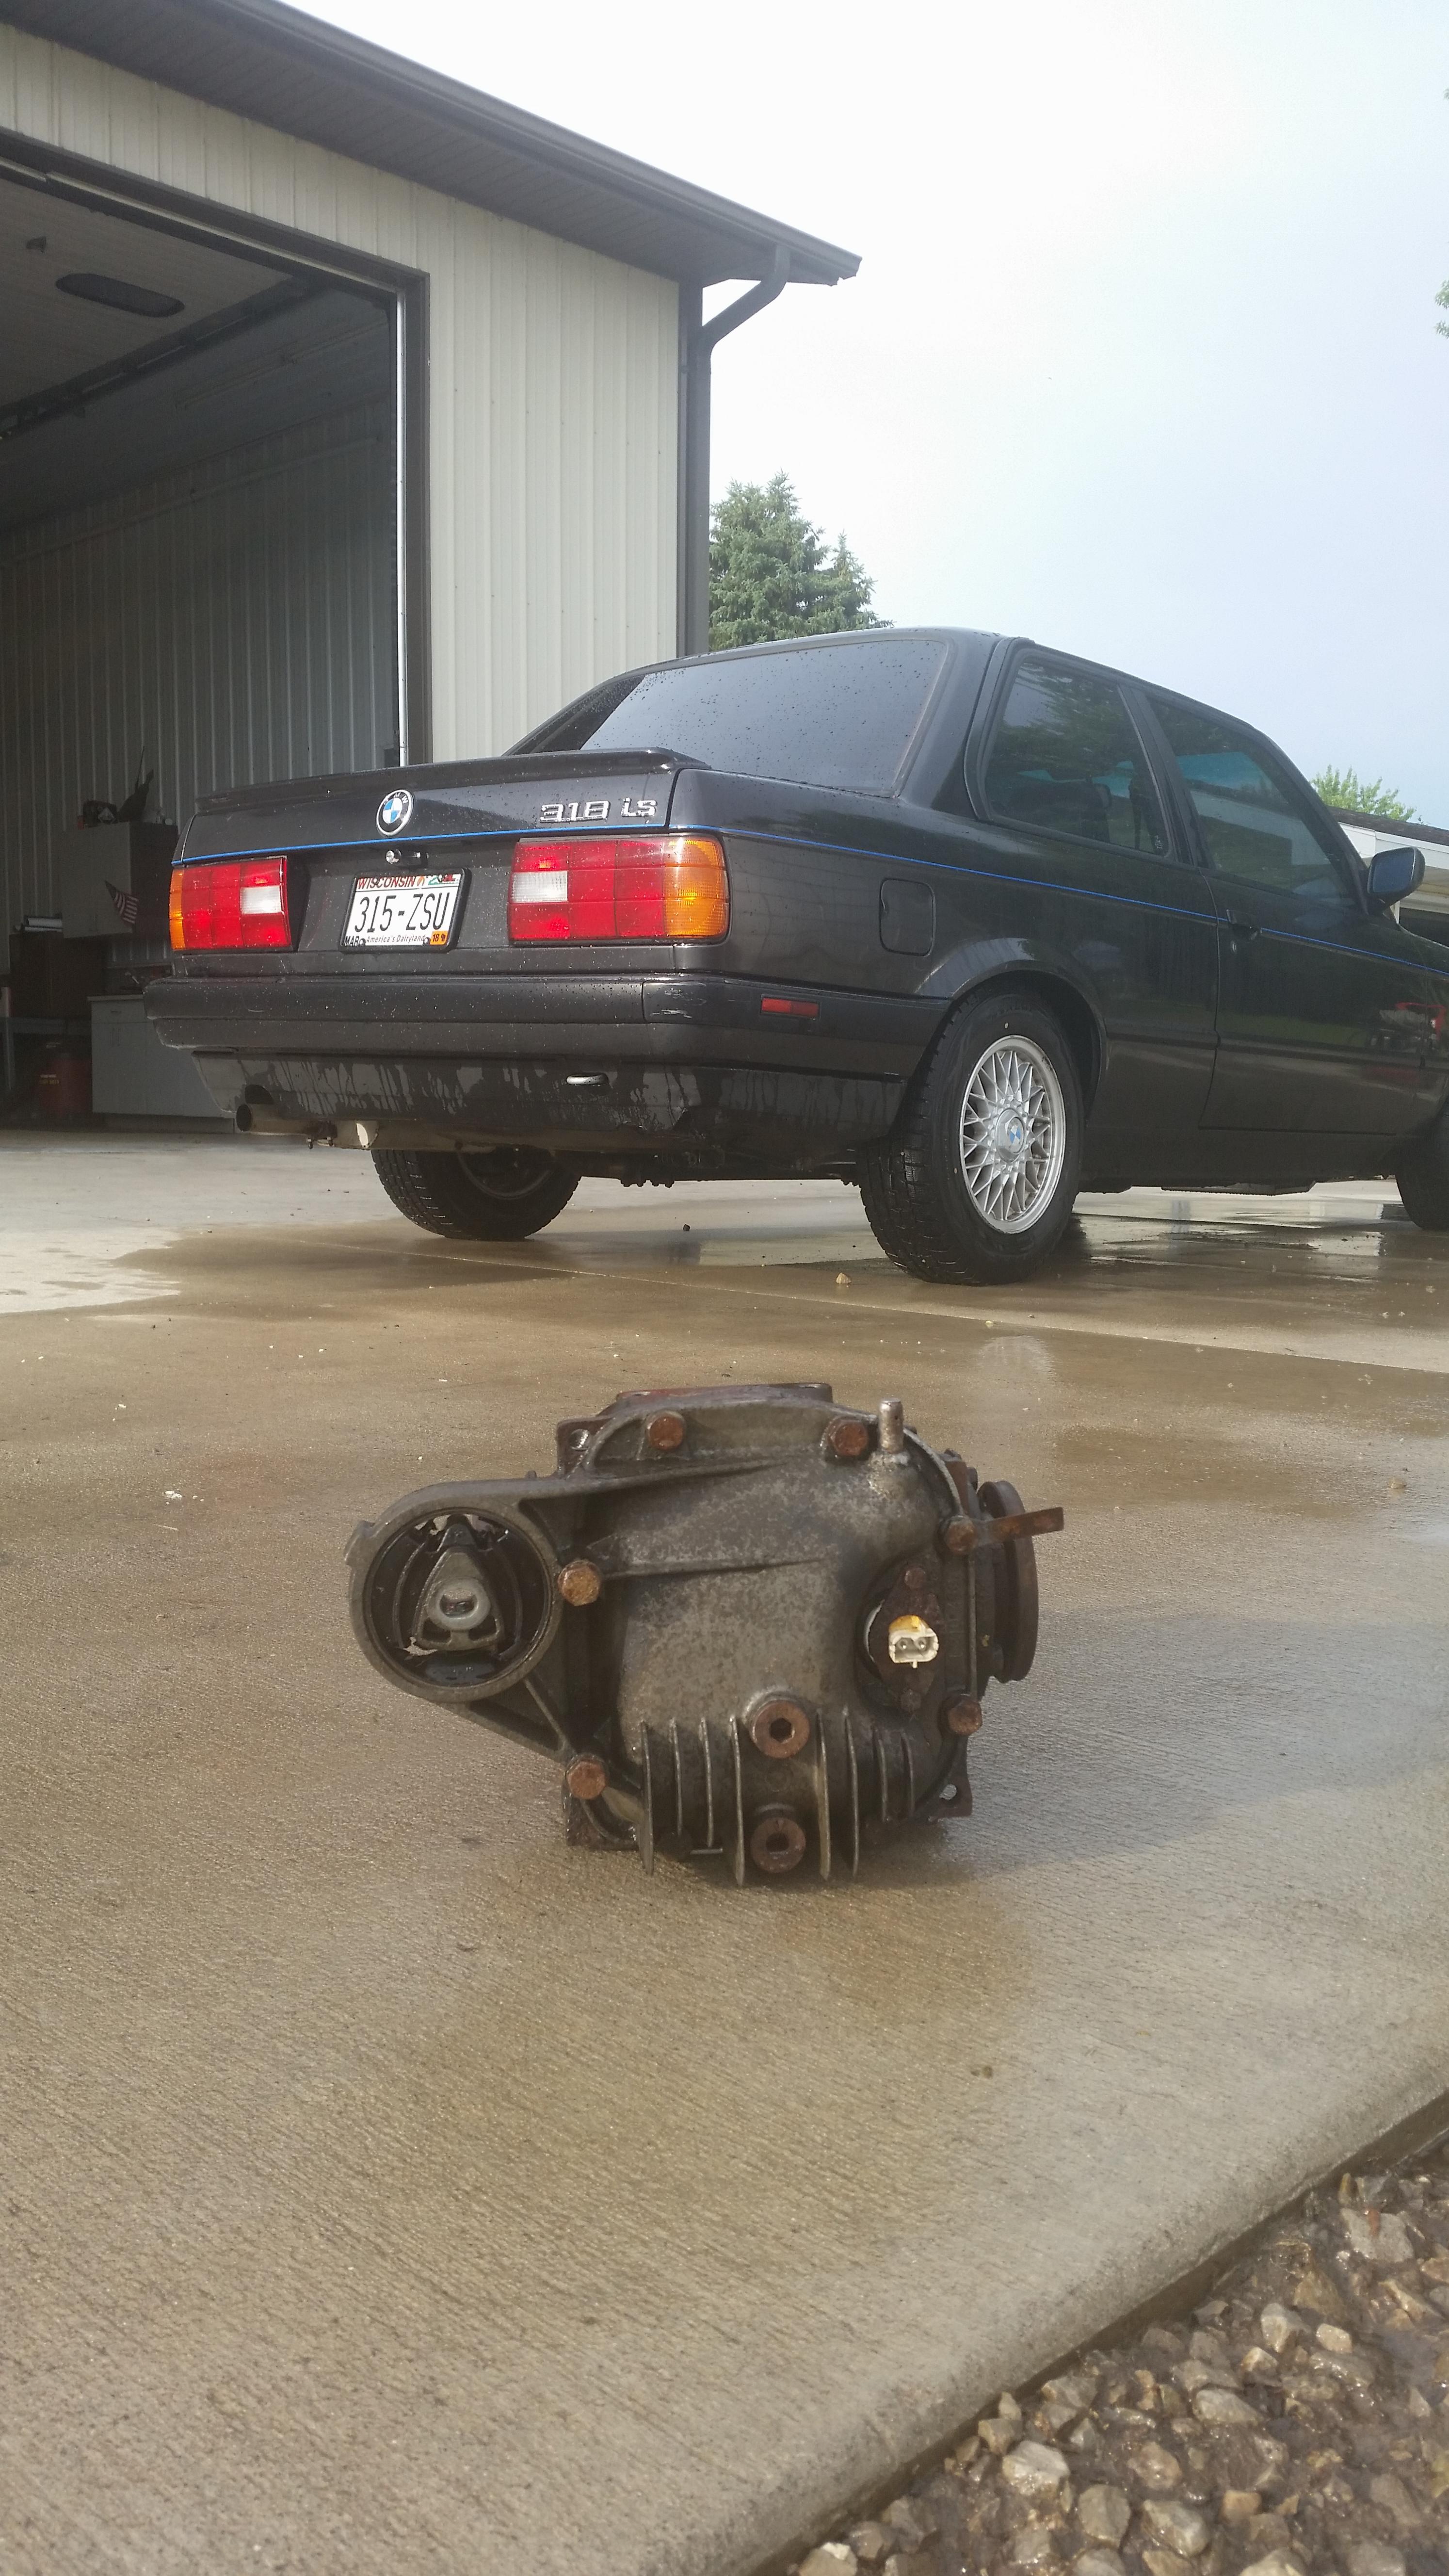
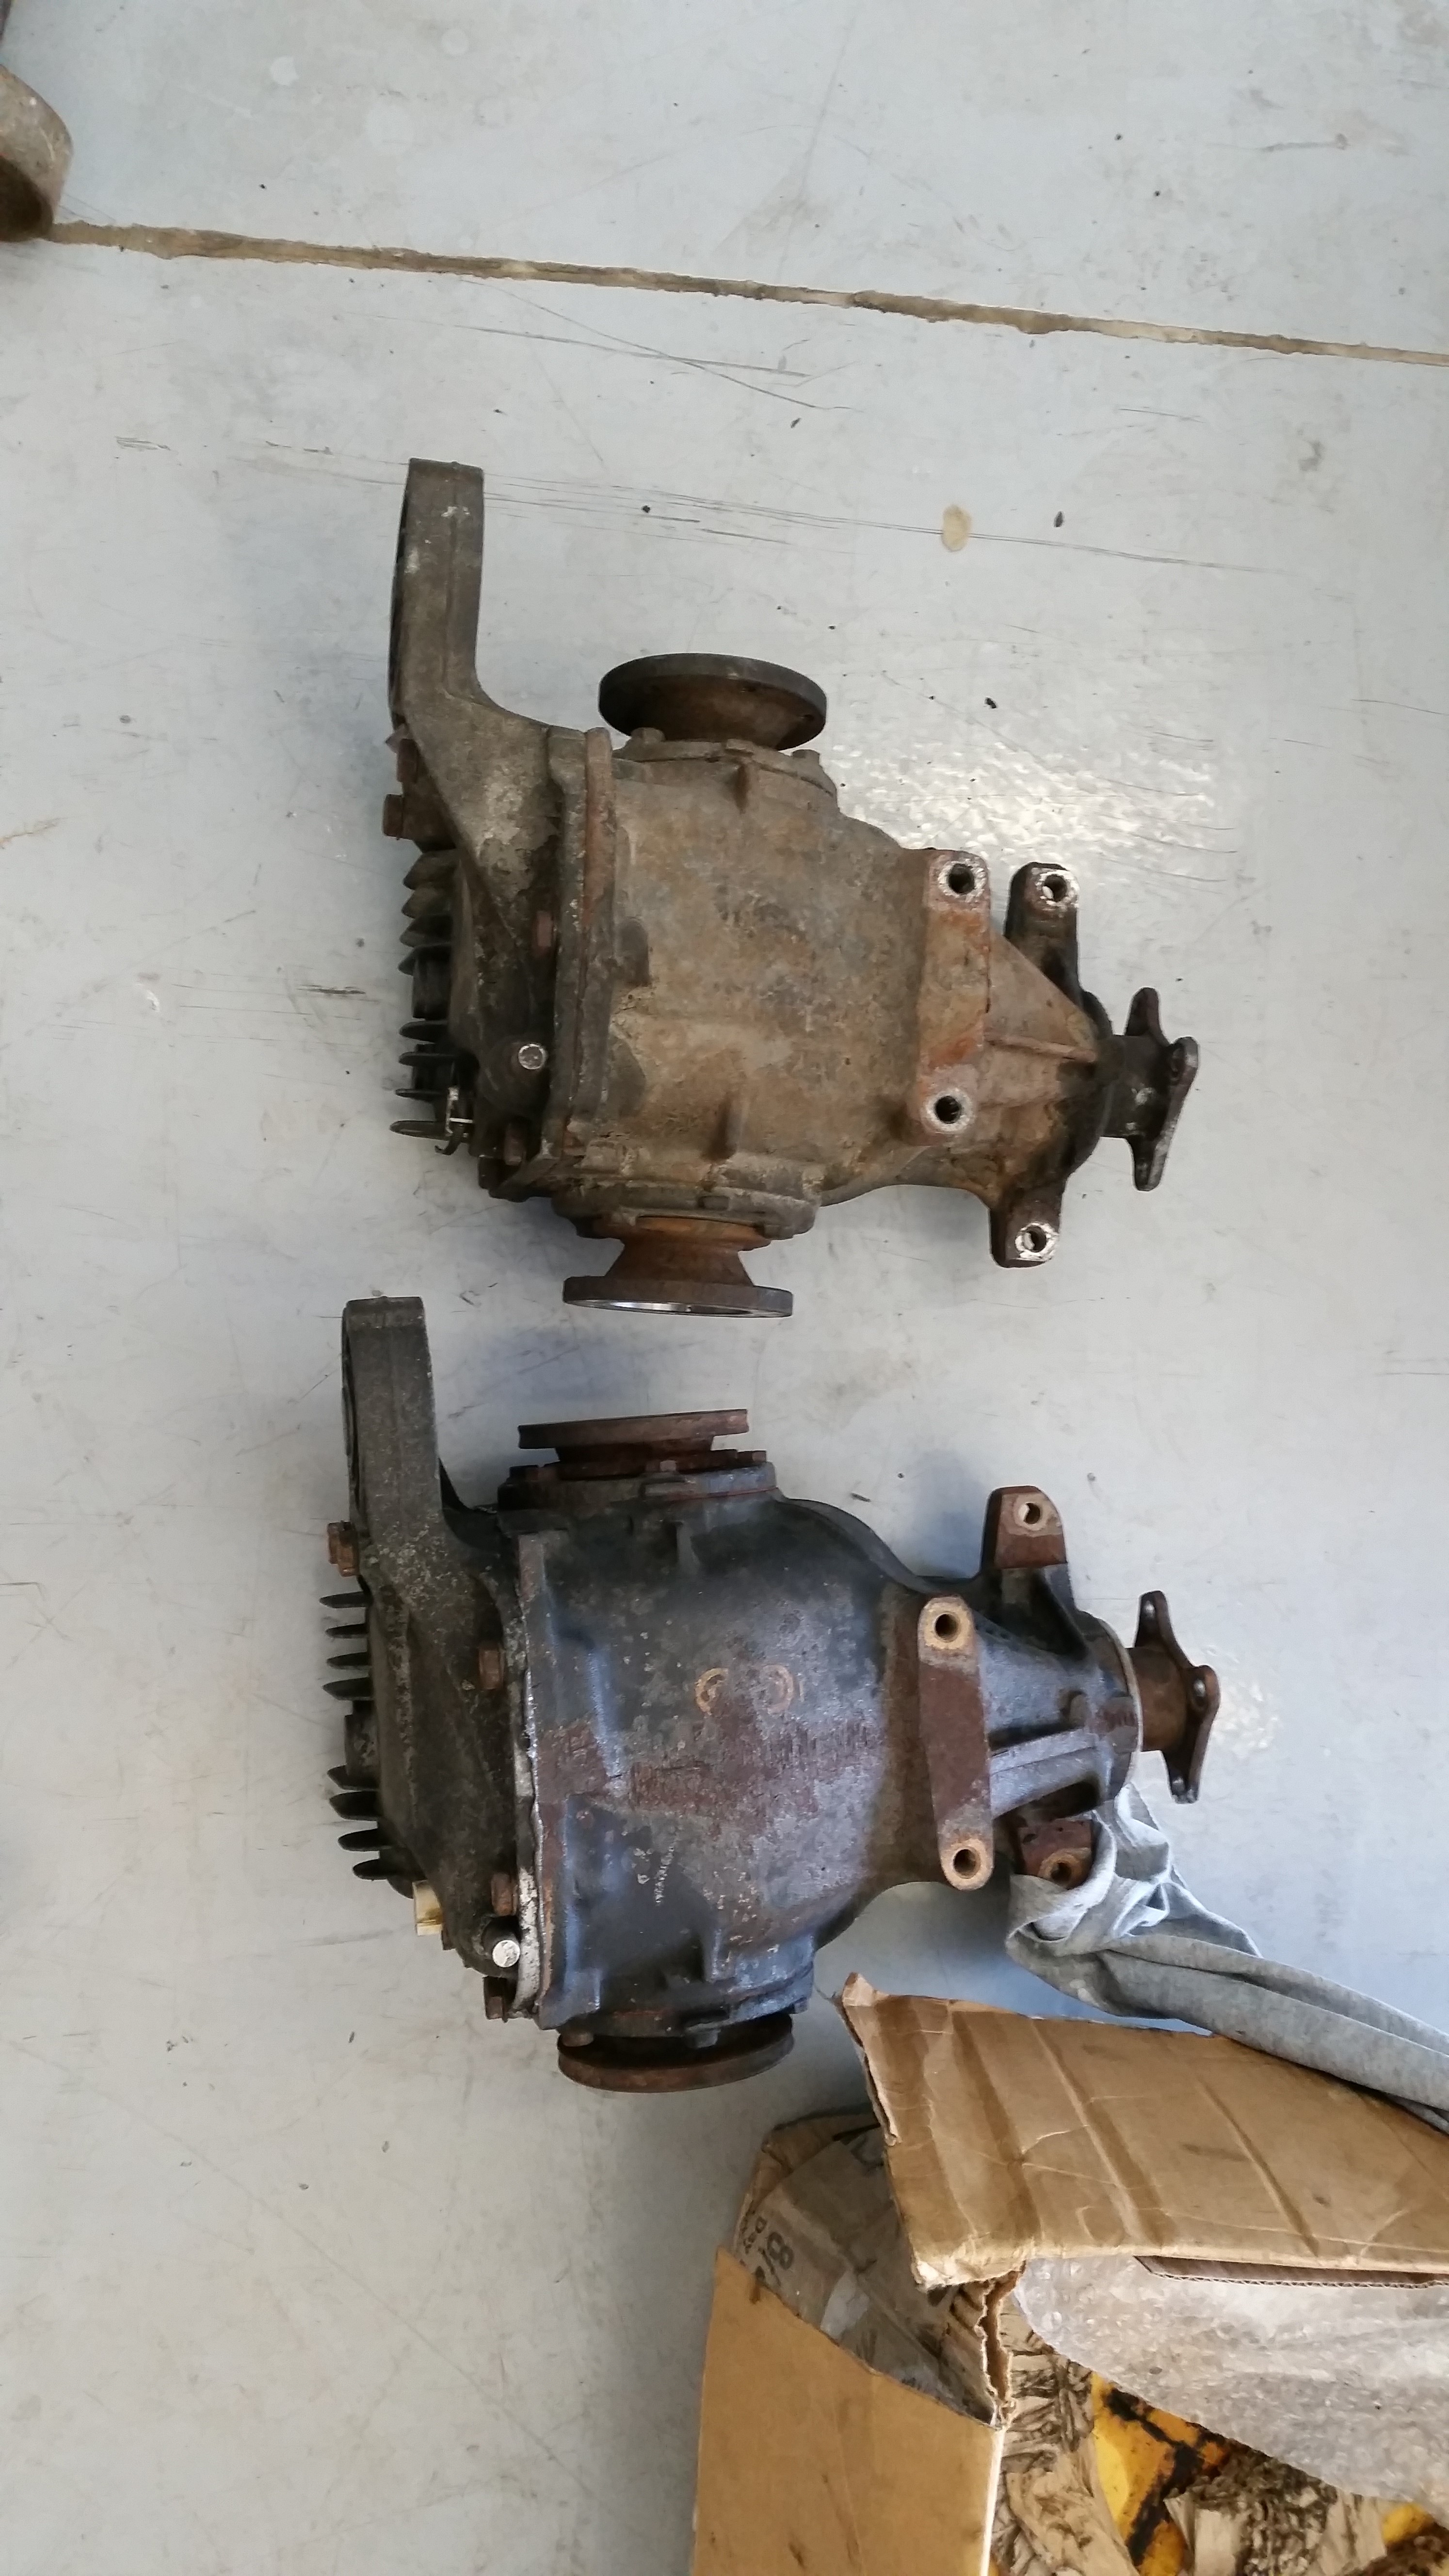
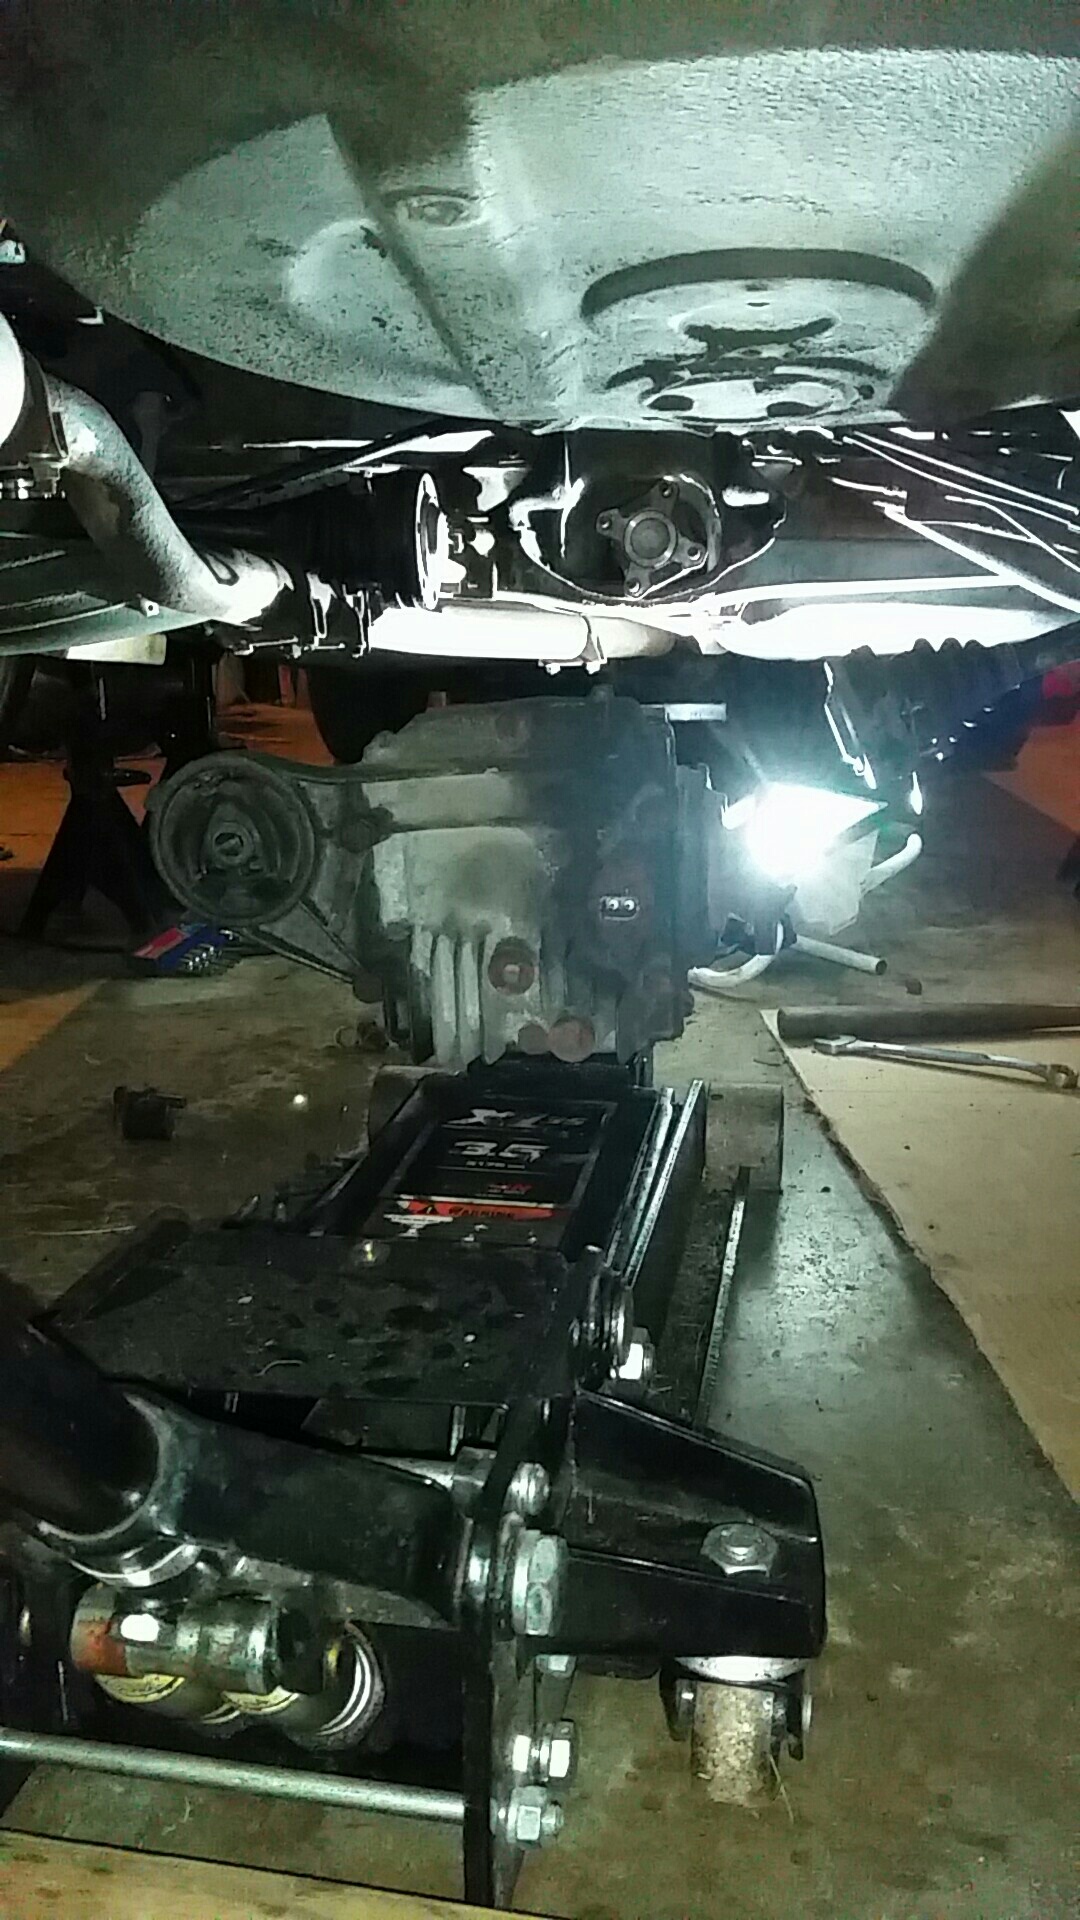
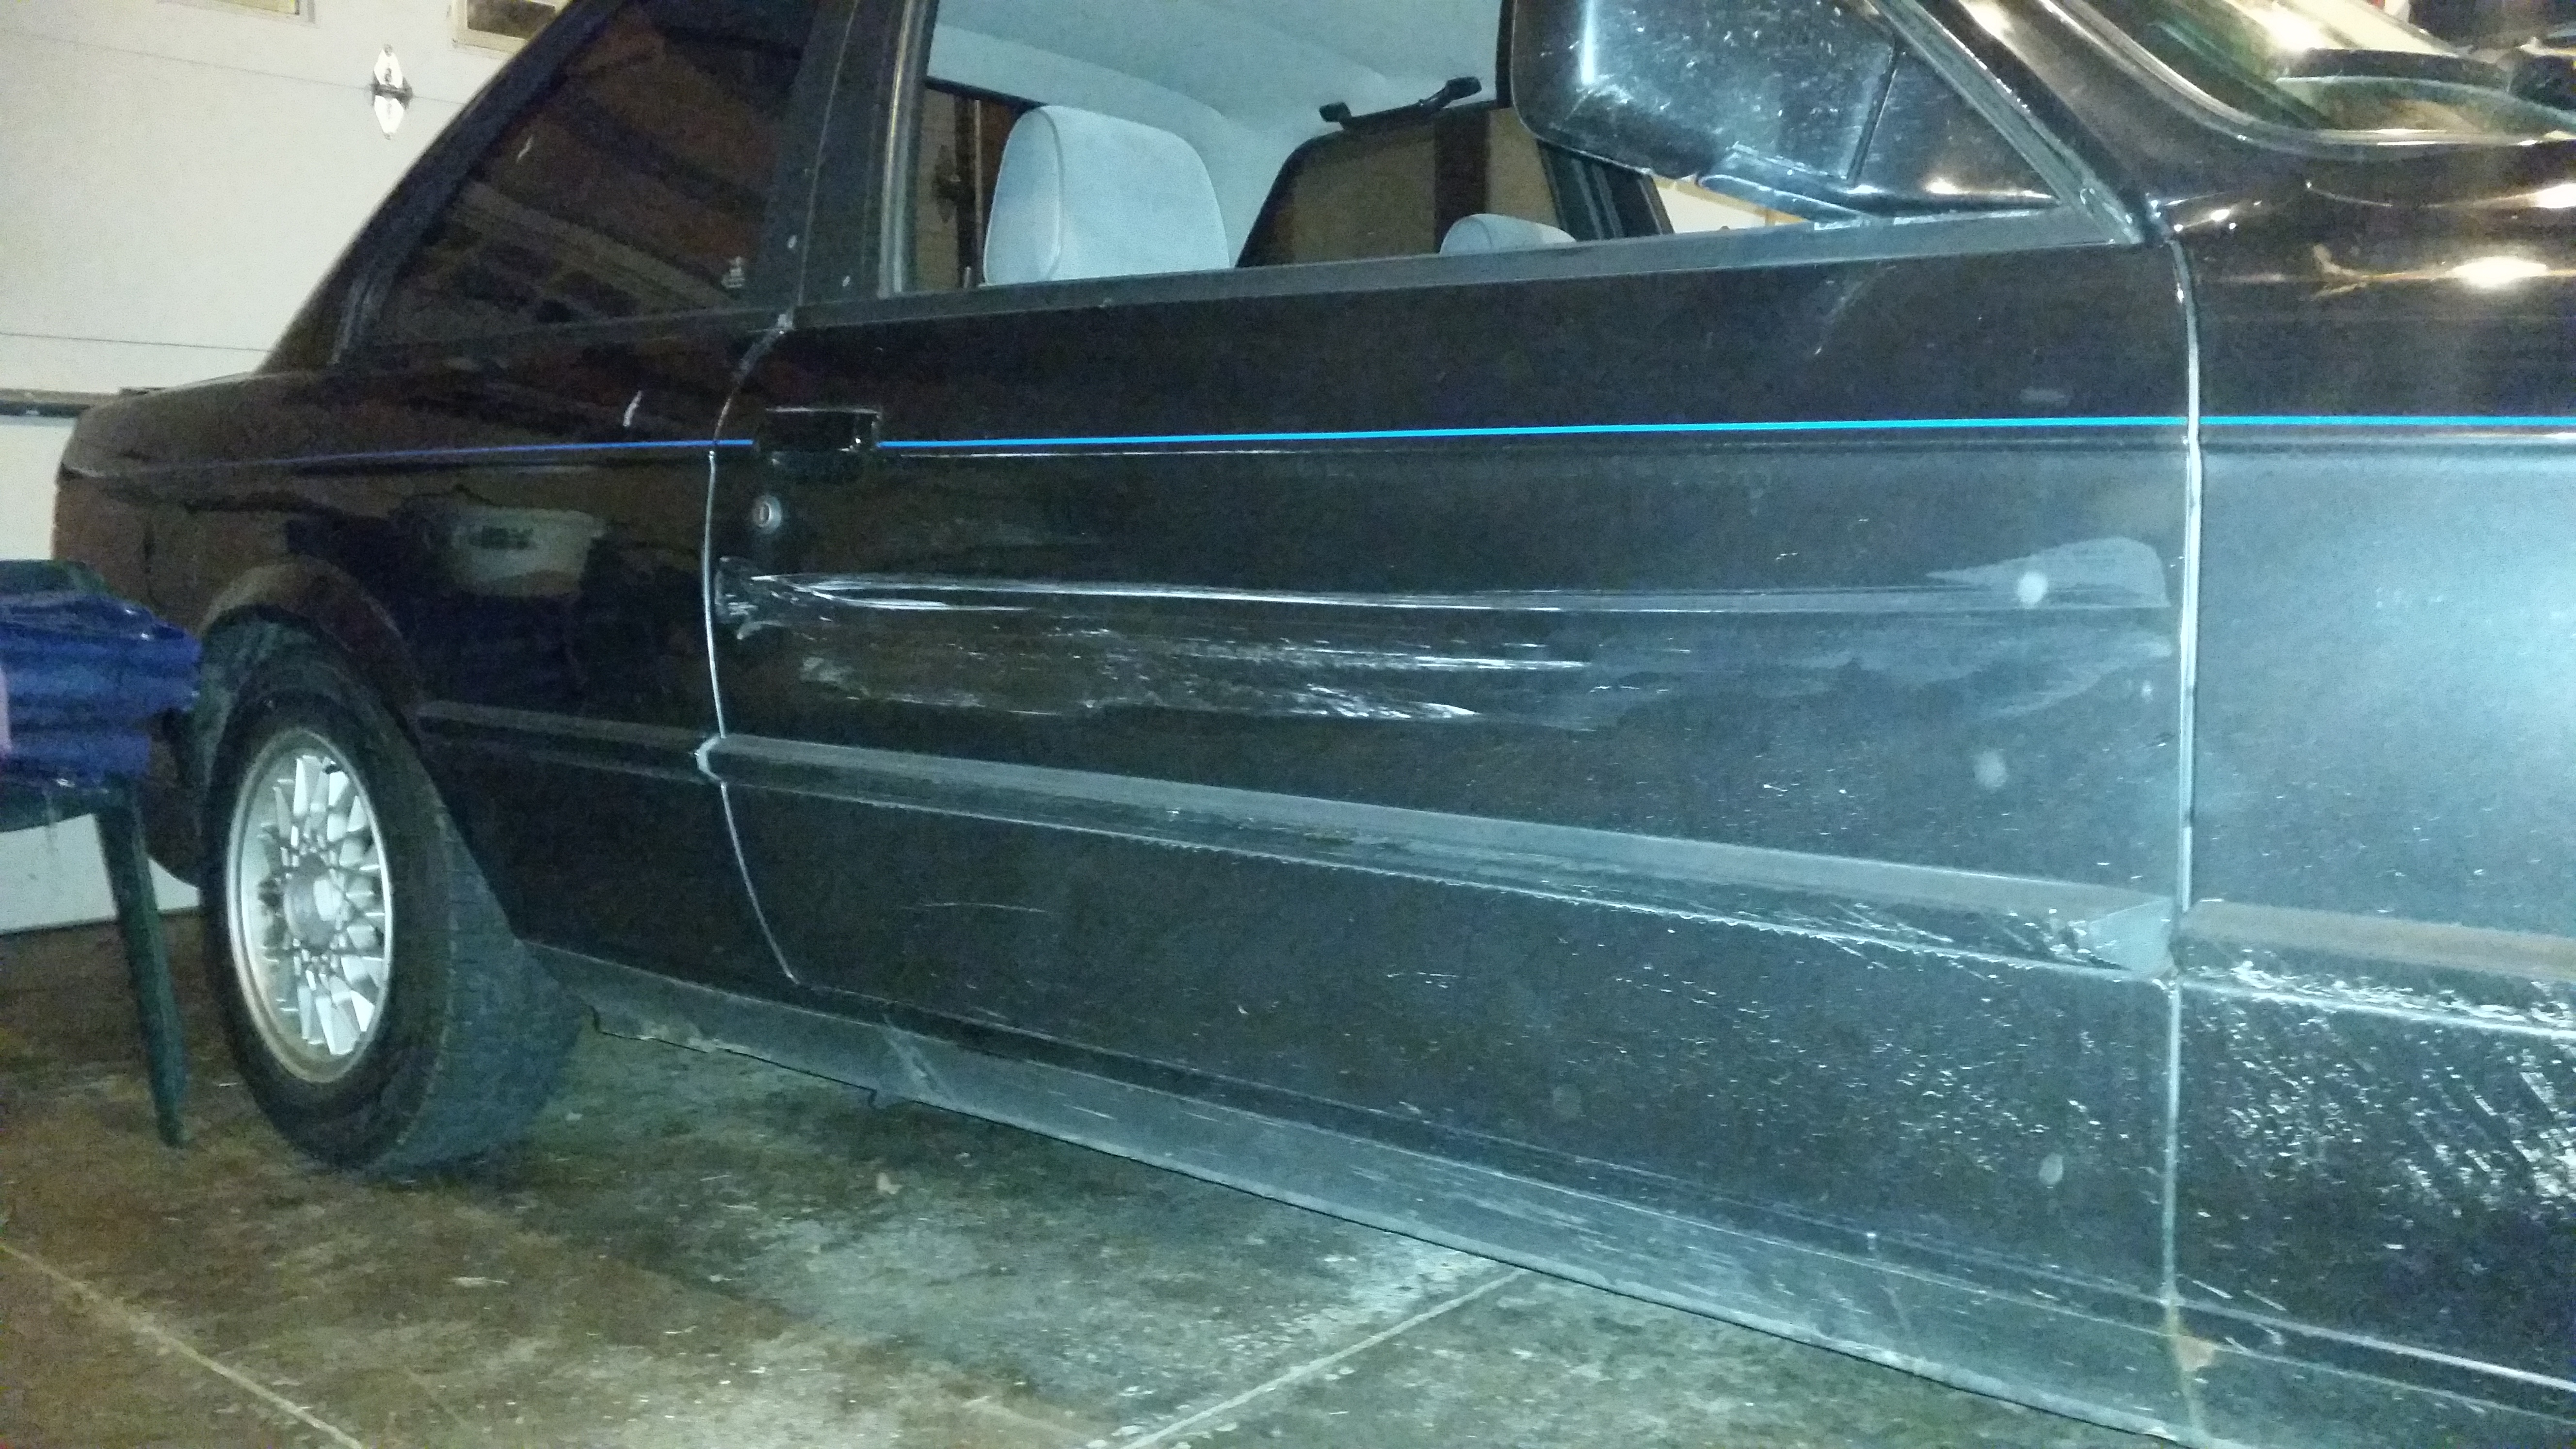
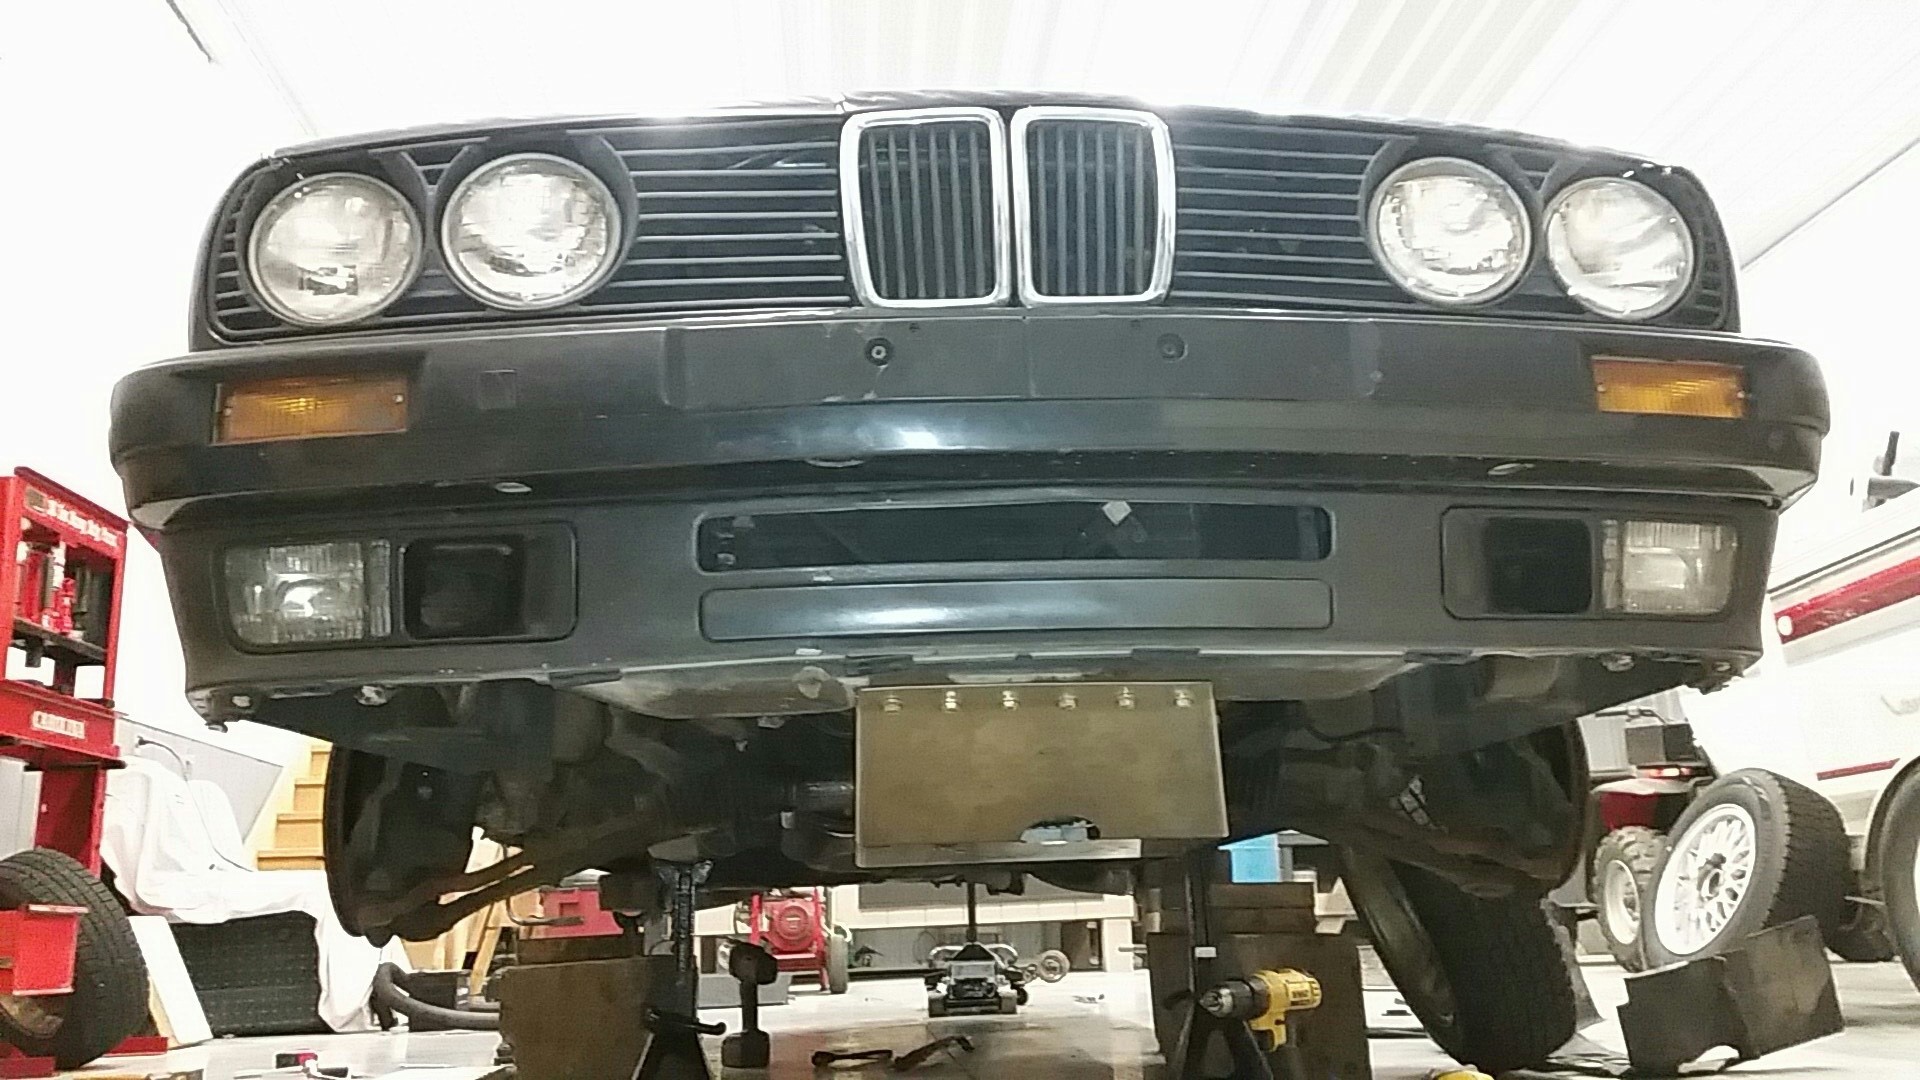
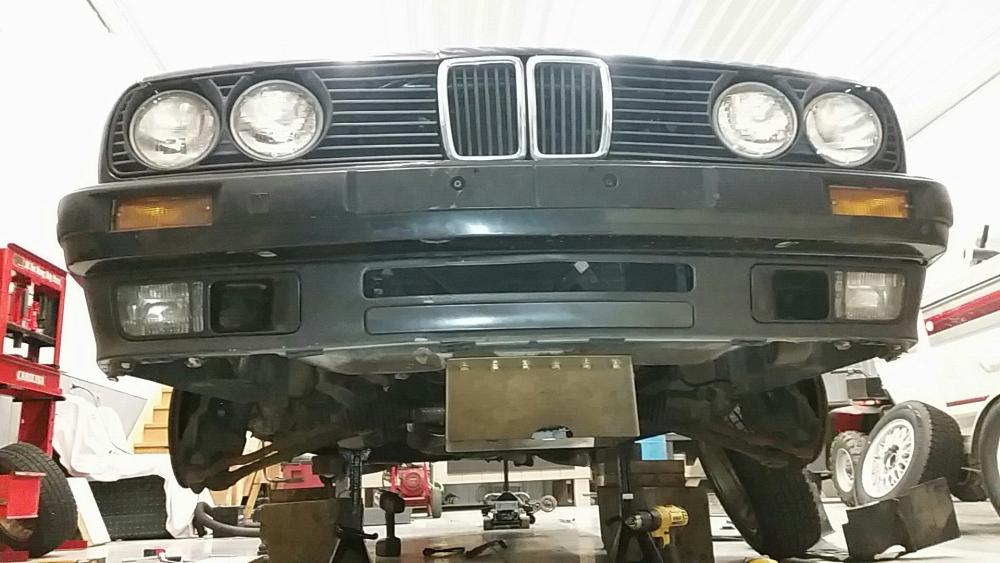
-
POR15. I haven't used that stuff in a long time but its awesome. Looking good man!
It’s awesome
-
PEN15. I haven't used that stuff in a long time but its awesome.
Fixed that for ya
-
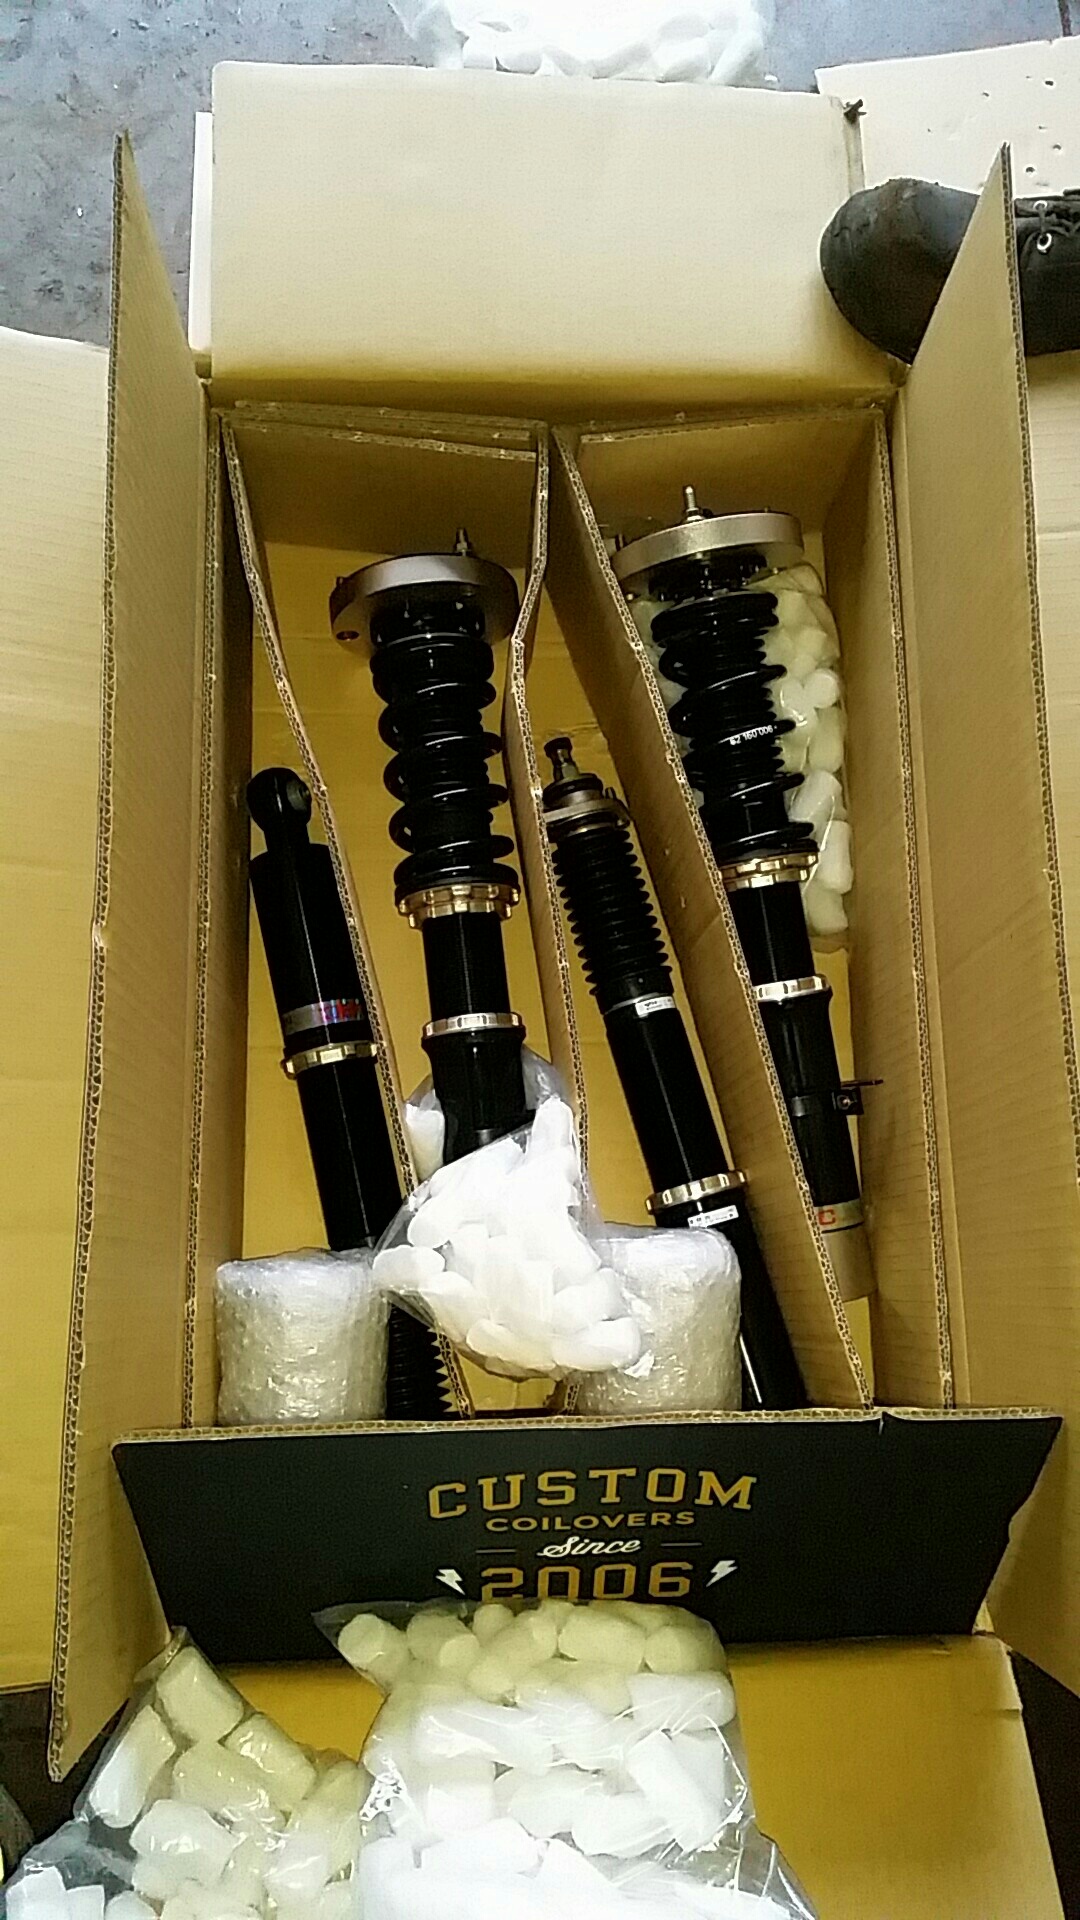
KBS FTW!!!!!!!
-
I think a coat of black paint before flocking may have helped eliminate that but otherwise it looks nice
 Good progress on everything
I suppose but its a little late for that now and honestly I think it looks like shit. So I'm down to three options now, get another kit and redo the dash (try Earl's paint first method), try something different like a vinyl wrap, or forget about it all and just go find a crack free dash and pay out the ass (which could also take sometime to source). Right now the plan is giving "just flock it" a call Friday to figure things out. According to their website they state and I quote, "Flock IT! ensures a quick turnaround of orders, quality products, and 100% satisfaction."
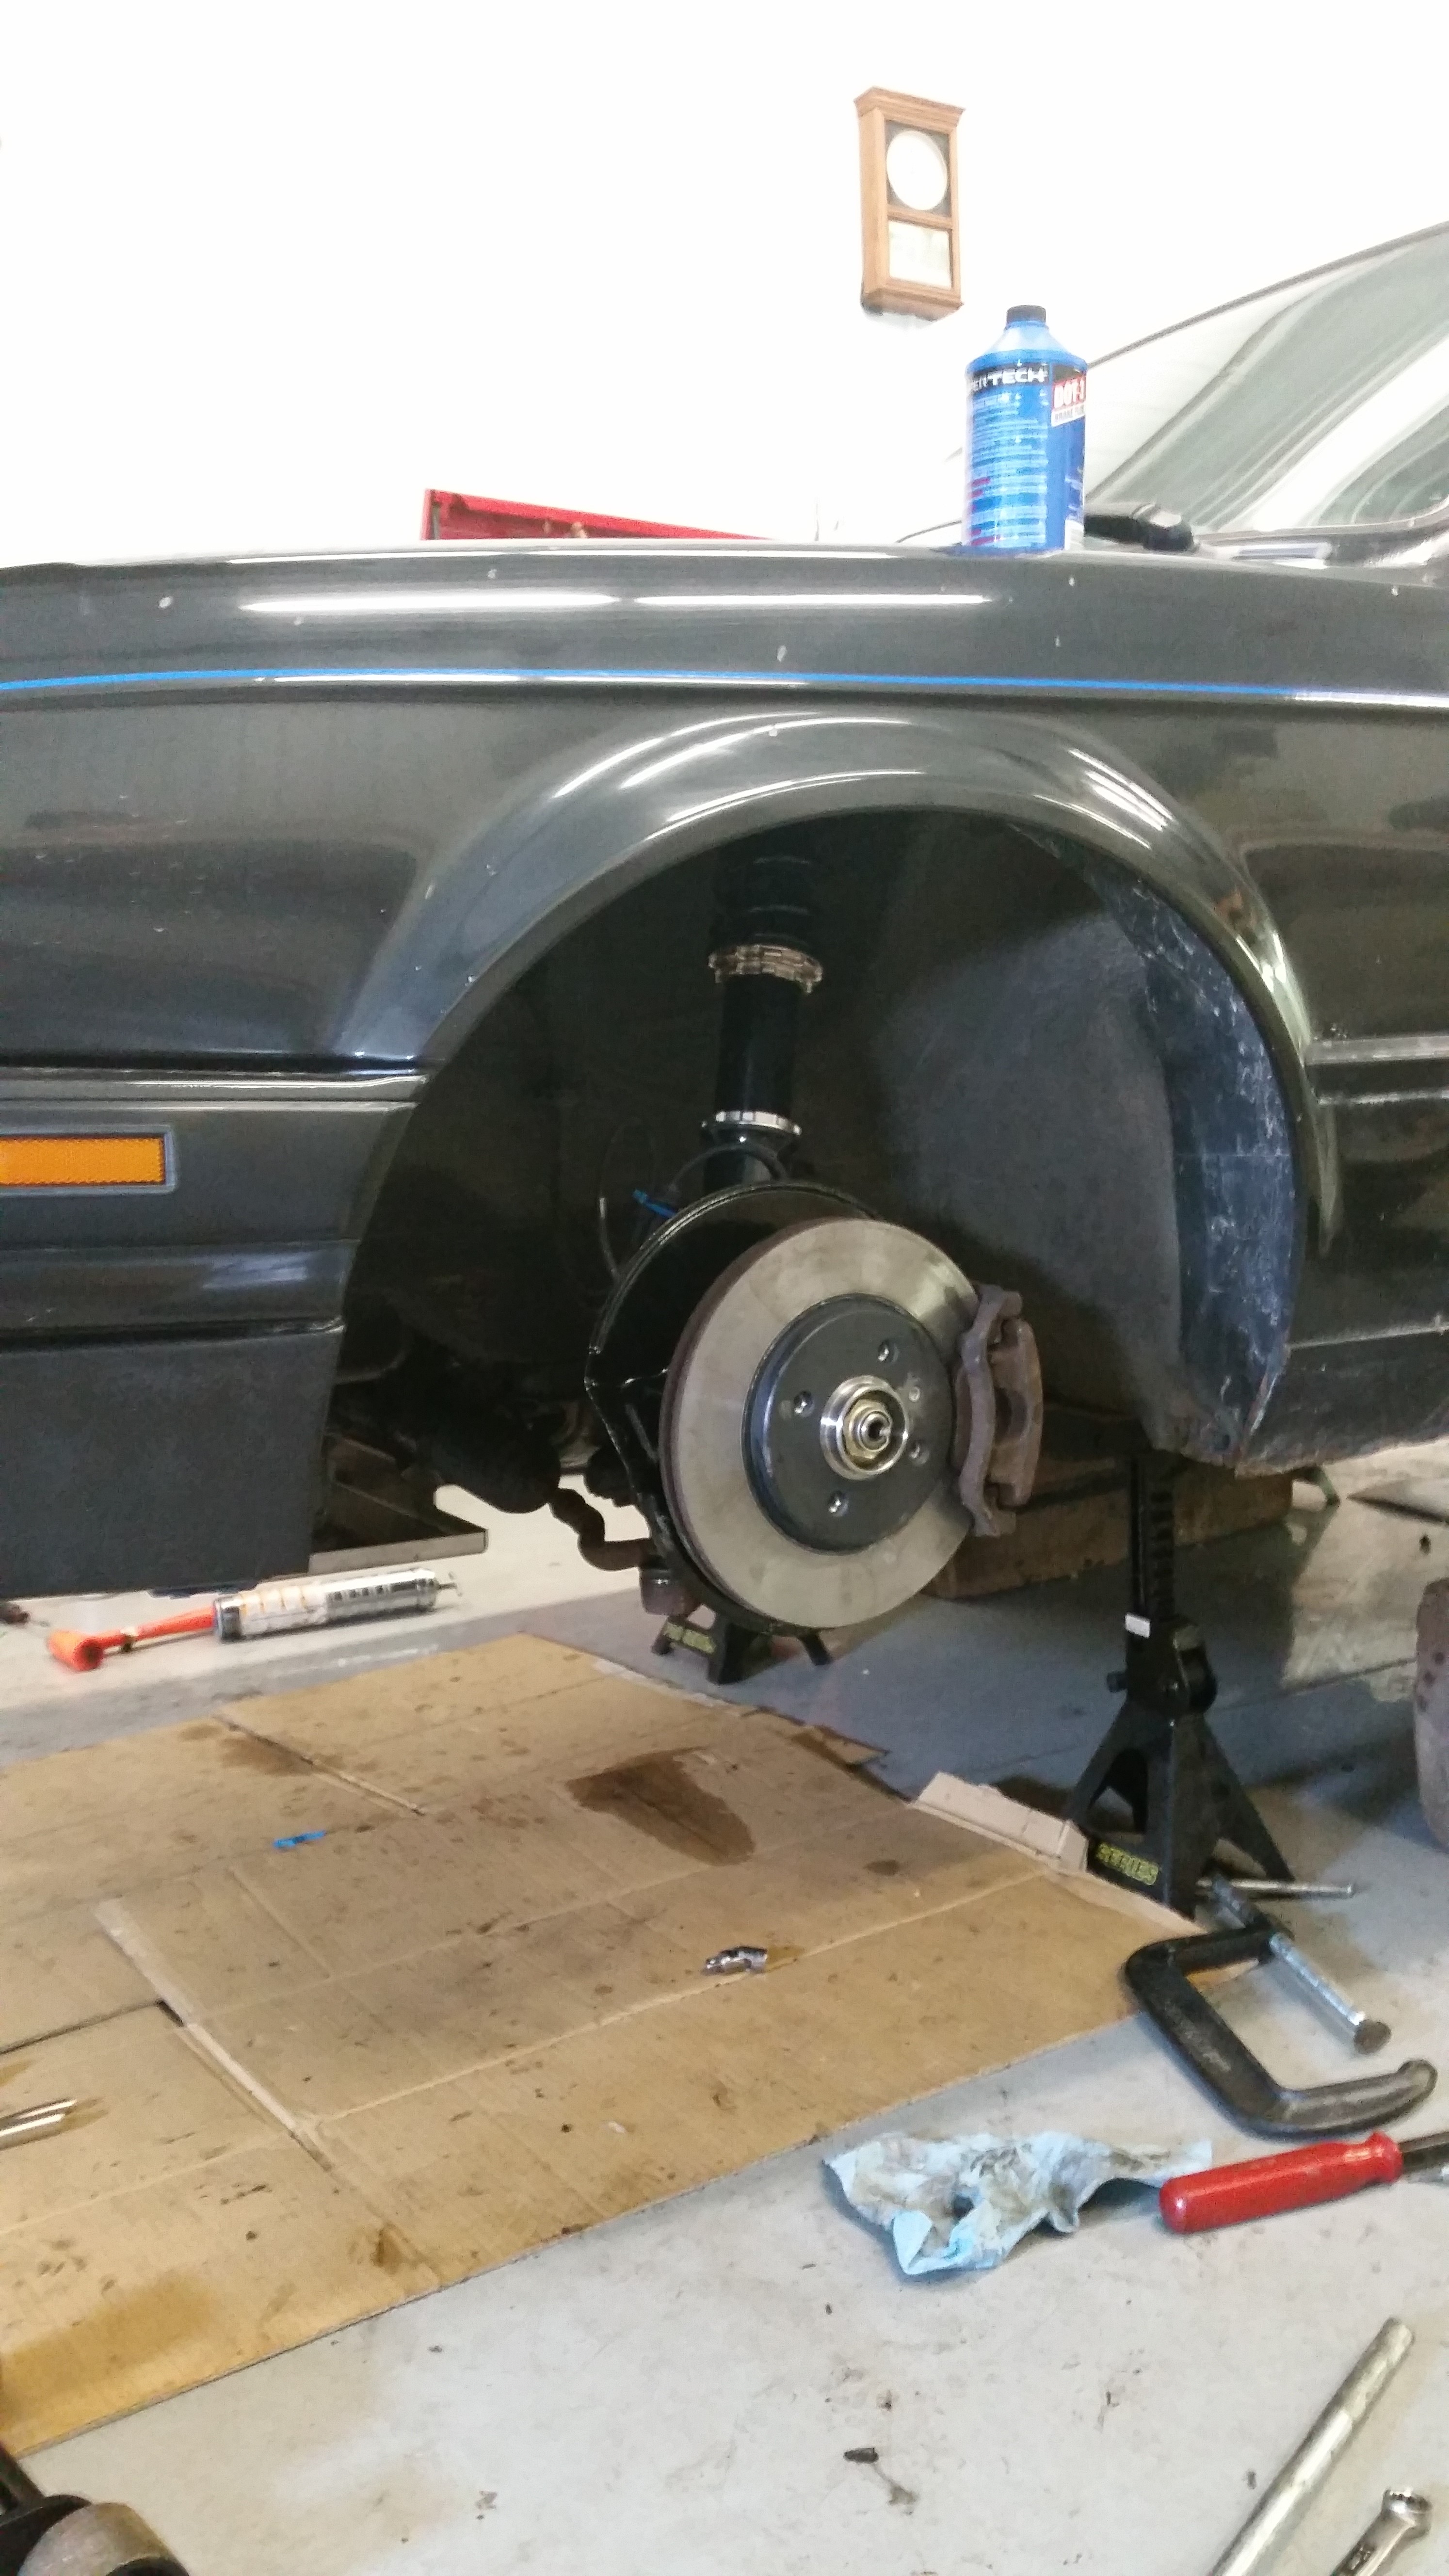
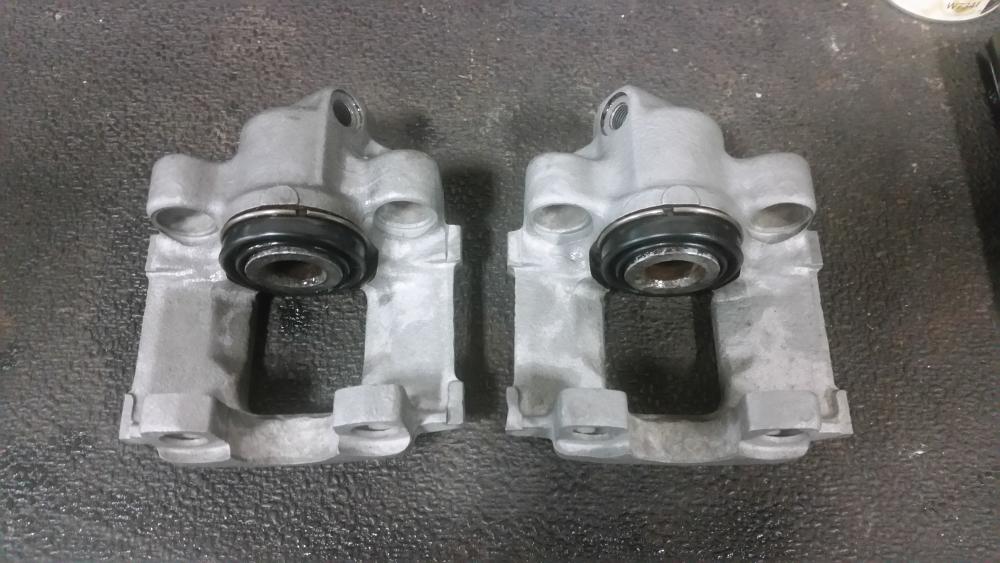
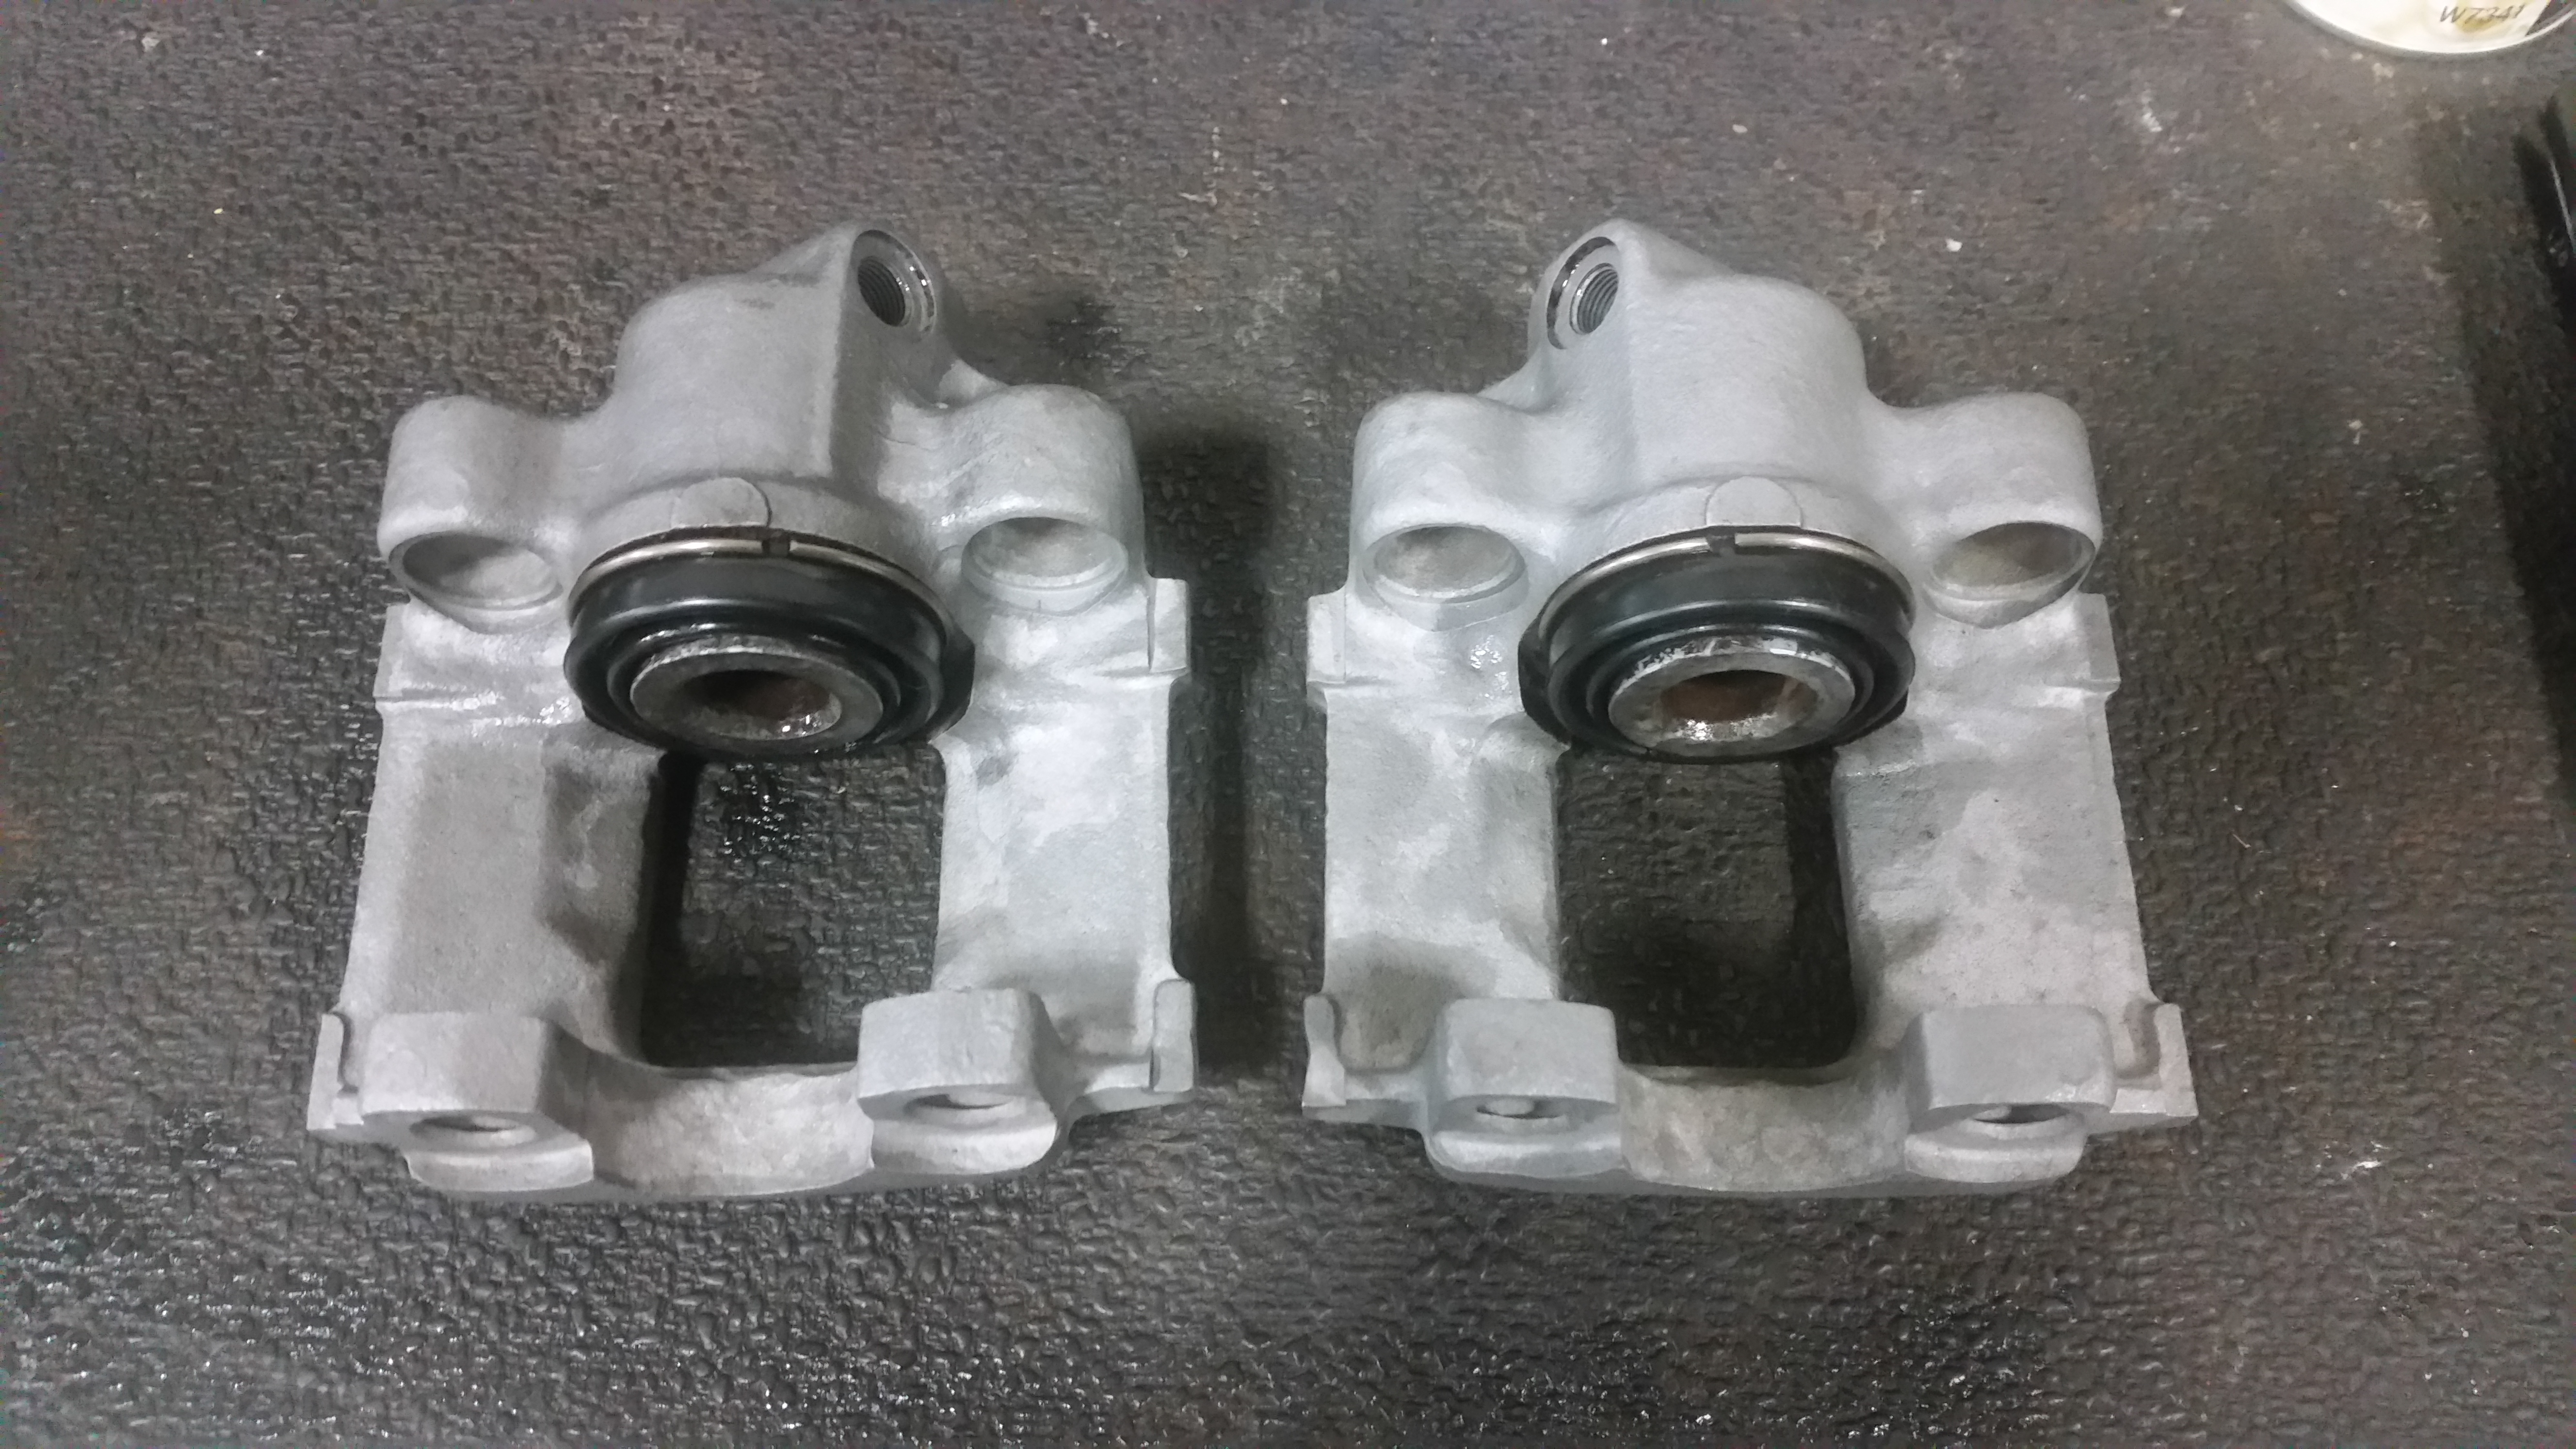
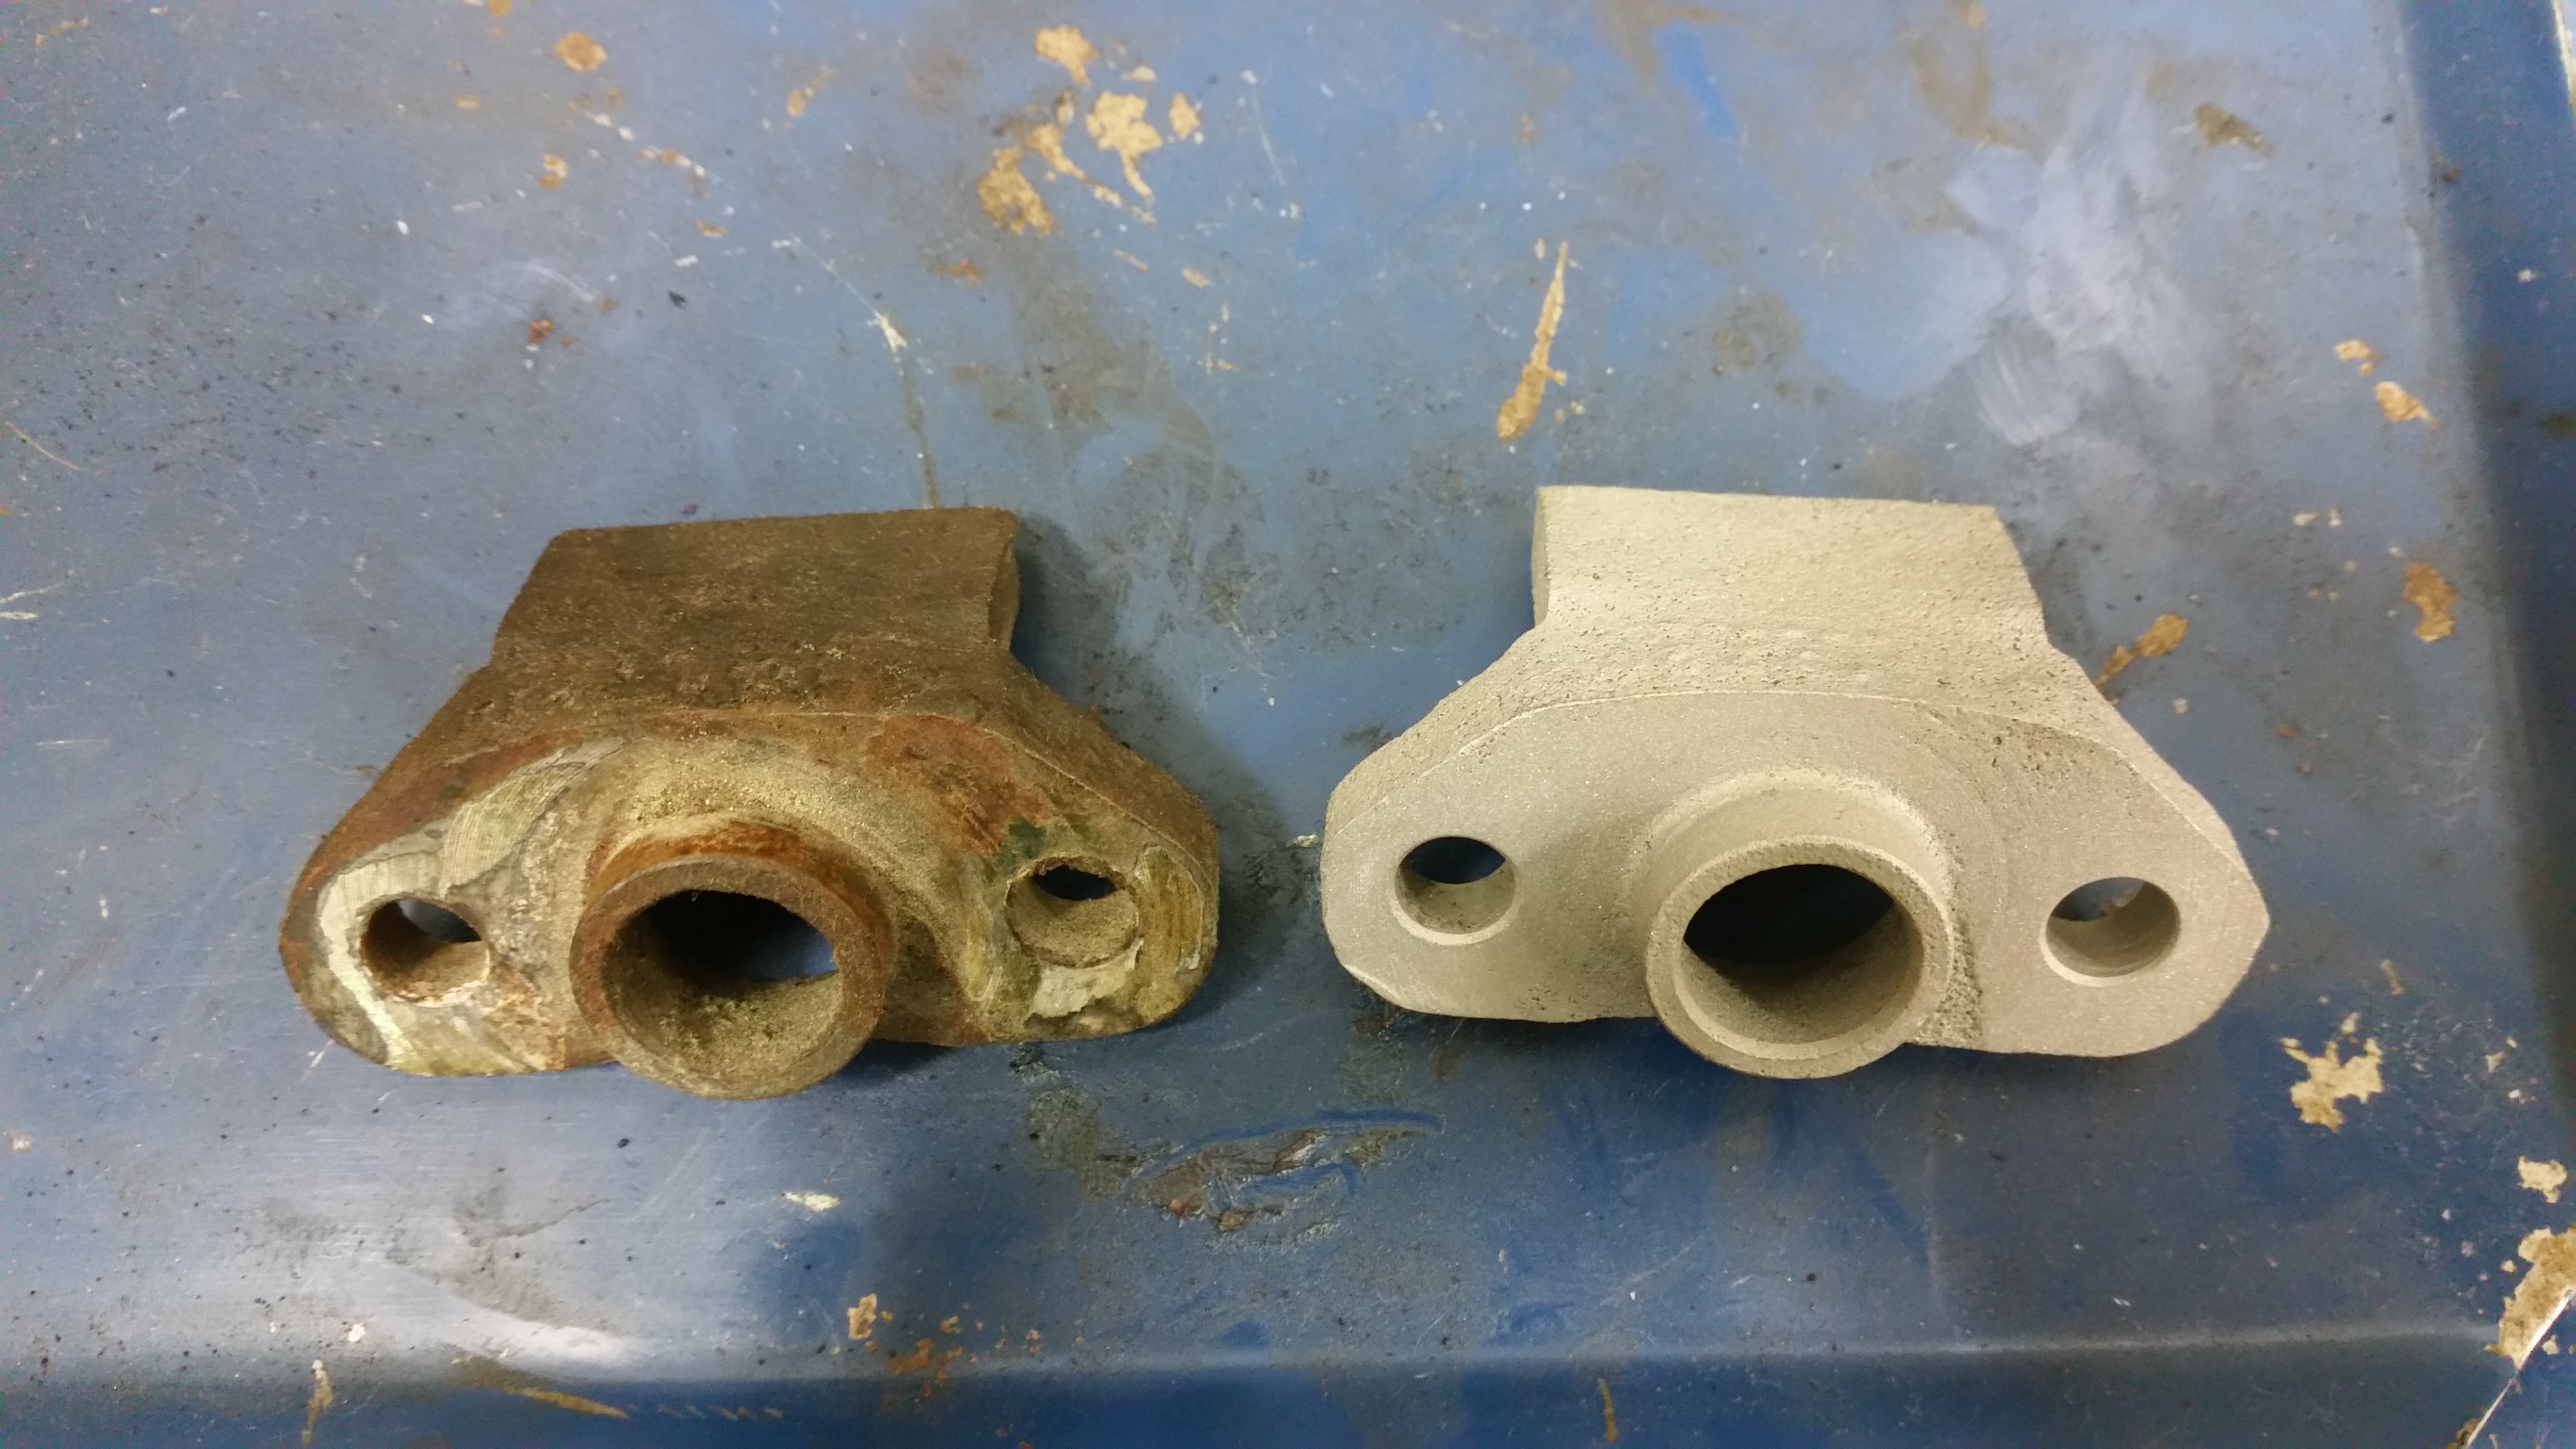
As for further progress on other tings. Tuesday got the calipers reassembled with all new oem seals as well as getting the e-brake brackets blasted and painted...
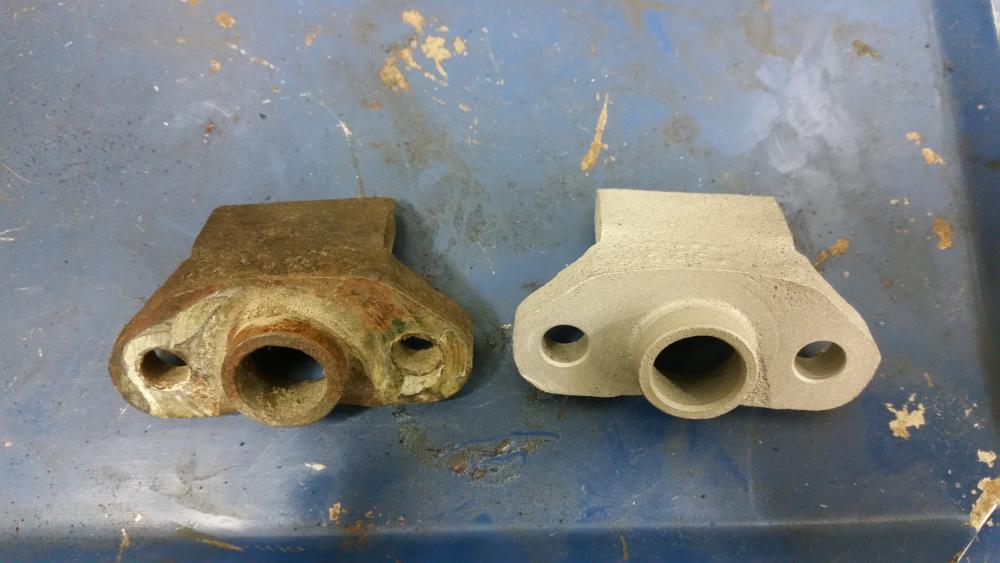
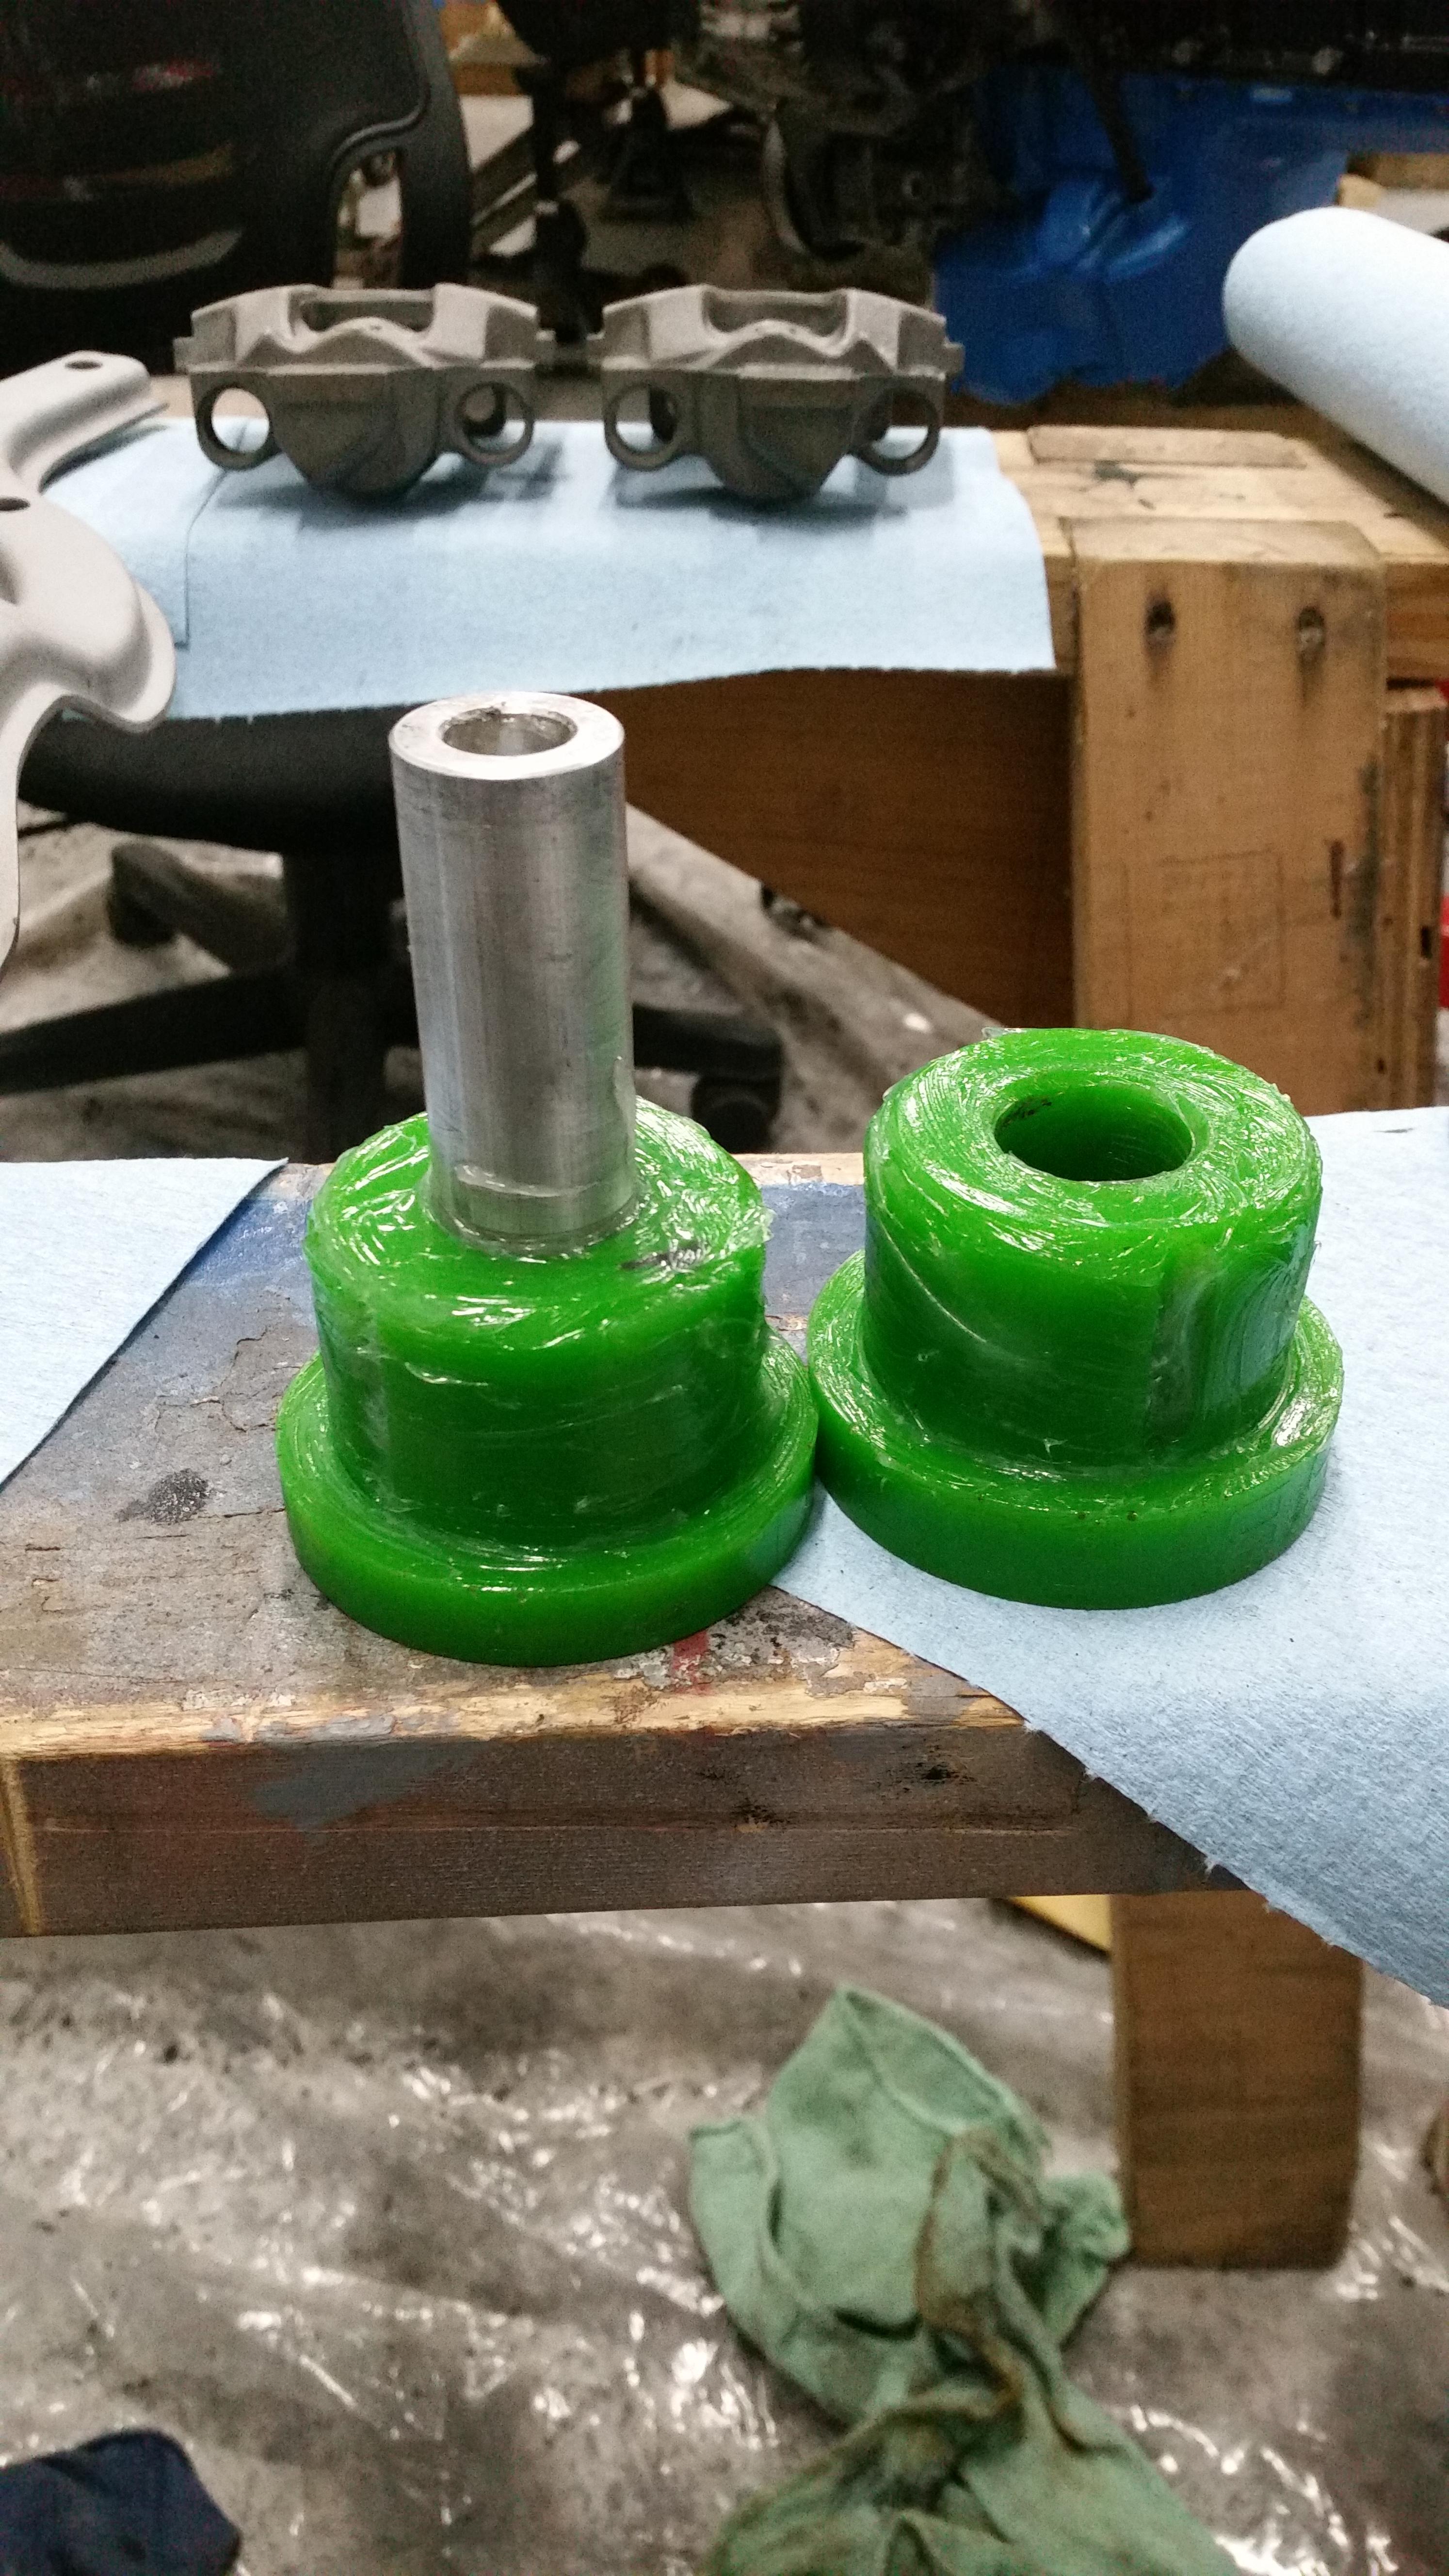
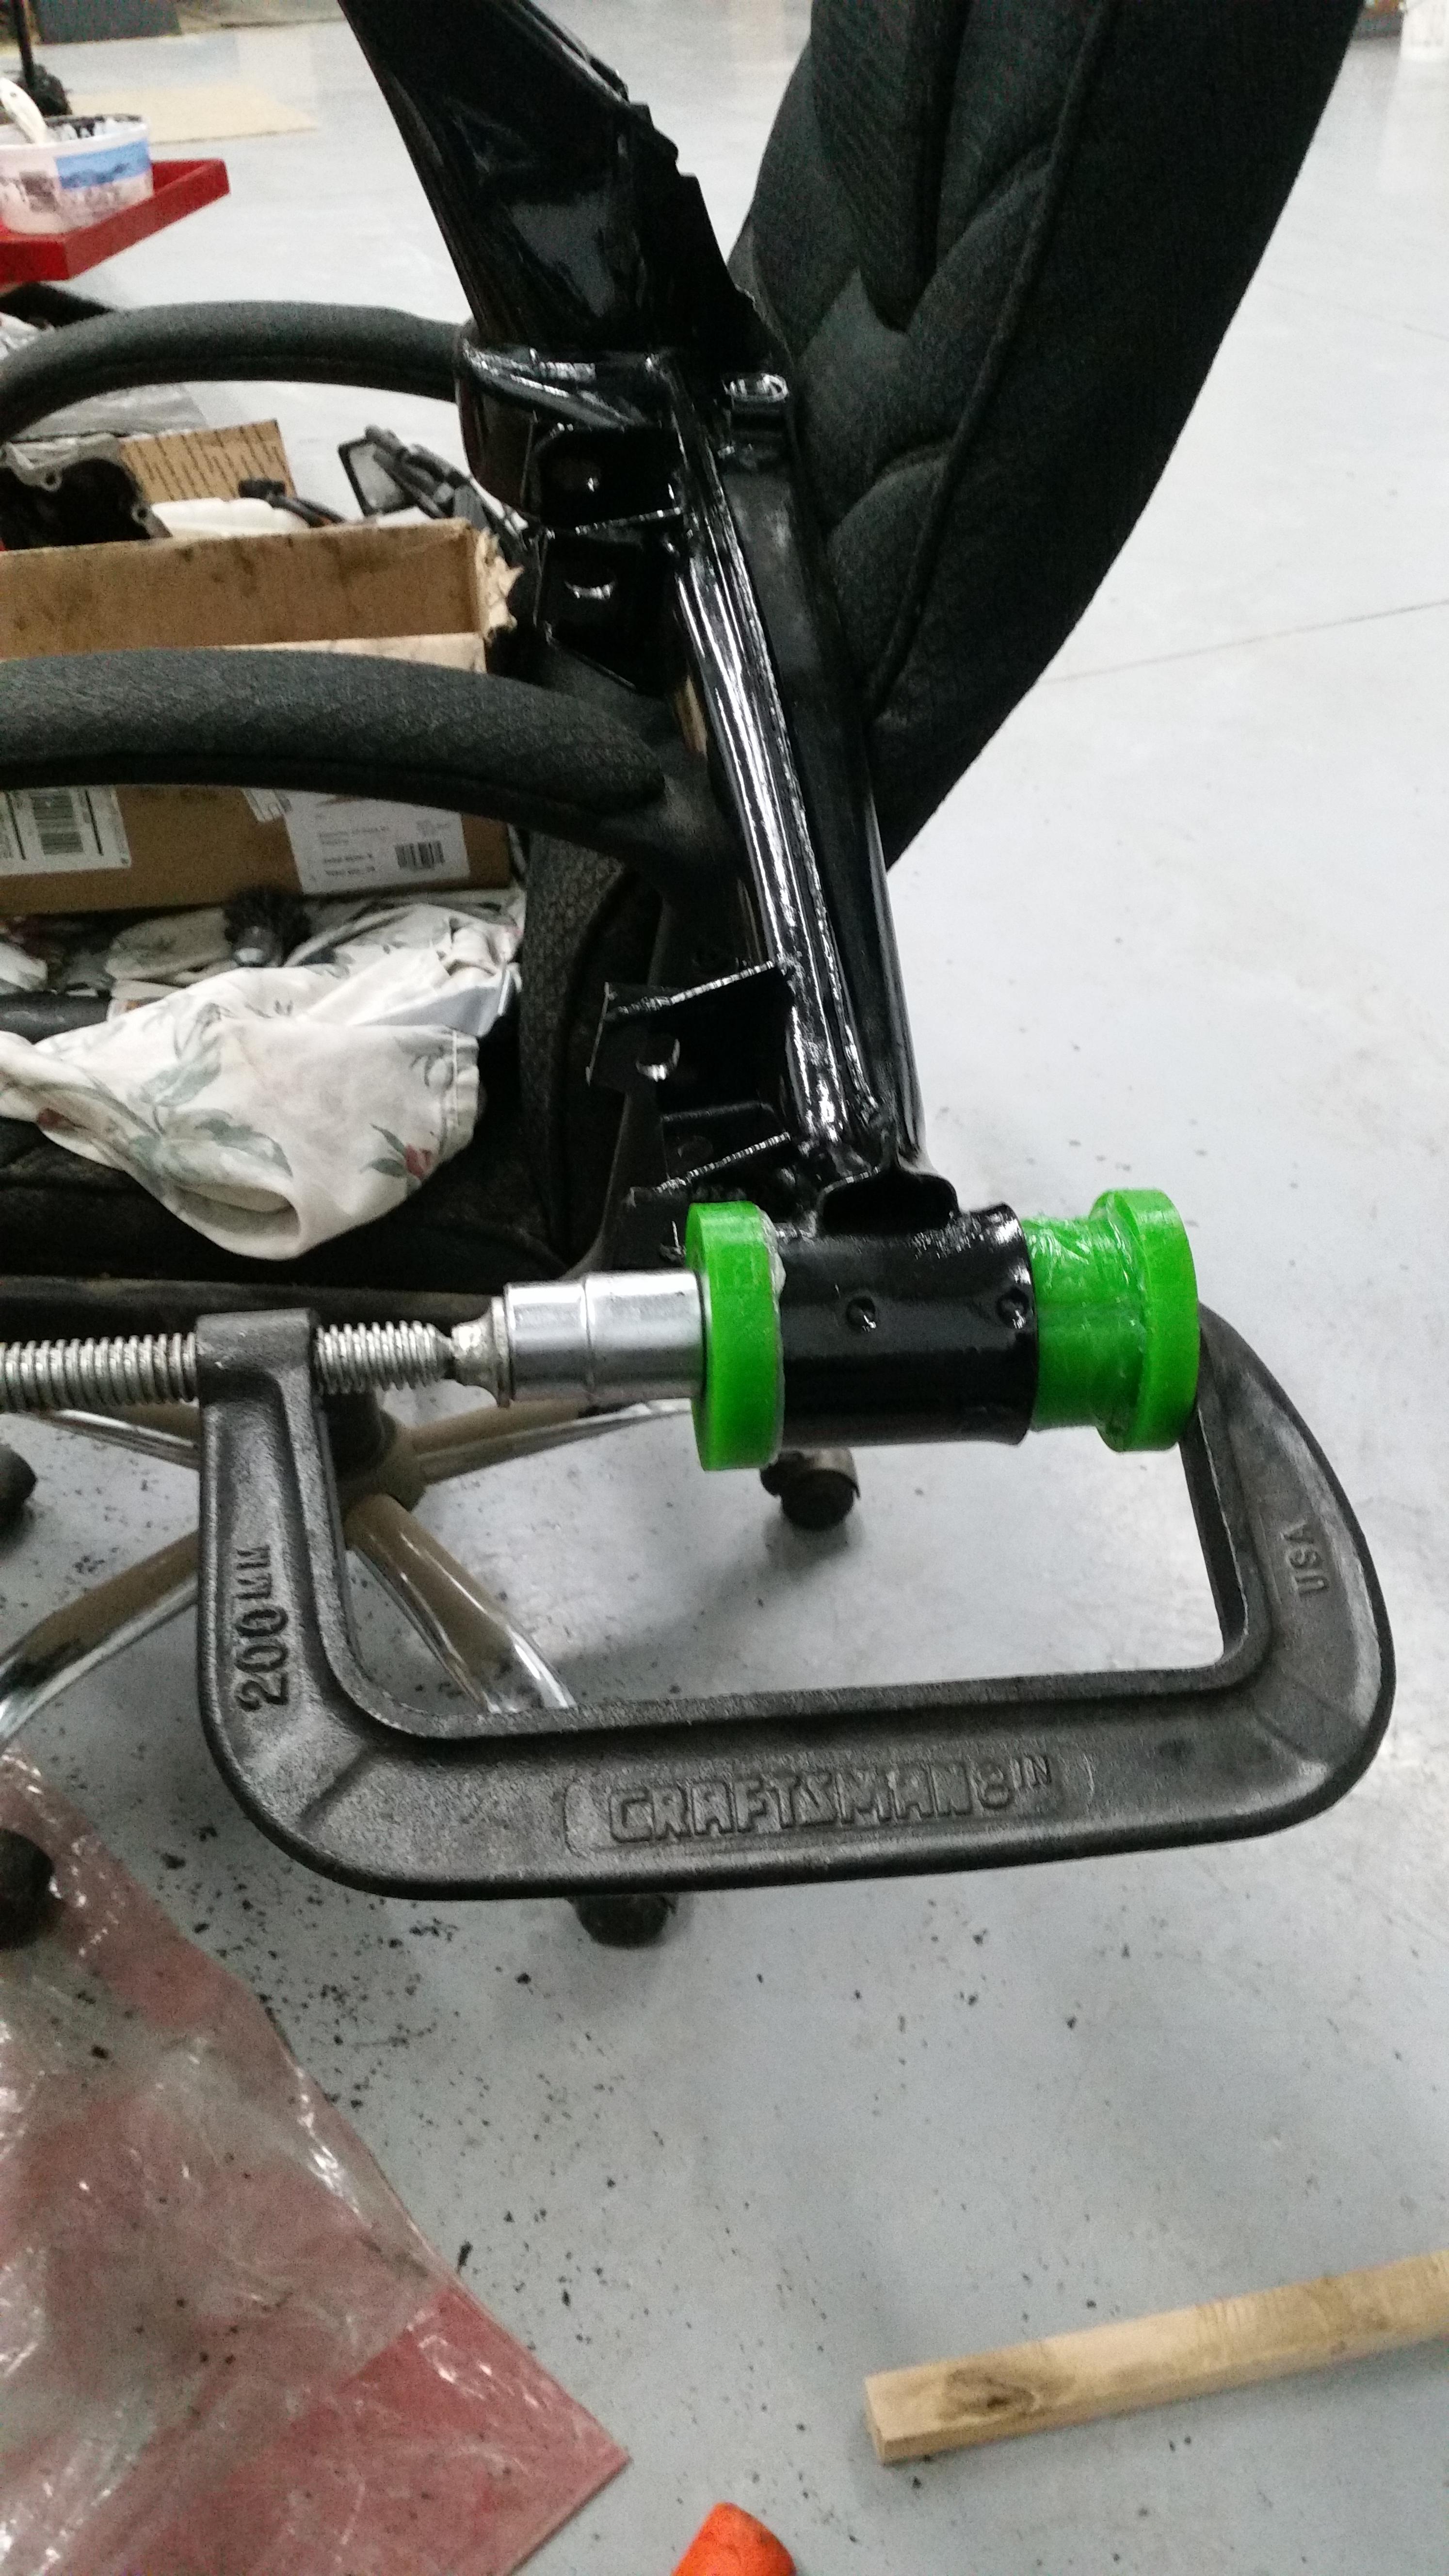
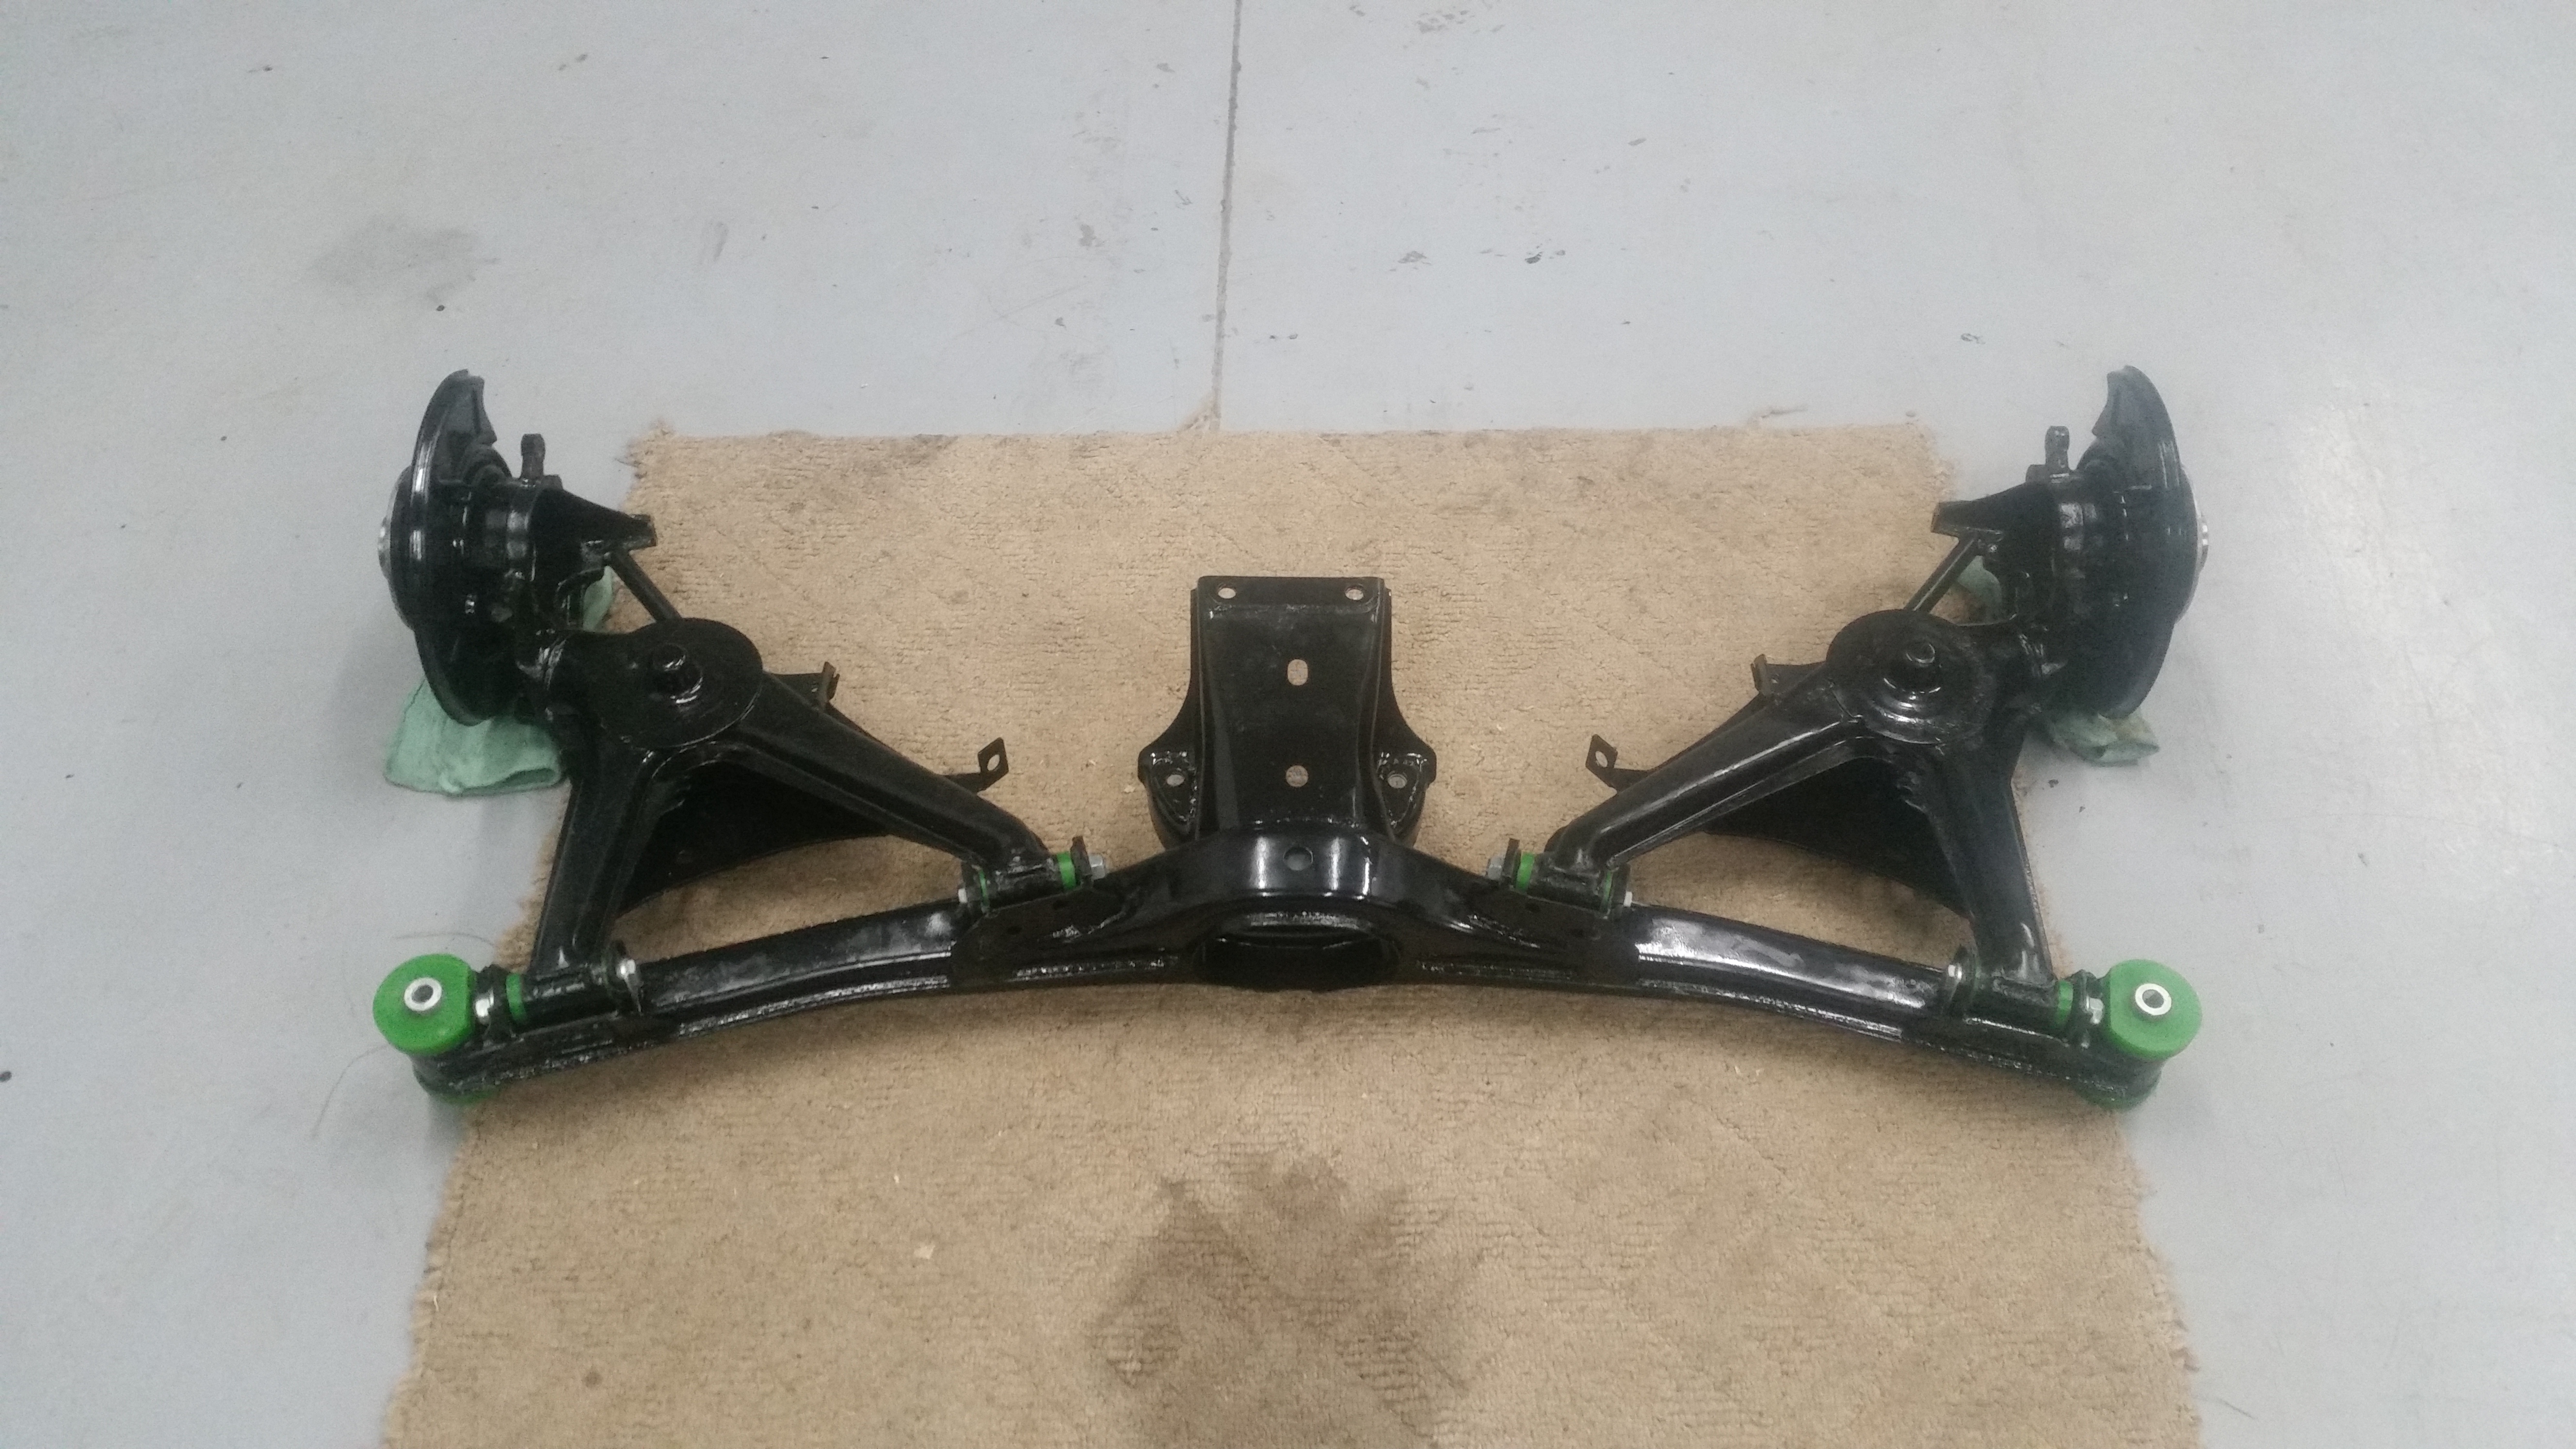
Was able to make it over to the shop later today and get the painted brackets installed and the hubs pressed in. Once that was completed I started on pressing in the subframe bushings. Took time to make sure there was plenty of lube on them so that they function quietly, I know it only lasts for maybe a year before they become dry and start squeaking but I read somewhere that sil-glyde (which I use a lot on caliper guide pins and works awesome!) seems to keep them quiet the longest, so that's what I used.
Here's my sloppy mess...
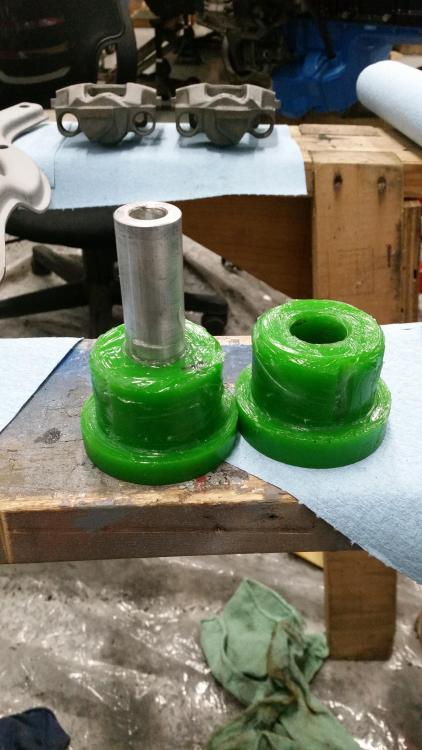
Used a c-clamp with a socket on the end to press them in
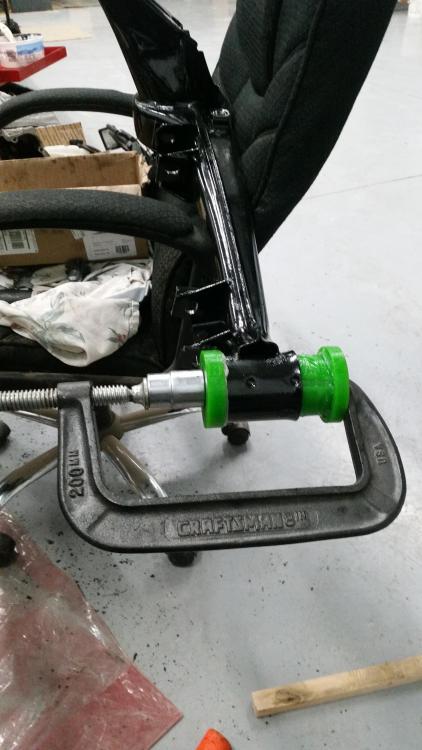
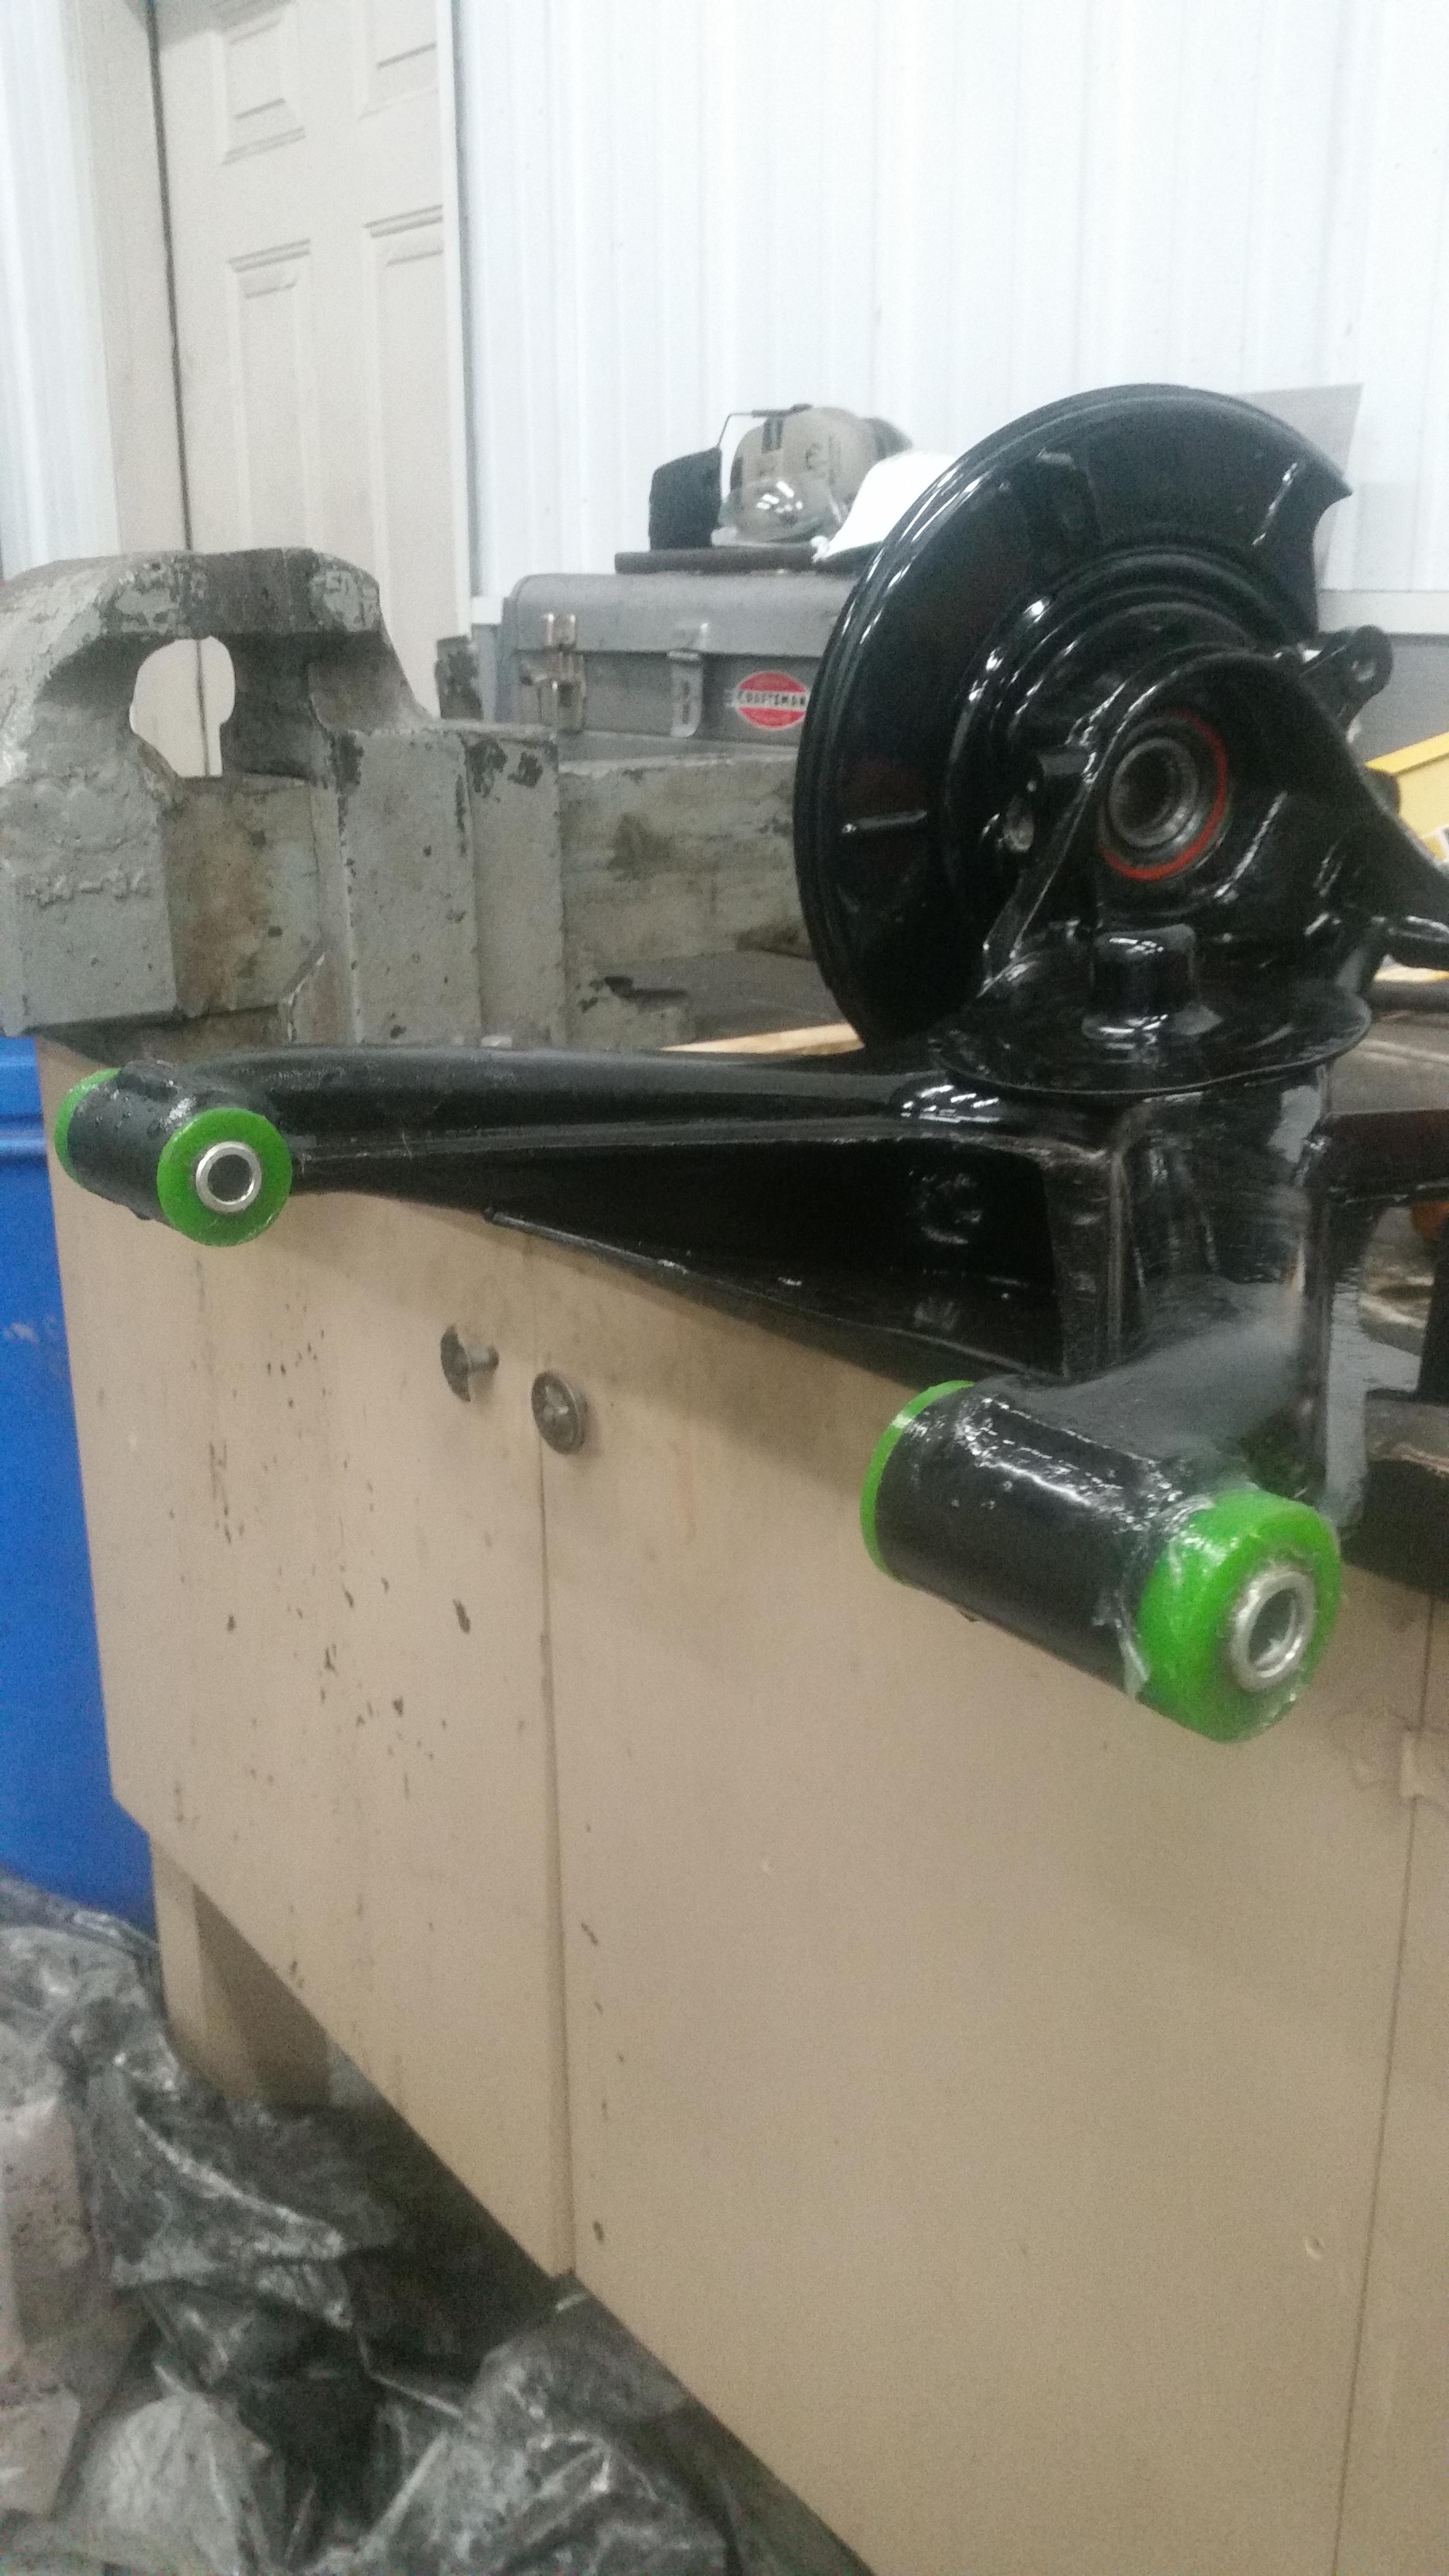
And for the trailing arms
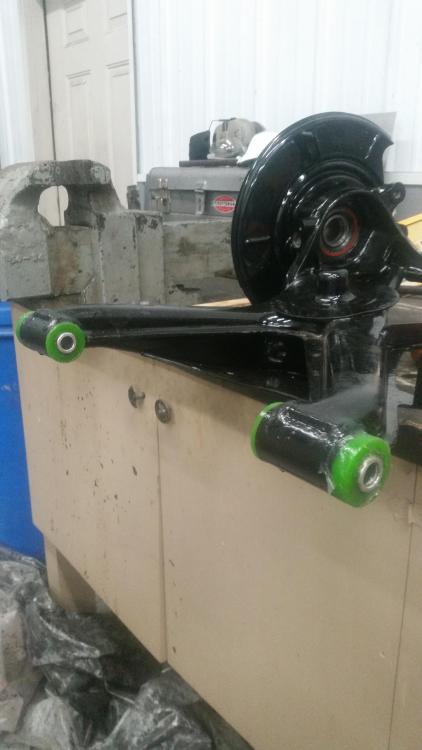
Voilà..
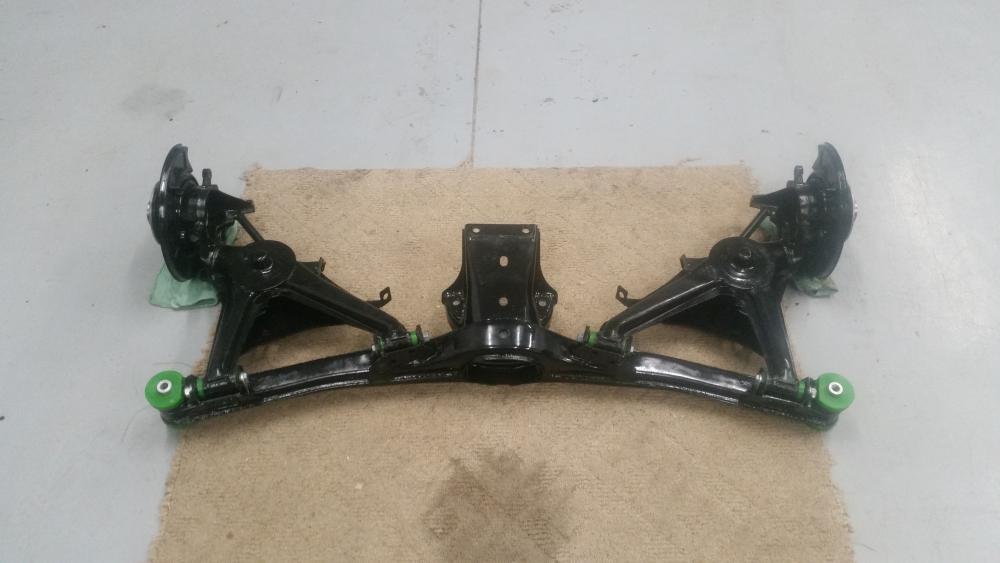
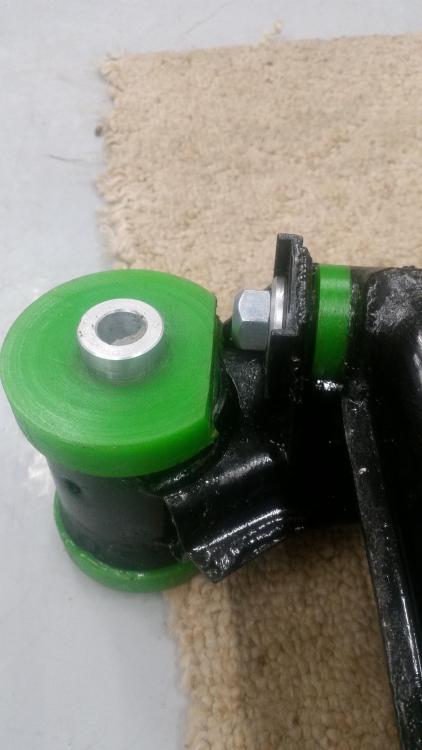
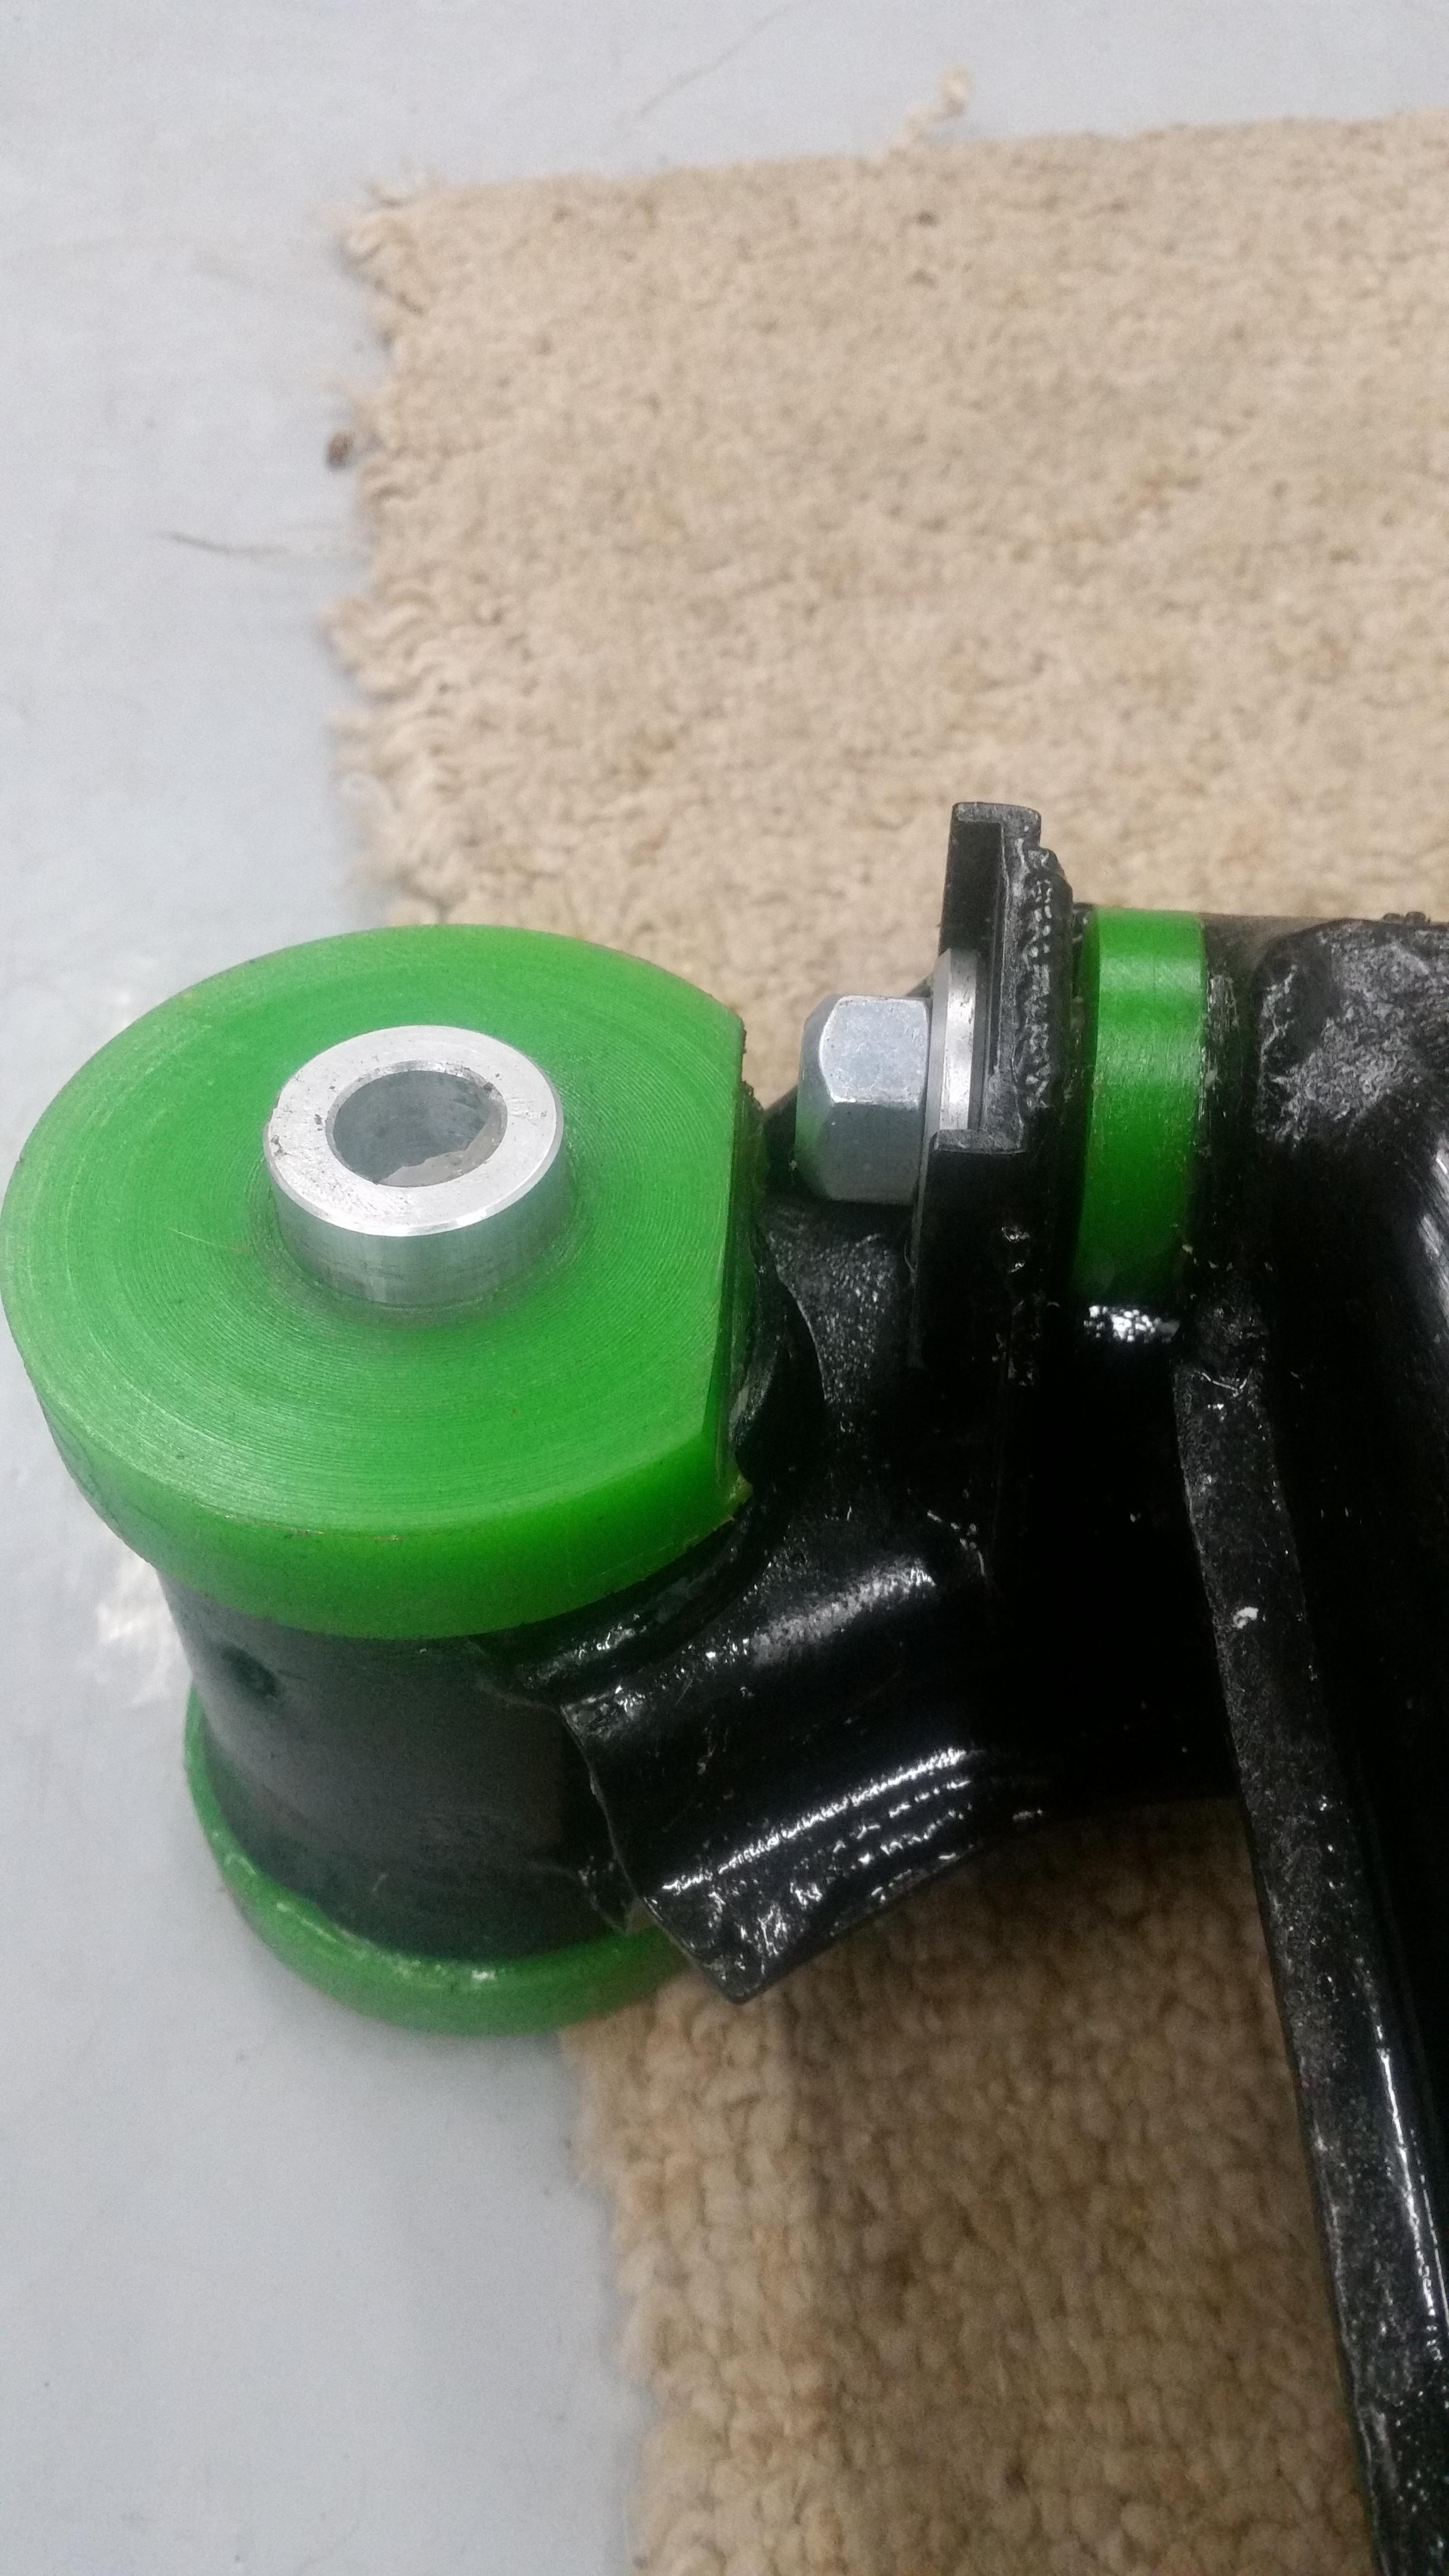
Had to do a little modifying of the subframe bushings in order to clear the eccentric hardware nuts and so that a wrench can fit up in there to loosen and adjust during alignment.
Up next... fuel lines, brake lines, gas tank.
-
go find a crack free dash and pay out the ass (which could also take sometime to source)
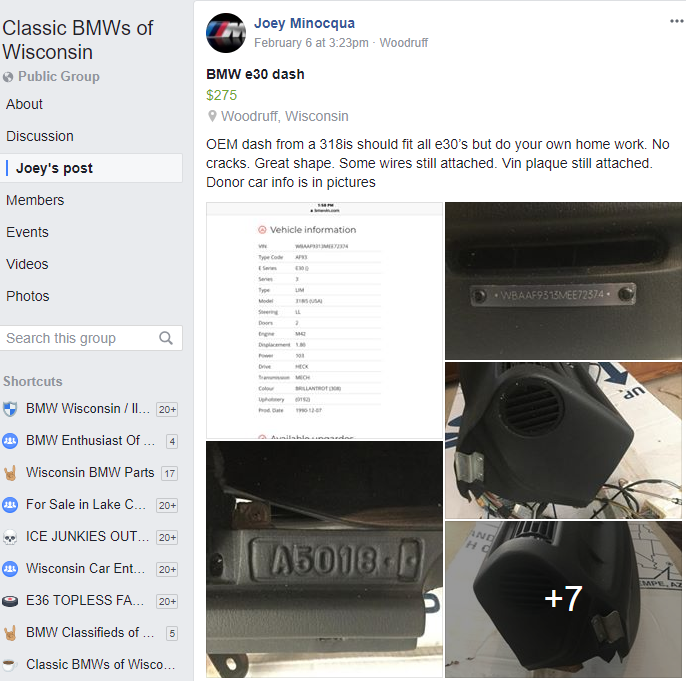
There is a crack free one for sale on FB up in Minocqua.
-
Ugh... that looks like a good one too. The only problem is the fact that it's in woodruff and the only time I could make a drive like that would be next weekend Saturday, doubt it'll still be available by then.
Sent from my SM-G900V using Tapatalk
-
Ask him if you can paypal him to hold it or meet you closer.

https://www.instagram.com/_jdesigner_/ http://nevertoolow.tumblr.com/
🥳SOLD BMW E24 633CSI - BMW M30B32 🧪SOLD HCH ES9 - 1.3 LDA
👽BMW E30 325IC - Toyota 1JZ-GTE ⏰ HONDA EF9 CIVIC SI - JDM B18C5
☠️BMW E36 318i - Ford 5.0 FE302 🚴♂️ GT-Labomba - 26x2.75 Freeride
🤹♀️SOLD BMW E36/7 Z3 - BMW M54B25 🧓SOLD BMW E10 2002 - BMW M10M05 -
Yeah no kidding, woodruff is quite far away!
Sucks that the white shows through the flocking. Looks nice other than that! -
So just got off the phone with "just flock it". According to the lady I talked to its not uncommon for people to flock their dash twice in order to cover everything completely. They said to simply paint right over what i have on there. I do have enough paint glue from them to cover the dash again but not enough fibers, I would have to order more fibers which will run me another 42 dollars. I should also add that she can't confirm this will work to solve the bondo seeing through issue, its just what other people swear by doing. So now I'm down to two choices... Possibly keep digging myself a grave flocking the dash again not knowing if its gonna work or see if I can get my hands on this crack free one in wood ruff.
-
agreed, crack free original dashes are a scam. The problem is it will still crack because it's the same materials. I had a dash crack on a e30 while in heated storage! I'd spend another $42 to either repaint and reflock, or add to your existing work. To have a properly OEM refinished dash from justdashes.com is around $1200.
-
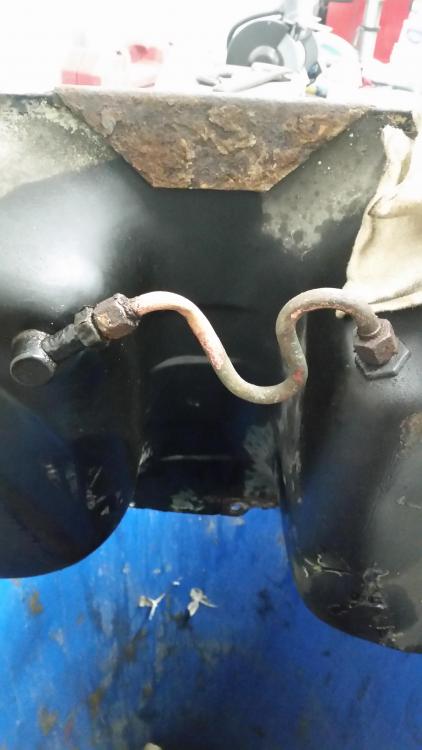
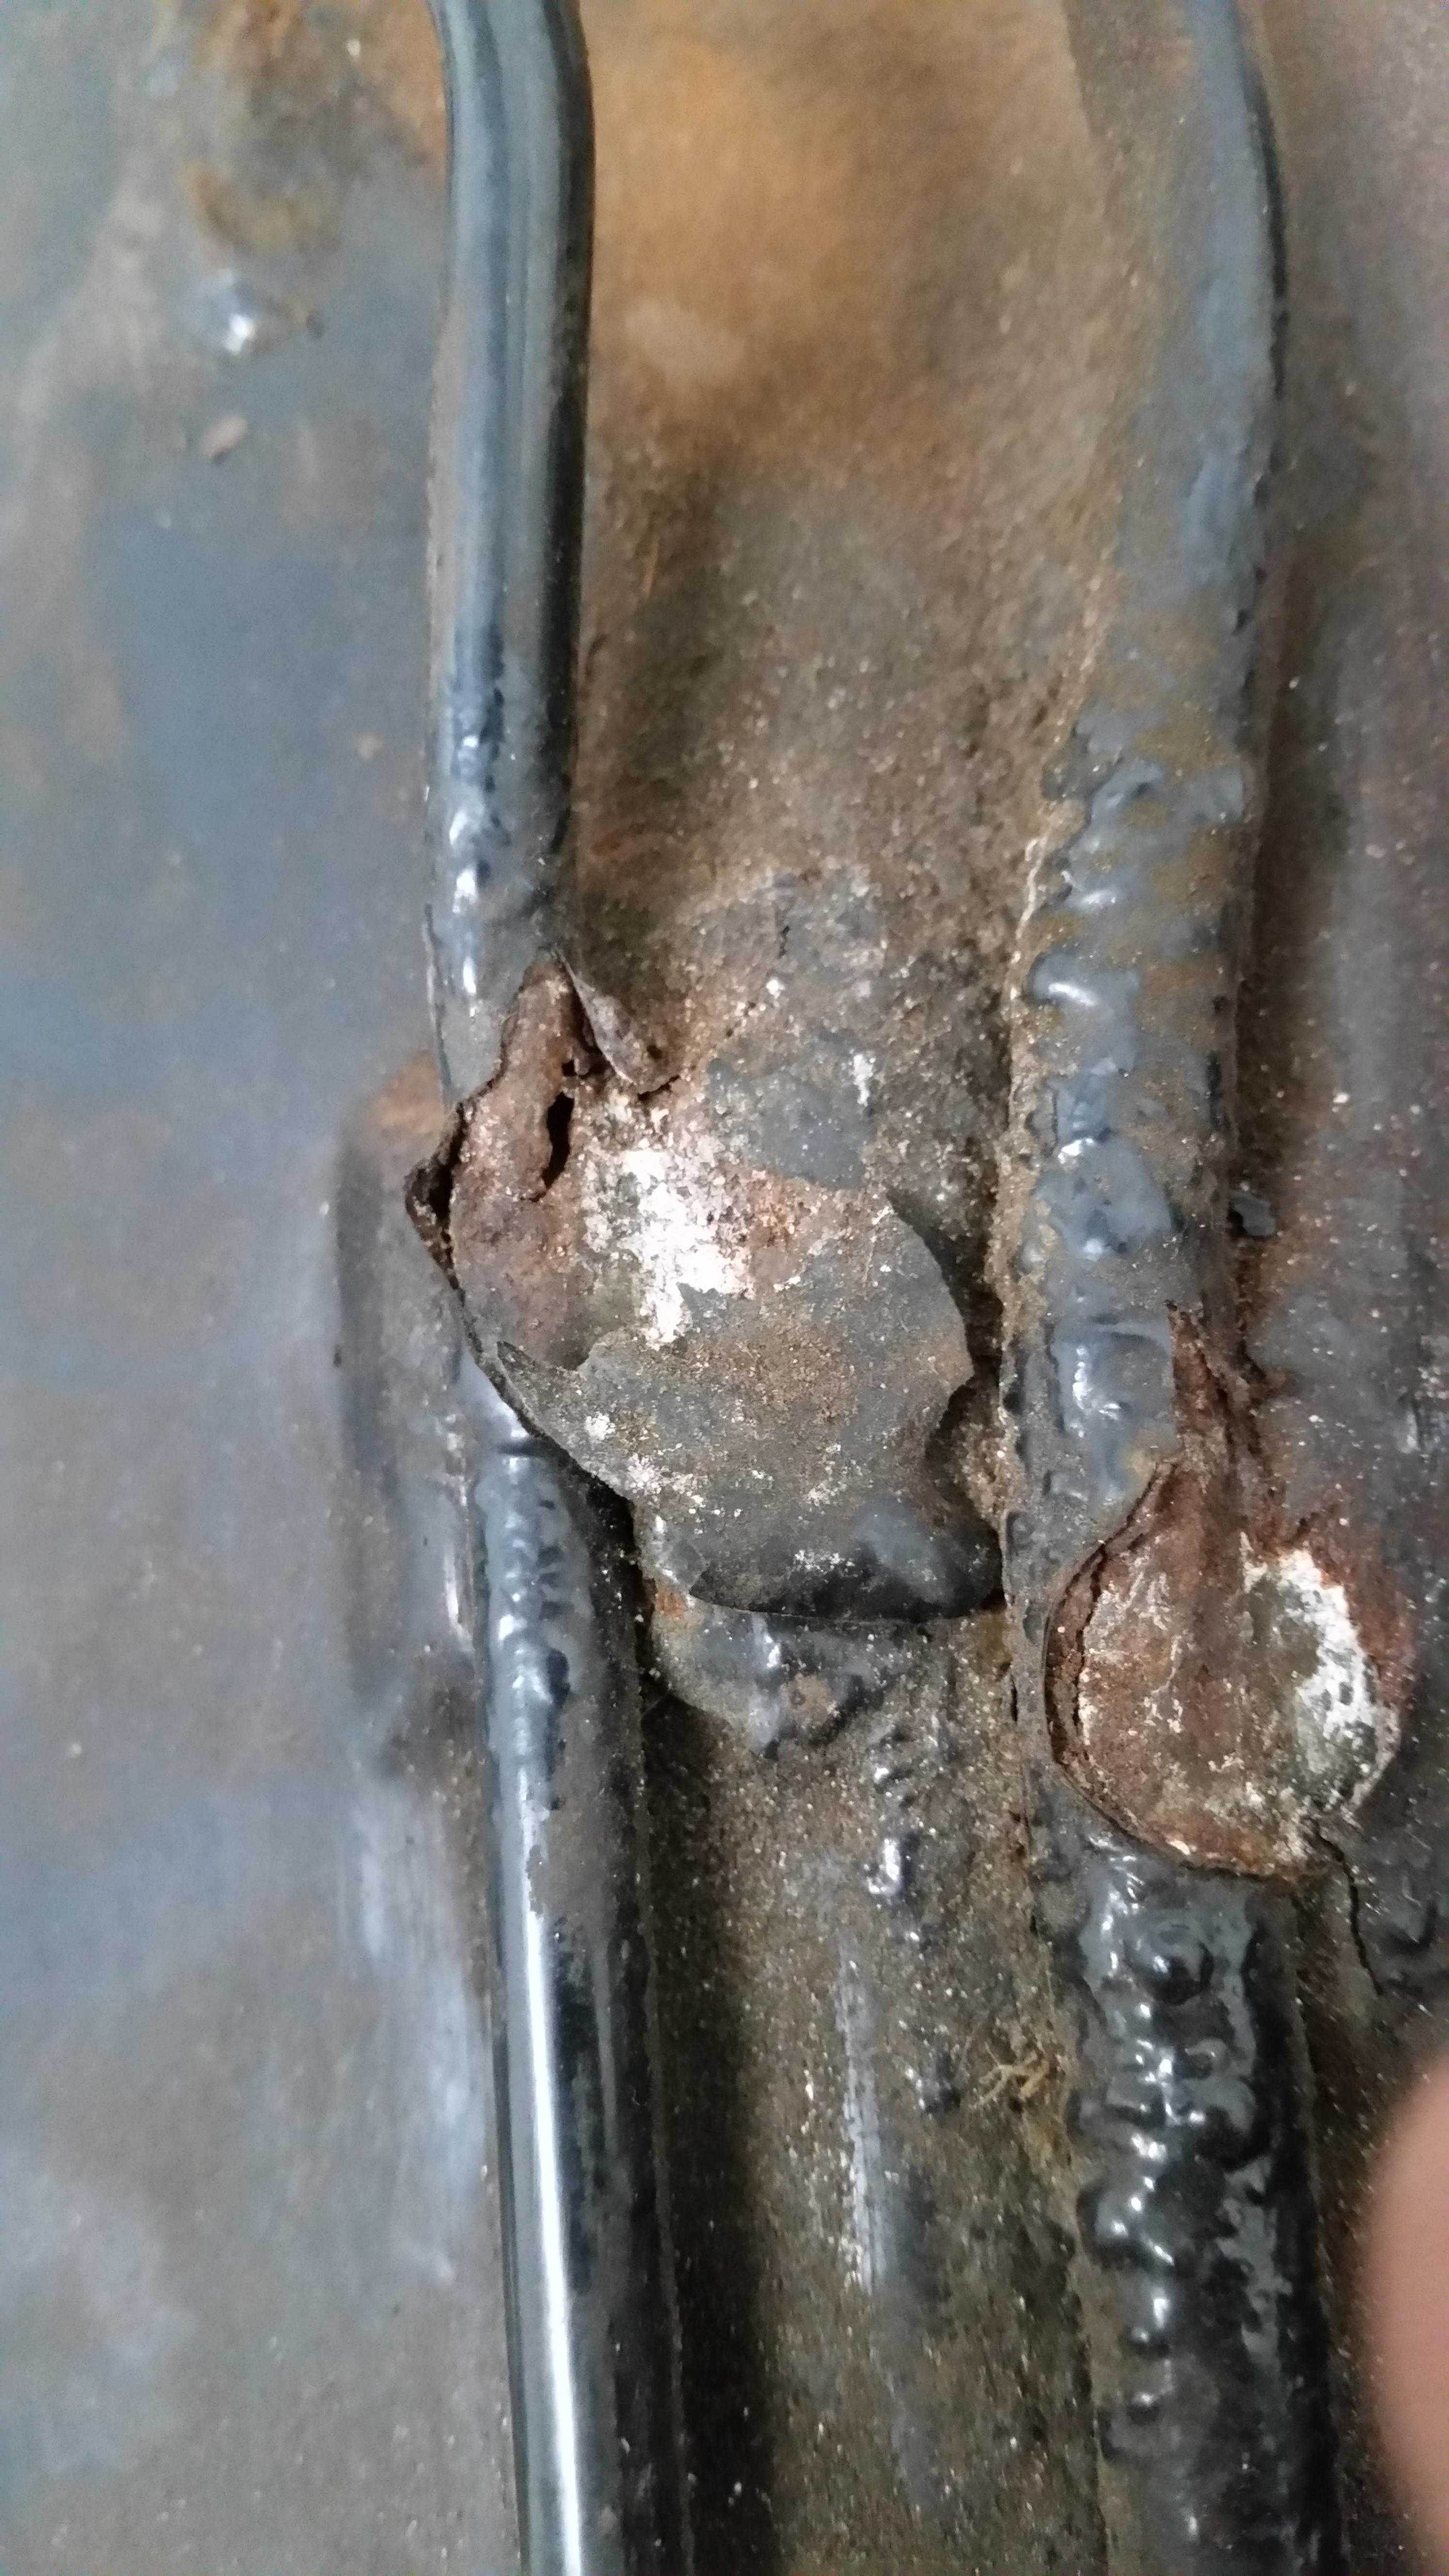
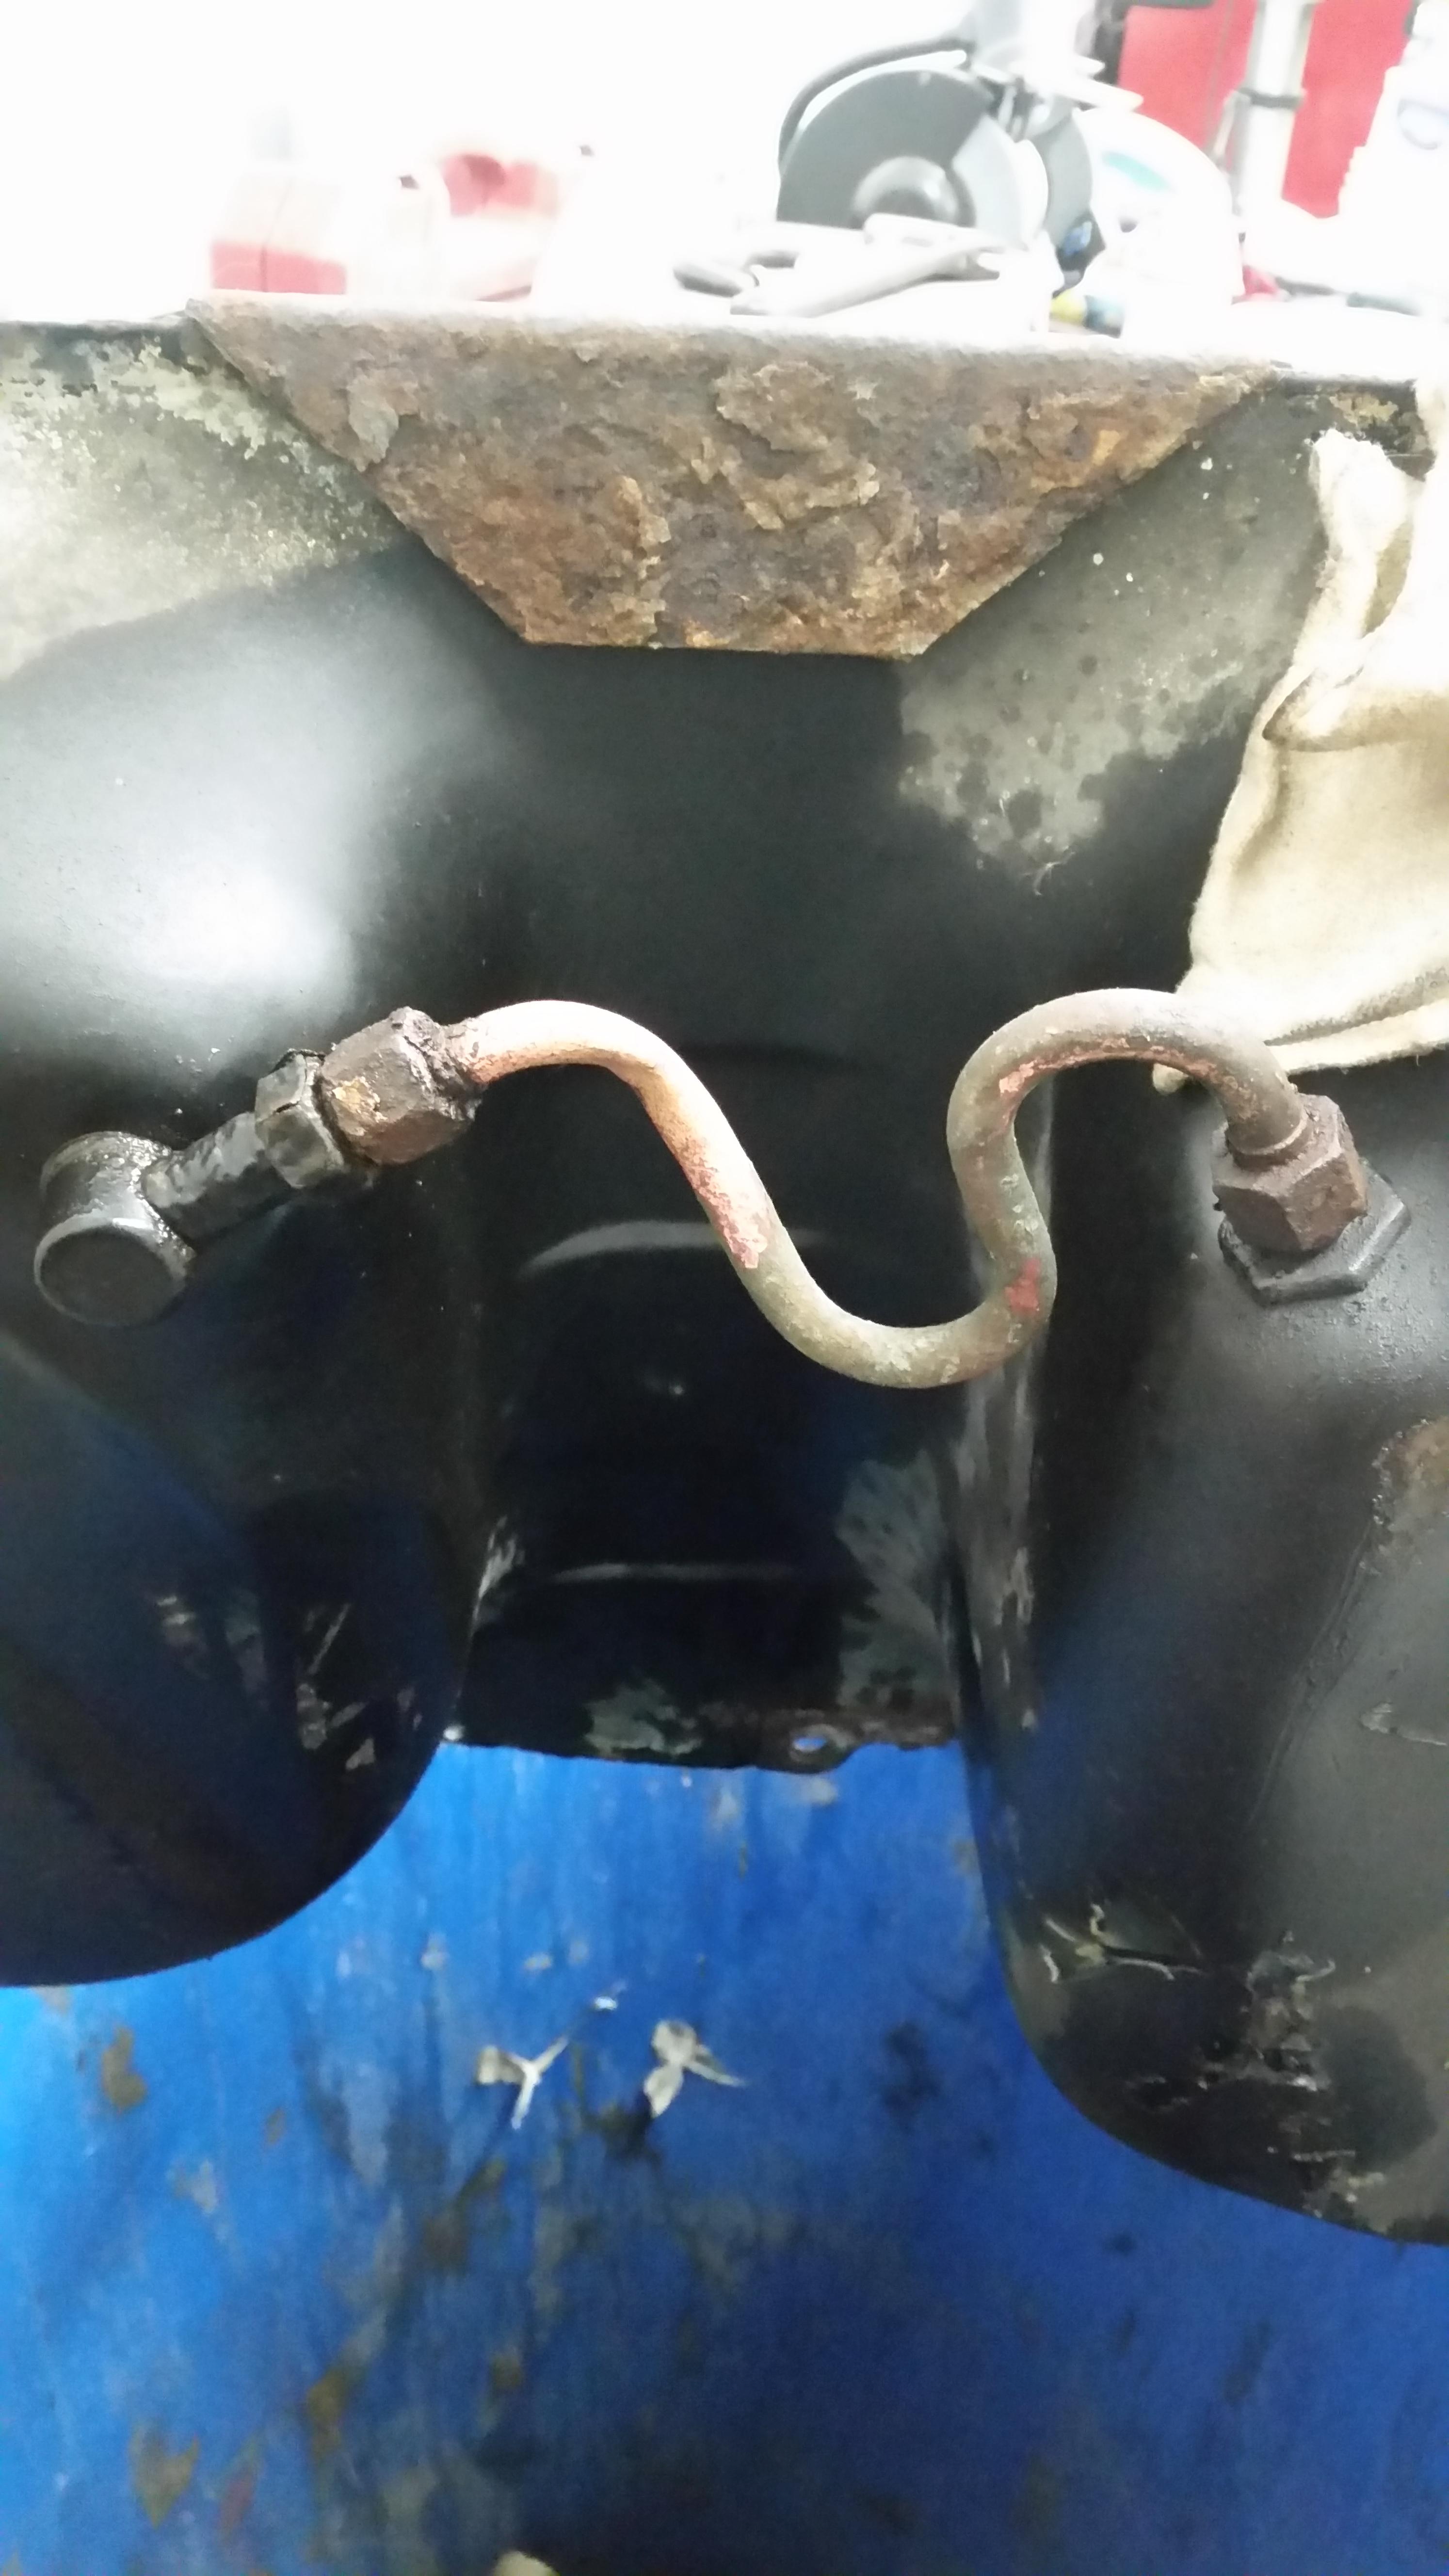
So last weekend I started cracking down on getting the gas tank cleaned up, prepped, and repainted. Was going along just fine and dandy until I noticed this on one of the lines welded to the top of the tank...
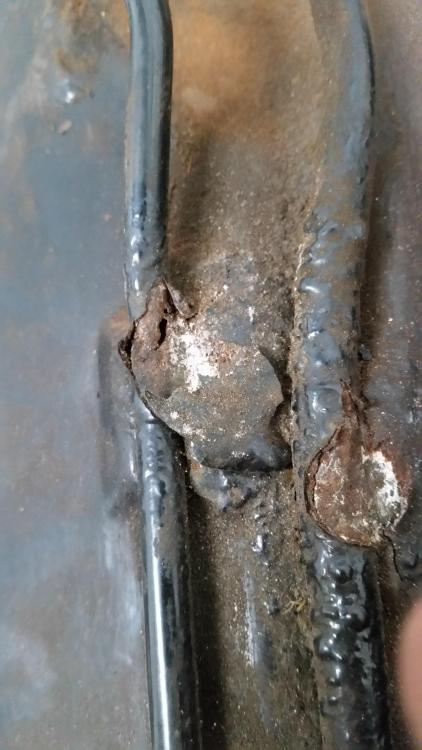
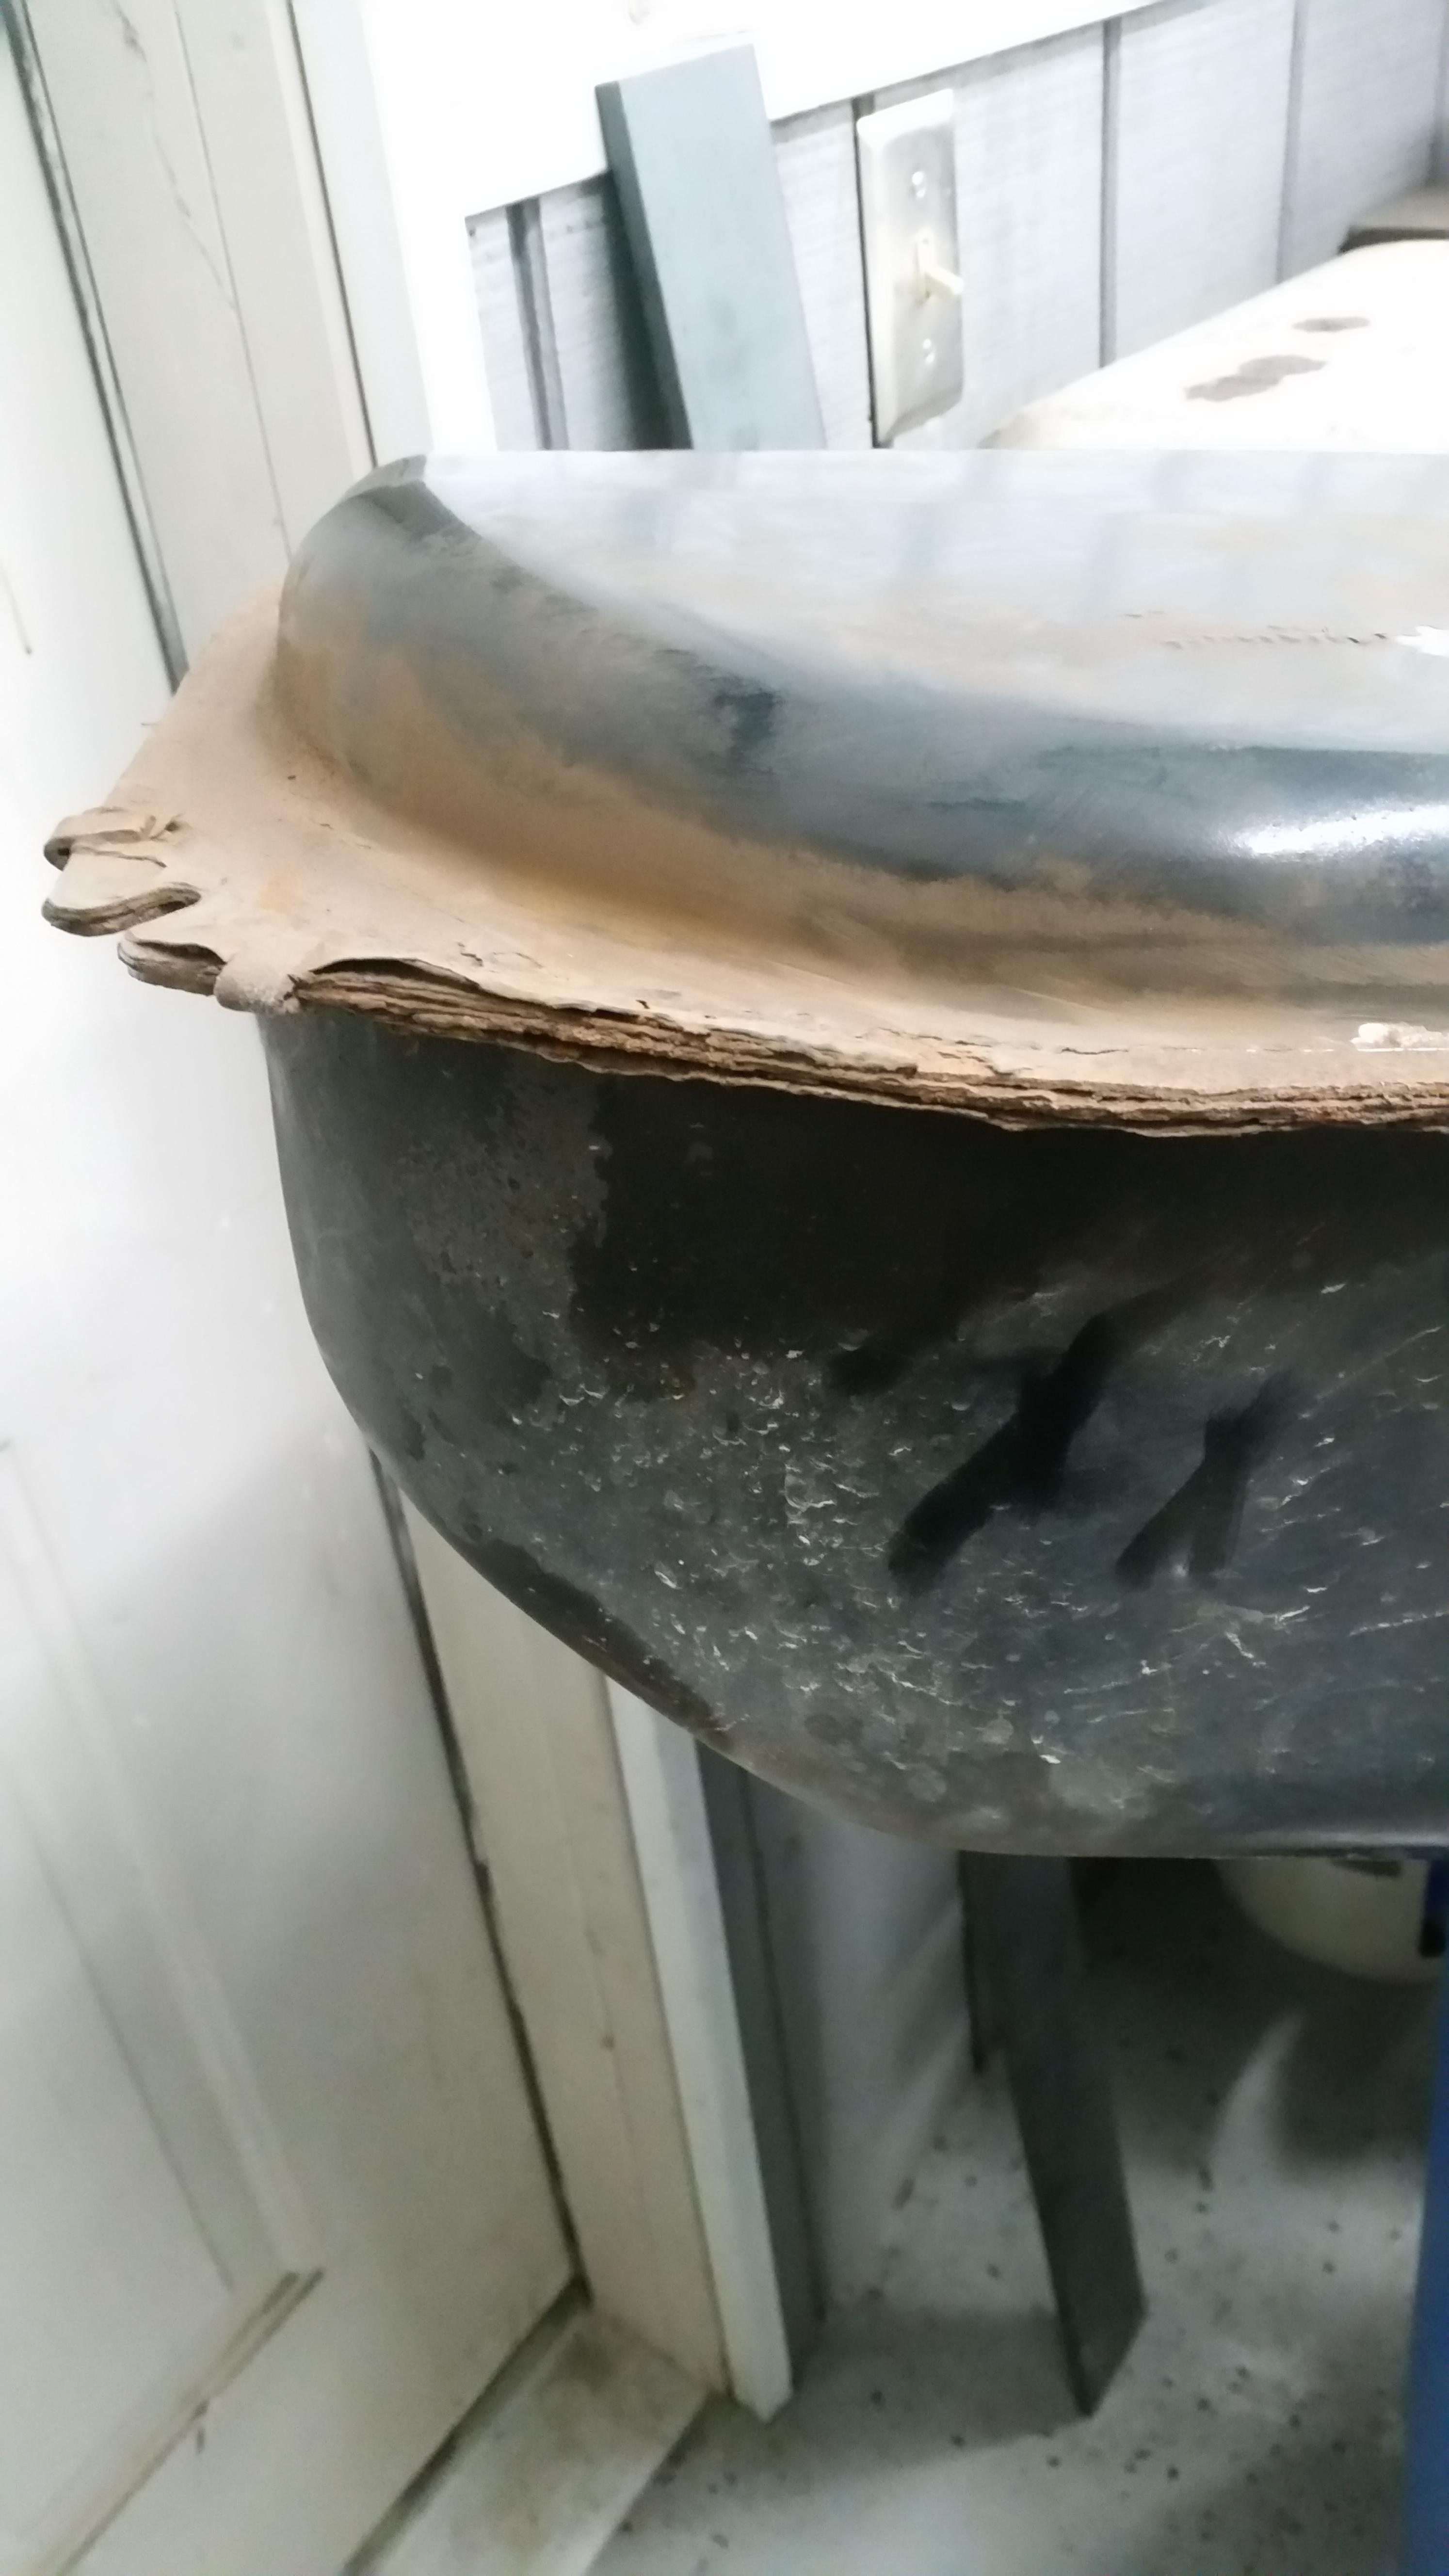
After assessing the other parts of the tank like the edges and dents underneath I decided its time for her to retire
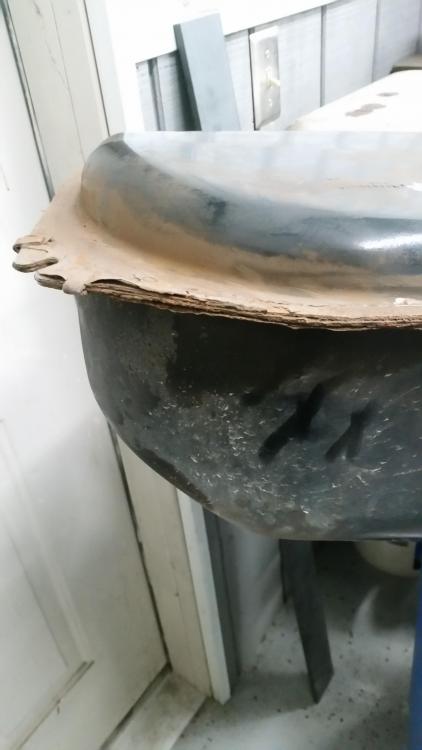
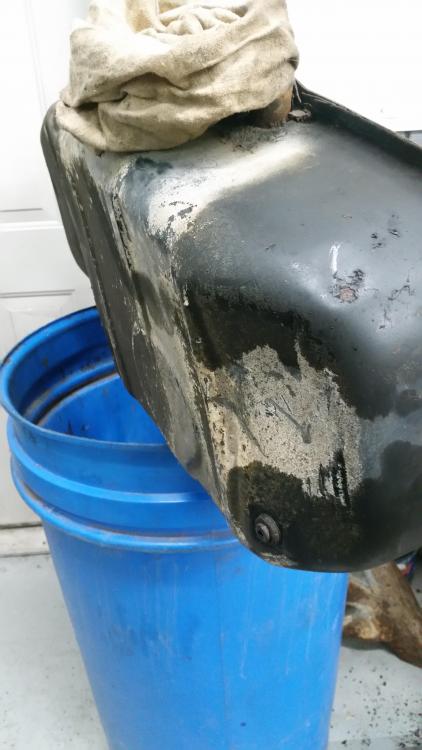
So I started searching around and found my self on amazon looking at this aftermarket gas tank made by spectra premium. After reading the 6 positive reviews it had on it I was convinced to give it a try. Tank should be arriving today sometime hopefully.
So while I wait for the tank I turned my attention to the other things needed to get done
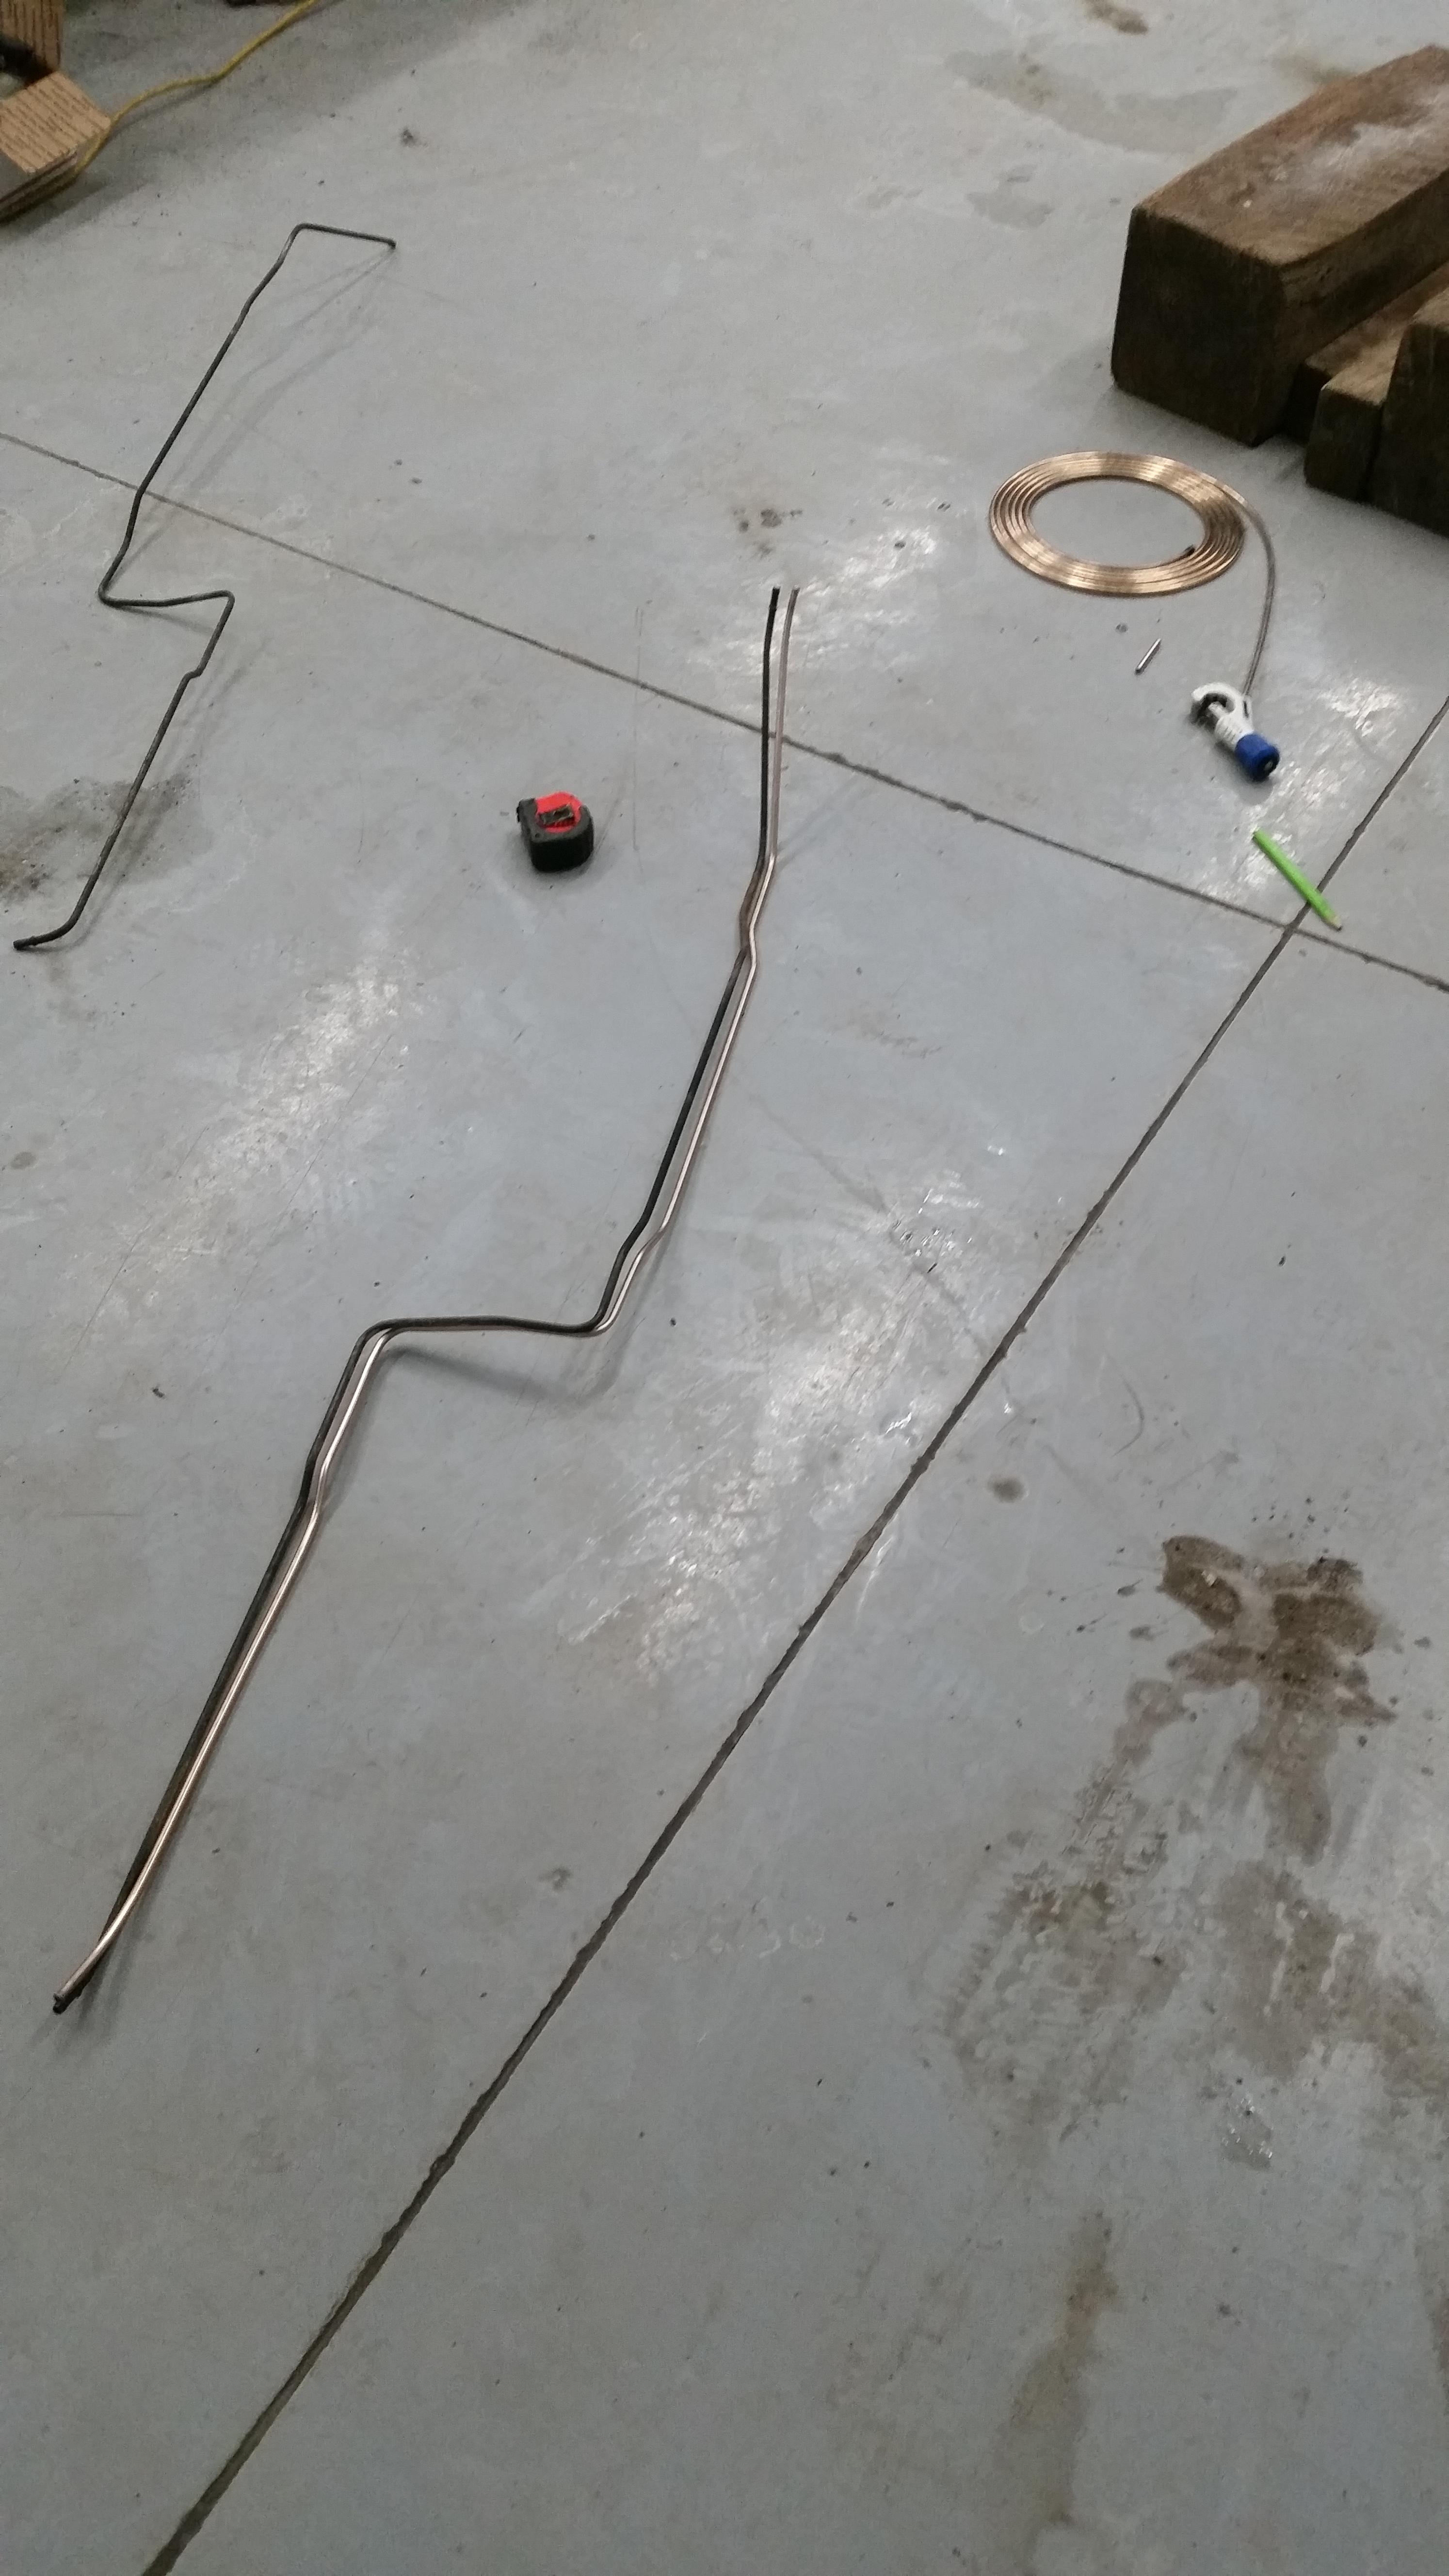
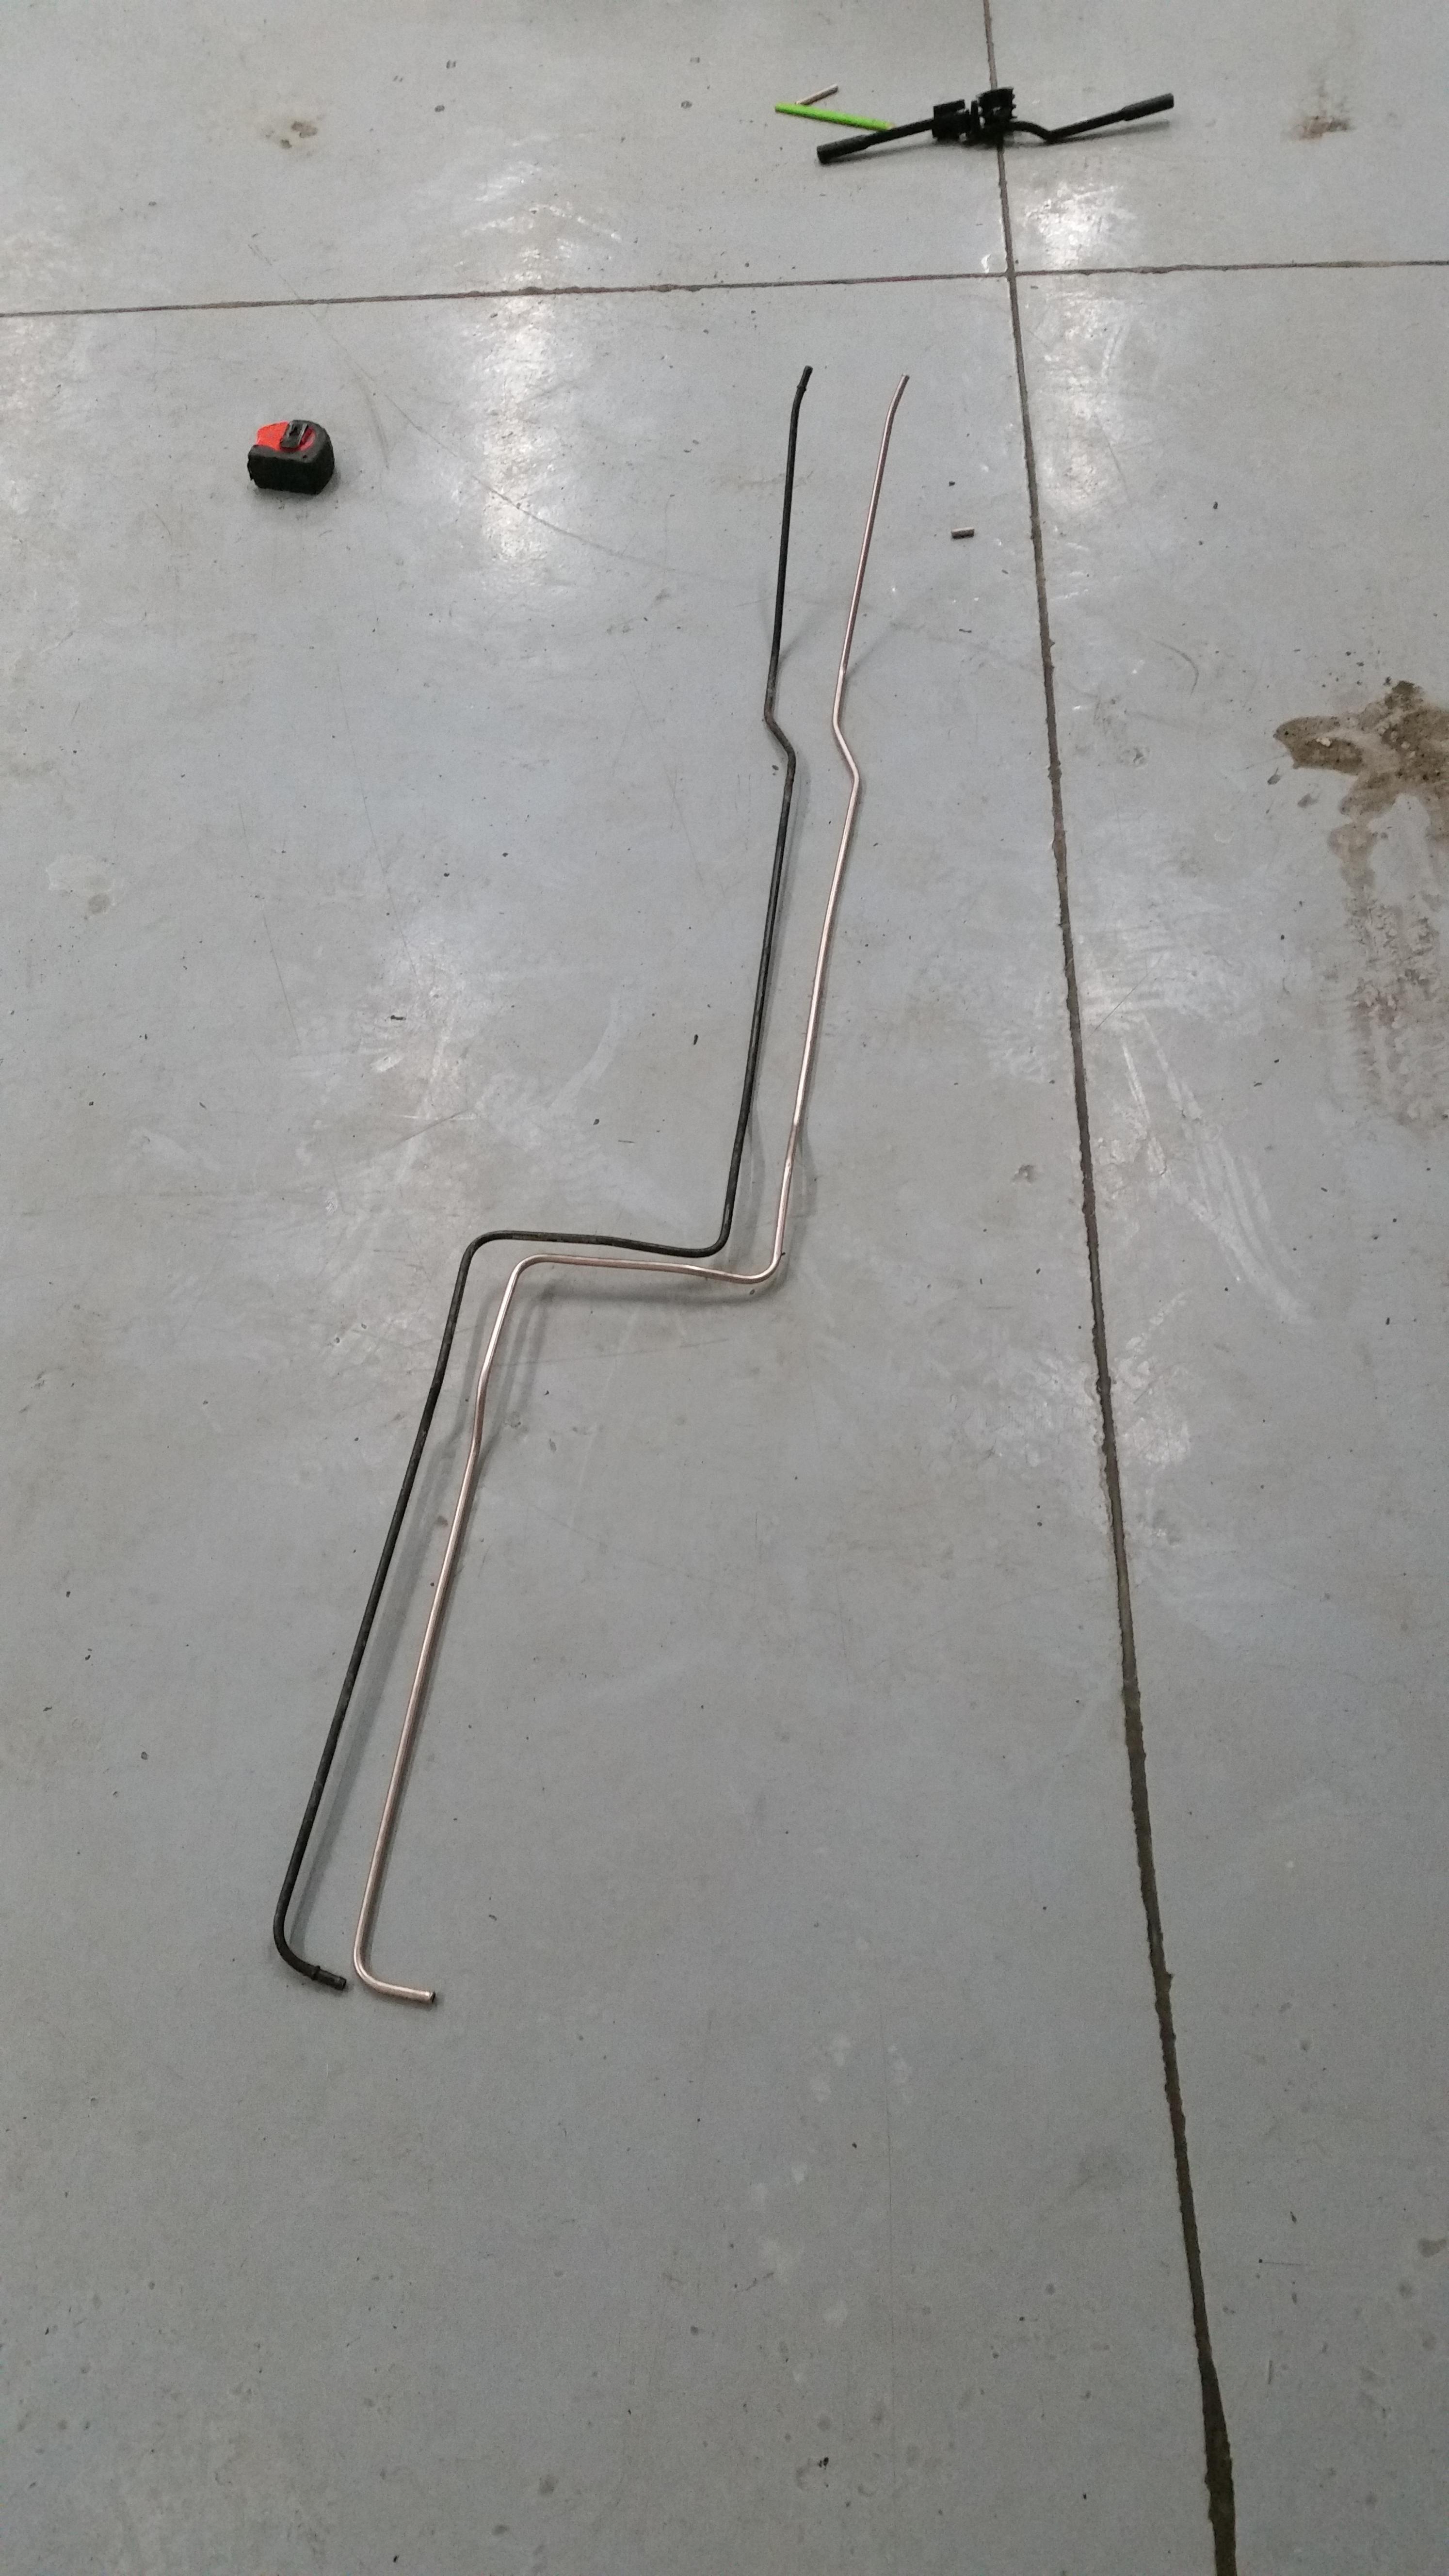
new fuel lines bent up...
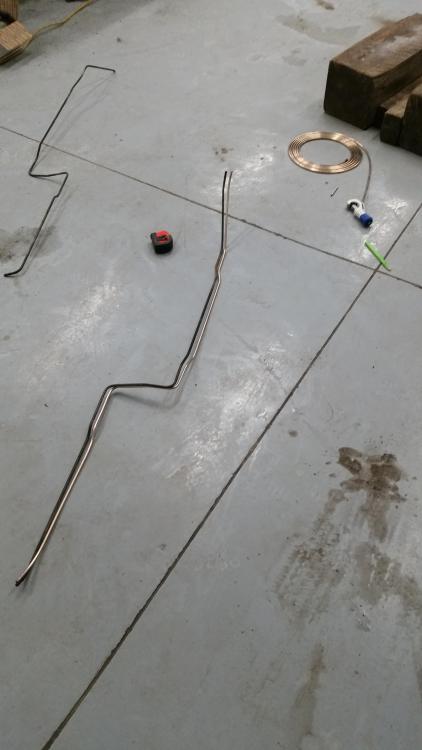
I also want to throw out there that this copper nickel line is so nice to work with and bends very nicely. Took me about a hour to get the feed and return line all fab'd up.
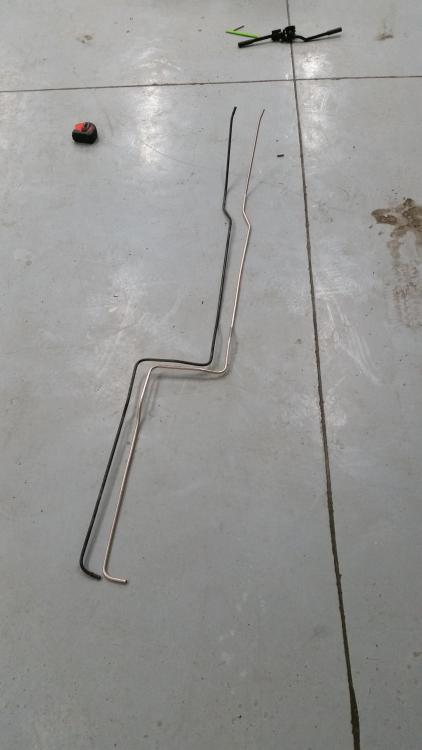
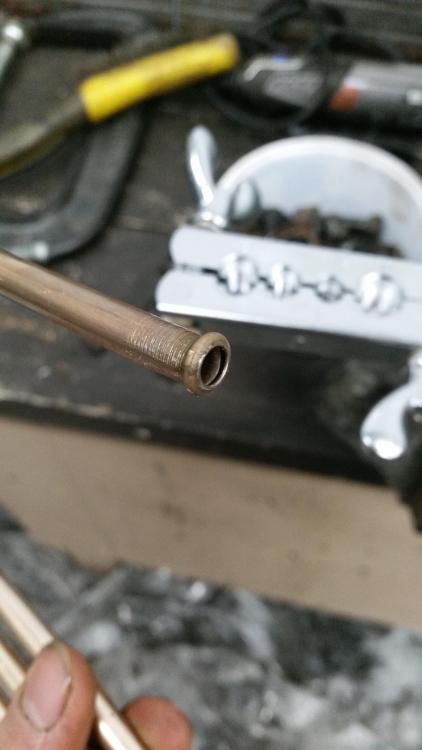
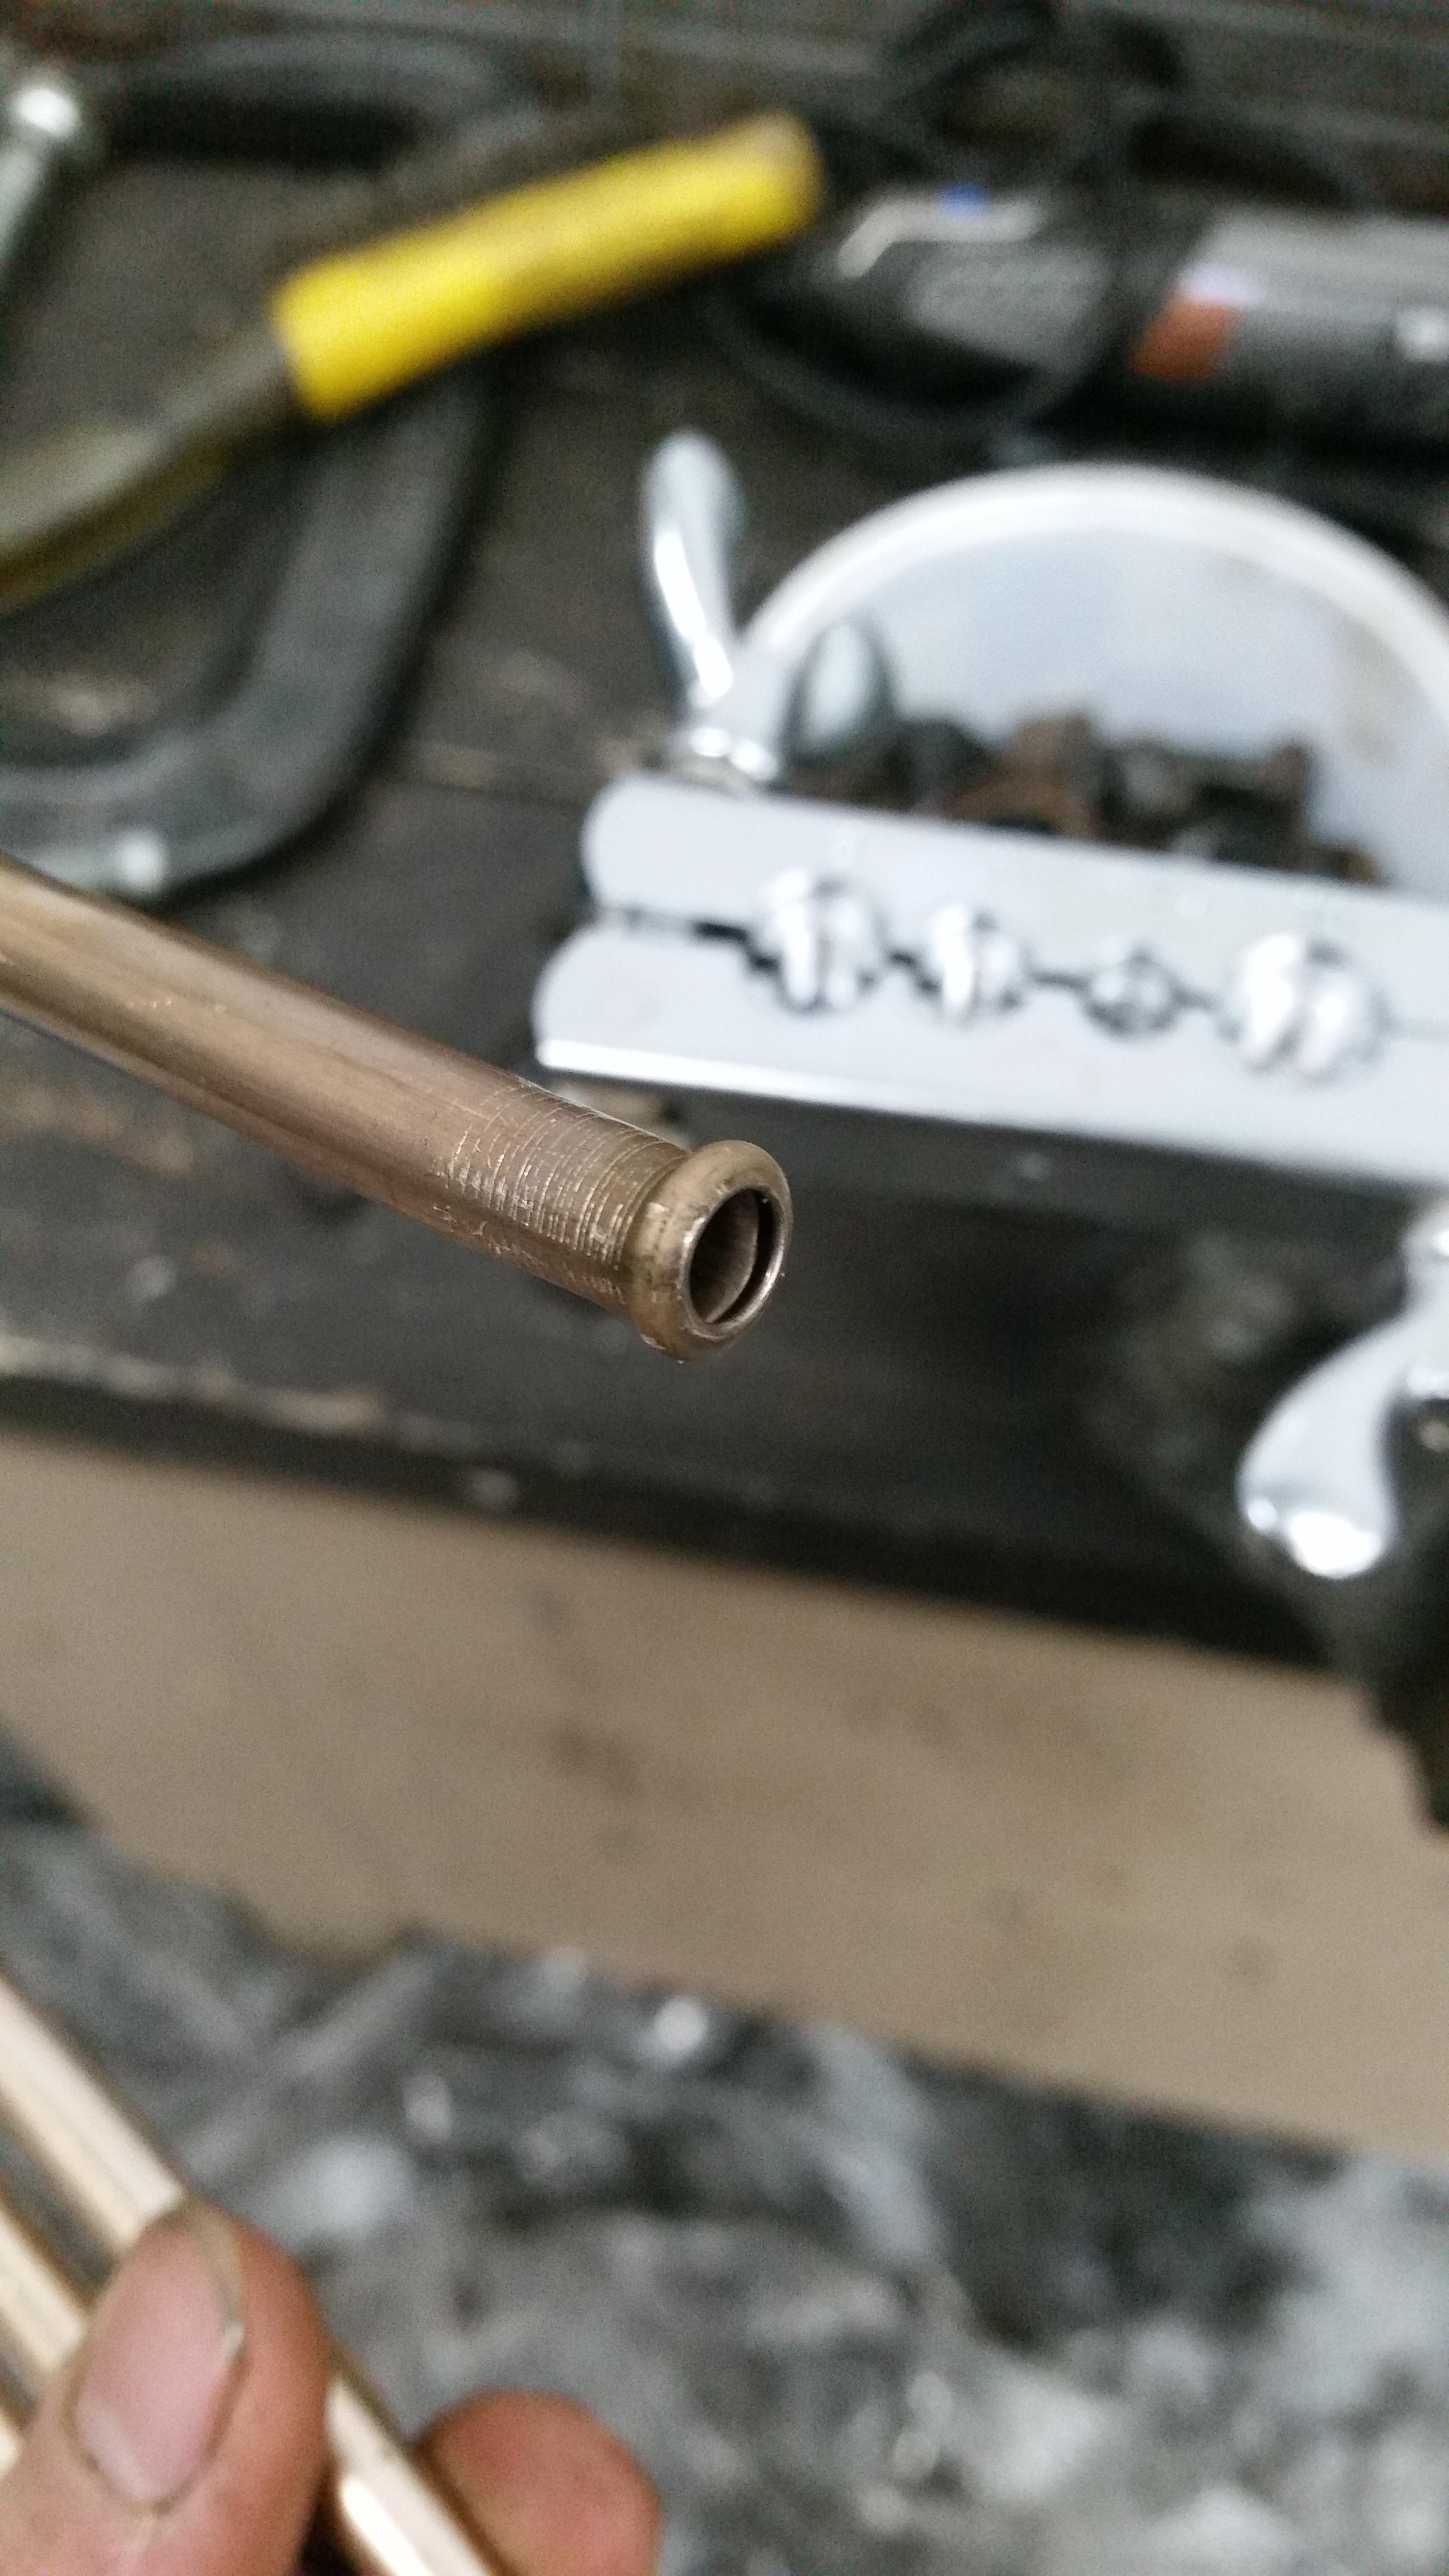
Sense I don't have the tool to make the special looking flare on the end of the factory fuel lines I just threw a shallow bubble flare on both ends, I suppose its better then leaving it straight...
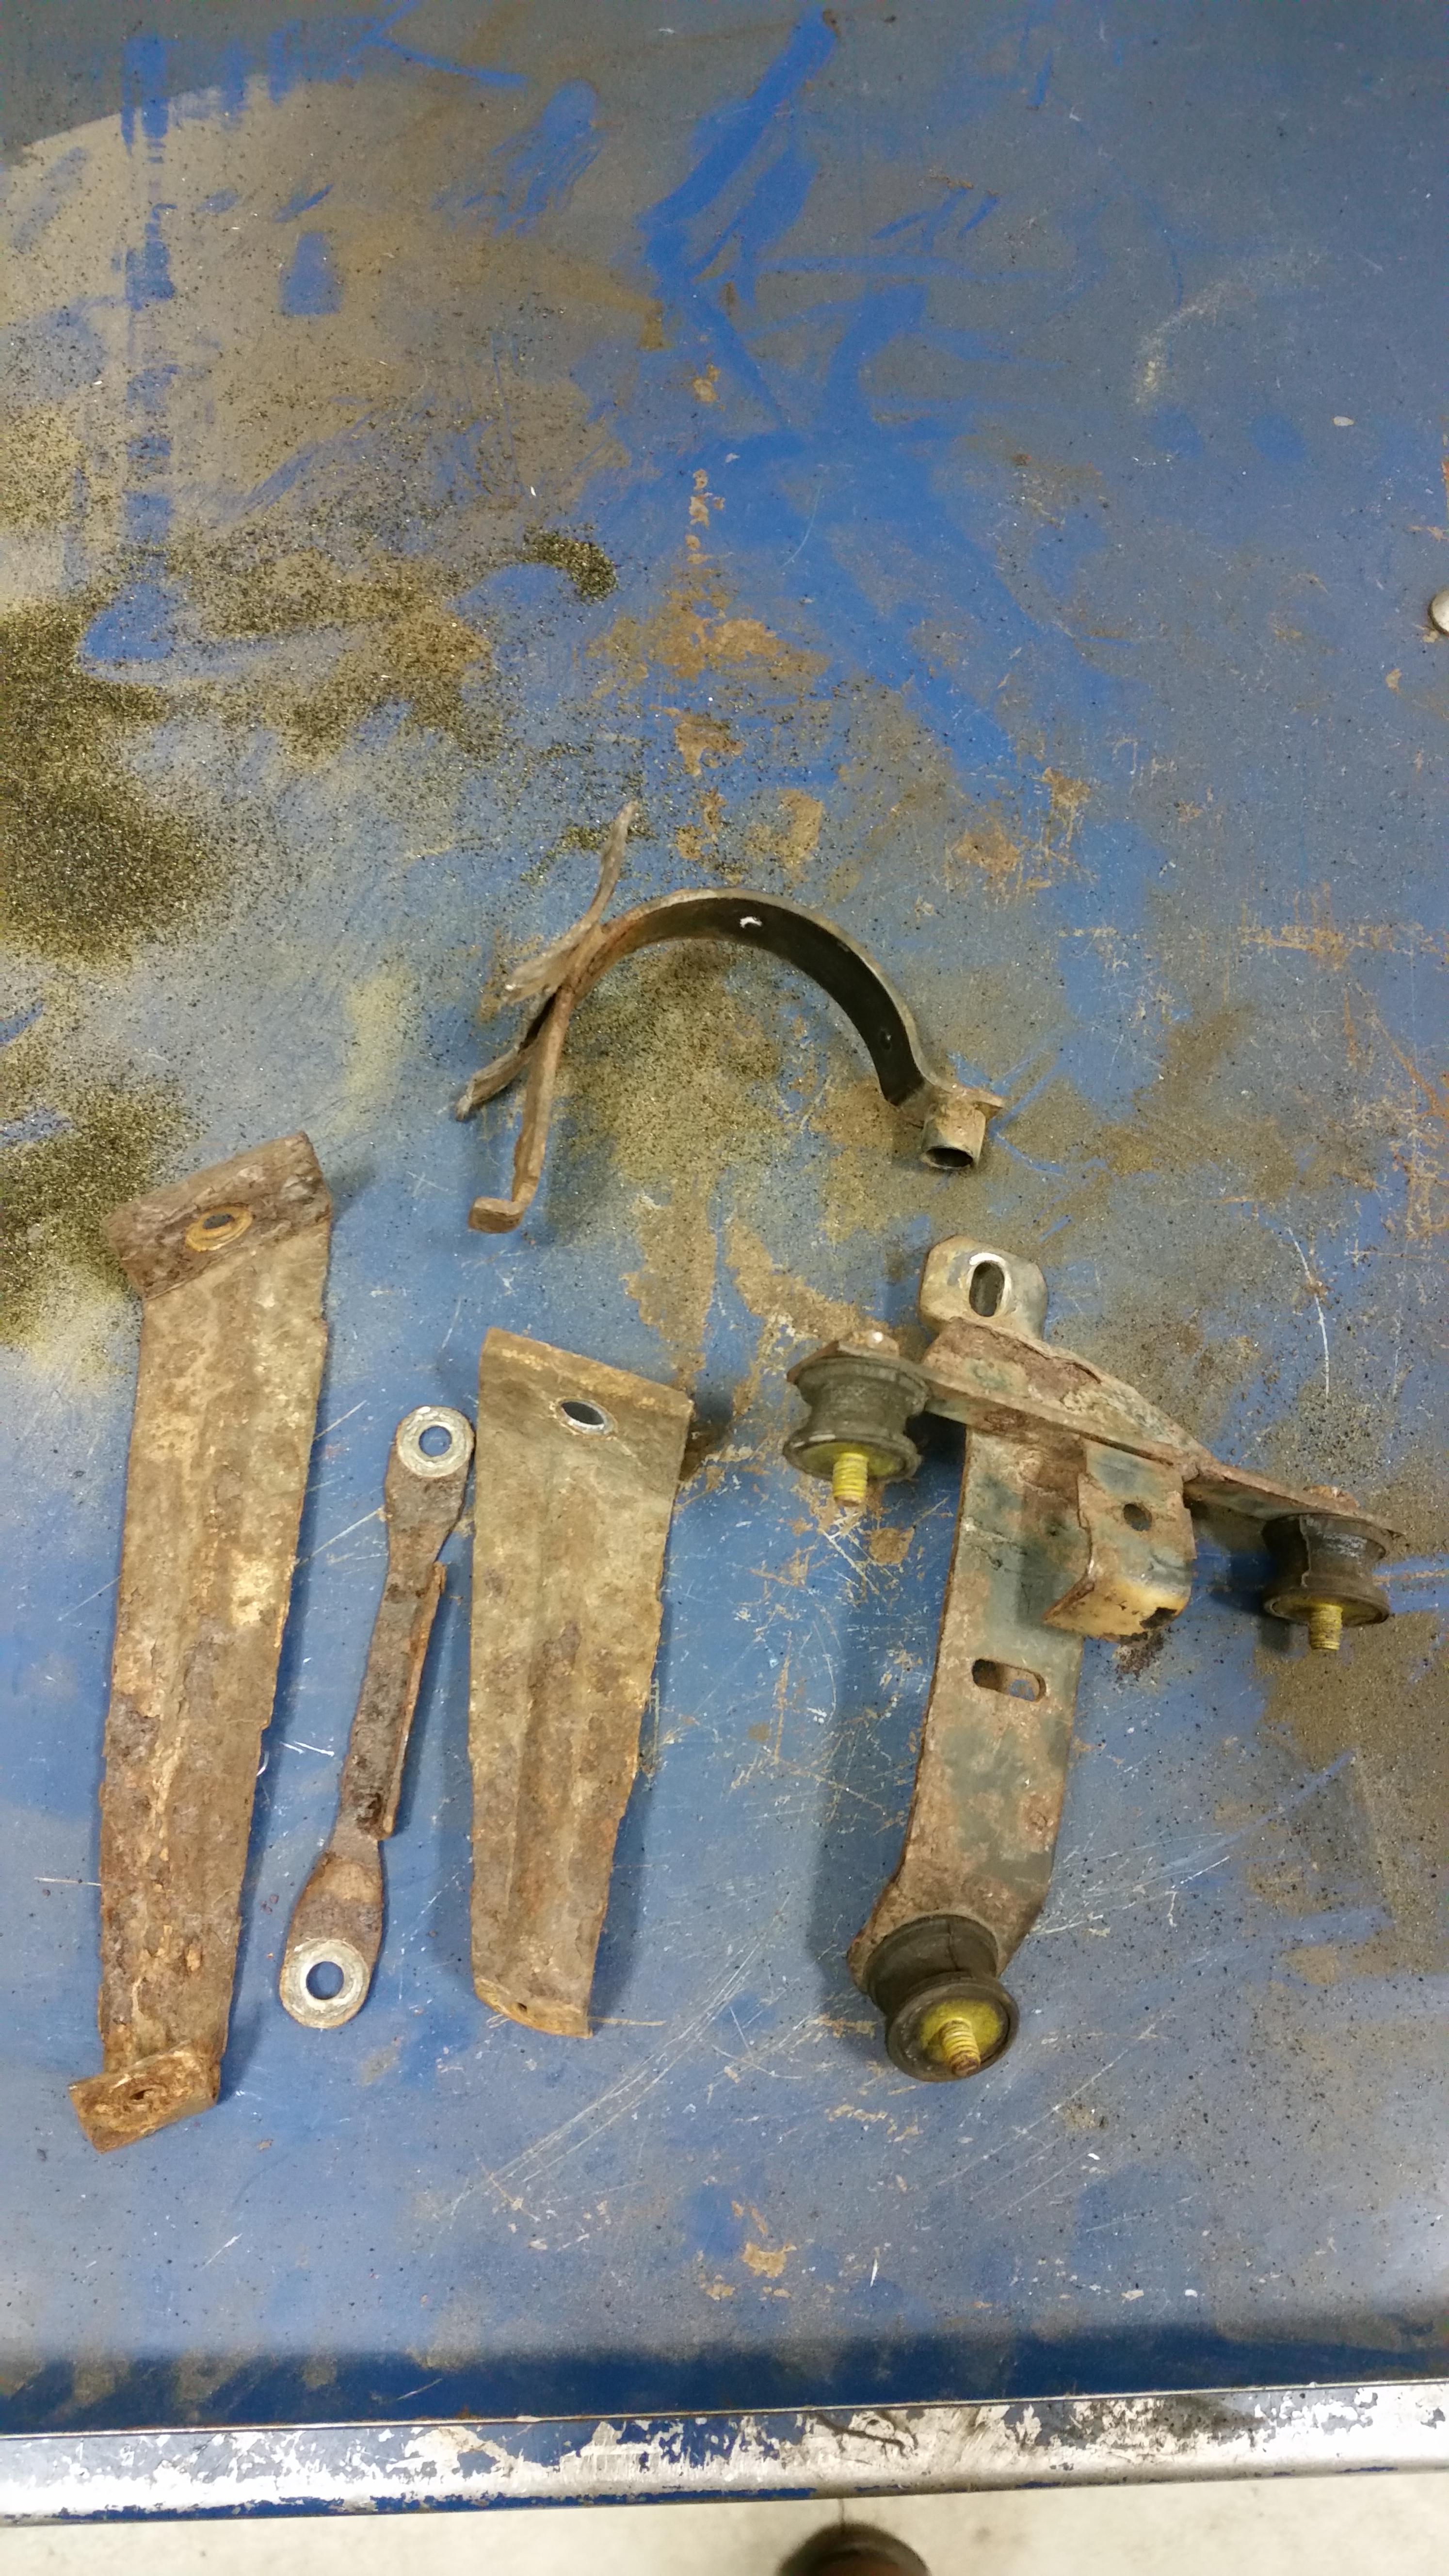
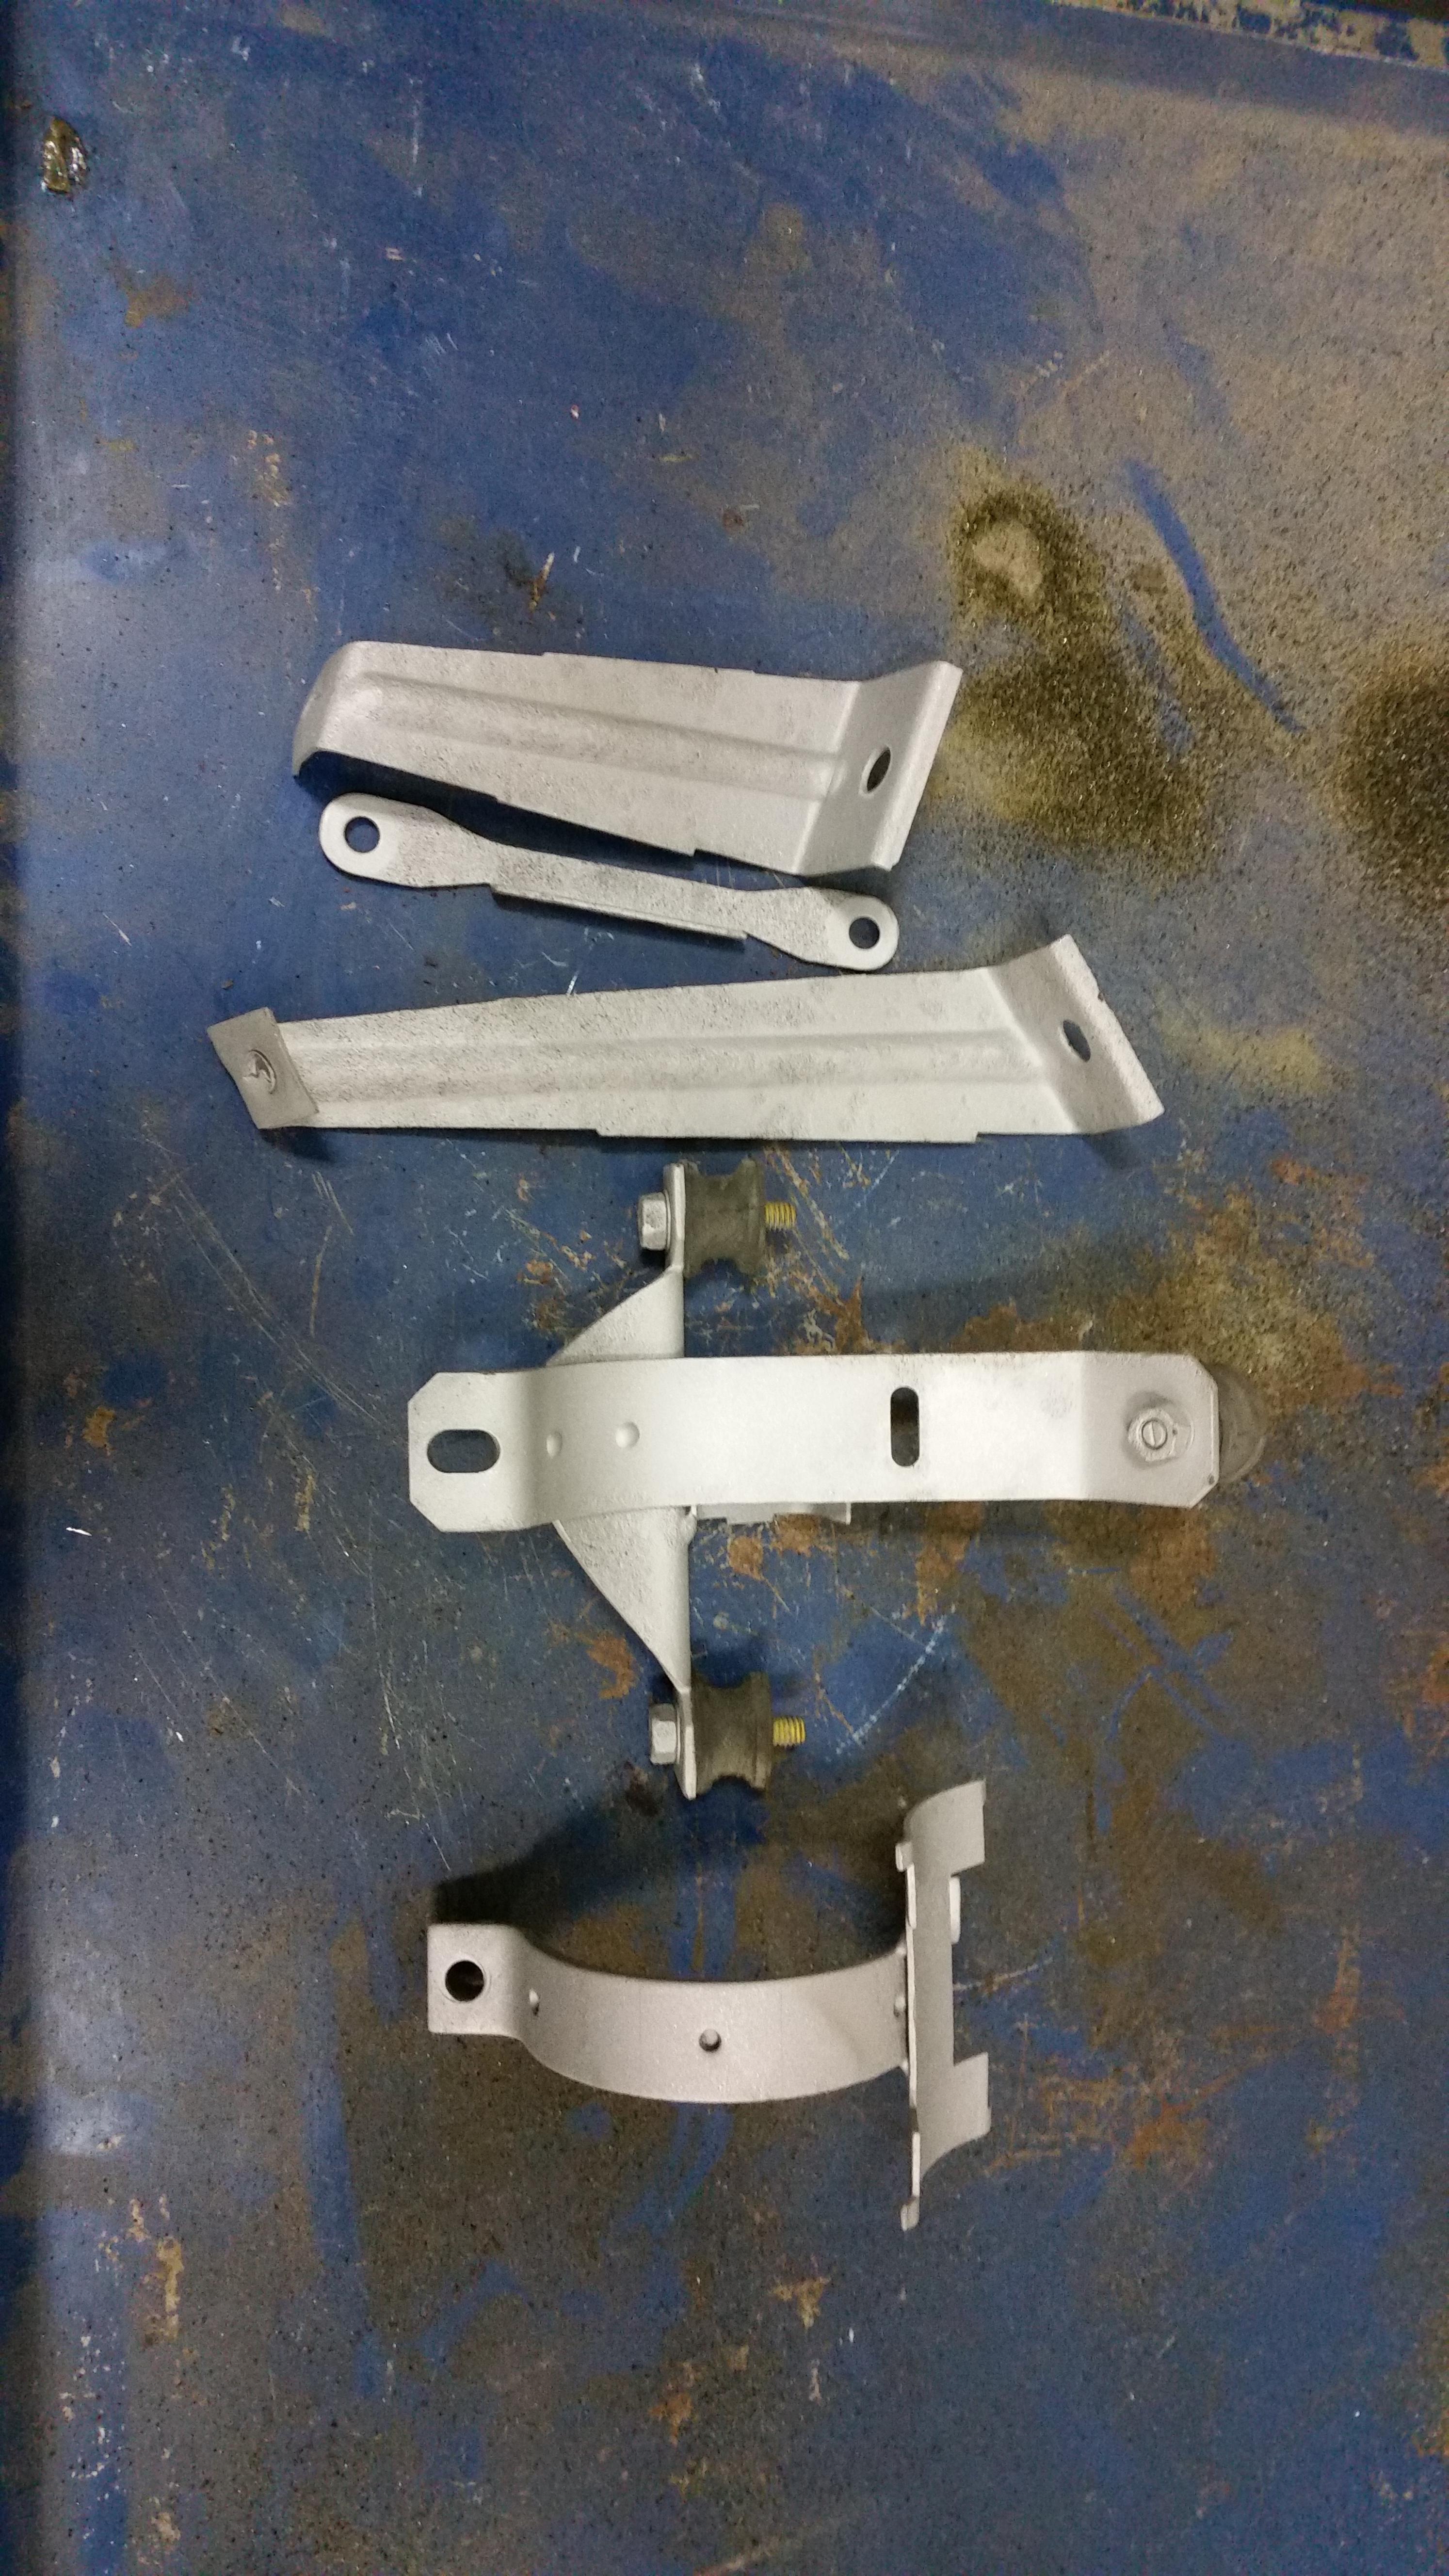
Pulled the fuel filter housing apart plus some heat shield brackets off the gas tank, very rusty indeed.
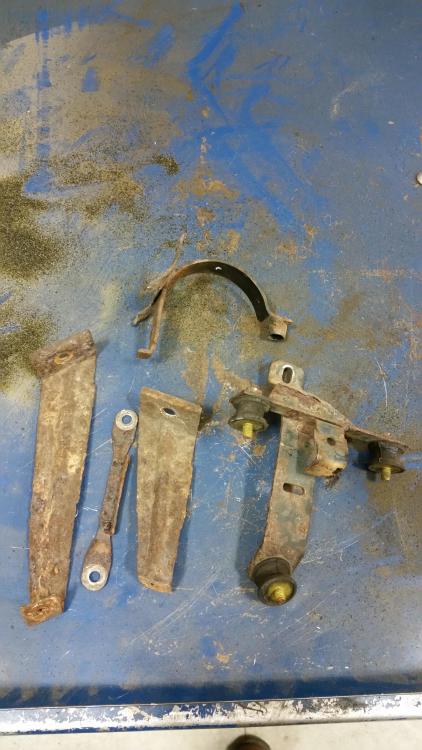
I can fix that
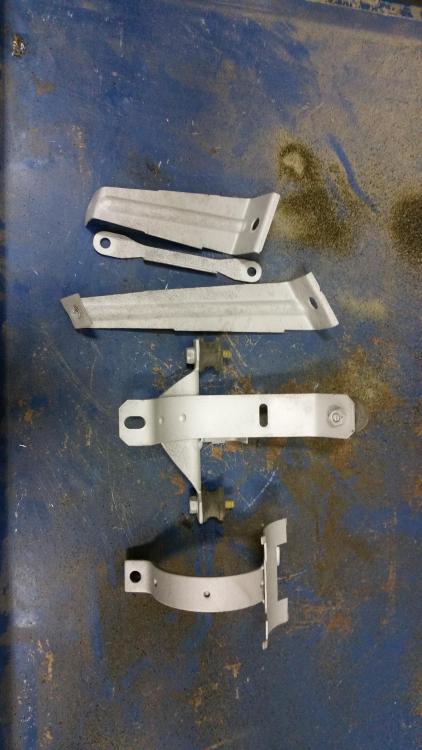
Two problems I ran into now... First off the new tank does not come with a new connection pipe on the gas tank and while attempting to remove mine I ended up kinking it. Was just gonna order a new one until I looked it up by part number on the intranet and found that they want close to $170 for a new one (that's almost what I payed for the tank!), and there's no aftermarket options for it.
If anyone has a parts car that still has this pipe on it and can be removed without destroying like I did to mine and is not in need of it please let me know as now I am on the hunt for a replacement without paying an arm and a leg for it..
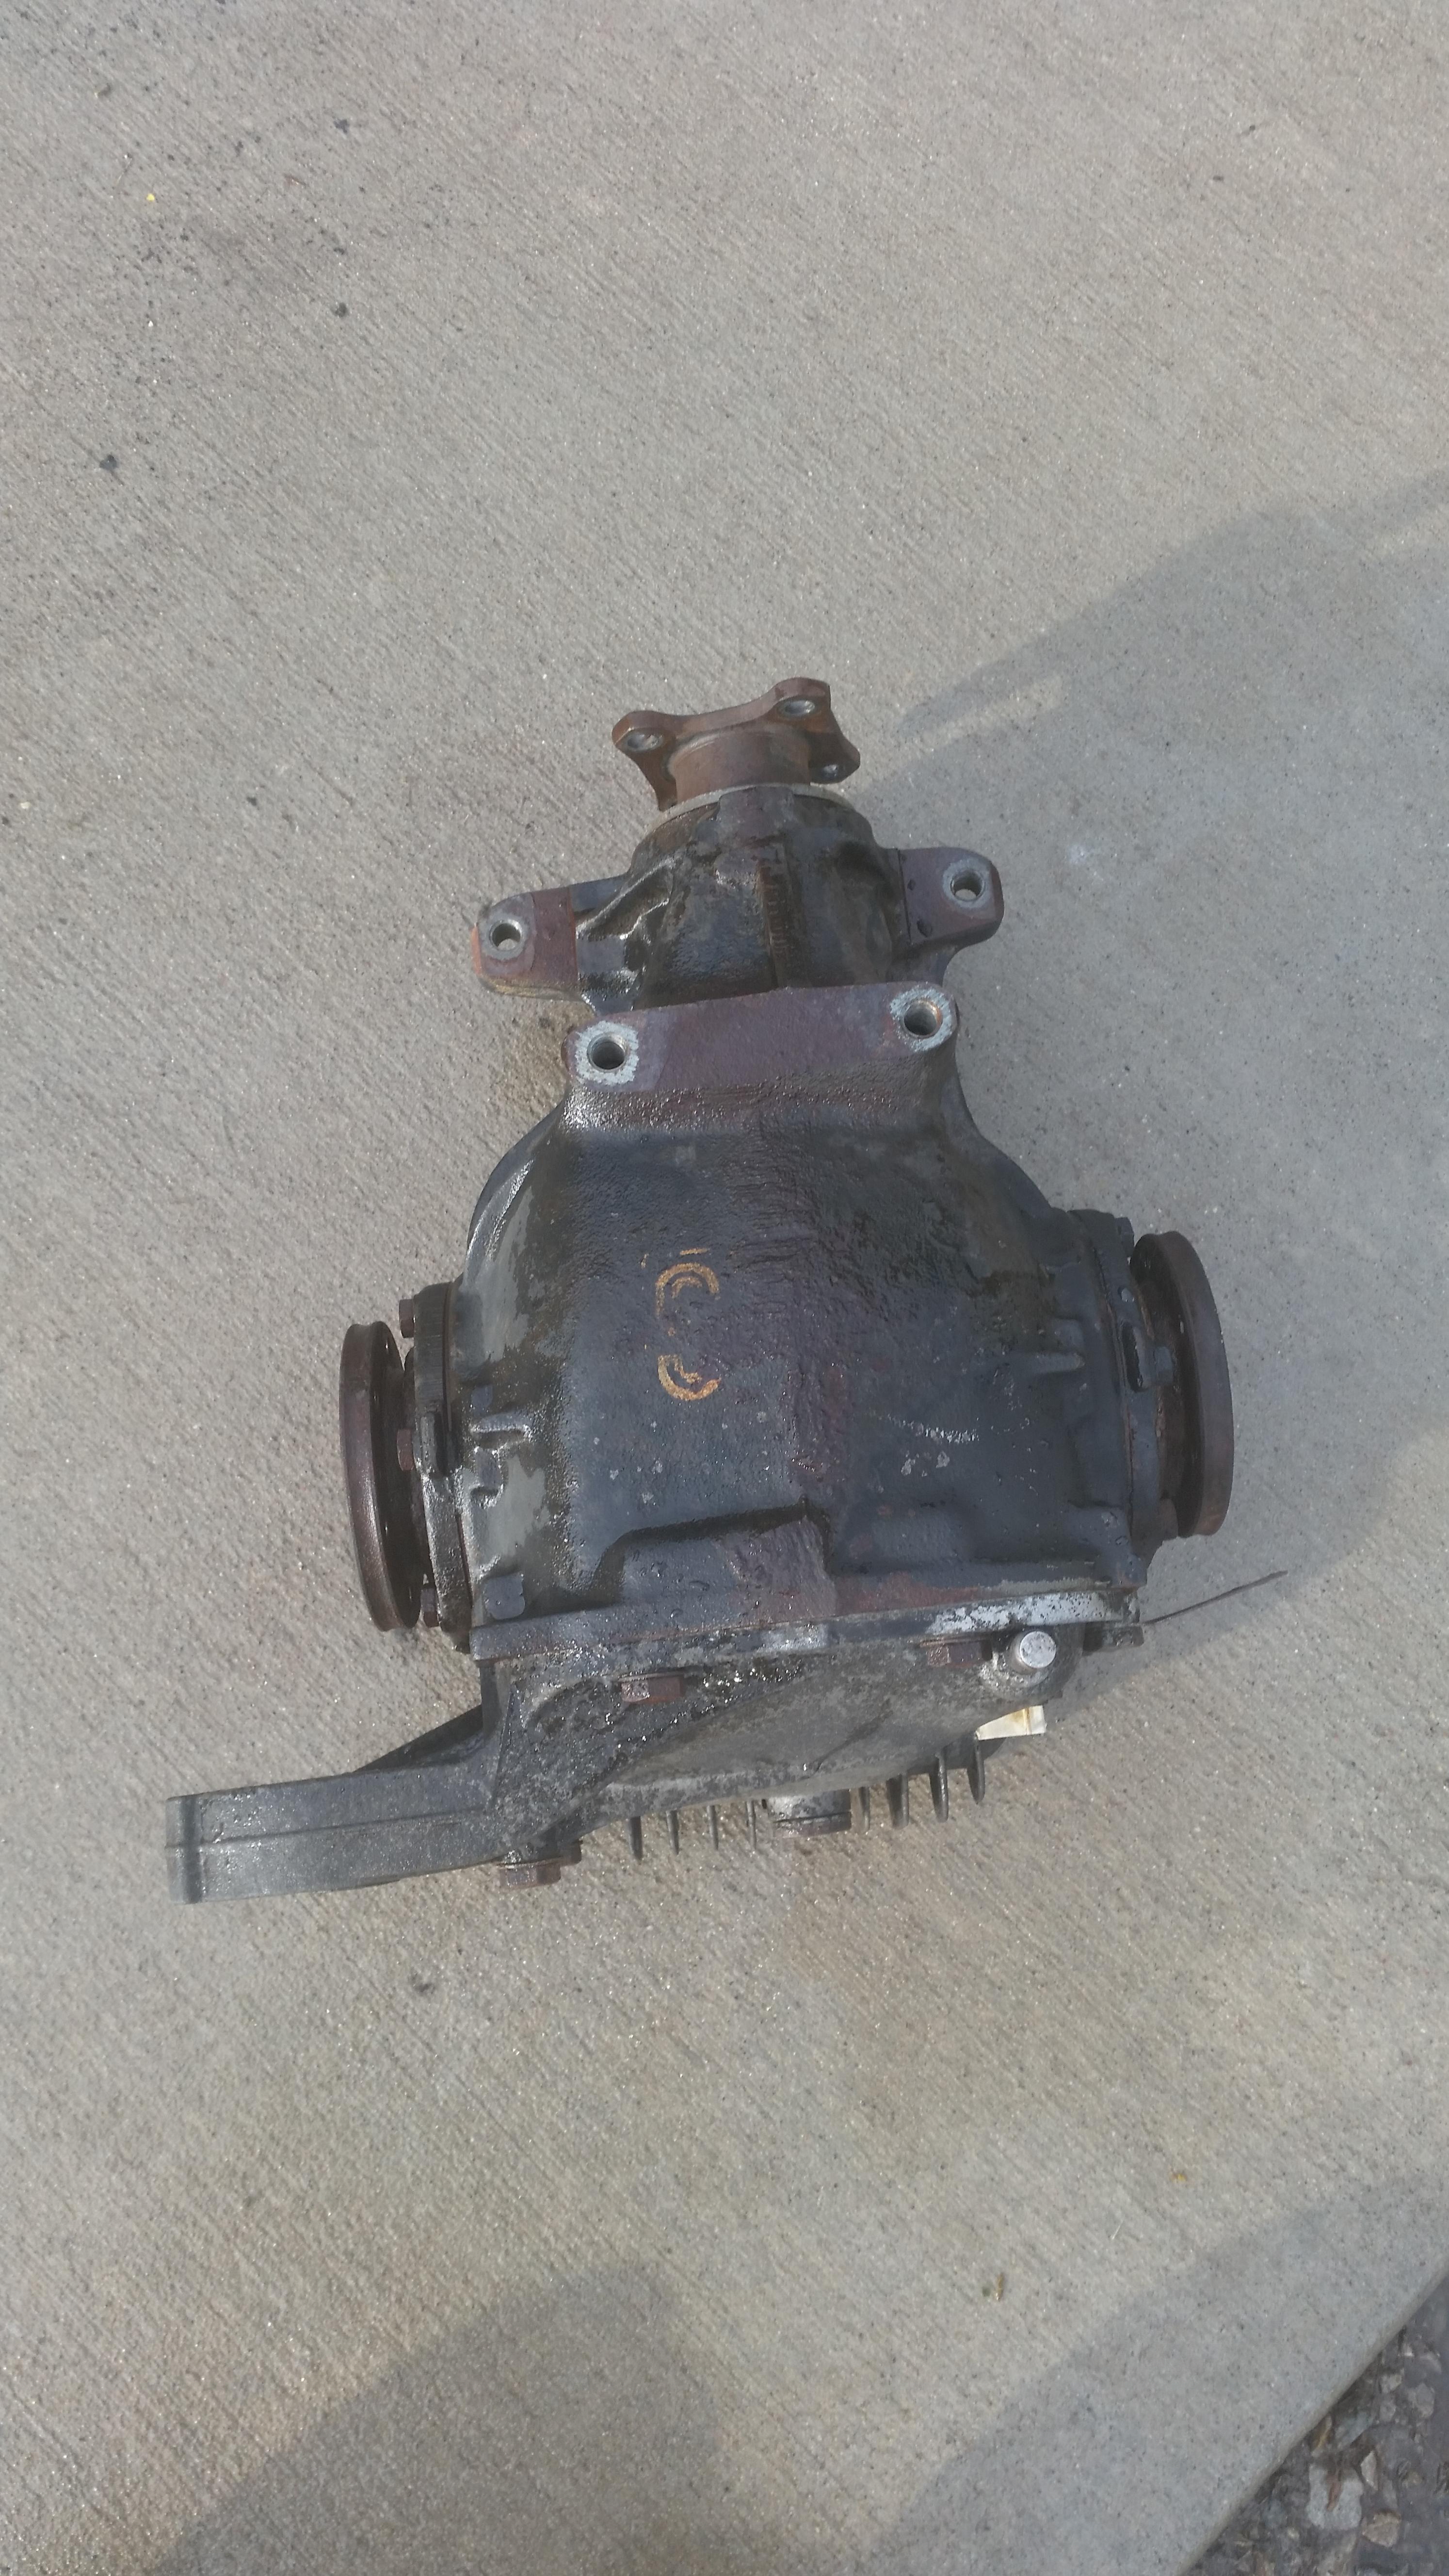
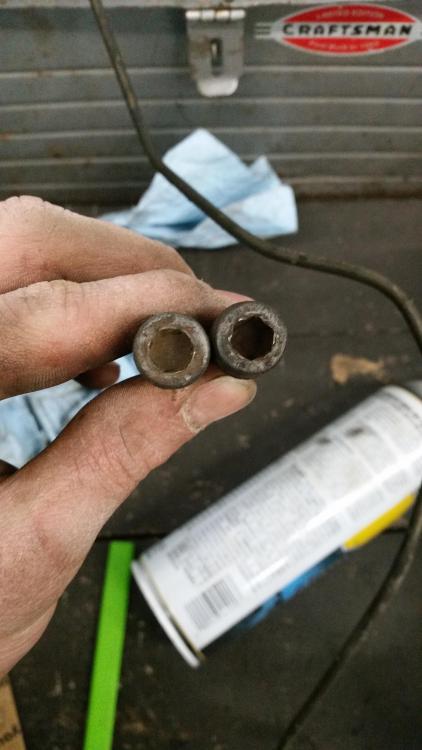
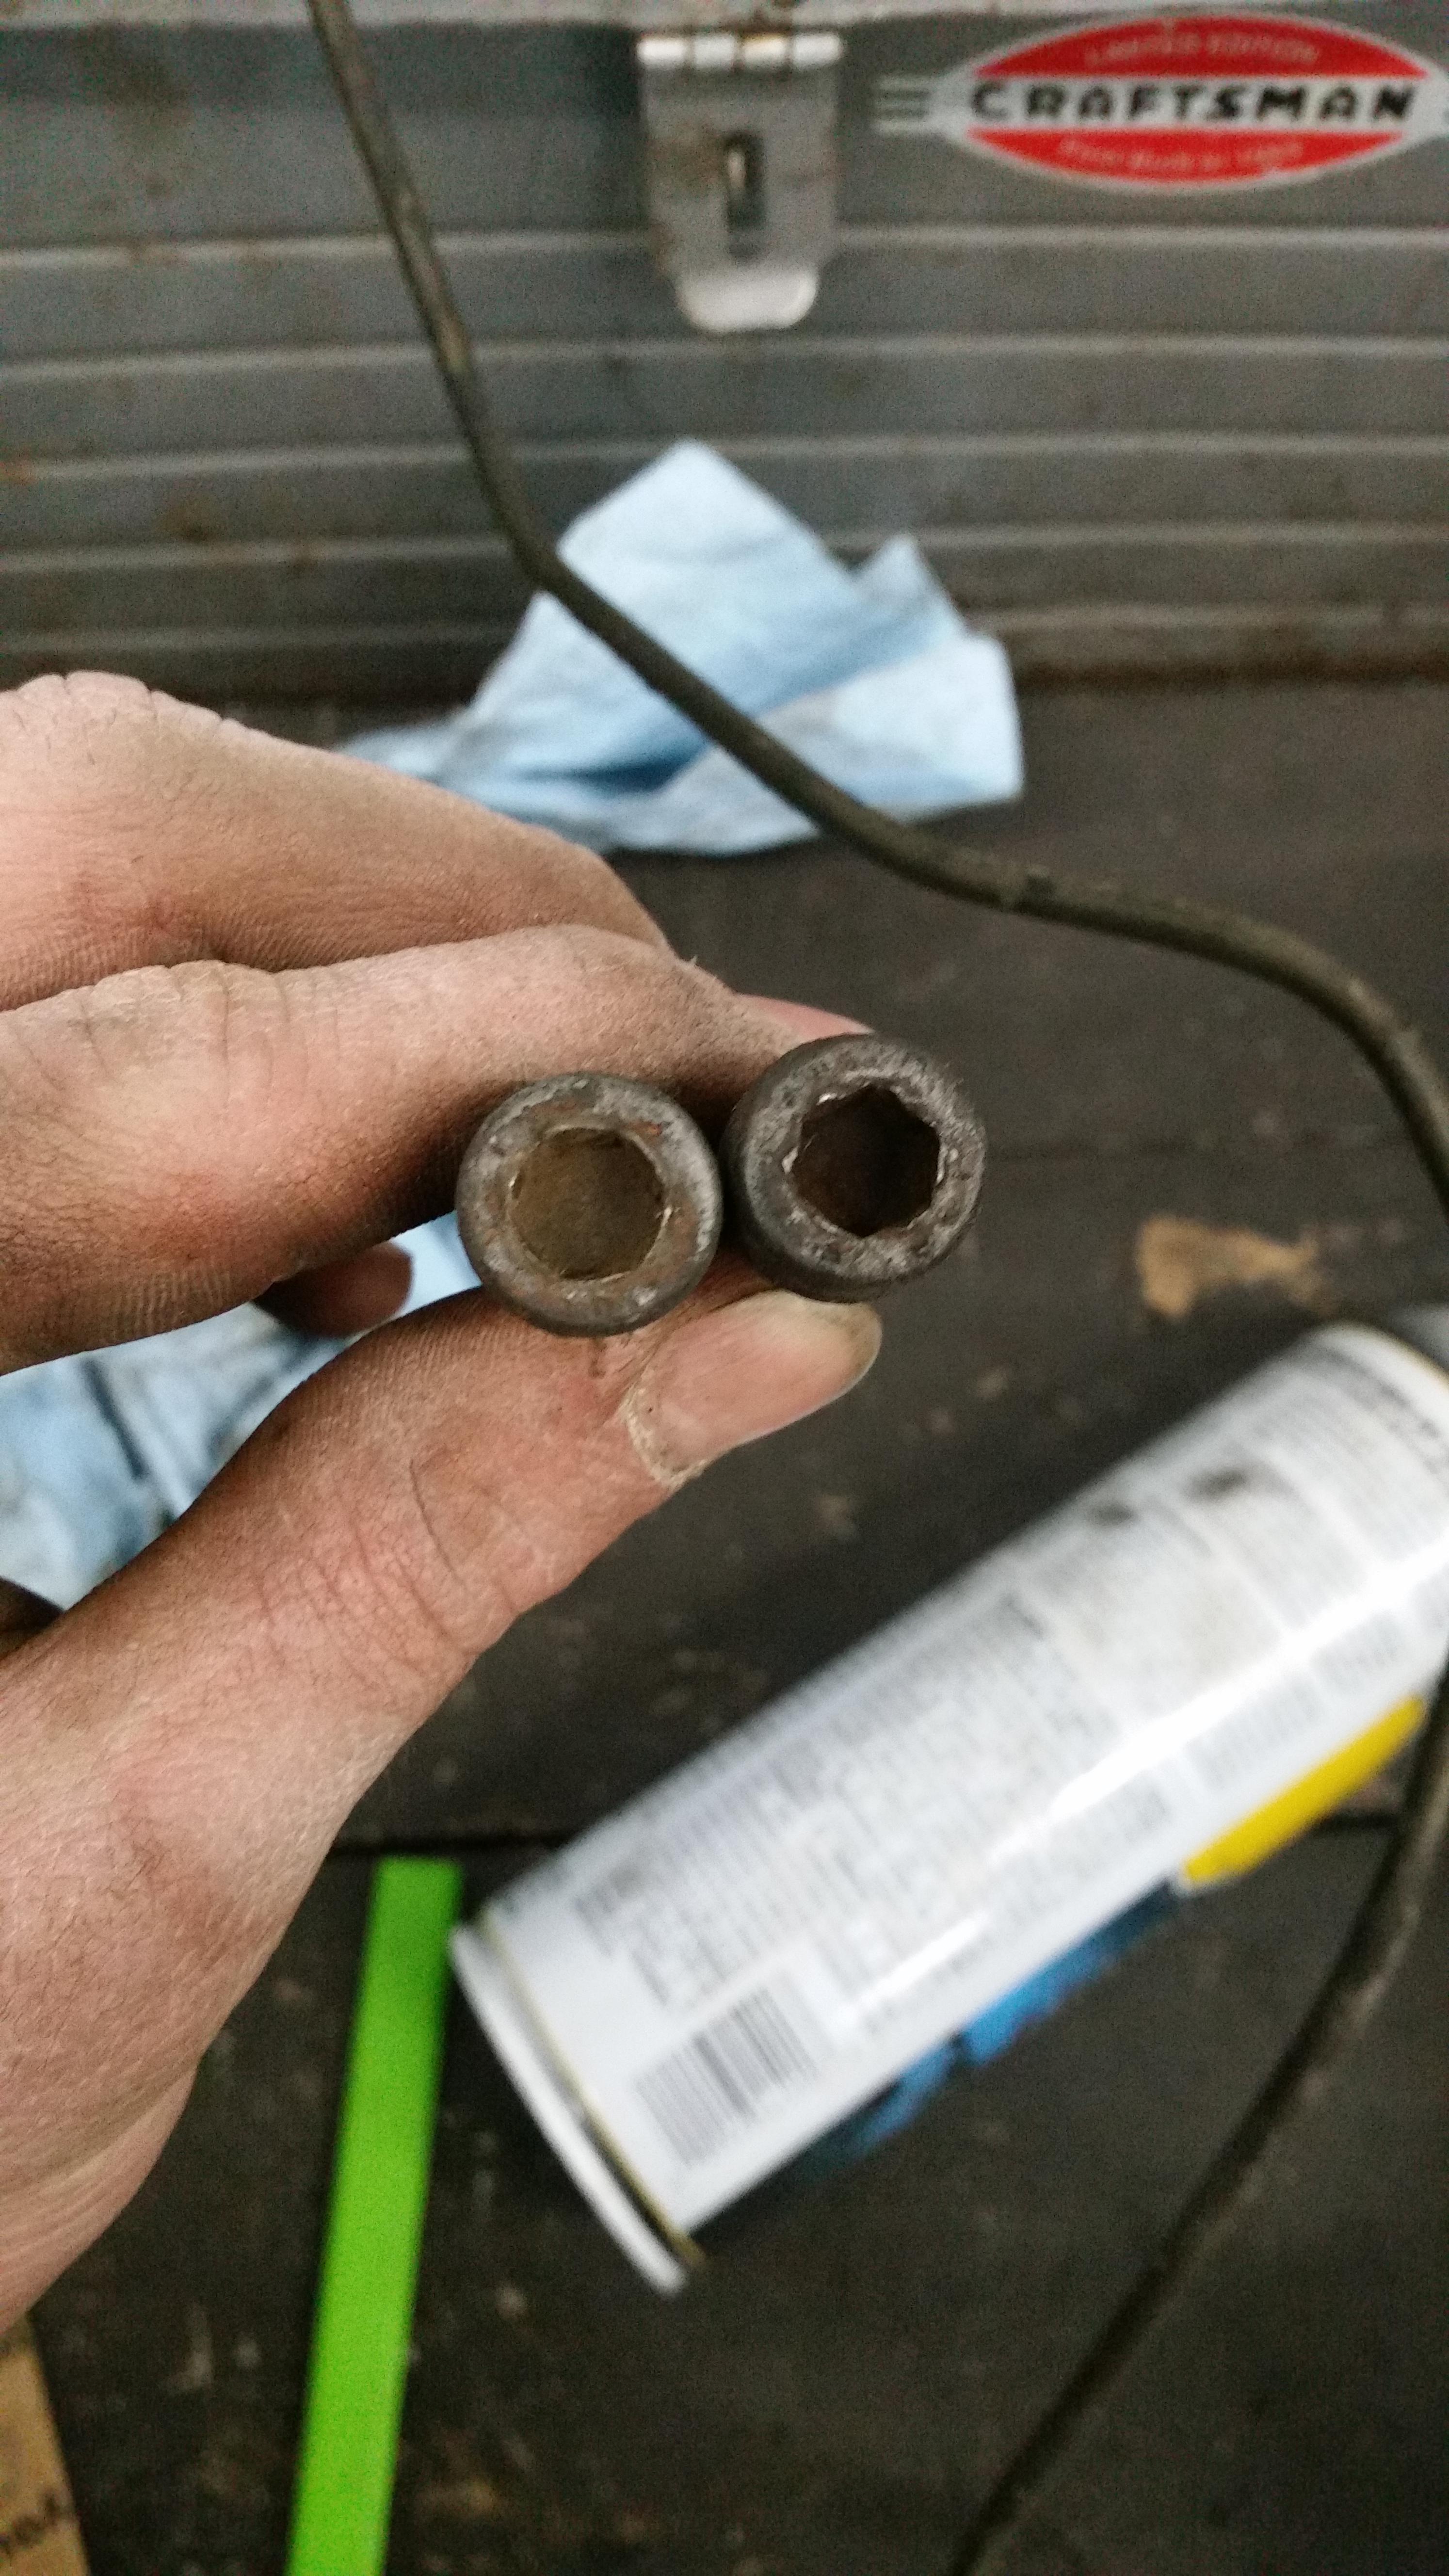
Also, when removing my axle to diff bolts I rounded the inside Allen head part of two of them. For some reason they changed up the design of the bolt so that now its a socket type bolt instead of allen head and I am unable to find new versions of the Allen type. Does anyone else have these type of bolts laying around or on a parts car that they aren't using anymore? I could just get 2 of the other kind of bolts but then they wouldn't be all the same and I just can't have that, lol. Thanks!
-
Sorry, one correction I need to make... the diff bolts were torx head not socket type or "hex head"
-
Just get all the new type of bolts...they are better and you wont have that problem again if you have to remove them again
Sent from my SM-G930R4 using Tapatalk
-
I have a couple spare socket head axle screws (laymans terms: bolts that use an allen wrench)
Whatever you do, make sure the axle bolt holes dont grease up the threads when installing them, and do use blue loctite. It is common for axle bolts to back themselves out due to greasy threads
-
I have a couple spare socket head axle screws (laymans terms: bolts that use an allen wrench)
Whatever you do, make sure the axle bolt holes dont grease up the threads when installing them, and do use blue loctite. It is common for axle bolts to back themselves out due to greasy threads
Awesome! Ya no doubt gonna be using clean threads and loc-tite.
-
I have some of both types if you don't get a hold of any. Cant help you on that tank line though. Cant you just make your own?
https://www.instagram.com/_jdesigner_/ http://nevertoolow.tumblr.com/
🥳SOLD BMW E24 633CSI - BMW M30B32 🧪SOLD HCH ES9 - 1.3 LDA
👽BMW E30 325IC - Toyota 1JZ-GTE ⏰ HONDA EF9 CIVIC SI - JDM B18C5
☠️BMW E36 318i - Ford 5.0 FE302 🚴♂️ GT-Labomba - 26x2.75 Freeride
🤹♀️SOLD BMW E36/7 Z3 - BMW M54B25 🧓SOLD BMW E10 2002 - BMW M10M05 -
I have some of both types if you don't get a hold of any. Cant help you on that tank line though. Cant you just make your own?
I suppose I could. Only thing I have a question with is what the purpose of its shape is. Why not just have it be straight? Other thing is figuring out how I would make that flare on the end so that the fitting seals when tightened down.
-
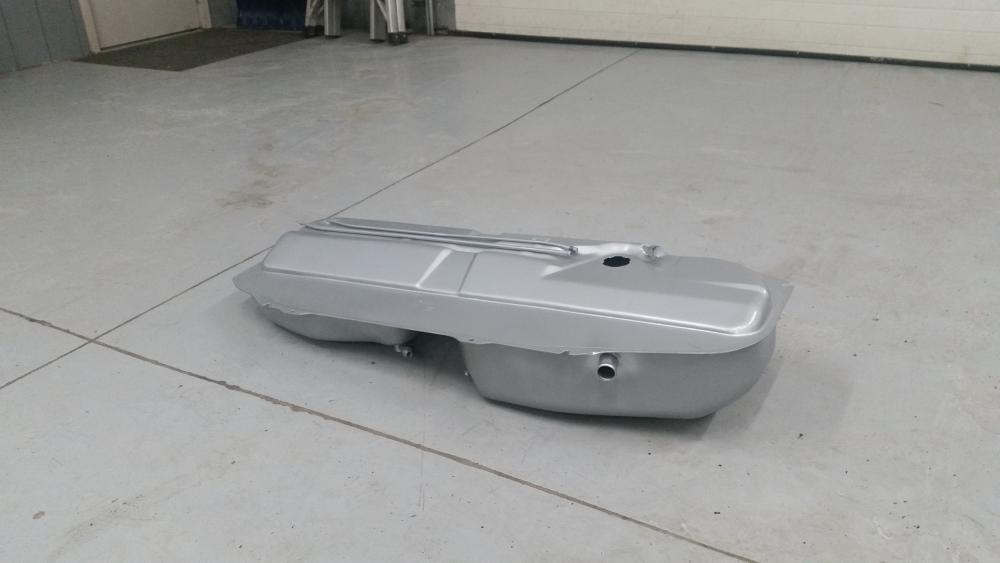
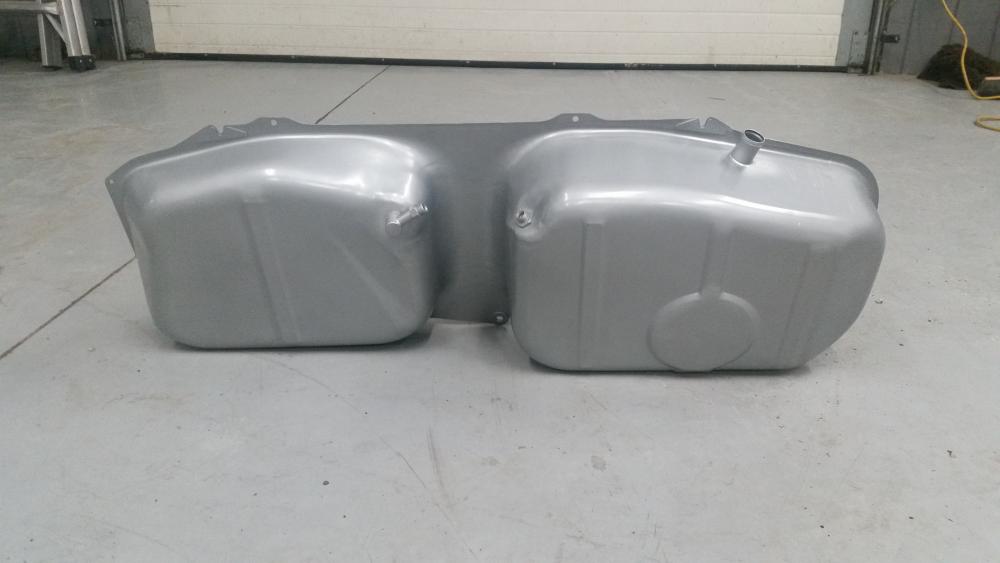
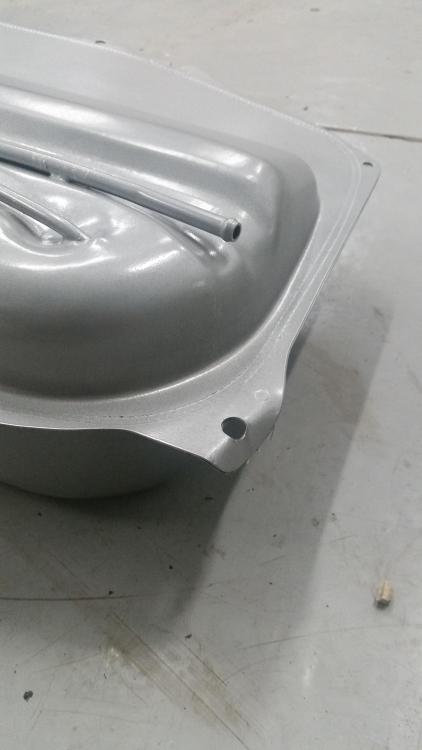
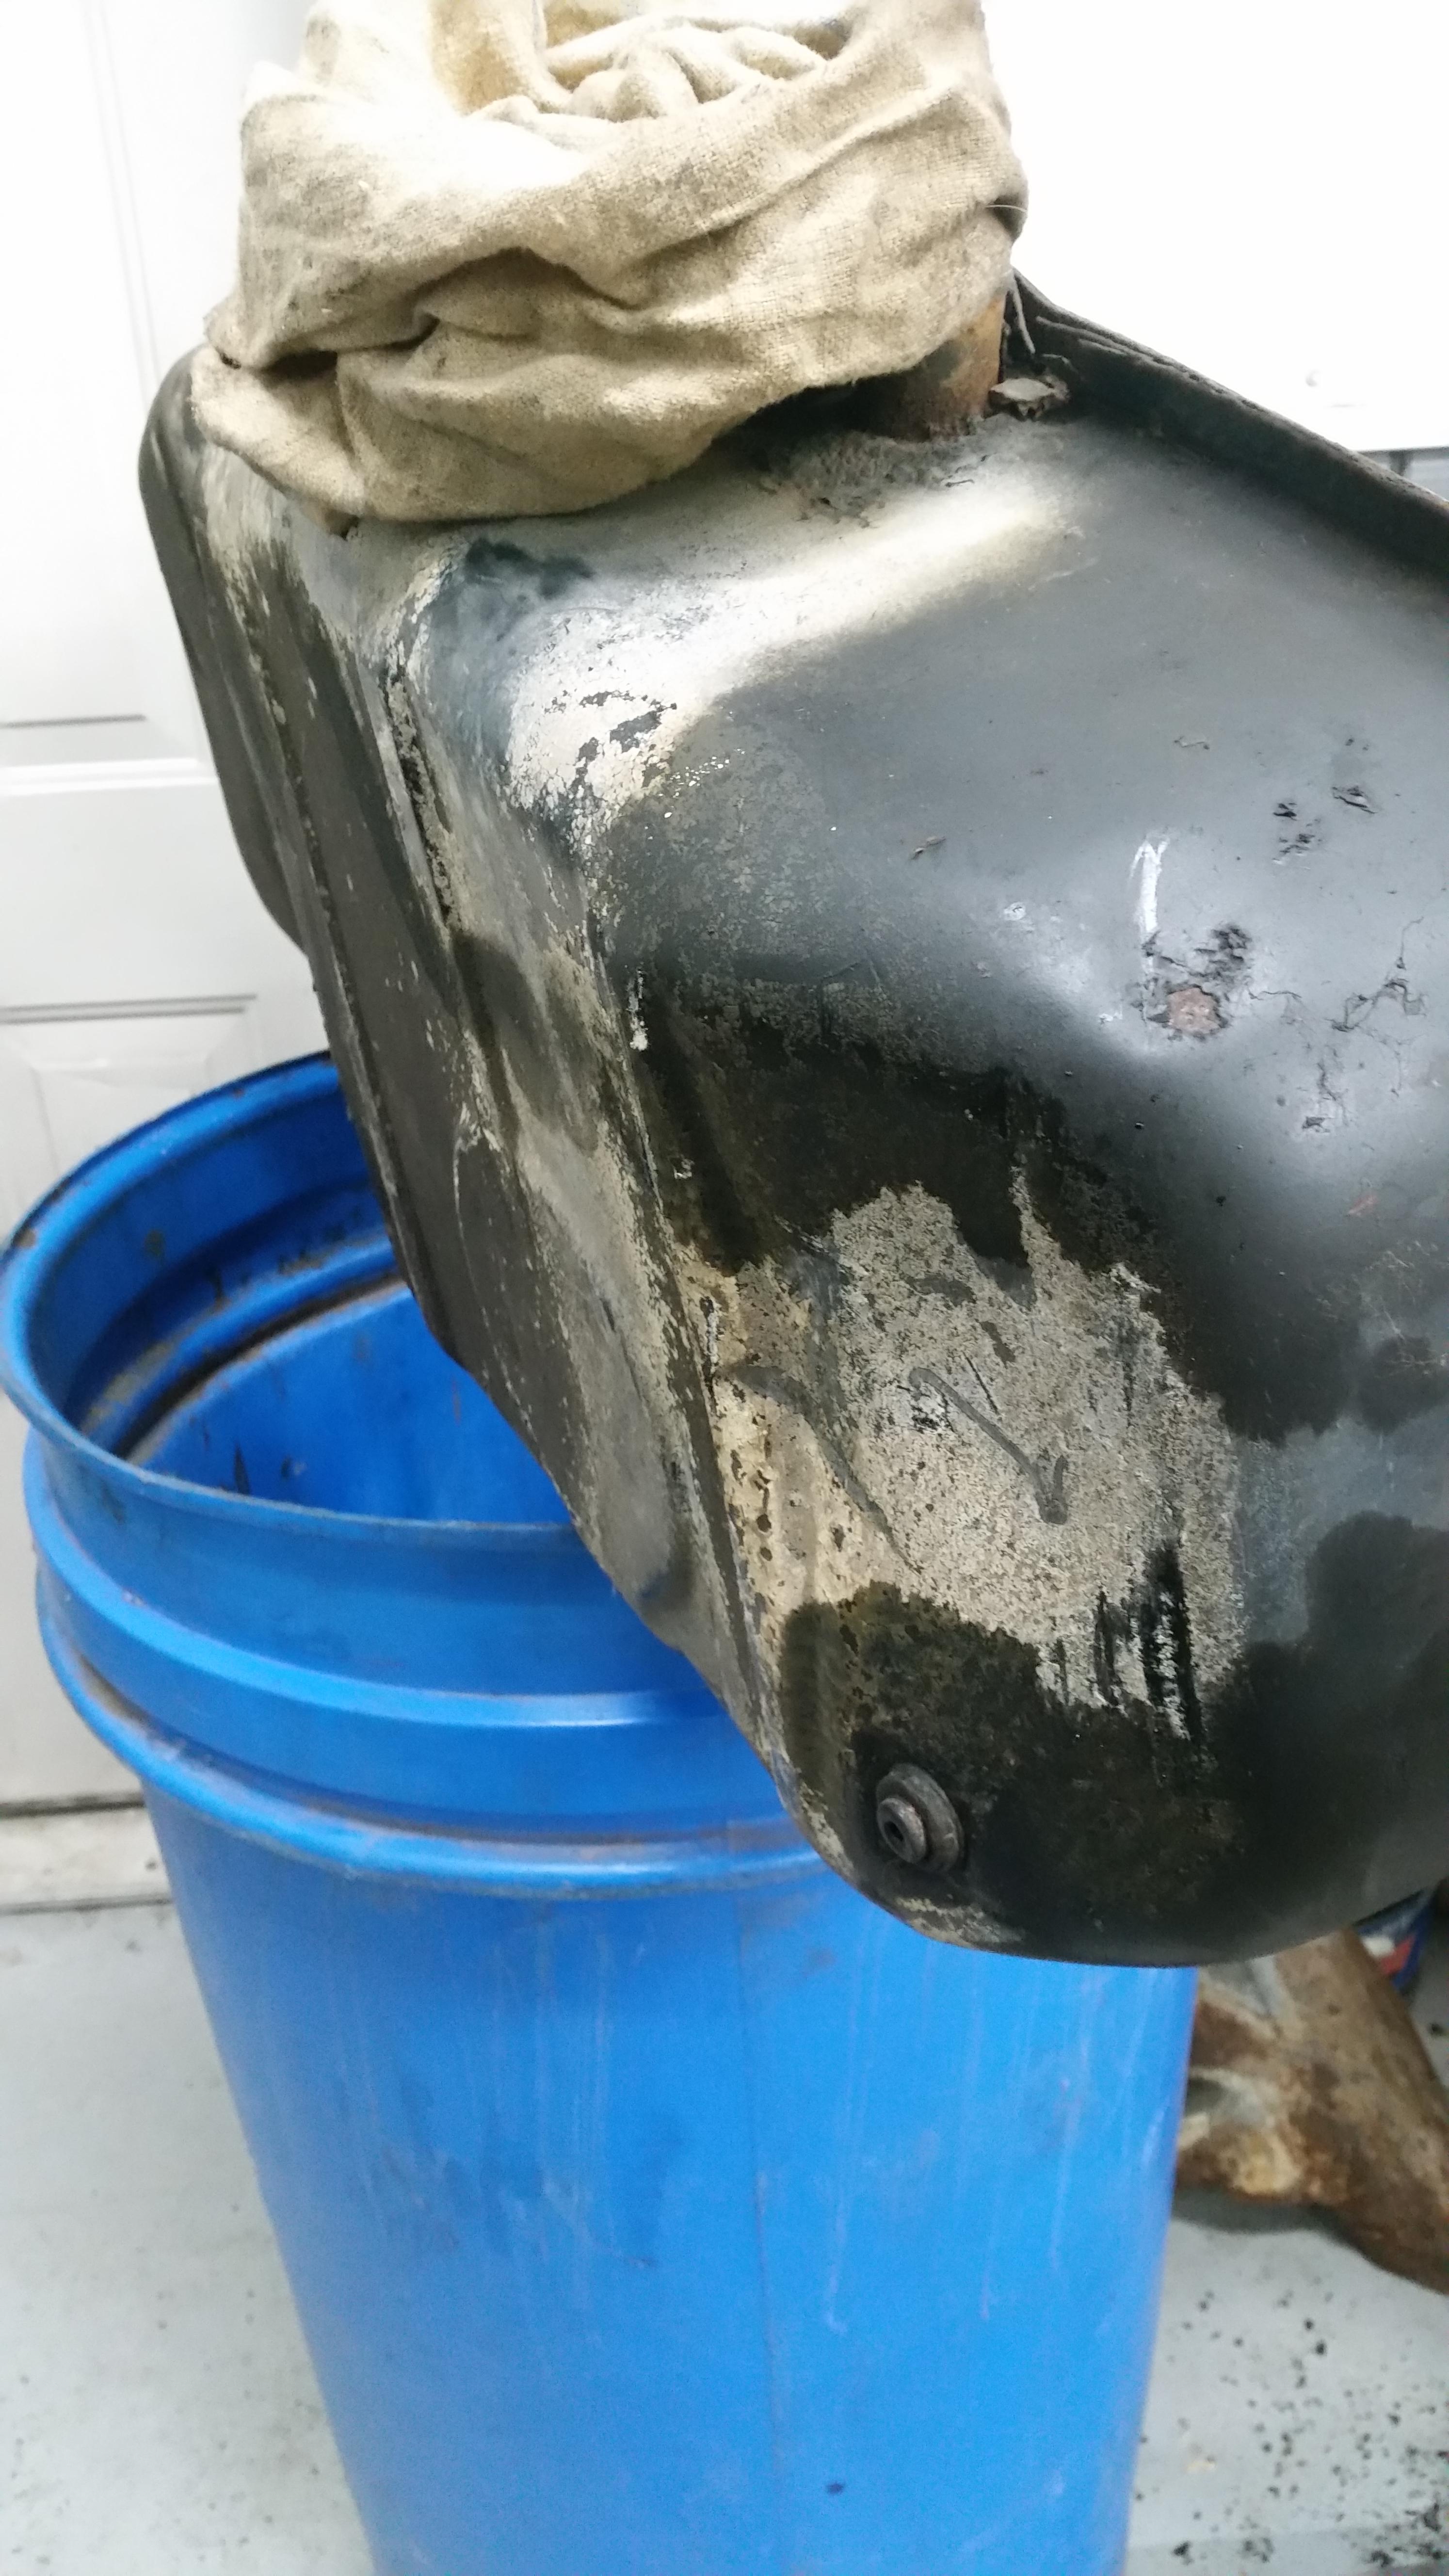
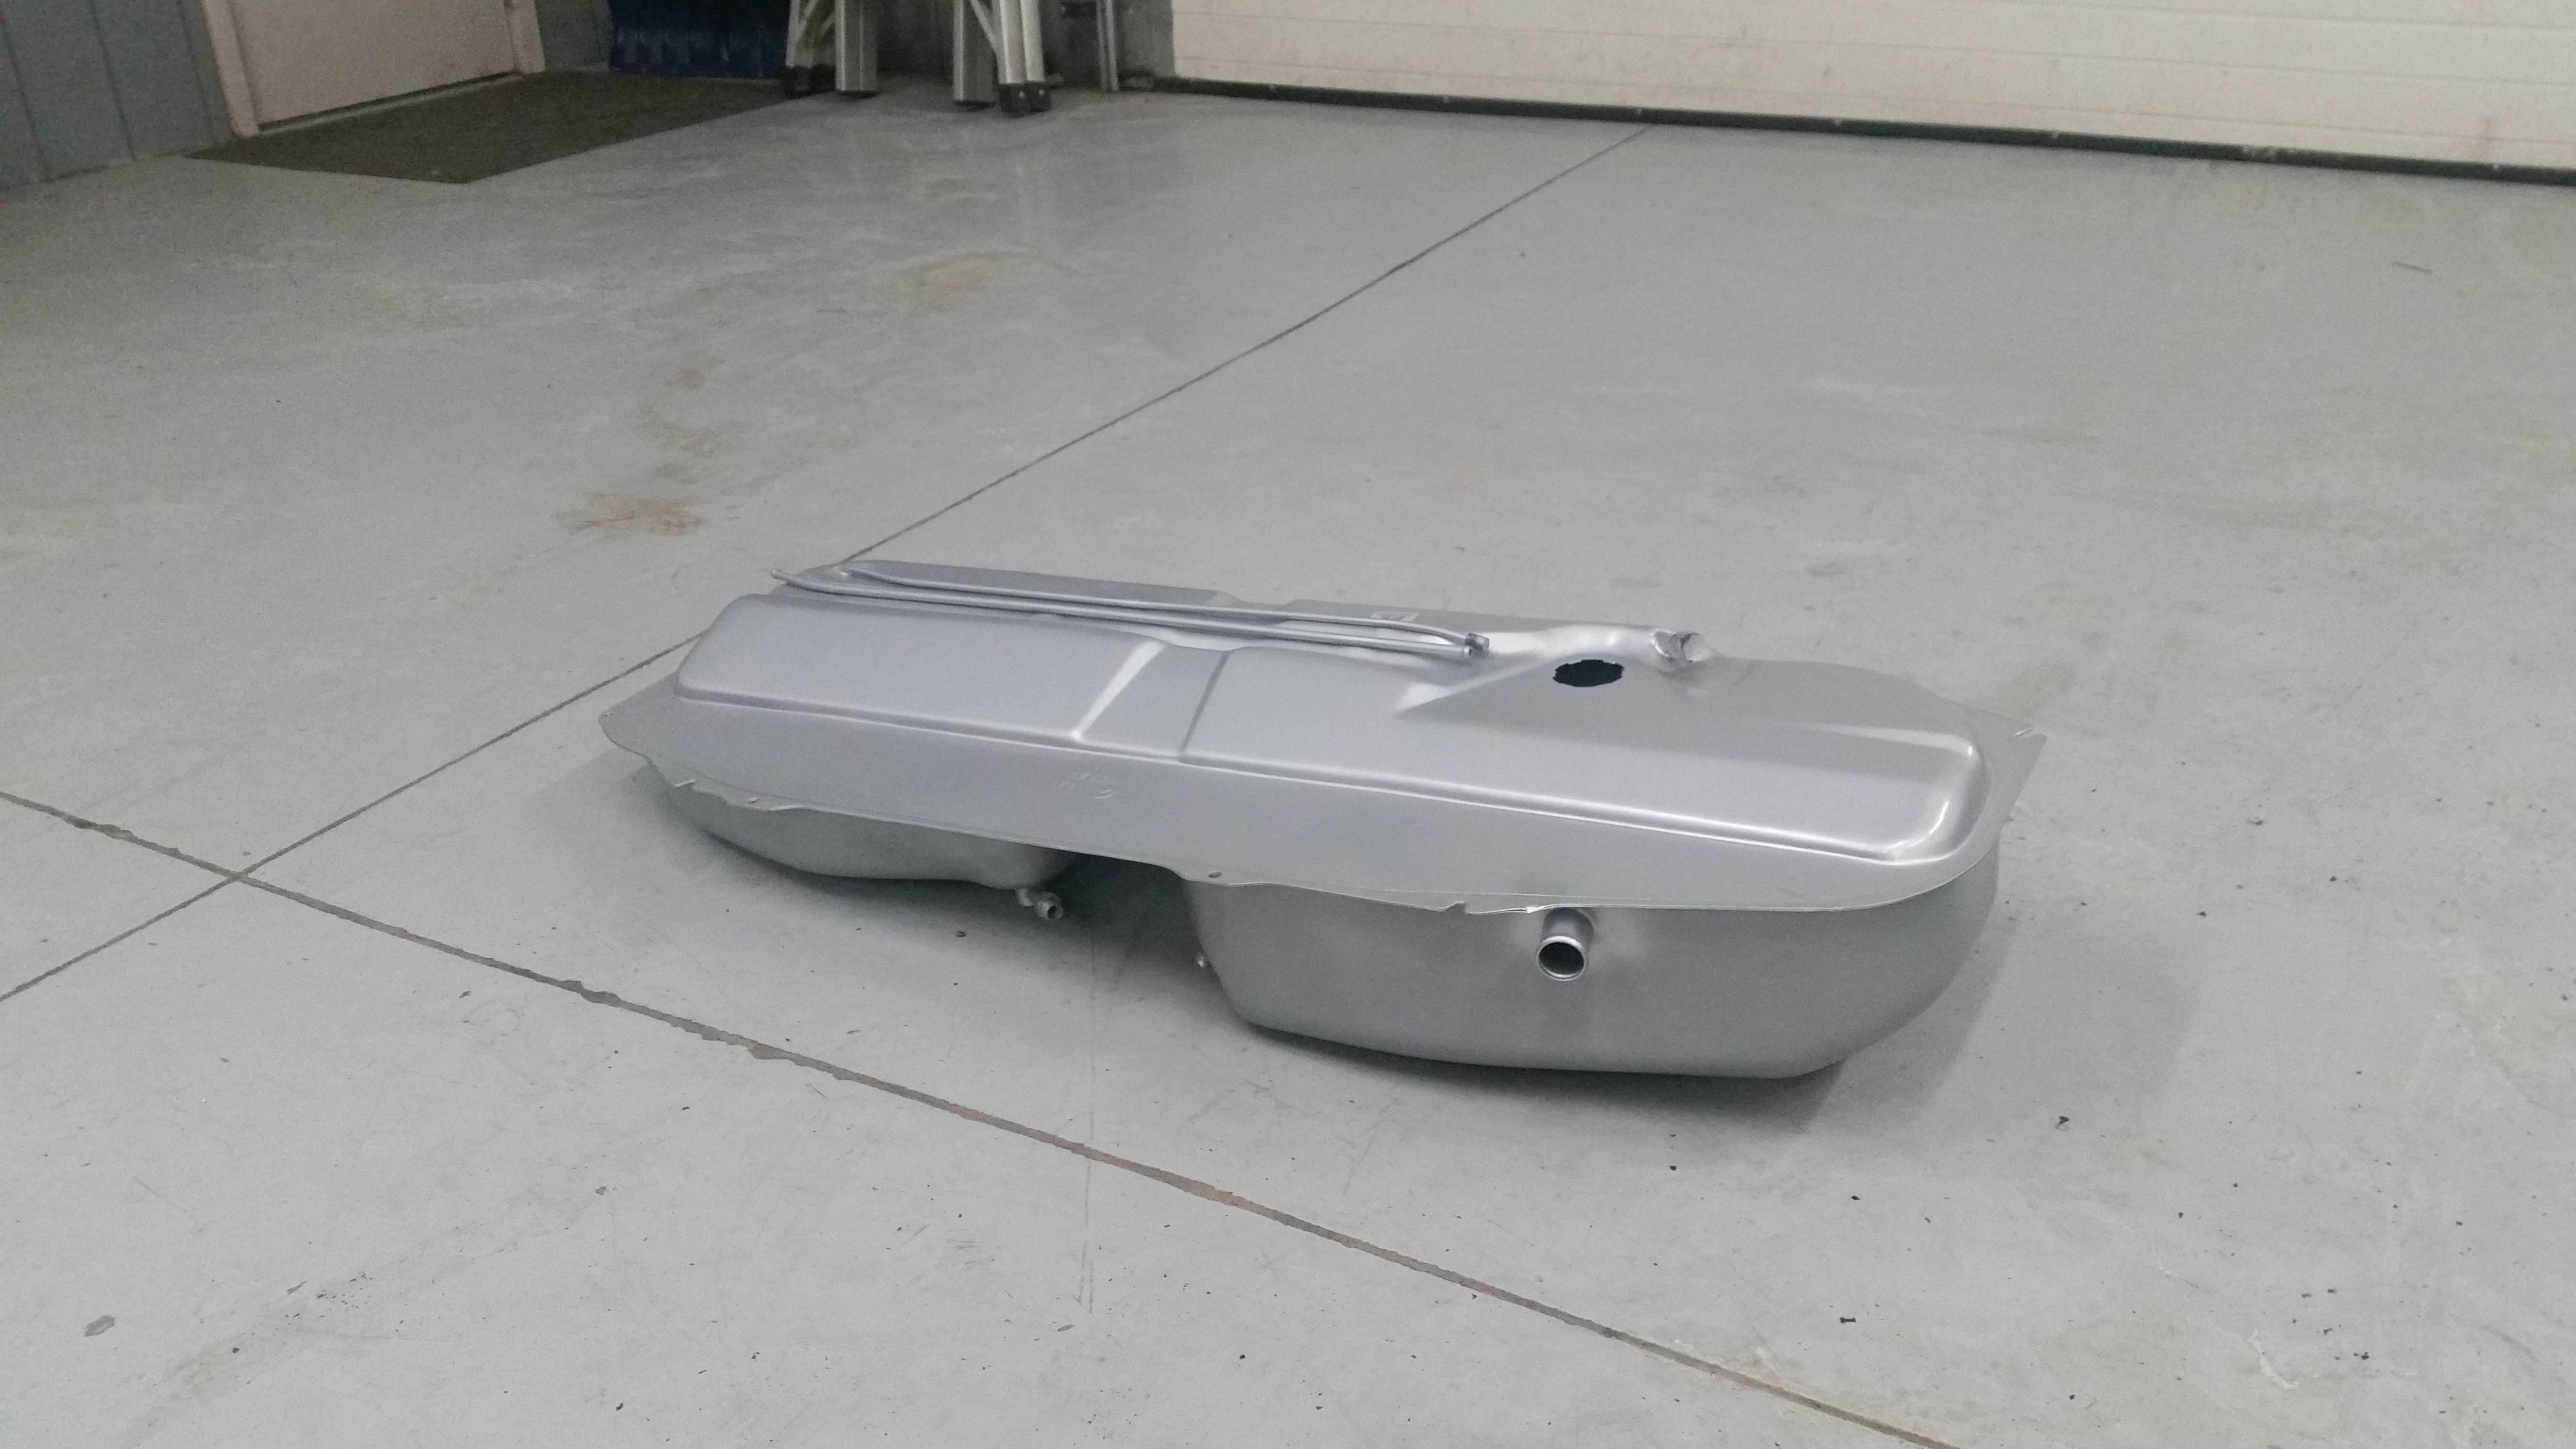
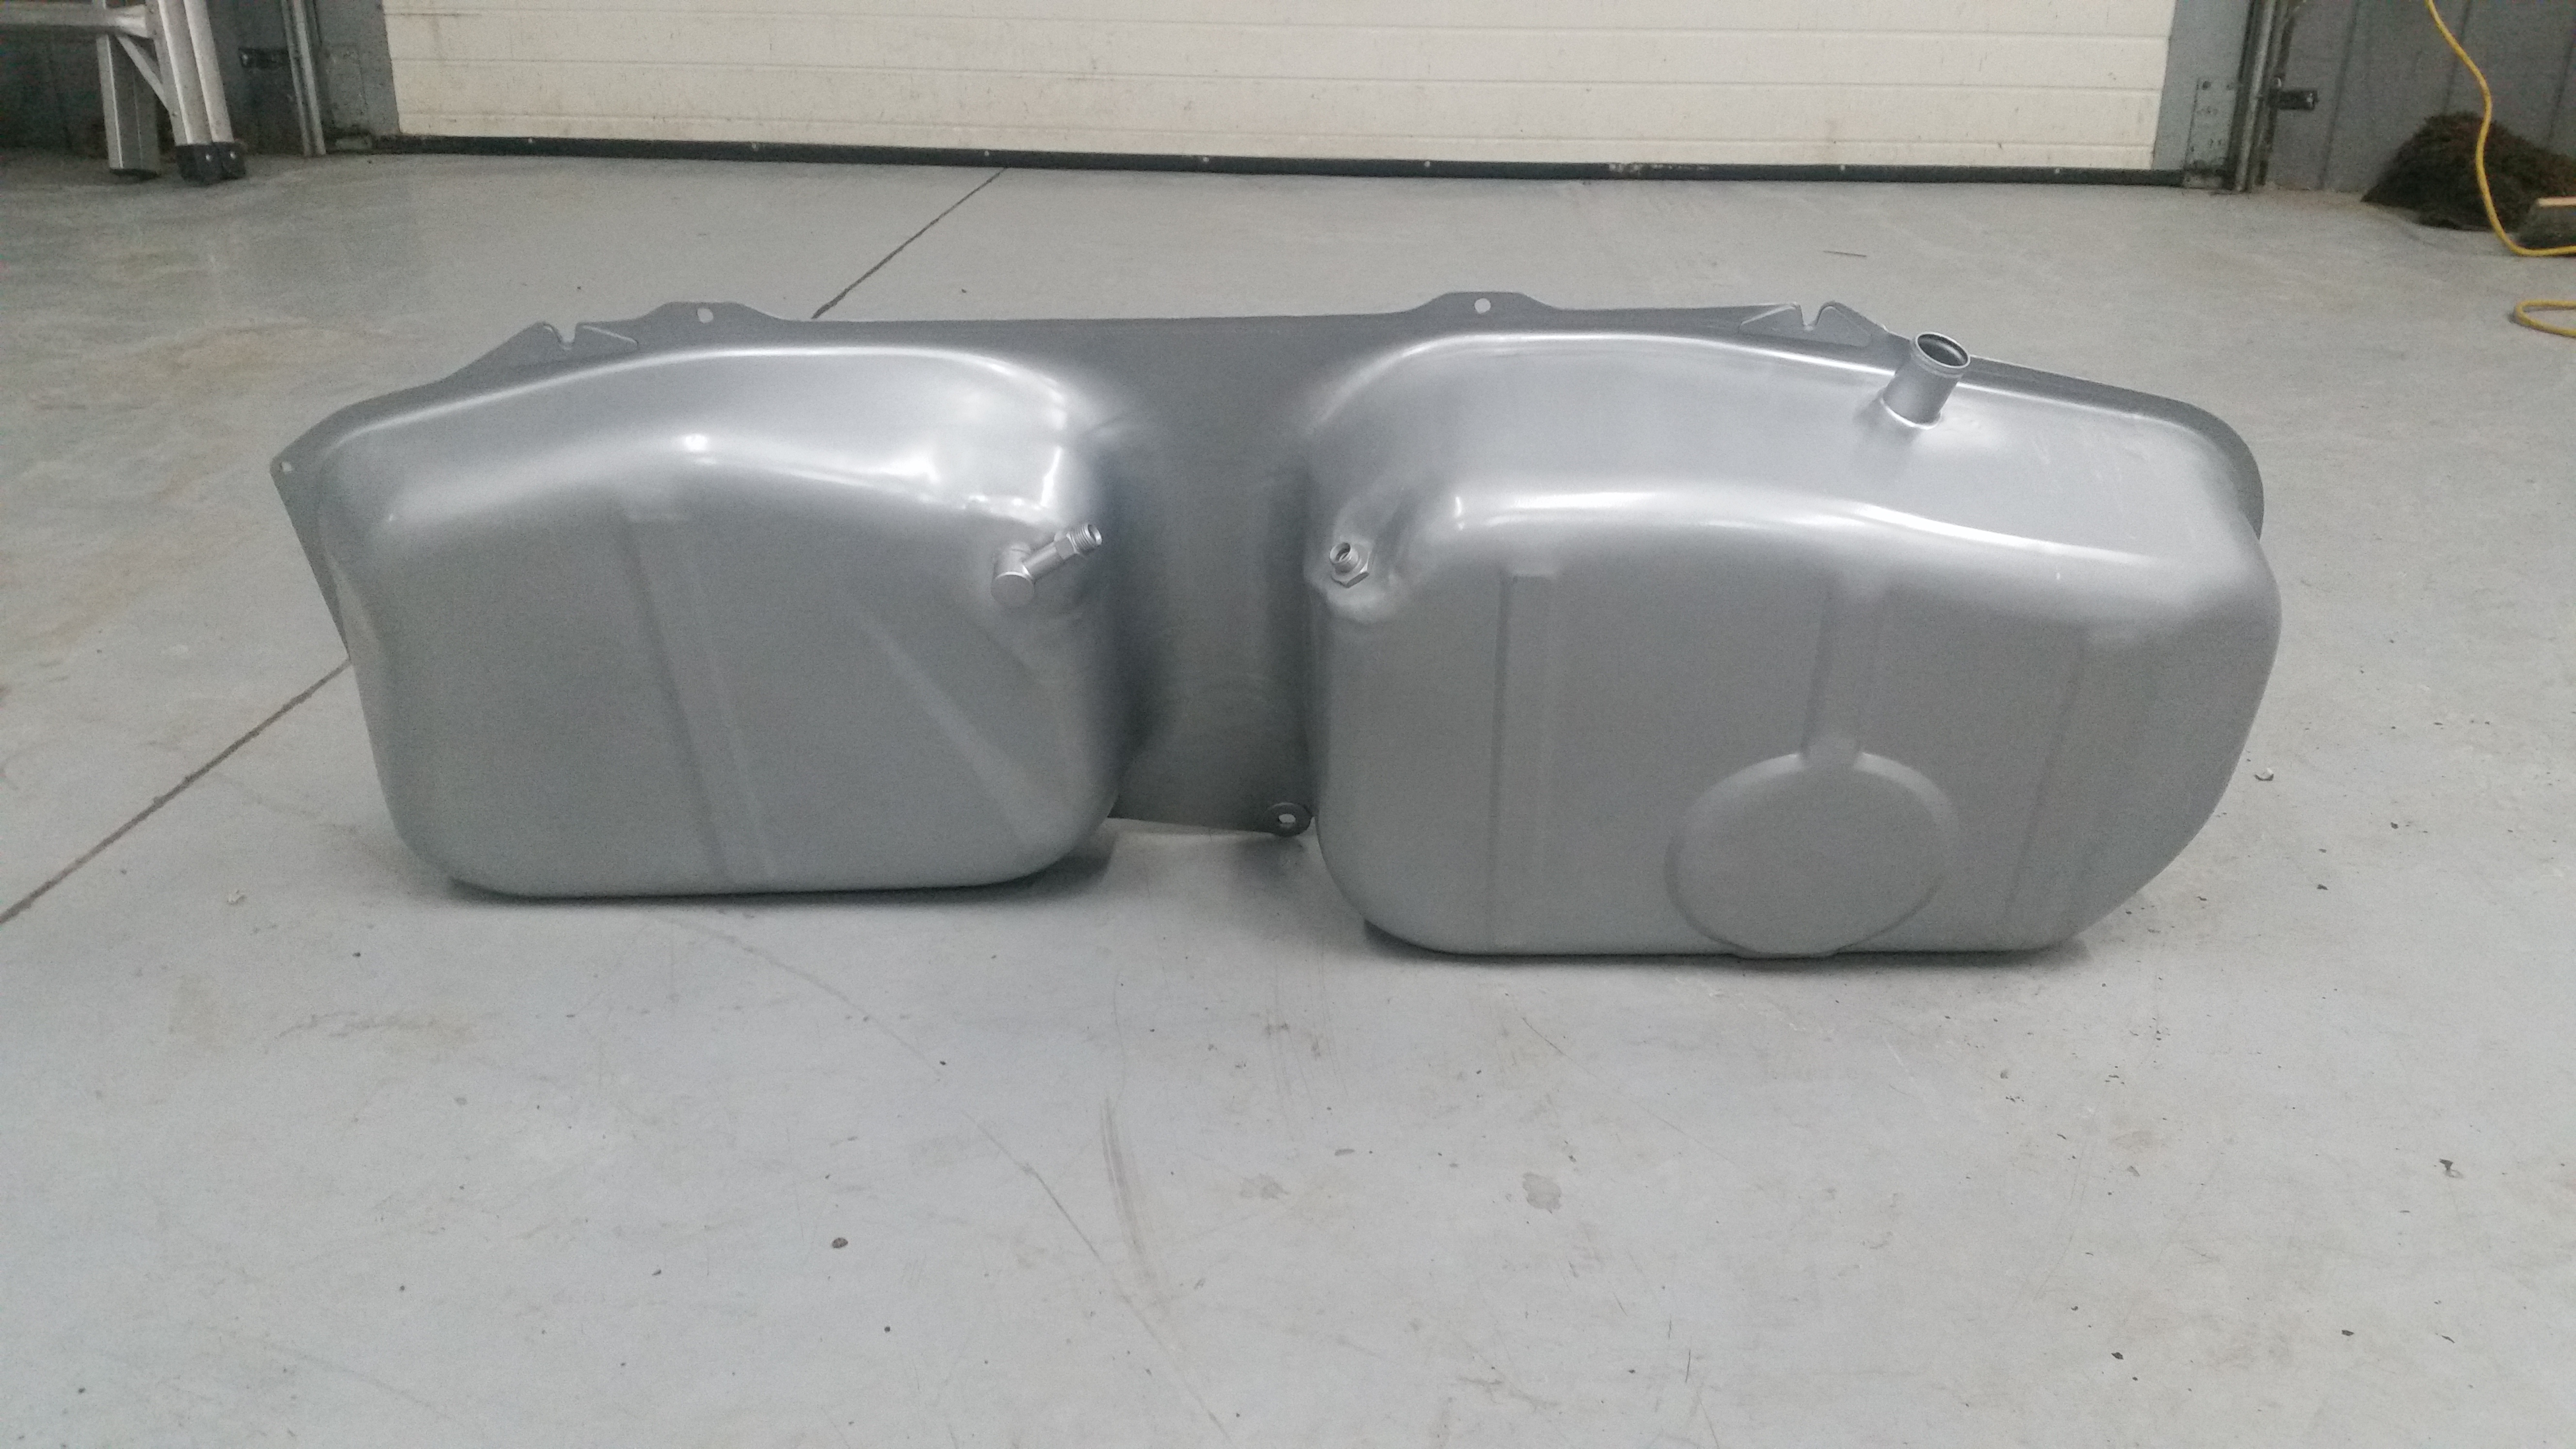
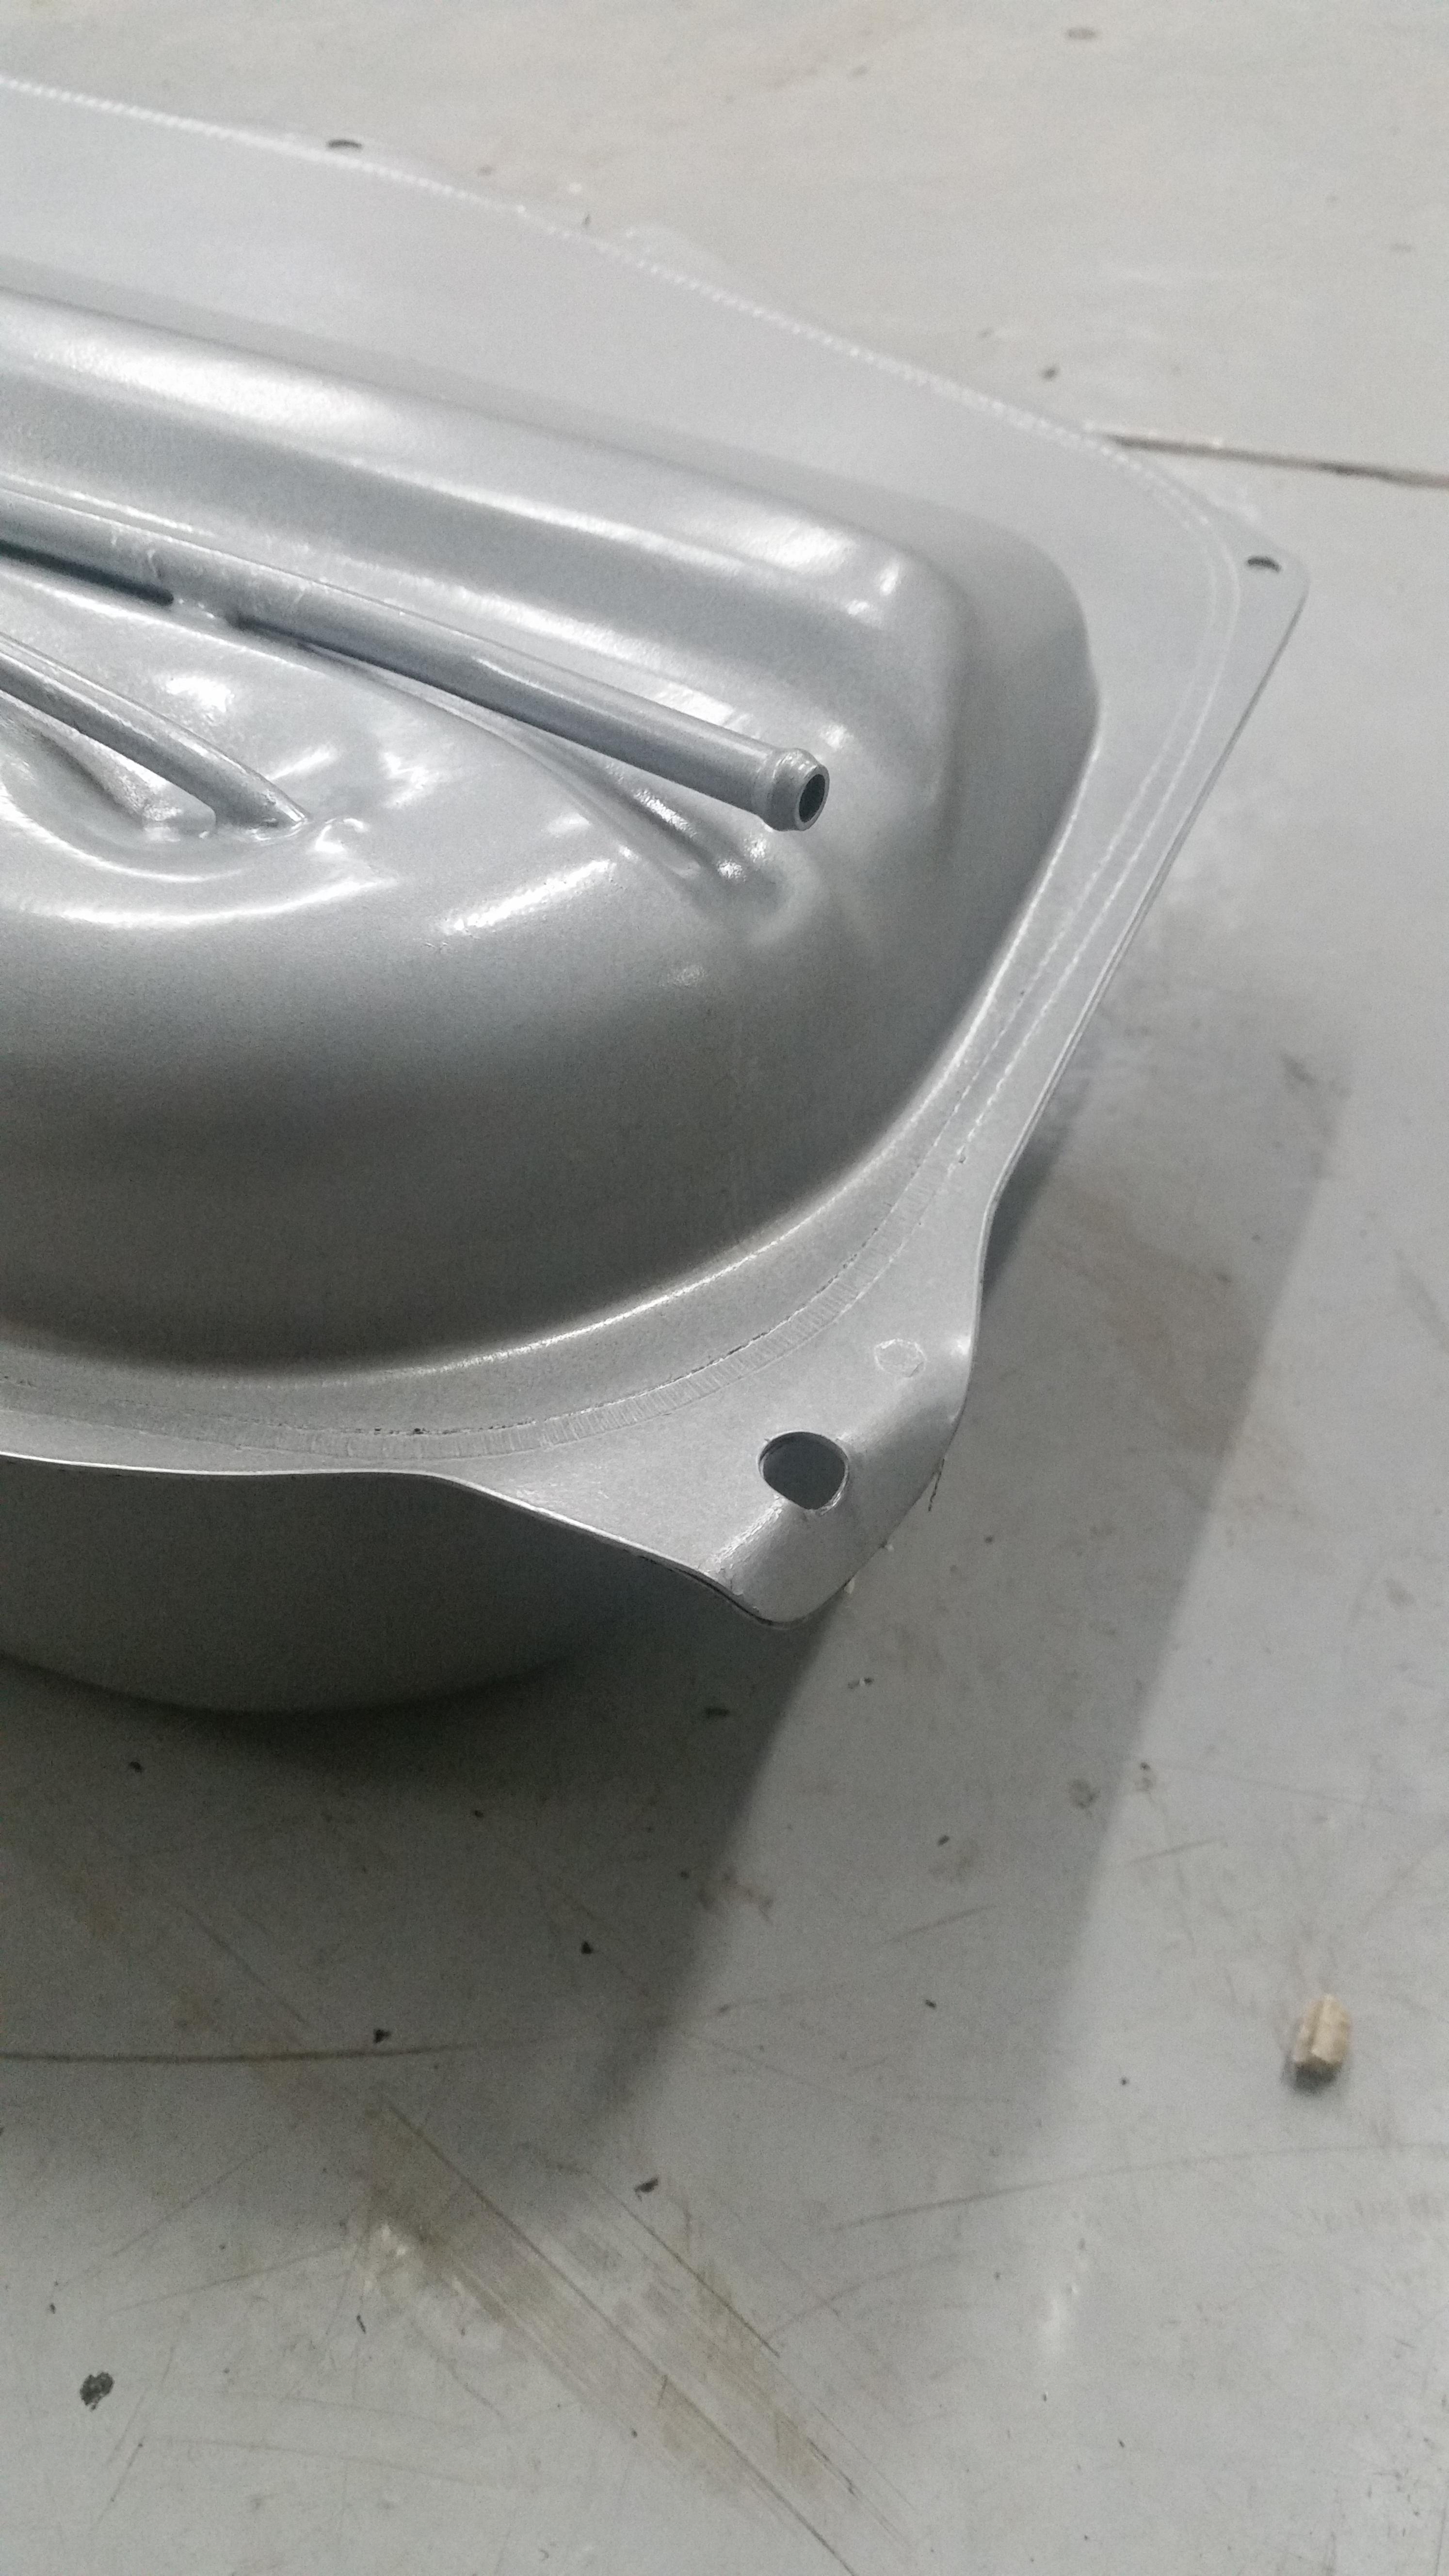
Click to choose files Received the tank last night. Overall seems like it is pretty well made. It is made of ni-terne steel (which is pretty much a steel with a plated coating over the top of it to protect it from rust and corrosion, the coating is made of 92% lead 8% tin), I think that's pretty much what all new gas tanks are being made of now. I did notice right away that one of the tabs had bent over, probably from shipping would be my guess. Not to worried about it though as throwing it in a vise and straightening it out would be much easier then having to go through the hassle of sending it back and then get another one sent over. My plan is to paint the tank in por-15 to make it fit in better underneath the car as well as giving it a even better rust protection. As the surface is very smooth, most of the time I would scuff it up with some sand paper or scotch-brite before painting but I think that would be unwise being that it would release the lead content into the air which of course would mean me breathing it and probably dying. Right now I'm gonna try cleaning the tank down with some lacquer thinner and then apply the por-15 on the top side to see how it adheres. I did read somewhere that paint and lead adheres together pretty well so we will see. how that goes.
Few pics of it out of the box...
Things happening in the next week:
Got stainless lines ordered from CSS as well as a bunch of little misc. stuff from fcp. Hoping to see everything next week so I can get the lines installed, then the tank and maybe start on getting the rear axle assembly back in. This means the main goal is finishing up the under body this weekend hopefully.
Stay tuned!






Hello! It looks like you're interested in this conversation, but you don't have an account yet.
Getting fed up of having to scroll through the same posts each visit? When you register for an account, you'll always come back to exactly where you were before, and choose to be notified of new replies (either via email, or push notification). You'll also be able to save bookmarks and upvote posts to show your appreciation to other community members.
With your input, this post could be even better 💗
Register Login