
My name is Earl, and I have a Stainless Steel bolt fetish =)
-
Welded up the hole I idiotically drilled in the one mount


I then wire wheeled all of the paint on the arms that wasn't fairing well and threw a coat of primer on. Somehow my full can of primer ran out of aerosol after finishing one arm so I had to use a different can I had on the other.

I will be picking up more primer today and then hopefully getting the paint on them.
-
I was going to finish painting the arms the other day but ran out of paint and the paint I was using is now discontinued. I did spray them with self etching primer though to cover any spots I missed with the first coat of primer.
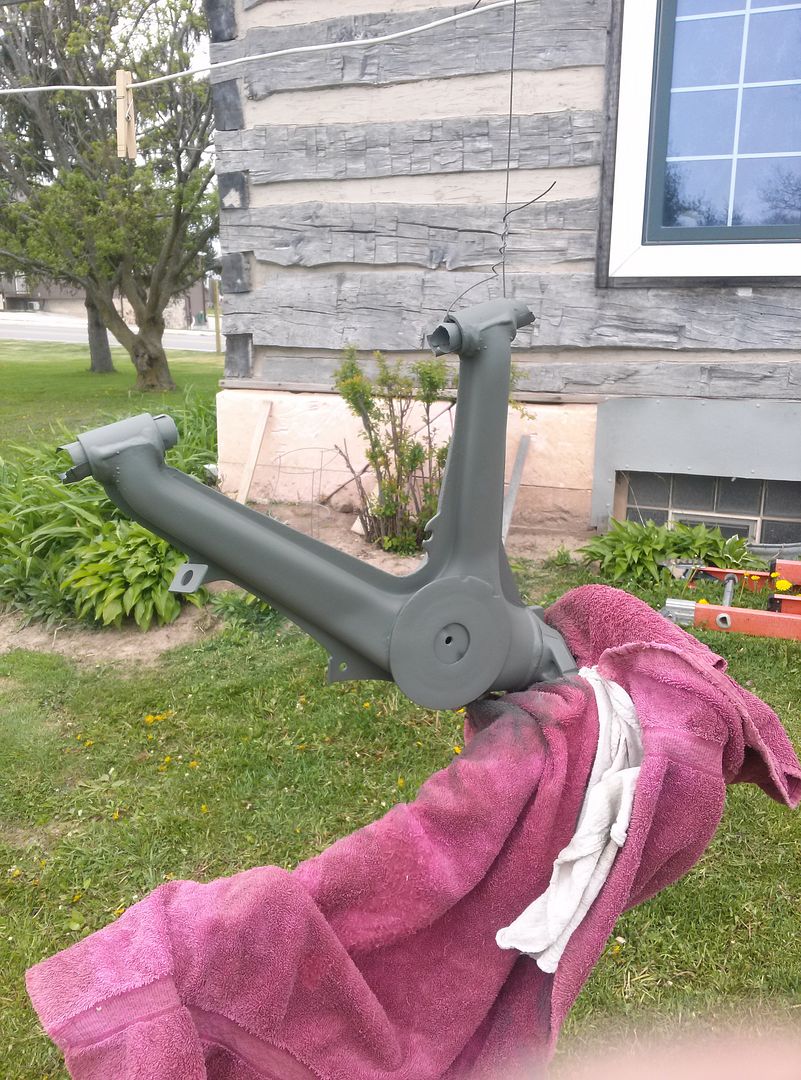
Now I just need to get a nice day to prep and paint them, as well as the subframe.
Yesterday I tackled the output shaft detent rings and seals on my diff. I will be redoing the paint on it as well as replacing the bolts for the sides and the dust caps on the flanges, don't worry=)

Popped the flanges out to see what I was working with.

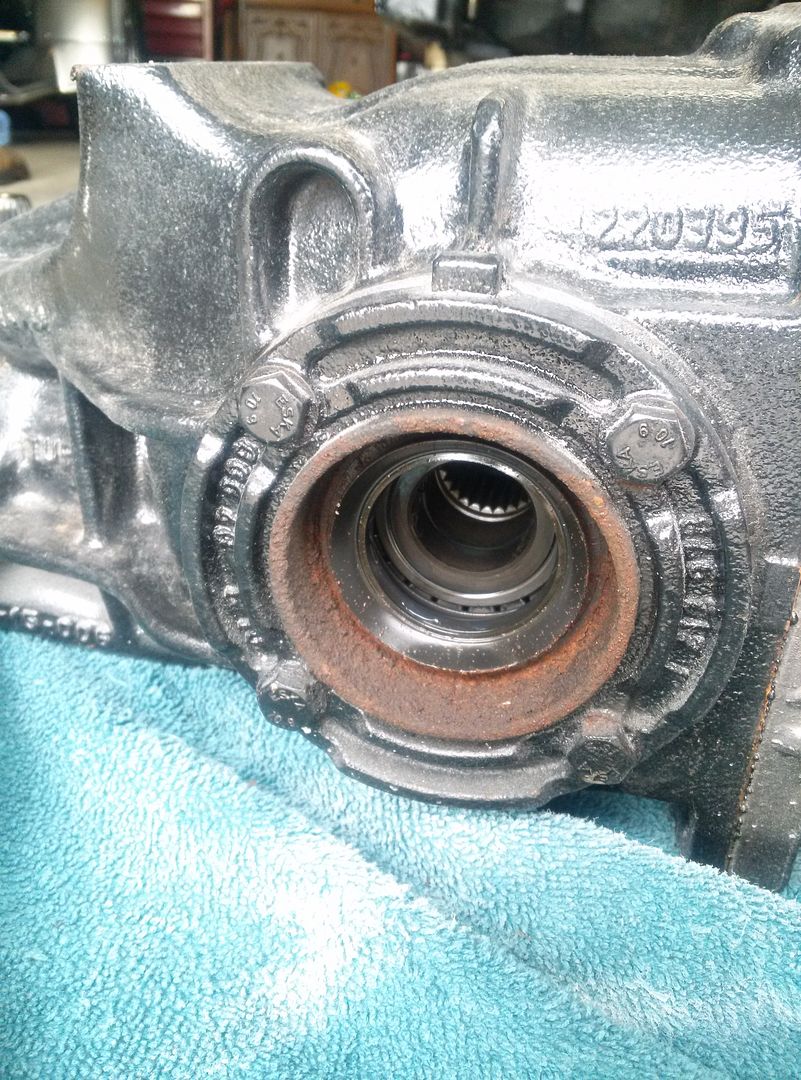
Next I pulled the sides and popped out the old seals and detent rings

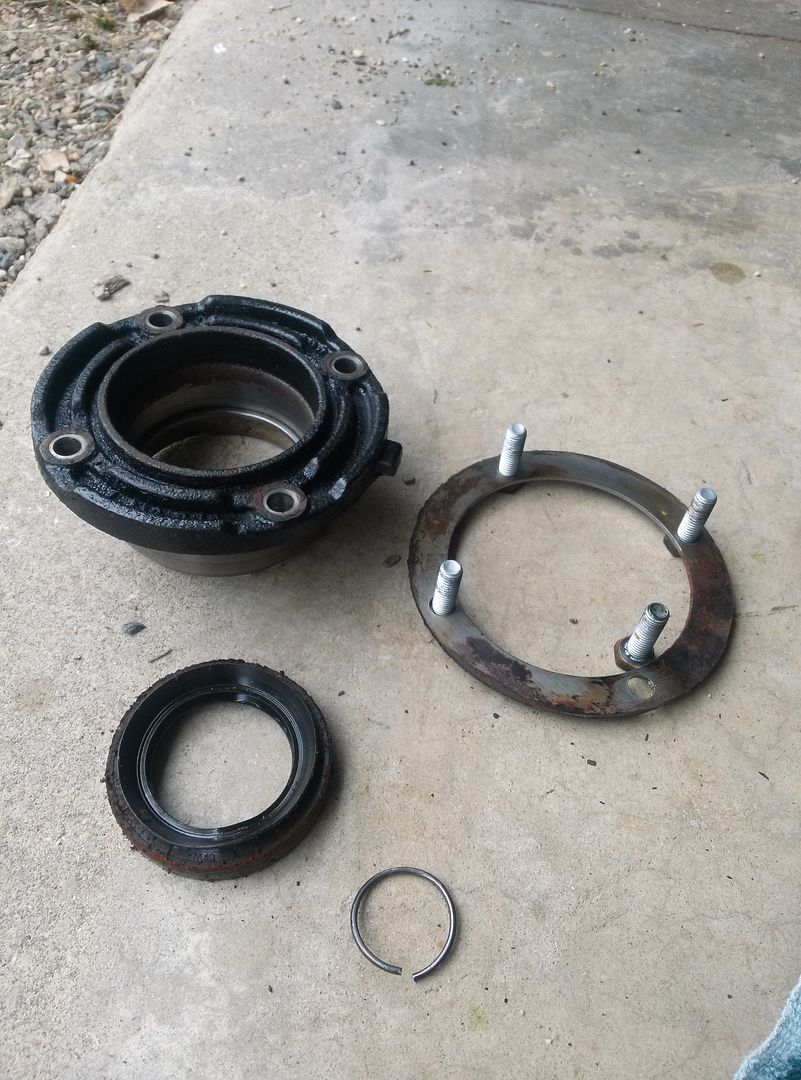
Then in went the new seals

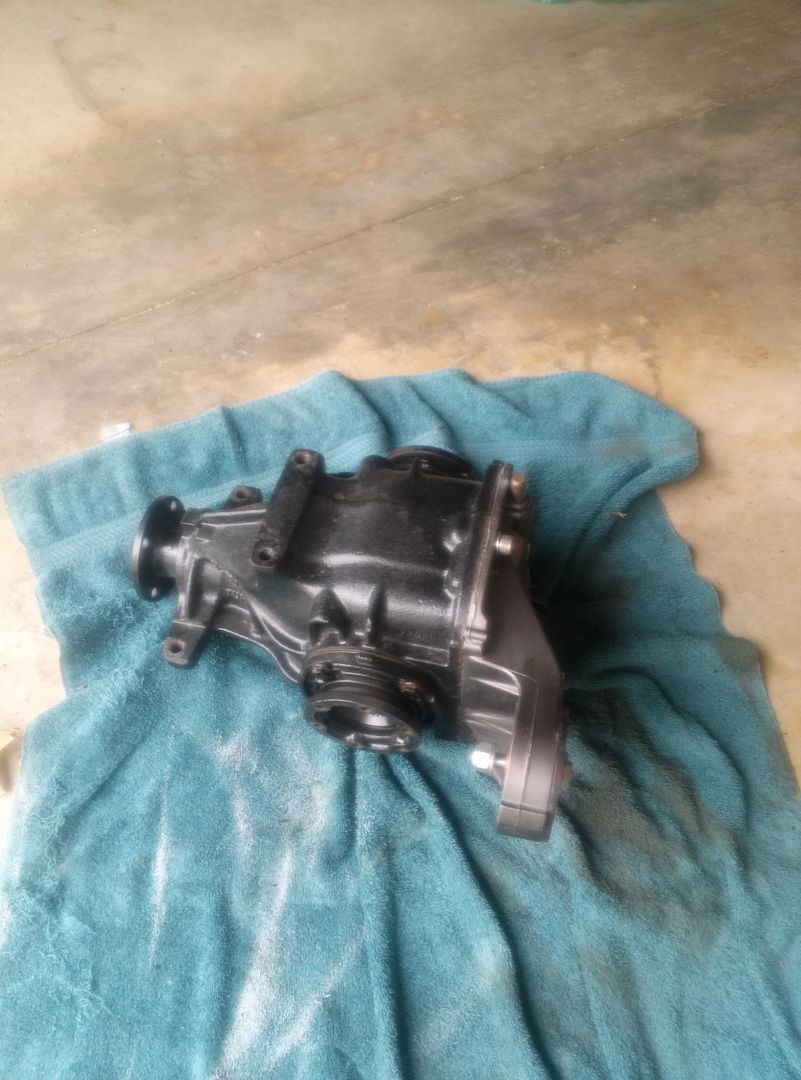
I popped the output flanges back in for now to keep any debris out of the diff. I will be coating it in KBS rustseal and just need to pick up that up as well as new hardware for the sides
-
Last week I realized that the color I used for the subframe, trailing arms, and diff cover was discontinued. The subframe needed repainting too so I clean it up again and reprimed it.

I also started KBS coating my diff.
I started with the Aqua Kleen. It needs to be kept wet for a half hour to clean the surface.
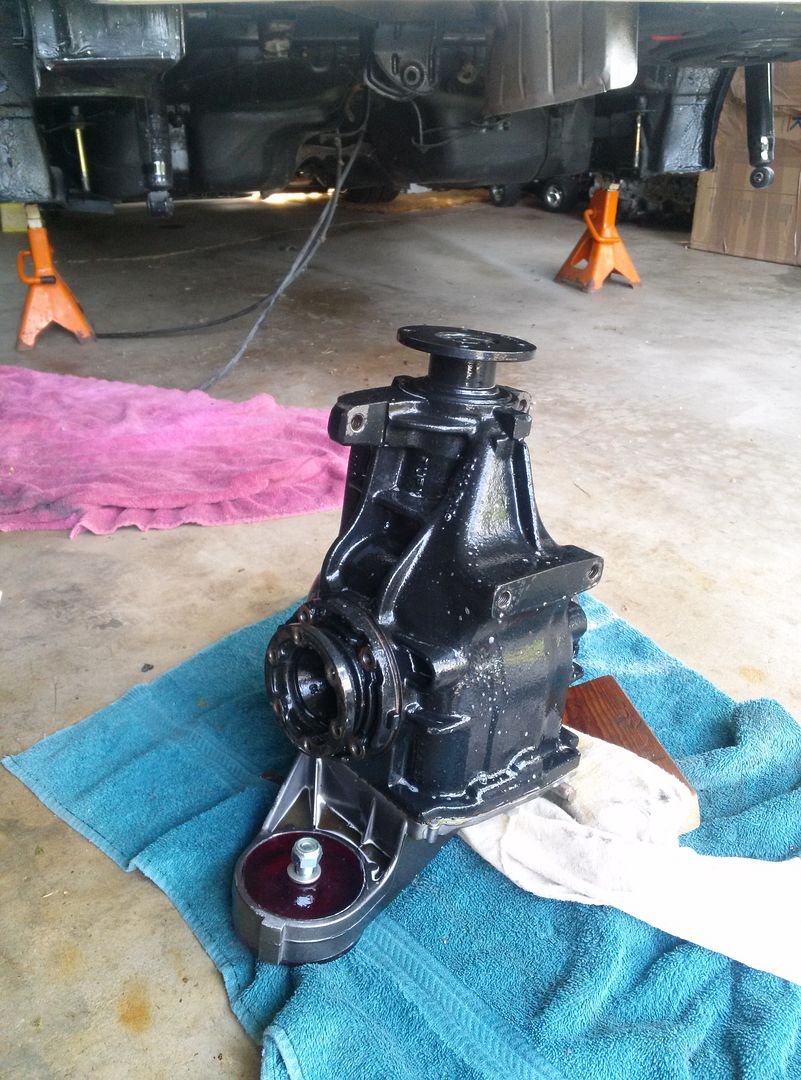
After that I used the Rust Blast to convert any rust and to put a thin zinc phosphate coating on the part to help the rust seal stick. I didn't really get a good picture of the diff after the rust seal but here is one with the diff disassembled and ready to coat.
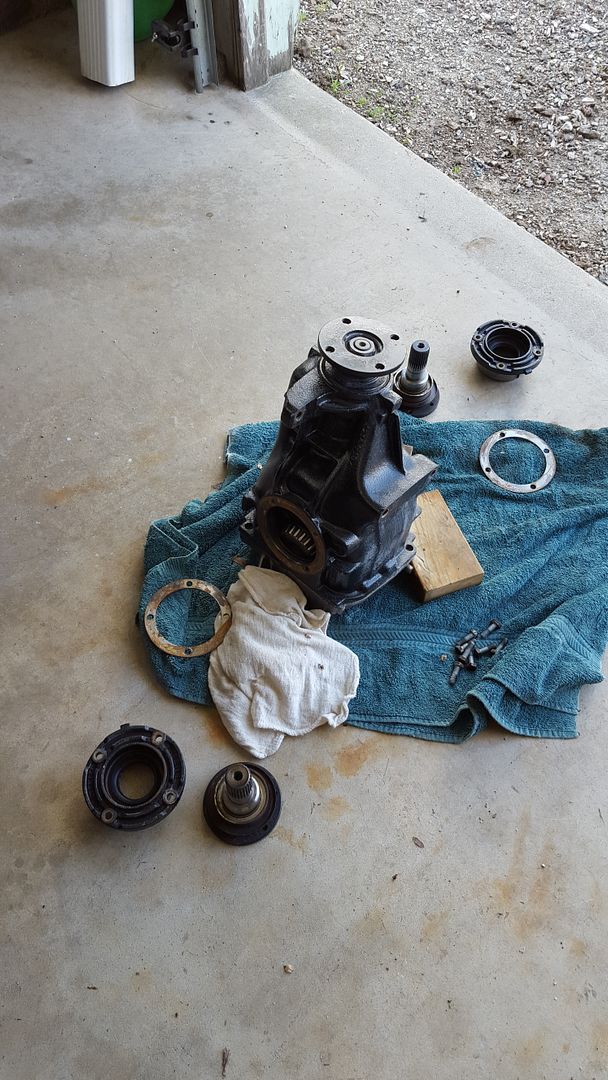
Coating the diff was as simple as lightly brushing on the rust seal. It self levels and covers really well.
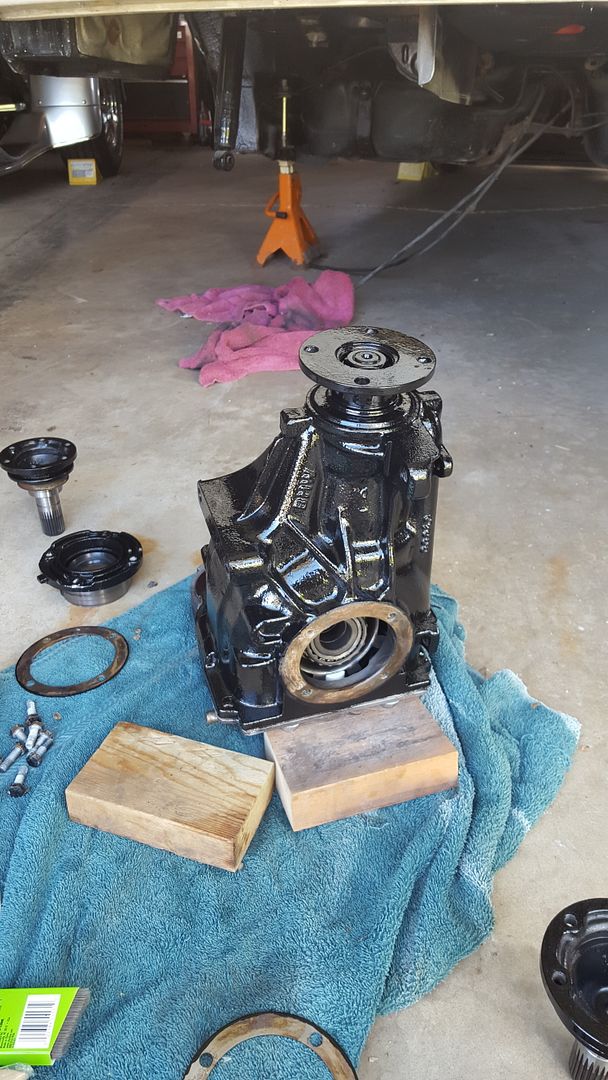
I didn't coat the inside of the diff flange that you see since it didn't make much sense to me and is already painted in there.

I'll be reassembling the diff today (sans hardware) and painting the subframe. I also need to clean up and finish priming the trailing arms.
-
Dude.
-
Got the diff assembled and the stud kit installed
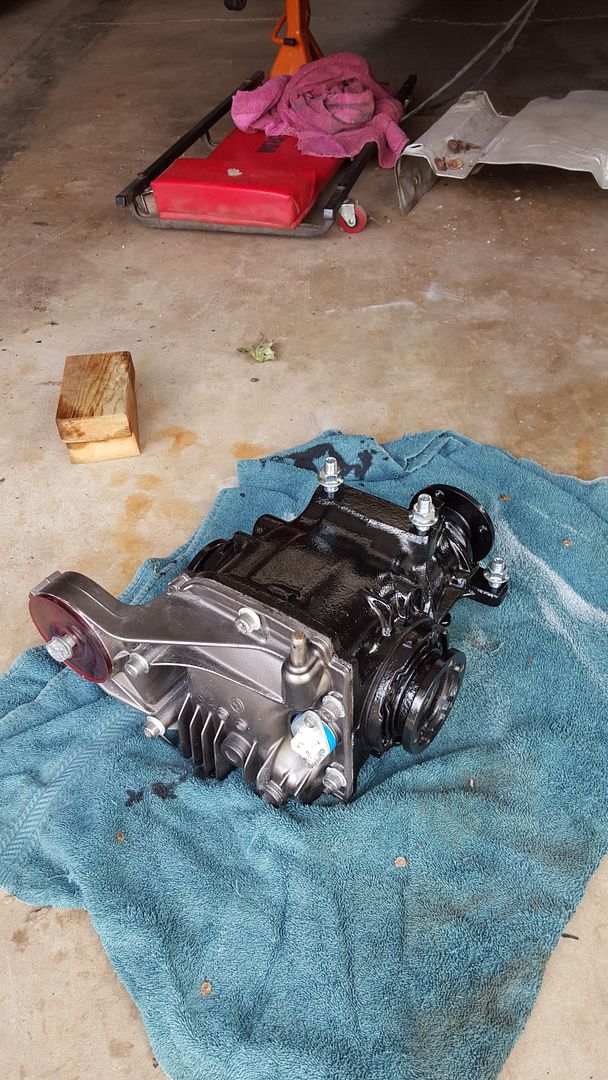

I have to repaint the cover yet and get new bolts for the side covers. Can't decide if I want to match the diff cover to the subframe again or if I want to paint it with aluminum paint like the trans haha
Sprayed the subframe with paint as well. Ran out of time to prime the trailing arms

-
Tuesday I finally got the arms outside to prime:
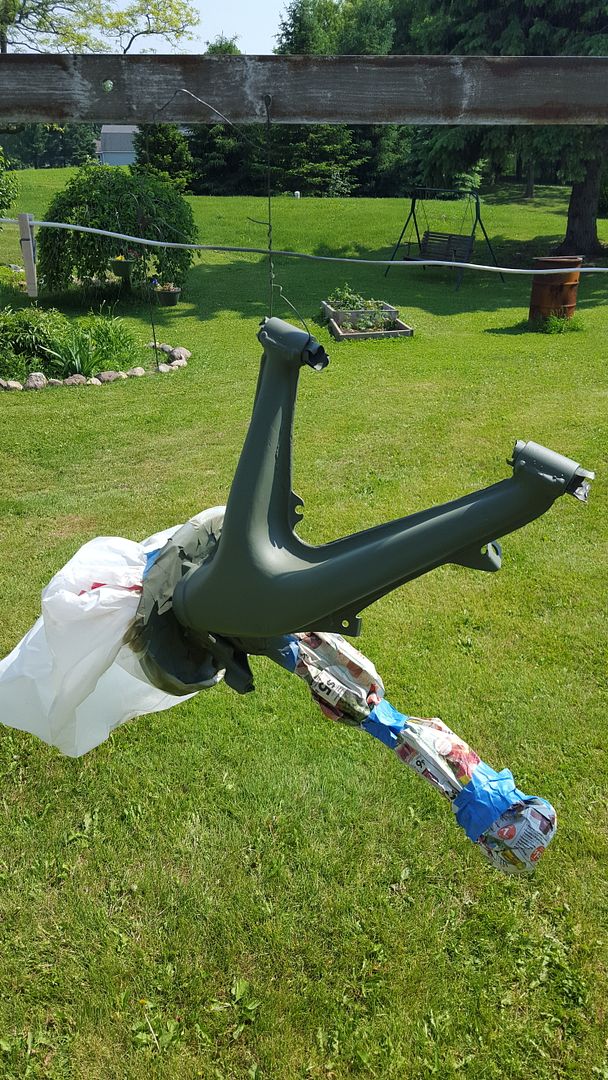
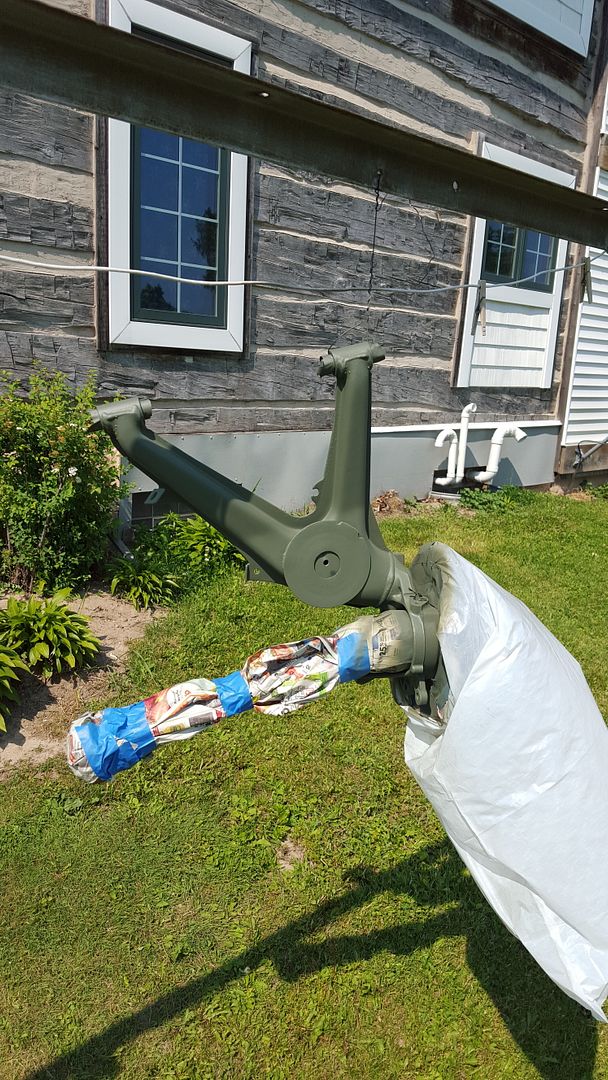


Yesterday I was able to put a little paint on them and a little more paint on the subframe


I'm not sure why they look a little greenish in pictures but the color is a nice medium gray.
After that I started taking the rear bumper support and mounts off so that I can redo some of the undercoating in the rear. I found some surface rust that I want to address properly.
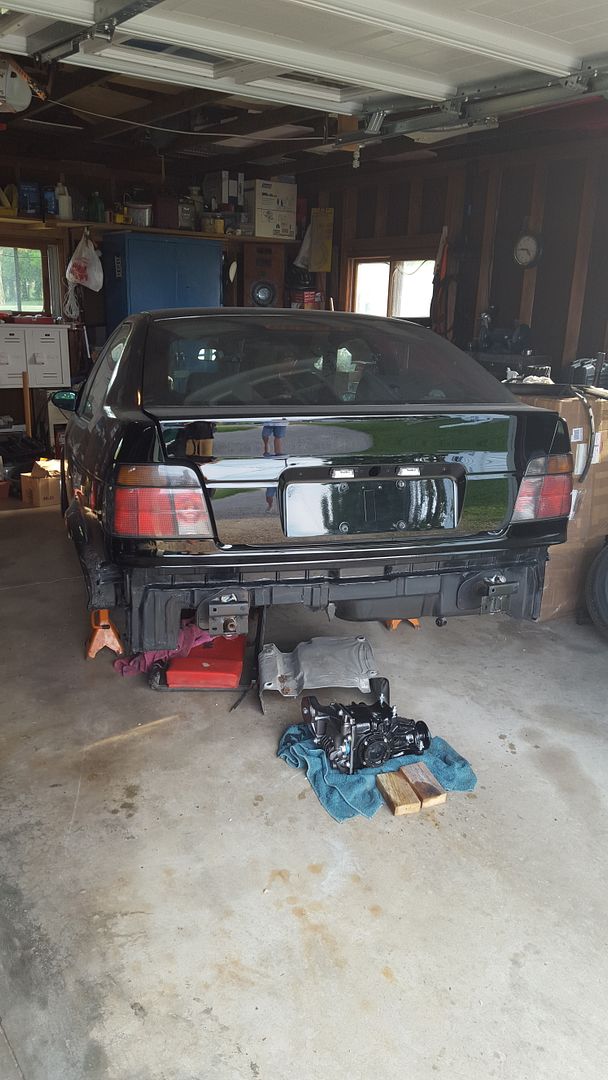

Upon taking the bumper support off, I found that my drivers side mount is blown and a bit crusty

Currently on the lookout for a used one in good shape.
-
Subframe and arms are all painted and I started assembling.


Condor bushings in and swaybar endlink bracket mounted

I am still looking for a small case diff cover without broken fins to replace my current one. I can then open the diff and see why it locks up at 3 1/8th turns either way now.
I also took some time Saturday removing bits from the underside of the rear to prepare for wire wheeling any surface rust spots and then cleaning for the Rust seal.
-
Repainted the brake shields on Friday


Also found why my diff wouldn't make a full rotation. I must have bent this trigger wheel when I pulled the flanges out and the assembly rested in the housing.

I also attached the trailing arms to the subframe, bolted on the calipers/rotors, and bolted the diff in.
Saturday I bolted the axles on


I then bent and installed the brake lines. I still need to get the clips to hold them tight to the trailing arms.


Besides that Sam and I picked this up as a project for her


-
And from the second picture you can see that removing that dust and keeping the paint nice will be a challenge=(
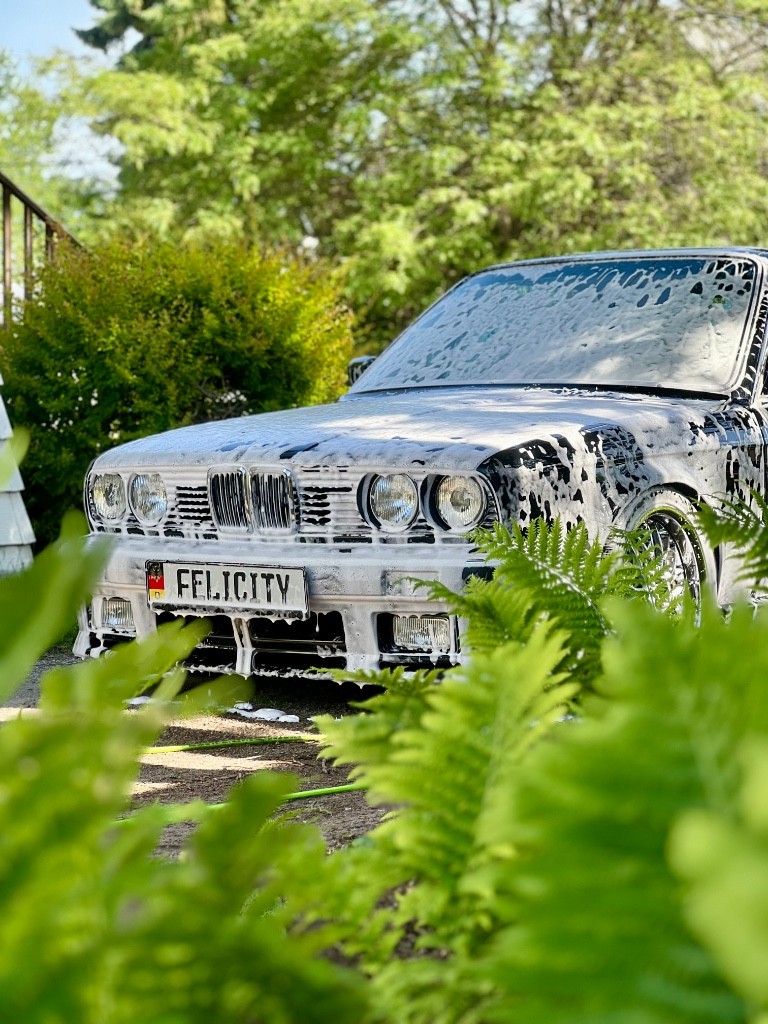
Get some form of a foam cannon to lift the dirt off before you hit it with a sponge.
-
And from the second picture you can see that removing that dust and keeping the paint nice will be a challenge=(
Hmmm....if only there was something you could cover the car with.
-
Bay color really doesn't matter to me because I won't have it open for anyone to see unless there is a different motor ever. lol
if only you knew












Hello! It looks like you're interested in this conversation, but you don't have an account yet.
Getting fed up of having to scroll through the same posts each visit? When you register for an account, you'll always come back to exactly where you were before, and choose to be notified of new replies (either via email, or push notification). You'll also be able to save bookmarks and upvote posts to show your appreciation to other community members.
With your input, this post could be even better 💗
Register Login