Skip to content
  • Categories
  • Recent
  • Tags
  • Popular
  • Users
  • Groups
Skins
  • Light
  • Brite
  • Cerulean
  • Cosmo
  • Flatly
  • Journal
  • Litera
  • Lumen
  • Lux
  • Materia
  • Minty
  • Morph
  • Pulse
  • Sandstone
  • Simplex
  • Sketchy
  • Spacelab
  • United
  • Yeti
  • Zephyr
  • Dark
  • Cyborg
  • Darkly
  • Quartz
  • Slate
  • Solar
  • Superhero
  • Vapor

  • Default (No Skin)
  • No Skin
Collapse
WIBIMMERS logo

WIBIMMERS

  1. Home
  2. General Discussion
  3. Members BMWs
  4. My name is Earl, and I have a Stainless Steel bolt fetish =)

My name is Earl, and I have a Stainless Steel bolt fetish =)

Scheduled Pinned Locked Moved Members BMWs
1.8k Posts 58 Posters 0 Views 1 Watching
  • Oldest to Newest
  • Newest to Oldest
  • Most Votes
Reply
  • Reply as topic
Log in to reply
This topic has been deleted. Only users with topic management privileges can see it.
  • EarlE
    EarlE
    Earl
    wrote on last edited by
    #1073

    Sure are lol

    museum sig 2earl.jpg

    1 Reply Last reply
    0
    • EarlE
      EarlE
      Earl
      wrote on last edited by
      #1074

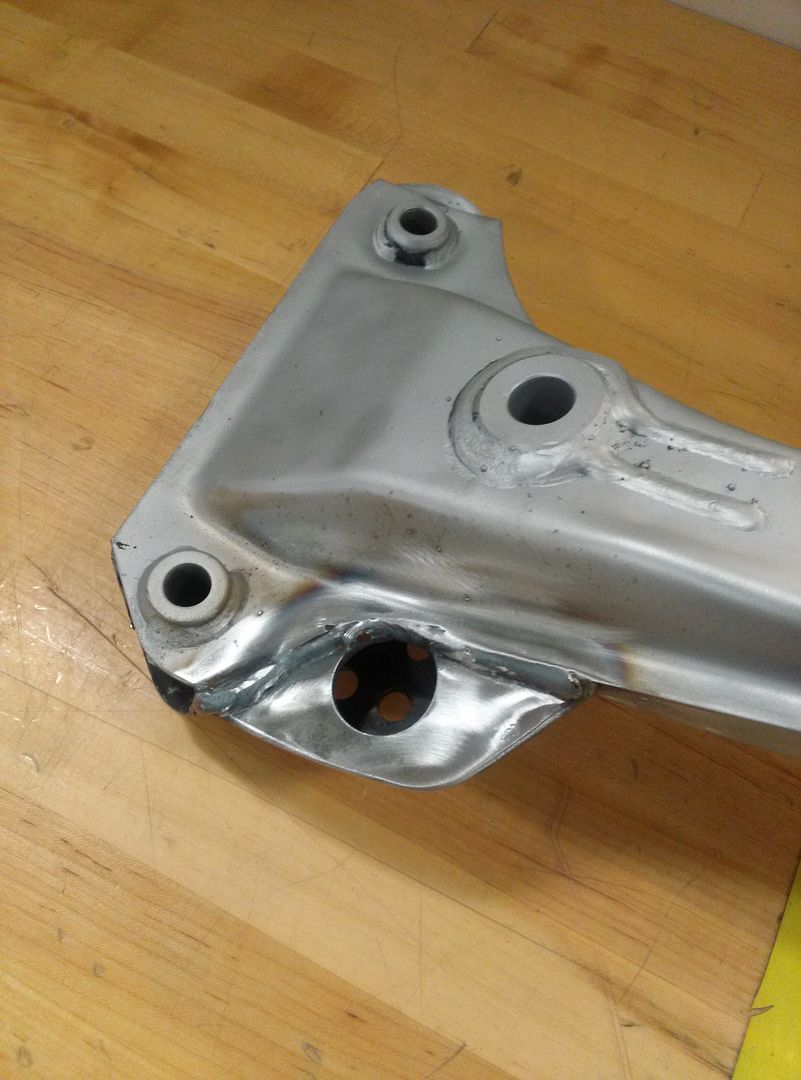
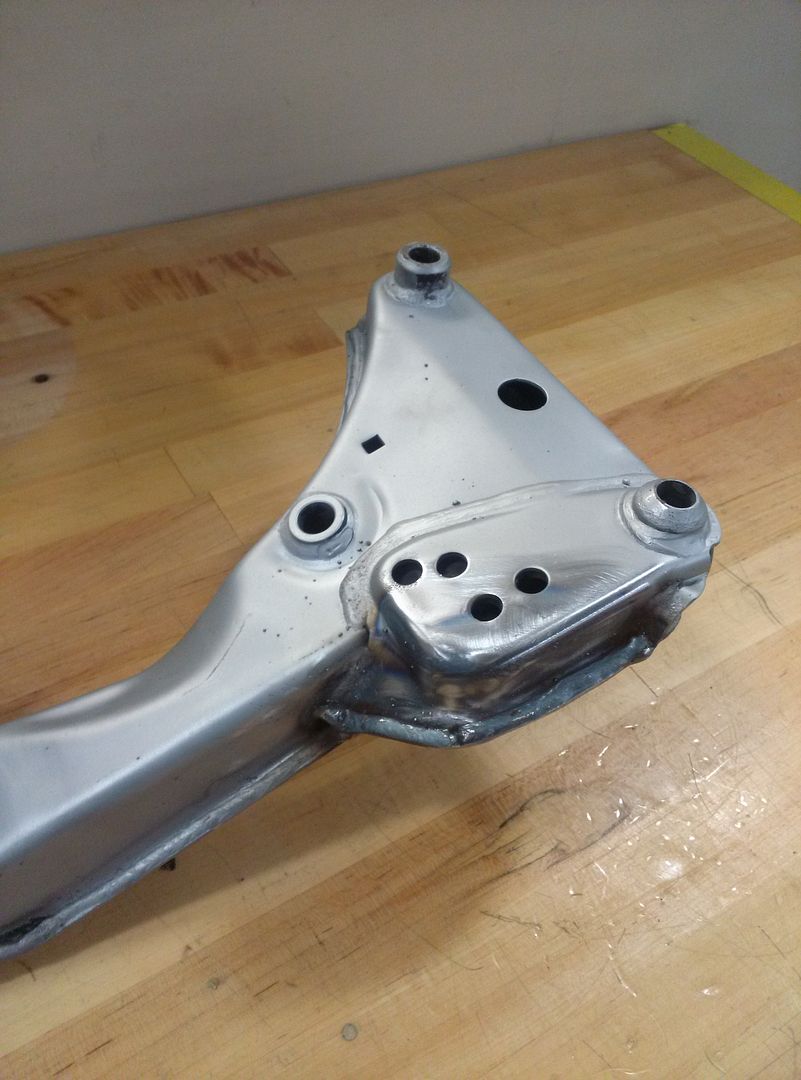
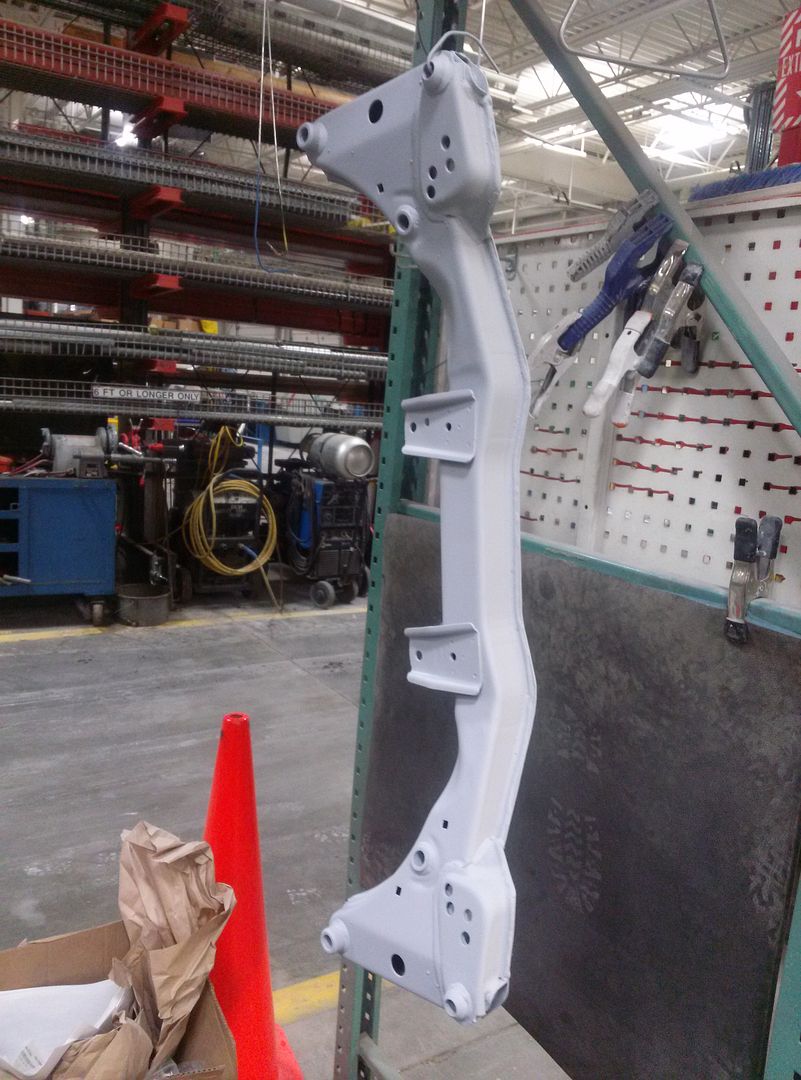
      Not much was done this weekend. John and I spent Saturday trying to fix my daily. We assumed it was the passenger side axle, due to axle grease being spun around by the inner cv. After replacing it nothing has changed. The issue has to be something diff or trans related and since the car got hit by the semi, it isn't worth fixing. Hopefully we are either missing something easy, or something pops up for sale at a reasonable price instead of all of the over inflated crap currently.

      Anyways, onto the car that matters. Subframe got finished Friday=)

      CAM00491zpsrlpapraj.jpg
      CAM00492zpsaqwptco9.jpg
      CAM00493zps9umus8ds.jpg
      CAM00494zpsyxaeabdc.jpg

      Then primered
      CAM00495zpsfyyoioat.jpg

      And then painted
      CAM00496zpsanxmtccf.jpg
      CAM00500zpsnfkfodzf.jpg

      My ECS Tuning order shipped out Friday as well and should be here today or tomorrow. Once that comes I can assemble my front hubs, attach my caliper carriers, and get my calipers finished with their new bleeders.

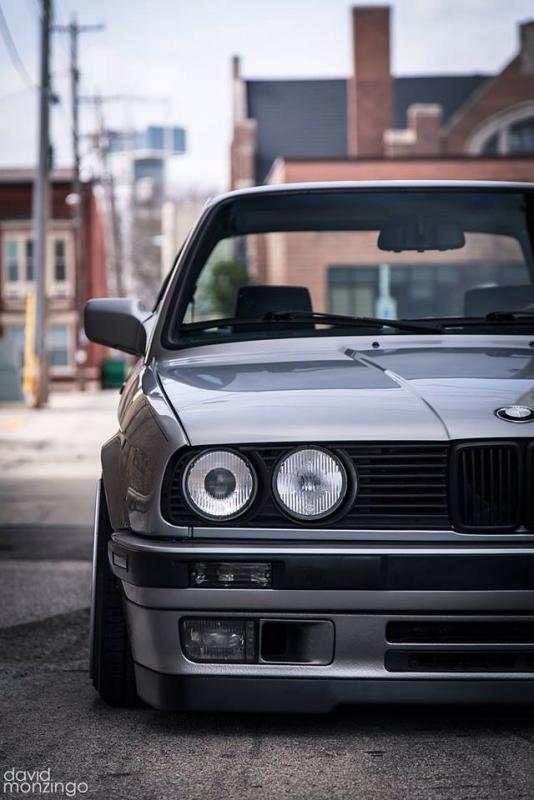
      I was looking through my phone pictures Saturday morning and happened across this one. Eventually the car will be finished...

      IMG20140302092652zpskl55orur.jpg

      museum sig 2earl.jpg

      1 Reply Last reply
      0
      • KaiserRollsK
        KaiserRollsK
        KaiserRolls
        wrote on last edited by
        #1075

        I hope that's hashtag wrinkle black paint on the subframe

        1 Reply Last reply
        1
        • EarlE
          EarlE
          Earl
          wrote on last edited by
          #1076

          It is hashtag satin black to have a smooth mounting surface for the engine mounts=)

          museum sig 2earl.jpg

          1 Reply Last reply
          1
          • ClassEC
            ClassEC
            ClassE
            wrote on last edited by
            #1077

            What's the thought process on the braided clutch line Earl? Haven't heard if this - better /firmer pedal feel?

            1 Reply Last reply
            0
            • EarlE
              EarlE
              Earl
              wrote on last edited by
              #1078

              Firmer pedal feel=) It does exactly the same thing as braided brake lines.

              museum sig 2earl.jpg

              1 Reply Last reply
              0
              • EarlE
                EarlE
                Earl
                wrote on last edited by
                #1079

                My ECS order arrived yesterday. I started right away on assembling my hubs and installing my speed bleeders.

                (the lighting was terrible for all of these phone pictures so I apologize in advance)

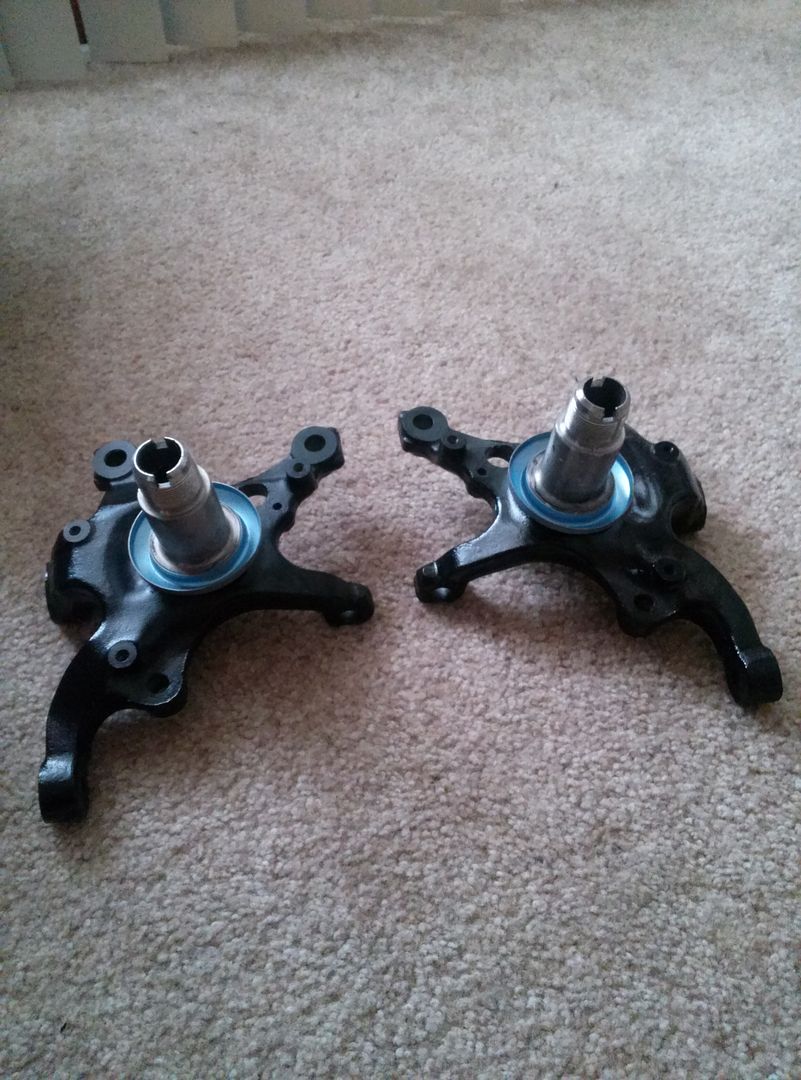
                Here is where I started, bare freshly powdercoated knuckles.

                CAM00504zpsqnrokfes.jpg

                I then took these rear dust covers

                CAM00505zpsybycjx6s.jpg

                and fitted them to the knuckles.

                CAM00510zpsfgpblcwn.jpg

                After that I opened up these guys

                CAM00506zpskicif6nw.jpg

                CAM00507zpskleidzlf.jpg

                and tapped them on with a mallet

                CAM00513zpsmwuiqepk.jpg

                Well, I only got one fully down. Reason is that I am an idiot and was tapping on the outer races/hubs instead of waiting to grab my socket and tapping them on from the inner race. From the multiple people I have asked, there shouldn't be any damage to the bearings since I wasn't bashing on them like Bam Bam with a wooden club. The use of a rubber mallet also saved me. I am waiting to do the other one until tonight when I will have my socket=)

                After all of that I installed my speed bleeders.
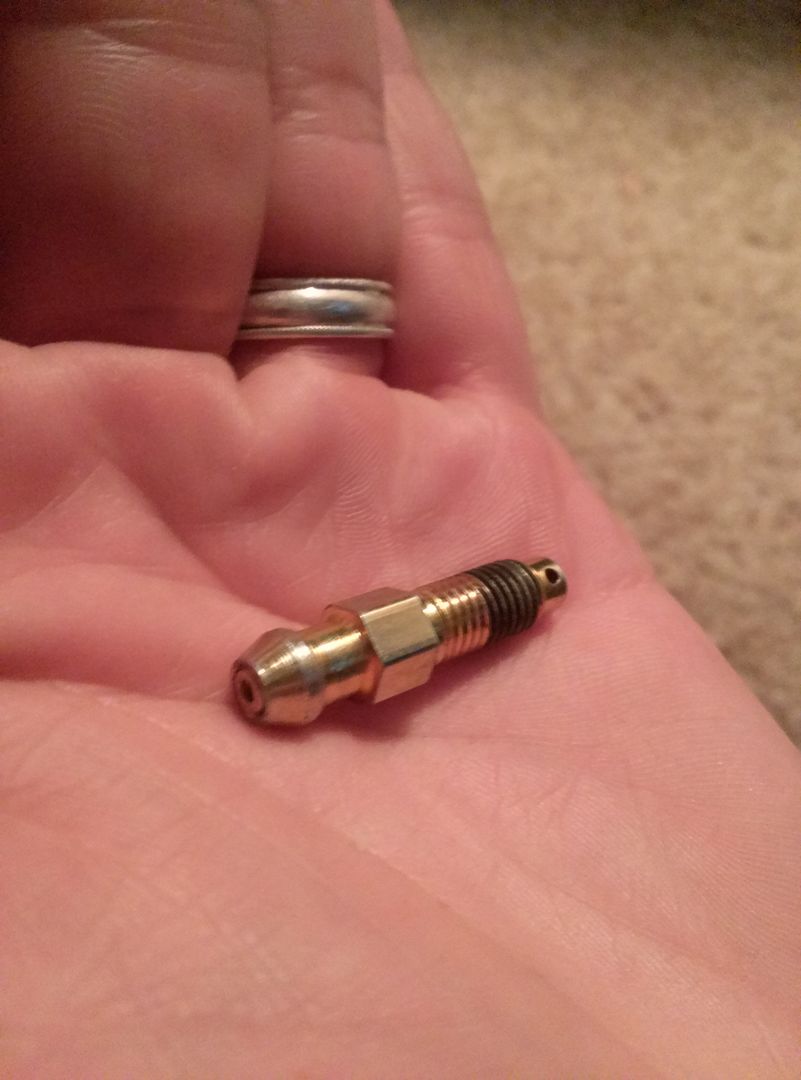
                CAM00511zpsc9vshcae.jpg

                I don't have any installed pictures because the sun went down and the lights in my living room are terrible.

                I did however only install 3 successfully. The fourth one I threaded in by hand like the previous 3. However, after slowly threading it in with a wrench, it felt like it wasn't going any further or tightening. I backed it out to see this:
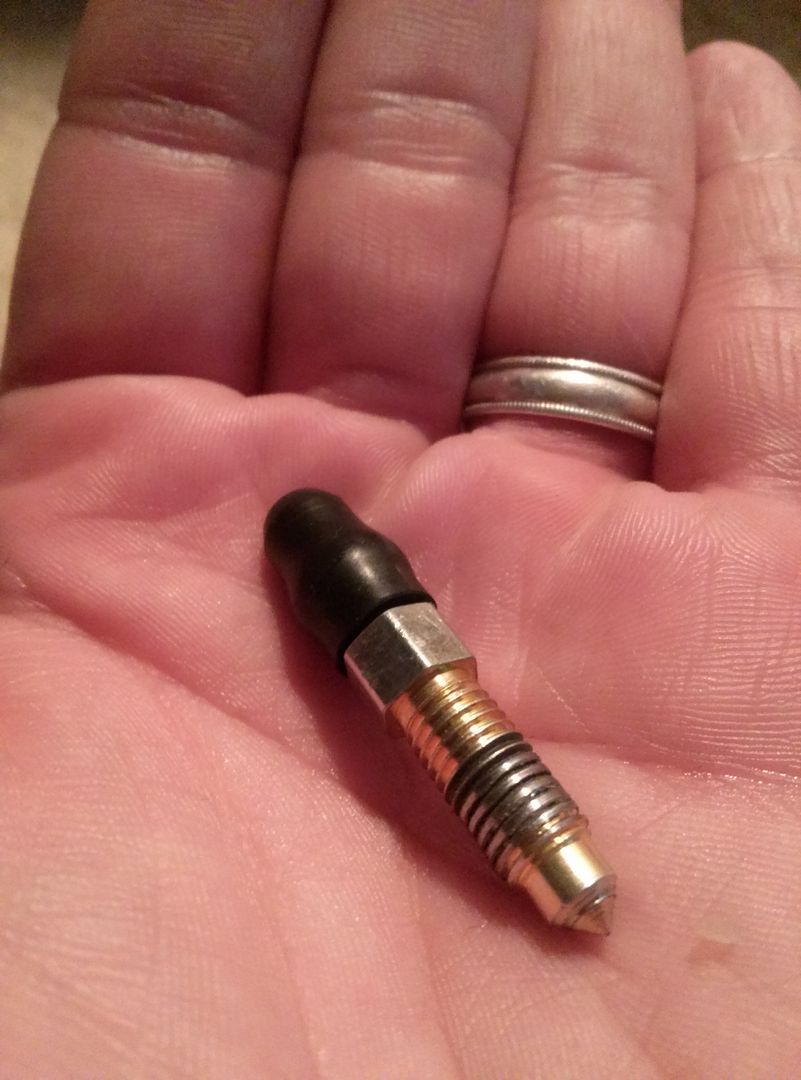
                CAM00512zpsmtaqpozb.jpg

                I am not quite sure how the threads stripped without applying any more torque than a simple turn of the wrench. I sent ECS an email about it, but I will probably just need to order a new one. I also made sure to take a cotton swab and get the stripped threads out of the bleeder hole so that they don't go into the bore=)

                Never a dull moment I guess. More updates tomorrow I am hoping.

                museum sig 2earl.jpg

                1 Reply Last reply
                1
                • EarlE
                  EarlE
                  Earl
                  wrote on last edited by
                  #1080

                  ECS is sending me a replacement bleeder free of charge. That right there is why I always order through them=) Great customer service.

                  On a side note, I picked everything up from the shop at lunch. I should be getting the stubborn hub down on the knuckle tonight, as well as bolting the calipers and rotors on to get an idea of how it will all come together.

                  museum sig 2earl.jpg

                  1 Reply Last reply
                  0
                  • KaiserRollsK
                    KaiserRollsK
                    KaiserRolls
                    wrote on last edited by
                    #1081

                    The parts keep coming. I dig it

                    1 Reply Last reply
                    0
                    • RamRod E28R
                      RamRod E28R
                      RamRod E28
                      wrote on last edited by
                      #1082

                      I wanna see this thing this spring!!!

                      1984 BMW 528e - SETA and manual swapped! M50 to come!!!

                      1988 BMW 528e - Need parts?

                      1991 Chevy C1500 (mighty 350 with TBI and Wisconsin weight reduction package)

                      1996 Mazda Miata (SOLD!!!)

                      1996 BMW 325i (Donor car)

                      1998 Chevrolet Corvette (BEAST)

                      2001 Jeep Grand Cherokee (BROKEN)

                      3bc80c27-0937-43e3-9e7f-00404a337ec1zps

                      1 Reply Last reply
                      0
                      • EarlE
                        EarlE
                        Earl
                        wrote on last edited by
                        #1083

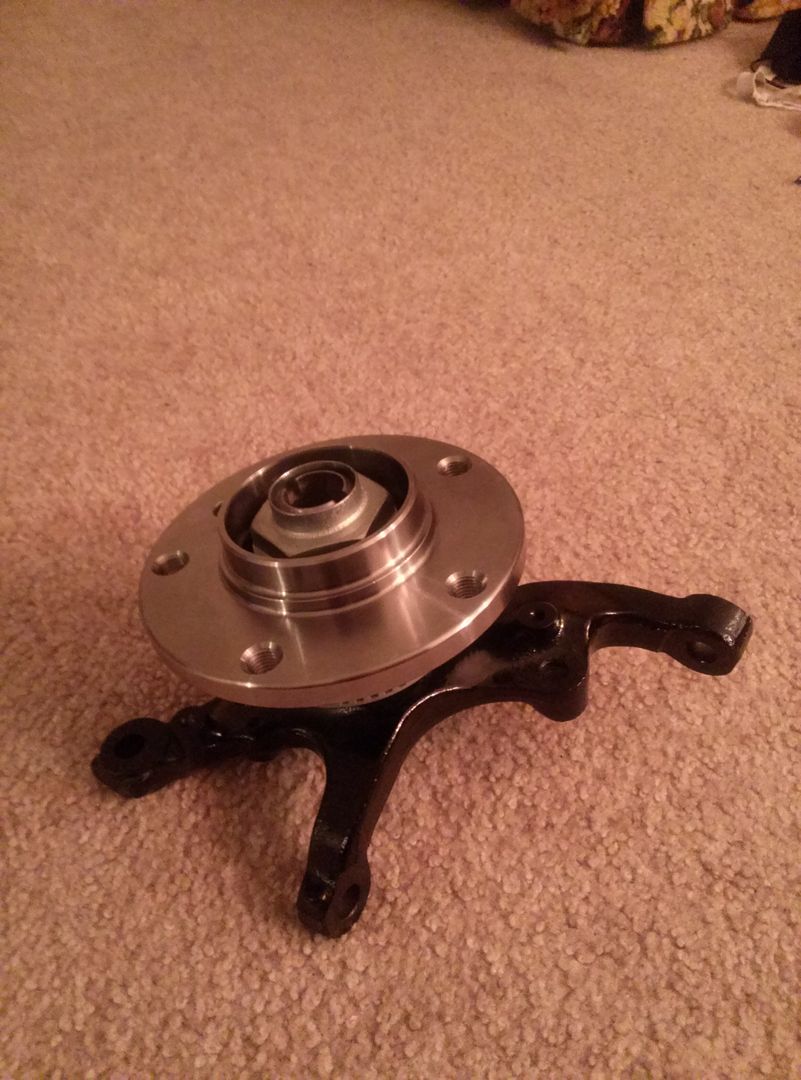
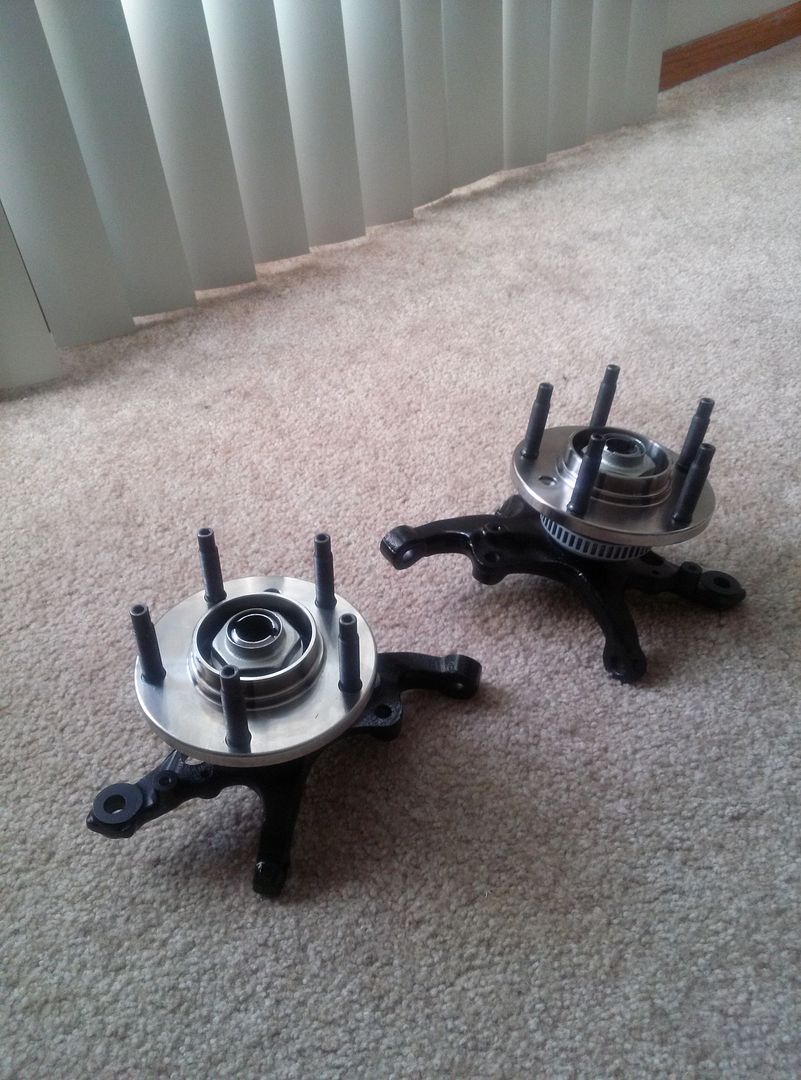
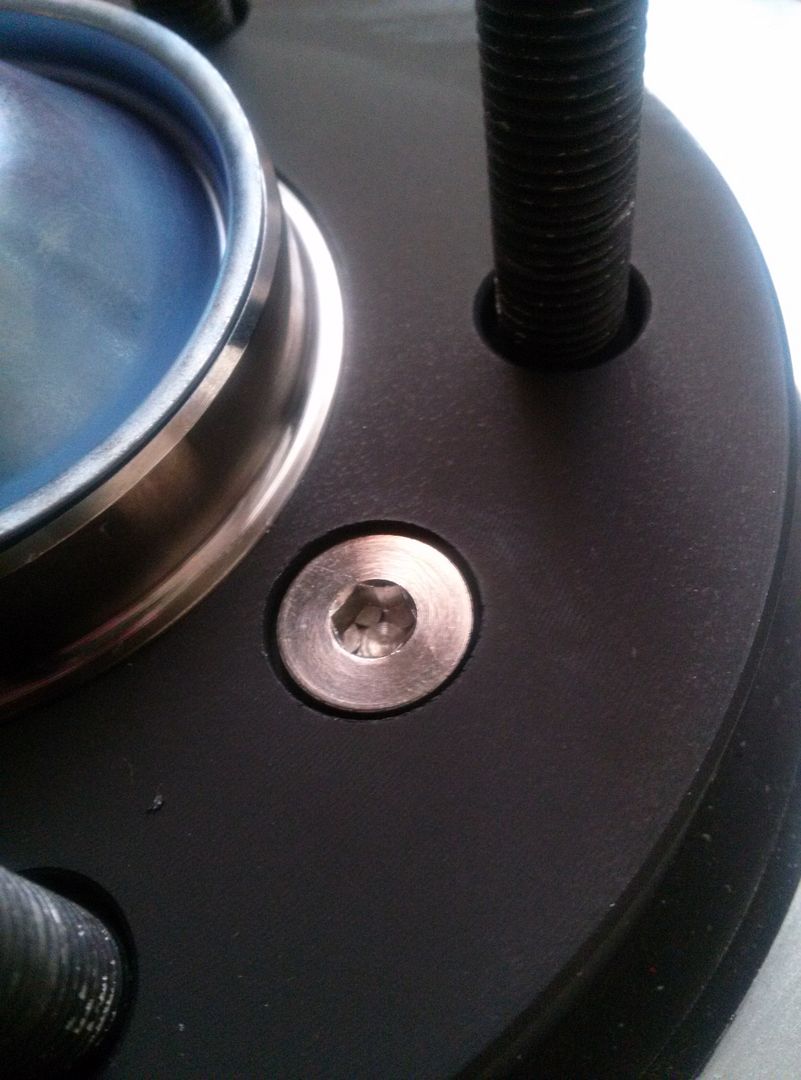
                        I got my other hub sat down, as well as my Motorsport Hardware studs and Adams Rotors (with ECS's stainless hold down bolts)

                        Hubs on

                        CAM00514zps2crp5dfe.jpg

                        Studs in

                        CAM00515zpsrhp8ttis.jpg

                        Rotors on

                        CAM00517zpstwo6jsm5.jpg

                        CAM00519zpsswsyxvqd.jpg

                        The dust cap is just sitting on there to get an idea on how they will look.

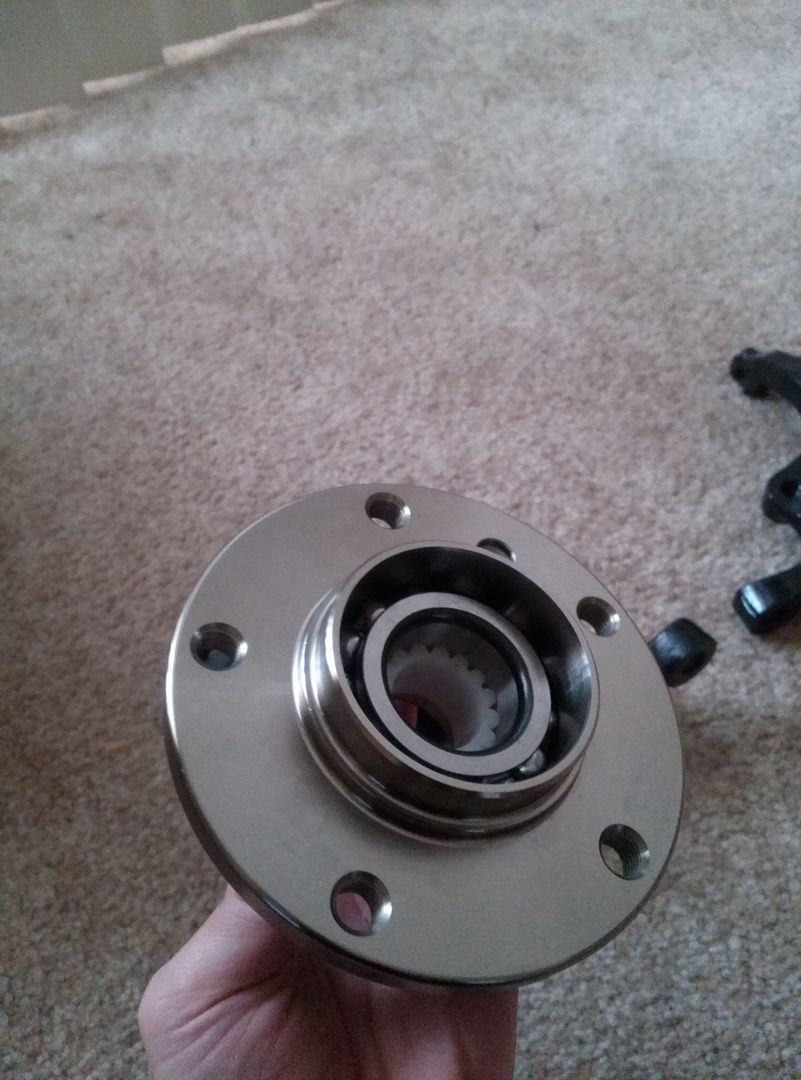
                        I do have an issue though. When I hand tighten the hub nuts as far as I can with the socket, they spin very very tight. I looked into it and it seems SKF didn't relief the back side of the bearing to accodomate the OEM inner dust cap. It seems the SKF unit I have is sealed itself, so I might just need to dremel out my new inner dust covers or somehow bend them enough to not make contact. This guy had the same issue last year: http://forums.bimmerforums.com/forum/showthread.php?2054474-SKF-front-hub-doesn-t-fit-E36-Seems-there-maybe-a-problem-with-part-number-matching

                        Good thing the front wheels aren't in a rush to go back on=)

                        museum sig 2earl.jpg

                        1 Reply Last reply
                        0
                        • DrLeadFootD
                          DrLeadFootD
                          DrLeadFoot
                          wrote on last edited by
                          #1084

                          Sexy

                          Sent from my SCH-I535 using Tapatalk

                          15924991875a64c599885m.jpg

                               @DrLeadFoot

                          1 Reply Last reply
                          0
                          • JdesignJ
                            JdesignJ
                            Jdesign
                            wrote on last edited by
                            #1085

                            I see this is coming along quite nicely  :cool:  keep up the good work

                            SumBunny.jpg

                            https://www.instagram.com/_jdesigner_/                                          http://nevertoolow.tumblr.com/

                            🥳SOLD BMW E24 633CSI - BMW M30B32                                          🧪SOLD HCH  ES9 - 1.3 LDA
                            👽BMW E30 325IC - Toyota 1JZ-GTE                                                     ⏰ HONDA EF9 CIVIC SI - JDM B18C5
                            ☠️BMW E36 318i - Ford 5.0 FE302                                                         🚴‍♂️ GT-Labomba - 26x2.75 Freeride
                            🤹‍♀️SOLD BMW E36/7 Z3 - BMW M54B25                                                🧓SOLD BMW E10 2002 - BMW M10M05

                            1 Reply Last reply
                            0
                            • RamRod E28R
                              RamRod E28R
                              RamRod E28
                              wrote on last edited by
                              #1086

                              Where do u get studs at?

                              1984 BMW 528e - SETA and manual swapped! M50 to come!!!

                              1988 BMW 528e - Need parts?

                              1991 Chevy C1500 (mighty 350 with TBI and Wisconsin weight reduction package)

                              1996 Mazda Miata (SOLD!!!)

                              1996 BMW 325i (Donor car)

                              1998 Chevrolet Corvette (BEAST)

                              2001 Jeep Grand Cherokee (BROKEN)

                              3bc80c27-0937-43e3-9e7f-00404a337ec1zps

                              1 Reply Last reply
                              0
                              • jc43089J
                                jc43089J
                                jc43089
                                wrote on last edited by
                                #1087

                                ^ http://motorsporthardware.com/

                                2/94 325i Sedan, Arctic Gray: UUC LTW FW, EVO 3 and DSSR, +.020 Maxsil pistons, ASC delete, Eibach shocks/springs, 16" contour reps 238k
                                3/93 325i Coupe, Schwarz 2, Sketchy stance action, ebay turbo, 300k
                                '89 325i Vert, Alpine White: 5spd swapped, sold.

                                '04 Toyota Sienna: 24V to 24V swap in progress

                                '05 Volvo V70R, 6spd.  200k
                                '85 Toyota LandCruiser: Lifted, gas hog. 205k
                                '99 Nissan Maxima: 5spd, Rusty but trusty winter beater. 252k RIP.

                                1 Reply Last reply
                                0
                                • EarlE
                                  EarlE
                                  Earl
                                  wrote on last edited by
                                  #1088

                                  ^There=) Ryan is the best and the studs are excellent.

                                  museum sig 2earl.jpg

                                  1 Reply Last reply
                                  0
                                  • ClassEC
                                    ClassEC
                                    ClassE
                                    wrote on last edited by
                                    #1089

                                    I'll have to hit them up at the end of this month once I've got spacer sizing sorted out.

                                    Hopefully they give me "Hey I Know Earl" discount. :P

                                    1 Reply Last reply
                                    0
                                    • EarlE
                                      EarlE
                                      Earl
                                      wrote on last edited by
                                      #1090

                                      He might remember me. Not sure. We did speak quite a while to get my stud length where I wanted=)

                                      museum sig 2earl.jpg

                                      1 Reply Last reply
                                      0
                                      • EarlE
                                        EarlE
                                        Earl
                                        wrote on last edited by
                                        #1091

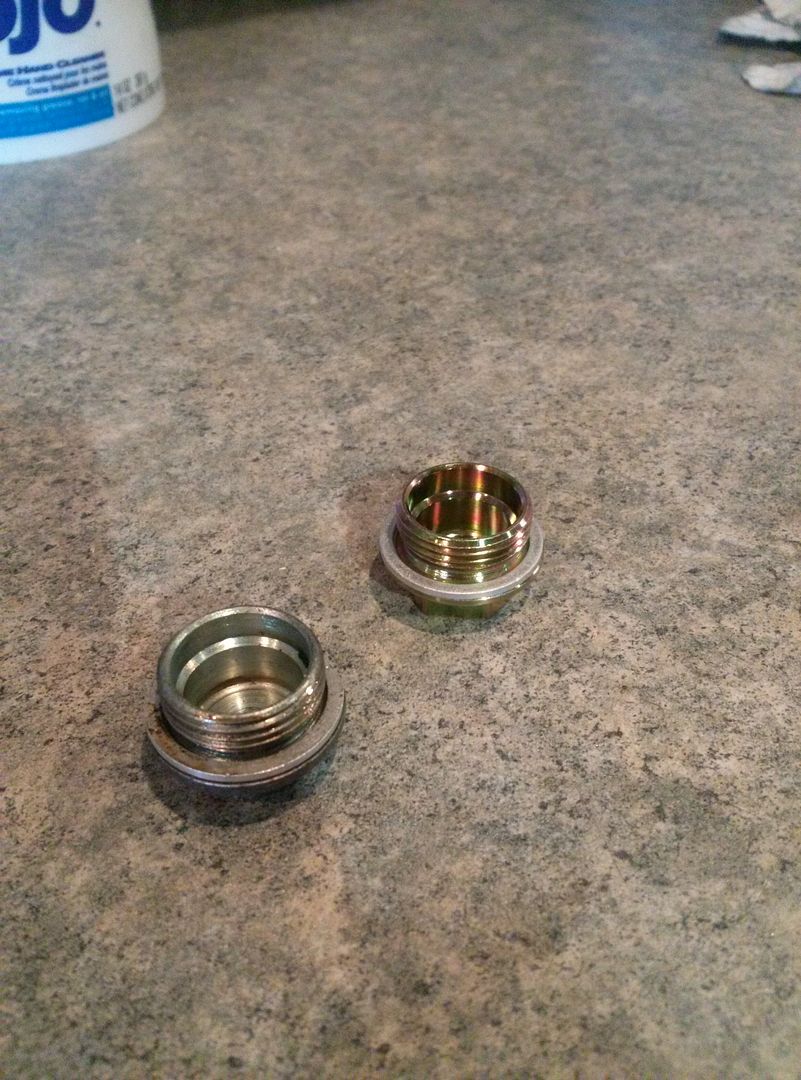
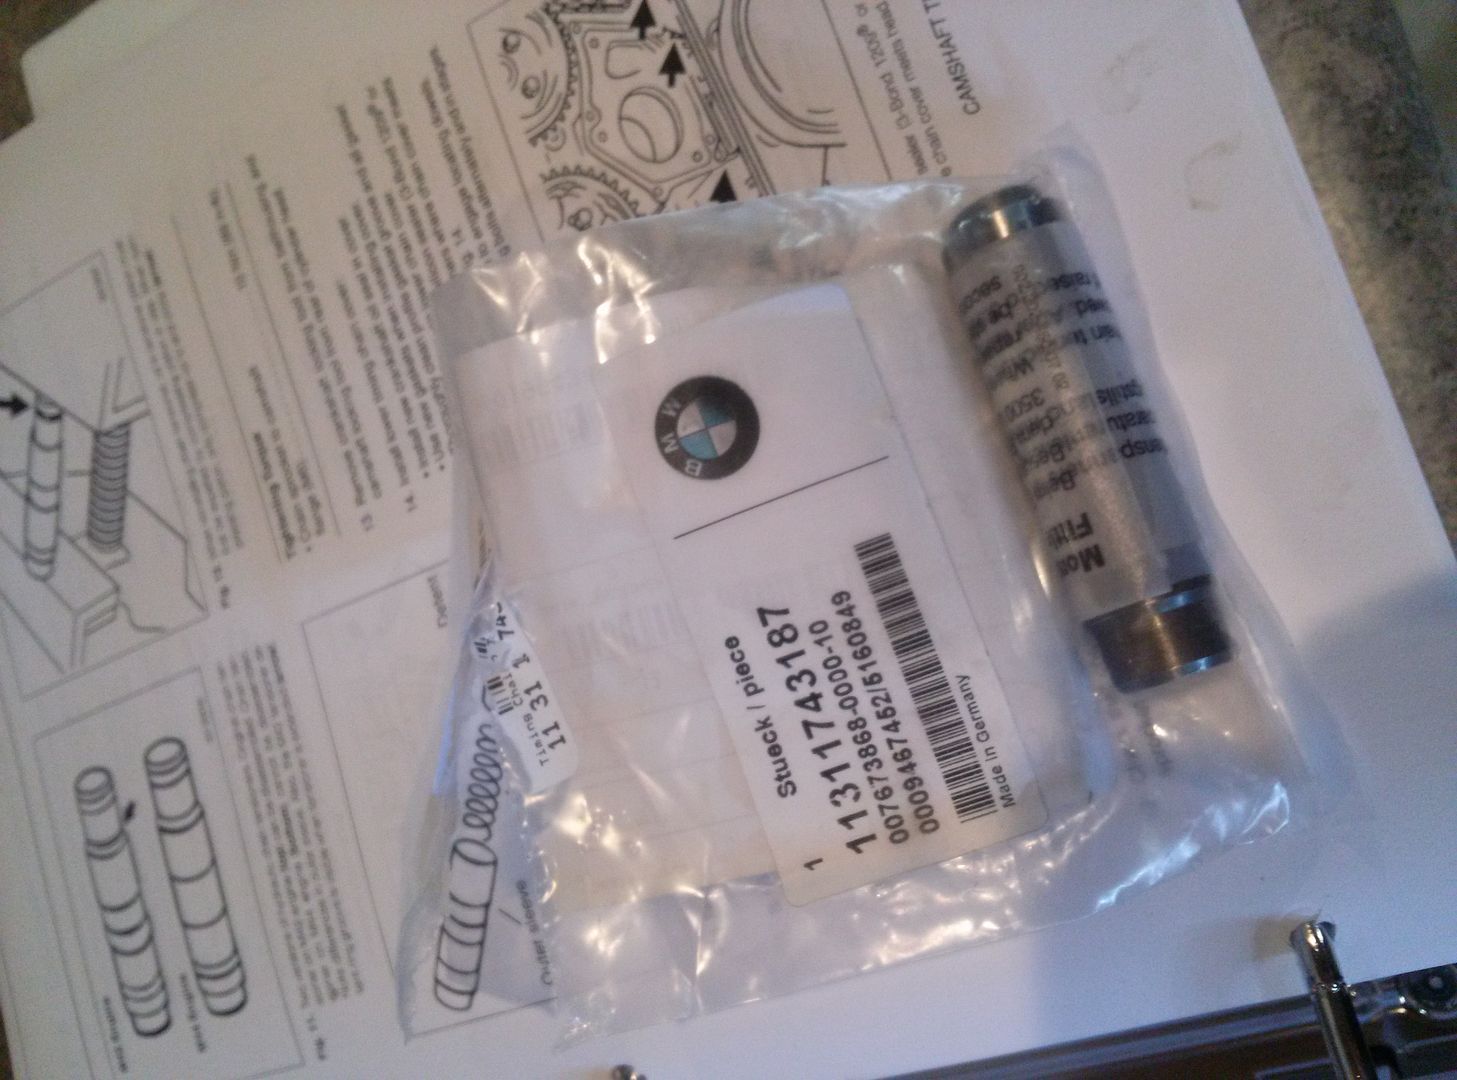
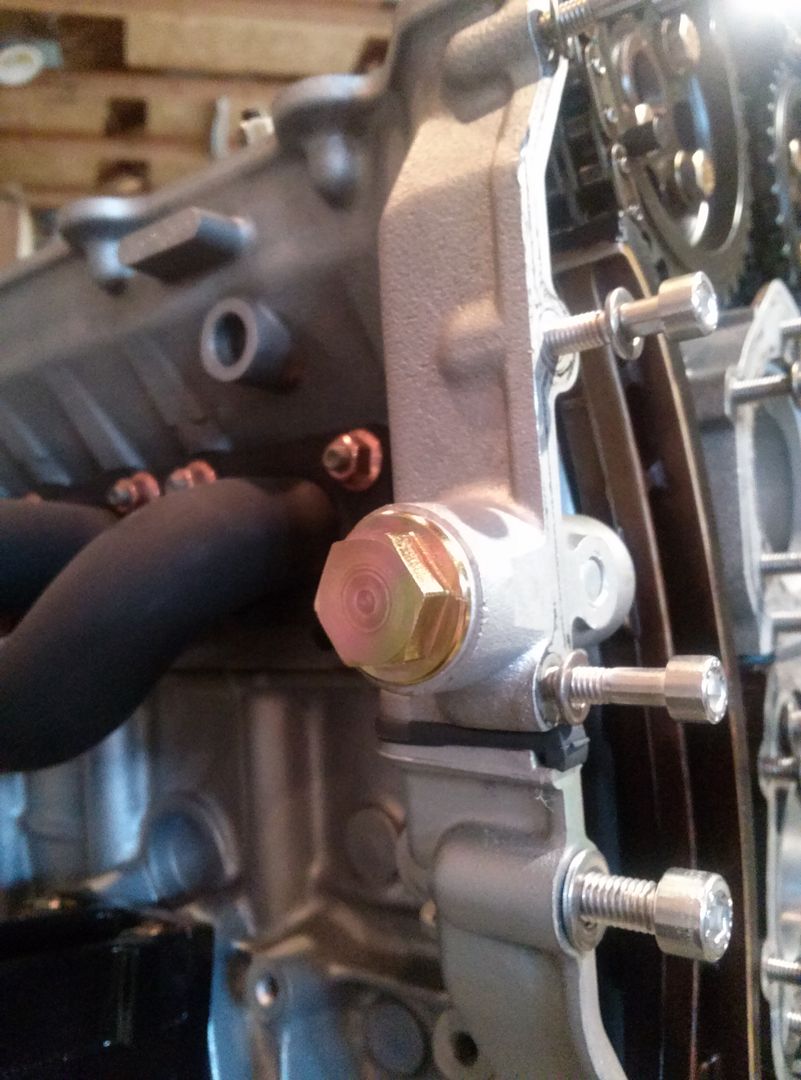
                                        I started off yesterday by installing my new tensioner with the new plug and washer.

                                        Old vs New
                                        CAM00531zpsjval1tov.jpg
                                        CAM00530zpshc5hml32.jpg

                                        Tensioner
                                        CAM00532zpsw91kzmgx.jpg

                                        Installed and torqued
                                        CAM00535zpstnltgvka.jpg
                                        CAM00533zps5lztss8e.jpg

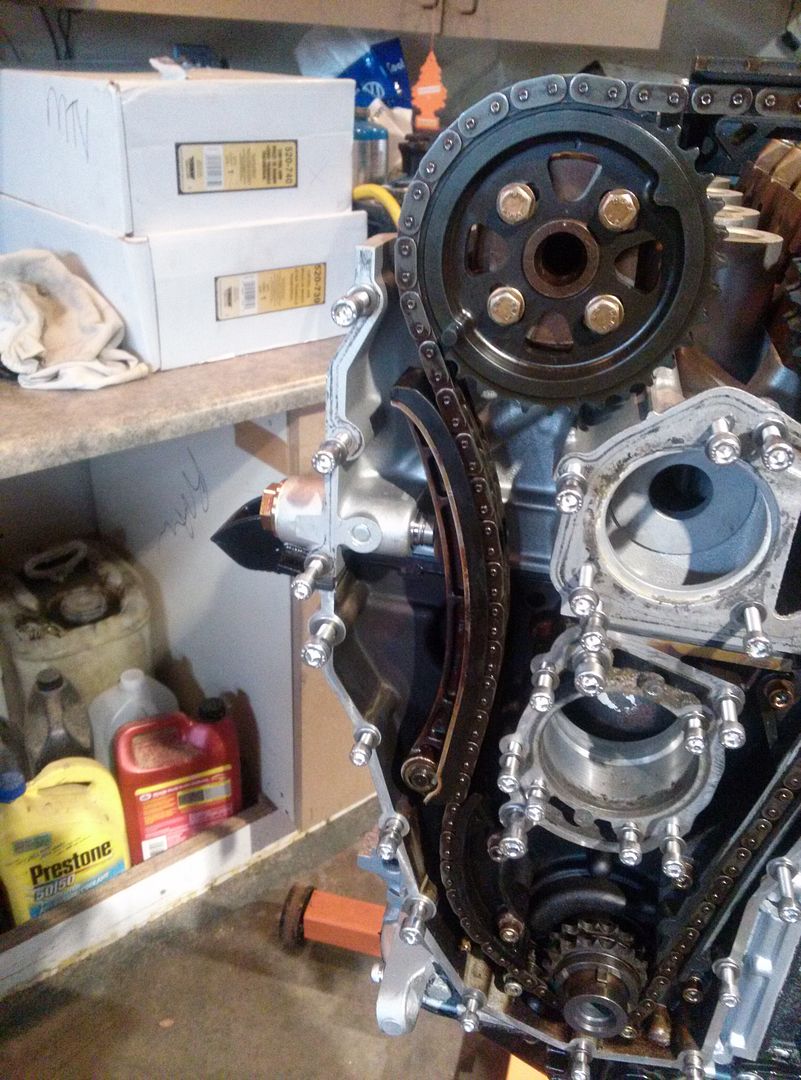
                                        When I put it in it was short. The manual said to press the chain guide into it and release it. It only listed that for the m42 tensioner and not the m44 tensioner. I think I managed to get the m42 tensioner since I can see the snap ring when the tensioner is realeased. It isn't a big deal, but I swear I ordered the m44 tensioner.

                                        After I released the tensioner, I torqued the cam sprockets down and also torqued the upper chain guide.

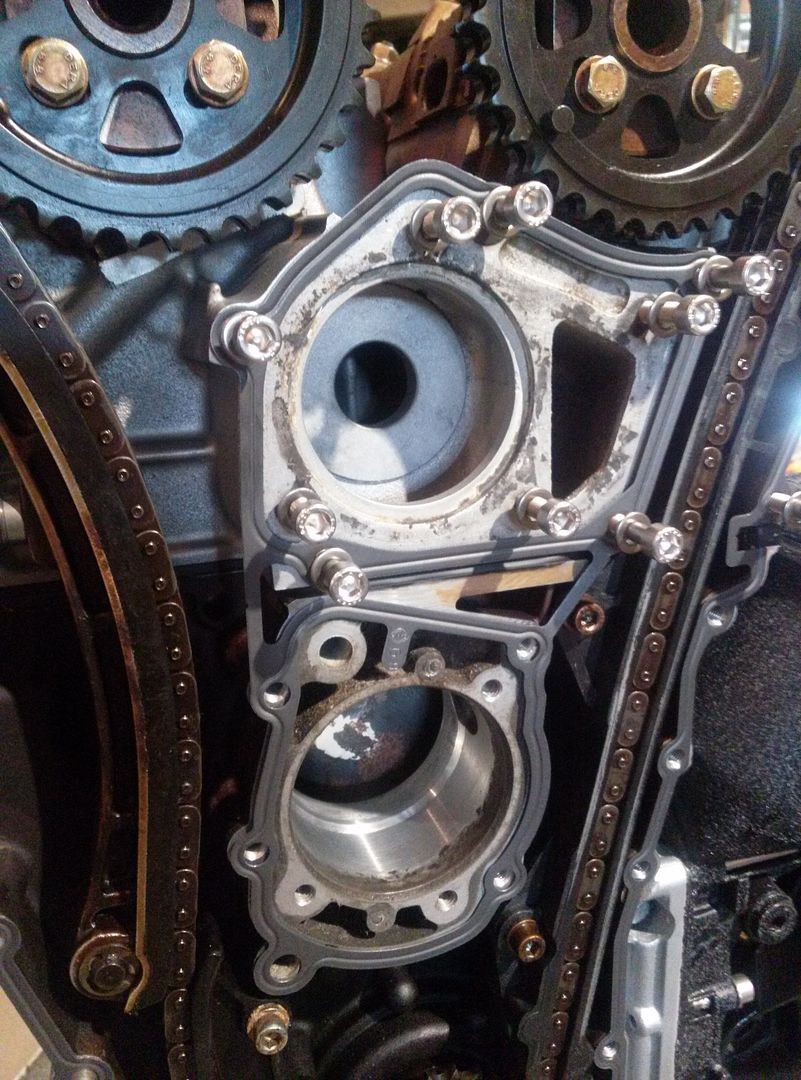
                                        After that I cleaned the gasket surfaces and installed the lower timing cover hand tight.

                                        Bolts out and surface cleaned
                                        CAM00538zpsszvyky2y.jpg

                                        Gasket on
                                        CAM00540zpsdxhxwp8n.jpg
                                        CAM00542zpsh6vako6a.jpg

                                        Cover on hand tight
                                        CAM00547zpsjkbcnrhd.jpg

                                        At this point I was going to torque it all down hardware but thought I should check the timing first. The cam and cam sprocket marks line up perfect but I was still unsure of if I had the engine at TDC when I put the chain on.

                                        I put the cam bolt in and turned it with a ratchet and it seemed to stop after a quarter turn. I couldn't tell if the bolt was just tightening, the springs got super stiff at that point, or if the piston was hitting a valve. Instead of cranking on it I just backed off and am having a buddy come check it out next weekend just to check it over for me=)

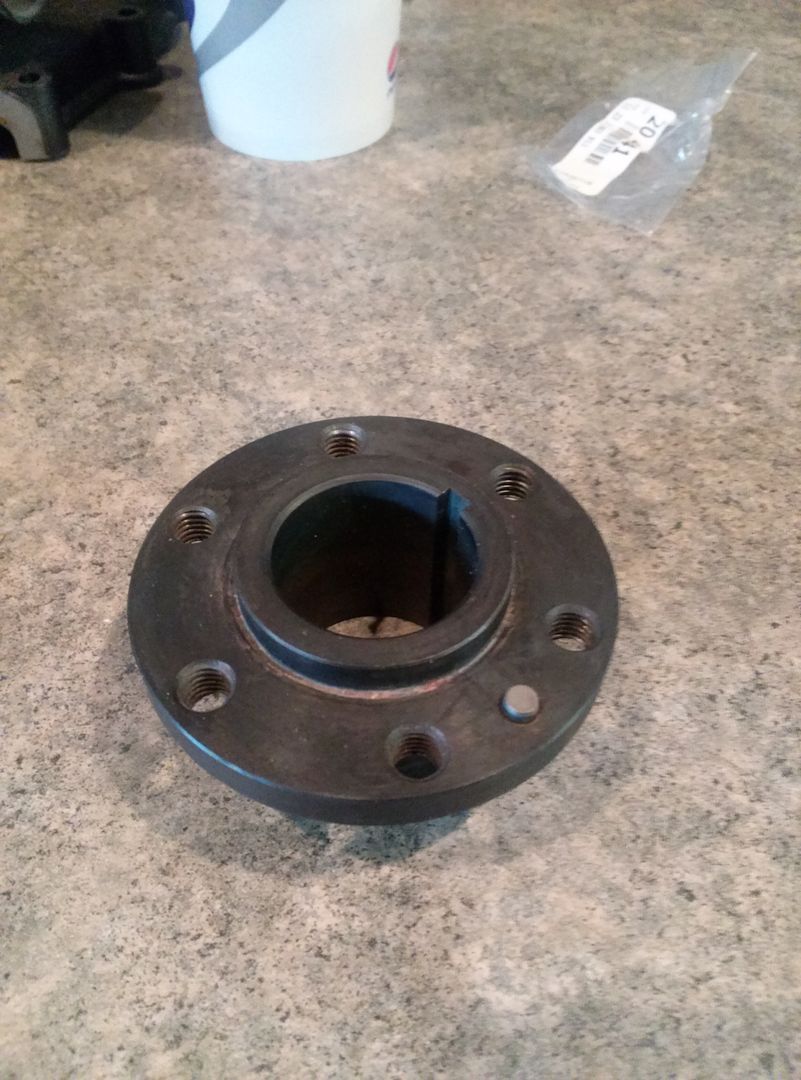
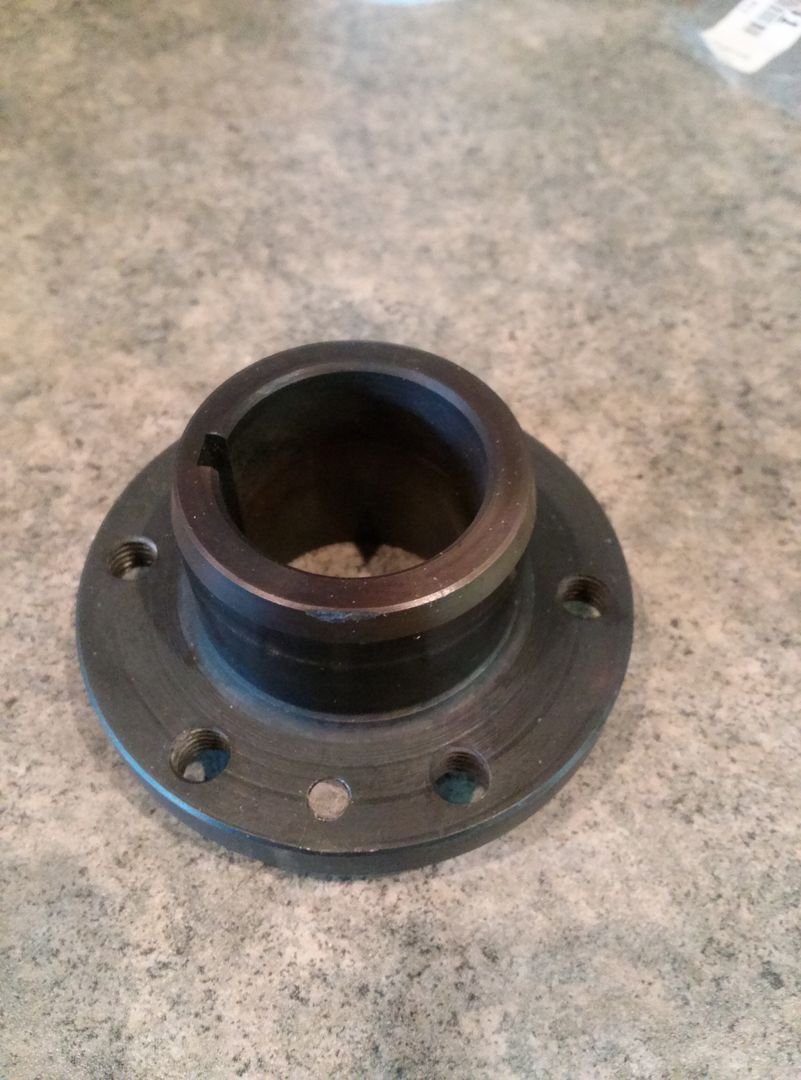
                                        I figured while I was working on that, I could get the crank pulley flange all cleaned up and ready to go on.

                                        When the crank bolt initially came out I had my friend get it out with an impact, but he KO'd the dowel pin for the crank pulley. I ordered a new one for a few cents and pounded it in yesterday.

                                        Old vs New
                                        CAM00544zpswonjvjyx.jpg

                                        Installed
                                        CAM00545zpsgpuucw6p.jpg
                                        CAM00546zpswygkcrai.jpg

                                        At that point I went to attach the crank pulley but bent the mounting surface by trying to draw it on using the 6 bolts. It didn't want to go on nice since the fresh paint didn't allow much clearance. I am going to be sanding that ID out at work and getting it painted back up and installed before the week is over. I am glad I noticed when I did that it wasn't drawing on straight.

                                        At this point I was as far as I could get with the engine so I started on the template for the false floor.

                                        Initial shape from tracing the carpet and side cubbies and oversizing it a bit
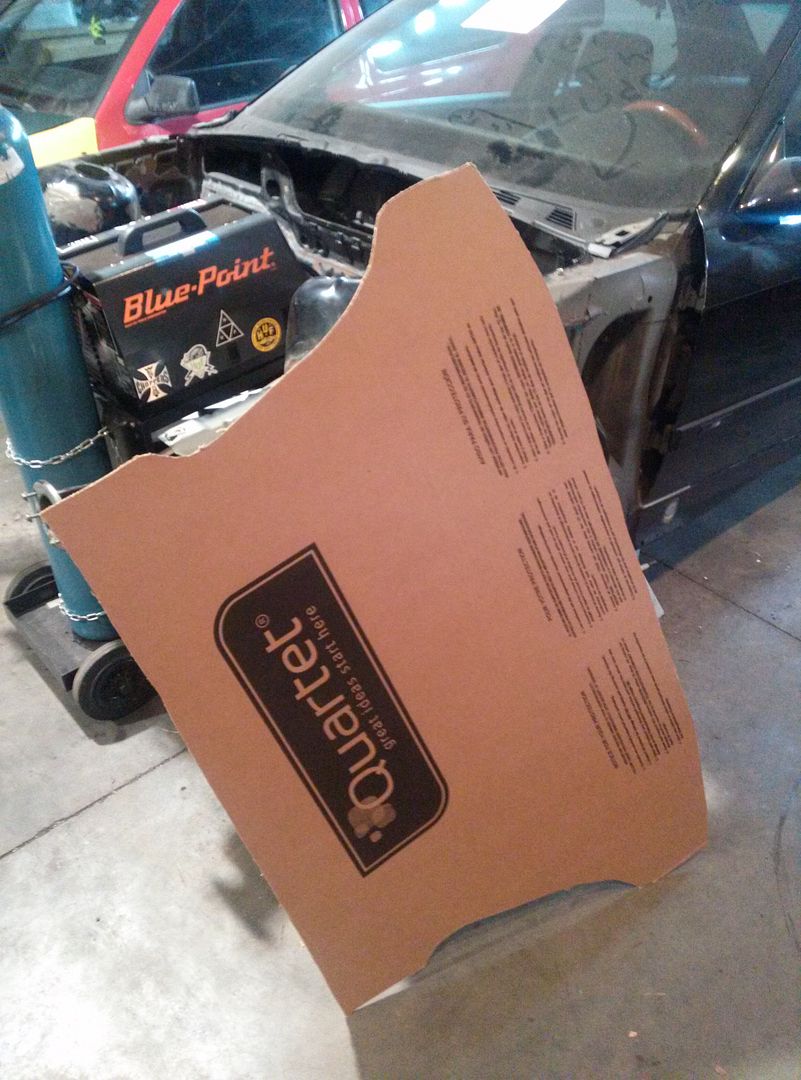
                                        CAM00543zpstglogjmb.jpg

                                        After a bit of trimming I got close to what I need. There are some spots where I cut it too small and I need to tape on pieces to make the template correct. Otherwise it should be pretty good. I did figure out that I will need to make the false floor in two halves because it does not want to fit through the hatch as one piece. I will still wrap it in carpet as one piece though.
                                        CAM00548zpsbdcprb0k.jpg

                                        My buddy Kyle woke up a little late, but made up for it by getting a lot of the seams left on the strut towers welded up. Next time he comes out he will be smoothing them all out. He did start welding on the firewall but it was short lived.

                                        He was welding it and I turned and said we should peel the carpet back to keep it from burning. I opened the passenger side door and the car was filled with smoke. I looked under the glovebox and didn't see anything initially. After a few more seconds I could see some embers coming through the carpet and at that exact moment, my buddy Jory threw my water bottle to me and said "Douse it!". I squirted the bottle and out it went. I got the glovebox out with the quickness to make sure nothing was by the wiring. It ended up stopping right under the carpet. The foam carpet insulation helped slow the fire down which is great. I am happy I said something when I did and I have to get a new carpet anyways=)

                                        Next weekend the engine timing should be all sorted out so that I can get the engine together further. I might even start making the false floor with MDF.

                                        Pat also swung by to pick up a set of foglights I had for him. I also gave him a spare motorsport strut mount cover that I had laying around.

                                        CAM00537zpsmjx4pu8a.jpg

                                        I also found a new daily that I will hopefully be rolling in soon=)

                                        museum sig 2earl.jpg

                                        1 Reply Last reply
                                        3
                                        • DrLeadFootD
                                          DrLeadFootD
                                          DrLeadFoot
                                          wrote on last edited by
                                          #1092

                                          Great update!

                                          Sent from my SCH-I535 using Tapatalk

                                          15924991875a64c599885m.jpg

                                               @DrLeadFoot
                                          1 Reply Last reply
                                          0

                                          Hello! It looks like you're interested in this conversation, but you don't have an account yet.

                                          Getting fed up of having to scroll through the same posts each visit? When you register for an account, you'll always come back to exactly where you were before, and choose to be notified of new replies (either via email, or push notification). You'll also be able to save bookmarks and upvote posts to show your appreciation to other community members.

                                          With your input, this post could be even better 💗

                                          Register Login
                                          Reply
                                          • Reply as topic
                                          Log in to reply
                                          • Oldest to Newest
                                          • Newest to Oldest
                                          • Most Votes


                                          • Login

                                          • Don't have an account? Register

                                          • Login or register to search.
                                          Powered by NodeBB Contributors
                                          • First post
                                            Last post
                                          0
                                          • Categories
                                          • Recent
                                          • Tags
                                          • Popular
                                          • Users
                                          • Groups