
My name is Earl, and I have a Stainless Steel bolt fetish =)
-
I got my other hub sat down, as well as my Motorsport Hardware studs and Adams Rotors (with ECS's stainless hold down bolts)
Hubs on

Studs in
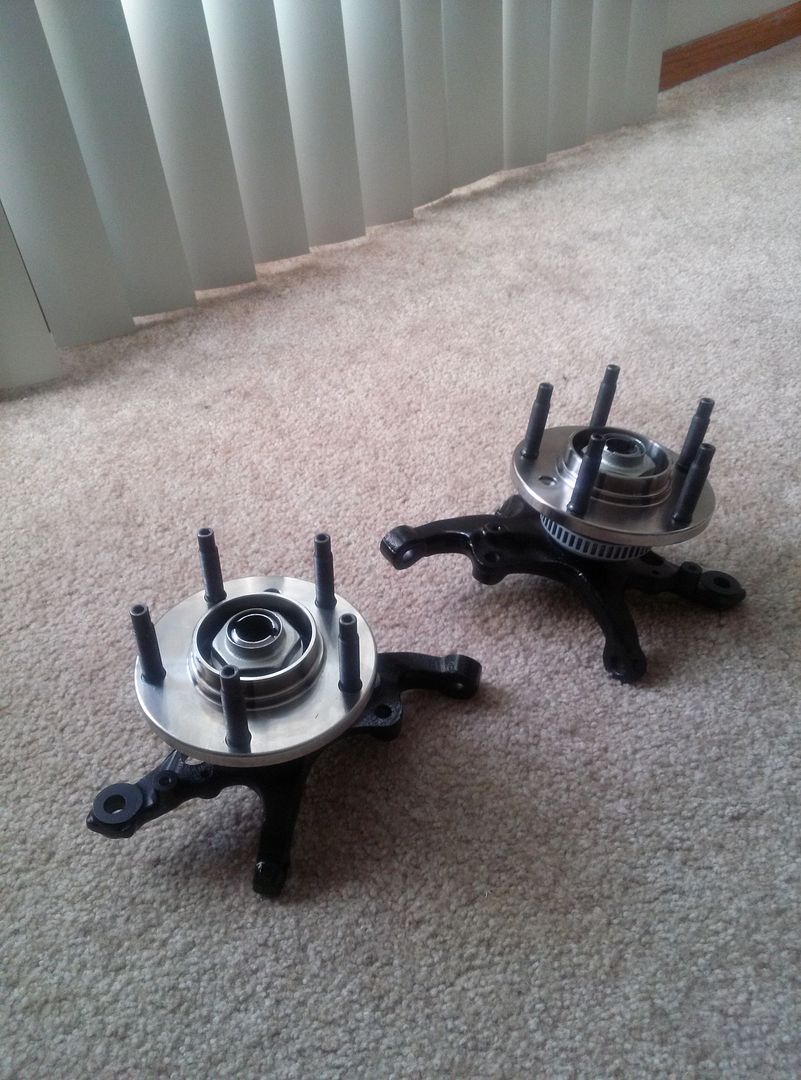
Rotors on

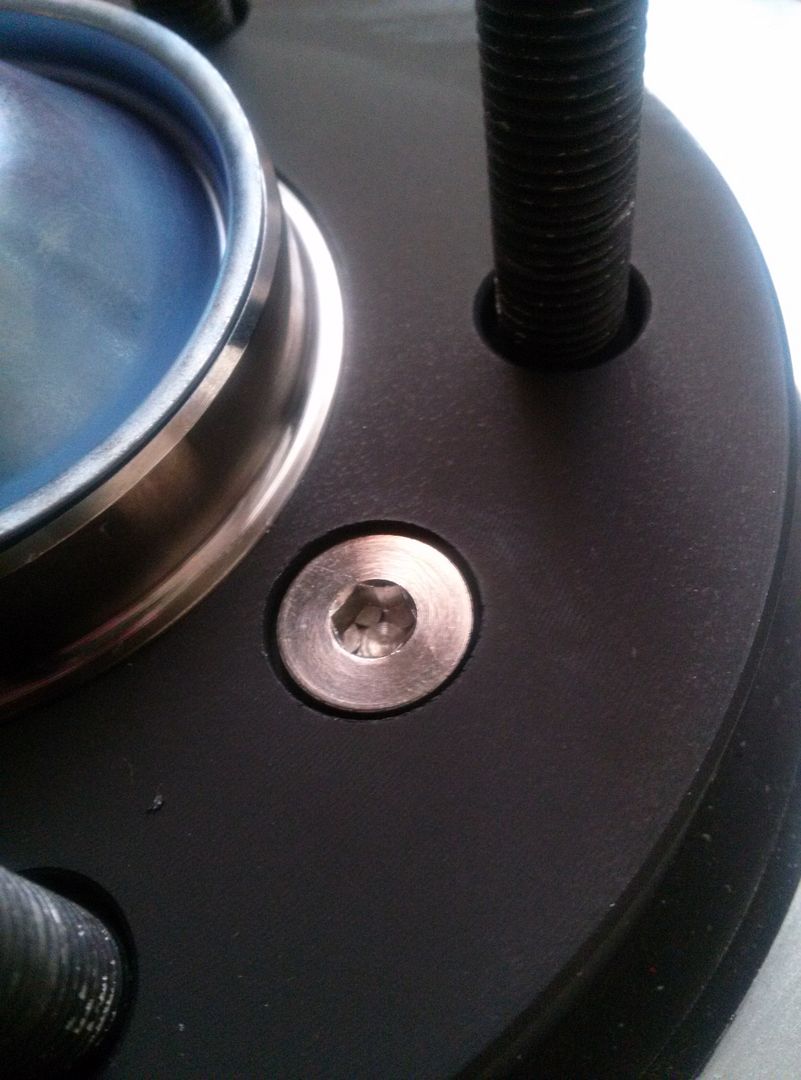
The dust cap is just sitting on there to get an idea on how they will look.
I do have an issue though. When I hand tighten the hub nuts as far as I can with the socket, they spin very very tight. I looked into it and it seems SKF didn't relief the back side of the bearing to accodomate the OEM inner dust cap. It seems the SKF unit I have is sealed itself, so I might just need to dremel out my new inner dust covers or somehow bend them enough to not make contact. This guy had the same issue last year: http://forums.bimmerforums.com/forum/showthread.php?2054474-SKF-front-hub-doesn-t-fit-E36-Seems-there-maybe-a-problem-with-part-number-matching
Good thing the front wheels aren't in a rush to go back on=)
-
-
I see this is coming along quite nicely
 keep up the good work
https://www.instagram.com/_jdesigner_/ http://nevertoolow.tumblr.com/
🥳SOLD BMW E24 633CSI - BMW M30B32 🧪SOLD HCH ES9 - 1.3 LDA
👽BMW E30 325IC - Toyota 1JZ-GTE ⏰ HONDA EF9 CIVIC SI - JDM B18C5
☠️BMW E36 318i - Ford 5.0 FE302 🚴♂️ GT-Labomba - 26x2.75 Freeride
🤹♀️SOLD BMW E36/7 Z3 - BMW M54B25 🧓SOLD BMW E10 2002 - BMW M10M05 -
Where do u get studs at?
1984 BMW 528e - SETA and manual swapped! M50 to come!!!
1988 BMW 528e - Need parts?
1991 Chevy C1500 (mighty 350 with TBI and Wisconsin weight reduction package)
1996 Mazda Miata (SOLD!!!)
1996 BMW 325i (Donor car)
1998 Chevrolet Corvette (BEAST)
2001 Jeep Grand Cherokee (BROKEN)

-
-
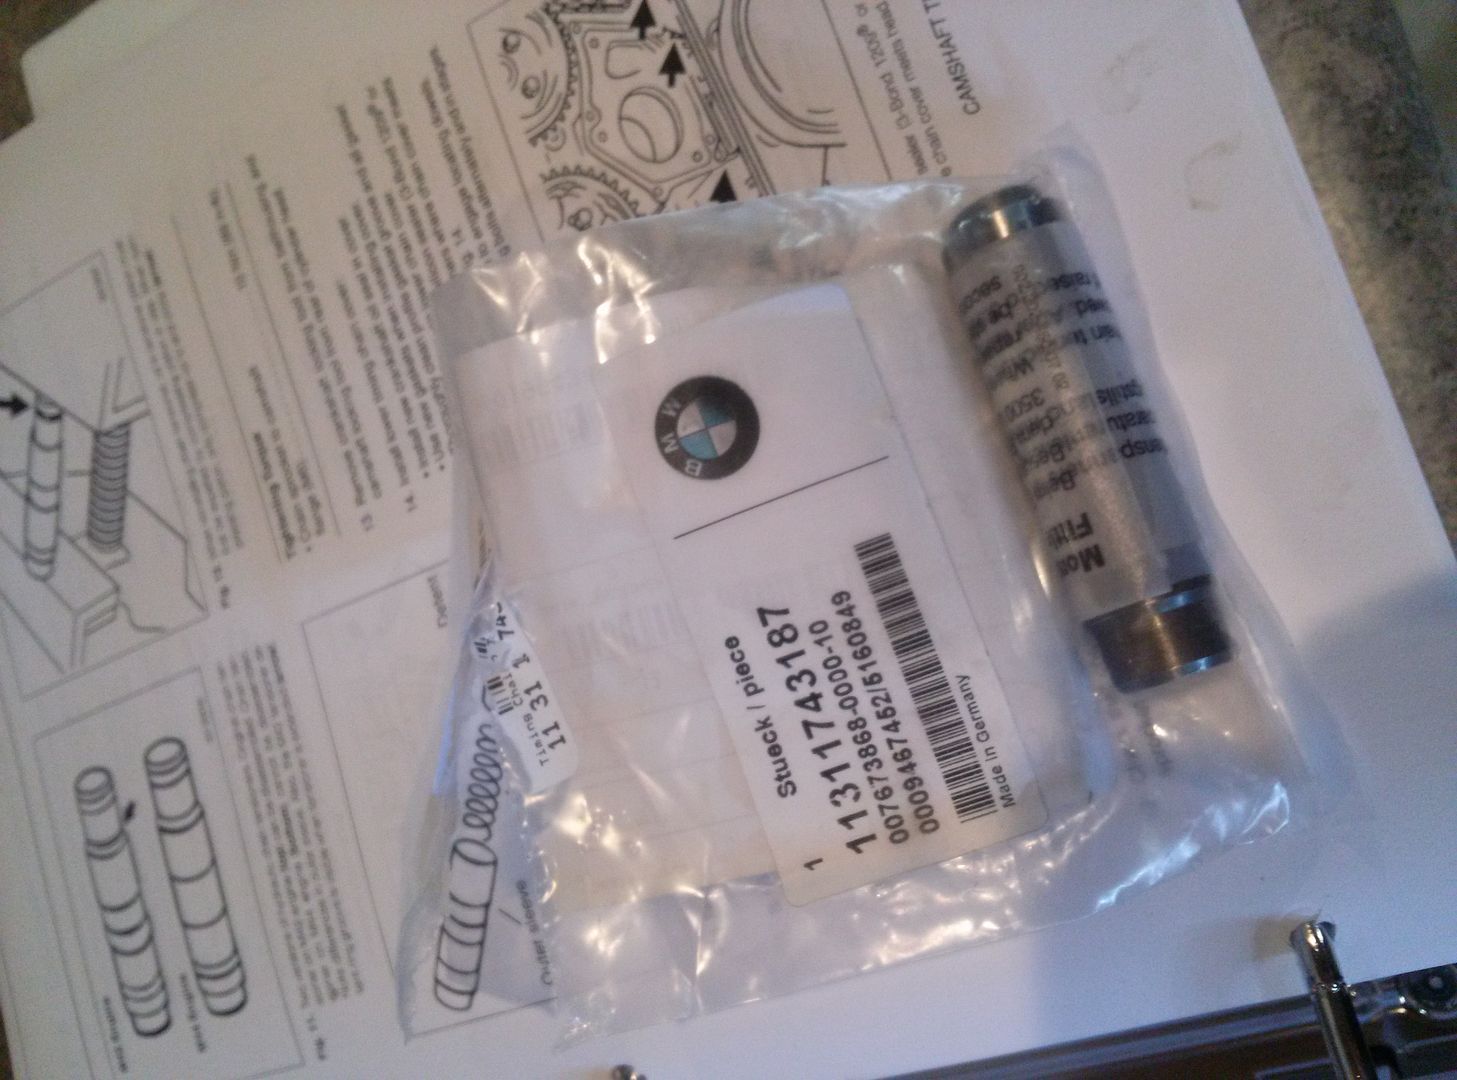
I started off yesterday by installing my new tensioner with the new plug and washer.
Old vs New

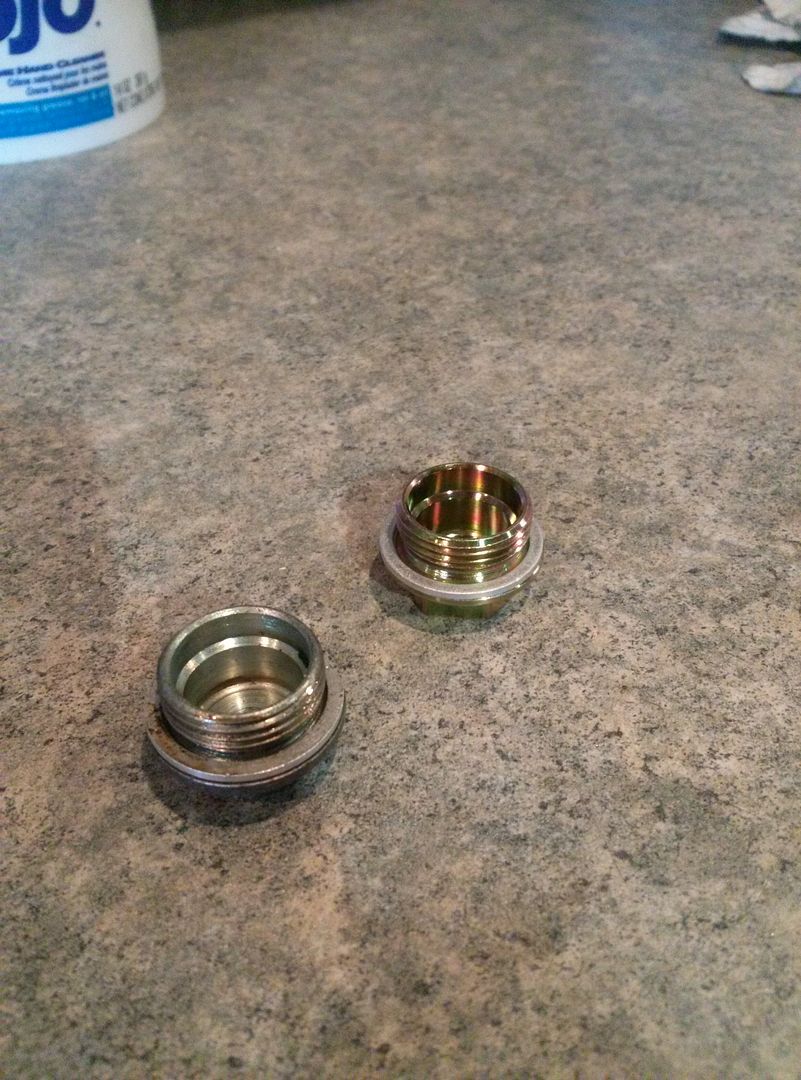
Tensioner
Installed and torqued
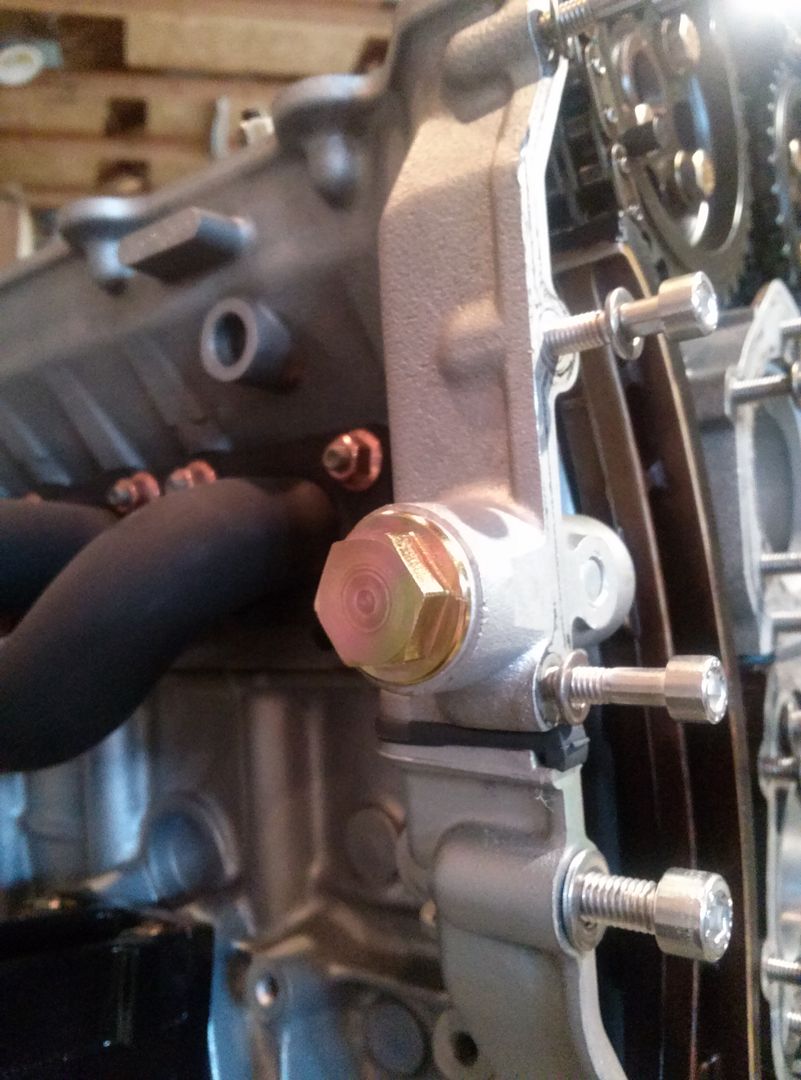
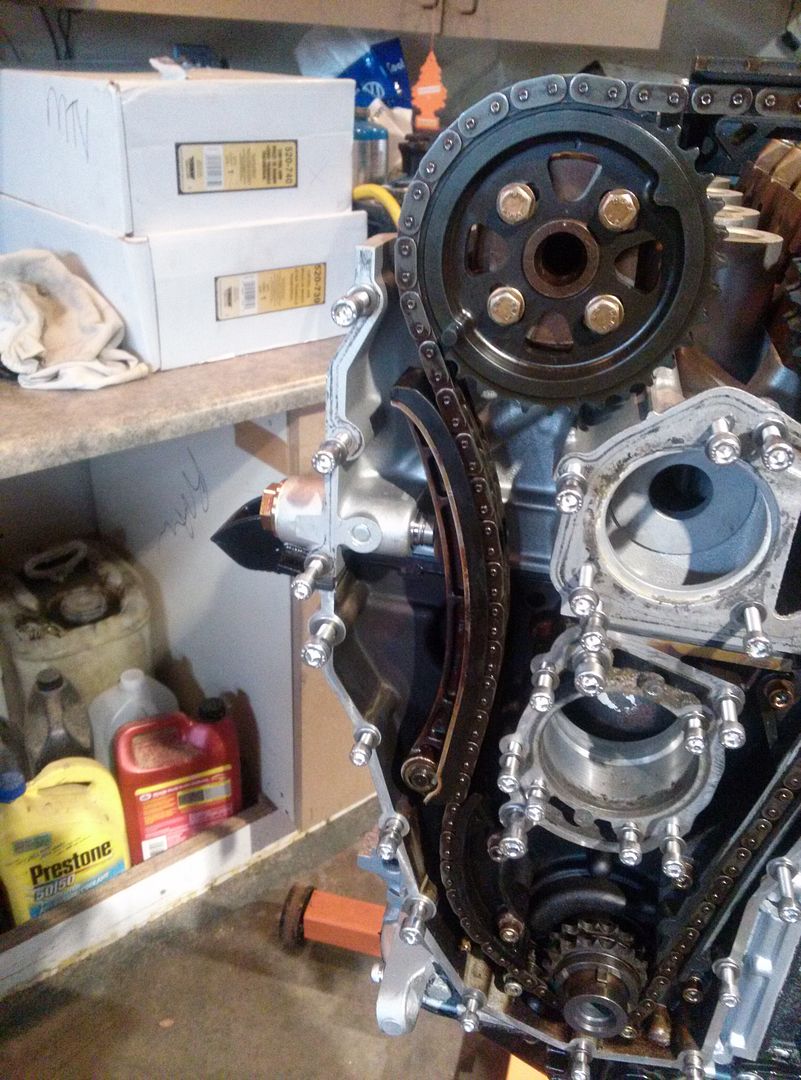
When I put it in it was short. The manual said to press the chain guide into it and release it. It only listed that for the m42 tensioner and not the m44 tensioner. I think I managed to get the m42 tensioner since I can see the snap ring when the tensioner is realeased. It isn't a big deal, but I swear I ordered the m44 tensioner.
After I released the tensioner, I torqued the cam sprockets down and also torqued the upper chain guide.
After that I cleaned the gasket surfaces and installed the lower timing cover hand tight.
Bolts out and surface cleaned

Gasket on

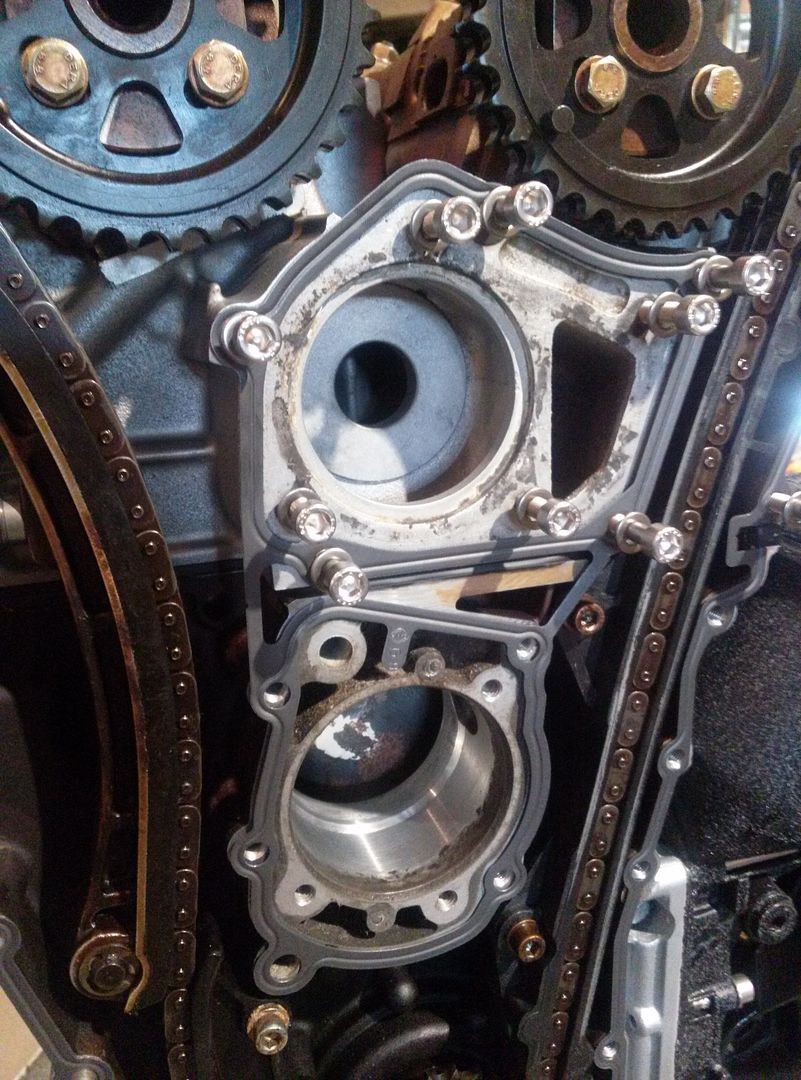
Cover on hand tight

At this point I was going to torque it all down hardware but thought I should check the timing first. The cam and cam sprocket marks line up perfect but I was still unsure of if I had the engine at TDC when I put the chain on.
I put the cam bolt in and turned it with a ratchet and it seemed to stop after a quarter turn. I couldn't tell if the bolt was just tightening, the springs got super stiff at that point, or if the piston was hitting a valve. Instead of cranking on it I just backed off and am having a buddy come check it out next weekend just to check it over for me=)
I figured while I was working on that, I could get the crank pulley flange all cleaned up and ready to go on.
When the crank bolt initially came out I had my friend get it out with an impact, but he KO'd the dowel pin for the crank pulley. I ordered a new one for a few cents and pounded it in yesterday.
Old vs New

Installed
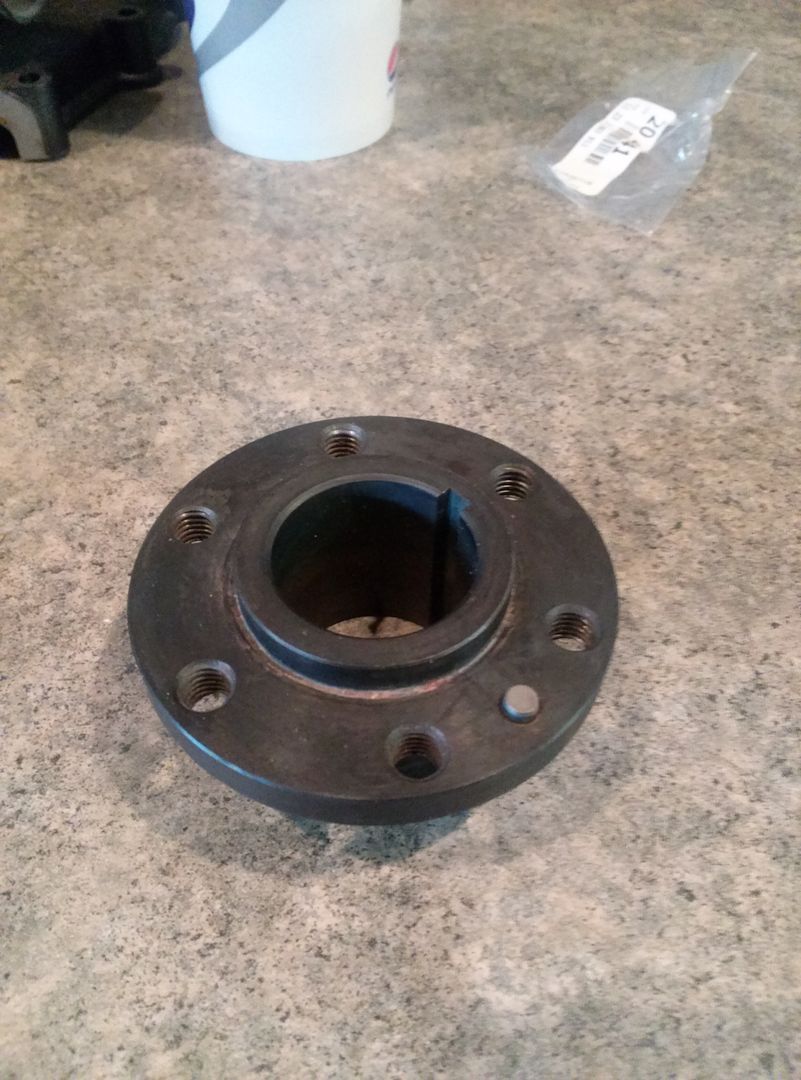
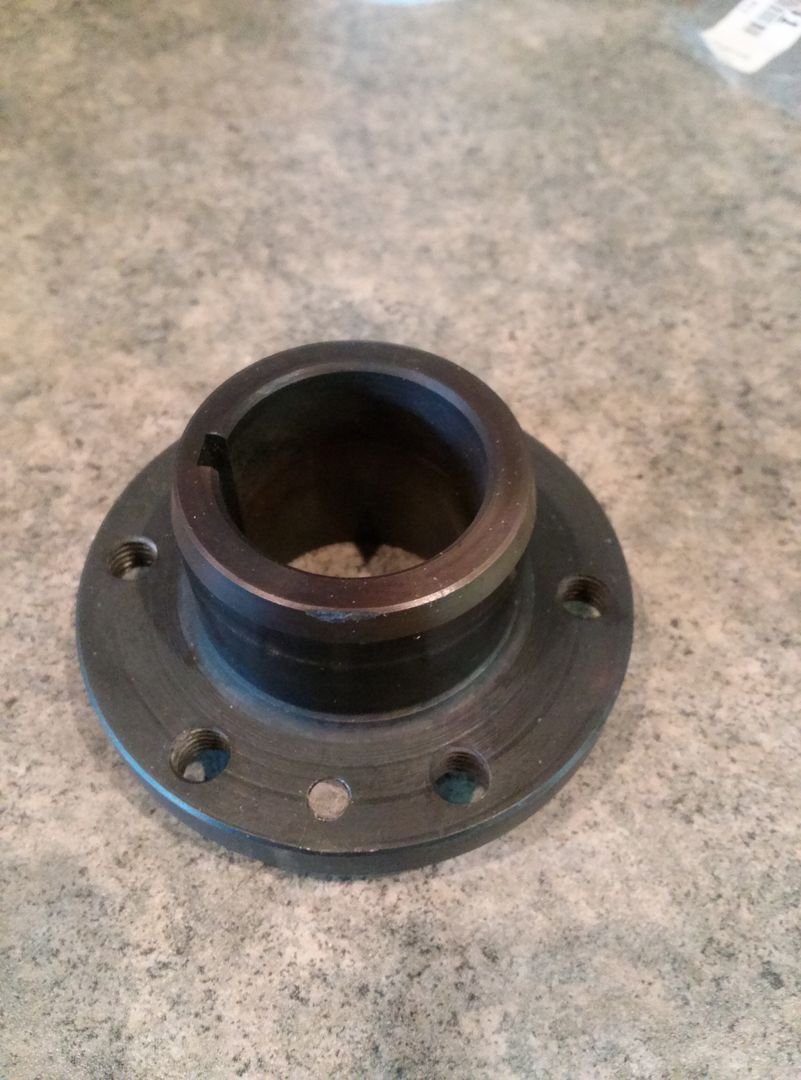
At that point I went to attach the crank pulley but bent the mounting surface by trying to draw it on using the 6 bolts. It didn't want to go on nice since the fresh paint didn't allow much clearance. I am going to be sanding that ID out at work and getting it painted back up and installed before the week is over. I am glad I noticed when I did that it wasn't drawing on straight.
At this point I was as far as I could get with the engine so I started on the template for the false floor.
Initial shape from tracing the carpet and side cubbies and oversizing it a bit
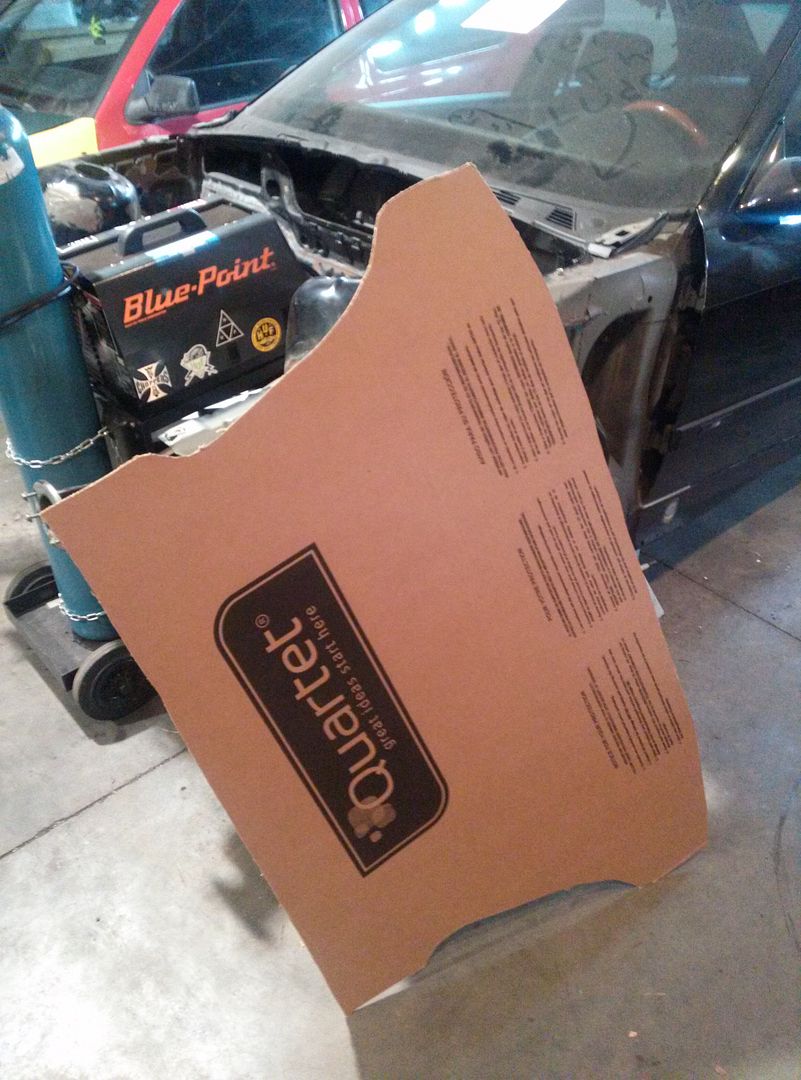
After a bit of trimming I got close to what I need. There are some spots where I cut it too small and I need to tape on pieces to make the template correct. Otherwise it should be pretty good. I did figure out that I will need to make the false floor in two halves because it does not want to fit through the hatch as one piece. I will still wrap it in carpet as one piece though.

My buddy Kyle woke up a little late, but made up for it by getting a lot of the seams left on the strut towers welded up. Next time he comes out he will be smoothing them all out. He did start welding on the firewall but it was short lived.
He was welding it and I turned and said we should peel the carpet back to keep it from burning. I opened the passenger side door and the car was filled with smoke. I looked under the glovebox and didn't see anything initially. After a few more seconds I could see some embers coming through the carpet and at that exact moment, my buddy Jory threw my water bottle to me and said "Douse it!". I squirted the bottle and out it went. I got the glovebox out with the quickness to make sure nothing was by the wiring. It ended up stopping right under the carpet. The foam carpet insulation helped slow the fire down which is great. I am happy I said something when I did and I have to get a new carpet anyways=)
Next weekend the engine timing should be all sorted out so that I can get the engine together further. I might even start making the false floor with MDF.
Pat also swung by to pick up a set of foglights I had for him. I also gave him a spare motorsport strut mount cover that I had laying around.

I also found a new daily that I will hopefully be rolling in soon=)
-
Great update!
Sent from my SCH-I535 using Tapatalk

@DrLeadFoot
-
I sent ECS a message yesterday about my hubs binding/making contact with the inner dust caps and they told me they would get right on the issue. I was expecting them to take a week or so, but I got an email from them just now already.
Here is what they had to say:
"Earl,
Thank you for your patience. We have not had this issue before with the SKF wheel hub. Based on the pictures, you may have received a mislabeled part (an incorrect part in the correct box). If you compare the hub you have received with our website, it looks vastly different. I truly apologize if this is the case and will work to correct the problem quickly.
I would be happy to set up an exchange for the correct hub. Alternatively, you may wish to purchase the correct hub up front and return the incorrect one for a refund in order to receive it sooner. I could run the same credit card authorization on the new order. I will provide free shipping and a return shipping label to cover all costs. I do apologize for the inconvenience.
I will have our warehouse confirm the replacement part matches our website photos before shipping. This will ensure it is correct this time.
Please let me know how you wish to advance and I will set it up accordingly."
This is the exact reason why I continue to order through ECS when other people say "they suck" or "I hate ECS". I have never had an issue and they are always there to satisfy my needs.
SKF messed up and put the wrong part in the wrong box and instead of ECS referring me to deal with SKF, they are taking it upon themselves. I am very happy and cannot wait for the new hubs to come. Now to figure out how to remove these hubs without having to destroy them.
On a side note I tried fixing my crank pulley that I bent Saturday, but it looks like it is too bent to save so I am on the lookout for another one to use...
Also, the prelude might be sold today and the new daily picked up Sunday=D
-
Whats the new daily? Spill it Earl!!!!
-
I've always been happy with ECS as well Bought a crap load of stuff from them about a month ago. They called me up about a few items that weren't exactly as I ordered (out of stock, replacement, etc). Seems to be a good complany.
I went and checked out the new daily with Earl. His new Honda Insight (first gen) is pretty sweet.
-
John and I got a nice chunk of work done this weekend. I had planned to just peel the carpet back from the firewall (so it doesn't catch fire again during welding), run my front air lines through the interior, and then start on my false floor.
John decided we would pull the whole carpet since it needs to be replaced and it would be in our way four routing the air lines anyways. I shockingly did not take many pictures of the interior removal but it was pretty straight forward.
We removed the seats, drivers side knee panel, and then the center console. After that it was just a matter of making a few cuts in the carpet to free it from the center of the dash frame.


In the process, I broke my gas pedal. There is a clip to release it and then you should be able to wiggle it back and forth until it pops out. Upon wiggling it back and forth, the plastic fatigued and the pedal broke from its base...oh well. lol

I also got a good look on how bad that fire was behind the carpet a few weekends ago.
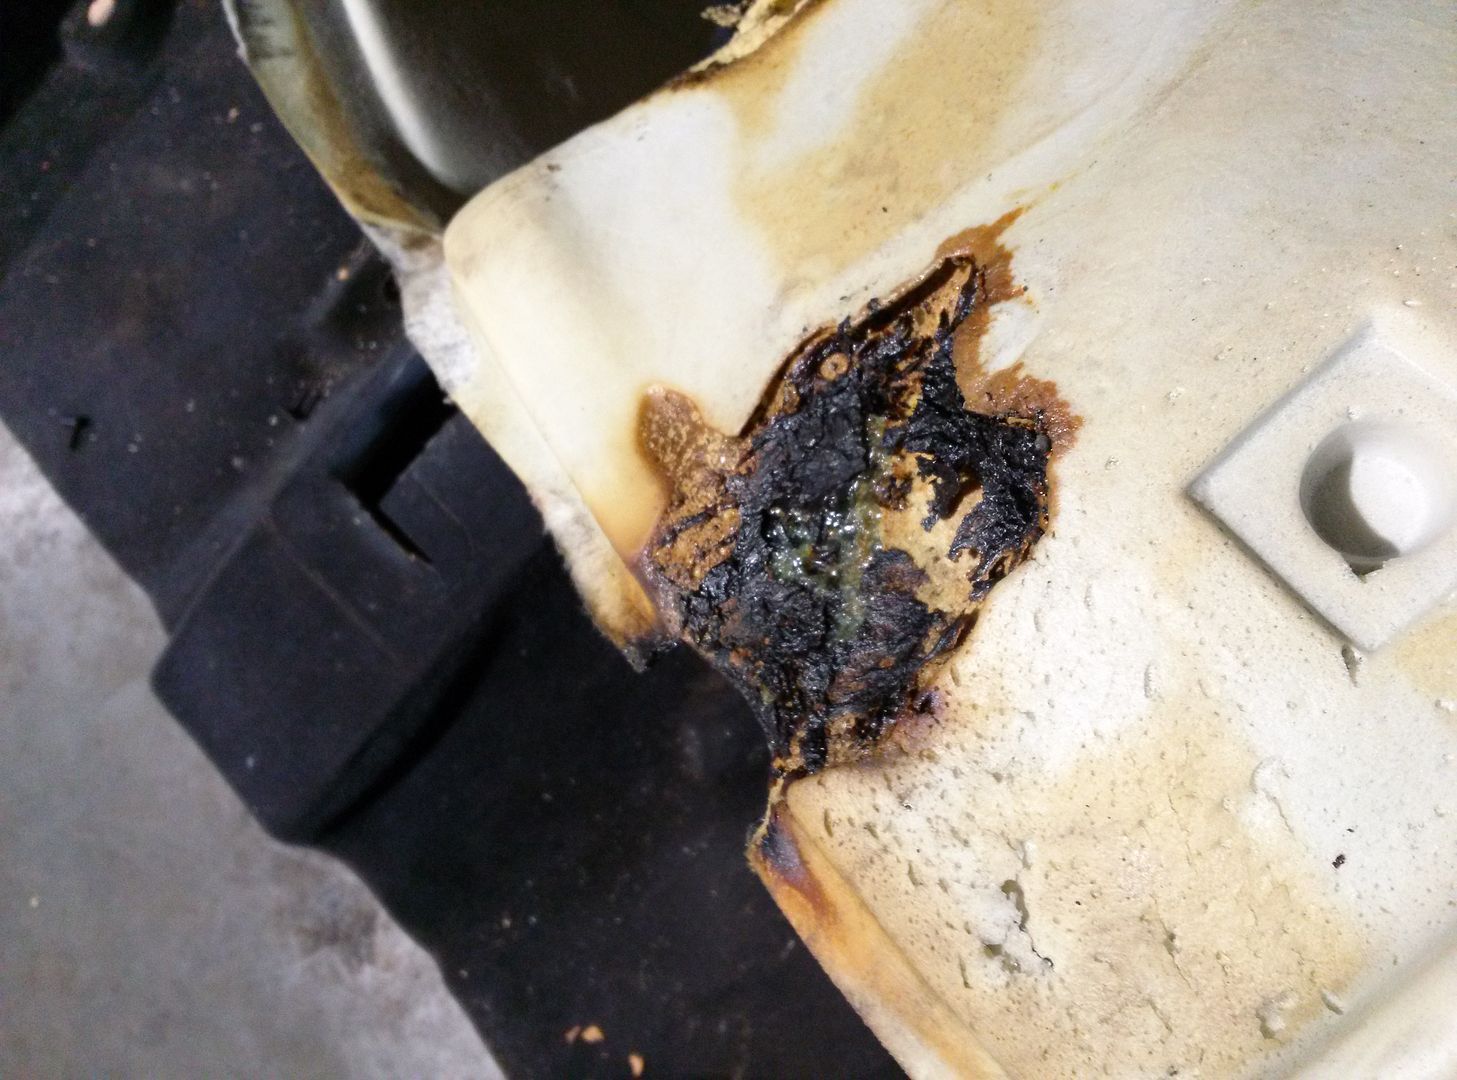
A bit worse than I thought but good thing it went out easily.
After that I helped John route the air lines in a factory way. We followed the wiring harness tracks in the floor and came out into the wheel well in a nice spot. (excuse the surface rust from the wheel wells sitting raw for months)
Passenger side


Drivers side


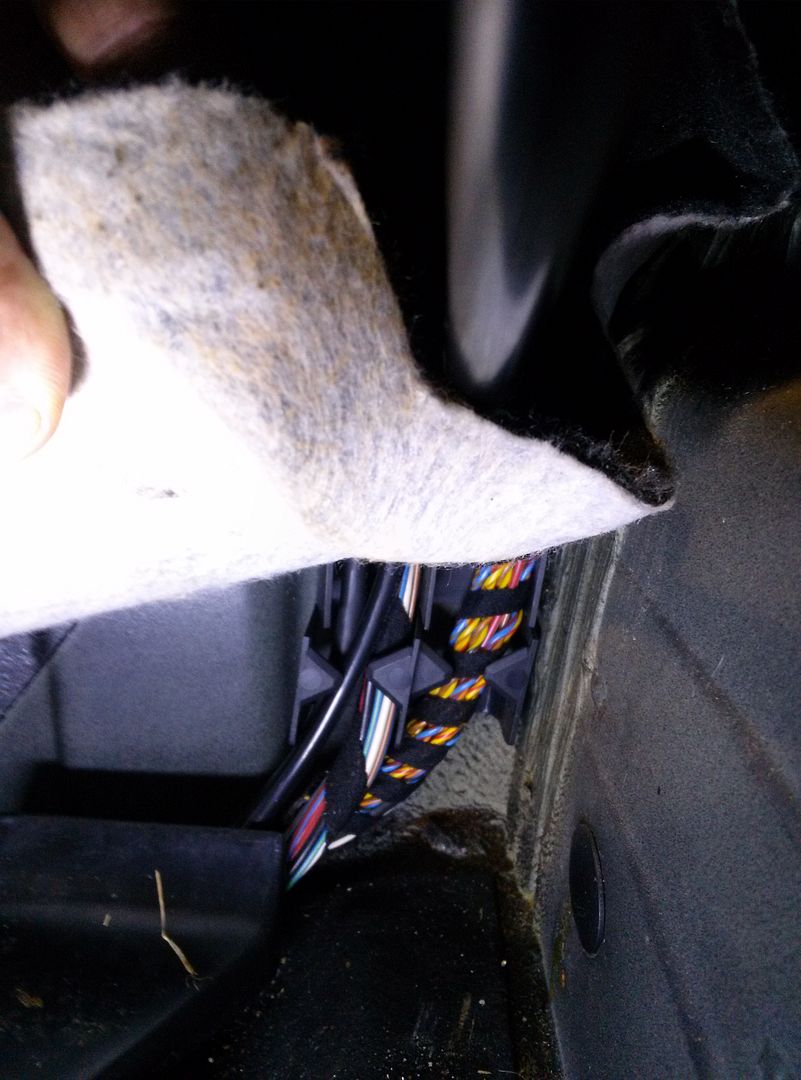


The passenger side floor was in perfect shape. The drivers side has a few small surface rust spots from all of the winters the car has seen. I will be using a course wire brush and spraying rust reformer in all of the spots. Nothing is bubbling or looks to be serious at all which is great=)
-
Saturday was a decently productive day.
The day started off with my buddy Kyle (different one than the one welding my bay) coming out and checking the timing on my engine. We picked it up off of the engine stand by the engine mounts and set it on the bench with an engine hoist. We quick tossed the flywheel on and found a socket about the same diameter as the timing slot in the flywheel. Low and behold it lined up perfectly with the hole in the block. He turned it over a few times and I had a huge grin on my face knowing that I somehow managed to get it timed right.
After that, he left and I decided to start removing my dash. In order to do this I had to remove all of the components that are attached.
I started with the defrost vents
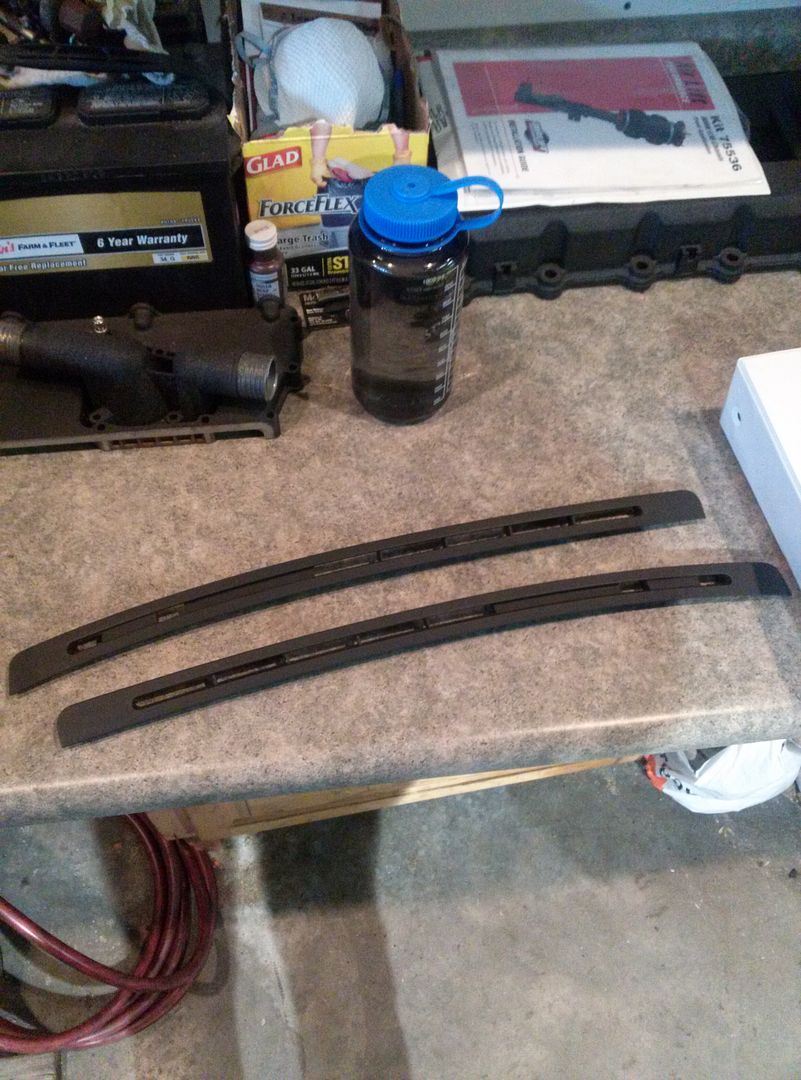
You can see the three bolts holding the top of the dash to the frame (only one other bolt on each end holds the dash onto the frame)


After that I removed the HVAC panel (note the two screws)

I also removed the radio at that time but didn't take any pictures. The black plug on the back was kicking my ass. I slid the locking cage up but it was still stuck in there really well. I sat and wiggled it furiously in spurts for around 45 minutes and it finally came out.
After that I removed the gauge cluster

Then the wiper and turn signal stalks needed to come off

And then the dash came out (I put the stalks and column cover back on to keep them out of the way and from getting broken)


The dash was a lot easier to remove than I thought it would be.
Once that was out I went back to the motor. I torqued down the bolts on the lower timing cover to get it seated for good. Some of the paint ended up flaking around the bolts from the torque but I will go back with a foam brush and some matte black paint later and do touchup.
I then removed the upper timing cover bolts to install the cover....or so I thought

I went to dry fit the profile gasket and ran into a problem. The profile gasket between the head and rear timing case sits out a little too far, causing the ends of the timing cover profile gasket to not seat correctly.

I tried pushing it back to where it should be but it wouldn't stay. I tried force fitting the ends of the timing cover gasket into the available space but could only get one side in to where I felt comfortable.


I am not quite sure what to do to make sure it won't leak and to get it to seat well.
During that time I also repaired a mount on my front bumper that I had snapped off a while back. I also helped my friend Kevin lower my friend Johns Passat to its normal non-winter height.
I decided I would grab my bumper and bring it home to work on throughout the week. The bottom edge where the exhaust cutout was shaved really needs to be smoothed out since there was way too much material added. I also decided to shave the tow hook cover since it seemed to stick out to me more now that the exhaust cutout is gone. I was going to shave the crease in the bumper as well but a friend convinced me that it fits well with how the skirts seam up with the body.
Yesterday I decided to get a start on shaving the tow hook cover.


I started by cutting off the tether.

I then removed the metal clip (I would have kept it for reinforcement but it seemed too rusty)


After that I roughed the edges up with 80 grit, mixed some epoxy, and put it in place for good.

It seemed to keep sinking at the edges no matter what I did so I will sand it all out smooth and then add another coat to rid of the low spots.
Here it is cured and you can see how much sanding I need to do to the lower edge to get it straight.


My second set of replacement hubs should be here today. I should hopefully be able to get the hubs reassembled for good. I still need to figure out how to get my last caliper assembled and solve my stripping bleeder screw threads in my other front caliper.
Other than that the e34 has been working awesome for daily duty purposes and I sold the Prelude friday evening=)
-
Looking good.
I like the shaving of the tow hook port, but how will you tow it....or rather where will you hook up to it ot drag it onto the flatbed?
As for the gasket, would simply taking a dremel and adding some clearance in the offending area work? It seems like it would still seal well enough.
-
The front still has a tow hook port=) If the car ever ends up in a ditch, there will be more to worry about than dragging it out by a chain around the trailing arm=P lol The rear bumper also comes off very easily so I could just remove it and use the tow hook.
I would do that but I am just wondering why I am having an issue. The gaskets are all OEM so there shouldn't be any sizing issues.
-
Agreed, makes sense on the tow hook...I assumed you were shaving the front too.
Maybe send those pics to ECS (assuming you purchased it through them), see what they have to say. Based on the service you've gotten, and what I've personally experienced, they would probably be eager to help.













Hello! It looks like you're interested in this conversation, but you don't have an account yet.
Getting fed up of having to scroll through the same posts each visit? When you register for an account, you'll always come back to exactly where you were before, and choose to be notified of new replies (either via email, or push notification). You'll also be able to save bookmarks and upvote posts to show your appreciation to other community members.
With your input, this post could be even better 💗
Register Login