
Alpine e30 progress/build thread
-
What kind of proportioning valve do you have there?
Make sure you do a good job on the ABS delete because I will probably demand details and follow your lead
Just the stock e30 proportioning valve. The e30 m3 uses the same part so no changes were needed when I swapped the suspension/brakes. I may eventually swap it for an adjustable one though as the larger single diameter MC will likely shift the bias slightly rearward.
-
I then spent the next two hours trying to make the hard lines from the tee to the master. That line will be pretty short and turned out to be an absolute pain as I was using steel line, I gave up after a couple failed attempts. I will be picking up some nicopp line to try again as it seems to be much easier to work with. I will probably also re-do the line from the front right caliper to the tee as it could be cleaner.
I have probably 5-10 feet of line laying around so you can get this done for the picnic
-
I have probably 5-10 feet of line laying around so you can get this done for the picnic
Unfortunately, the brake lines aren't in the way of making it to the picnic, it's the usual time/money/wanting to keep my sanity haha. Thanks though!
As far as the proportioning, I did some more research: I wasn't aware that late model e30's use a dual diameter brake master cylinder, so while the front brake bore is around 22mm, the rear is smaller, so when paired with the e30 m3 brakes it likely upset the bias a bit. The stock e30 m3 master is a single diameter 23.8mm and the 25.4mm master that I am using is a common upgrade for a firmer pedal on those cars. Because I have different shocks/springs/tires/brakes/bushings/weight distribution/etc compared to stock, it makes sense to just do the adjustable proportioning while I'm doing this work anyway. That way I can dial in the braking for the best performance, plus it's another adjustment to screw around with at an autocross.
-
ABS delete and master swap complete!
I decided that an adjustable bias valve would be a good idea so I picked up a Wilwood part that has M10x1.0 bubble flare fittings. After a bunch of trial and error, I decided to mount it down where the original proportioning valve sat. Originally, I wanted to mount it up by the fuse box for easy access, but I didn't want to have lines running above the master so that got canned. I re-positioned the brake line running to the rear and made a bracket that connects to the stock proportioning valve mount and adapts it to the Wilwood part:
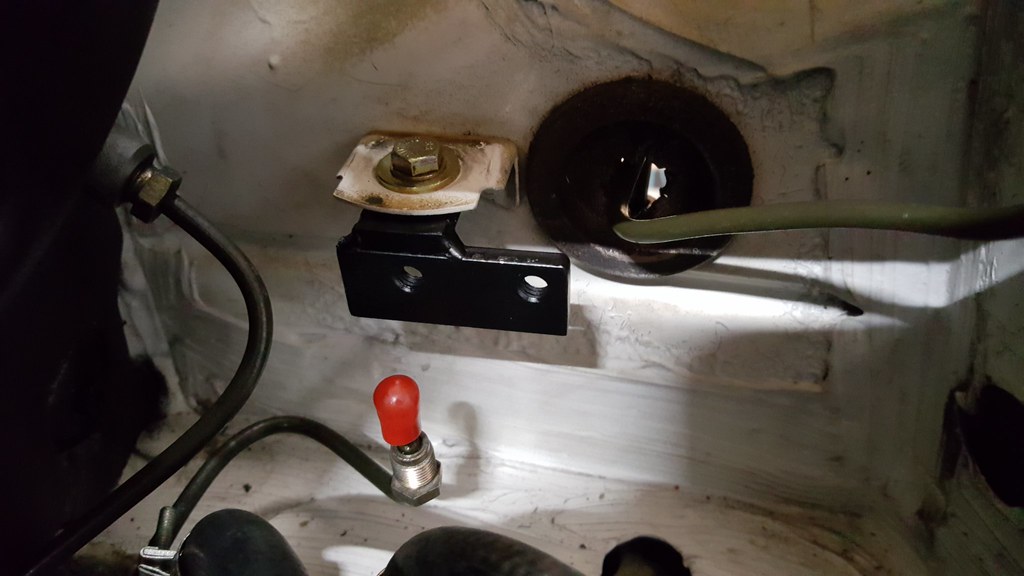
The nicopp lines are so much nicer to work with than the steel lines, though they did seem to be a little harder to get a nice flare compared to the steel. Using more oil on the bubble flare tool seemed to help with this, hopefully they all seal well. The lines aren't perfect, but don't look too bad! I have tool access to all the fittings and can install or remove any part without having to take everything else apart.
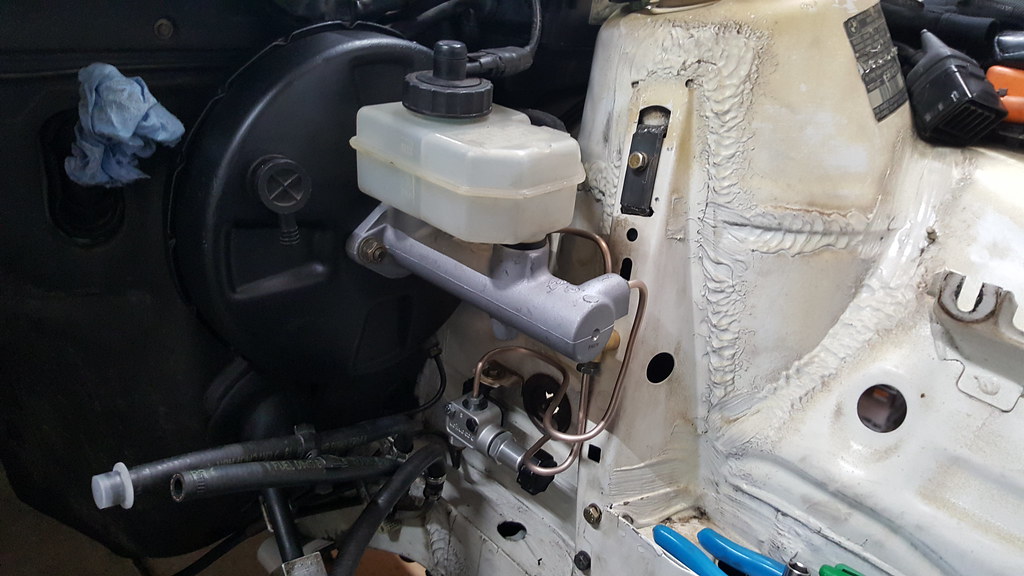
-
-
Is that the check valve connected straight to the booster?
im using an E21 check valve. I had used one on the M20 as well to get rid if the expensive and convoluted check valve situation the M20 comes stock with
That's probably what it is haha. It was on the booster when I got it, and I'm using it to plug the hole for now to keep dirt out.
-
if they have any in stock, here are your 16" bottle caps. $800 for the set if they are fully refurbished is pretty good if you ask me.
Dan

-
if they have any in stock, here are your 16" bottle caps. $800 for the set if they are fully refurbished is pretty good if you ask me.
That's not a bad deal!
-
Speaking of wheels...
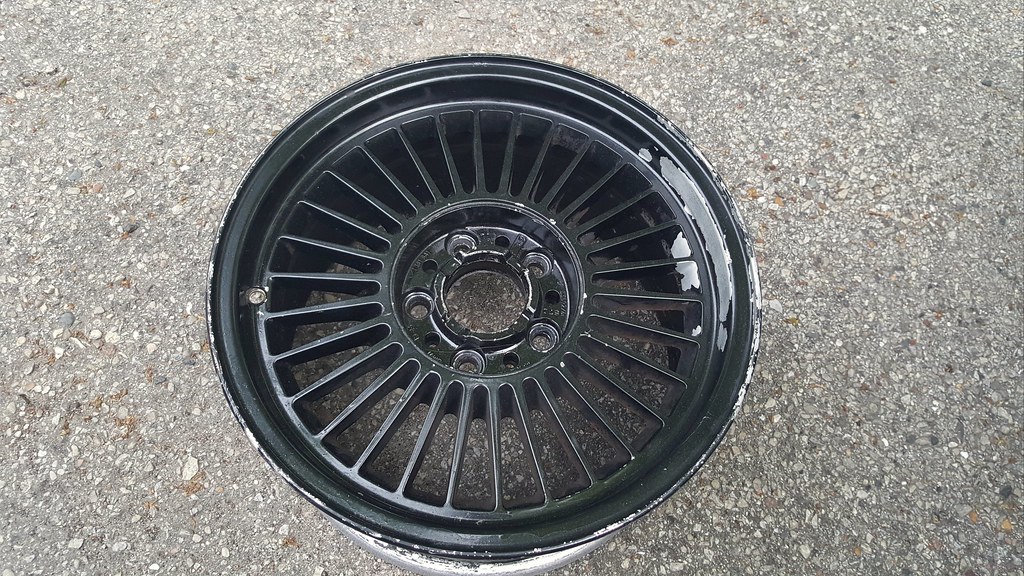
I spent the long weekend out of town, so I didn't make any progress on the car. However, I did stop at a pick-n-pull that was on the way. The only BMW in the entire yard was an e38 that had arrived very recently, and in the back seat I found a set of 16x8 et23 style 4 wheels! These are the same size and offset as the 16" style 5's, but they have radial spokes and more importantly, they're one of the few OEM forged wheels. These need a refinish, but they're straight with minimal curbing which is all I really need. They'll be great as auto-x/etc wheels!
-
love those! seriously you have the best choices now that youre 5 lug. maybe not the perfect width/size combos, but, so many cheap choices!
Dan
-
Nice score.

https://www.instagram.com/_jdesigner_/ http://nevertoolow.tumblr.com/
🥳SOLD BMW E24 633CSI - BMW M30B32 🧪SOLD HCH ES9 - 1.3 LDA
👽BMW E30 325IC - Toyota 1JZ-GTE ⏰ HONDA EF9 CIVIC SI - JDM B18C5
☠️BMW E36 318i - Ford 5.0 FE302 🚴♂️ GT-Labomba - 26x2.75 Freeride
🤹♀️SOLD BMW E36/7 Z3 - BMW M54B25 🧓SOLD BMW E10 2002 - BMW M10M05 -
Finally got some more things done over the last few days. Got started on the transmission, it was caked in grime so after scrubbing for over an hour I decided that nobody will see it and it's good enough for now.
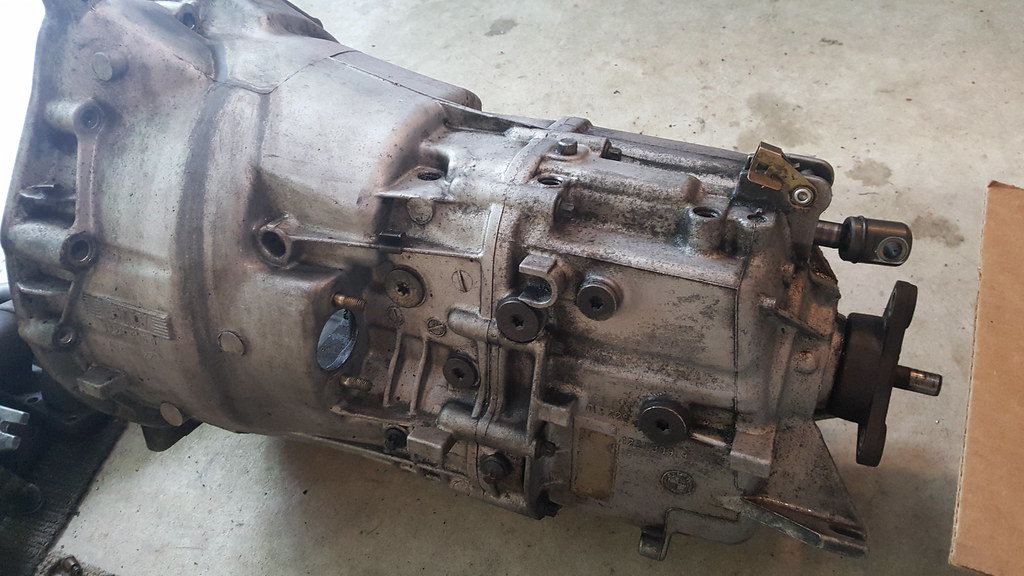
With the trans 'cleaned', I went through and did the complete shift pin repair. I didn't realize that you needed a small slide hammer to get the covers off until it was too late to go rent one, so I made a mini one out of some scrap metal I had laying around. It just so happened that I had a piece of pipe that fit perfectly over a 1/2" steel rod, so between that and some random hardware, I ended up with this:
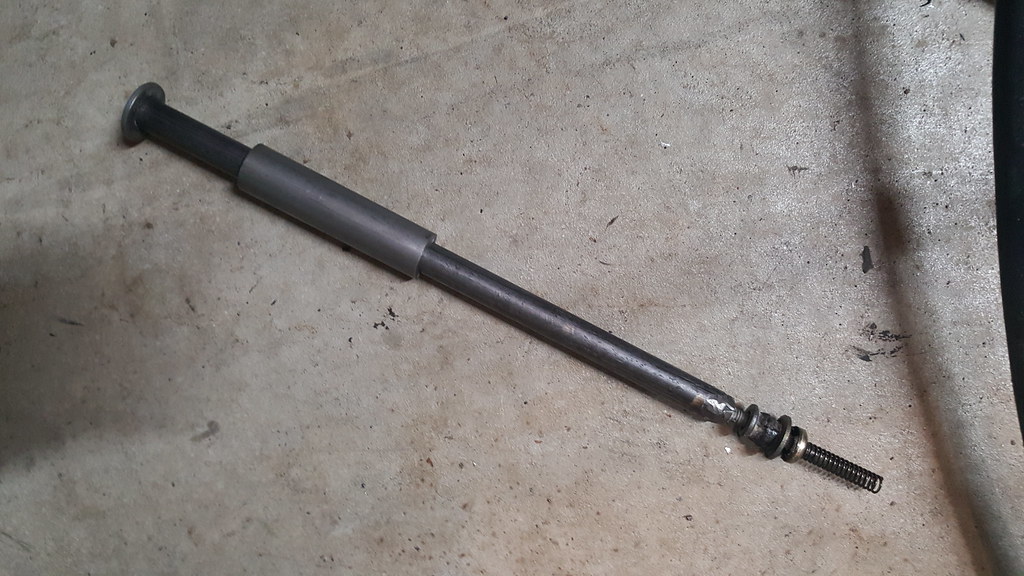
As you can see, it worked perfectly as there is a freshly removed cap and spring on the end of it in that picture. With the old parts out of the way, I used the proper drifts to tap in the new bushings/pins/springs/caps. The snap ring for the reverse detent was an absolute pain, but it finally went together. All that's left to do on the trans is the shift shaft seal, install it, and then change the fluid once it's in the car!
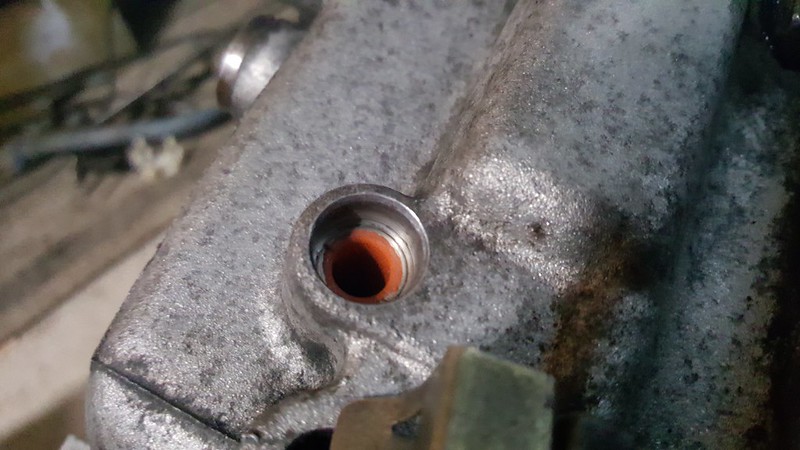
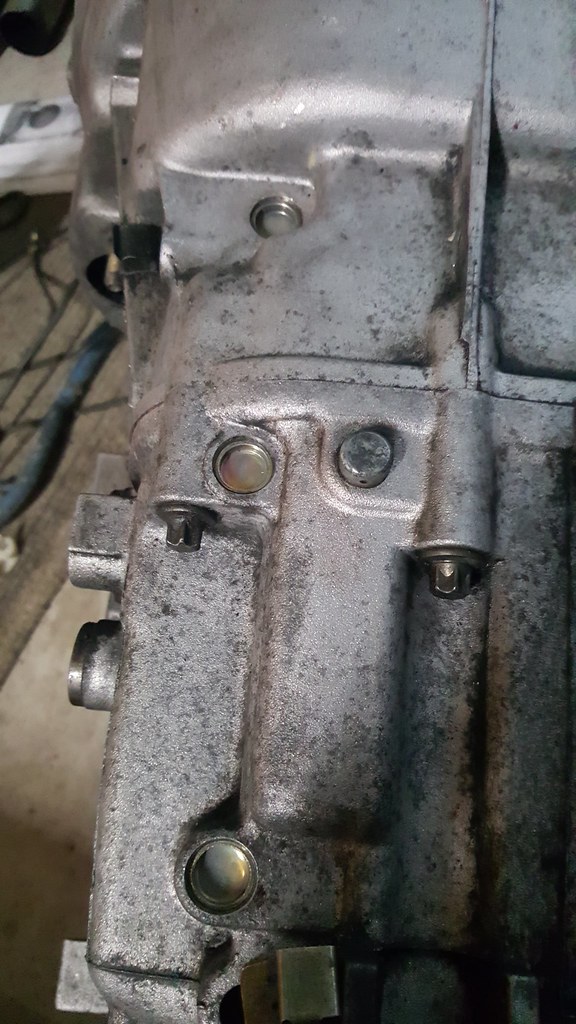
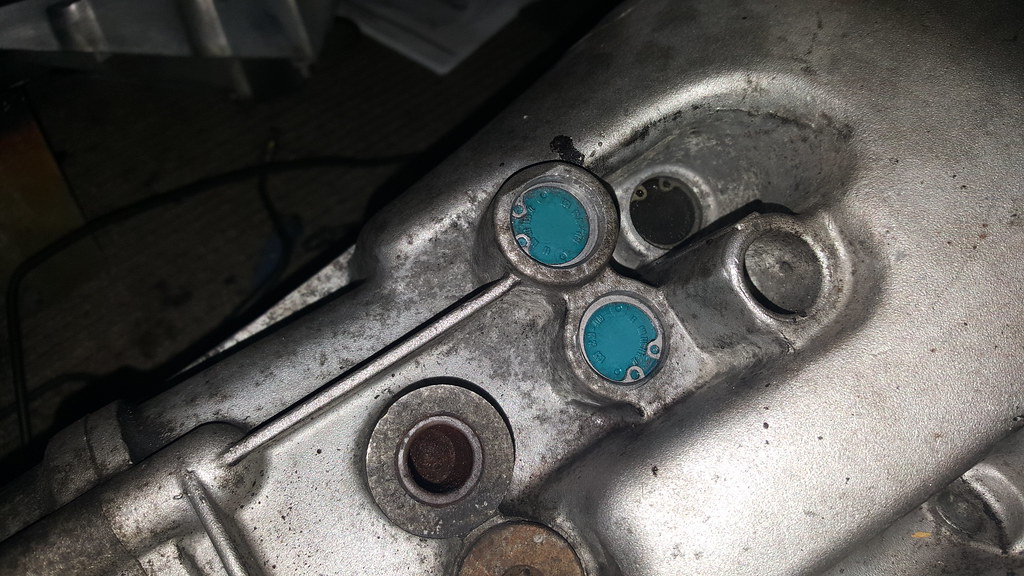
When I bought the engine mount arms I was planning to use, I didn't realize I needed the later style driver's side arm with the slotted hole in the bottom left corner to fit the pattern on my block. Fortunately, this was easily resolved with a bit of drilling and filing.
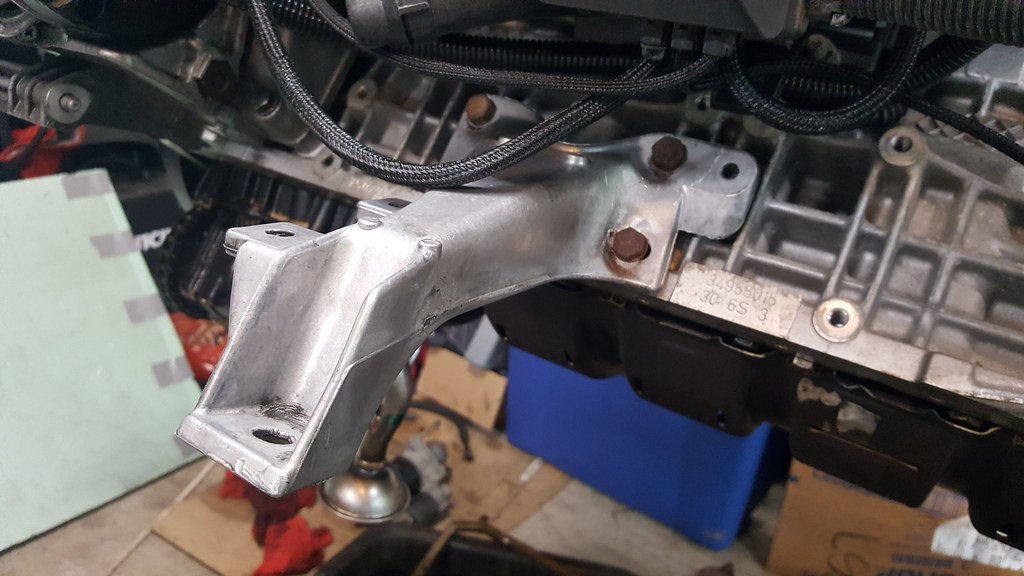
With the driver's engine mount arm installed, I was now able to whip up a bracket to secure the lower mounting point of the coolant return pipe:

Don't worry, I will be replacing those rusty bolts holding on the engine mount arm, I didn't have anything better to use at the time.
While I had the grinder and welder out, I went ahead and chopped out the ABS pump mounting brackets, used a flap disk to smooth out the remaining welds, and sprayed a coat of primer over the newly exposed metal:
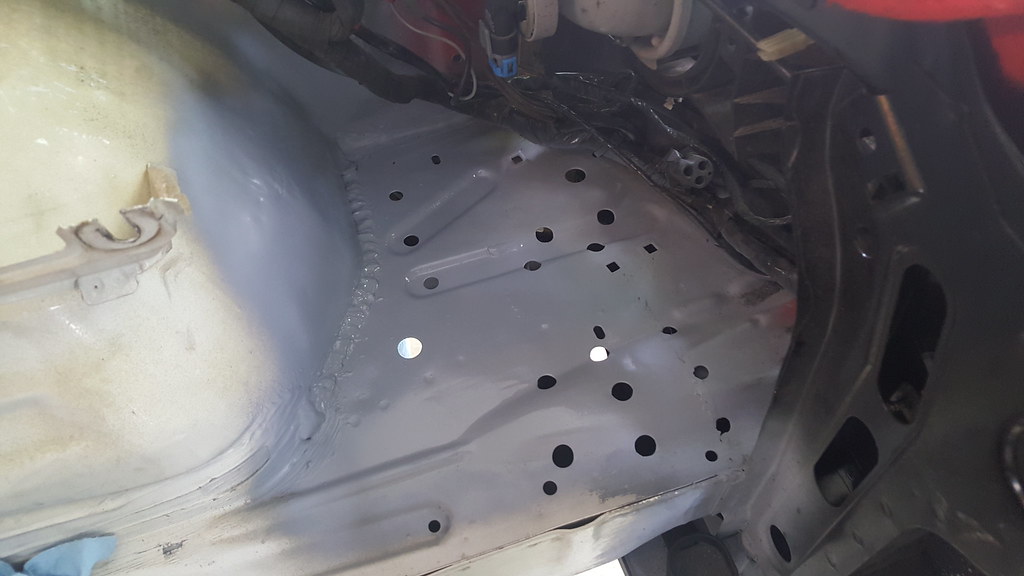
With the grinder I'm more of a butcher than a surgeon (and the limited access didn't help either), so before I do any bay painting sometime in the future, this area will have to get a little bit of body work, but it's smooth enough that it will be good for now.
I also made a bracket to mount the Hella sharptone horns behind the grilles. For whatever reason, the core support I installed on my car has a threaded stud right behind the center of the grille that wasn't there on the original, so I made a bracket that mounts to that feature out of some hefty flat stock to hang the horns off to each side. With the black shrouds you basically can't see them behind the grille which is perfect.






Hello! It looks like you're interested in this conversation, but you don't have an account yet.
Getting fed up of having to scroll through the same posts each visit? When you register for an account, you'll always come back to exactly where you were before, and choose to be notified of new replies (either via email, or push notification). You'll also be able to save bookmarks and upvote posts to show your appreciation to other community members.
With your input, this post could be even better 💗
Register Login