Skip to content
  • Categories
  • Recent
  • Tags
  • Popular
  • Users
  • Groups
Skins
  • Light
  • Brite
  • Cerulean
  • Cosmo
  • Flatly
  • Journal
  • Litera
  • Lumen
  • Lux
  • Materia
  • Minty
  • Morph
  • Pulse
  • Sandstone
  • Simplex
  • Sketchy
  • Spacelab
  • United
  • Yeti
  • Zephyr
  • Dark
  • Cyborg
  • Darkly
  • Quartz
  • Slate
  • Solar
  • Superhero
  • Vapor

  • Default (No Skin)
  • No Skin
Collapse
WIBIMMERS logo

WIBIMMERS

  1. Home
  2. General Discussion
  3. Members BMWs
  4. Chapter GMW | E30 LS1 (starting on post #1427)

Chapter GMW | E30 LS1 (starting on post #1427)

Scheduled Pinned Locked Moved Members BMWs
1.6k Posts 49 Posters 1 Views 1 Watching
  • Oldest to Newest
  • Newest to Oldest
  • Most Votes
Reply
  • Reply as topic
Log in to reply
This topic has been deleted. Only users with topic management privileges can see it.
  • B
    B
    B C
    wrote on last edited by
    #1300

    DrLeadFoot said:

    Sometimes I'd like not to learn anything new...

    Quote of the decade right here

    1 Reply Last reply
    0
    • DrLeadFootD
      DrLeadFootD
      DrLeadFoot
      wrote on last edited by
      #1301

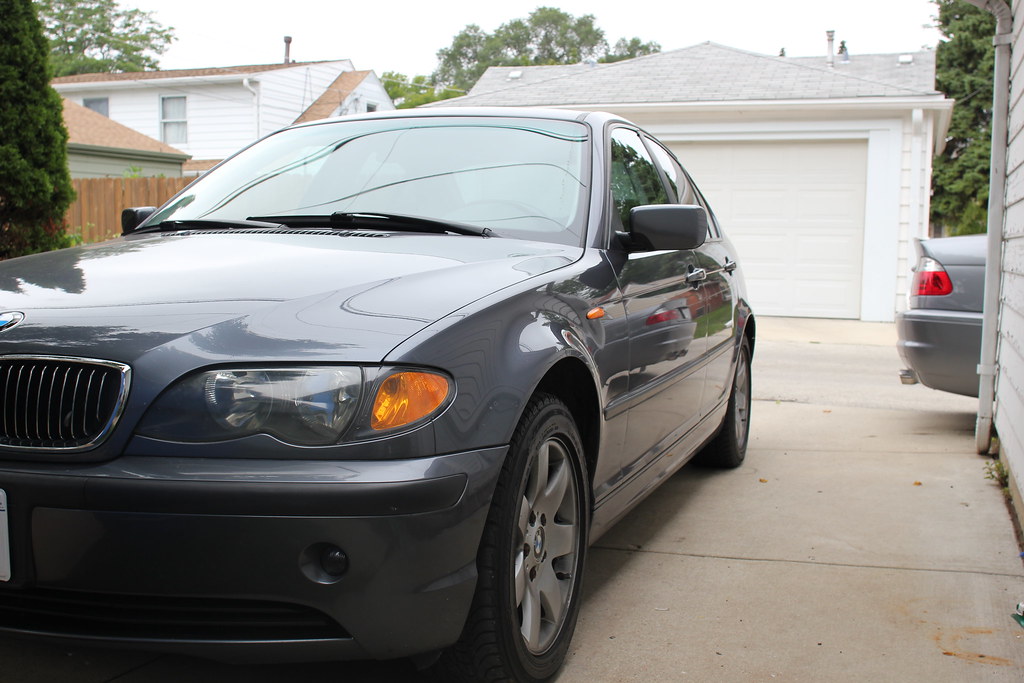
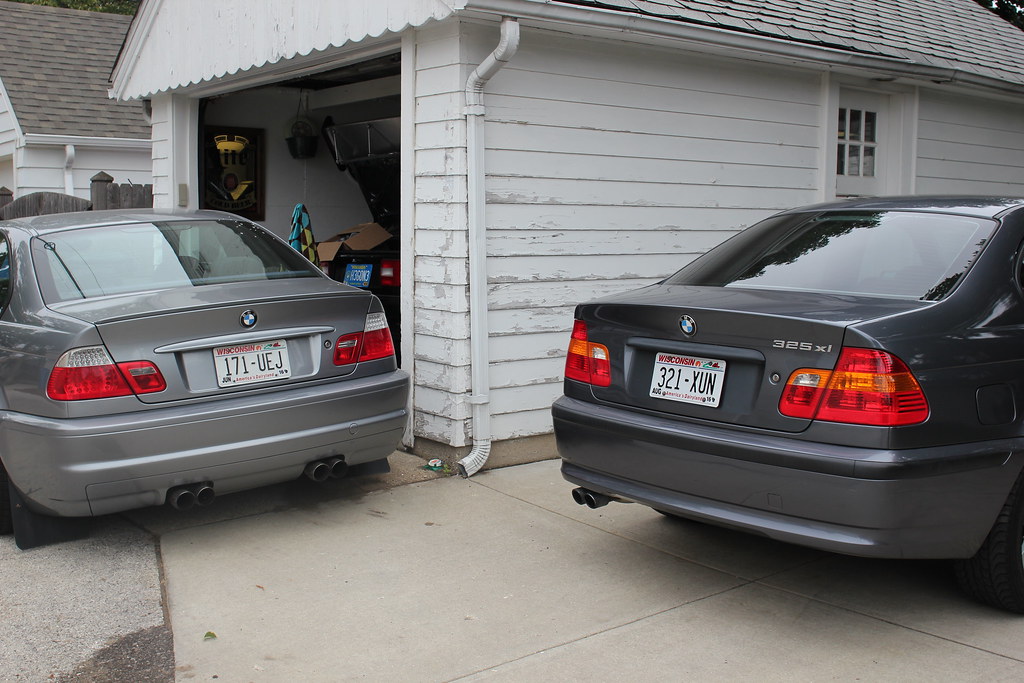
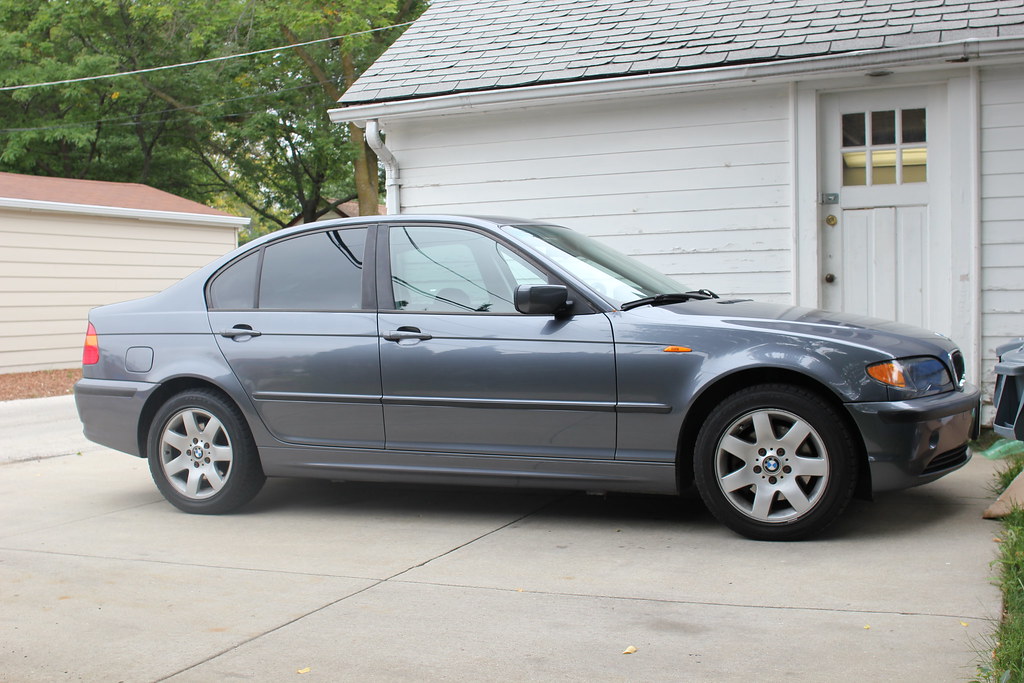
      New winter car!

      2002 325xi automatic.  Work and wife friendly.  Got a compression test and it is A-OK!!
      2118188271183dc18f61fb.jpg

      20986138978fa557eeb79b.jpg

      One out of three working ain't bad.

      211740694056b729c0472b.jpg

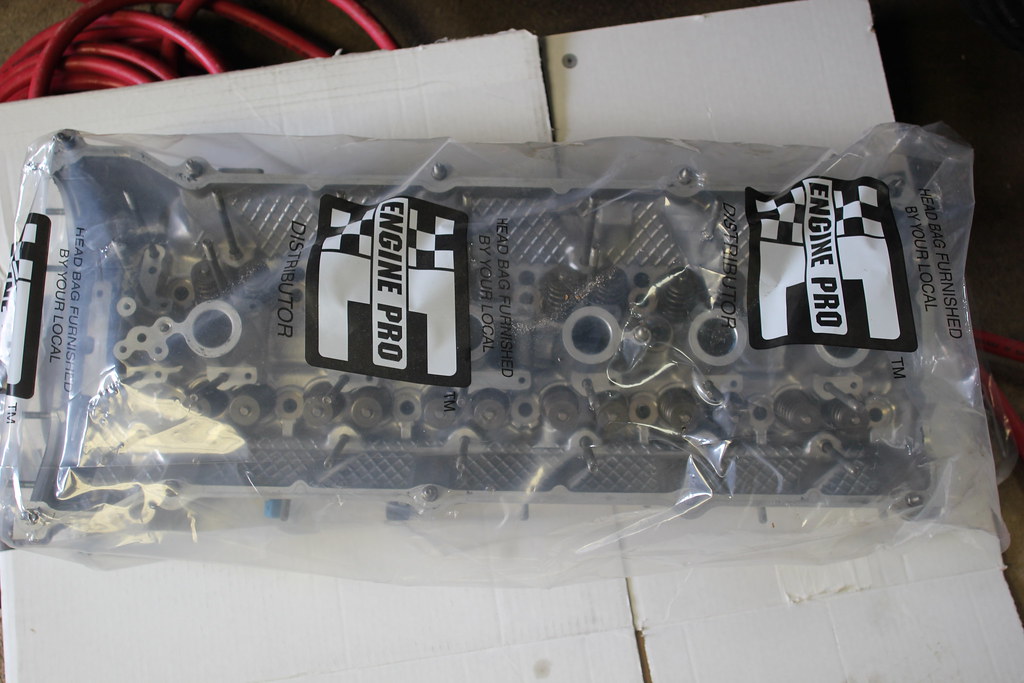
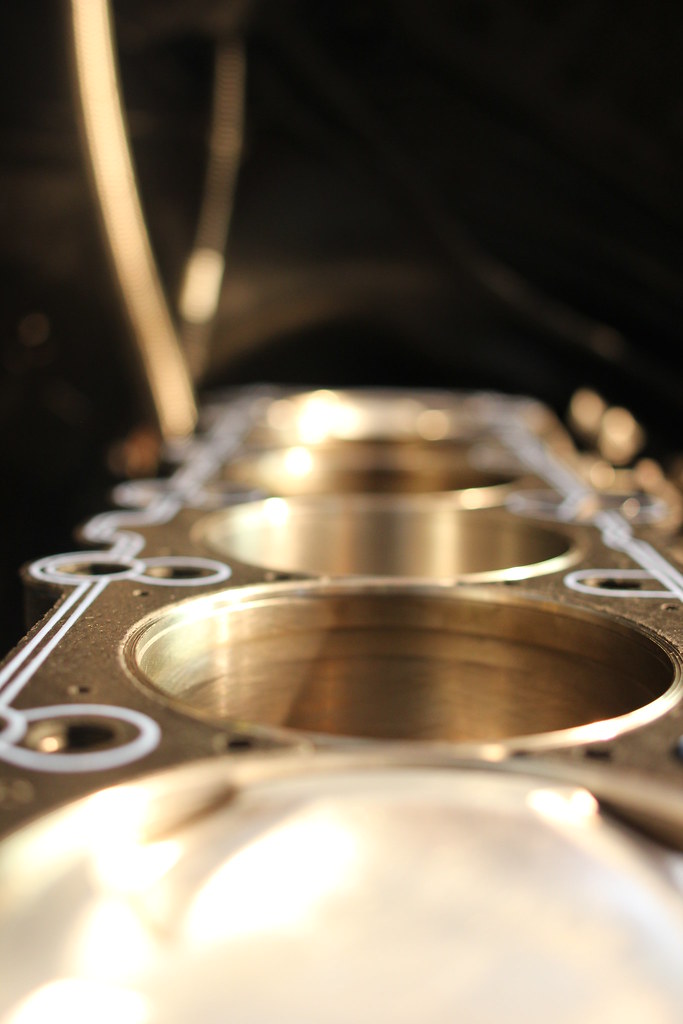
      Head ready to rock and roll!

      211637866125dc5c47e24b.jpg

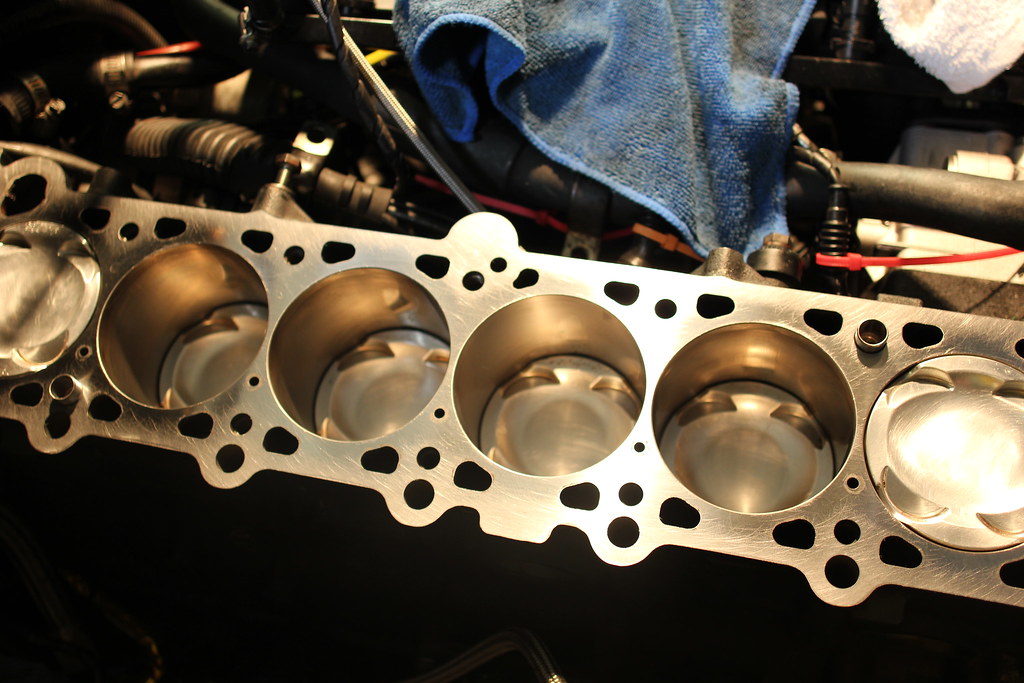
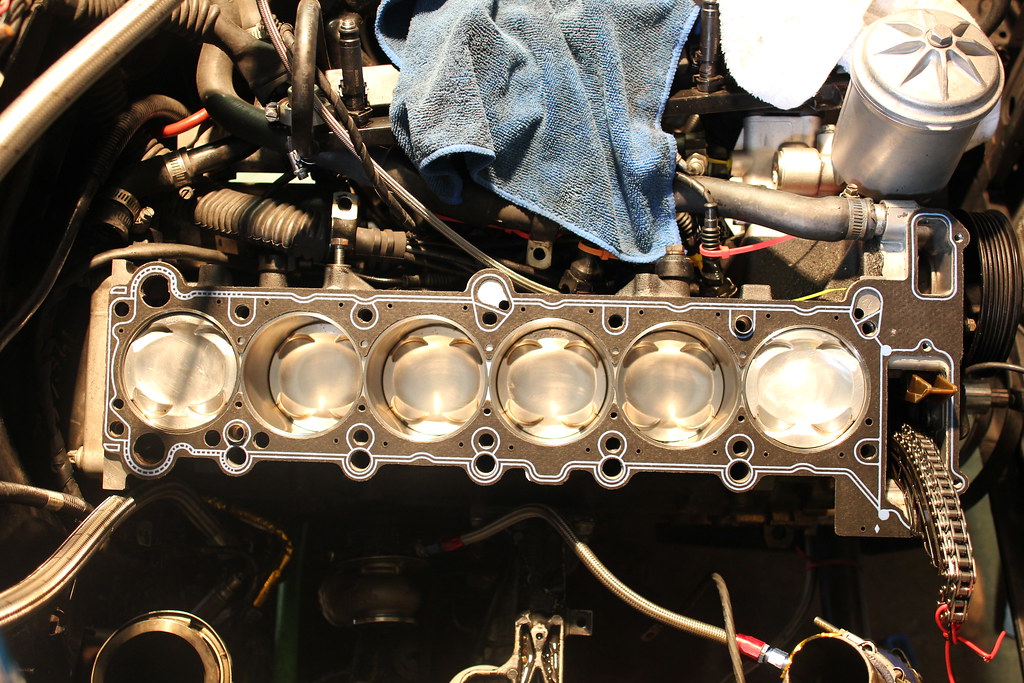
      Done with the block prep.  Used a stone, then went to 600 grit sandpaper with WD-40 for the lube.  The finish was glass so I called it quits after the 600. :shifty:

      211478097064367fb91a6b.jpg

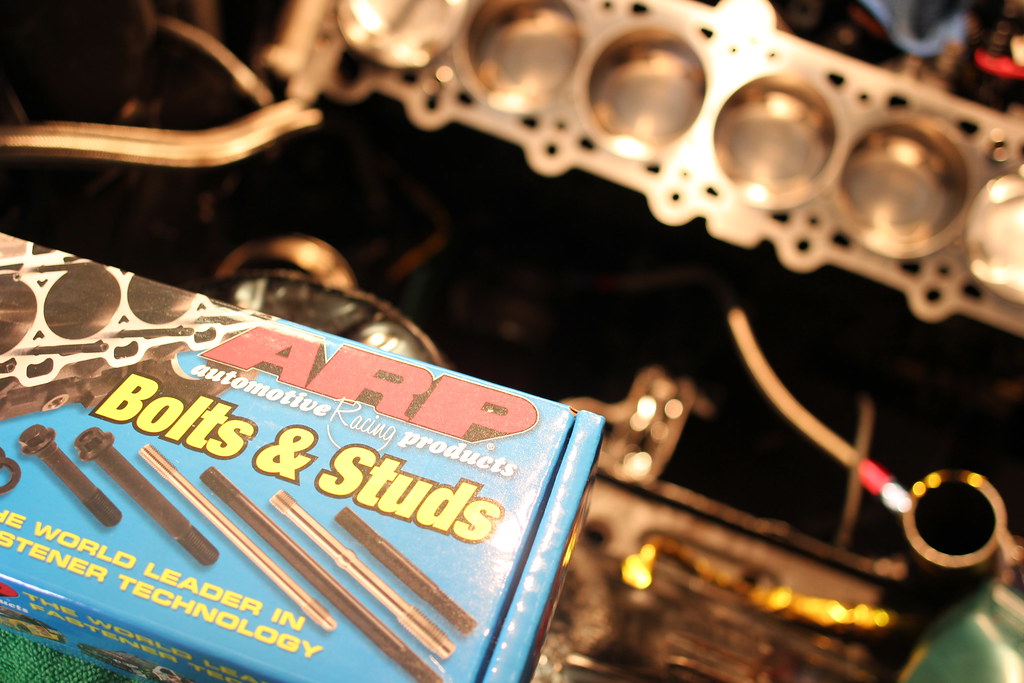
      Fresh ARPs

      209861233184f08c86494b.jpg

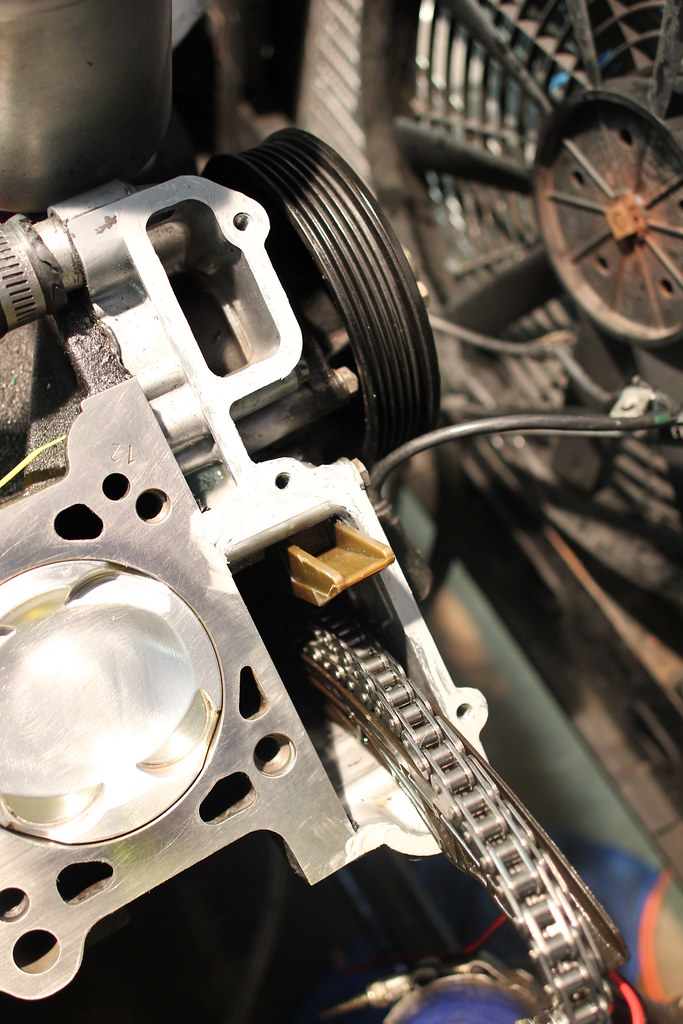
      Hondabond on the timing cover.

      211637777928b2a9738aeb.jpg

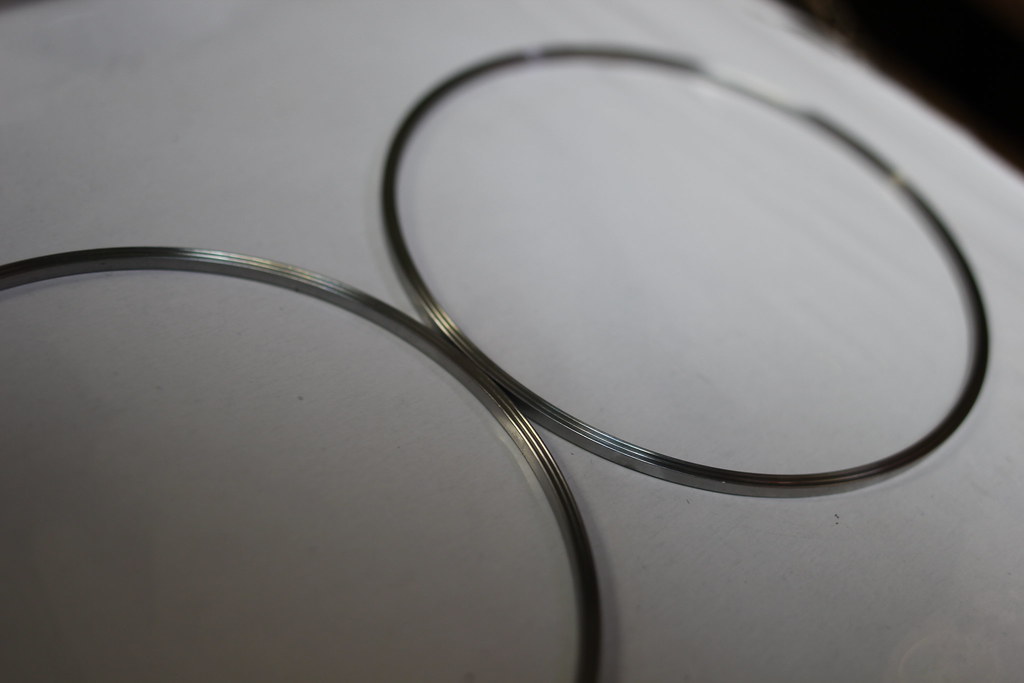
      Cut Rings!

      20985922060cfcd4f5a5fb.jpg

      21163771942b73d4e274ab.jpg

      Perfect fit.

      21163771942b73d4e274ab.jpg

      211818544418beaf1d03eb.jpg

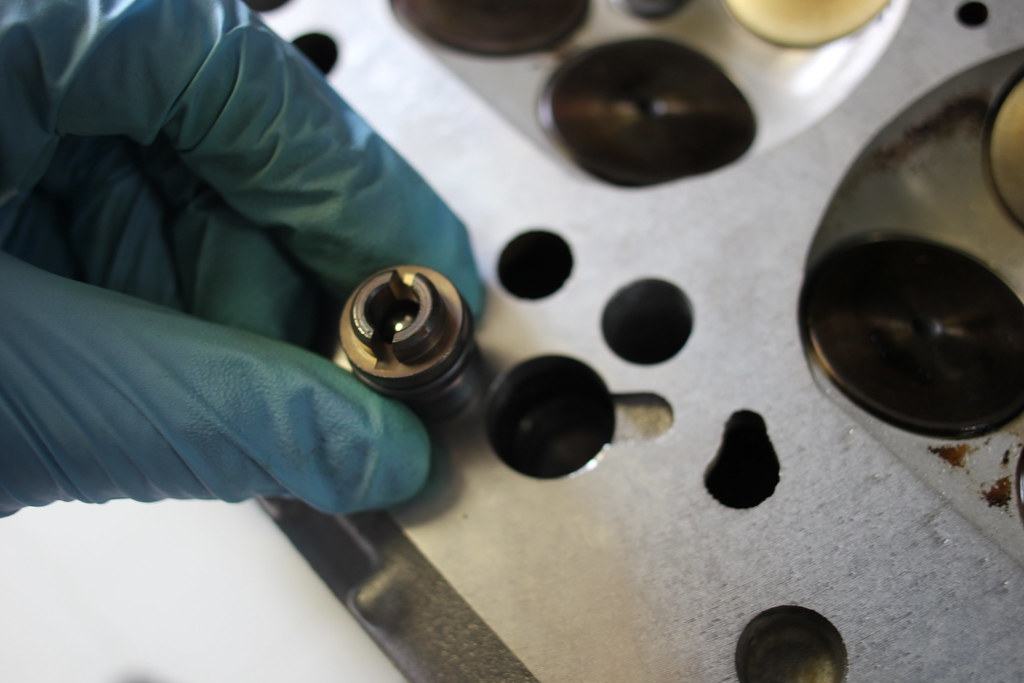
      New one-way valve.

      211740401254c2f84cbe6b.jpg

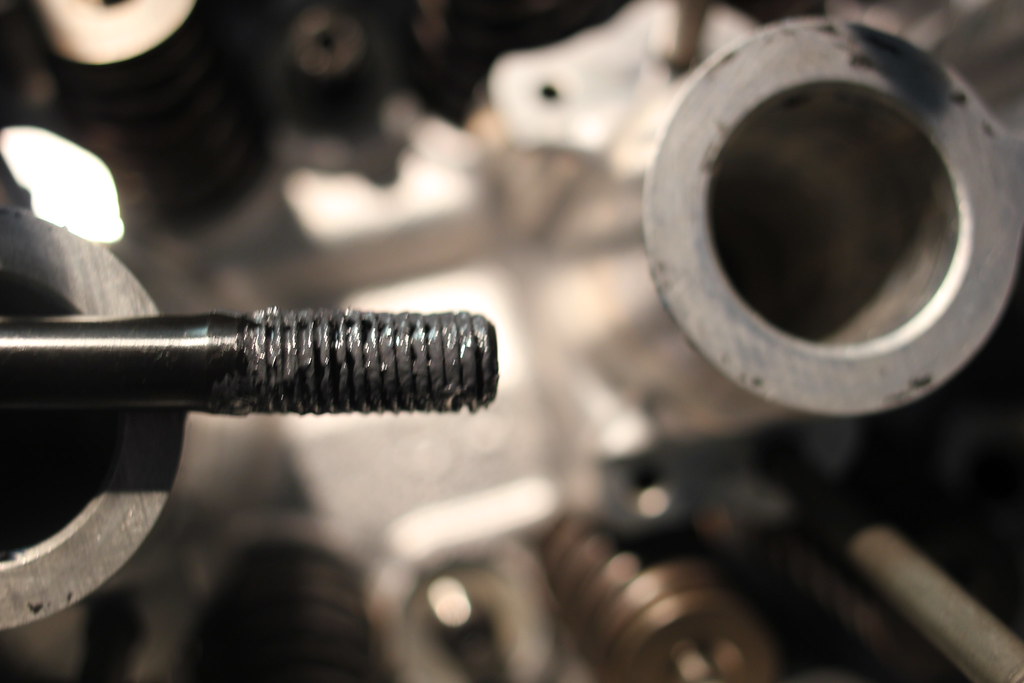
      ARP lube but not too much.  Used a rubber mallet to knock in the steel dowels.  Also took brake cleaner, Q-tips and pressurized air to clean out the block threads.  Used these three steps about three times.  Some holes were dirtier than others. :nice:
      20987204409055b882148b.jpg

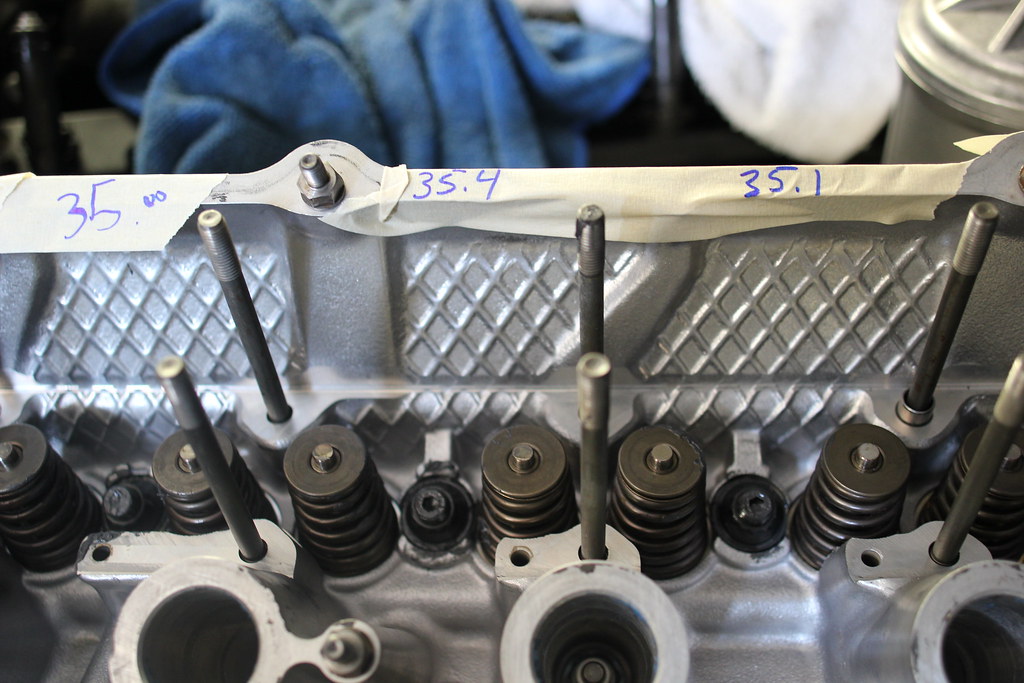
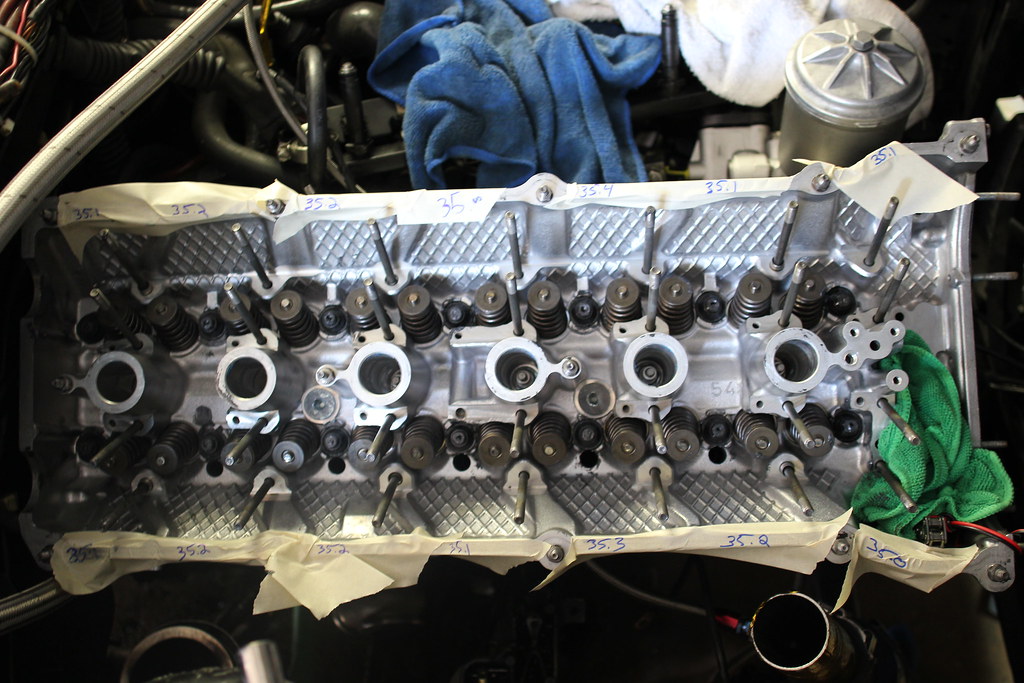
      Initial torque to 35 ft/lbs after triple checking the cut rings were sitting properly.
      211818456418acd582f6ab.jpg

      211637537227bee43f713b.jpg

      15924991875a64c599885m.jpg

           @DrLeadFoot

      1 Reply Last reply
      0
      • DrLeadFootD
        DrLeadFootD
        DrLeadFoot
        wrote on last edited by
        #1302

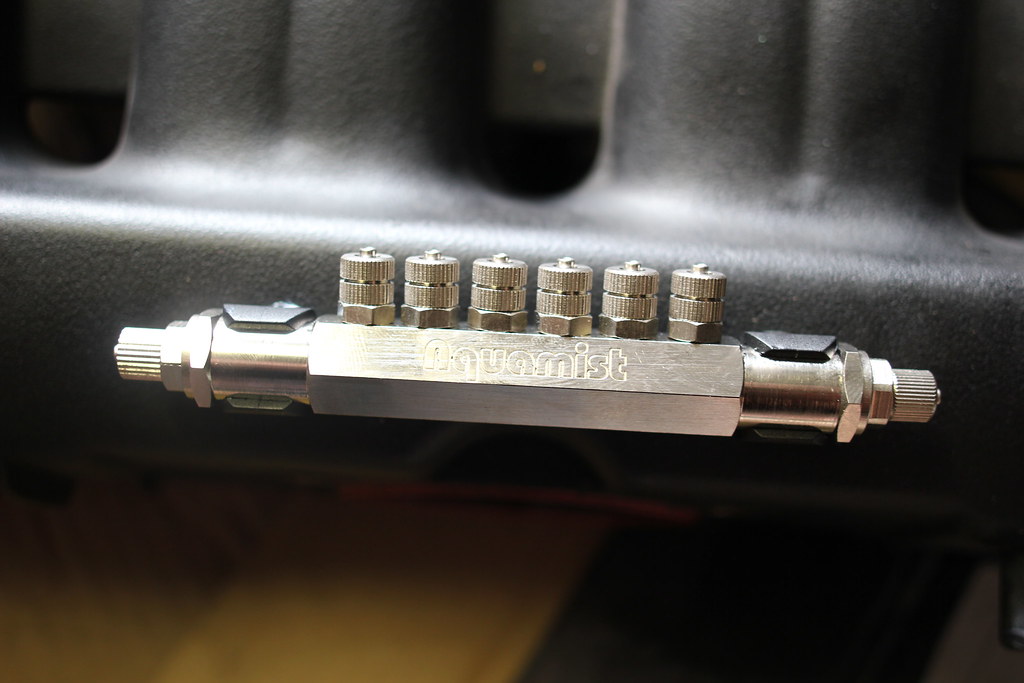
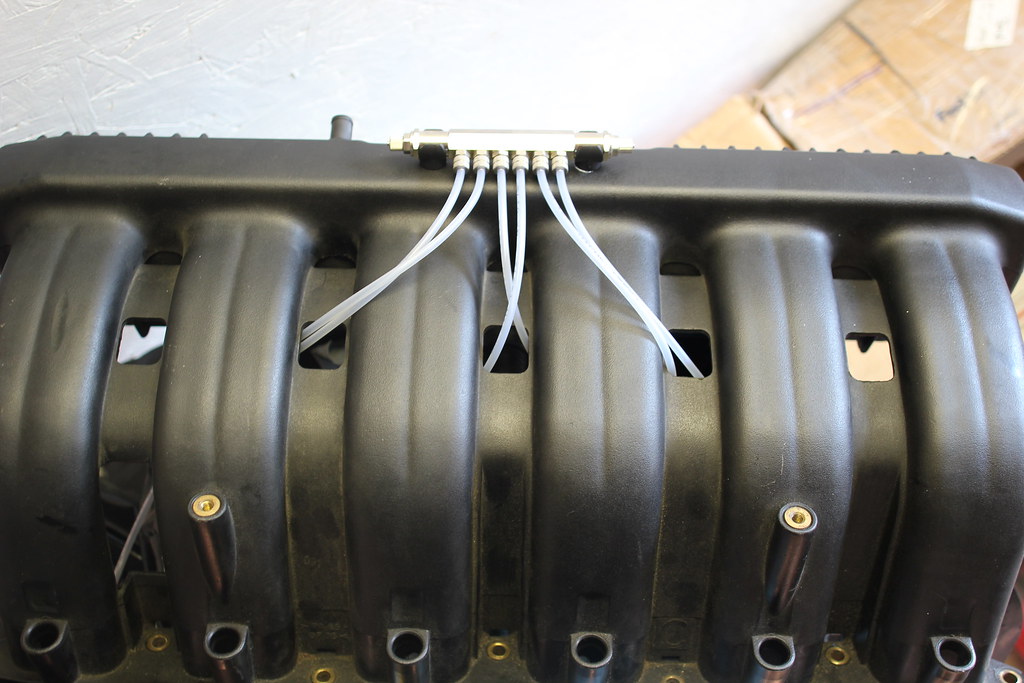
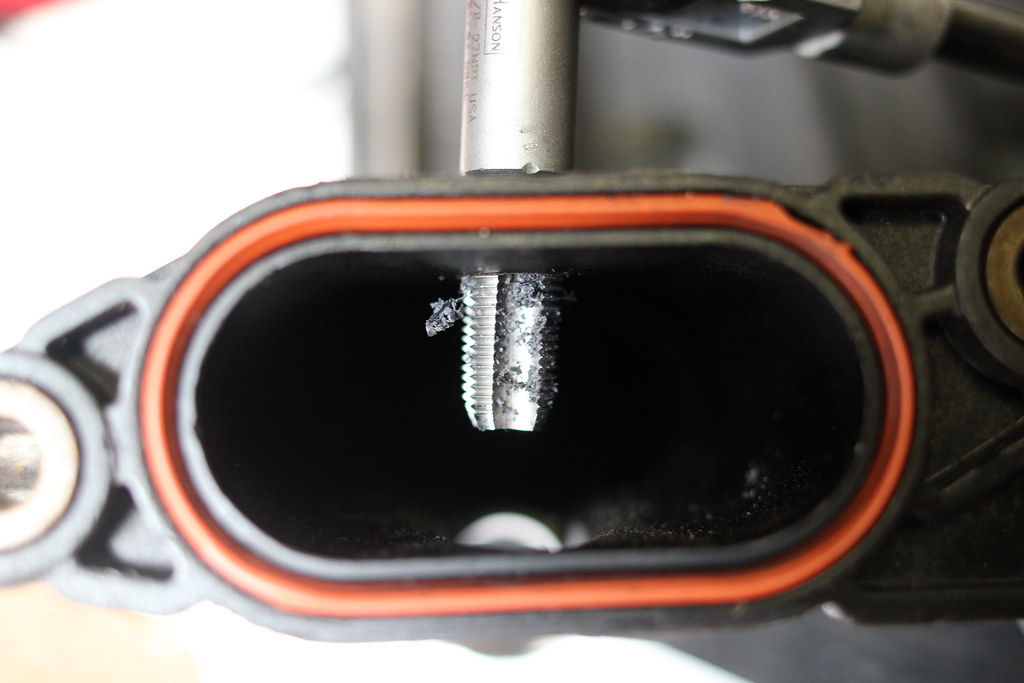
        Tapped the M50 manifold with a 1/8 NPT tap for the multi-port meth install.
        21147775706ea958a11b2b.jpg

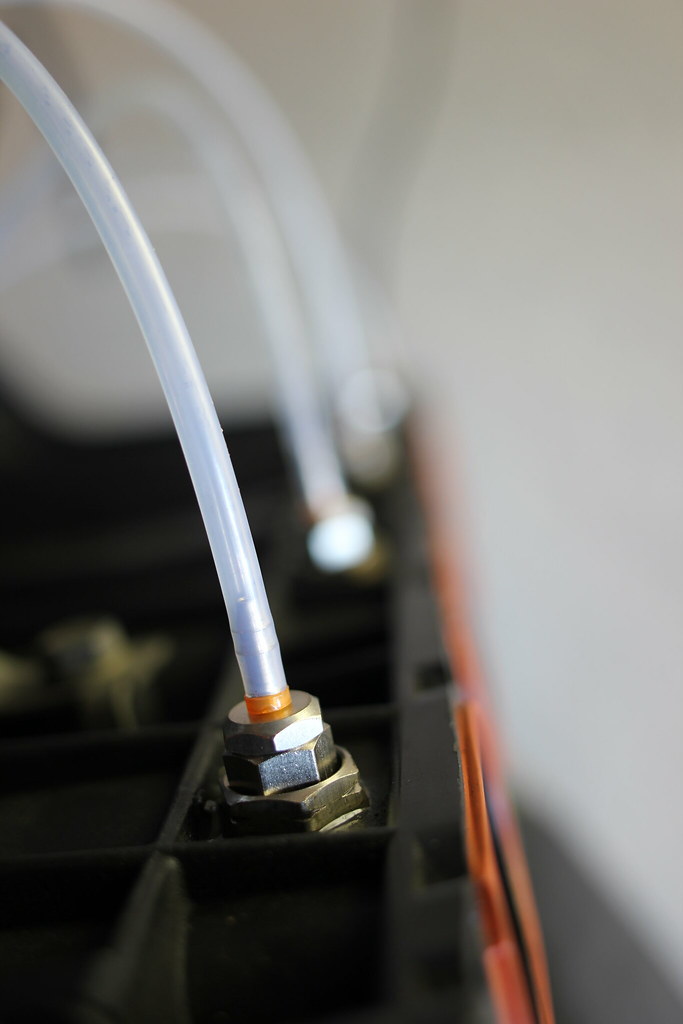
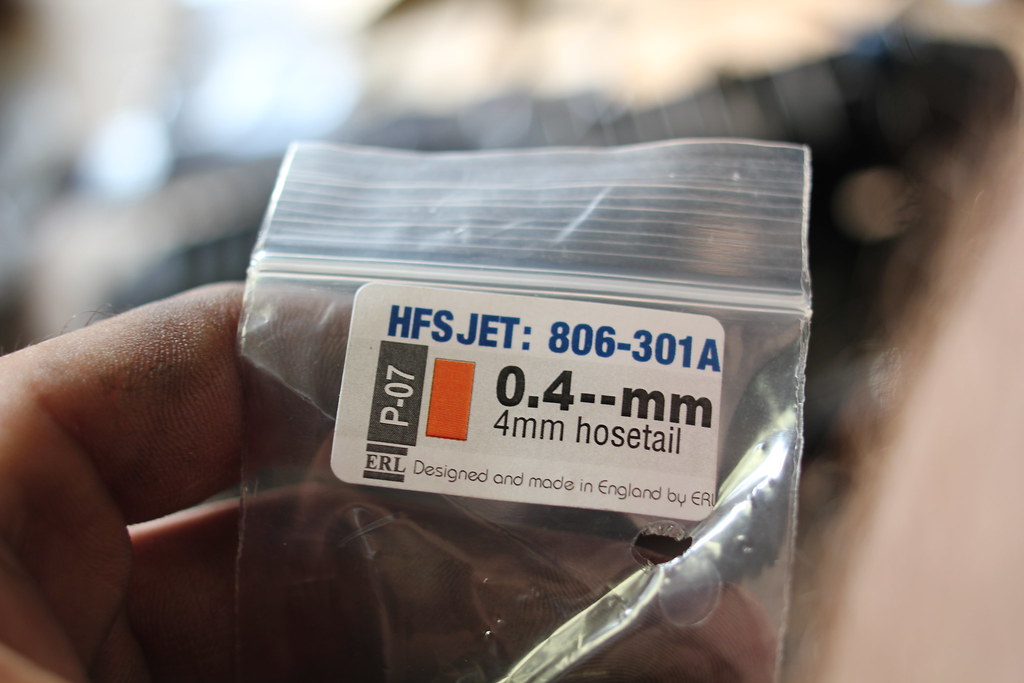
        The .4mm jets for the intake runners.  Also have a single .7mm jet for a pre-throttle body nozzle.
        211637476925a90dfc254b.jpg

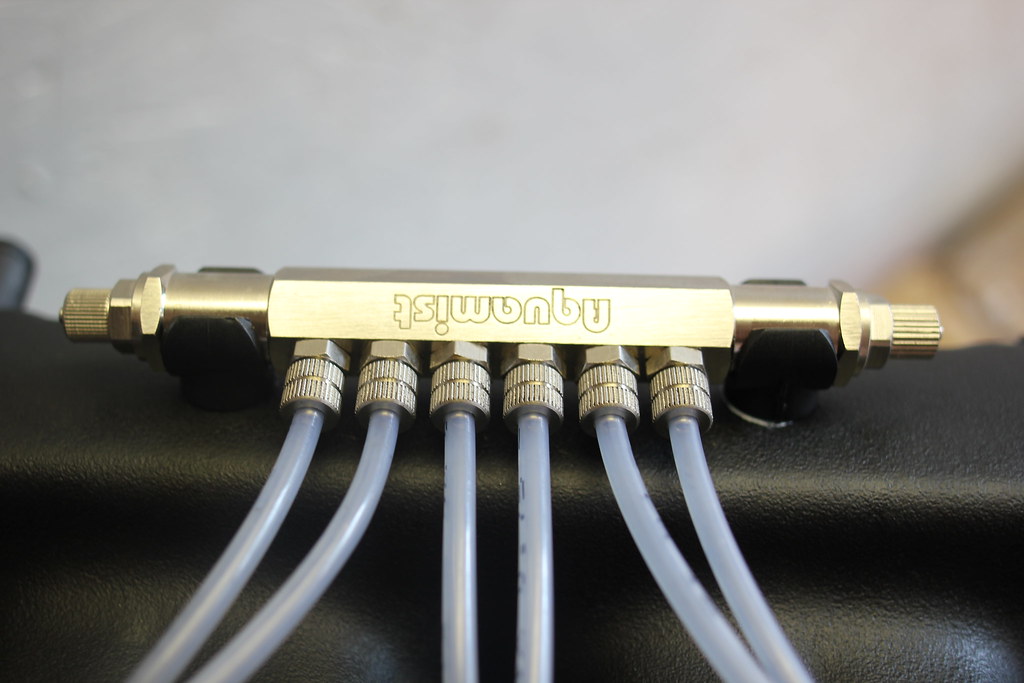
        Distribution Block.

        209858931301eecd88696b.jpg

        211739803551d51ab71d3b.jpg

        209871451795c7a18de35b.jpg

        21181795271a7aedf4ca5b.jpg

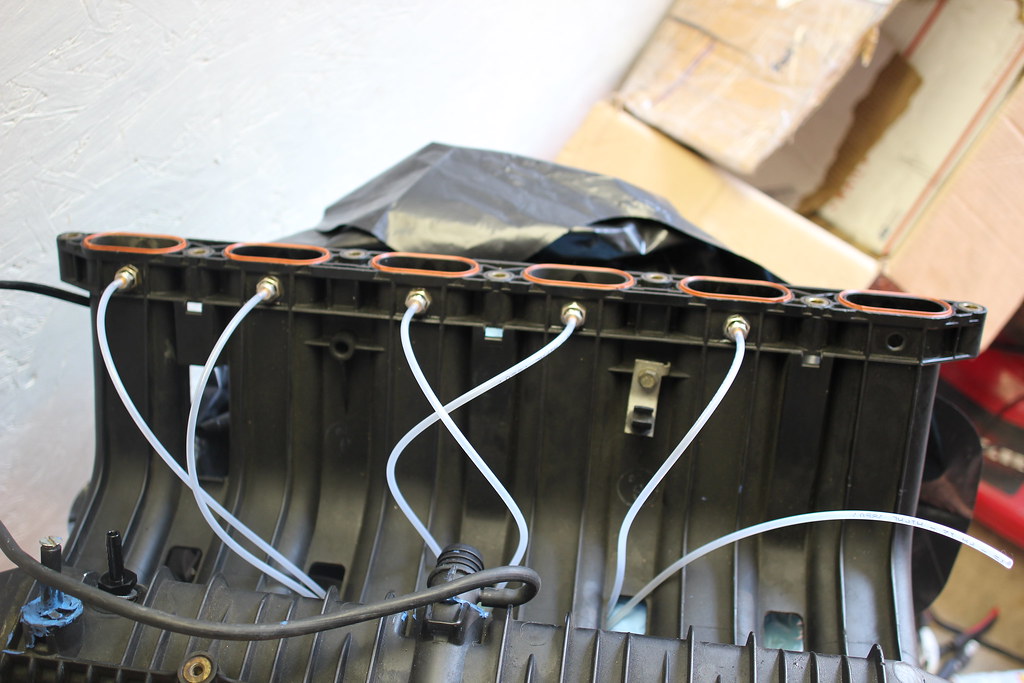
        Snapped a jet from over tightening...:doh:
        211637054227472b04952b.jpg

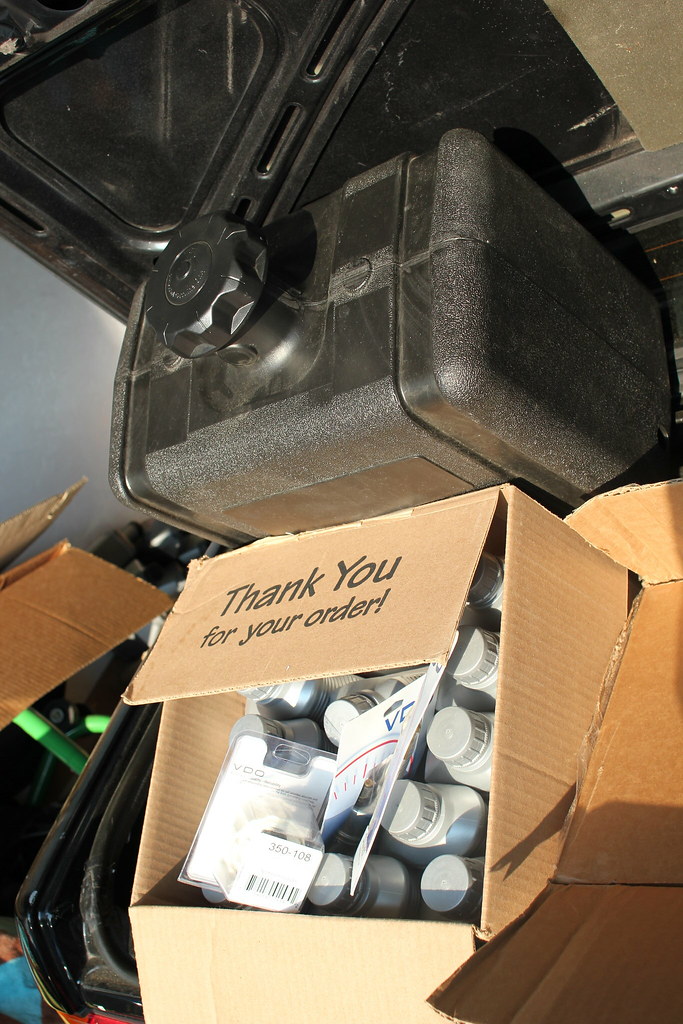
        6 gallon Meth tank.

        209871423591c9b519cd0b.jpg

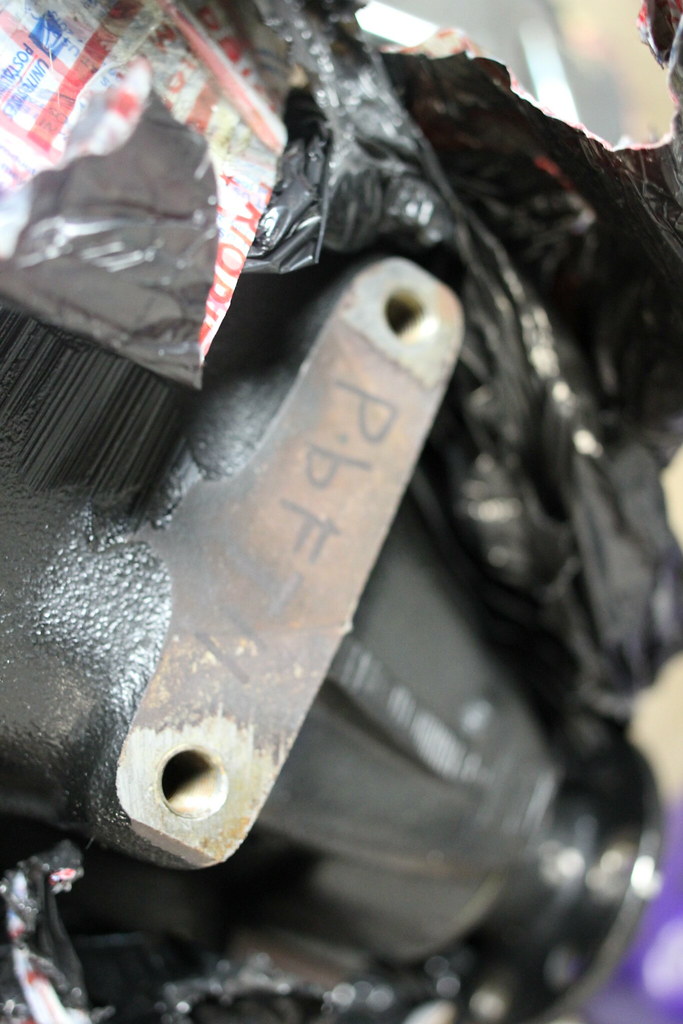
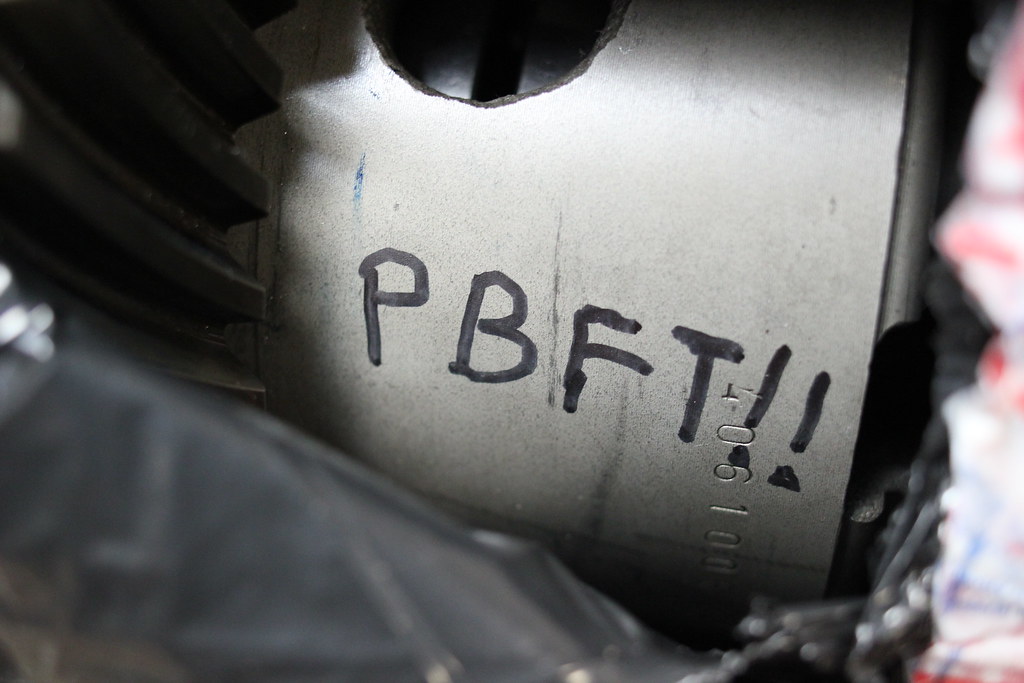
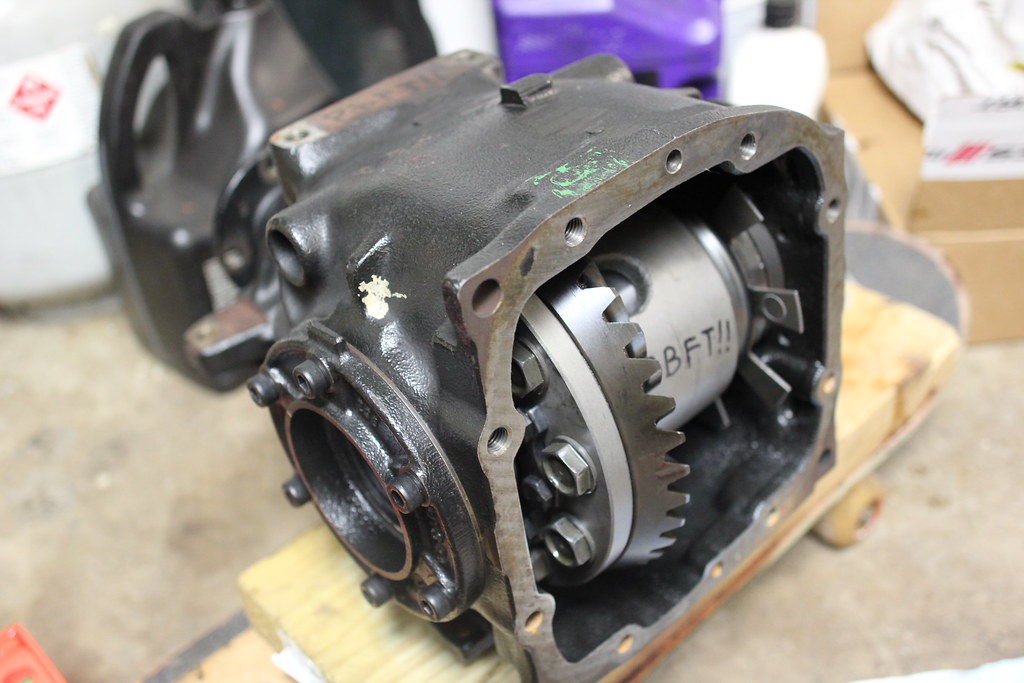
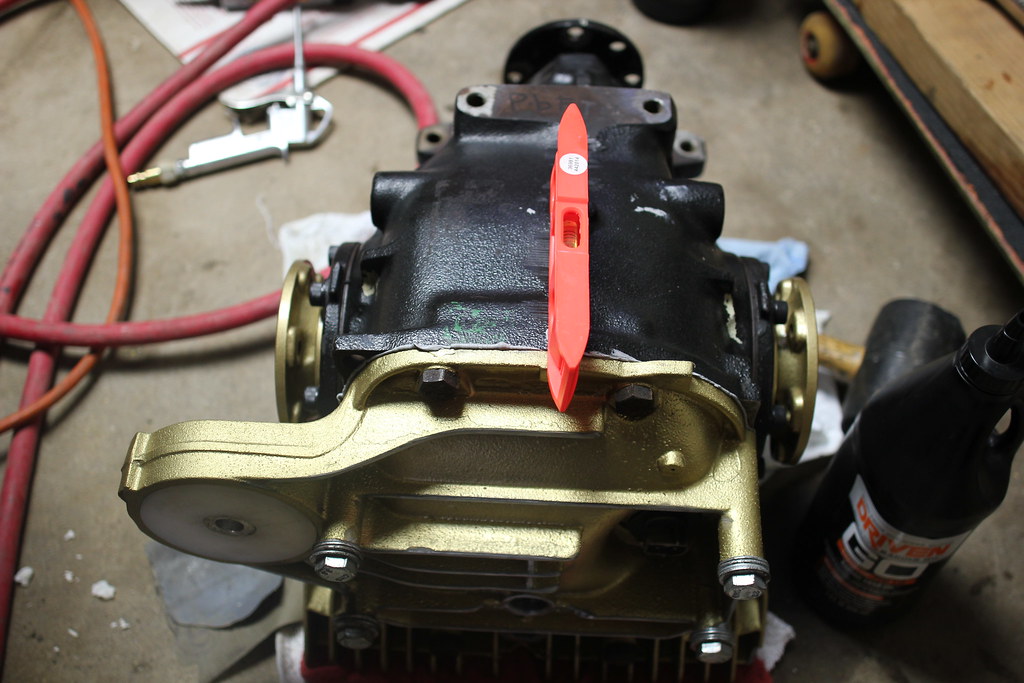
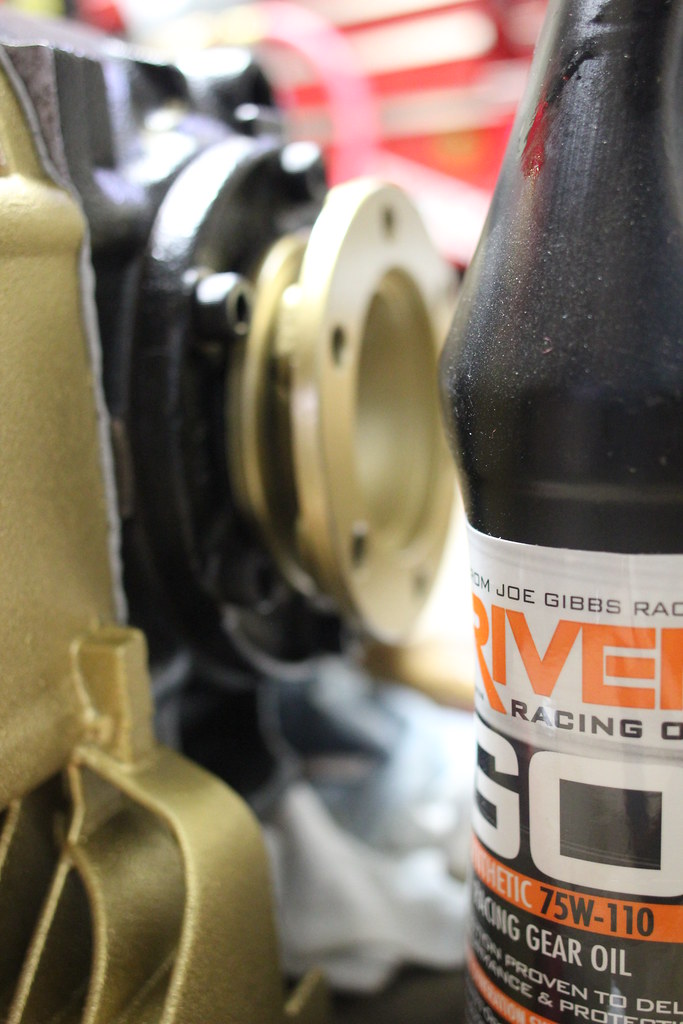
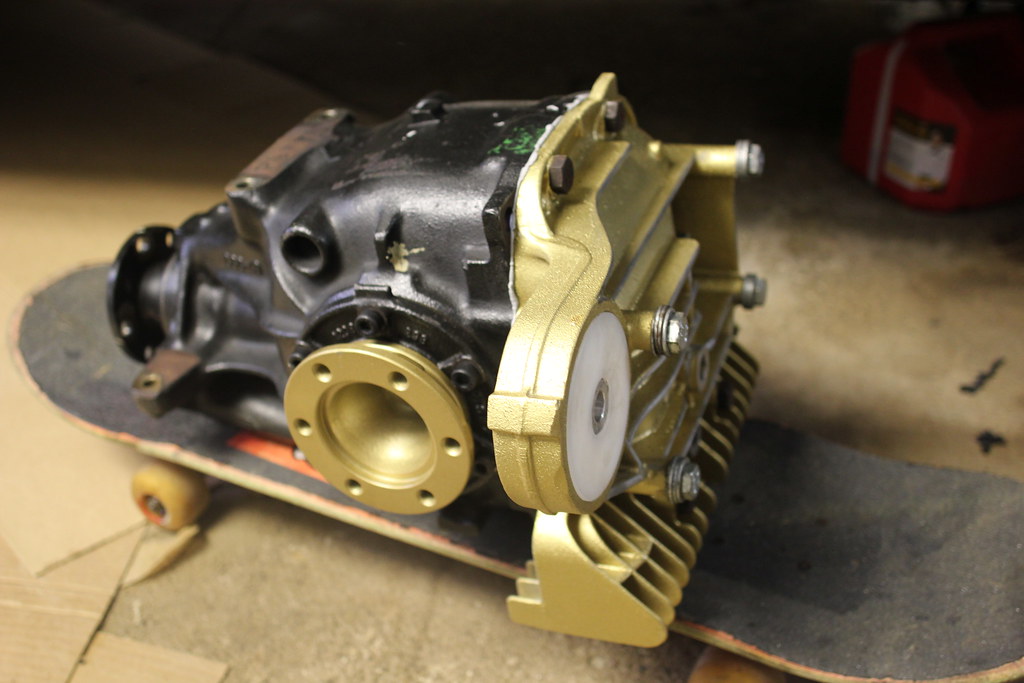
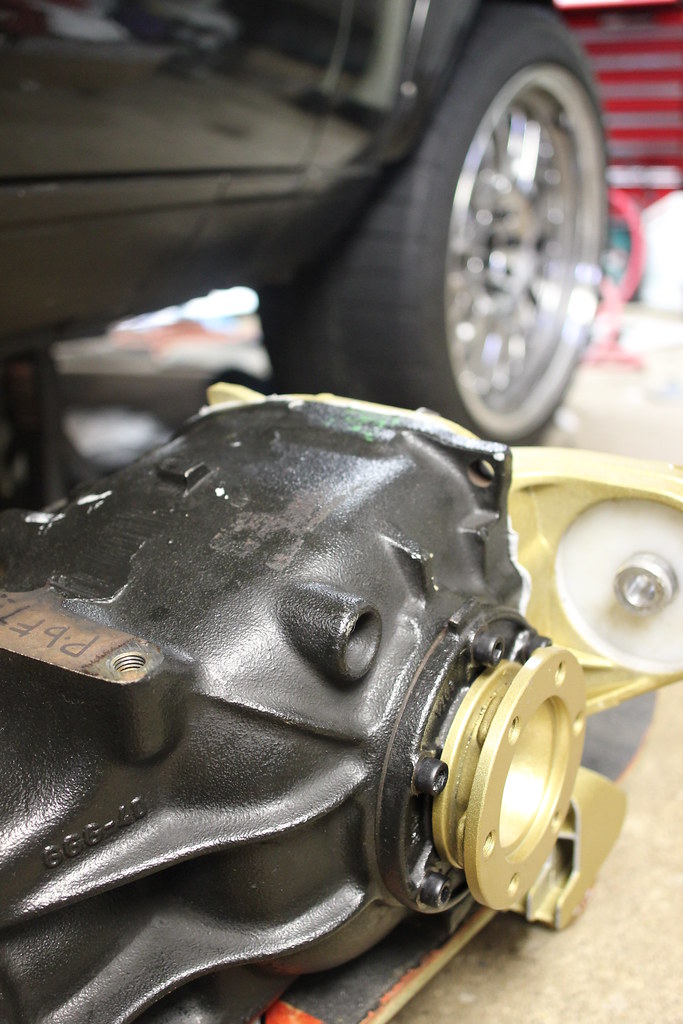
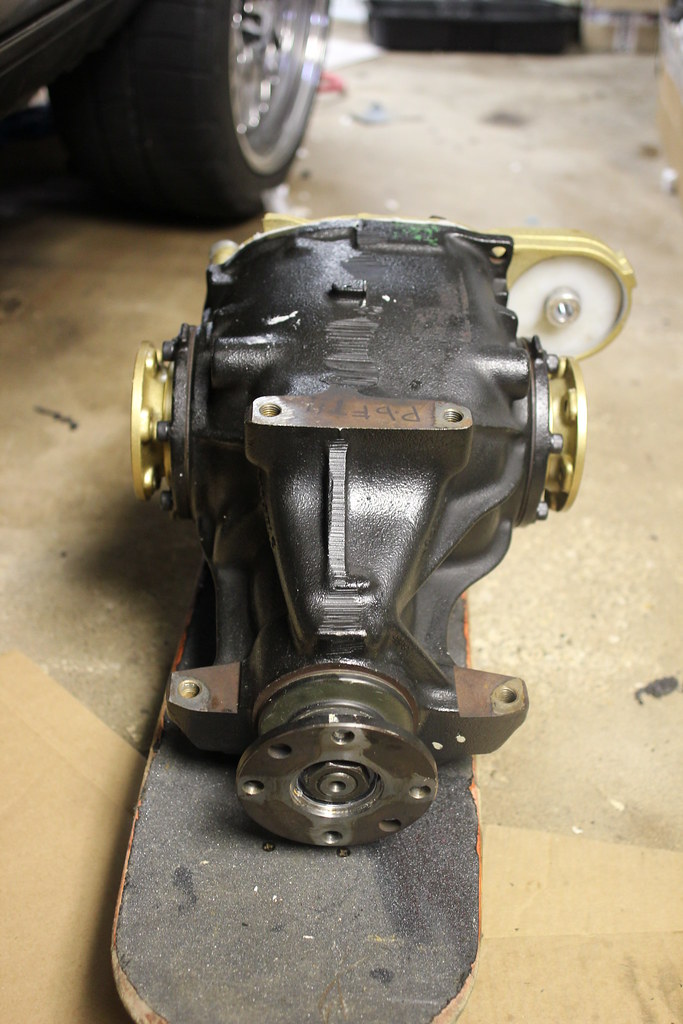
        Wangmanstyle Diff Install!

        2098718744999b170a009b.jpg

        2116373982227d3b75966b.jpg

        211637368725aaf9a0786b.jpg

        209871778692ef0e6e7a5b.jpg

        2098607234816fd173229b.jpg

        21147752836c431ca573bb.jpg

        20552864283e77a0884b9b.jpg

        2098716223930b514d37db.jpg

        20552849363acb14bb18eb.jpg

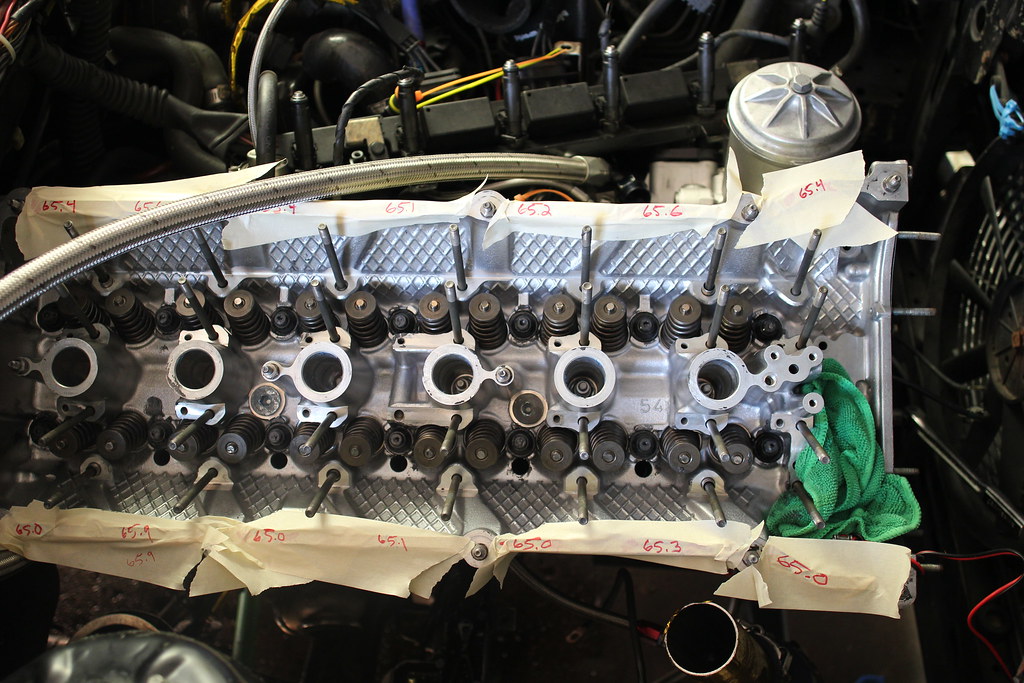
        Torqued the head to 65 ft/lbs after I re-torqued the bolts to 35 ft/lbs this morning.  About 5 "jumped" to an easier spot (about 30 ft/lbs) at this stage then tightened to 65 ft/lbs if that makes any sense.
        2055131069464289435b9b.jpg

        15924991875a64c599885m.jpg

             @DrLeadFoot

        1 Reply Last reply
        0
        • YoungCRY
          YoungCRY
          YoungCR
          wrote on last edited by
          #1303

          Great shots, new daily looks clean too!

          Chris Young
          BMWCCA #458972
          1986 528e/5  | 1994 530i/5 | 1995 540i/6 | 2013 X5 35d | 1998 C1500 Suburban | 1995 K2500 Suburban

          1 Reply Last reply
          0
          • DrLeadFootD
            DrLeadFootD
            DrLeadFoot
            wrote on last edited by
            #1304

            CYoung said:

            Great shots, new daily looks clean too!

            Thanks!

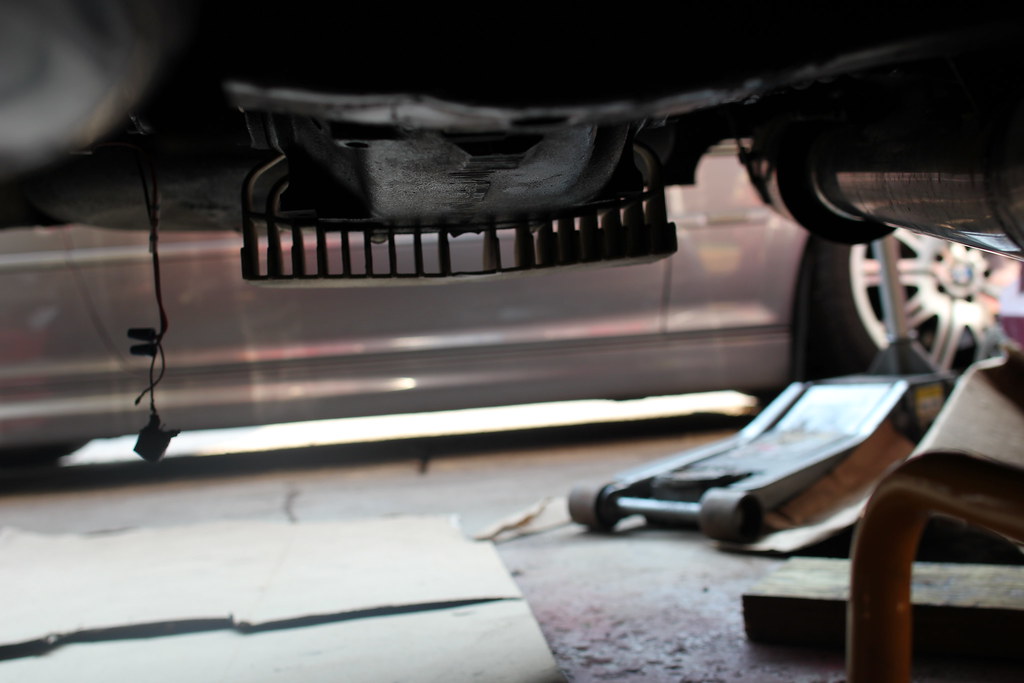
            It is pretty clean. Only 2 very small rust spots (license plate light area & rear quarter by bumper) Needs a good amount of trim pieces, new drivers front axel, has an oil pan leak, underbody is super clean. It was owned by a BMW tech at concours' wife. A lot of maintenance has been done.

            Sent from my SM-G900V using Tapatalk

            15924991875a64c599885m.jpg

                 @DrLeadFoot

            1 Reply Last reply
            0
            • DrLeadFootD
              DrLeadFootD
              DrLeadFoot
              wrote on last edited by
              #1305

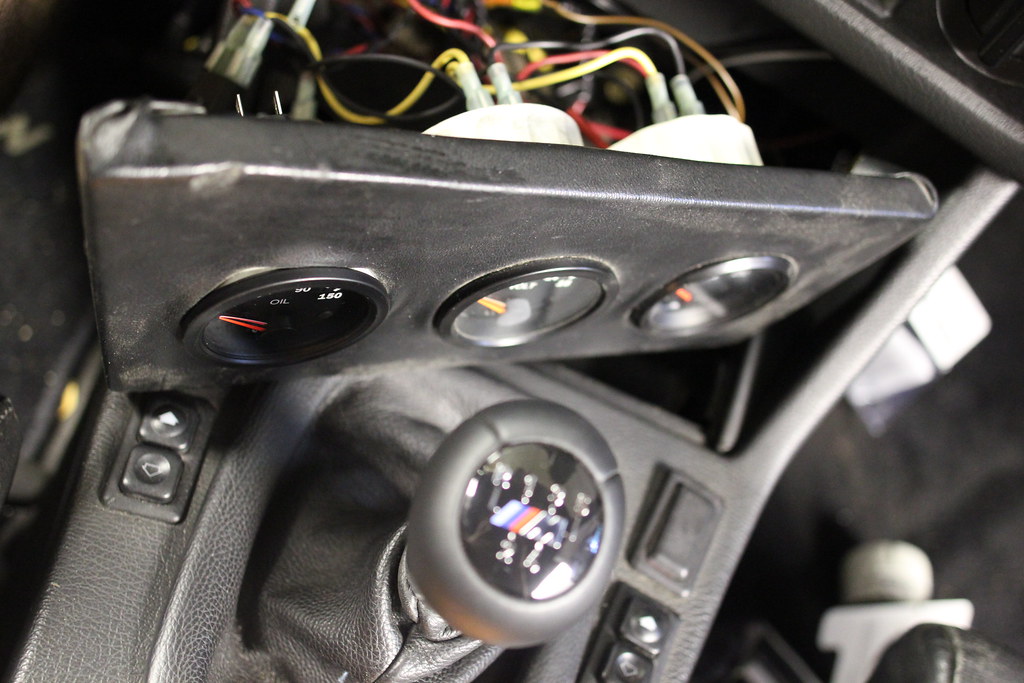
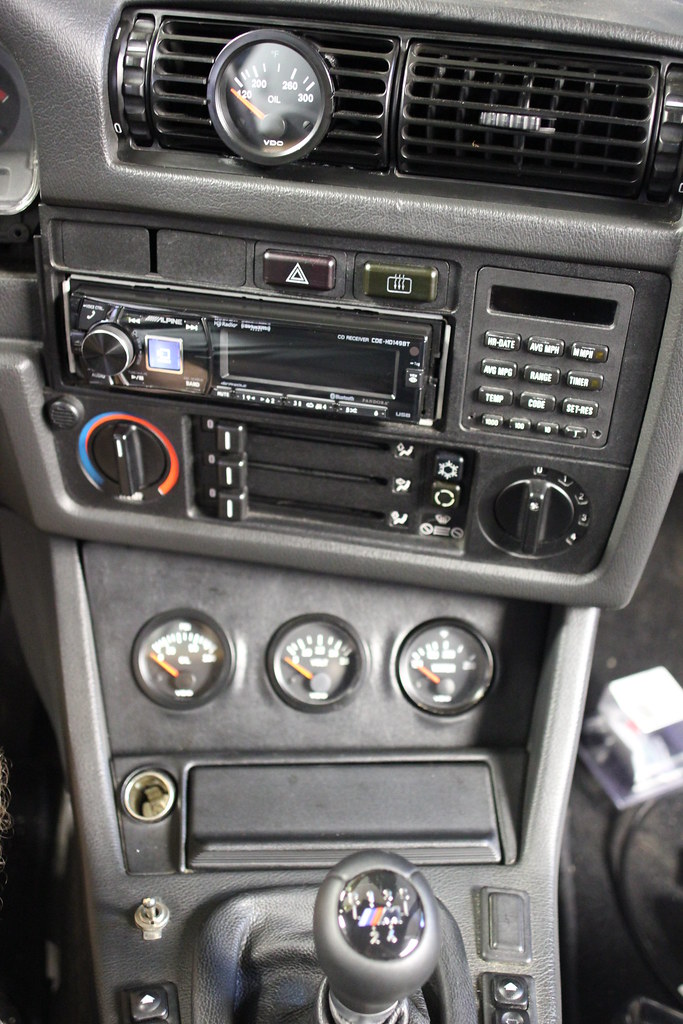
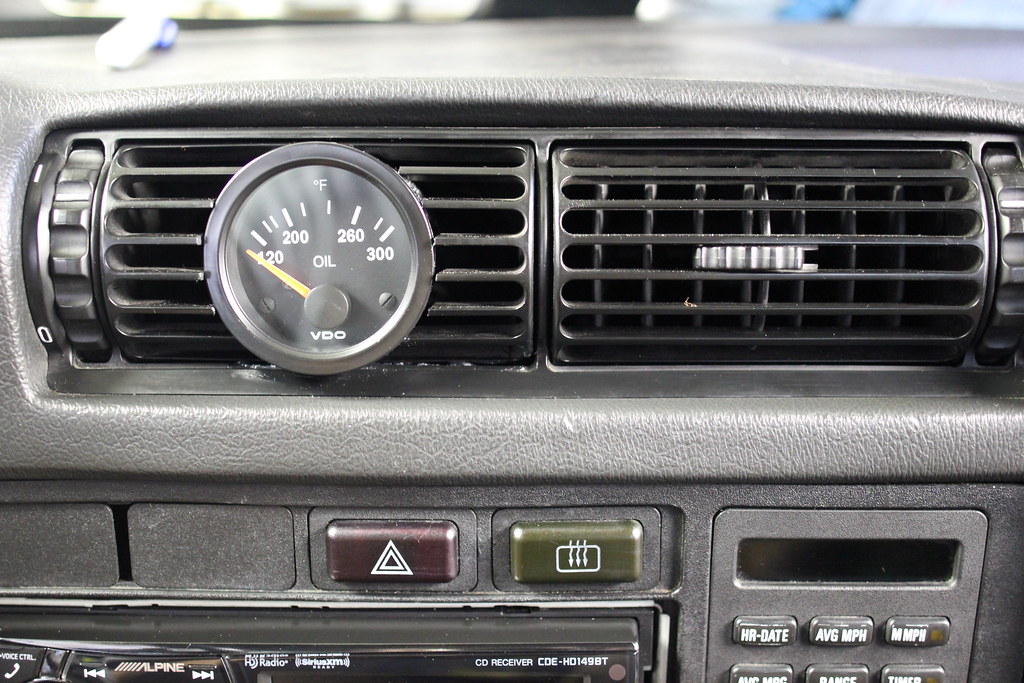
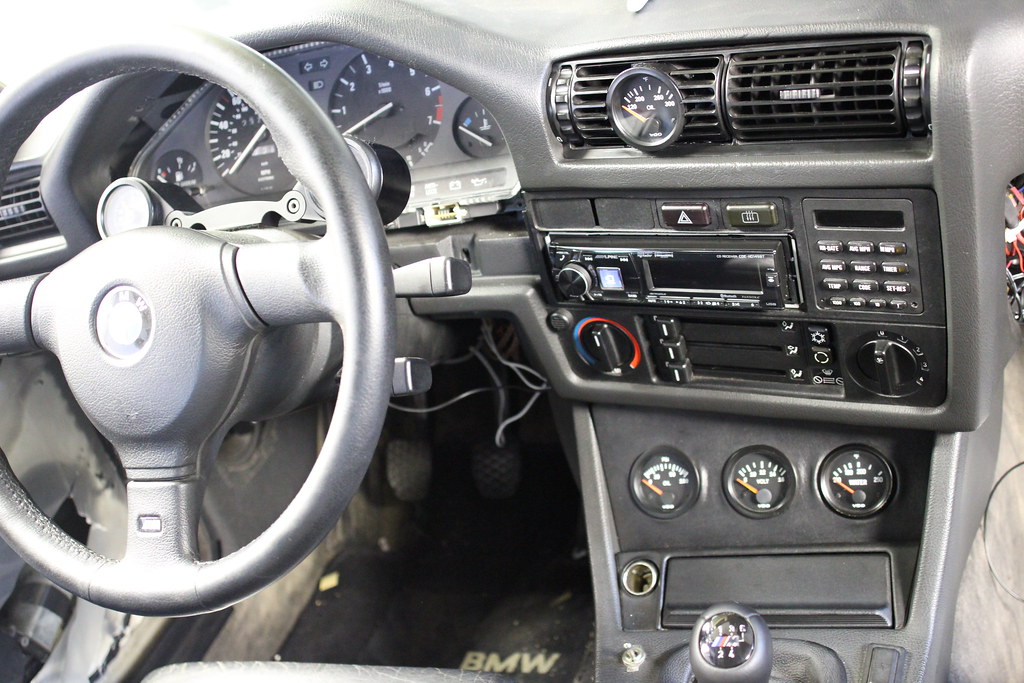
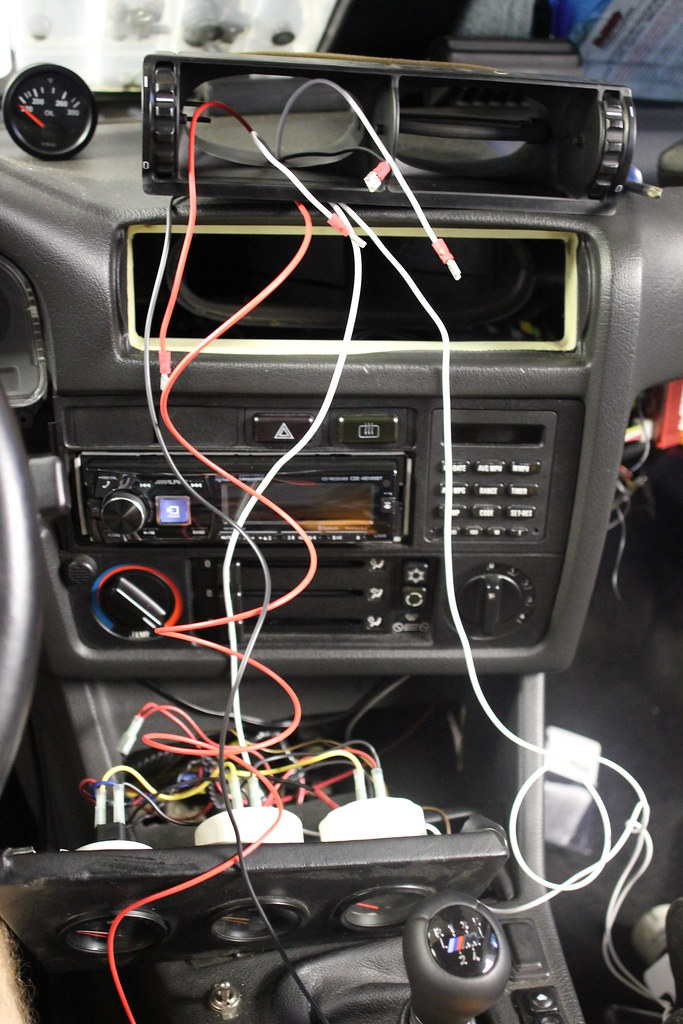
              Started to wire up my oil temp gauge.  Also replaced my oil pressure gauge with a new one.
              21202995051b457bd269fb.jpg

              21195119715c17b3806c8b.jpg

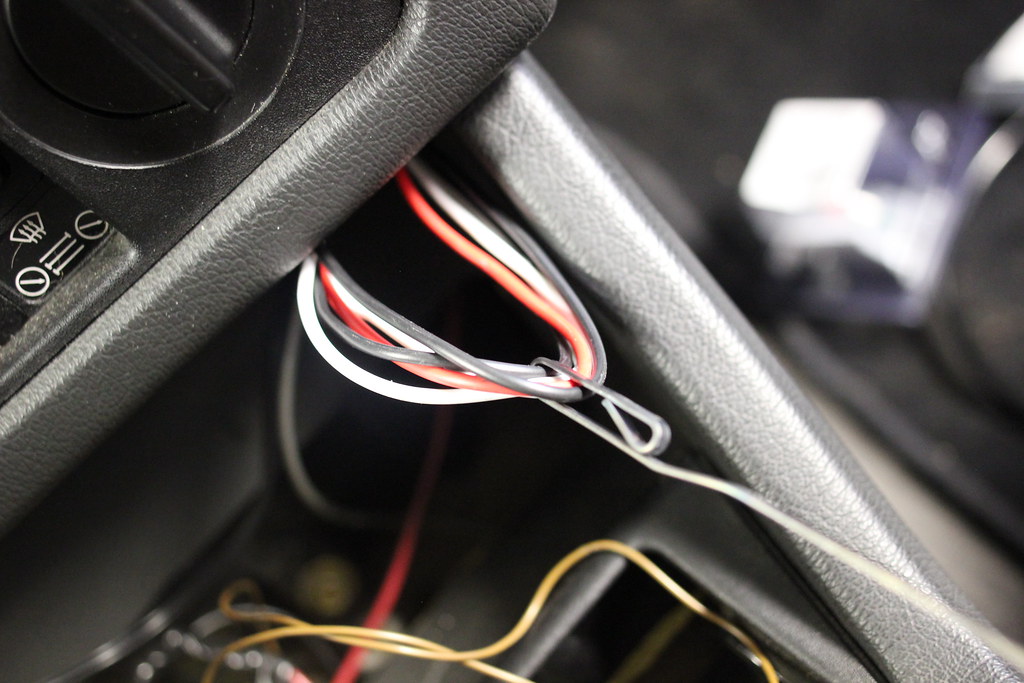
              Used fish tape.

              21168869856646eb7e950b.jpg

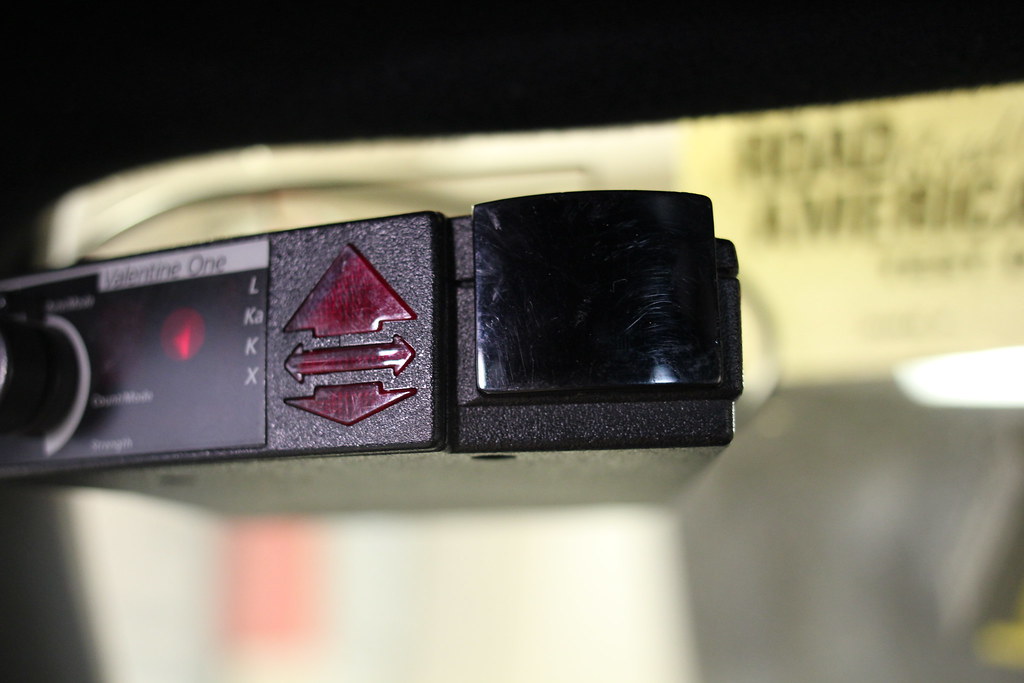
              Hardwired my V1 detector.

              2119510394548cbde6eb2b.jpg

              210069941408e46426c37b.jpg

              21195091935b464ec38d8b.jpg

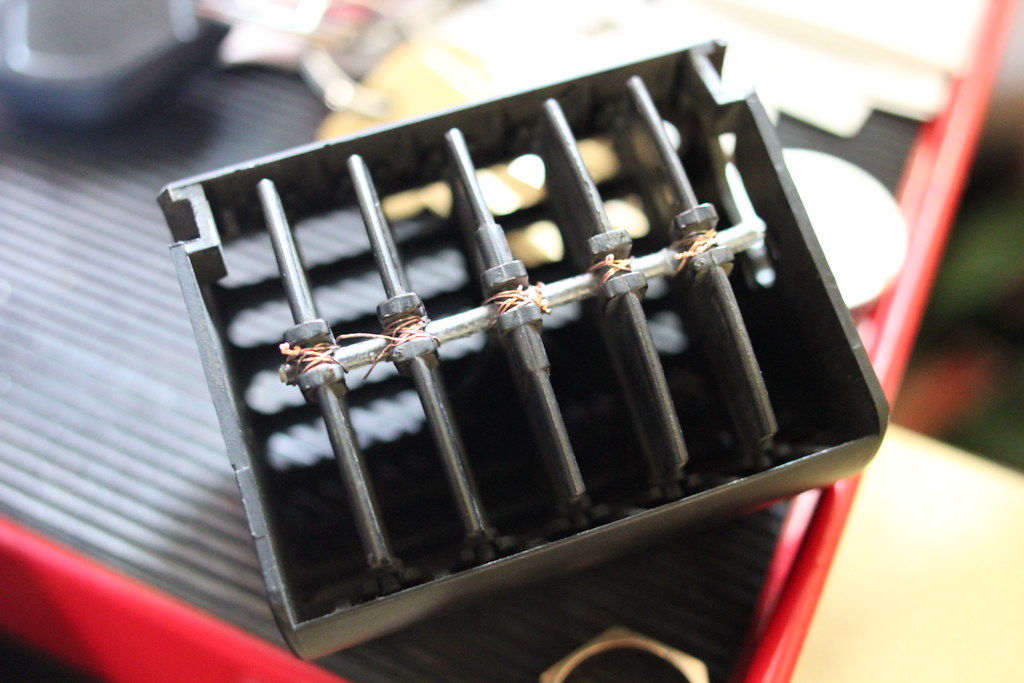
              Rigged up a broken vent.

              21007174188a625d1362db.jpg

              212029613213f7f4c3600b.jpg

              Retorqued the head studs to 65 this morning.  A couple were loose.  Retorqued them again around Noon.  I'll check tomorrow to see if any move.  If they don't I'll go up to 85 ft/lbs.

              Cut into the VSS coming out of the speedometer for the rear wheel speed input to the Traction control chip.  Still have to cut the front left ABS wires and run them into the cabin.

              Pulled the wires through the firewall for the oil pressure and oil temp.  Still need to install the sending units.  

              #b33rm3

              15924991875a64c599885m.jpg

                   @DrLeadFoot

              1 Reply Last reply
              0
              • patsbimmer1P
                patsbimmer1P
                patsbimmer1
                wrote on last edited by
                #1306

                yummmmm... Meth...  Looks like things are coming along!  Nice daily!  Keep an eye on the DISA valve if it hasn't been replaced already.  That can be catastrophic!

                2011 e90 M3 - DCT, Borla exhaust, BMW Performance Black Grille, ECS Painted Corners, Ziza Angel Eyes

                07 335i Stella - sport package, BMS DCI, zhp knob, TMS cf parking brake lever, VRSF downpipes, MHD tune, H&R race springs, other stuff *SOLD*

                97 328i Lola - sport package, m50 intake manifold, m50 manifold.com install kit, custom CAI, K&N filter, Borla exhaust, FK silverline coilovers, 25.5mm front sway bar, Powerflex front sway bushings, Turner Radiator, fan delete *sold*
                95 325is *sold*
                93 nissan 240sx KA-T *sold*

                BMWCCA #473306

                Instagram @patsbimmer1

                AKA- HALLWAY PAT

                "burnouts bring babes and babes dont have time for bushings" - Kaiser Rolls

                1 Reply Last reply
                0
                • DrLeadFootD
                  DrLeadFootD
                  DrLeadFoot
                  wrote on last edited by
                  #1307

                  patsbimmer1 said:

                  yummmmm... Meth...  Looks like things are coming along!  Nice daily!  Keep an eye on the DISA valve if it hasn't been replaced already.  That can be catastrophic!

                  Thanks!  I'll have to look into that.

                  15924991875a64c599885m.jpg

                       @DrLeadFoot

                  1 Reply Last reply
                  0
                  • DrLeadFootD
                    DrLeadFootD
                    DrLeadFoot
                    wrote on last edited by
                    #1308

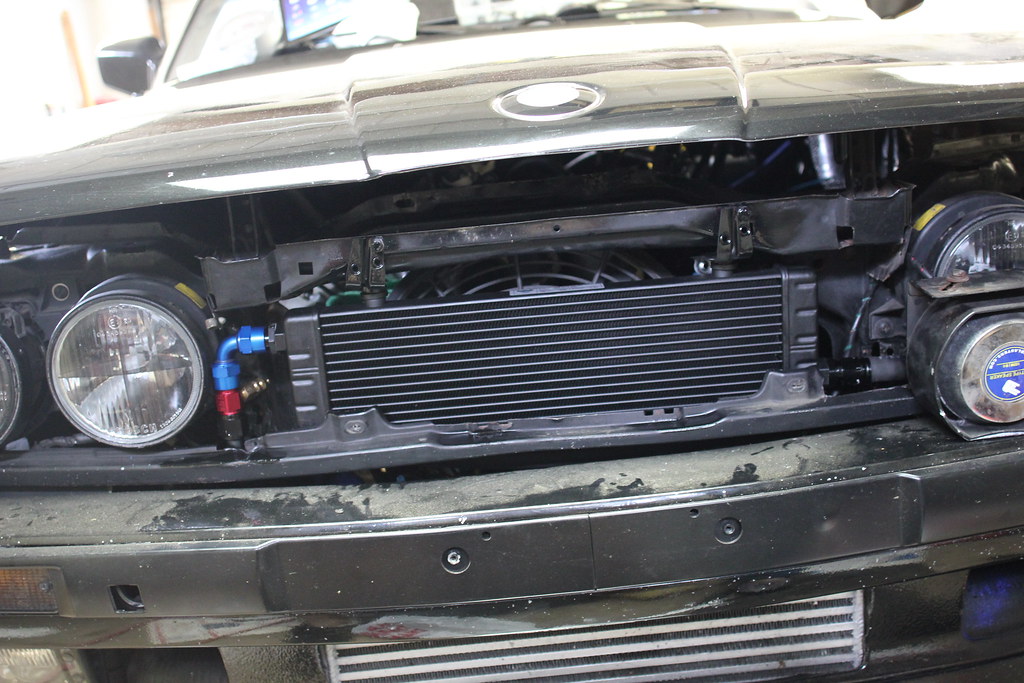
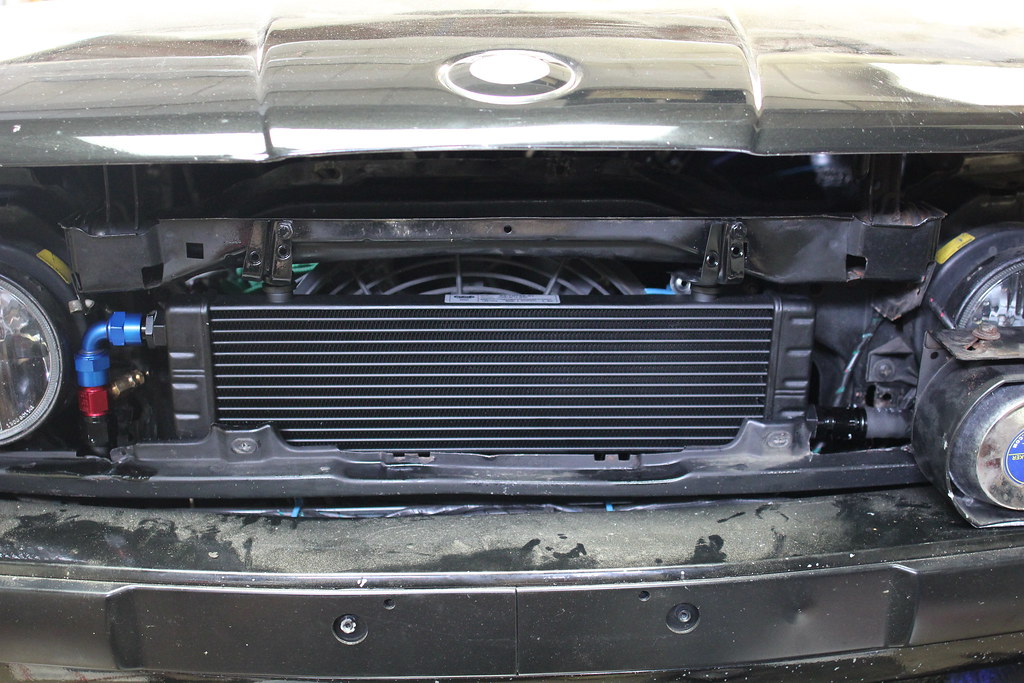
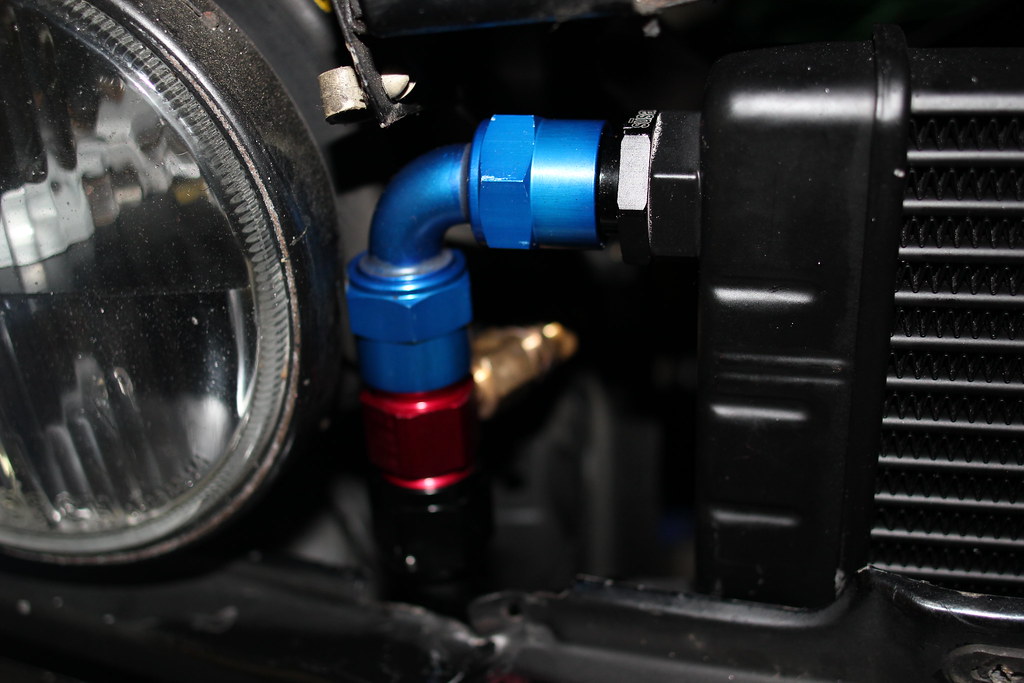
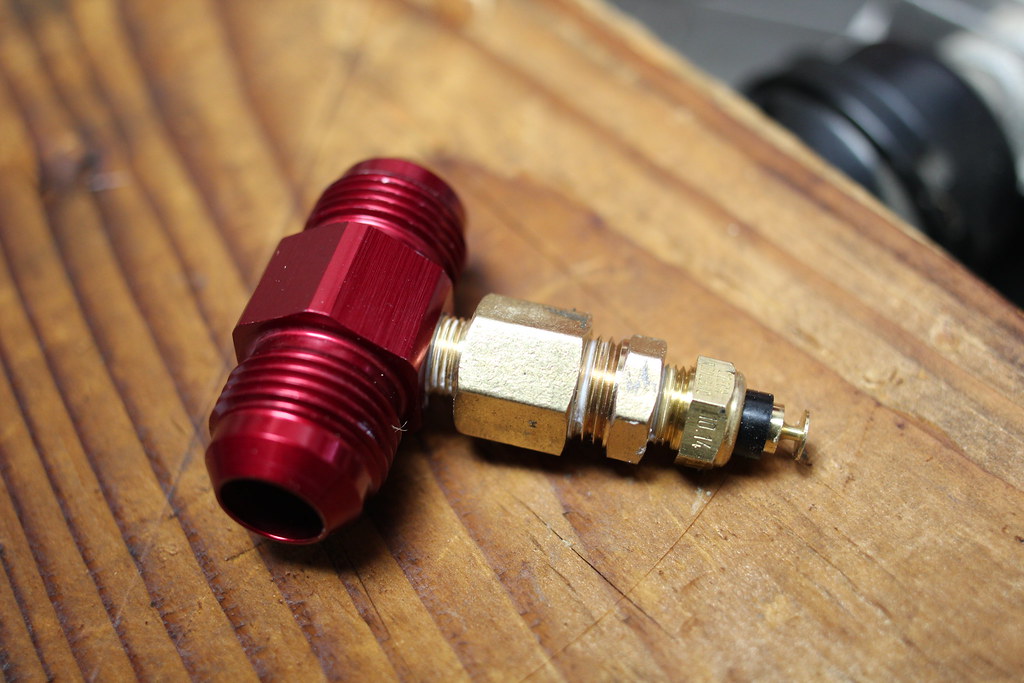
                    Oil temp setup.  Had to drill out the 1/4 to 1/8NPT fitting so the VDO sensor could get all up in.  This will be picking up the temp from the cold side of the oil cooler.
                    20602379194ff8da6fa87b.jpg

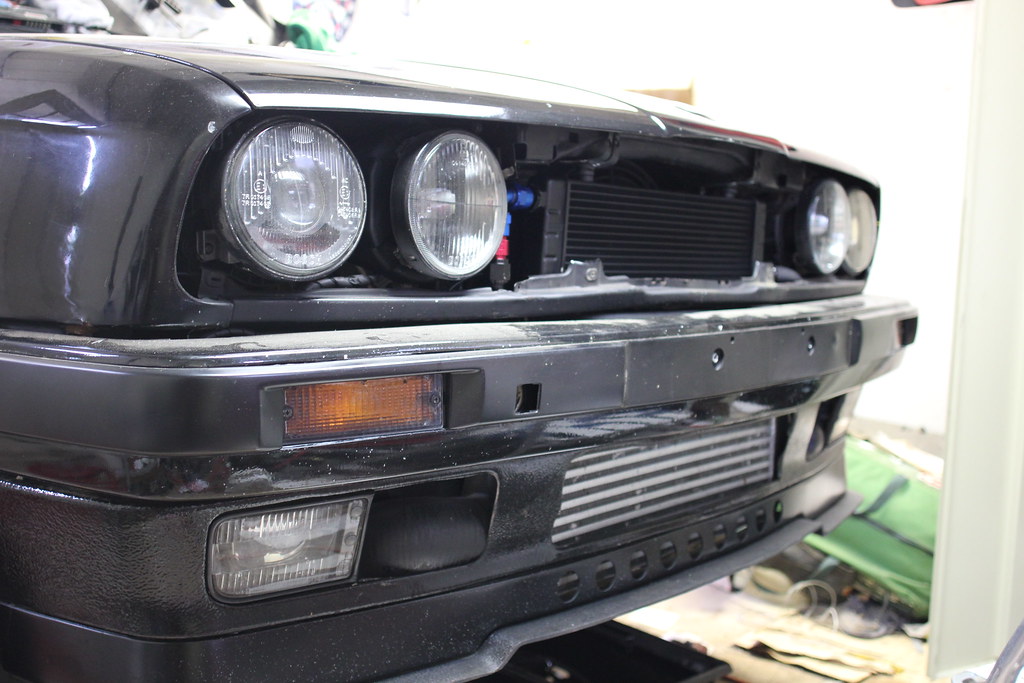
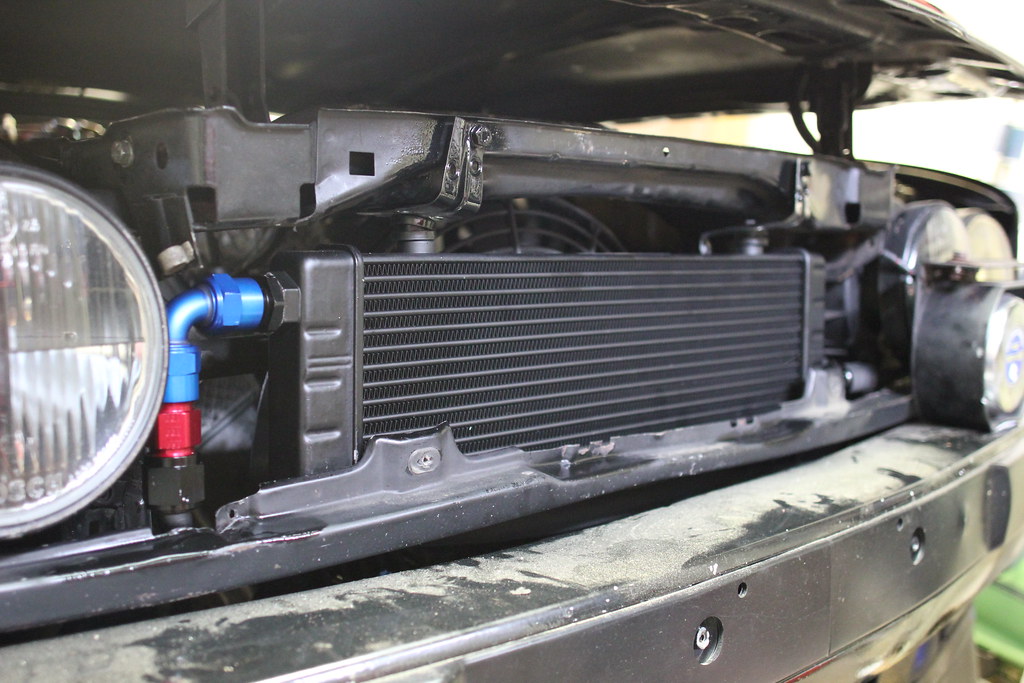
                    I don't think I could have fit a bigger cooler in there.  The grinder was used a fair amount and the mounts are temporary...haha
                    206039425138ac50671b1b.jpg

                    2103696379055ba15ea66b.jpg

                    21225053315b277c94829b.jpg

                    210371505881daee4820ab.jpg

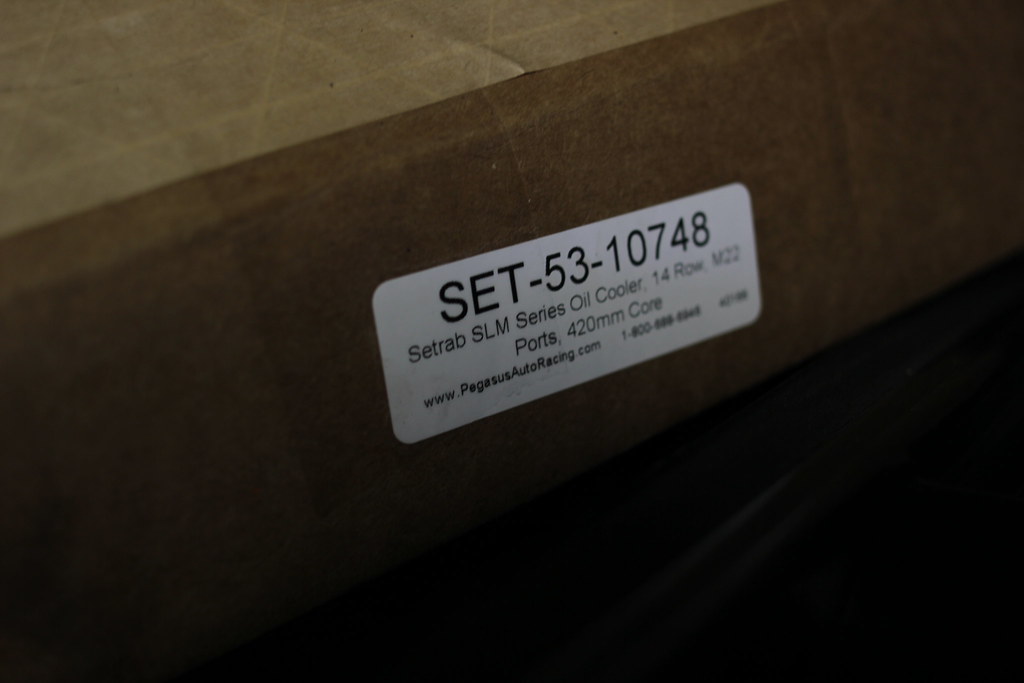
                    Setrab used:

                    21225055825944e5a7e25b.jpg

                    15924991875a64c599885m.jpg

                         @DrLeadFoot

                    1 Reply Last reply
                    0
                    • DrLeadFootD
                      DrLeadFootD
                      DrLeadFoot
                      wrote on last edited by
                      #1309

                      No pics from today/tonight but I'll do an update for the r3cord.

                      - Torque 'd down the head again at 85 ft/lbs. About 6 had some movement until they got to 85ft / lbs. Did this at Noon.

                      - Addressed the diff speed sensor. She is good to go.

                      - Cut into the right front ABS signal wire, extended it and pulled it through the firewall for the traction control chip.

                      - Wired up the sending units for the oil temp and pressure. The gauges are wired up and illuminated. Hopefully...

                      - Looked at my wiring harness for a bit.

                      That is all for now.

                      Sent from my SM-G900V using Tapatalk

                      15924991875a64c599885m.jpg

                           @DrLeadFoot

                      1 Reply Last reply
                      0
                      • DrLeadFootD
                        DrLeadFootD
                        DrLeadFoot
                        wrote on last edited by
                        #1310

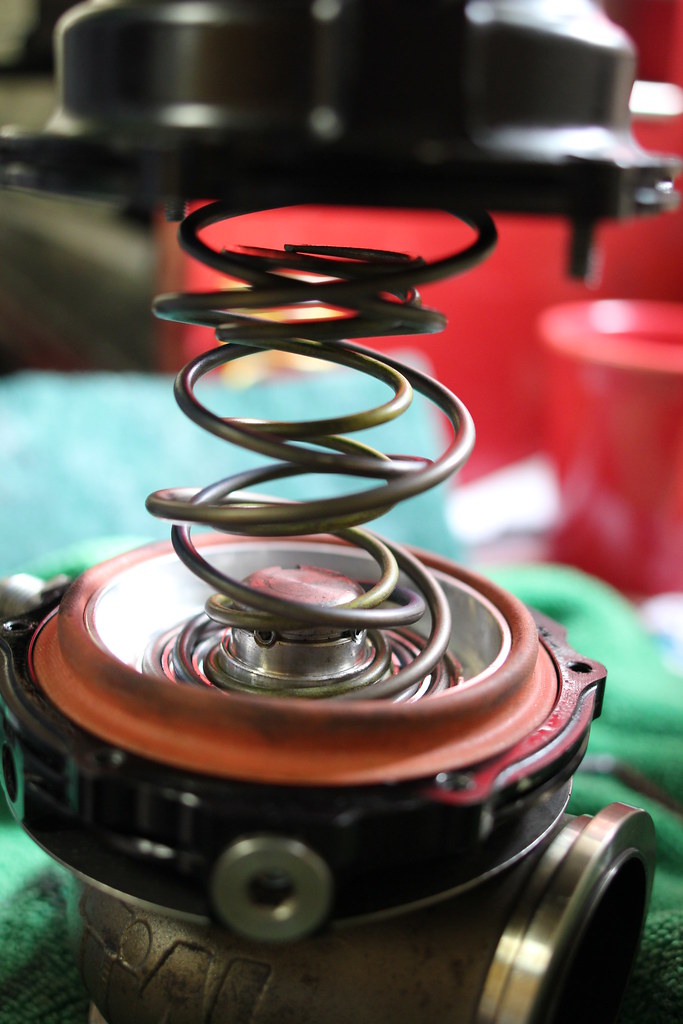
                        Took the spring in the wastegate from 18psi to a 9psi combo.
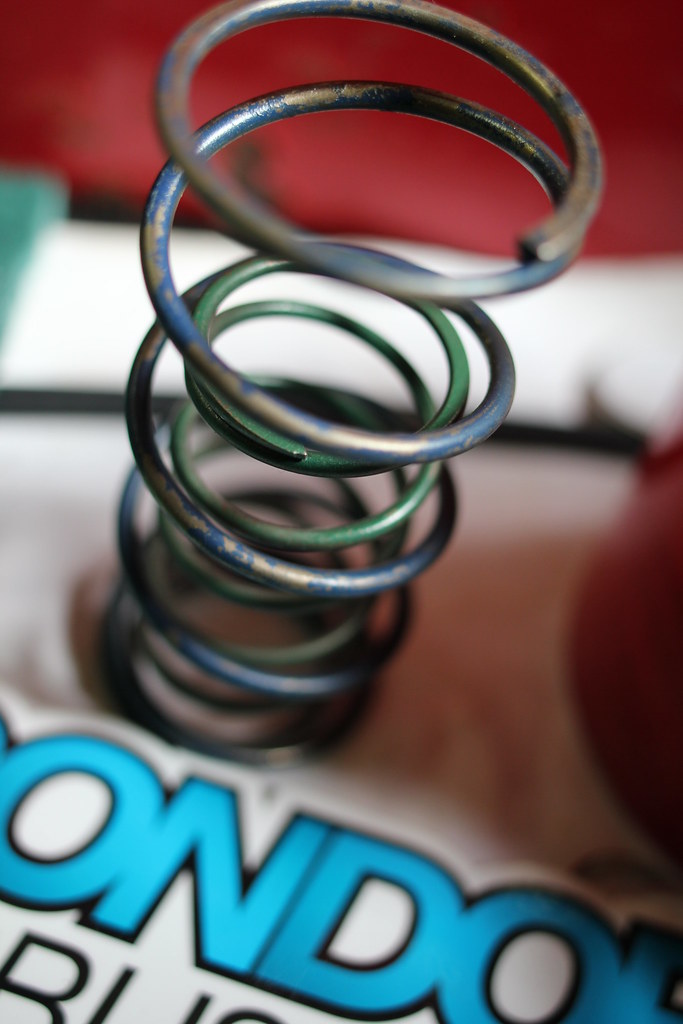
                        21260054856f6fec96327b.jpg

                        Old setup.  

                        210984272383c560deb7cb.jpg

                        Turned the attention to the BOV.  Pic for reference.
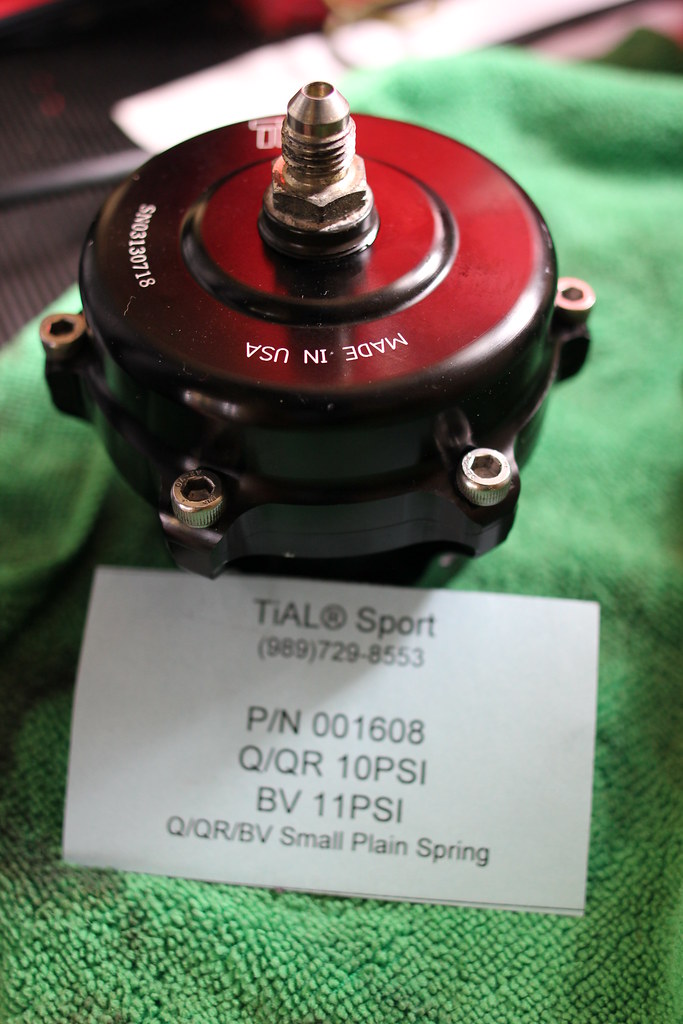
                        2109944297921e8386628b.jpg

                        Torque update:  Retorqued this morning to 85ft/lbs.  Some are good, some have a bit of creep.  We'll see what we get tomorrow AM.  Once the head bolts are all snug the new OEM timing cover housing bolts will go in with blue loc-tite to 89in/lbs if I remember correctly.  Then the cams.

                        Ordered an EBC and acquired all the hardware to hook her up.  Going fuel lines instead of braided this go round for vacuum.

                        Also rounded up fuel lines and fittings for my billet fuel rail. that has been collecting dust.

                        15924991875a64c599885m.jpg

                             @DrLeadFoot

                        1 Reply Last reply
                        0
                        • B
                          B
                          B C
                          wrote on last edited by
                          #1311

                          Are there 3 springs on the old setup?

                          1 Reply Last reply
                          0
                          • DrLeadFootD
                            DrLeadFootD
                            DrLeadFoot
                            wrote on last edited by
                            #1312

                            Snap said:

                            Are there 3 springs on the old setup?

                            Yeah

                            Sent from my SM-G900V using Tapatalk

                            15924991875a64c599885m.jpg

                                 @DrLeadFoot

                            1 Reply Last reply
                            0
                            • DrLeadFootD
                              DrLeadFootD
                              DrLeadFoot
                              wrote on last edited by
                              #1313

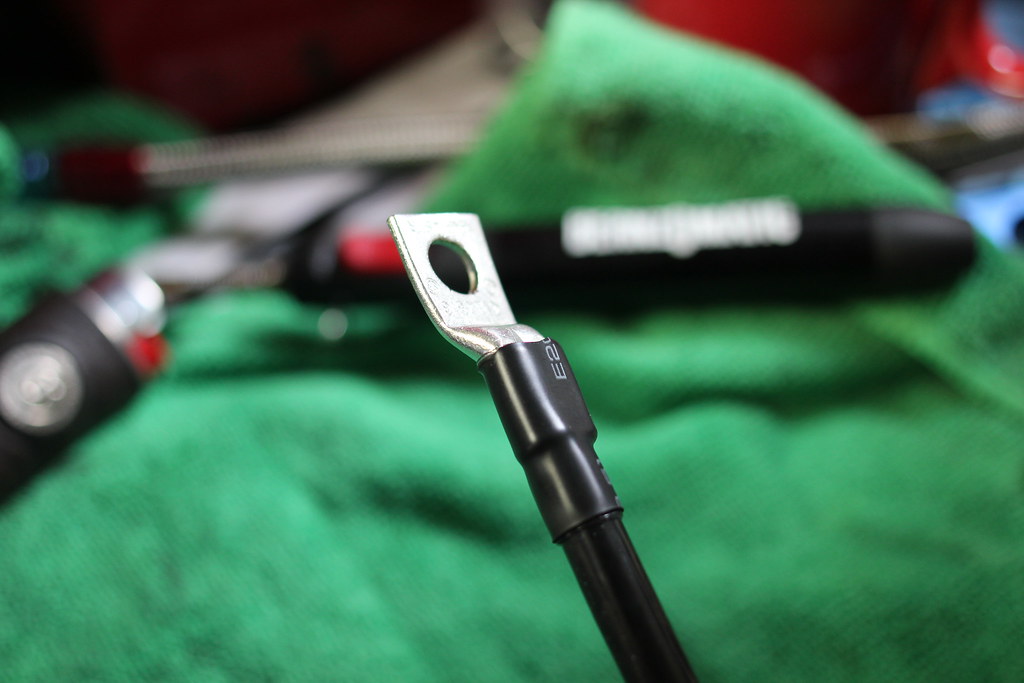
                              Making the earth ground for the megasquirt.
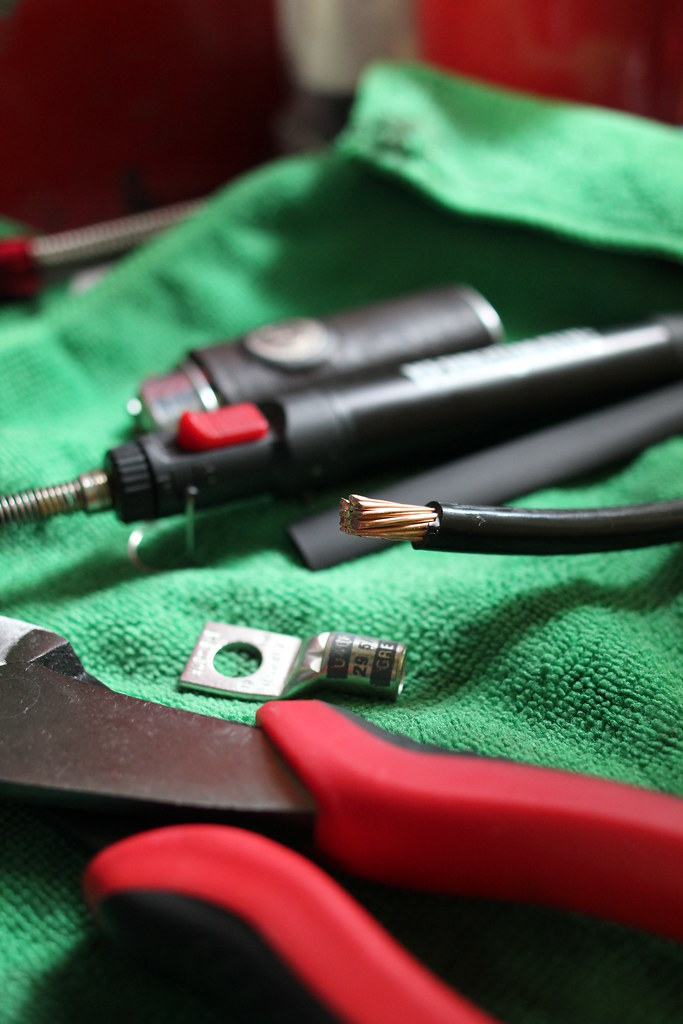
                              2111246074885abf0f638b.jpg

                              Ready for the strut tower!

                              20679217753865f5758bdb.jpg

                              Getting ready for wiring up the traction control.  The brown ABS wire is the ground for the sensor??
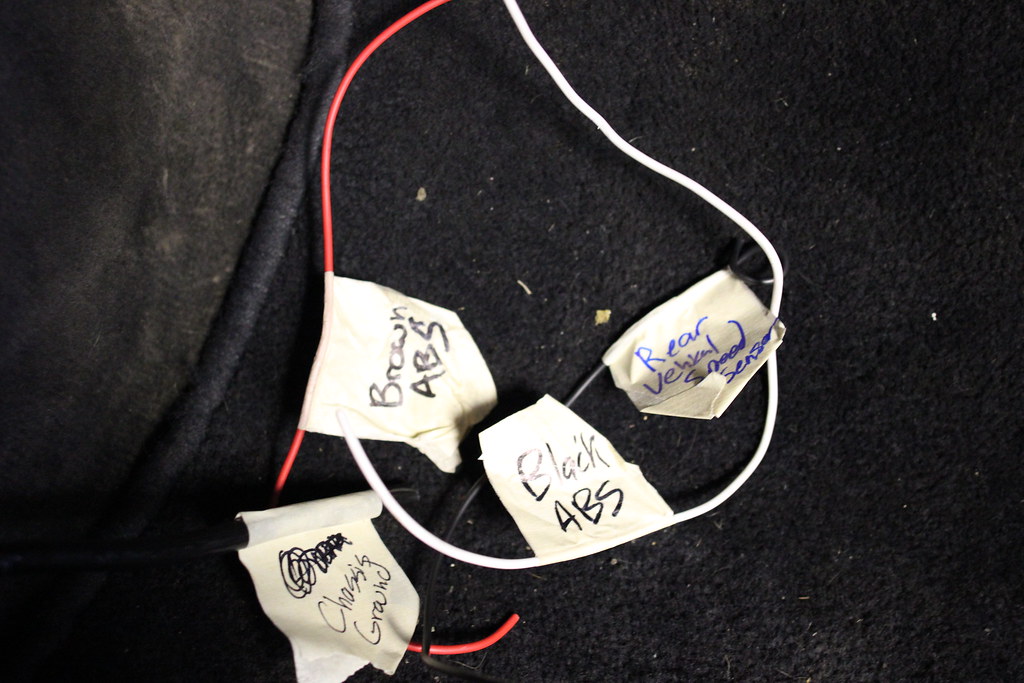
                              21274062086a180cf7b01b.jpg

                              Don't mind the bent valance.

                              212740546269c12e13101b.jpg

                              Torque Update:  There are 4 studs that have a slight creep in them.  I'll re-torque tonight.  Getting close!

                              15924991875a64c599885m.jpg

                                   @DrLeadFoot

                              1 Reply Last reply
                              0
                              • B
                                B
                                B C
                                wrote on last edited by
                                #1314

                                Beautifully done ground, its like art

                                1 Reply Last reply
                                0
                                • DrLeadFootD
                                  DrLeadFootD
                                  DrLeadFoot
                                  wrote on last edited by
                                  #1315

                                  Multi-port is ready to go.  Need to install the rest.
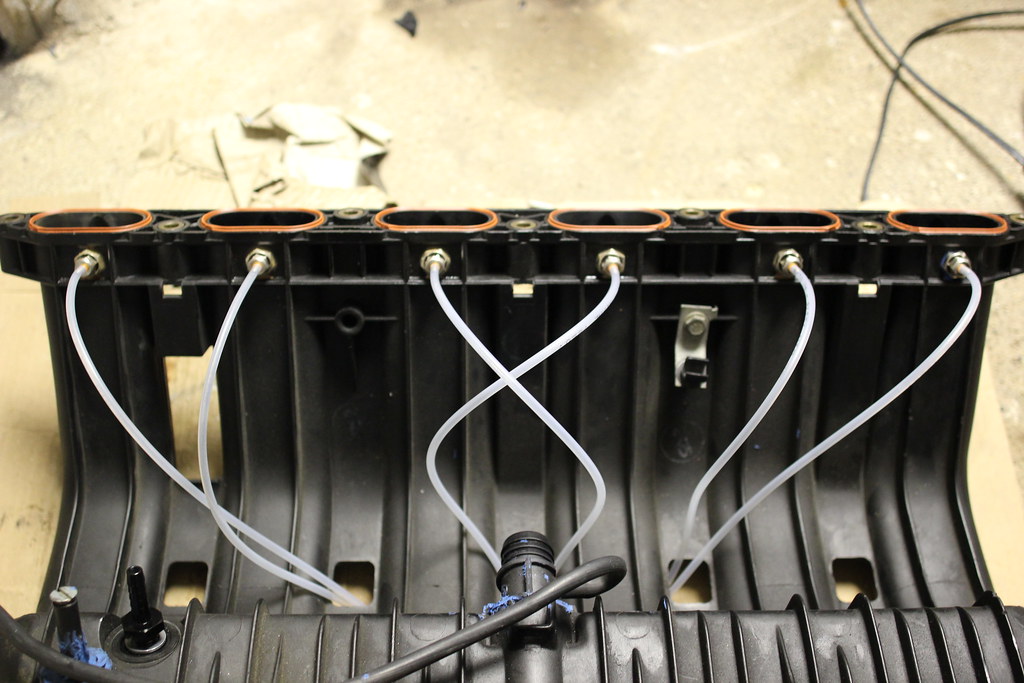
                                  2071443332478127a35a2b.jpg

                                  Ceramic Coated Exhaust Housing!! By Snap
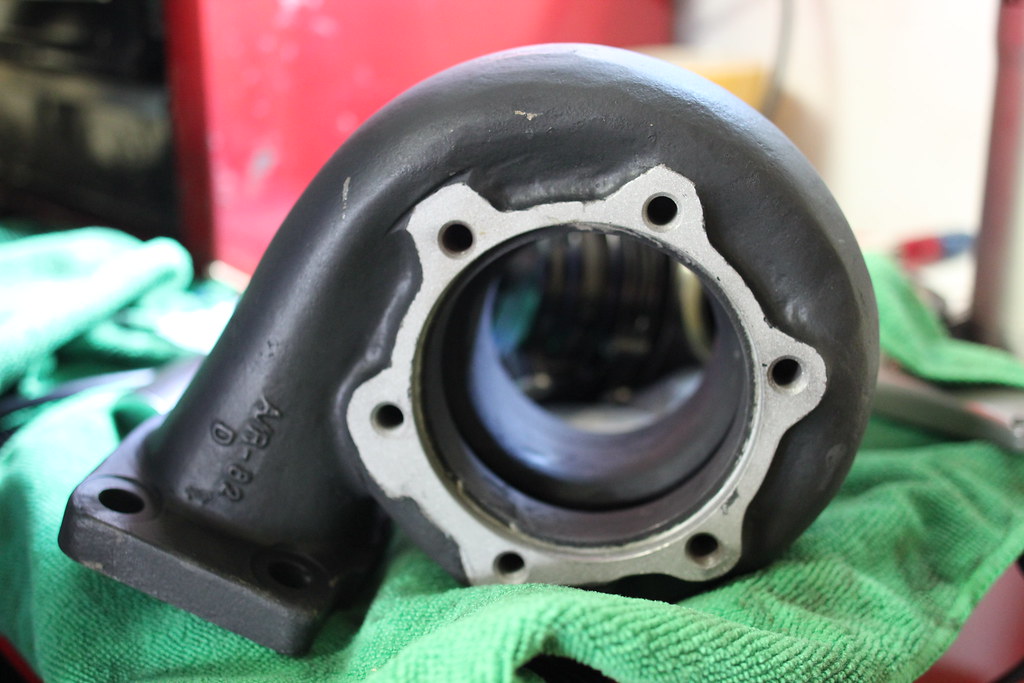
                                  211502505899351424f1fb.jpg

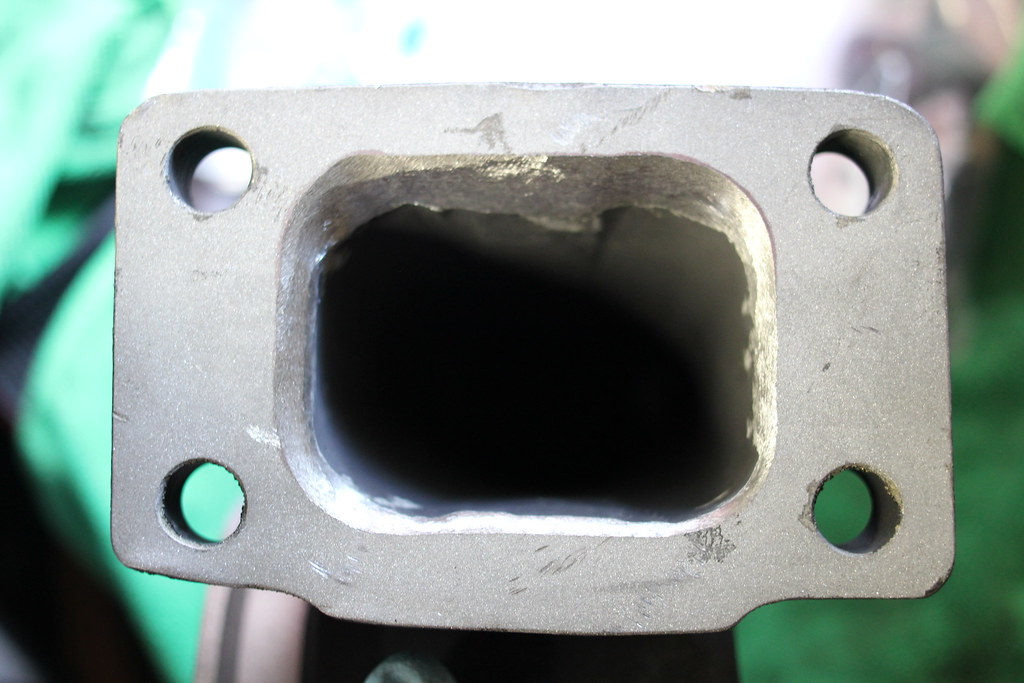
                                  Port matched the turbo exhaust flange.  Hours could have been spent porting this thing.  That's a January 23rd project.
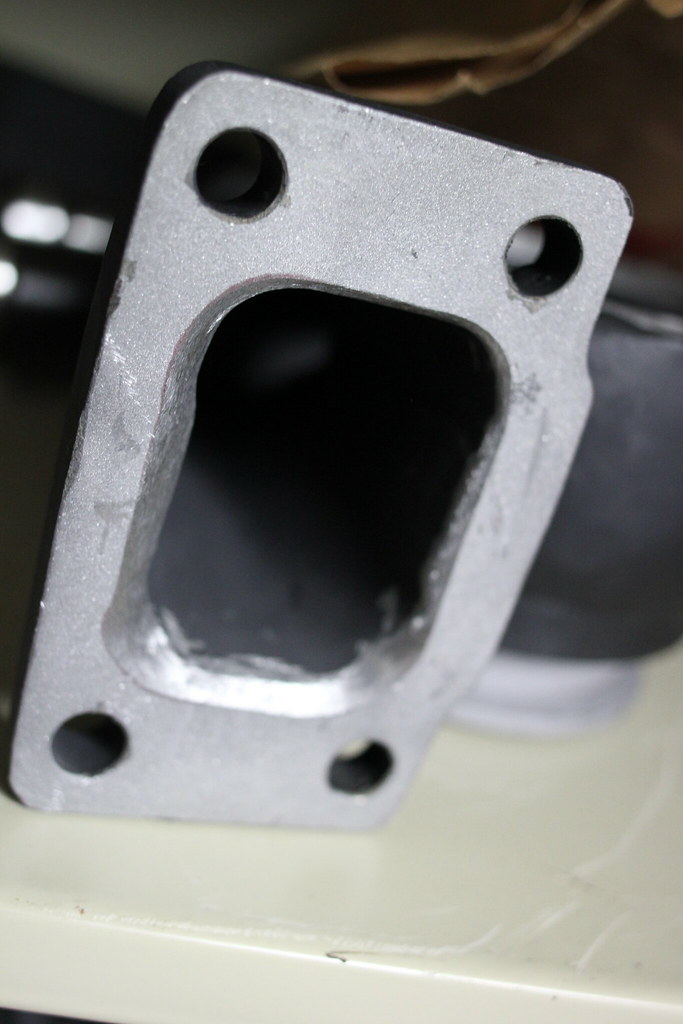
                                  20716056703659b560f8eb.jpg

                                  20714424374cebfe6a239b.jpg

                                  Cleaned up the turbo.

                                  2114925979890539ca646b.jpg

                                  Pic for filter reference on the S54 filter housing.
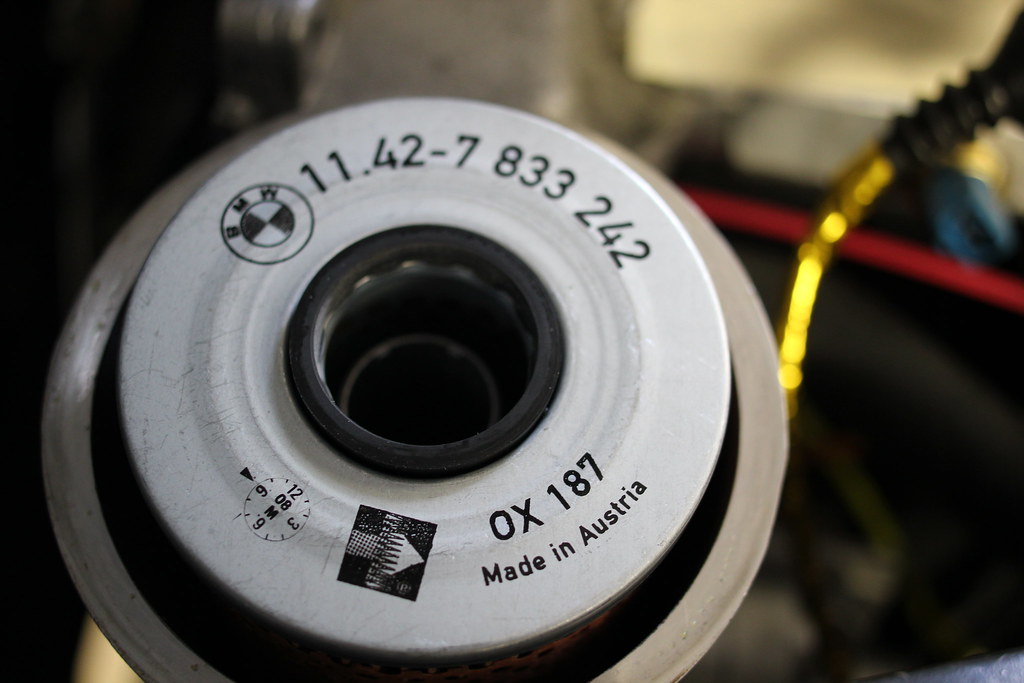
                                  21150241469648d178e32b.jpg

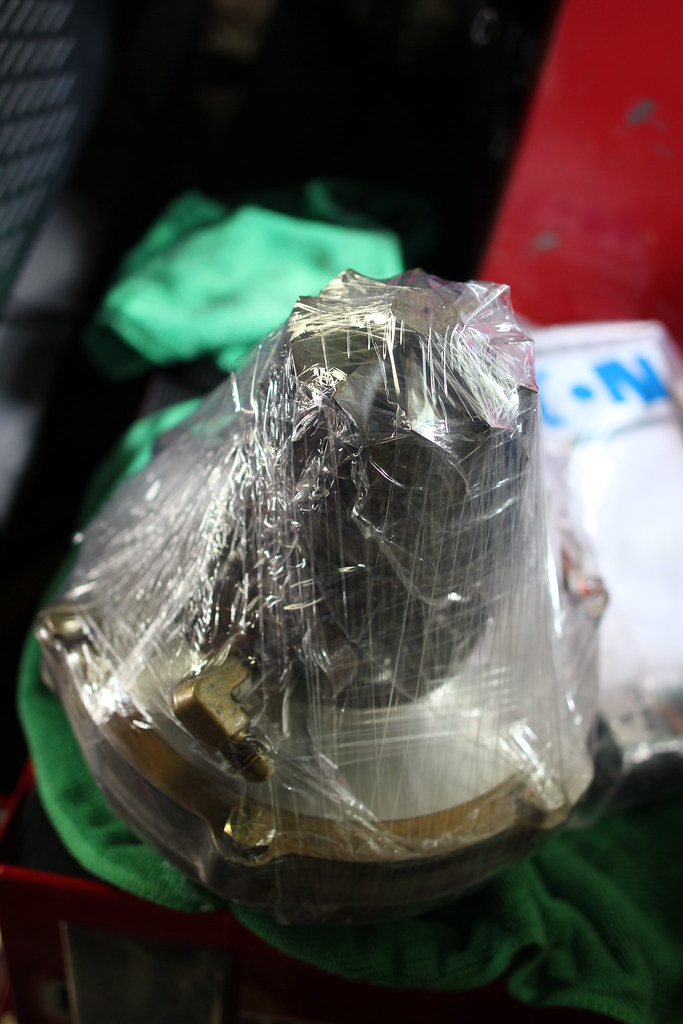
                                  Torque Update:  Done.  Time for cams.

                                  I need to figure out which oil cooler output on the S54 housing is the hot side.

                                  Last night I took out all but one of my exhaust manifold studs.  The one wasn't moving at all.  Sleep ensued then in the morning brake cleaner was sprayed in all the ports and compressed air blew out the debris.  Did this process one more round.  

                                  More to come!

                                  15924991875a64c599885m.jpg

                                       @DrLeadFoot

                                  1 Reply Last reply
                                  0
                                  • DrLeadFootD
                                    DrLeadFootD
                                    DrLeadFoot
                                    wrote on last edited by
                                    #1316

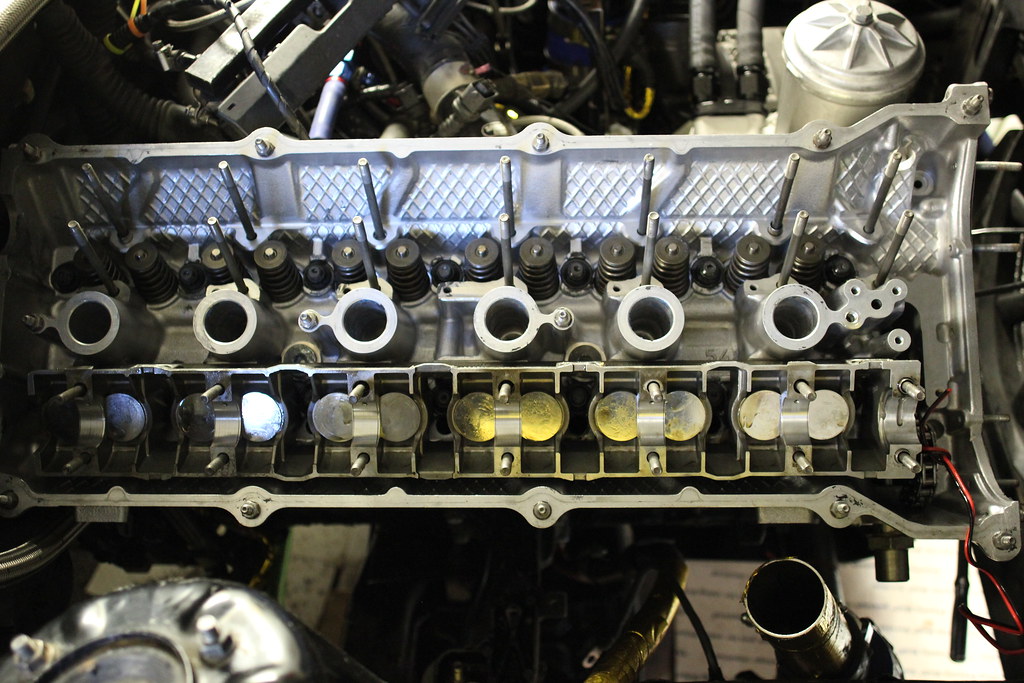
                                    Cams!!

                                    20760868144c8417ba145b.jpg

                                    Used some tape to hold the caps in then flipped it on the studs.
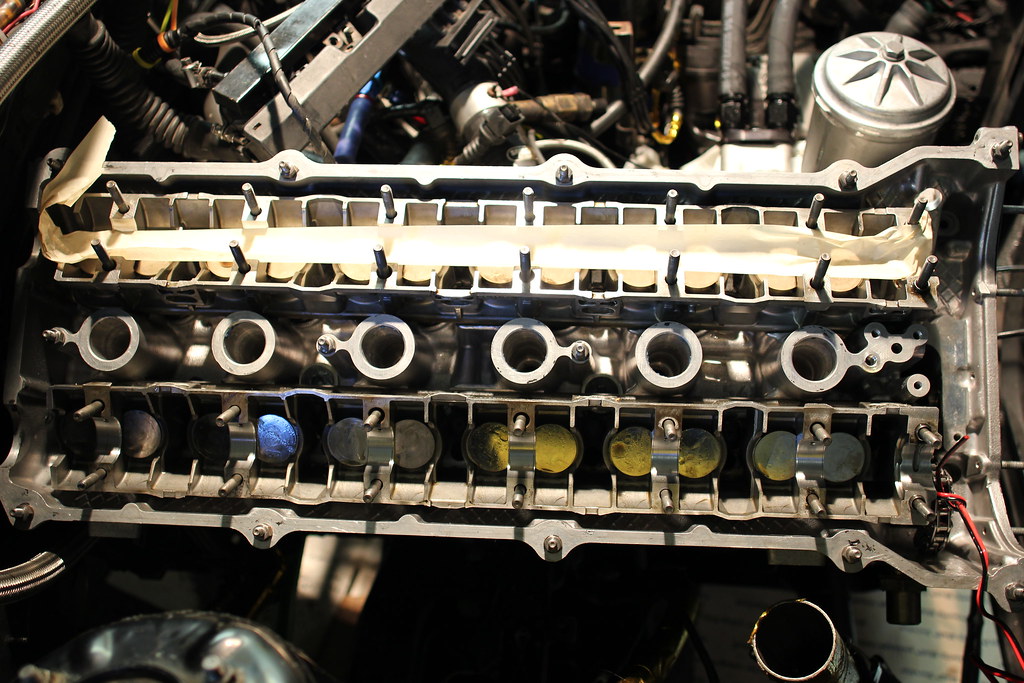
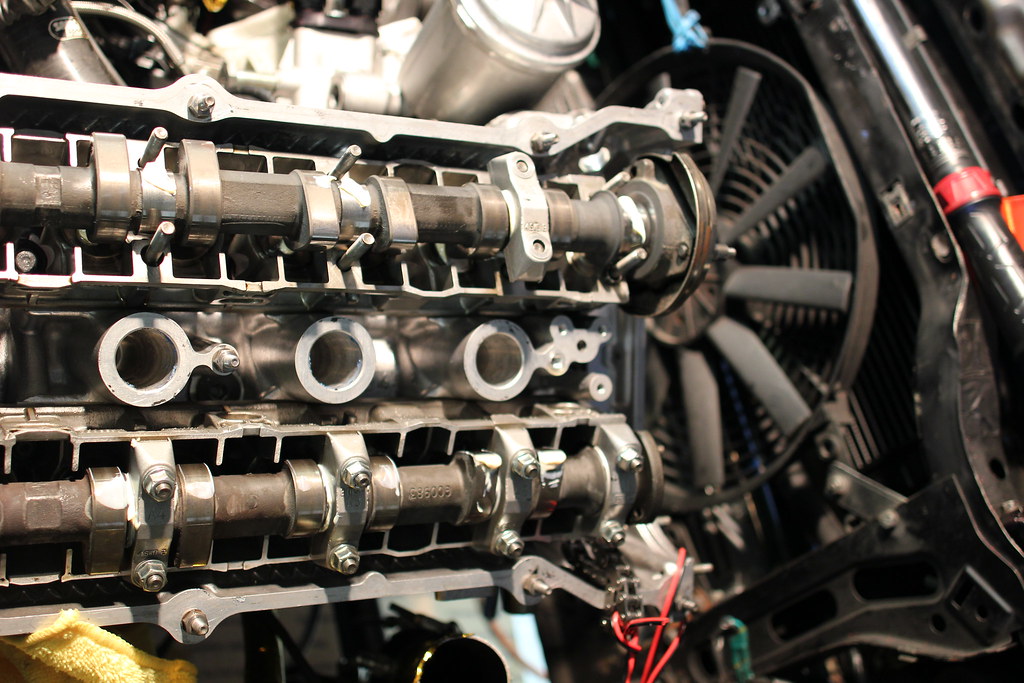
                                    2139189486164f783e4dcb.jpg

                                    Intake cam in the sweet spot.

                                    20760860434e34da12d5bb.jpg

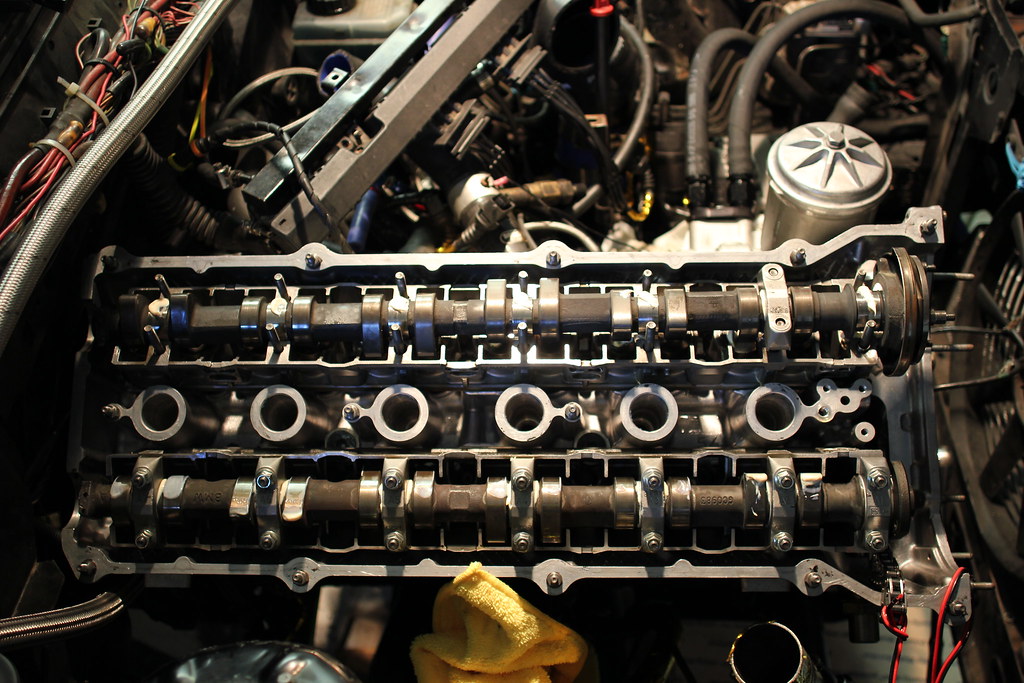
                                    21195705148e74459e263b.jpg

                                    Done!  All torqued to 11ft/lbs.

                                    21383563255a2101d3e85b.jpg

                                    15924991875a64c599885m.jpg

                                         @DrLeadFoot

                                    1 Reply Last reply
                                    0
                                    • DrLeadFootD
                                      DrLeadFootD
                                      DrLeadFoot
                                      wrote on last edited by
                                      #1317

                                      Timing done.

                                      Valve cover on.

                                      To do list:

                                      - Exhaust manifold

                                      - O2 sensor

                                      - Intake manifold

                                      - Weld meth bung on intake piping after the MAF sensor.

                                      - Run wires to new IAT sensor.

                                      - Radiator

                                      - Ground PLX wideband module to the chassis ground that will be shared with the megasquirt.

                                      Sent from my SM-G900V using Tapatalk

                                      15924991875a64c599885m.jpg

                                           @DrLeadFoot

                                      1 Reply Last reply
                                      0
                                      • jc43089J
                                        jc43089J
                                        jc43089
                                        wrote on last edited by
                                        #1318

                                        Looking awesome.

                                        Sent from my 831C using Tapatalk

                                        2/94 325i Sedan, Arctic Gray: UUC LTW FW, EVO 3 and DSSR, +.020 Maxsil pistons, ASC delete, Eibach shocks/springs, 16" contour reps 238k
                                        3/93 325i Coupe, Schwarz 2, Sketchy stance action, ebay turbo, 300k
                                        '89 325i Vert, Alpine White: 5spd swapped, sold.

                                        '04 Toyota Sienna: 24V to 24V swap in progress

                                        '05 Volvo V70R, 6spd.  200k
                                        '85 Toyota LandCruiser: Lifted, gas hog. 205k
                                        '99 Nissan Maxima: 5spd, Rusty but trusty winter beater. 252k RIP.

                                        1 Reply Last reply
                                        0
                                        • DrLeadFootD
                                          DrLeadFootD
                                          DrLeadFoot
                                          wrote on last edited by
                                          #1319

                                          jc43089 said:

                                          Looking awesome.

                                          Sent from my 831C using Tapatalk

                                          Thanks! It's coming together.

                                          Tonight all the exhaust manifold studs were red loc-tite'd into the head. Replaced the O2 sensor but the connector is from an older PLX unit. I'll get that sorted tomorrow.

                                          Debating whether or not to run the megasquirt right away. I would be tempted to drive it but I think I want to start with something I know works then swap to the megasquirt asap.

                                          My neighbors have to be getting annoyed with me and my air compressor that is constantly running. I need a bigger tank!

                                          Sent from my SM-G900V using Tapatalk

                                          15924991875a64c599885m.jpg

                                               @DrLeadFoot

                                          1 Reply Last reply
                                          0

                                          Hello! It looks like you're interested in this conversation, but you don't have an account yet.

                                          Getting fed up of having to scroll through the same posts each visit? When you register for an account, you'll always come back to exactly where you were before, and choose to be notified of new replies (either via email, or push notification). You'll also be able to save bookmarks and upvote posts to show your appreciation to other community members.

                                          With your input, this post could be even better 💗

                                          Register Login
                                          Reply
                                          • Reply as topic
                                          Log in to reply
                                          • Oldest to Newest
                                          • Newest to Oldest
                                          • Most Votes


                                          • Login

                                          • Don't have an account? Register

                                          • Login or register to search.
                                          Powered by NodeBB Contributors
                                          • First post
                                            Last post
                                          0
                                          • Categories
                                          • Recent
                                          • Tags
                                          • Popular
                                          • Users
                                          • Groups