
E21 project thread

-
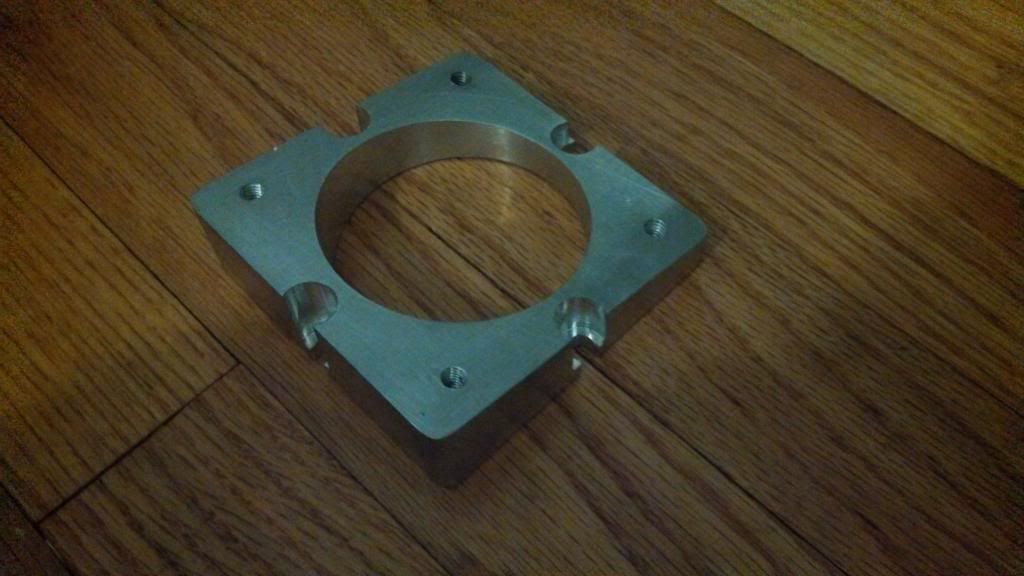
Well she is back under the knife. I am beginning the megasquirt efi install now that the edis setup is working perfectly. Took the intake manifold off the other day and worked on the m30 throttle body install and adapter I made to raise it up a tad for the charge piping to clear the valve cover.
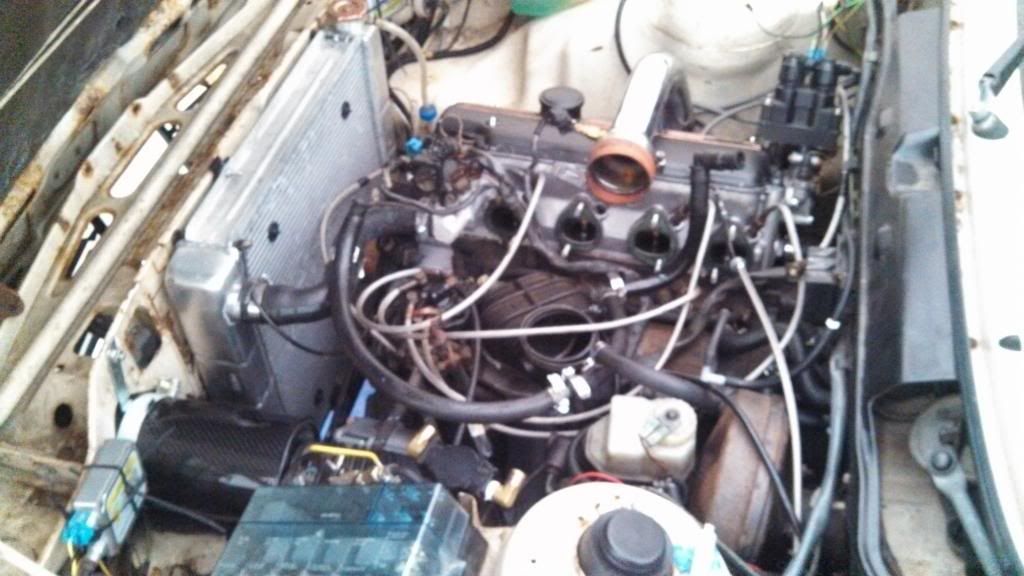
The goal is to drill holes in the manifold runners for the efi injectors to spray at the rear end of the valve. You can see where the CIS injector sits in the head and where it aims here.
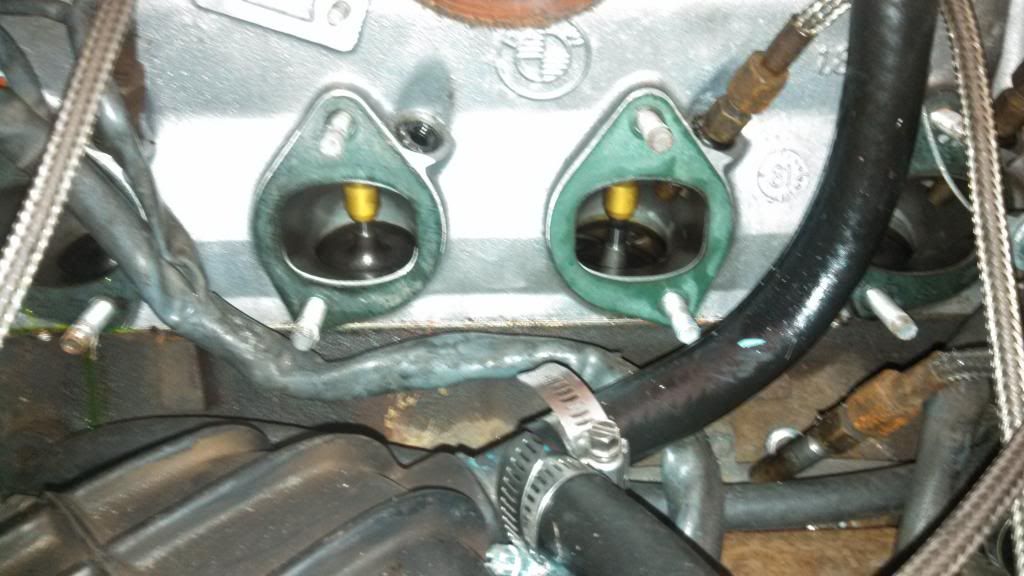
Scars, scars, and more scars. Taking that manifold off was a bitch!!
This also reminds me I never posted a finished picture of the throttle body adapter I made.
Old throttle body off, mounting holes for the adapter marked.
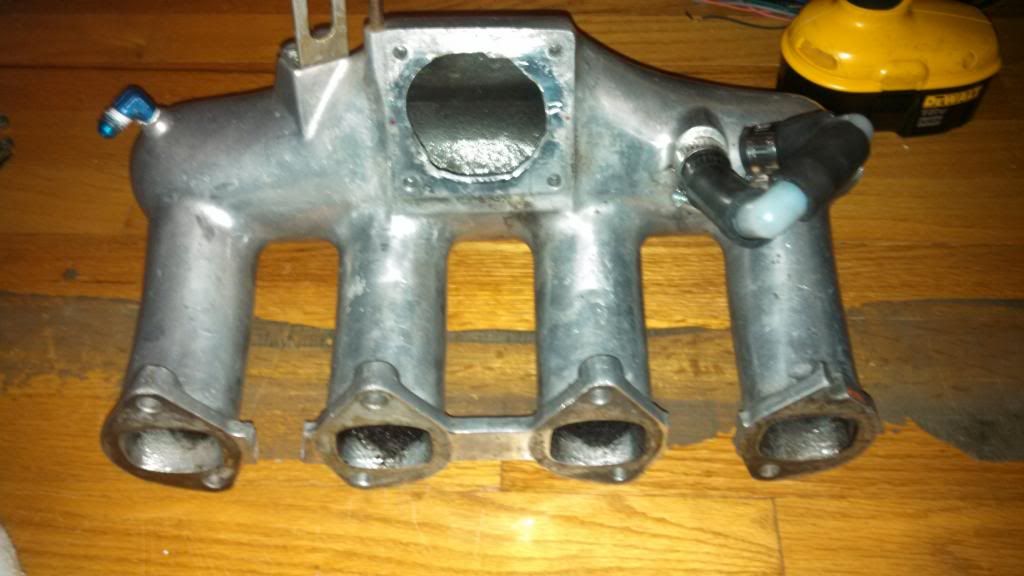
Holes were then drilled and tapped. M30 throttle body and adapter test fitted.
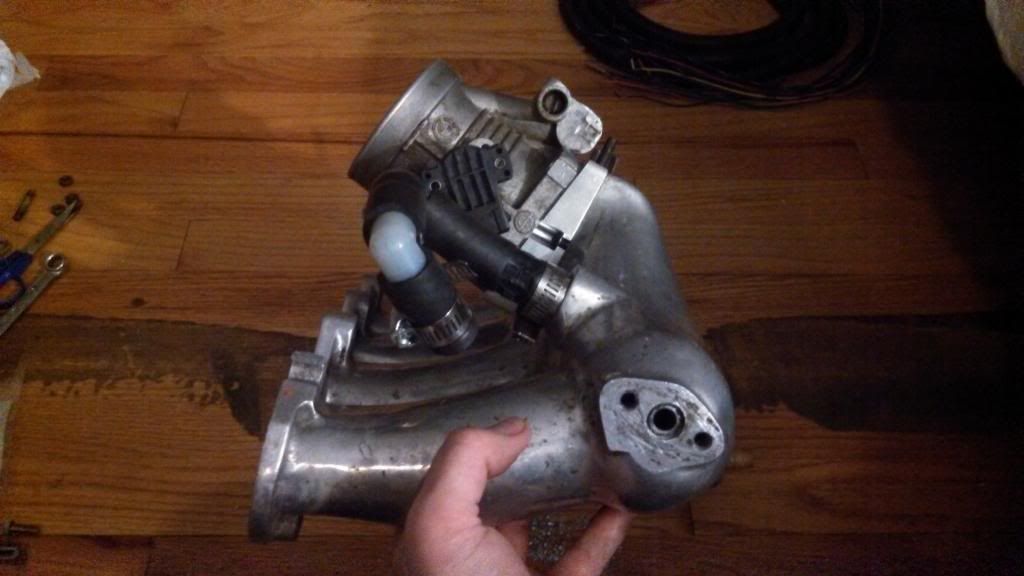
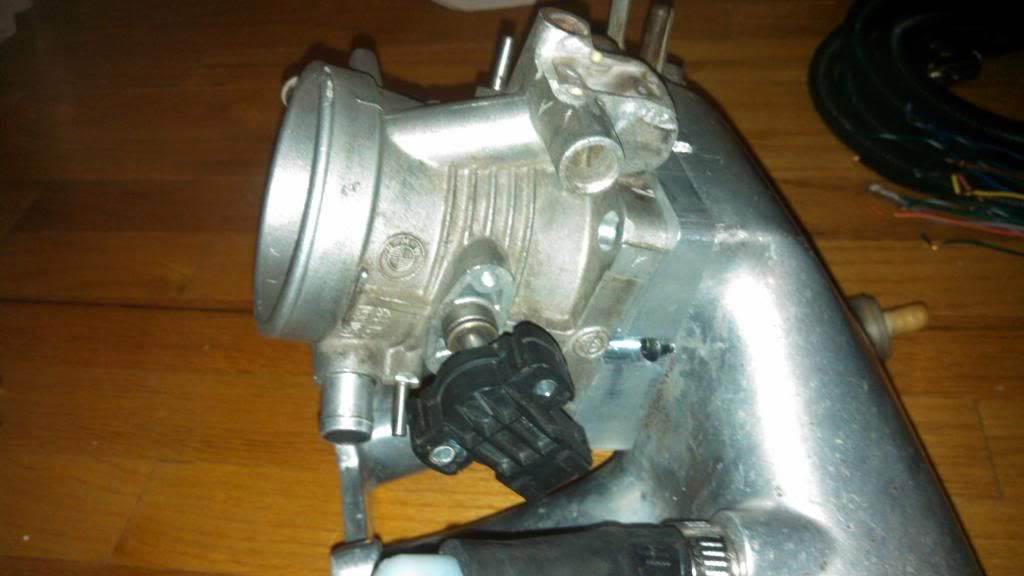
Next will be to create a jig somehow that will allow me to bolt it down to the manifold, and have guides for the drill bit to drill the holes for the injector bungs at the precise angle for each runner. If any of the injectors are a tiny bit off, it will cause a leak issue at the fuel rail which wouldn't be good. The jig will take lots of time and fabricating to make, but I think its the best way to get all the injectors lined up perfectly.
-
drill it by hand.
got a perfect drill master corded drill somewhere.
don't worry, I misplaced the chuck many moons ago.
-
Started calculating the angles and drawing up the jig in autocad. First I found the injector angle on the 318i fuel rail. I calculated it with a protractor to be 13 degrees. I then took a picture of the rail and drew up the angles in CAD and got 12 degrees. Pretty darn close. I decided to go with 12 degrees.
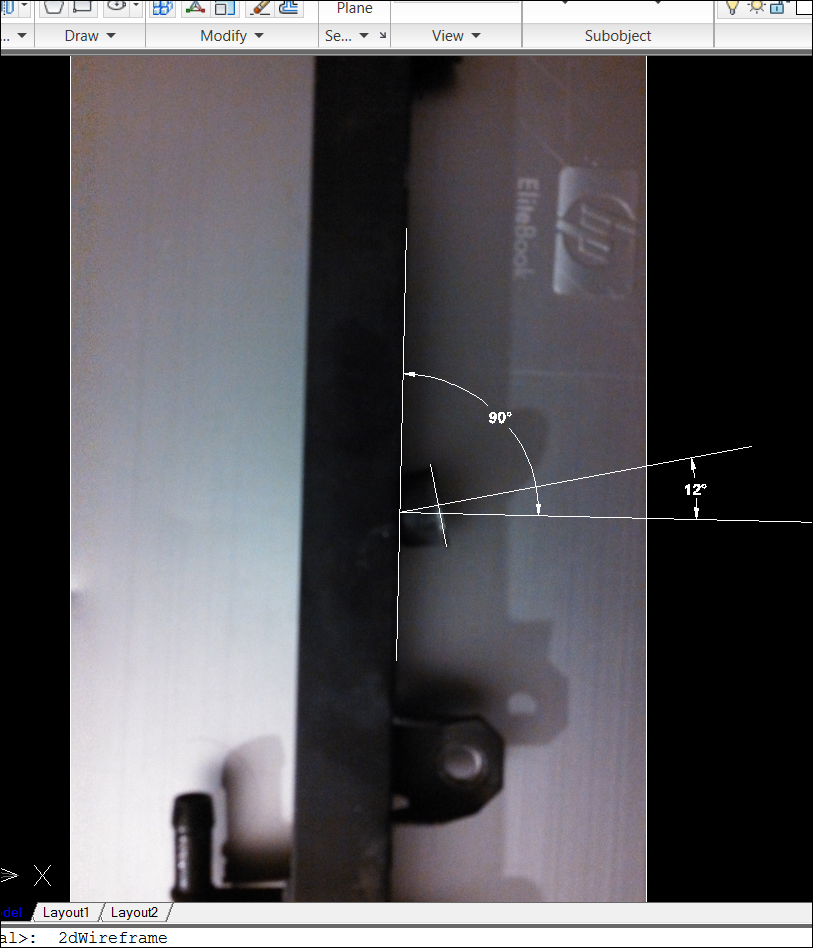
From there I came up with a "simple" jig. The jig will be created from plywood. Two pieces connected at a 90 degree angle with bracing on the sides. The manifold will then be bolted to the vertical piece of plywood at the correct 12 degrees. This will allow me to place the entire assembly on the drill press and the holes will be the correct 12 degrees for the fuel rail. I used a generic manifold for the CAD model, so don't freak out too much.
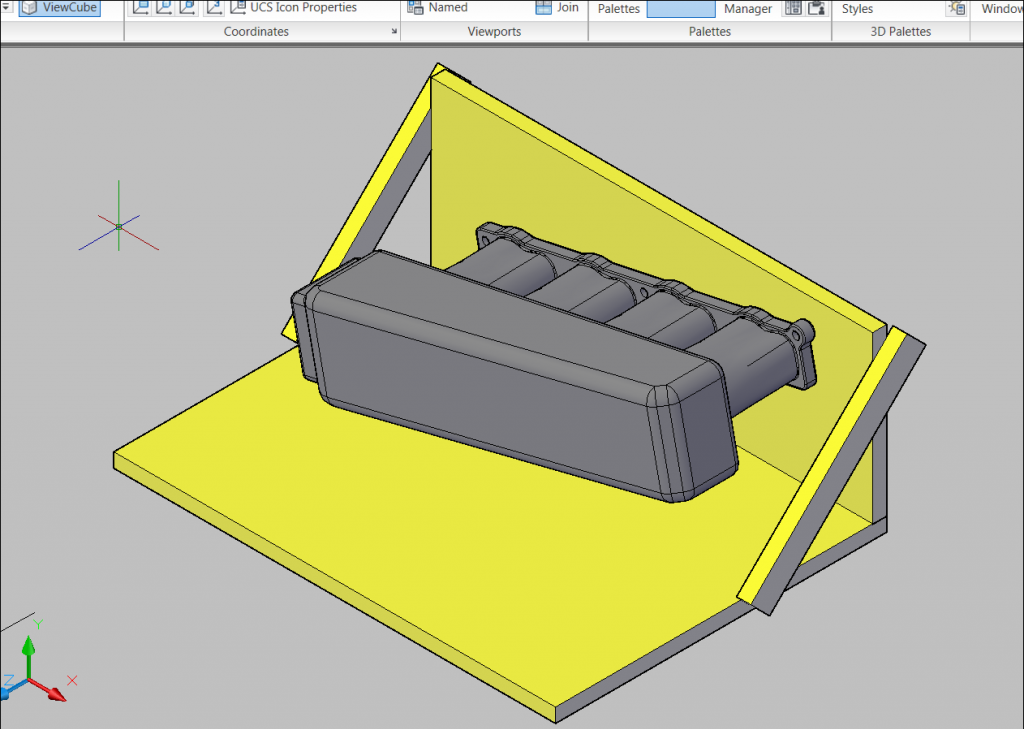
My thinking is this. First, I drill the holes to the fuel rail angle of 12 degrees. Then to get the correct angle for the injectors to fire fuel at the back of the valve as needed, I will then oval out the holes either with a boring bit or a dremel until the injector bung is sitting in correct position.
OR, my other thinking was I could make the jig so that the outer braces are longer and have slotted holes. That way the entire vertical piece could be tilted backwards to the correct angle for the fuel to flow at the back of valve. This way in one movement of the drill press the holes will be at BOTH of the correct angles simultaneously. This will obviously take more fancy work with the jig. I am still debating which route I should take. Don't want to mess up my one and only intake manifold.
-
#1 Nice idea on the jig. that is pretty much what I had in mind also.
#2 Use SolidWorks.
#3 My vote still stands for "oval out the holes either with a dremel" after drilling.
If you muff it up you can always just scrounge the internet for the next 10 years looking for another BAE intake manifold for sale. No big deal.
-
If you muff it up you can always just scrounge the internet for the next 10 years looking for another BAE intake manifold for sale. No big deal.
Yeah cause that really helps my confidence in not screwing this up royally. Lol!
-
Yeah cause that really helps my confidence in not screwing this up royally. Lol!
don't worry, it's only permanent, like forever, all eternity, cannot be undone.
you'll be fine
-
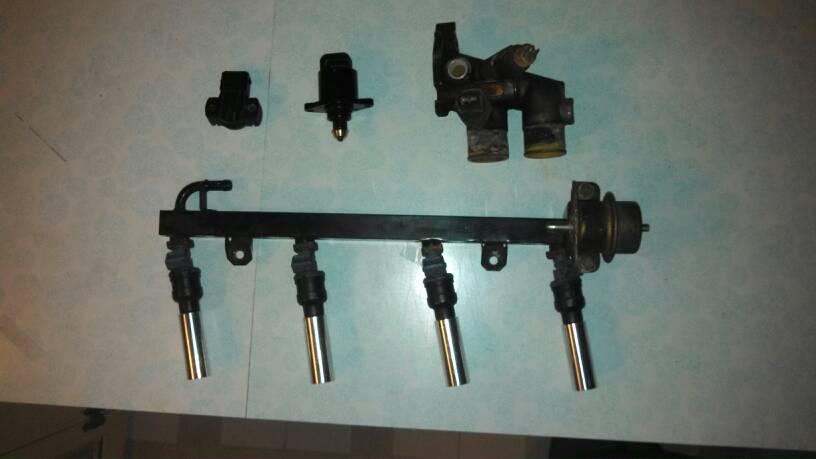
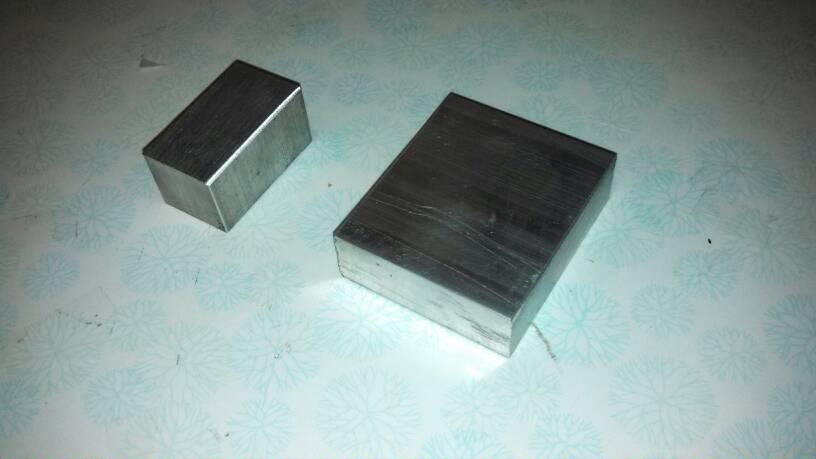
More parts collected for the job. 318i fuel rail/fpr, 318i coolant neck to tap for coolant sensor, m50 tps, jeep idle air stepper motor, #24 injectors, and aluminum injector bosses to be welded in manifold.
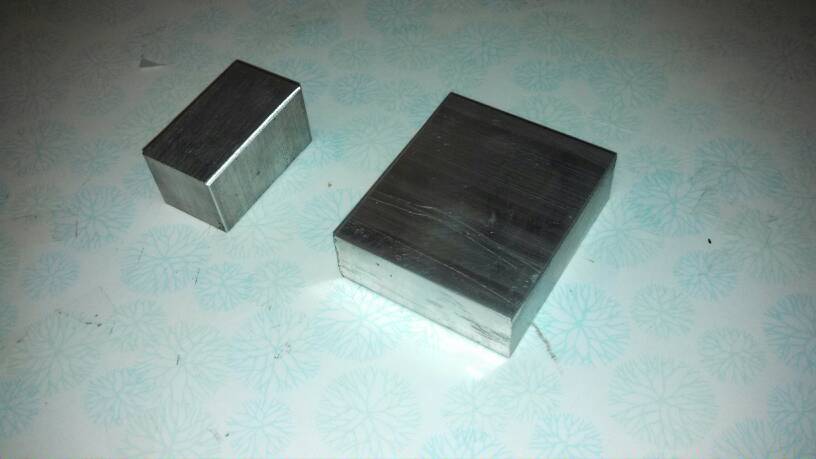
Also, time to make more adapters!
-
I'm diggin' the progress Dave!
-
-
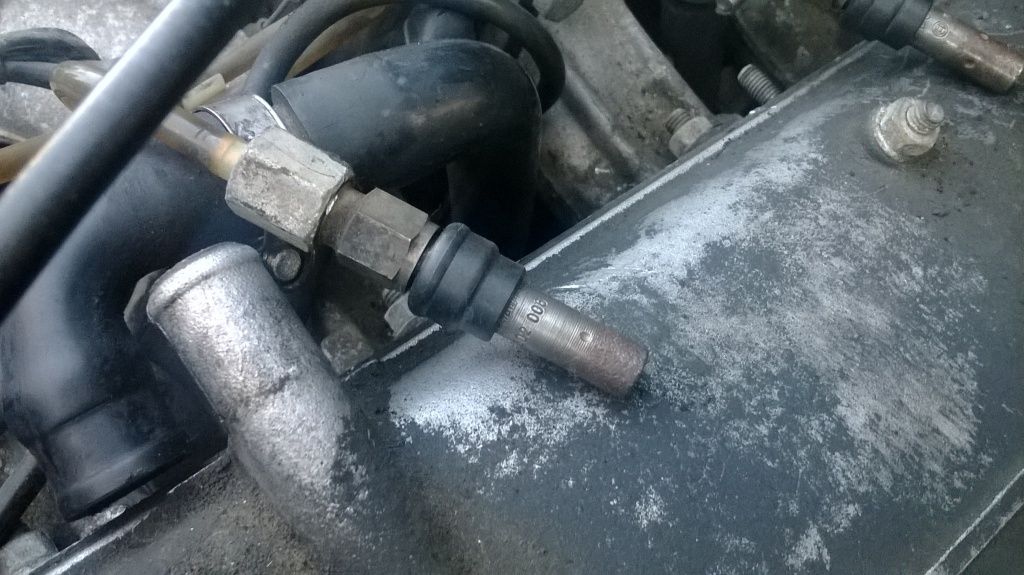
Ok so I ran into fitment issues with the injectors and fuel rail with the manifold I have. Its just simply not going to work in the location normally used. After going through many many iterations on what I could do to make it work, I stumbled upon injectors from a 1.8t VW or Audi. They are considered EV12 injectors that are skinnier as well as having an extended tip on them. I found a used one on ebay for cheap to see if it would work with the CIS injector ports that are on my head.
CIS Injector
EV1 Injector
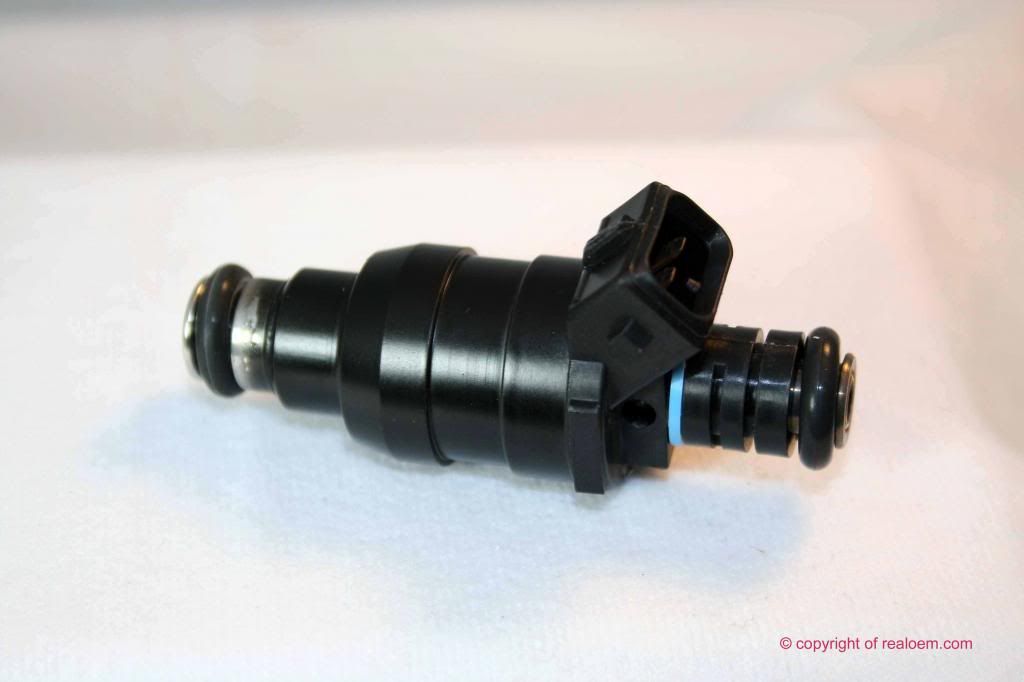
EV12 Injector (1.8t)
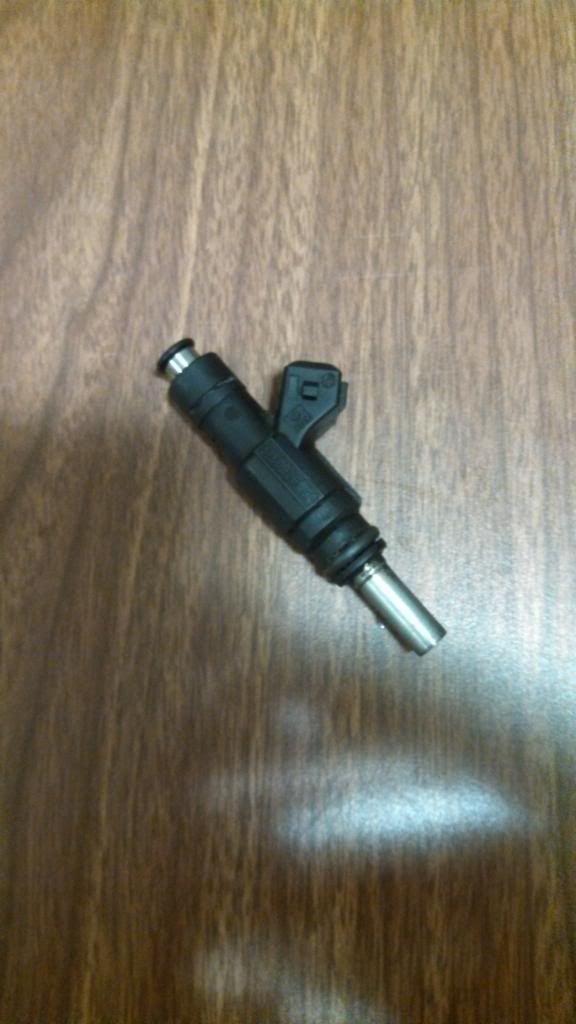
After fitting the EV12 injector in the head port exactly how I got, it seems to be a perfect length with the extended tip. The only issue is the headport hole being larger than the injector and o-ring causing the injector to not seal correctly.
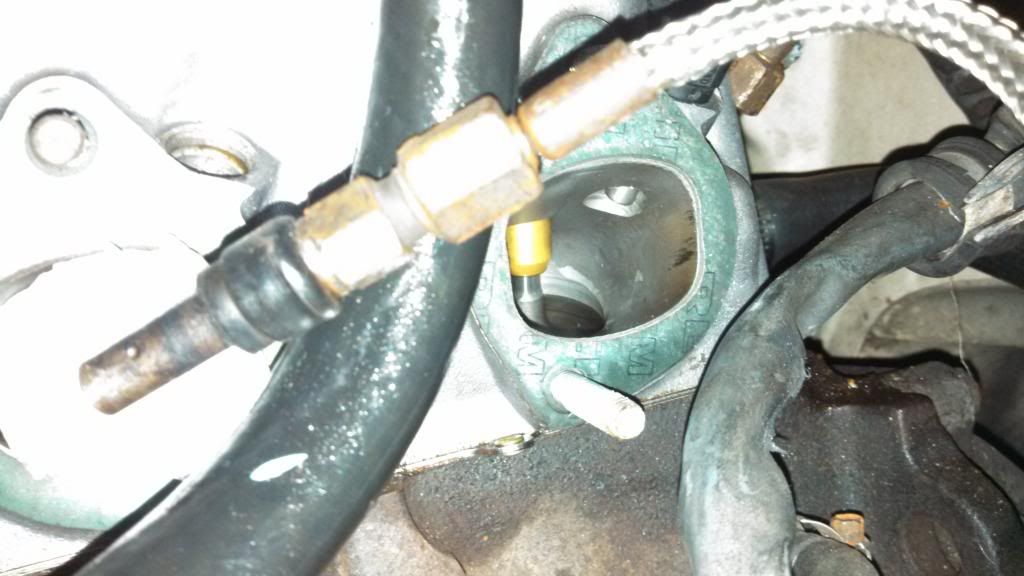
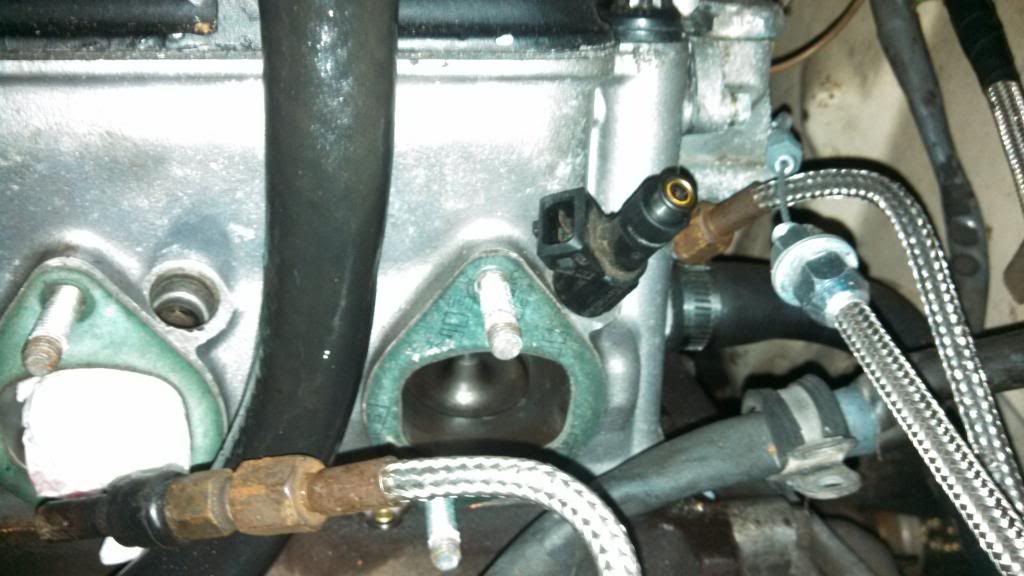
To me it seems like if I could find a thicker o-ring with the same ID as the EV12, but a larger OD then I would be golden. Well, when comparing the two styles of injectors side-by-side I noticed that the EV1 injectors have thicker o-rings. BRILLIANT! I swapped the EV12 o-ring for an EV1 o-ring and BOOM! the injector now sits within the head port steady and seals well too. Now to get 3 more used ones or go for 4 new EV12 injectors.
-
I finished the adapters for the IAC and TPS today and got them mounted to the manifold. Vinyl cutter came in handy when cutting some gaskets for the sensors and throttle body. Mounted the throttle body adapter and throttle body to the manifold as well.
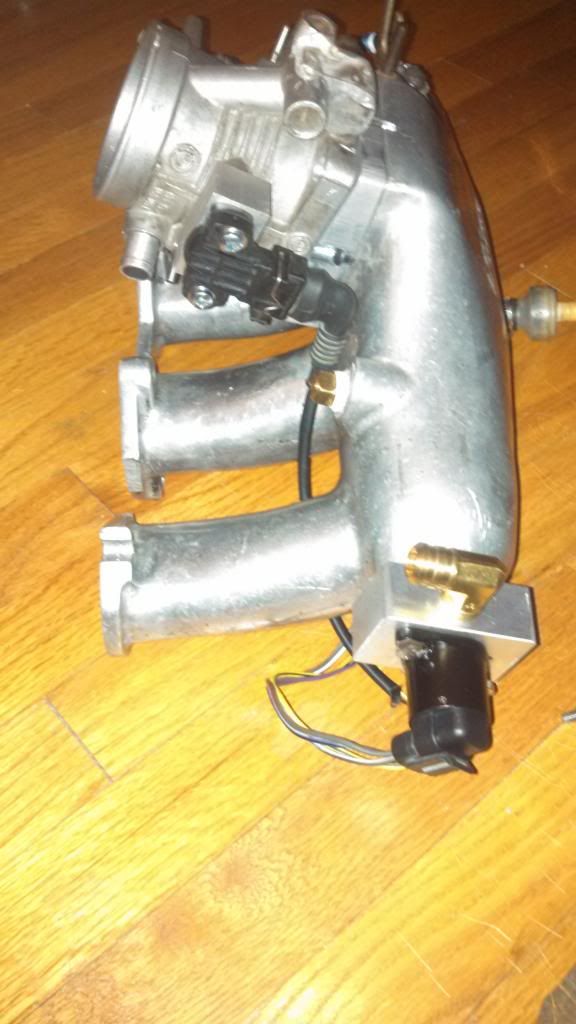
I also finished up some wiring on the megasquirt for the idle stepper valve control. Works great! Cant say that for the m50 TPS tho. The one I got turned out to be a dud after hooking it up to megasquirt and attempting the calibrate it. I opened the sensor up to find a broken wiper arm. Ggrrr! Time to search for a new one now.
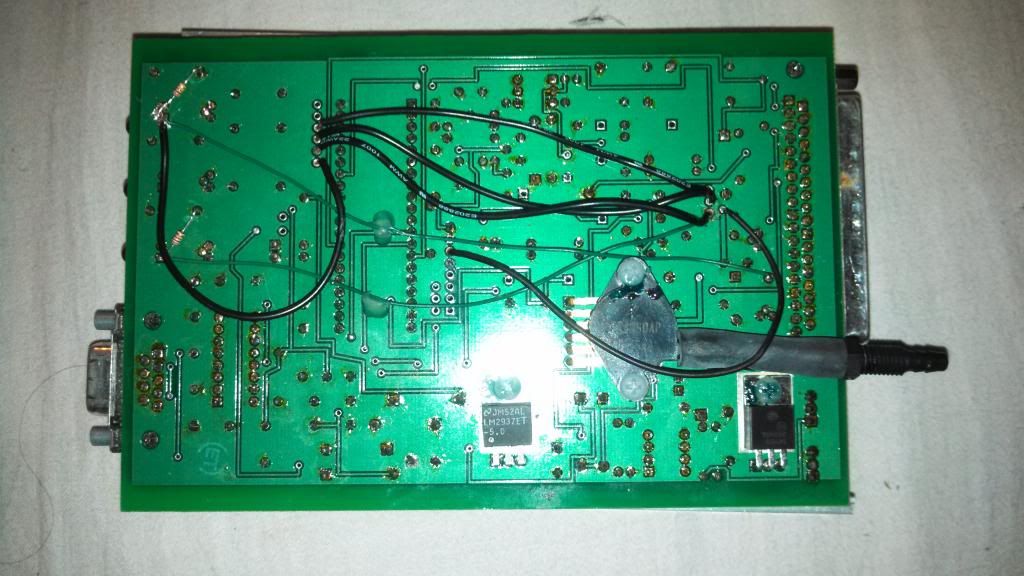
Sent from my XT901 using Tapatalk
-
Yesterday I removed all the CIS and K-jet turbo parts from the engine bay in prep for the EFI turo install.
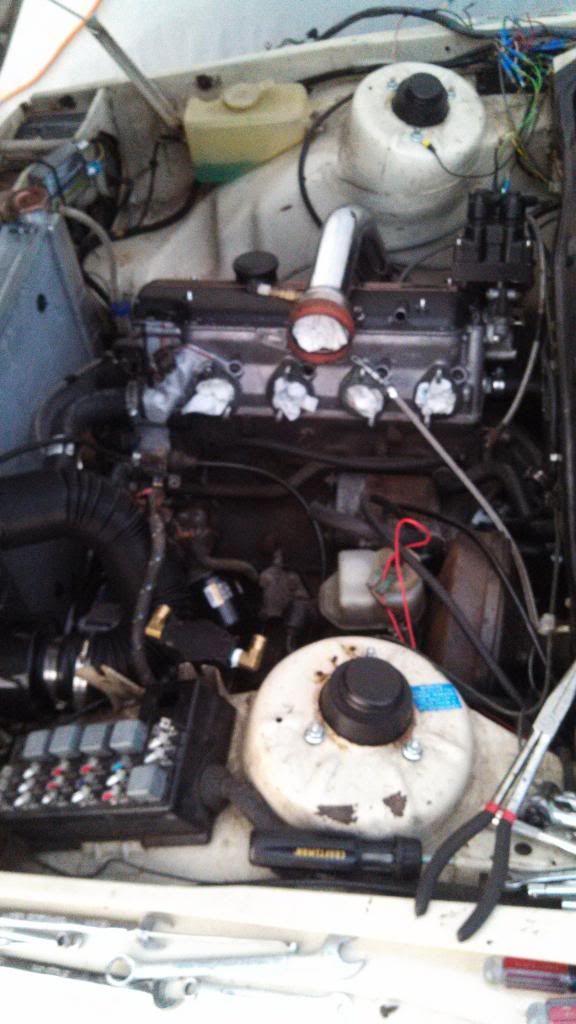
Along with that I also removed the complete wiring harness. I will need to tear it apart and get rid of everything I wont need and integrate everything I will need into the MS harness.
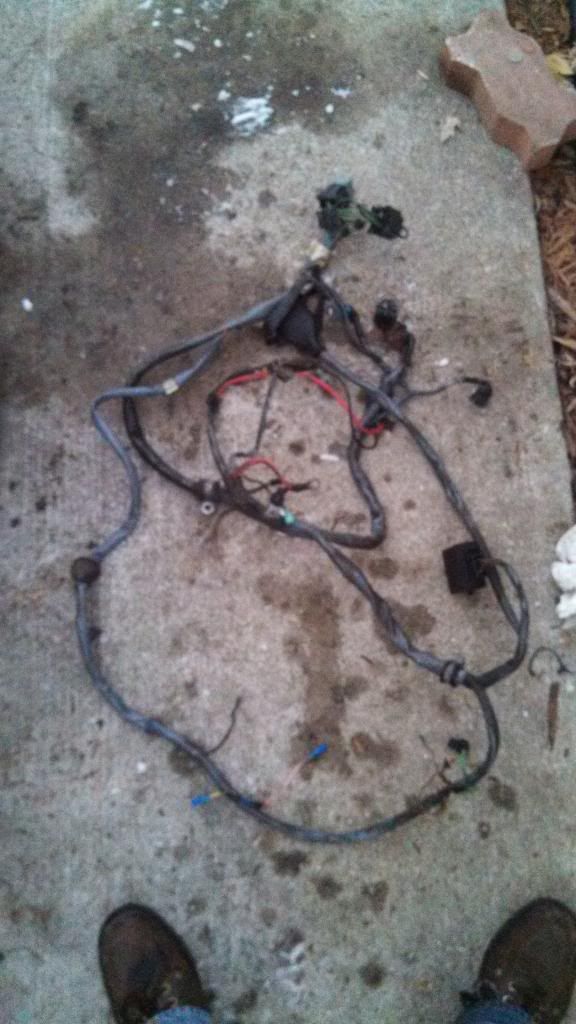
-
Keep it up man.
Excited one day I may actually see it running in person

-
-
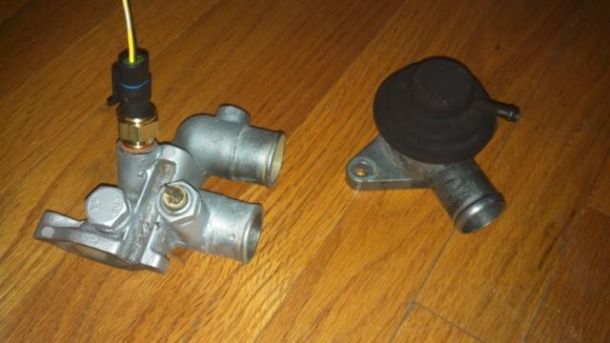
Well, the 318i coolant neck has been drilled and tapped for the MS temp sensor along with getting cleaned and painted. The BOV also got a sprits of fresh paint (not the greatest, but no one will see it anyways, lol).
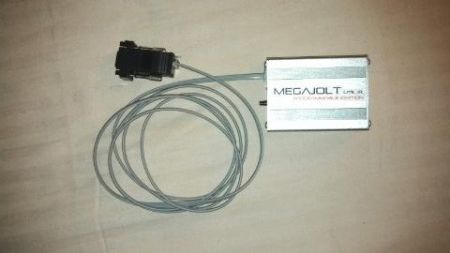
I also removed the Megajolt unit (which is for sale by the way)
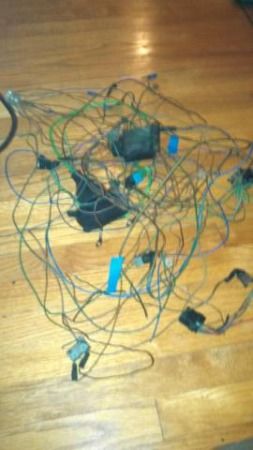
And I went ahead and tore apart the oem wiring harness. This was definitely an interesting thing to do. So much wiring was removed it shocked me.
What was removed
What needs to stay
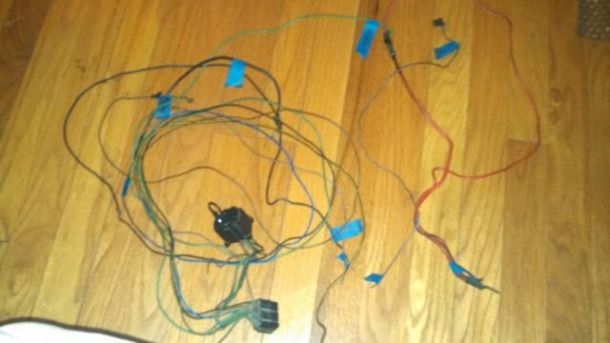
-
Looks like a ball of yarn in that first wiring pic. Should help to keep the bay clean!






 M50) said: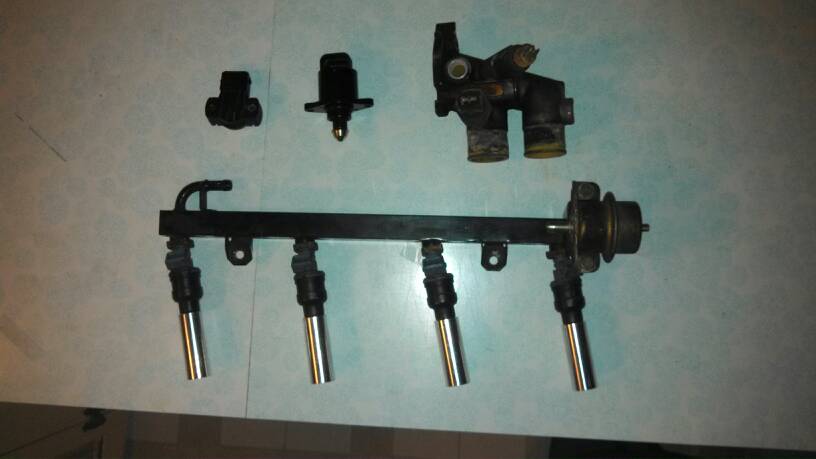








Hello! It looks like you're interested in this conversation, but you don't have an account yet.
Getting fed up of having to scroll through the same posts each visit? When you register for an account, you'll always come back to exactly where you were before, and choose to be notified of new replies (either via email, or push notification). You'll also be able to save bookmarks and upvote posts to show your appreciation to other community members.
With your input, this post could be even better 💗
Register Login