
Alpine e30 progress/build thread
-
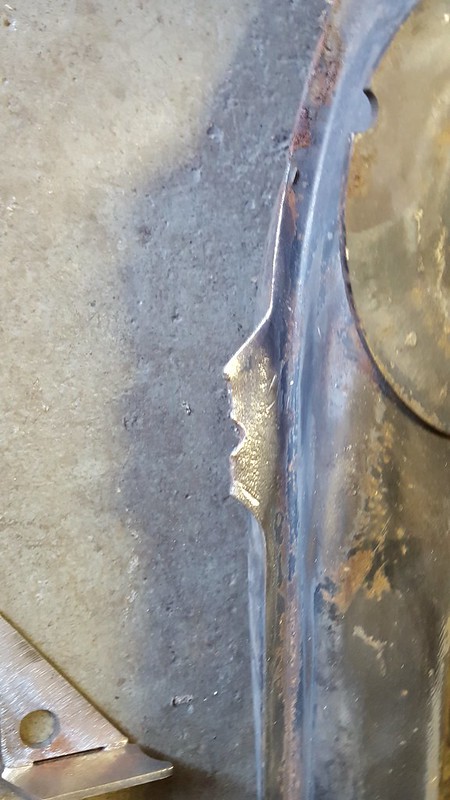
Sweet jesus, I didn't realize you cut the end of the frame horn off. Bold.
Fit up is looking good!
It was a bit scary initially, but it seemed like the best route given the damage. Thankfully, hitting a deer is much different than hitting a wall or a car, the deformation is much more localized.
How is the paint match of the parts off of the "parts car"? I see that car was pinstripped. Is it paint or just vinyl?
The paint match looks pretty good. The new panels are very dull and not the straightest but I think I'll be able to polish them up and it will be good enough for now. I think the pinstripe on that fender is vinyl, but I'm just going to leave it for now haha.
I worked on the car last night after work, got in a groove and was there till almost midnight. The front end repair is completely welded and the seams are all primed (finished it after taking this picture). I'll be applying the seam sealer and some sealer primer to the joints this weekend and then the 'final' front end assembly can begin!
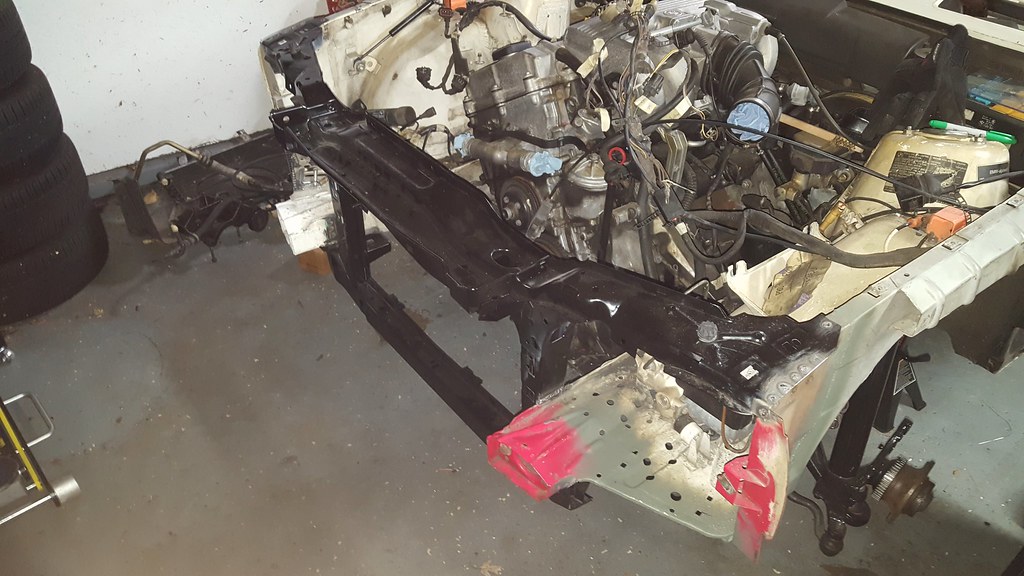
During the fit up I did a few days ago, I found that the rail on the driver's side that the top of the fender bolts to was twisted outwards about 1/2" at the end. I got creative with a come-along and some rope and was able to pull it back into place before welding everything up. I did the pulling with the core support removed, this way I could account for spring back so that the rail was resting in the correct place afterwards.
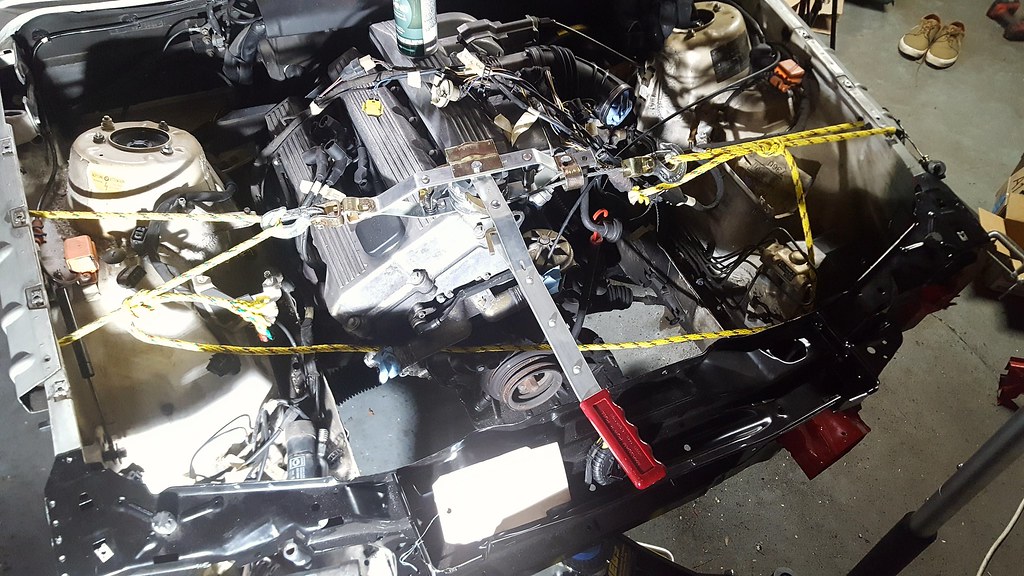
I decided to skip making the core support removable and just replicated the way it is welding by the factory. The M42 has so much room in front of it that it didn't seem necessary to add all the extra work right now.
-
Plus you can always drop the subframe out with the engine attached=)
When did you want me to come out and help do your rear wheel bearings?
I'm thinking I am going to leave the wheel bearings till after the picnic/whenever I get it out on the road, since they seem to spin smoothly by hand so I'm hoping they have some life left. There's just so much to do I am trying to stick to the essentials for right now. I'll definitely hit you up when it's time though!
-
Spent both Saturday and Sunday on the car:
Finished seam sealing and priming, then started the front end assembly:
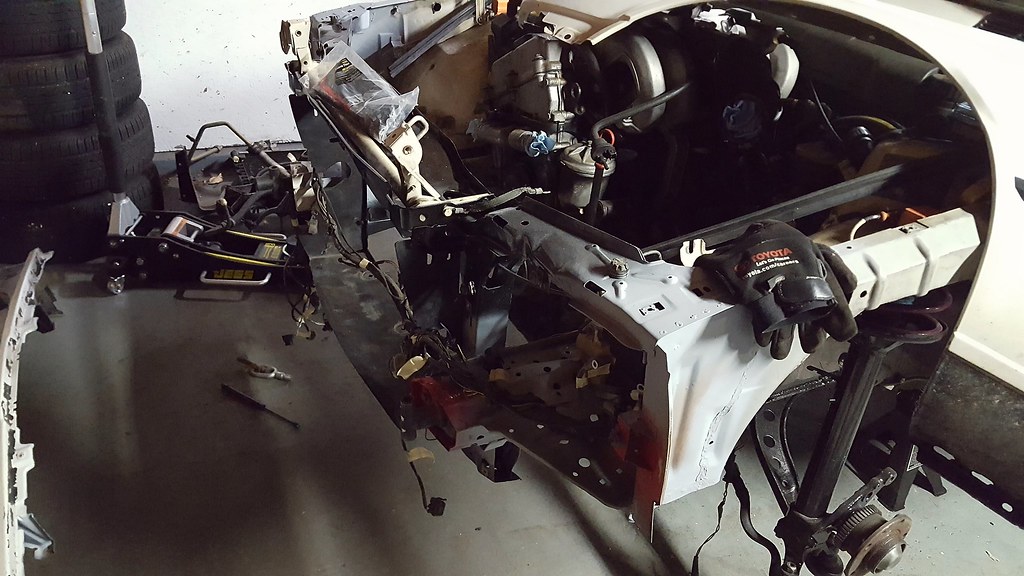
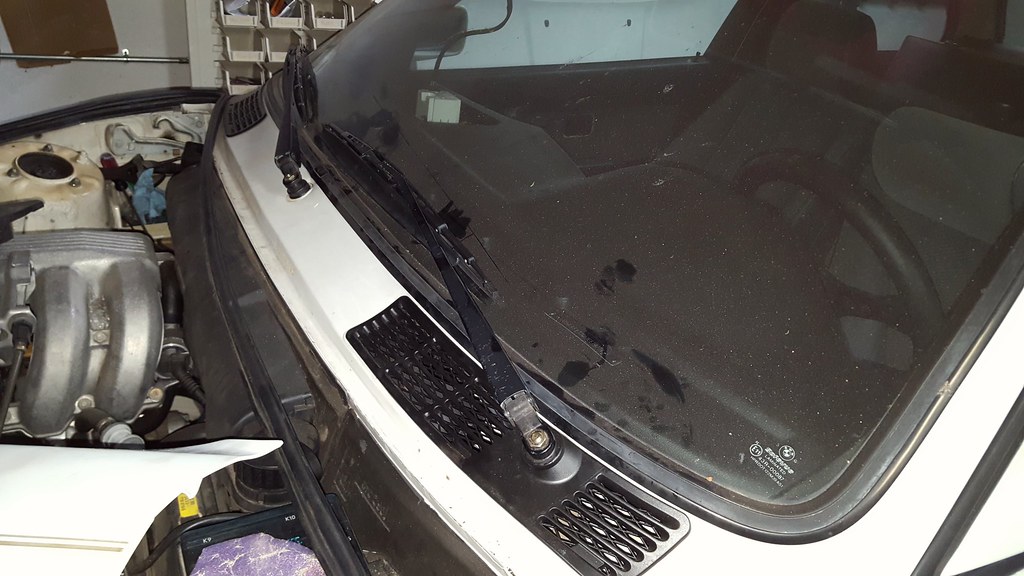
I spent some time working the deformation in the cowl around the pass. side wiper mount back into shape. Its far from perfect but I got it close enough to put in a new bushing (old ones turned to dust) and have it seat. Replaced the driver's side bushing too, and got everything all buttoned up minus the wiper arm caps that were destroyed in the accident.
Trailing arm sway bar mount reinforcements welded in, also repaired the driver's side mount as it had sheared off. I had a washer that was the correct thickness so I cut it in half and used it to replace the missing metal. Most of the strength comes from the reinforcement plates so it should hold up just fine.
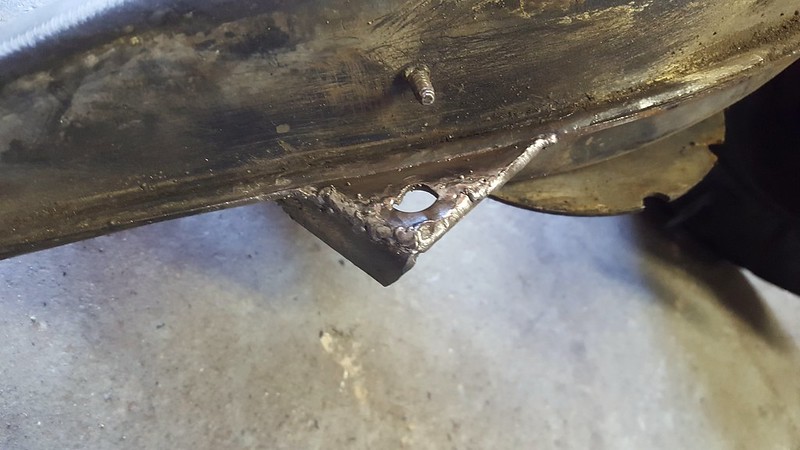
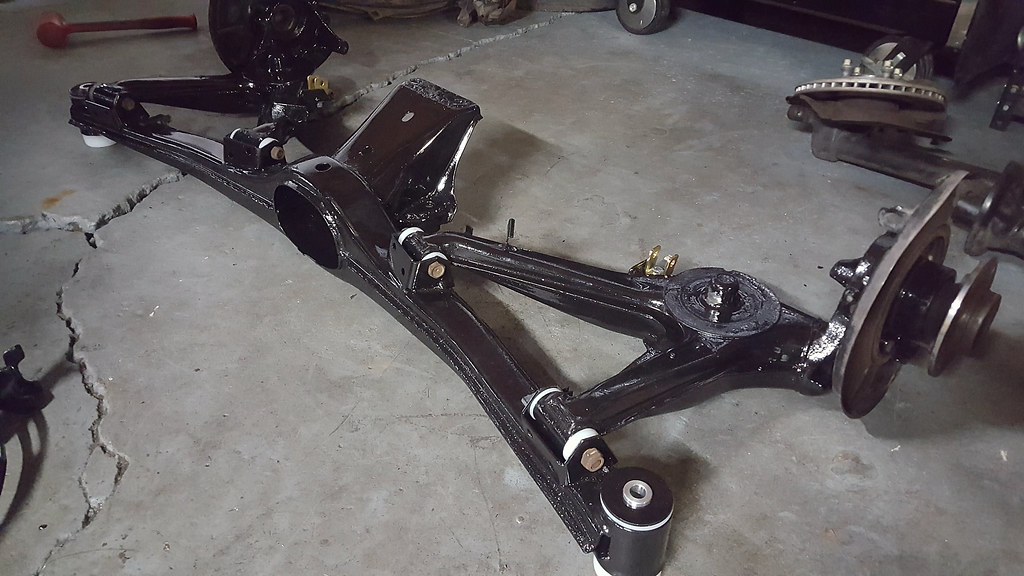
I also spent a ton of time wire-wheeling the subframe, both trailing arms, and a bunch of random brackets to prep for KBS coating and got the first coat applied to everything. I'm hoping to start re-assembly before the end of the week.
Other notable things:
- Driveshaft back in
- Passenger side engine components reinstalled (coils/plastics/etc)
- Zionsville fan shroud cleaned and primed, expansion tank flushed out and clean
- Driver's seatbelt removed, but the replacement won't work as it is from an early model so I'll have to steal one from either the parts car or the sedan I I'm picking up this week
- Tires ordered, 205/50/16's all around, should be getting them mounted/balanced within the week.
-
Making more progress!
Finished repairing/rewrapping sections of the wiring harness
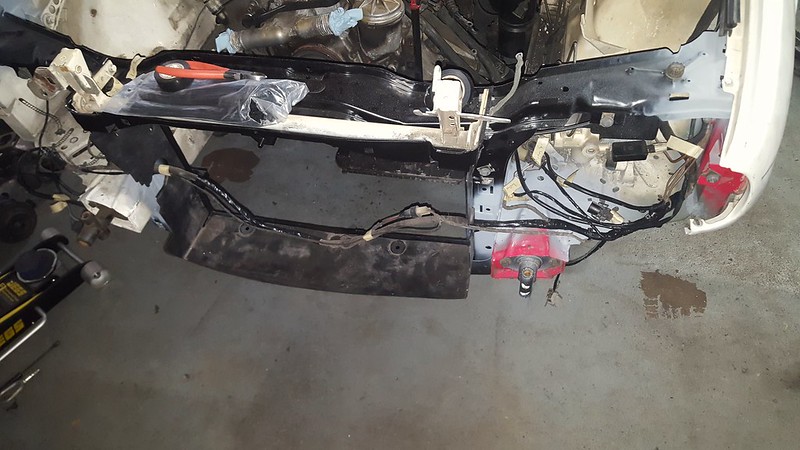
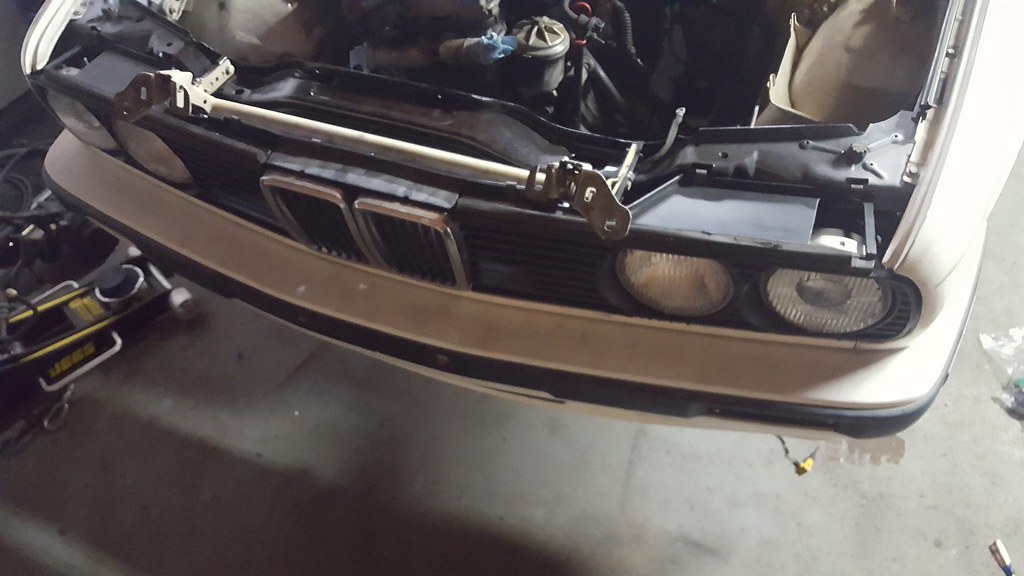
Started final assembly of the front end! I got the valence, bumper, fenders, fender liners, headlights, and grille pieces properly aligned and mounted for good!
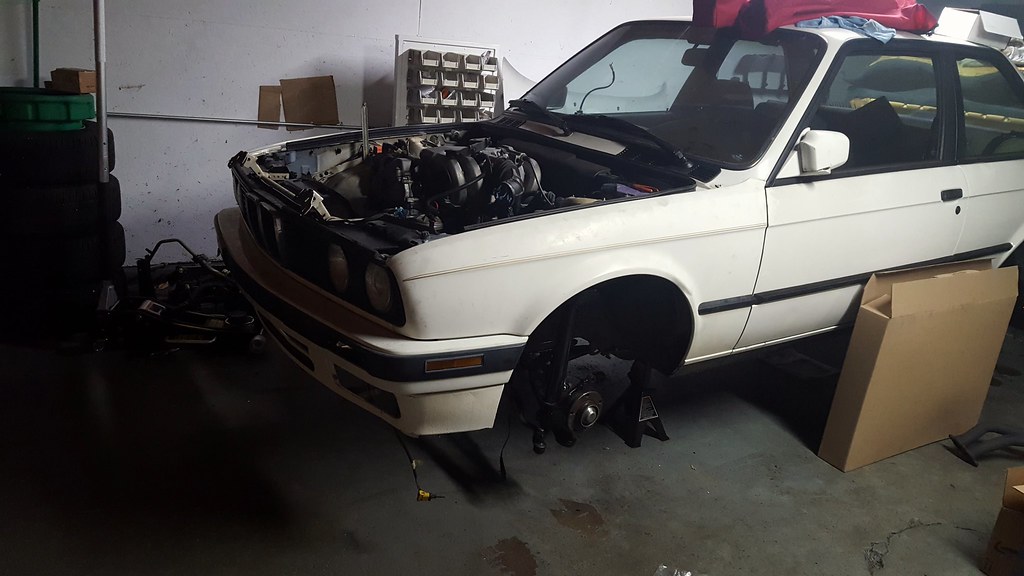
I also started re-assembly of the rear suspension. I am waiting on a diff gasket and a few random odds and ends but I should have them before the weekend. I left the dust shields alone, I'll refinish them when I get to the rear wheel bearings as I'll be able to remove them.
-
Making progress but forgot to take pictures of a lot of things...
Diff cover bolted back on and stud kit installed, just need to swap over the poly bushing and bolt it to the subframe. Its got minimal rust so for now I'm just not going to paint it.
Connecting the steering column on an airbag car to the Z3 rack (with the engine still in the car) is a massive PITA and took way longer than I expected. I tried to get away with not modifying the firewall and just notching the boot holder plate thing since there was next to zero access, but there is no way to get them to line up and still have the rack in the rear set of mounting holes. I ended up removing the lower half of the column so I could notch the firewall about 1/4" with a rasp bit on a drill, and fabricating a new plate to hold the column boot. Finally got everything connected with no binding or rubbing.
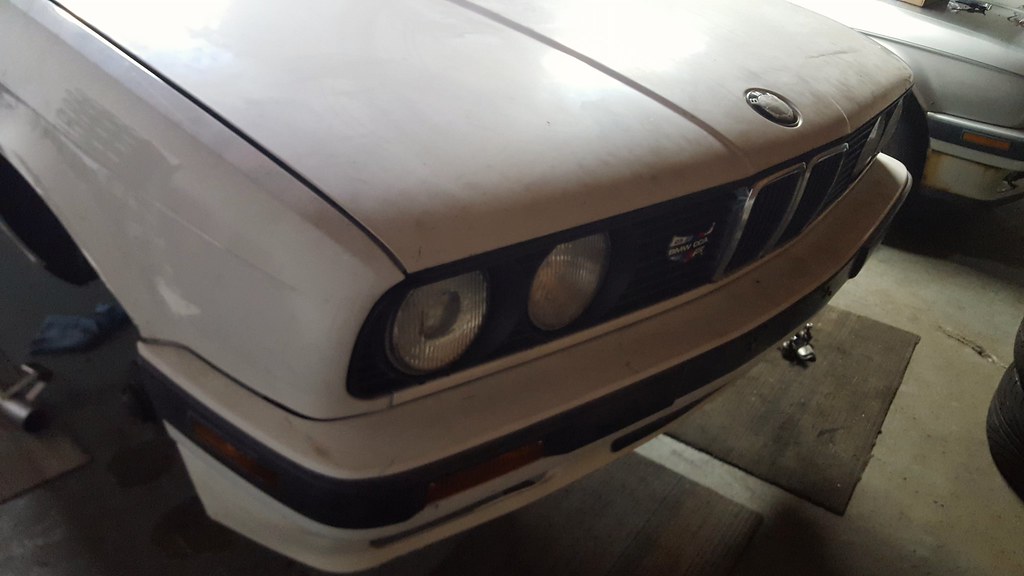
I also got the hood mounted and aligned. I spent quite a bit of time with the adjustment but I got it good enough for for the 20 footer that it is. Still some minor tweaking needed to be perfect but for now this is fine.
-
Do you mean stud kit as in for the hubs or stud kit for the diff mounting bolts?
Studs to replace the diff mounting bolts, though I am also going to be running a stud conversion for the hubs too.
-
Made more progress over the last two days. Random things:
- Made a new alternator ground wire and got the alternator reinstalled
- Half done putting the power steering back together
- Front sway bar reinstalled with new bushings (what a PITA)
- New tires mounted on the Weds, 205/50/16 Firestone Firehawk Indy 500 (Rebranded Bridgestone Potenza RE003 from Europe, just started being offered here this year)
Front brakes installed (minus lines) with new blank rotors and Stoptech sport pads
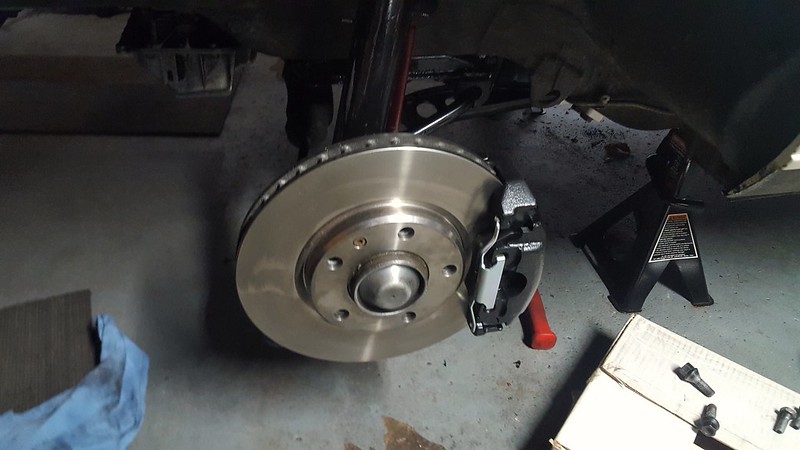
Went to test fit a wheel.....and the caliper interferes with the face pretty significantly. I am going to use some washers to measure how little spacer I can get away with and still clear the brakes. I was hoping to not have to push the wheels out any further, if tire fitment becomes an issue after the spacers I can remove the drop hats and install the fixed camber plates I have sitting around.
Also got halfway through installing the UUC rear sway bar. Fit isn't very good, I shouldn't have to be modifying brand new brackets and hardware to get this to bolt up...
-
The IE rear sway bar I put on actually went on pretty easy but I wasn't too crazy about drilling holes in my car.
Sent from my iPhone using Tapatalk
-
I used turner Motorsport mounts. They should just include instructions on how to link swear words into the most effective anger relief.
It went on fairly easy tho. Just annoying trying to fumble around on your back and drill and install shit with poly grease sticking to everything
-
Turner mounts are the easy part. Get a long drill bit extension to help set the pilot holes from under the car.
If the entire rear subframe, driveline etc is in place threading the bar into position is the real pain--evil puzzle. Hint: thread in from the passenger side and make sure the bar is oriented in the correct way before you start so you don't have to redo.





Hello! It looks like you're interested in this conversation, but you don't have an account yet.
Getting fed up of having to scroll through the same posts each visit? When you register for an account, you'll always come back to exactly where you were before, and choose to be notified of new replies (either via email, or push notification). You'll also be able to save bookmarks and upvote posts to show your appreciation to other community members.
With your input, this post could be even better 💗
Register Login