
Alpine e30 progress/build thread
-
Make sure the rubber bumper that rams into the back of the subframe and bolts to the lower flywheel cover is intact while you are in there.
Do m42 cars have one of those? I'll have to look, I can't remember haha
-
Was at the garage after work, forgot to look for the bumper, next time haha.
Over the last few days I finished the mounting setup, painted everything textured black, and I did the final assembly today.
Shift lever painted and assembled:
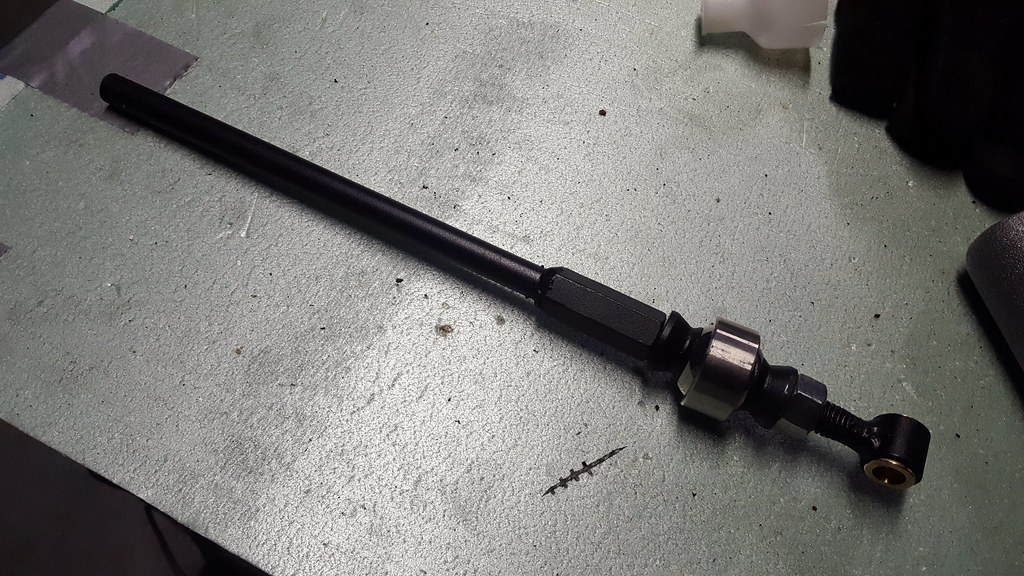
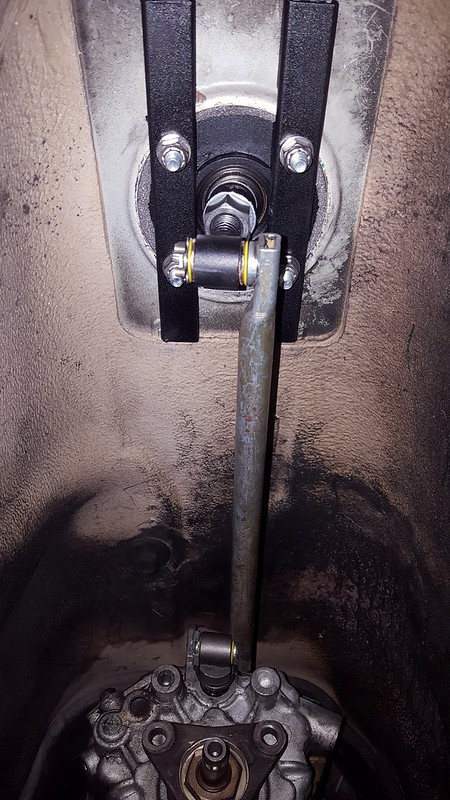
This was my solution for mounting the shifter base to the chassis without drilling holes:
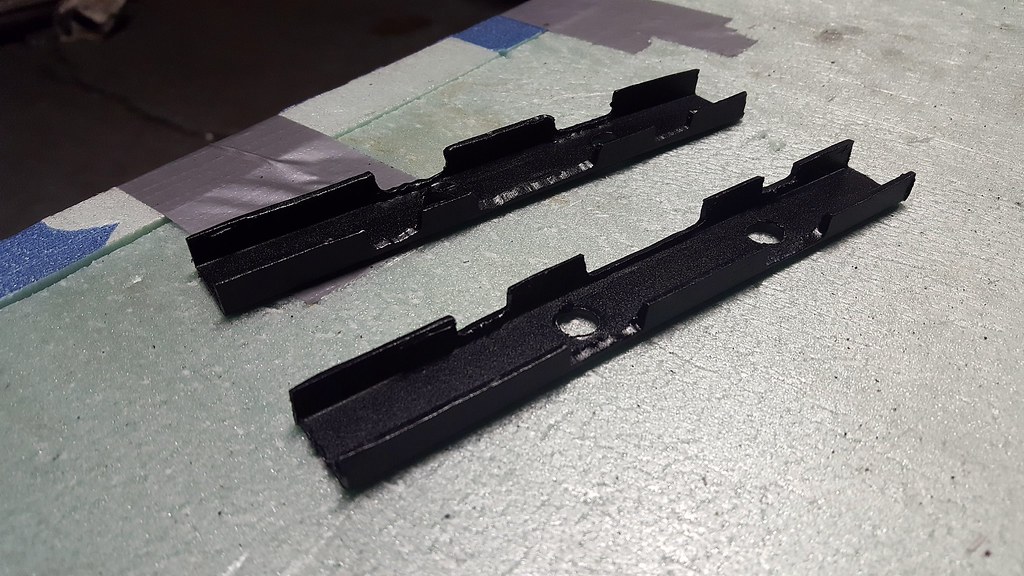
There are notches cut to fit on the flange around the edge of the hole the rubber boot usually sits in. Then they bolt to the upper half with the bearing cup via studs, sandwiching the body in-between:
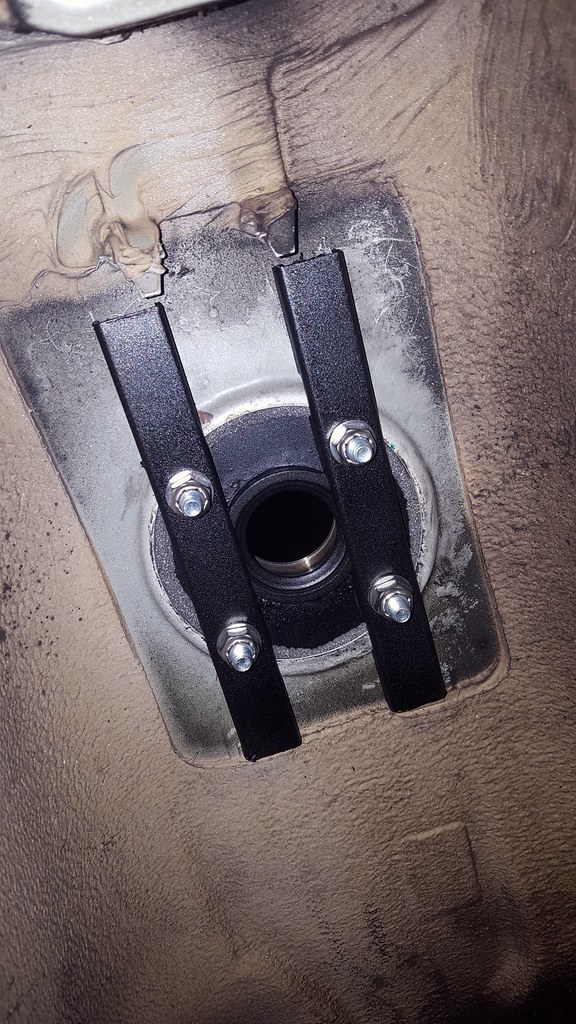
I put an adhesive backed foam gasket around the edge to seal the hole, and secured everything with some stainless lock nuts/washers.
Top view of bearing cup with everything assembled:
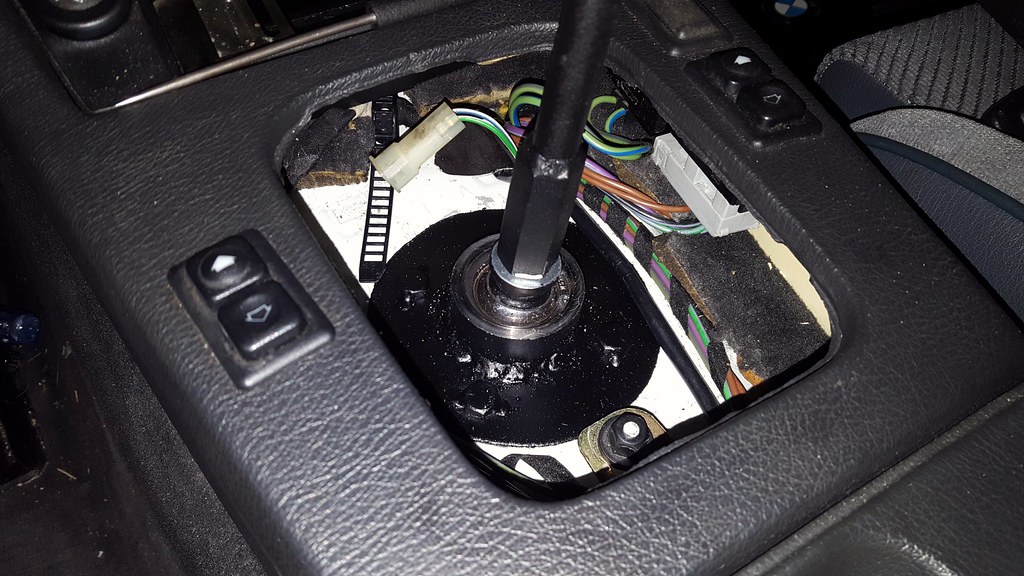
While I had everything apart, I replaced the shift shaft seal (what a pain in the ass...), shift rod joint, and the yellow plastic washers.
Final touch: BMW Motorsport golfball shift knob!
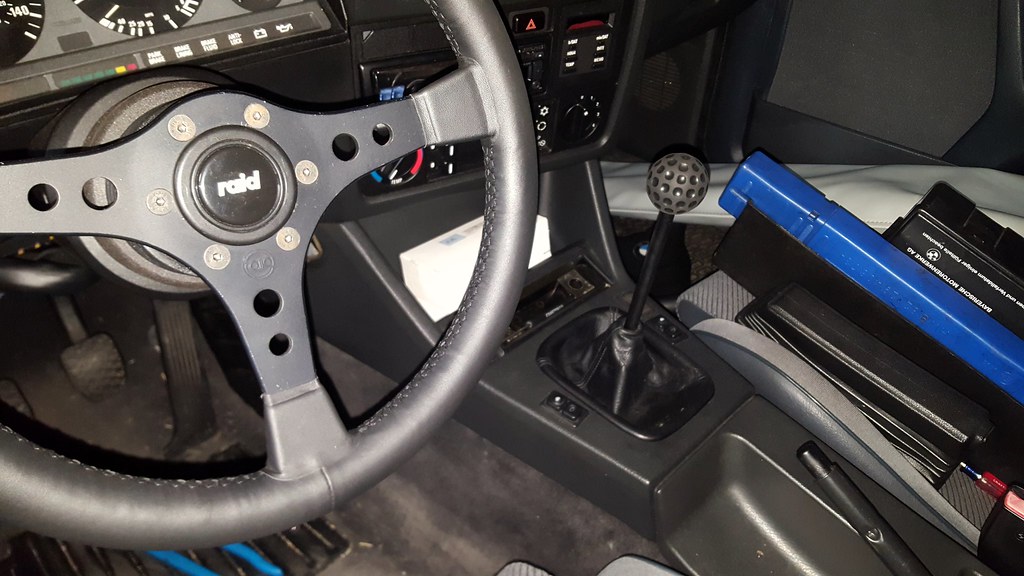
Really pleased with how it came out. There is next to zero play and everything is super solid, the shifts are pretty short but don't take too much force to get into gear, and the knob height is really comfortable. I can write up a DIY and post a parts list if people are interested.
-
That turned out great!!!!! Awesome work, I really liked that you worked around not modifying the chassis.

https://www.instagram.com/_jdesigner_/ http://nevertoolow.tumblr.com/
🥳SOLD BMW E24 633CSI - BMW M30B32 🧪SOLD HCH ES9 - 1.3 LDA
👽BMW E30 325IC - Toyota 1JZ-GTE ⏰ HONDA EF9 CIVIC SI - JDM B18C5
☠️BMW E36 318i - Ford 5.0 FE302 🚴♂️ GT-Labomba - 26x2.75 Freeride
🤹♀️SOLD BMW E36/7 Z3 - BMW M54B25 🧓SOLD BMW E10 2002 - BMW M10M05 -
can you enlighten me on m3 calipers? are you going 5-lug?
Dan

-
can you enlighten me on m3 calipers? are you going 5-lug?
Yup! I am in the middle of an e30 M3 5-lug conversion so I'll be running the stock M3 brakes all around as it is required by the swap. I'm also changing to an e32 750il brake master cylinder (slightly larger bore than the OEM M3, but with the correct threads for non-m e30 brake line fittings) to compensate for the bigger calipers.
-
nice! i'm a bit dense - the weds you posted were 5-lug and I didn't put 2 and 2 together.
Dan
-
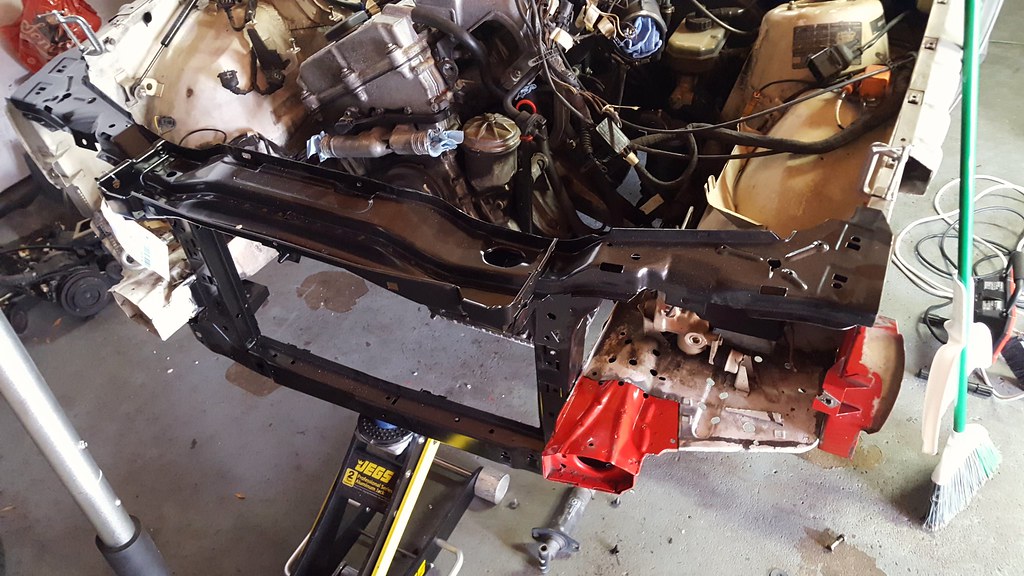
Picked up a new core support from Umansky to replace the bent replacement (also I cut that to pieces getting the new frame rail section out haha), these things are pricey but knowing it's straight is worth the premium. I'm hoping to finish fitting all the patch parts and start welding things back together this weekend! My overall goal is to have the body repair done by the end of April.
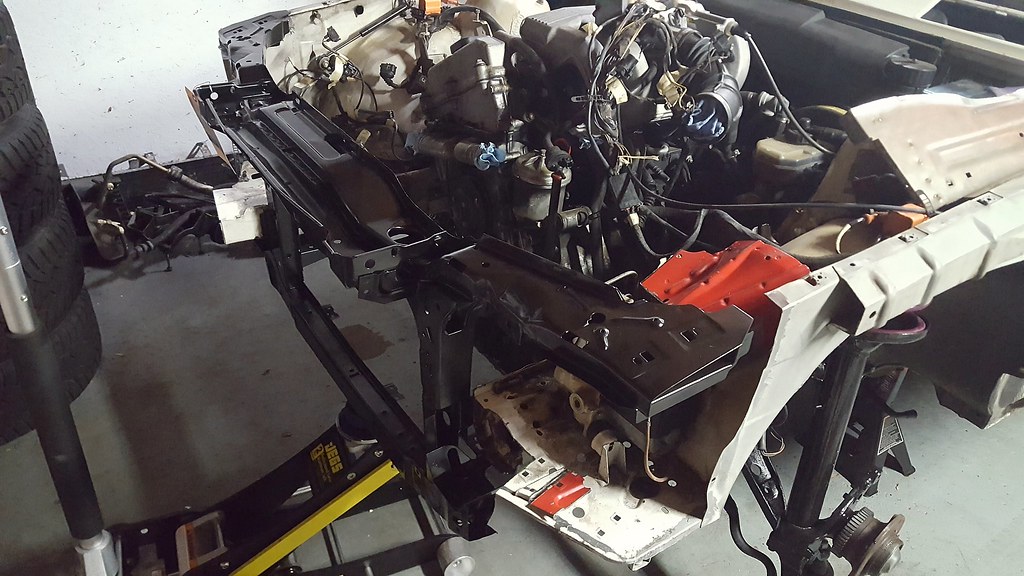
-
Got some good work done with the great weather this weekend!
I was able to massage the inner bumper shock support back into shape. It's not pretty but you can't see it once everything is back together.
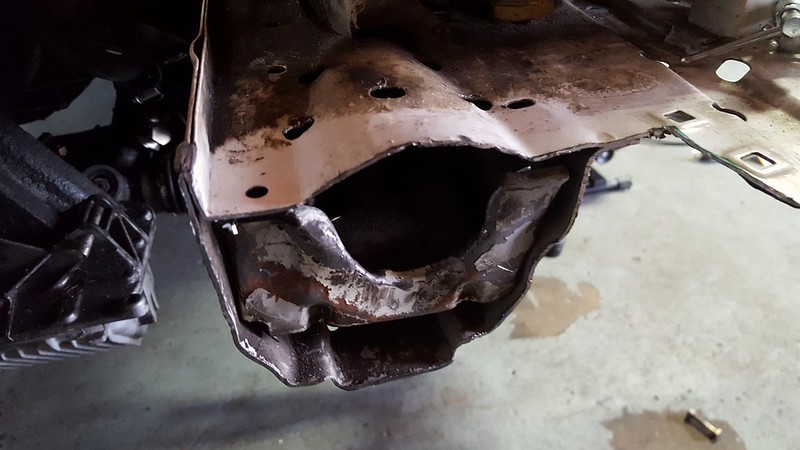
Finished fitting the new bumper mount and got everything mocked up. Everything seems to be lining up really well. Next step is to lightly tack it all together and check the panel fitment. Hoping to have that done this week so I can weld everything up for good!
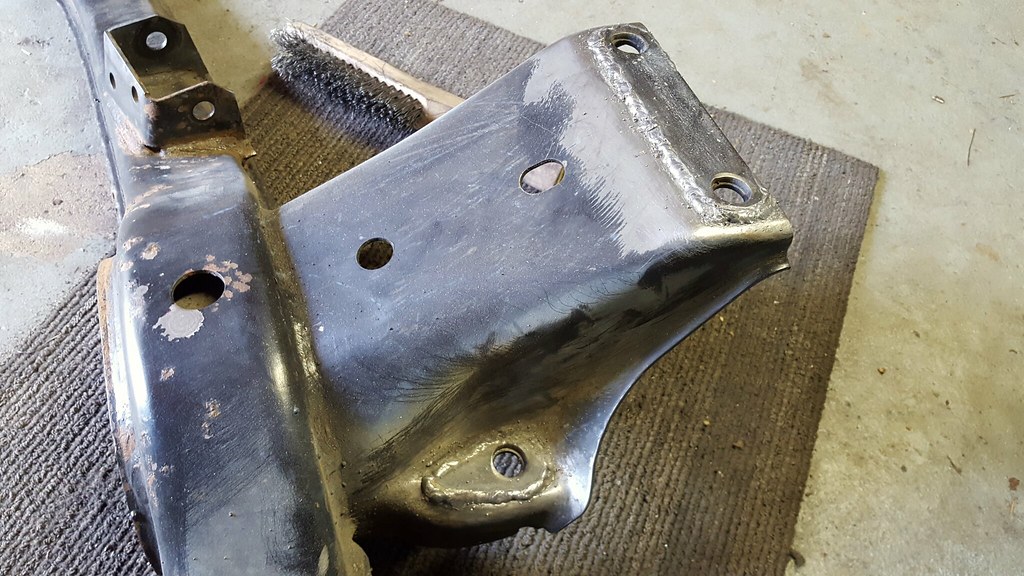
Got the differential mount reinforcement plates welded in:
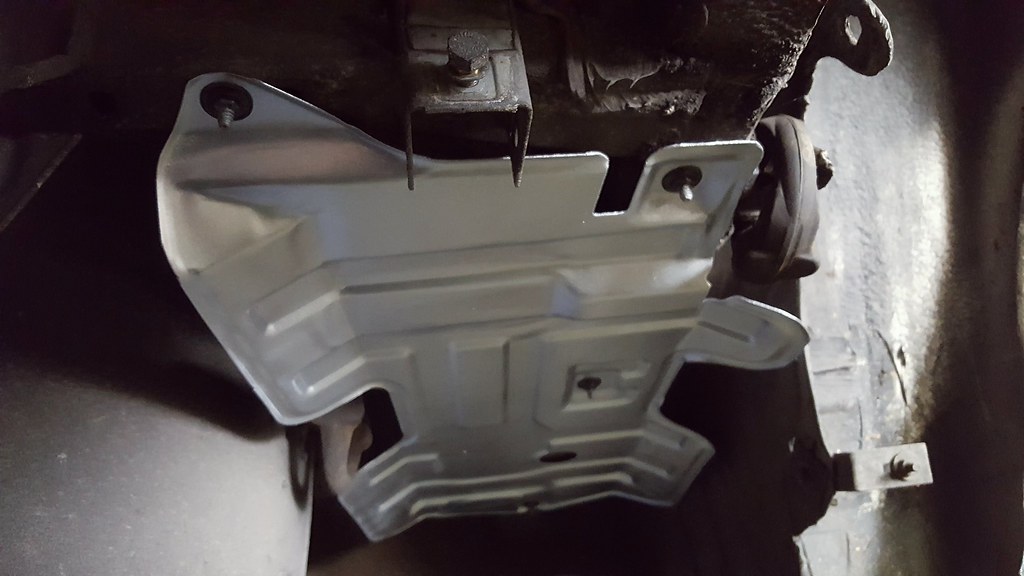
The three exhaust heat shields were looking pretty gross so I cleaned them up with a wire wheel and sprayed them with some high-temp silver paint:
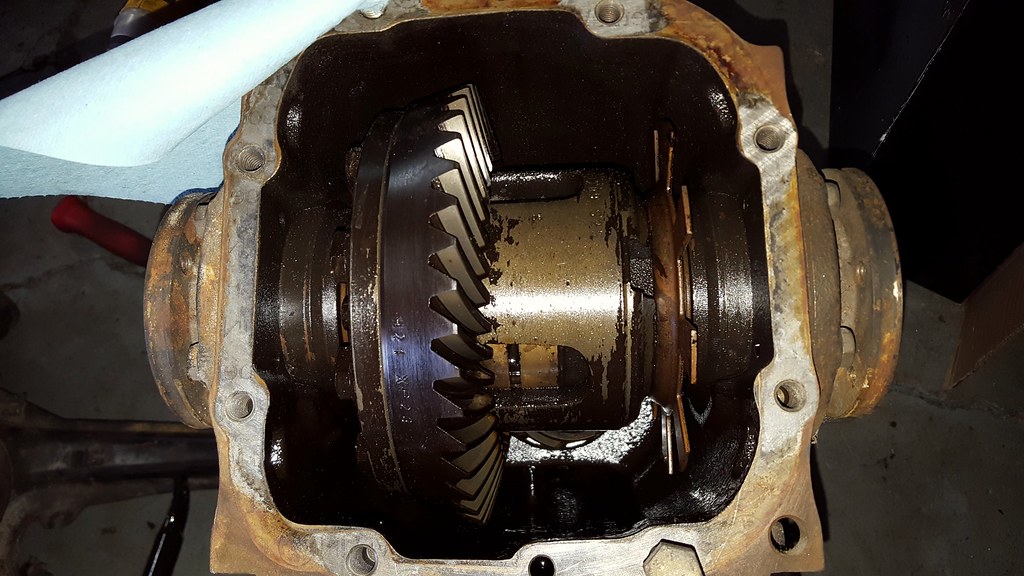
Opened up the medium case 4.10 LSD that I'll be using. Its got a bit of sludge inside from sitting around for a while, but the internals seem to be in great shape. Hopefully all it needs is some new fluid and it's good to go.
-
Here is an example of hairline cracks forming, from a build thread on r3vlimited (JGood's m60 swapped e30). I recall seeing it once or twice more in other random build threads too, but it's not very common.
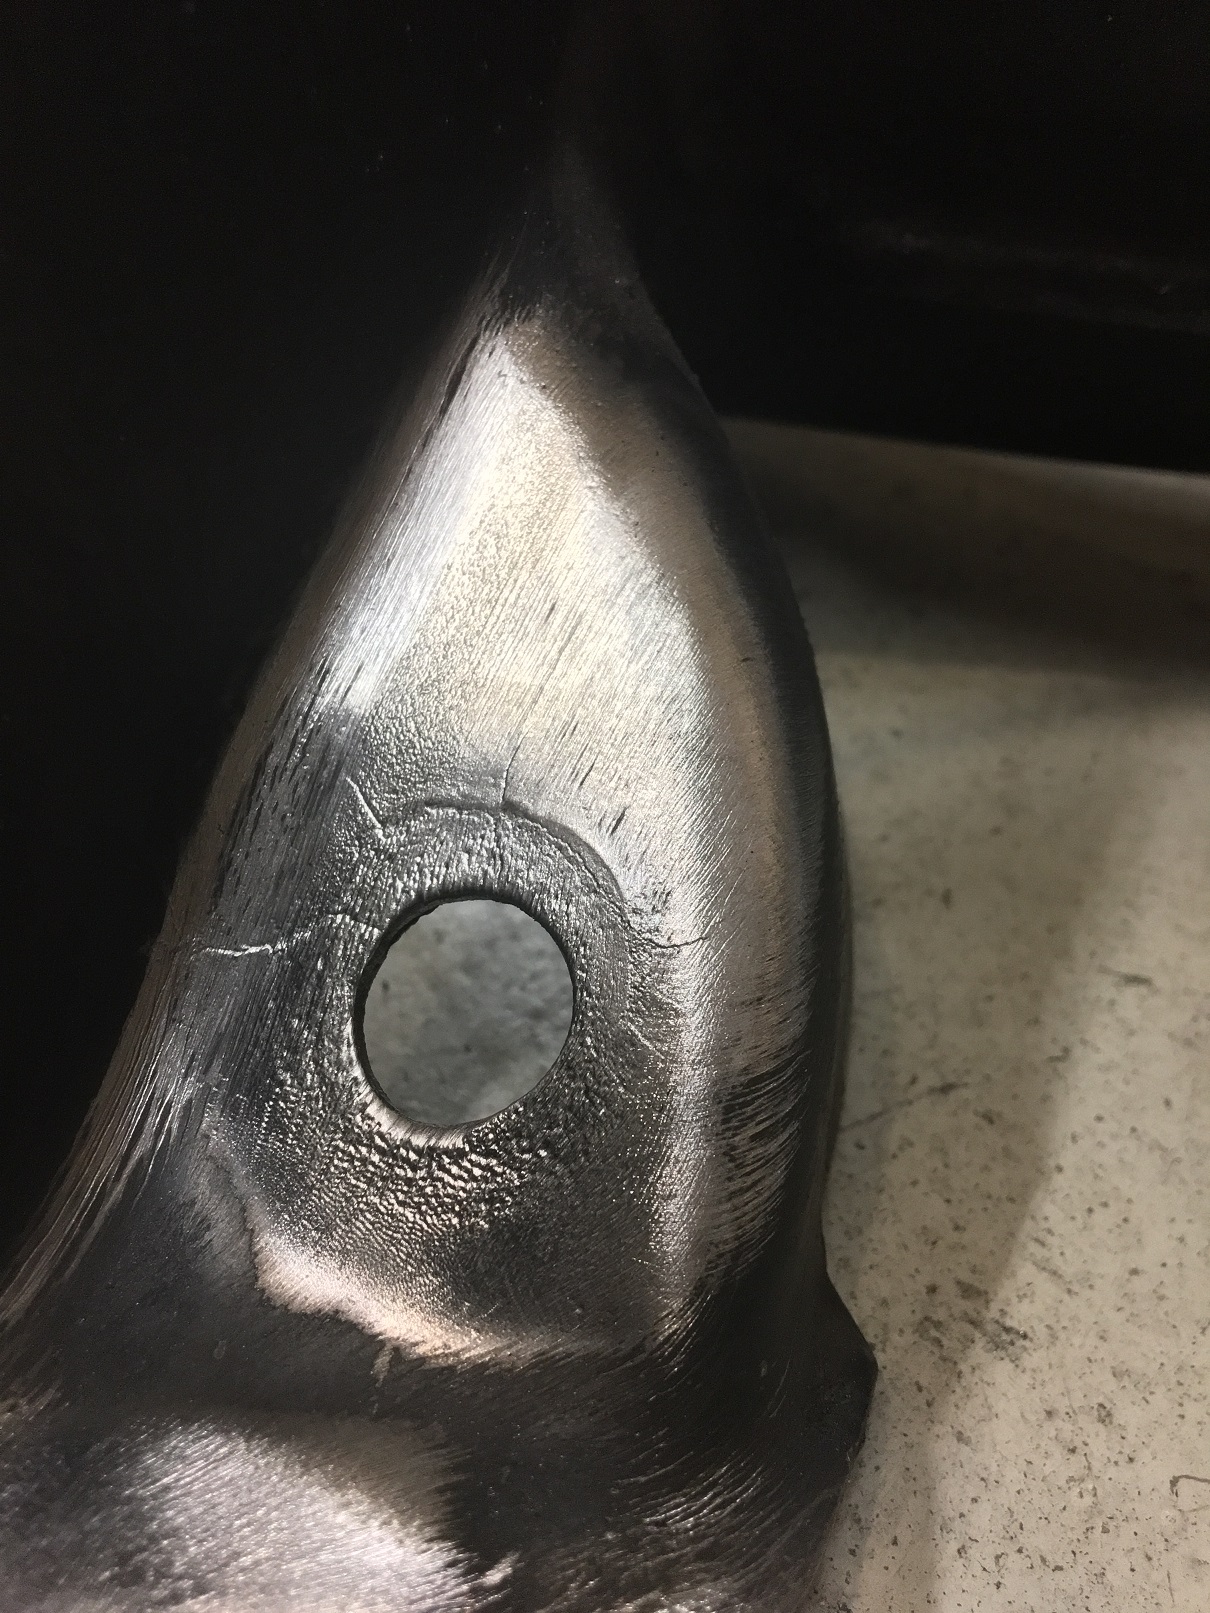
I will be running subframe riser bushings that require spacers to lower the diff back to it's original location. I wanted to add the reinforcements to compensate for the increased stress the mounts will see (less contact area, increased distance between the diff and subframe). Its definitely overkill for a stock m42, but with more power planned in the future I figured it was good to do while I was in there for added peace of mind.
-
That example was overtorqued, but that is understandable since there isnt any way to get an accurate torque on those with te subframe installed anyhow
Thanks for the info
Hadn't thought of that but it's definitely a possibility, I read a little more of that thread and he did mention that he had the diff bolts come loose at some point so that could have also contributed. Either way, got some welding practice and it doesn't hurt anything haha
-
The three exhaust heat shields were looking pretty gross so I cleaned them up with a wire wheel and sprayed them with some high-temp silver paint:
you're never making the may 15th deadline if you are taking this to the earl degree
Dan





Hello! It looks like you're interested in this conversation, but you don't have an account yet.
Getting fed up of having to scroll through the same posts each visit? When you register for an account, you'll always come back to exactly where you were before, and choose to be notified of new replies (either via email, or push notification). You'll also be able to save bookmarks and upvote posts to show your appreciation to other community members.
With your input, this post could be even better 💗
Register Login