
Alpine e30 progress/build thread
-
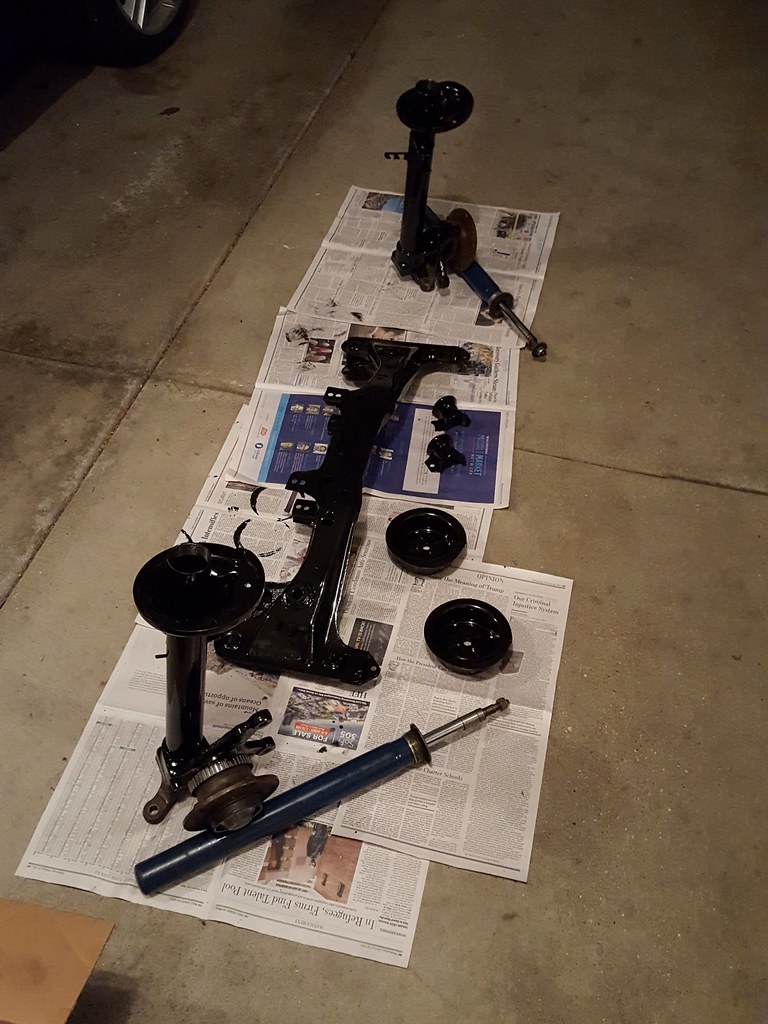
Work suddenly has me traveling a lot so progress is slow but not stopped thankfully. The front end parts are cleaned, sanded, and almost done being painted. I did some more work on the front end damage, got the remainder of the core support cut out and prepped everything for the new one. I will be starting on the damage to the bumper mounting this weekend
-
Getting more things done:
Wire wheeled all of the M3 brake calipers and carriers down to bare metal. Before and after on the fronts:
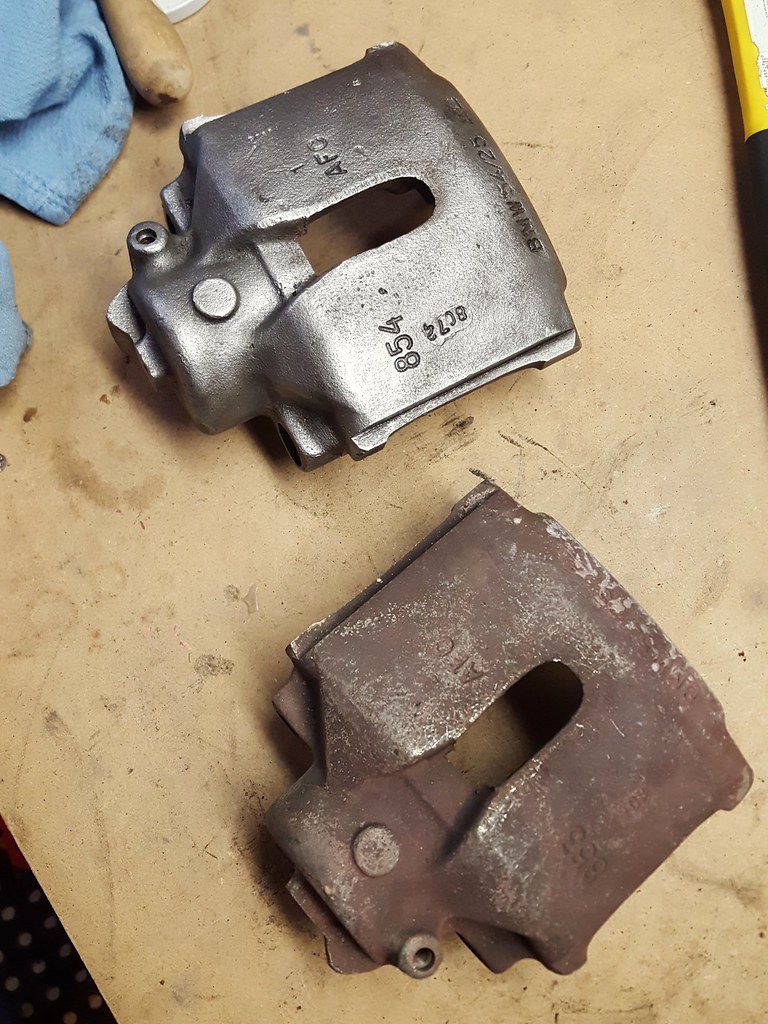
These came from a texas car so they are in great shape. The rears were a bit more crusty but eventually cleaned up just as well. Started getting them painted but then got distracted by the rear subframe.
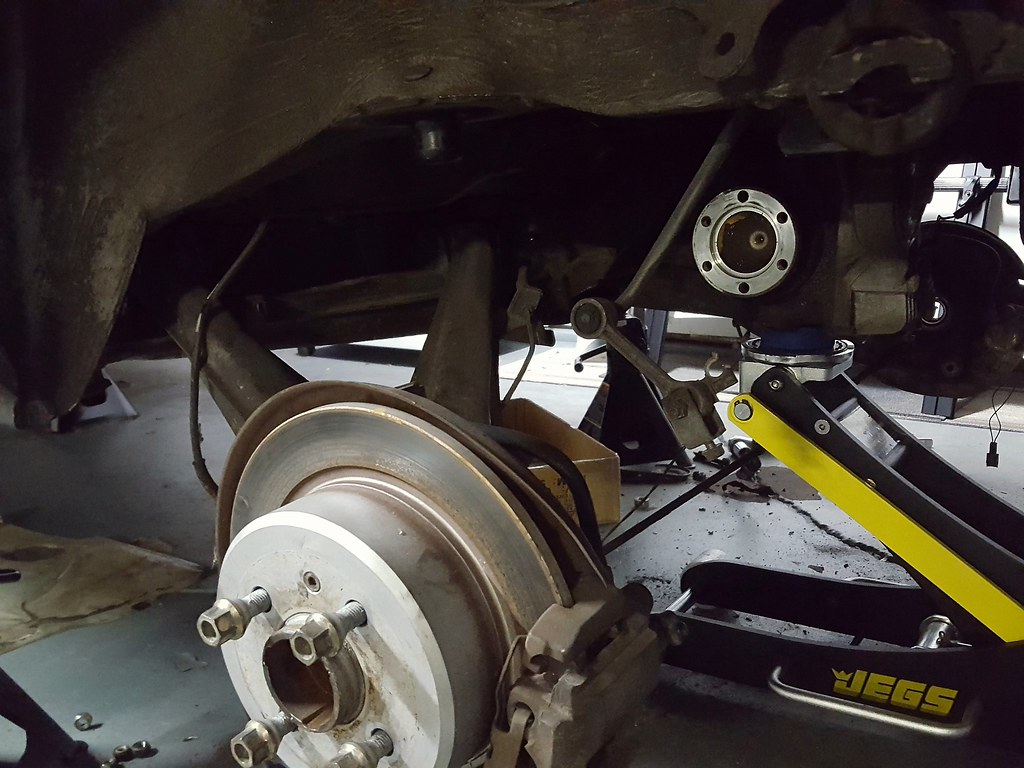
It looks like the subframe has never been removed on my car as the holes under the seat (where the long bolts pass through) were plugged with a giant glob of seam sealer, what a PITA to dig out. I have everything removed or disconnected and it seems that the bushings are stuck in the body. I called it quits at that point, but will be attempting the lag bolt trick for freeing them tomorrow. Hoping to have it on the ground and stripped down by the end of the day tomorrow!
-
lag bolt trick worked for me. impact one right into the bottom, then use a long ratchet extension or something and a BFH from the top.
Dan

-
Lag bolt trick (5/8") and a BFH worked like a charm. Cranked them into the bushings and had the subframe free within 10 minutes! Luckily, the bushings didn't break off either.
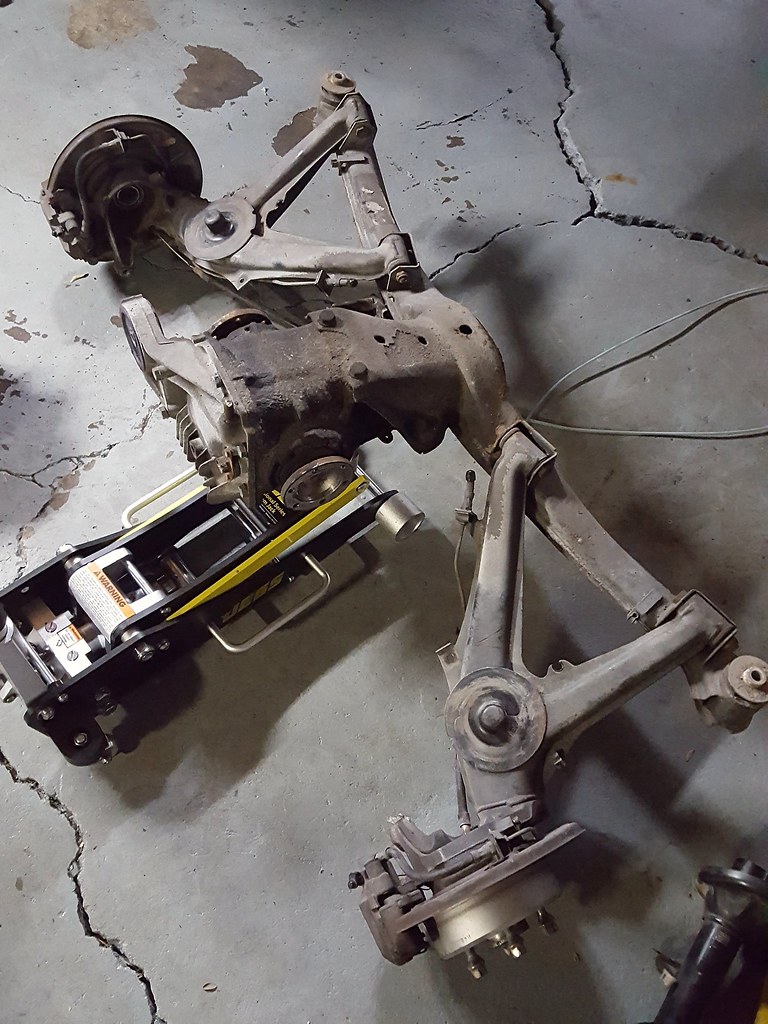
Stripped the subframe down, all that's left is to pull out the old bushings and wheel bearings. I removed a bunch of other random stuff from the car to start cleaning and painting.
While I had the rear seat out, I swapped the seatbelts from left to right so that the receivers would match the pockets in the seat. Only issue now is the seatbelt holder on the parcel shelf is now on the wrong side so I will have to find a way to swap it over and then recover the shelf.
With the rear suspension out of the way, I set one of the new wheels in position for a little motivation:
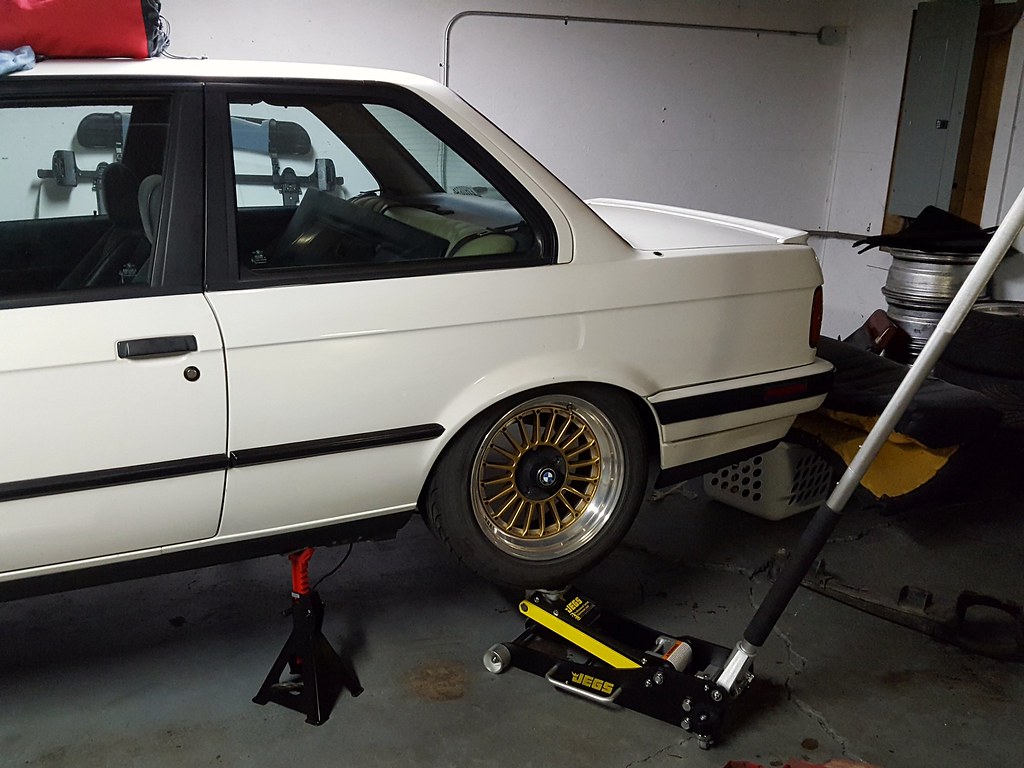
Couldn't be happier with how it looks!
-
-
Back a few posts: Looks like some oil spilled out when you pulled out the bottom cap of the dampers to check the bump stops. What did you refill it with?
It is supposed to be dry inside from what I have seen, Bilstein recommends you do not put oil between the insert and the housing like you would for a stock insert. I bought these used and the guy I bought them from had run them with ATF in the housings and it looks like some seeped in, I wouldnt be surprised if it contributed to the breakdown of the bumpstops...
-
Wheel looks great, will your car be that low? :0
-
Wheel looks great, will your car be that low? :0
Thanks! It will most likely sit a bit higher, the wheel wouldnt stay in place so I just wedged it in there haha. Those tires are way oversized and will be replaced (they came off an e24) so it probably makes it look a little lower too
-
Let me know if you need a shop that will stretch the tires.
I know of one that operates in a back alley on the north side at 1am.
Tip: You can also get expedited service if you shout the coupon code: "White Power" when you arrive
No streching happening here!
-
Stripped down the front end of the sedan over the weekend, got a whole bunch of pieces pulled:


Im hoping the weather warms up soon so I can start making faster progress! Thanks to travelling for work the chances of having this done by the picnic are pretty slim... my backup goal is the brew city cruise night BMW show on 8/15
-
! Thanks to travelling for work the chances of having this done by the picnic are pretty slim... my backup goal is the brew city cruise night BMW show on 8/15
aww no! the white e30s are dropping like flies.
Dan
-
You'll have it done by the Picnic.
Sent from my iPhone using Tapatalk
-
I will still be pushing for it! losing three weeks unexpectedly just really sucked. I have nine weeks left to completely go through the rear suspension, reassemble the front suspension, run all new brake lines, repair the driver's side bumper mounts, fabricate a removable core support, replace all the wheel bearings, etc.... Its a long list! What I want to avoid is rushing things and having to re-do them right away
-
If you need to borrow tools for doing the rear wheel bearings or need a hand let me know=)
Same.
Sent from my iPhone using Tapatalk
-
Thanks Earl/Andy! Ill reach out when the time comes, probably in a week or two. I probably won't be pulling and replacing them in the same day as I will be cleaning and painting the trailing arms, so I don't know if it would be worth doing as a group for learning, but if you're interested you are more than welcome to swing by the shop when I give it a go!
I continued work on the remaining damage to the front end after work today. I started stripping the excess parts off my salvaged core support and came to the conclusion that I can't use it. I am pretty convinced it is bent a bit. There are a few small kinks I found that I hadn't noticed before that I'm pretty sure shouldn't be there:
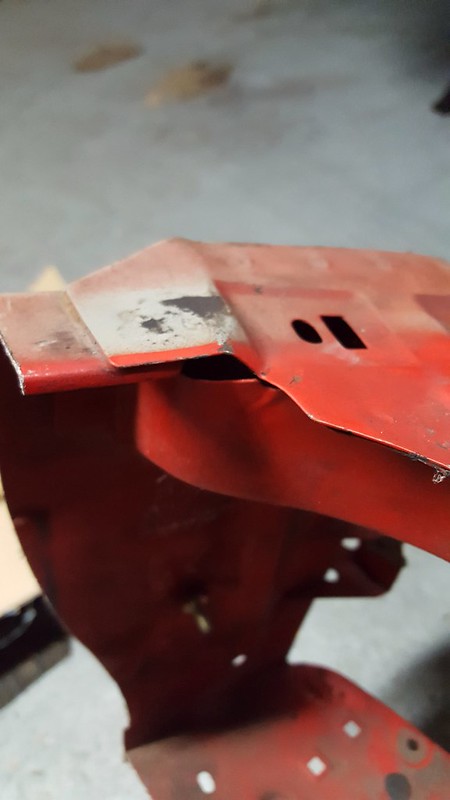
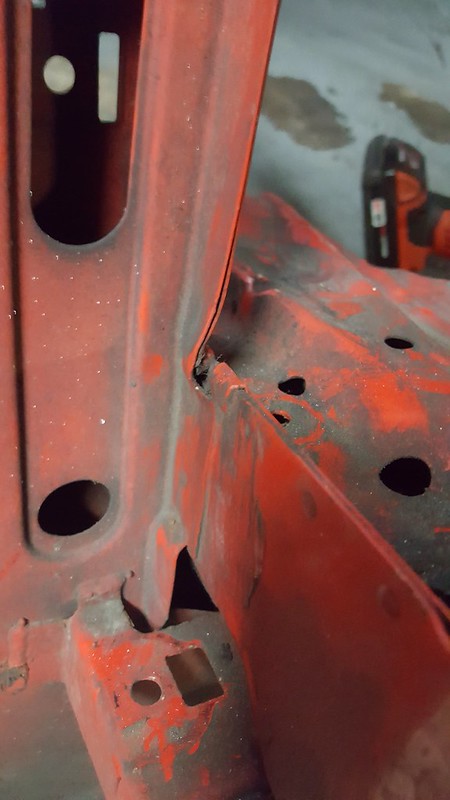
From the top down it looks straight, but I just don't want to take a chance and have problems down the road so I won't be using it anymore. I'll likely order a new one from the dealer.
I turned my attention to the headlight mount area:
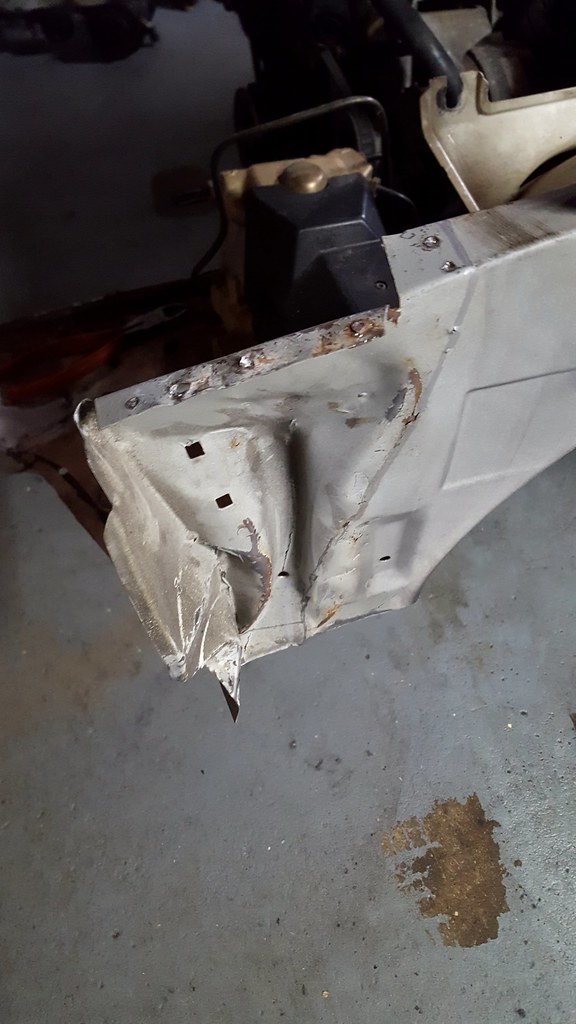
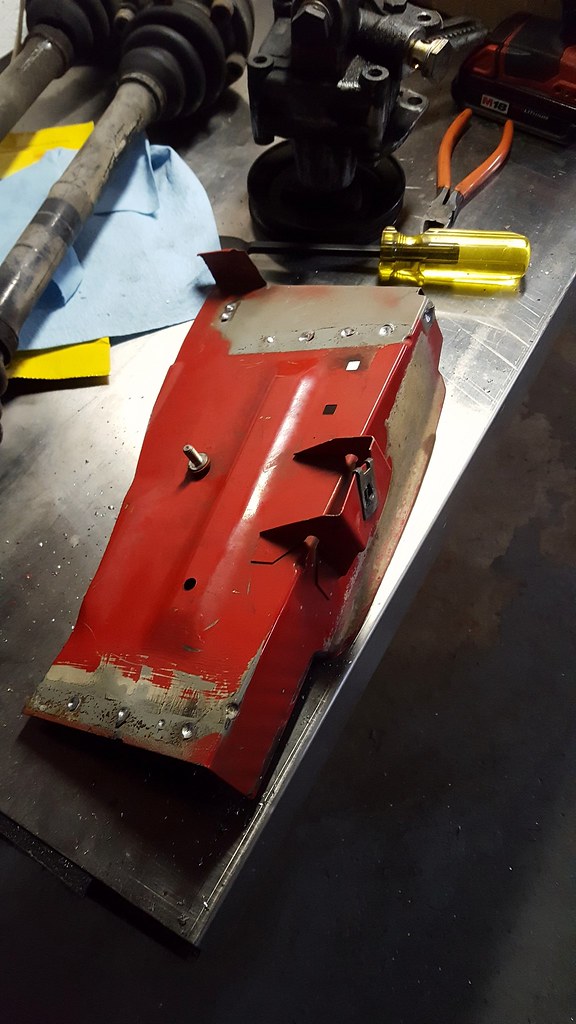
Removed this piece from the core support cutout, thankfully it and the frame rail end are definitely good and straight:
Chopped the damaged sheet metal out:
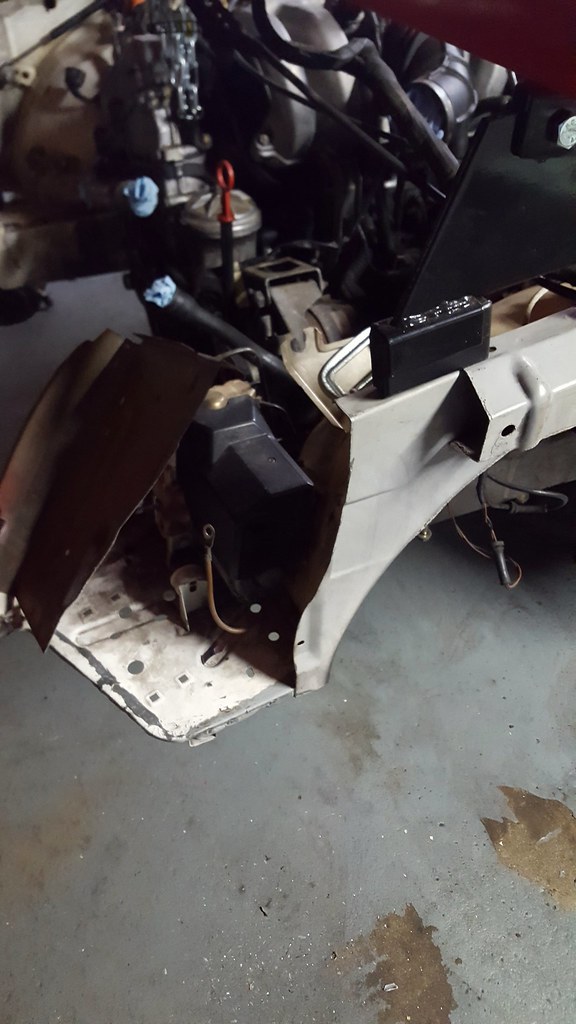
I started by just roughly hacking out the majority of the damage and leaving an overlap with the new panel. Then I carefully trimmed it back until the new part fit right where it needed to go. The top is within a millimeter of where it needs to be, ran out of time with the bottom but it is only long by a few mm. With some minor adjustments it will be spot on:
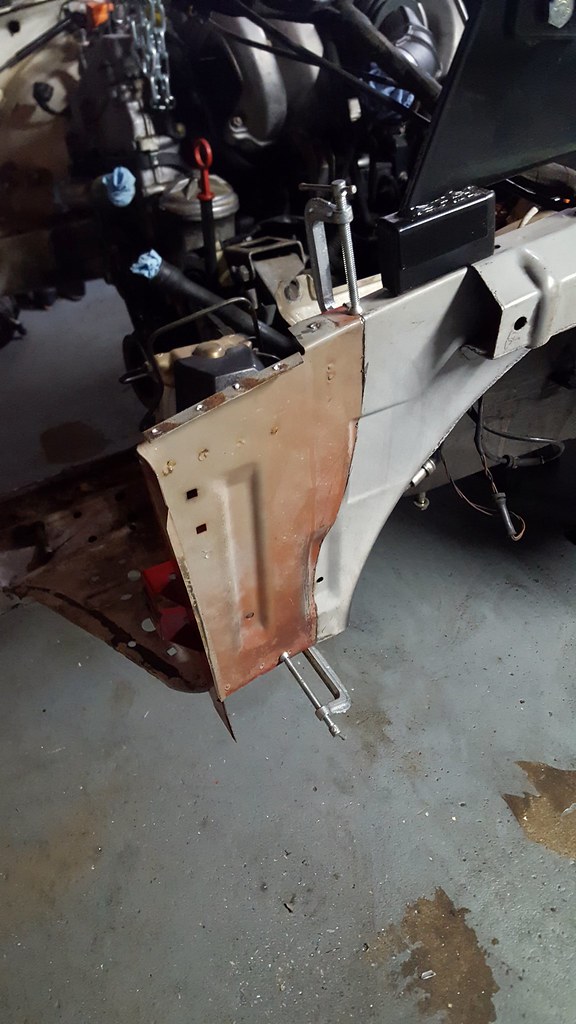
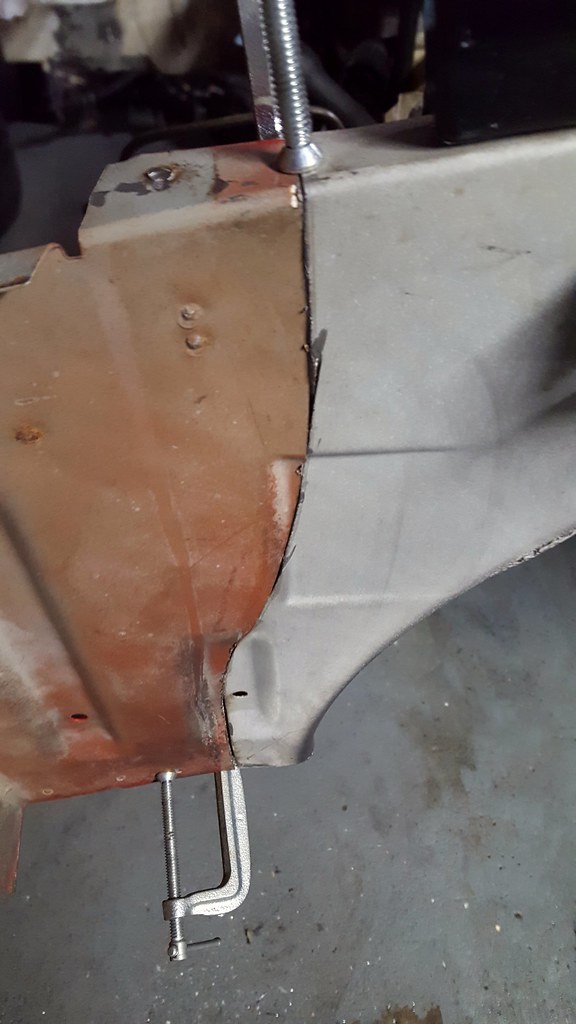
The gaps are looking really good for welding, less than a mm max! The areas where it looks like there are gaps it is actually just a shadow, it is pretty much touching the whole way down. Now I just need to line it up as best I can and weld it in without ruining it...






Hello! It looks like you're interested in this conversation, but you don't have an account yet.
Getting fed up of having to scroll through the same posts each visit? When you register for an account, you'll always come back to exactly where you were before, and choose to be notified of new replies (either via email, or push notification). You'll also be able to save bookmarks and upvote posts to show your appreciation to other community members.
With your input, this post could be even better 💗
Register Login