
Musings from the shop
-
You're going to machine those? Looks like a difficult part. Damn kids and your fancy computerized equipment!
Just kidding. Honestly though I have some kind of pathologically masochistic DIY-or-die complex. I'll probably just go after a piece of flat stock with a hacksaw, some big drill bits and a file.
-
Honestly man, I guarantee you could learn how to draw that up, and machine it within a weekend. No one taught me how to draw 3d, so I just mess around with it at work until, well, something works.
The shop is in Green Lake, if you are ever interested in checking it out, or building your own parts, I have keys to the place and can come here 24/7. Only 1 shift 7-330.
Transition piece is much short. So I think around 2" alum billet flange for the transition is what I need. And go to larger tubing.
Port has a perimeter around 6" and 1.75 ID is 5.5 about so I need larger runners. 2" ID will get me ~6.3" which is just slightly larger(which is assume is what I want)
Dammit I need to go to school for engineering already.....

sk8 or die
-
That's cool. I'm from Menasha, so you're not that far from me. I might have to take you up on that some time.
I wouldn't necessarily assume that the you need to keep the tube the same size as the port, but it's probably not a bad idea to do it that way. To do it right though, you have to look at the area of the opening, not the perimeter, as well as the length of the runner from the valve to the end of the tube.
The engineering concept that you're looking for is called "Helmholtz resonance". The wikipedia entry does a good job explaining it. The mass of the air in the runner causes it to have inertia, and the atmosphere outside the tube essentially acts like a spring. Putting some mass on a spring gives you a resonator. Changing the diameter or length of the runner changes the mass of the air inside and tunes the resonator to a different frequency (rpm).
-
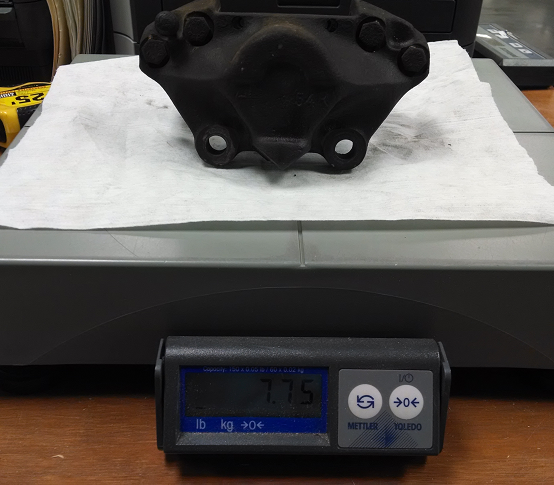
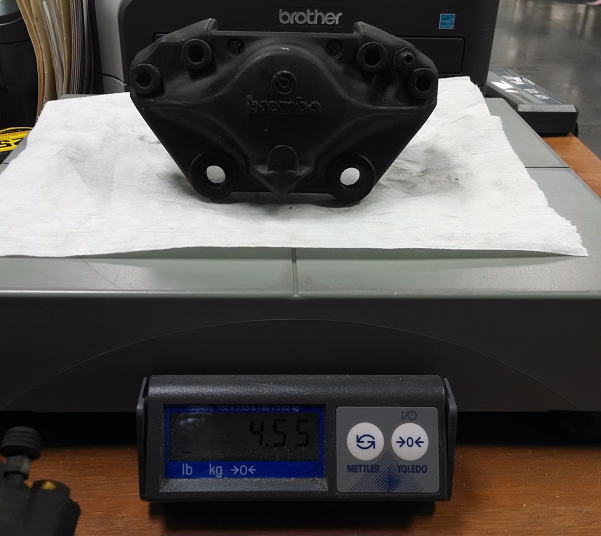
The bolt pattern is the same but they're a little wider. If i switch to vented rotors I think they'll bolt right up. Otherwise I may have change the spacer between the two halves. I'm confident that they can be made to work without too much work.
I've heard that they're used as an upgrade for air-cooled 911s too, so I feel lucky to have picked them up for a reasonable price.
-
What isn't light weight on a Italian car
The driver...
-
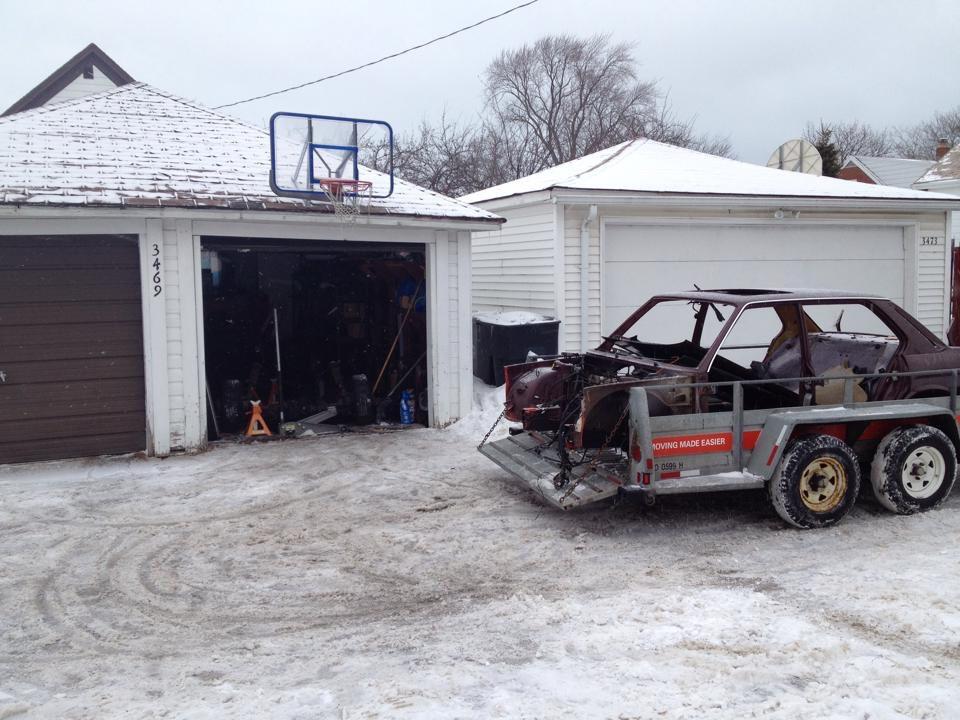
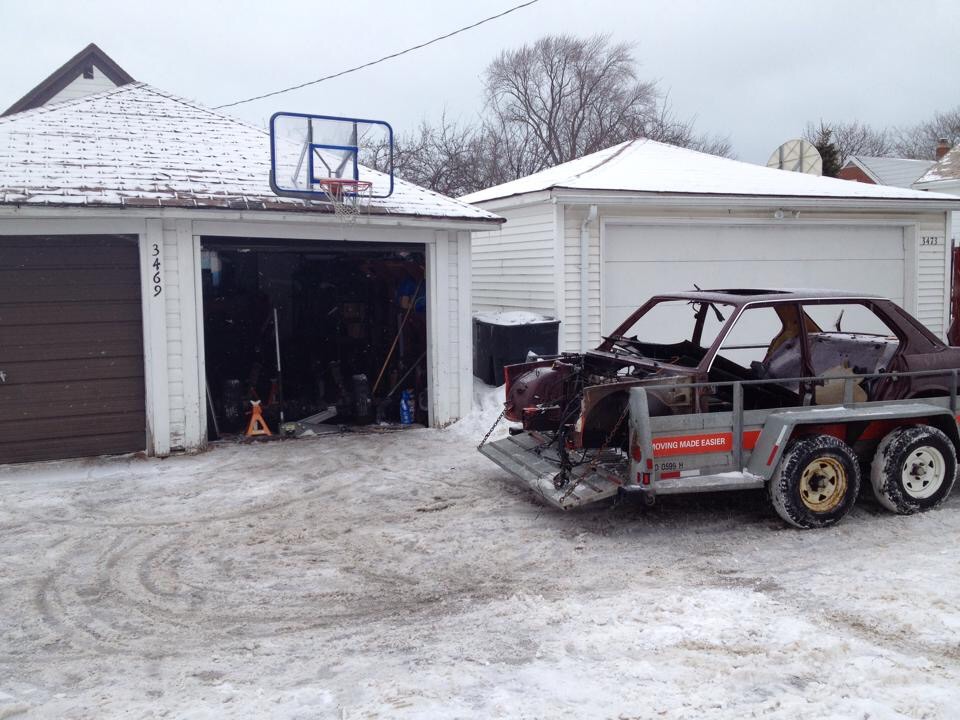
Full size Chevy ftw! I don't think I got a picture of it but the last E28 shell I scrapped was hauled on a uhaul 6x12 utility trailer with the tailgate down because it was 14 ft long. I also dragged the shell out of my garage on frame with the burb.
Edit found the pic! Luckily with the snow I was able to rotate the shell by myself and then winch it on the trailer. Which leads me to the question on how you lifted the shell into the truck bed? Haha
-
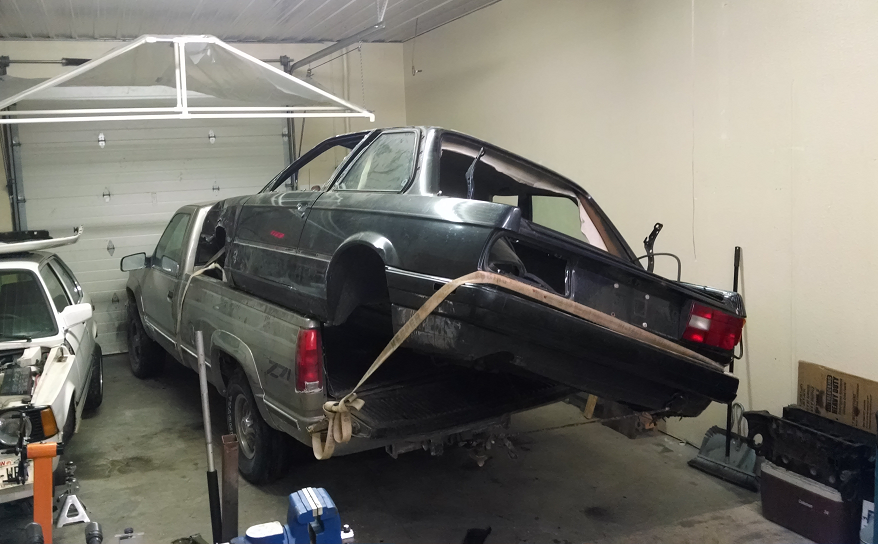
I was surprised, the empty shell of a car is actually pretty light. Three of us lifted the front up by hand, and then used the engine hoist to lift the back up and pushed it in. Sounds simple, but it was a bit of work. I think it took about an hour start to finish.
-
I was trying to think of a clever comment for this one, but I got nothing.
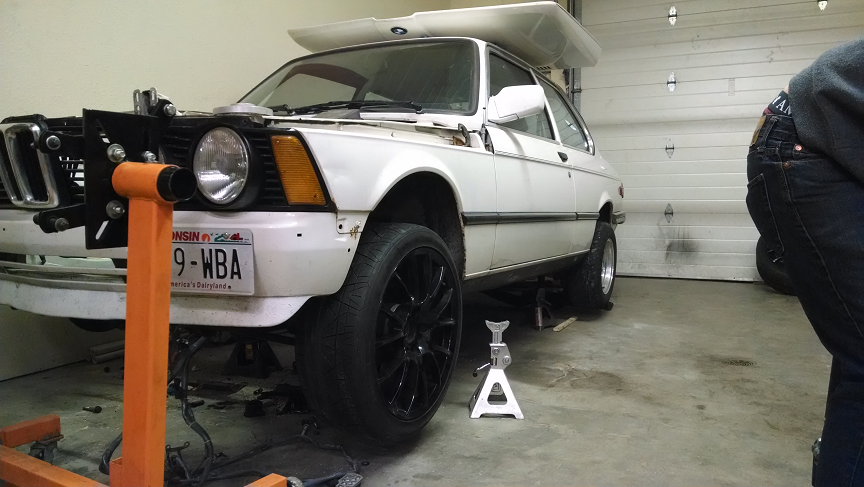
Jake farting at my new wheels.
Quoting these two pictures to carry the epicness on to page 4...
-
Ha, putting that e30 into a truck bed was one of the funnier things that I have done with a car.
E21 looks mint on those wheels. -
That was Mike's car that met the guard rail
-
Aside from the damage to the fender, core support and quarter panel, it was also pushed in maybe an inch at the B pillar. Also needed an engine, gas tanks, rear subframe/suspension refresh, the diff had a little bit of growl... I wish I could have done something with it, but I just don't have the time or the money right now and don't have anywhere to store it long-term.
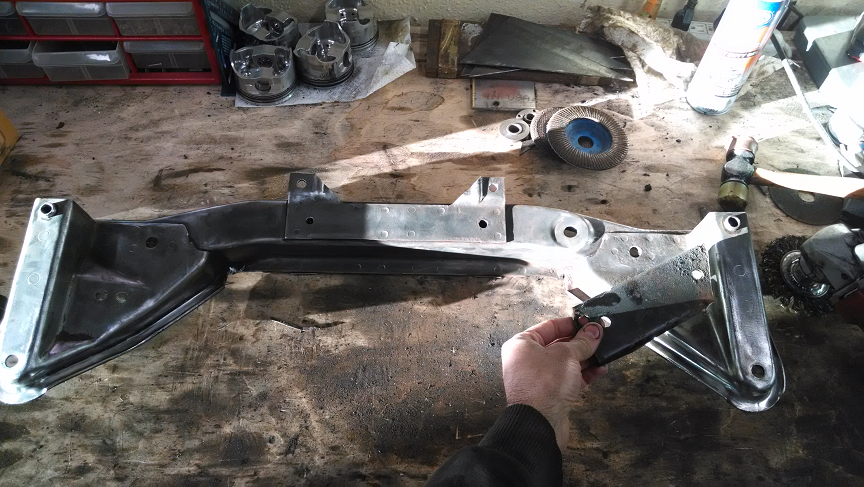
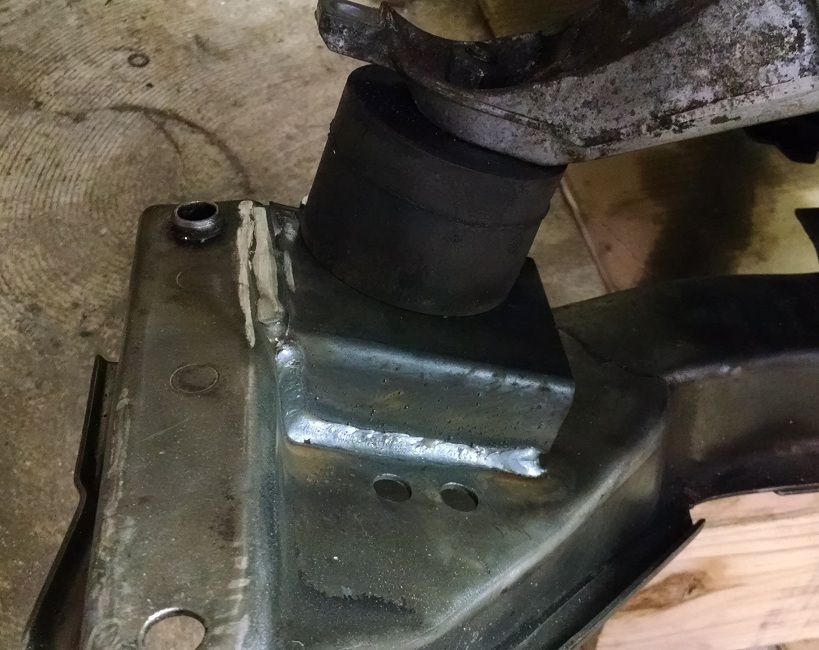
The upside is that I can focus on the e21 now. Before Ben stopped at the shop with a z71 and a crazy idea to shove an e30 shell in the bed, I was working on getting the subframe cleaned up and removed the part where the drivers side motor mount was. The m42 motor mounts are farther back, so I have to weld new pads onto the subframe where they come down. Also dropped the suspension and started cleaning, cleaning, cleaning....
-
I pulled a sting to see how straight the driveline was going to be. It's attached to the diff flange in the rear, and I used the height of the output flange of the transmission to set the height of the string at the front of the car.
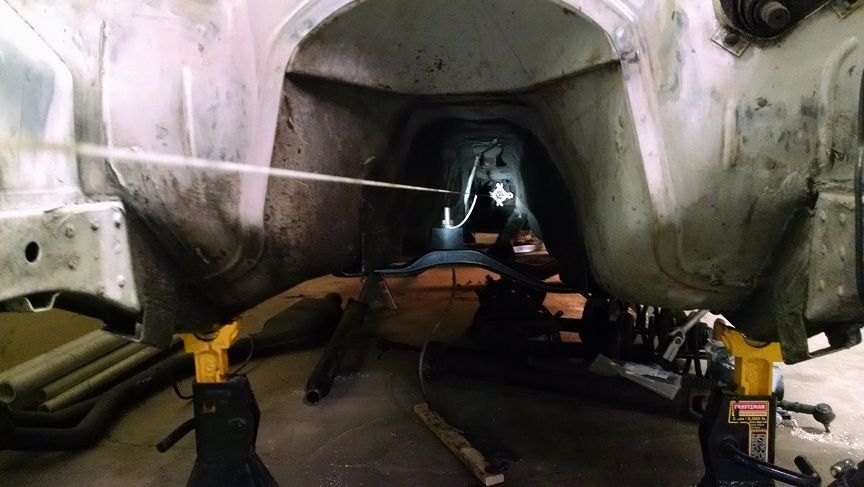
I put a pipe across the frame rails so that I'd have something to measure off of after I put the engine and trans in.
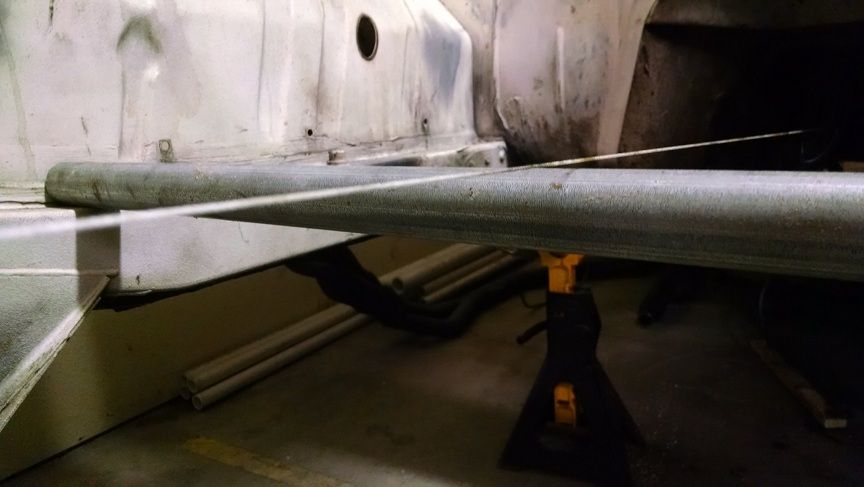
Whoa... that's not good. The front of the engine about an inch and a half low. Not a huge angle, but enough that I think I'm going to make a new transmission crossmember to compensate.
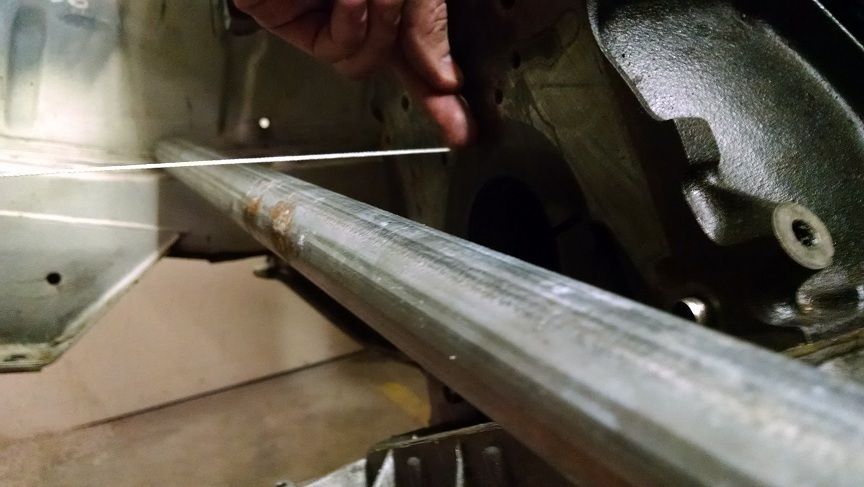
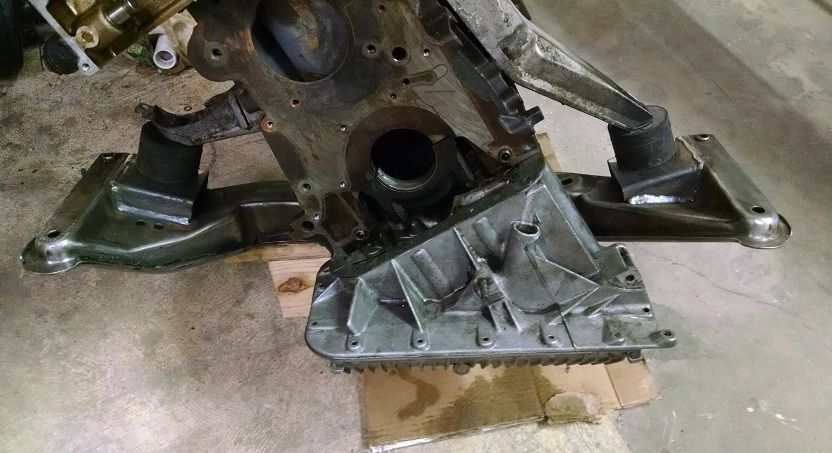
After I was happy with everything I welded up the crossmember and bolted it up to my mock-up engine. It's been a long time since I did any welding, but it turned out pretty good.
I was going to work on mounting the center support bearing today, but I forgot to order the the little dust shield that goes on the driveshaft, so I put some candy-colored bushings in my LCAs instead.
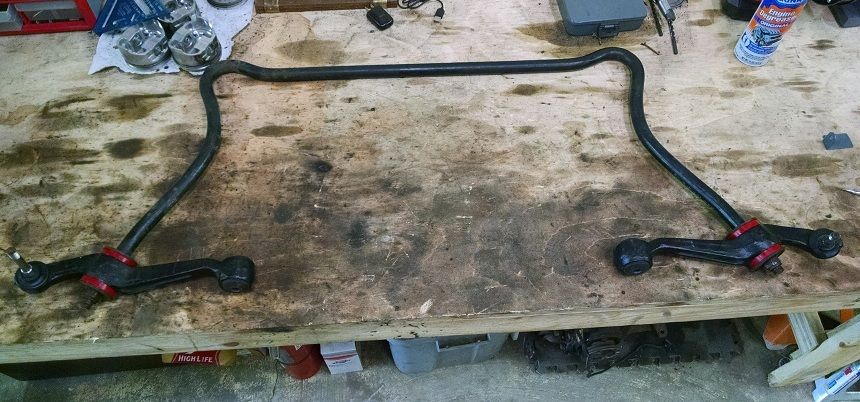
Making progress, and it feels good.









Hello! It looks like you're interested in this conversation, but you don't have an account yet.
Getting fed up of having to scroll through the same posts each visit? When you register for an account, you'll always come back to exactly where you were before, and choose to be notified of new replies (either via email, or push notification). You'll also be able to save bookmarks and upvote posts to show your appreciation to other community members.
With your input, this post could be even better 💗
Register Login