
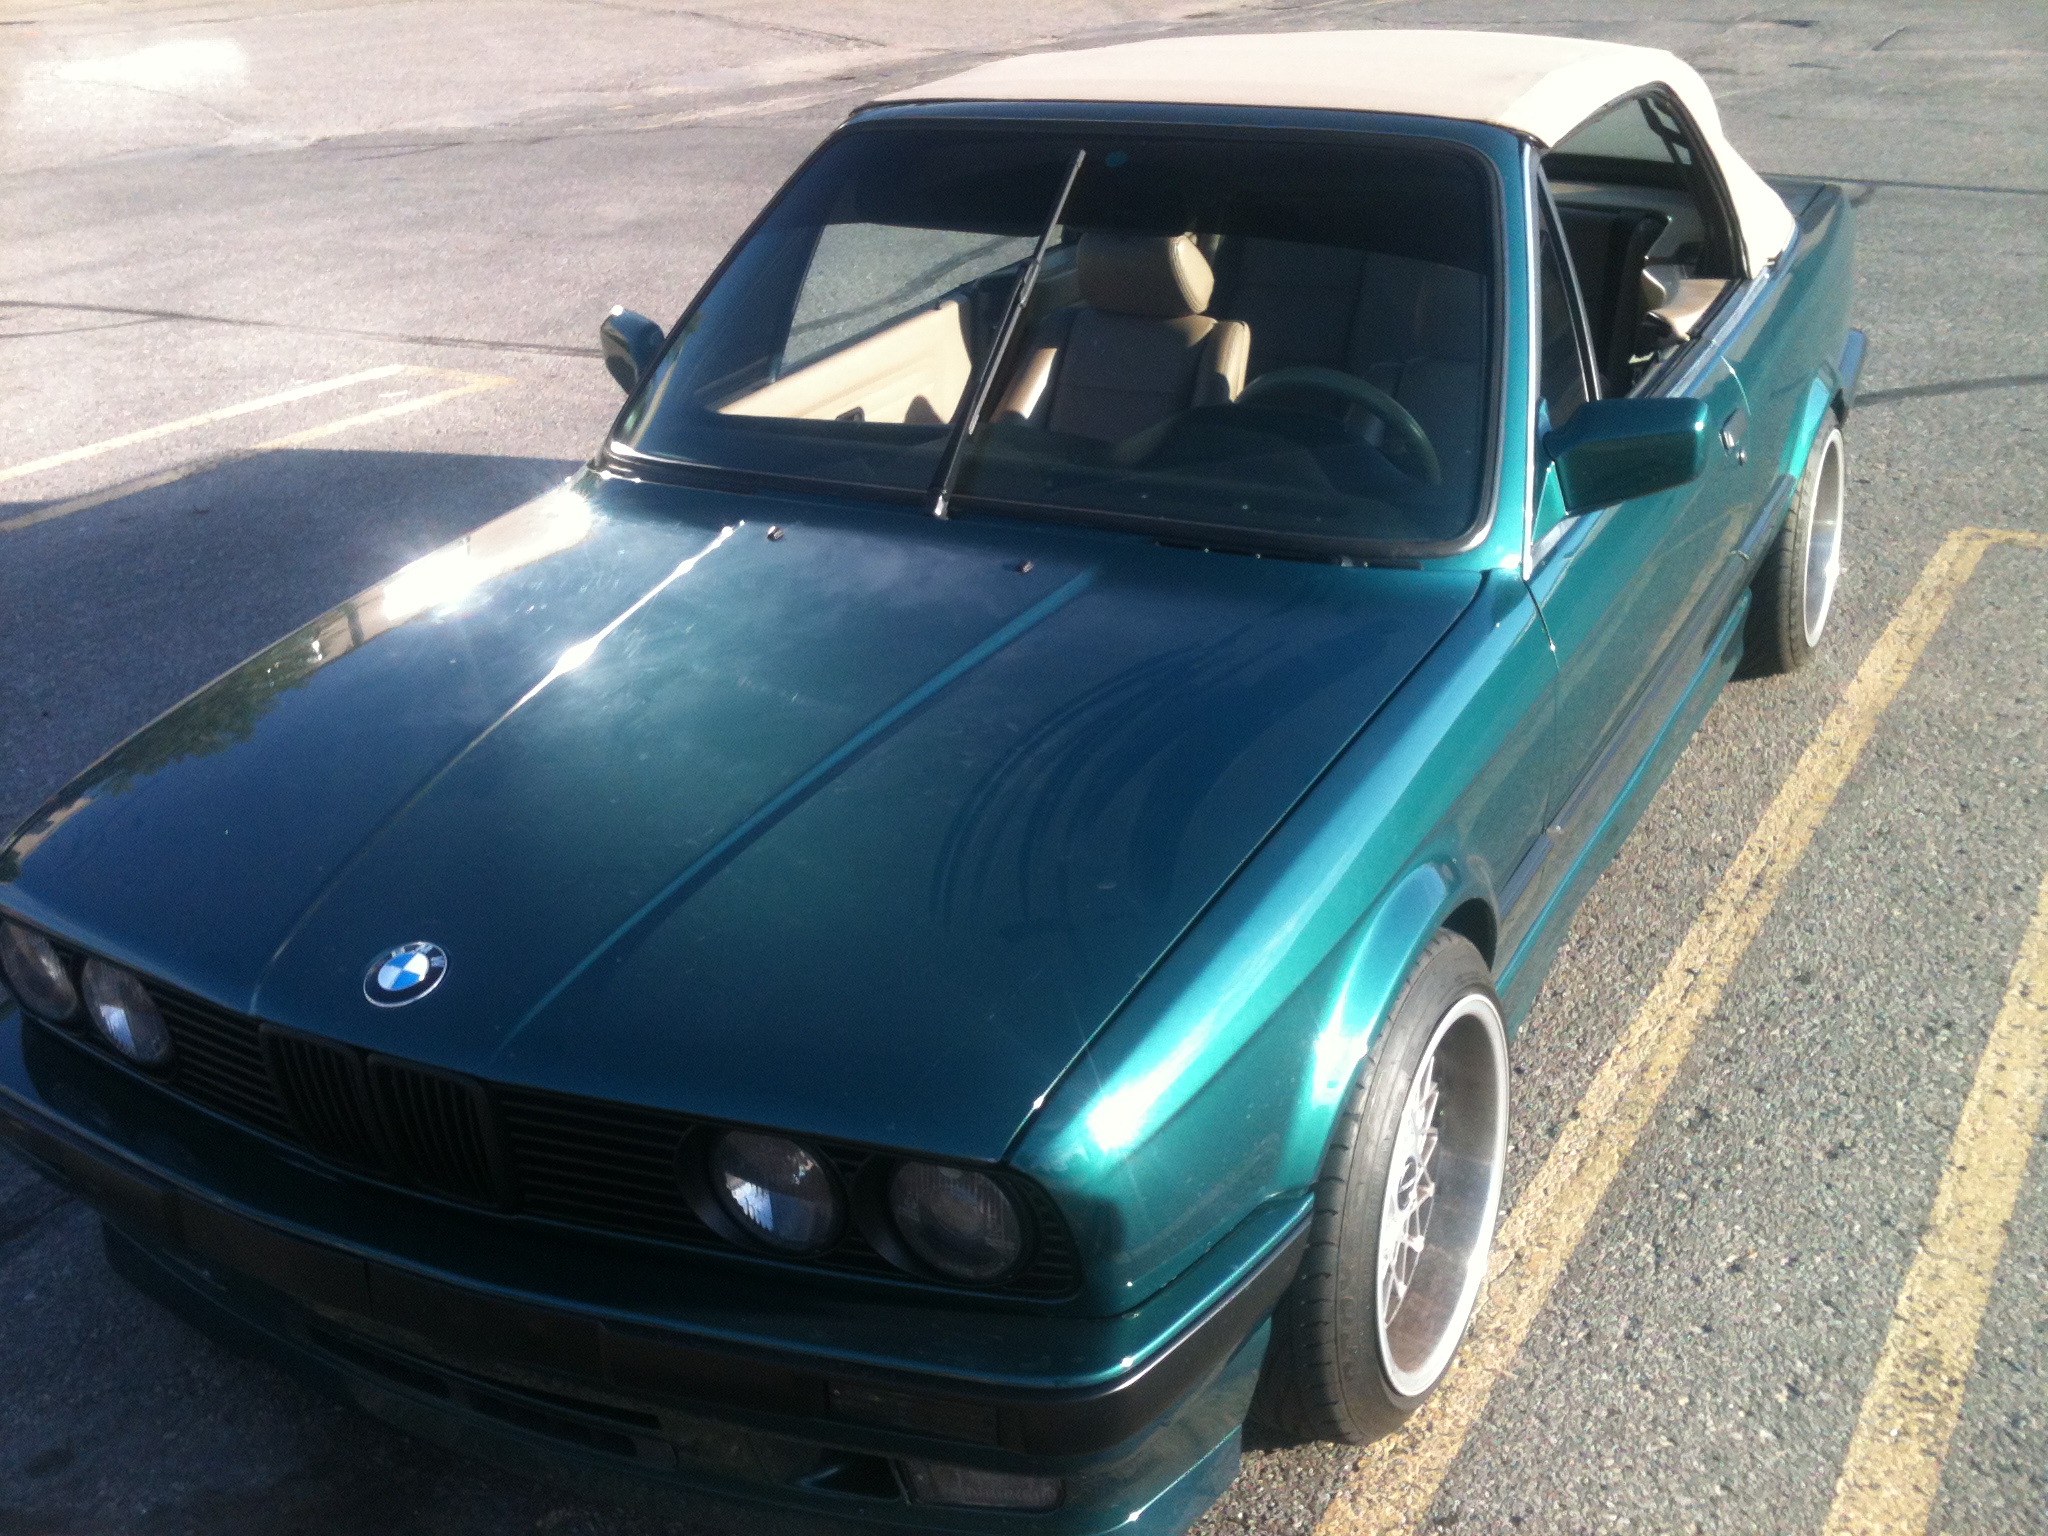
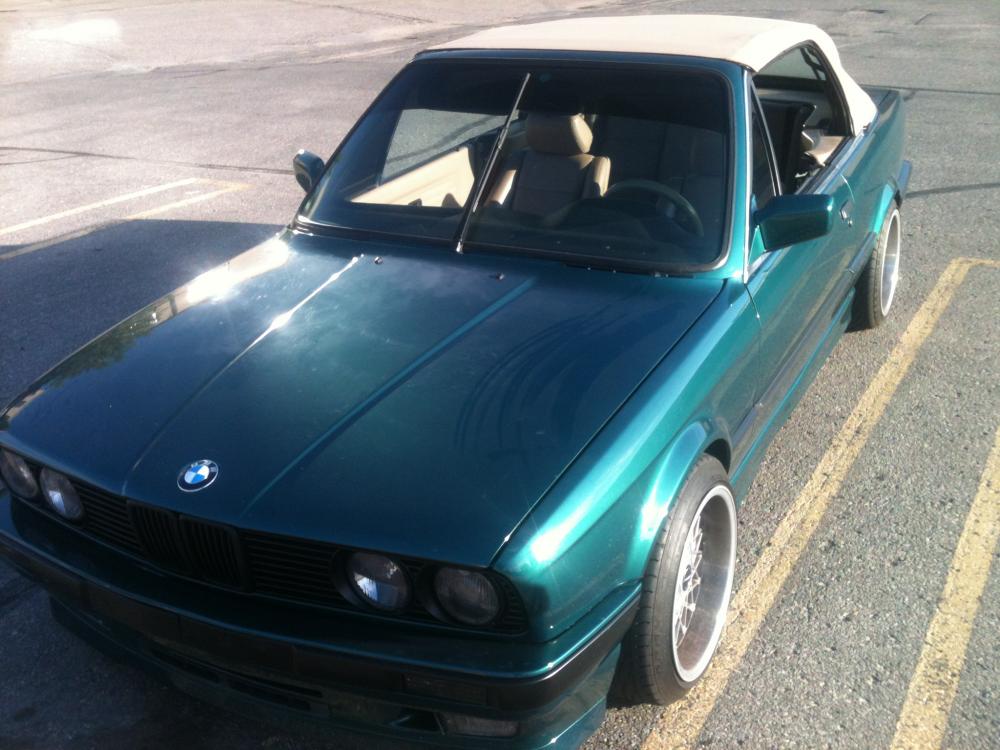
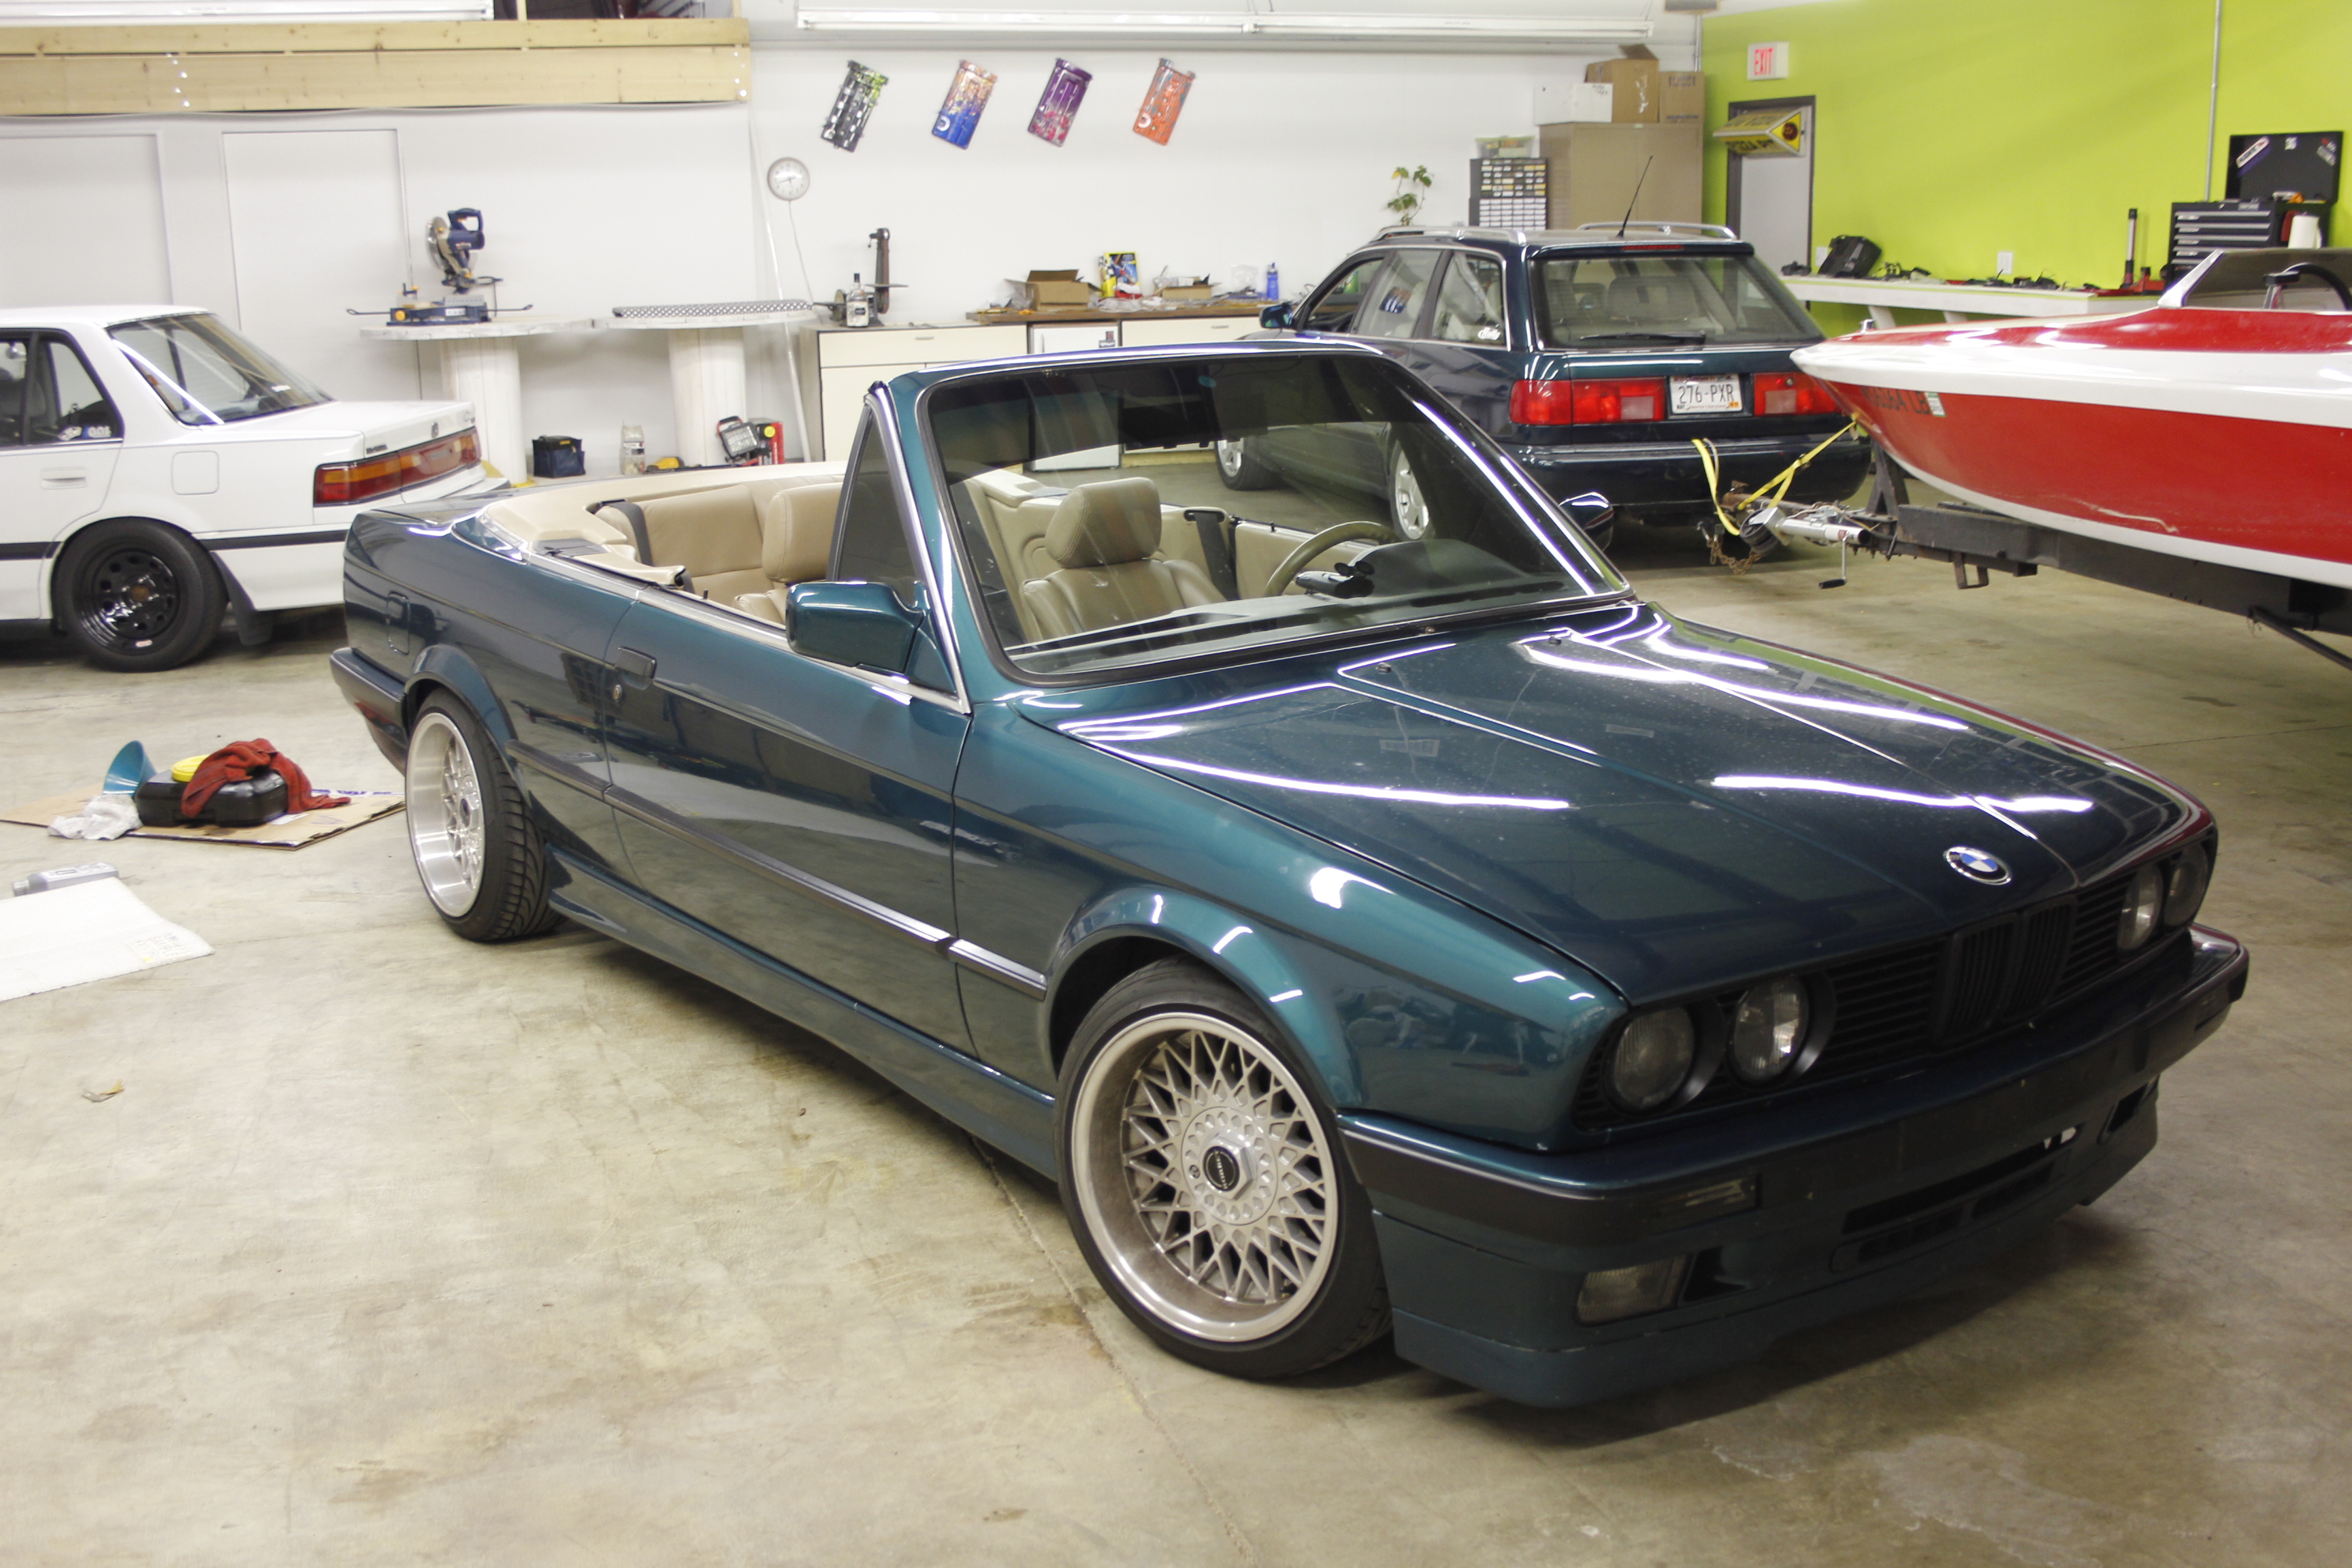
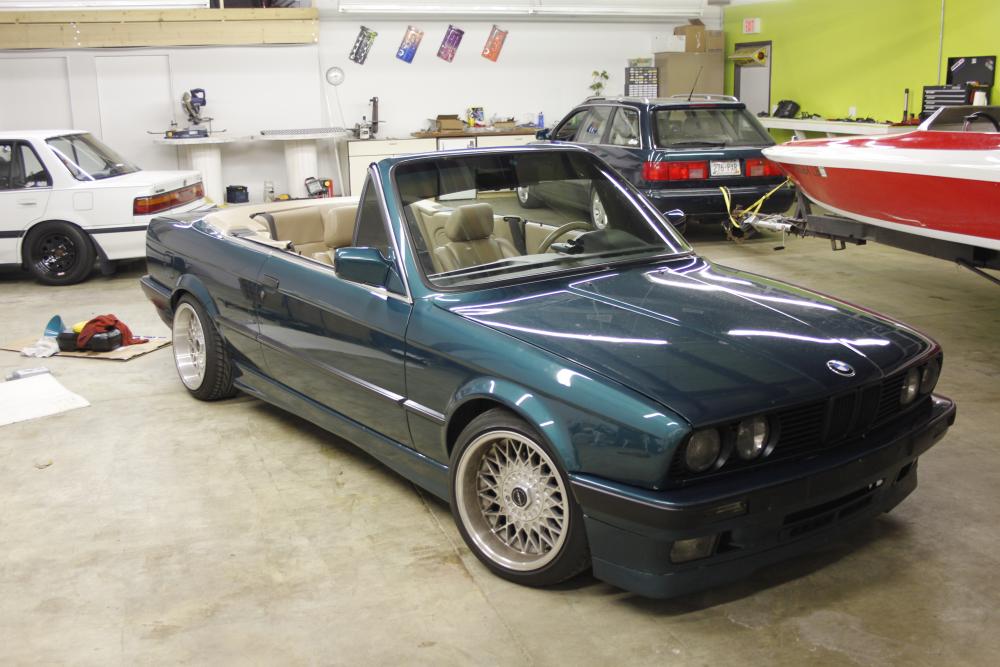
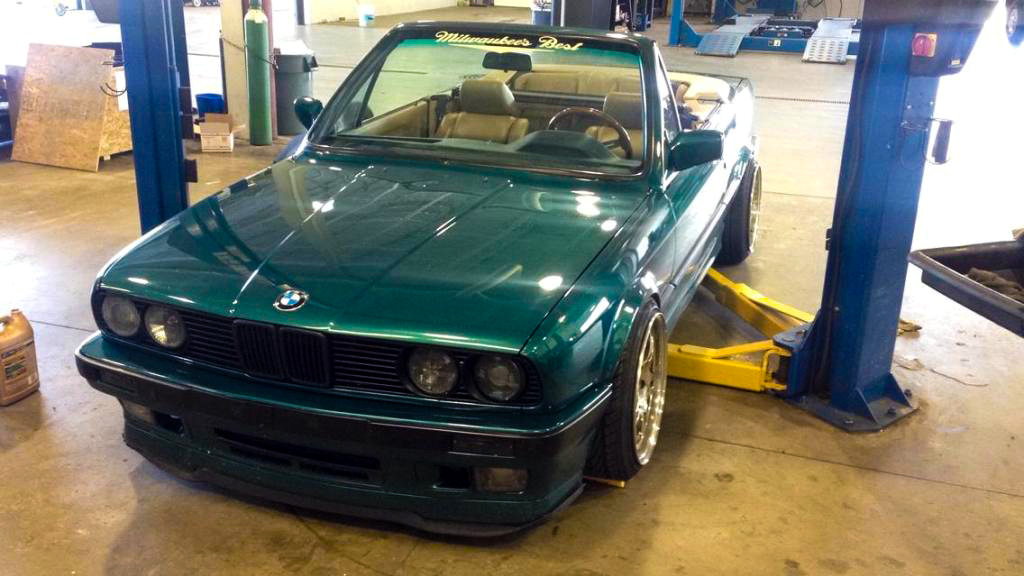
1JZ E30 Vert Build Thread with Pastry filled wheels
-
Acouple things: Something isn't right if you're getting flex/ movement between the coil and wheel when loaded. (They should always stay in the same orientation to one another). Possibly a bad wheel bearing flexing under load?
Do the BC's have upper camber plates? I wouldnt be worried if the camber plates were "off" slightly side-to-side on this age of car.
Why get an alignment if your gonna add in the weld-in camber adjustments? (Or is that weeks/months in the future)?
-
Acouple things: Something isn't right if you're getting flex/ movement between the coil and wheel when loaded. (They should always stay in the same orientation to one another). Possibly a bad wheel bearing flexing under load?
Do the BC's have upper camber plates? I wouldnt be worried if the camber plates were "off" slightly side-to-side on this age of car.
Why get an alignment if your gonna add in the weld-in camber adjustments? (Or is that weeks/months in the future)?
Awesome questions.
Yes, my first assumption was that I have a bad wheel bearing. I checked it numerous times before and after install and it seems very,very sturdy, no noise and no play whatsoever. I will most likely be replacing it though. I want to rule out all possibilities of the cause, which really sucks because I want to drive my damn car!!
The BC's do have camber plates, I am not worried, just thought it was odd. Especially considering it is a vert and it has all that extra bracing around the strut towers. The only other issue I could think of that would cause my rubbing issue is that the pillow ball mount could be messed up some how. I know that I can unbolt my coil from the camber plate and flip it 90 degrees.But I haven't thought of trying that until just now, when I typed it............


I got an alignment at my friends work, cost me next to nothing and I figured new tires and some other adjustments were needed. (I just installed a new steering rack). It will be a few weeks/ months until I can get the rear camber kit ordered and installed, so we didn't even touch the rear. just inspected it when it was on the lift to make sure everything was still in good shape.

https://www.instagram.com/_jdesigner_/ http://nevertoolow.tumblr.com/
🥳SOLD BMW E24 633CSI - BMW M30B32 🧪SOLD HCH ES9 - 1.3 LDA
👽BMW E30 325IC - Toyota 1JZ-GTE ⏰ HONDA EF9 CIVIC SI - JDM B18C5
☠️BMW E36 318i - Ford 5.0 FE302 🚴♂️ GT-Labomba - 26x2.75 Freeride
🤹♀️SOLD BMW E36/7 Z3 - BMW M54B25 🧓SOLD BMW E10 2002 - BMW M10M05 -
Well I haven't updated this in a while so I figured I would update. It was awesome to drive yesterday with the top down (Wisconsin sucks) and get some miles on the car. Everything seems to be in order and working great now. I just ordered new rear tires(again) and new HIDs. If anyone wants a great deal on higher quality HIDs for there car I suggest DDm Tuning. http://www.ddmtuning.com/
My shopmate has had these in his S6 avant for over a year now without issue and they have a lifetime warranty. The Hids in my car now are garbage, huge mismatched ballasts and mismatched bulbs. Not sure who or what was going on in the installers head but I need to fix it. One side is really bright and continues to try to reignite while driving and the other is dim as shit lol. I will post pics once they arrive and are installed.
https://www.instagram.com/_jdesigner_/ http://nevertoolow.tumblr.com/
🥳SOLD BMW E24 633CSI - BMW M30B32 🧪SOLD HCH ES9 - 1.3 LDA
👽BMW E30 325IC - Toyota 1JZ-GTE ⏰ HONDA EF9 CIVIC SI - JDM B18C5
☠️BMW E36 318i - Ford 5.0 FE302 🚴♂️ GT-Labomba - 26x2.75 Freeride
🤹♀️SOLD BMW E36/7 Z3 - BMW M54B25 🧓SOLD BMW E10 2002 - BMW M10M05 -
I can vouch for DDM as well. I'm at just over a year with mine and no issues whatsoever.
-
Pfft. if you want bright headlights, S2000 housings with Morimoto HID kit. So much better quality....
wut?
Anyways I finally put new tires on the back of my car so I could achieve more low. But the rain is preventing pictures. I also tore a fuel line open somehow on the way to work this morning. Keeping me busy I guess. I will post pics tomorrow of moar lows and new HIDS!!!
https://www.instagram.com/_jdesigner_/ http://nevertoolow.tumblr.com/
🥳SOLD BMW E24 633CSI - BMW M30B32 🧪SOLD HCH ES9 - 1.3 LDA
👽BMW E30 325IC - Toyota 1JZ-GTE ⏰ HONDA EF9 CIVIC SI - JDM B18C5
☠️BMW E36 318i - Ford 5.0 FE302 🚴♂️ GT-Labomba - 26x2.75 Freeride
🤹♀️SOLD BMW E36/7 Z3 - BMW M54B25 🧓SOLD BMW E10 2002 - BMW M10M05 -
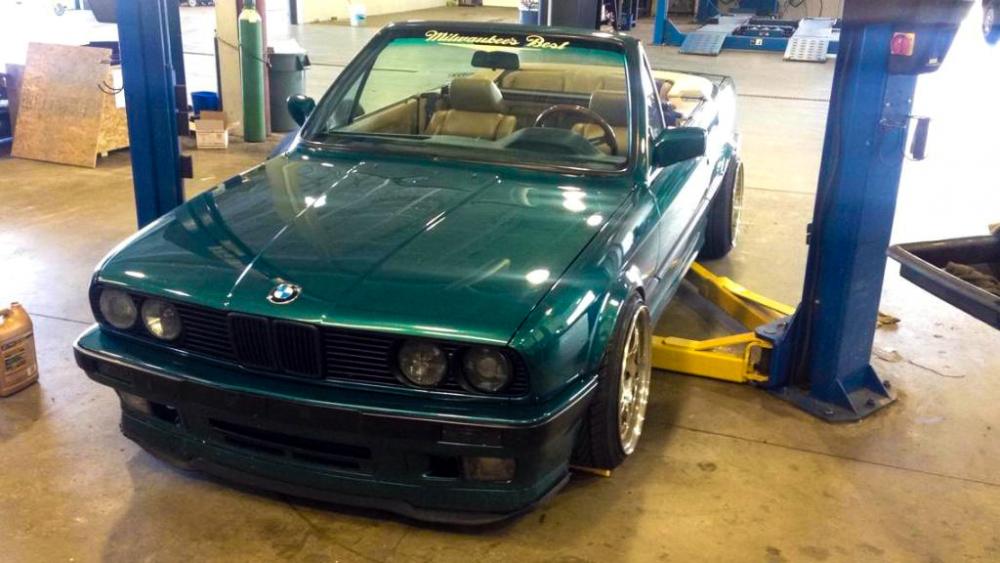
So I forgot to post pictars from before, but I hope I will see most of you at scooters this weekend. Had to install new valve stems because the seals were bad last night, so I snapped a quick pic...
https://www.instagram.com/_jdesigner_/ http://nevertoolow.tumblr.com/
🥳SOLD BMW E24 633CSI - BMW M30B32 🧪SOLD HCH ES9 - 1.3 LDA
👽BMW E30 325IC - Toyota 1JZ-GTE ⏰ HONDA EF9 CIVIC SI - JDM B18C5
☠️BMW E36 318i - Ford 5.0 FE302 🚴♂️ GT-Labomba - 26x2.75 Freeride
🤹♀️SOLD BMW E36/7 Z3 - BMW M54B25 🧓SOLD BMW E10 2002 - BMW M10M05 -
This was sick to see in person!
Sent from my SCH-I535 using Tapatalk

@DrLeadFoot
-
This was sick to see in person!
Sent from my SCH-I535 using Tapatalk
Thanks man!! It was nice talking to you for a bit. Hopefully we see more of each other in the future!
https://www.instagram.com/_jdesigner_/ http://nevertoolow.tumblr.com/
🥳SOLD BMW E24 633CSI - BMW M30B32 🧪SOLD HCH ES9 - 1.3 LDA
👽BMW E30 325IC - Toyota 1JZ-GTE ⏰ HONDA EF9 CIVIC SI - JDM B18C5
☠️BMW E36 318i - Ford 5.0 FE302 🚴♂️ GT-Labomba - 26x2.75 Freeride
🤹♀️SOLD BMW E36/7 Z3 - BMW M54B25 🧓SOLD BMW E10 2002 - BMW M10M05 -
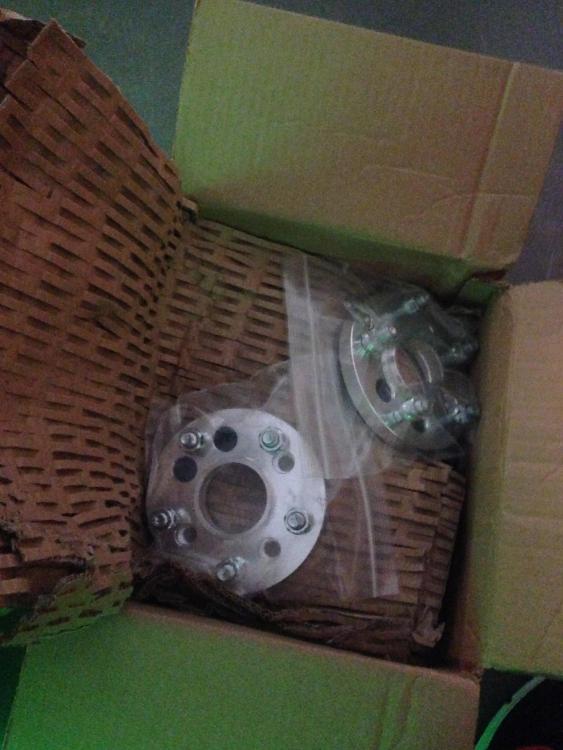
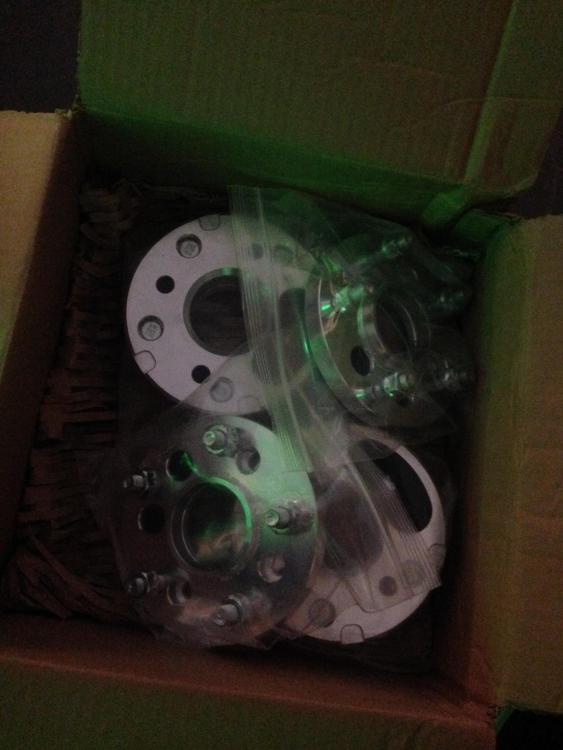
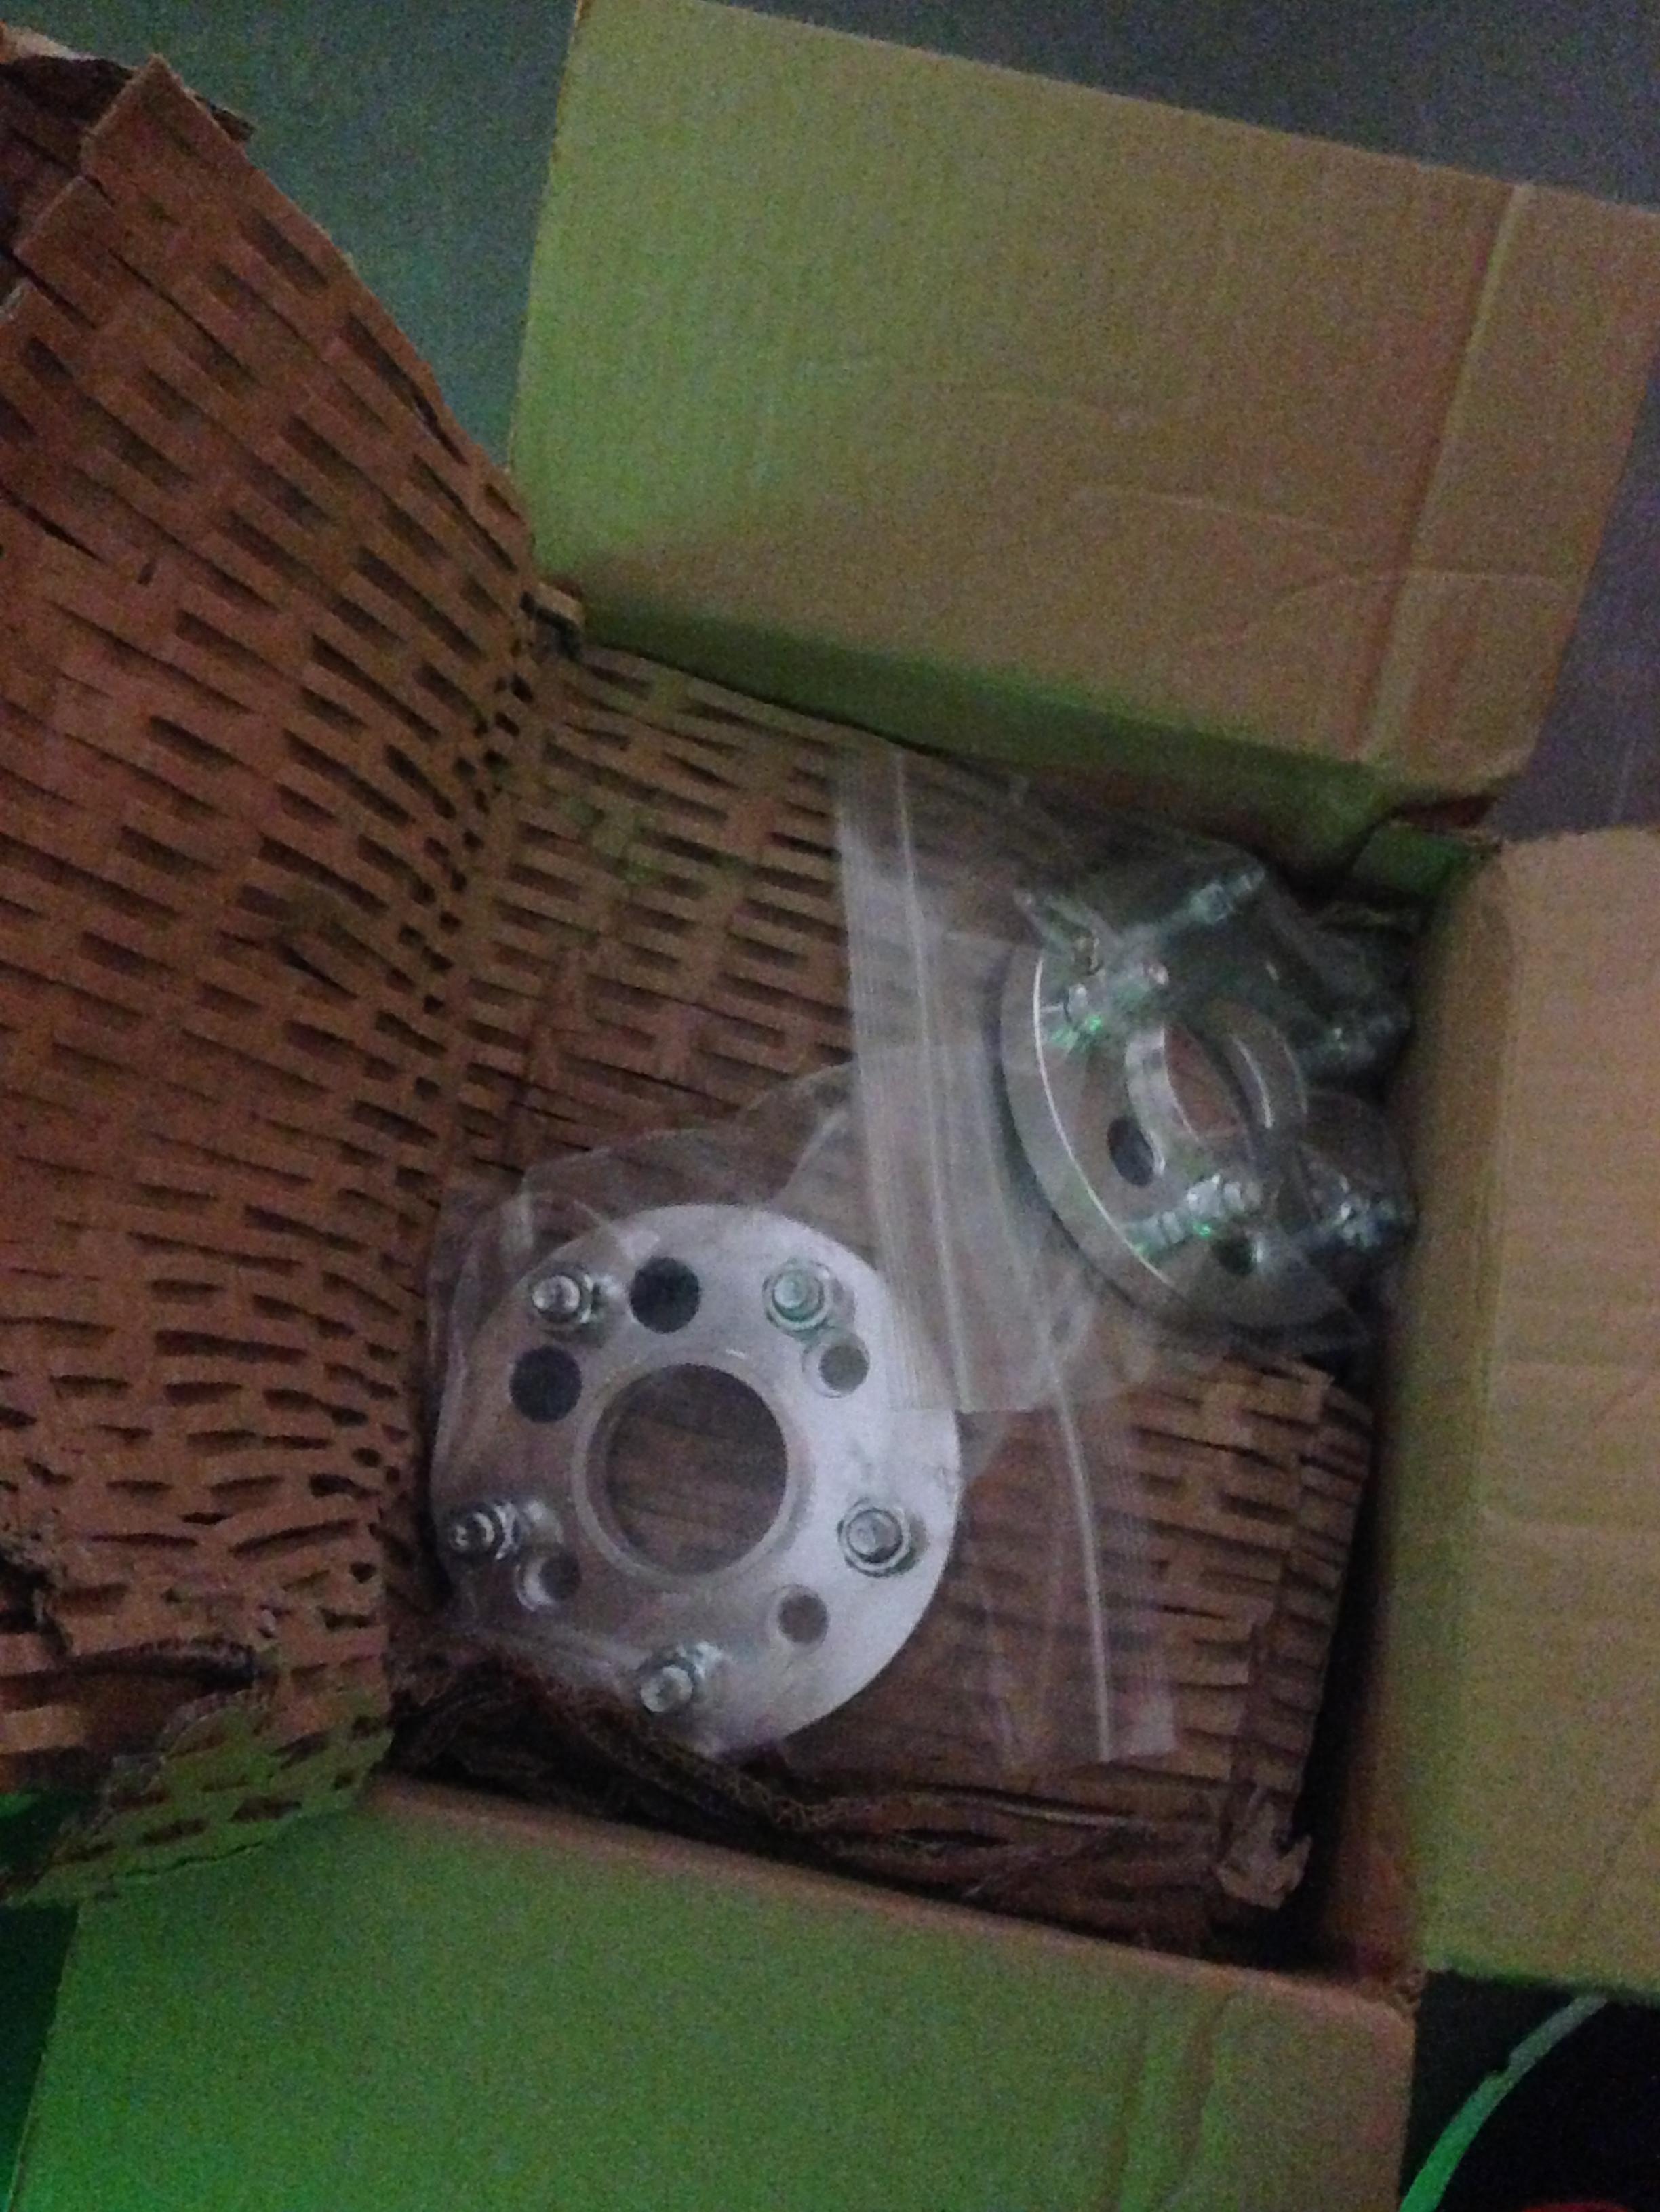
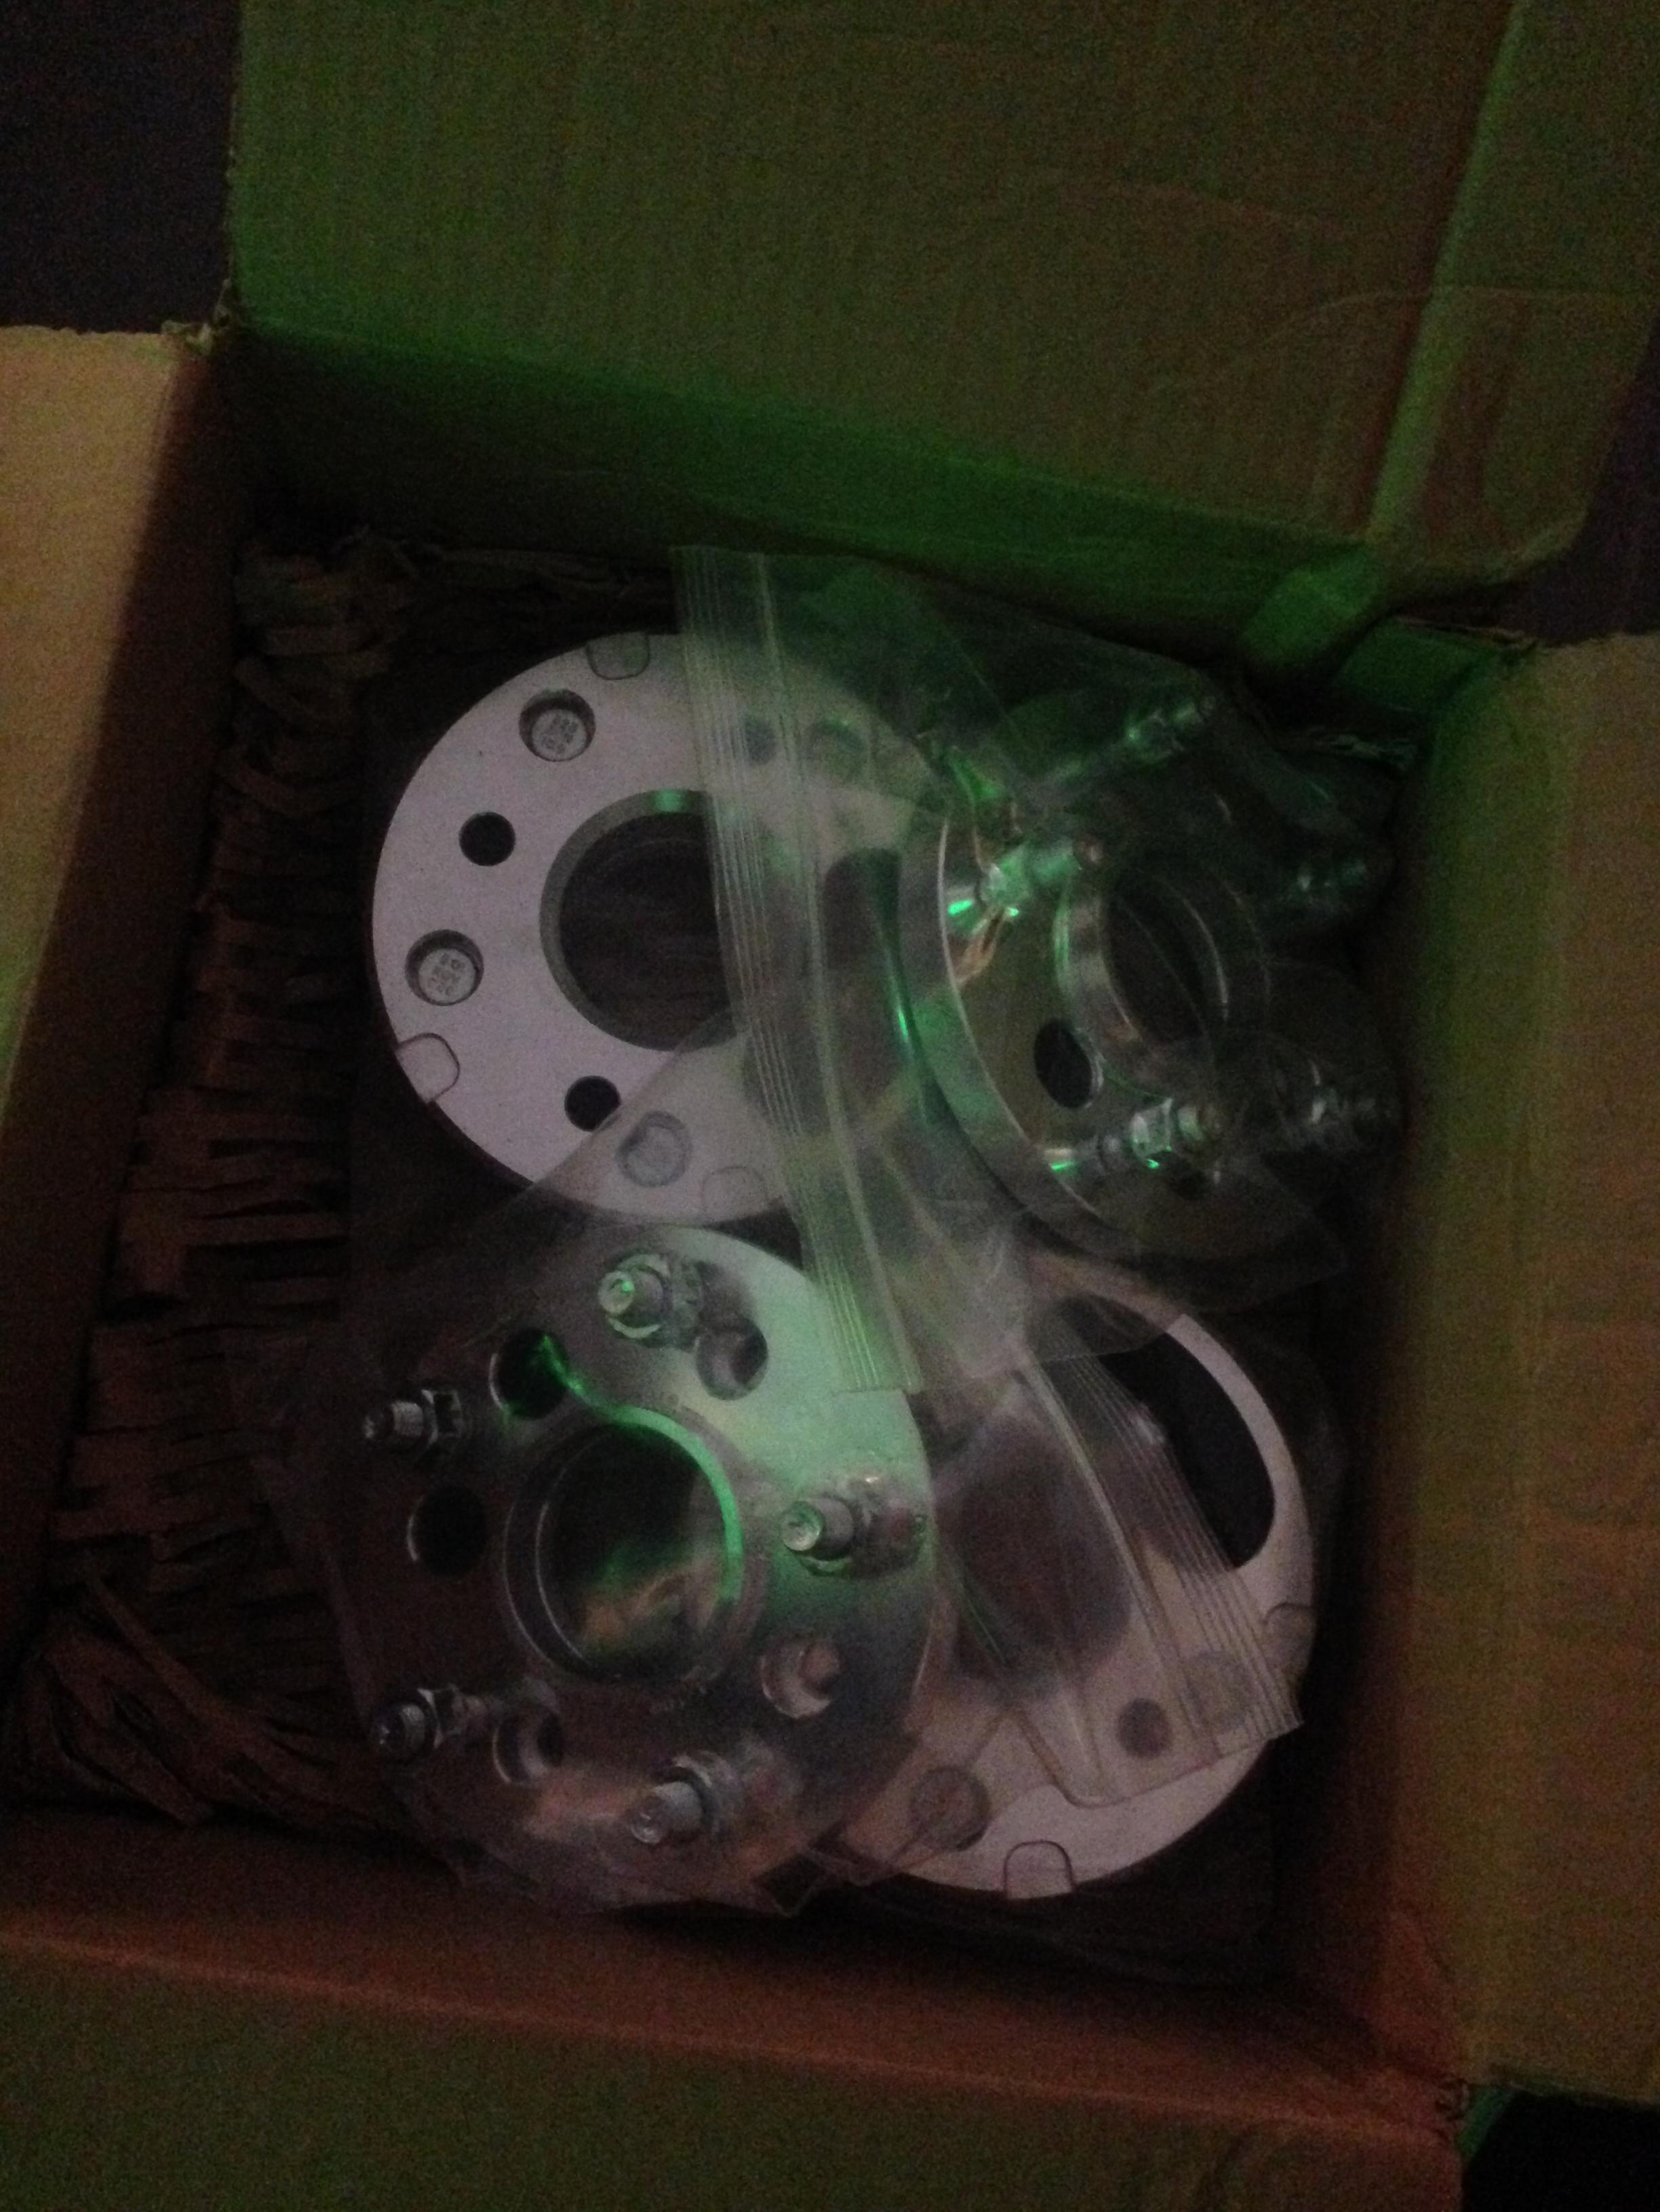
I got new adapters!!!
https://www.instagram.com/_jdesigner_/ http://nevertoolow.tumblr.com/
🥳SOLD BMW E24 633CSI - BMW M30B32 🧪SOLD HCH ES9 - 1.3 LDA
👽BMW E30 325IC - Toyota 1JZ-GTE ⏰ HONDA EF9 CIVIC SI - JDM B18C5
☠️BMW E36 318i - Ford 5.0 FE302 🚴♂️ GT-Labomba - 26x2.75 Freeride
🤹♀️SOLD BMW E36/7 Z3 - BMW M54B25 🧓SOLD BMW E10 2002 - BMW M10M05 -
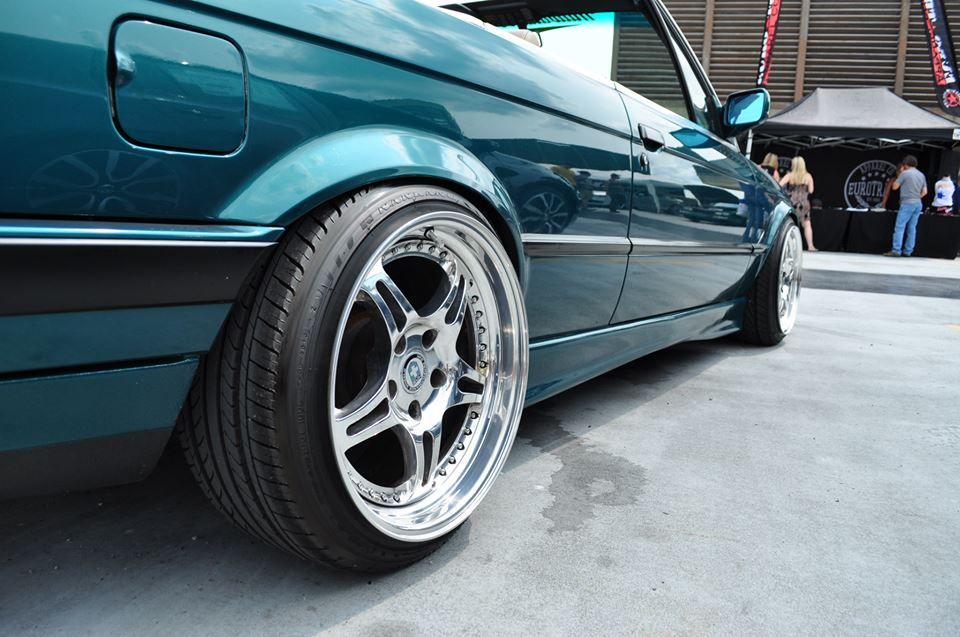
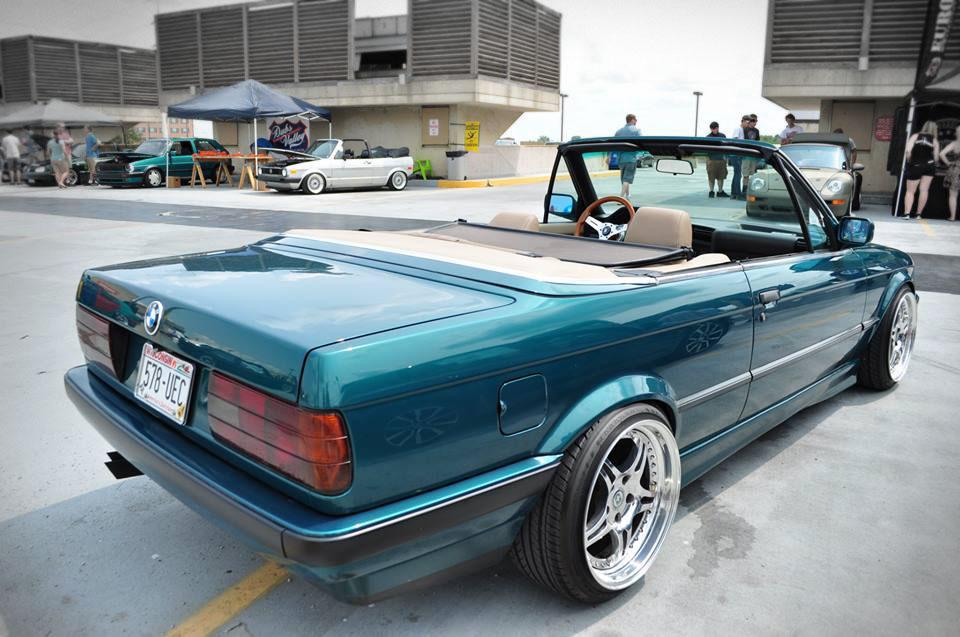
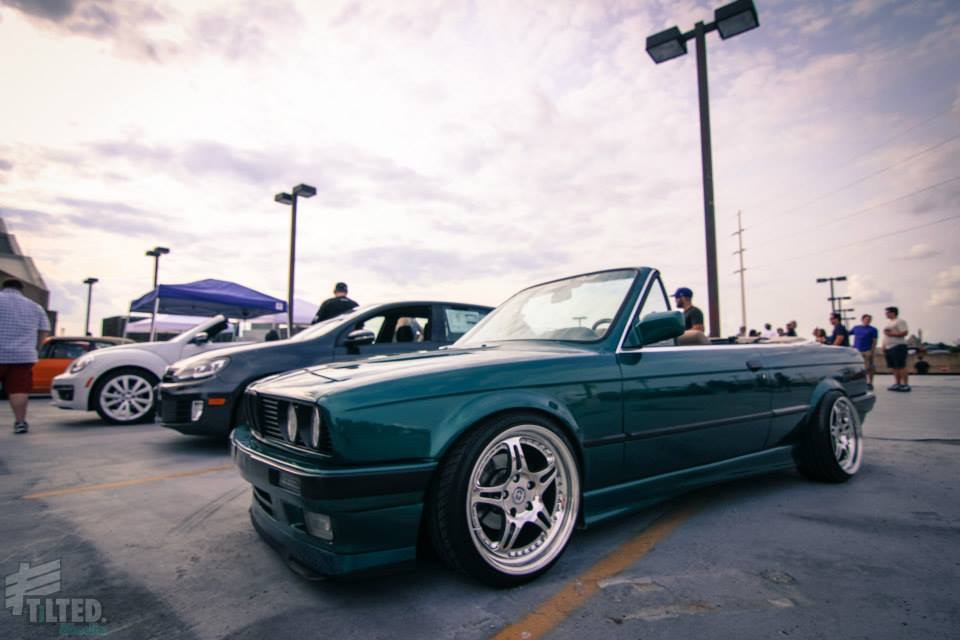
Someone was nice enough to shoot some really nice pics of my car at Dubs in the Valley!!
https://www.instagram.com/_jdesigner_/ http://nevertoolow.tumblr.com/
🥳SOLD BMW E24 633CSI - BMW M30B32 🧪SOLD HCH ES9 - 1.3 LDA
👽BMW E30 325IC - Toyota 1JZ-GTE ⏰ HONDA EF9 CIVIC SI - JDM B18C5
☠️BMW E36 318i - Ford 5.0 FE302 🚴♂️ GT-Labomba - 26x2.75 Freeride
🤹♀️SOLD BMW E36/7 Z3 - BMW M54B25 🧓SOLD BMW E10 2002 - BMW M10M05 -
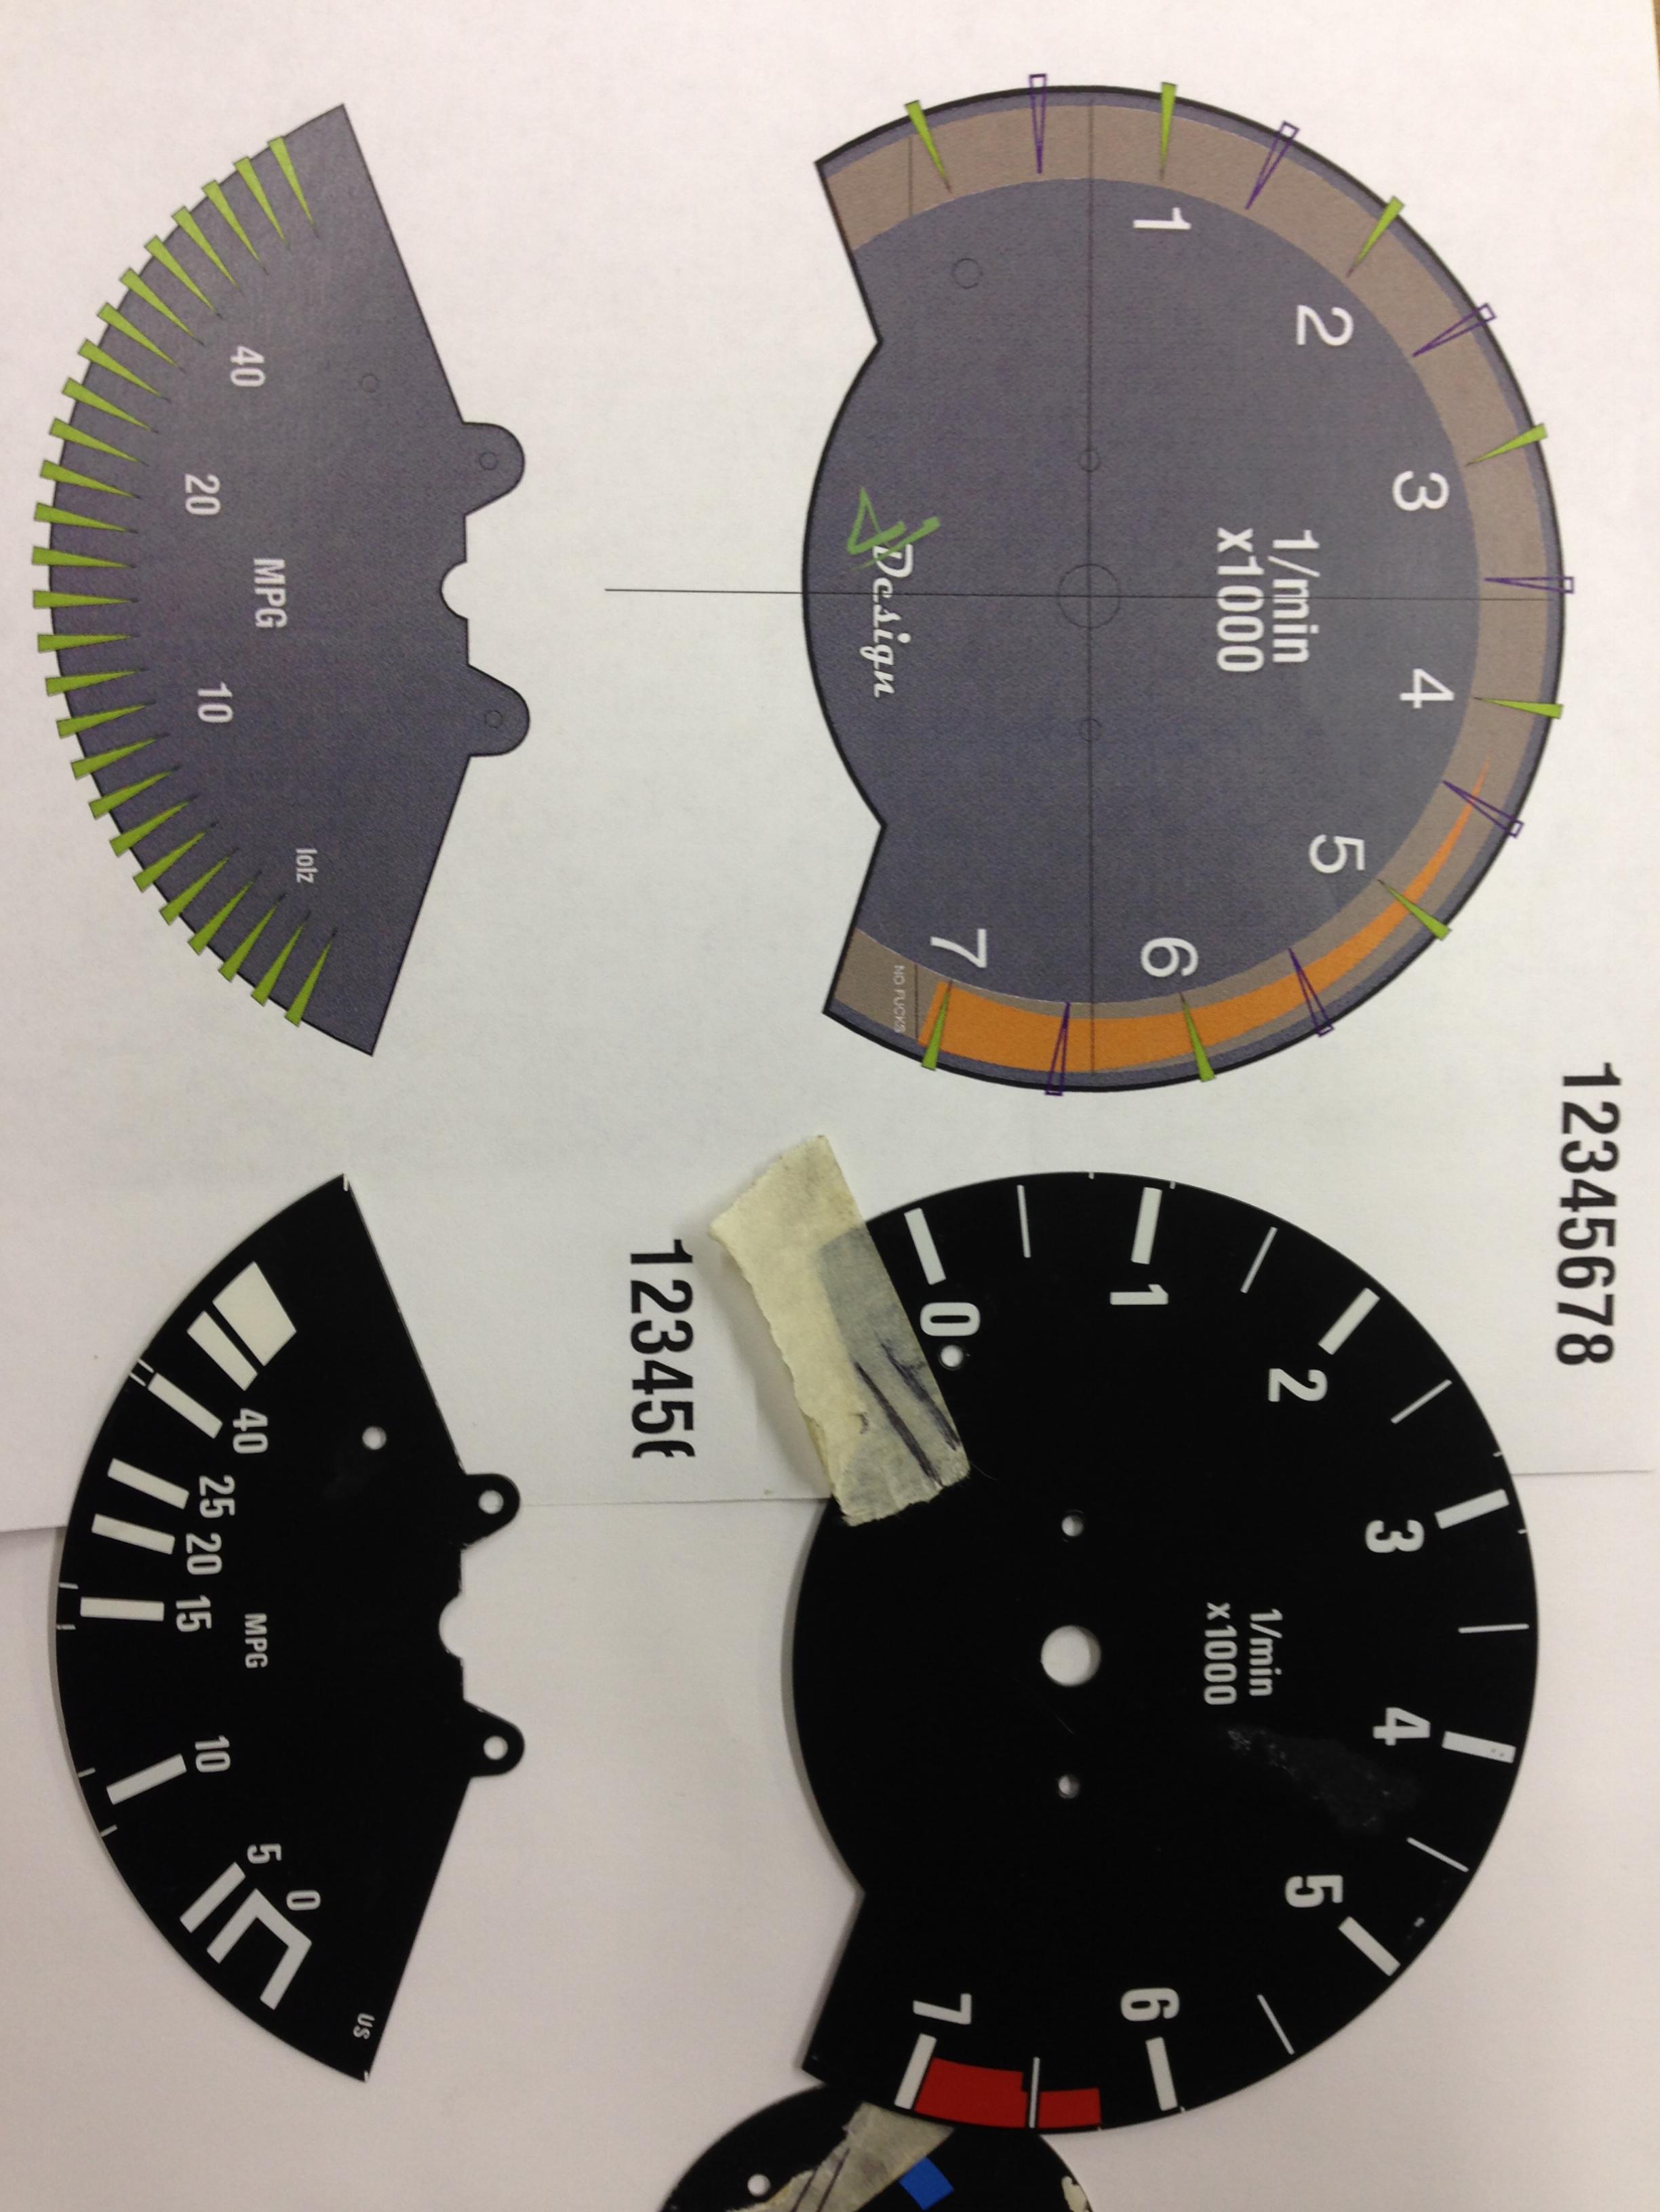
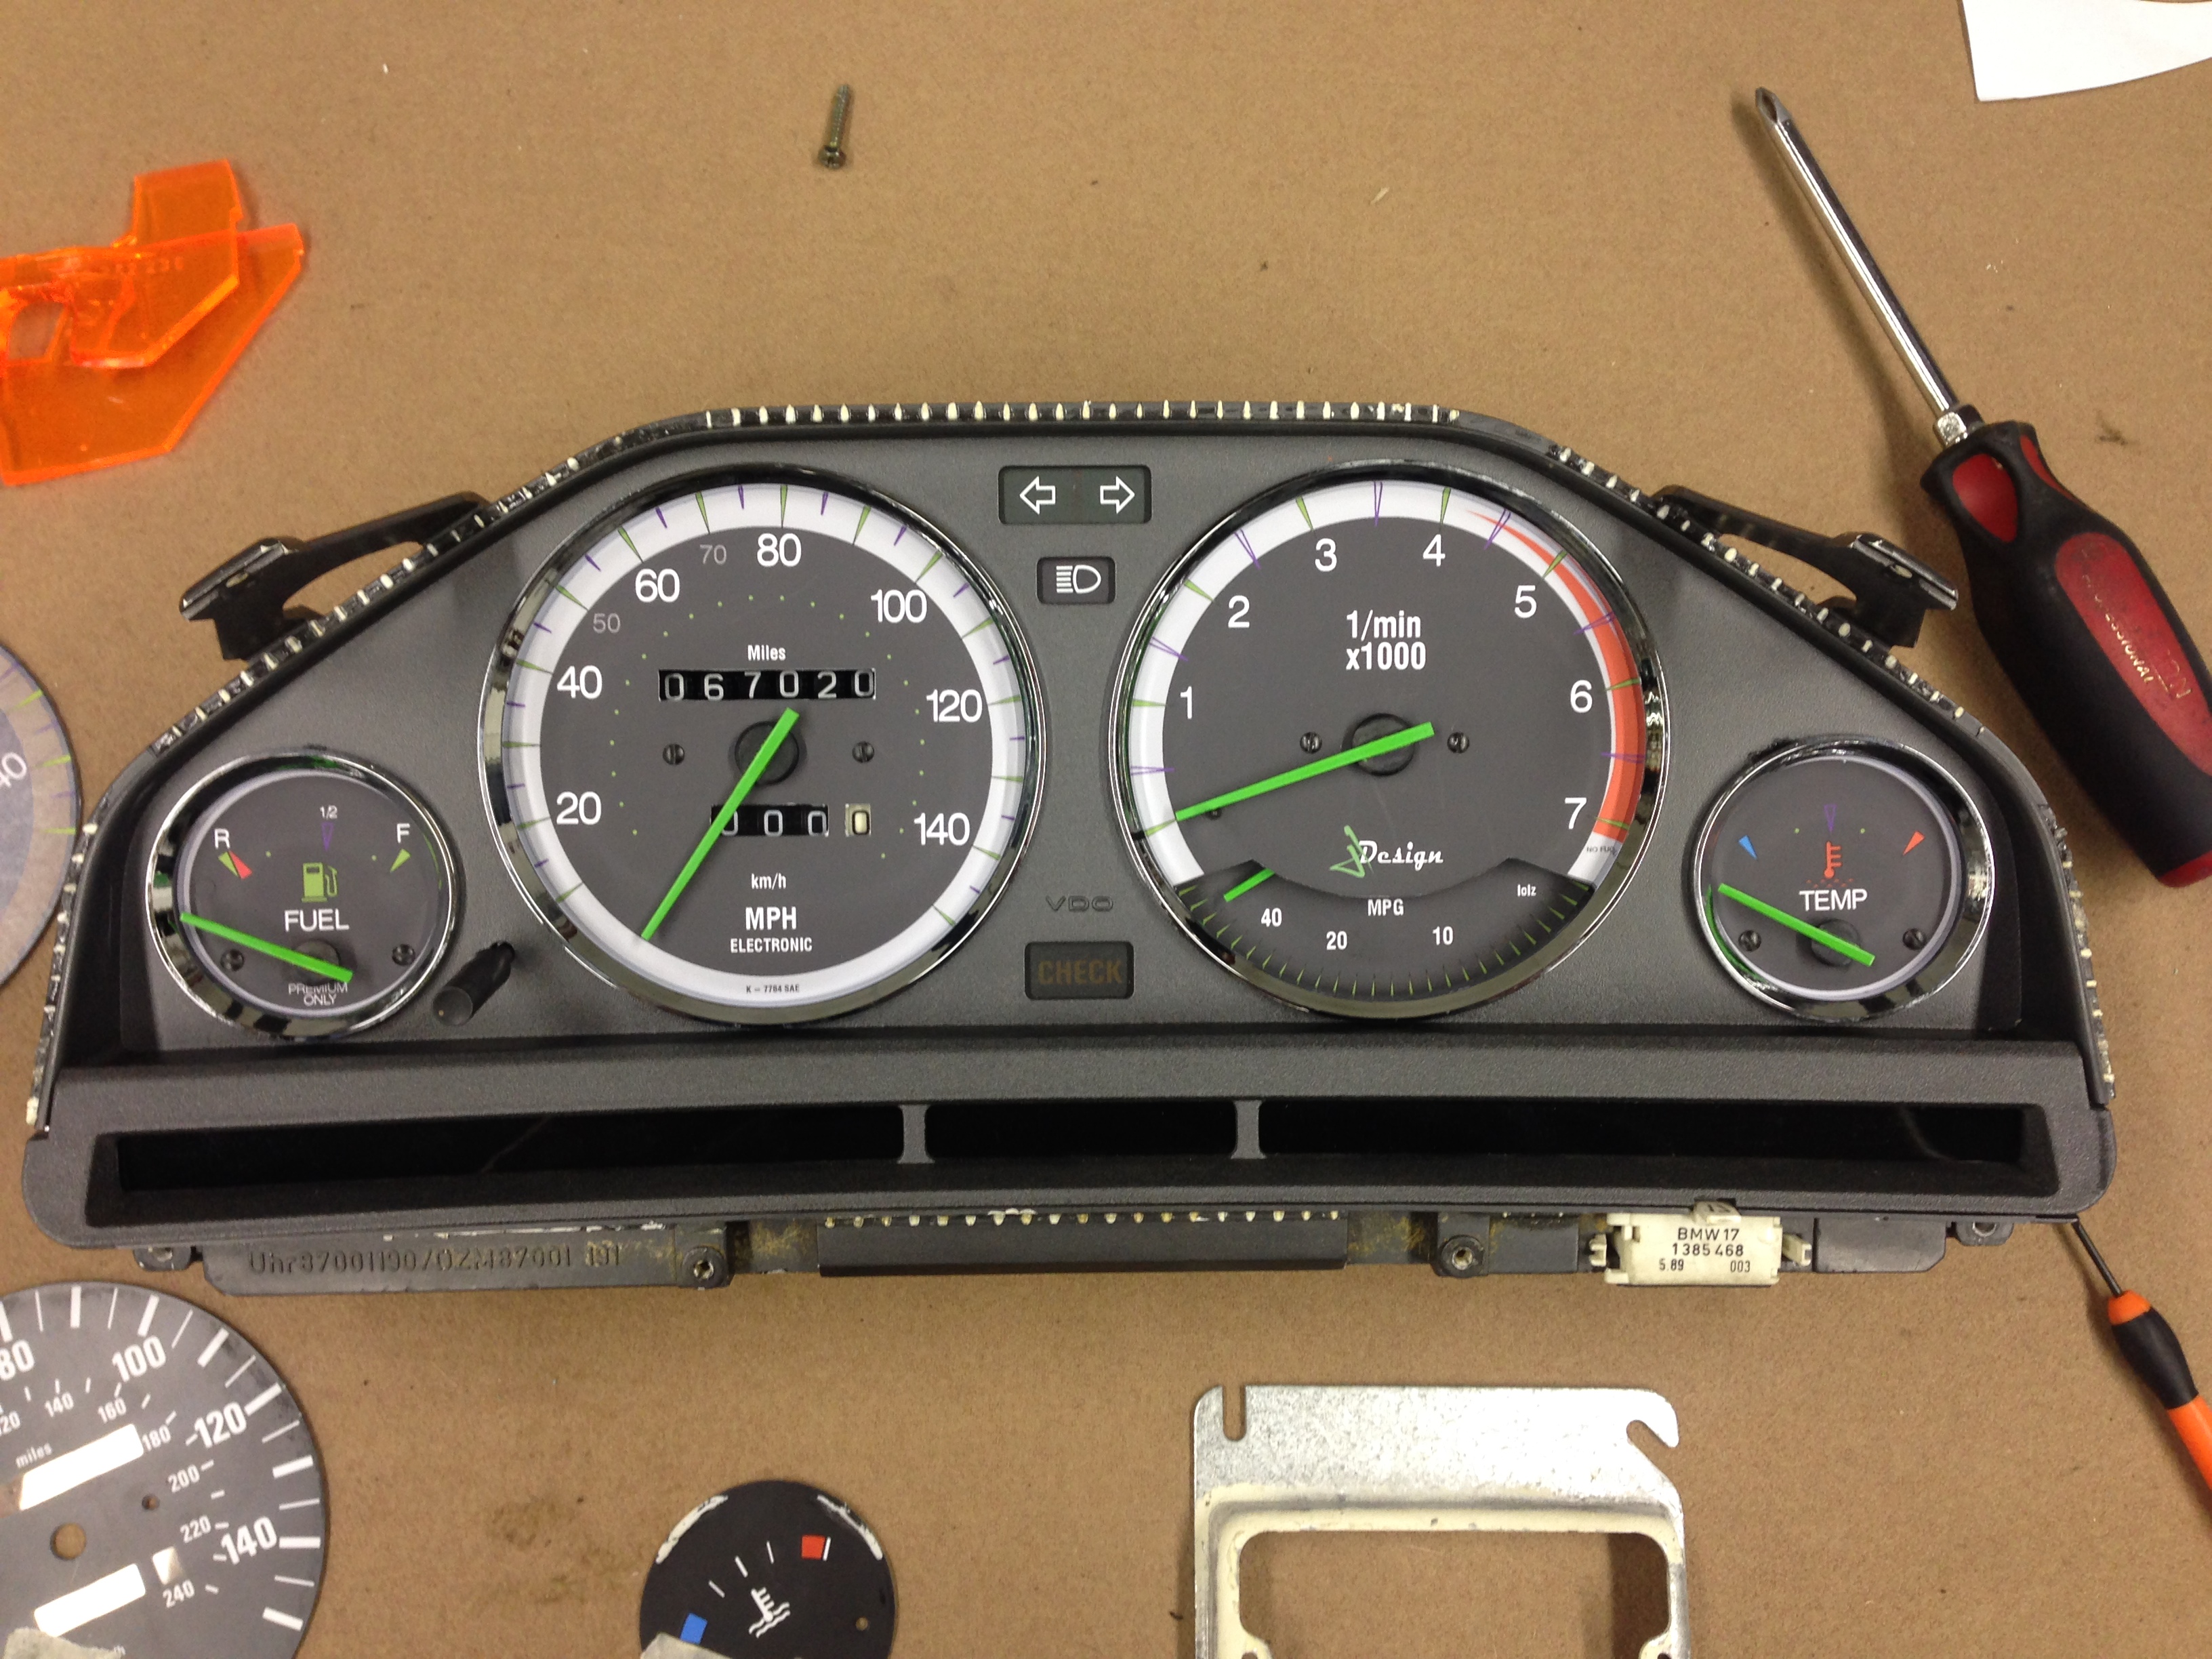
Well we plan on buying a new printer at my work that can do some really impressive stuff. It can 3D print 18 types of materials at once and has a color spectrum range that is in the thousands. Luckily I found the perfect excuse to test it out.
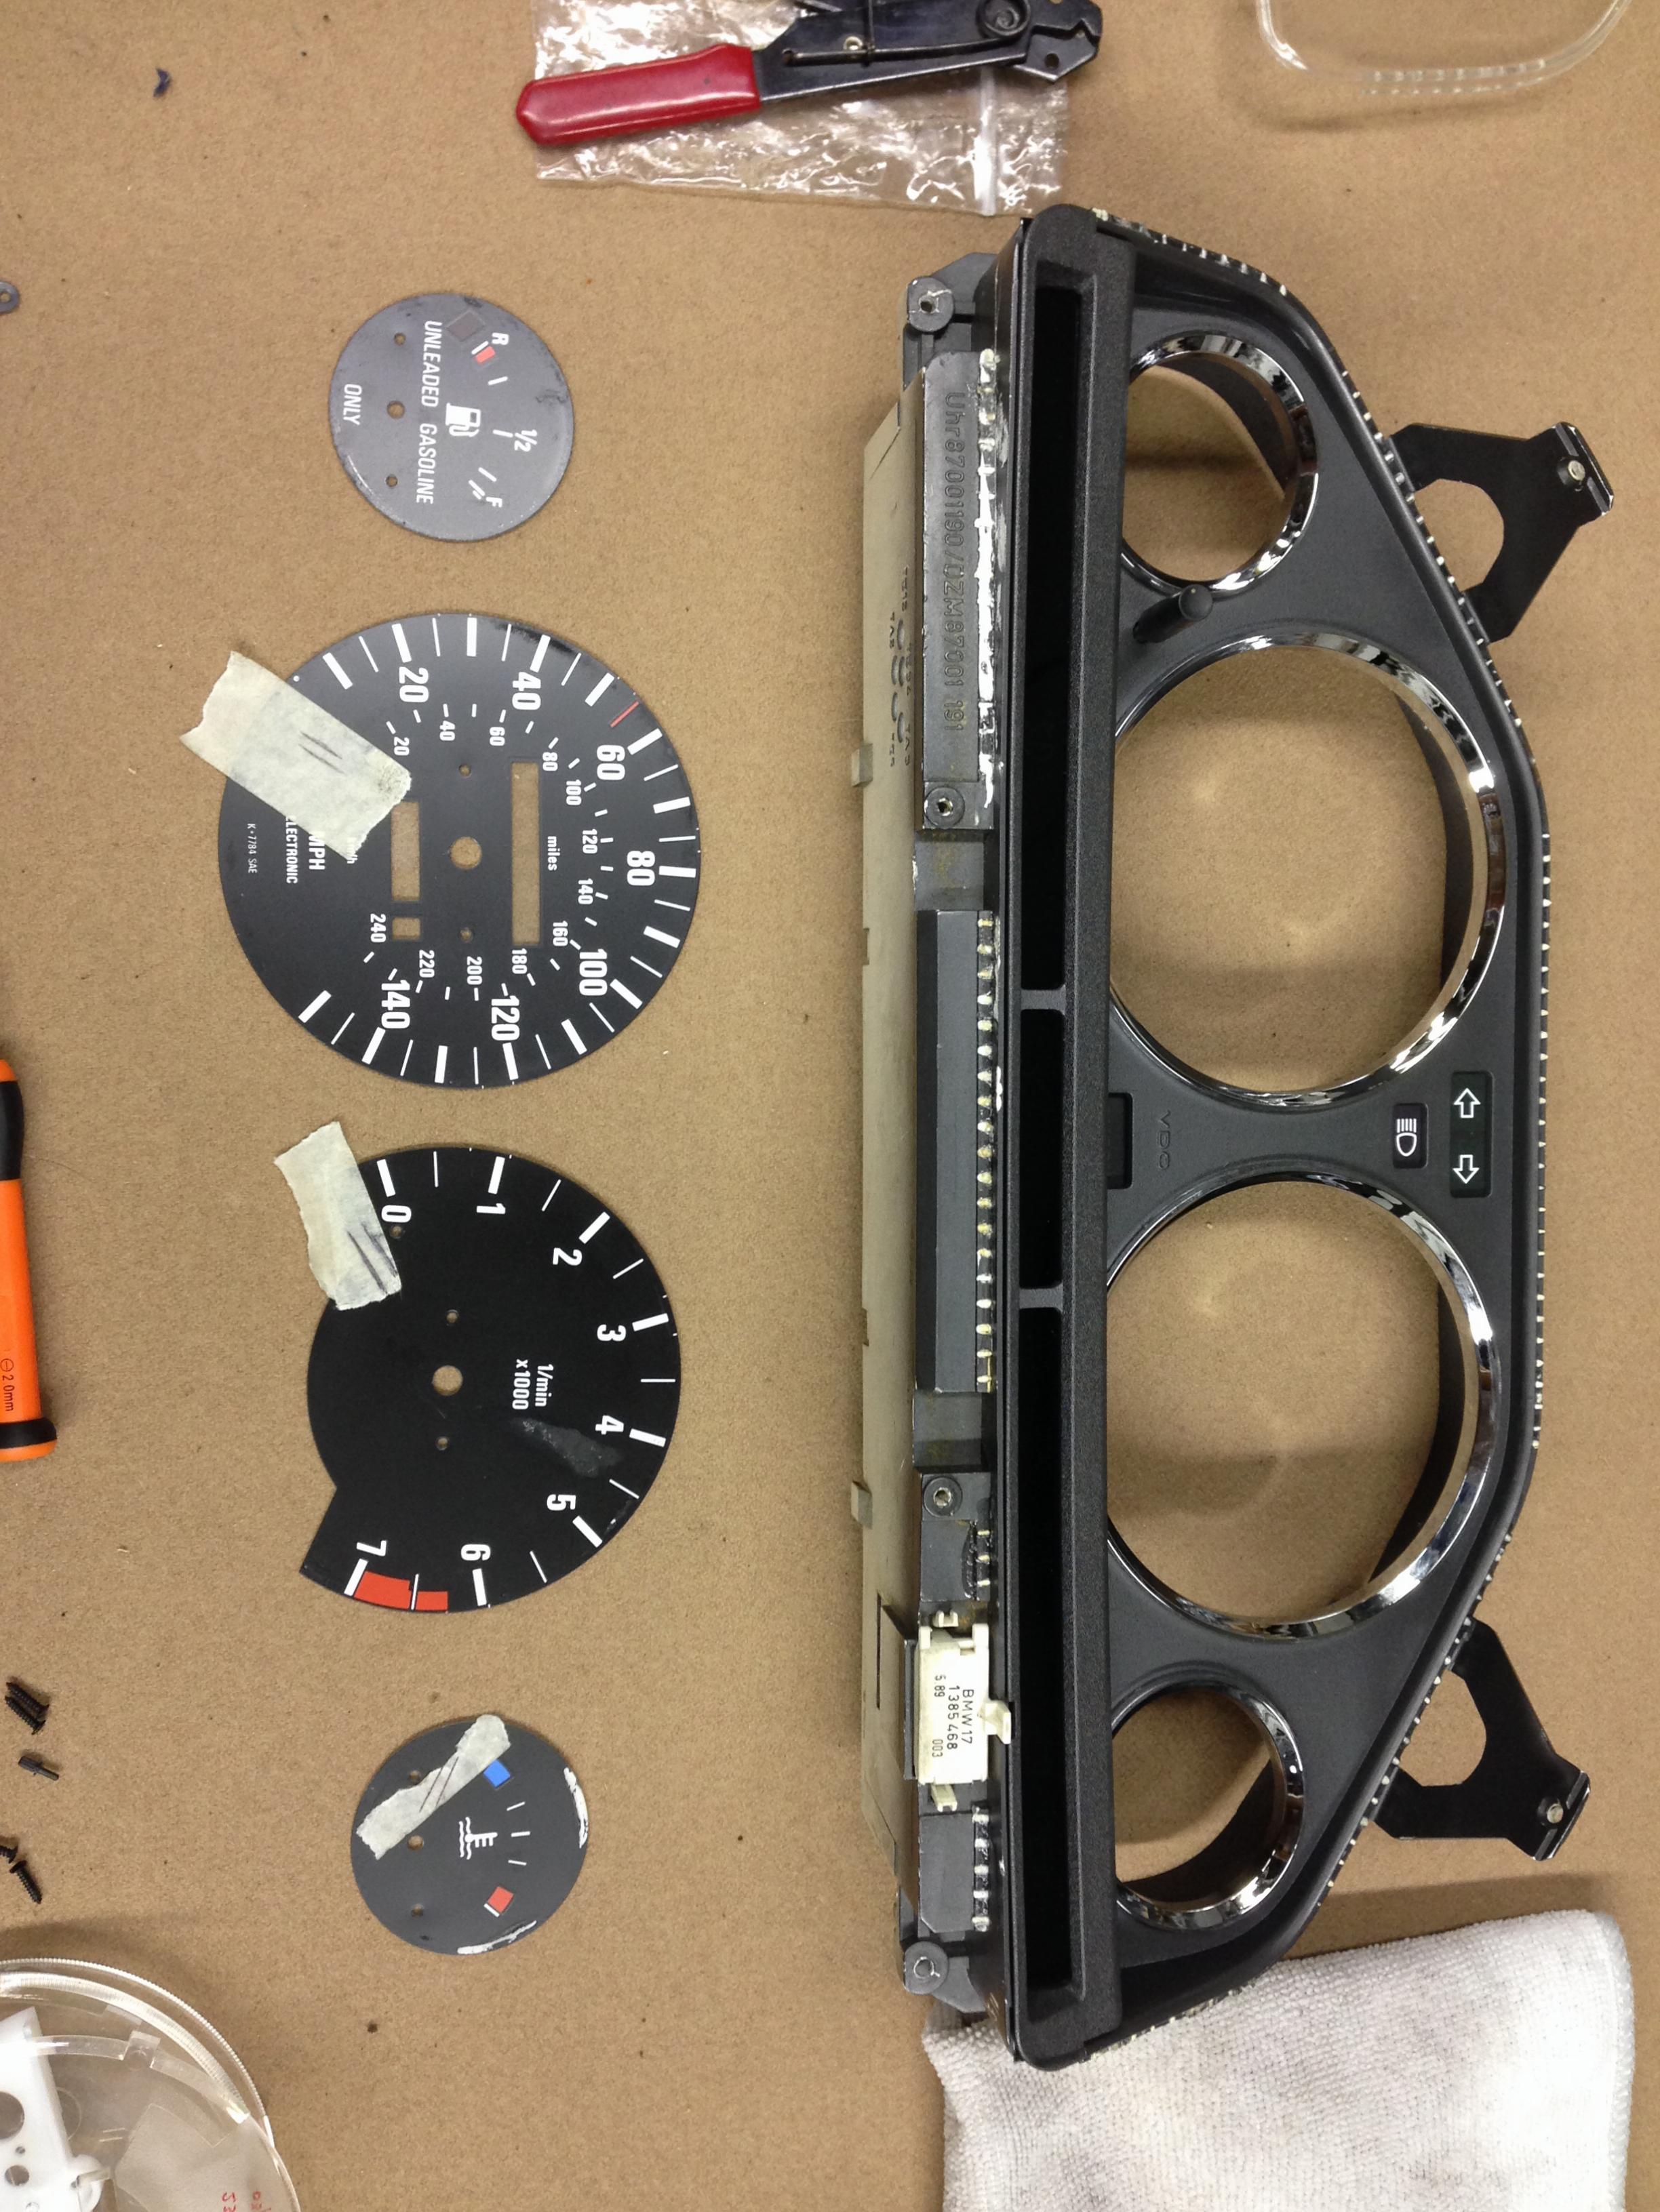
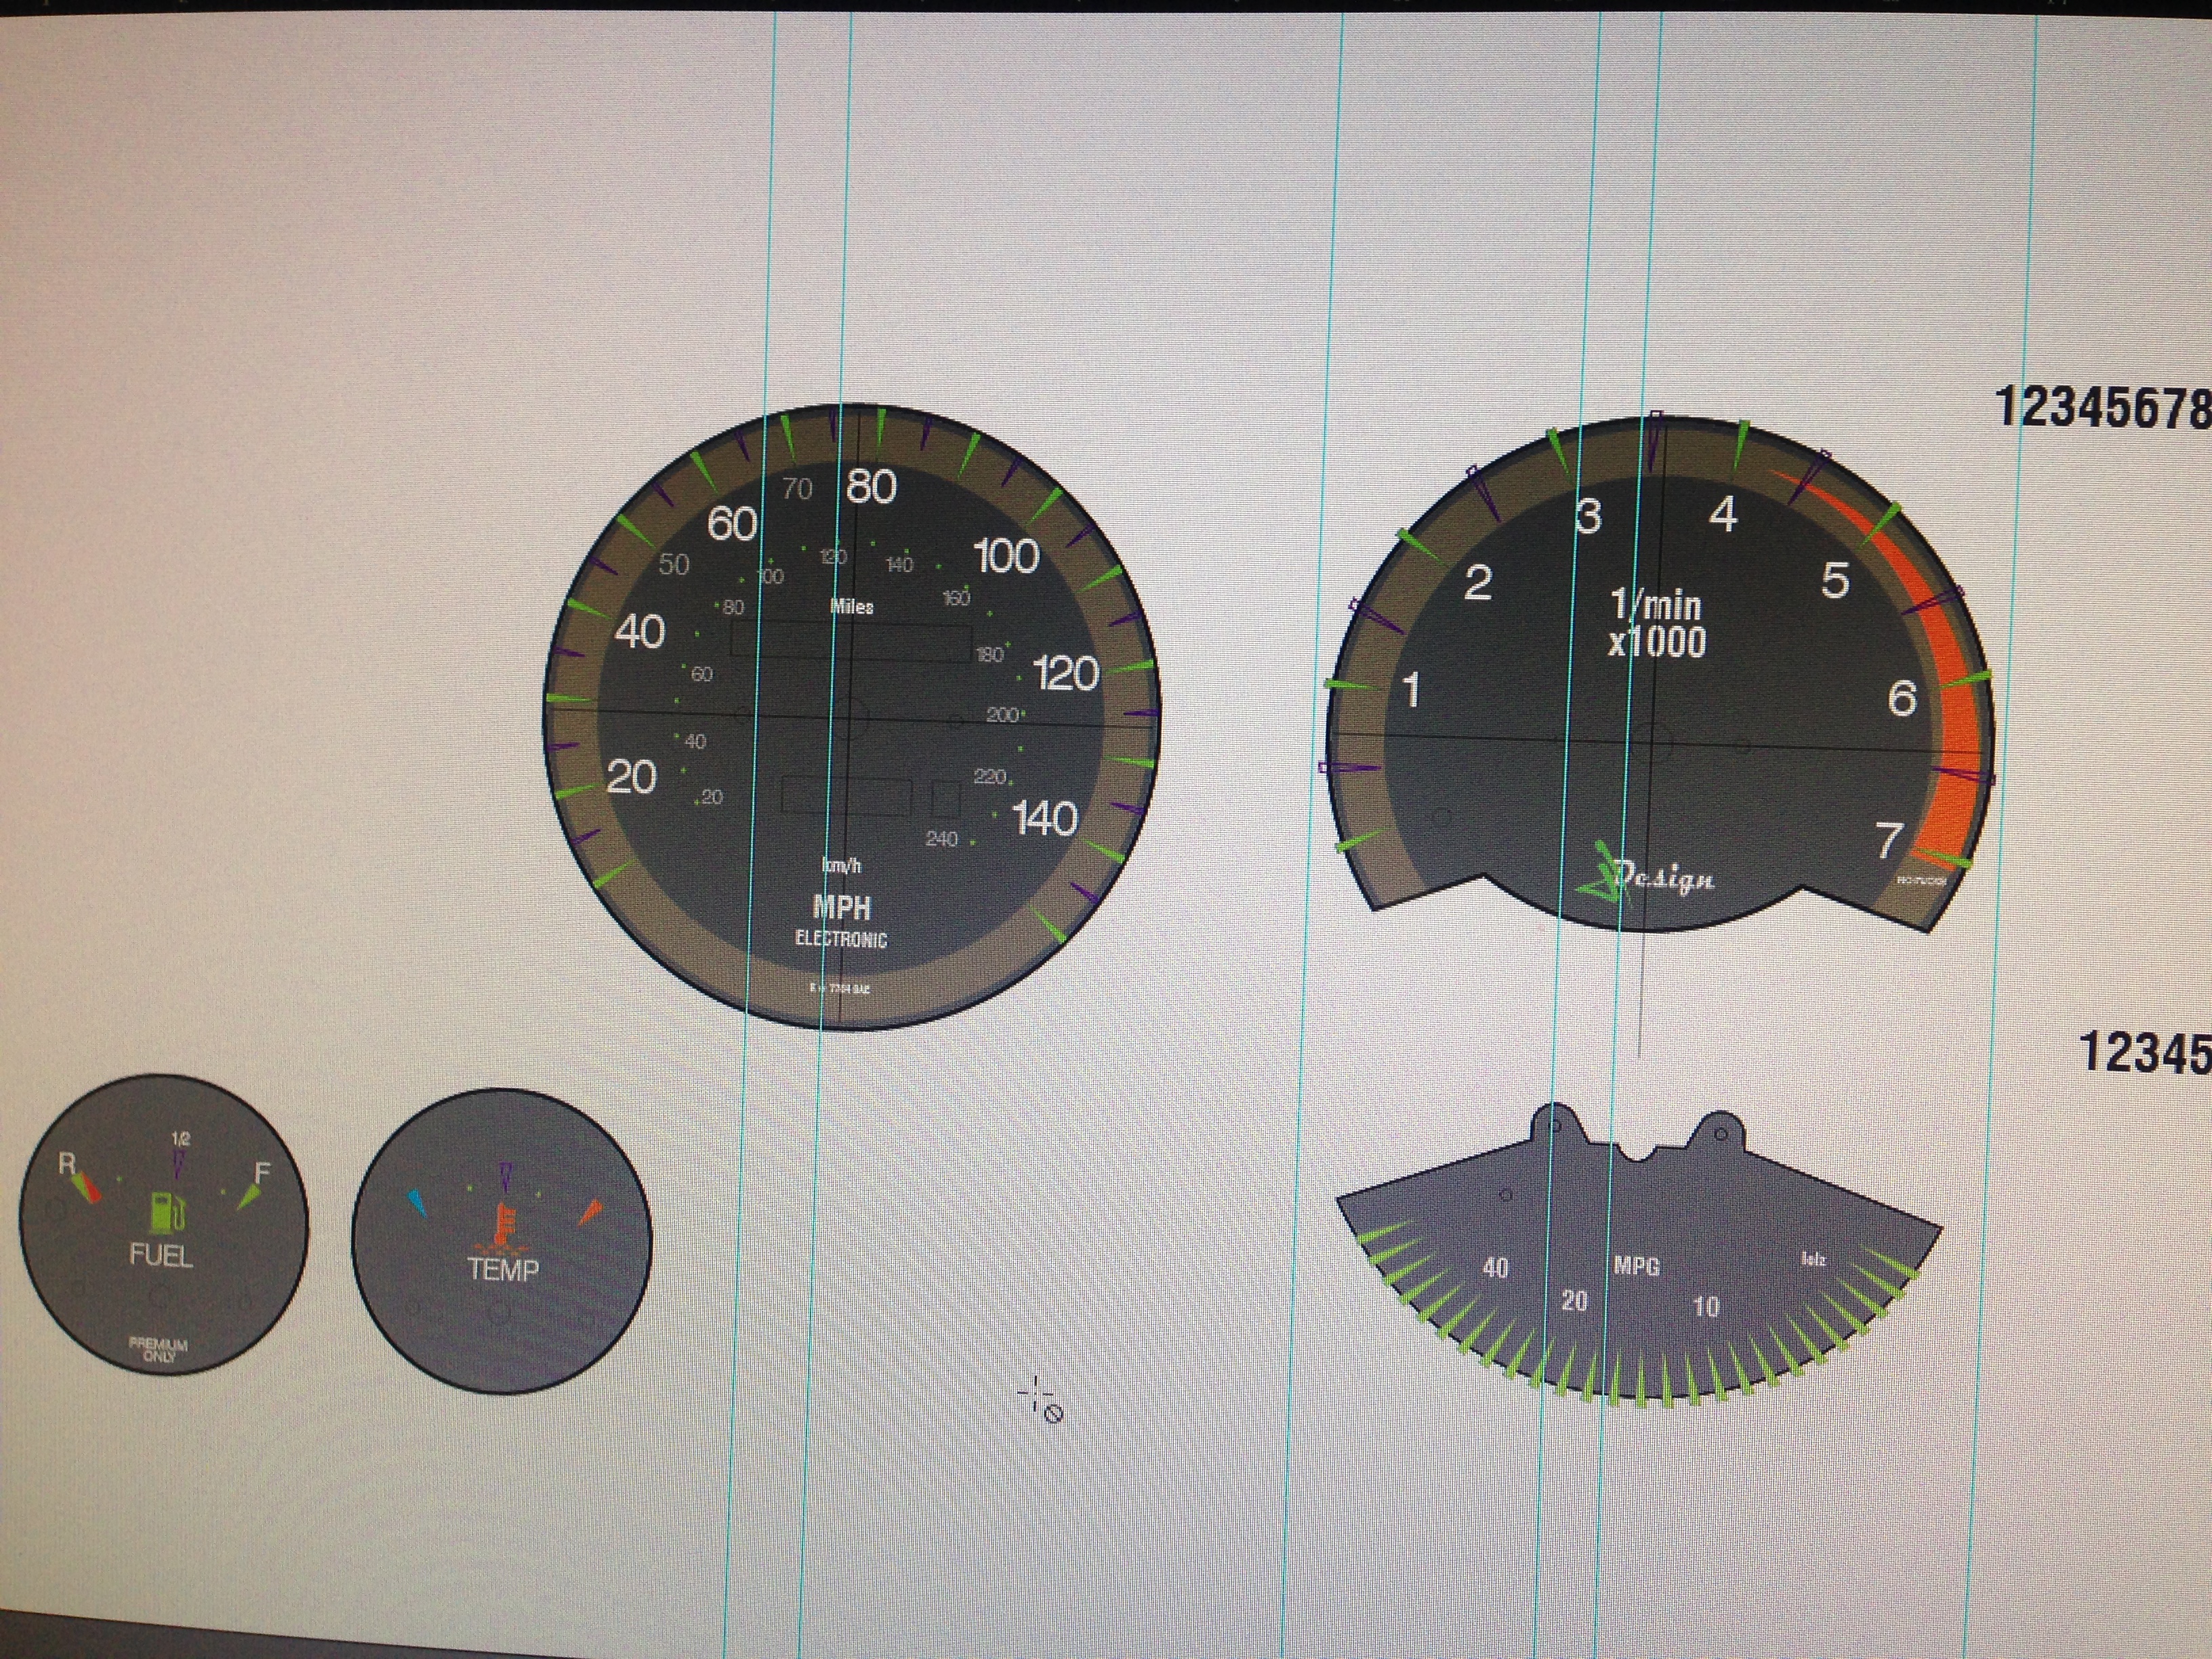
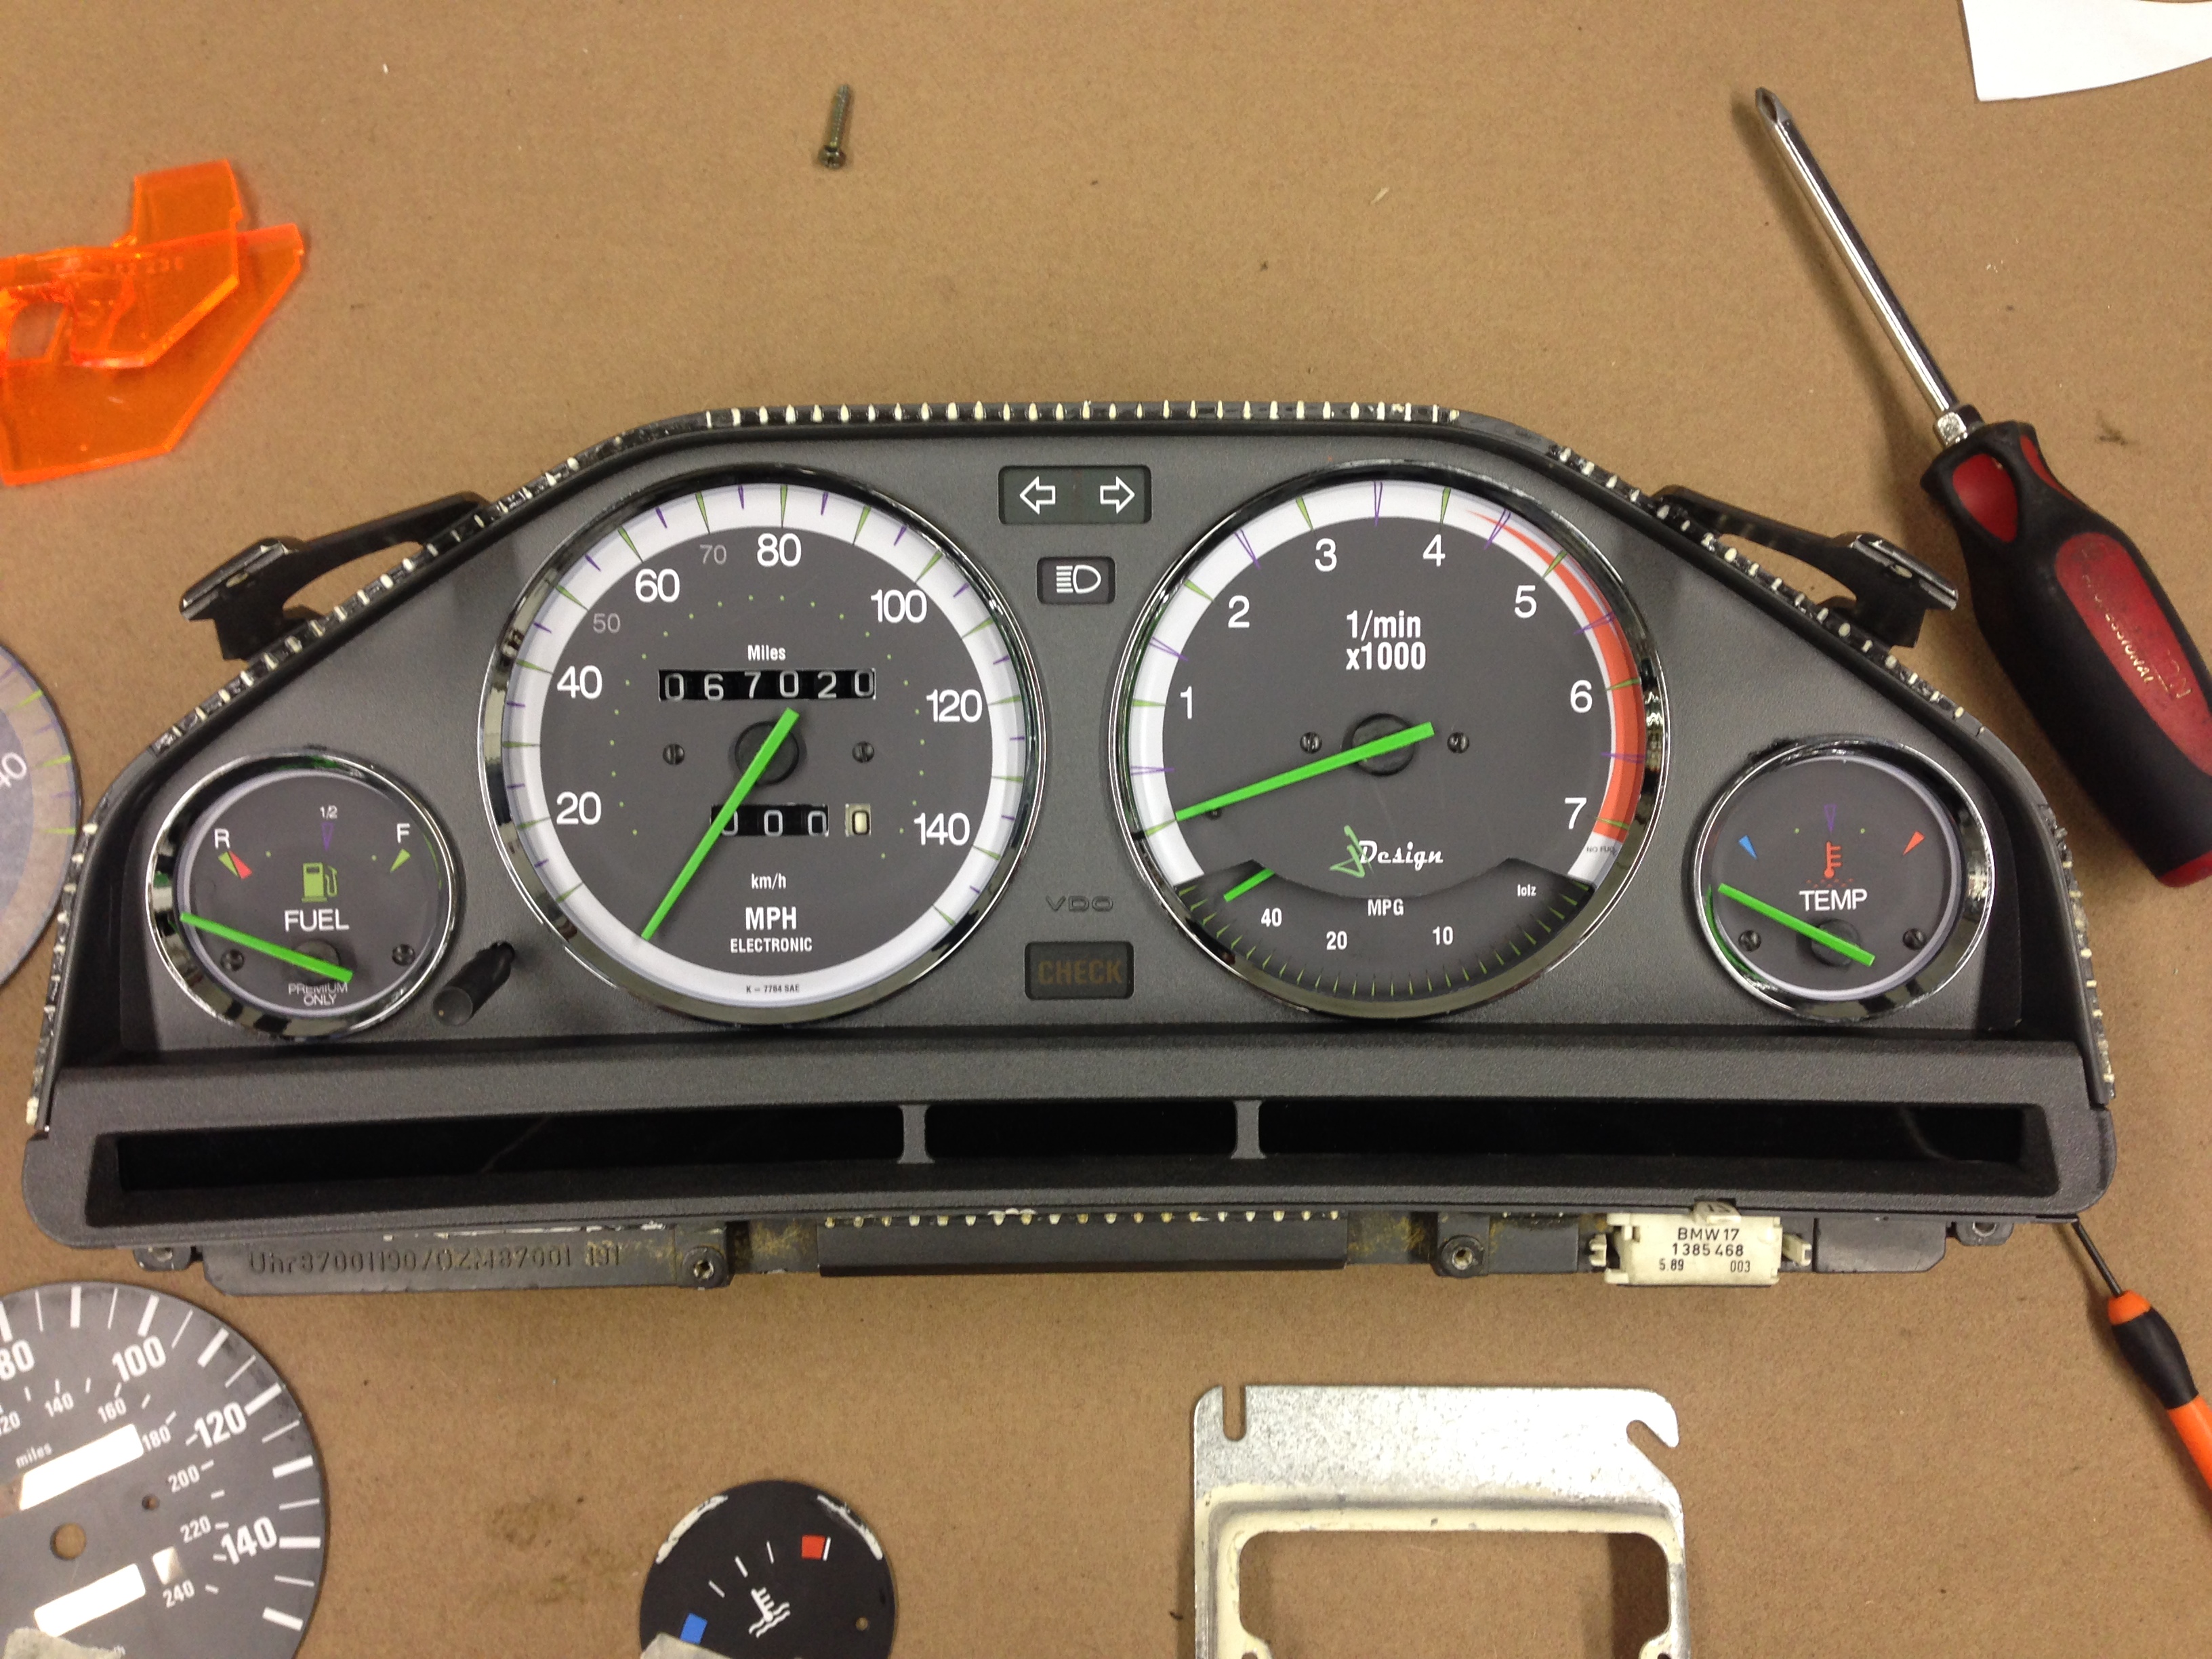
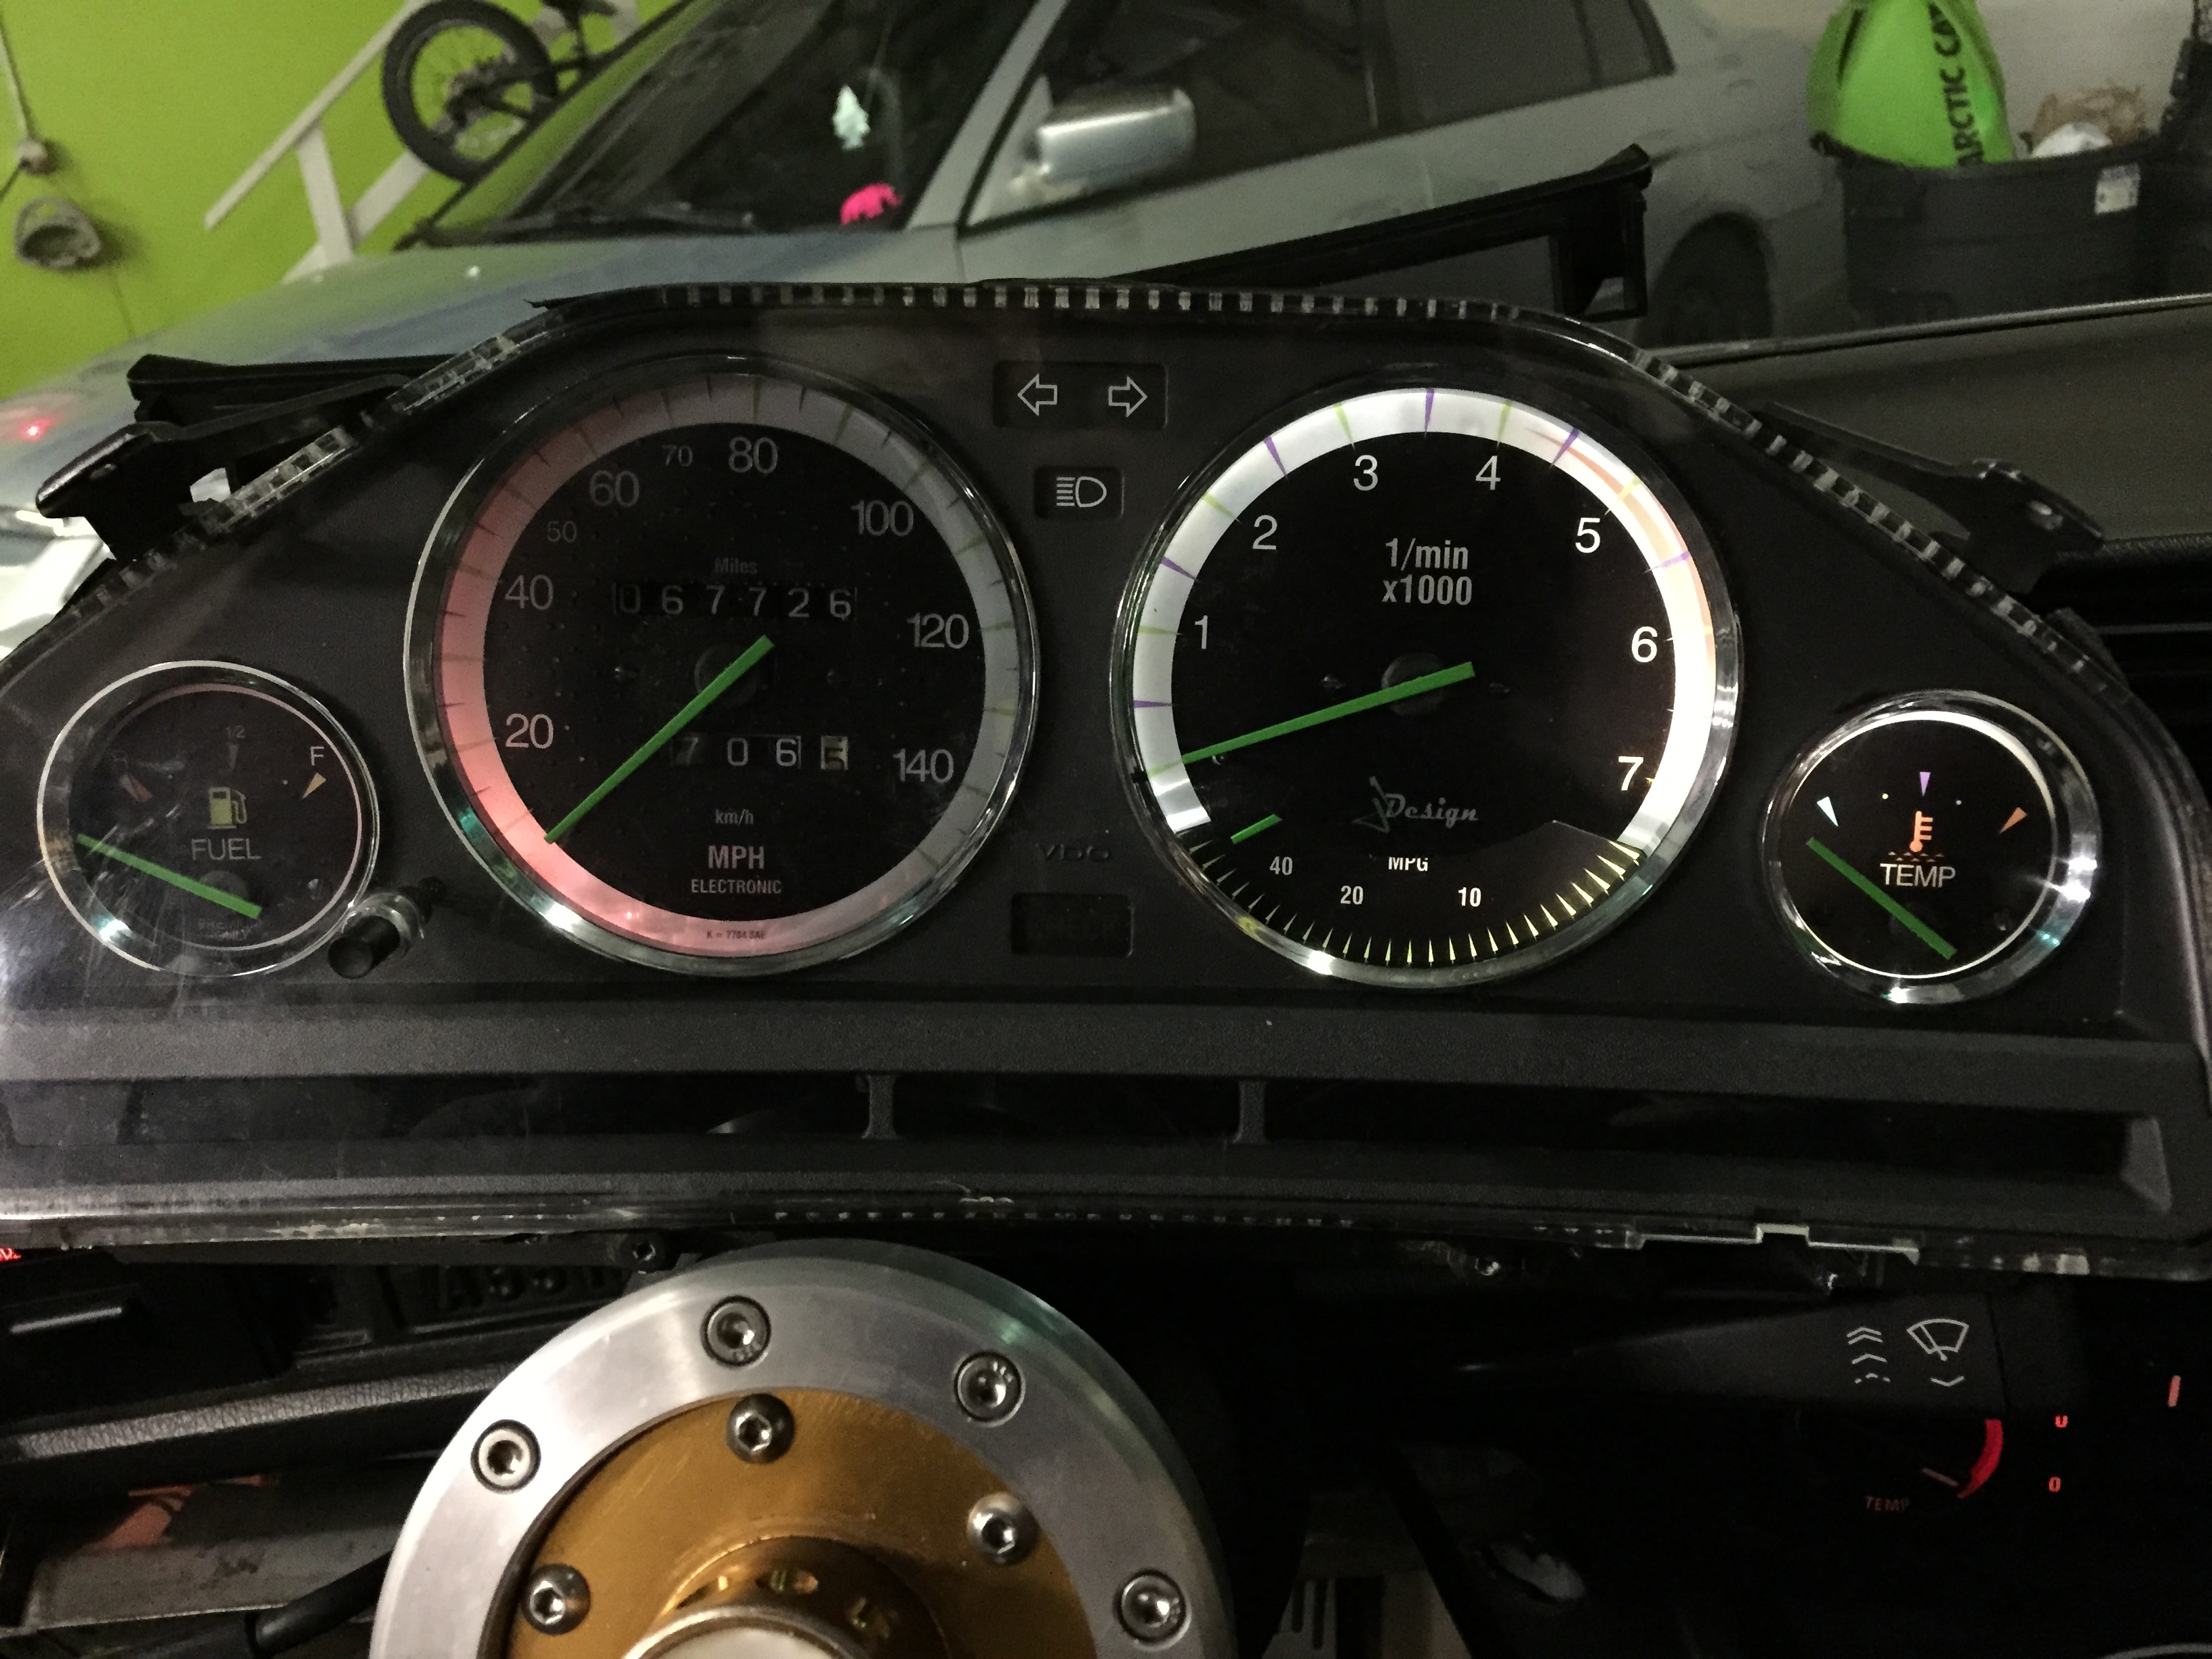
I plan on making a new set of gauge faces for my cluster. Since I just got a new Si board and fixed a bunch of small odds and ends in my interior, I figured this is the perfect opportunity to update the old tach, speedo, fuel, and temp faces.
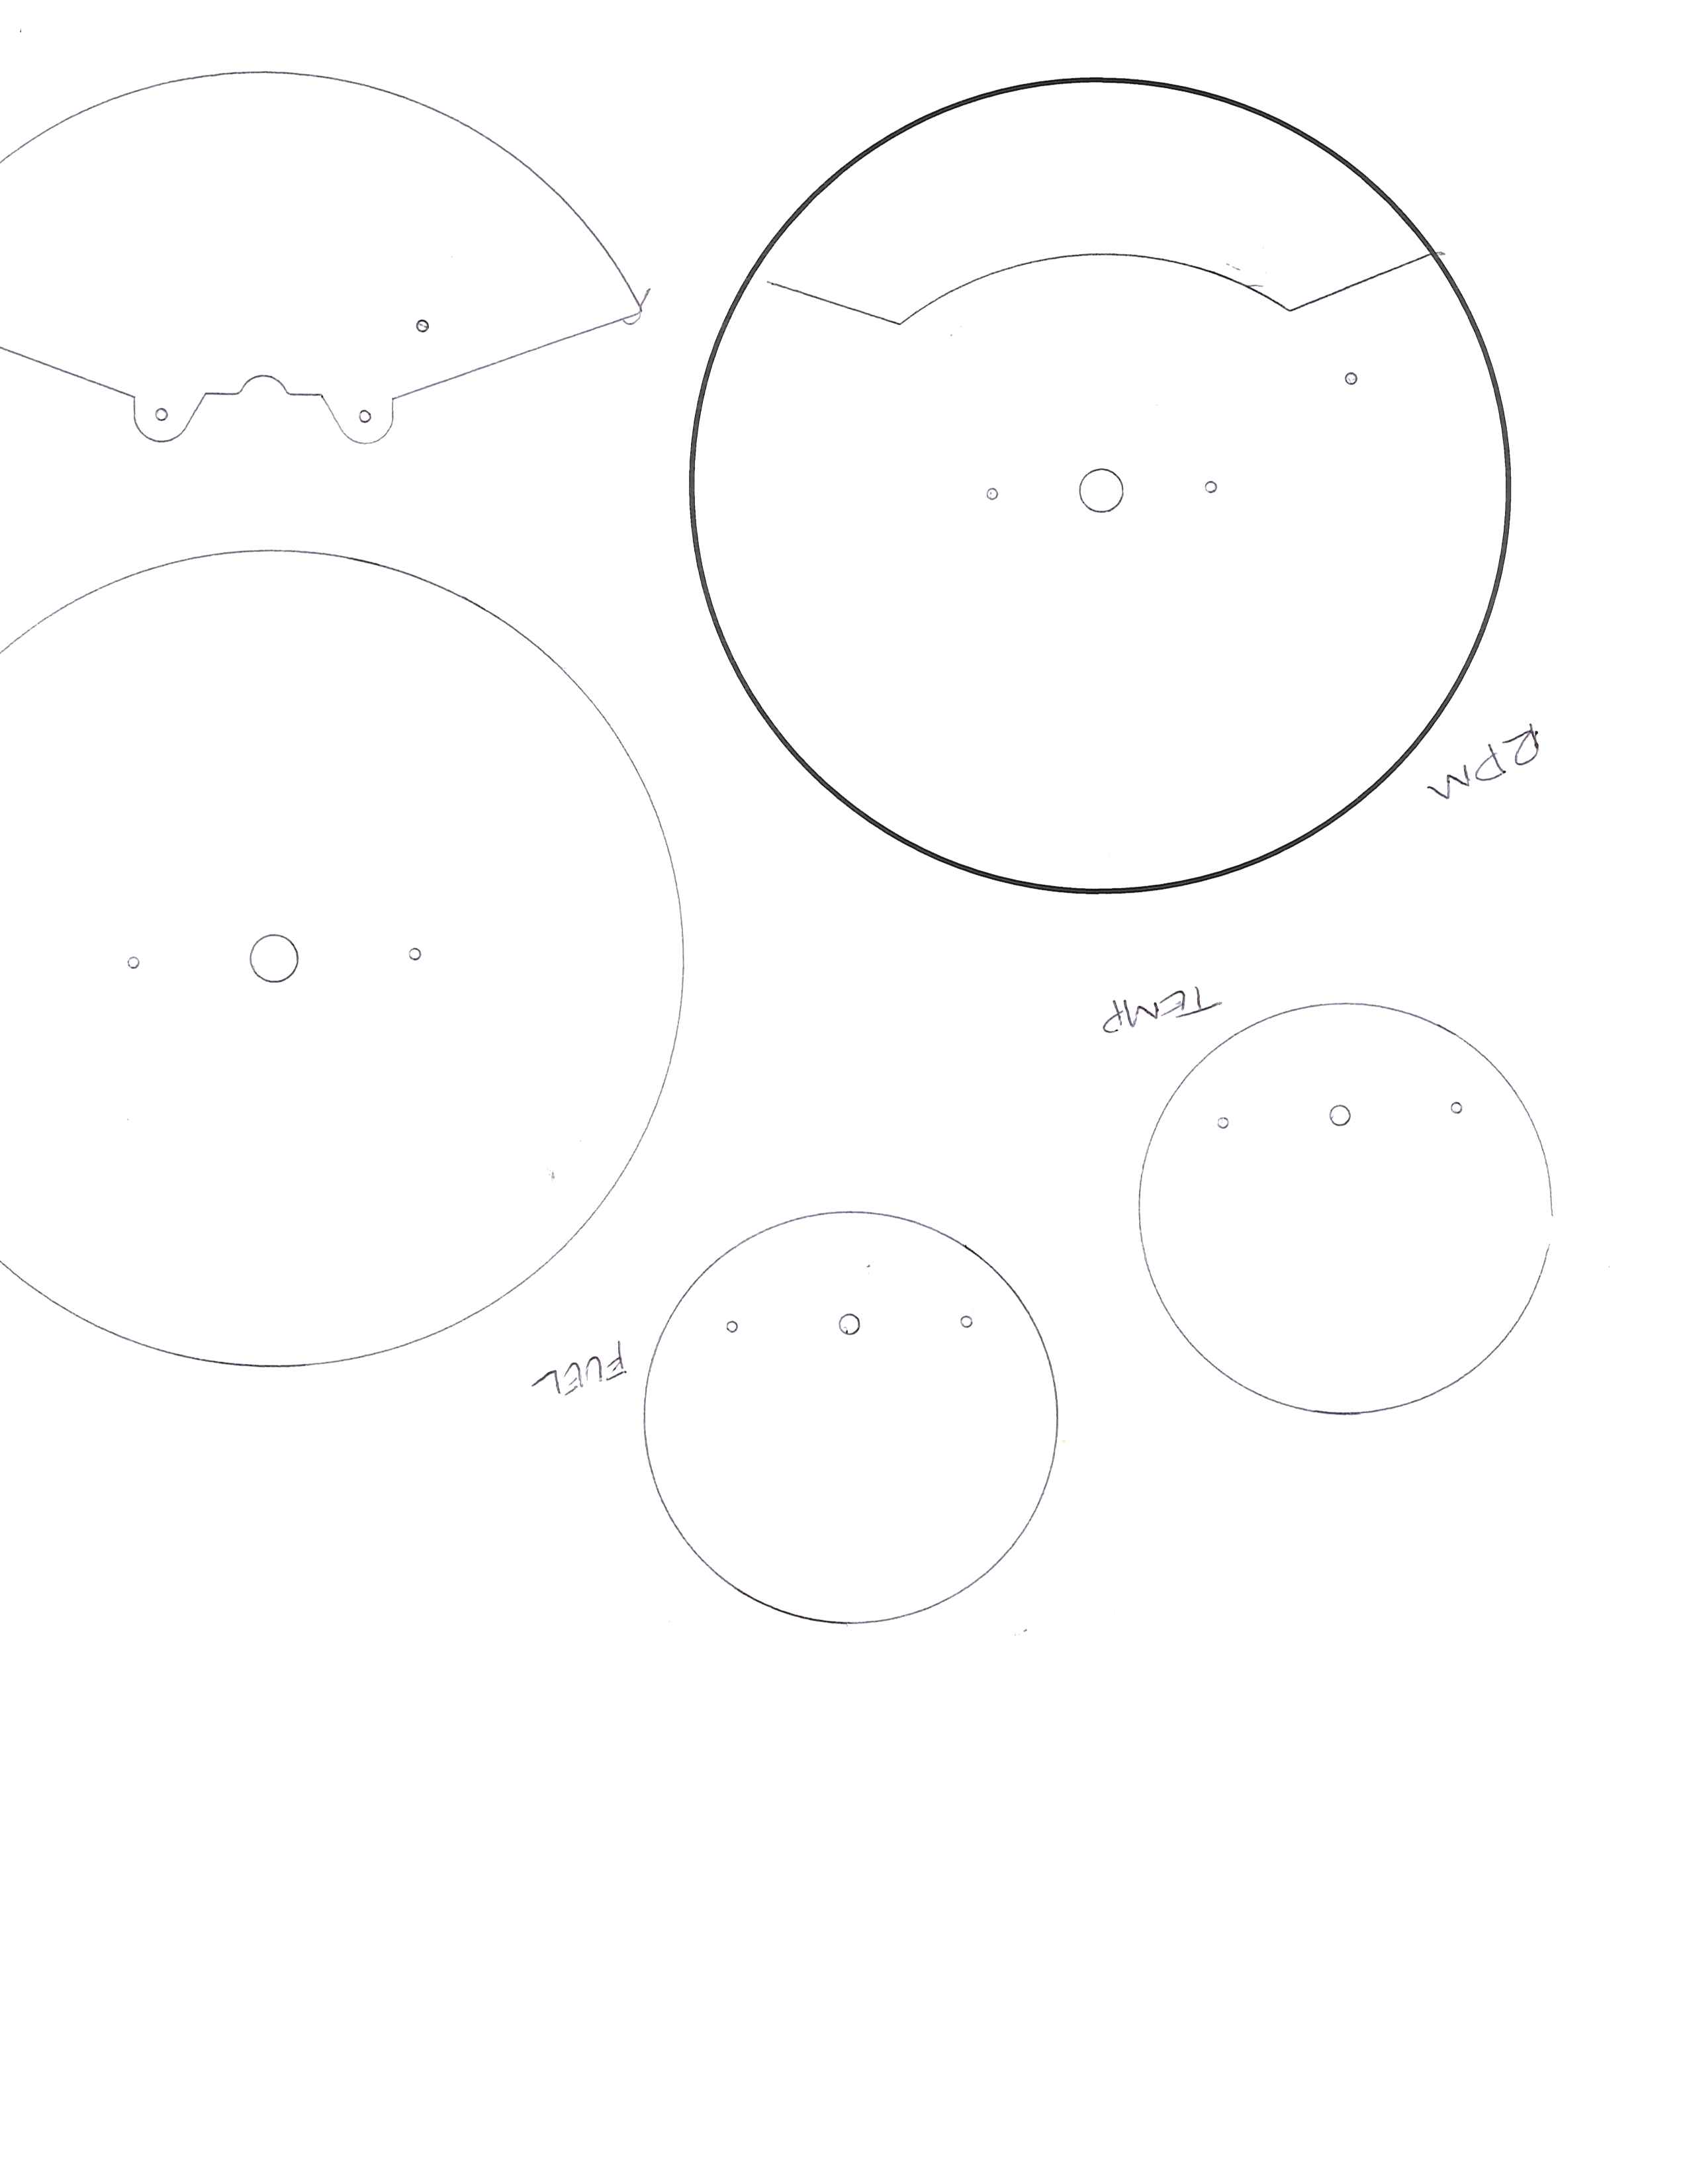
I started by measuring, tracing and finding reference images to base my design from.


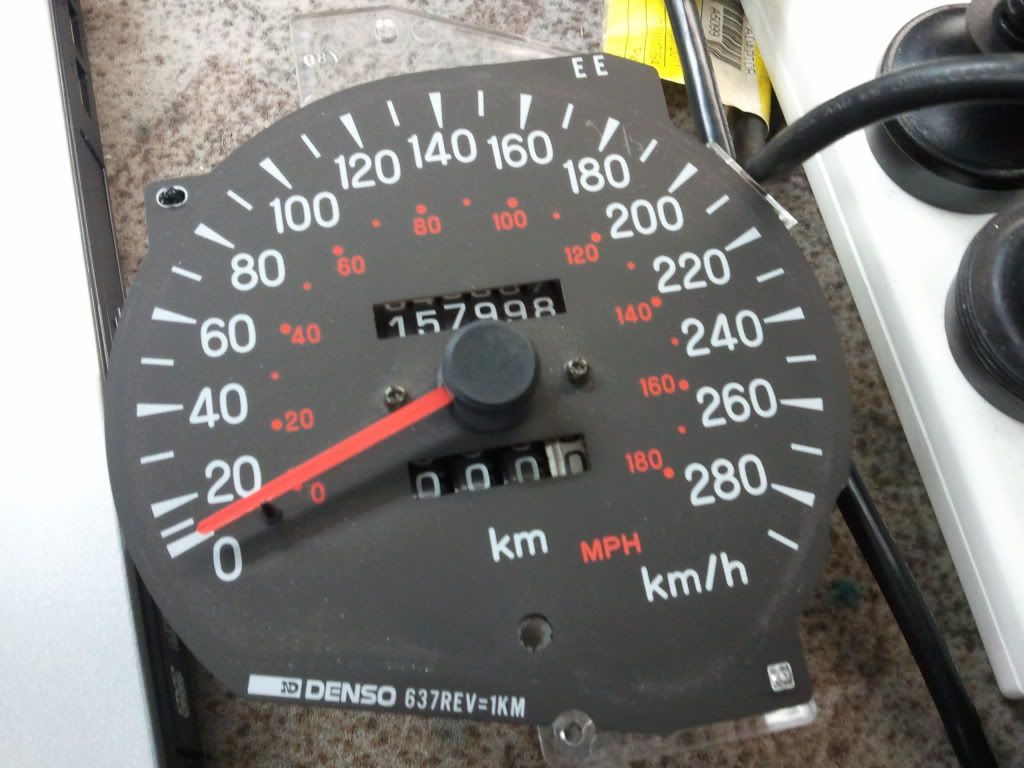

Then I started to take mine apart, clean it, and remove the old faces and needles. You must make sure you mark the positions of all the needle past the posts that hold them at zero...
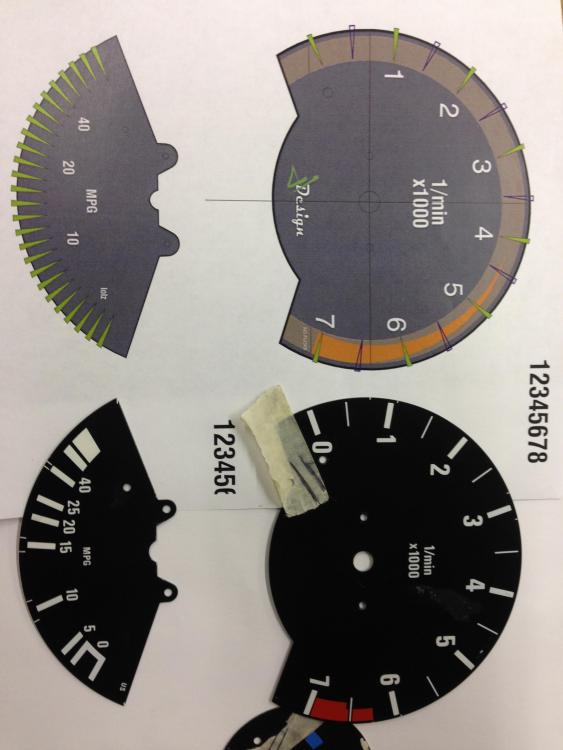
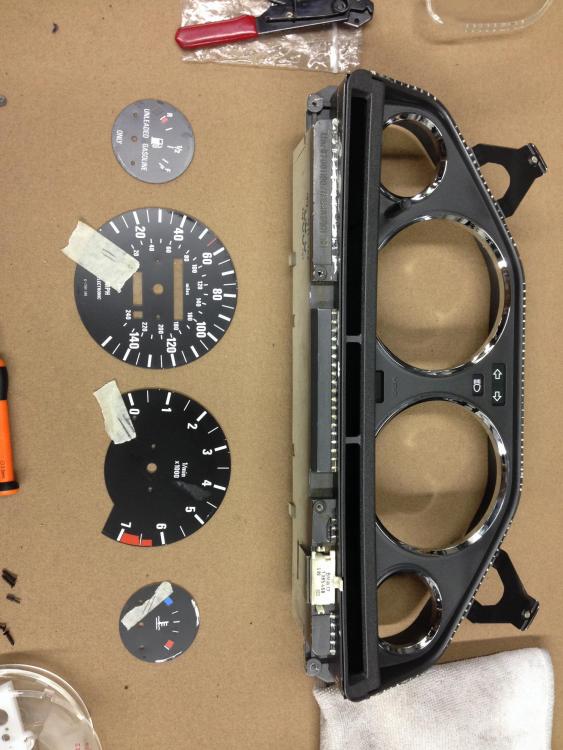
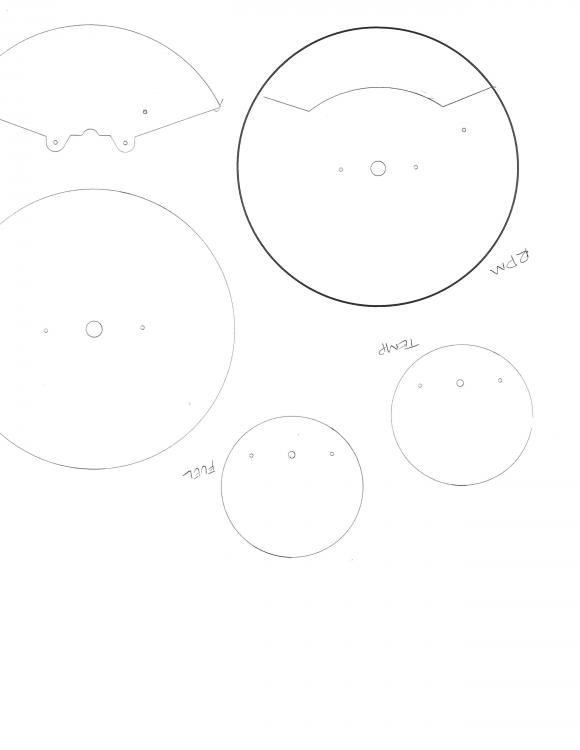
I created a template and measured the increments and used scanned in images of my exsisting faces for make sure my new faces would be accurate...
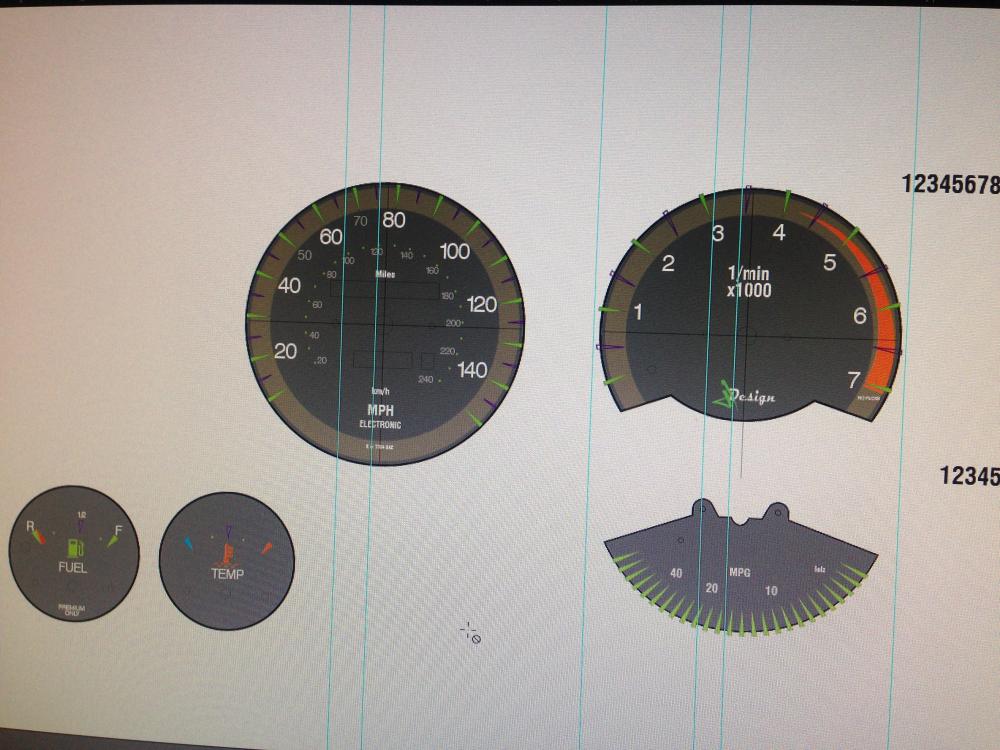
I then started designing.....
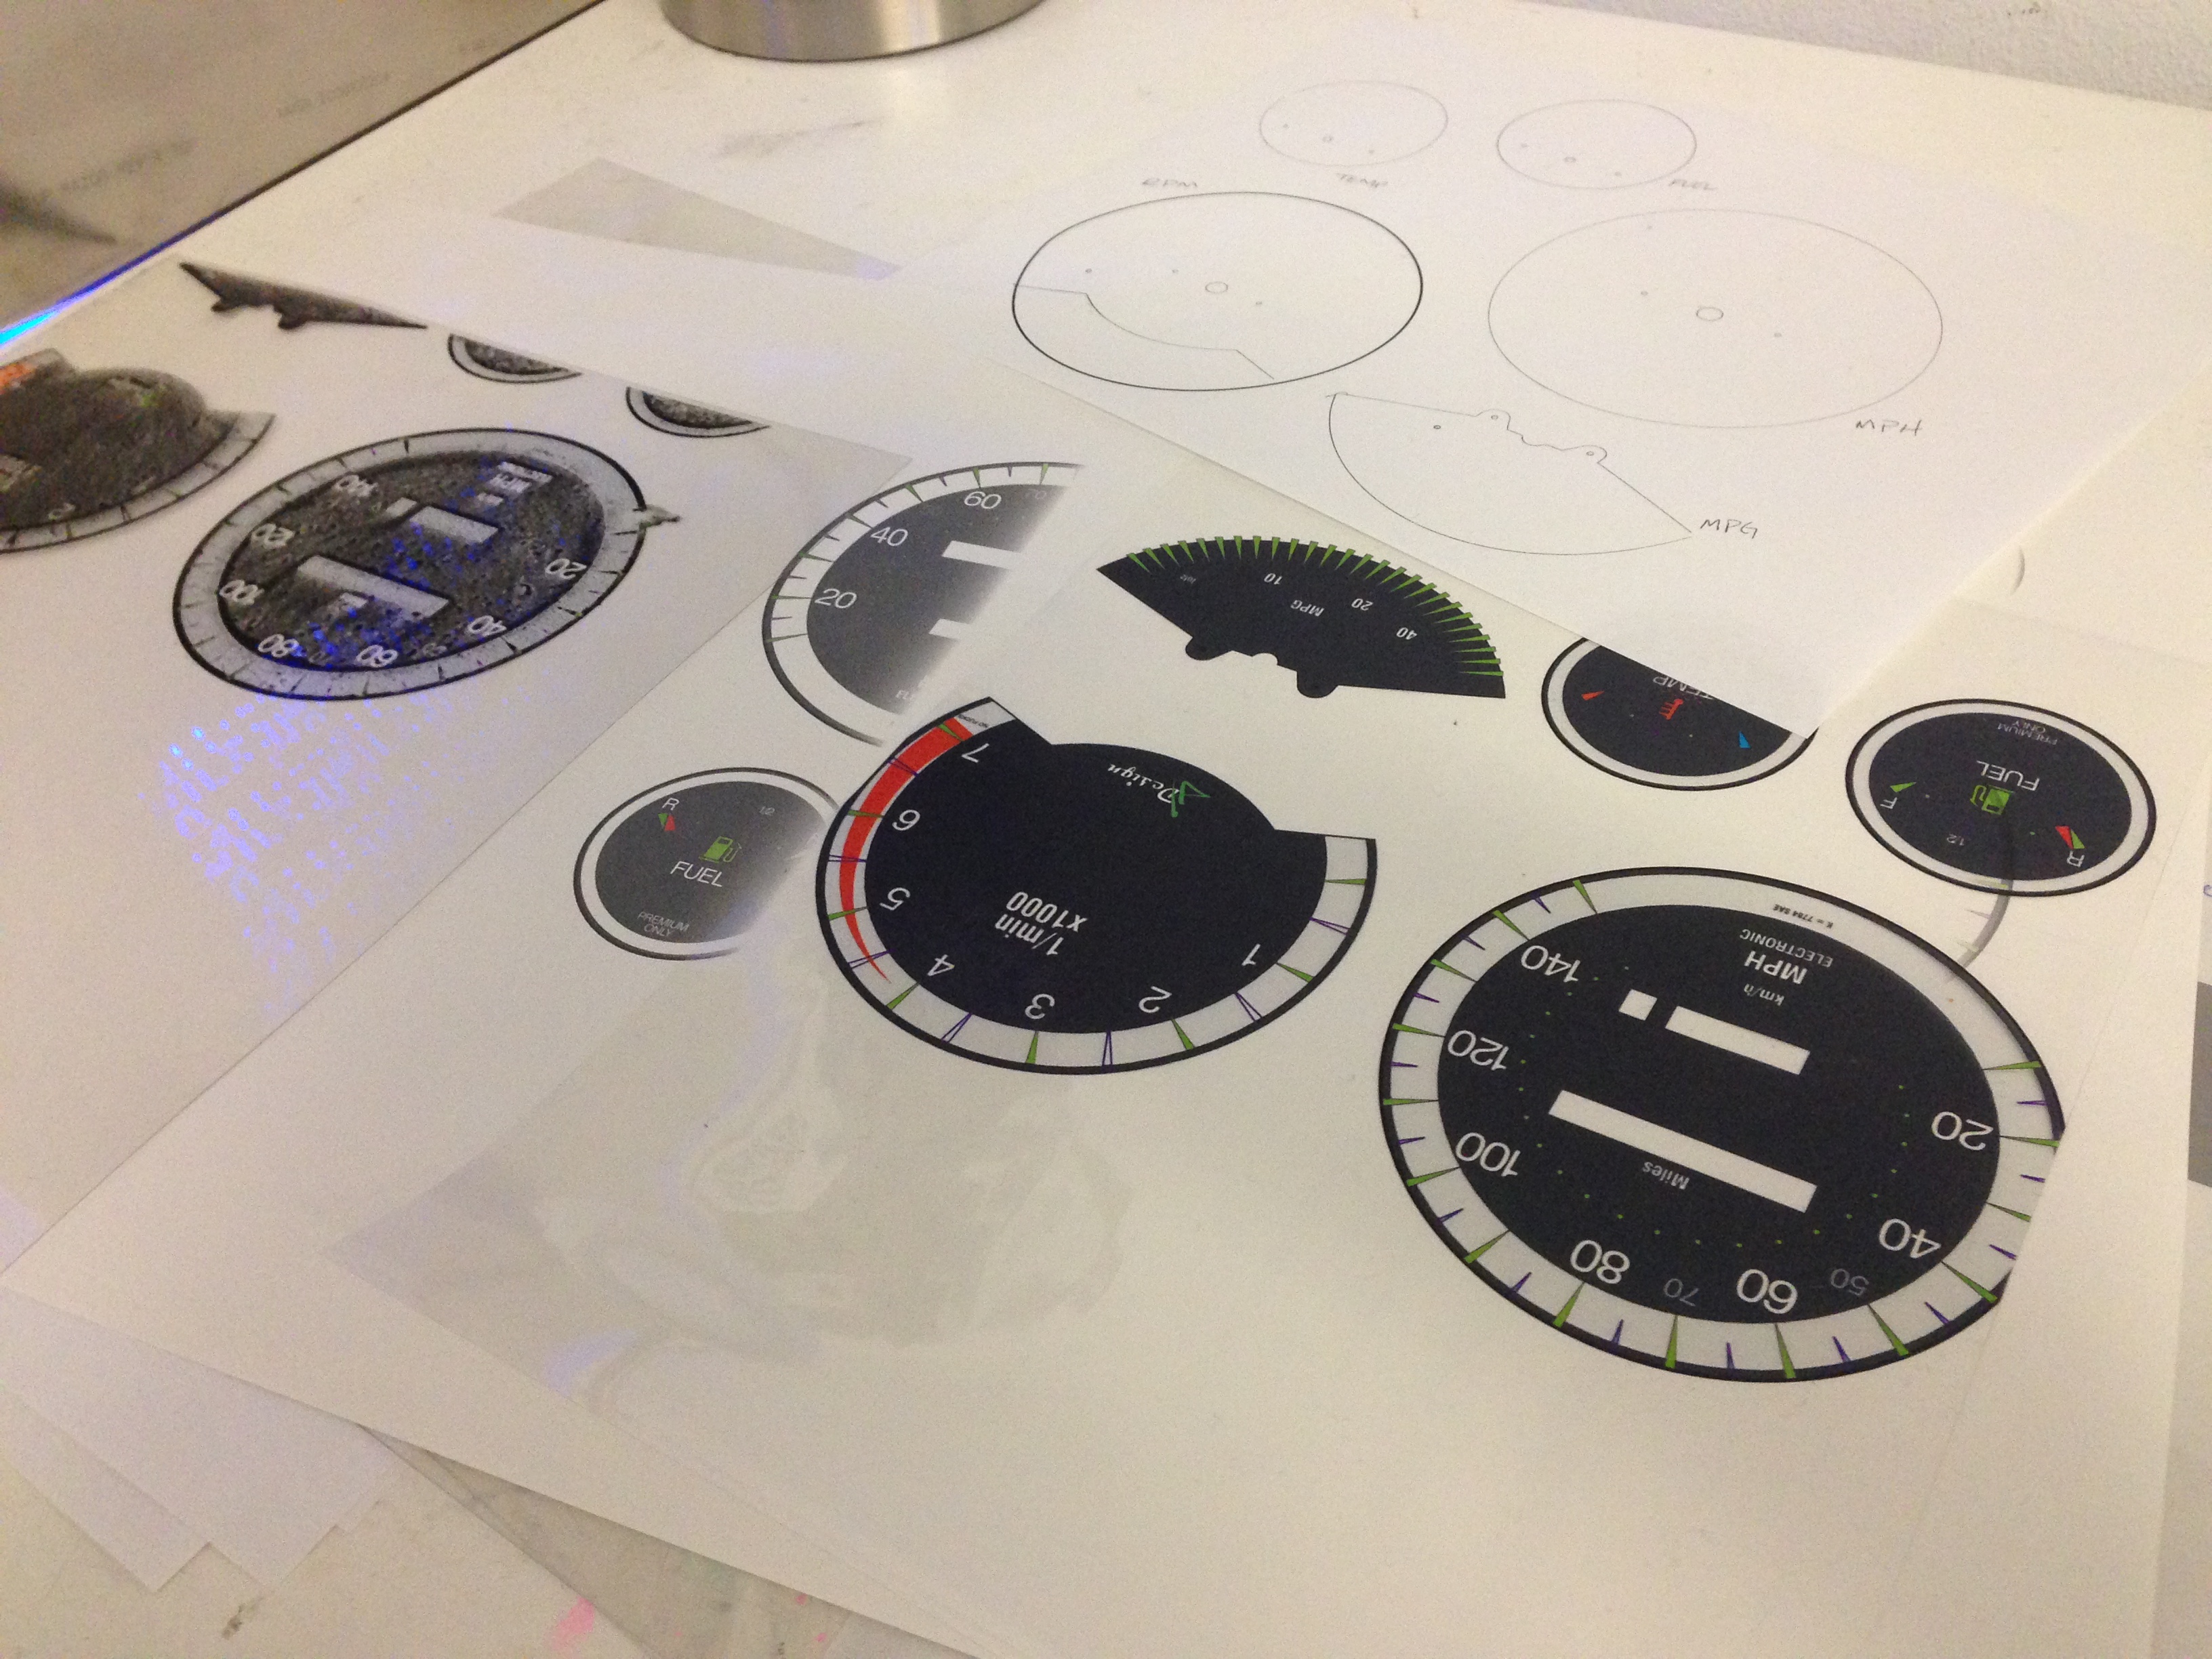
When I felt like I was getting close to something I liked, I printed out a few test transparencies and paper versions to mount and see how it looked....
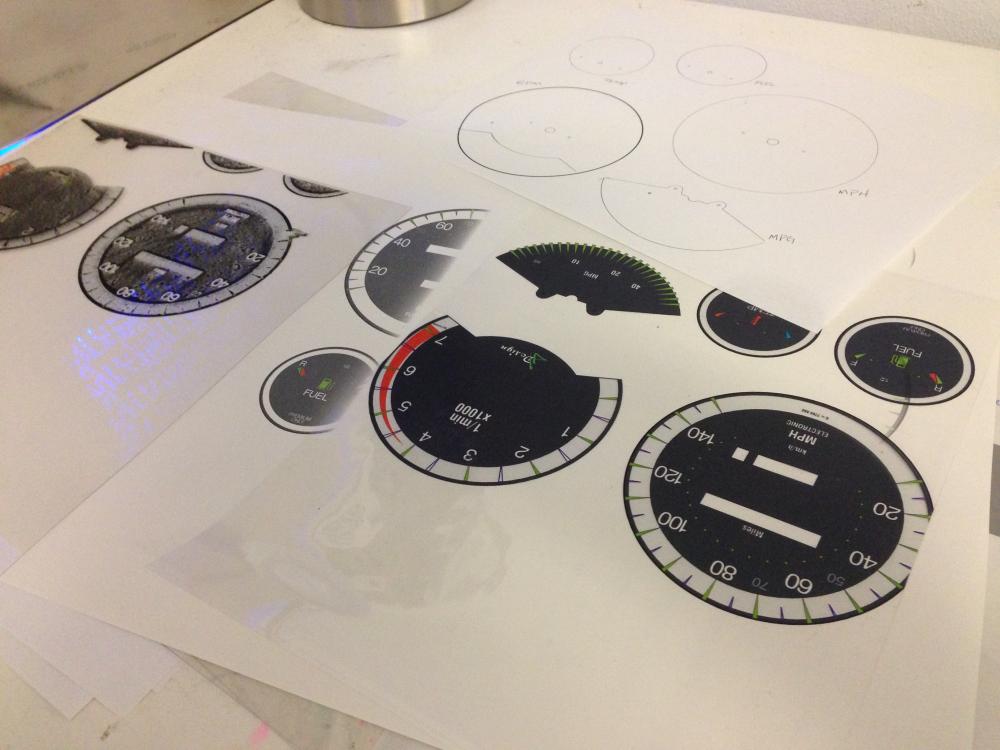
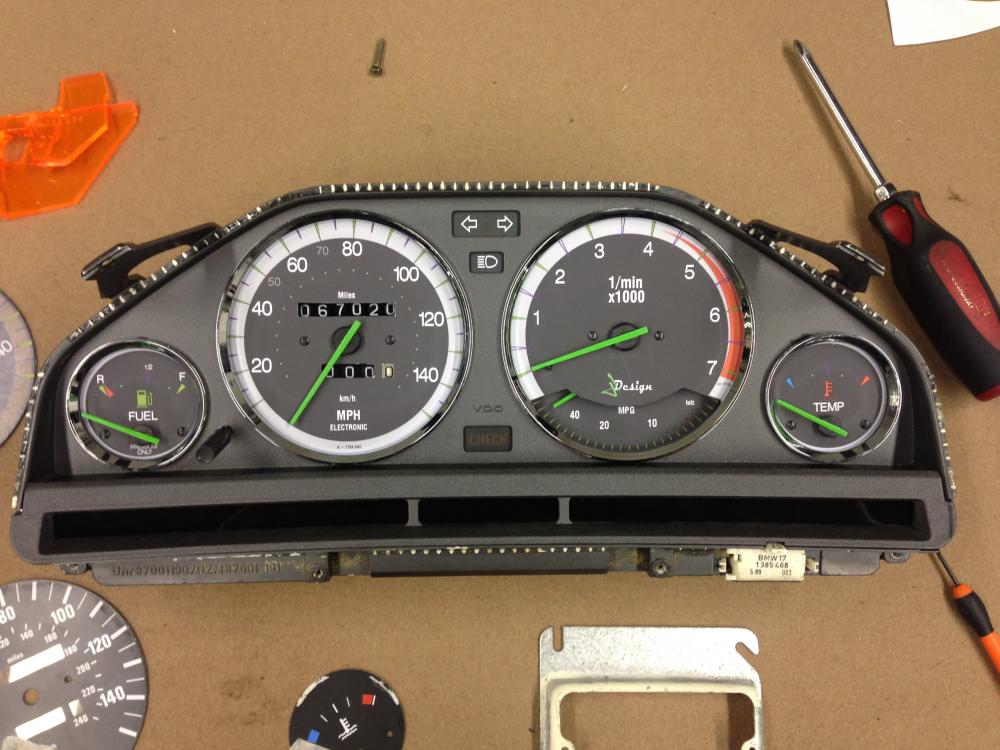
Getting closer but not 100%. The sad Part is I jumped the gun and the printer hasn't even arrived yet. So for now, I will have to wait to proceed any further. I also plan on updating all the interior lights from the old red to a white or green hue. So I guess I will tackle that while I wait.
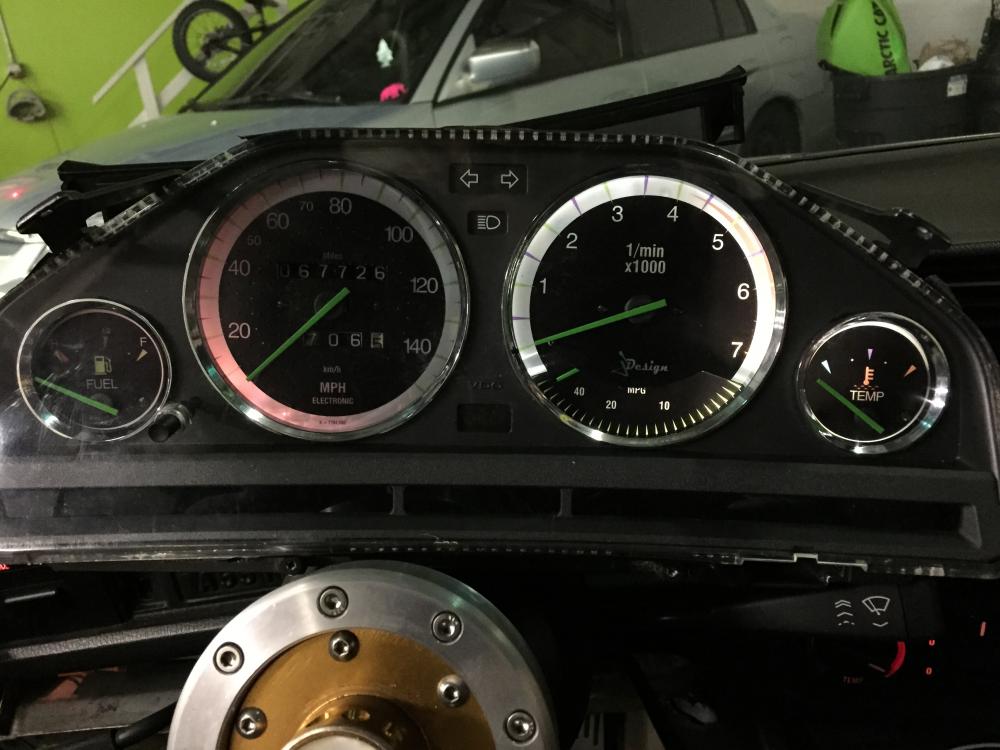
(Also note the hub adapter I machined at the bottom of the last image)
https://www.instagram.com/_jdesigner_/ http://nevertoolow.tumblr.com/
🥳SOLD BMW E24 633CSI - BMW M30B32 🧪SOLD HCH ES9 - 1.3 LDA
👽BMW E30 325IC - Toyota 1JZ-GTE ⏰ HONDA EF9 CIVIC SI - JDM B18C5
☠️BMW E36 318i - Ford 5.0 FE302 🚴♂️ GT-Labomba - 26x2.75 Freeride
🤹♀️SOLD BMW E36/7 Z3 - BMW M54B25 🧓SOLD BMW E10 2002 - BMW M10M05 -
Thanks guys!!!
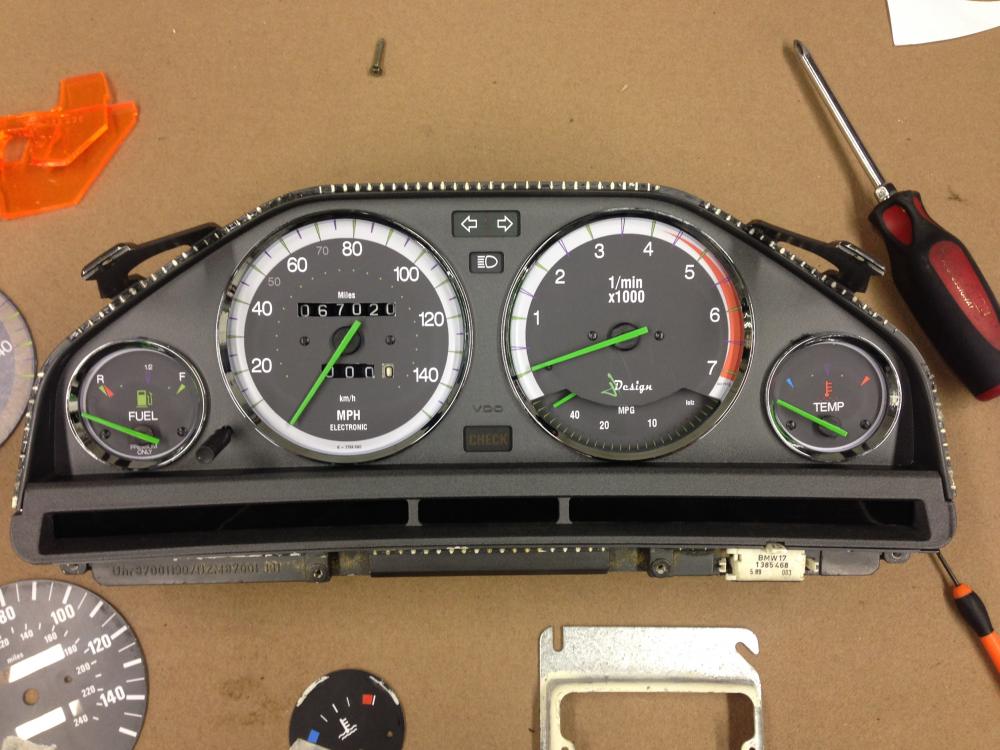
This is where I am at today. I printed on a standard 12mil luster paper, and just have to wait patiently for the printer now ;/
https://www.instagram.com/_jdesigner_/ http://nevertoolow.tumblr.com/
🥳SOLD BMW E24 633CSI - BMW M30B32 🧪SOLD HCH ES9 - 1.3 LDA
👽BMW E30 325IC - Toyota 1JZ-GTE ⏰ HONDA EF9 CIVIC SI - JDM B18C5
☠️BMW E36 318i - Ford 5.0 FE302 🚴♂️ GT-Labomba - 26x2.75 Freeride
🤹♀️SOLD BMW E36/7 Z3 - BMW M54B25 🧓SOLD BMW E10 2002 - BMW M10M05 -
Thanks!
I plan on keeping the template available and will be able to make them for anyone interested in a new design for their own car. It should be fairly priced, but I can not give an accurate estimate until we get the printer.
https://www.instagram.com/_jdesigner_/ http://nevertoolow.tumblr.com/
🥳SOLD BMW E24 633CSI - BMW M30B32 🧪SOLD HCH ES9 - 1.3 LDA
👽BMW E30 325IC - Toyota 1JZ-GTE ⏰ HONDA EF9 CIVIC SI - JDM B18C5
☠️BMW E36 318i - Ford 5.0 FE302 🚴♂️ GT-Labomba - 26x2.75 Freeride
🤹♀️SOLD BMW E36/7 Z3 - BMW M54B25 🧓SOLD BMW E10 2002 - BMW M10M05








Hello! It looks like you're interested in this conversation, but you don't have an account yet.
Getting fed up of having to scroll through the same posts each visit? When you register for an account, you'll always come back to exactly where you were before, and choose to be notified of new replies (either via email, or push notification). You'll also be able to save bookmarks and upvote posts to show your appreciation to other community members.
With your input, this post could be even better 💗
Register Login