Skip to content
  • Categories
  • Recent
  • Tags
  • Popular
  • Users
  • Groups
Skins
  • Light
  • Brite
  • Cerulean
  • Cosmo
  • Flatly
  • Journal
  • Litera
  • Lumen
  • Lux
  • Materia
  • Minty
  • Morph
  • Pulse
  • Sandstone
  • Simplex
  • Sketchy
  • Spacelab
  • United
  • Yeti
  • Zephyr
  • Dark
  • Cyborg
  • Darkly
  • Quartz
  • Slate
  • Solar
  • Superhero
  • Vapor

  • Default (No Skin)
  • No Skin
Collapse
WIBIMMERS logo

WIBIMMERS

  1. Home
  2. General Discussion
  3. Members BMWs
  4. ‘91 E30

‘91 E30

Scheduled Pinned Locked Moved Members BMWs
510 Posts 27 Posters 2 Views 1 Watching
  • Oldest to Newest
  • Newest to Oldest
  • Most Votes
Reply
  • Reply as topic
Log in to reply
This topic has been deleted. Only users with topic management privileges can see it.
  • KaiserRollsK
    KaiserRollsK
    KaiserRolls
    wrote on last edited by
    #303

    suspenceful said:

    Was nice seeing/talking to you there! Great driving as always. I have some work to do...

    Do you know if there will be photos from this RA event?

    Probably, I think Austin was at the event. 

    https://www.flickr.com/photos/99430171@N06/albums

    1 Reply Last reply
    0
    • KaiserRollsK
      KaiserRollsK
      KaiserRolls
      wrote on last edited by
      #304

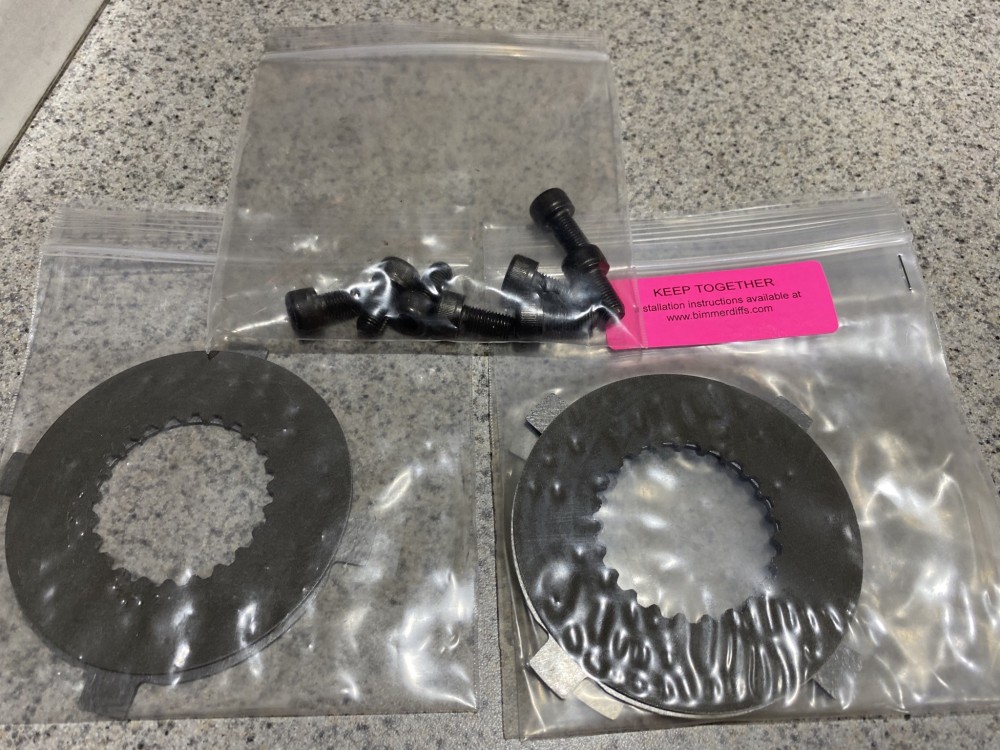
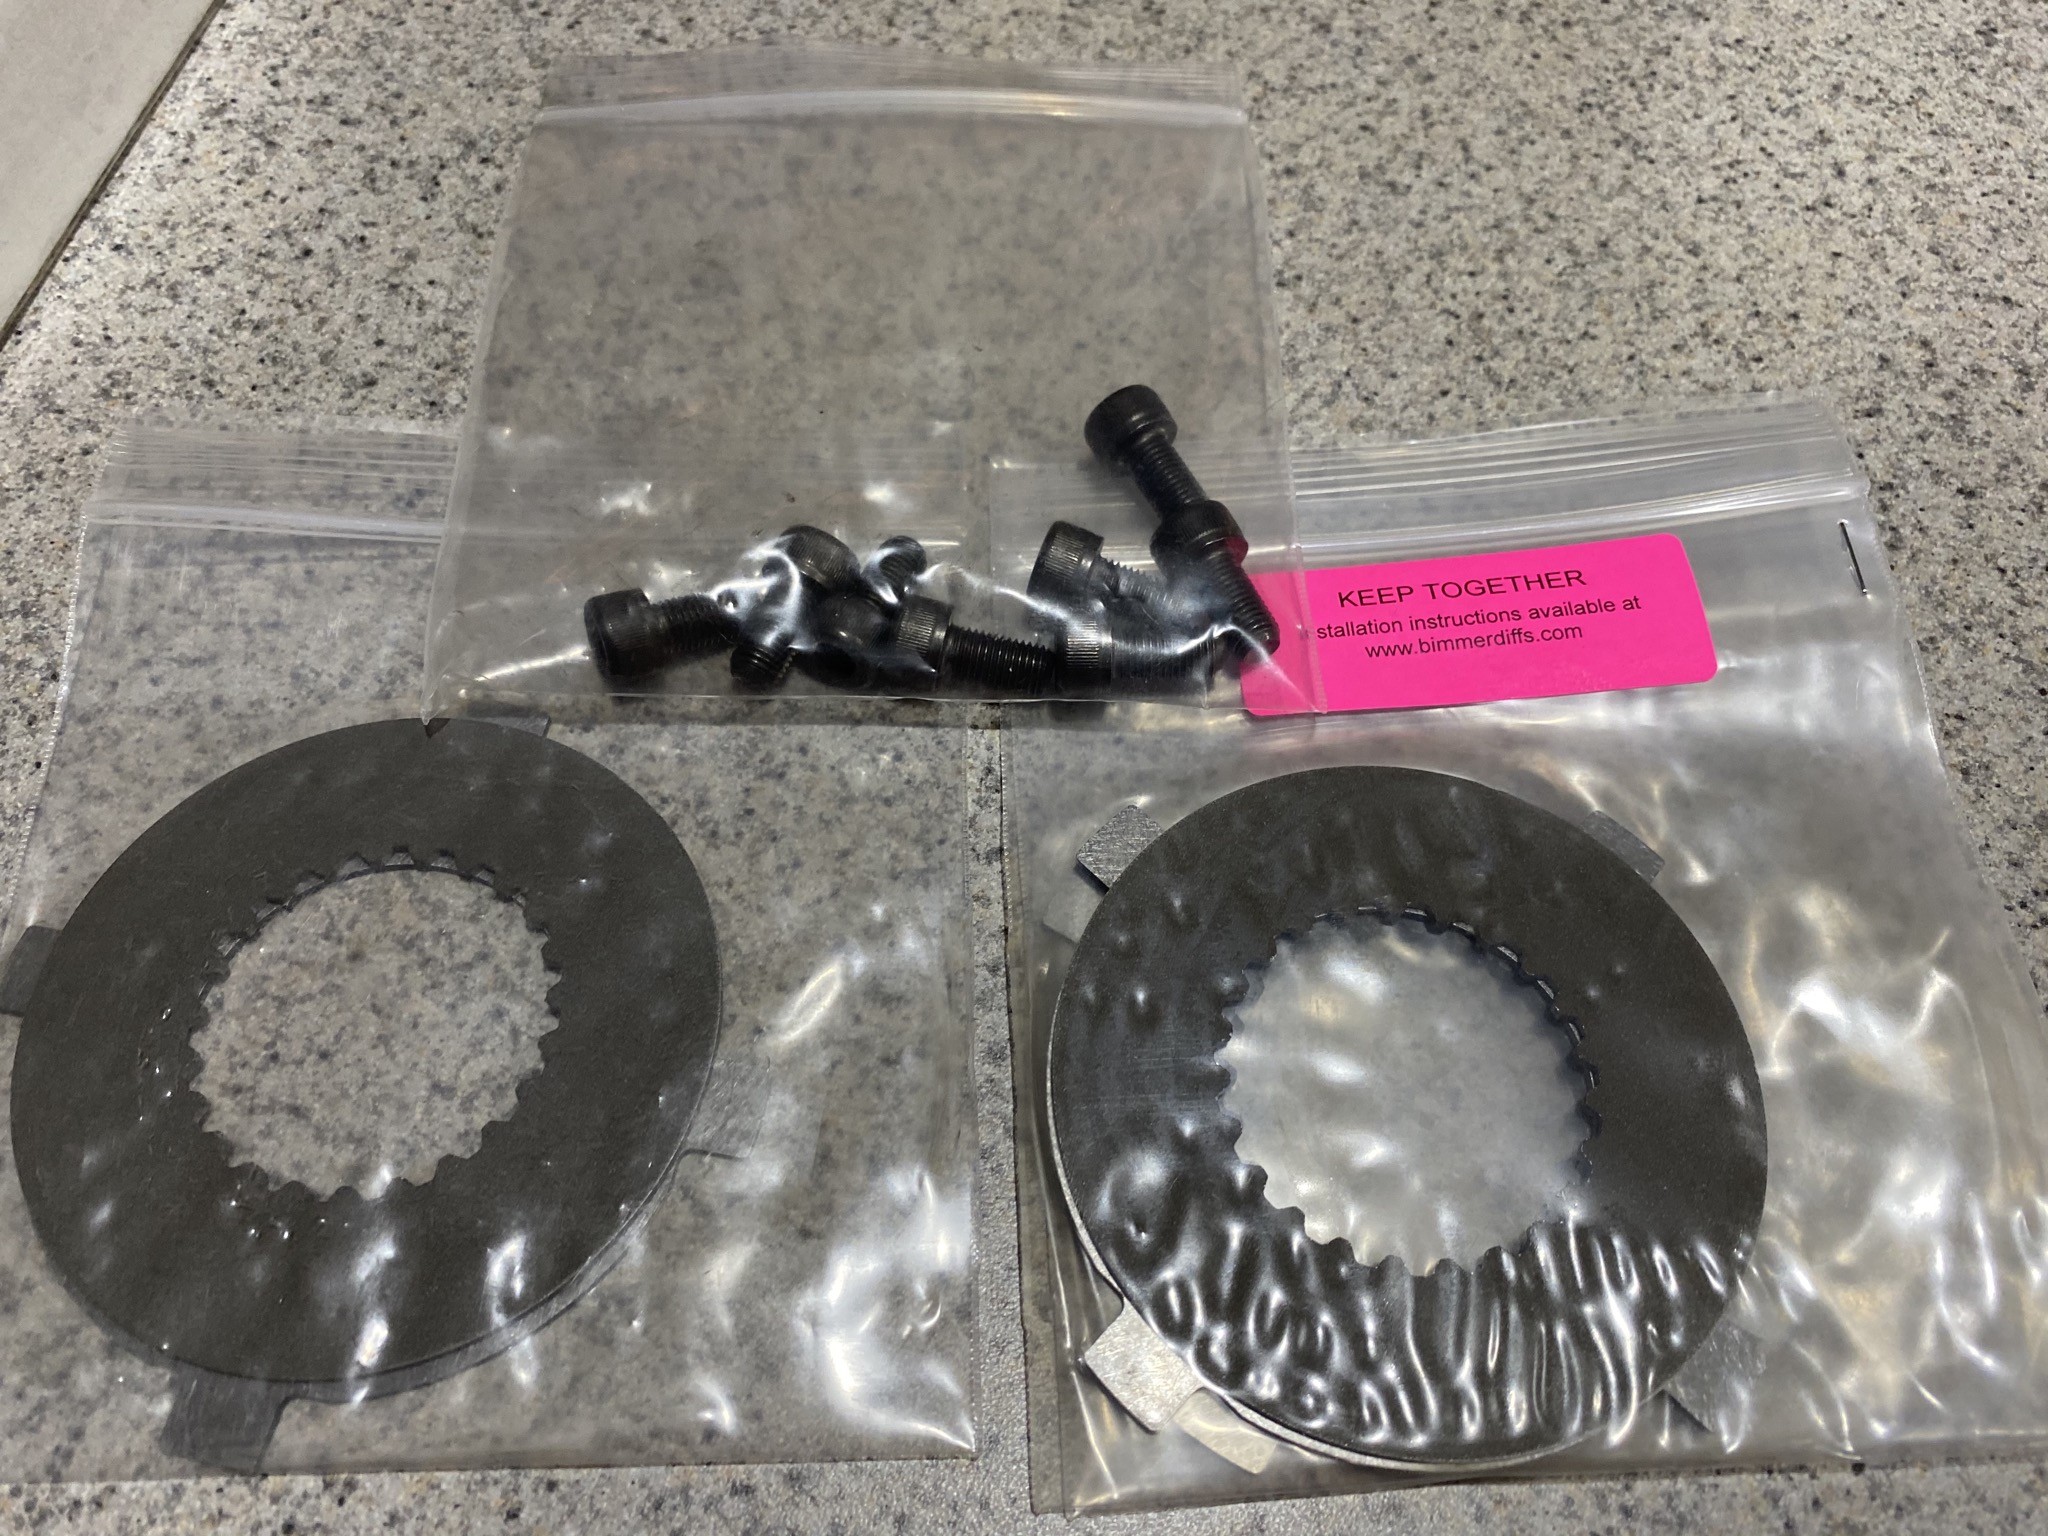
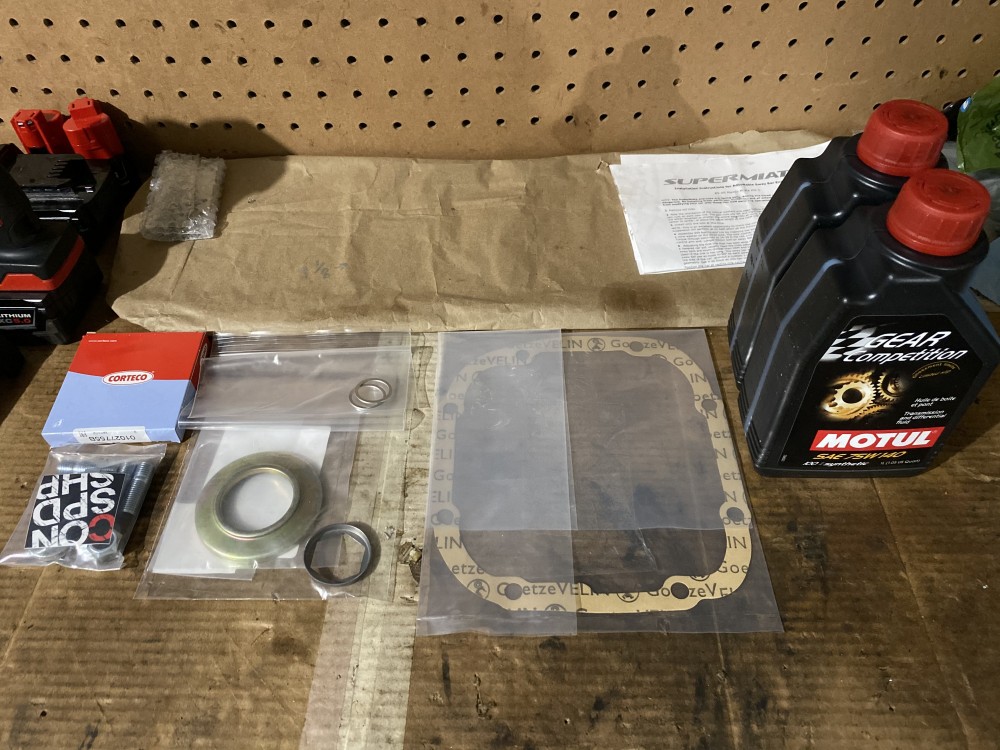
      Diff stuff is all in, next autox is the 28th. Hopefully finish it in time 
      A88BFECC-CF9F-4A12-8D1B-08A1960DD5A0.jpeg

      131D24F4-65C3-4CDE-9D40-DD1C2DCC86A1.jpeg

      1 Reply Last reply
      1
      • KaiserRollsK
        KaiserRollsK
        KaiserRolls
        wrote on last edited by
        #305

        ^dumbass me forgot about the orings/seals on the flanges so I ordered those as well

        1 Reply Last reply
        0
        • KaiserRollsK
          KaiserRollsK
          KaiserRolls
          wrote on last edited by
          #306

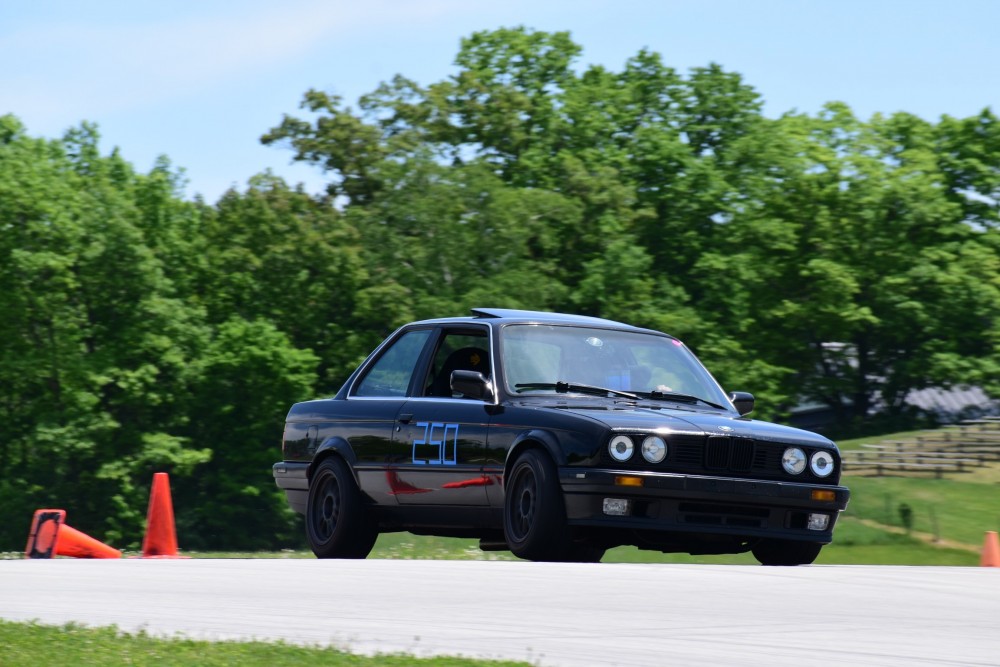
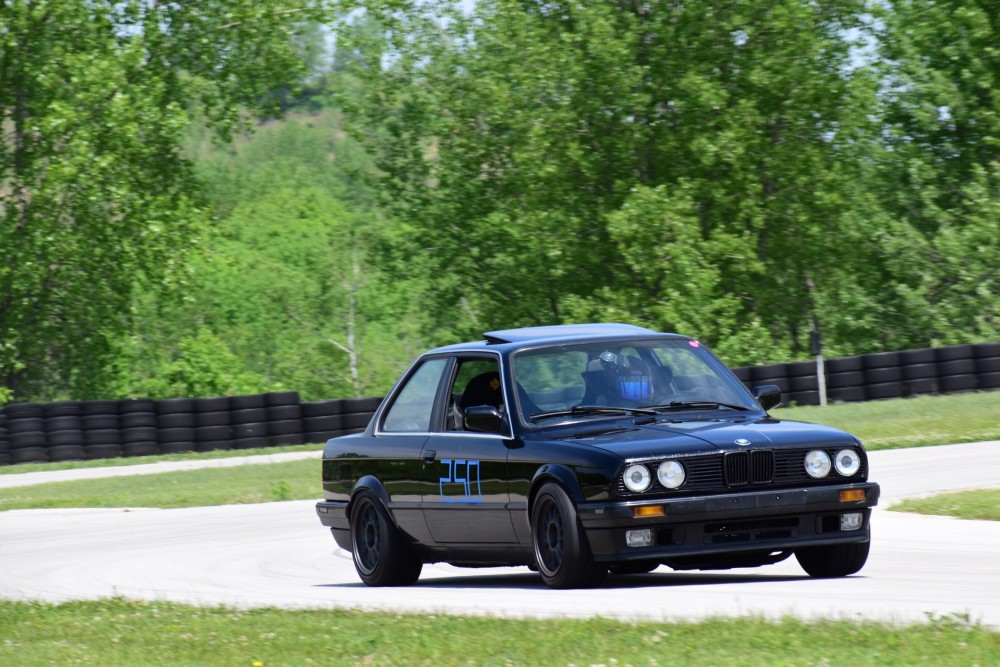
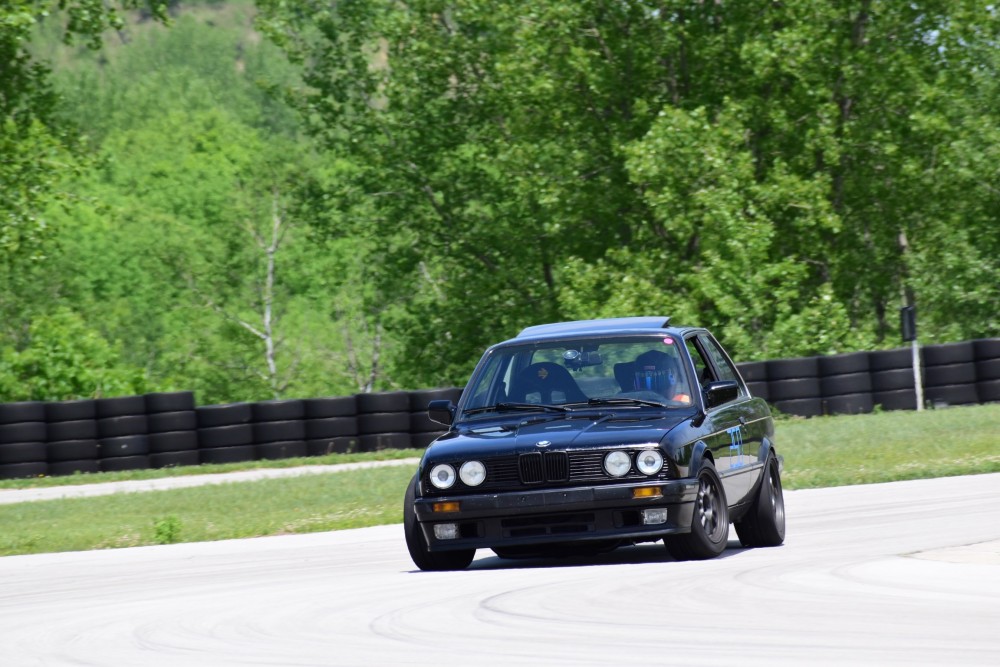
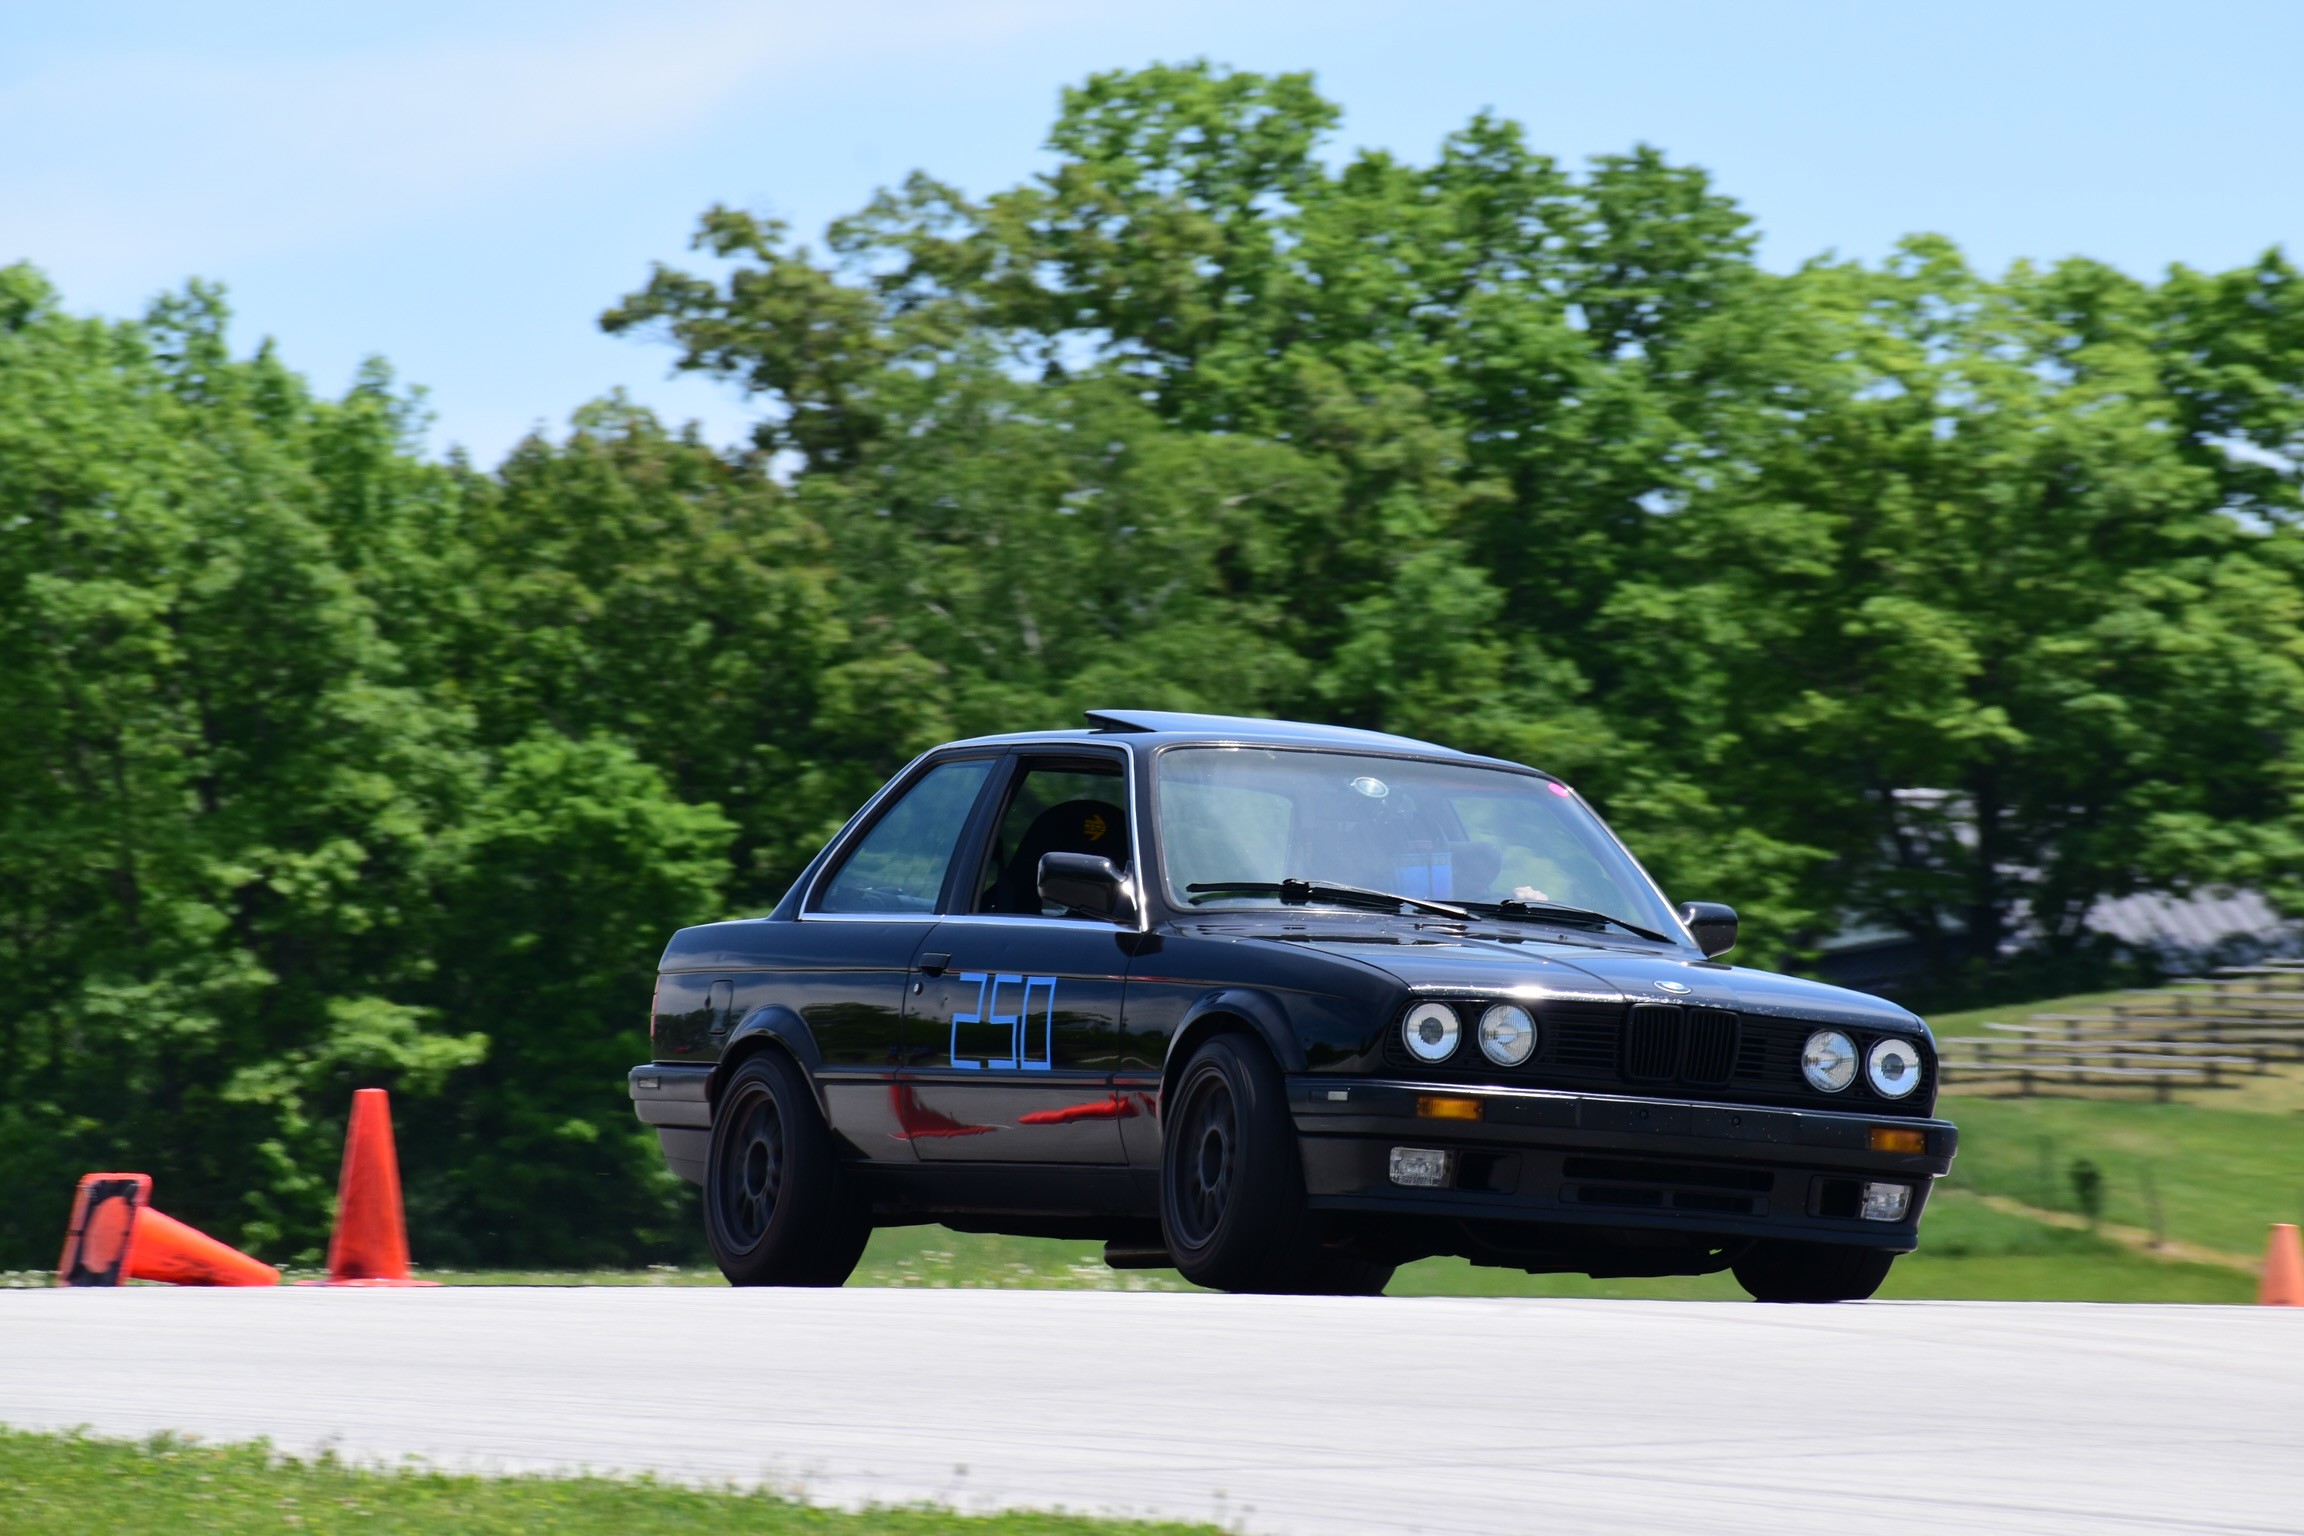
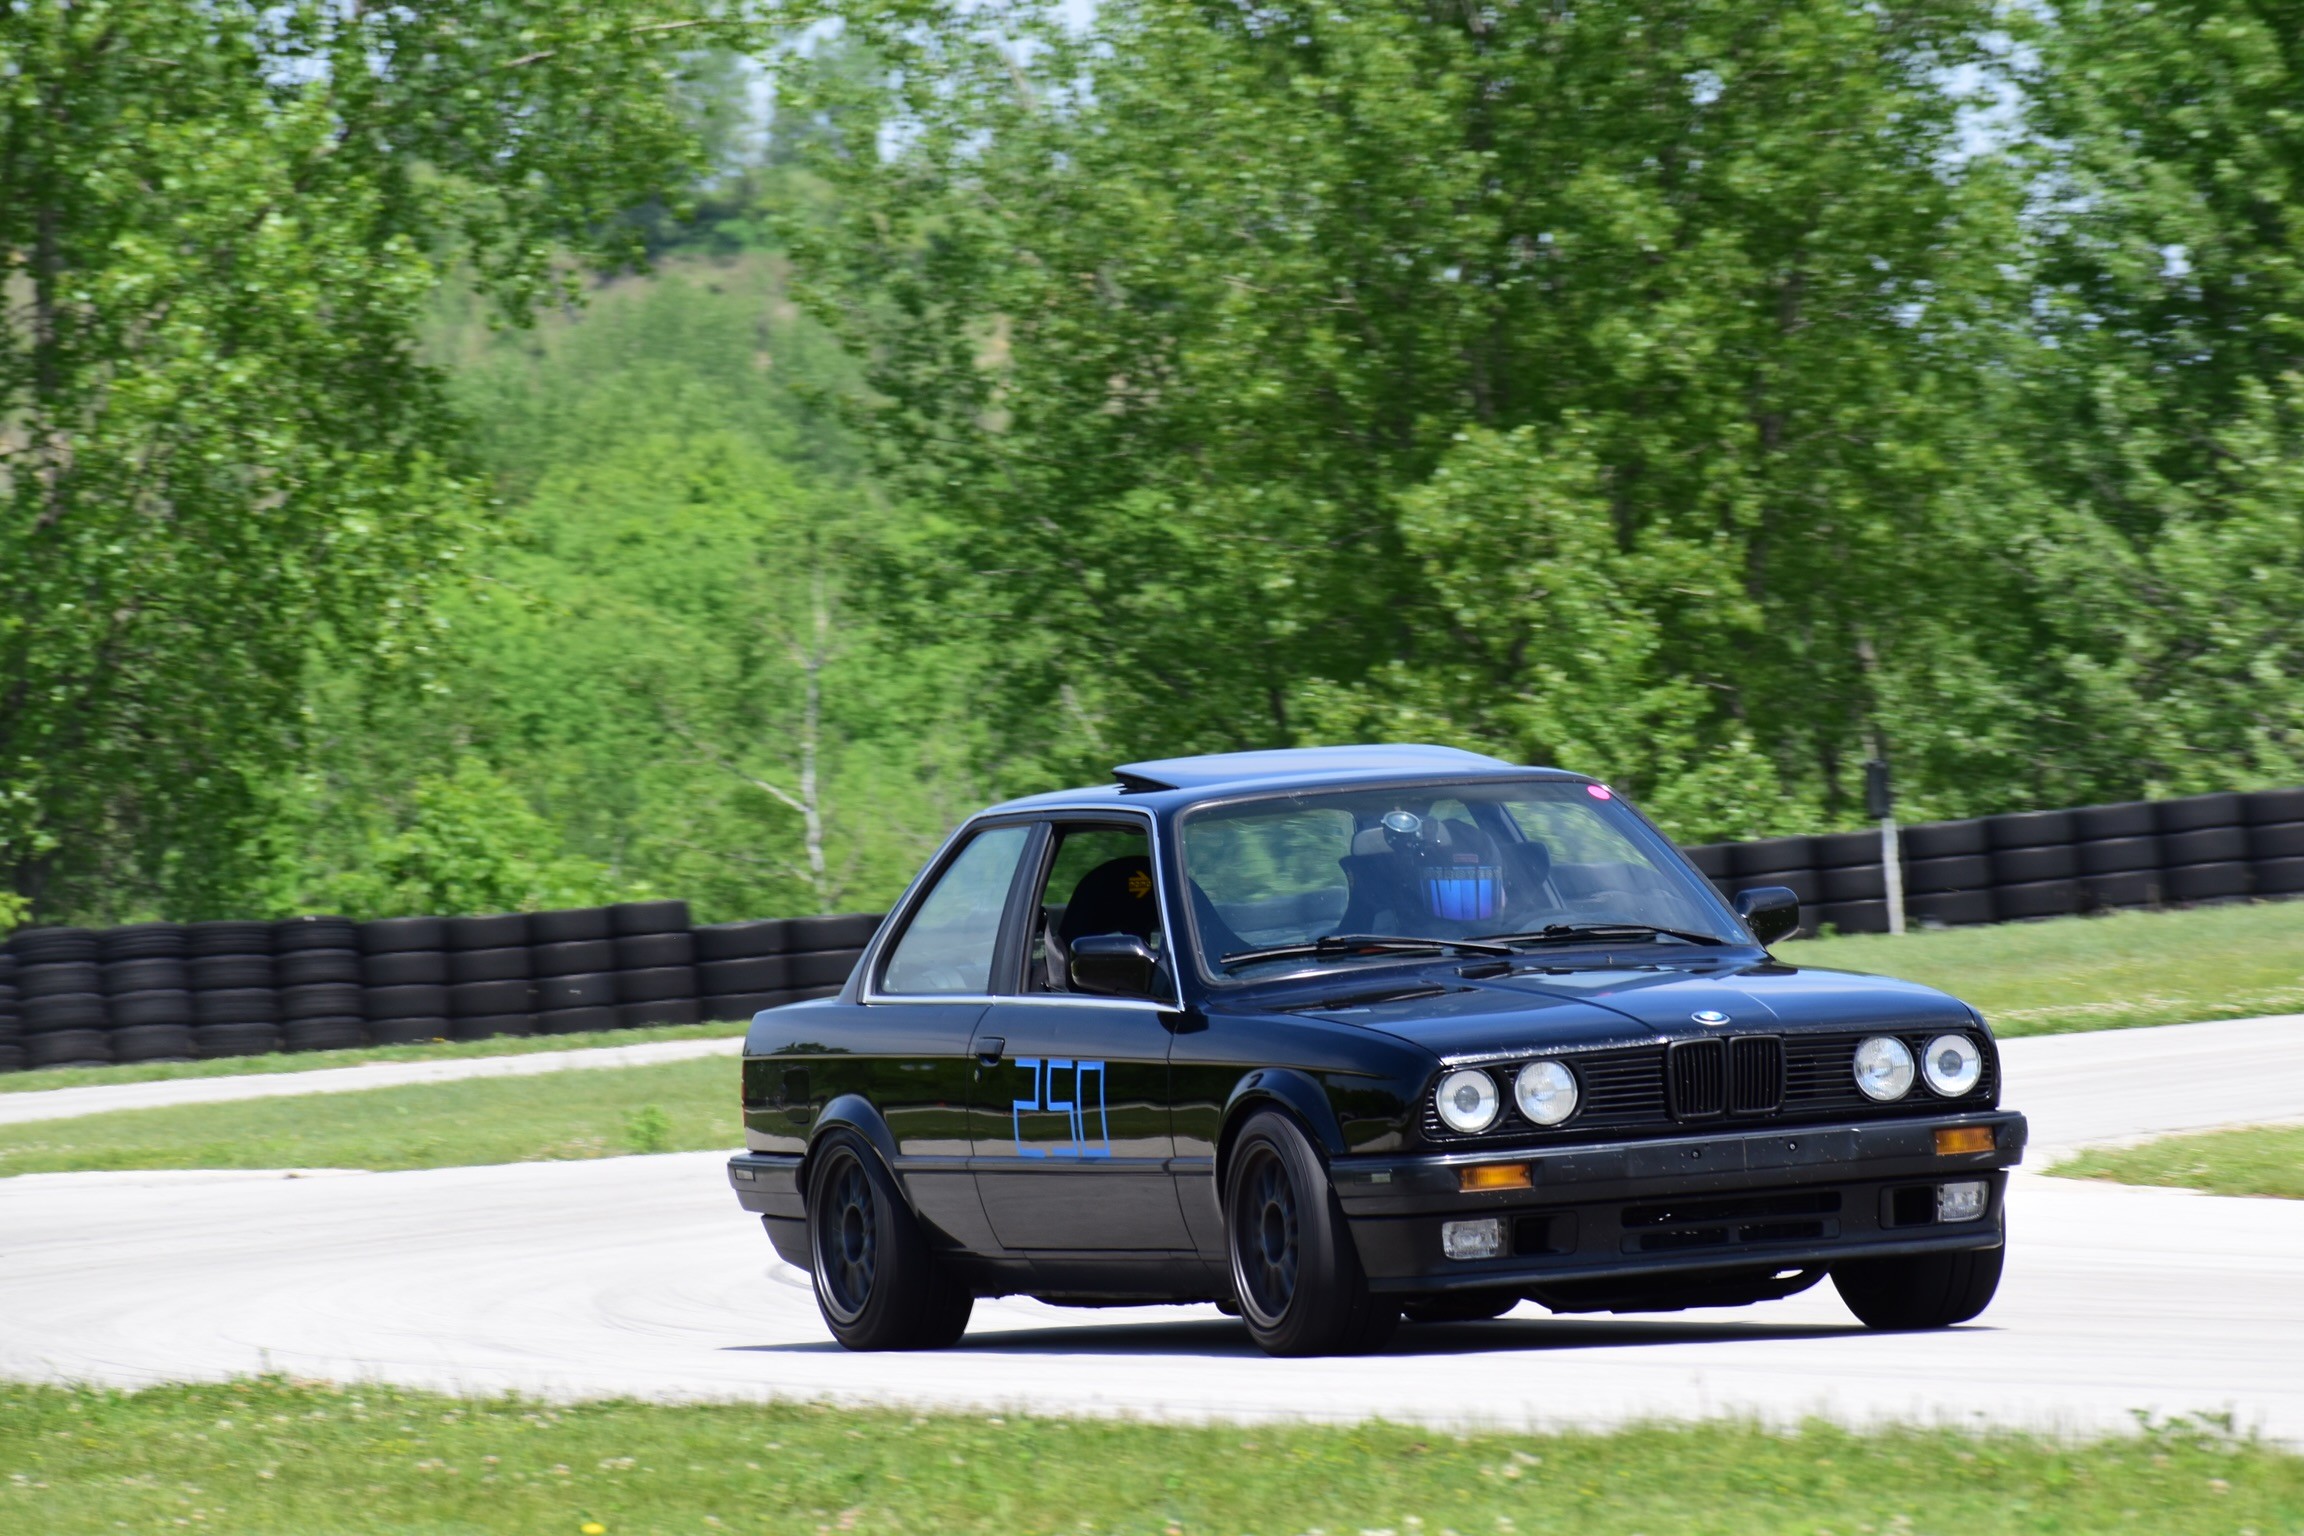
          Also shots from RA were posted 

          B5979D88-8A08-49B4-915E-1A0320D1A996.jpeg

          6B1CCC4C-D1FD-4A5F-AD65-752A79E06780.jpeg

          CA7F5ADD-B430-420B-8933-4414B3EBEA71.jpeg

          1 Reply Last reply
          3
          • KaiserRollsK
            KaiserRollsK
            KaiserRolls
            wrote on last edited by
            #307

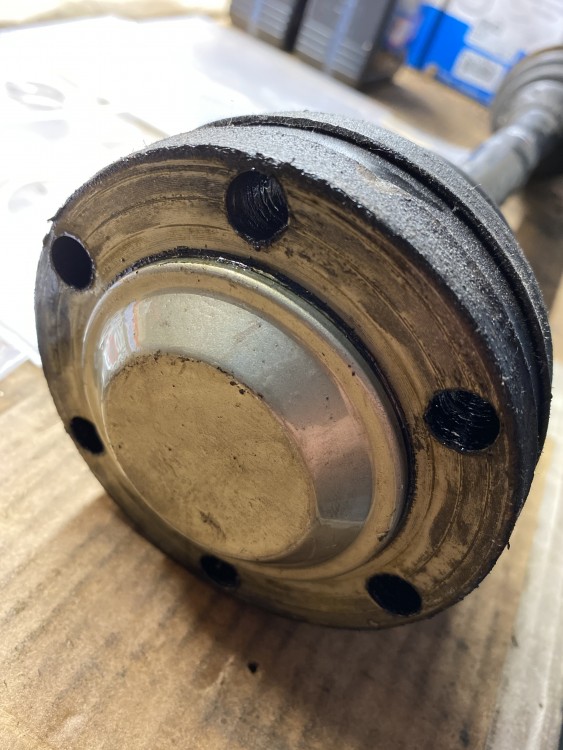
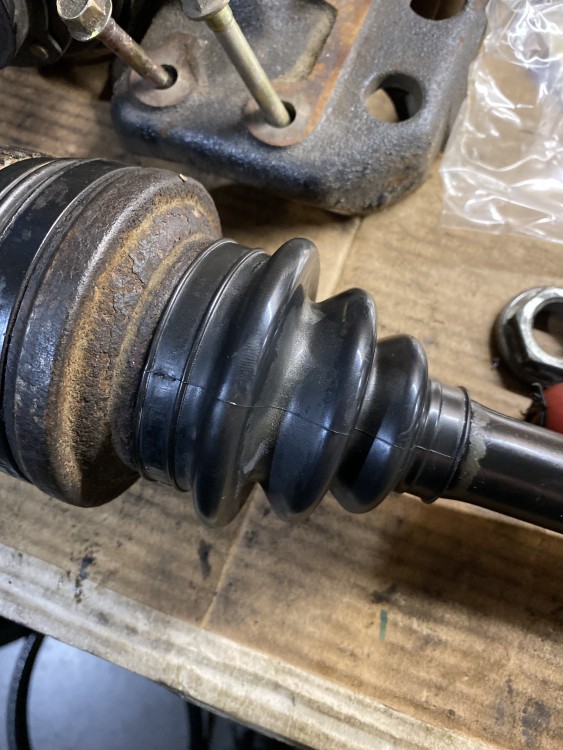
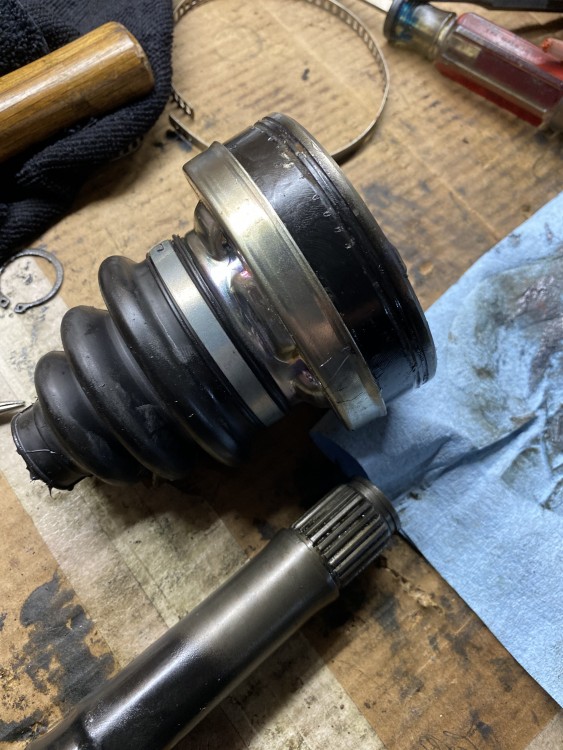
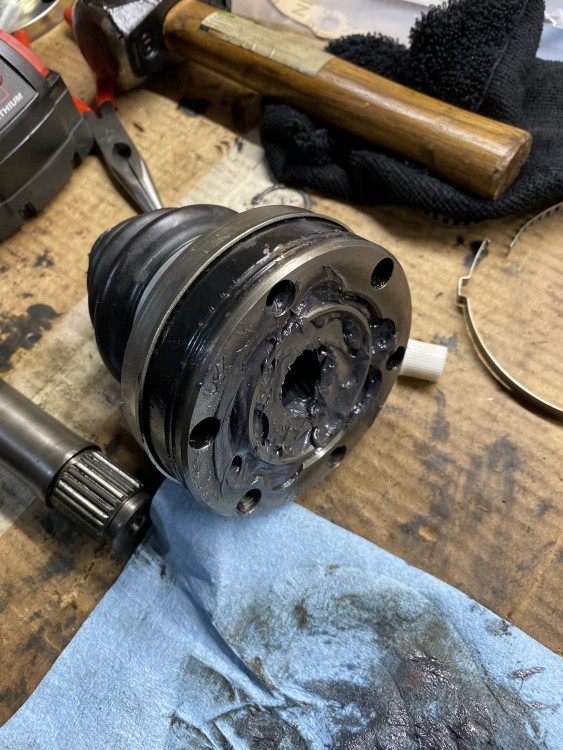
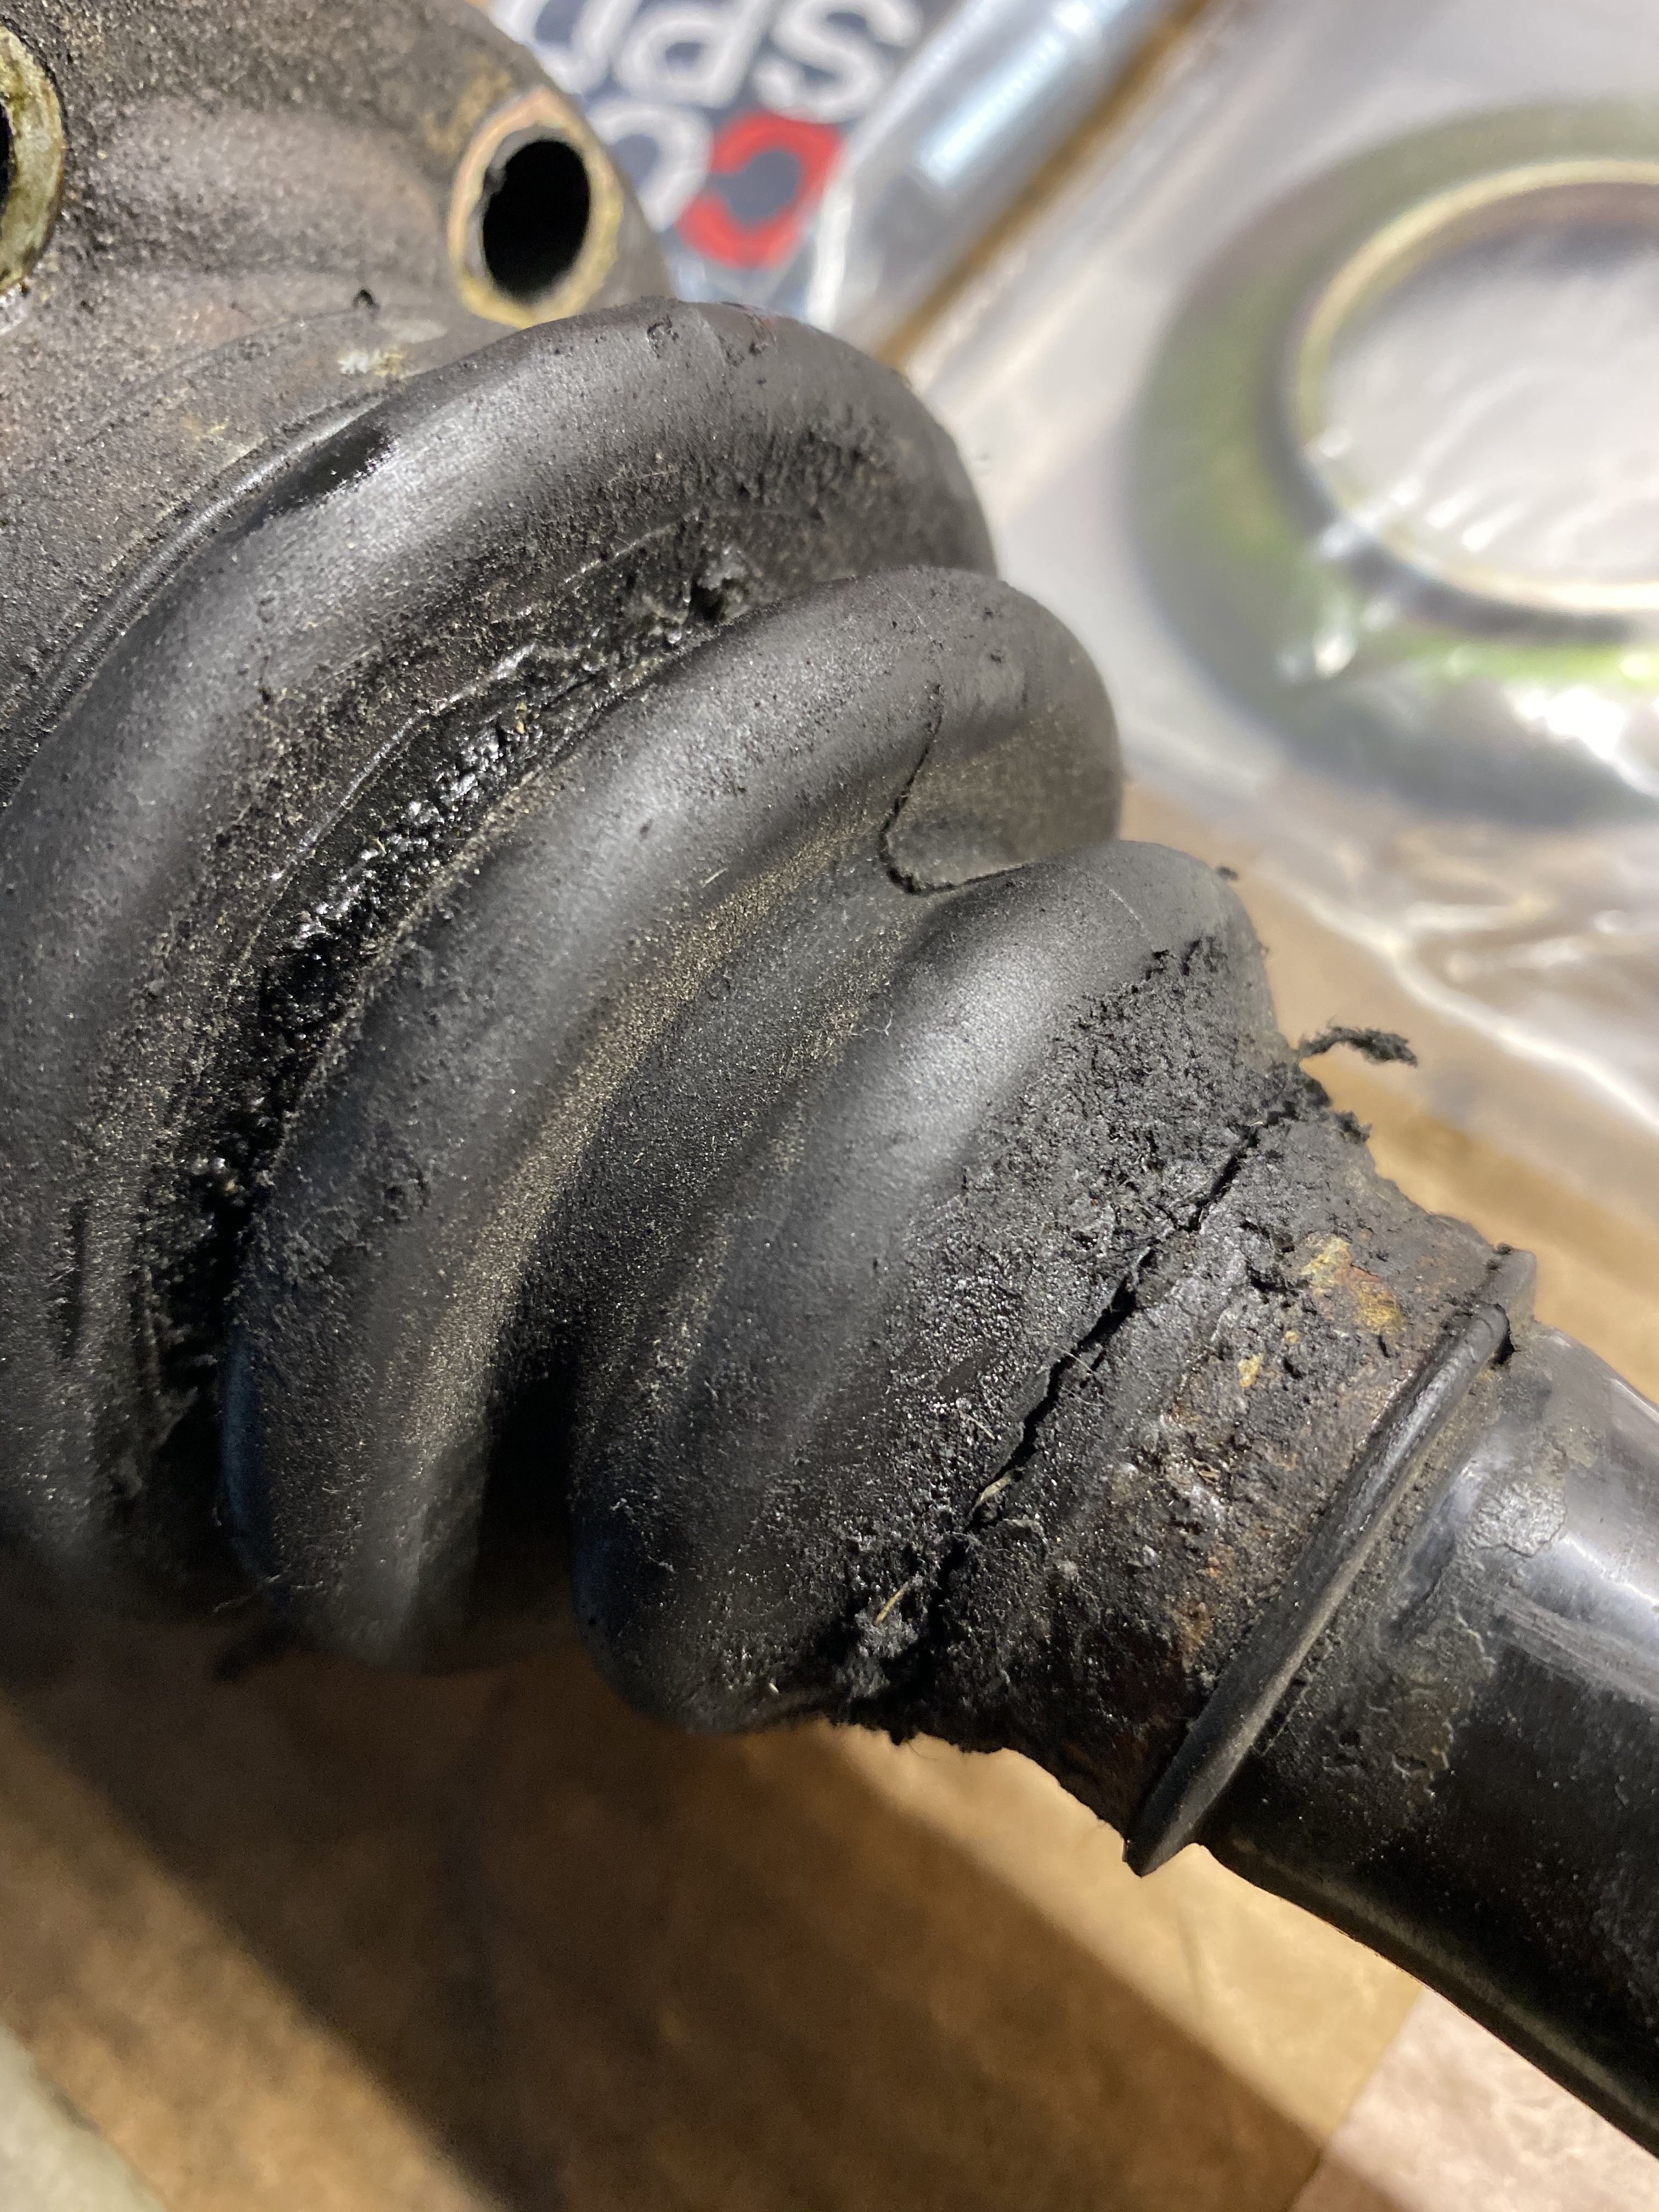
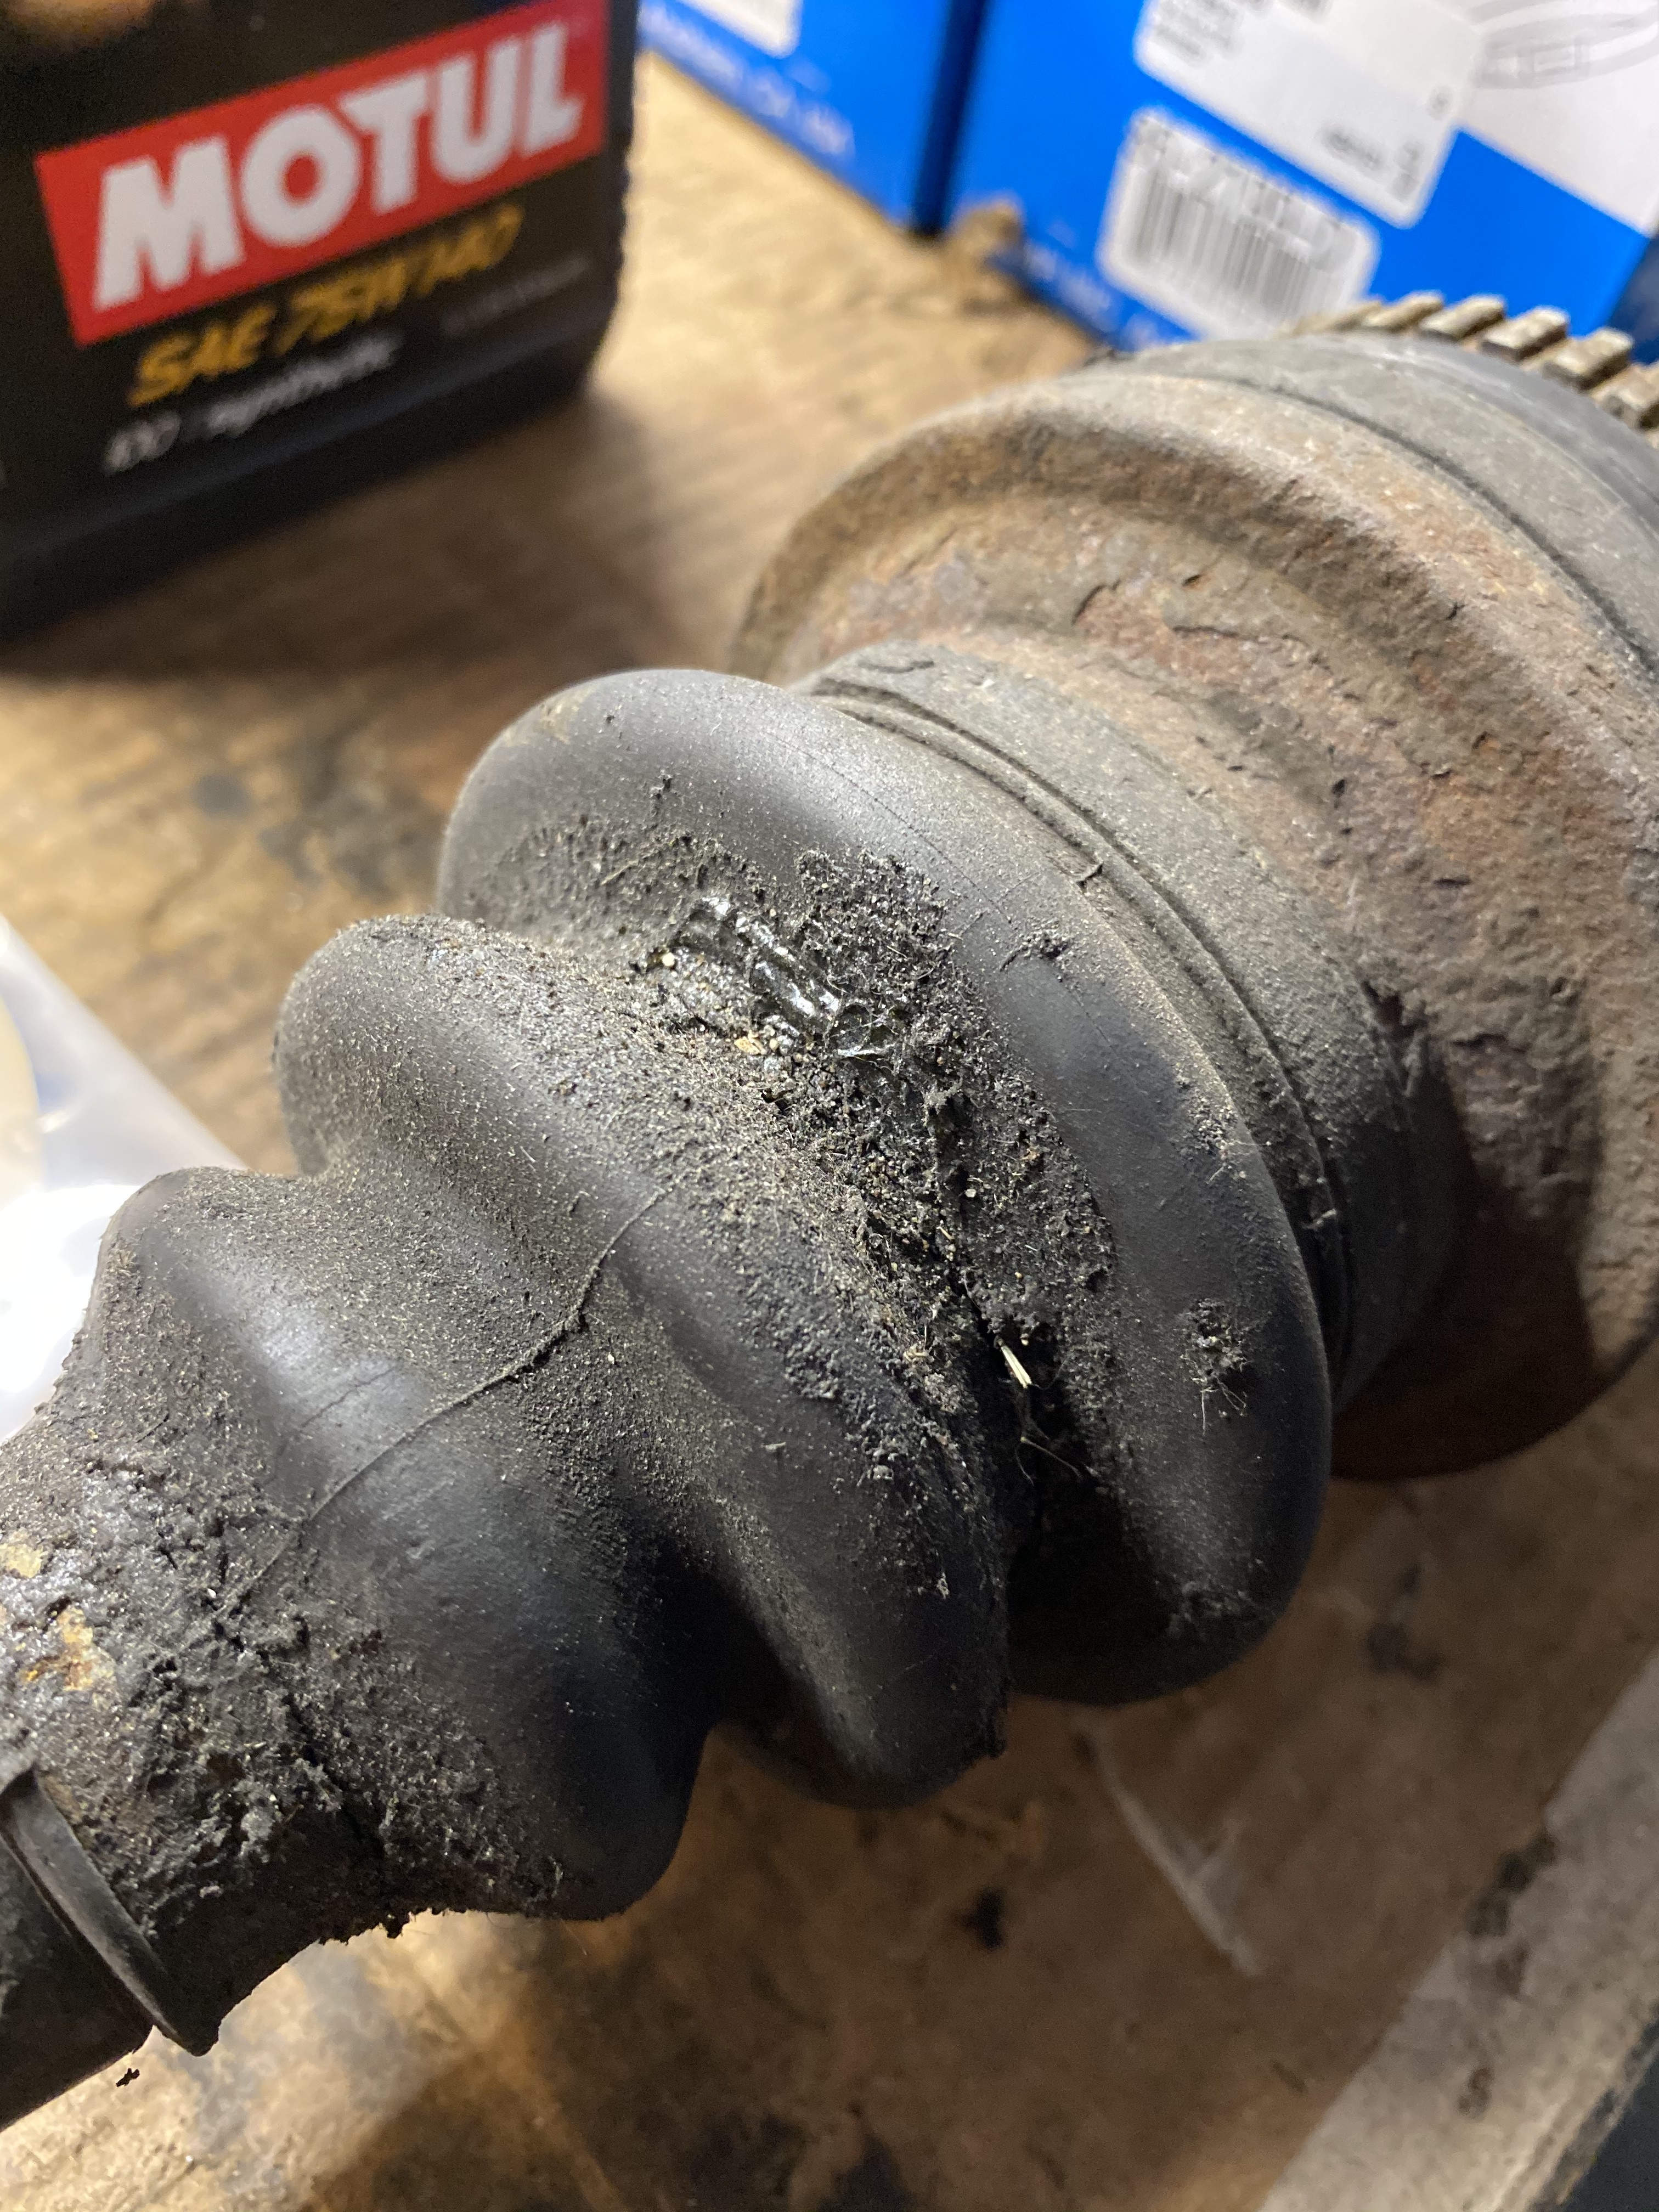
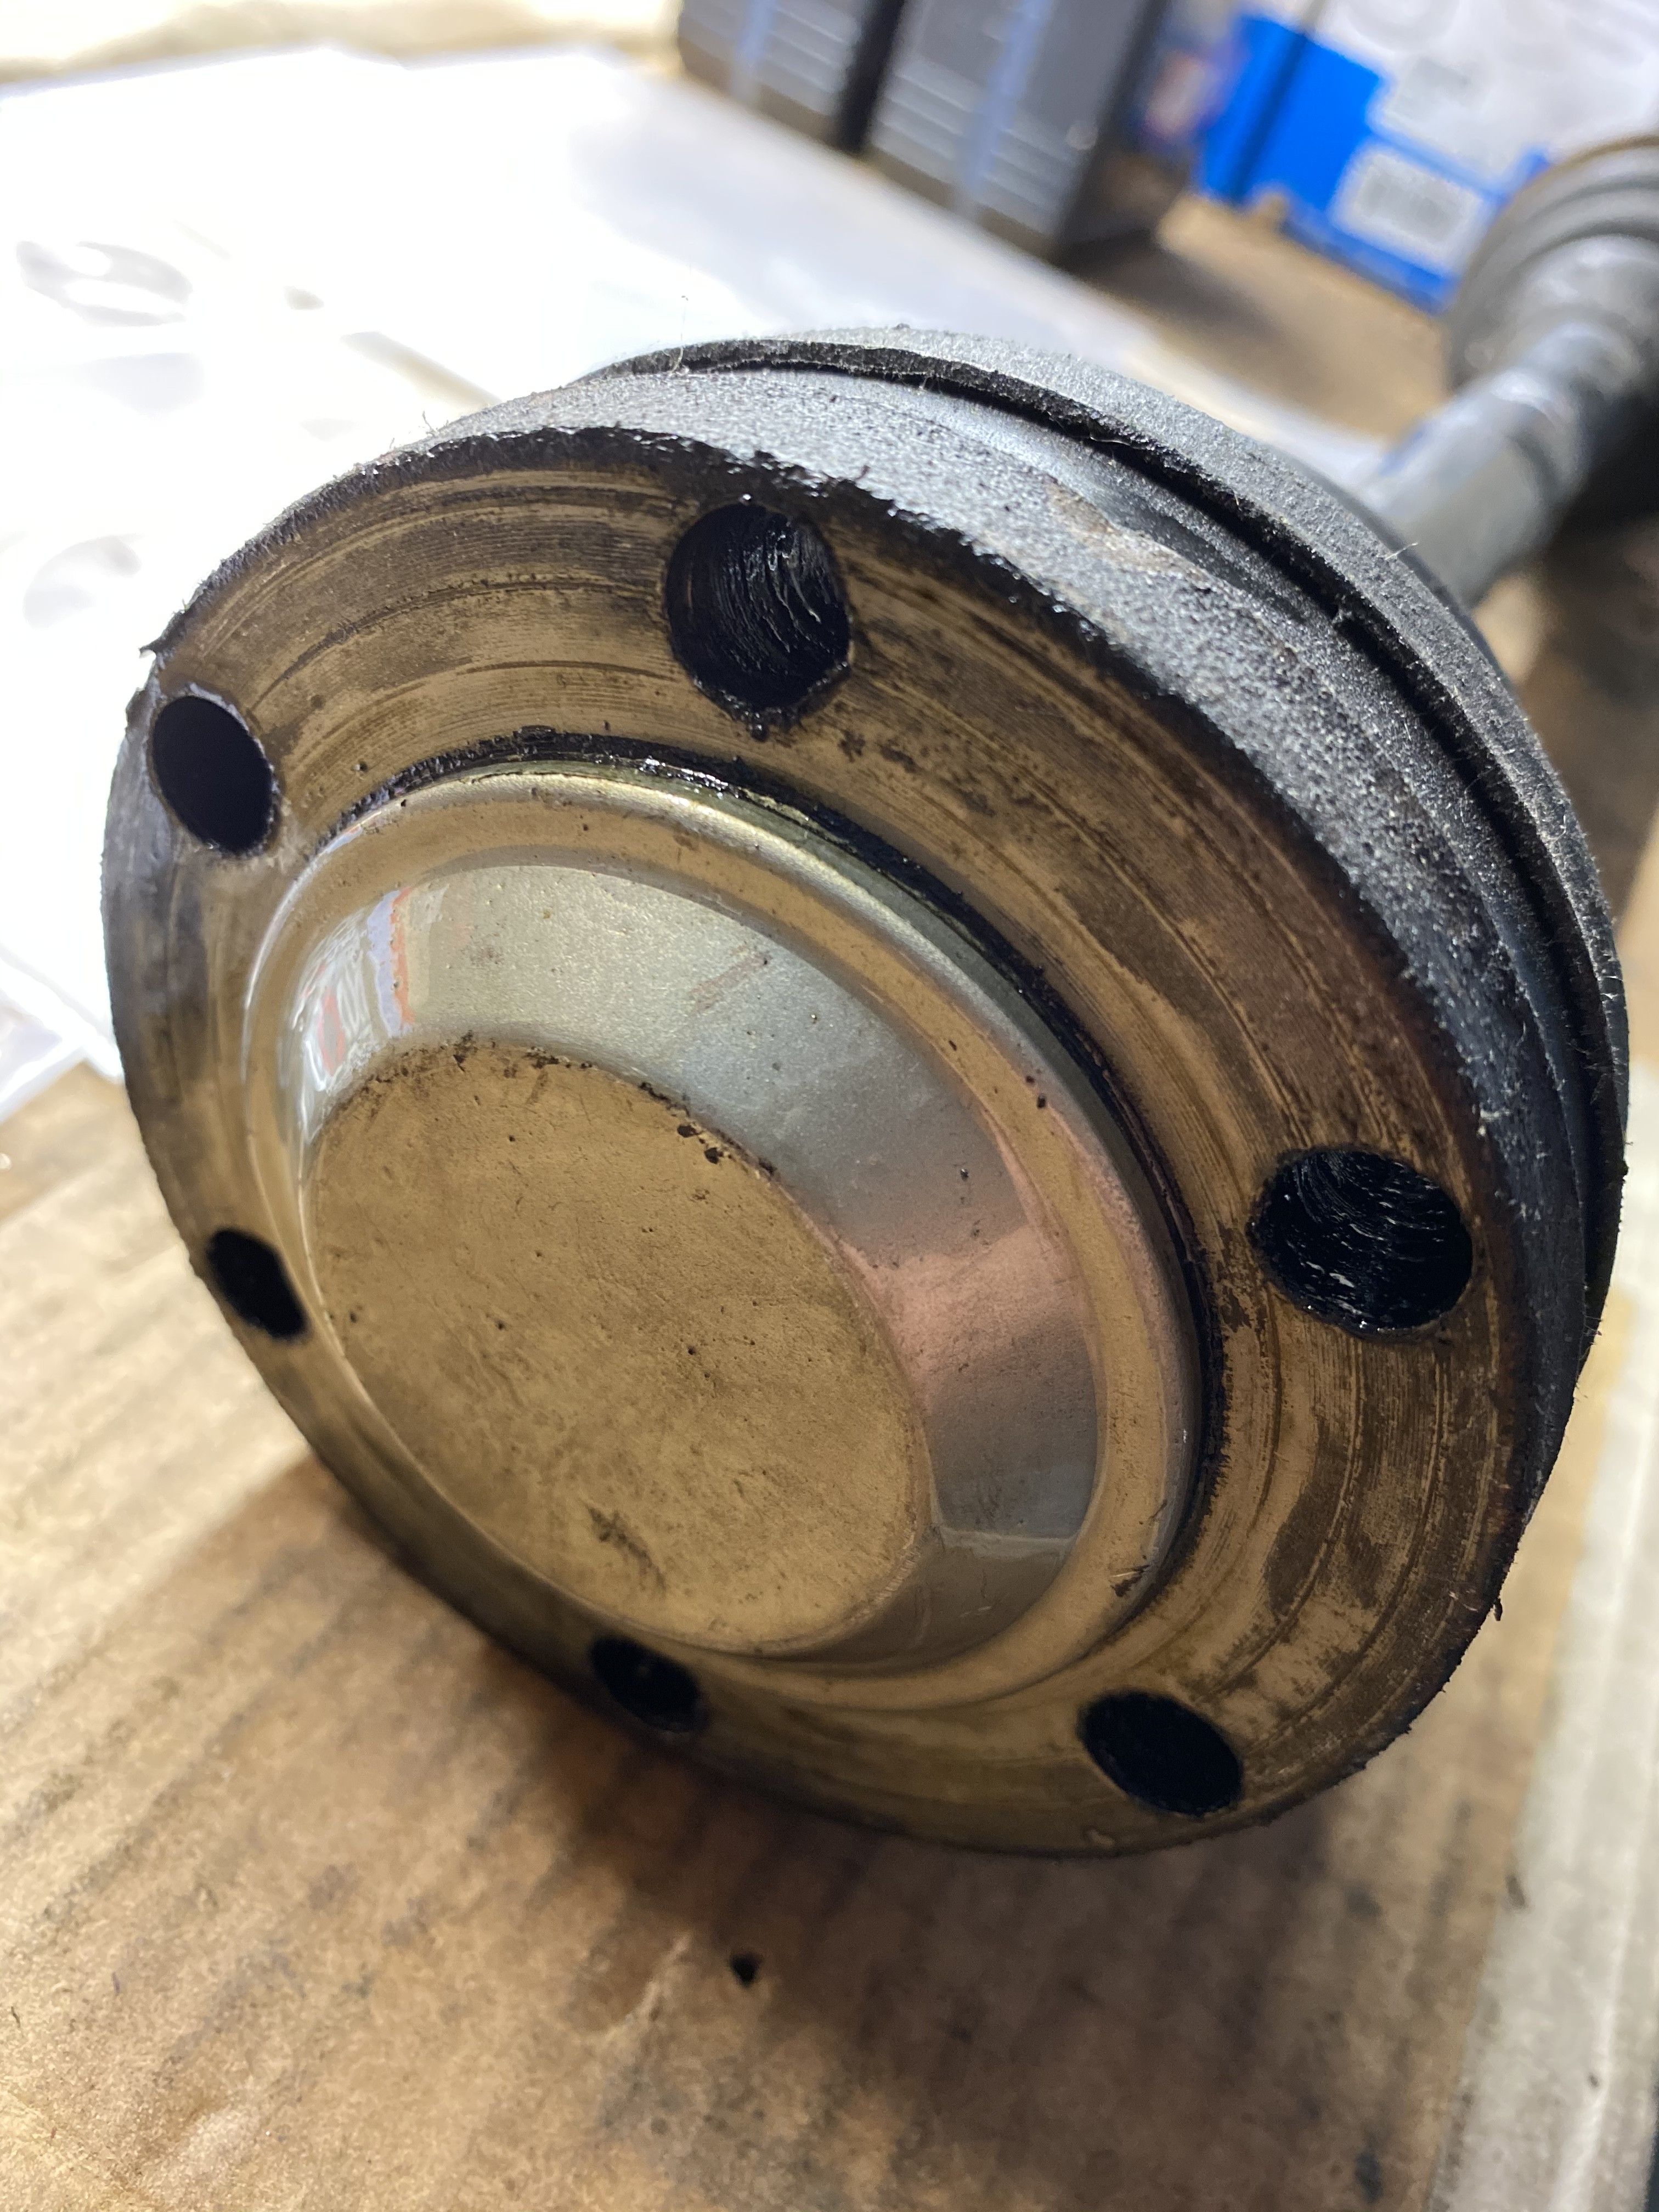
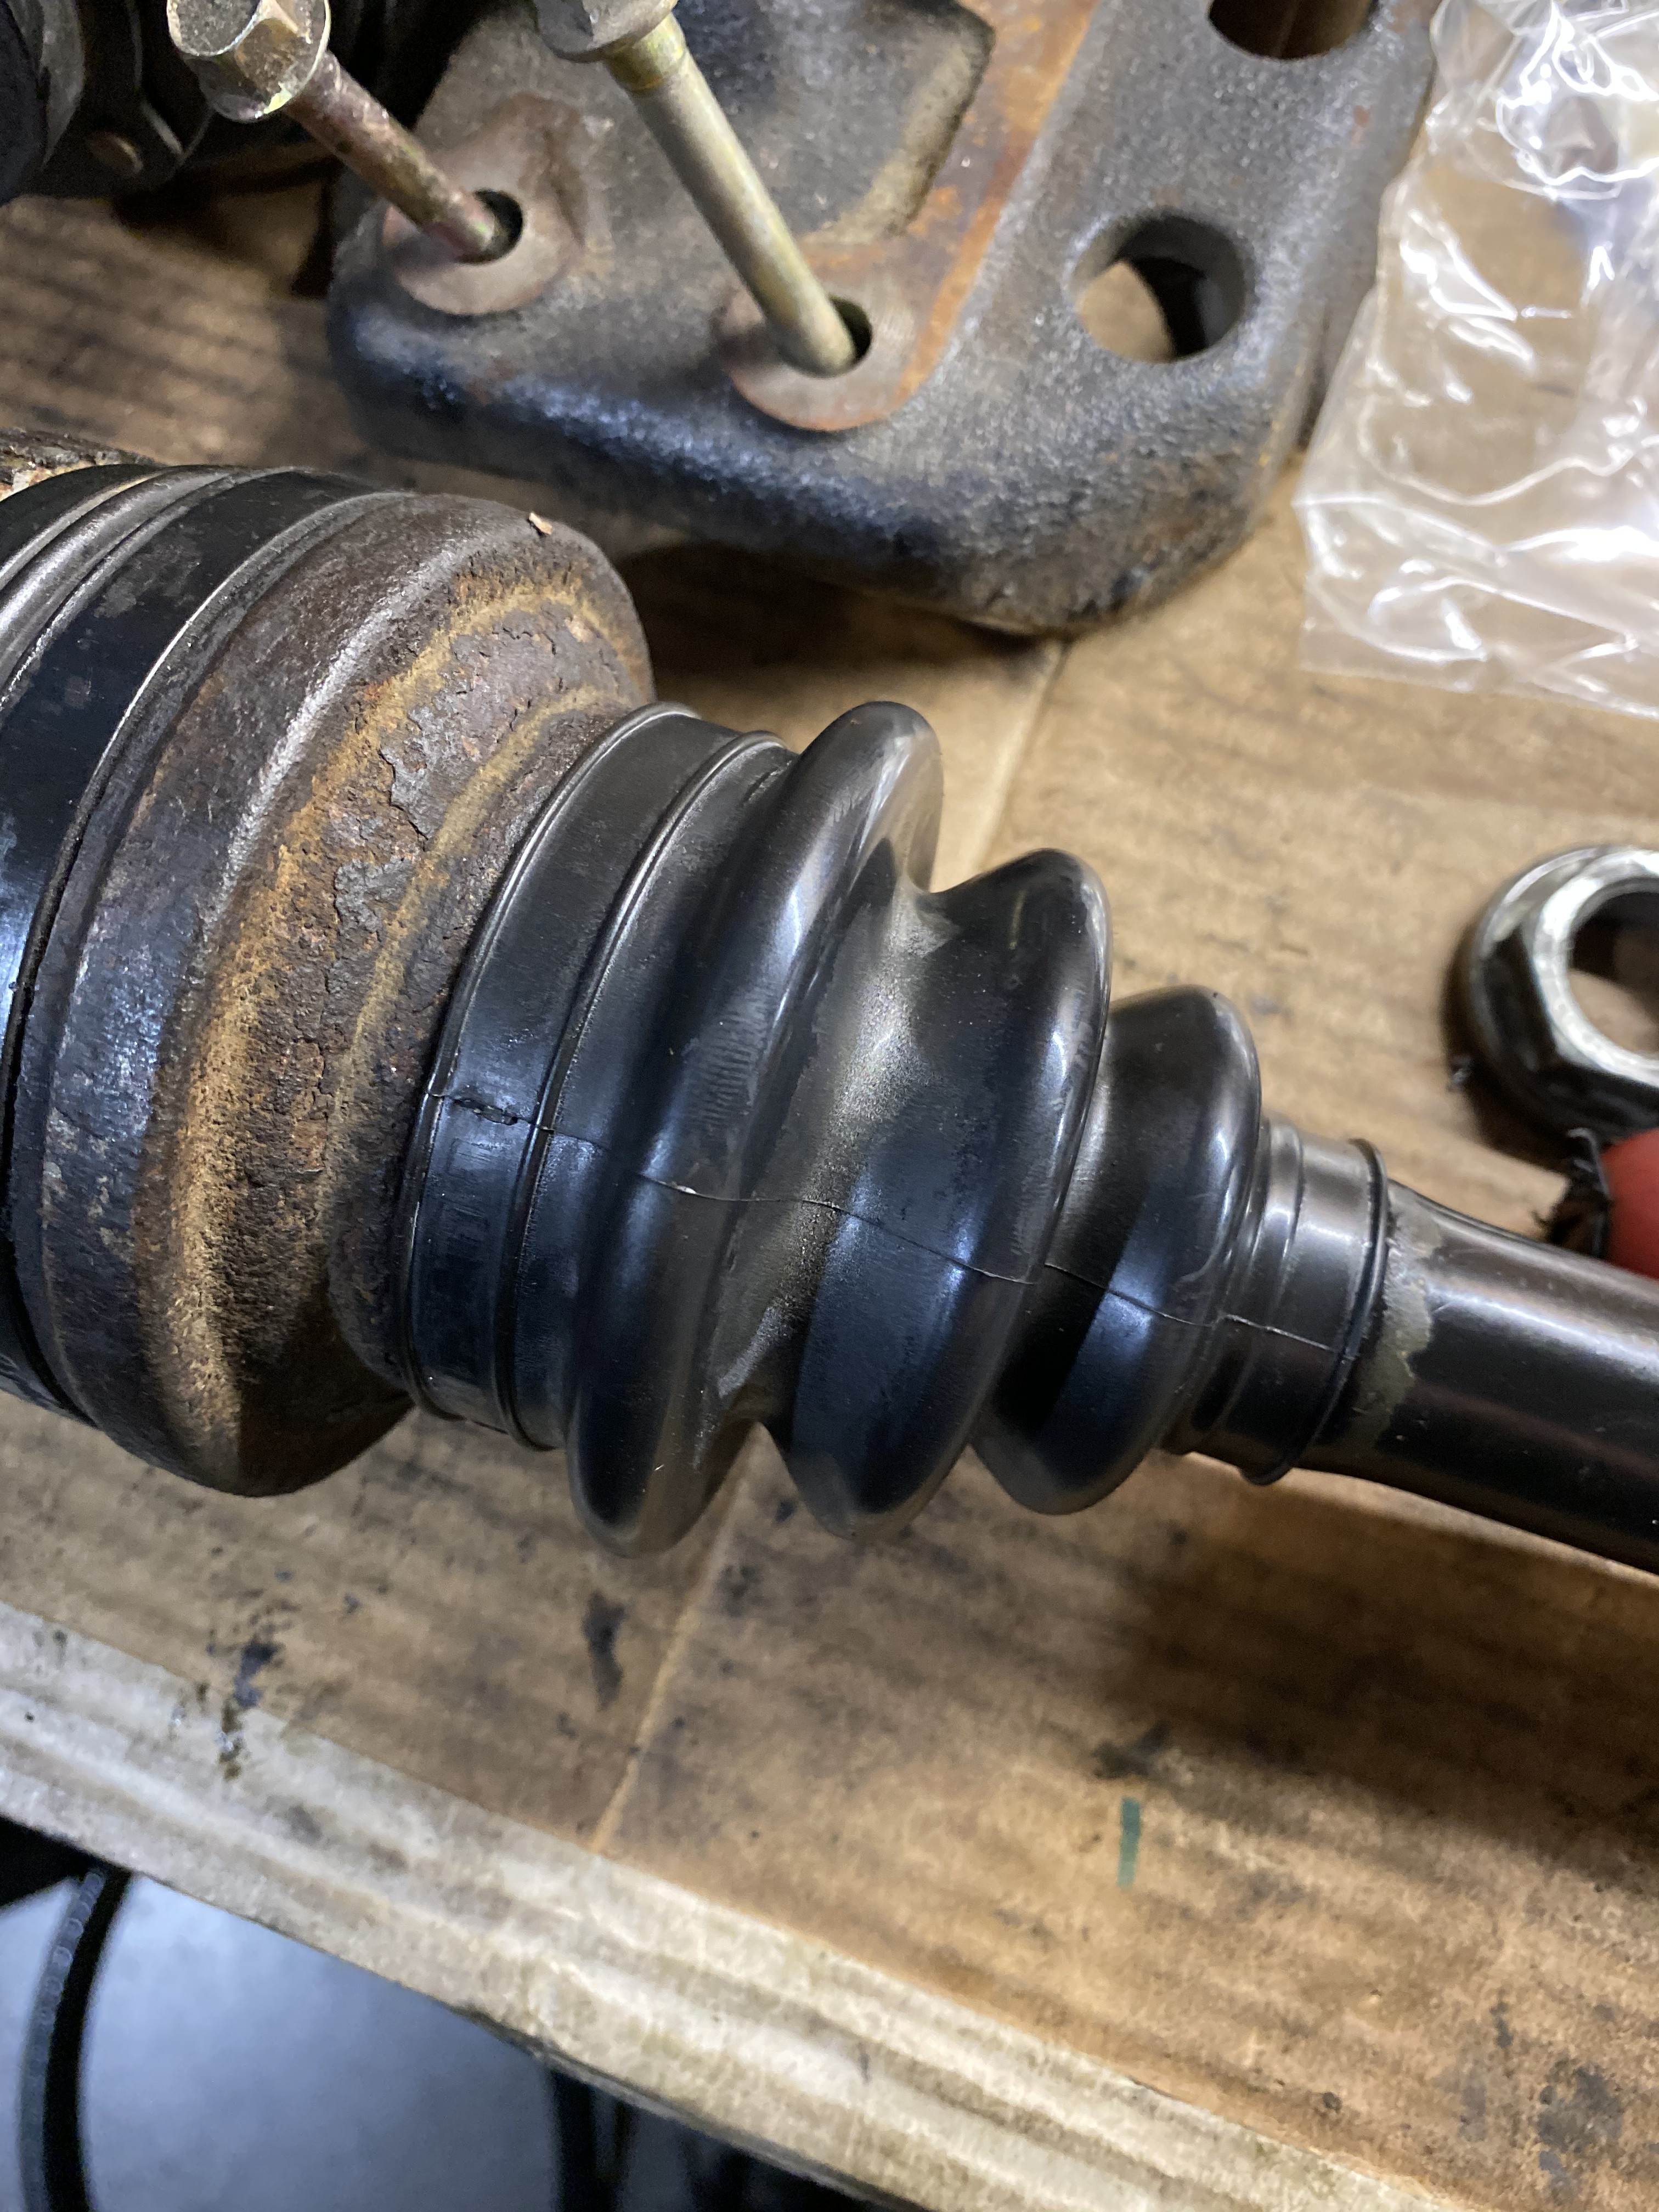
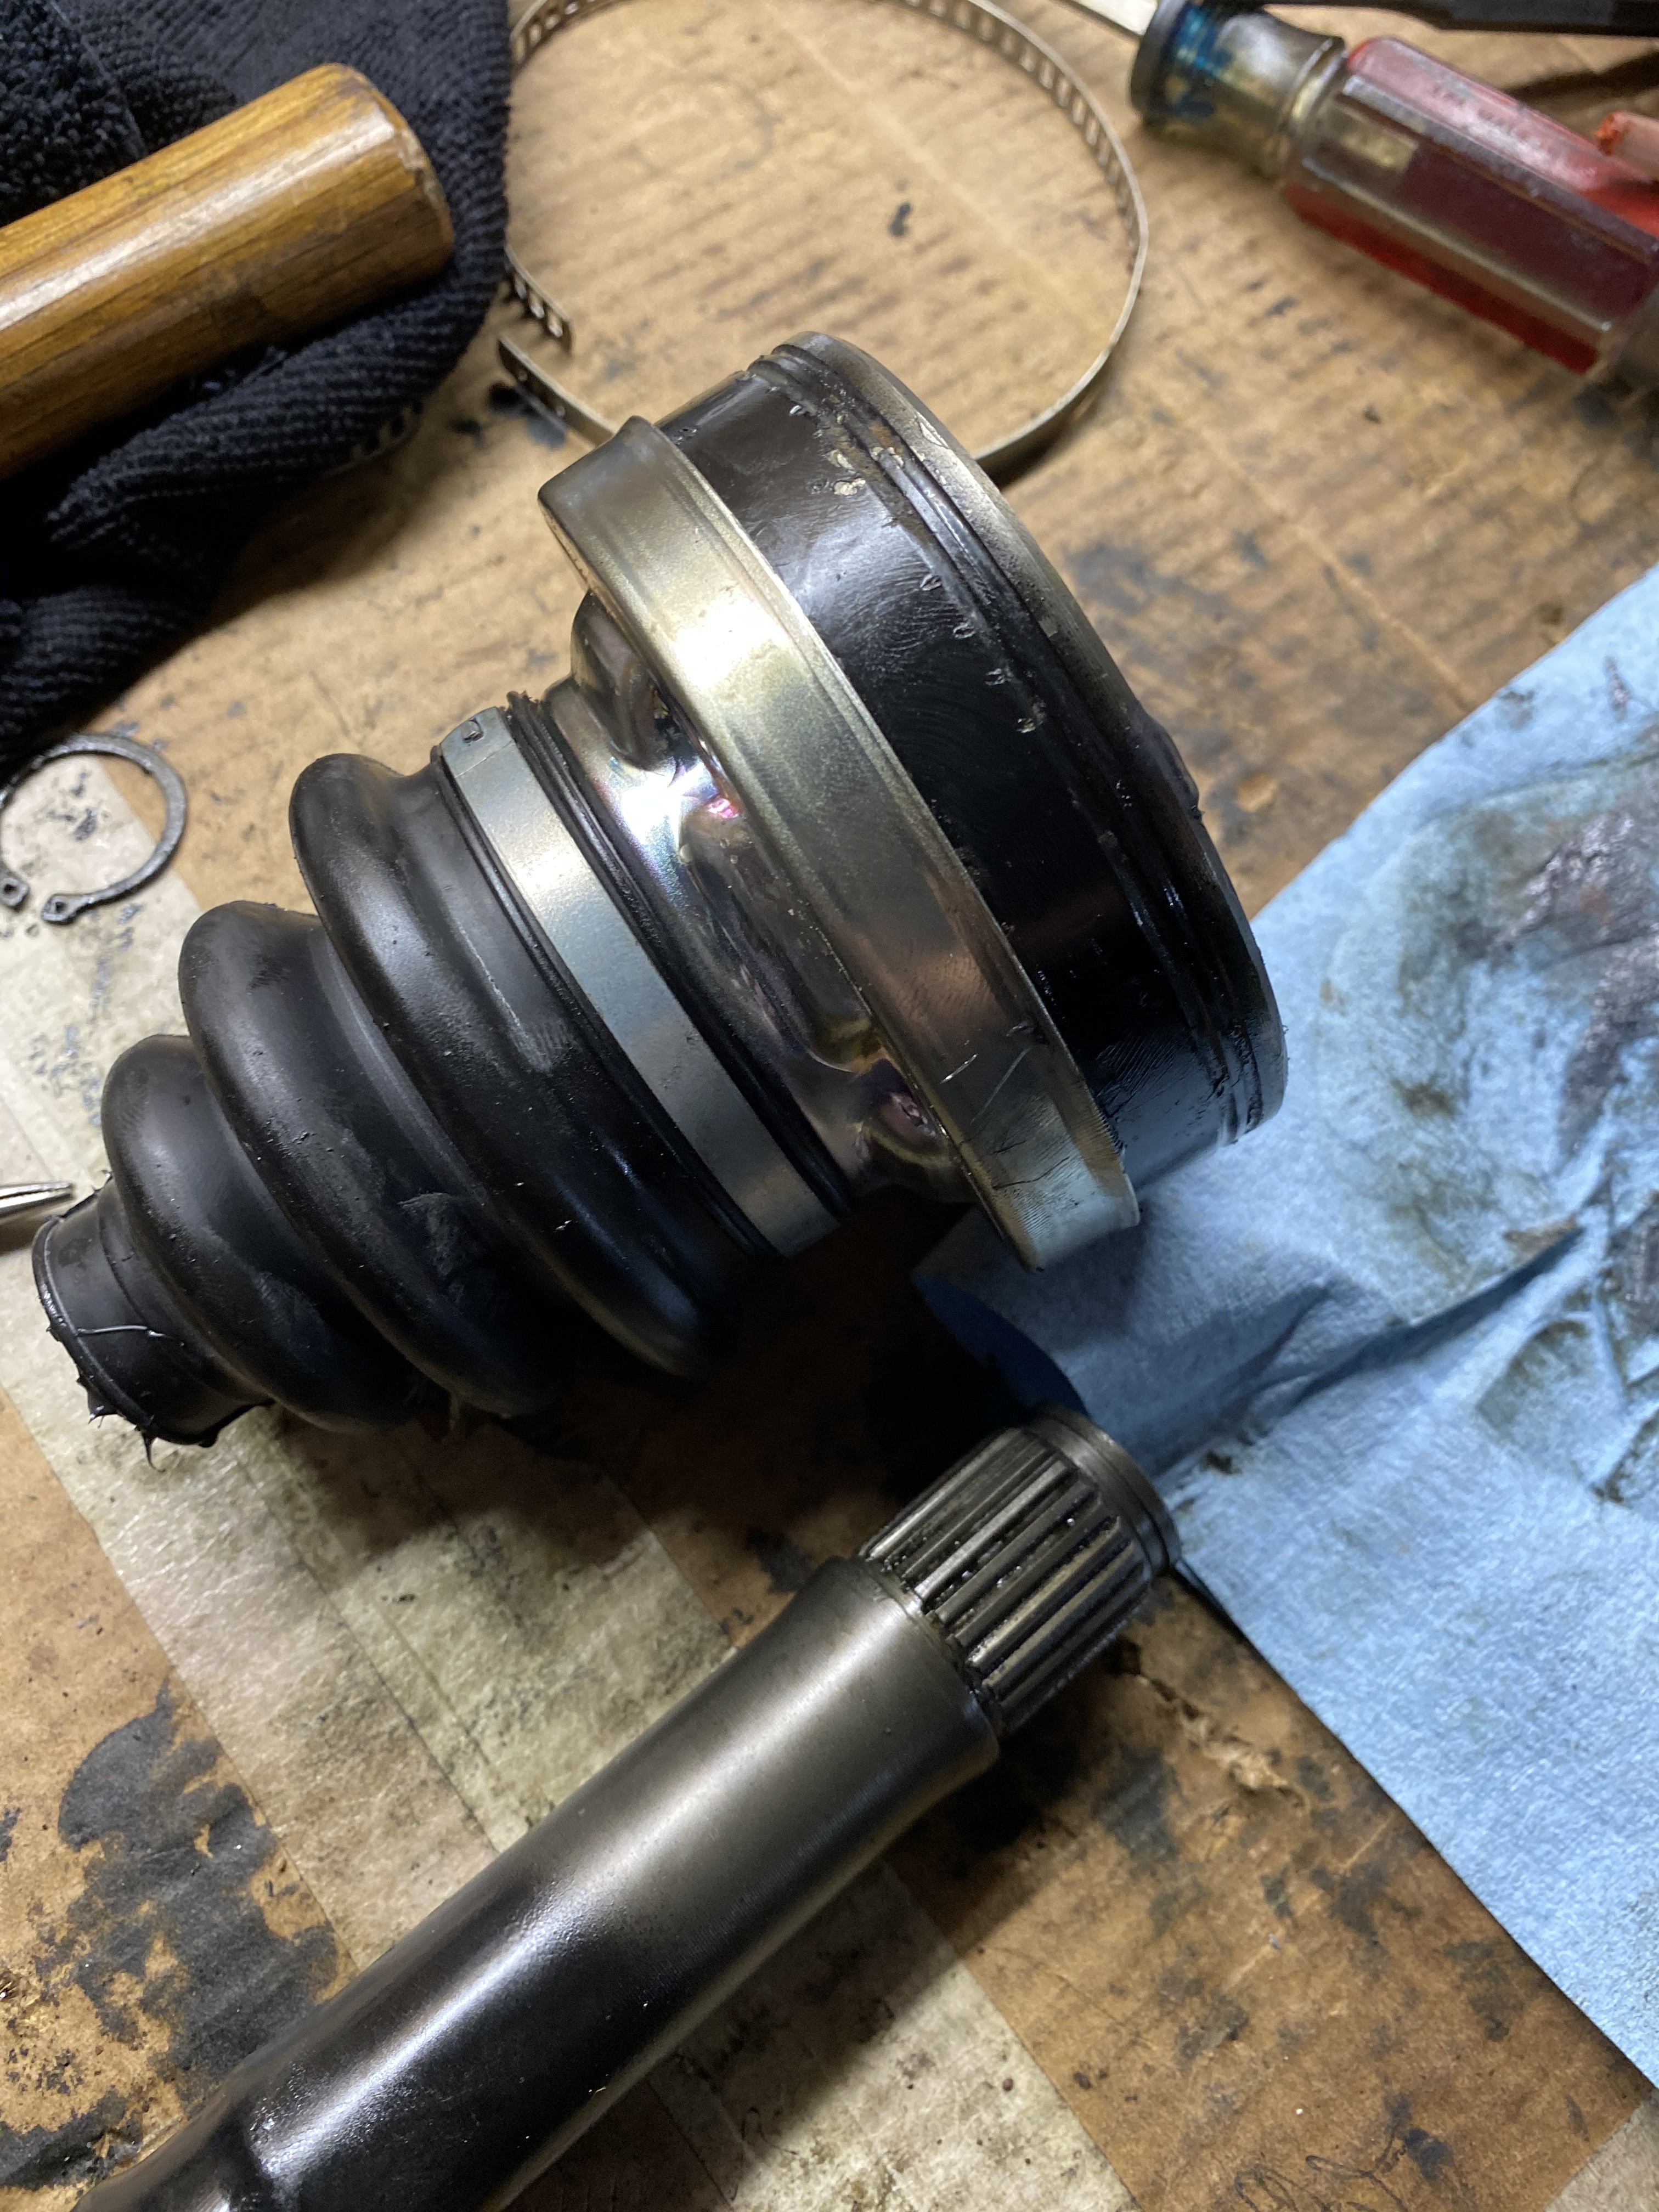
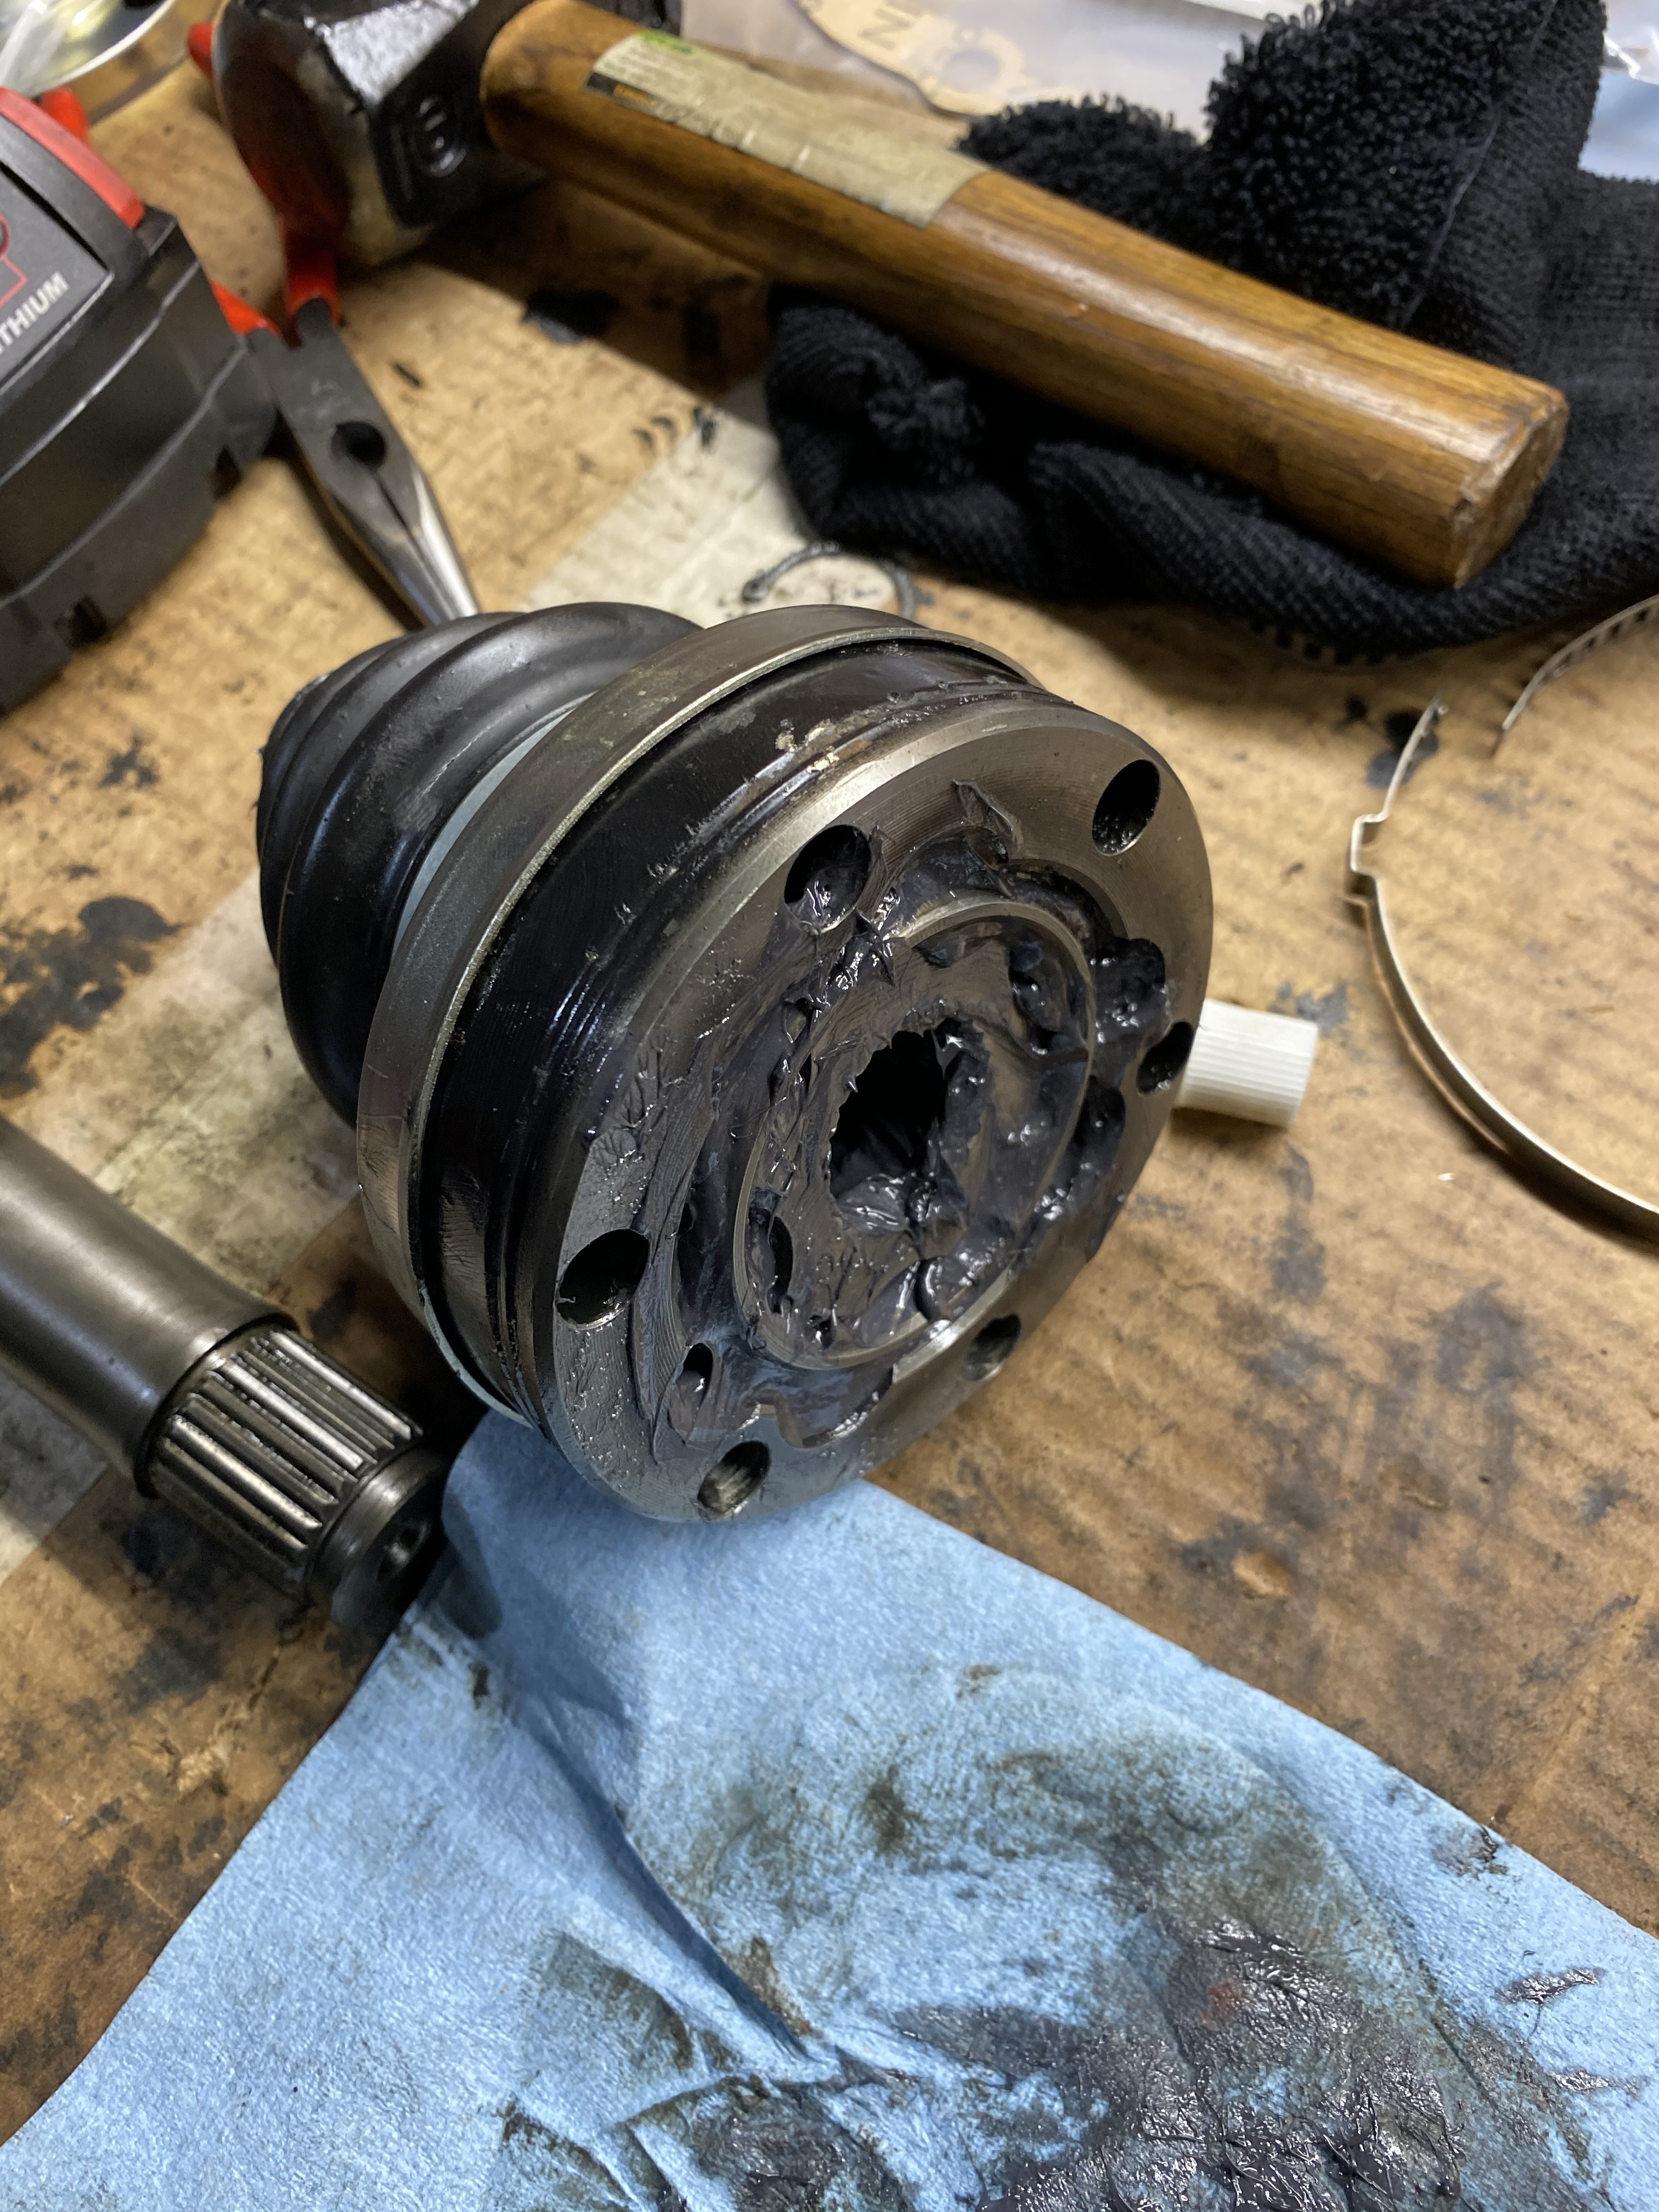
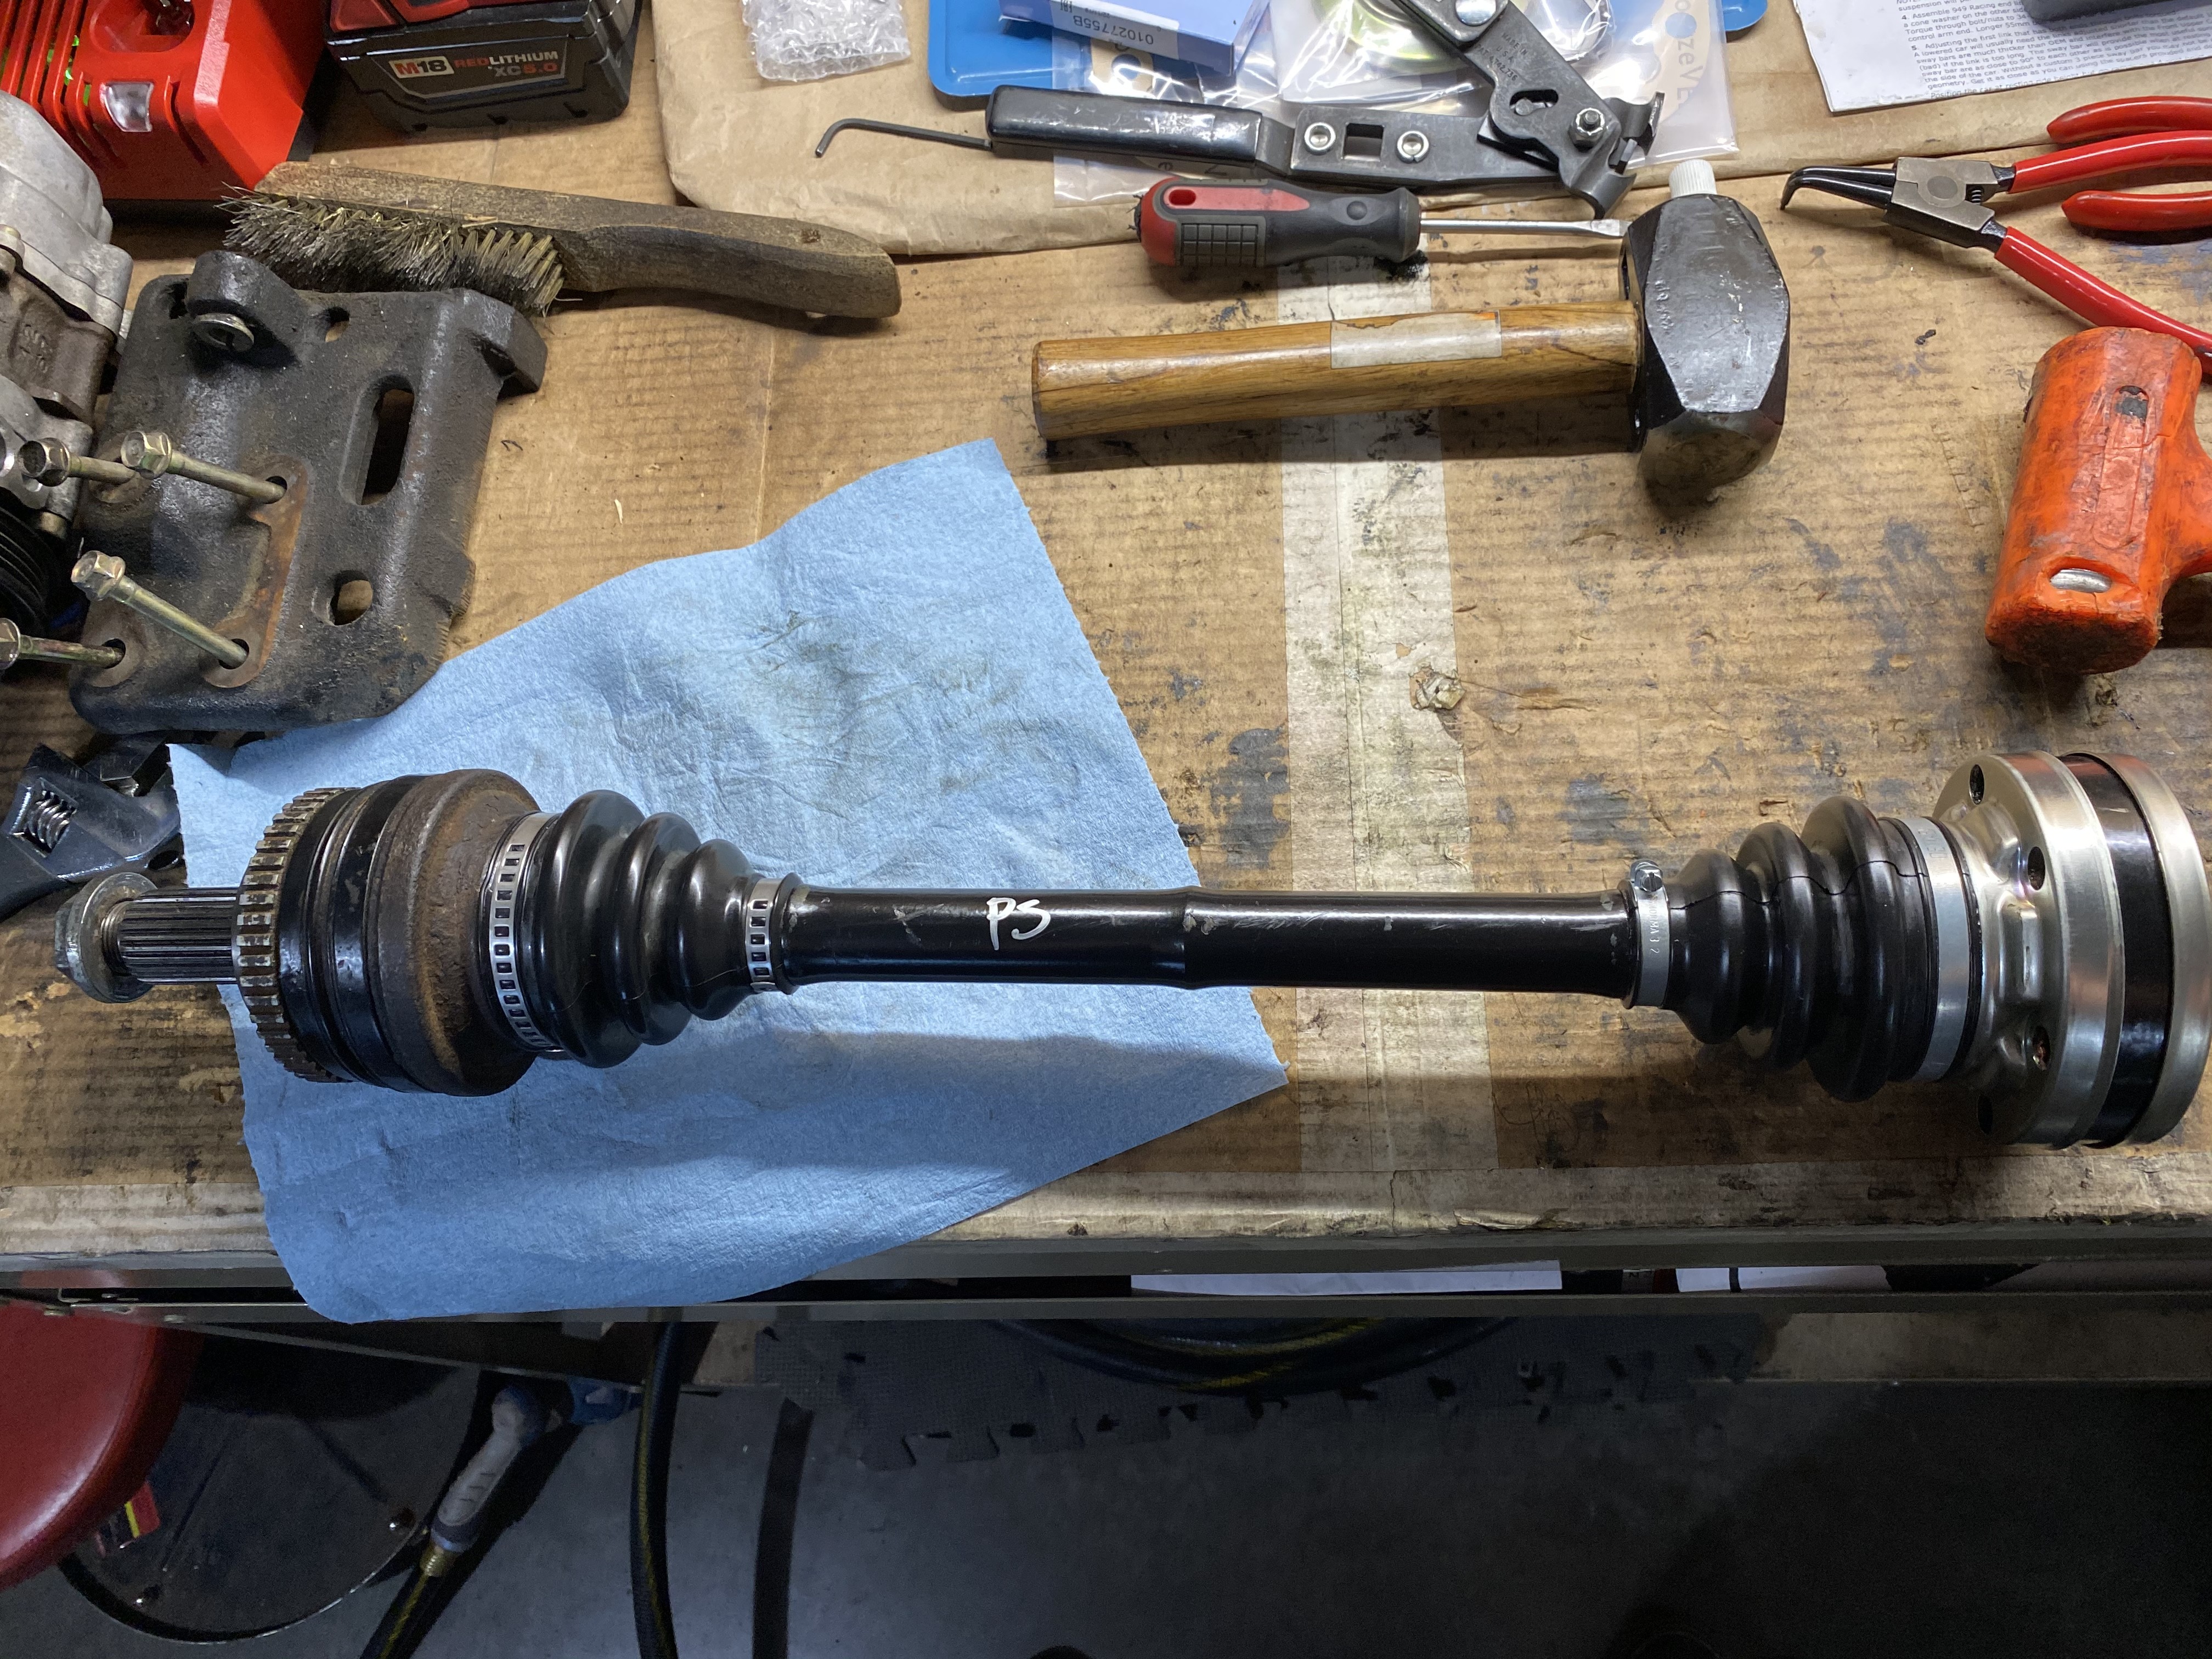
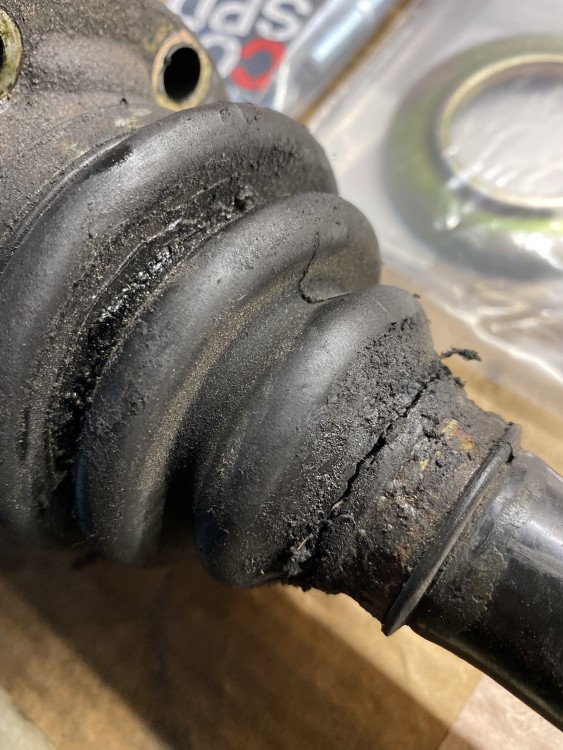
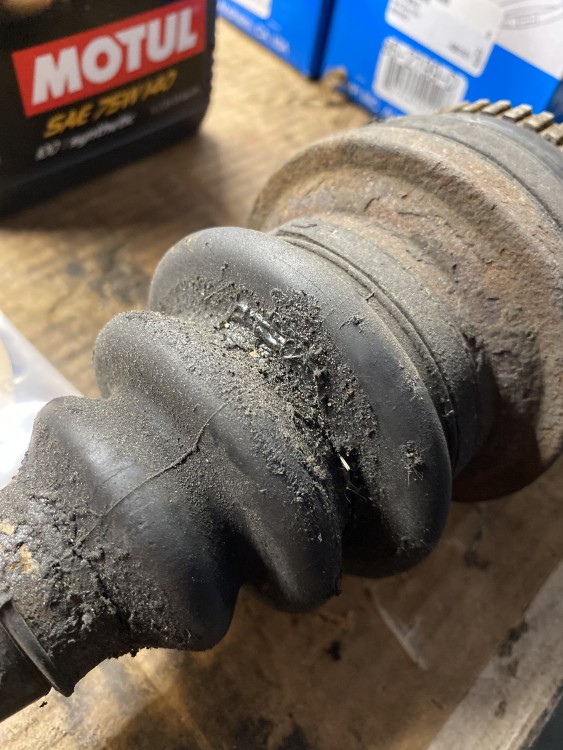
            Started pulling the diff, which turned into pulling the axles because I observed some weathered boots, flung grease and the axle stub bolts were coated in watery axle grease. Luckily I have enough GKN/EMPI repair kits to replace/repack every boot. It’ll be nice to check this off the list, car is getting closer to 99.9% “done”.
            side note: cv grease sucks
            D026D3DB-C6B1-44E4-B5D2-0DADA3FF5440.jpeg

            25AE3AE9-1491-4303-B488-A330973CA823.jpeg

            C38A7D8A-B80B-4082-9557-501441400BCE.jpeg

            CD854DB6-E868-4580-BA59-D993D72D5A6E.jpeg

            CB21C658-8F26-451B-86C3-95E24571A873.jpeg

            C962670D-90BD-48C6-AE6D-45A44BE62239.jpeg

            1 Reply Last reply
            2
            • YoungCRY
              YoungCRY
              YoungCR
              wrote on last edited by
              #308

              license2020061309562389301.jpg

              Chris Young
              BMWCCA #458972
              1986 528e/5  | 1994 530i/5 | 1995 540i/6 | 2013 X5 35d | 1998 C1500 Suburban | 1995 K2500 Suburban

              1 Reply Last reply
              2
              • KaiserRollsK
                KaiserRollsK
                KaiserRolls
                wrote on last edited by
                #309

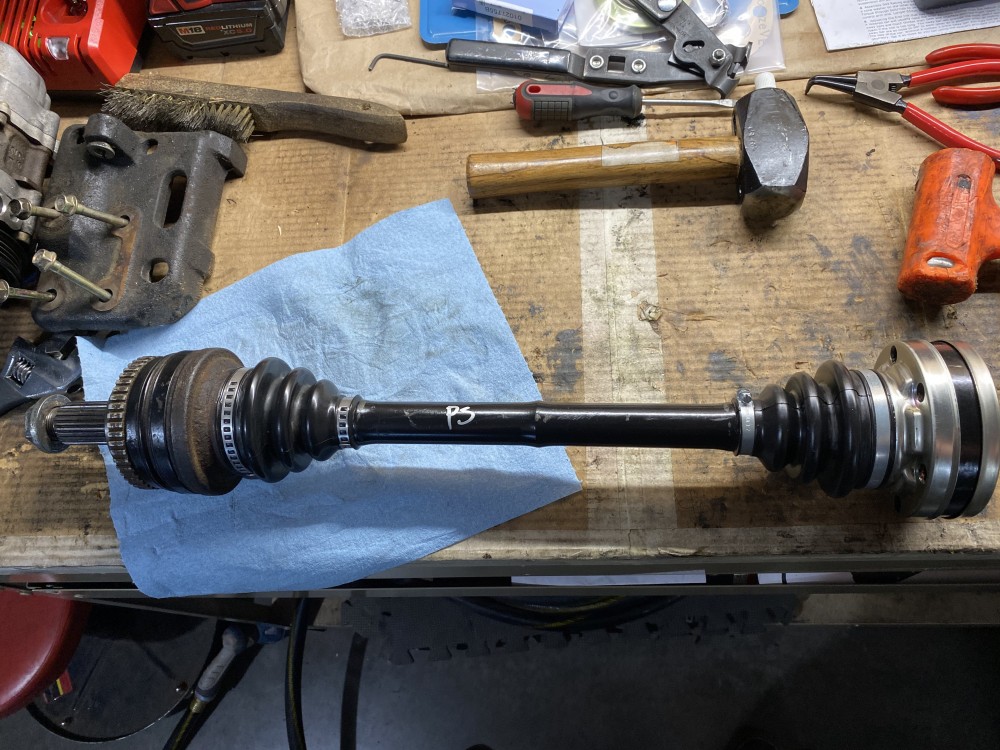
                Both are rebuilt and ready to go in once the diff is finished. The drivers side was near death in terms of lack of grease/grease condition, so the timing of this couldn’t have been better. B72A8F06-D12C-4975-9825-5A9F0637193B.jpeg
                1 Reply Last reply
                3
                • GunMetalGreyG
                  GunMetalGreyG
                  GunMetalGrey
                  wrote on last edited by
                  #310

                  KaiserRolls said:

                  Both are rebuilt and ready to go in once the diff is finished. The drivers side was near death in terms of lack of grease/grease condition, so the timing of this couldn’t have been better. 

                  Should've waited till you were on the way back from the picnic to address this

                  ...

                  1 Reply Last reply
                  1
                  • KaiserRollsK
                    KaiserRollsK
                    KaiserRolls
                    wrote on last edited by
                    #311

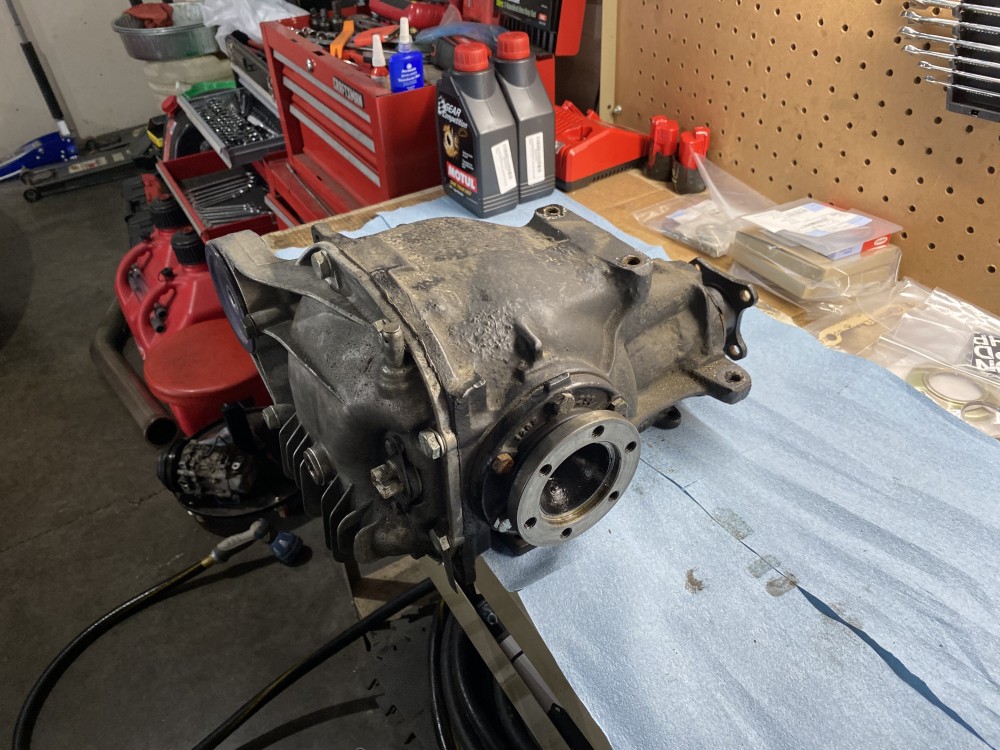
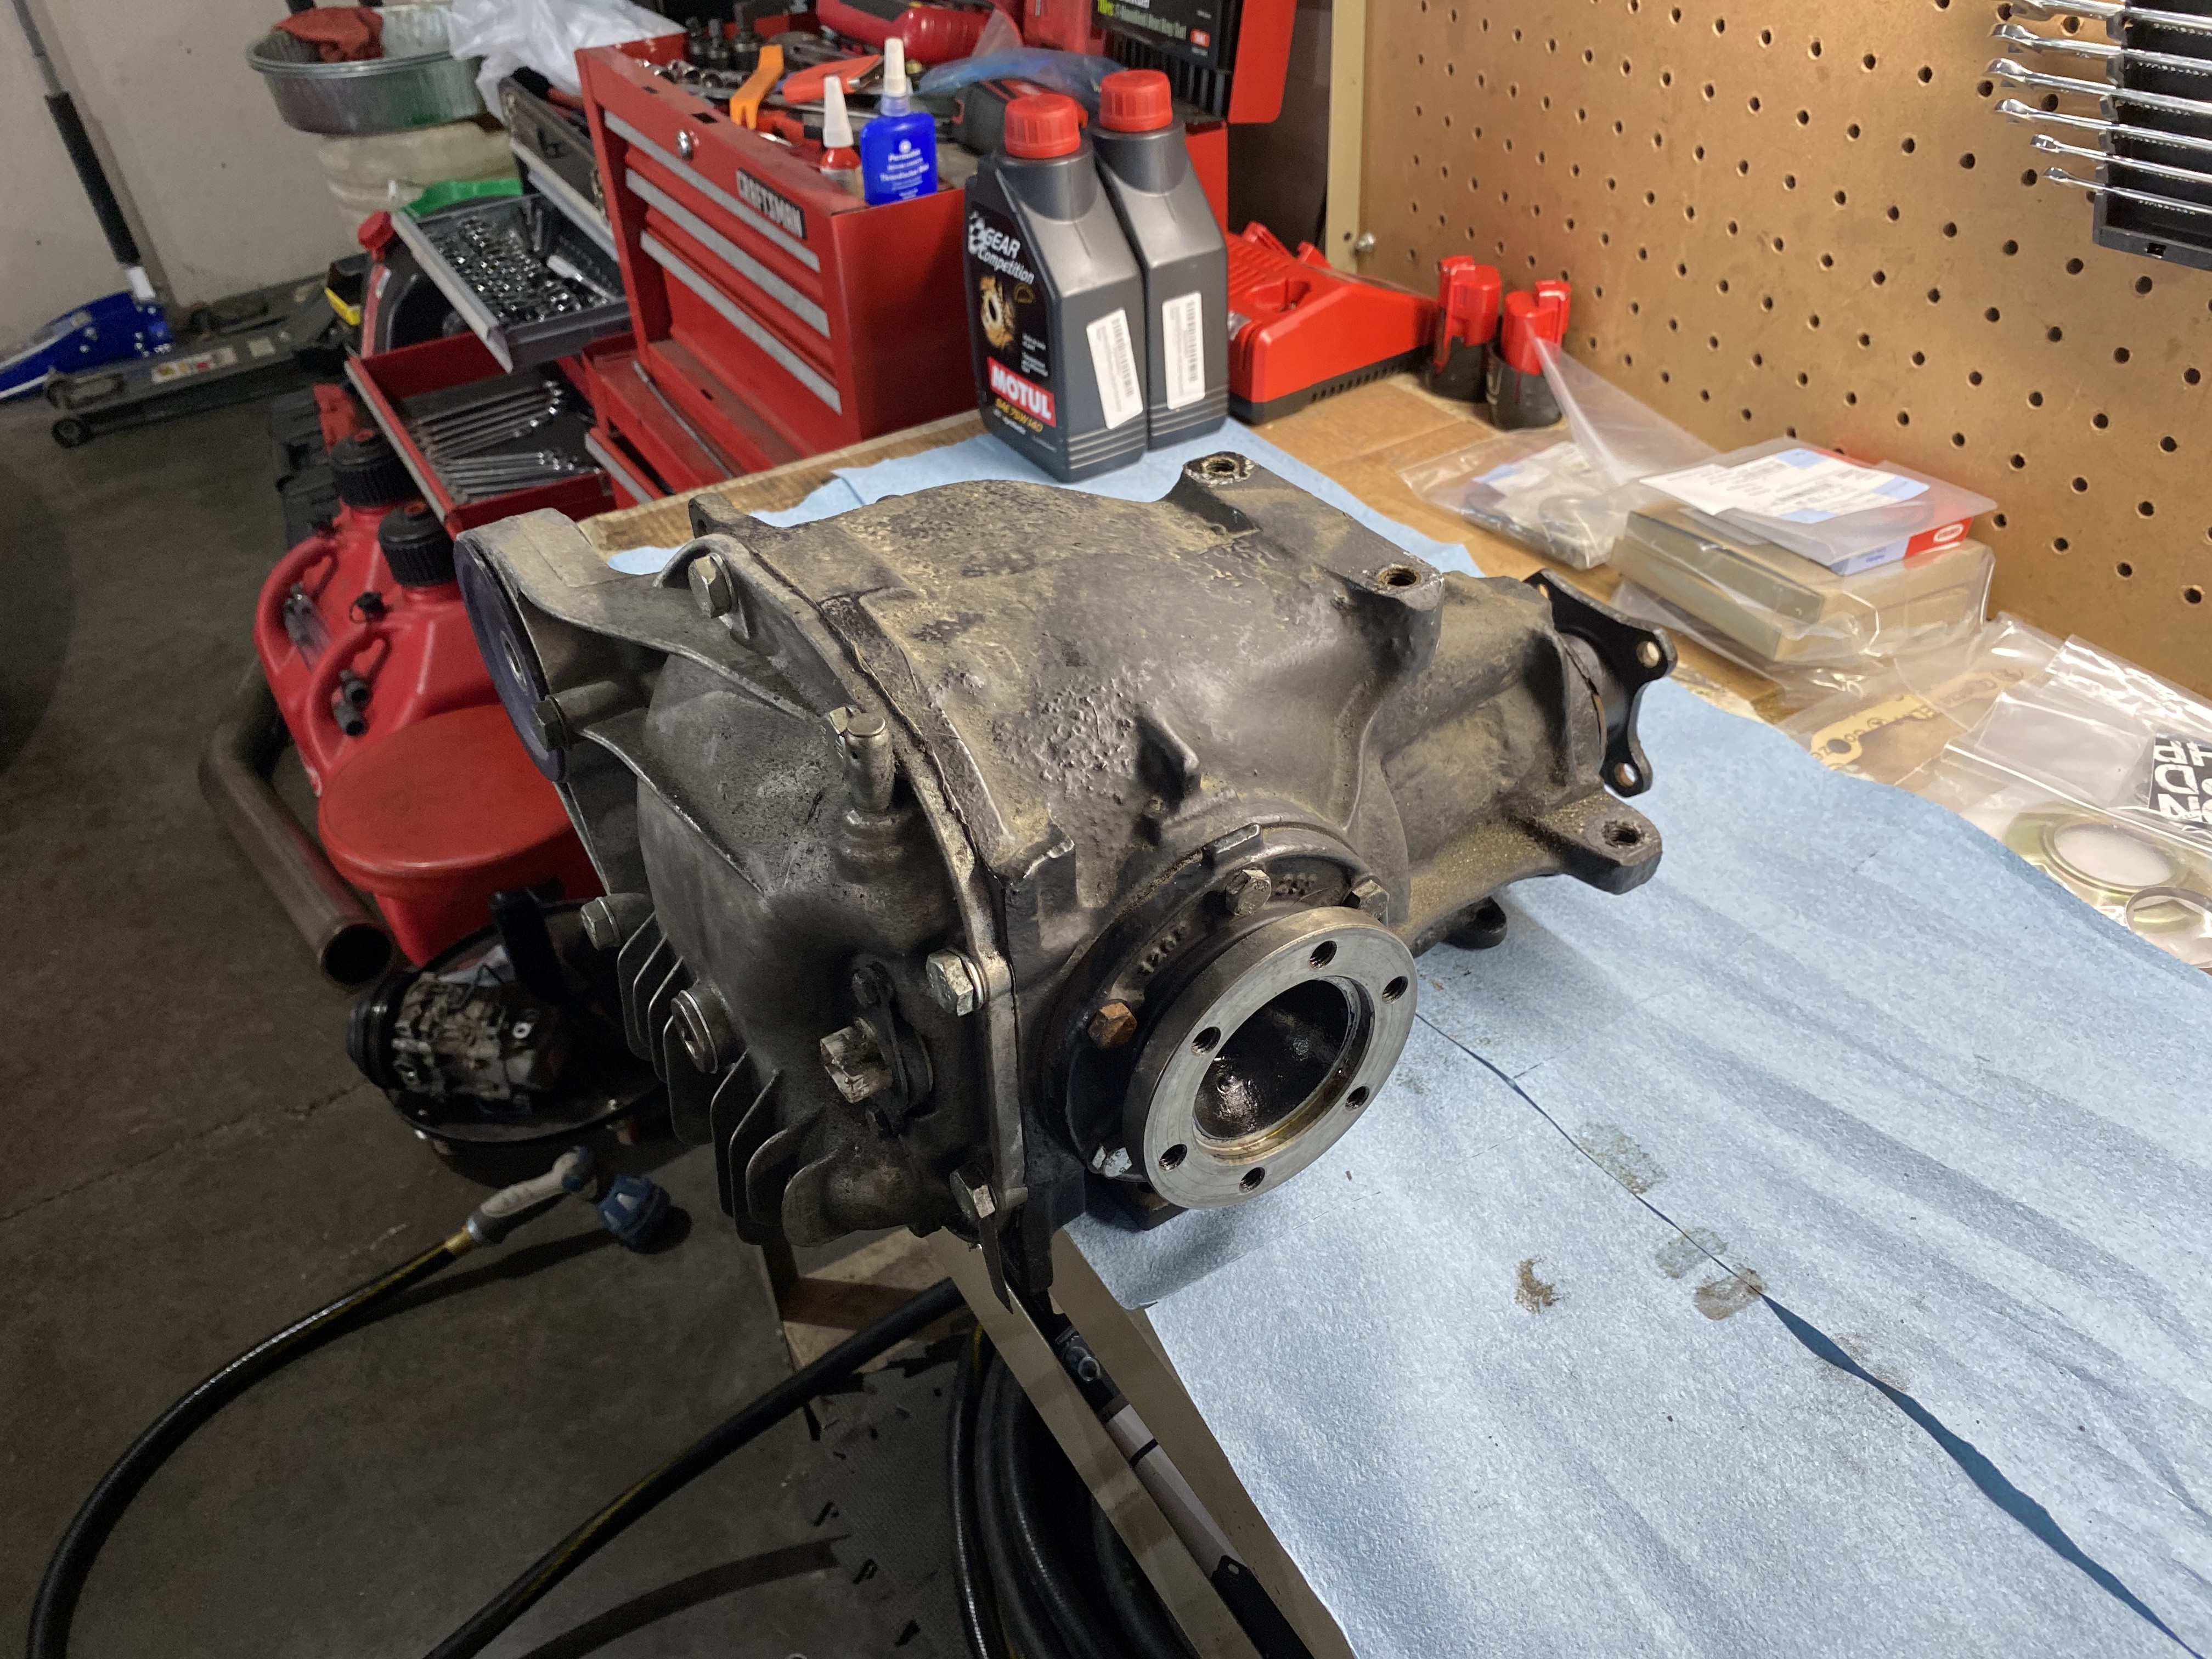
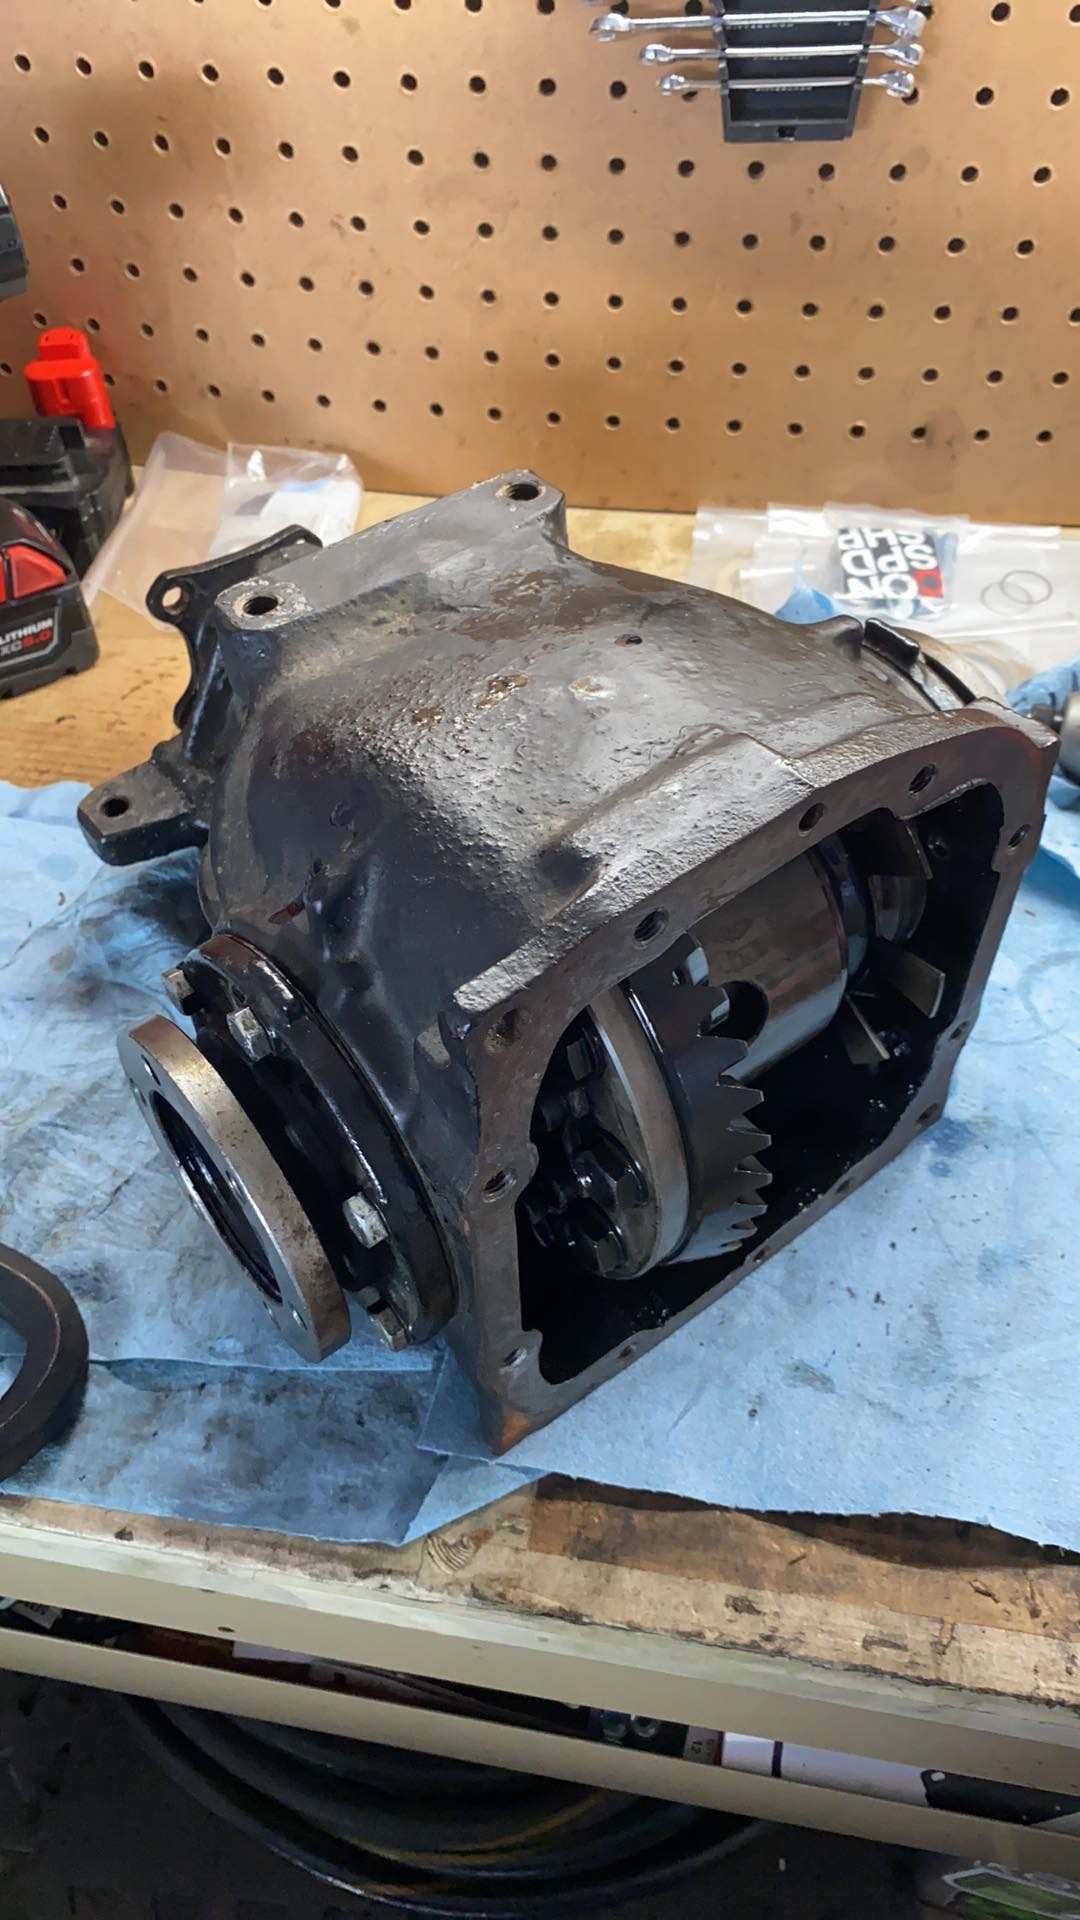
                    Got around to pulling the diff out. 
                    8FE5B0B0-43D6-469A-B0EF-6C1AD458CEAF.jpeg

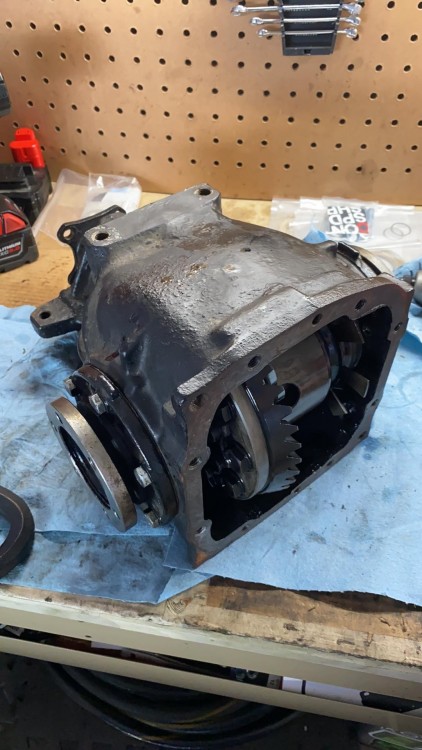
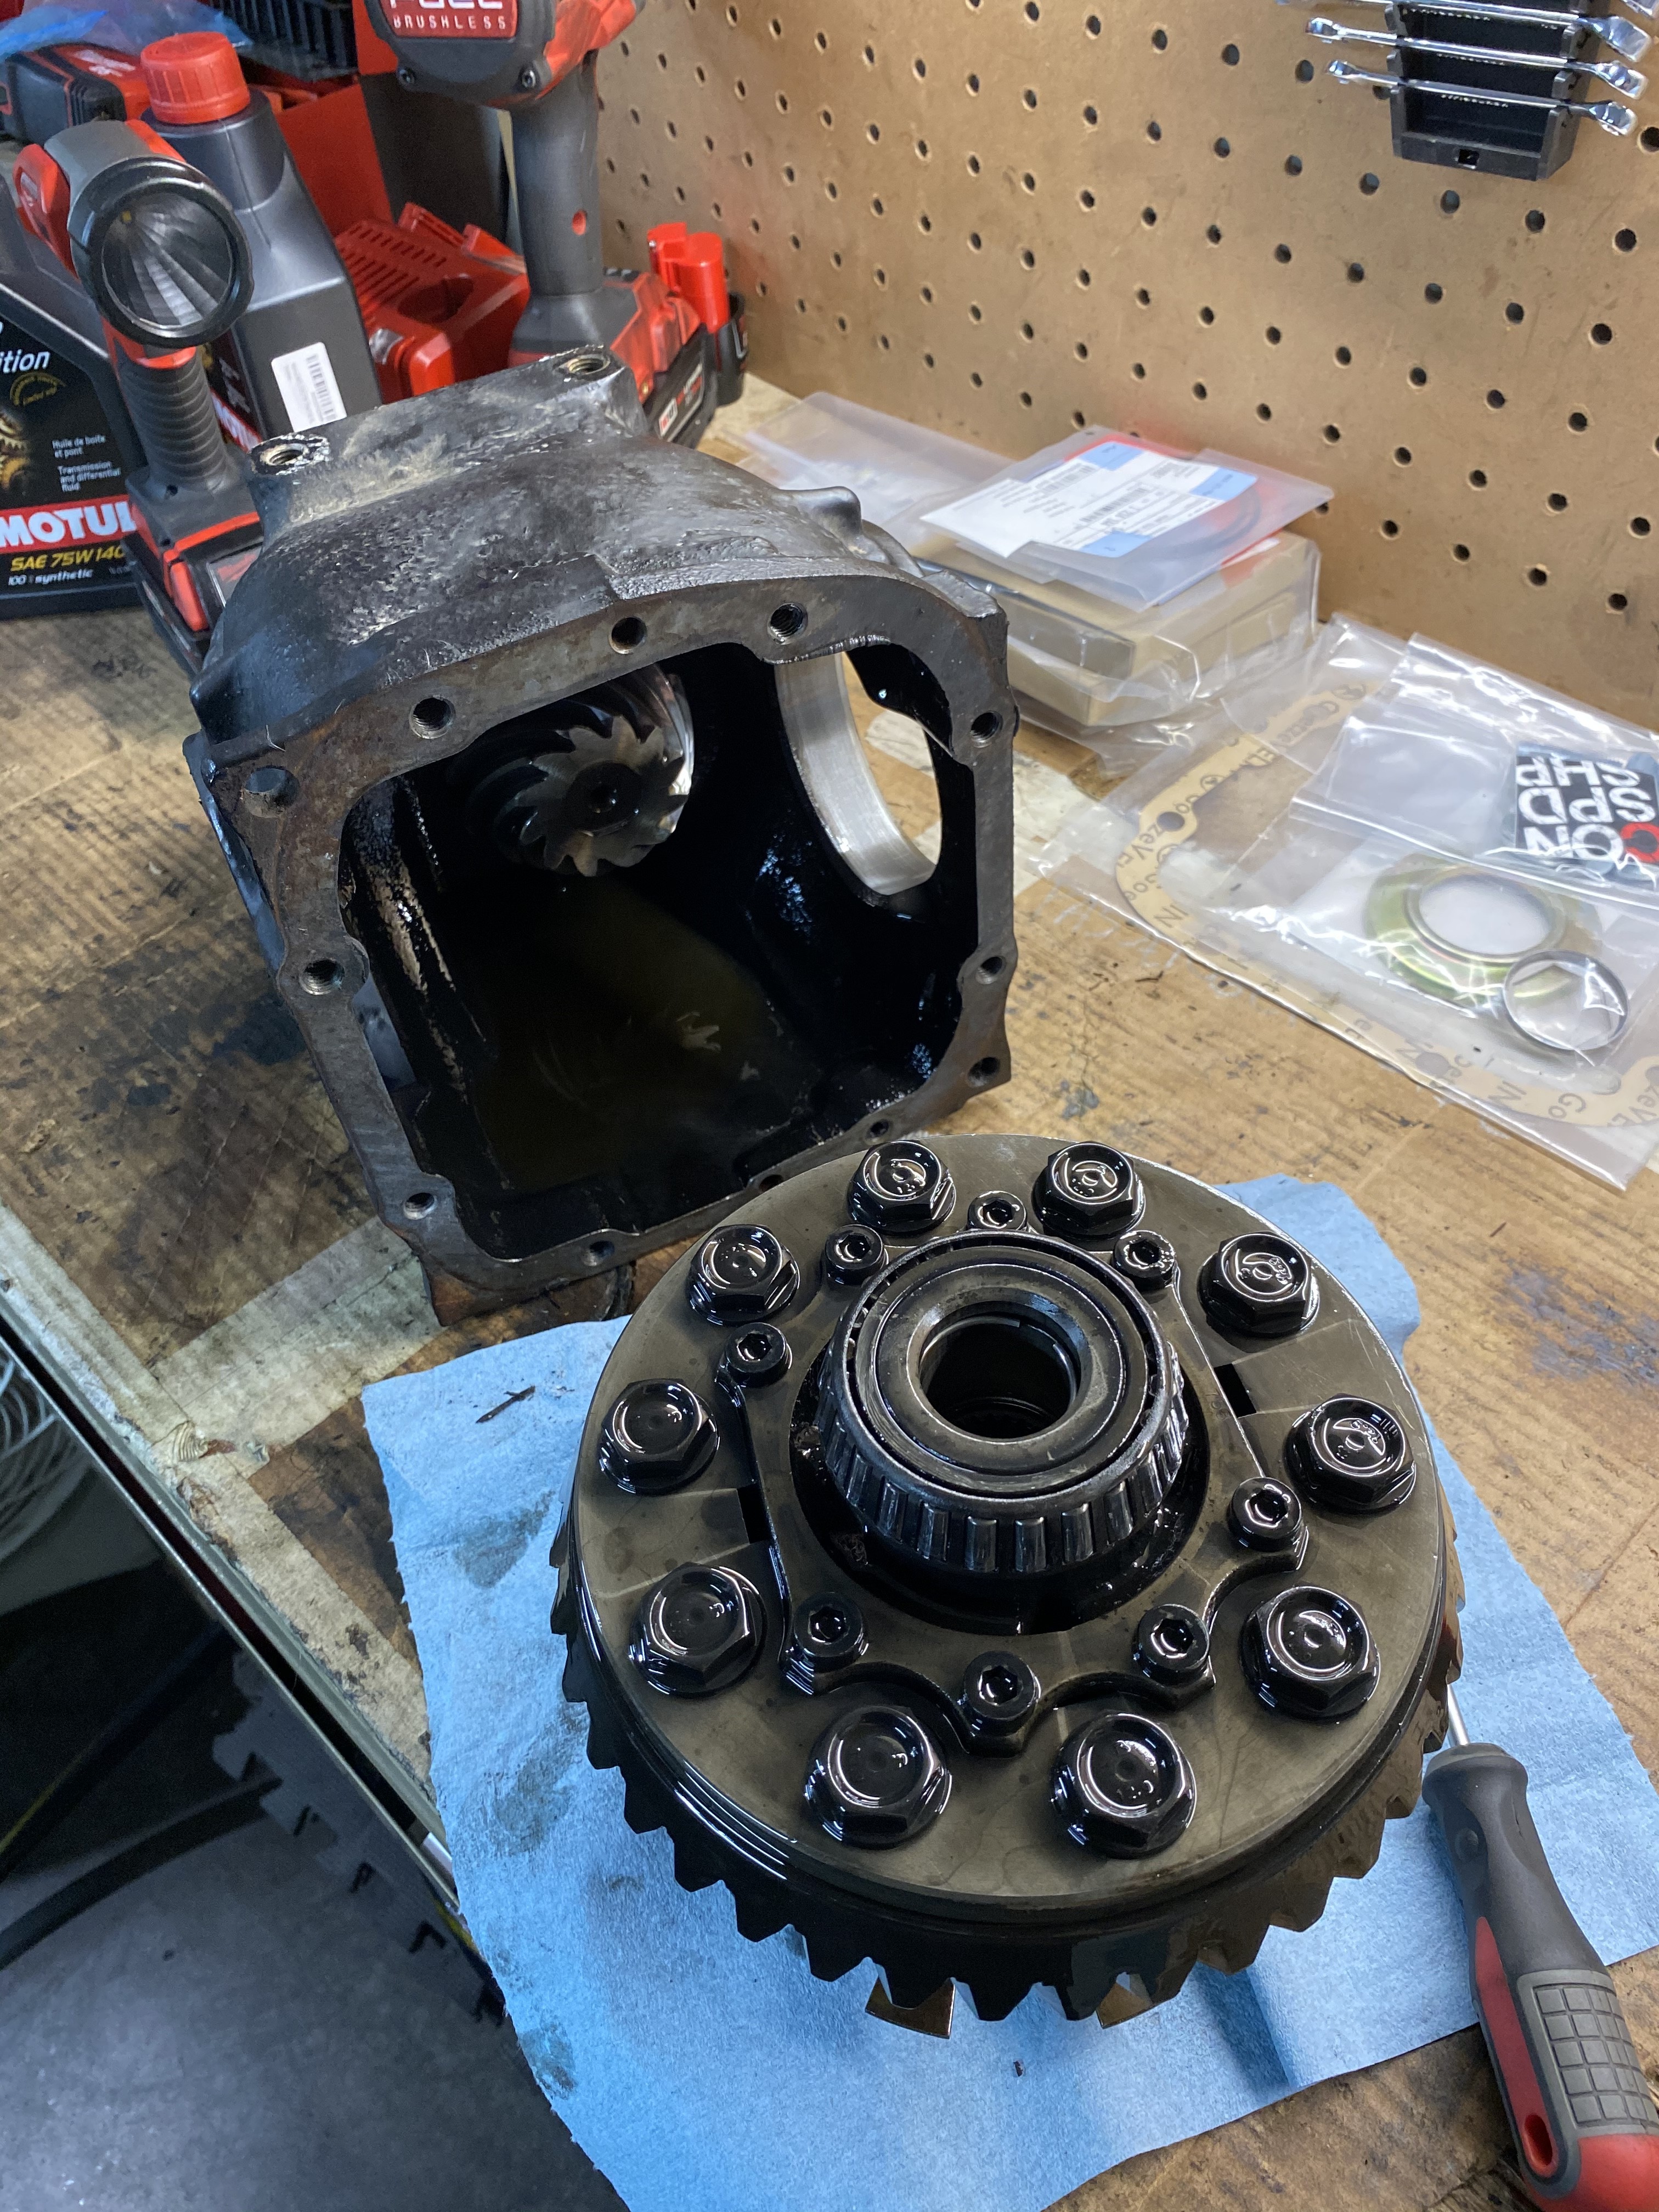
                    comes apart quickly. Thanks @B C for removing the grime from a previous life. 522CADF1-A3E7-41CE-B648-4A3230D92888.jpeg
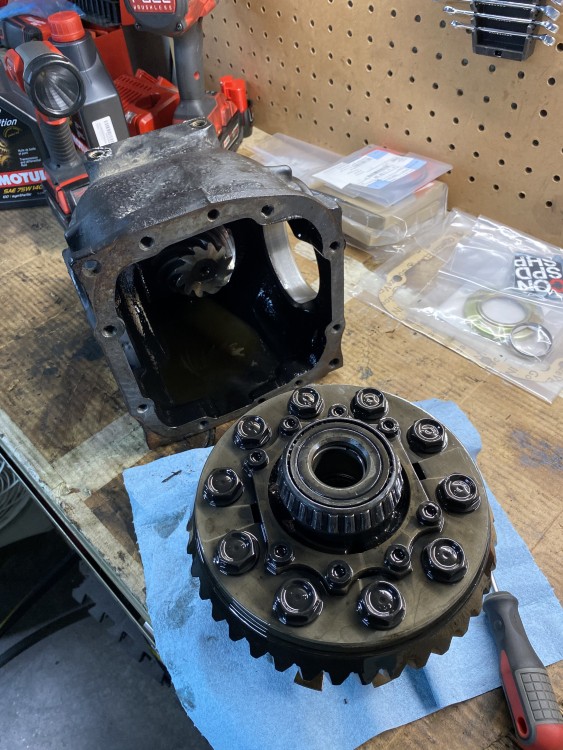
                     

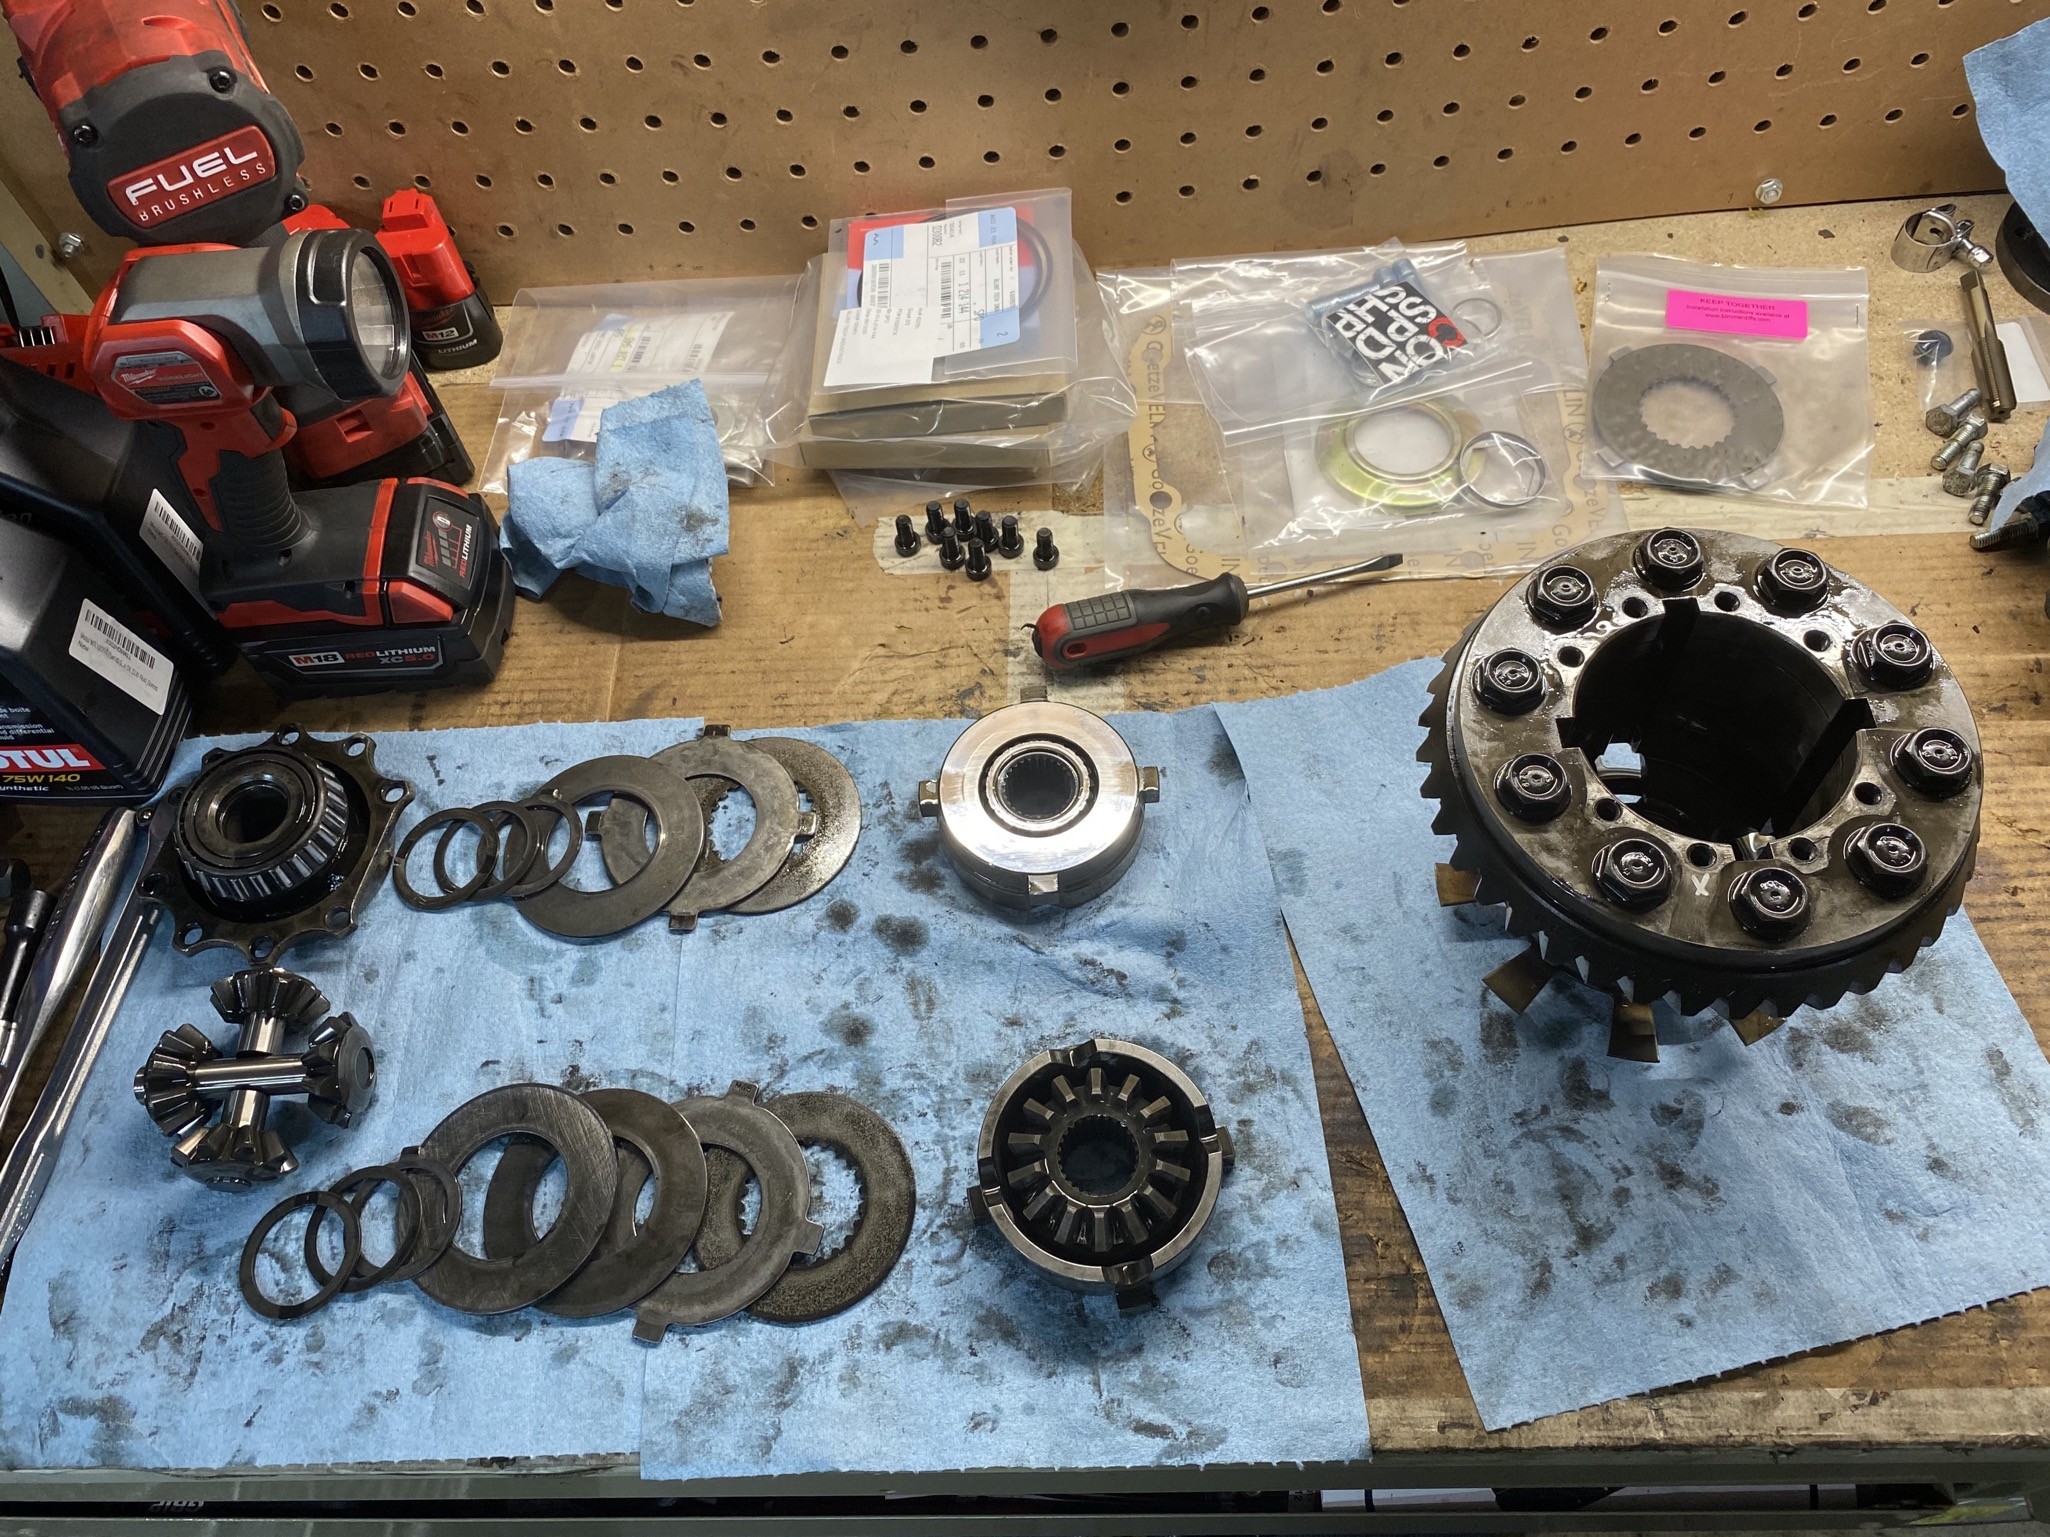
                    gutted, reassembly of the internals is exactly the opposite of disassembly, less replacing the spacer with a third friction disc & dog ear plate. 
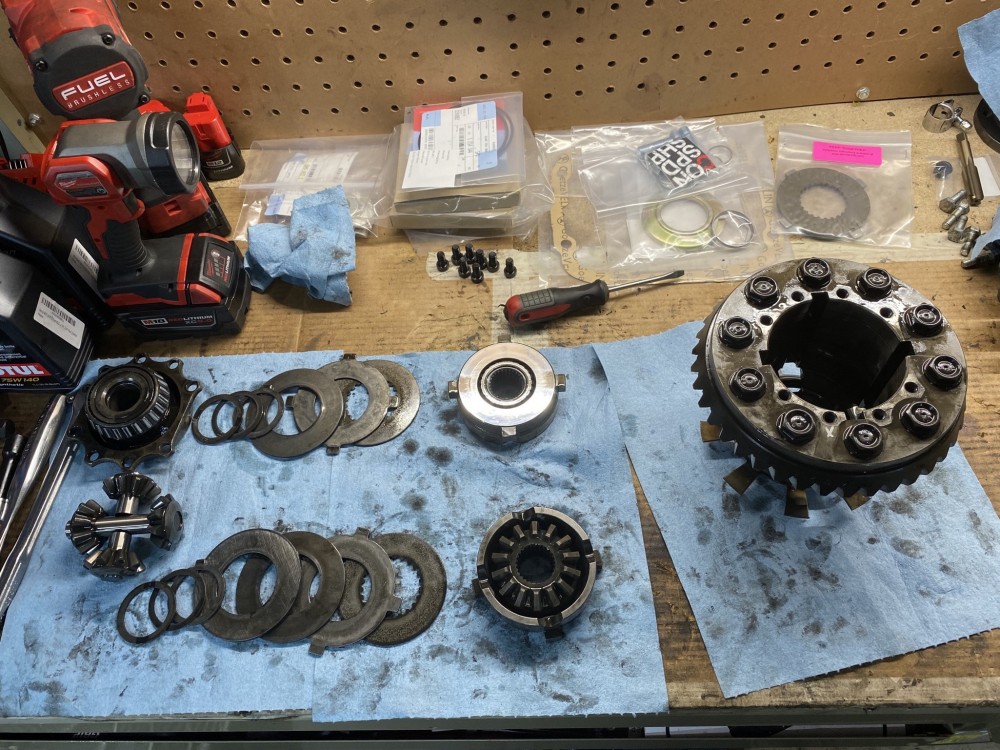
                    D1B8D8D3-E415-466B-9B6A-D3B510B3C6DA.jpeg

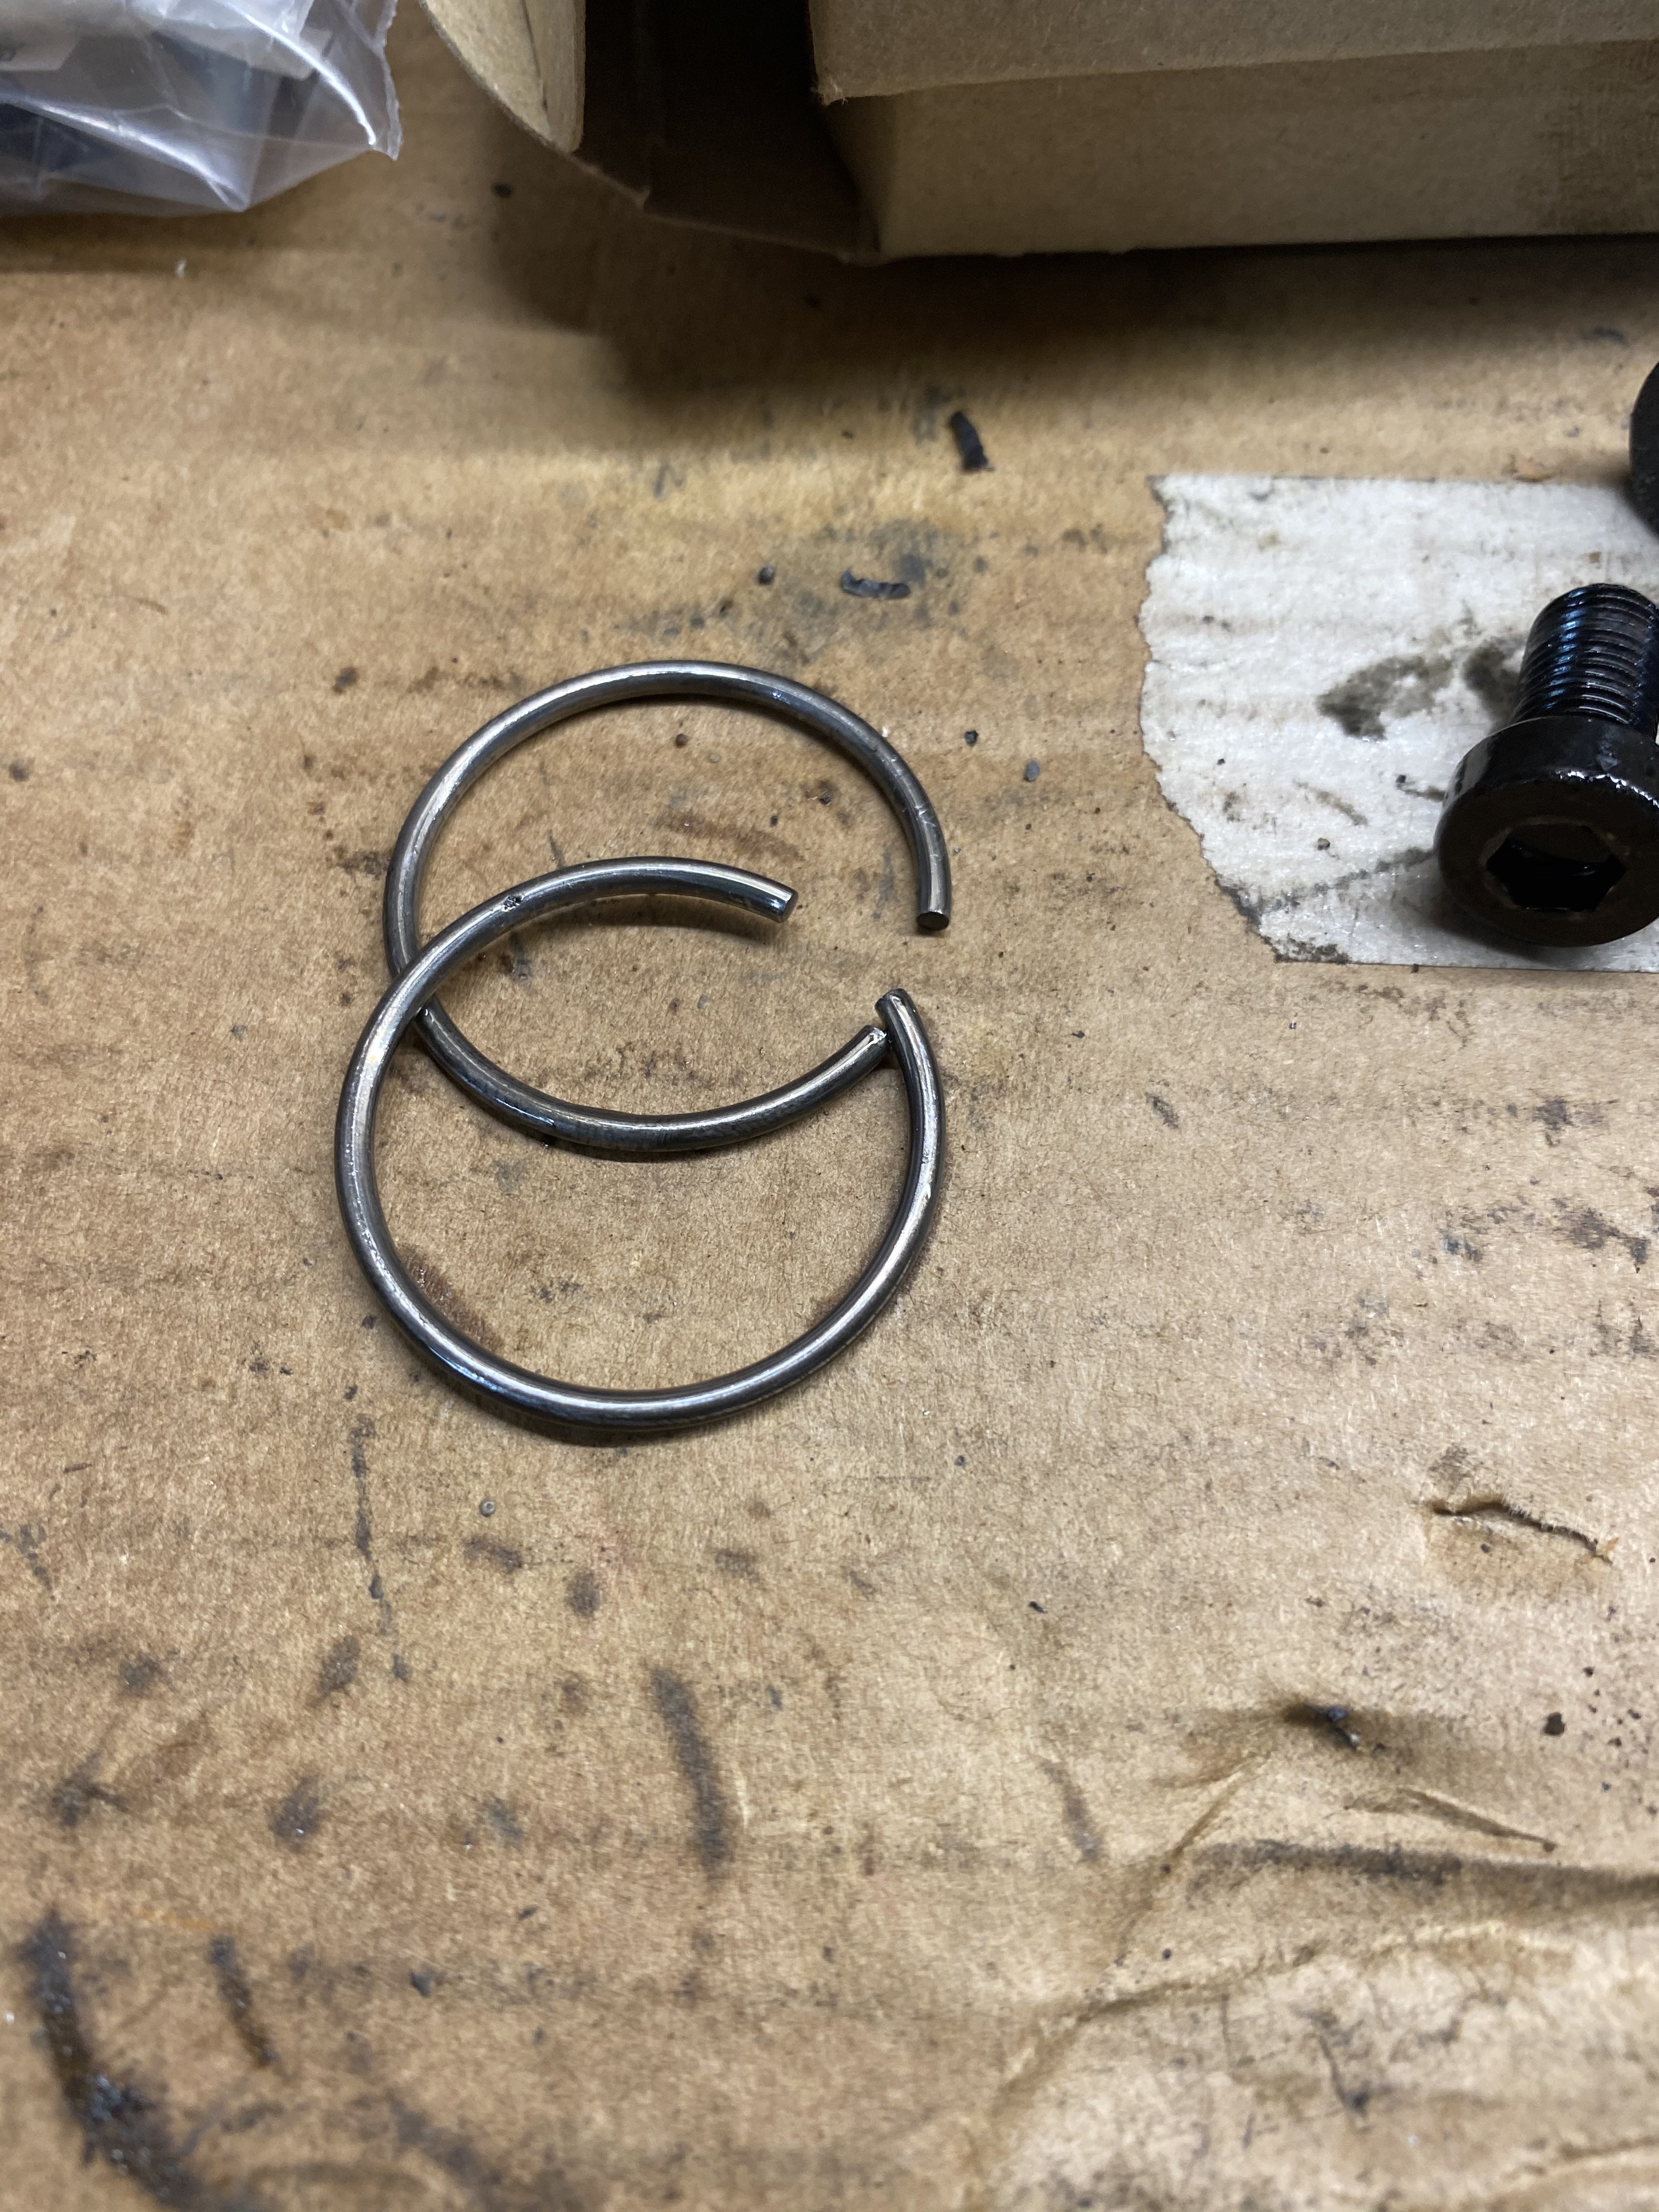
                    also replaced these clips that retain the axle stubs. They came with with new seals for the output flanges so why not. 
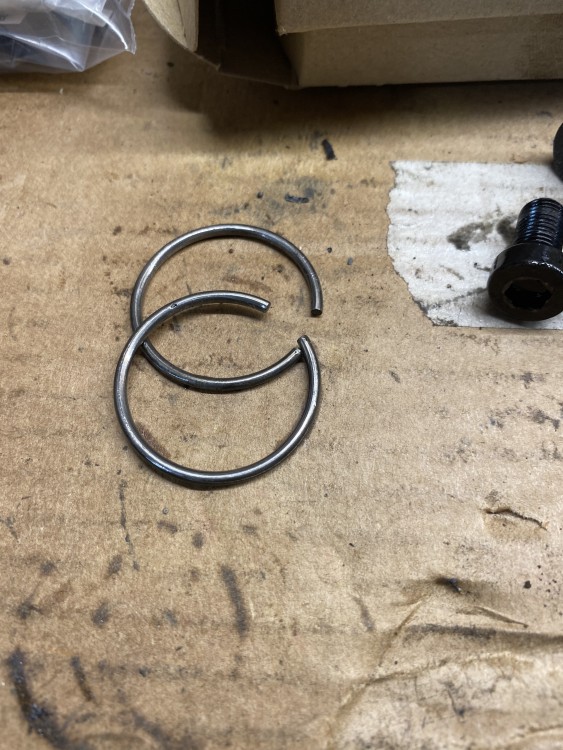
                    9C15A7DE-71BF-45C1-970F-C04AEB2FDC93.jpeg

                    ^engage safety squints for those 

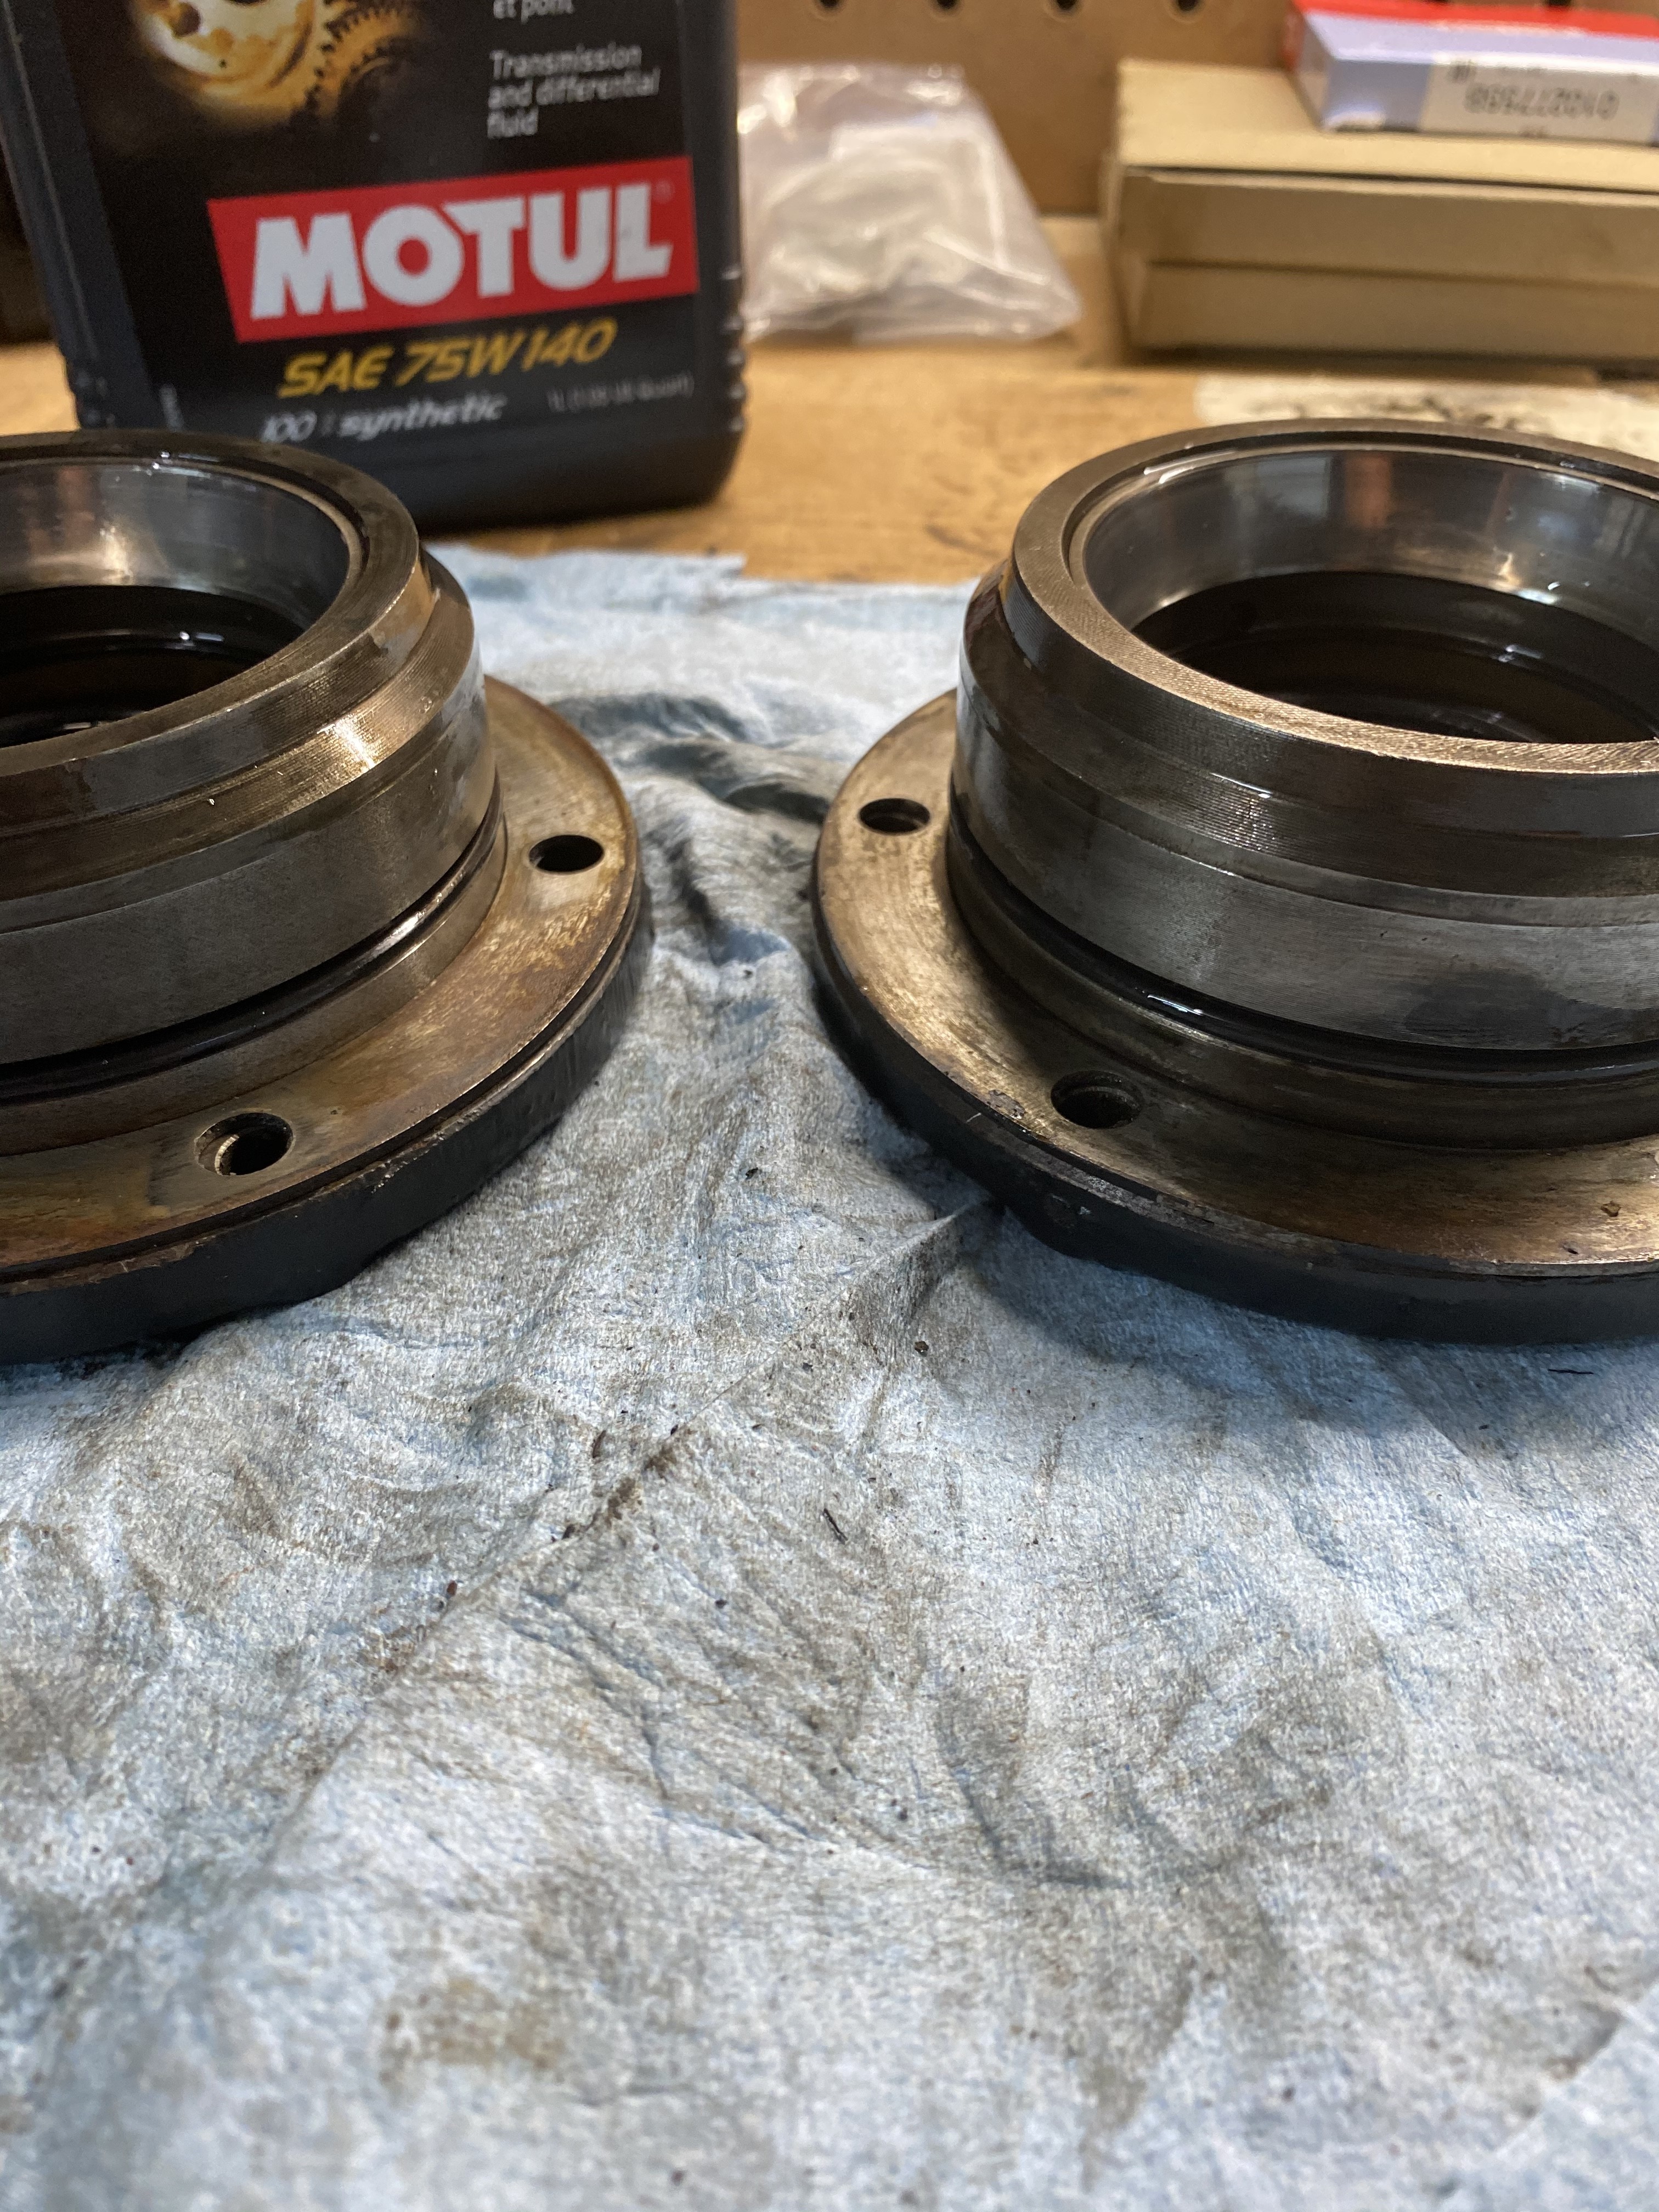
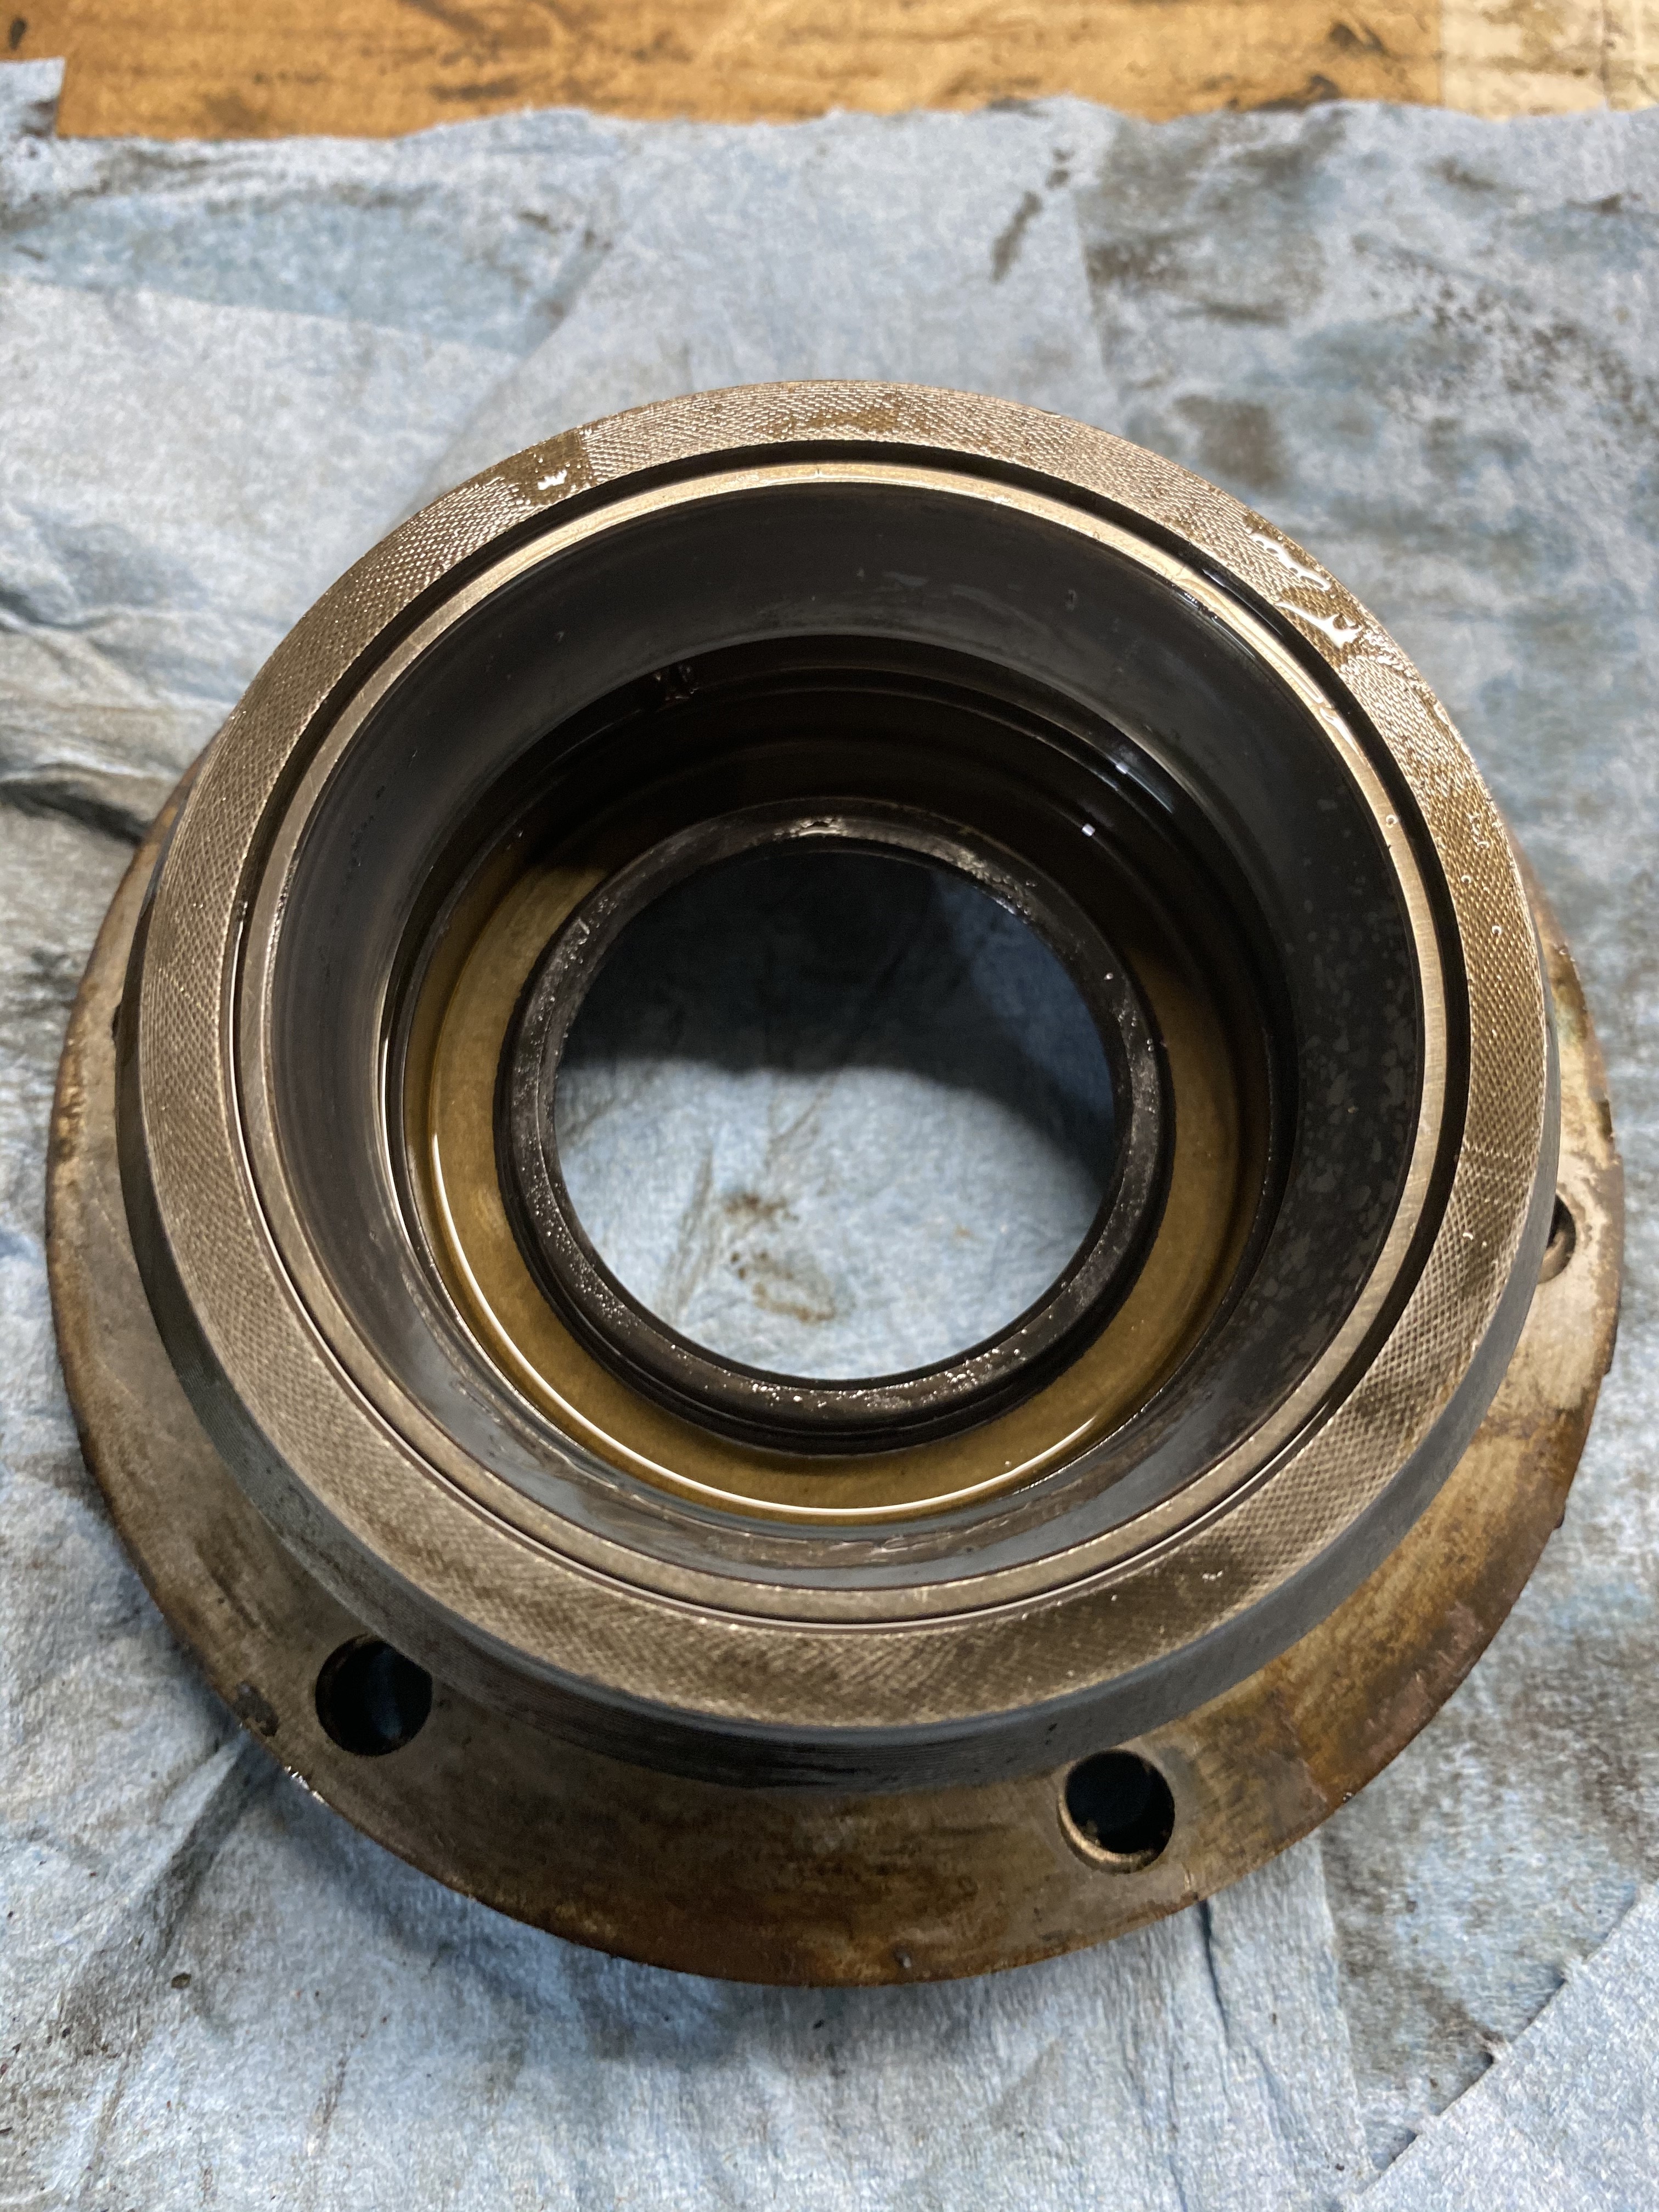
                    slapped new o rings on the output flanges too for good measure. Need to find a drift/socket large enough and pop the shaft seals out and replace them as well.
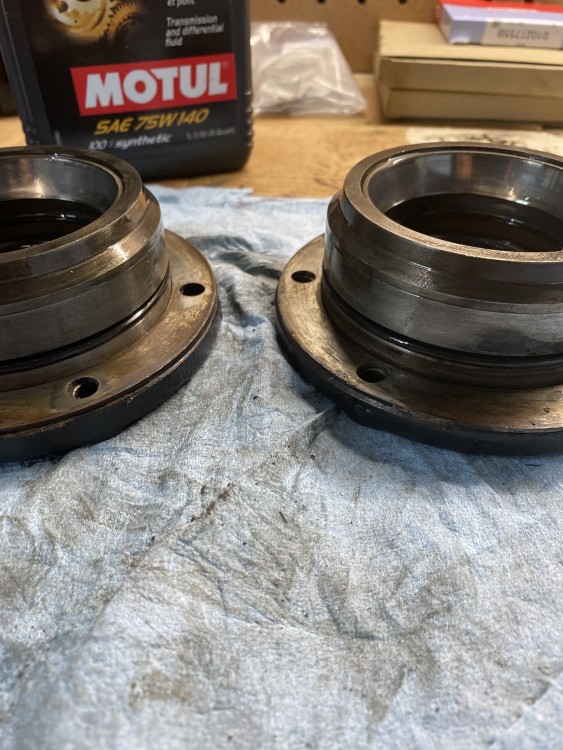
                    89821D62-C2D7-4D61-BADE-8138B9305EAA.jpeg

                    7C85C82E-2FA5-410E-B96C-172C2A0FC283.jpeg

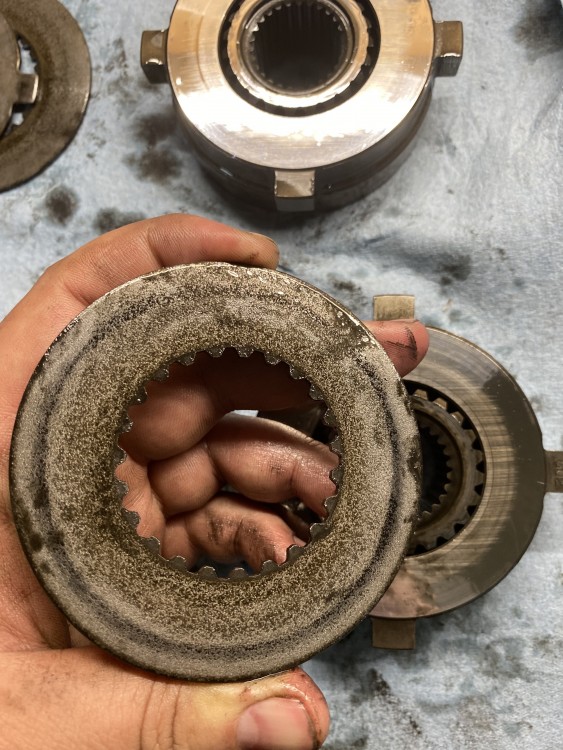
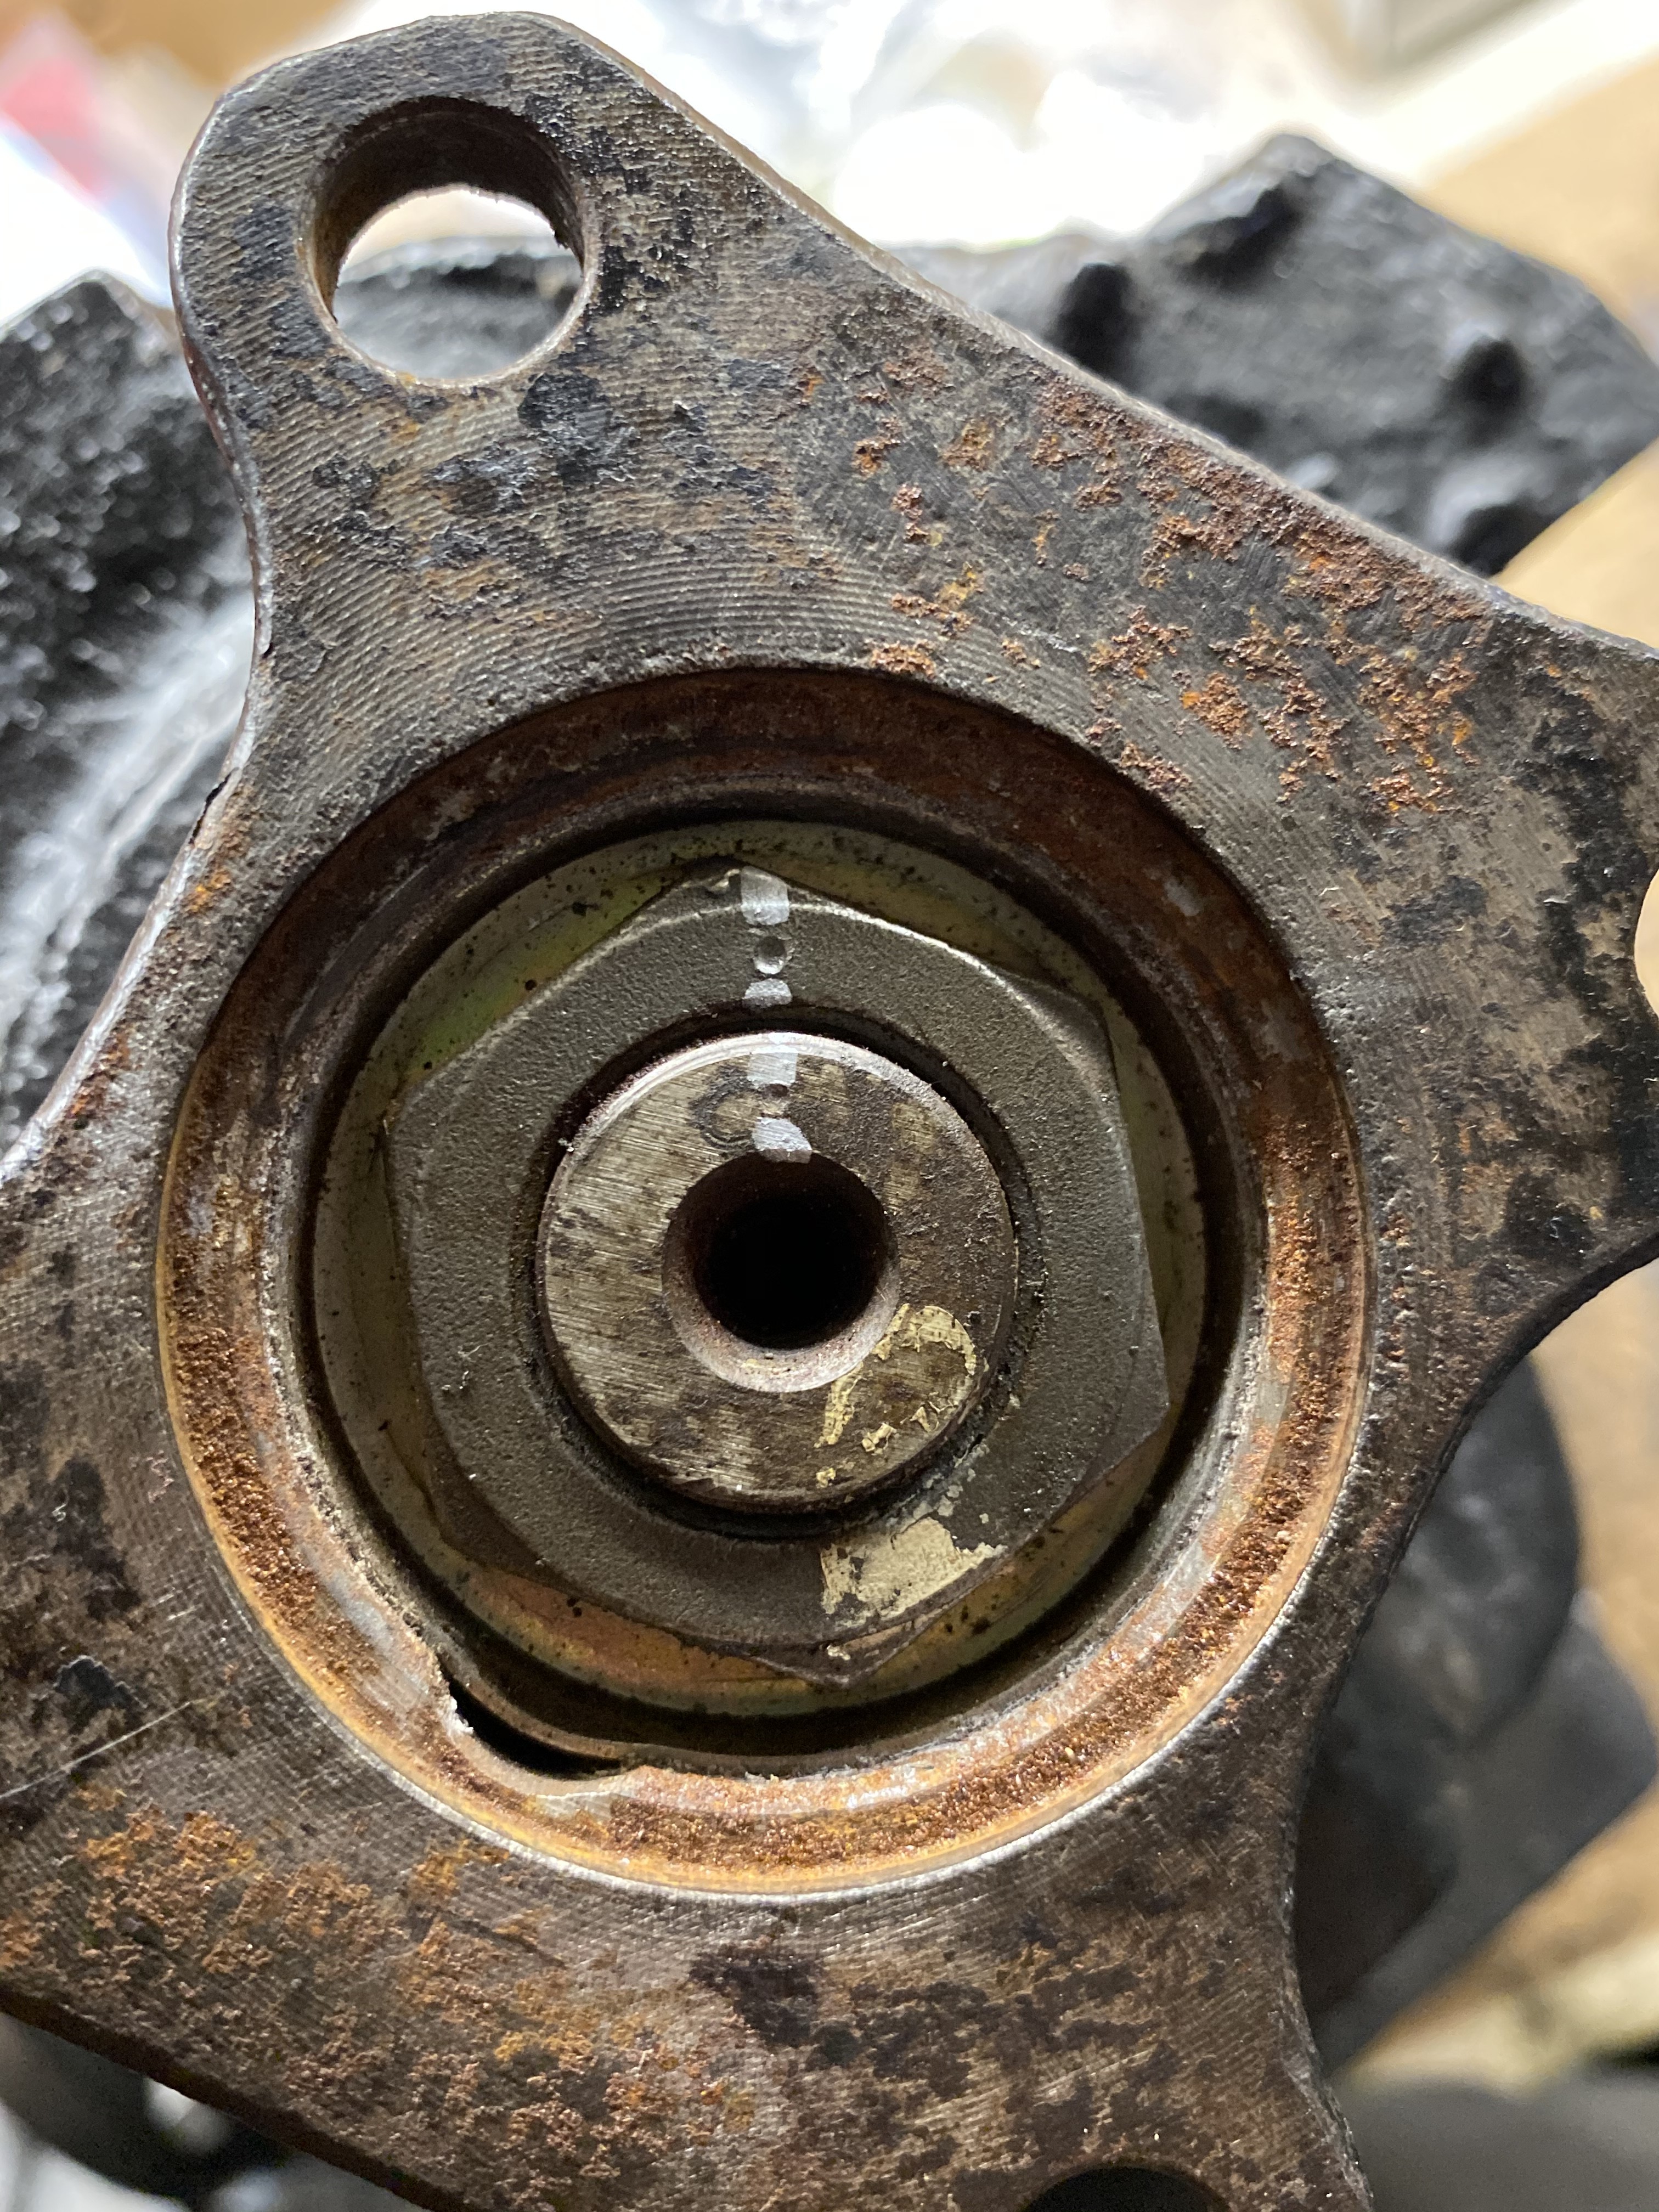
                    slapped the carrier back together with the new discs that’s where I left off for tonight. Once I get the seals in, it is ready to get slapped back into the case. Then I can start on replacing the pinion seal. Punched/marked so I don’t screw up the preload 
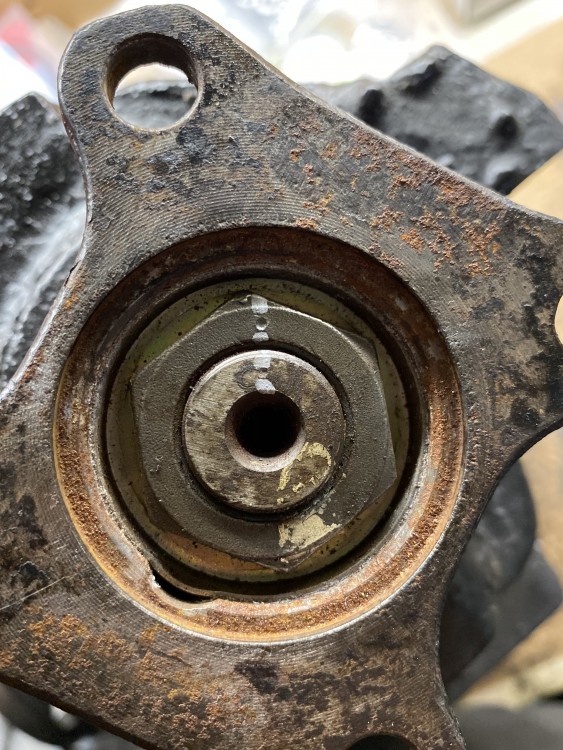
                    4C3B0217-7614-47C6-B1E1-7E7CA0494CD8.jpeg
                     

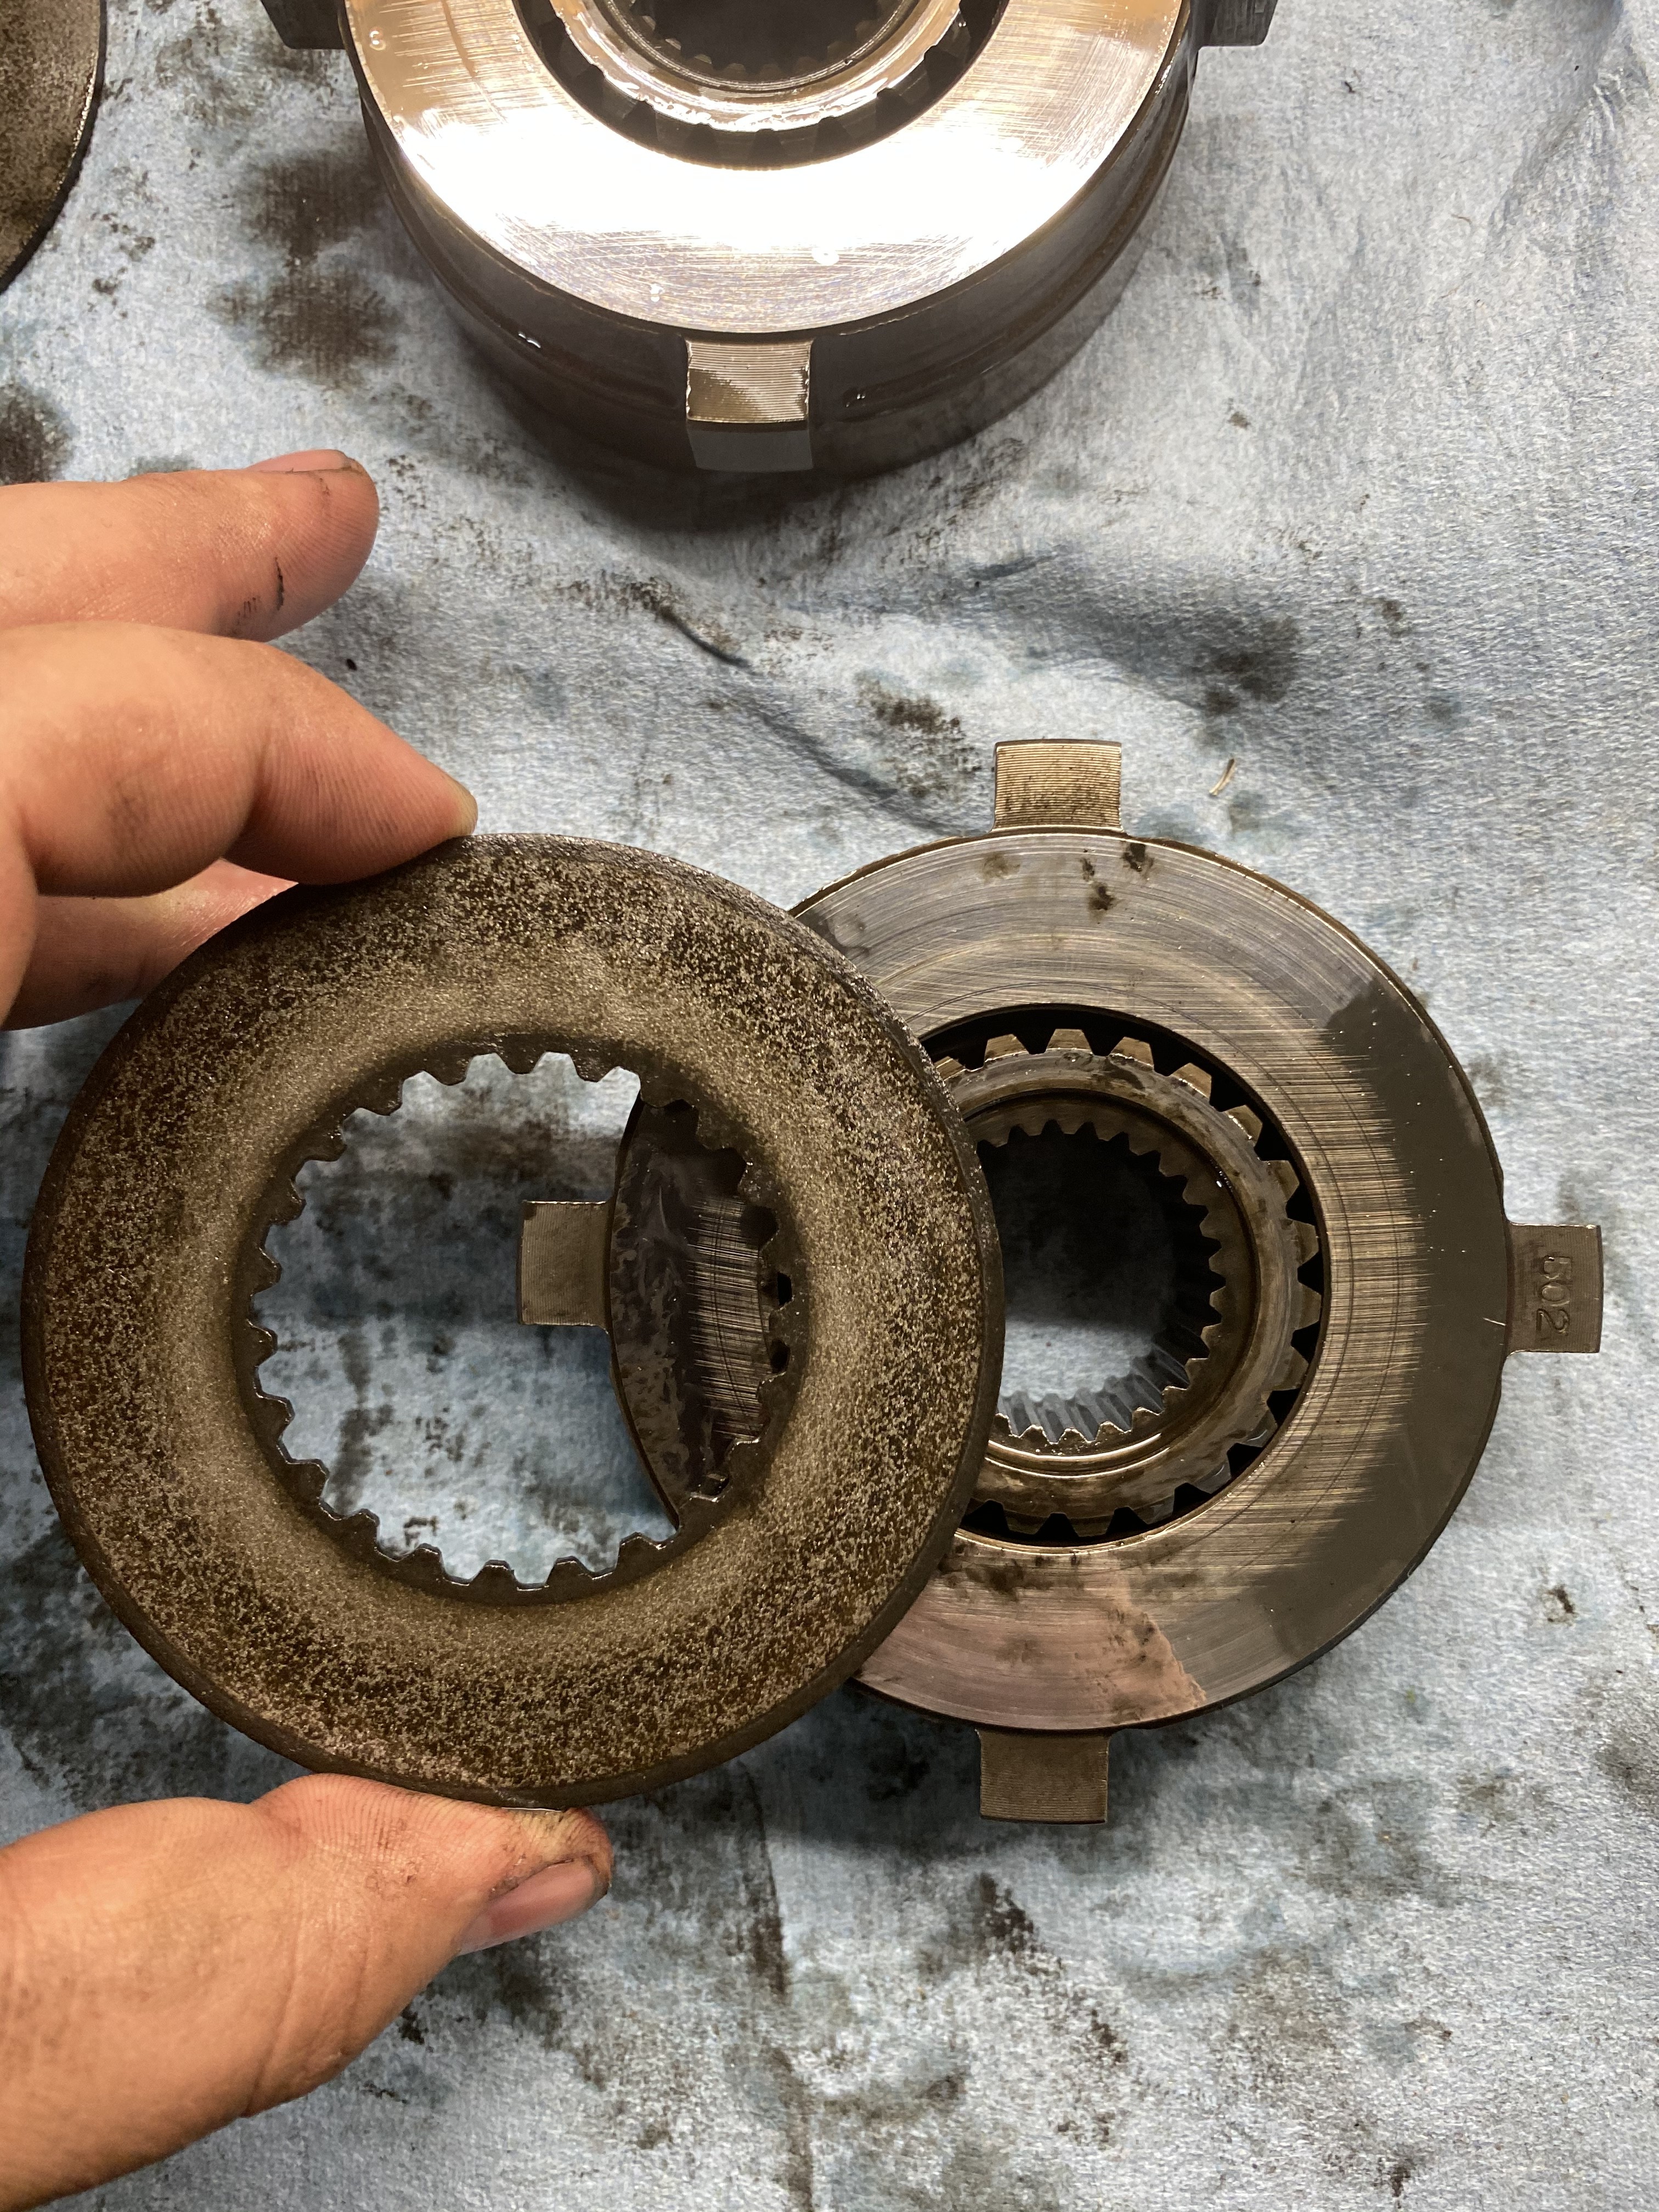
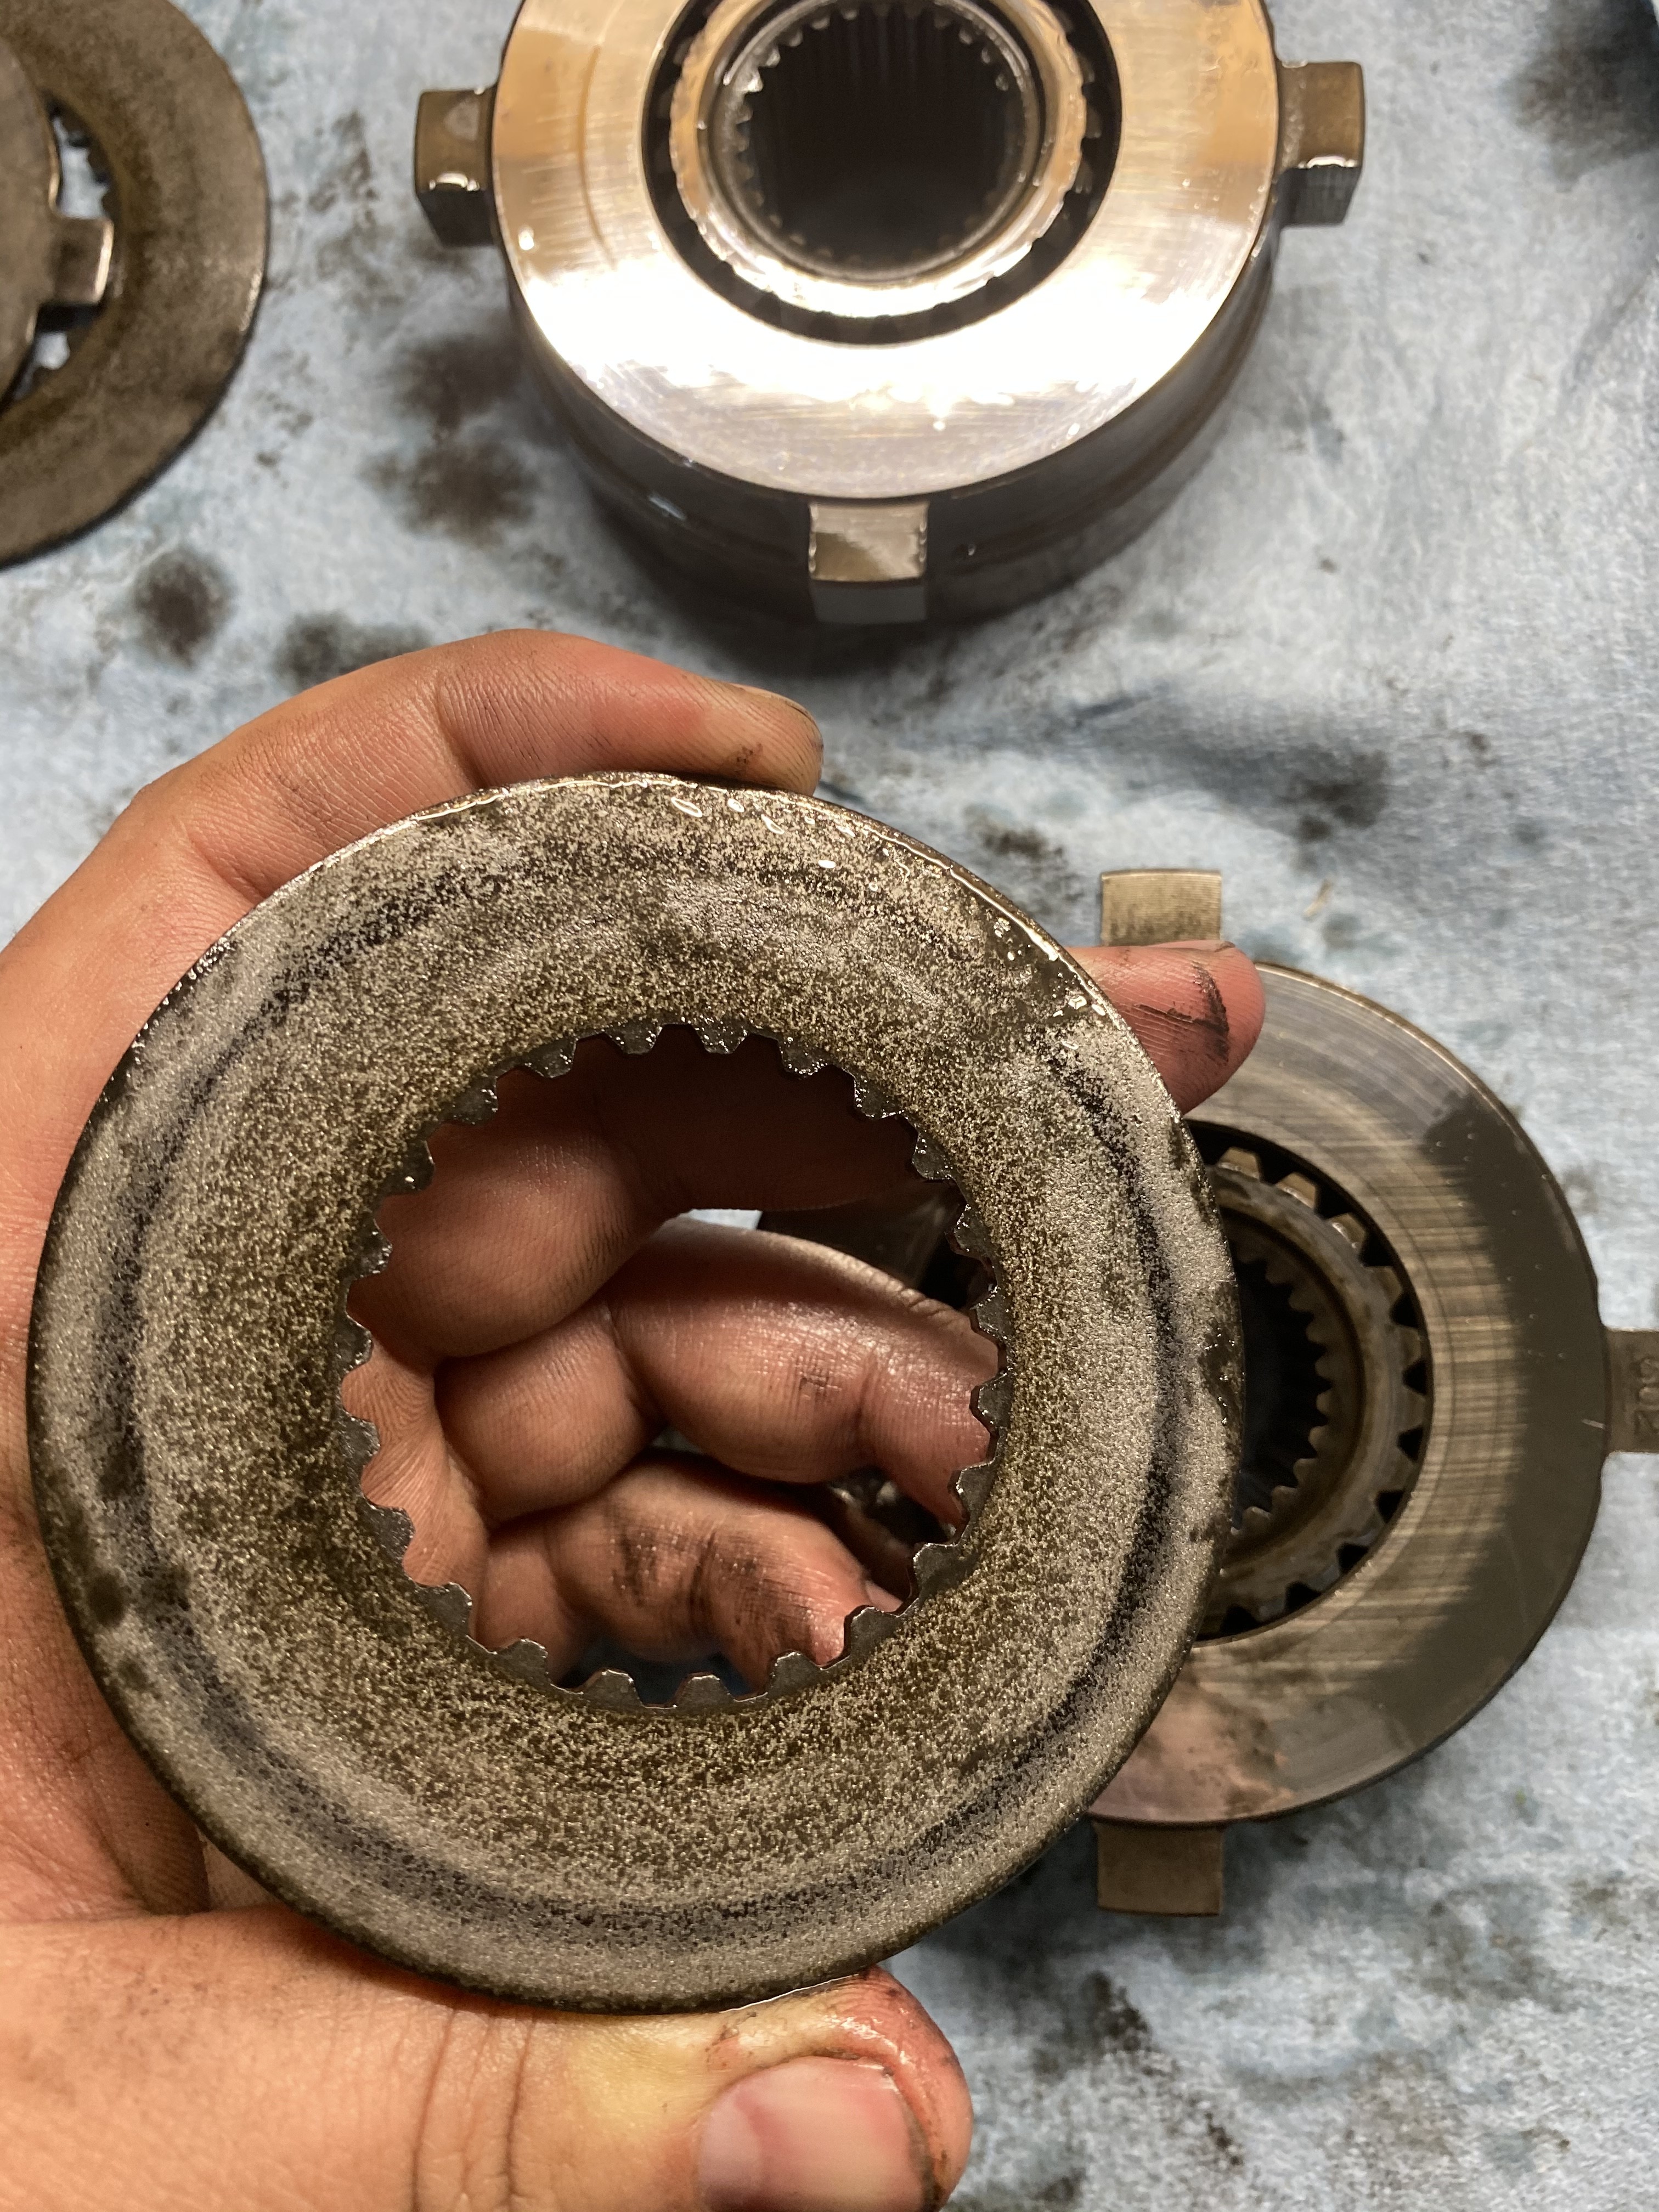
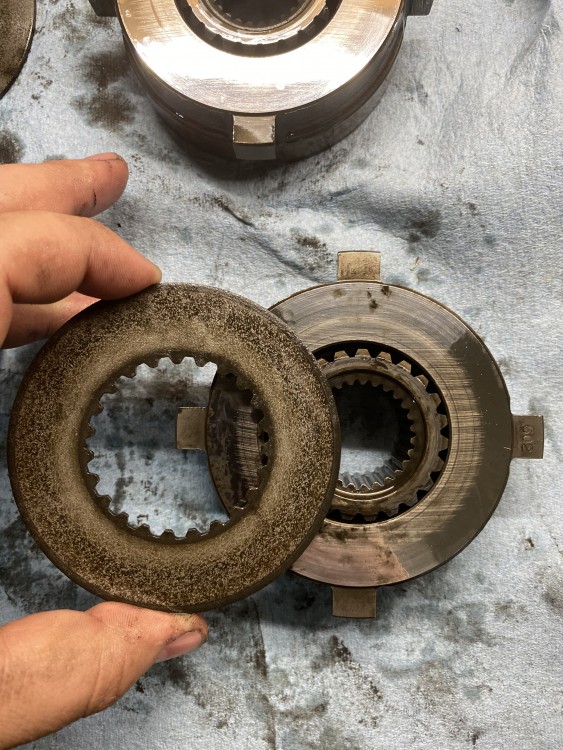
                    here are the worn out discs that gave up the ghost at 41ftlbs (breakaway tq) 
                    9FB972A2-F184-47FF-B368-5A4F58AEA1B4.jpeg026D4BE6-D718-4EAA-8536-751DFC2068EA.jpeg

                    1 Reply Last reply
                    0
                    • SteelBlueS
                      SteelBlueS
                      SteelBlue
                      wrote on last edited by
                      #312

                      Whats the 1-10 difficulty level on this job? Any good guides out there?

                      1 Reply Last reply
                      0
                      • KaiserRollsK
                        KaiserRollsK
                        KaiserRolls
                        wrote on last edited by
                        #313

                        SteelBlue said:

                        Whats the 1-10 difficulty level on this job? Any good guides out there?

                        It’s easy. Just take your time and keep track of the order of the parts.  Tons of good info on it as well. 

                        these are the main ones I used. One link is a total rebuild that involves setting preload. With the replacement I did above I don’t need to mess with that. 
                         

                        part I was most nervous about was stripping the stock hardware on the carrier. I had an extra set of hands and they all came out without any issue. This hardware gets replaced with Thayers stuff anyways 

                        https://cdn.shopify.com/s/files/1/0741/9527/files/188mm_3-Clutch_BMW_Differential_Upgrade_Kit.pdf?7108082601360695900

                        http://buildraceparty.com/diy-tech-how-to-rebuild-a-bmw-e30-differential/

                        https://www.mye28.com/viewtopic.php?t=142750

                        1 Reply Last reply
                        1
                        • KaiserRollsK
                          KaiserRollsK
                          KaiserRolls
                          wrote on last edited by
                          #314

                          Nearing completion

                          2F95BEE9-8774-4C4F-BD22-289070BAF36E.jpeg

                          need to pop the axle stubs back off and torque the bolts, then it’s on to the pinion seal

                          1 Reply Last reply
                          3
                          • KaiserRollsK
                            KaiserRollsK
                            KaiserRolls
                            wrote on last edited by
                            #315

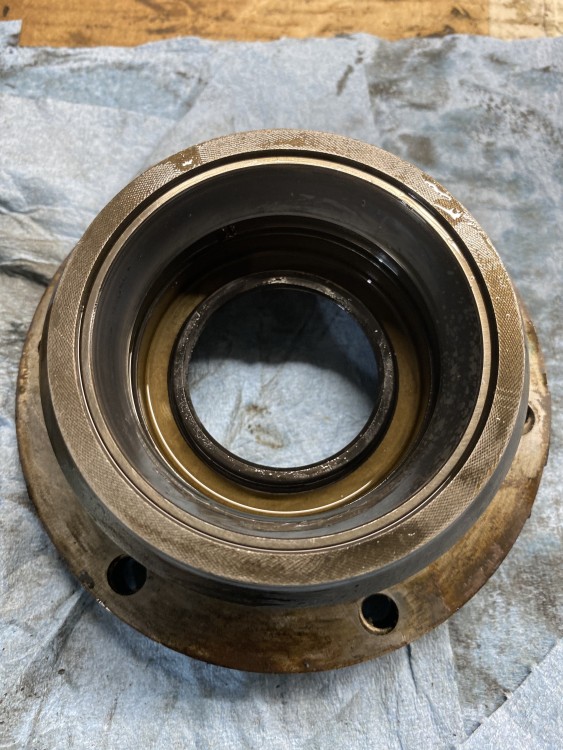
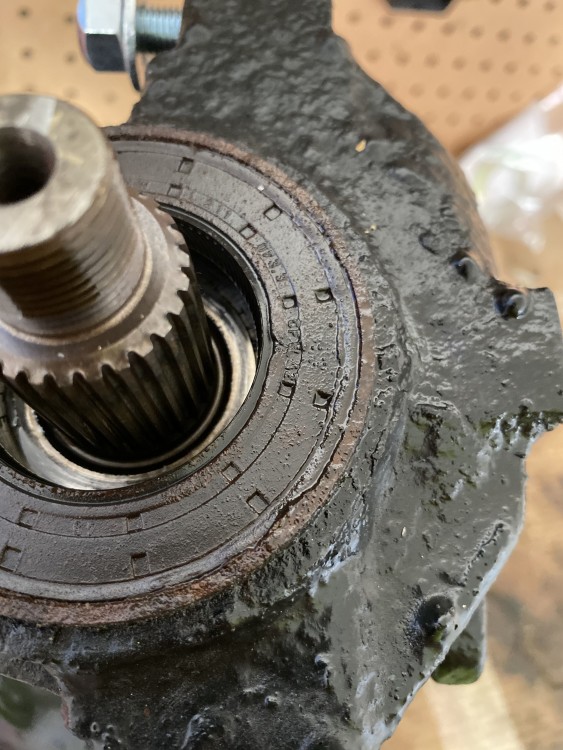
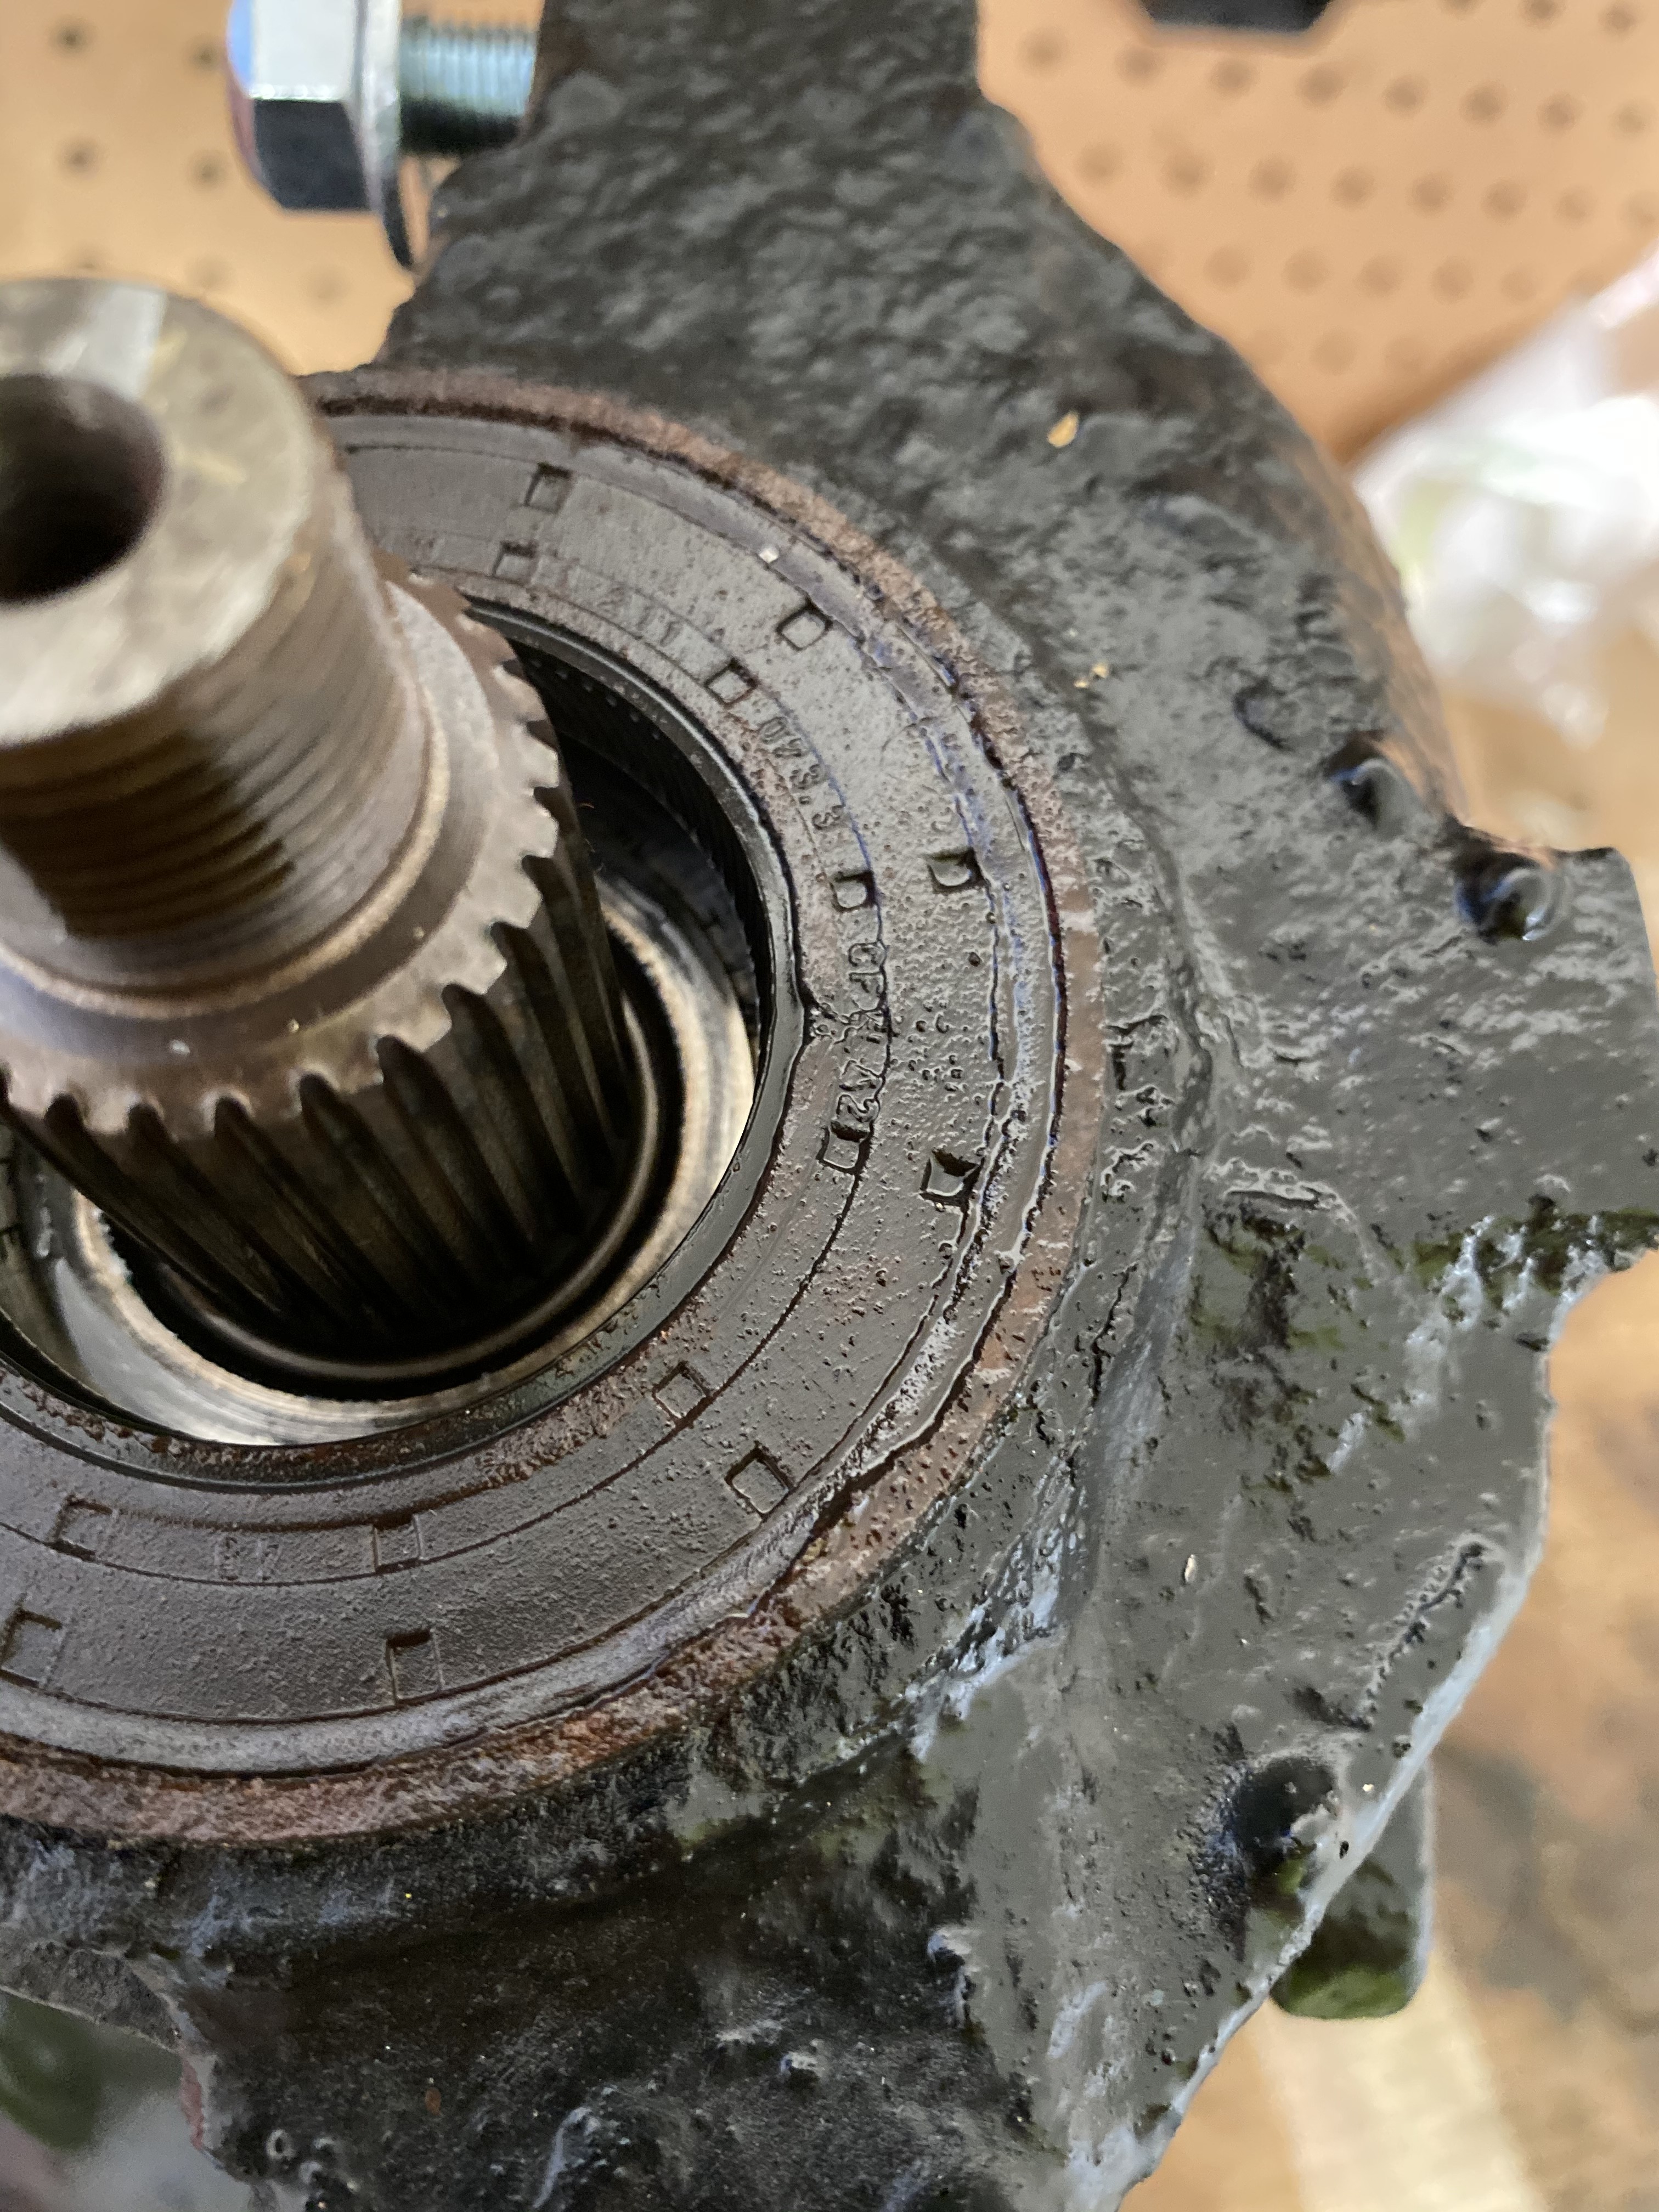
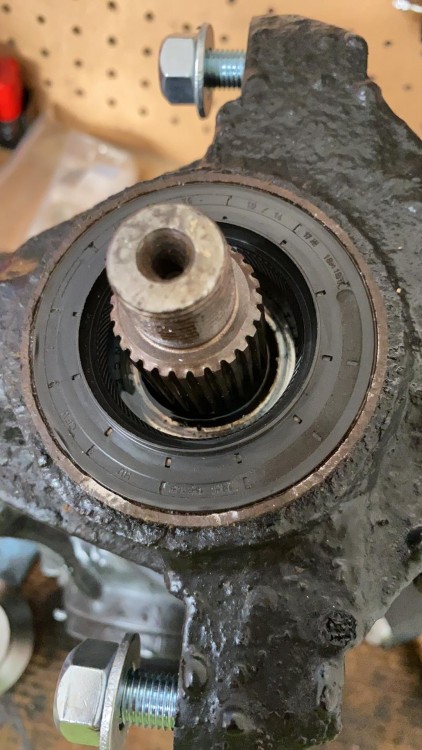
                            Old pinion seal was pretty torched. 
                            D0C4C6EC-36F6-4DA5-A905-20CA8ACB44EB.jpeg
                             

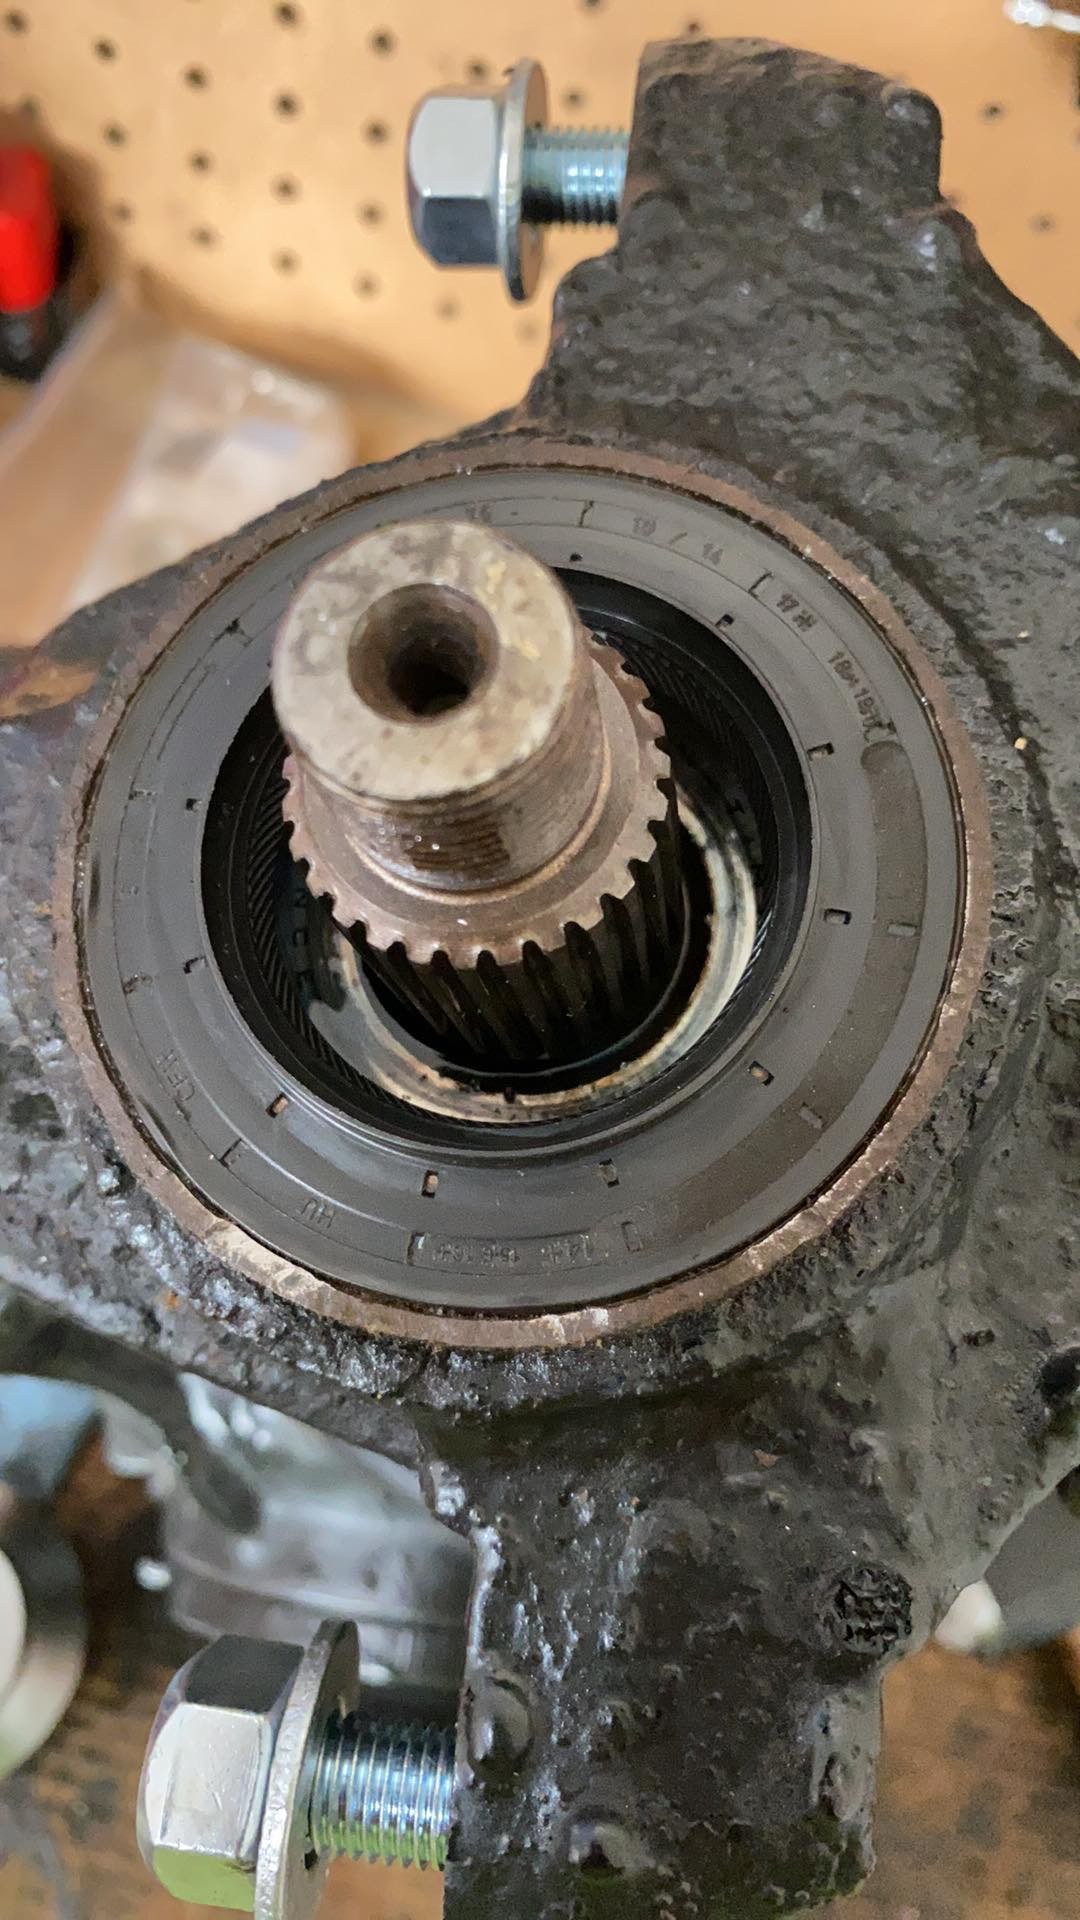
                            pried it out and hammered the new one in
                            C4842306-6114-4B53-AD2F-B90B2A3570E1.jpeg
                             

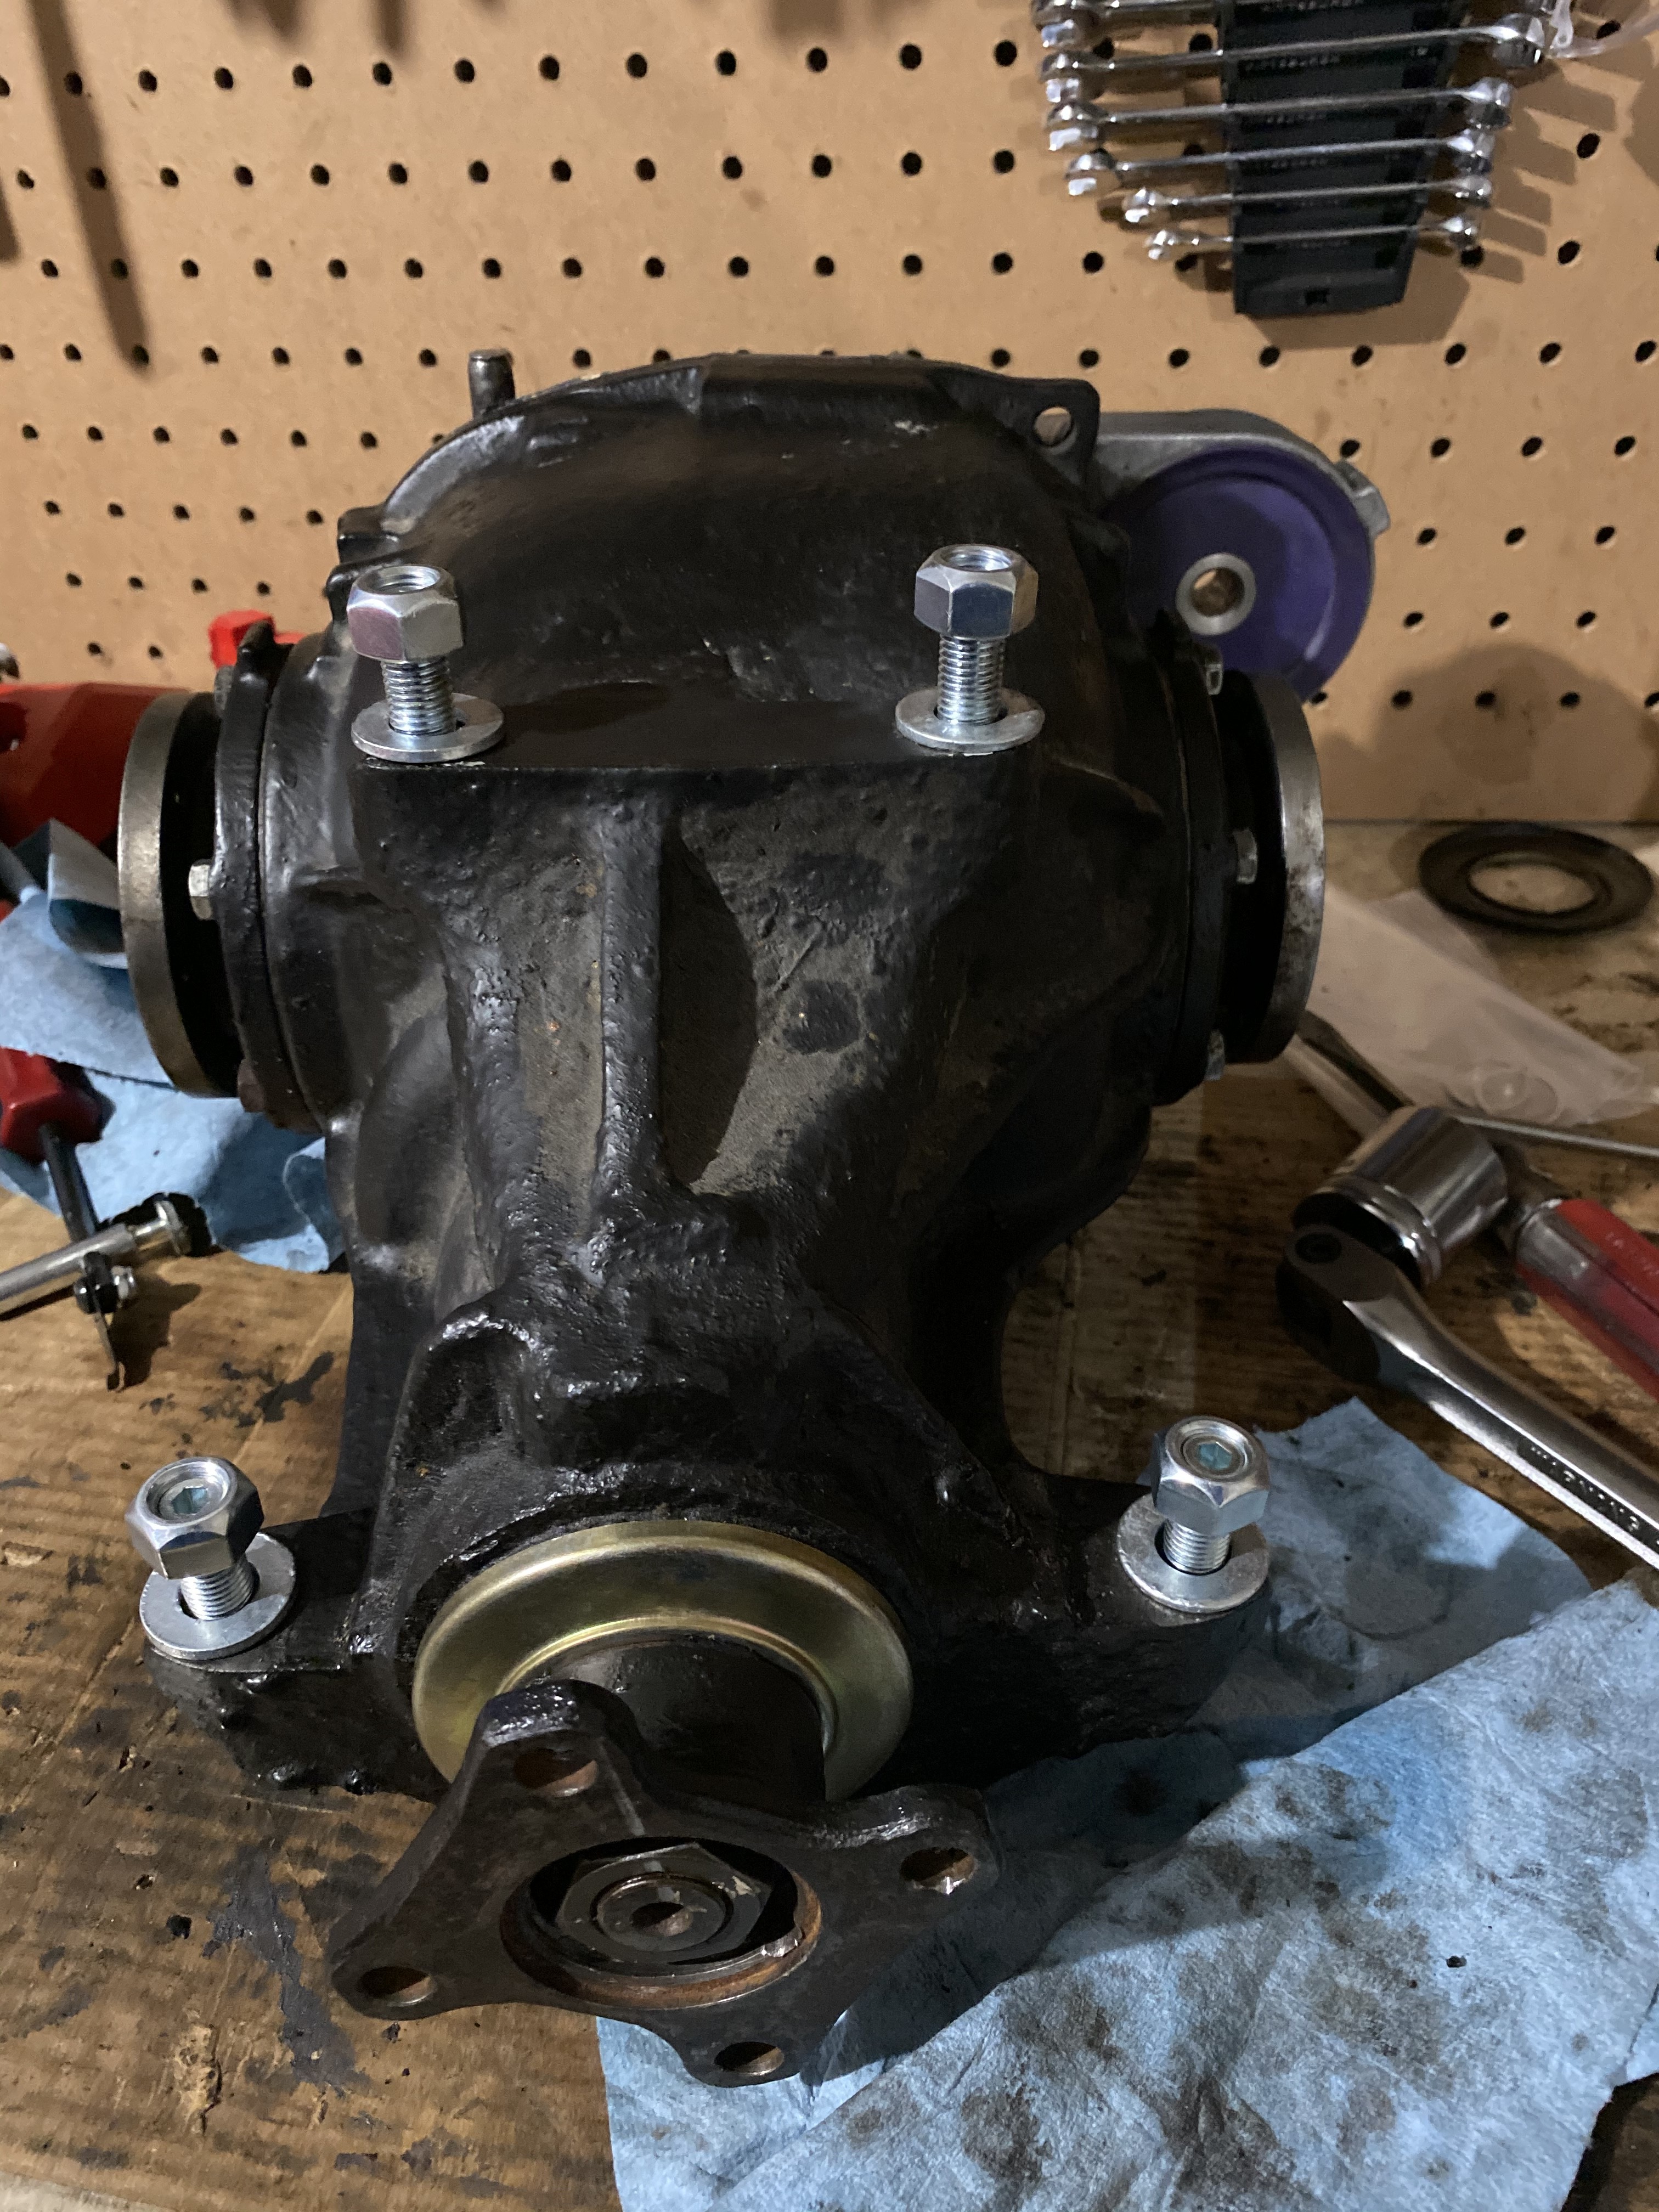
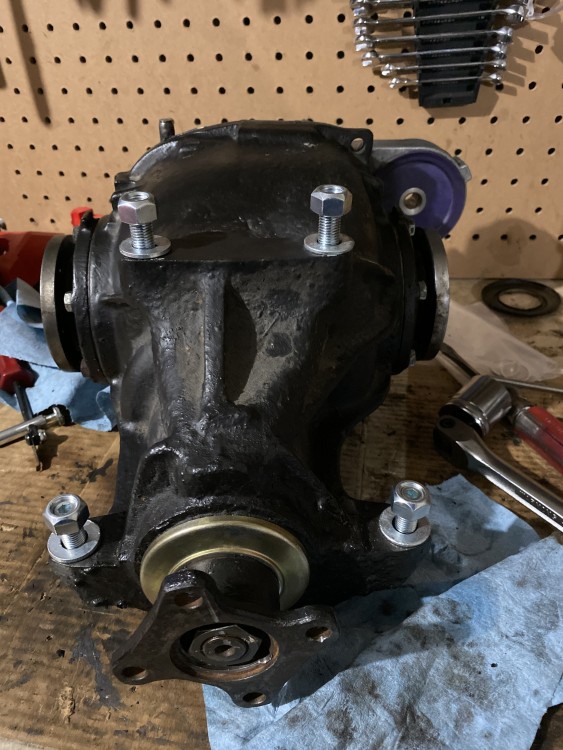
                            diff studs in, new dust cover for pinion seal, new speed sensor and oring gets here today. Hoping to get this back on the road tonight. 
                            C20B1859-4D6F-44DB-9EA4-A52CABF3FDC2.jpeg

                            1 Reply Last reply
                            7
                            • B
                              B
                              B C
                              wrote on last edited by
                              #316

                              Glad those dust covers are still available. The one that was on there did not spring into shape very well/was easily bent because it was so corroded

                              1 Reply Last reply
                              0
                              • KaiserRollsK
                                KaiserRollsK
                                KaiserRolls
                                wrote on last edited by
                                #317

                                Well car is all back together & everything is torqued. Highly recommend the diff studs. Even changed the trans fluid. Last thing on the list is to replace the plastic rad drain with an aluminum one/new oring. The threads are supposedly m14x1.5 in this radiator, but the new plug doesn’t want to thread in nicely and I’m sick of coolant. Might send a tap thru it quickly and spin the new plug in. All while getting coated in coolant.

                                1 Reply Last reply
                                0
                                • straight6pwrS
                                  straight6pwrS
                                  straight6pwr
                                  wrote on last edited by
                                  #318

                                  KaiserRolls said:

                                  Well car is all back together & everything is torqued. Highly recommend the diff studs. Even changed the trans fluid. Last thing on the list is to replace the plastic rad drain with an aluminum one/new oring. The threads are supposedly m14x1.5 in this radiator, but the new plug doesn’t want to thread in nicely and I’m sick of coolant. Might send a tap thru it quickly and spin the new plug in. All while getting coated in coolant. 

                                  crazy idea for you enginerds - any way to easily pull a vaccum on the system at the reservoir to hold the coolant so you can remove the plug without spillage? just literally attach a wet vac and cross your fingers? maybe a piece of duct tape between with a certain size hole to reduce the vacuum if its too strong?

                                  Dan

                                  yajsYRL.jpg.e5f350b4dfe961d76ac8b32efce2e1a6.jpg

                                  1 Reply Last reply
                                  0
                                  • KaiserRollsK
                                    KaiserRollsK
                                    KaiserRolls
                                    wrote on last edited by
                                    #319

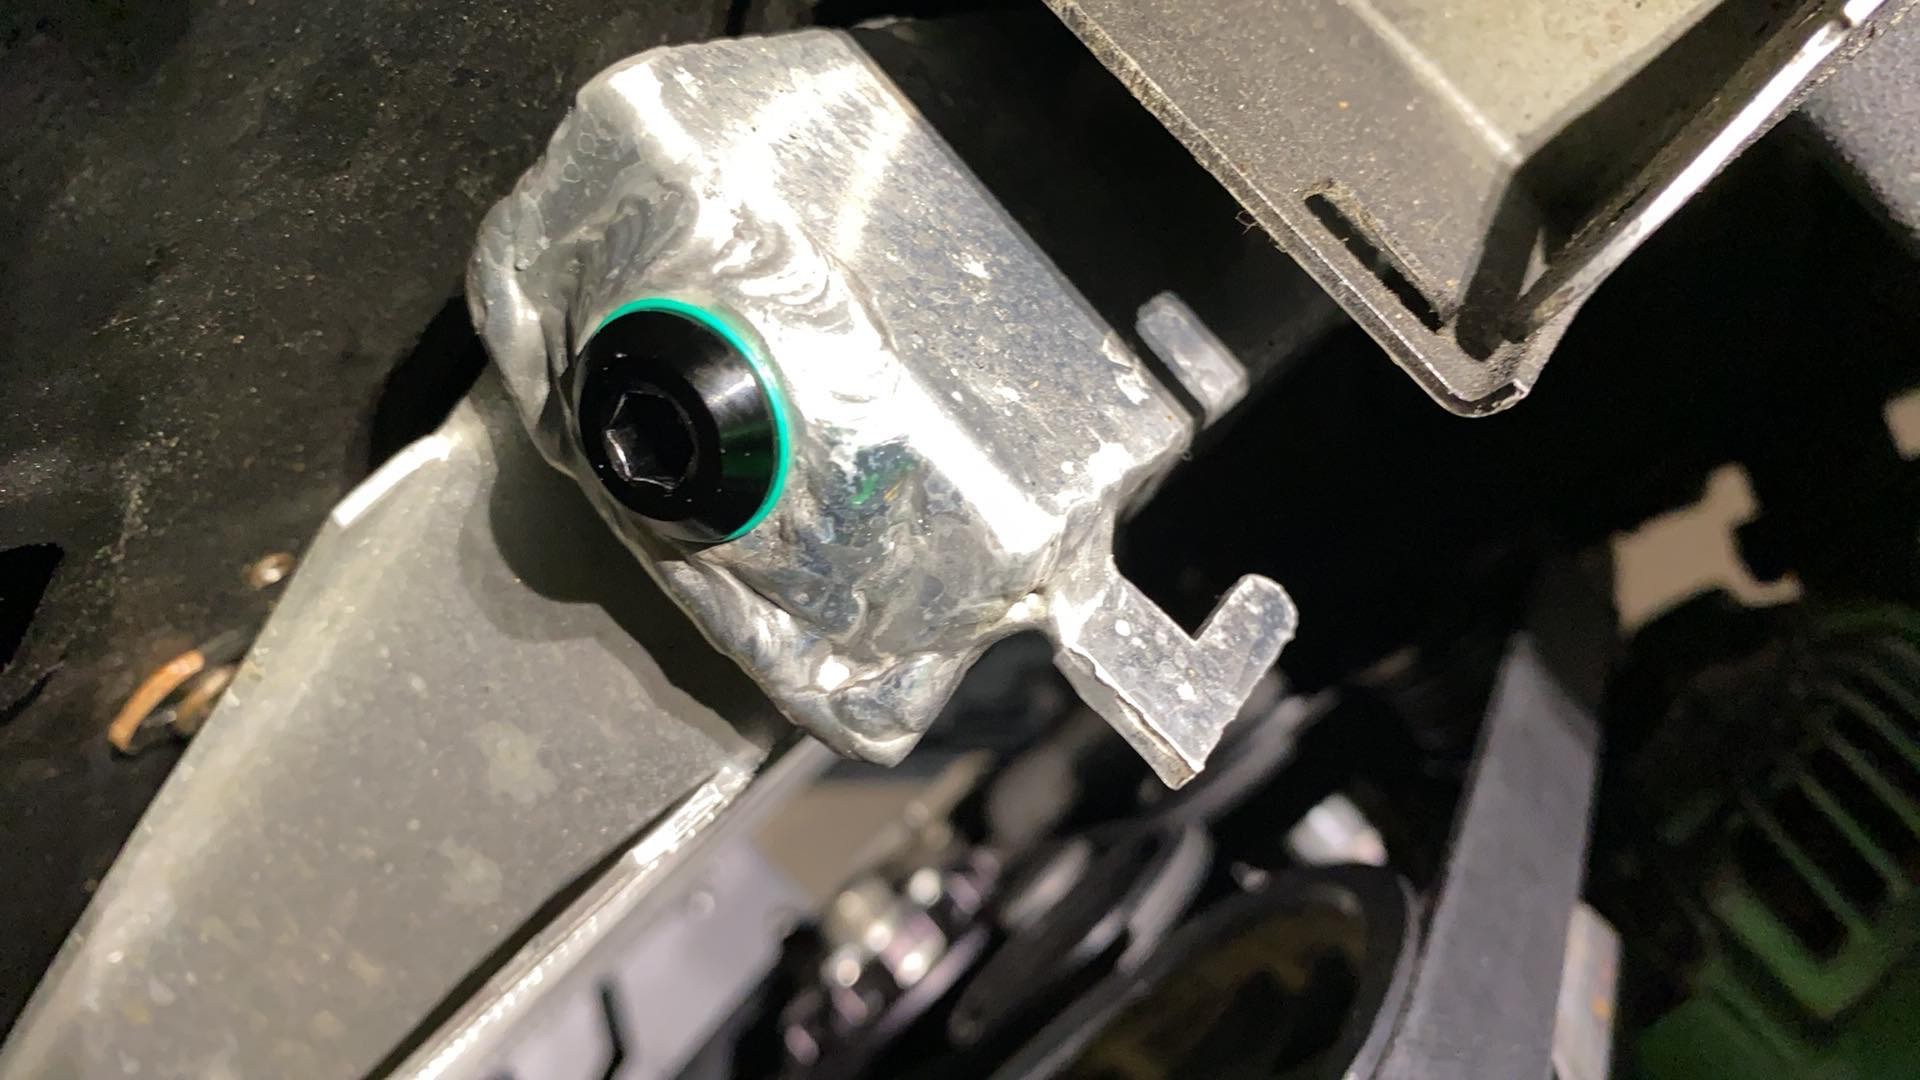
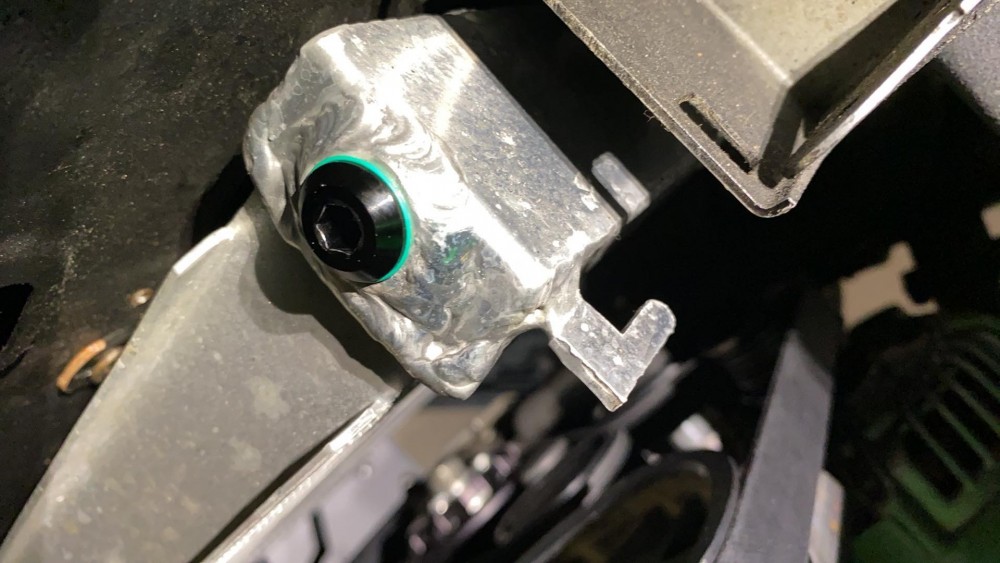
                                    Re-tapped radiator drain last night and put the new plug in
                                    EFAE6B9E-AA99-4045-87CF-89557003A7BE.jpeg

                                    nose of car was already on jack stands so rebleeding was basically just fill up the reservoir and let it run for a bit. 
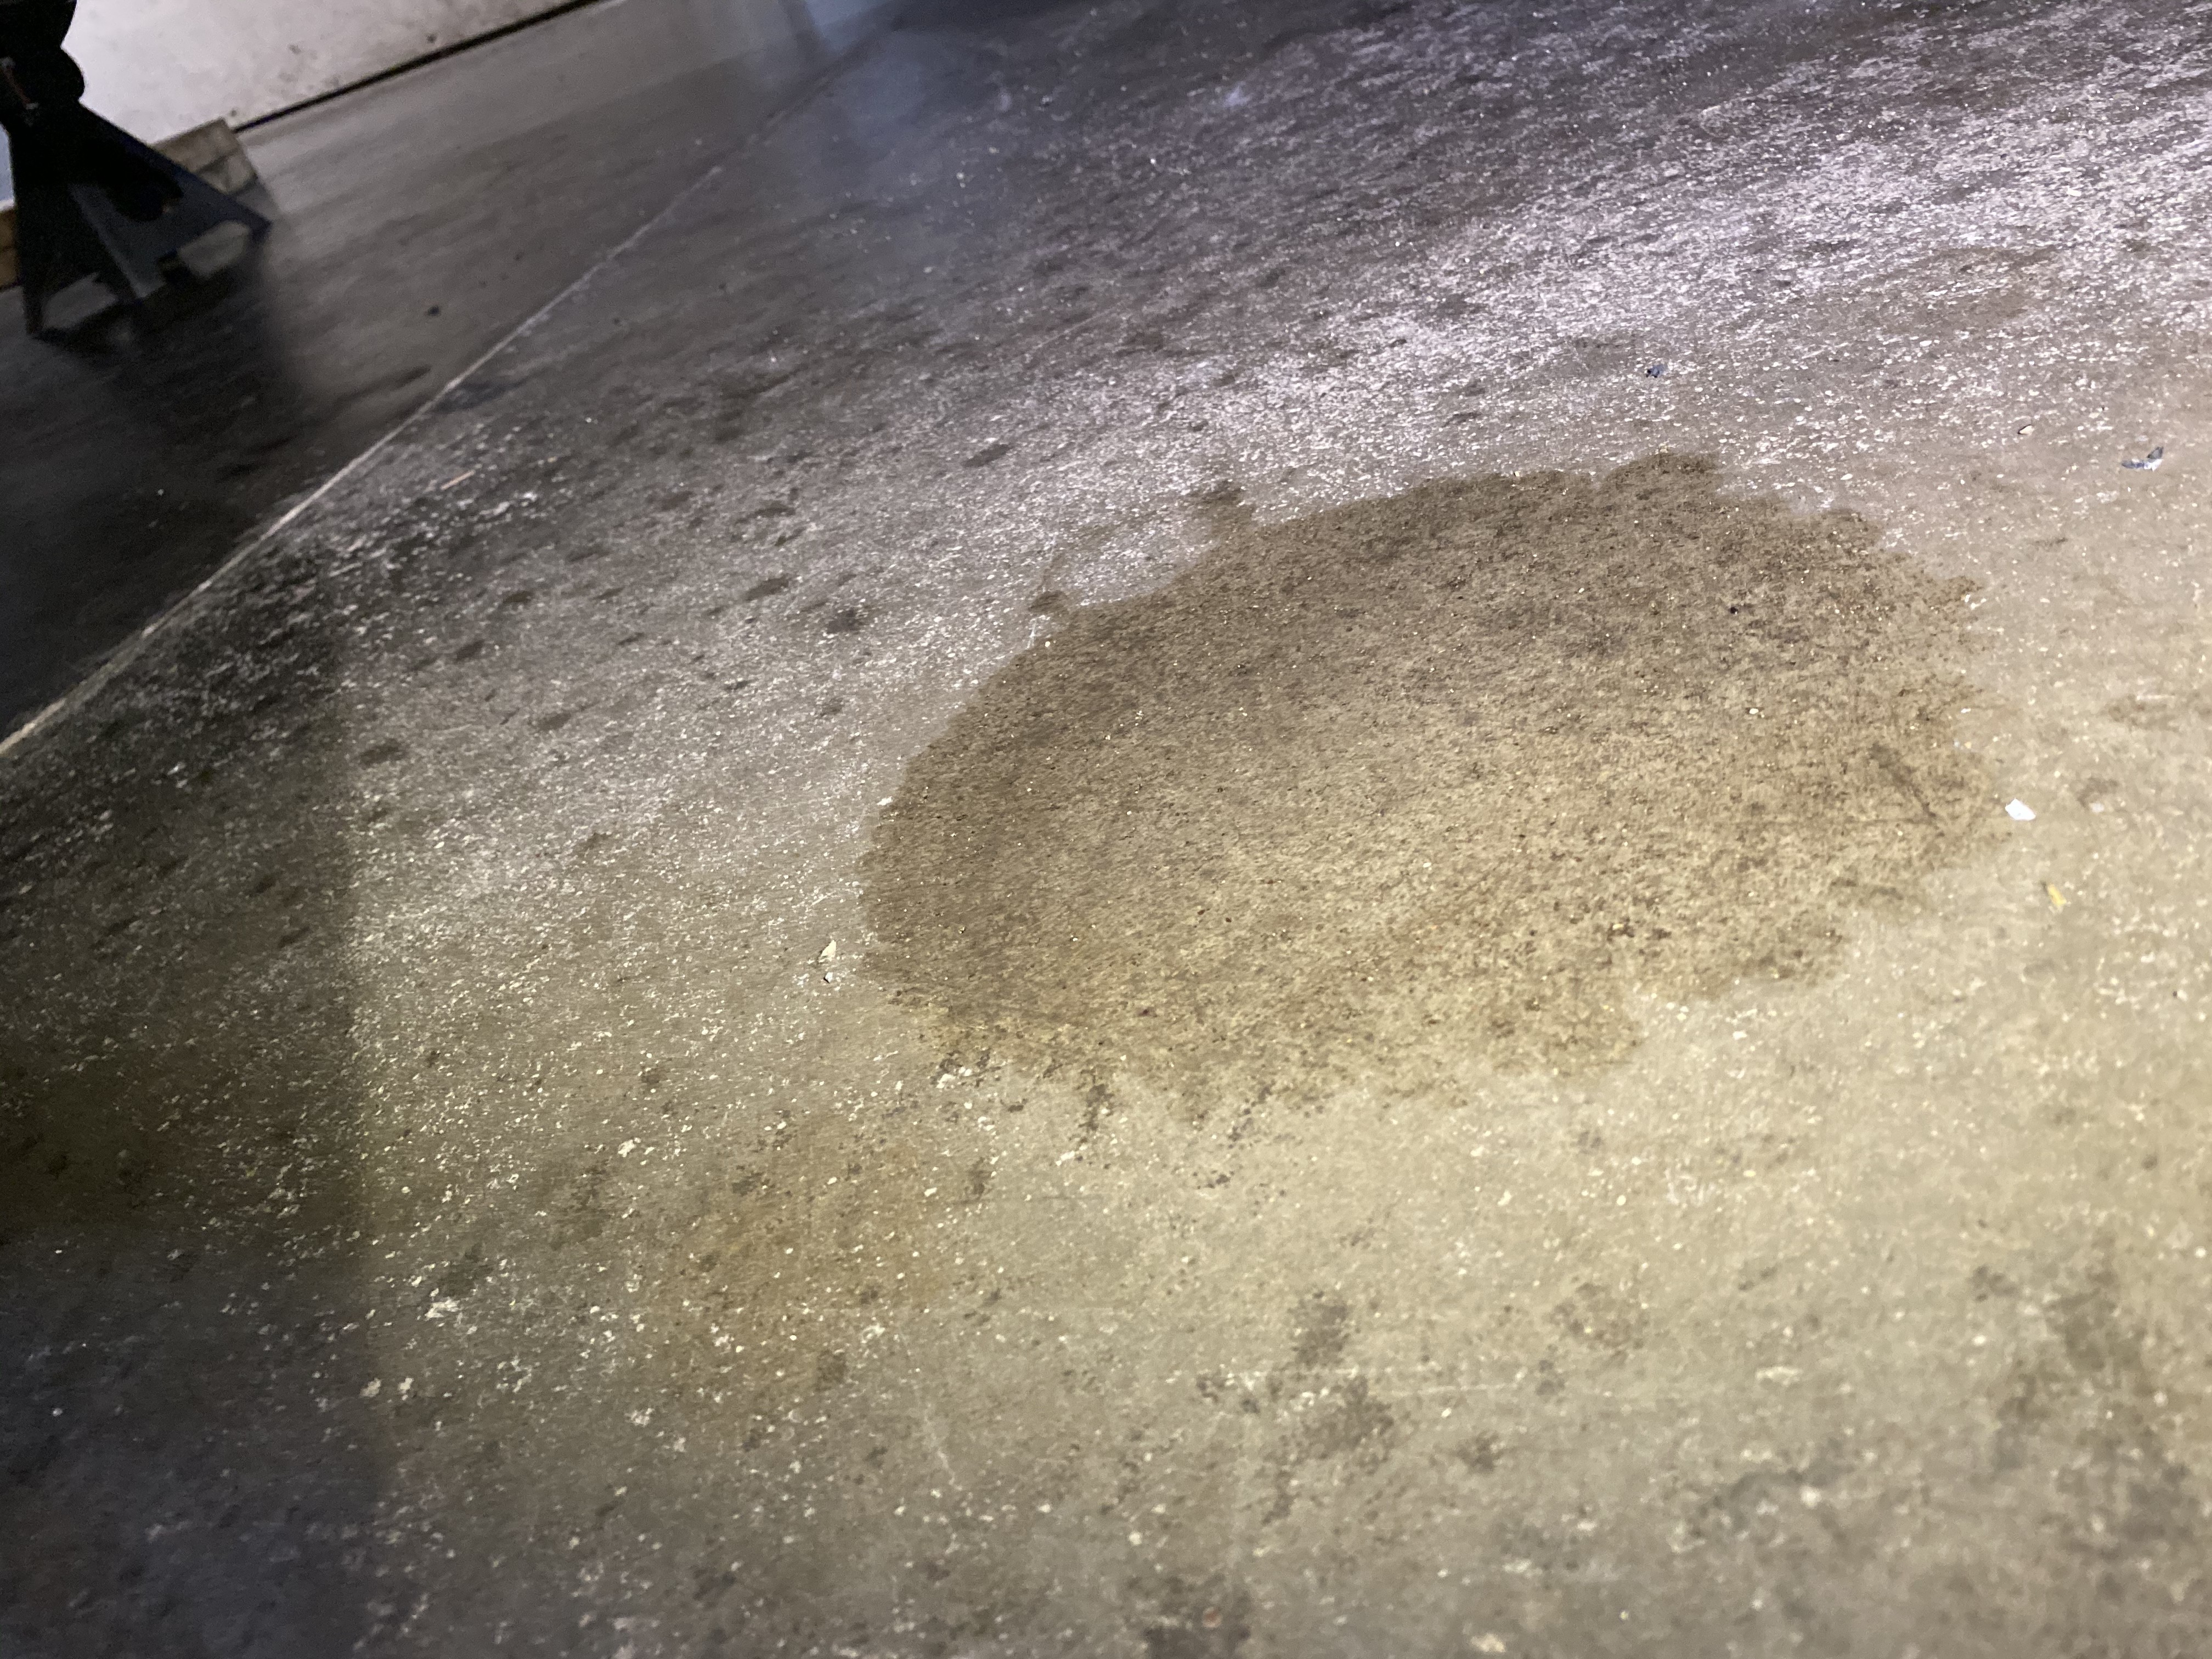
                                    When I was letting it bleed I was adding air to the tires for the commute to USAIR which is when I noticed this leak:

                                    B5241712-3040-4665-BD8B-40BC62F35BD2.jpeg IMG_0867.MOV
                                     

                                    Going to replace all the rubber lines as well as the fuel filter & going to add back in the rubber isolator that goes around the fuel filter 

                                    bummed on the timing as that means no USAIR for the e30, luckily my gf has cooler cars than me so I’ll just codrive

                                    1 Reply Last reply
                                    0
                                    • KaiserRollsK
                                      KaiserRollsK
                                      KaiserRolls
                                      wrote on last edited by
                                      #320

                                      Ended up co-driving the evo. Took first in STU and 3rd overall for raw time. 
                                      http://www.fvscc.com/results/2020_Summer/Event2_raw.htm

                                      1 Reply Last reply
                                      5
                                      • patsbimmer1P
                                        patsbimmer1P
                                        patsbimmer1
                                        wrote on last edited by
                                        #321

                                        Damn it's like watching a young Tommi Makinen toss that Evo around!  Nice job.

                                        2011 e90 M3 - DCT, Borla exhaust, BMW Performance Black Grille, ECS Painted Corners, Ziza Angel Eyes

                                        07 335i Stella - sport package, BMS DCI, zhp knob, TMS cf parking brake lever, VRSF downpipes, MHD tune, H&R race springs, other stuff *SOLD*

                                        97 328i Lola - sport package, m50 intake manifold, m50 manifold.com install kit, custom CAI, K&N filter, Borla exhaust, FK silverline coilovers, 25.5mm front sway bar, Powerflex front sway bushings, Turner Radiator, fan delete *sold*
                                        95 325is *sold*
                                        93 nissan 240sx KA-T *sold*

                                        BMWCCA #473306

                                        Instagram @patsbimmer1

                                        AKA- HALLWAY PAT

                                        "burnouts bring babes and babes dont have time for bushings" - Kaiser Rolls

                                        1 Reply Last reply
                                        0
                                        • KaiserRollsK
                                          KaiserRollsK
                                          KaiserRolls
                                          wrote on last edited by
                                          #322

                                          Parts have been ordered to fix the leak and replace the filter. Then I’ll be able to get the diff broken in and test the lockup

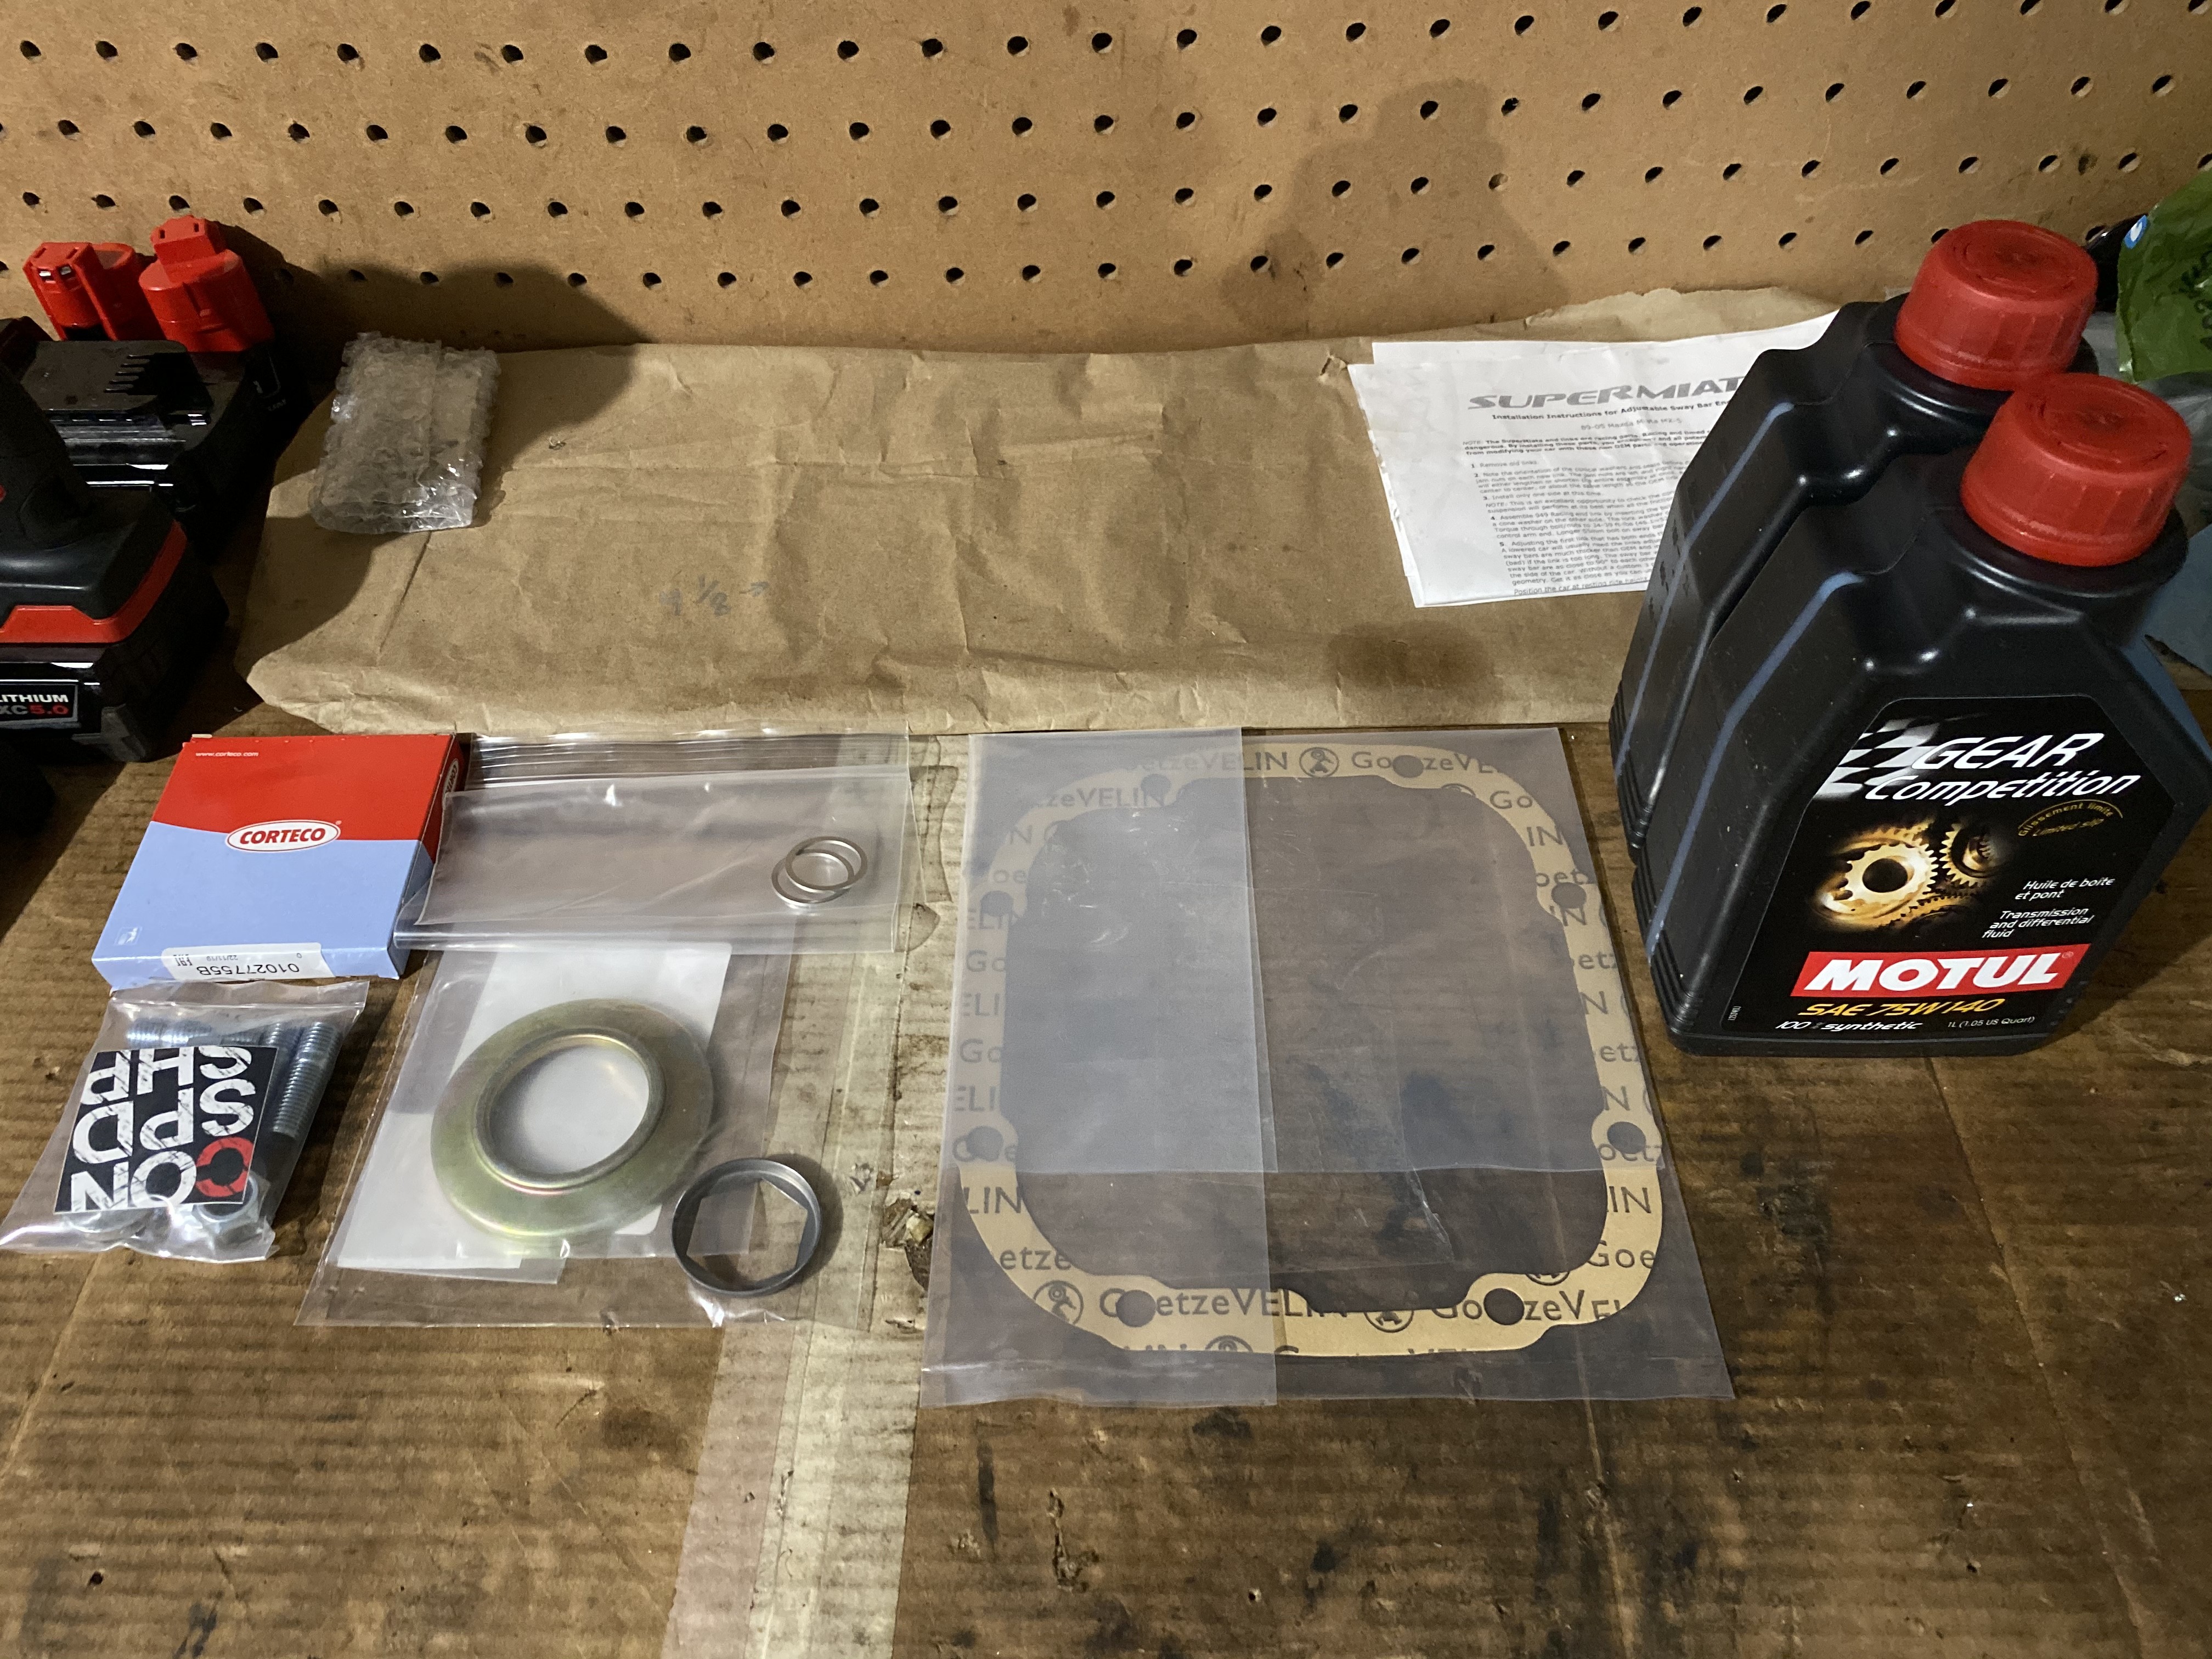
                                          1 Reply Last reply
                                          0

                                          Hello! It looks like you're interested in this conversation, but you don't have an account yet.

                                          Getting fed up of having to scroll through the same posts each visit? When you register for an account, you'll always come back to exactly where you were before, and choose to be notified of new replies (either via email, or push notification). You'll also be able to save bookmarks and upvote posts to show your appreciation to other community members.

                                          With your input, this post could be even better 💗

                                          Register Login
                                          Reply
                                          • Reply as topic
                                          Log in to reply
                                          • Oldest to Newest
                                          • Newest to Oldest
                                          • Most Votes


                                          • Login

                                          • Don't have an account? Register

                                          • Login or register to search.
                                          Powered by NodeBB Contributors
                                          • First post
                                            Last post
                                          0
                                          • Categories
                                          • Recent
                                          • Tags
                                          • Popular
                                          • Users
                                          • Groups