
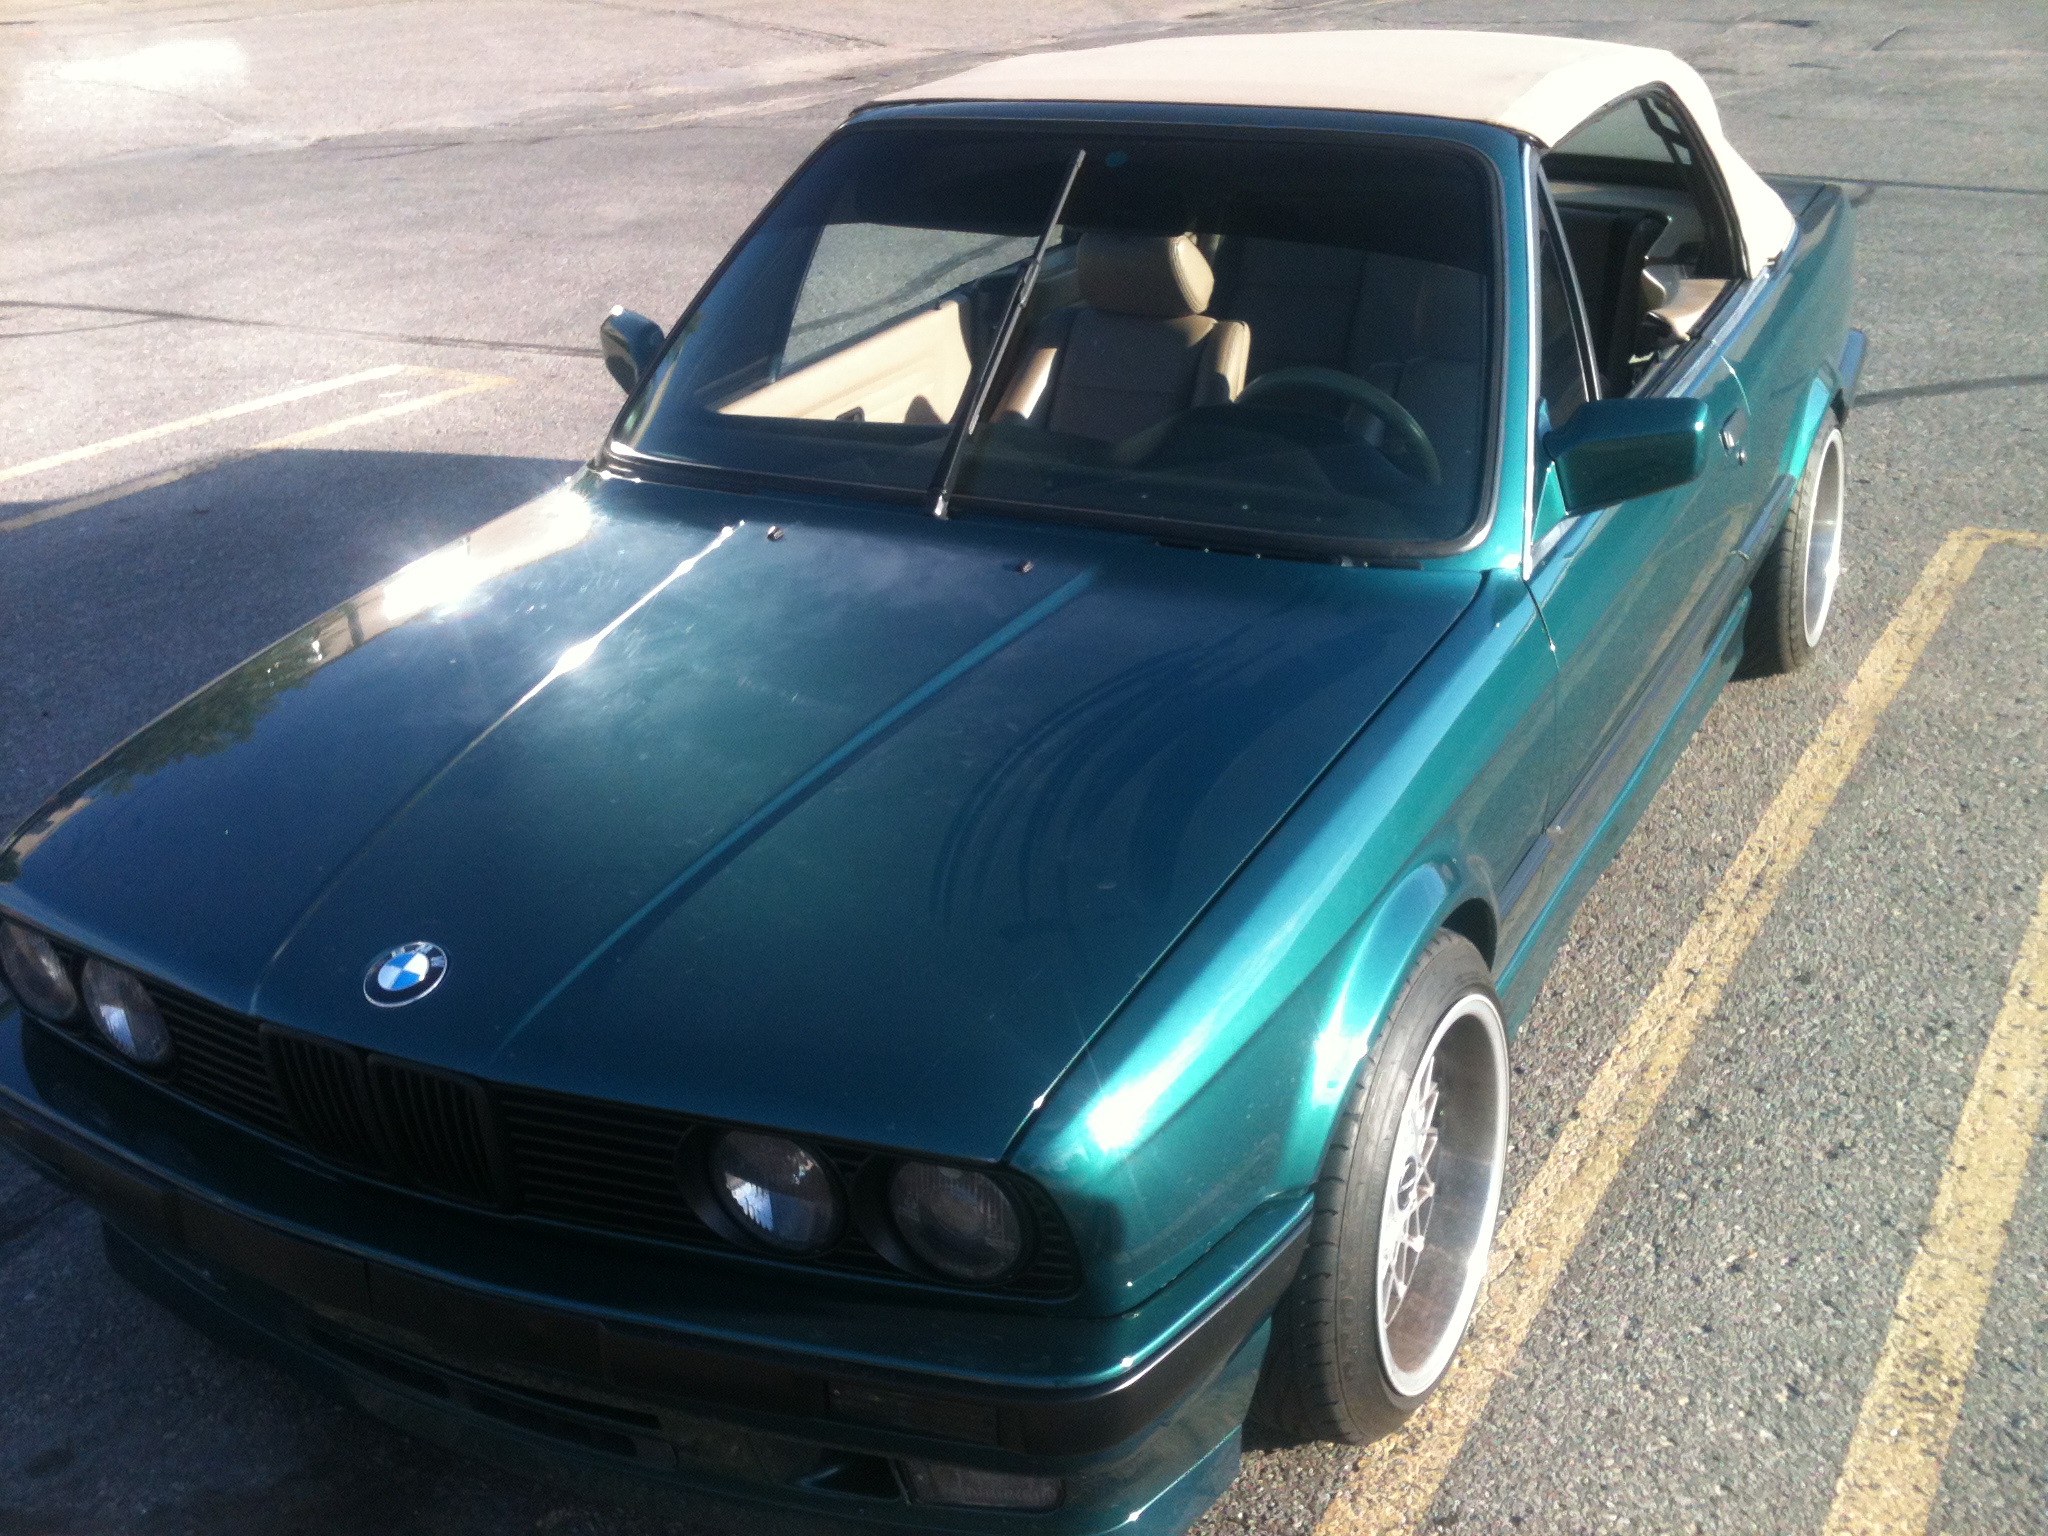
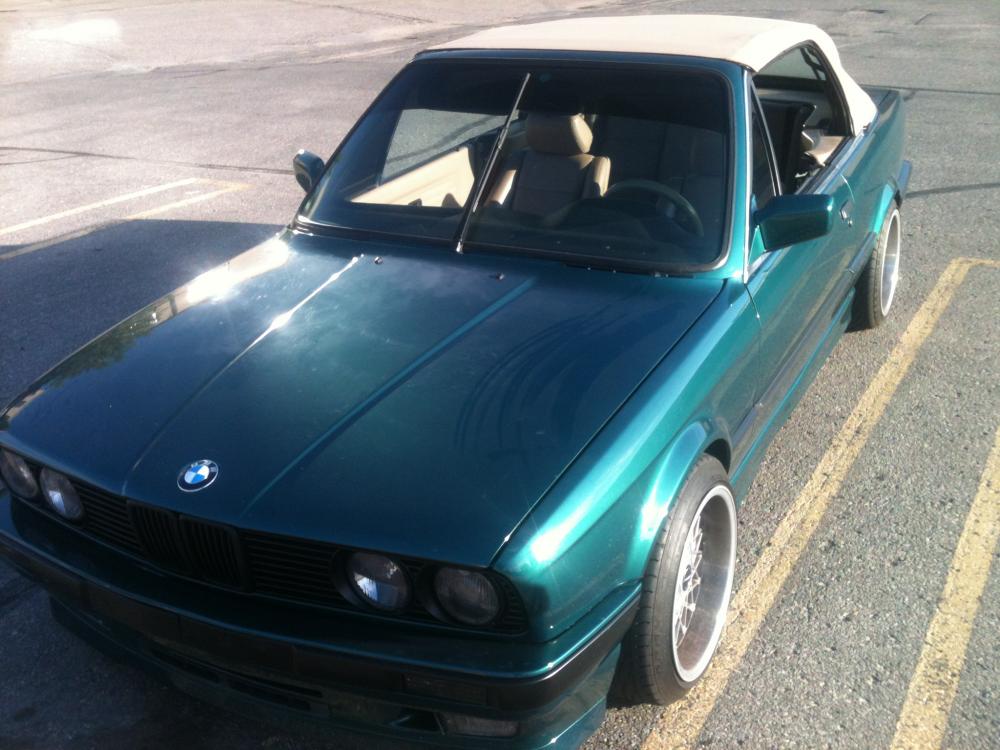
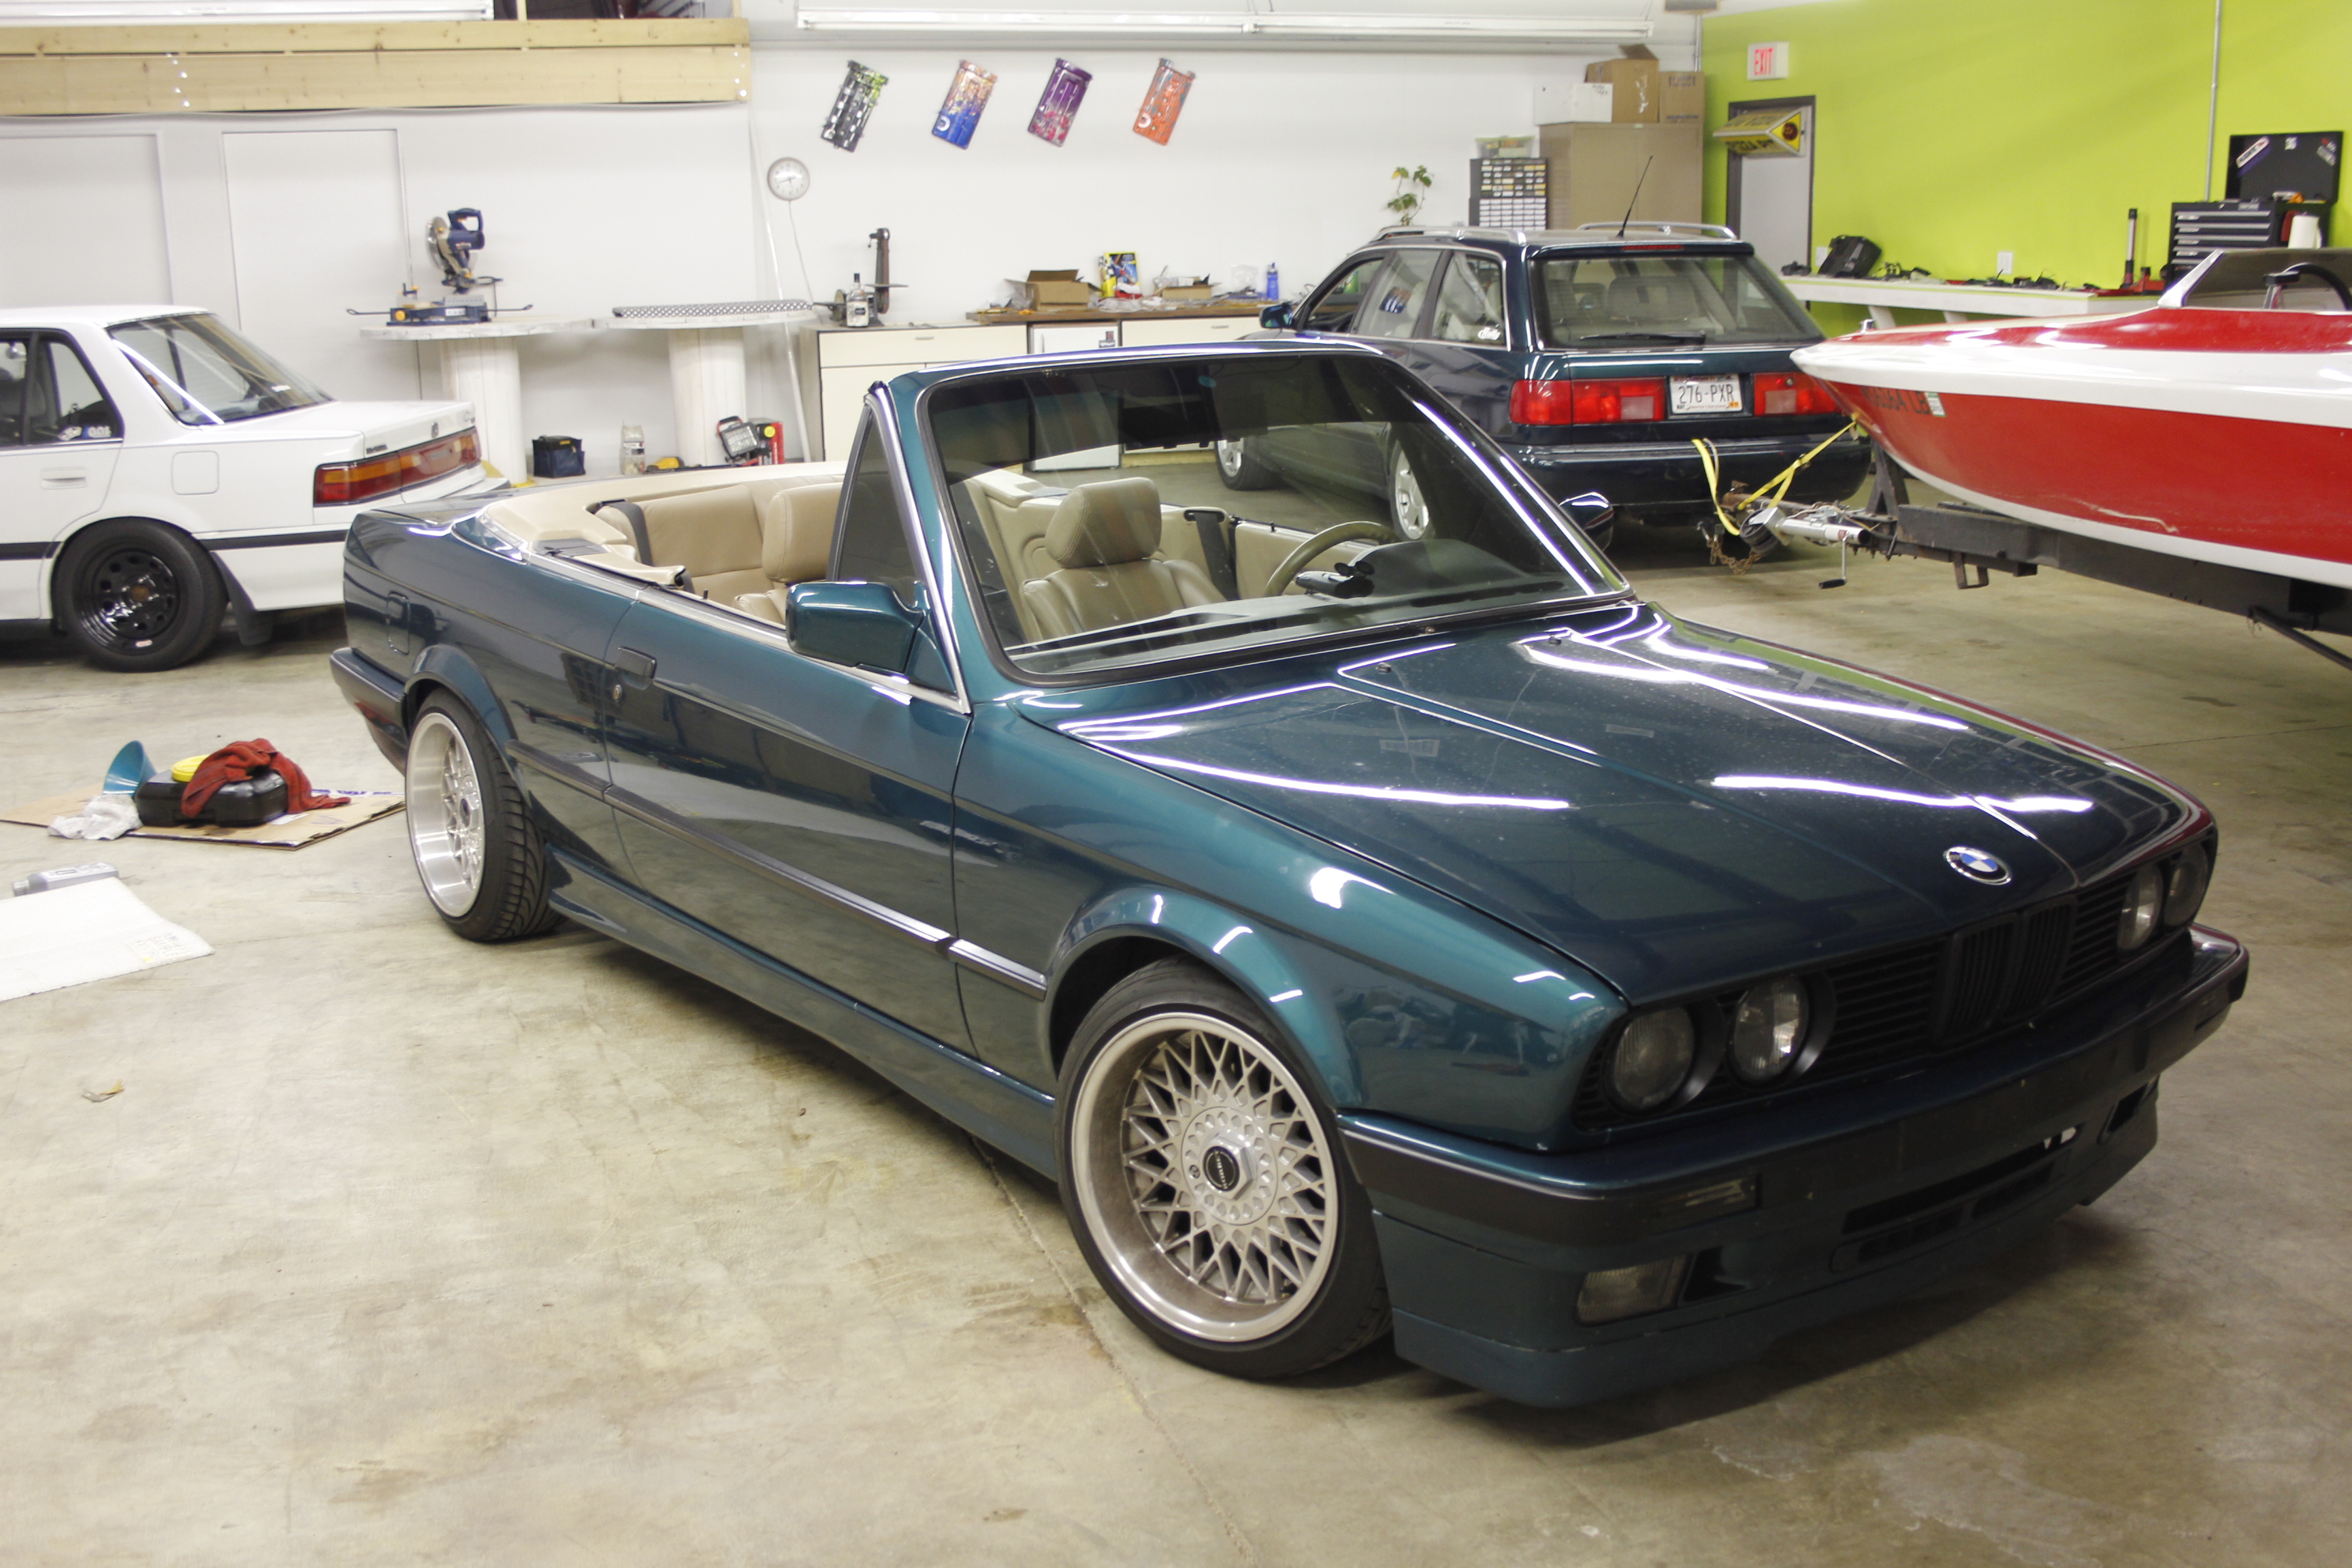
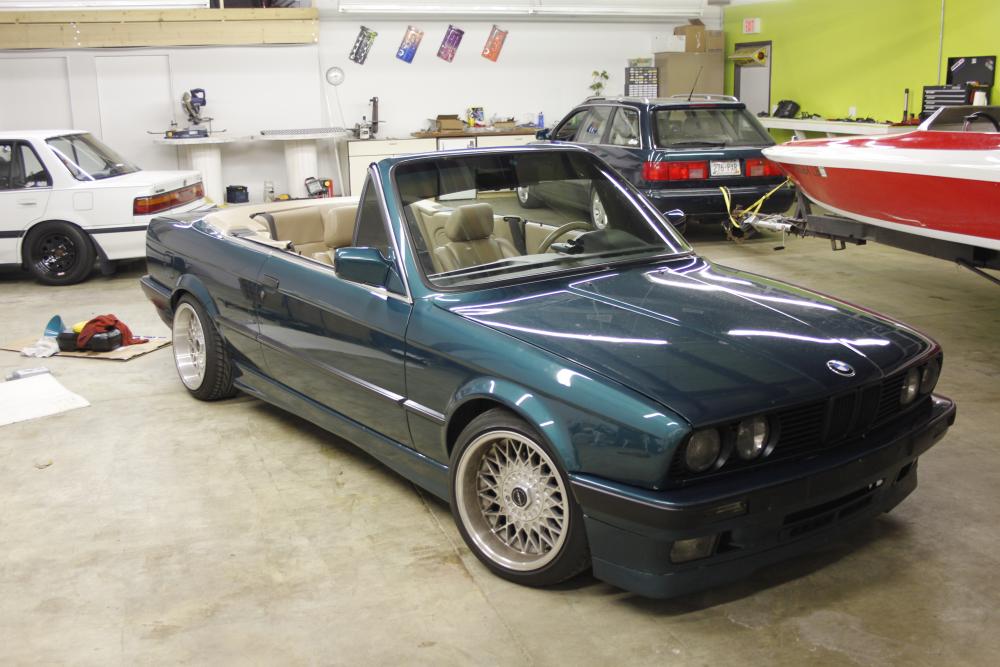
1JZ E30 Vert Build Thread with Pastry filled wheels

-
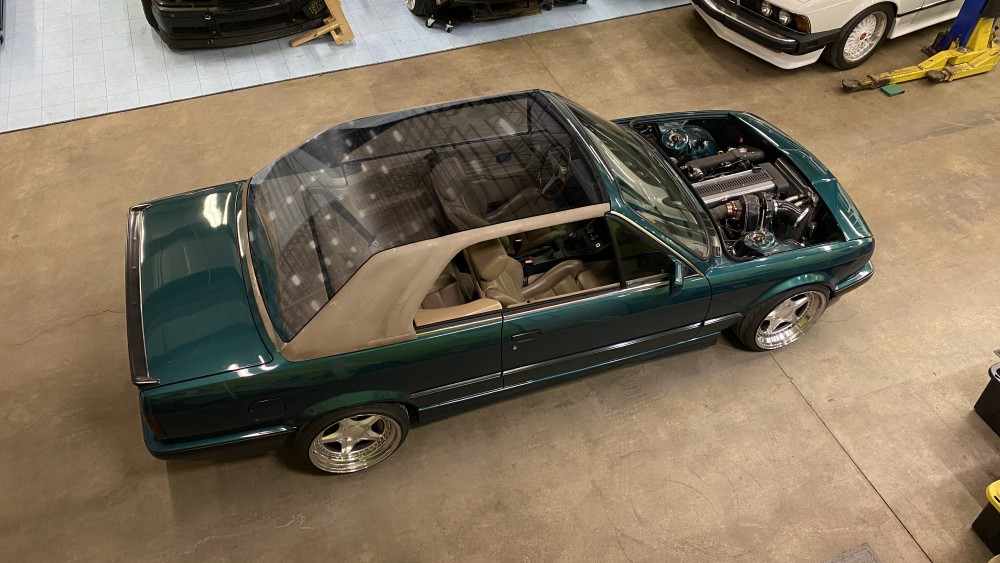
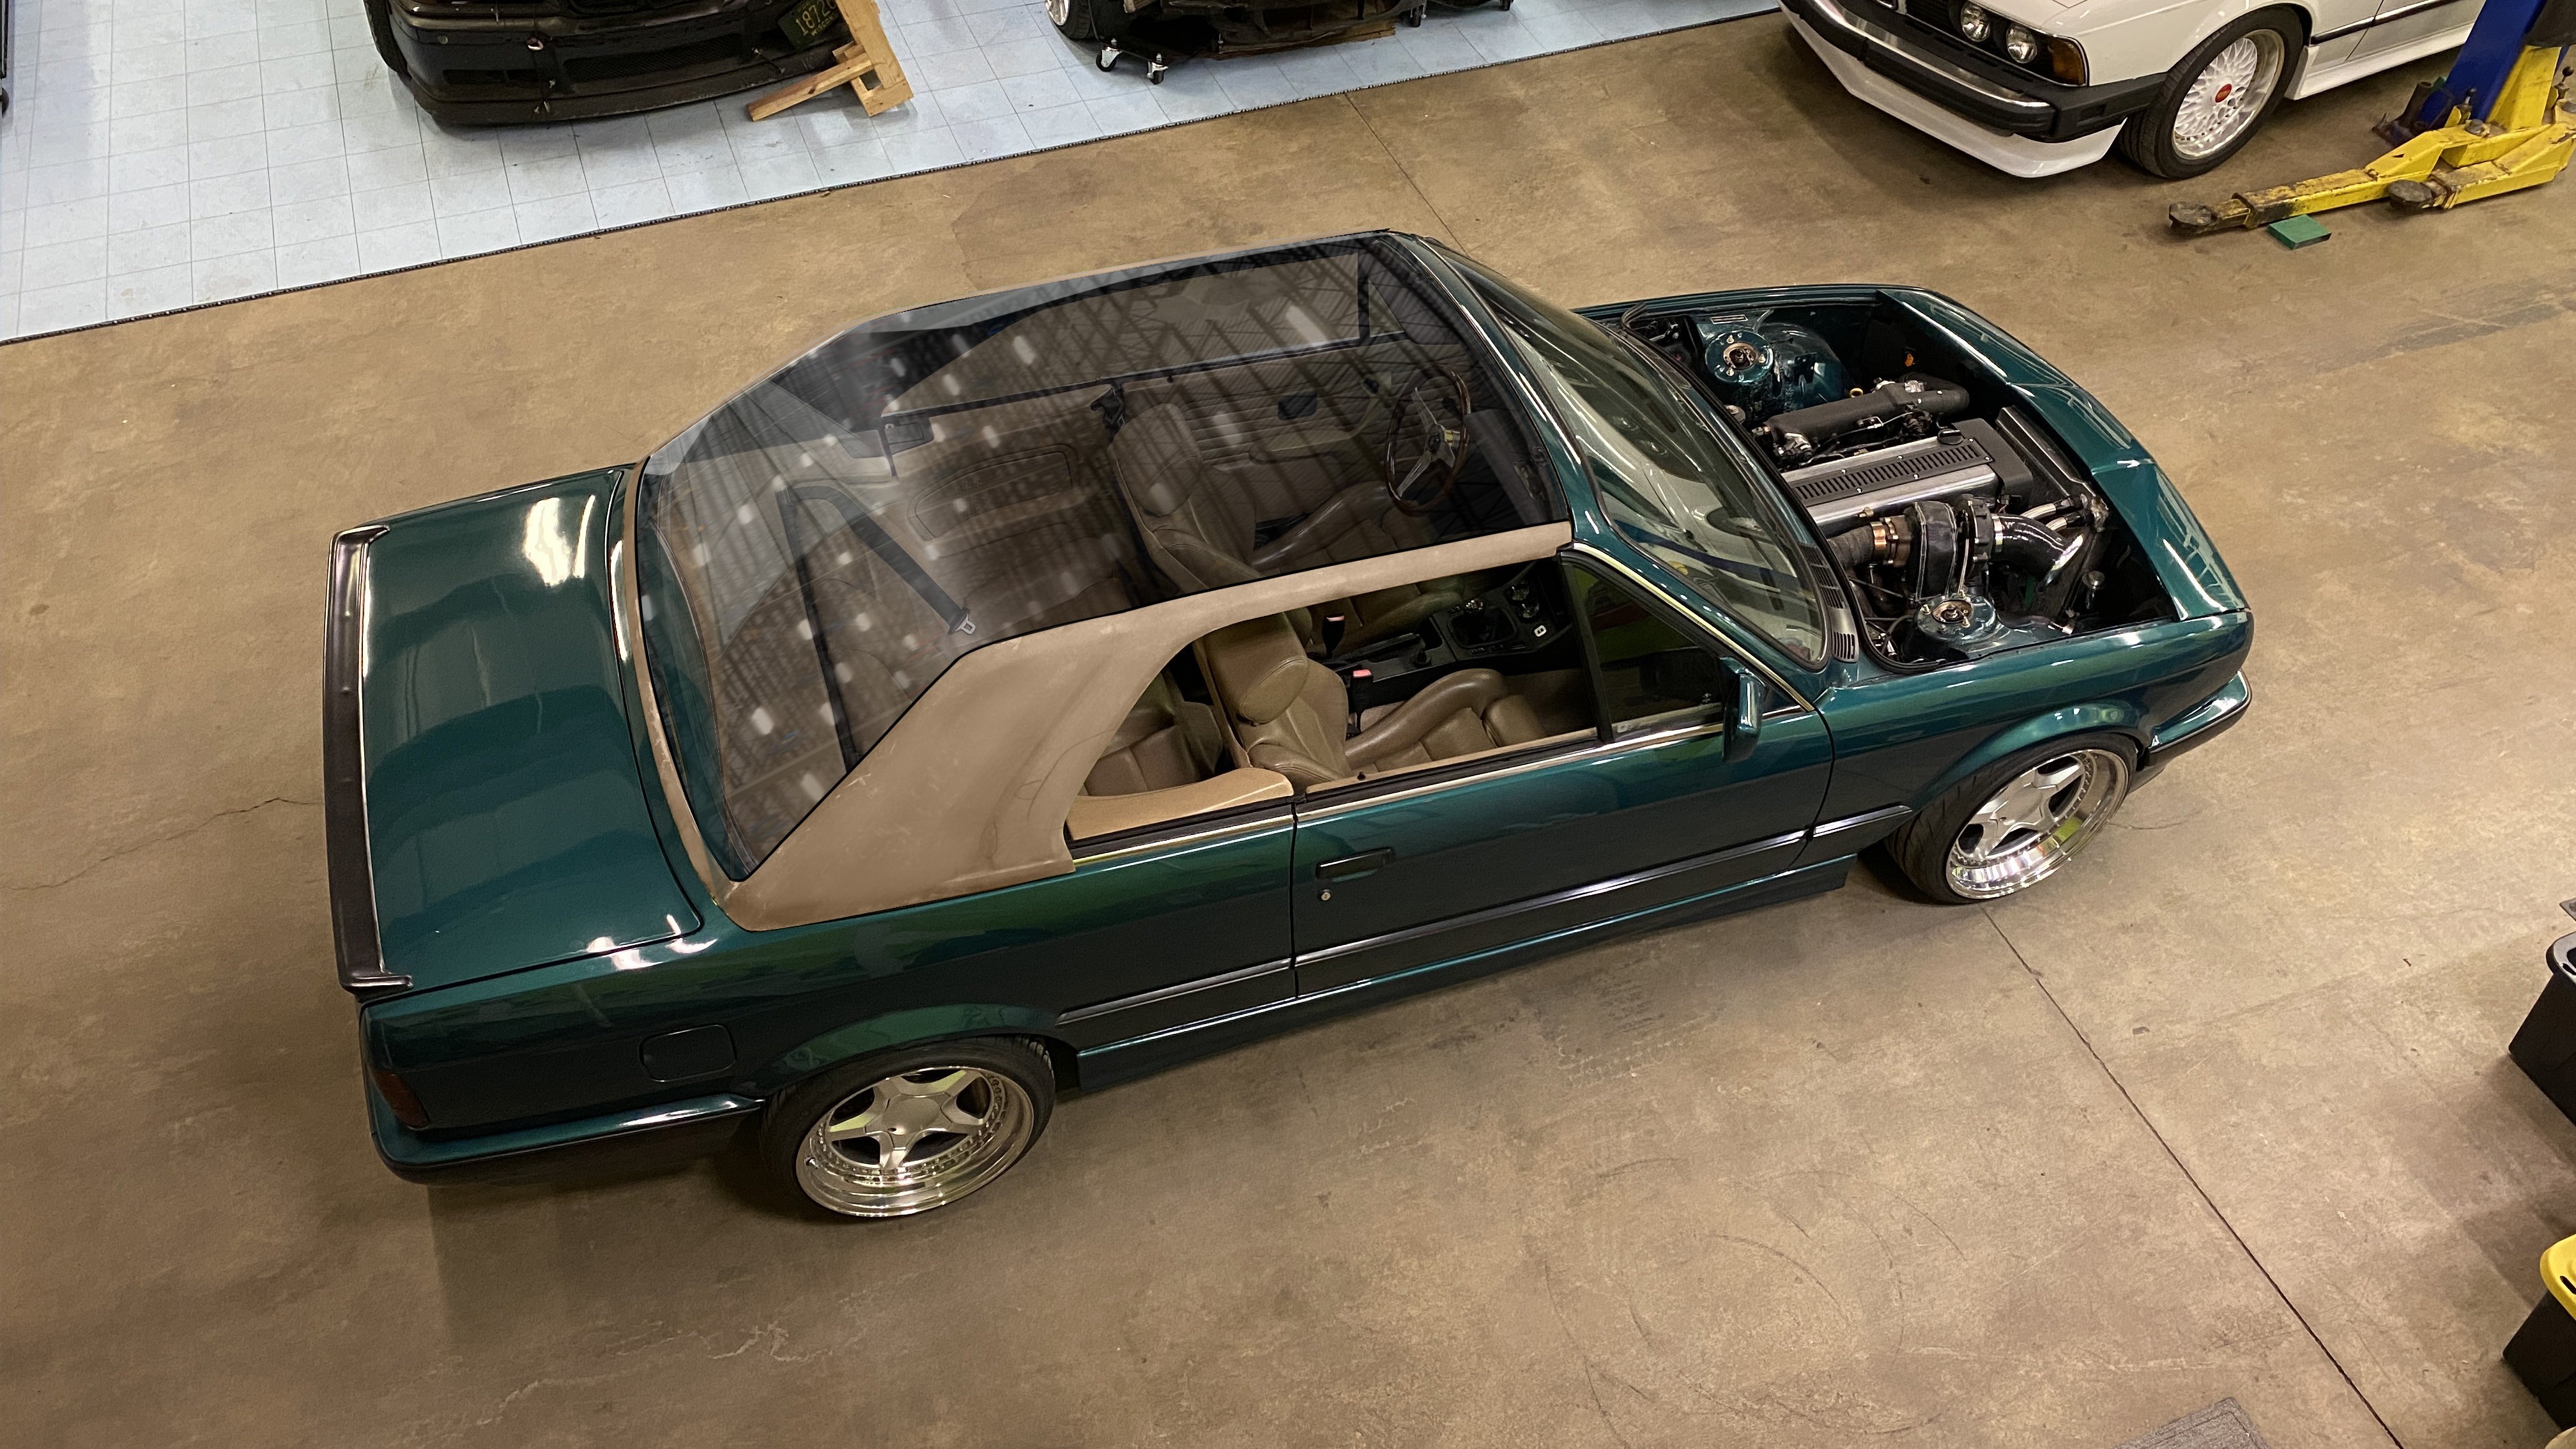
Are you still planning to make a copy of that roof with the large window?
Almost done already.

https://www.instagram.com/_jdesigner_/ http://nevertoolow.tumblr.com/
🥳SOLD BMW E24 633CSI - BMW M30B32 🧪SOLD HCH ES9 - 1.3 LDA
👽BMW E30 325IC - Toyota 1JZ-GTE ⏰ HONDA EF9 CIVIC SI - JDM B18C5
☠️BMW E36 318i - Ford 5.0 FE302 🚴♂️ GT-Labomba - 26x2.75 Freeride
🤹♀️SOLD BMW E36/7 Z3 - BMW M54B25 🧓SOLD BMW E10 2002 - BMW M10M05 -
thats an impressive photoshop, and damn beautiful!
i assume project #3 will be some sort of trunk chop so we can see your spare tire?
Dan

-
thats an impressive photoshop, and damn beautiful!
i assume project #3 will be some sort of trunk chop so we can see your spare tire?
Thank you! And I was thinking LED valve caps.
https://www.instagram.com/_jdesigner_/ http://nevertoolow.tumblr.com/
🥳SOLD BMW E24 633CSI - BMW M30B32 🧪SOLD HCH ES9 - 1.3 LDA
👽BMW E30 325IC - Toyota 1JZ-GTE ⏰ HONDA EF9 CIVIC SI - JDM B18C5
☠️BMW E36 318i - Ford 5.0 FE302 🚴♂️ GT-Labomba - 26x2.75 Freeride
🤹♀️SOLD BMW E36/7 Z3 - BMW M54B25 🧓SOLD BMW E10 2002 - BMW M10M05 -
Almost done already.
Oh shit. Is this glass or some form of plexiglass?
How'd you get the bend?
Oh...is this a shop?
-
The chop top shop in the shop made my eyes pop. twas a quality shop. i'll stop.

https://www.instagram.com/_jdesigner_/ http://nevertoolow.tumblr.com/
🥳SOLD BMW E24 633CSI - BMW M30B32 🧪SOLD HCH ES9 - 1.3 LDA
👽BMW E30 325IC - Toyota 1JZ-GTE ⏰ HONDA EF9 CIVIC SI - JDM B18C5
☠️BMW E36 318i - Ford 5.0 FE302 🚴♂️ GT-Labomba - 26x2.75 Freeride
🤹♀️SOLD BMW E36/7 Z3 - BMW M54B25 🧓SOLD BMW E10 2002 - BMW M10M05 -
I cried a little
Me too................................ m e t o o. I swear this started playing right after it happened.

https://www.instagram.com/_jdesigner_/ http://nevertoolow.tumblr.com/
🥳SOLD BMW E24 633CSI - BMW M30B32 🧪SOLD HCH ES9 - 1.3 LDA
👽BMW E30 325IC - Toyota 1JZ-GTE ⏰ HONDA EF9 CIVIC SI - JDM B18C5
☠️BMW E36 318i - Ford 5.0 FE302 🚴♂️ GT-Labomba - 26x2.75 Freeride
🤹♀️SOLD BMW E36/7 Z3 - BMW M54B25 🧓SOLD BMW E10 2002 - BMW M10M05 -
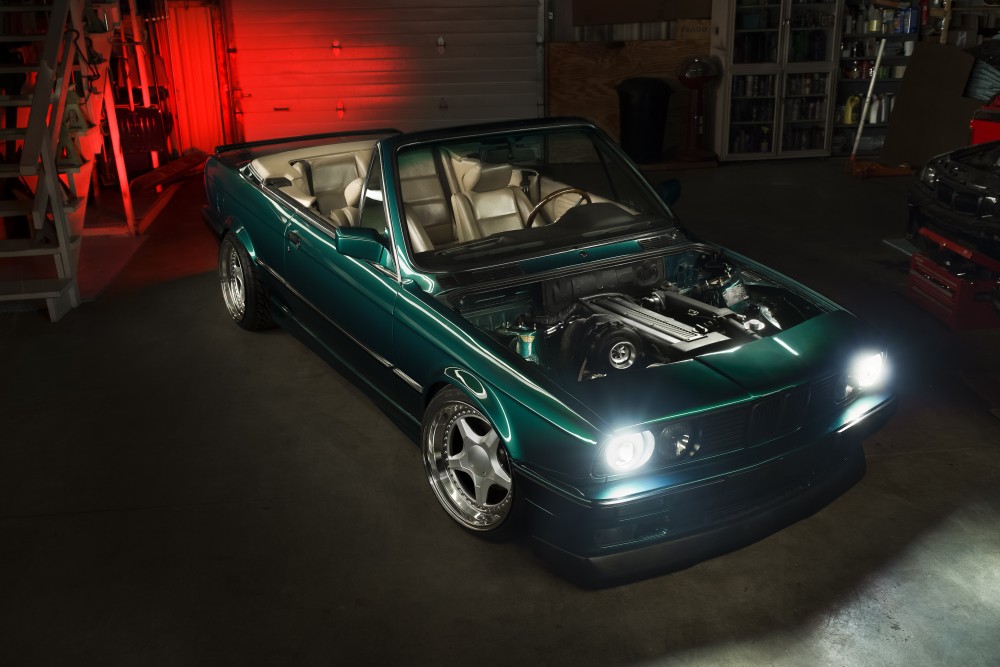
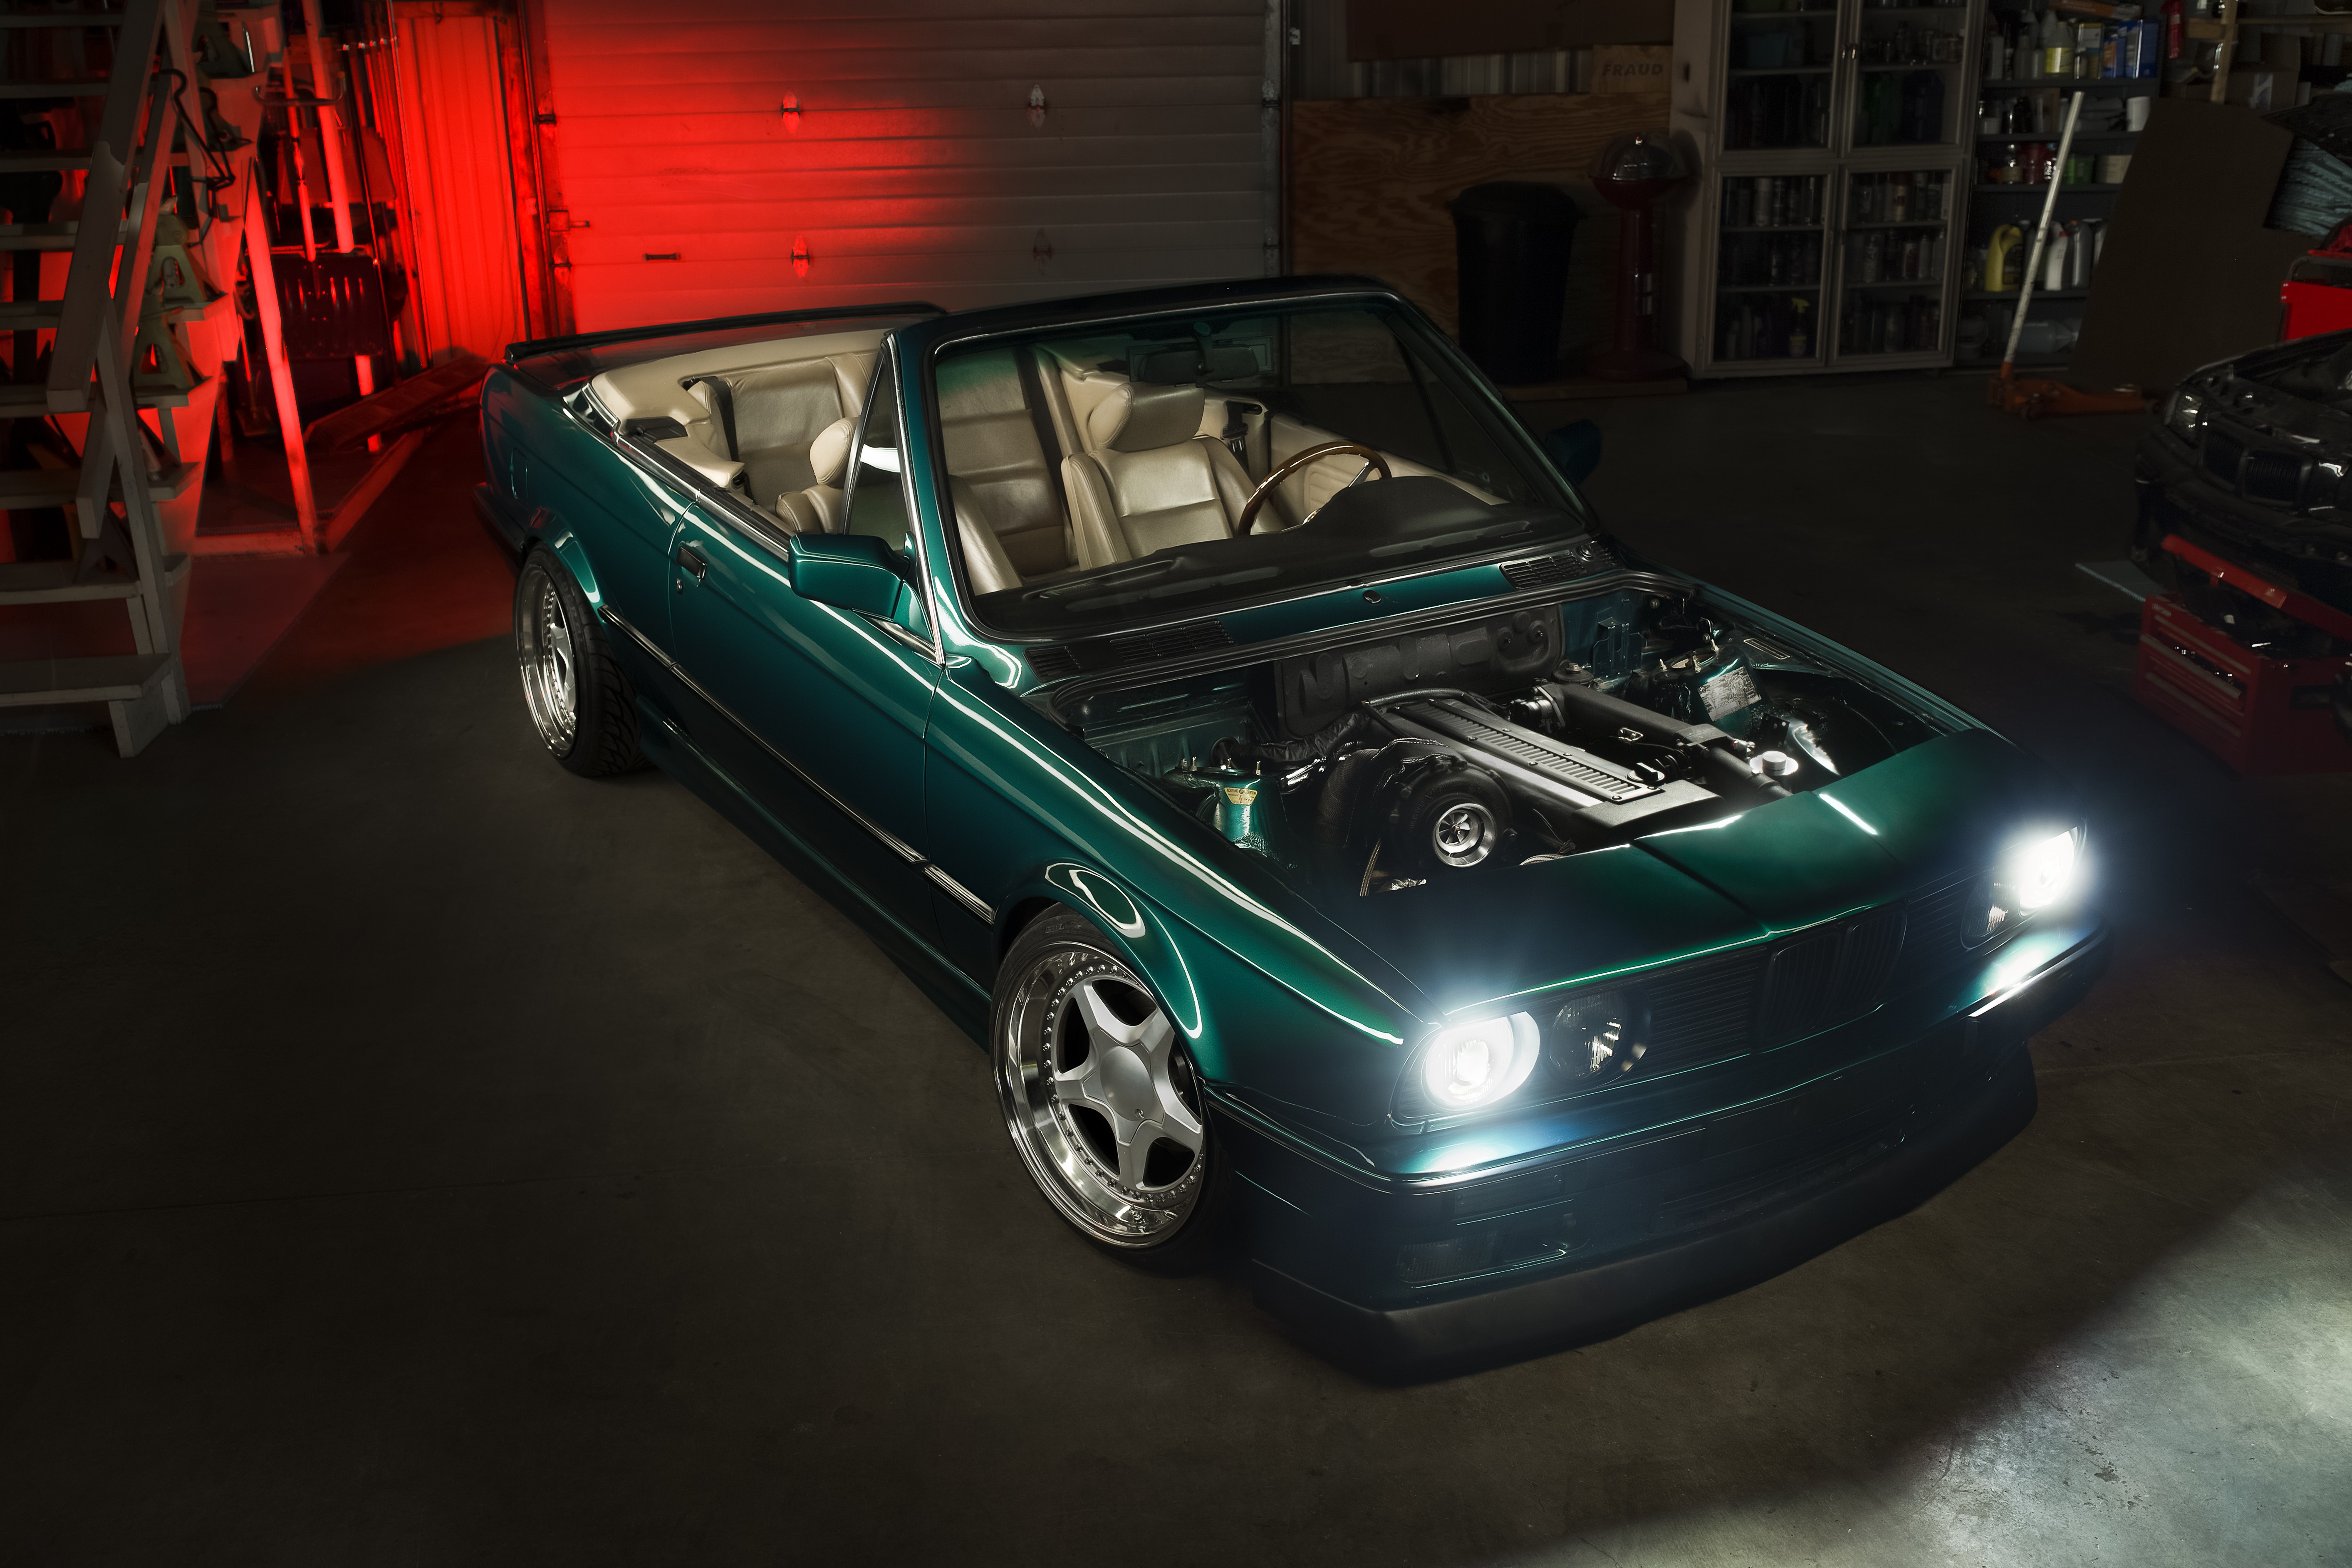
Cher sent me one of his light painting images. I had to share!
https://www.instagram.com/_jdesigner_/ http://nevertoolow.tumblr.com/
🥳SOLD BMW E24 633CSI - BMW M30B32 🧪SOLD HCH ES9 - 1.3 LDA
👽BMW E30 325IC - Toyota 1JZ-GTE ⏰ HONDA EF9 CIVIC SI - JDM B18C5
☠️BMW E36 318i - Ford 5.0 FE302 🚴♂️ GT-Labomba - 26x2.75 Freeride
🤹♀️SOLD BMW E36/7 Z3 - BMW M54B25 🧓SOLD BMW E10 2002 - BMW M10M05 -
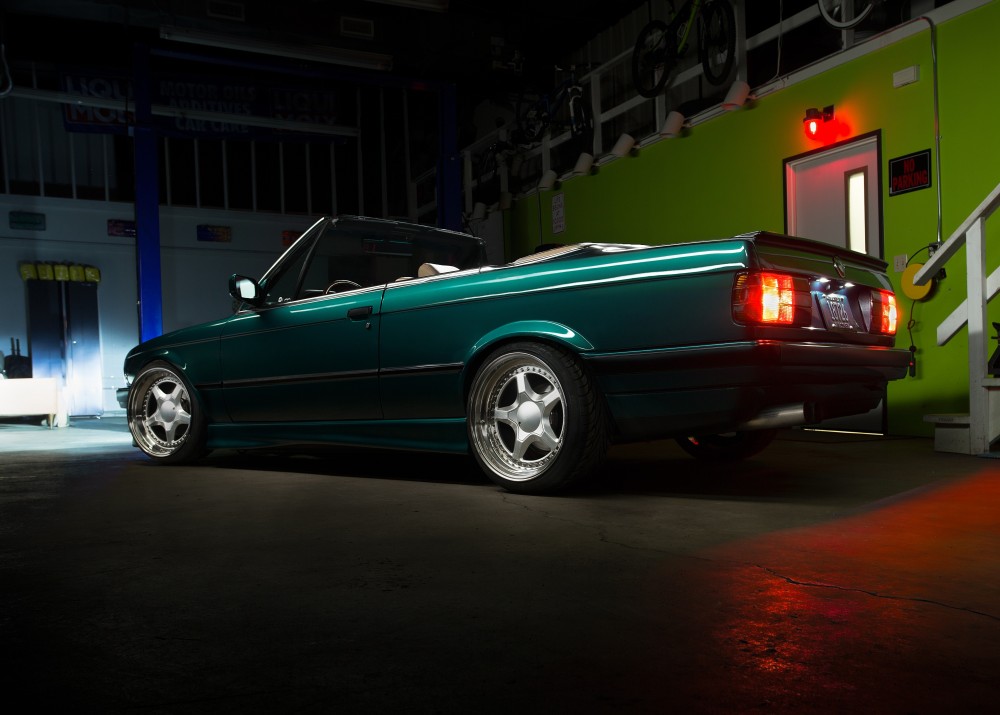
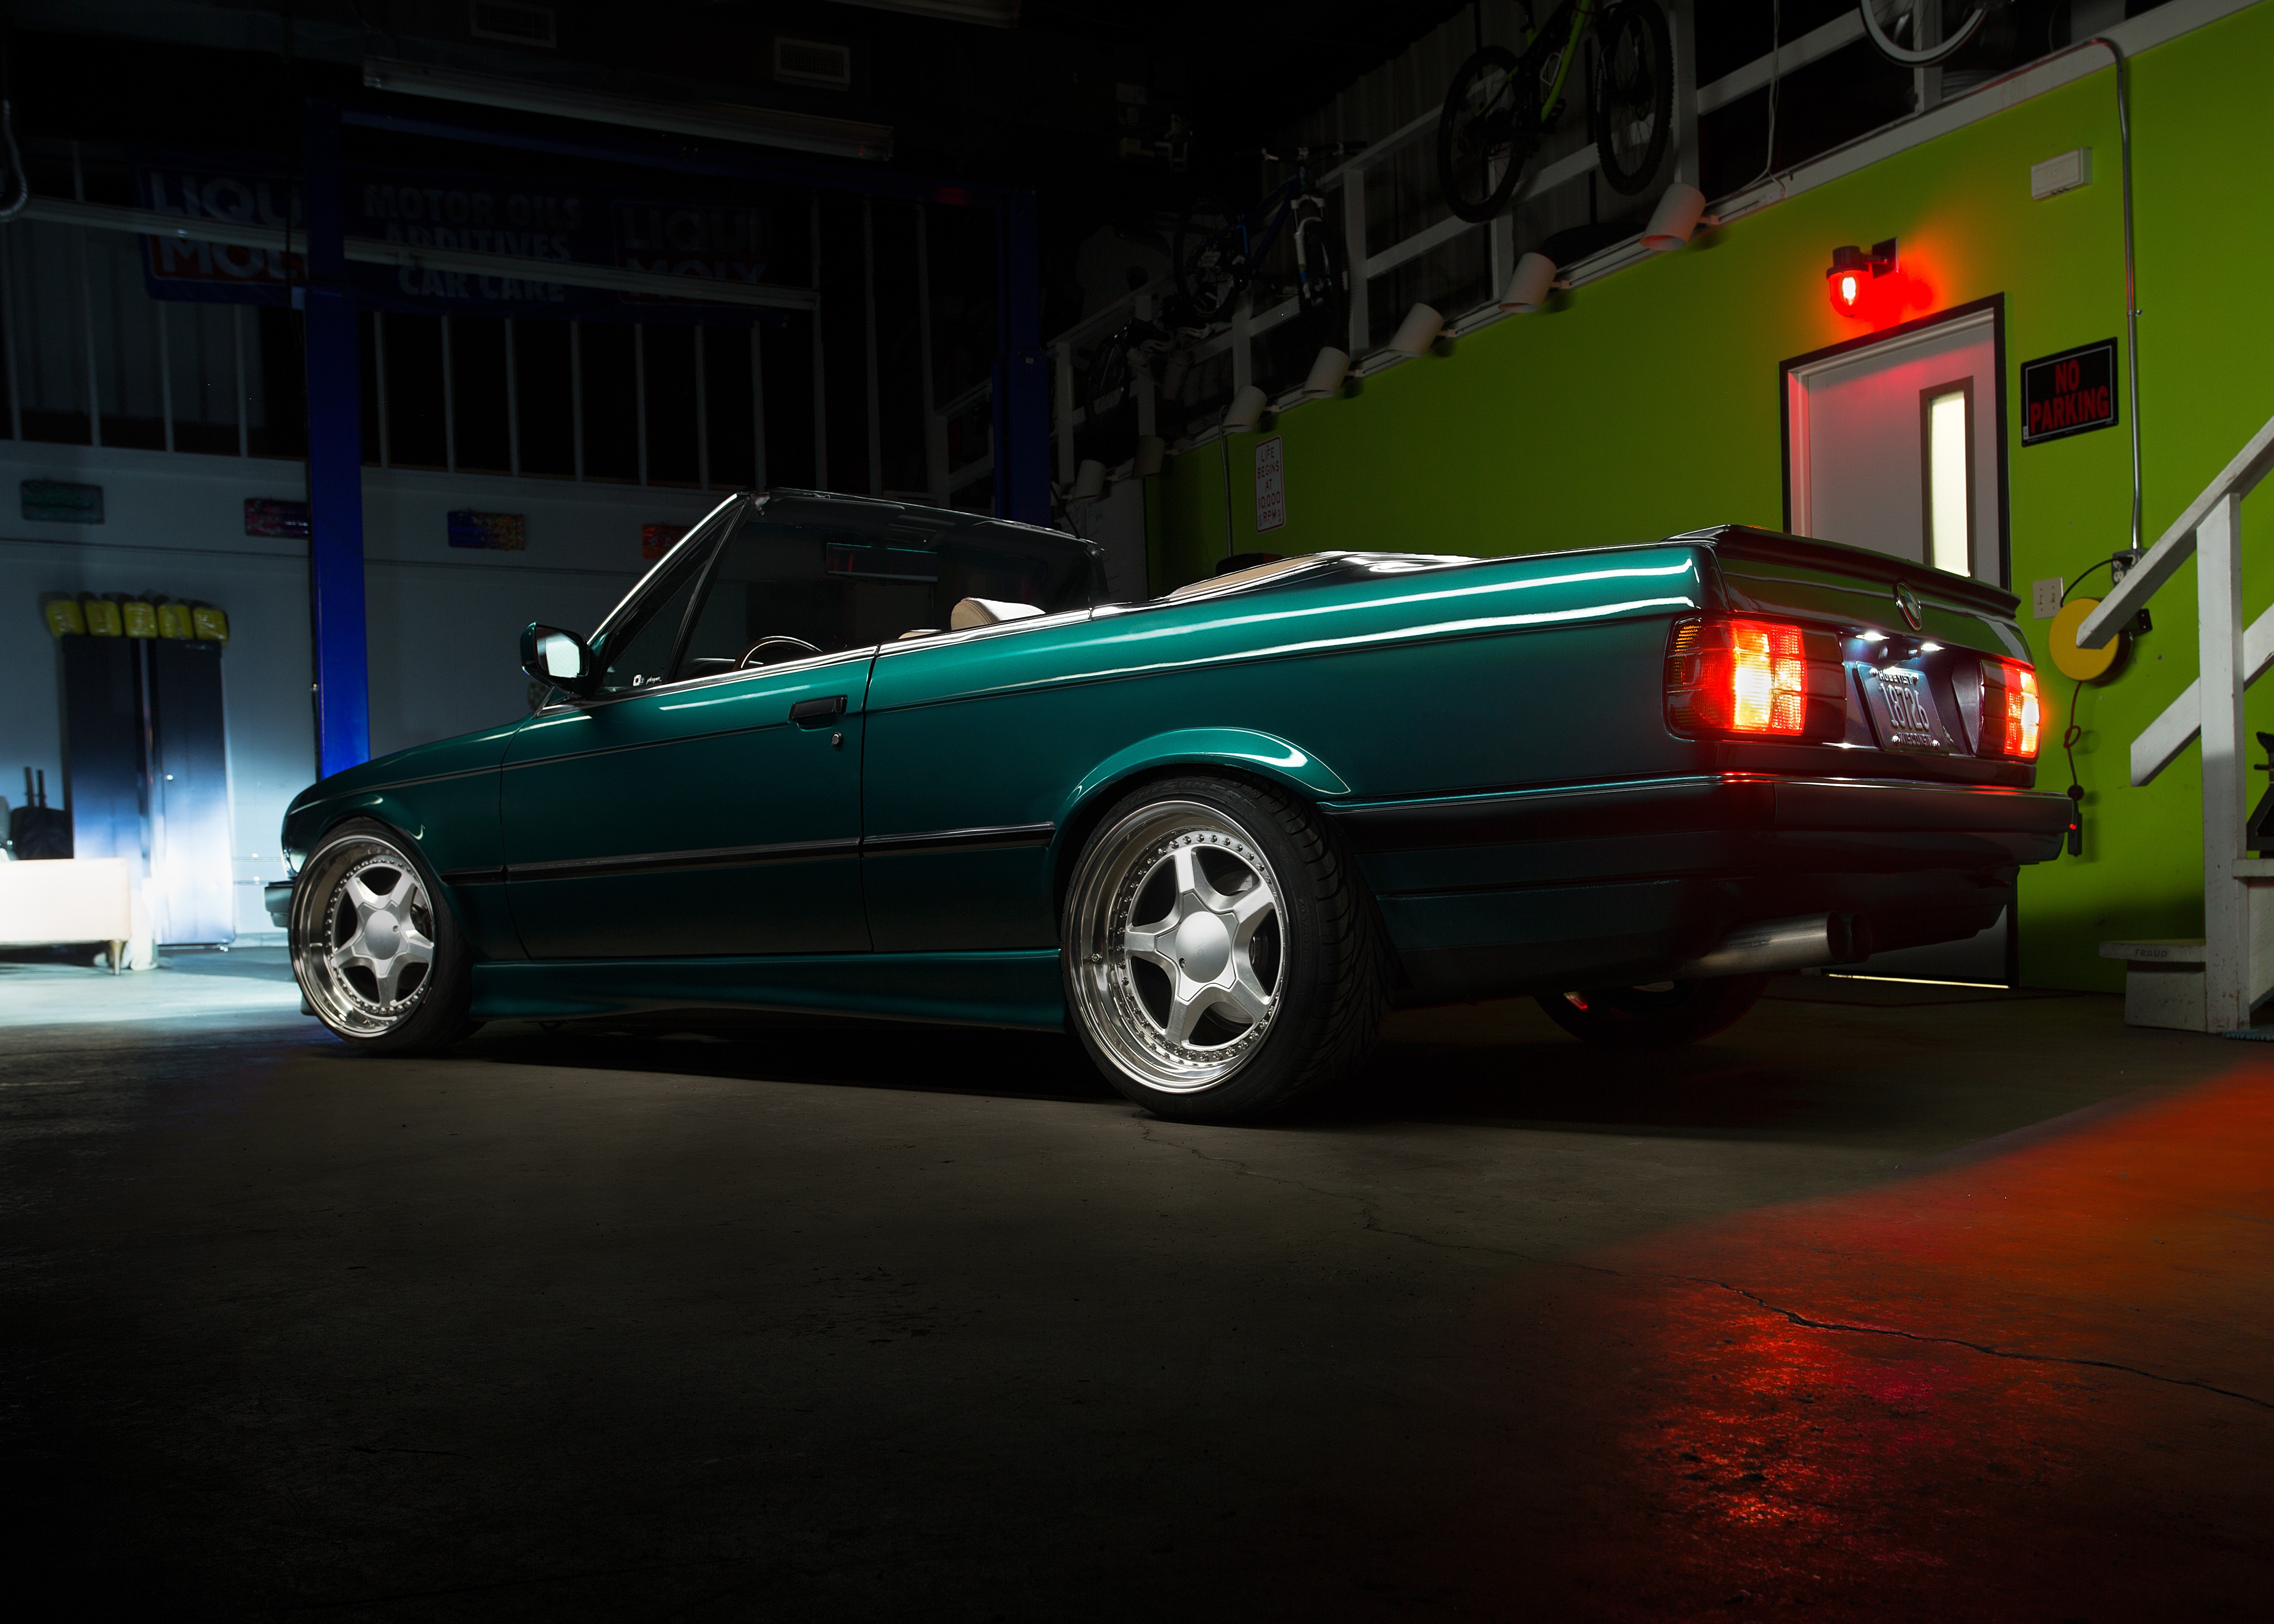
Cher edited the rear view of my car on a whim. Other than that, I have yet to start working on this again, but it is getting closer to the top of the list!
https://www.instagram.com/_jdesigner_/ http://nevertoolow.tumblr.com/
🥳SOLD BMW E24 633CSI - BMW M30B32 🧪SOLD HCH ES9 - 1.3 LDA
👽BMW E30 325IC - Toyota 1JZ-GTE ⏰ HONDA EF9 CIVIC SI - JDM B18C5
☠️BMW E36 318i - Ford 5.0 FE302 🚴♂️ GT-Labomba - 26x2.75 Freeride
🤹♀️SOLD BMW E36/7 Z3 - BMW M54B25 🧓SOLD BMW E10 2002 - BMW M10M05 -
LOOOOOOOONG overdue update on this car.
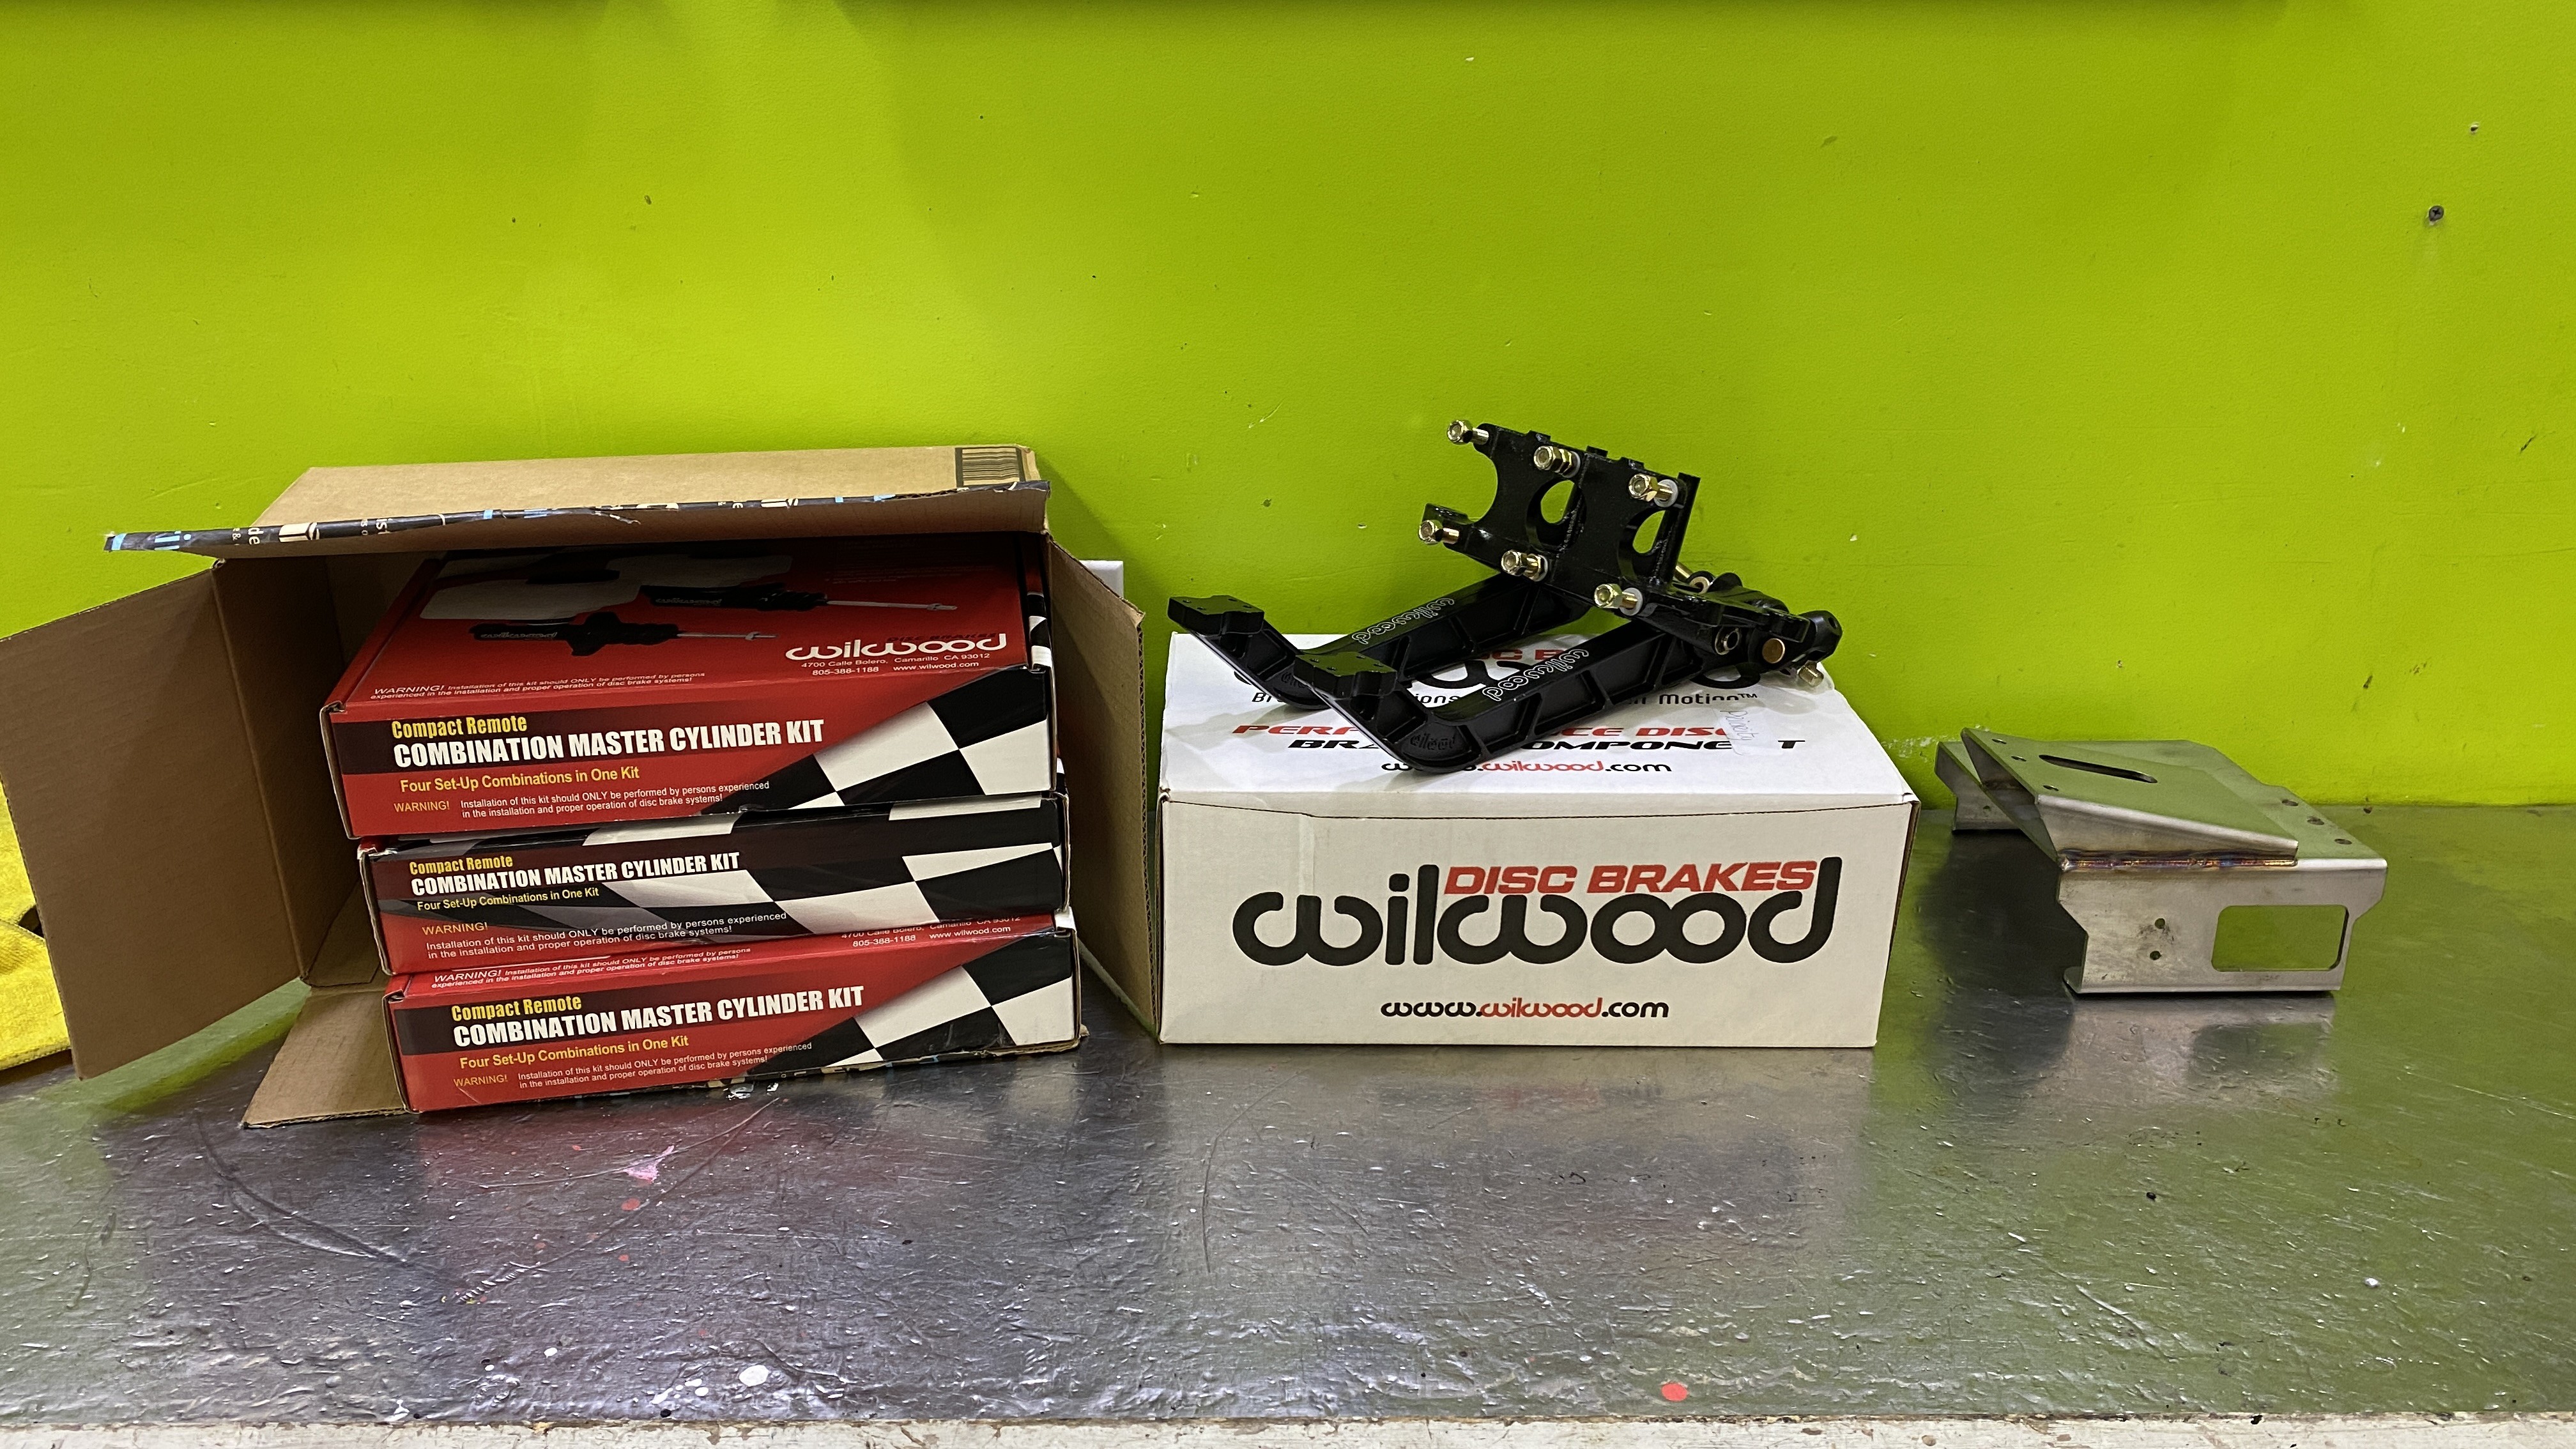
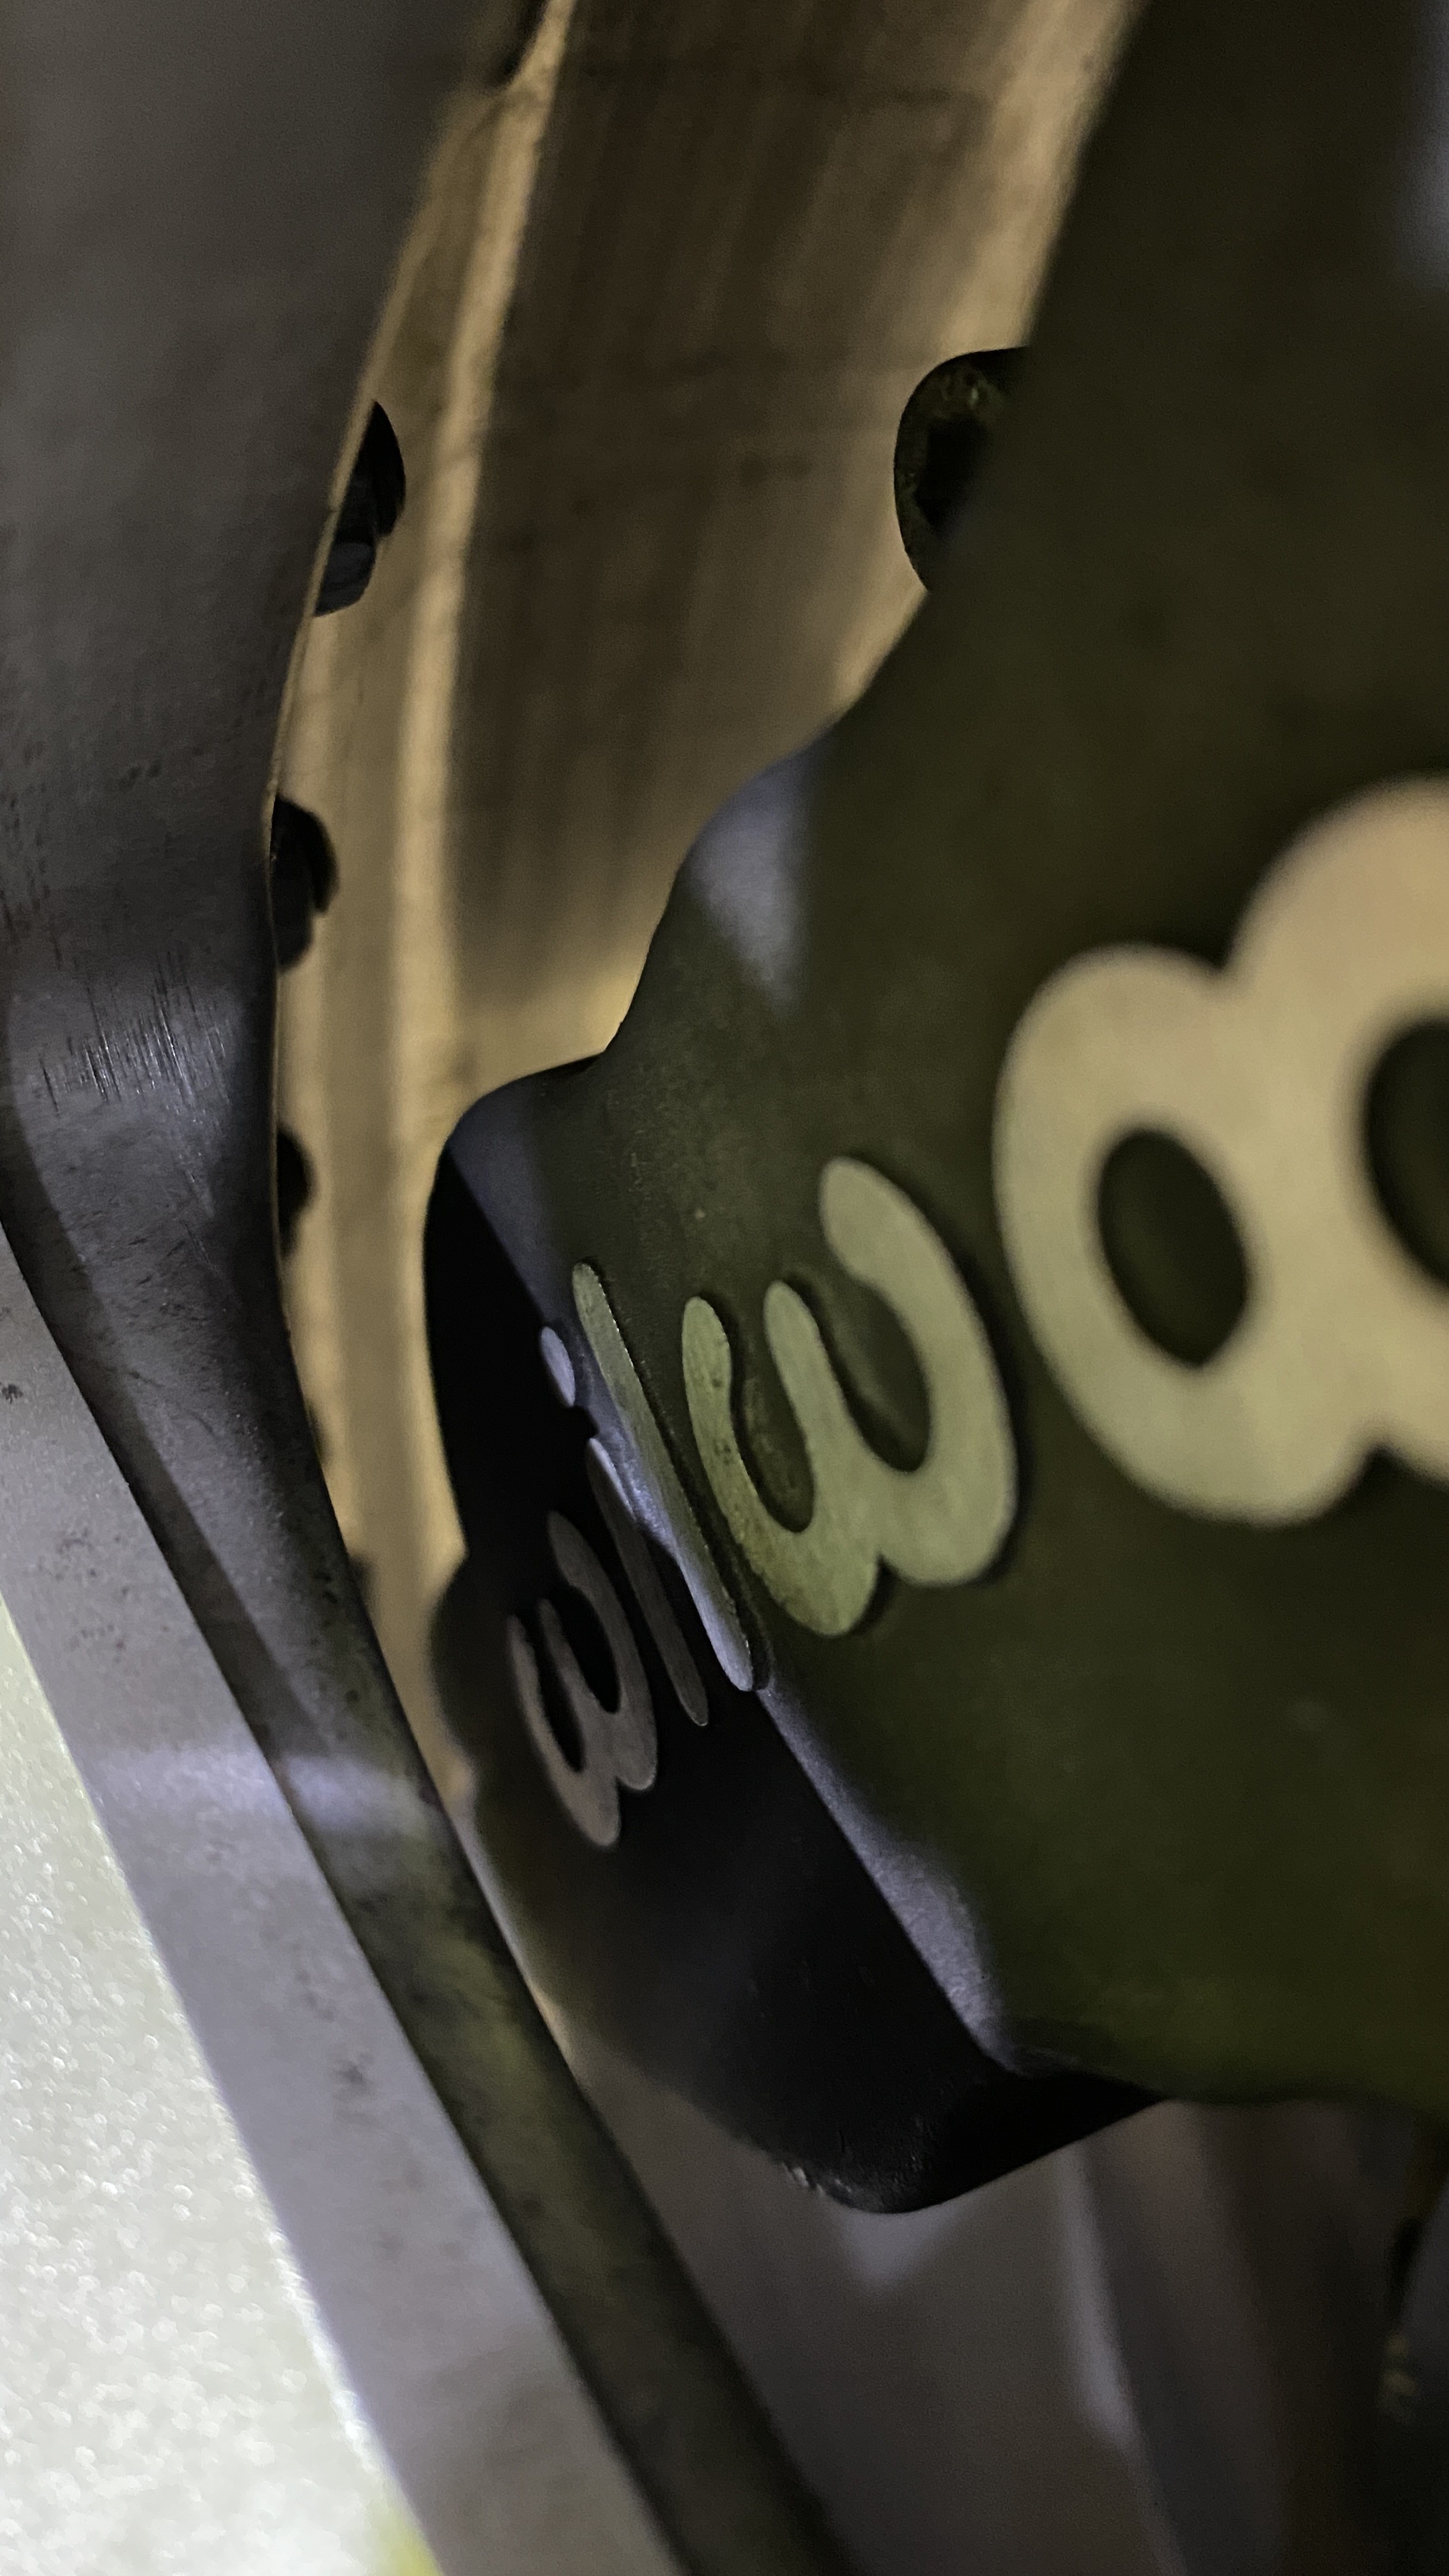
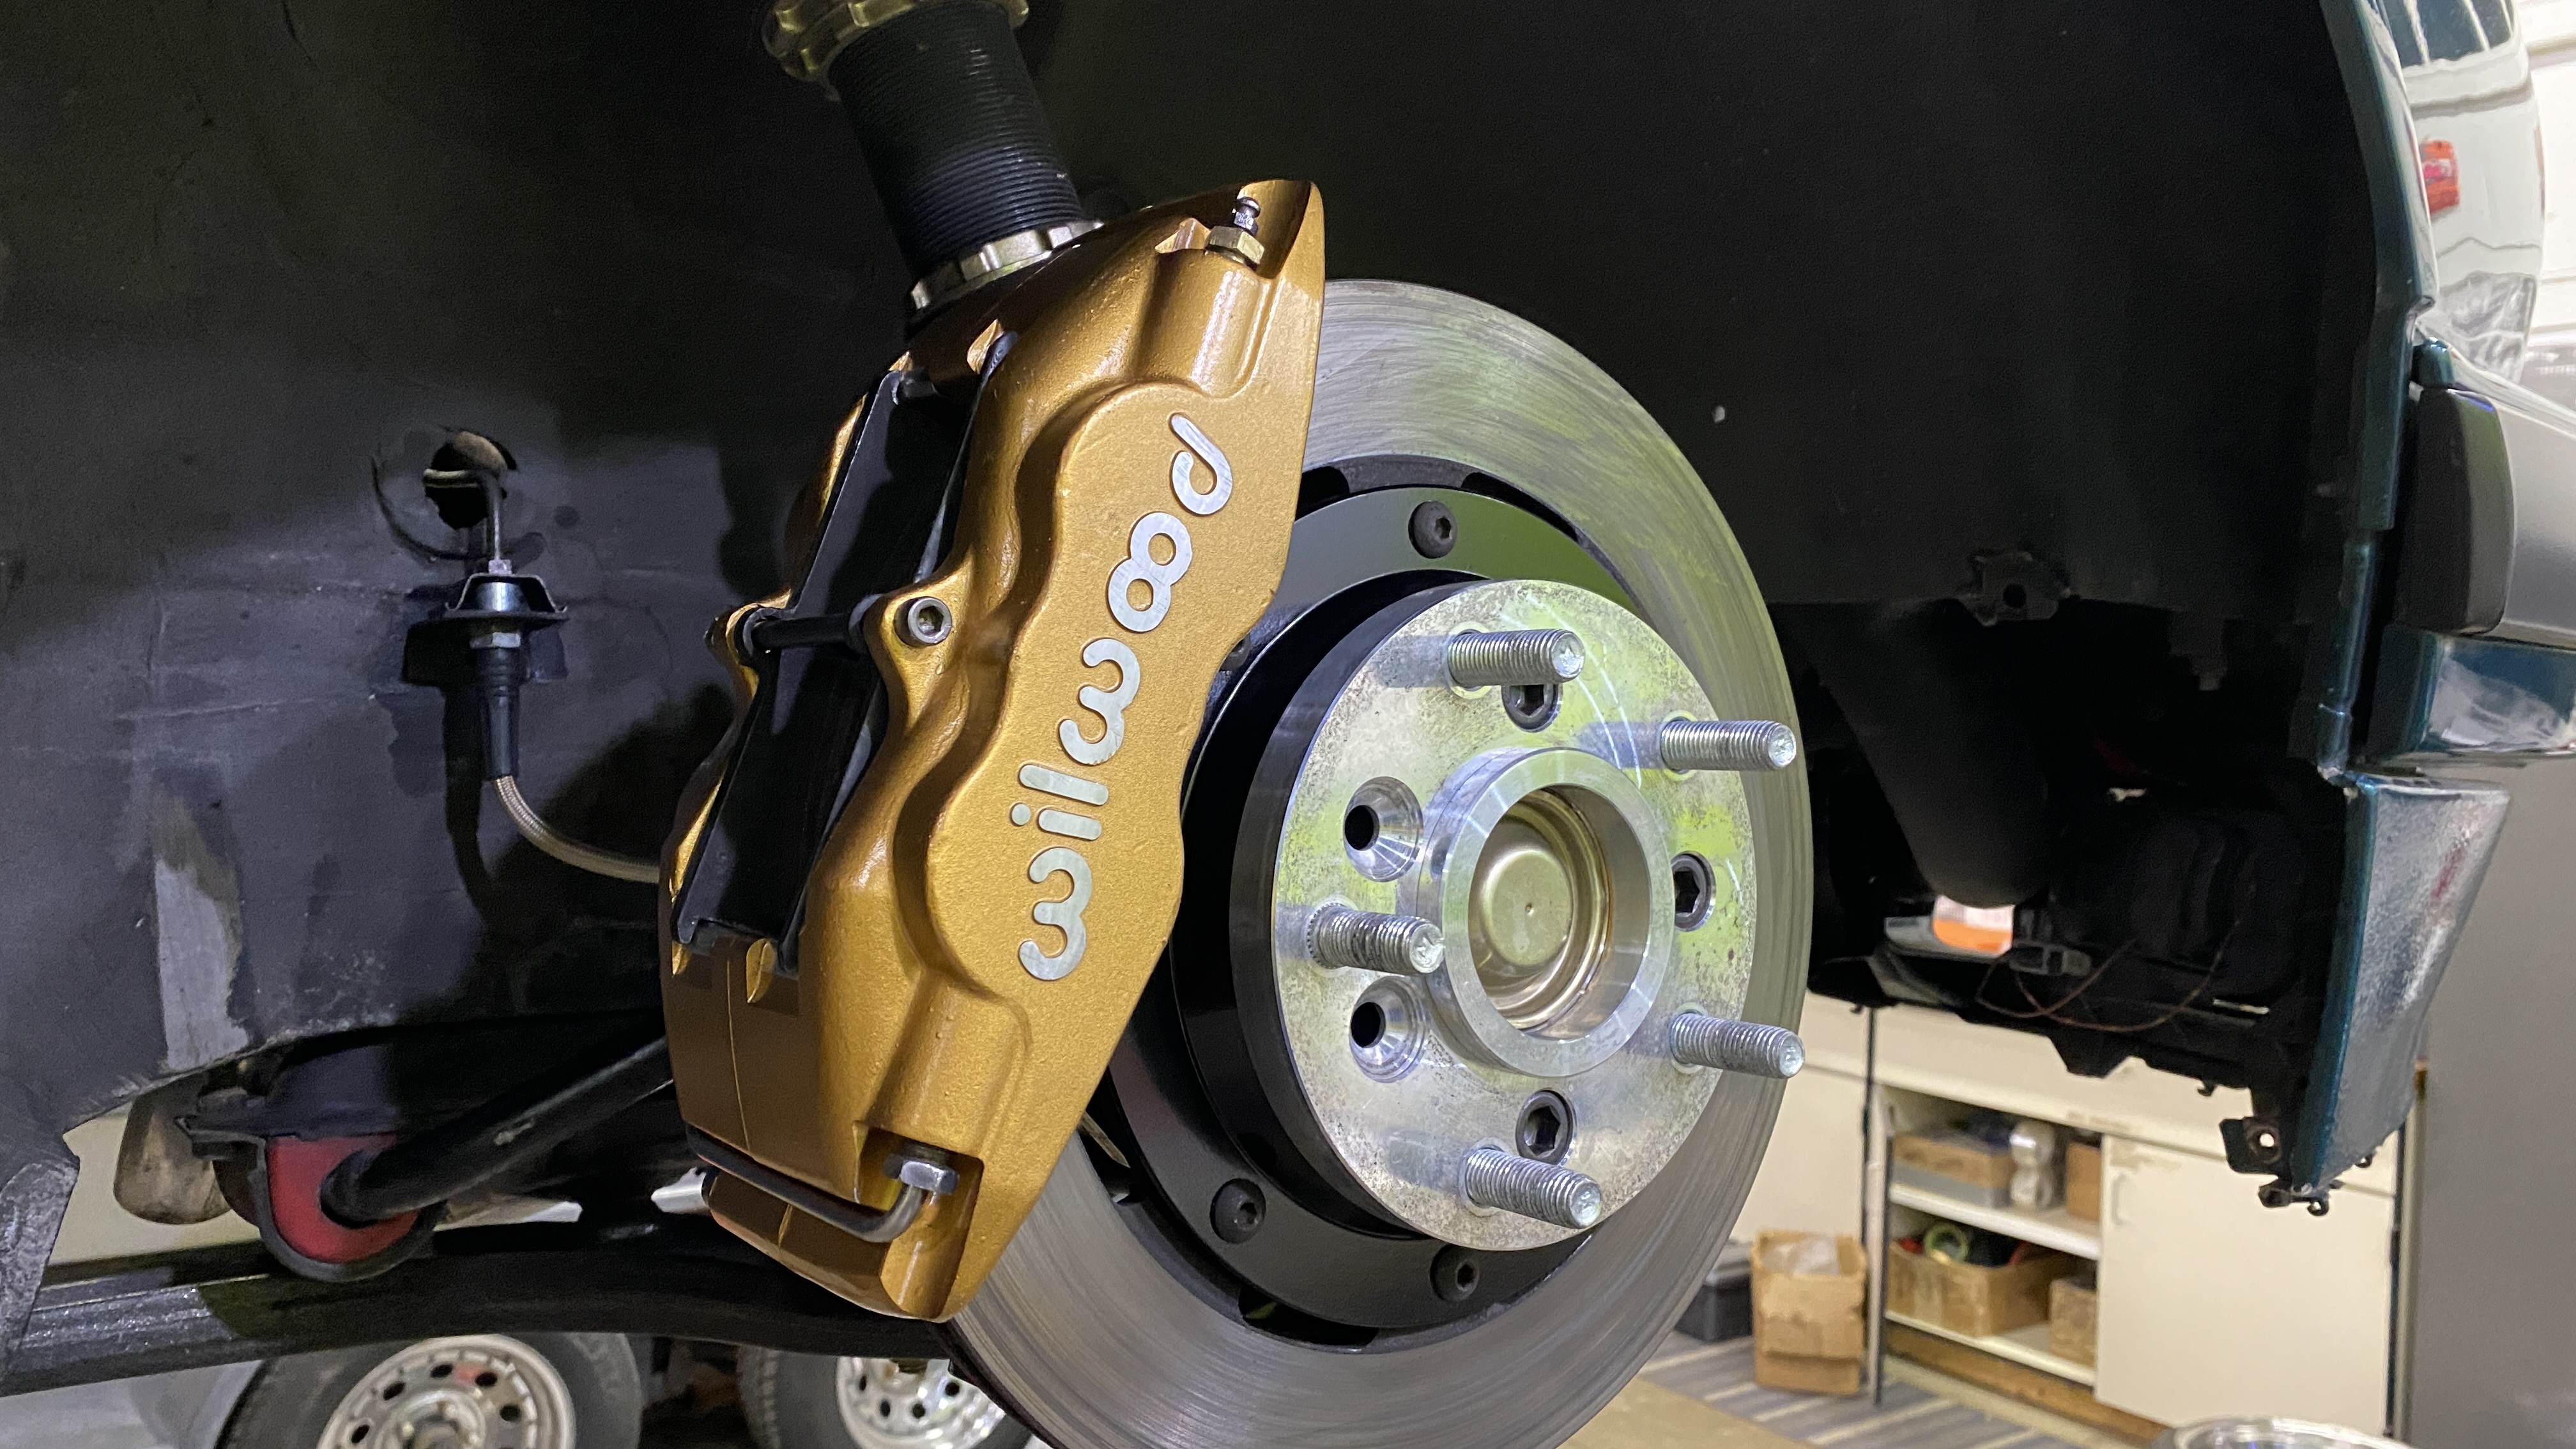
I got all the parts I need to swap the brake system(I think). I called Wilwood and figured out the exact calipers I got from @DrLeadFoot because I needed to get an idea of what size masters I should run with the pedalbox and the calipers front and rear. Despite everything I read on the internet(5/8ths F&R), I wanted to be certain. It turns out, due to the size and stroke if the rear Calipers, Wilwood suggests a 3/4th master for the rear. The front calipers are an older design (cast with raised Wilwood logo) which I actually prefer but still utilize the same parts as the new design (cast with printed logo) and wilwood said a 5/8ths is perfect for them.
So here is what I ended up getting;
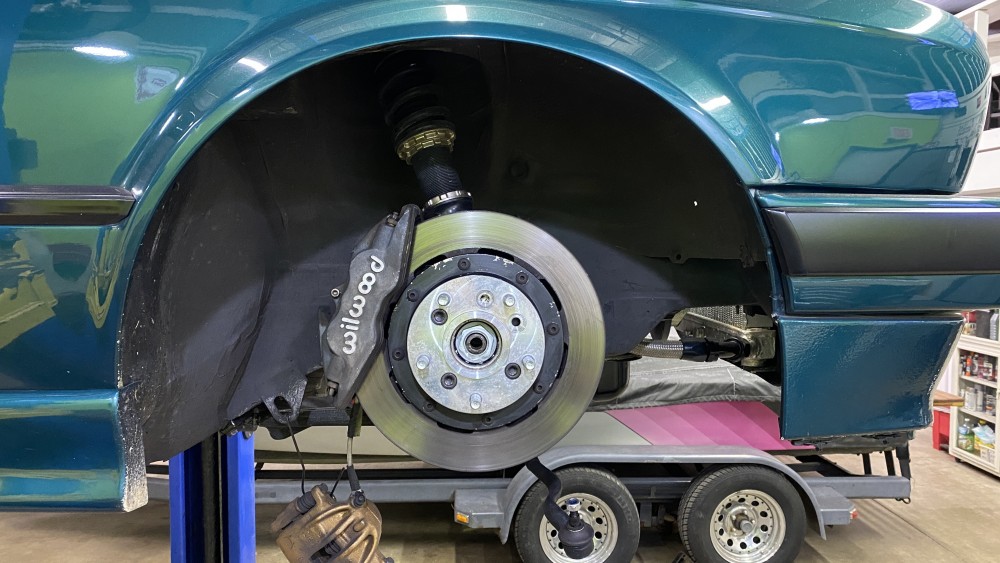
- Wilwood 4 piston Forged Superlites
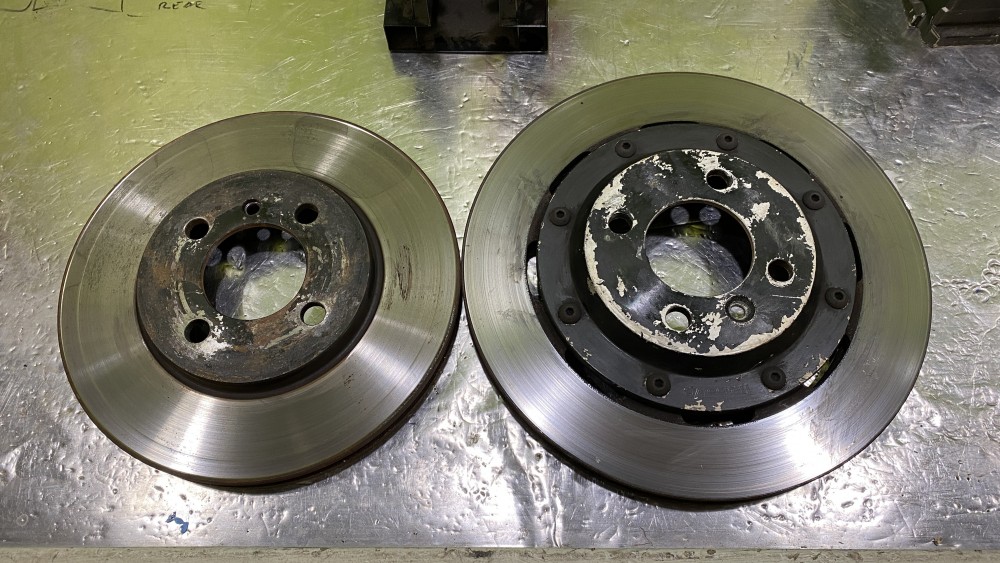
- Wilwood 11.75" Ultralite 2 pc rotors
- Wilwood BP-20 pads
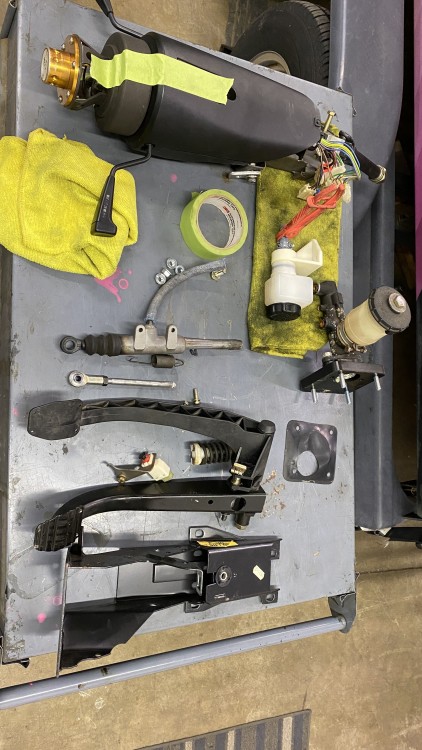
- Wilwood 340-11299 pedal assembly
- Wilwood 5/8th master for the front
- Wilwood 3/4th master for the rear
- Wilwood 3/4th master for the clutch
- Garagistic mounting bracket
- Wilwood bias valve
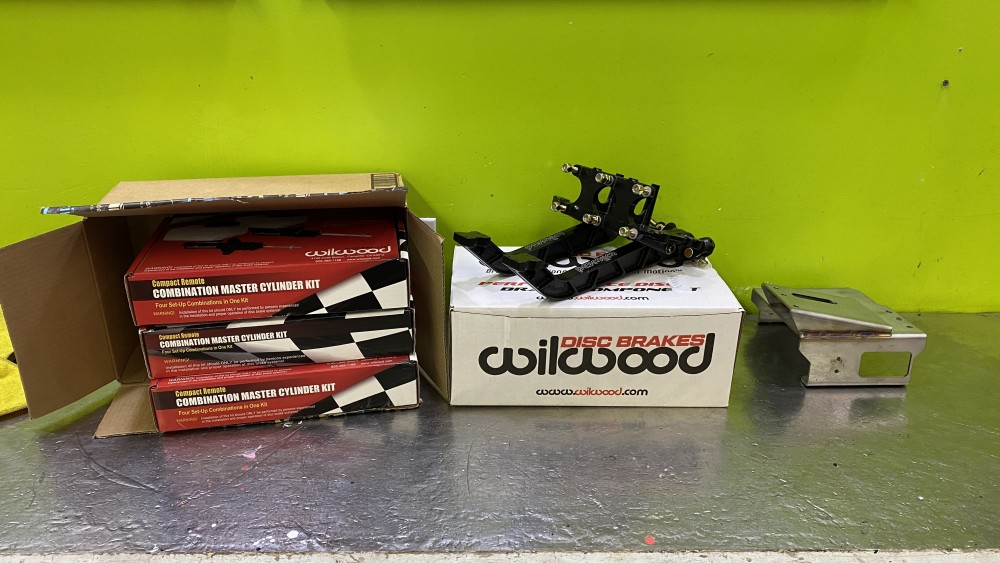
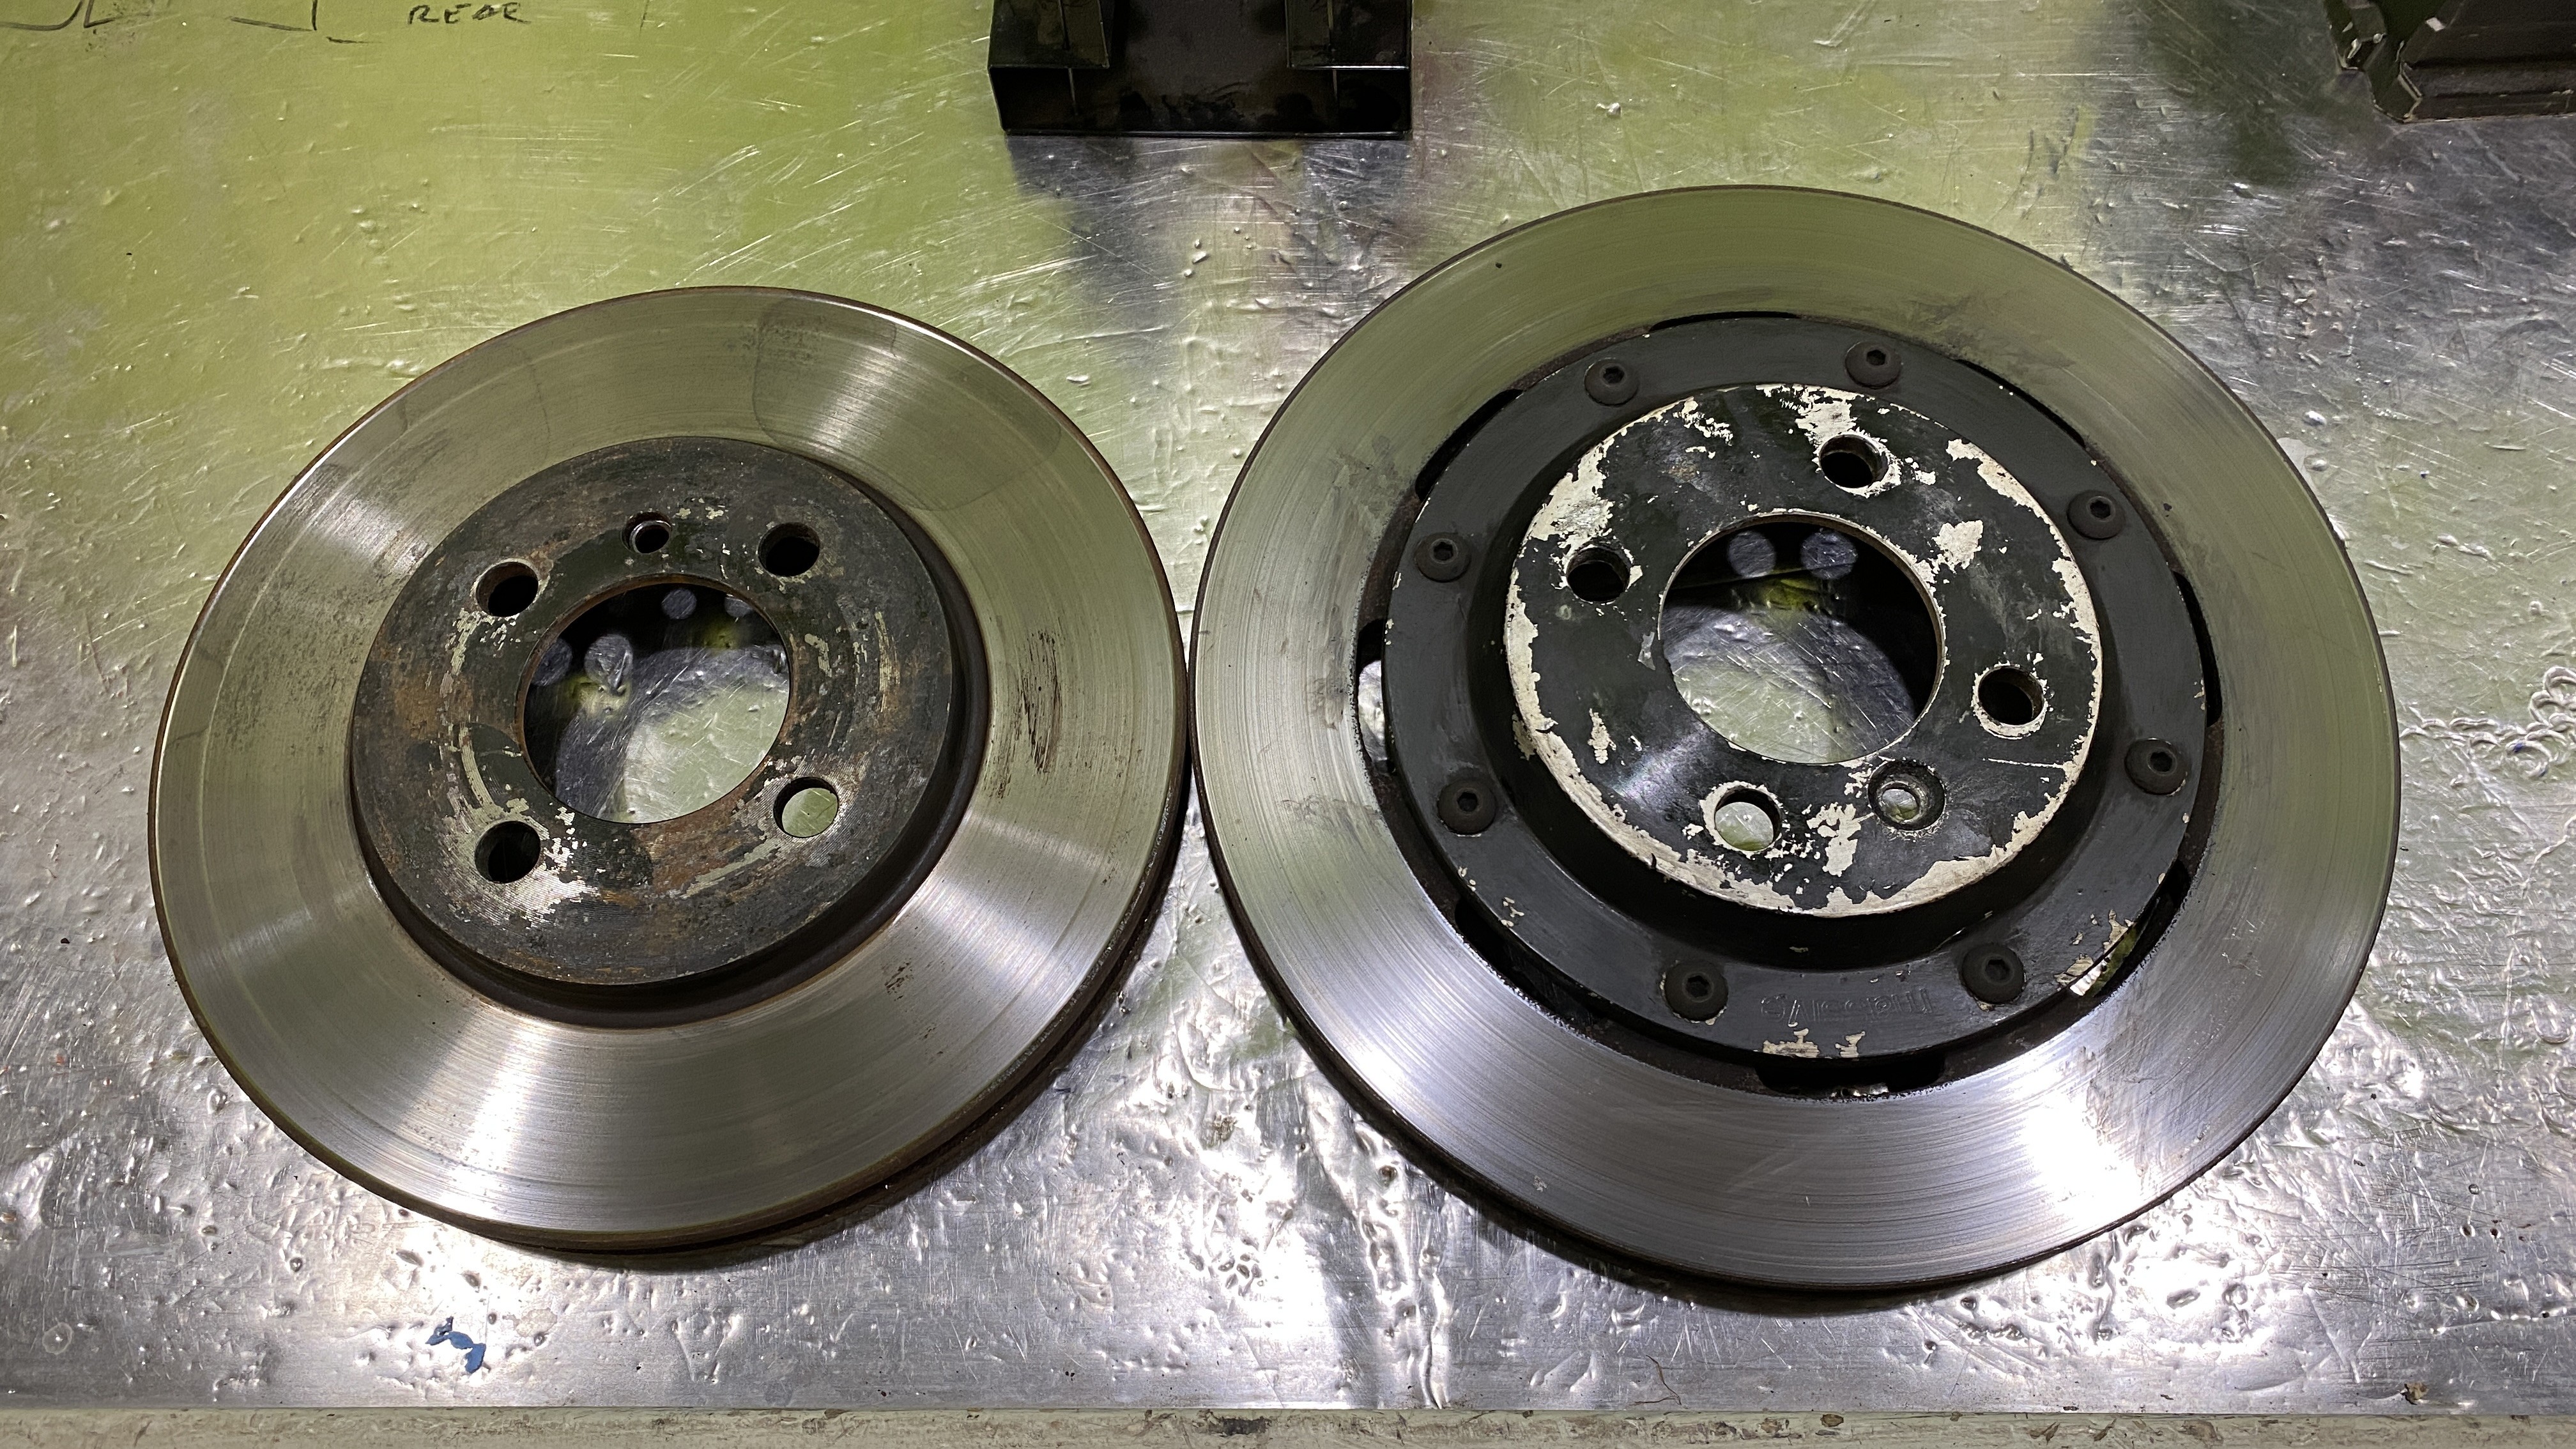
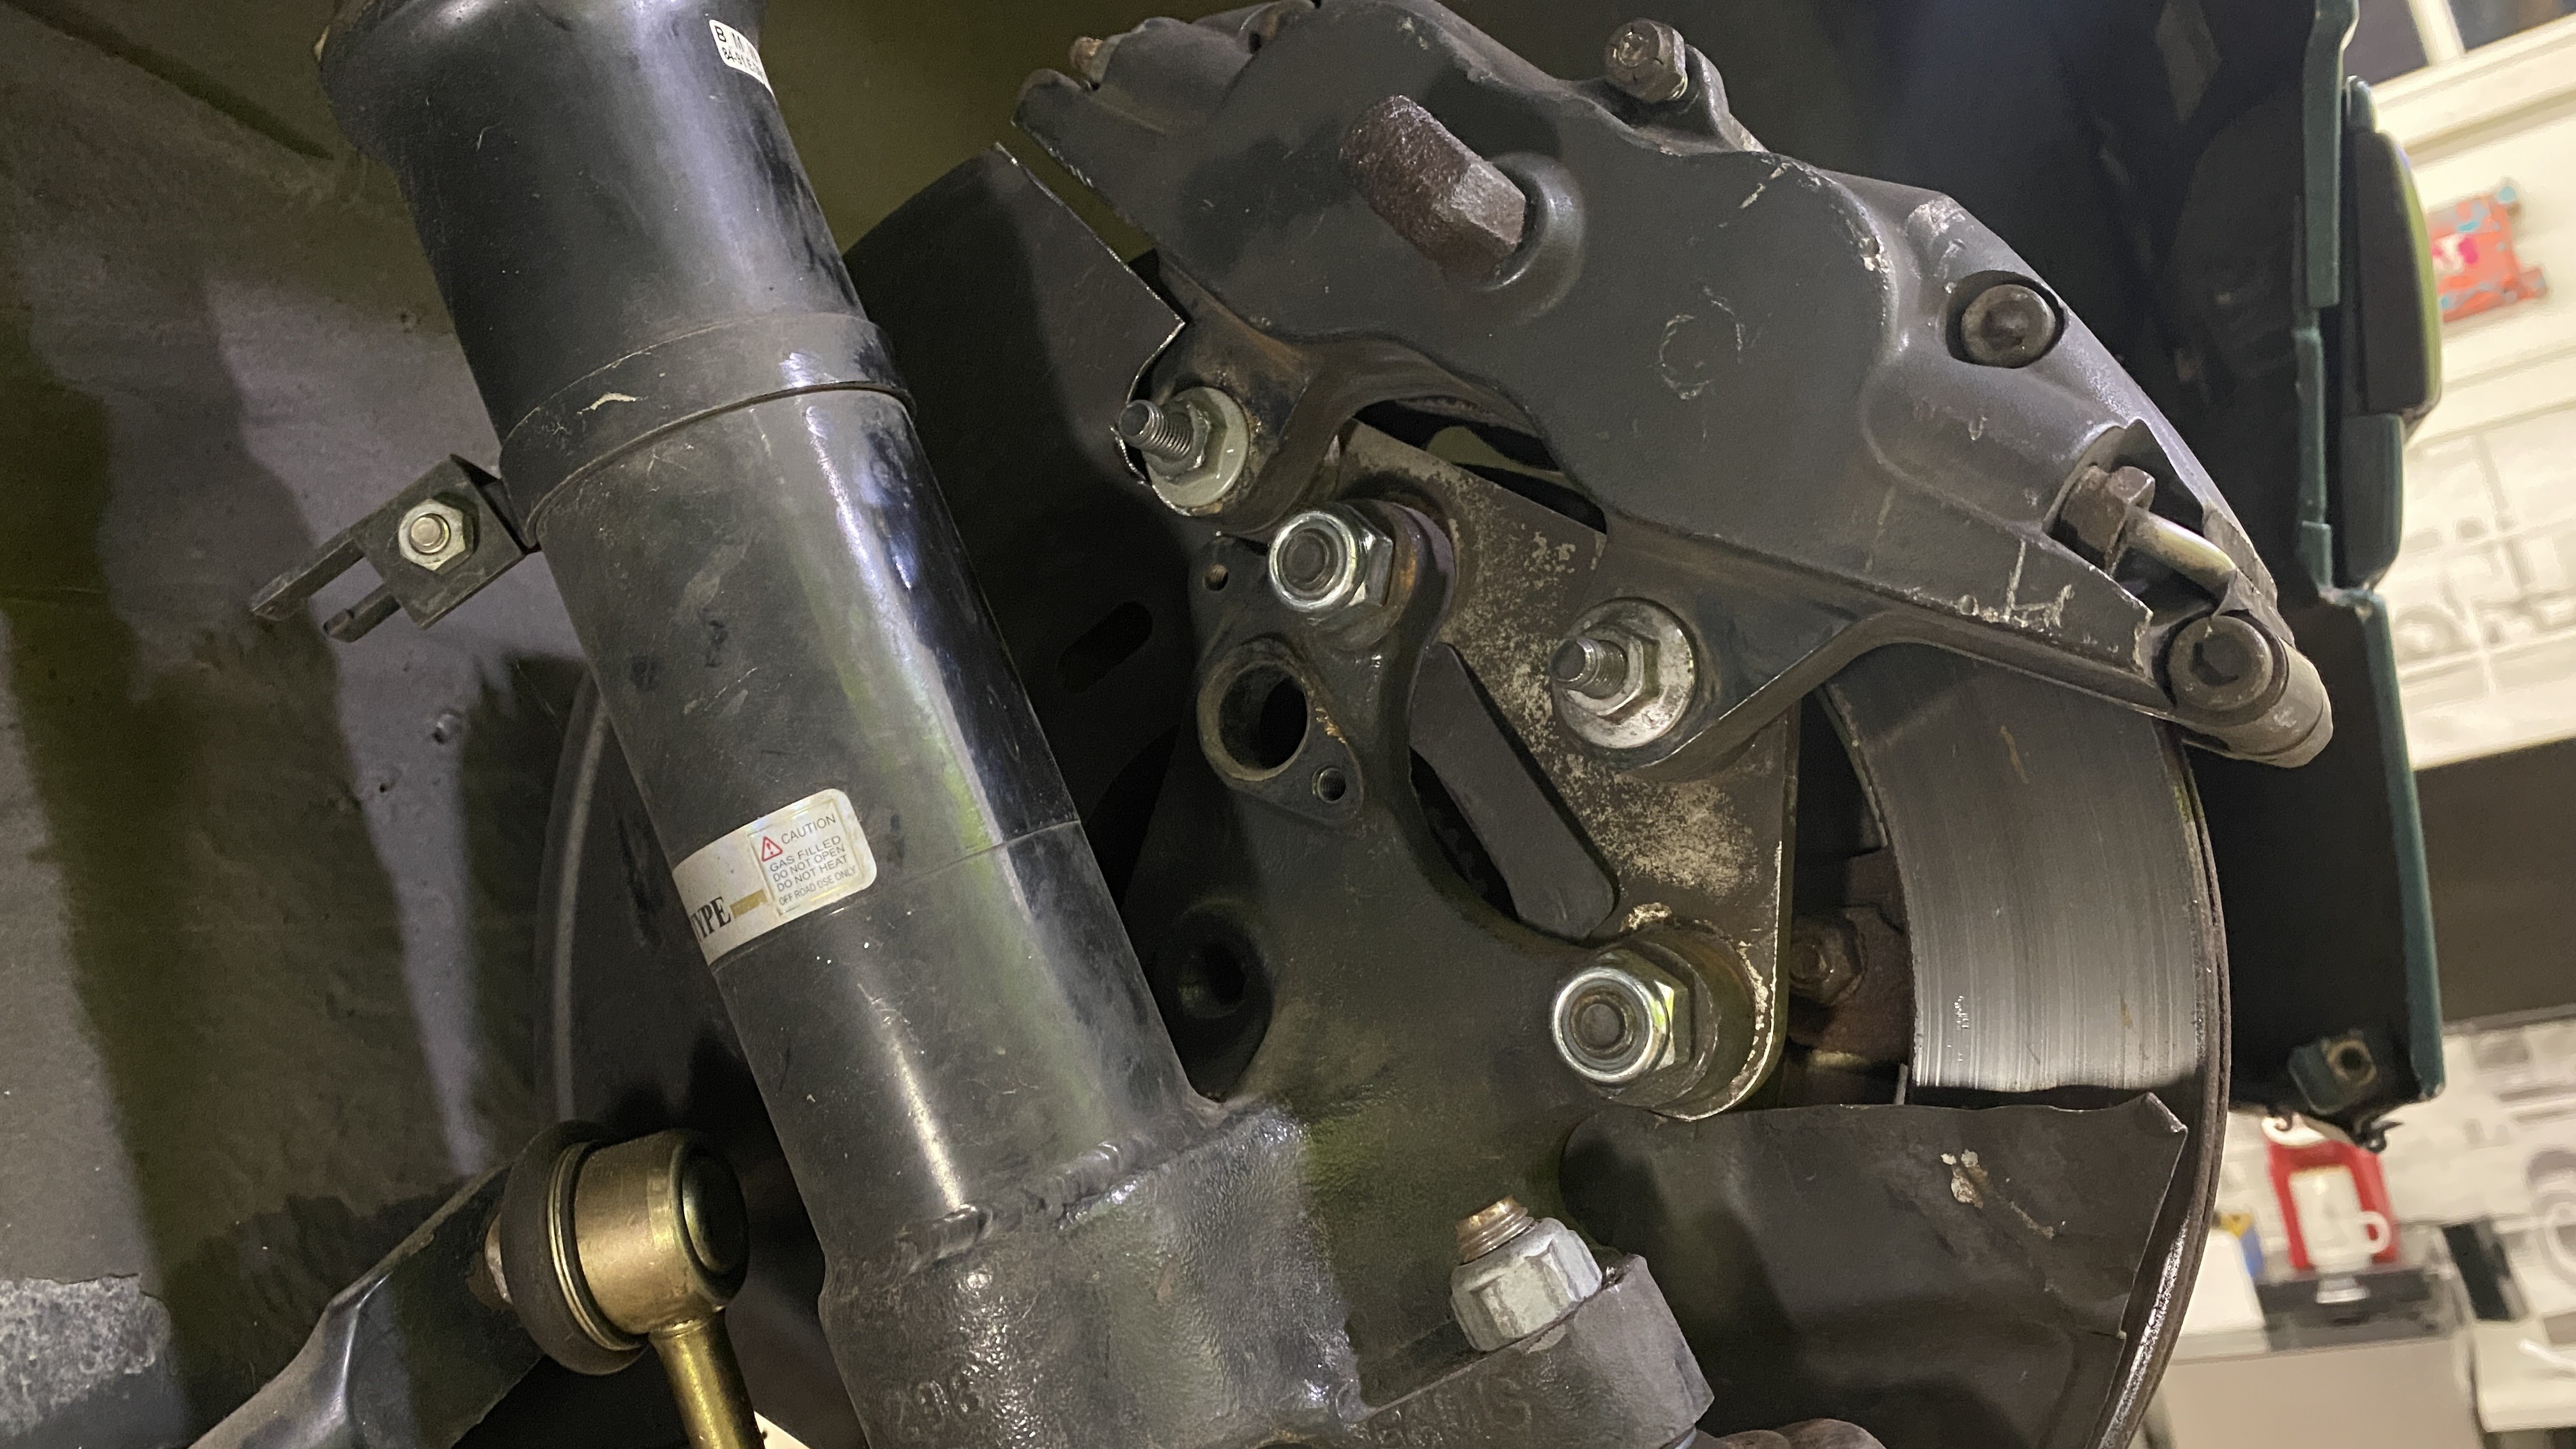
Size comparison of the rotors
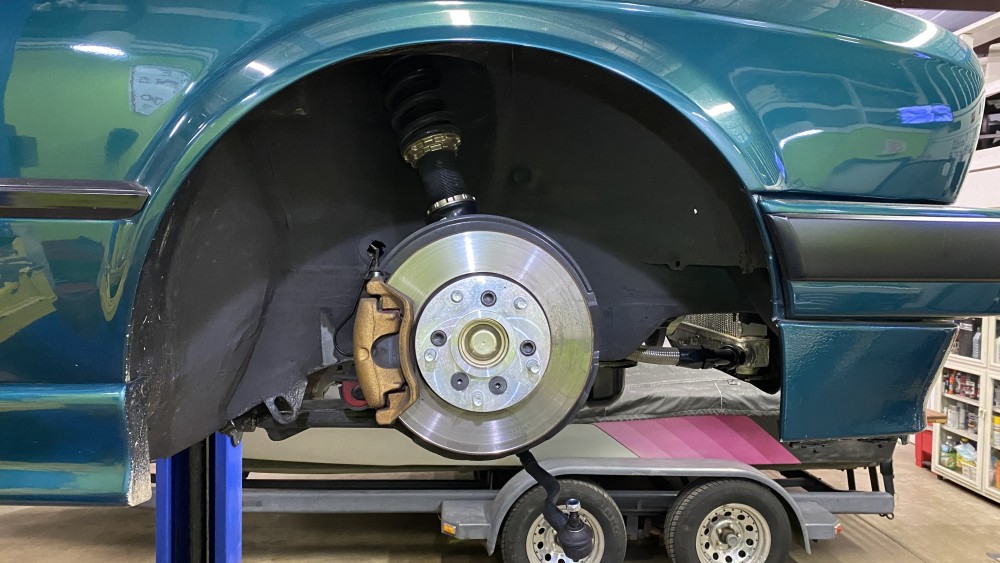
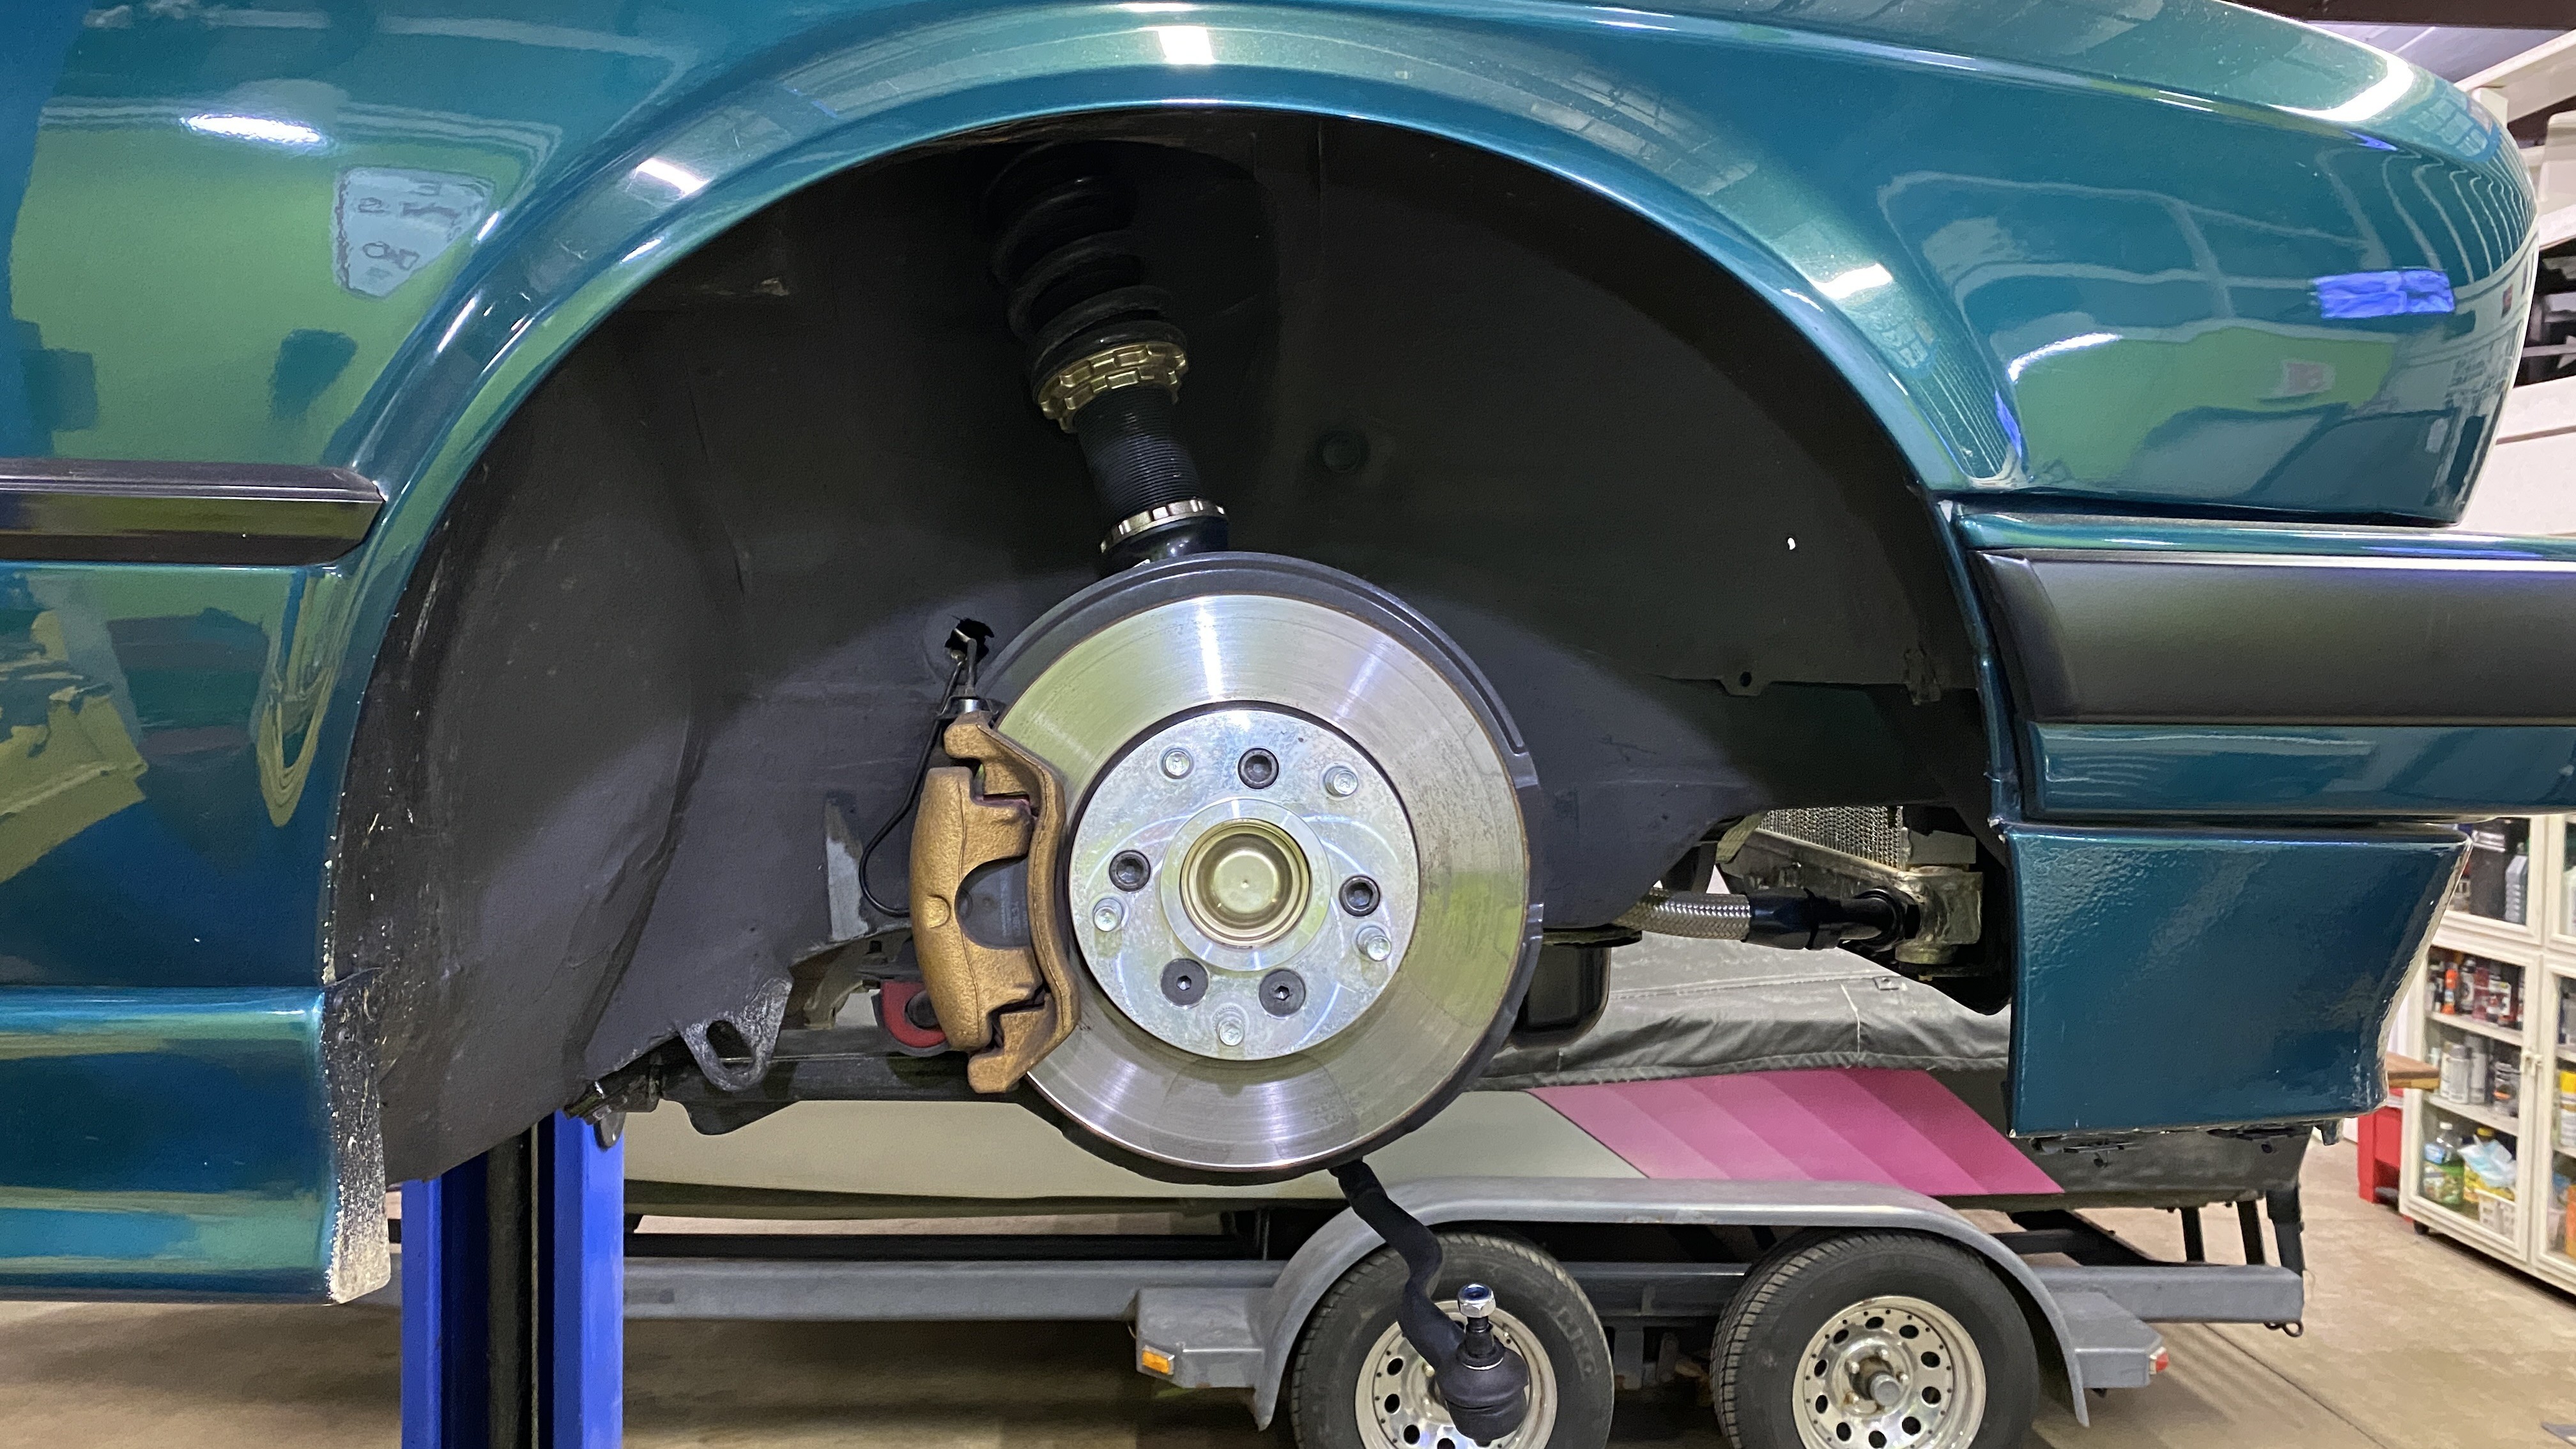
The old brake setup
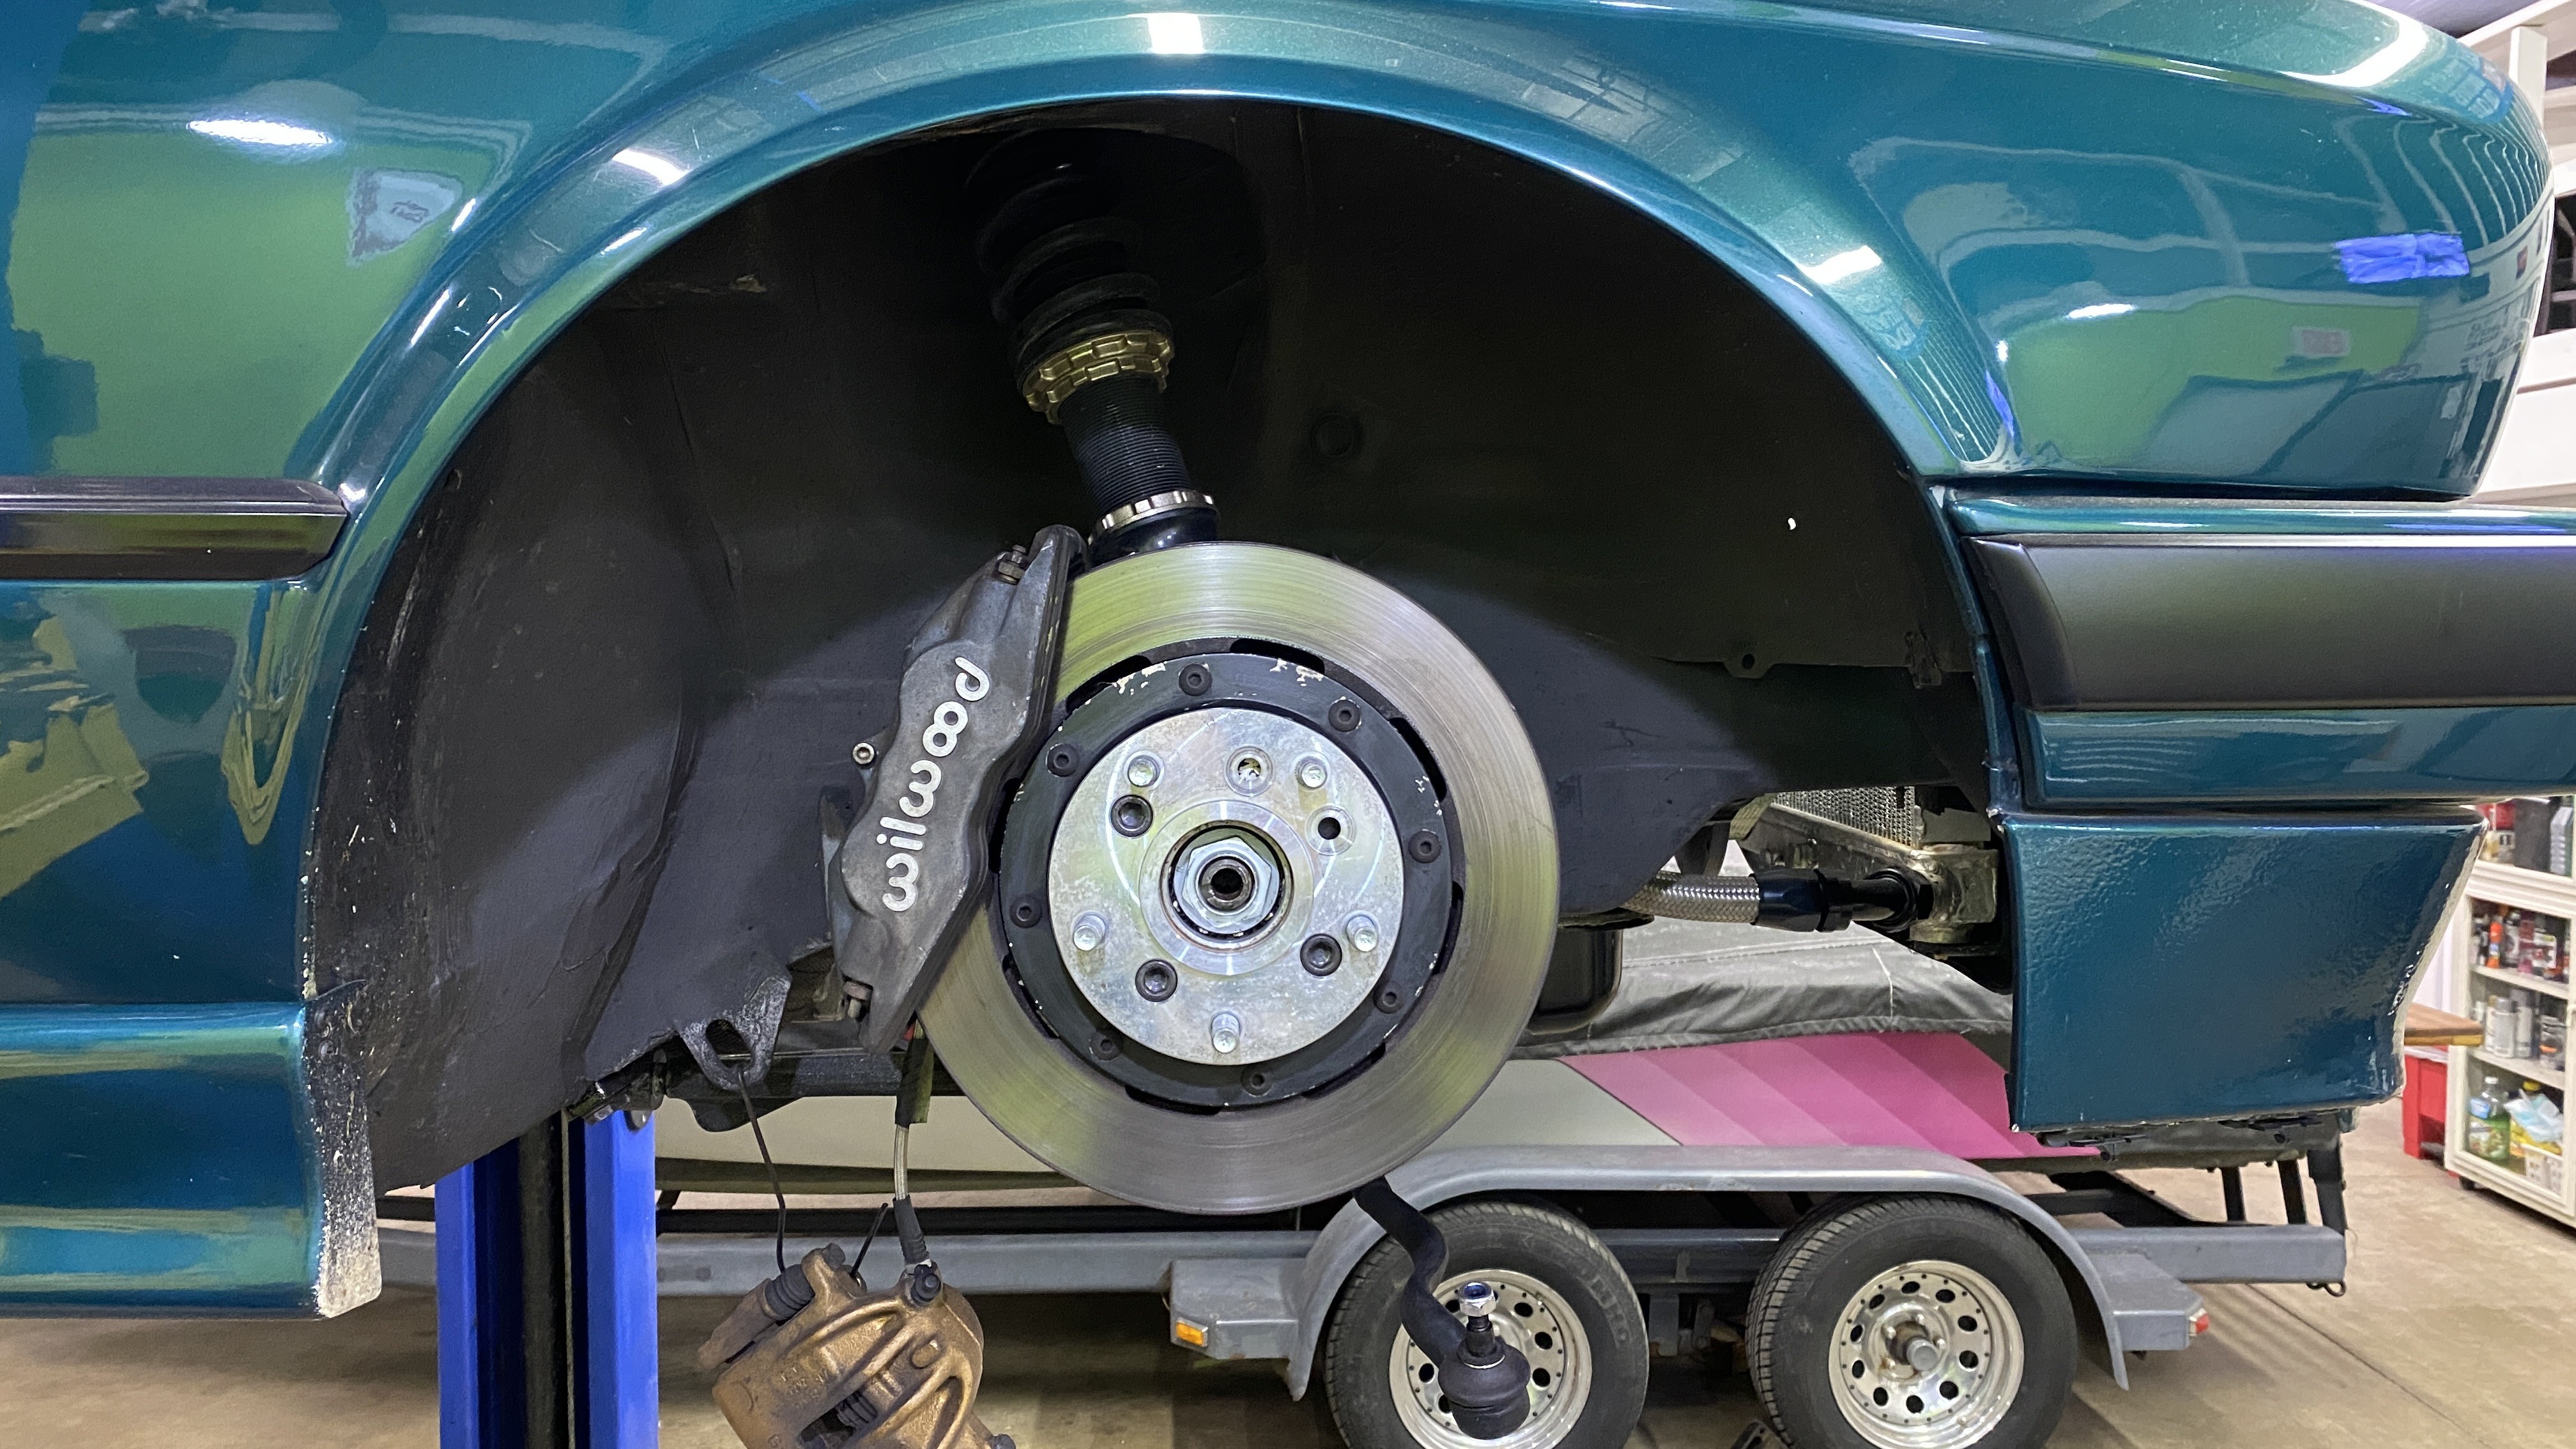
The new brake setup
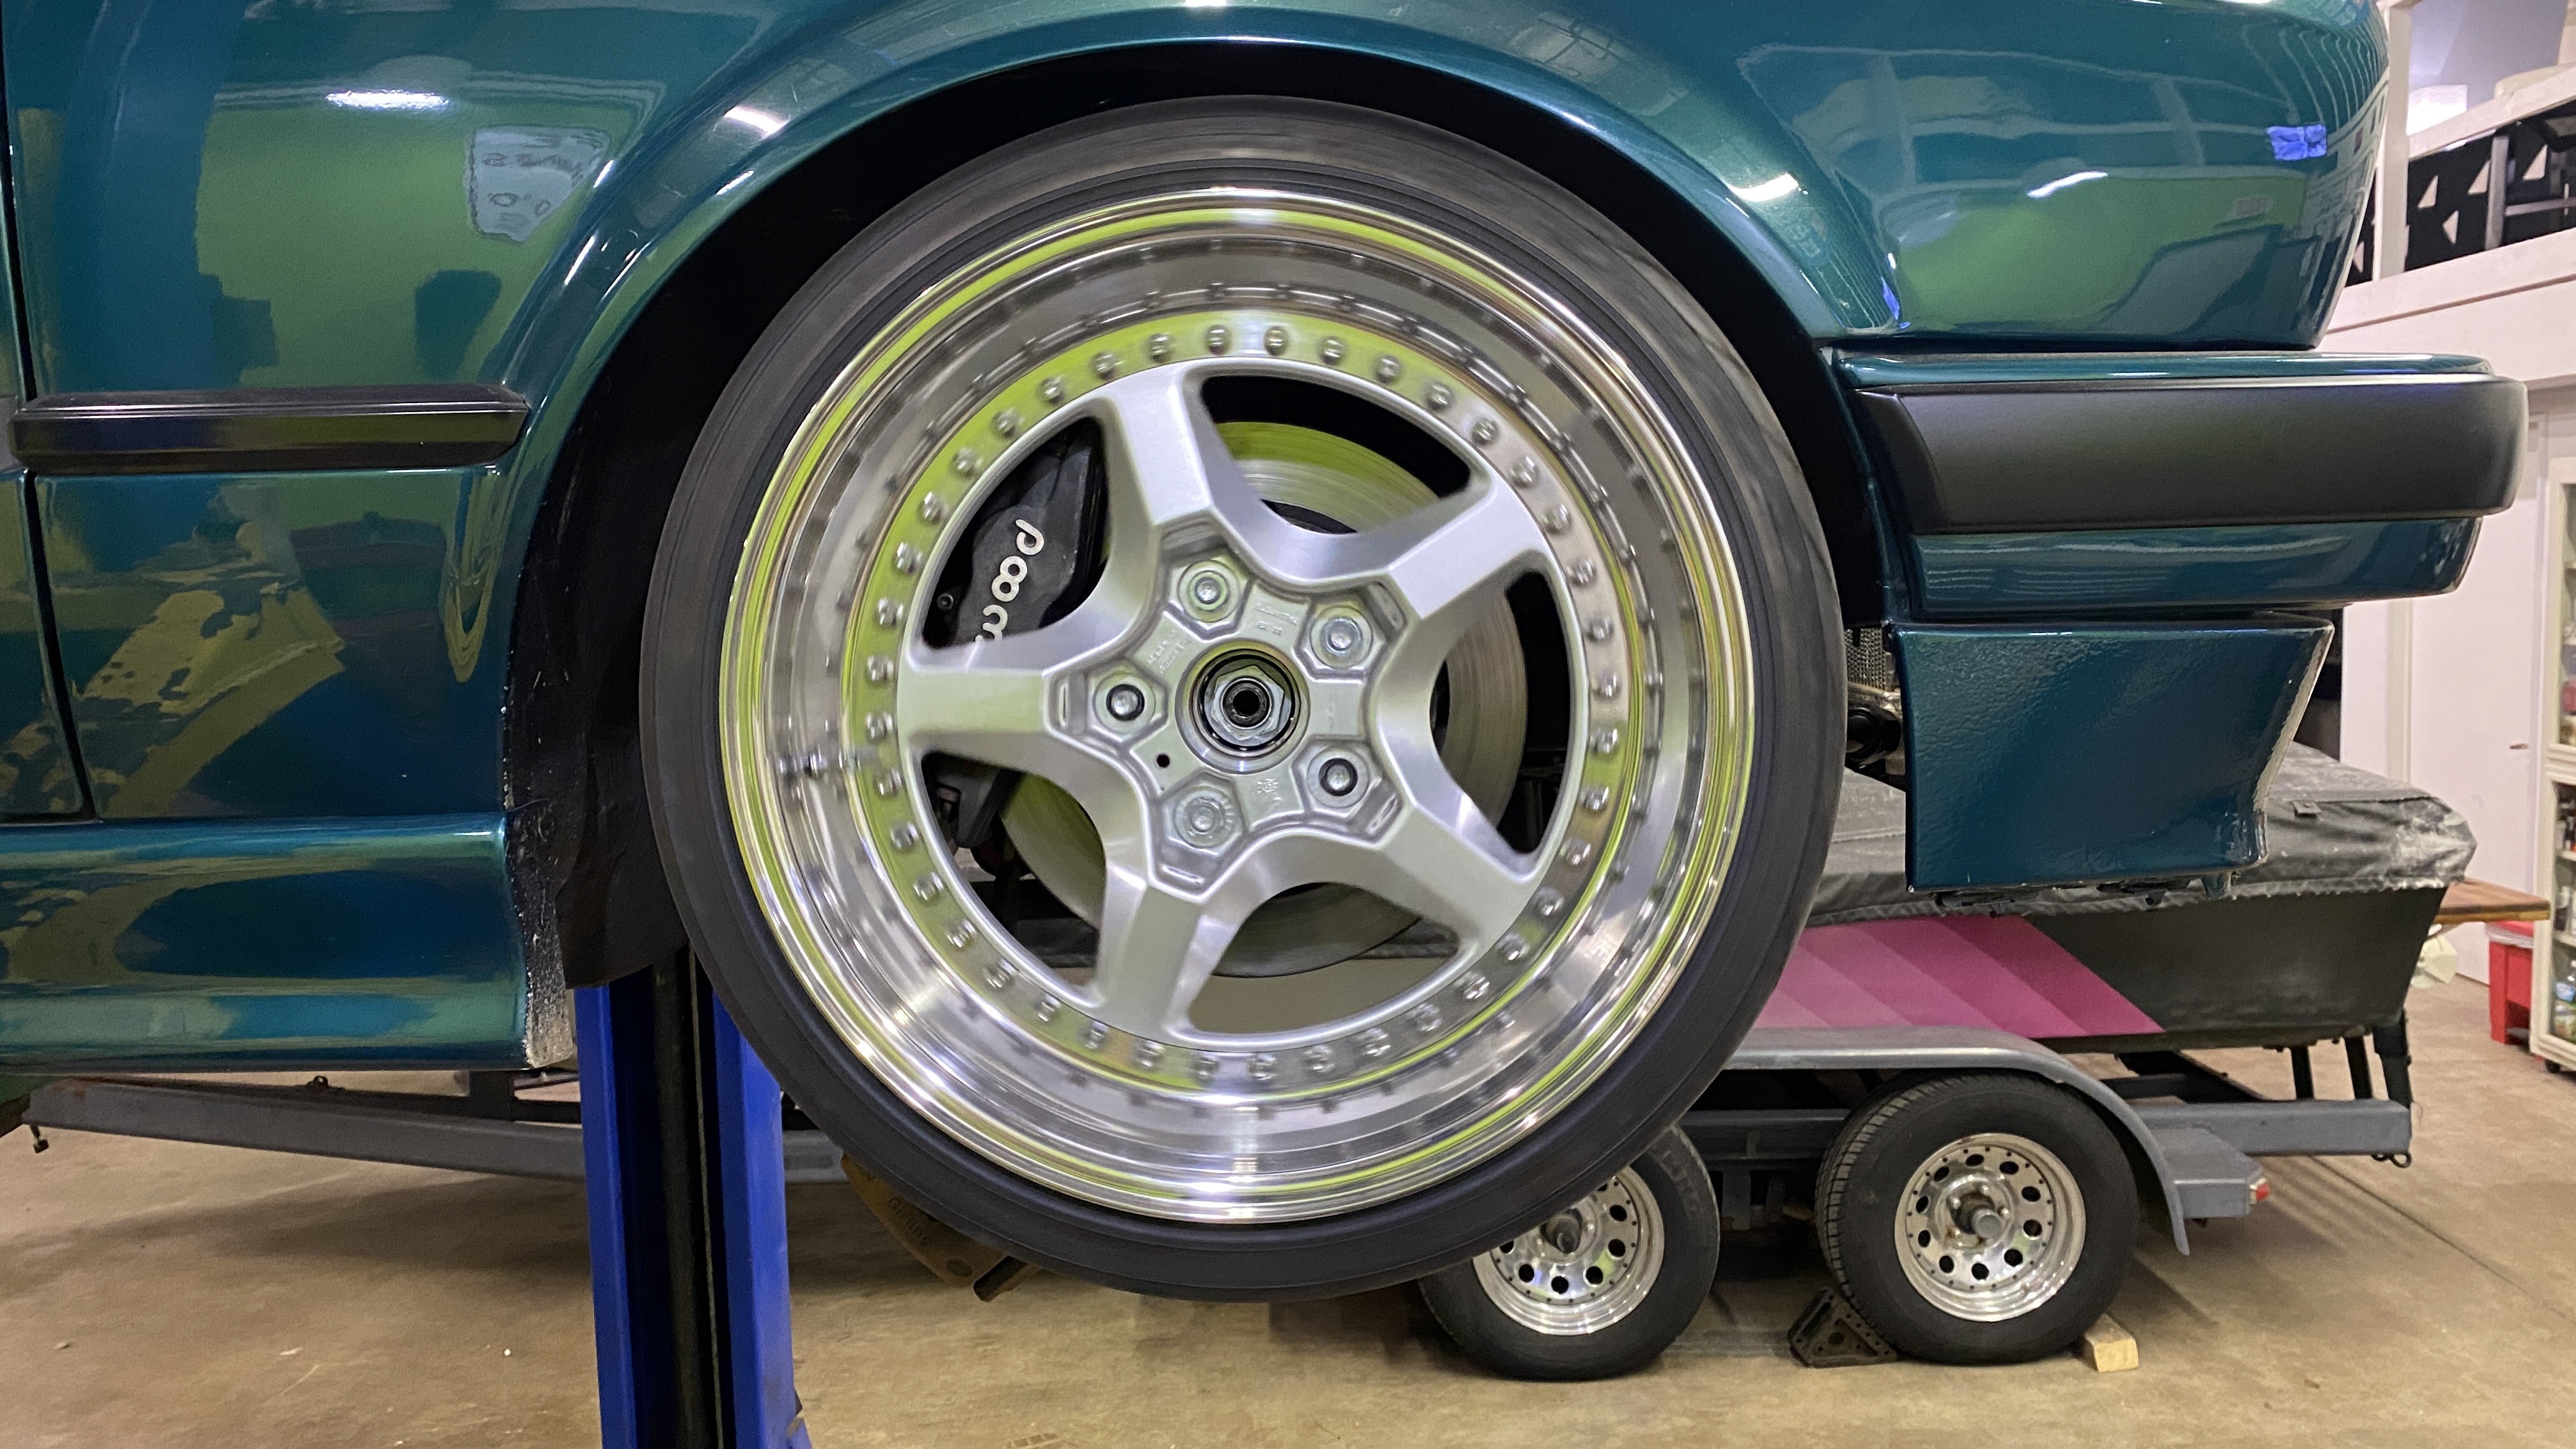
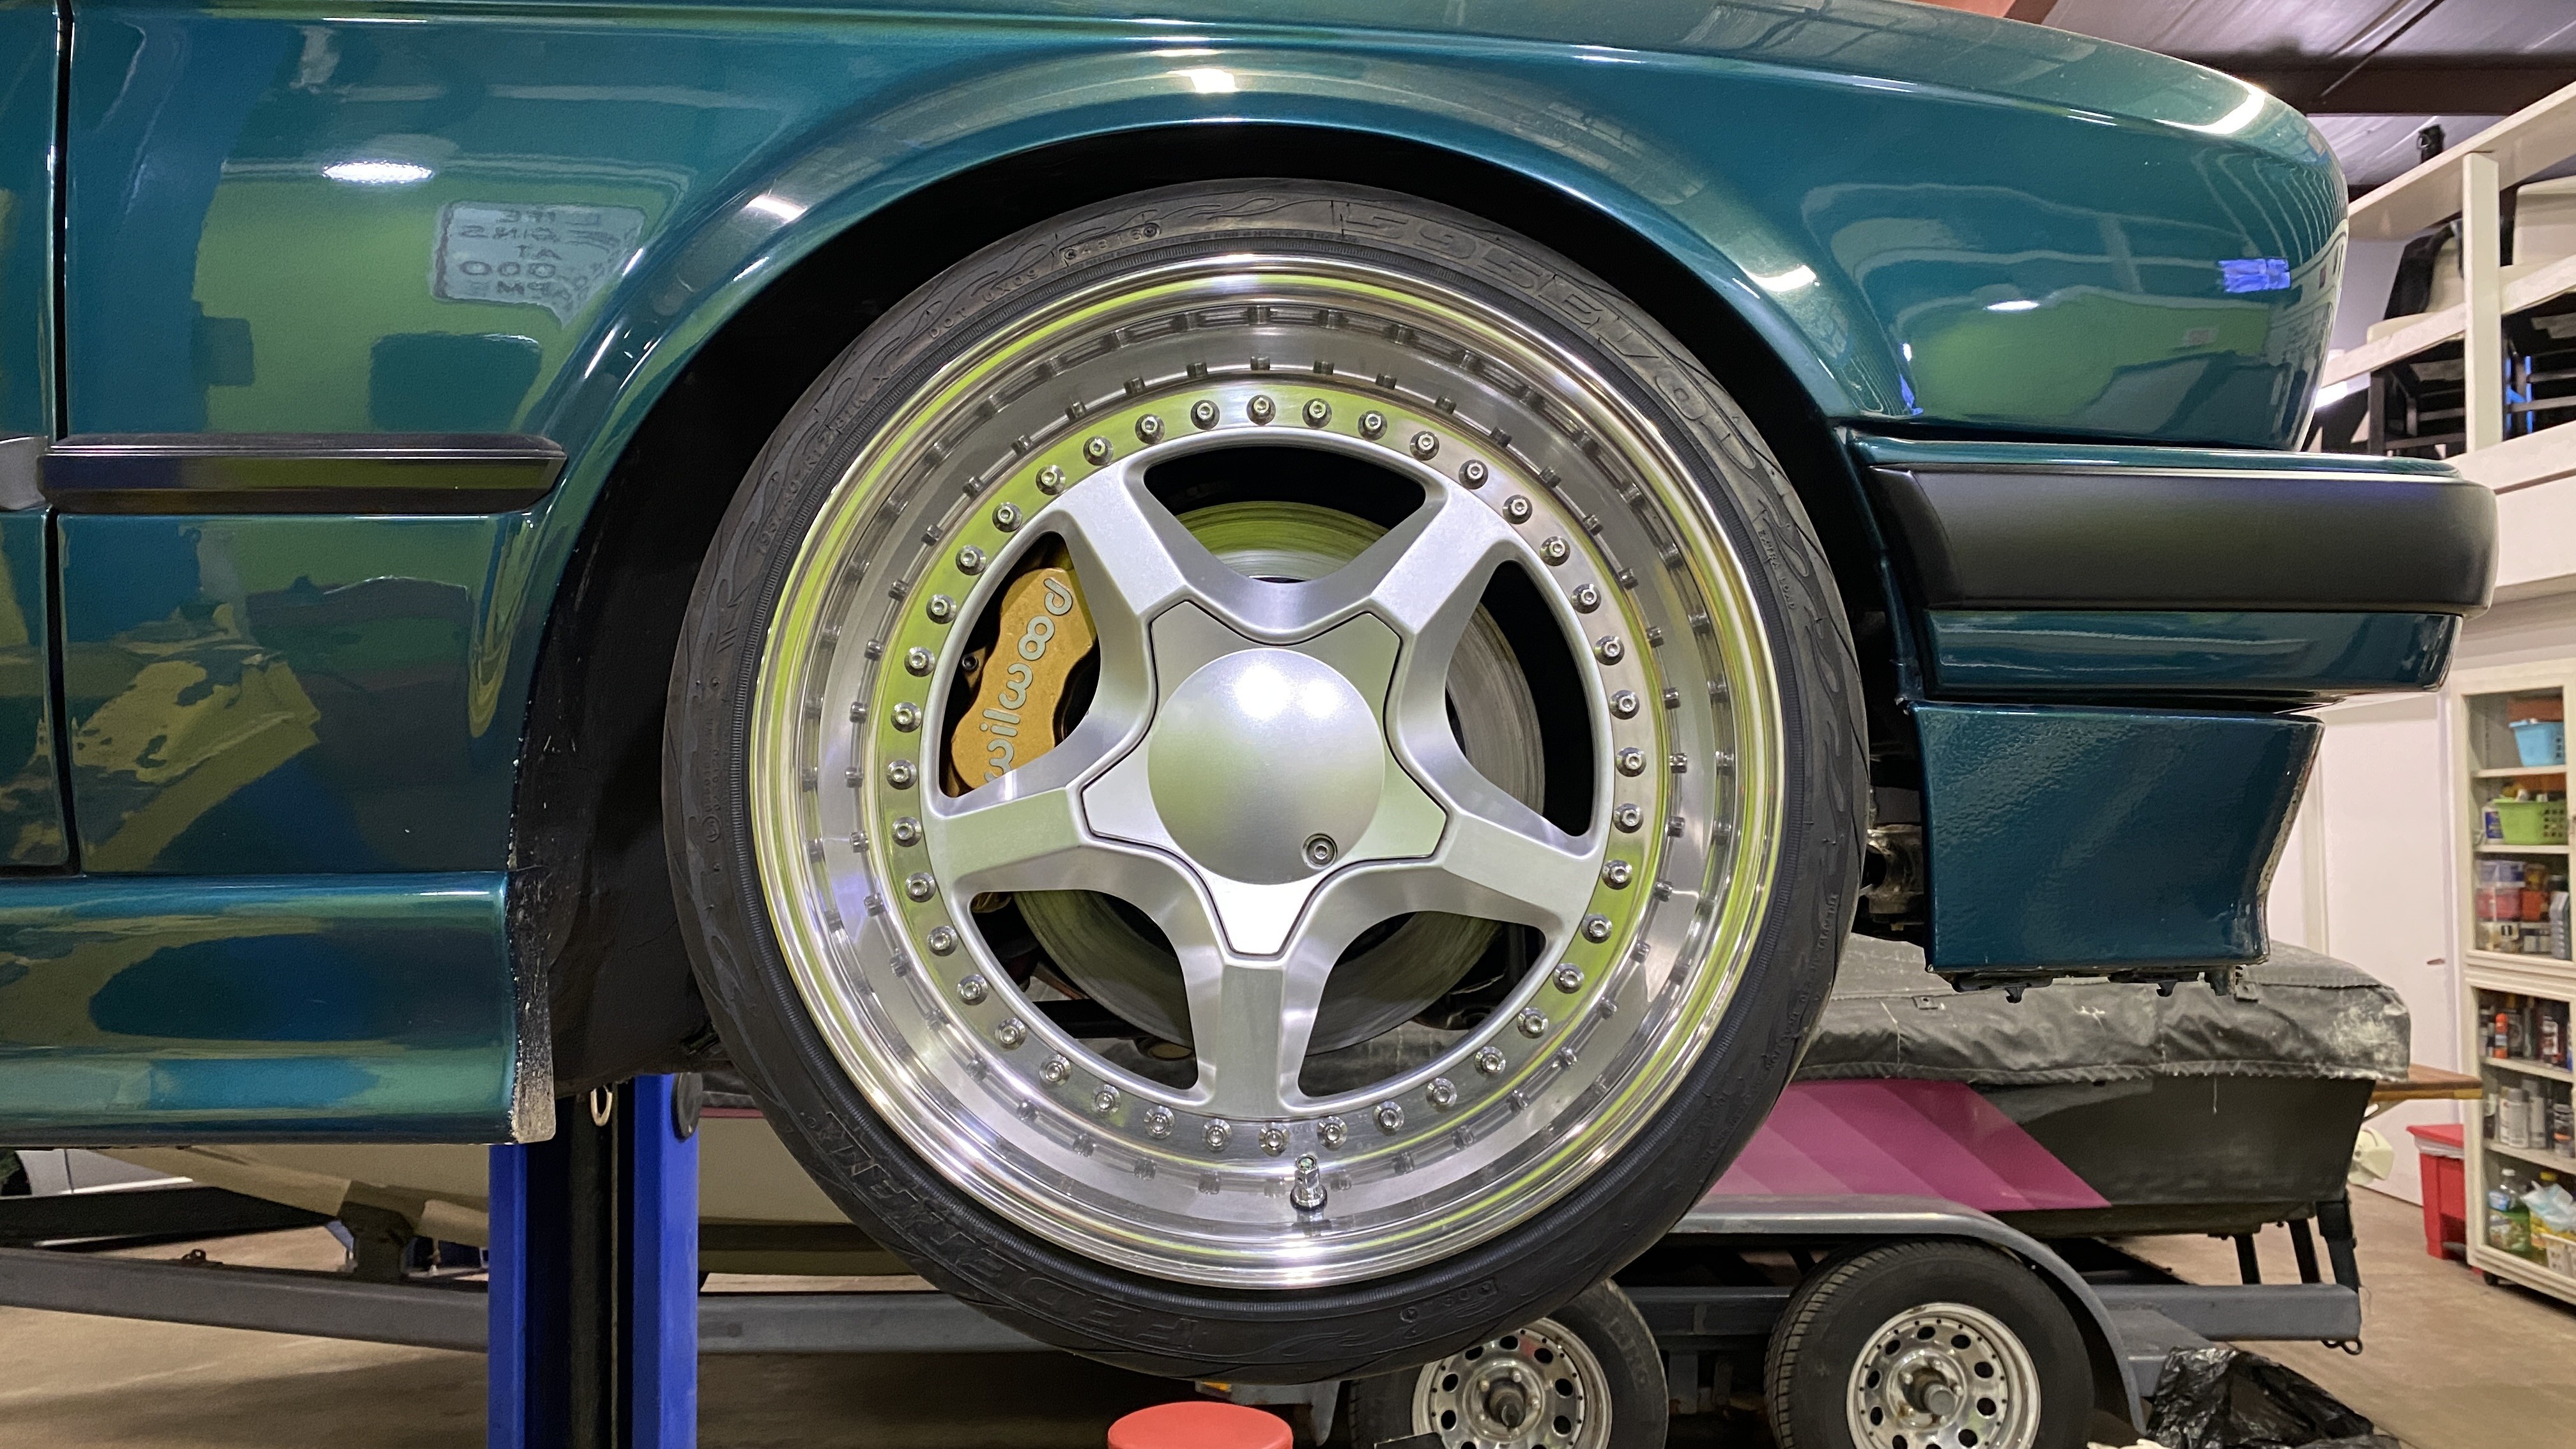
And a test fit with my wheels
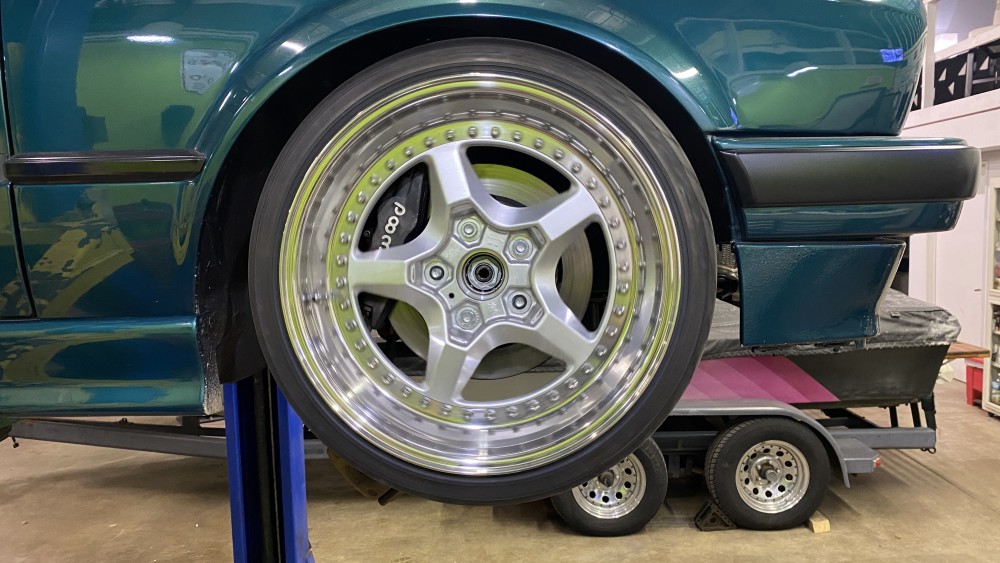
Super stoked that these fit with ample room left
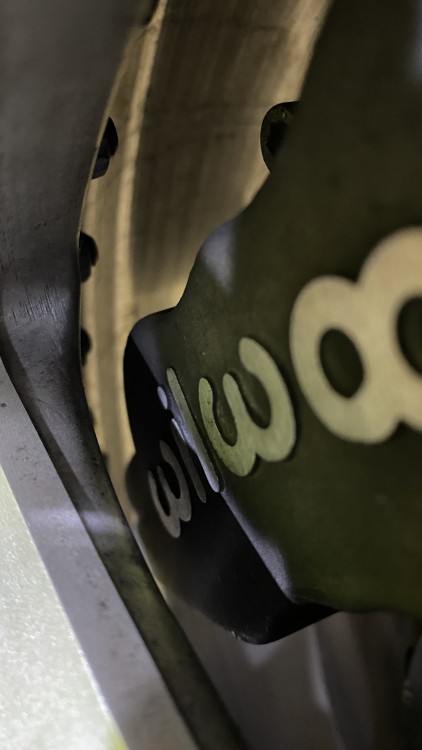
It took me about a good 3 hours to fit everything and trim the heat shields and find hardware that would work for mocking up.
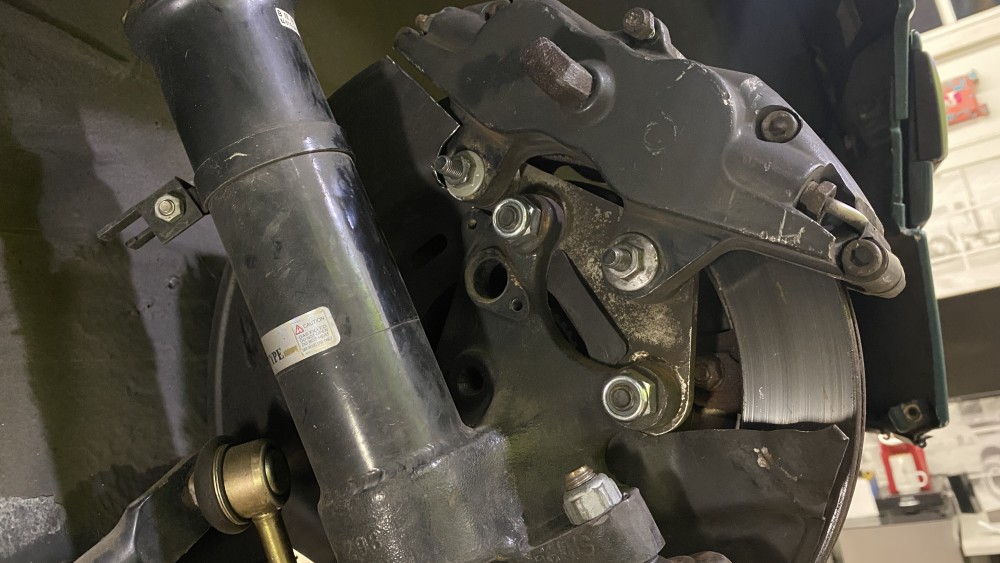
As of now I only have the rotors and calipers installed just to mock them up. They will be coming back off and the new rotors will go on, the hats and calipers will be painted and rebuilt before finally assembly.
The next steps now is to get the pedal box to fit in the car. It says on the garagistic site that I need a non-airbag steering column, which I am going to soon learn the reason behind.
https://www.instagram.com/_jdesigner_/ http://nevertoolow.tumblr.com/
🥳SOLD BMW E24 633CSI - BMW M30B32 🧪SOLD HCH ES9 - 1.3 LDA
👽BMW E30 325IC - Toyota 1JZ-GTE ⏰ HONDA EF9 CIVIC SI - JDM B18C5
☠️BMW E36 318i - Ford 5.0 FE302 🚴♂️ GT-Labomba - 26x2.75 Freeride
🤹♀️SOLD BMW E36/7 Z3 - BMW M54B25 🧓SOLD BMW E10 2002 - BMW M10M05 -
@johnprusinski might have some tips, I remember he had some choice words about that garagistic setup.
-
@johnprusinski might have some tips, I remember he had some choice words about that garagistic setup.
He already mentioned to me that it’s a huge PITA.
https://www.instagram.com/_jdesigner_/ http://nevertoolow.tumblr.com/
🥳SOLD BMW E24 633CSI - BMW M30B32 🧪SOLD HCH ES9 - 1.3 LDA
👽BMW E30 325IC - Toyota 1JZ-GTE ⏰ HONDA EF9 CIVIC SI - JDM B18C5
☠️BMW E36 318i - Ford 5.0 FE302 🚴♂️ GT-Labomba - 26x2.75 Freeride
🤹♀️SOLD BMW E36/7 Z3 - BMW M54B25 🧓SOLD BMW E10 2002 - BMW M10M05 -
Calipers are all painted and I cleaned up the hardware. I was going to get new pad guides instead of cleaning them but they were $80 and I realized I was just being lazy.
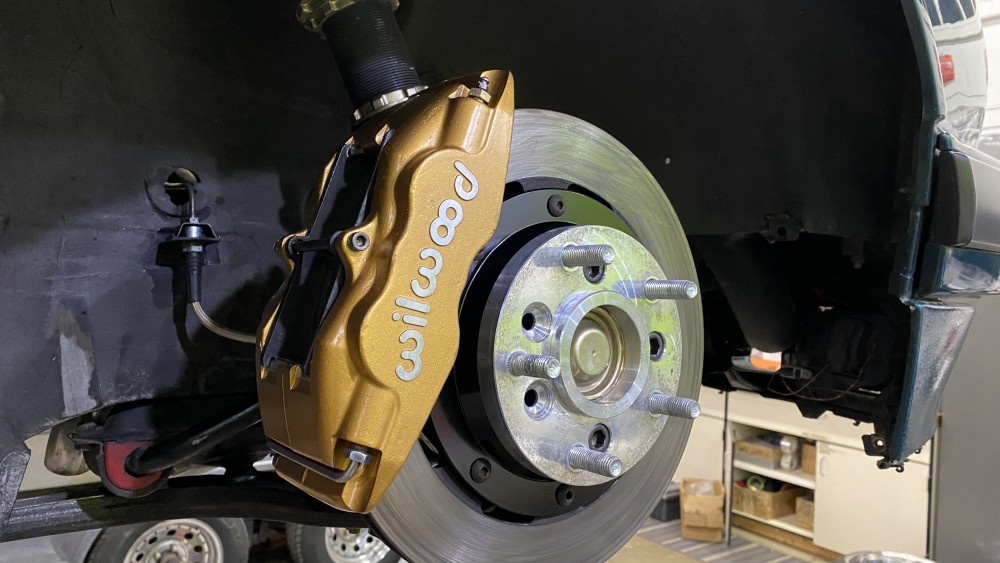
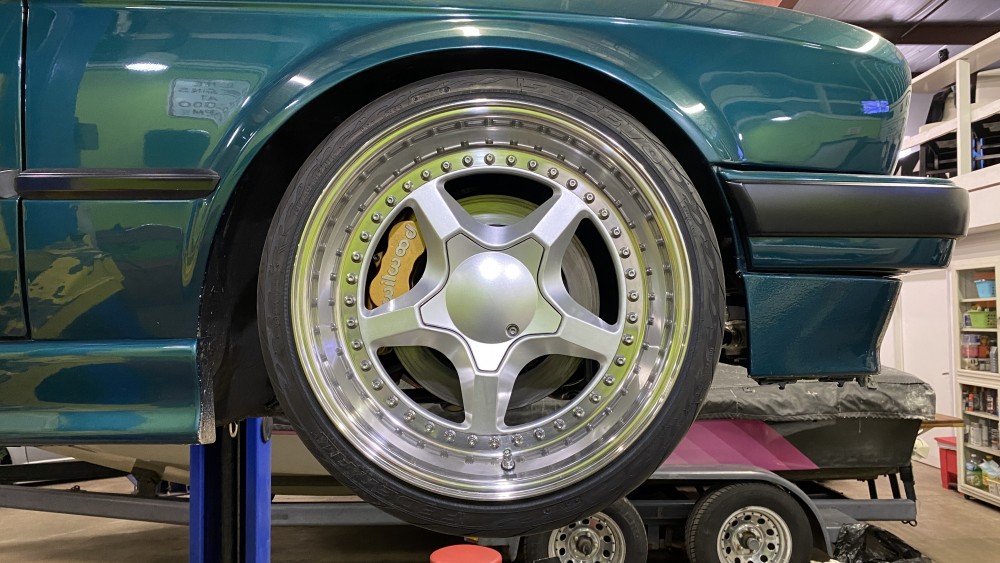
I have yet to start digging under the dash, that’s next.
https://www.instagram.com/_jdesigner_/ http://nevertoolow.tumblr.com/
🥳SOLD BMW E24 633CSI - BMW M30B32 🧪SOLD HCH ES9 - 1.3 LDA
👽BMW E30 325IC - Toyota 1JZ-GTE ⏰ HONDA EF9 CIVIC SI - JDM B18C5
☠️BMW E36 318i - Ford 5.0 FE302 🚴♂️ GT-Labomba - 26x2.75 Freeride
🤹♀️SOLD BMW E36/7 Z3 - BMW M54B25 🧓SOLD BMW E10 2002 - BMW M10M05 -
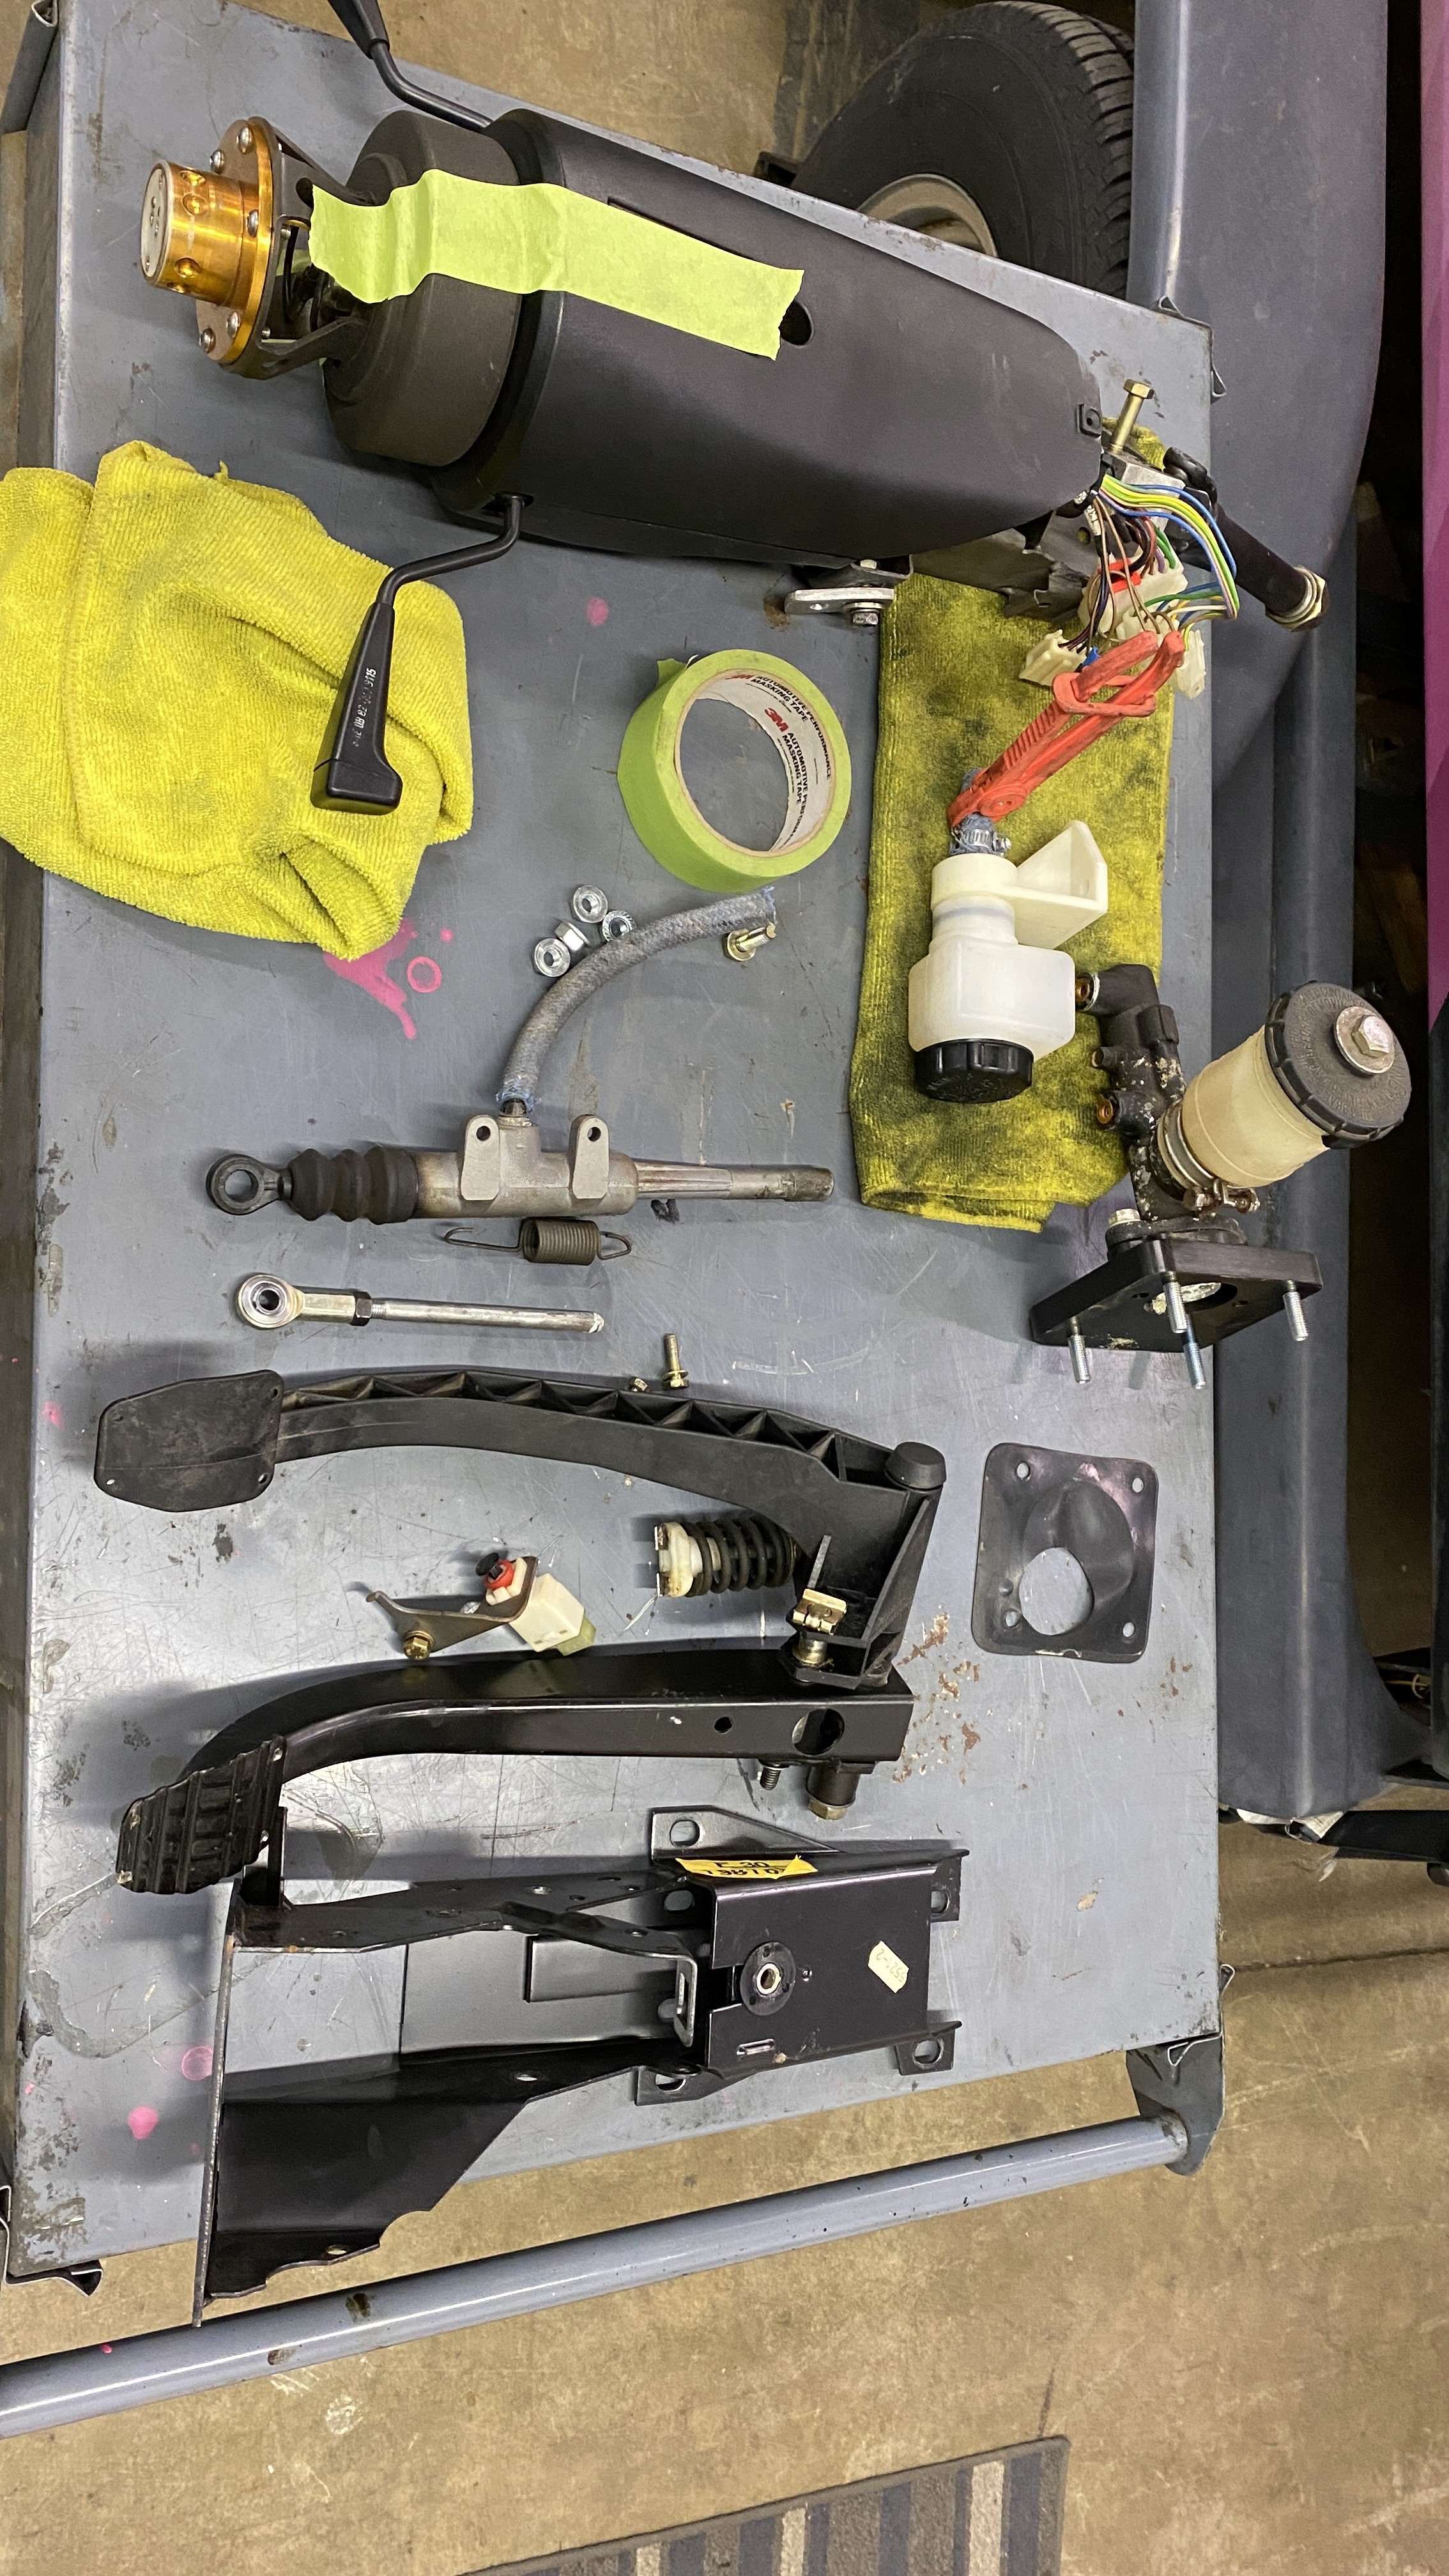
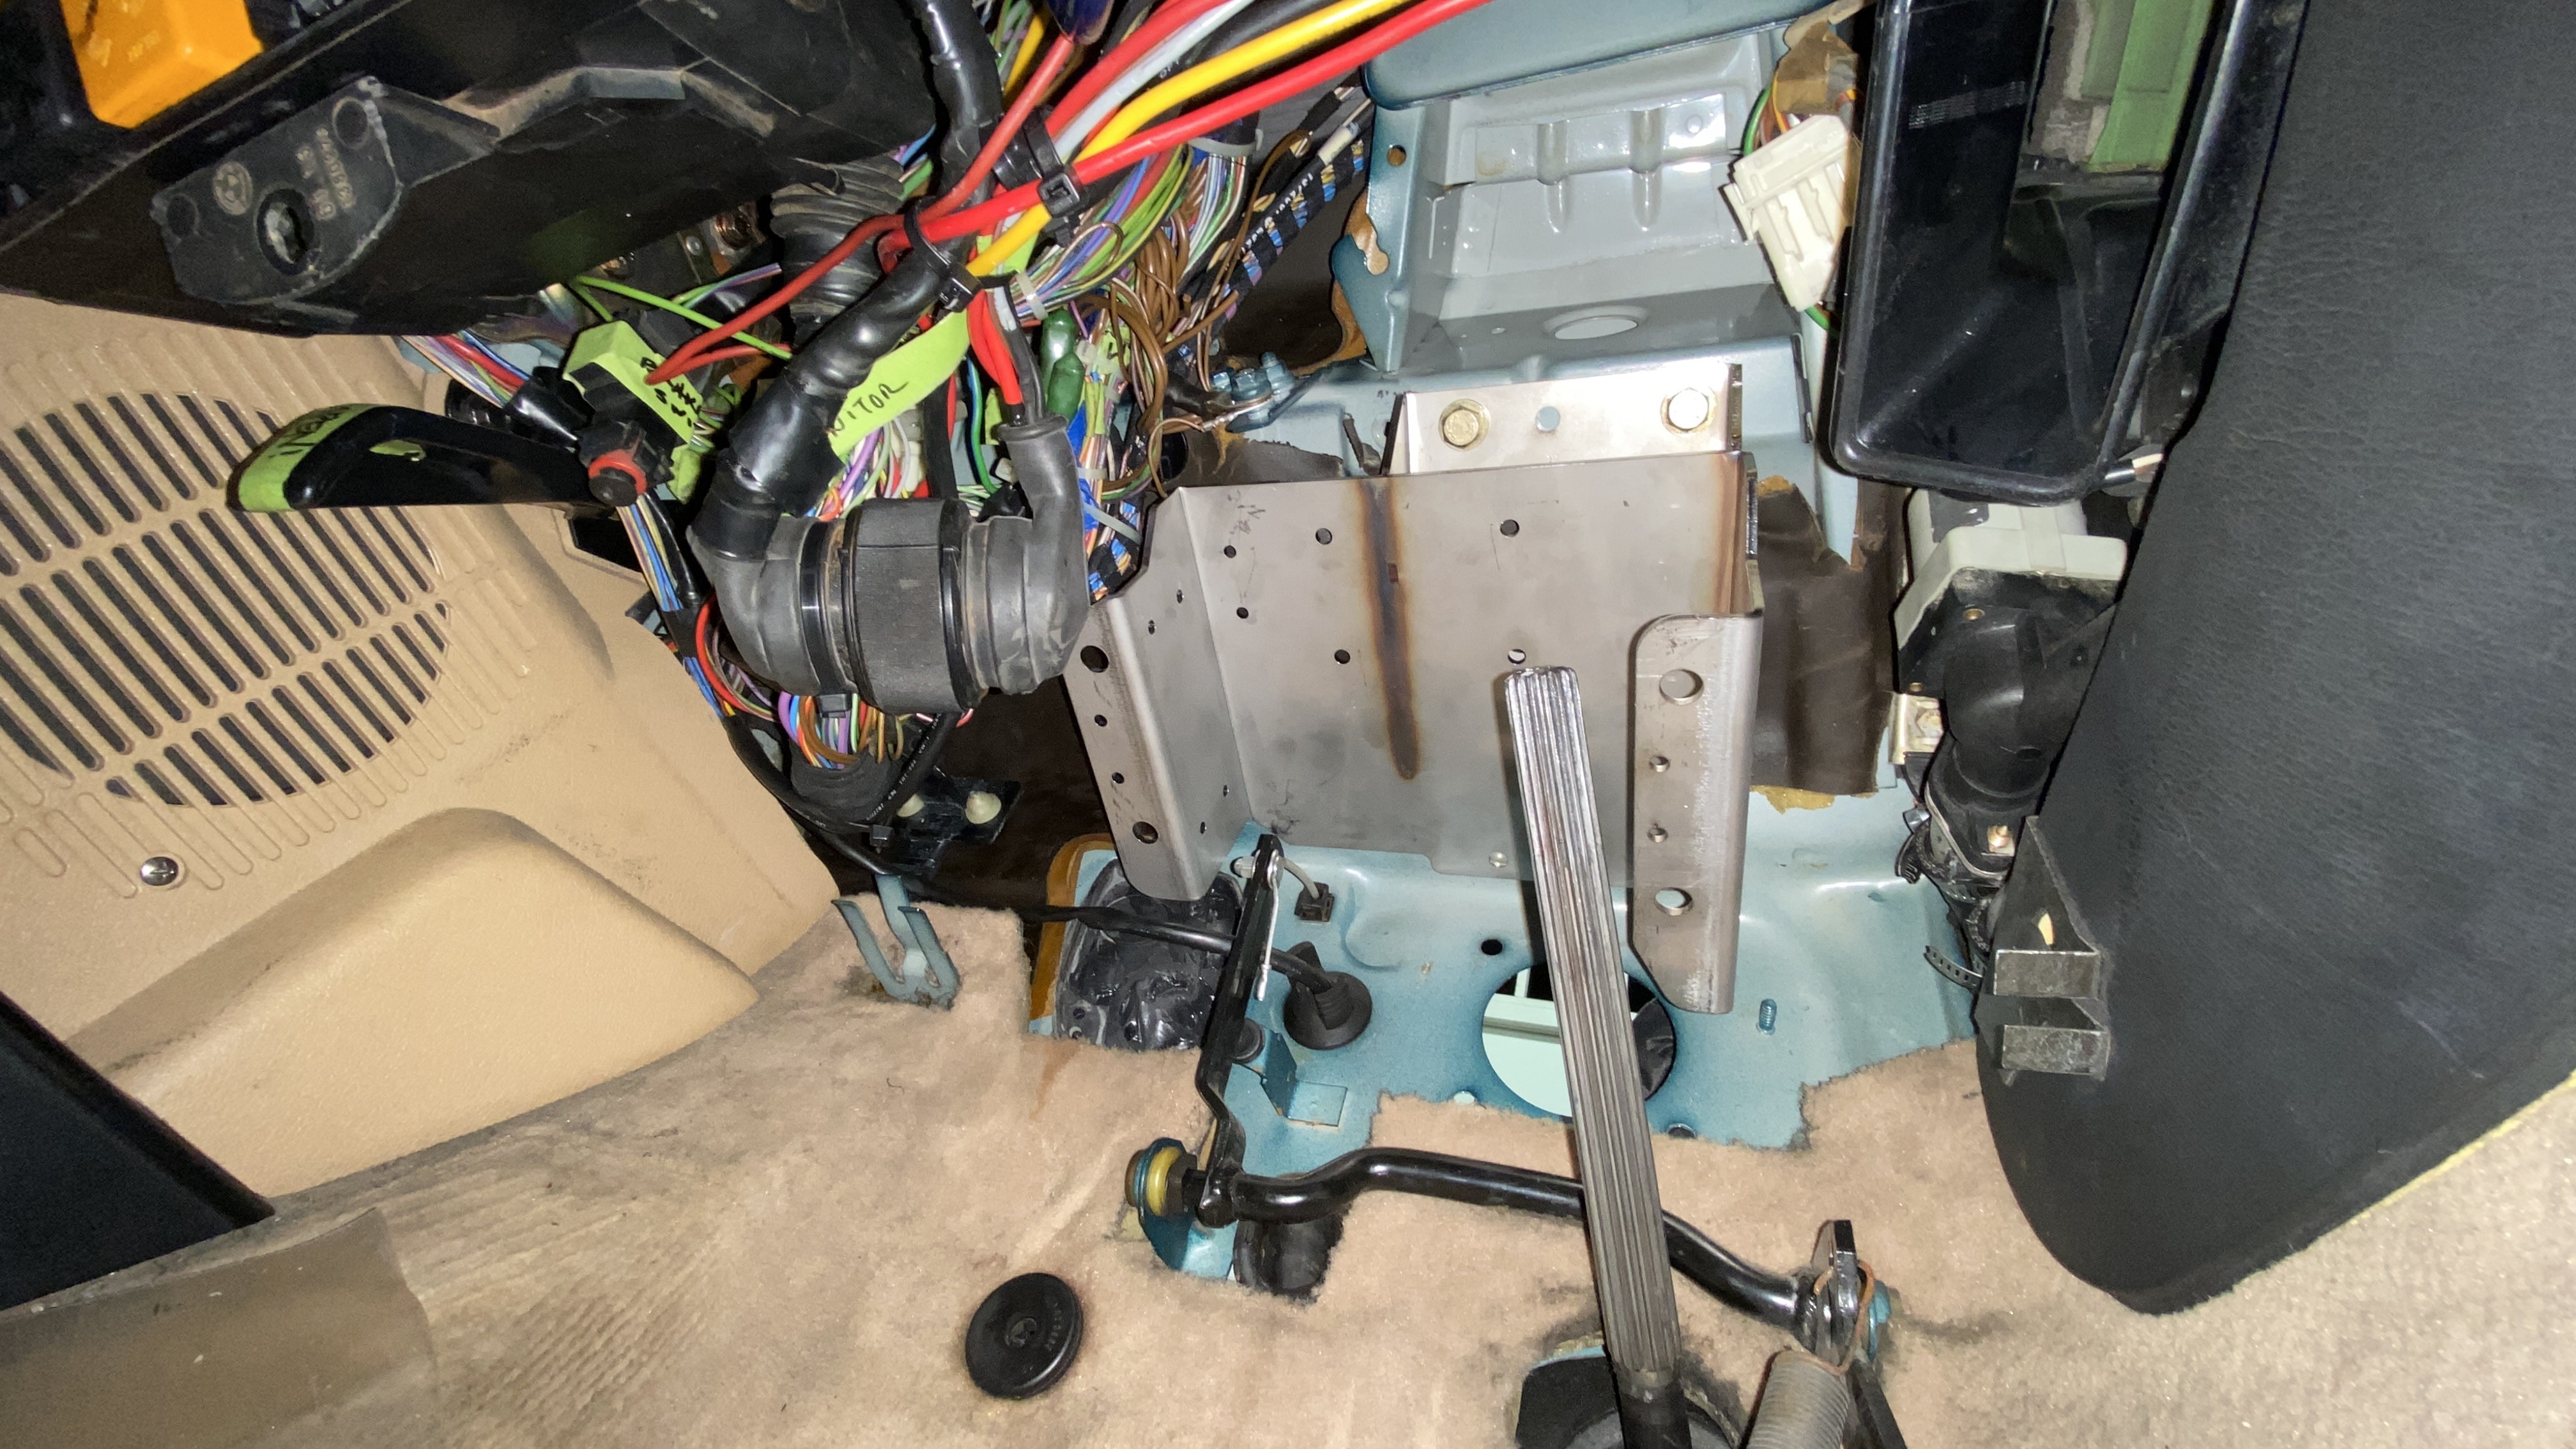
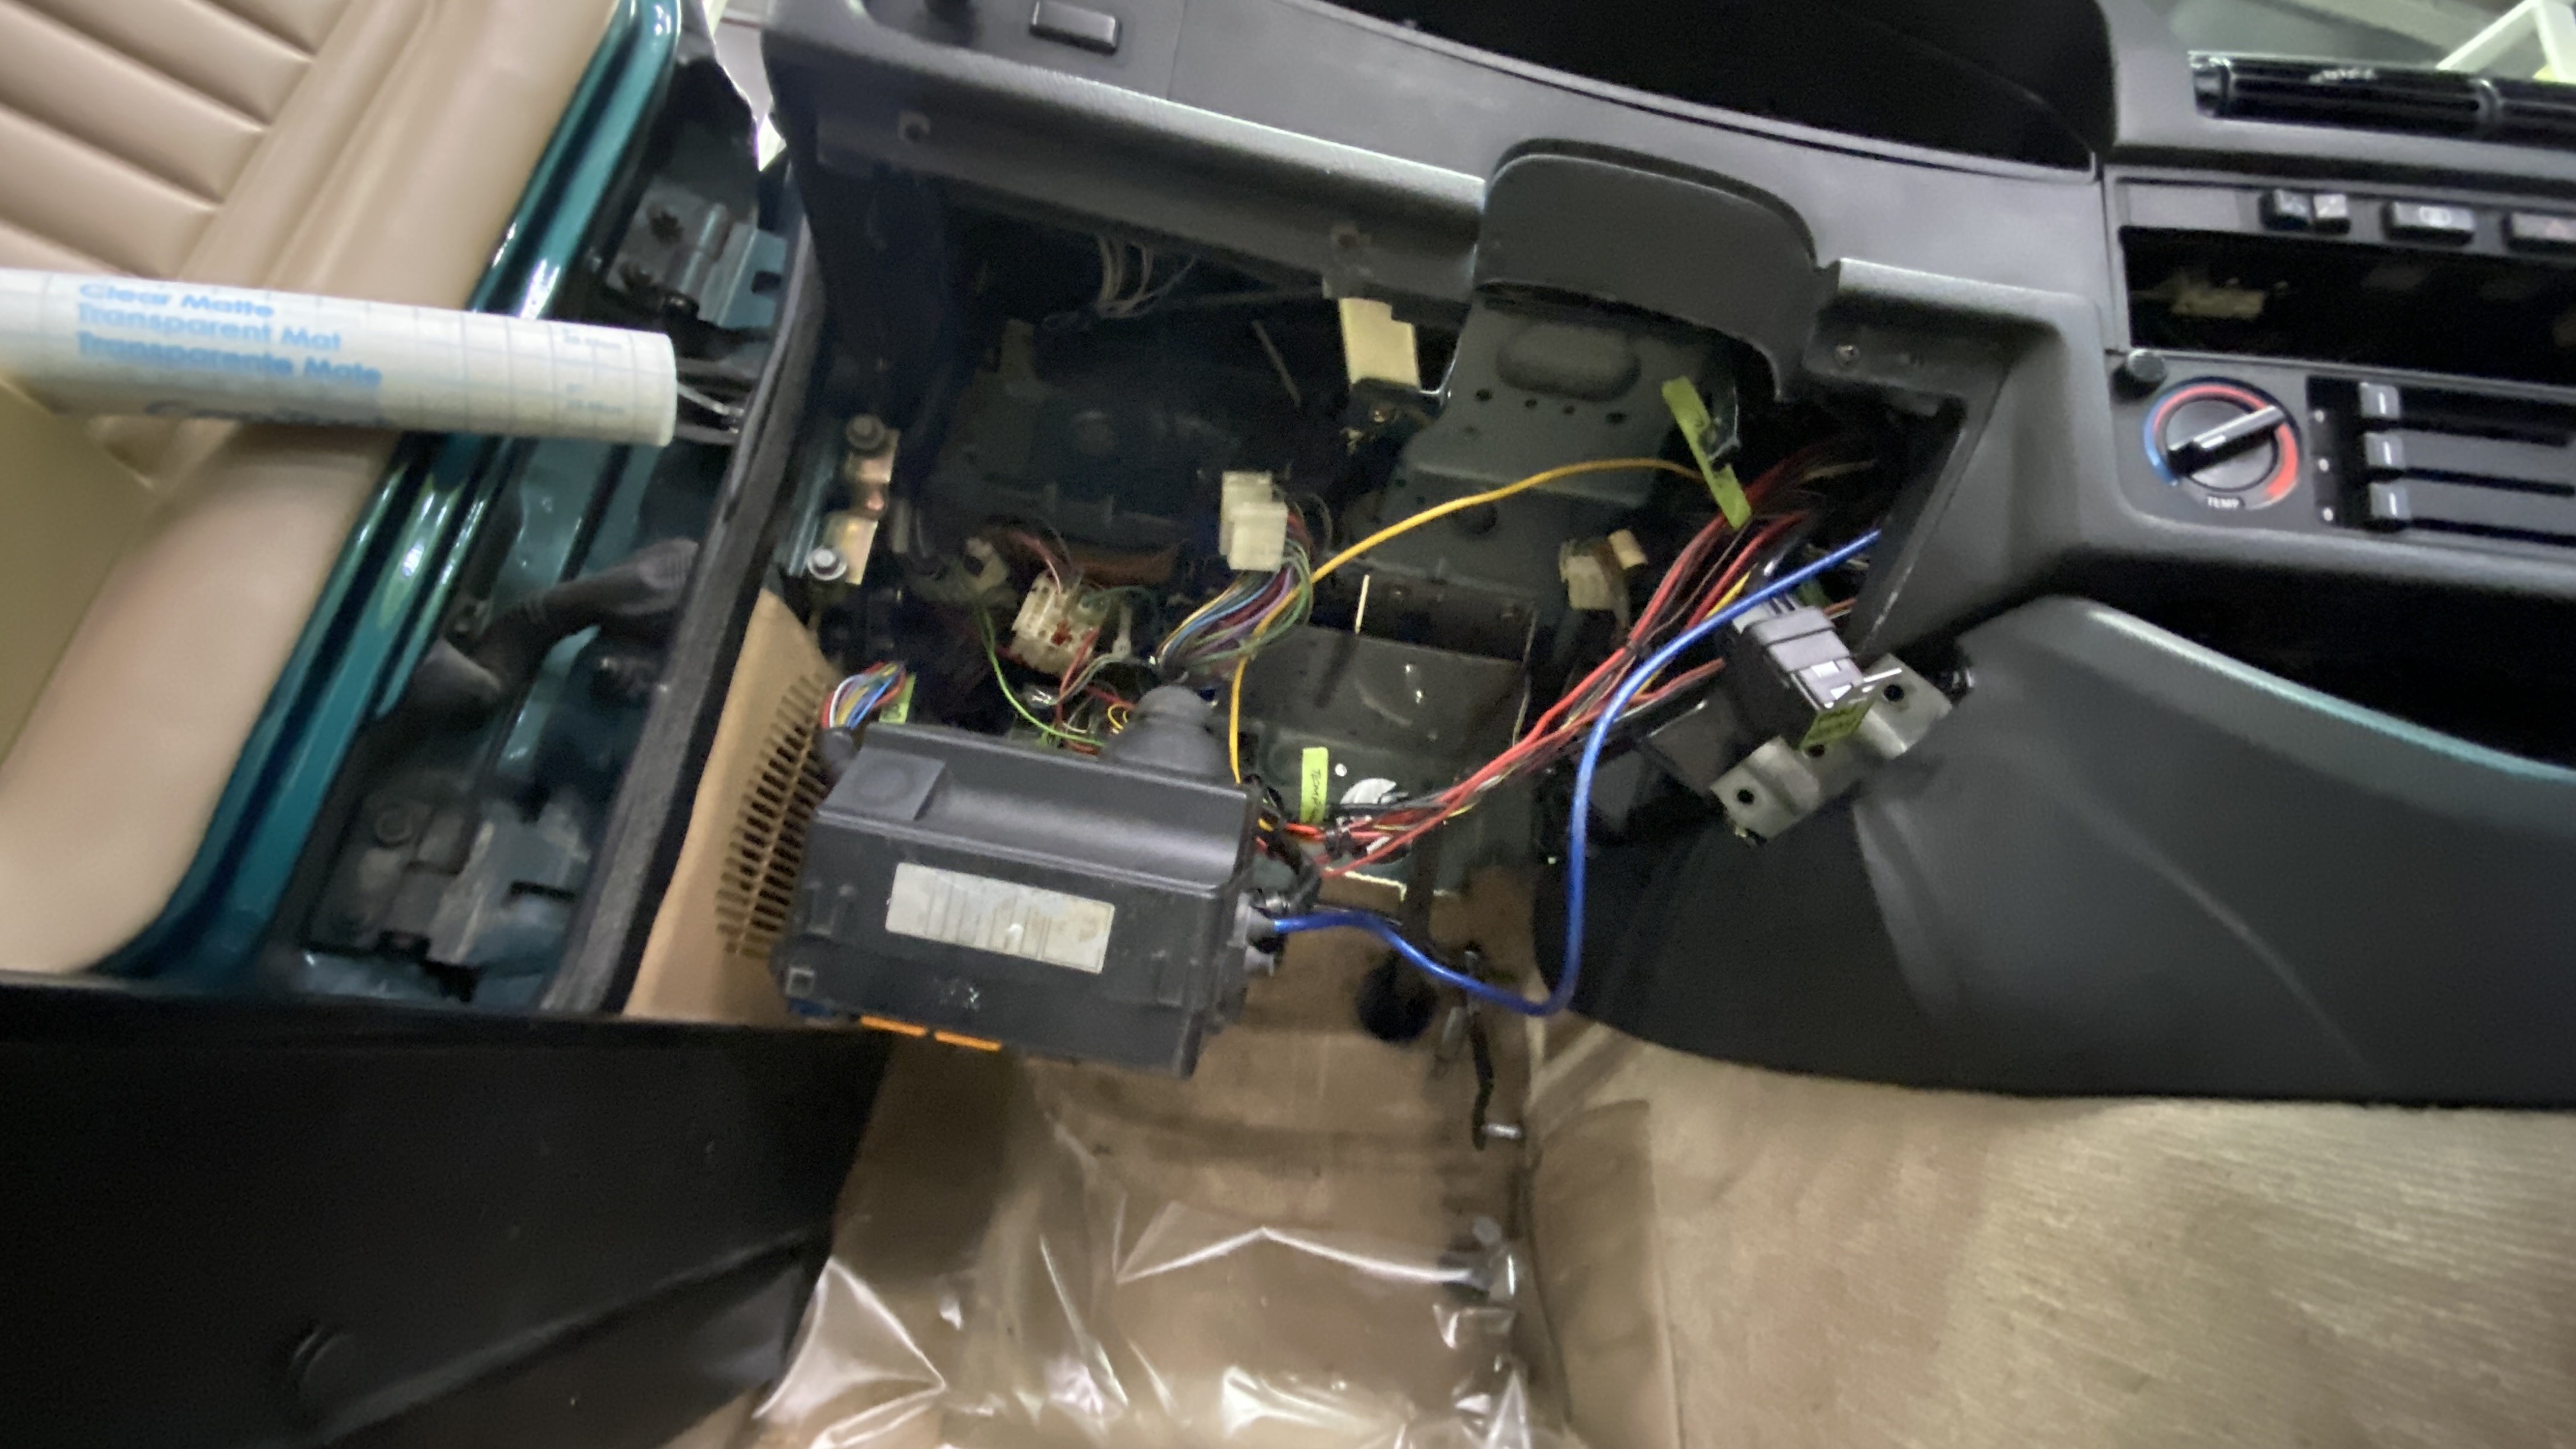
I started on the more frustrating part of the brake upgrade. So far I haven’t determined that I can use my airbag column per garagistics instructions. But they also said I need to remove my dash, and I proved that was a lie already.
Here is all the factory parts out of the car..
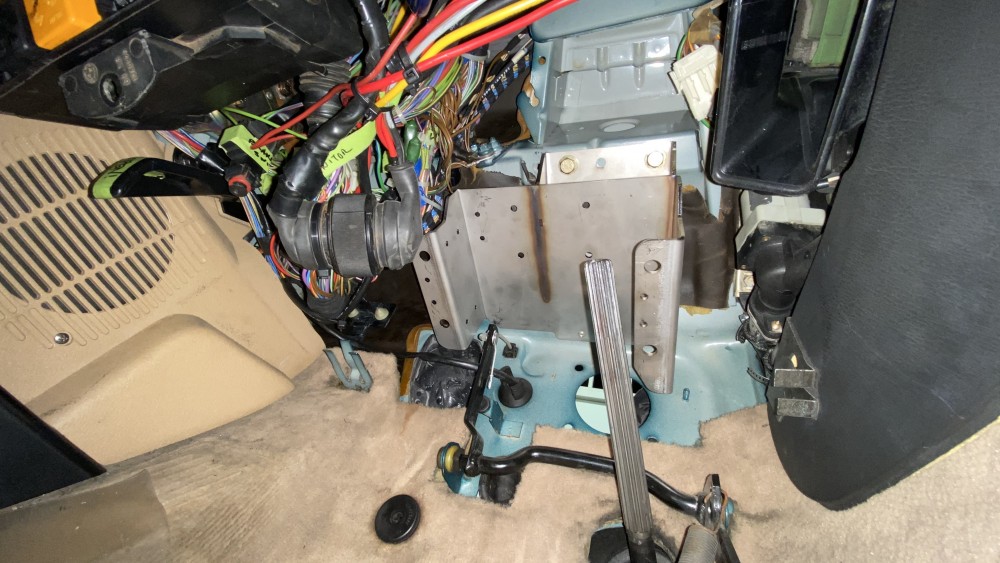
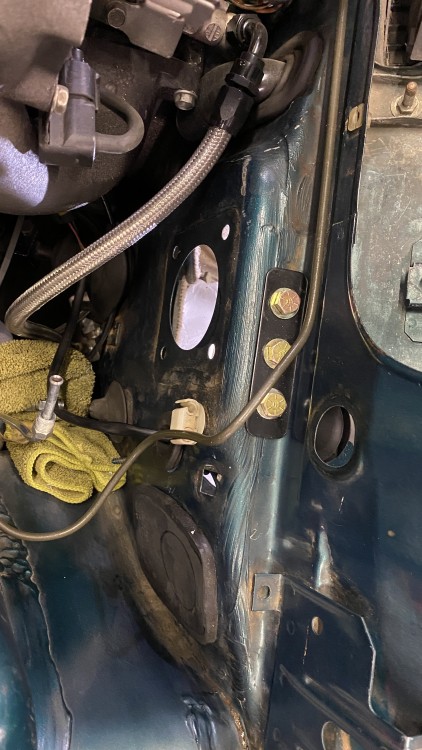
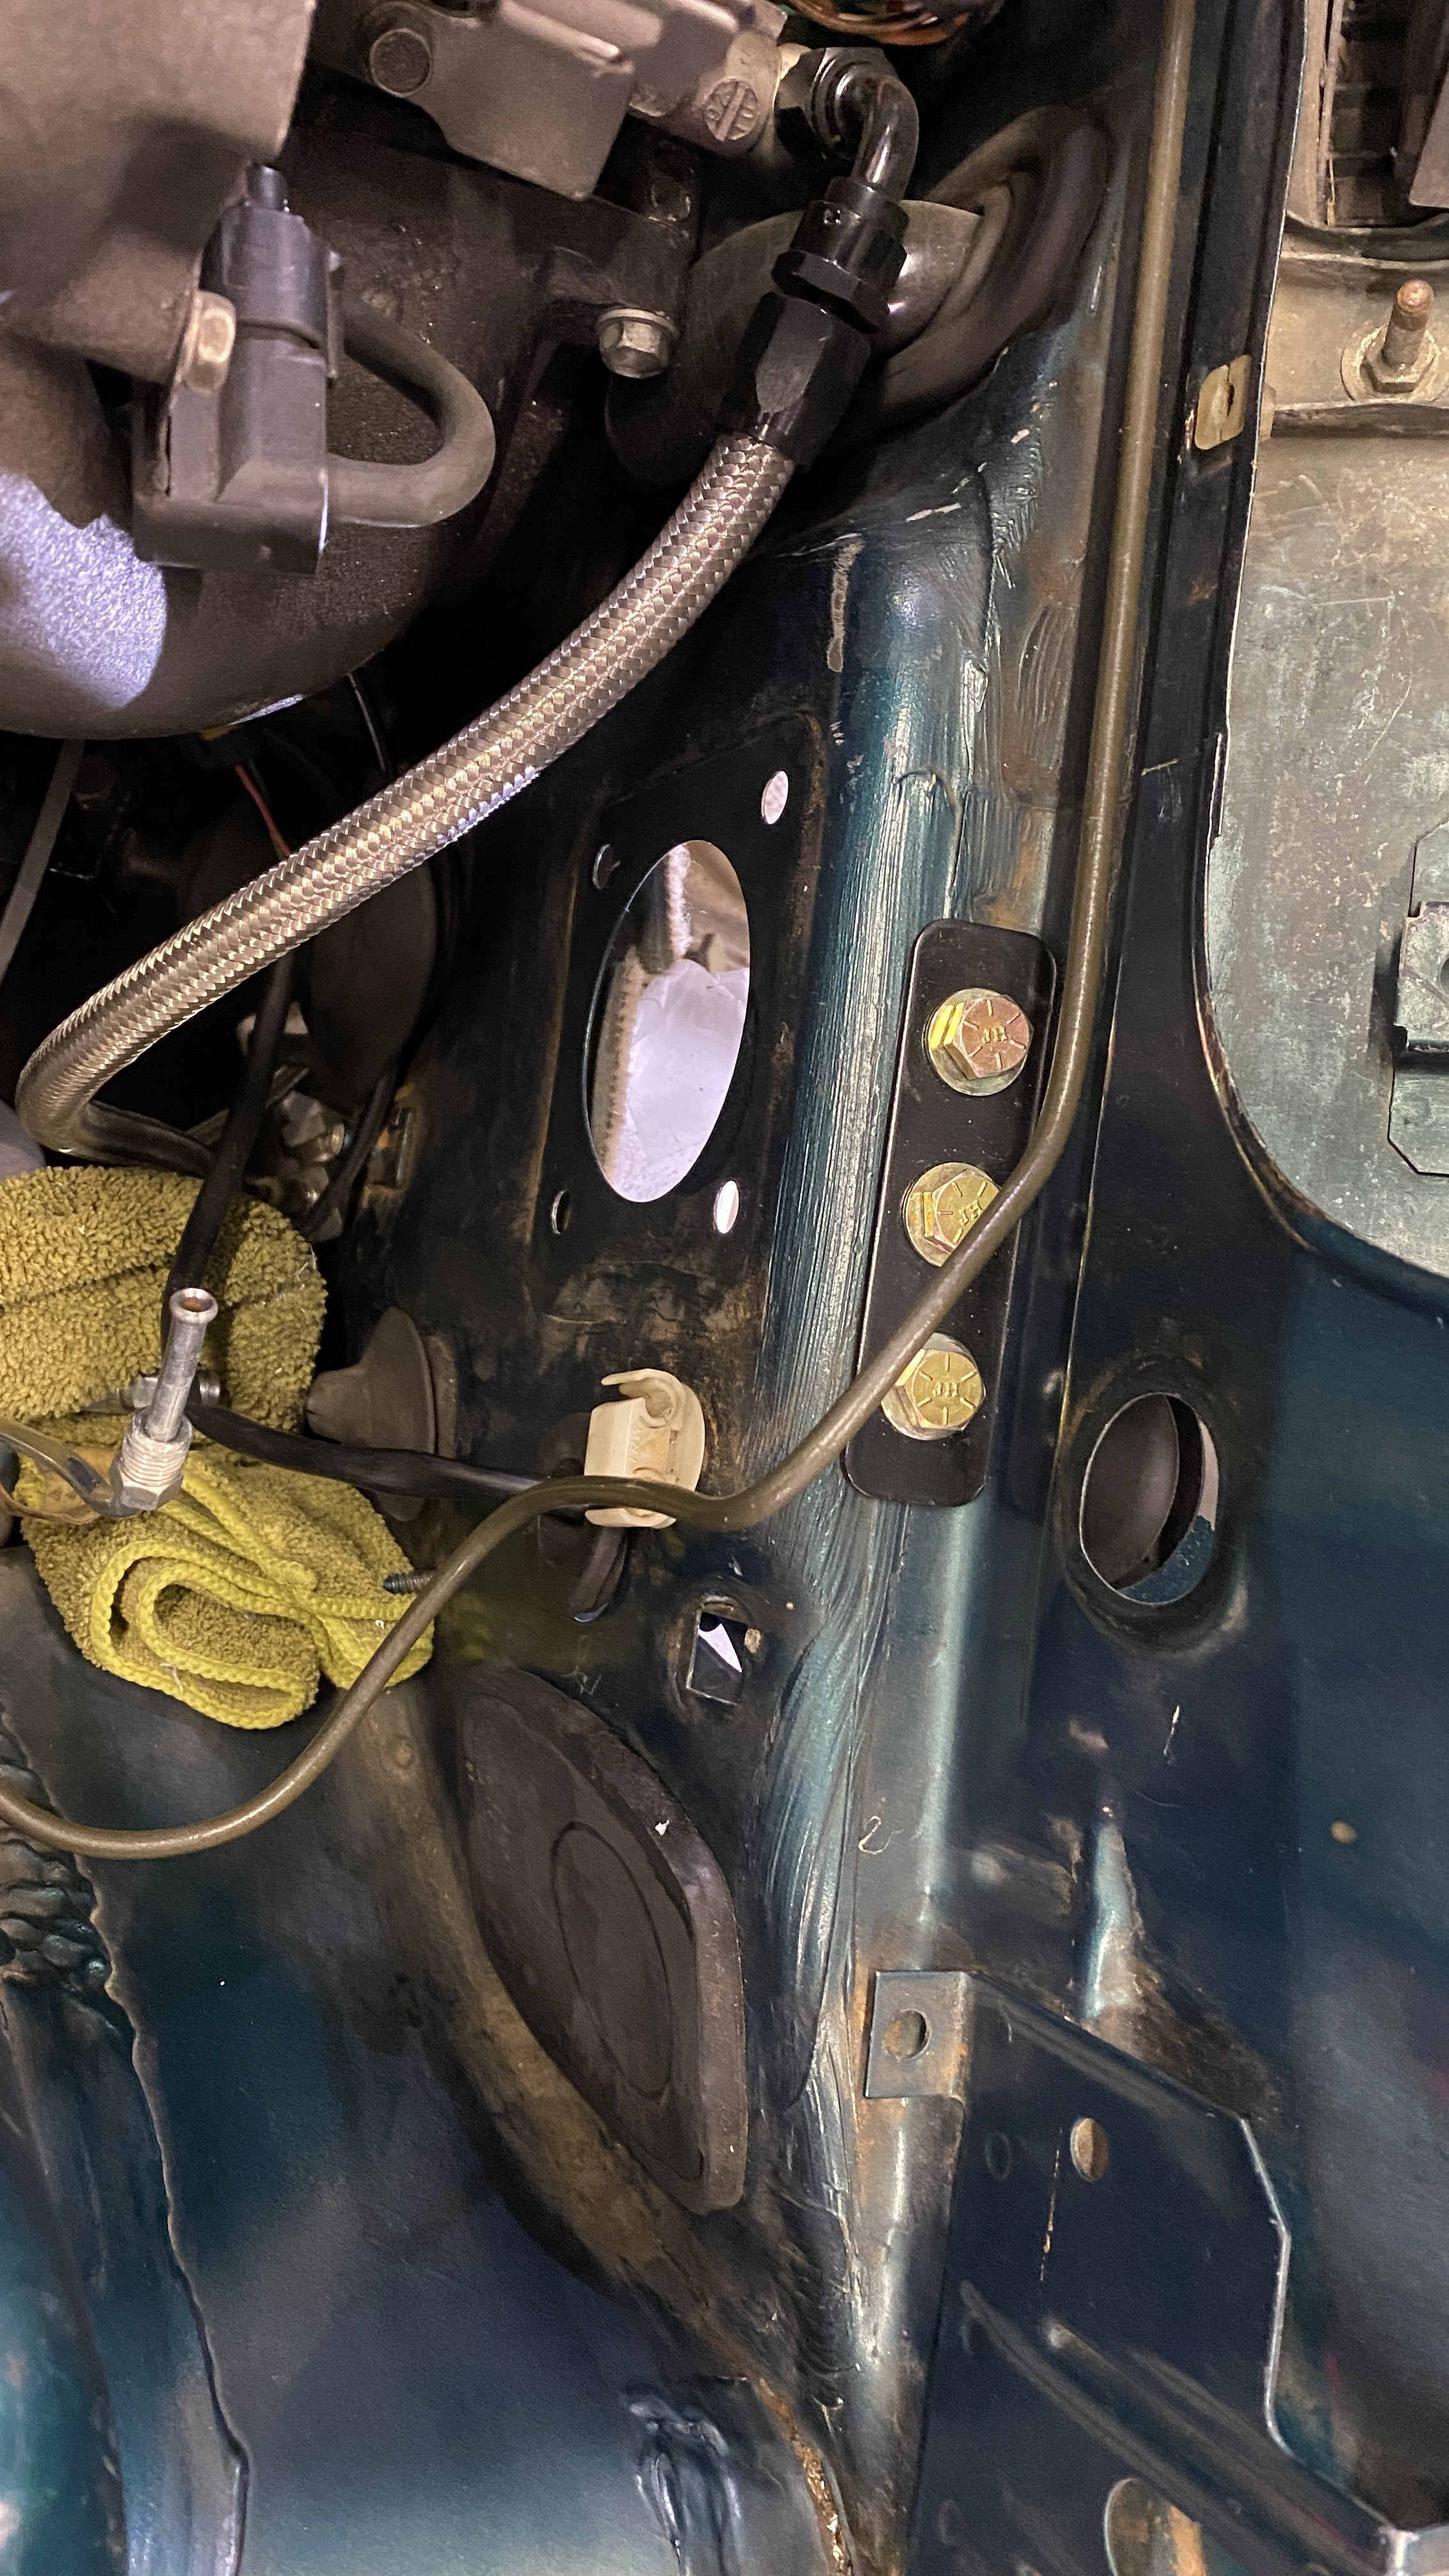
This is a shot of the garagistic bracket mocked up before I drill the holes in the firewall. I later noticed before I drilled the holes that I was off by 1 bolt and had to shift the whole thing to the left. I’m glad I noticed before drilling.
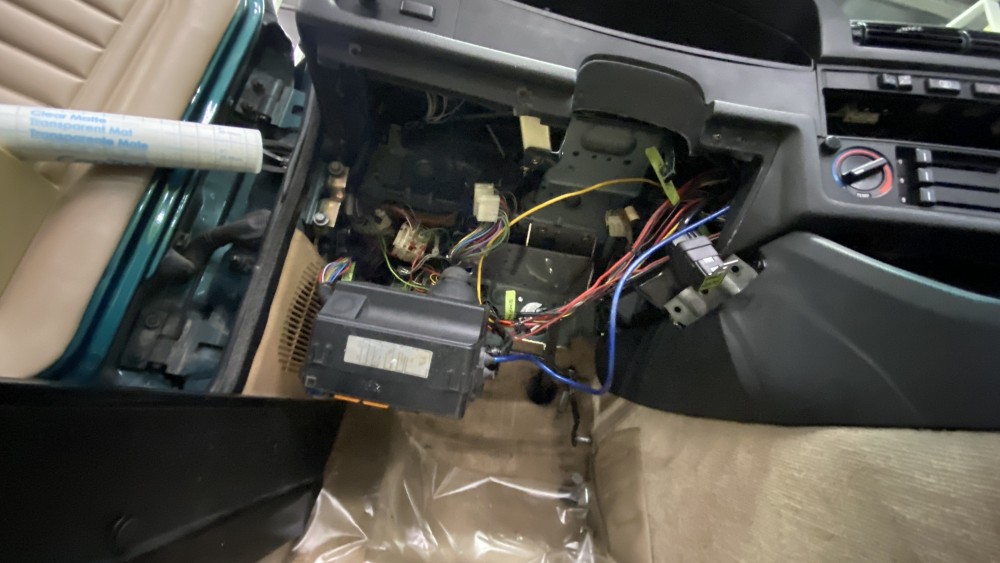
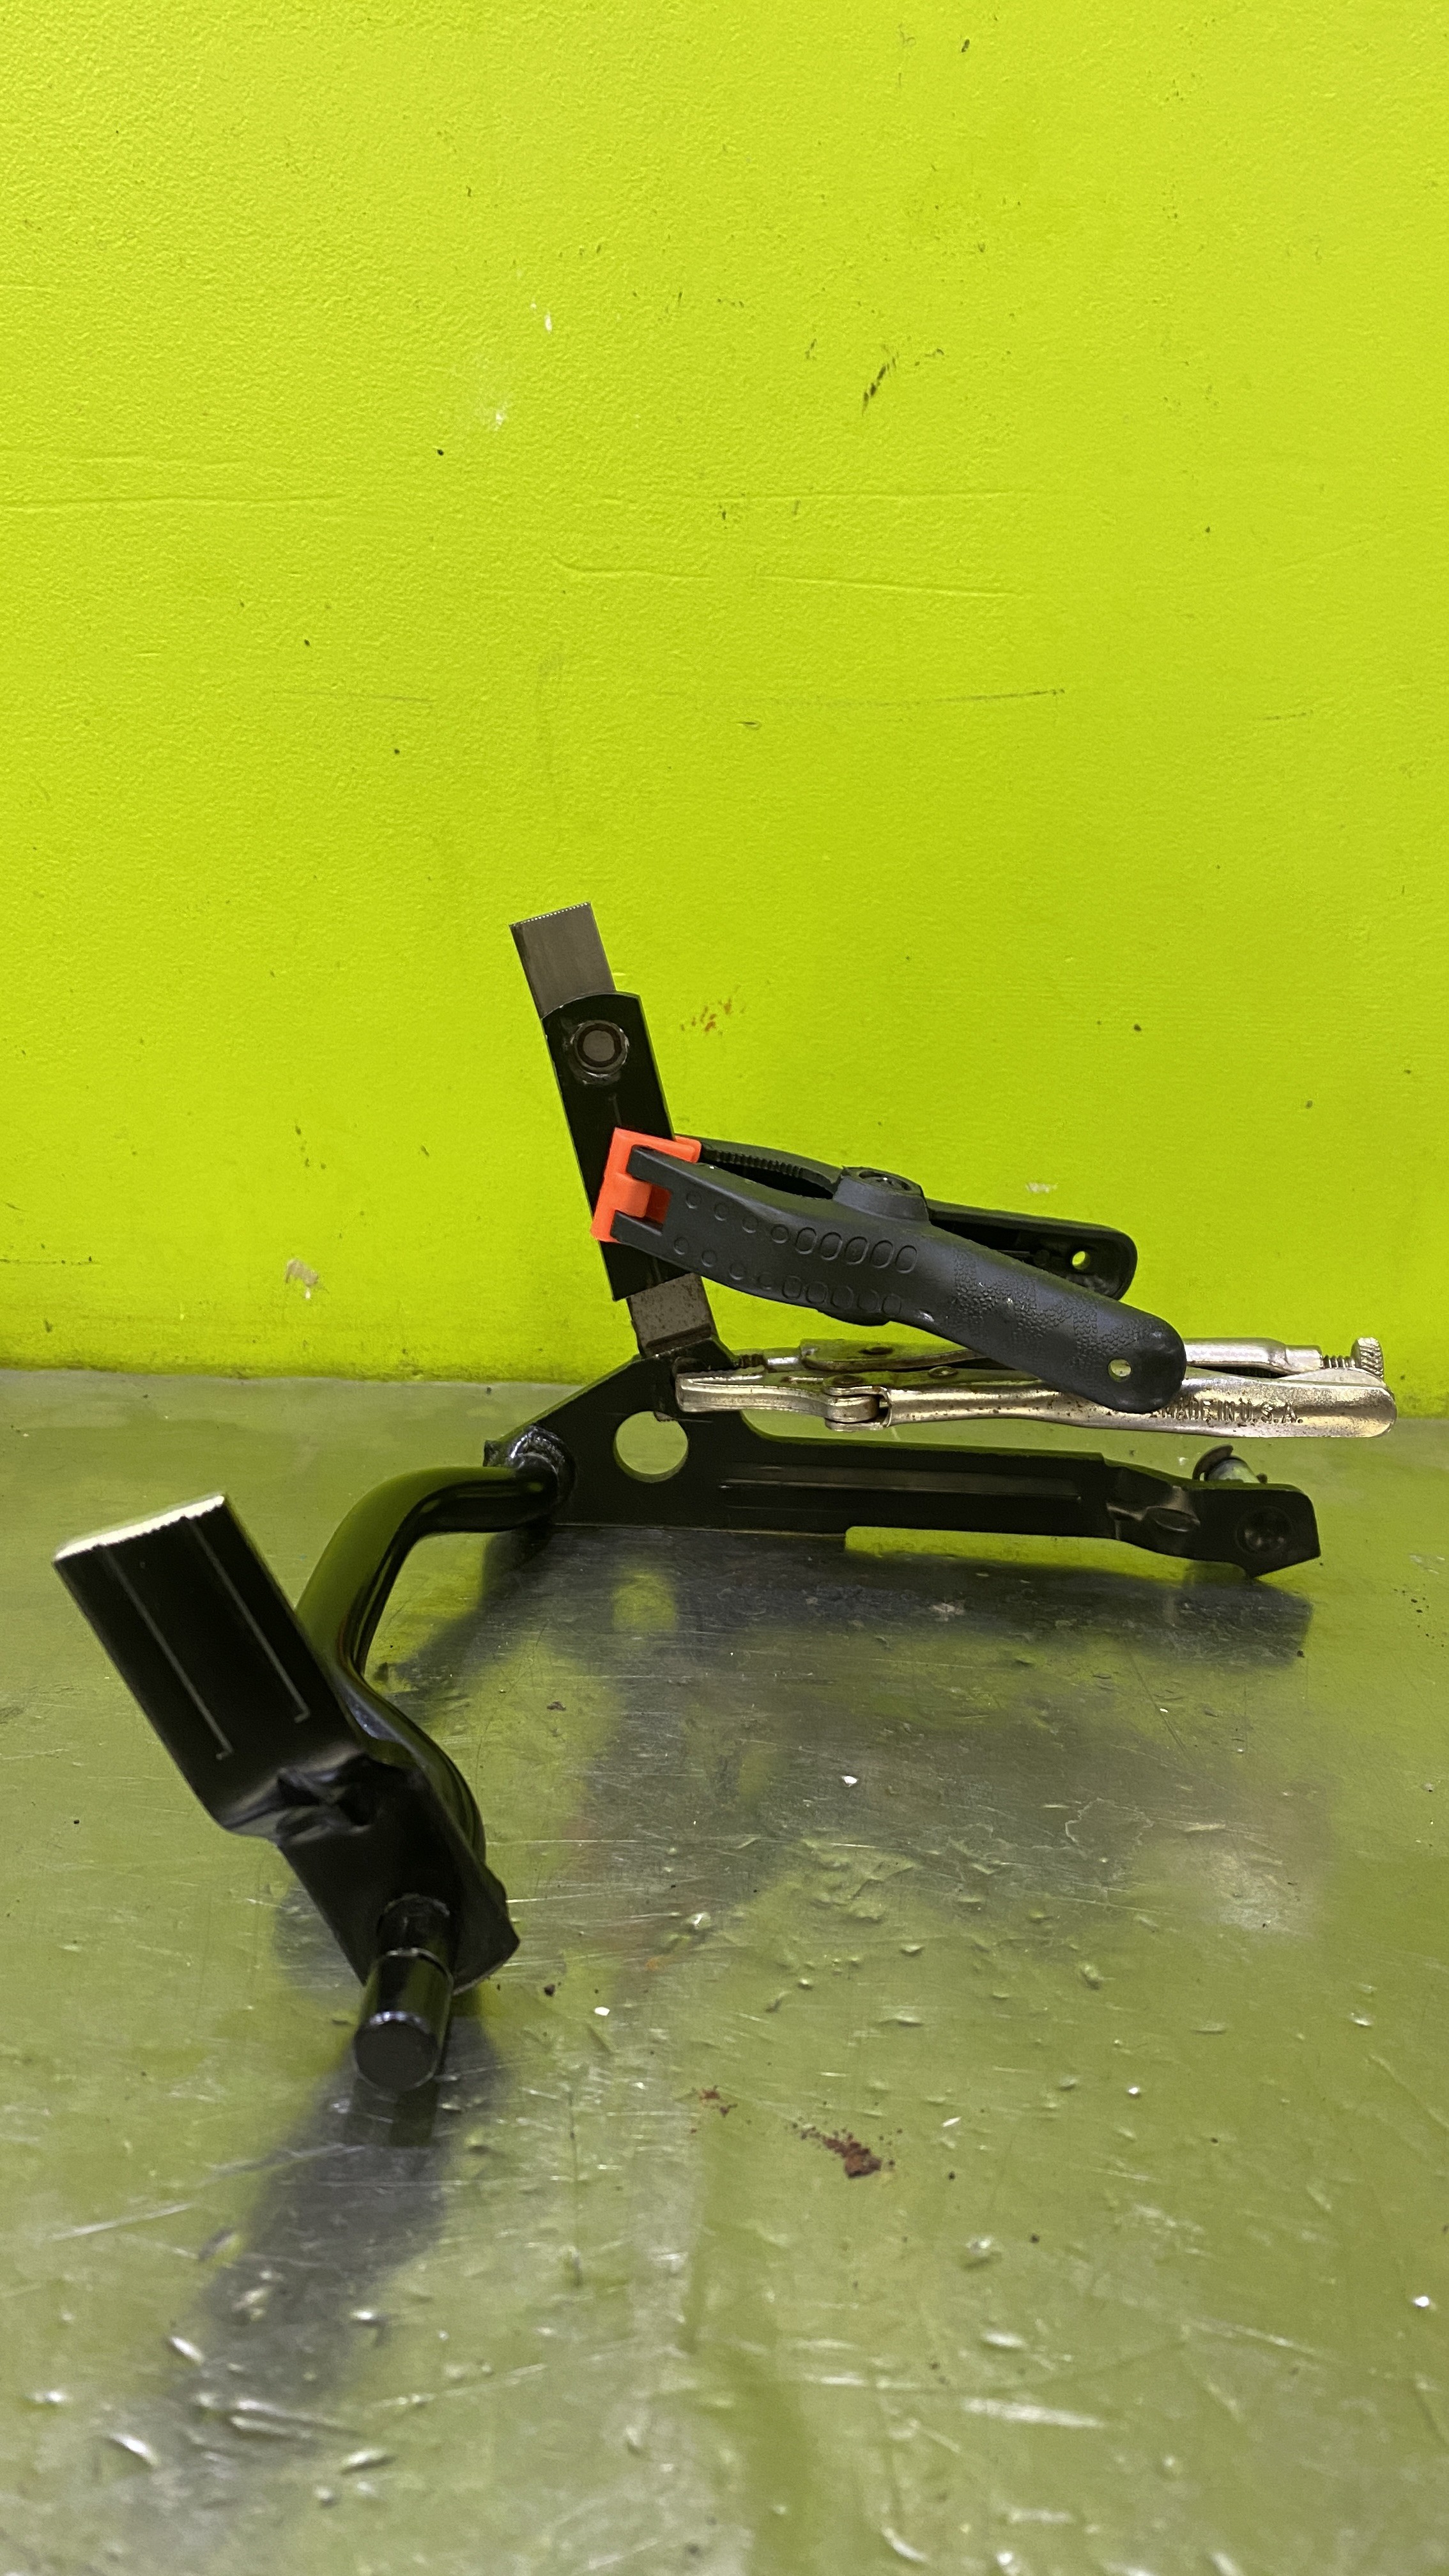
I also have to modify the throttle lever. Originally the throttle cable exits far to the left of the pedal assembly. I had to cut the cam portion of the lever as it hits the clutch pedal if you don’t. I plan on welding it above the pivot of the pedal itself. That’s what you can see mocked up here. What’s nice about this is that the cable will now exit right behind the manifold and give it a cleaner look.
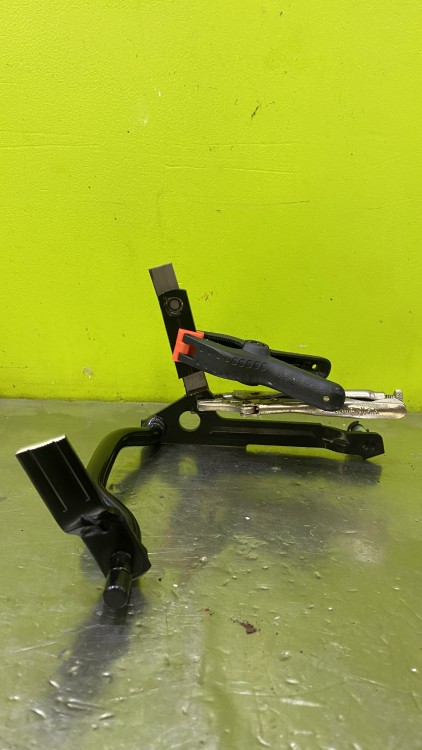
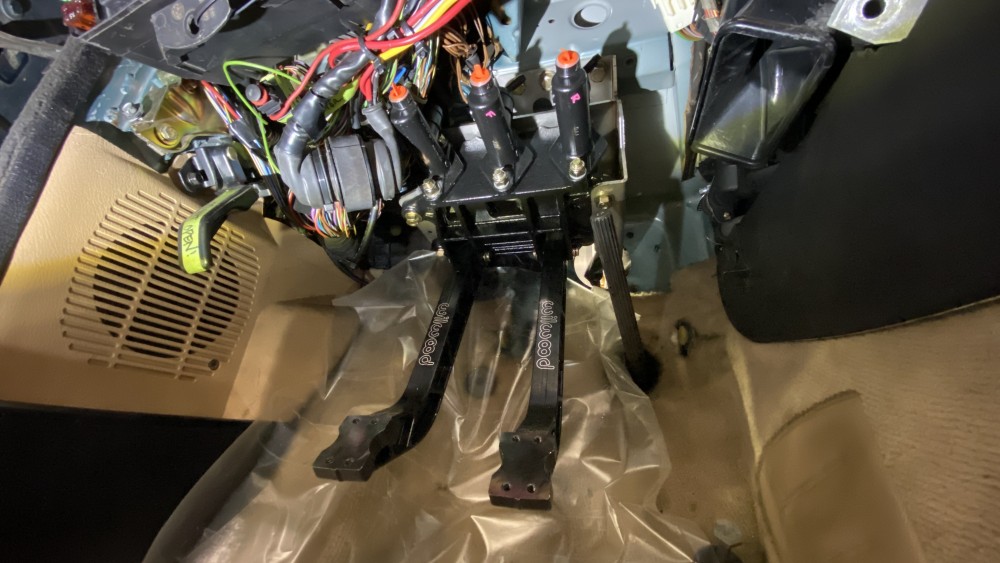
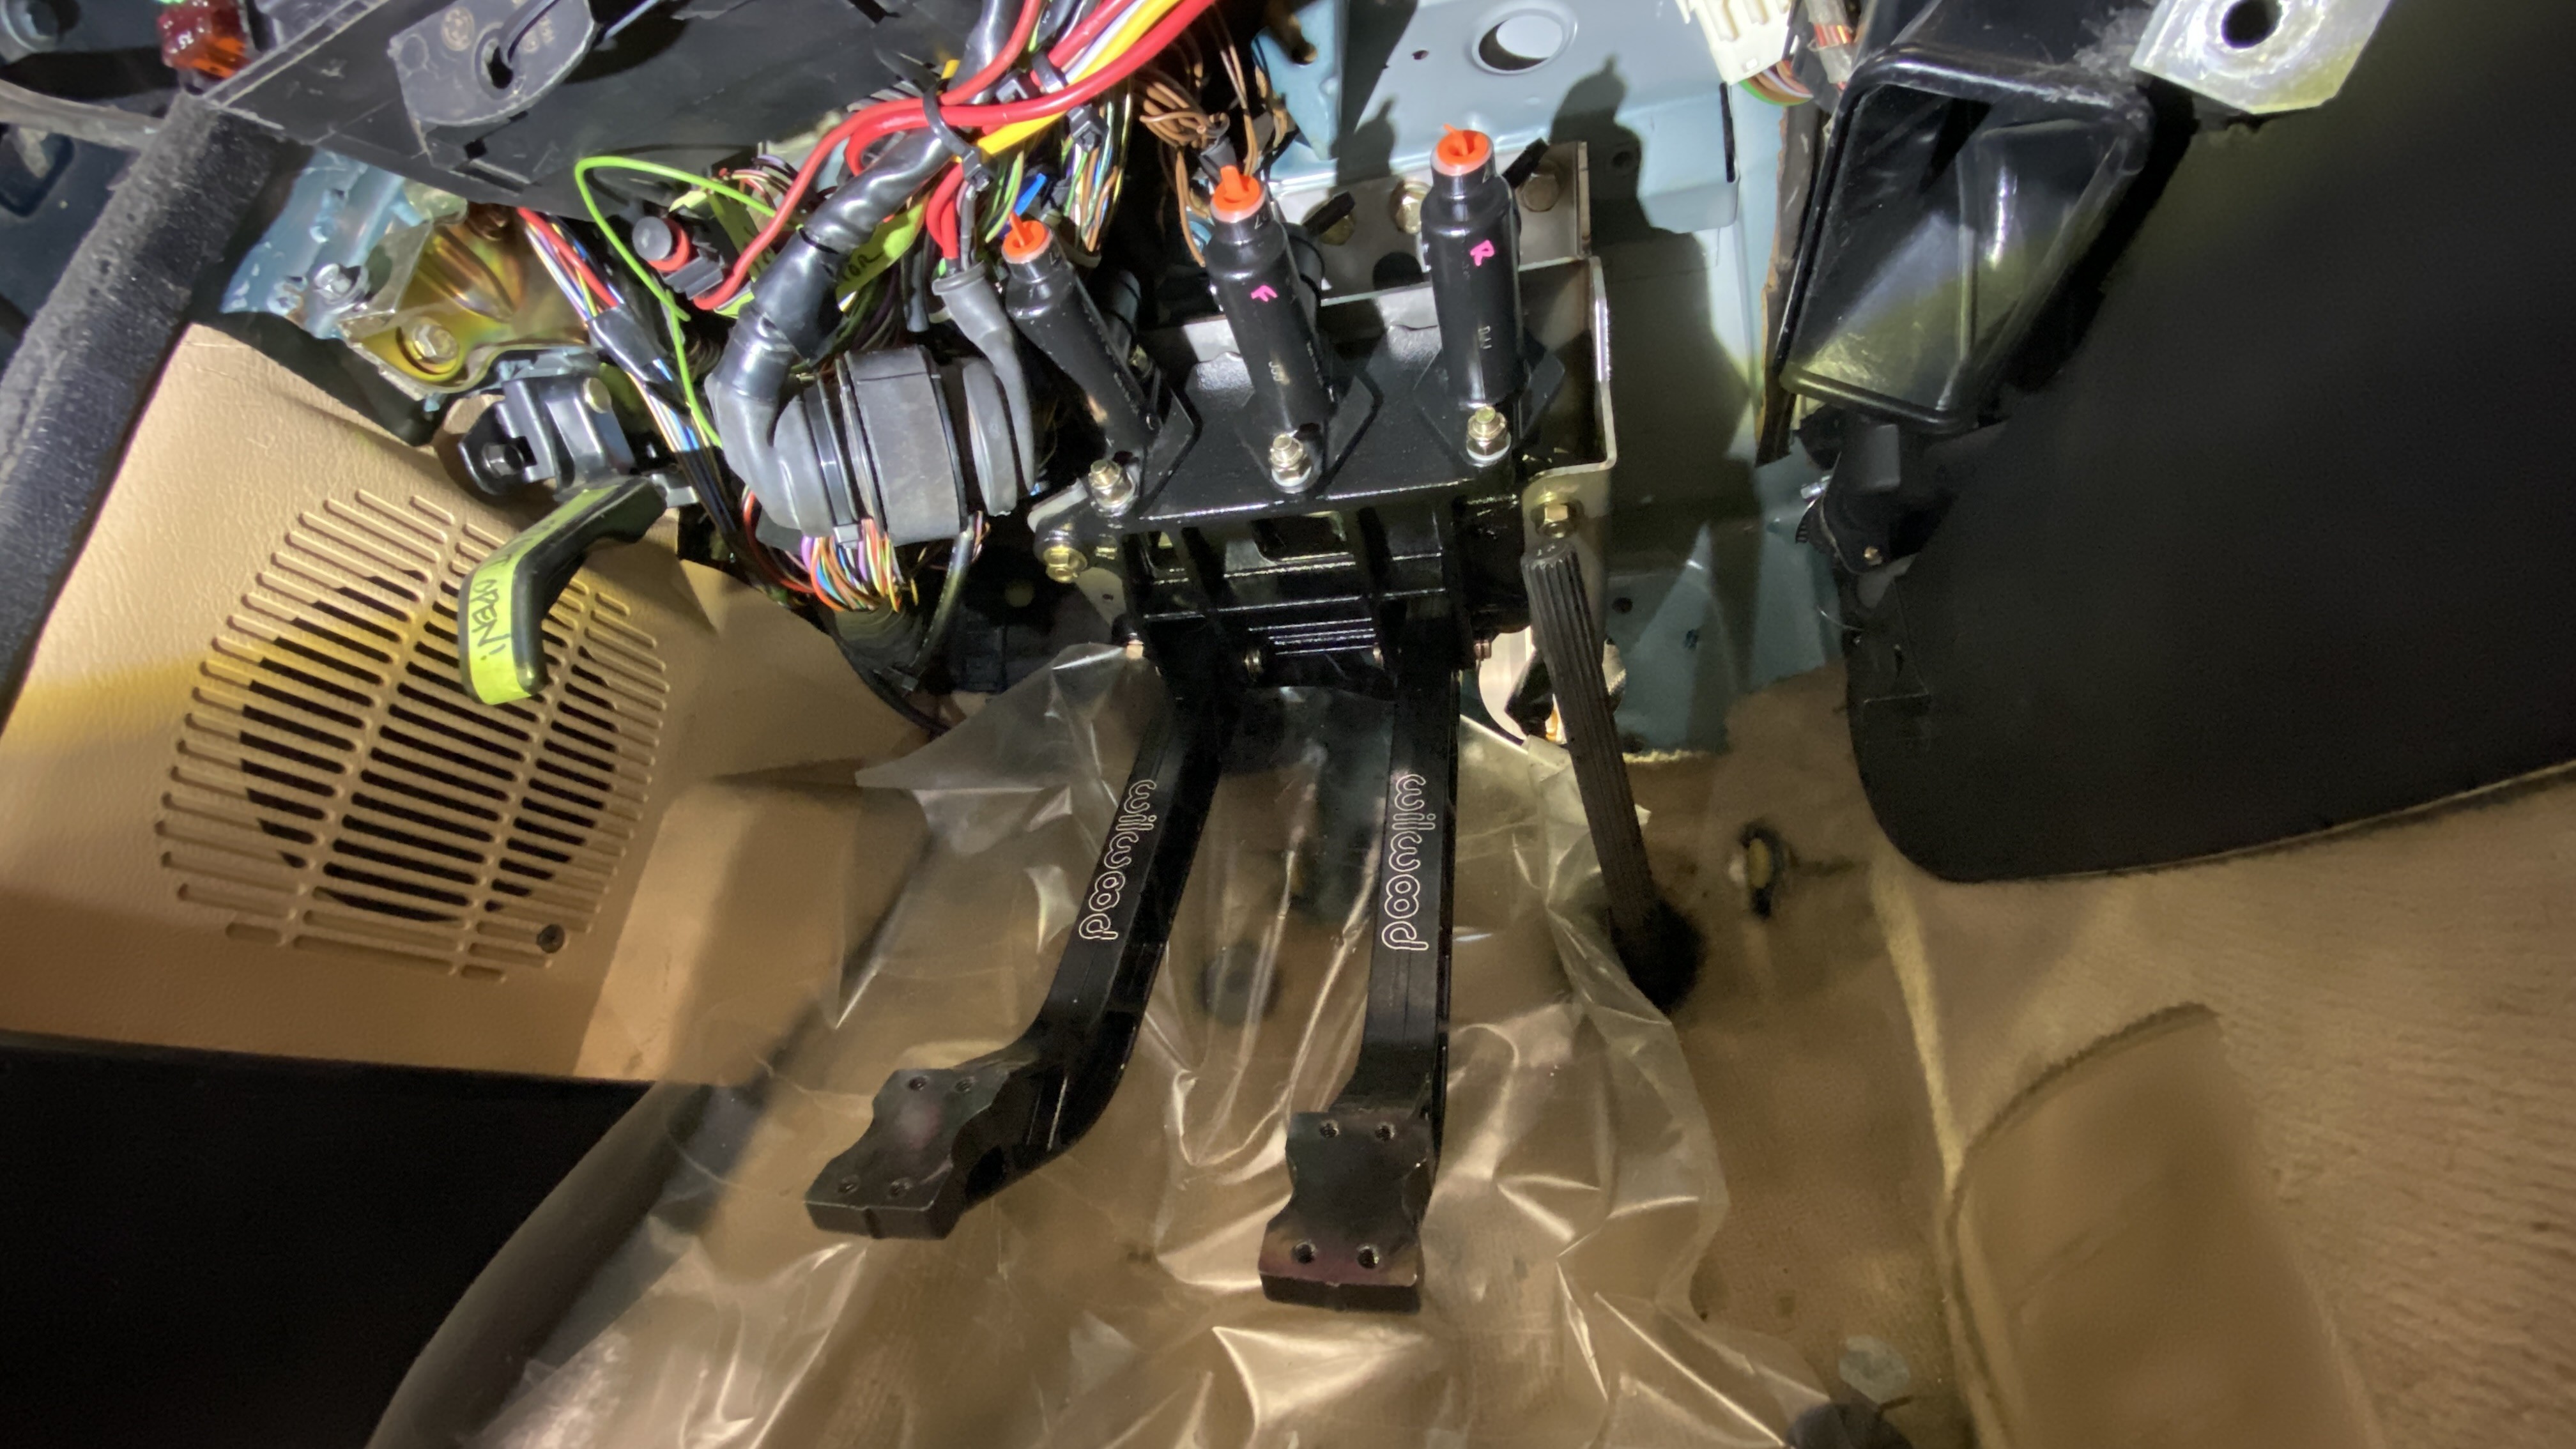
The pedals in their final resting place. Unfortunately they will probably come back out a few more times as I route the brake lines and reservoir lines.
here’s a shot of the bracket and bolts that you have to drill into the firewall.
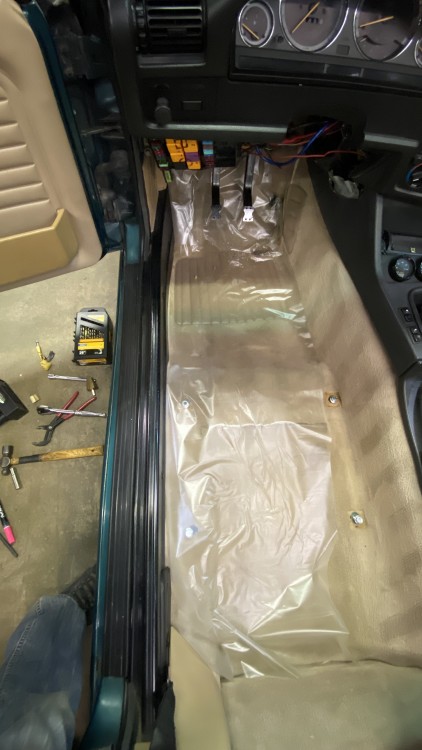
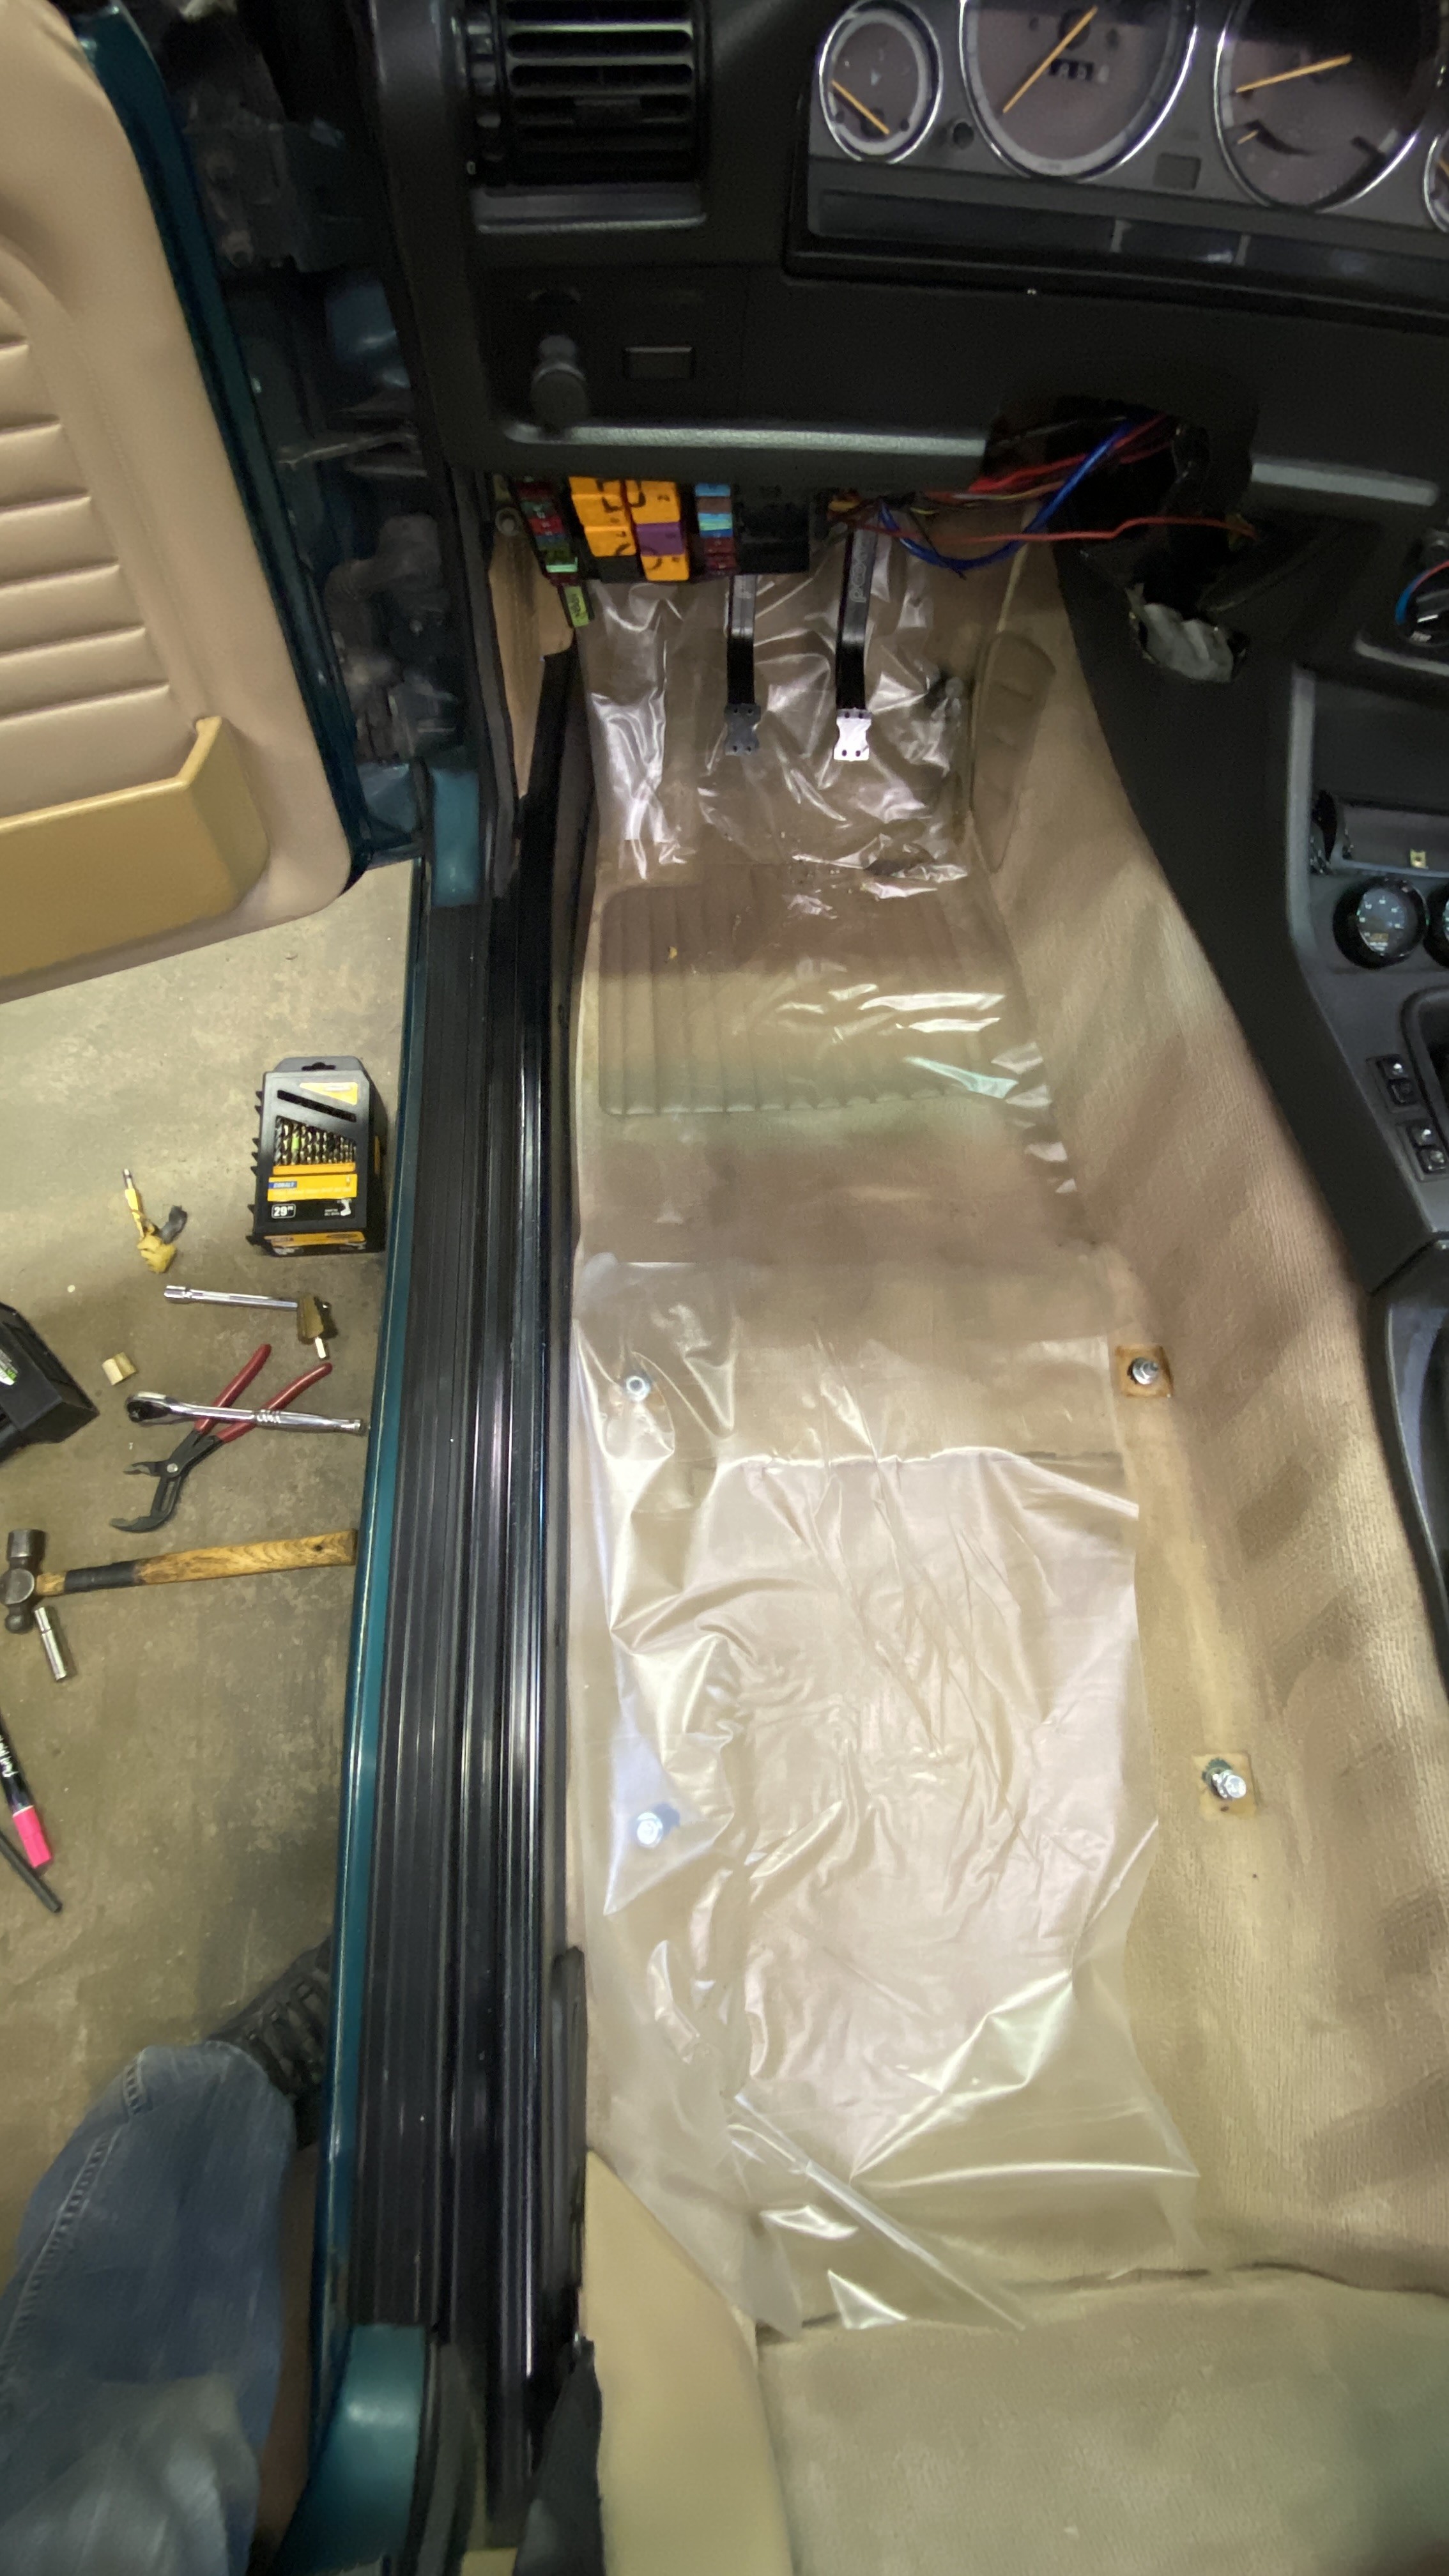
This last picture is just a picture of my carpet. I used drawer liners to protect the carpet from getting dirty as I’m crawling out from under the dash 40 some times fitting everything. I use this stuff all the time to protect surfaces. It doesn’t leave any residue and is around $3 for an entire roll of it.
https://www.instagram.com/_jdesigner_/ http://nevertoolow.tumblr.com/
🥳SOLD BMW E24 633CSI - BMW M30B32 🧪SOLD HCH ES9 - 1.3 LDA
👽BMW E30 325IC - Toyota 1JZ-GTE ⏰ HONDA EF9 CIVIC SI - JDM B18C5
☠️BMW E36 318i - Ford 5.0 FE302 🚴♂️ GT-Labomba - 26x2.75 Freeride
🤹♀️SOLD BMW E36/7 Z3 - BMW M54B25 🧓SOLD BMW E10 2002 - BMW M10M05 -
I don’t see how removing the dash would’ve been helpful except for maybe those 3 bracket bolts? You don’t gain much access with the dash supports still there which you had to work under for most everything. Nice progress!
I agree, It seemed really pointless. I can't imagine someone doing it and gaining much from it.
I tried to mount the column and it seems to run into the master towards the center of the car. I have a few leads on a early model column, but I am also considering a flaming river shaft to join the rack to the column in hopes to clean all of it up under the dash and in the engine bay.
https://www.instagram.com/_jdesigner_/ http://nevertoolow.tumblr.com/
🥳SOLD BMW E24 633CSI - BMW M30B32 🧪SOLD HCH ES9 - 1.3 LDA
👽BMW E30 325IC - Toyota 1JZ-GTE ⏰ HONDA EF9 CIVIC SI - JDM B18C5
☠️BMW E36 318i - Ford 5.0 FE302 🚴♂️ GT-Labomba - 26x2.75 Freeride
🤹♀️SOLD BMW E36/7 Z3 - BMW M54B25 🧓SOLD BMW E10 2002 - BMW M10M05






Hello! It looks like you're interested in this conversation, but you don't have an account yet.
Getting fed up of having to scroll through the same posts each visit? When you register for an account, you'll always come back to exactly where you were before, and choose to be notified of new replies (either via email, or push notification). You'll also be able to save bookmarks and upvote posts to show your appreciation to other community members.
With your input, this post could be even better 💗
Register Login