
Z3 Coupe content
-
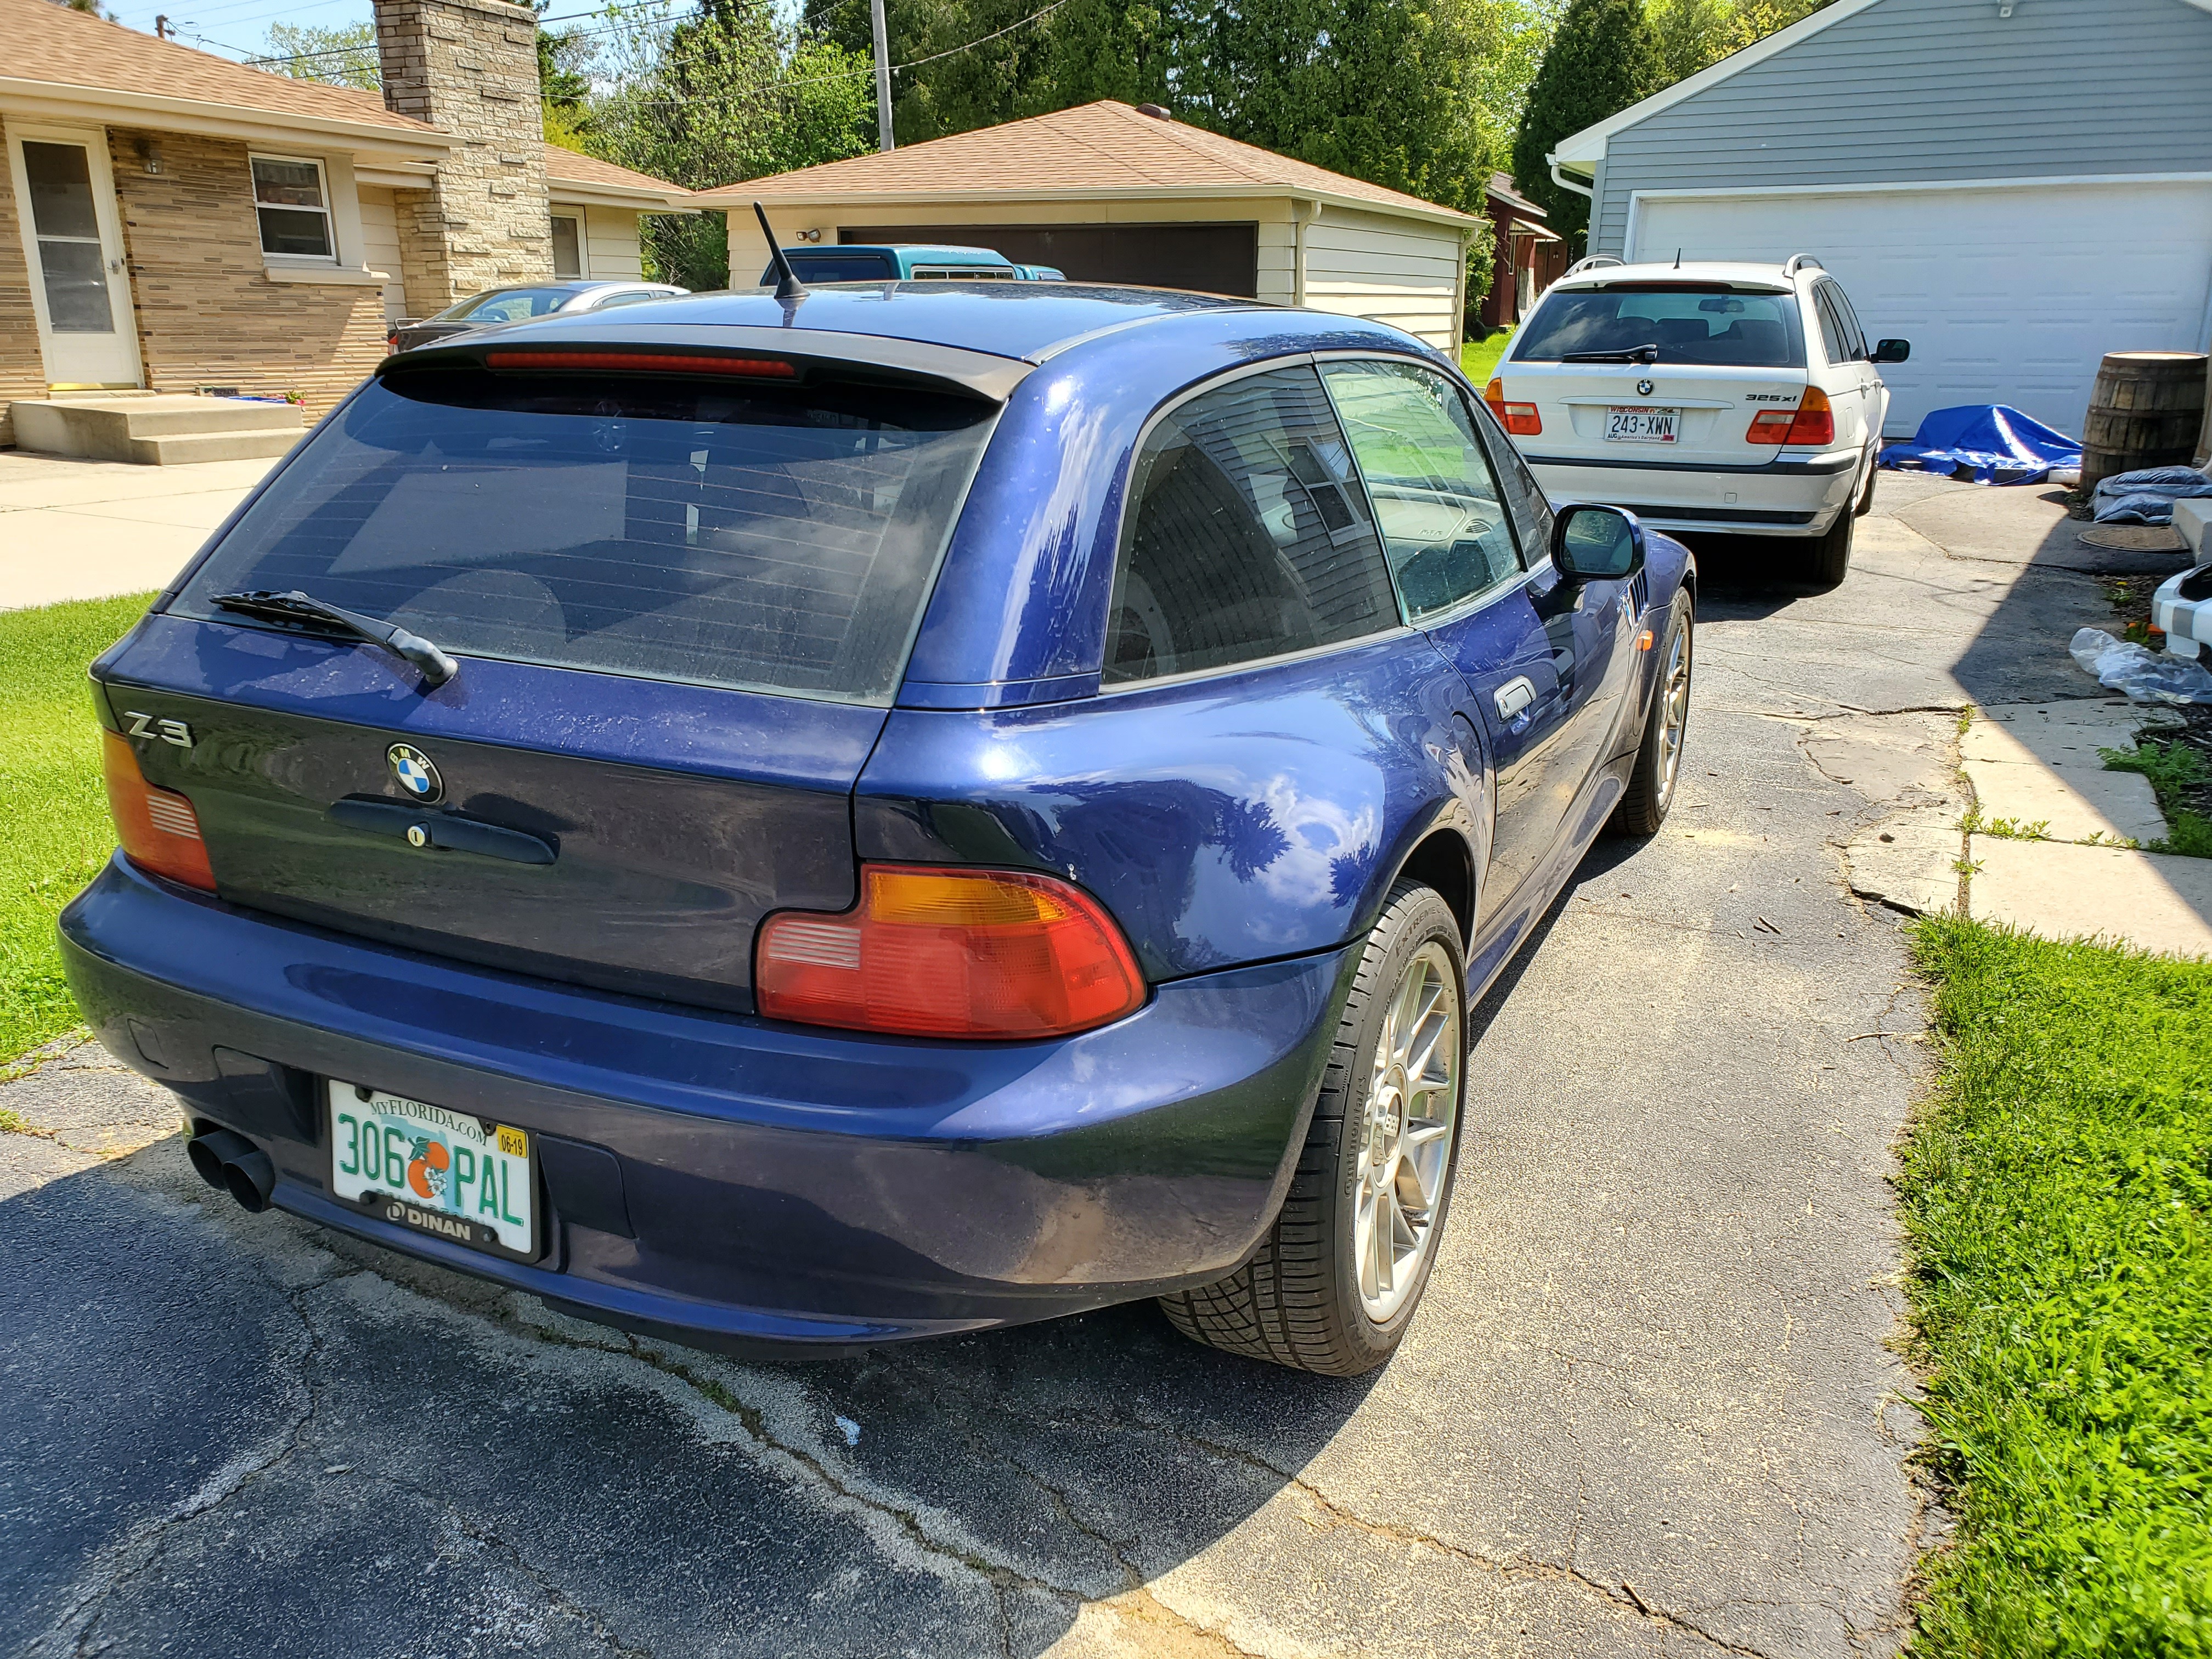
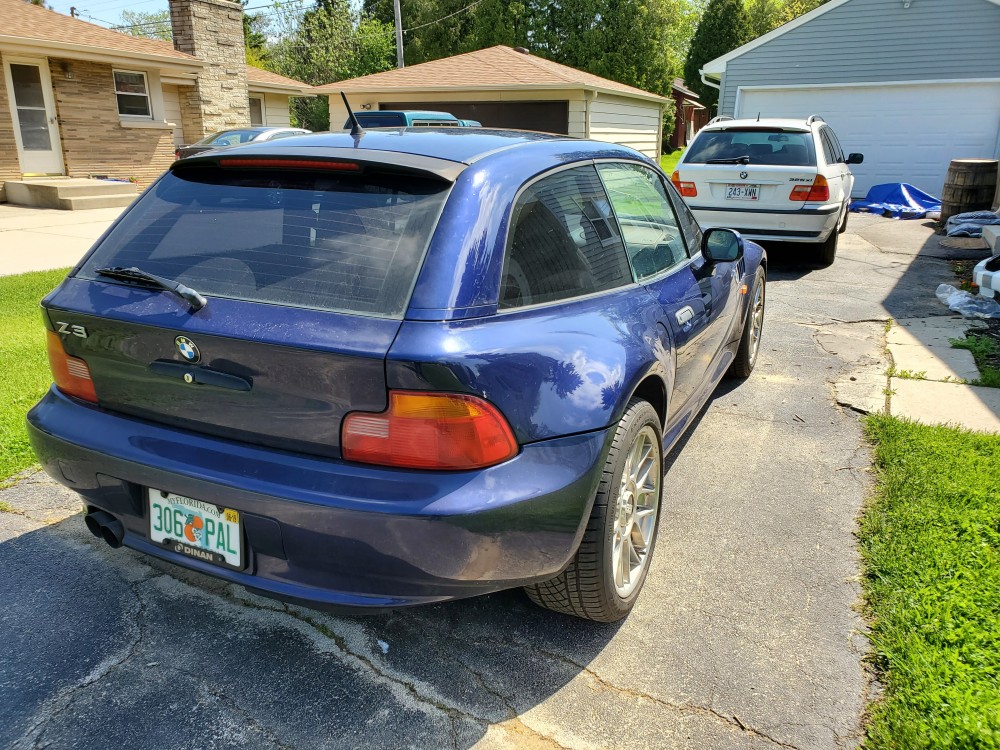
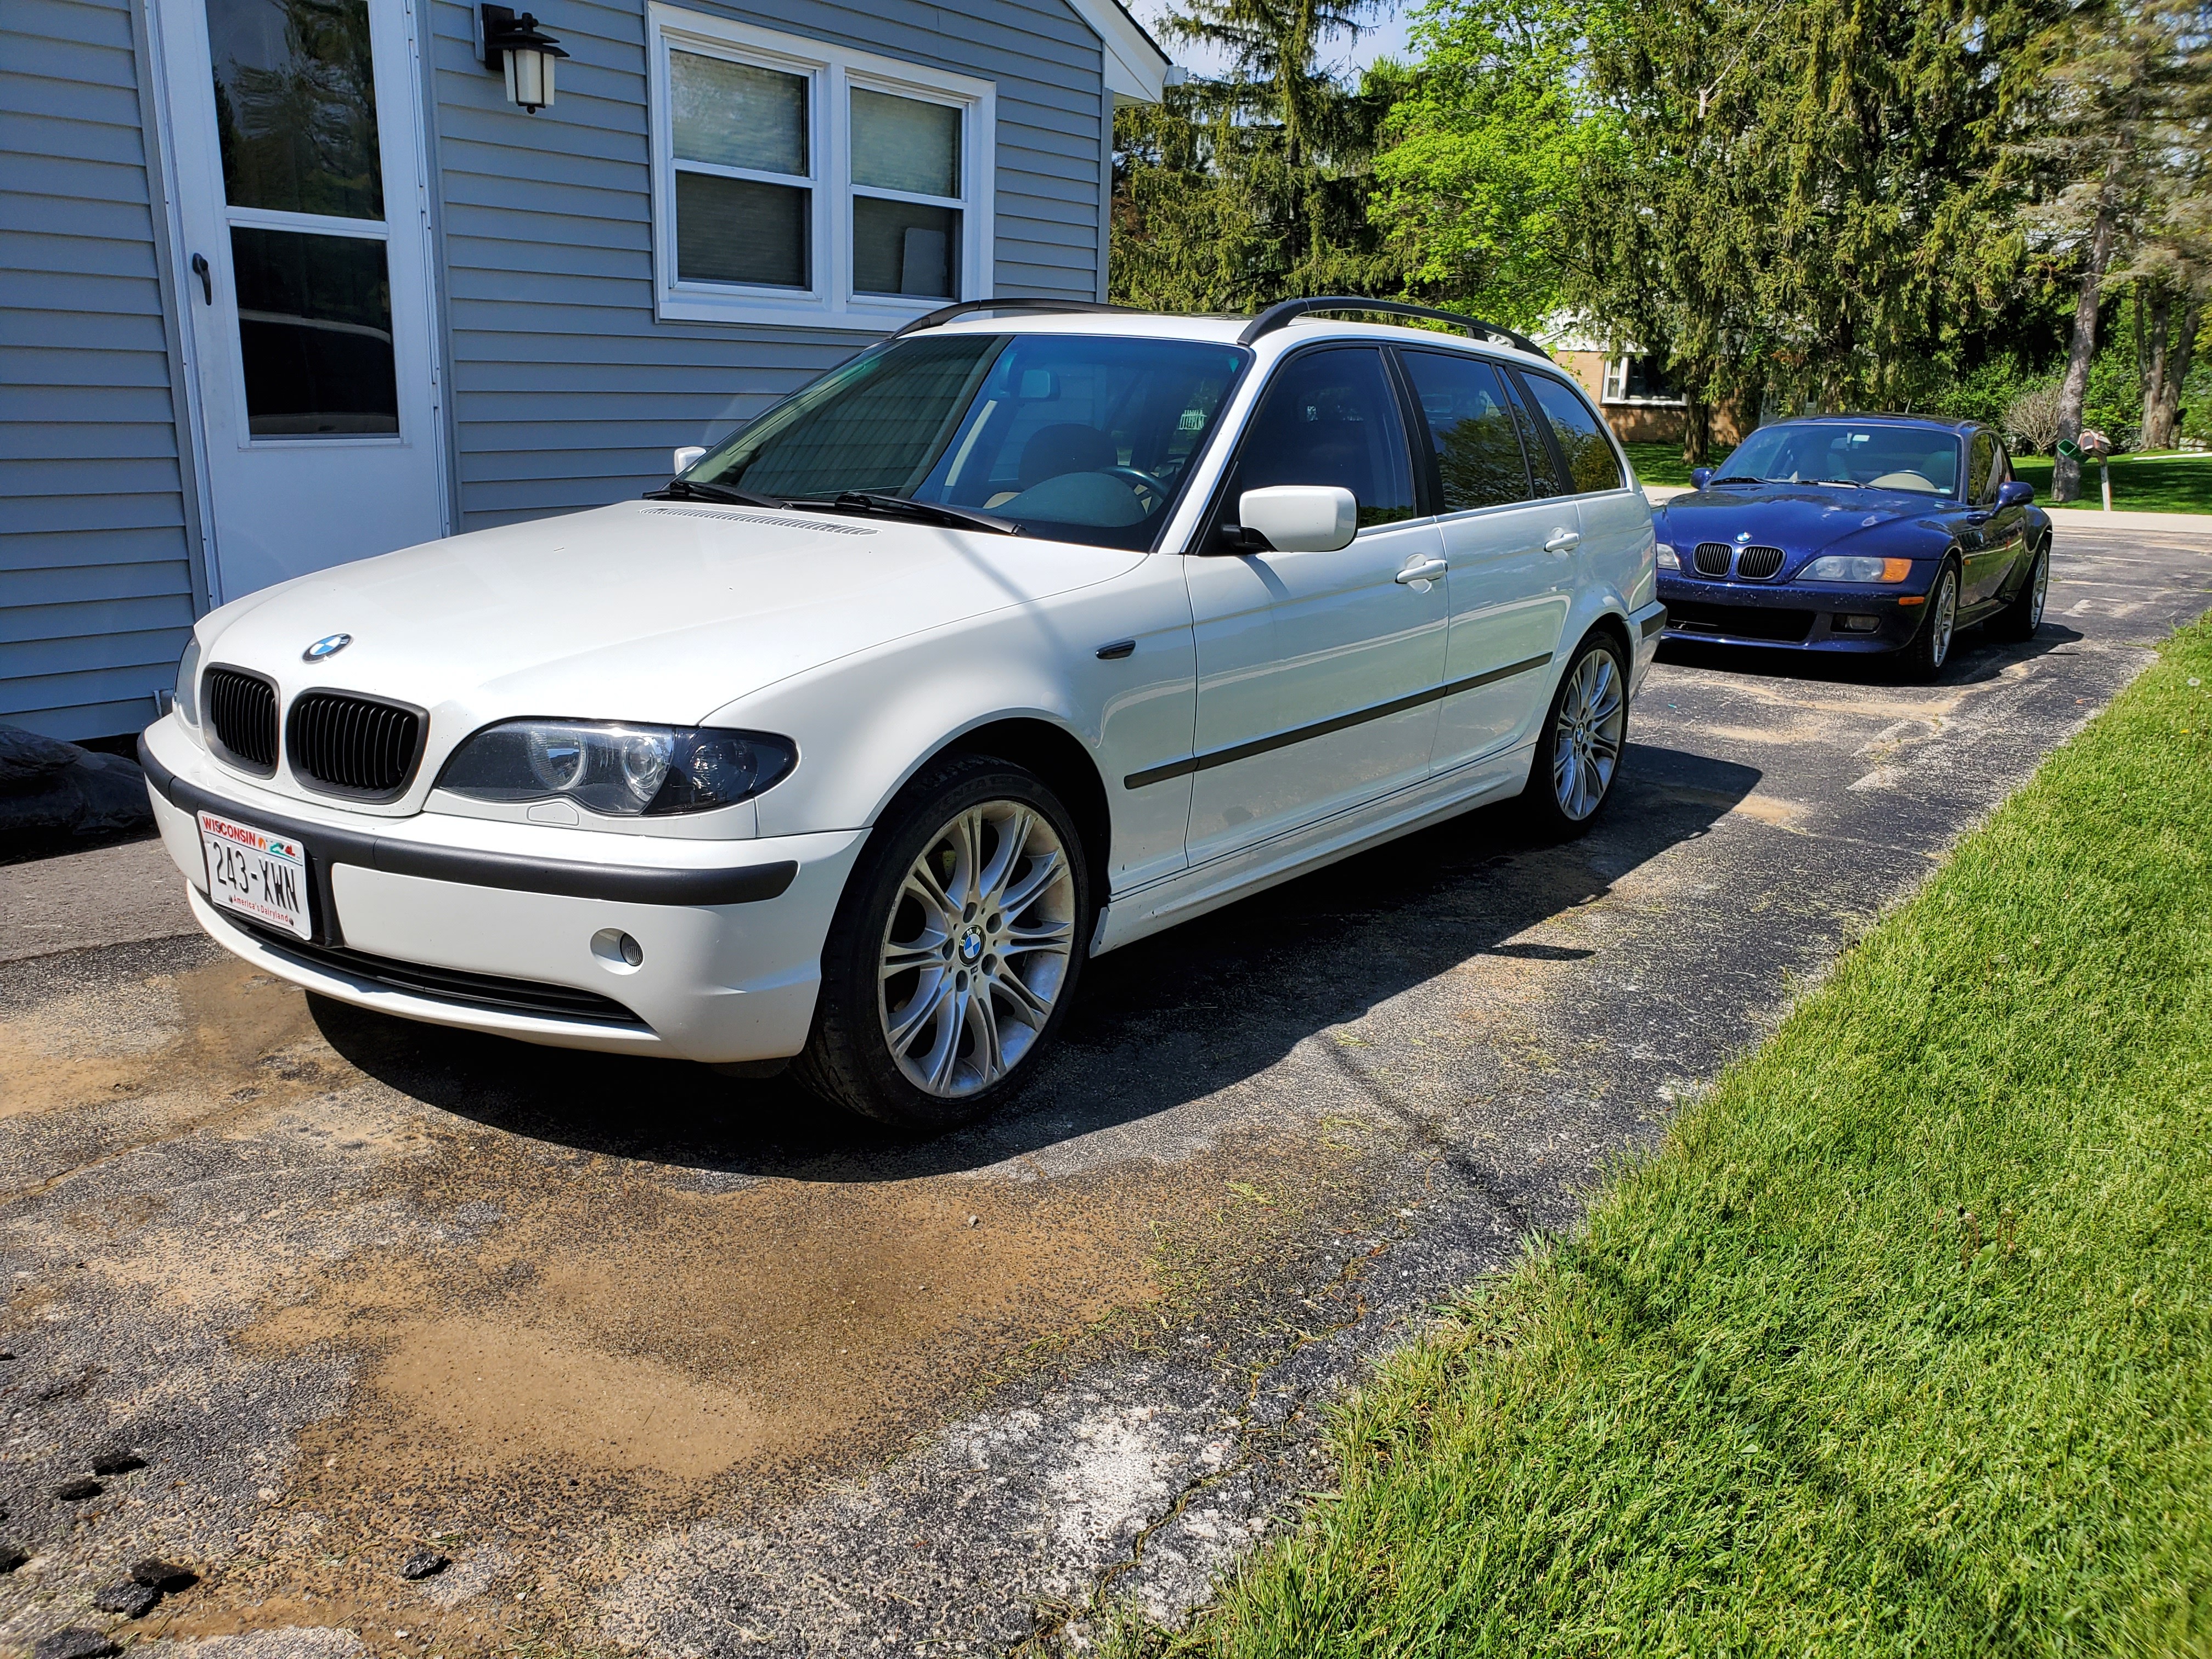
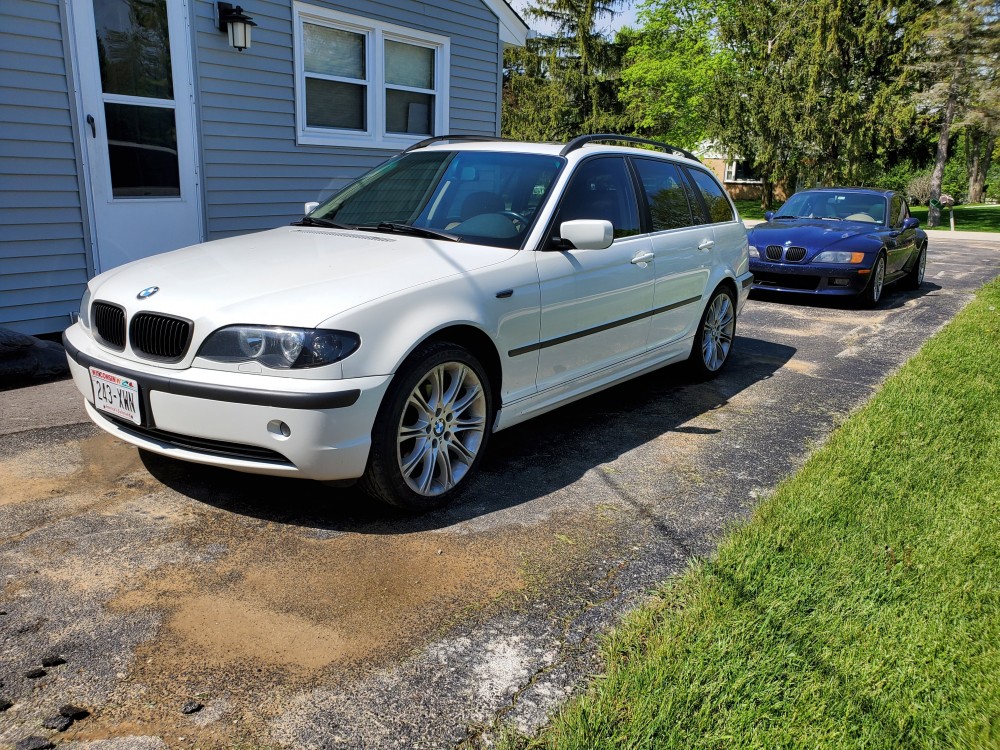
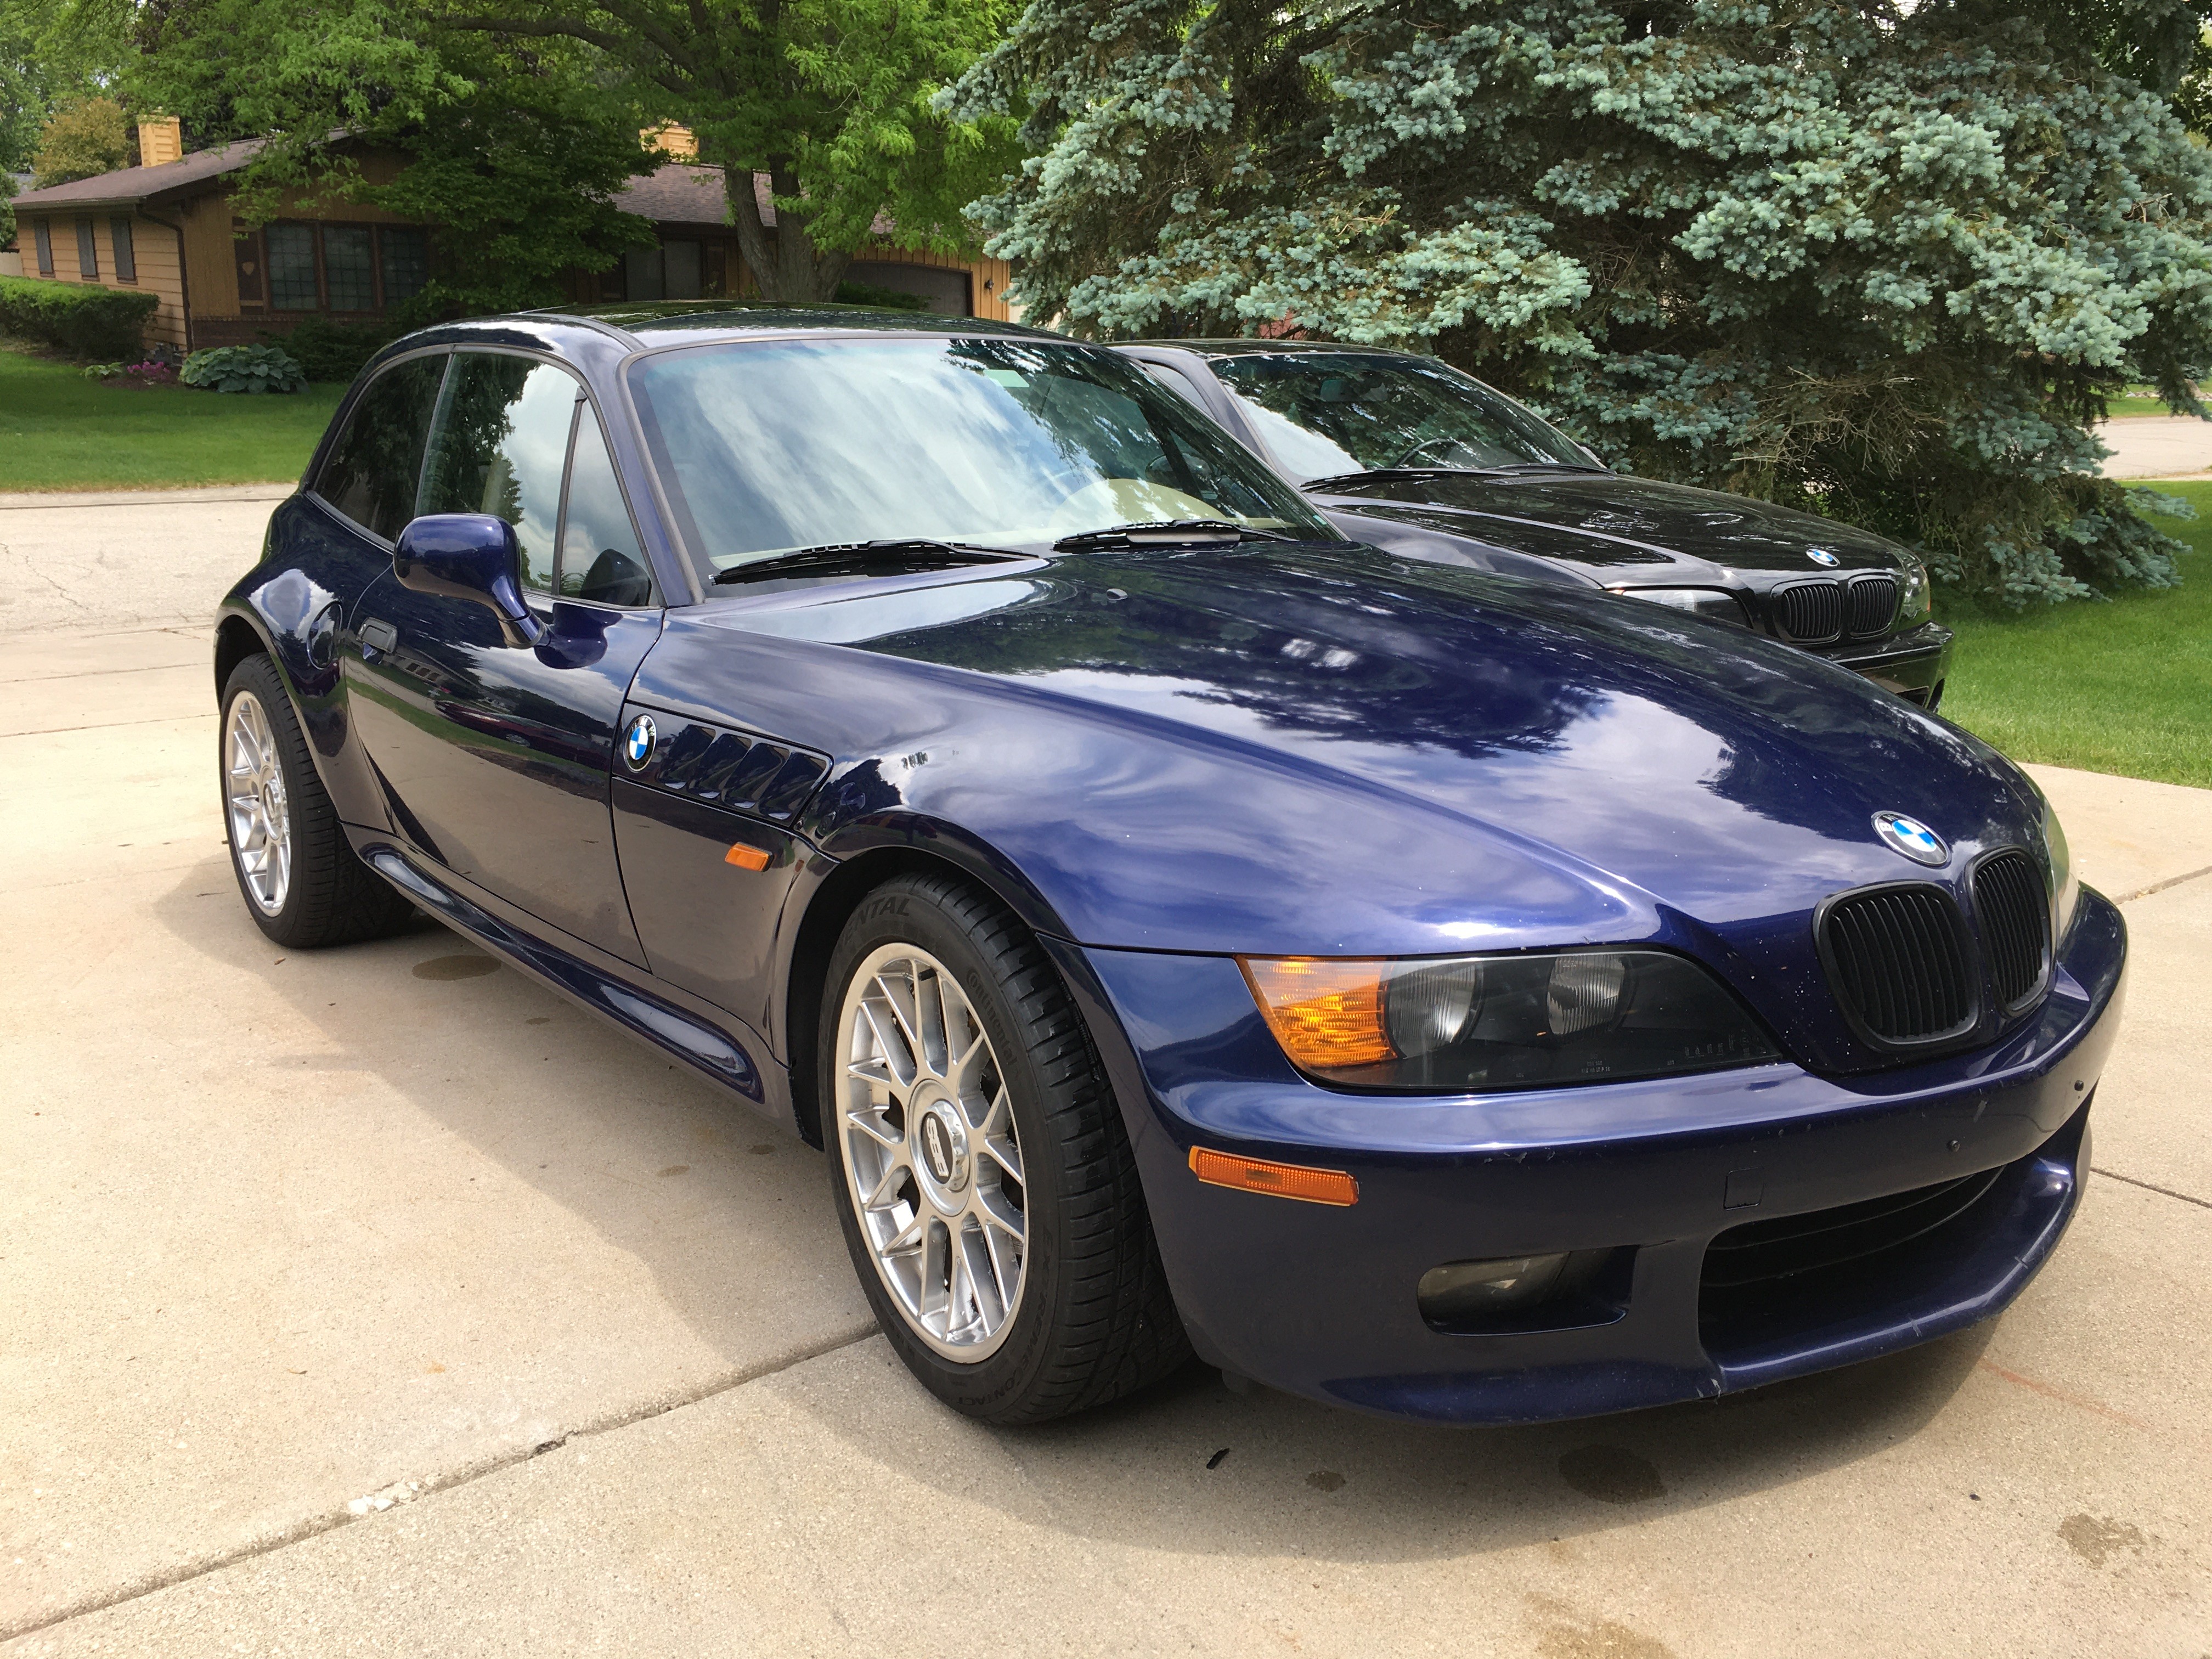
Both of us had today off so we did a seats-out interior detail, cleaned the carpets good and vacuumed some broken glass from some previous shattered window, then a wash, clay bar, buff and wax.
The paint was pretty dry from the Florida sun. I am not an expert with a buffer. Kaiser and his gf appear to be much better skilled with a buffer, but at least there is a little less oxidation and a little more moisture and depth in the paint.
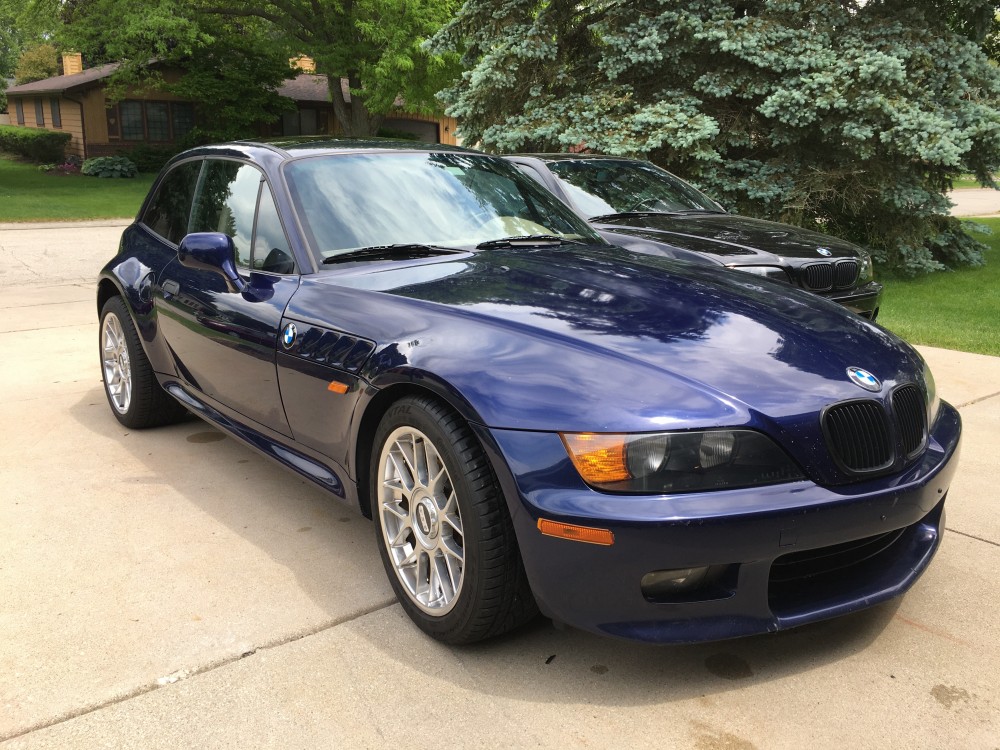
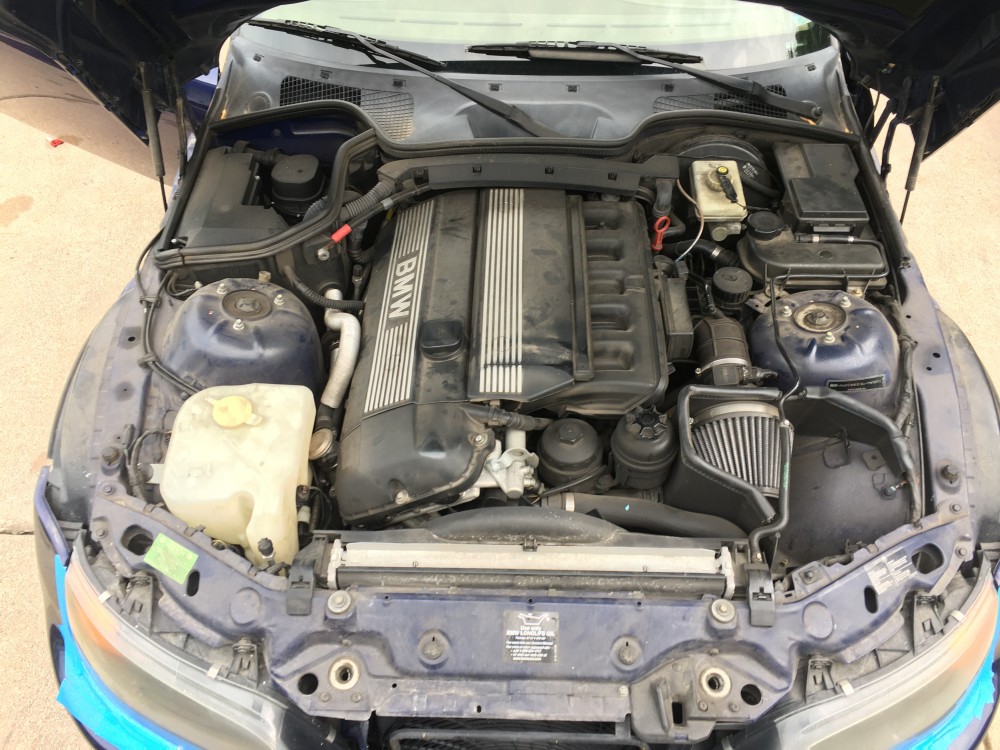
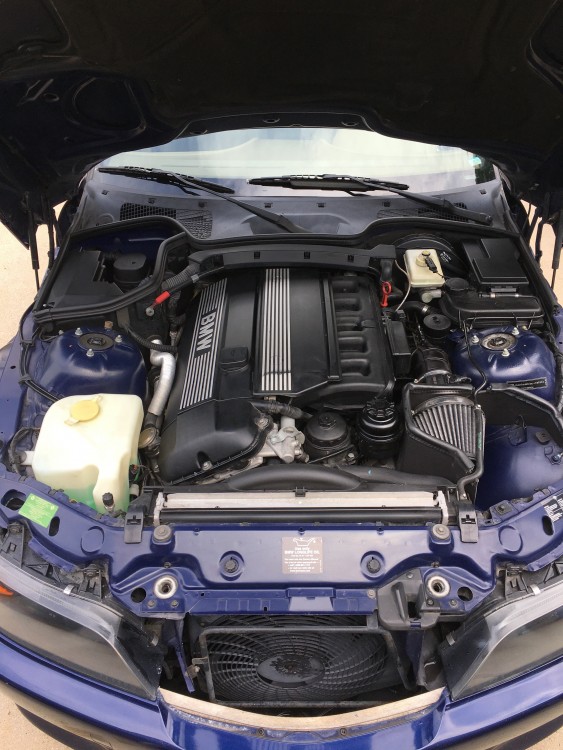
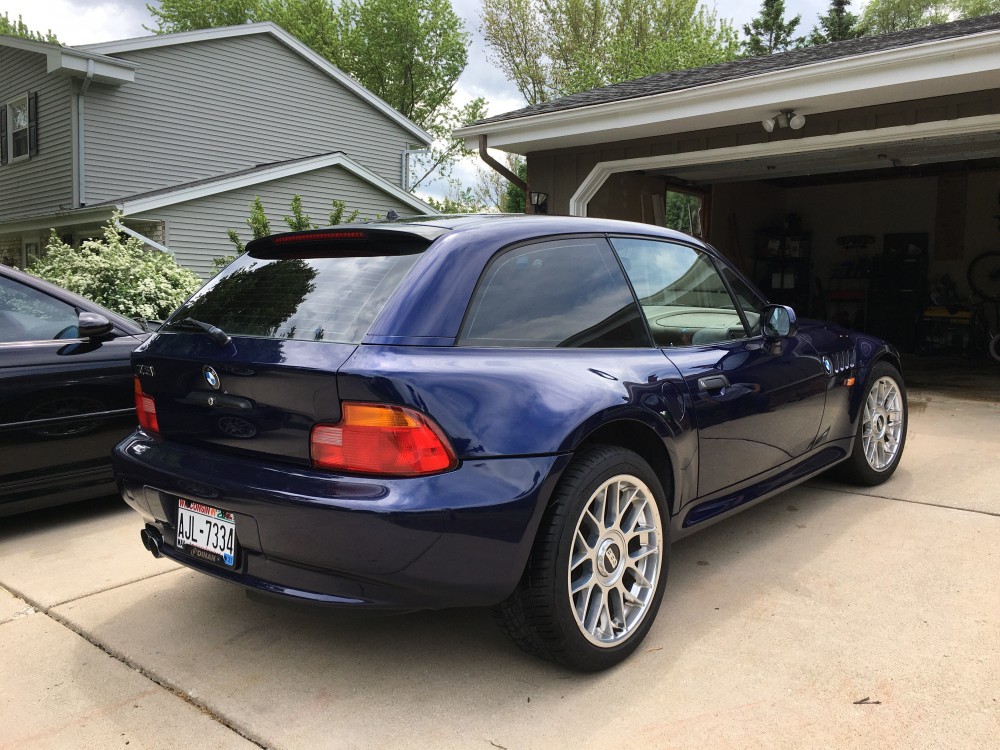
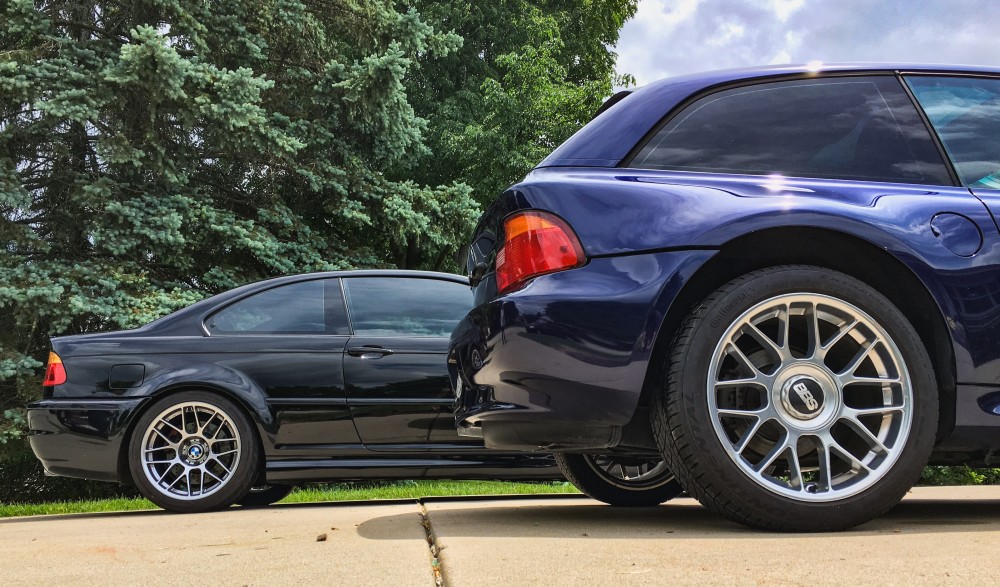
Hi Mr Snap. Can you come buff my Zed 3 M roadstar 4 me. Plz n thank u.
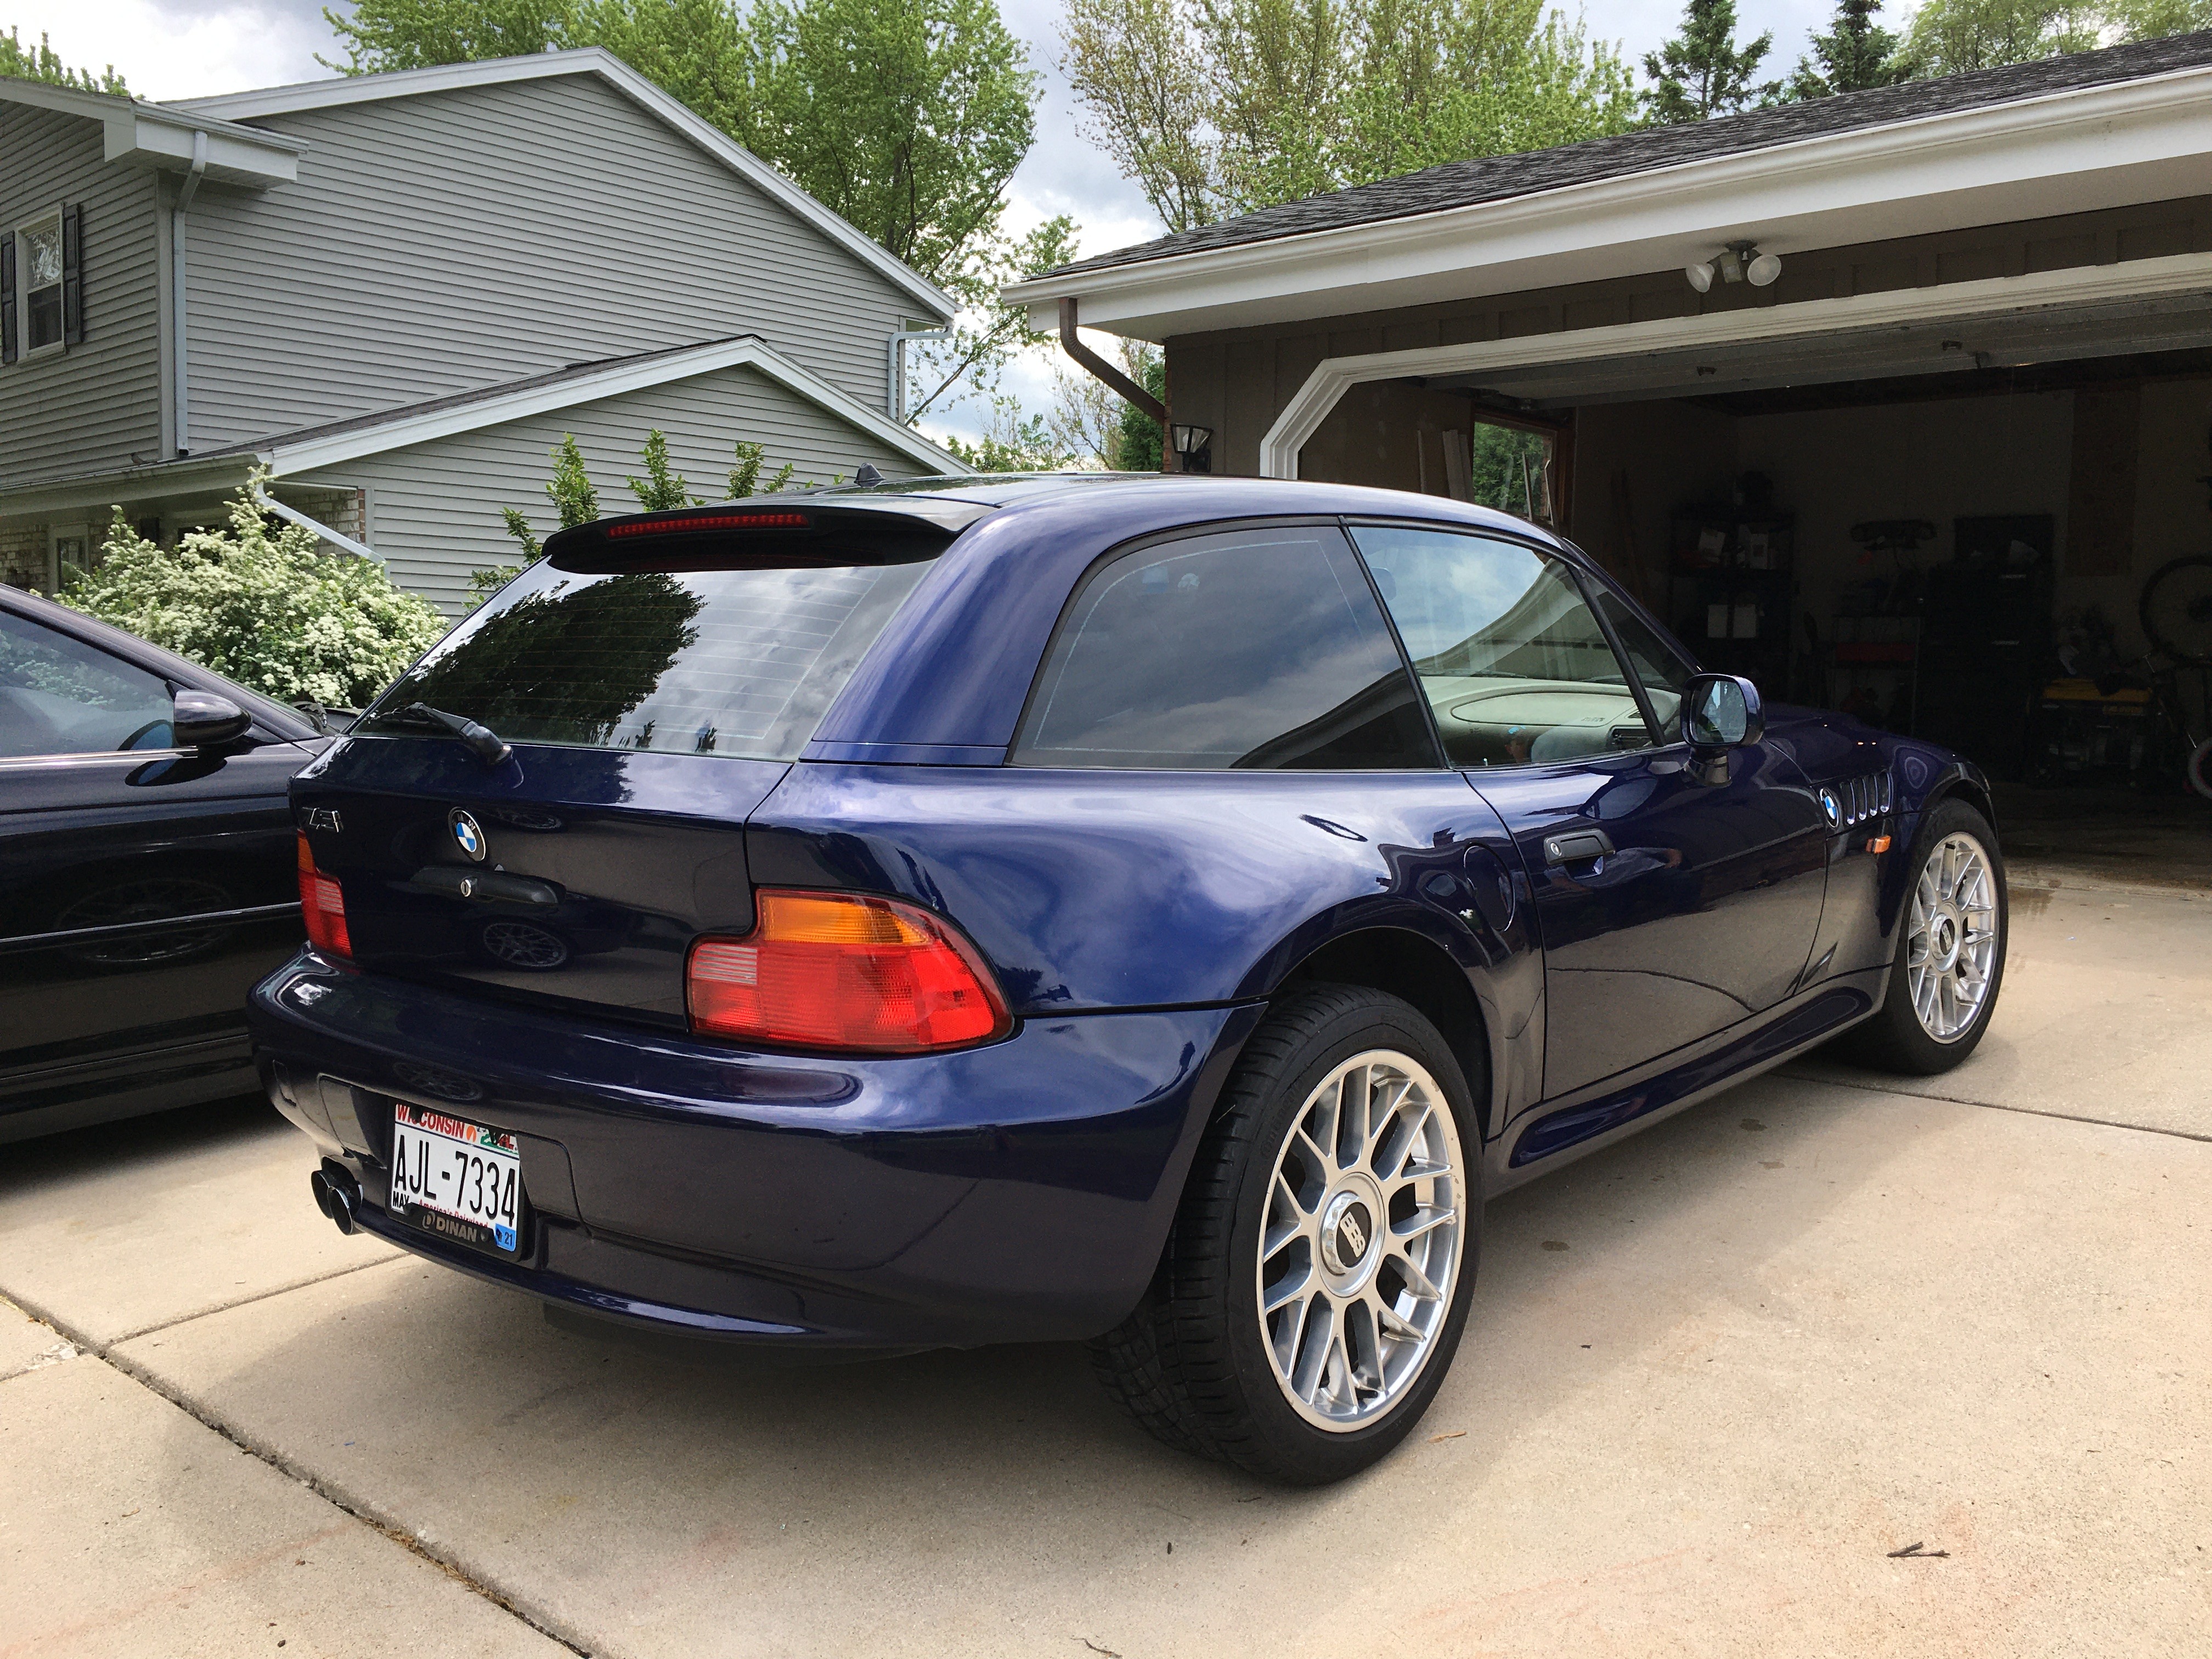
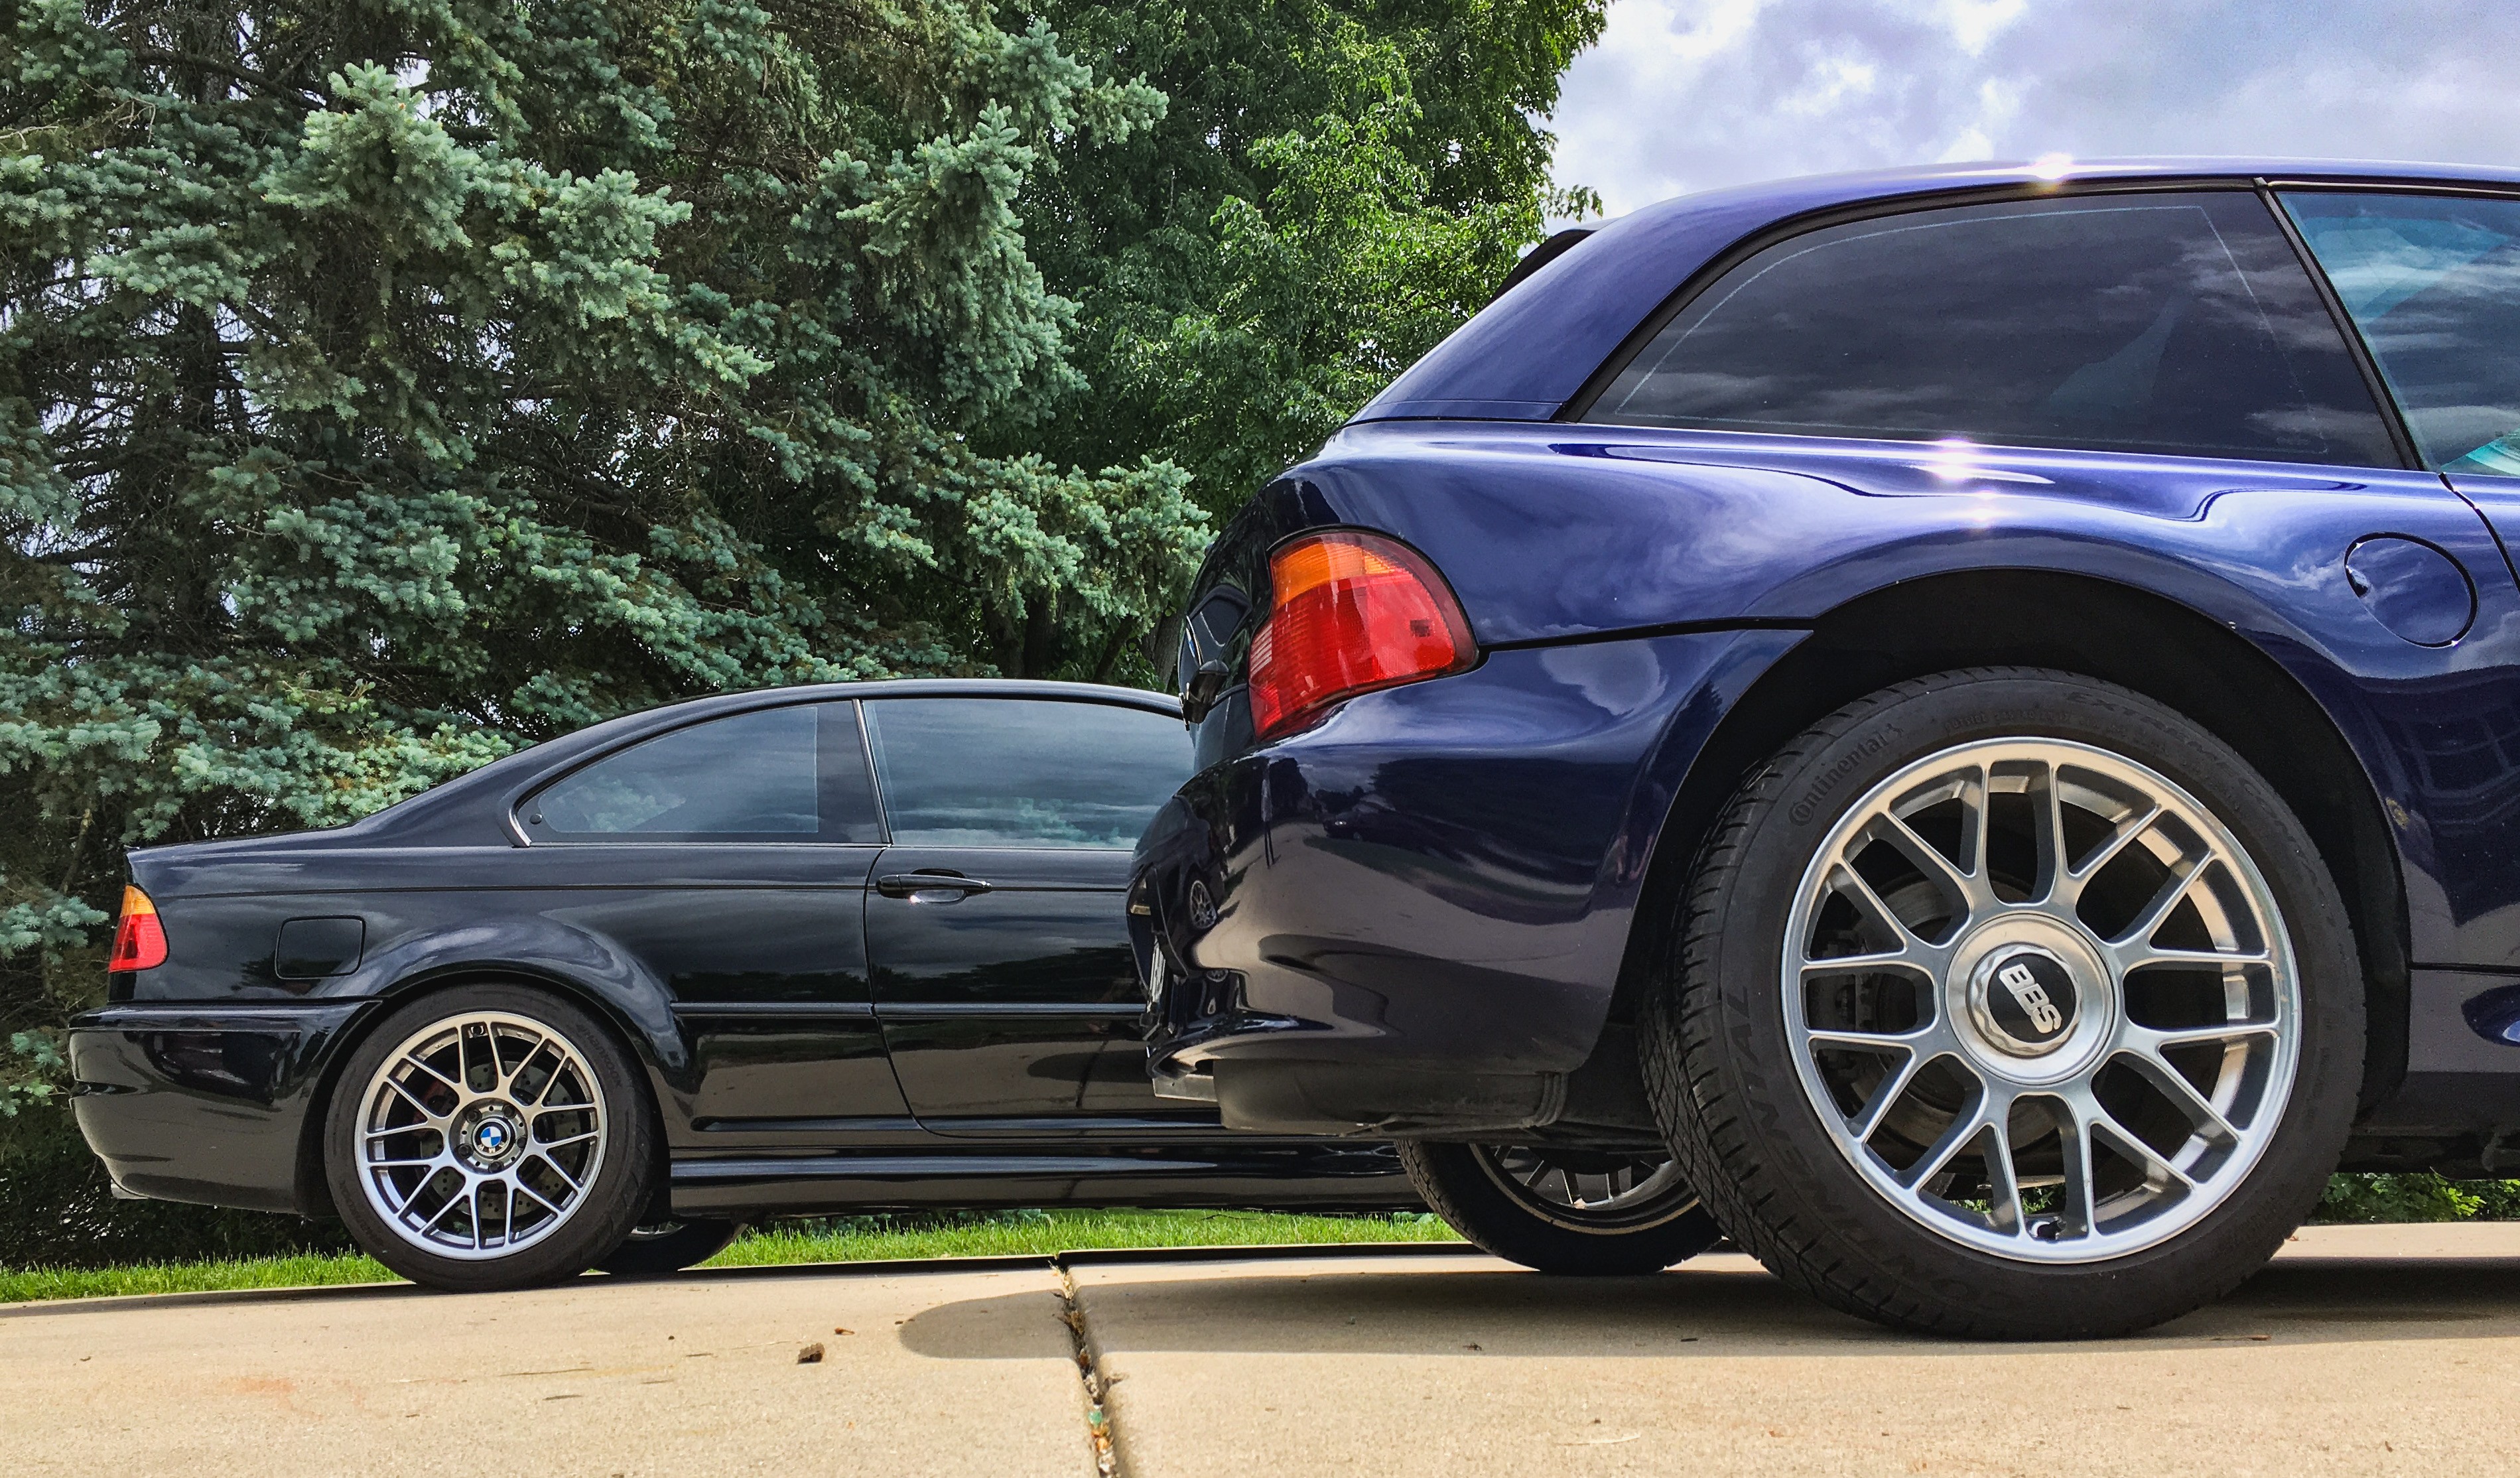
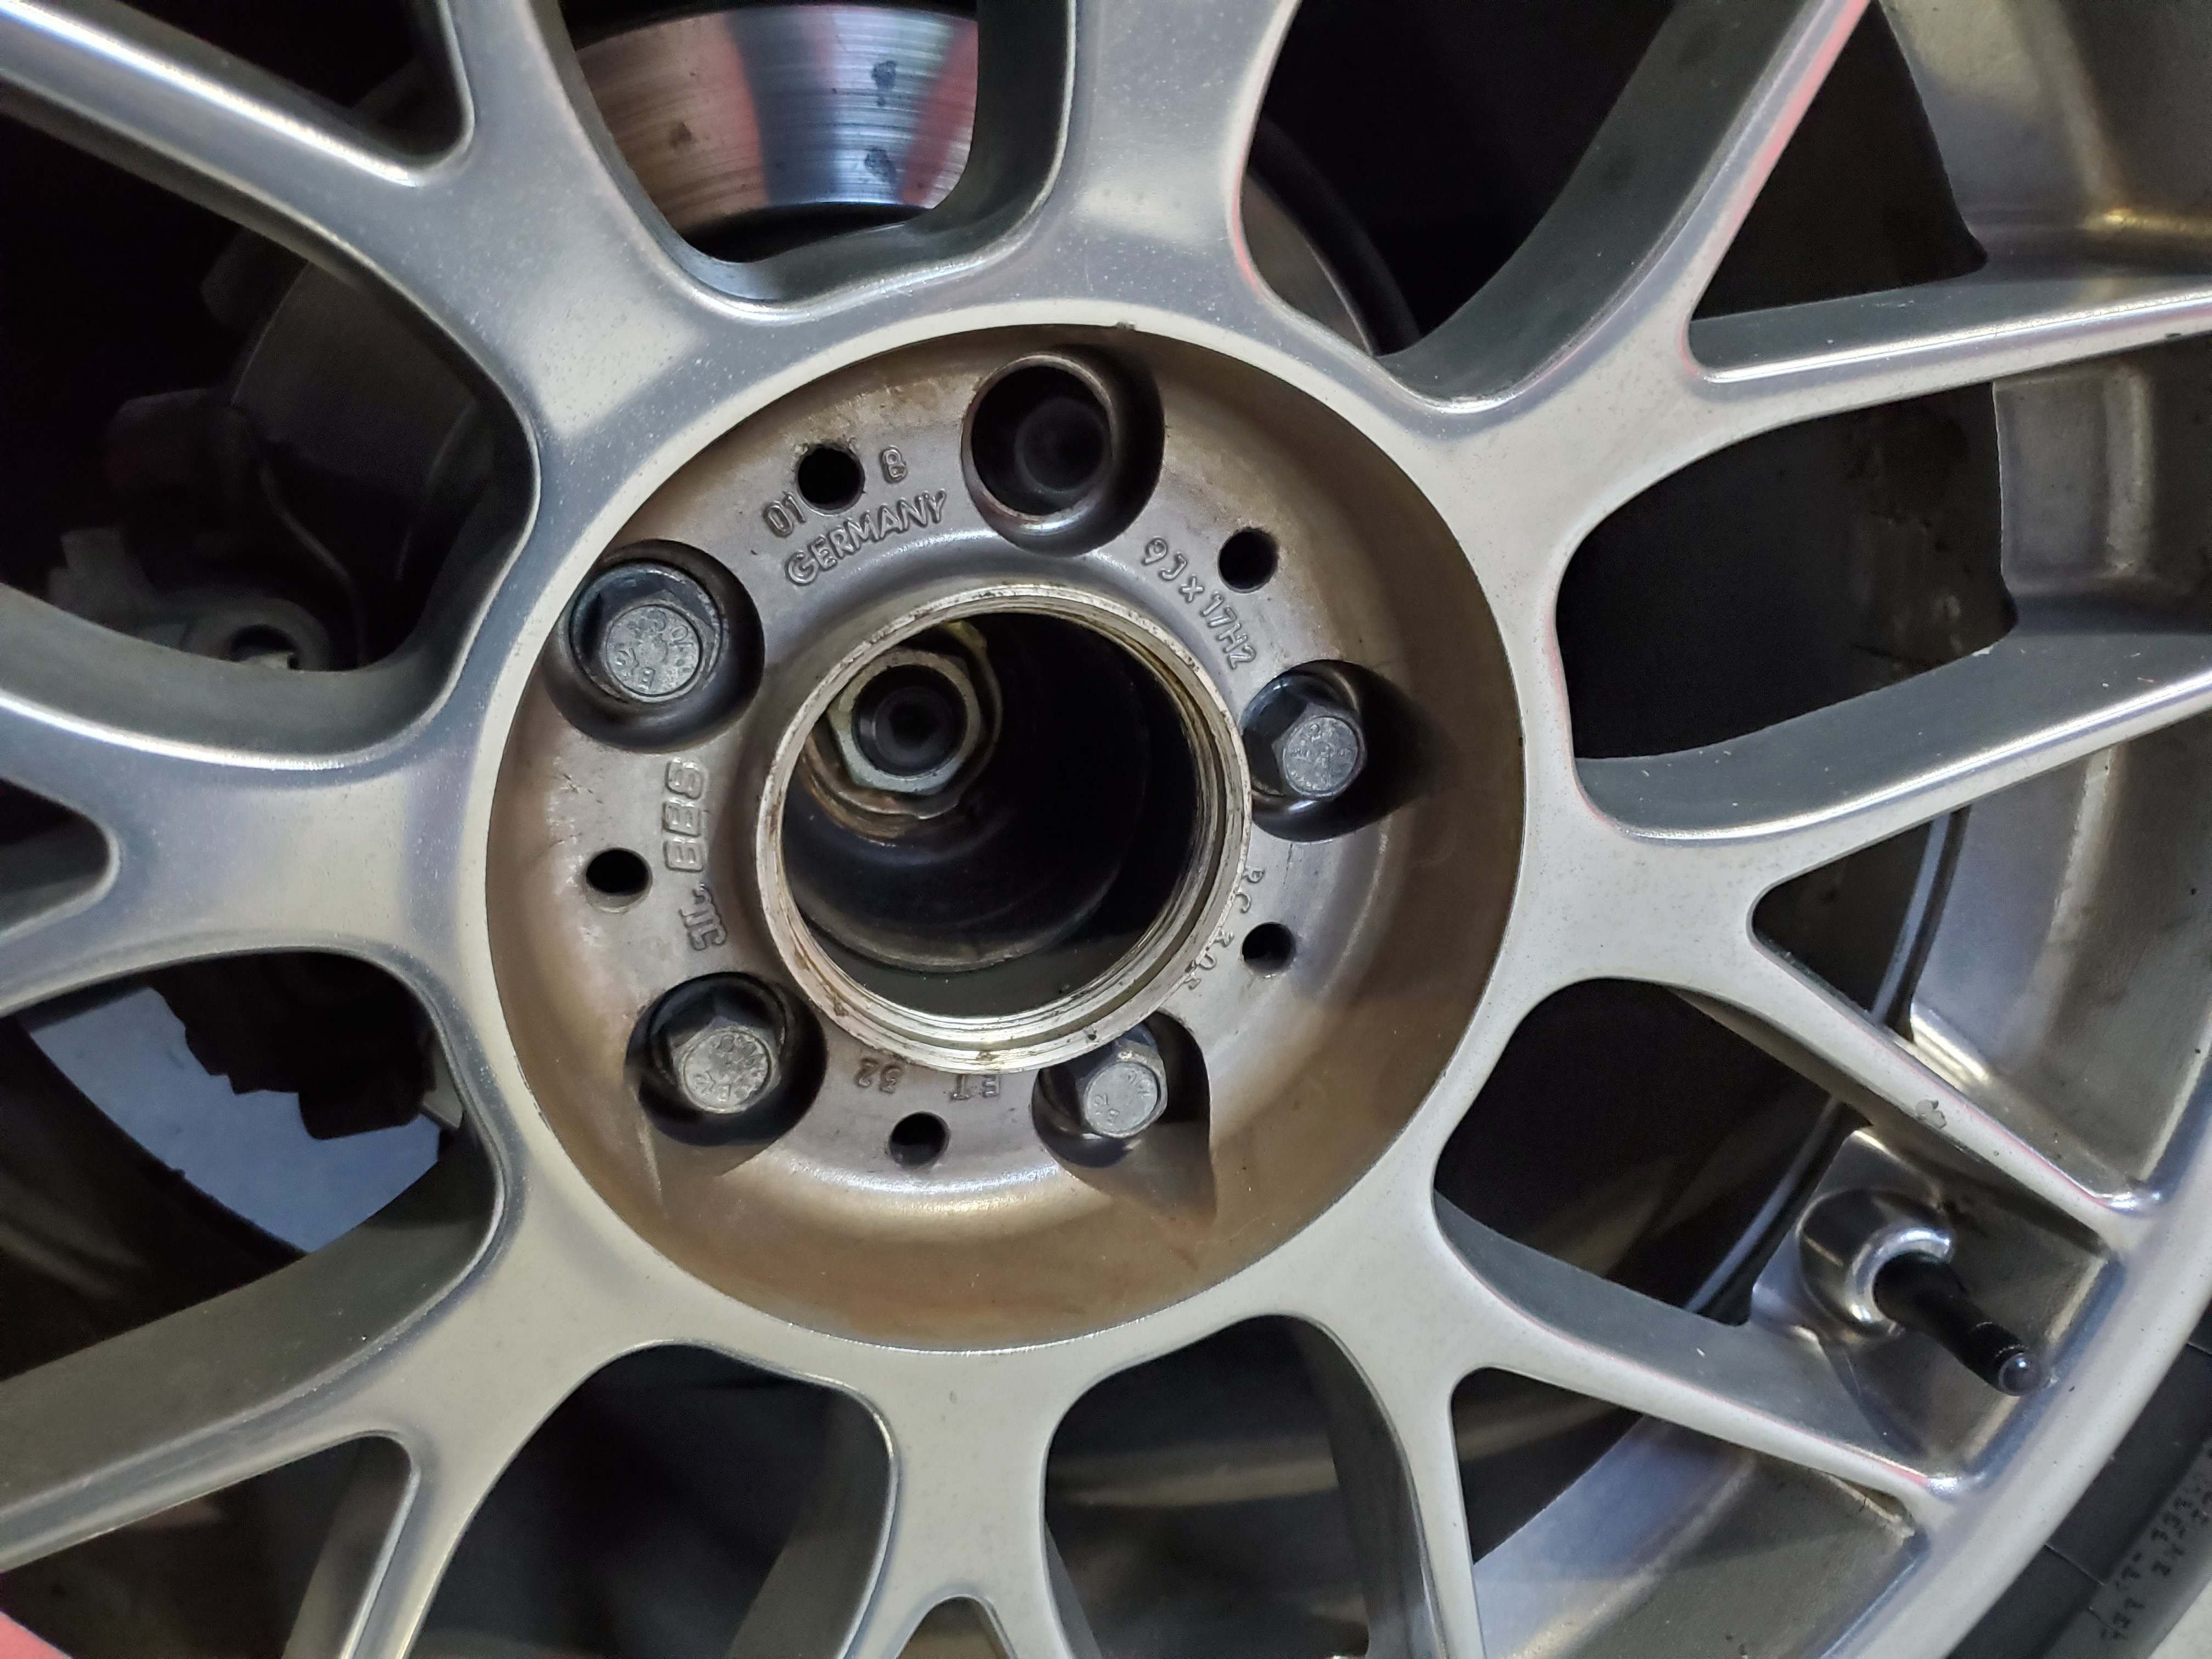
Love me some BBS Rcs.
-
Hi Mr Snap. Can you come buff my Zed 3 M roadstar 4 me. Plz n thank u.
Love me some BBS Rcs.
That’s DR 360 to you
-
@B C looks way better. Also I take no credit on my car, that was all the gf
-
Thanks again Brian! This was definitely a workout, but so worth it. I'm stoked it turned out so well. I went to menards to pickup an order right after and even the gate attendant was amazed. He said "Did you just pick this car up? It looks real good!" Makes all the work that much more worth it.
-
. I went to menards to pickup an order
the bass don’t stand a chance!! Car looks great Dave
-
saw this in person today. much awesome, do want.
didnt realize the z3 coupes had the same width rear as the ///m versions.
Dan

-
All 6 cyl z3's have the same rear width, m's just had a different offset rear wheels due to the hubs being further inward.
Ah this makes more sense. For some reason I was under the assumption that the subframe was different as well. But just the hubs changed?
I'm still learning new things about these cars.
-
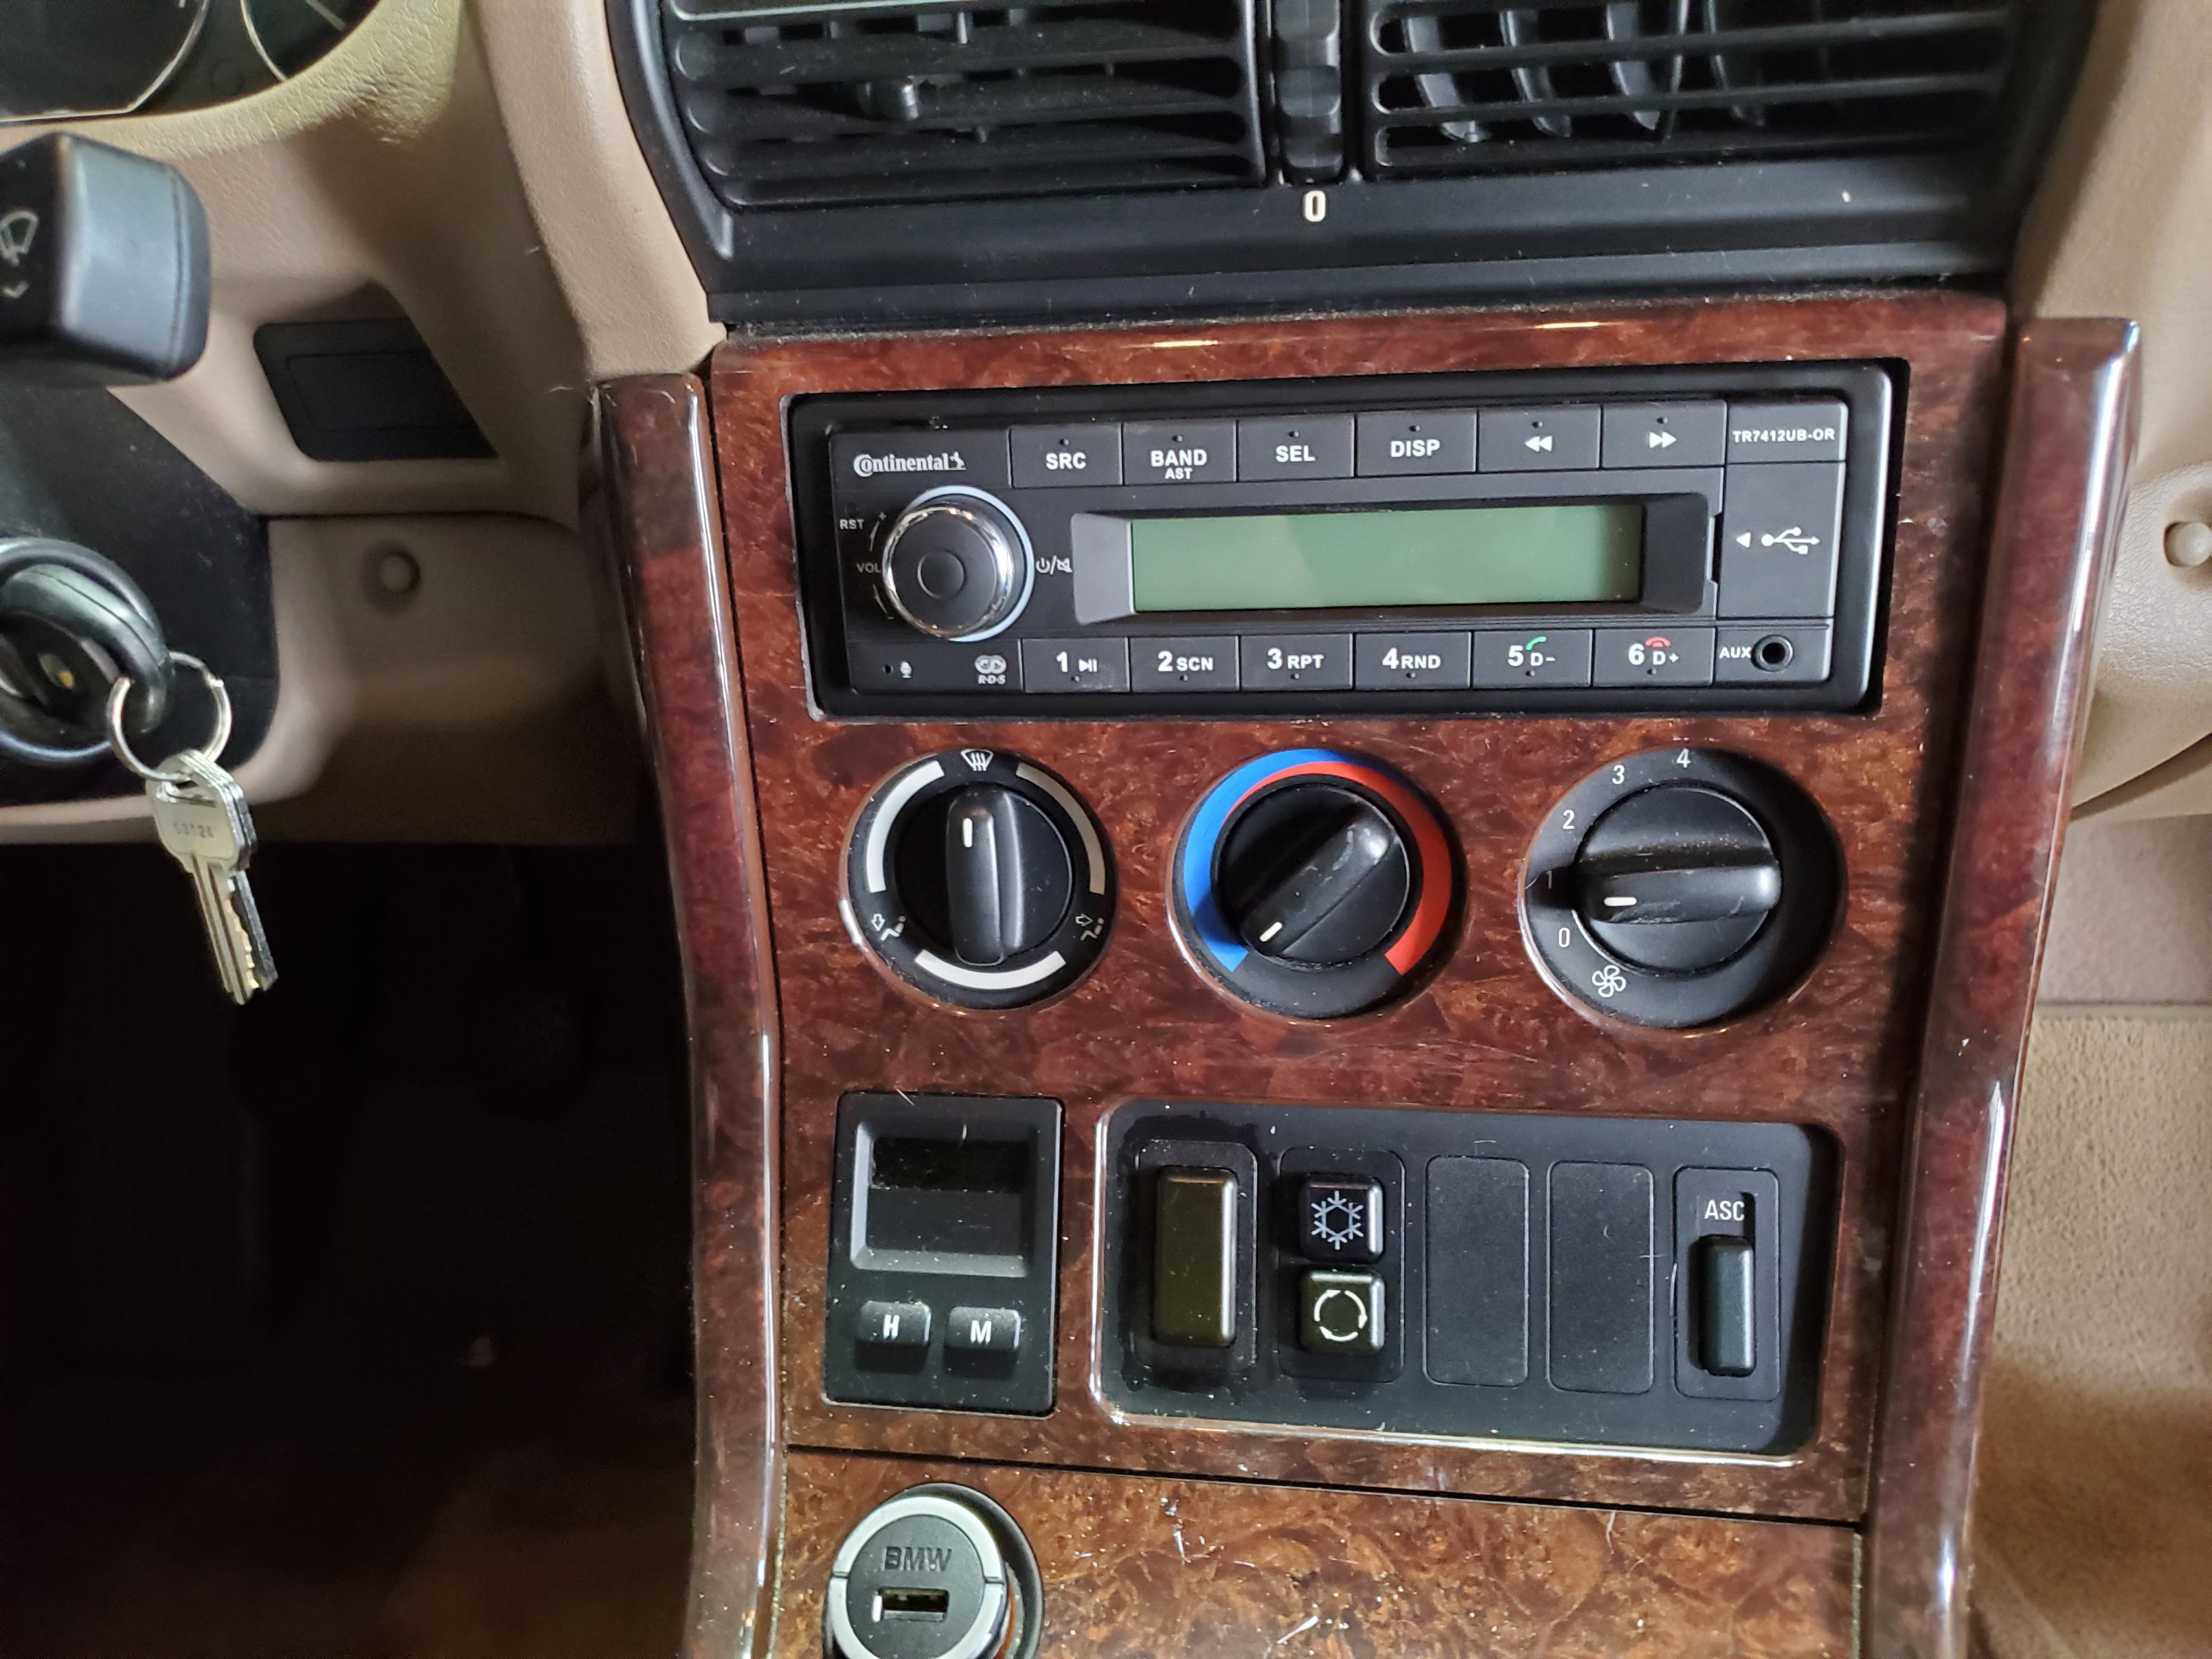
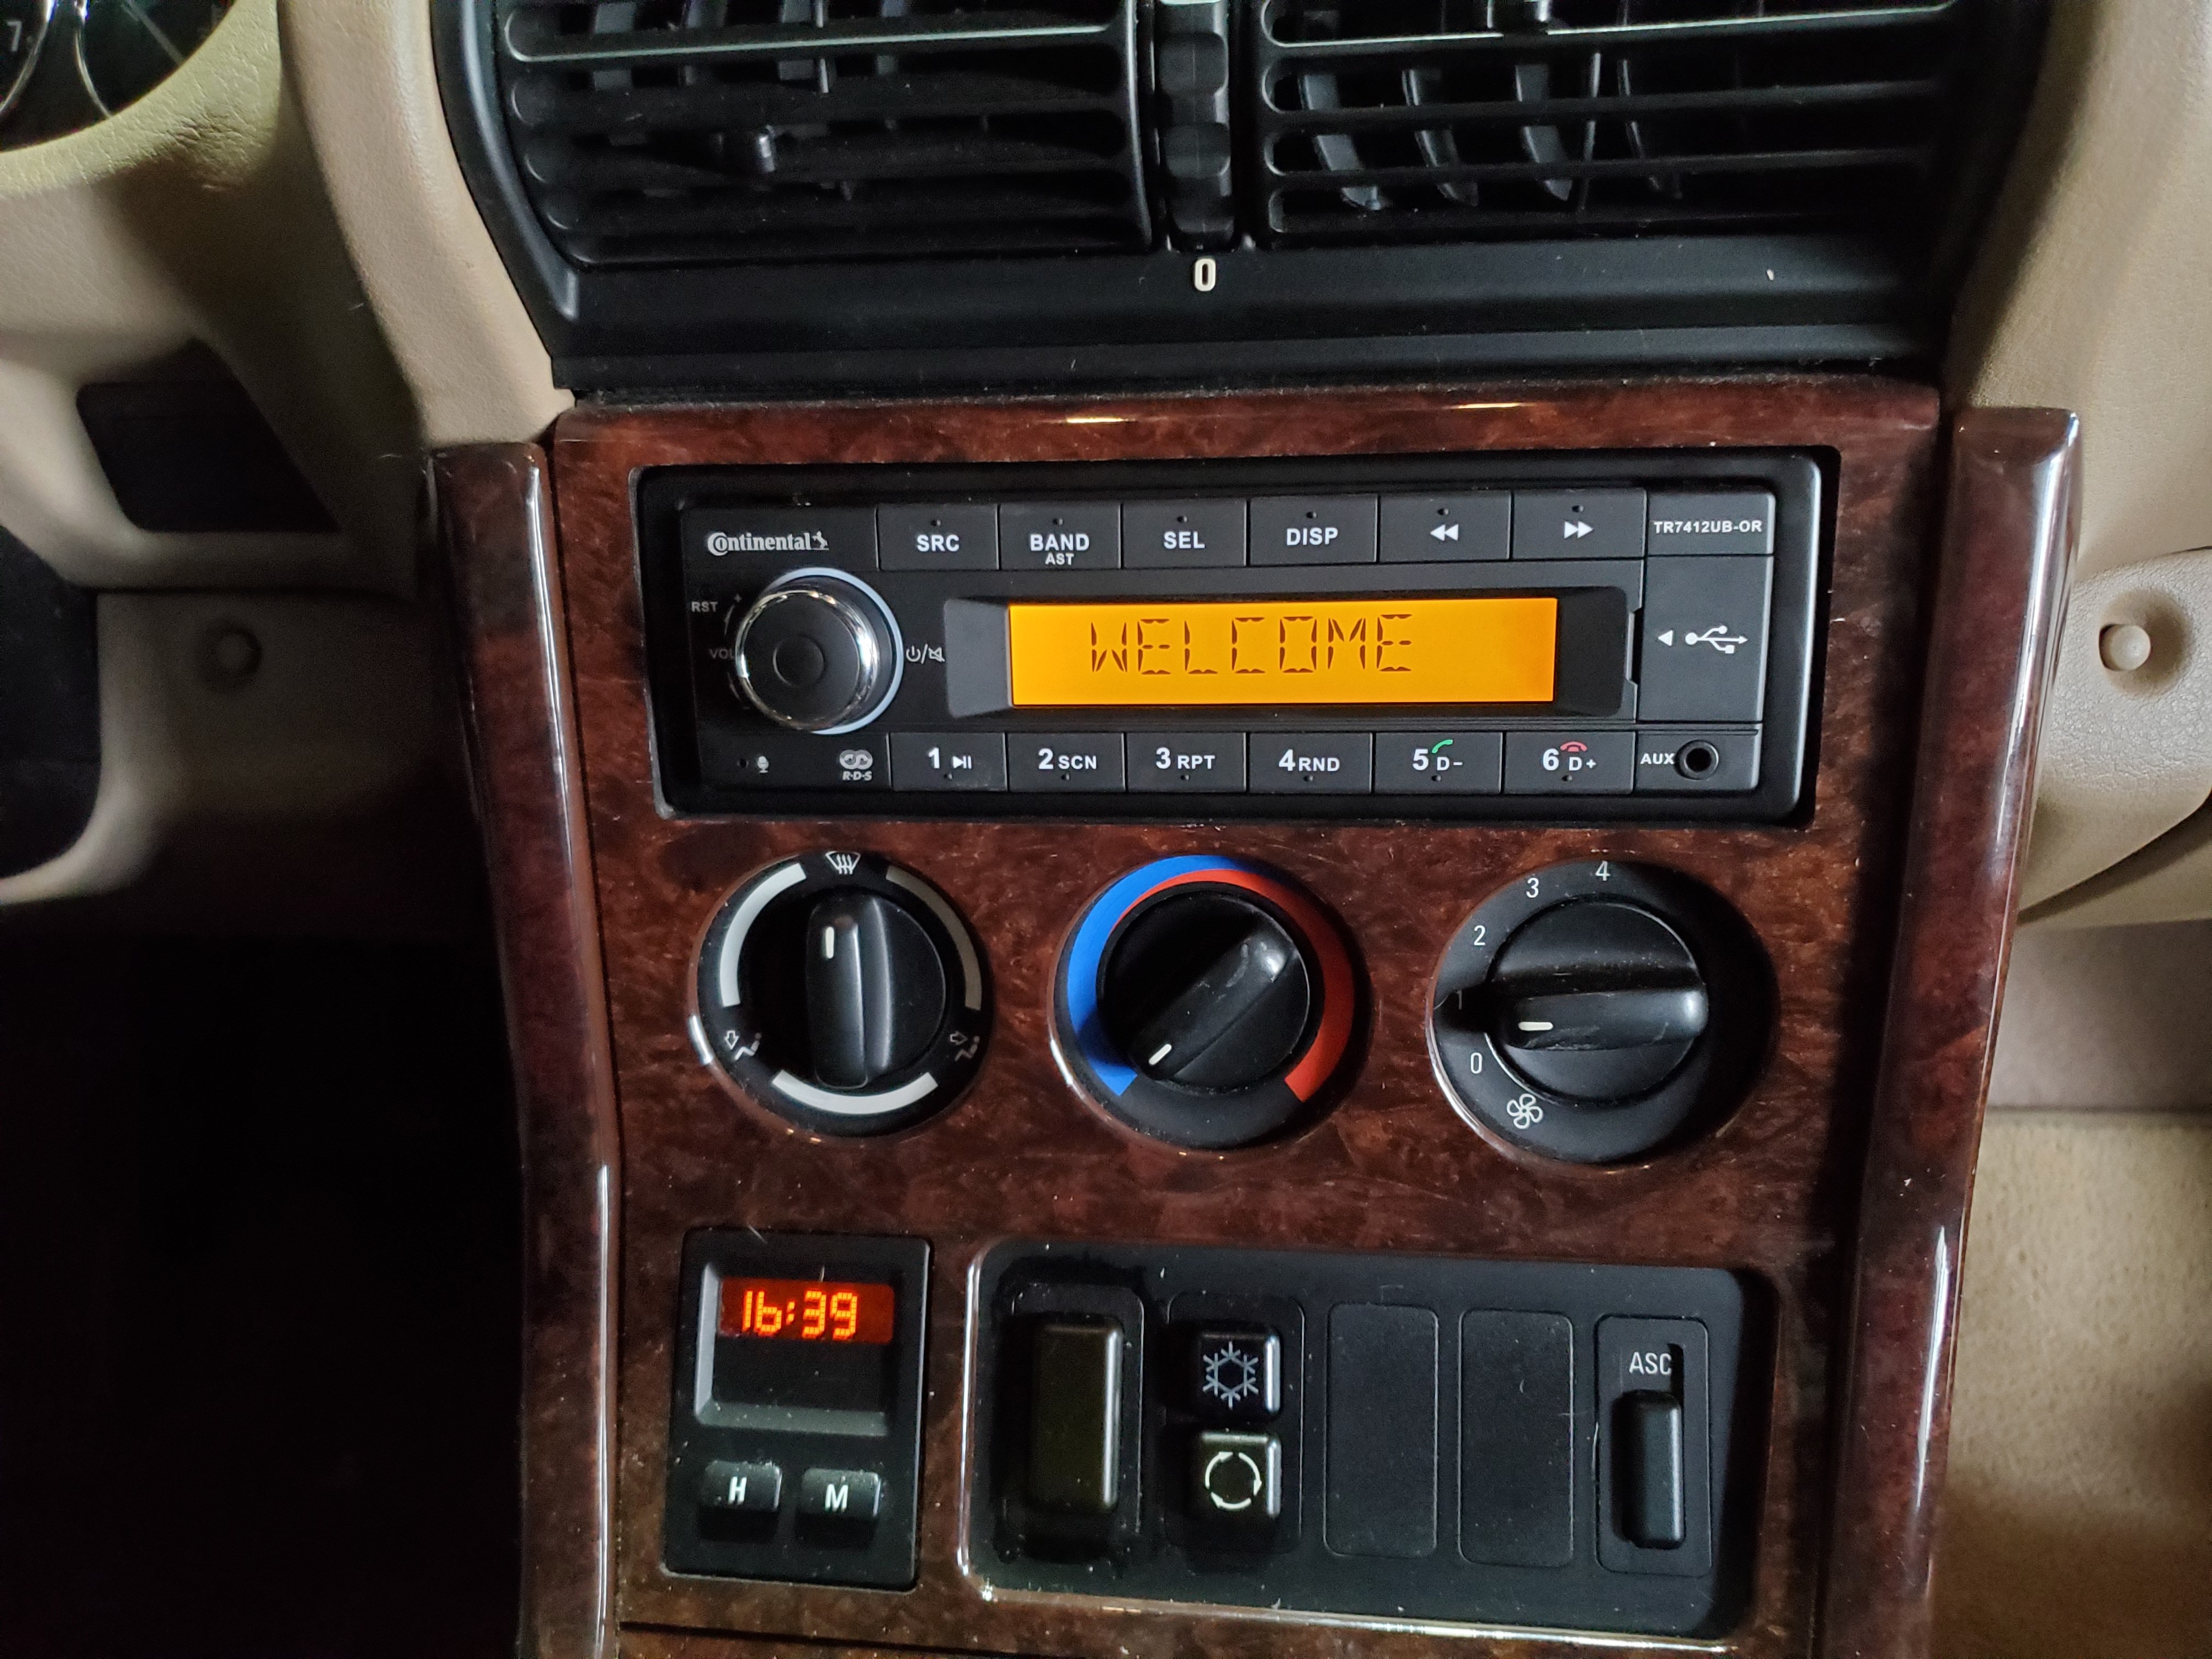
Figure I should start updating here. First thing done besides small things was changing out the stereo for a Continental bluetooth/usb/aux unit.
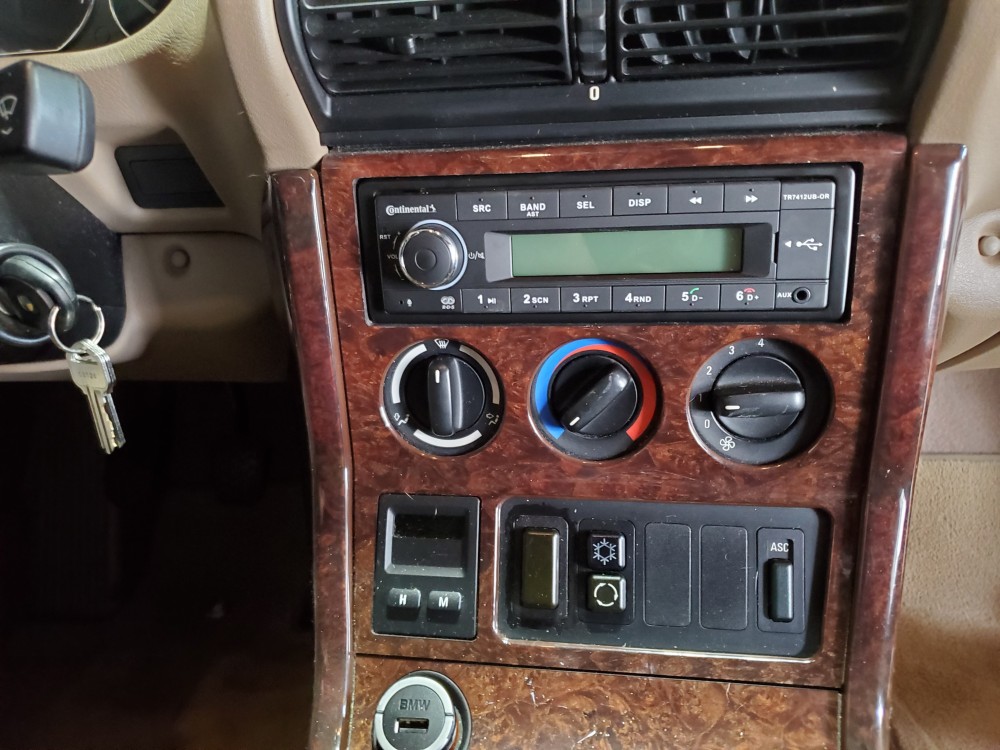
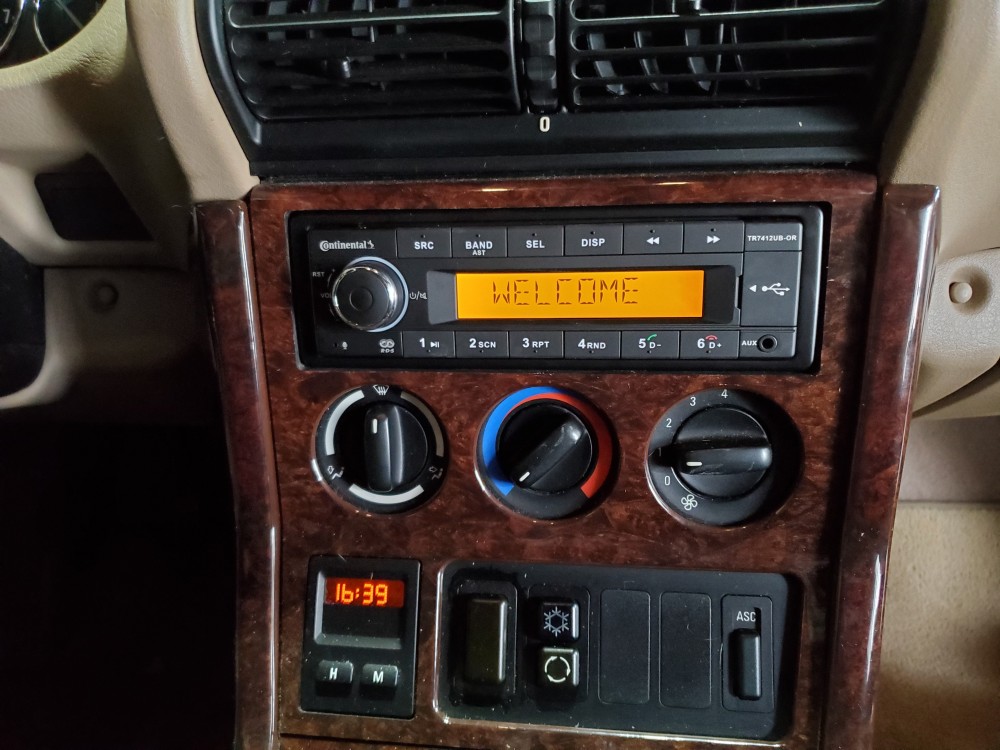
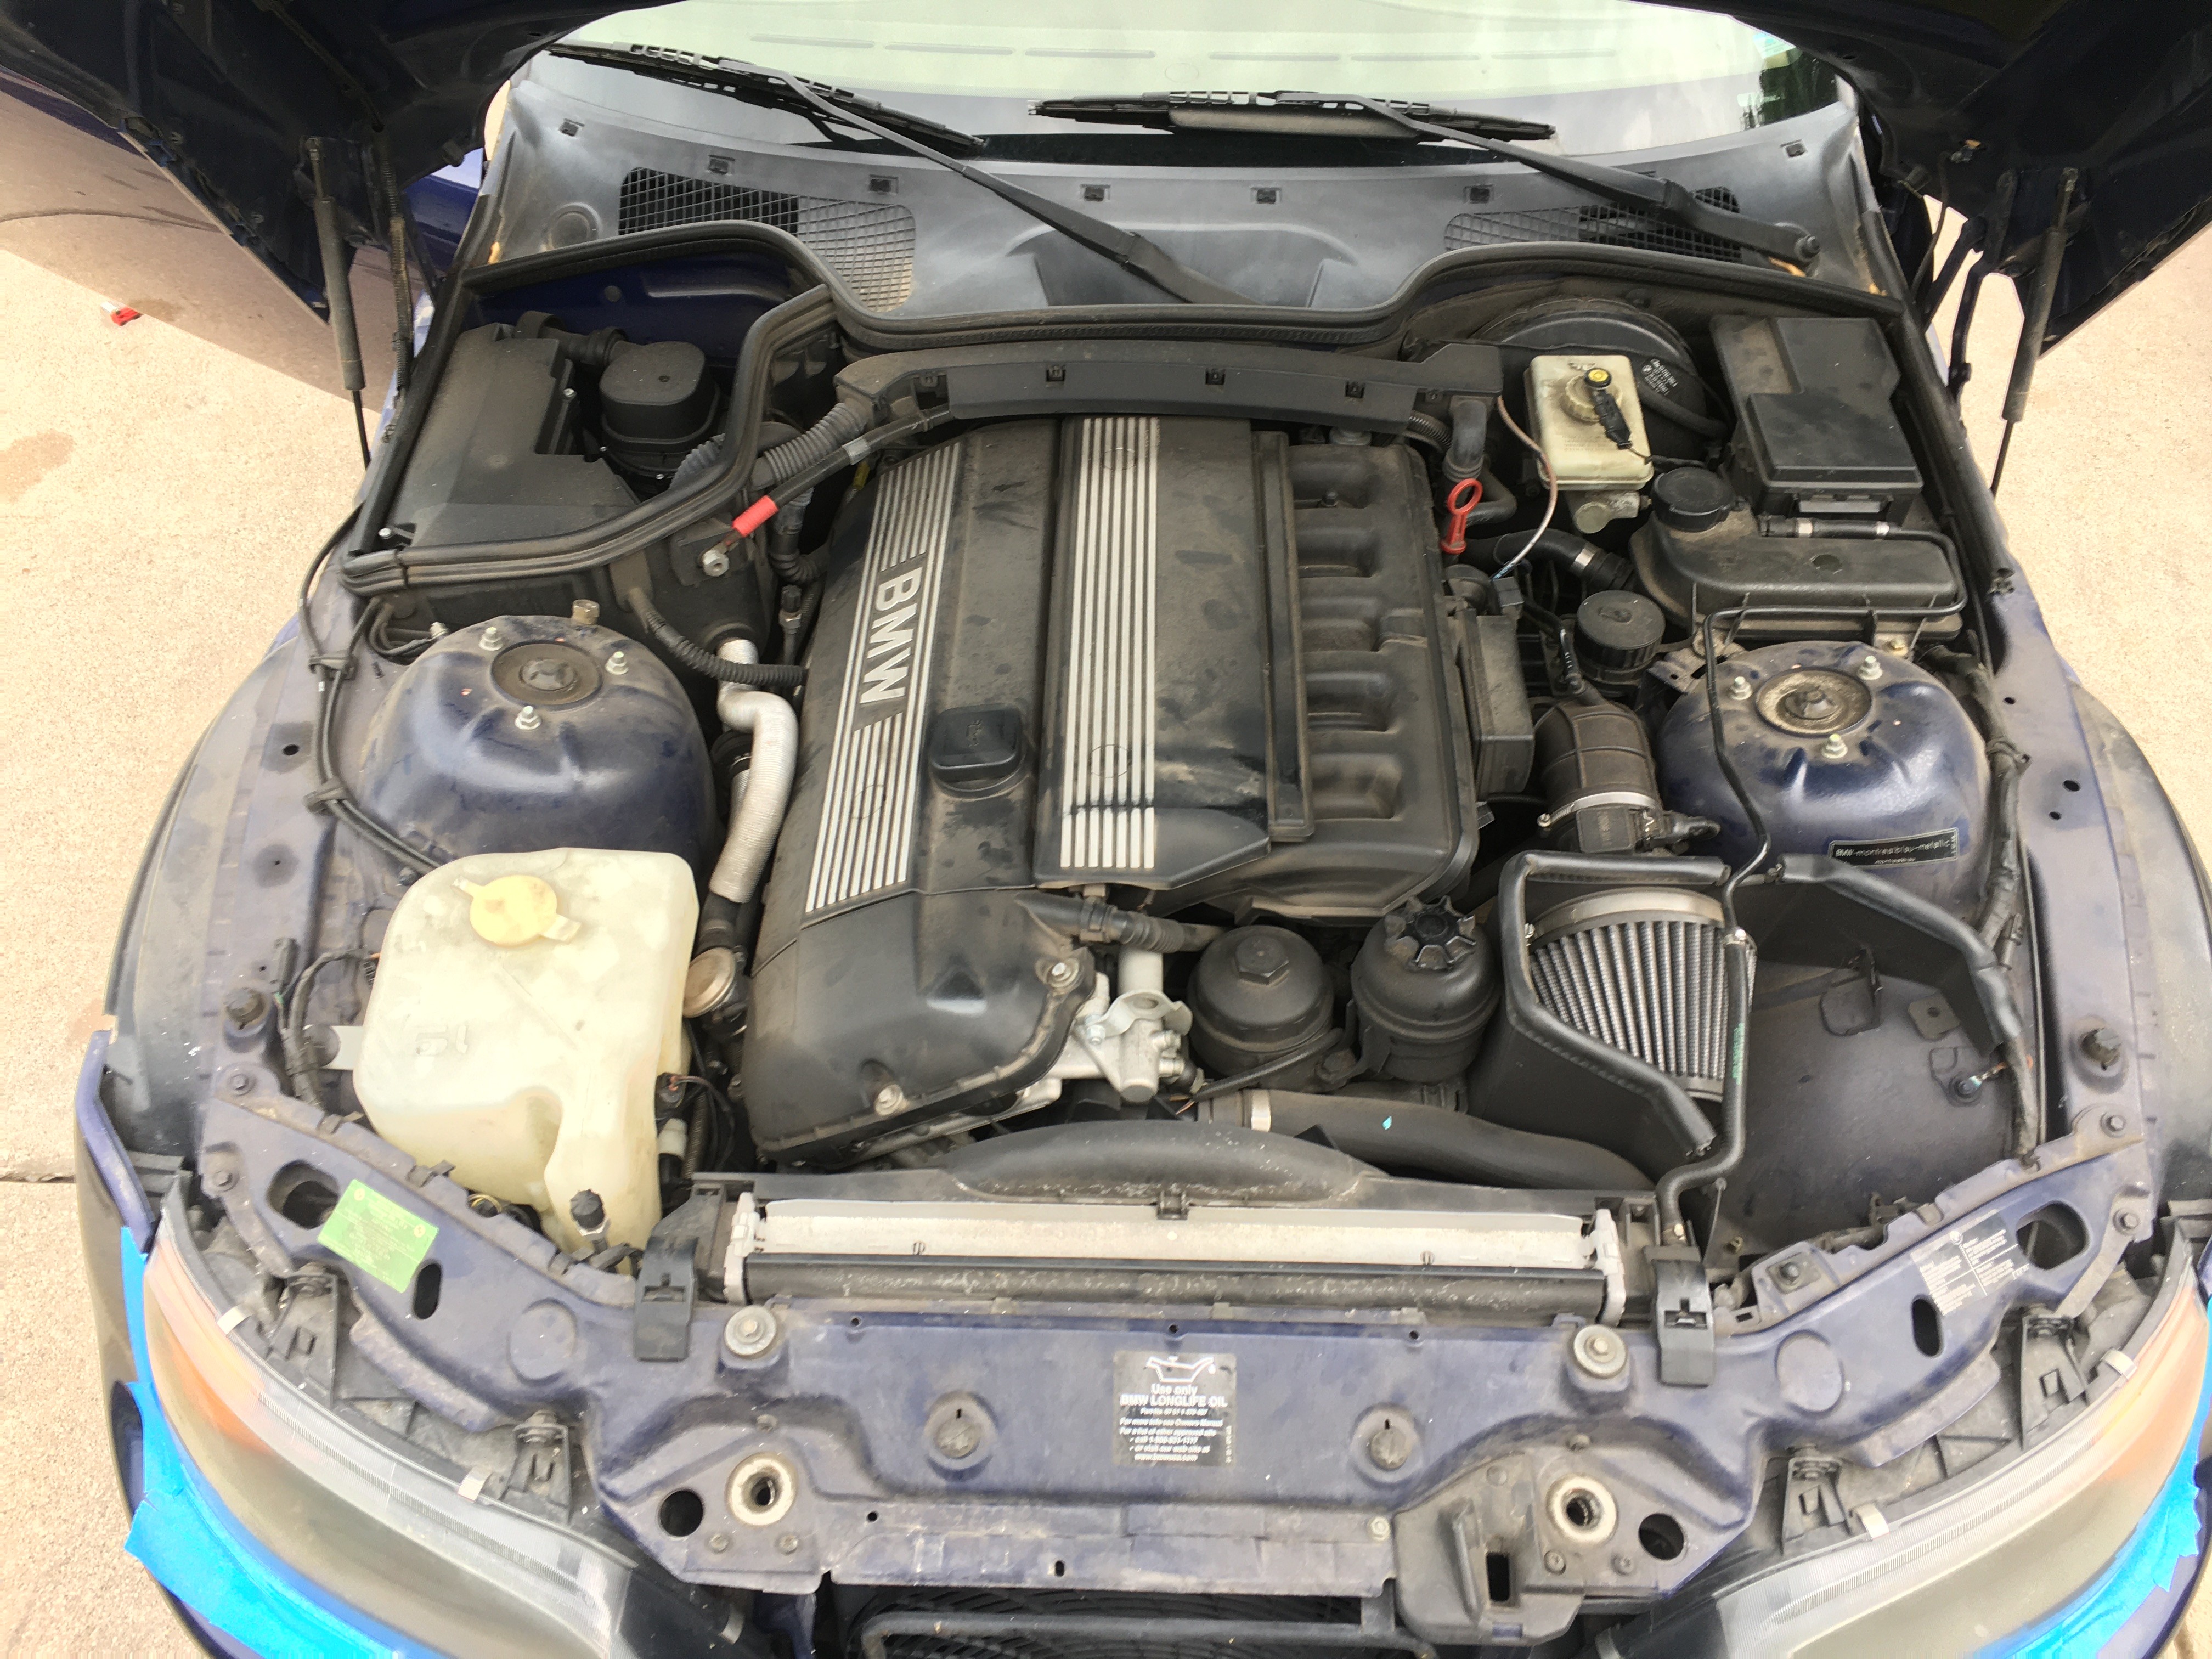
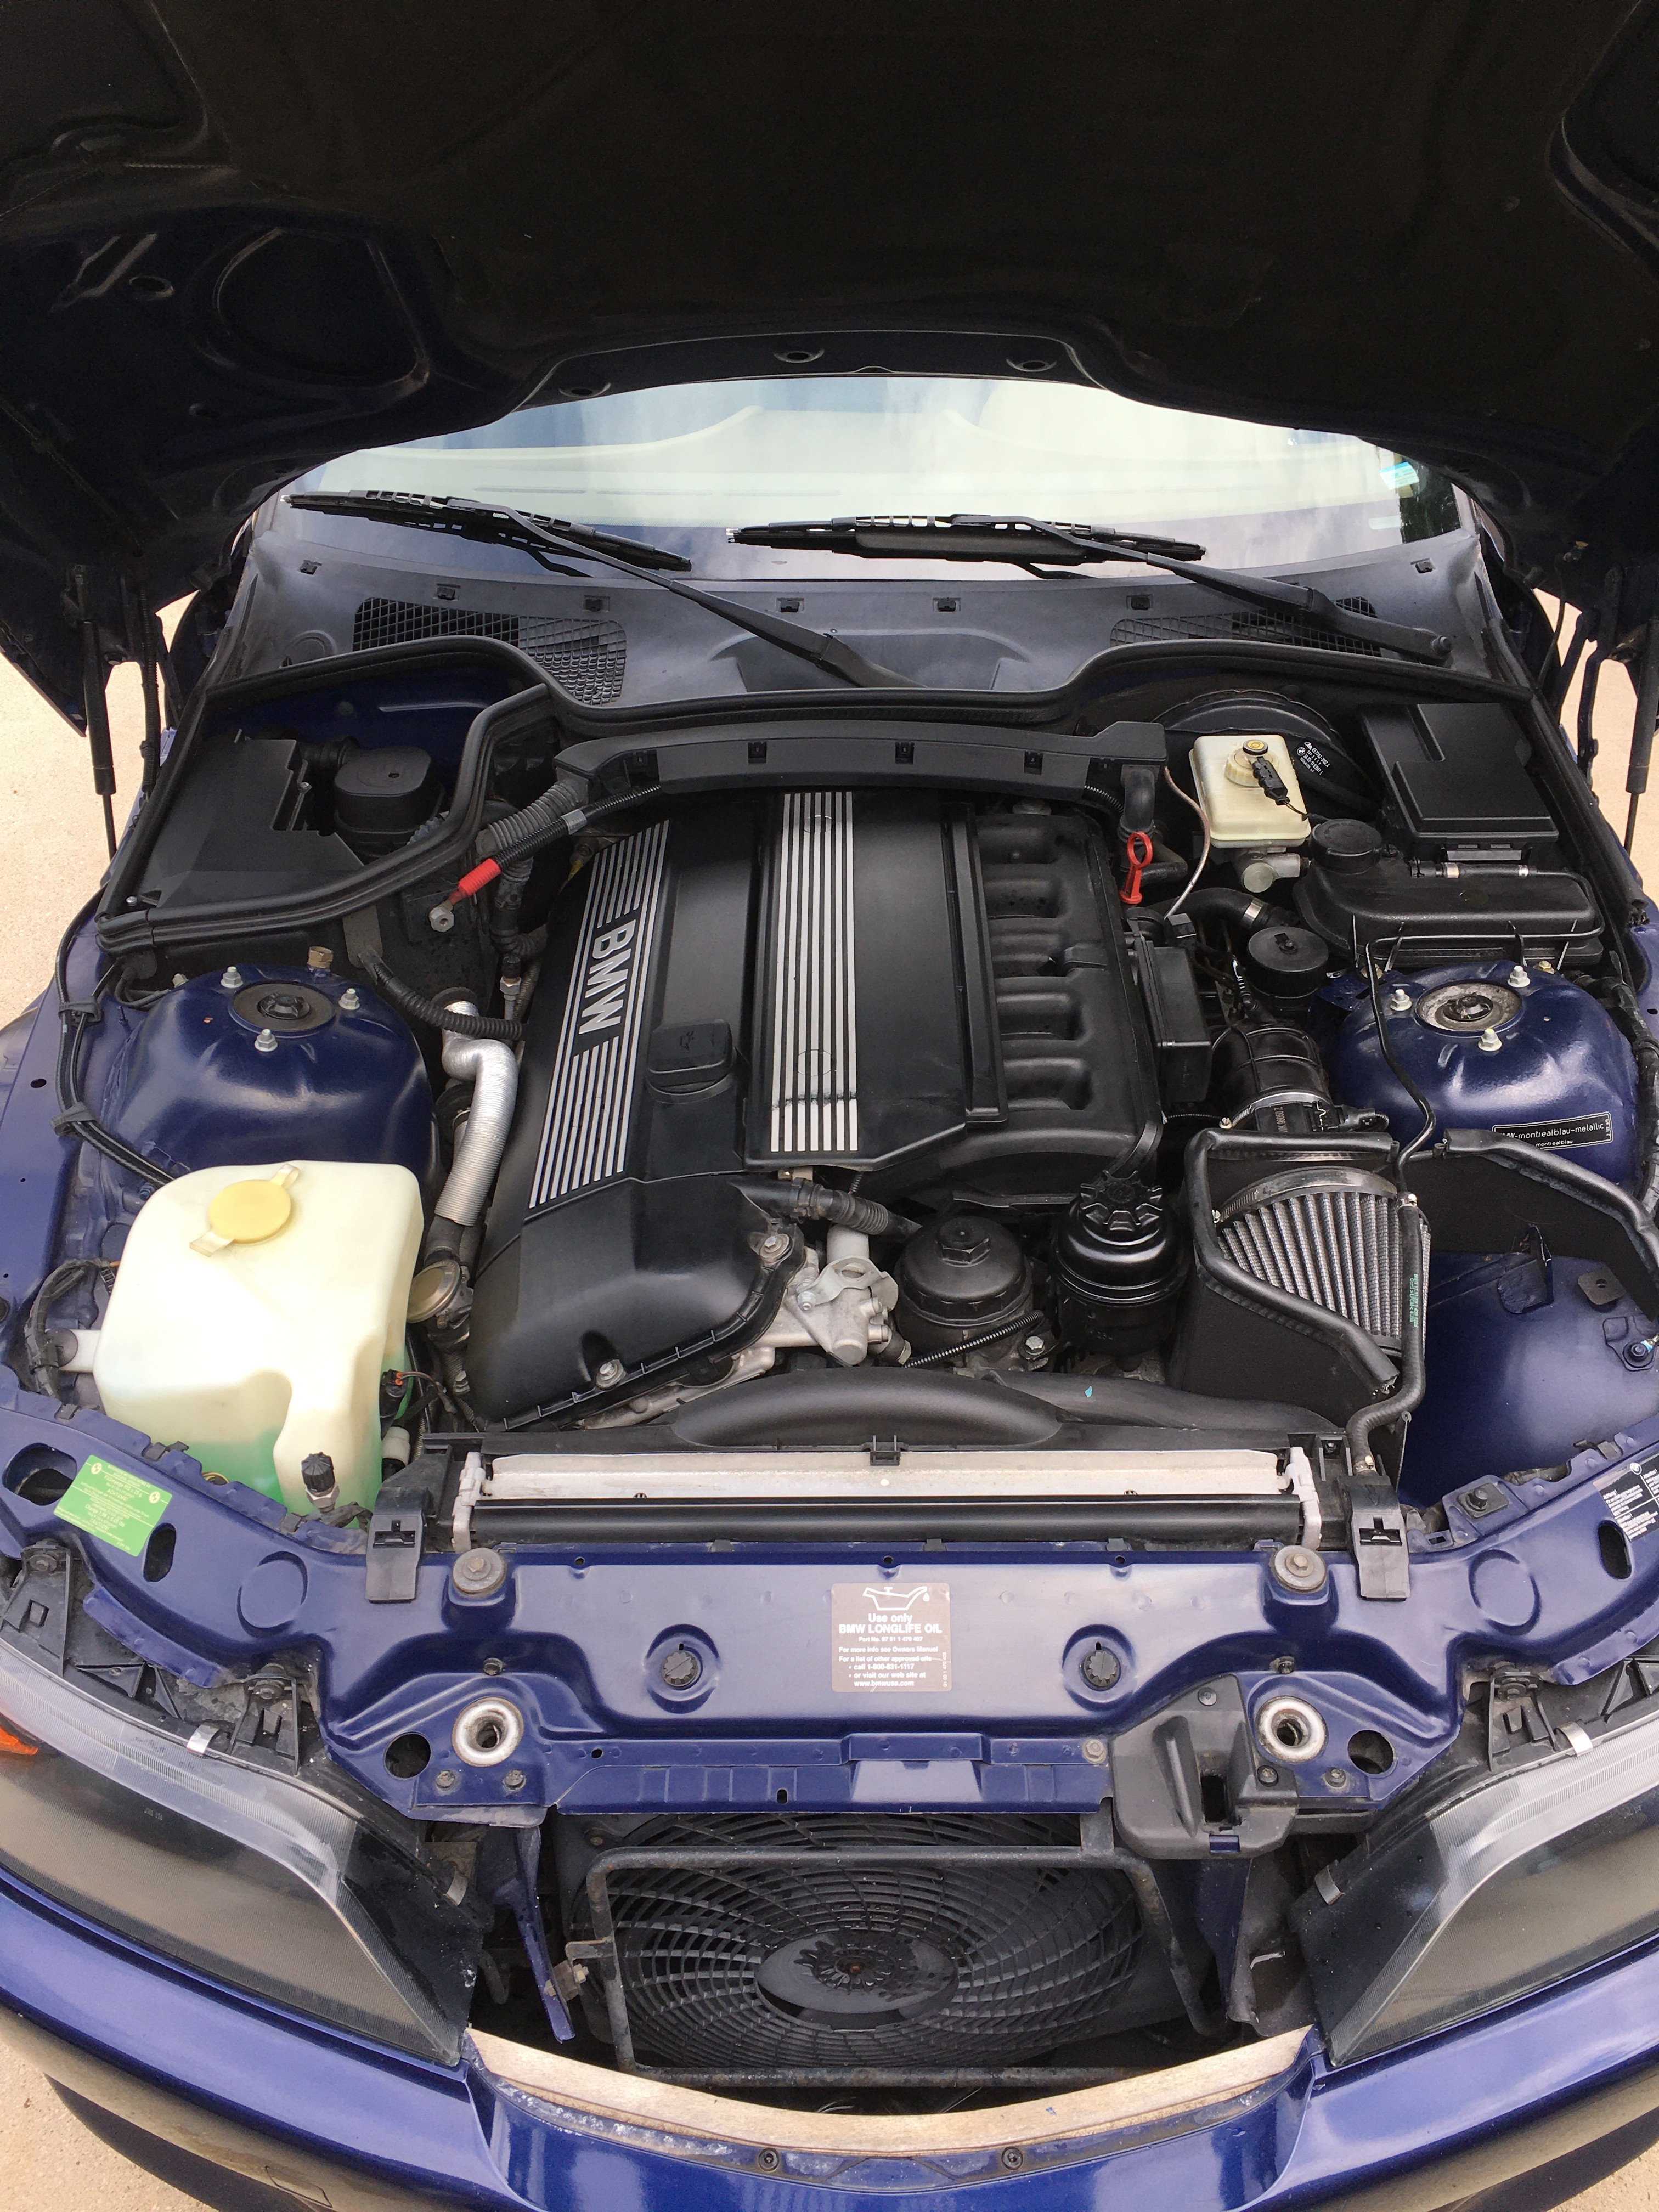
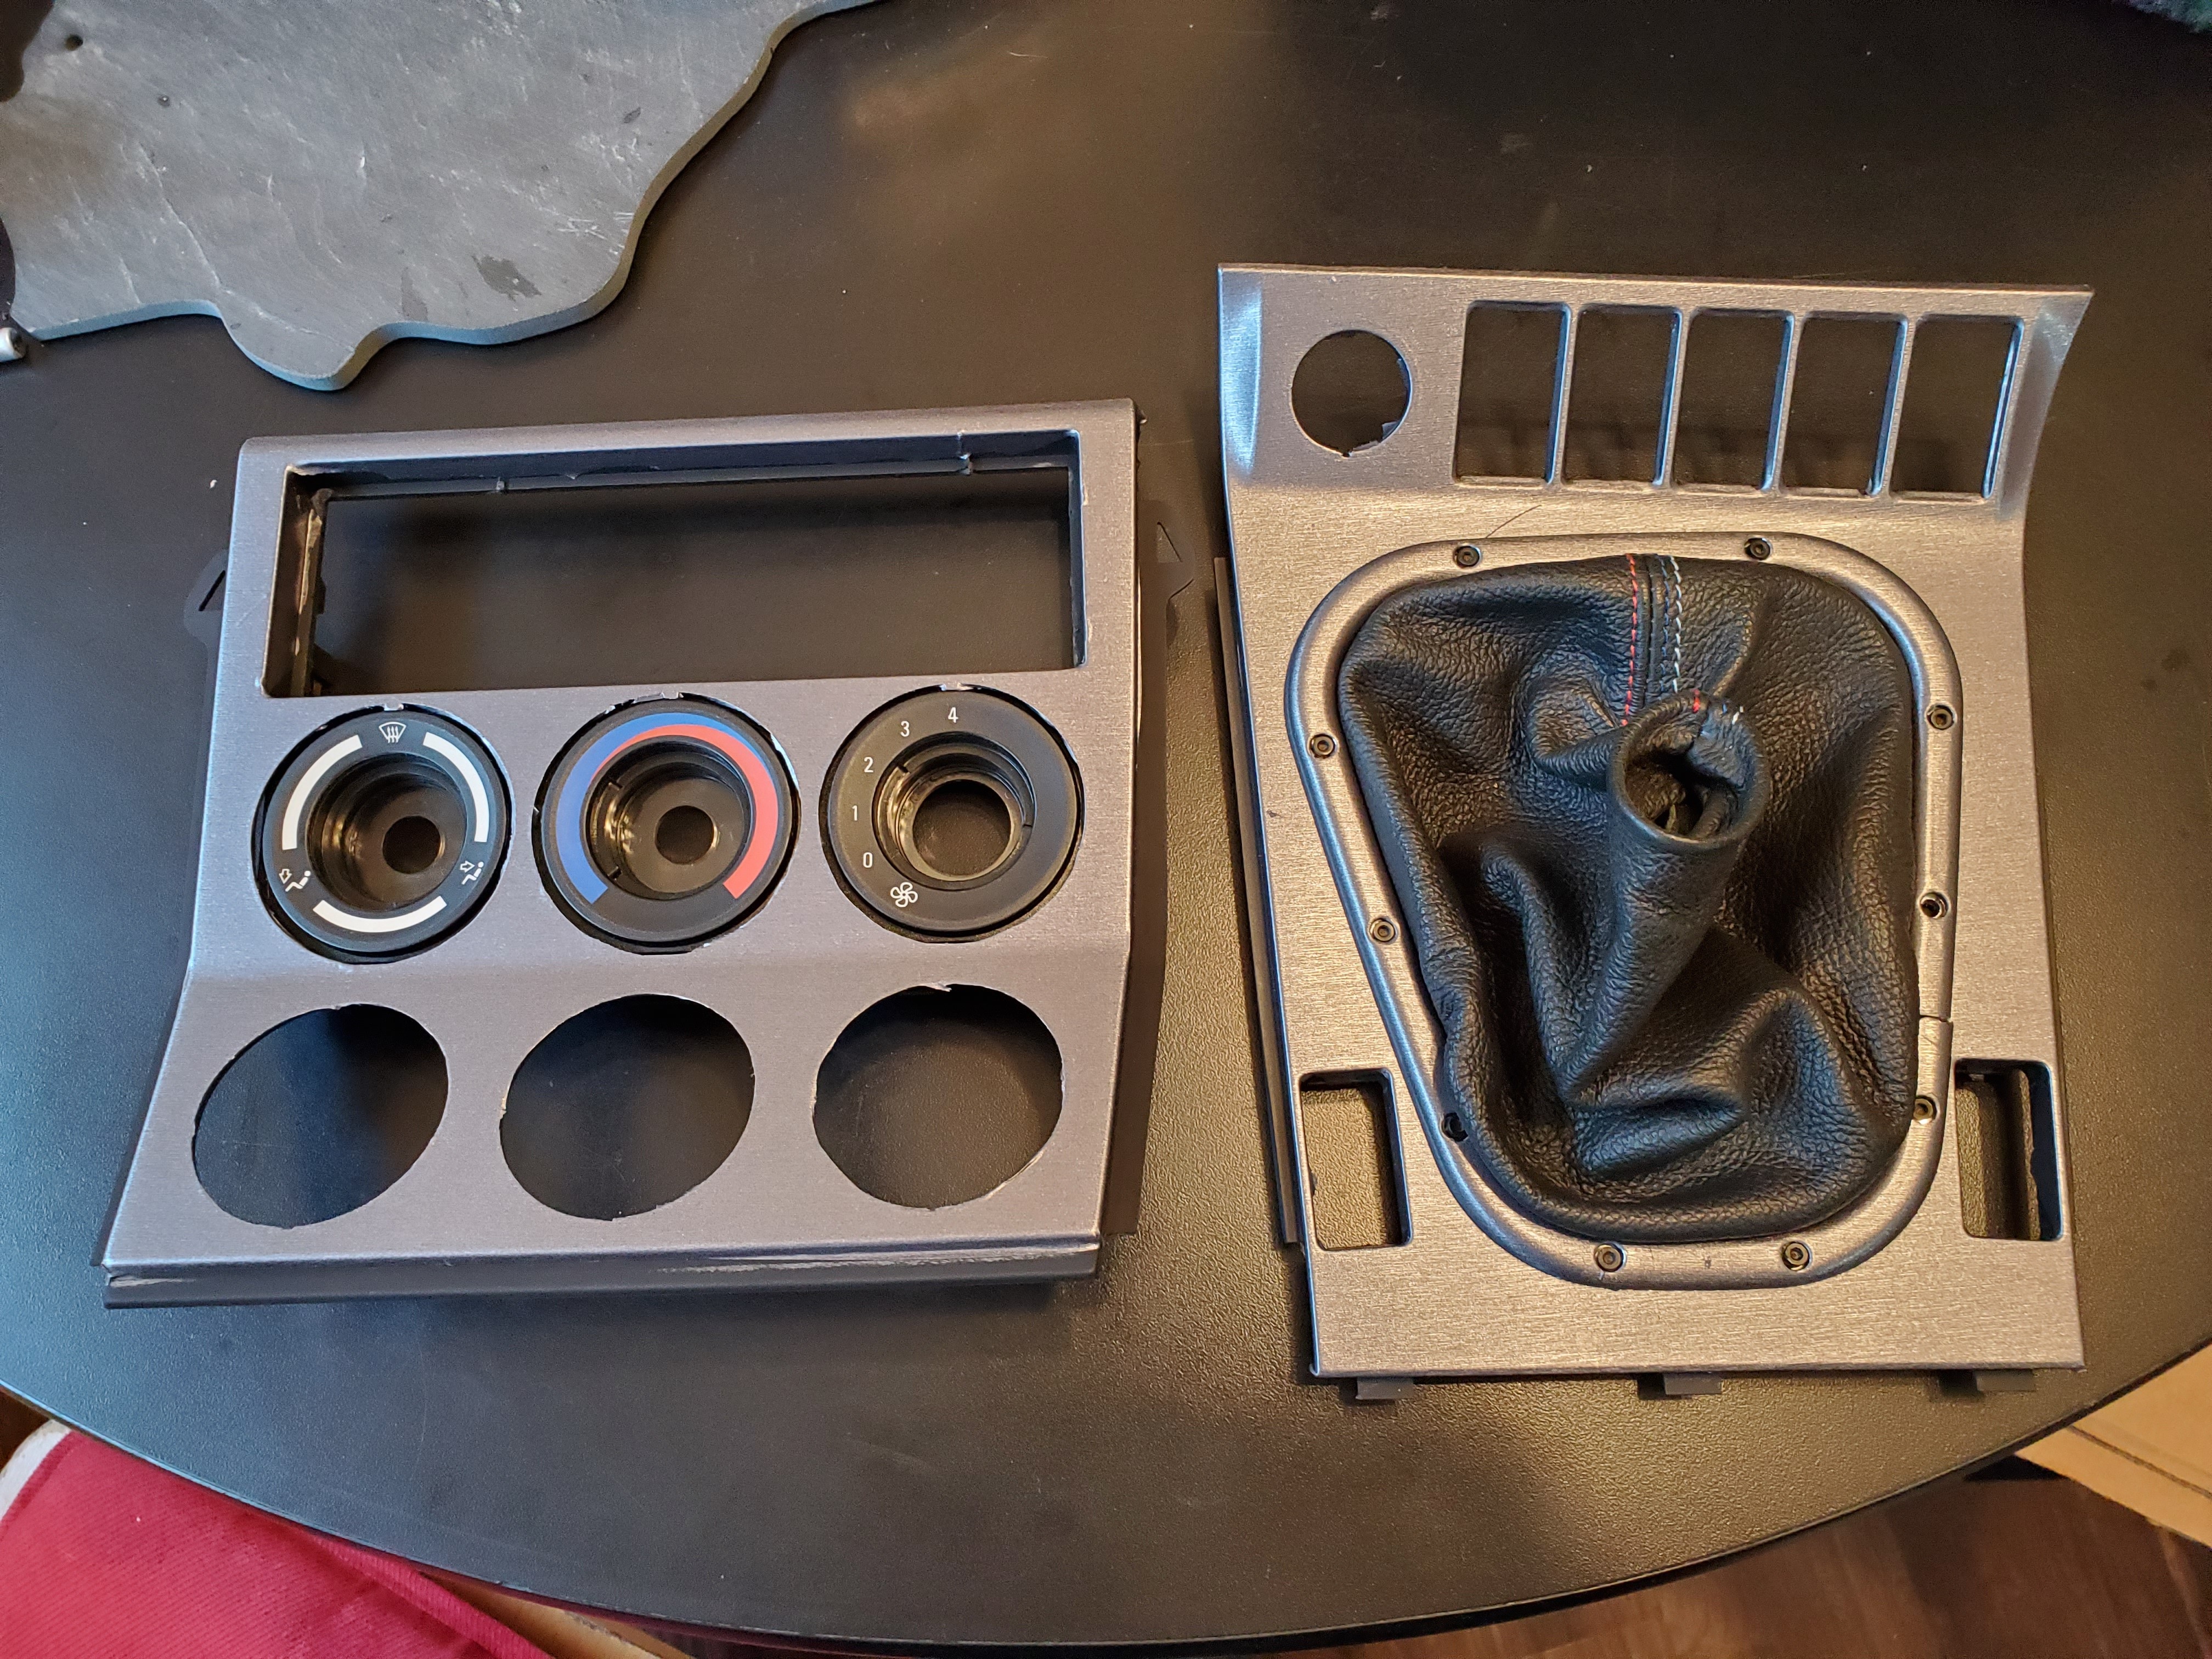
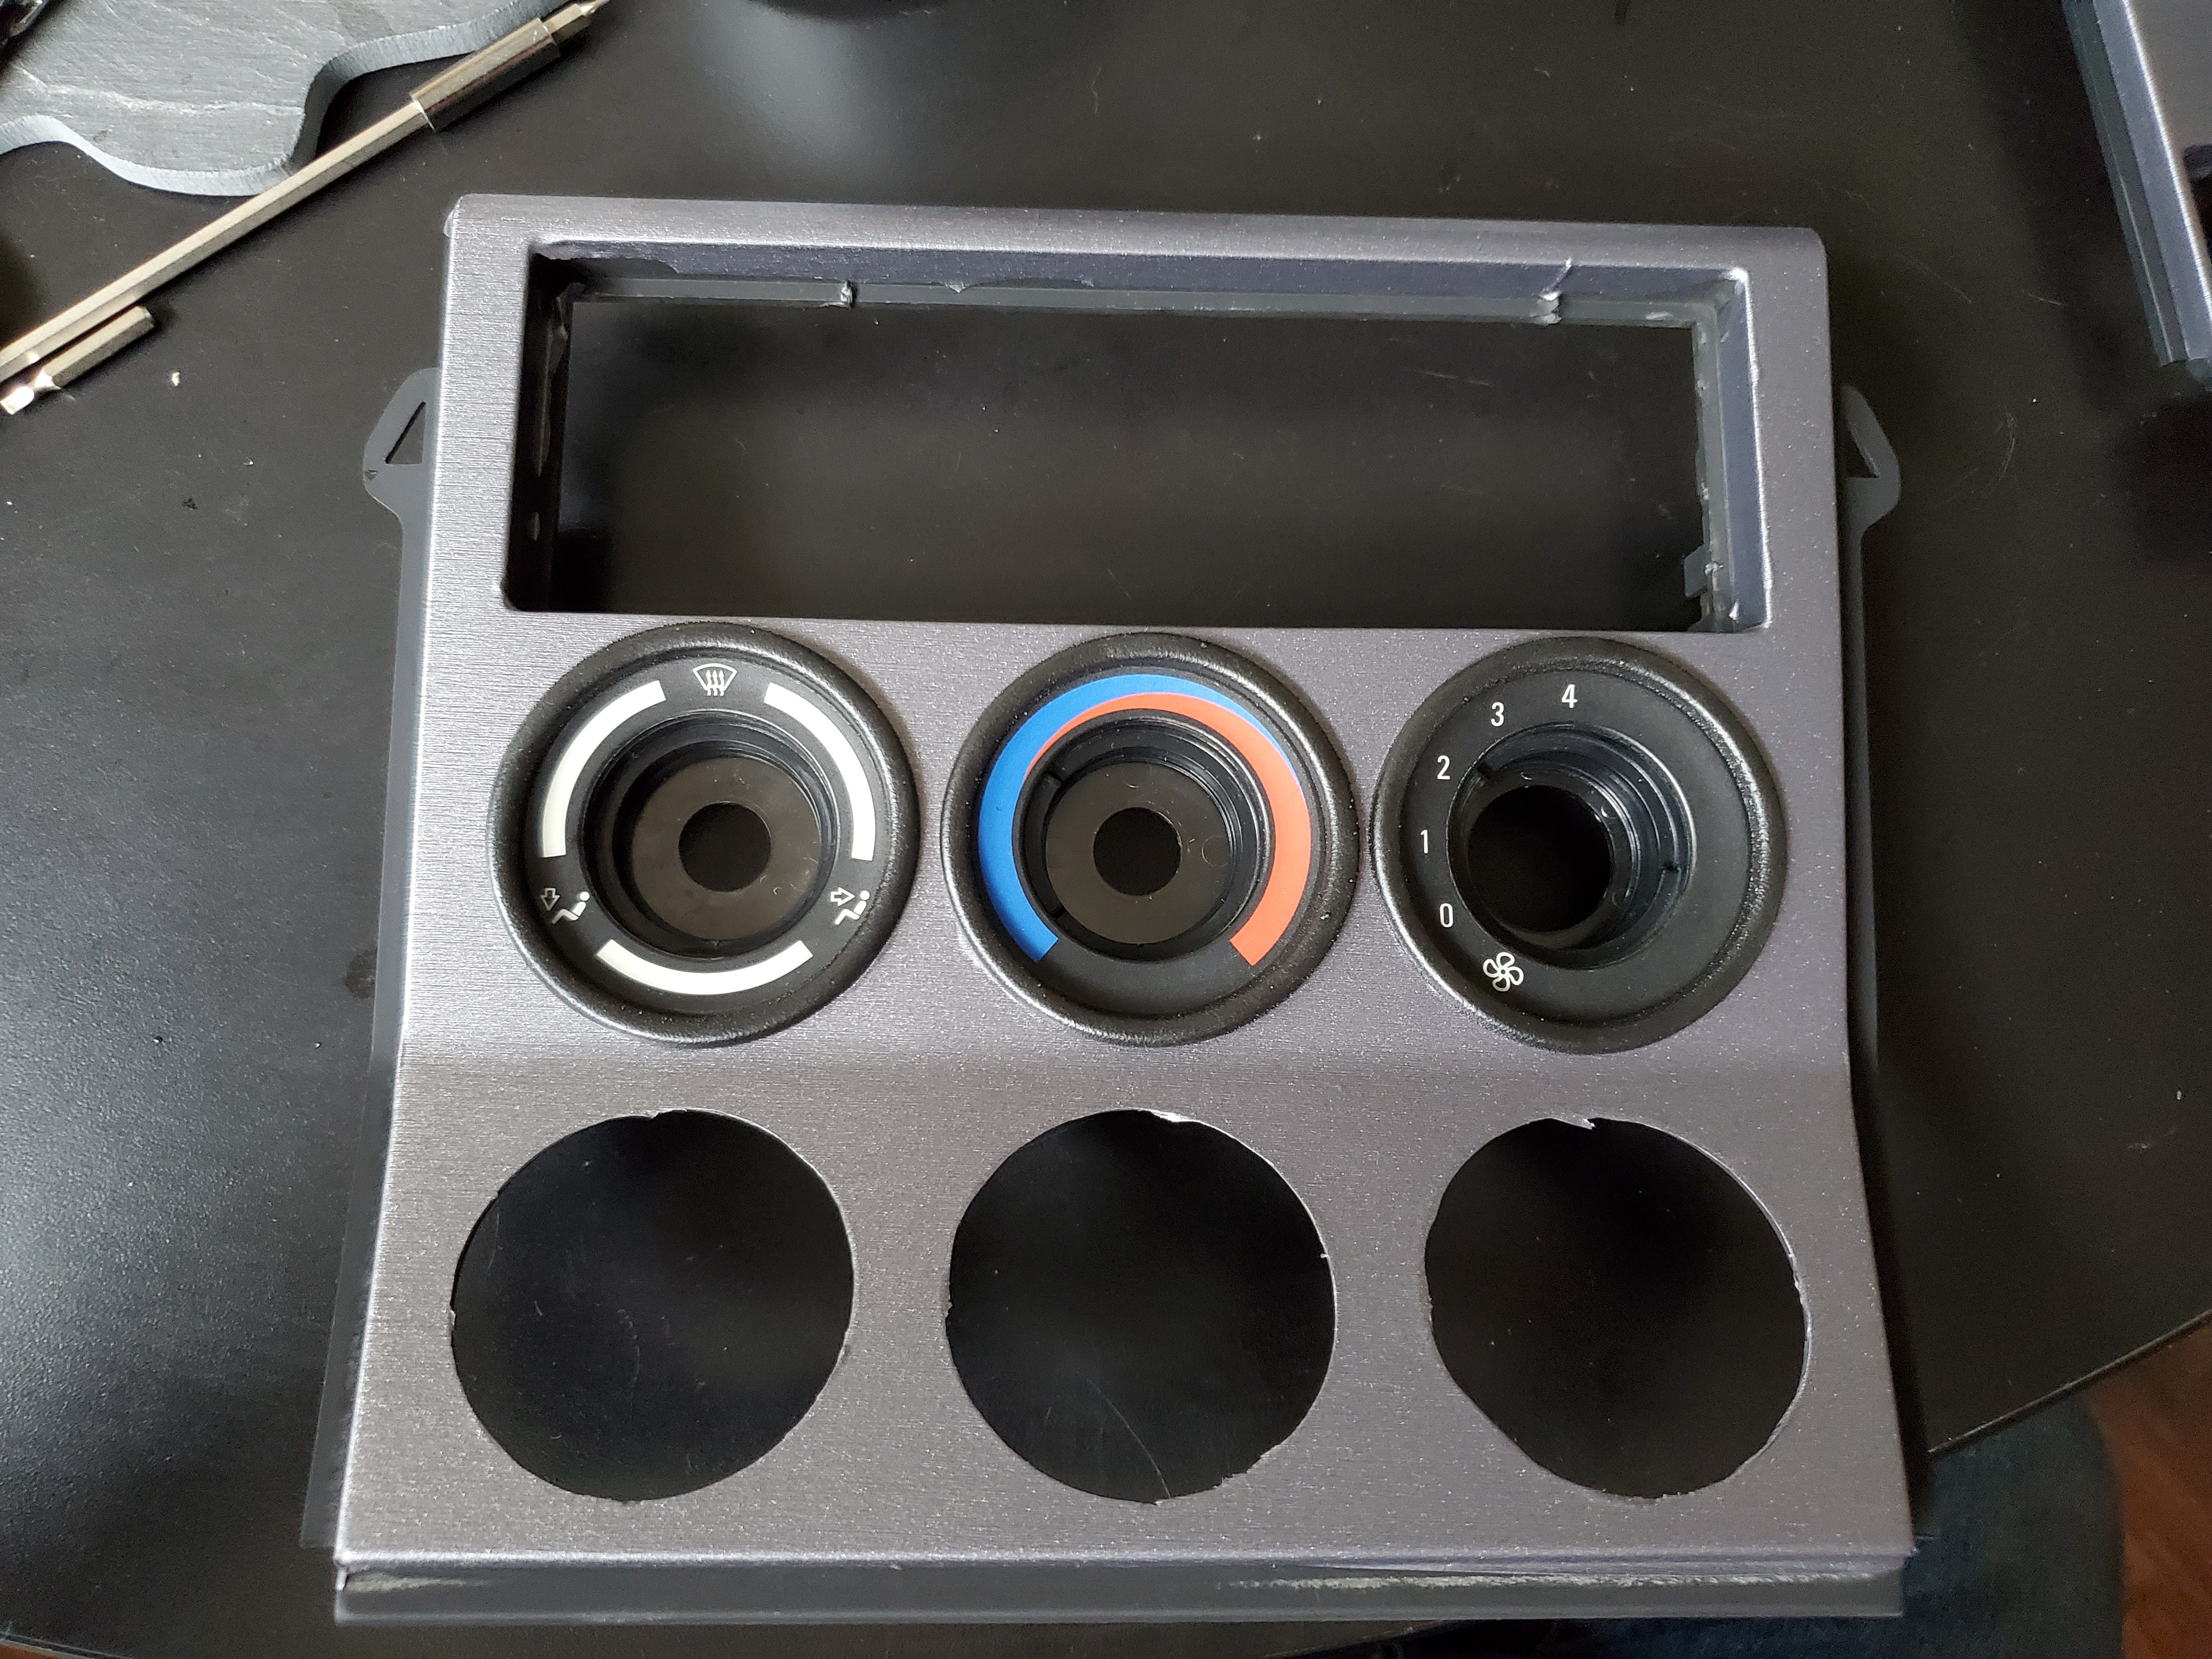
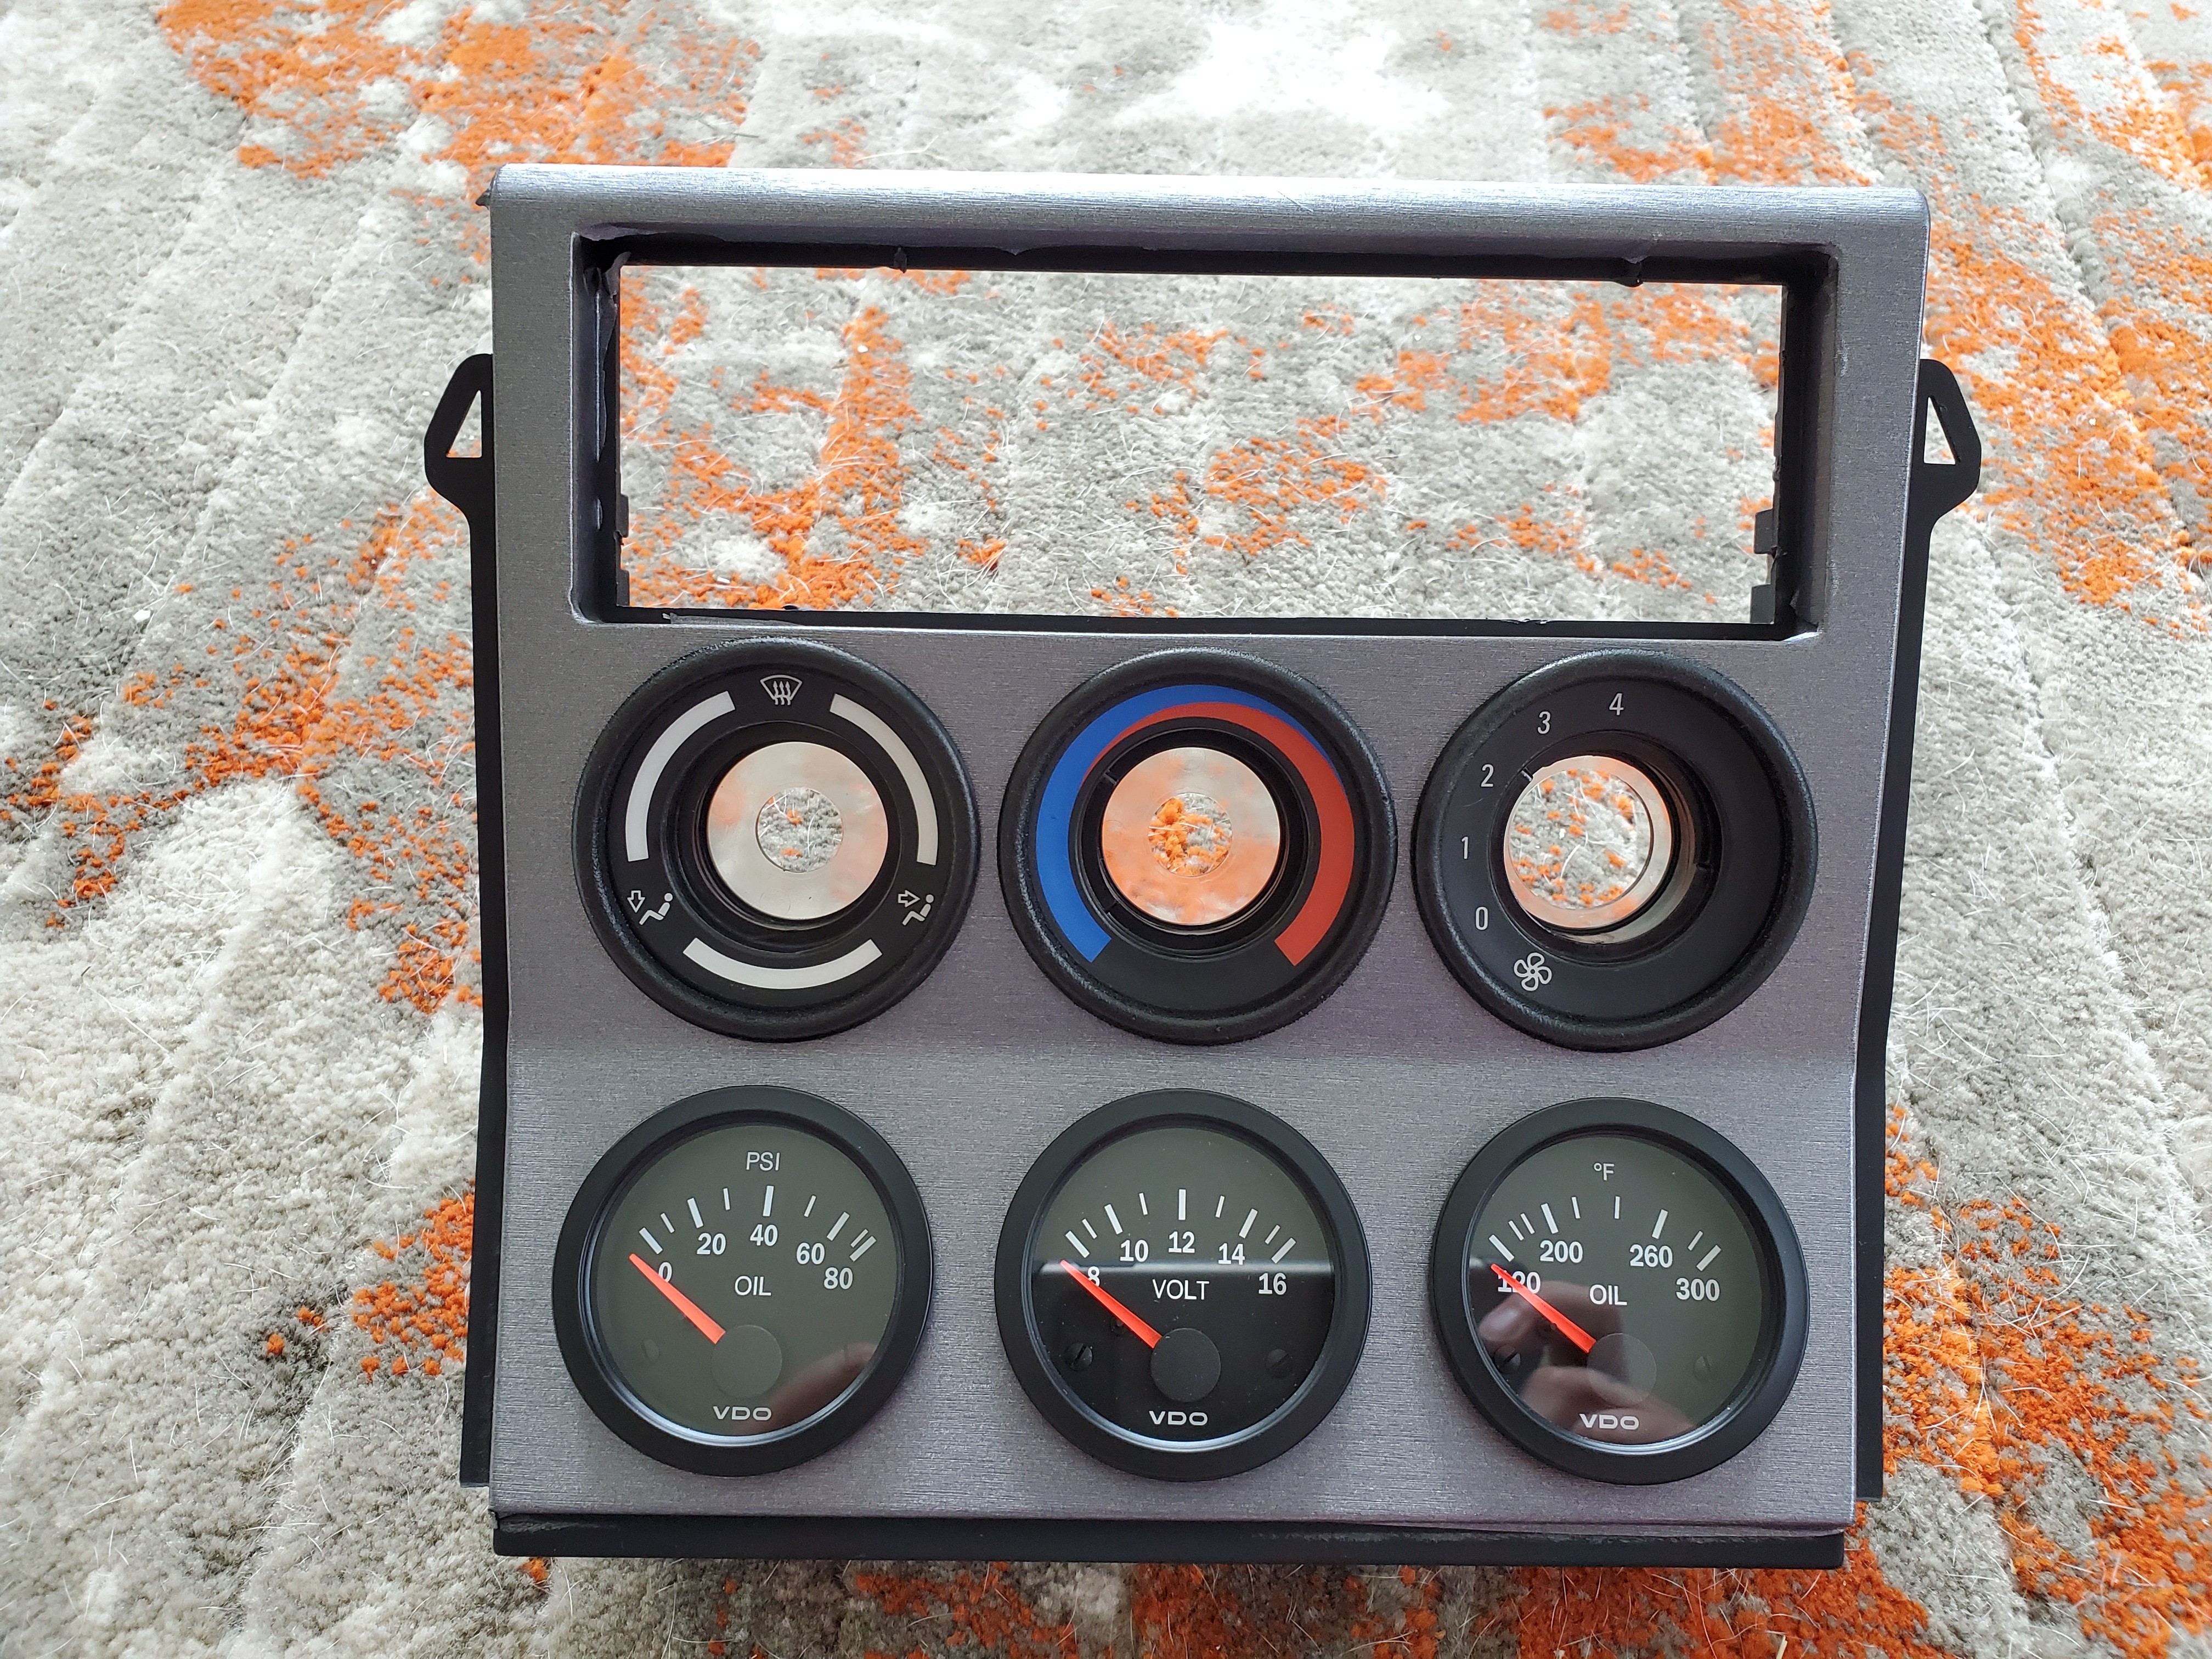
One of the main reasons I did this is due to the next thing I've been working on. And that is a Z3M center console swap which would eliminate the clock due to the guages i want to run. I got a set of used Z3M consoles, disassembled them, wrapped them with brushed steel vinyl wrap, eliminated the chrome and popped in some new VDO guages.
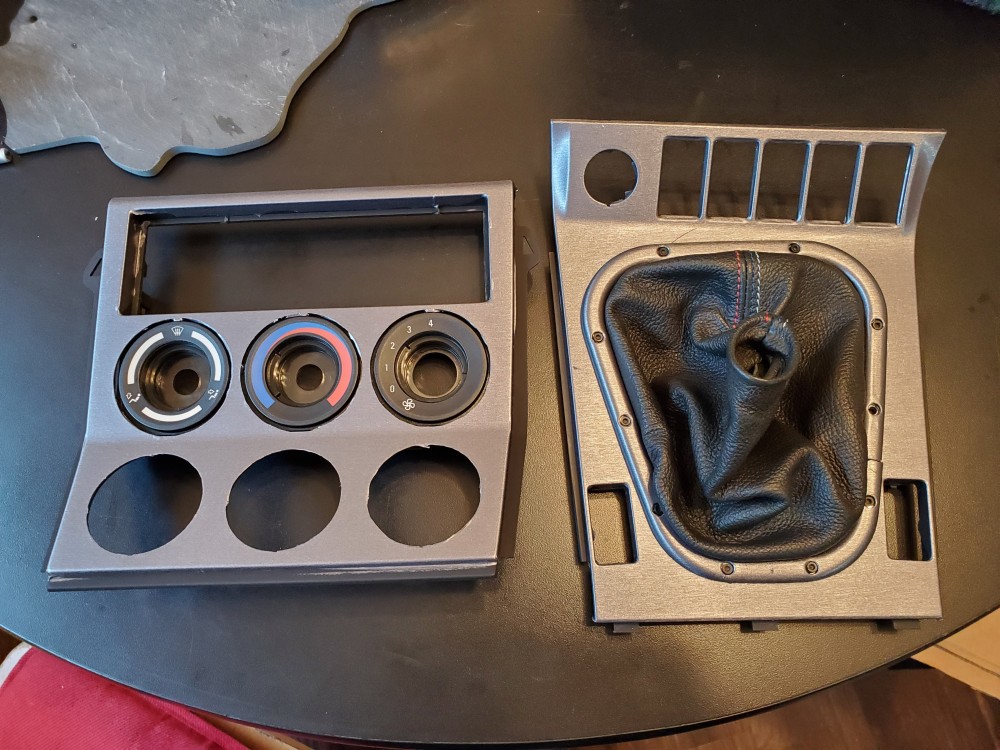
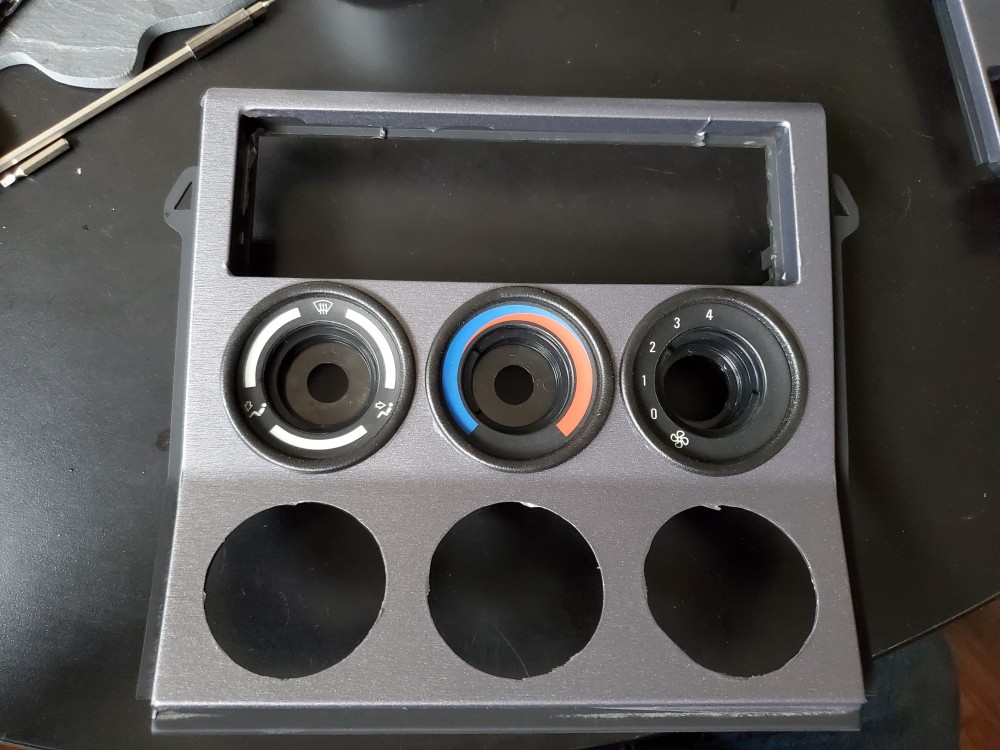
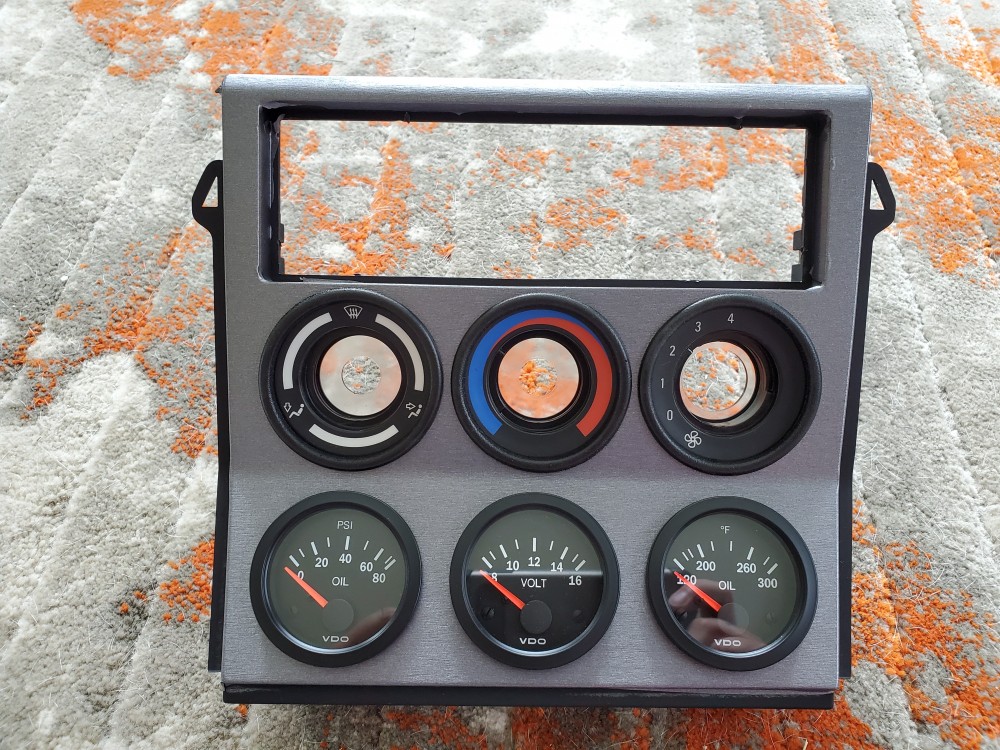
Ultimate end goal is to also switch out the tan interior for black/cinnamon to complement the Montreal blue exterior more.
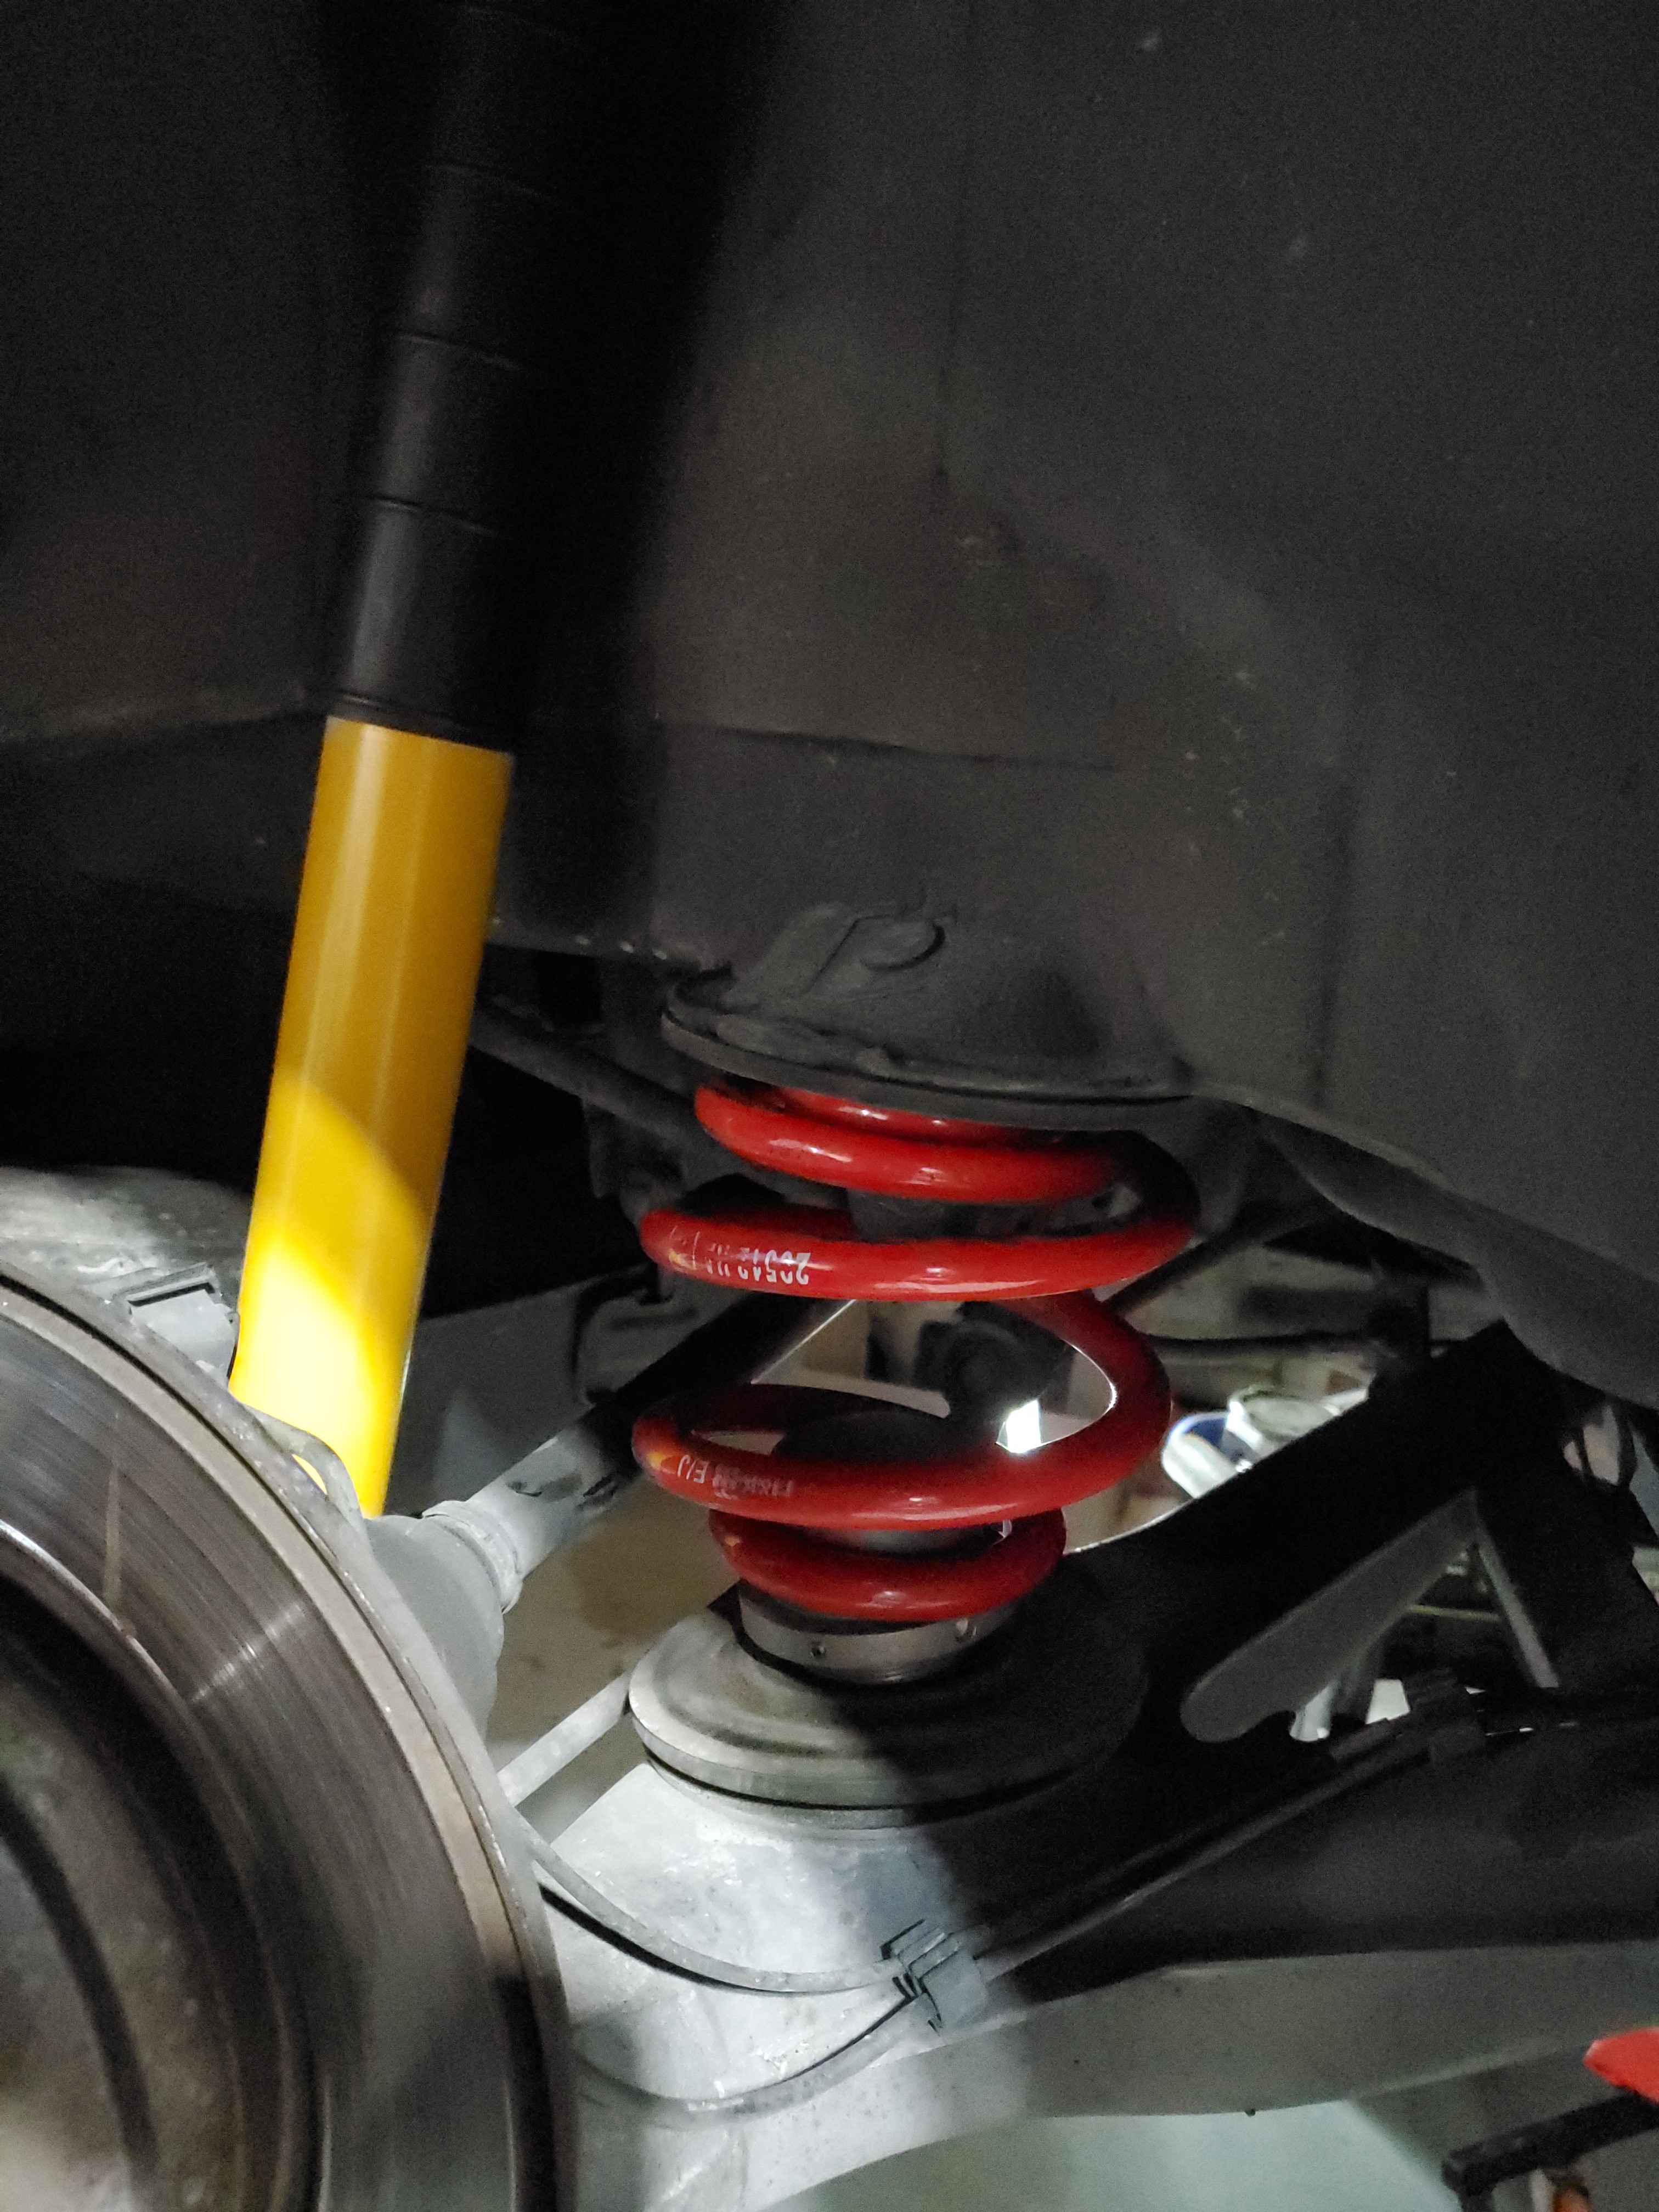
Other than getting these console pieces in the car as well as painting/dying interior parts that need to be removed in process, I also picked up a set of H&R coilovers that will soon be installed as well.
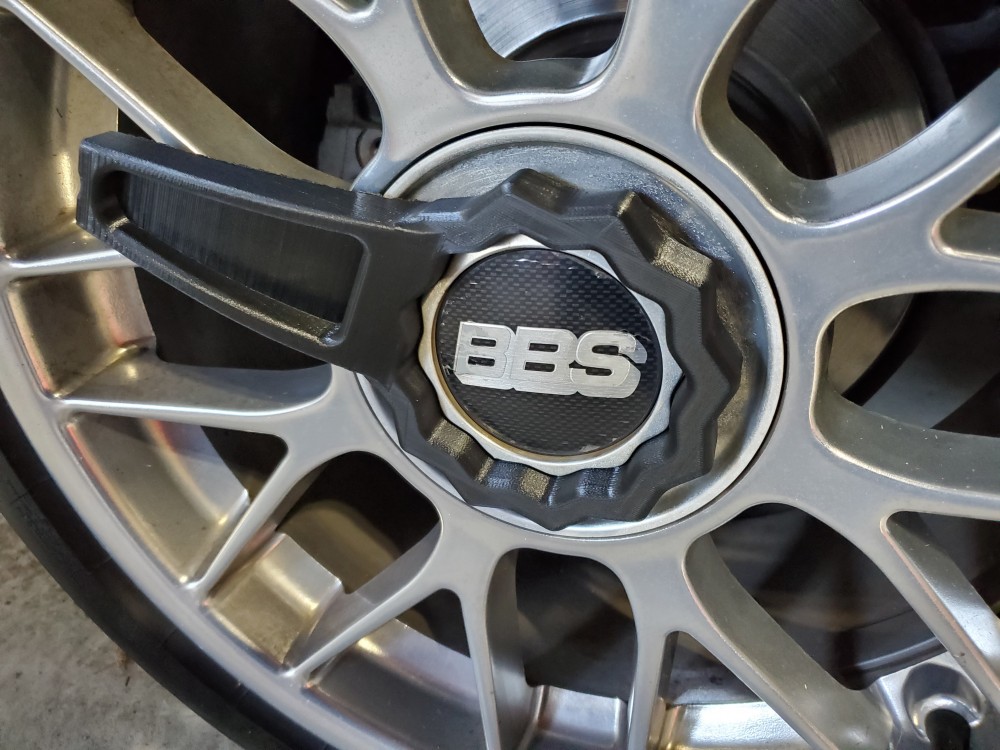
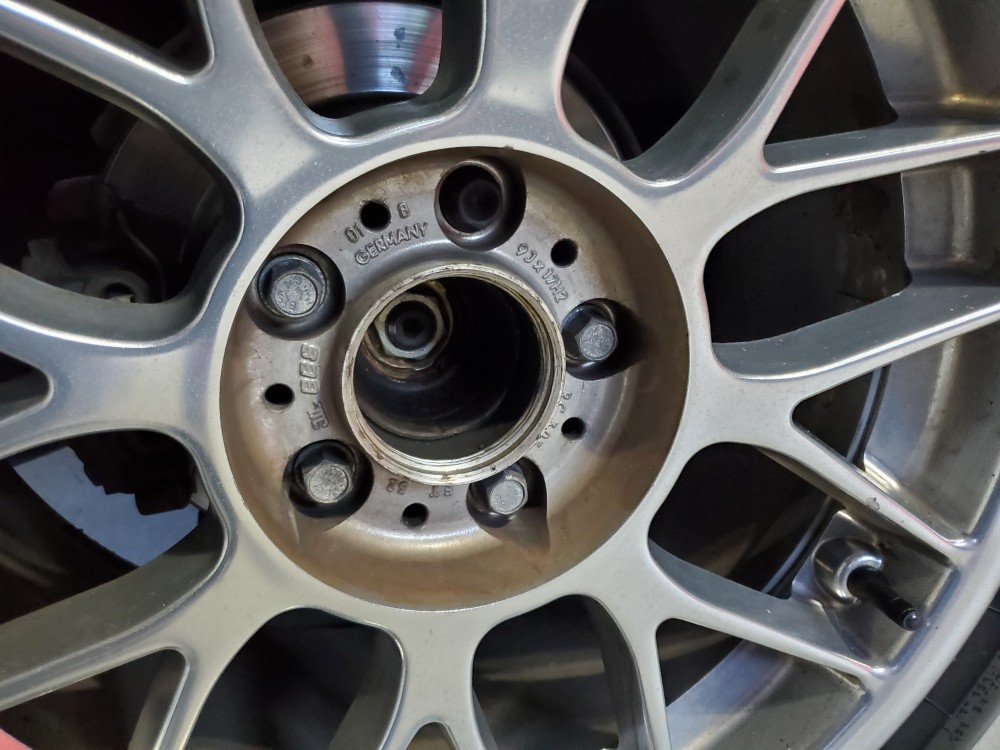
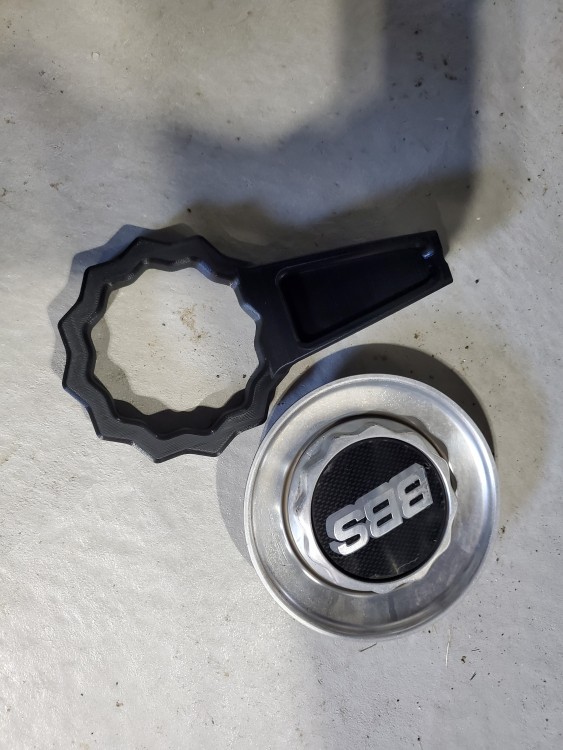
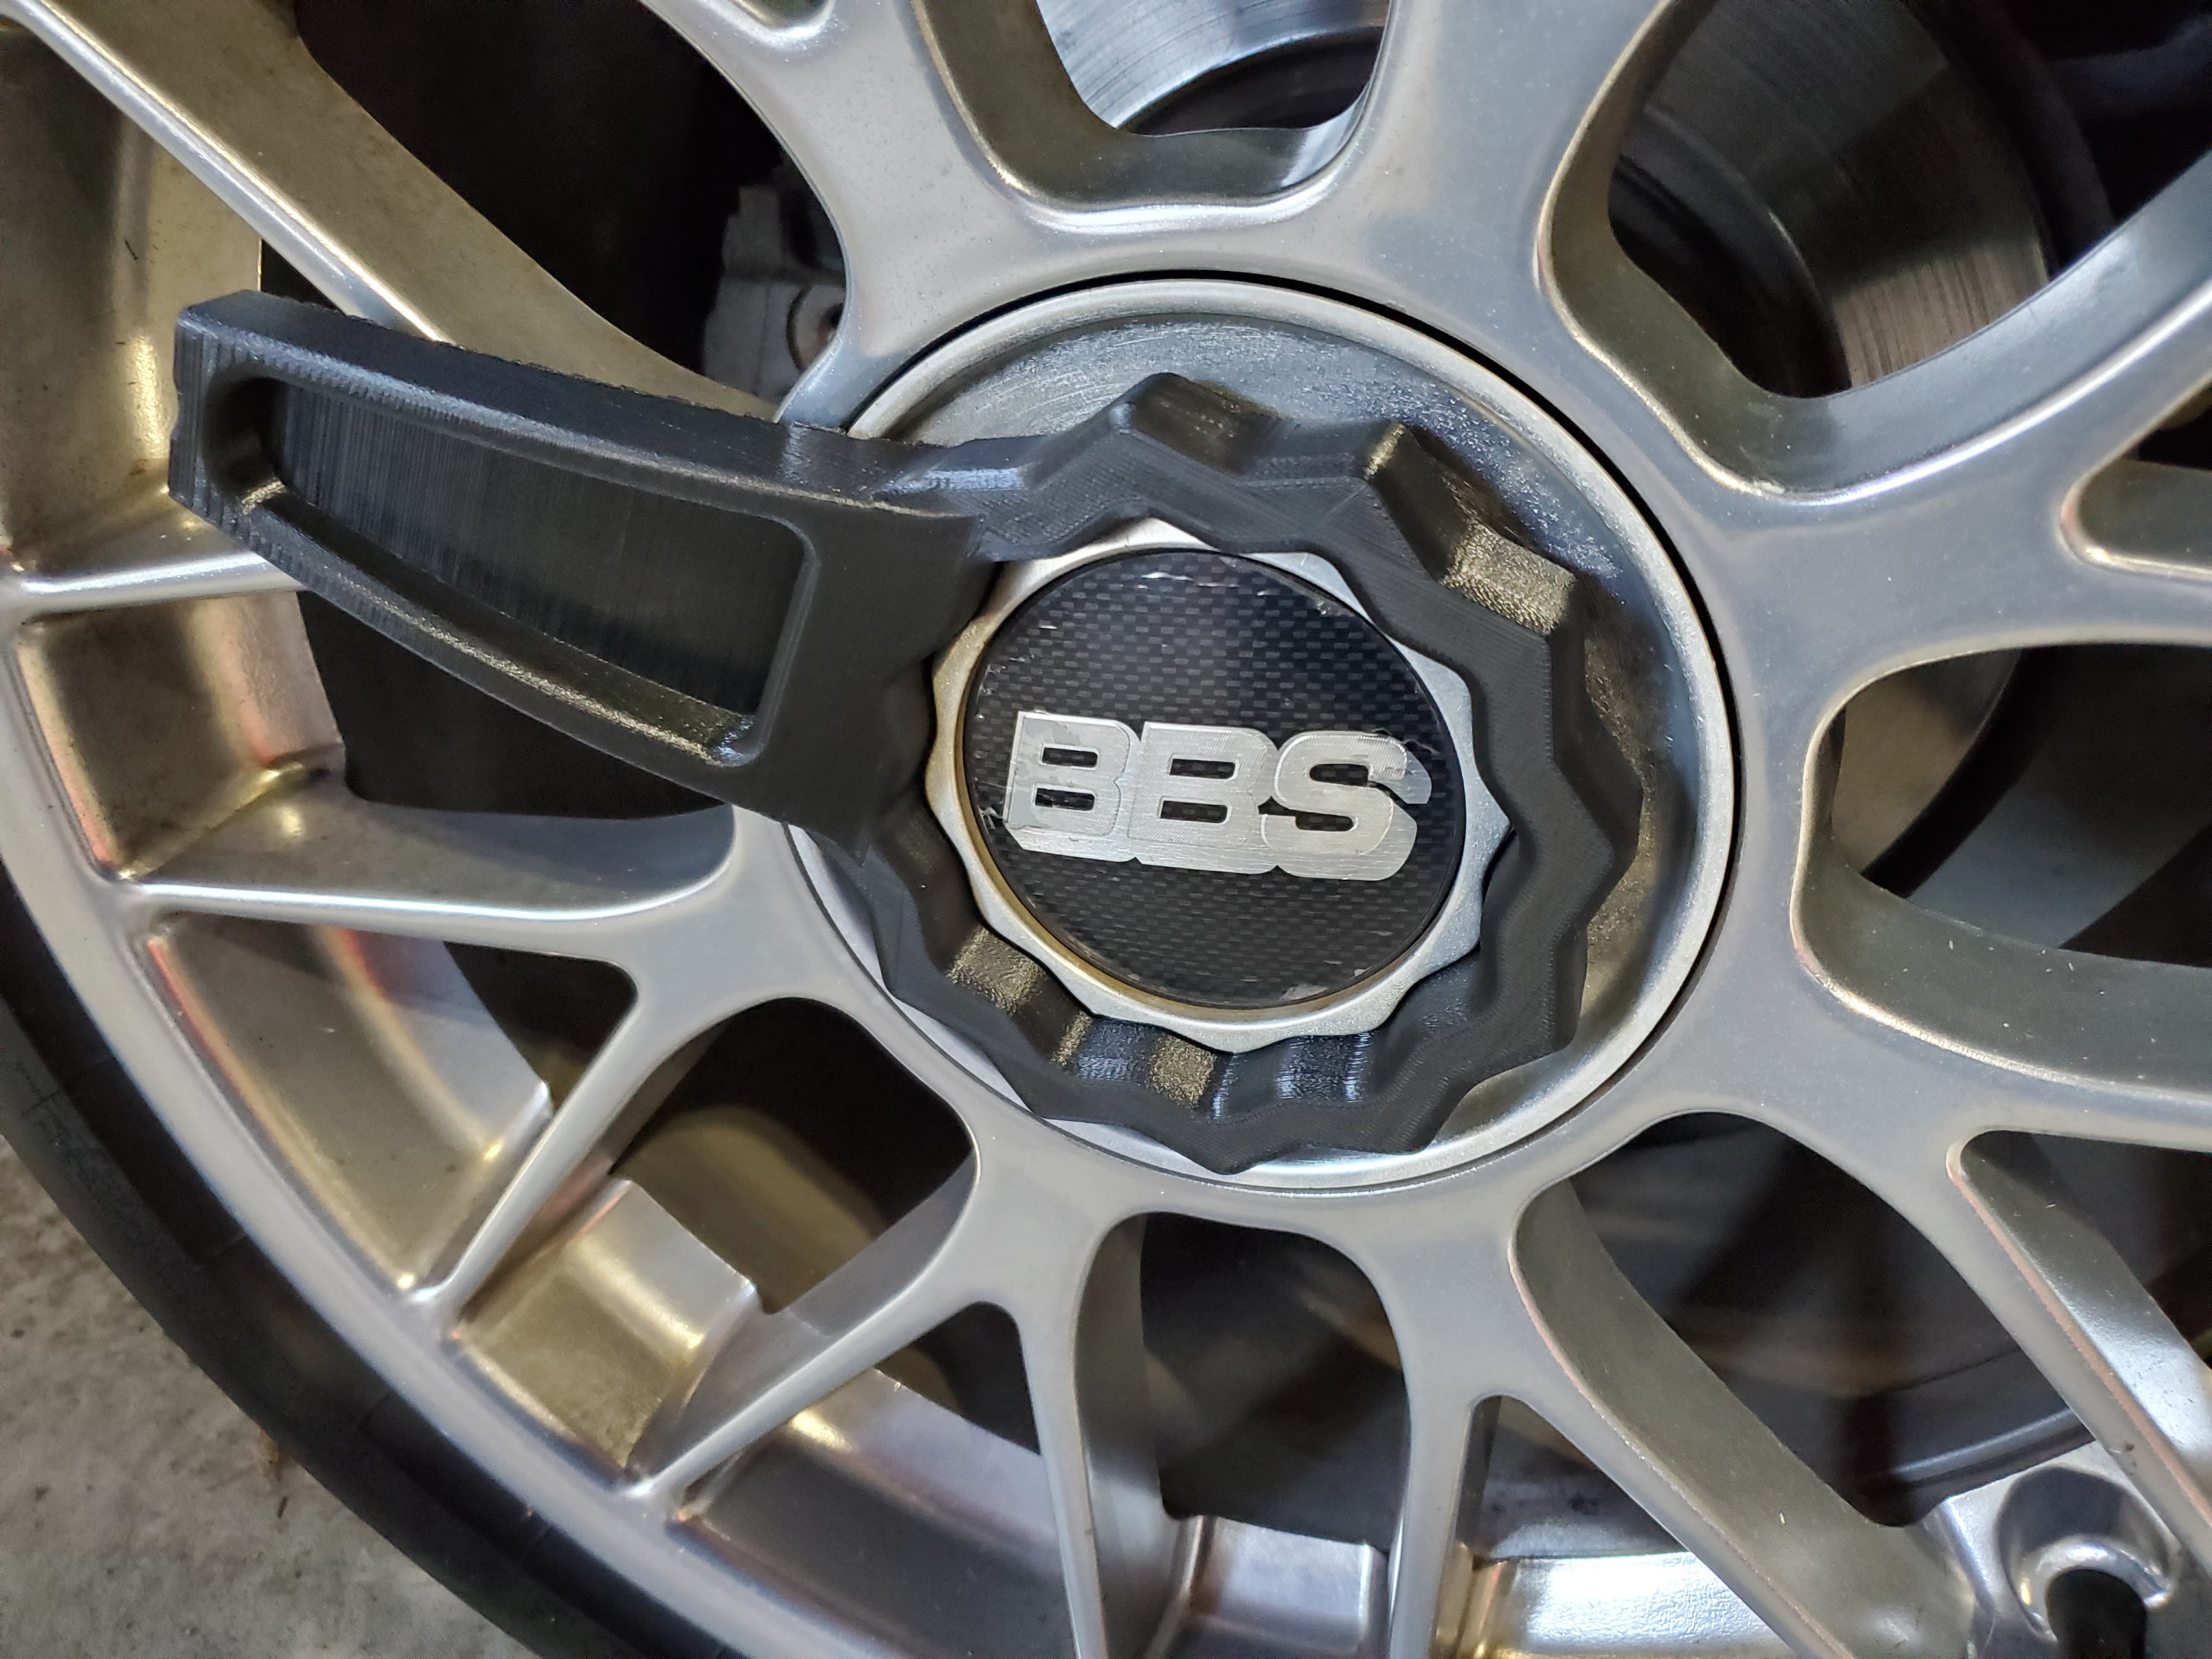
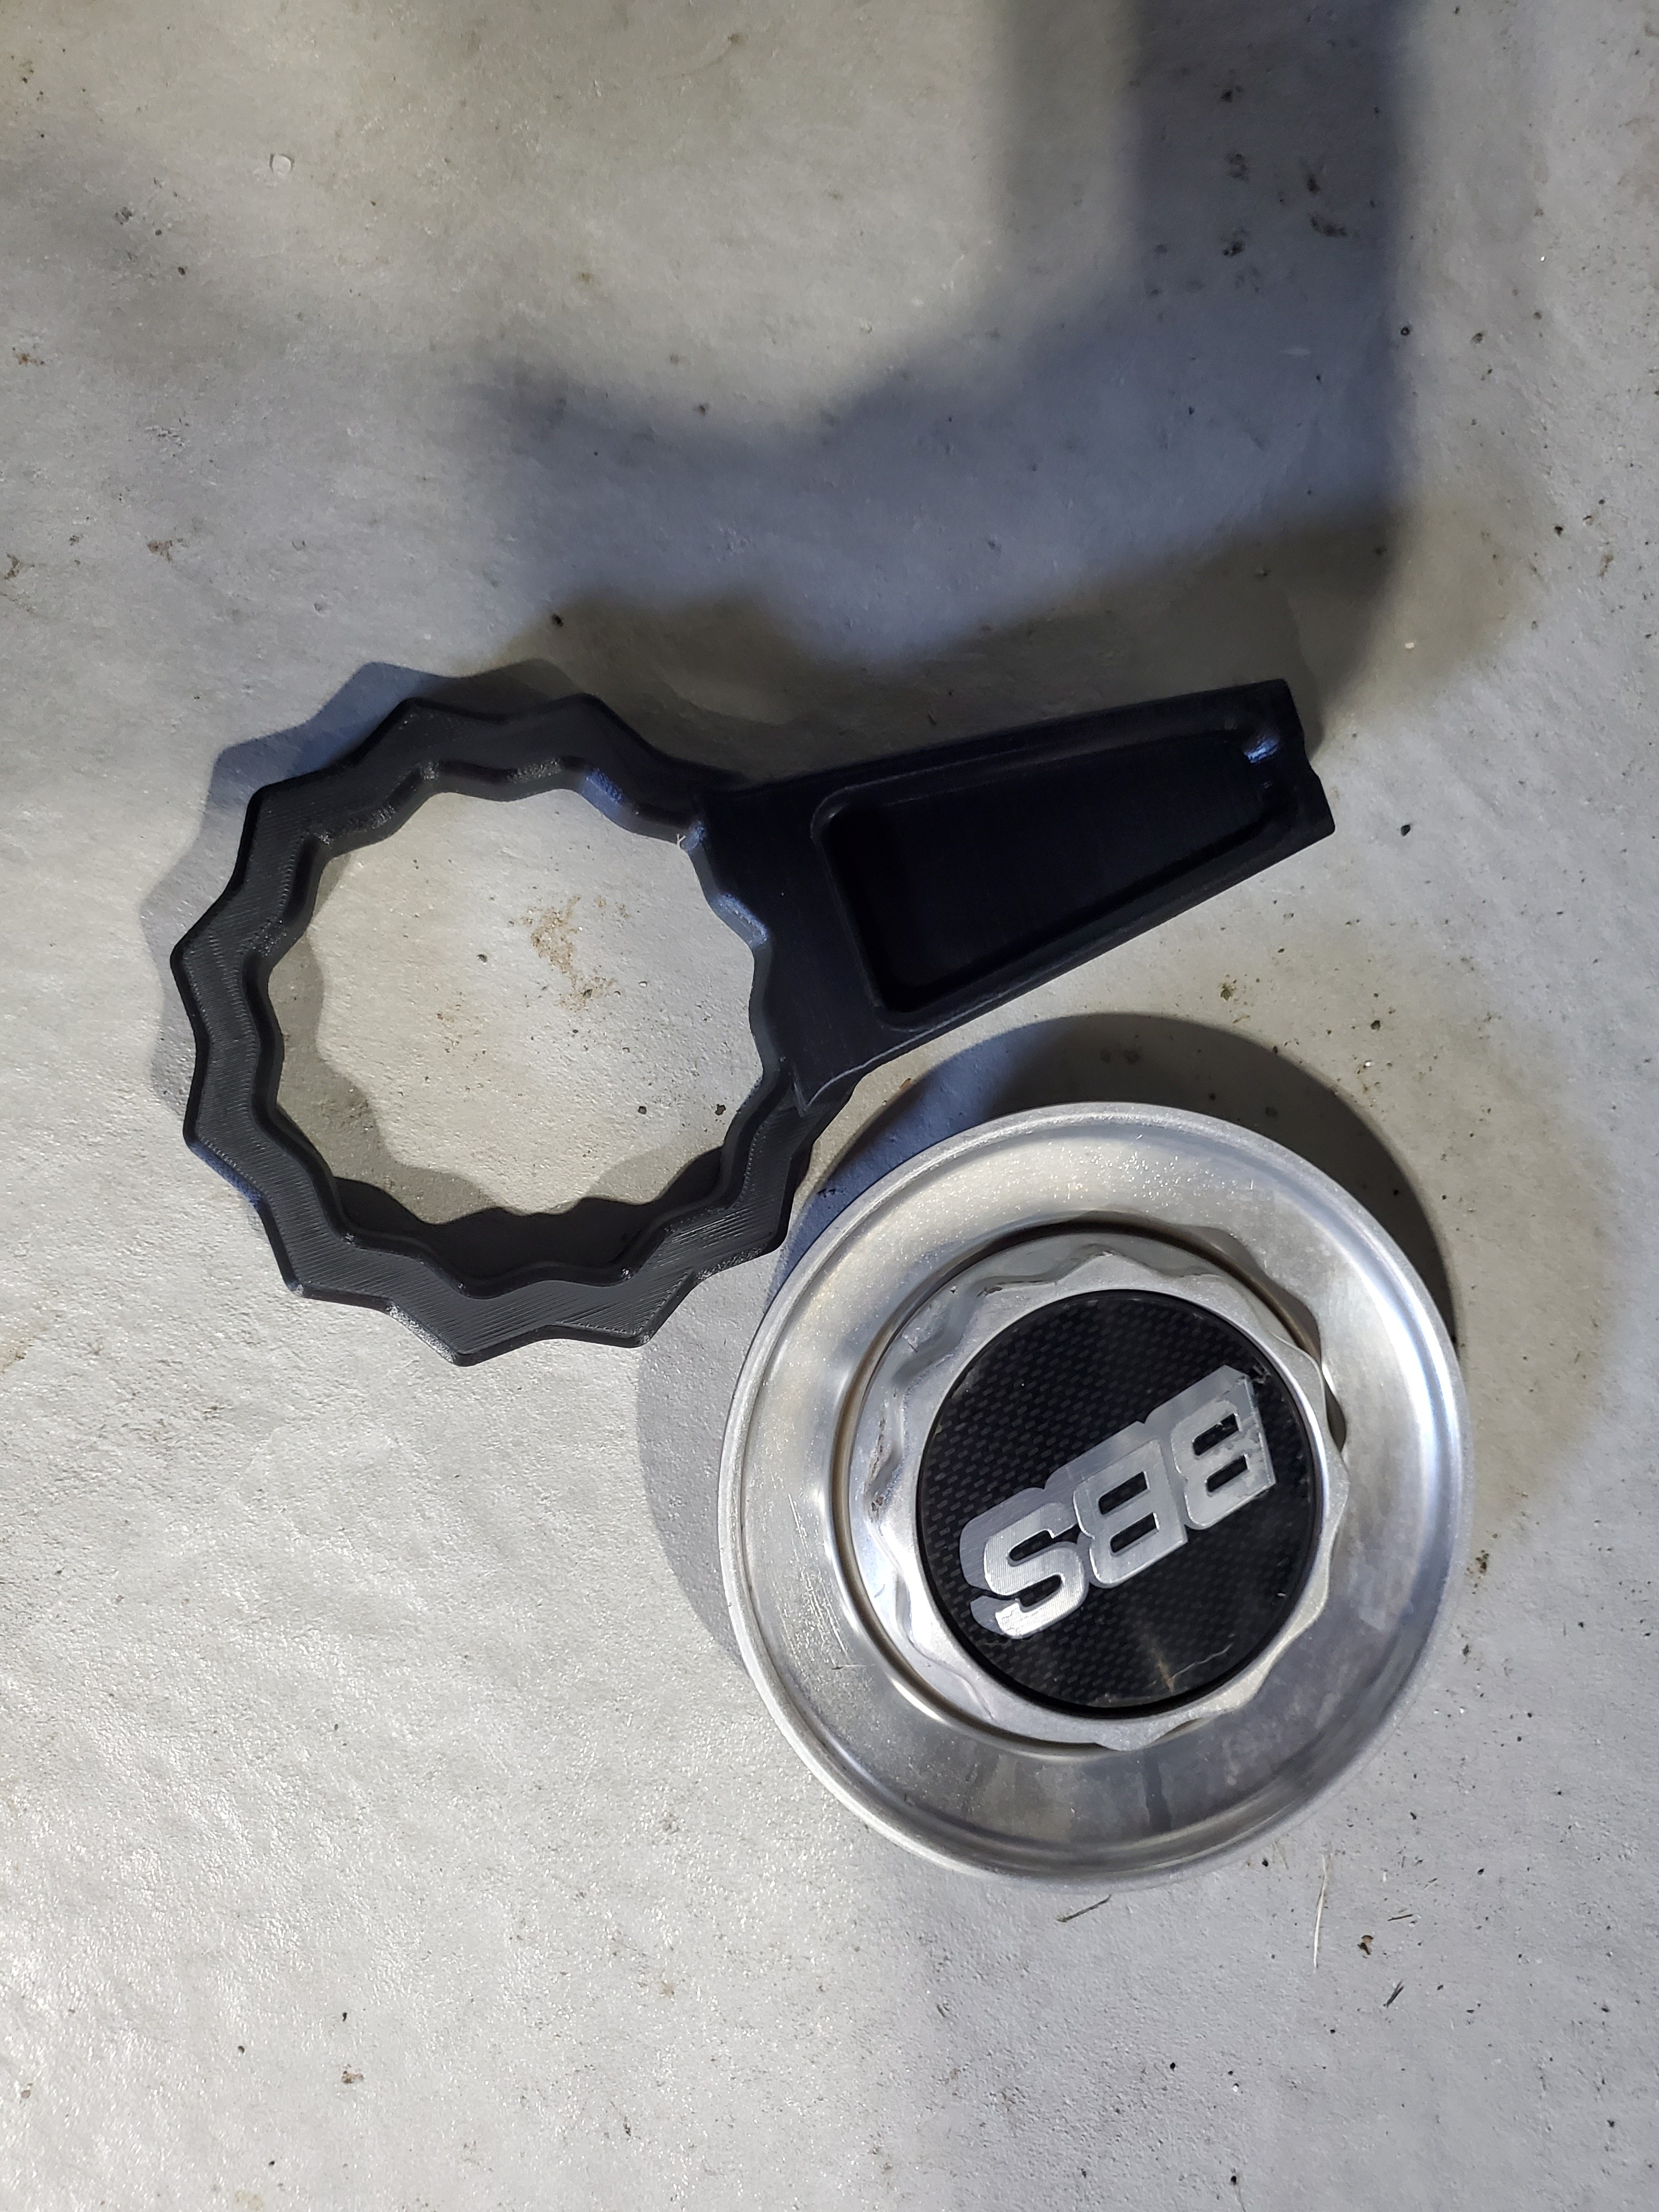
Also, bringing this over from my other post, had to 3D print a BSS RC wheel center cap wrench that works like a charm!
-
I also picked up a set of H&R coilovers that will soon be installed as well.
That will be a huge improvement. The gap on the rear wheels is quite impressive on these in stock form.
-
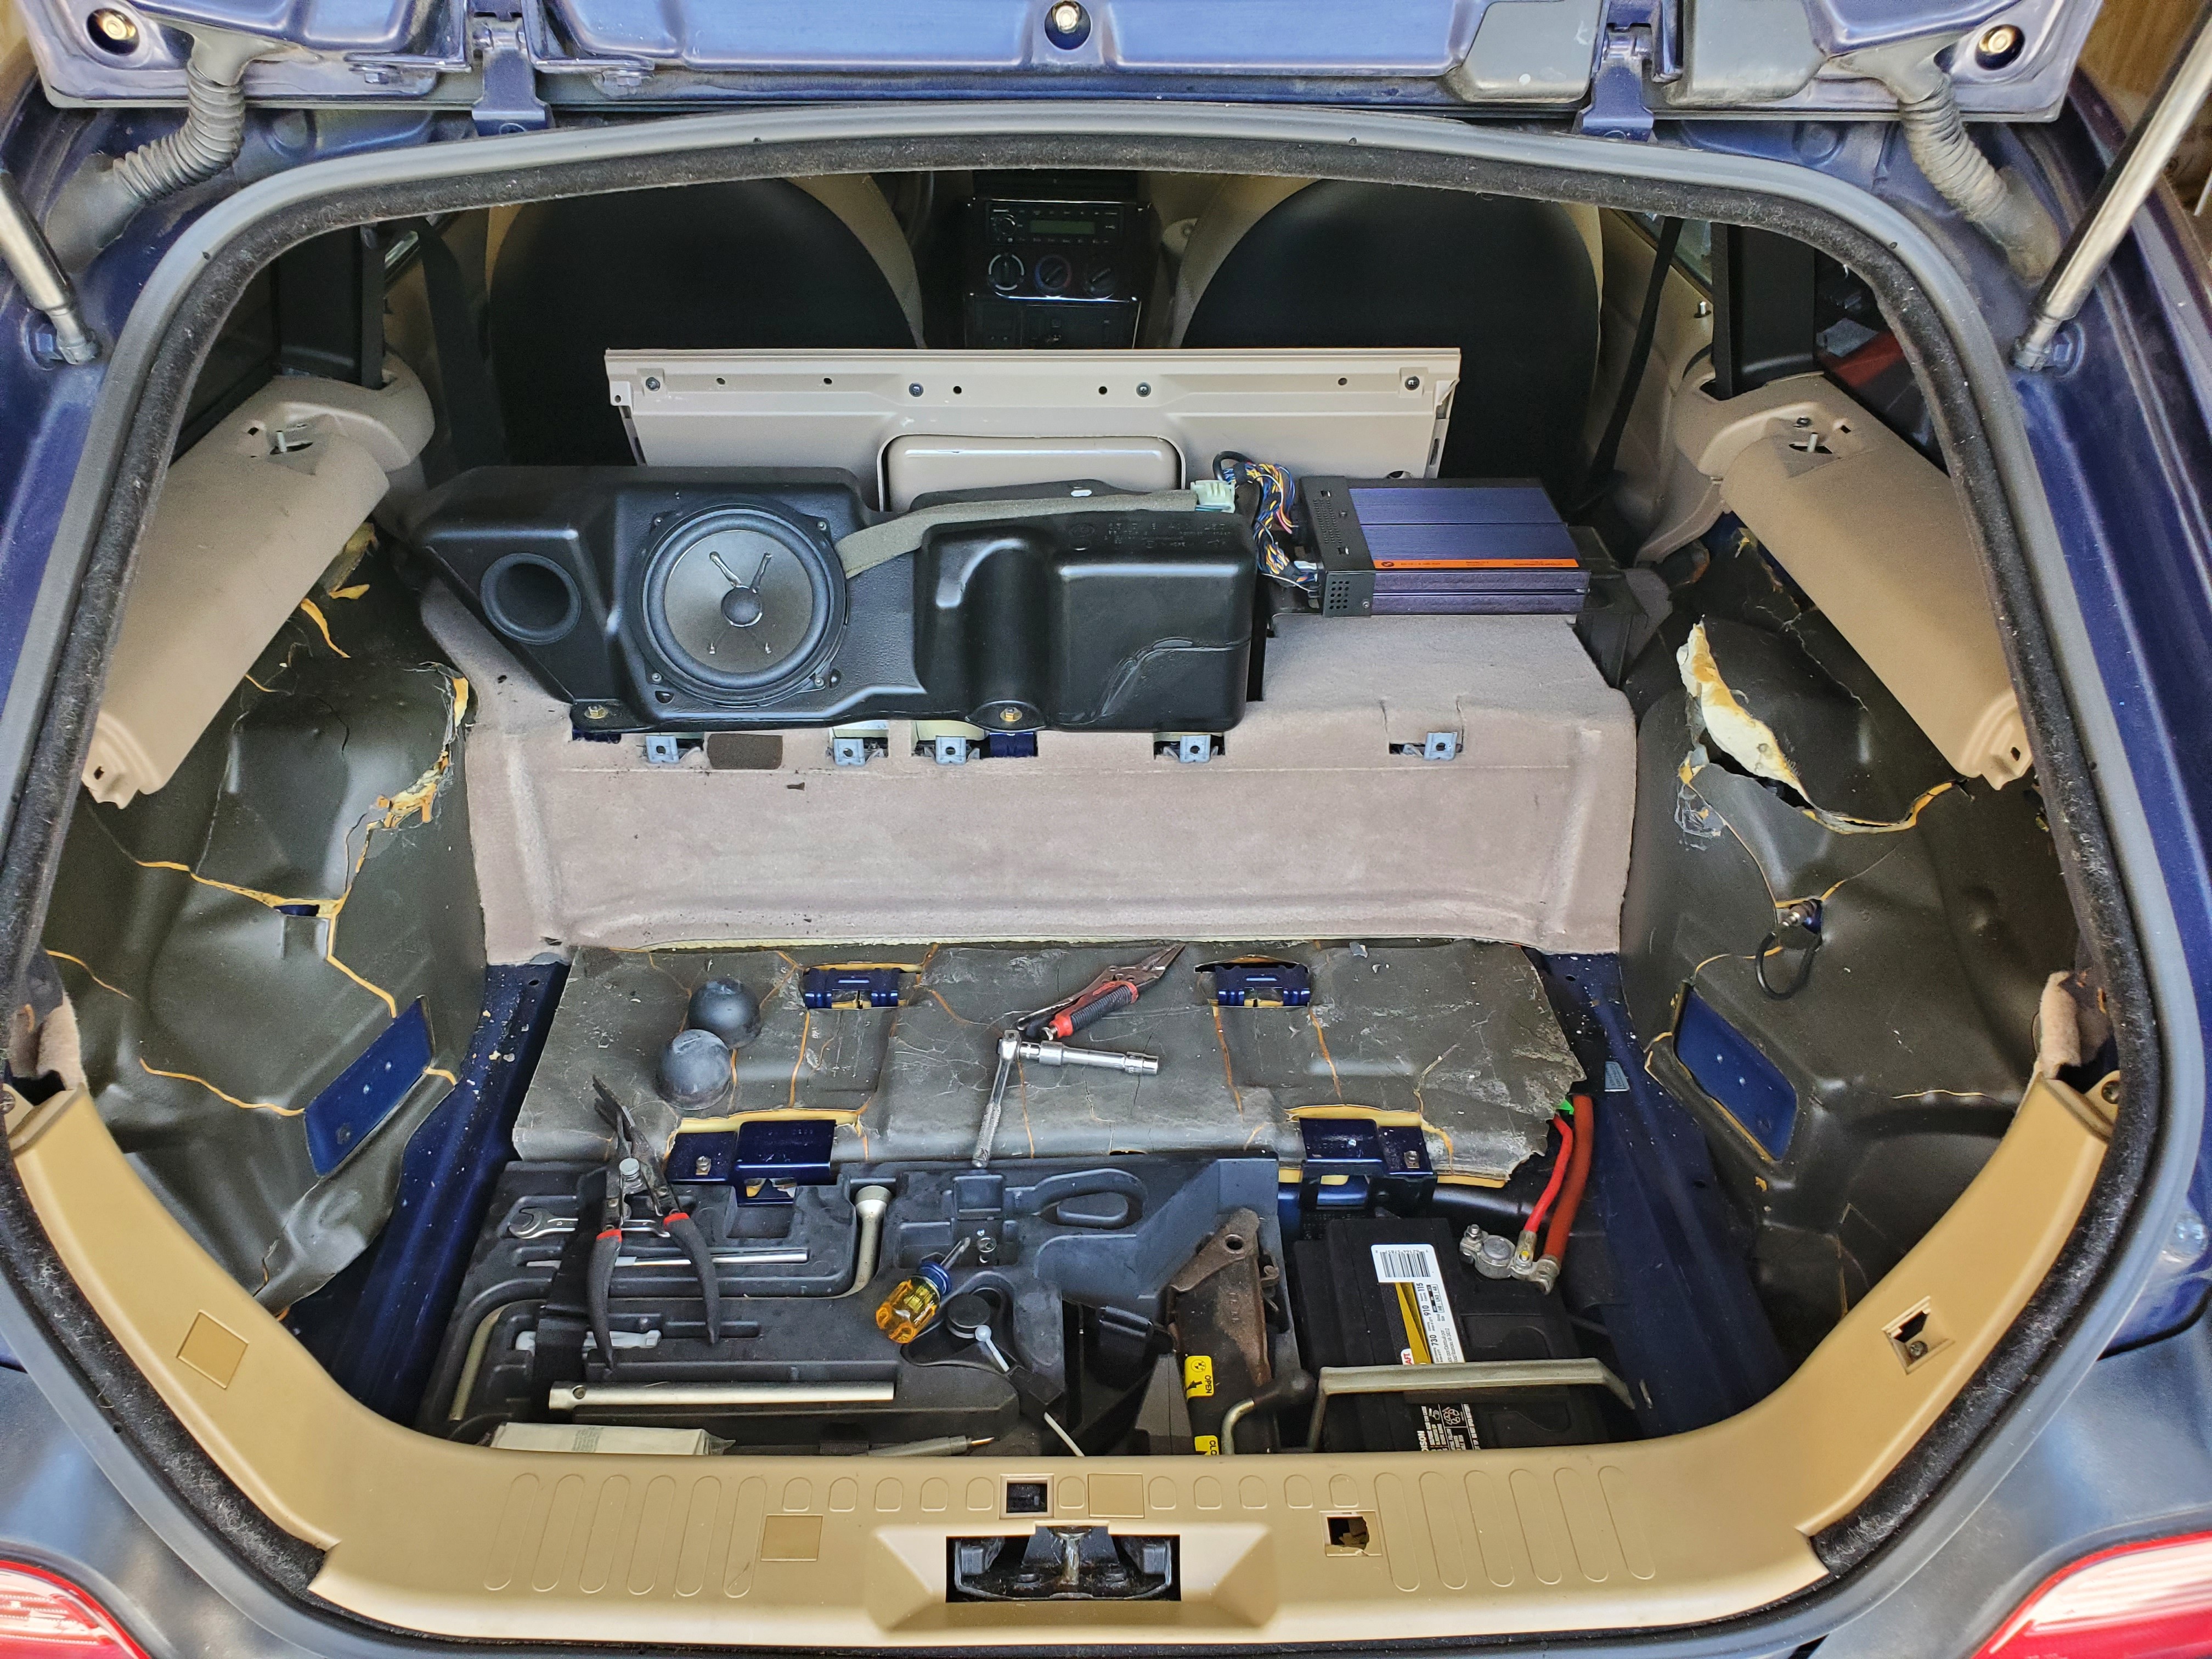
Started tearing into the coilover install today. The coupe requires to take pretty much the entire rear interior out to access the rear strut mounting nuts. I went through this with my e46 touring, so I had an idea of what was involved.
Took about an hour to have it looking like this...
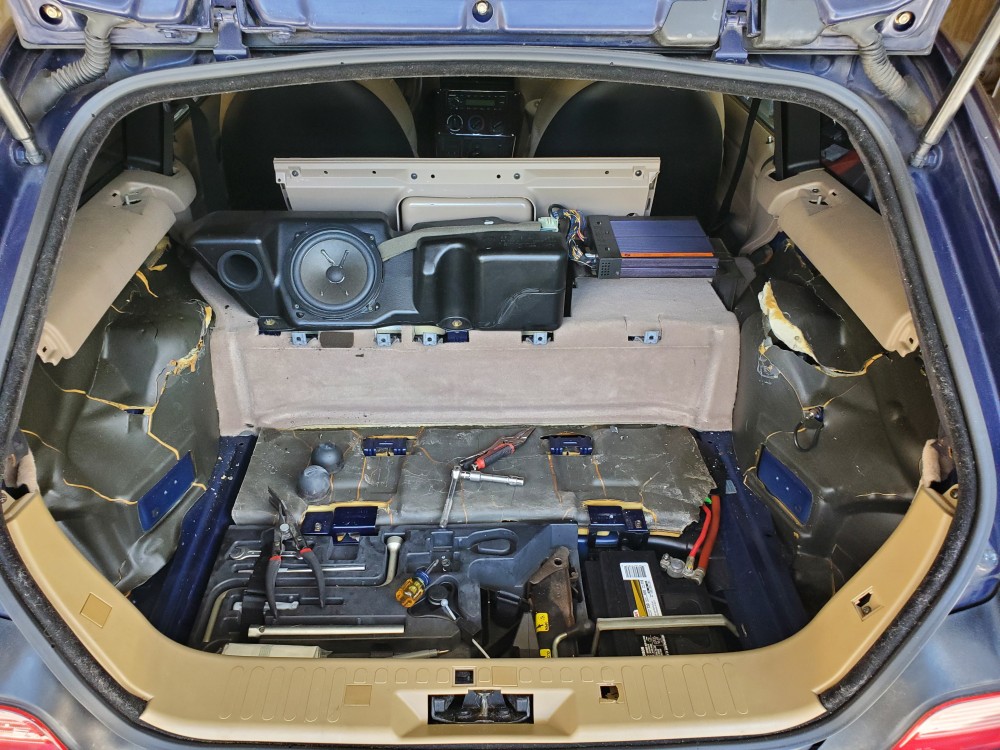
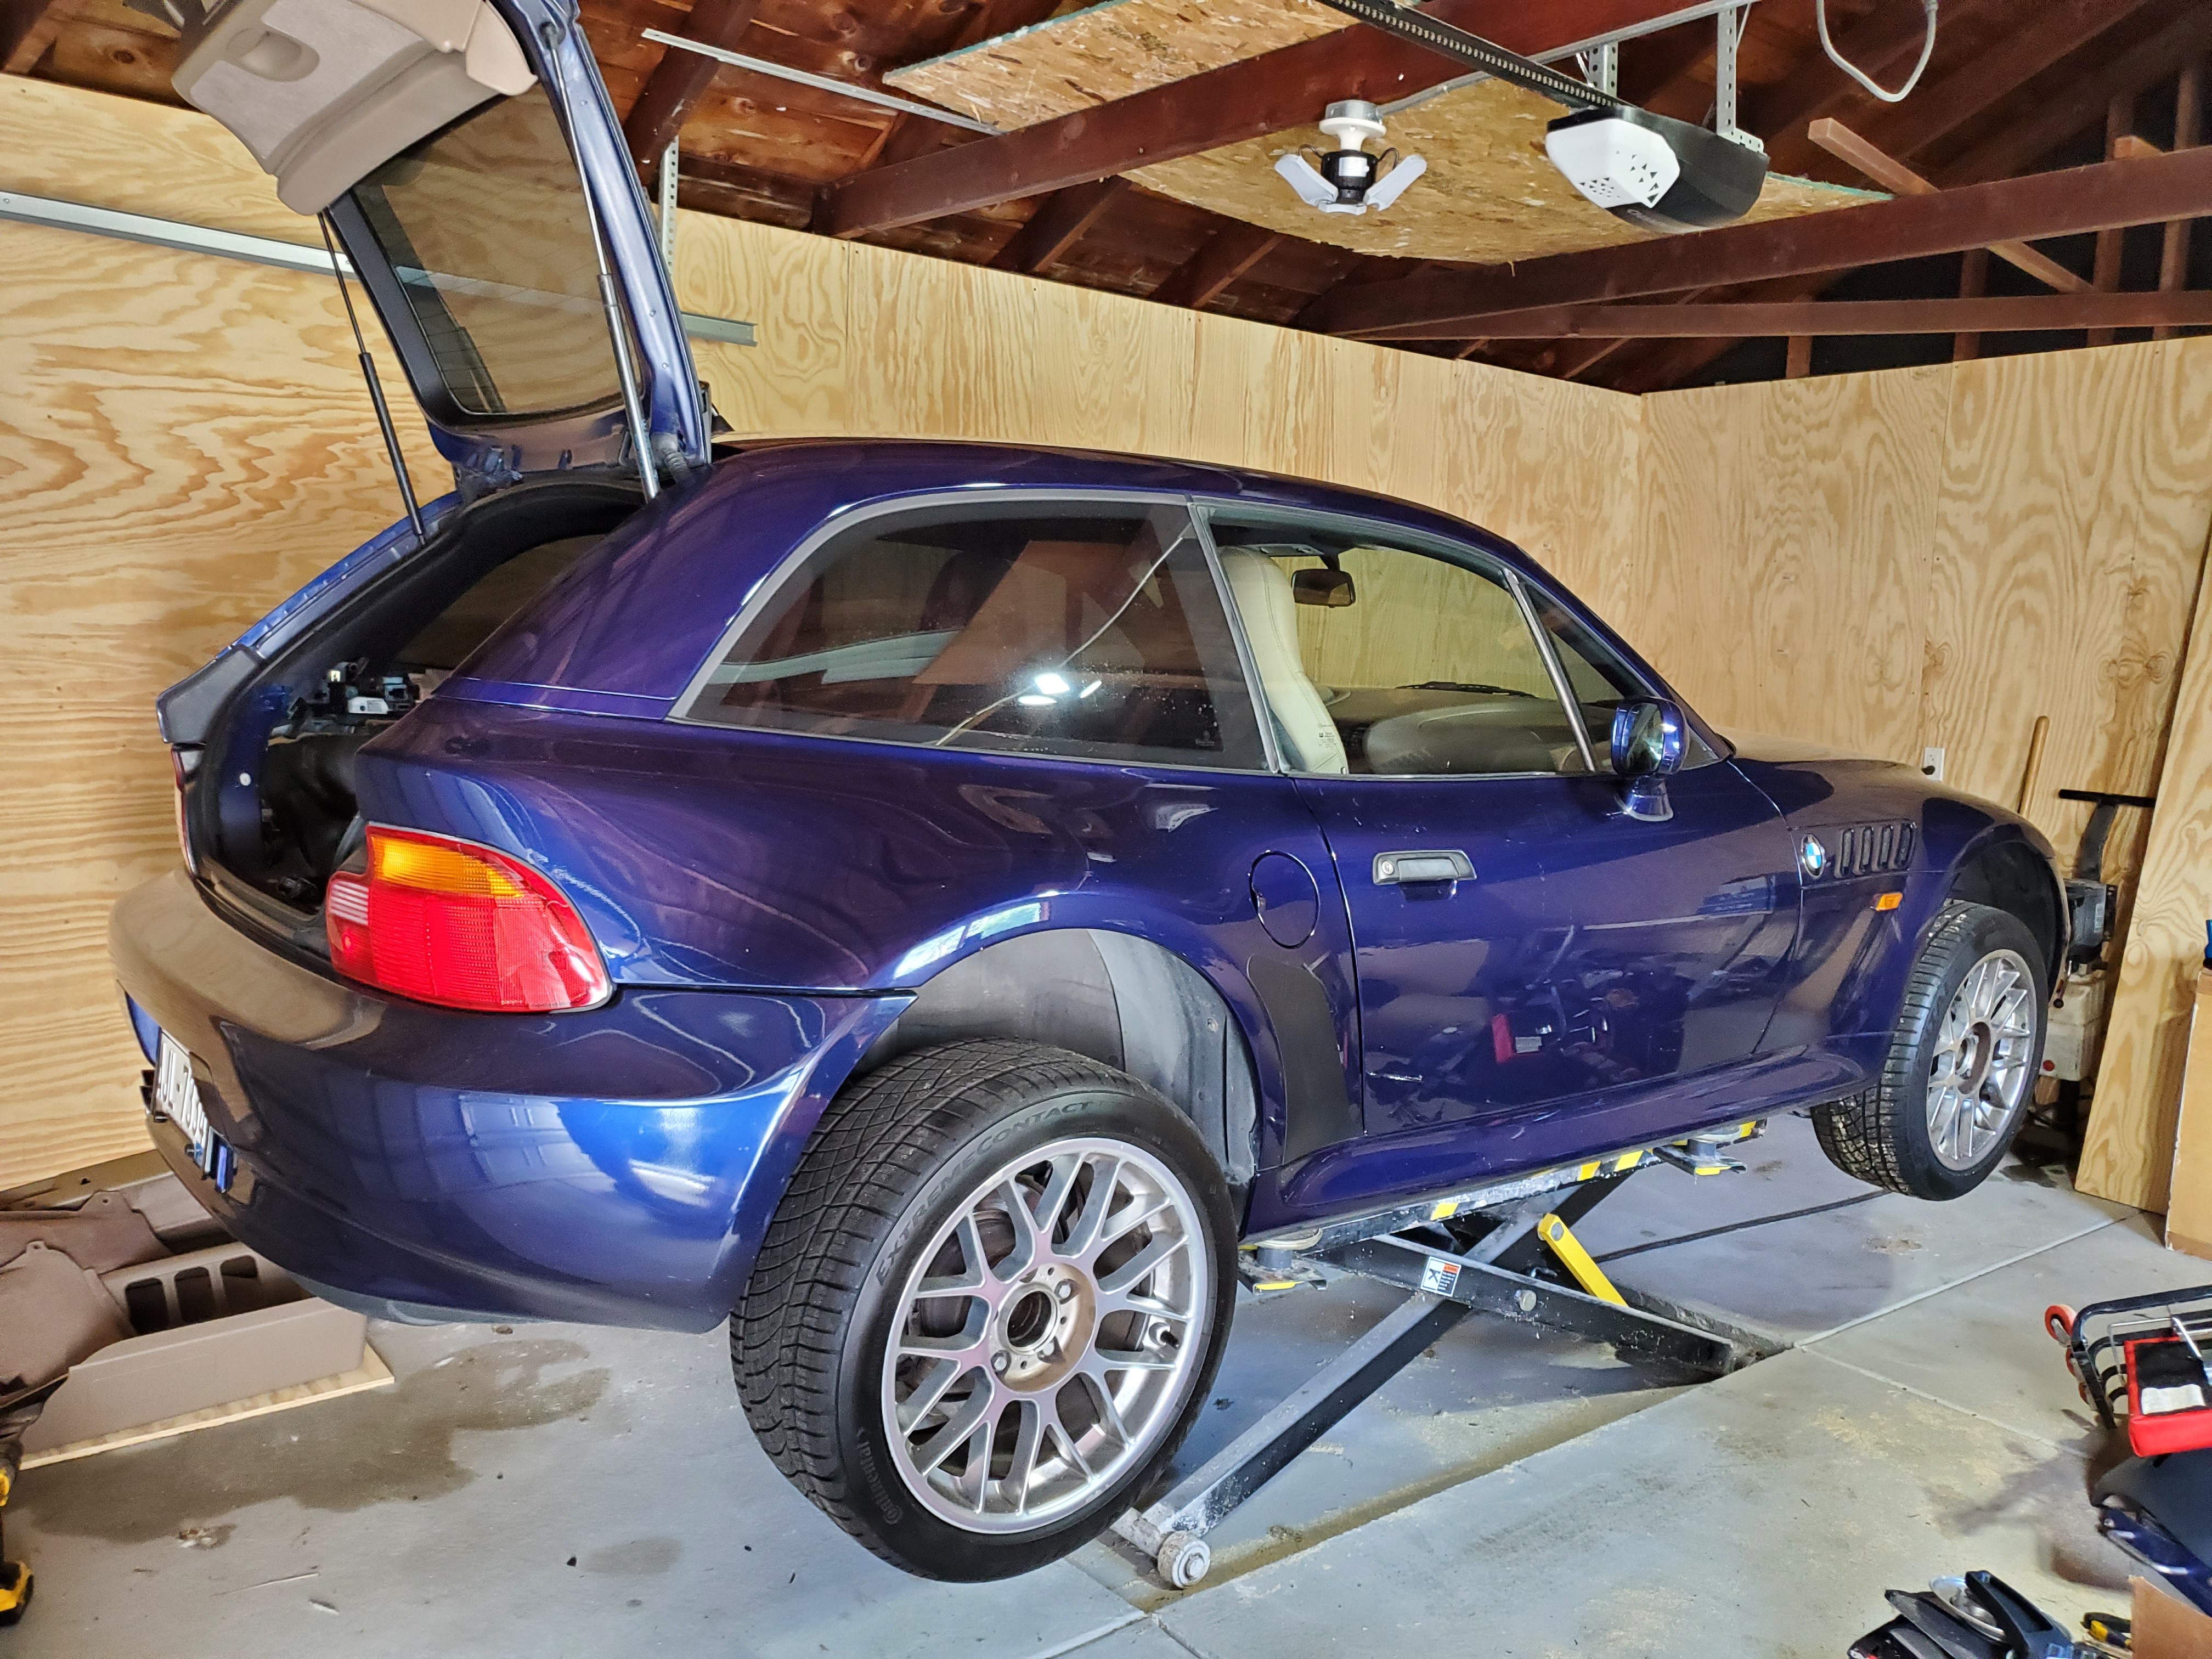
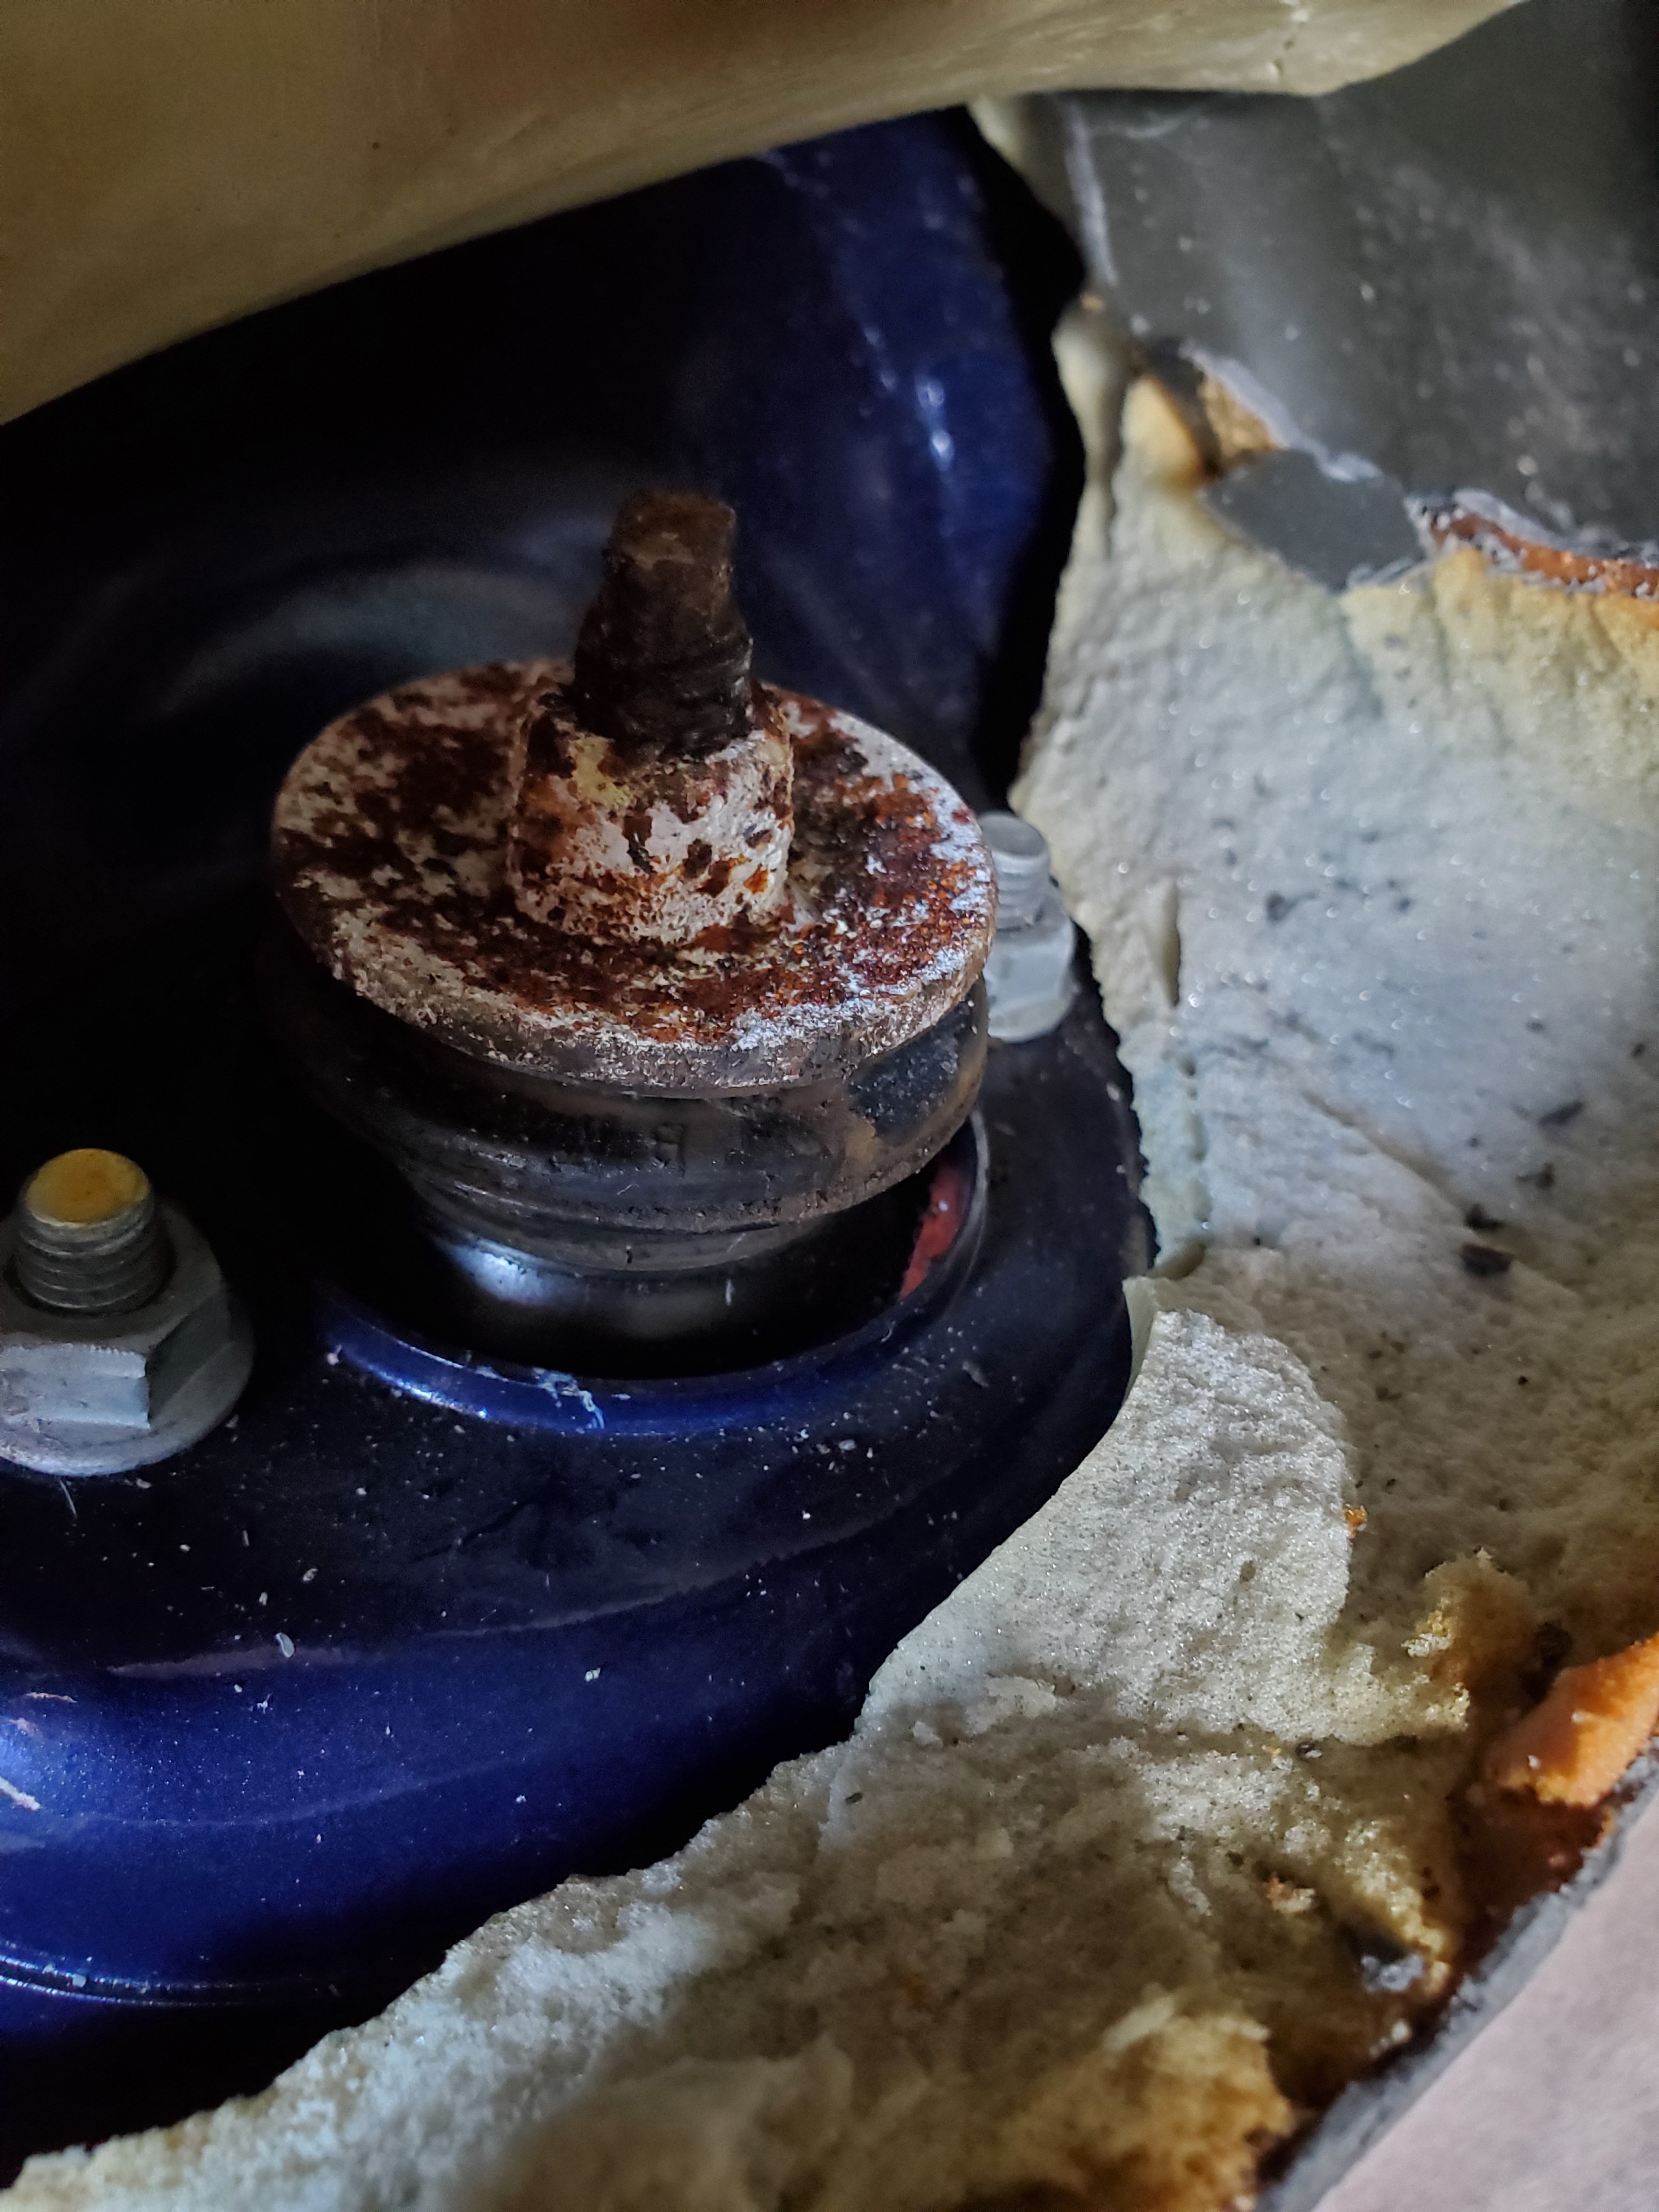
Got it up in the air and got the rear struts and springs out. Struts were original and both were completely blown and leaking.
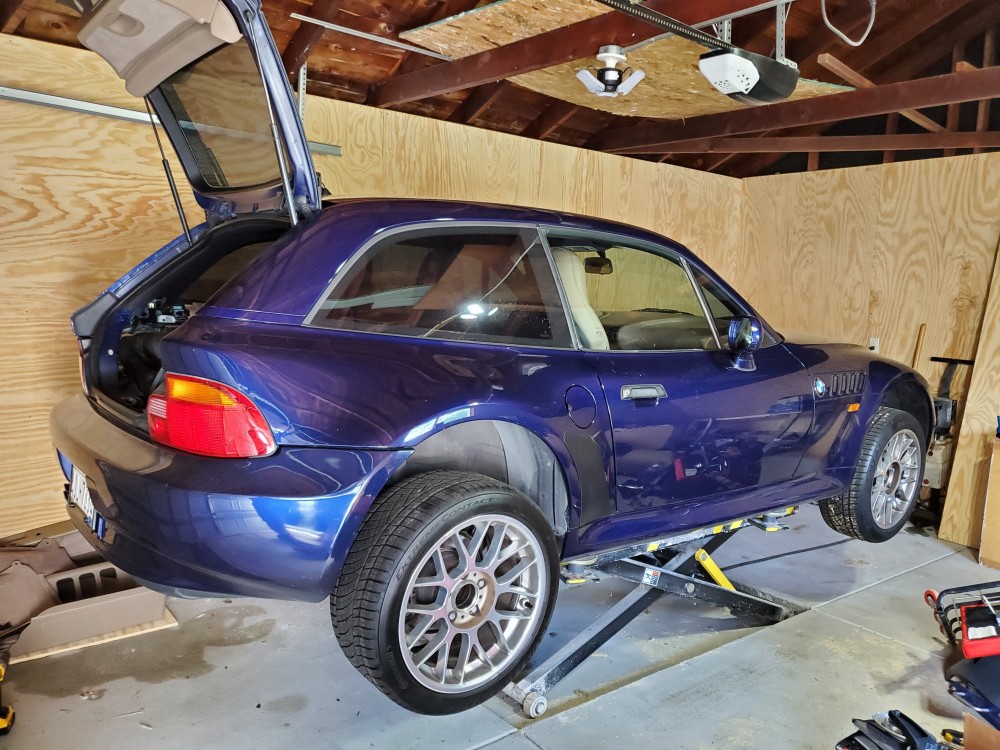
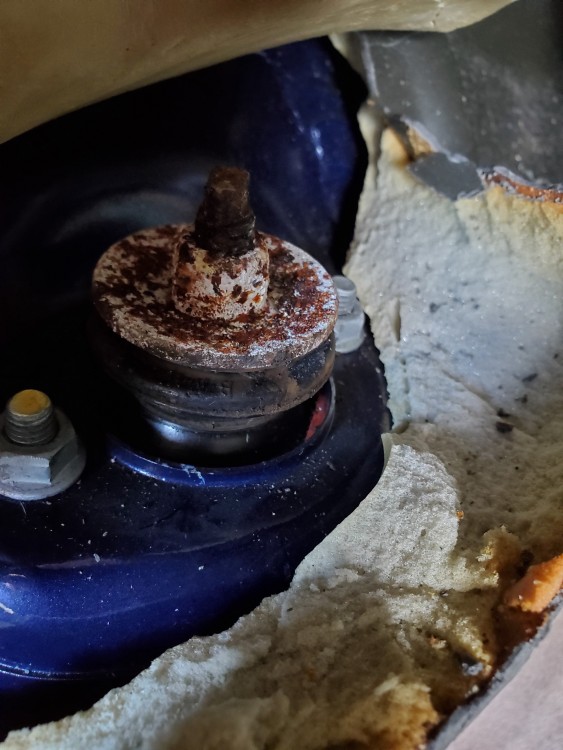
I'll take more pics tomorrow when I continue. Also, while I have the interior trim removed, the carpet pieces will be getting the SEM black dye treatment and the plastic bits will be getting the Colorbond bmw black trim paint treatment.
-
not sure if you mentioned - but what coilovers are you going with?
-
not sure if you mentioned - but what coilovers are you going with?
Picked up a set of H&R coilovers
-
It will be a nice touch with the black interior paint. I hope you purchased RSM reinforcement plates?
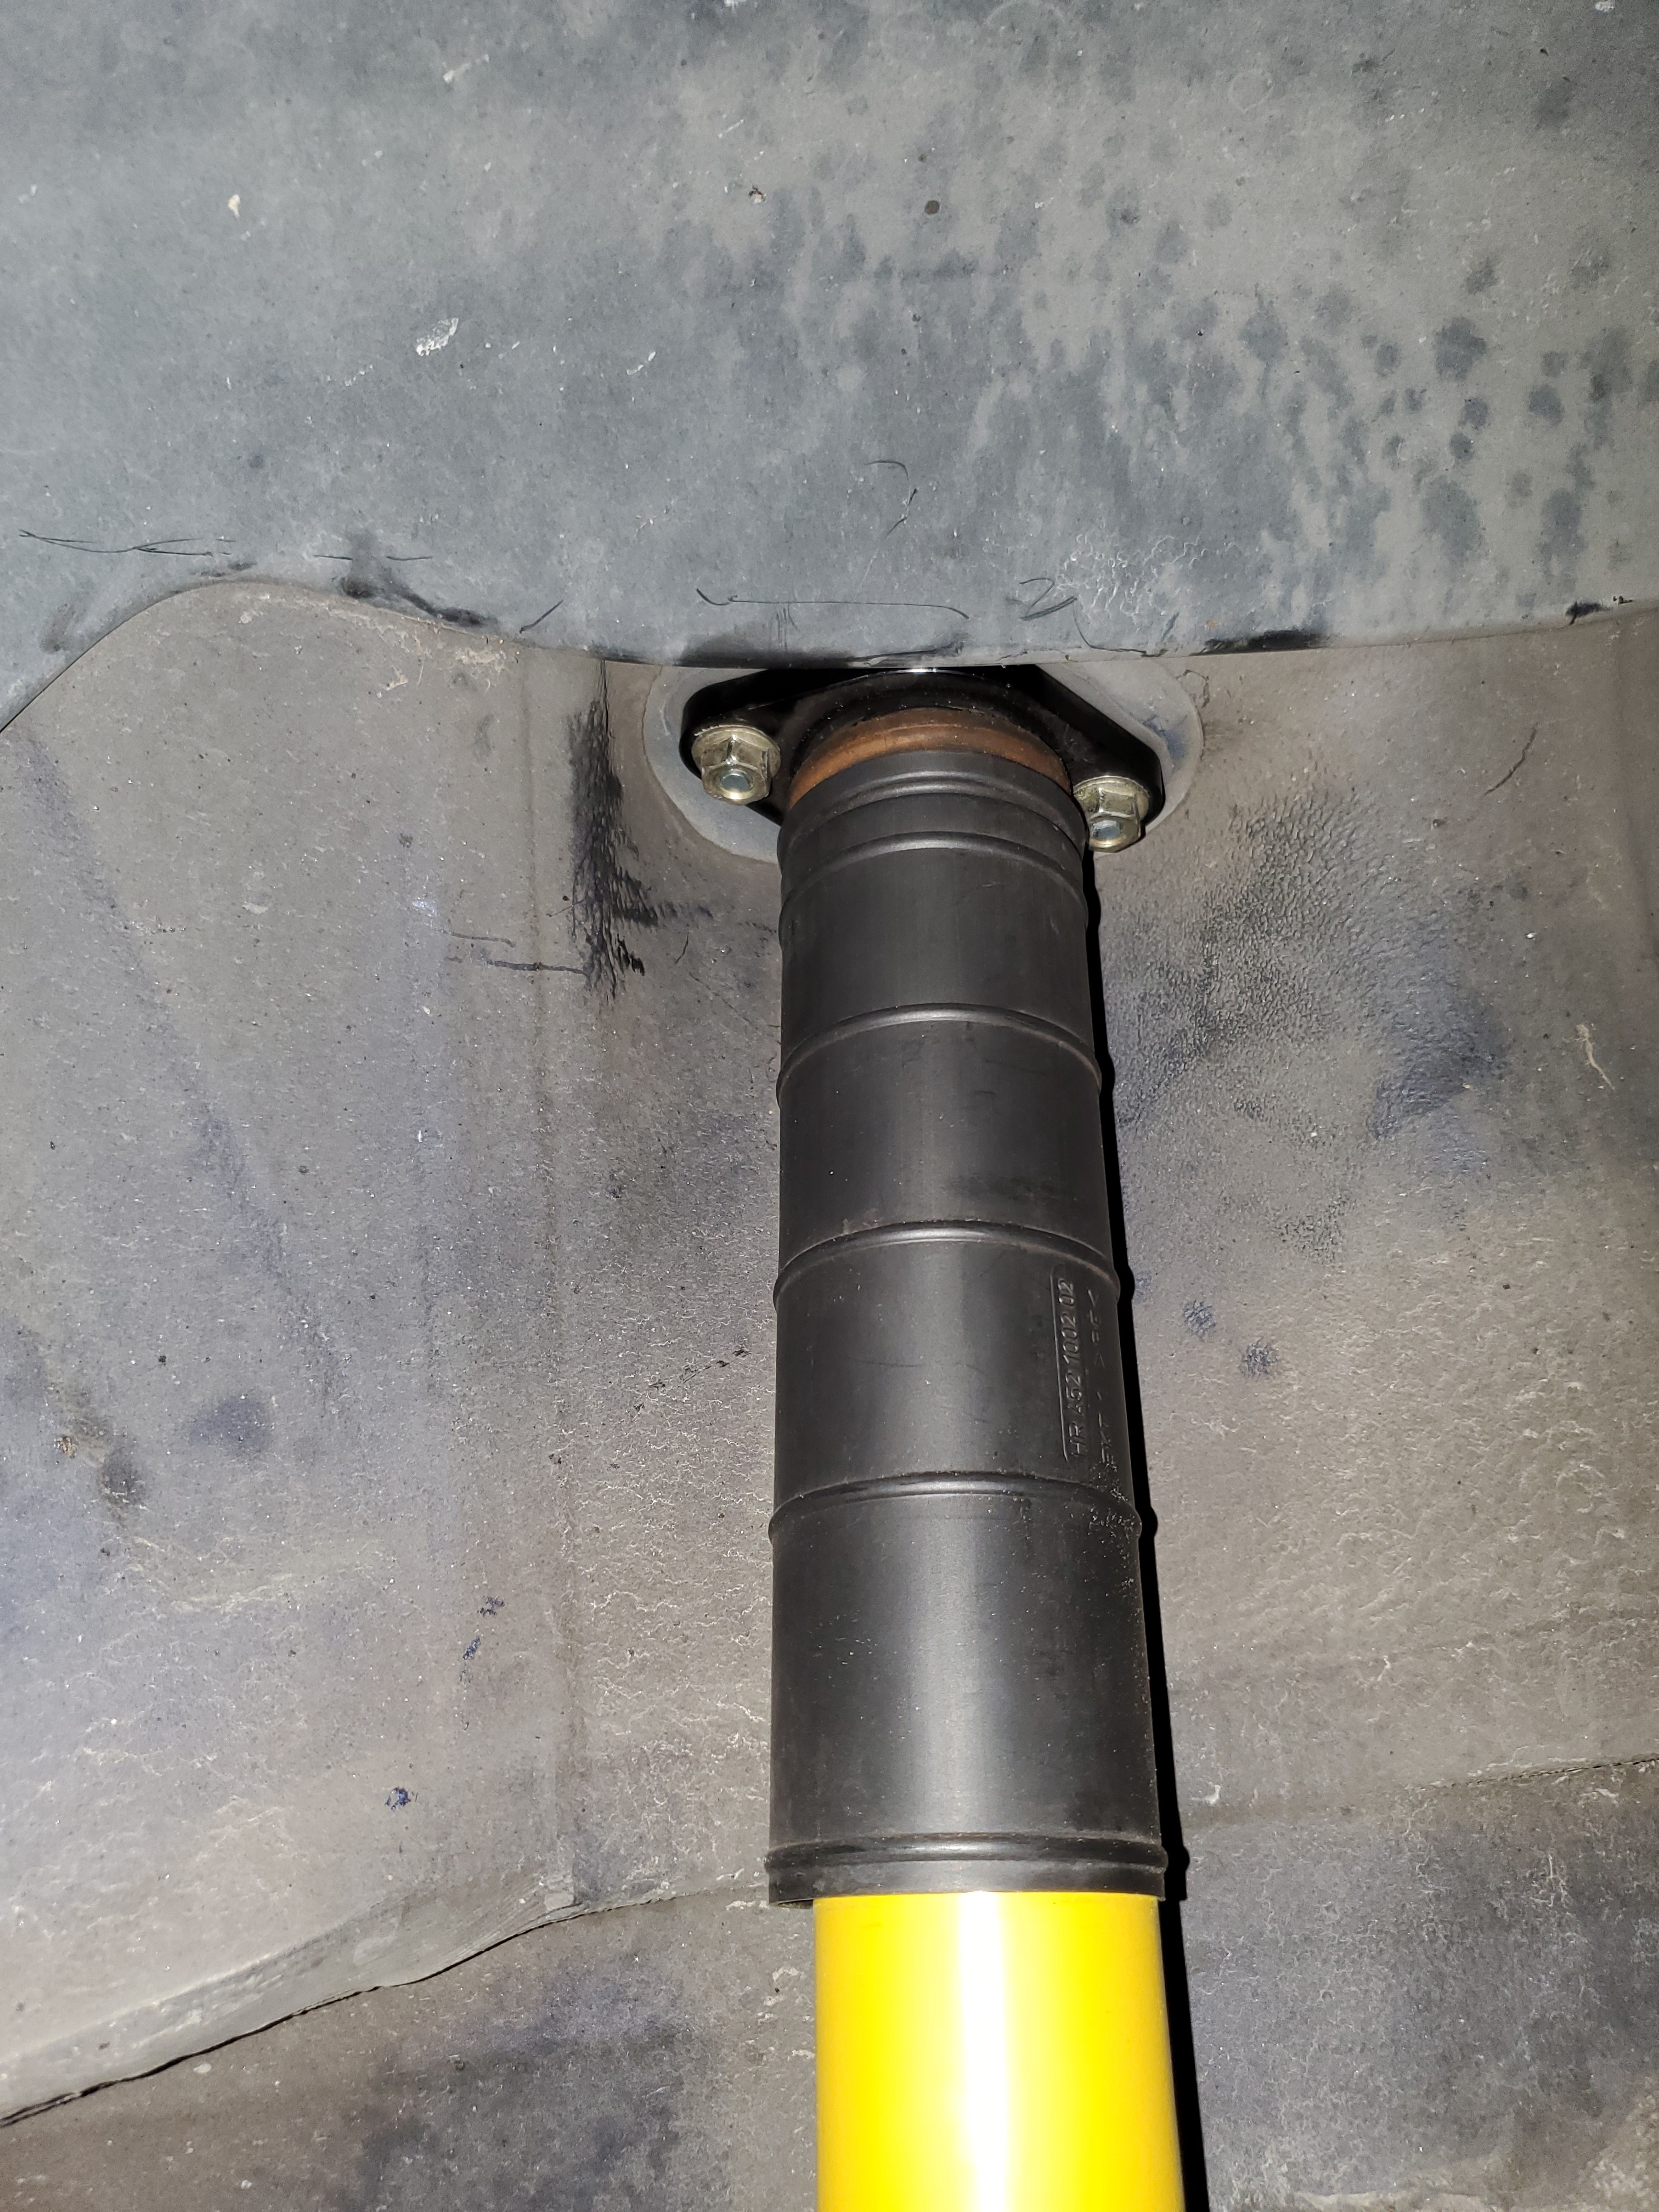
for the rears? The Rogue Engineering reverse mount plates act as reinforcement plates while also allowing the nuts to be accessed from wheel well
-
for the rears? The Rogue Engineering reverse mount plates act as reinforcement plates while also allowing the nuts to be accessed from wheel well
Ohhhh I wasn't aware you were going with the Rogue setup! NVM then carry on!
-
Rears are done.
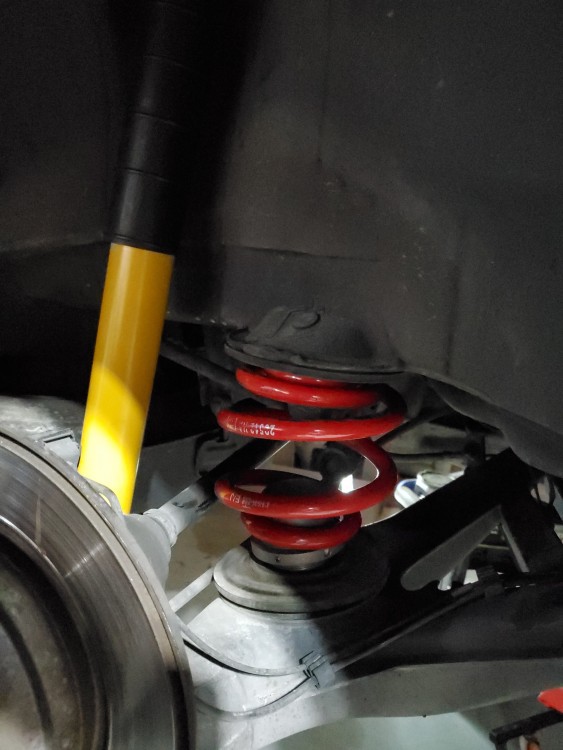
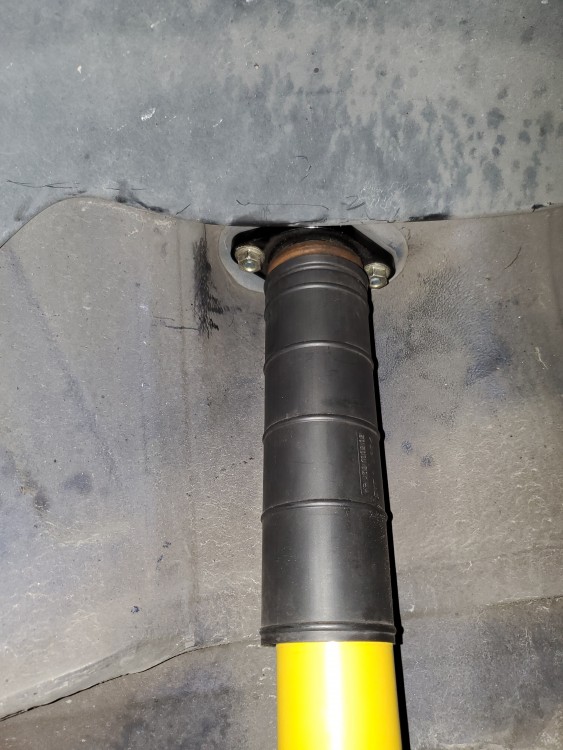
started on the front passenger side. After some struggle with balljoint, got the control arm replaced with new poly offset bushing. Couldn't find my stupid 18mm socket or wrench, so waiting till tomorrow to install coilover. Then on to driver side.
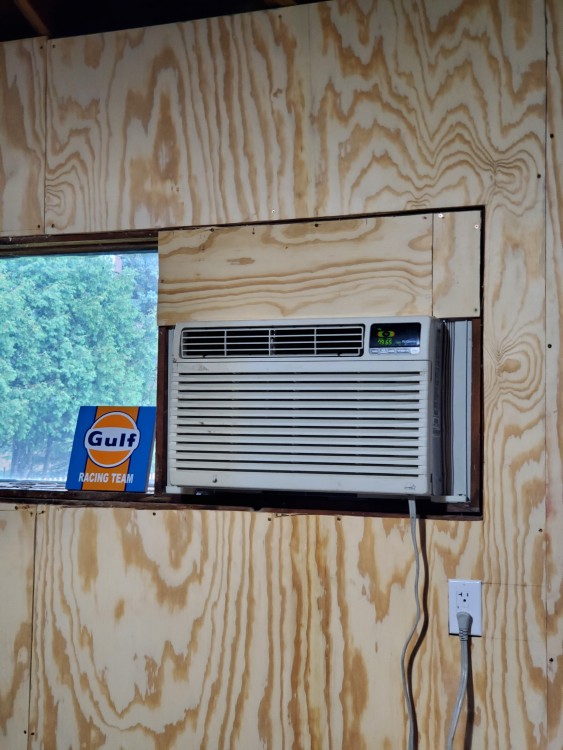
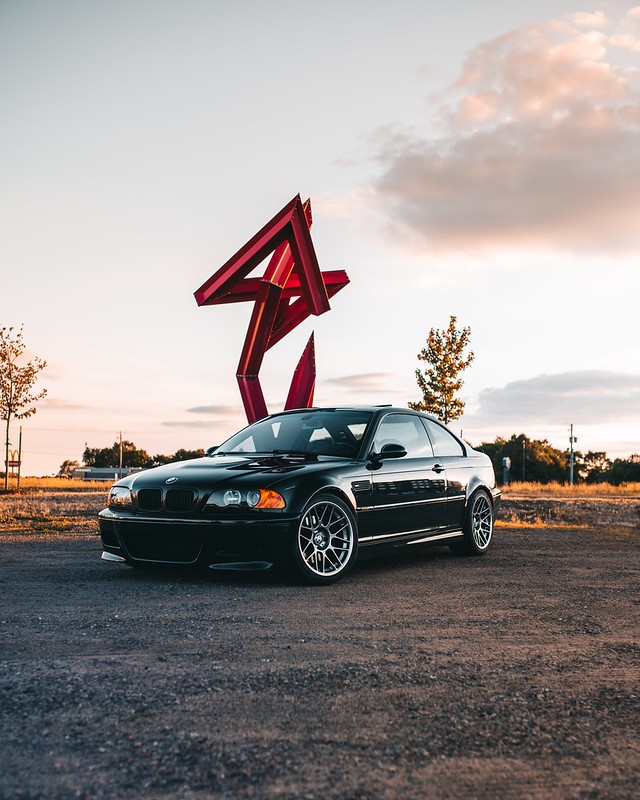
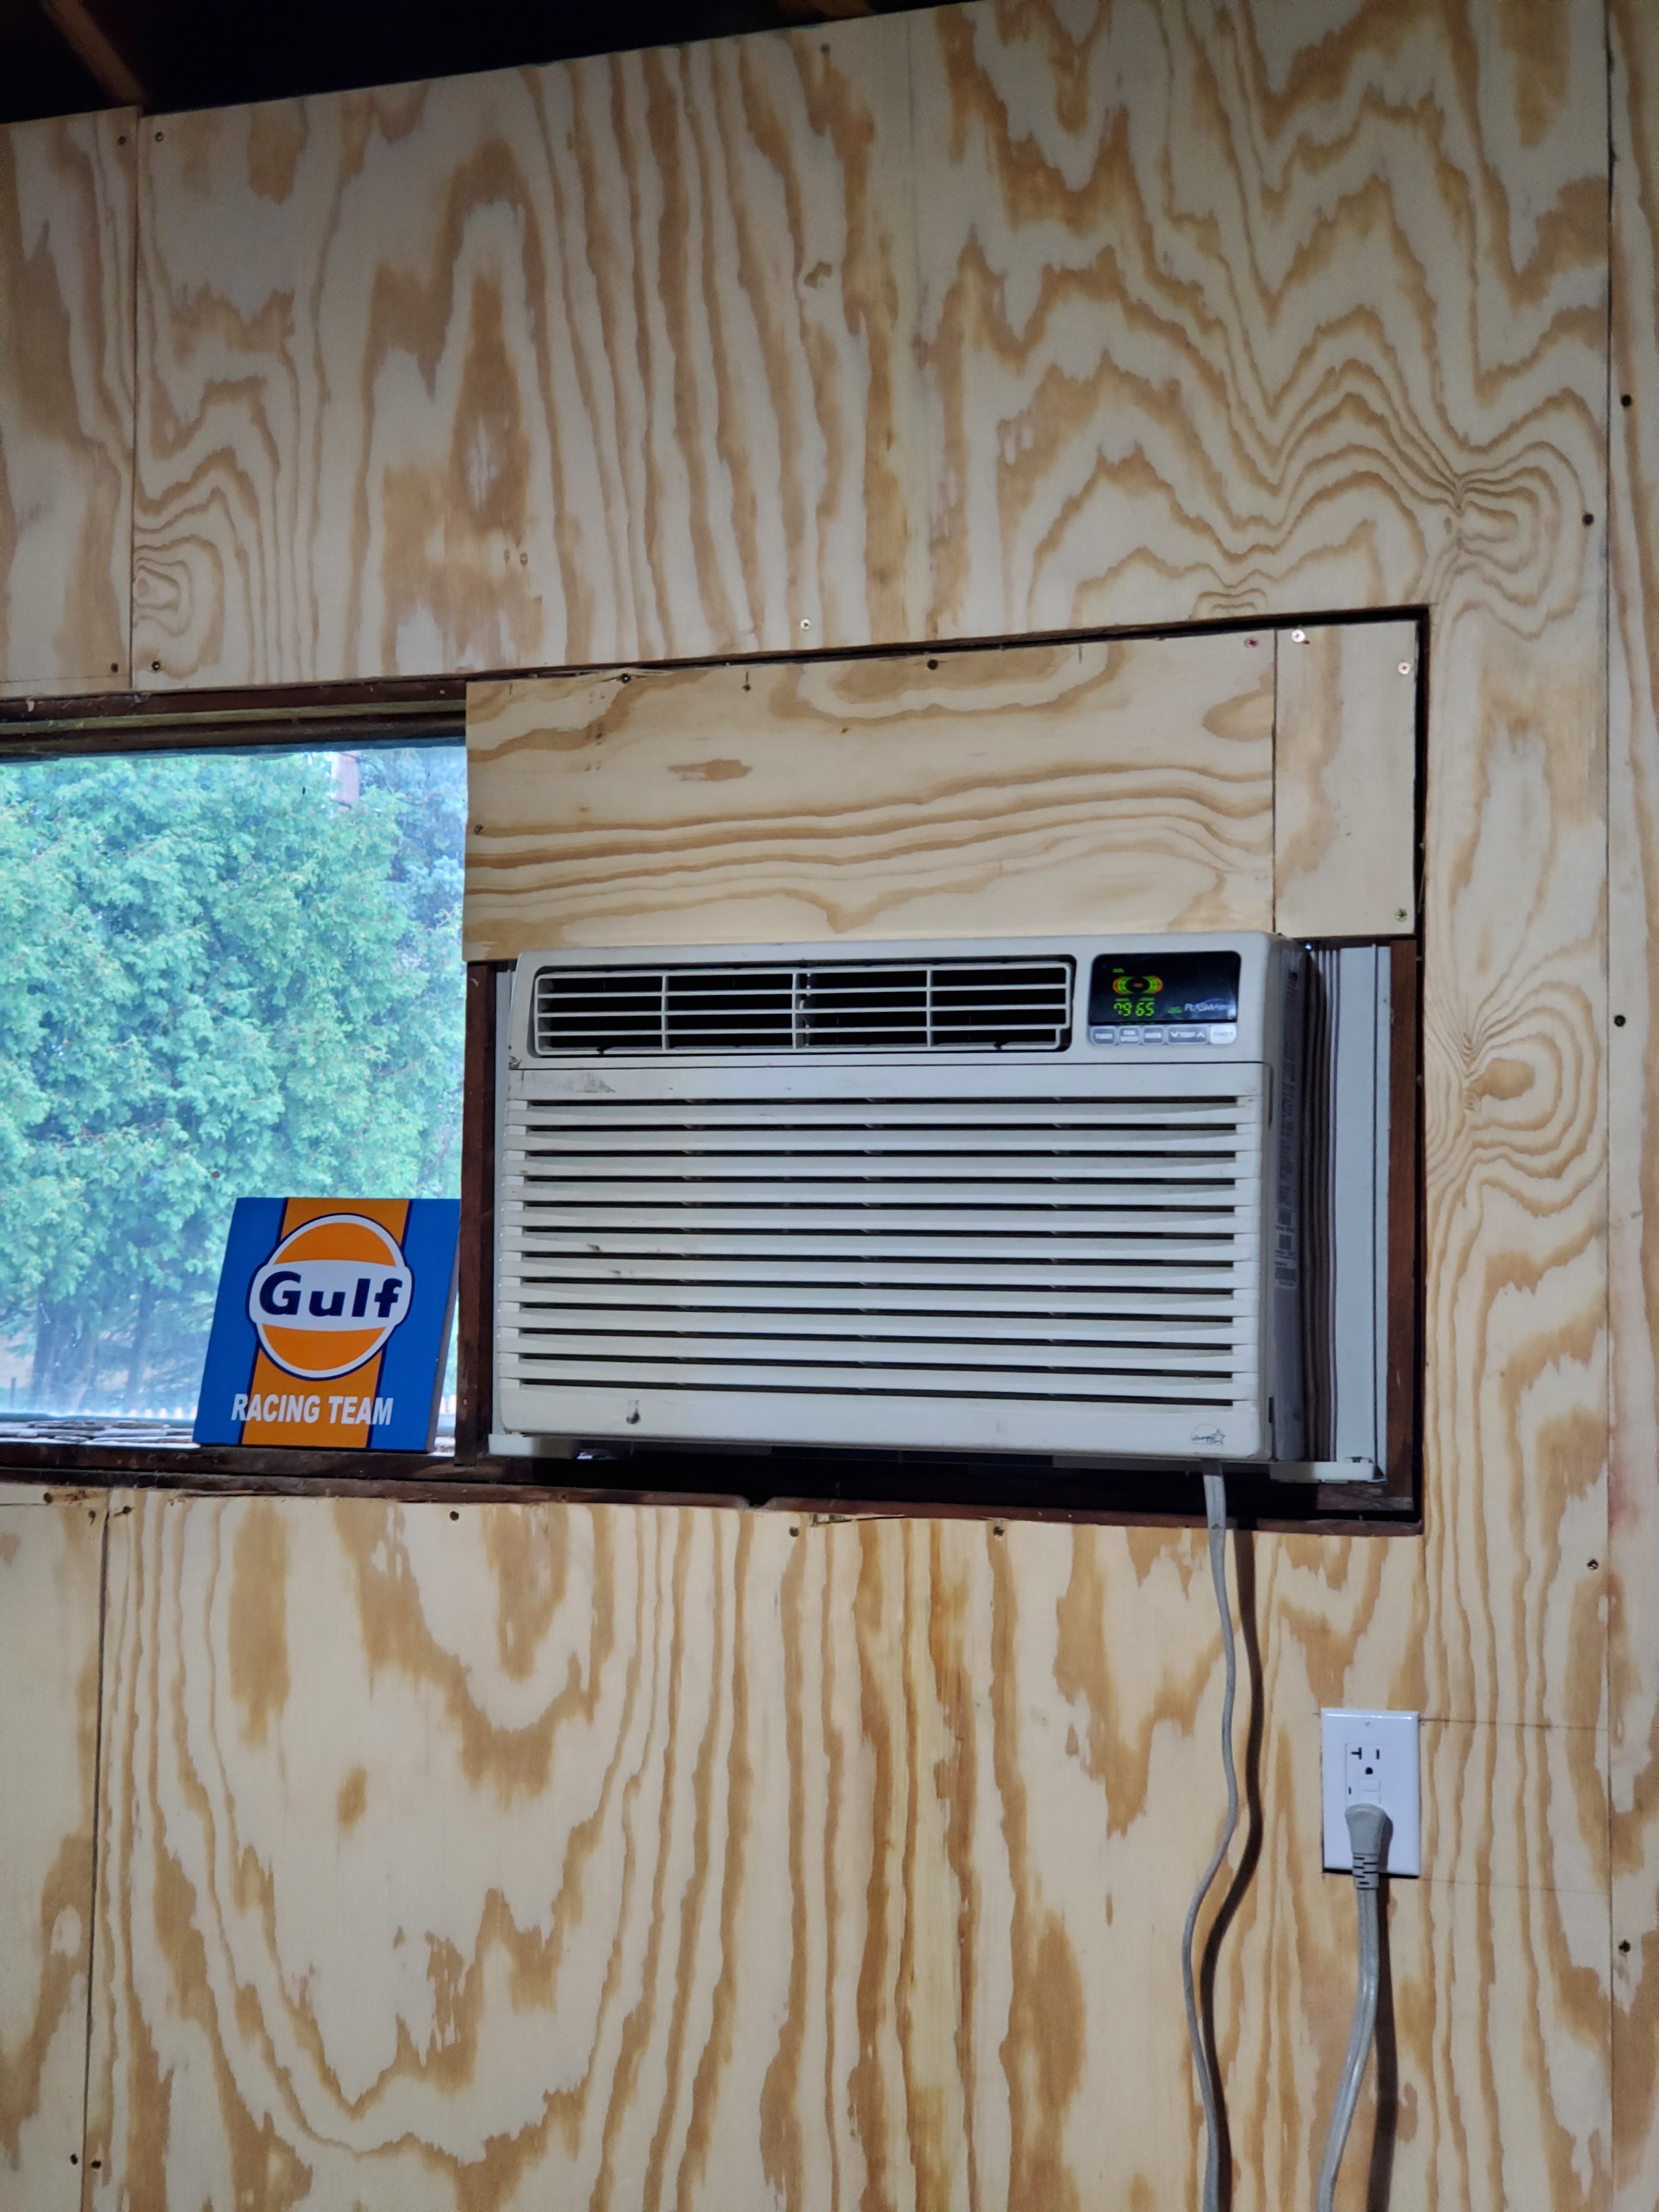
Also, had to install a window ac unit because why not!





Hello! It looks like you're interested in this conversation, but you don't have an account yet.
Getting fed up of having to scroll through the same posts each visit? When you register for an account, you'll always come back to exactly where you were before, and choose to be notified of new replies (either via email, or push notification). You'll also be able to save bookmarks and upvote posts to show your appreciation to other community members.
With your input, this post could be even better 💗
Register Login