
Non-BMW Stuff on a BMW Forum
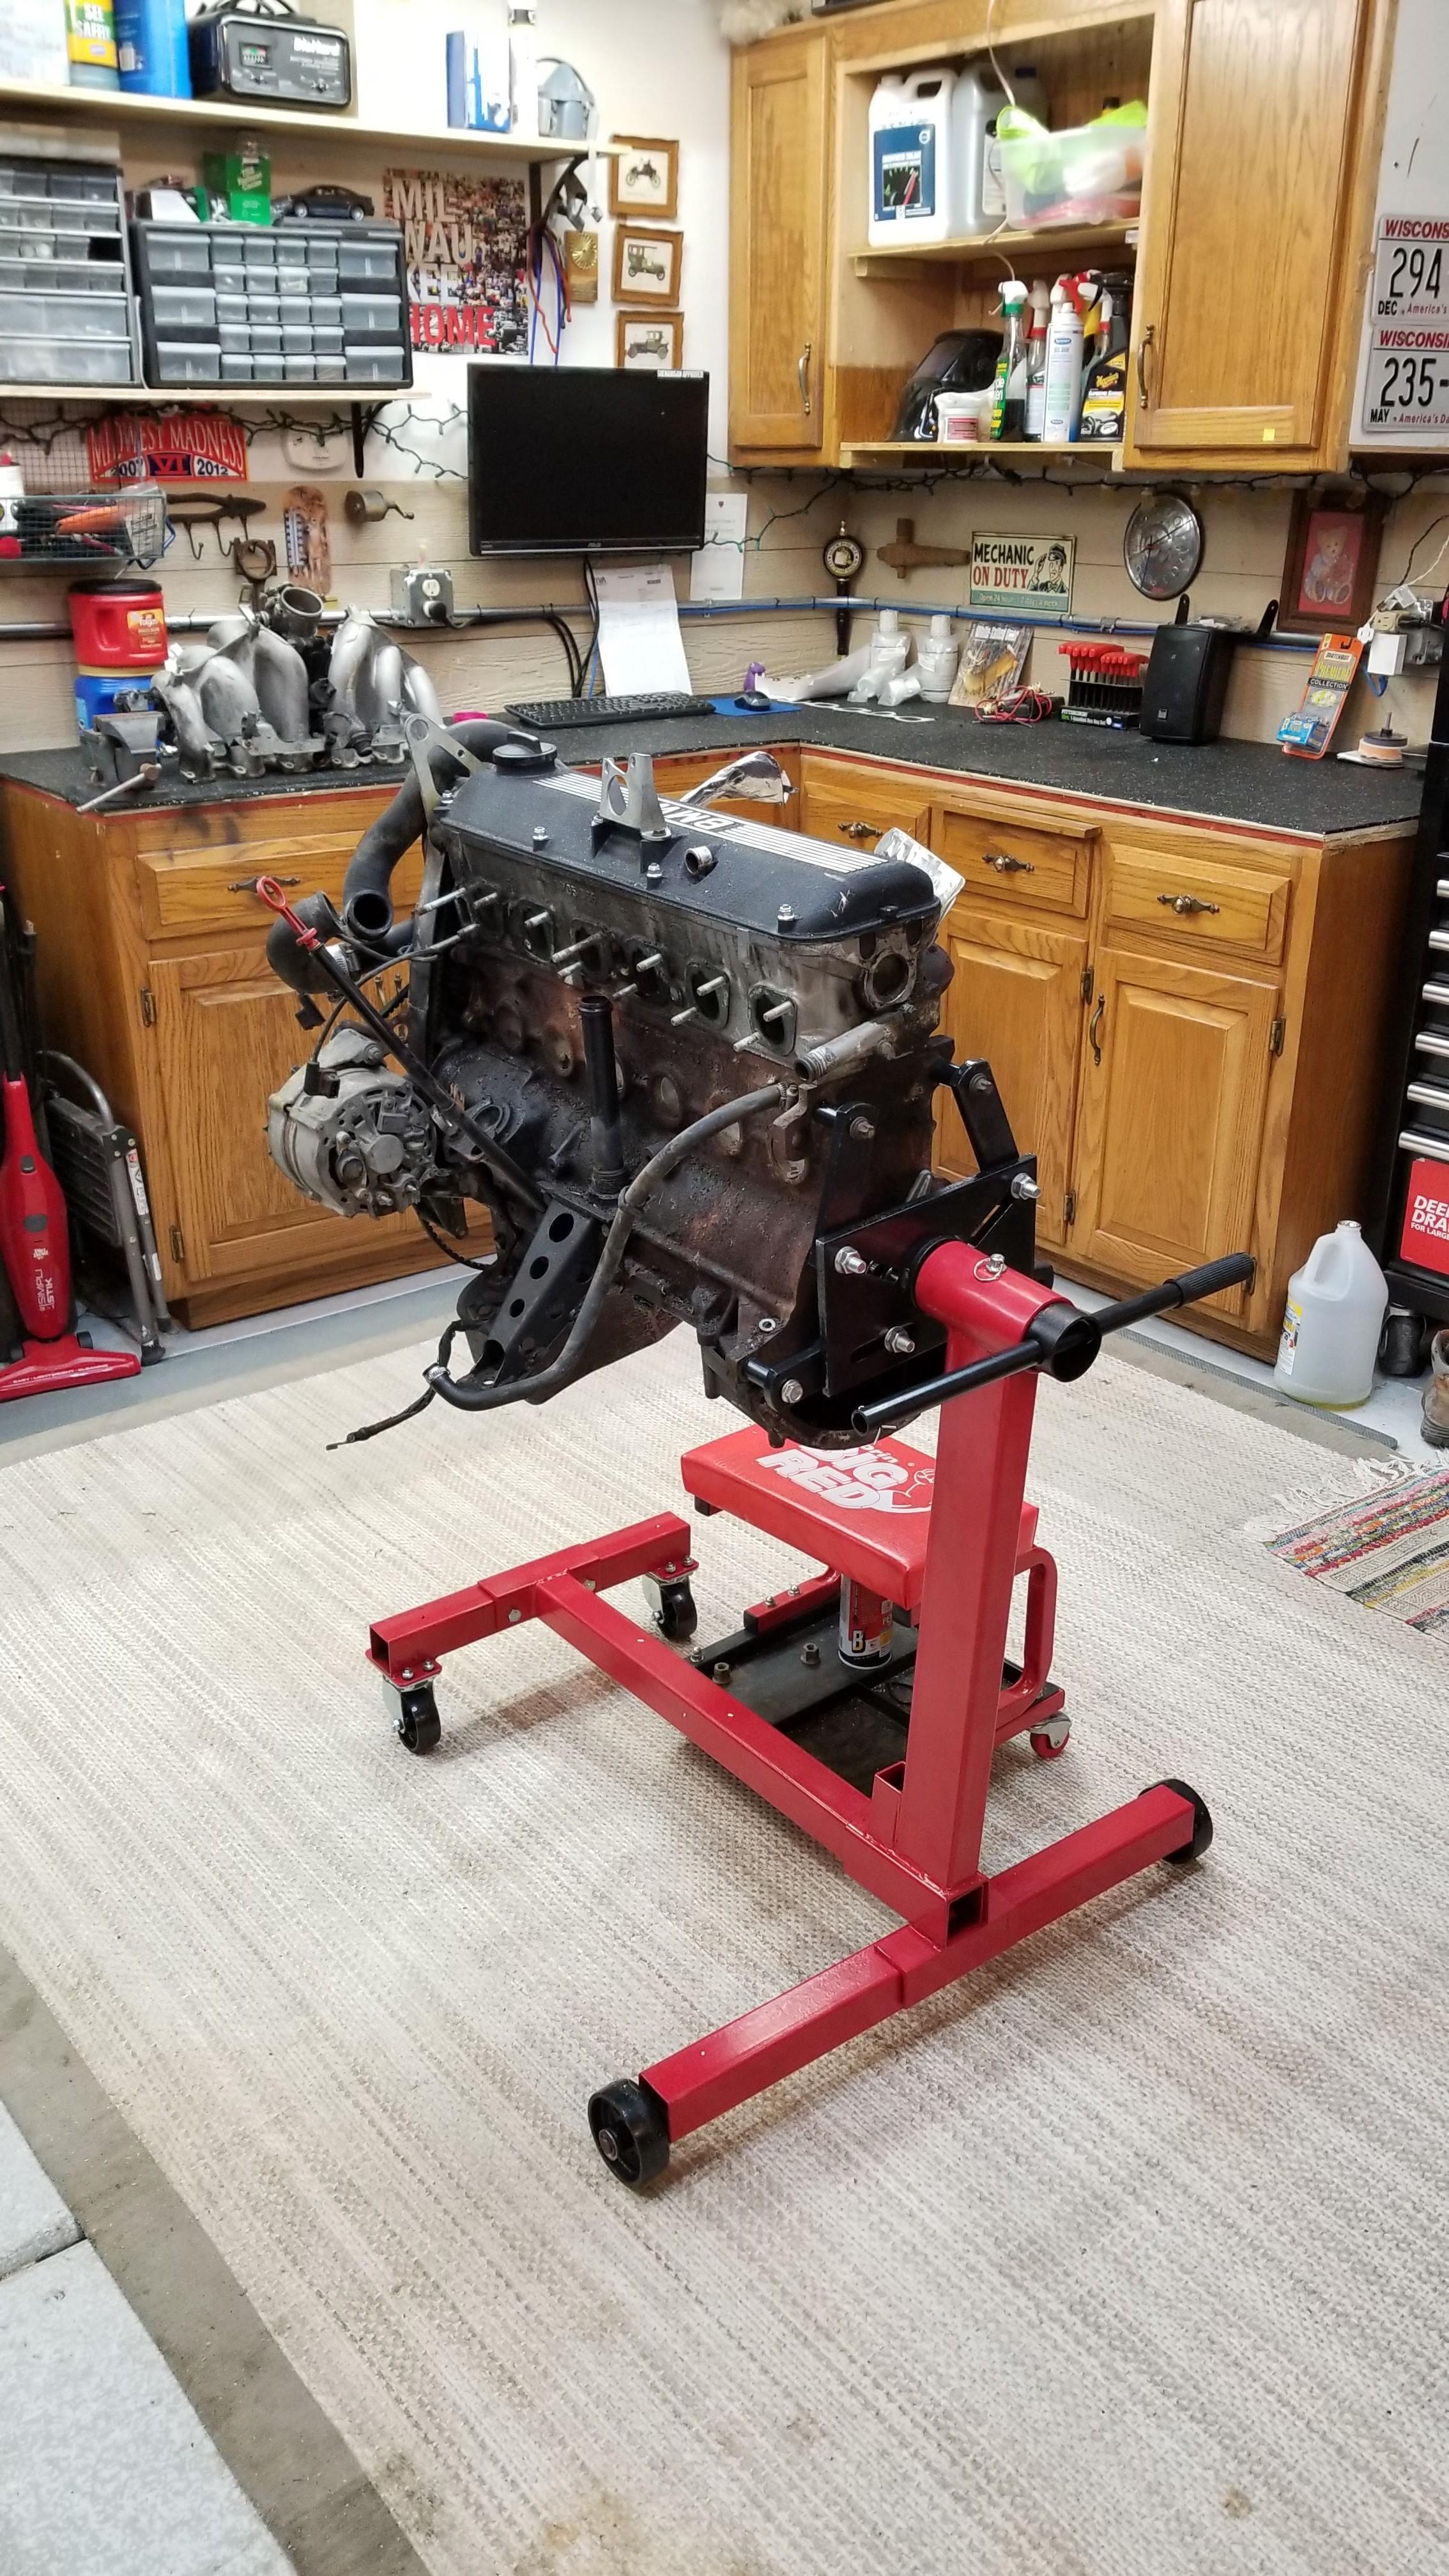
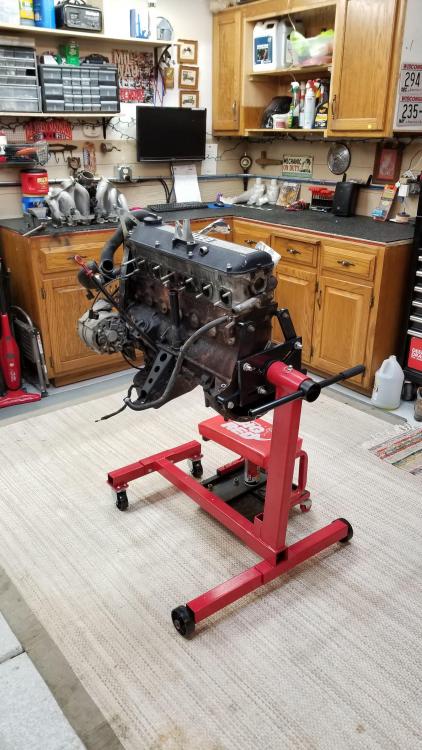
-
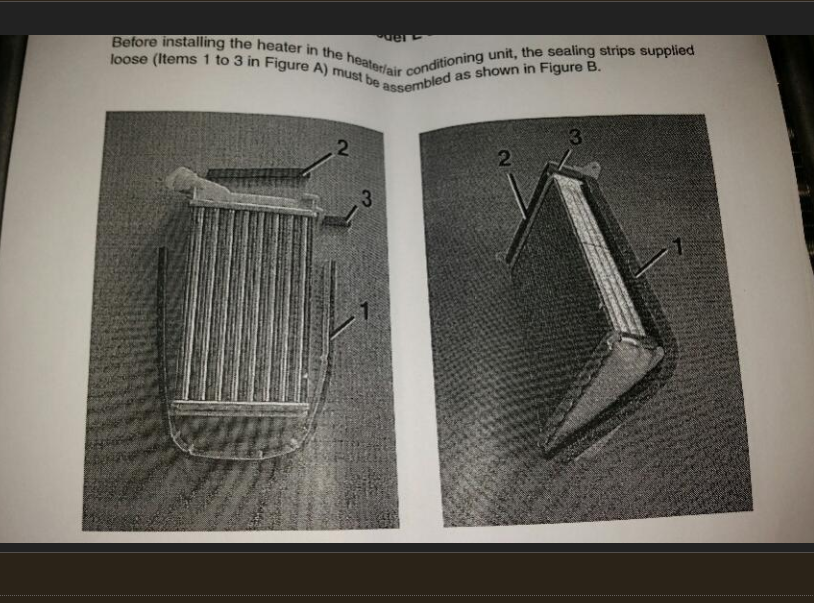
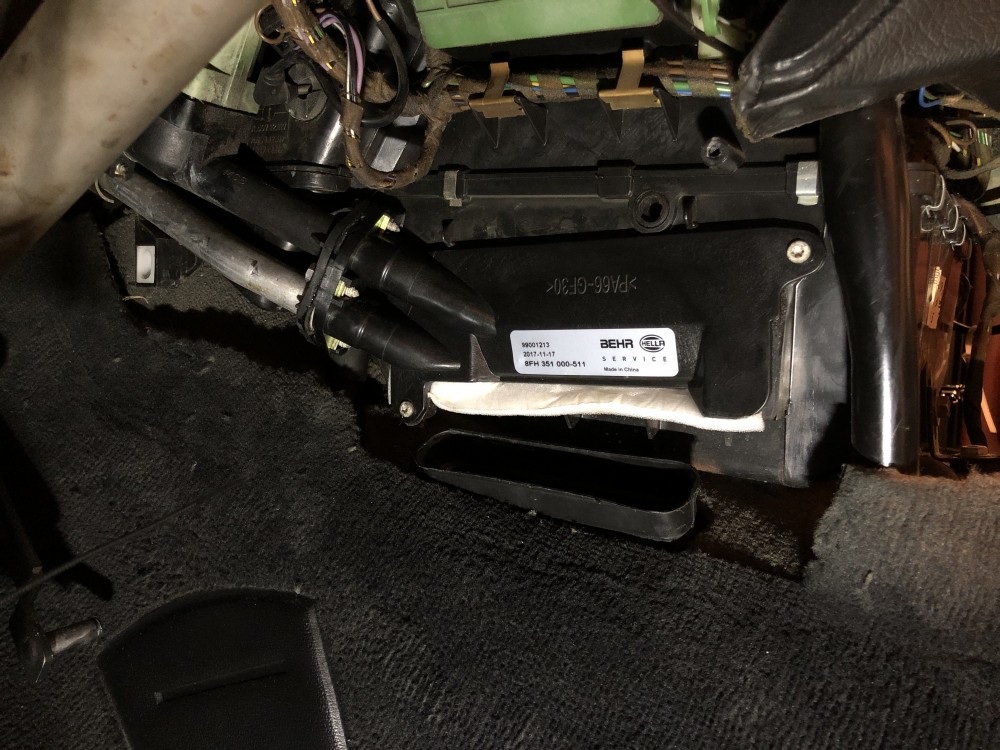
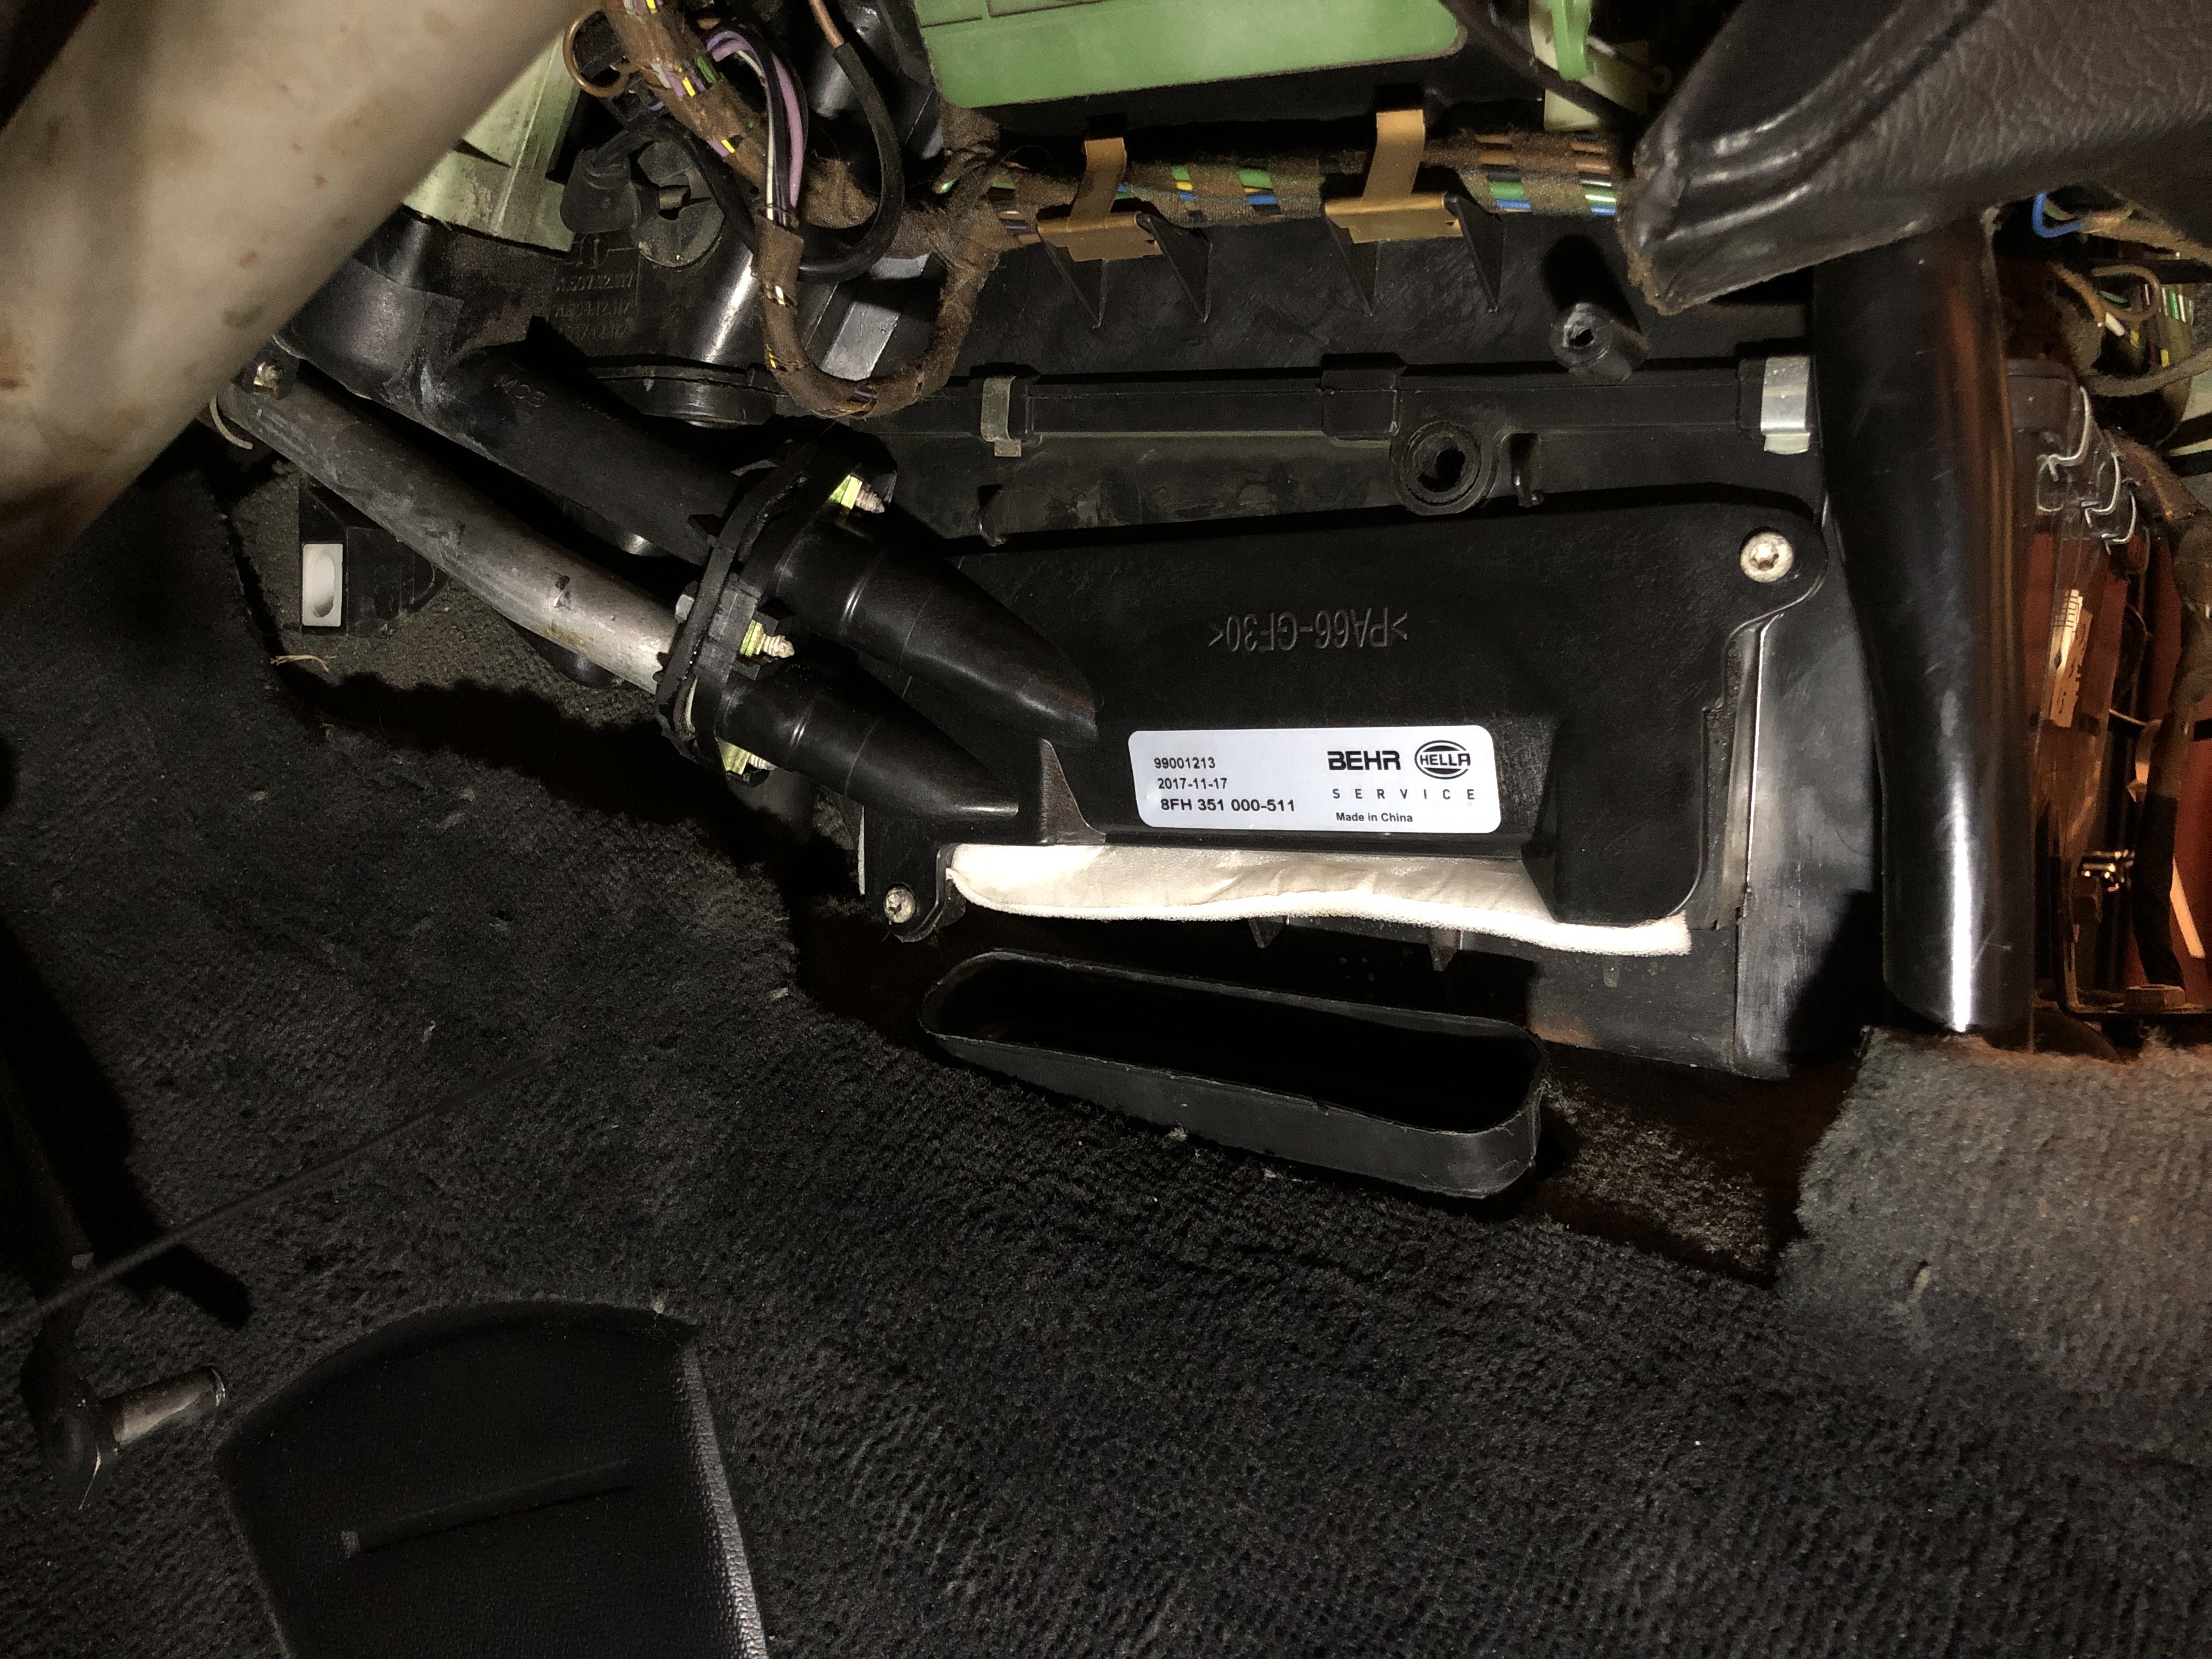
lol. I found that picture, too. I didn't know if I was supposed to use some of the provided insulation or if there was some type of "gasket" for it. The Behr unit definitely did not have enough foam to do the heater core and this area. I'll pick some stuff up from the hardware store. Someone sent me this image on R3V:
-
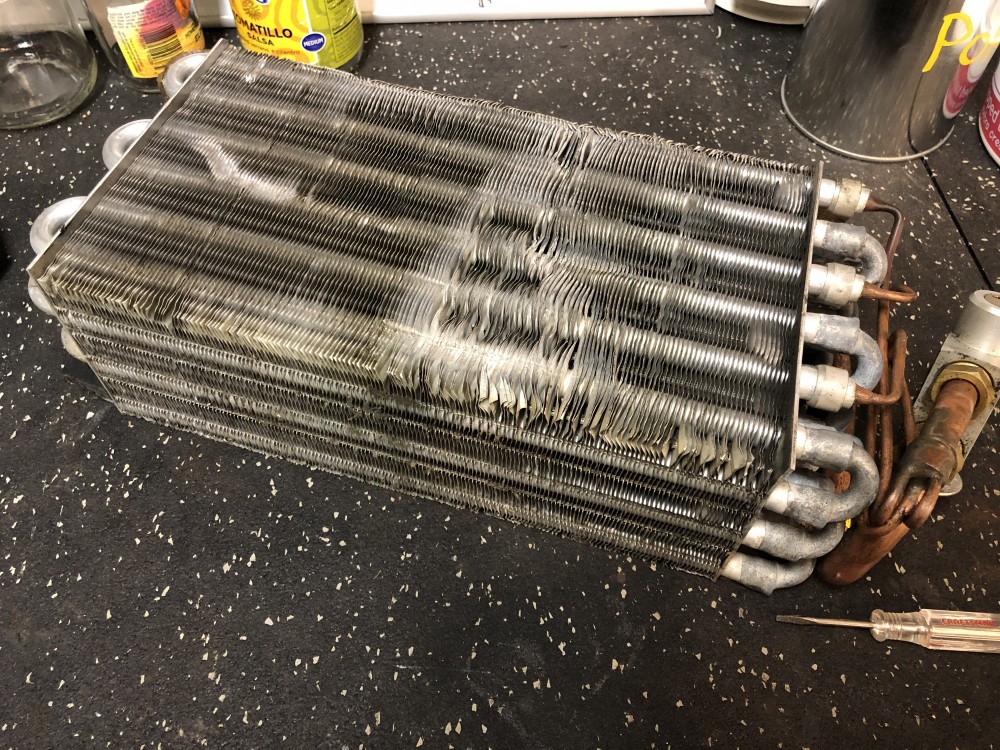
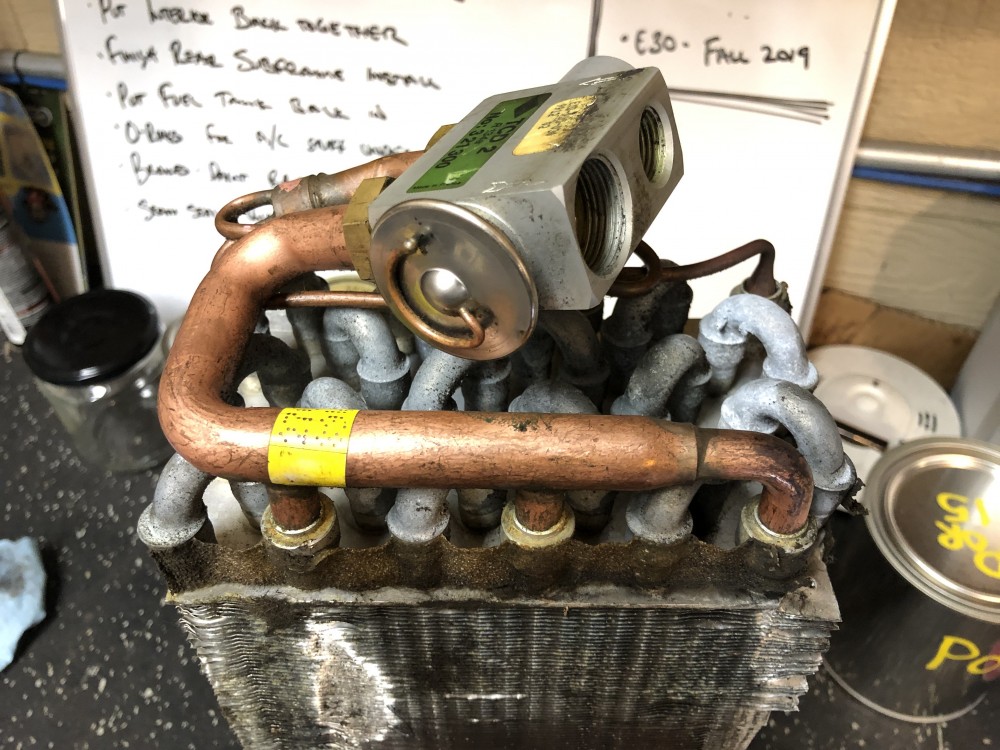
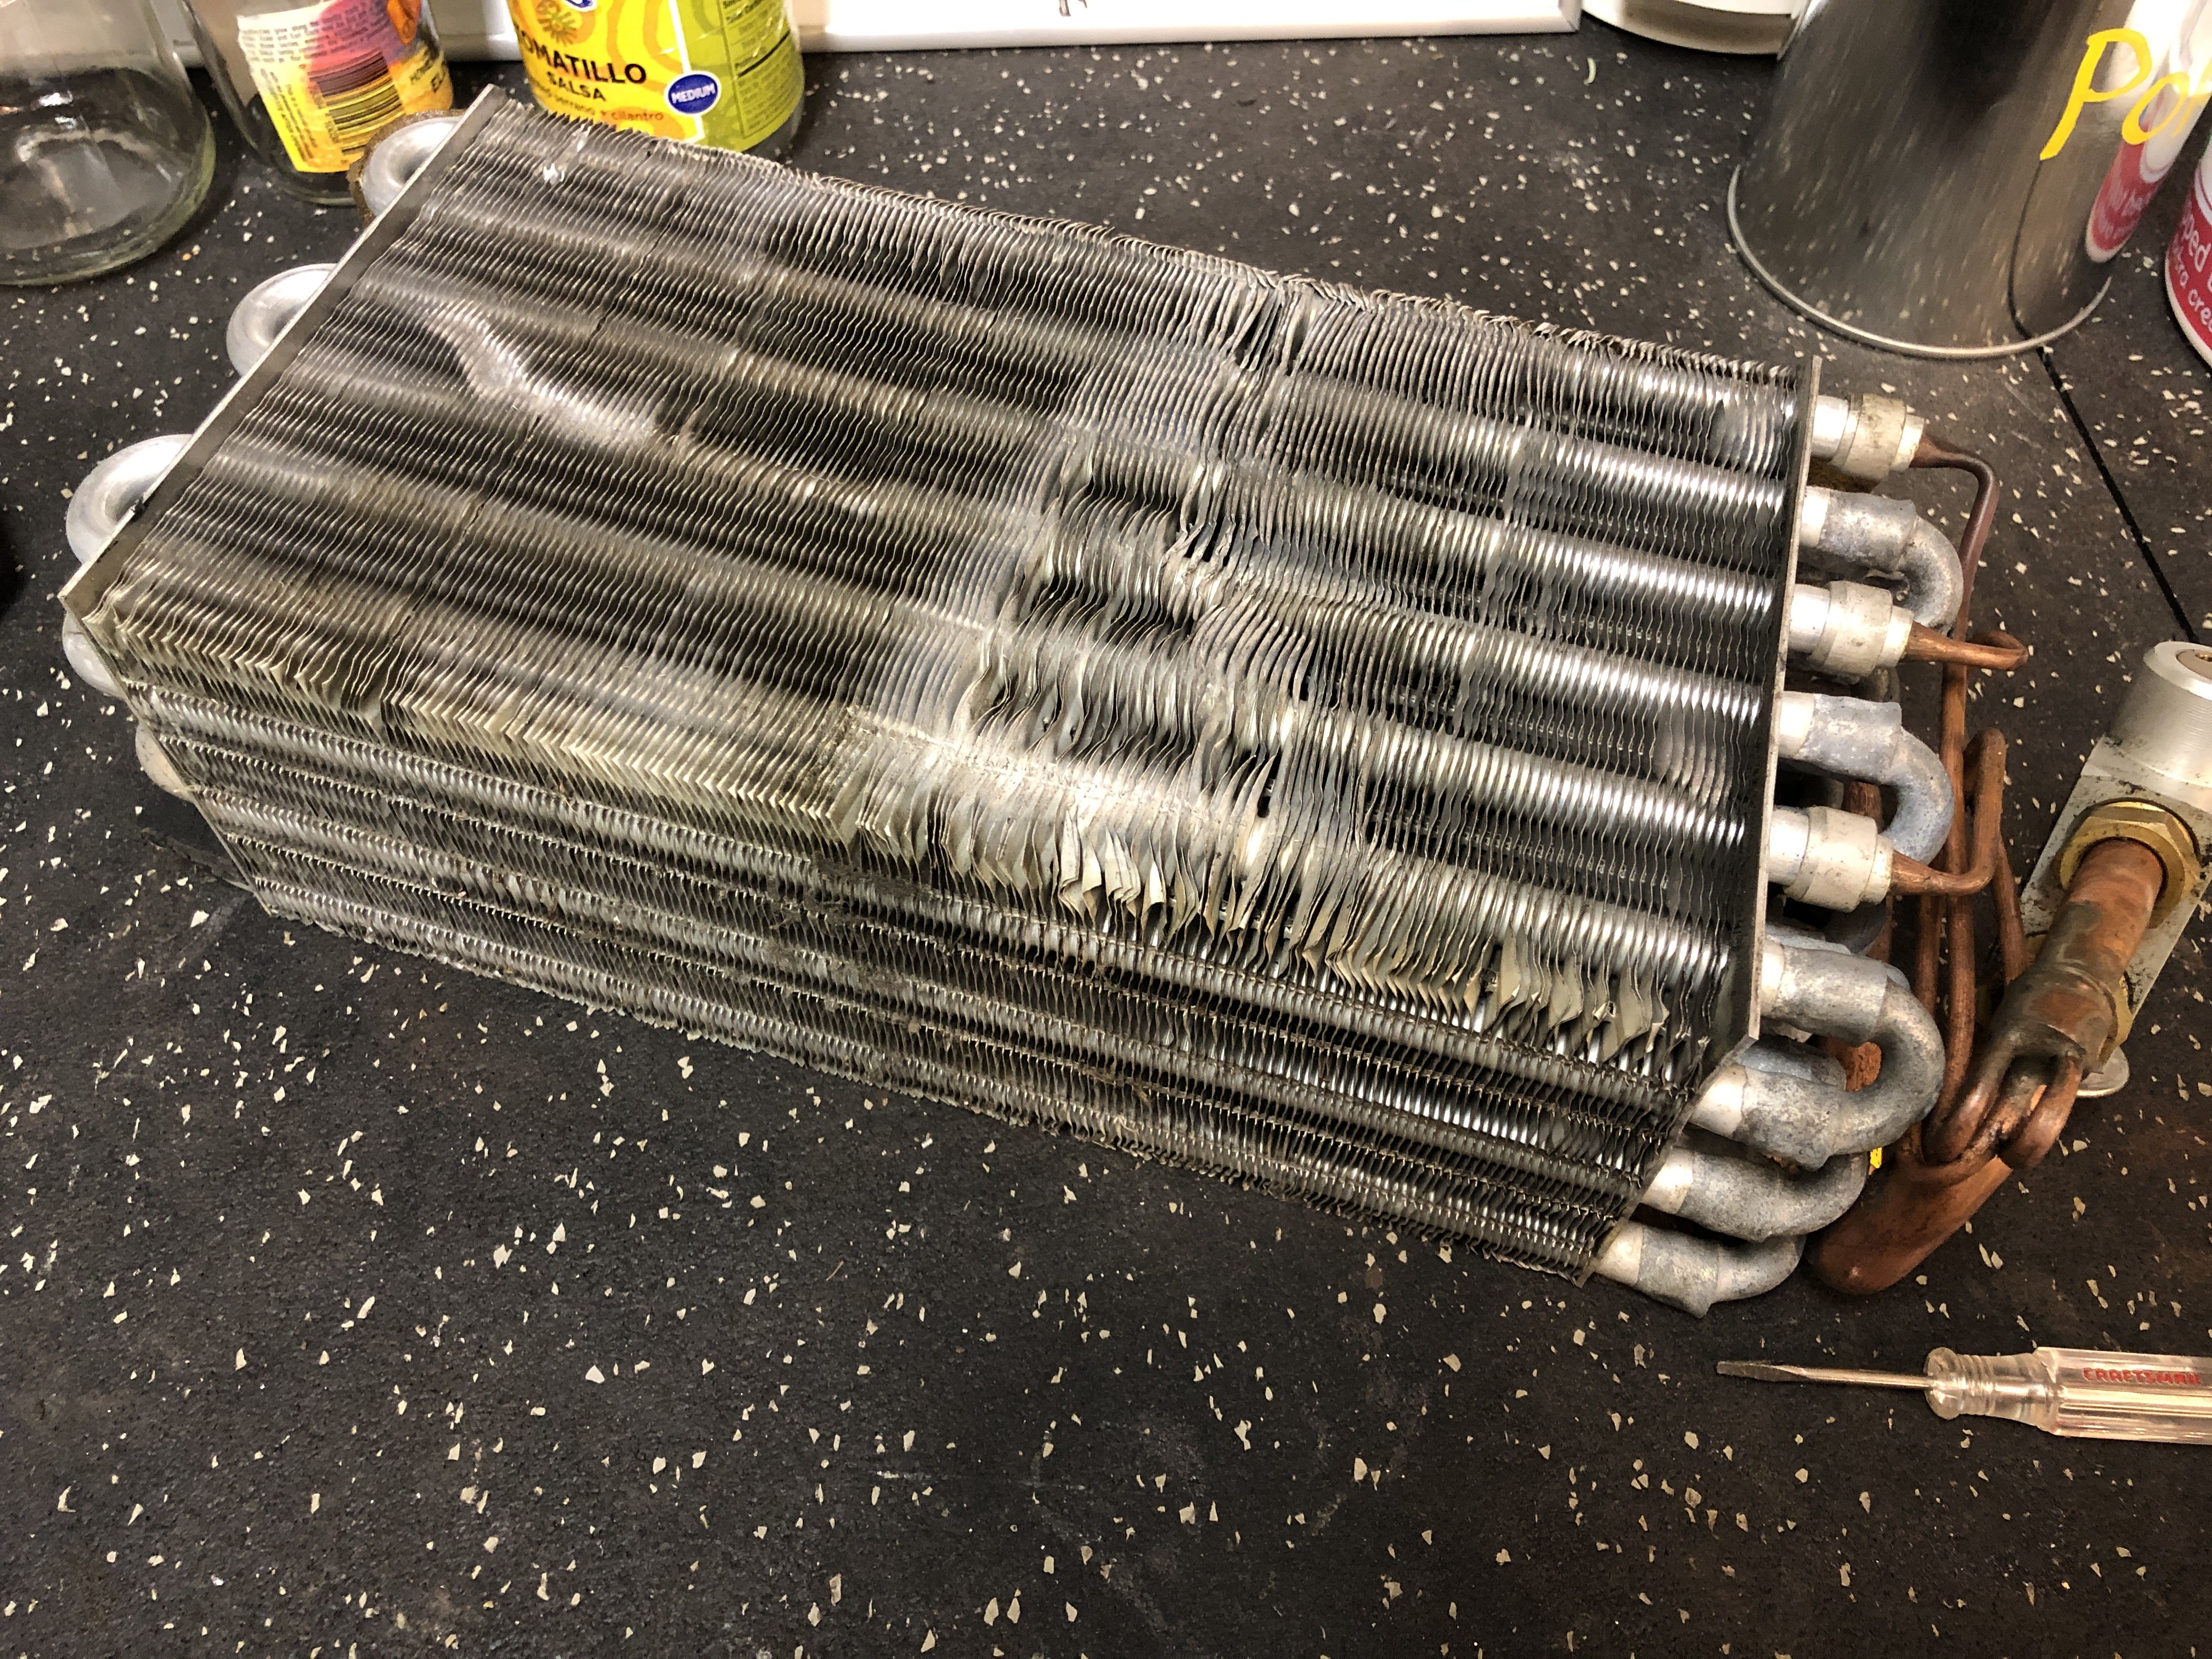
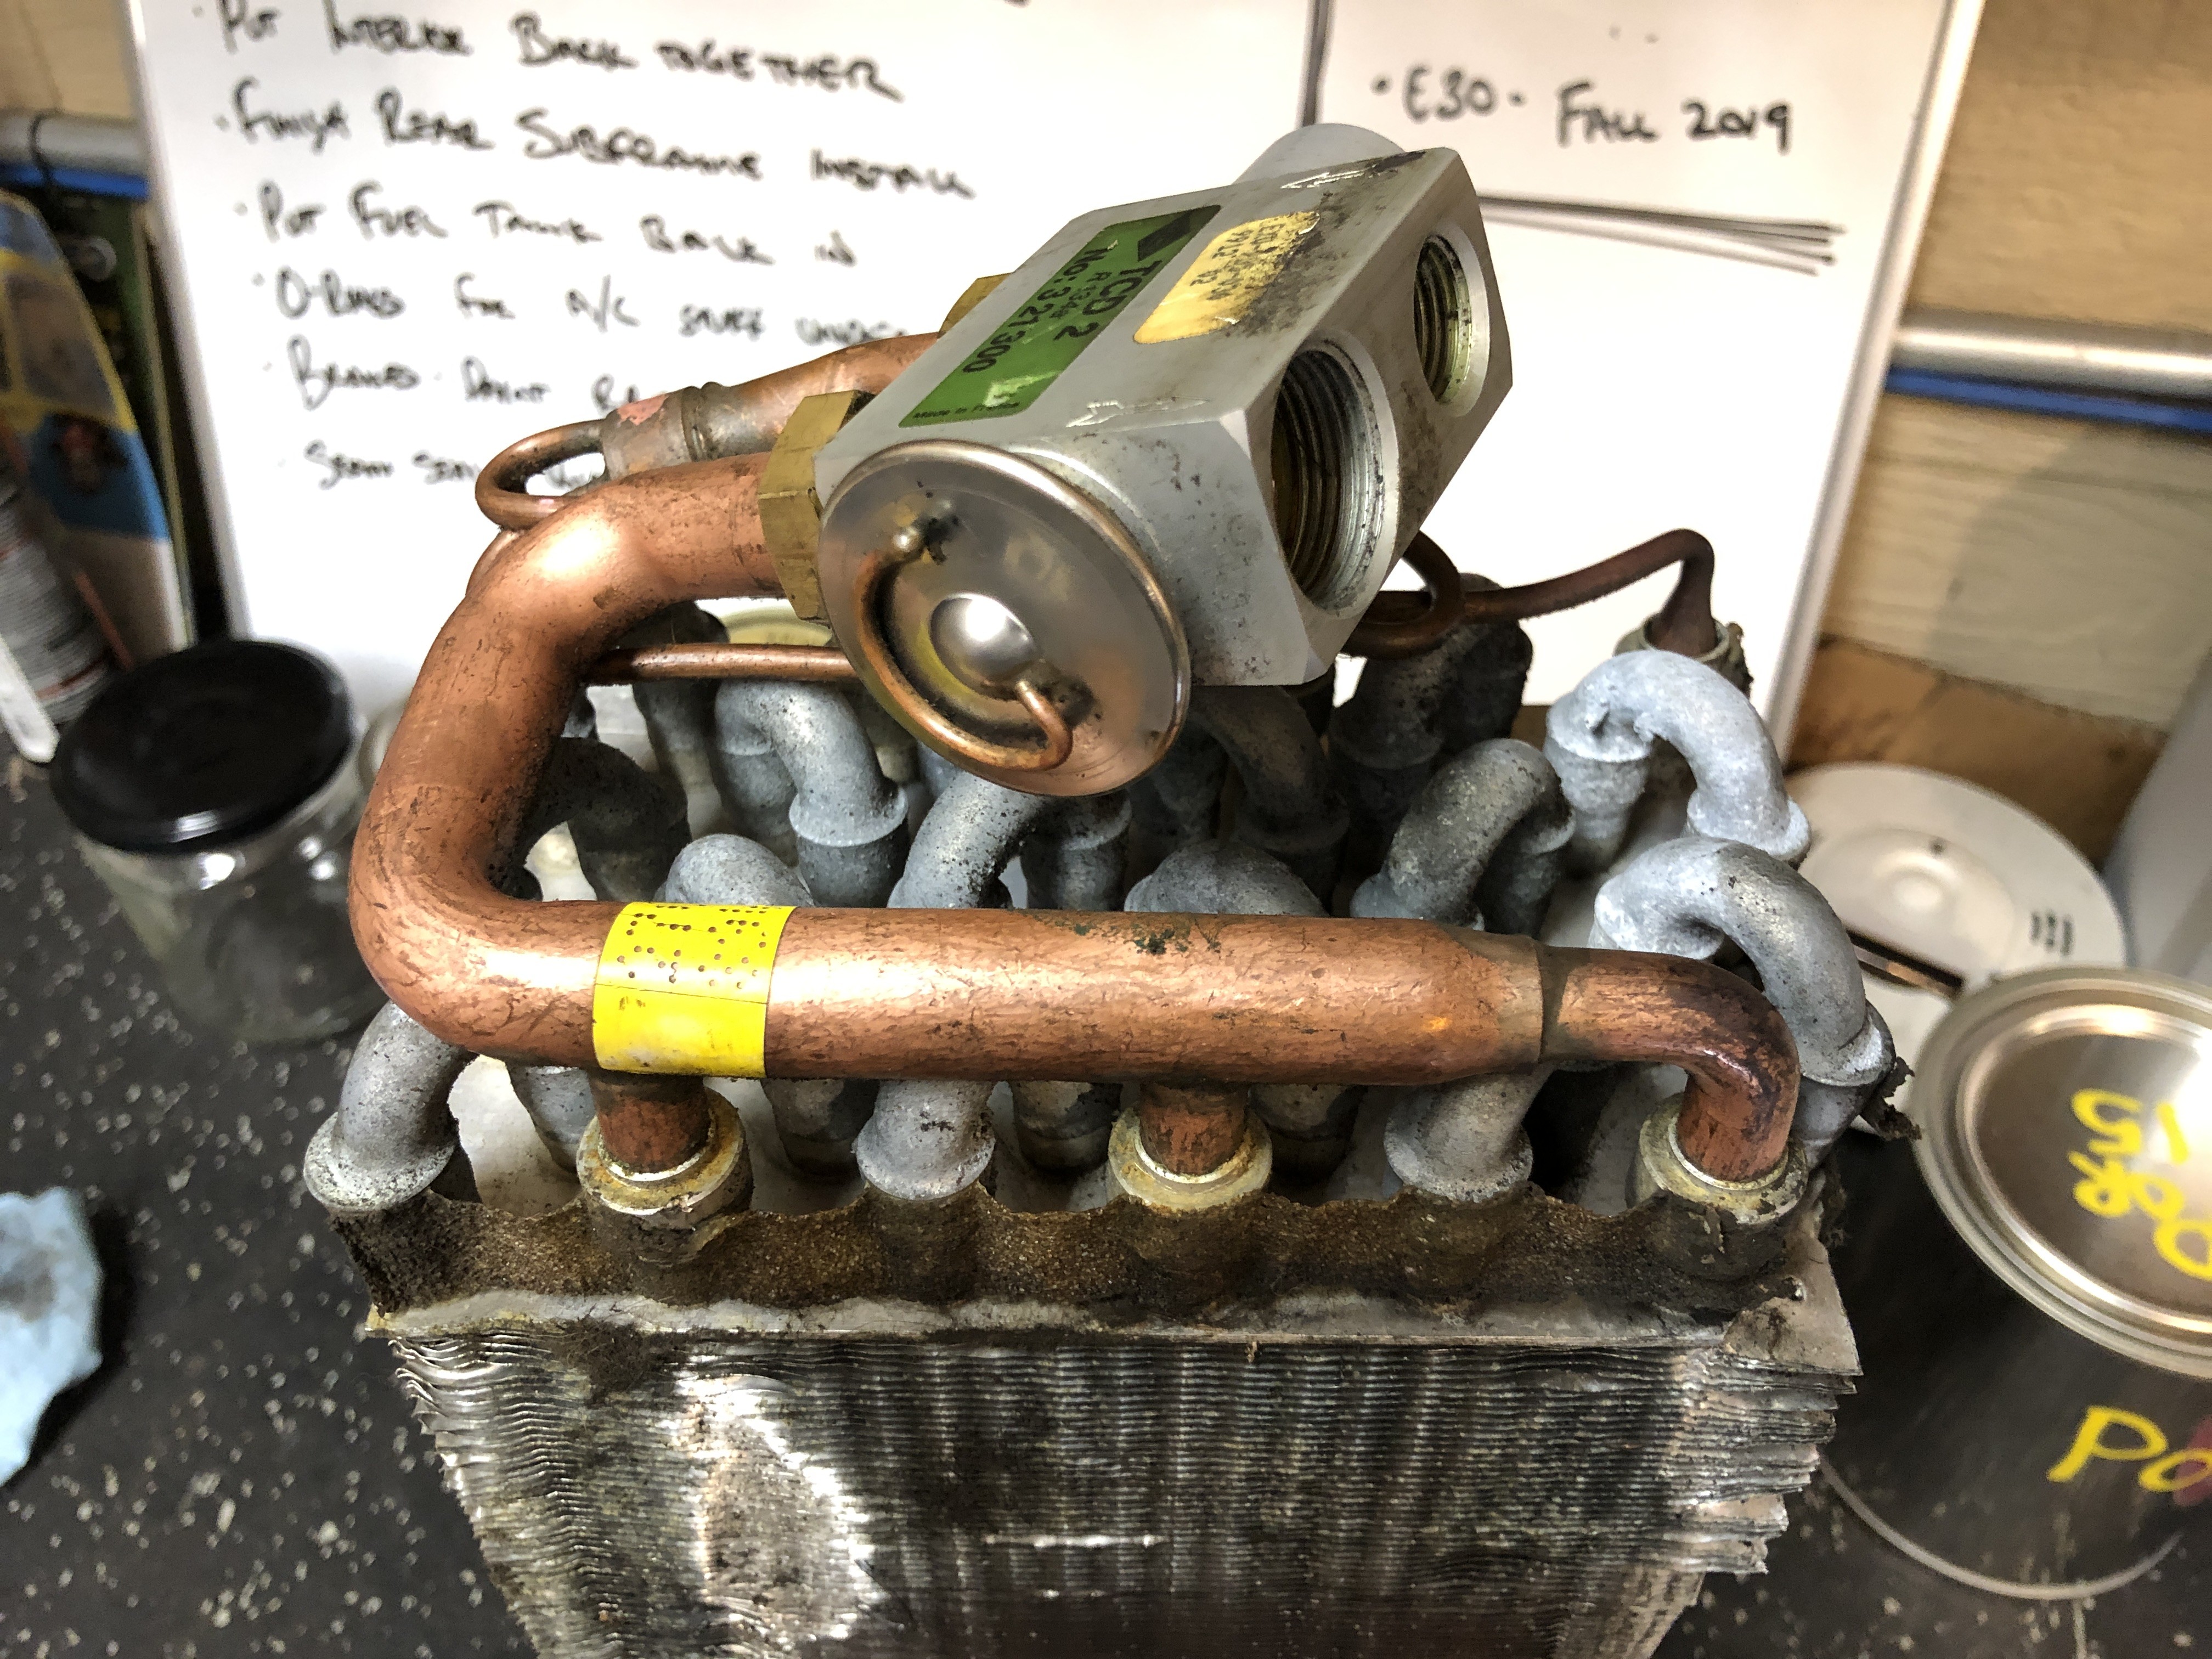
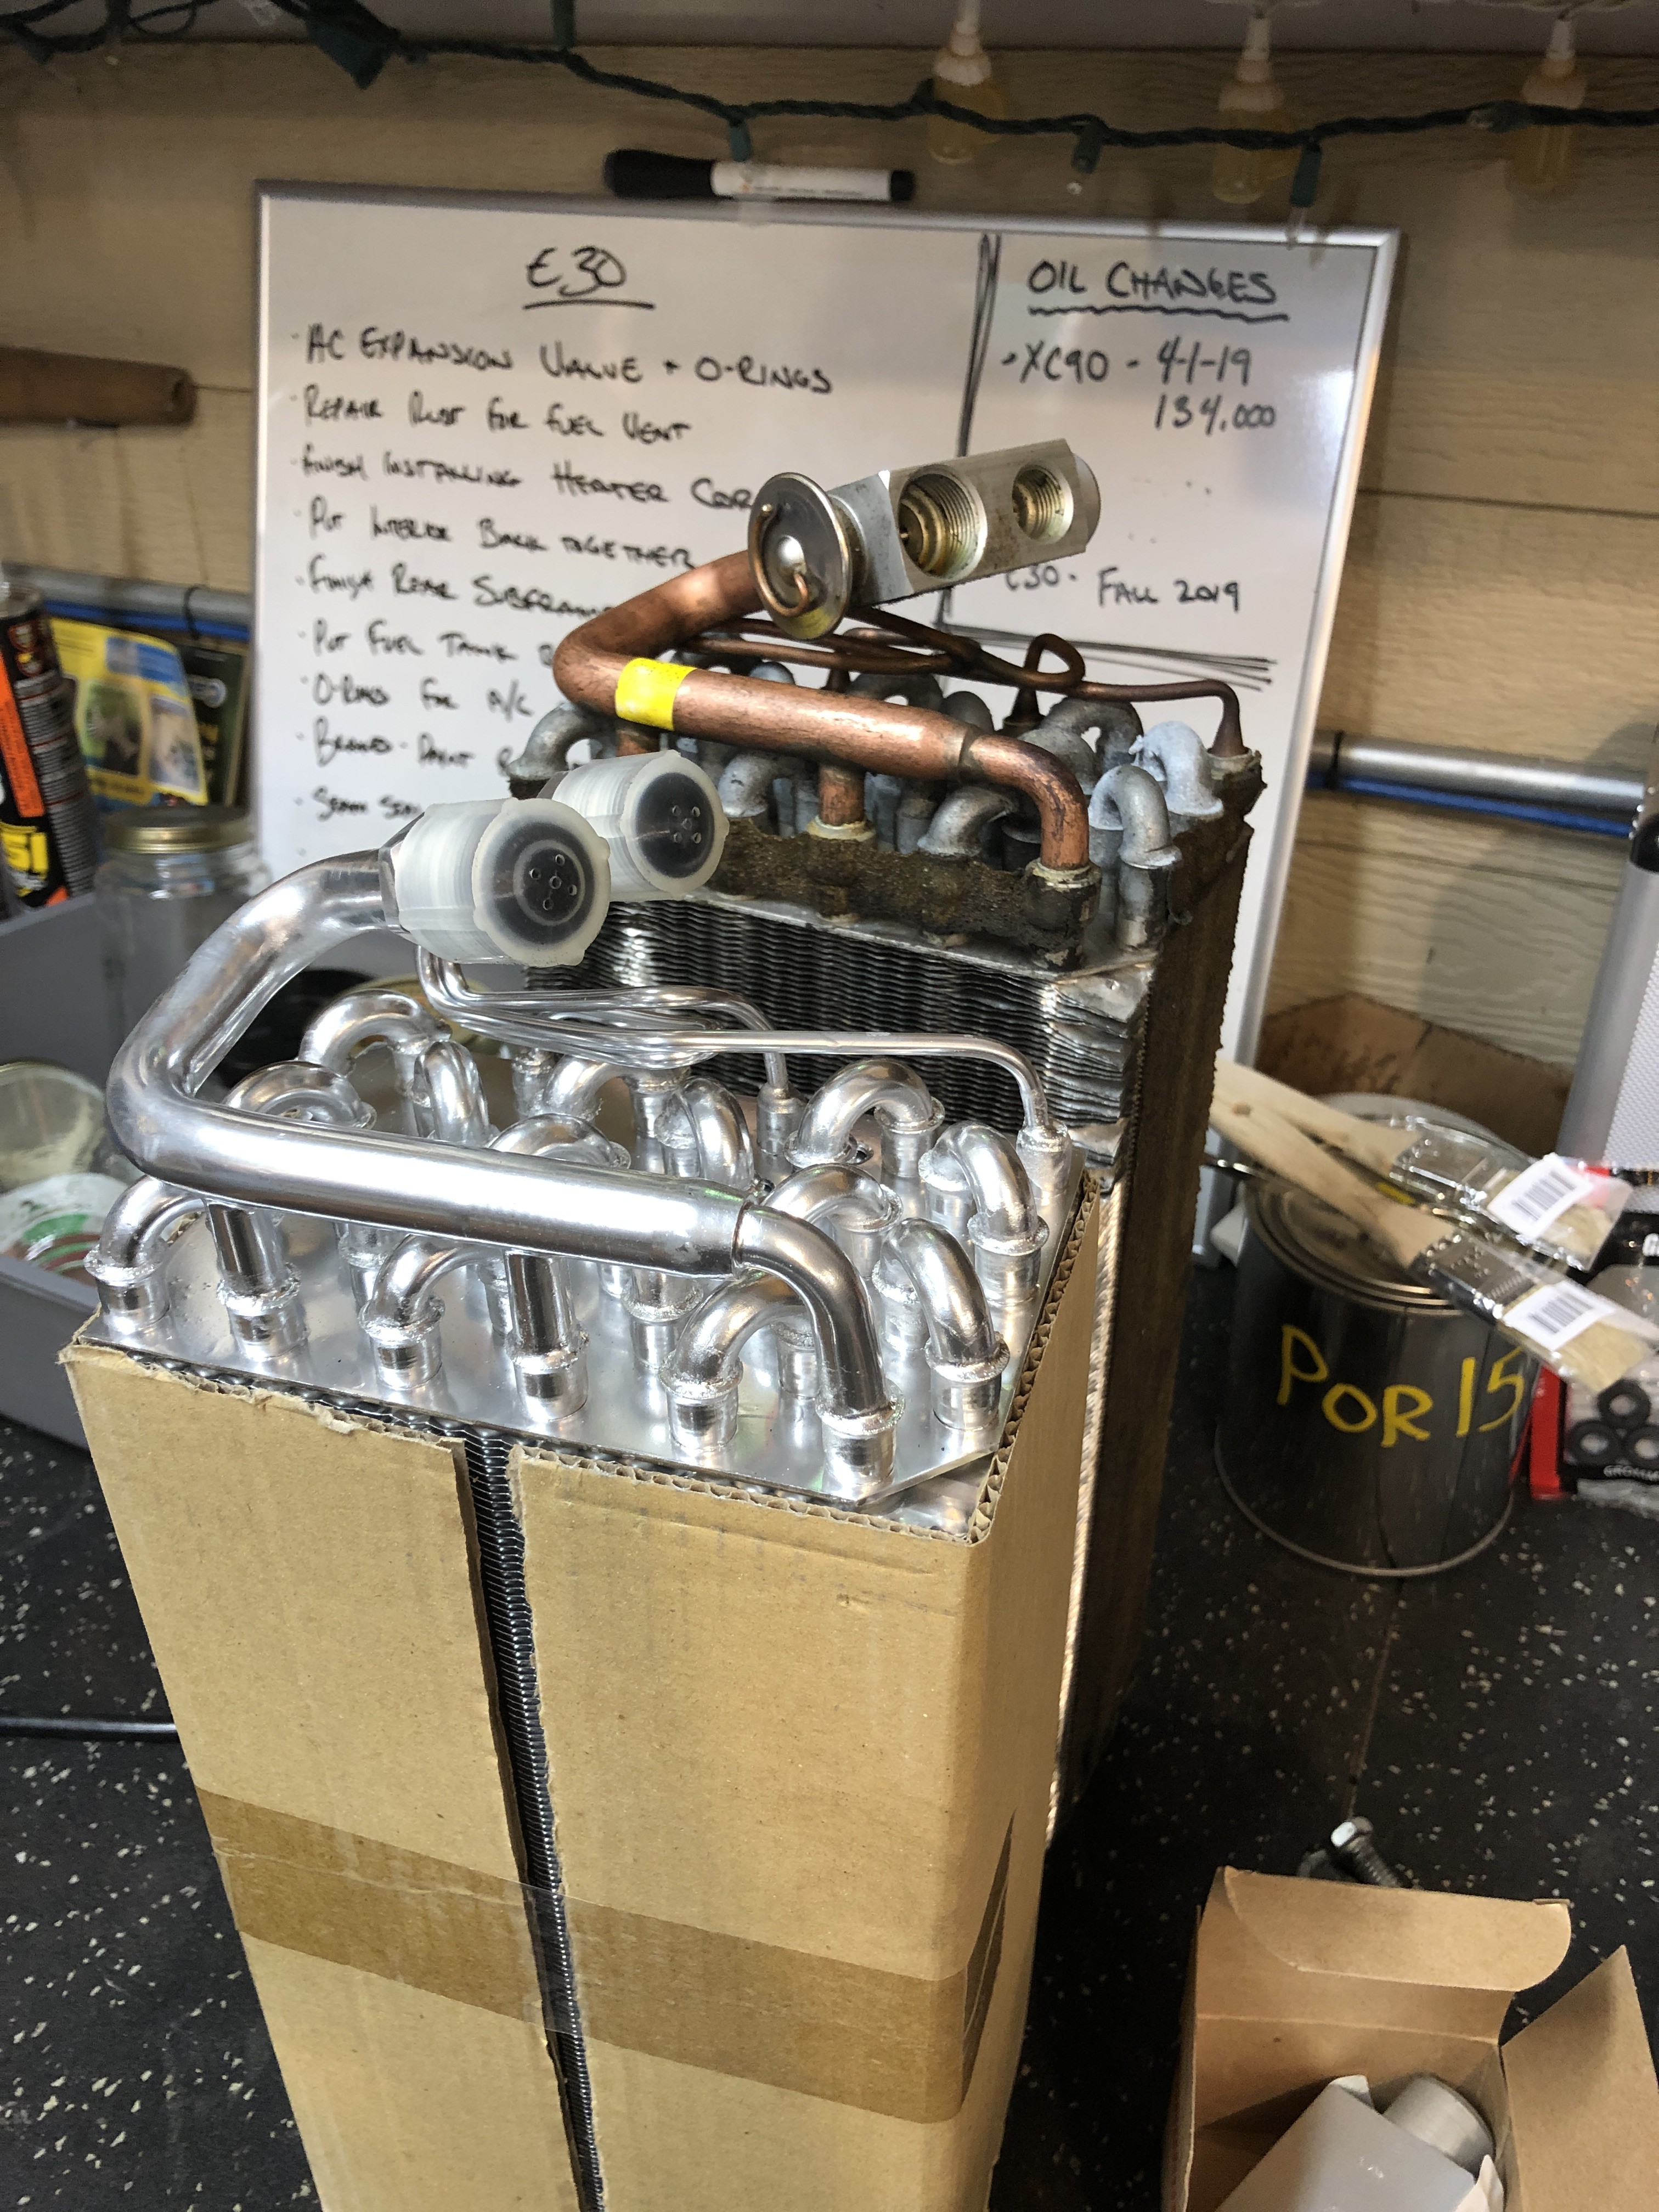
Now that I finished the suspension overhaul on the wagon and things are calming down a bit with the 2.5 week old, I spent some time in the garage. Rear subframe is bolted in now. Parking brake mechanisms installed. Removed the AC evaporator to check for any leaks. Other than being super dirty, I don’t see anything that makes me suspicious of it. Lots of bent fins, but I’ll go through and straighten them back out as much as I can.
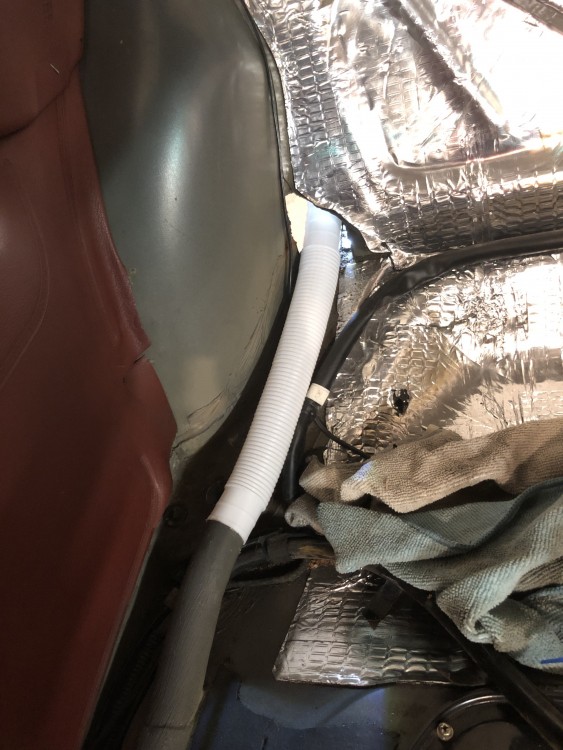
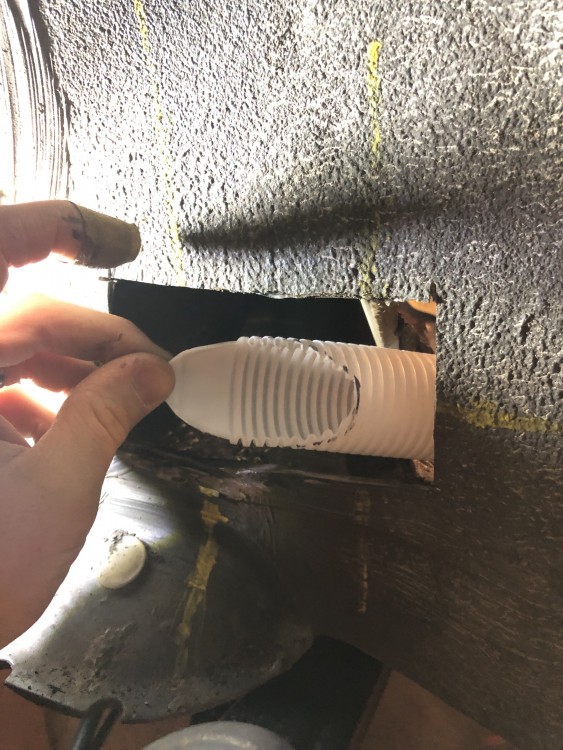
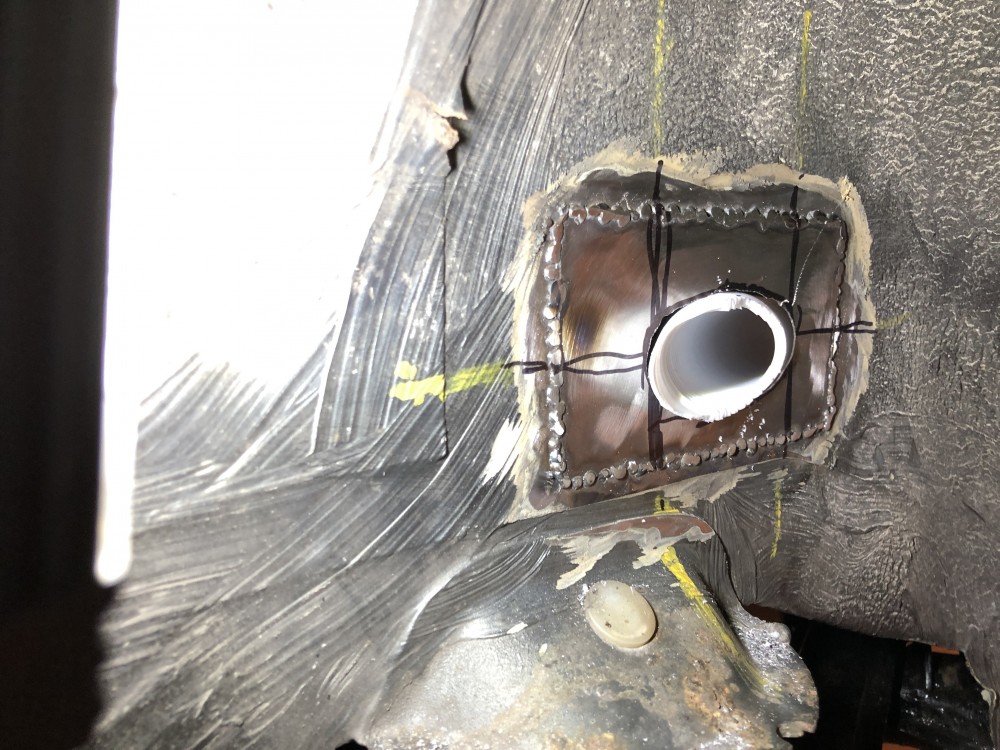
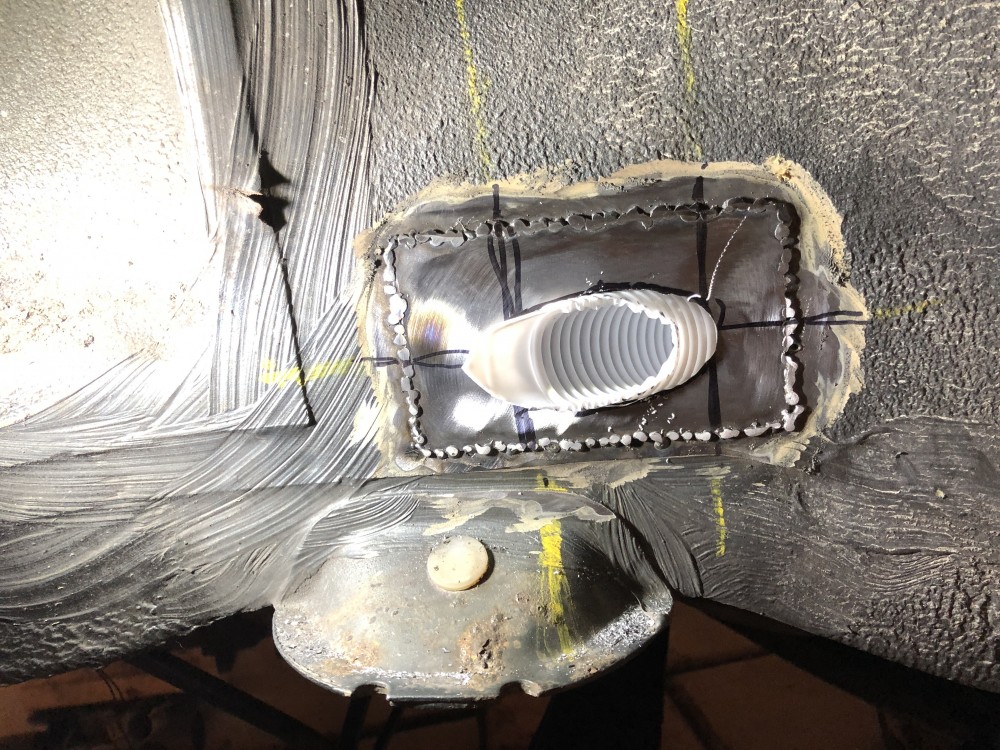
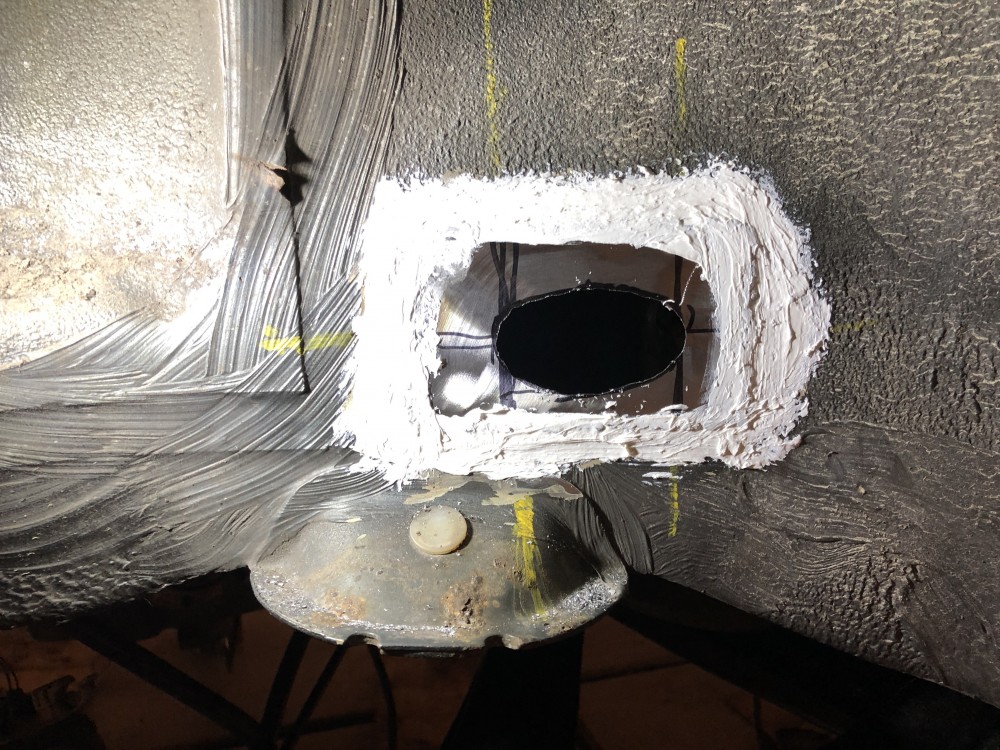
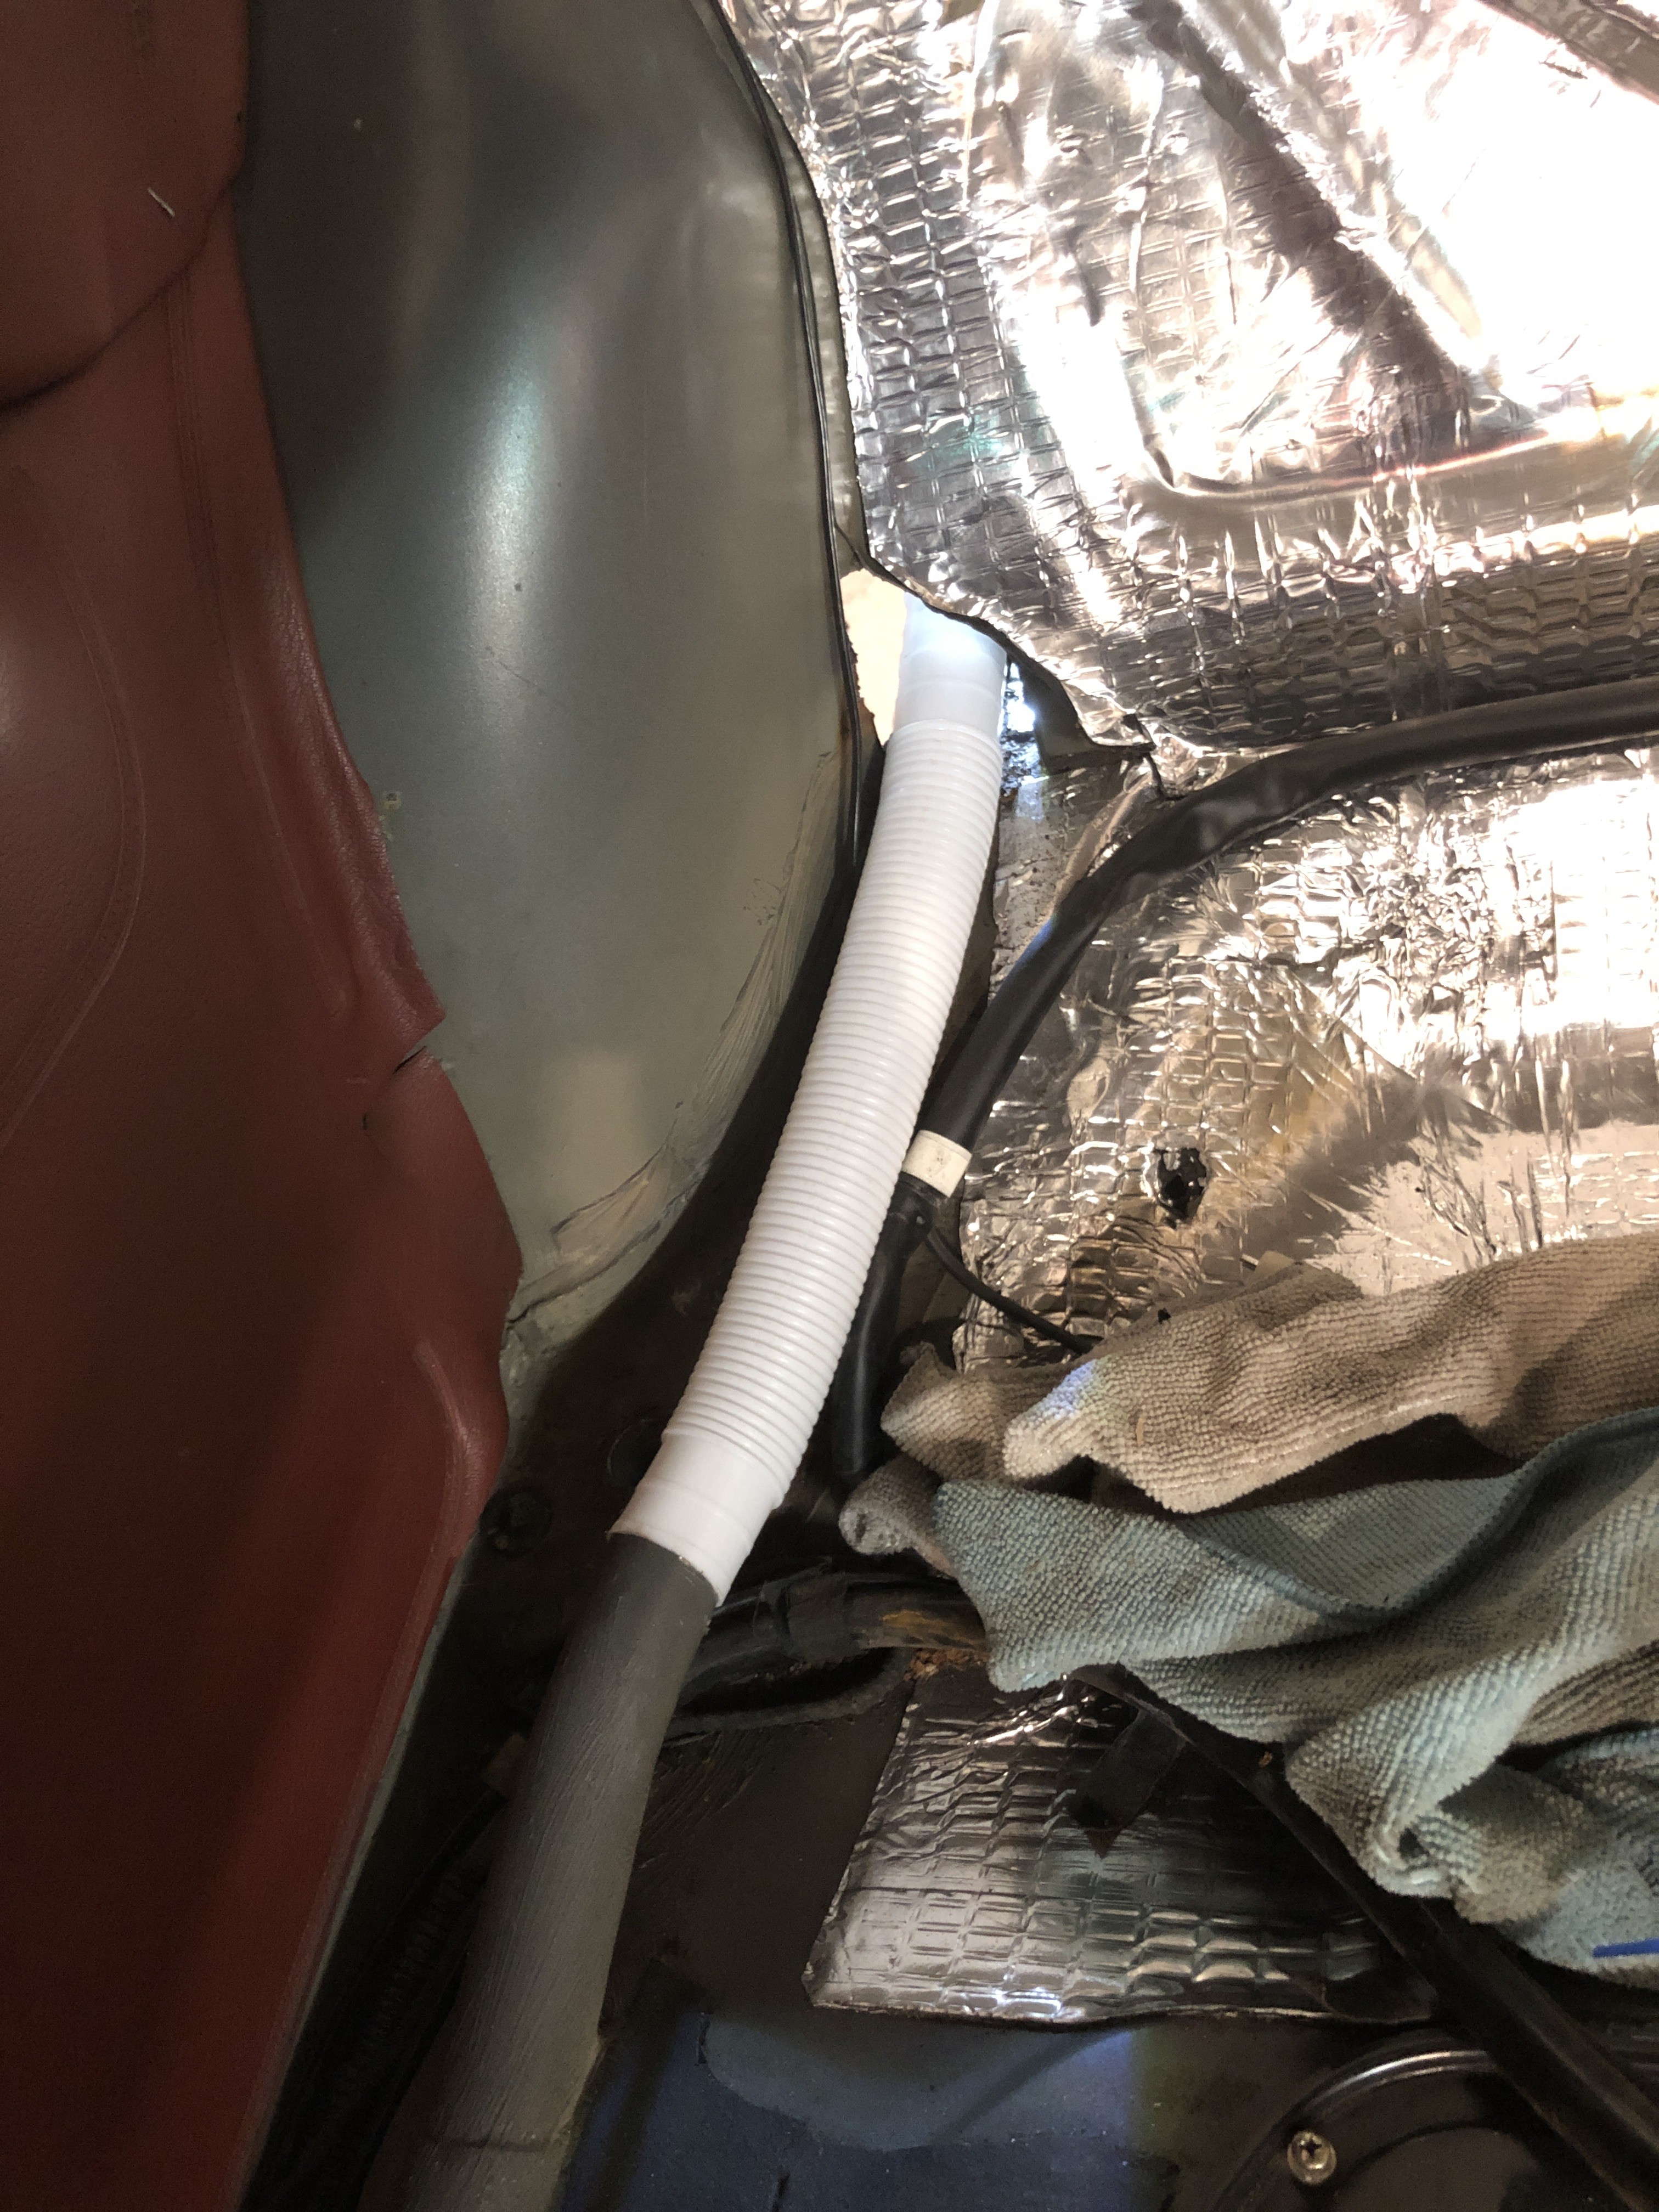
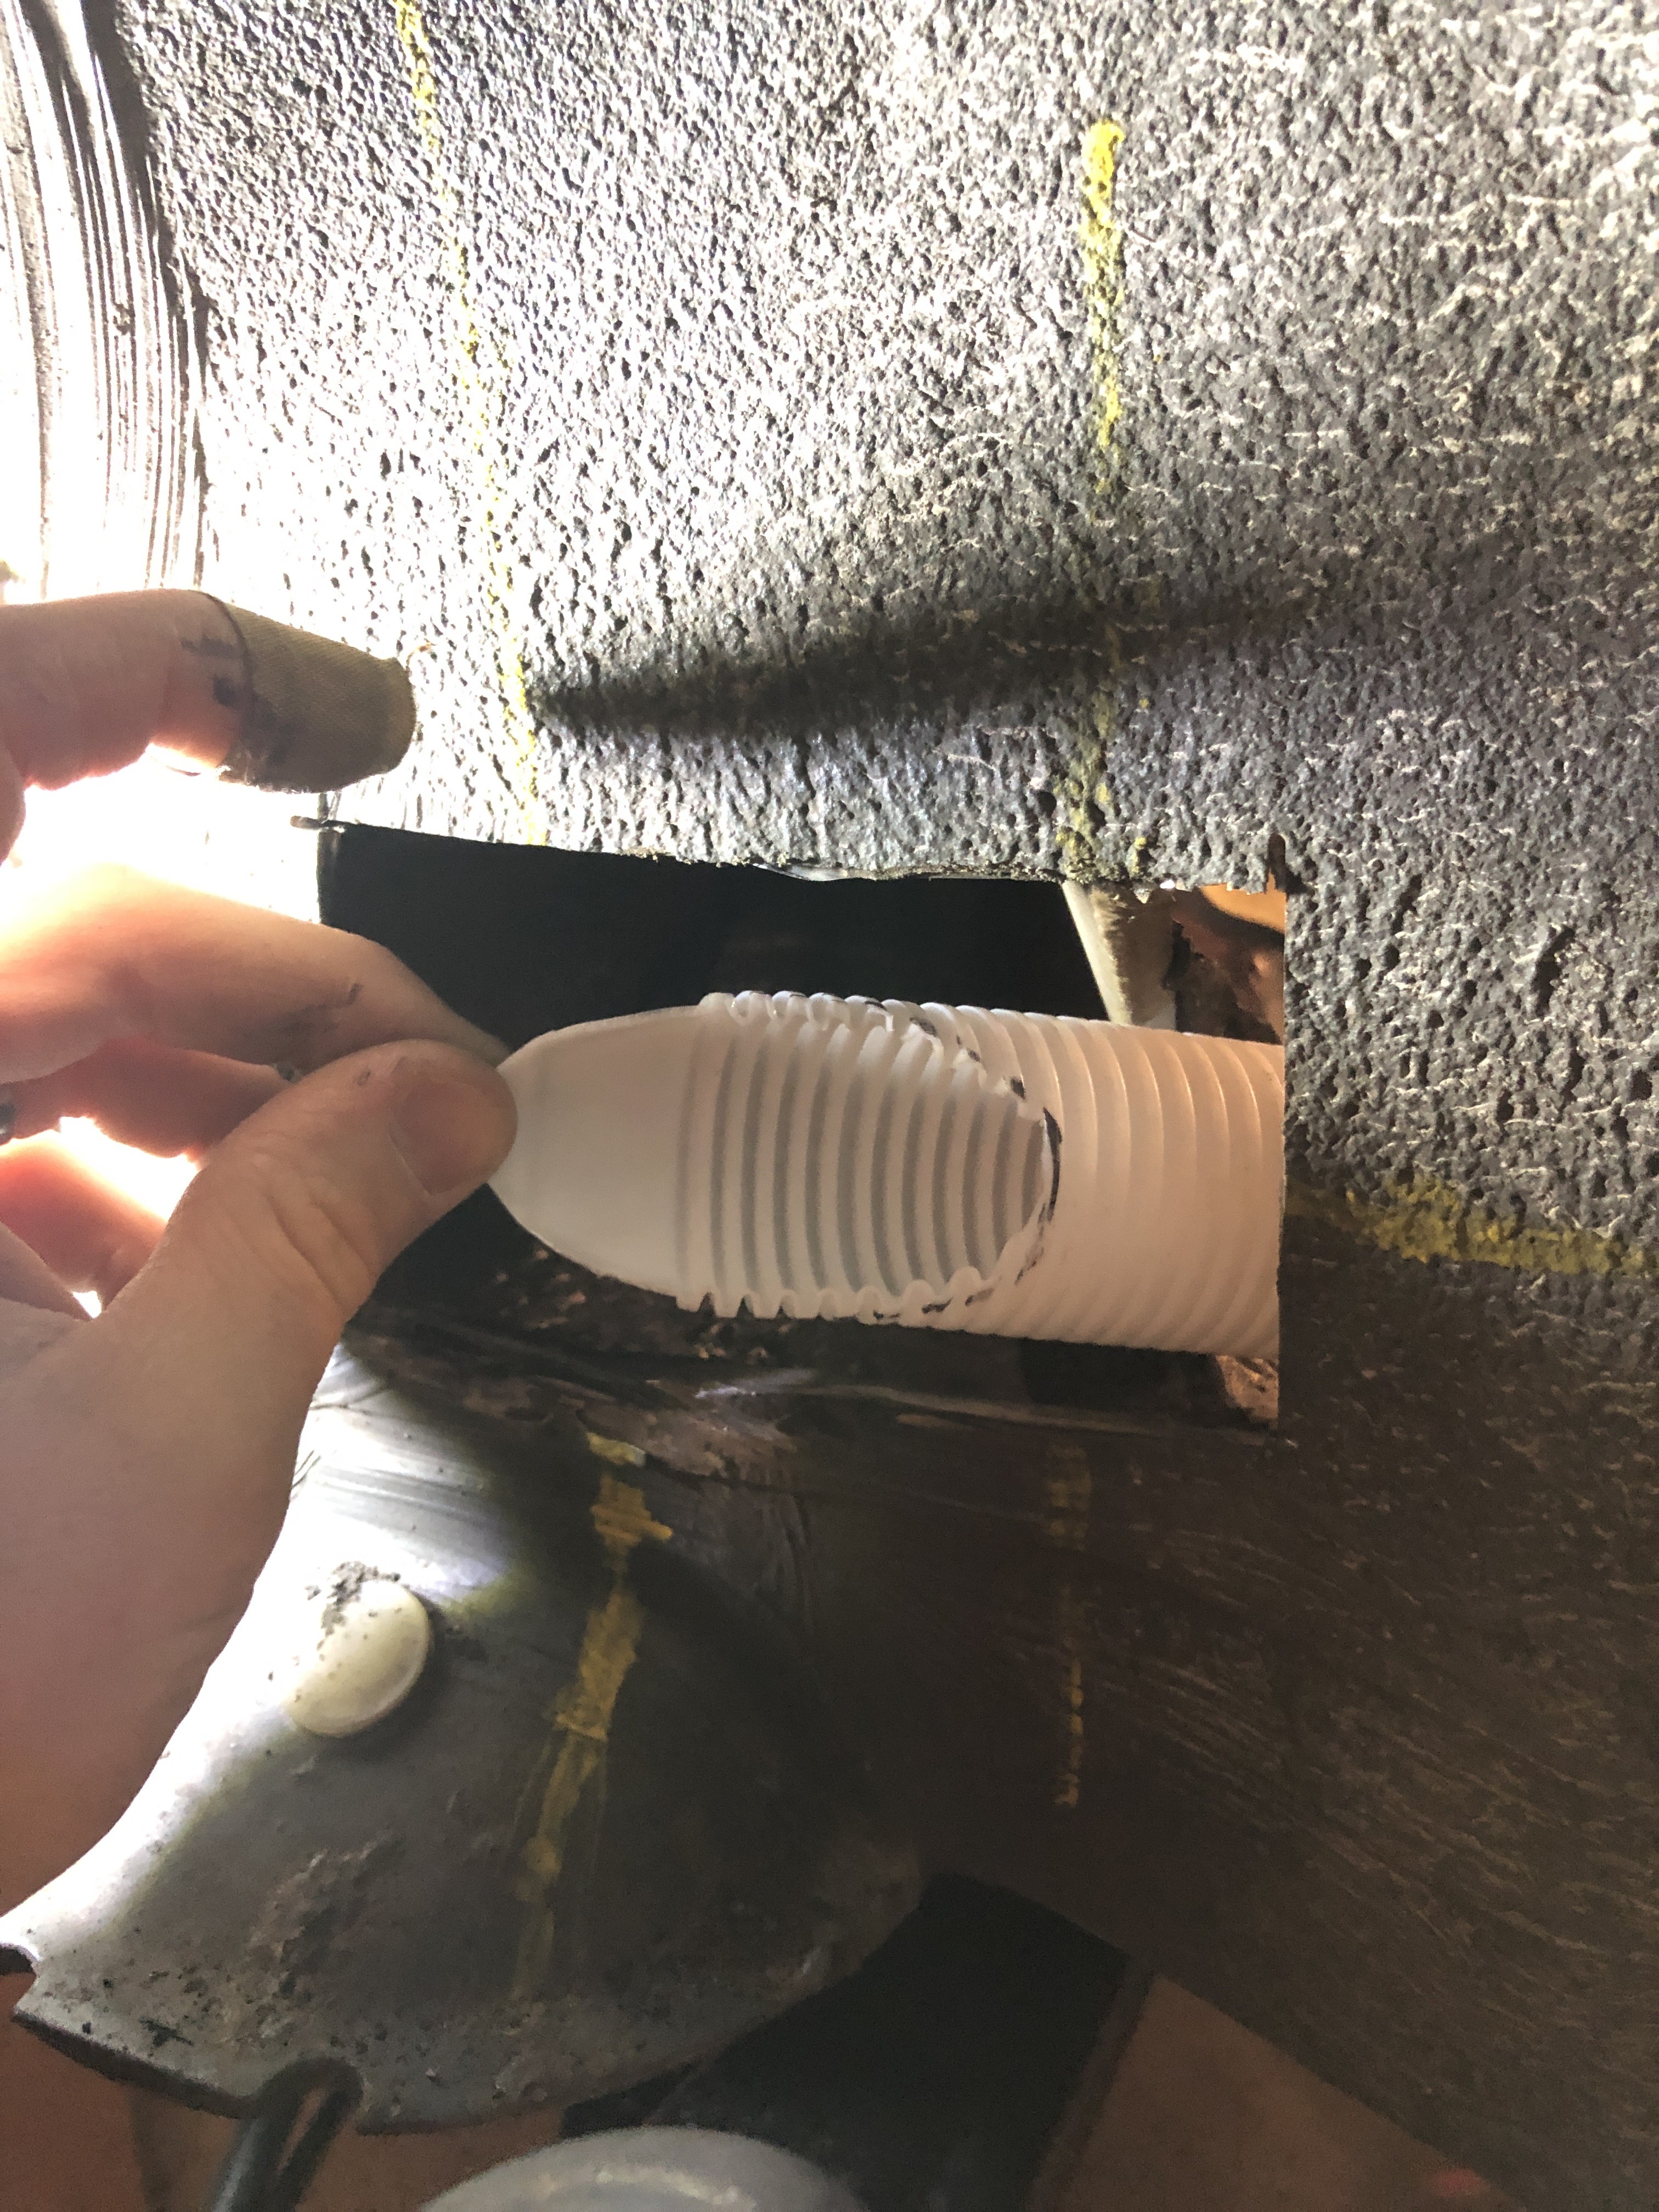
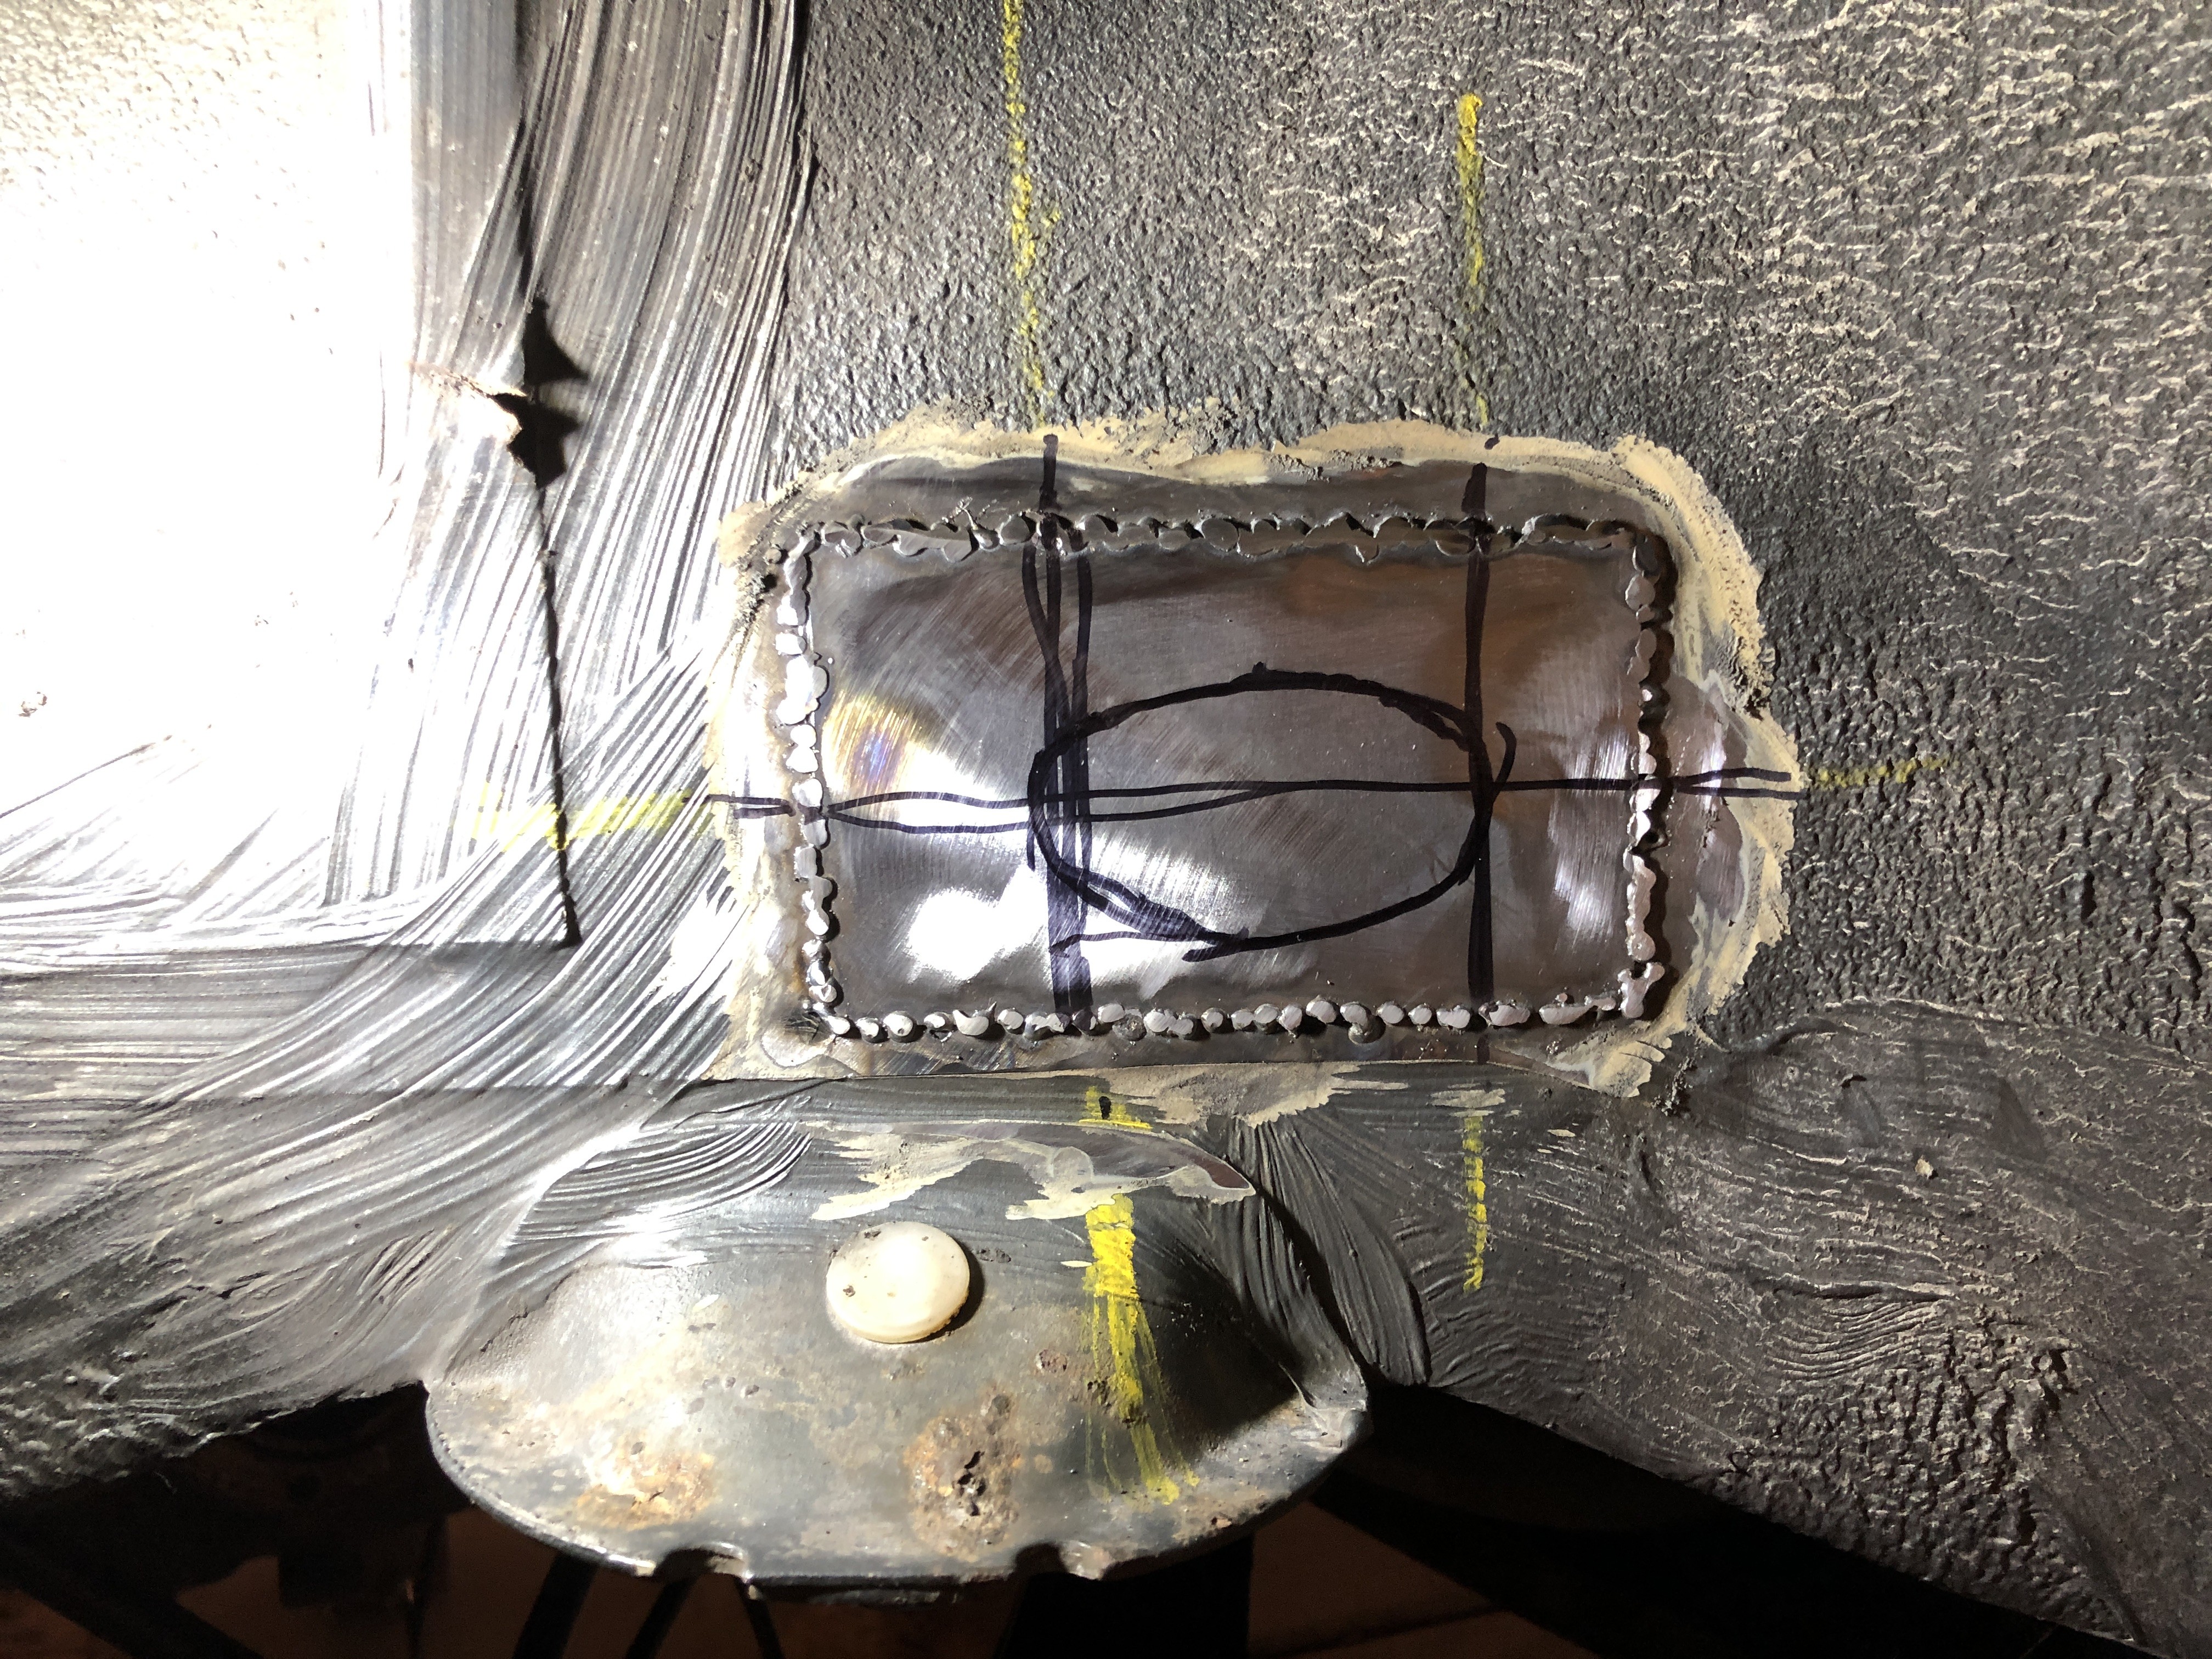
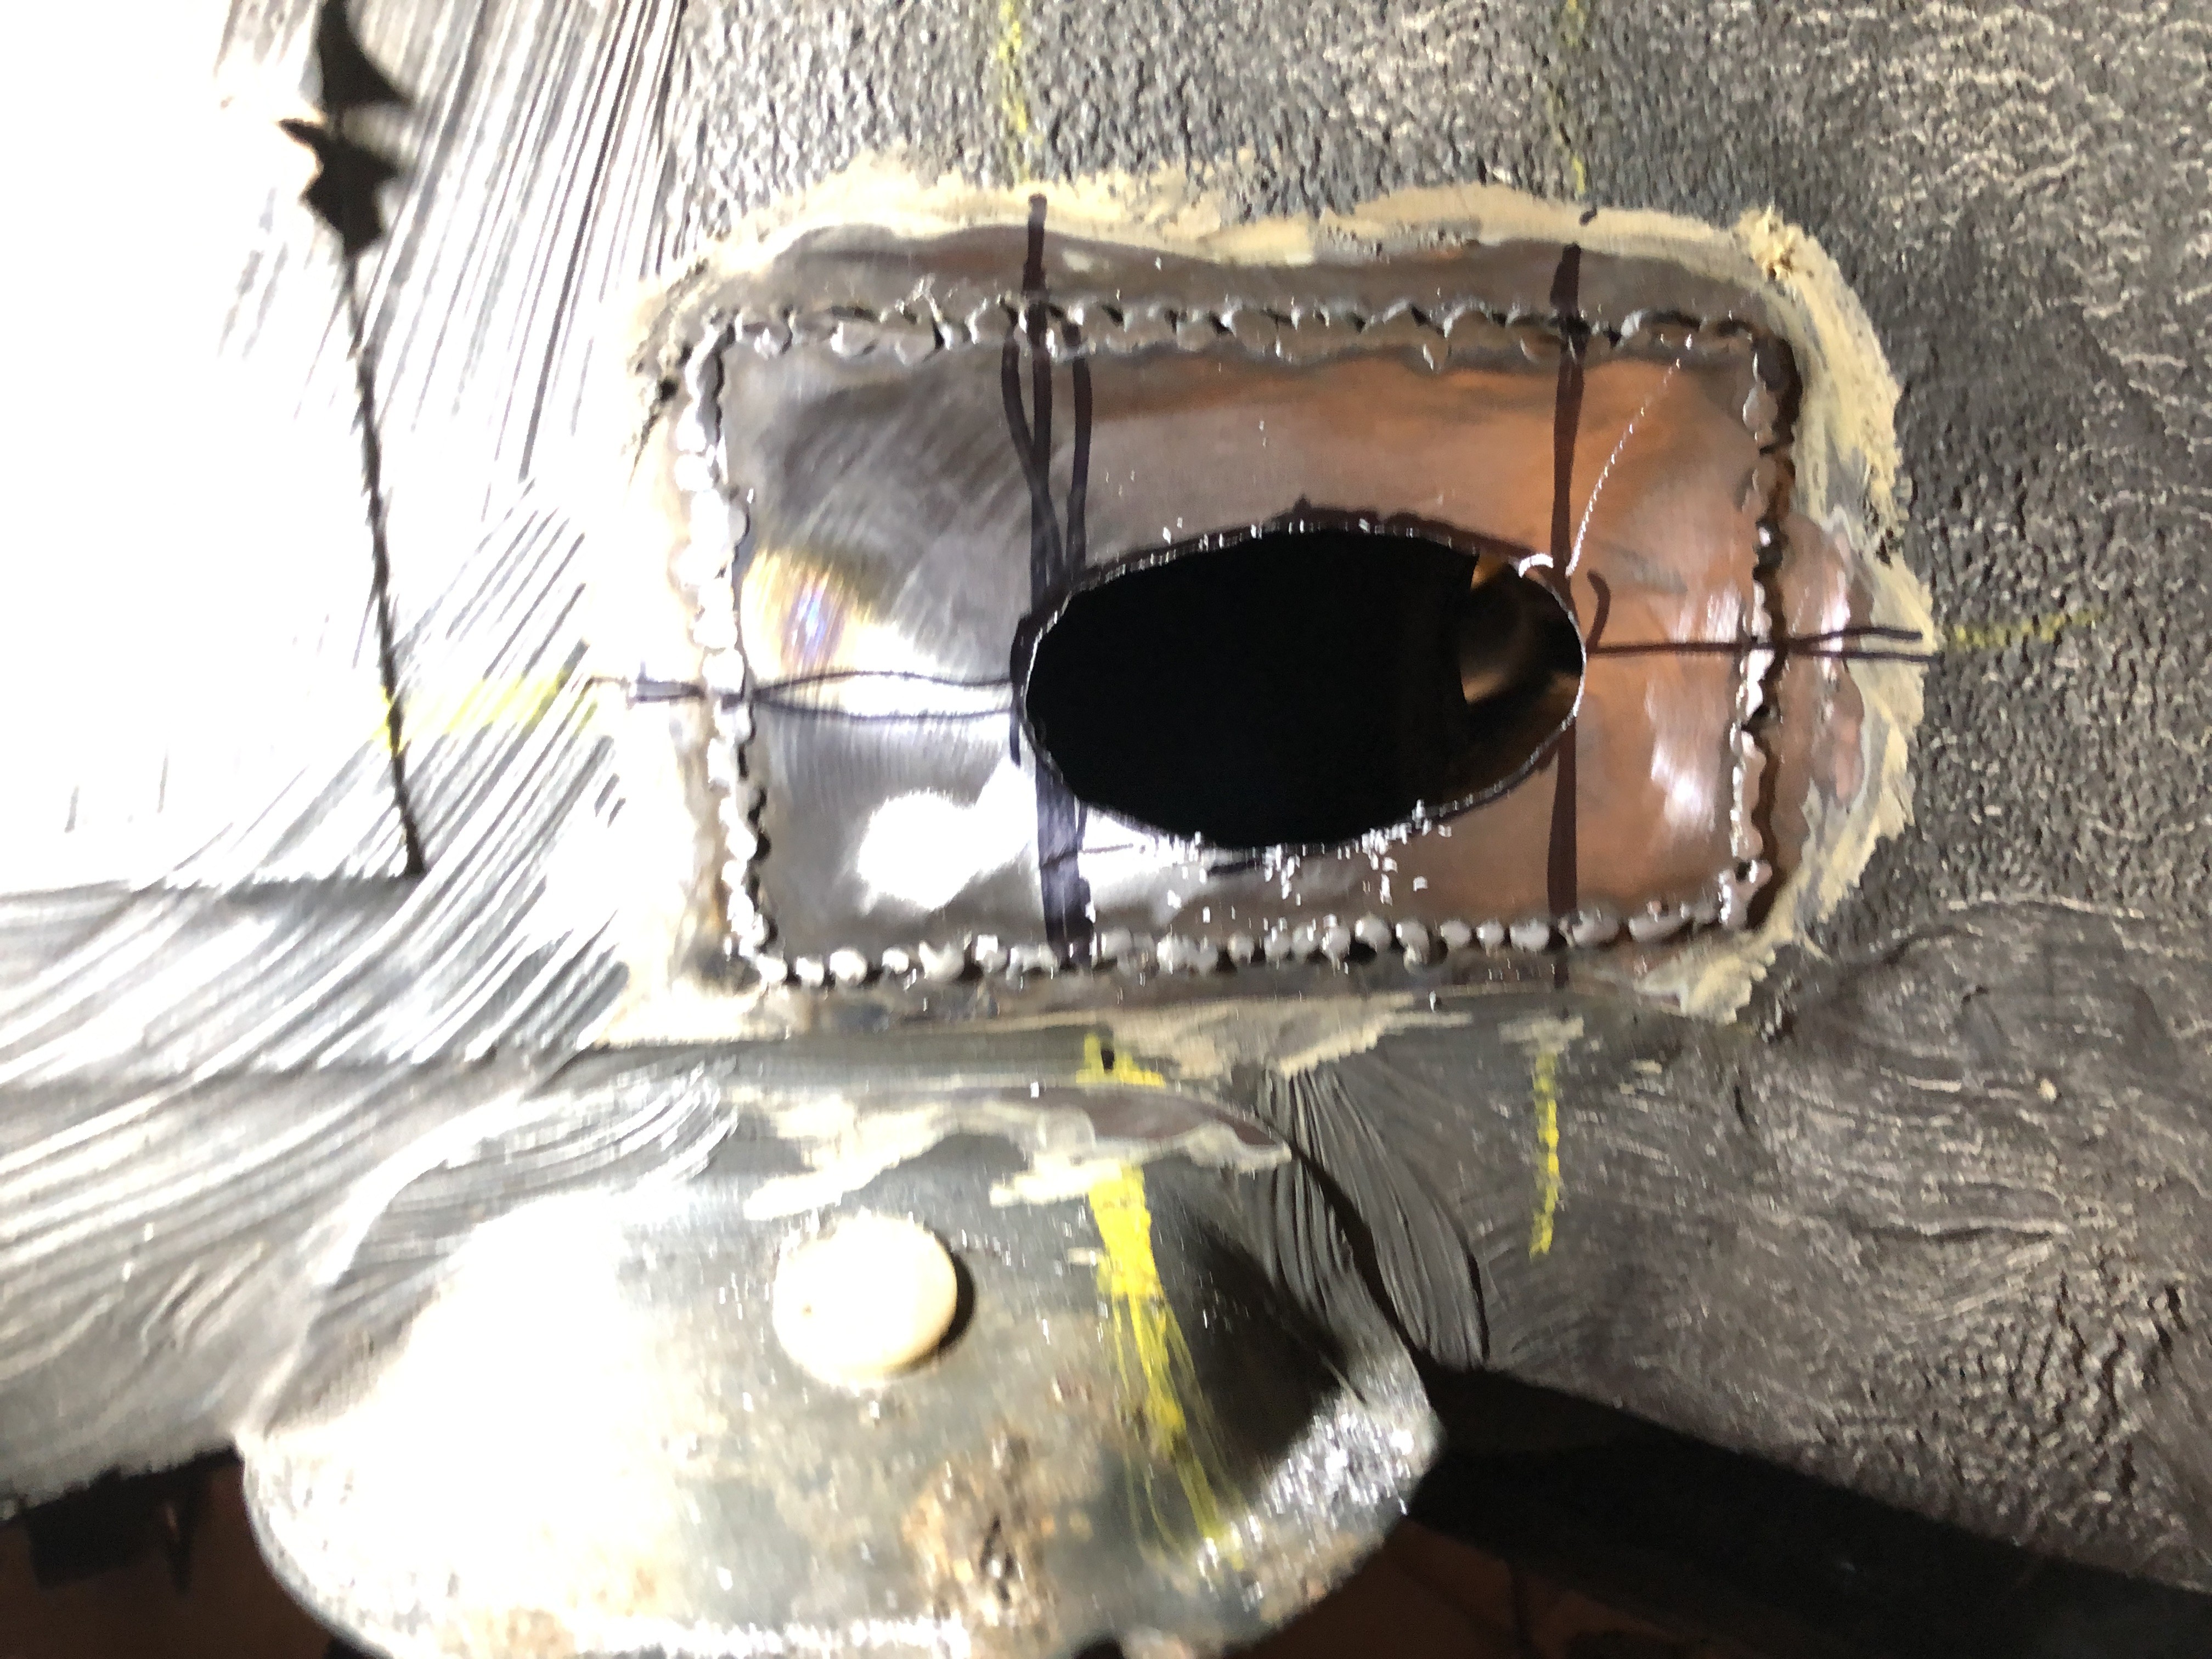
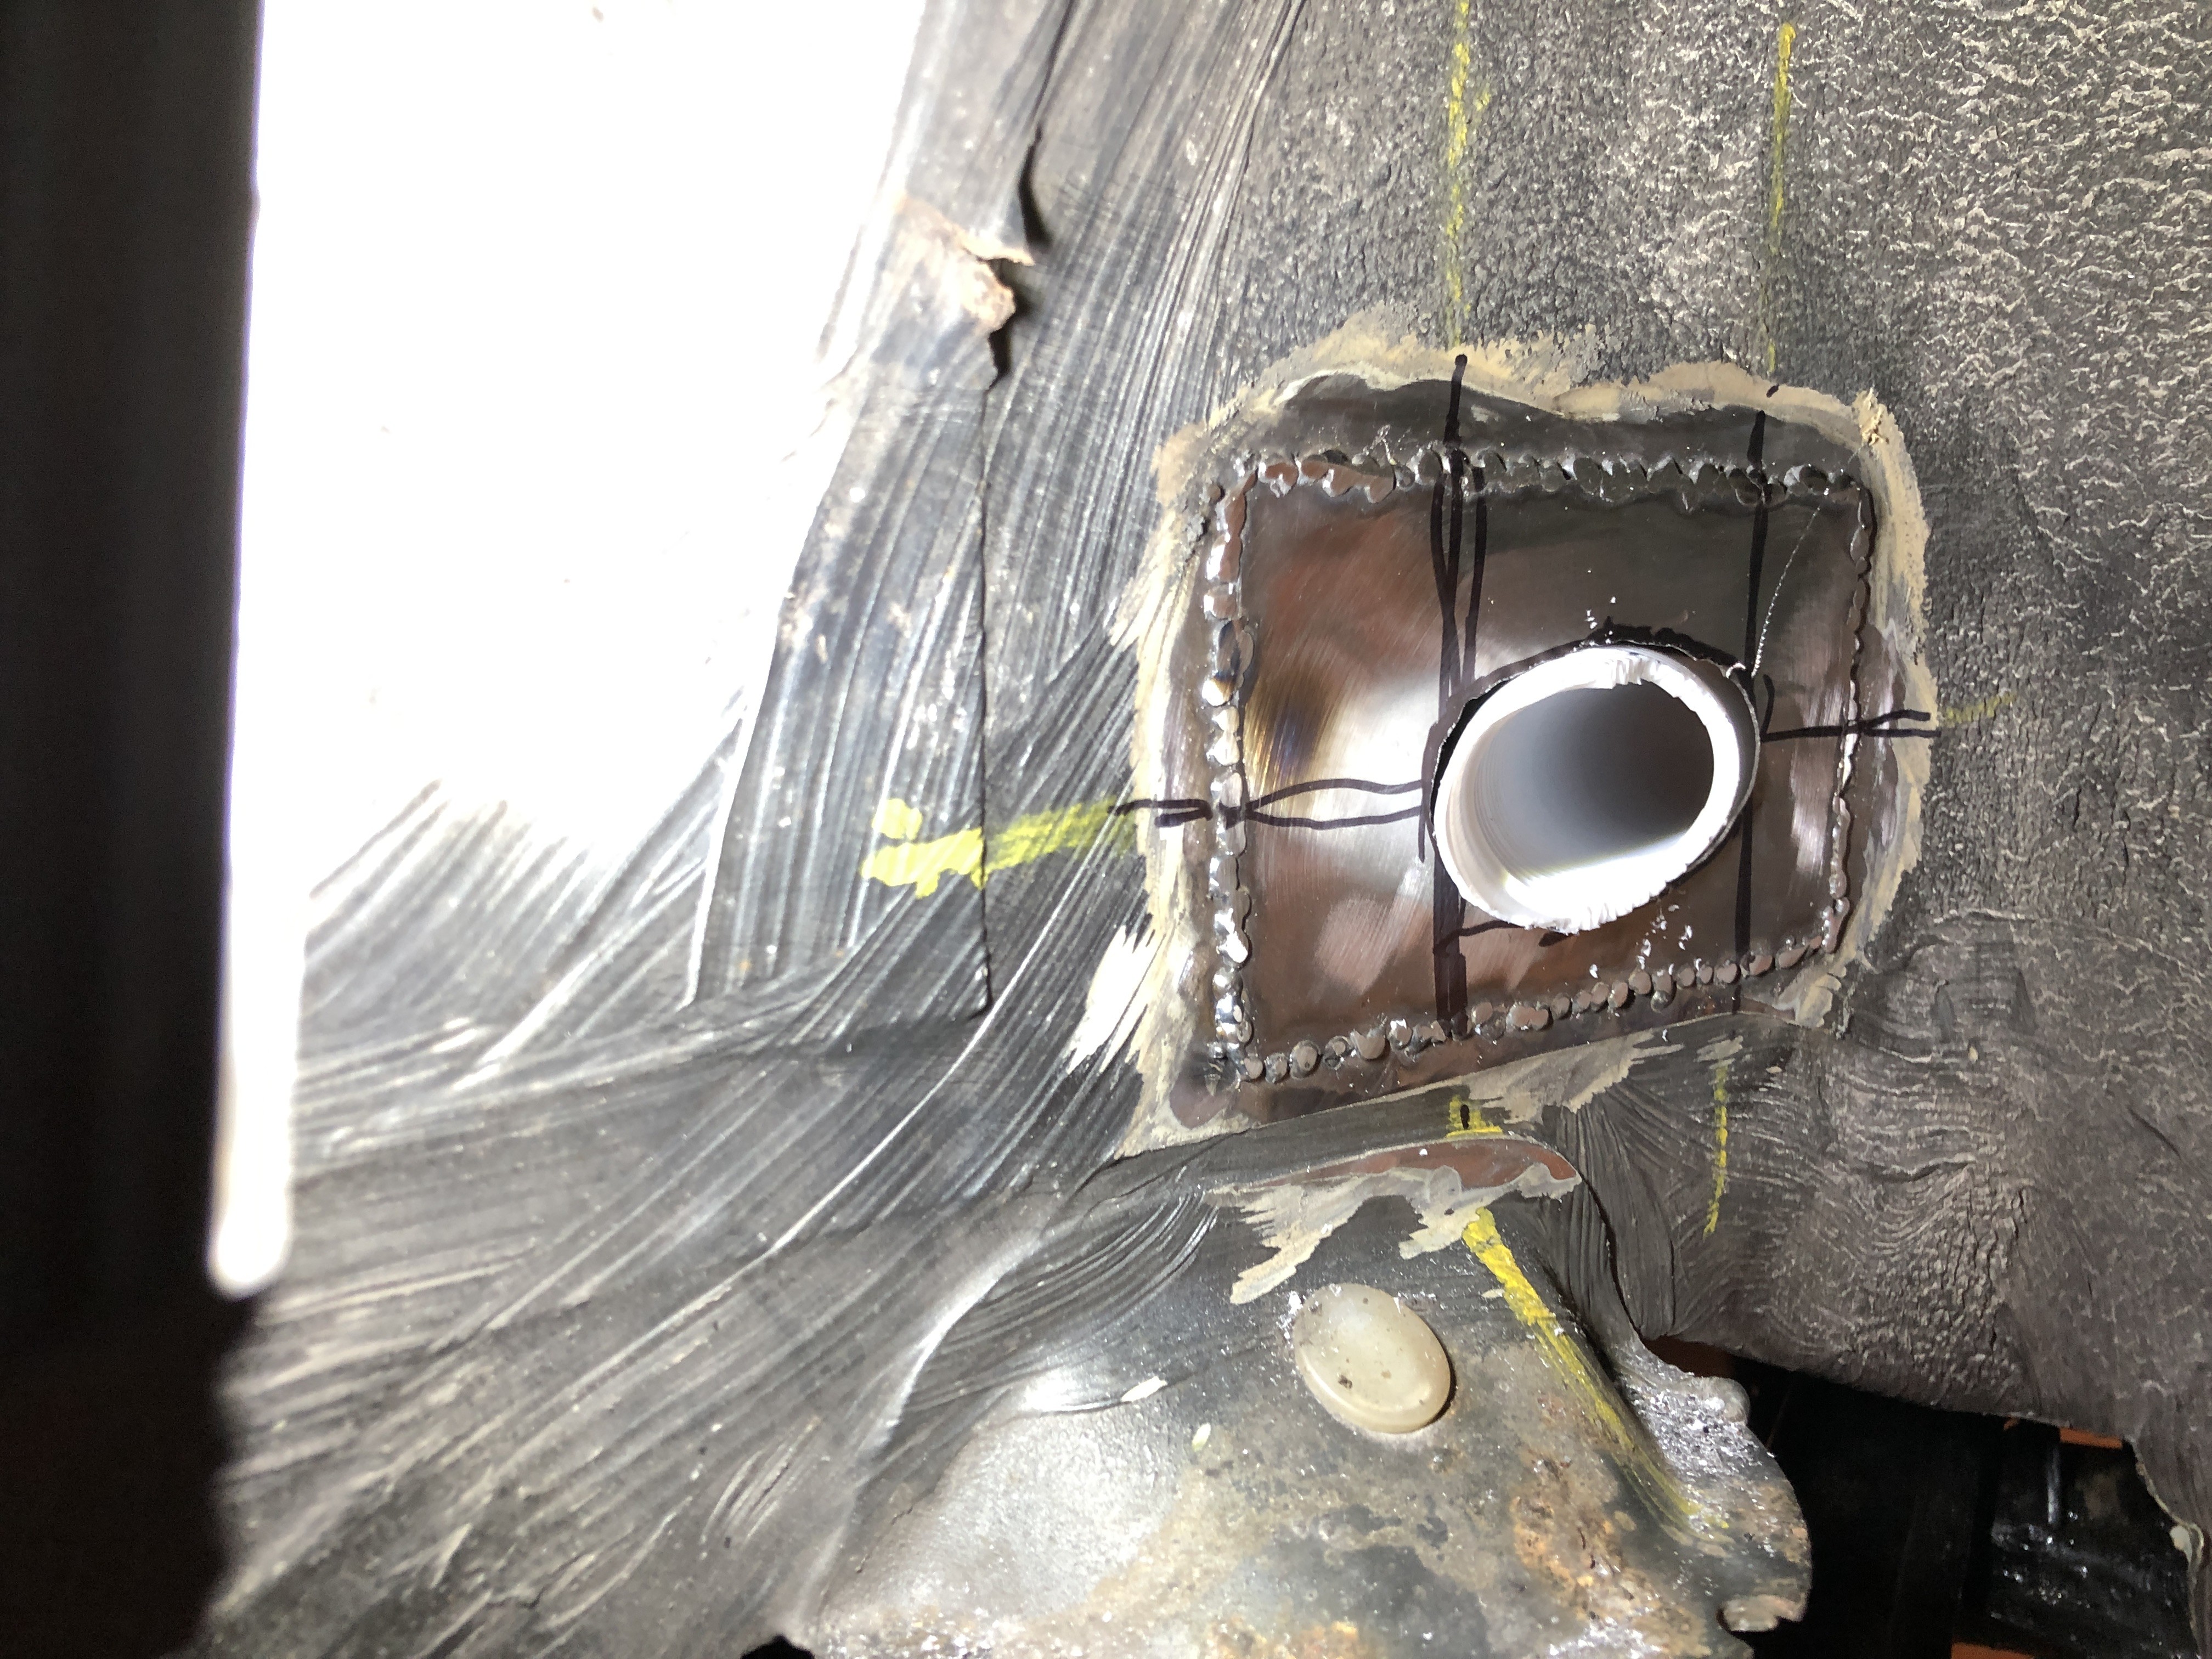
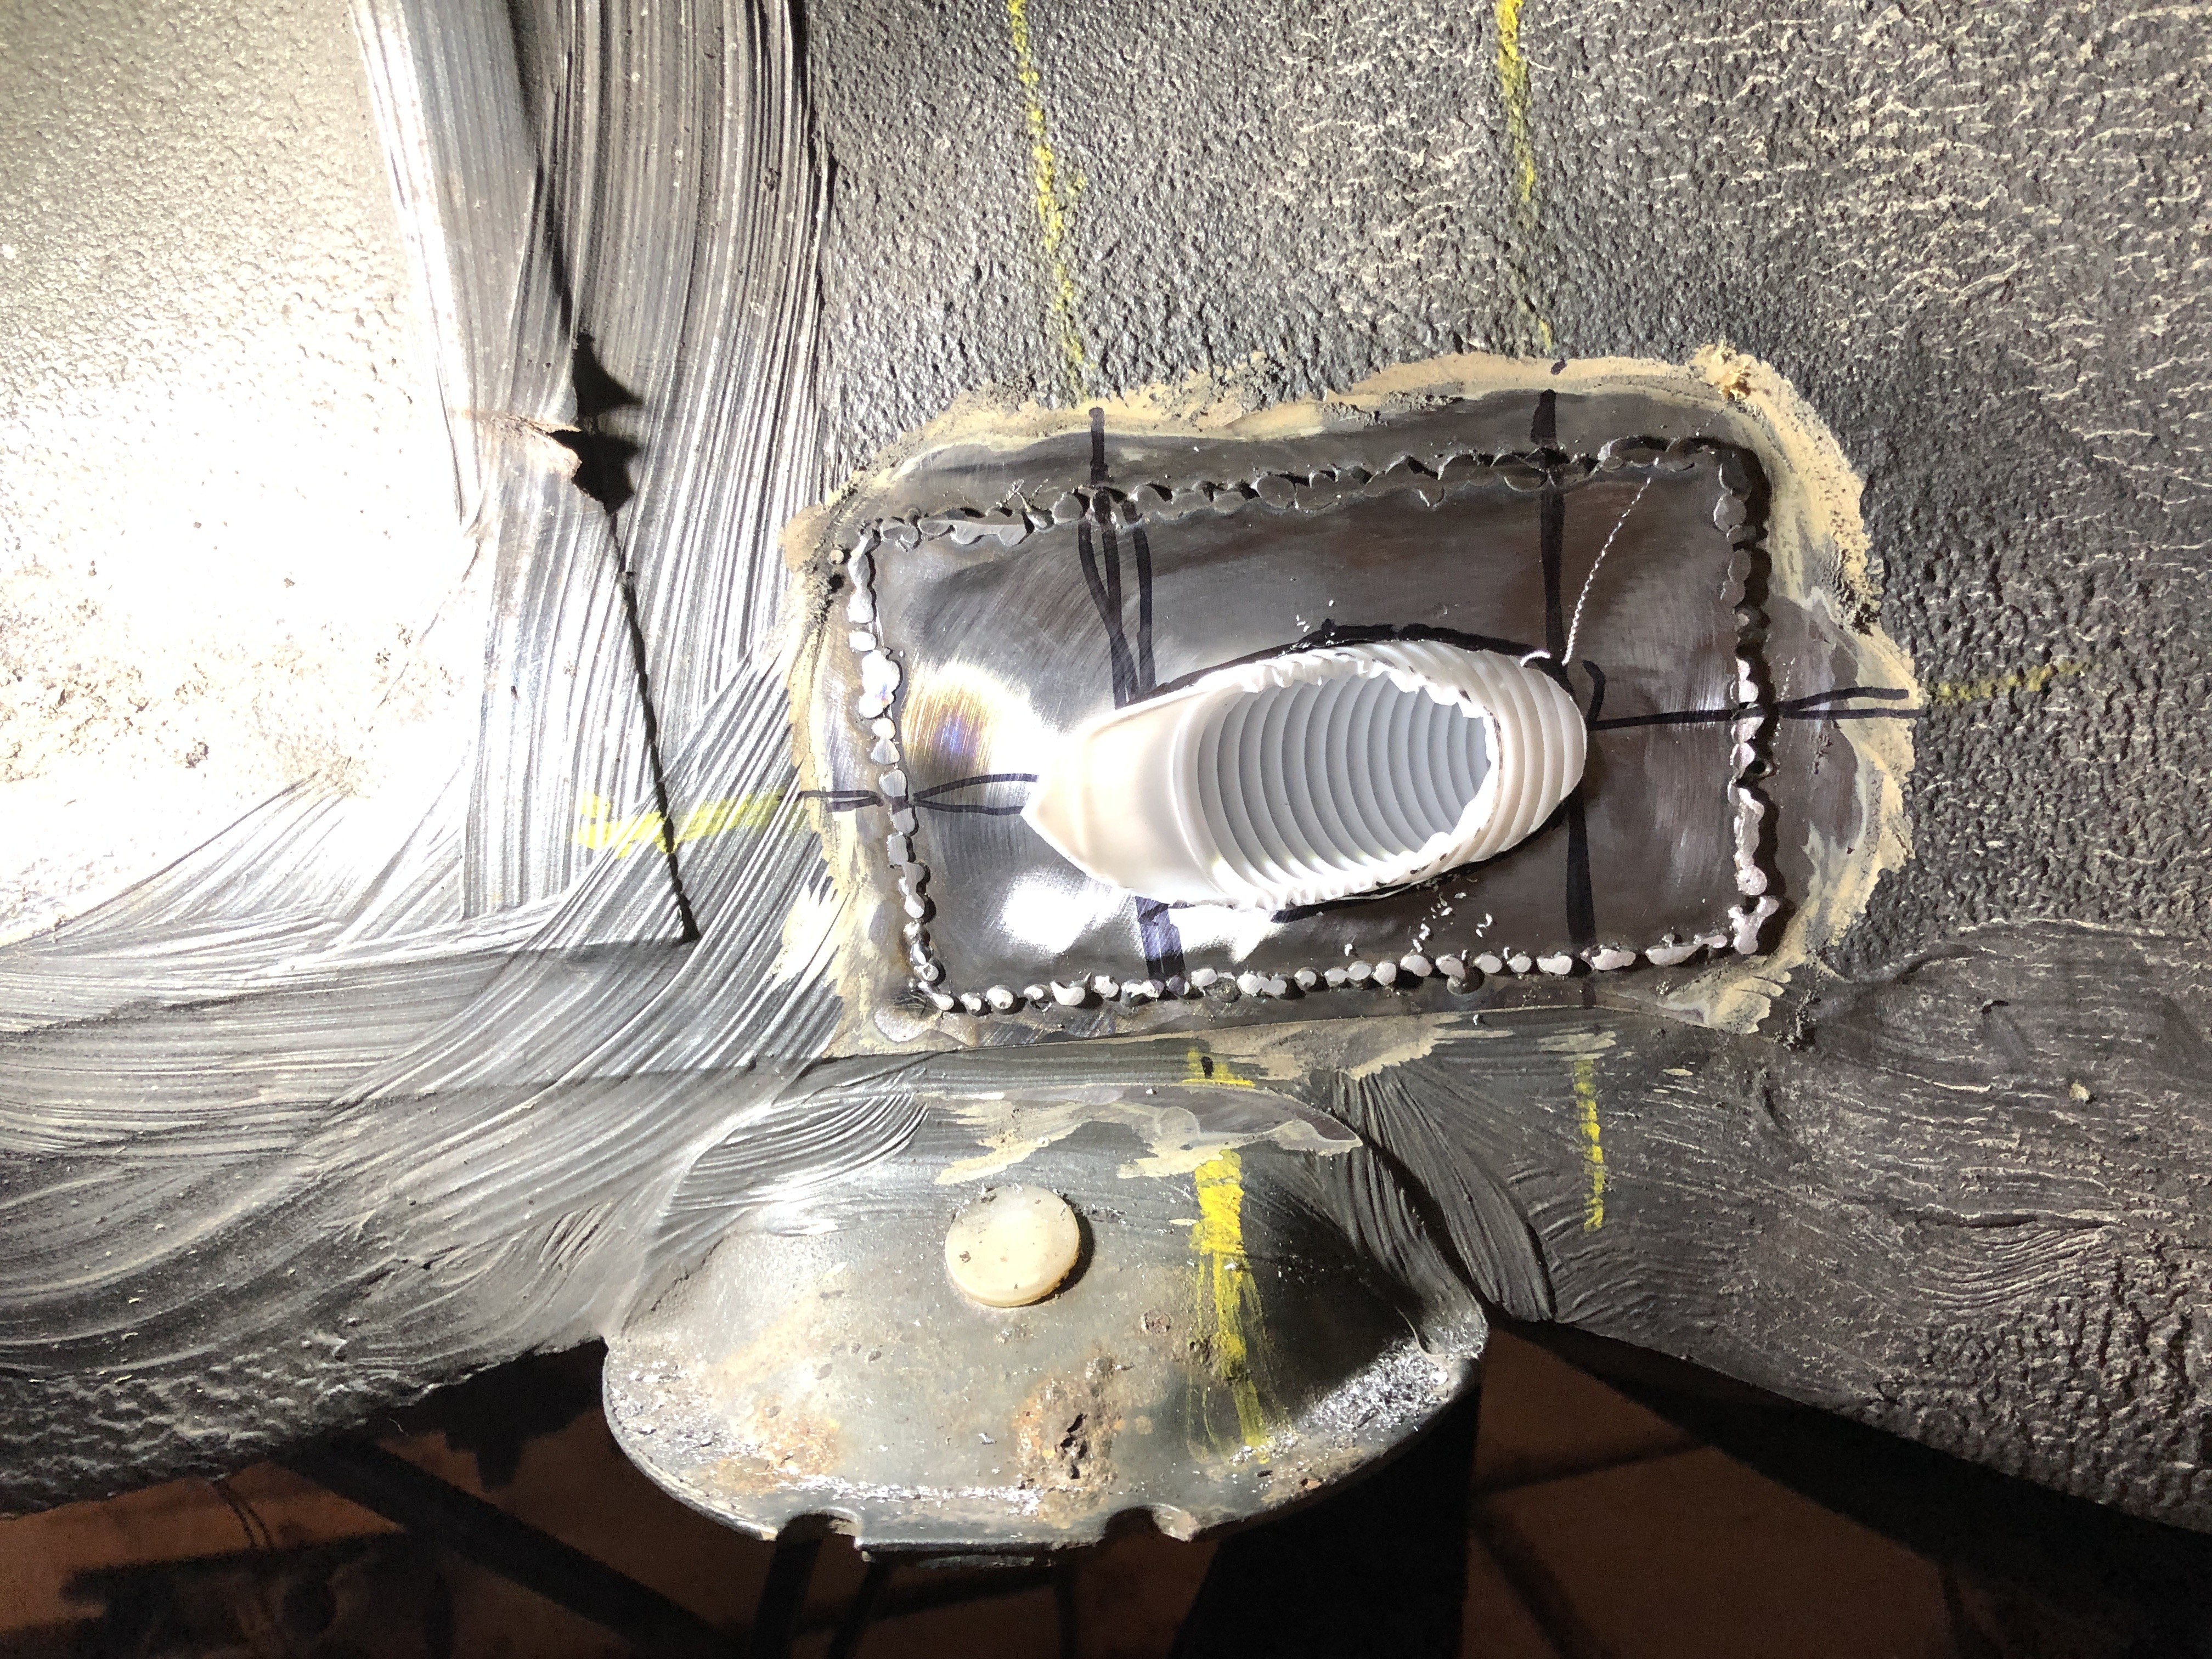
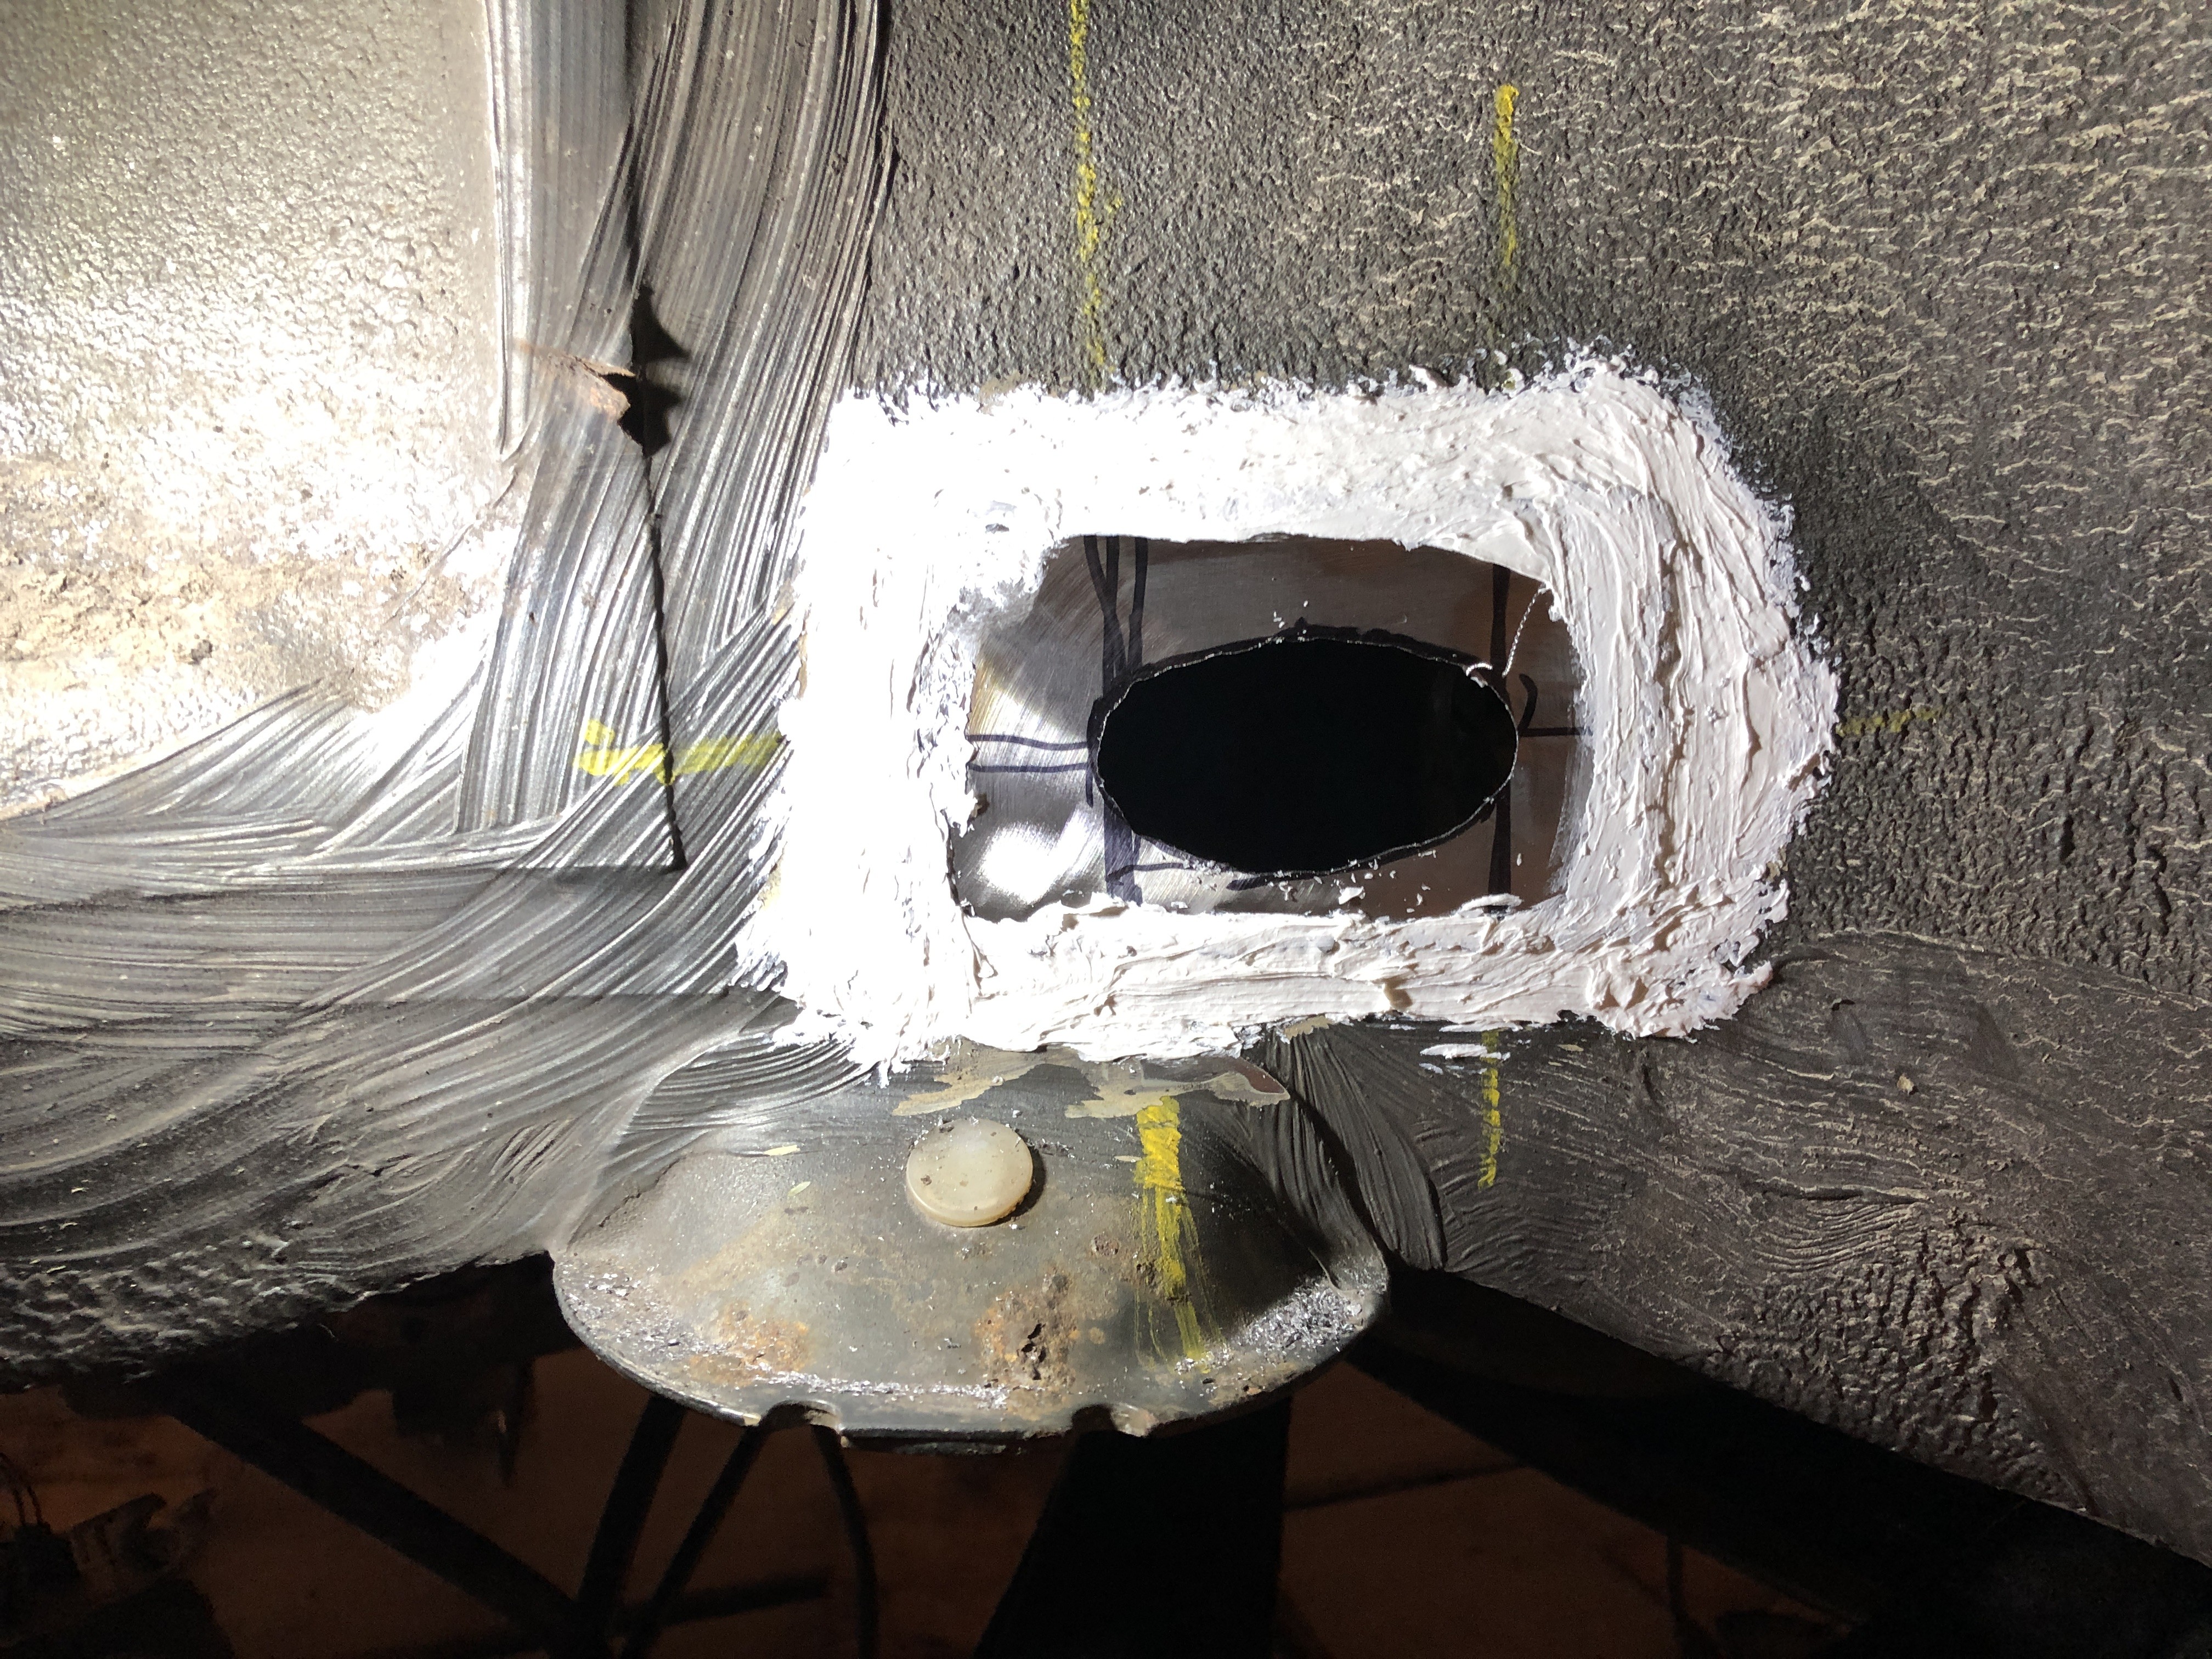
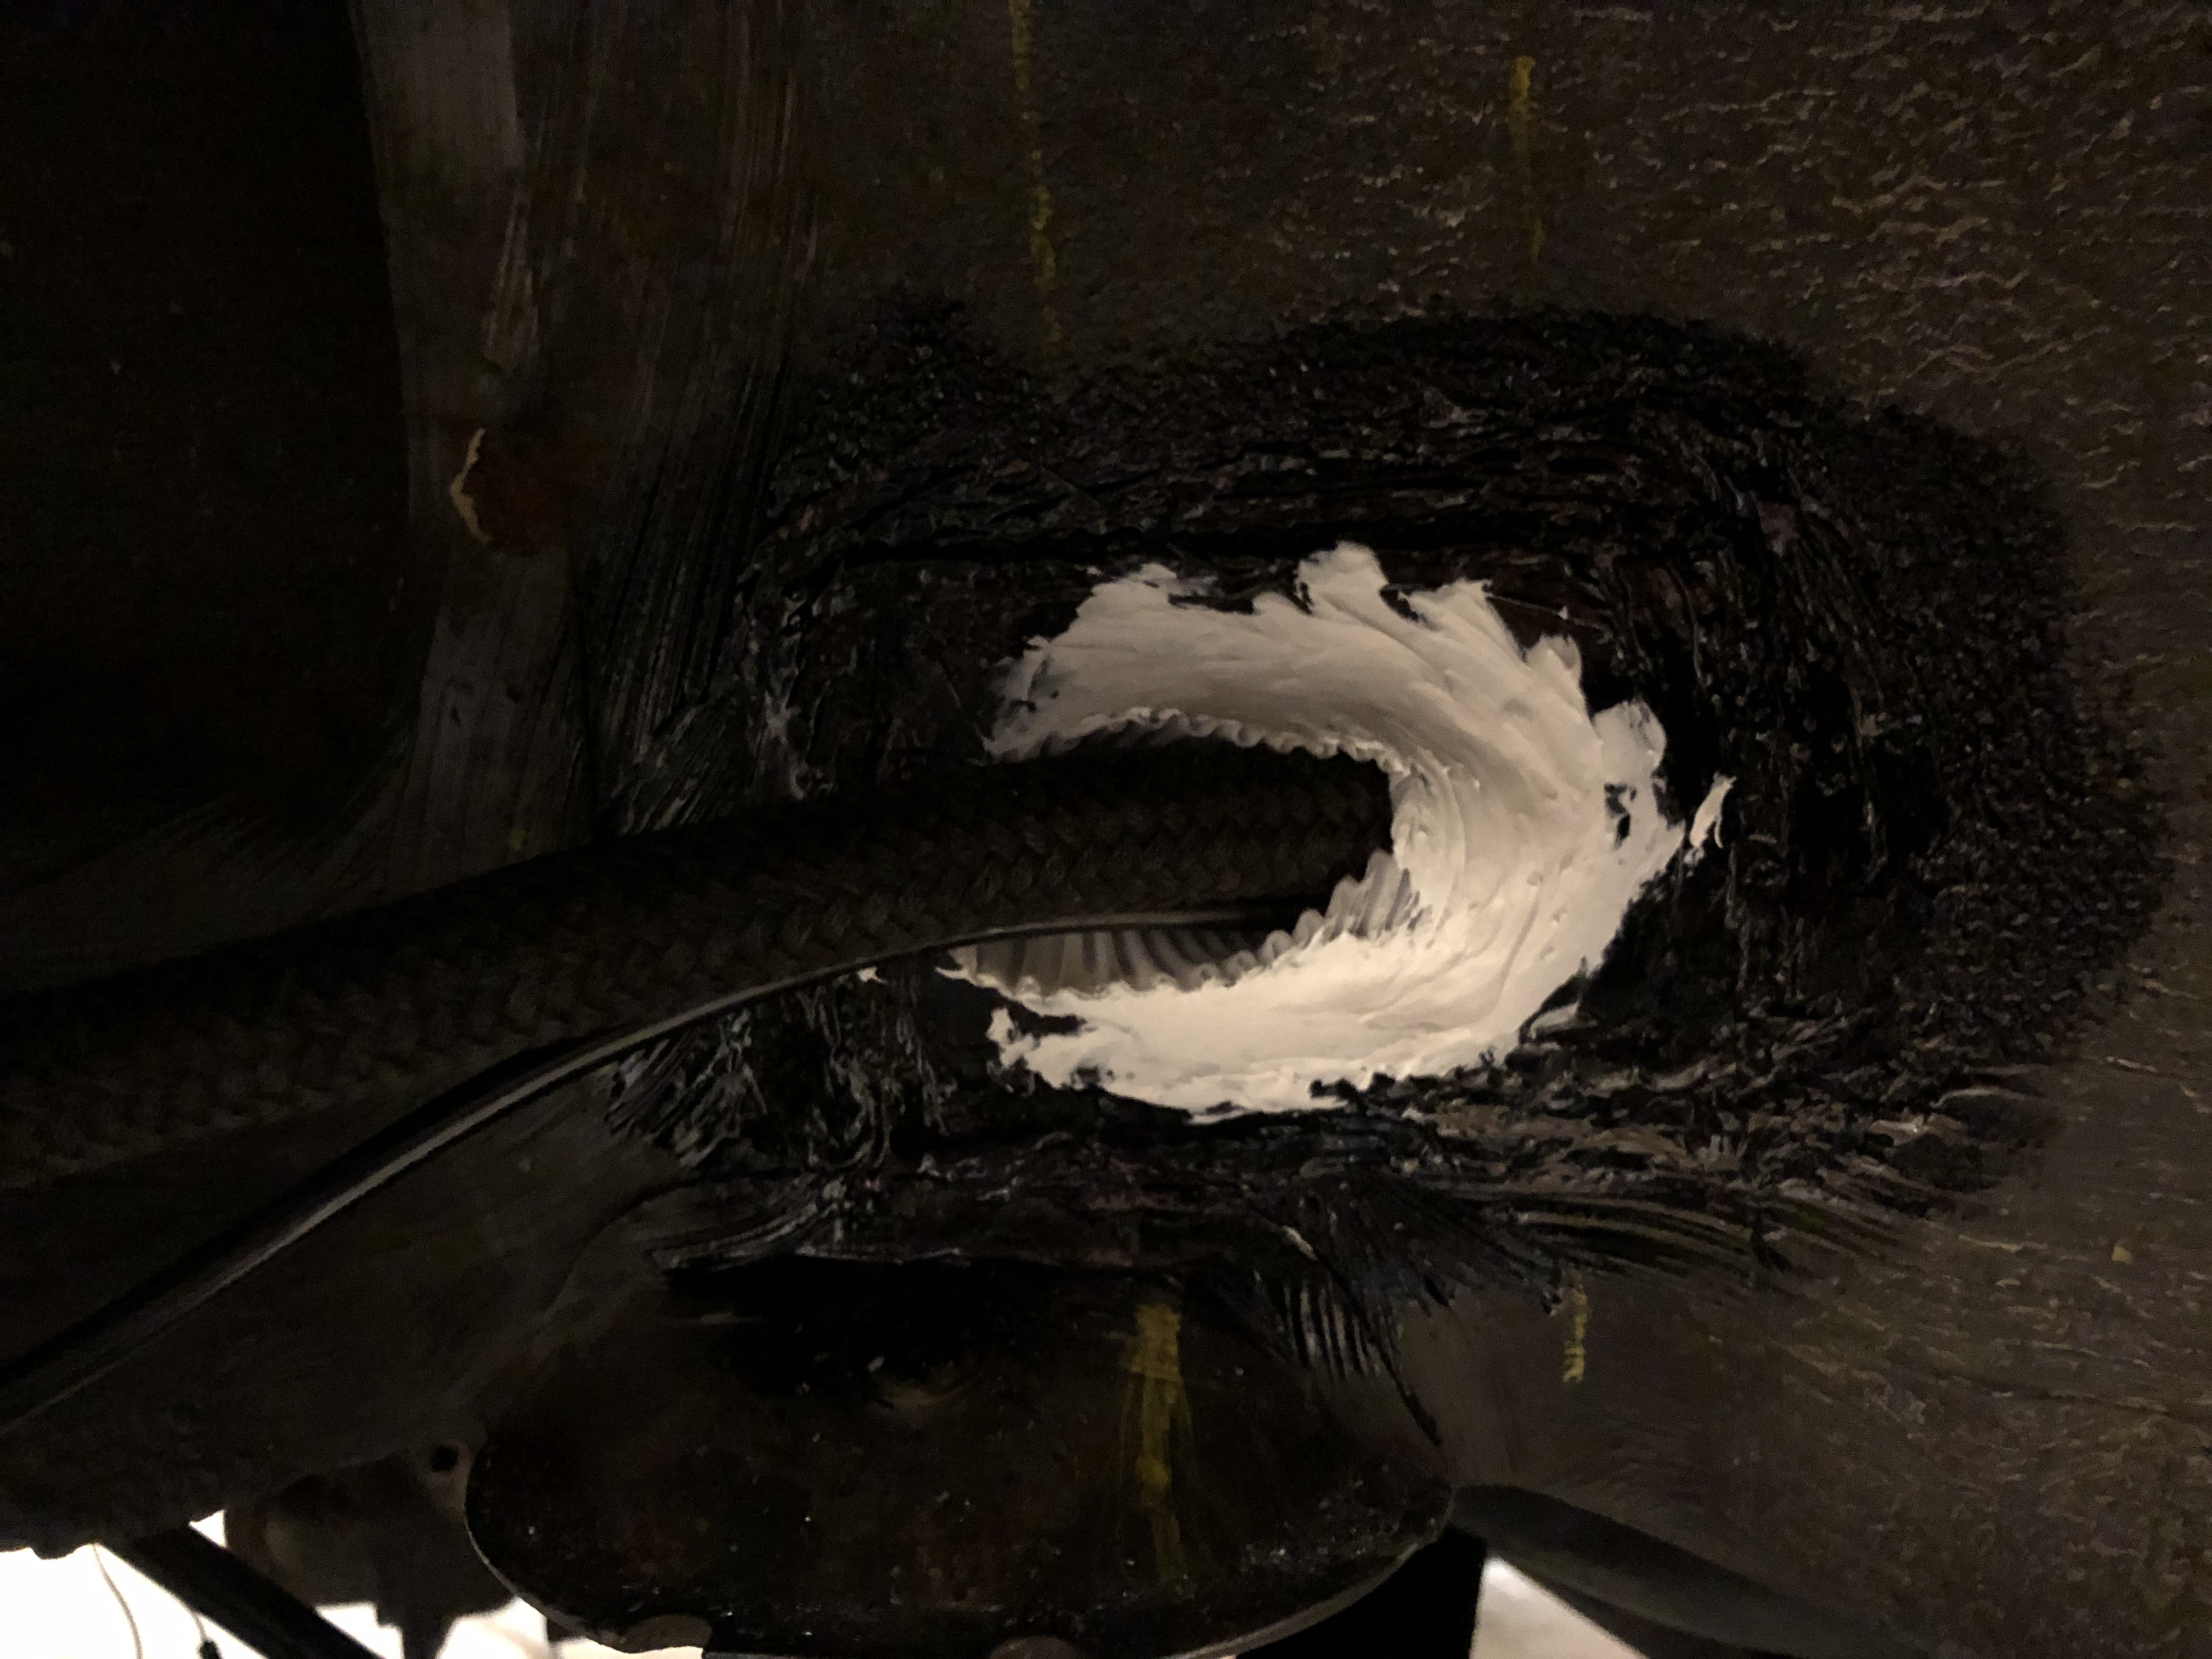
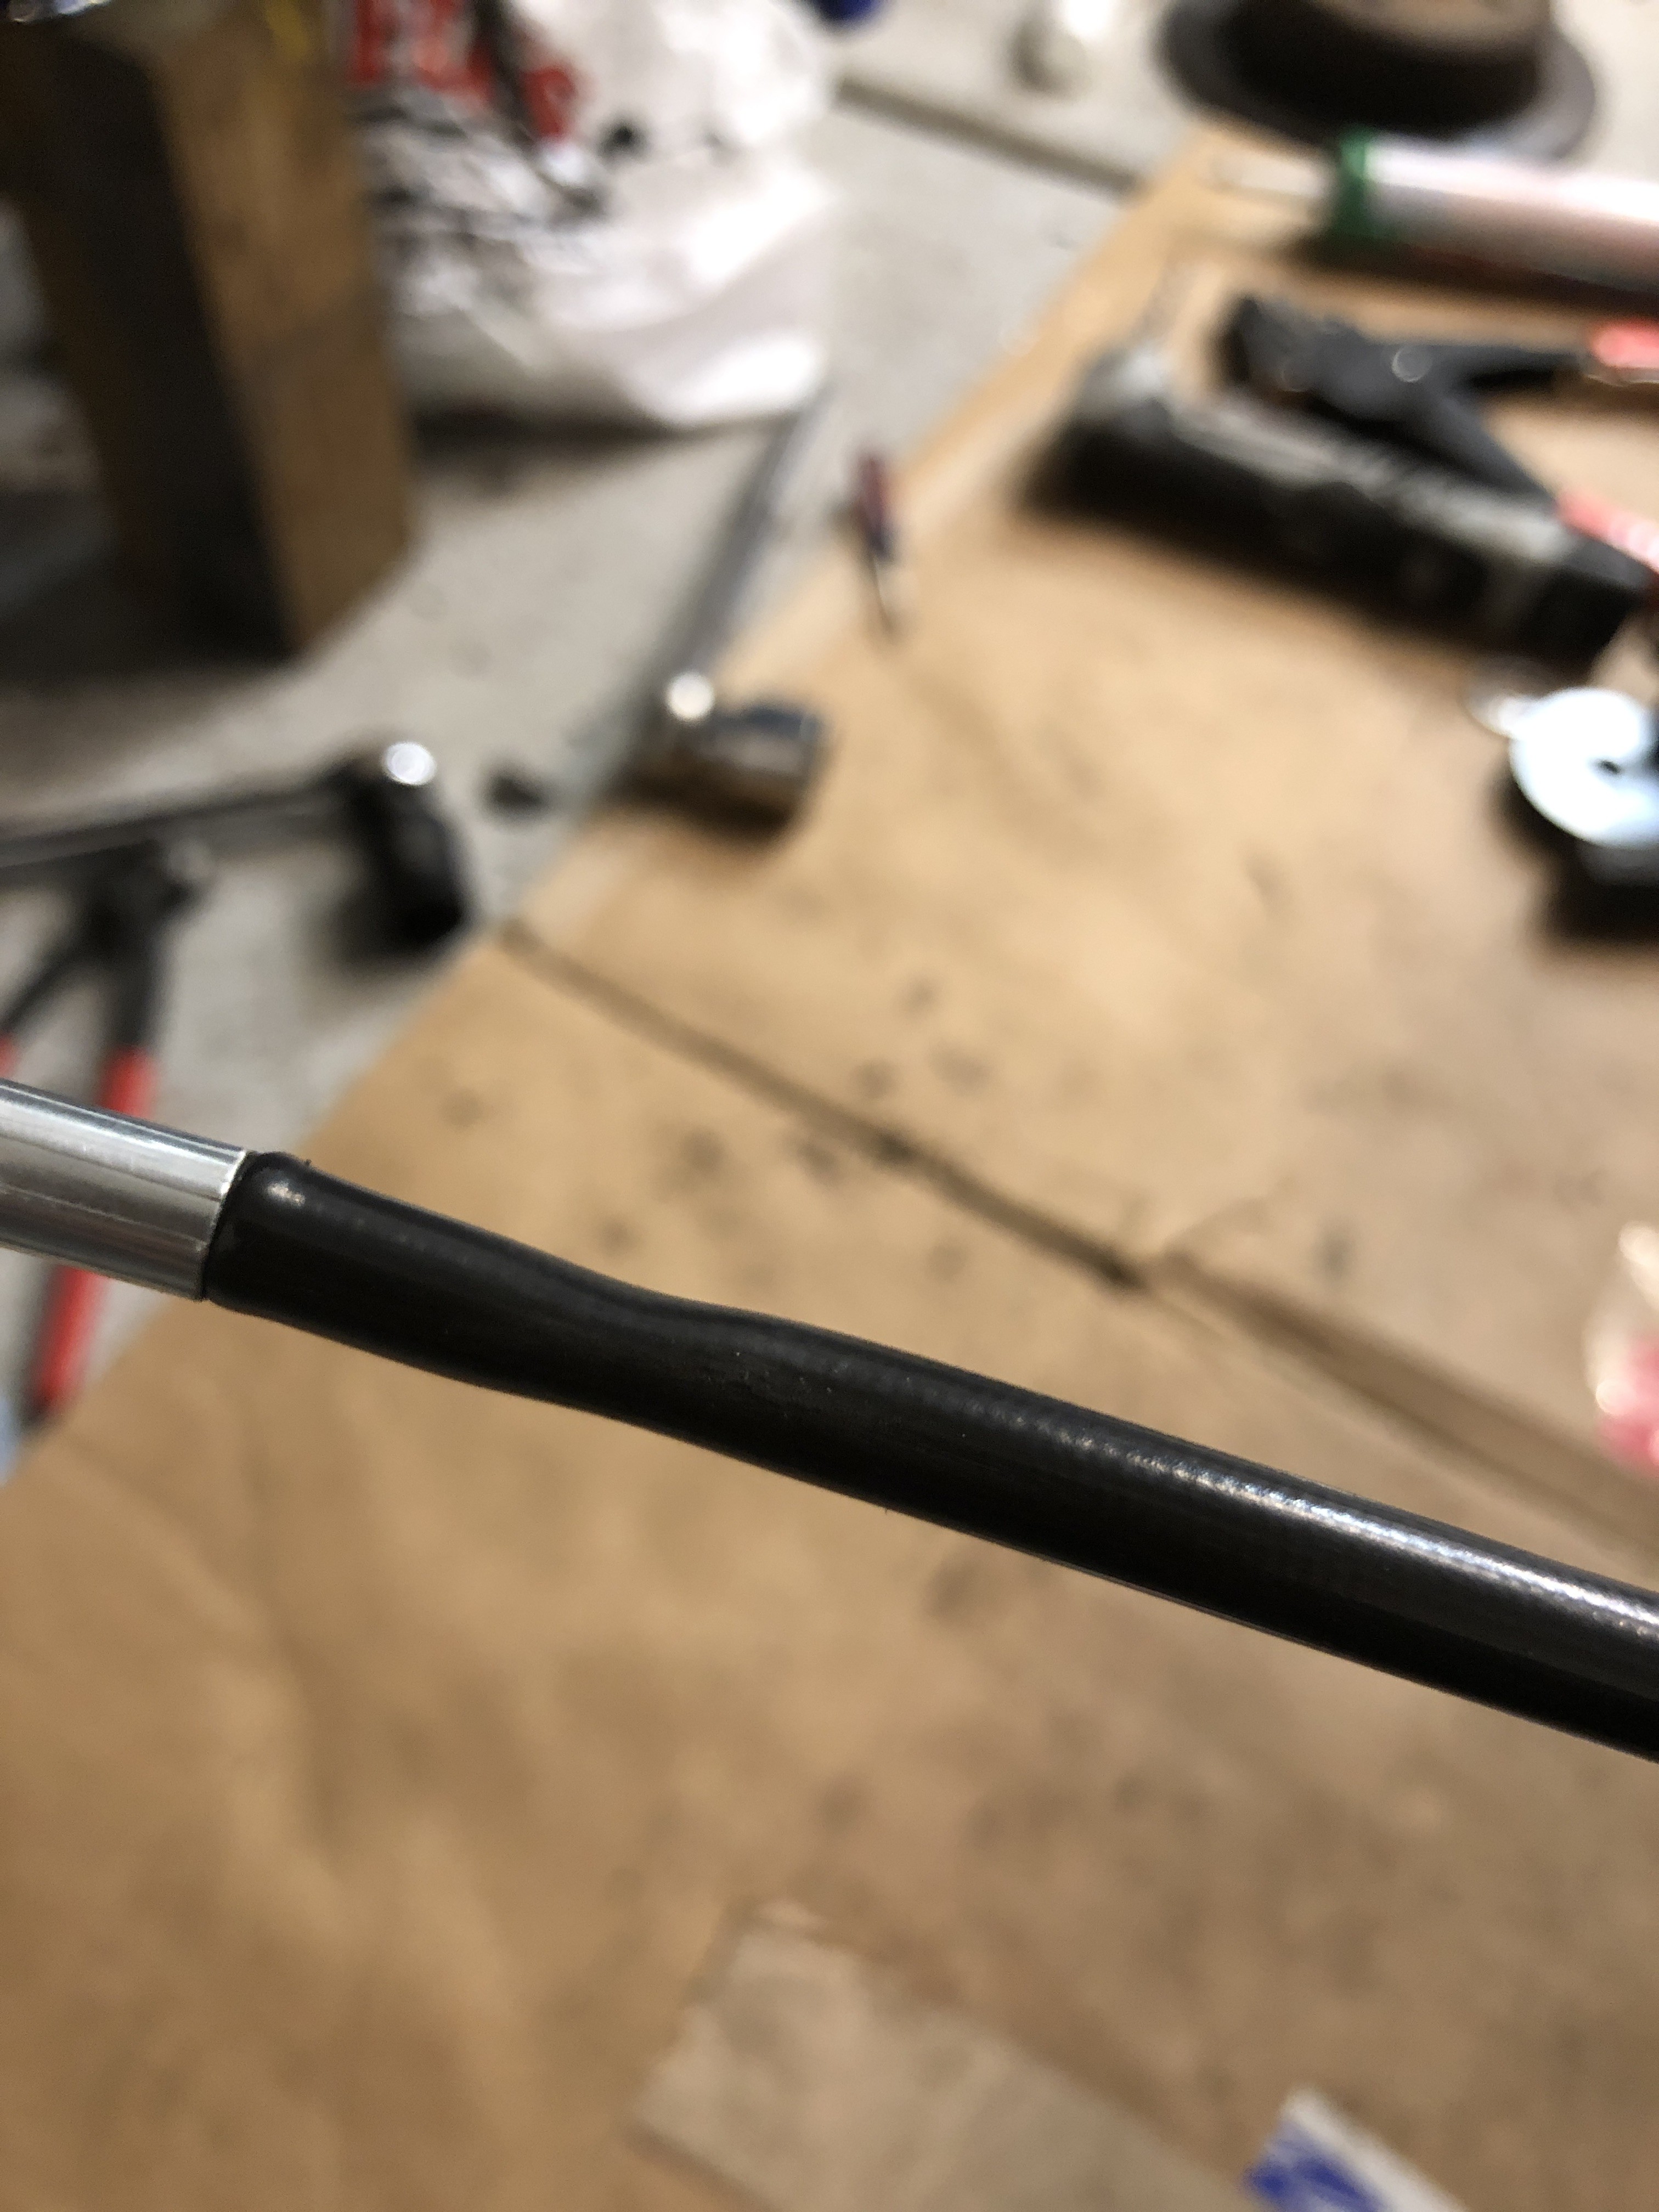
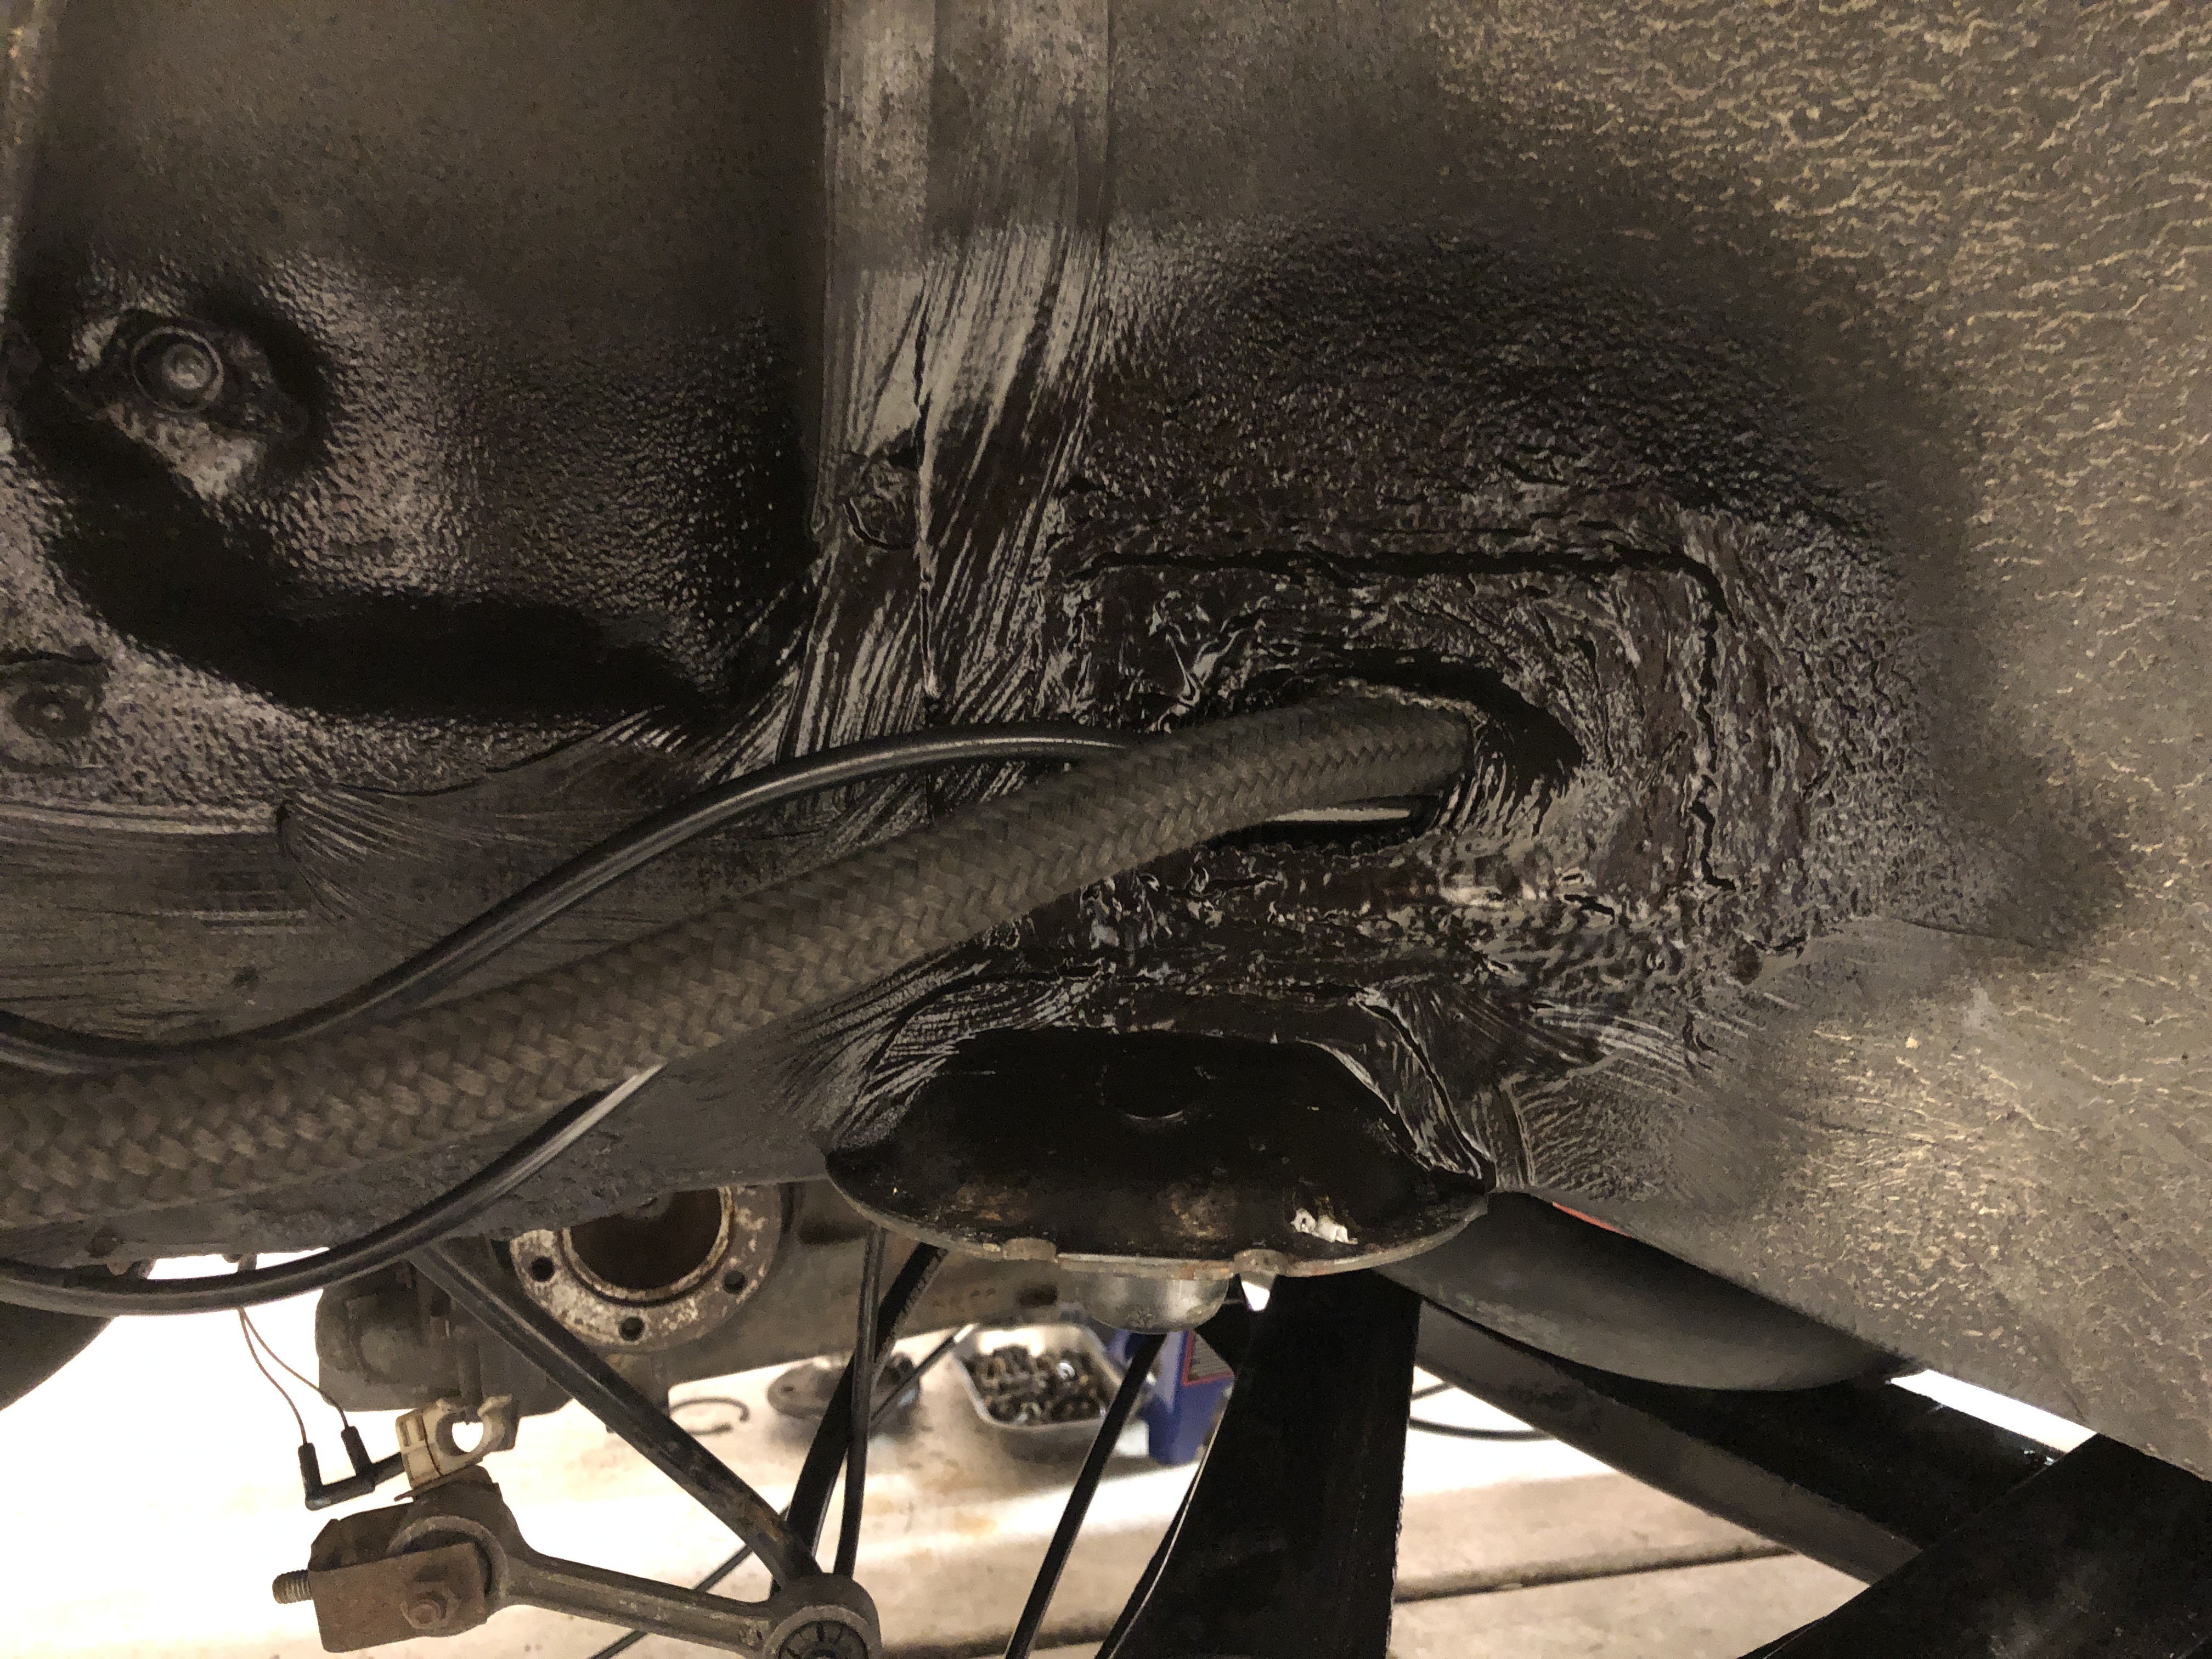
Cut out the rust where the vent lines exit. Marked up where the opening will need to be after it’s patched. Using some plastic tubing to run the lines through the car and then will use seam sealer where it exits the car to keep it in place.
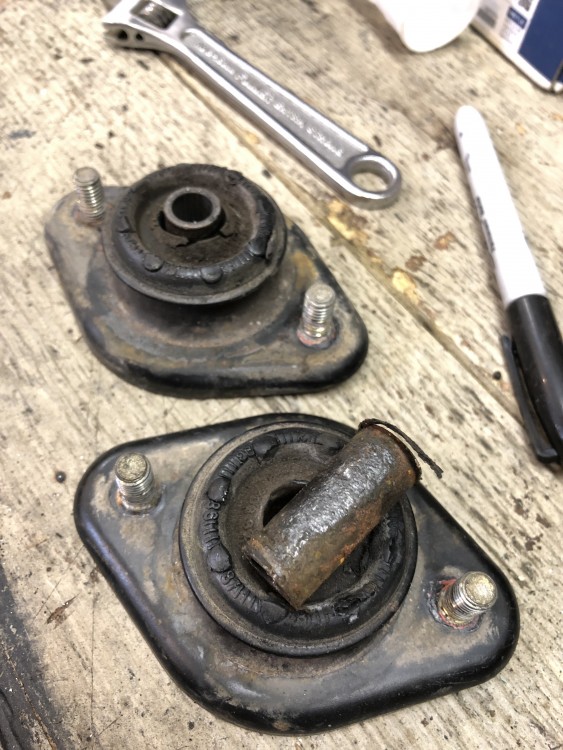
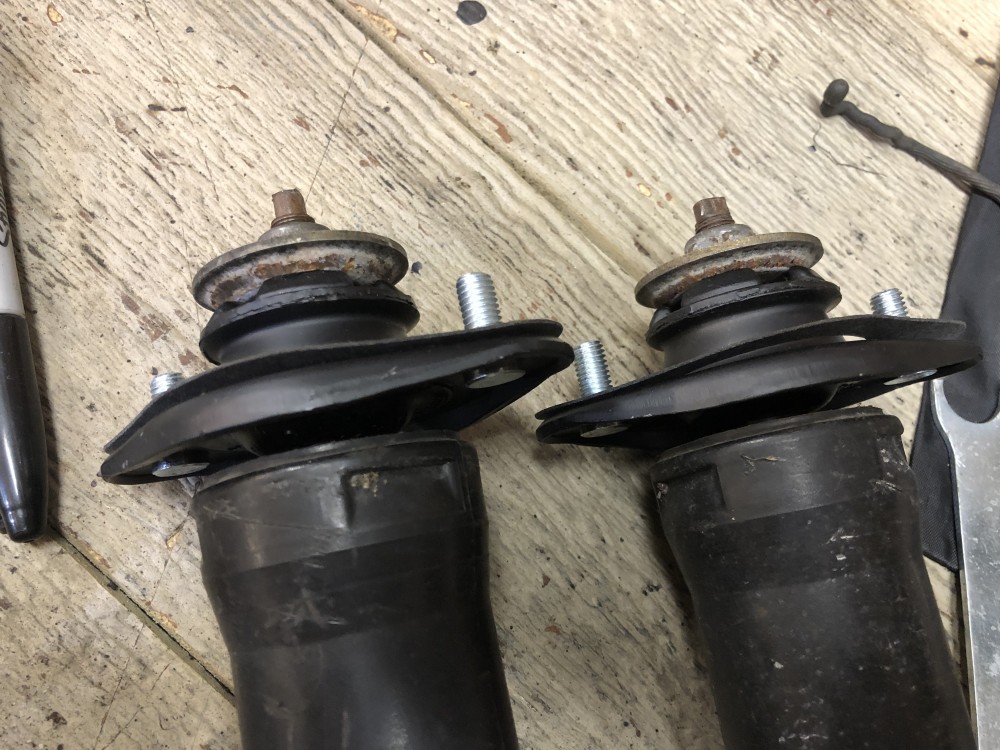
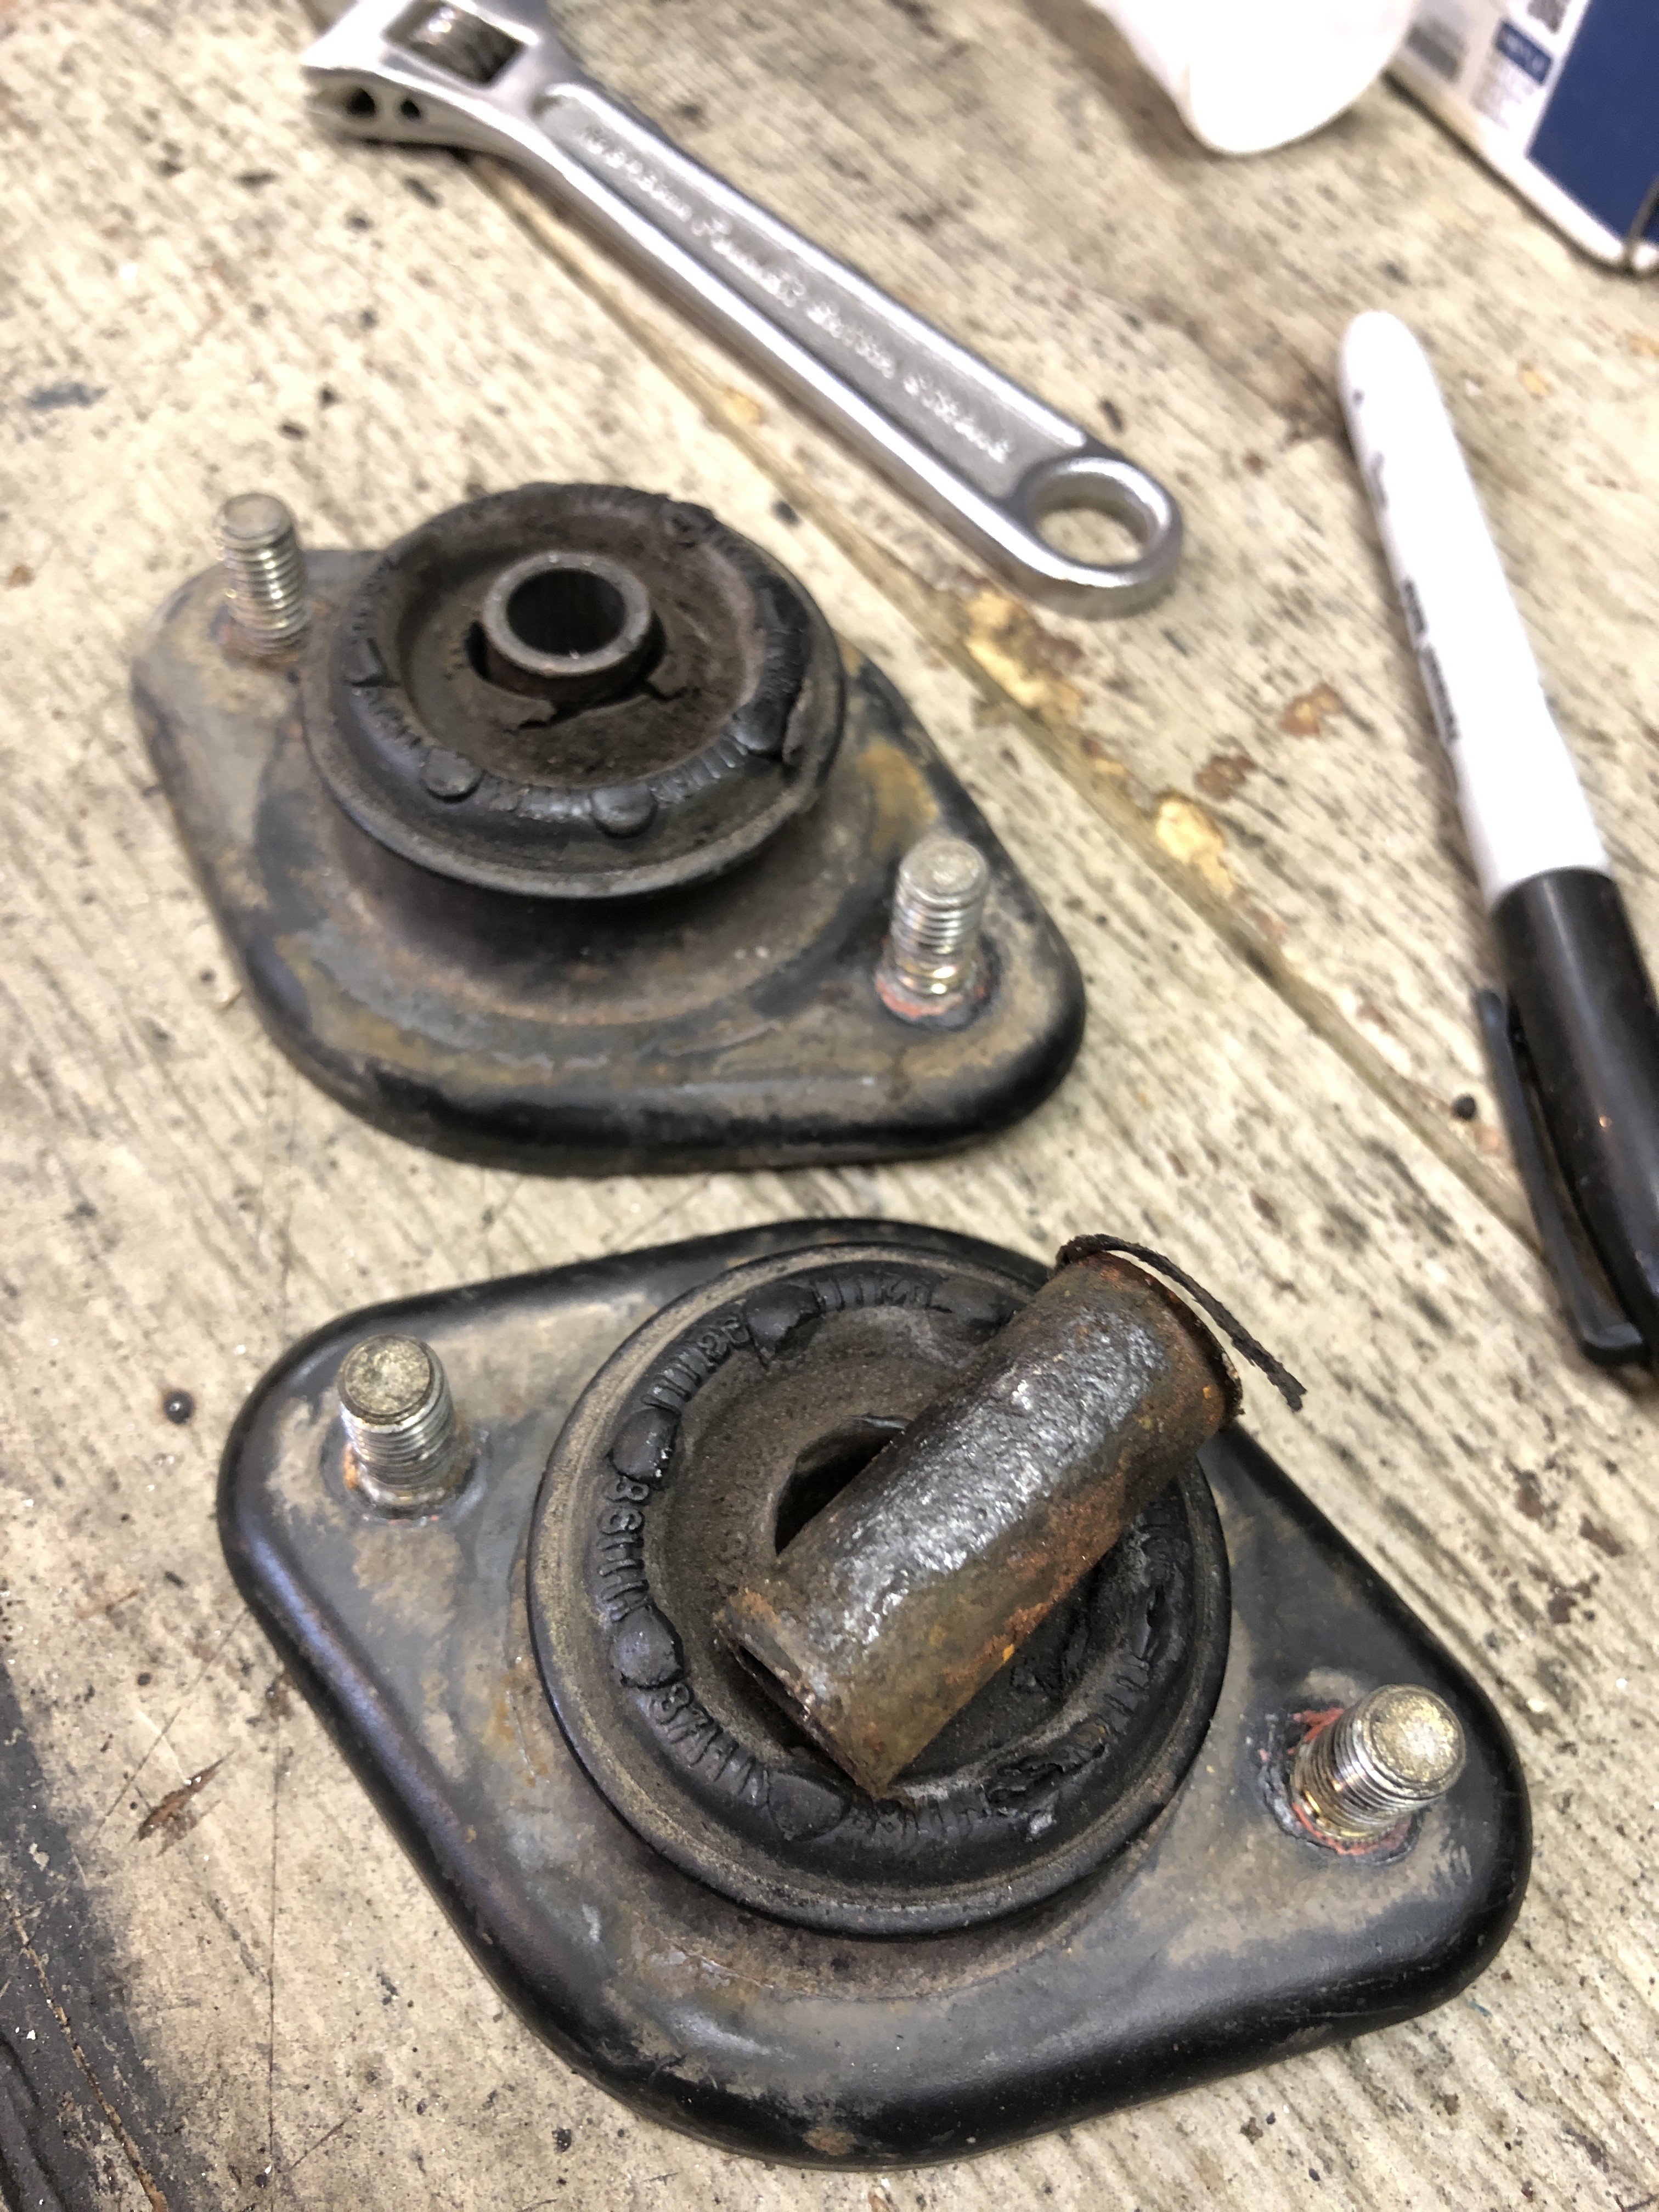
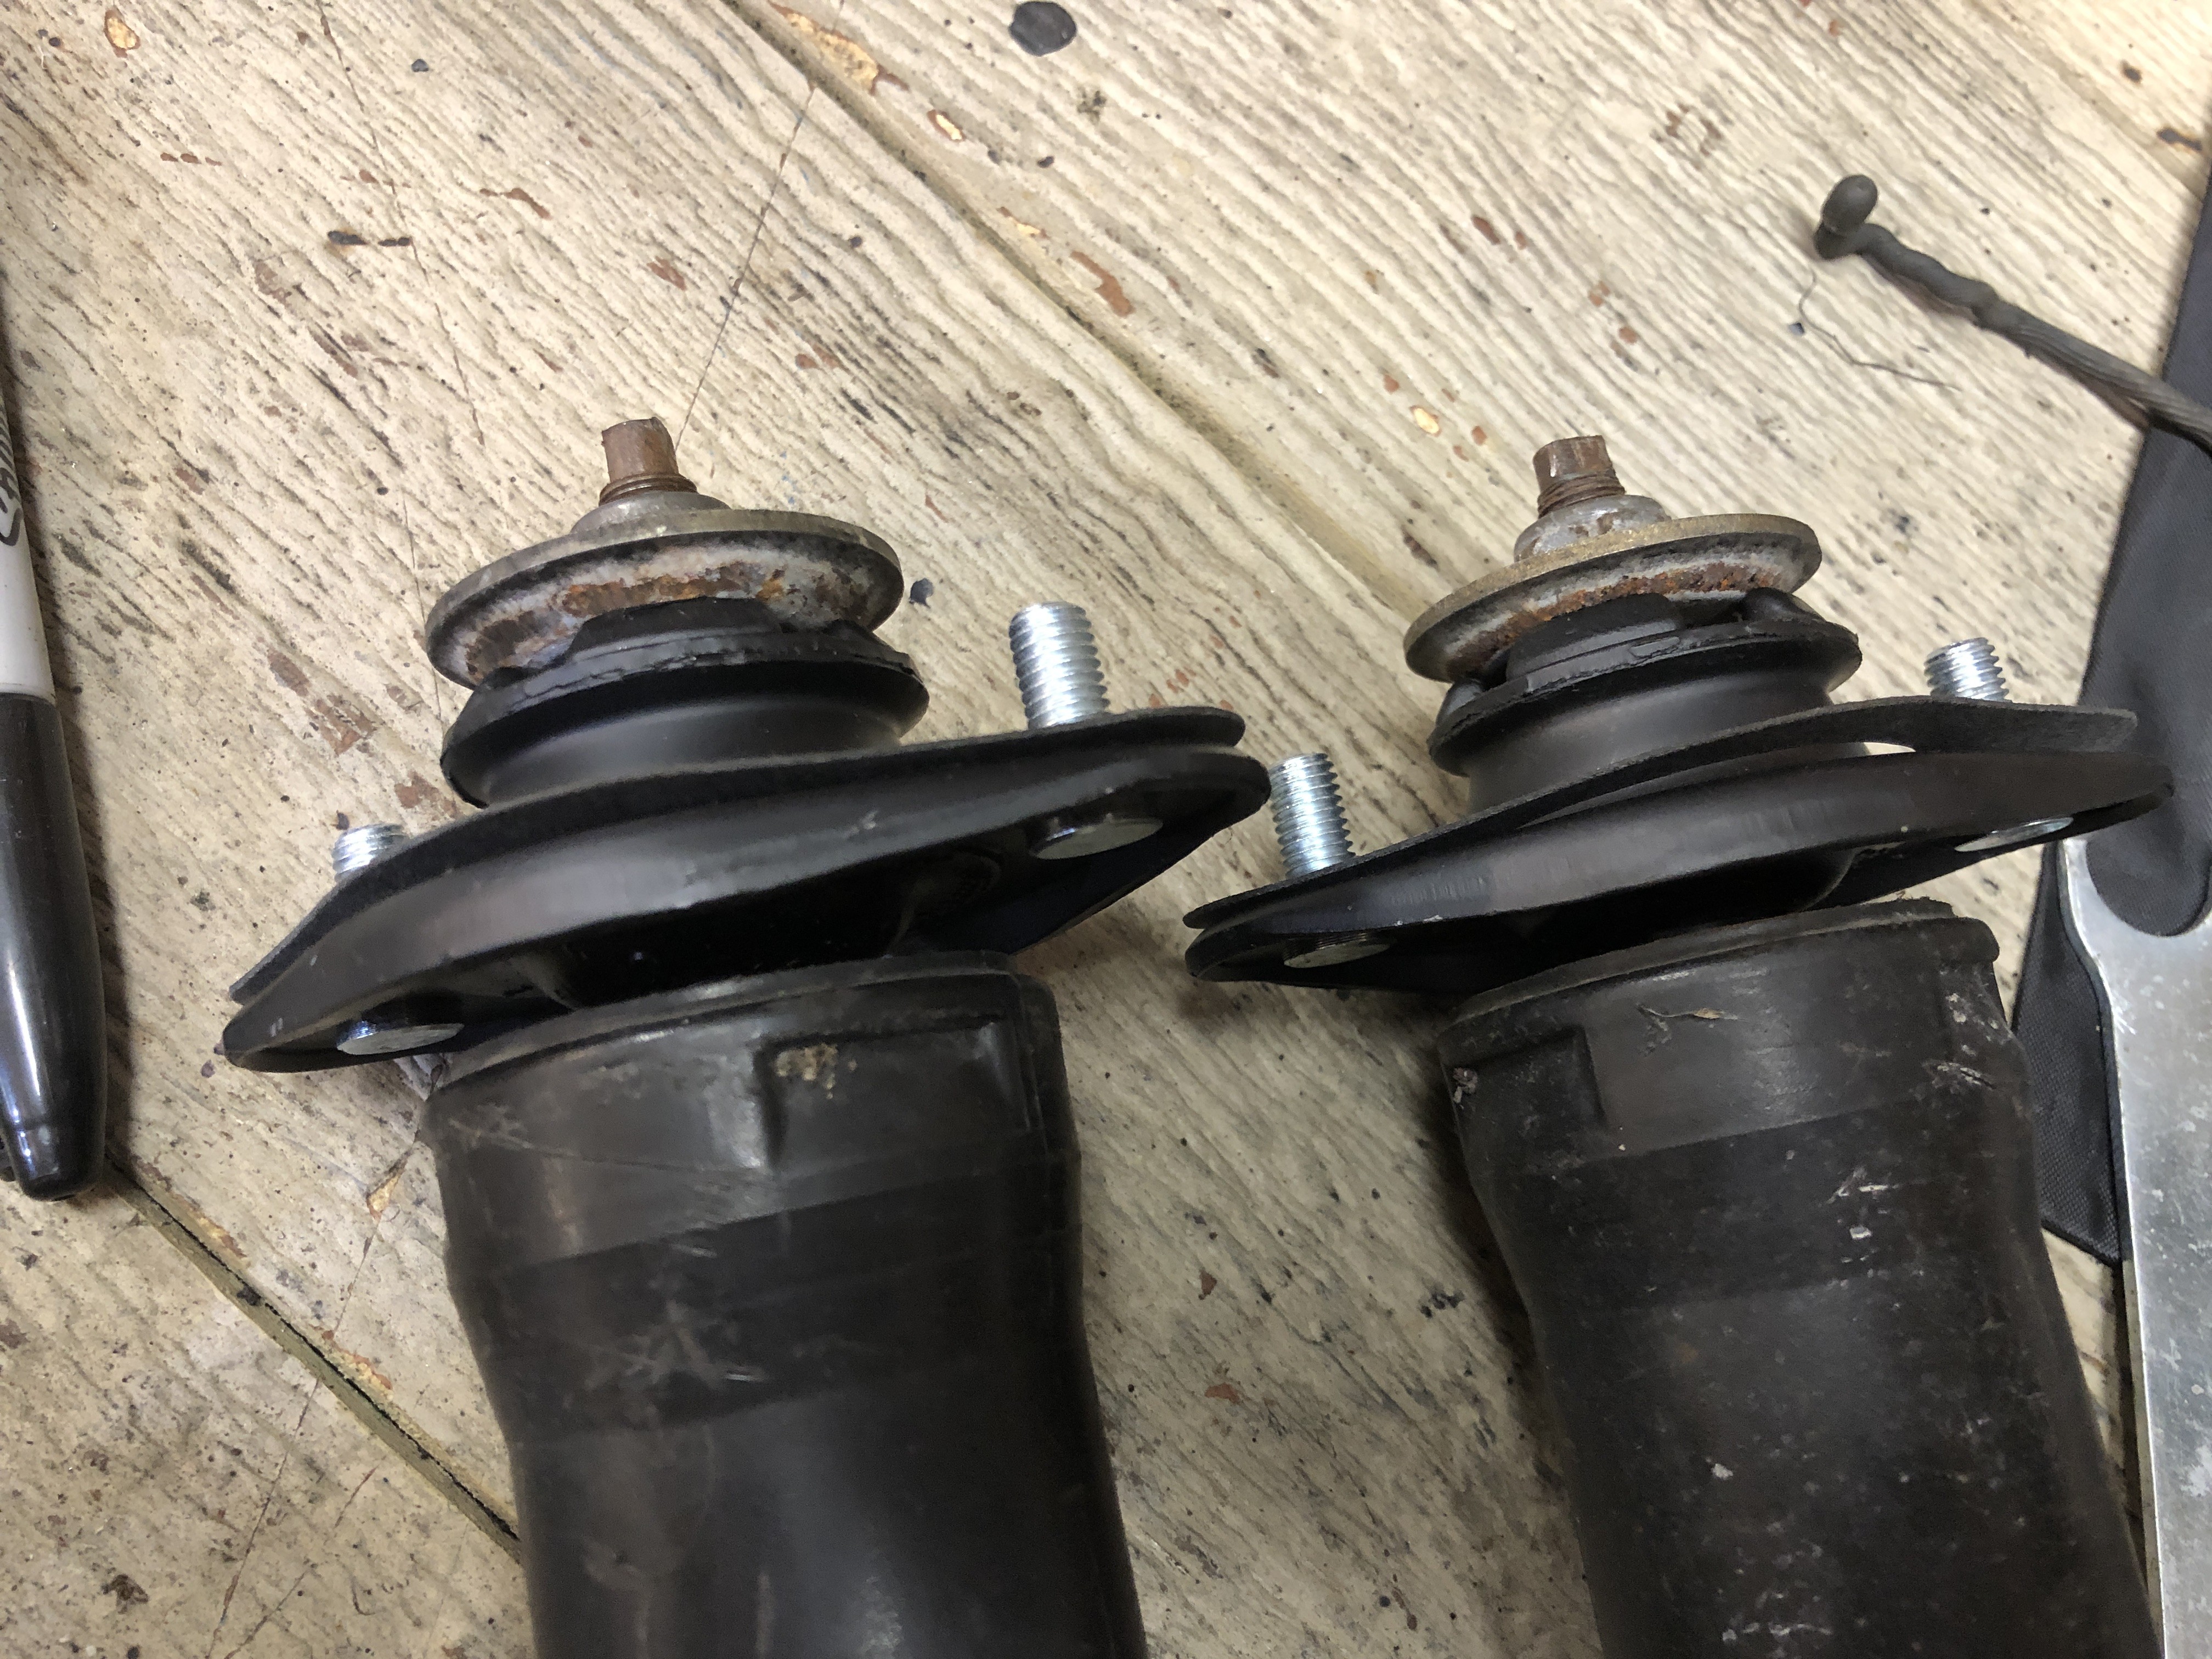
New shock mounts on. The old ones were completely separated.
-
Does anyone see any issues with the evaporator (other than the fins)? Are these prone to faililng? I am considering just replacing it while its out since now would be the time to do it. On the old Volvo's that I've owned, the evaporators always failed. This one looks much more robust, but still, I would hate to do all this work on the AC system, get it back together and the evaporator has a leak that I can't see.
I'm also wondering if it being so dirty would impact its effectiveness. There was a ton of debris on it that I had to vacuum off.
Attachments:
-
-
which RSMs did you get?
Meyle HD
-
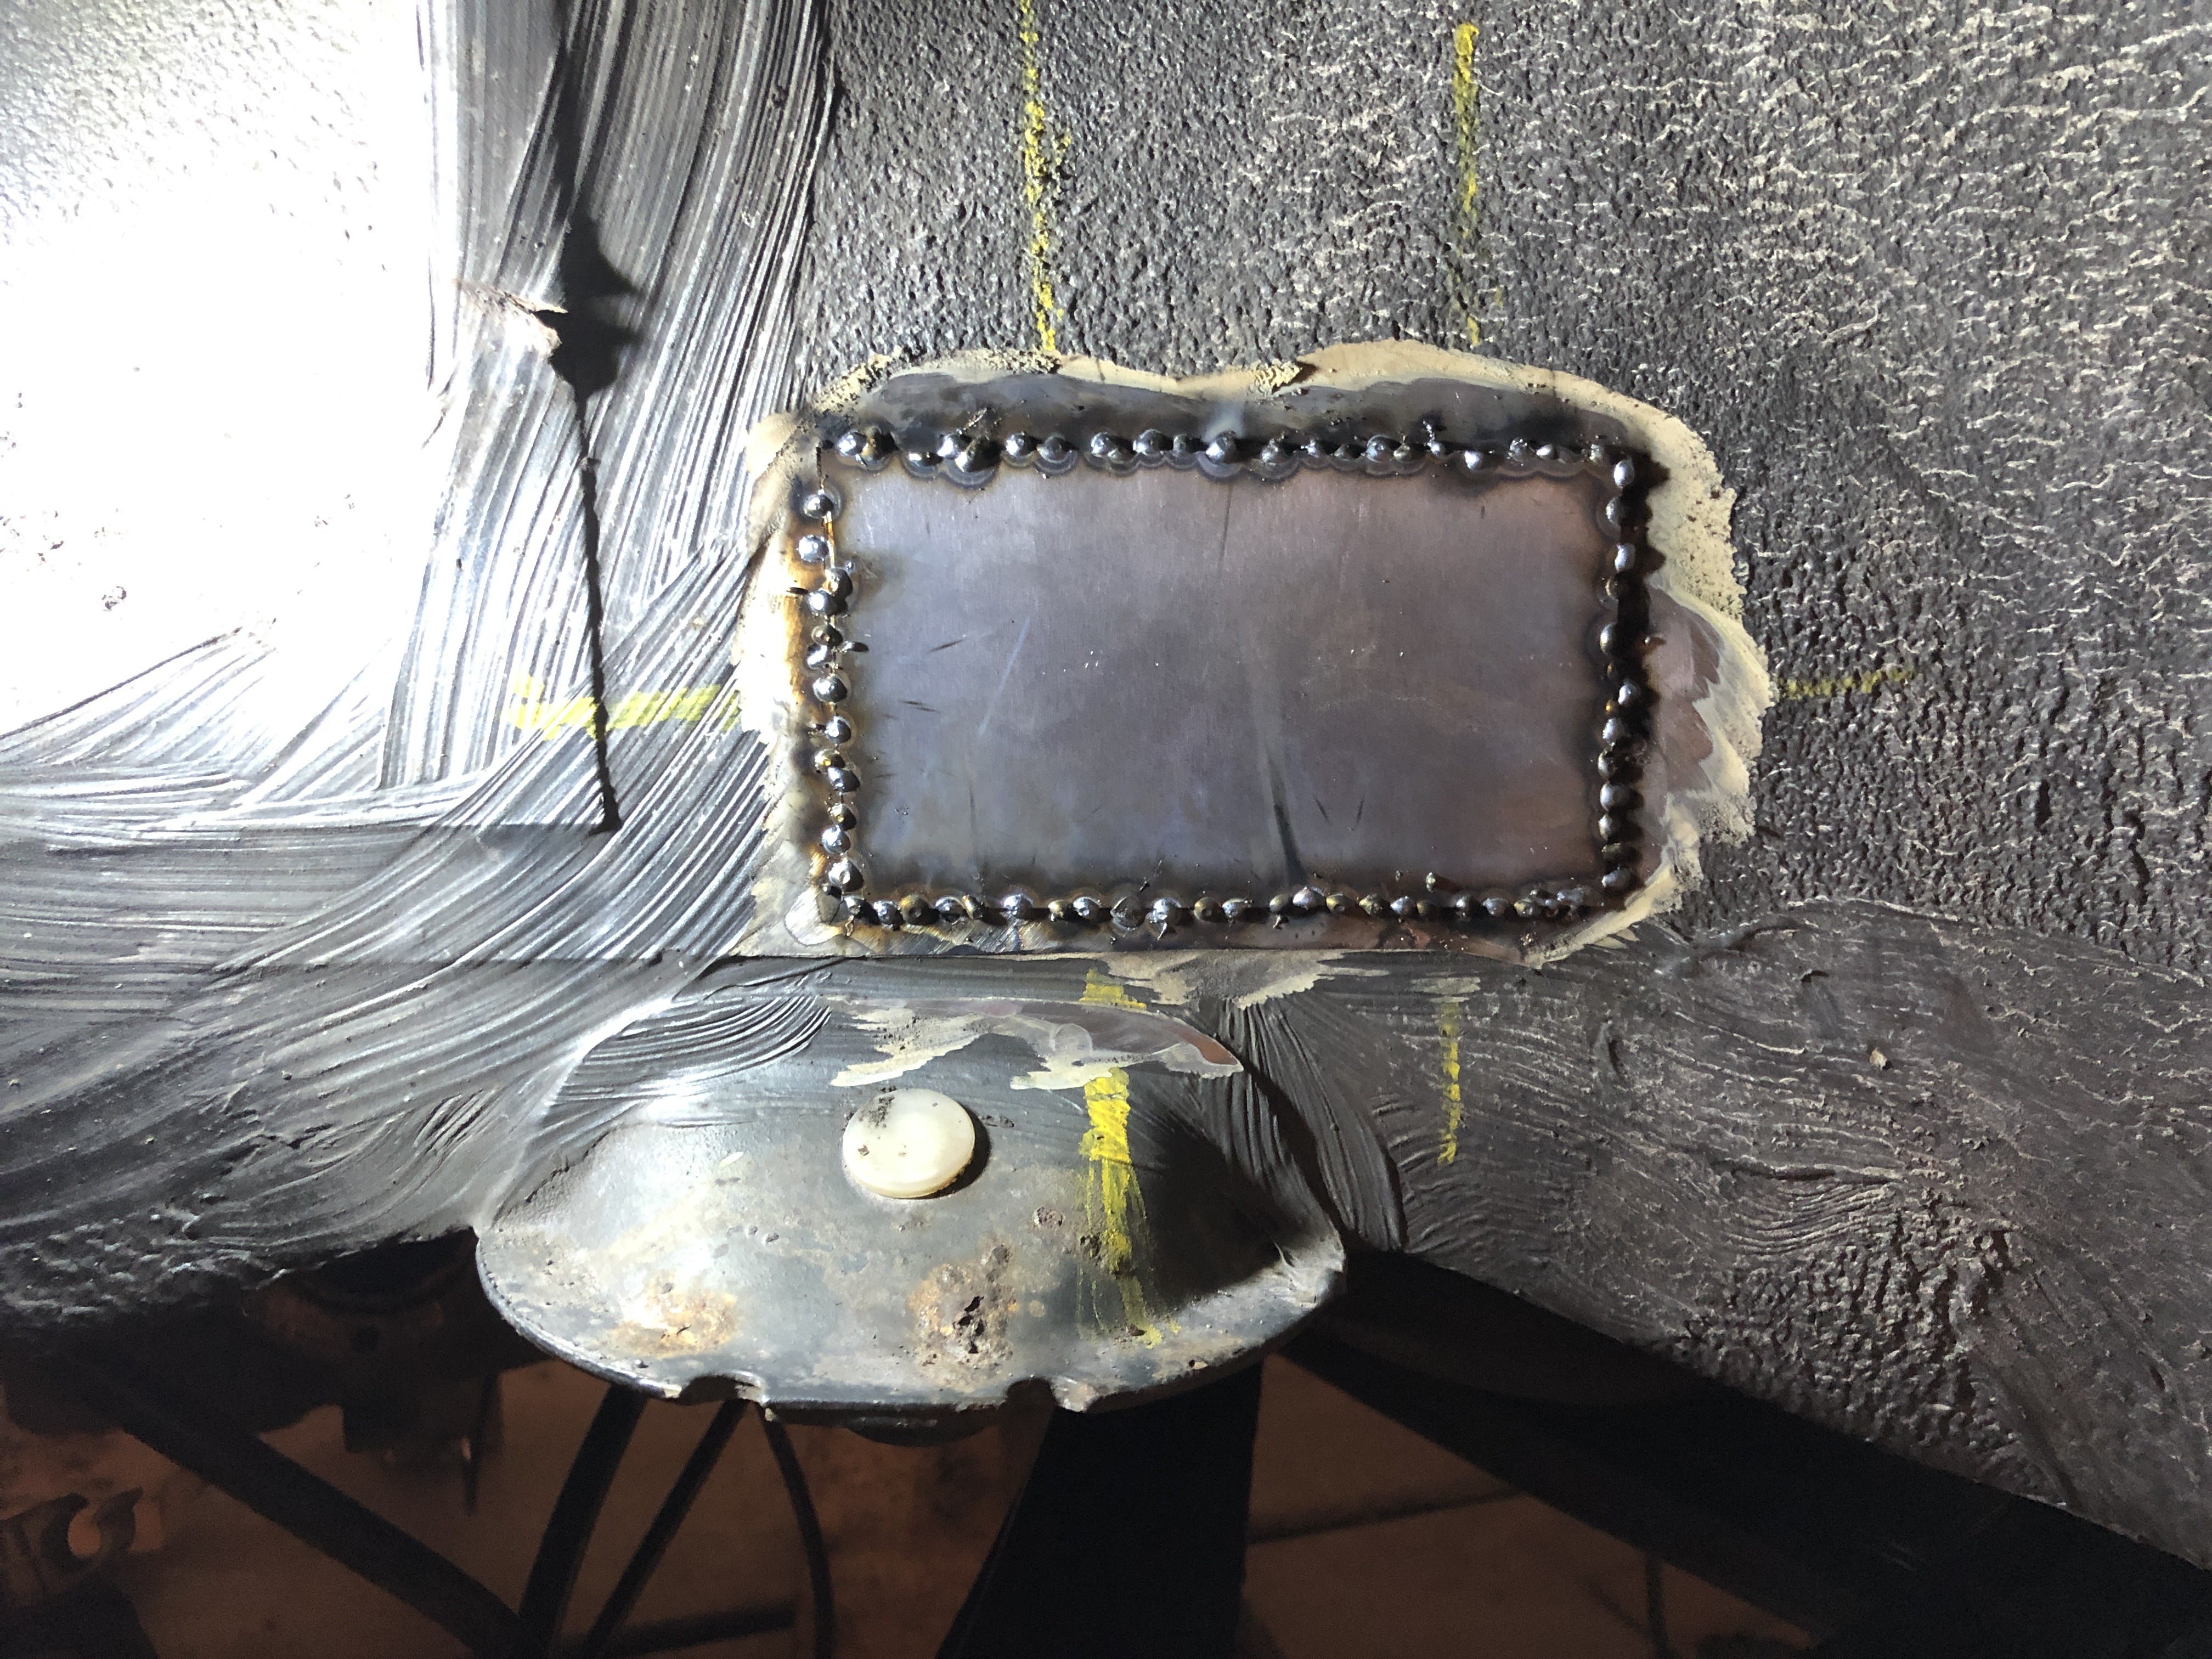
Worked on the car for a bit after everyone went to bed. Although it’s not much, it now means I can put in the new pass through tubing, the vent tubing, the rear seats, the gas tank, etc. So I am really happy to have this done.
Patch started.
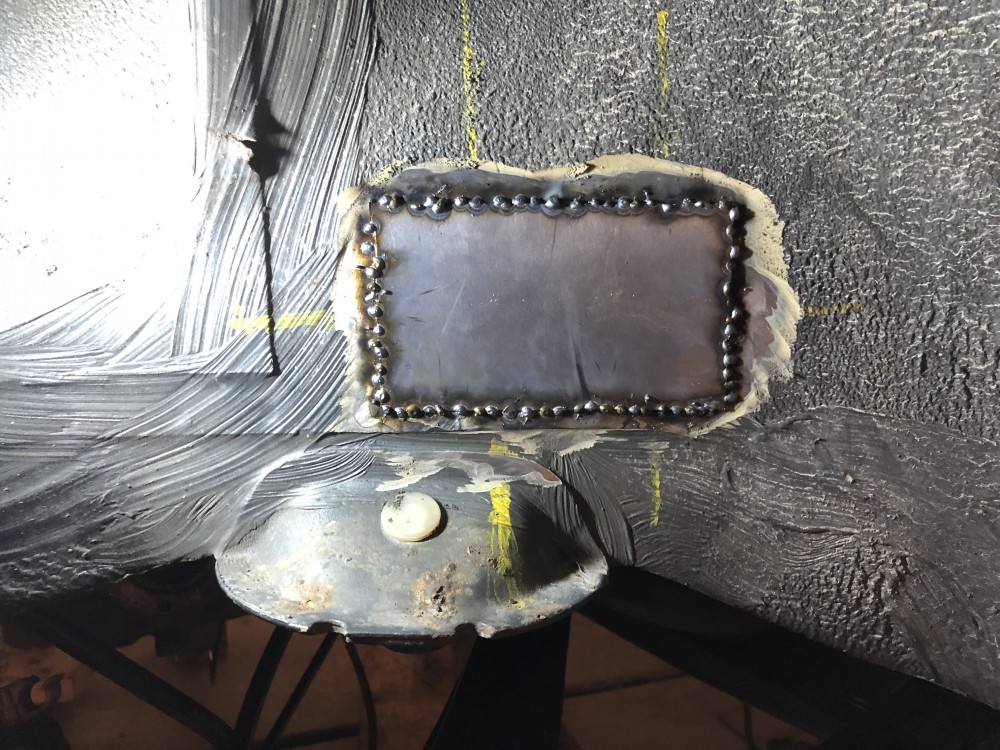
Traced the tubing outline and drilled a bunch of pilot holes then went around it with the dremel.
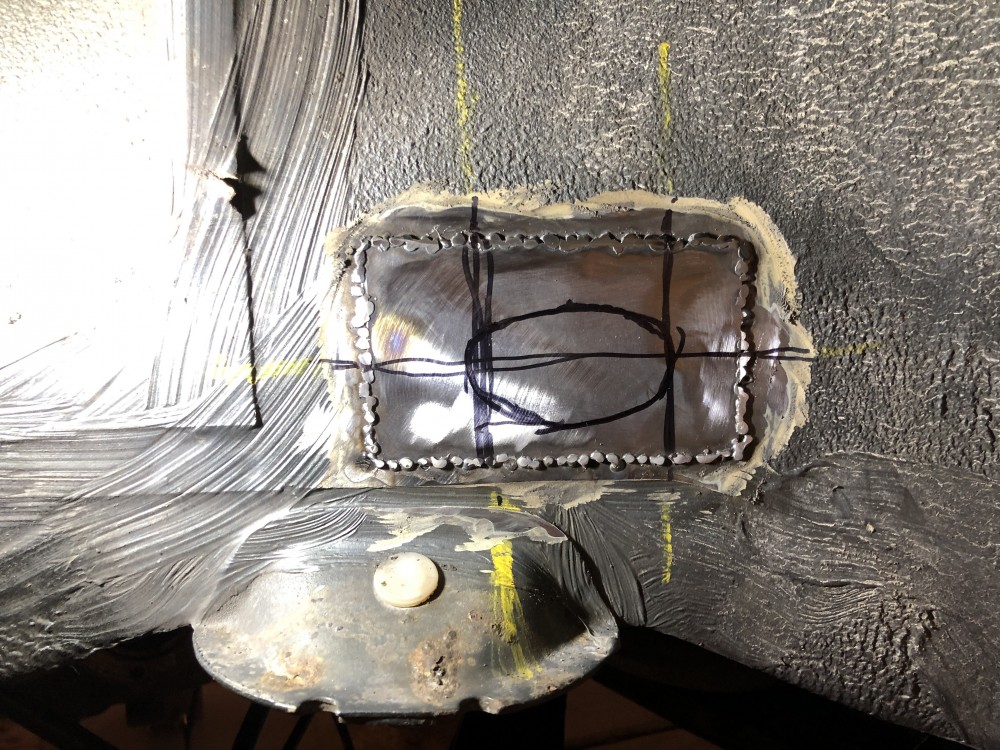
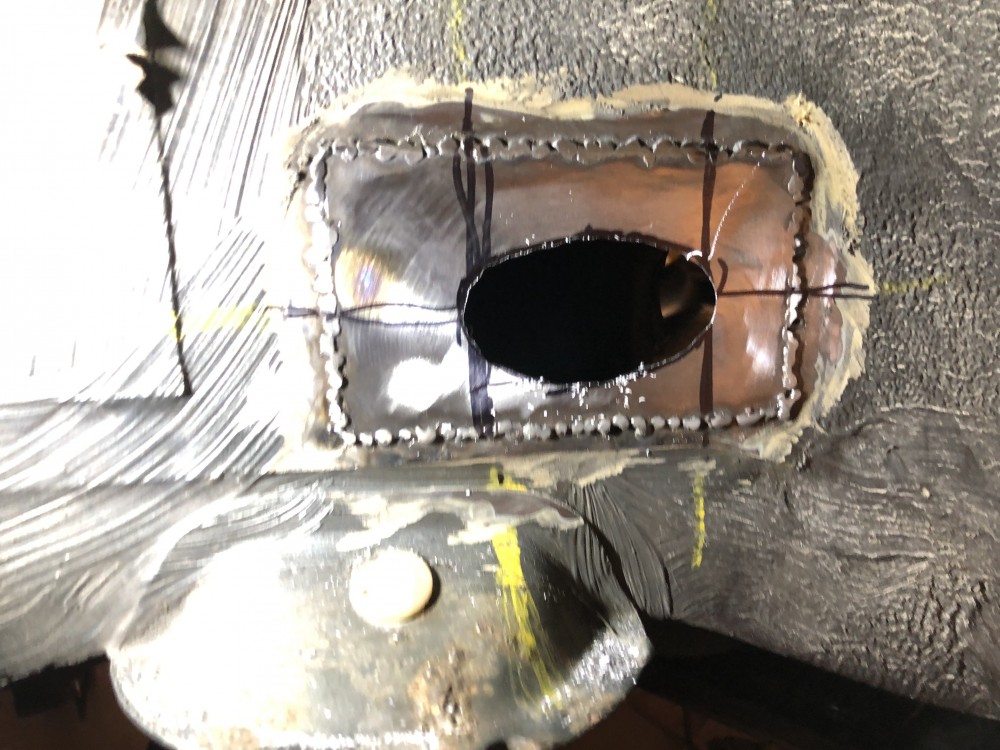
And fits nicely. Will put in a rivet with a washer on the tip of it to help keep it in place.
-
Heater core is back in with appropriate insulation.
PS hub all back together. When I pressed in the DS hub I used the trailing arm to “pull” the hub instead of the backside of the bearing and I don’t know if that or just dumb luck but the DS hub had ALL SORTS of slop when it was pressed in. So I’ll have to get a new bearing and do that side over.
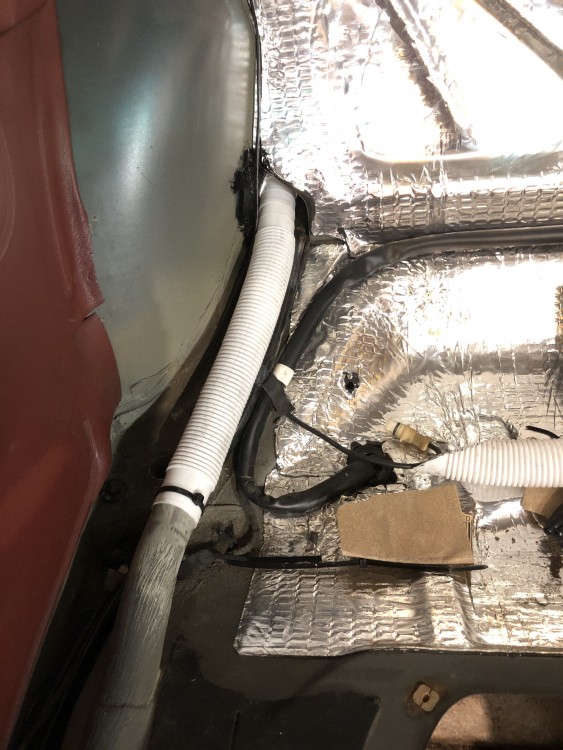
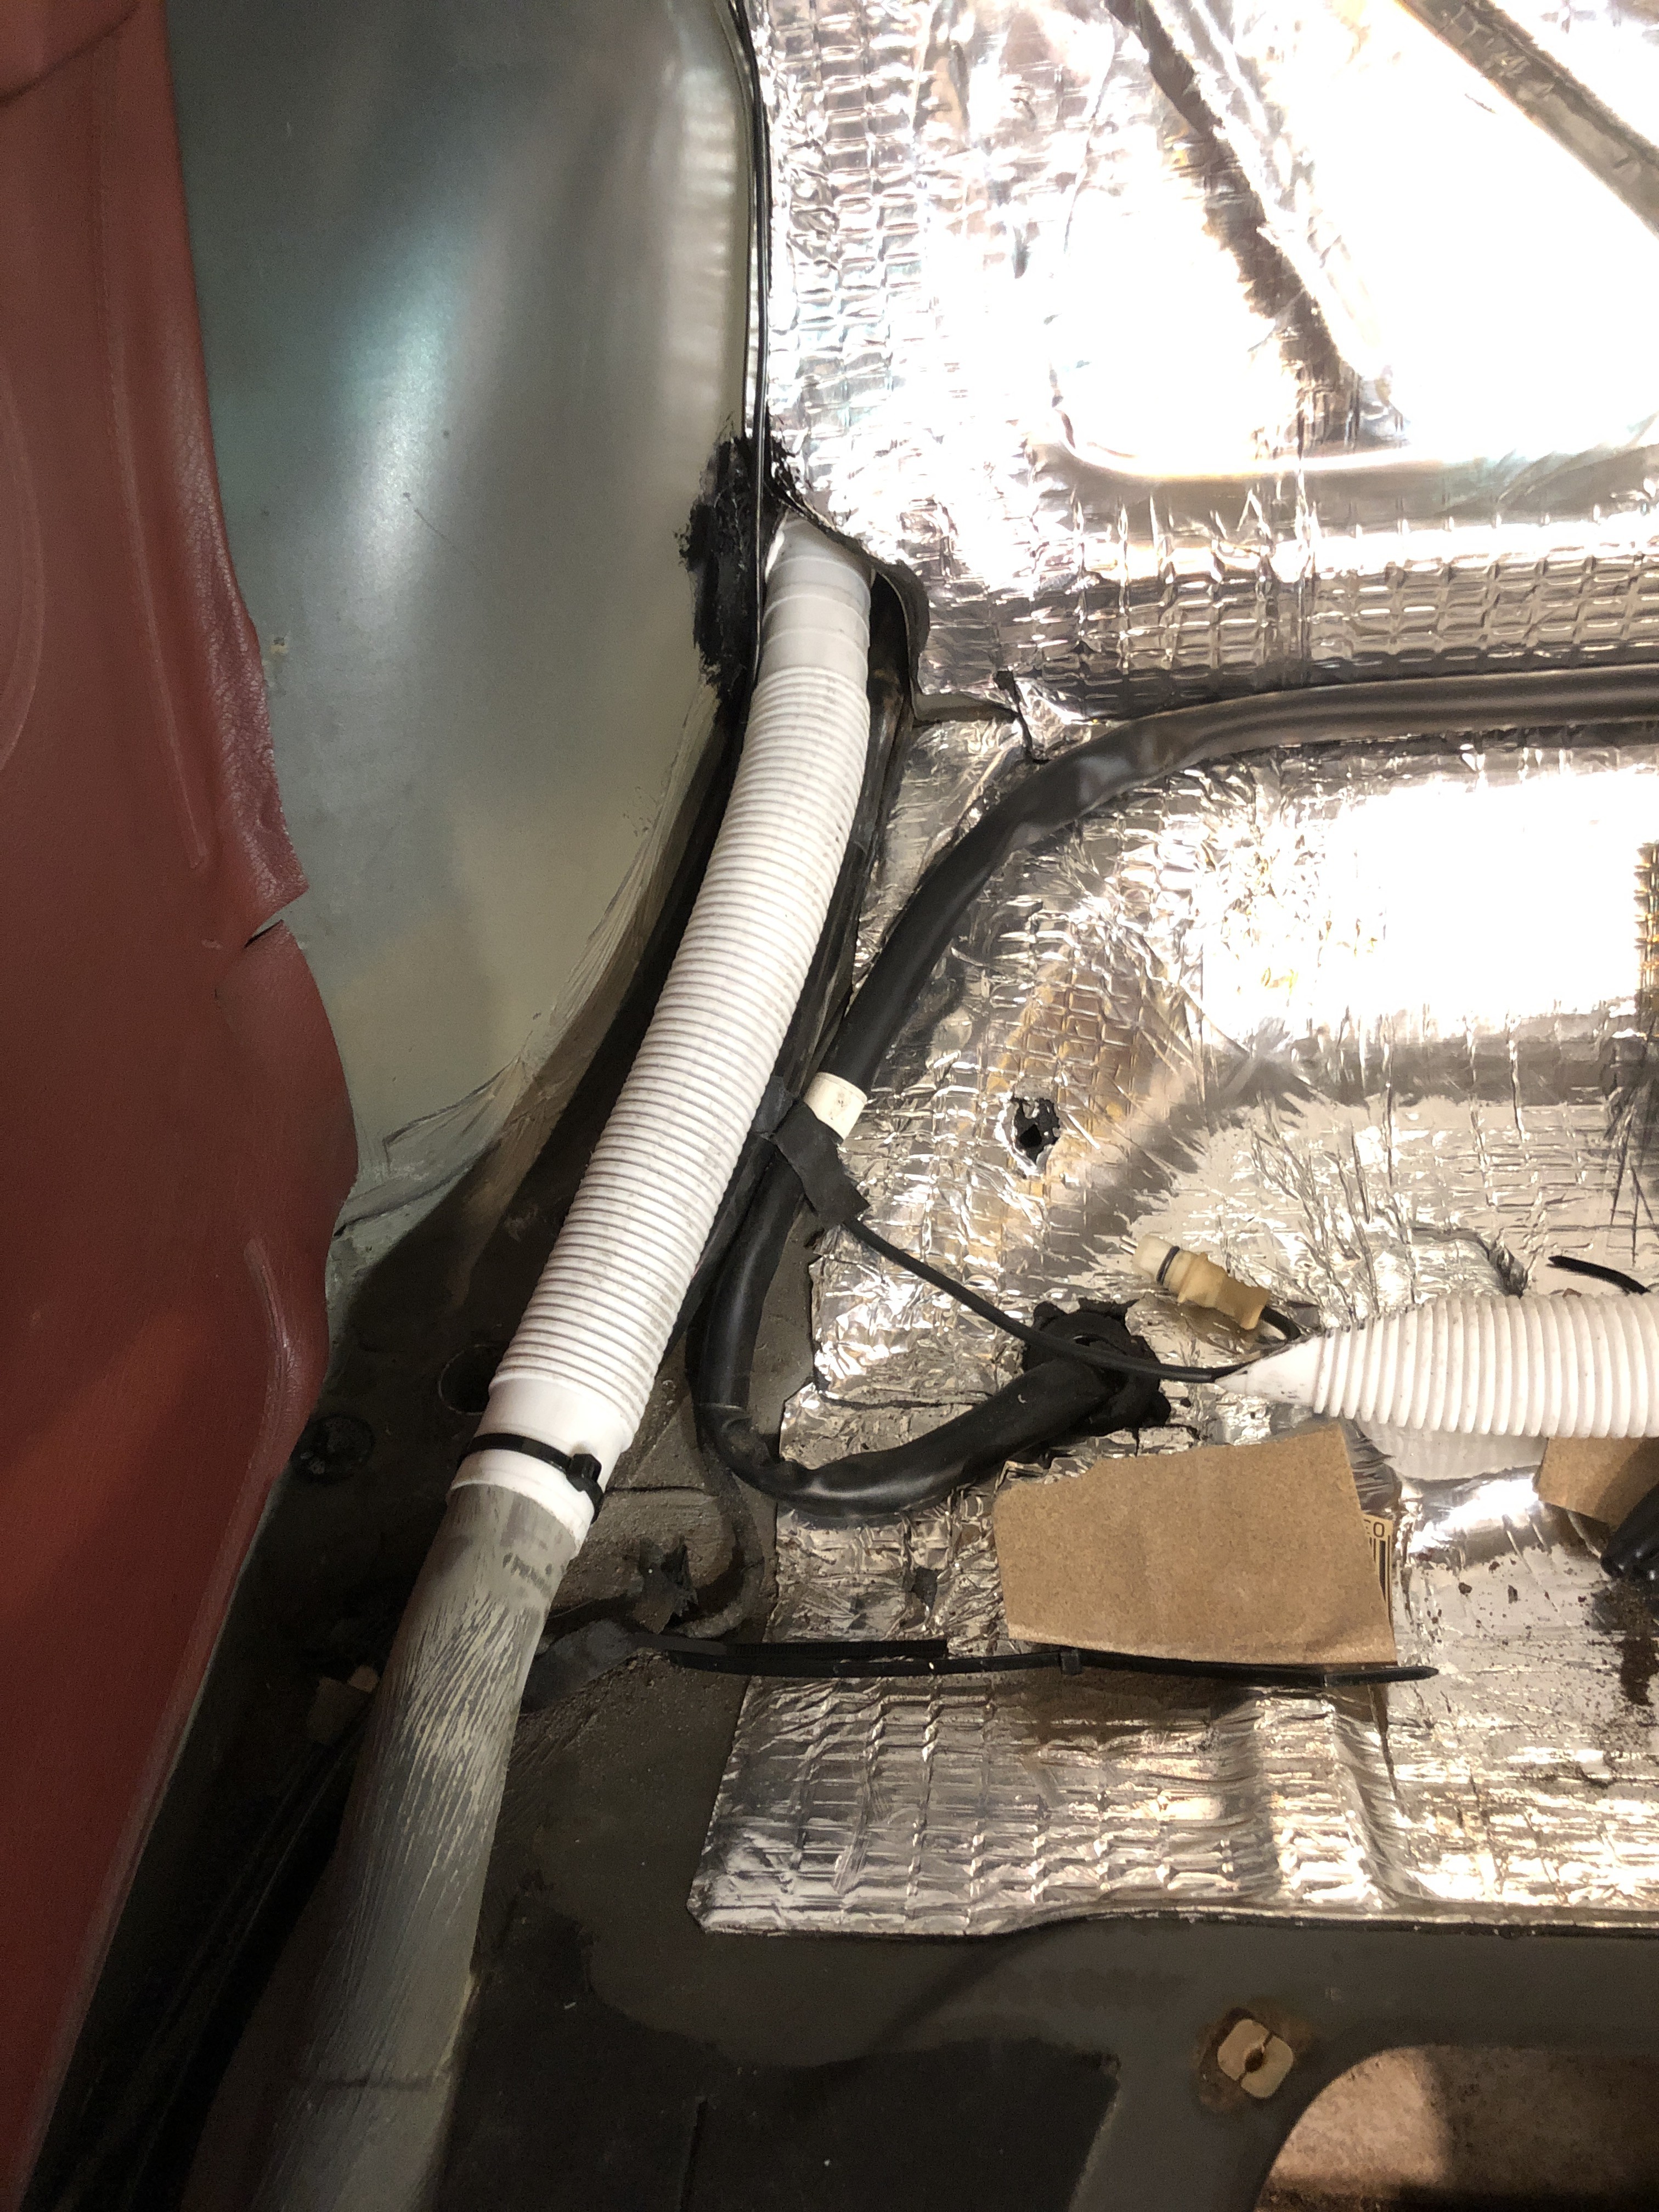
The fuel vent lines are back in and the hose in. I need to get one of those covers for the lines.
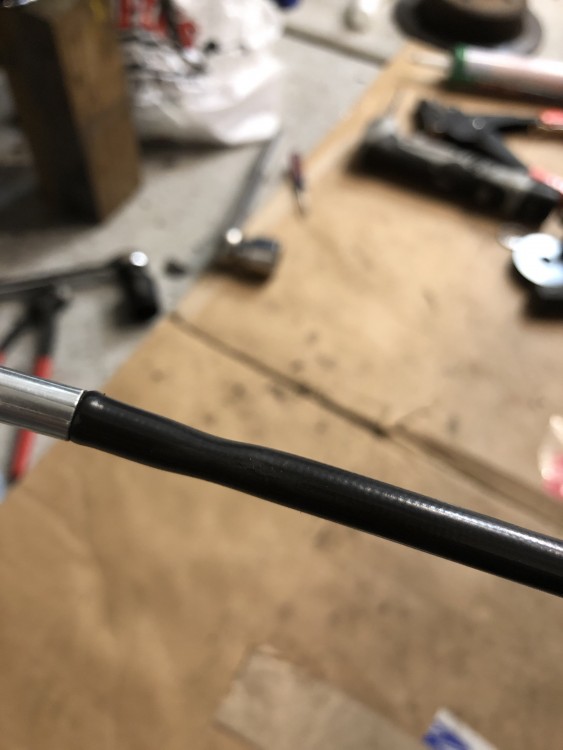
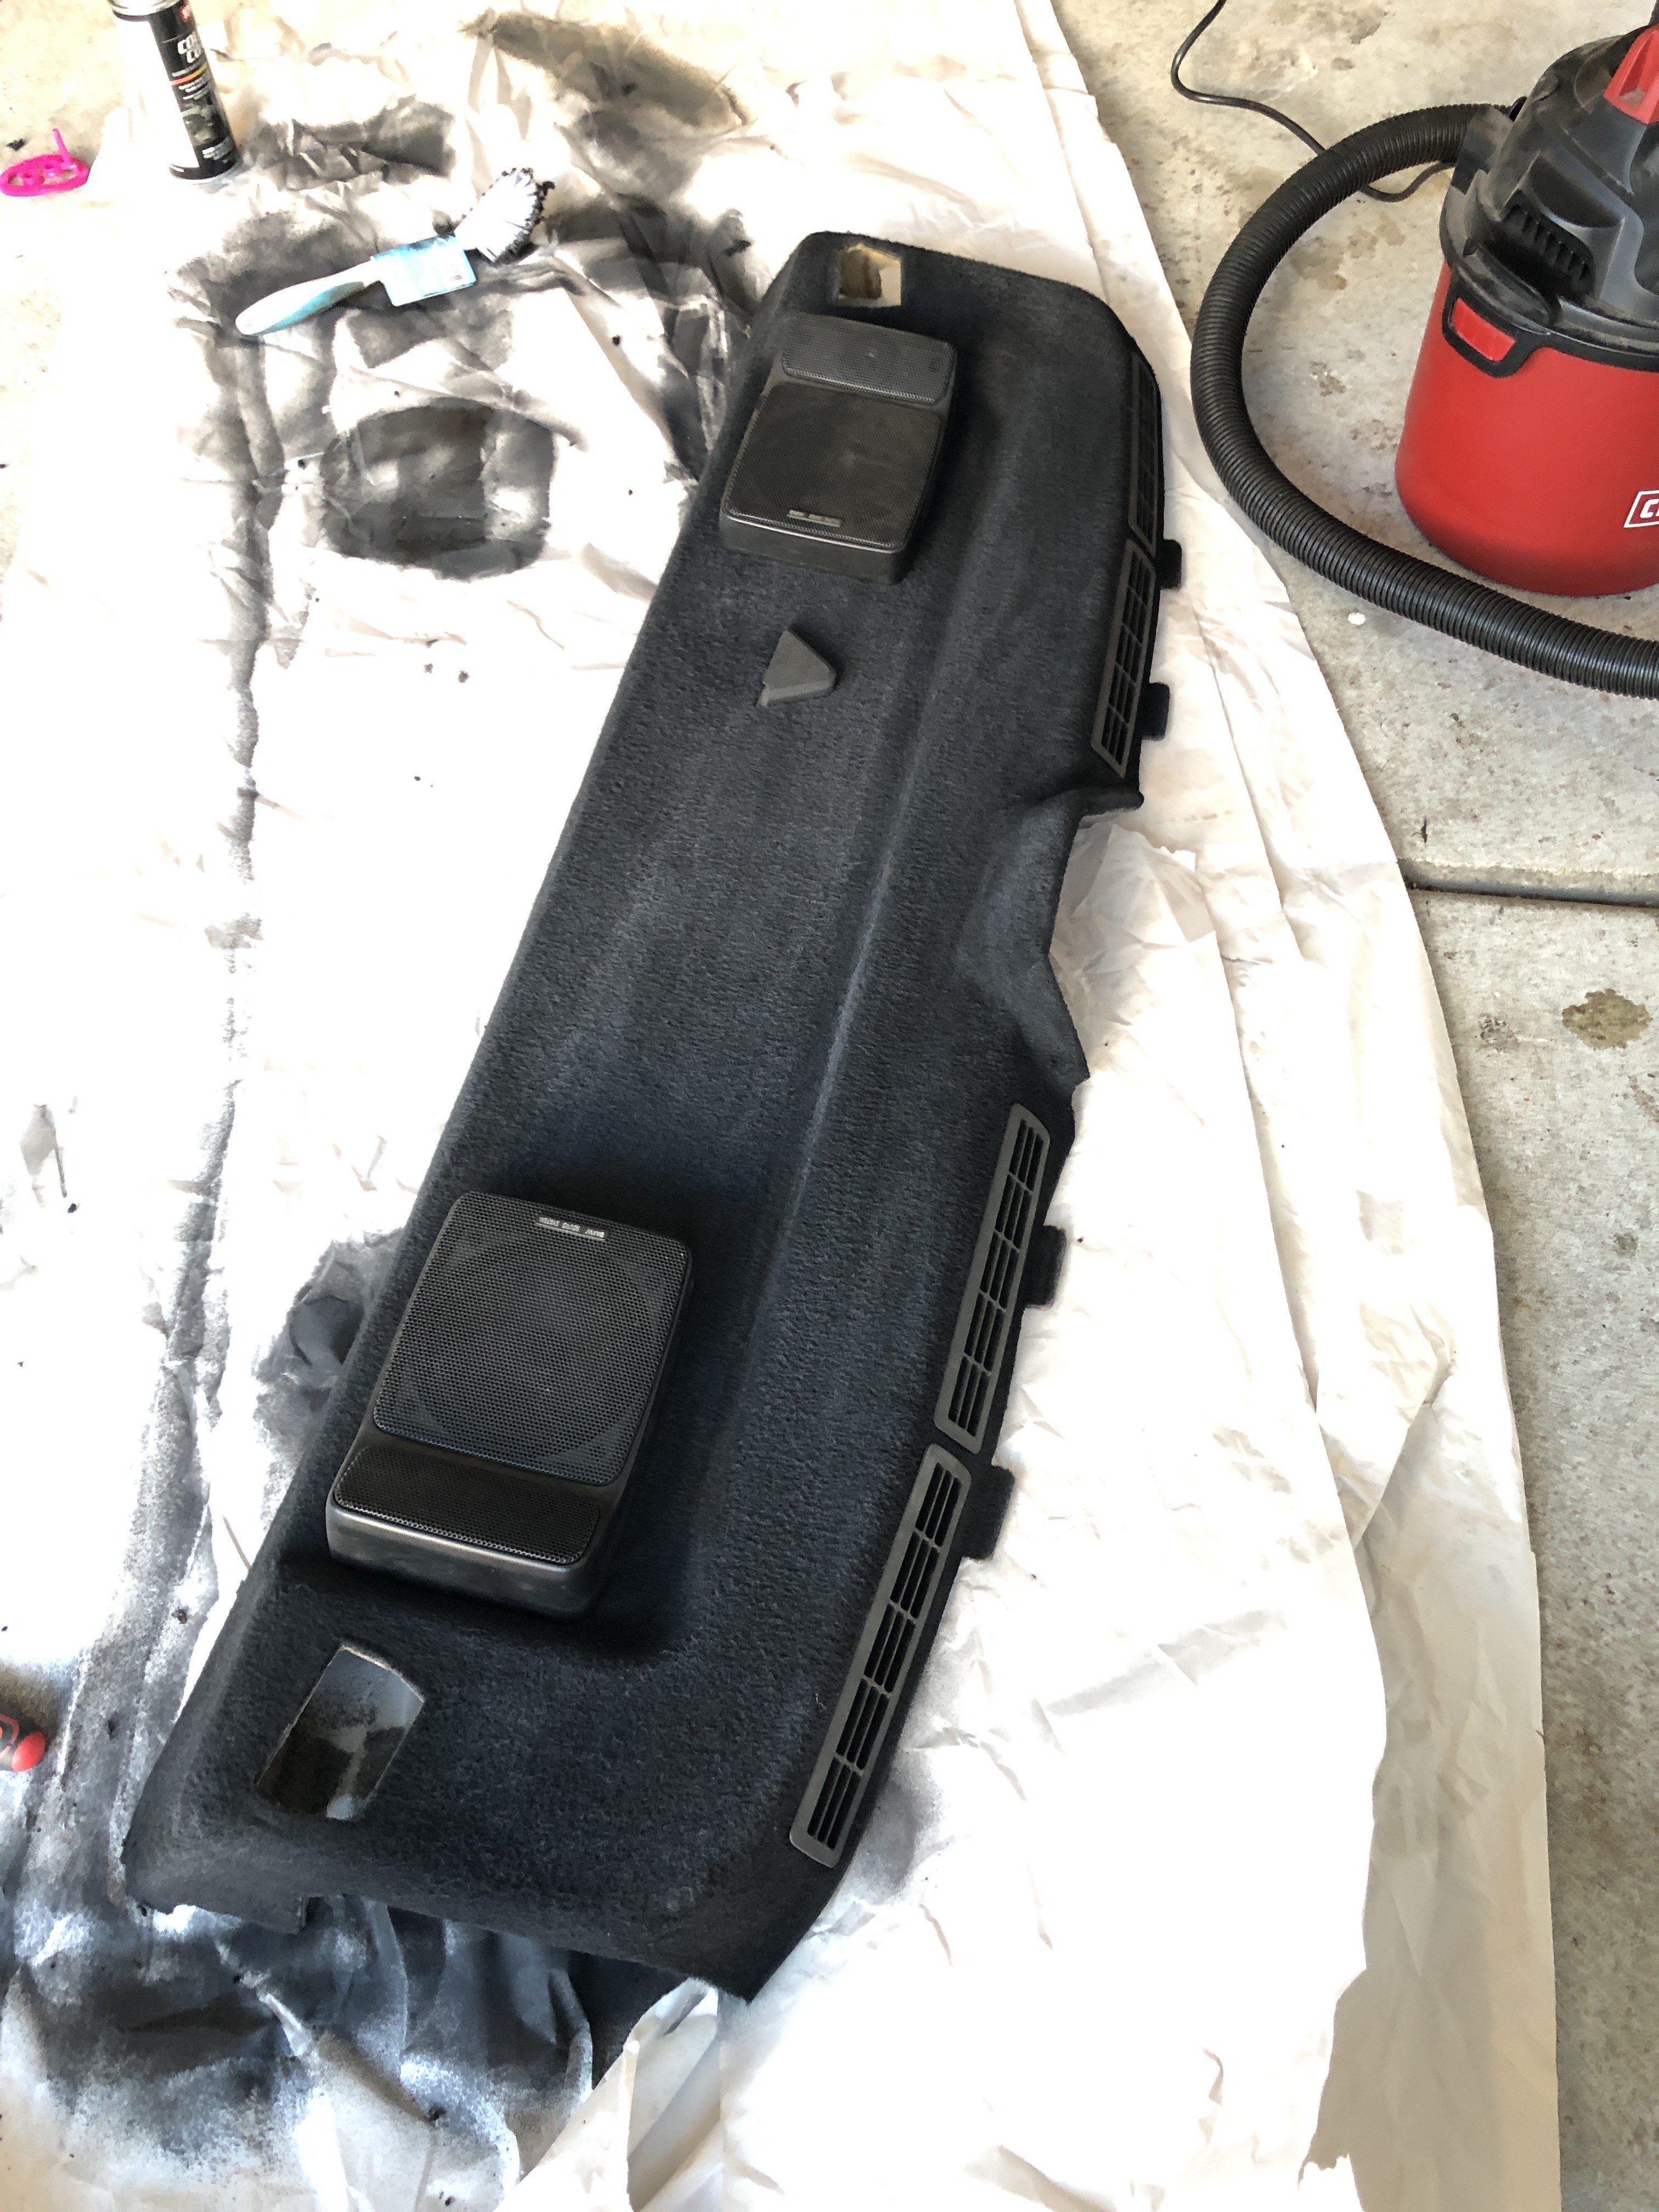
I also pinched one of the new brake lines on top of the subframe when I mounted it, so I am going to see if I can get this middle piece. It always seems like one step forward and a couple back. I have to remind myself it’s only December and there’s a long time until it’s nice out again. But there are so many little things that snowball into not being able to move forward. Without the calipers I can’t tighten down the brake lines because I need them for the like orientation. Without the brake lines done I can’t put the gas tank back in. Without the tank in I can’t put the bottom seat in. Without the rear shelf dyed I can’t put the rear seat back in. Etc.
-
Even if the reason is that I just suck at something
Lol. That’s how I feel most of the time.
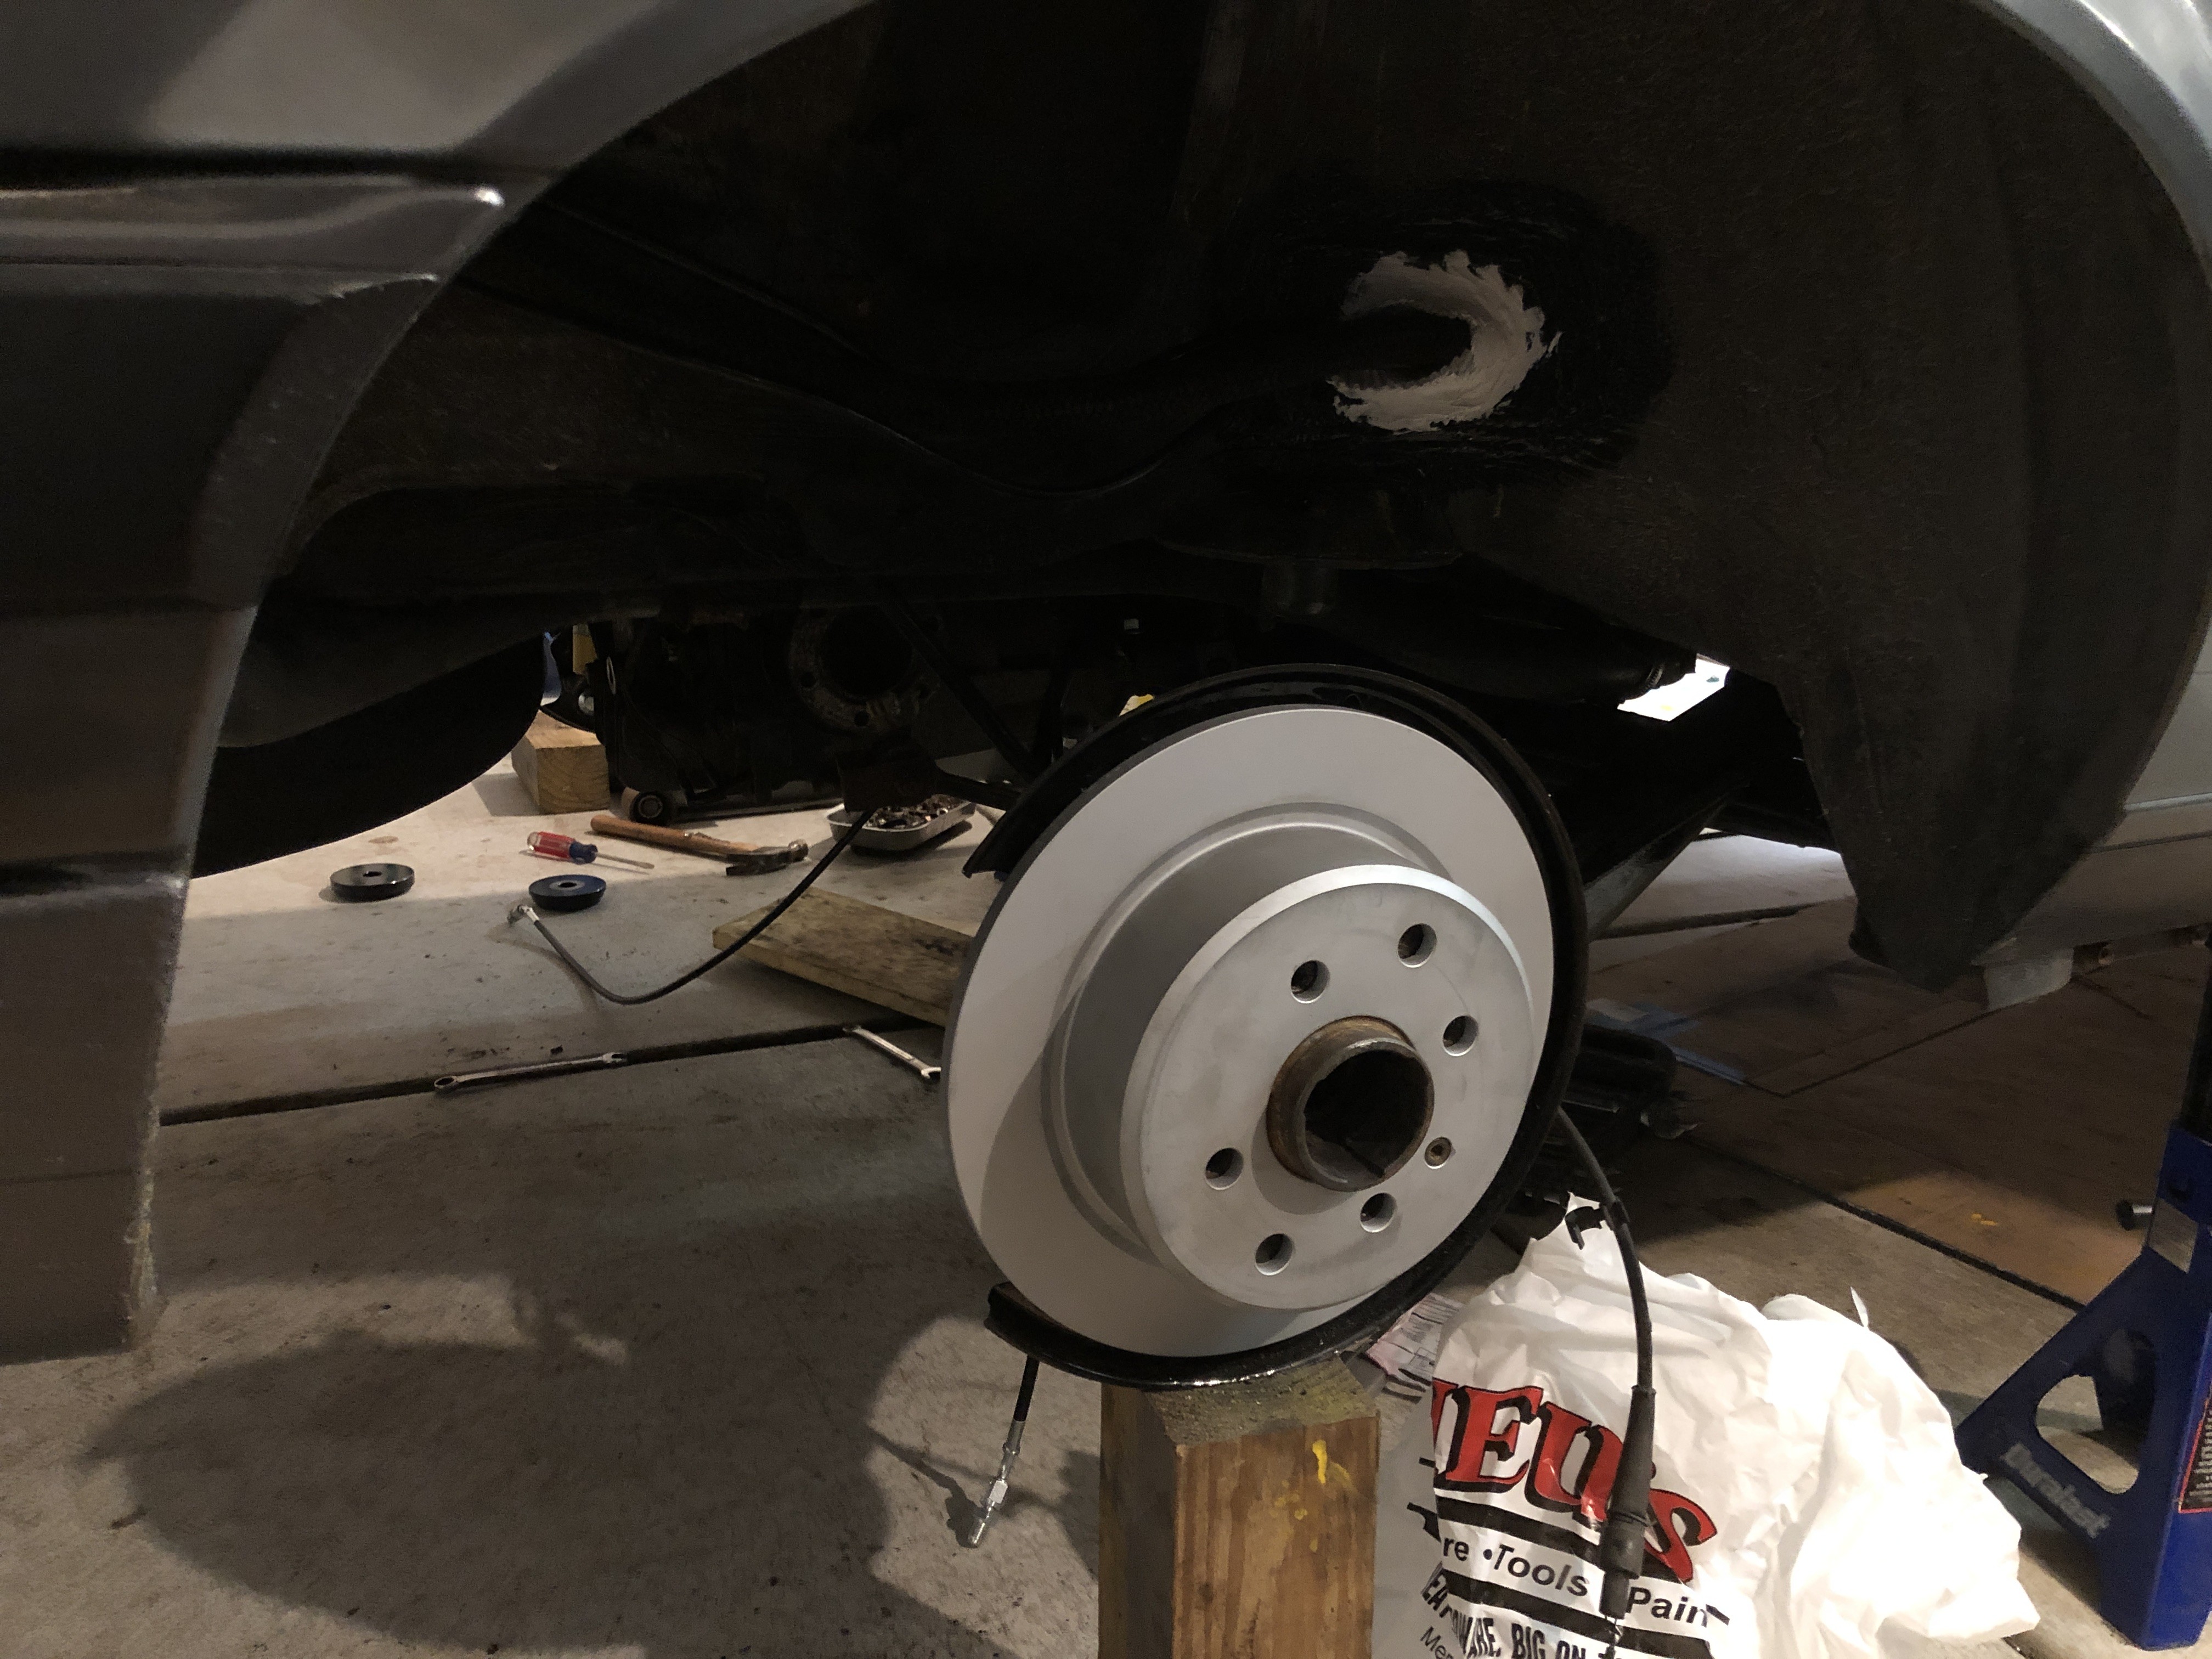
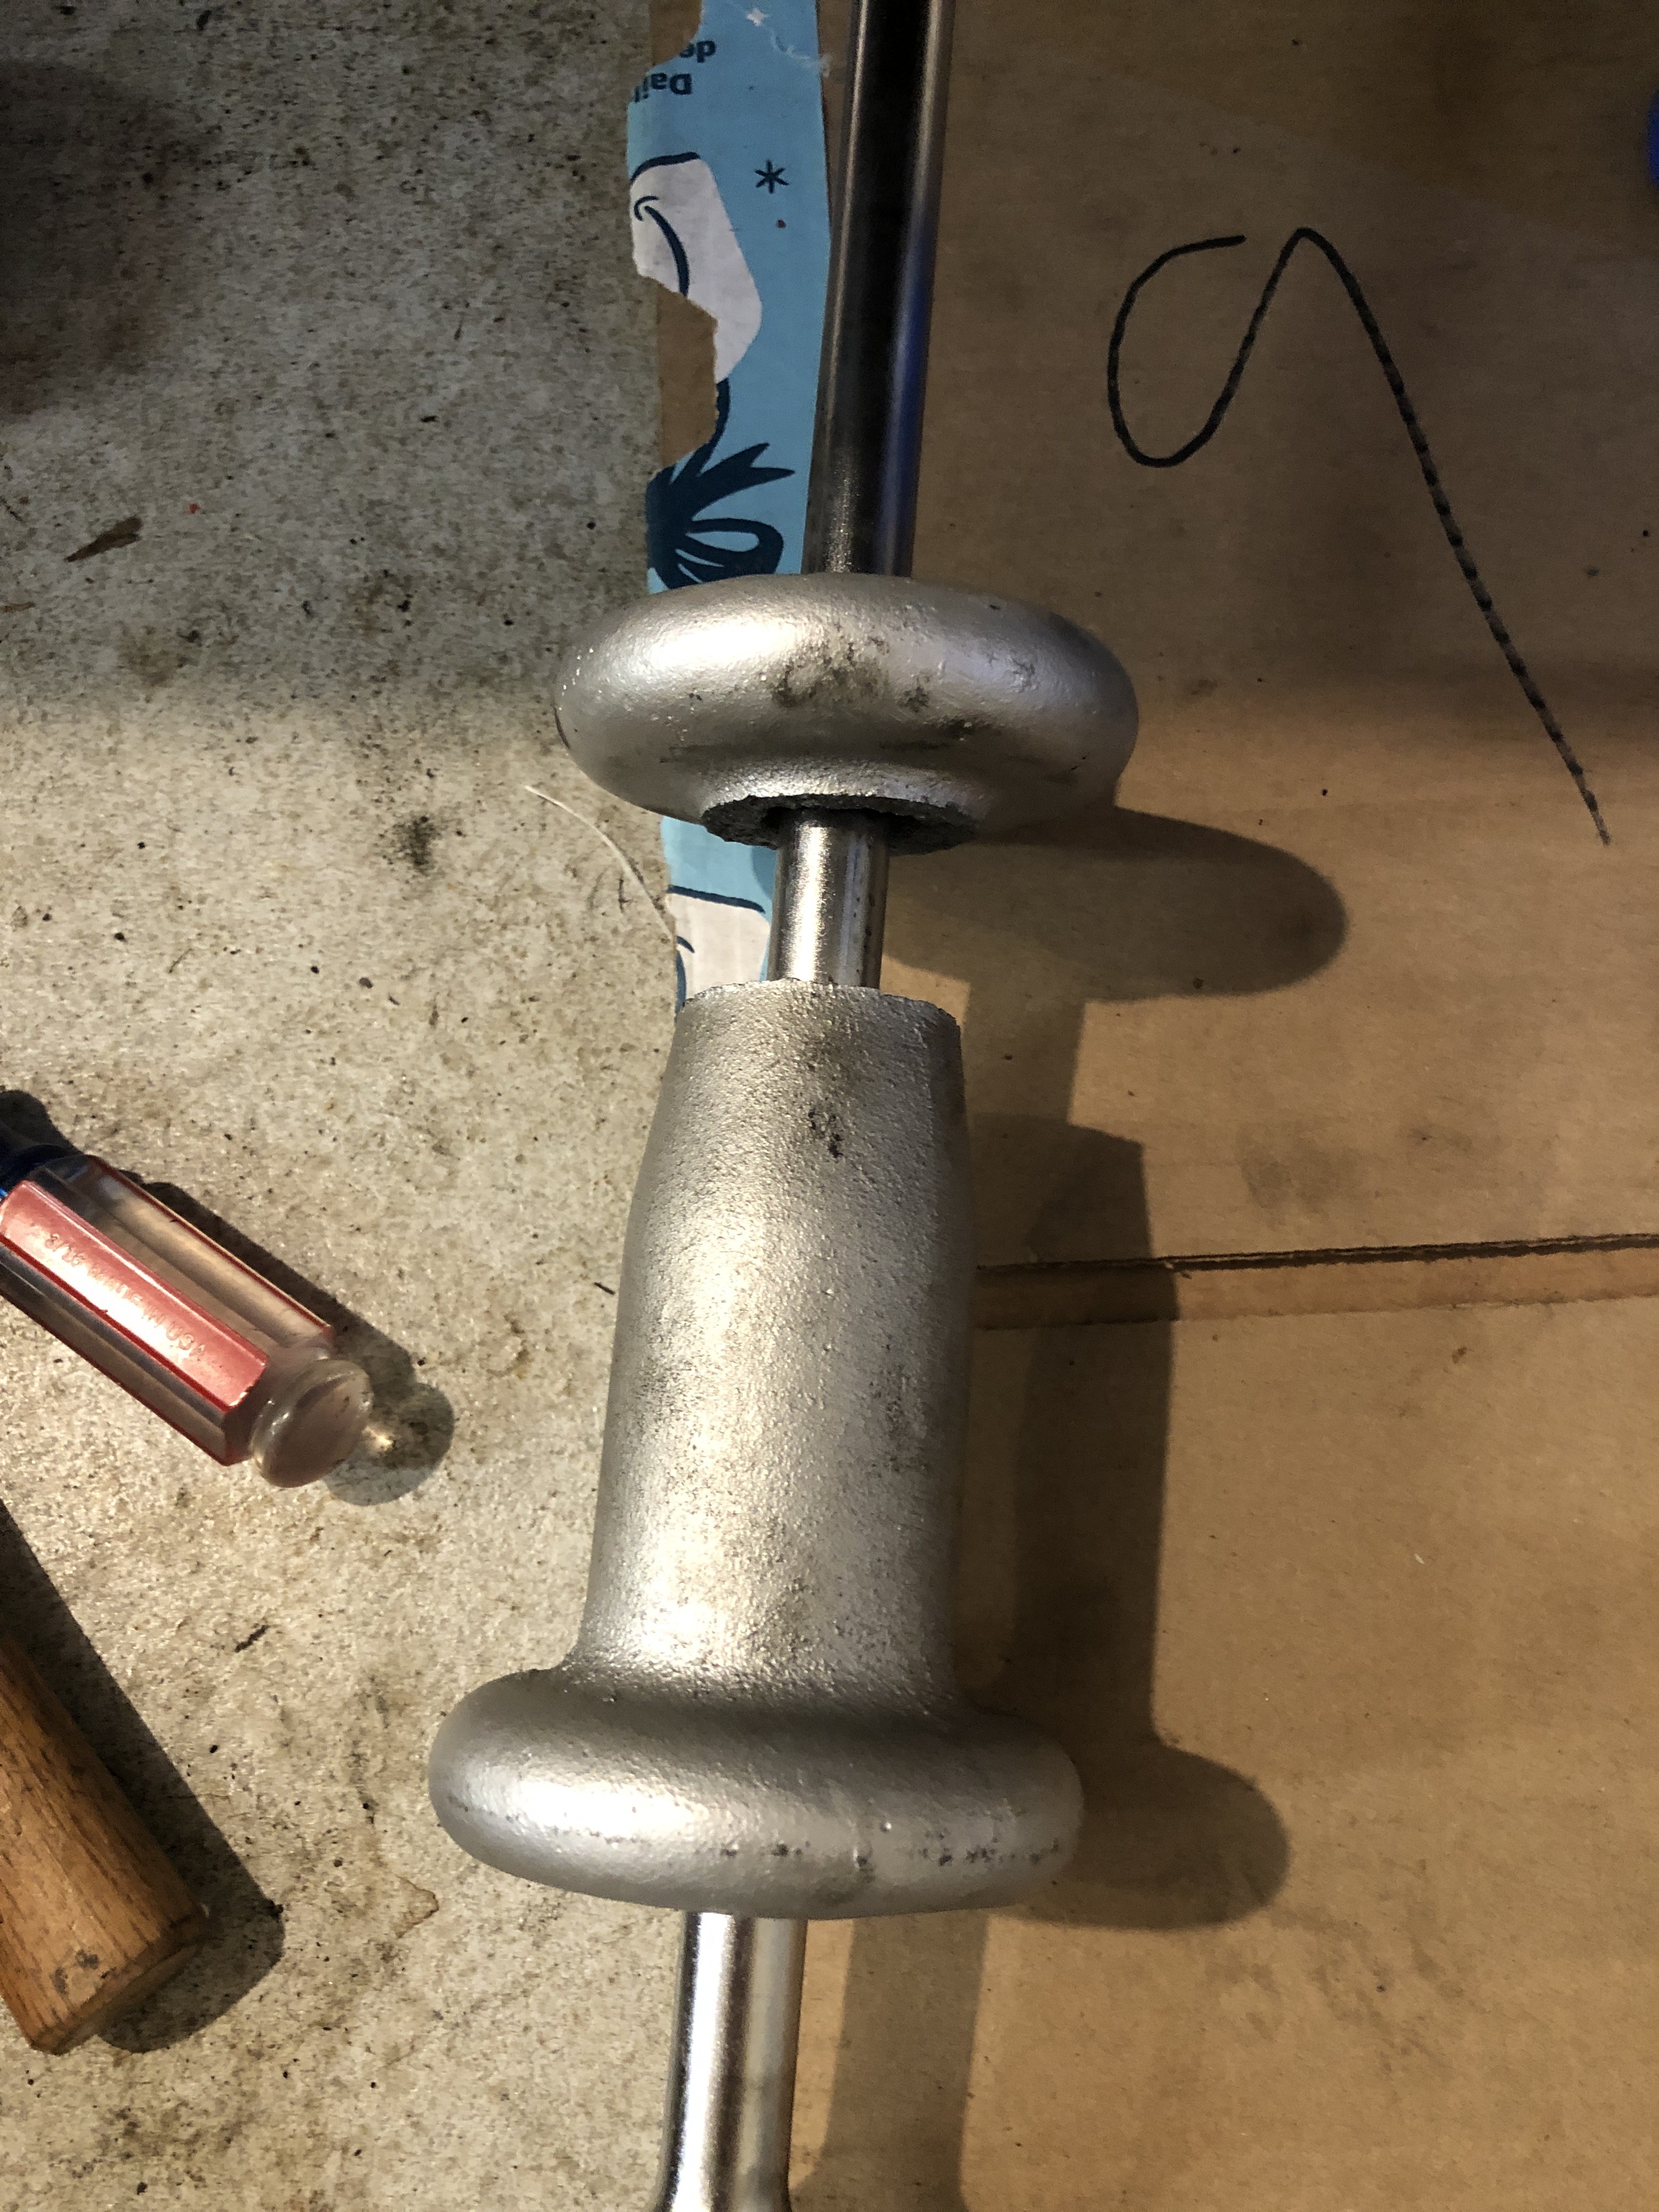
FINALLY got the rear hub back out. My slide hammer only came with the shallow/wide hub attachment which means I can only get one bolt on it. After many attempts and using a big hammer on the slide hammer to help, my slide hammer broke.
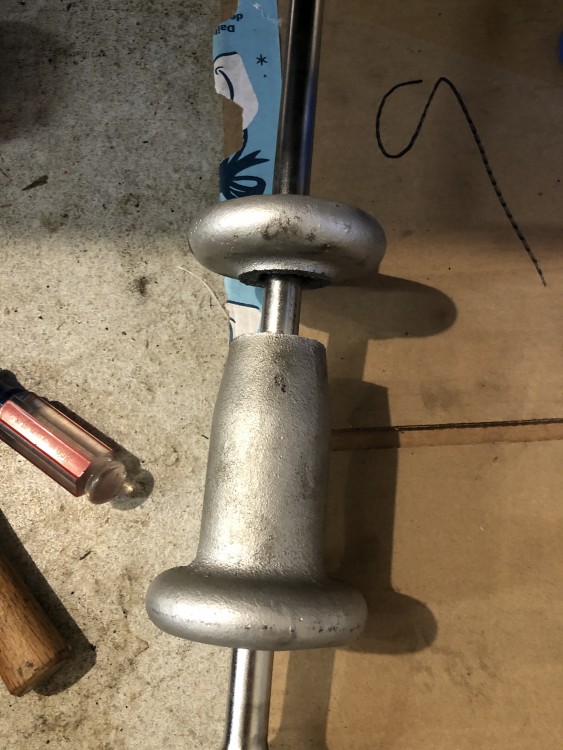
Rented a slide hammer and the right attachment from Oreilly and after putting the propane torch on the hub for about 10 minutes it popped off with only a few blows. New bearing gets here today.
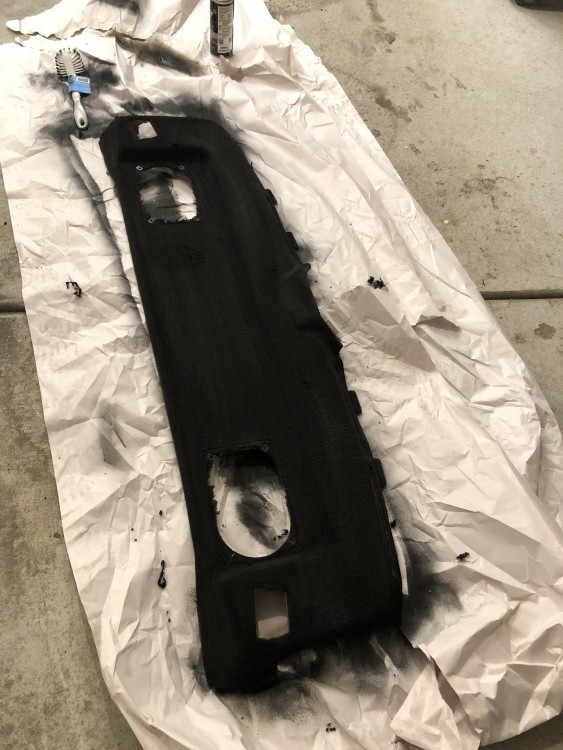
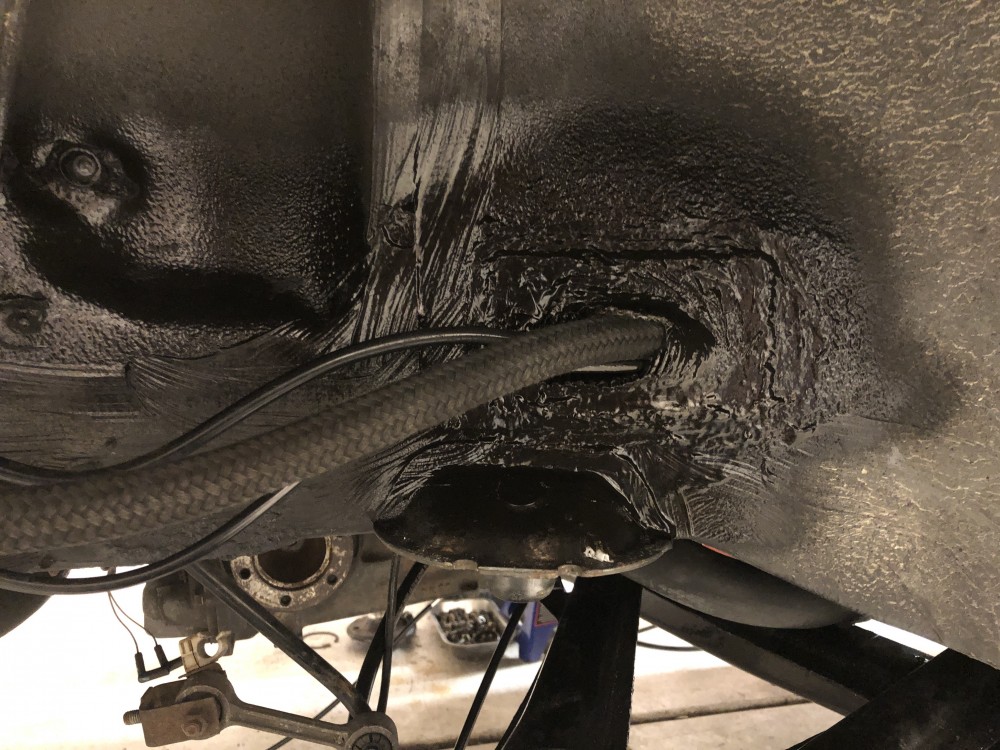
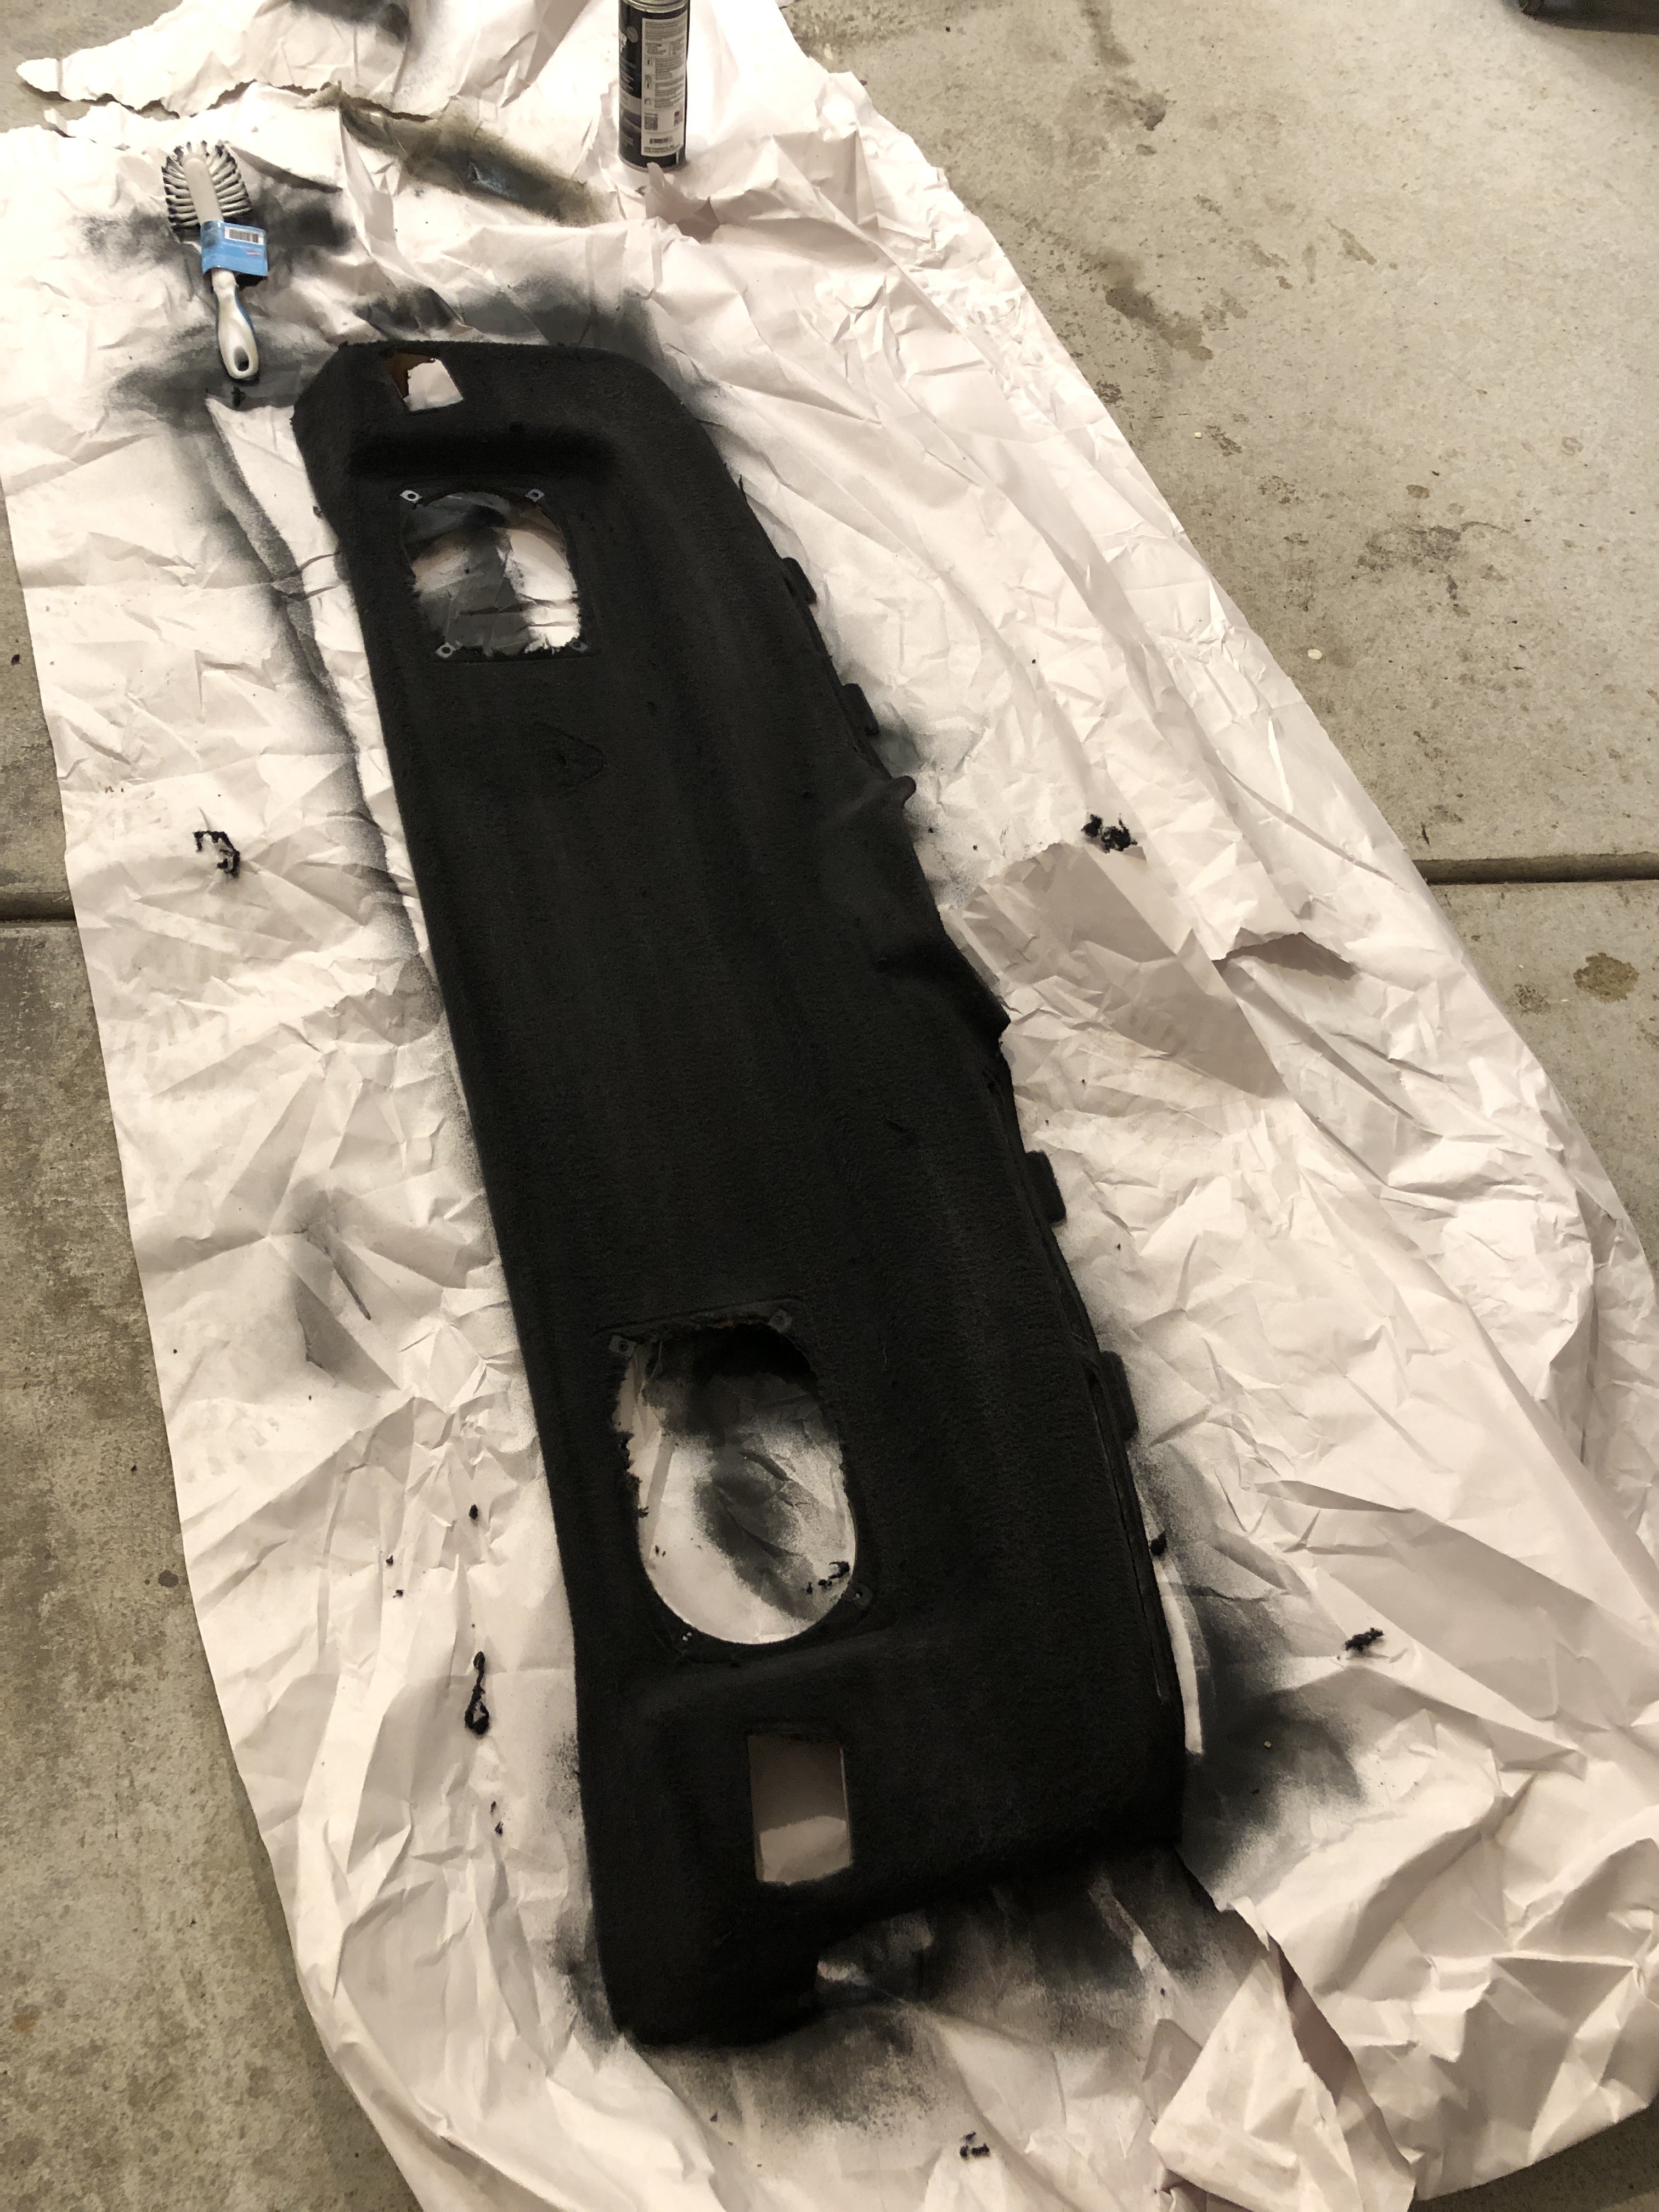
In the meantime, finished dying the rear shelf and sprayed undercoating on the vent pipe. I’m pleased with how it turned out.
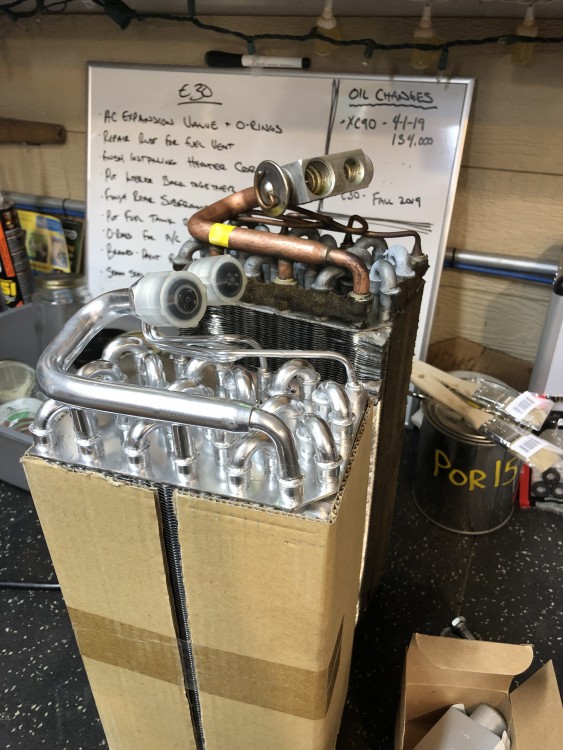
And new evaporator compared to the old one:
-
I didnt know you could buy chrome plated evaporators.

https://www.instagram.com/_jdesigner_/ http://nevertoolow.tumblr.com/
🥳SOLD BMW E24 633CSI - BMW M30B32 🧪SOLD HCH ES9 - 1.3 LDA
👽BMW E30 325IC - Toyota 1JZ-GTE ⏰ HONDA EF9 CIVIC SI - JDM B18C5
☠️BMW E36 318i - Ford 5.0 FE302 🚴♂️ GT-Labomba - 26x2.75 Freeride
🤹♀️SOLD BMW E36/7 Z3 - BMW M54B25 🧓SOLD BMW E10 2002 - BMW M10M05 -
chrome plated? That looks like it was spray painted with nail polish in a 409 bottle by a blind person.
Dan

-
Nice! How about building a plexiglass housing, with led light ropes to show it off? Not as much bling as your neckwear idea but easier on the wardrobe.
It does look sweet though. I kind of feel the same way about the Stromung stainless catback on my 318is. It's the cleanest thing on car and you can't really see in its glory unless you crawl underneath the car. Plus side though is you can hear it.
-
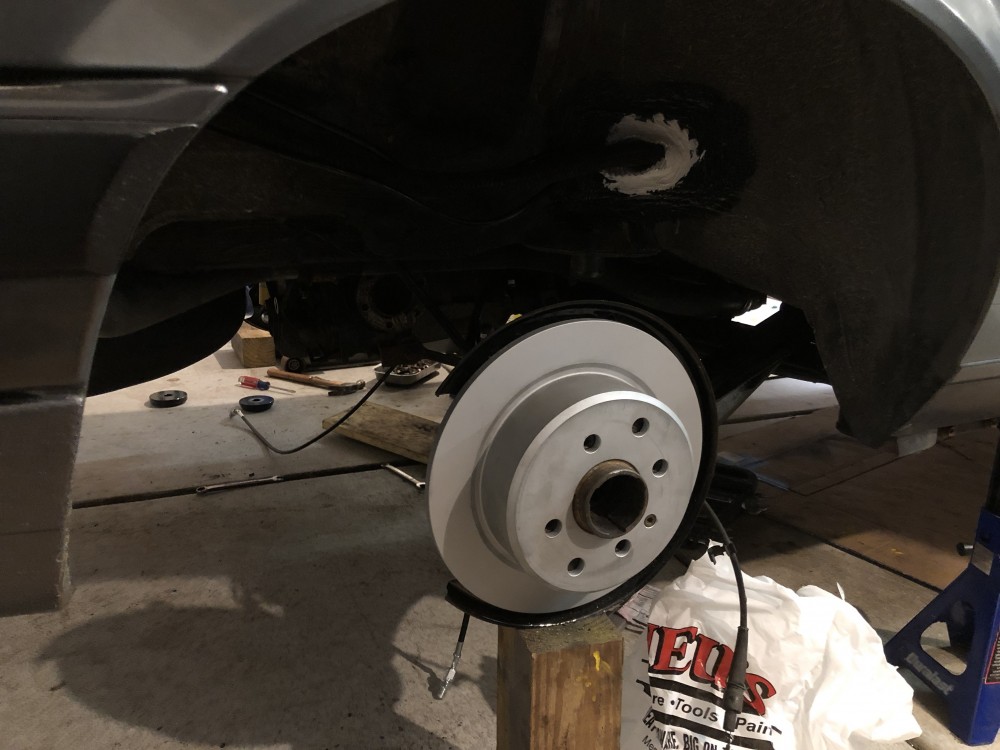
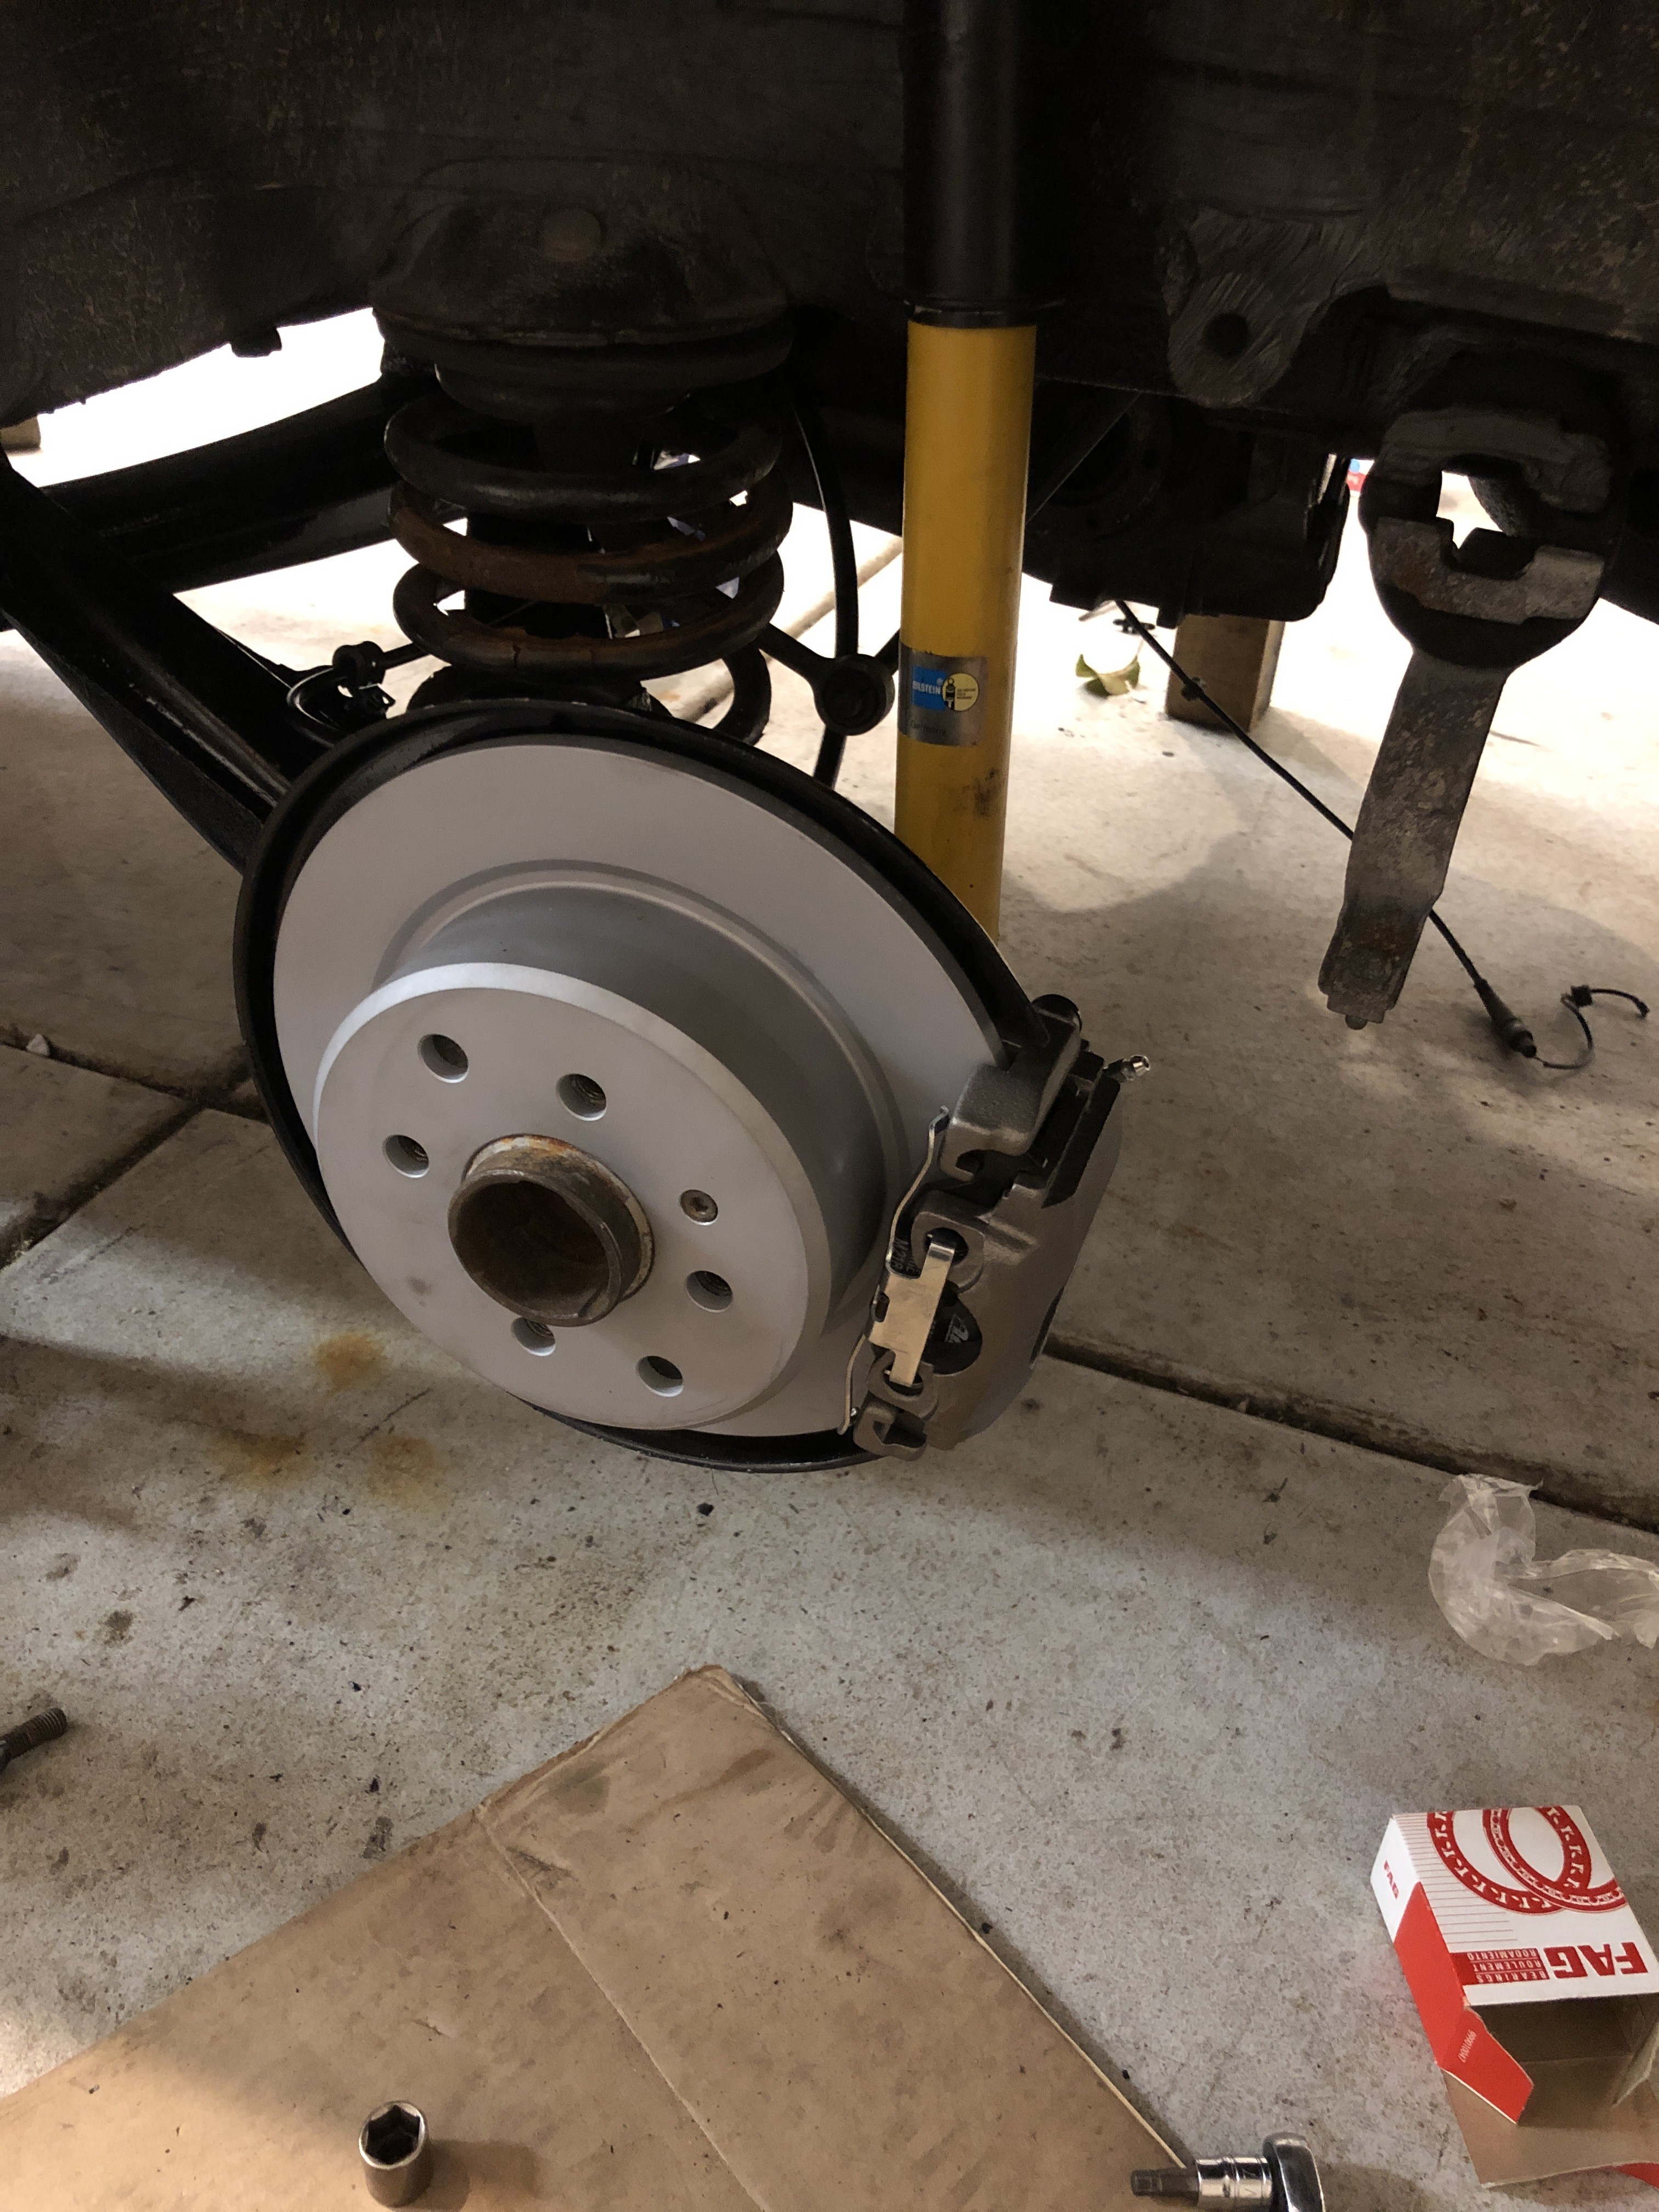
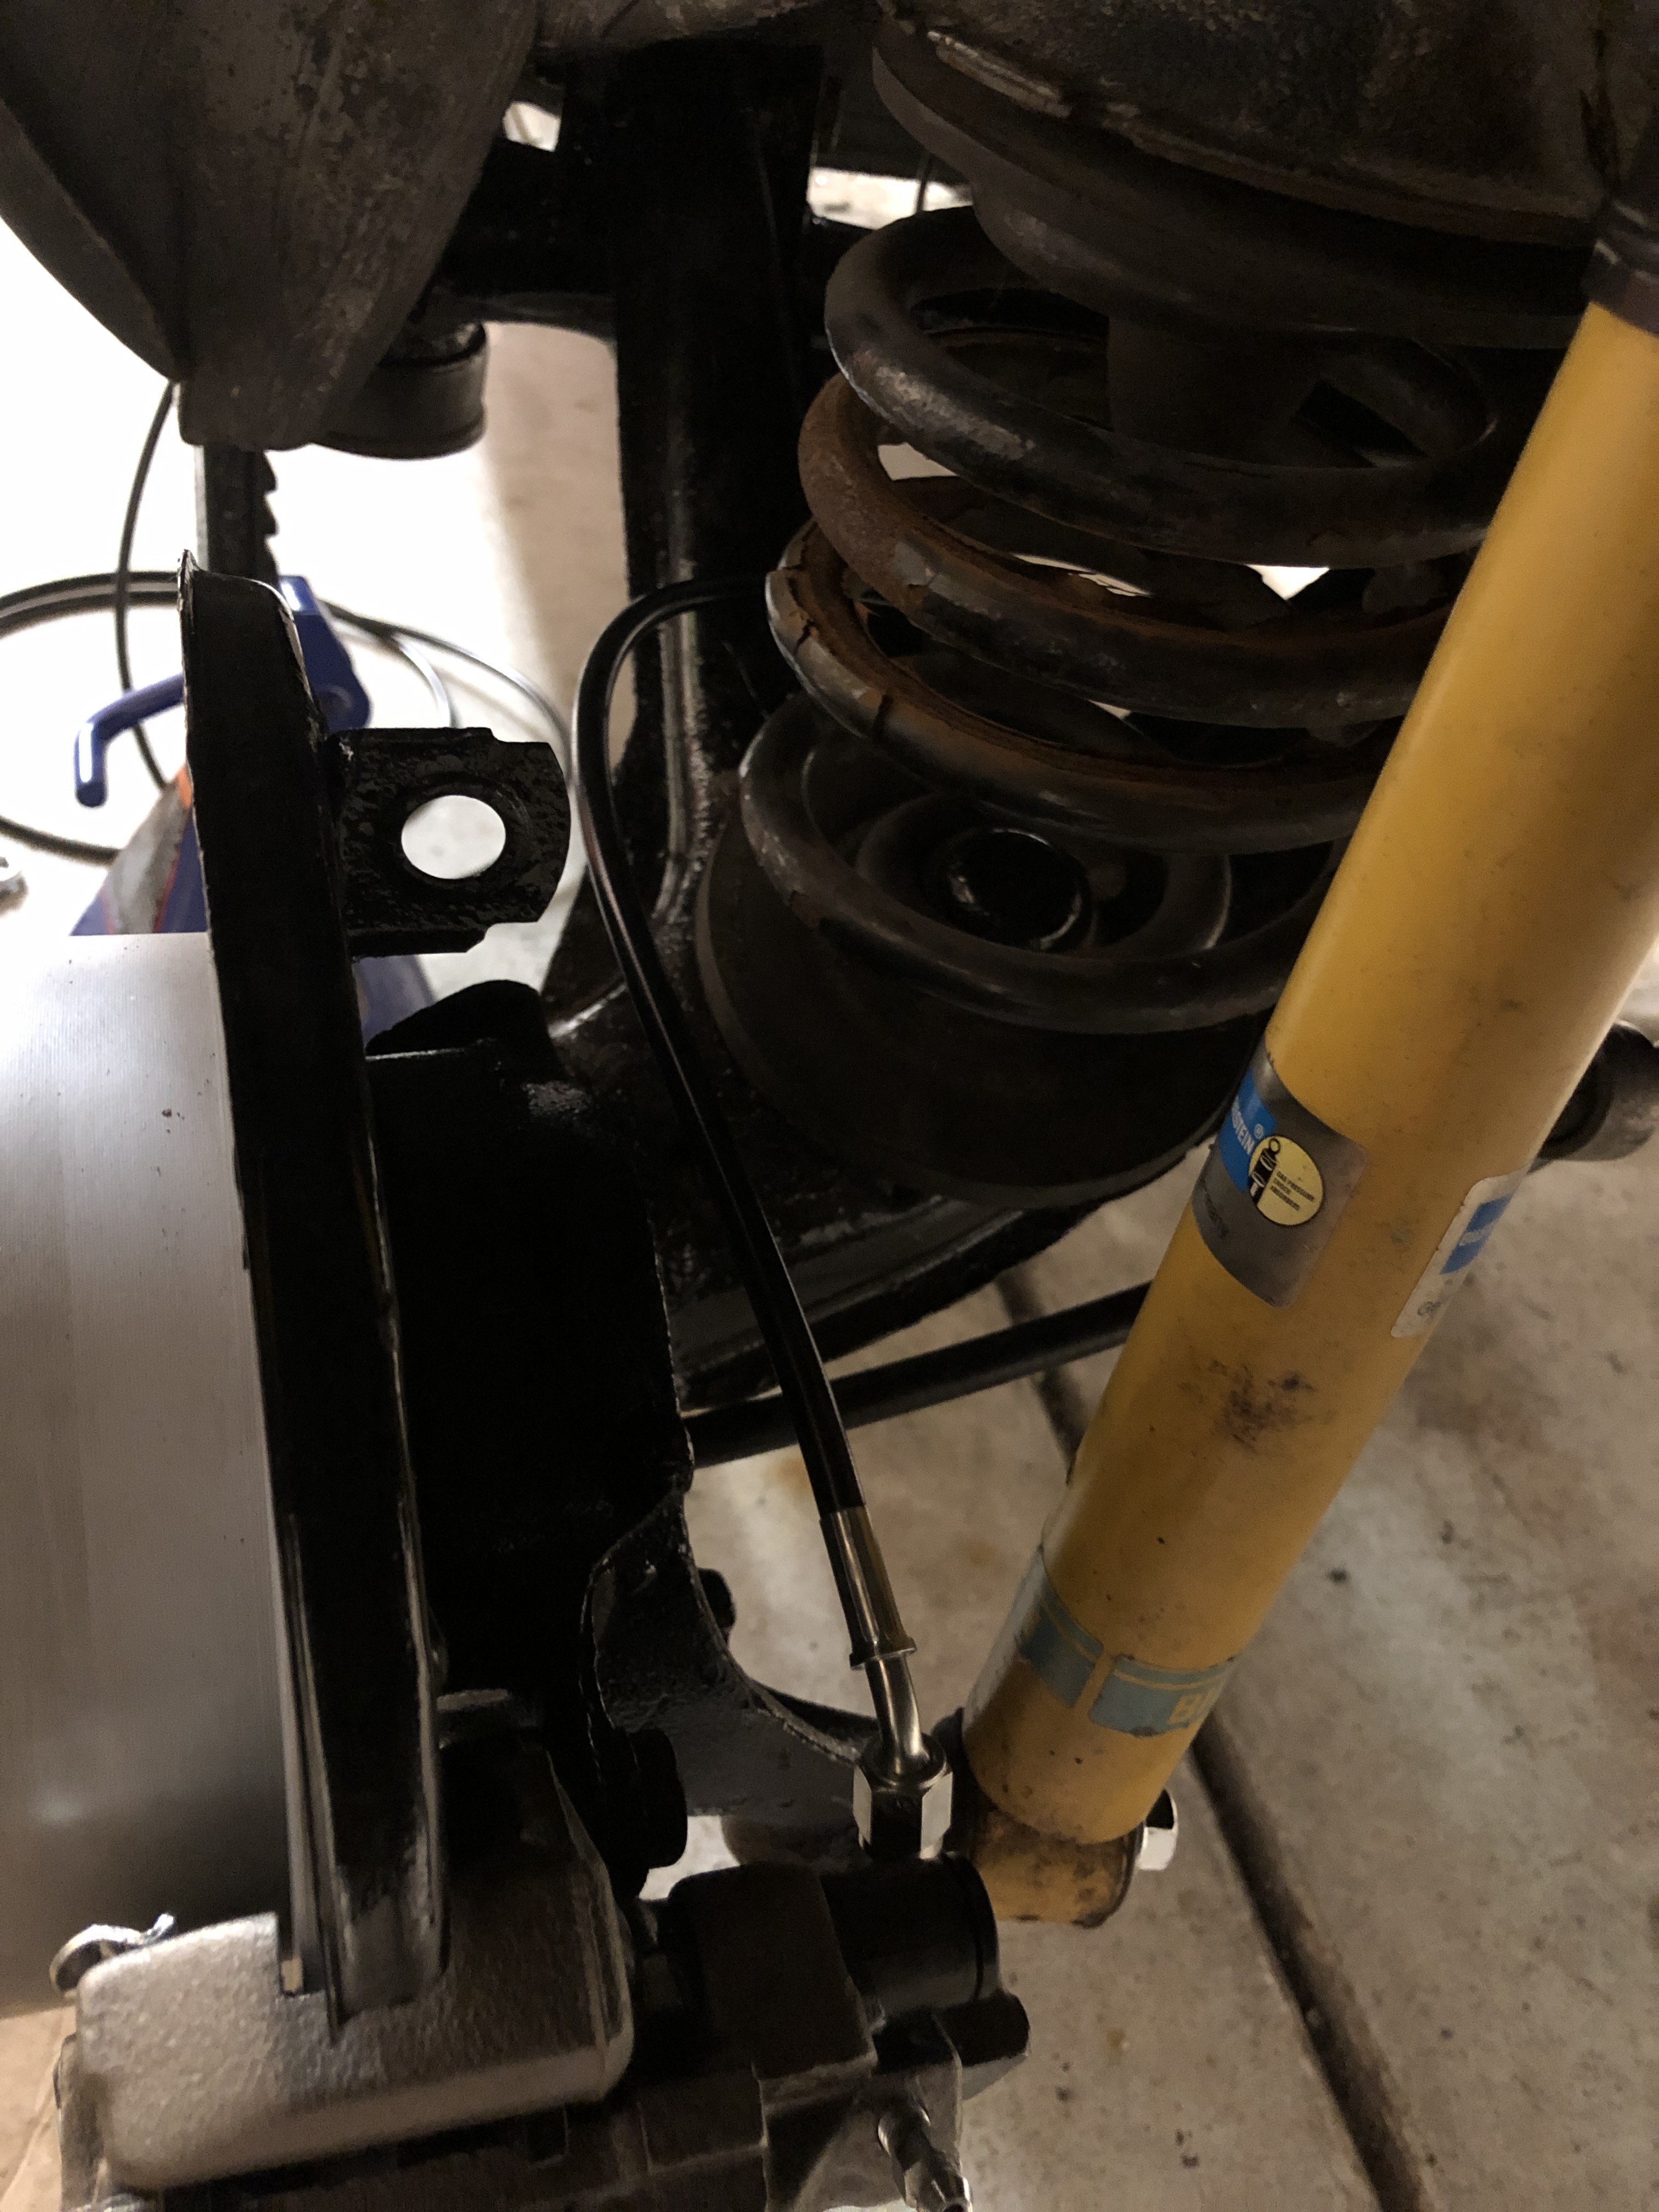
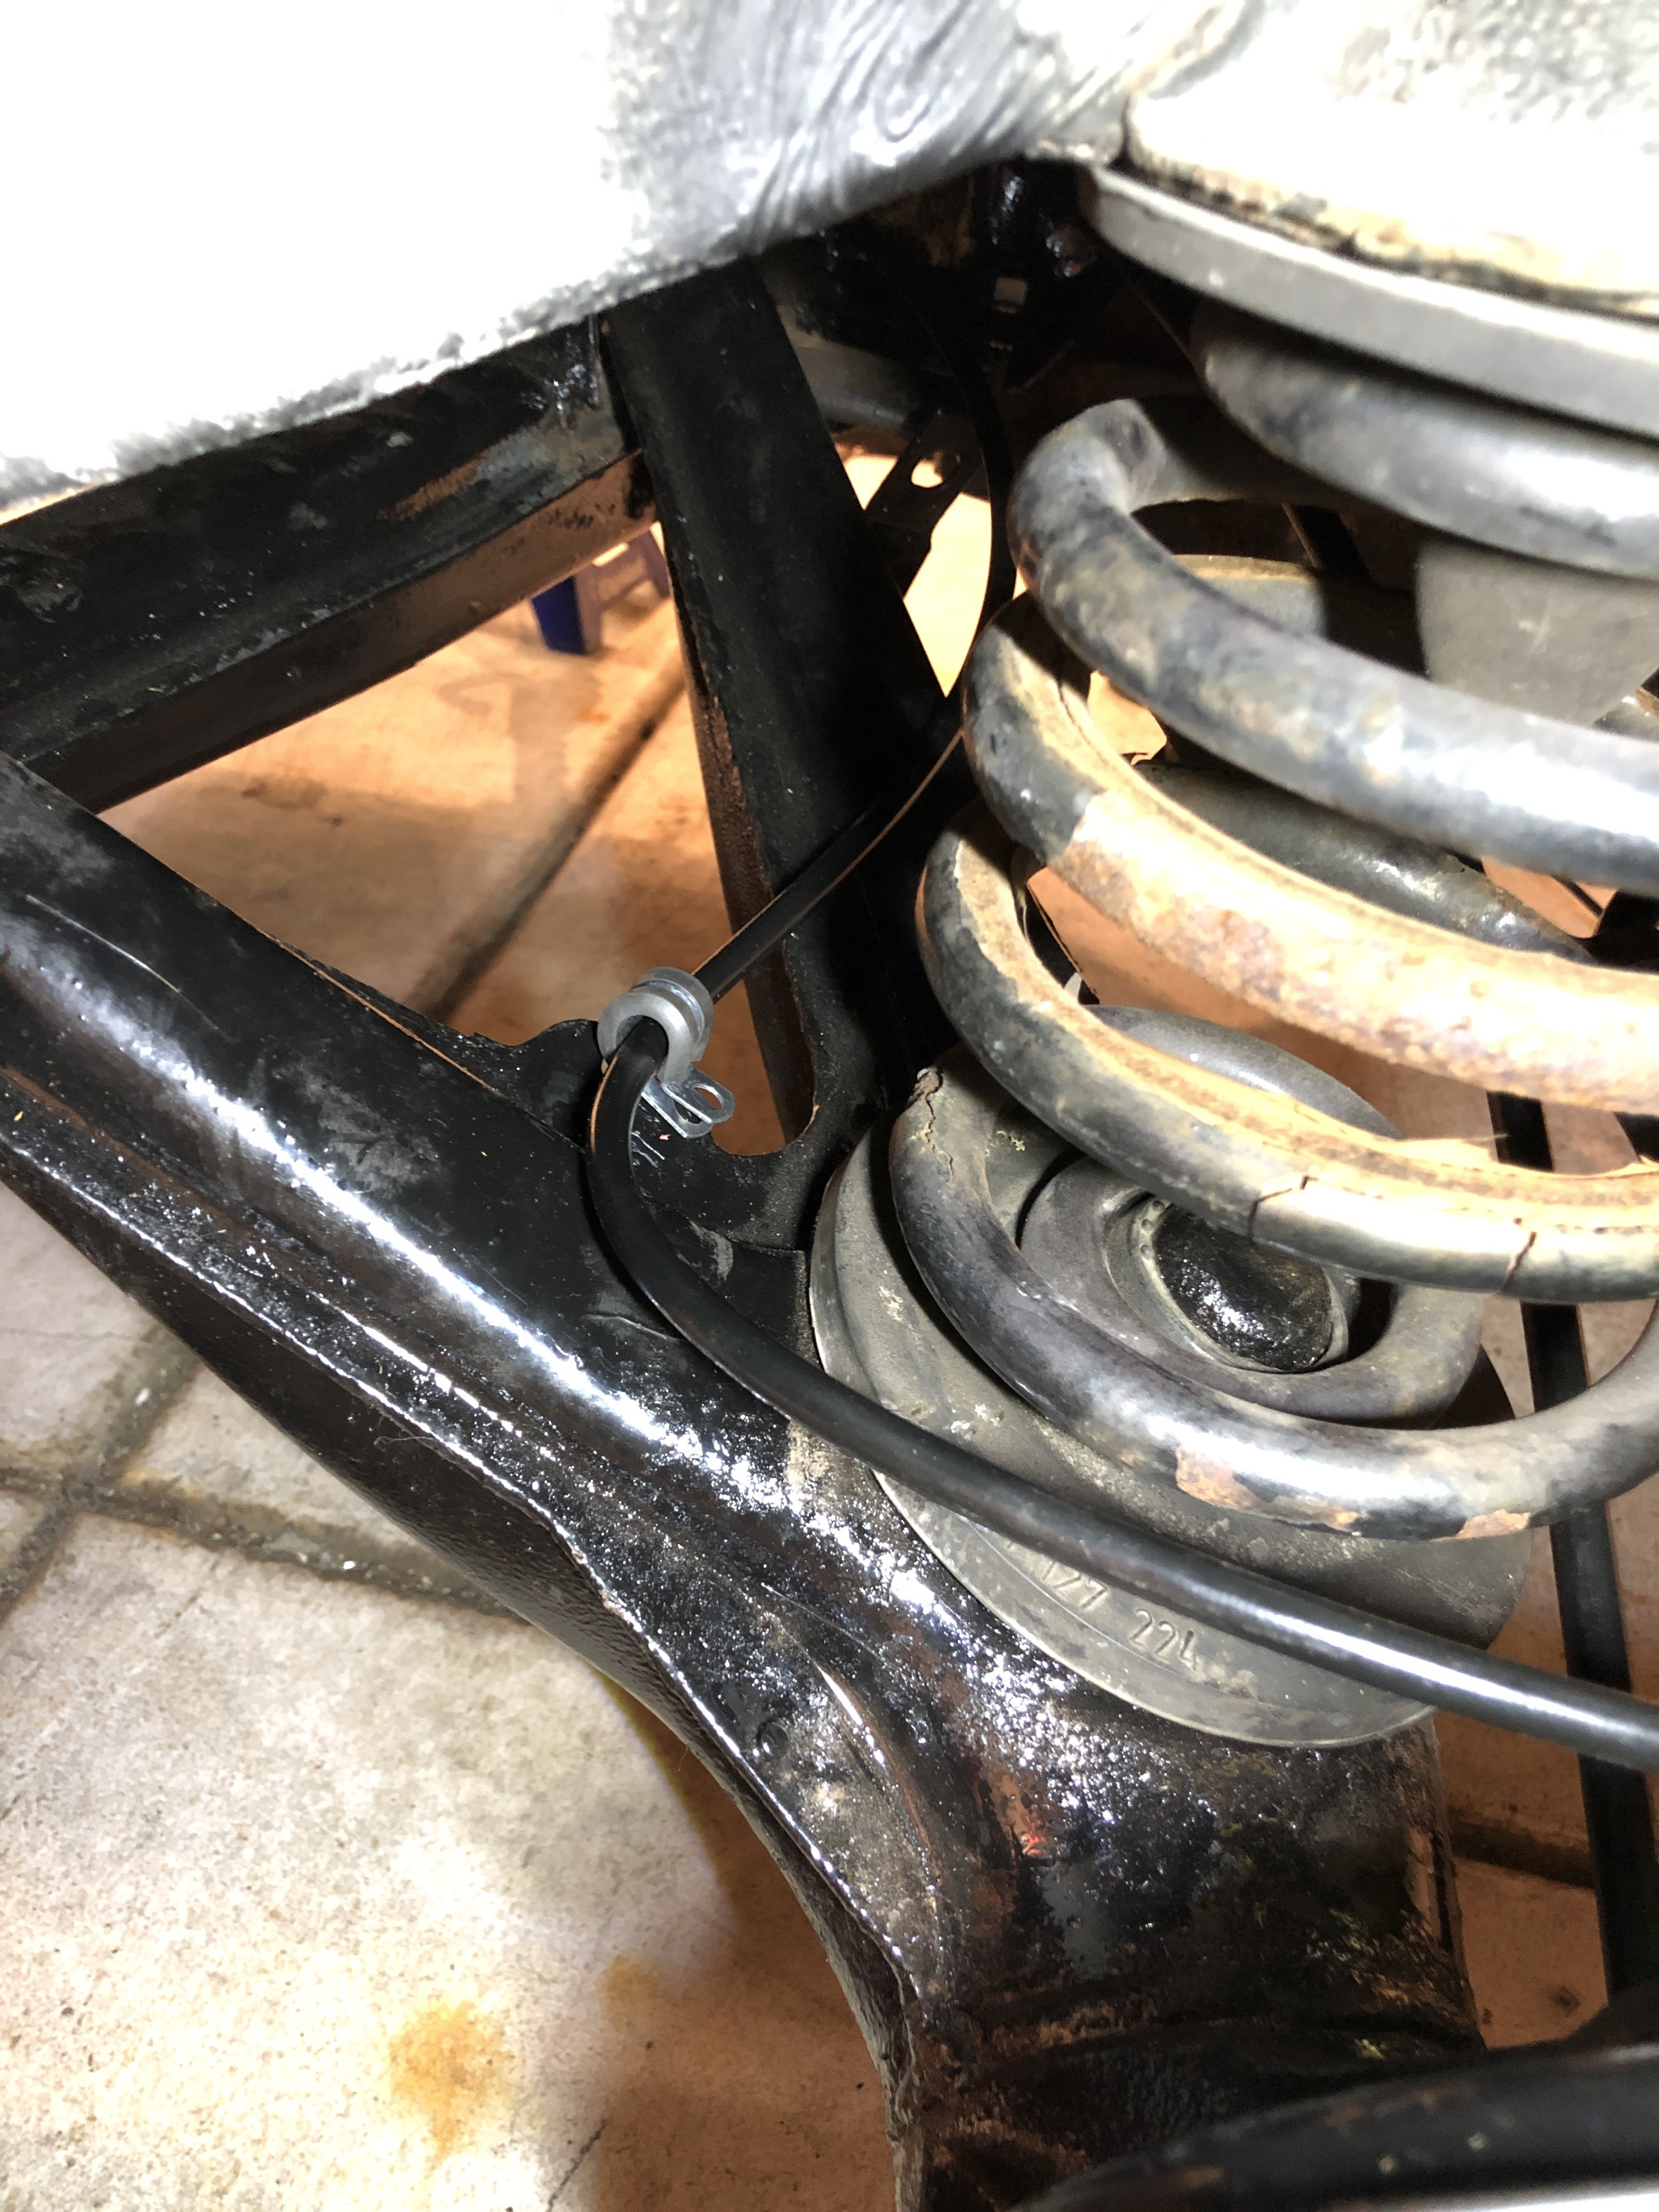
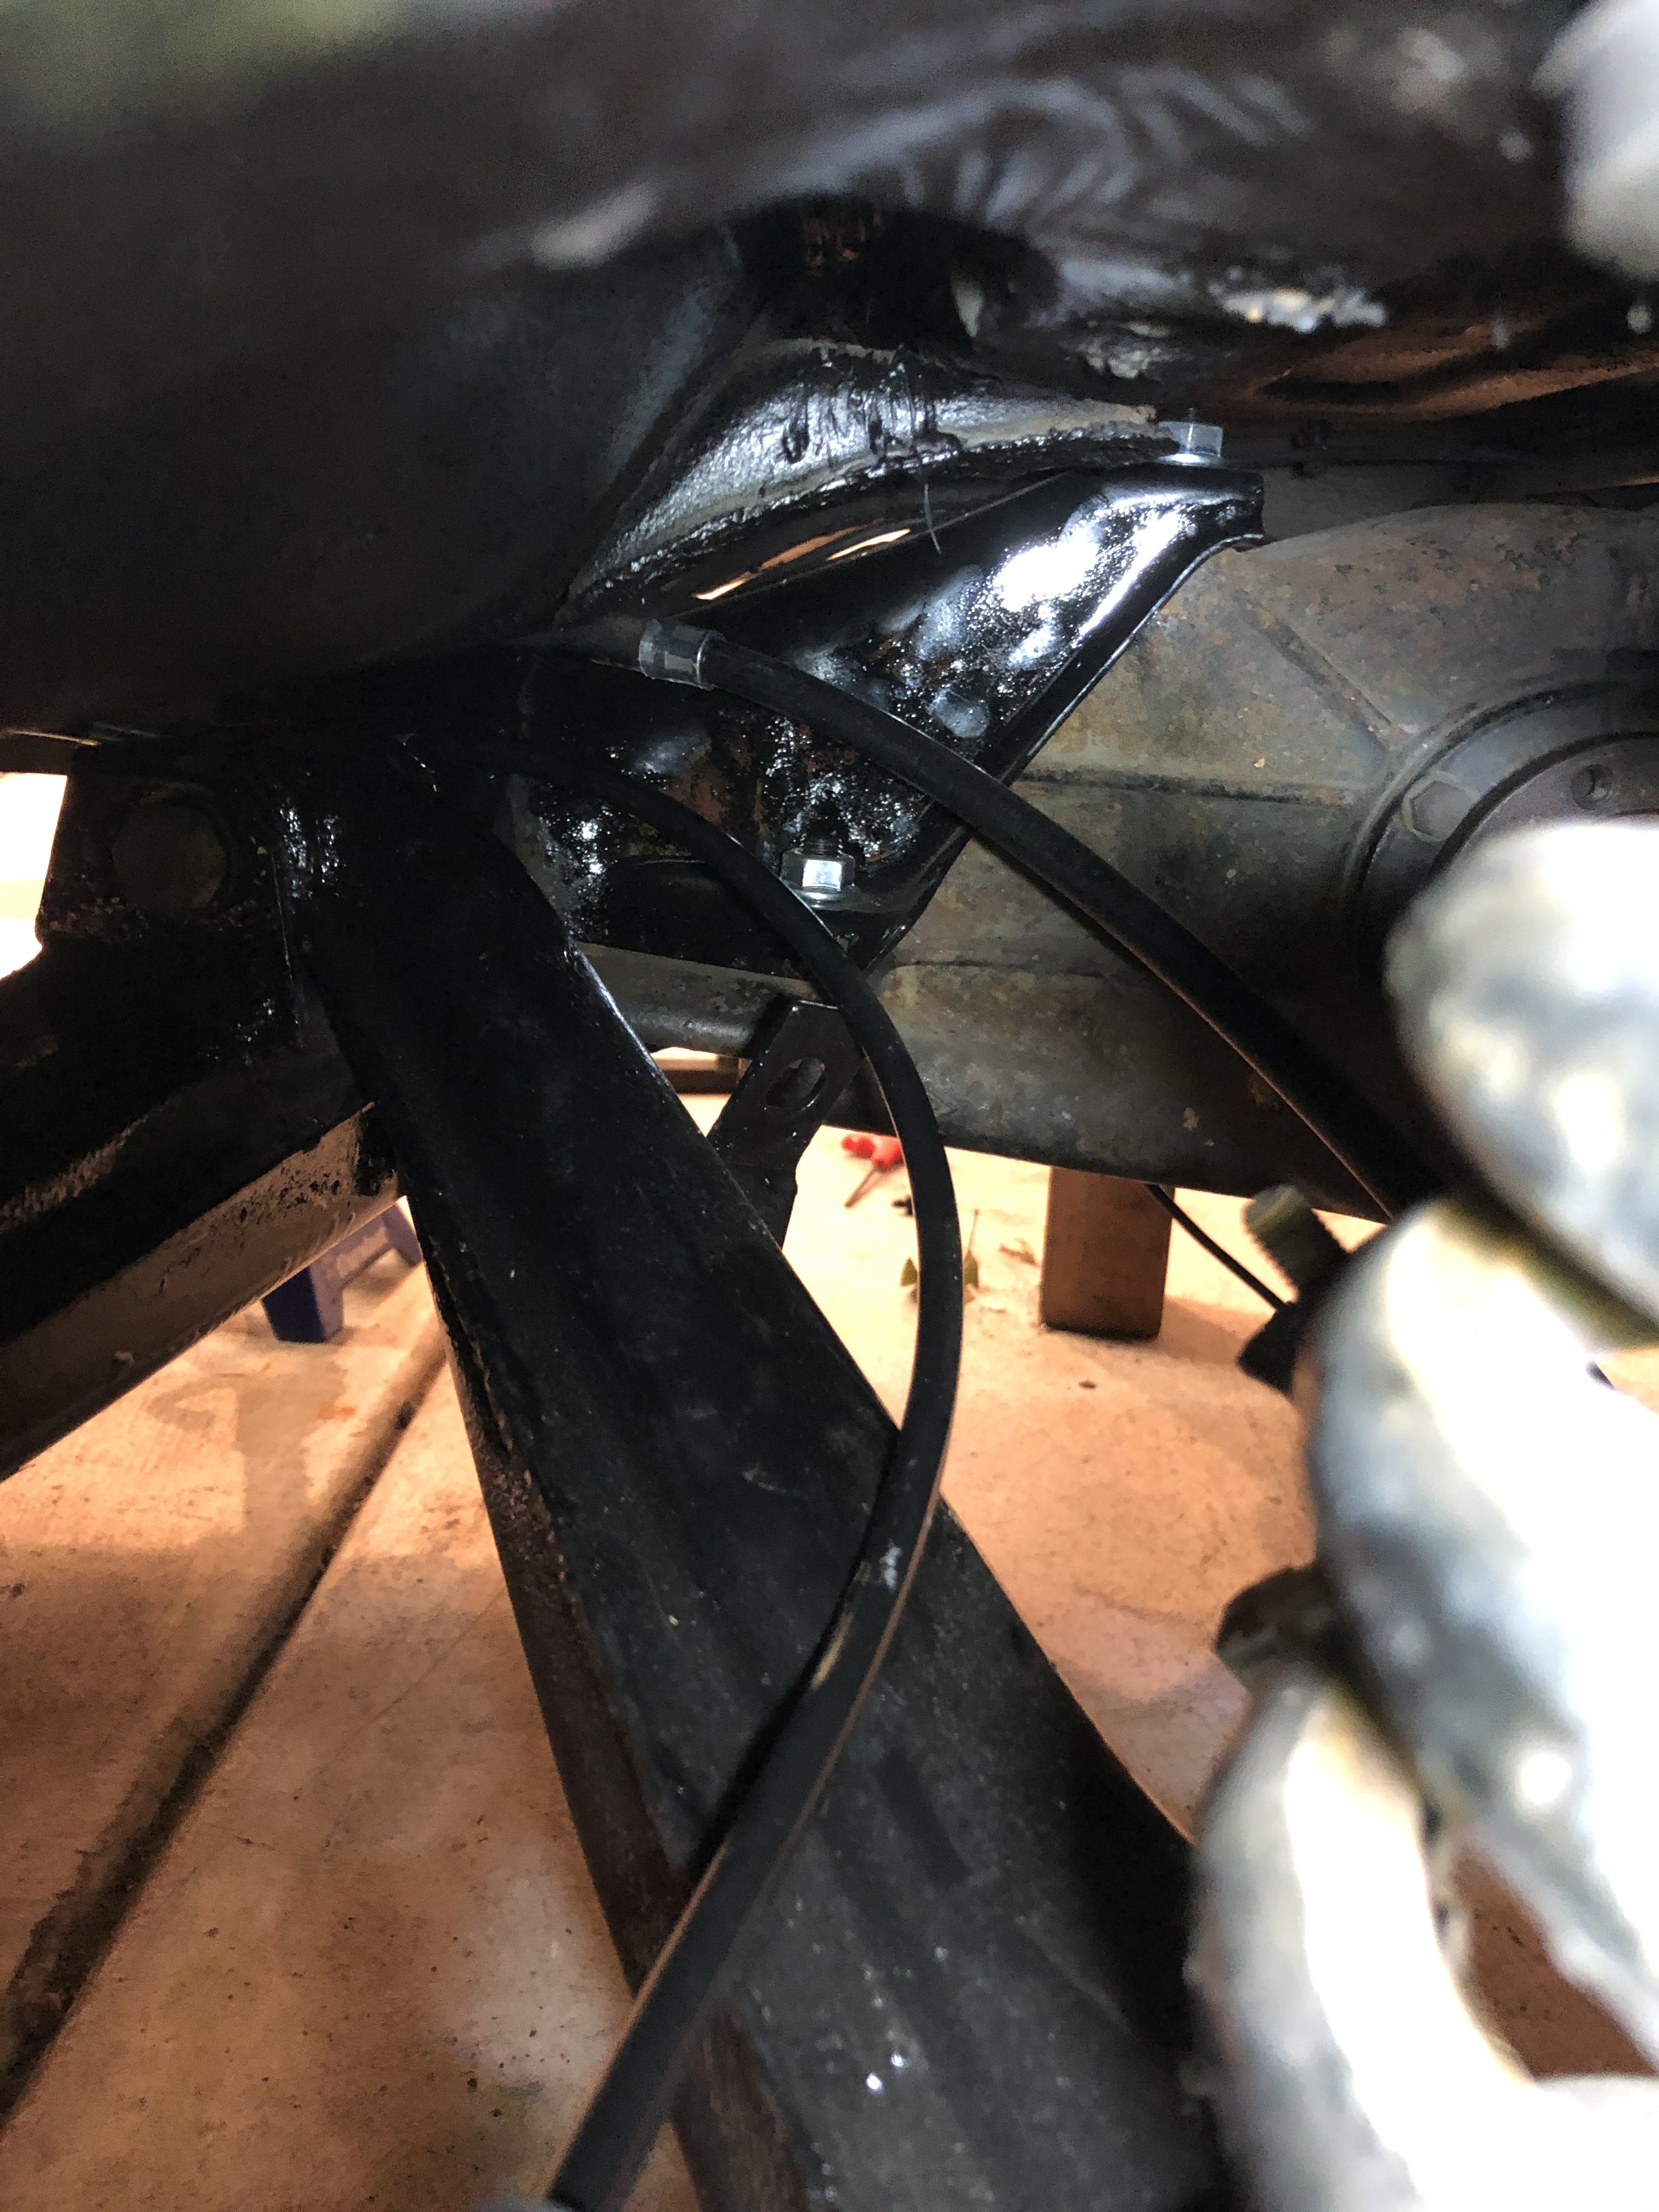
Got the new bearing in and the hub in on the DS and all it’s all tight. New rear brakes and pads and the new brake lines mocked up where they should be going. I ordered a replacement hose from Chase Bays and need that before I tighten down the lines to make sure there is enough slack to go this route.
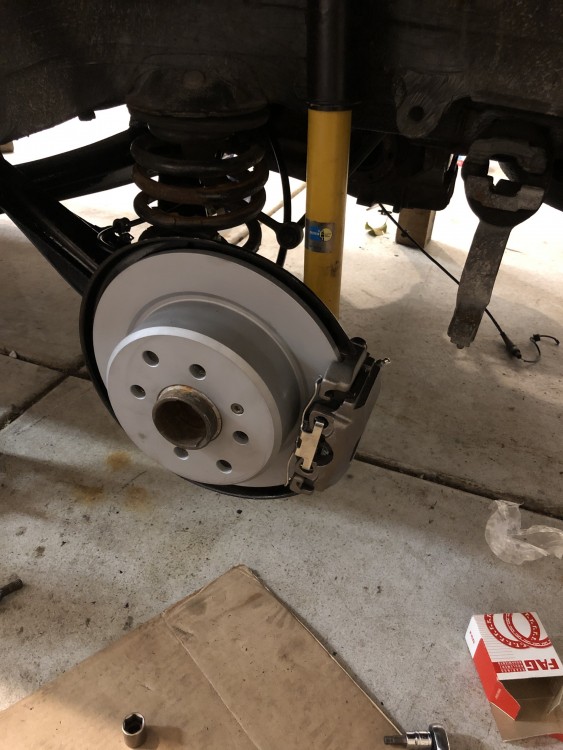
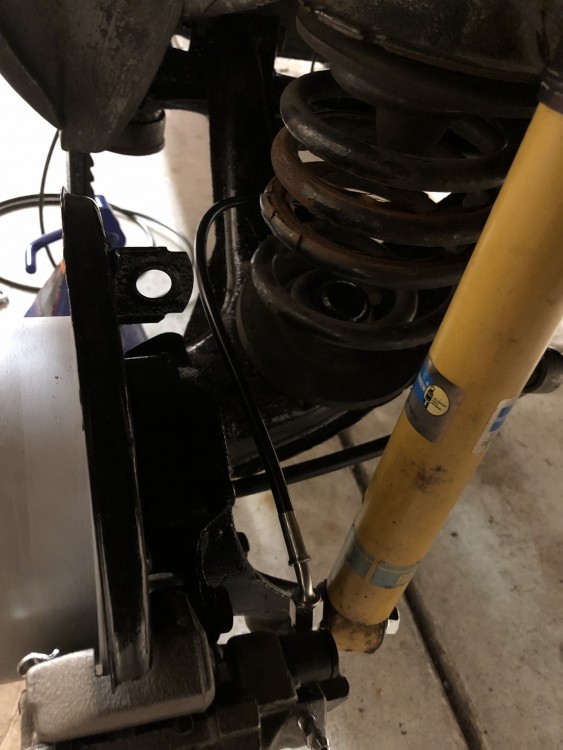
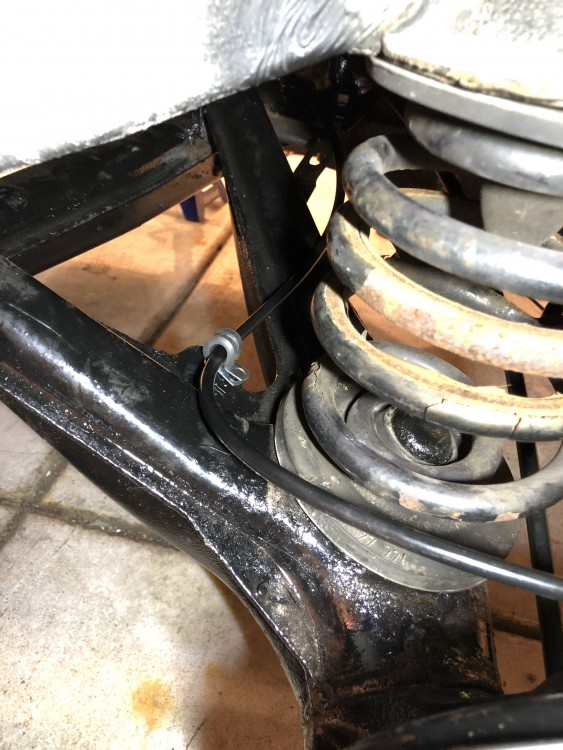
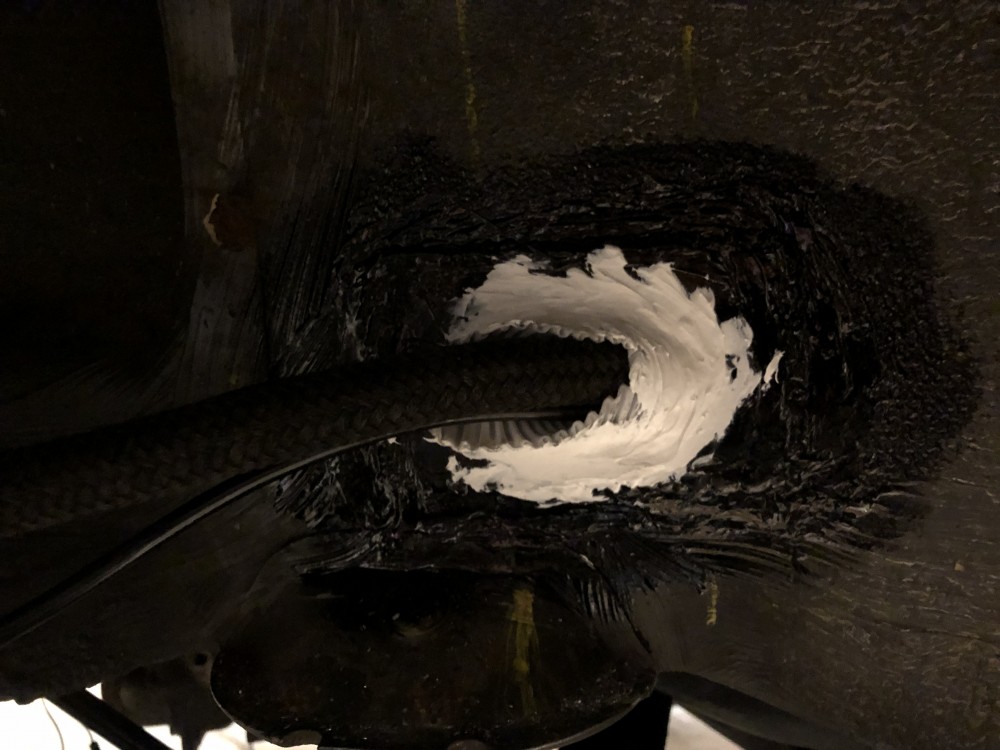
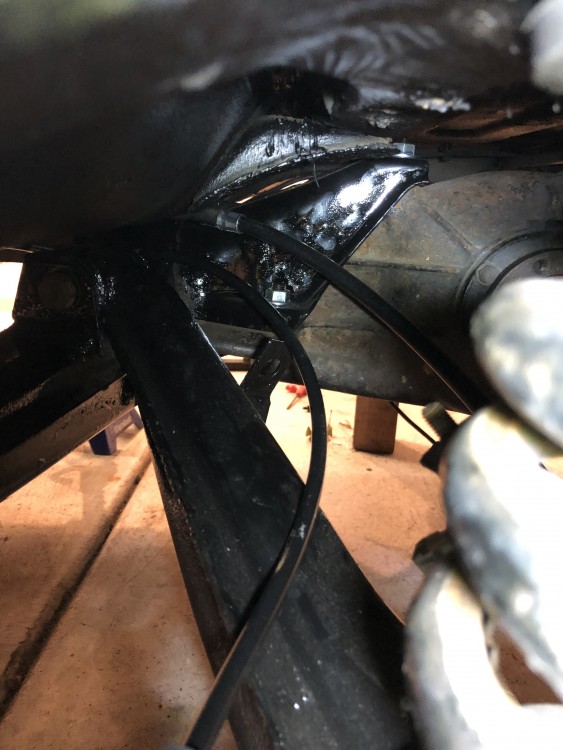
I have grommets to go in the hole where the factory brake line went through and that’s where this new line will go also
-
is that a one piece brake line from the body to the caliper? (removed the hardline from the trailing arms?)
Dan






Hello! It looks like you're interested in this conversation, but you don't have an account yet.
Getting fed up of having to scroll through the same posts each visit? When you register for an account, you'll always come back to exactly where you were before, and choose to be notified of new replies (either via email, or push notification). You'll also be able to save bookmarks and upvote posts to show your appreciation to other community members.
With your input, this post could be even better 💗
Register Login