
Non-BMW Stuff on a BMW Forum
-
I forgot the coding part, did you get it from Xemodex? I'm glad I didn't need to deal with that as mine was fine, my pump would run intermittently and it sounded weak when it was running, you can activate the pump with VIDA and watch the pump current draw and the output pressure. Do you have a VIDA/DICE setup? It is the most important thing for troubleshooting on a Volvo.
You need a decent air compressor for an HVLP gun but not a huge one. I think my little one I used for painting is around 2hp, 4.5 CFM at 90PSI. My compressor has a 4 gallon tank and then after the dryer was another 30 gallon tank. It was losing ground slowly as I painted but I gave it 30 seconds between parts to catch up and never had a problem. You need very dry air though, I made an ice powered air dryer that works really well for cheap, let me know if you want details on it. It worked so well that the dessicant final dryer never even had any color change.
I made a "booth" with tyvek wrap and had 3 box fans exhausting under the garage door and everything inside the booth had clear coat on it.
-
i also made a 'negative pressure paint booth' with a box fan inside a small room. it does not keep the paint off of surfaces as well as you think it might. it does help keep the cloud of paint from being super obnoxious and helps with exhausting the fumes. you should still be prepared to cover things you don't want to get speckled.
i also deployed that 2k clear for painting a bicycle frame once. the extra nastiness of the paint wasnt worth the hassle for the finish it created. i wouldnt use it again. YMMV
Dan

-
I forgot the coding part, did you get it from Xemodex? I'm glad I didn't need to deal with that as mine was fine, my pump would run intermittently and it sounded weak when it was running, you can activate the pump with VIDA and watch the pump current draw and the output pressure. Do you have a VIDA/DICE setup? It is the most important thing for troubleshooting on a Volvo.
Yeah, I have VADIS. I had sent it in to xemodex for them to rebuild it and they called back after running their tests and said "you need to replace the pump or the warranty will be void". Basically, your pump is also fucked. So, I did it all. Job was actually pretty simple, just so much money, and seems so unnecessary.
Mine failed by blowing the fuse for the AWD system in the trunk. Replaced the fuse and it blew it again instantly. Car had no communication with the DEM because it had no power (and couldn't power itself). But there was a laundry list of codes stored from it. But, drove it to work today and all appears to be well.
You need a decent air compressor for an HVLP gun but not a huge one. I think my little one I used for painting is around 2hp, 4.5 CFM at 90PSI. My compressor has a 4 gallon tank and then after the dryer was another 30 gallon tank.
I have an 8 gallon husky which is 4.8 scfm at 40psi which from what I can decipher is at the low end for a mid-grade hvlp gun to run efficiently, but it can be done.
. you should still be prepared to cover things you don't want to get speckled.
I will be moving stuff out of the garage that can be affected by odor (strollers) and will cover everything else. Going to get one of those rolls of plastic from Maynerds.
-
Save big money
-
I agree next time a harbor freight gun is the way to go. Buy 2
1 for primer and 1 for base/clear.
Naked Gun by Klean Strip to clean them out. They are good for a bunch of uses as long as they have been cleaned correctly.
People give the harbor freight guns shit all the time when in reality it usually isnt the gun. Its the painter.
Make sure you get an air regulator and an oil/water separator to prevent greasy air from getting into your paint.
This is for next time.
-
Lol. Now I wish I would have just gotten the premixed paint to use with an hvlp gun right away. Oh well.
I was skeptical if my compressor would work, but from everything I’m reading it should be fine. Maybe not ideal, but should work.
Now I want to spray the whole car. Maybe in spring.
-
4.8 cfm at 40PSI is not going to be enough. I think my gun spec is around 12 cfm at 25psi. Mine is about 4.5 @ 90PSI which is significantly more air than at 40PSI. Also the more storage you have the more of a buffer you have. I need to get my big compressor hooked up. It puts out 21cfm at 175PSI. It only runs about 50% duty even sandblasting.
I used Nason brand paint from my local parts store and I would use it again, good price and it sprayed nicely.
-
4.8 cfm at 40PSI is not going to be enough. I think my gun spec is around 12 cfm at 25psi. Mine is about 4.5 @ 90PSI which is significantly more air than at 40PSI. Also the more storage you have the more of a buffer you have. I need to get my big compressor hooked up. It puts out 21cfm at 175PSI. It only runs about 50% duty even sandblasting.
I used Nason brand paint from my local parts store and I would use it again, good price and it sprayed nicely.
I was browsing compressors and found a few that are 6 scfm at 40psi and 5 scfm at 90.
Even if I invest in a new compressor and hvlp guns, the cost of that and paint is still SUBSTANTIALLY cheaper than giving the car to a shop to do.
It would still be a diy paint job, and although I want it to look good, I need to maintain a bit of patina so I’m not afraid to drive it.
-
I was browsing compressors and found a few that are 6 scfm at 40psi and 5 scfm at 90.
Even if I invest in a new compressor and hvlp guns, the cost of that and paint is still SUBSTANTIALLY cheaper than giving the car to a shop to do.
It would still be a diy paint job, and although I want it to look good, I need to maintain a bit of patina so I’m not afraid to drive it.
This is how I justify many tool purchases. Remember that that size class of compressors is borderline too small anyway. I was painting a hood, bumper cover and one fender so I could pause between parts. When you paint a whole car you need to keep going to maintain the wet edge so you can't just stop and wait for the compressor to keep up.
A minimum of something like this would be good. And it would do any other compressed air tasks. Downsides are that it isn't portable, and it needs 240V which any decent sized compressor will. And it is only a single stage so the efficiency is lower.
Going to a 2 stage is really nice because the volume of air jumps significantly and the compressor isn't working so hard to produce high pressures. It takes more justifying to your wife though.
Another option though is to borrow another smaller compressor like yours and hook them together and the combined air output will be plenty. Just make sure they are plugged into different circuits so the breaker doesn't trip.
-
Yeah, neither of those will be happening. Lol
I can justify it by spending $300 on a compressor and it being just good enough.
I would most likely remove the hood and fenders to do it. I have some repairs that I need to make on those so I would do it in pieces. I think it also gives me some more room for error rather than trying to do the entire car at once.
Home Depot has a 30 gallon Husky compressor that is 6.8 scfm at 40psi for $300.
the HF hvlp gun needs 6 scfm at 40 psi so that compressor should be on the bring of good enough.
-
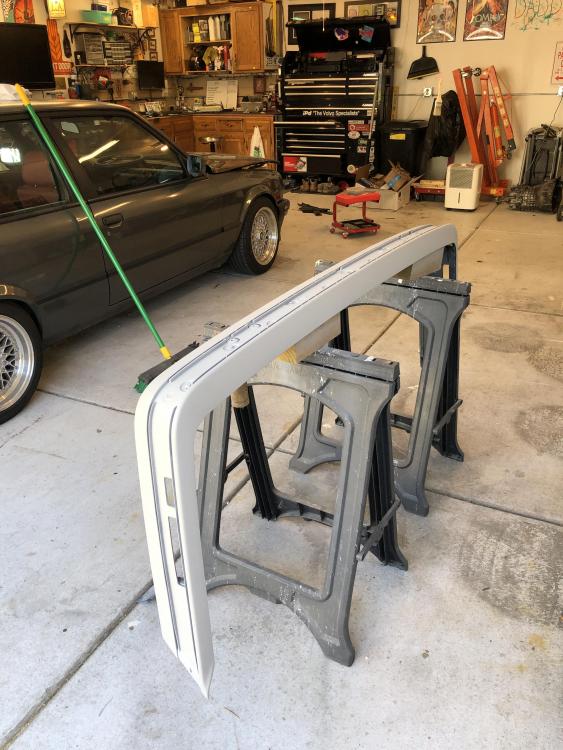
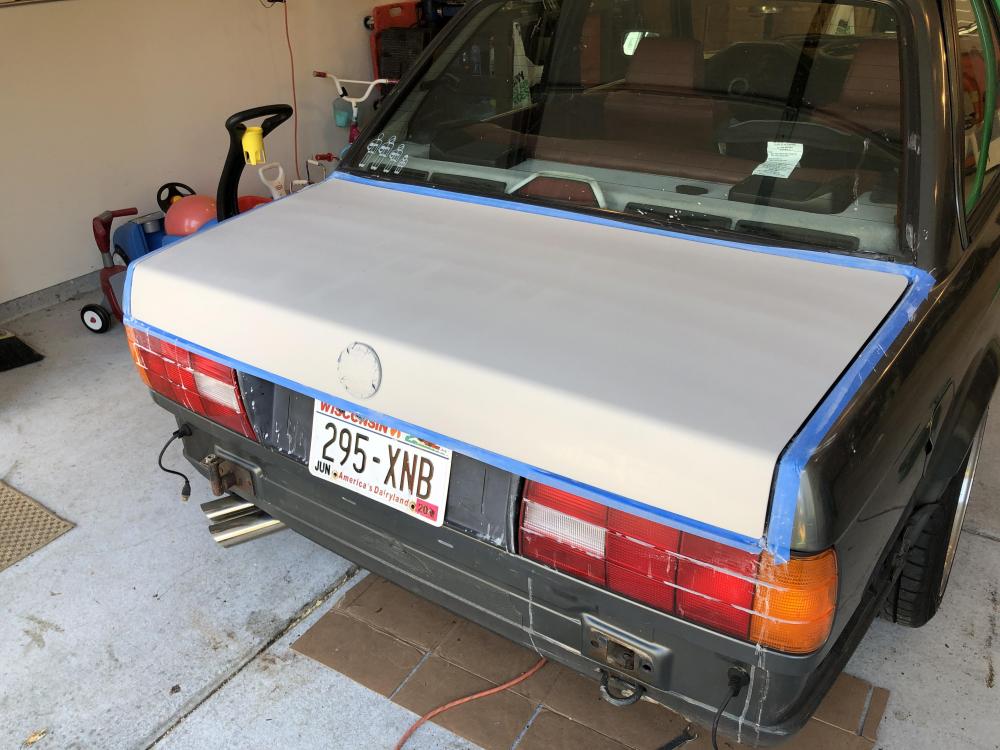
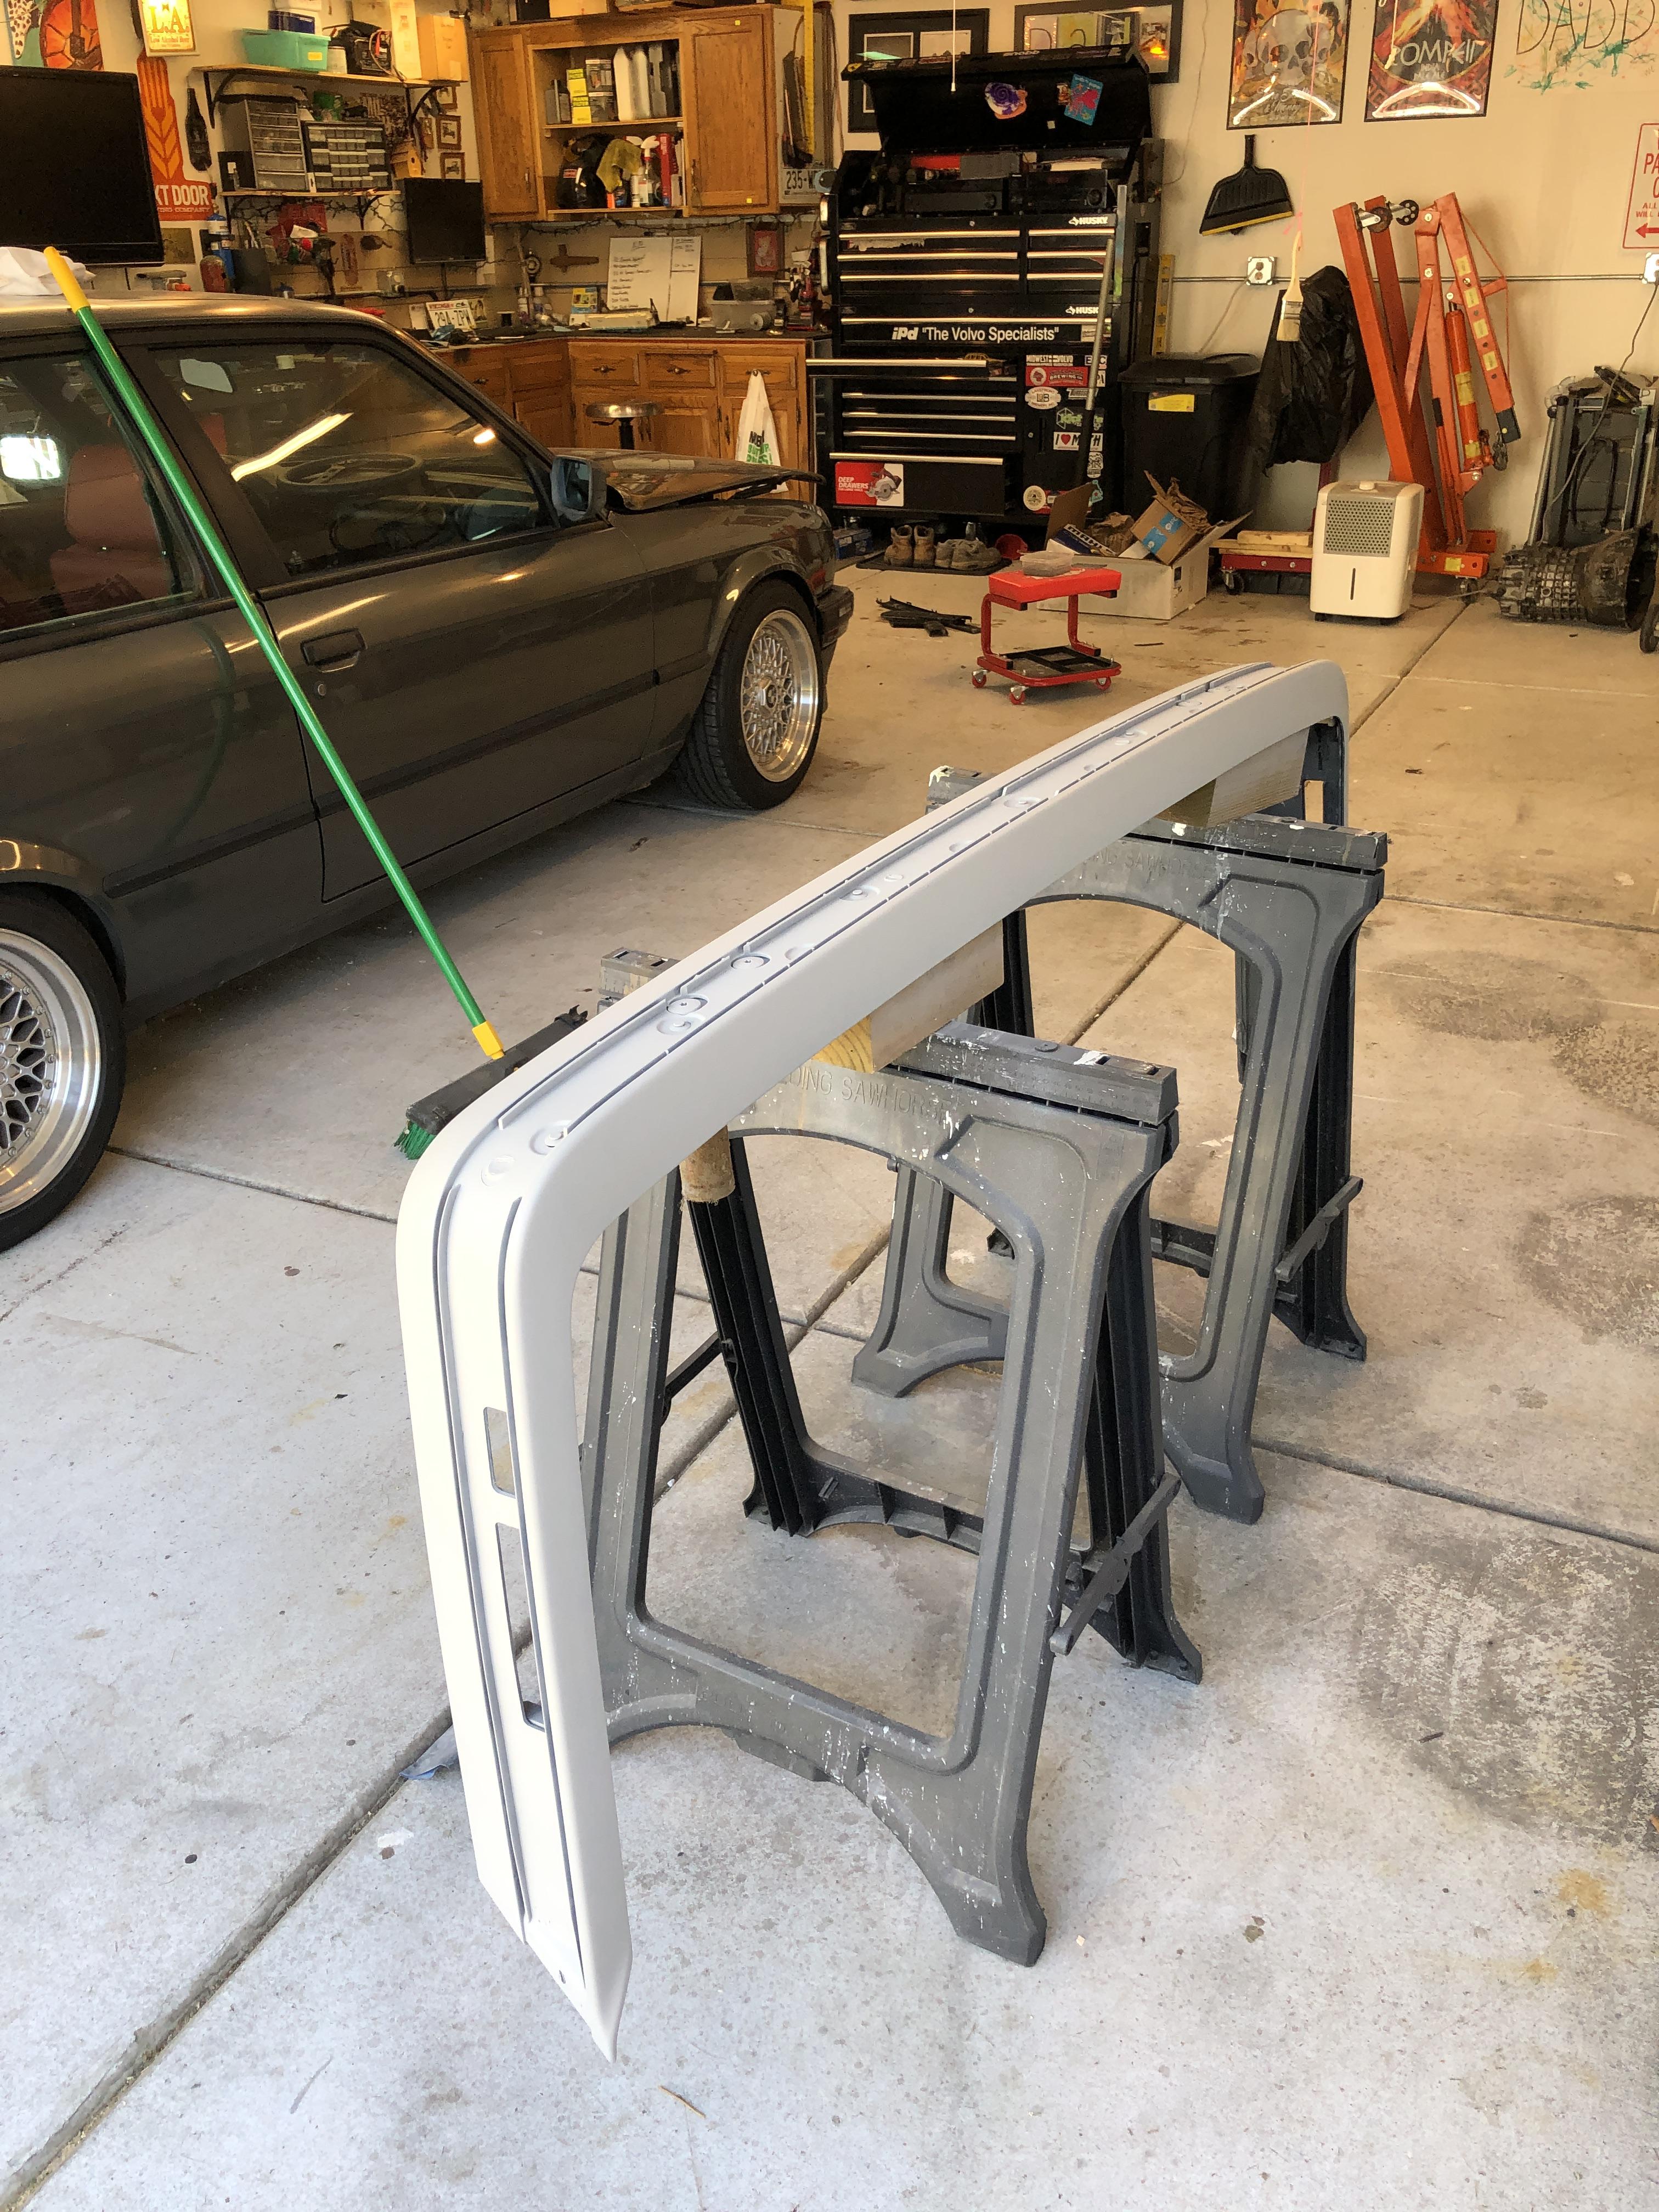
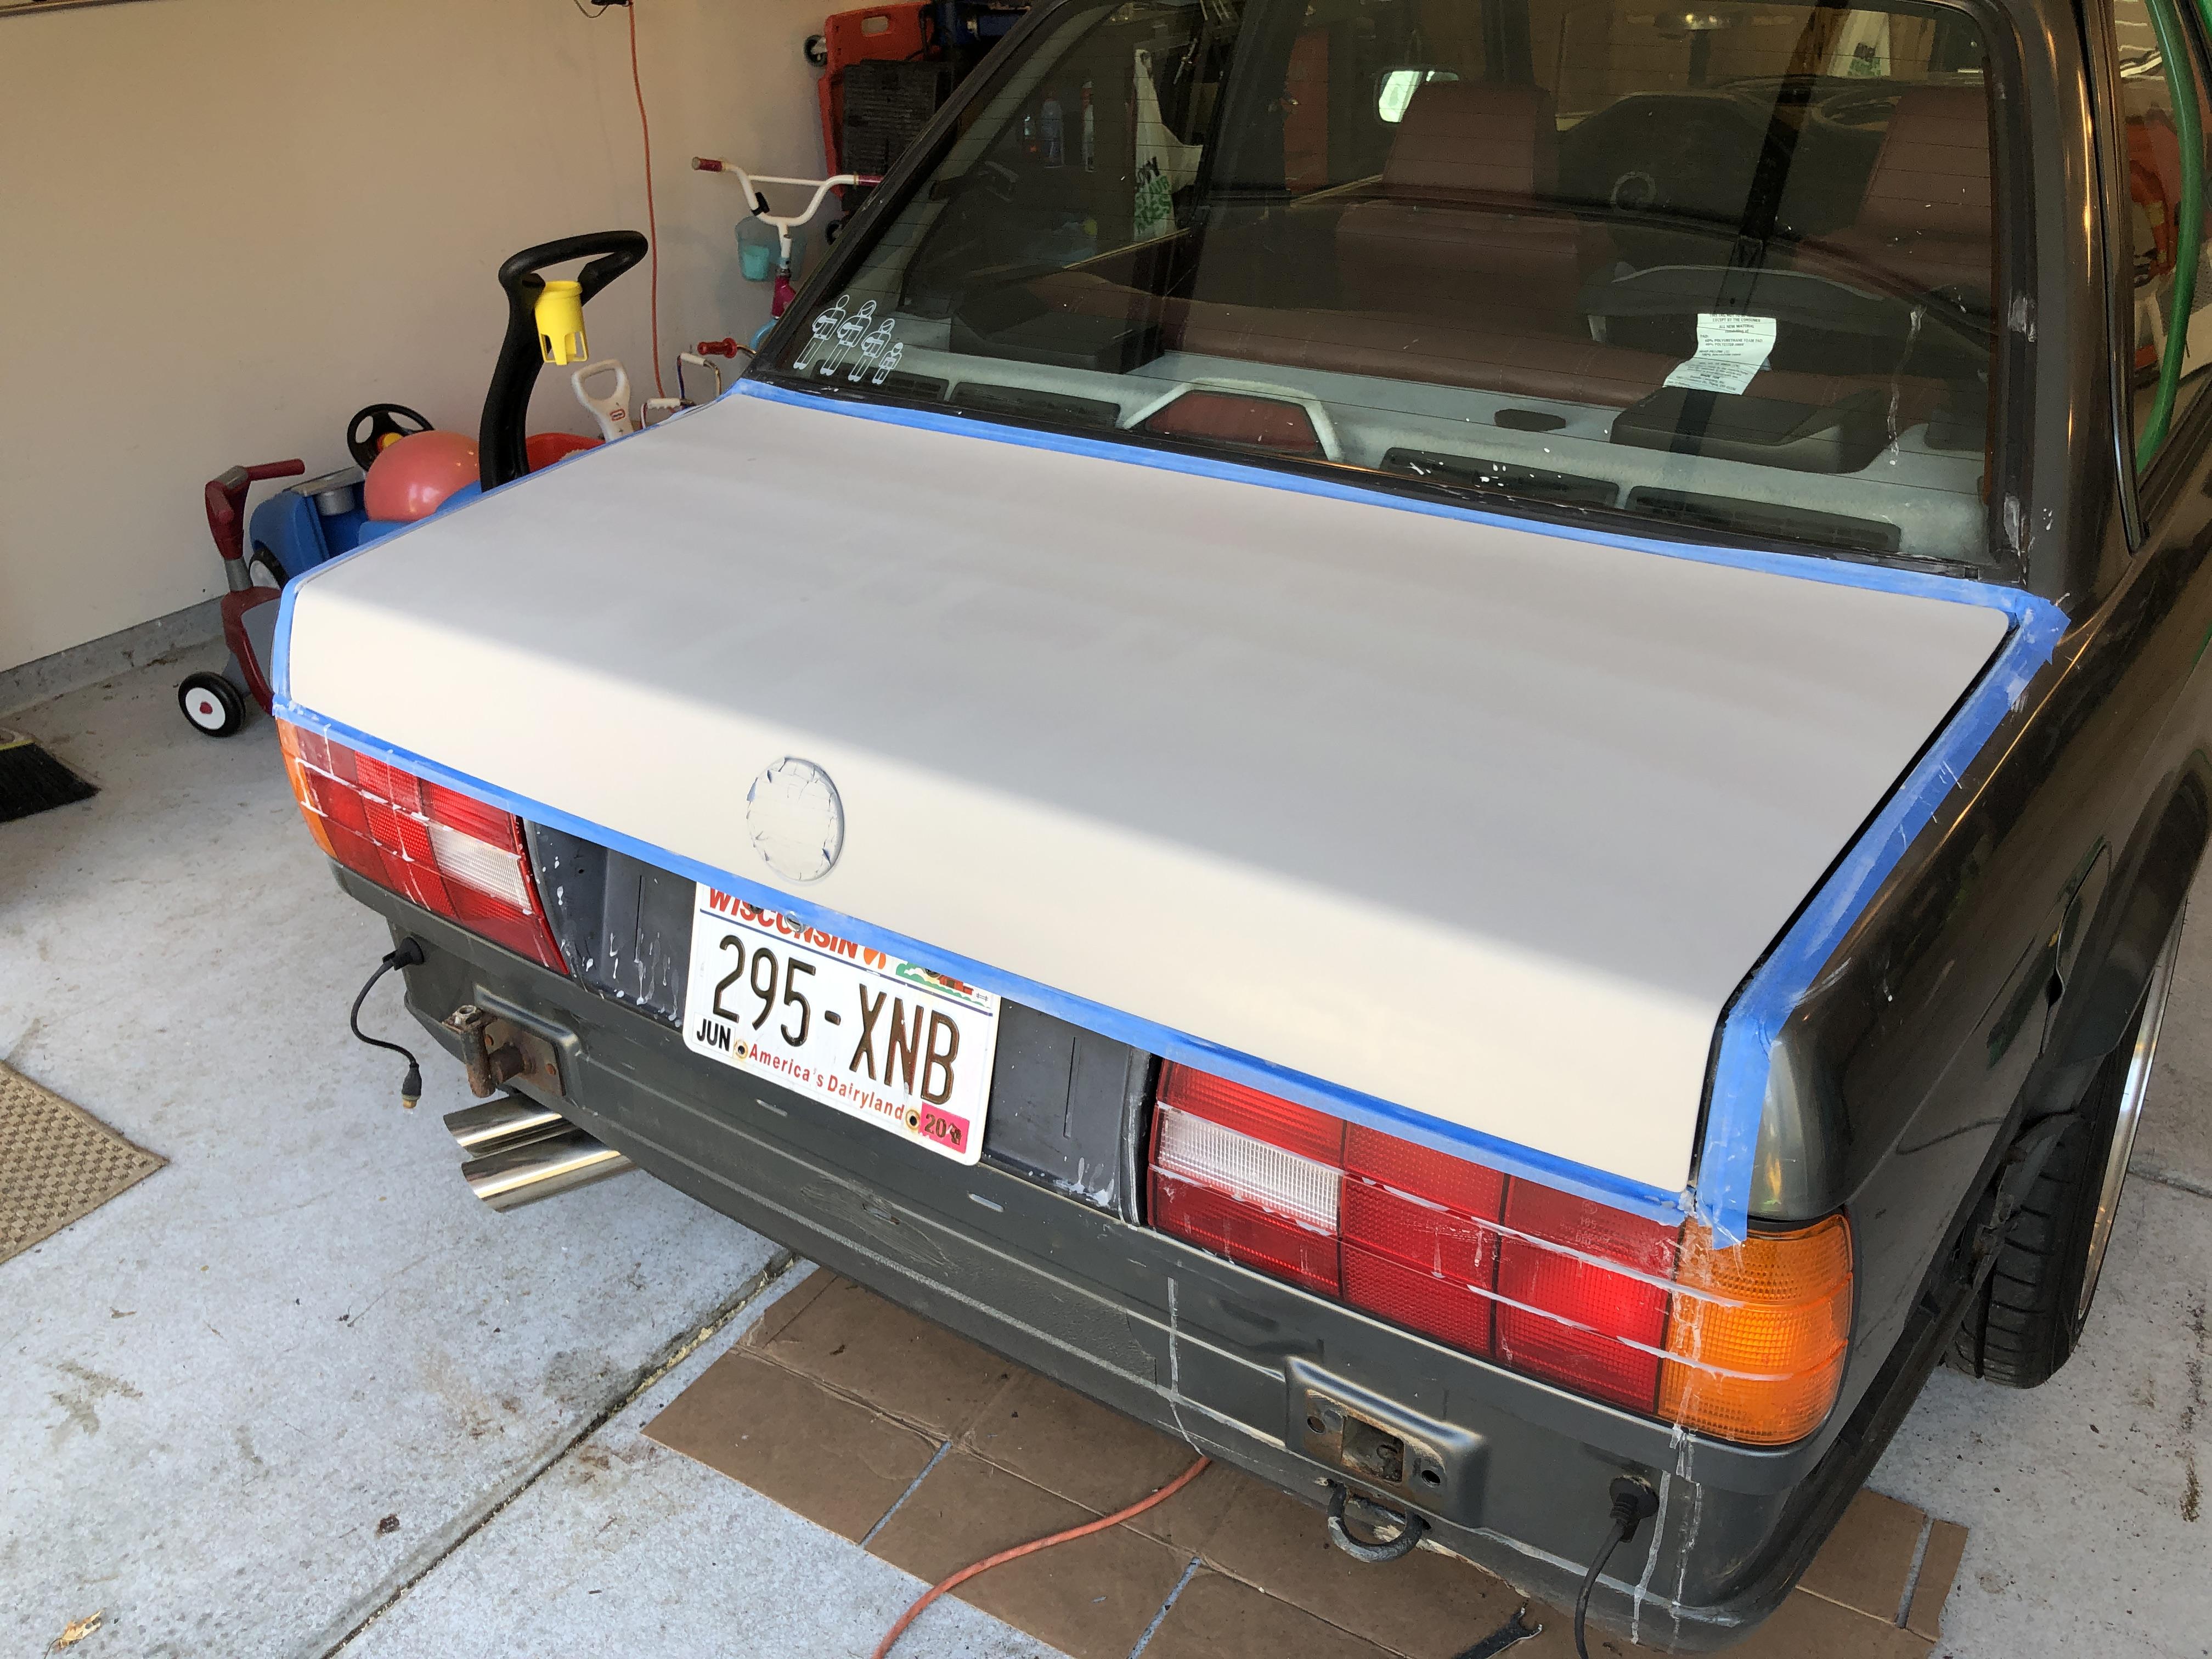
Bumper and trunk lid are primed. What I’ve learned so far is to get more primer than you think you need. I could have used more can but I had just enough. Sanding by hand sucks and a pneumatic sander would save a significant amount of time.
I think this is good practice, however, I would say that anything over this amount of painting an hvlp setup is a must.
I also didn’t go full paint booth painting the primer because I know I’ll be sanding it, but after it’s sanded, I’ll be much more diligent in sealing the space off
-
Bumper and trunk lid are primed. What I’ve learned so far is to get more primer than you think you need. I could have used more can but I had just enough. Sanding by hand sucks and a pneumatic sander would save a significant amount of time.
I think this is good practice, however, I would say that anything over this amount of painting an hvlp setup is a must.
I also didn’t go full paint booth painting the primer because I know I’ll be sanding it, but after it’s sanded, I’ll be much more diligent in sealing the space off
Just make sure to wet sand in between coats to avoid orange peel. I’d also probably clay bar any of your existing paint that was in contact with the runs from the sanding that you’re doing on the car. Not sure how that material will stick to the clear coat. You getting the paint matched anywhere? There’s a good spot in Appleton that paint matches in aerosol cans(I don’t think you’re in Appleton).
-
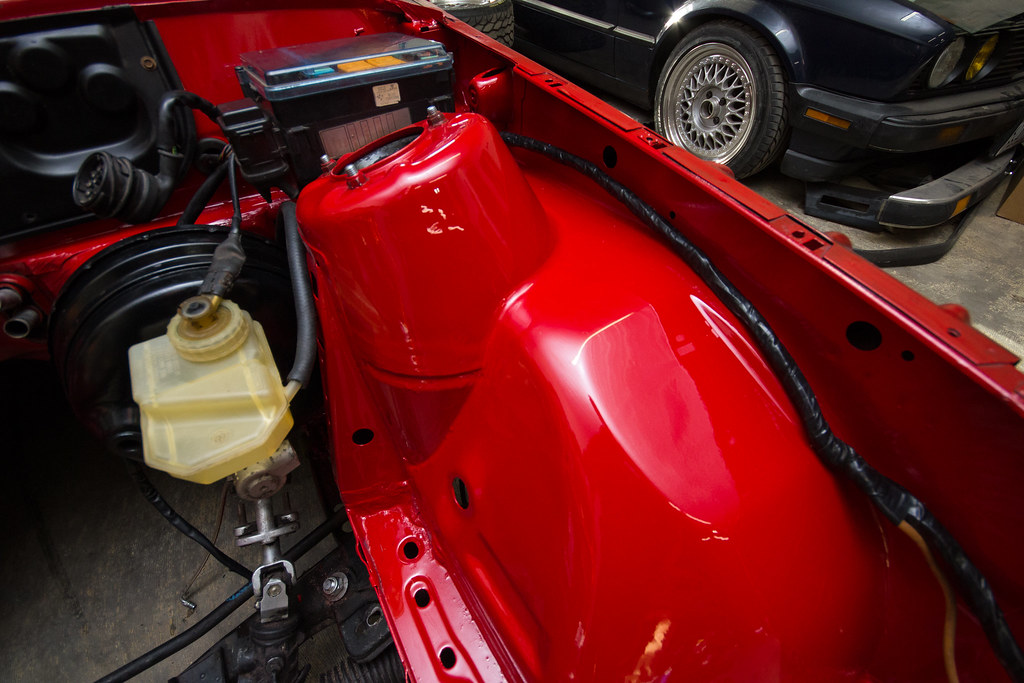
I know I'm late to the party on the comments, but my engine bay had been shot with a home depot HVLP, and a 10 gal craftsman air compressor.
The only large difference is that I didn't have large flat areas that I had to worry about air consistency as much. Using an inline water trap, and a water trap right at the gun makes the largest difference.
Painting is something I always wanted to spend more time with, but takes time and space!Engine bay for reference.

-
All the runs from sanding are behind the bumper and washes right off when I spray it with water.
I wetsanded the clear coat. The directions from the company were to do the several coats of primer and then wetsand before base coat.
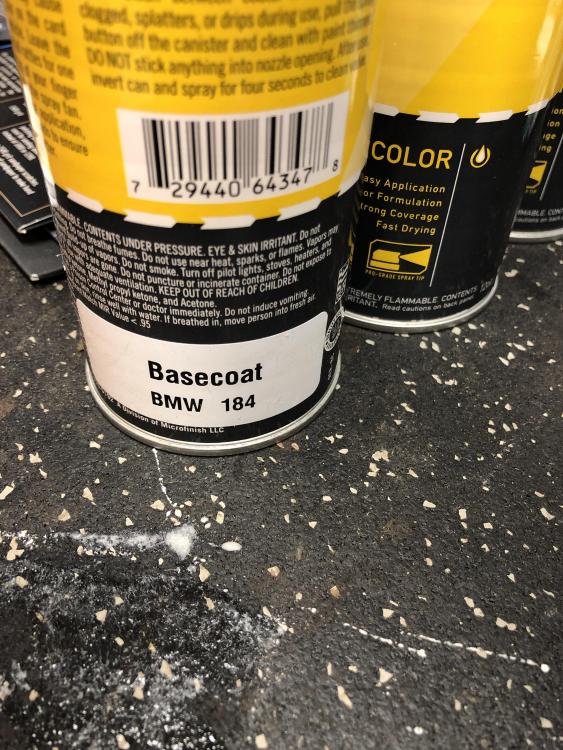
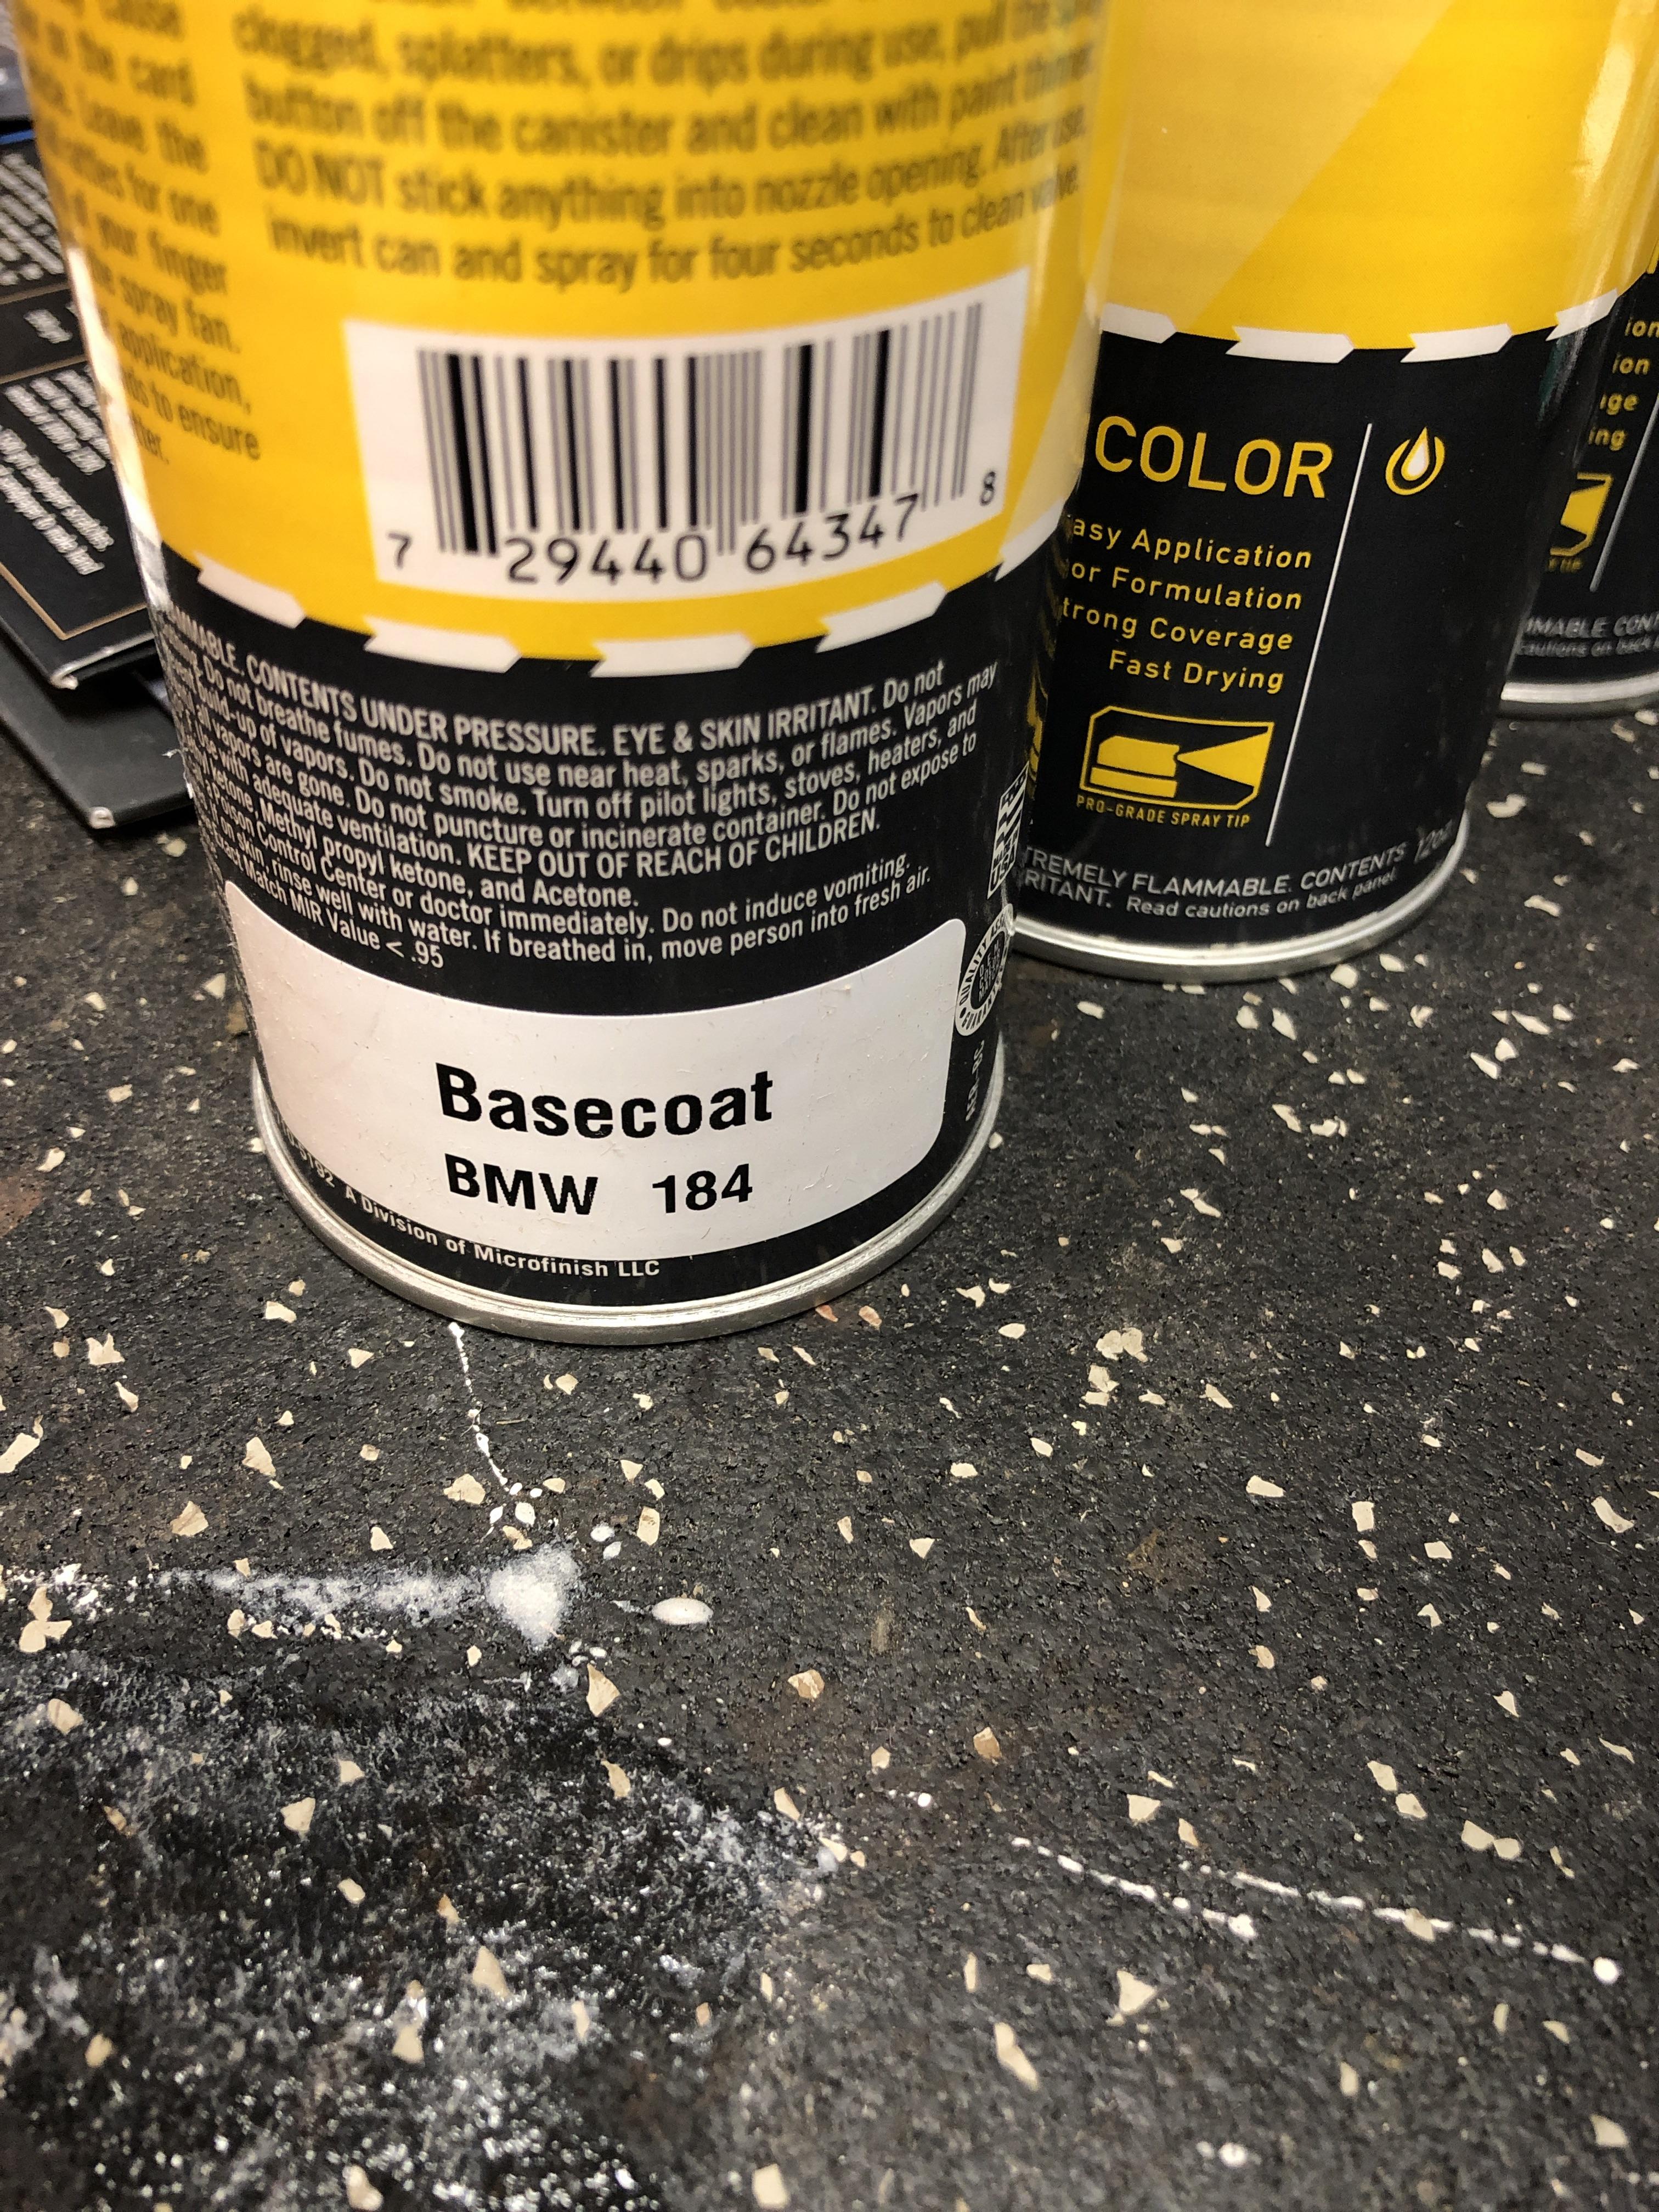
The paint is from automotive touchup. They mix your paint when you order it. So all the aerosol cans are premixed Delphin paint.
They also do ready to spray paint for hvlp which is where I’ll get the next batch.
-
I've used those guys for my spray cans as well in the past, their price is good and the paint quality seems to be top notch.
Good work sir!
-
I know I'm late to the party on the comments, but my engine bay had been shot with a home depot HVLP, and a 10 gal craftsman air compressor.
The only large difference is that I didn't have large flat areas that I had to worry about air consistency as much. Using an inline water trap, and a water trap right at the gun makes the largest difference.
Painting is something I always wanted to spend more time with, but takes time and space!Engine bay for reference.
That looks really great.
Ultimately I’m fine doing this in spraycans, but the rest I will do with a gun. I think this is giving me good practice for the process and the steps. Also, I can’t hand sand anymore, I need an air sander
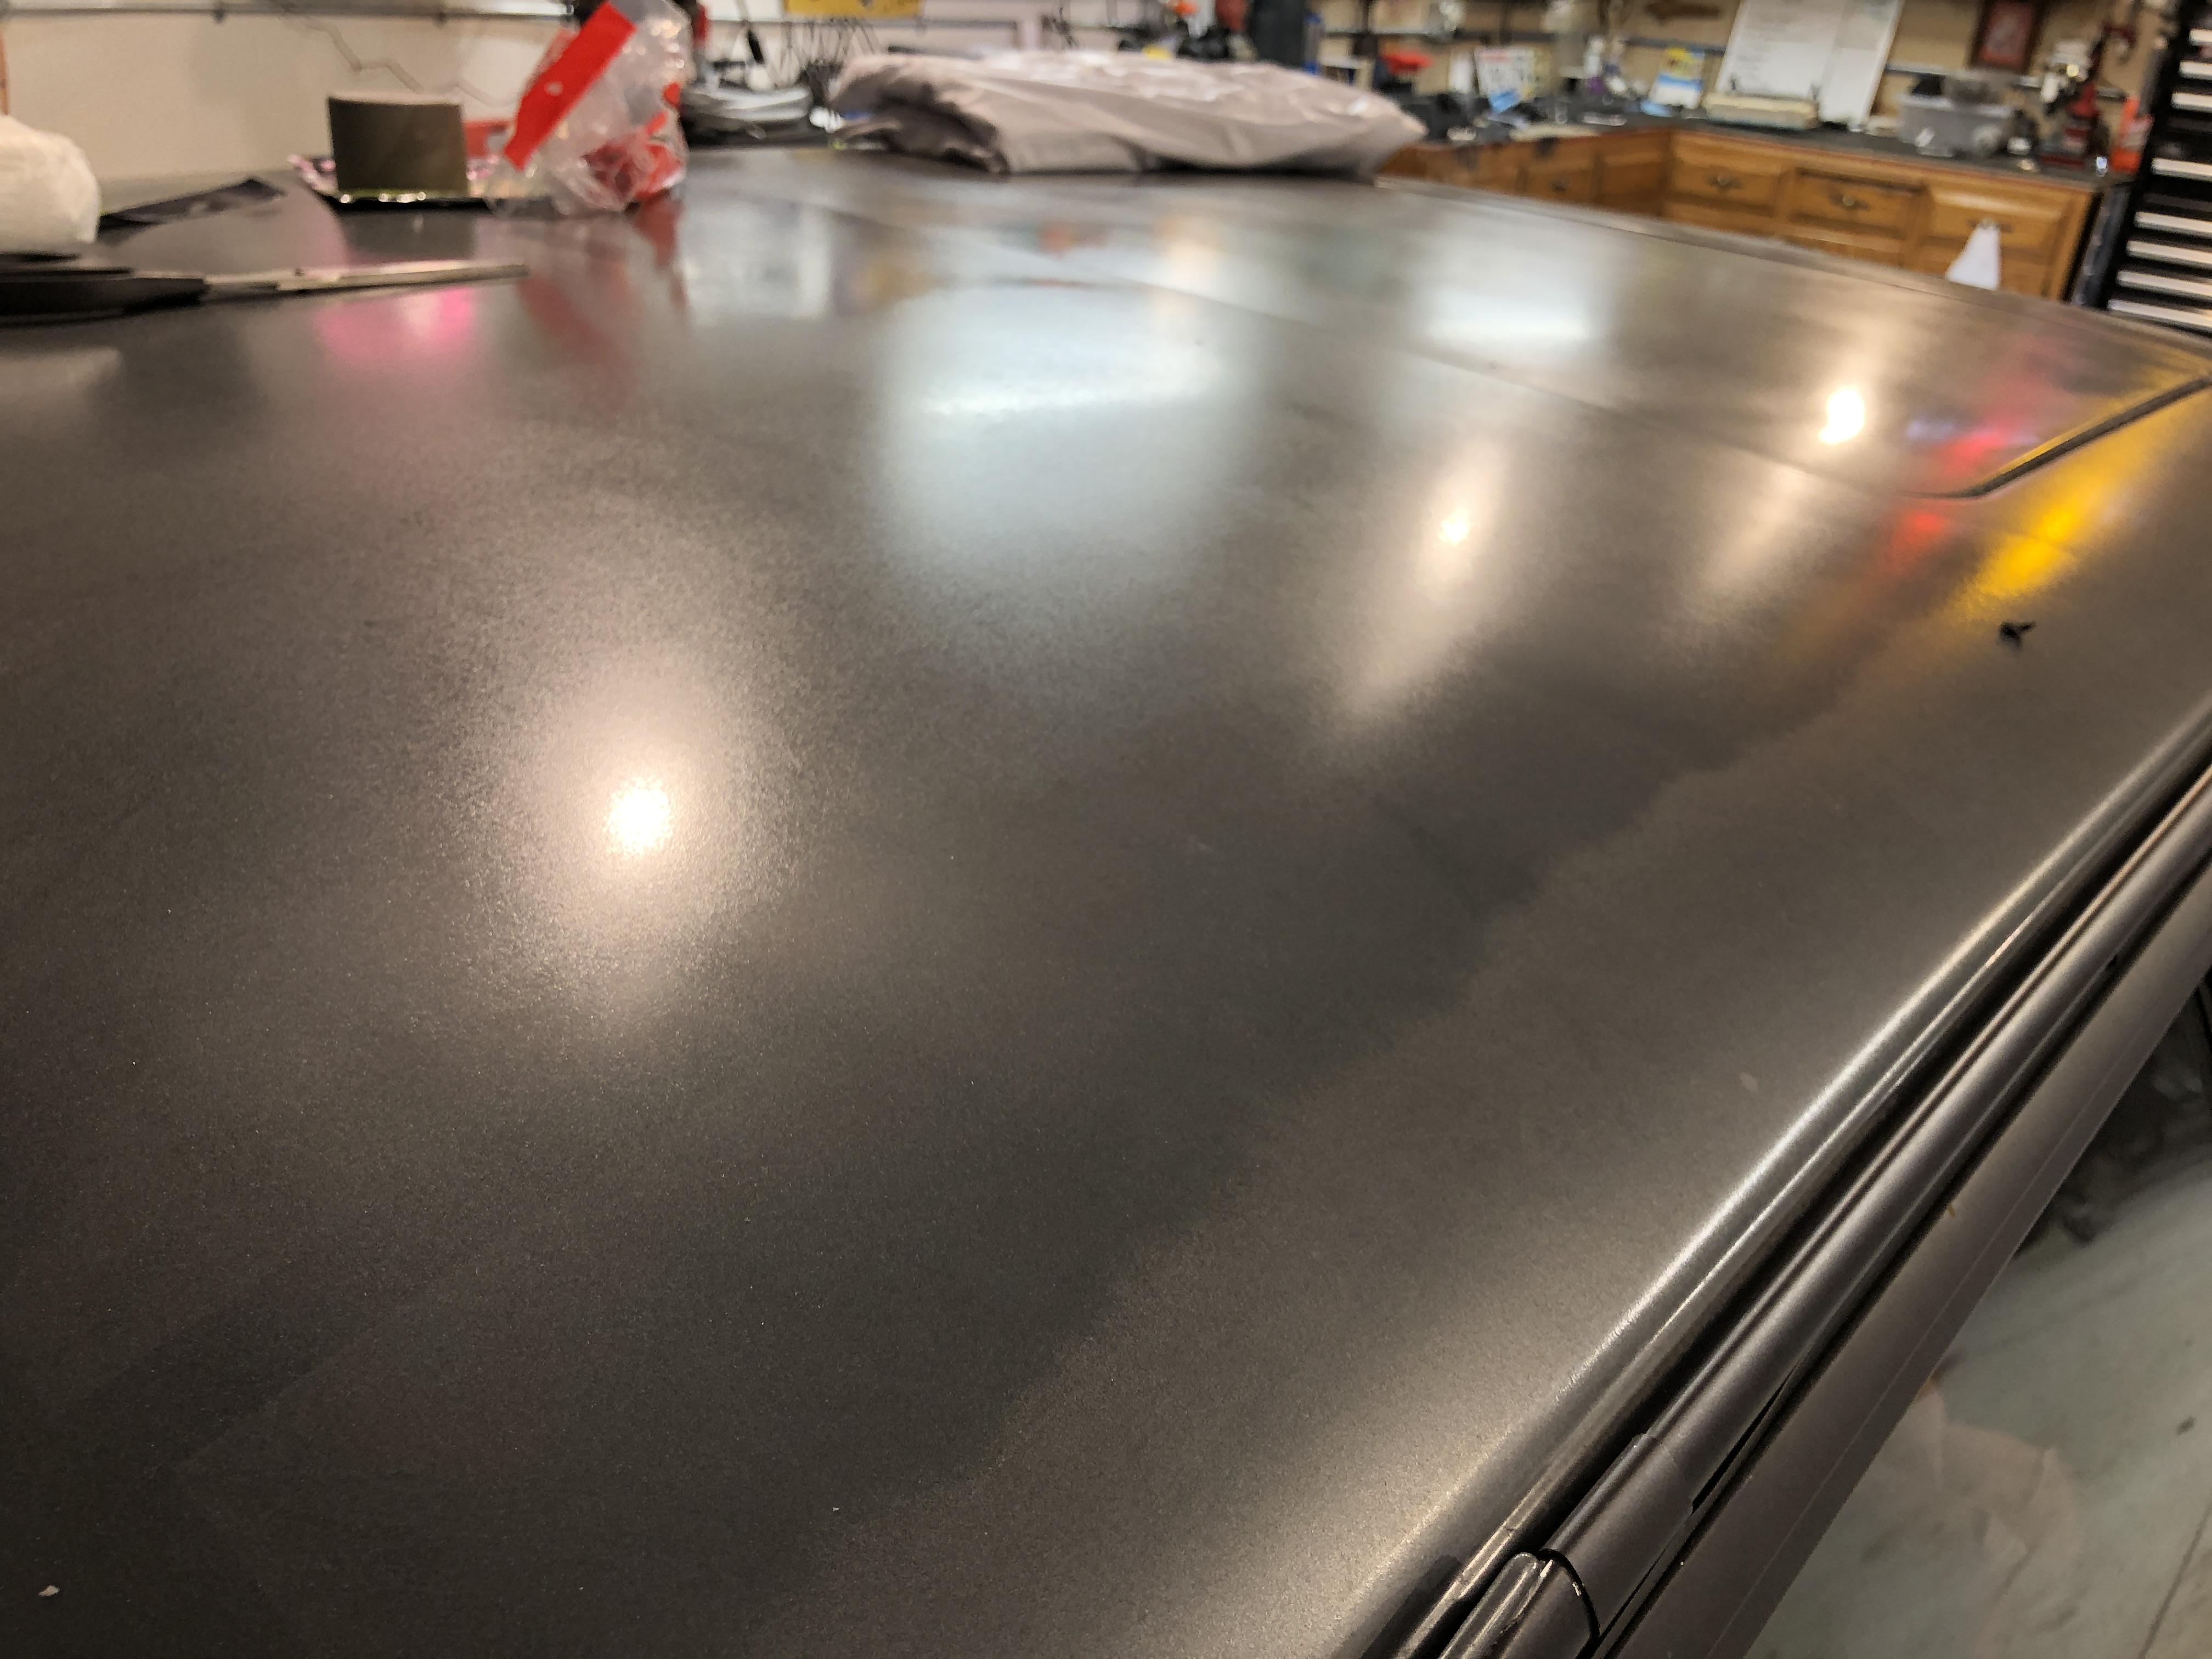
This is my roof.
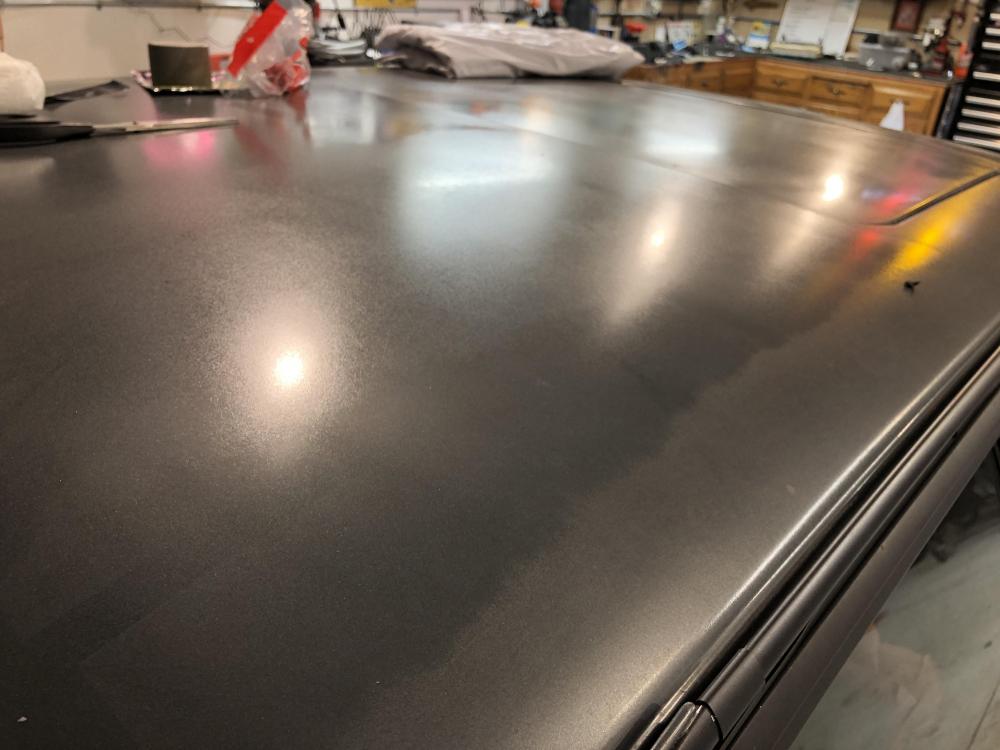
And I wish I could accurately take a picture of the rest of the car but it’s like the fender has clear coat on it and then the door has none. From afar, it’s not bad, but up close most of the clear coat is gone from the car.
-
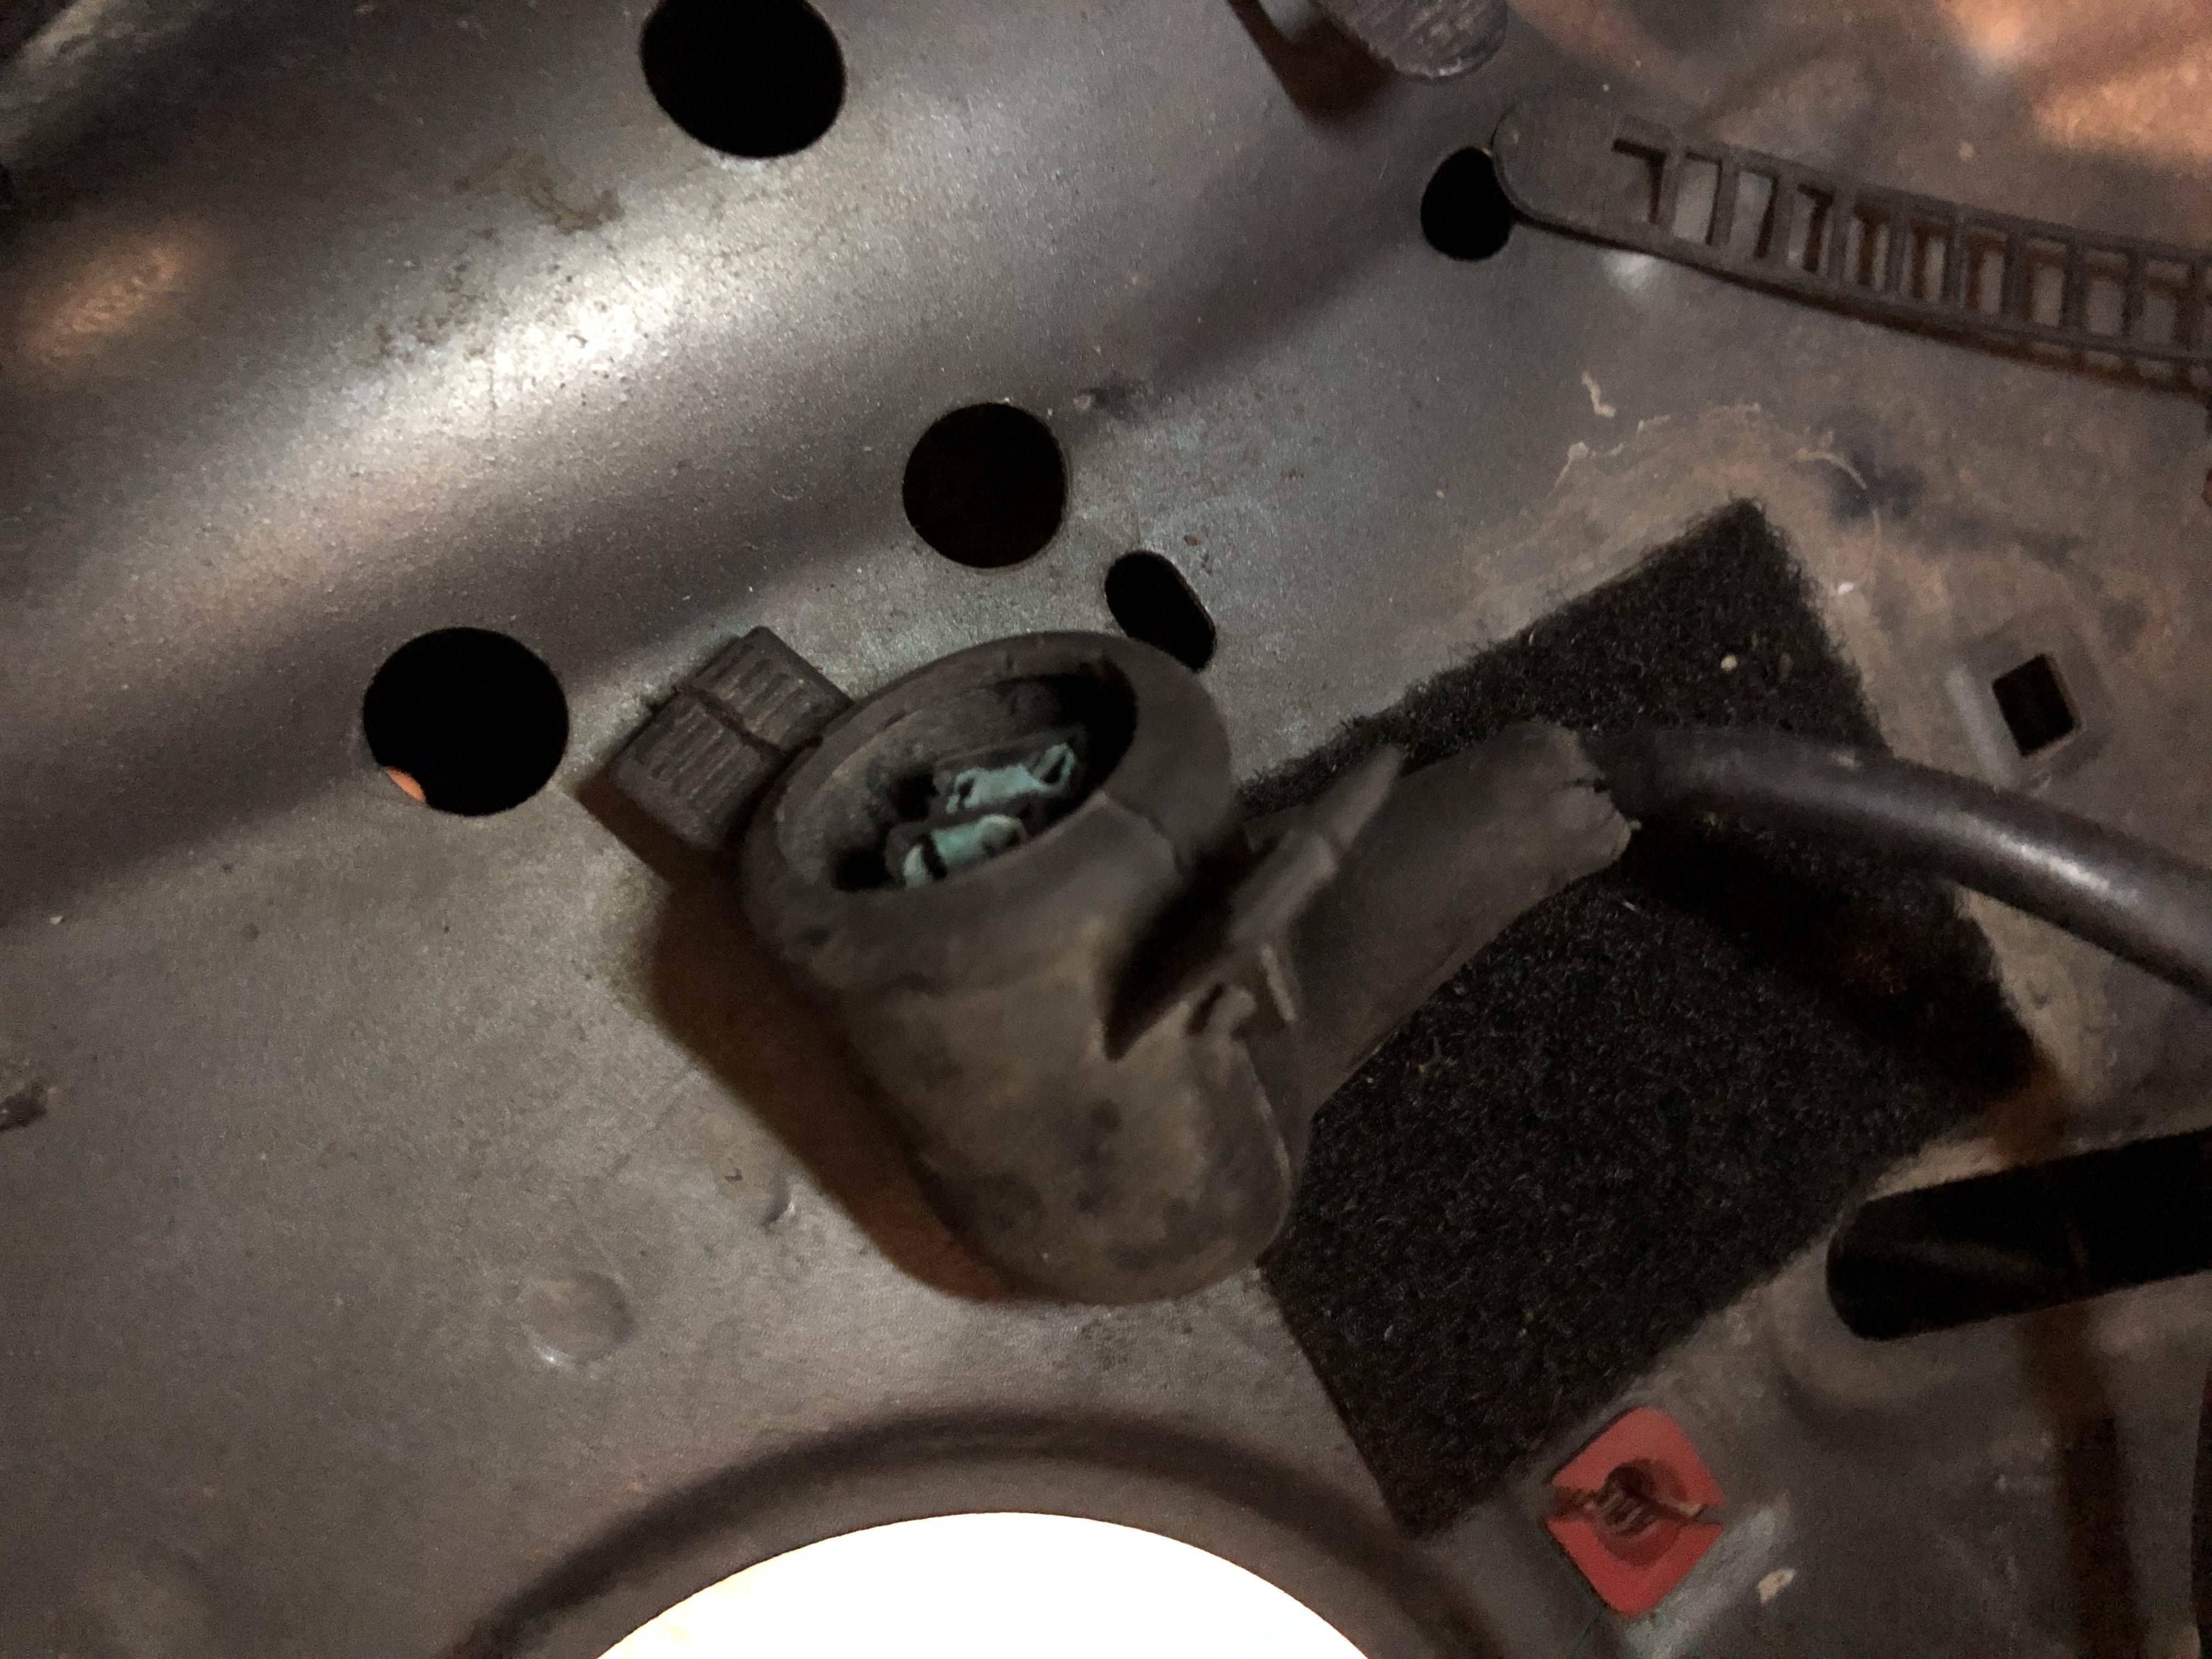
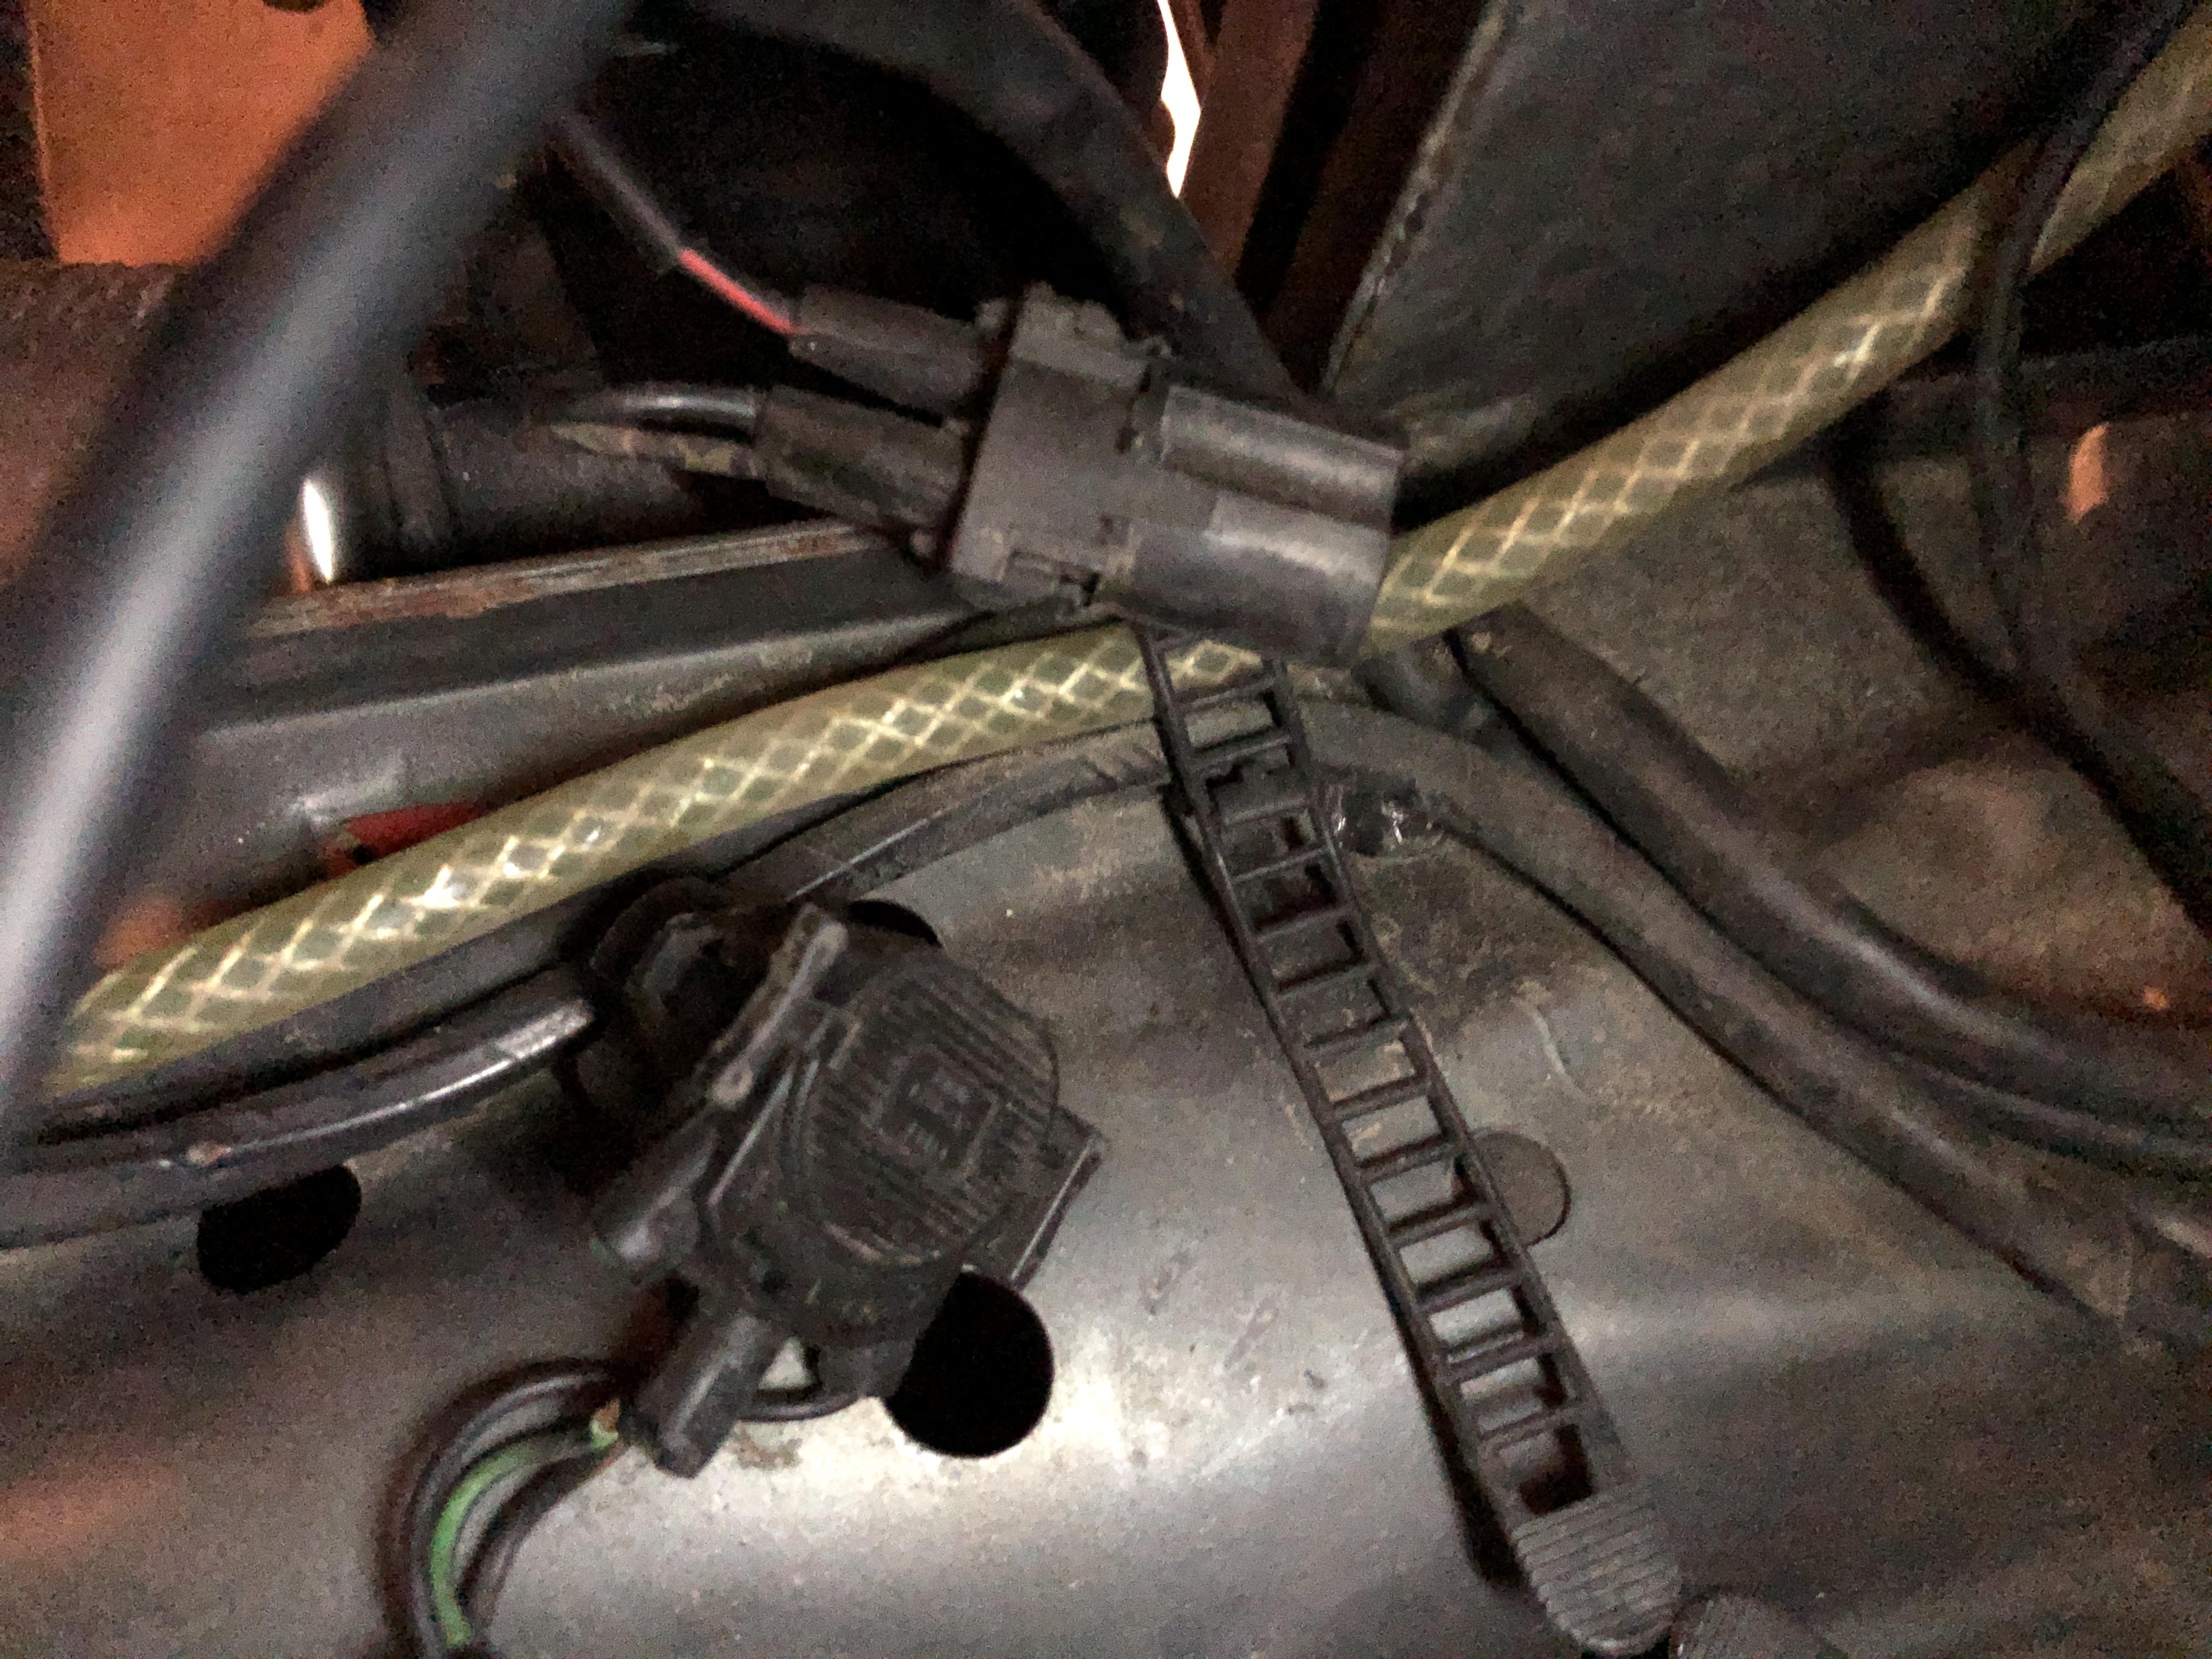
So one other project I’d like to starting compiling parts for is adding AC back to the car. The entire ac system on the engine side has been removed so I’m hoping someone can help me confirm I still have the connectors for it that I need.
I have these three on the passenger side:
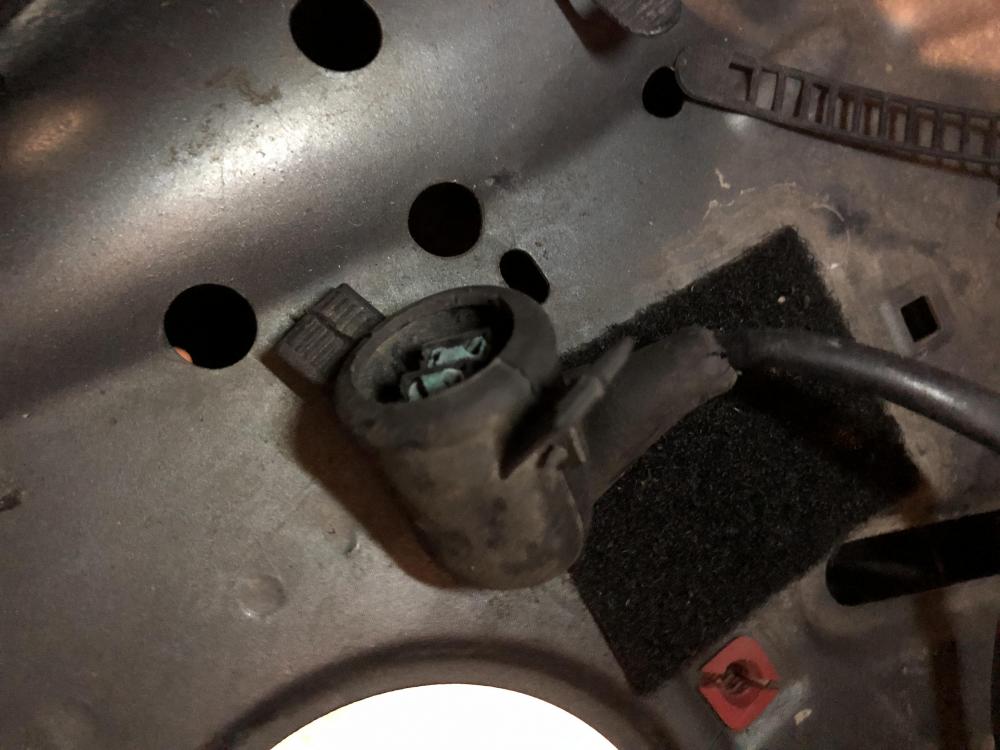
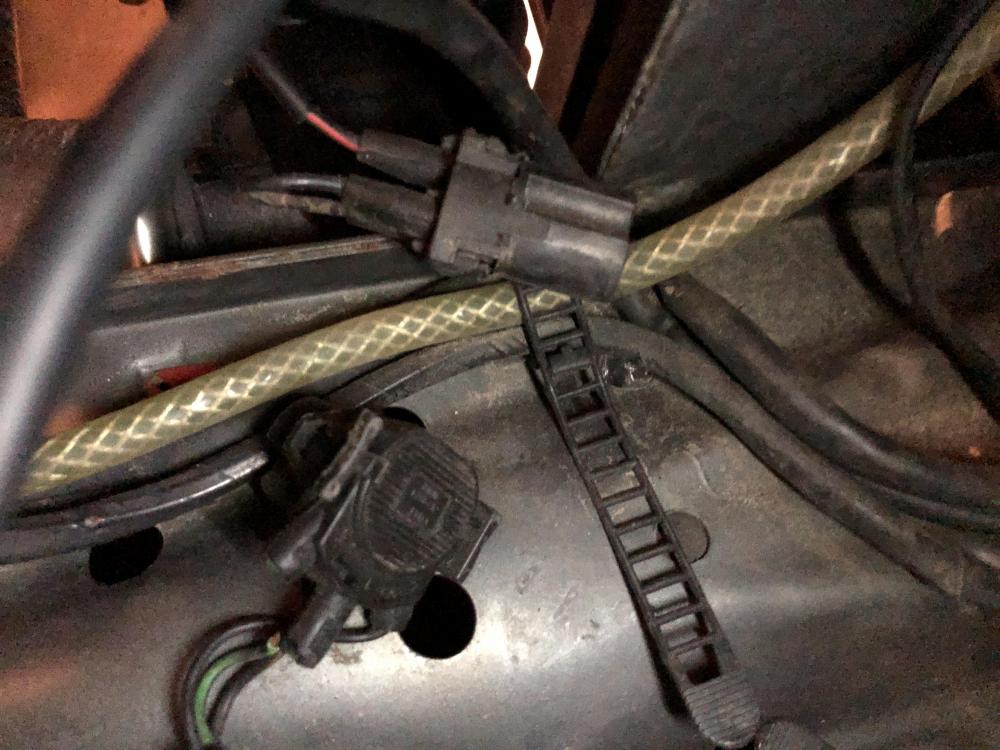
I’m assuming one is for the compressor, one fire the drier, and one for the temp sensor that would go in the radiator. Can anyone confirm that’s what these connectors are?
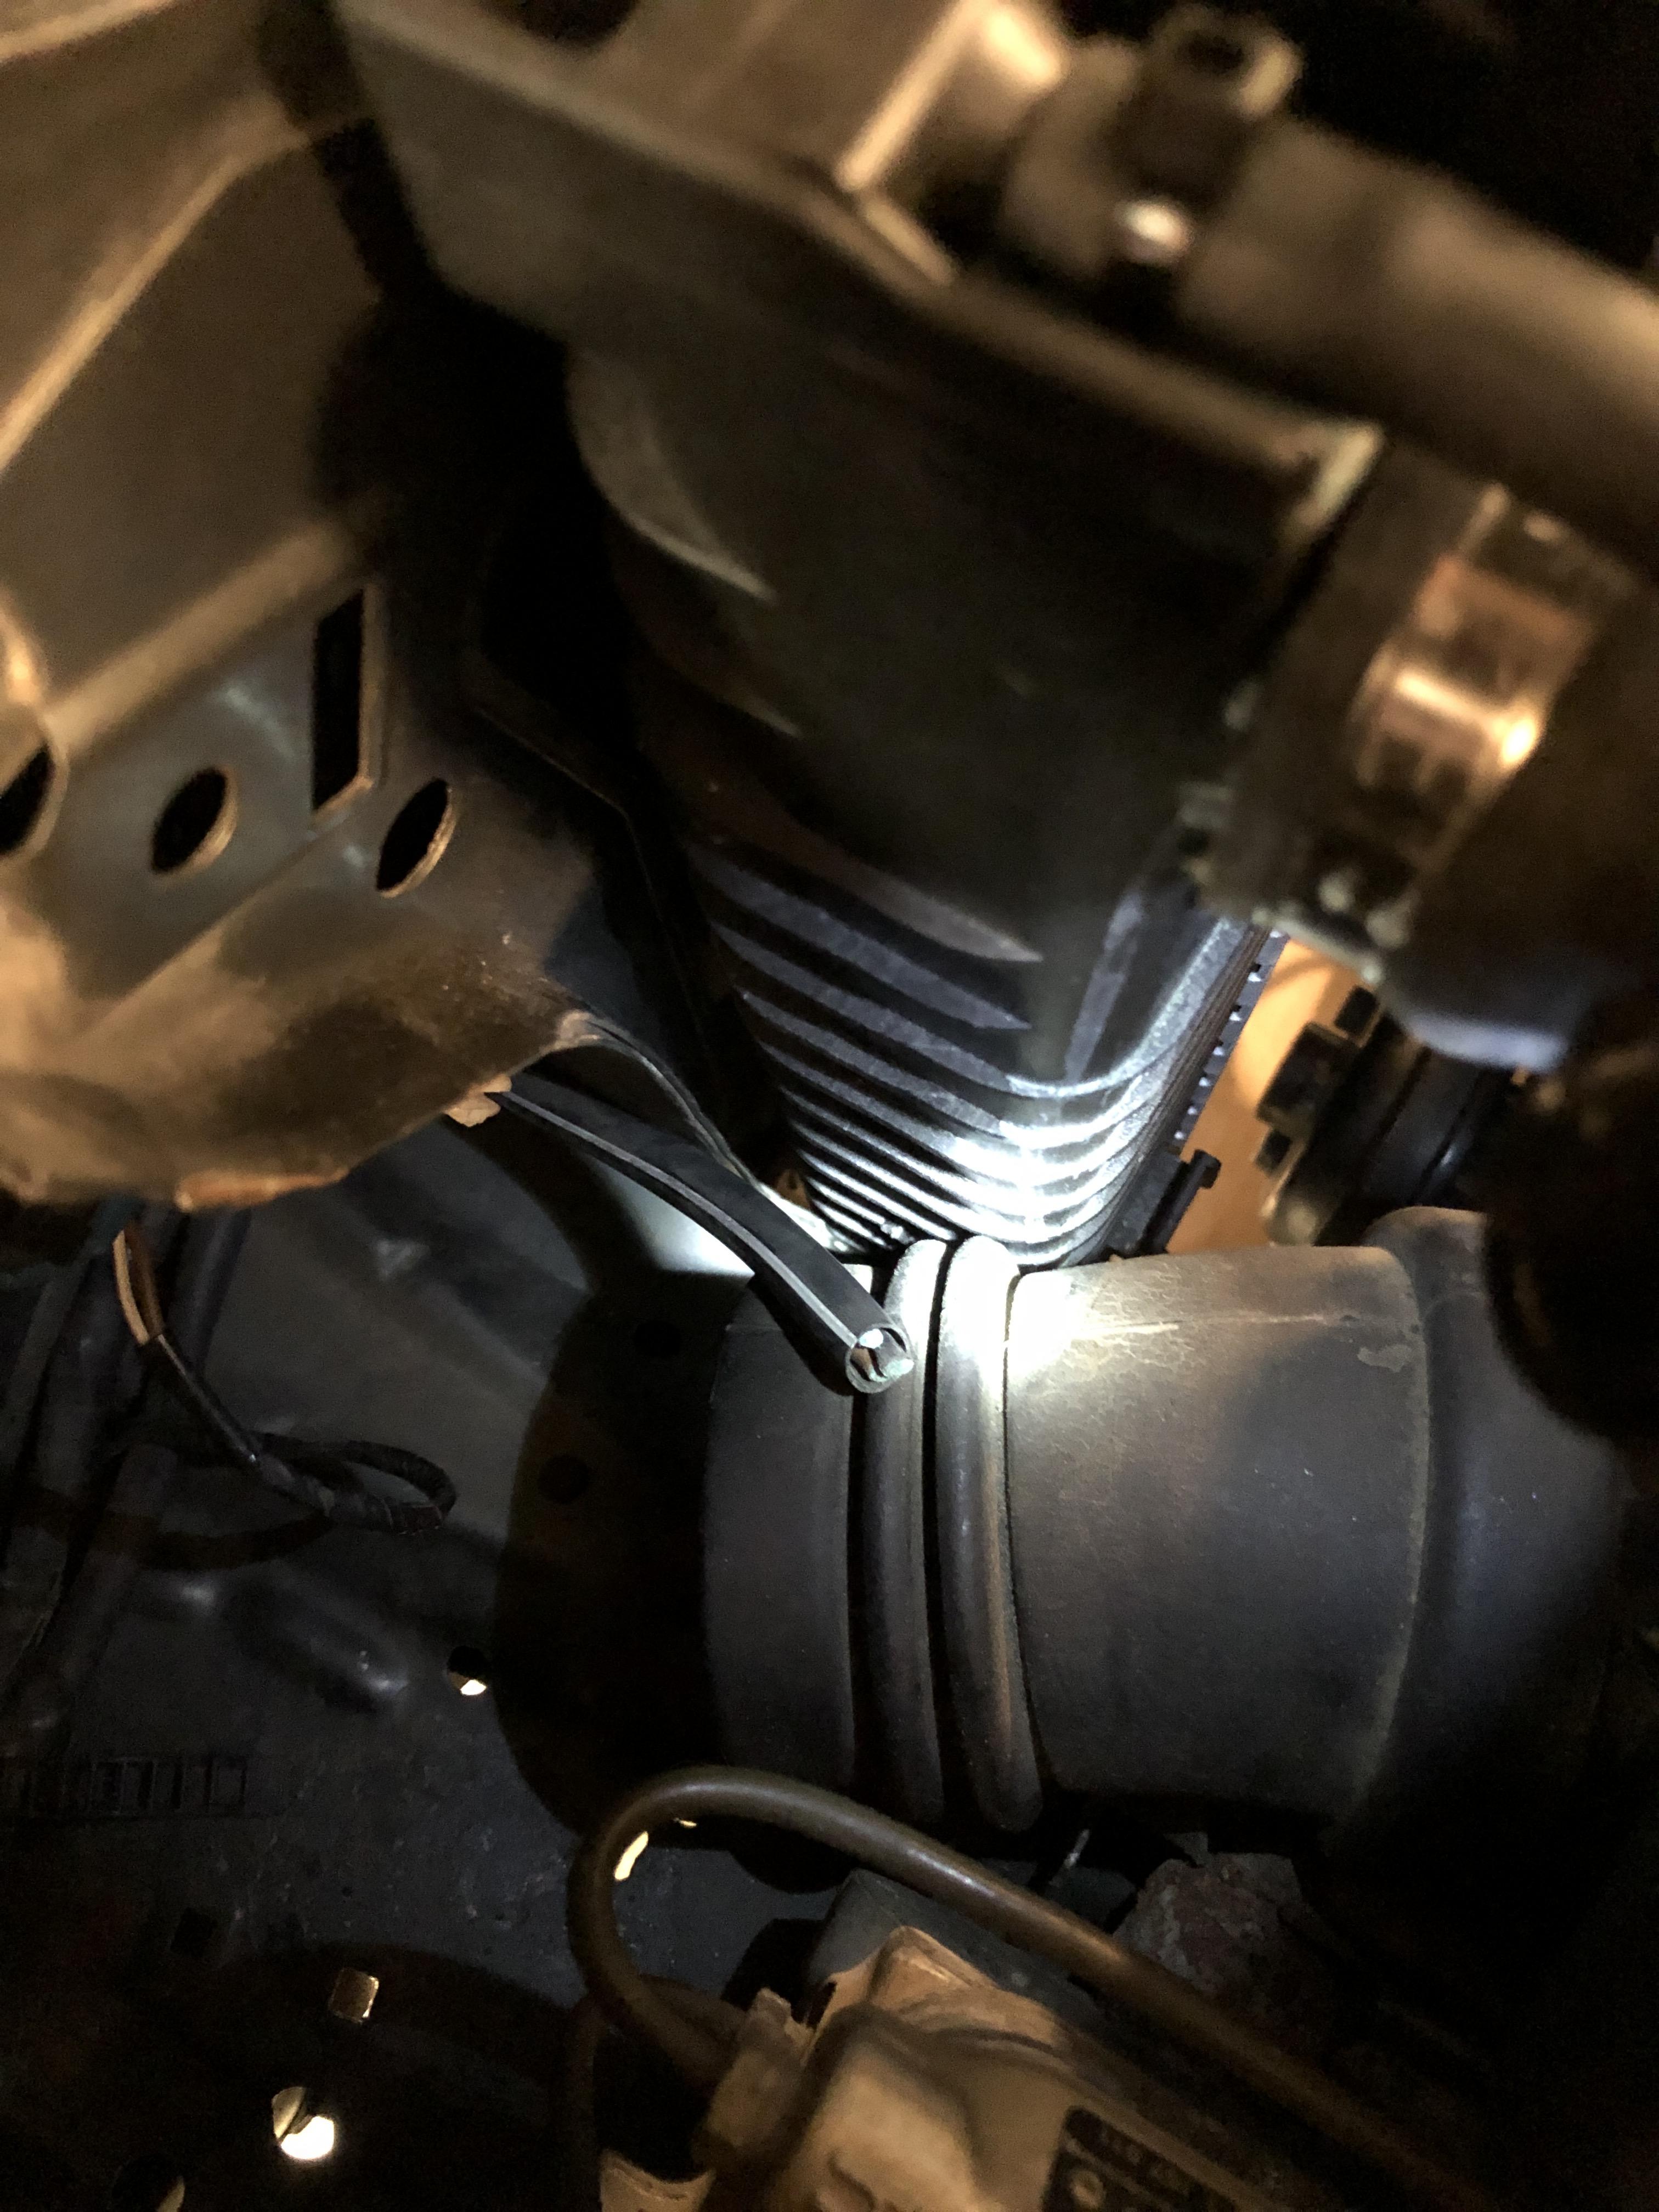
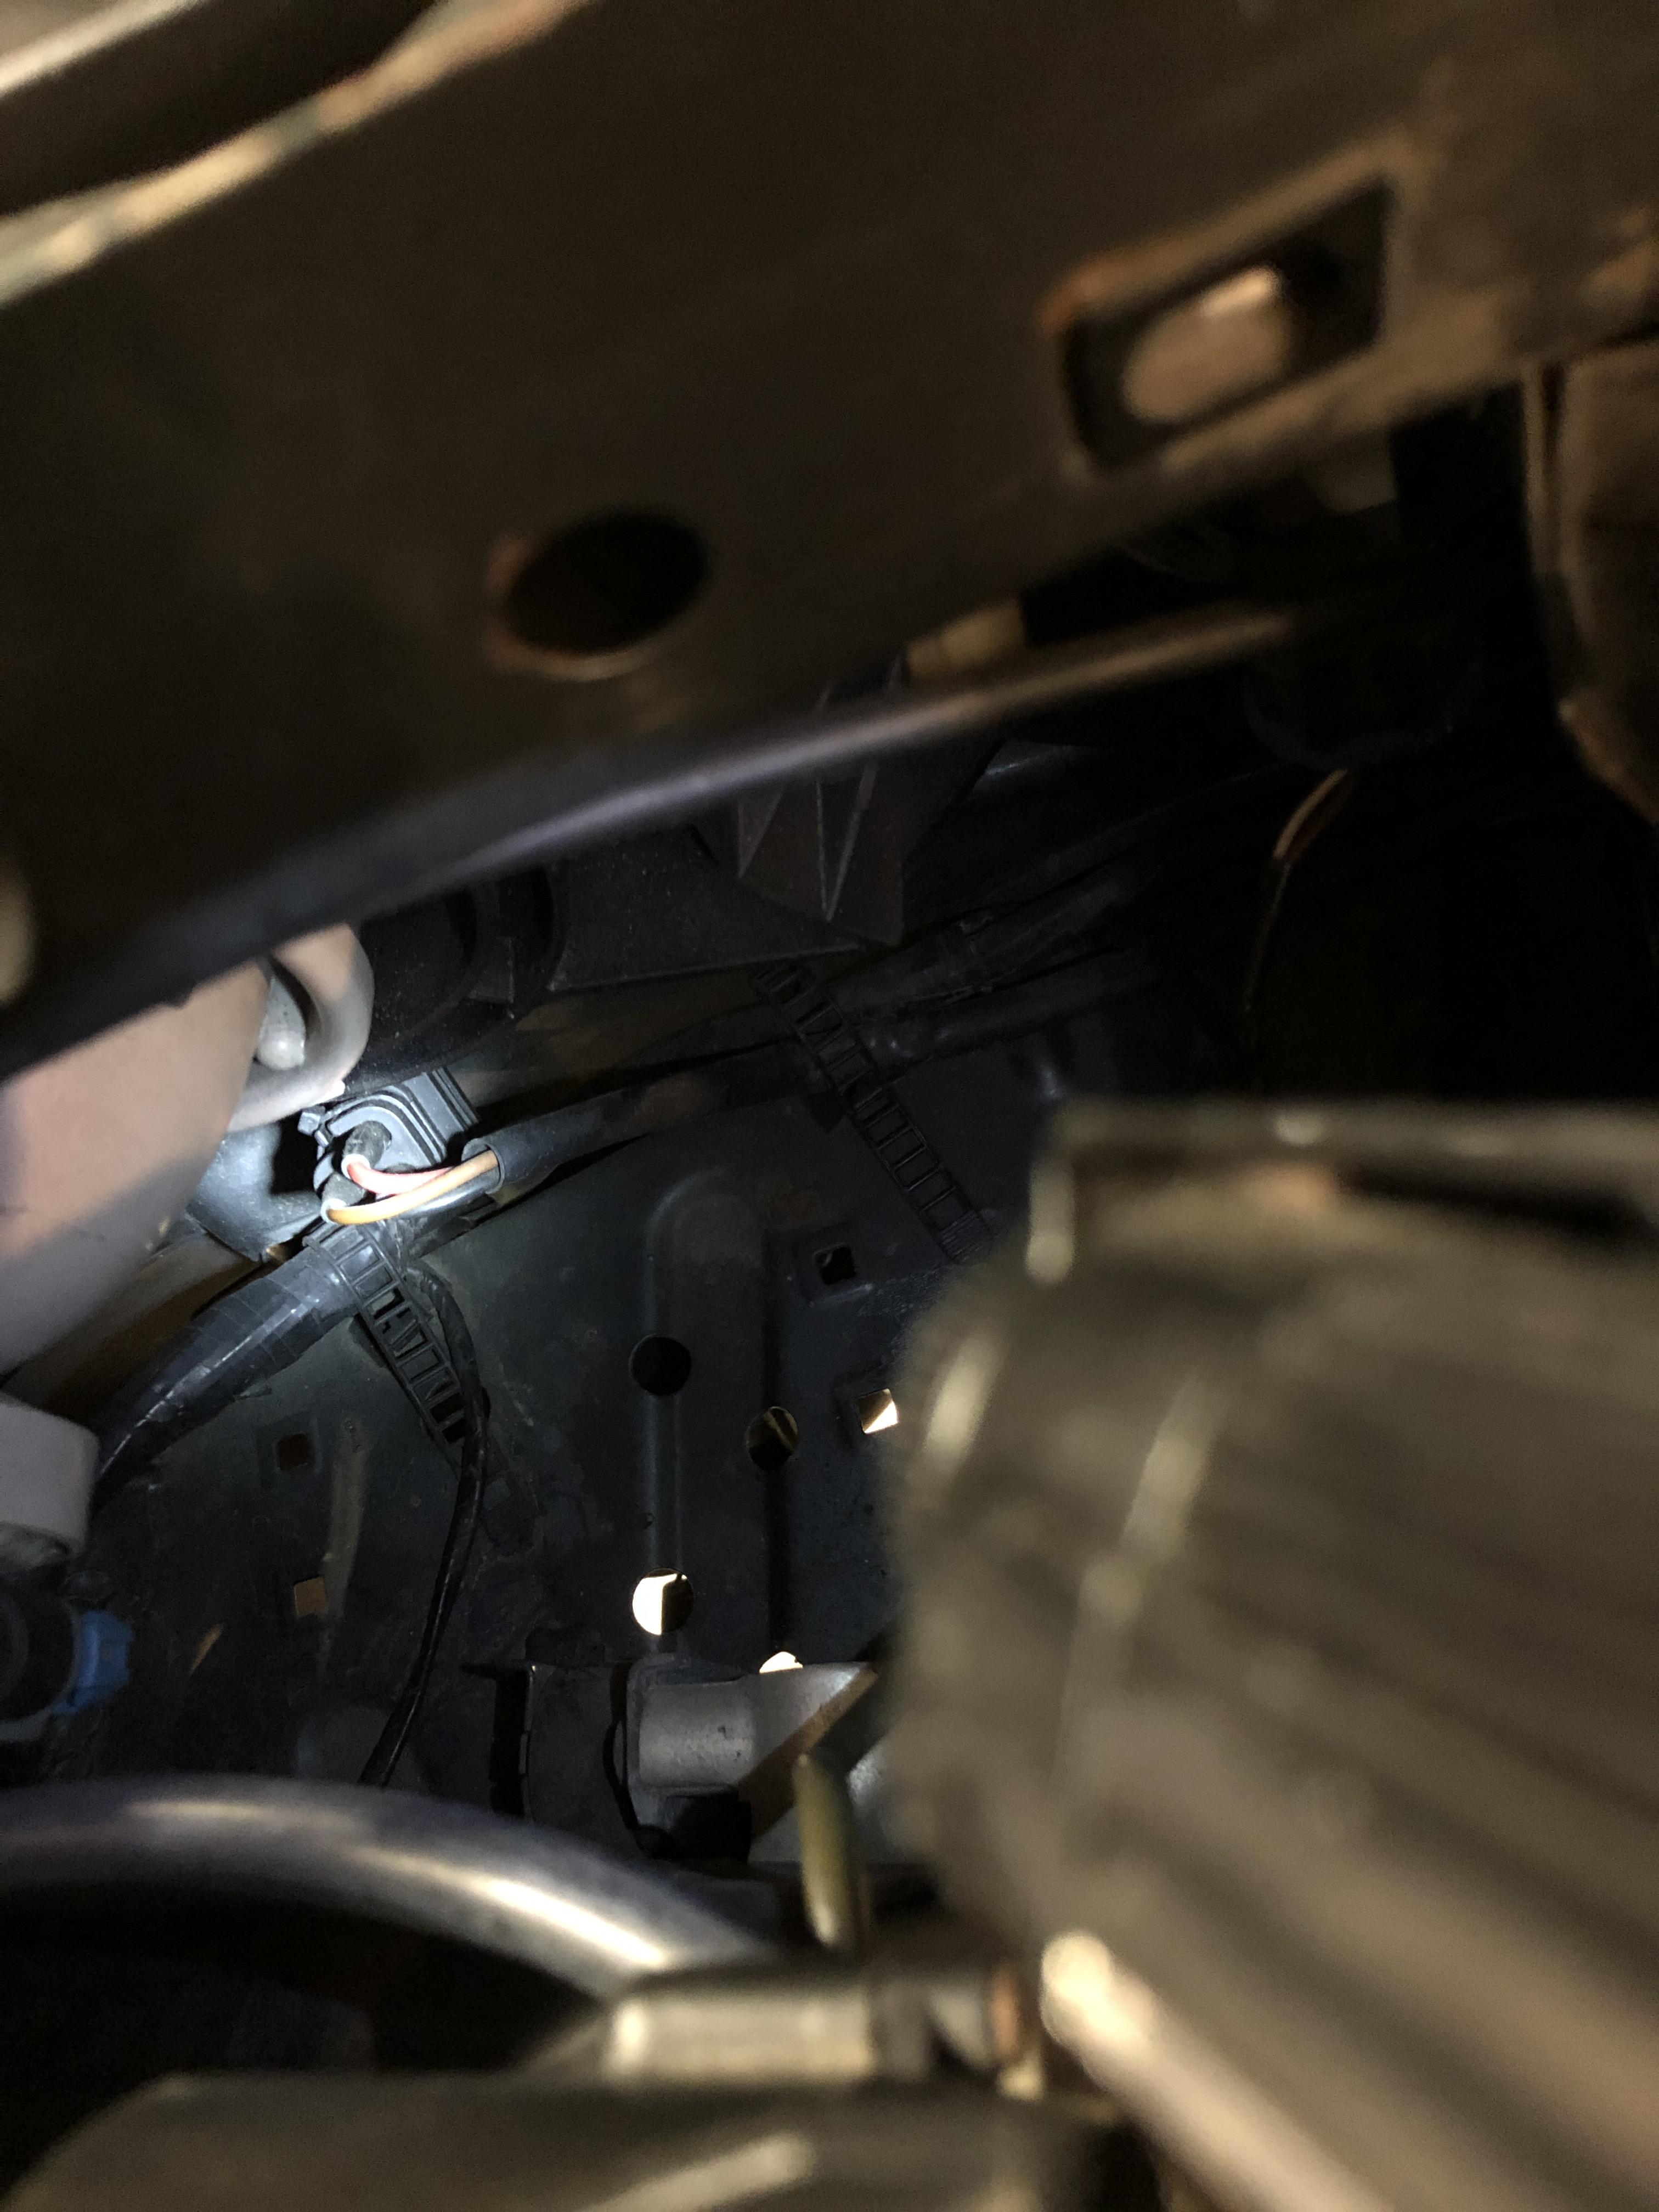
And then on the driver side I have this remnant pigtail which I assume is for the aux fan:
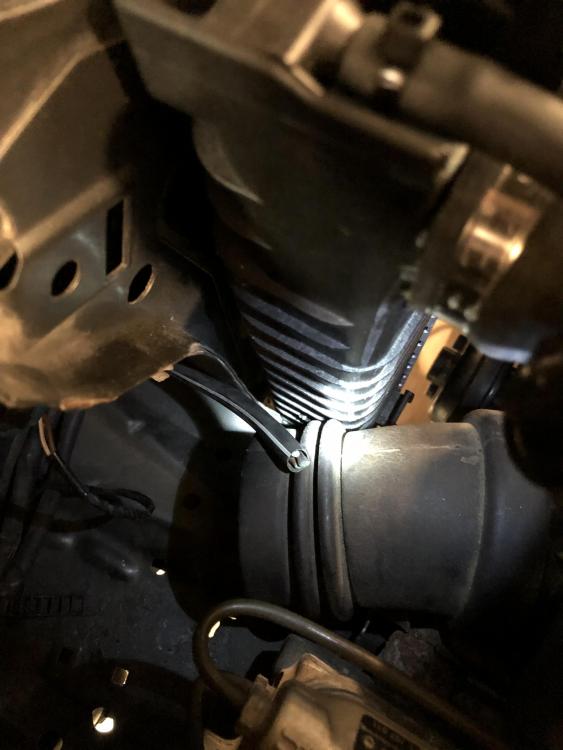
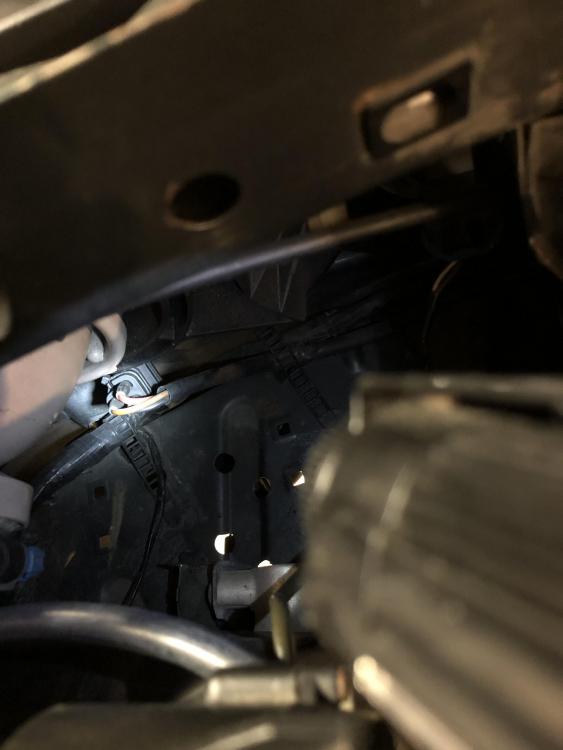
Are those all the connectors that I need? I can’t think of what else on the ac system would have a connection?





Hello! It looks like you're interested in this conversation, but you don't have an account yet.
Getting fed up of having to scroll through the same posts each visit? When you register for an account, you'll always come back to exactly where you were before, and choose to be notified of new replies (either via email, or push notification). You'll also be able to save bookmarks and upvote posts to show your appreciation to other community members.
With your input, this post could be even better 💗
Register Login