
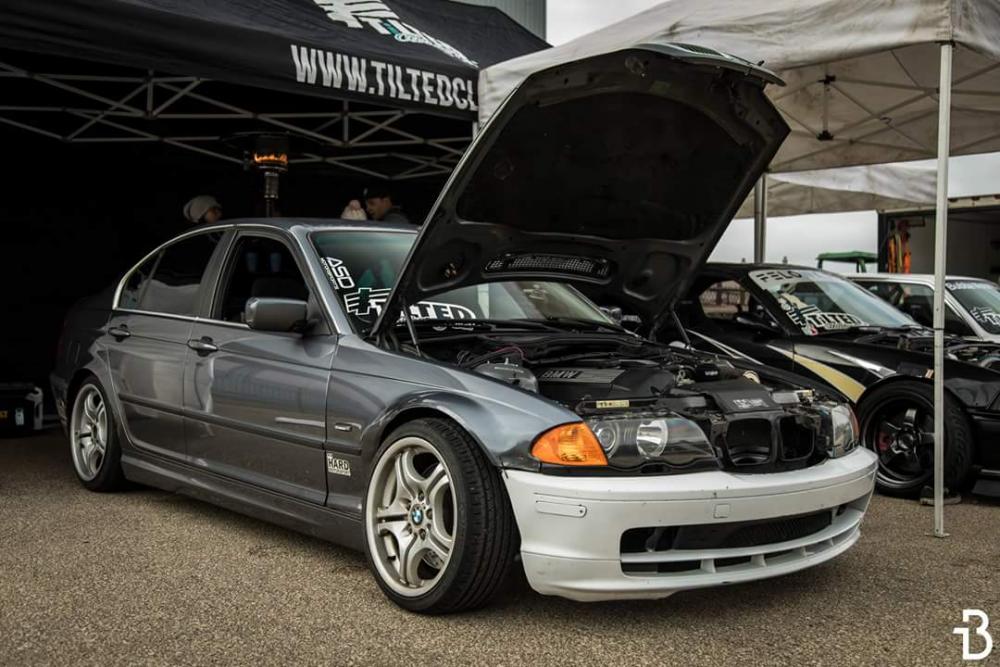
A purists nightmare - E46 drift build

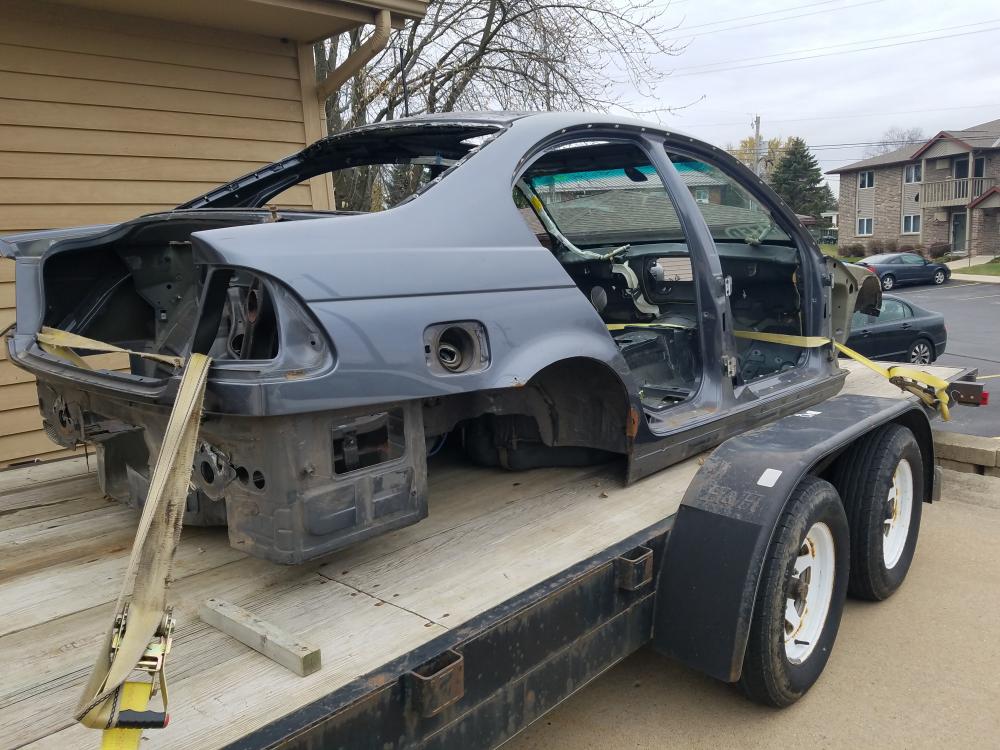
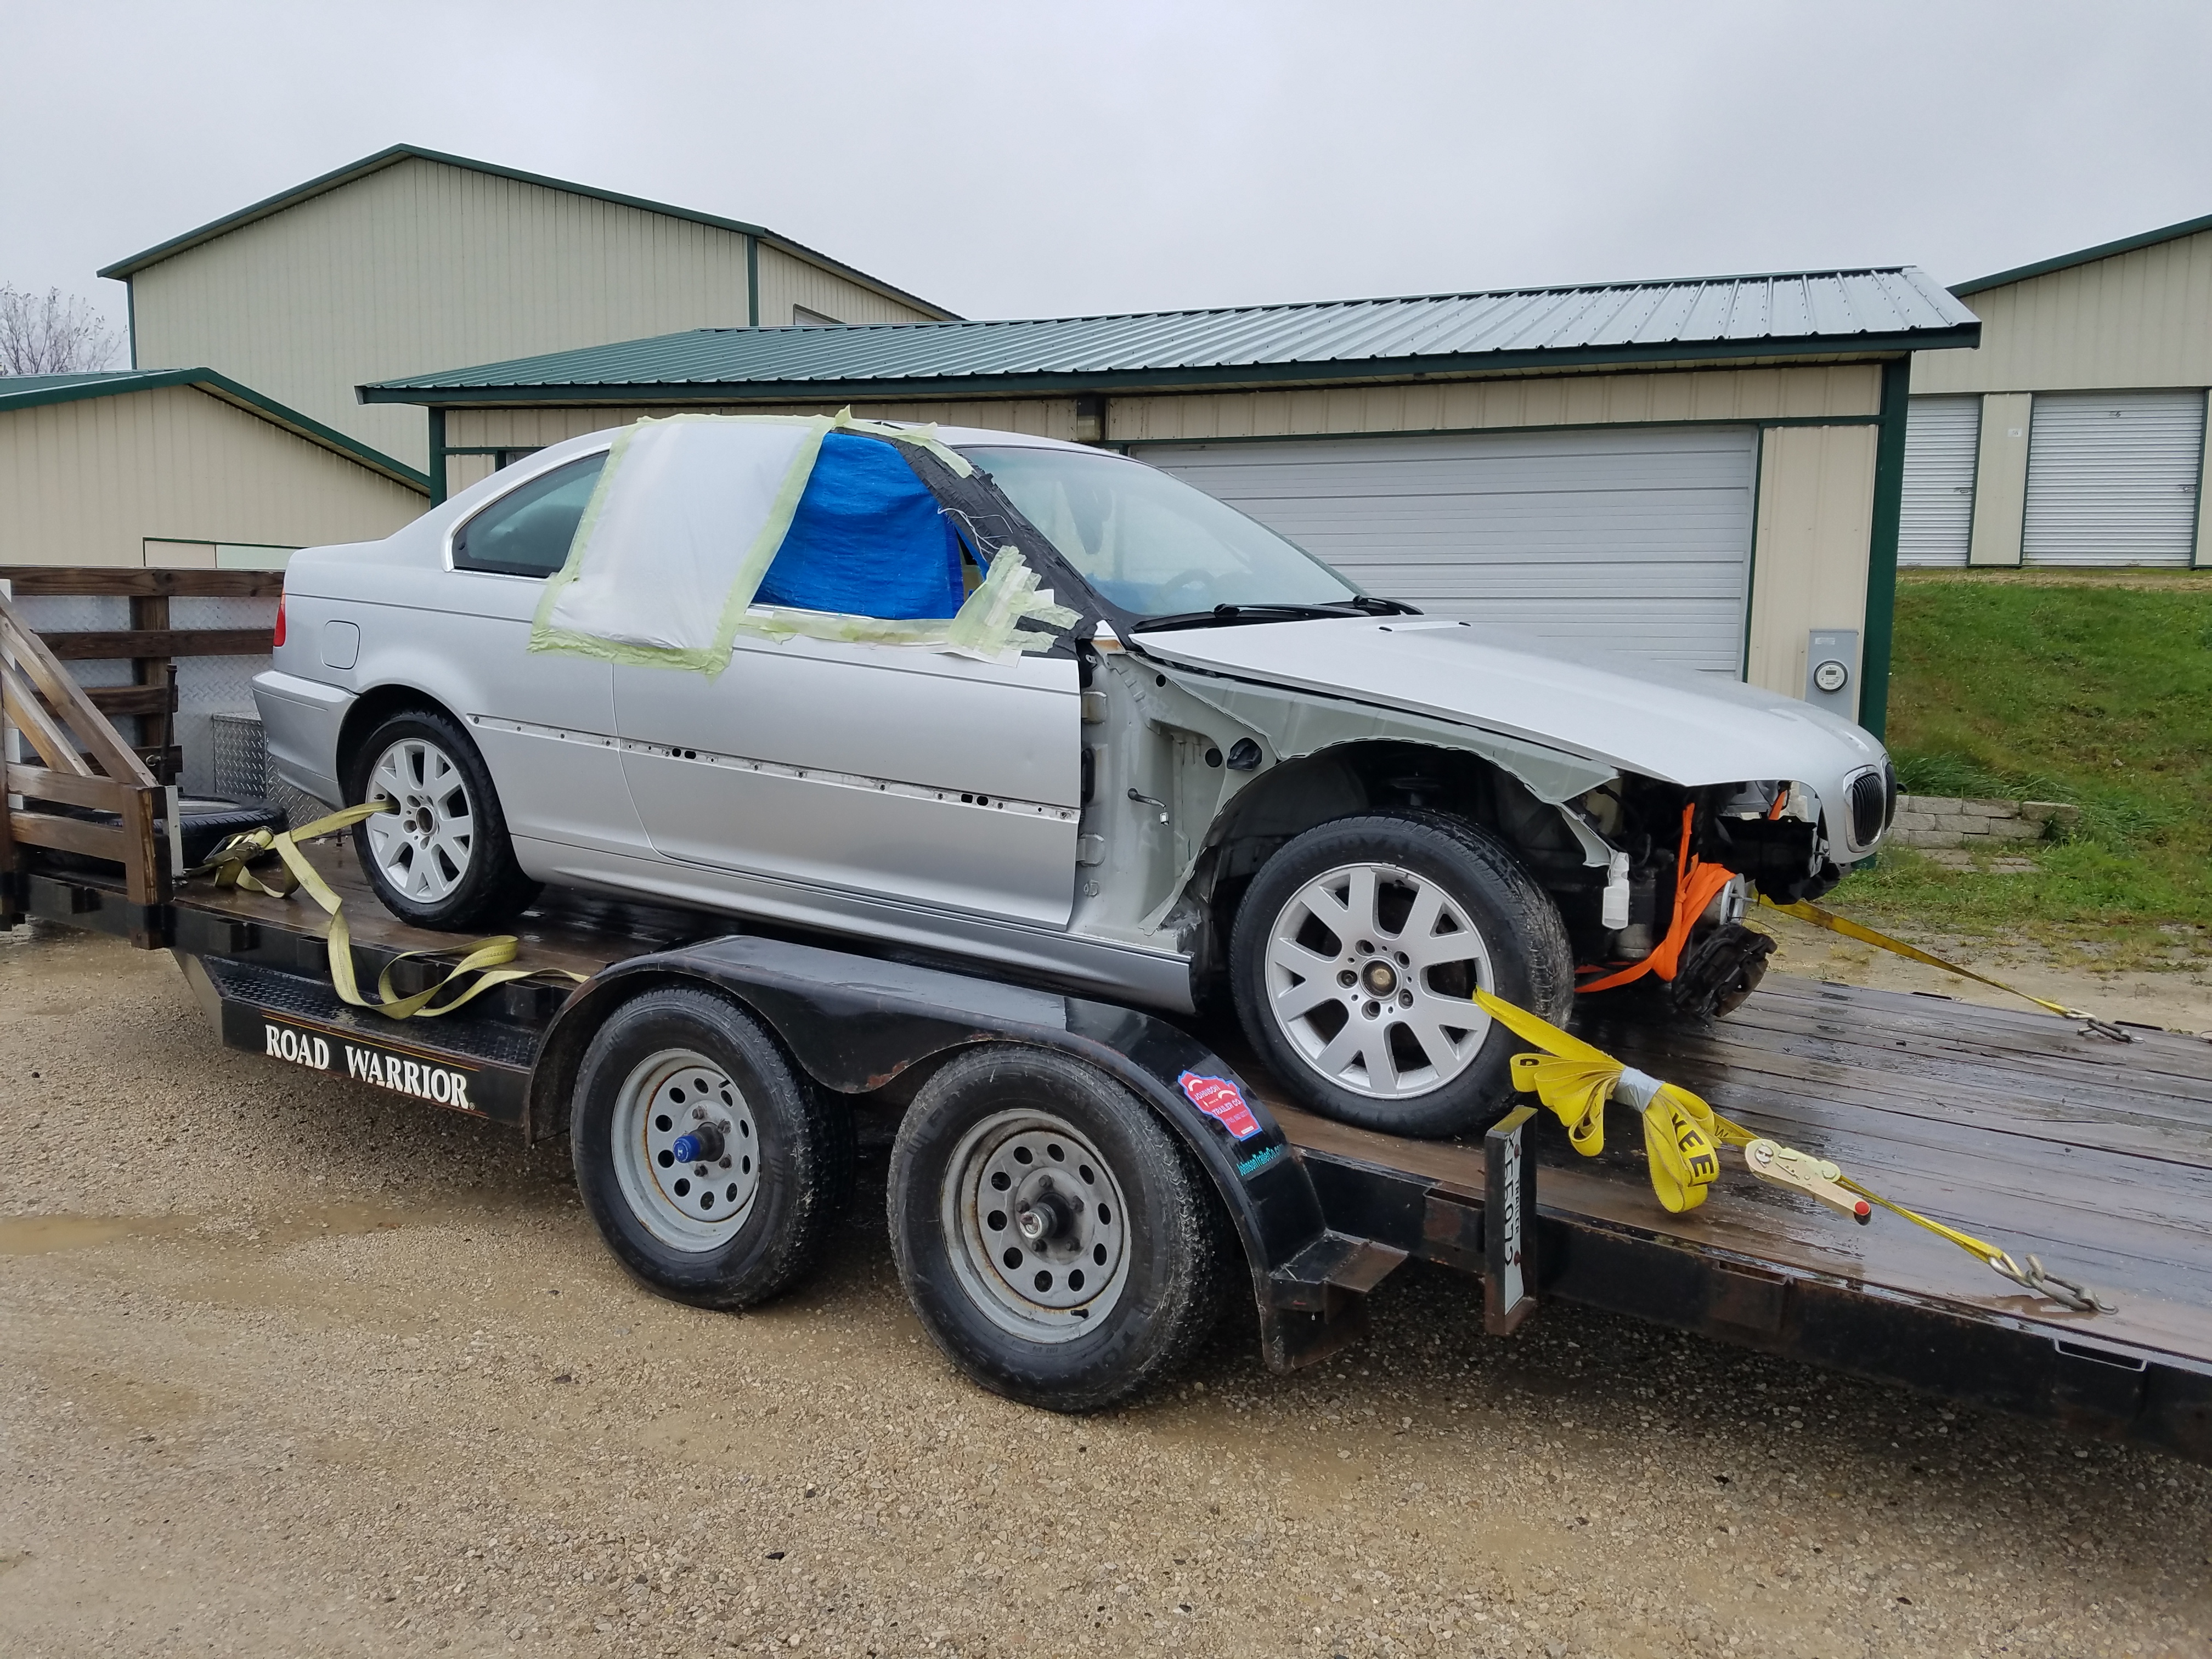
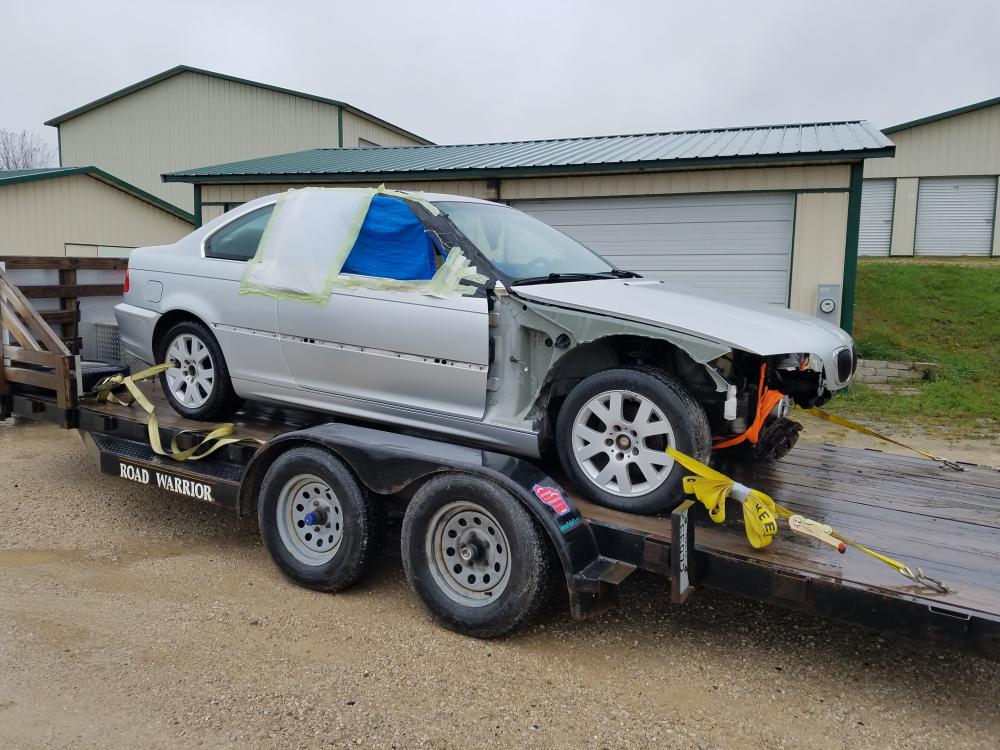

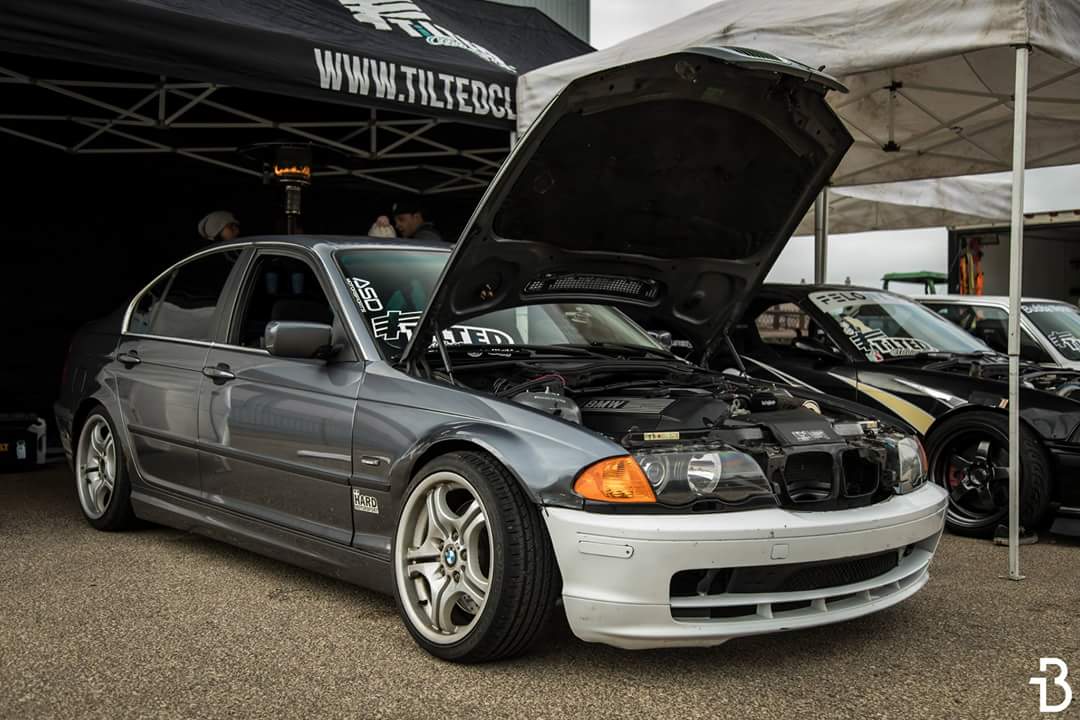
-
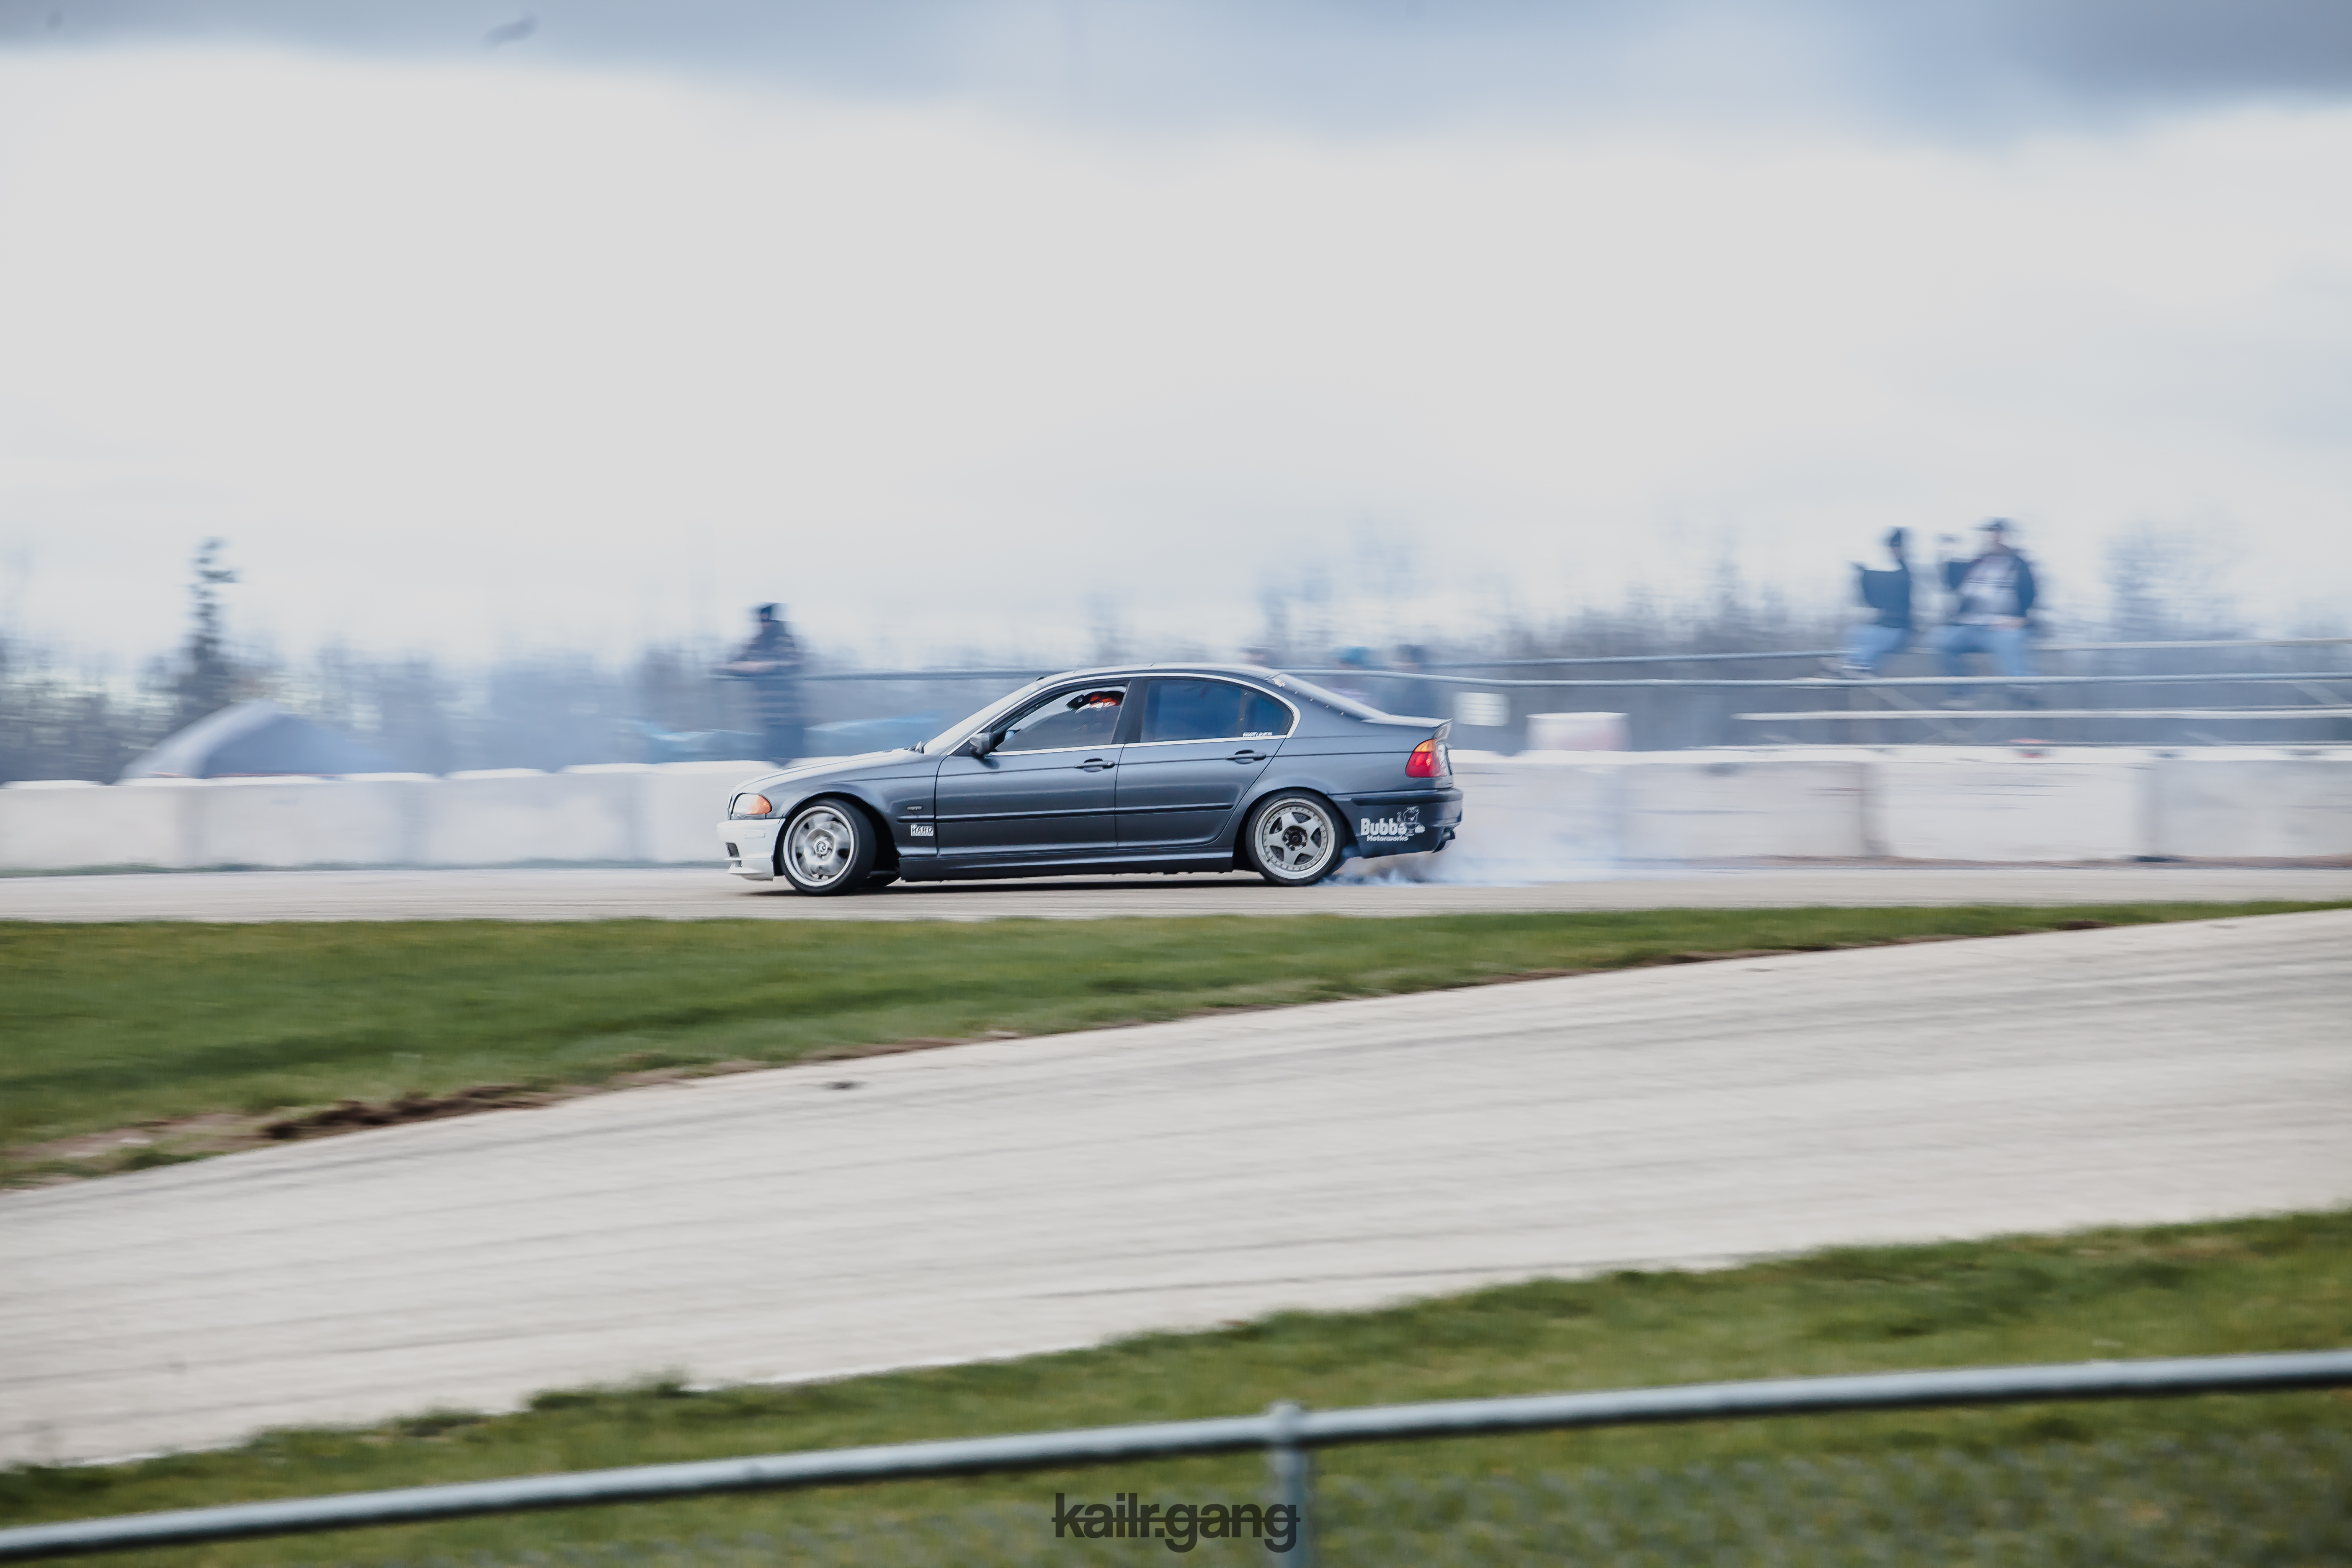
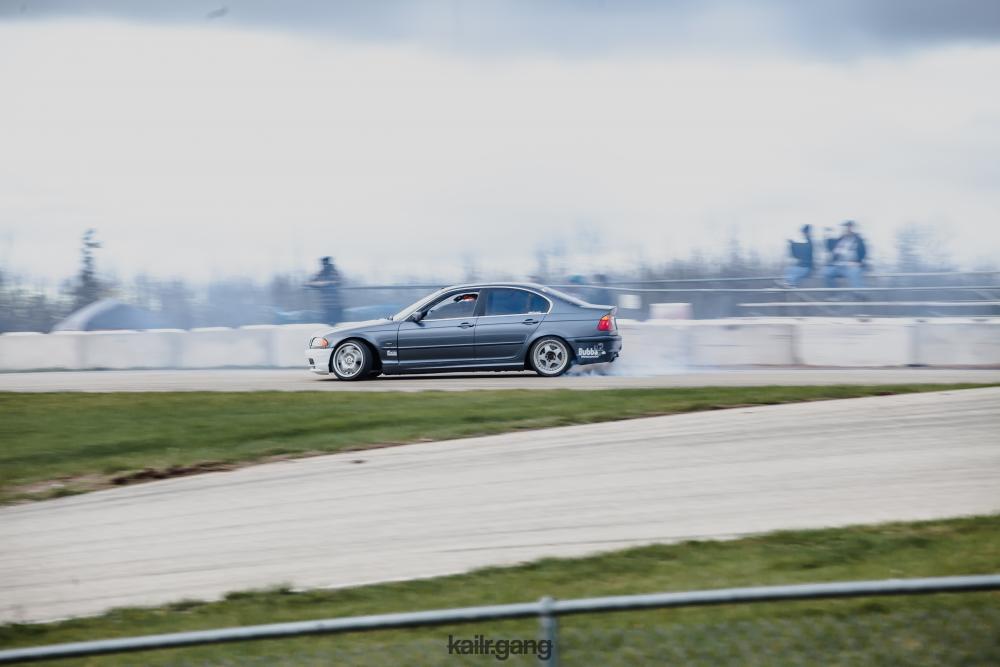
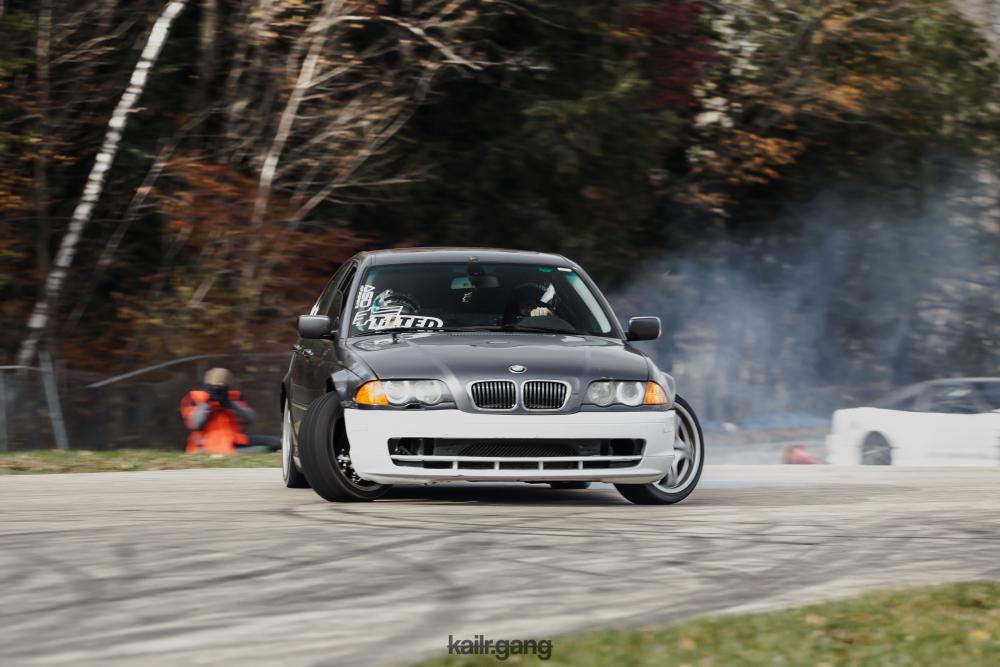
Hahah I'm thankful for an off season, it allows the cars to progress and get the refreshing they need. And honestly I absolutely HATE the stereotype that a drift car should be smashed and shitty.... that's not how it should be lol the midwest has a pretty good reputation though for having fairly nice built and refreshed cars. Thanks to the off seasons. Drifting is a rolling car show.
I 100% agree. If you are not looking good doing it. It shouldn't be done!
-
FINALLY got some time to work on the car today. Alone in the shop was something I definitely needed as of recent and it felt great to get my hands on the car again!
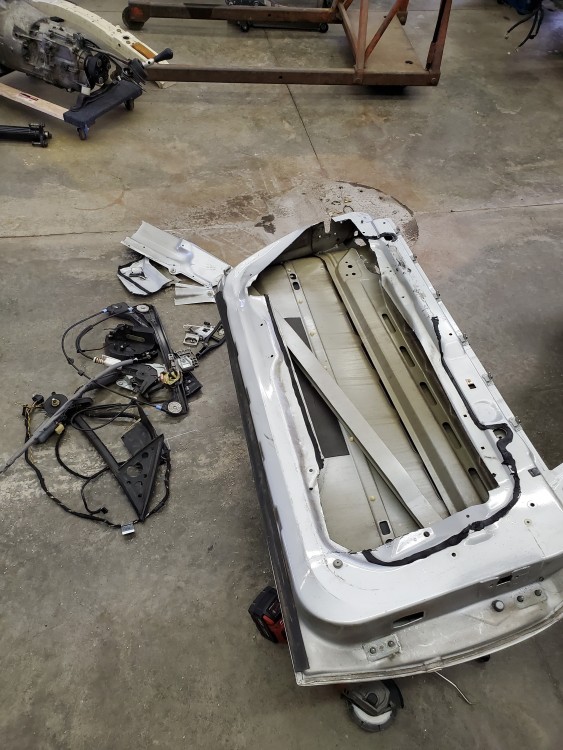
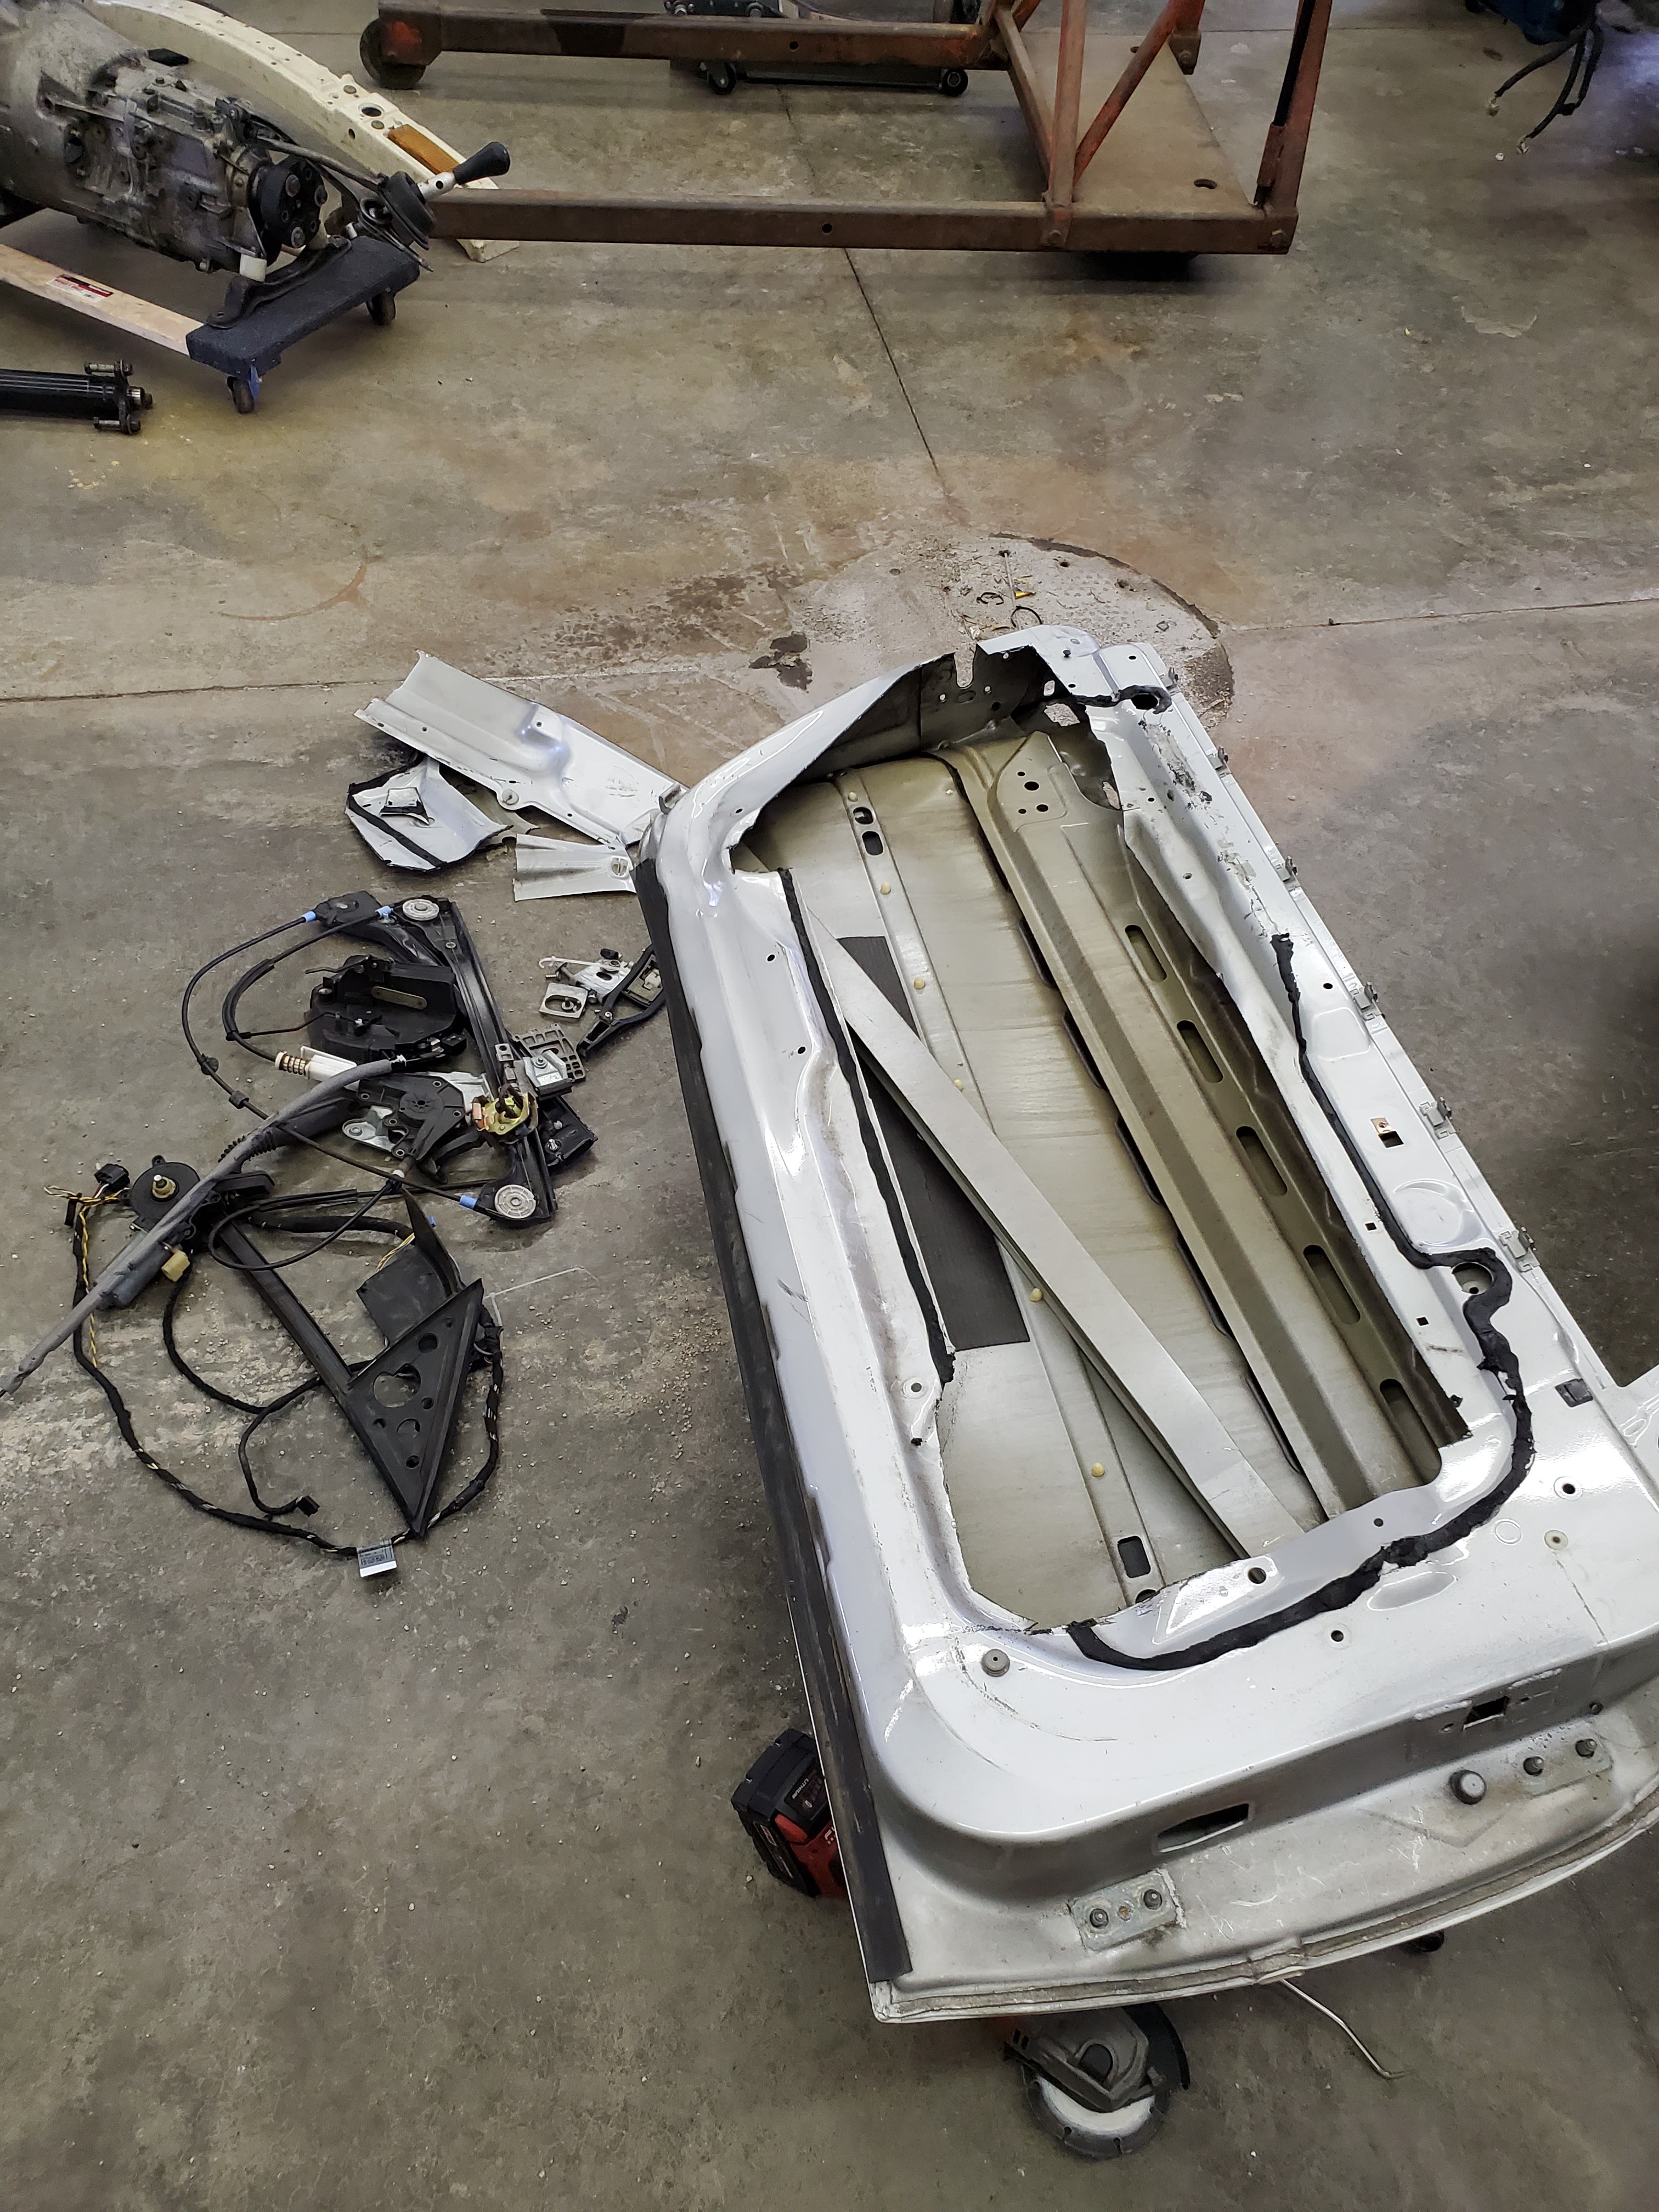
First off I gutted the old door to have spare parts if needed. Plus it will make a cool walls hanger.
Not sure if mentioned this but the window didnt break and it was salvaged too.
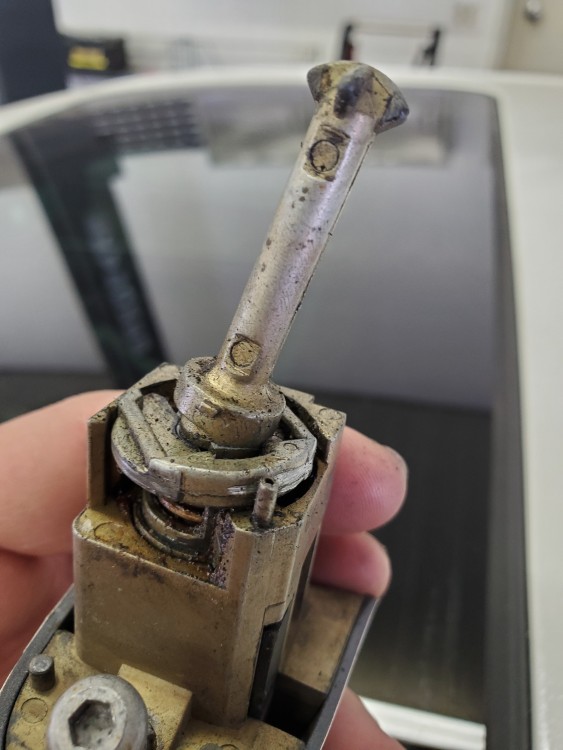
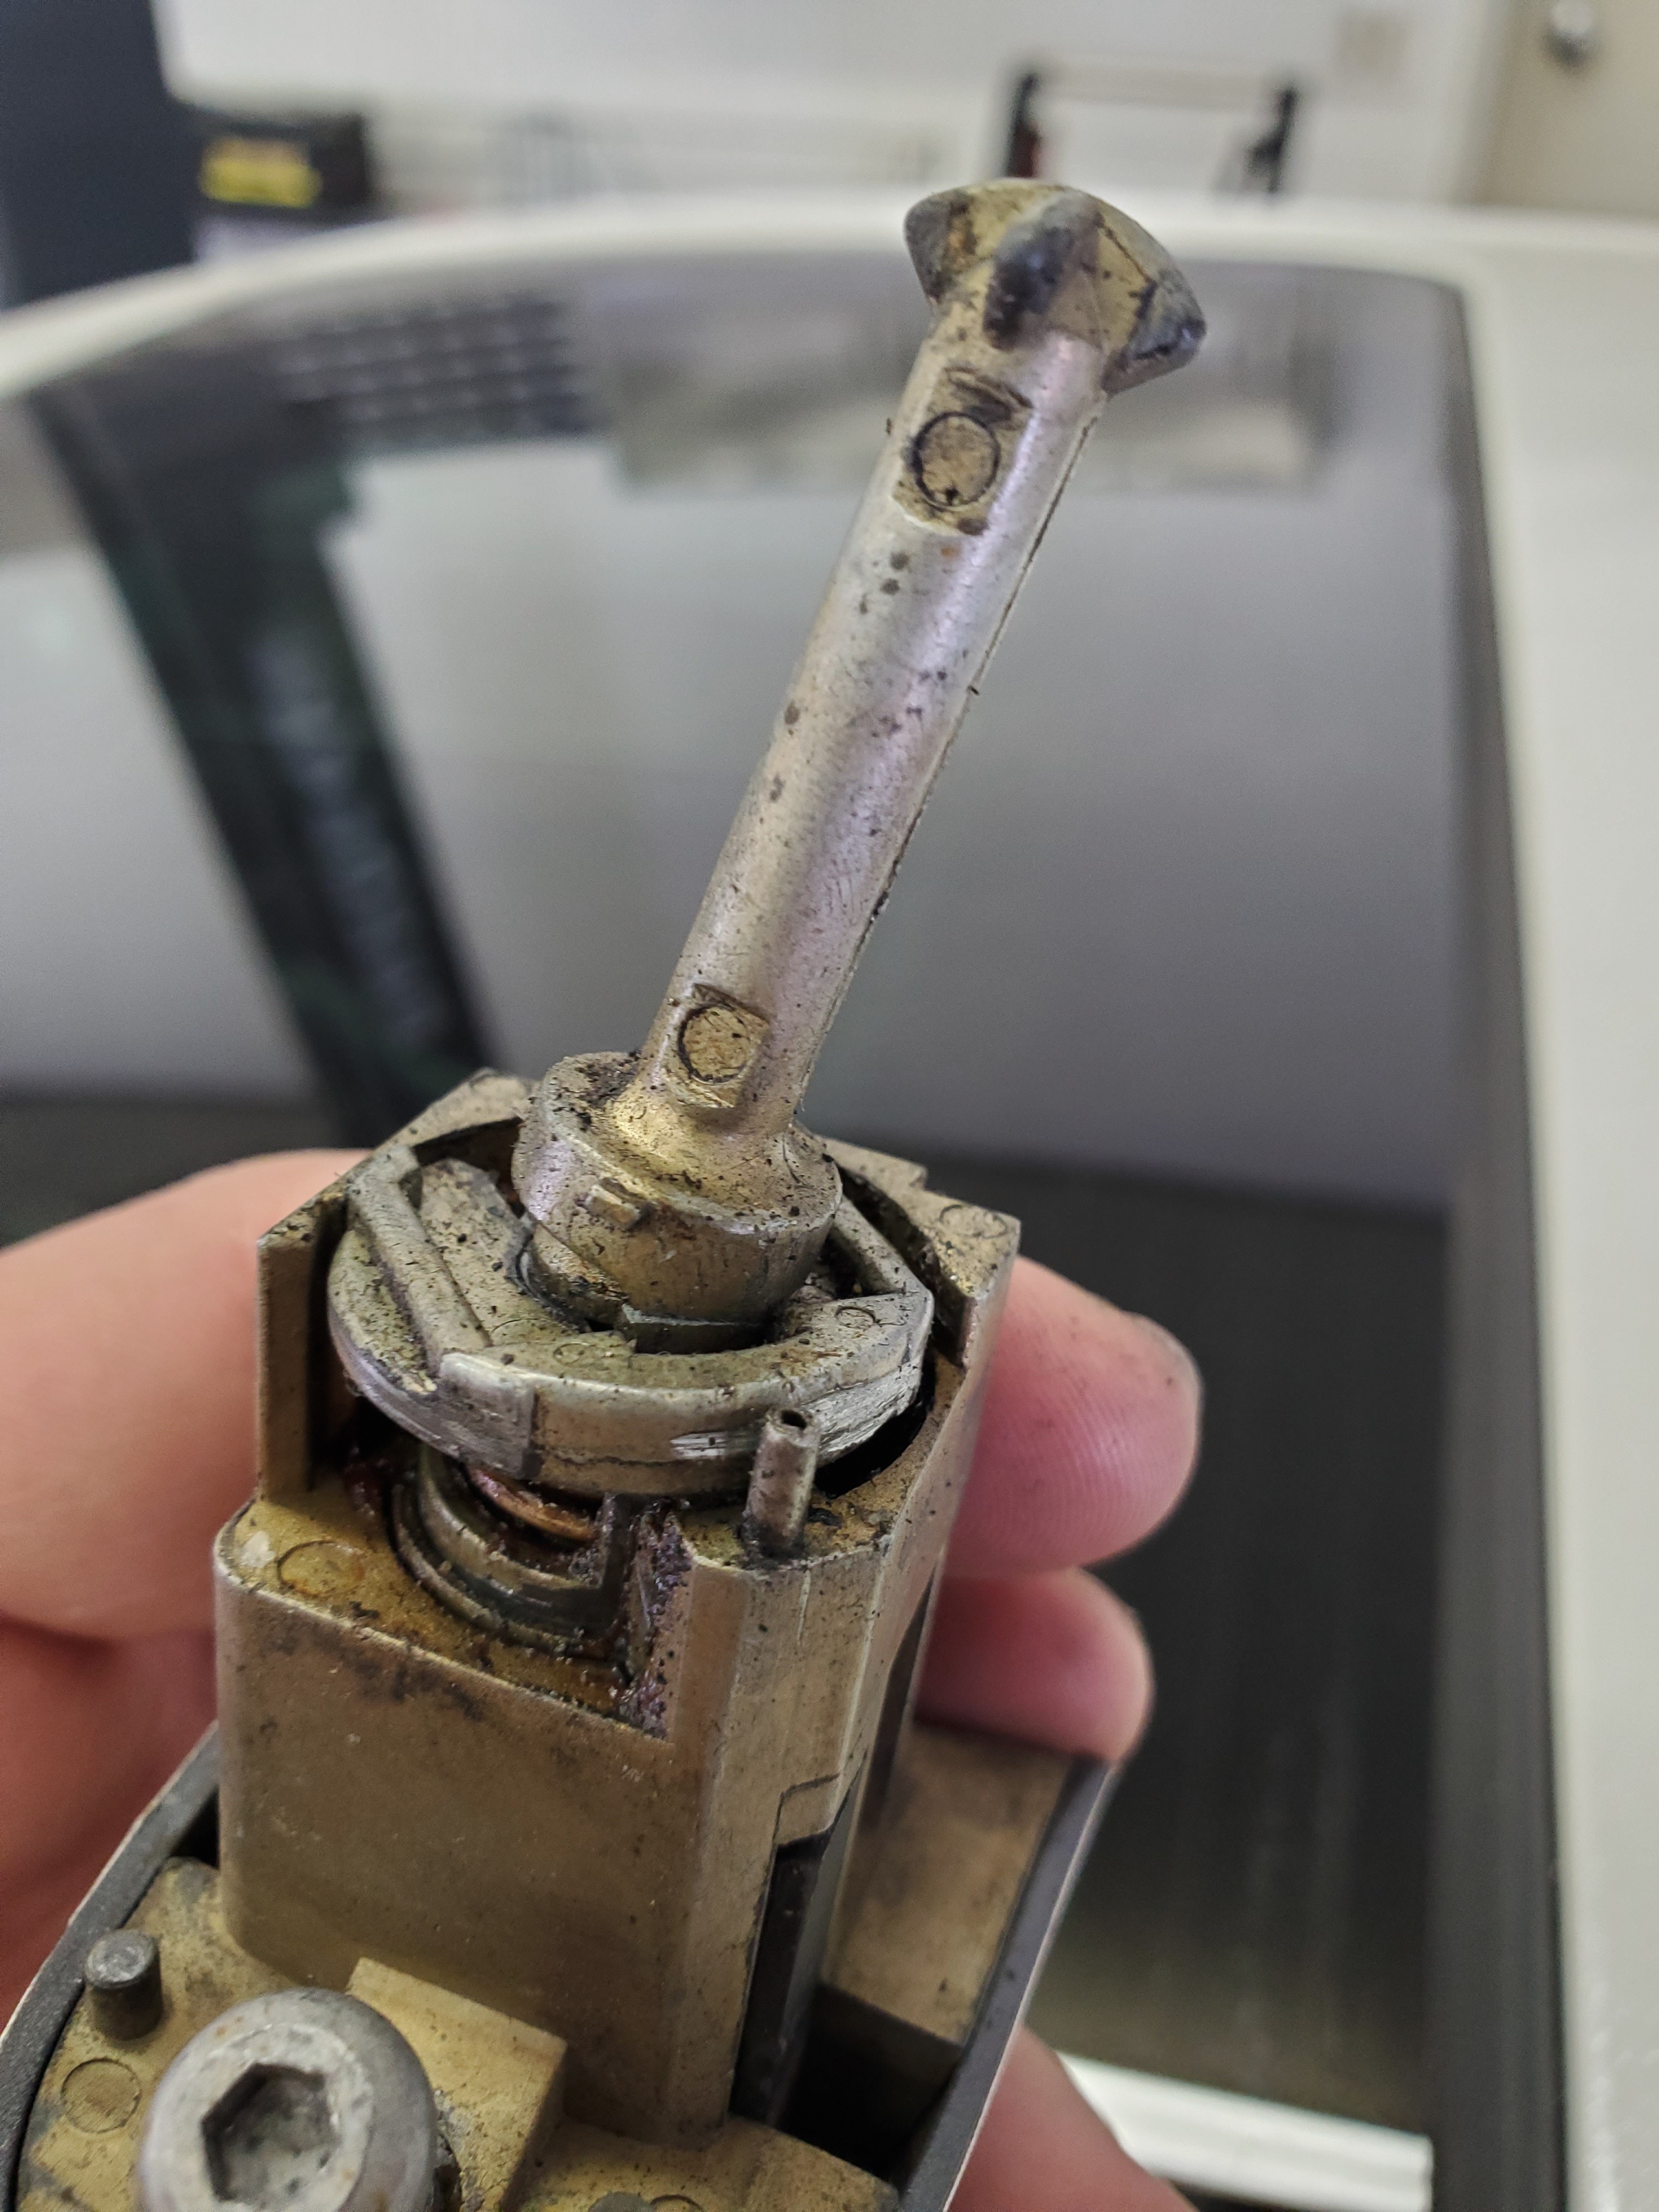
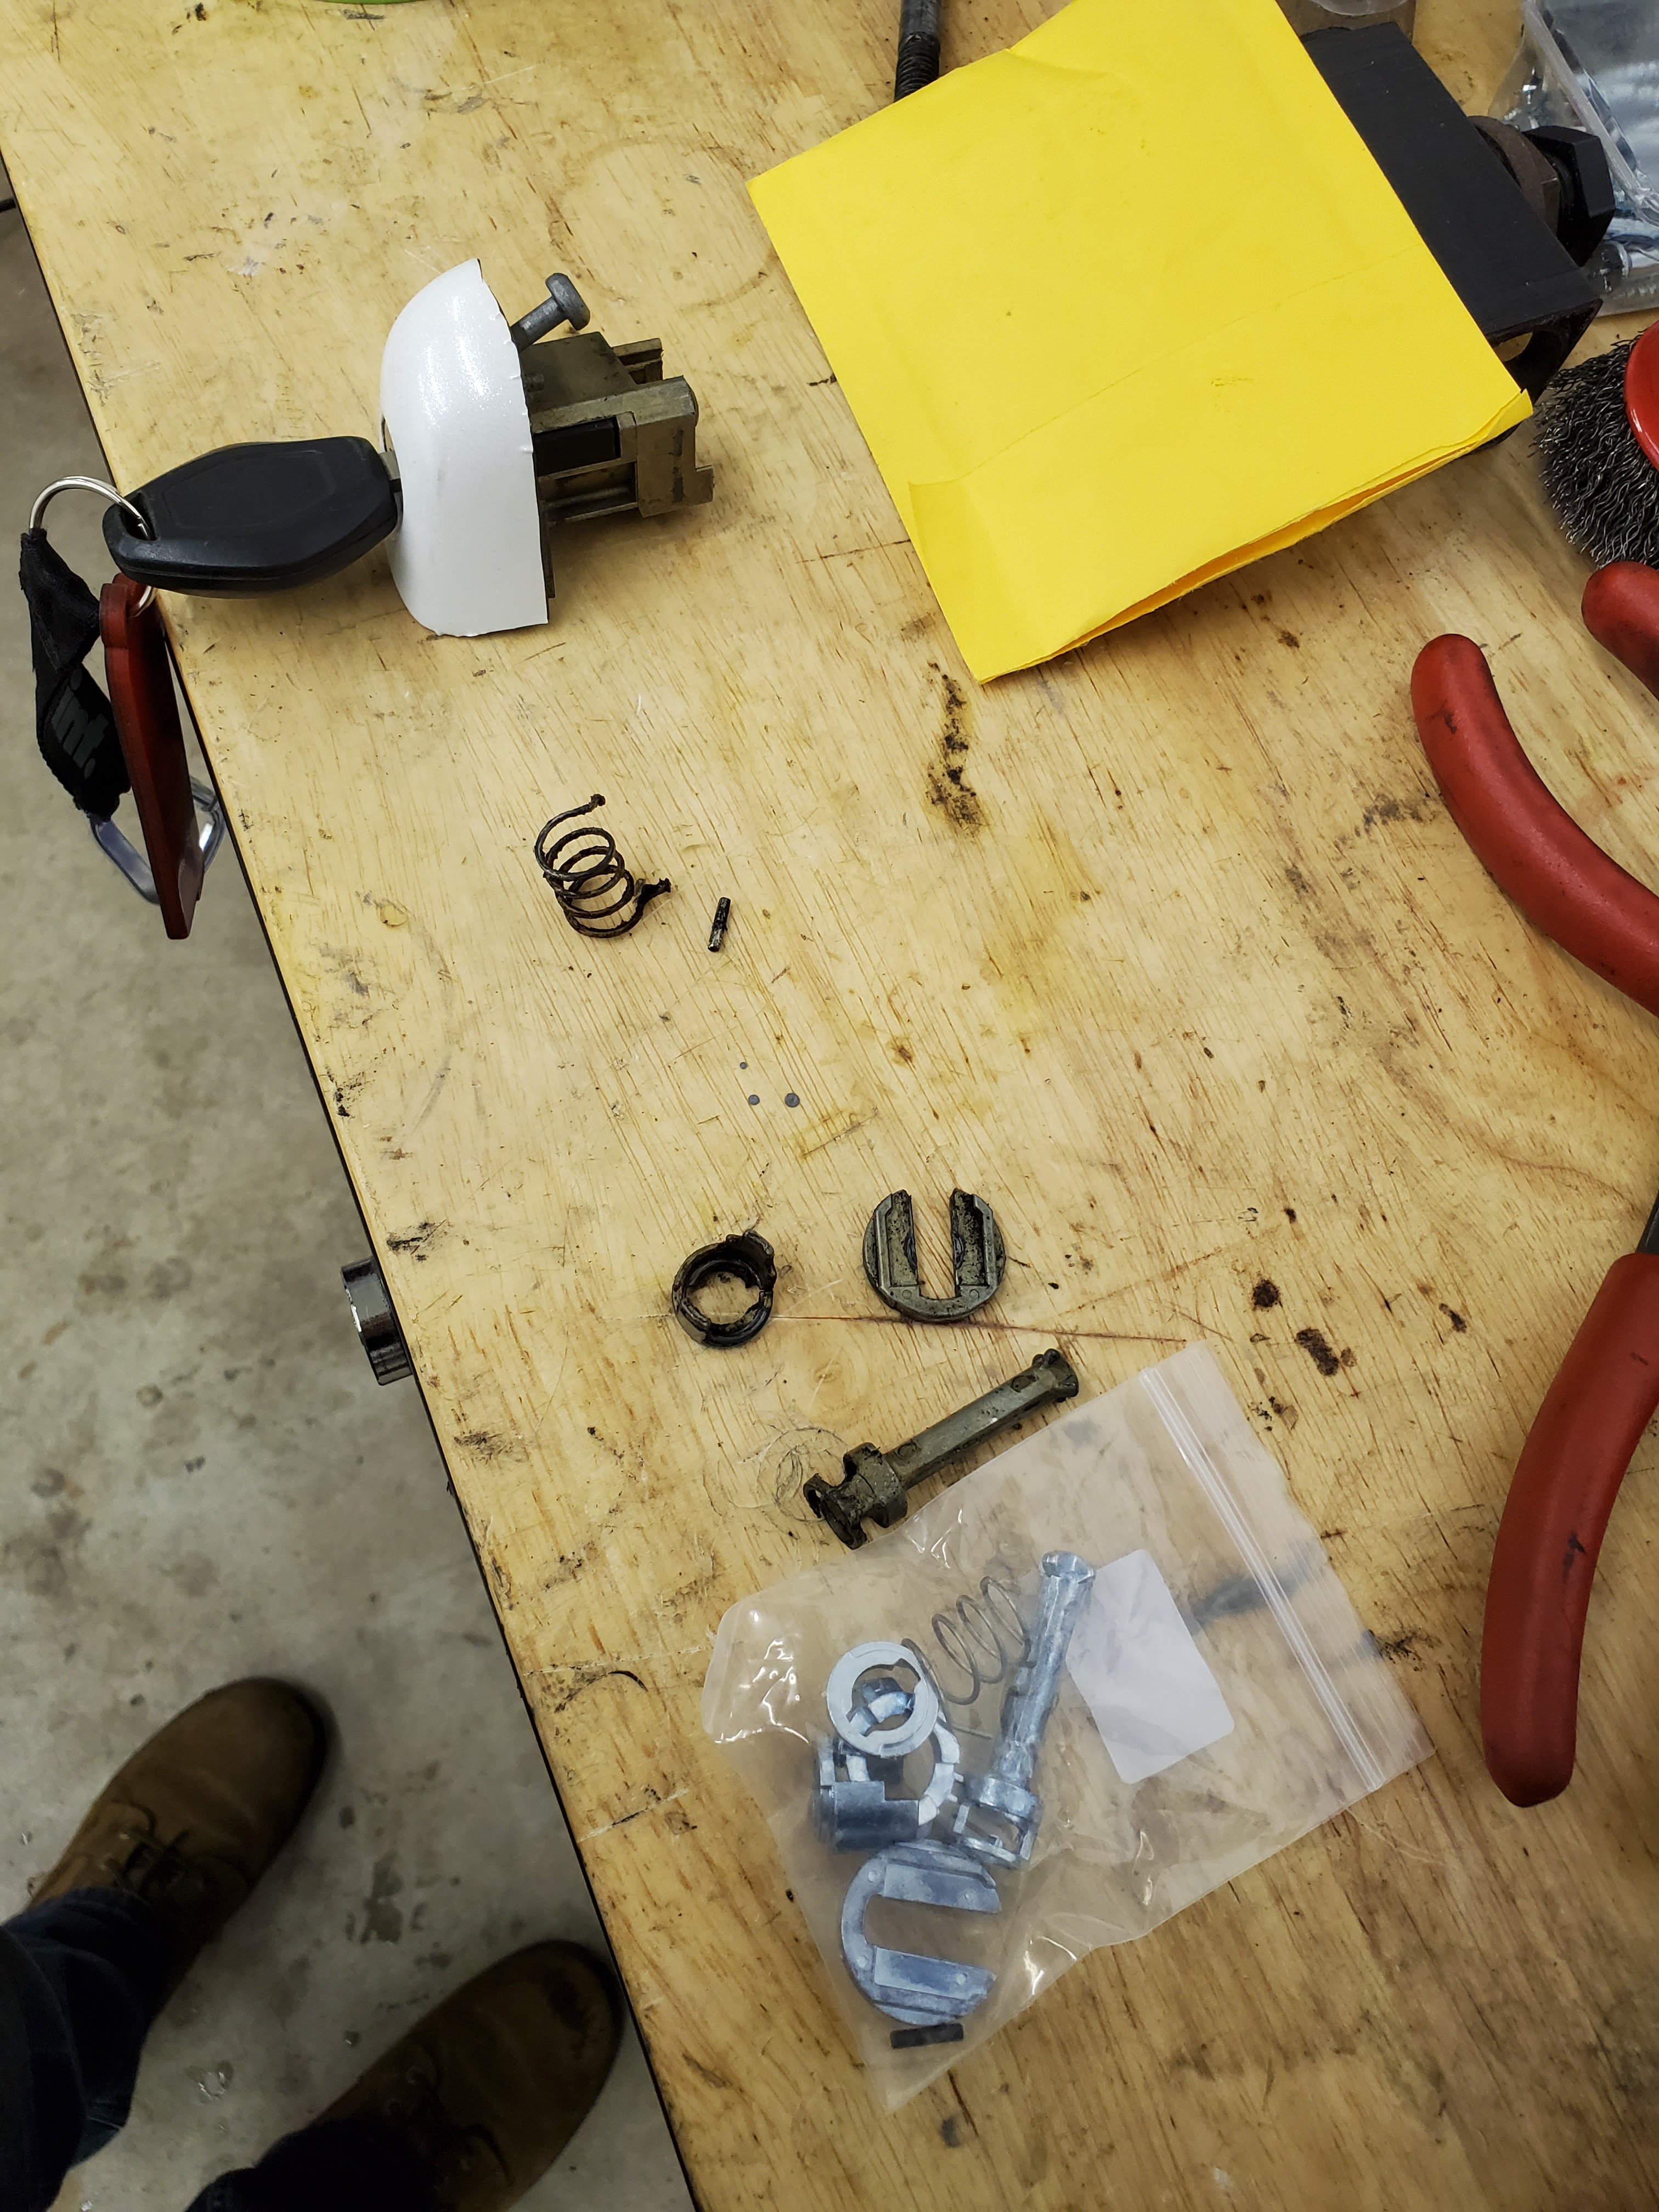
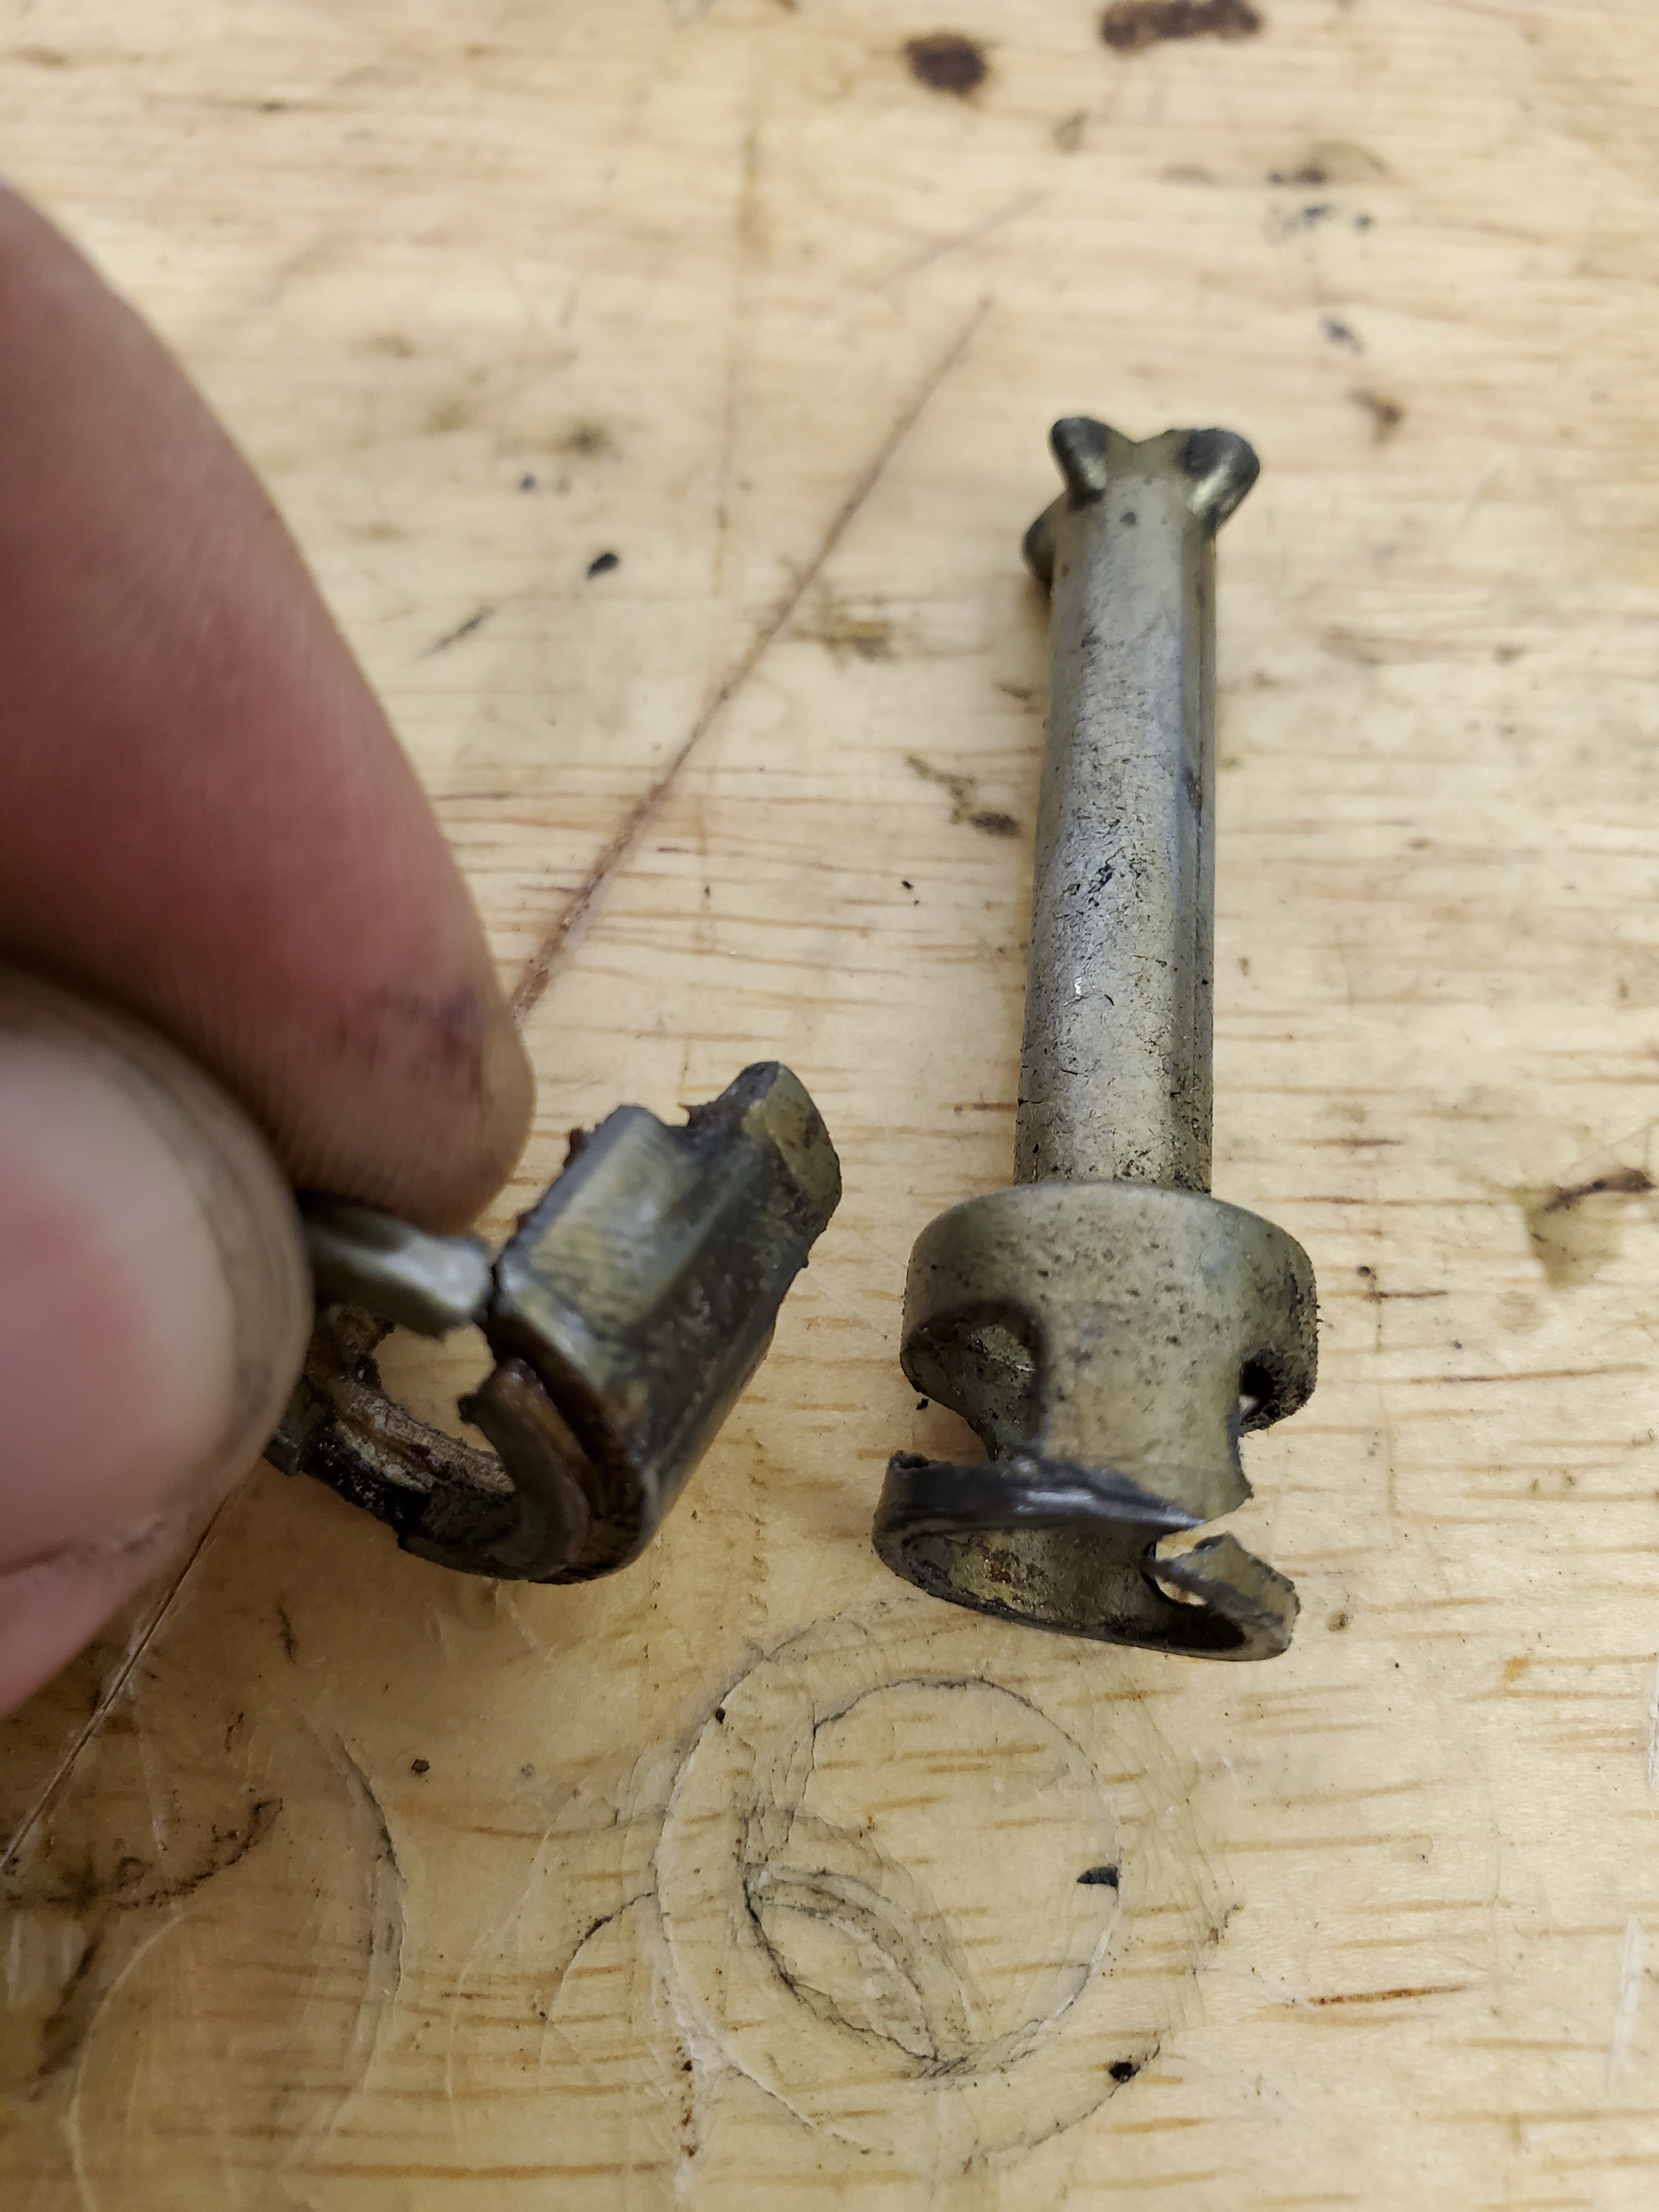
I did find that the lock was broken when I pulled it from the handle, luckily I found a rebuild kit on amazon for $8 and it has good reviews. Was pretty excited that I dont need to re-key the car. Below you can see where its cracked.
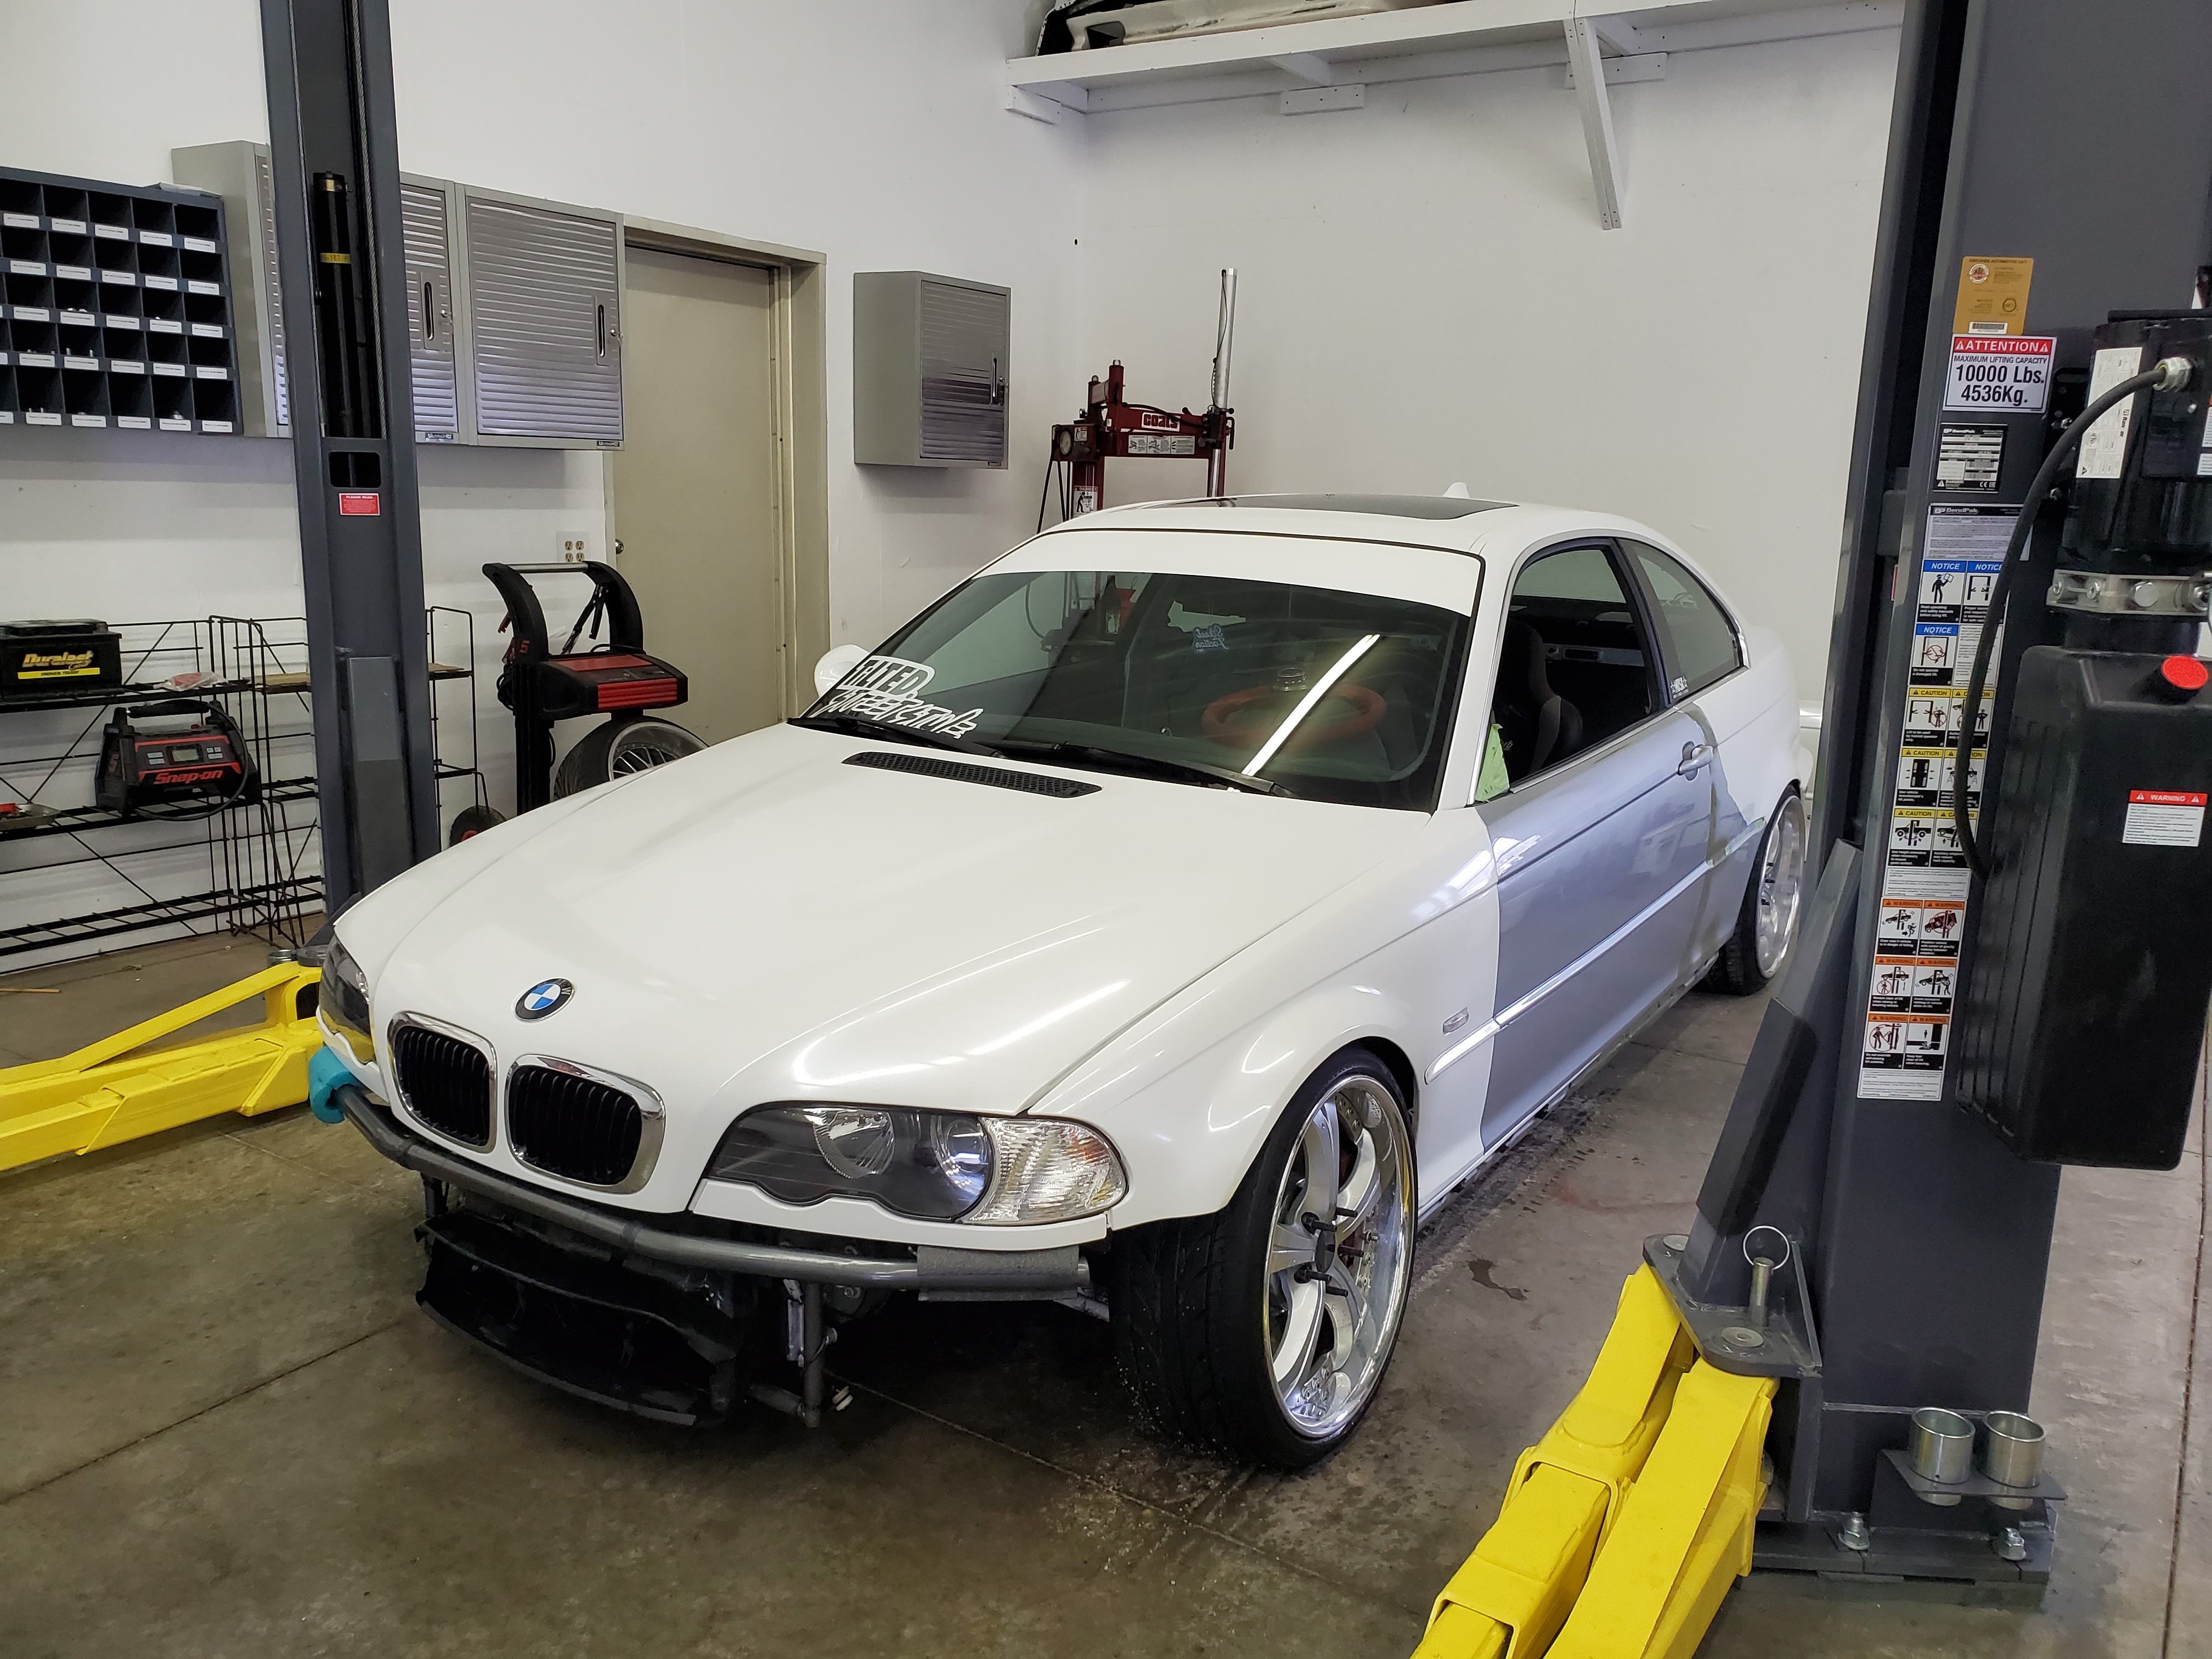
Also washed the car for the first time since October which feels good.
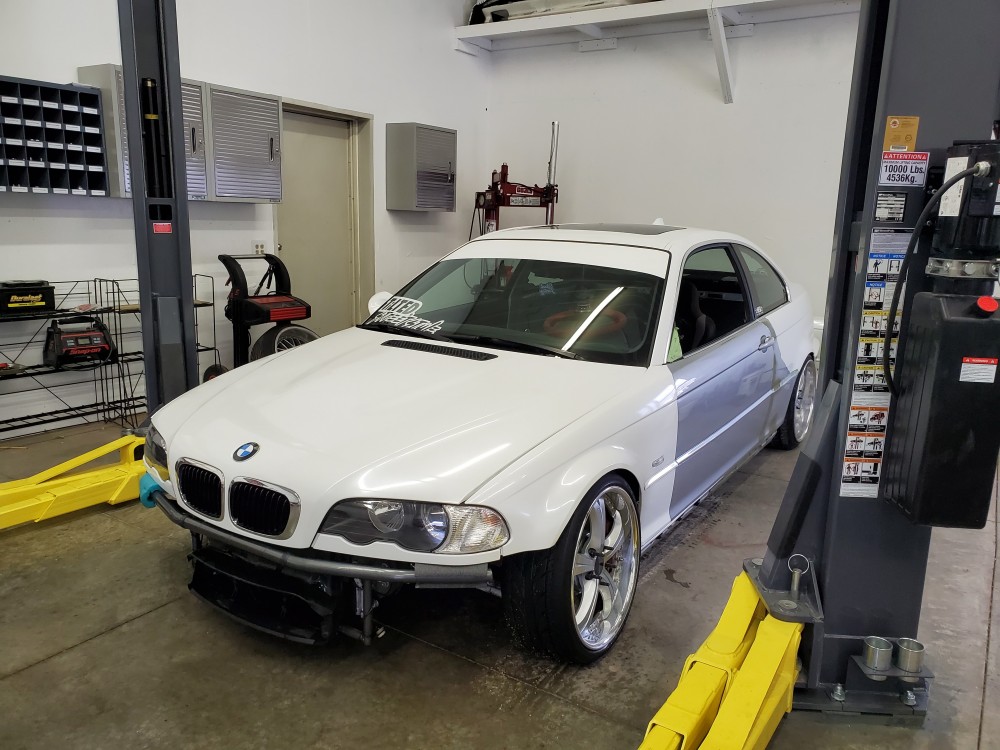
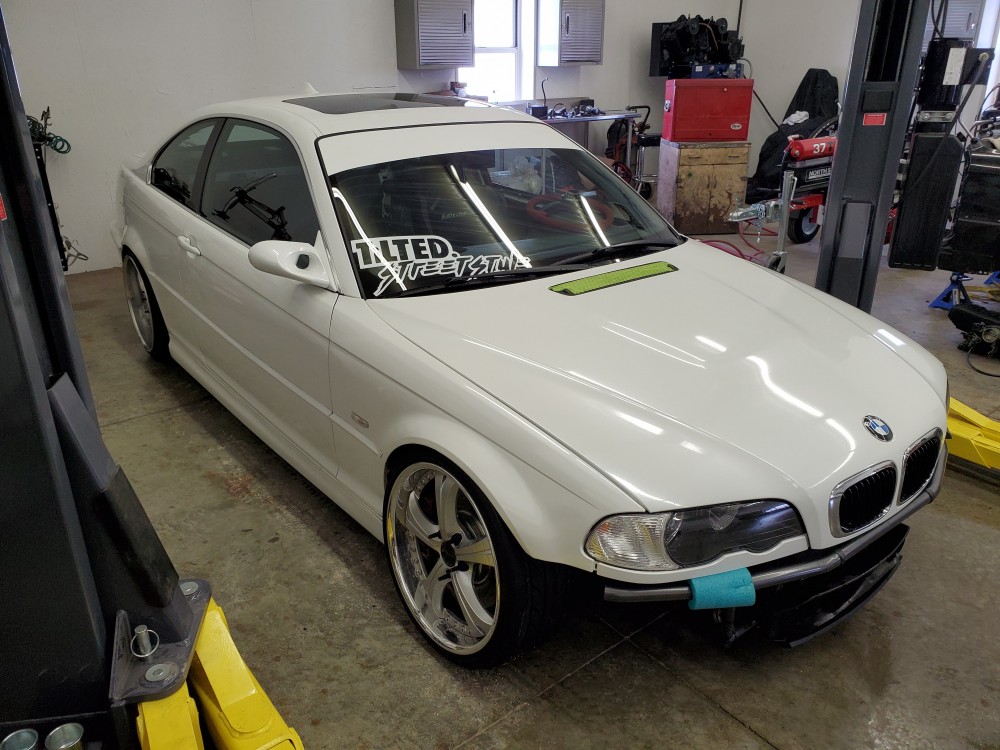
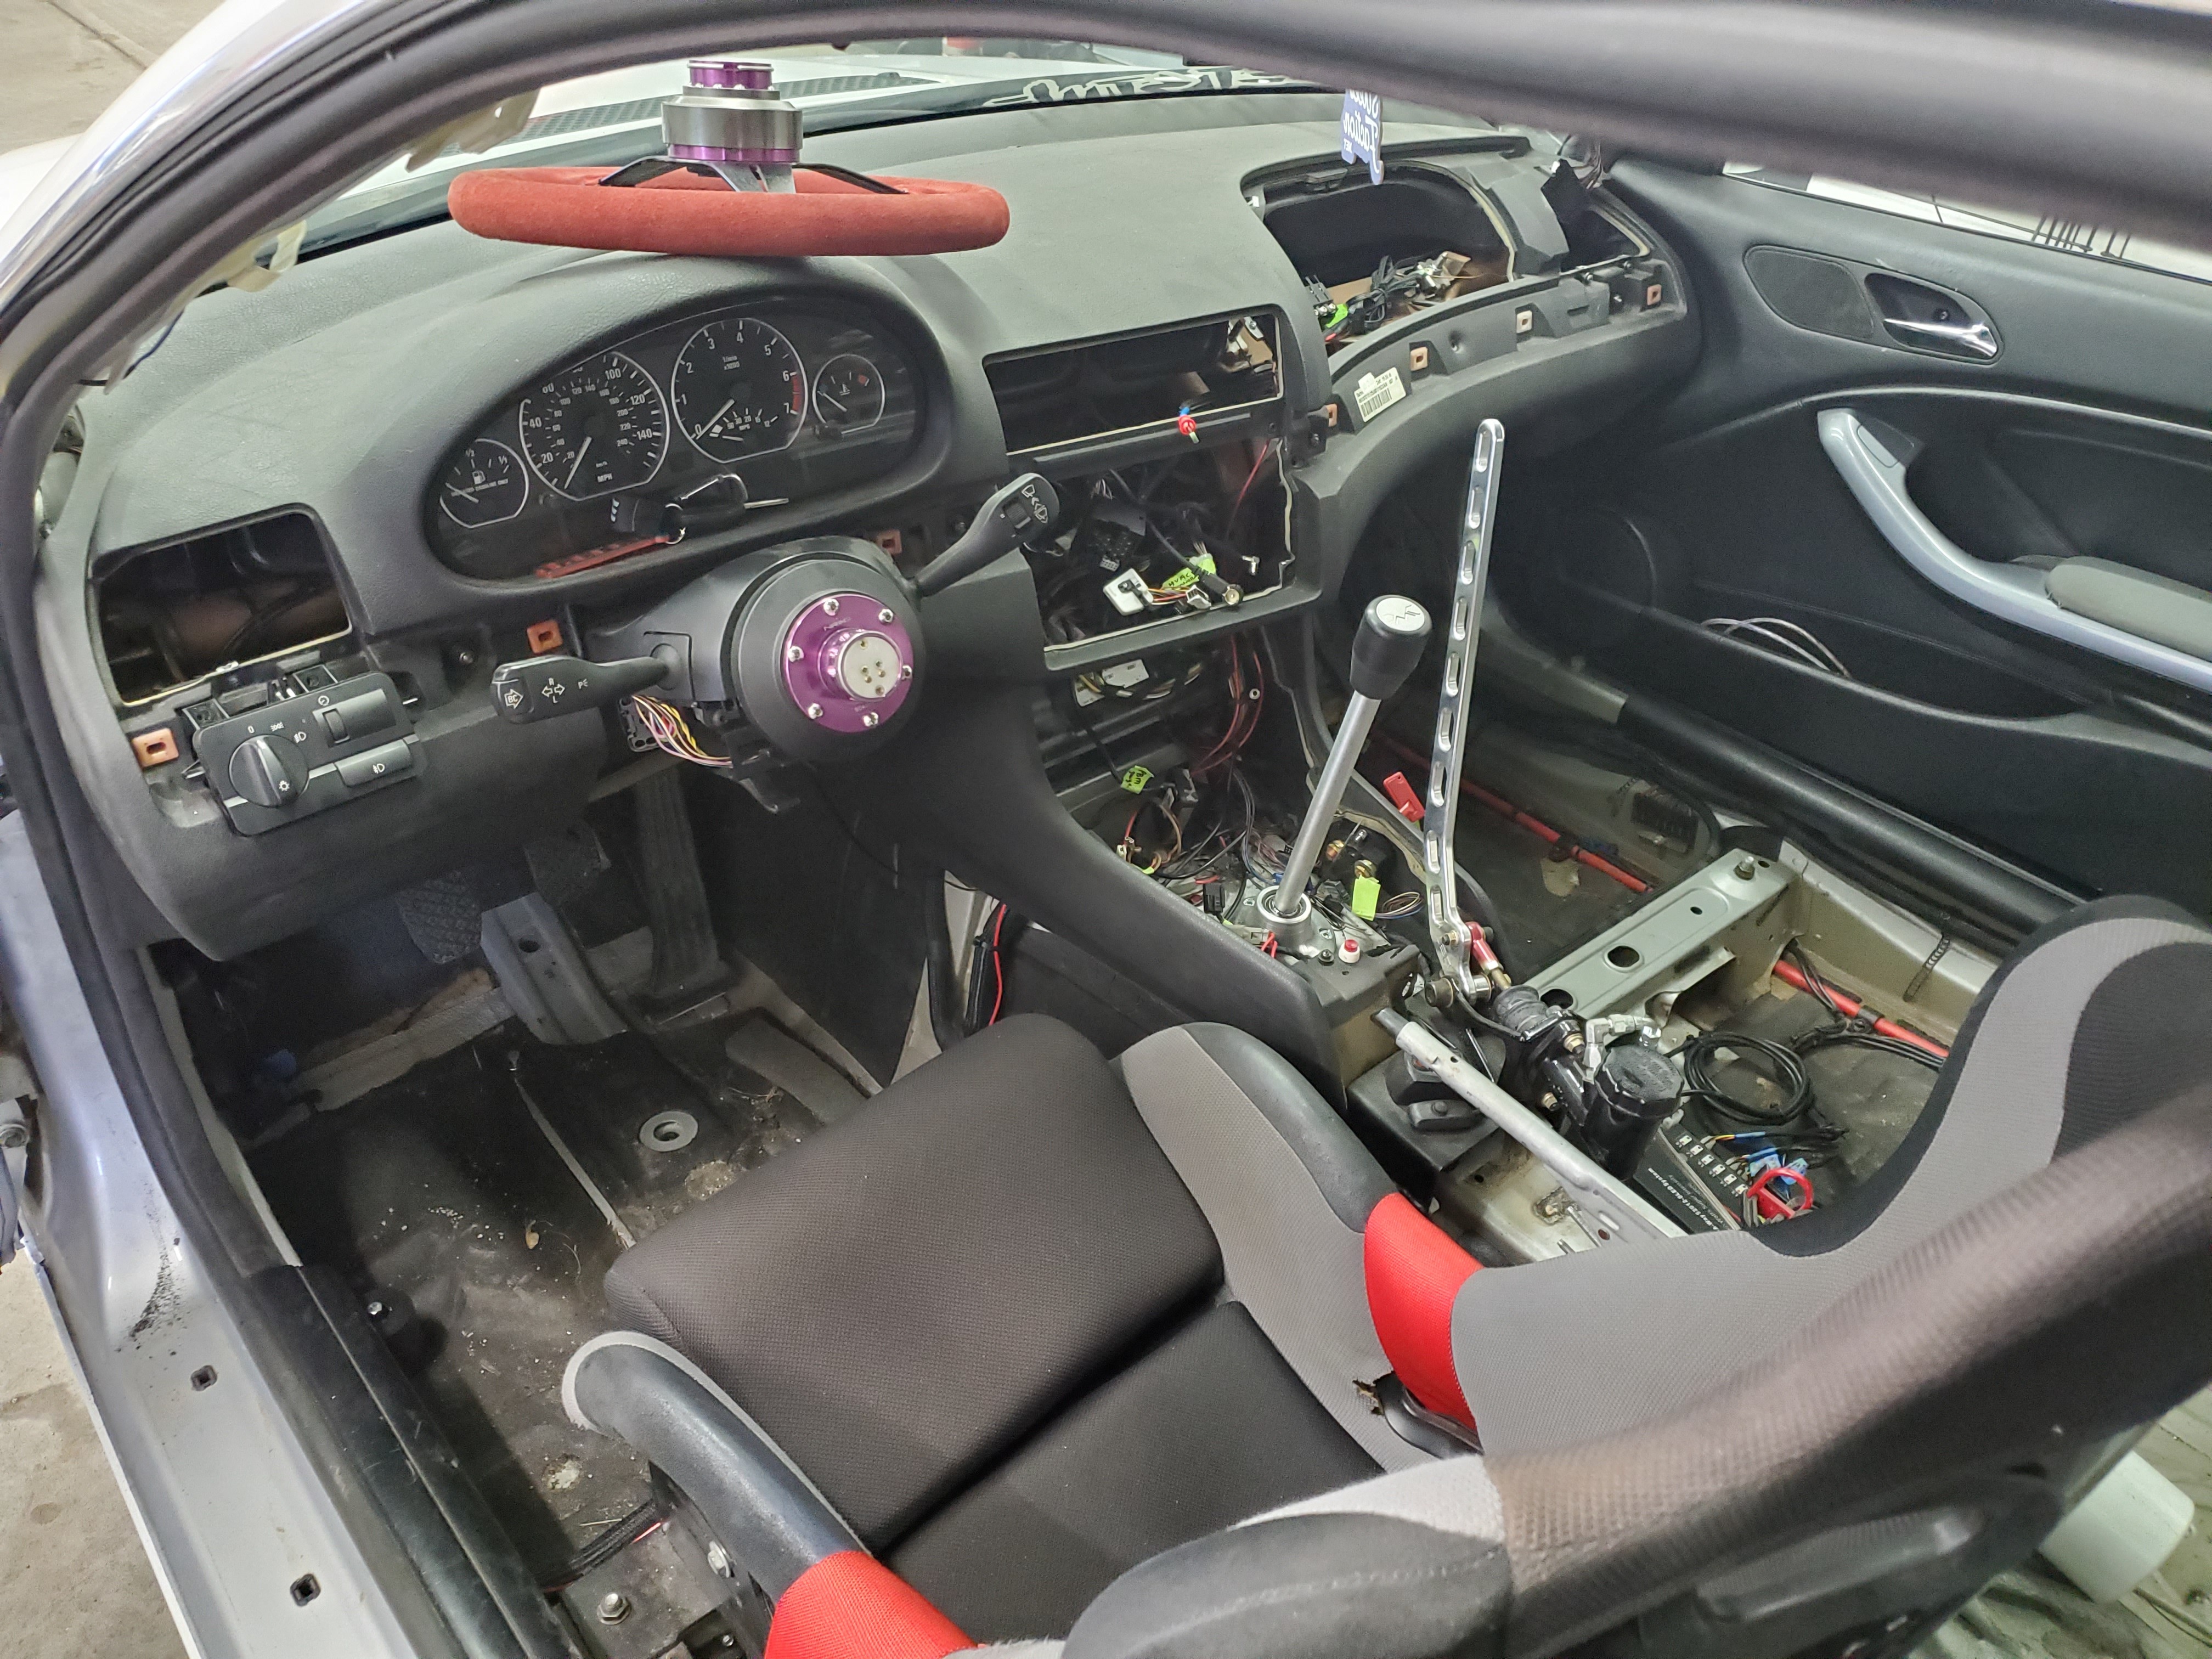
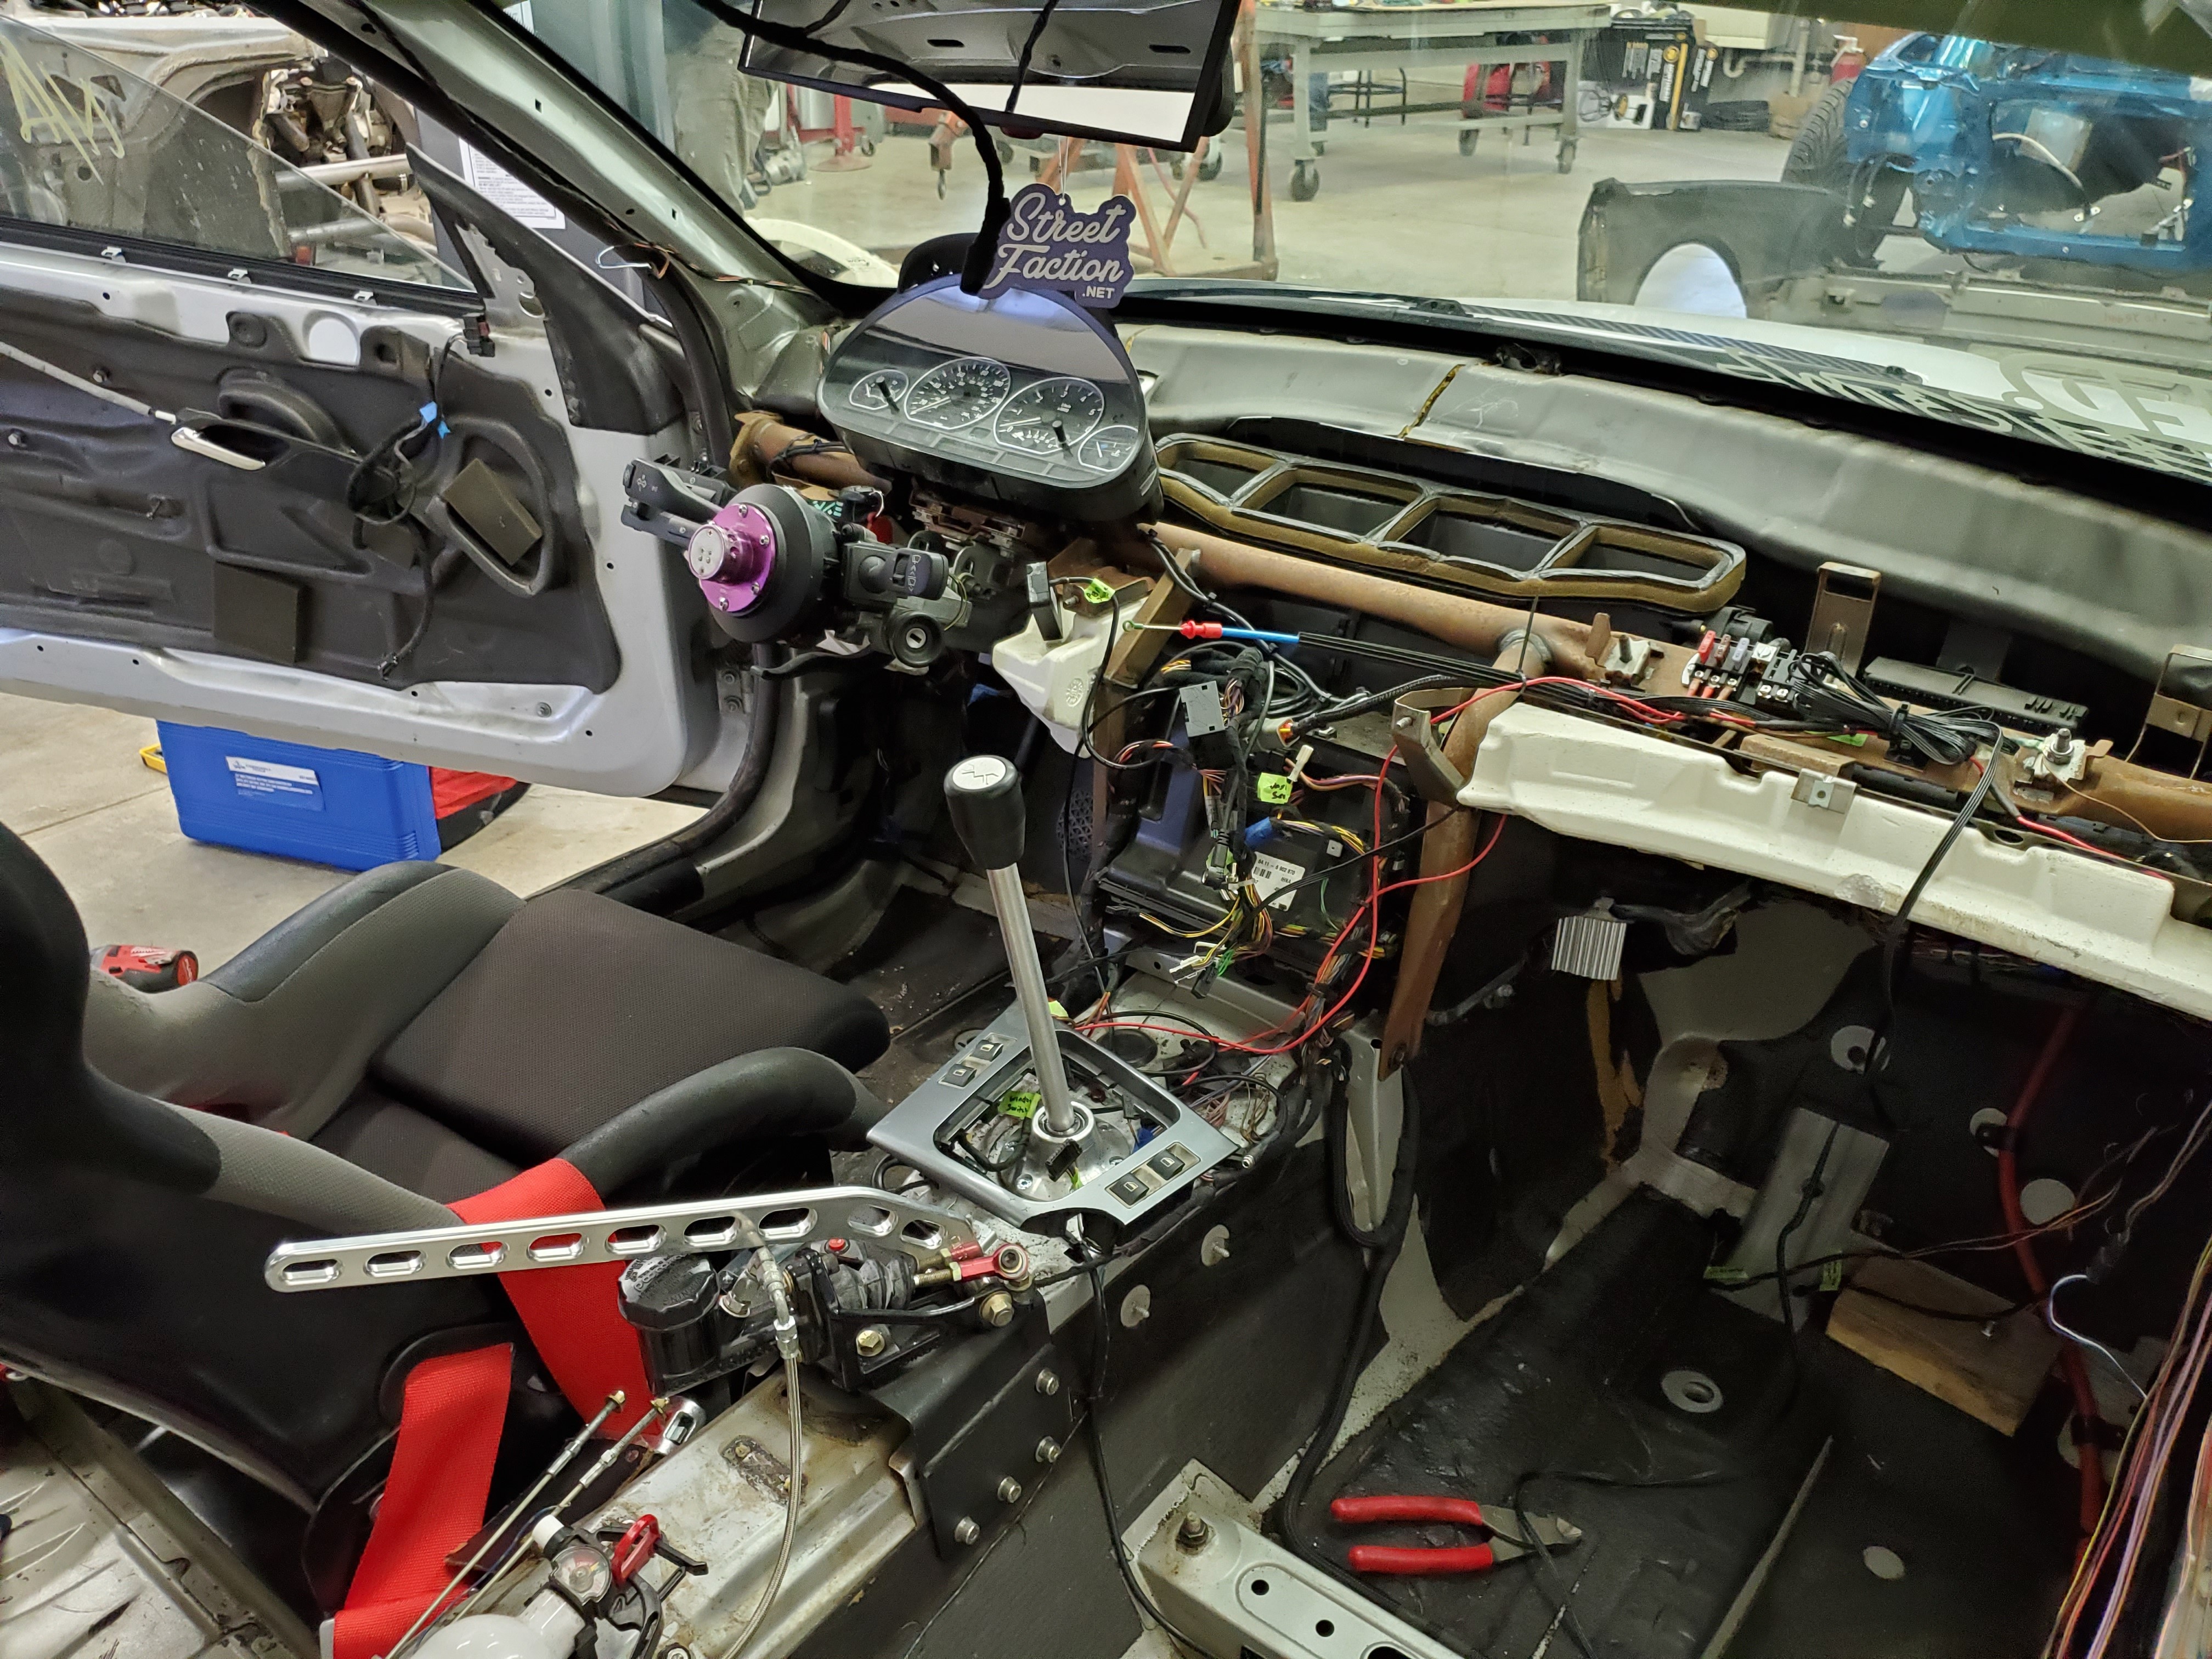
And the plan is to get a proper cage in the car this winter so I pulled out the floor plates and all the dash accessories. Now all that's holding in the dash is the mounting bolts itself.
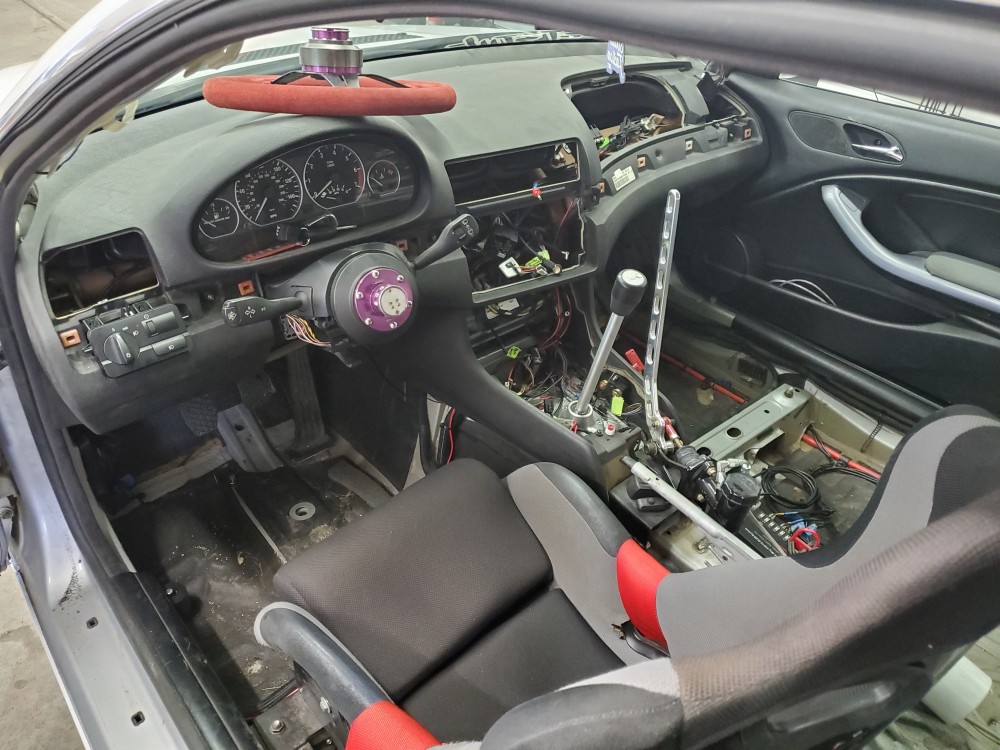
Lots of work ahead yet but felt great to get back in the shop.
-
Update.
Small one, didnt get a whole lot done this weekend.
The blower motor stopped working a week before the last drift day and I finally got around to ordering a new one. We had checked for power before I went and ordered one.
Turns out it wasnt the blower motor so that was a great way to start the day. I'll be ordering a resistor even though I didnt think that was the problem. After reading it seems these resistors aren't the same as normal ones that when all the others I have dealt with work on high only when bad the e46 ones can just take a shit all together.
I moved on to fixing the broken door lock.
Disassembled.
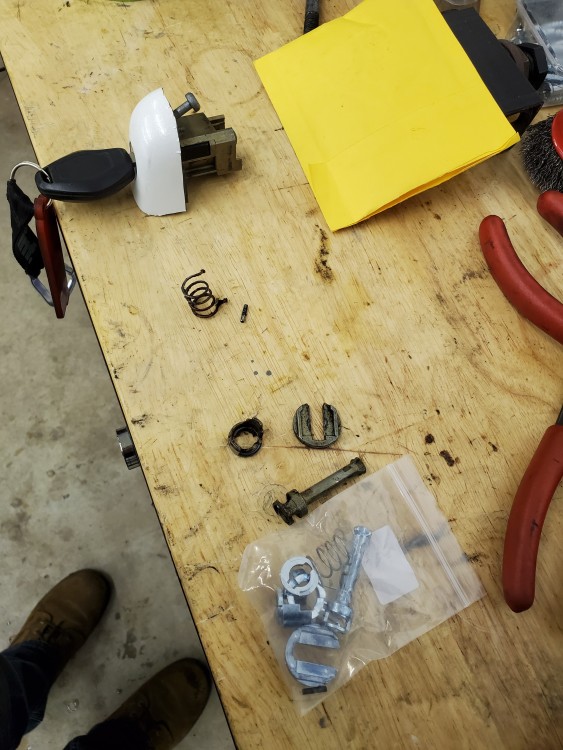
here's the broken/cracked parts.
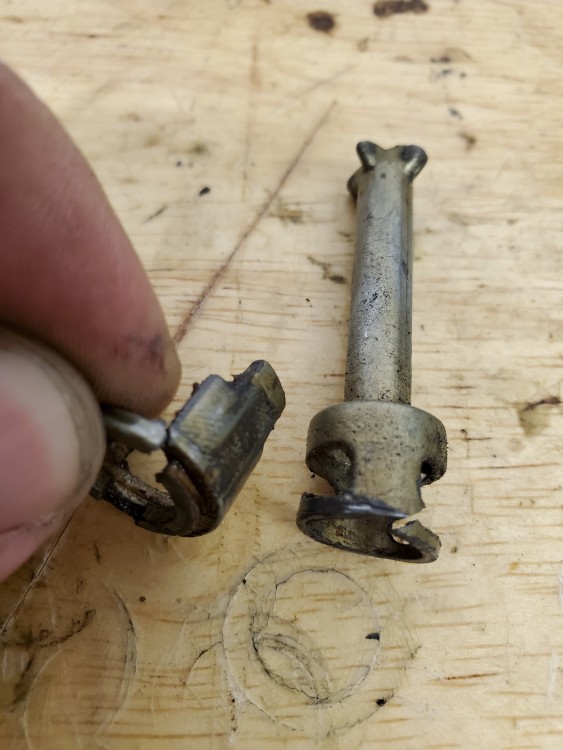
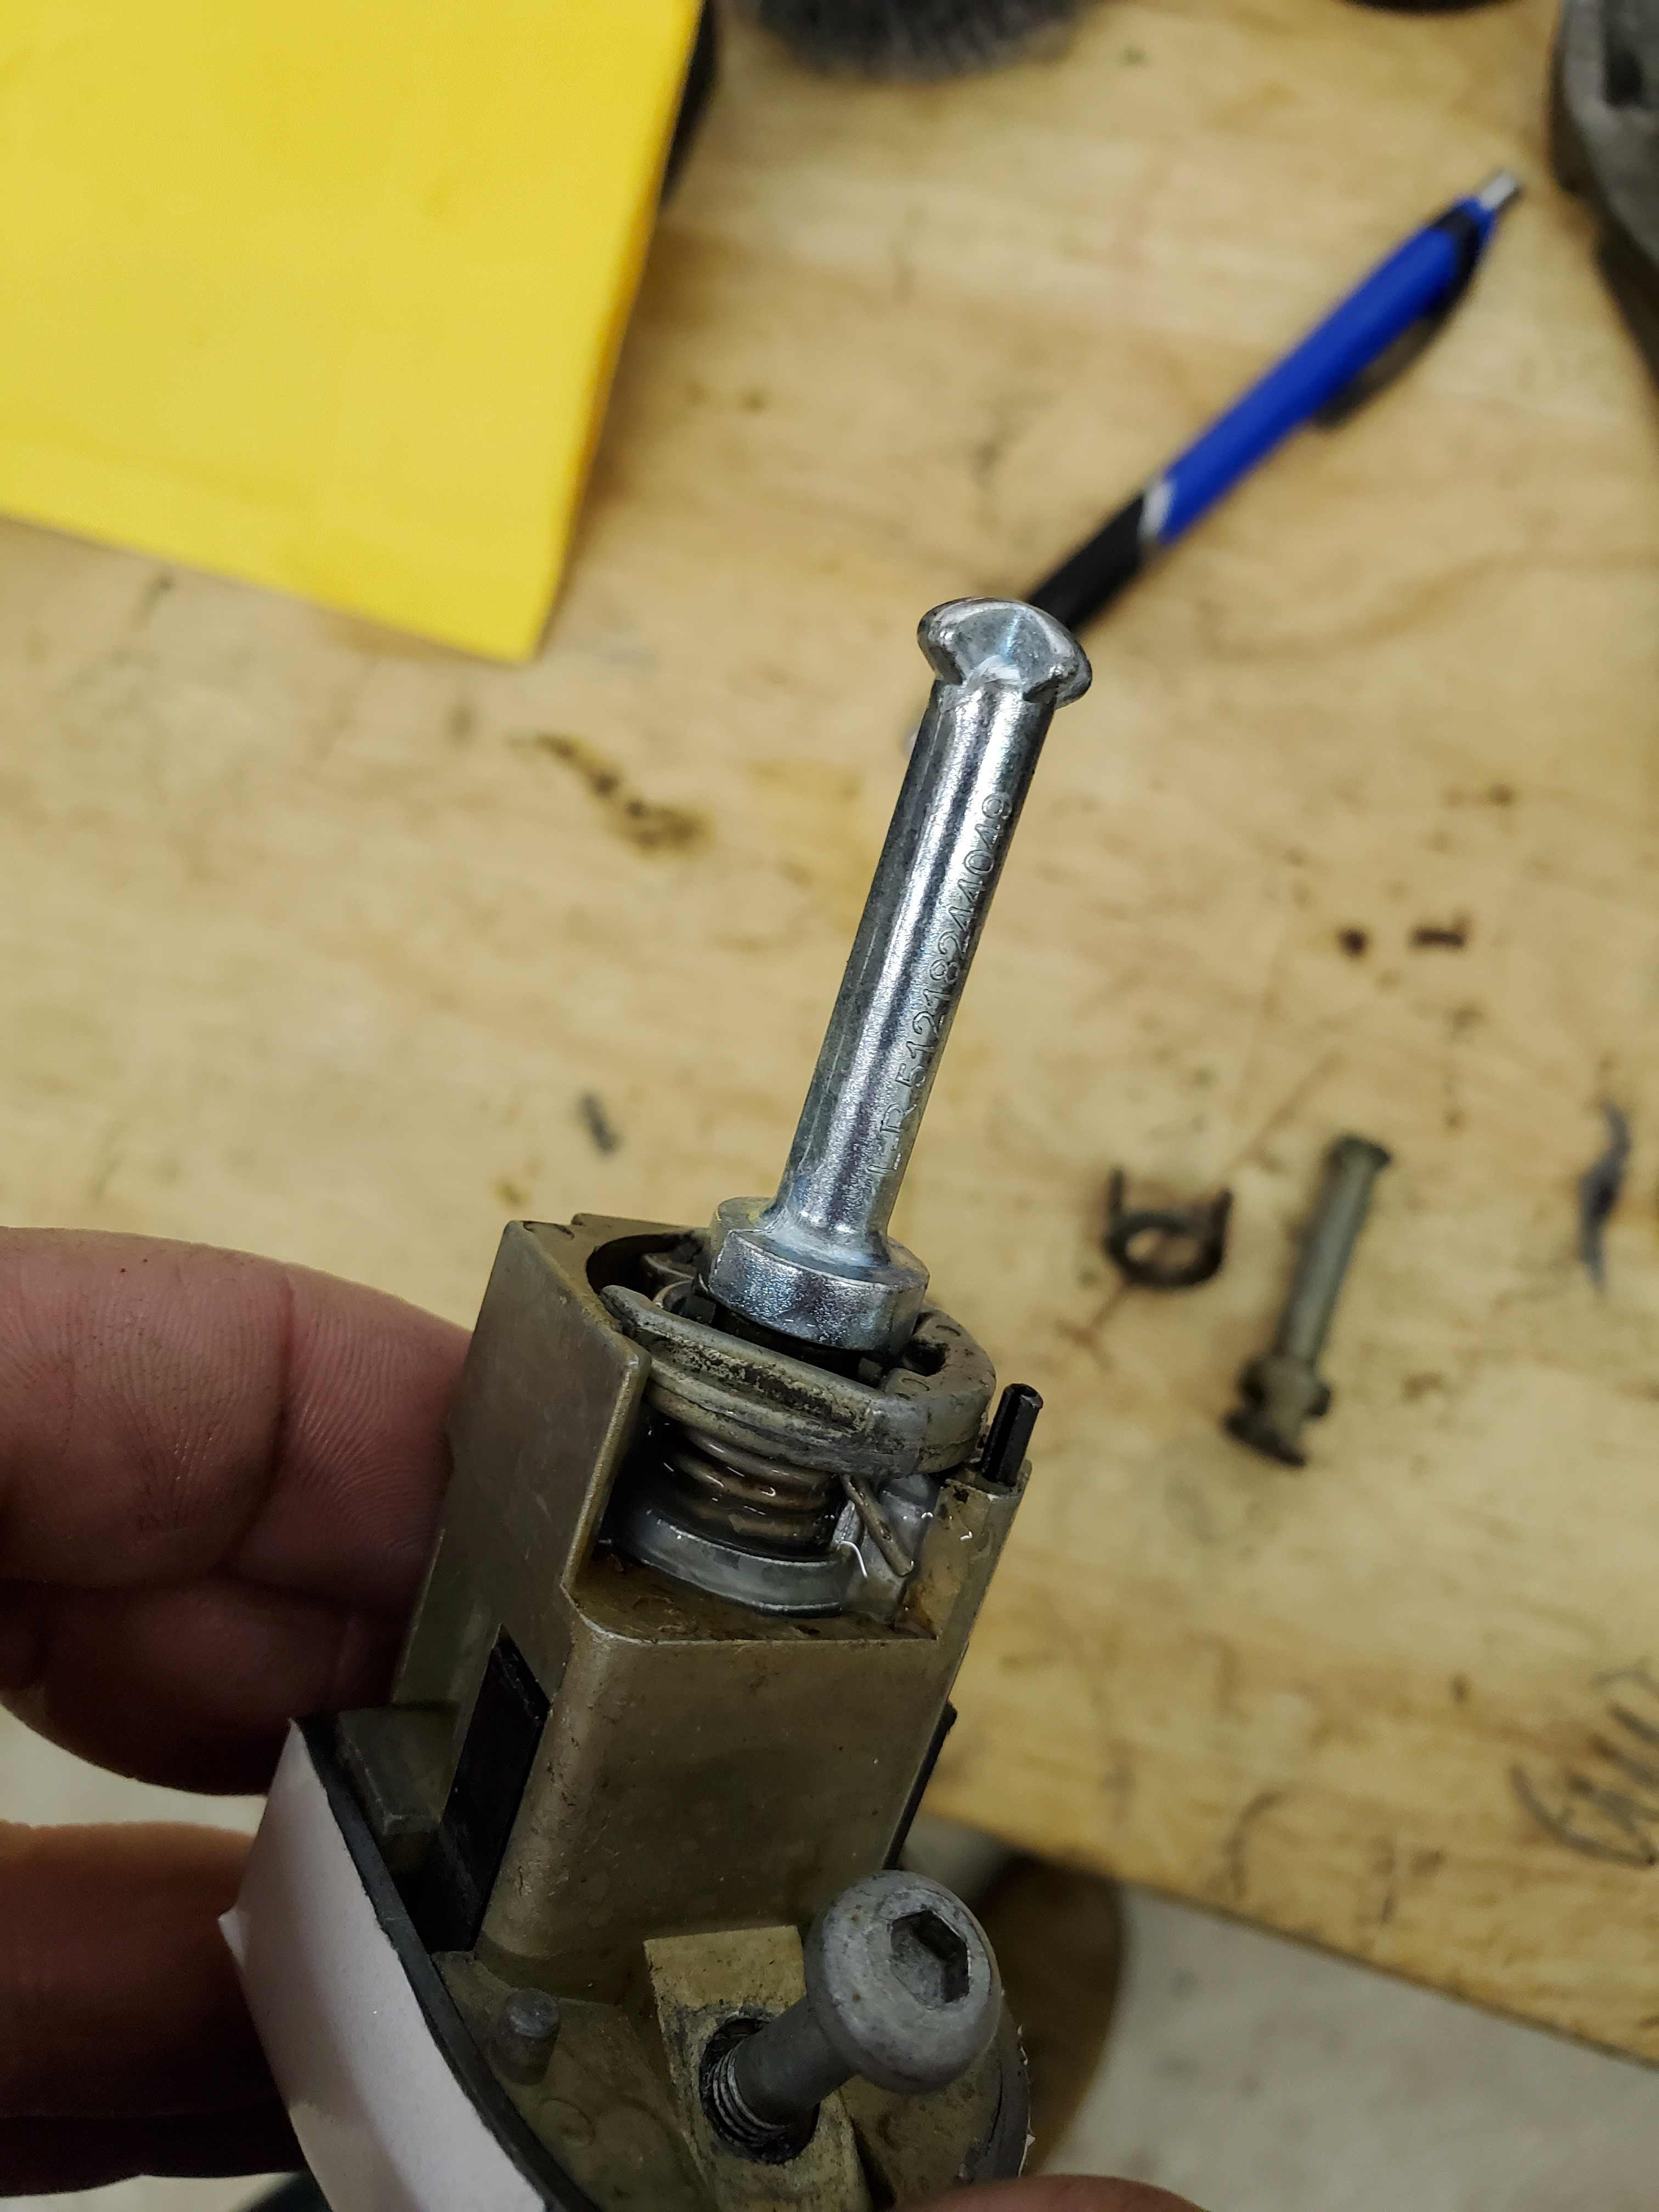
and the lock successfully assembled and working smooth
 I did use some of the good original parts over because well they were fine and no need to put some Chinese pieces in. Lol I kept the retainer and the spring from the original lock.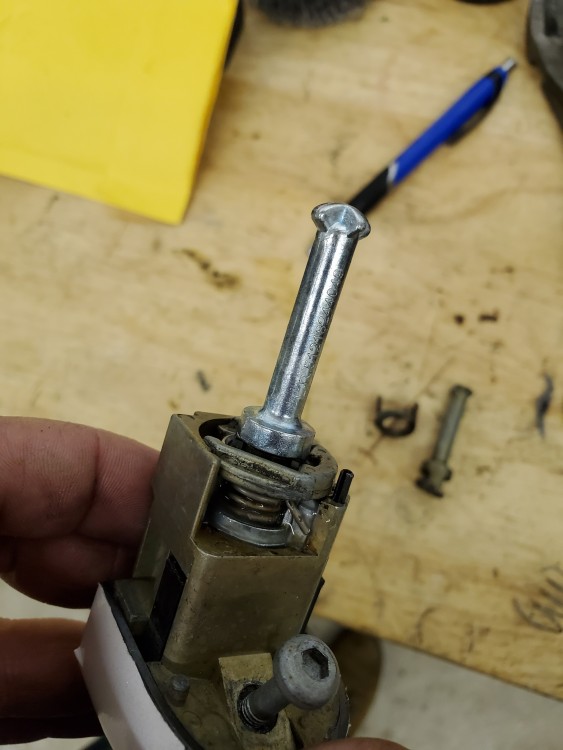
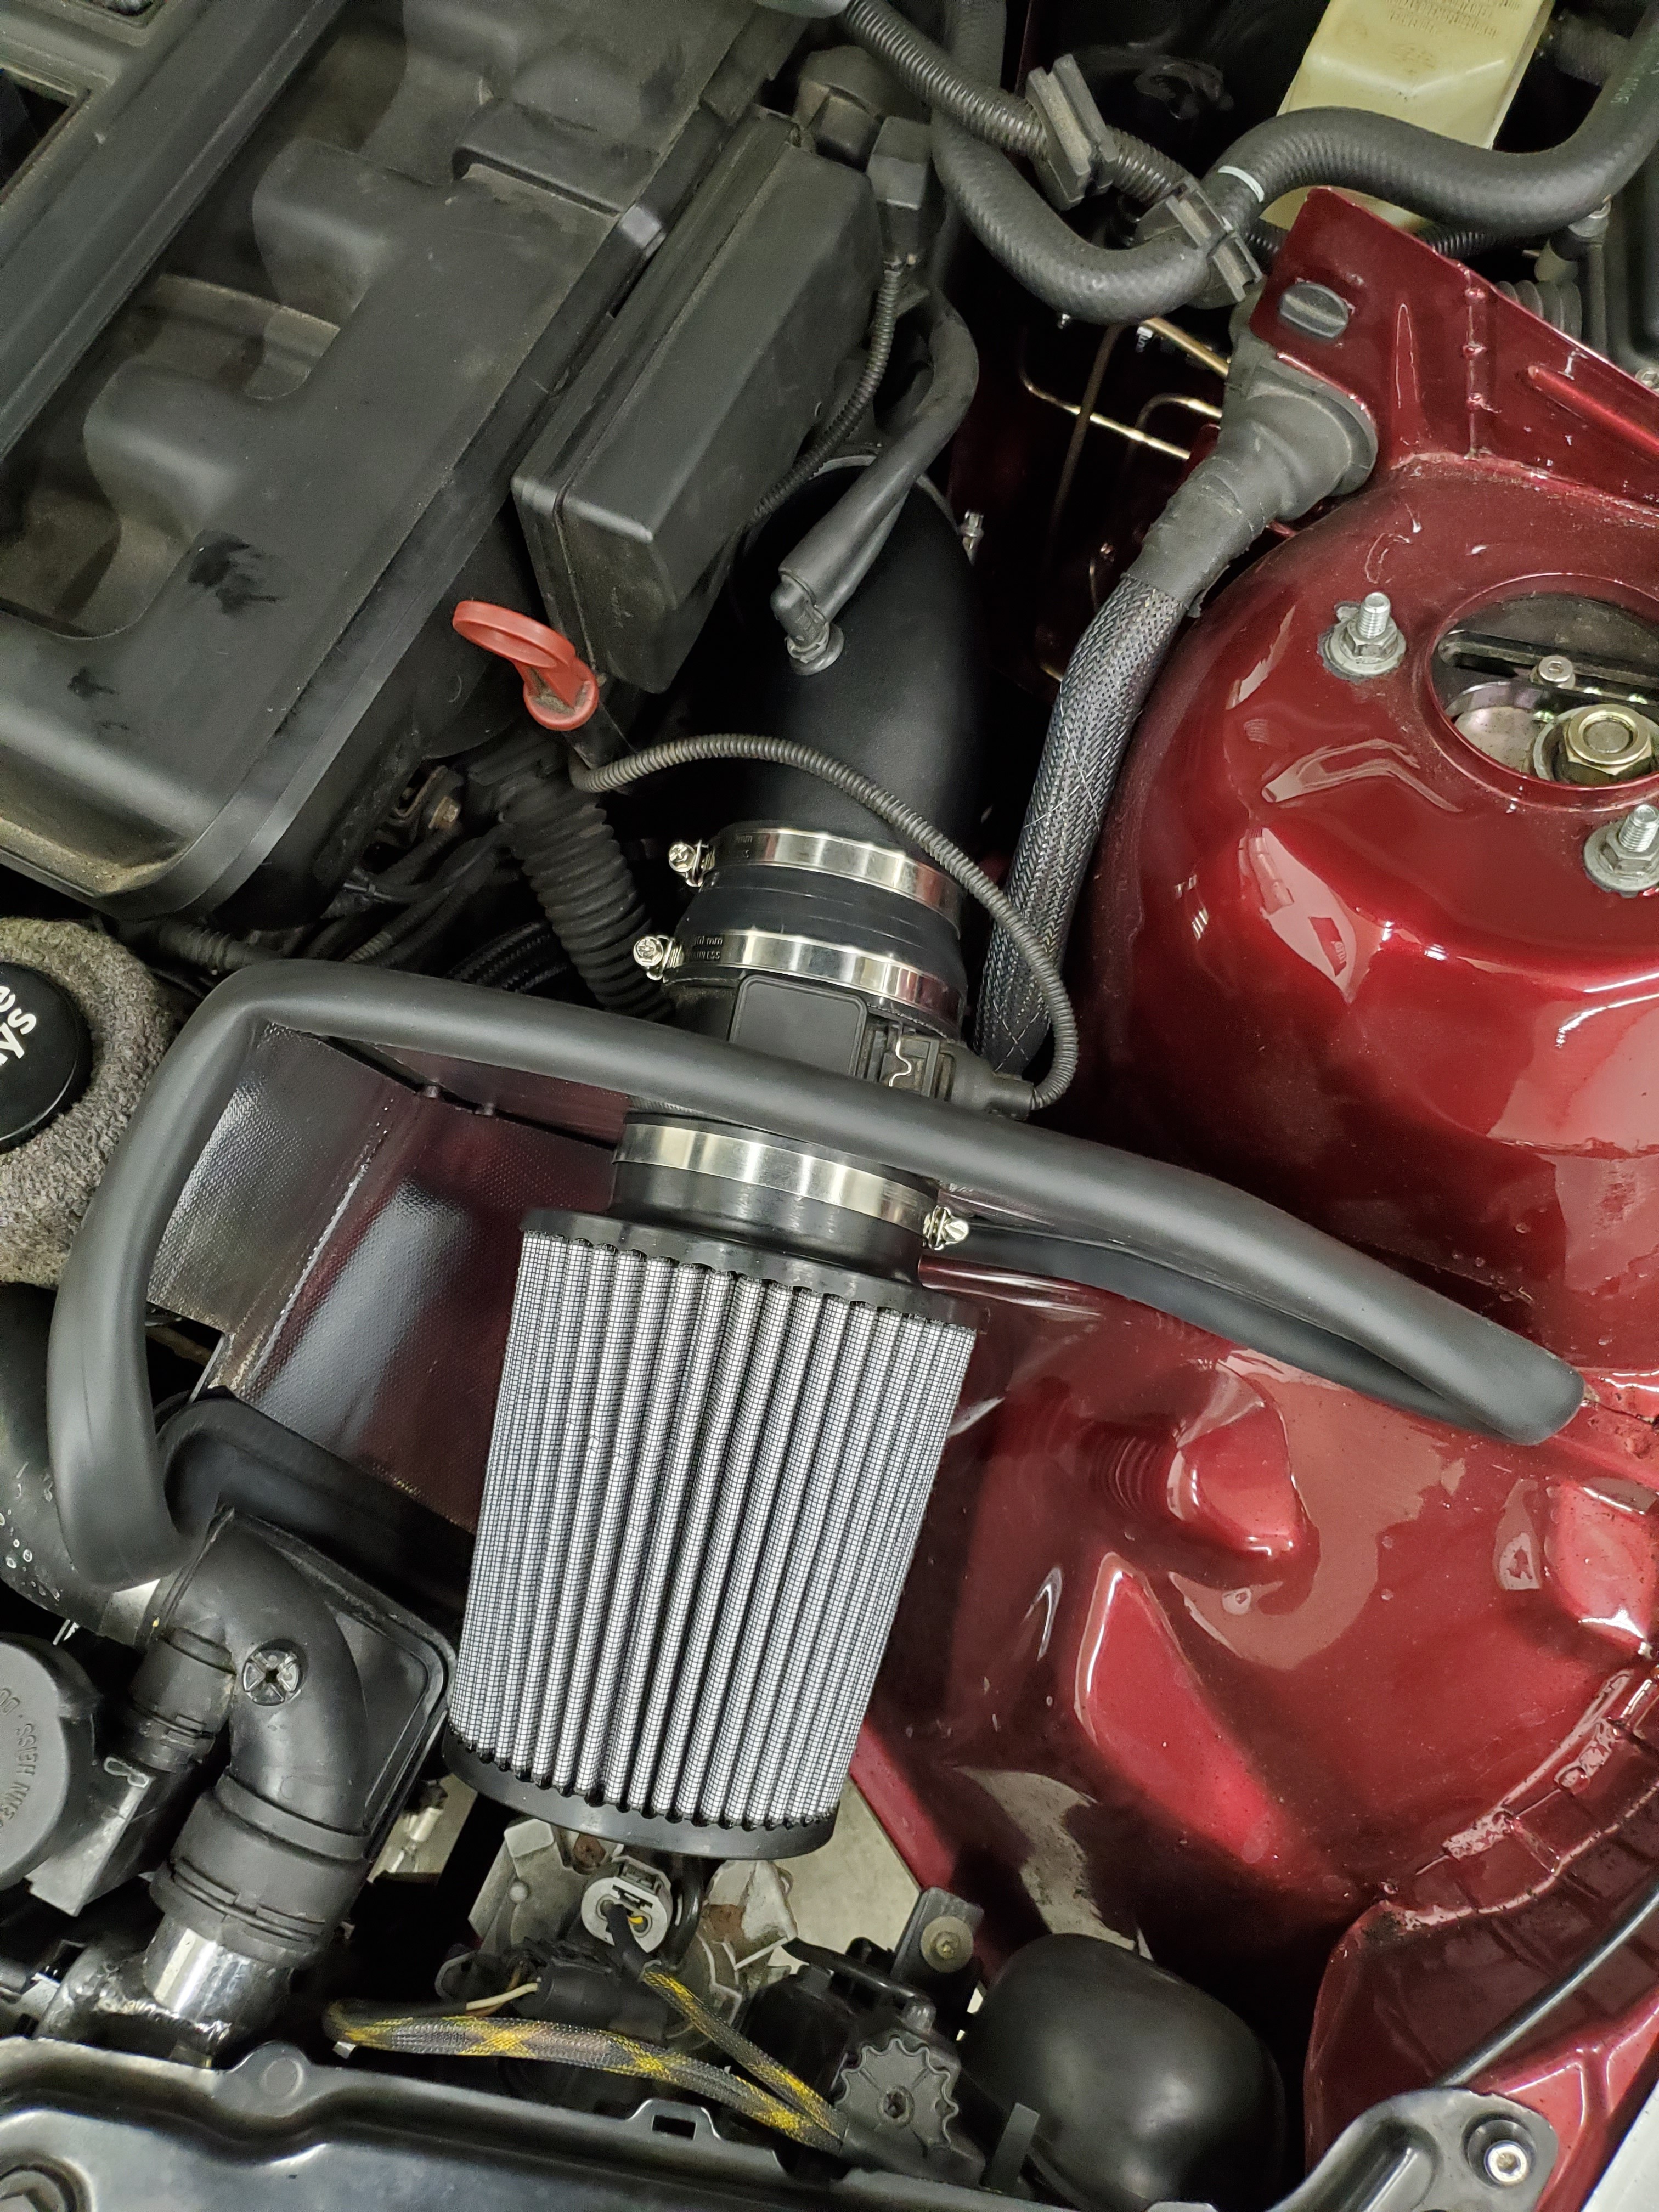
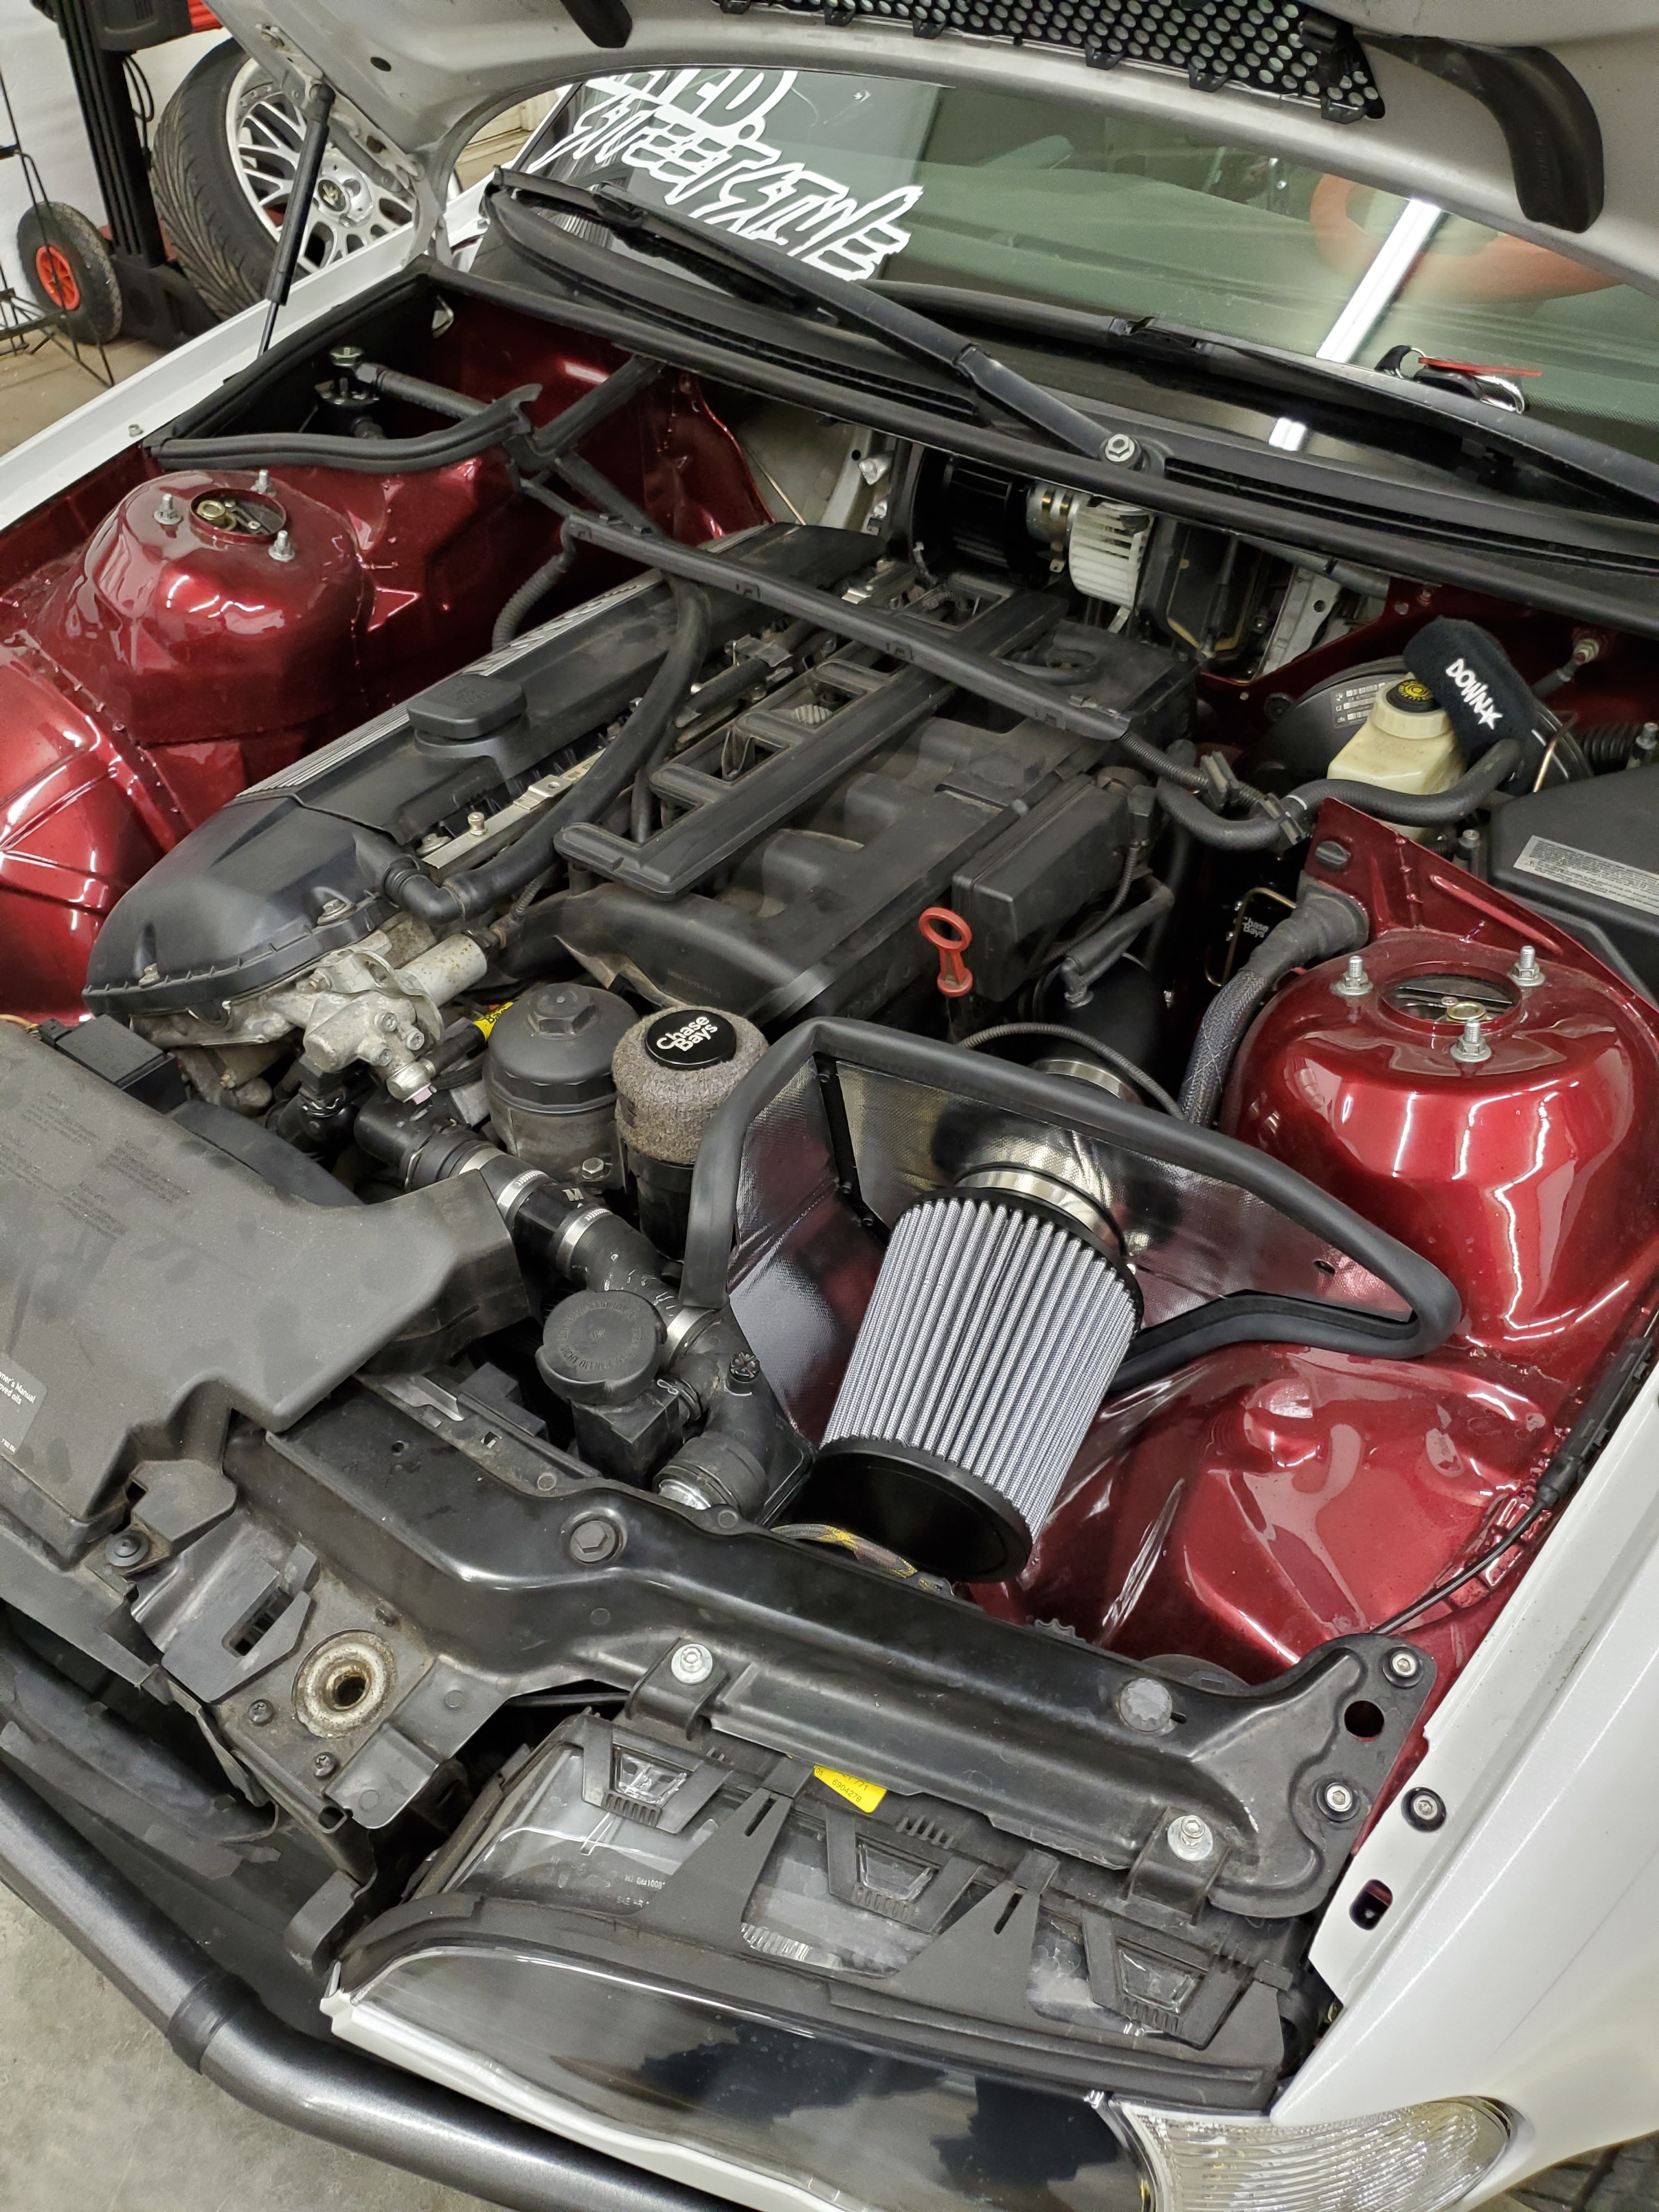
Fron there I moved on to assembling and installing the intake I got. It's from amazon, actually a really nice product and fit. And about half the price of an AFE.
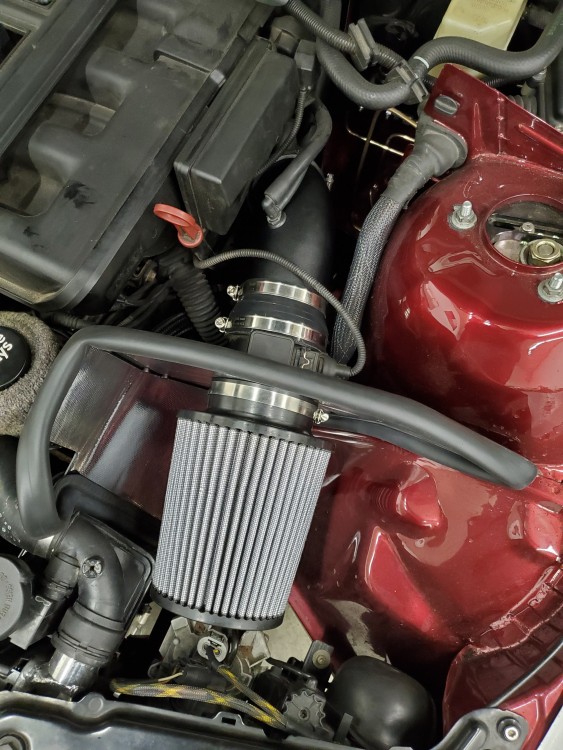
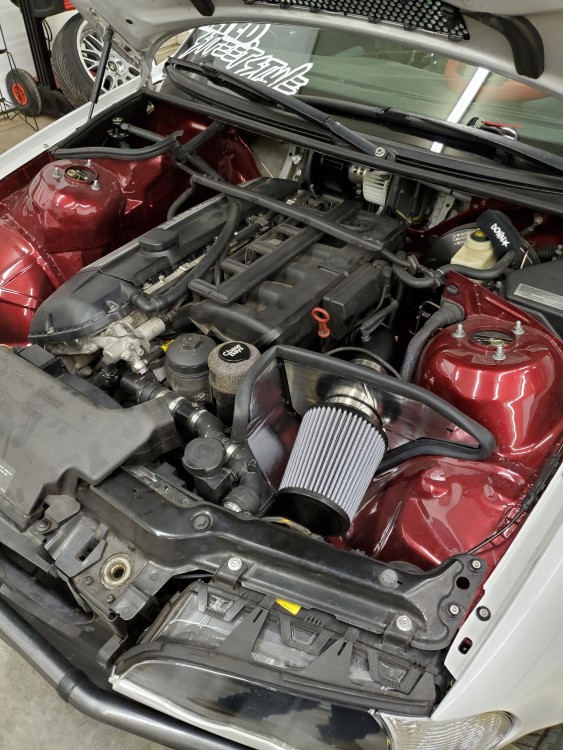
Now the only major downfall of the whole having a real intake thing is that I went full honda boy and shaved all the studs and holes in the engine bay LOL. So now I'll be drilling and having to put in some nutzerts to keep this thing in place haha.
-
How much does a shop space like this go for(assuming you are renting)?
Looks a lot nicer(and cleaner) than my current setup lol
This is Sam's shop. He is gracious enough to allow me to have my car there this winter. Mostly for some fab reasons. I have space at home for the car which is nice to not have to drive to work on it but I cant do what we have planned at my home garage. Normally it would be at home. My old shop space was about a 3 car that we paid around $250 a month for but I moved out of there when I moved houses and there was room at the new place to work on and keep my car at. So I cant really put a number on it lol. From places that friends have been before though a space this size would probably be $850+ per month.
-
I've dealt with a handful of e46s with blower motors inop, every time it was the resistor.
Welp atleast I'll have a new motor and resistor and know it's good for awhile lmao. Just threw me off since there was power at the motor. Based on all my other experiences. I went to school for automotive mechanic and now I'm a diesel tech. Been wrenching for almost 1p years now so I was like oh easy. Lol but bmw outsmarted me

-
Update
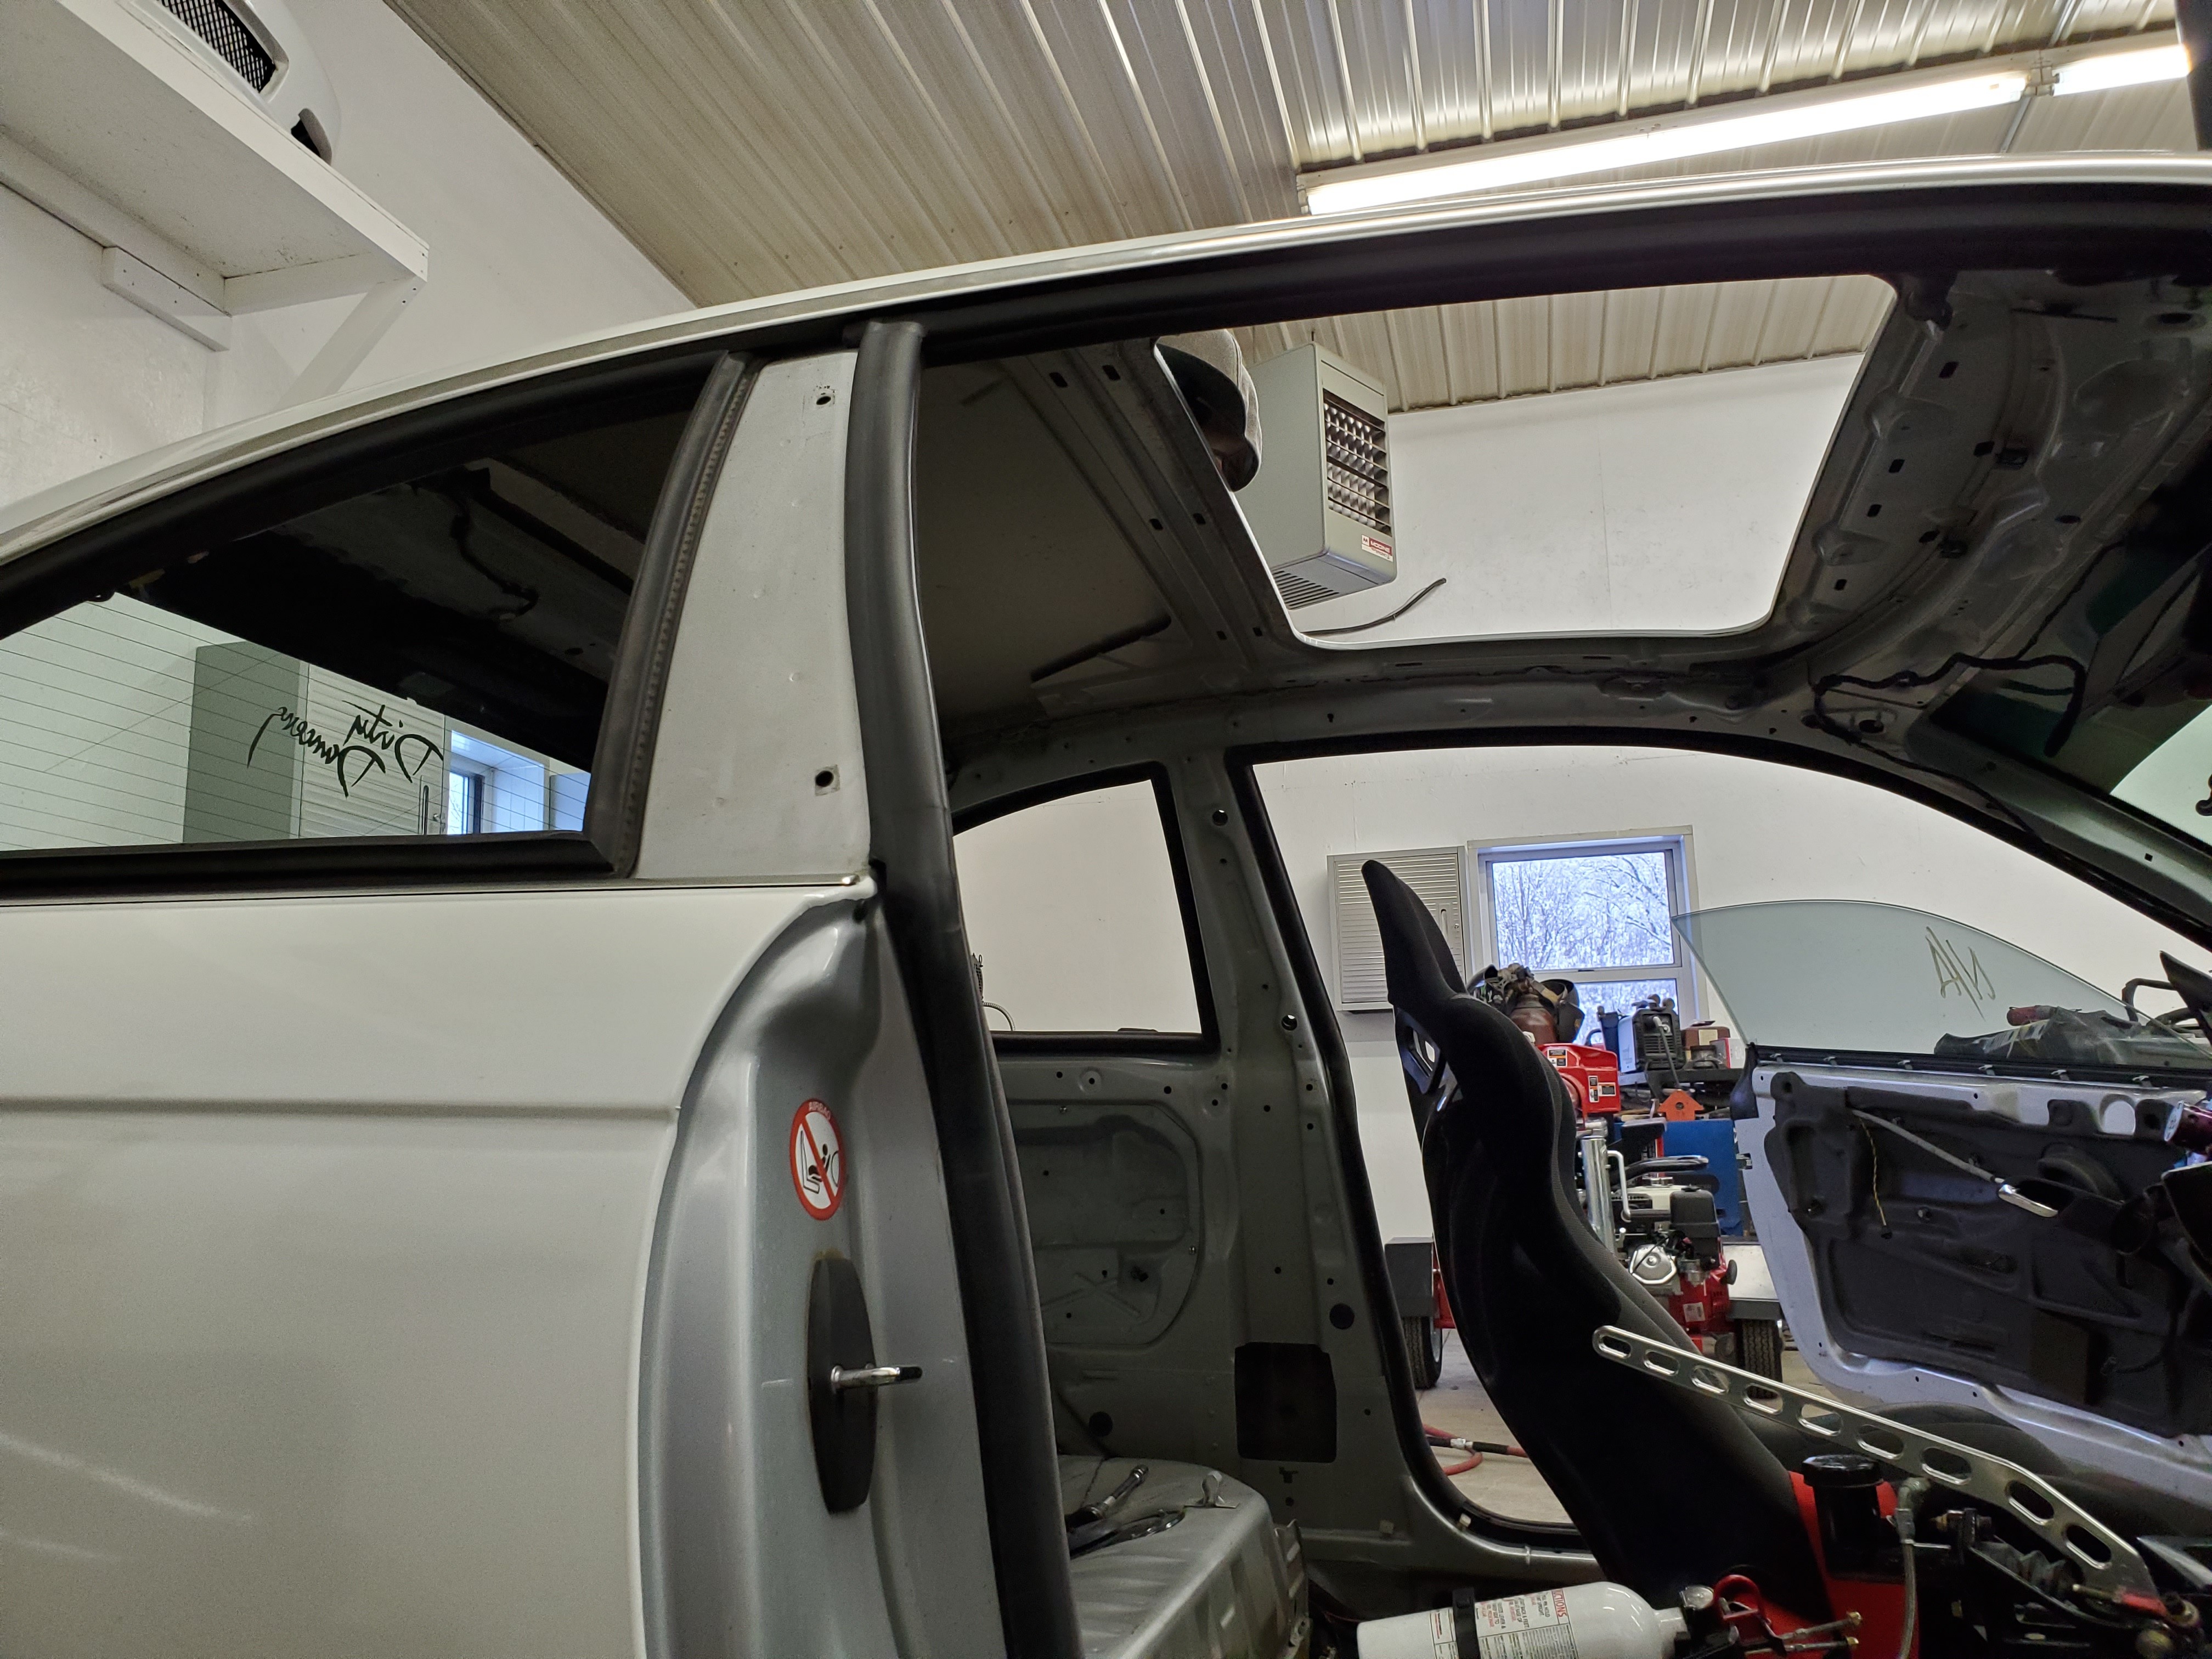
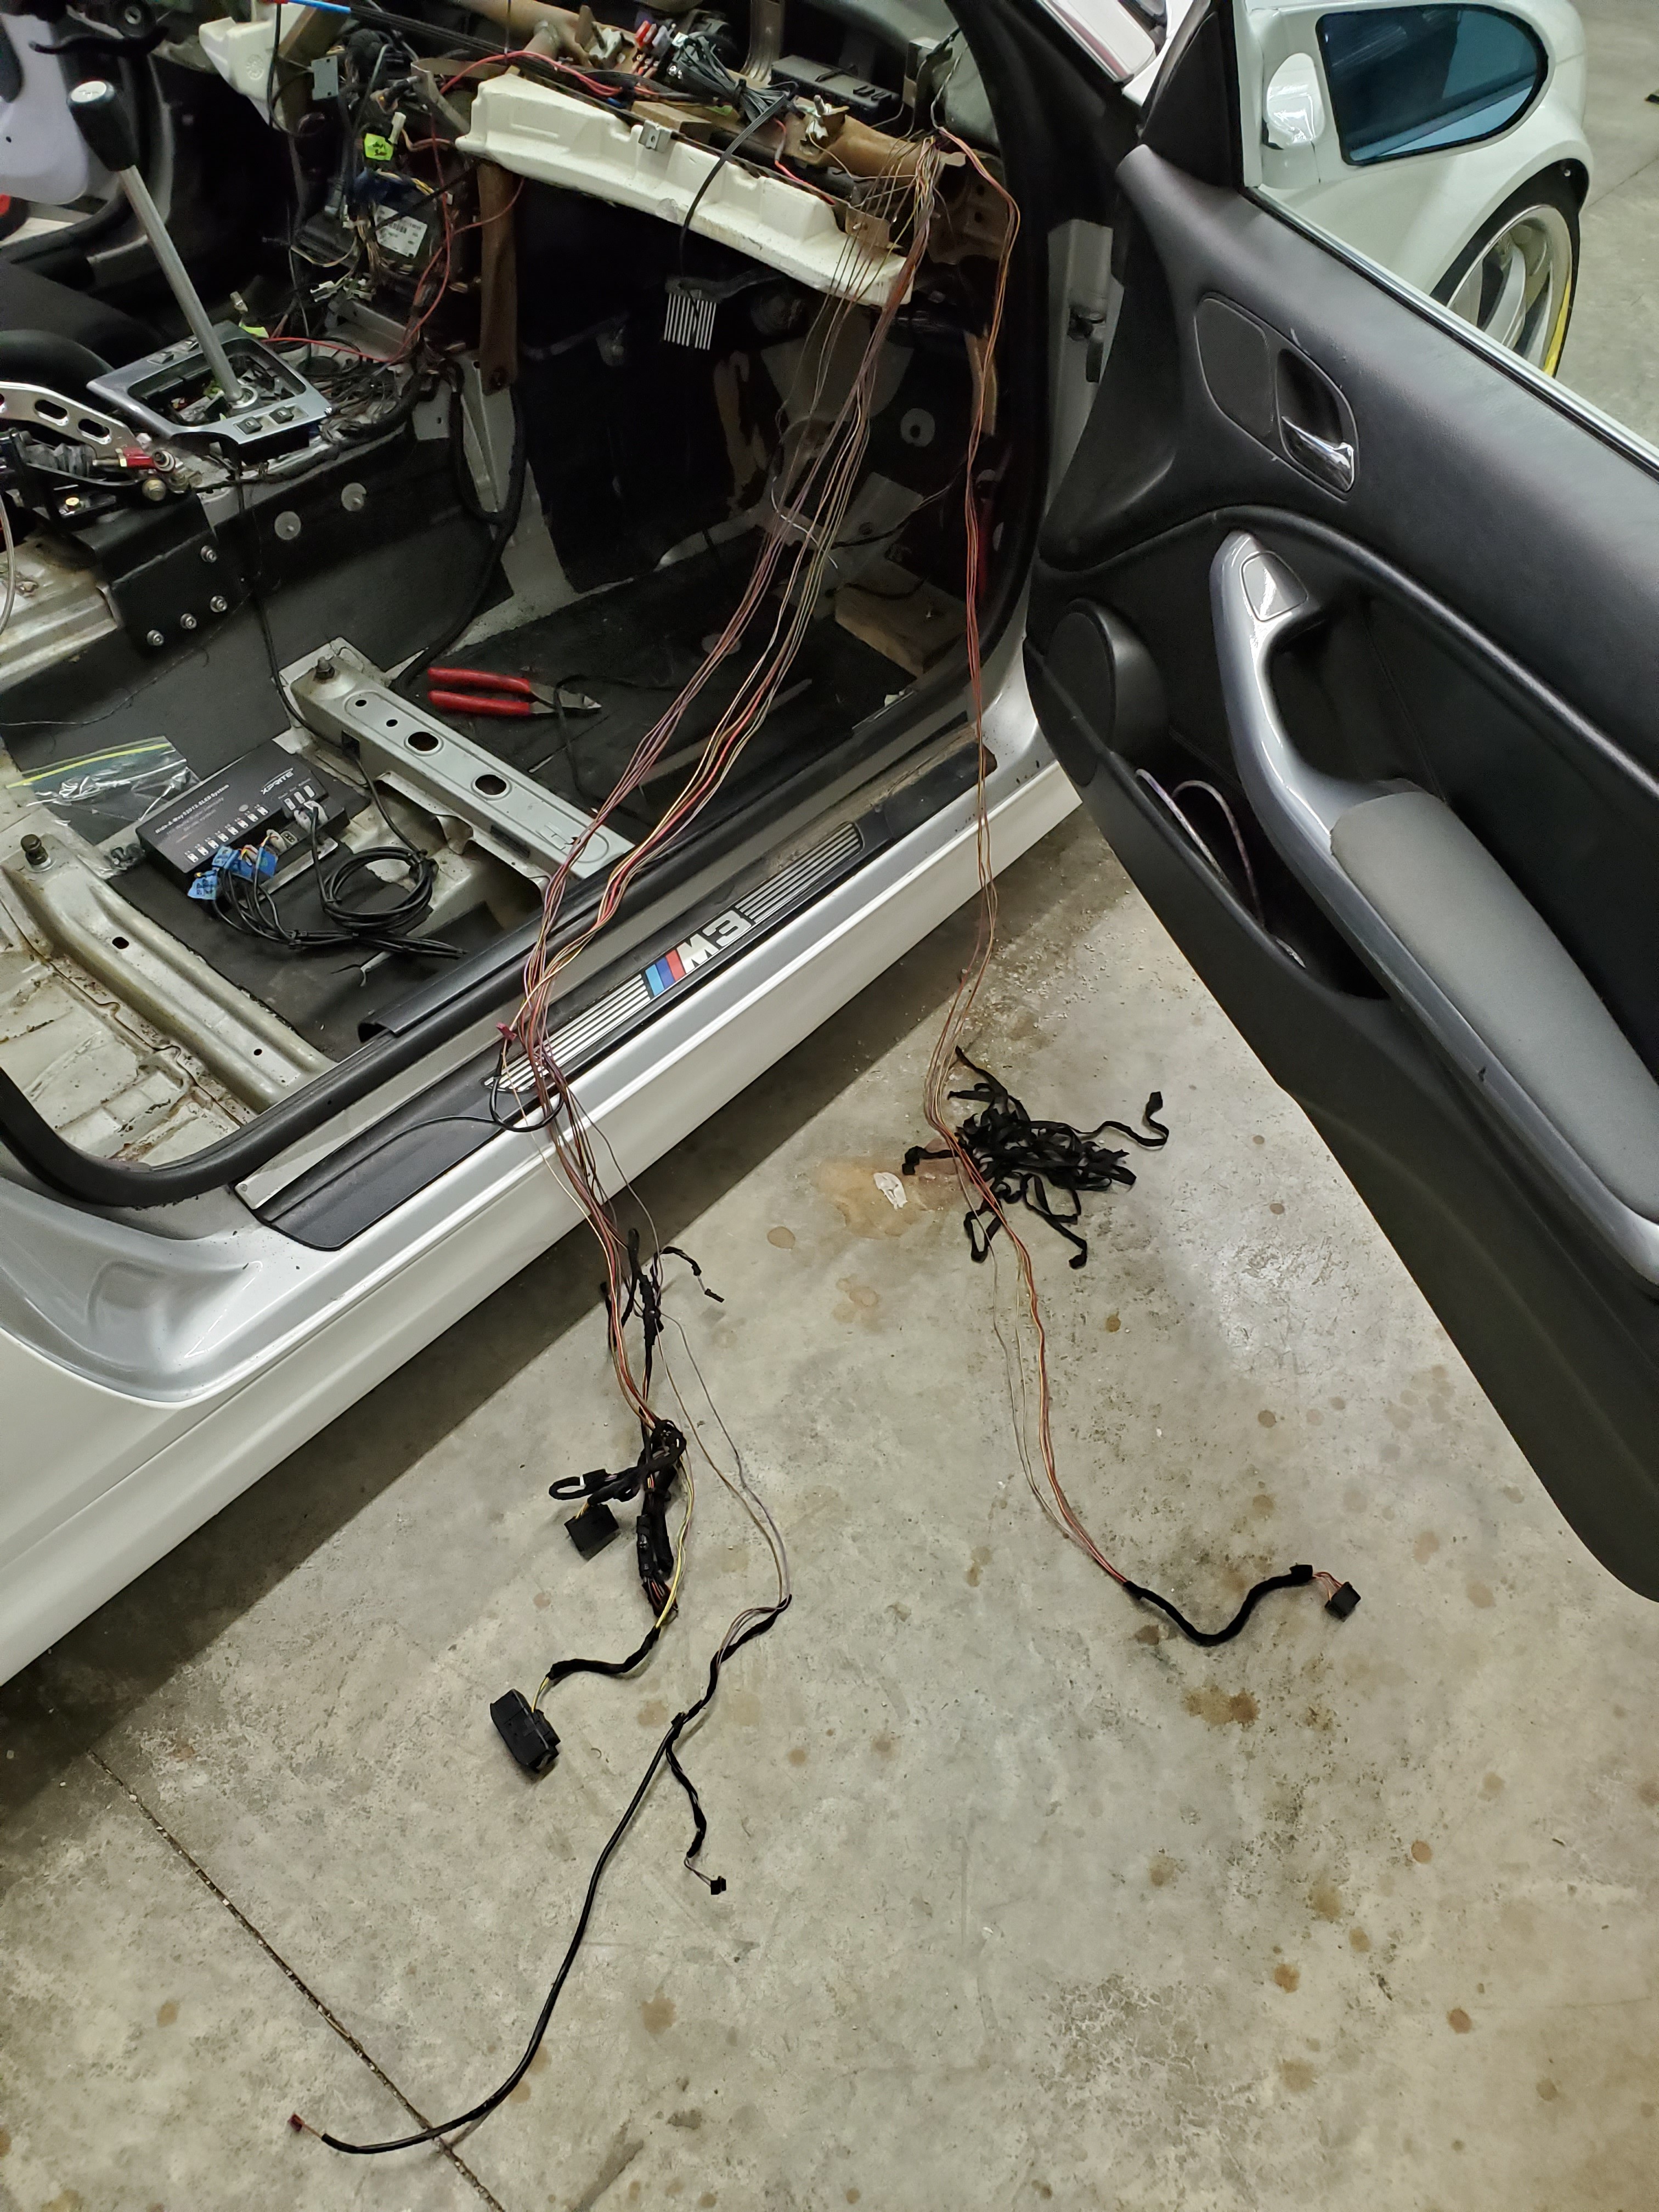
Finished pulling the dash out of the car after some conversations about the cage placement. Pulled the sunroof and then pulled all the wiring down to separate it. Only going to be running the done light wiring back up after the cage is done.
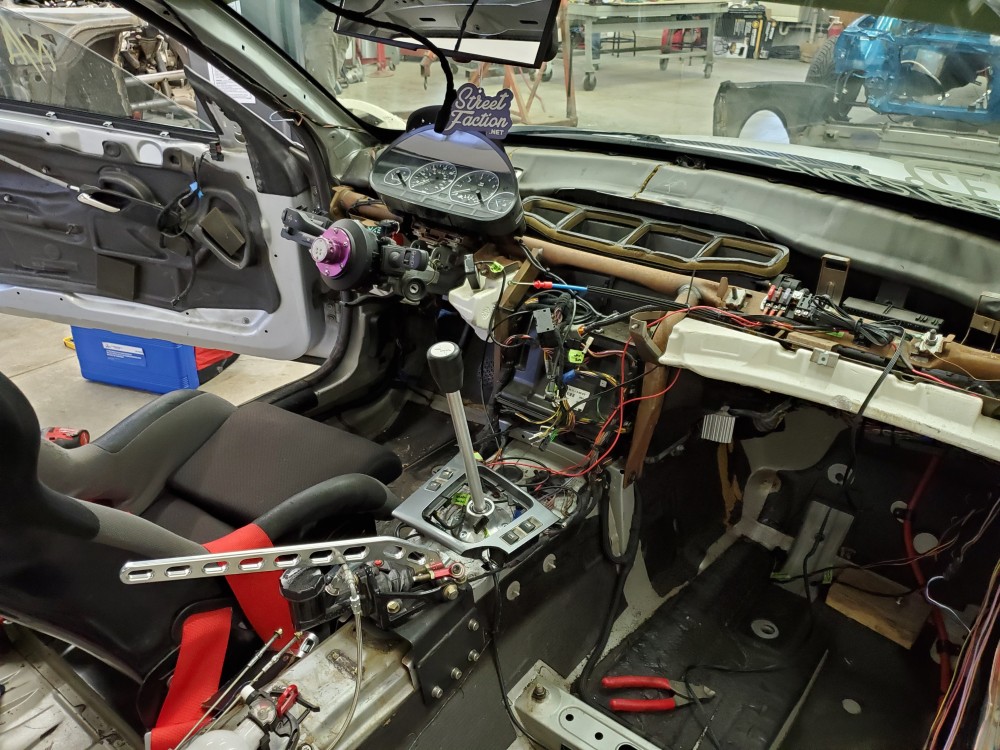
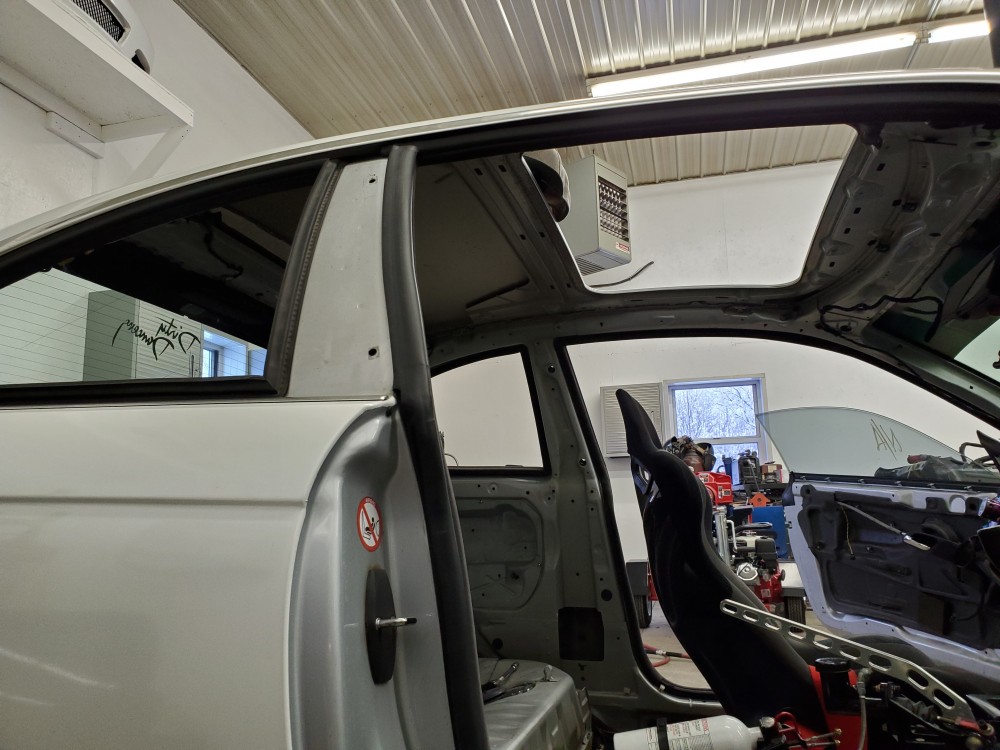
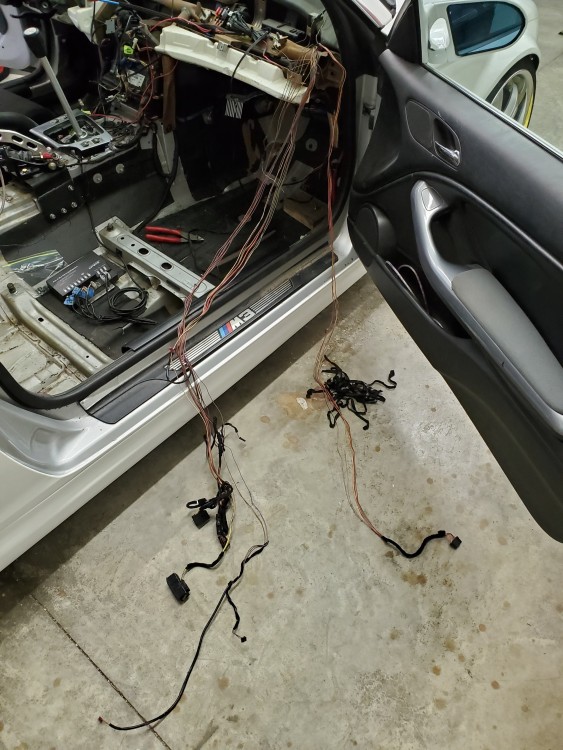
Now that the tube is ordered it's time to really prep for the cage.
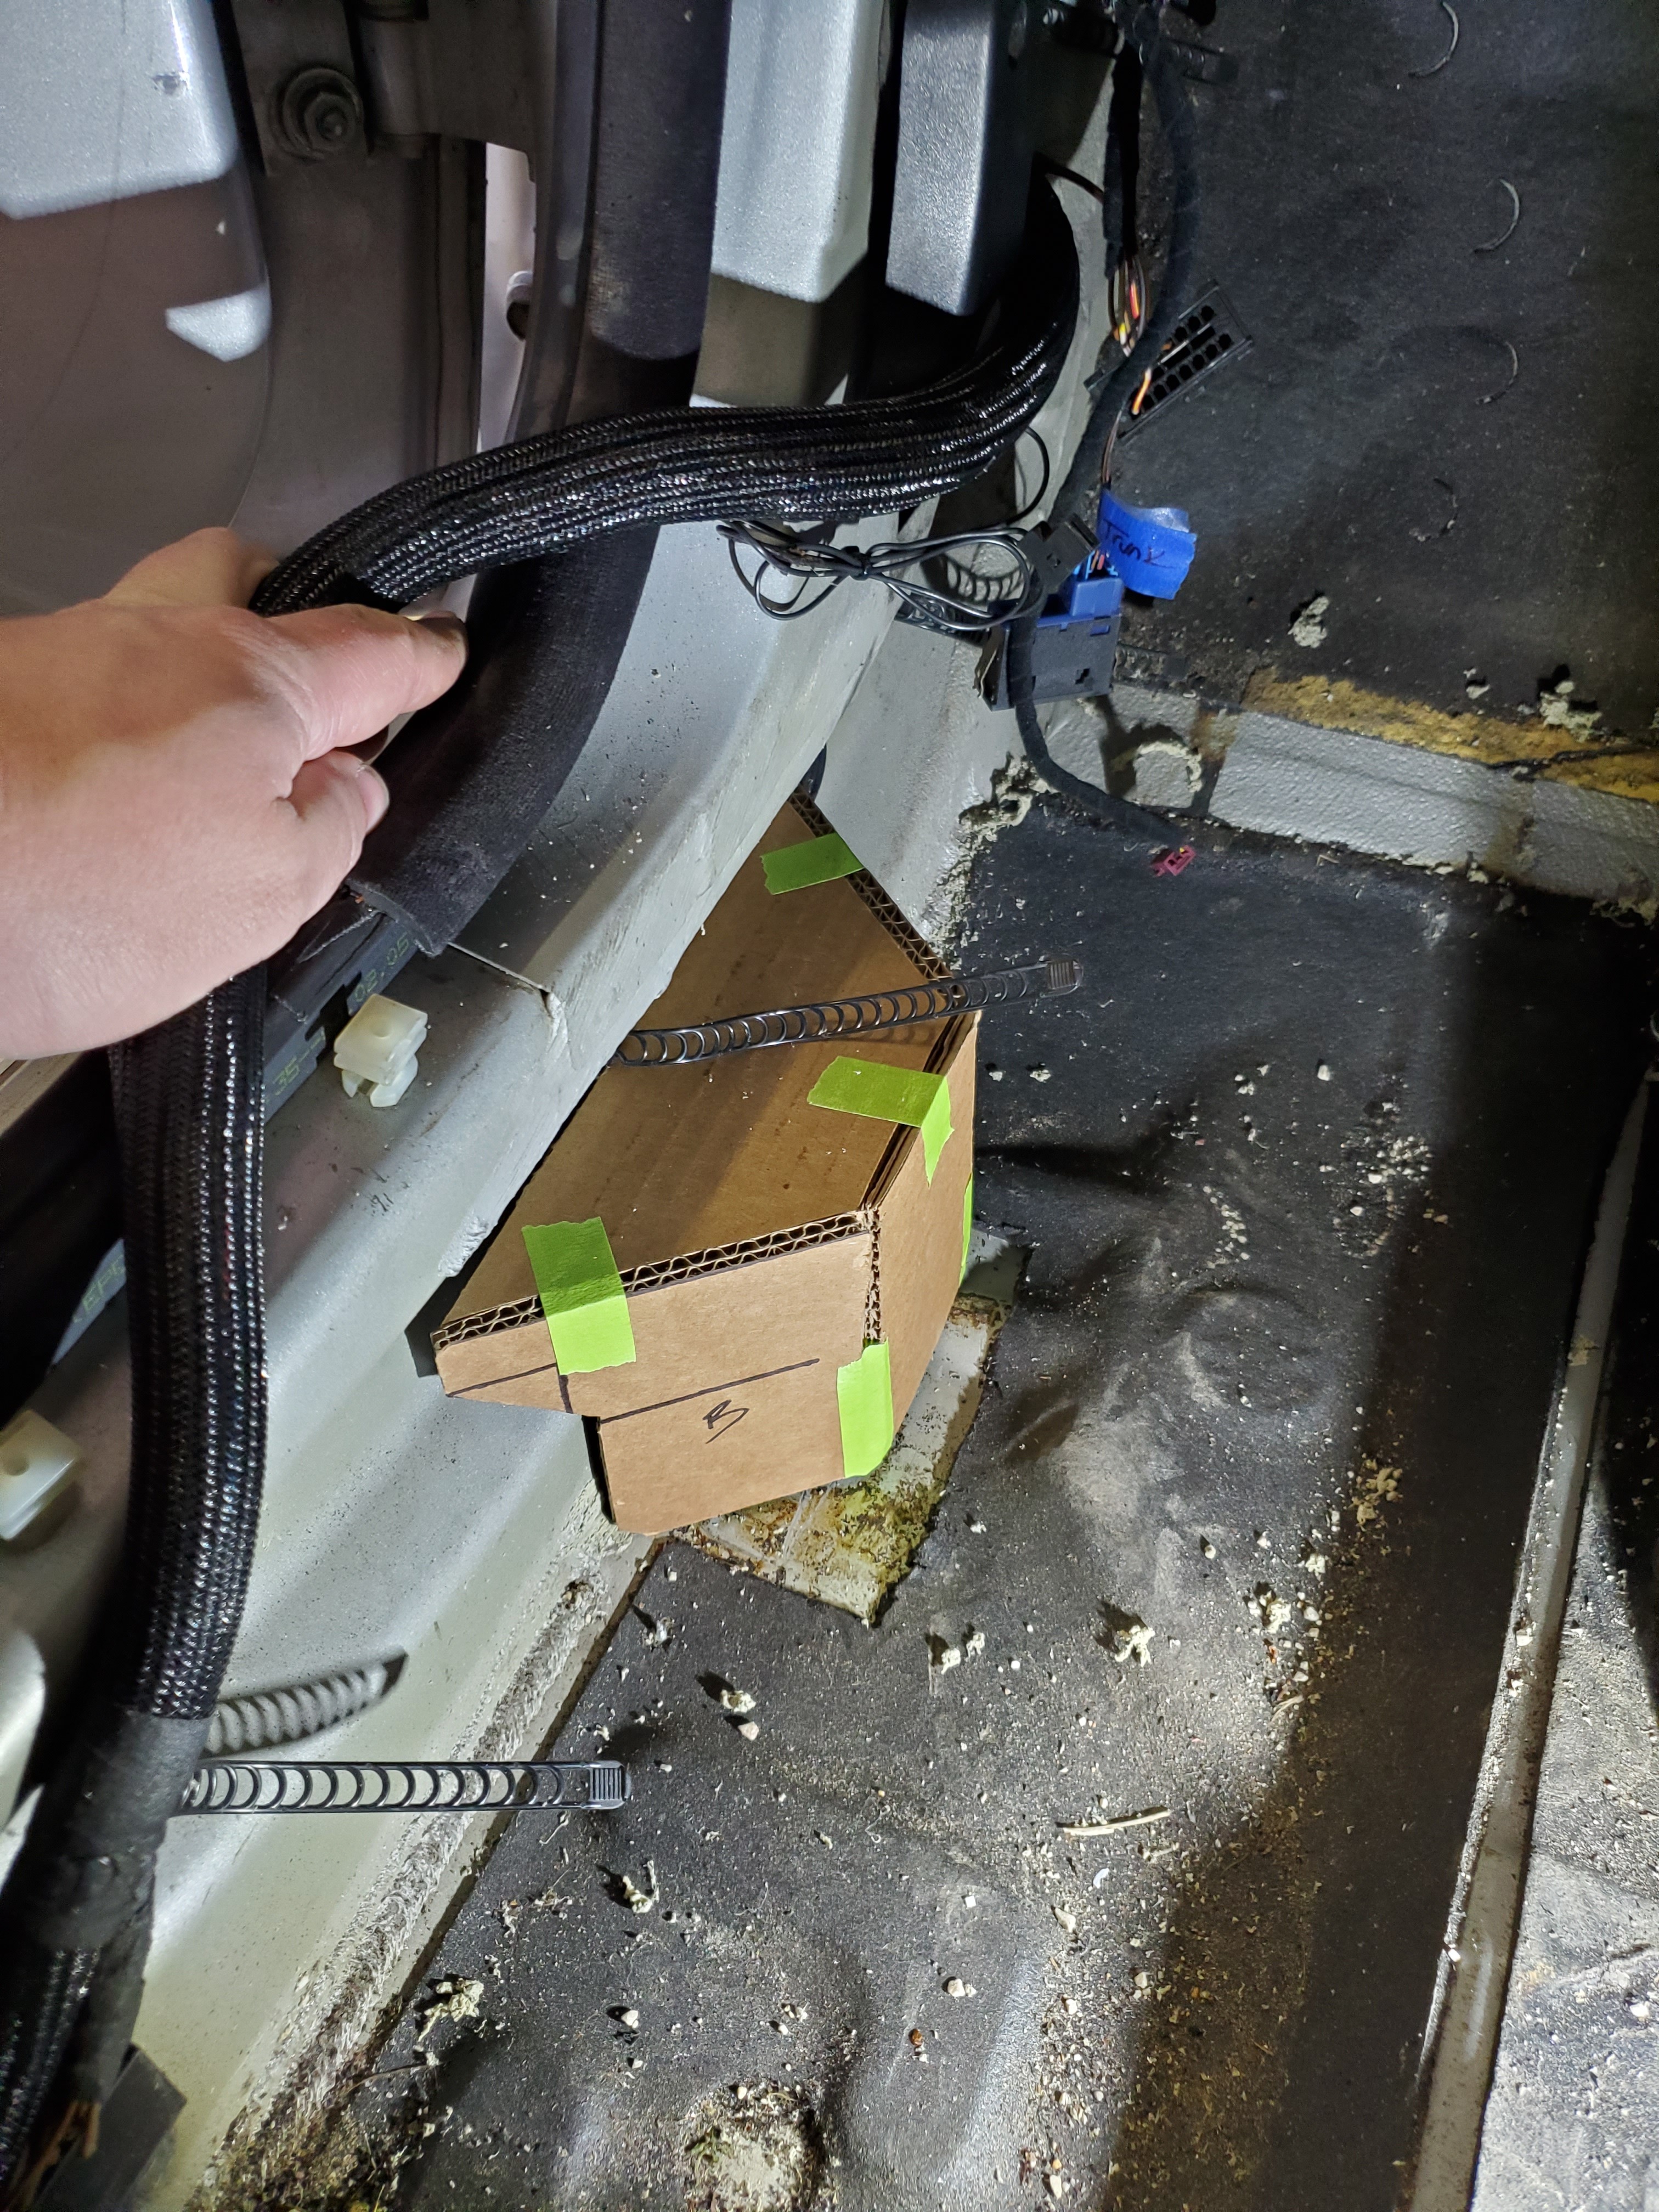
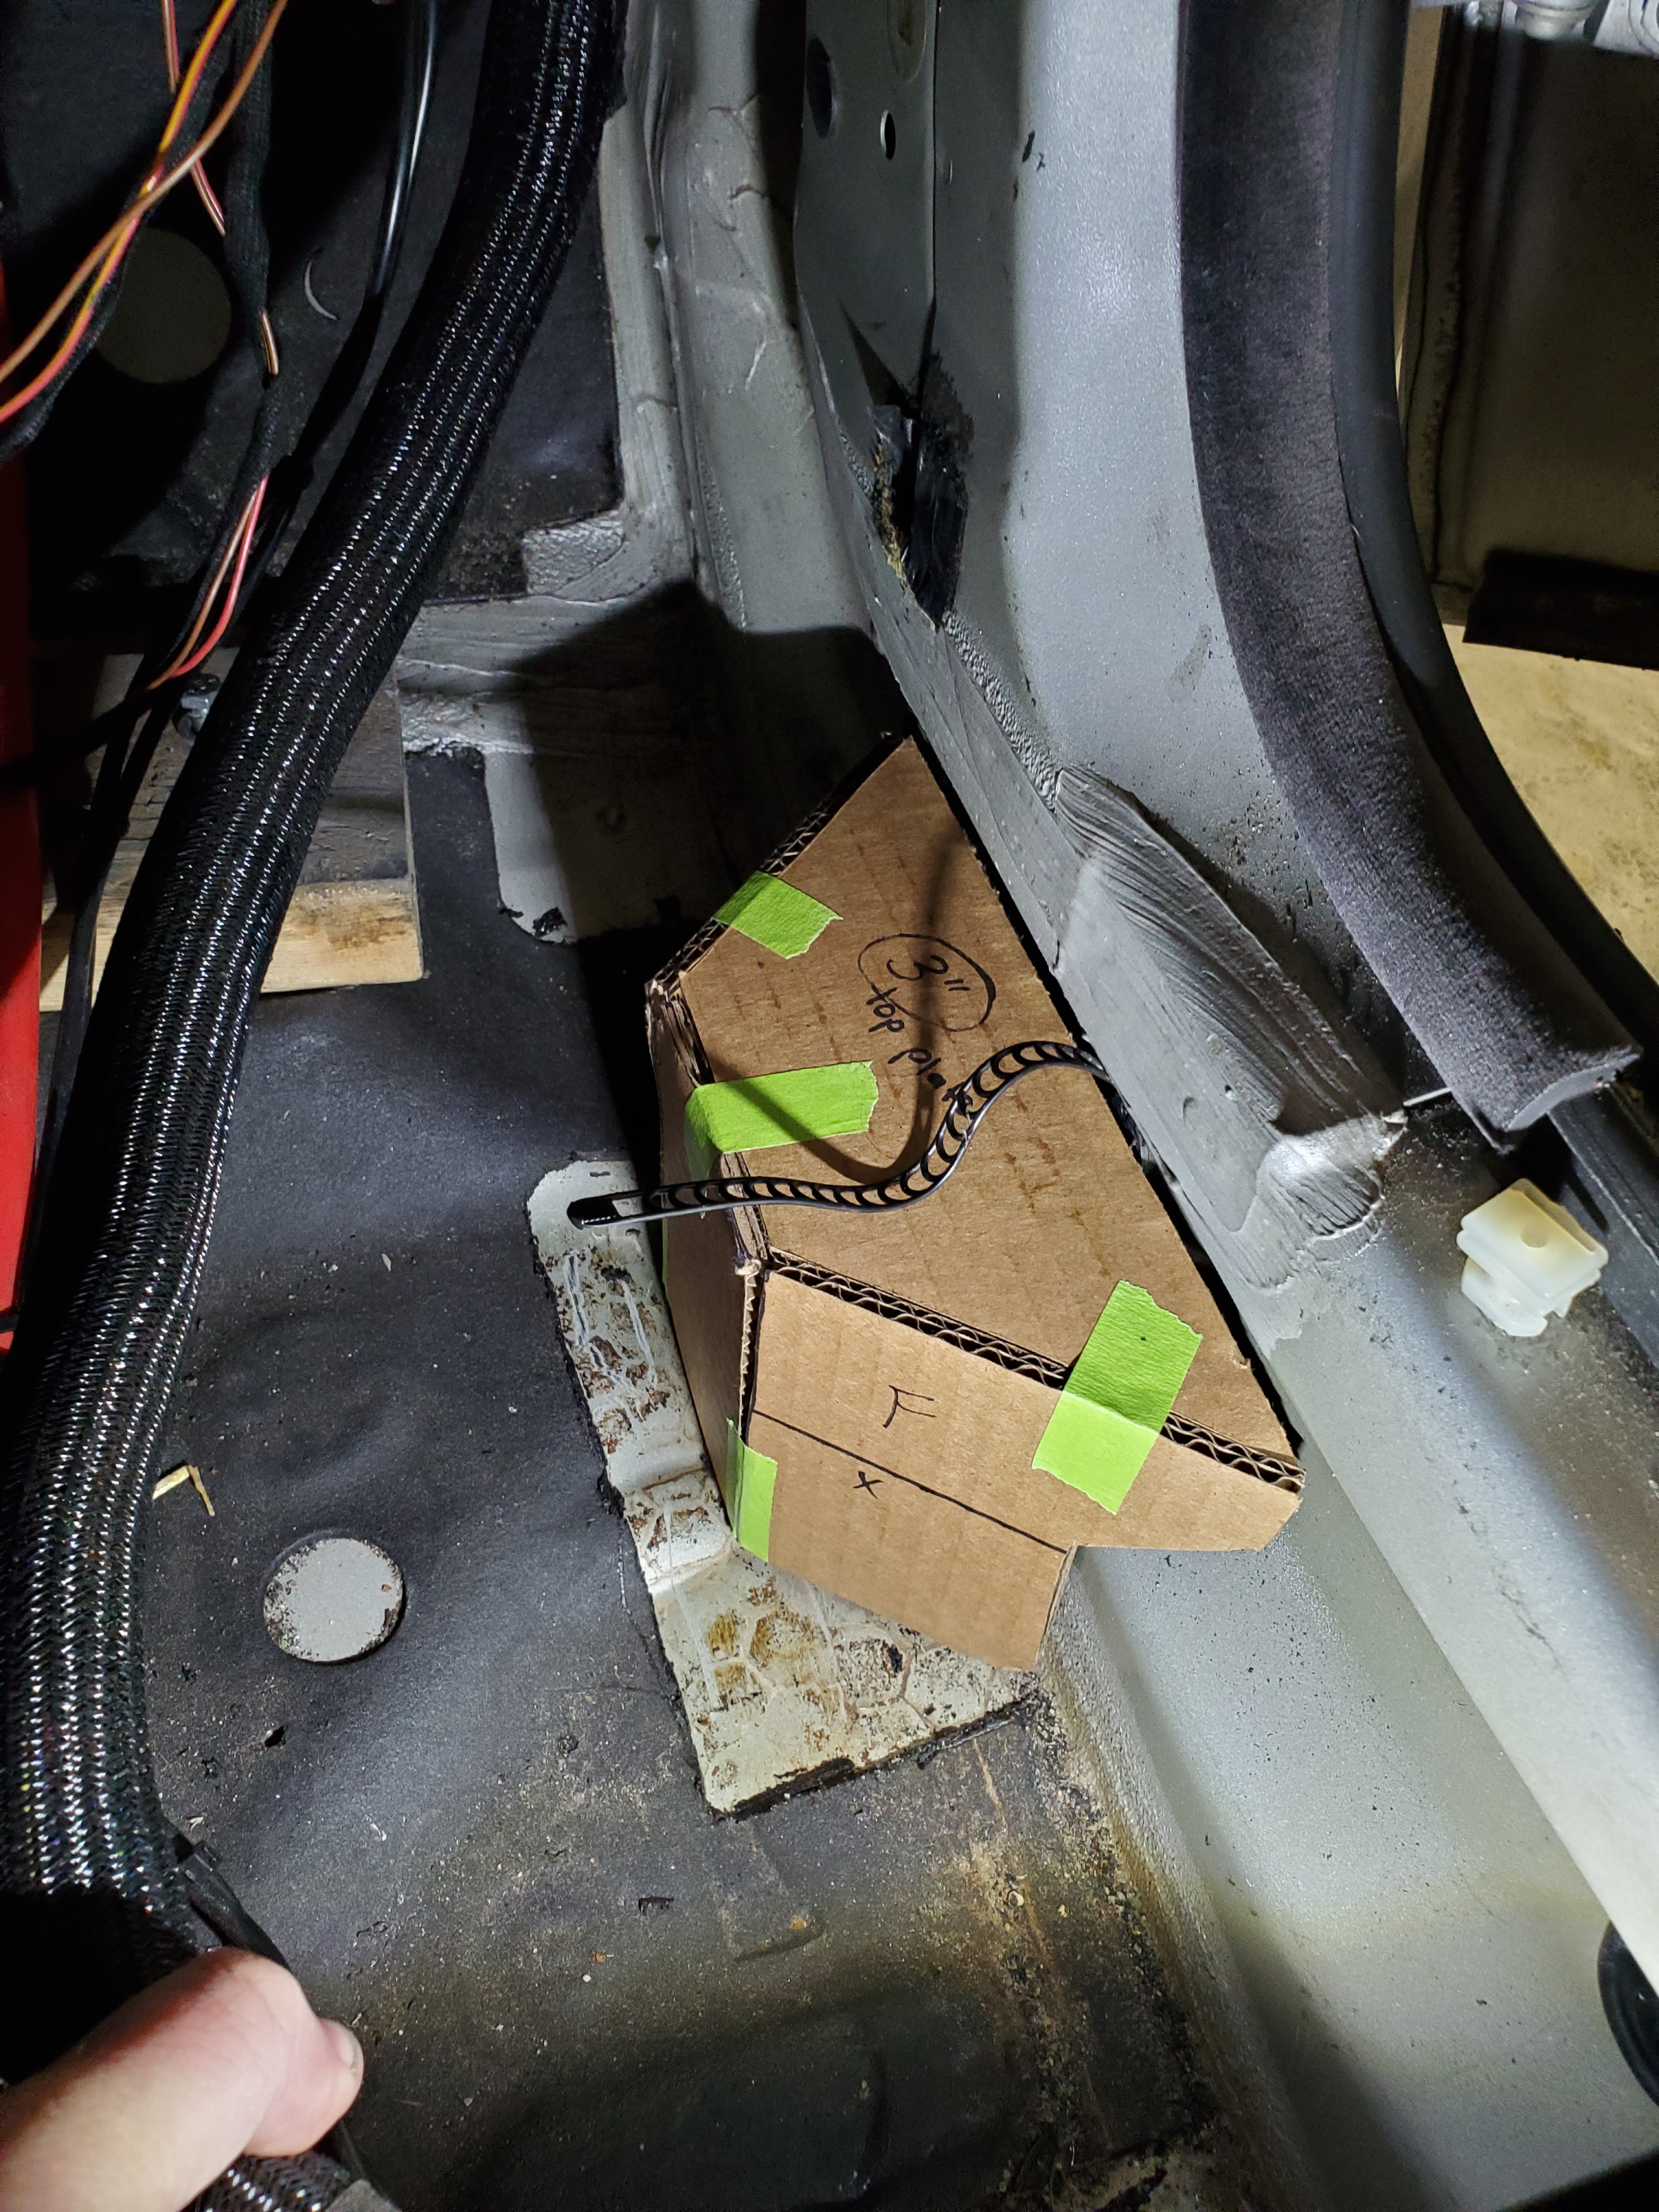
Made what I like to call a "CAD" design for the front rocker boxes.
Driver side.
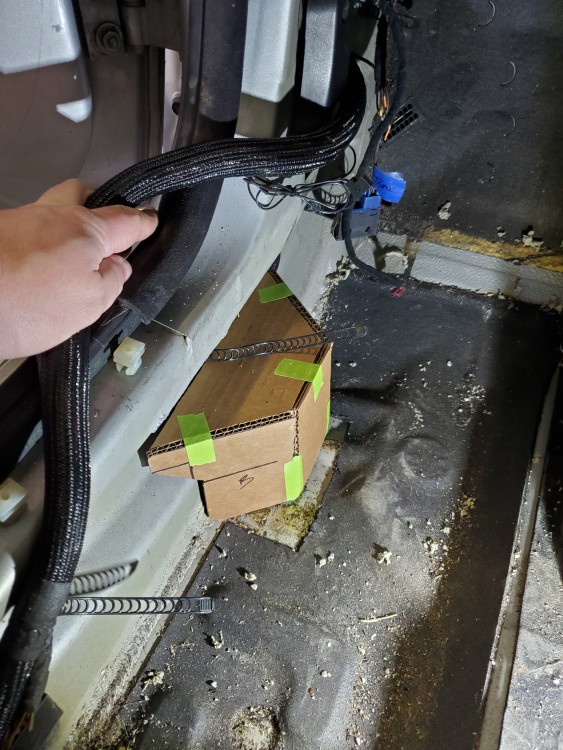
Passenger side
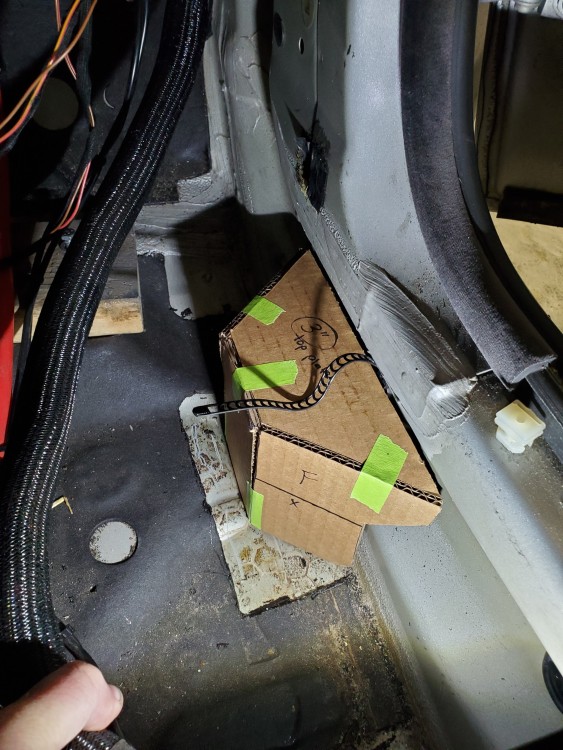
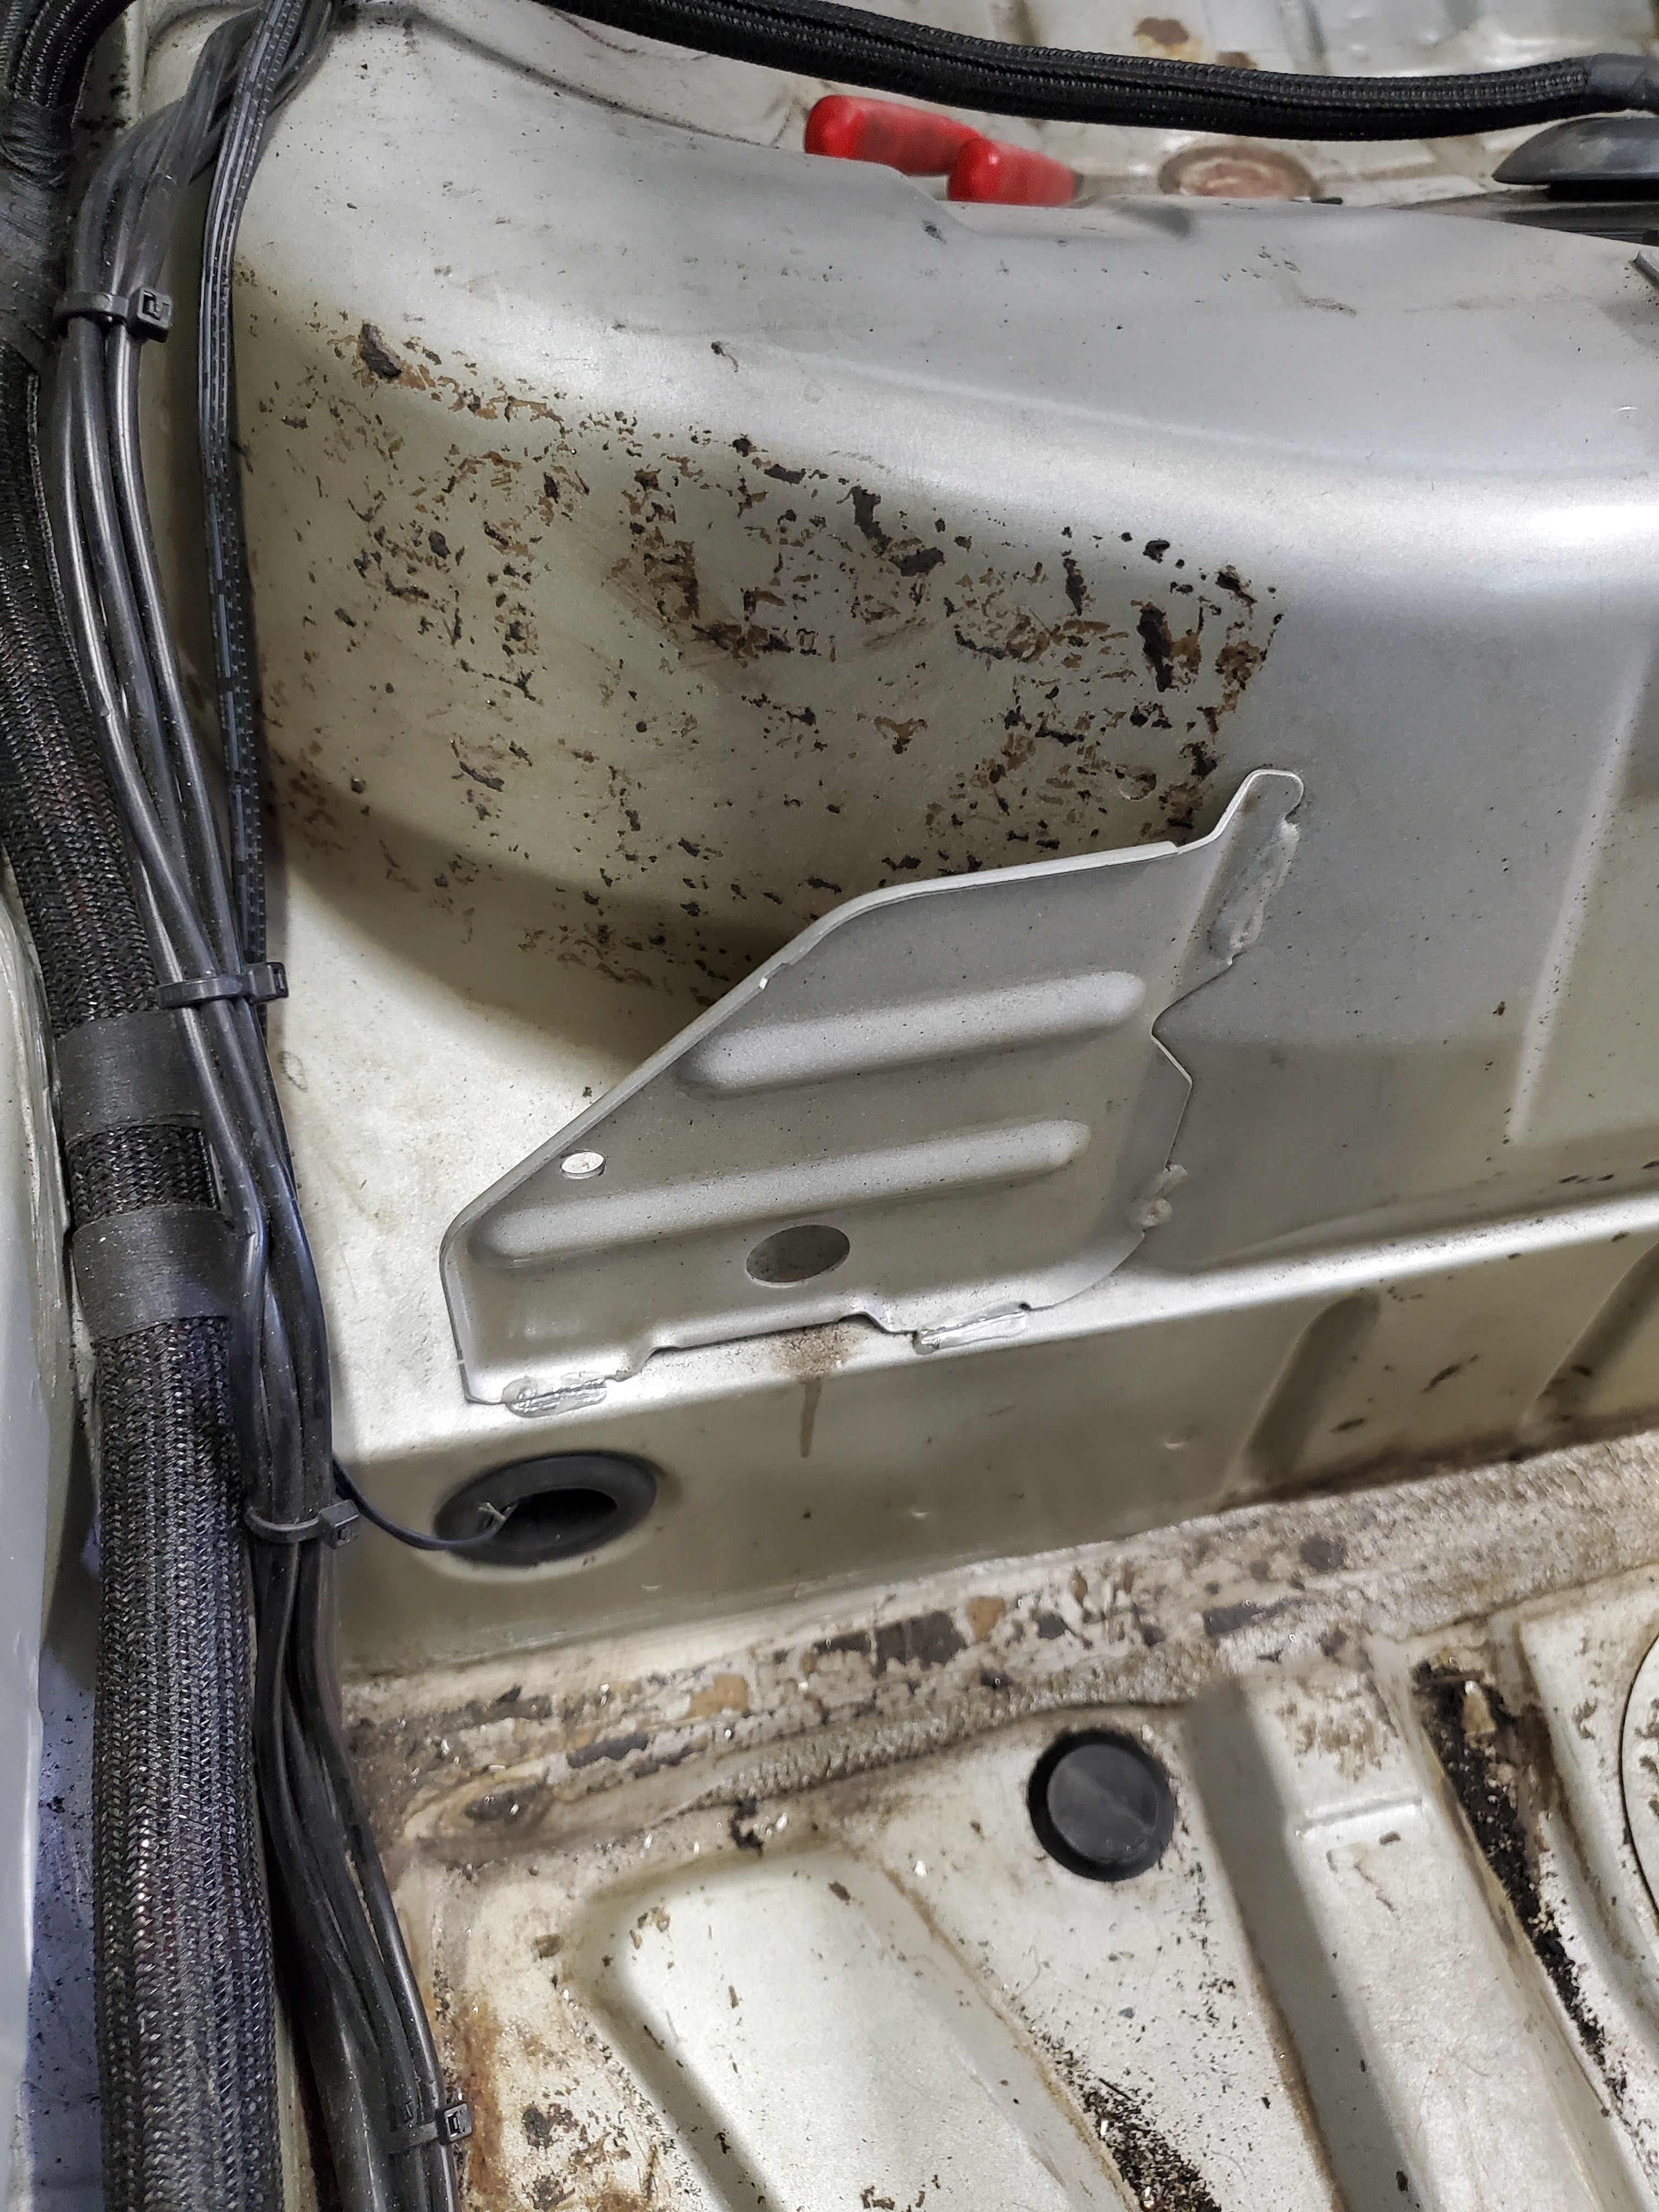
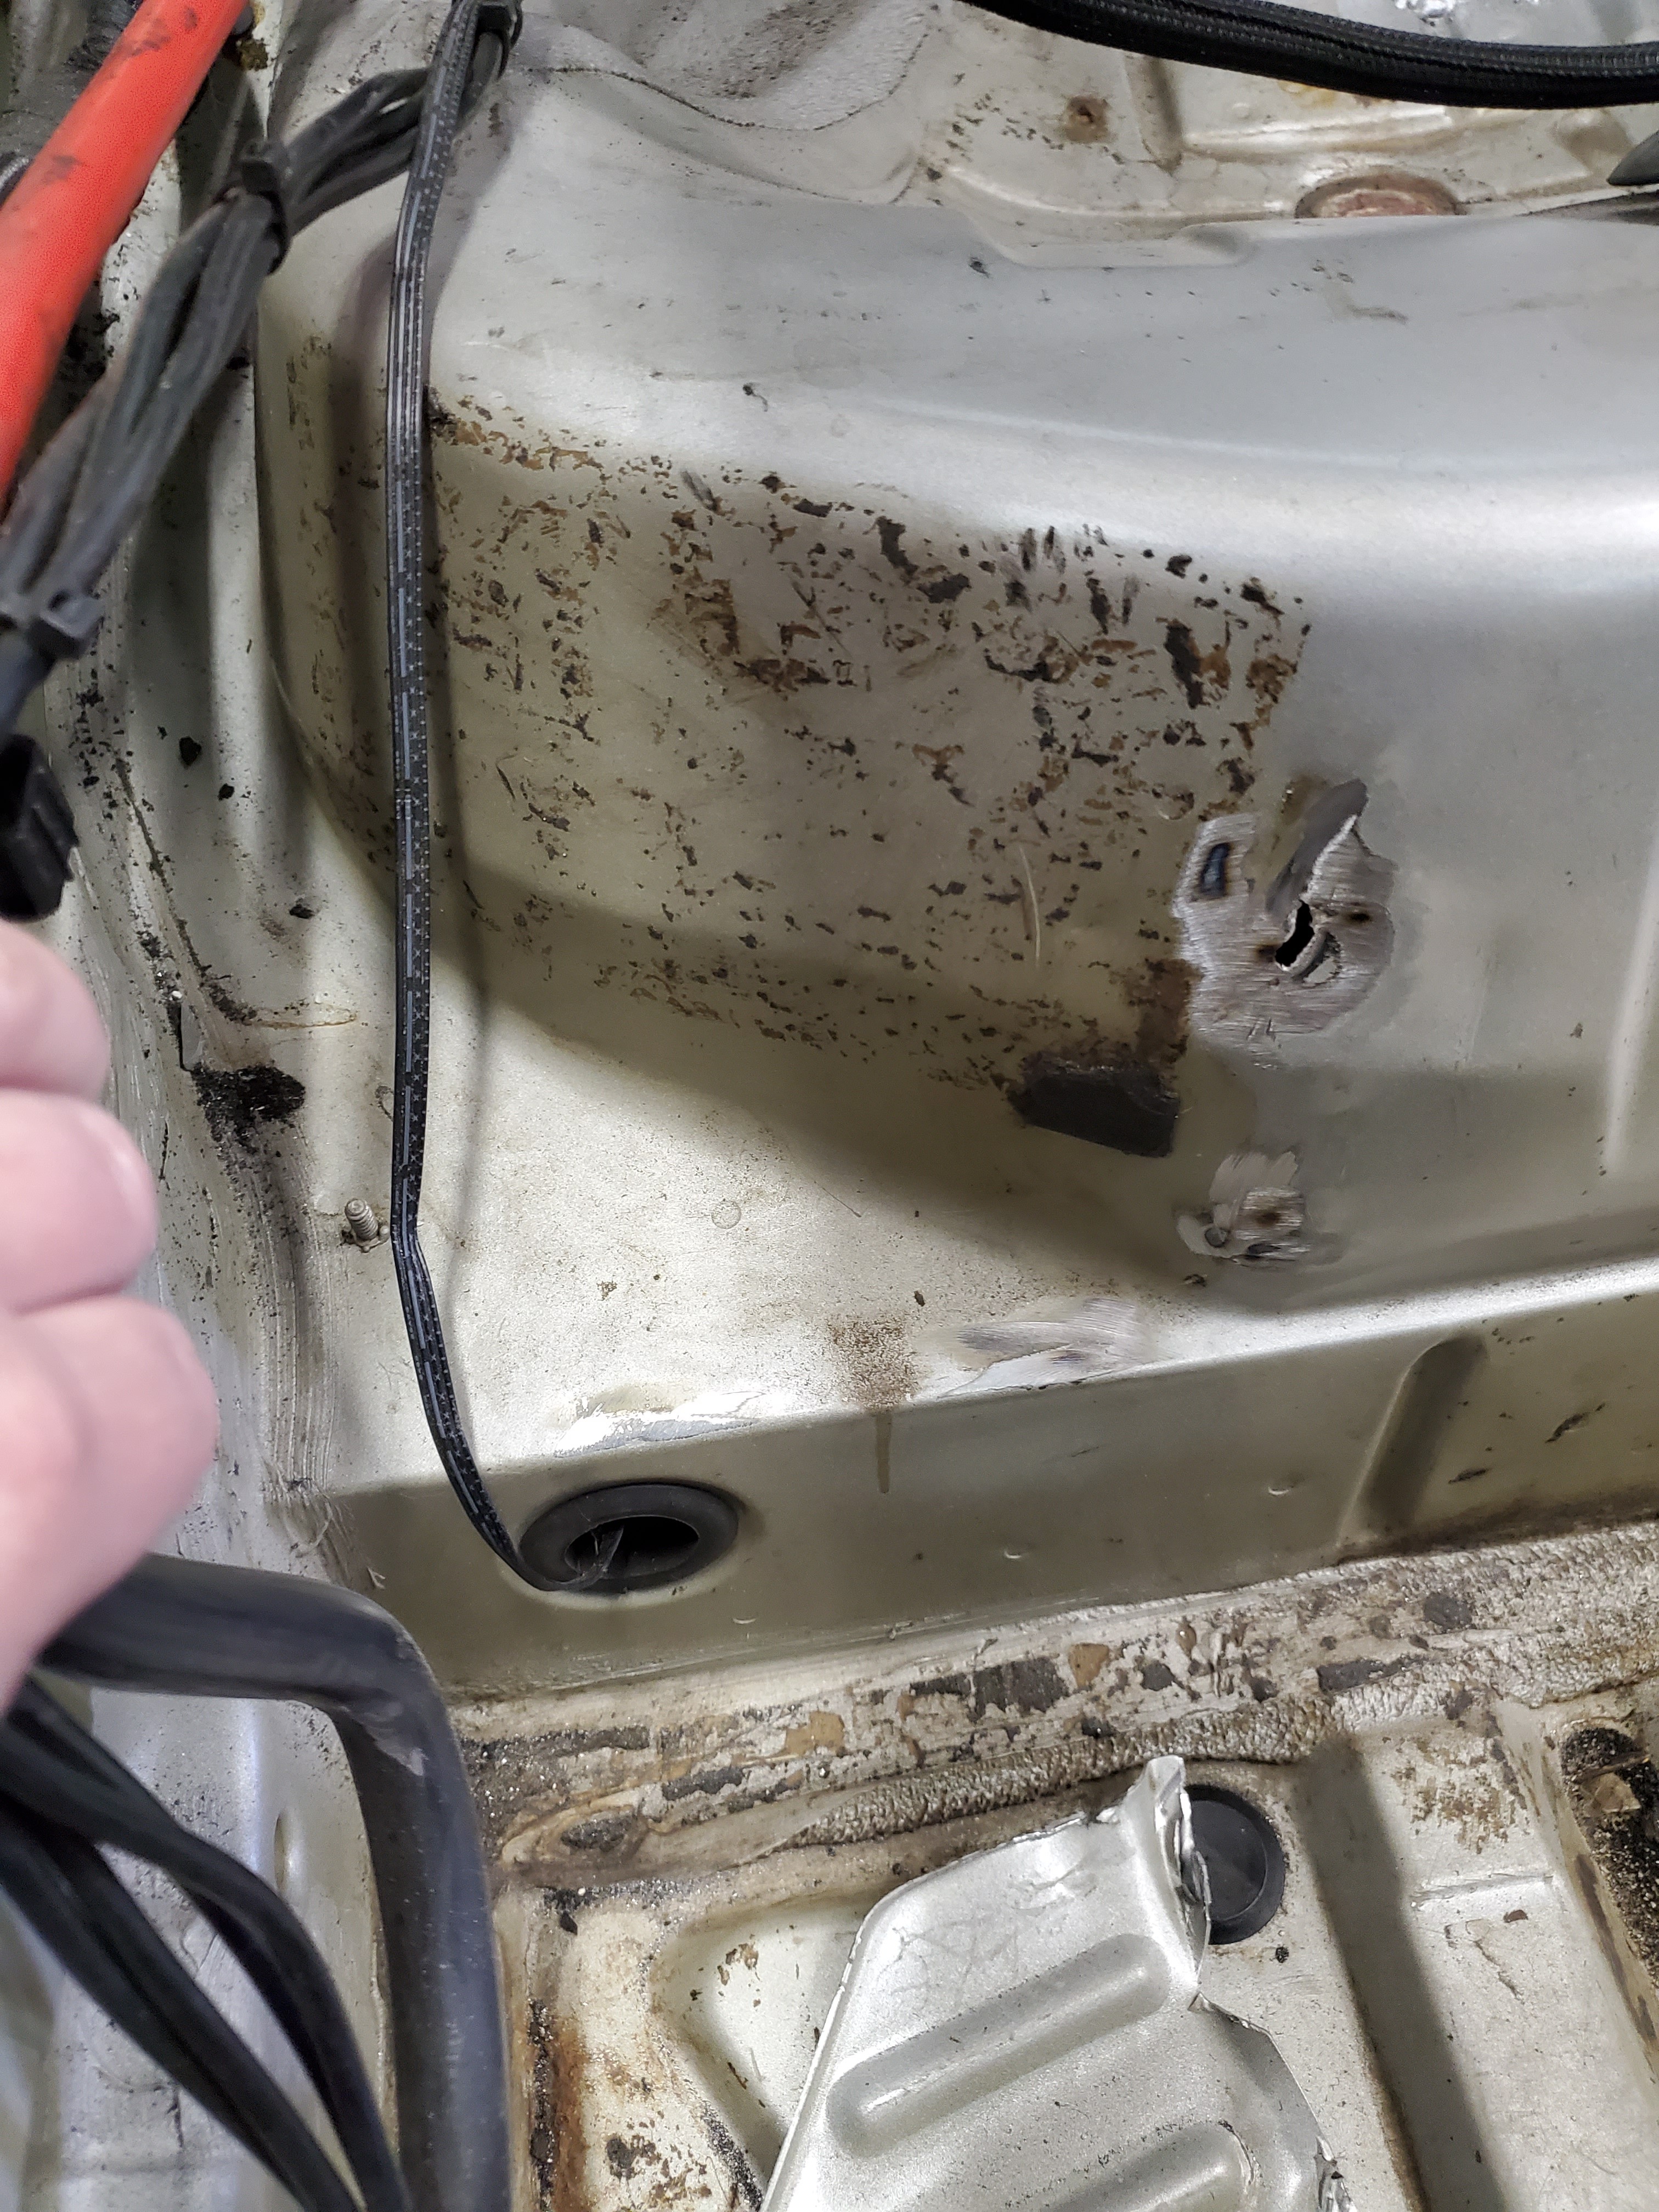
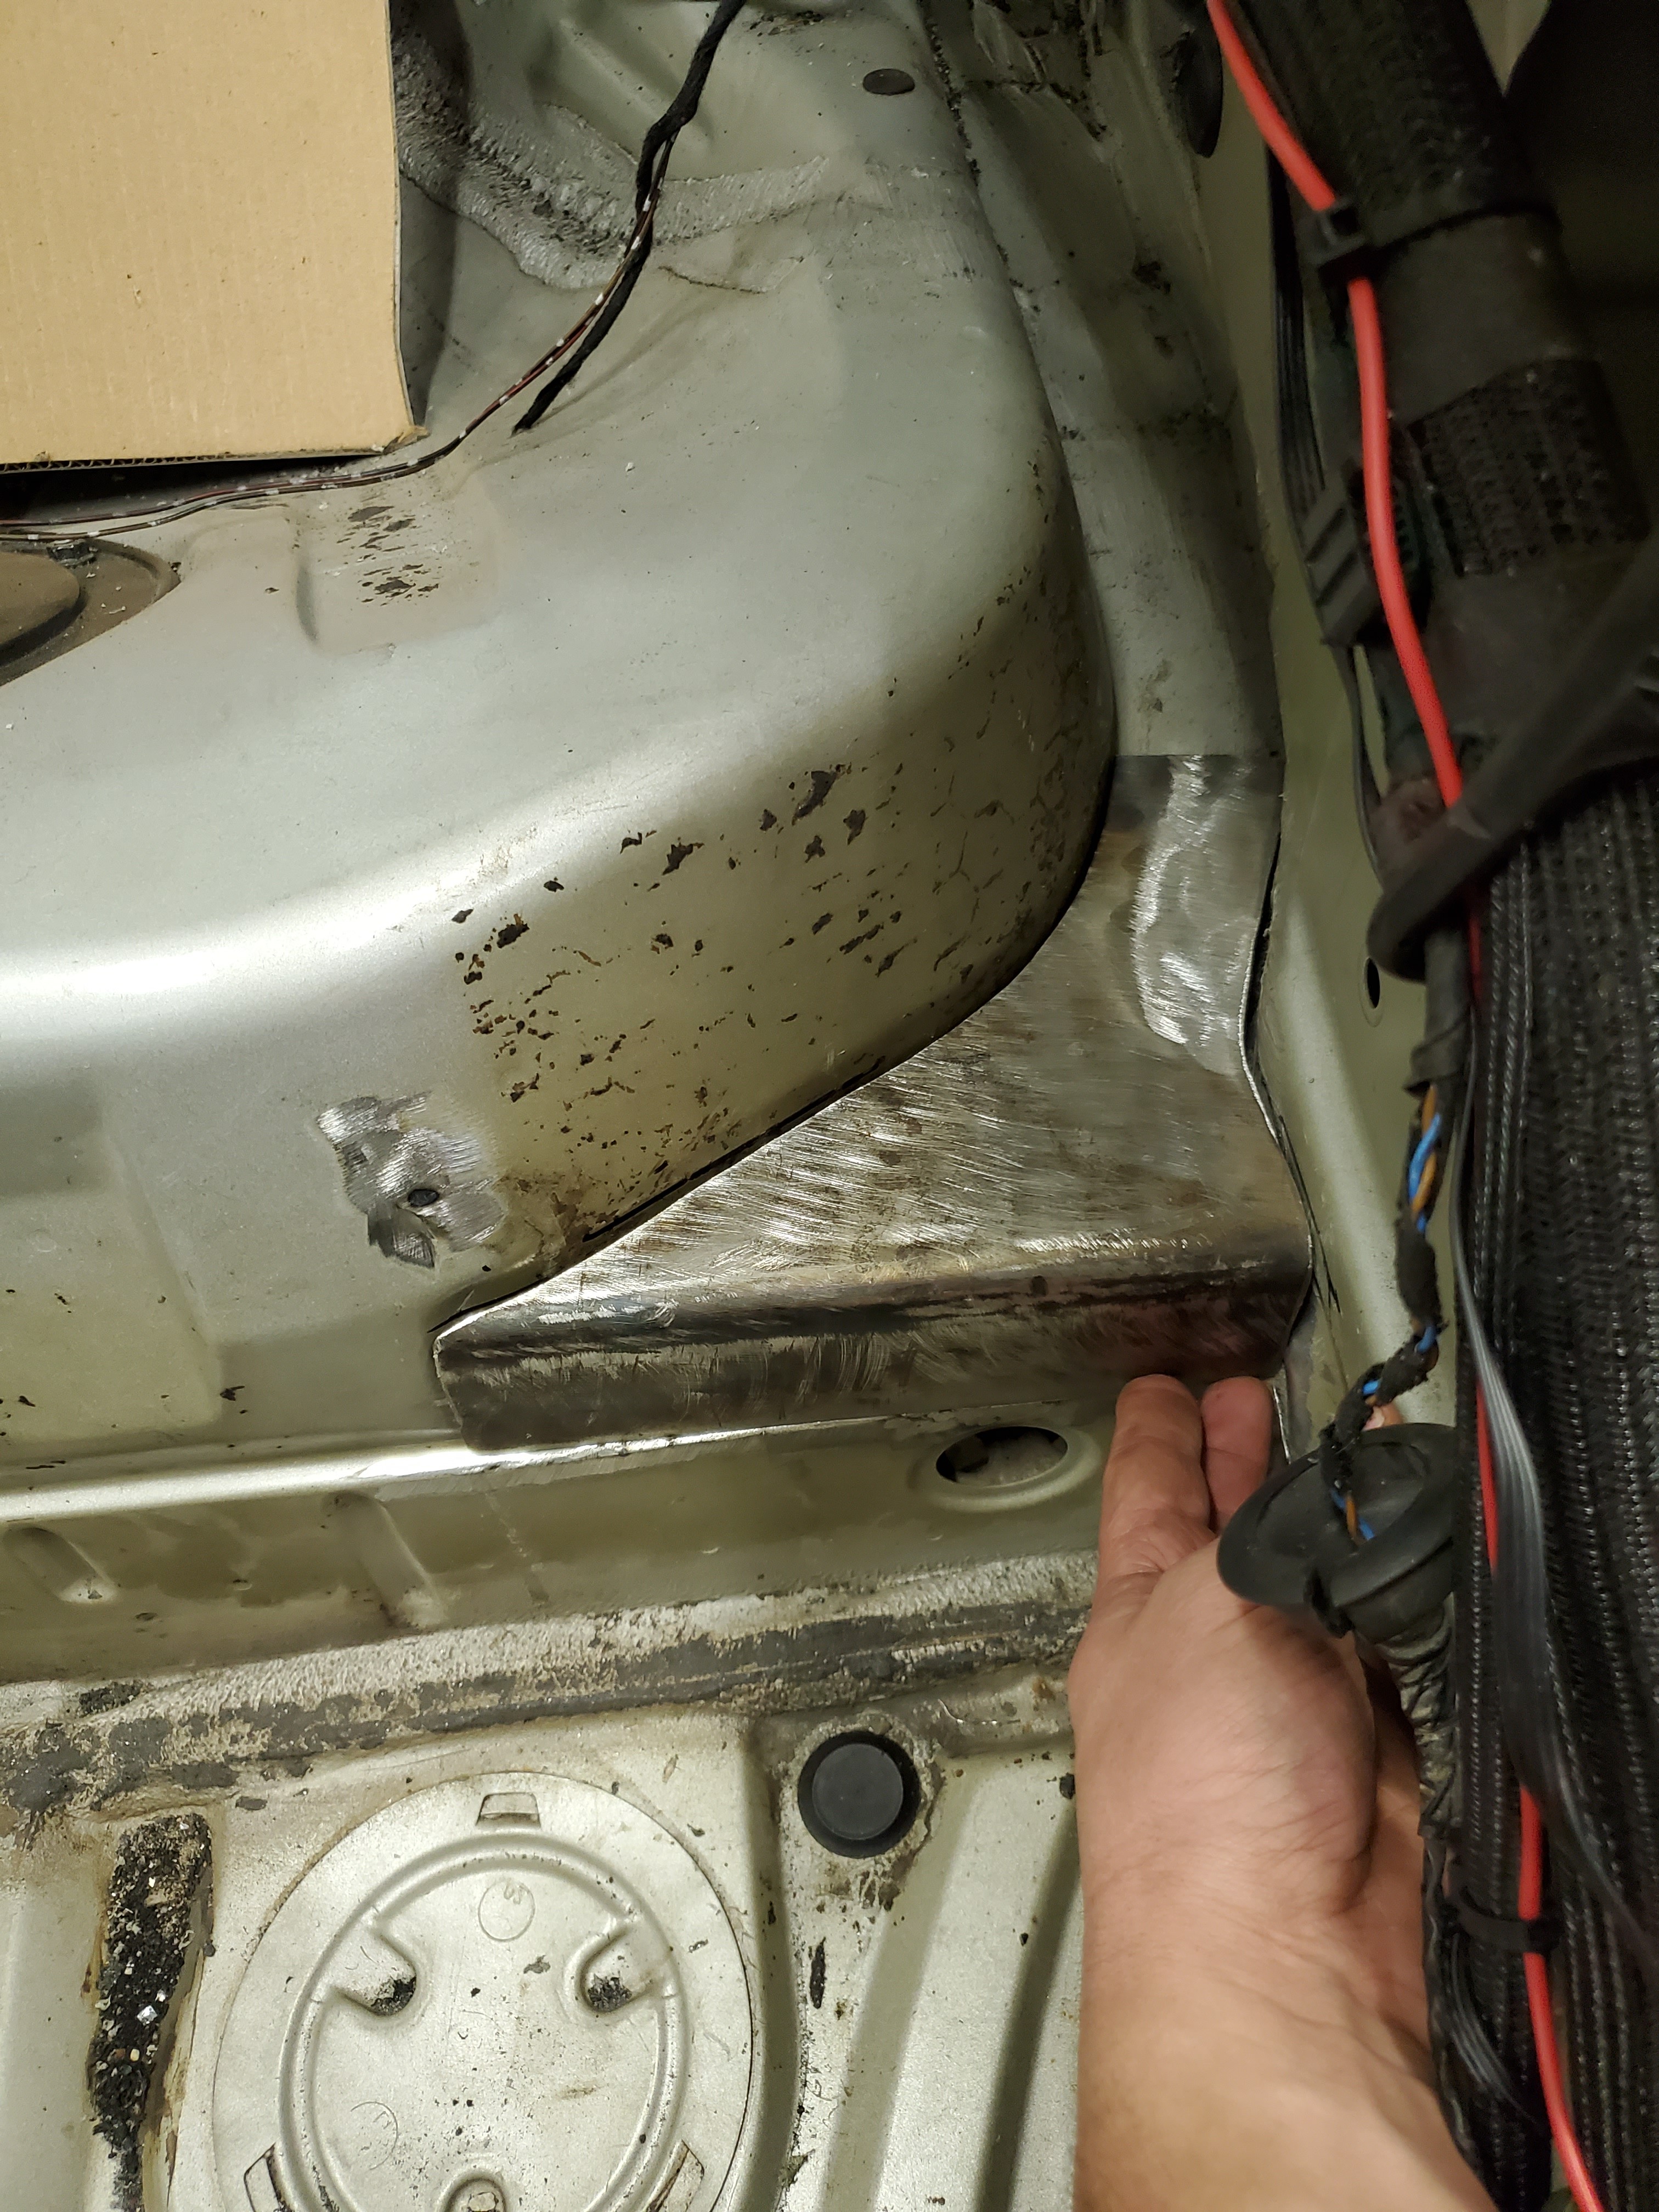
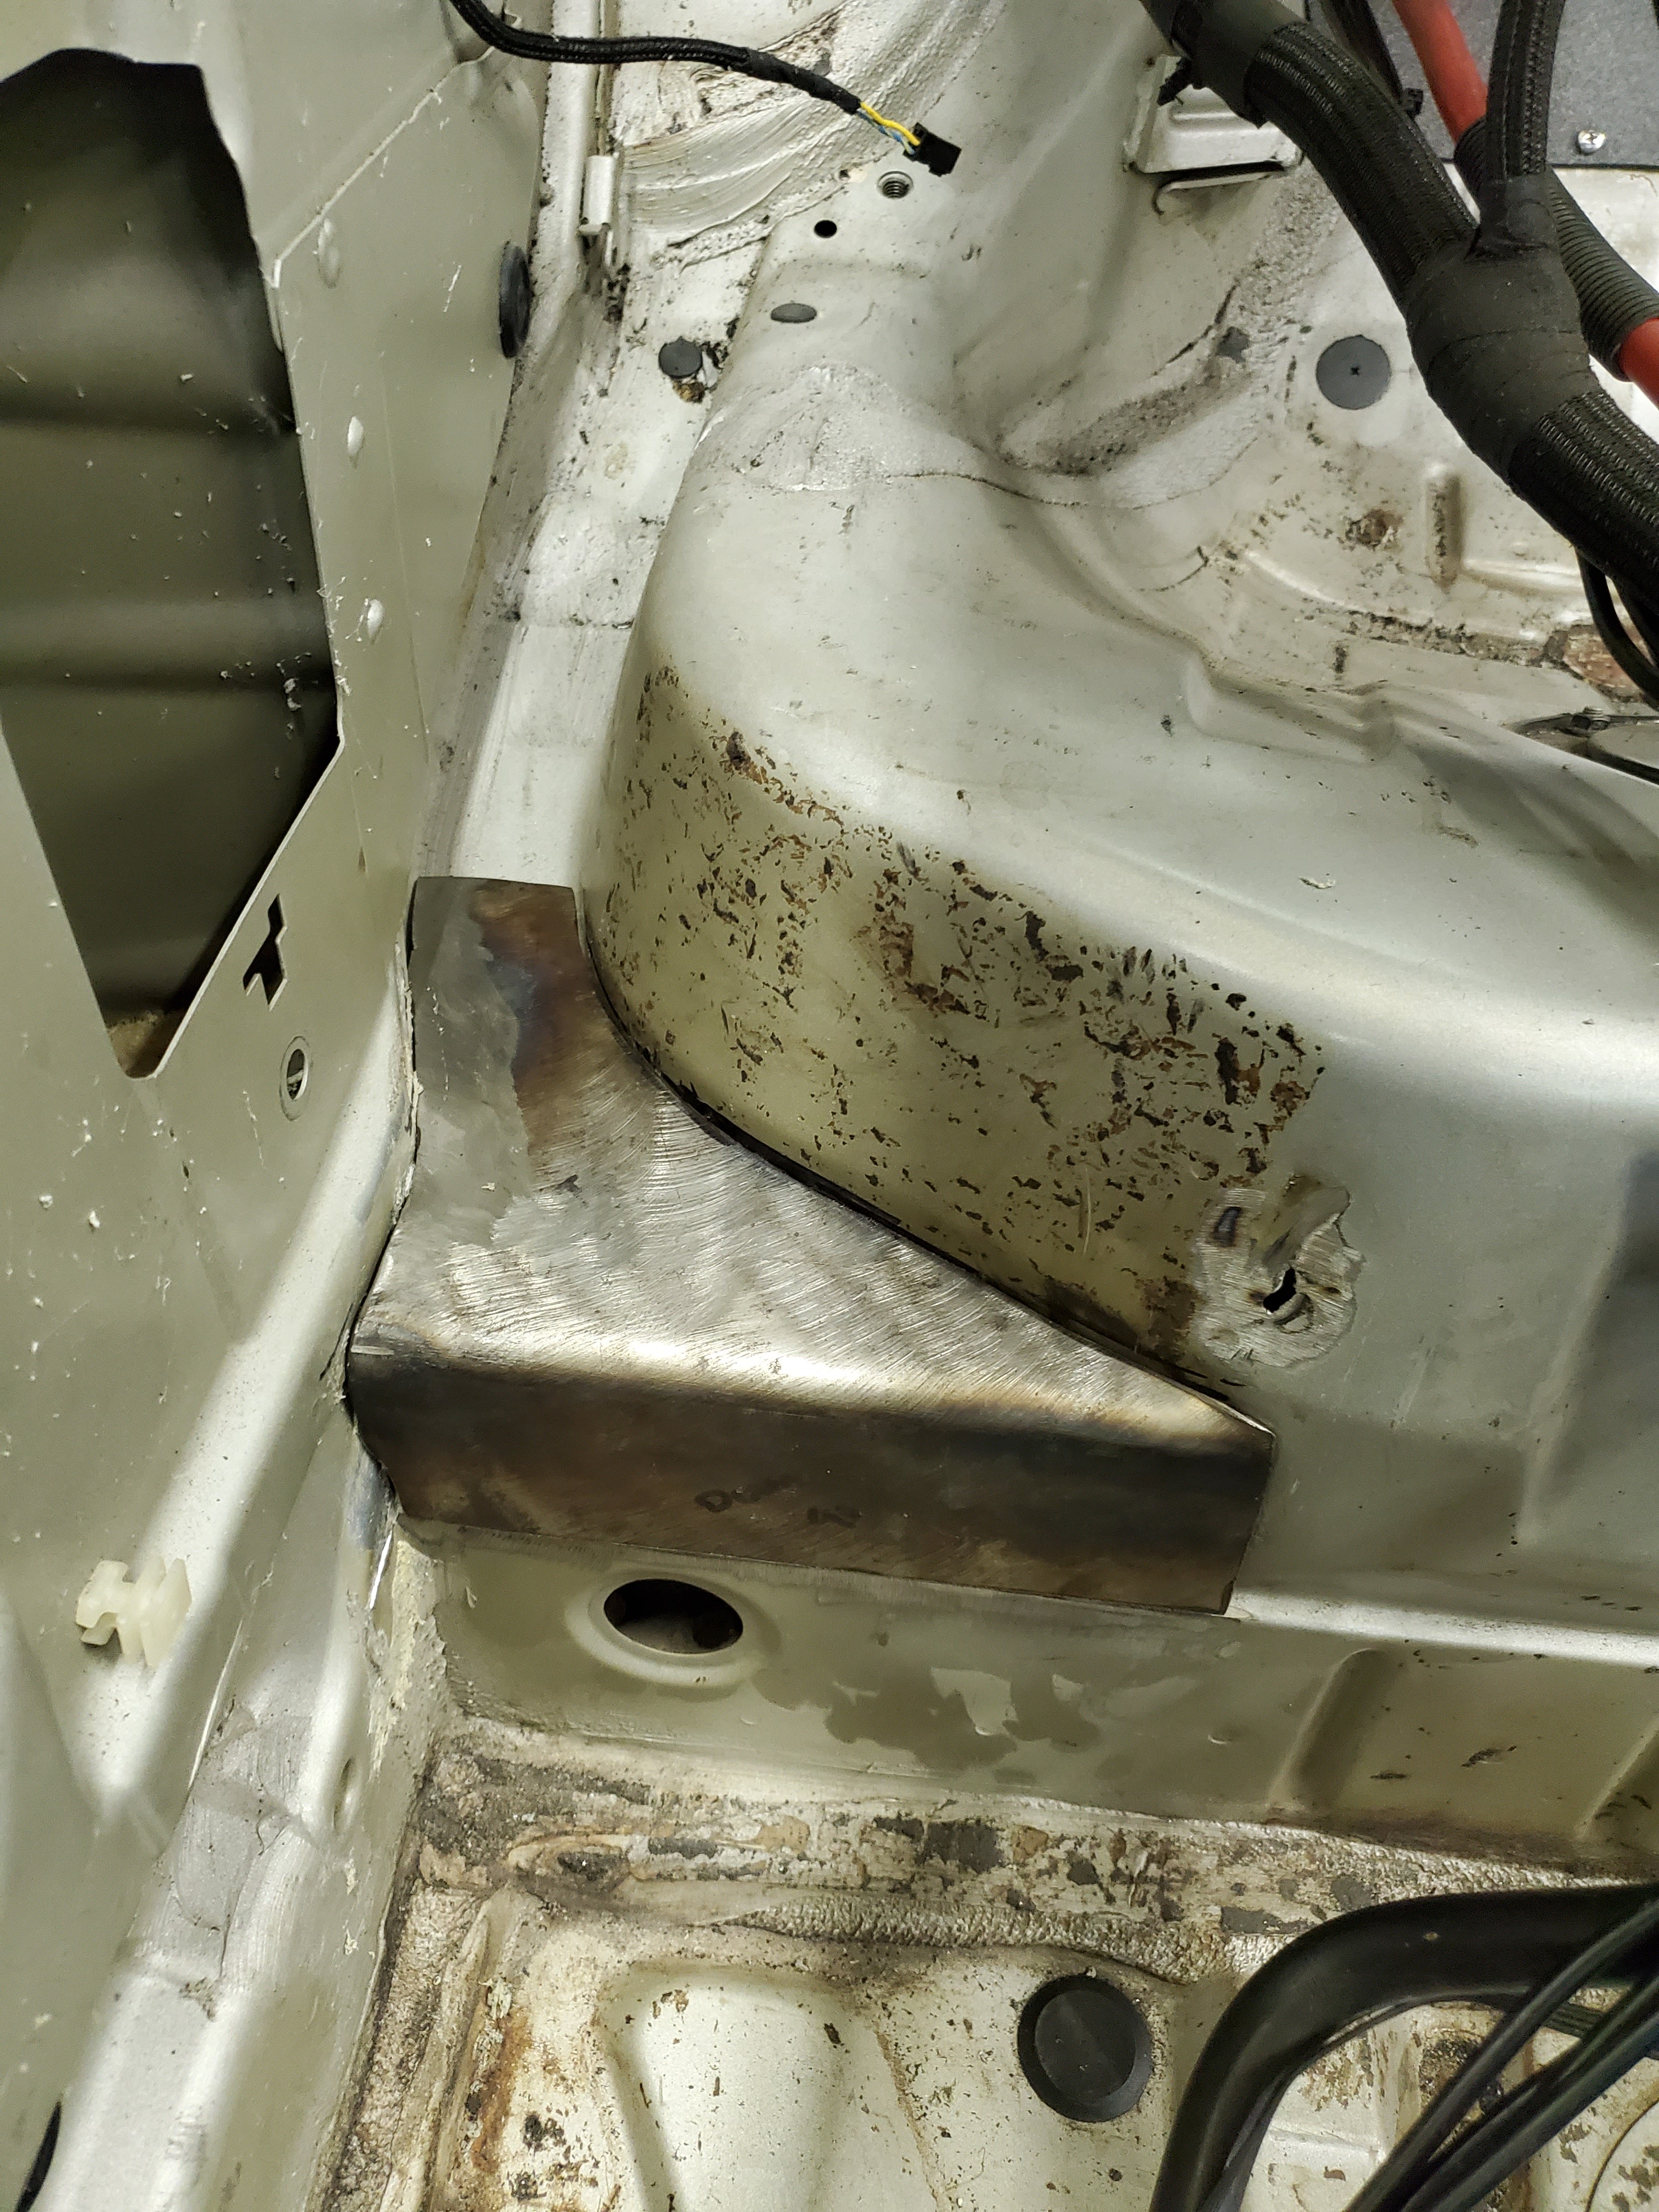
And then I removed some of the rear panels that will be in the way of the rear boxes, not really sure what to call them.
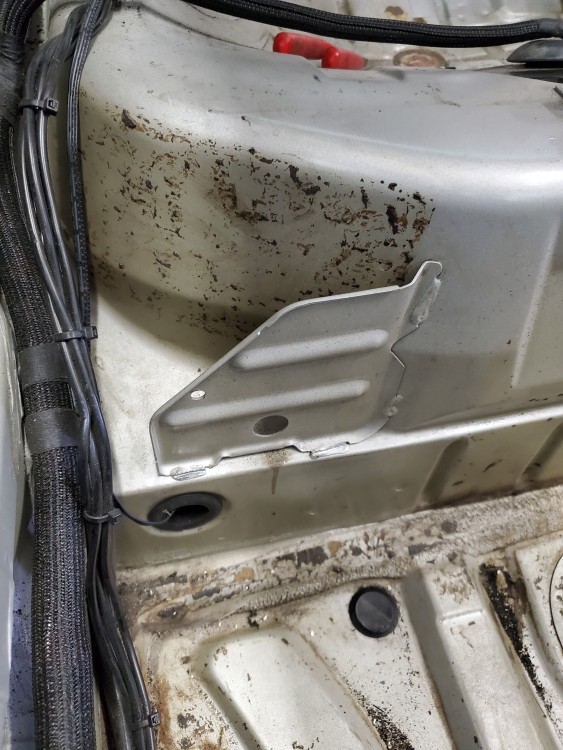
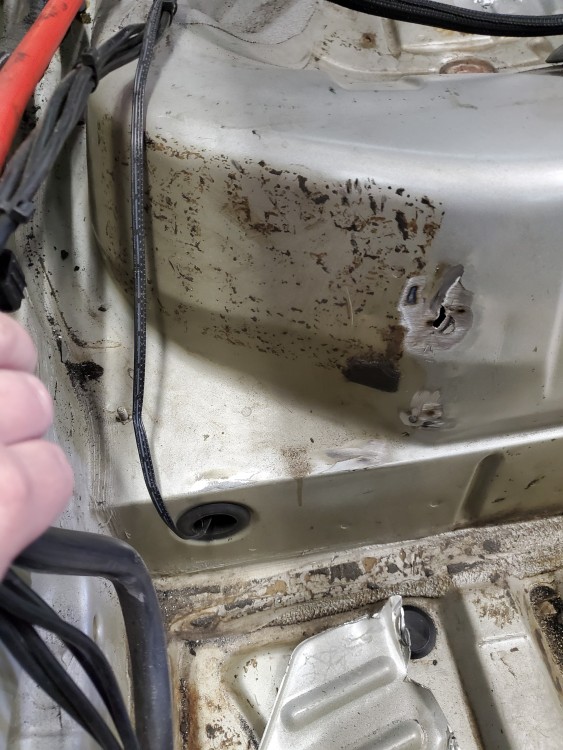
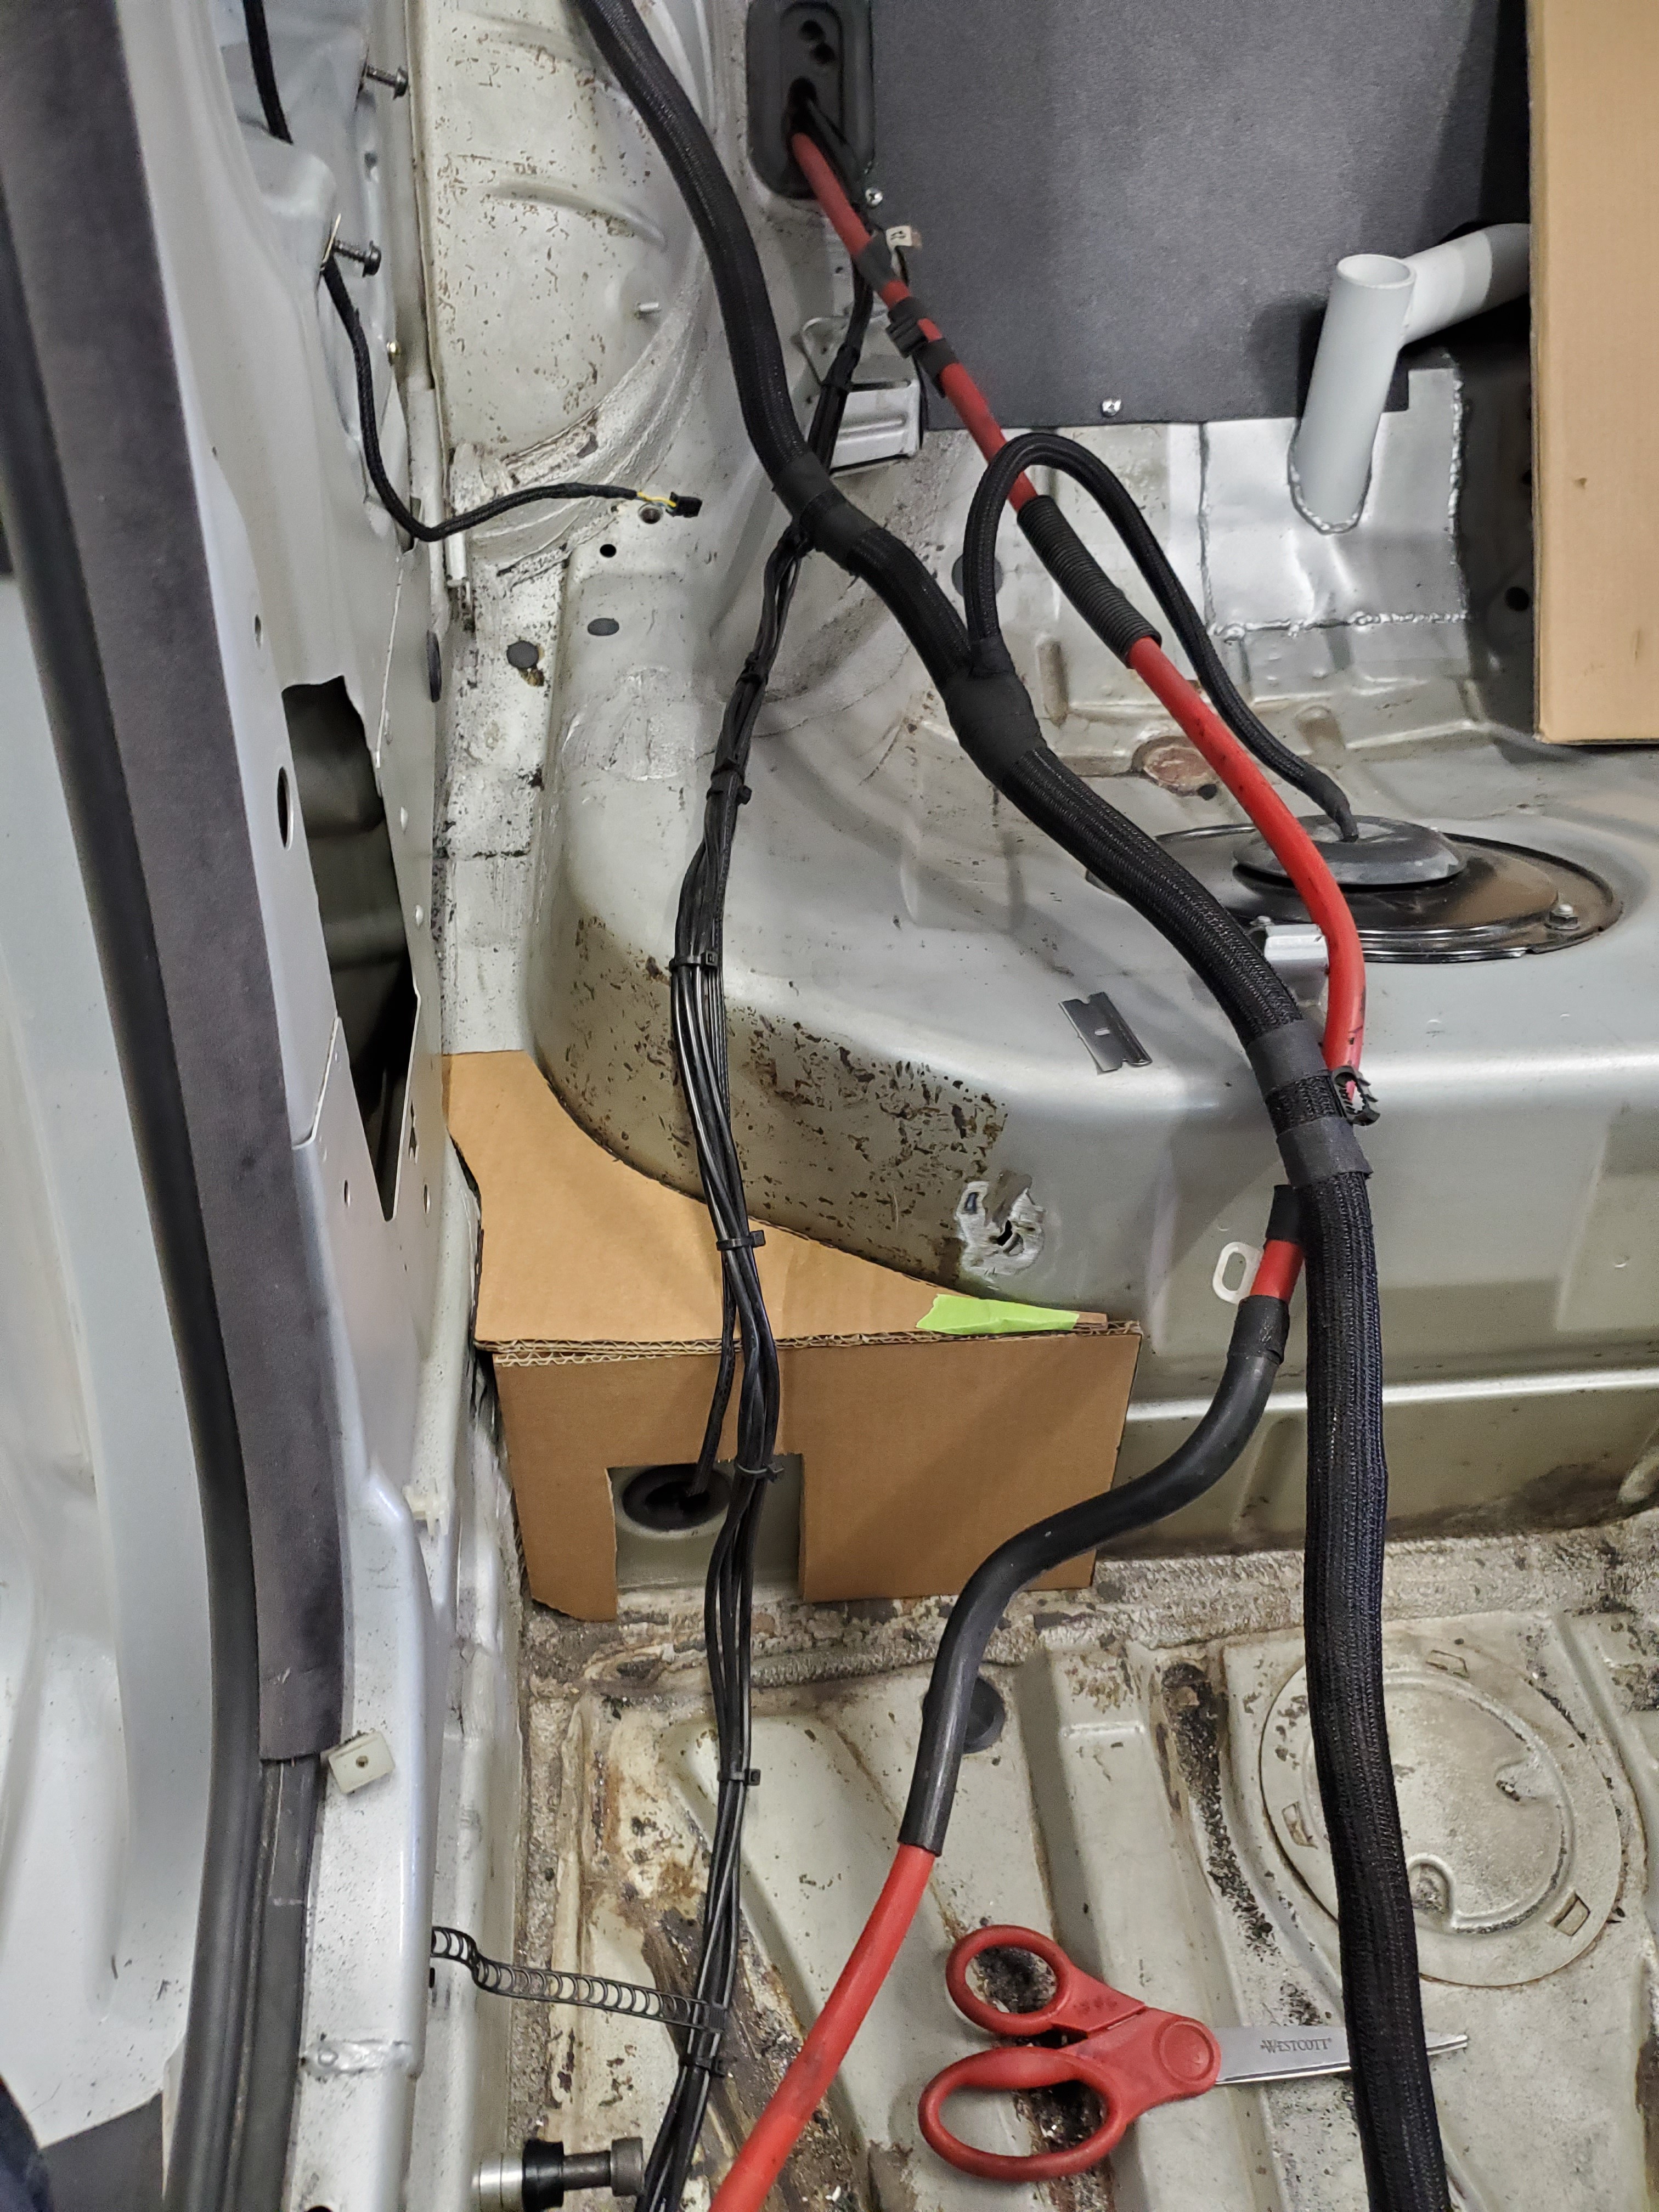
Kinda blew a hole where one of the welds were but easily fixable.
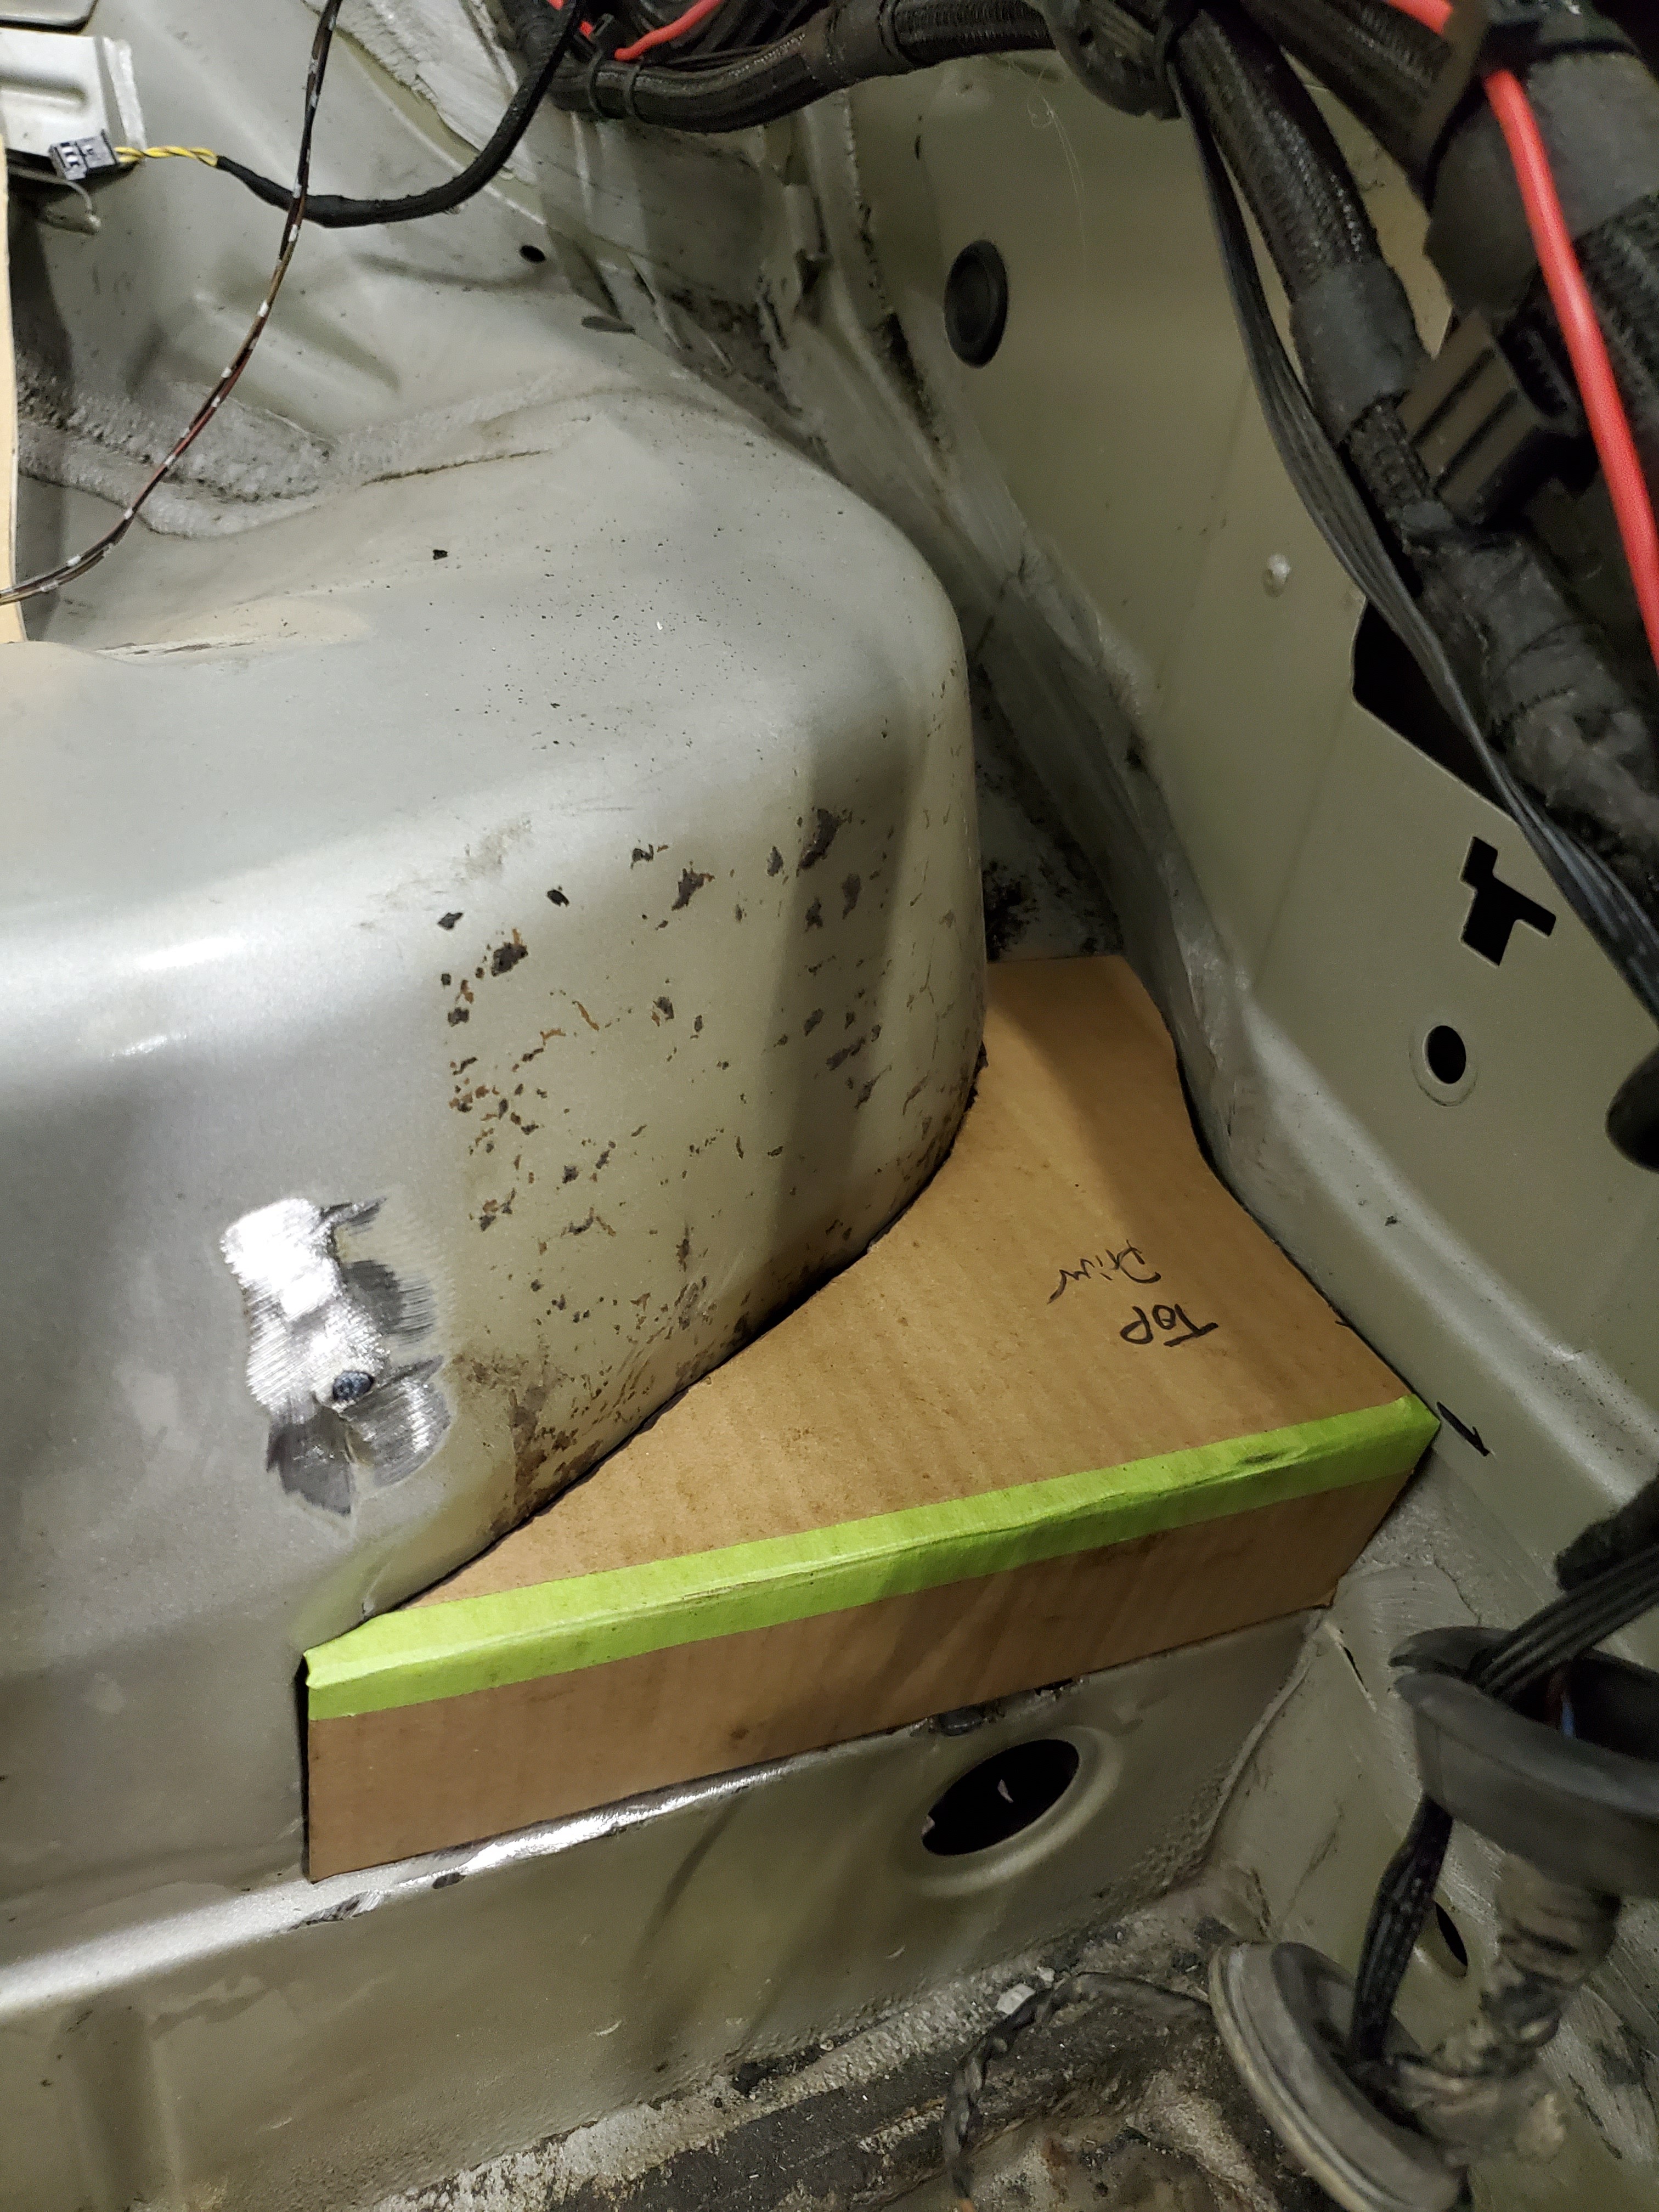
And then I made up templates for the passenger box but called it quits for the weekend after this one. Still a rough design.
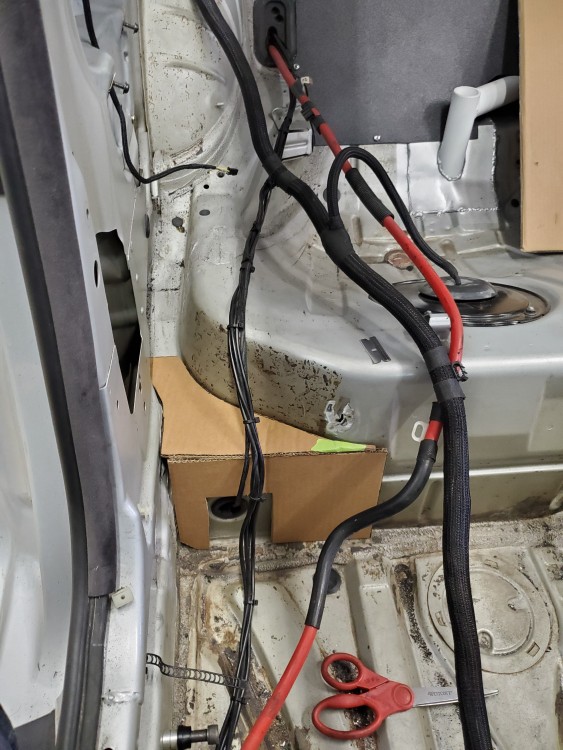
-
-
"CAD" cardboard aided drafting
I was going to say "Cardboard Aided Design"

https://www.instagram.com/_jdesigner_/ http://nevertoolow.tumblr.com/
🥳SOLD BMW E24 633CSI - BMW M30B32 🧪SOLD HCH ES9 - 1.3 LDA
👽BMW E30 325IC - Toyota 1JZ-GTE ⏰ HONDA EF9 CIVIC SI - JDM B18C5
☠️BMW E36 318i - Ford 5.0 FE302 🚴♂️ GT-Labomba - 26x2.75 Freeride
🤹♀️SOLD BMW E36/7 Z3 - BMW M54B25 🧓SOLD BMW E10 2002 - BMW M10M05 -
I was going to say "Cardboard Aided Design"
Yes that's why I put it in quotes lmao. I've always called it cardboard aided design too
-
Update.
Revised the front cage box design, measurements only so not much to show there.
Also revised and finished the rear cage boxes.
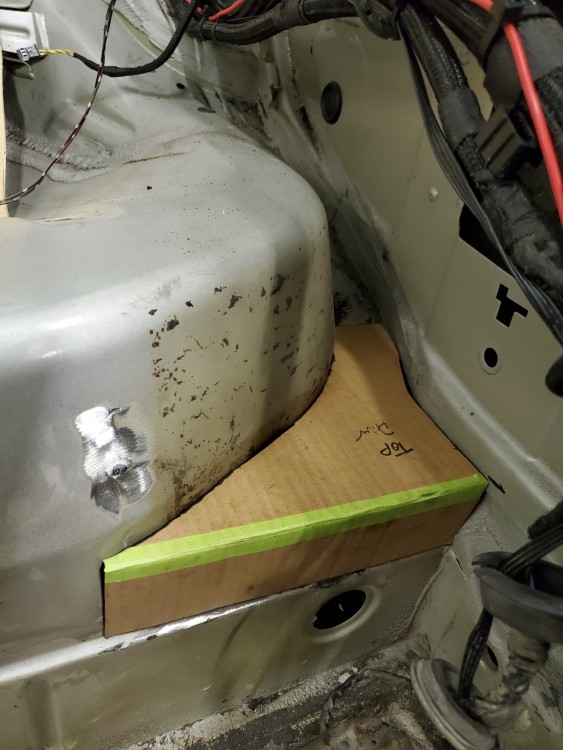
Then we cut, bent and did ALOT of trimming to get the rear boxes to fit as snug as possible.
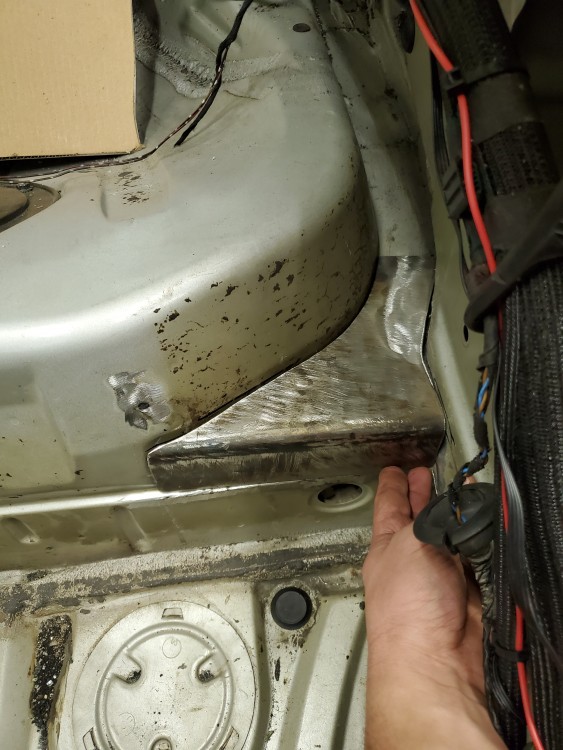
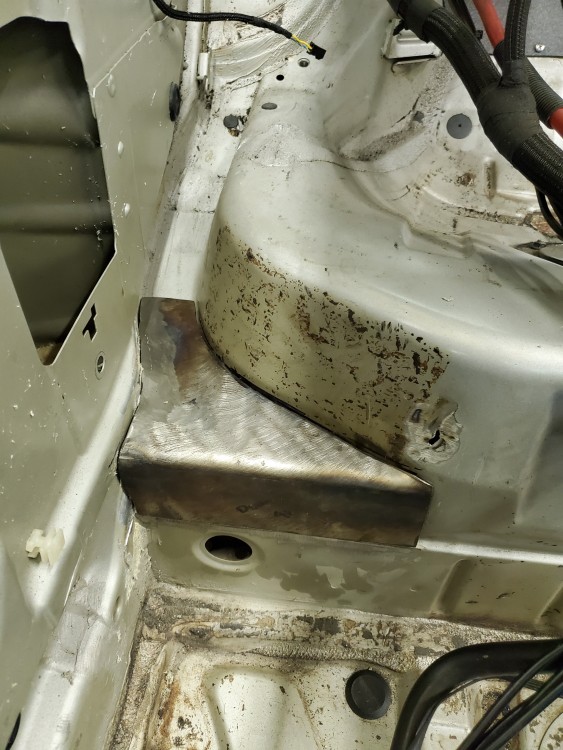
Still might need a little more trimming but pretty happy with it.
The cage will most likely be mig welded just because we dont have the torch time to do tig. I have never learned to tig, and I'm ok at mig.
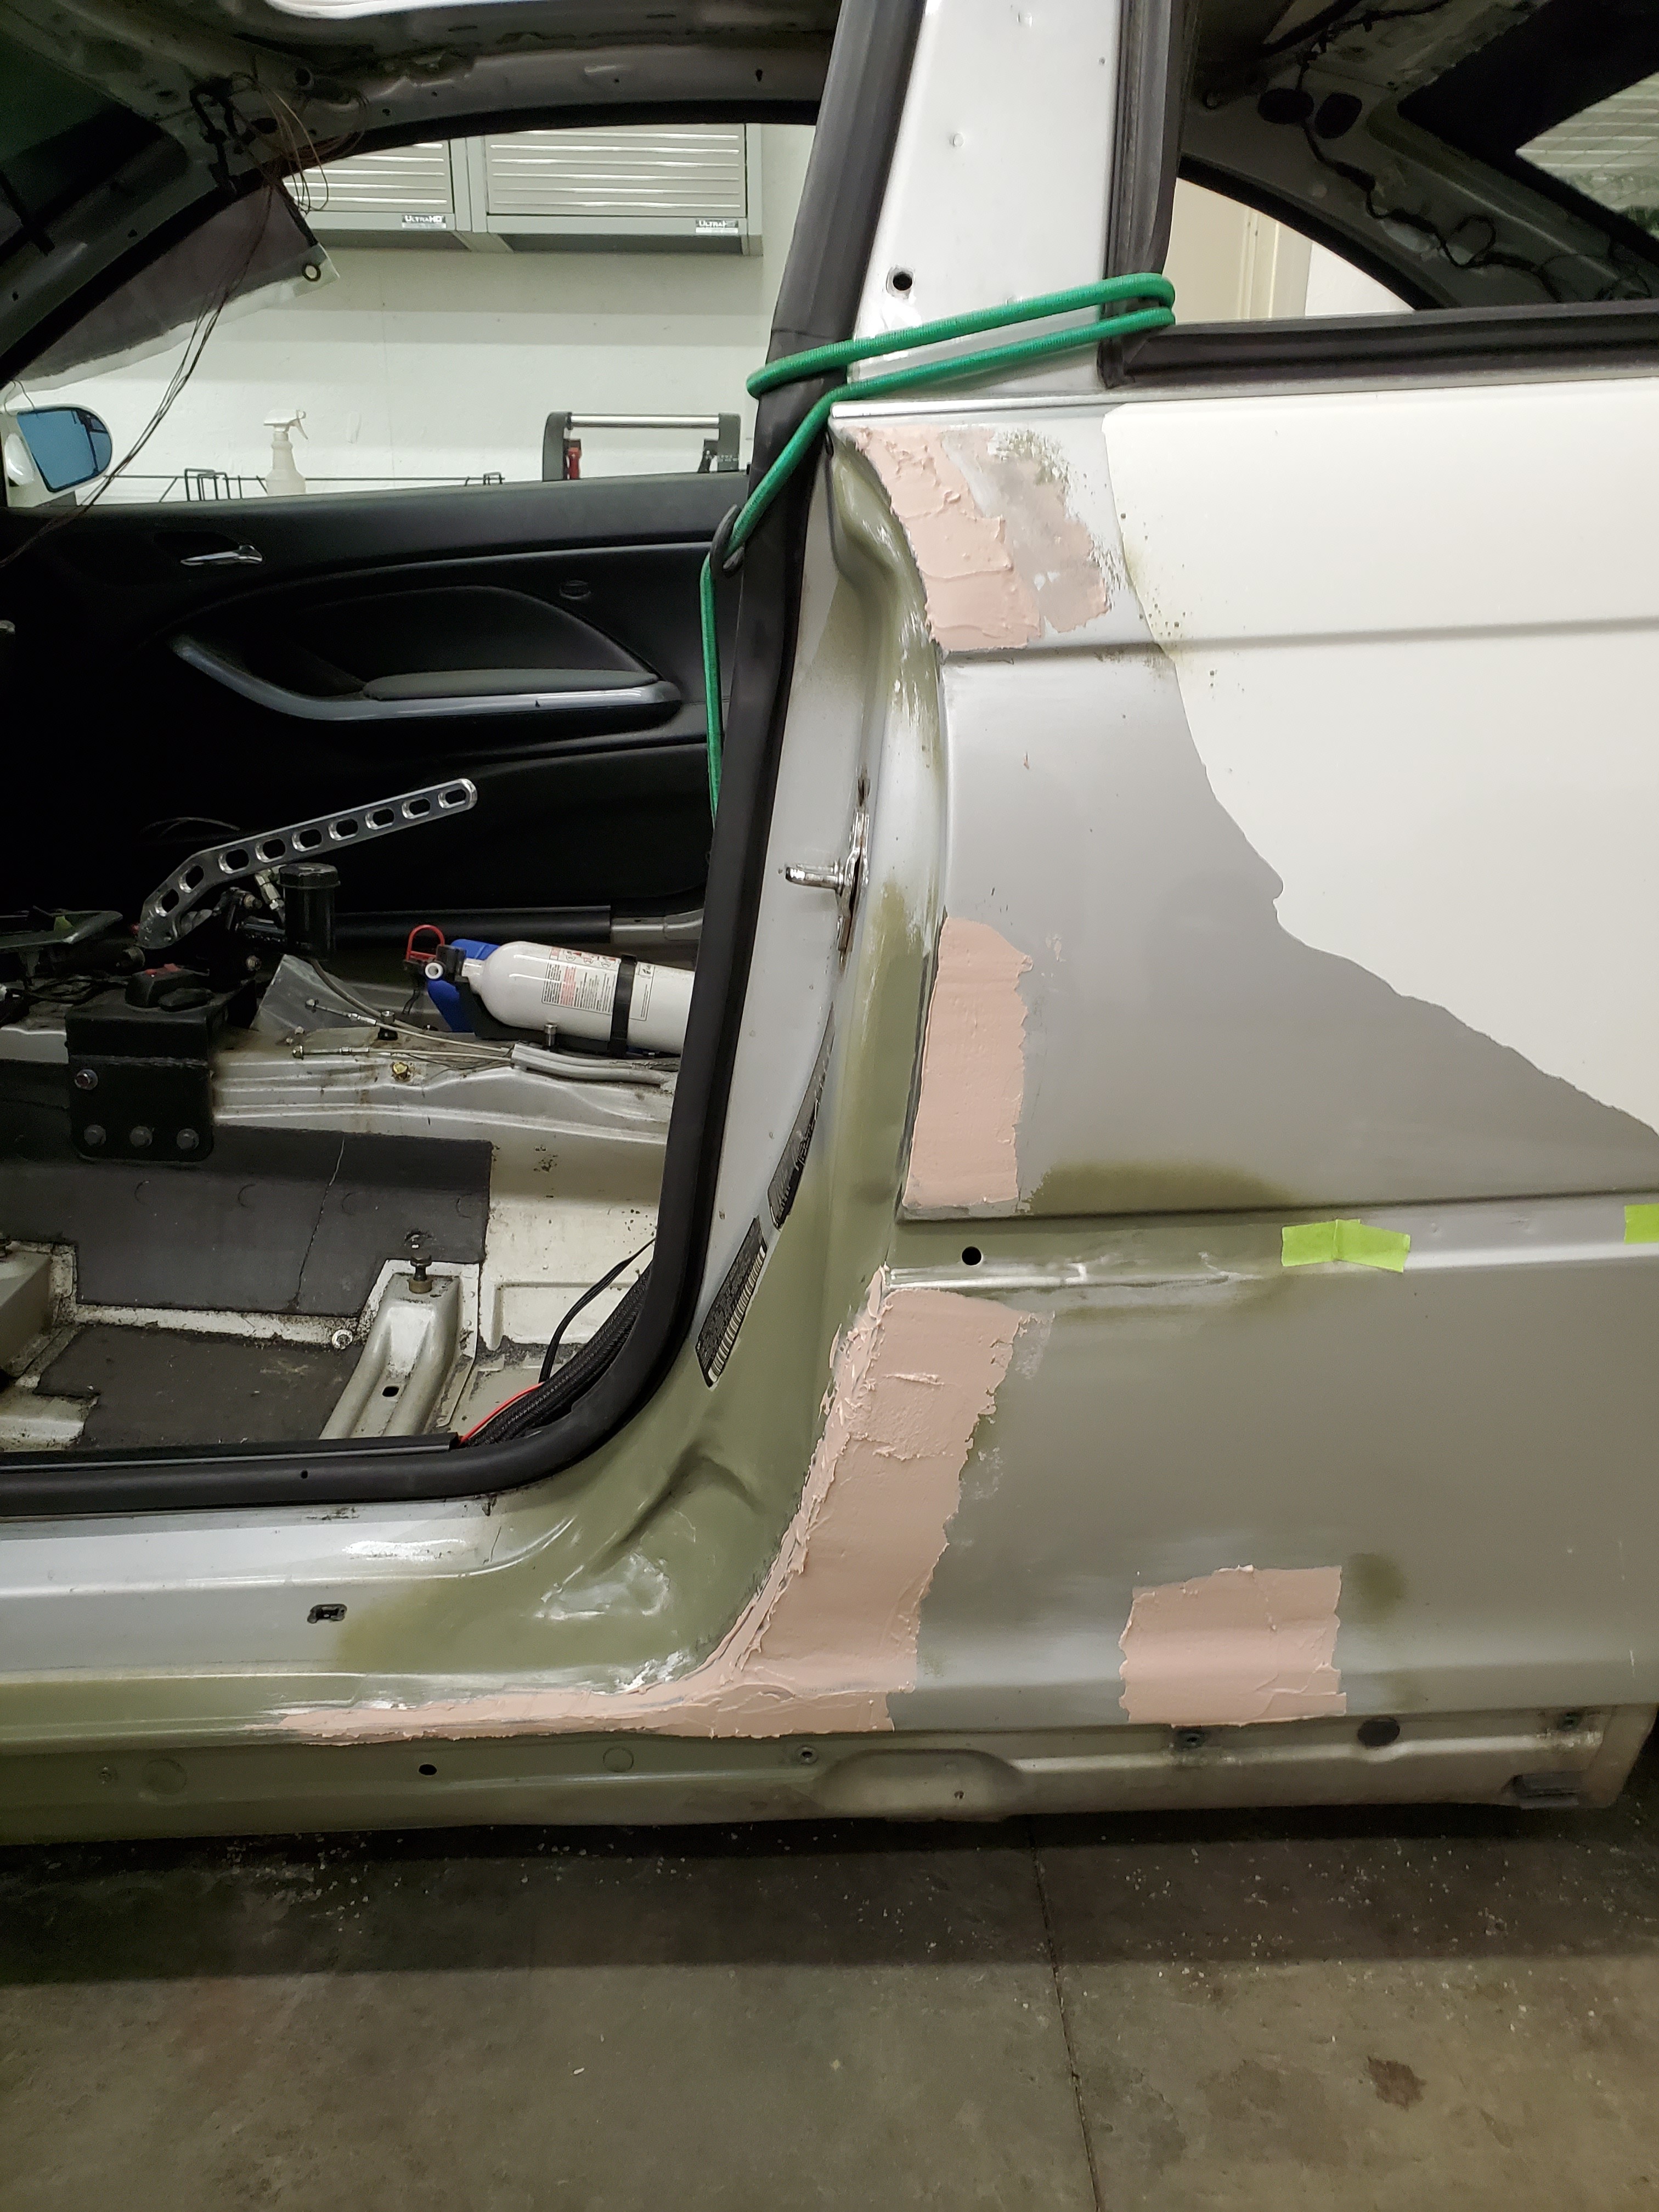
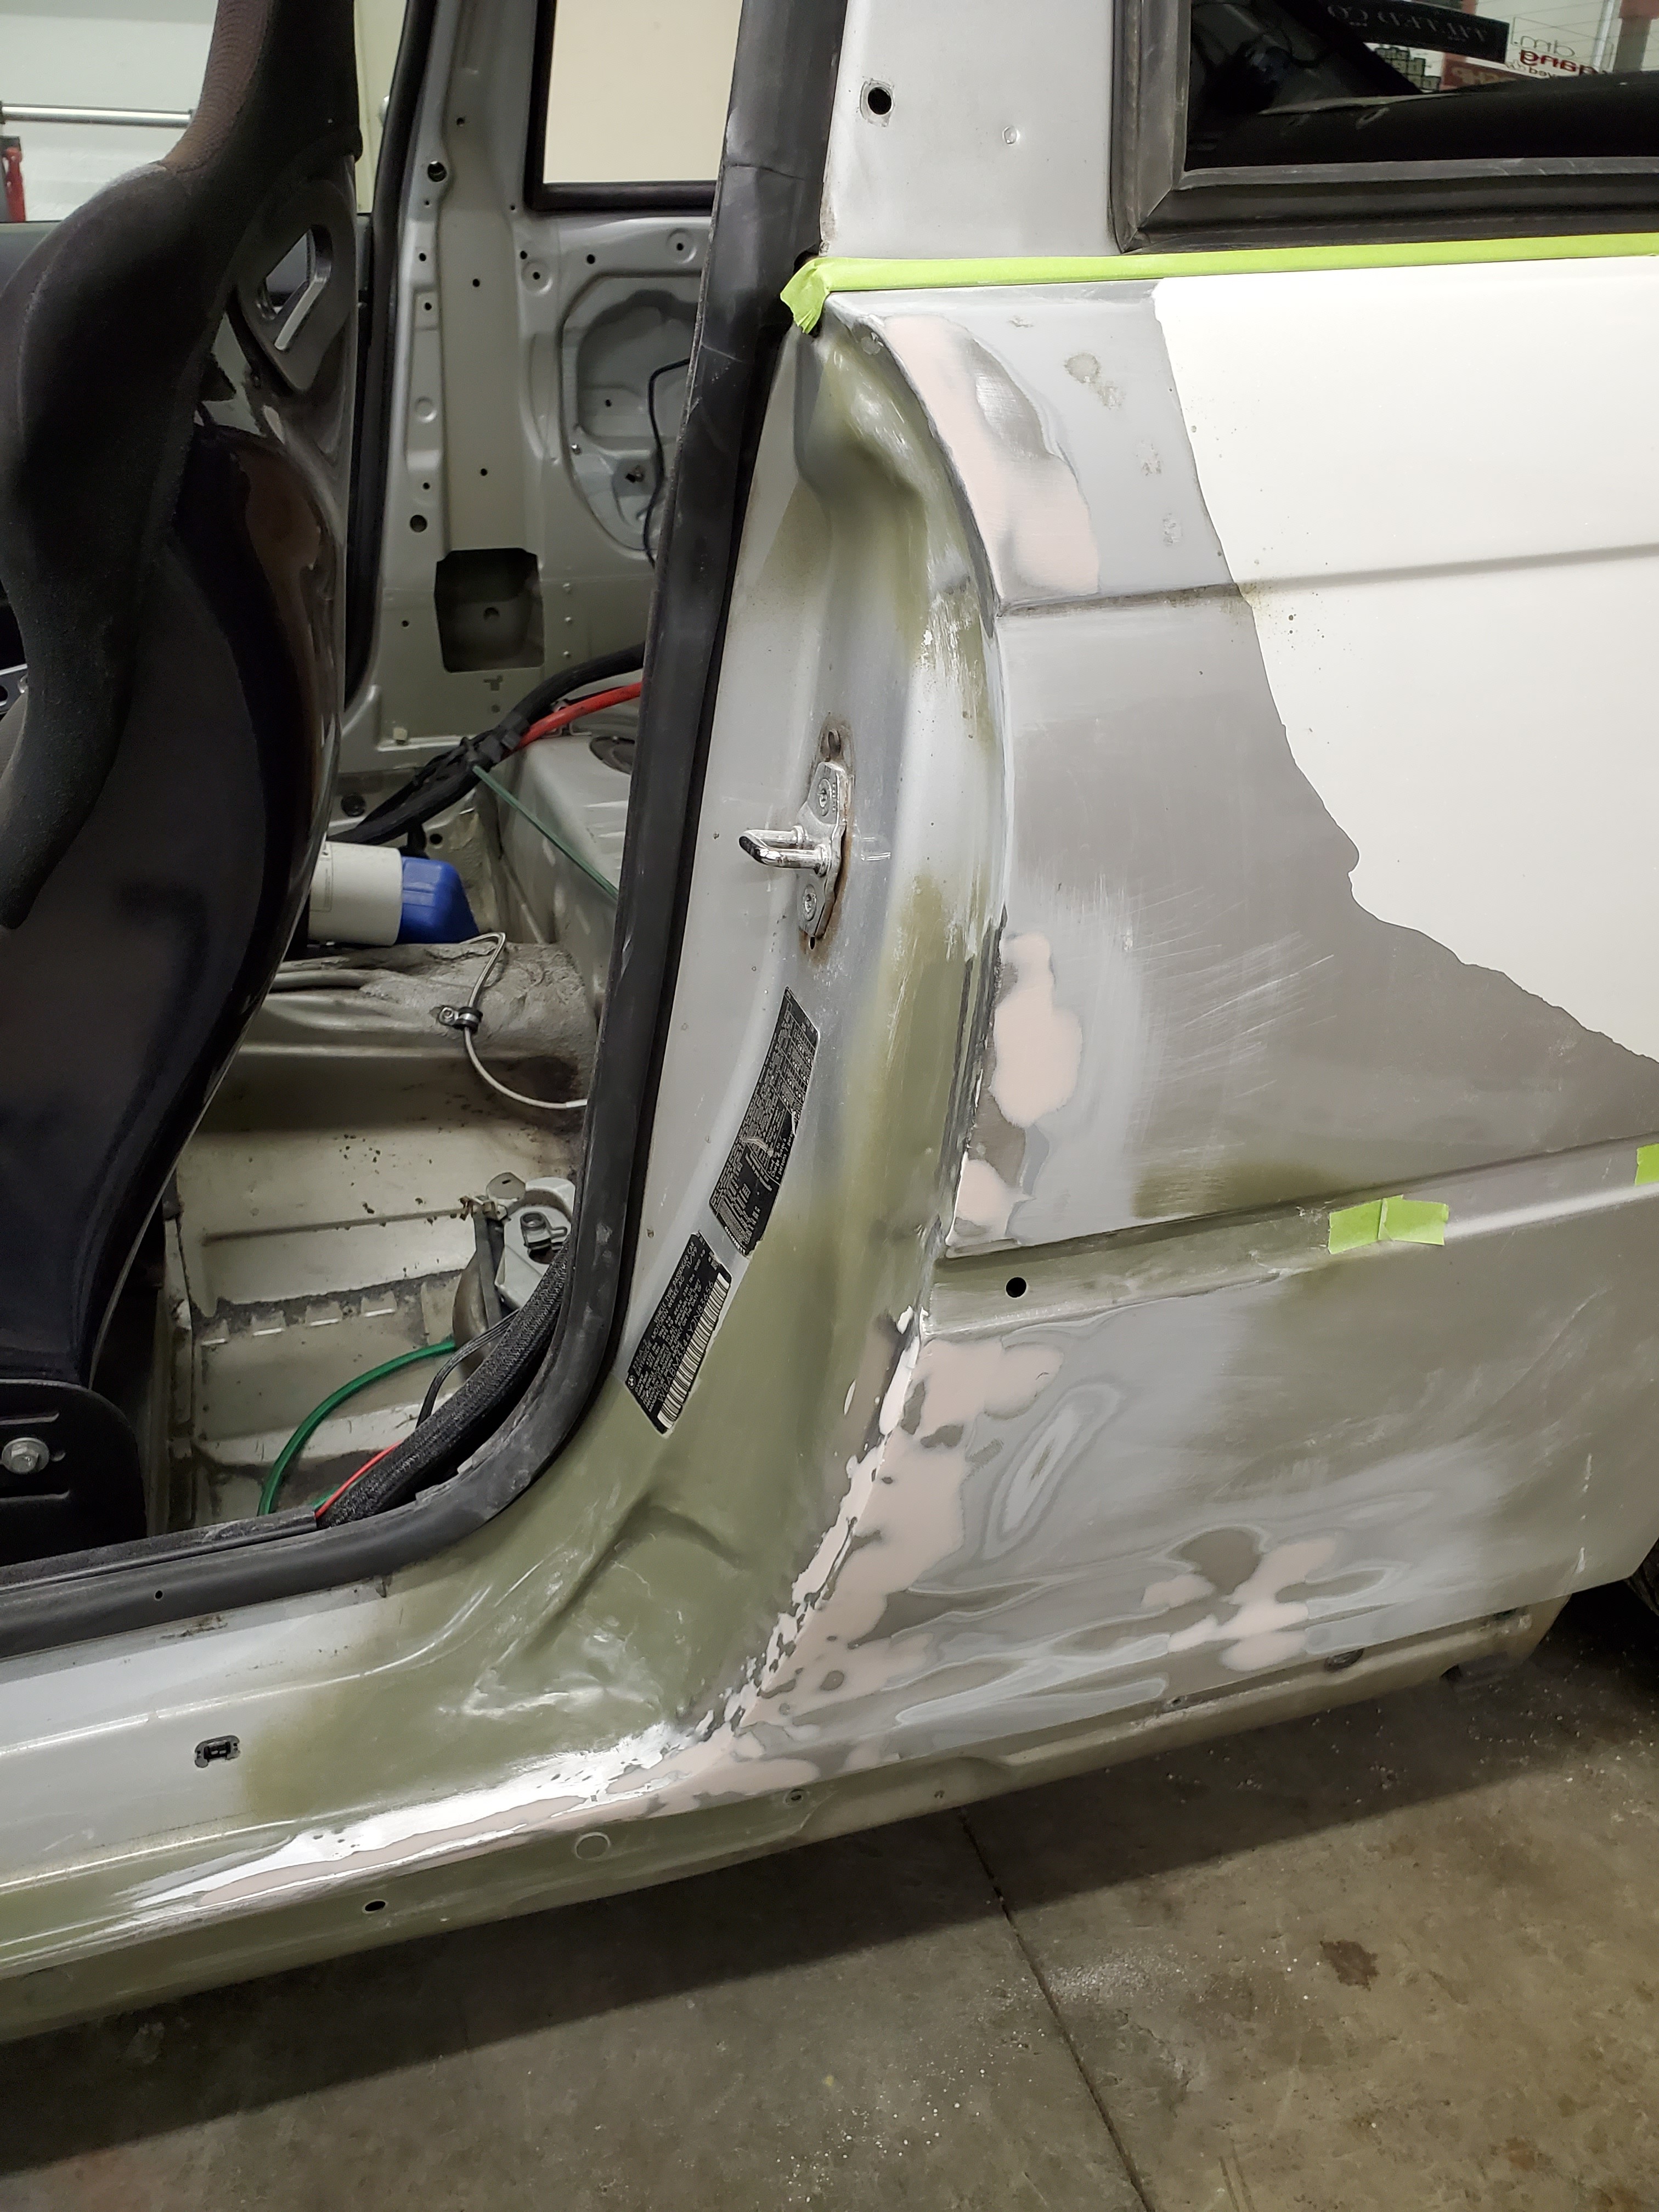
Moved on to starting to clean up the body work from the dent being pulled.
Layed down some filler.
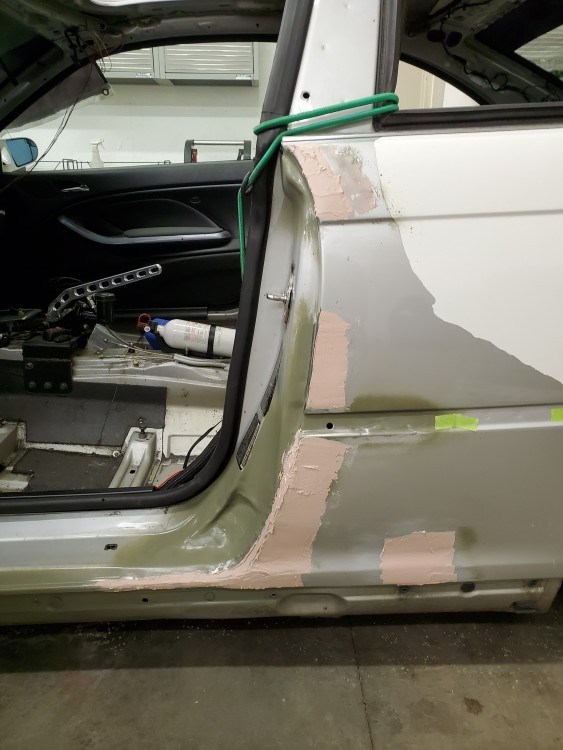
And then sanded.
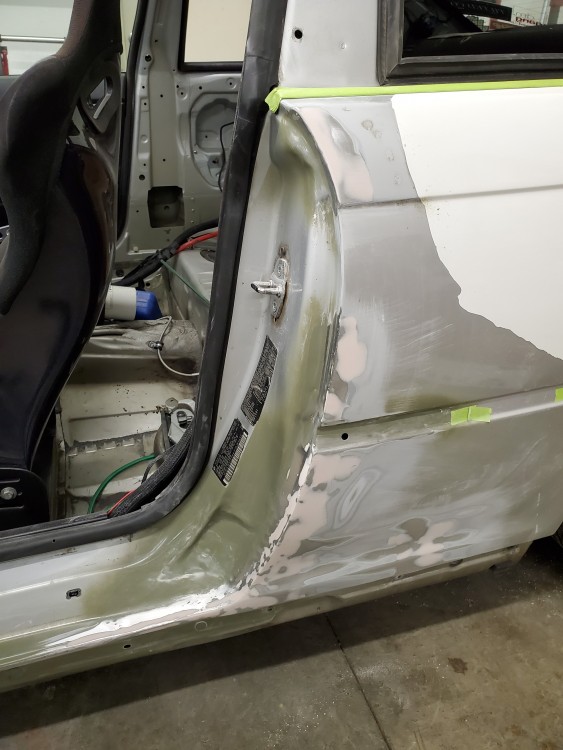
ALOT more detailed filler work and sanding is ahead but it's a start!
-
Not a whole lot of progress this weekend but got something done that I've been meaning to do since I first built the car.
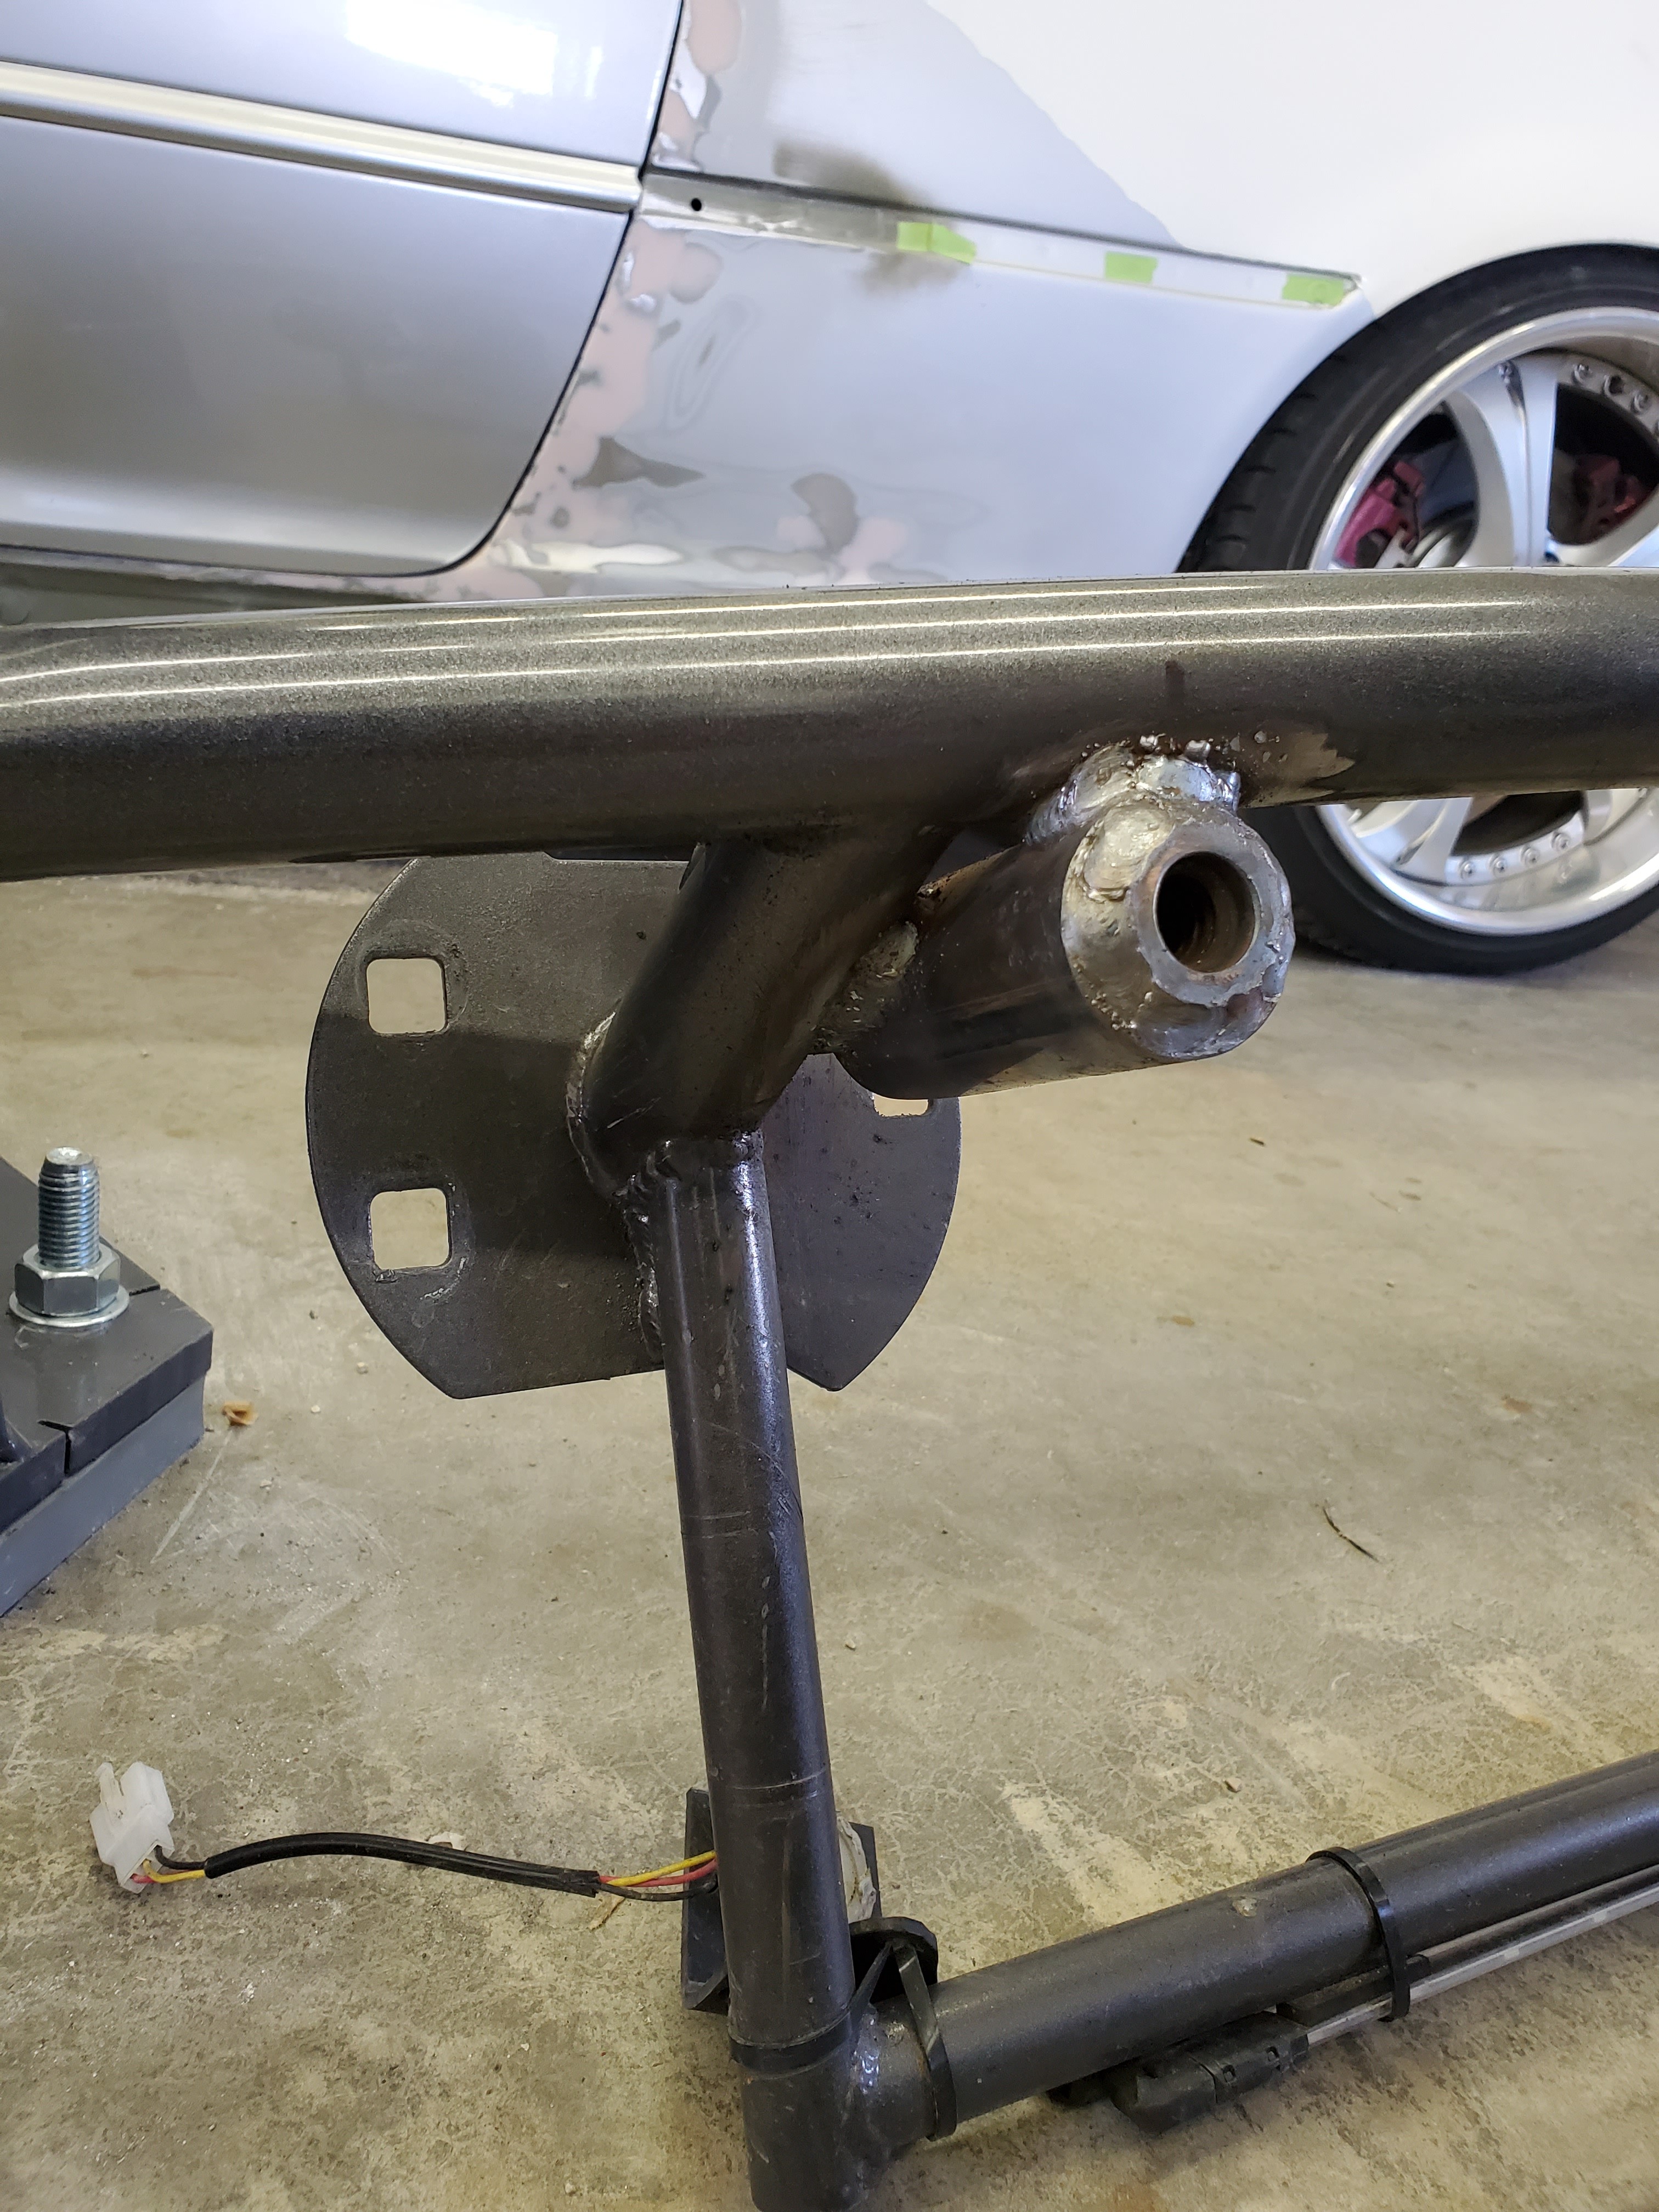
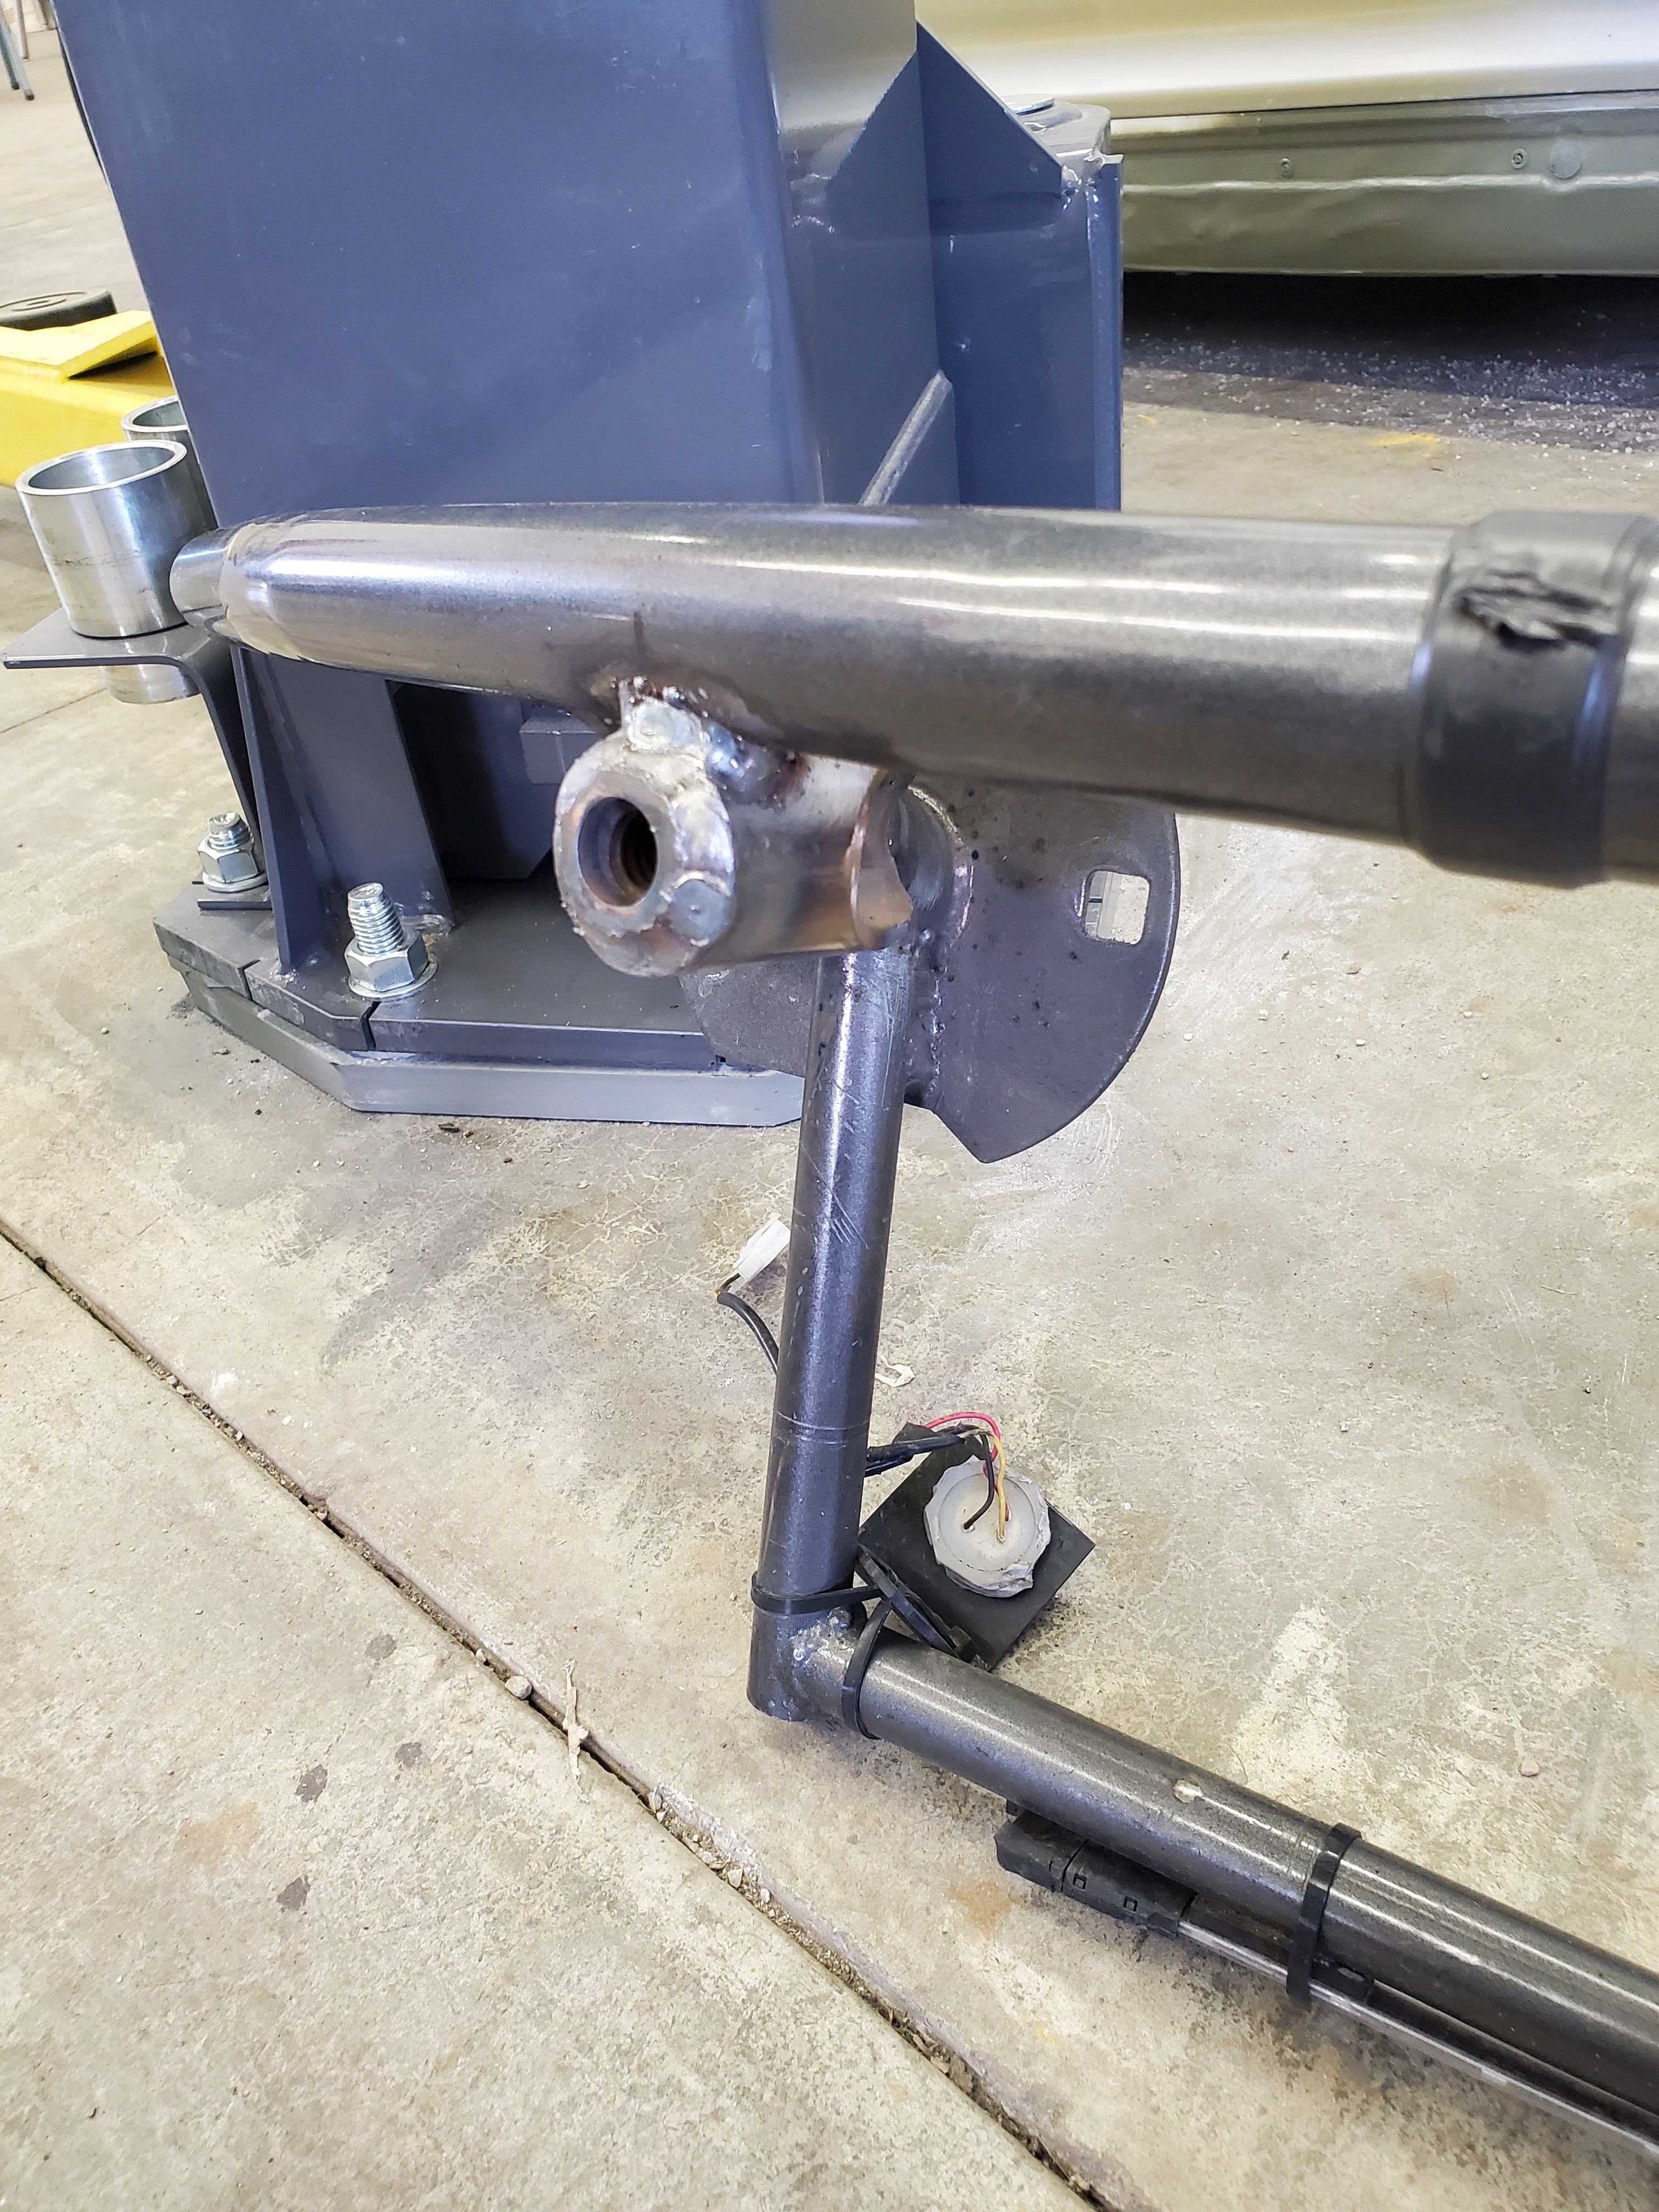
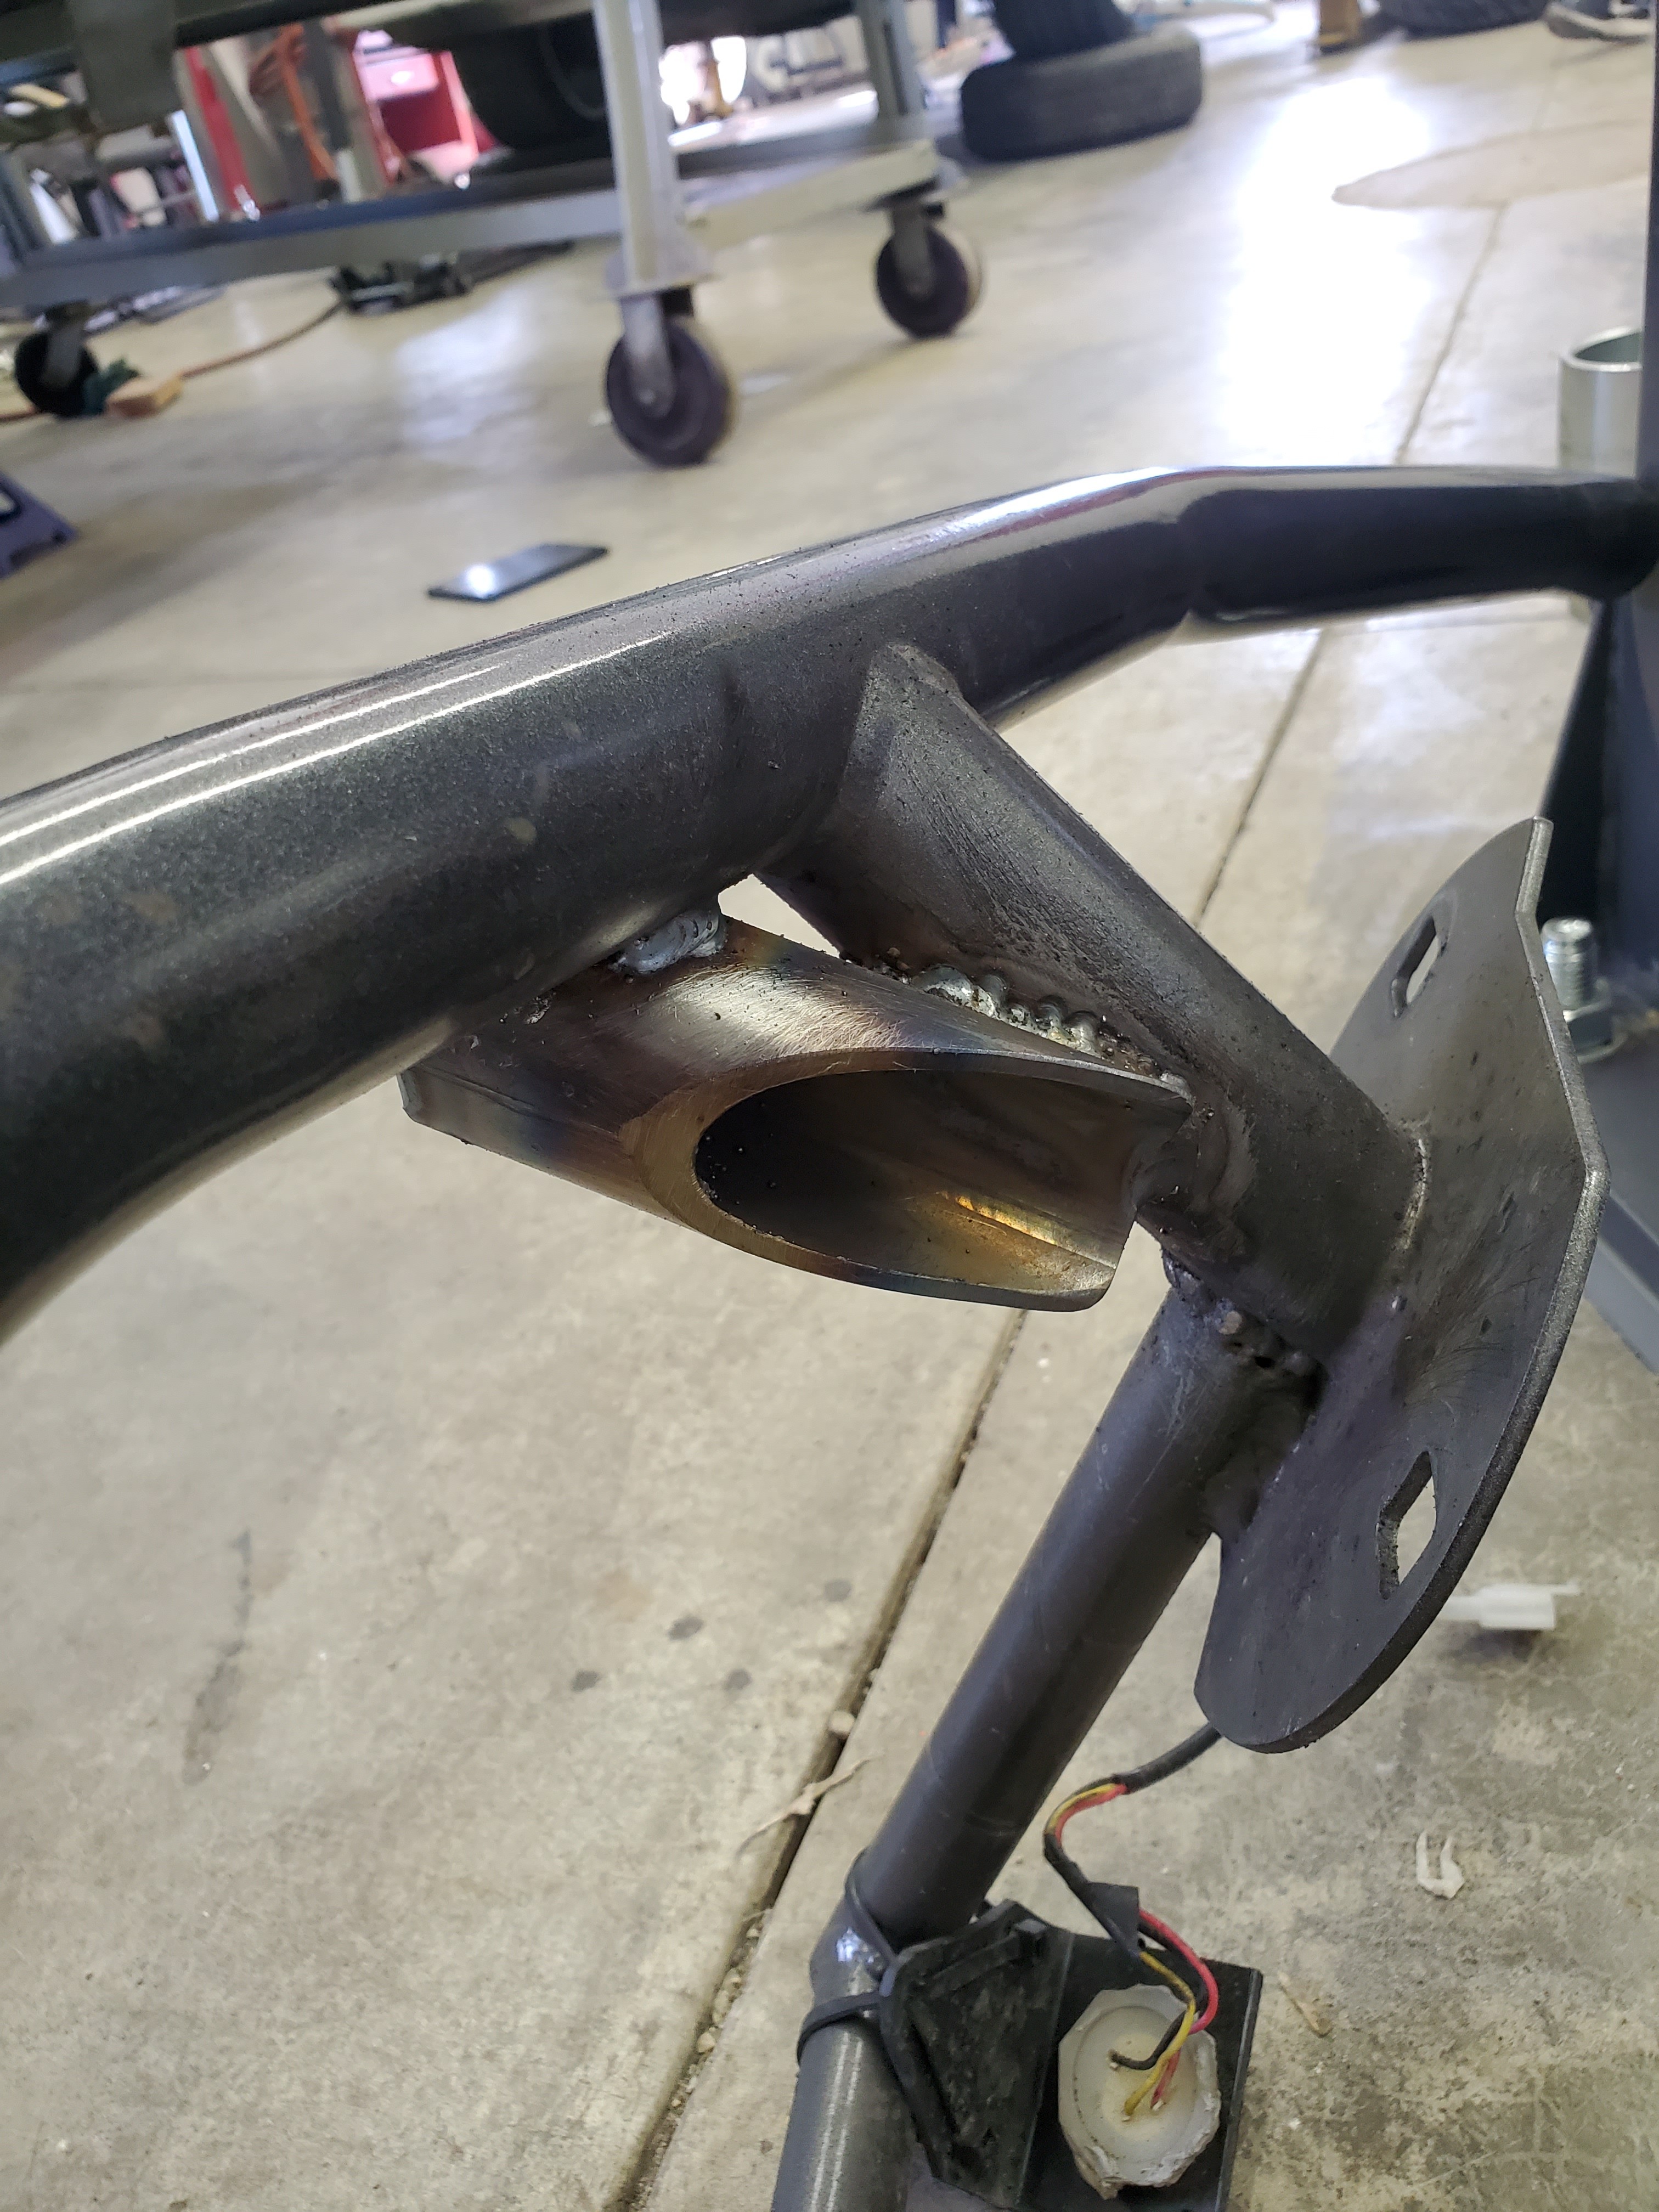
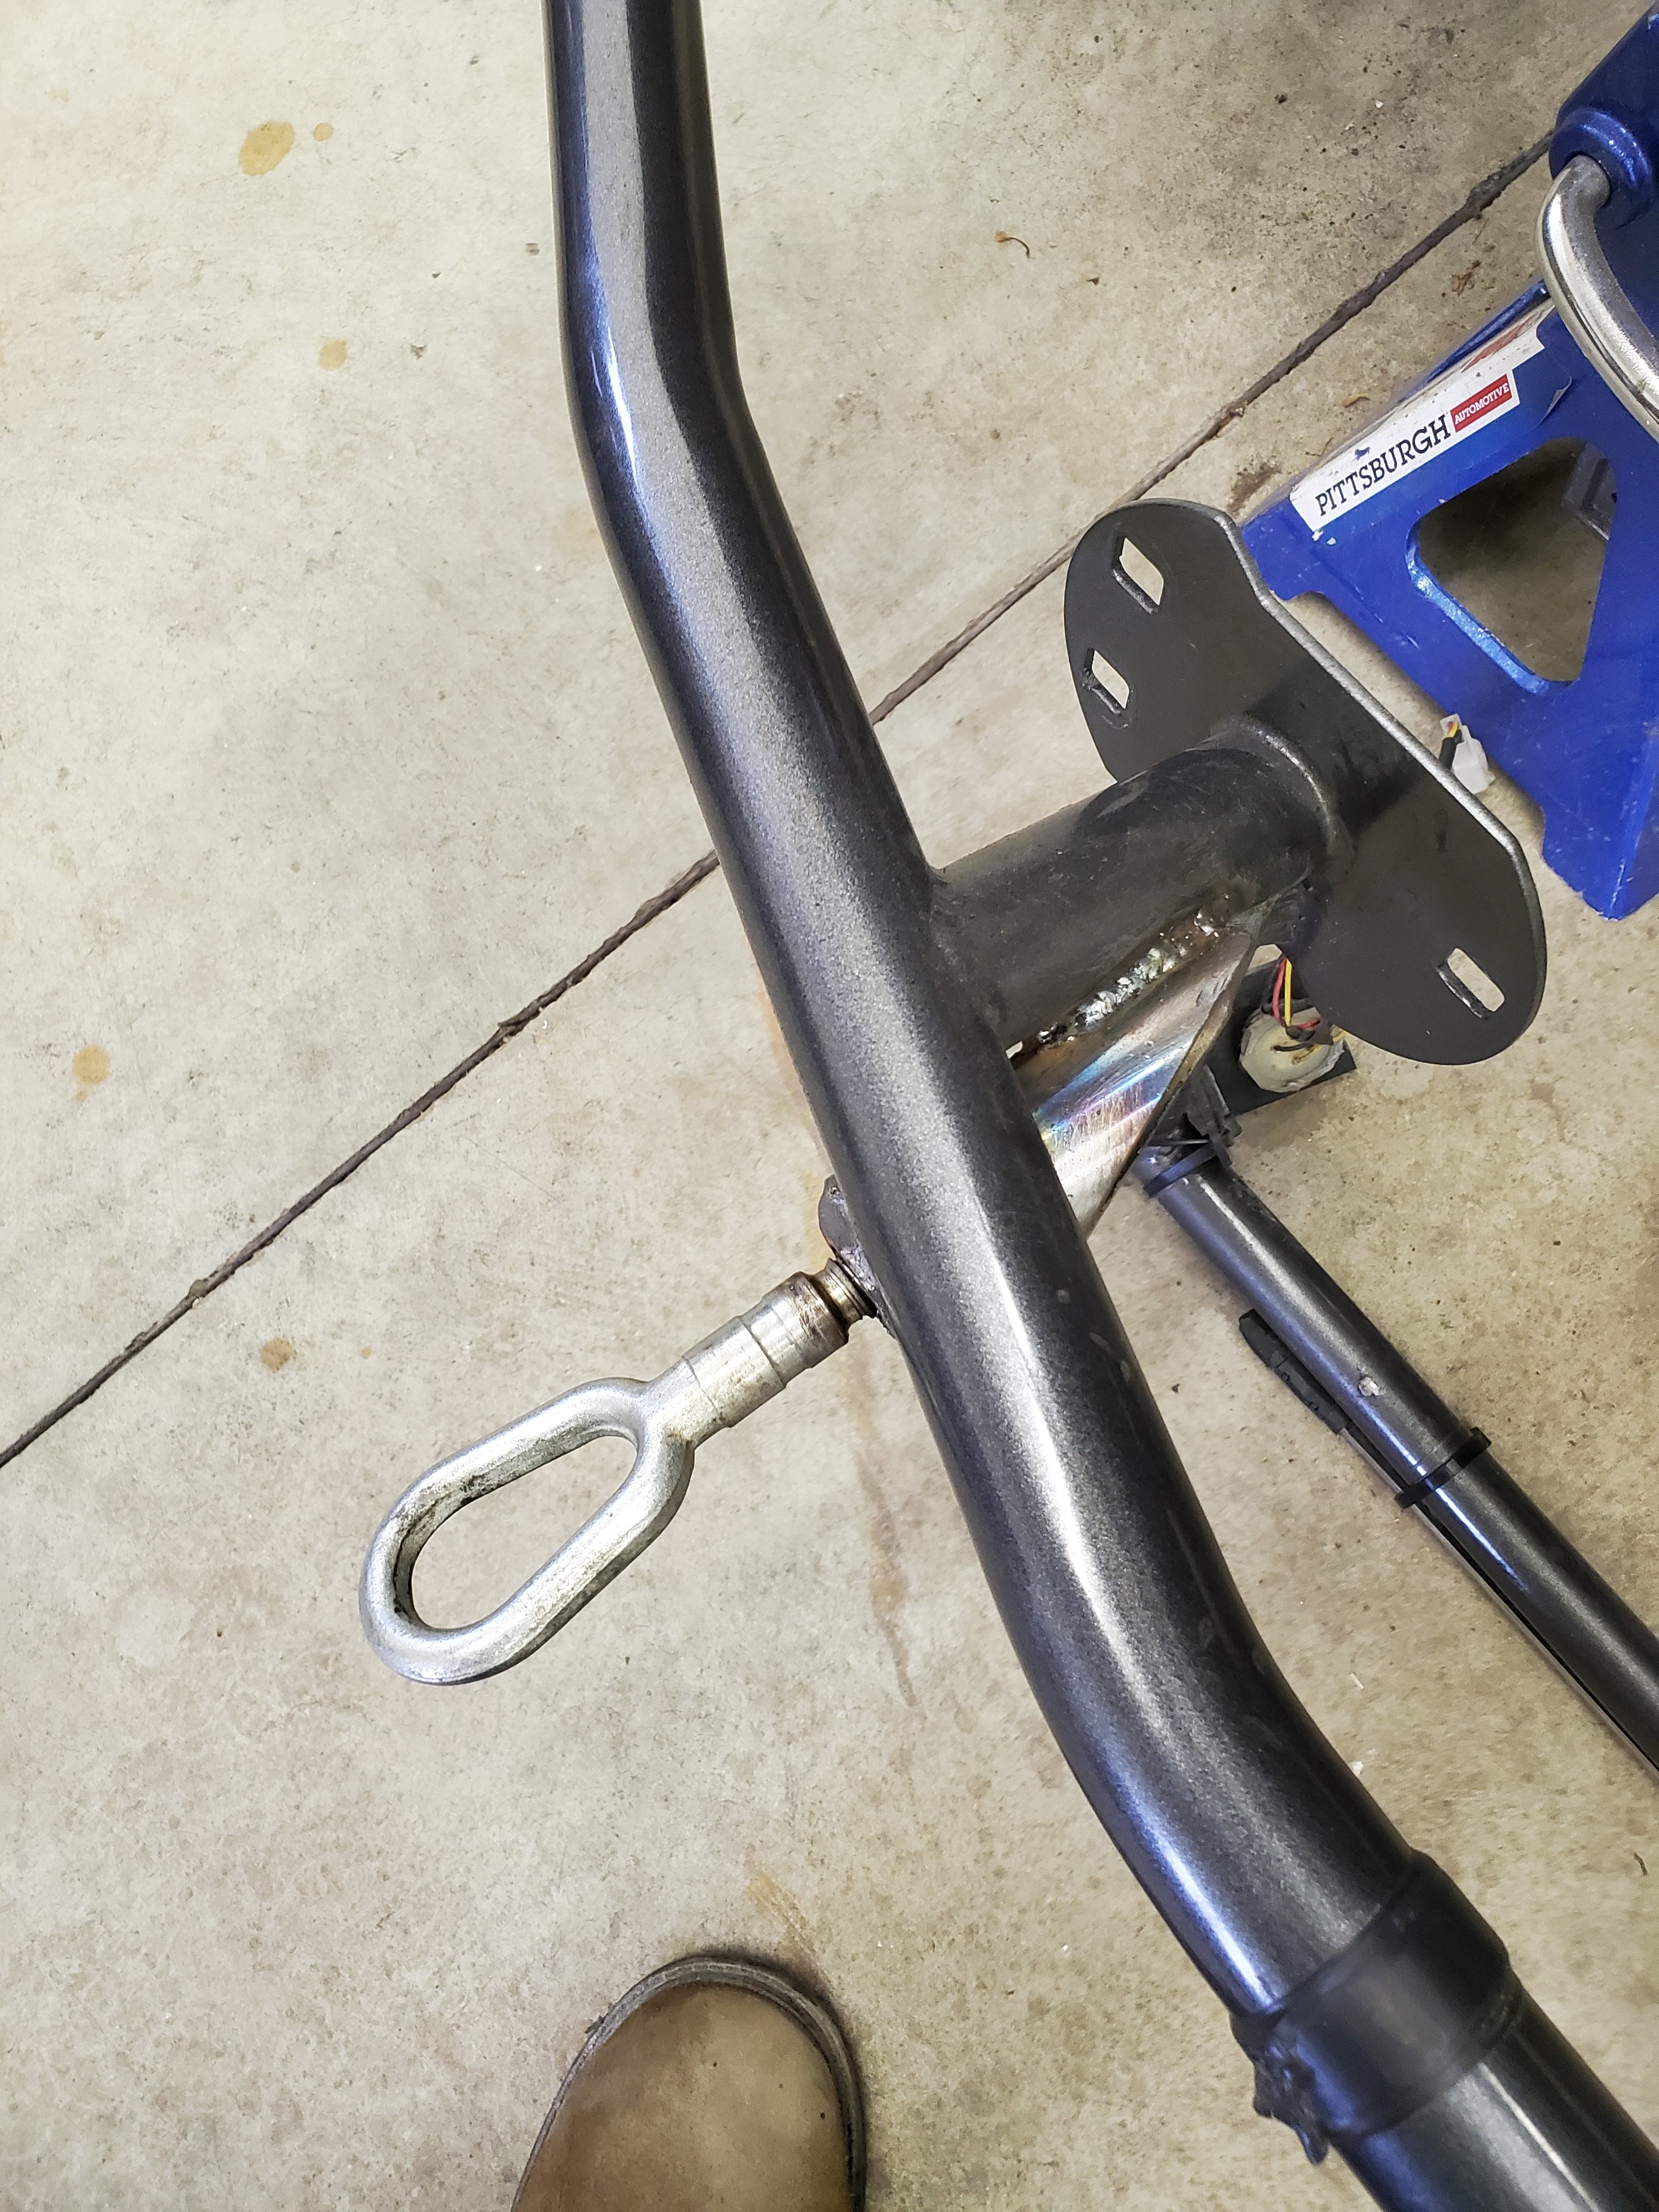
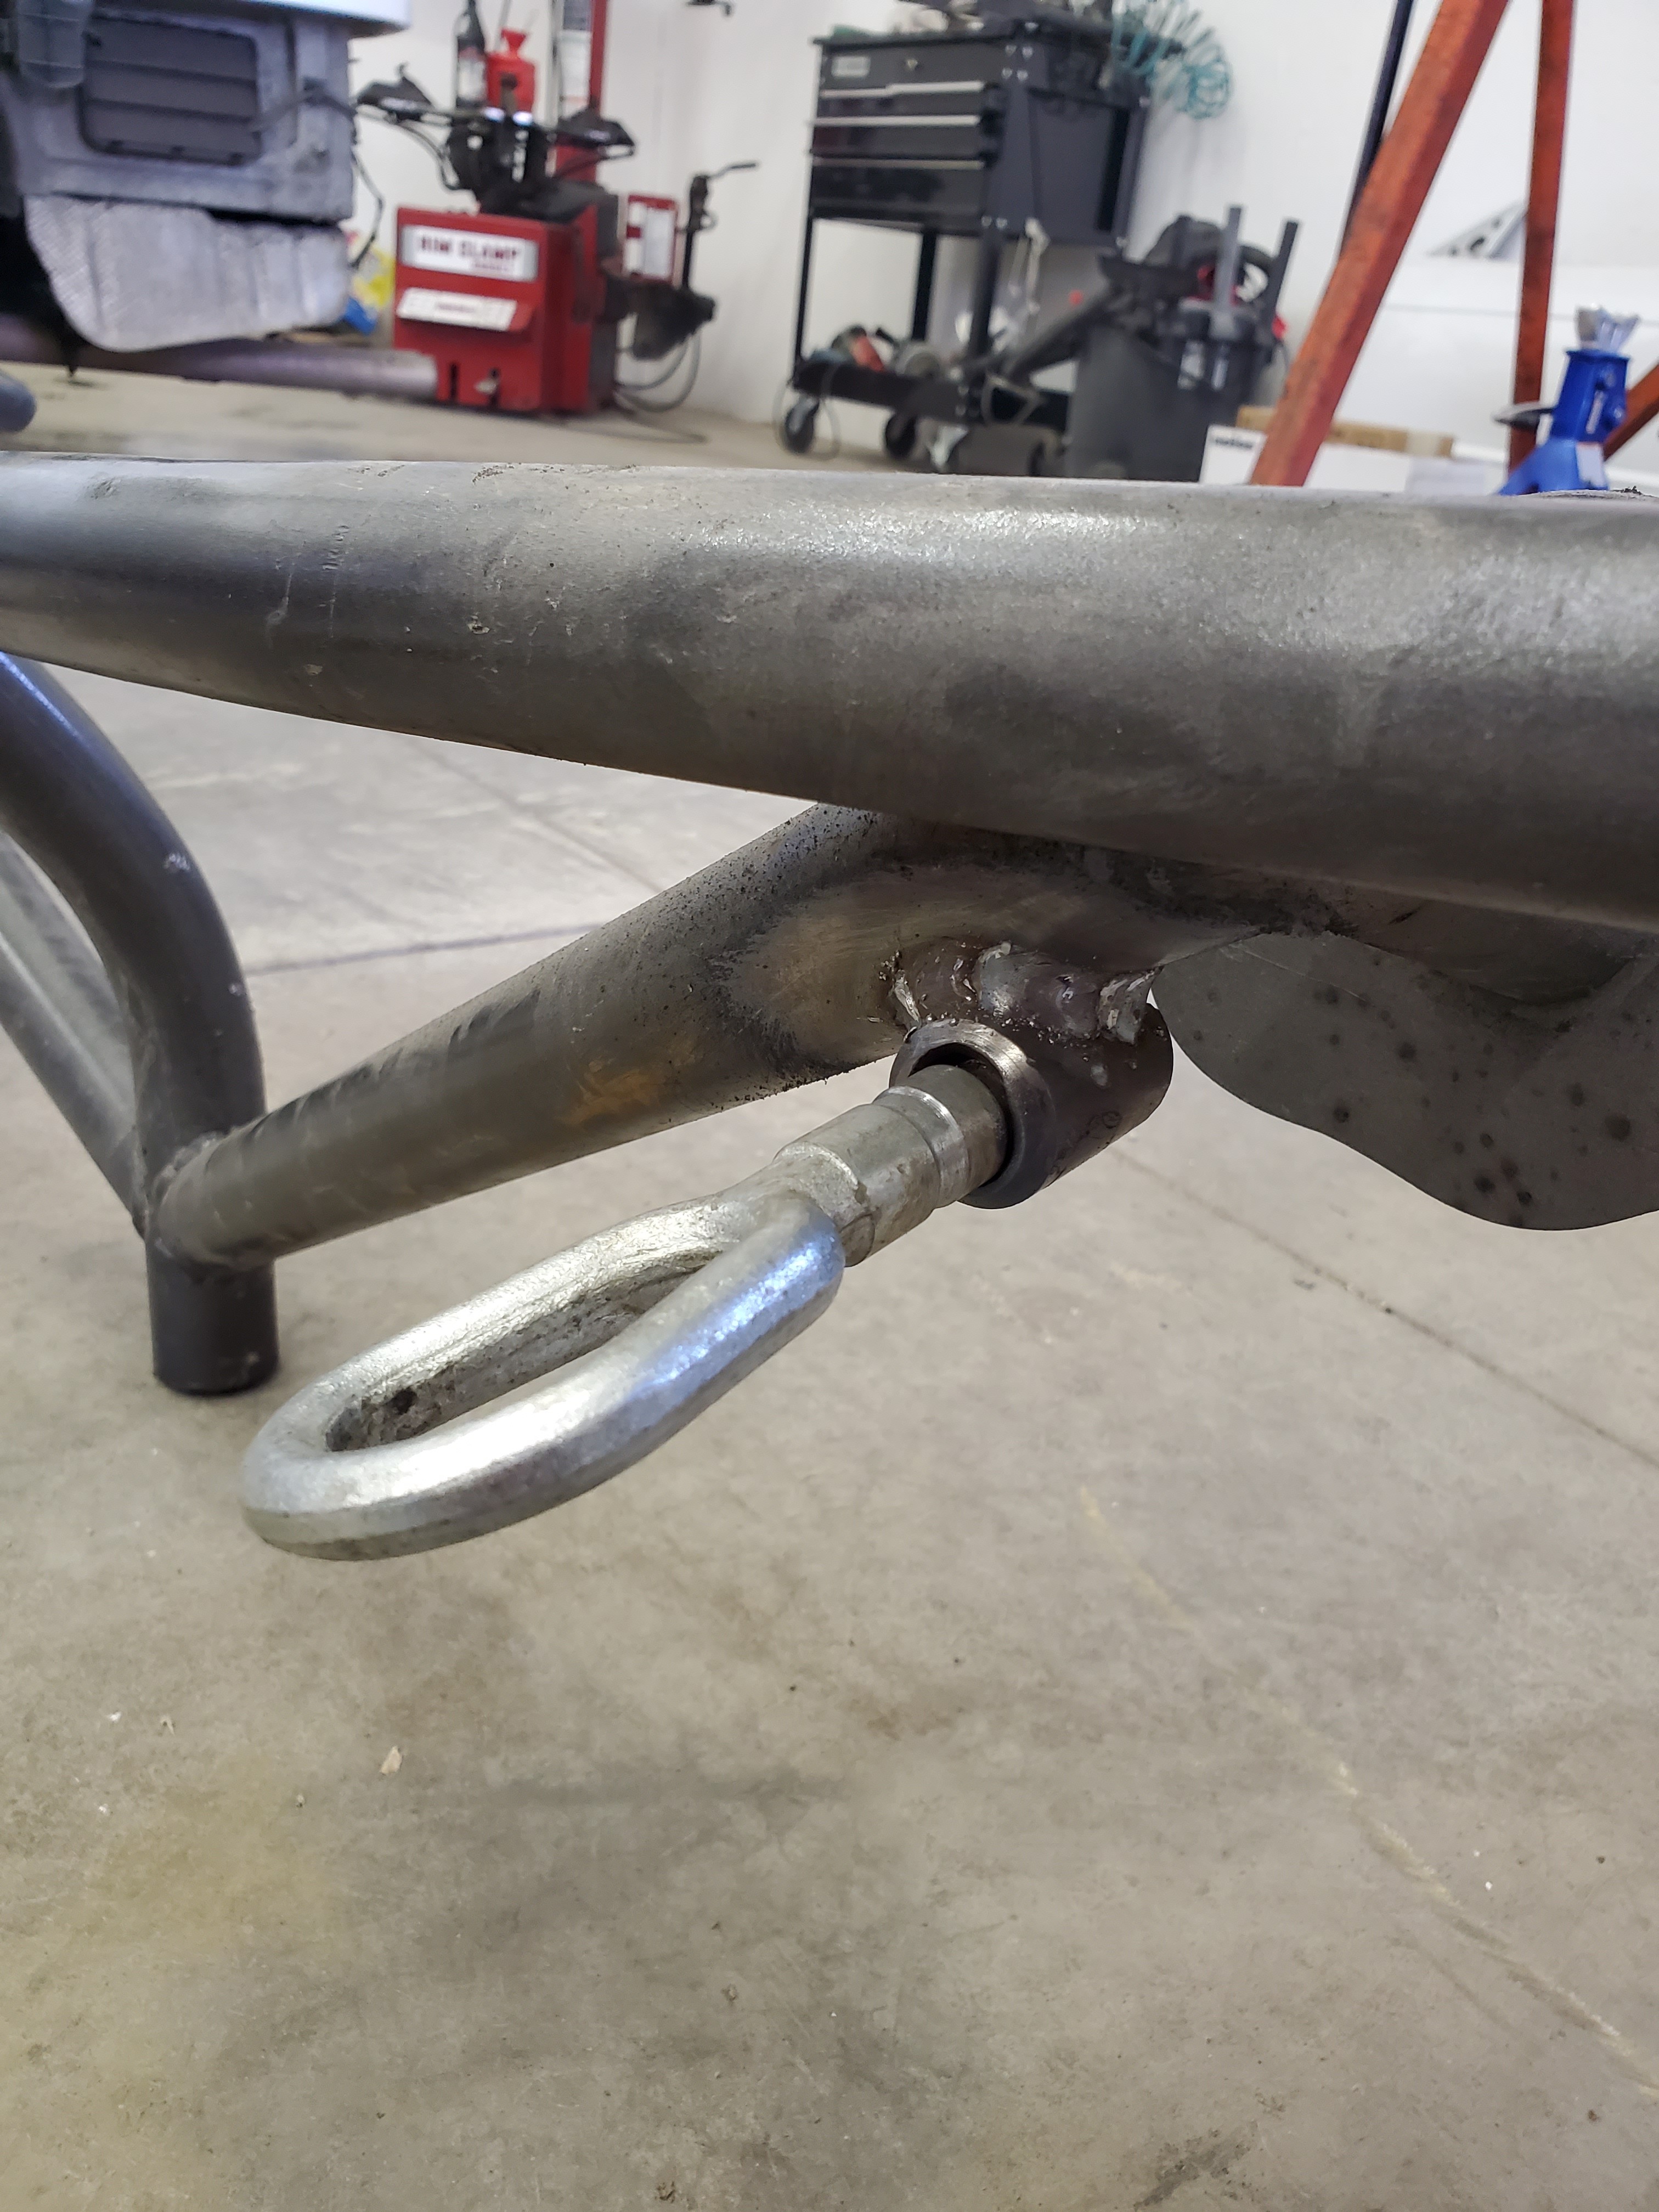
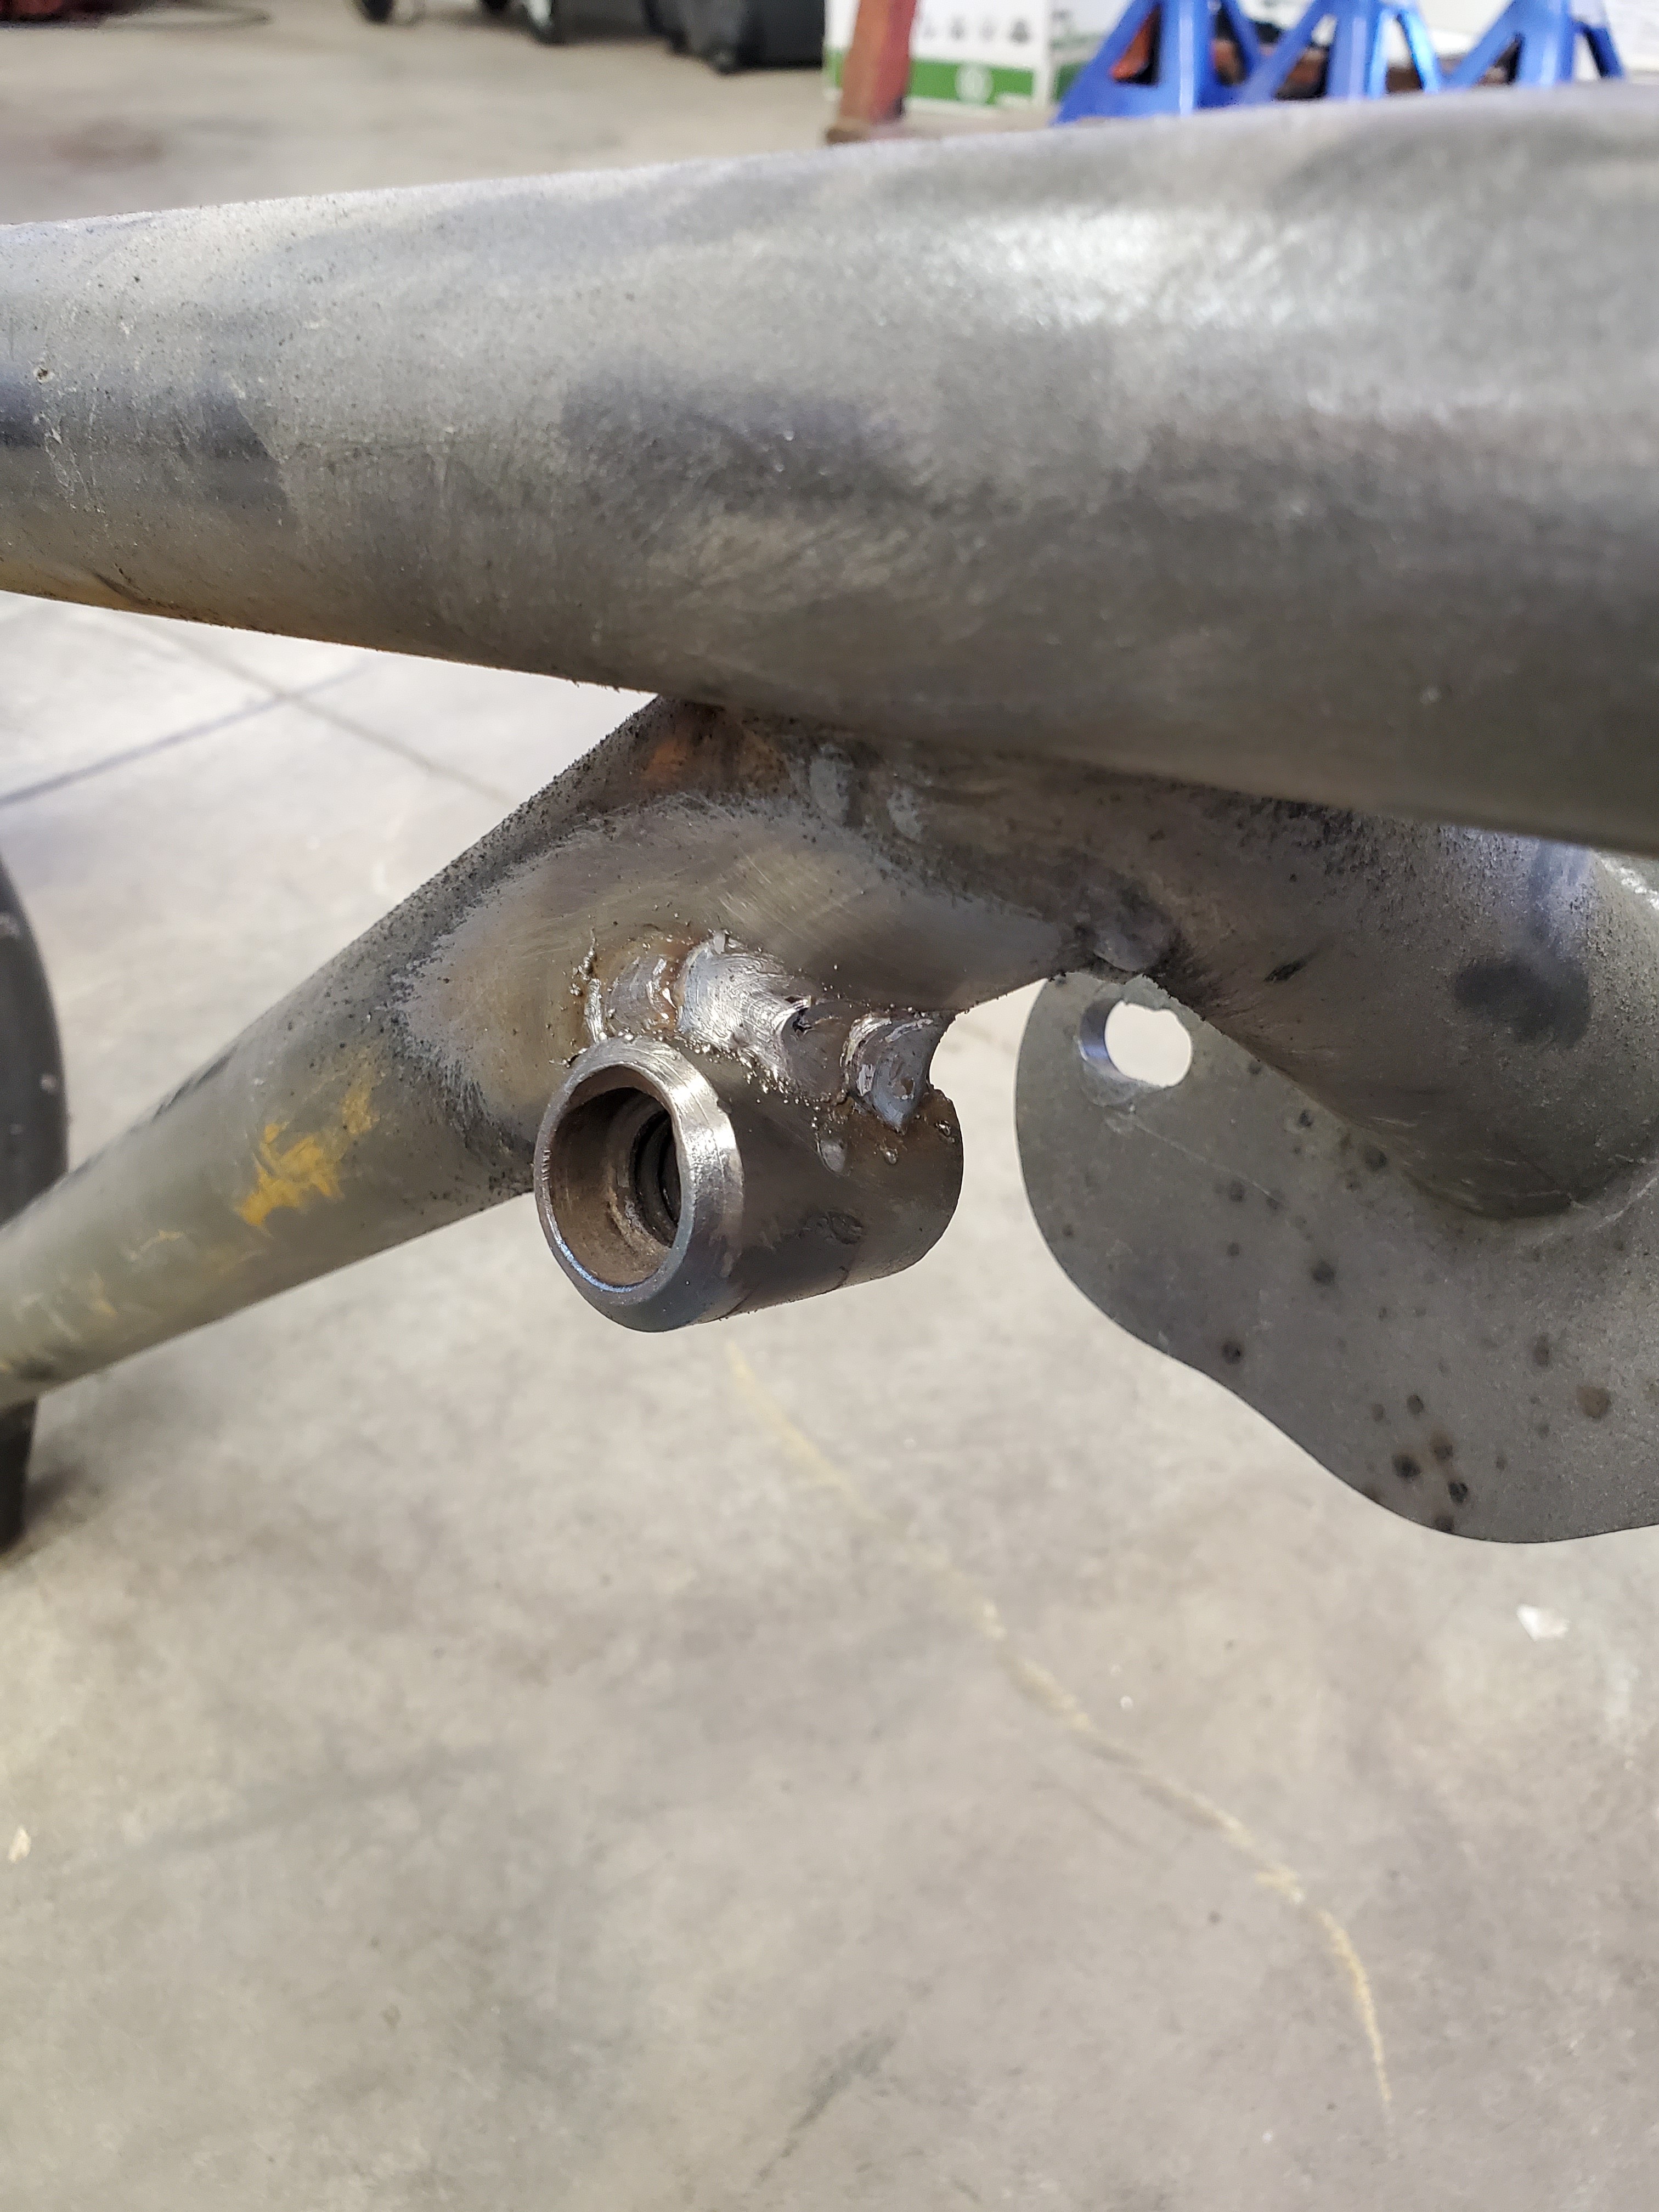
Before I scrapped the stock bumper and bumper supports I cut off the tow hook threads, finally got around to welding them to the bash bars.
Here's the front. I welded the threaded chunk into a piece of tube then to the bar. Worked out really well.
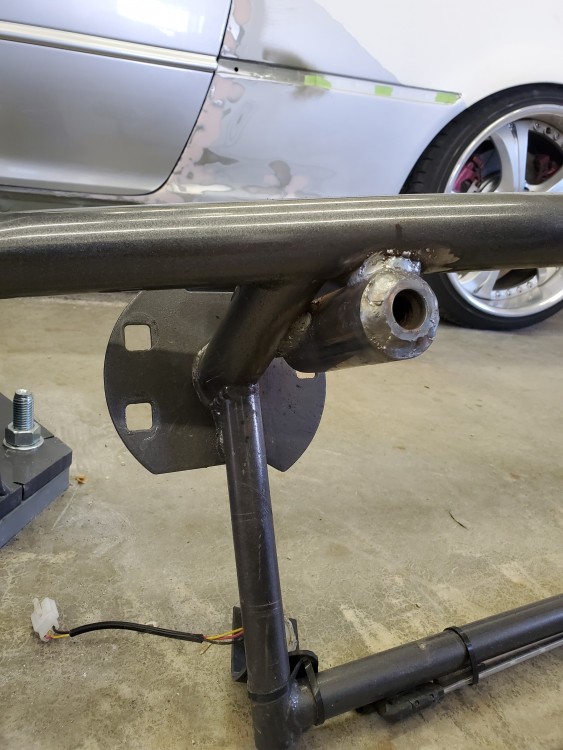
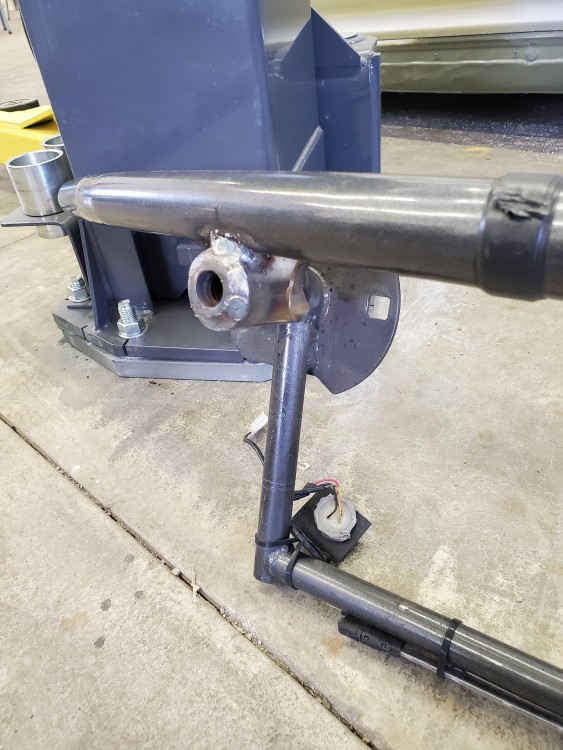
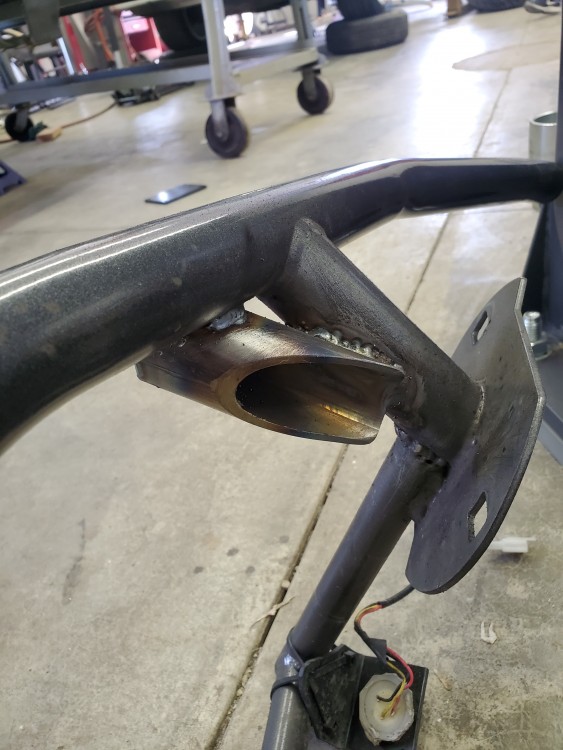
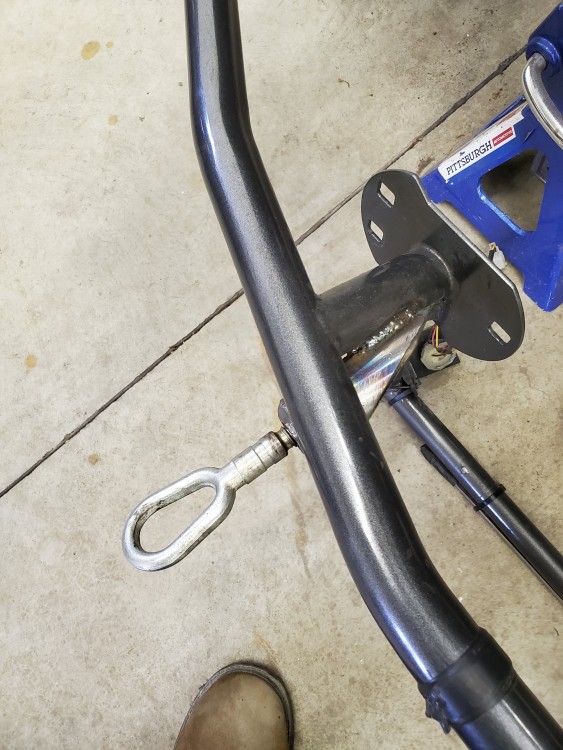
The rear was alot simpler since I had added the jack point last spring. Lined up perfect so all i had to do was burn the piece right to the bar.
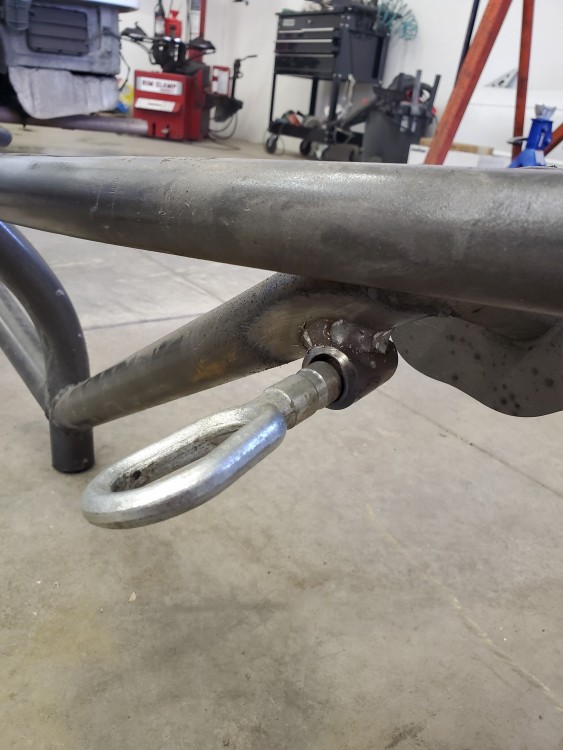
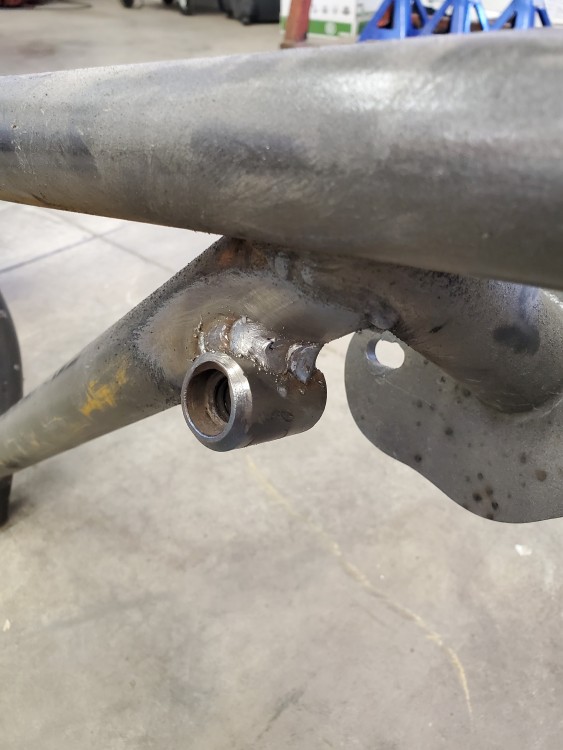
little thing that wont be noticed really but it felt good to get it done. Both just need some paint and are complete.
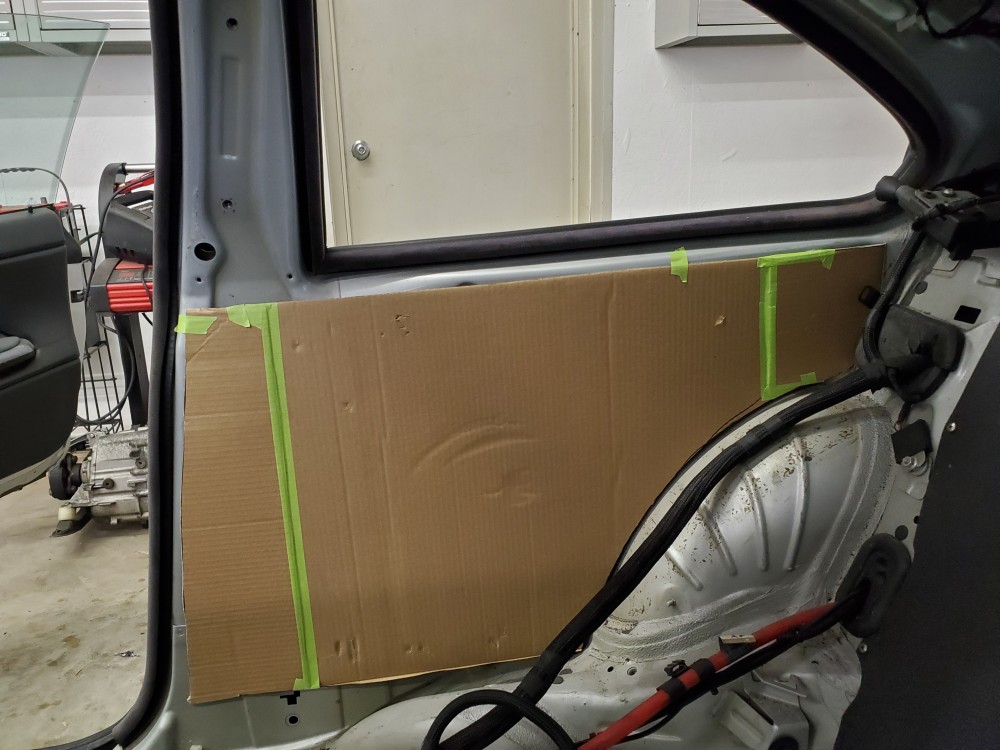
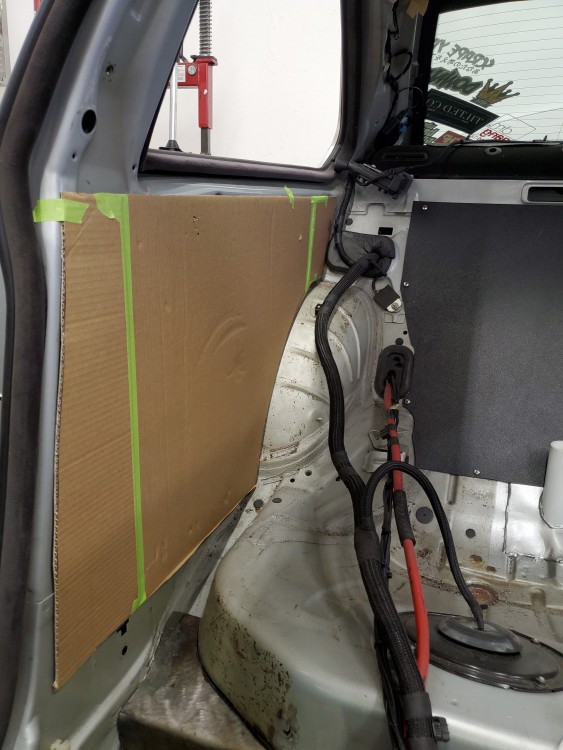
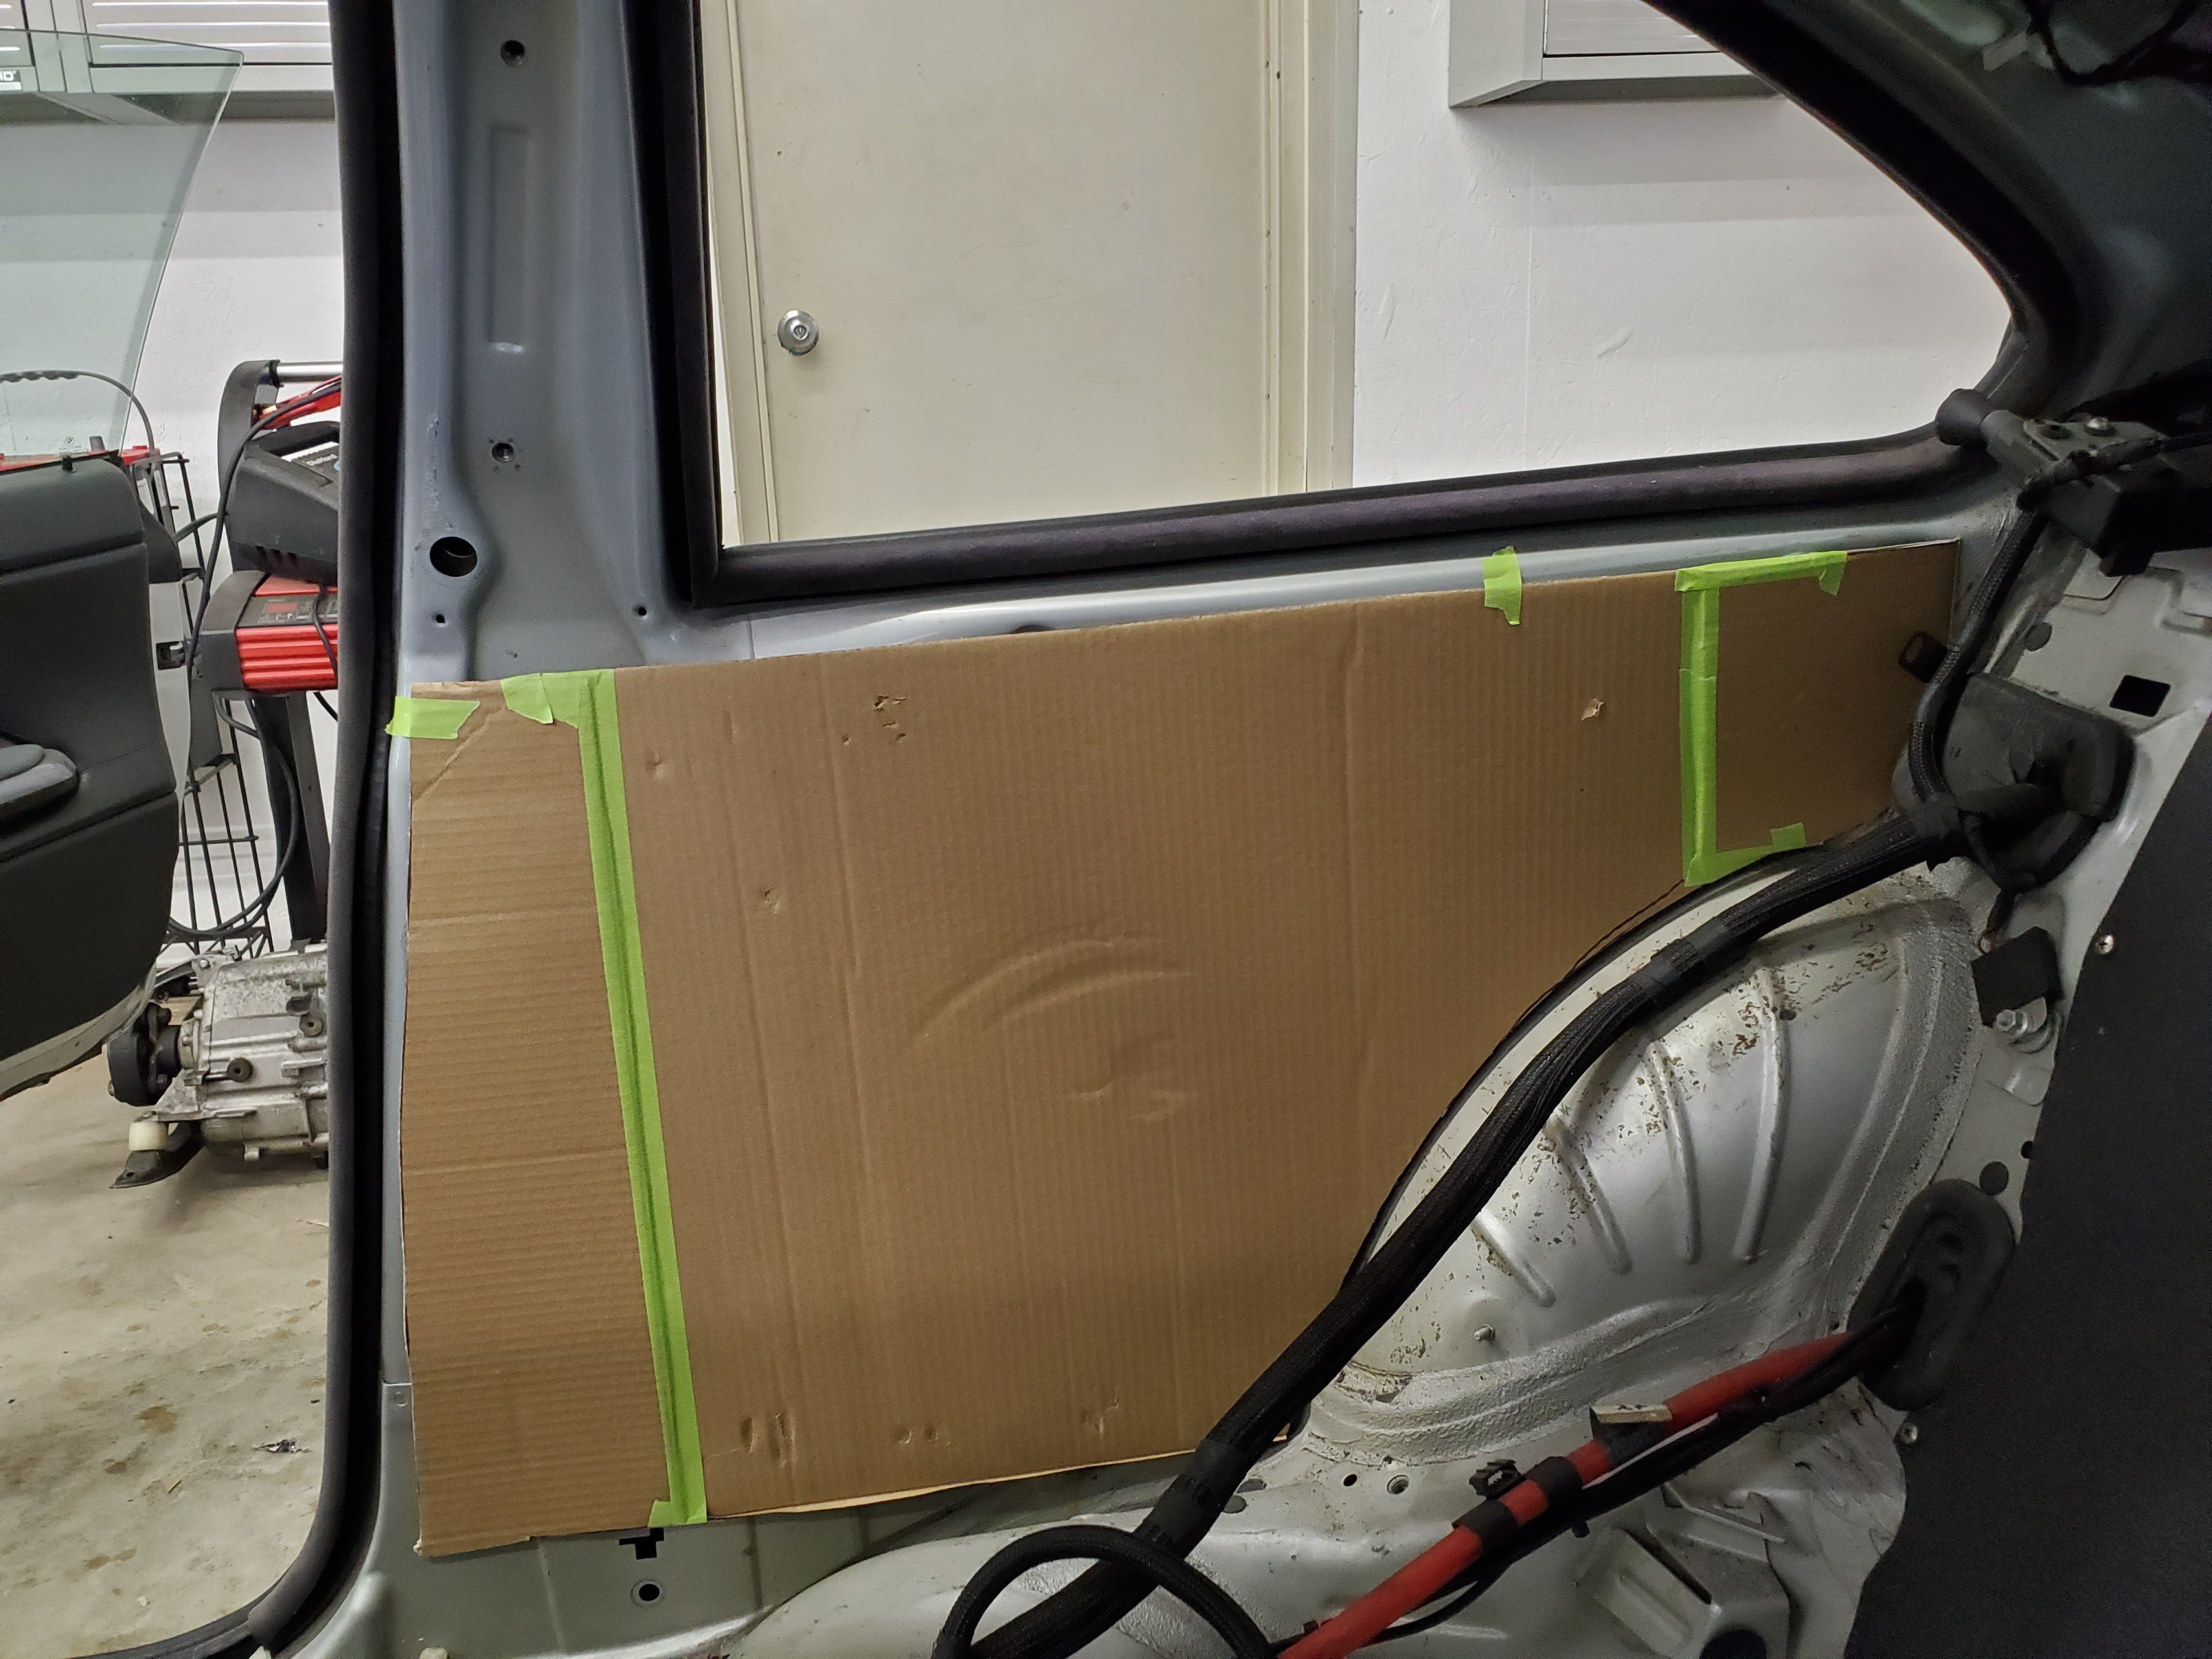
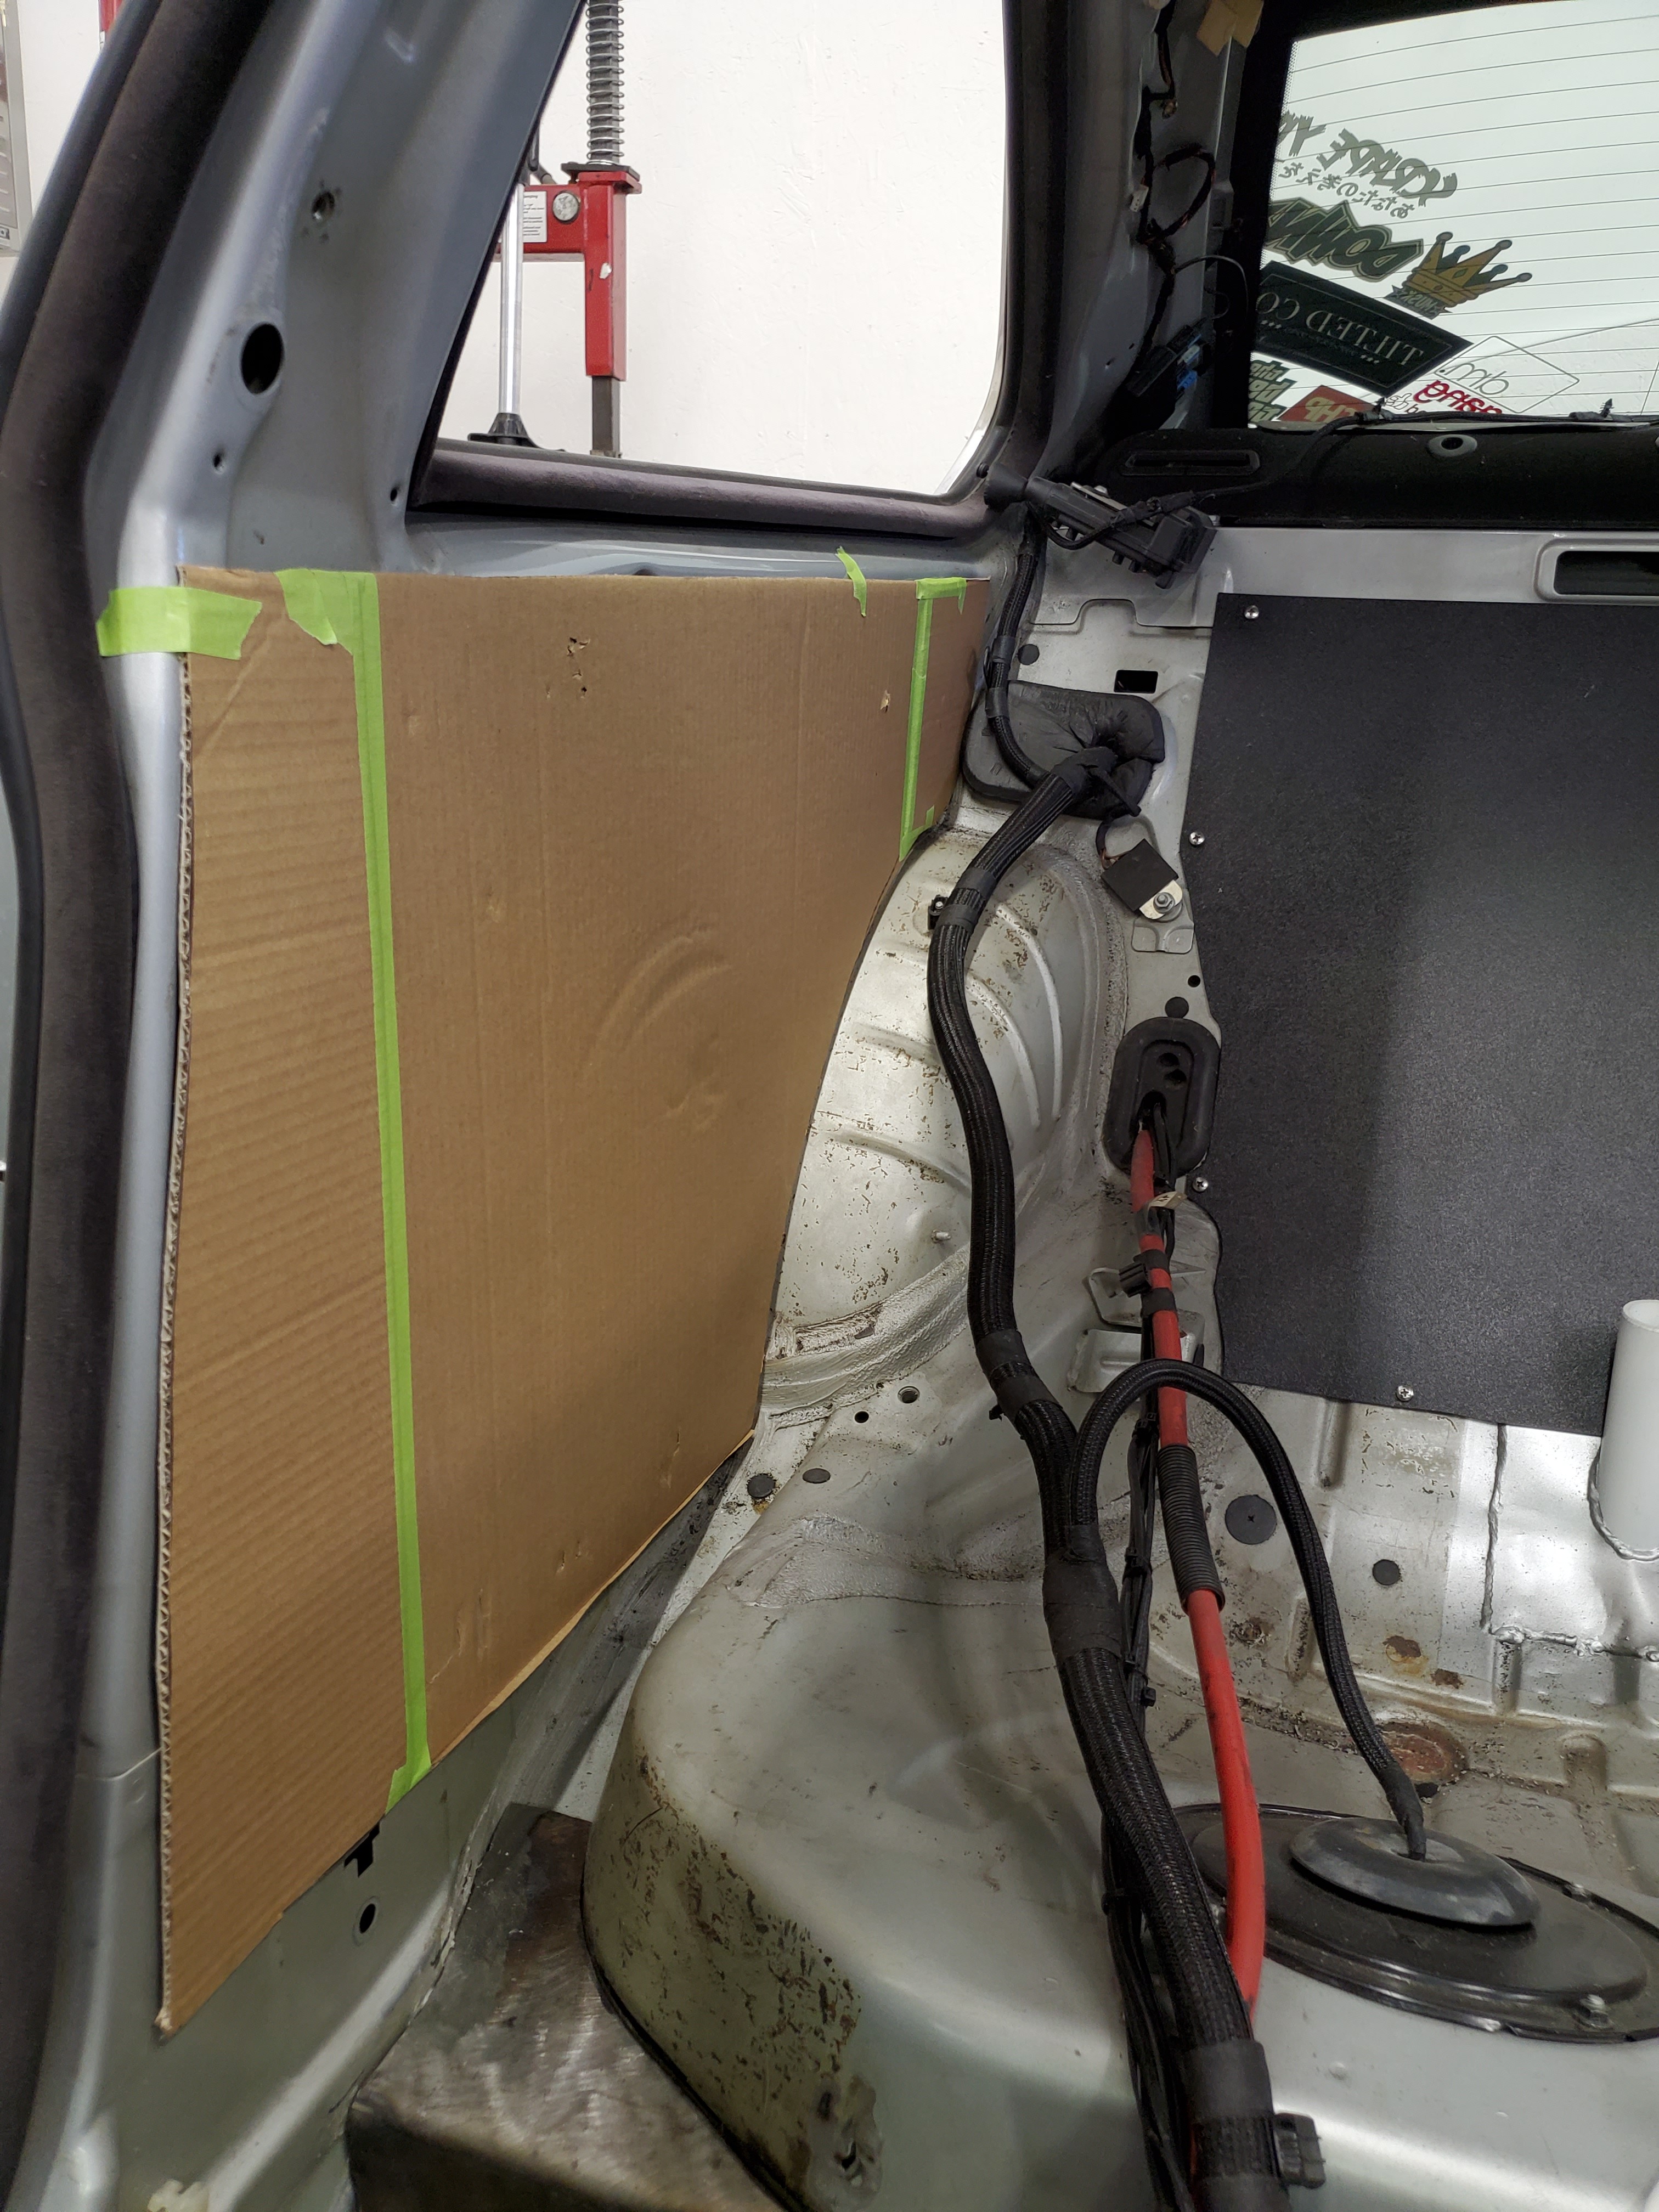
I also made some "CAD" templates for the rear door panels once the cage is in. I wont be able to fit the stock panels with how we are doing the cage so I'll be cutting them out of the same ABS that I made the bulkhead out of and then using nutzerts and some nice hardware to secure them.
-
I like this every time it's updated
-
I like this every time it's updated
I do my best! Honestly alot of the reason I update even on the littlest things is for myself. When I built my civic over the 8 years I had it I barely updated the build thread I did have, which was so much work. And sometimes the little stuff is informational and might help someone else too!
-
So I've wanted to change my orientation of the handbrake for awhile now. I've seen a few people run the pull back style on the left of the shifter and use/make the window switch slot larger to accommodate for the throw of the handle.
Now that chase bays makes a pull back reverse mount handbrake I thought it was time to make it happen. Still need to order the brake but we have begun planning.
My biggest issue with what I want to do is most people just let the window switches hang. Which I'm not cool with lmao.
Of course this project began with some Cardboard Aided Design, I didnt take any photos of that.
But then @Sam_Holzmann went full design boi on it for me.
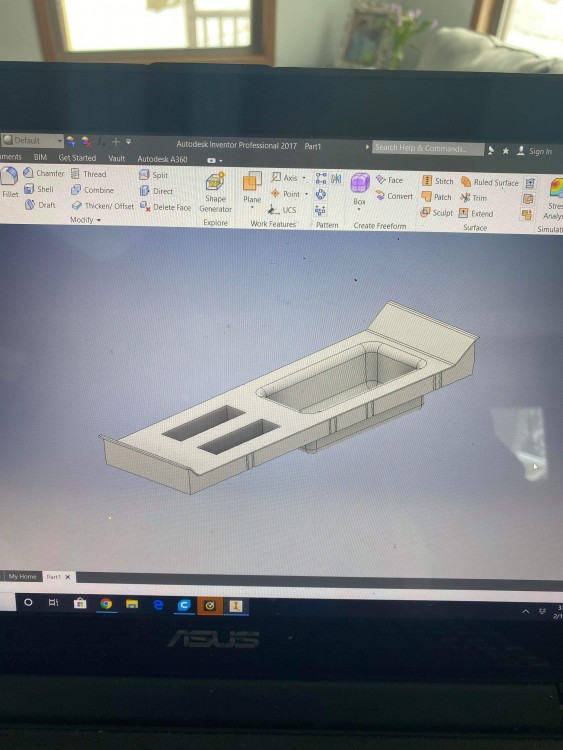
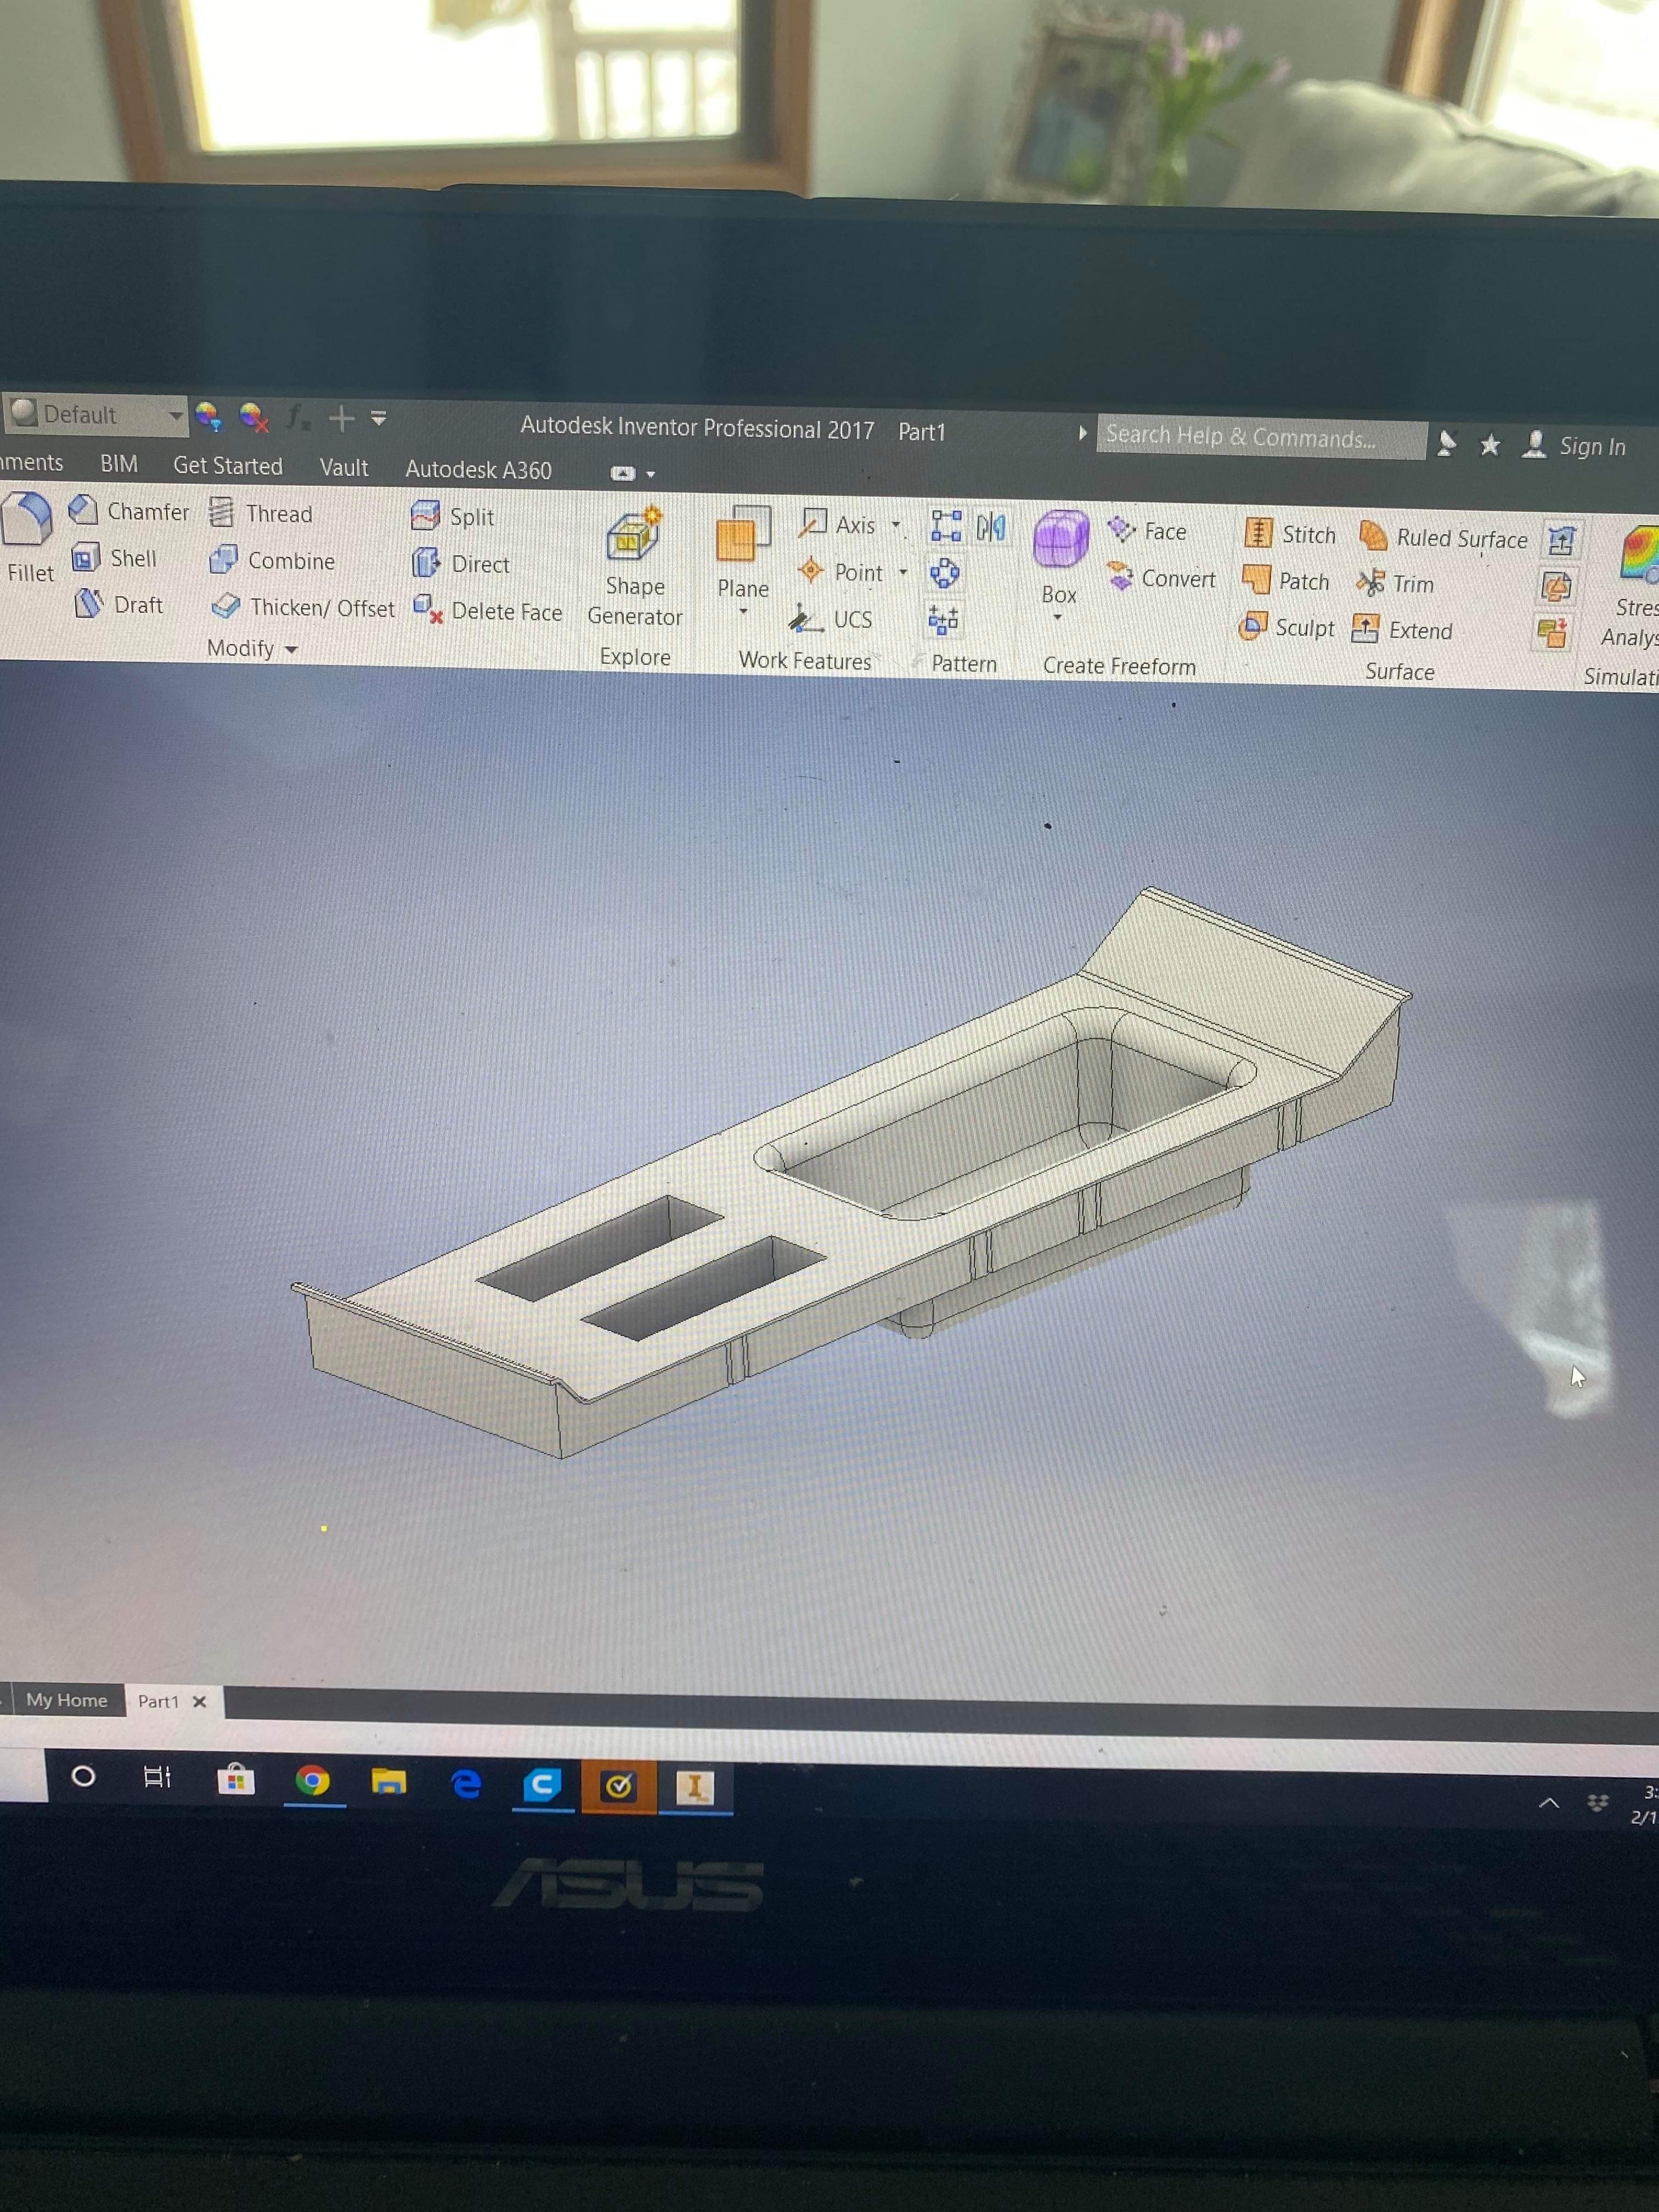
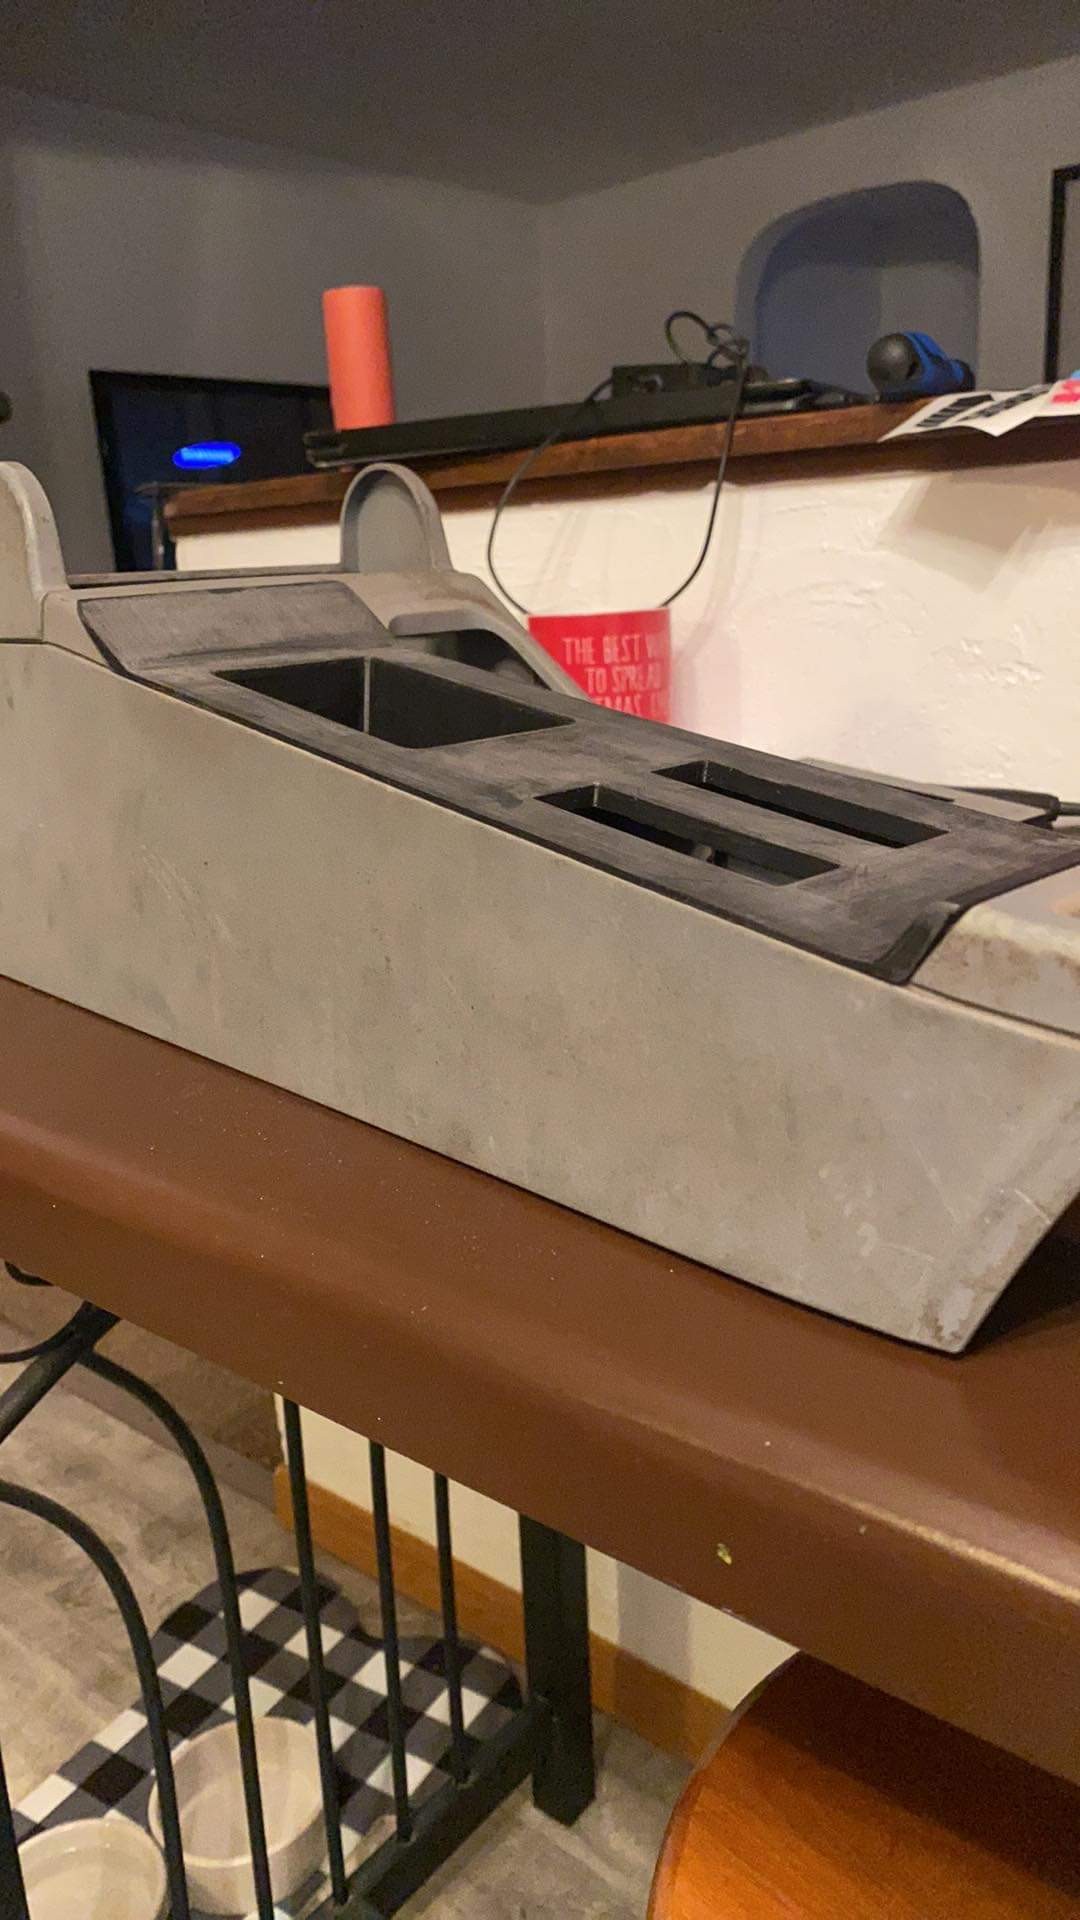
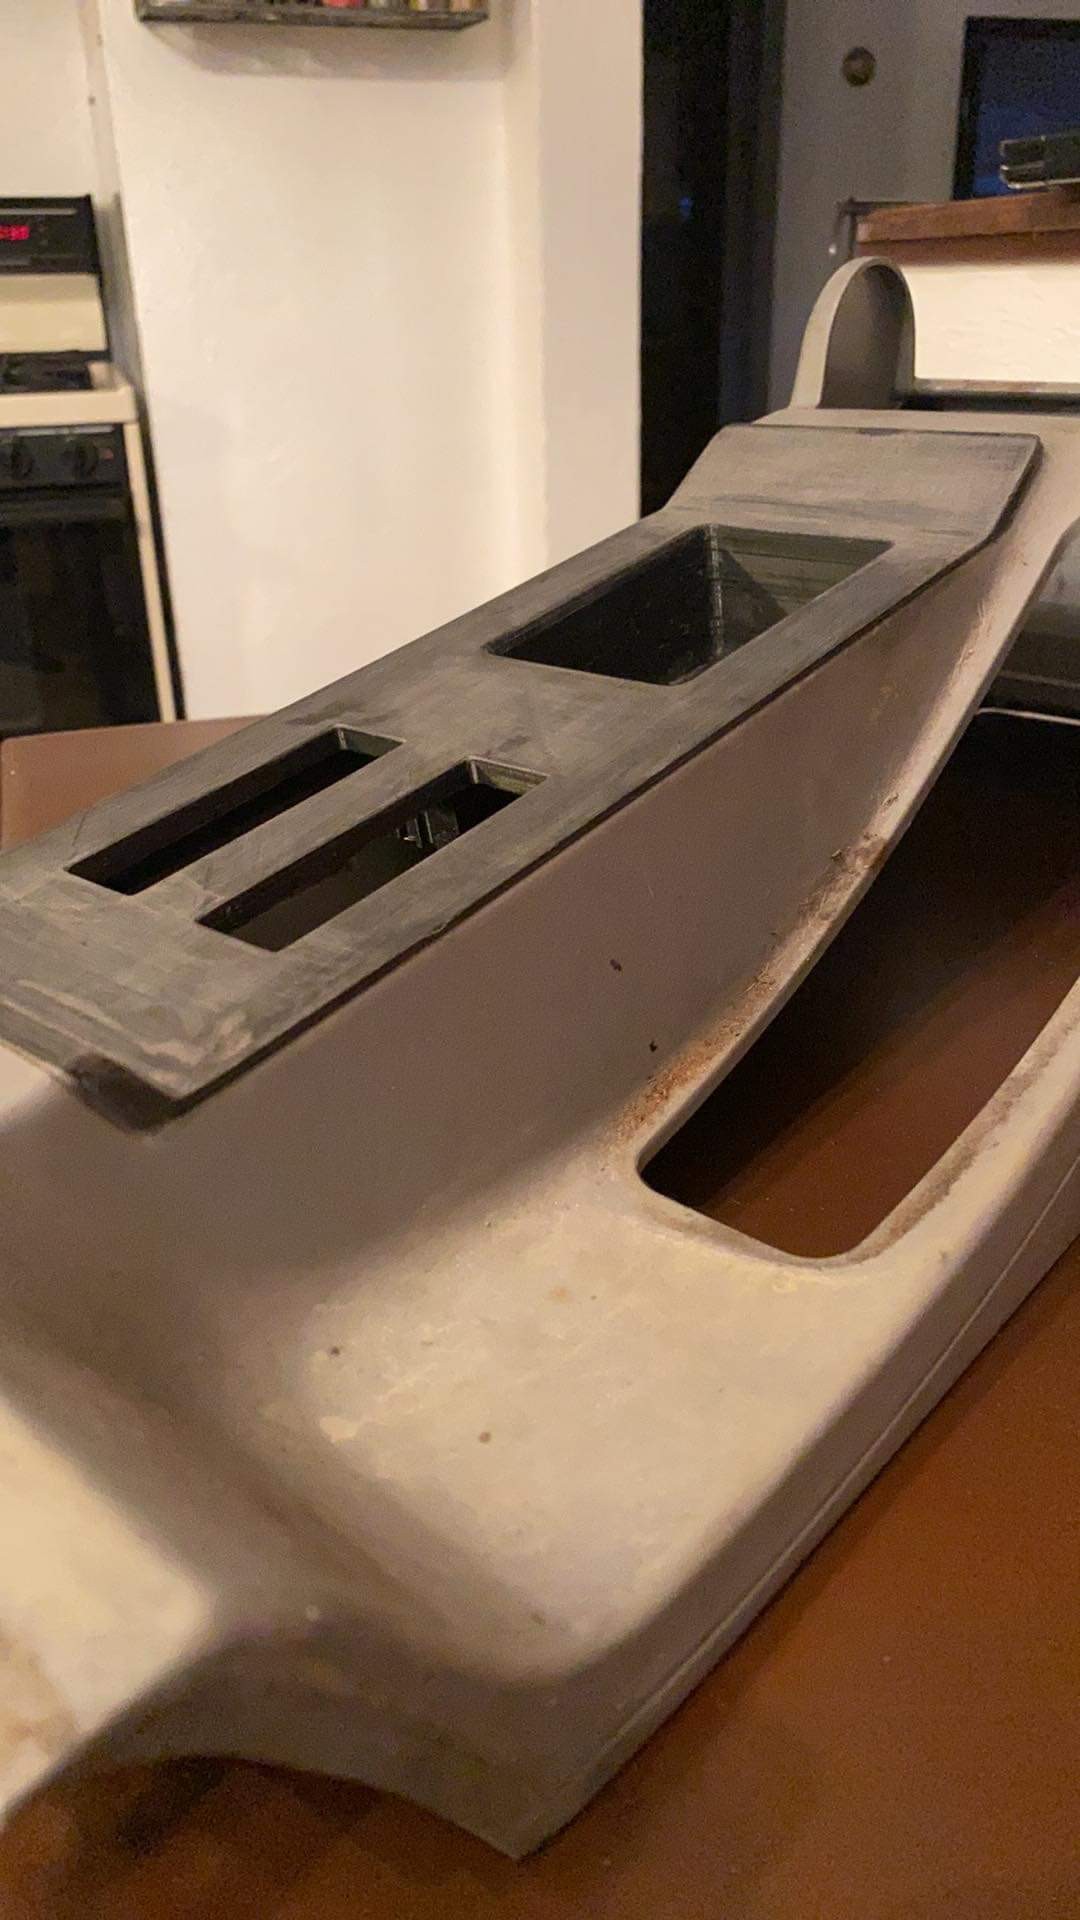
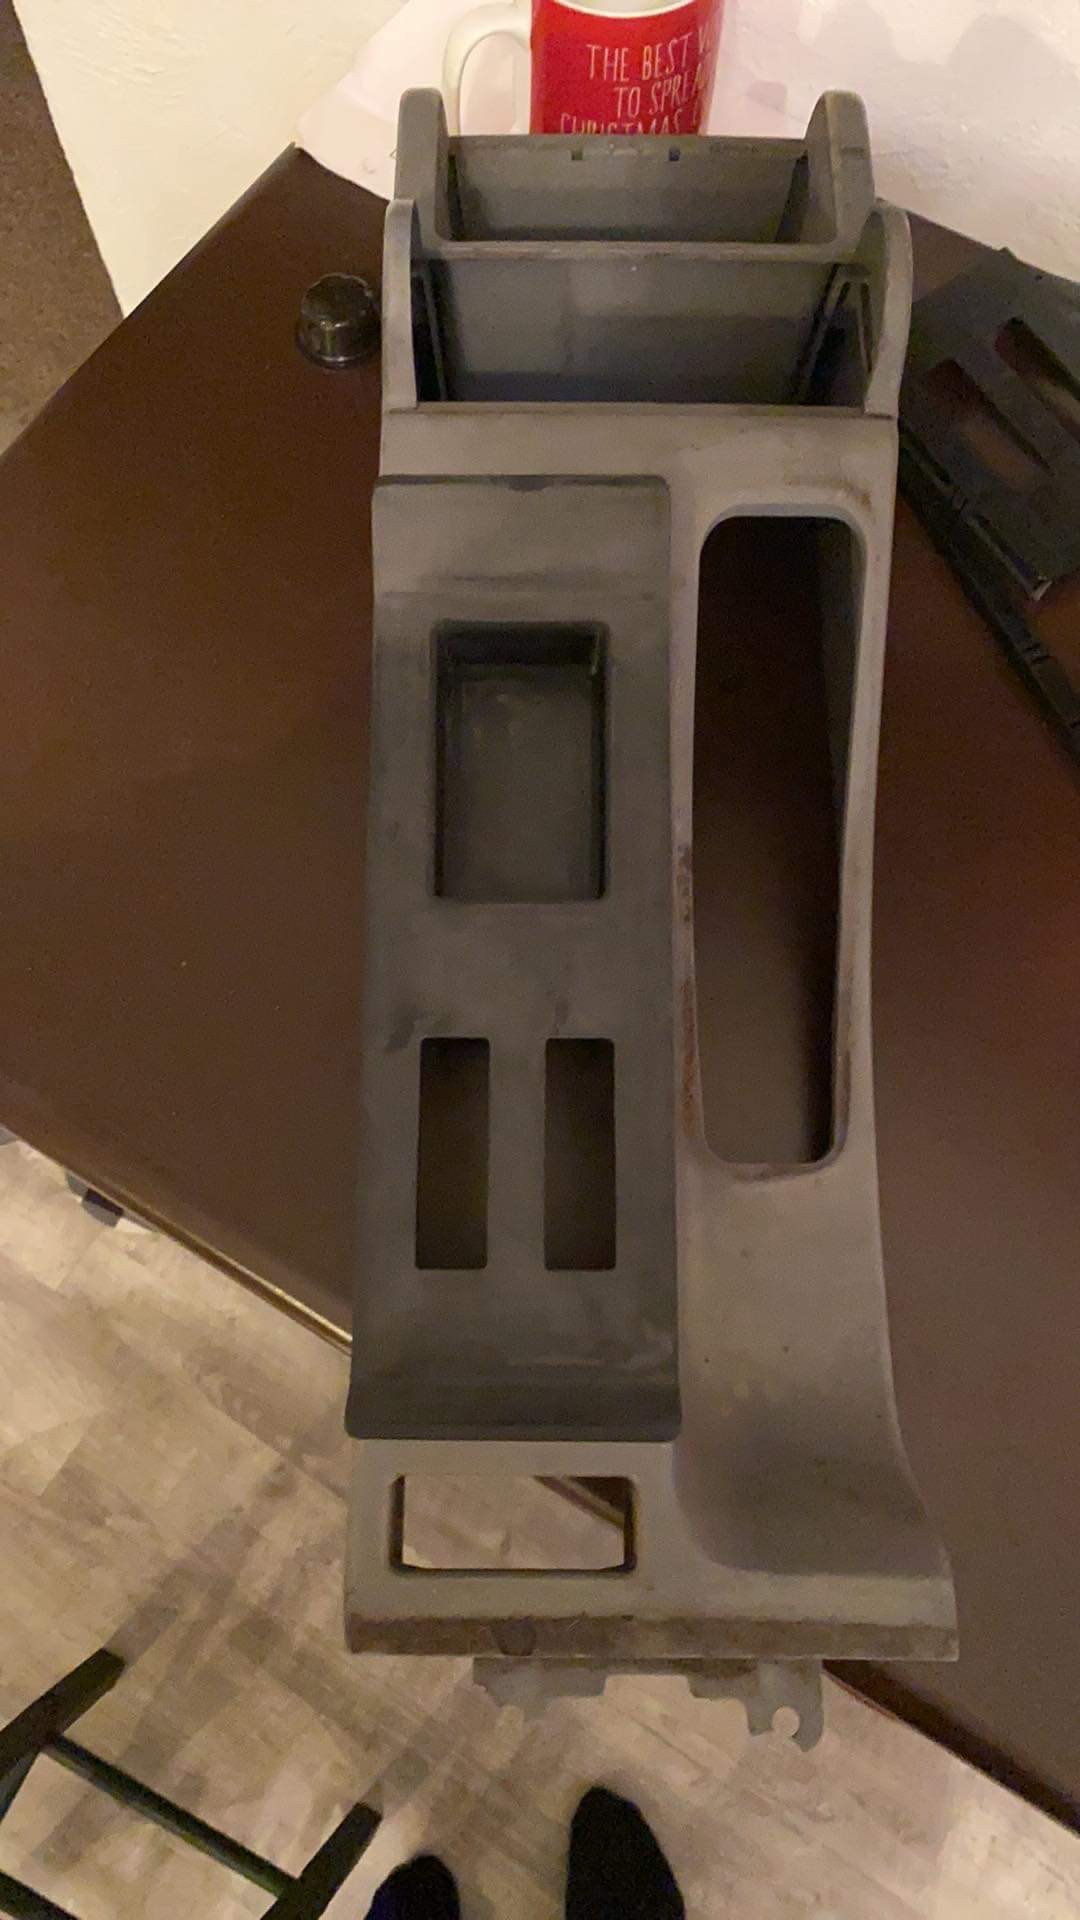
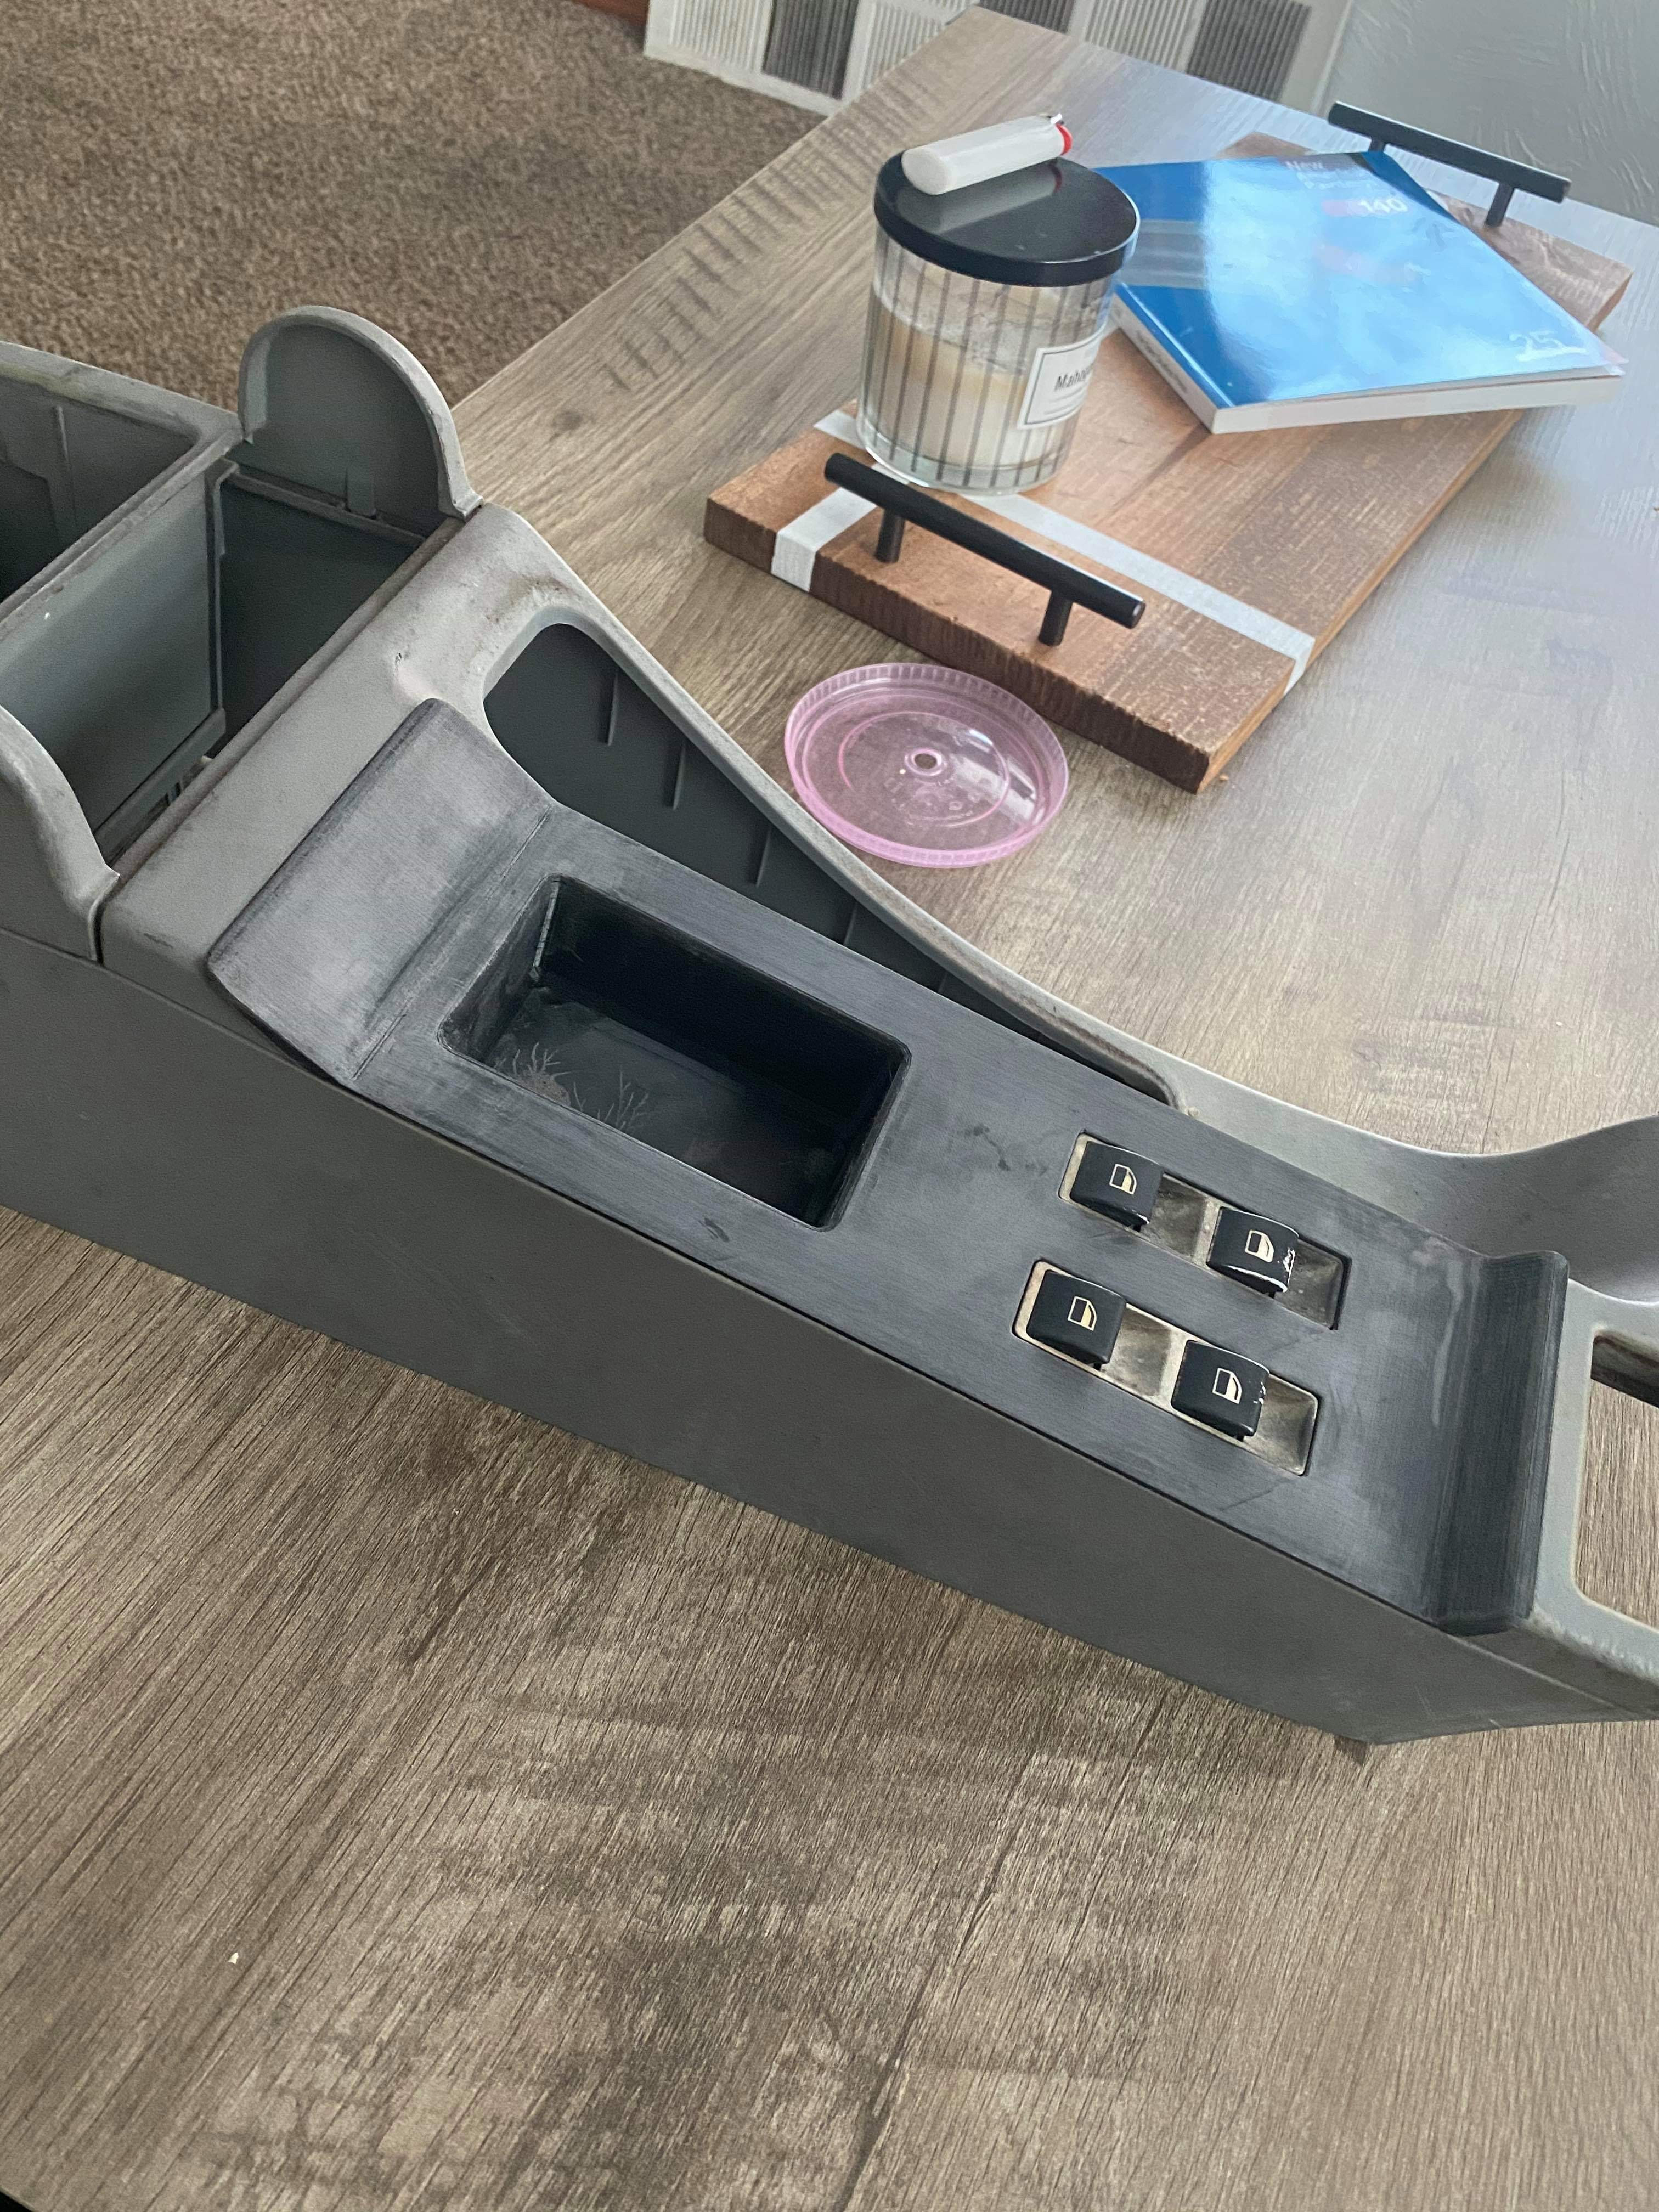
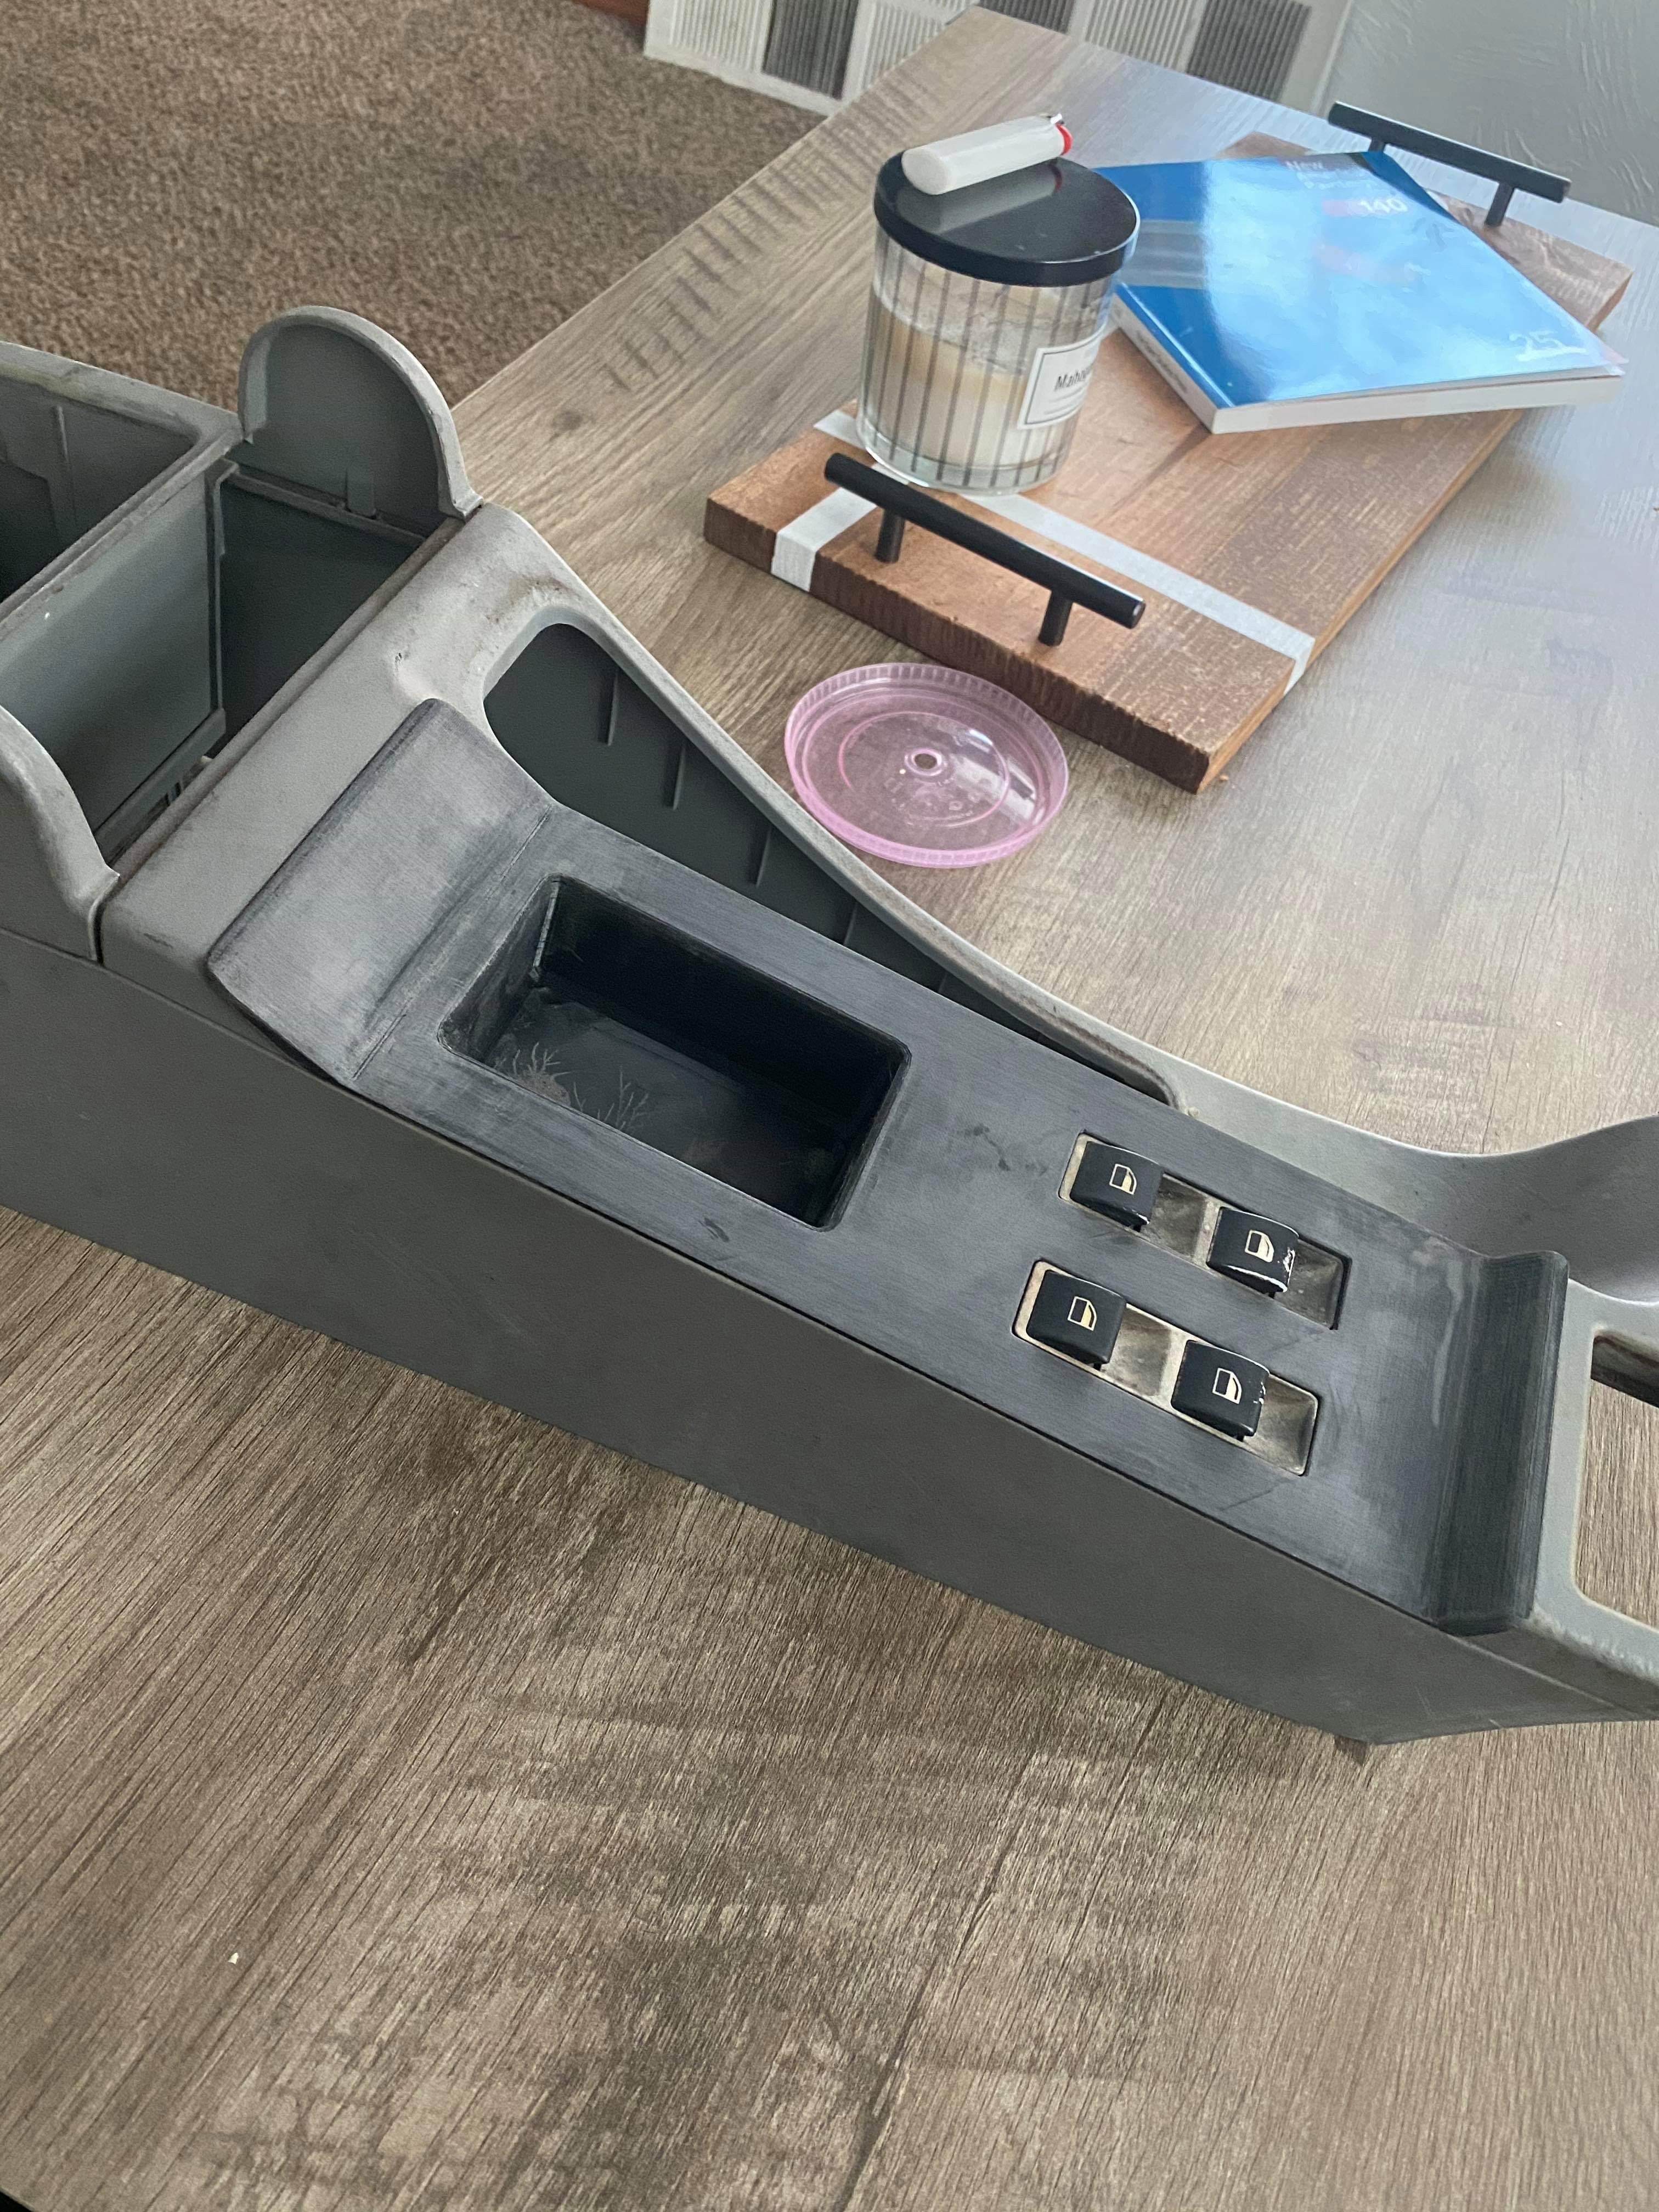
The window switches are both being relocated to where the cup holder/slider thing normally is in the center console. And then a small cubby added. Mostly because it would be dumb to not have anything else there.
Actual computer design.
And the first print. Which took 44 hours.
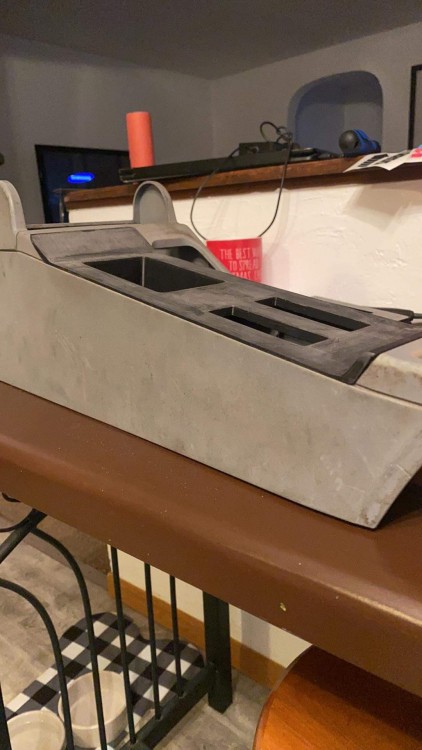
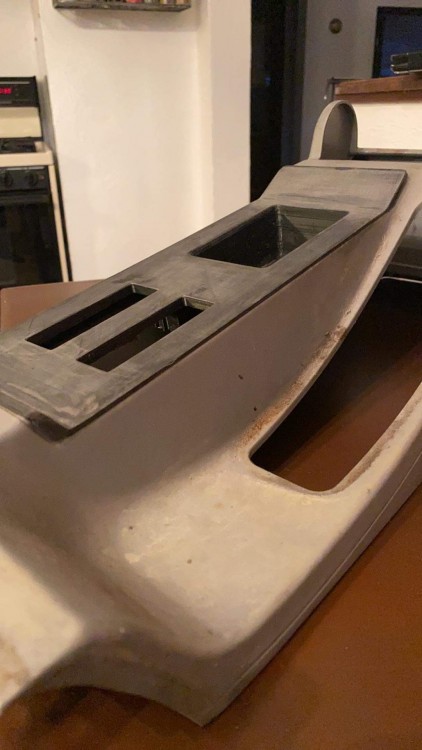
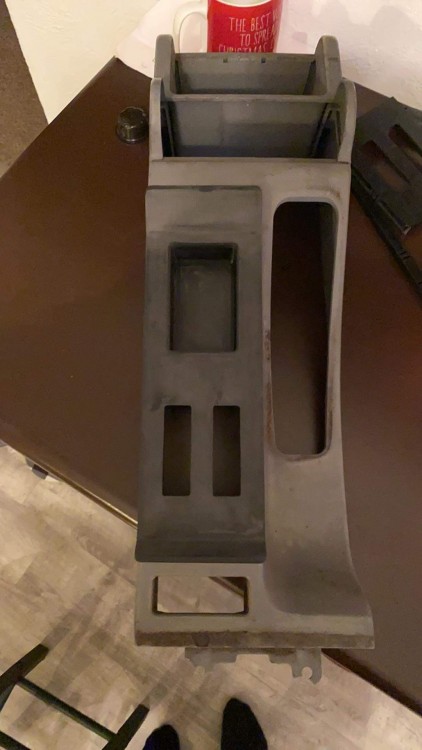
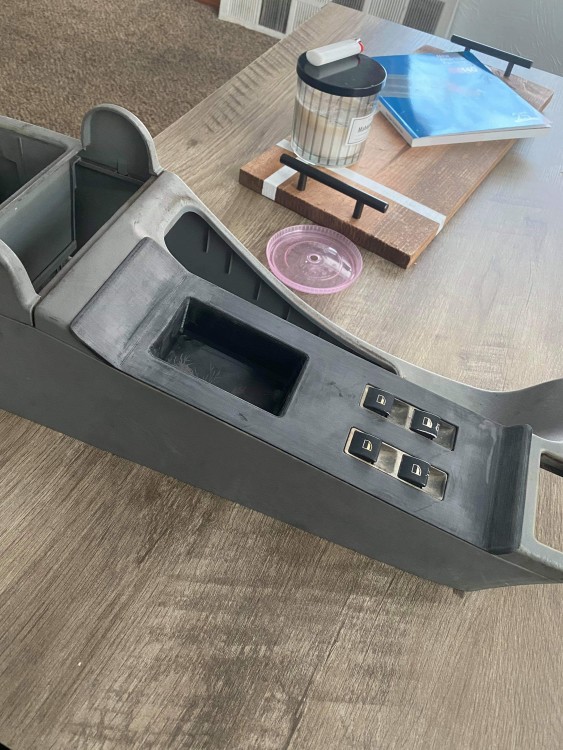
As of now he is going to make some tweaks for the hopeful final print. I'm super hyped for this one off piece! I cannot thank Sam enough for this one, it will be so much nicer than anything I could have made out of an ABS sheet.
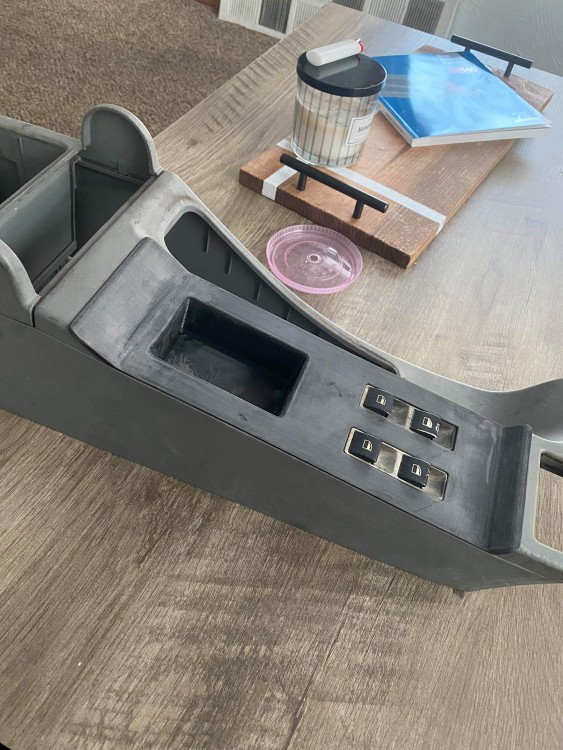
-
So I've wanted to change my orientation of the handbrake for awhile now. I've seen a few people run the pull back style on the left of the shifter and use/make the window switch slot larger to accommodate for the throw of the handle.
Now that chase bays makes a pull back reverse mount handbrake I thought it was time to make it happen. Still need to order the brake but we have begun planning.
The window switches are both being relocated to where the cup holder/slider thing normally is in the center console. And then a small cubby added. Mostly because it would be dumb to not have anything else there.
Actual computer design.
That looks great!
Any pictures of the handbrake set up that you are referring to? Is it like this?

https://www.instagram.com/_jdesigner_/ http://nevertoolow.tumblr.com/
🥳SOLD BMW E24 633CSI - BMW M30B32 🧪SOLD HCH ES9 - 1.3 LDA
👽BMW E30 325IC - Toyota 1JZ-GTE ⏰ HONDA EF9 CIVIC SI - JDM B18C5
☠️BMW E36 318i - Ford 5.0 FE302 🚴♂️ GT-Labomba - 26x2.75 Freeride
🤹♀️SOLD BMW E36/7 Z3 - BMW M54B25 🧓SOLD BMW E10 2002 - BMW M10M05 -
That looks great!
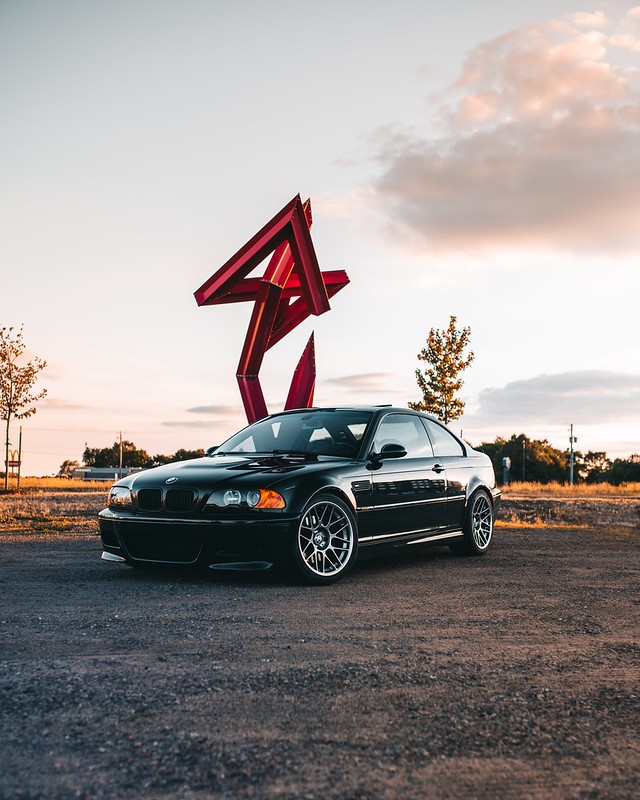
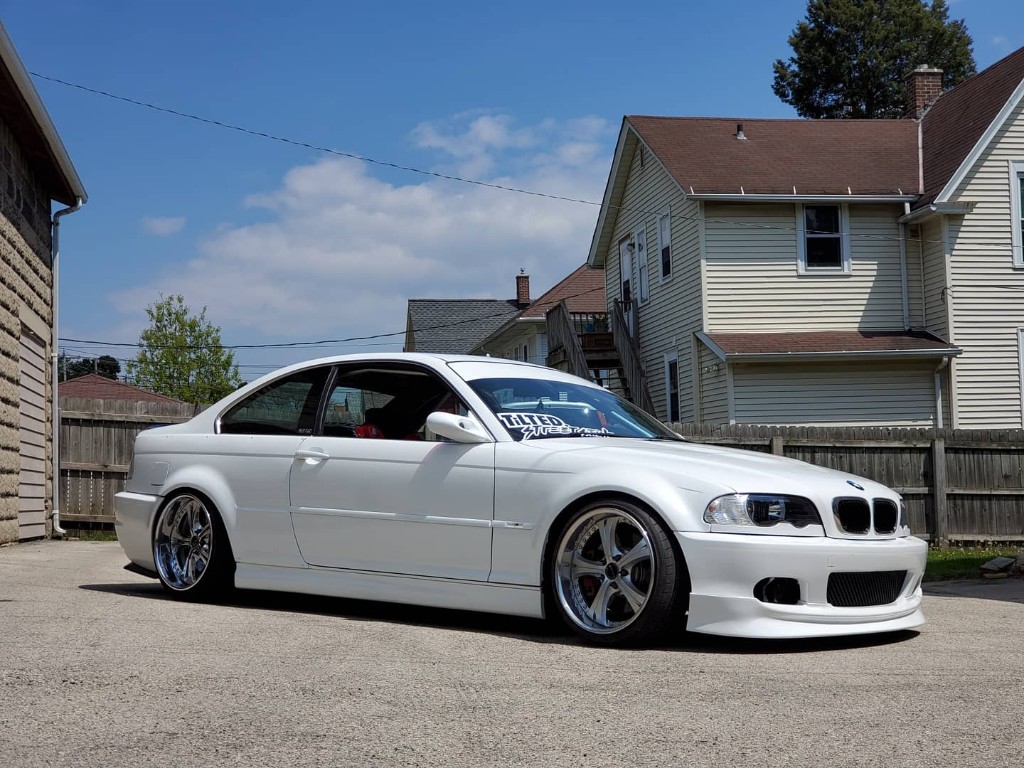
Any pictures of the handbrake set up that you are referring to? Is it like this?
Yes! Except the master is reverse so it faces forward.






Hello! It looks like you're interested in this conversation, but you don't have an account yet.
Getting fed up of having to scroll through the same posts each visit? When you register for an account, you'll always come back to exactly where you were before, and choose to be notified of new replies (either via email, or push notification). You'll also be able to save bookmarks and upvote posts to show your appreciation to other community members.
With your input, this post could be even better 💗
Register Login