
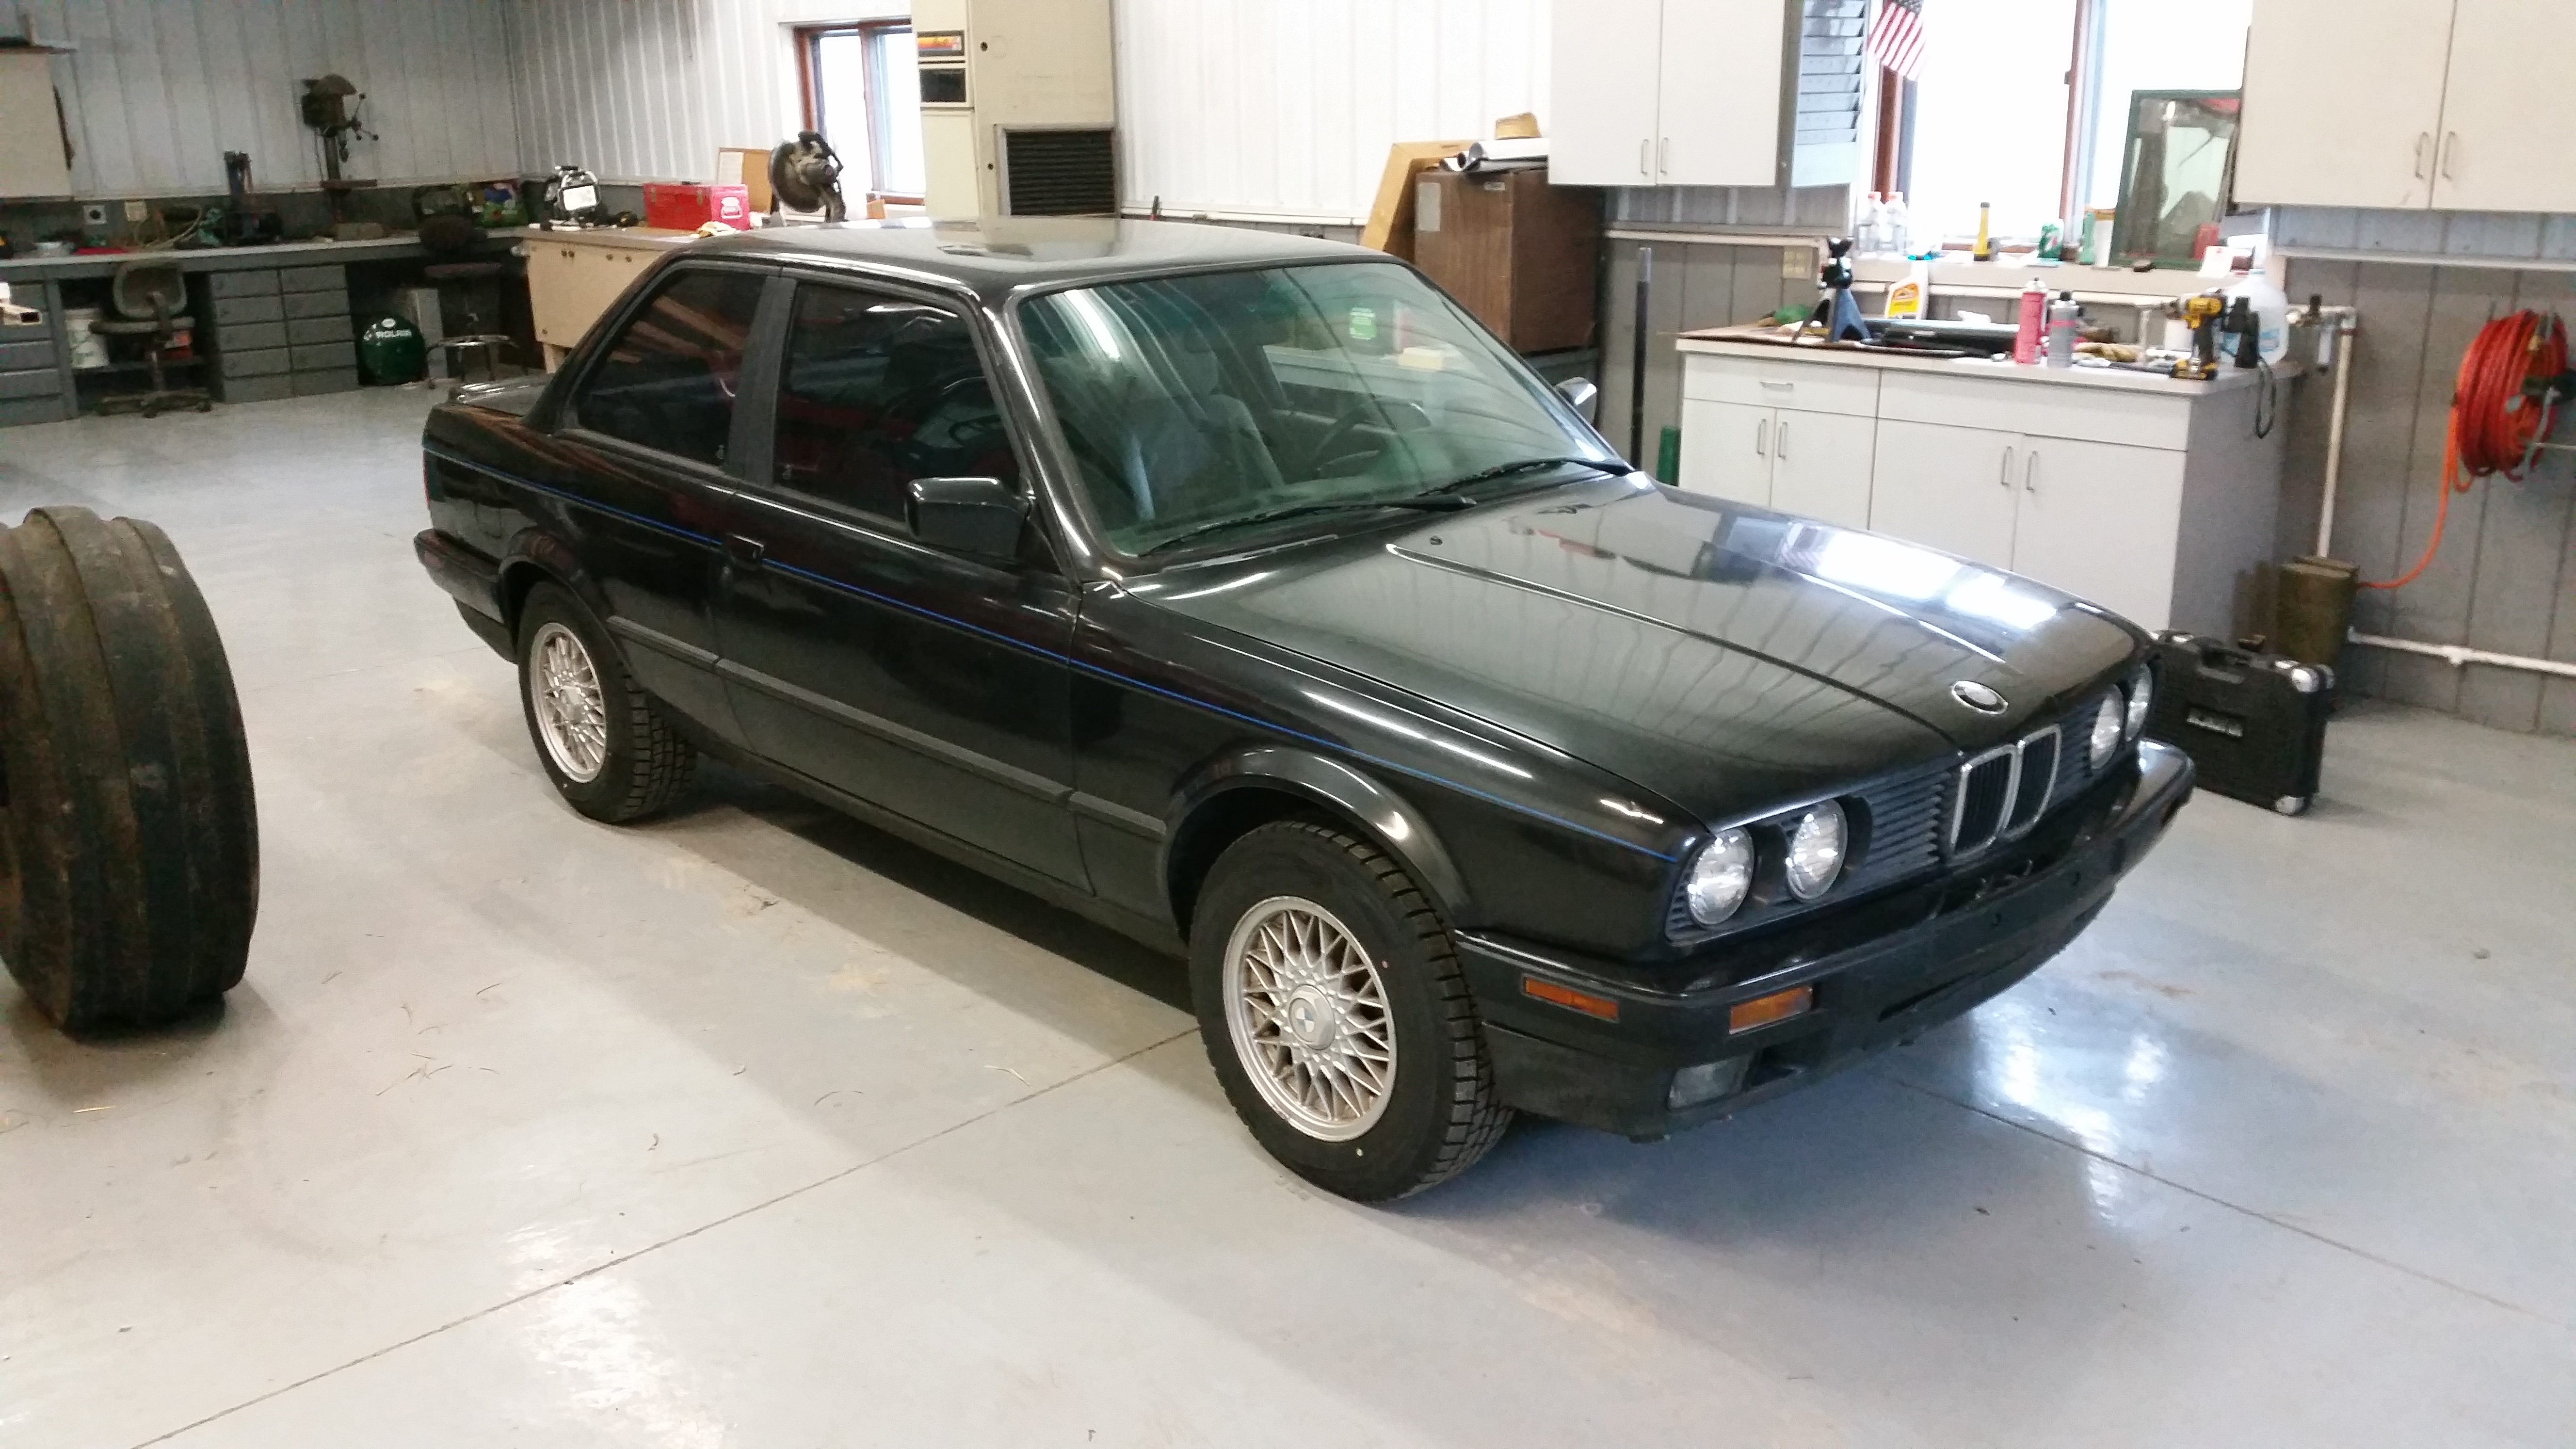
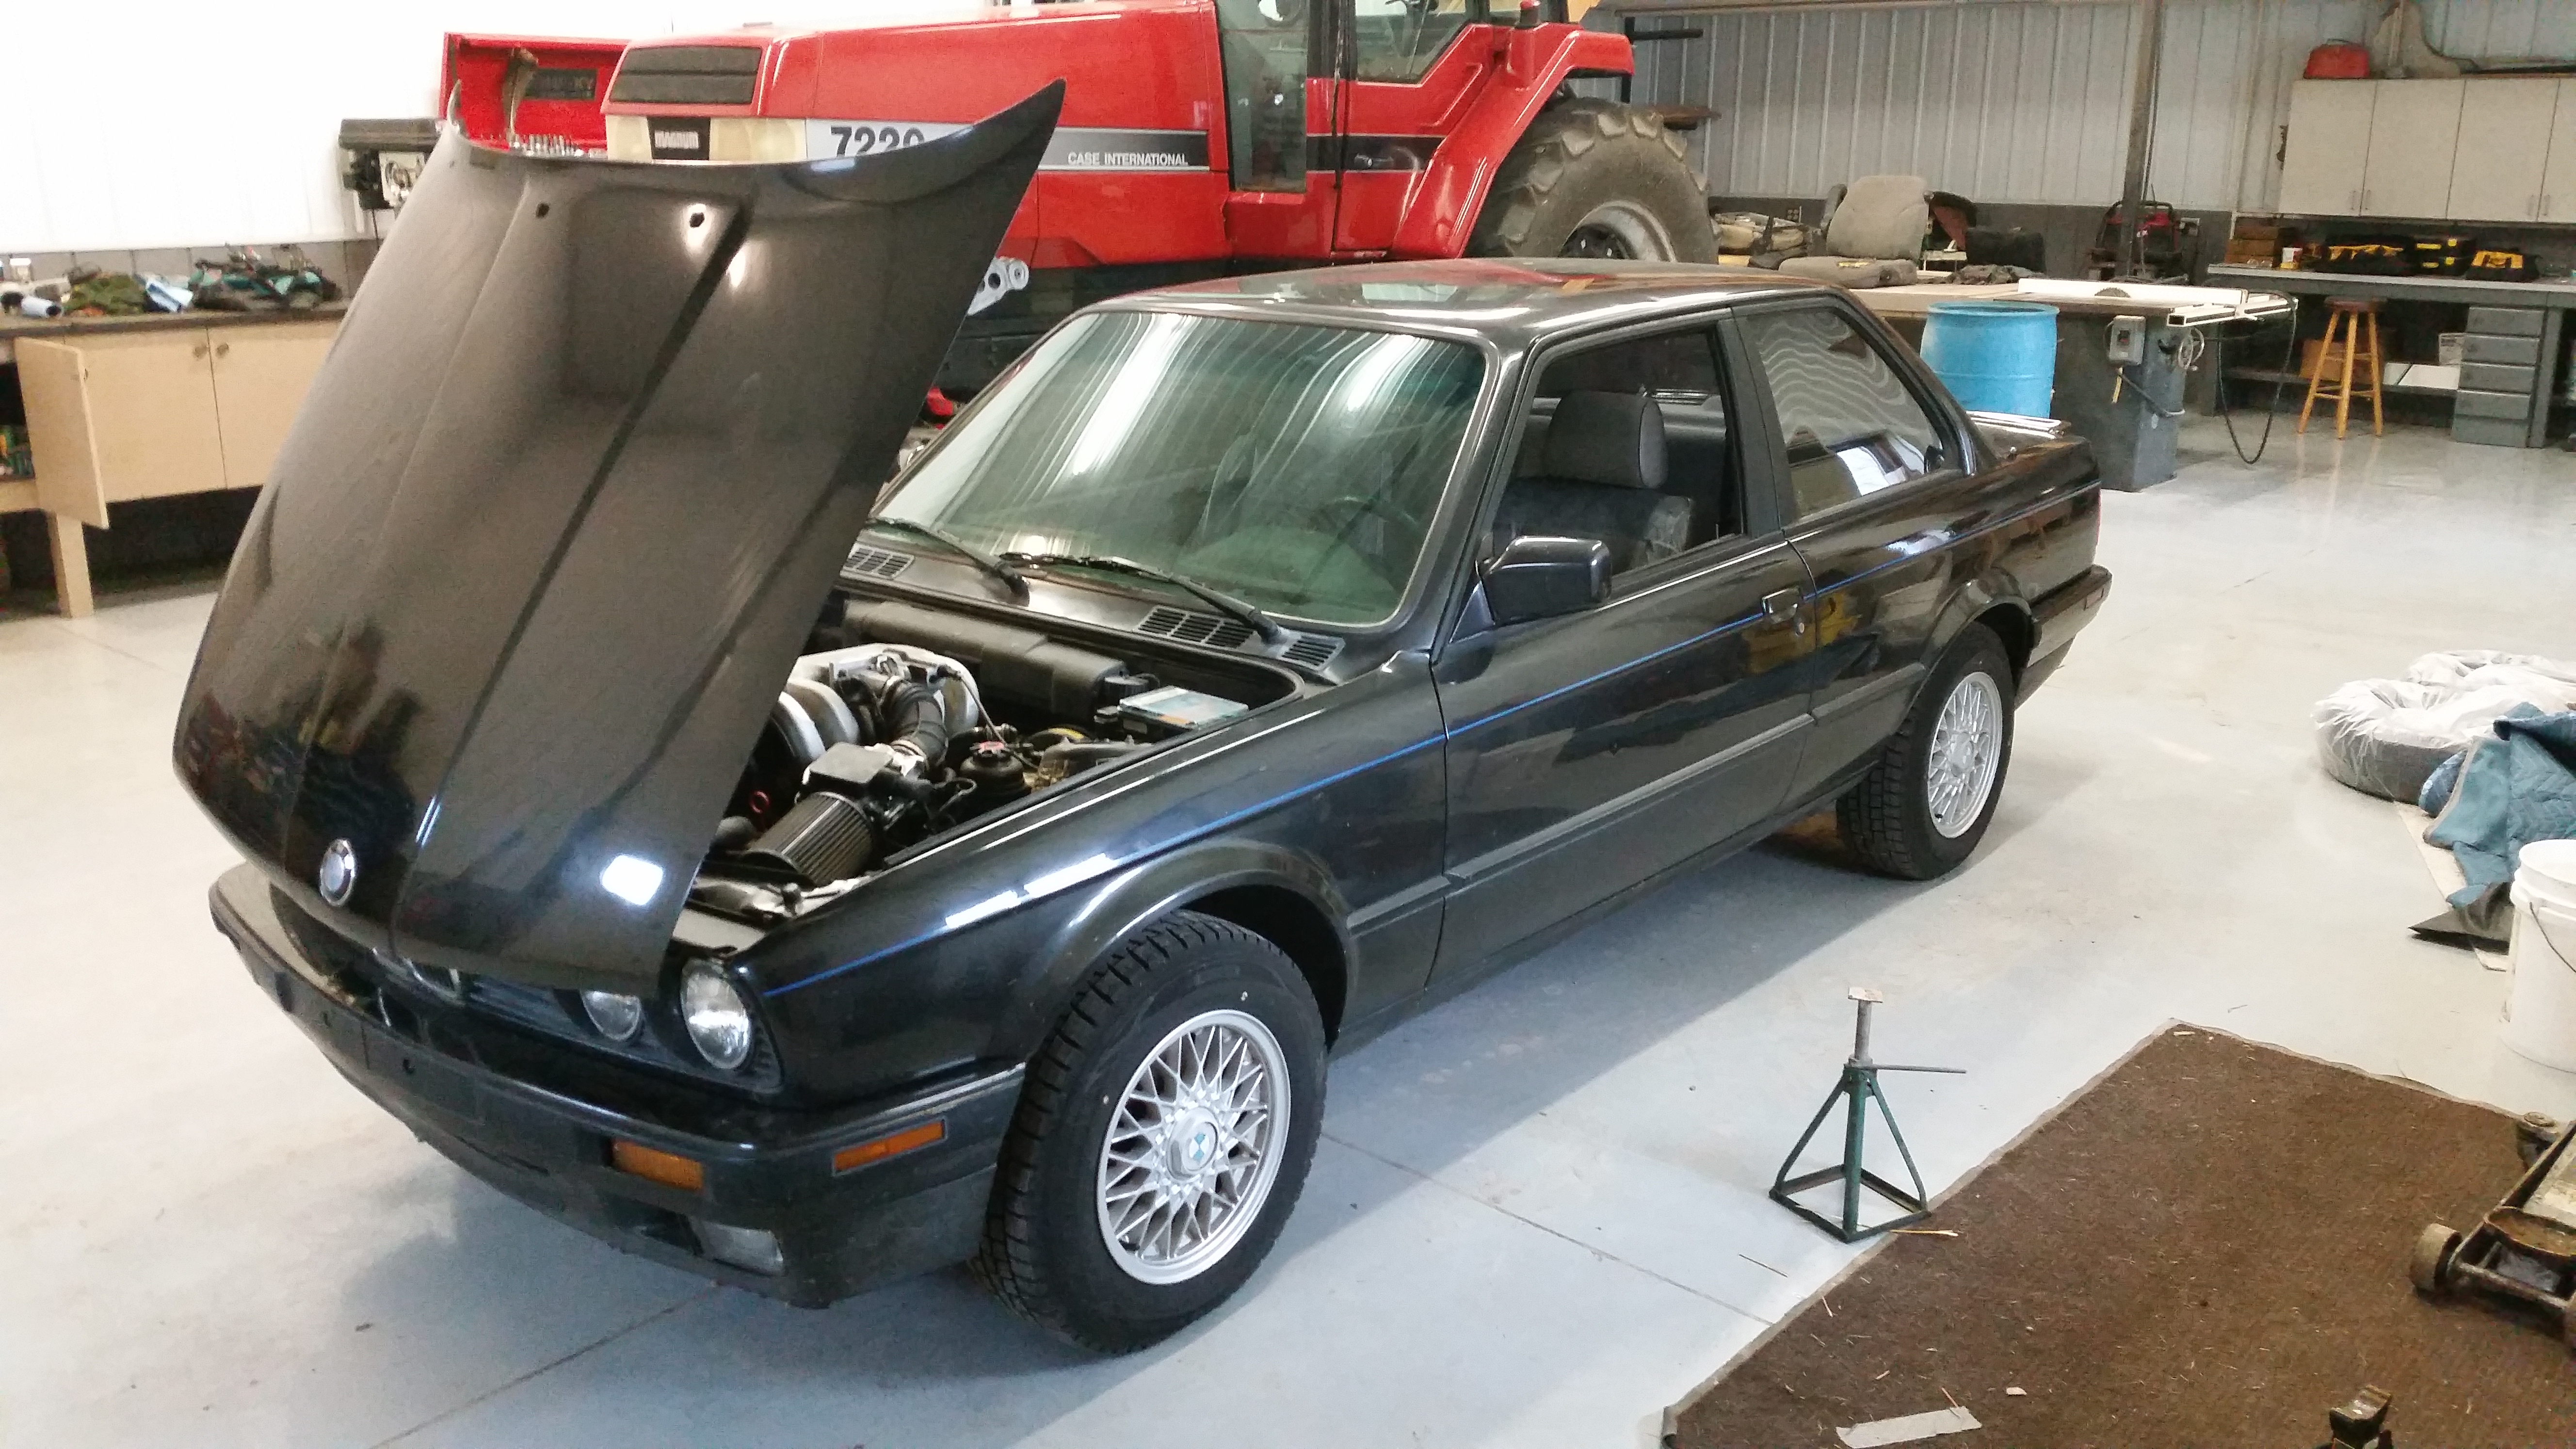
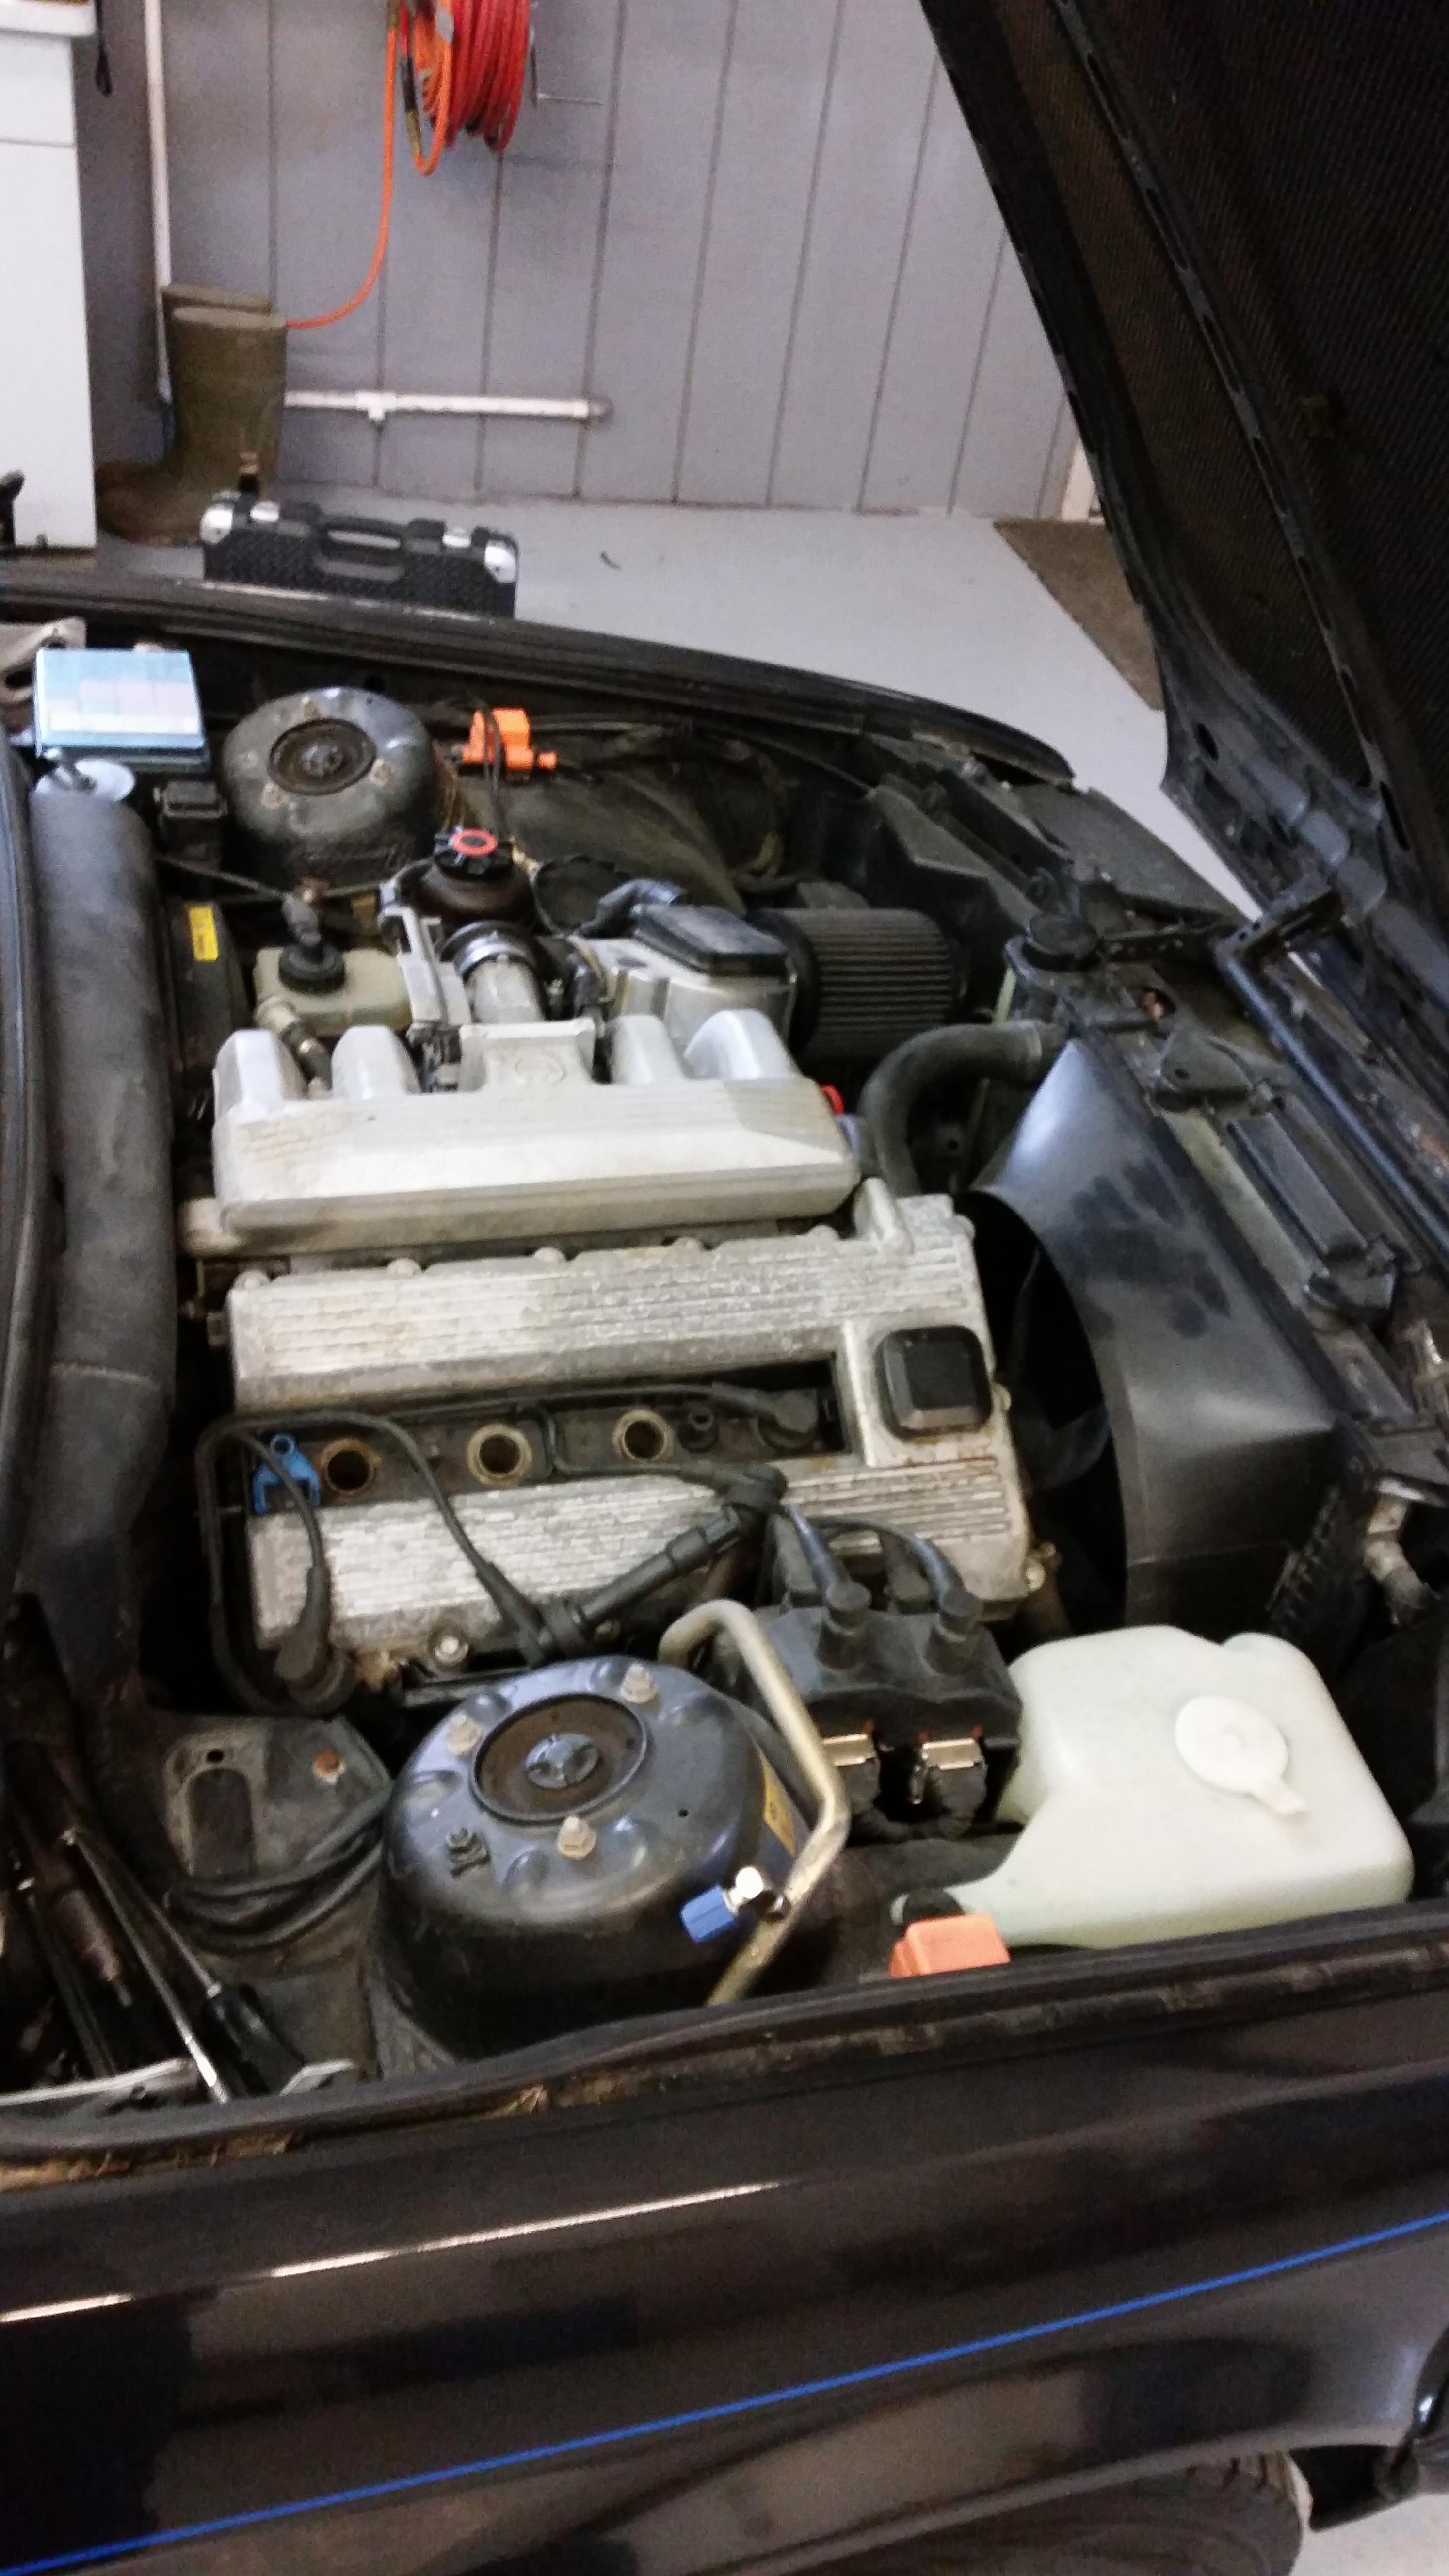
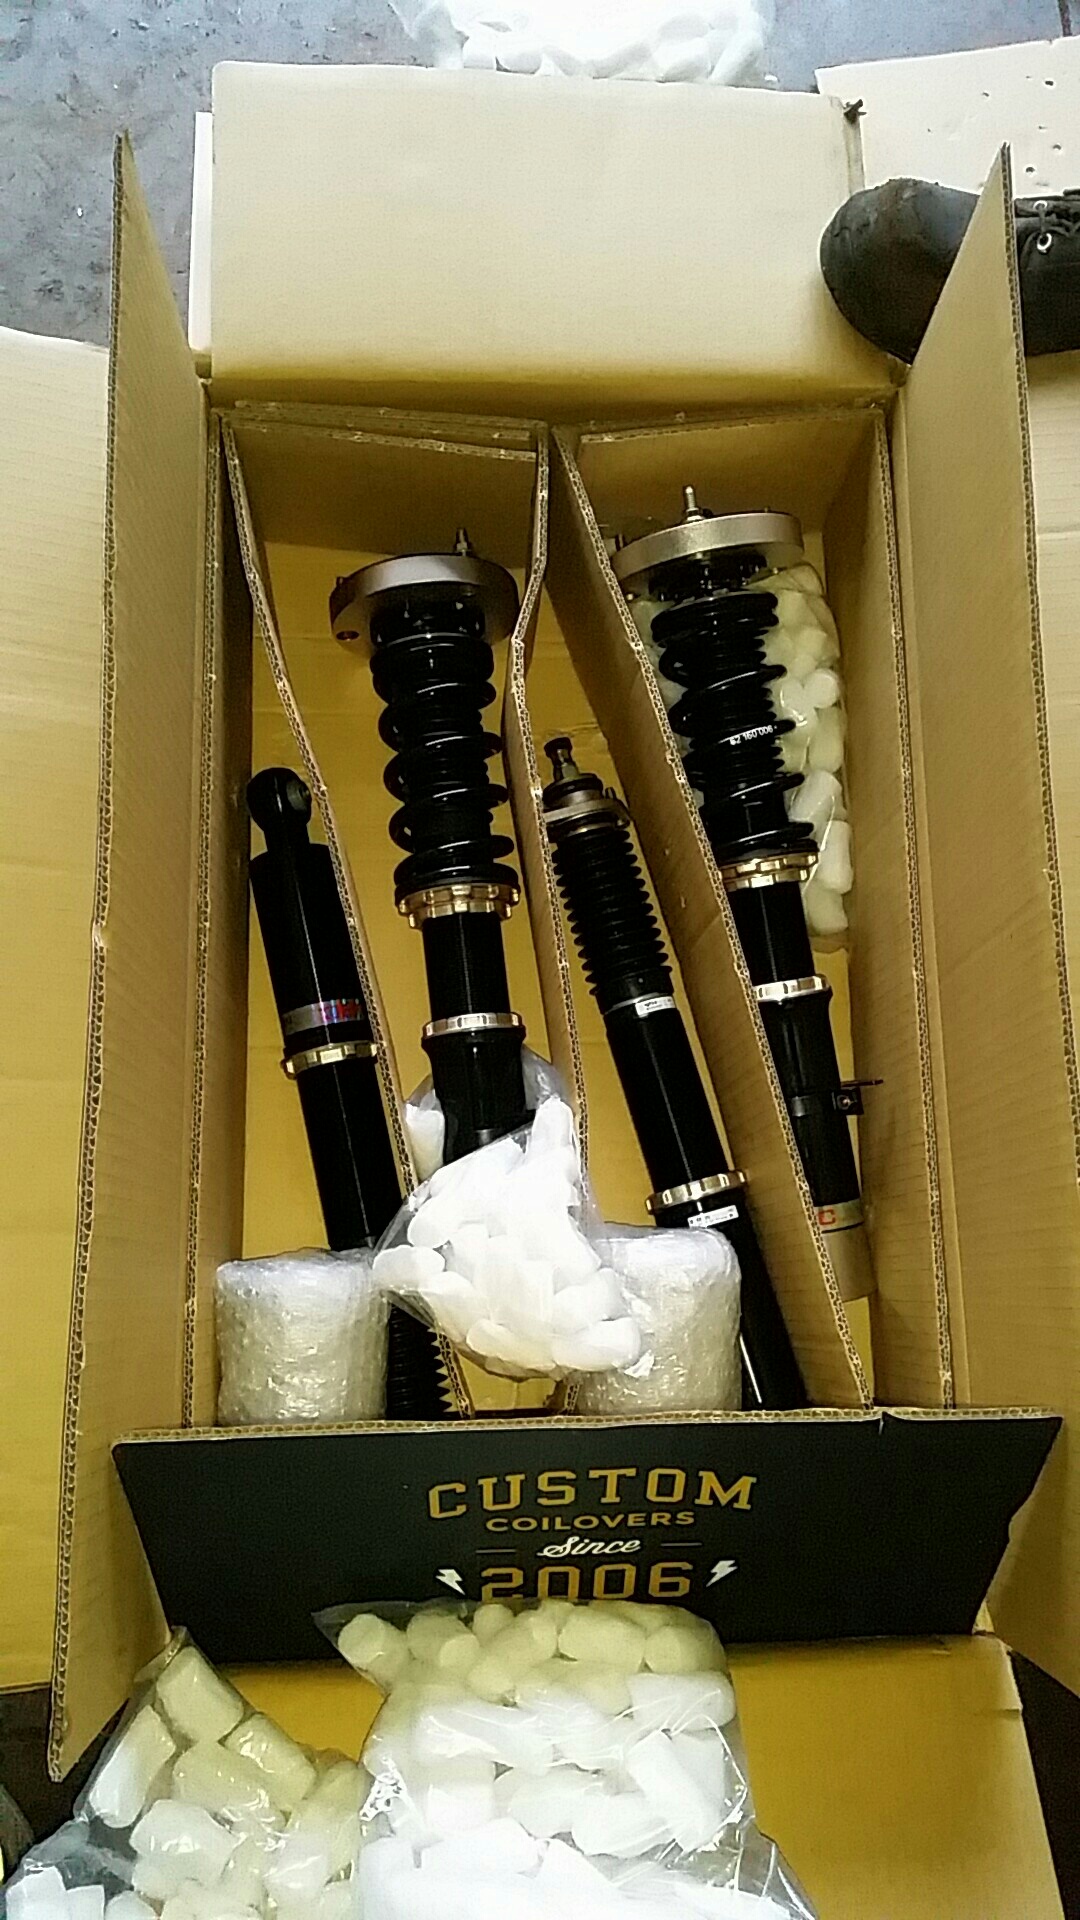
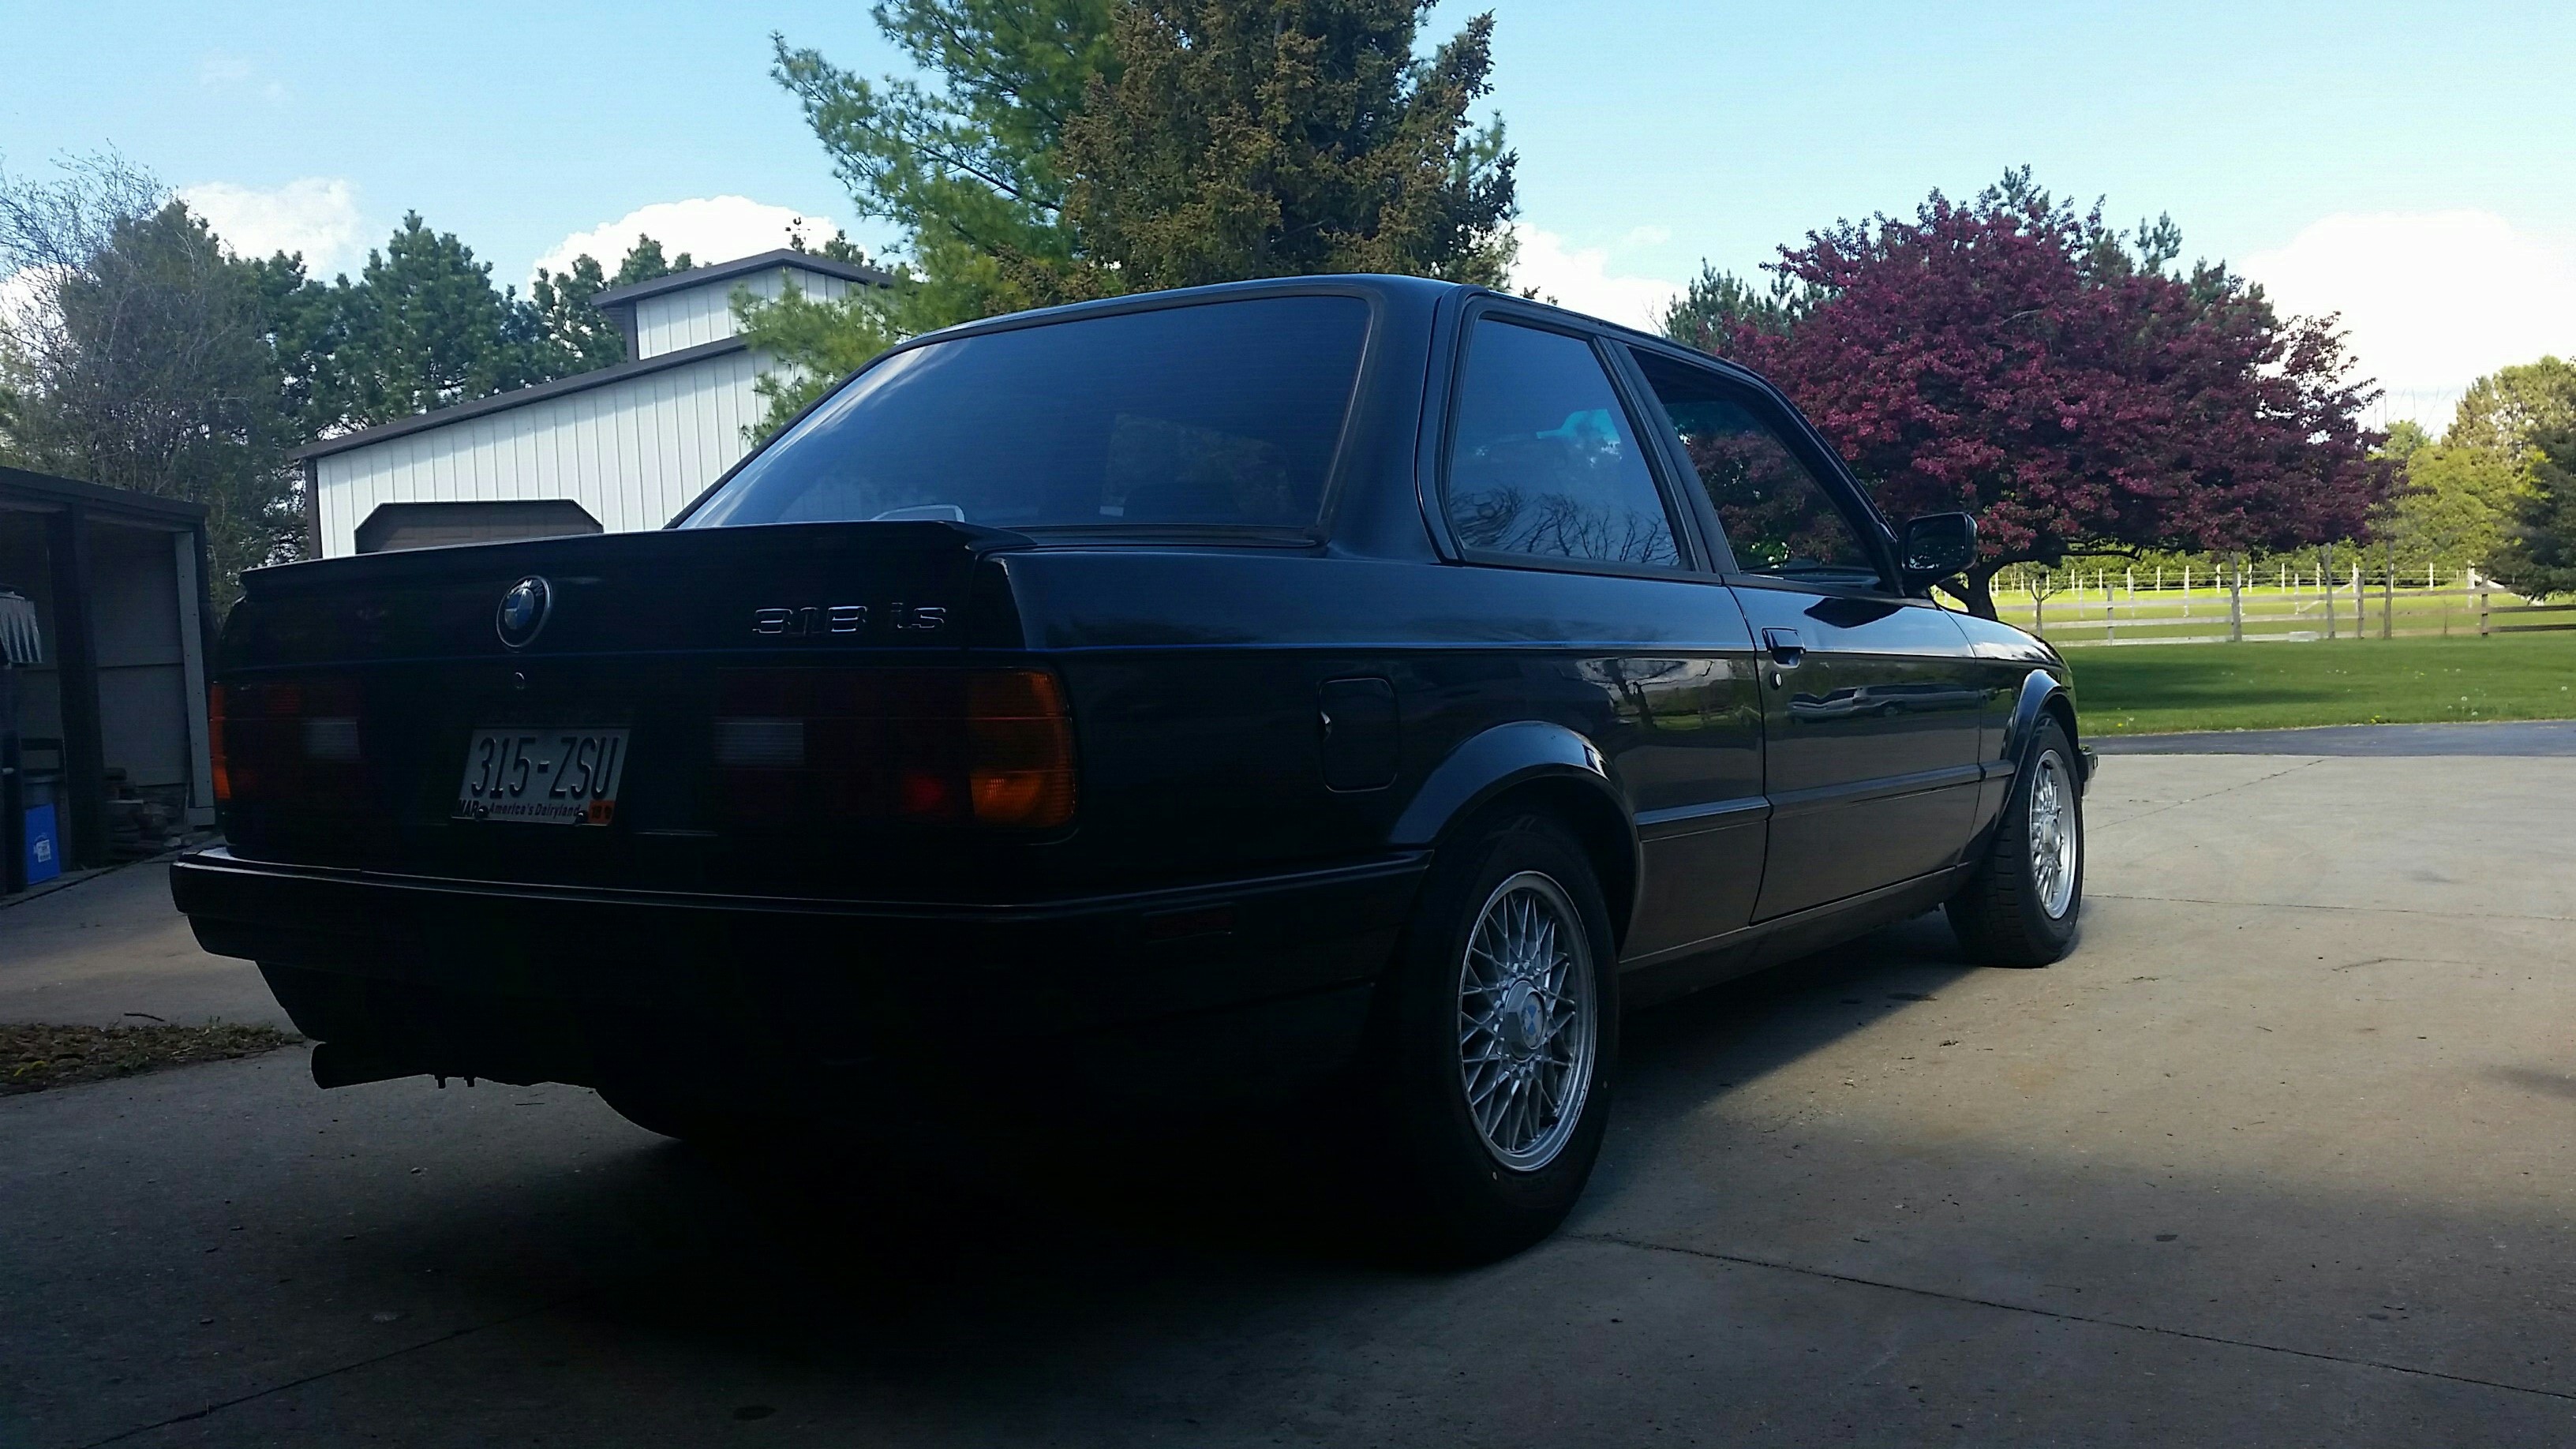
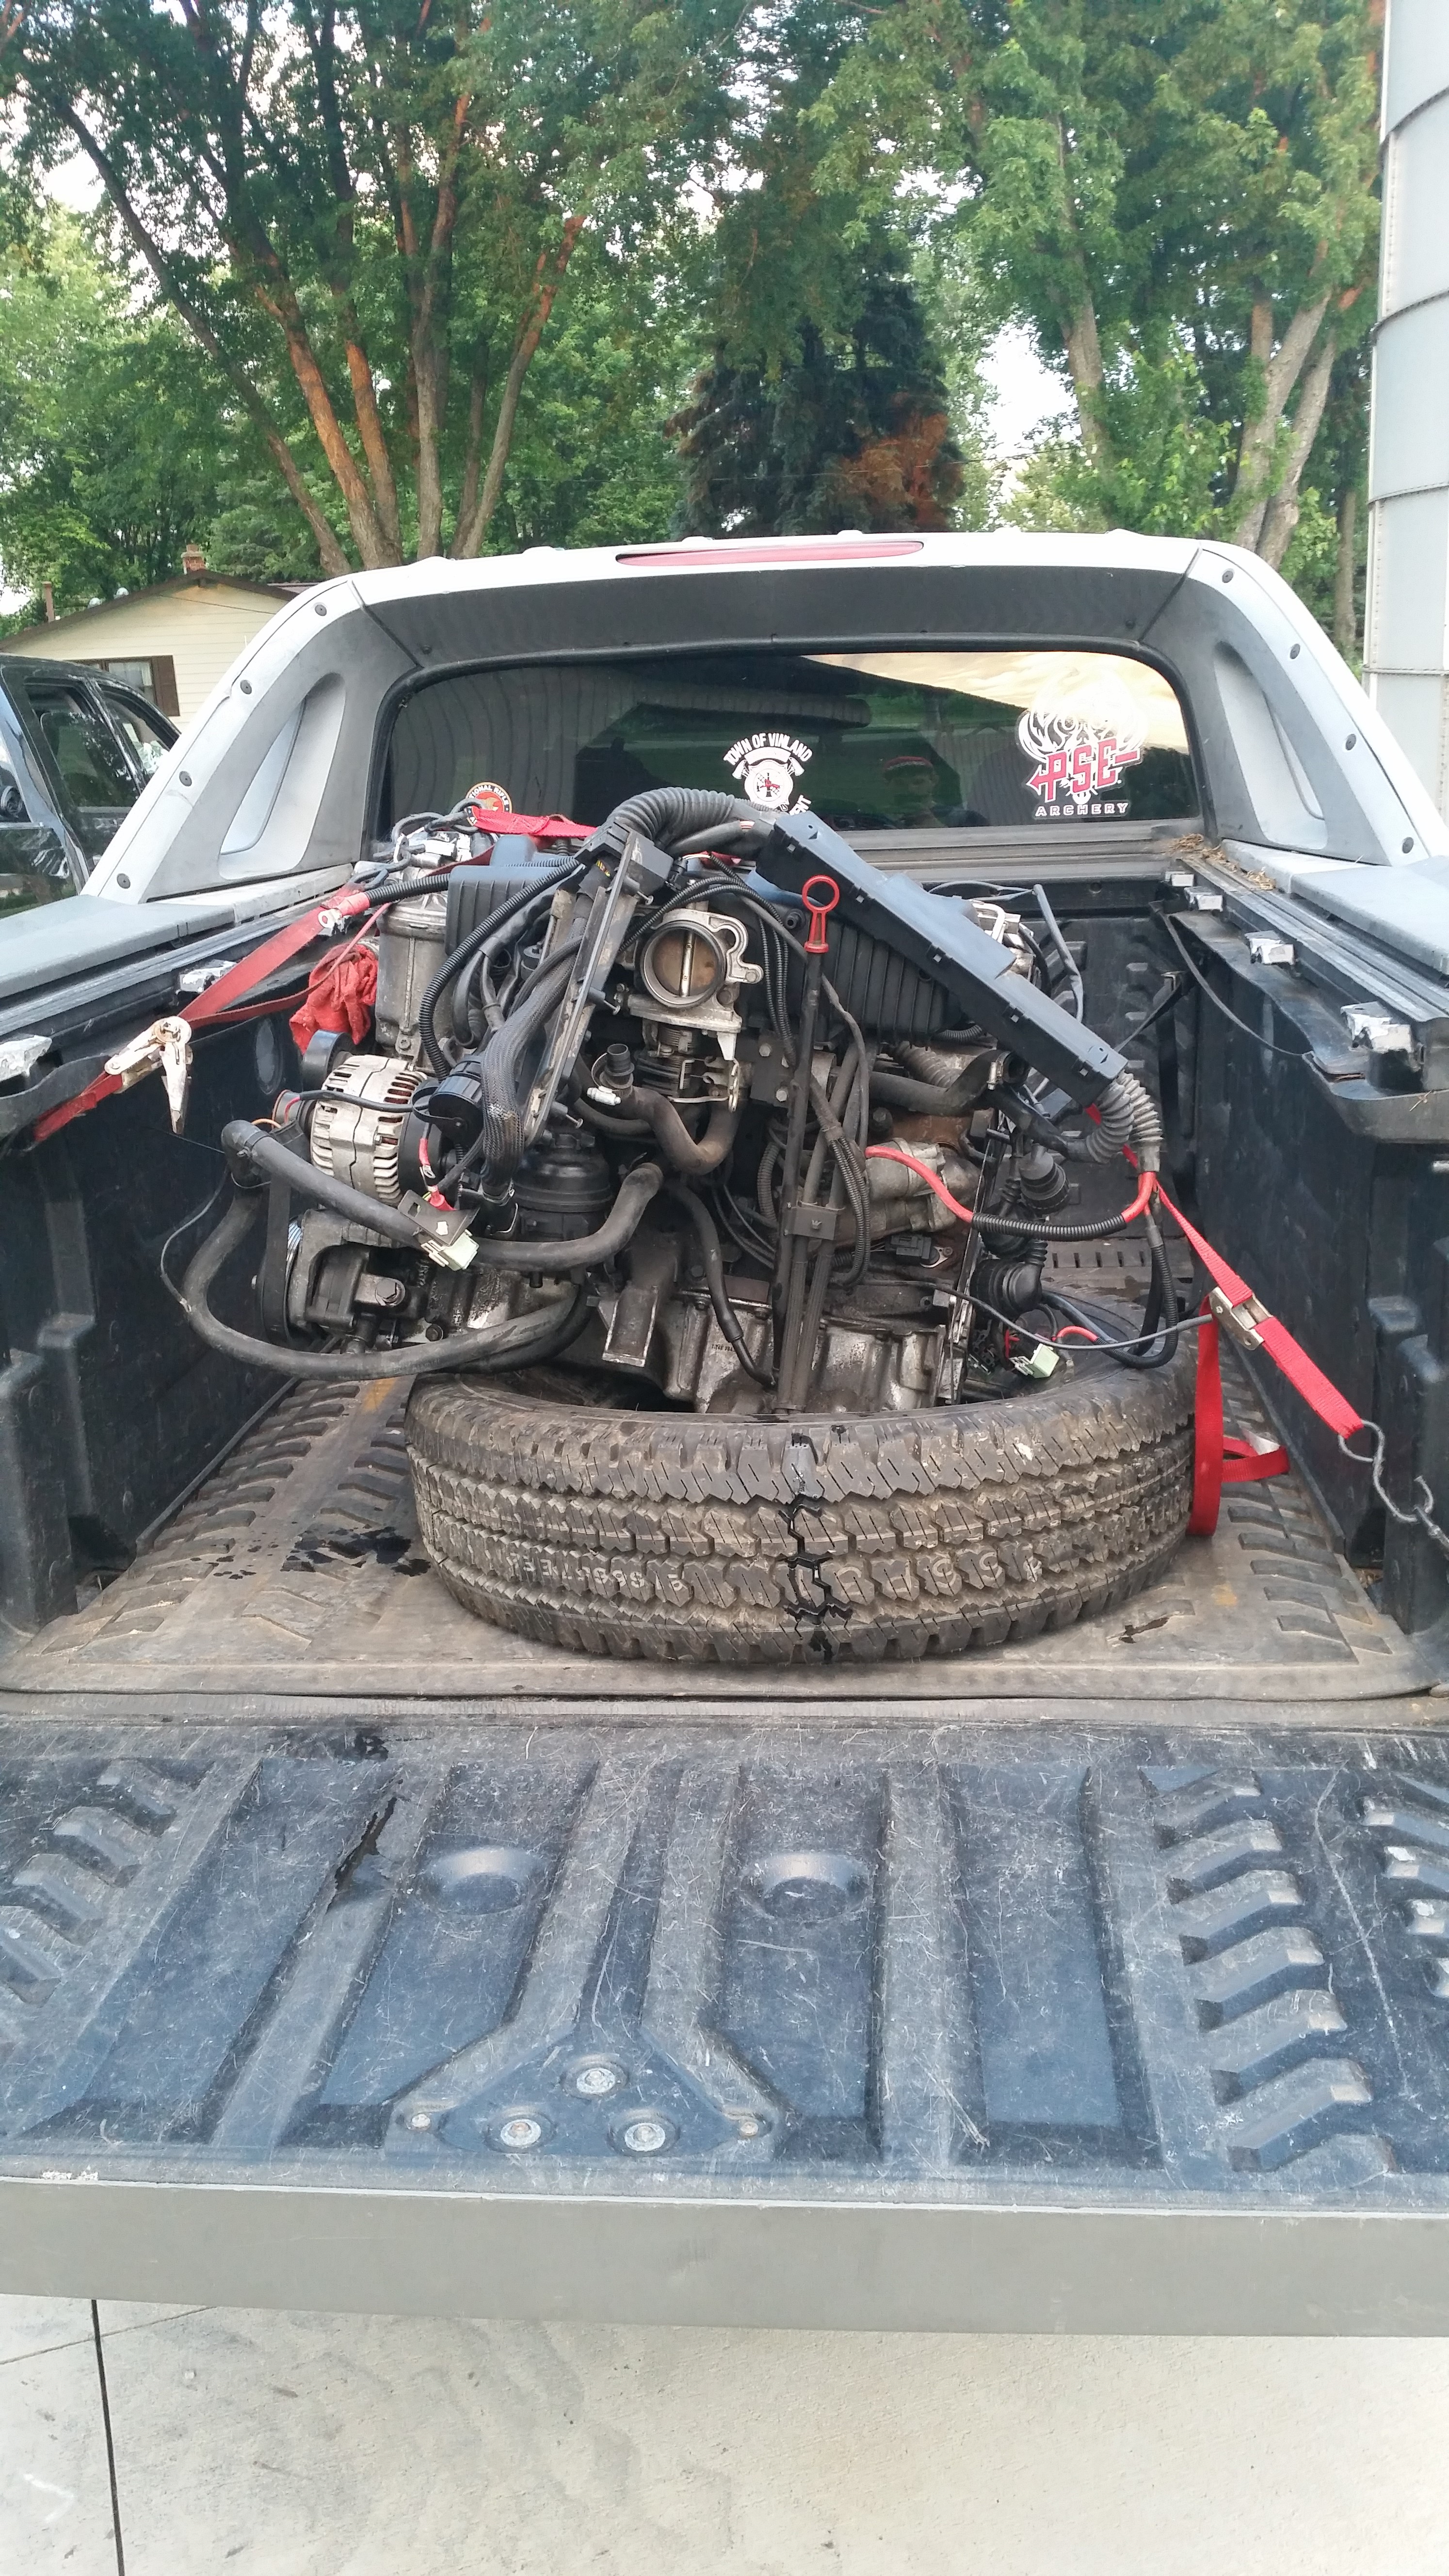
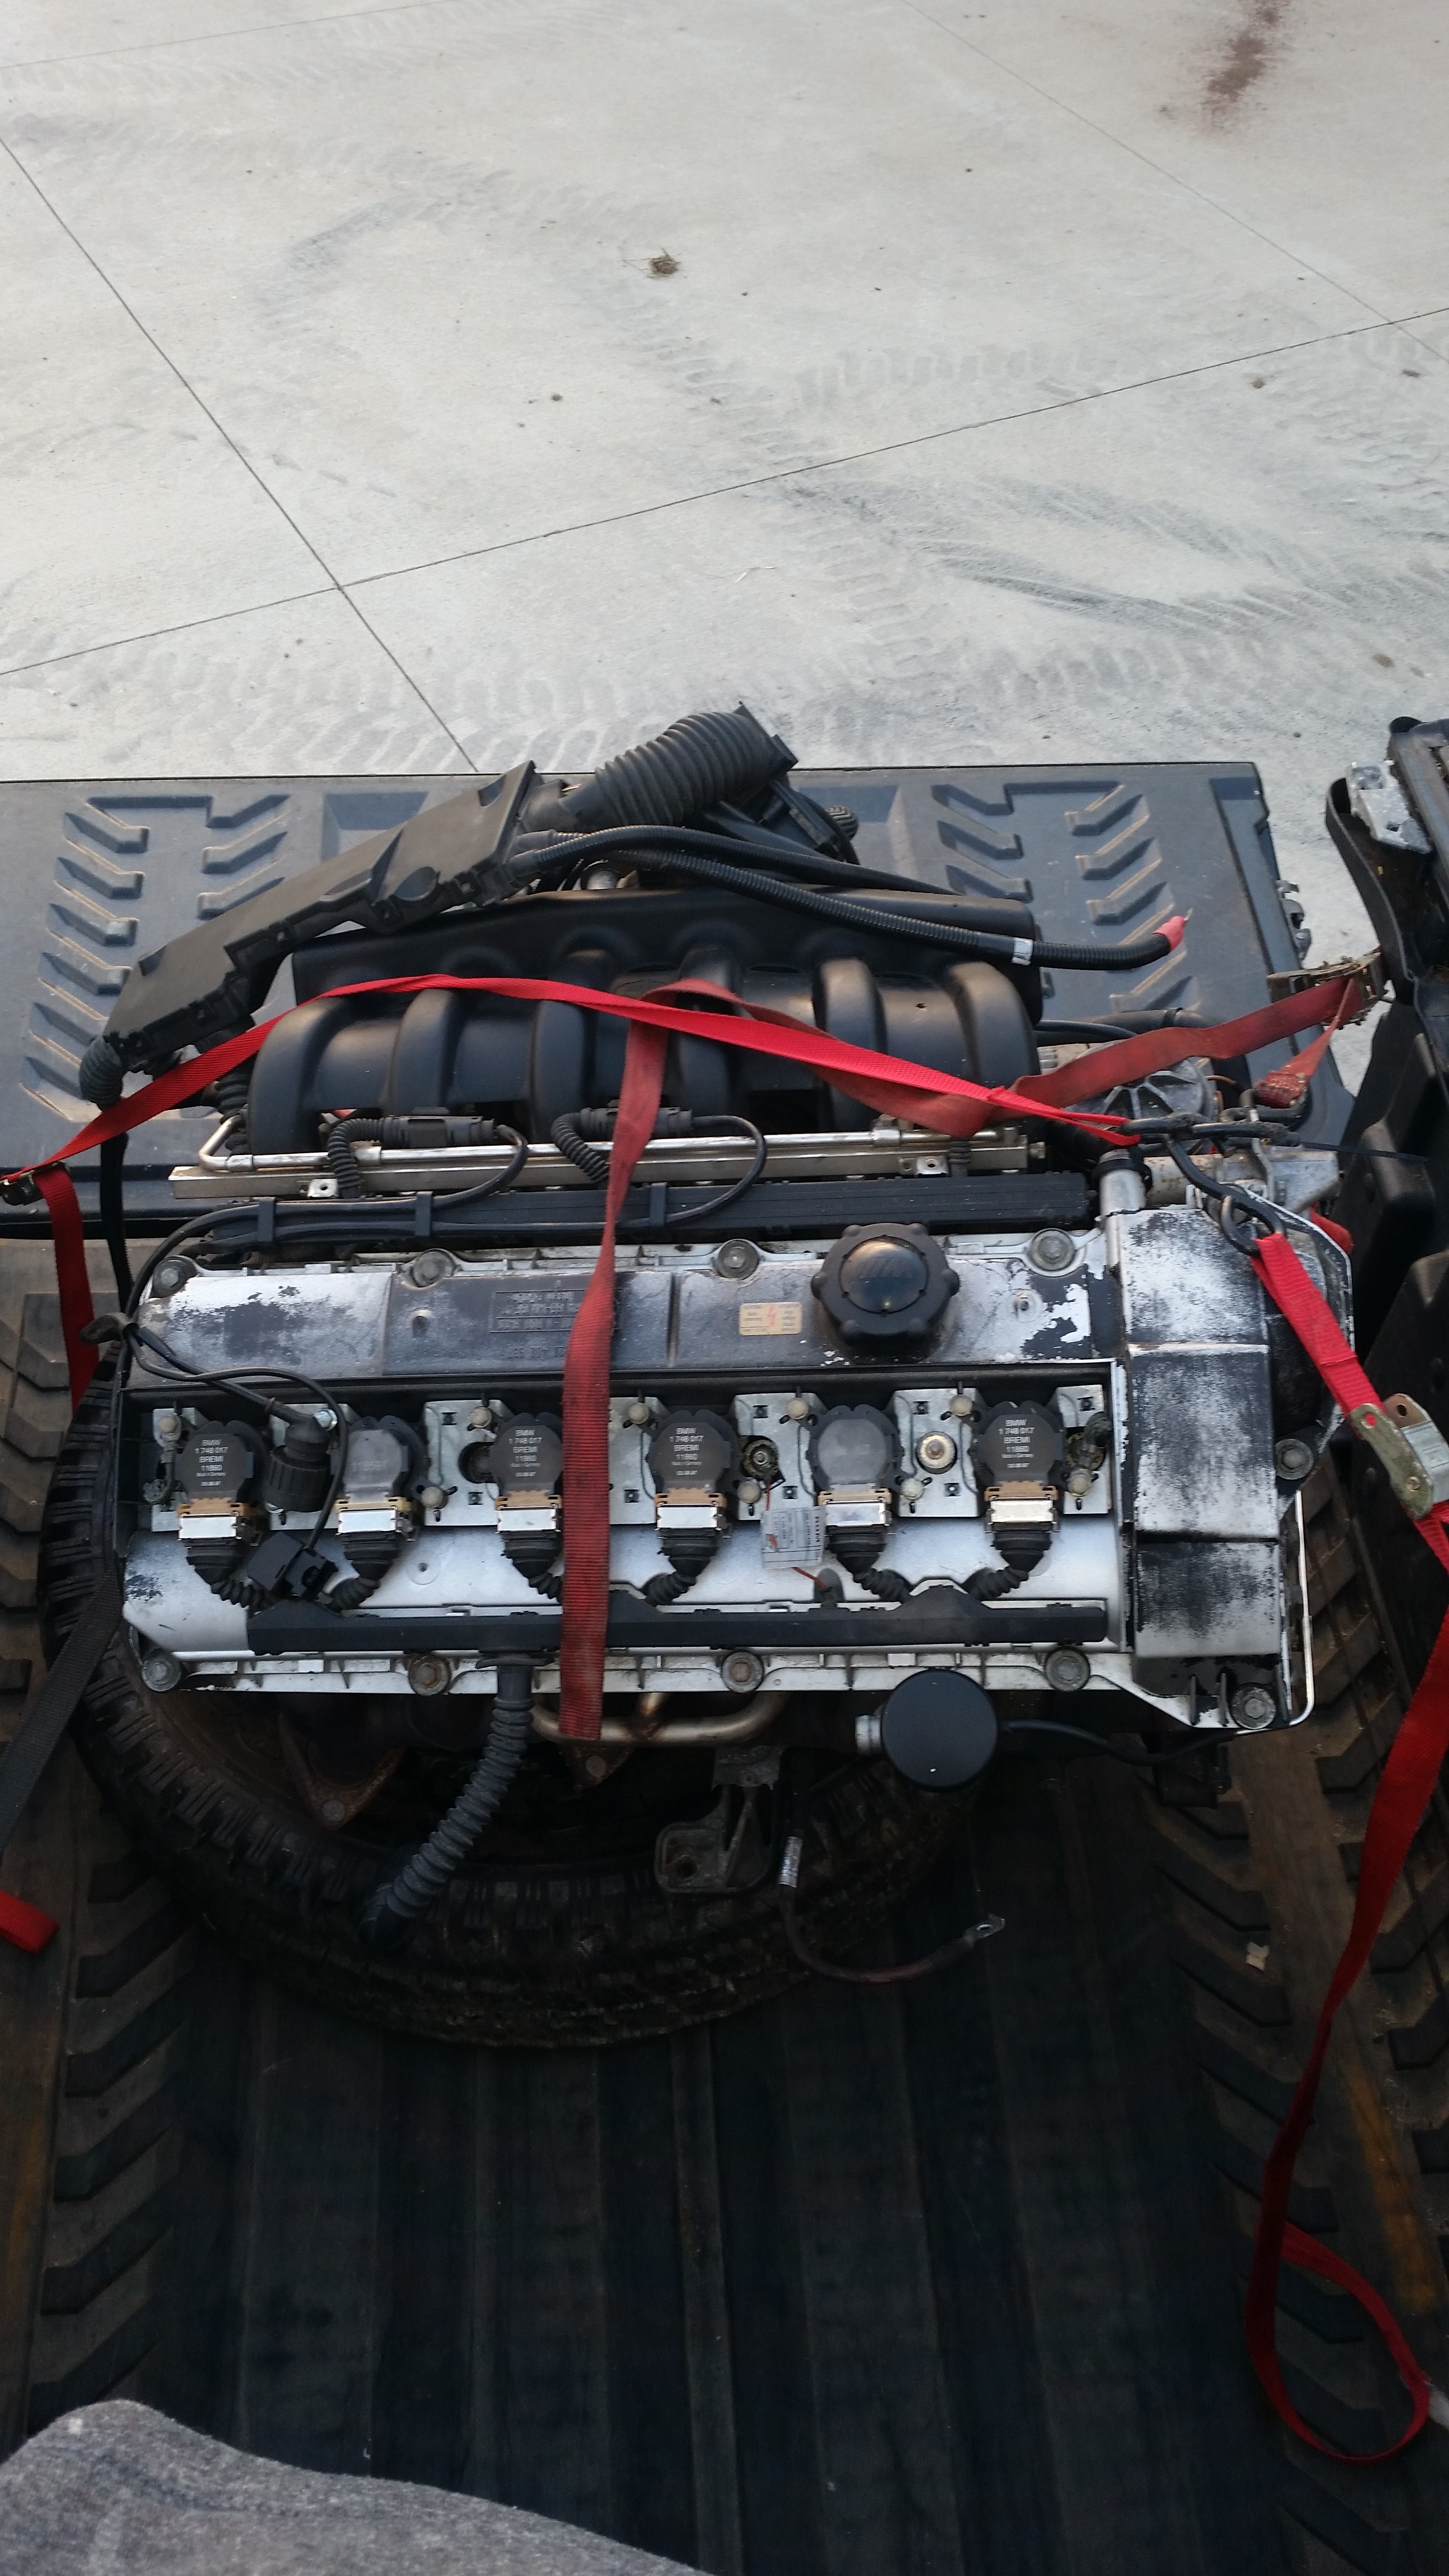
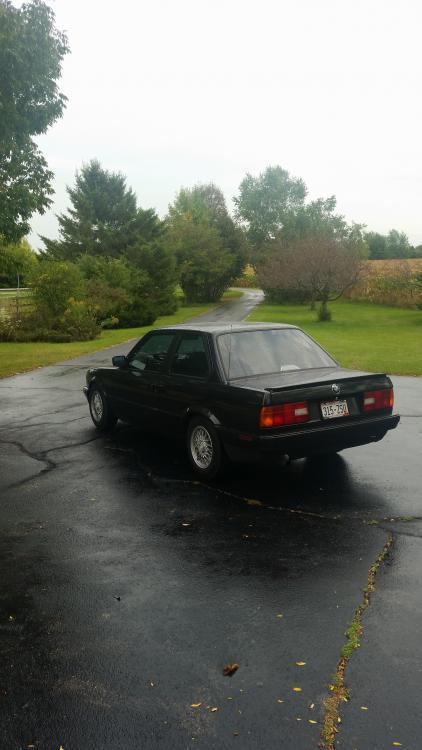
the one and only e30 s52 engine swap
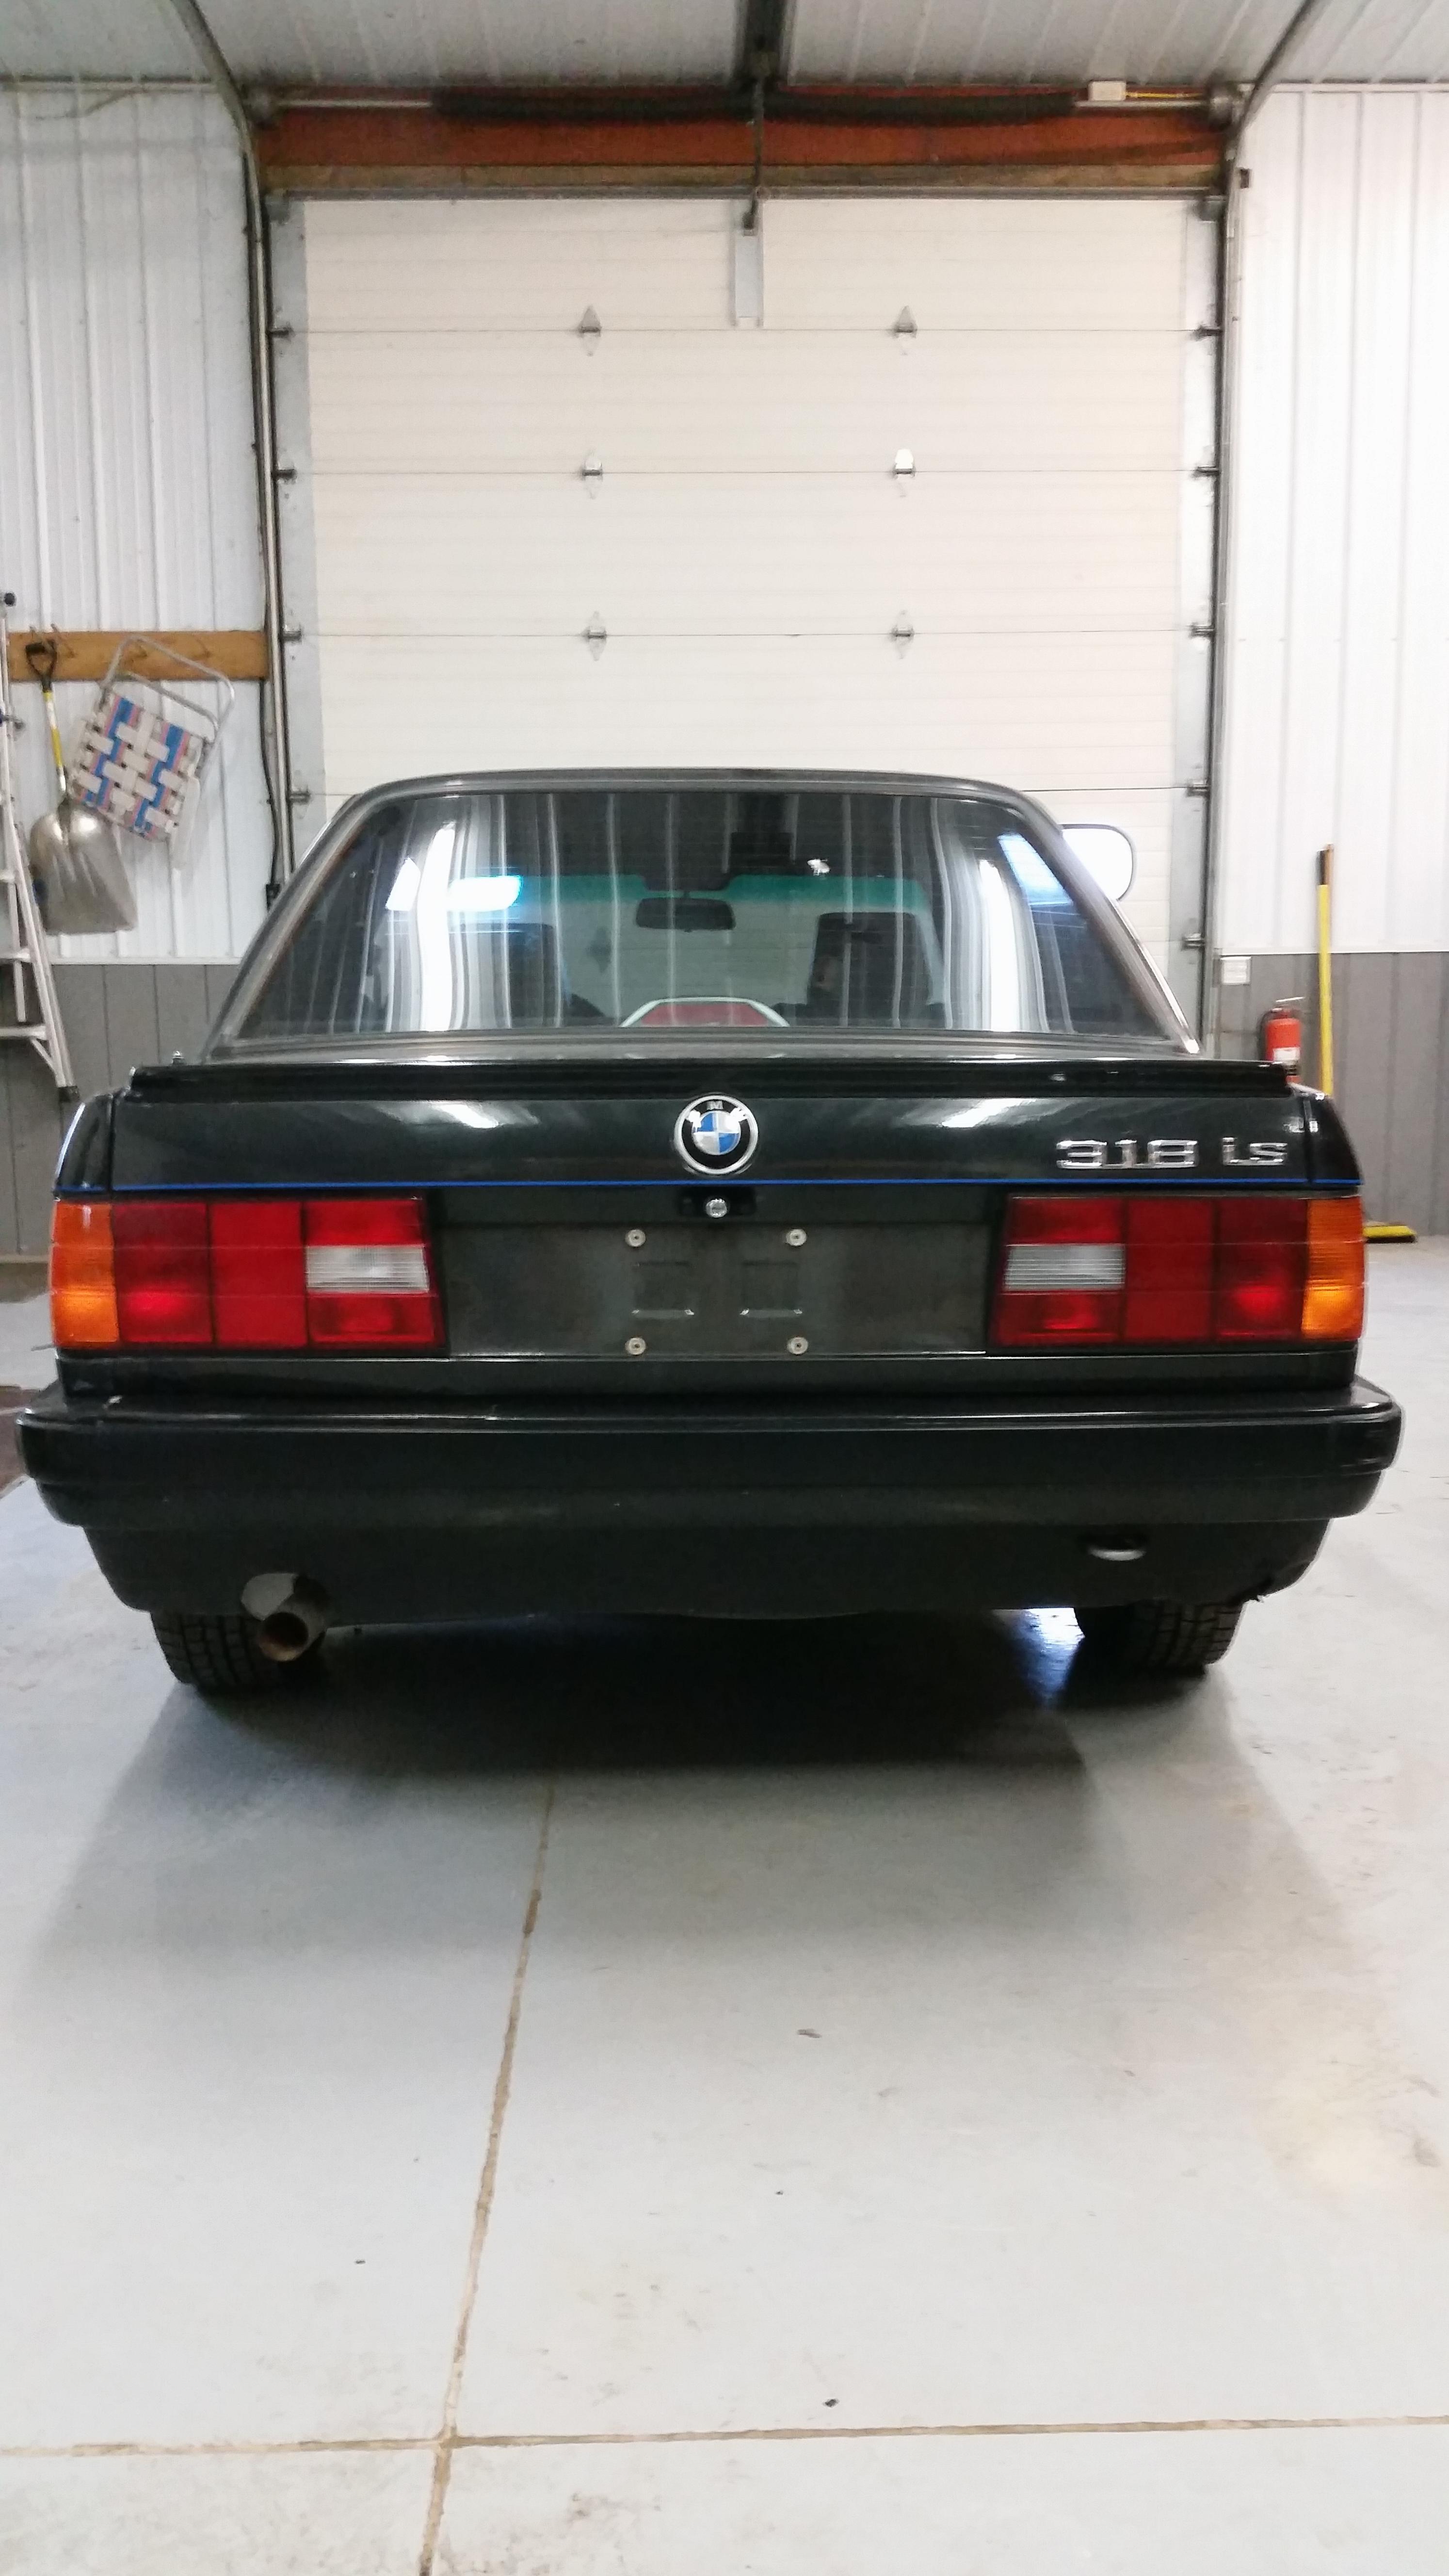
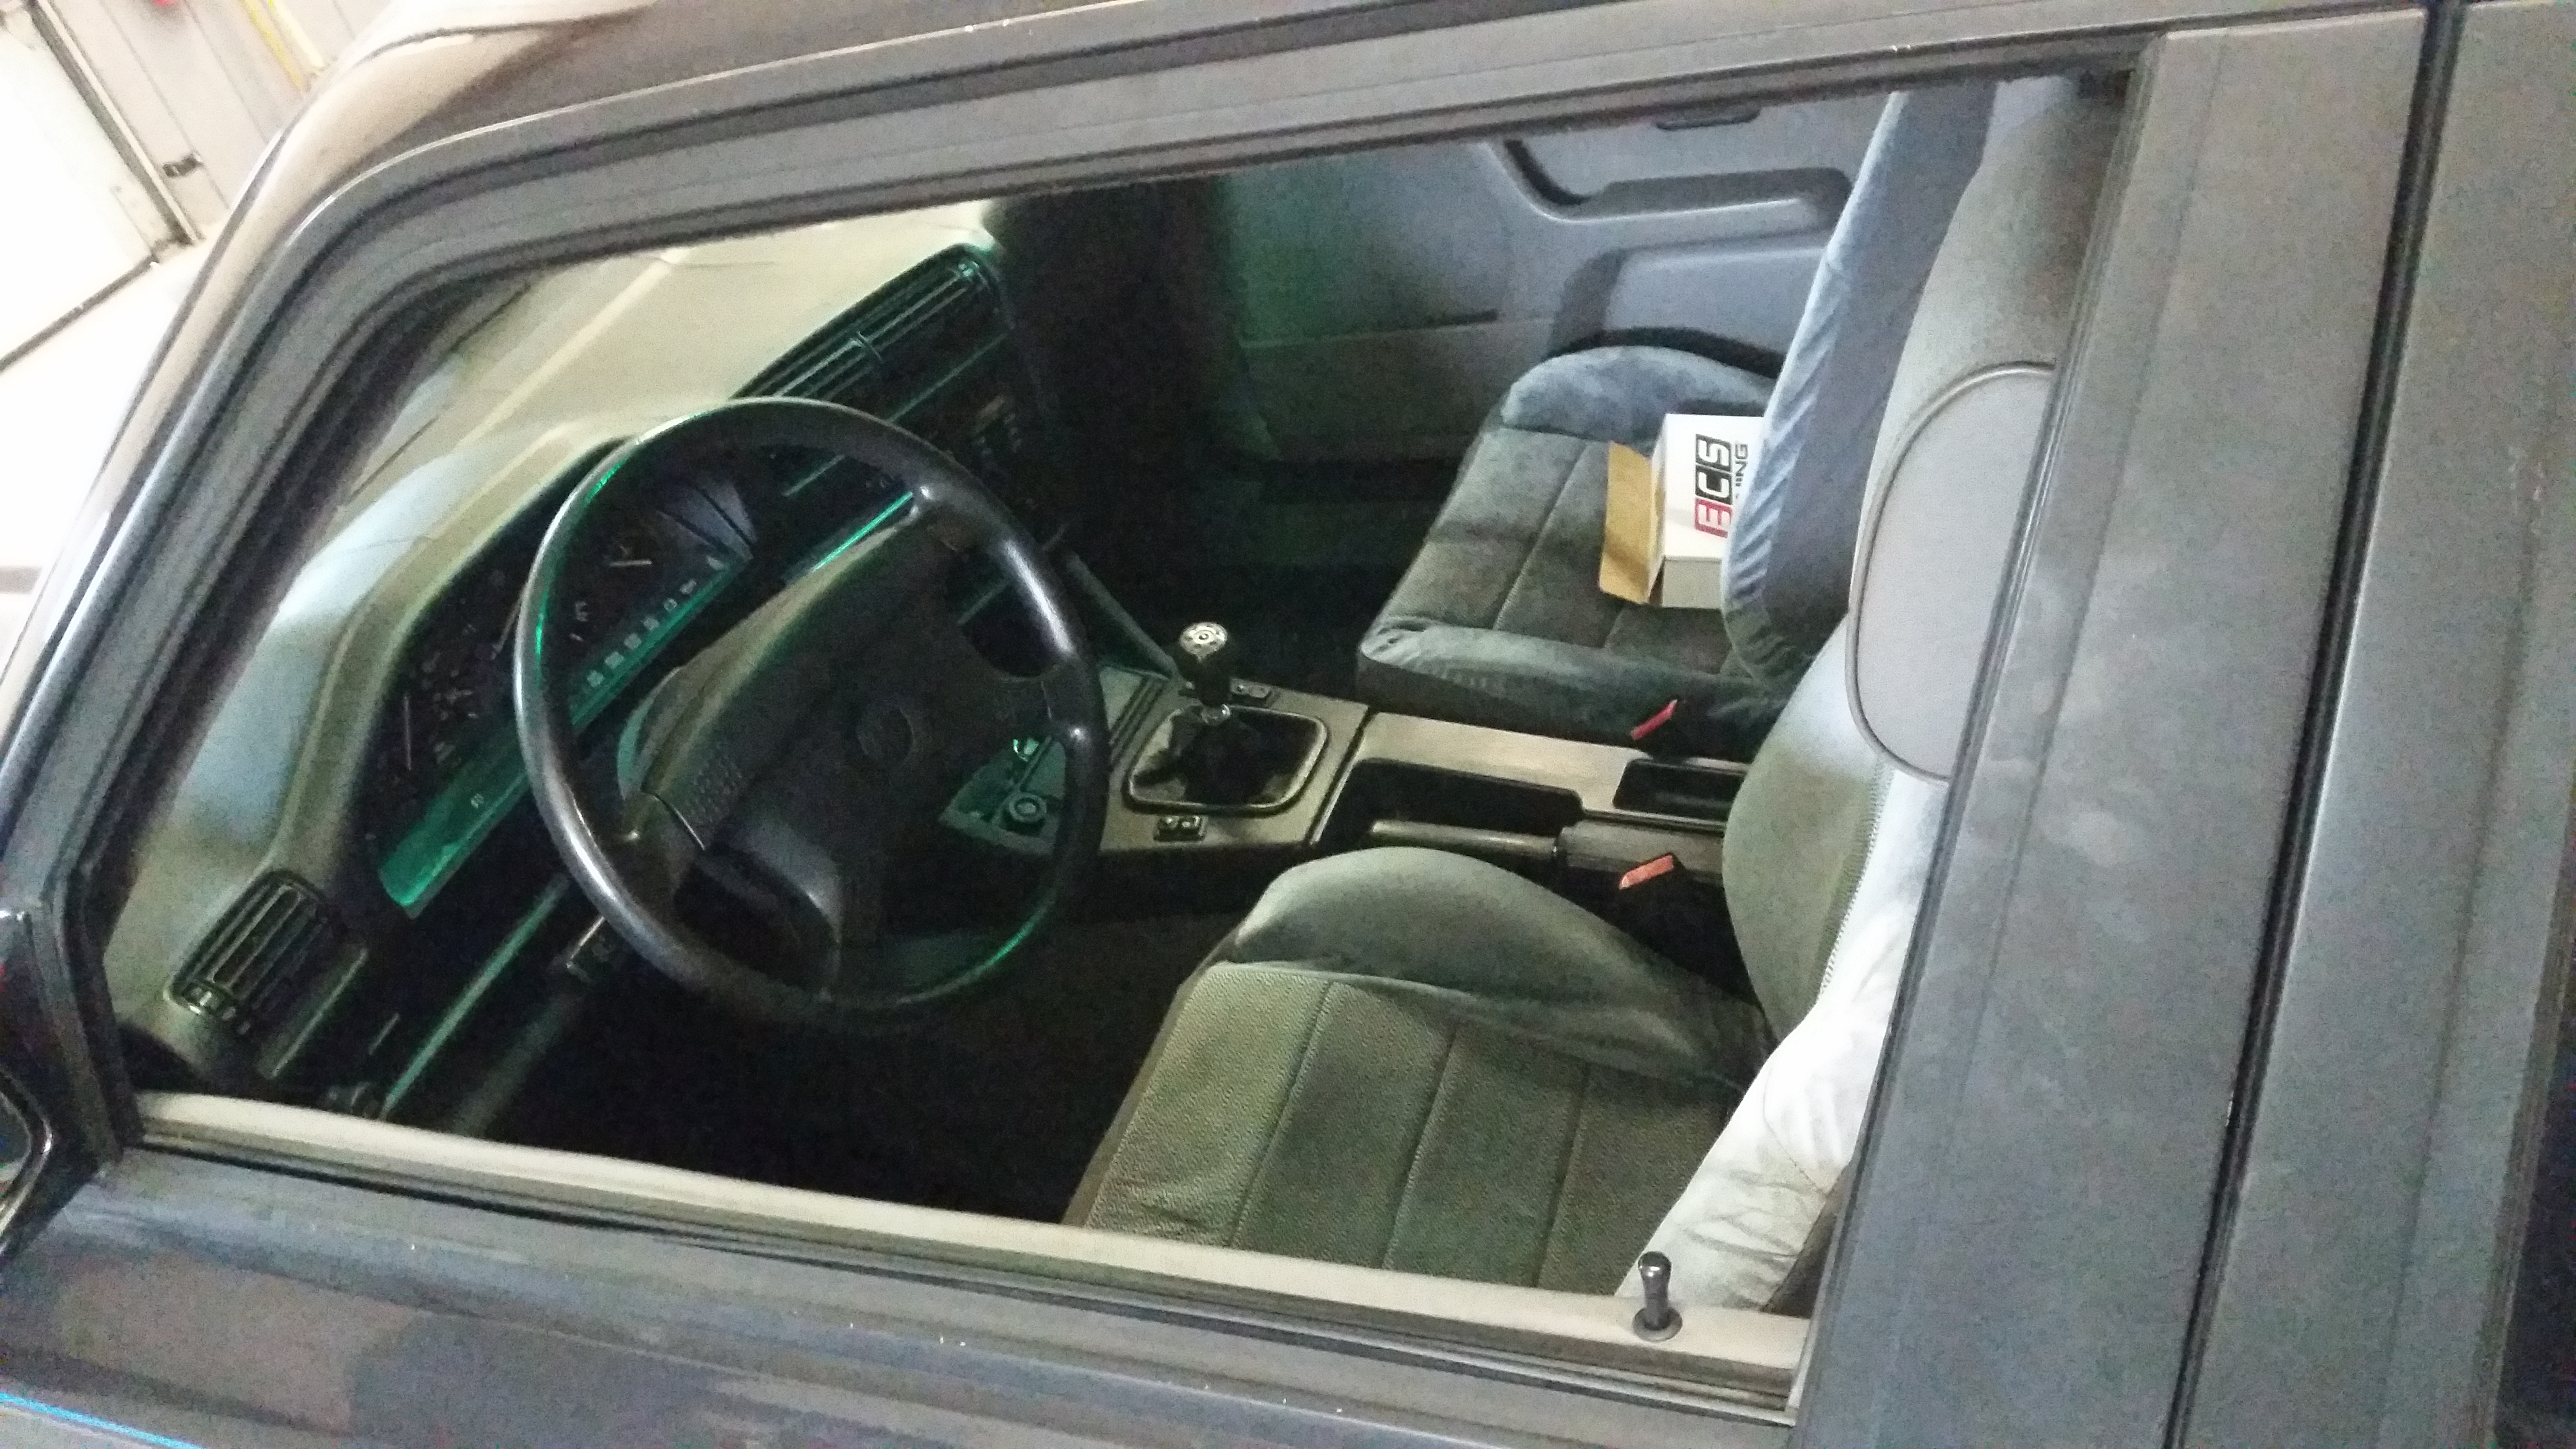
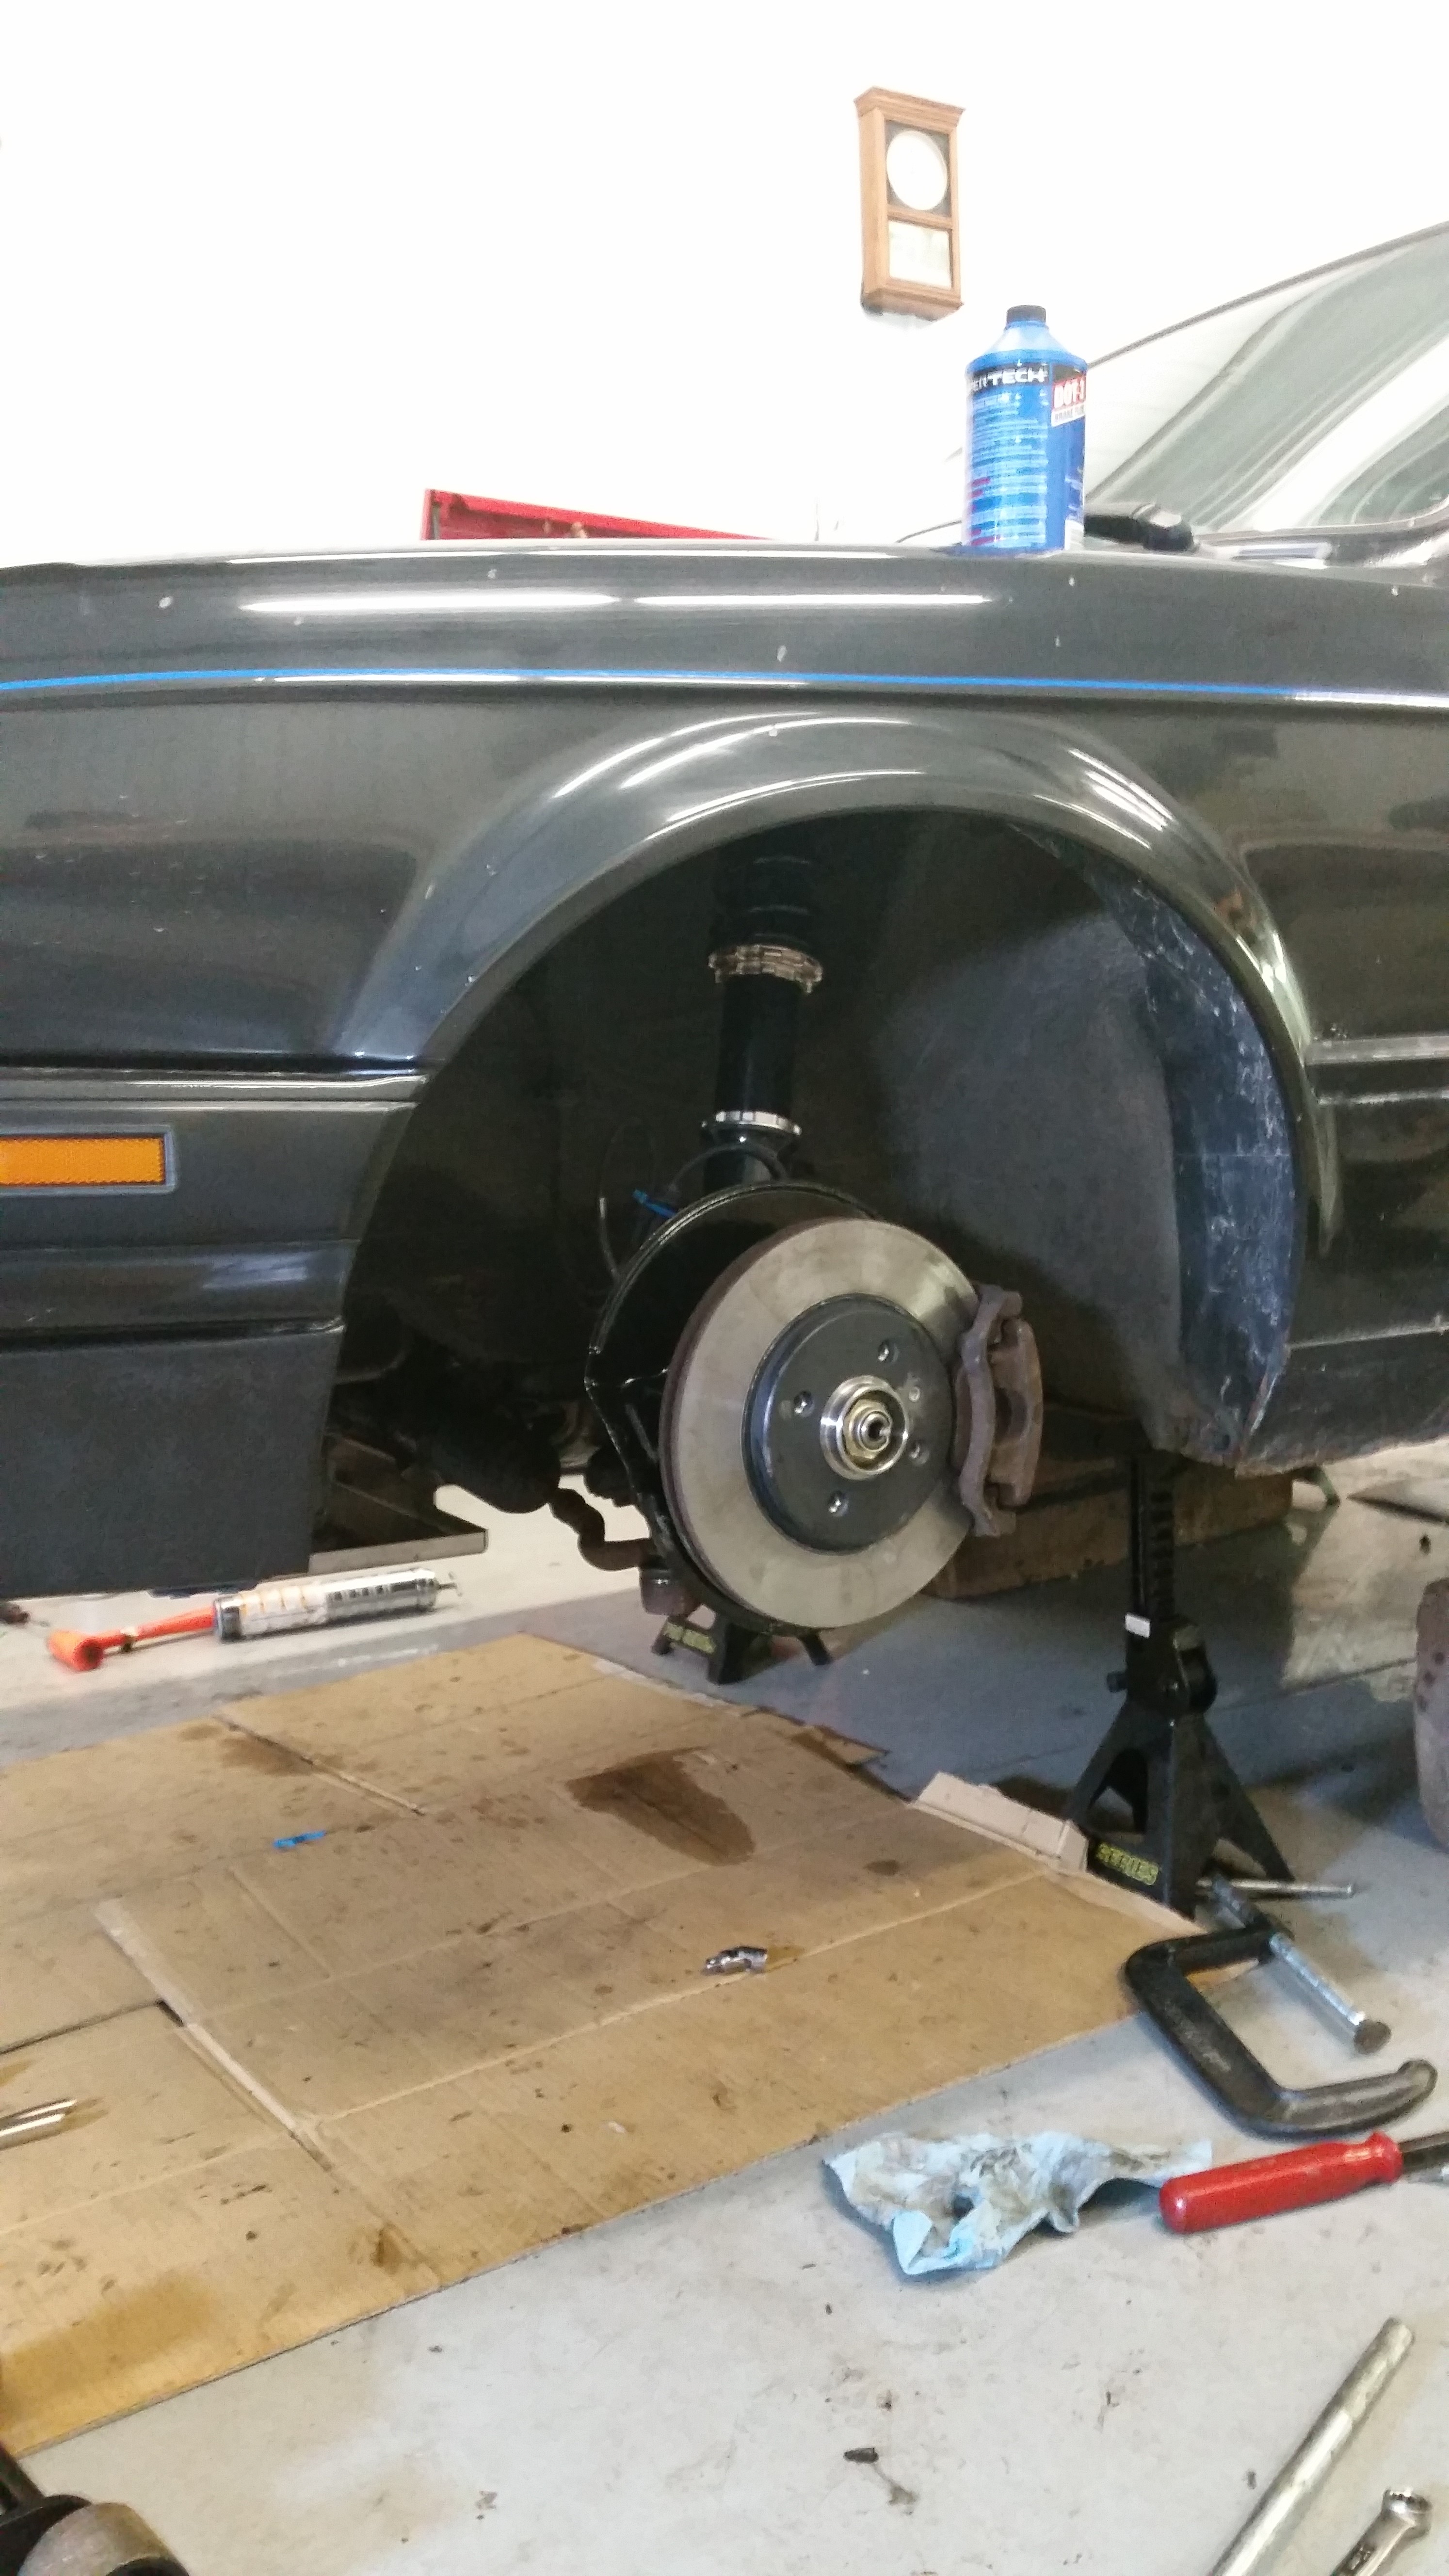
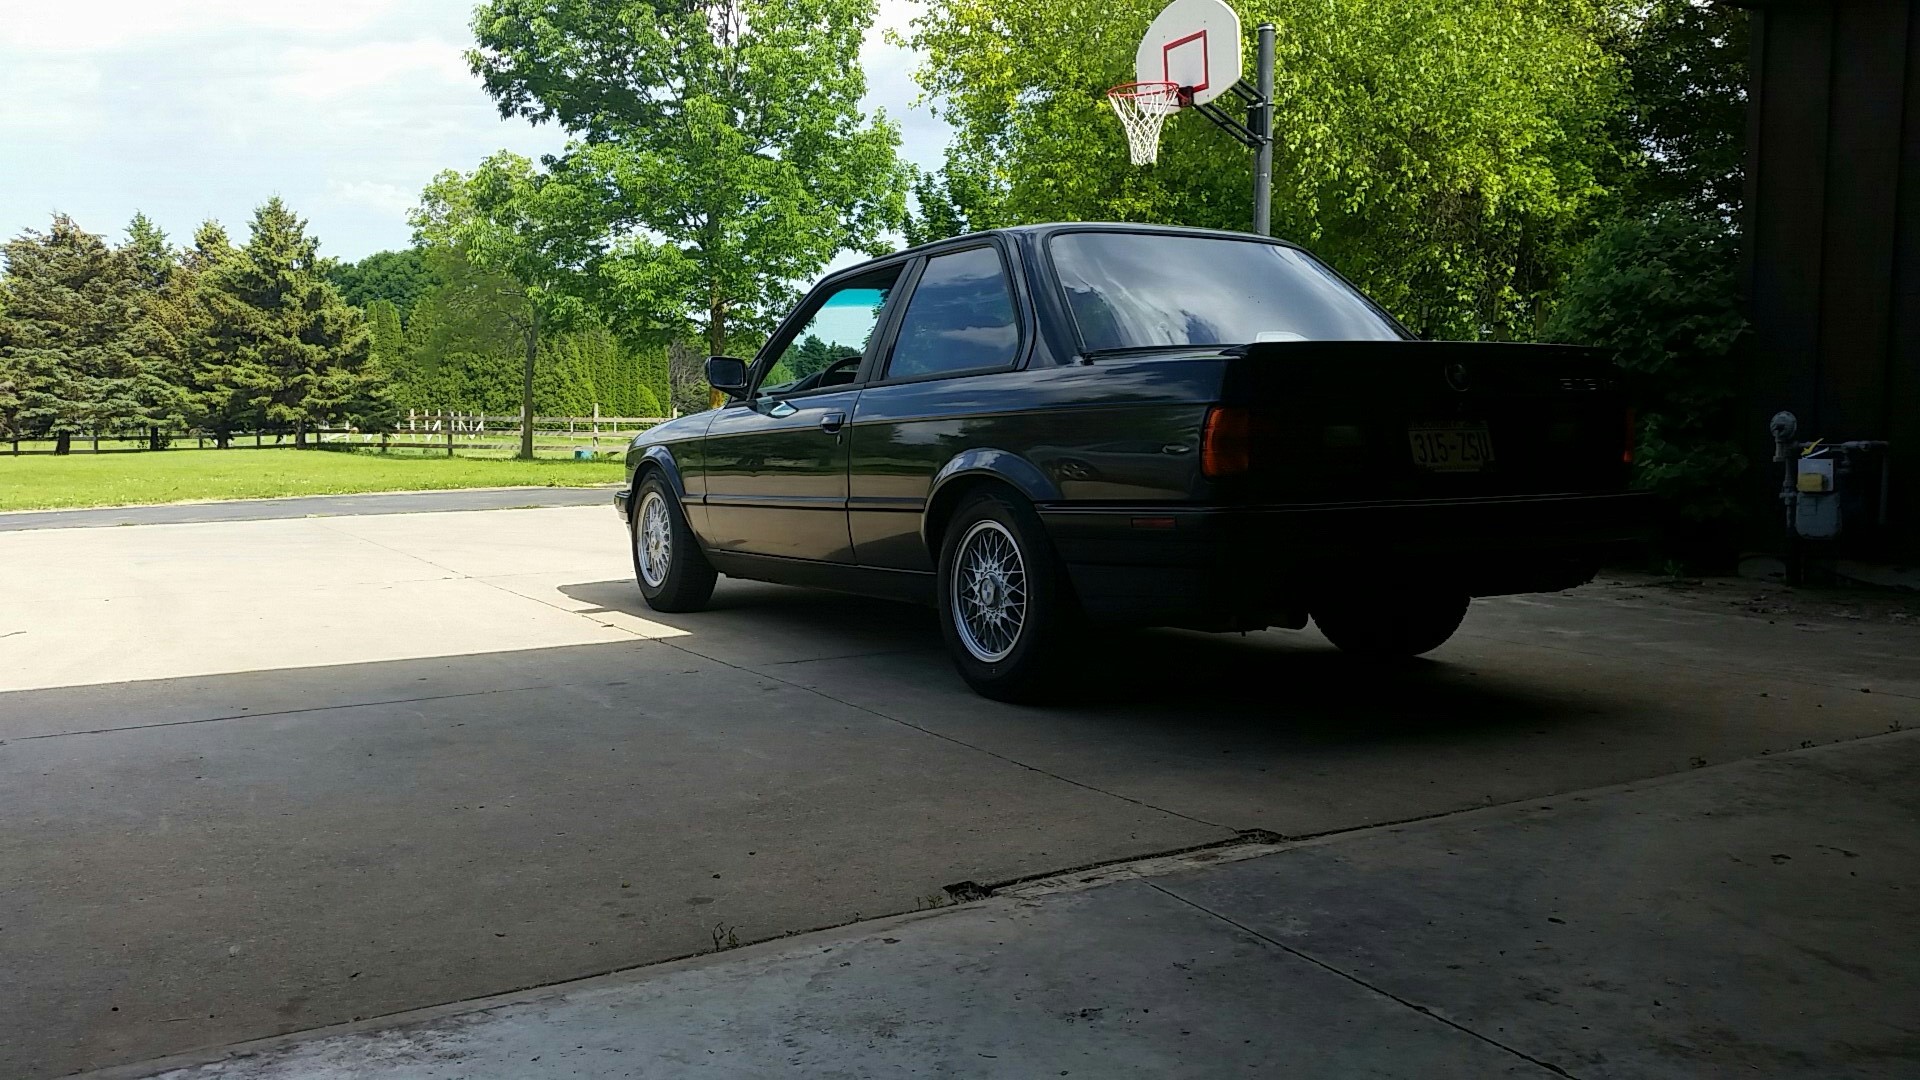
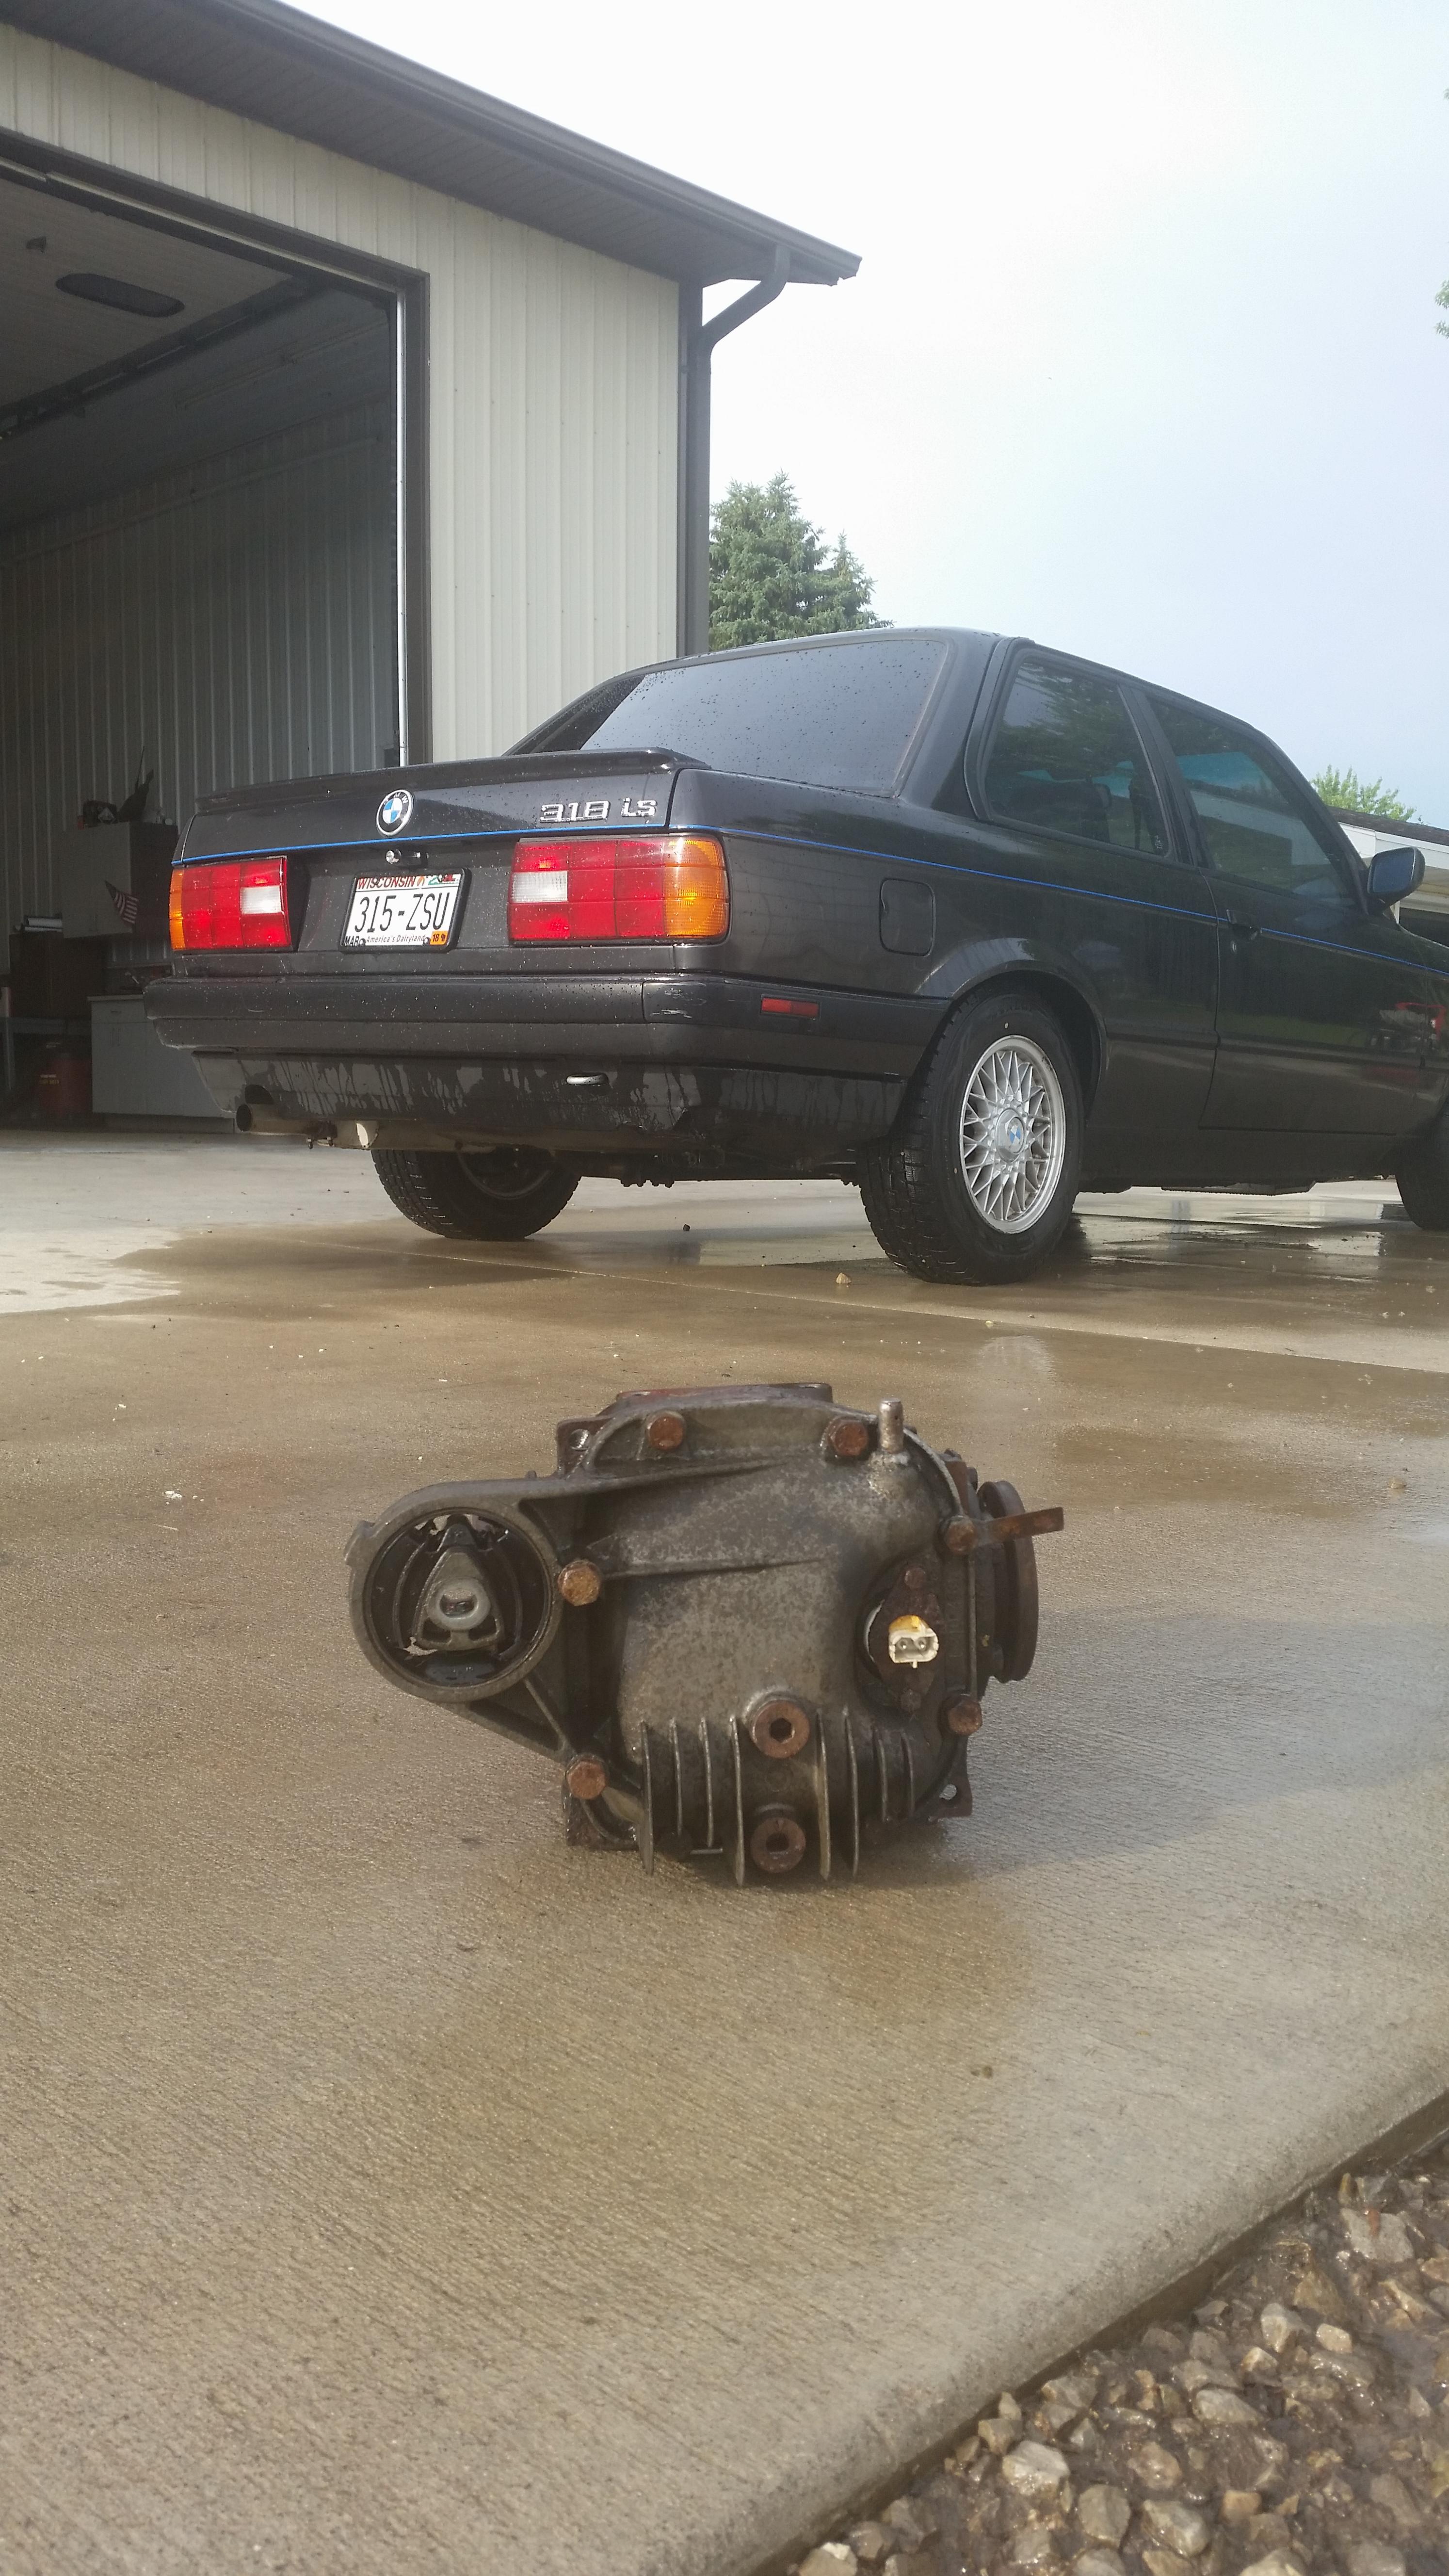
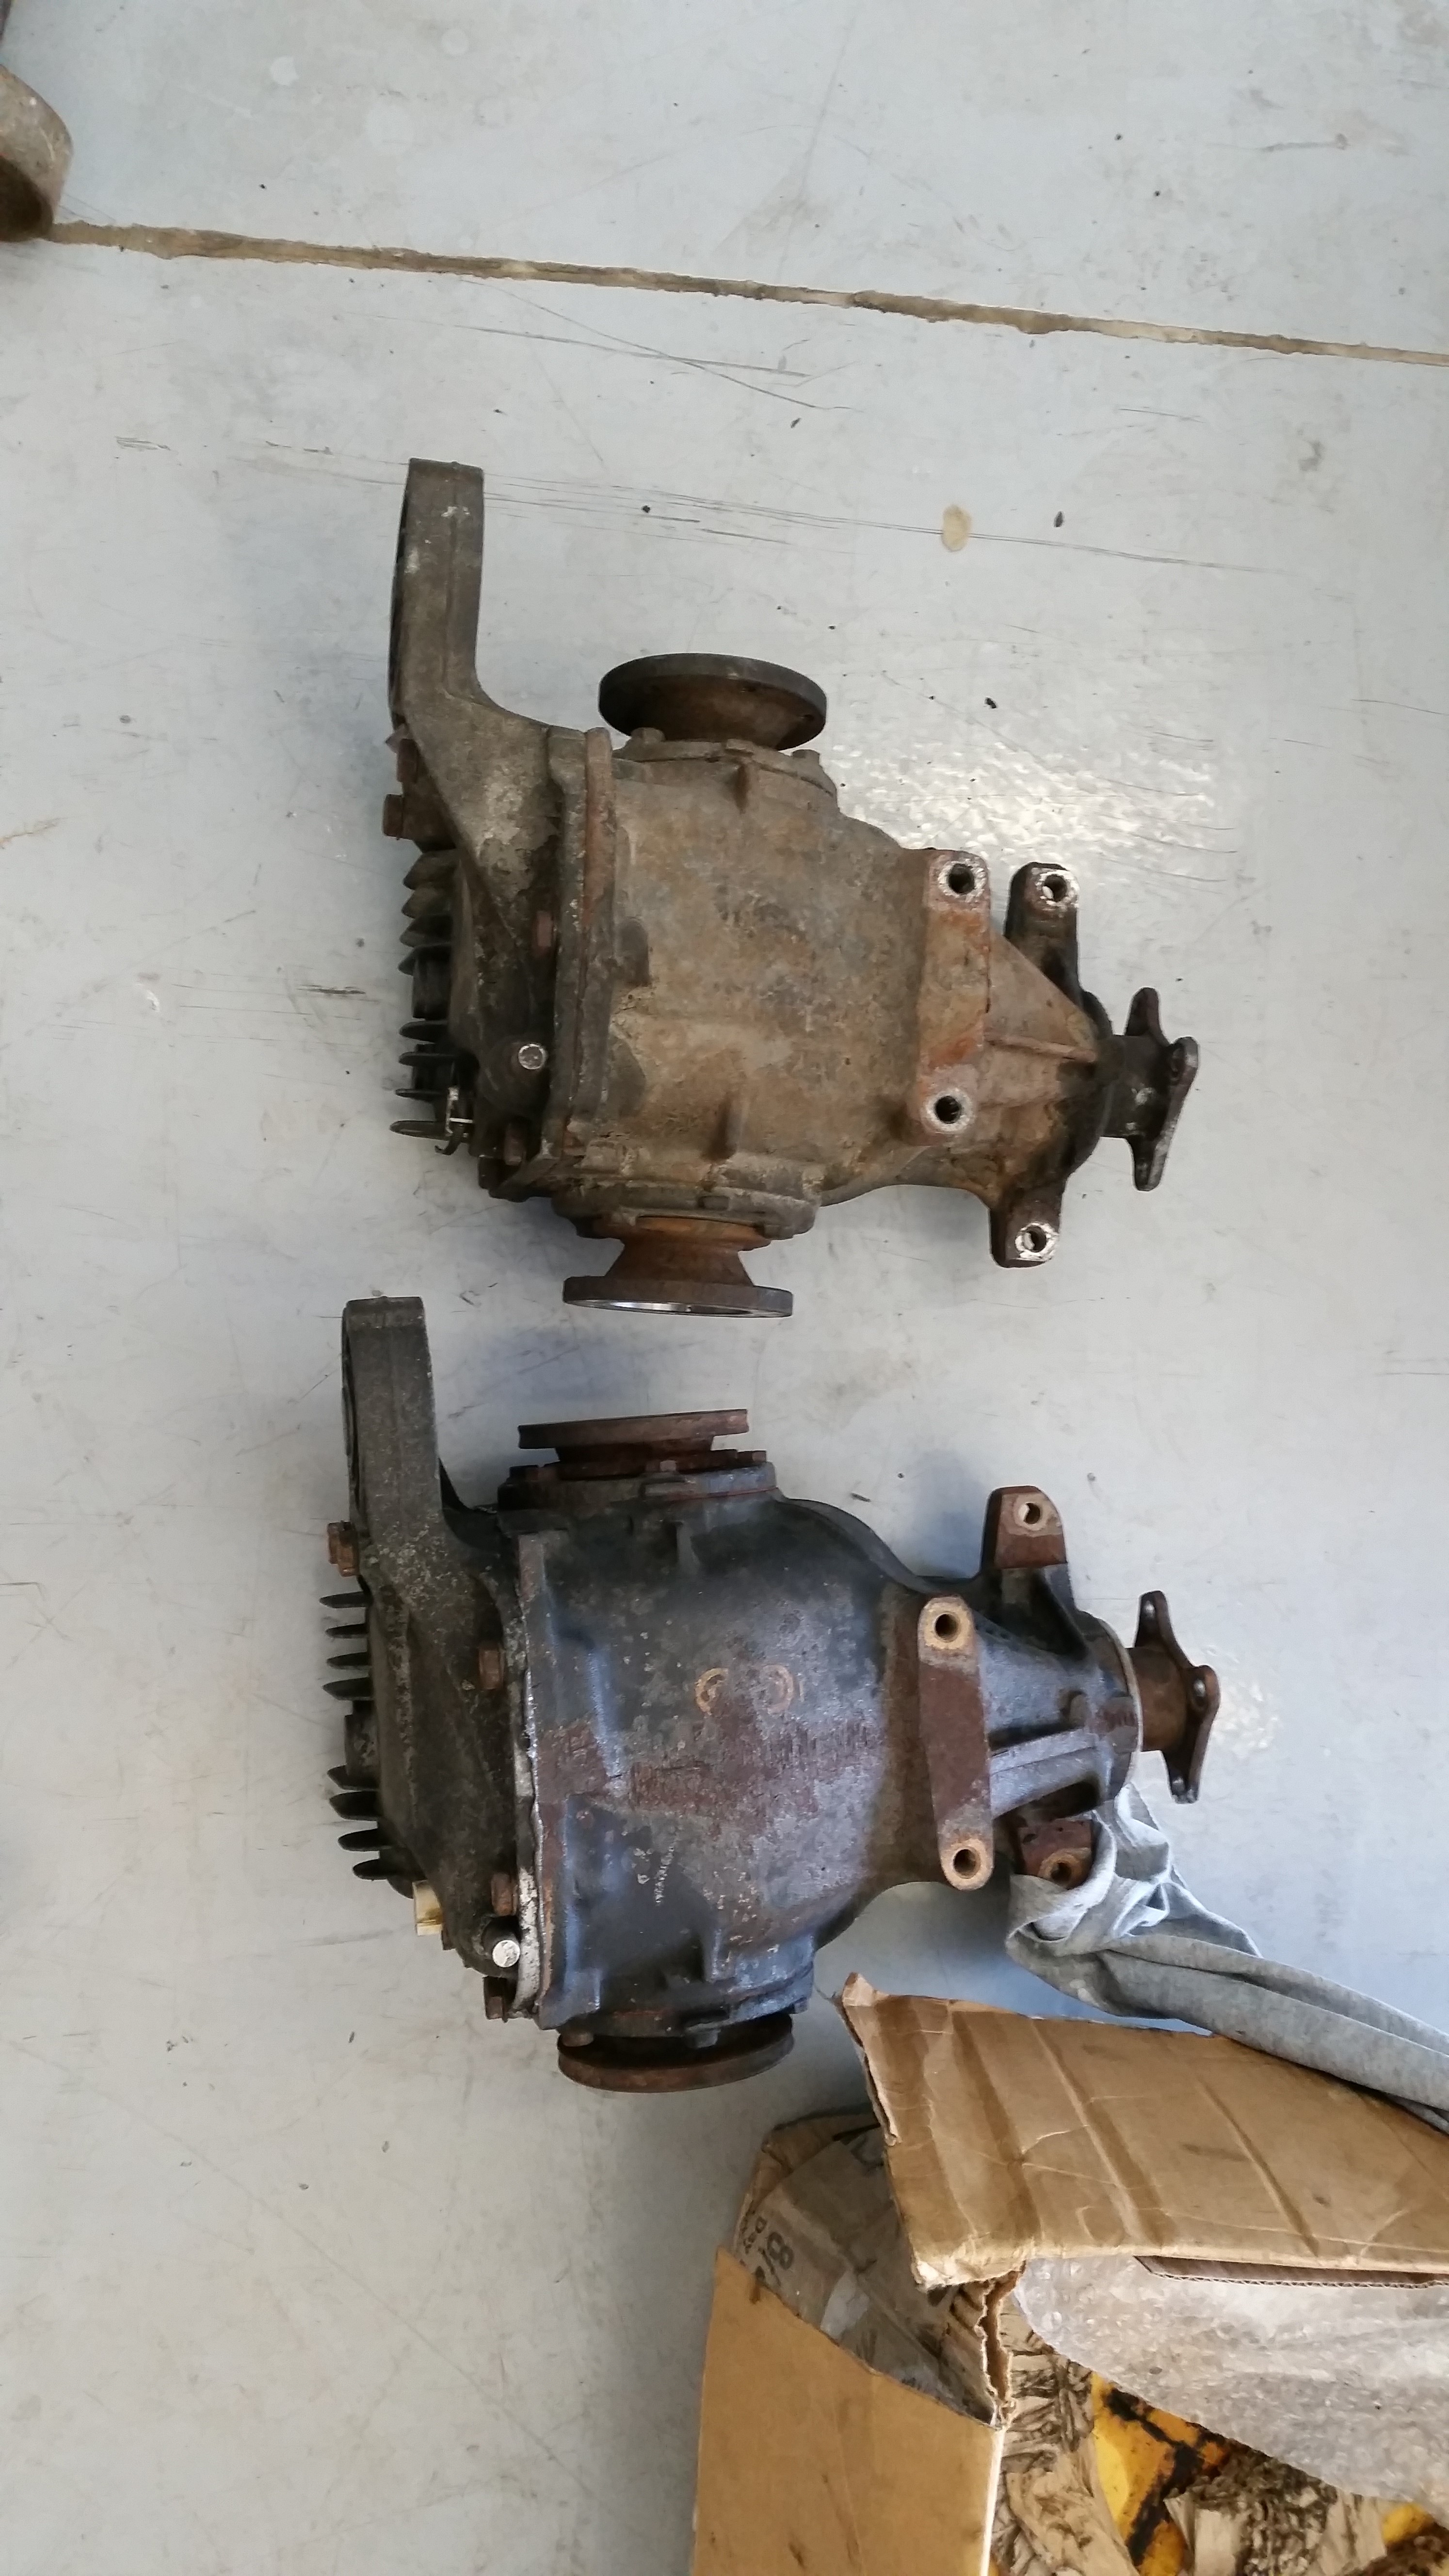
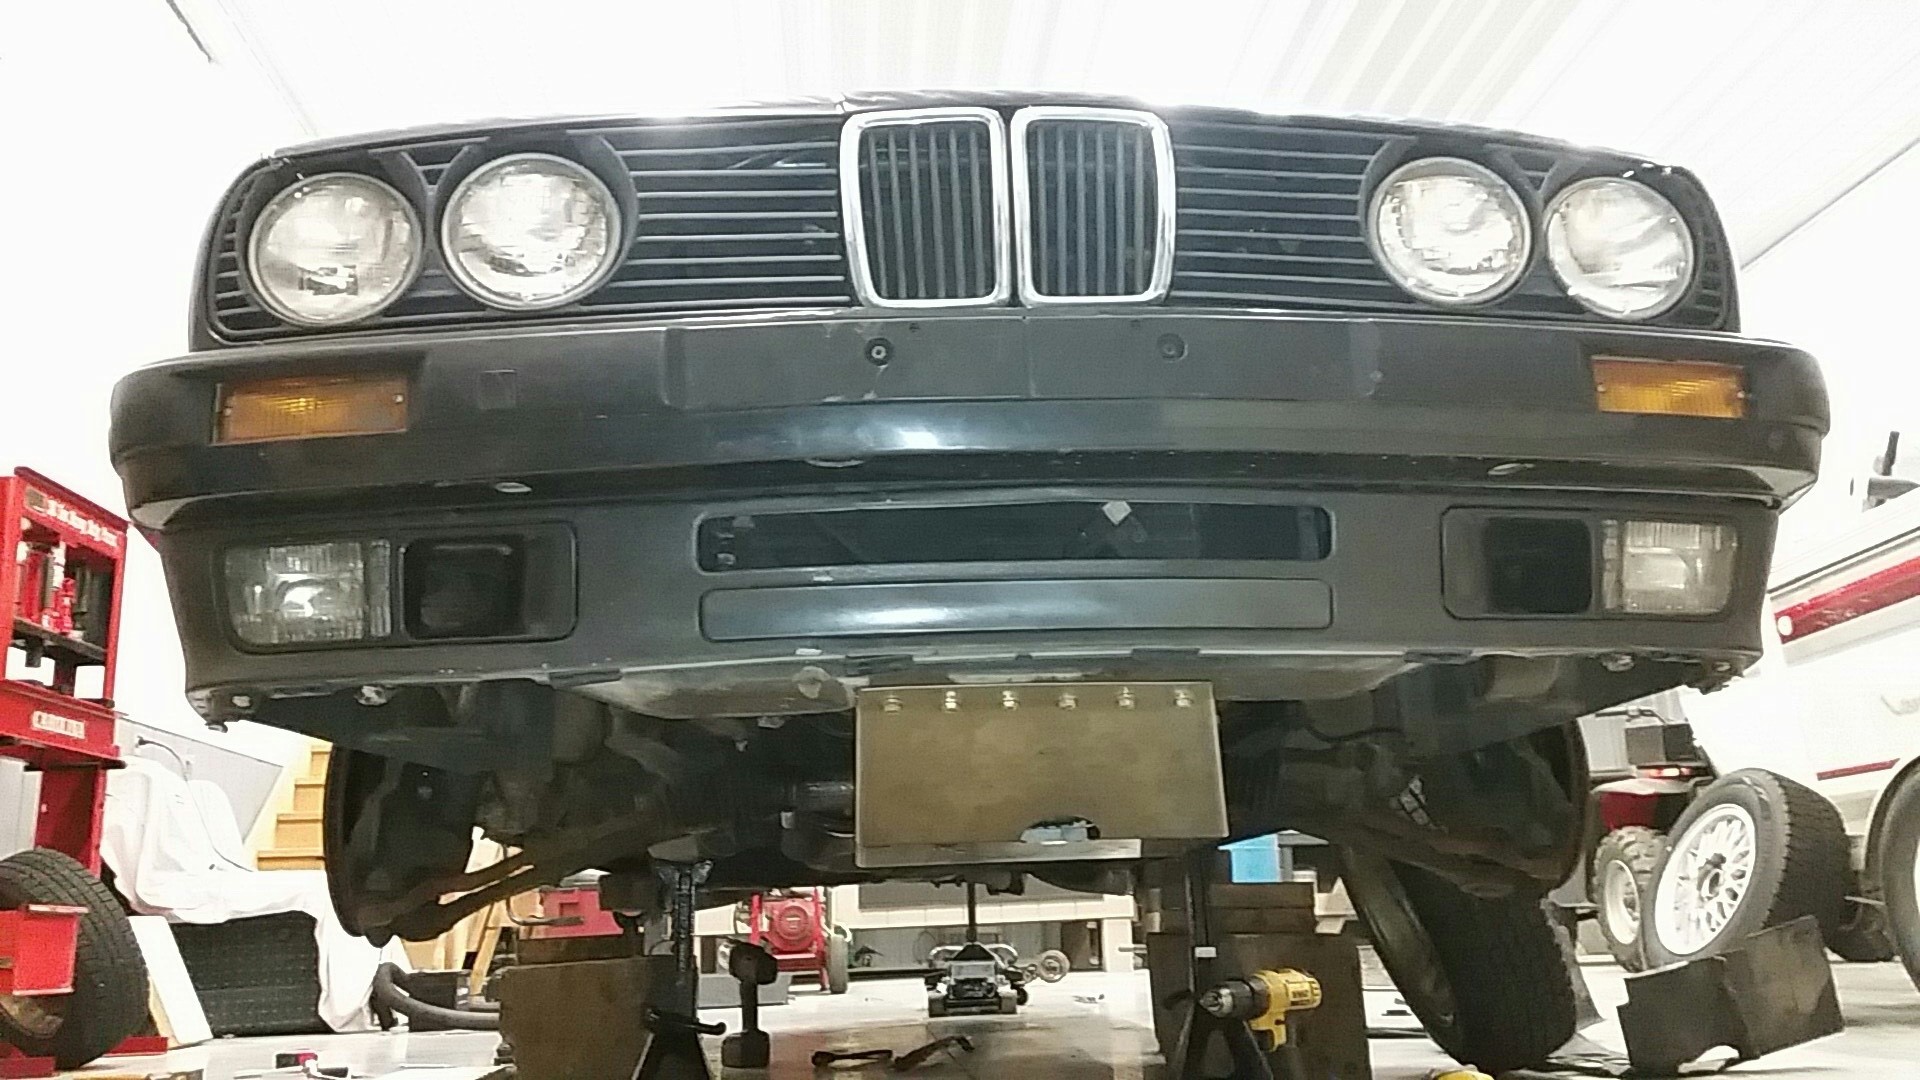
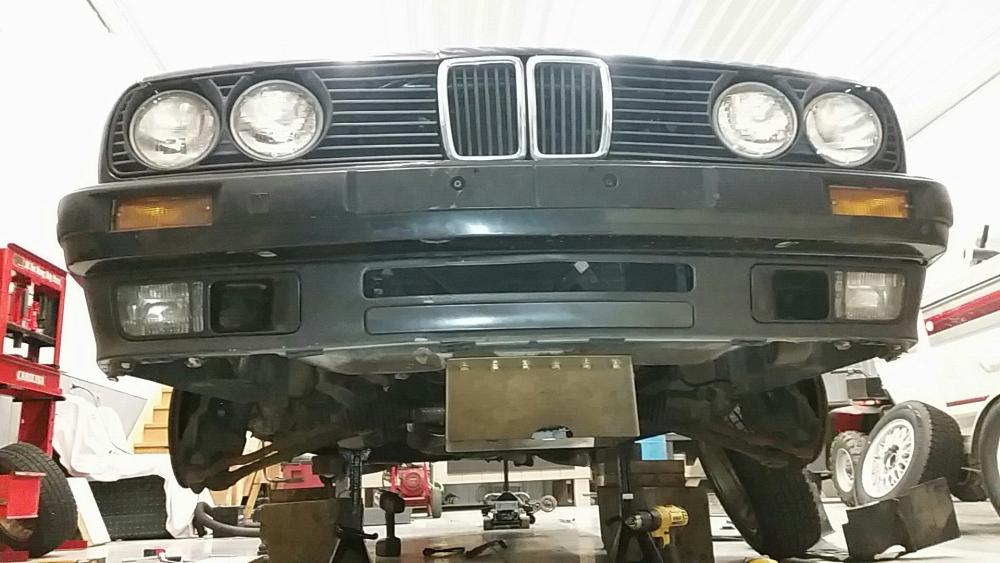
-
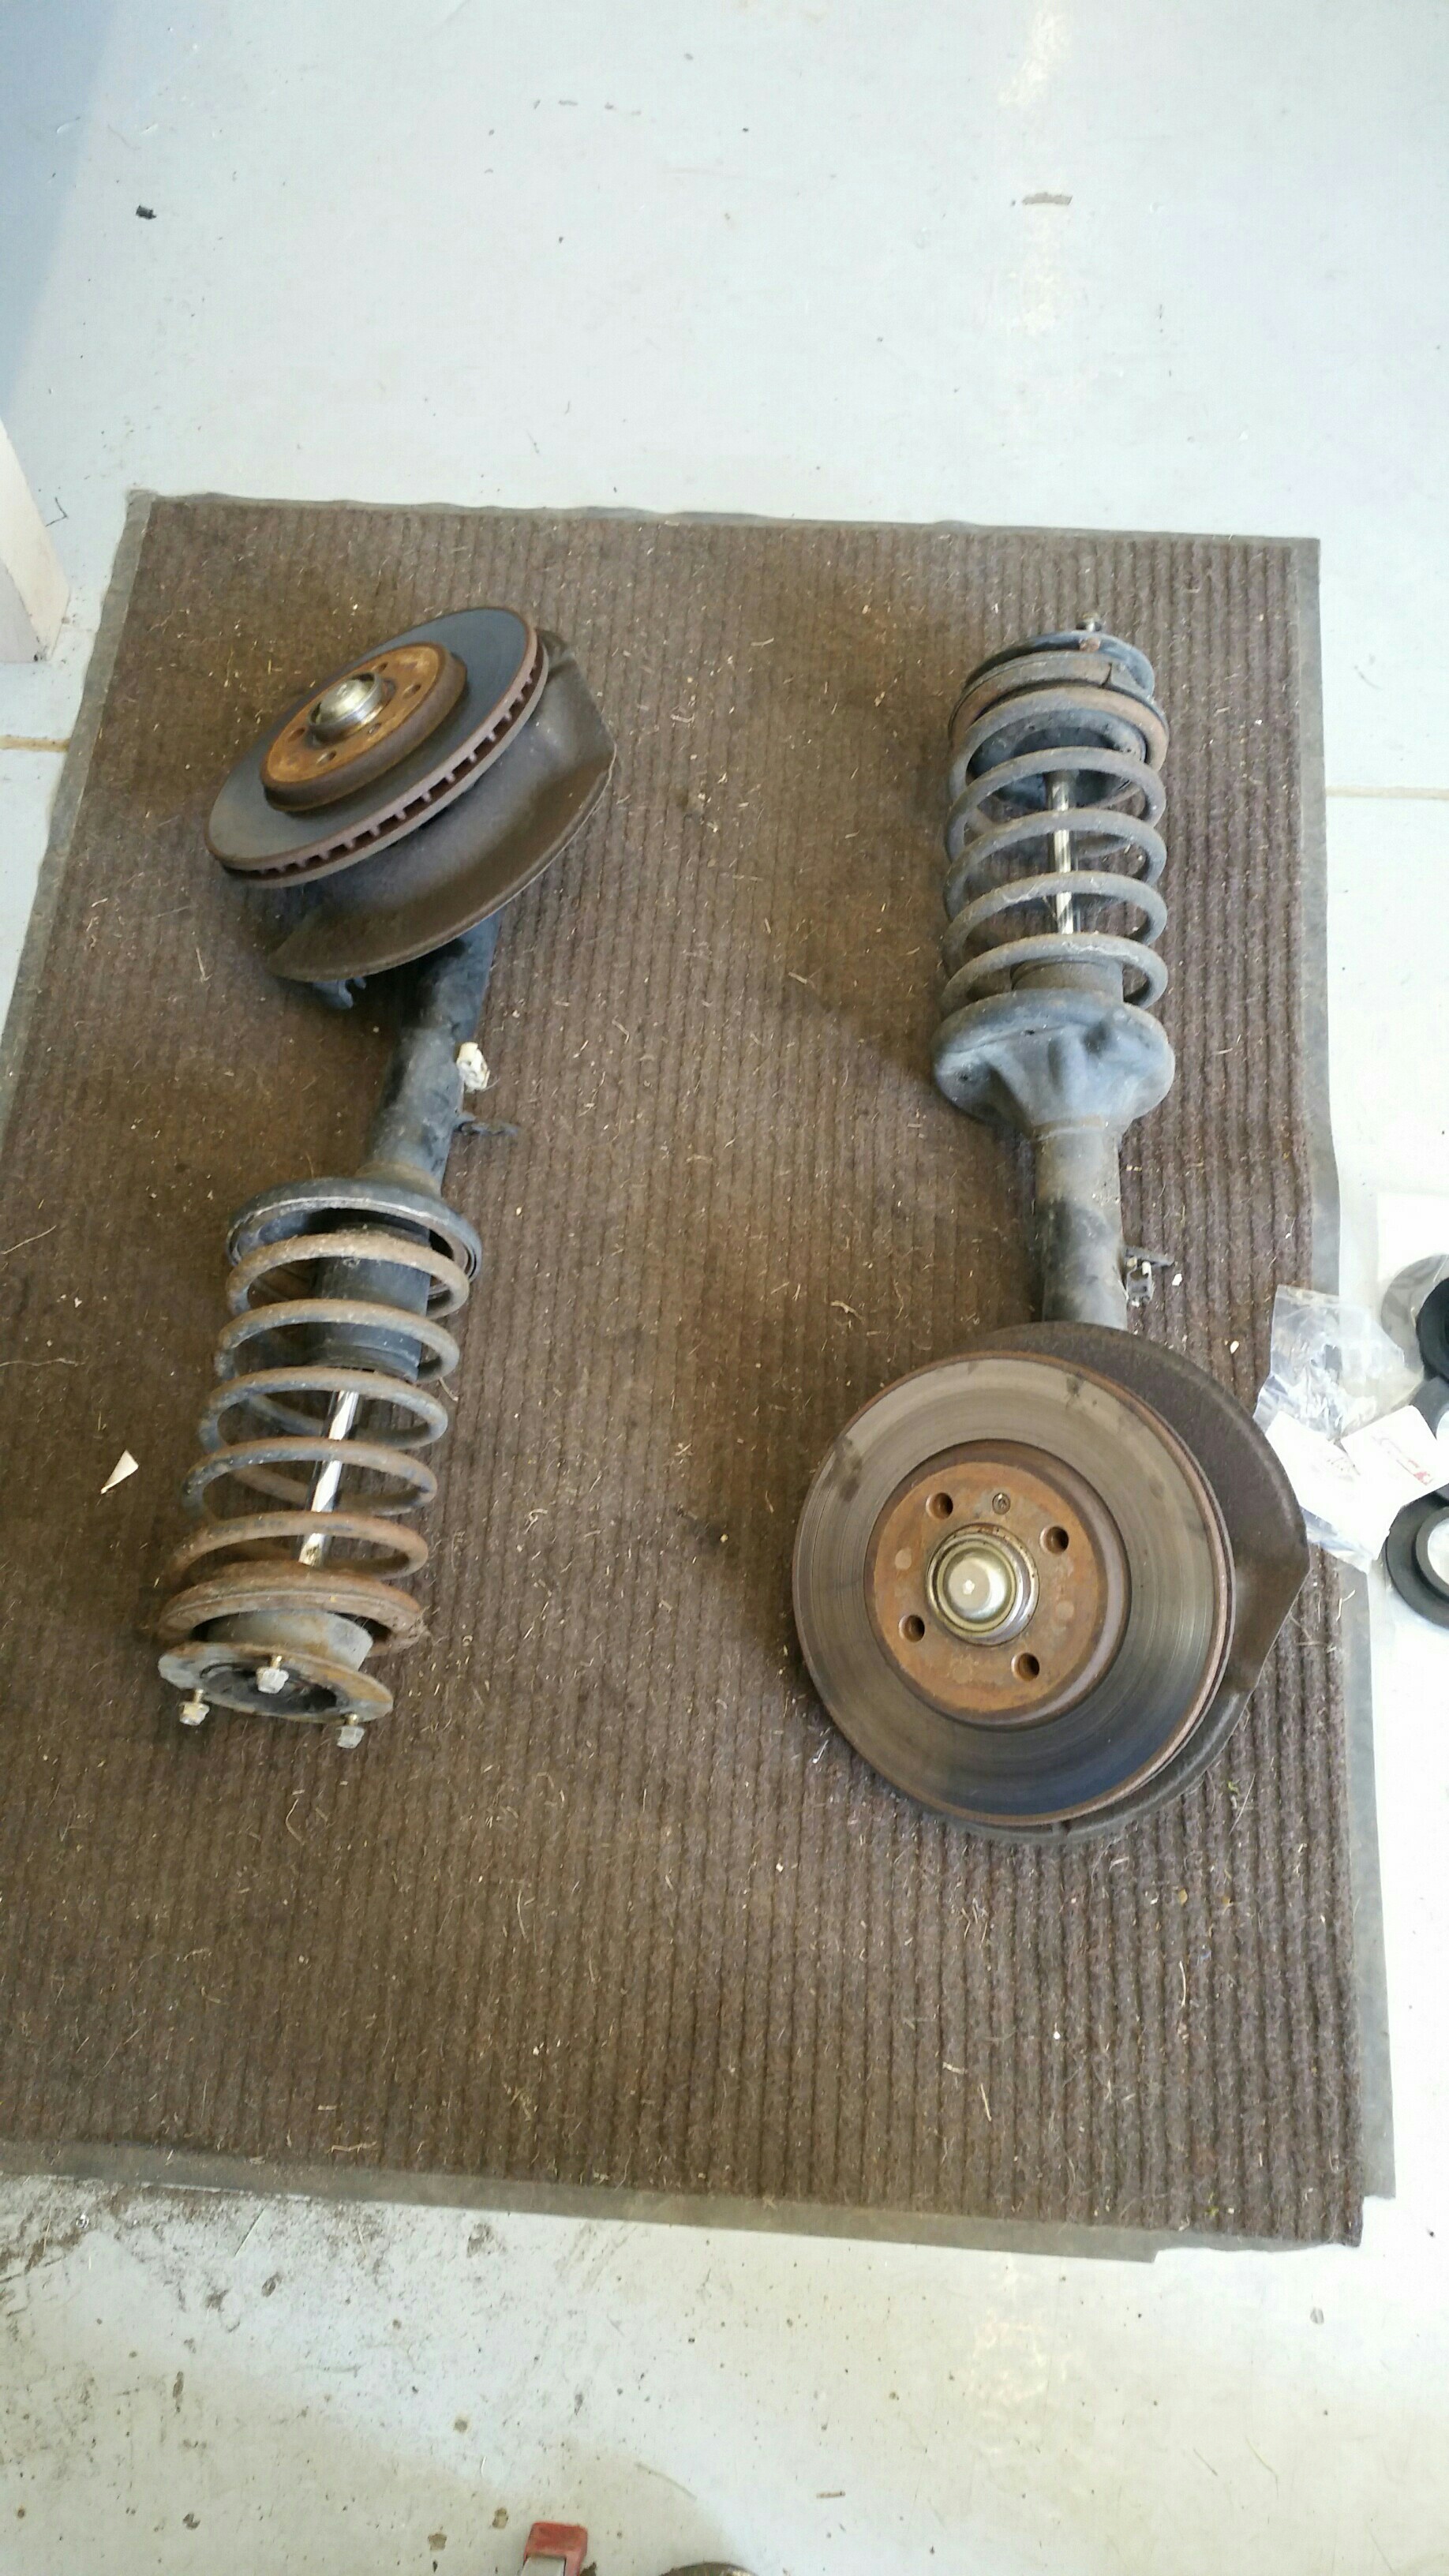
Well, the guy only wants 50 bucks for the 98 m3 rack so I thought that was a pretty good deal for a e36 rack. I knew the e36 non-m and m racks were pretty much the same ratio, its just what the guy had sitting in his garage. If this deal ends up falling through then I'll look into the z3 rack. To be honest, I actually thought z3 racks went for 250-300 bucks, so under 200 bucks for a z3 rack is big news to me. Or maybe its just all that r3vlimited brain washing me into thinking that every part is worth double its value.
They typically go for 250-300 when people know what they are, aka r3vlimited/bimmerforums/etc. Junkyards and people parting out cars who don't know anything about BMW's will list them on ebay without doing much research and just slap a generic price on them, you just have to watch ebay and you can get a good deal. Make sure you get pictures of the rack/part numbers before you buy obviously, they can be swapped with normal e36 racks if the previous owner was being cheap.
$50 seems like a decent deal for a good condition e36 rack, and once the work is done with the swap it would be easy to upgrade down the road too since they are a direct swap.
-
BTW, if you want to get rid of that dusty old M42, I know a guy...
-
-
I have read that the M rack is progressive rate (slower on center for better high speed stability) but that could be hogwash
You're right! My understanding is that the only linear rate racks are the non-m Z3 and the e46 ZHP
-
Upgrading racks, 10/10 worth it.
Makes the car a joy to drive.Hey! When you gonna help with my vanos?
BTW, if you want to get rid of that dusty old M42, I know a guy...
Let me know, I have no plans of keeping it.
I have read that the M rack is progressive rate (slower on center for better high speed stability) but that could be hogwash
Yes all e36 racks, m and non-m are progressive rate except the 95 M3 rack which is even slower in the center of the rack and has less overall travel than the regular E36 rack, aka...shit.
-
Hey! When you gonna help with my vanos?
Whenever, haven't figured out where the soft jaws and socket ended up...
-
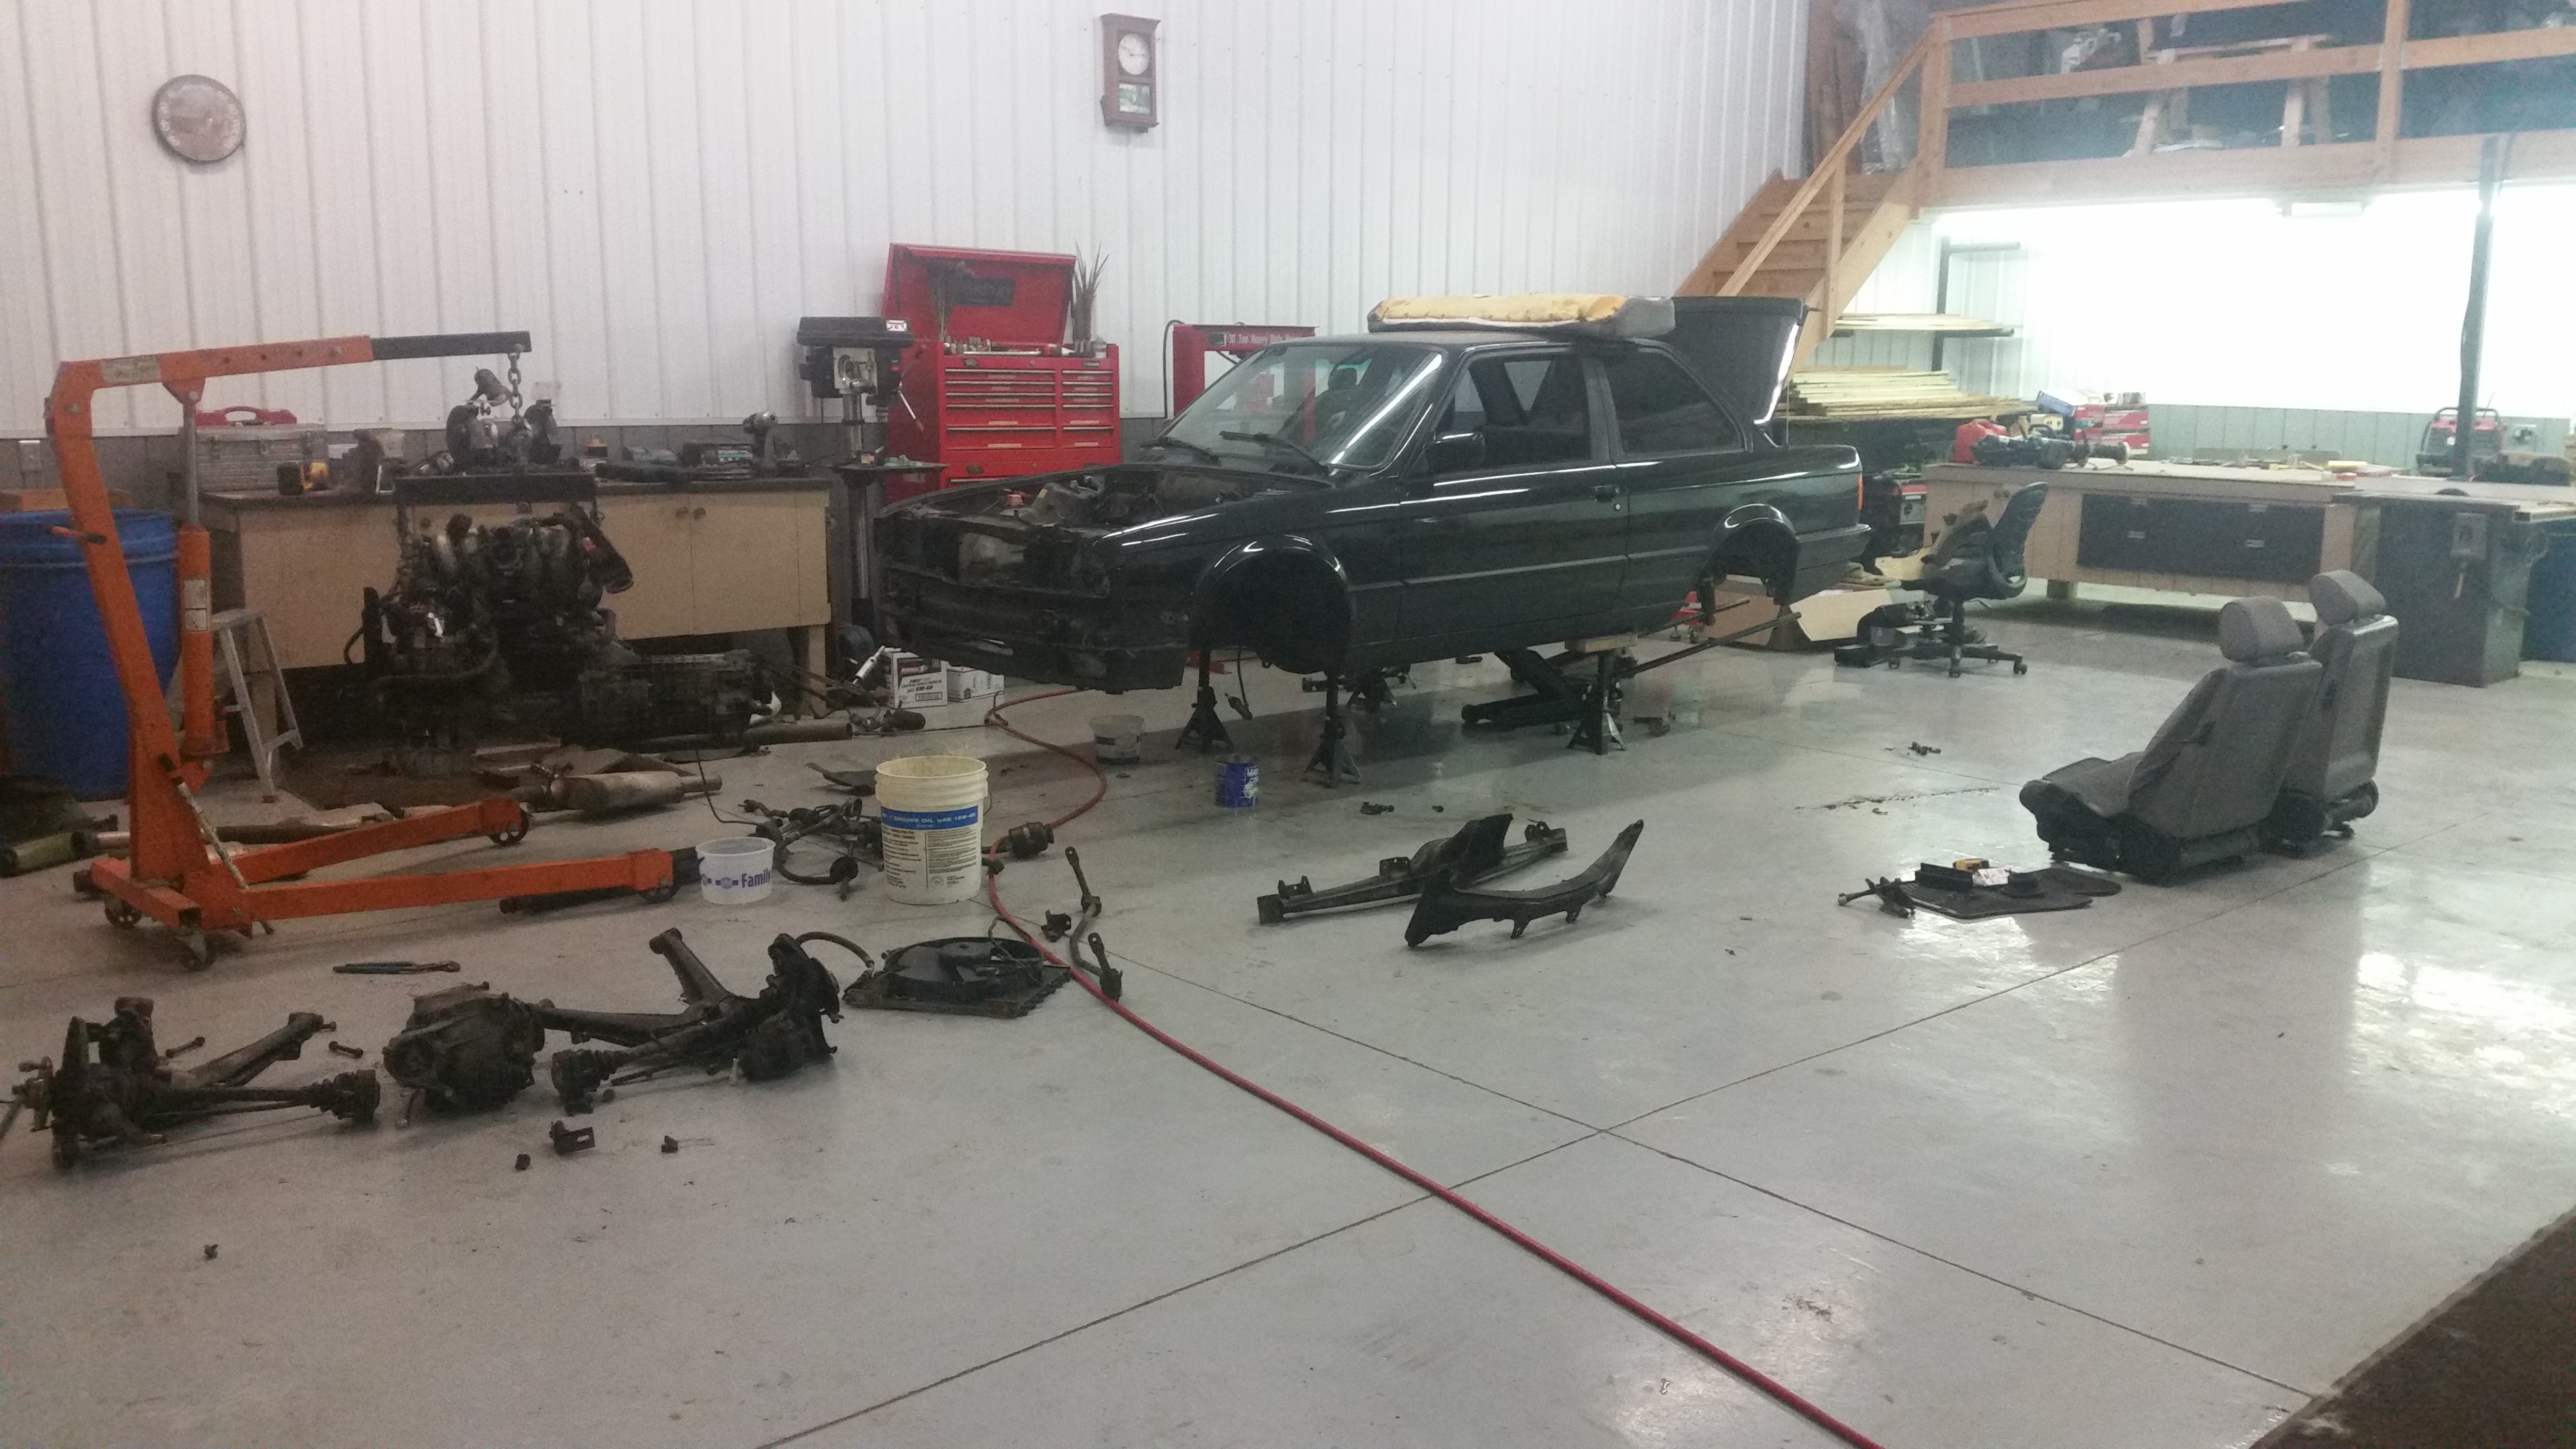
Got very little done Thursday because, life. Friday though......very productive indeed.
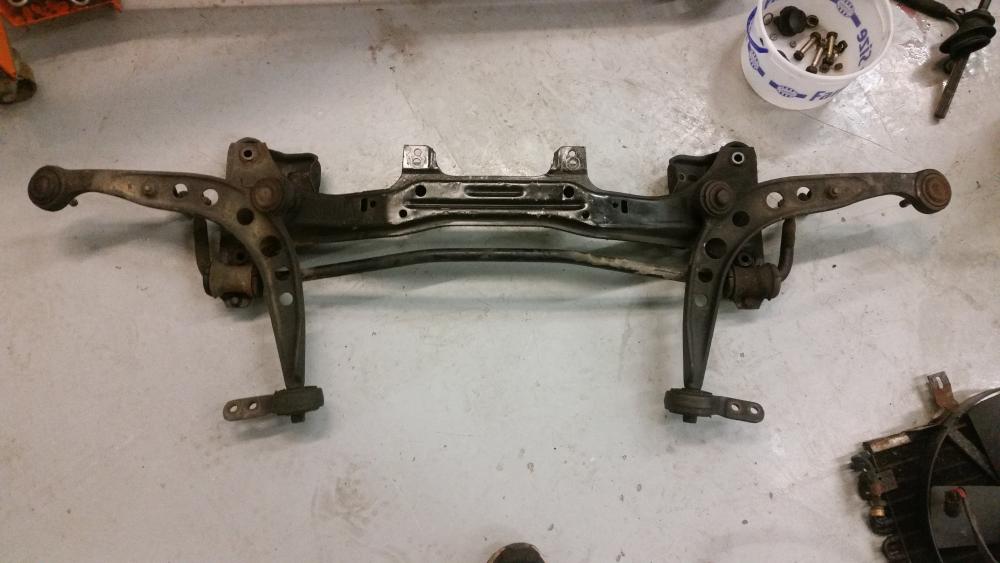
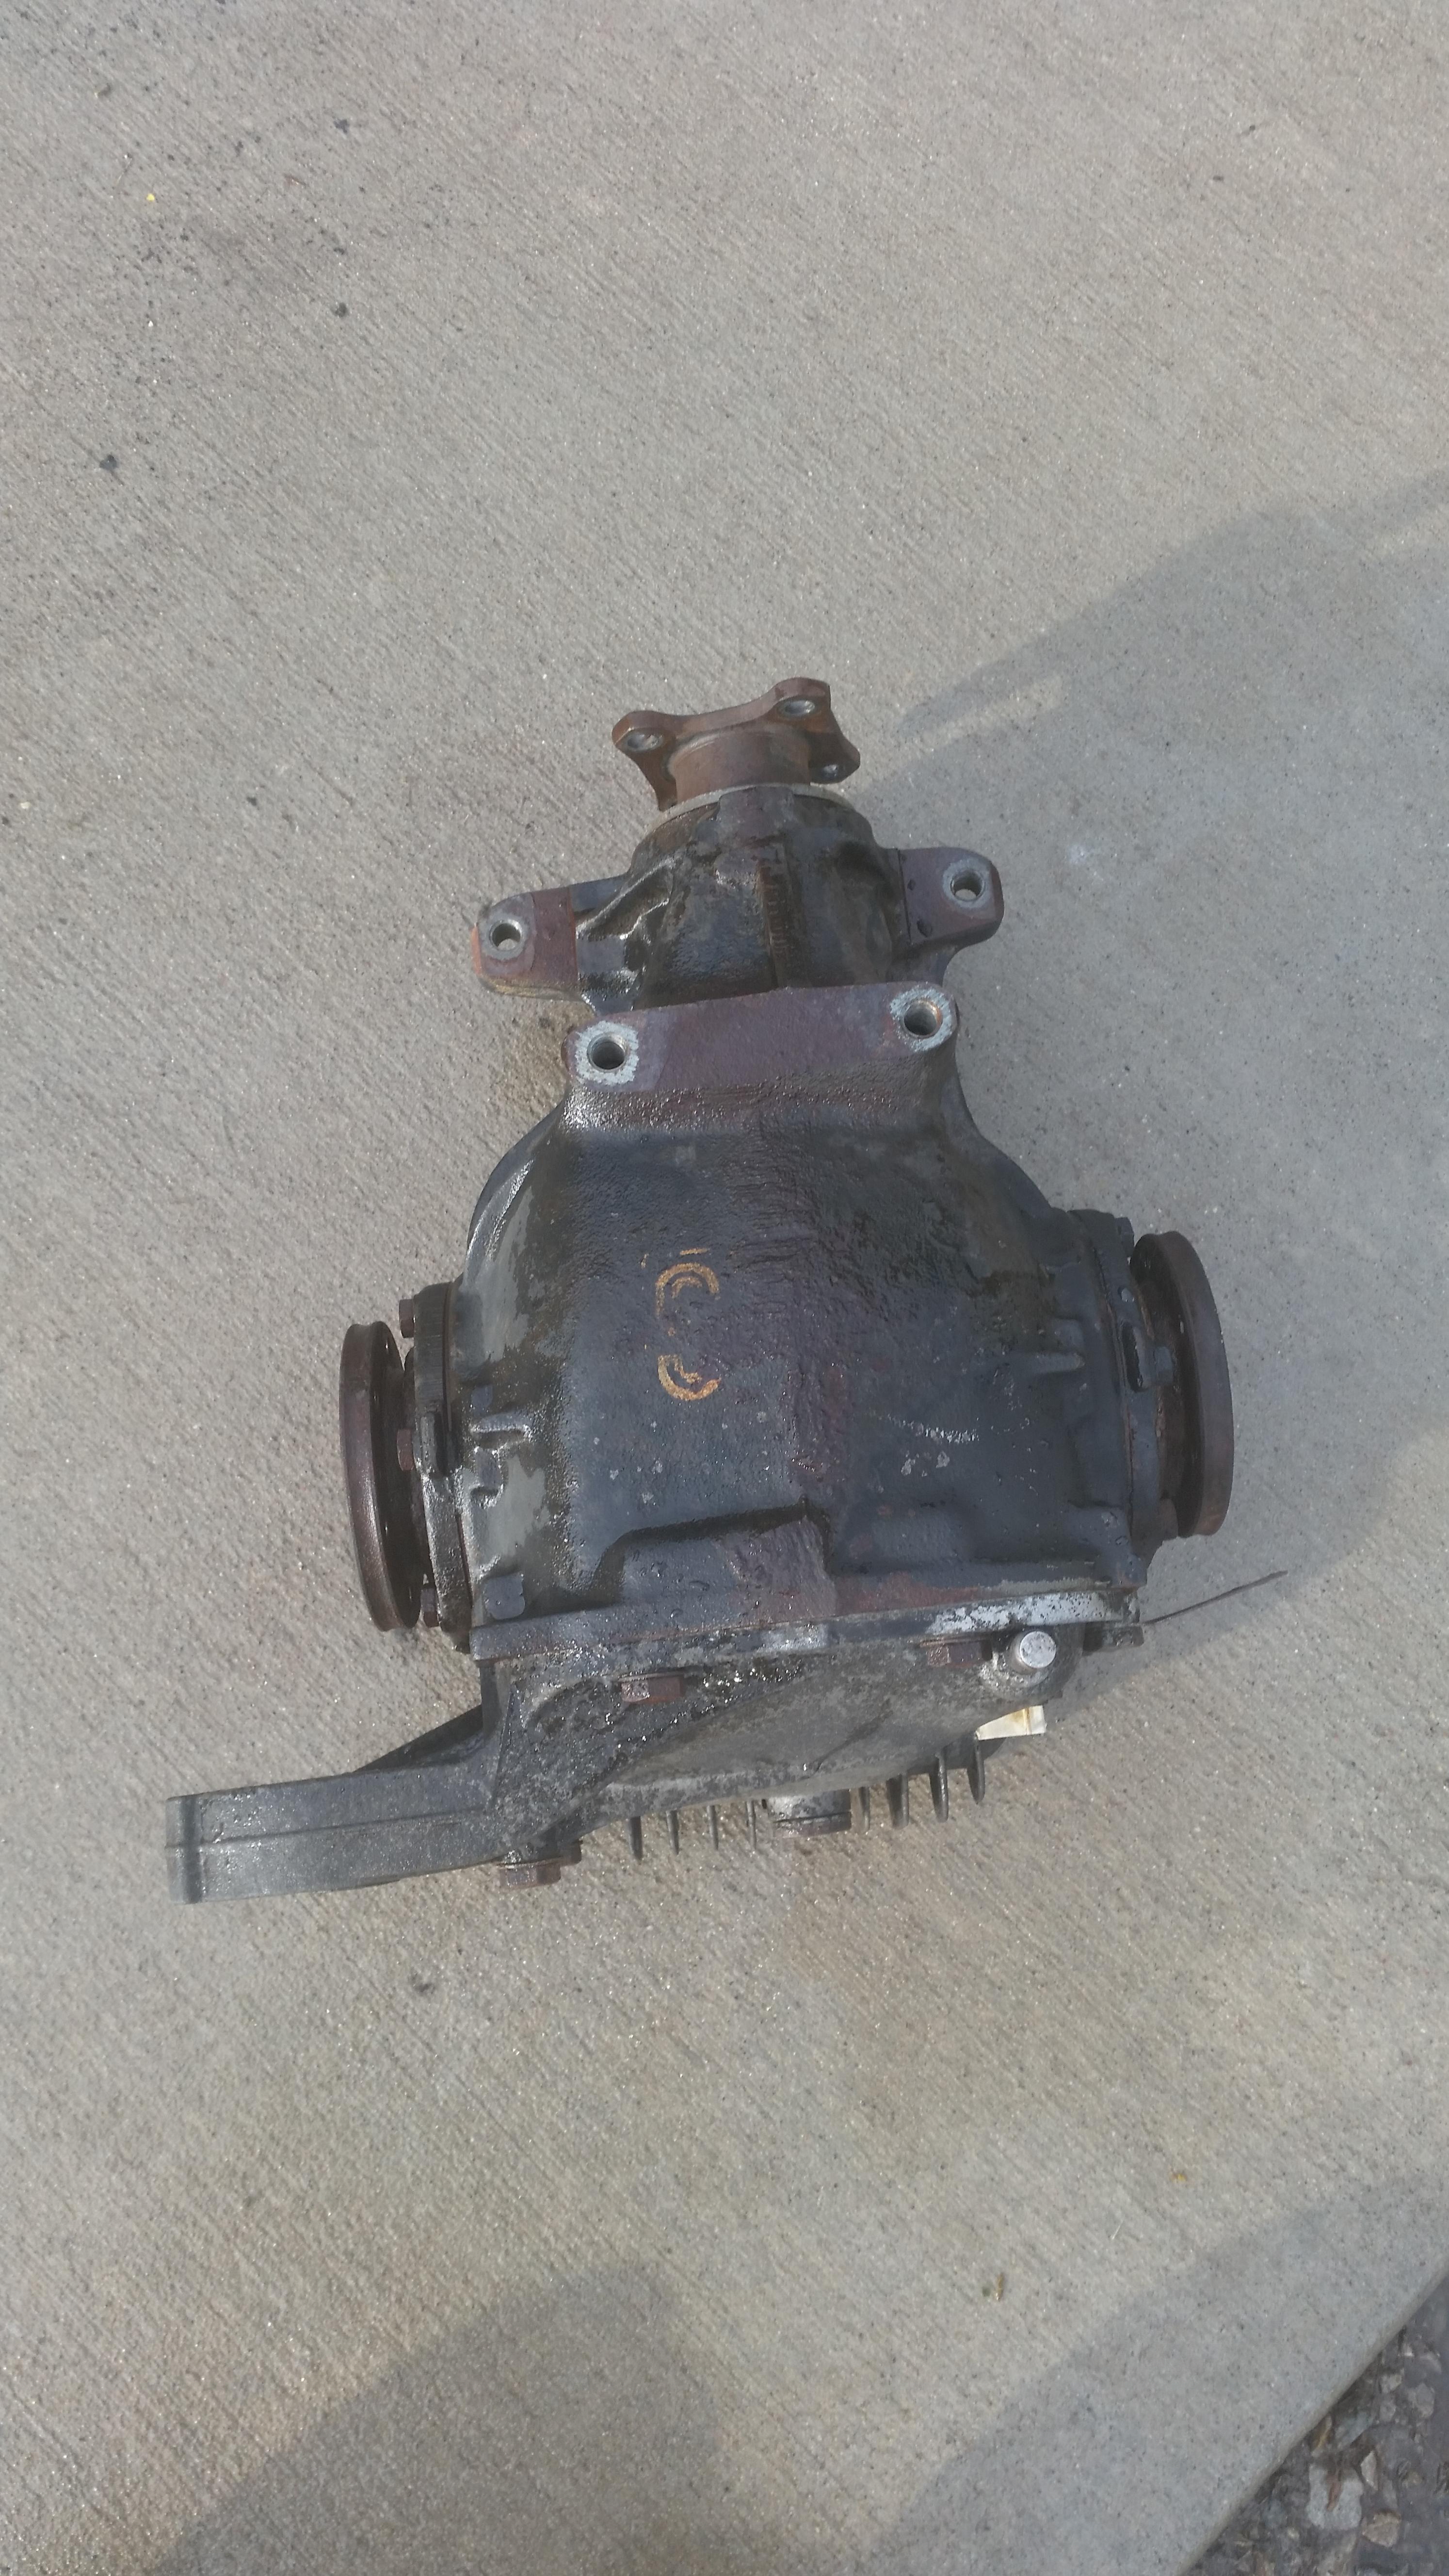
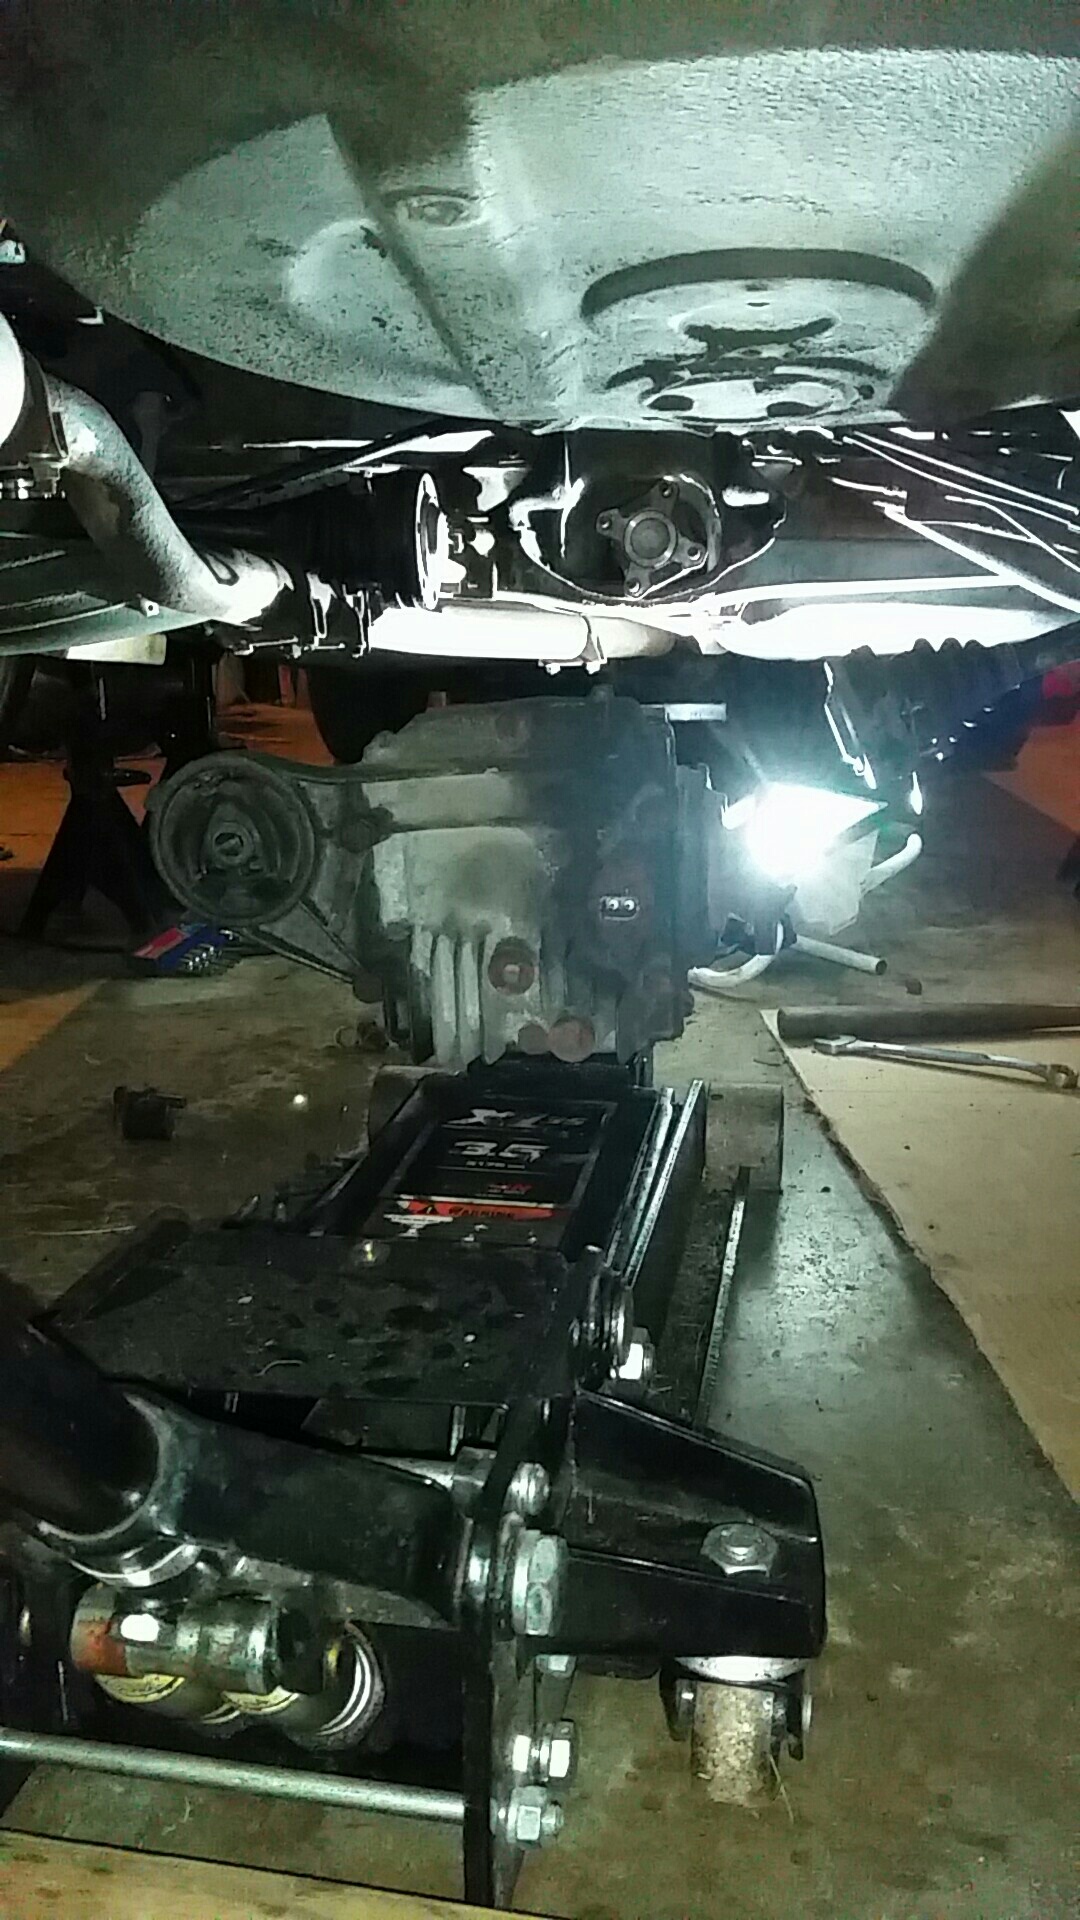
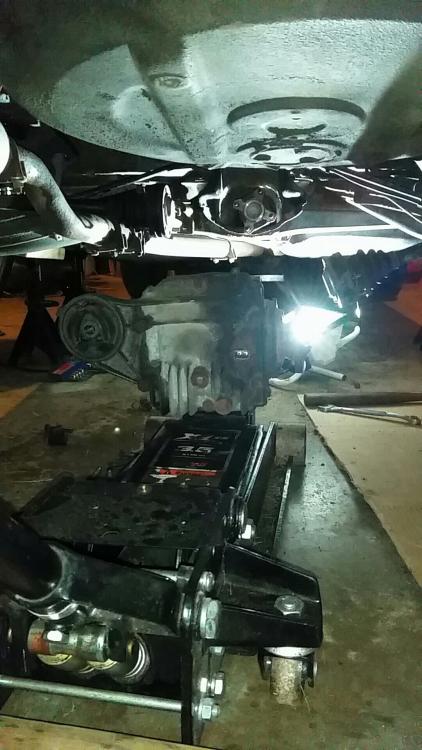
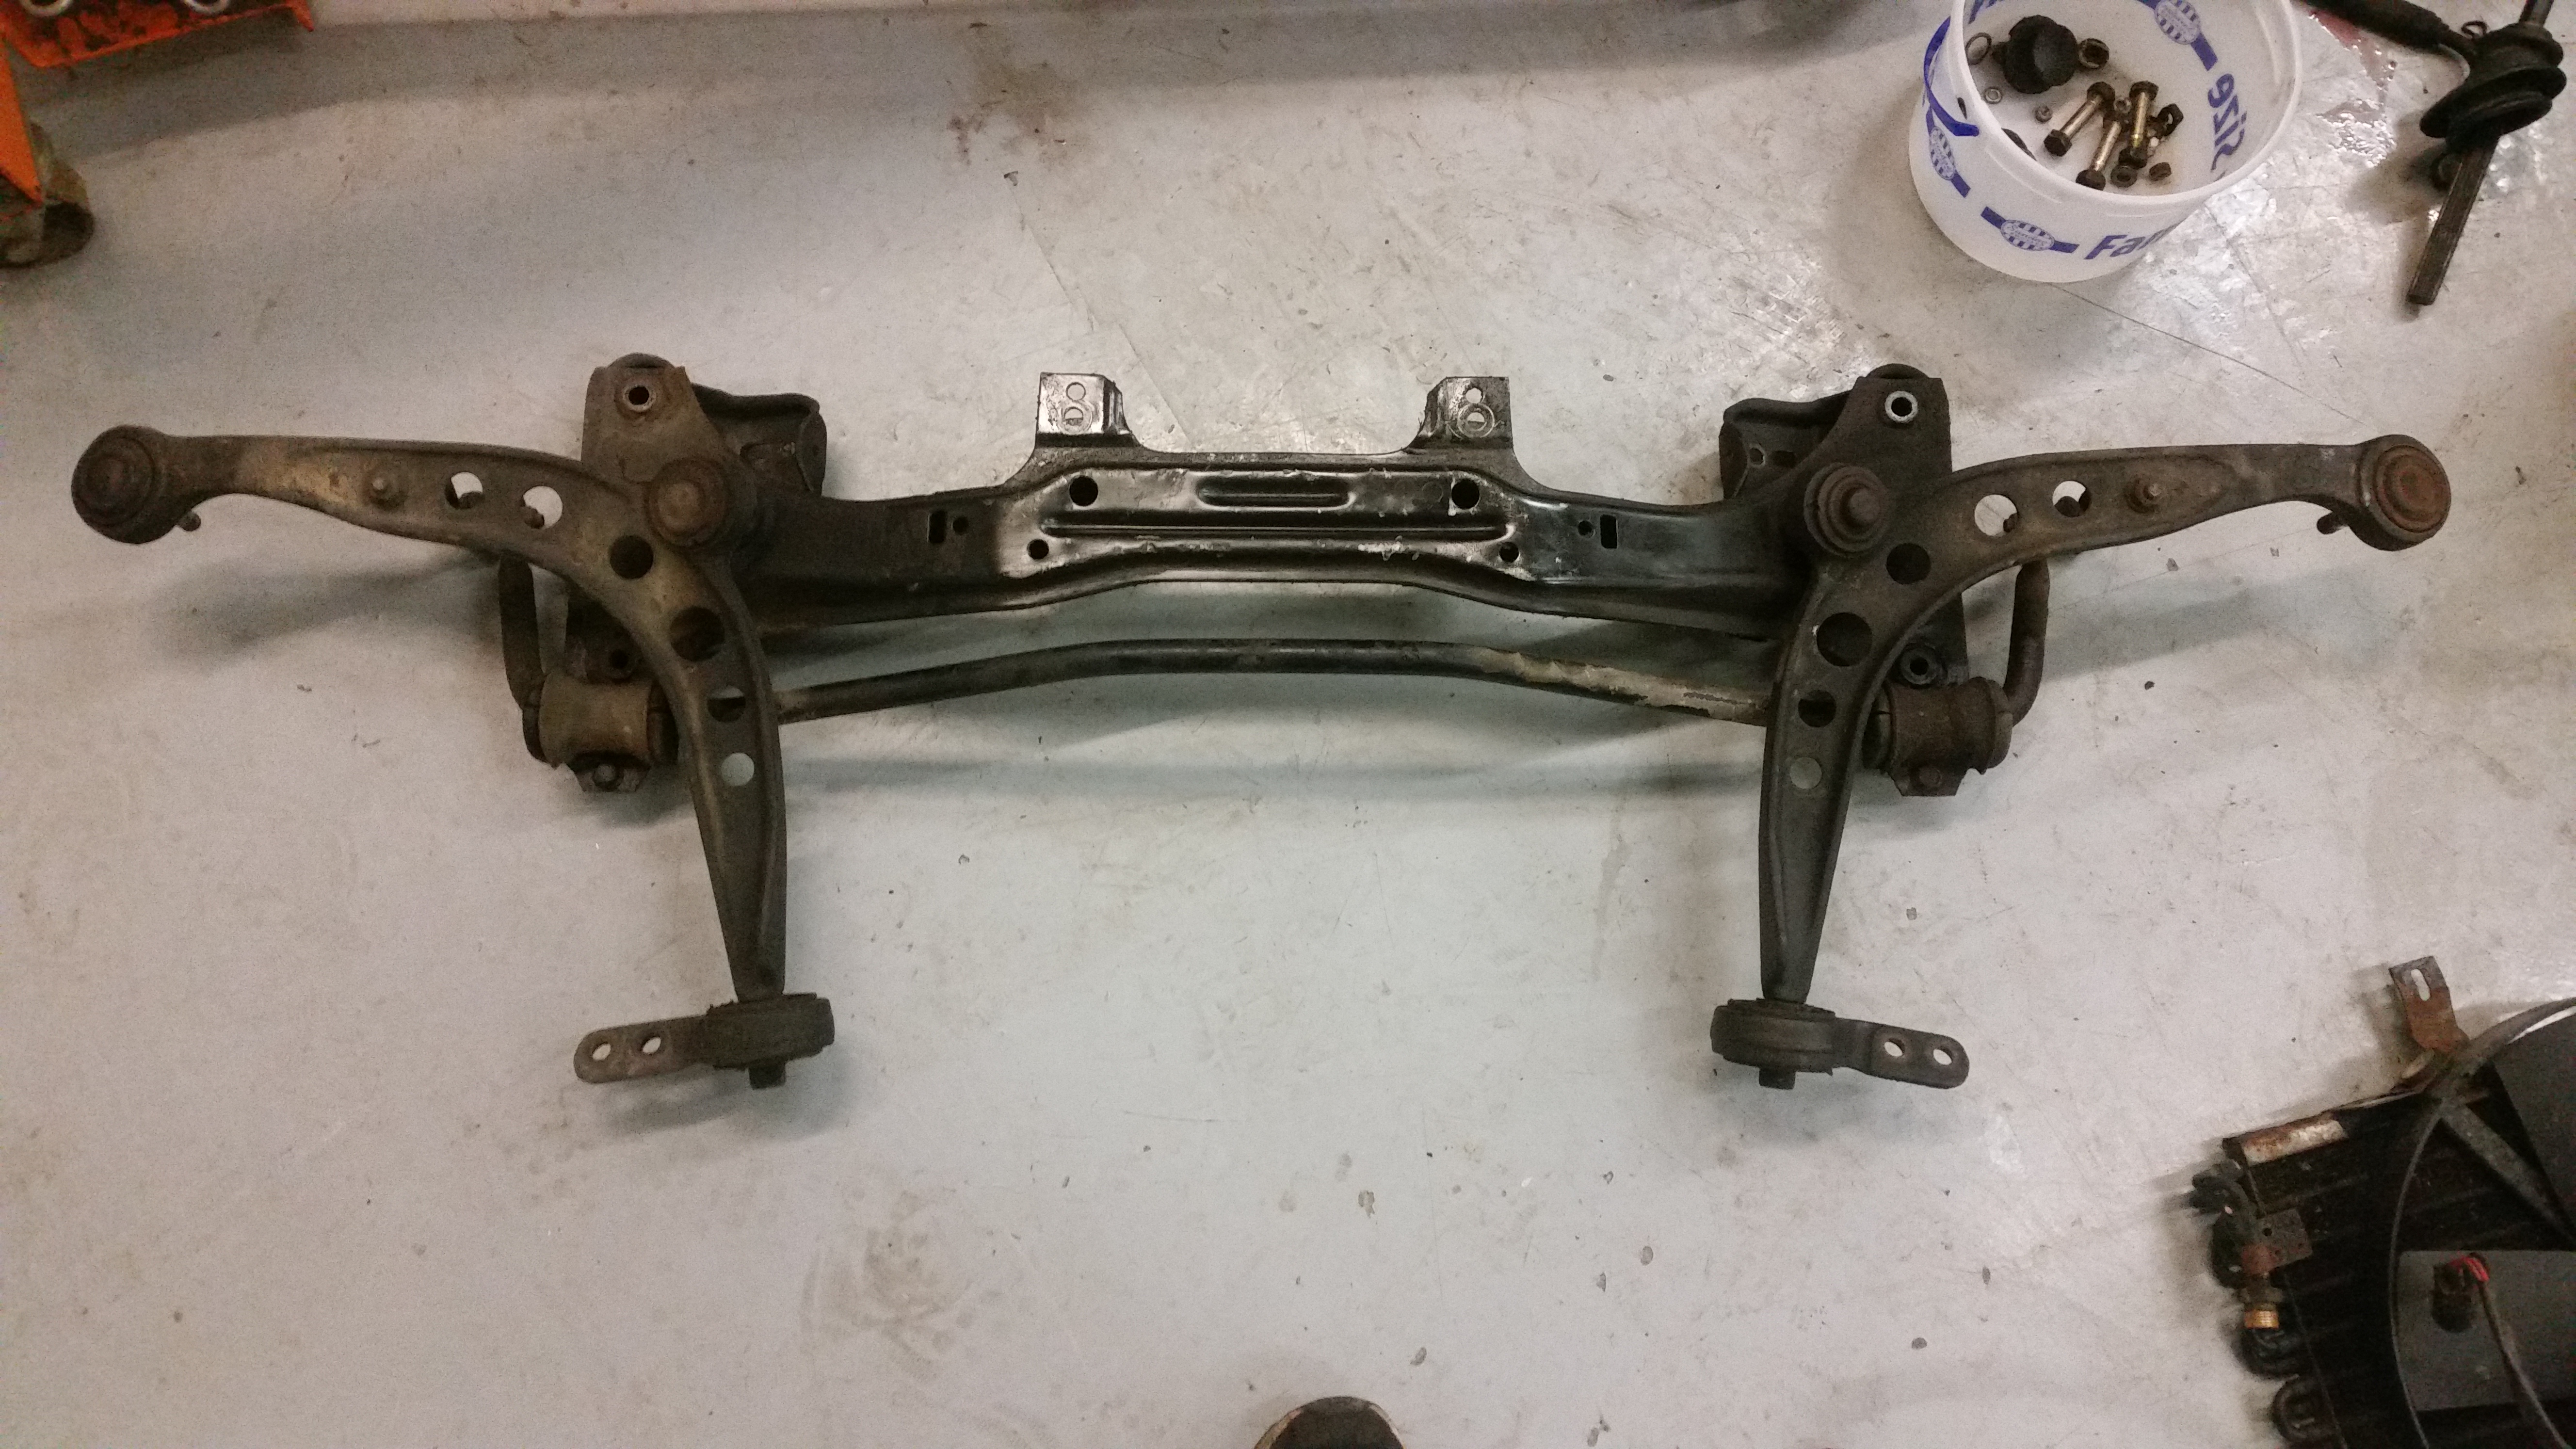
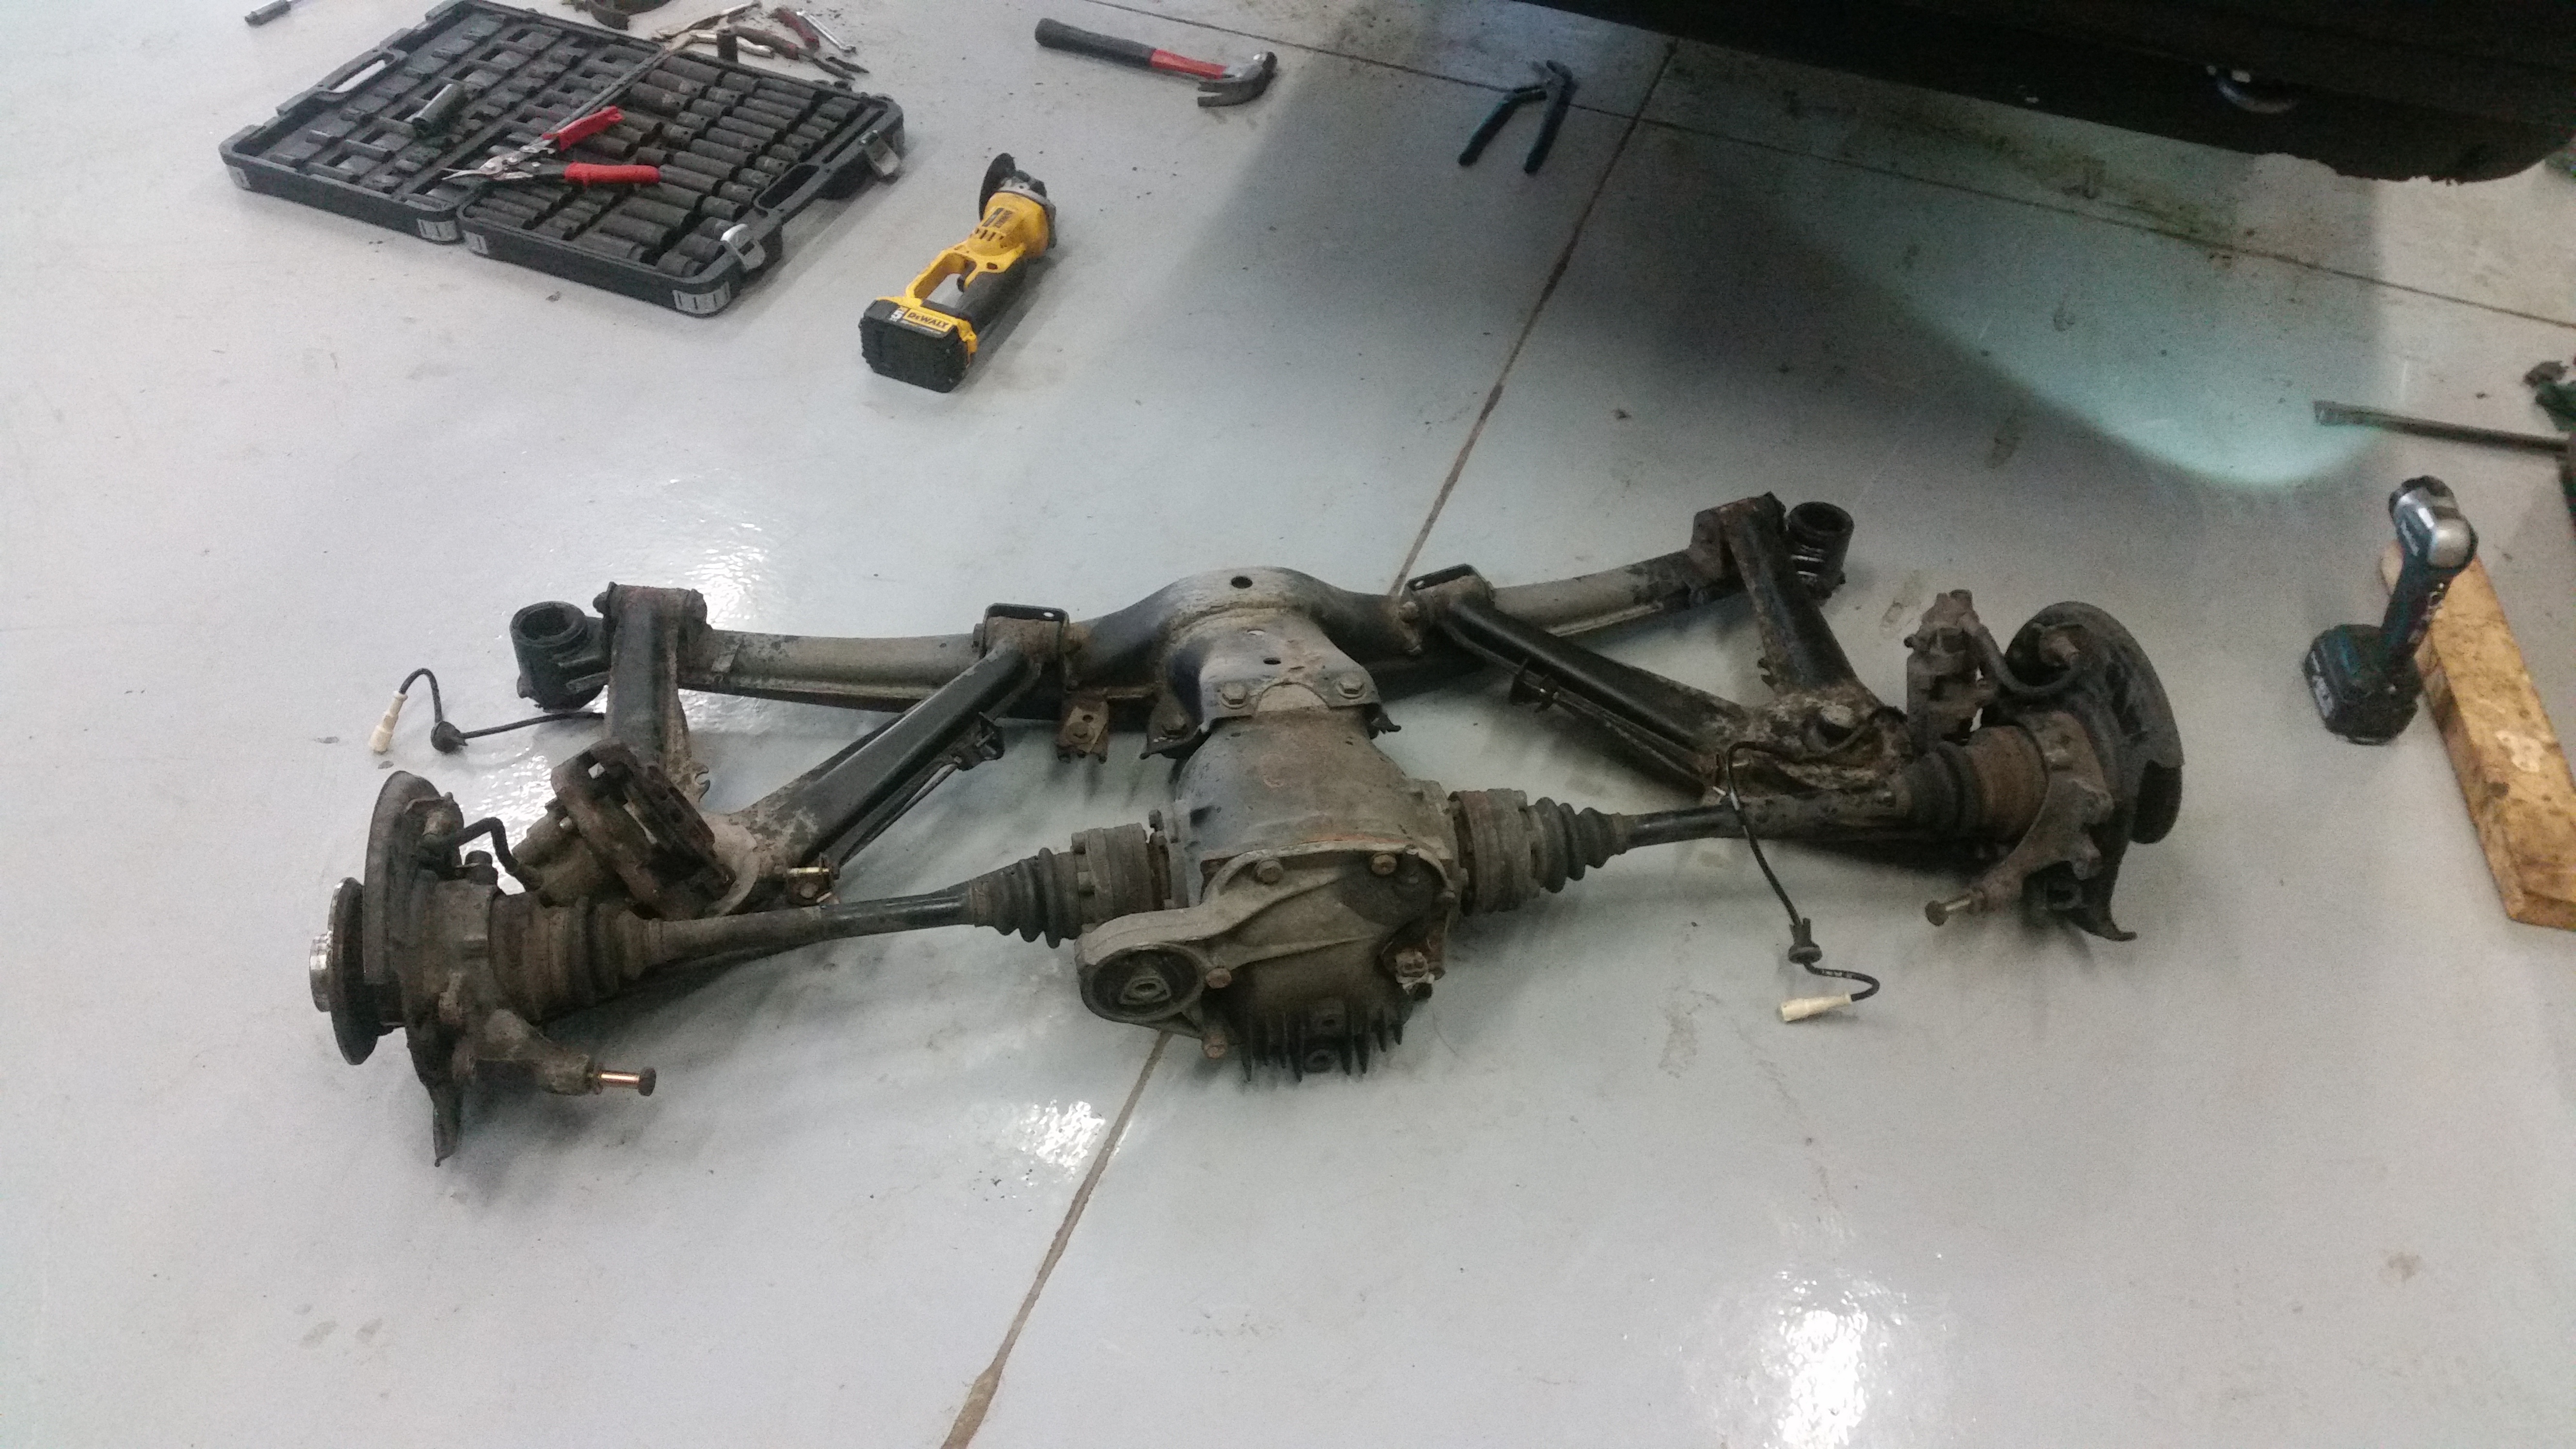
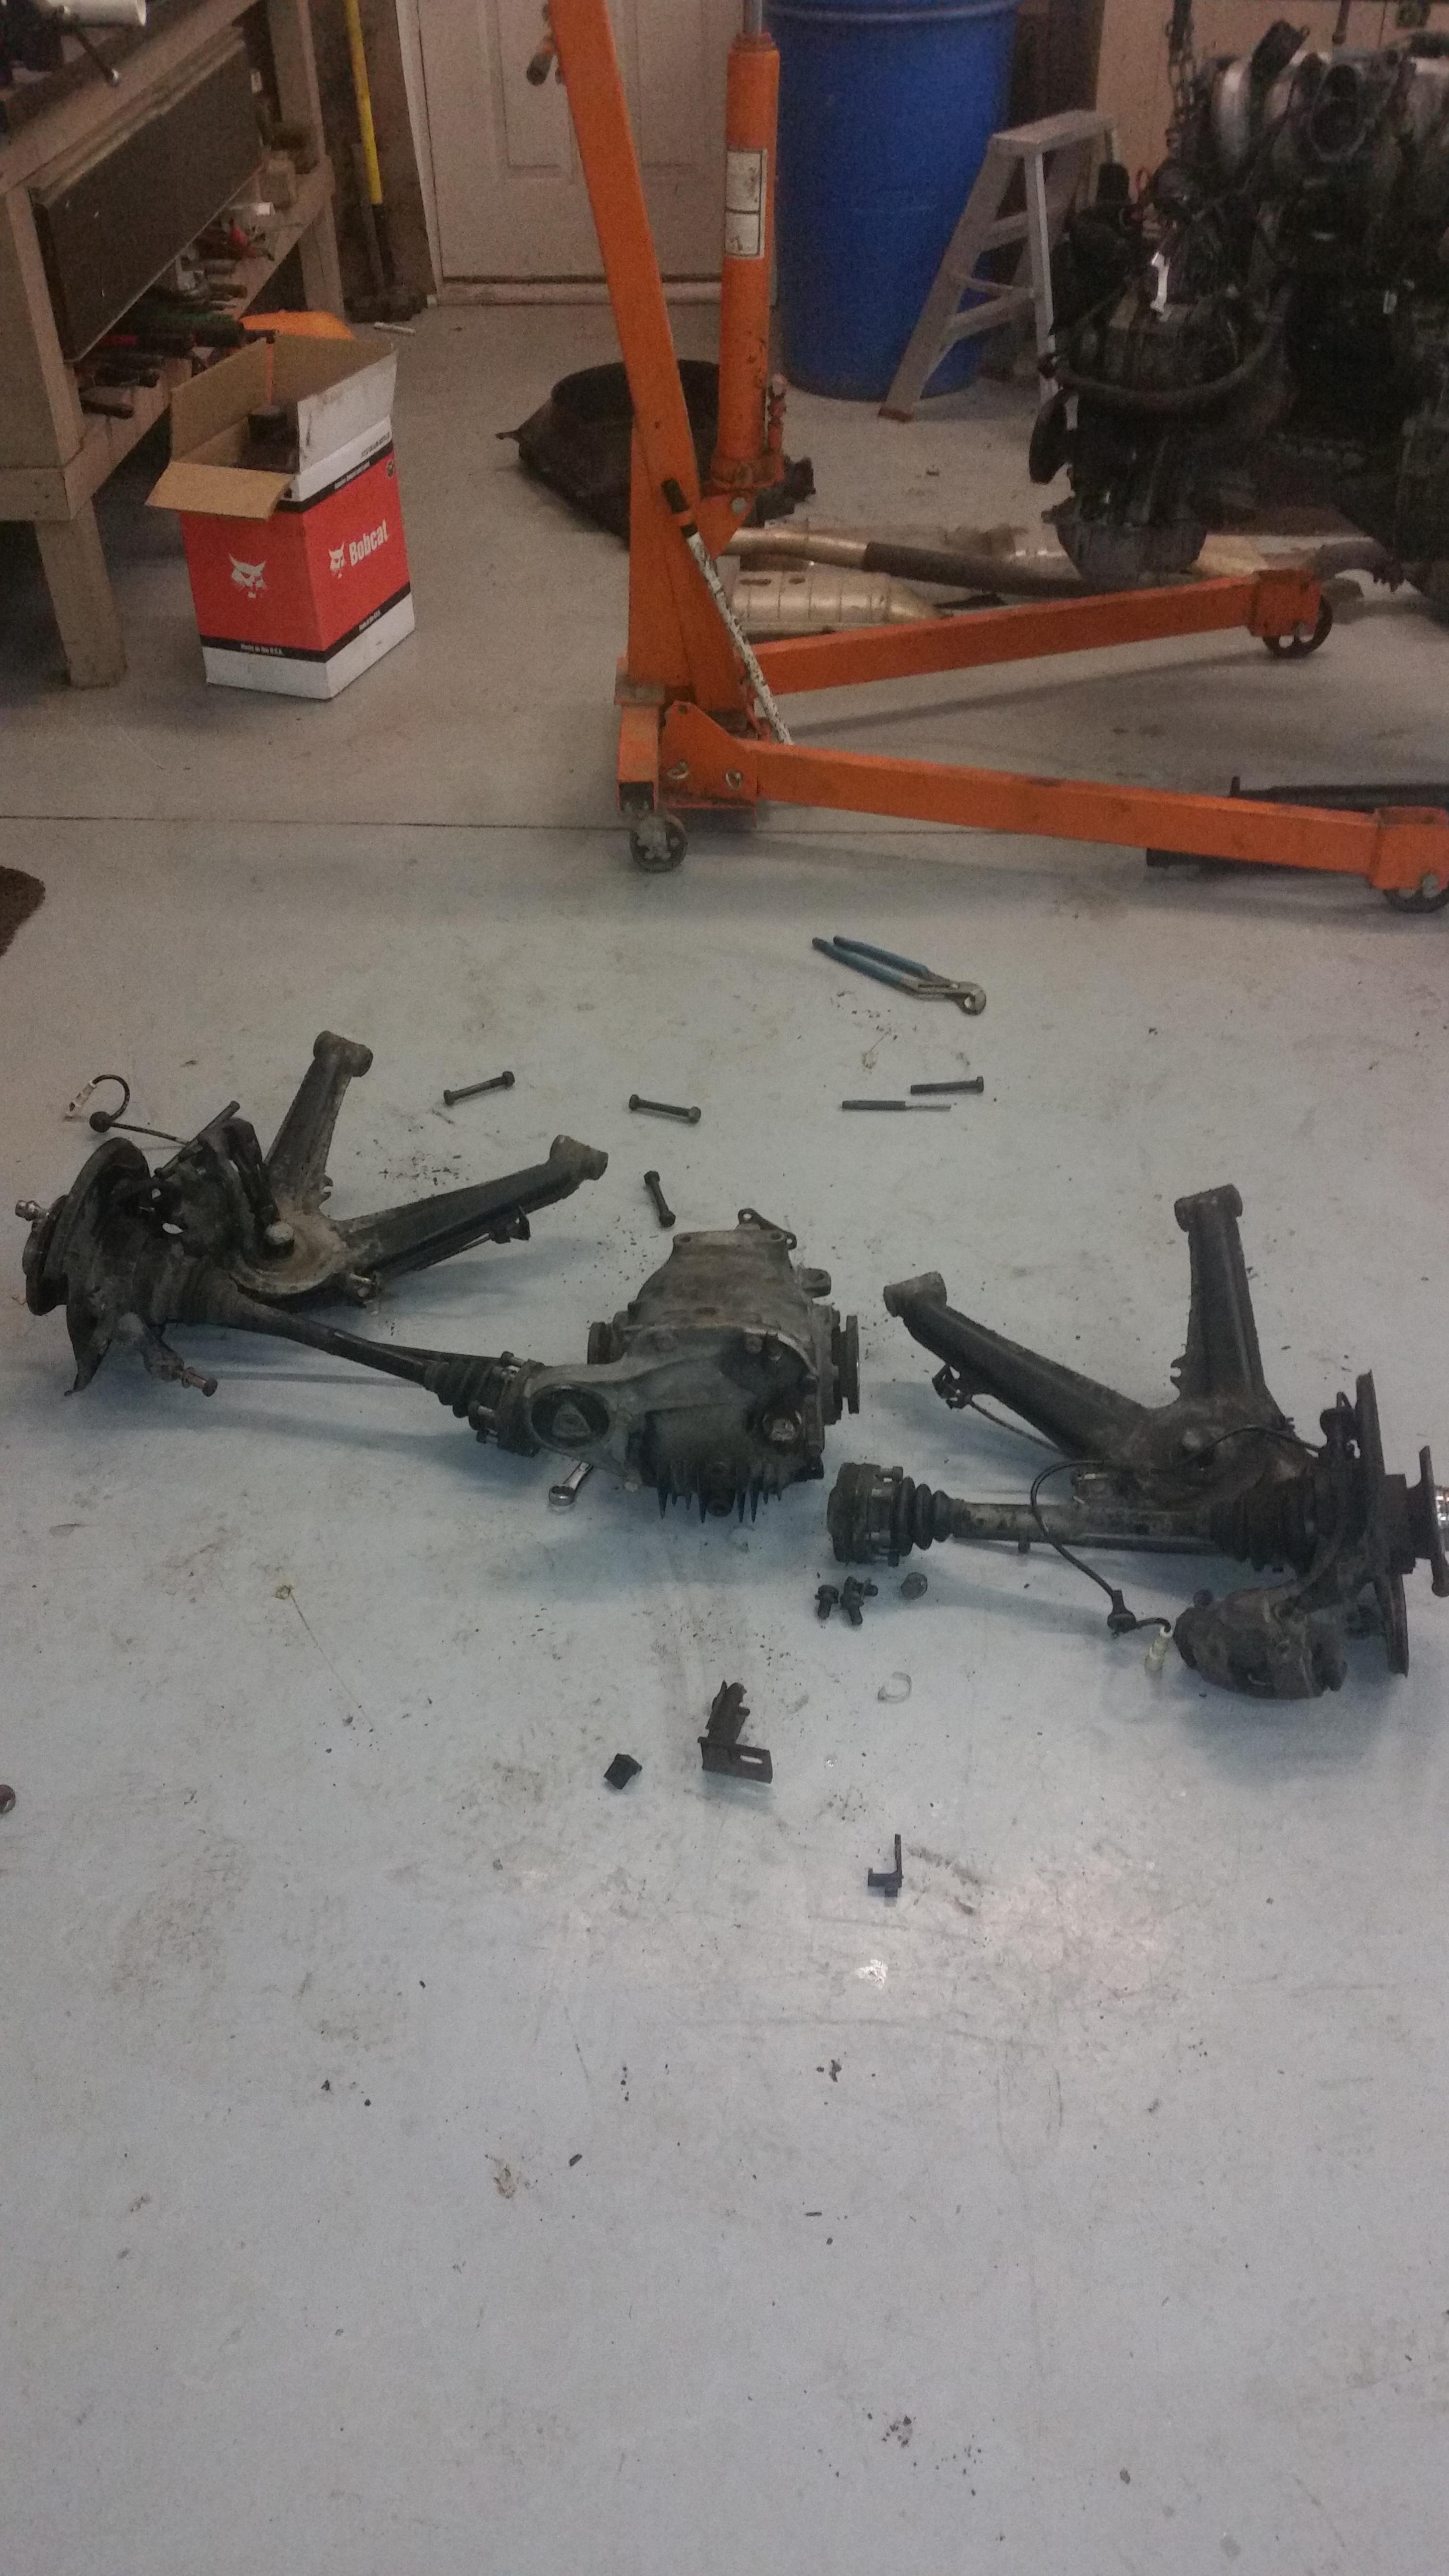
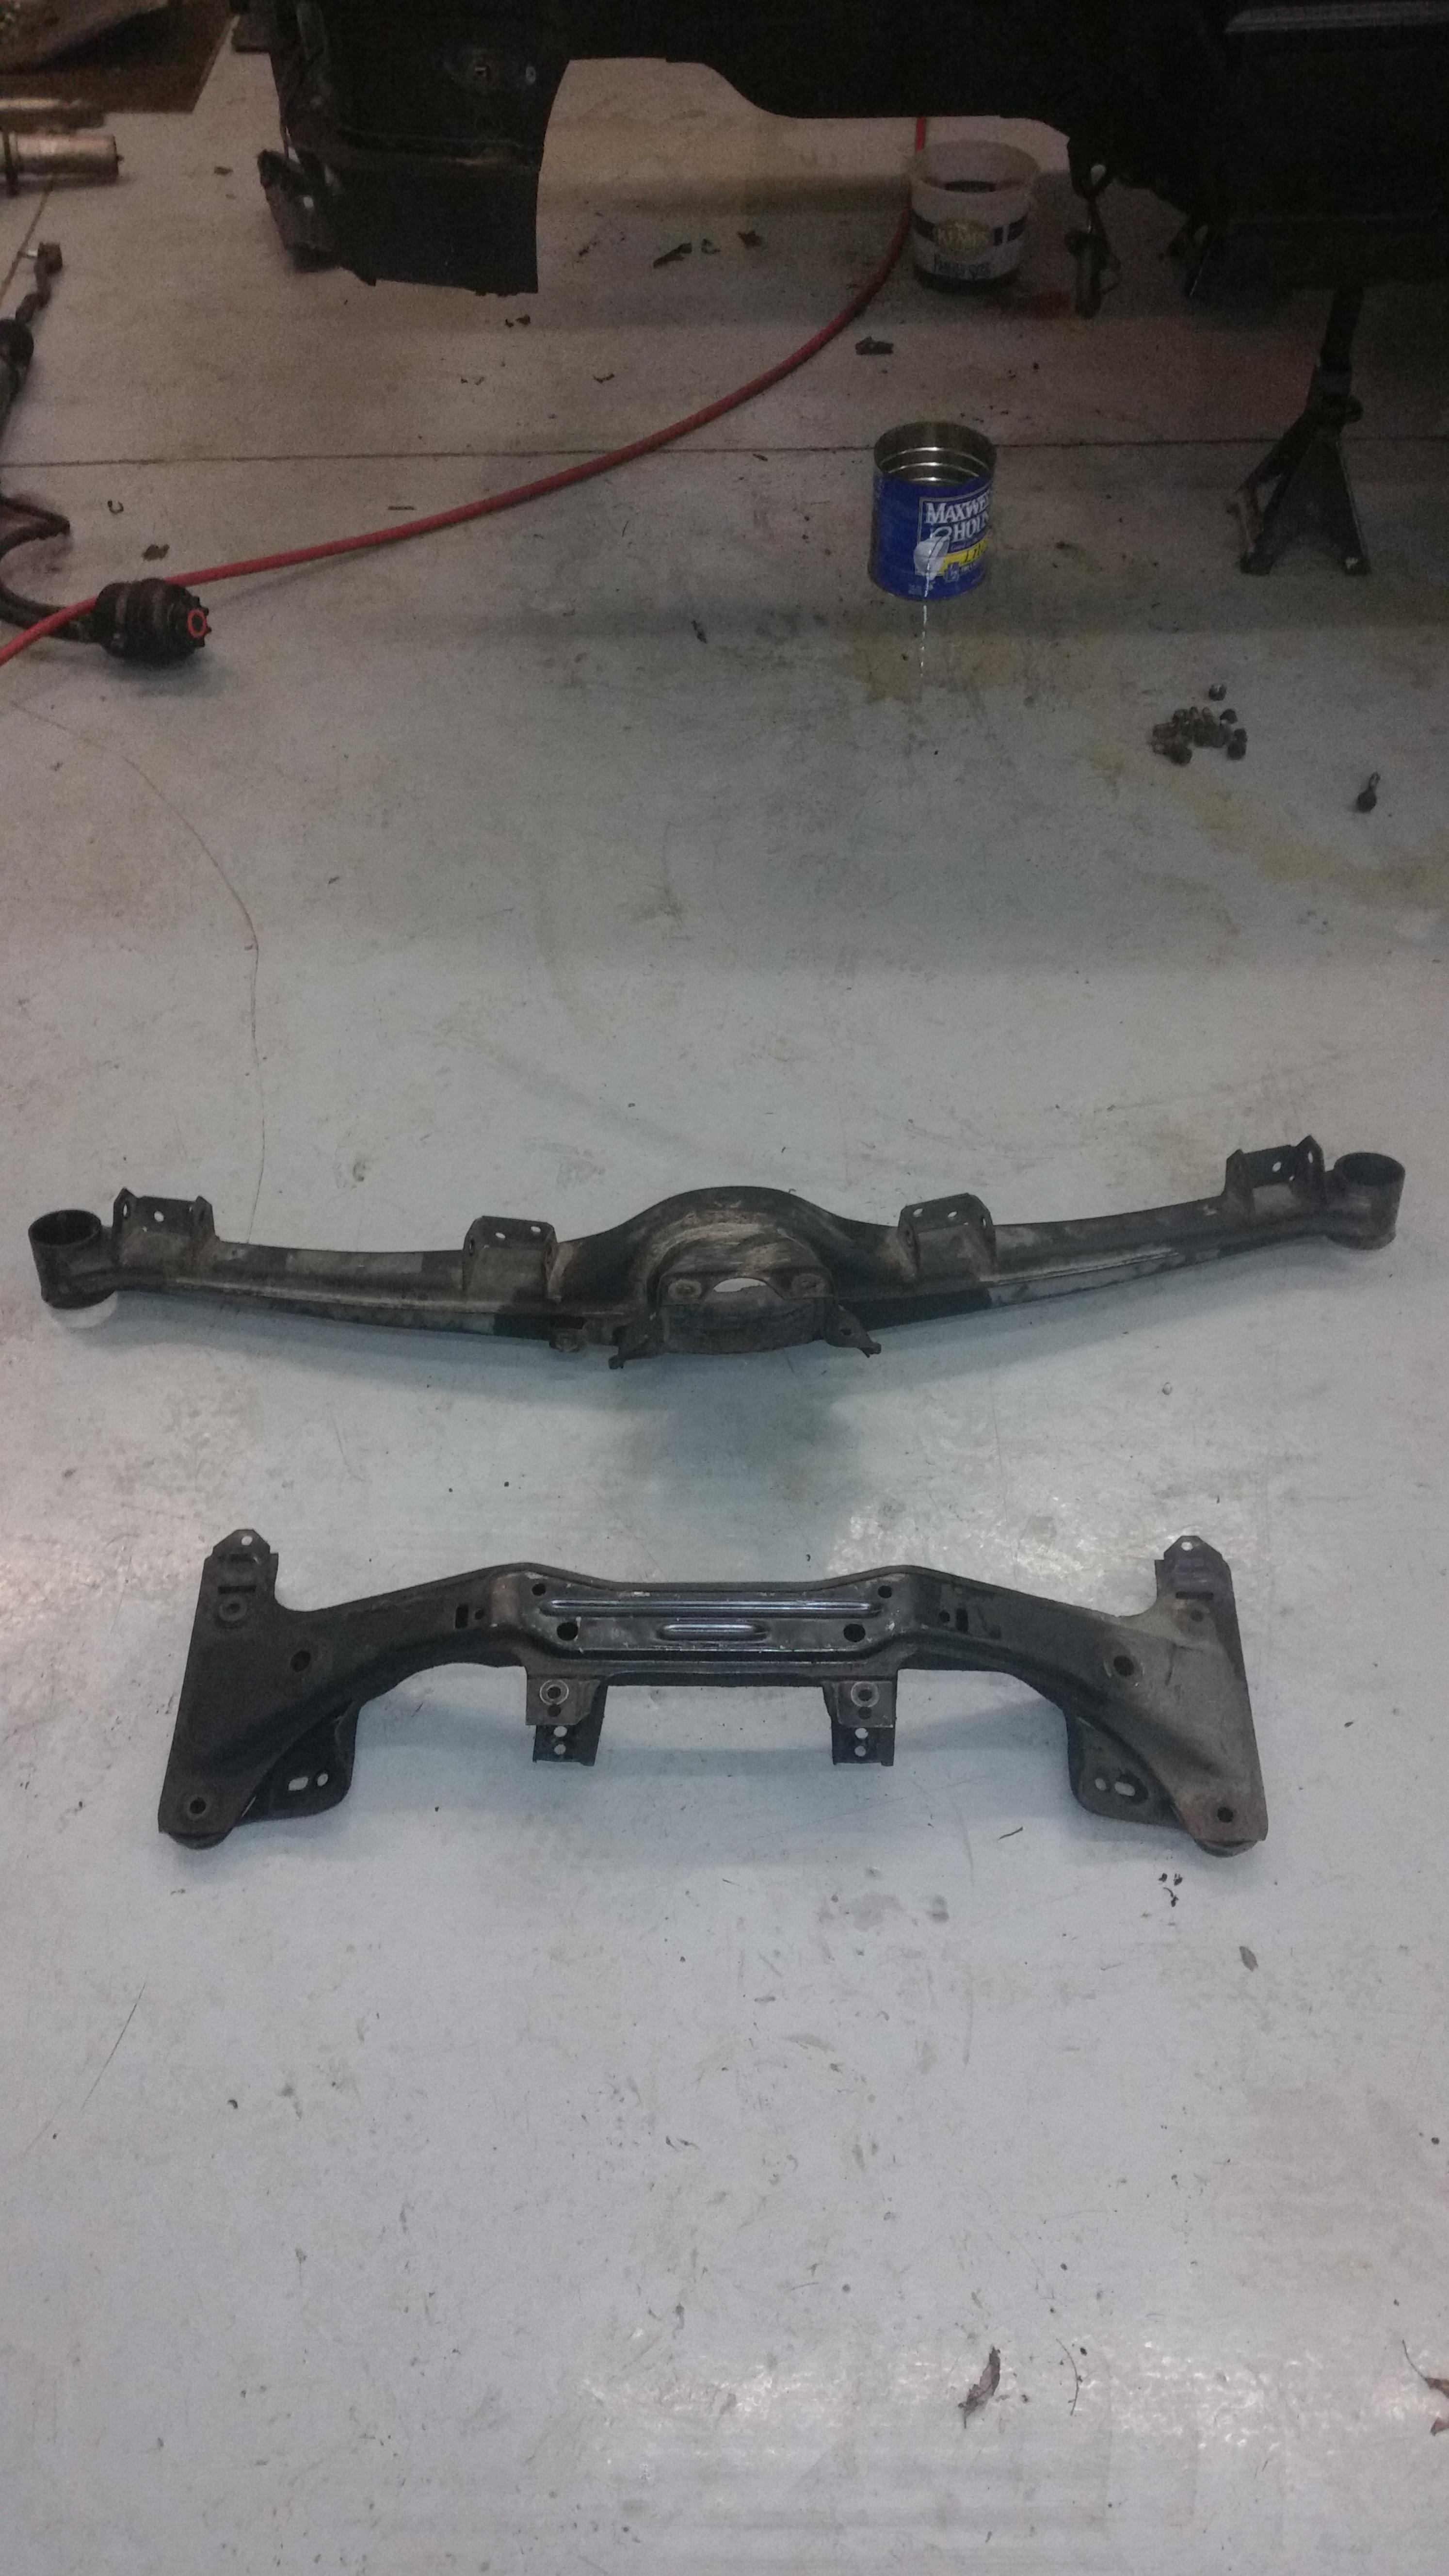
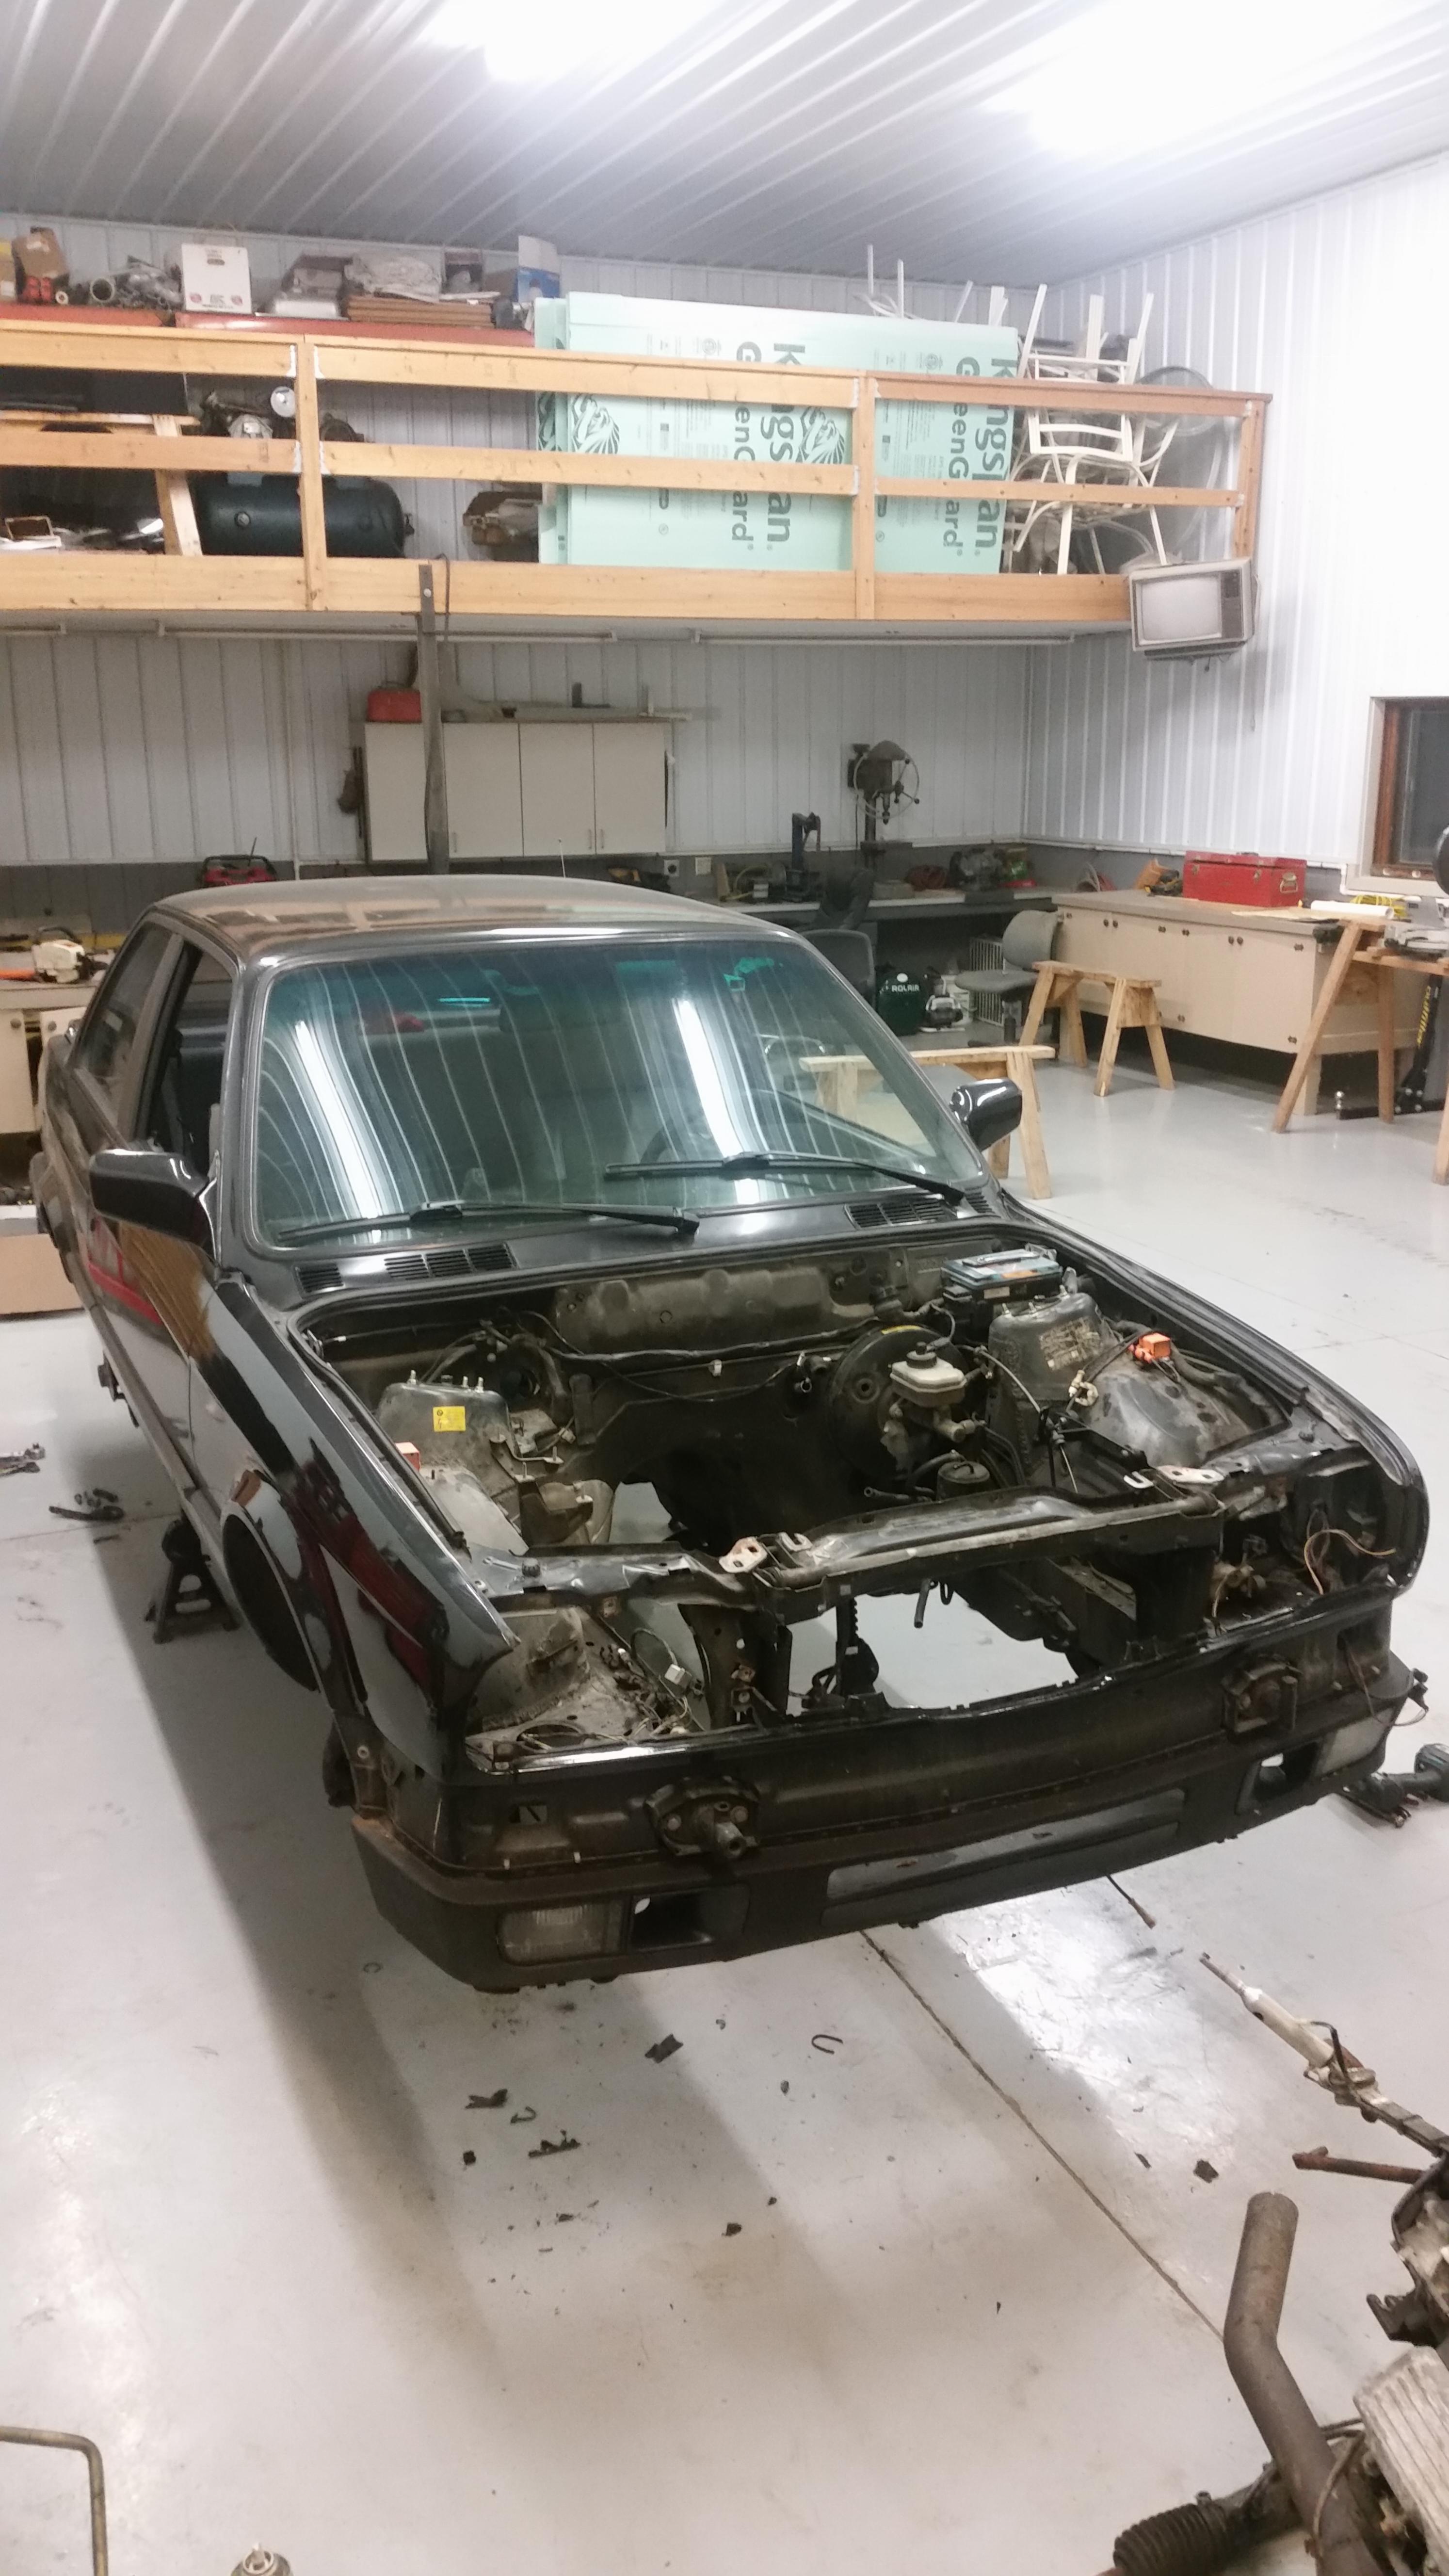
I think I spent half of Friday just getting the rear end out. Words can not describe how relieved I was when this thing finally broke free from the car.
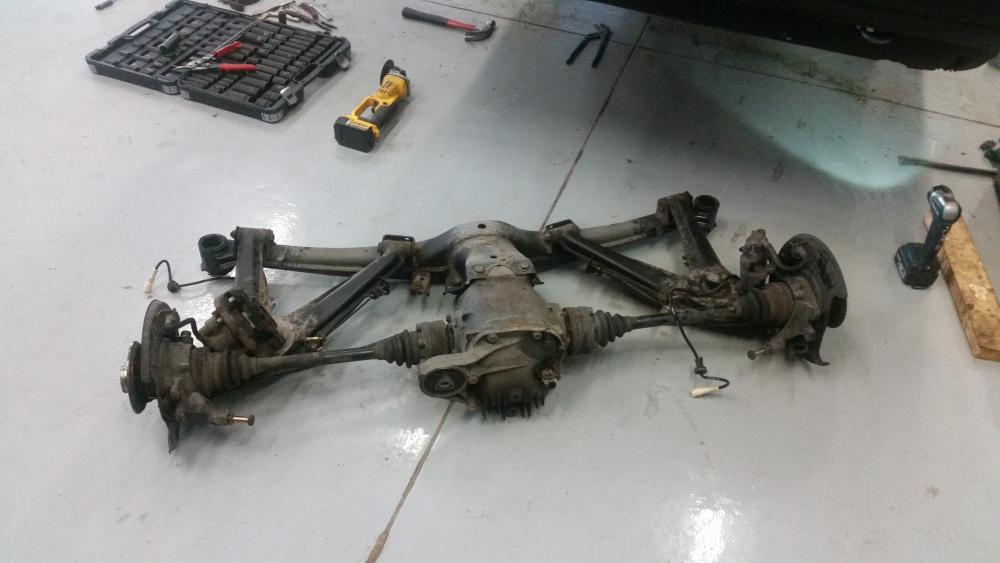
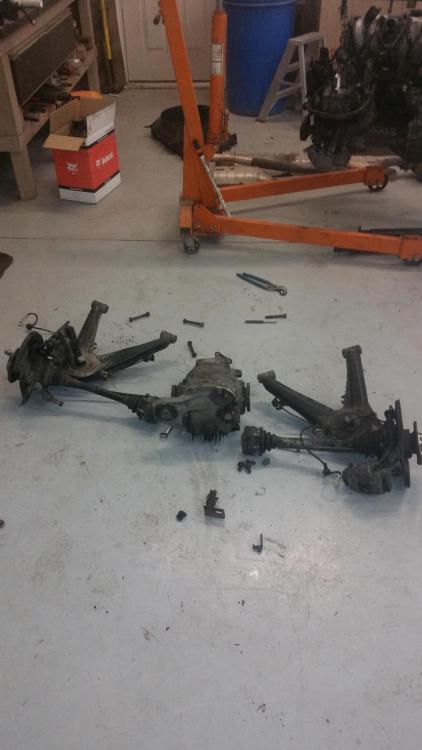
Still working on disassembly of the trailing arms.
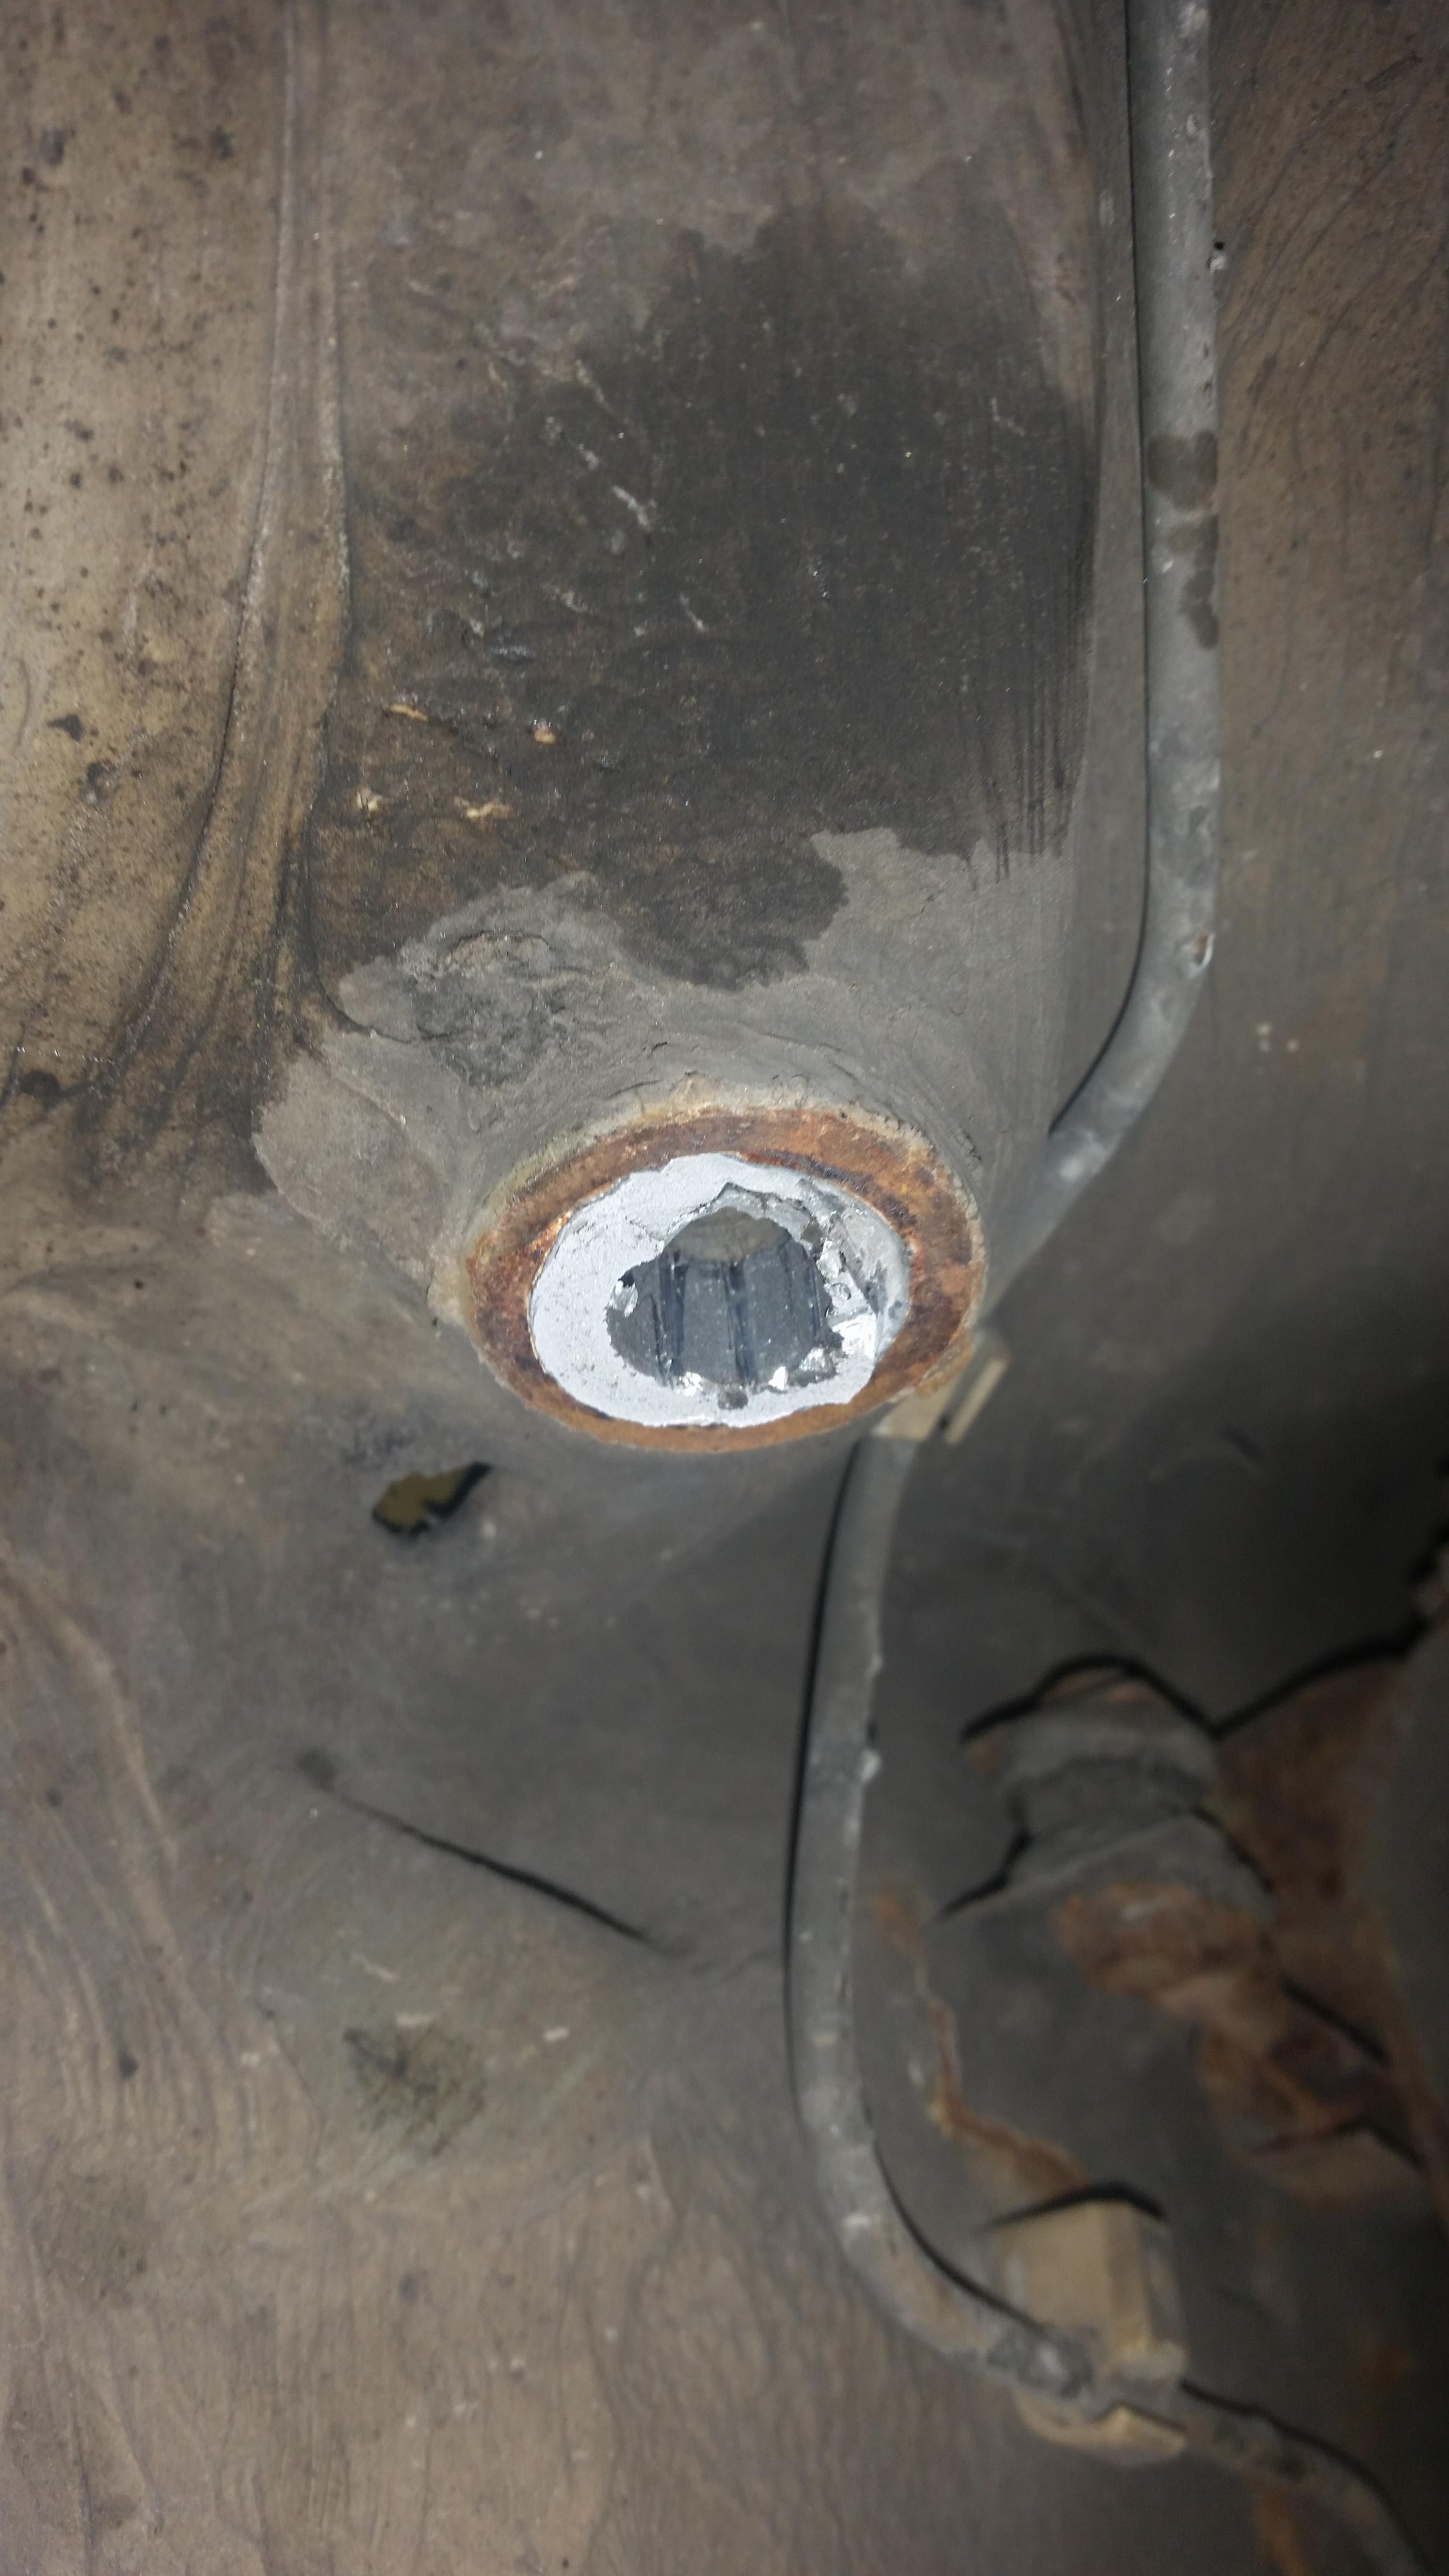
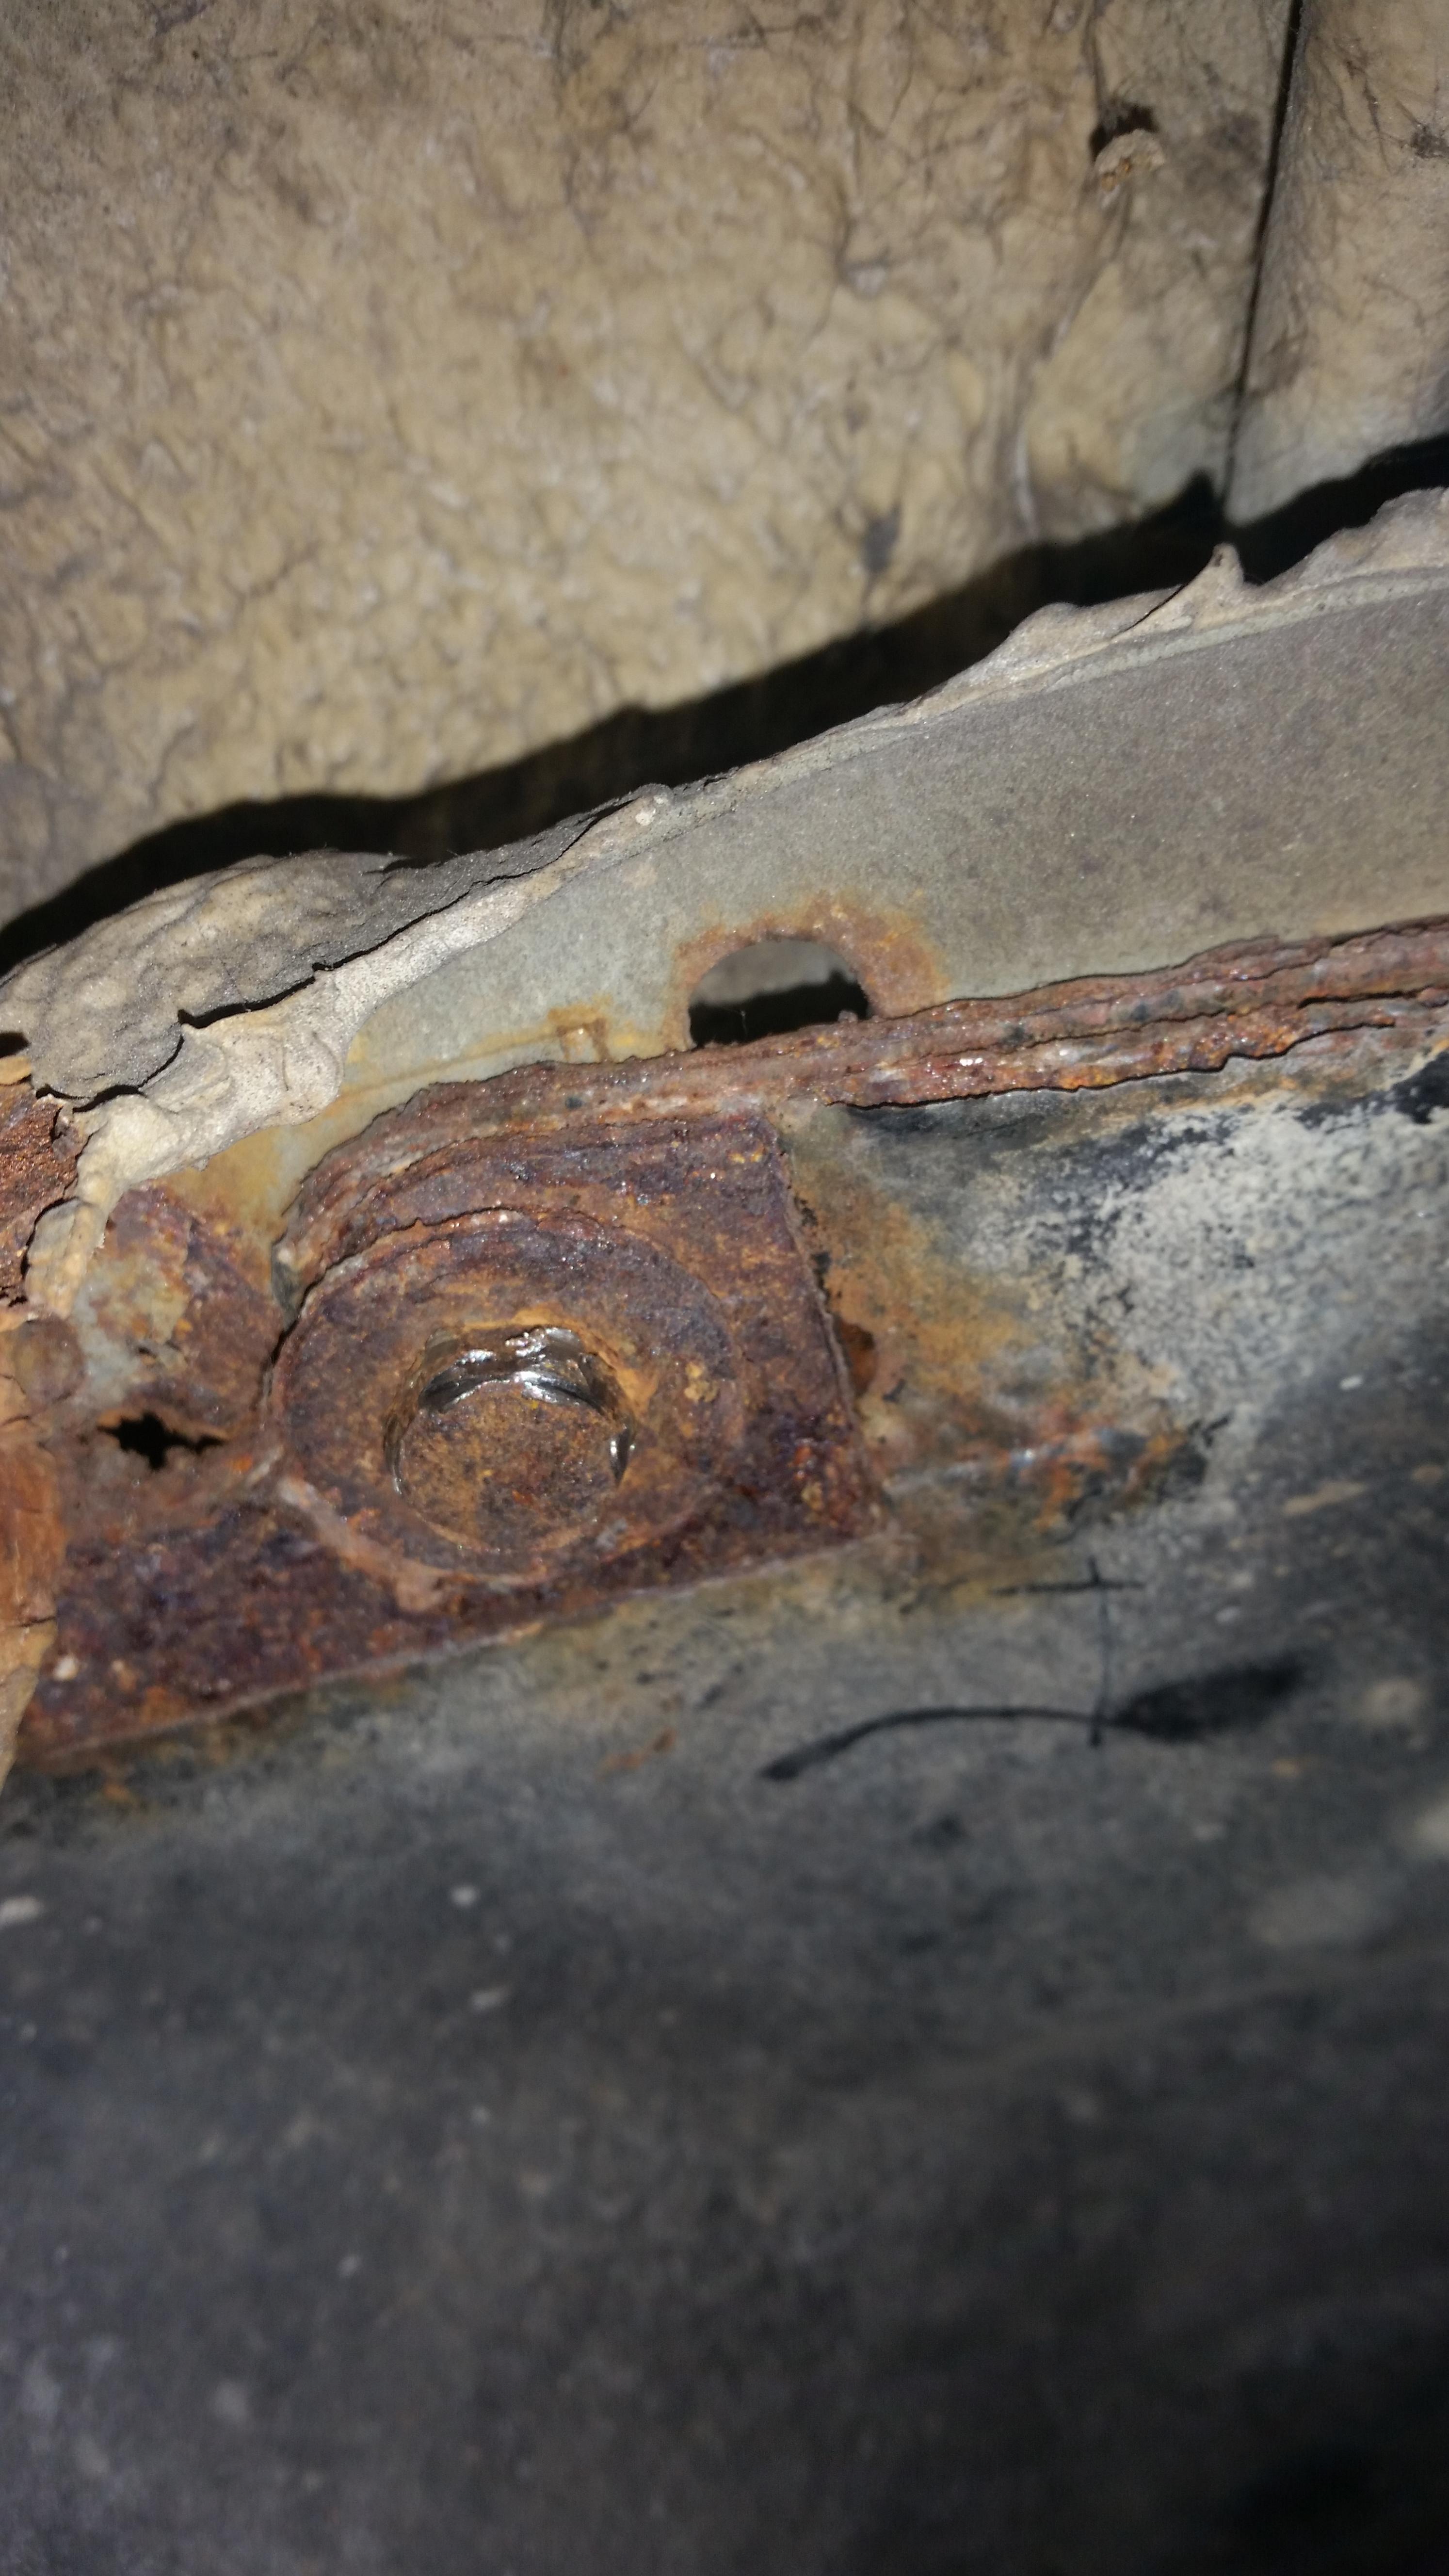
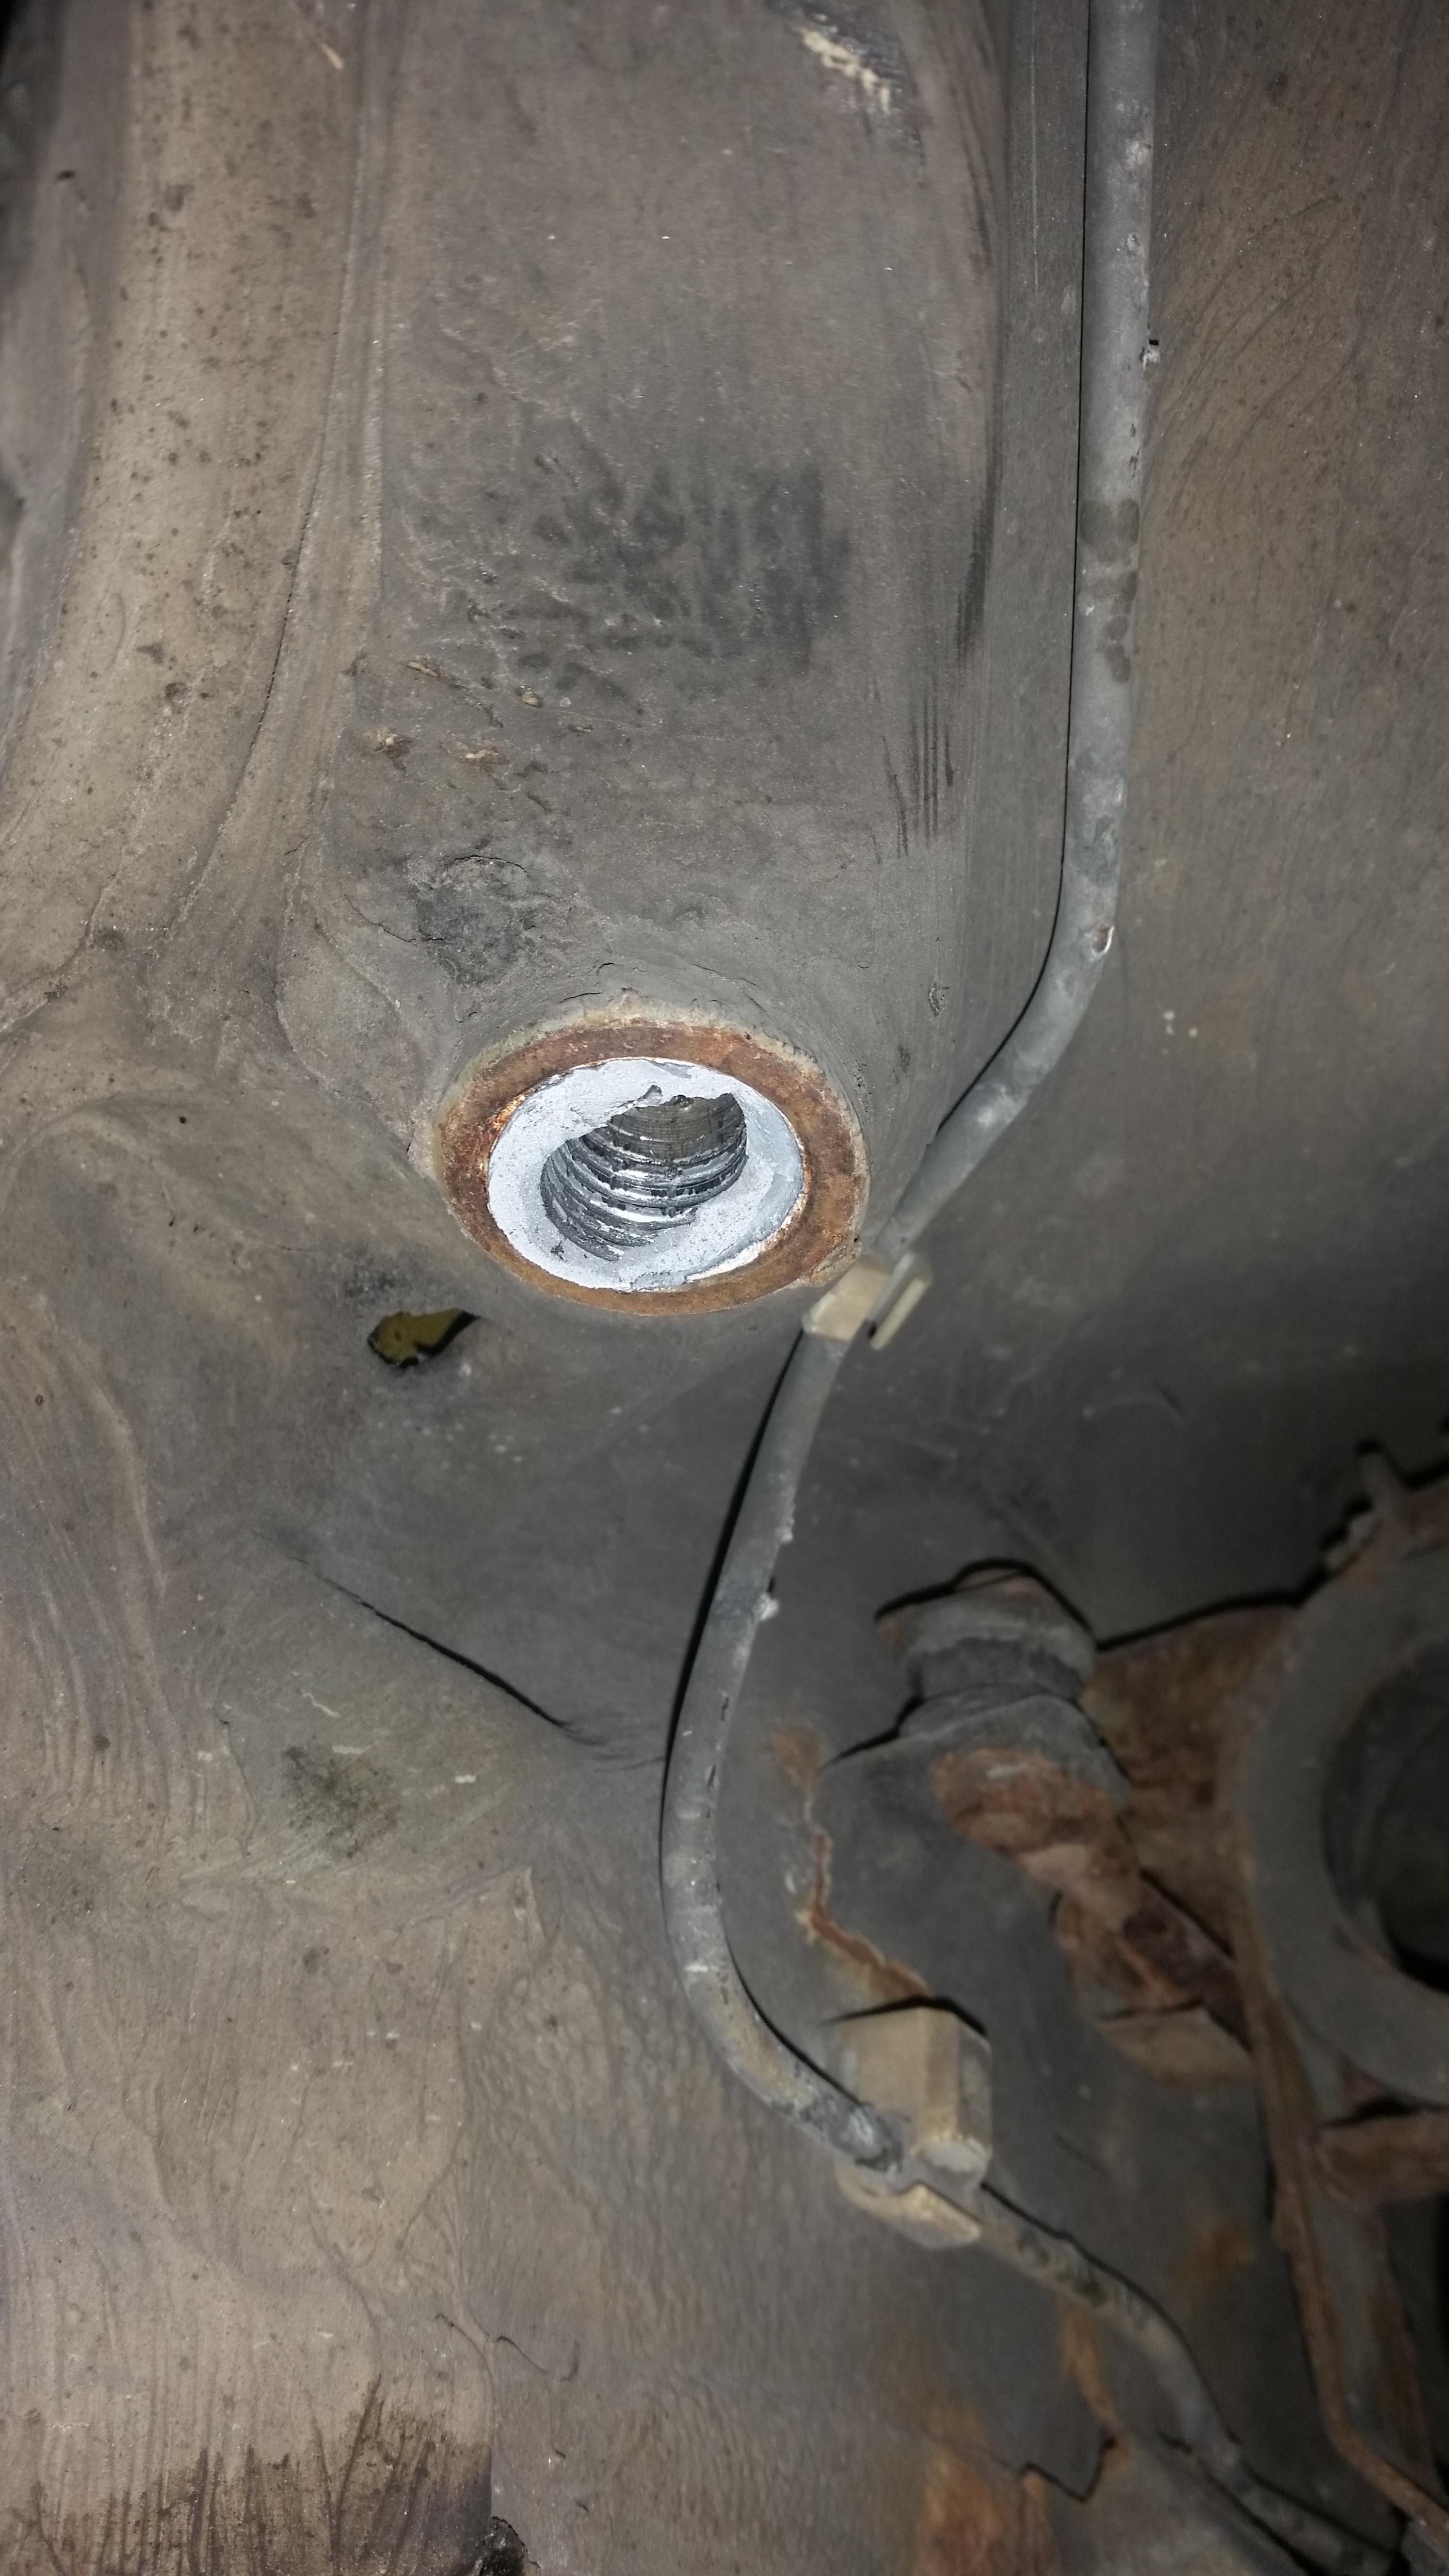
I should add that when the rear sub frame did finally come free with some gentle shaking, the subframe bushings ended up staying connected to the car instead of coming out. Simple enough...removed the rear seat, pulled out the long studs and knocked the bushings right off. Right side popped out just fine, as for the left.

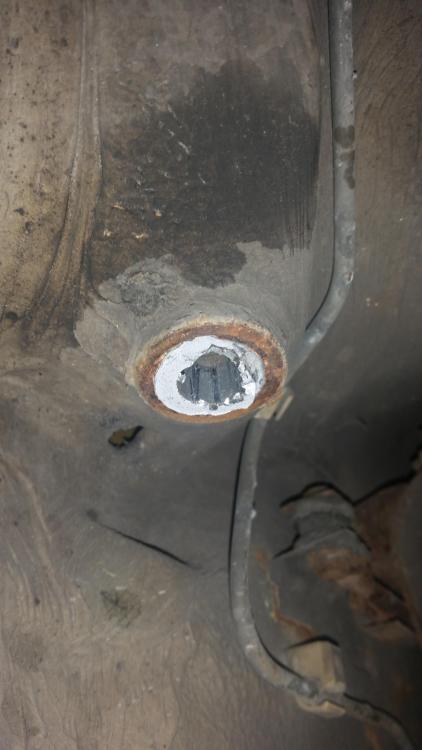
snapped off flush with the hole. Still figuring out how I will go about removing this.
Transitioning over to the gas tank...
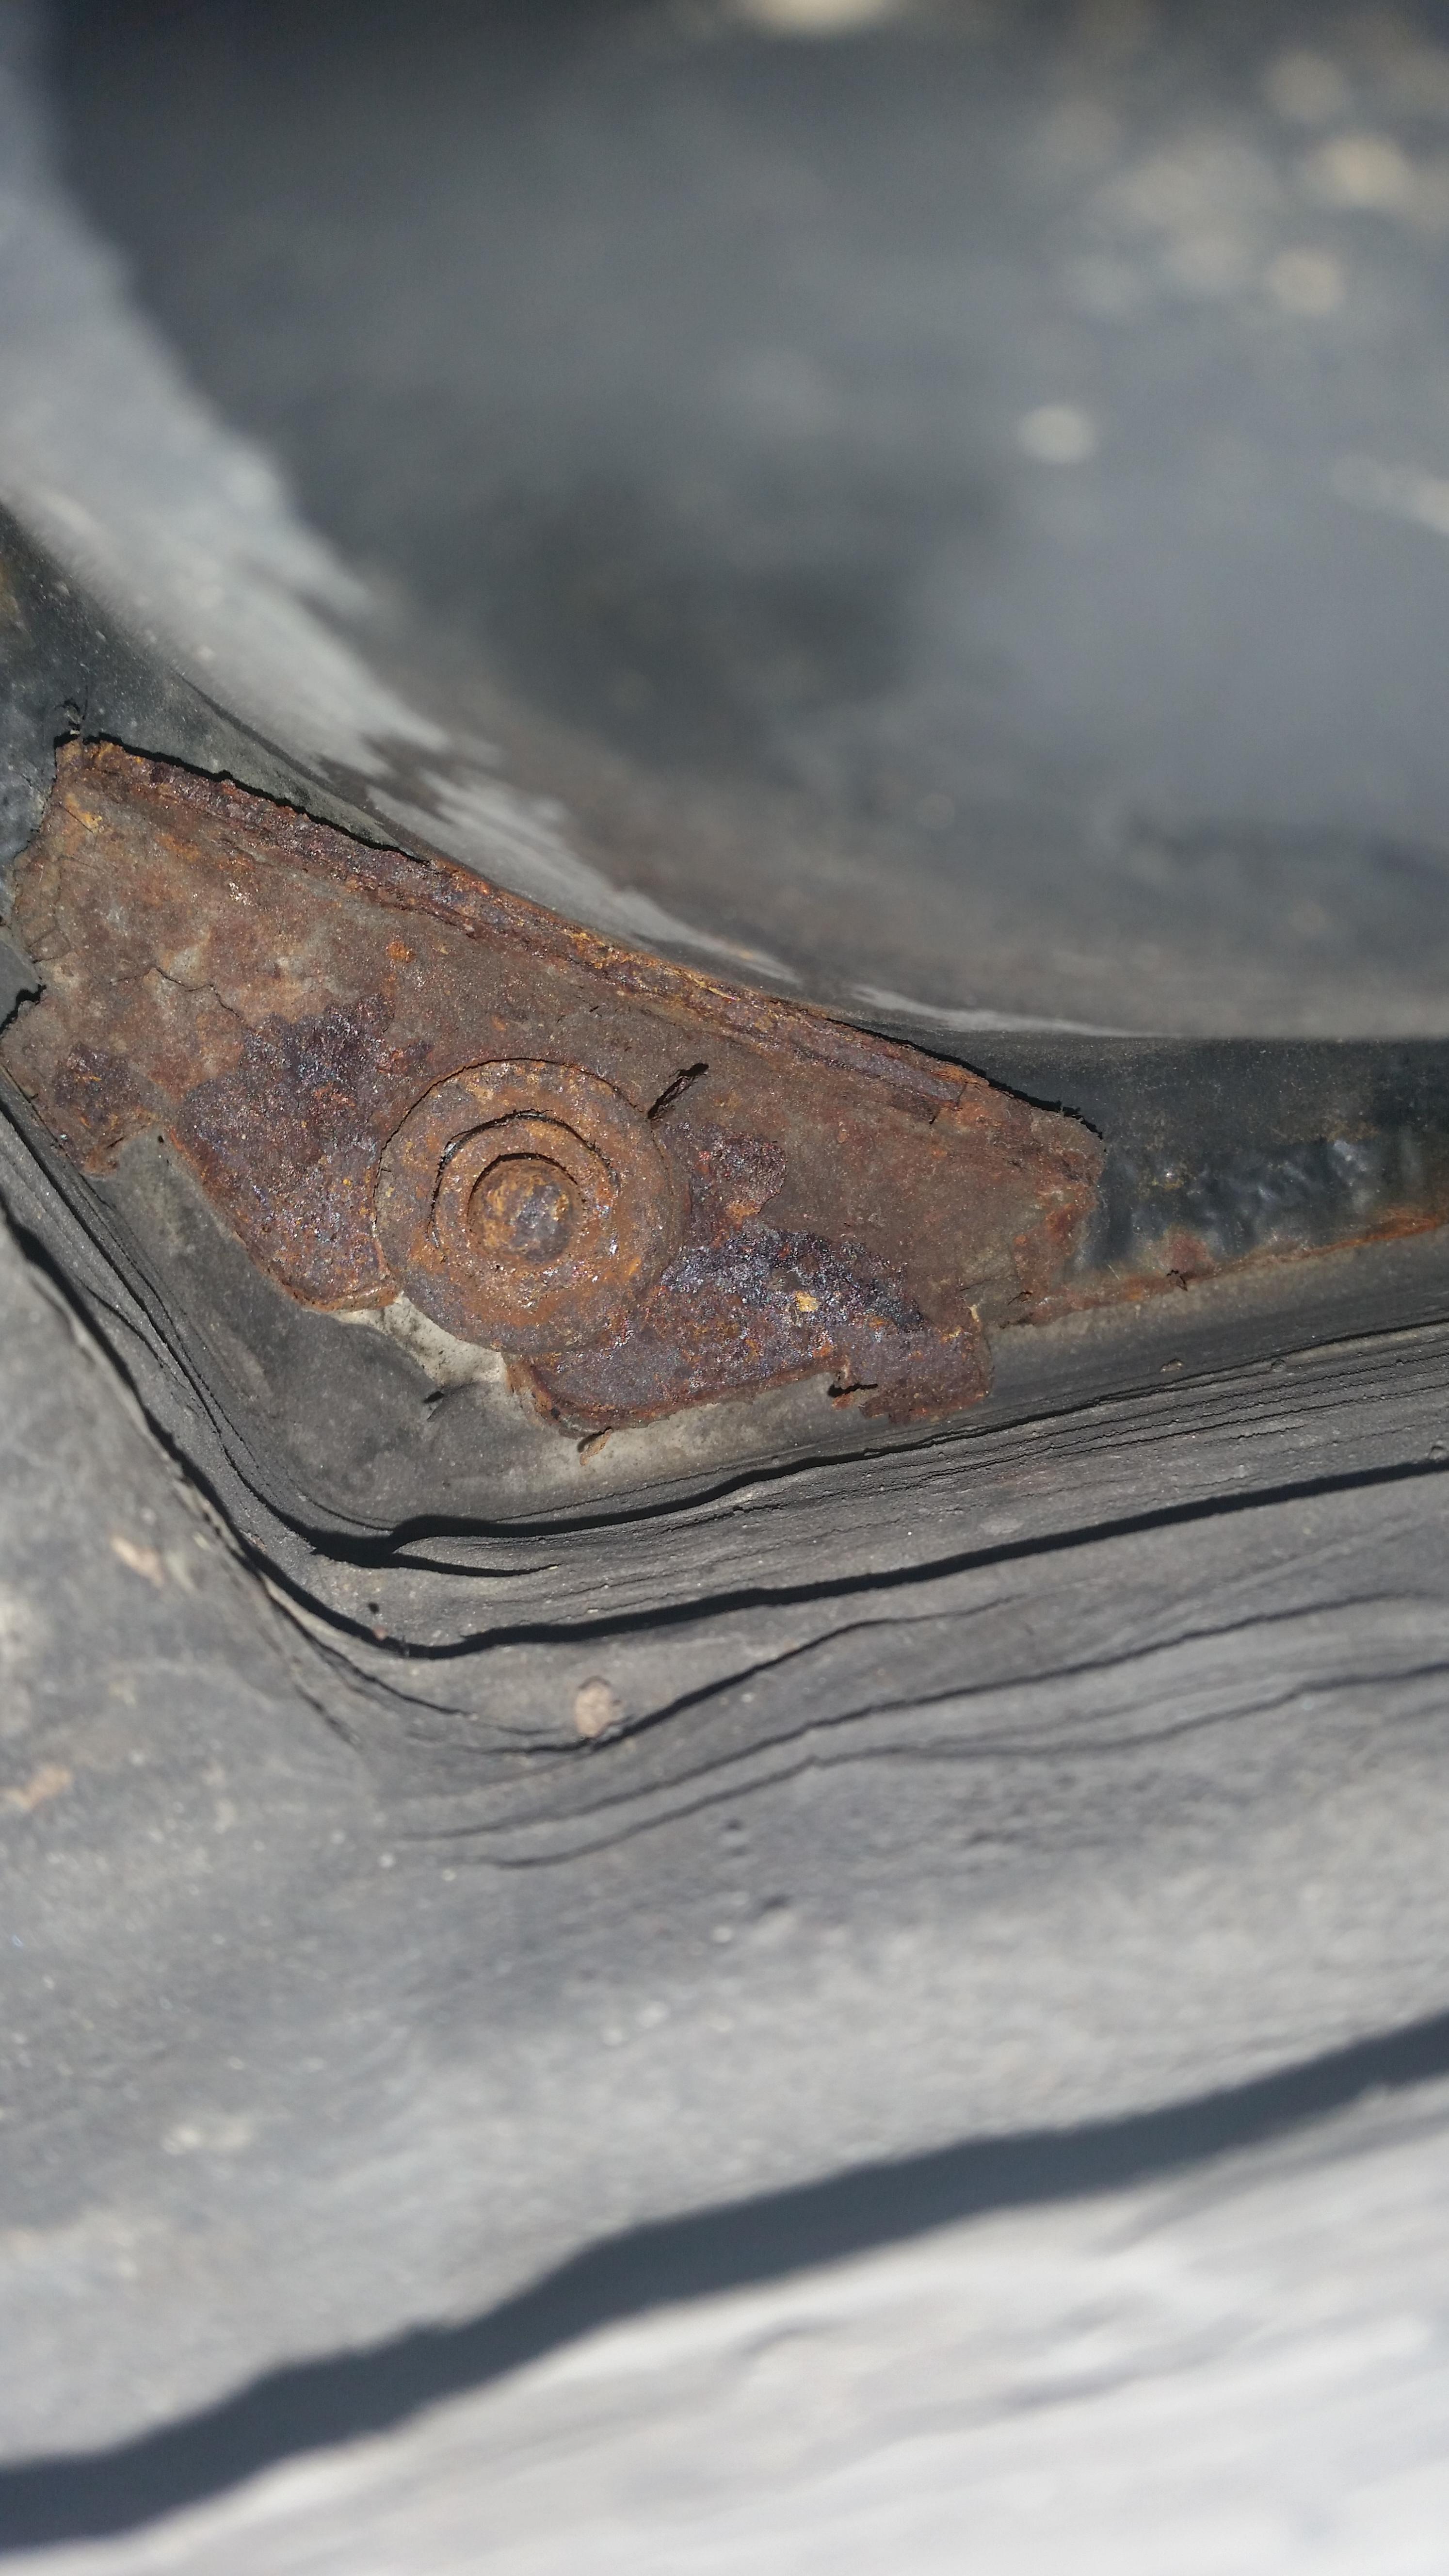
Out of the 6 bolts, 5 came out fairly well. As for the sixth one...fml
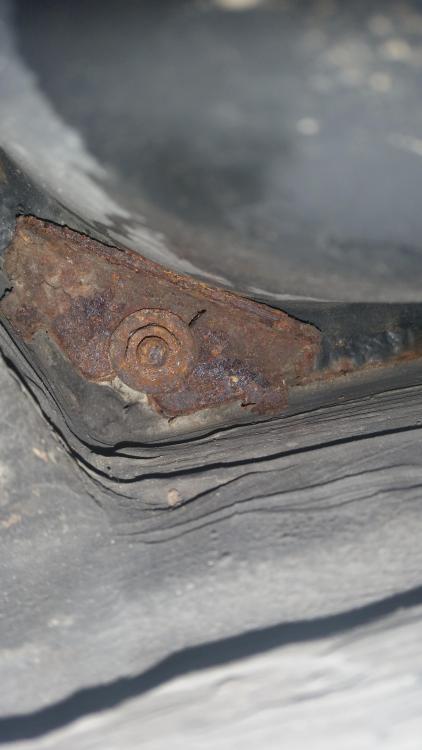
The nut completely rounded so I can no longer fit a socket on it. As of right now I am still stumped on removing the gas tank until I get this last nut out. Also contemplating on possibly ordering a new aftermarket tank as this one is in rough shape with multiple dents as usual.
I kind of make a mess when I'm ripping and tarring...
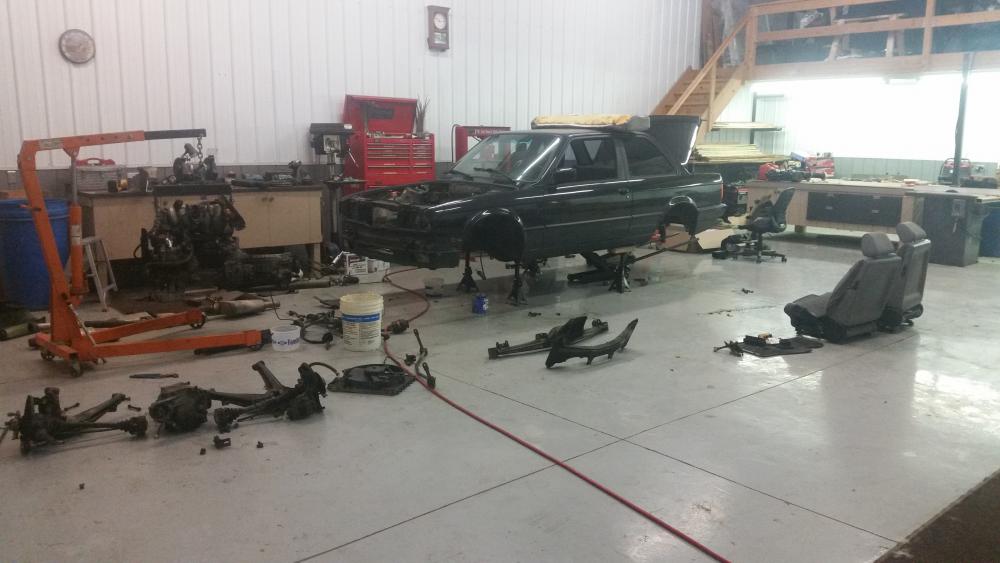
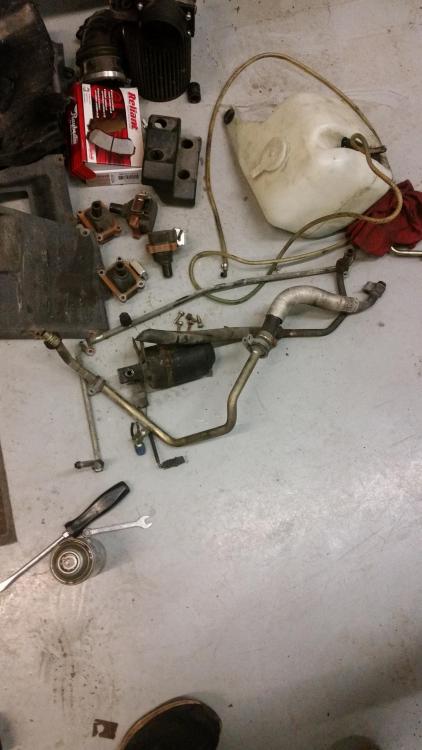
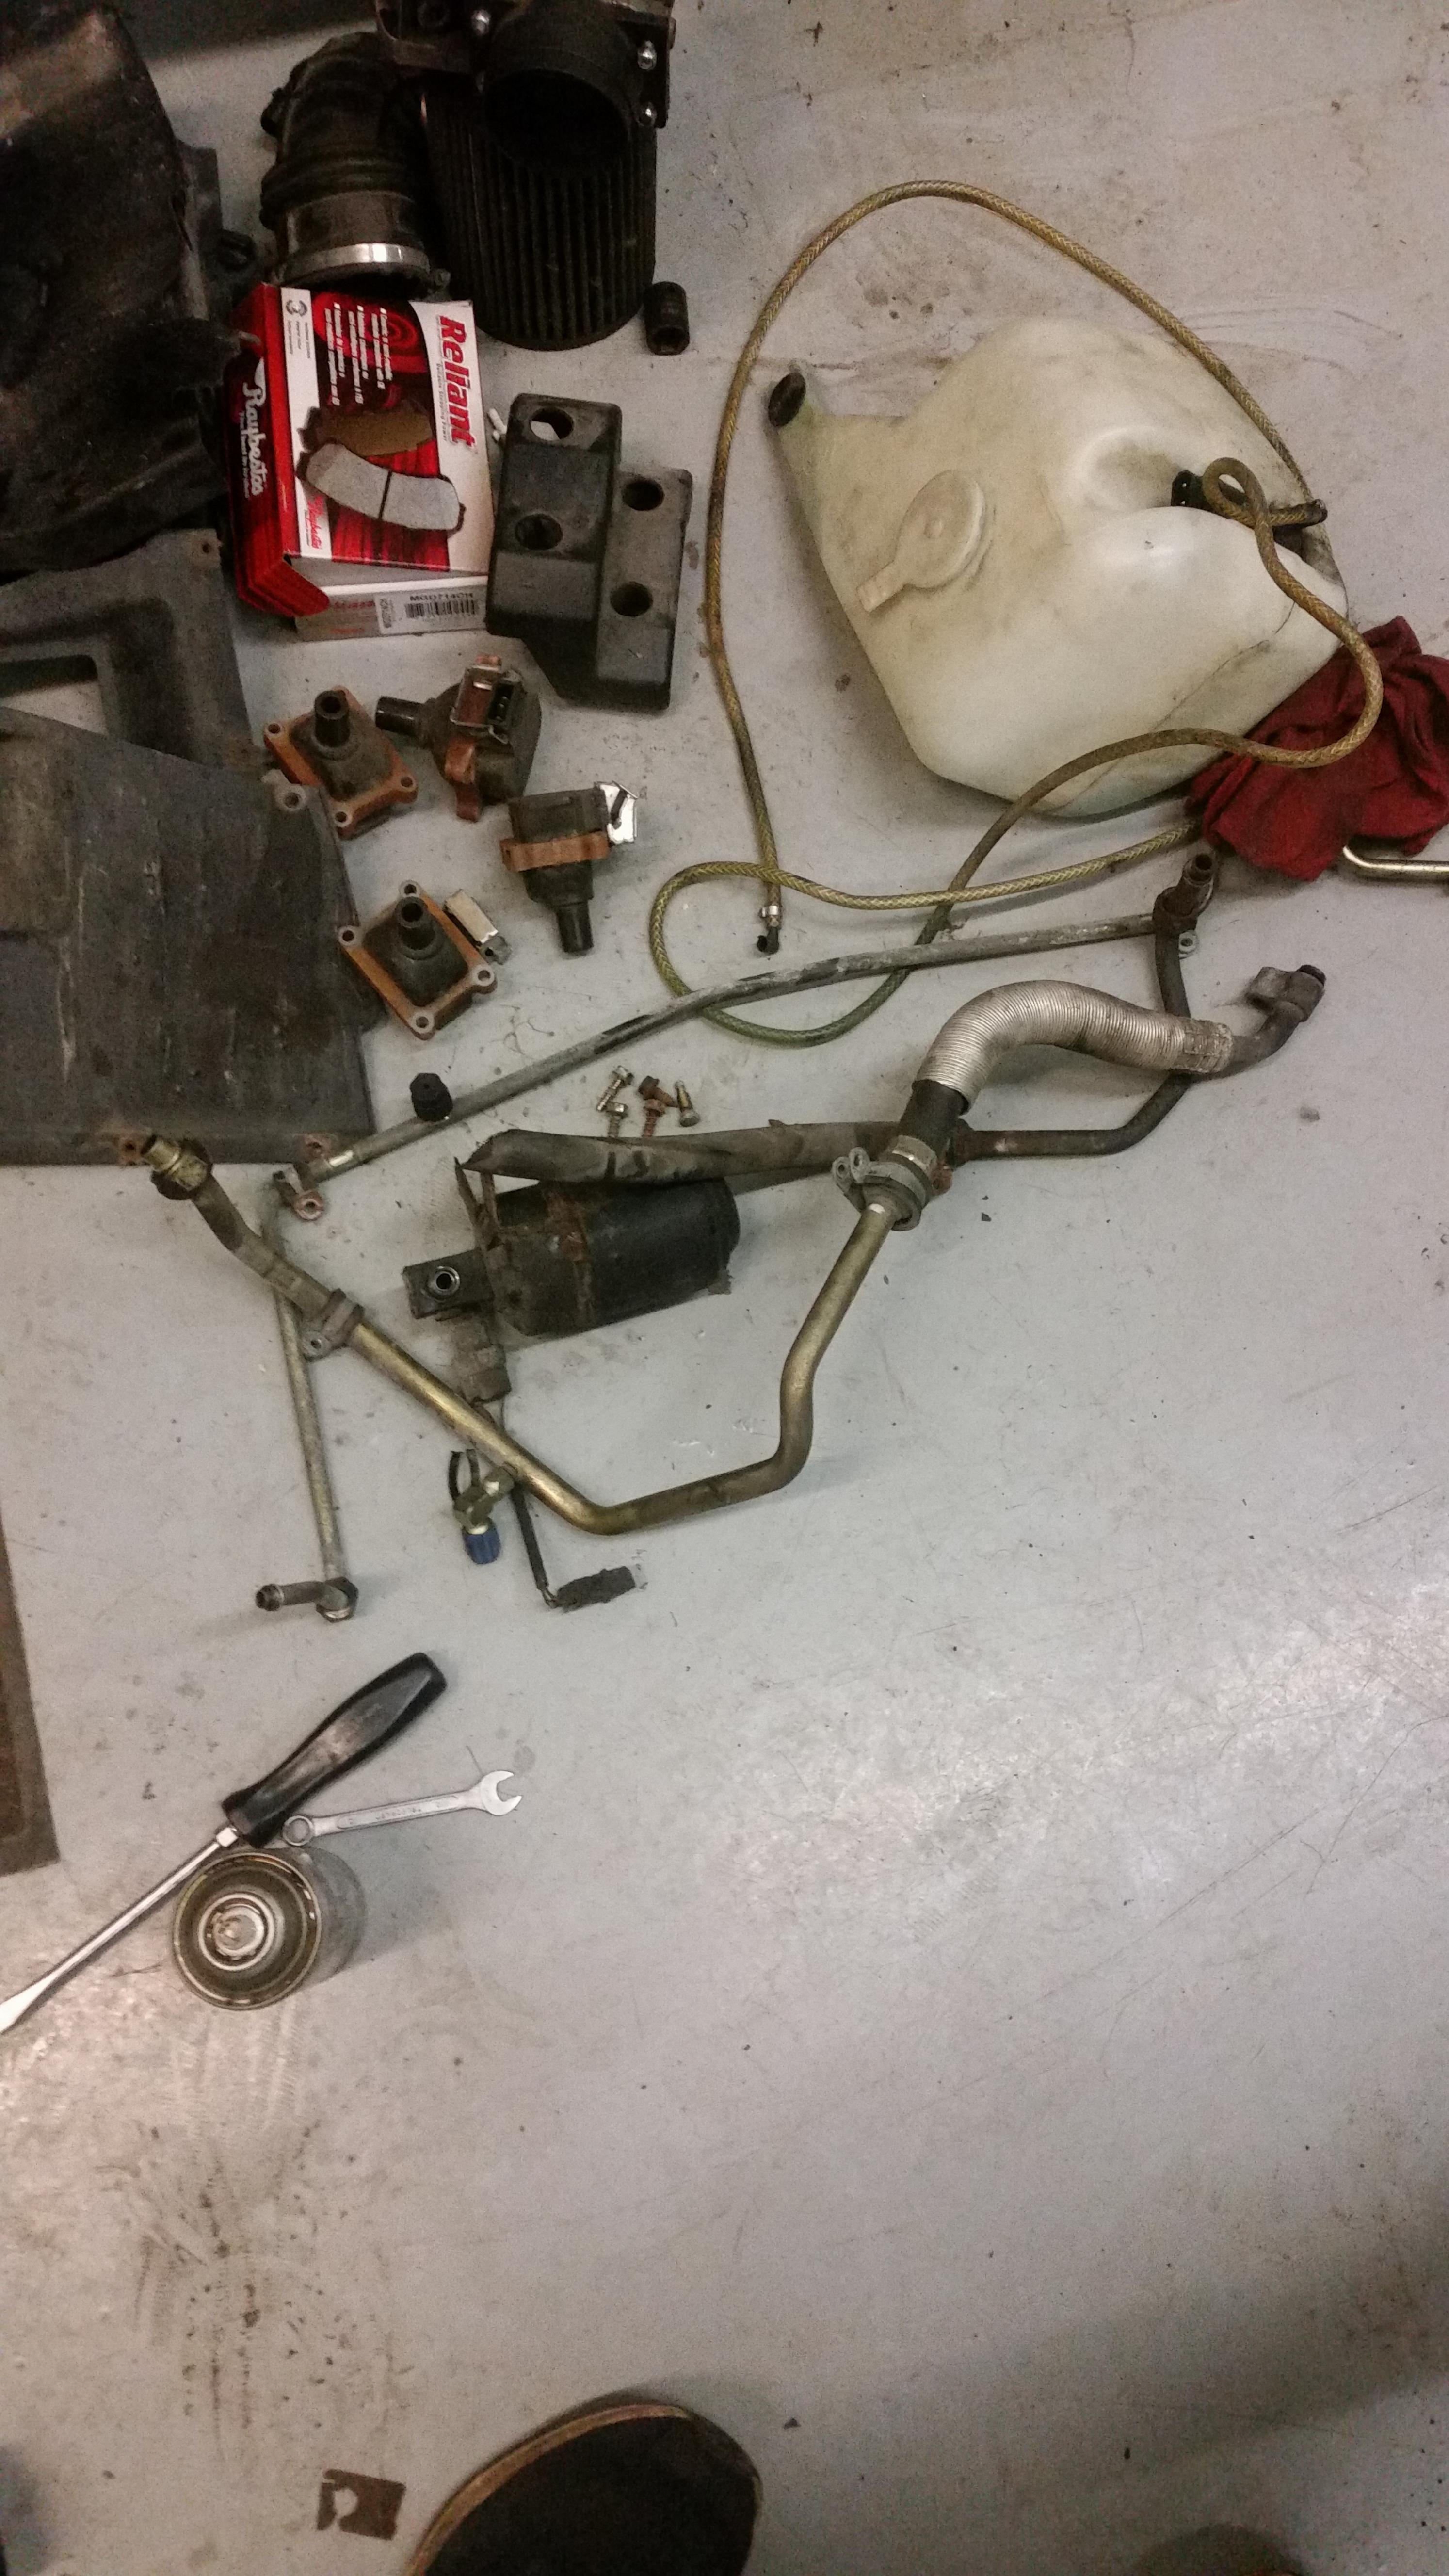
In between this fuss I was able to remove a few more things from the engine bay including the pretty much the rest of the A/C lines and condenser as well as some interior stuff.
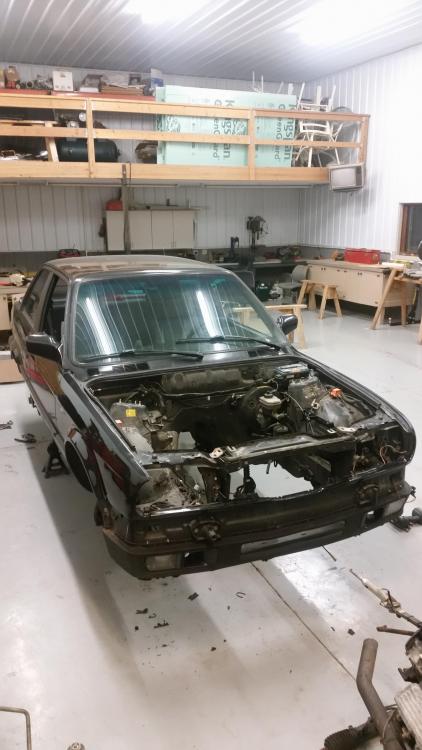
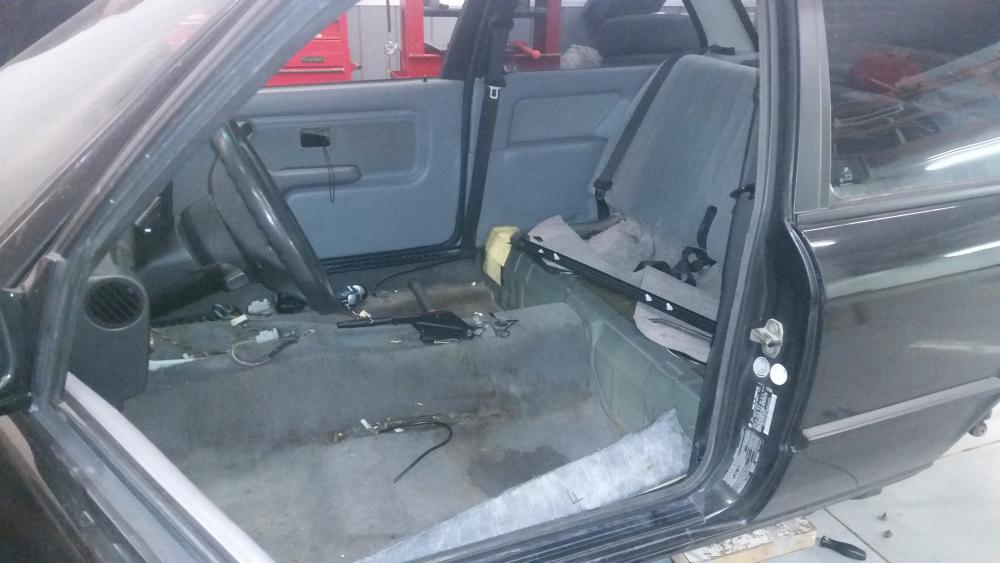
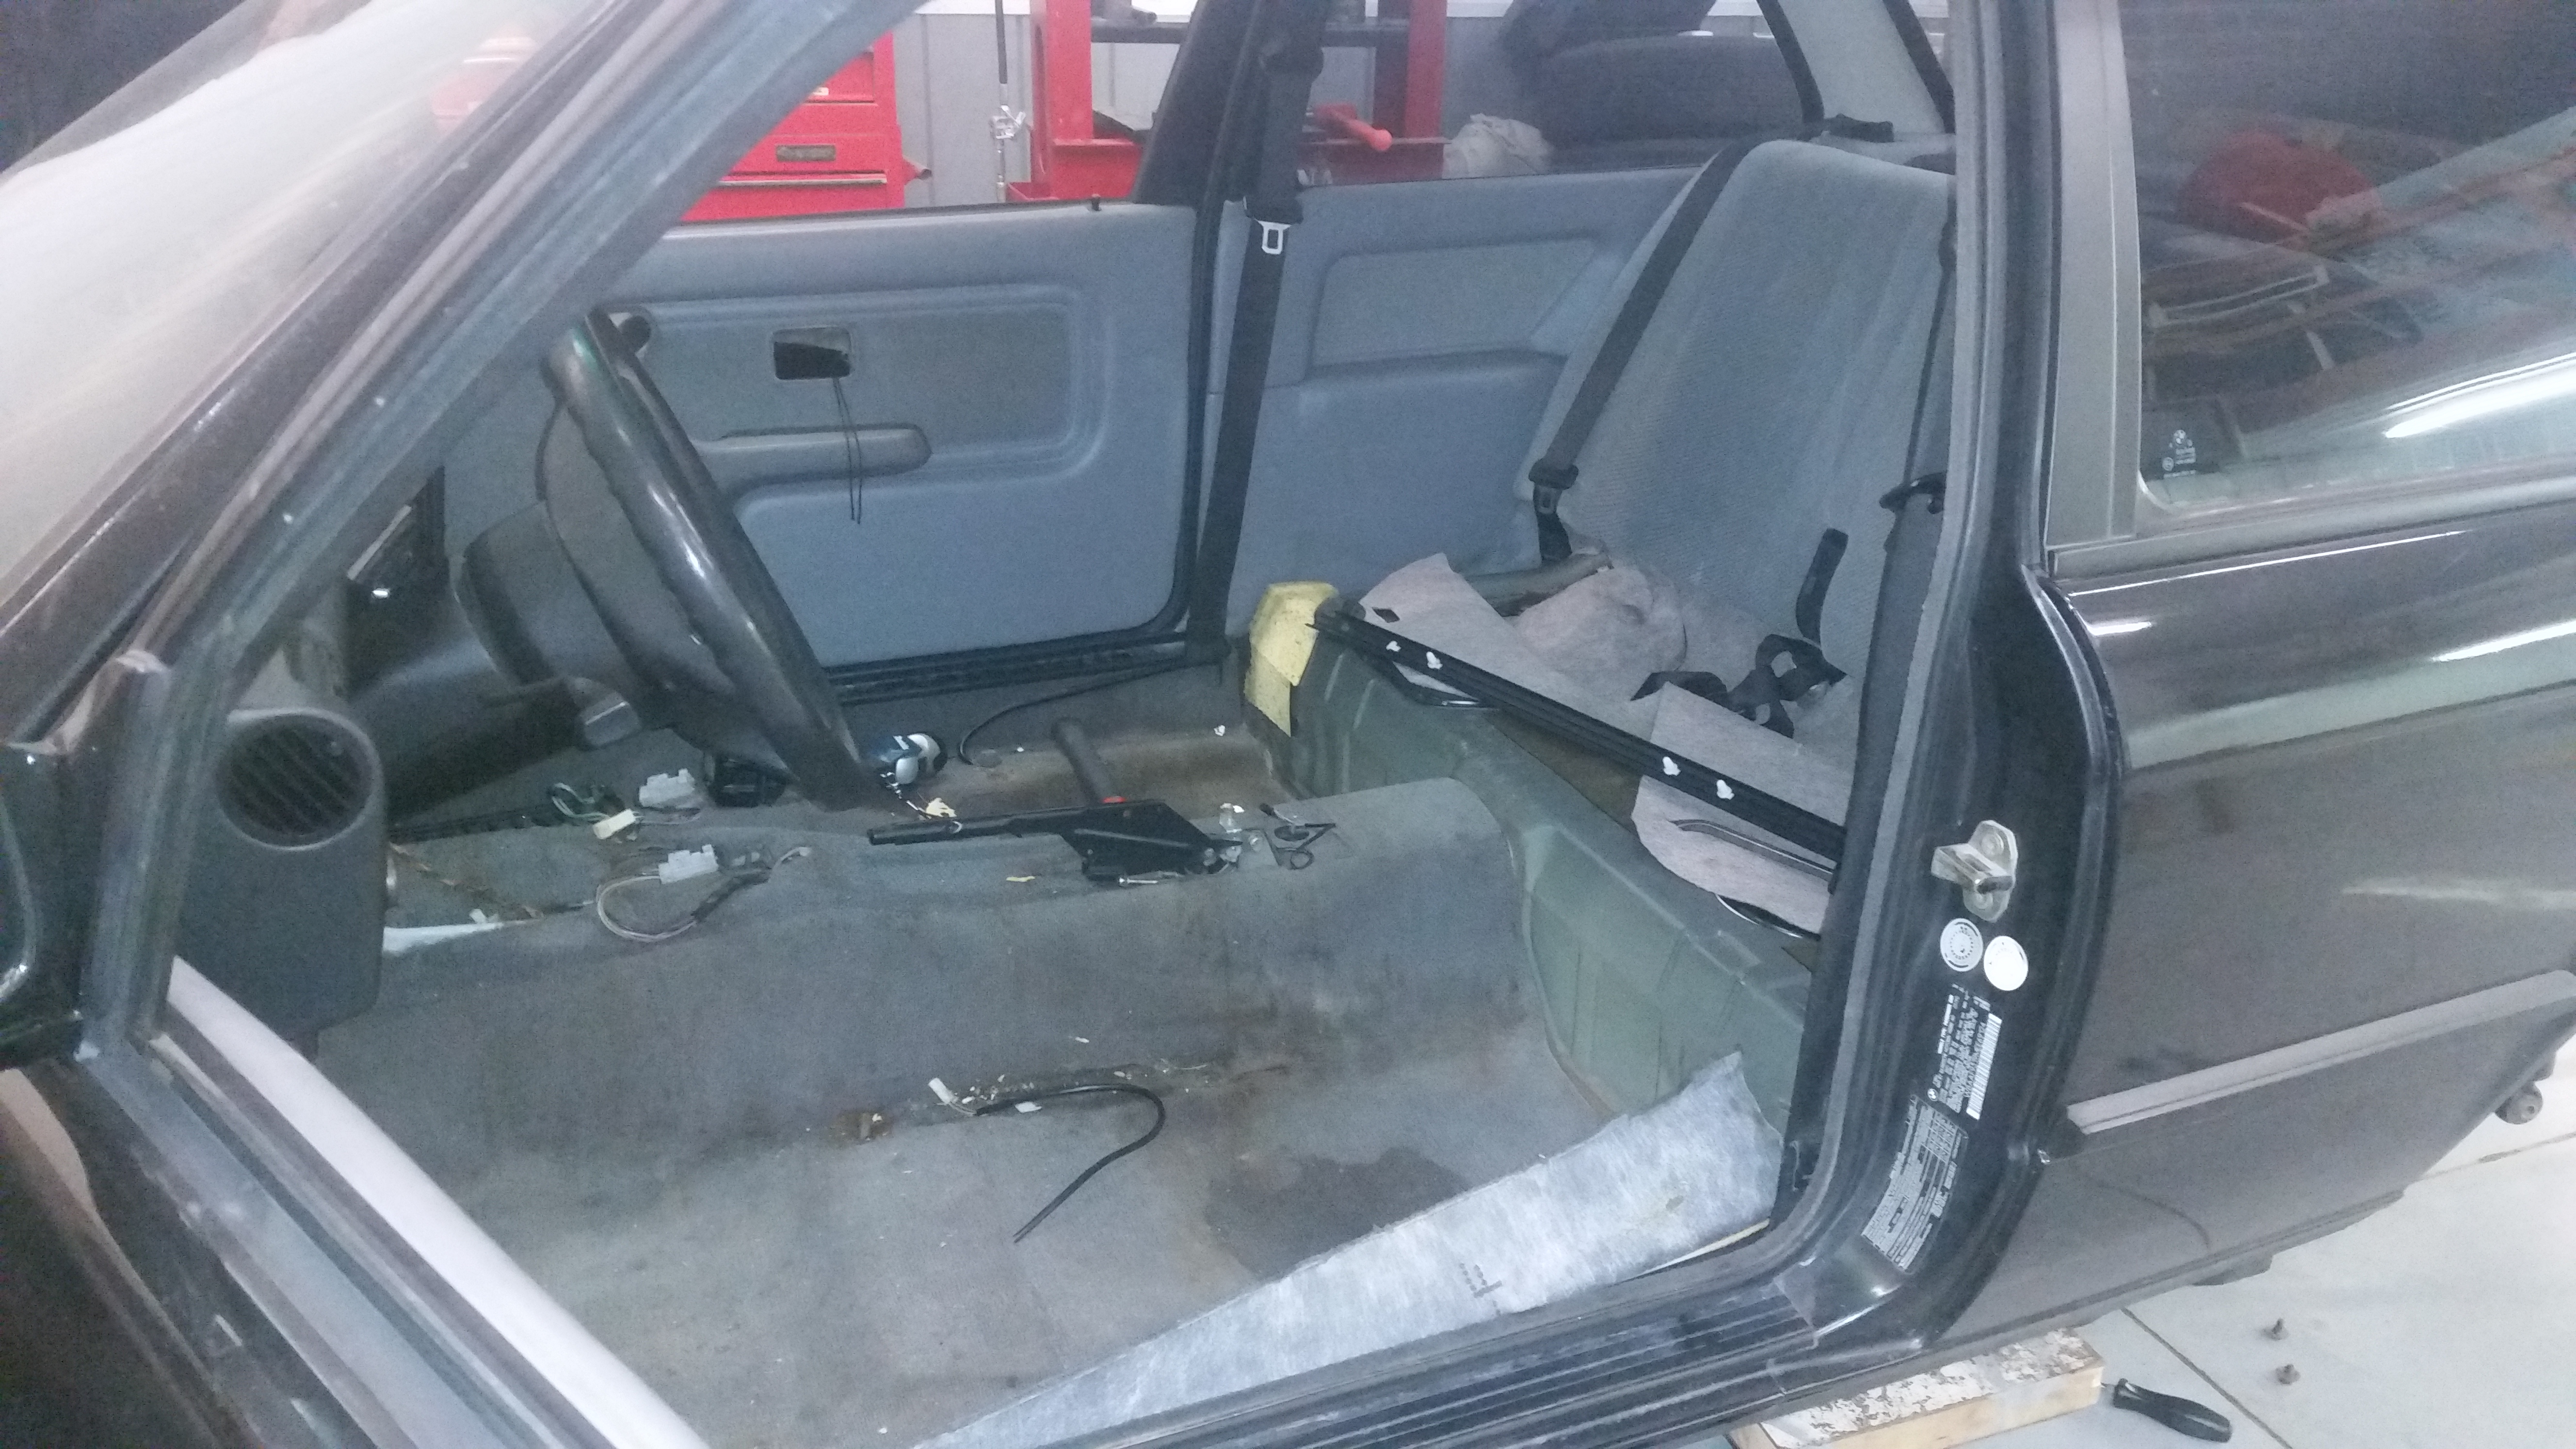
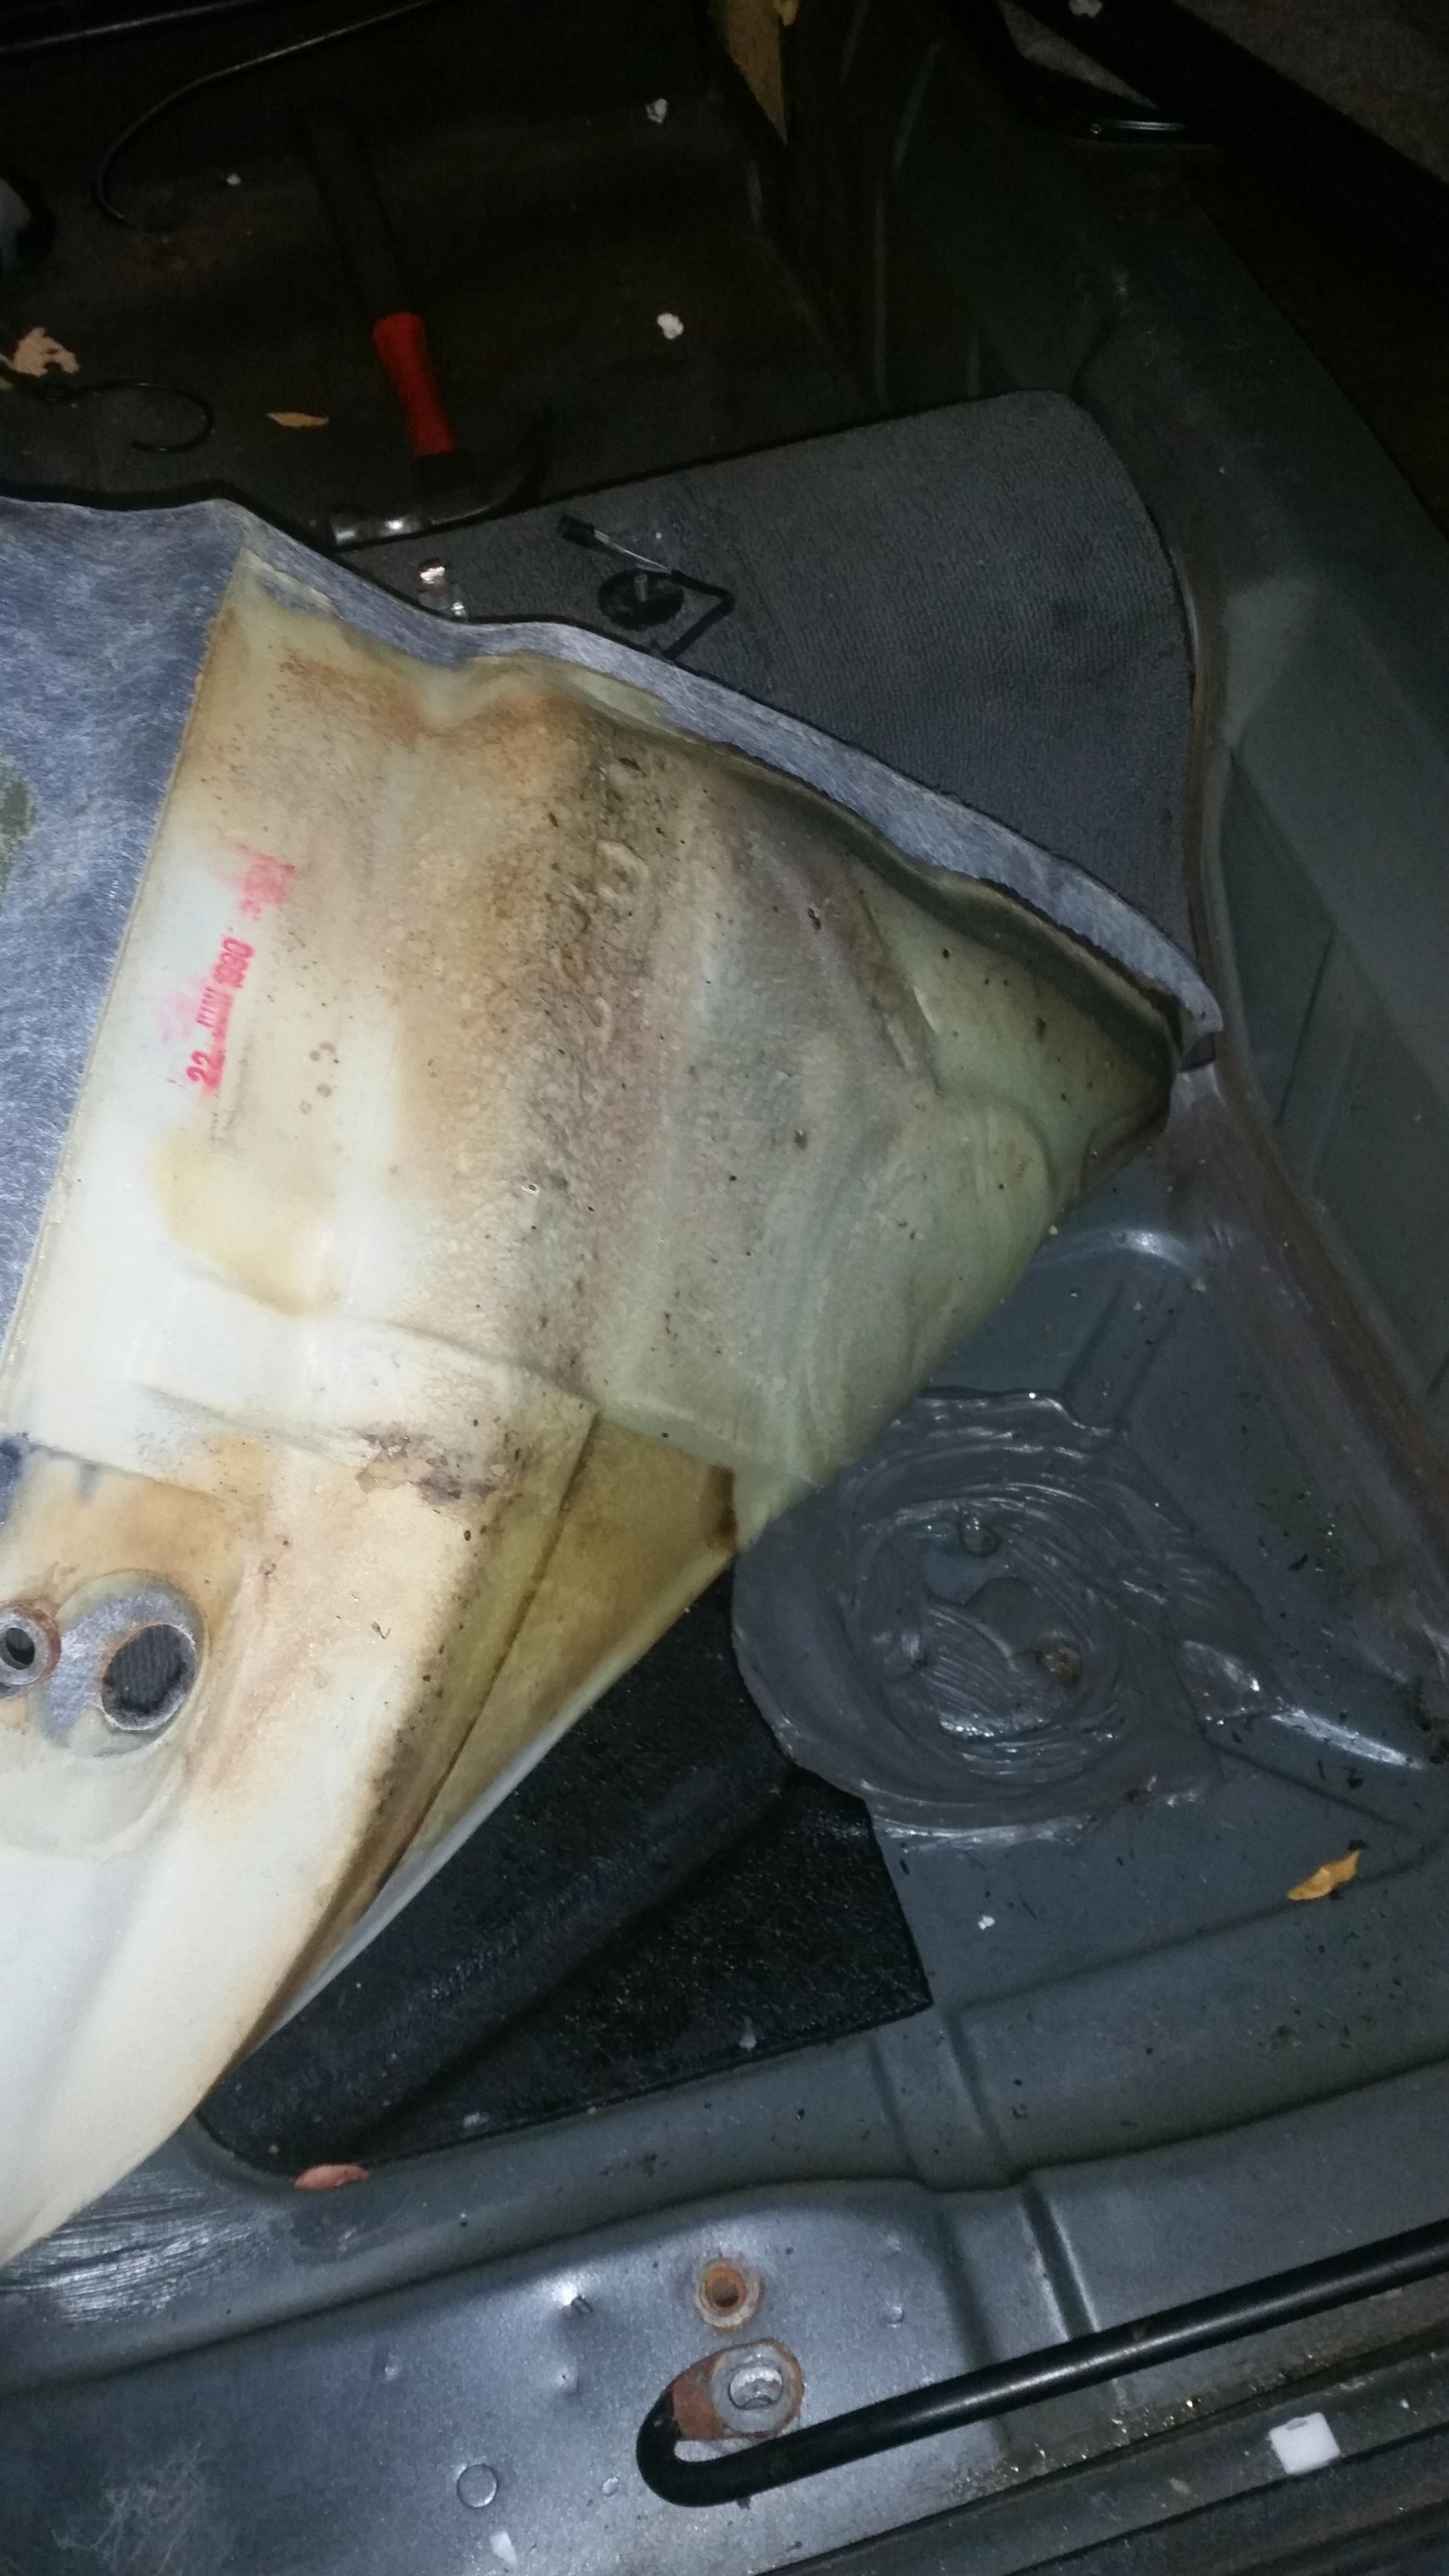
Carpet is in rough shape. Recommendations for carpet restoration is always welcome.
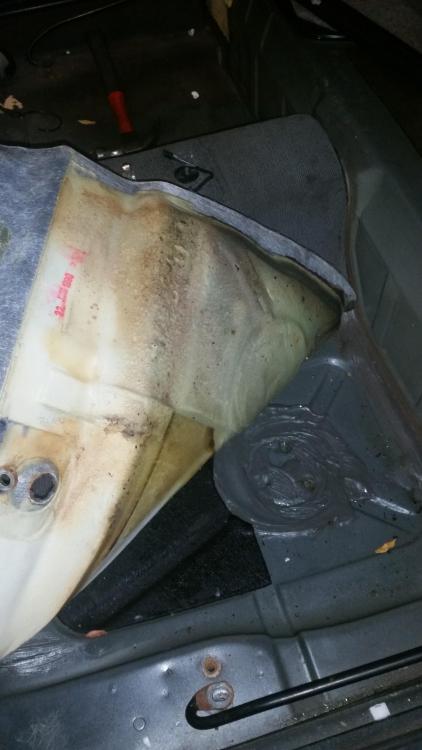
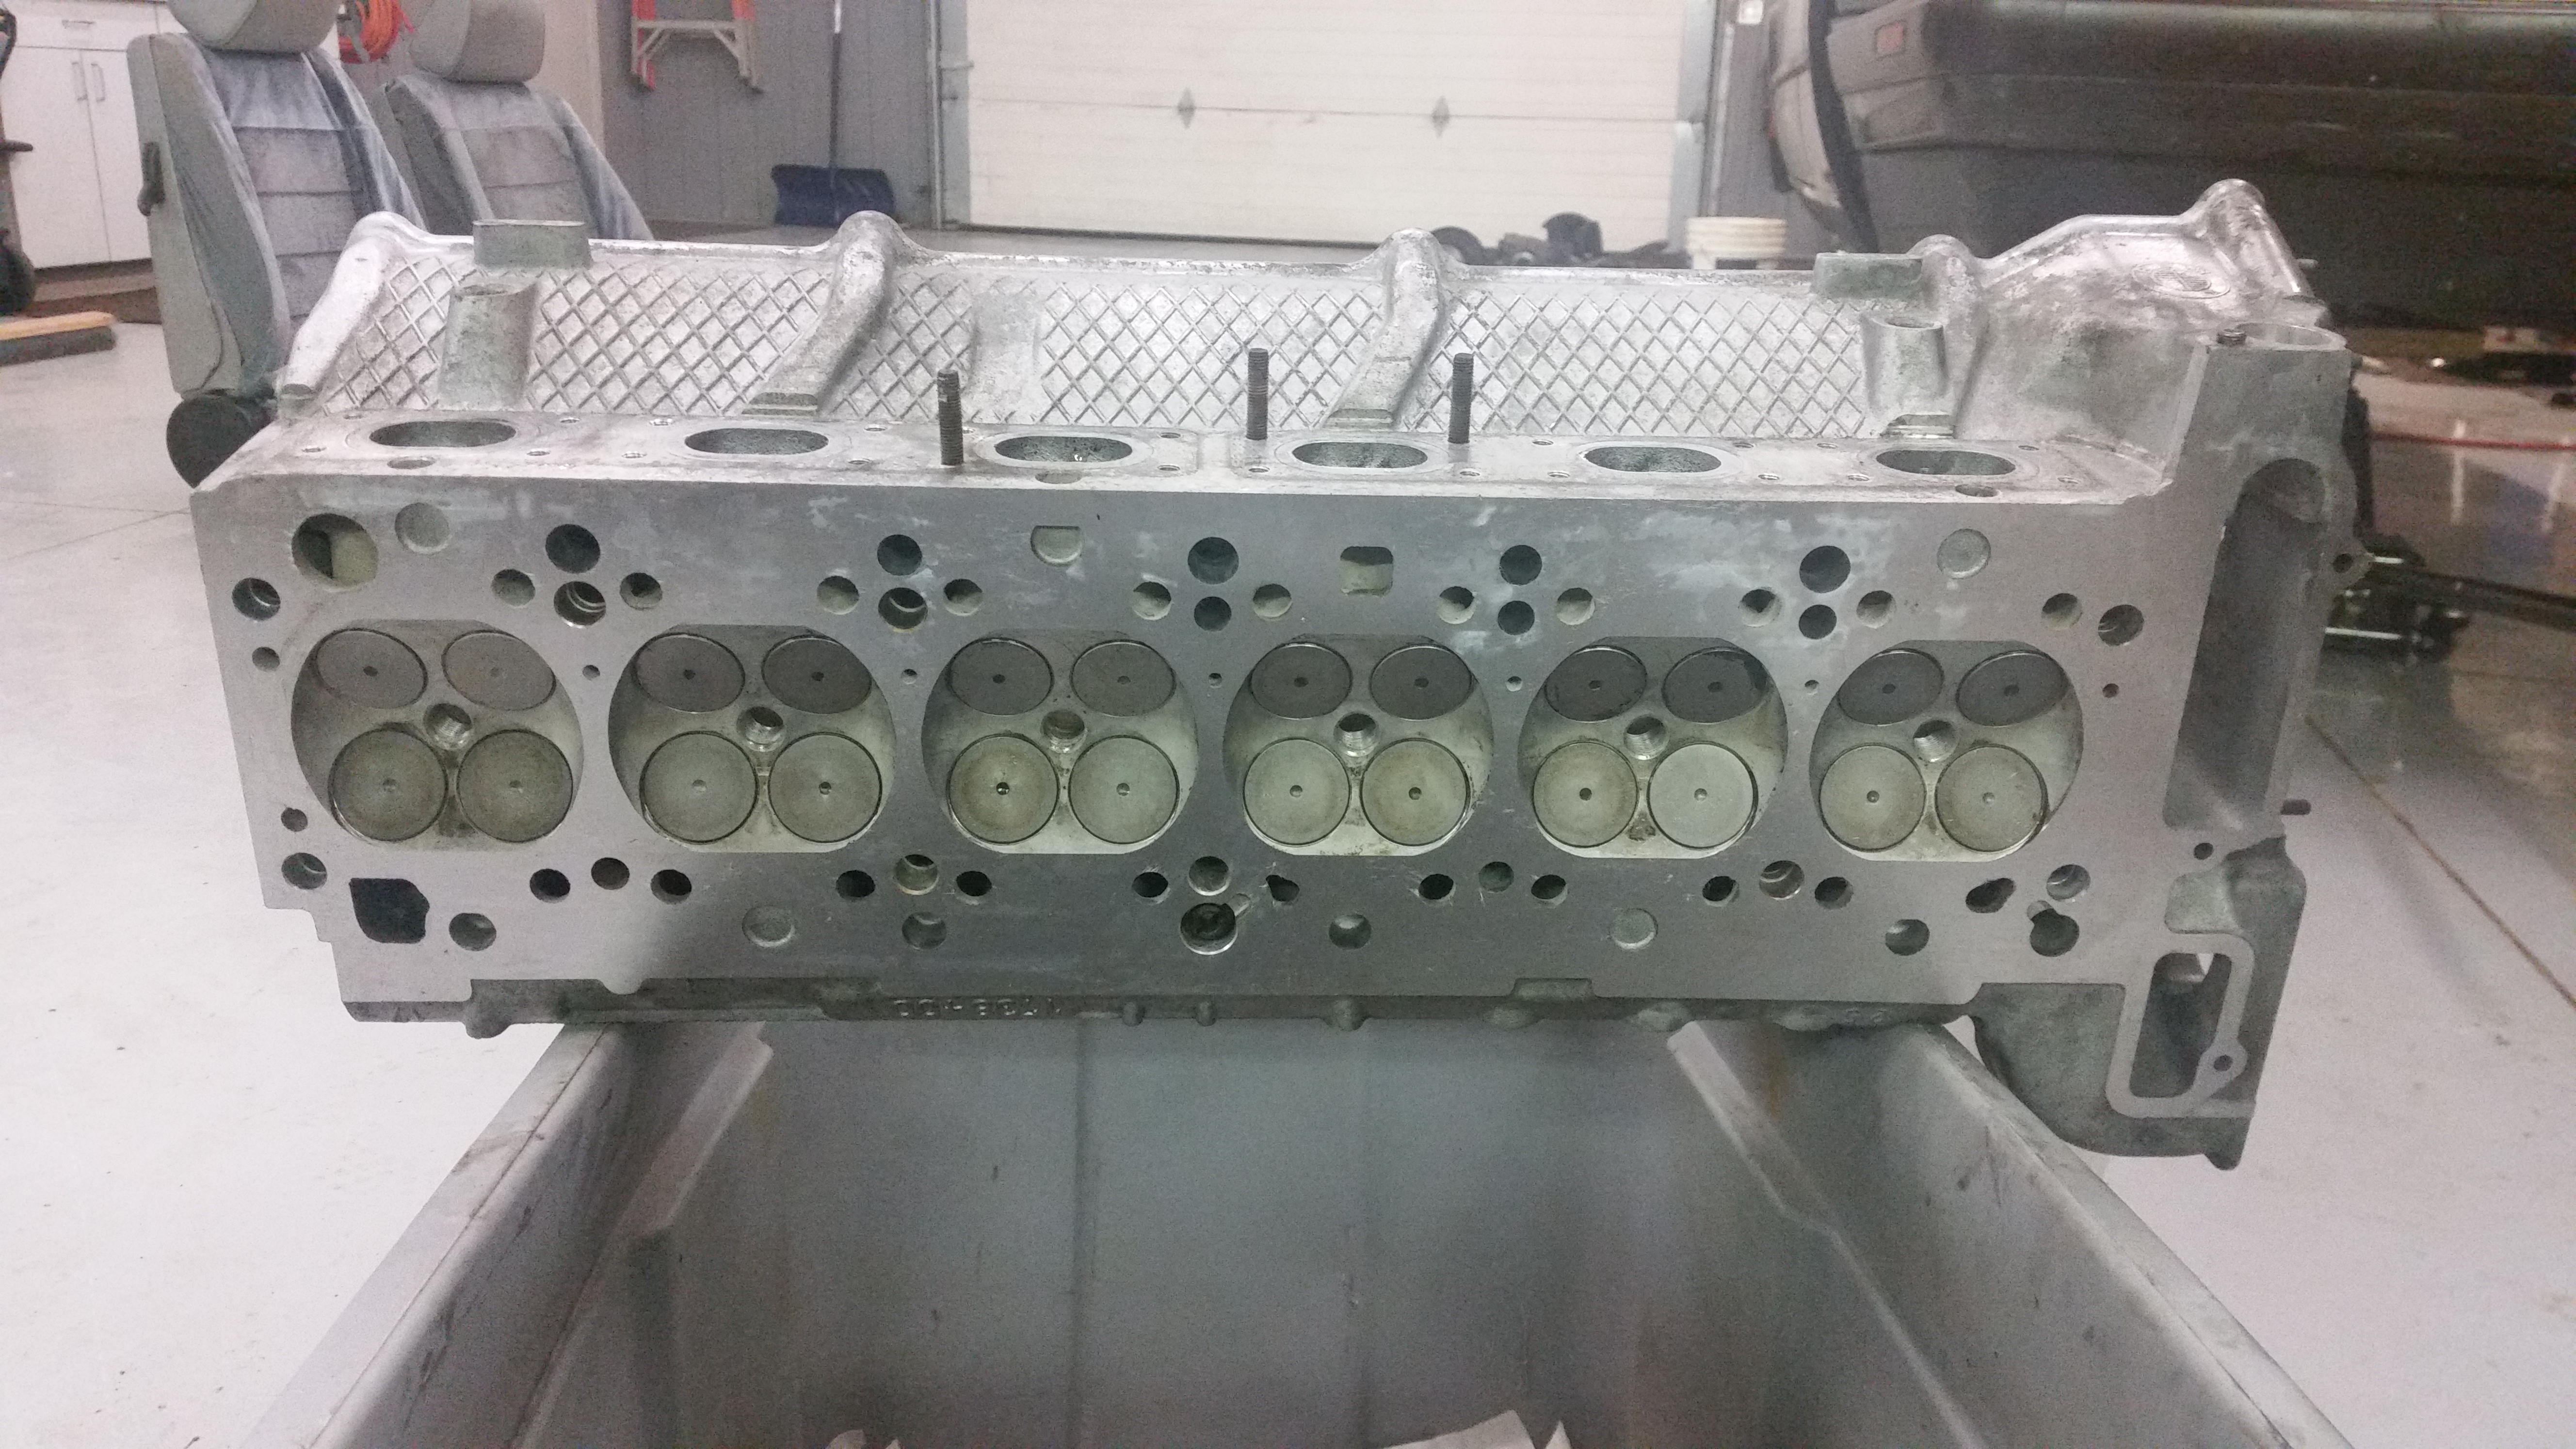
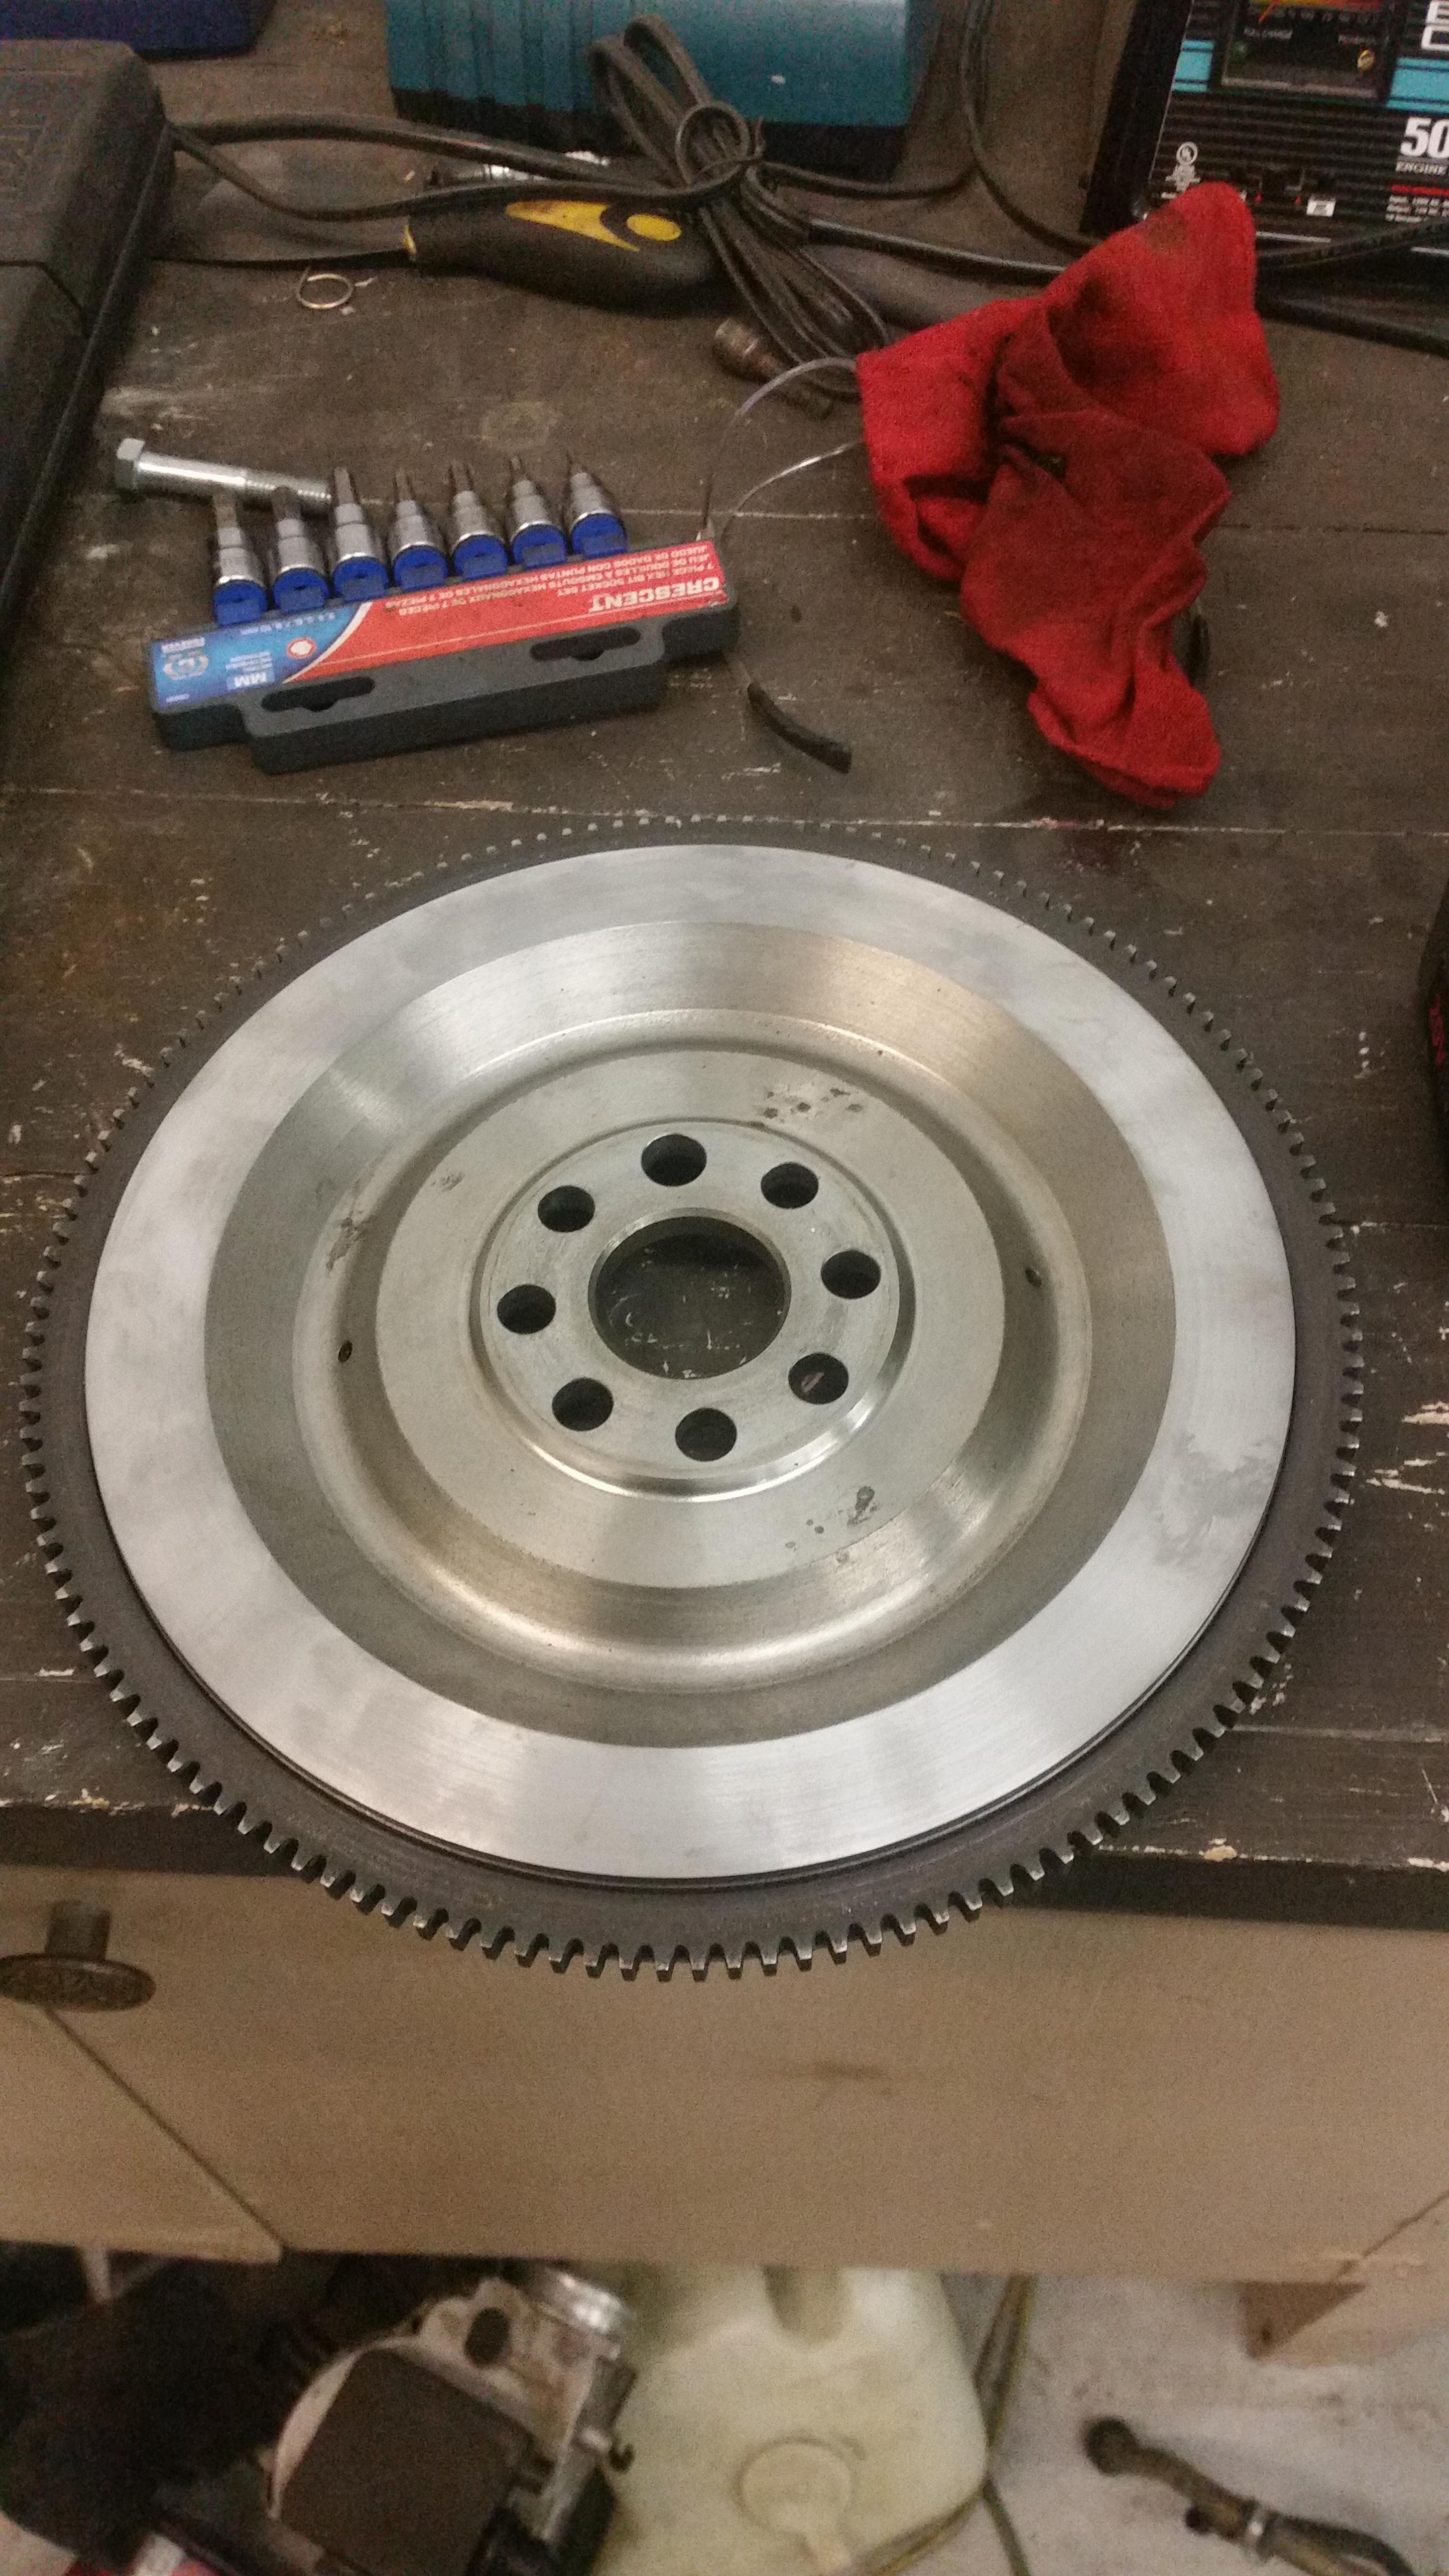
Got a call from my machinist. Flywheel and cylinder head are done! went and picked them up that night. Very pleased with how both turned out overall.
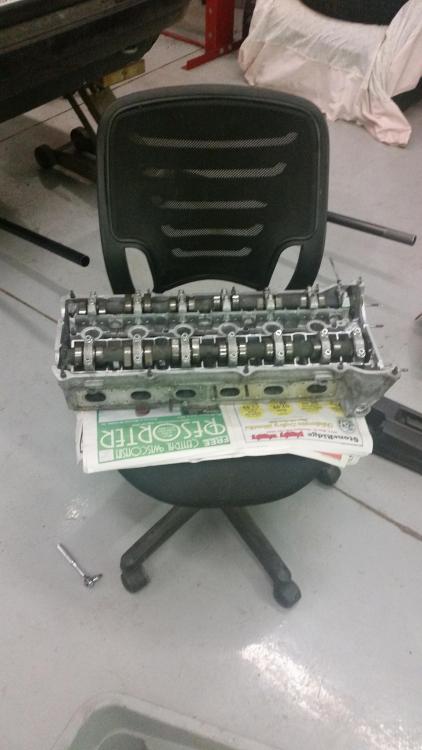
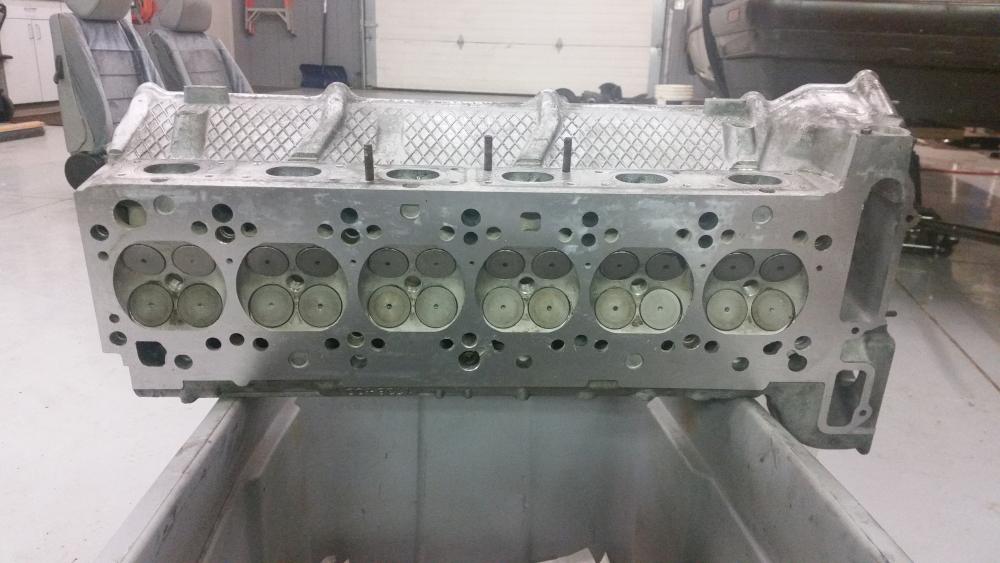
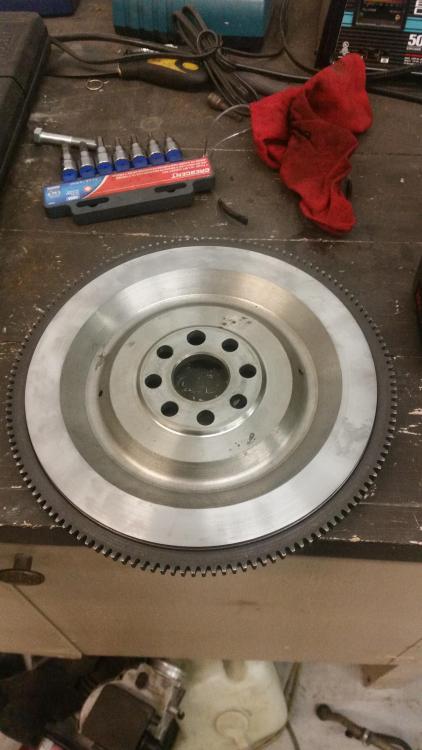
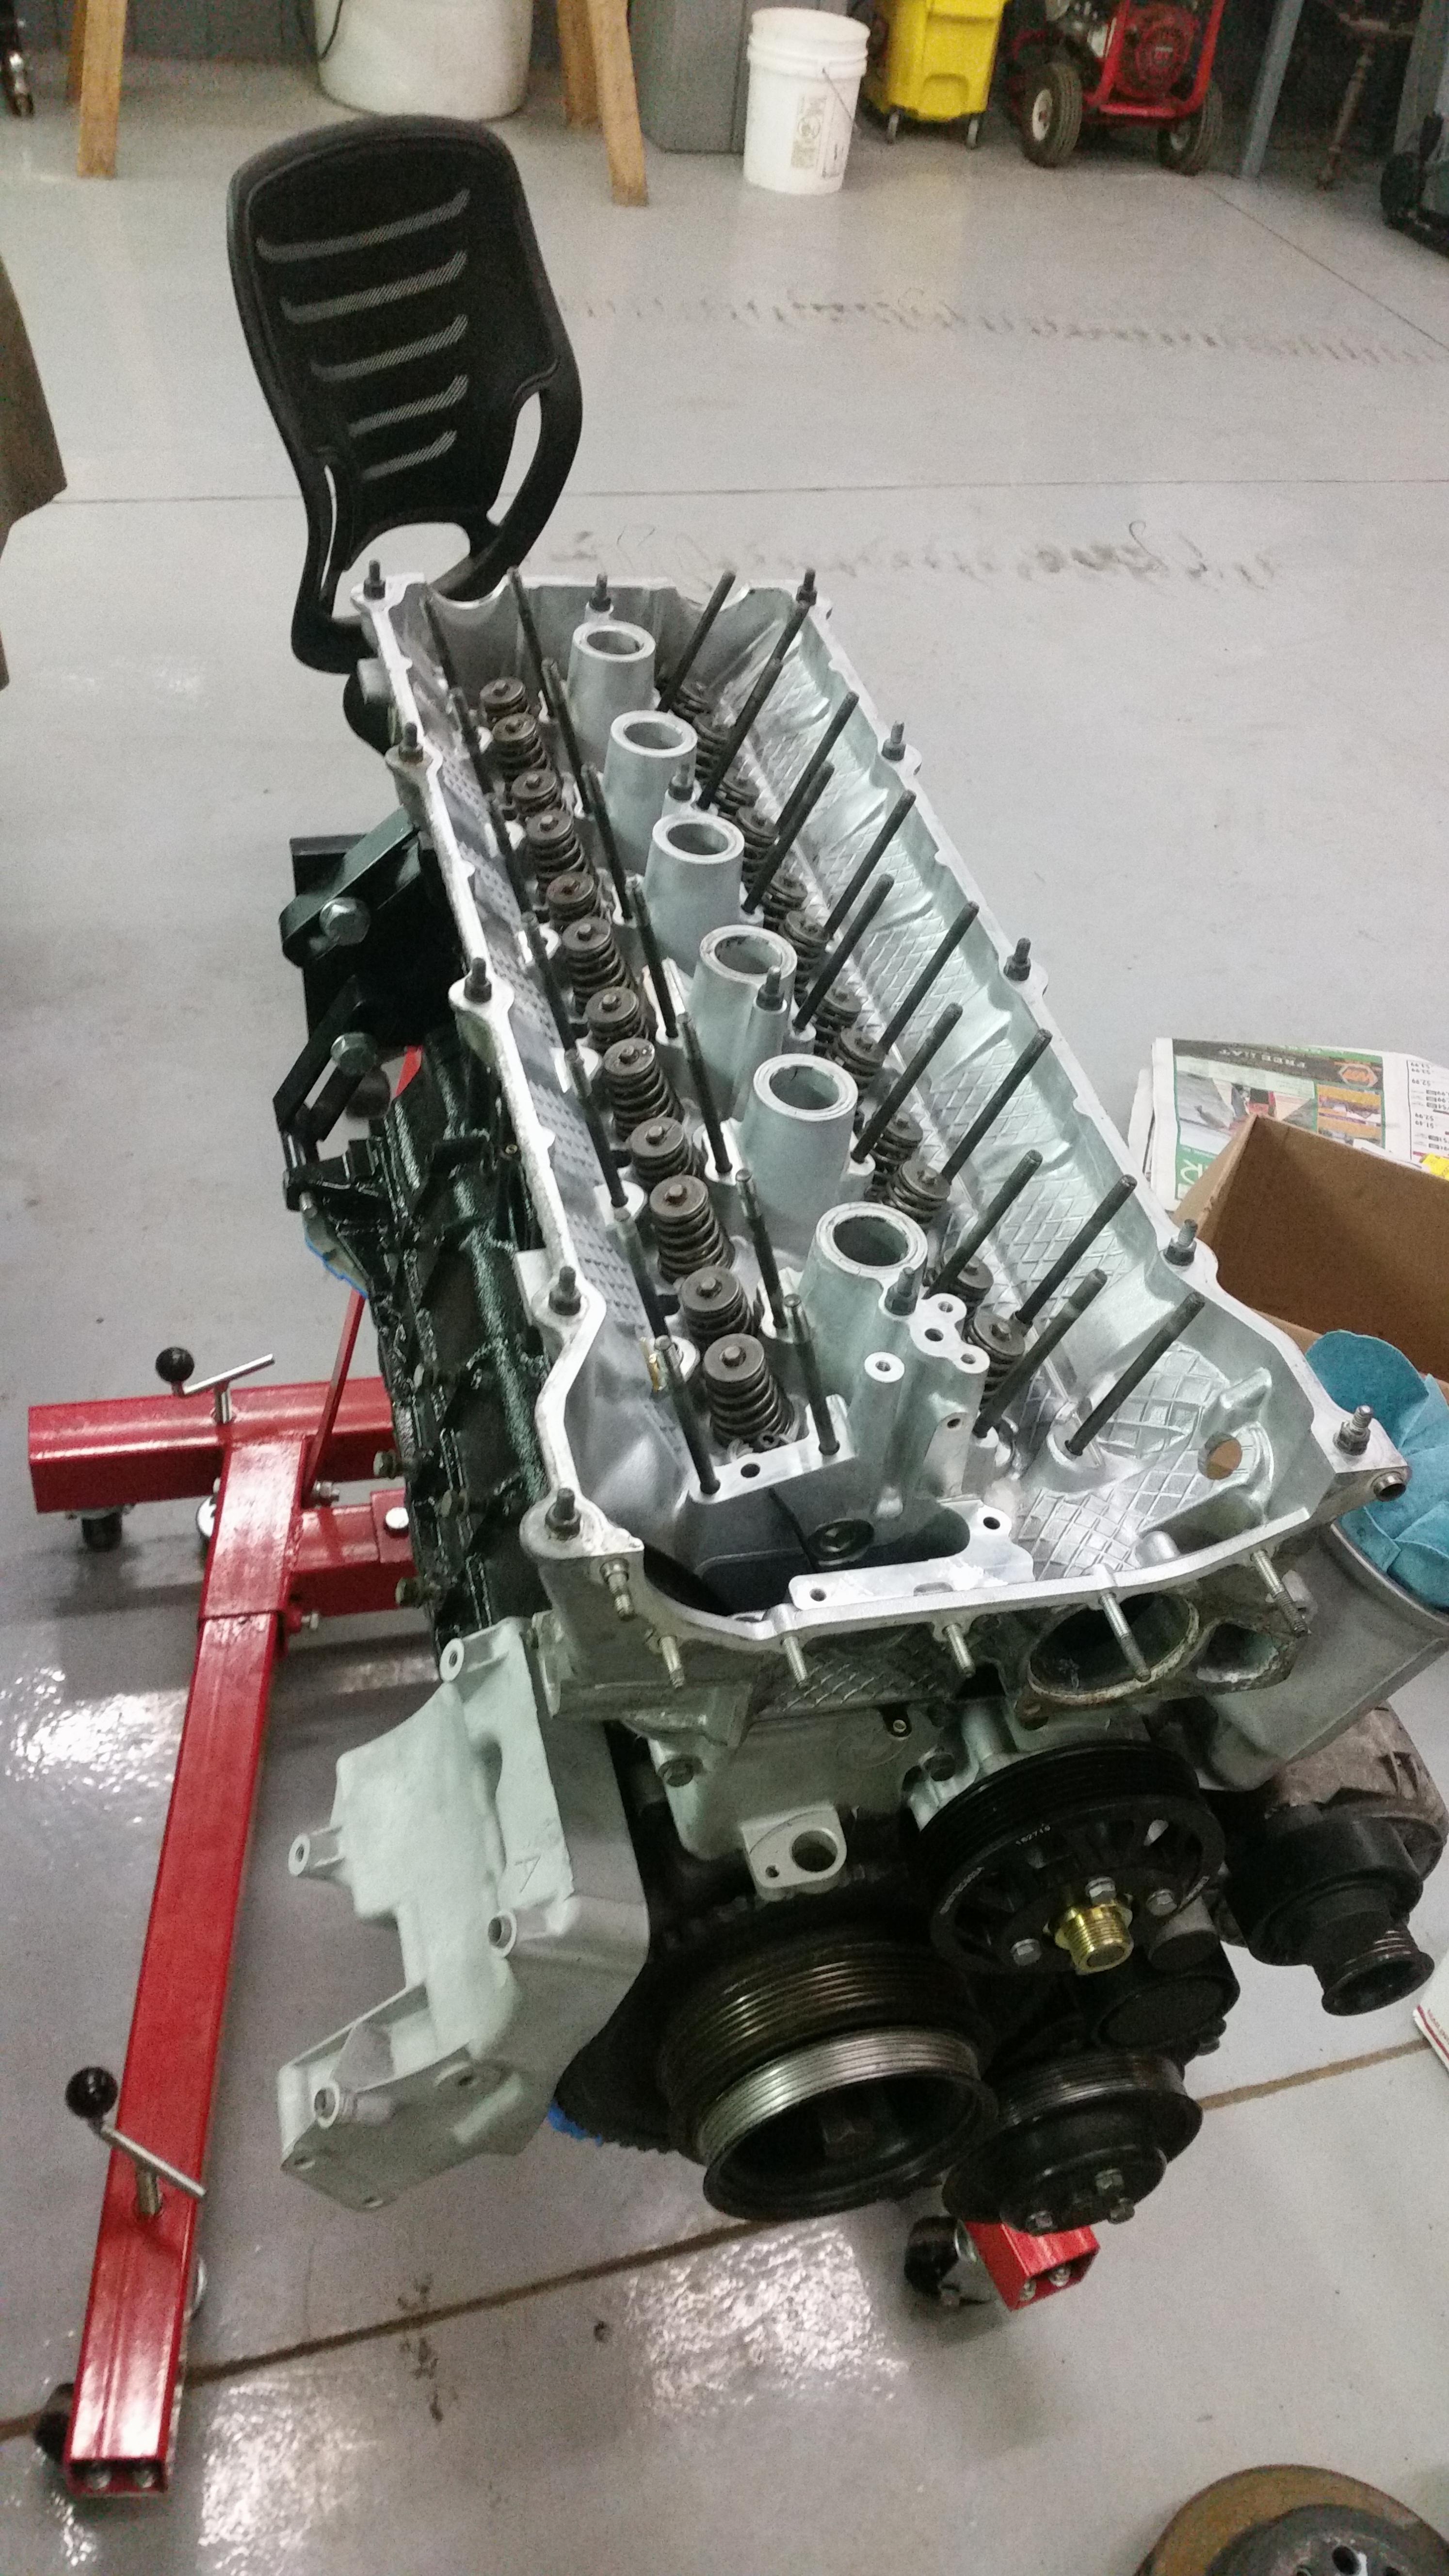
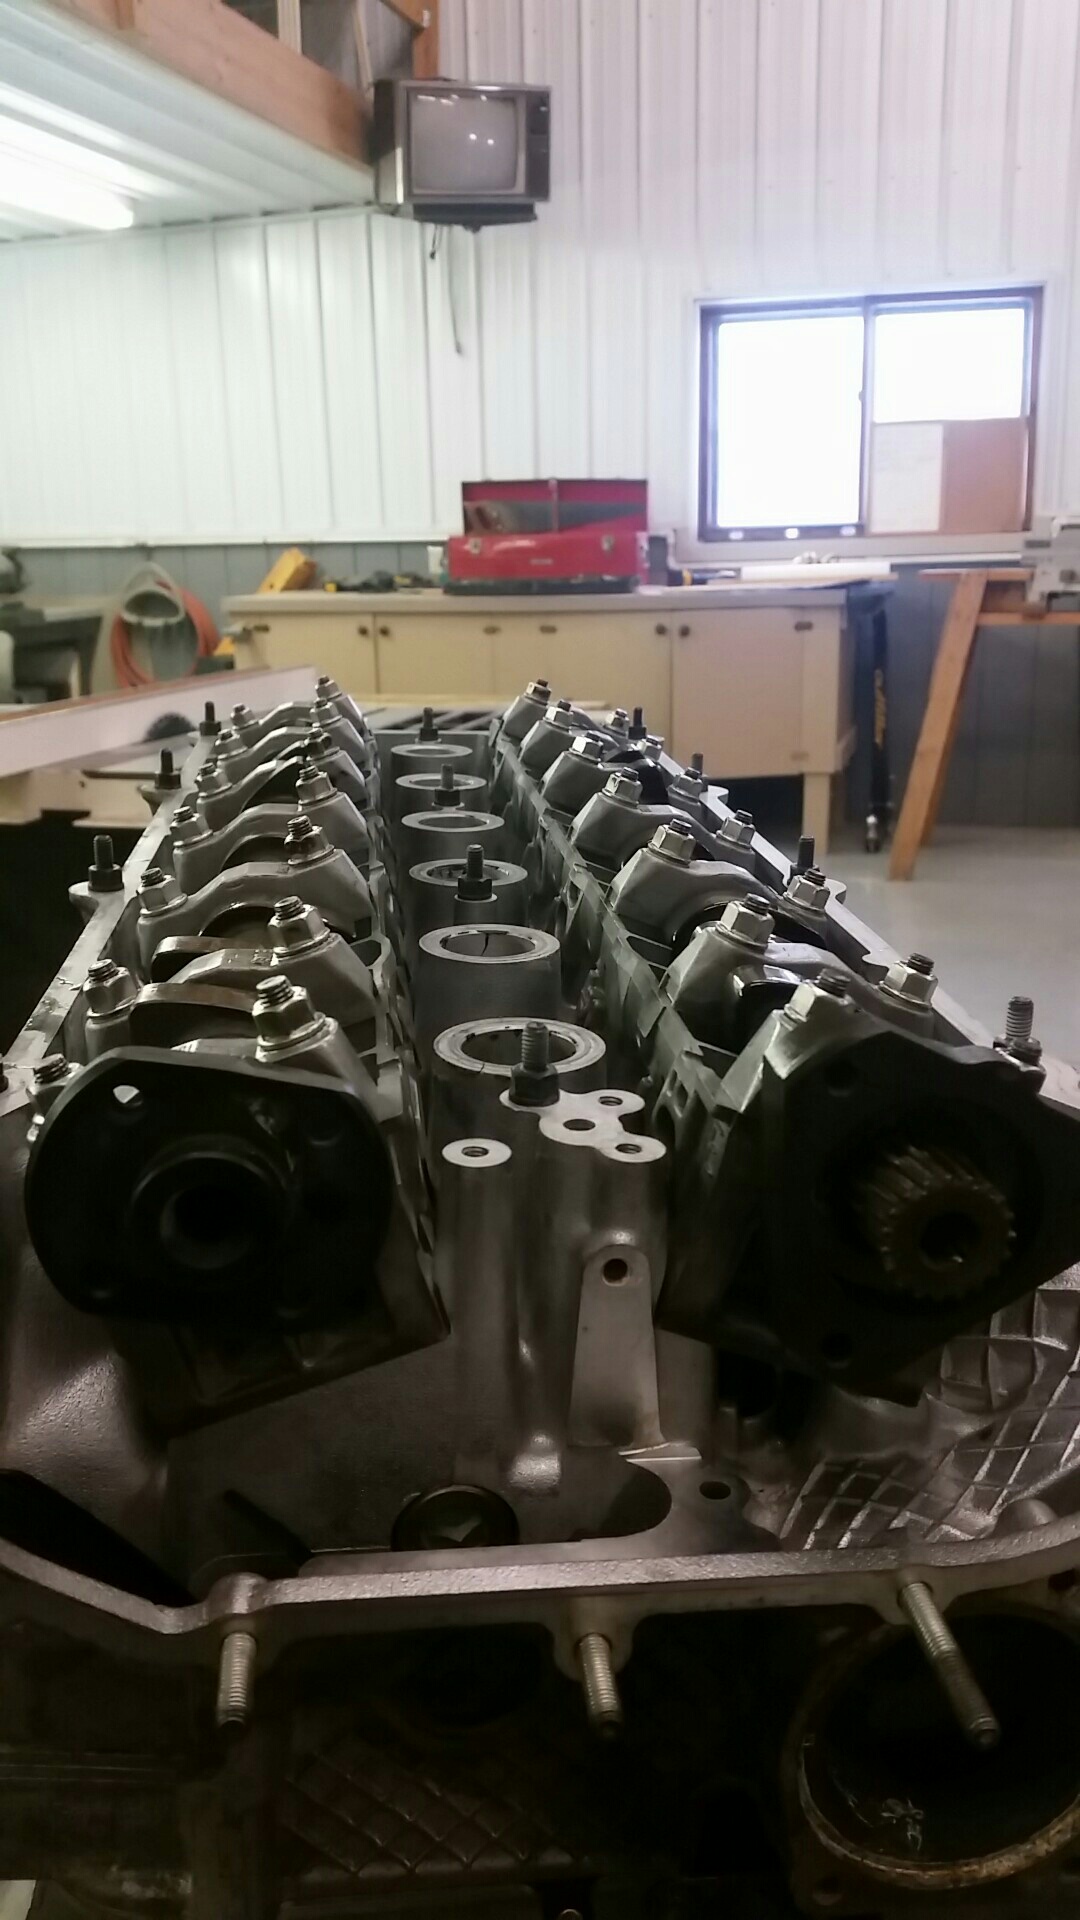
Cylinder head received a valve job, decked, and magnafluxed. Sense I will be running a m20 single mass flywheel, I had him remove a 1/8 of an inch on the back side to clear the e34 oil pan.
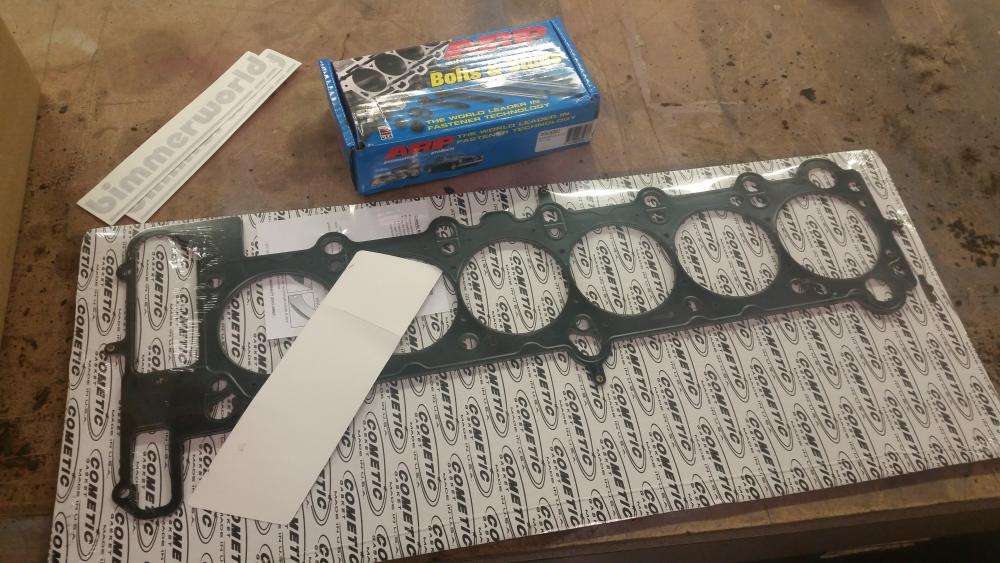
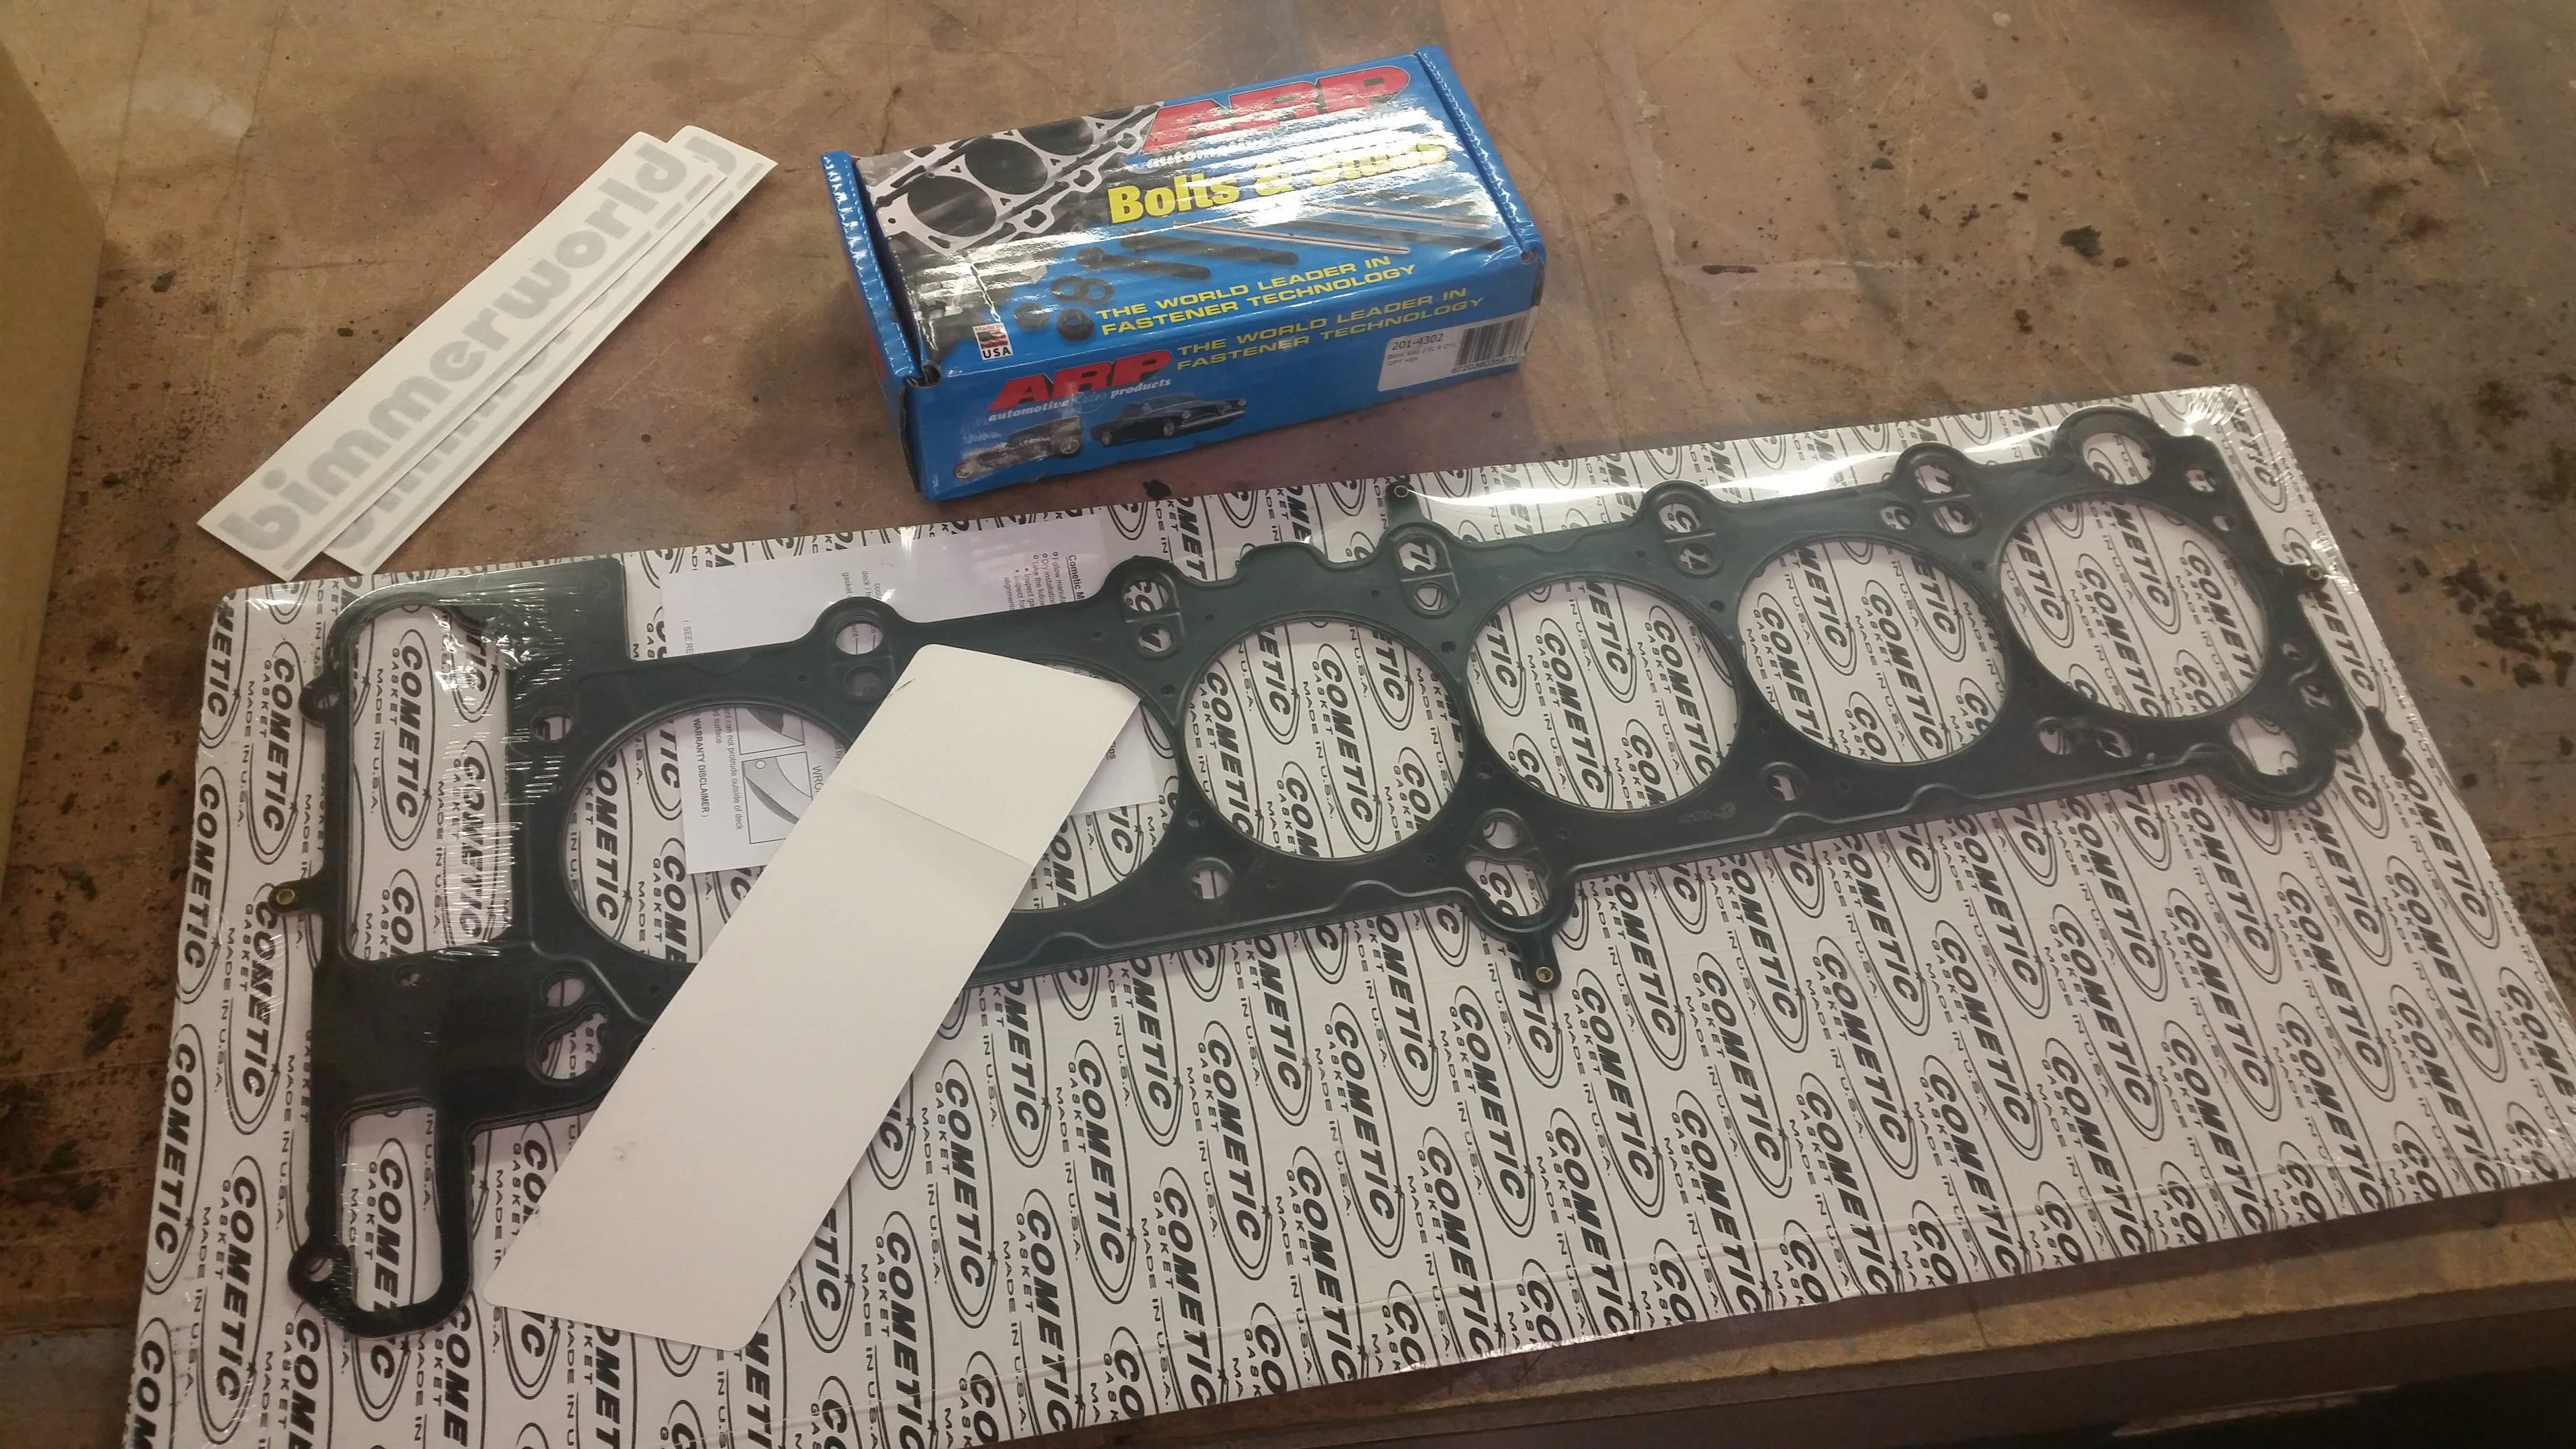
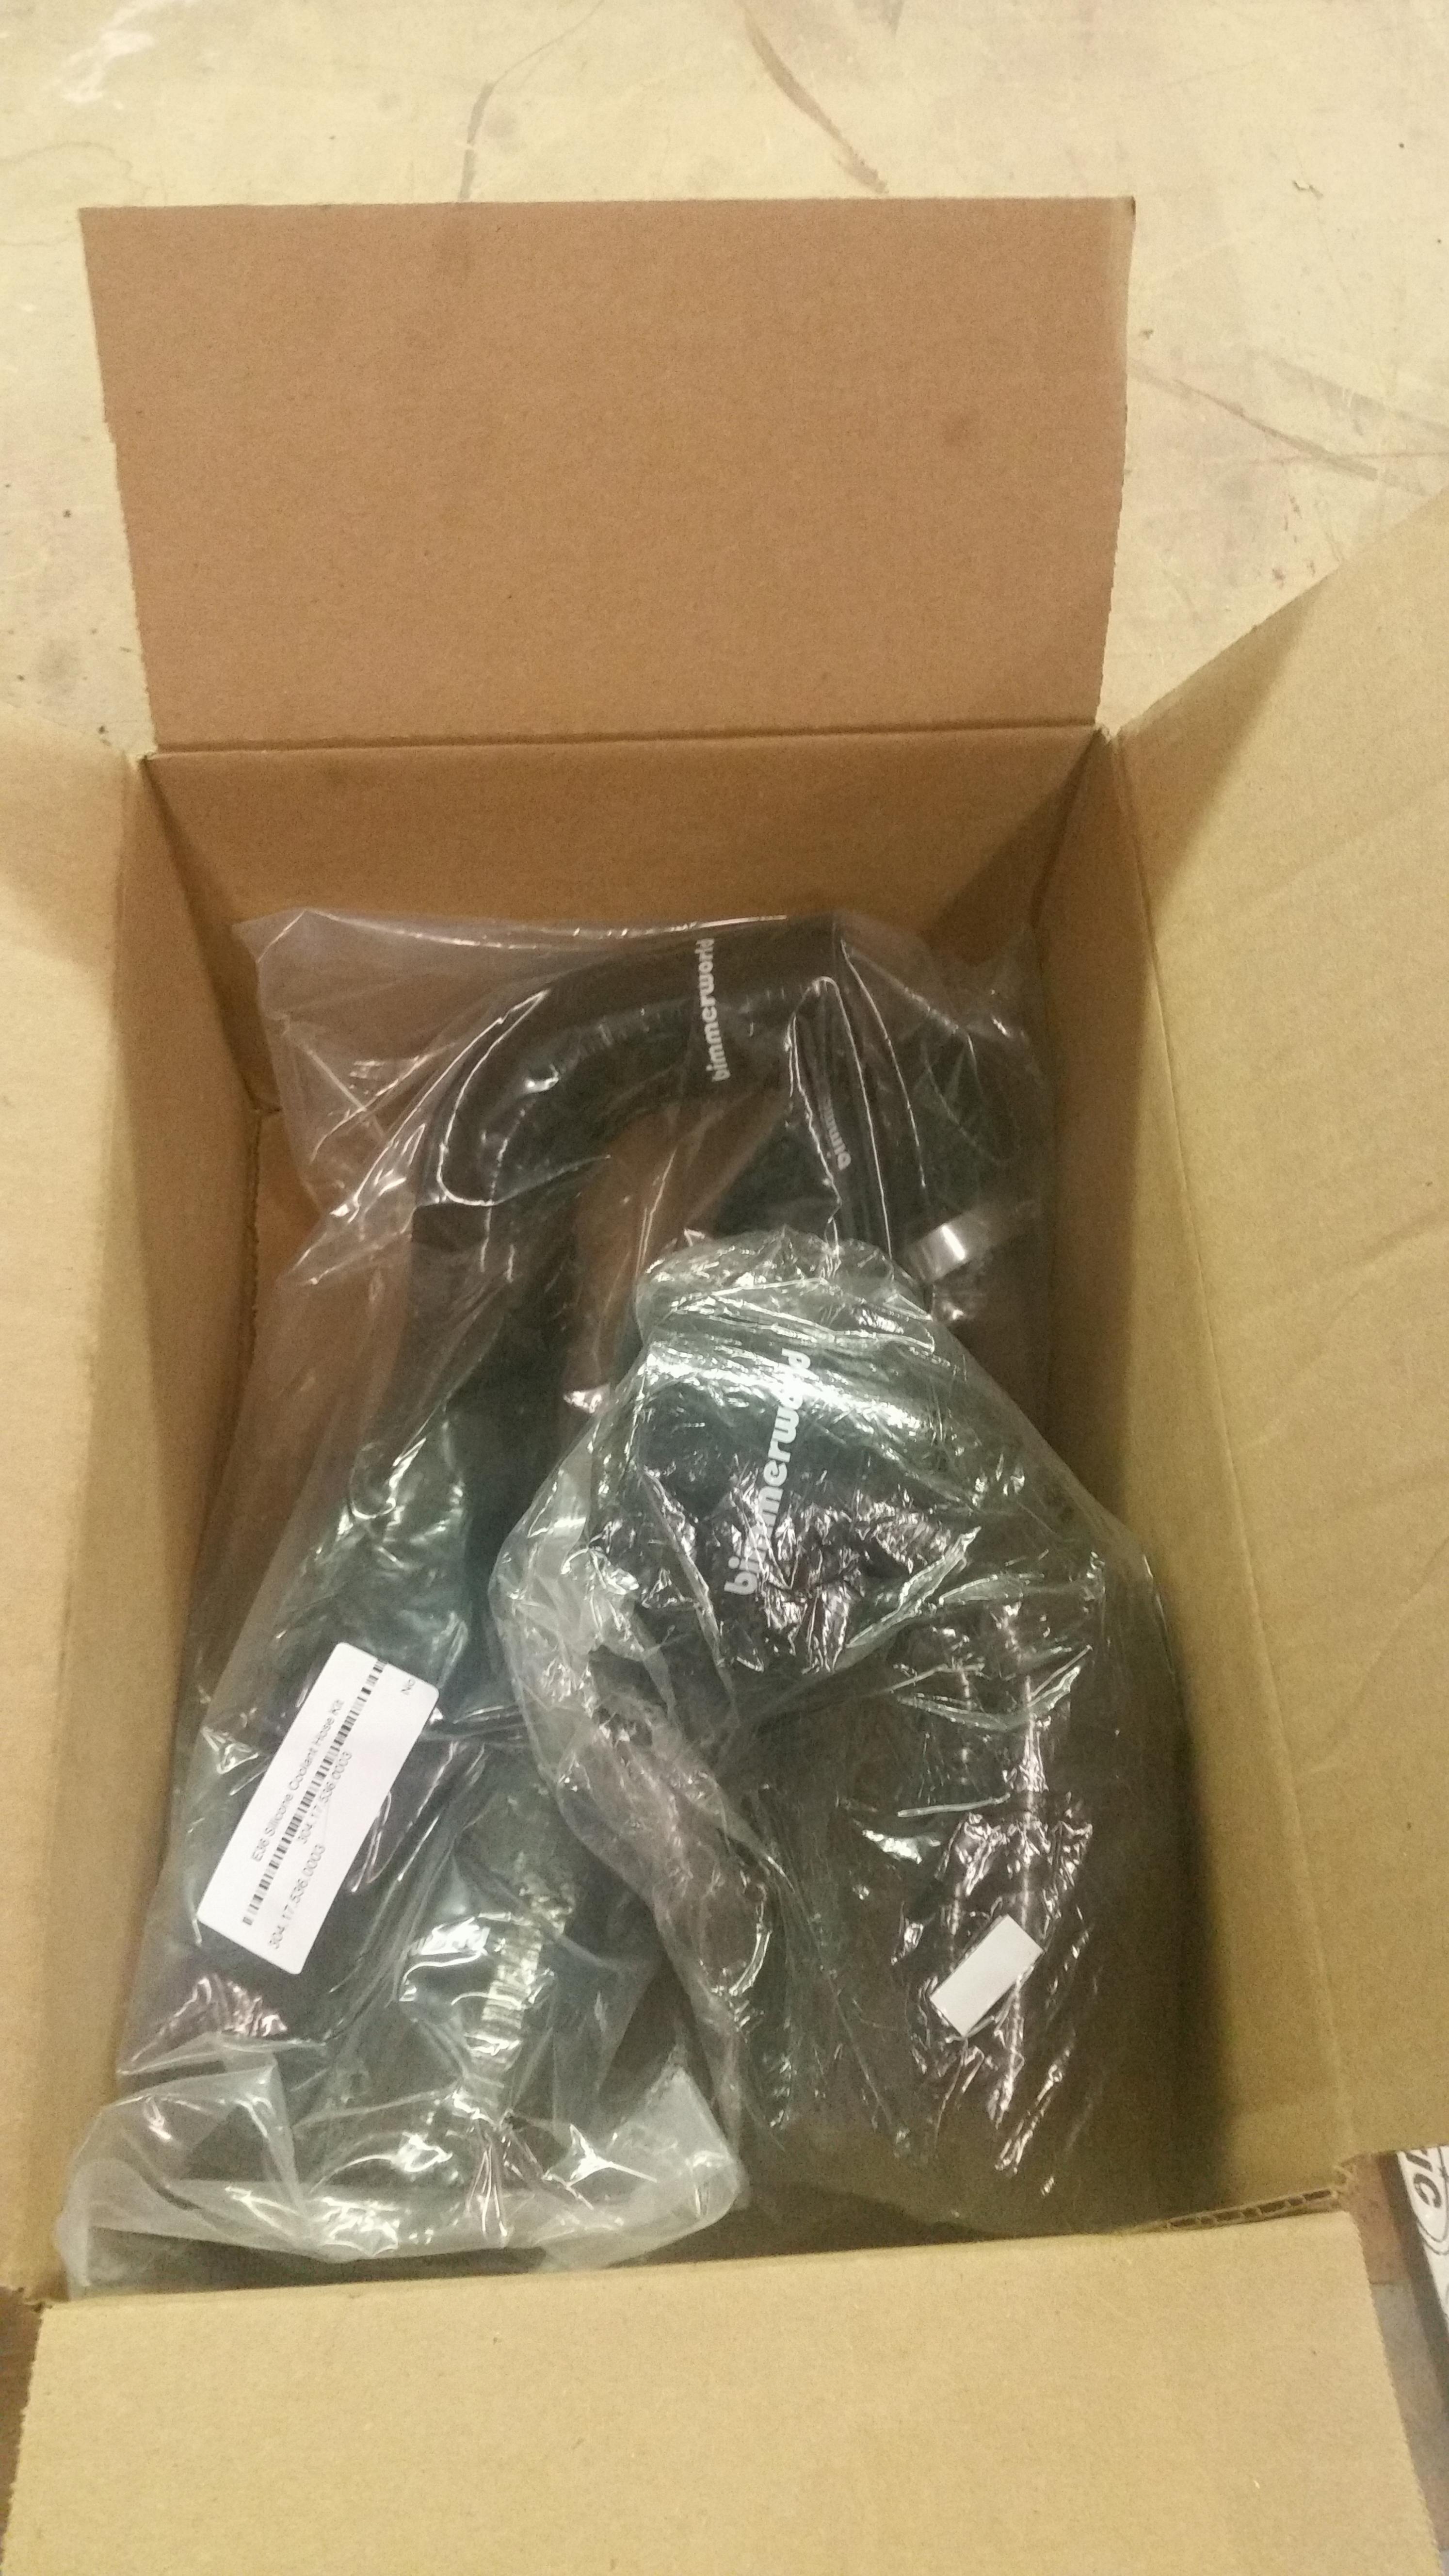
Head gasket also arrived as well as a few things from bimmerworld...
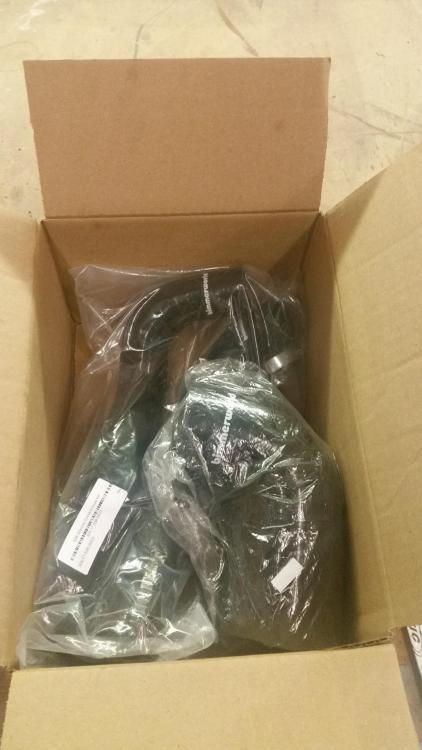
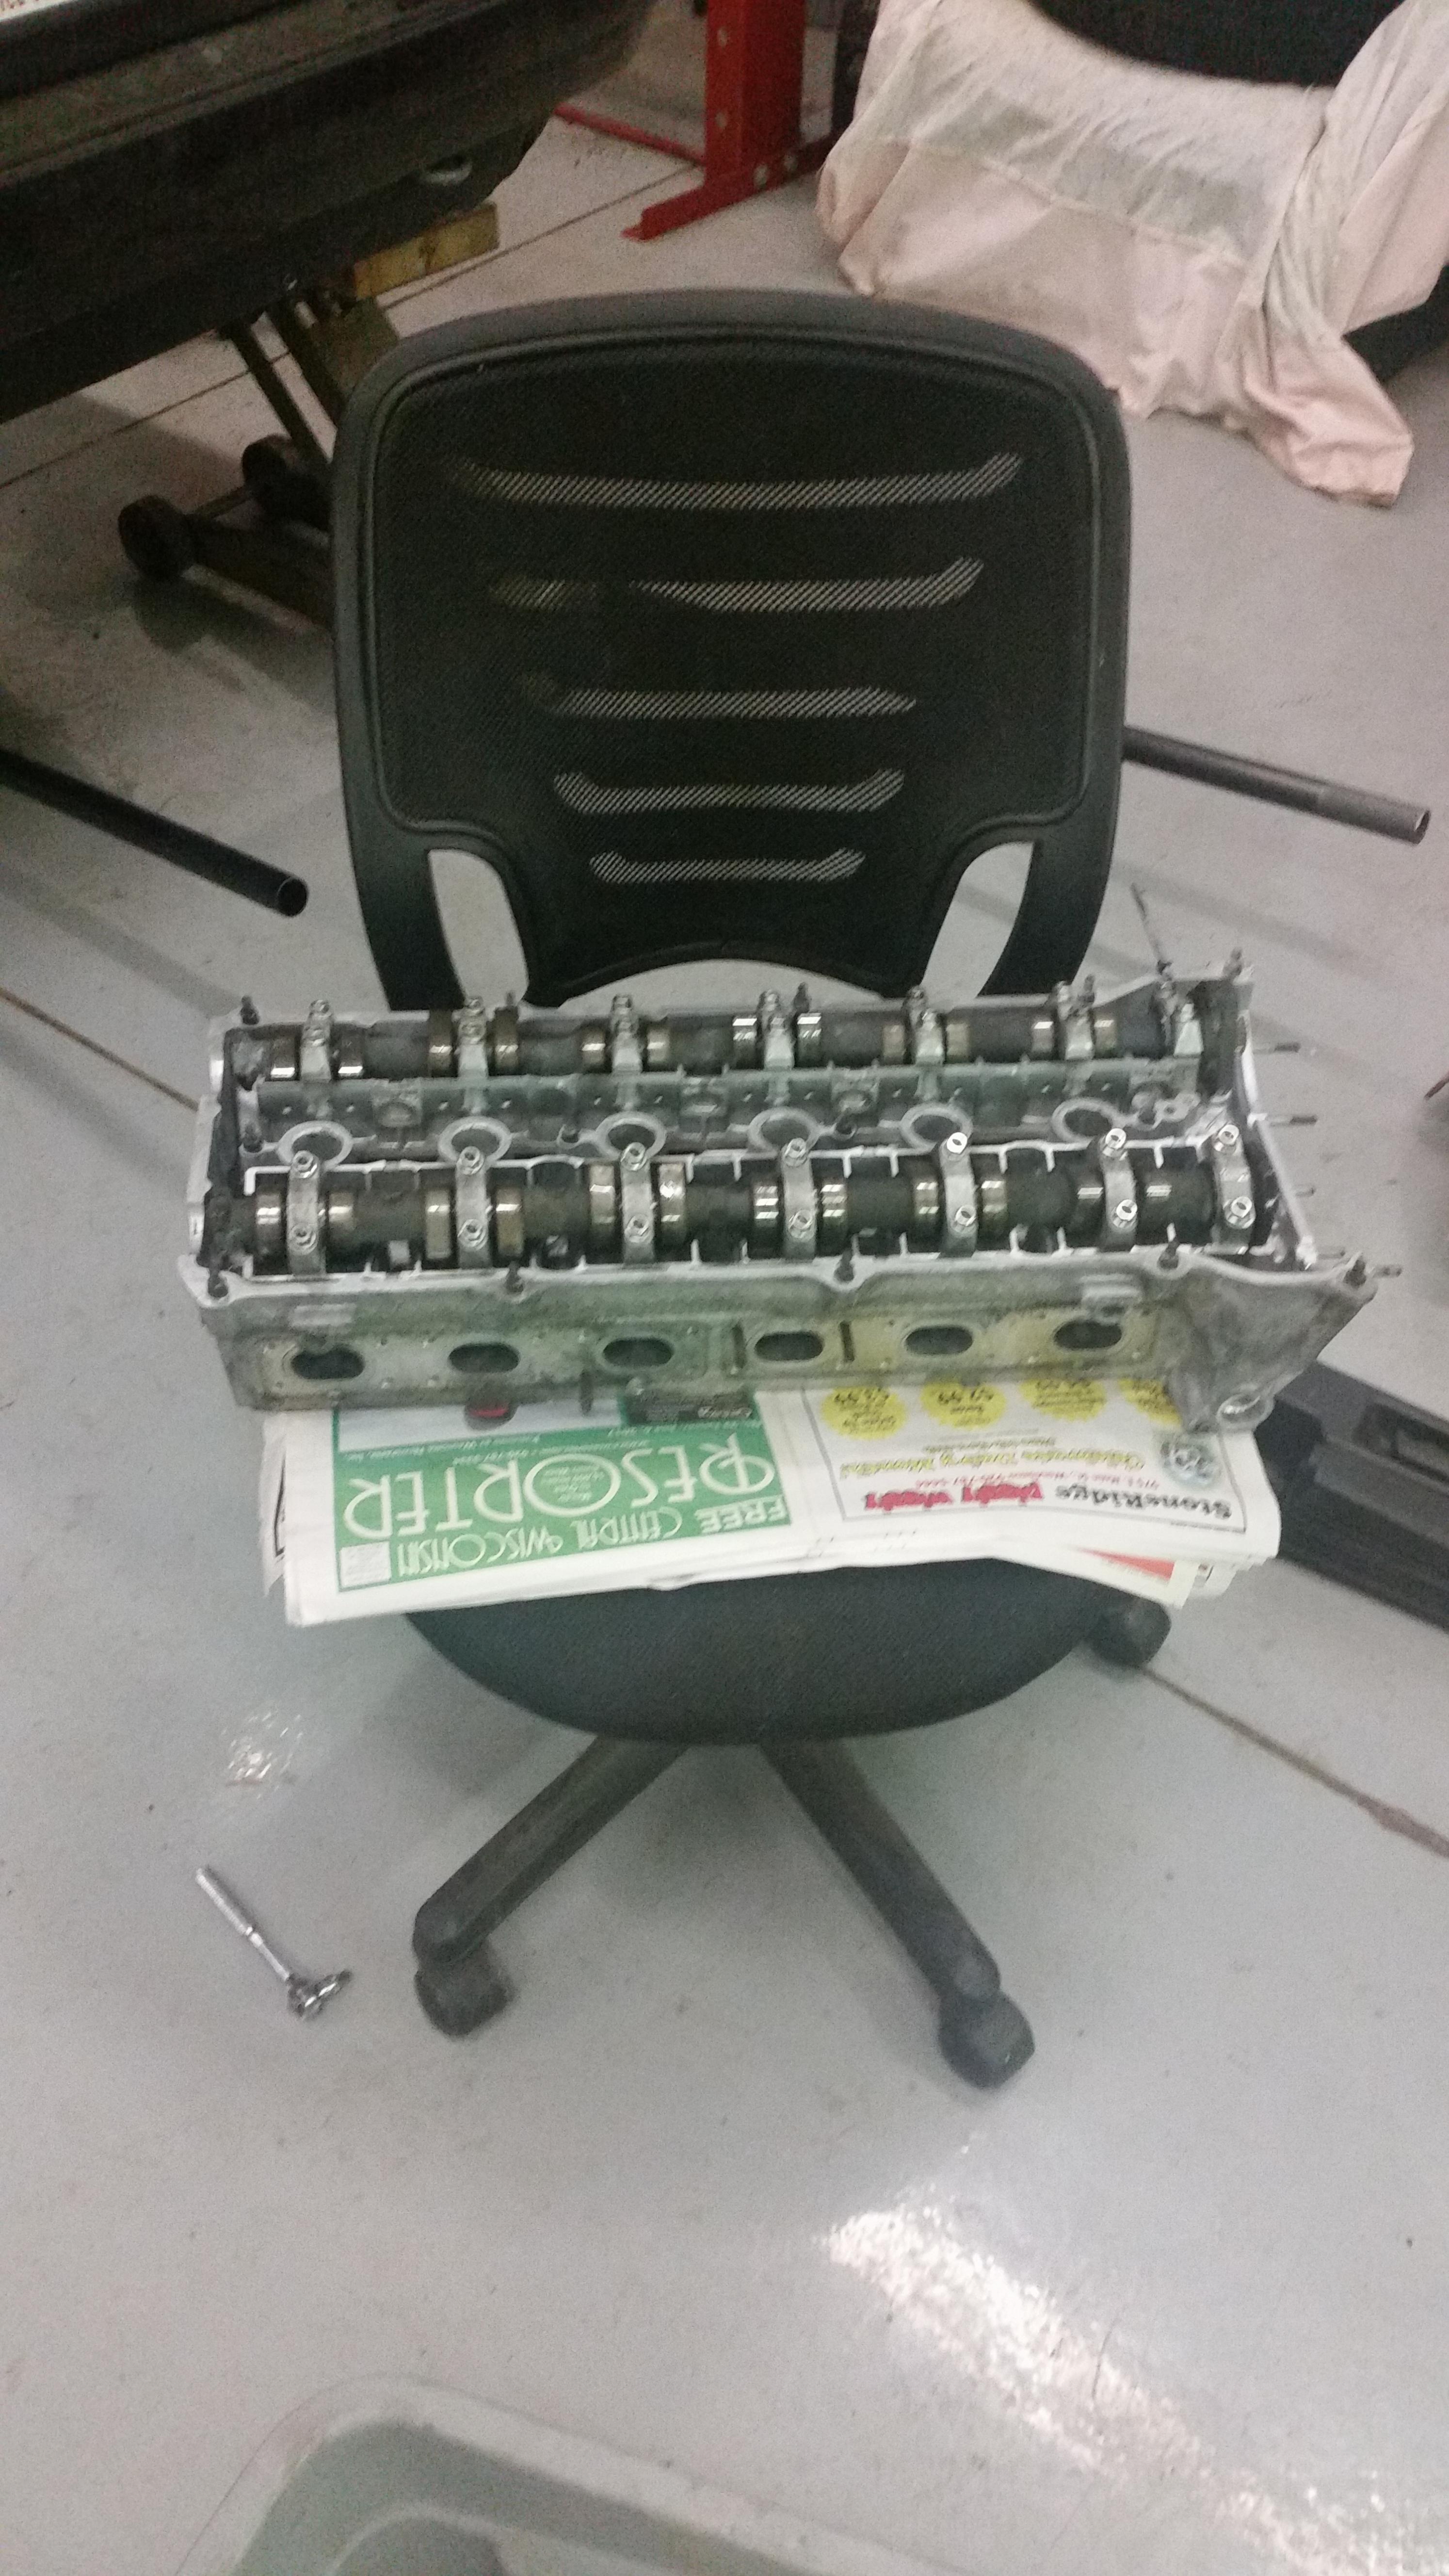
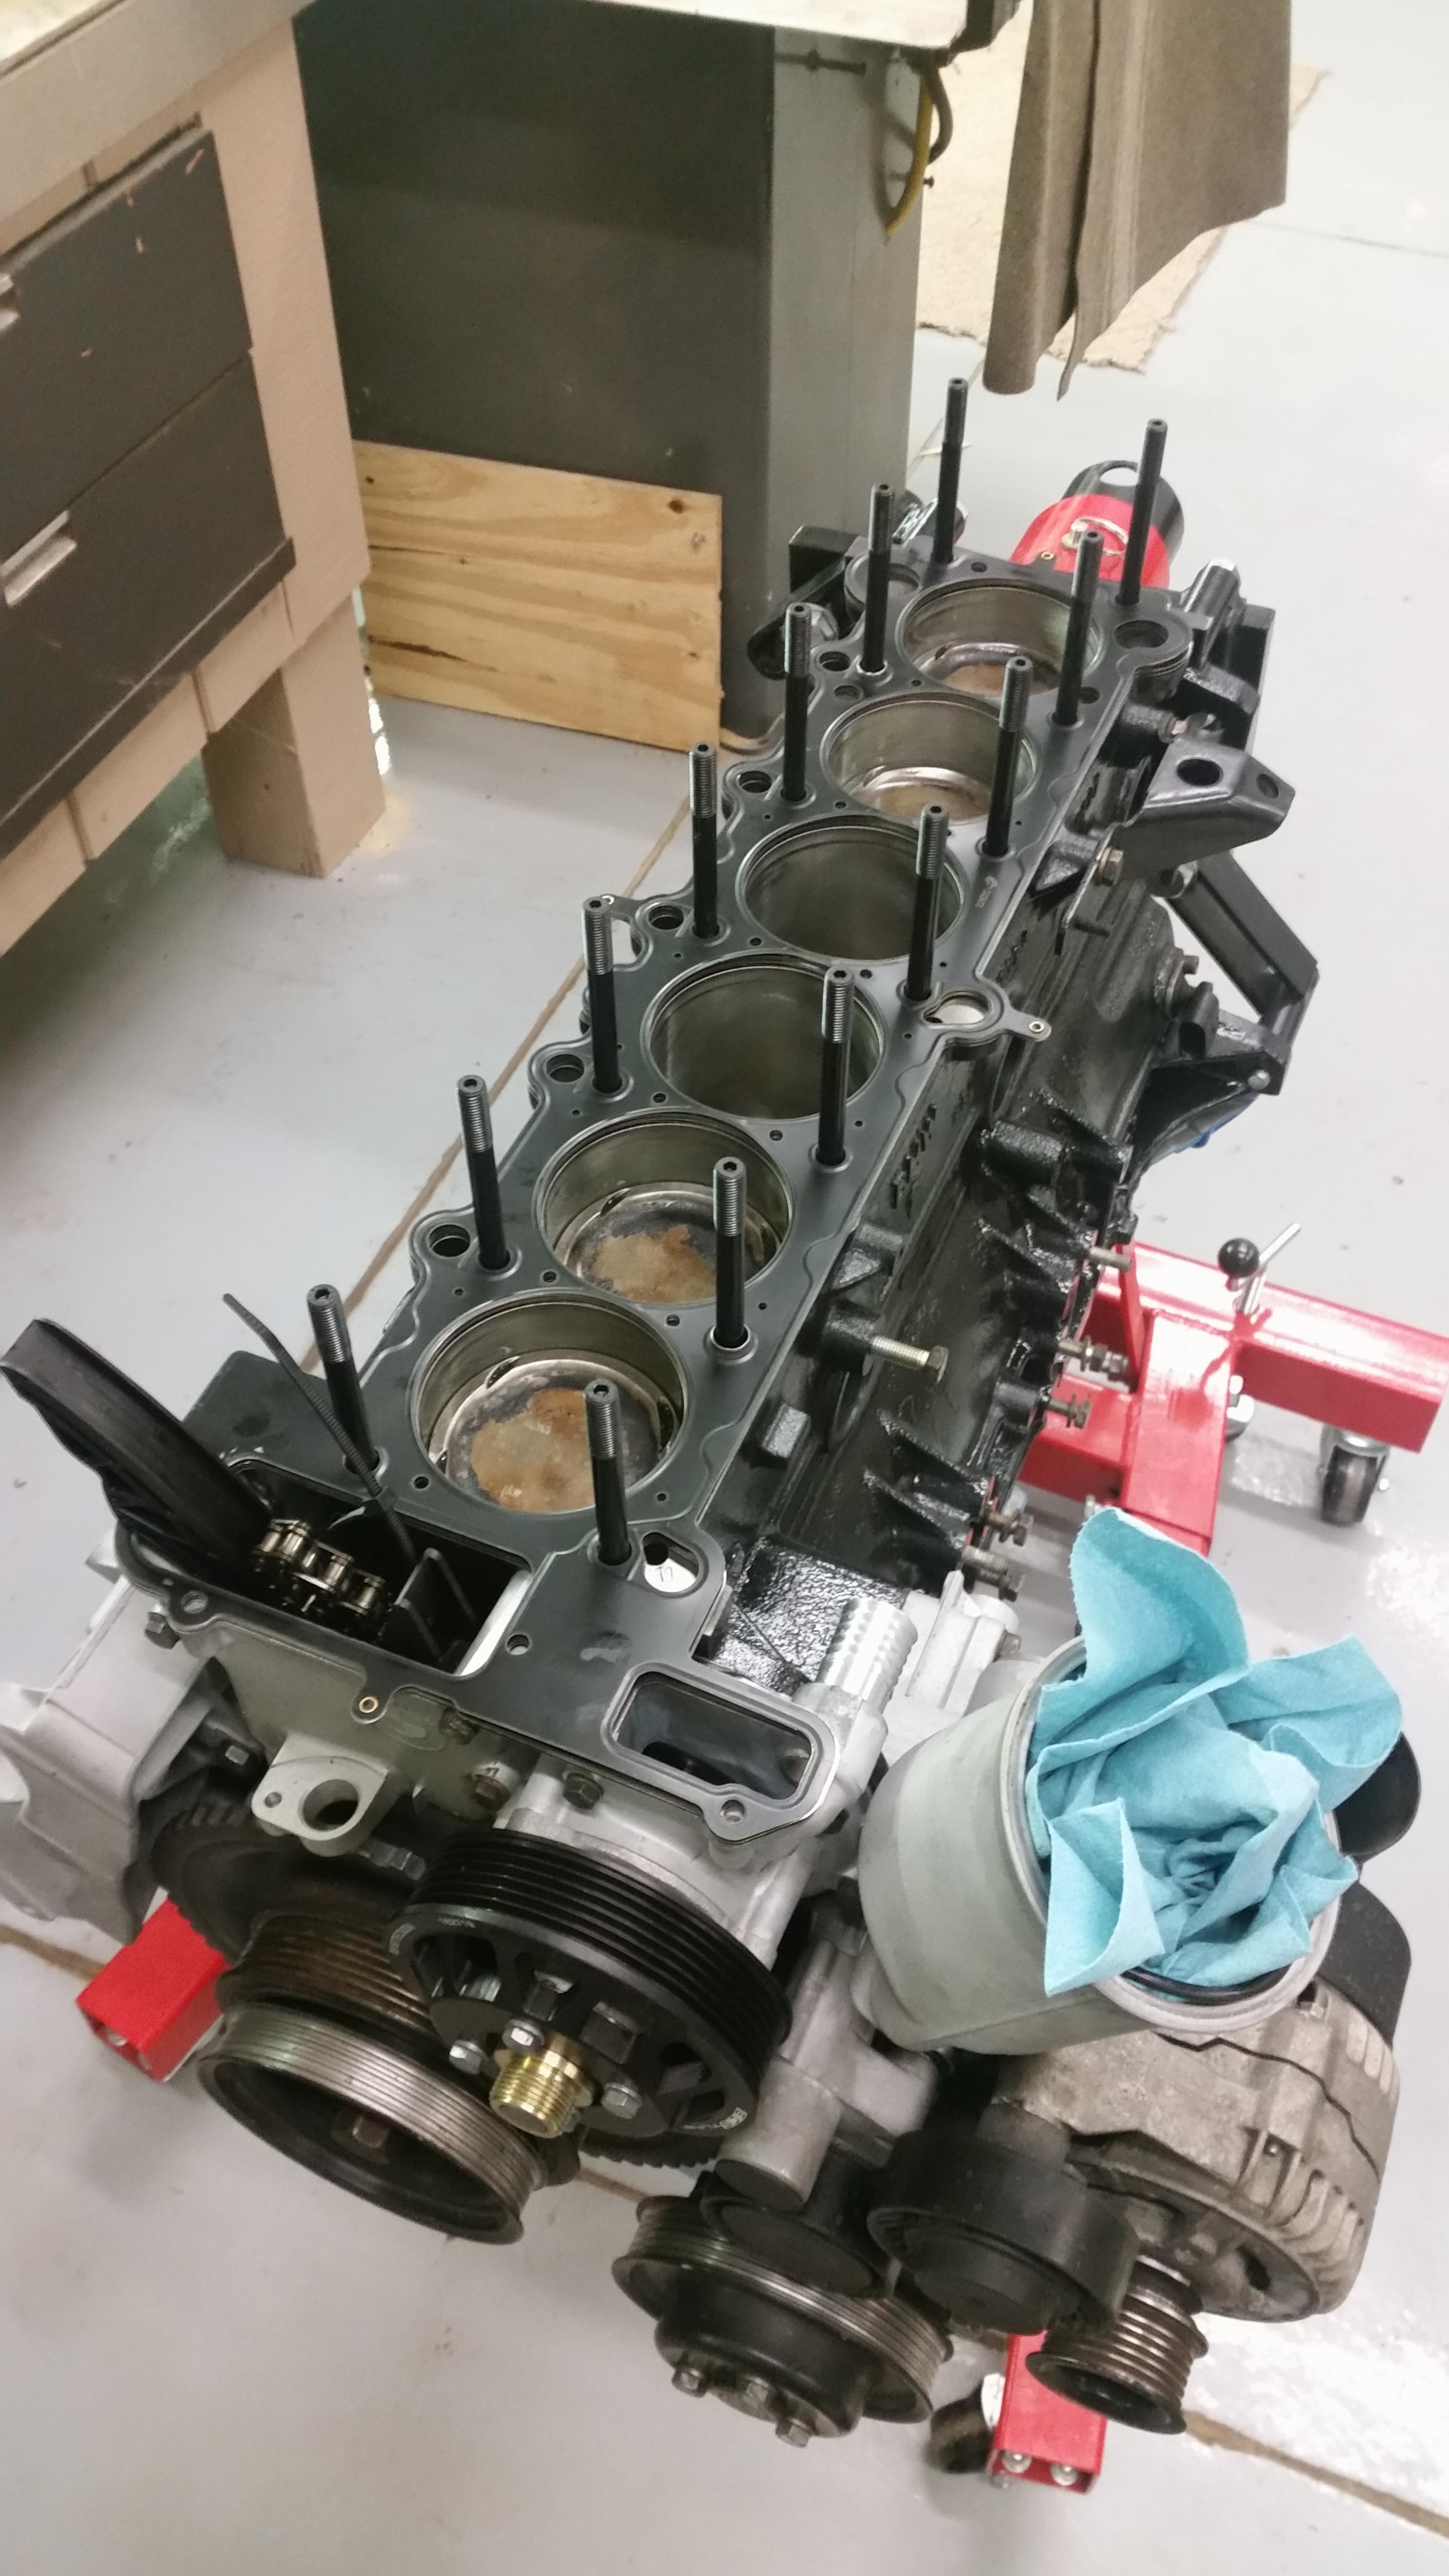
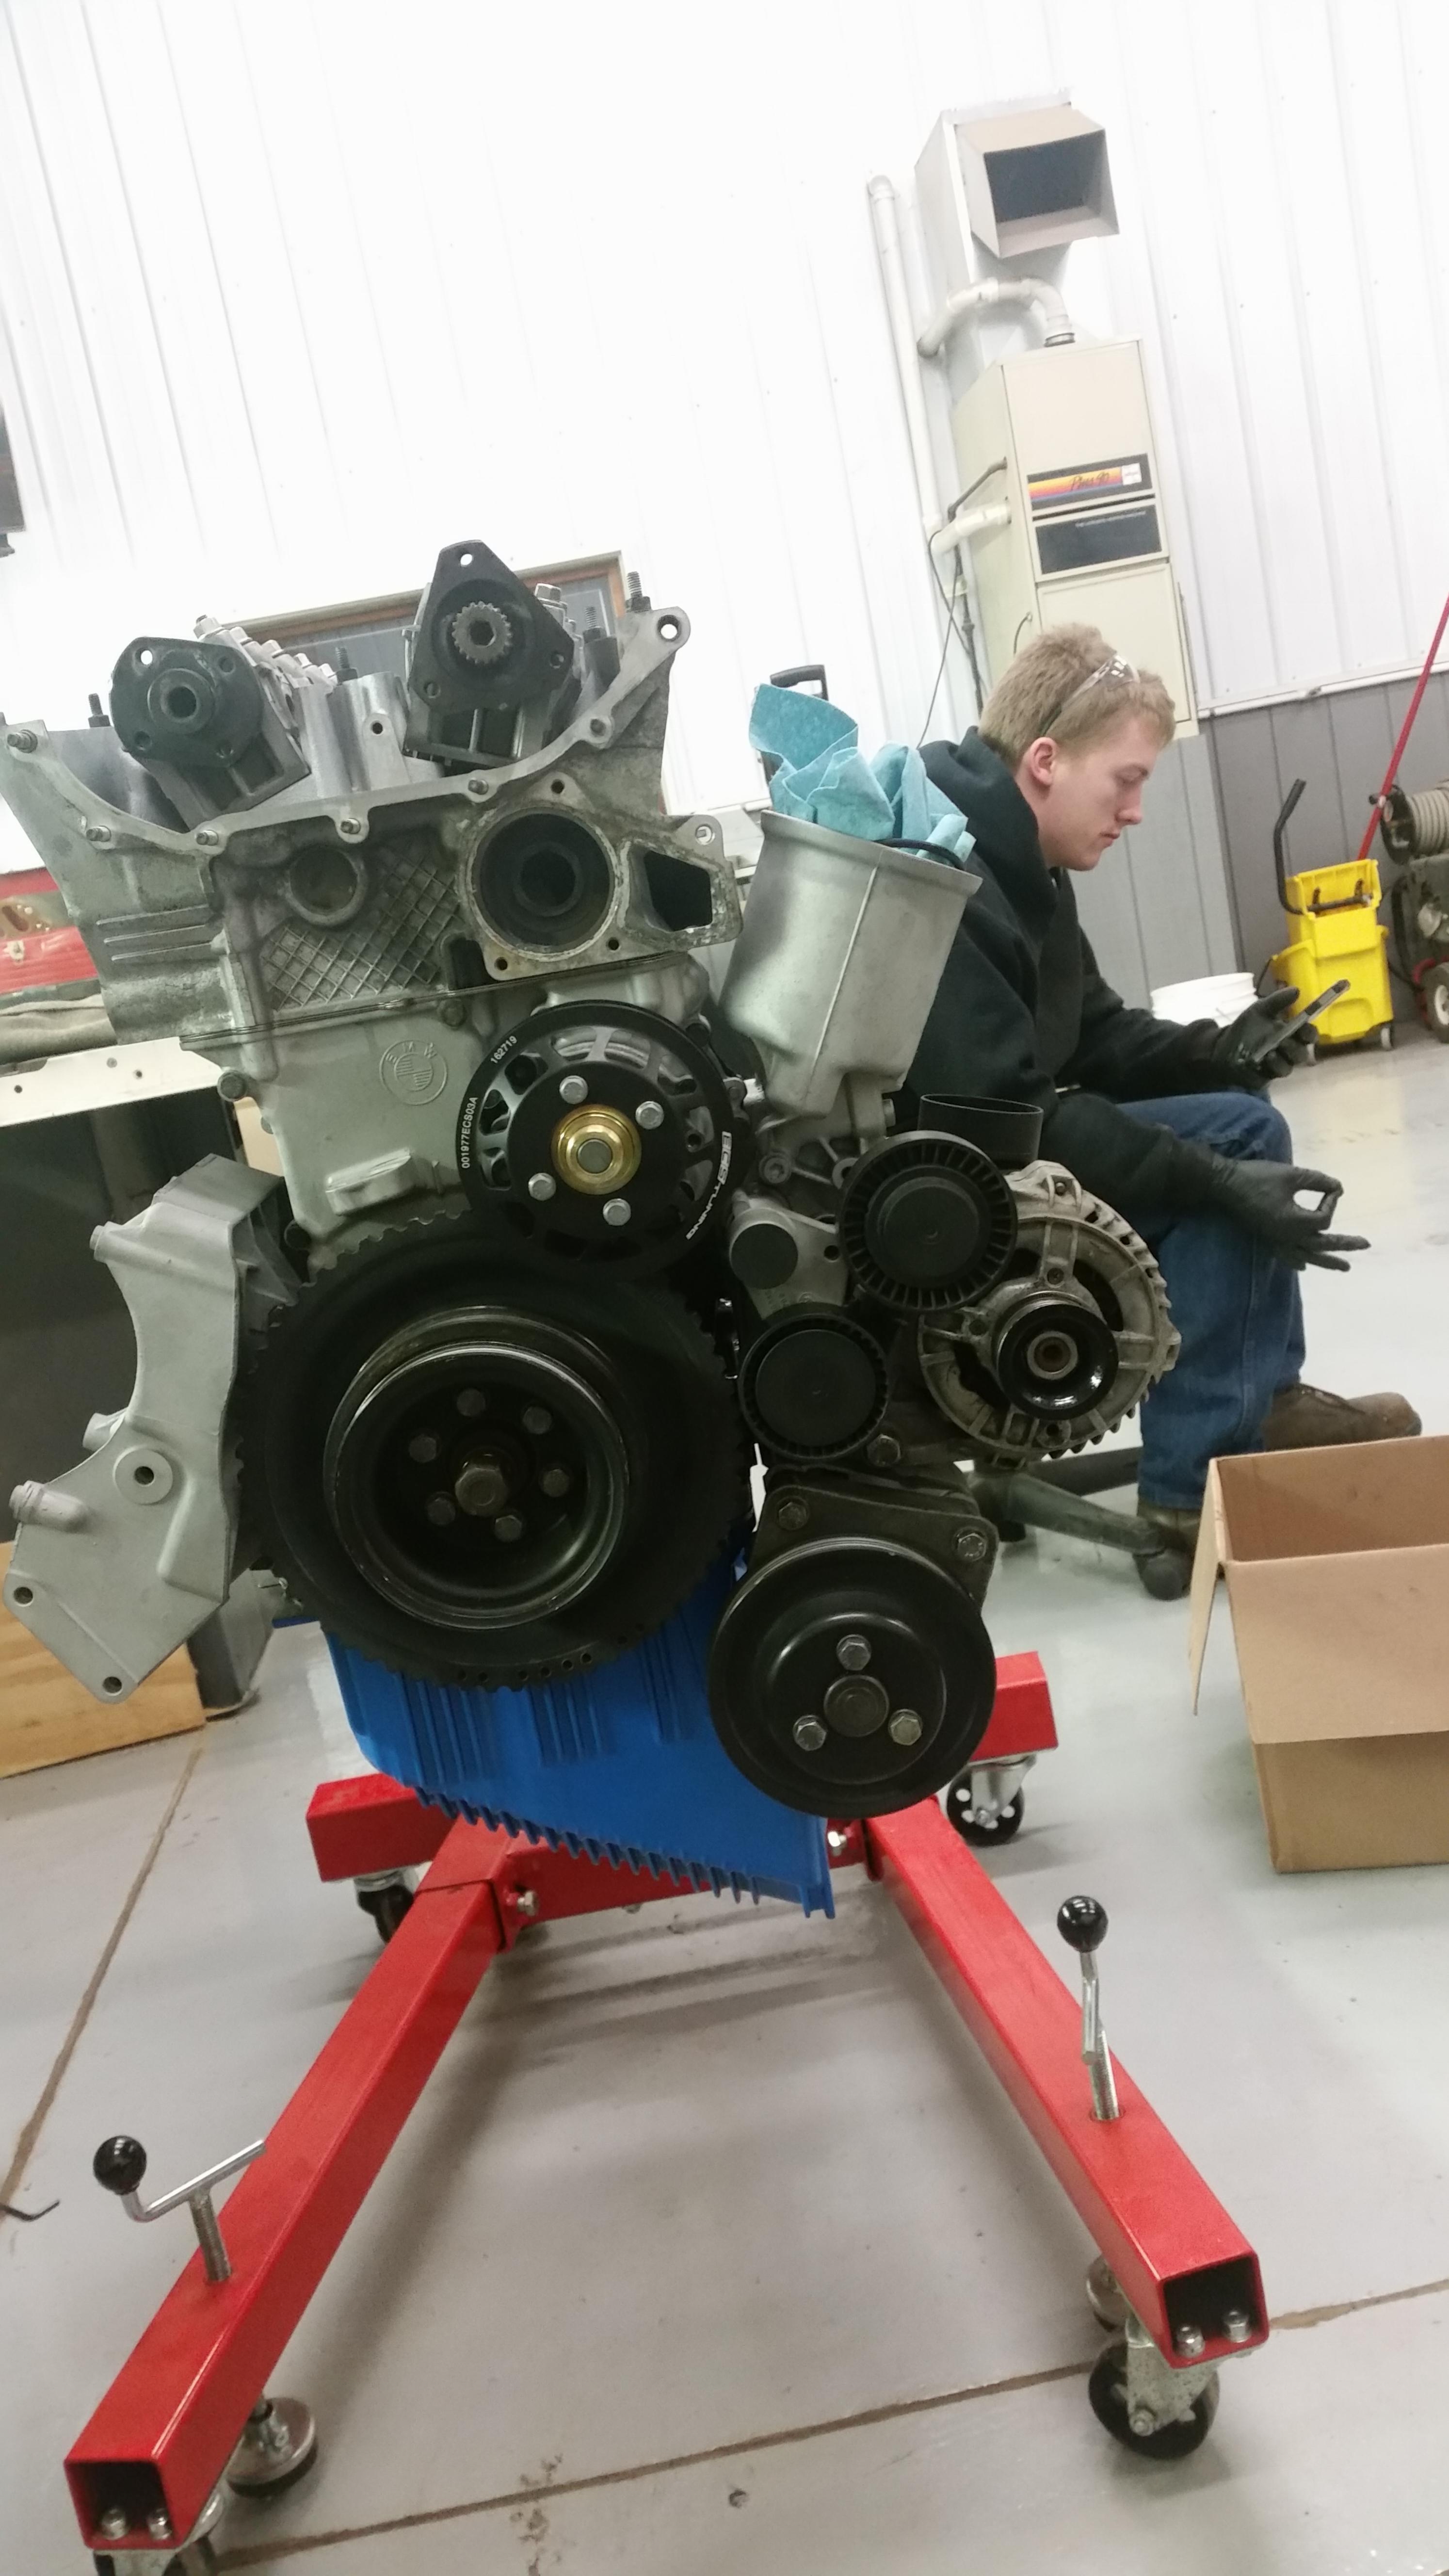
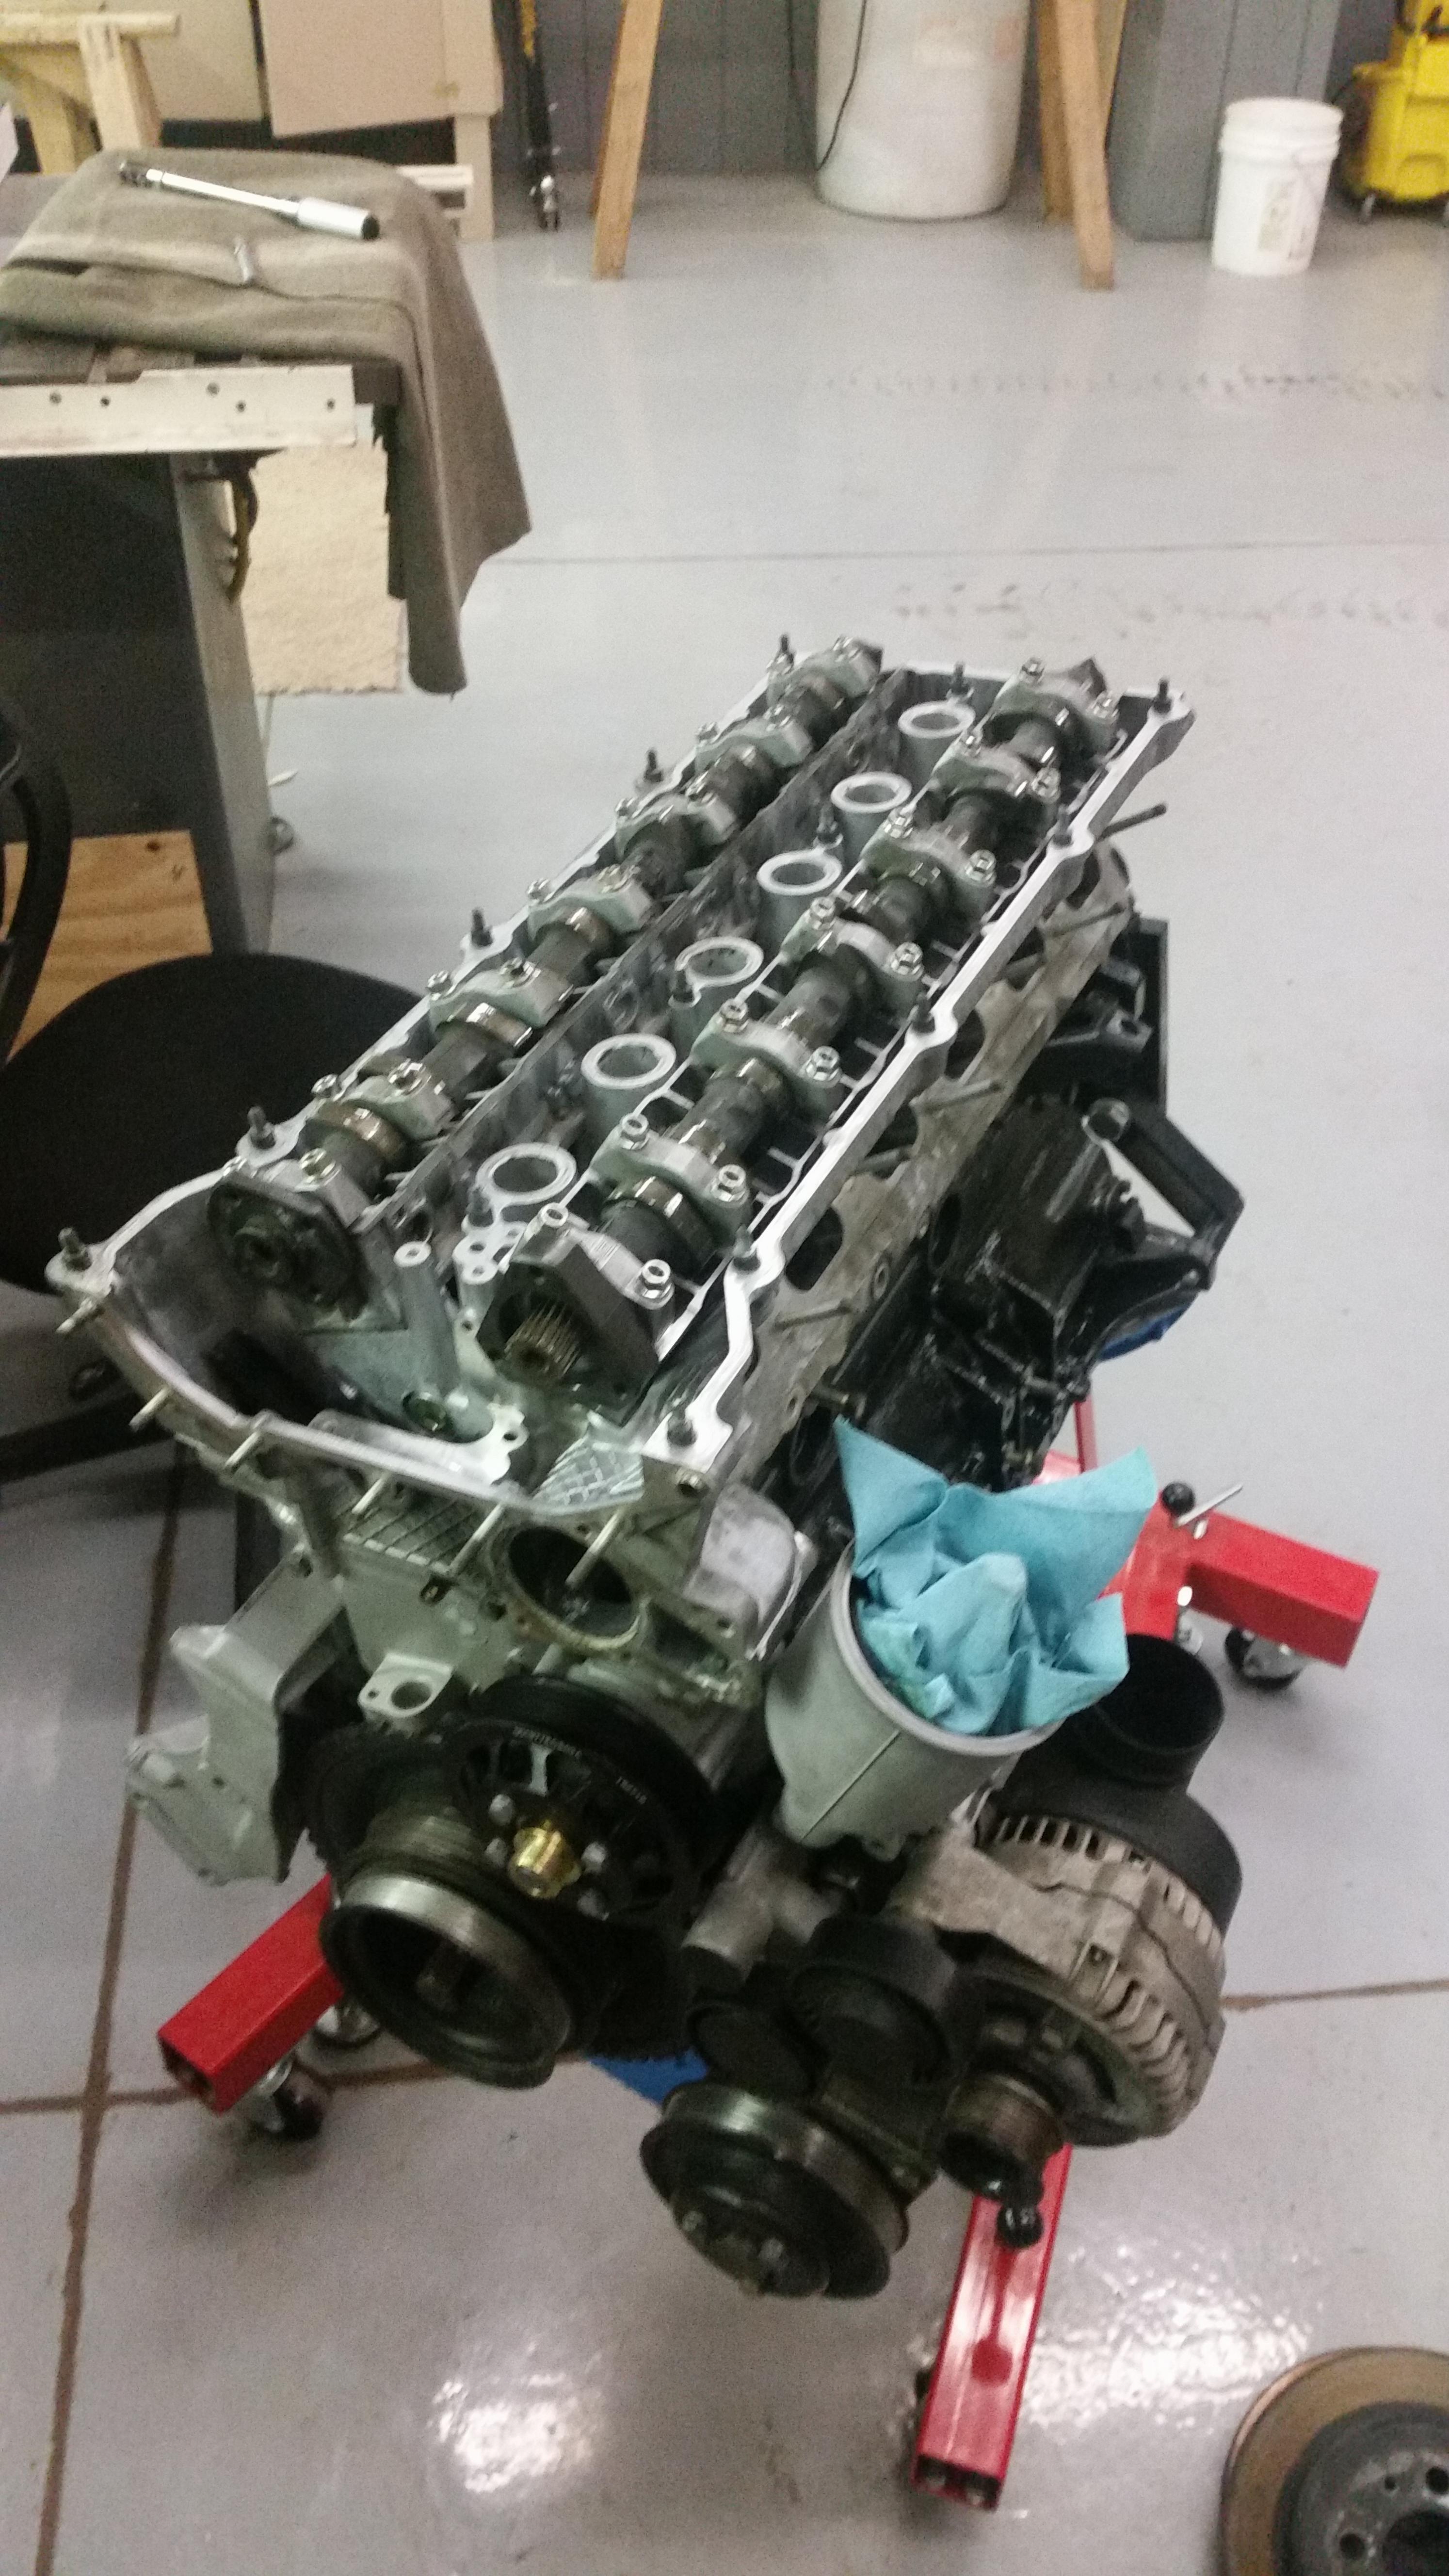
Saturday I took a break from the car and its problems and started tinkering on the motor some more.
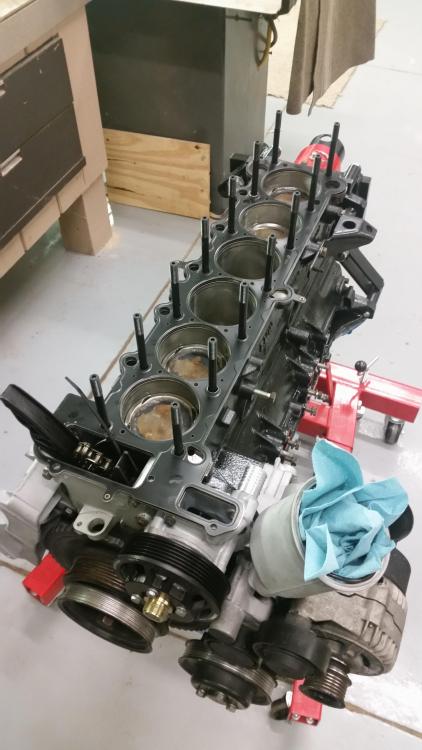
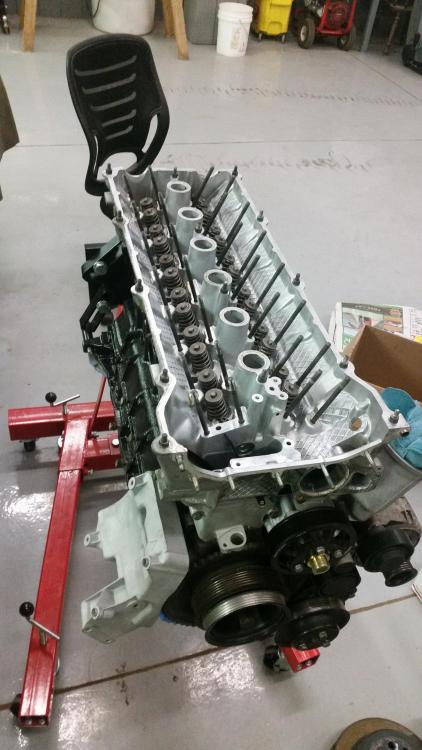
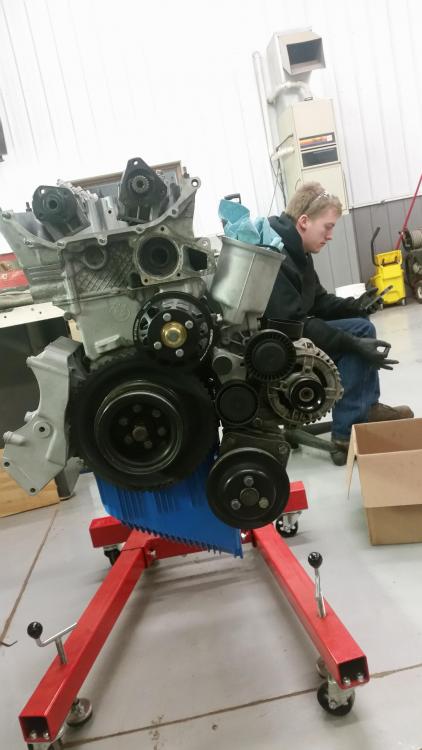
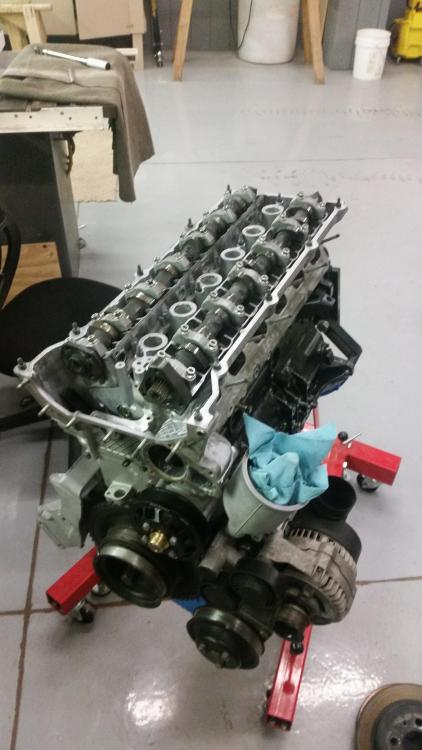
Still gotta get the cams torqued down so gonna work on that tonight. Hopefully I won't snap any of the threads out of the bearing cap stud holes when torquing them down, but we will see.
-
For the stuck piece of the subframe sleeve you can try threading in a big lag bolt and see if that gives you enough bite and leverage to remove it, unlikely but still worth a try. If that doesn't work it's time for a small hole bit or a large drill bit and just hone out the aluminum. Wear eye protection, the small pieces fly around.
-
ARP head studs and stock HG thickness? Or did I not see it correctly
-
ARP head studs and stock HG thickness? Or did I not see it correctly
That is correct.
-
For the stuck piece of the subframe sleeve you can try threading in a big lag bolt and see if that gives you enough bite and leverage to remove it, unlikely but still worth a try. If that doesn't work it's time for a small hole bit or a large drill bit and just hone out the aluminum. Wear eye protection, the small pieces fly around.
I'll give that a try. Might even put a little heat on it as well.
-
Fuck - you got me.
-
For the bushing leftovers I usually took a small drill bit and drilled holes on opposite sides (as close to the edge as possible) and you end up with the leftovers split in two. Easy to hit them with a screwdriver (or chisel) from the edge and spin them which usually results in them dropping right out.
Did you have your block resurfaced?
As for the fuel tank nut I have some cool reverse fluted rounded nut removers that work really well for things of that nature. Hell maybe I'll even track down those vanos tools and come visit you and lend a hand.
-
Late update:
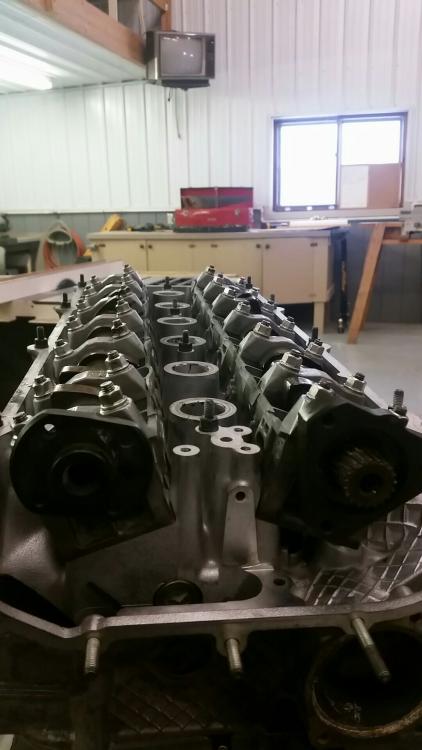
Cams all twerked down. No issues there.

As for the car and the few issues there.
Gas tank bolt, I took a 12 mm deep well socket ( the nut is suppose to be a 13) and hammered it on there with an extension. Hooked it up to the impact wrench and the nut came right out! After a little rejoicing I went over to the floor jack and loosened the handle to see if it would break free...No go. Wtf! So I crawl back under there to find that I had missed a bolt and guess what, Fucking rounded!
So I grabbed my 12 mm socket and extension and hammered it on once again, hooked up the impact...
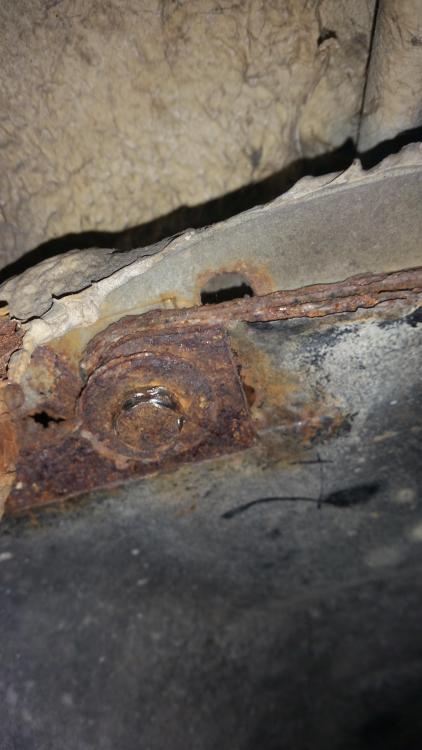
As for the sub frame bushing epidemic. I tried the threading and bolt trick. Woohoo! no success here either. Except the fact that I was able to chip off another small little piece of it.
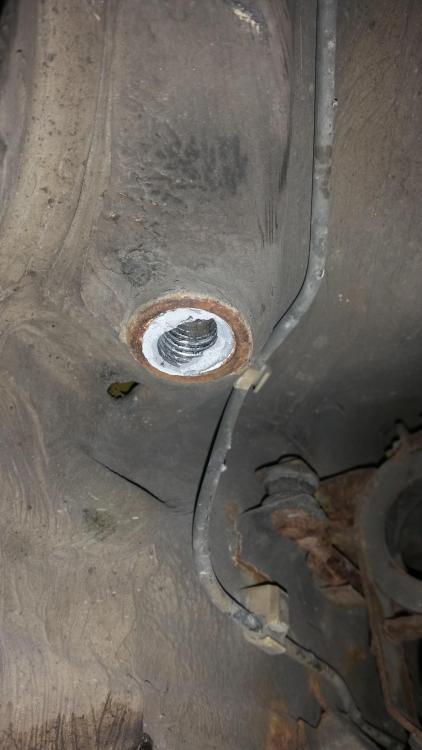
Other then messing around with that Sunday night for a few hours no other real progress was made.
As for the holidays right around the corner, work load is slamming hard the last few days tell the weekend and then a few days to relax and some personal time and hopefully use a bit of it on cranking out some more stuff on the motor.
As for my top to do's to get done in the upcoming weeks...(goals)
- Get the damn gas tank out and Bushing sleeve
- Finish dissembling the trailing arms
- Send front and rear sub frame +trailing arms to get blasted
- Vanos rebuild
- Get cam gears installed, motor timed, and vanos installed.
- Order more engine parts
- Finish up removing whatever else in the engine bay.
- Hopefully get frames and trailing arms back to start reinforcing.
- Clean up car removing grease and grim plus small rust spots on under body
- Once brake lines and fuel lines are removed. Possibly re-undercoat the under body of the car
- Start installing/routing new brake lines and fuel lines.
- Install more engine parts and hopefully get around to start messing with the engine wiring harness.
Now there is definitely some other things in between that I know I'm missing out but just can't remember at the moment, but the plans are to follow right along this path hopefully. Time will tell.
Also, hopefully gonna be picking up the e36 m3 steering rack tomorrow, as long as the dude doesn't forget about it.
Aaaaaaand, Just checking to make sure I got the right one. Whats the part # on the m20 coolant sensor needed? Thx!
-
Did you have your block resurfaced?
According to the machinist the block surface was in good shape and in no need of a resurfacing.
Hell maybe I'll even track down those vanos tools and come visit you and lend a hand.
That would be great! I could definitely use a expert look over after I time the motor to make sure everything is correct and good to go as well as getting that vanos rebuilt pronto.
-
This all feels so familiar to me except for the few weekends I spent with Helicoils.
I am using temp sender # 12621710511 (brown connector with 1 pin)
Feel free to reach out to me if you are in doubt with any of the timing procedure. It isn't hard but some of the information available isn't as clear or complete as I would have liked it to be.



 \
\


Hello! It looks like you're interested in this conversation, but you don't have an account yet.
Getting fed up of having to scroll through the same posts each visit? When you register for an account, you'll always come back to exactly where you were before, and choose to be notified of new replies (either via email, or push notification). You'll also be able to save bookmarks and upvote posts to show your appreciation to other community members.
With your input, this post could be even better 💗
Register Login