Skip to content
  • Categories
  • Recent
  • Tags
  • Popular
  • Users
  • Groups
Skins
  • Light
  • Brite
  • Cerulean
  • Cosmo
  • Flatly
  • Journal
  • Litera
  • Lumen
  • Lux
  • Materia
  • Minty
  • Morph
  • Pulse
  • Sandstone
  • Simplex
  • Sketchy
  • Spacelab
  • United
  • Yeti
  • Zephyr
  • Dark
  • Cyborg
  • Darkly
  • Quartz
  • Slate
  • Solar
  • Superhero
  • Vapor

  • Default (No Skin)
  • No Skin
Collapse
WIBIMMERS logo

WIBIMMERS

  1. Home
  2. General Discussion
  3. Members BMWs
  4. the one and only e30 s52 engine swap

the one and only e30 s52 engine swap
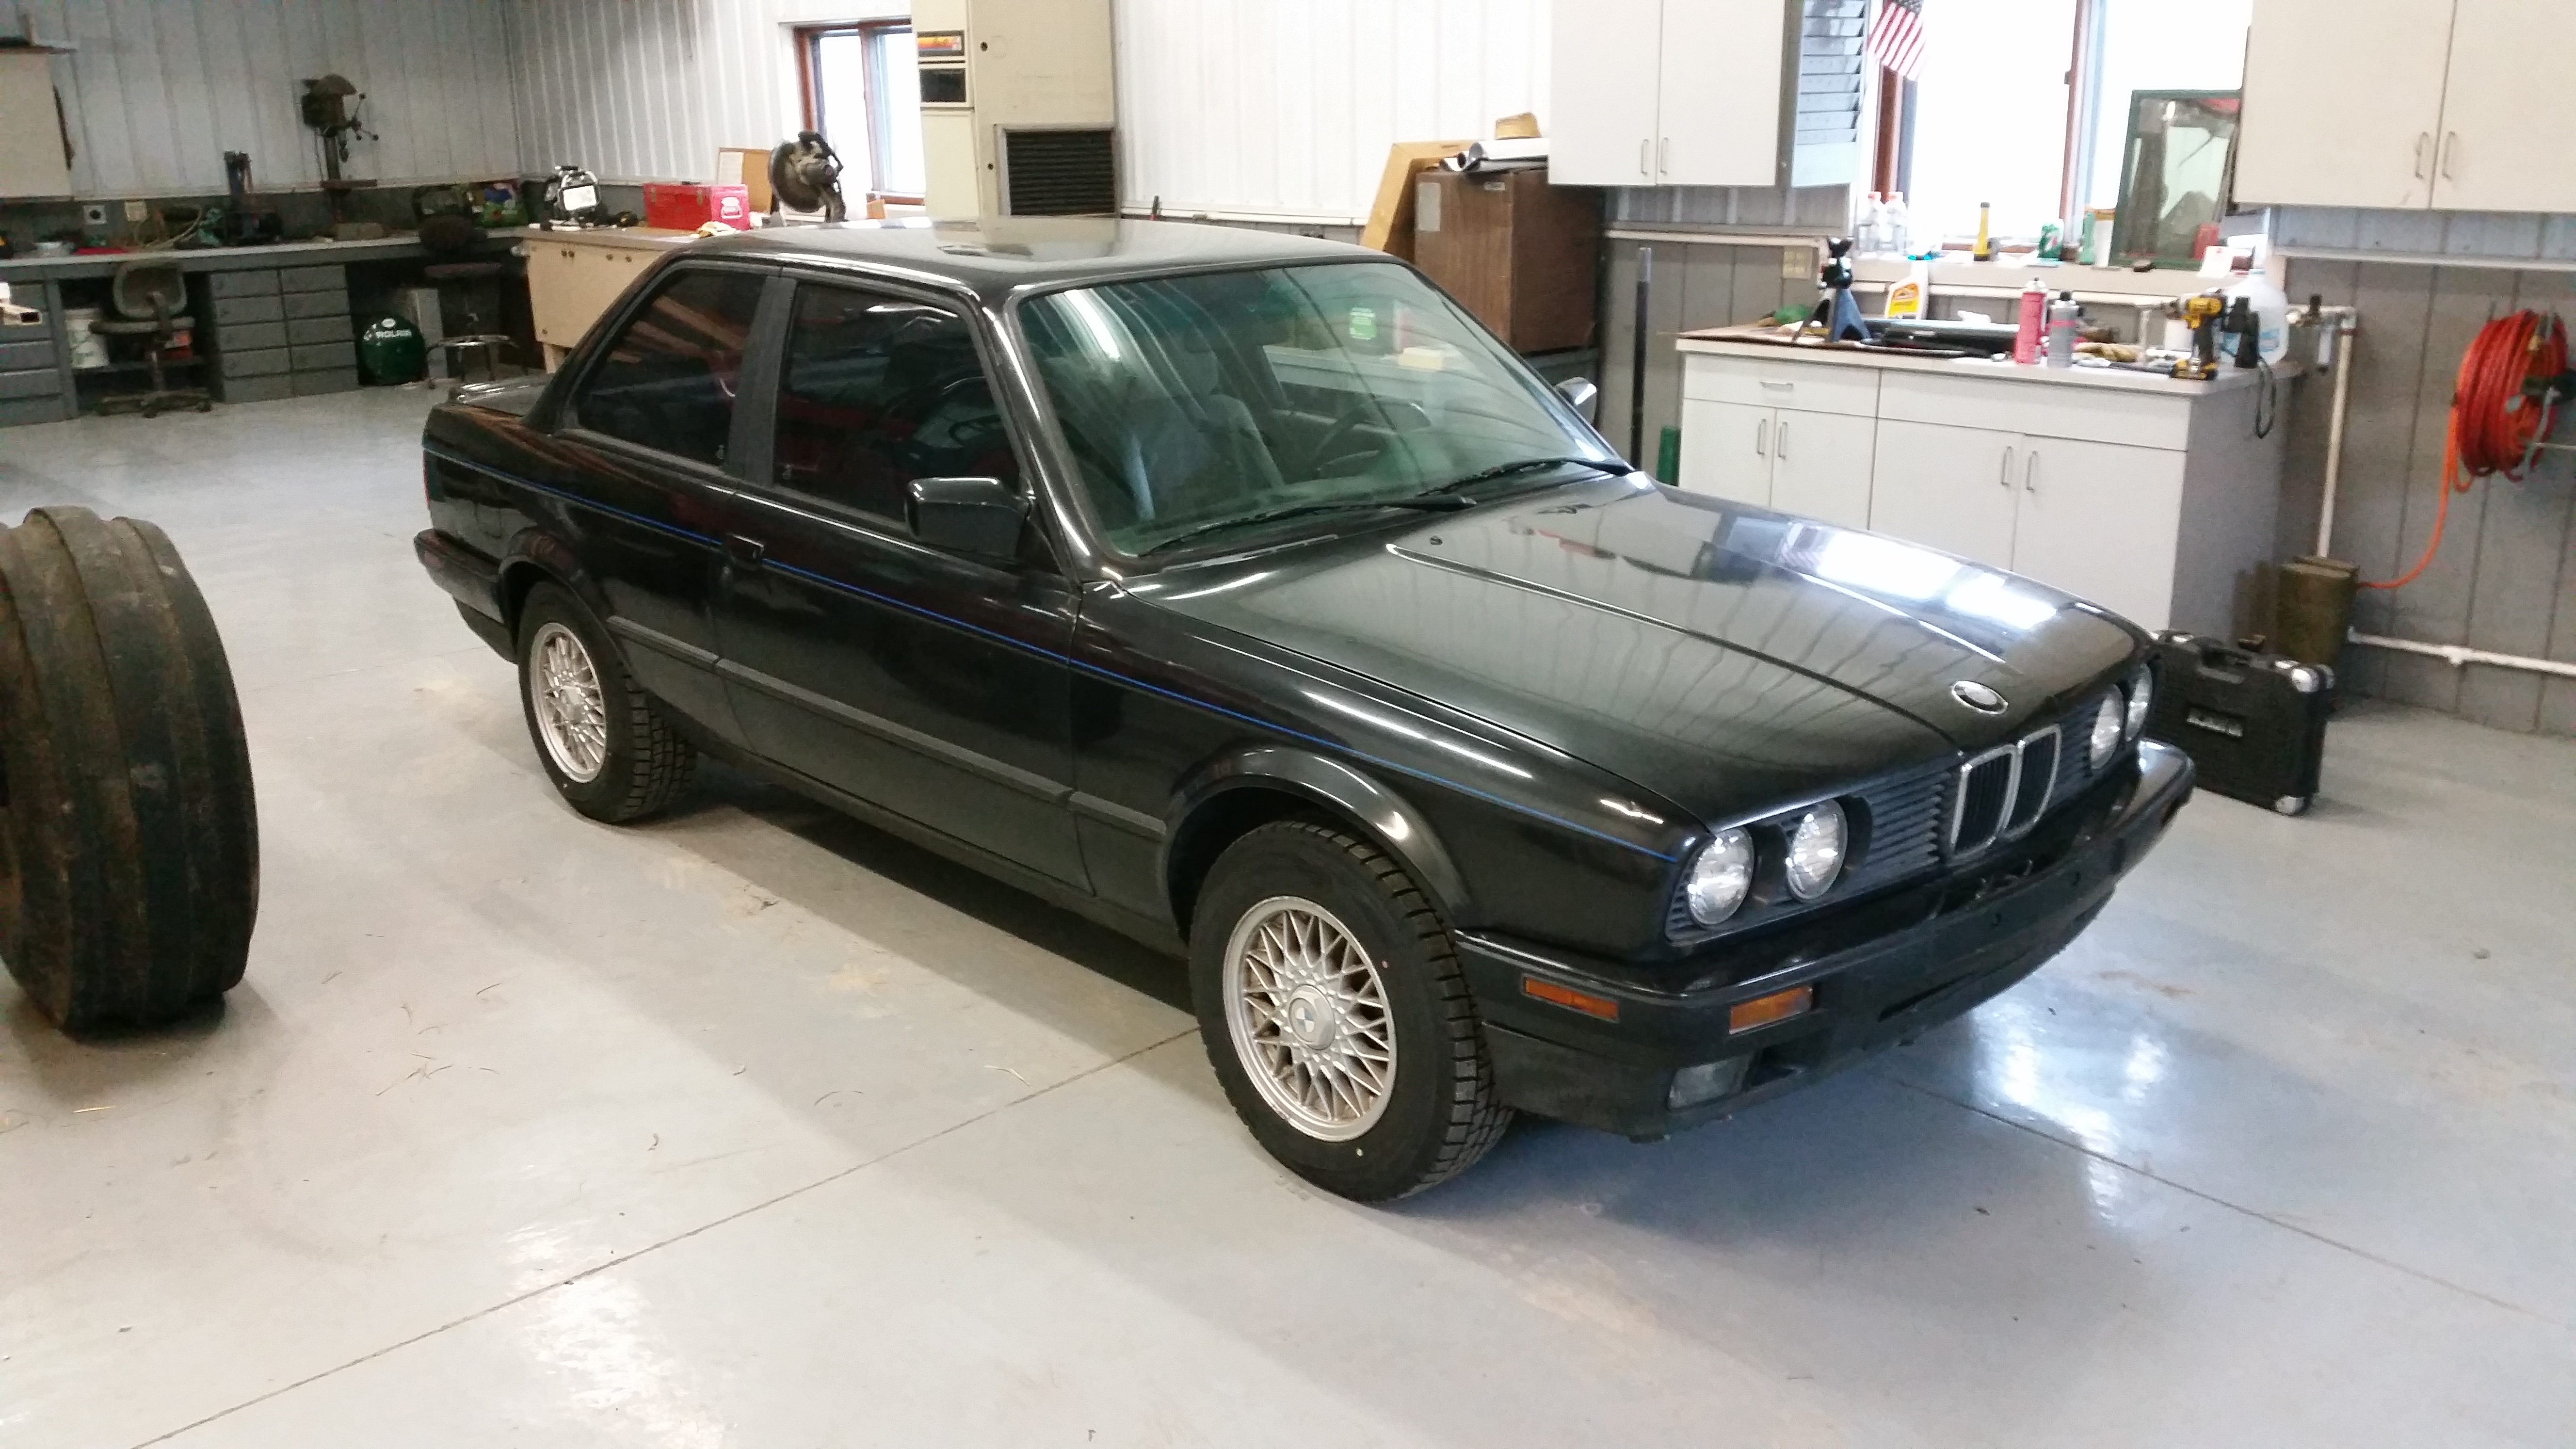
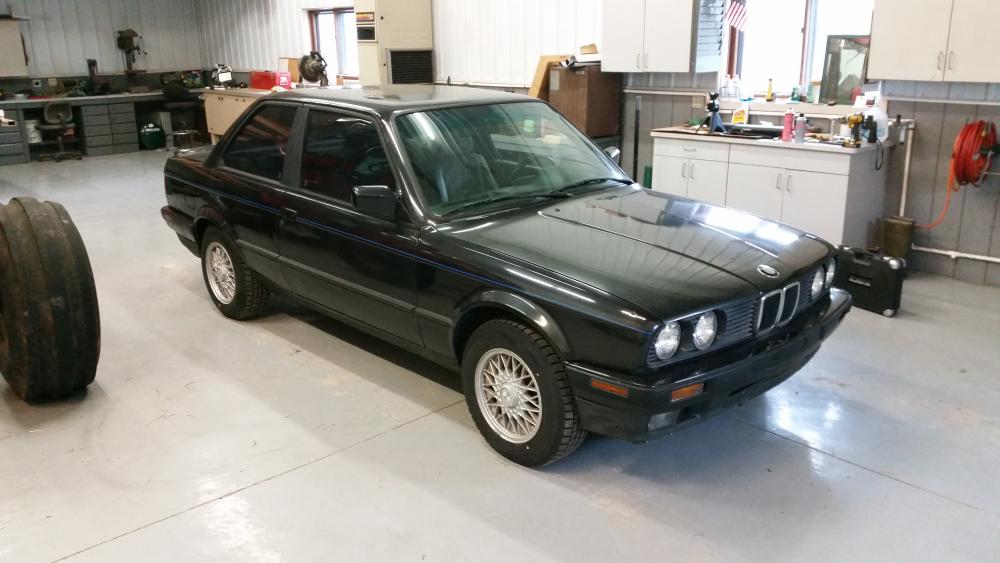
Scheduled Pinned Locked Moved Members BMWs
521 Posts 25 Posters 1 Views 1 Watching
  • Oldest to Newest
  • Newest to Oldest
  • Most Votes
Reply
  • Reply as topic
Log in to reply
This topic has been deleted. Only users with topic management privileges can see it.
  • m42b32M
    m42b32M
    m42b32
    wrote on last edited by
    #109

    KaiserRolls said:

    7/8 - mine were cake, and I have a rusty shitbox

    7/9. Mine came out fairly easily once I figured out the 5/8" lag-bolt, 1/2" steel rod, and a BFH trick. 

    Sounds like the best option for getting them out if a bolt and hammer doesn't work is just keep chipping away with drills and dremel bits...good luck!

    1991 318is, 1991 318i, 2022 Bronco

    1 Reply Last reply
    0
    • GunMetalGreyG
      GunMetalGreyG
      GunMetalGrey
      wrote on last edited by
      #110

      stealthbimmer said:

      These guys work wonders for rounded bolts. If you dont have a set, you are welcome to borrow mine. 

      I have a set, and you are correct, they save lives. 

      The Bentley manual (E36) is perfect for how to time the M5x/S5x motors. Just ask @KaiserRolls, it's a good reference.

      ...

      1 Reply Last reply
      1
      • B
        B
        B C
        wrote on last edited by
        #111

        The spot where the Bentley wasn't clear enough for me is the primary exhaust sprocket position and the timing chain tensioner.

        Maybe im remembering wrong and its very clear in the Bentley but my biggest question was WHEN to reinstall the chain tensioner/torque the primary exhaust sprocket bolts and also the relative position of the holes/slots

        pic4.jpg

        1 Reply Last reply
        0
        • AsparagusMikeA
          AsparagusMikeA
          AsparagusMike
          wrote on last edited by
          #112

          Jdesign said:

          Also I am curious as to why you have a build thread here and not in the "members BMWs" section? I always forget this thread exists.

          I honestly don't know. There a way to move this thread over to there?

          1 Reply Last reply
          0
          • JdesignJ
            JdesignJ
            Jdesign
            wrote on last edited by
            #113

            AsparagusMike said:

            I honestly don't know. There a way to move this thread over to there?

            @YoungCR Would know if that's possible.

            SumBunny.jpg

            https://www.instagram.com/_jdesigner_/                                          http://nevertoolow.tumblr.com/

            🥳SOLD BMW E24 633CSI - BMW M30B32                                          🧪SOLD HCH  ES9 - 1.3 LDA
            👽BMW E30 325IC - Toyota 1JZ-GTE                                                     ⏰ HONDA EF9 CIVIC SI - JDM B18C5
            ☠️BMW E36 318i - Ford 5.0 FE302                                                         🚴‍♂️ GT-Labomba - 26x2.75 Freeride
            🤹‍♀️SOLD BMW E36/7 Z3 - BMW M54B25                                                🧓SOLD BMW E10 2002 - BMW M10M05

            1 Reply Last reply
            0
            • B
              B
              B C
              wrote on last edited by
              #114

              I already moved it, JDizzle [emoji16]

              1 Reply Last reply
              1
              • YoungCRY
                YoungCRY
                YoungCR
                wrote on last edited by
                #115

                Snap said:

                I already moved it, JDizzle emoji16.png

                Thanks Brain

                Chris Young
                BMWCCA #458972
                1986 528e/5  | 1994 530i/5 | 1995 540i/6 | 2013 X5 35d | 1998 C1500 Suburban | 1995 K2500 Suburban

                1 Reply Last reply
                0
                • JdesignJ
                  JdesignJ
                  Jdesign
                  wrote on last edited by
                  #116

                  Snap said:

                  I already moved it, JDizzle emoji16.png

                  Image result for fo shizzle gif

                  SumBunny.jpg

                  https://www.instagram.com/_jdesigner_/                                          http://nevertoolow.tumblr.com/

                  🥳SOLD BMW E24 633CSI - BMW M30B32                                          🧪SOLD HCH  ES9 - 1.3 LDA
                  👽BMW E30 325IC - Toyota 1JZ-GTE                                                     ⏰ HONDA EF9 CIVIC SI - JDM B18C5
                  ☠️BMW E36 318i - Ford 5.0 FE302                                                         🚴‍♂️ GT-Labomba - 26x2.75 Freeride
                  🤹‍♀️SOLD BMW E36/7 Z3 - BMW M54B25                                                🧓SOLD BMW E10 2002 - BMW M10M05

                  1 Reply Last reply
                  0
                  • AsparagusMikeA
                    AsparagusMikeA
                    AsparagusMike
                    wrote on last edited by
                    #117

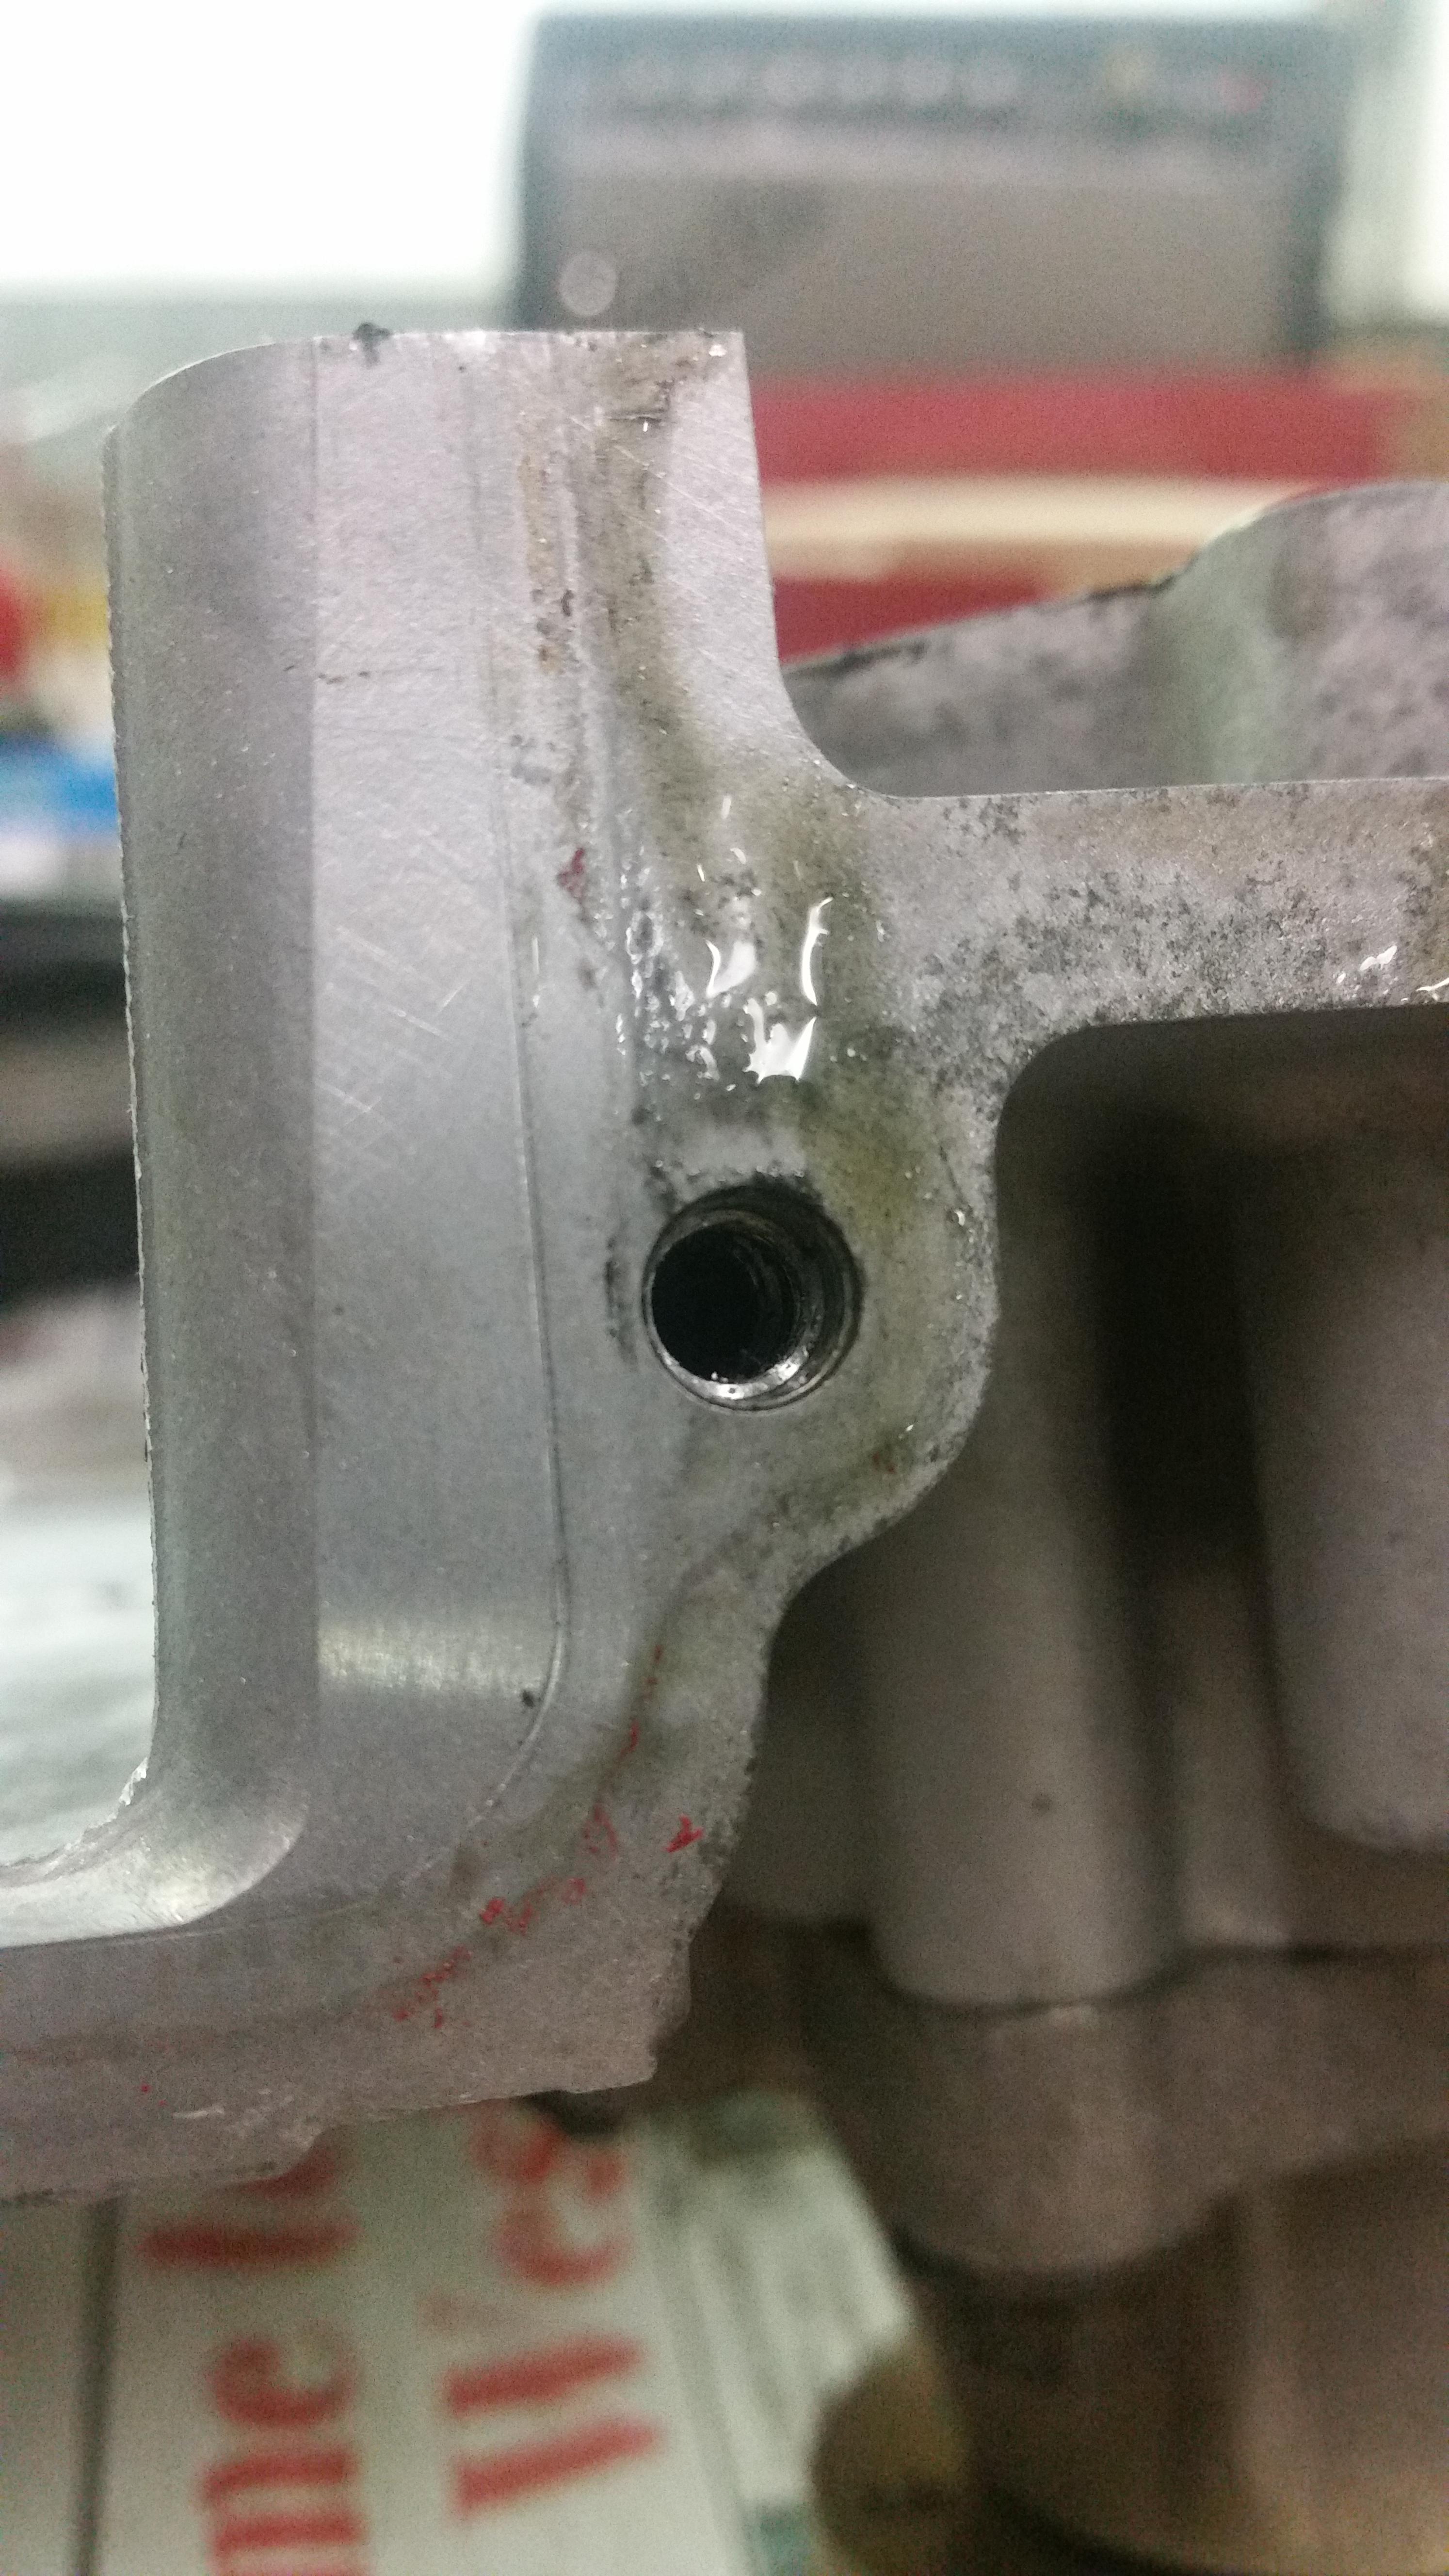
                    So I went over to the shop this afternoon to mess around with the motor for a few hours and maybe get the thing timed. Everything was going smooth as can be, everything smooth as can.....

                    20171224171138.jpg

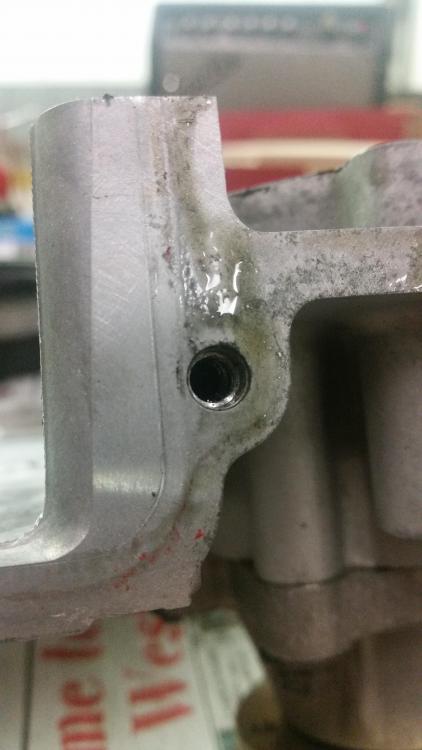
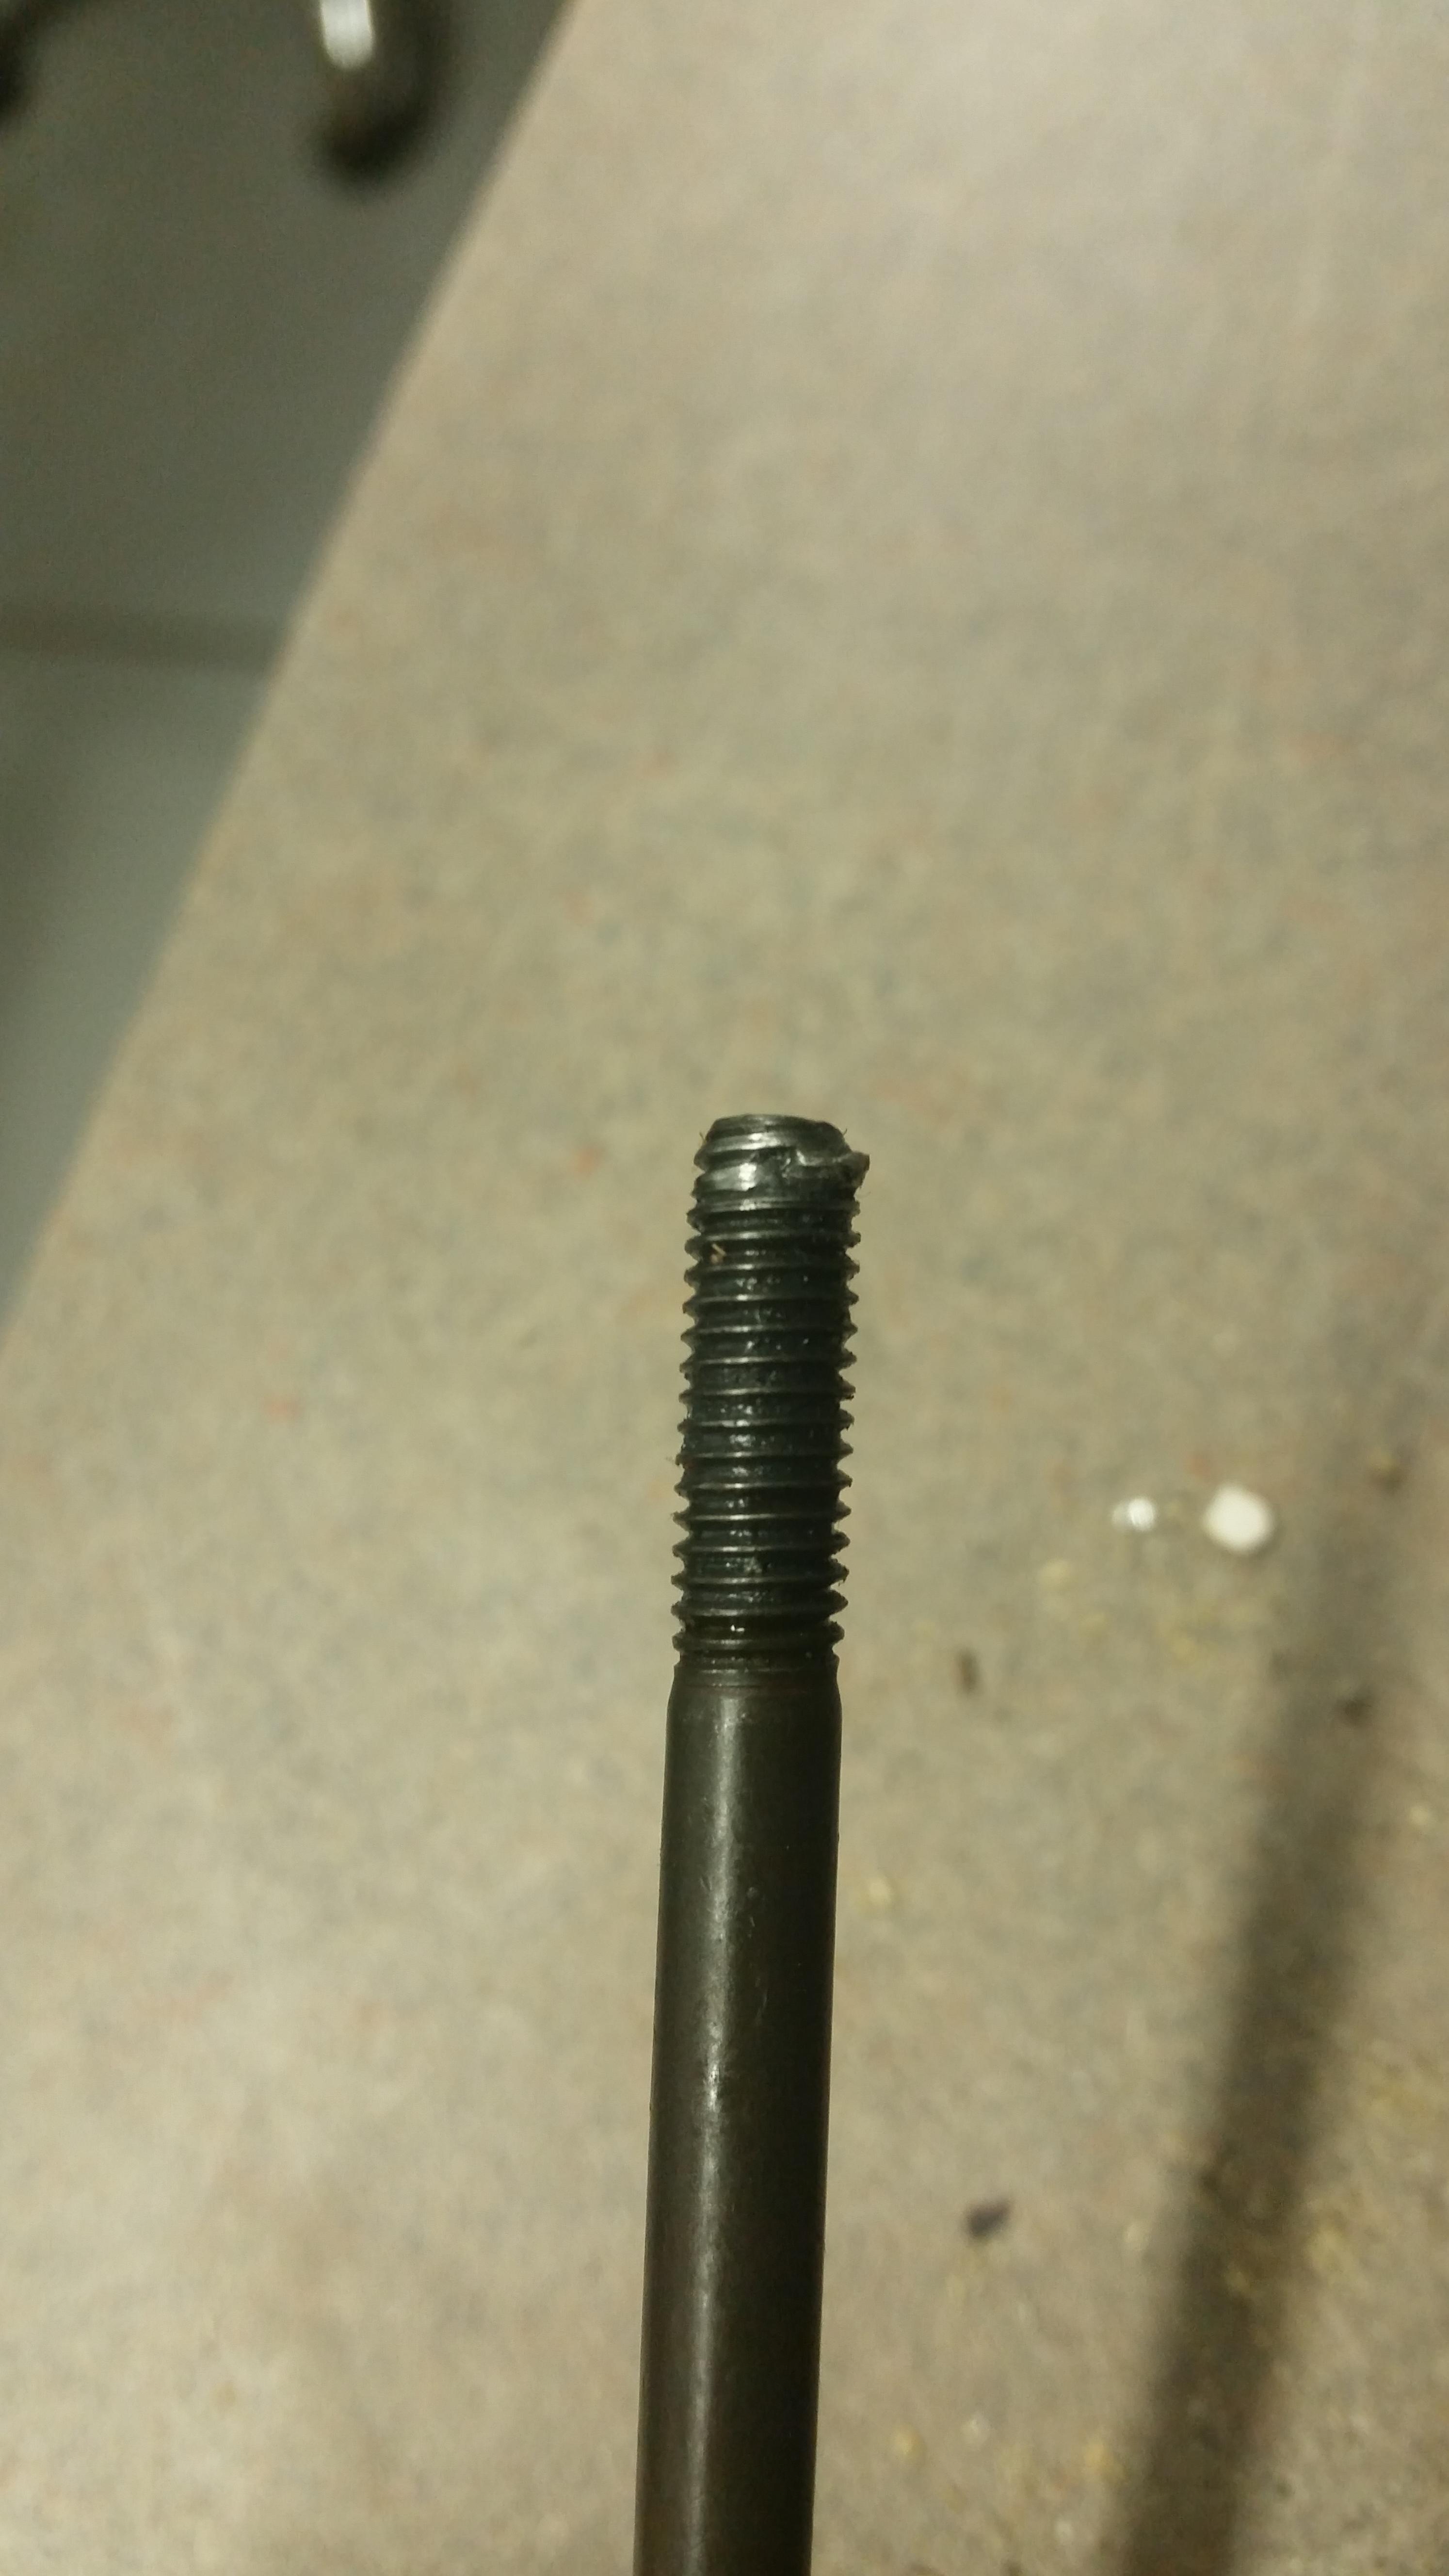
                    Its the longest of the 2 bolts that hold the upper chain guide in place. This occurred after threading it into the hole by hand and then having to use a ratchet to get the bolt back out because of suspicion (I should also add that I had put some lubrication on the threads before installing it). Now I'm trying to figure out what I'm gonna do to fix the threads that are screwed up in there. I'm gonna go get myself another bolt on Tuesday and hope that some miracle happens cause I have no idea how I could fit a tap or a thread chaser down that deep of a hole to fix the threads, unless there is a tool for this particular type of thing that I just don't know about.

                    1 Reply Last reply
                    0
                    • jc43089J
                      jc43089J
                      jc43089
                      wrote on last edited by
                      #118

                      Weld an "extension" onto a tap or thread chaser.  A thread chaser would probably be better because aluminum cuts so easy.

                      2/94 325i Sedan, Arctic Gray: UUC LTW FW, EVO 3 and DSSR, +.020 Maxsil pistons, ASC delete, Eibach shocks/springs, 16" contour reps 238k
                      3/93 325i Coupe, Schwarz 2, Sketchy stance action, ebay turbo, 300k
                      '89 325i Vert, Alpine White: 5spd swapped, sold.

                      '04 Toyota Sienna: 24V to 24V swap in progress

                      '05 Volvo V70R, 6spd.  200k
                      '85 Toyota LandCruiser: Lifted, gas hog. 205k
                      '99 Nissan Maxima: 5spd, Rusty but trusty winter beater. 252k RIP.

                      1 Reply Last reply
                      0
                      • JdesignJ
                        JdesignJ
                        Jdesign
                        wrote on last edited by
                        #119

                        jc43089 said:

                        Weld an "extension" onto a tap or thread chaser.  A thread chaser would probably be better because aluminum cuts so easy.

                        This!^

                        I would suggest using a bolt.

                        Image result for welded extension on tap

                        SumBunny.jpg

                        https://www.instagram.com/_jdesigner_/                                          http://nevertoolow.tumblr.com/

                        🥳SOLD BMW E24 633CSI - BMW M30B32                                          🧪SOLD HCH  ES9 - 1.3 LDA
                        👽BMW E30 325IC - Toyota 1JZ-GTE                                                     ⏰ HONDA EF9 CIVIC SI - JDM B18C5
                        ☠️BMW E36 318i - Ford 5.0 FE302                                                         🚴‍♂️ GT-Labomba - 26x2.75 Freeride
                        🤹‍♀️SOLD BMW E36/7 Z3 - BMW M54B25                                                🧓SOLD BMW E10 2002 - BMW M10M05

                        1 Reply Last reply
                        0
                        • AsparagusMikeA
                          AsparagusMikeA
                          AsparagusMike
                          wrote on last edited by
                          #120

                          Lame update. Just to keep the thread alive.

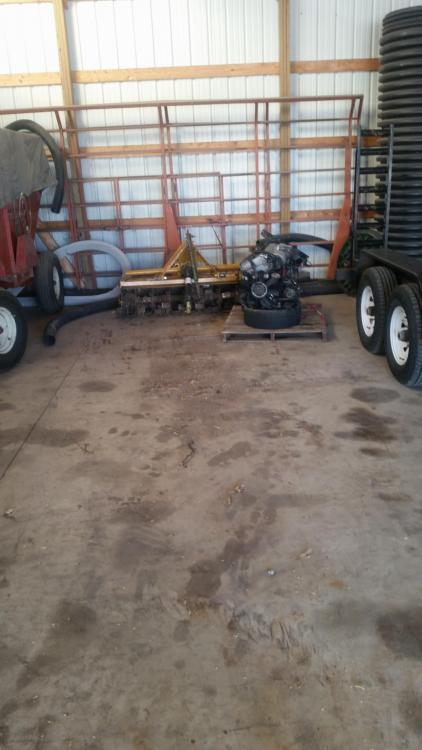
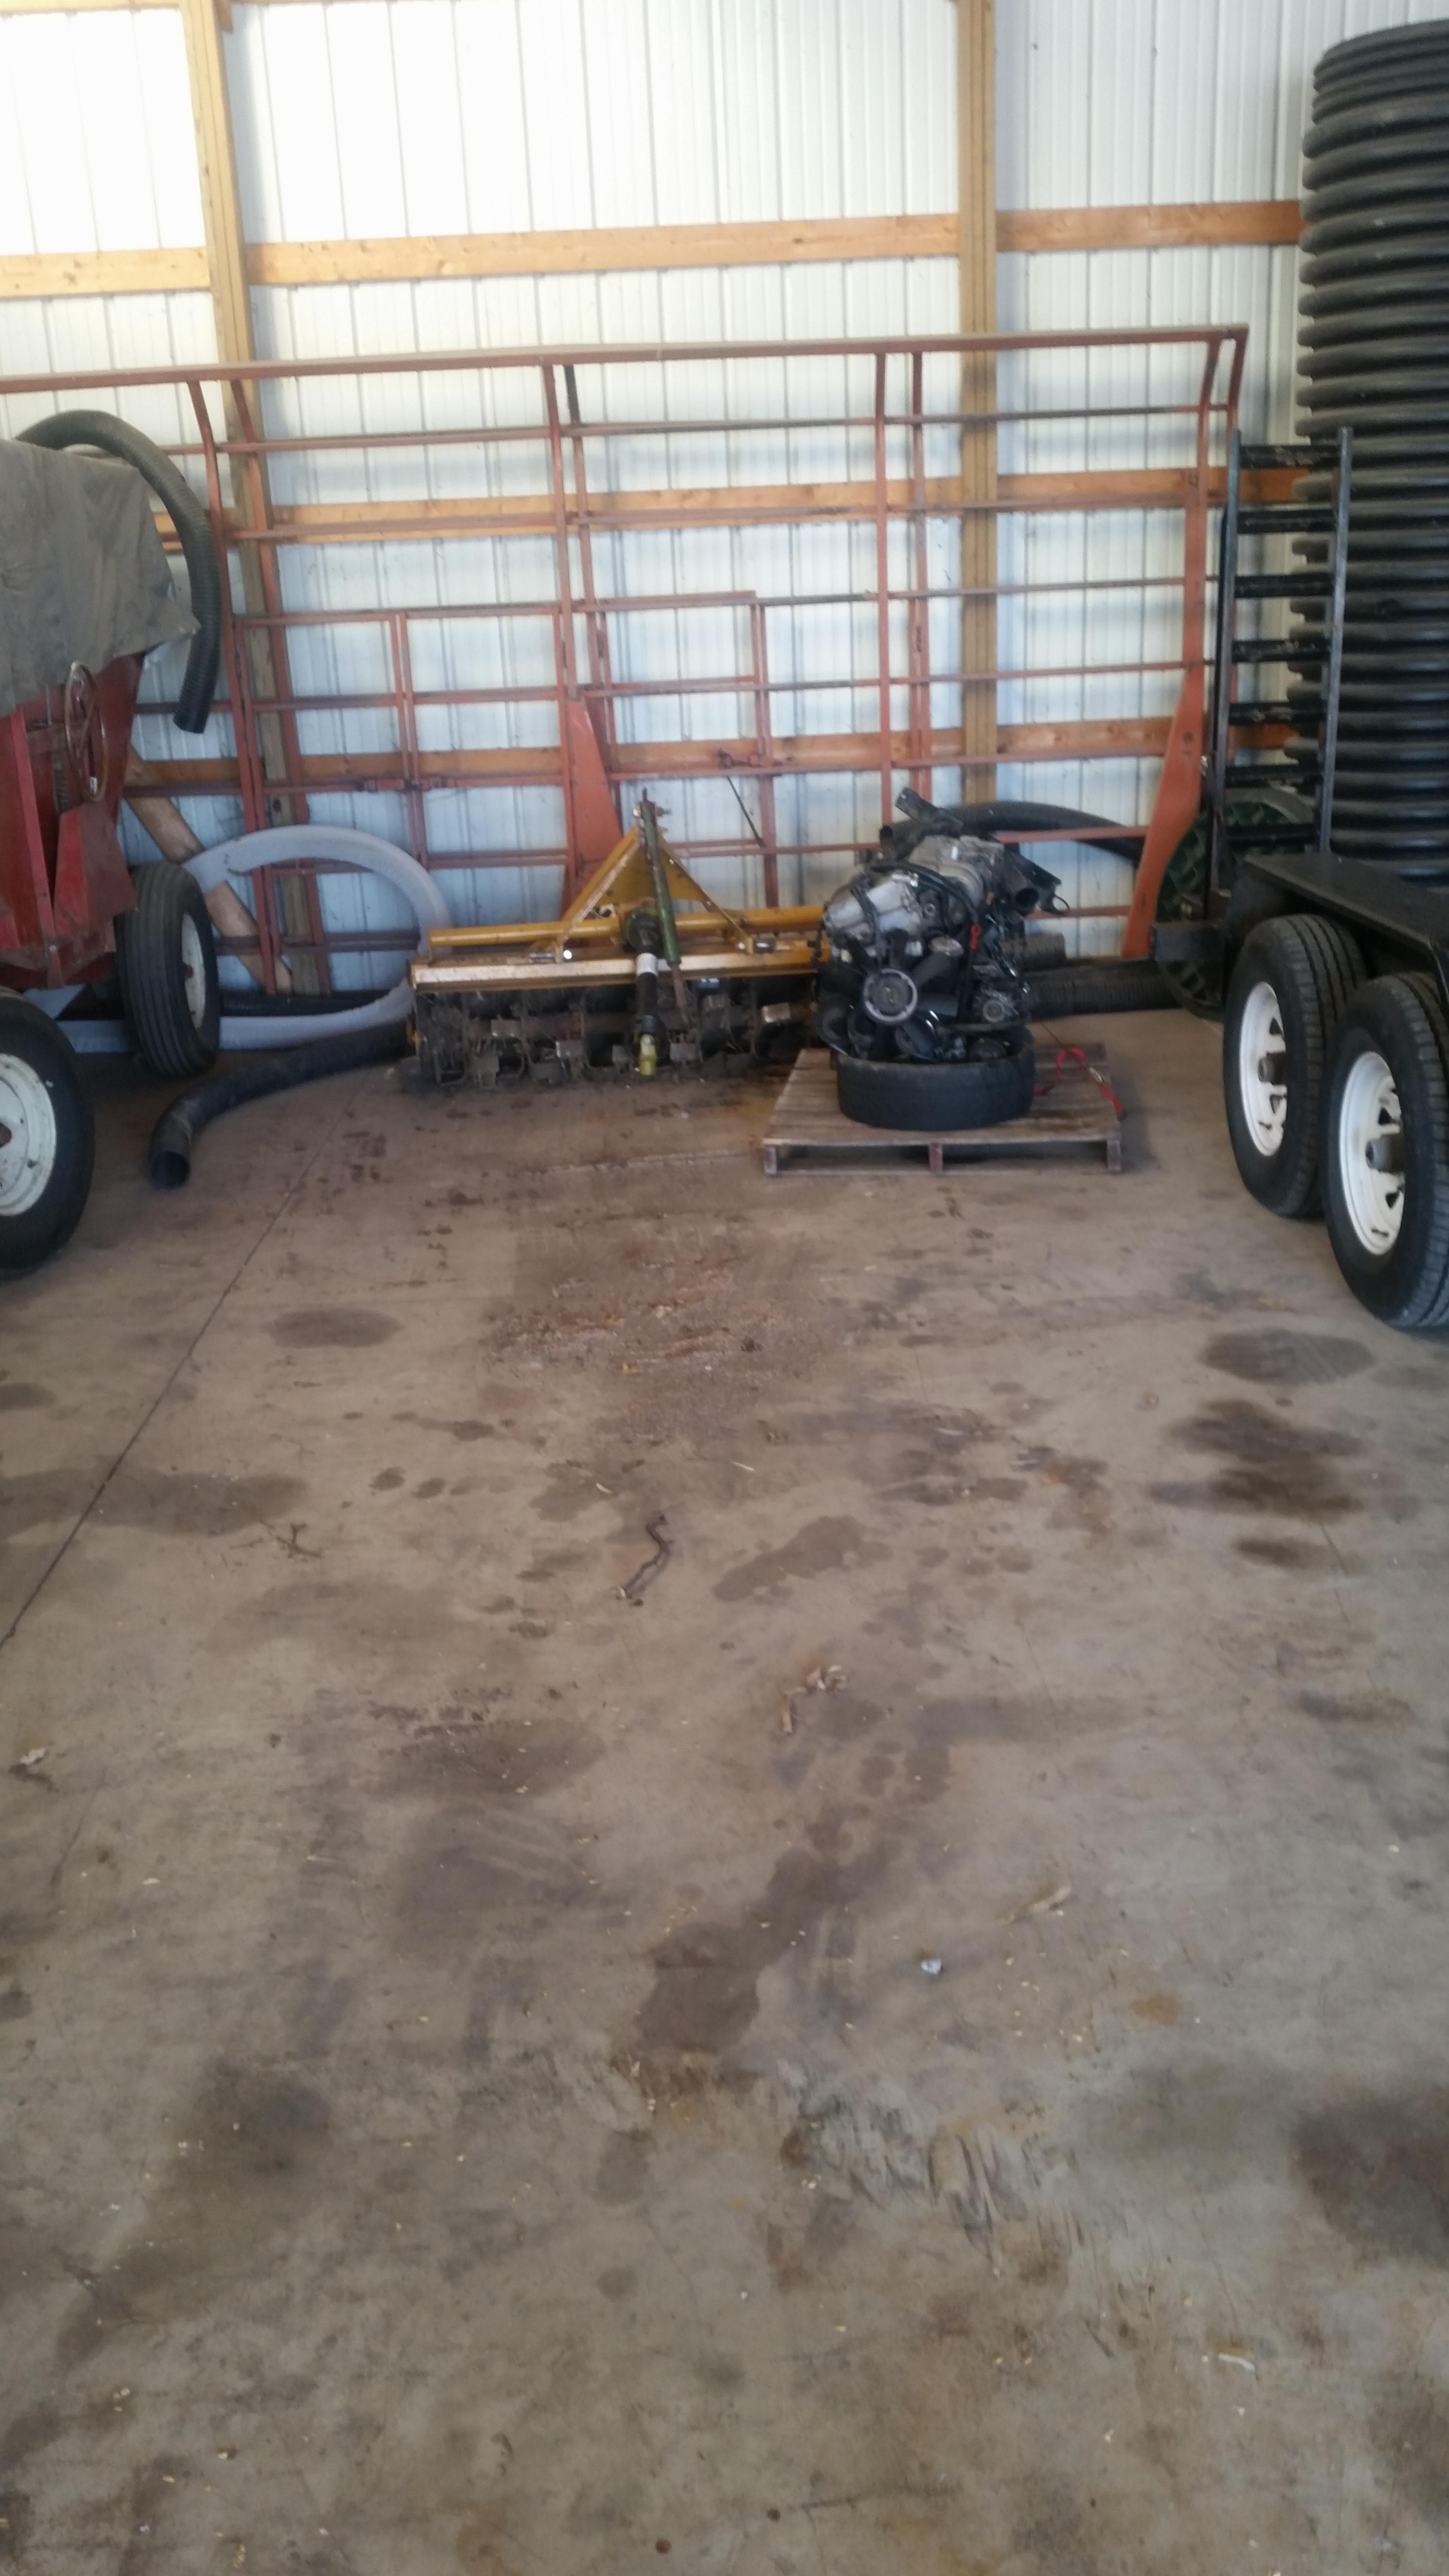
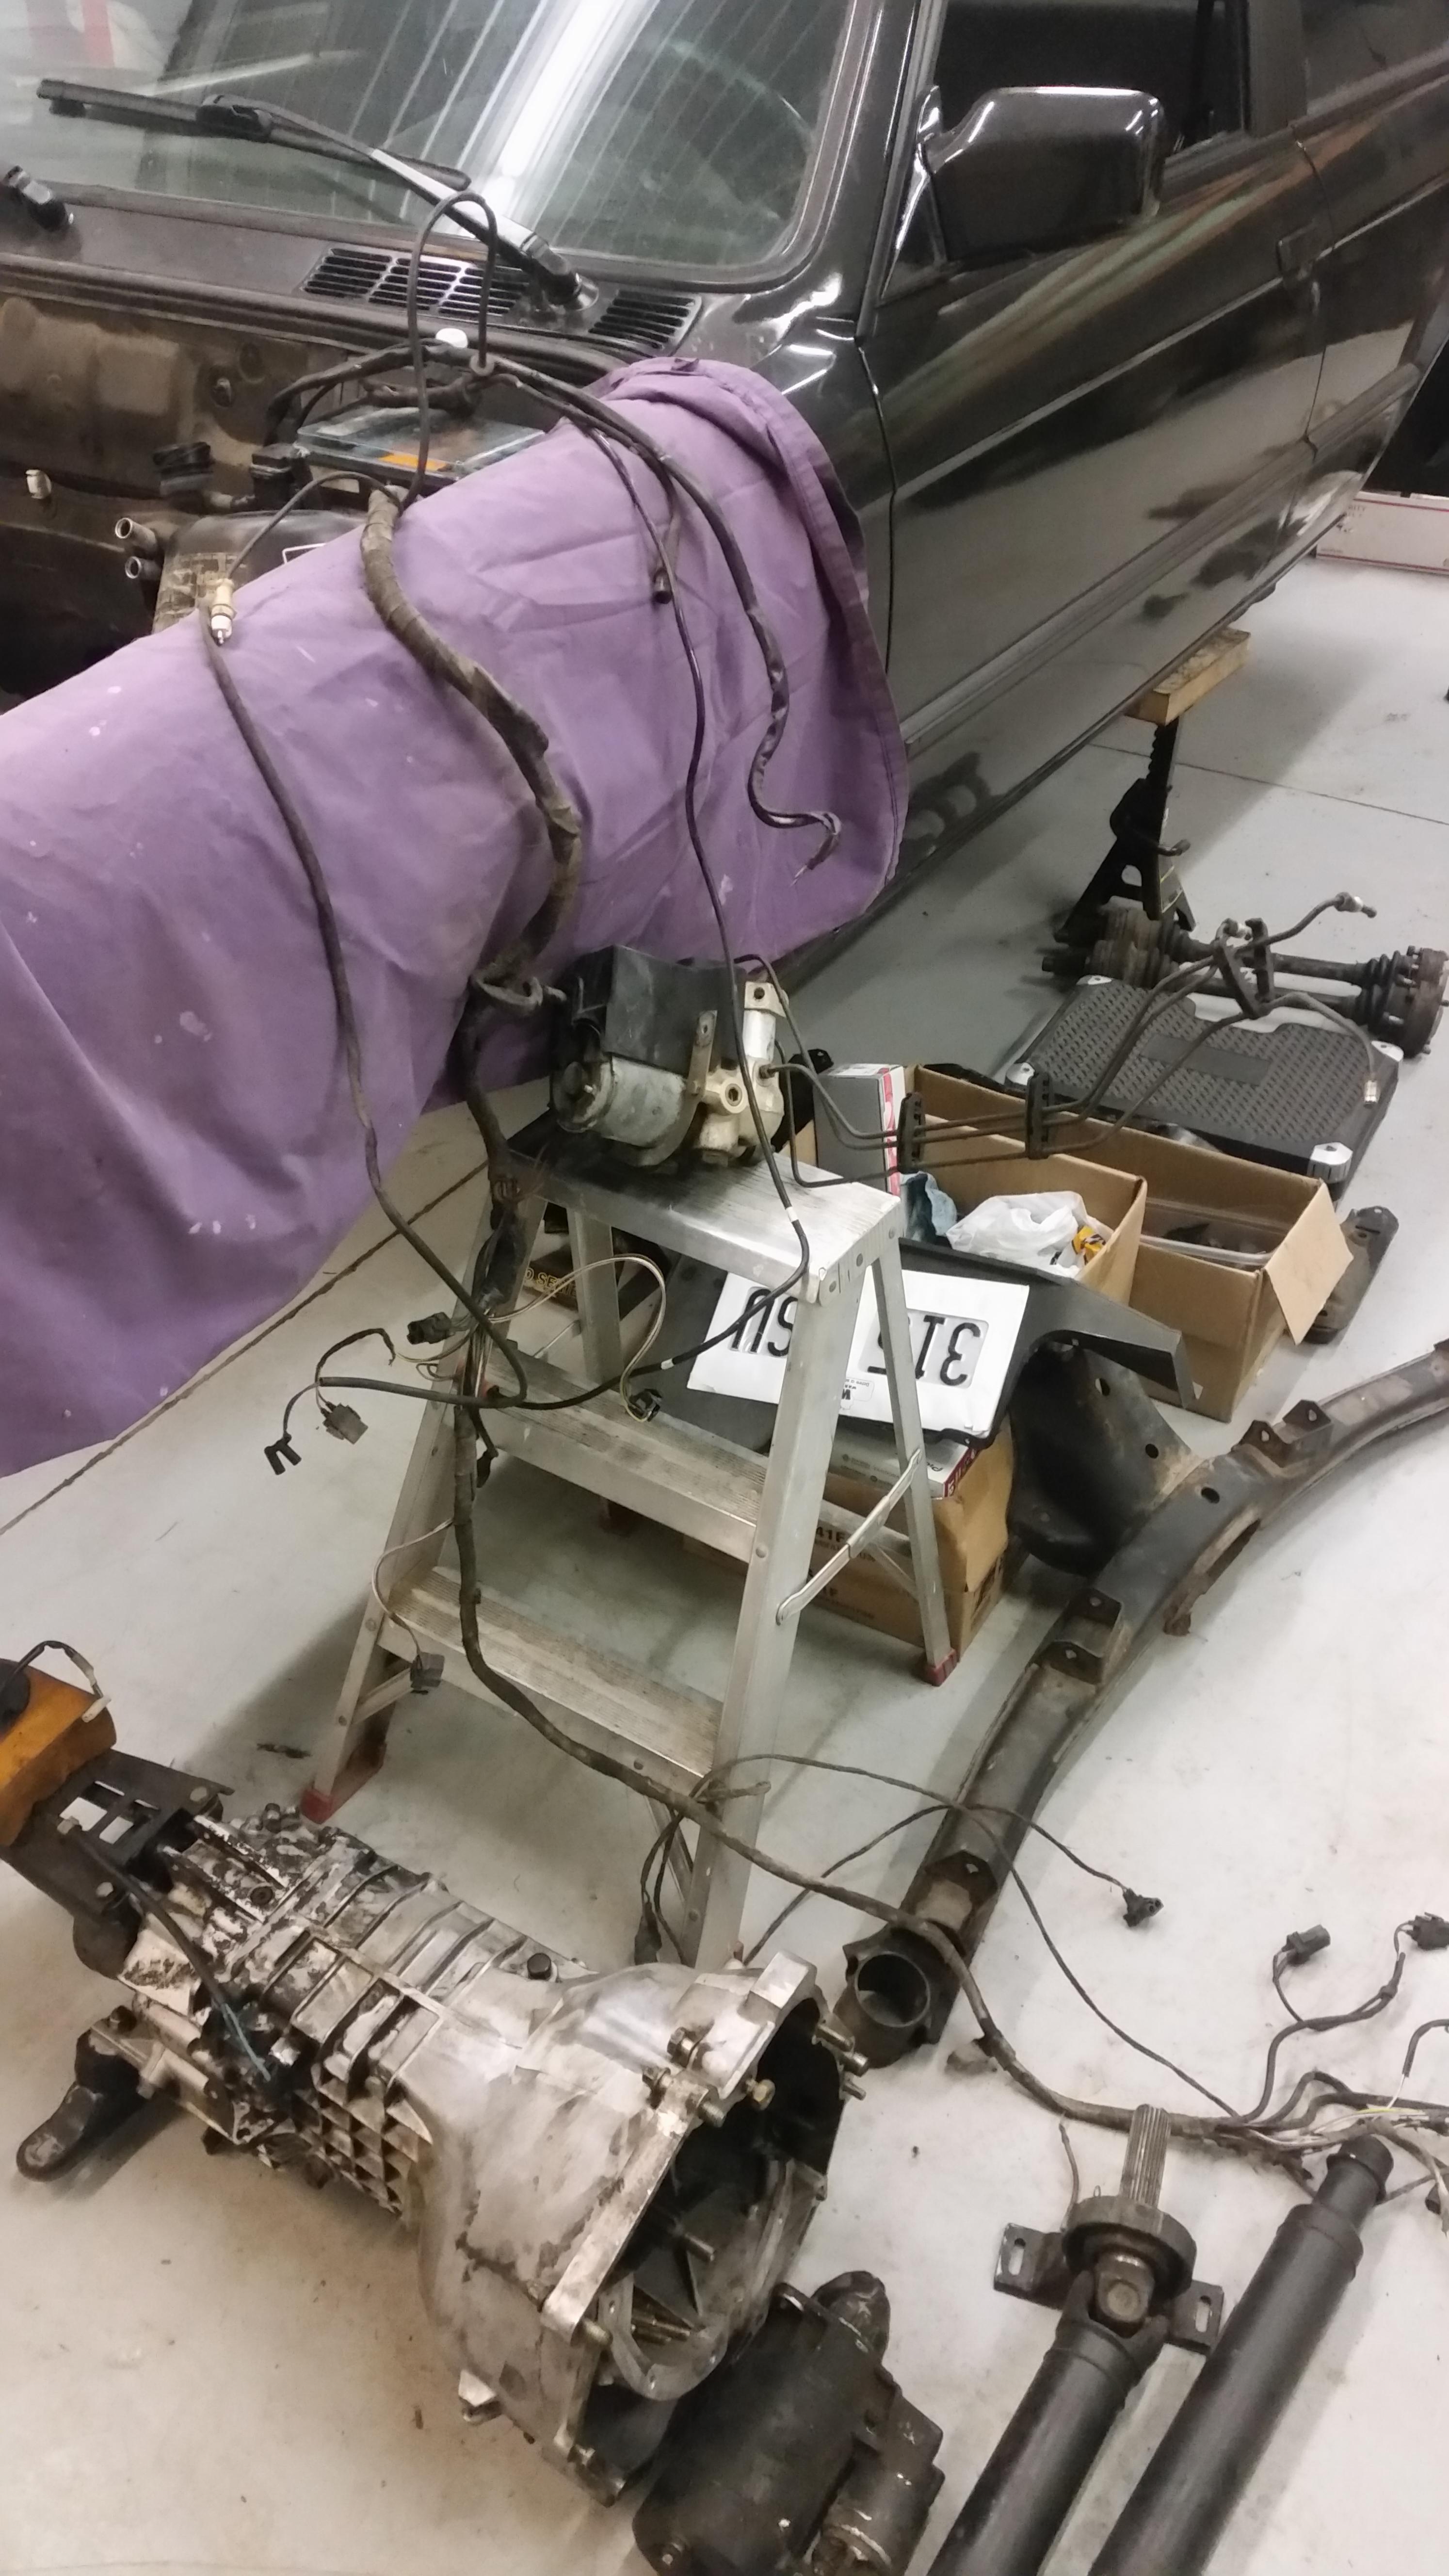
                          Moved old motor out of the shop into storage, where it will continue to leak its oil everywhere.

                          20171227134837.jpg

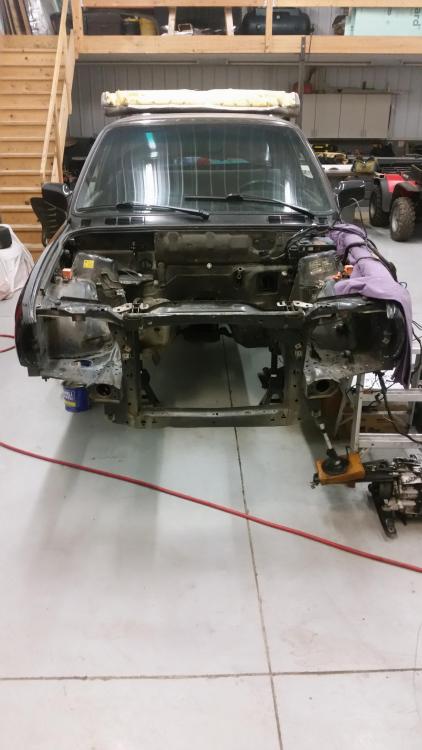
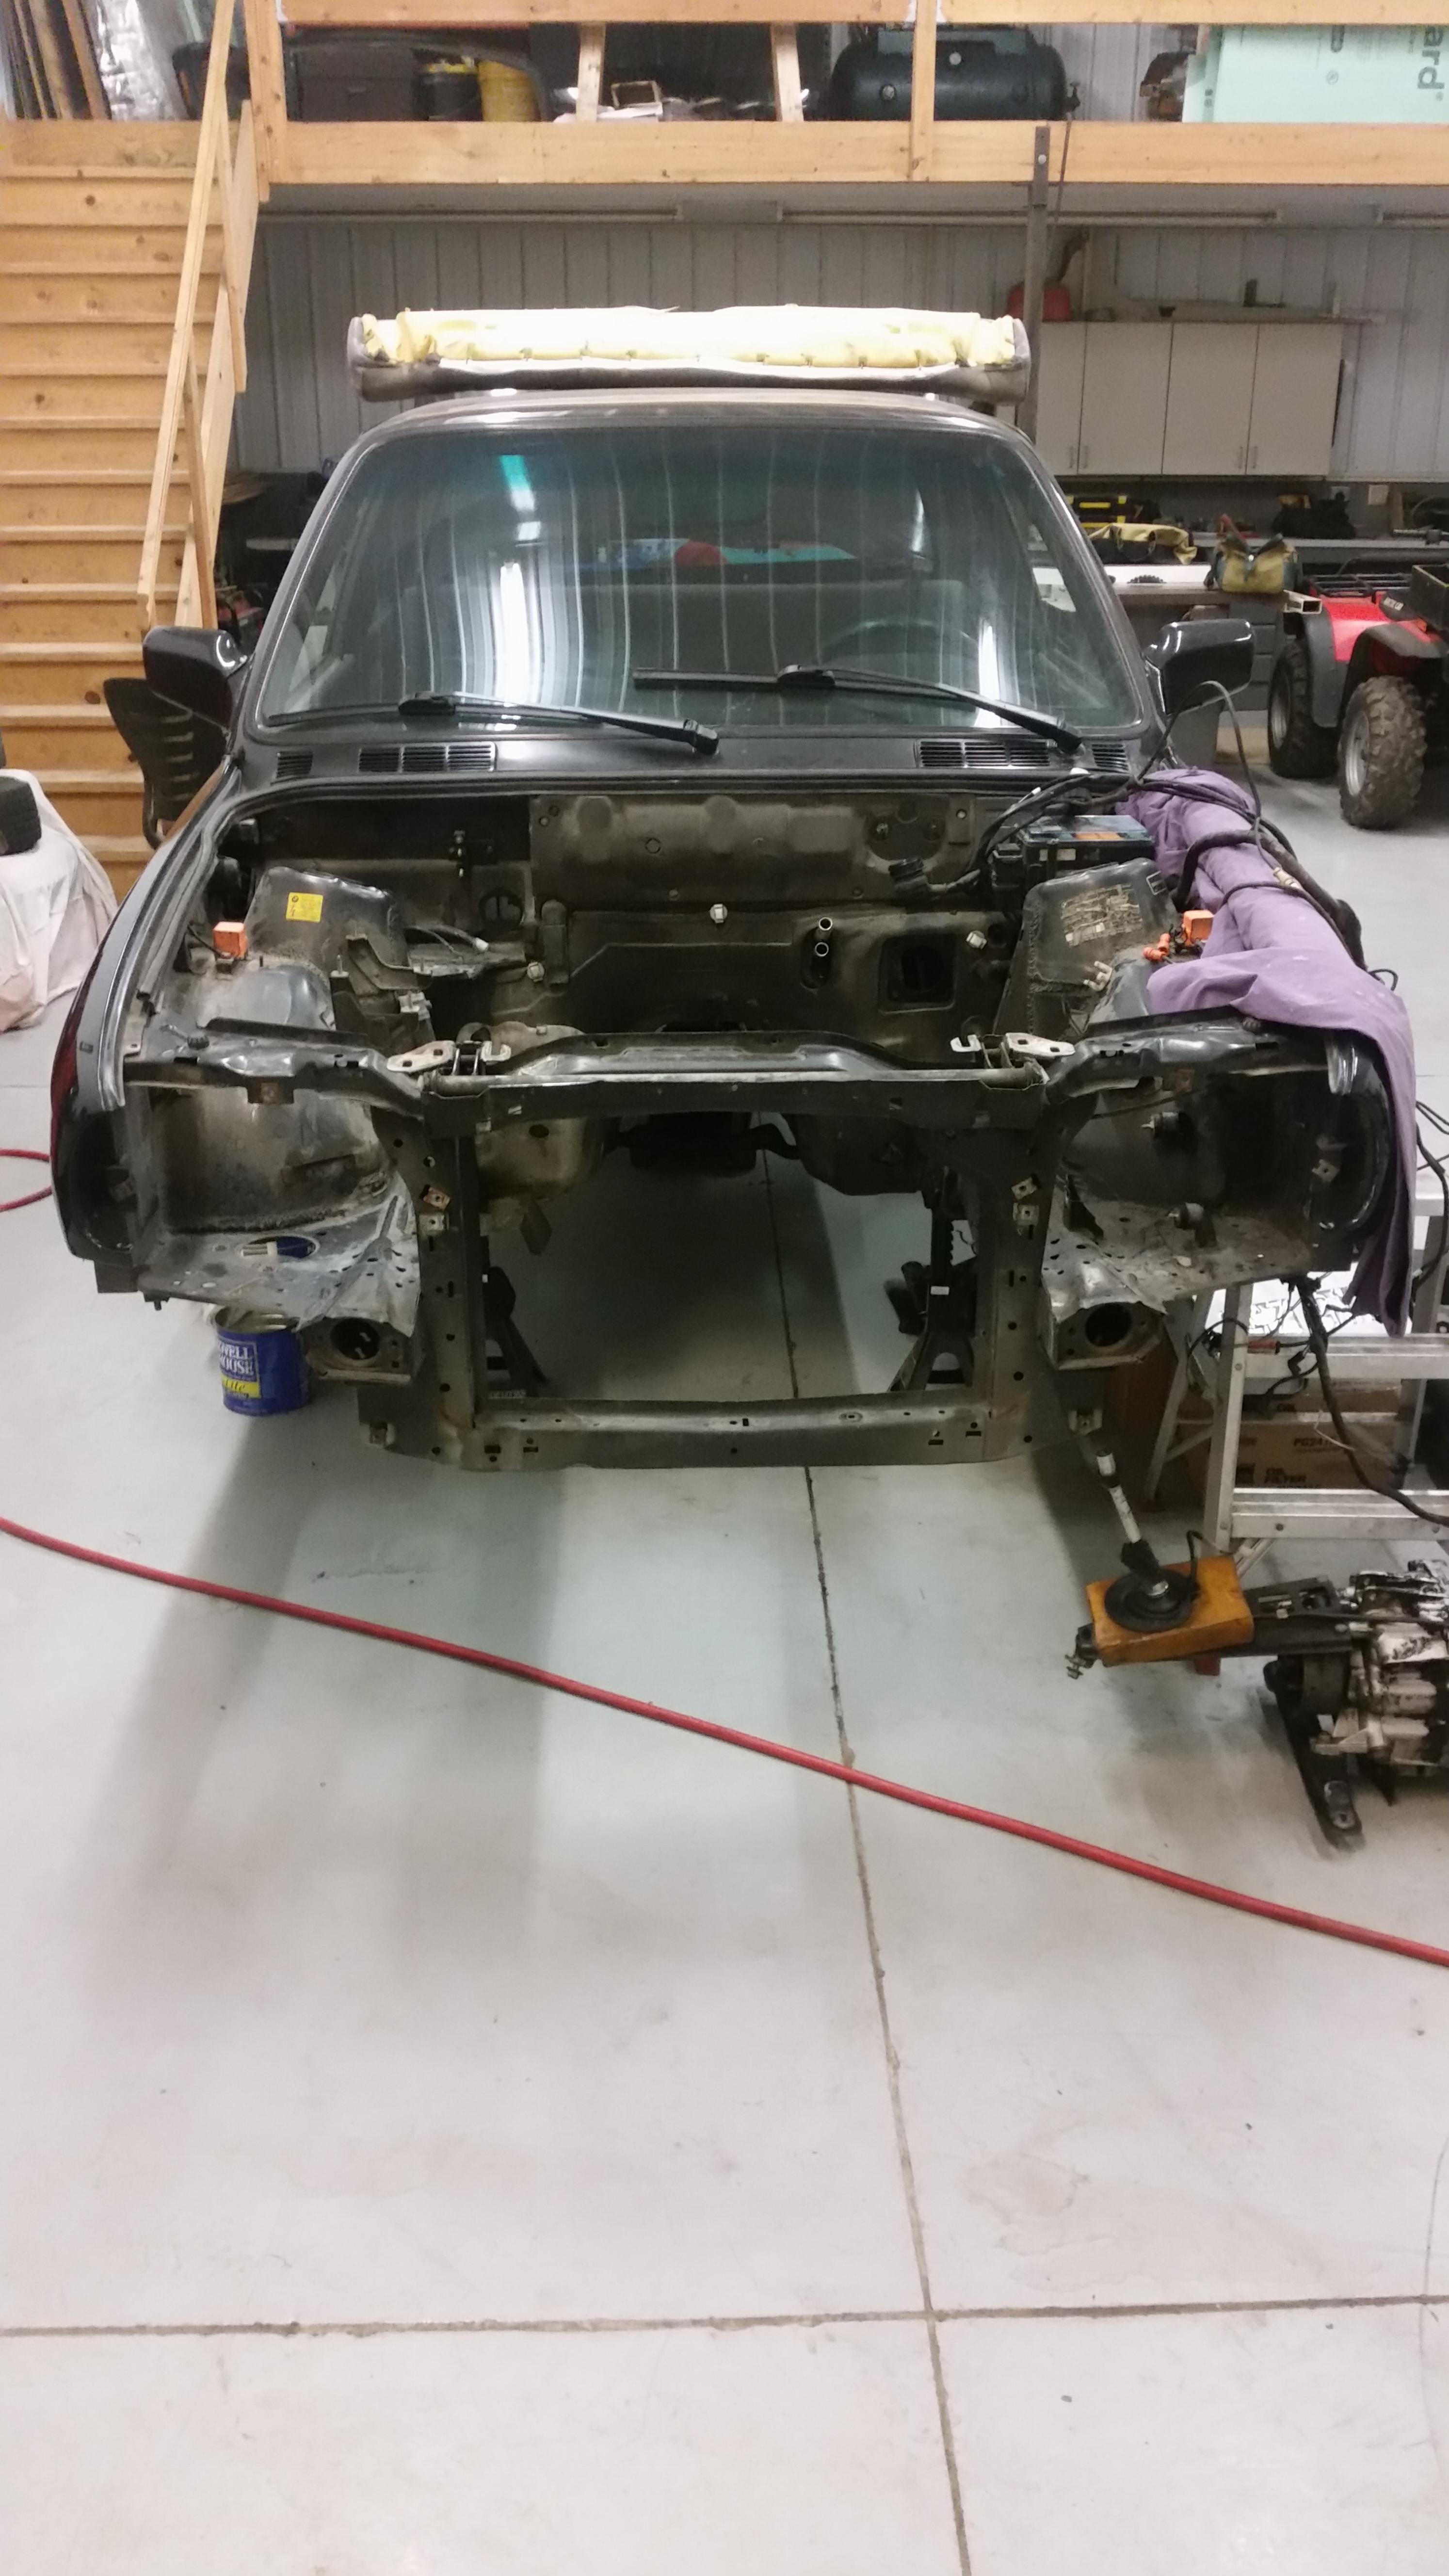
                          Focused on the engine bay today:

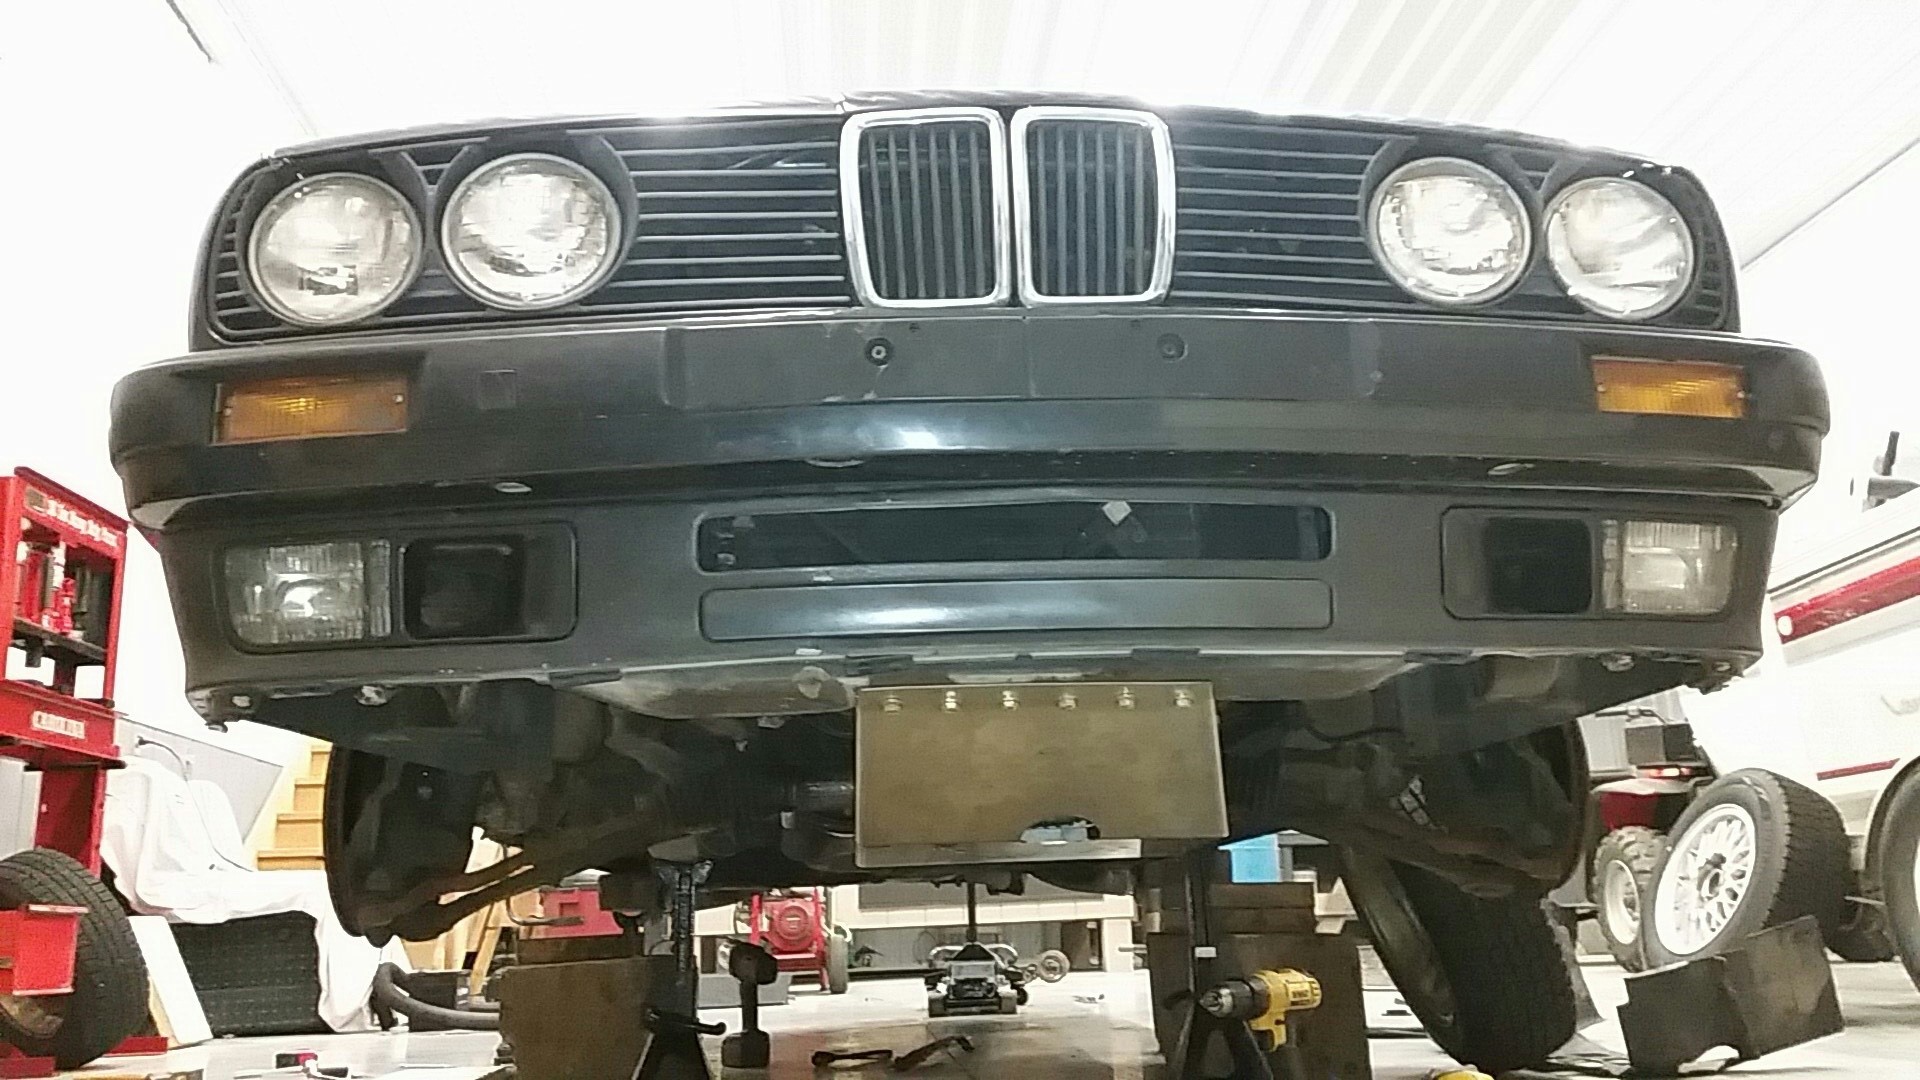
                          Pulled Front valence off.

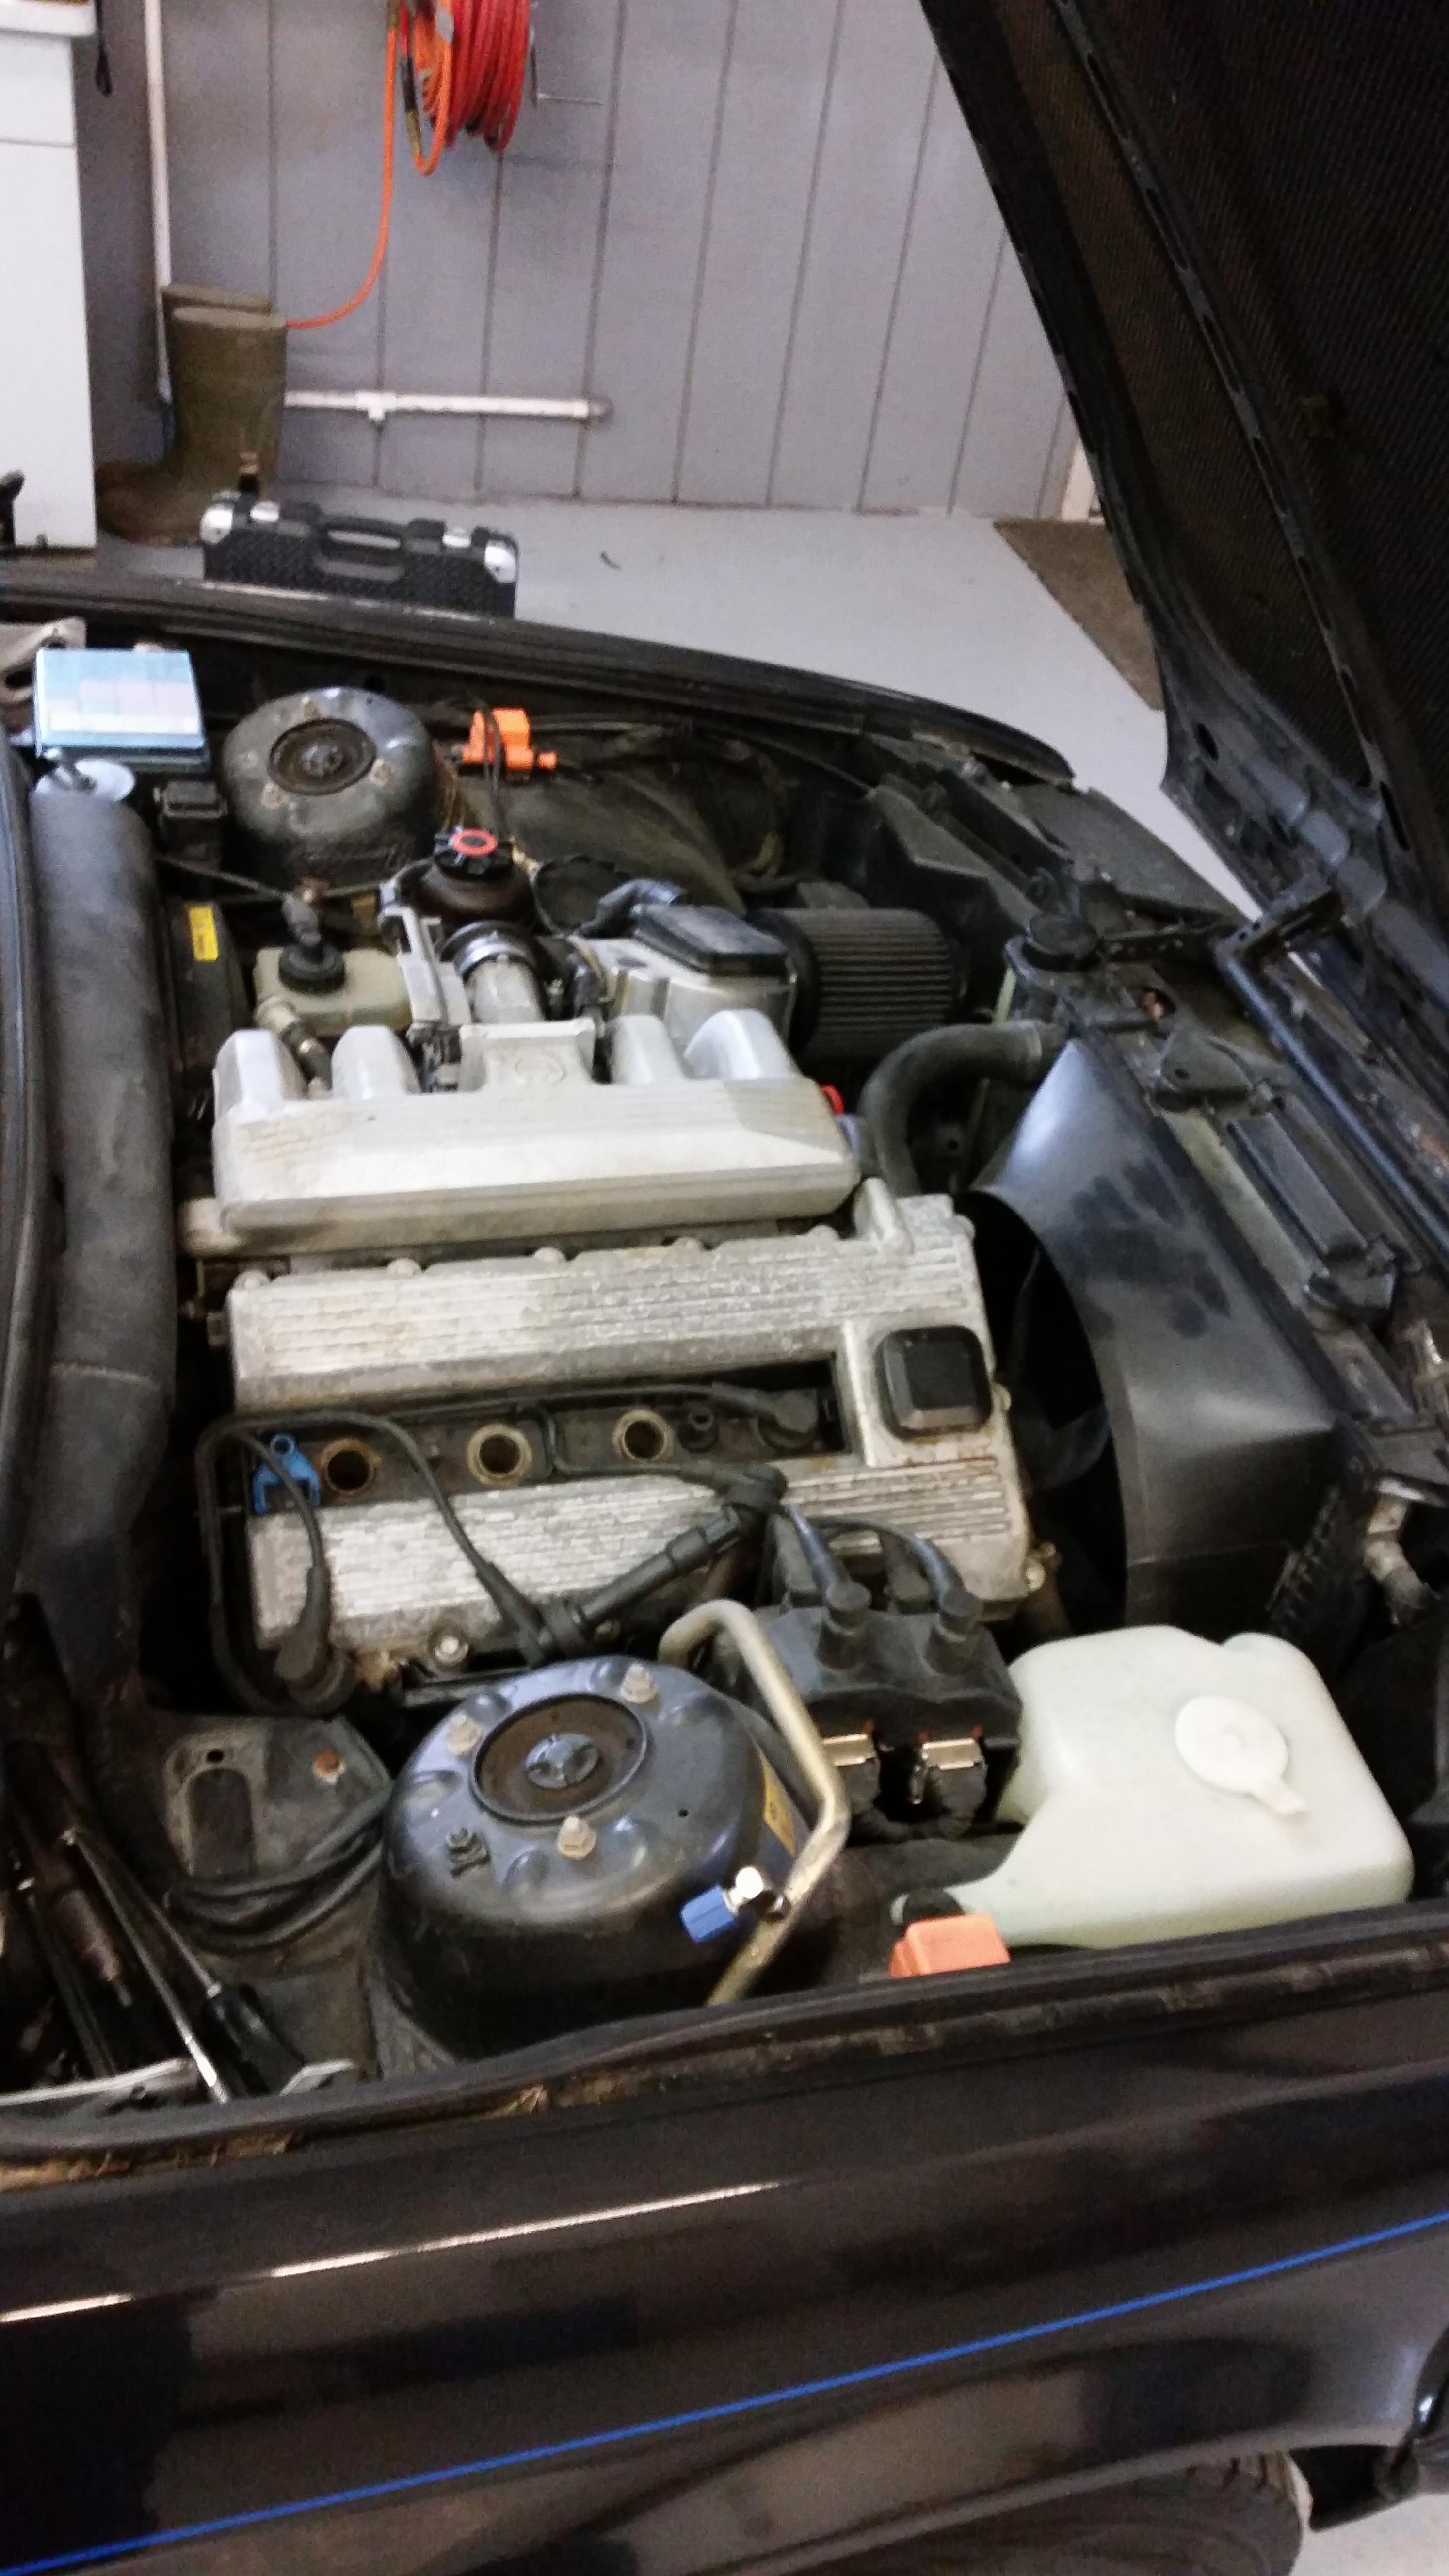
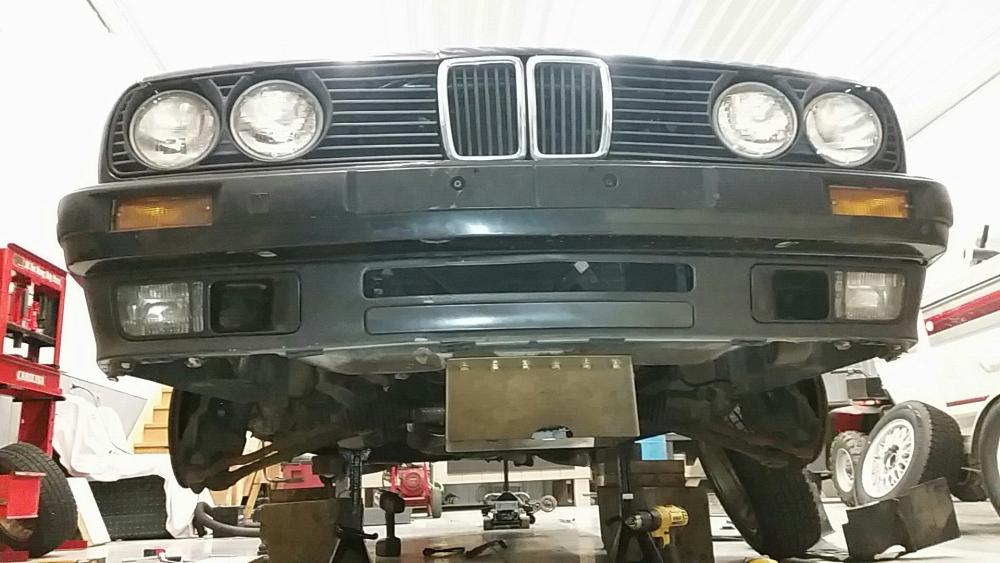
                          pulled master cylinder and booster as well as the throttle cable. Does the M42 throttle cable long enough for the swap or am I still gonna need an e34 one?
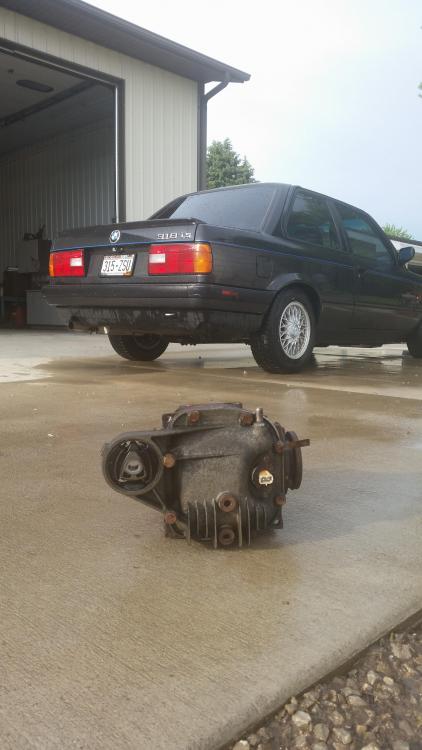
                          Moved all the wiring over by the fuse box out of the engine bay.

                          Vacuumed.

                          20171227215814.jpg

                          20171227215753.jpg\

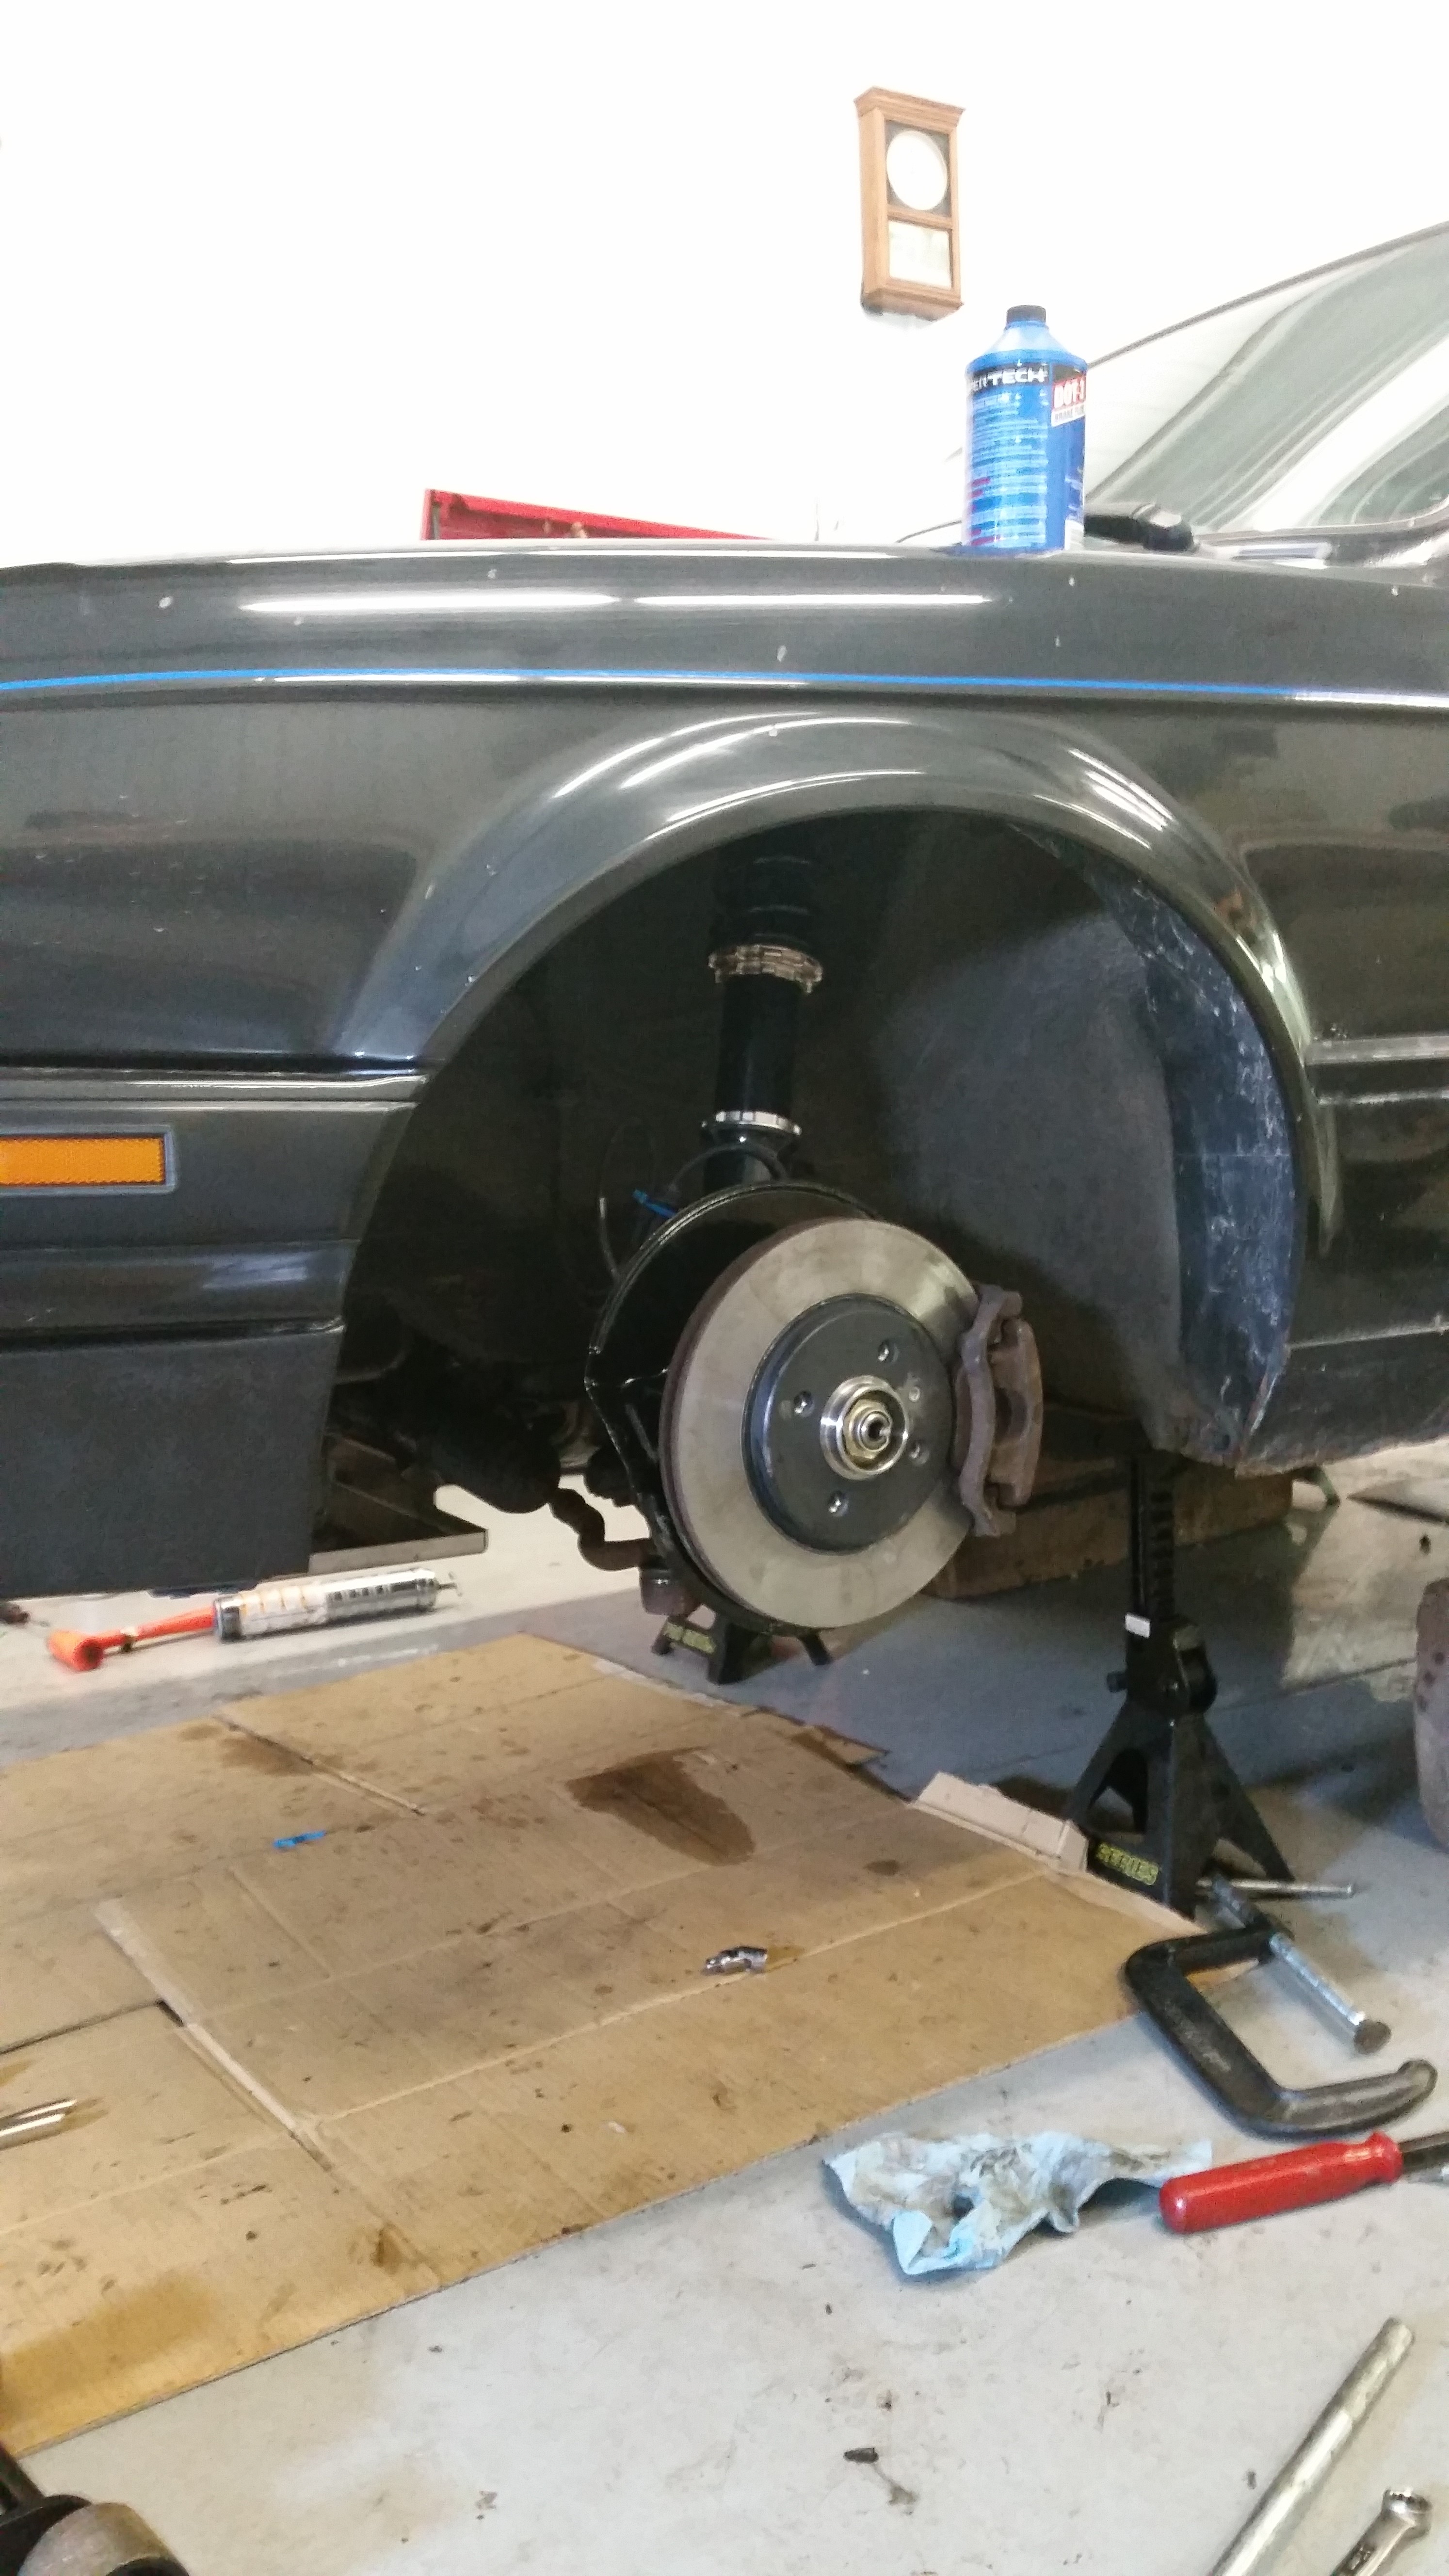
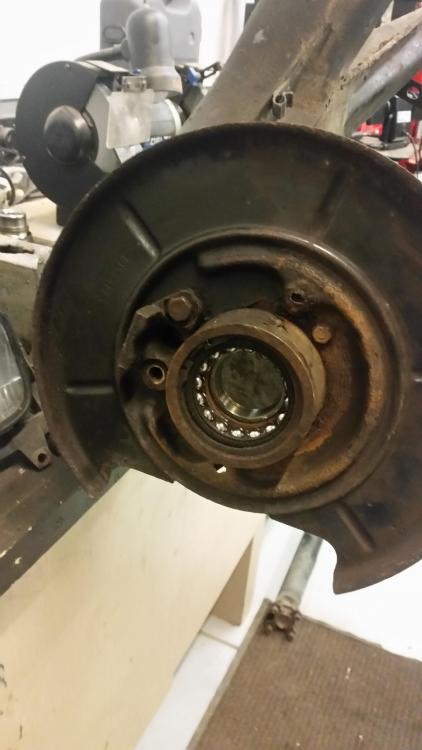
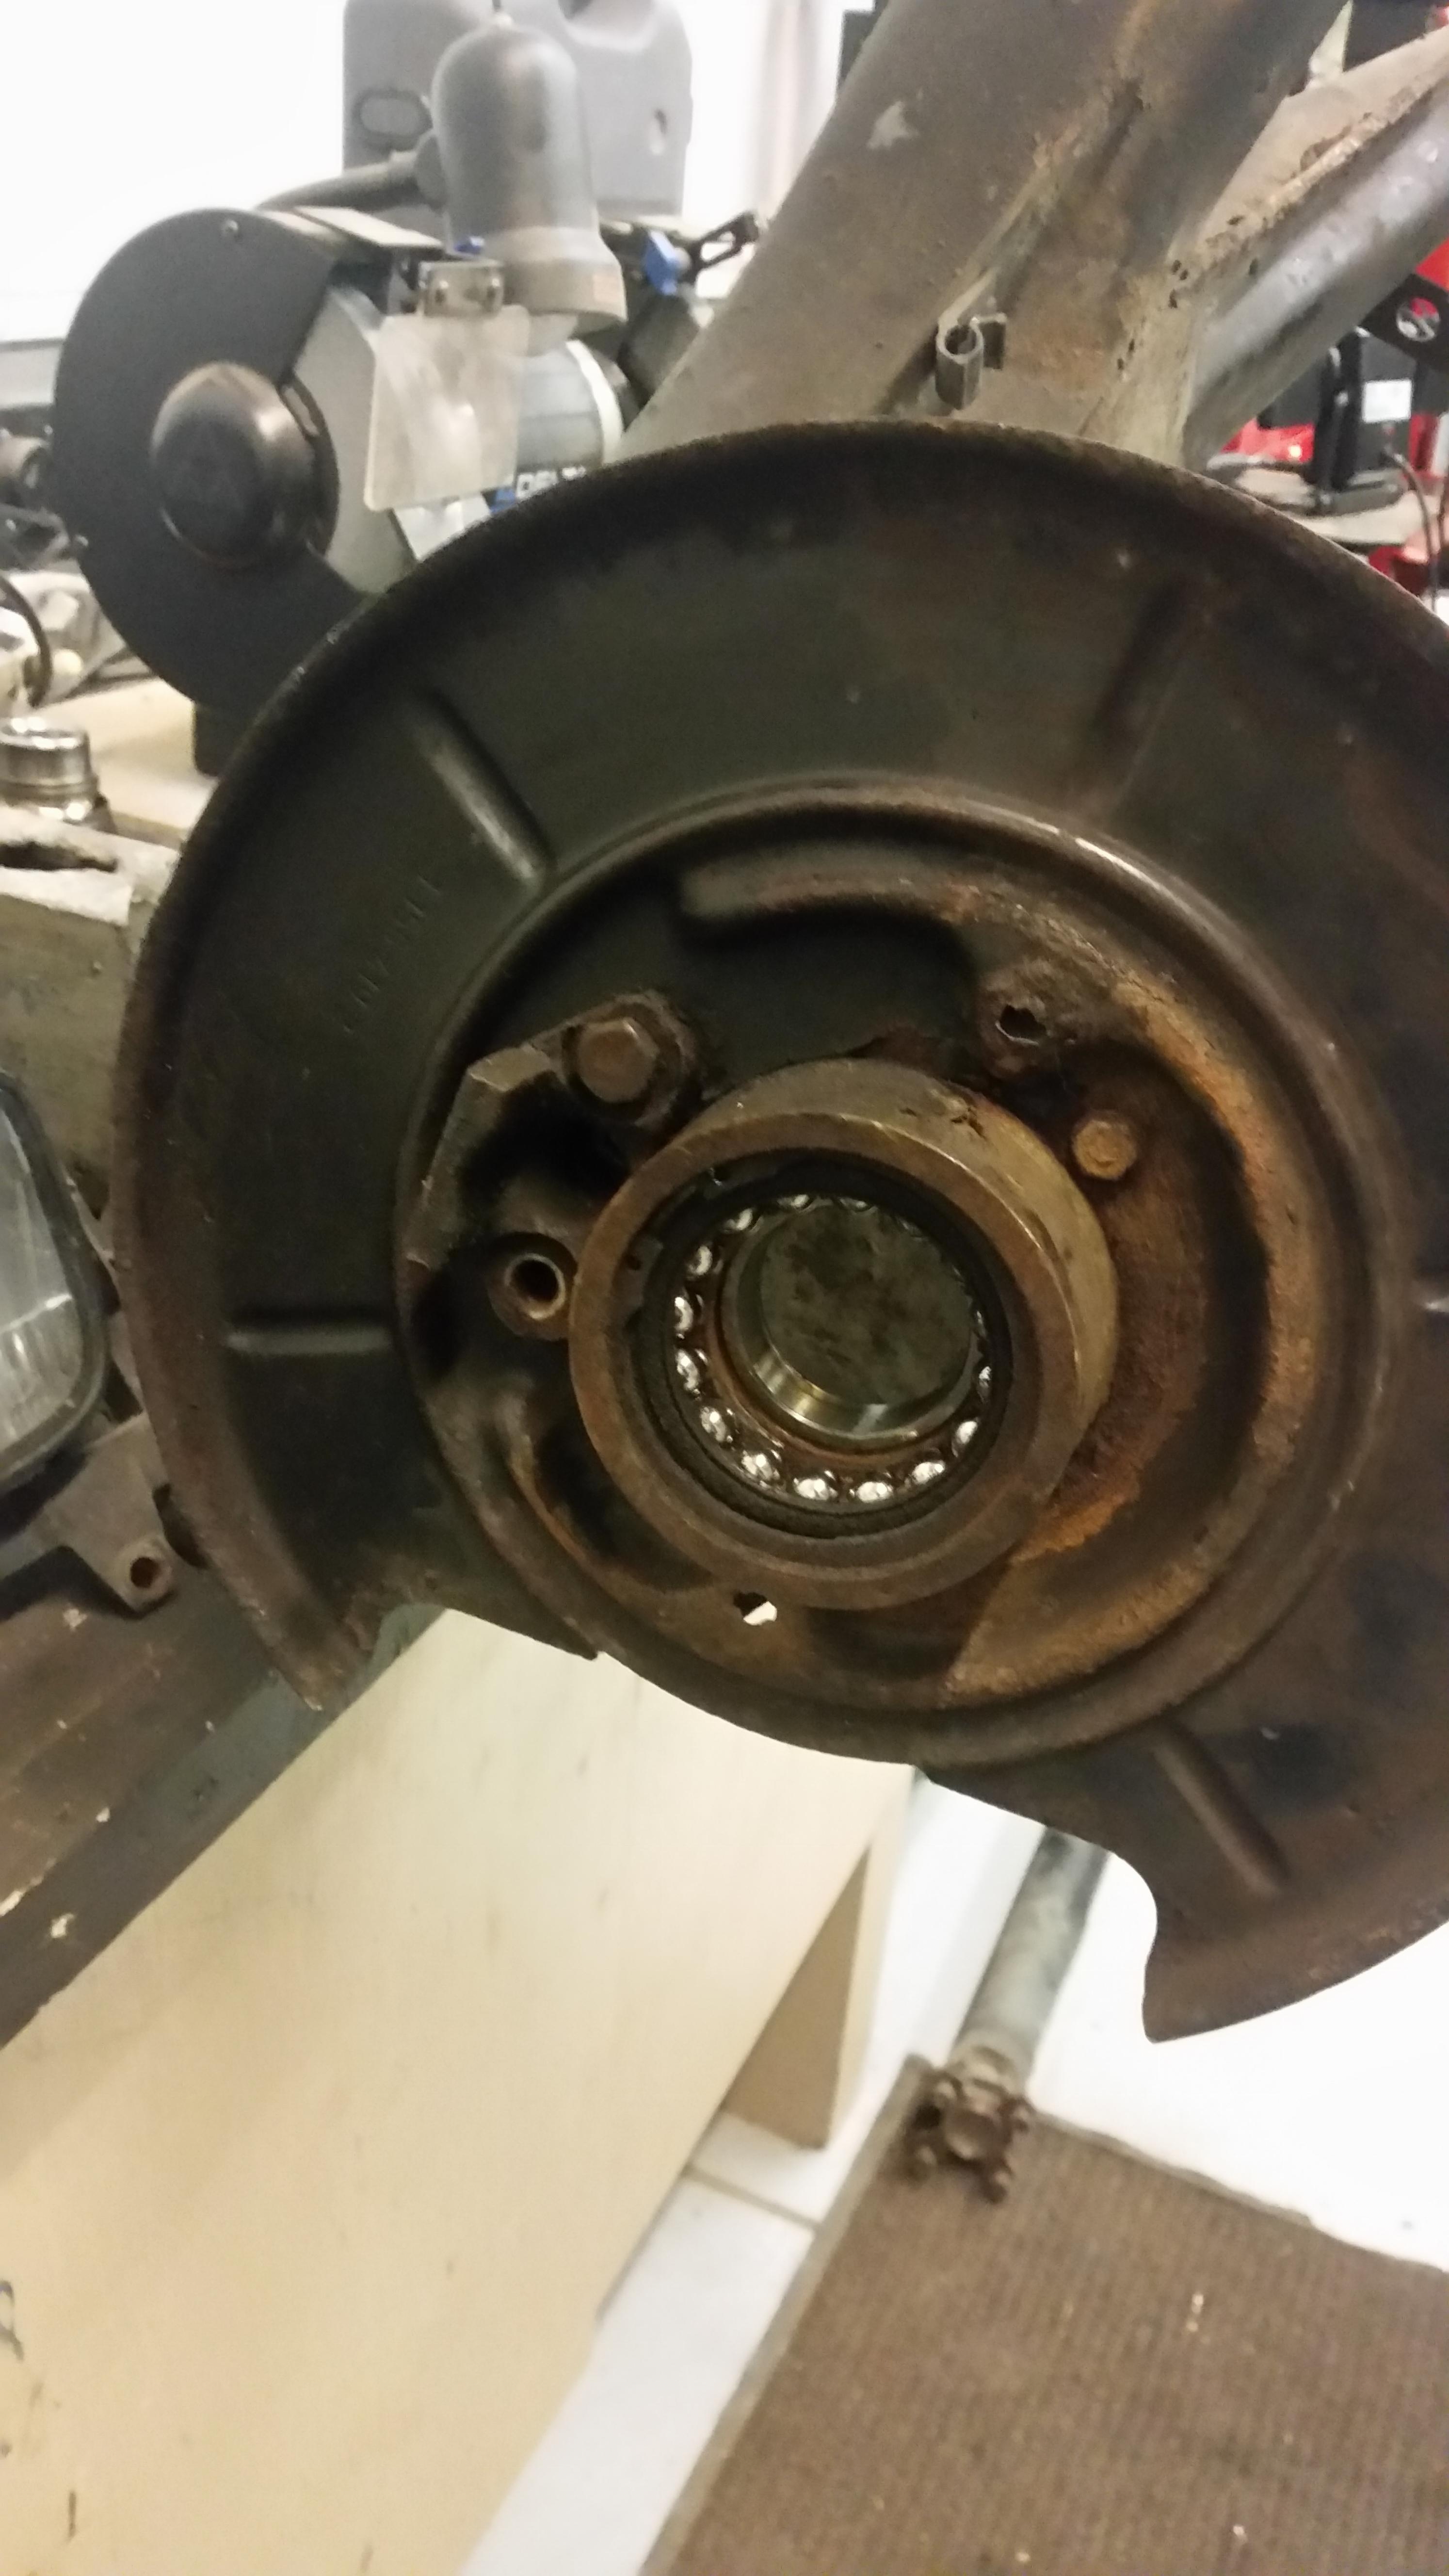
                          Had a good time figuring out how to press the wheel bearings out of the trailing arms. Only got the hubs out today. Misplaced my snap ring pliers somewhere and after about an hour of searching the entire shop I called her a night.
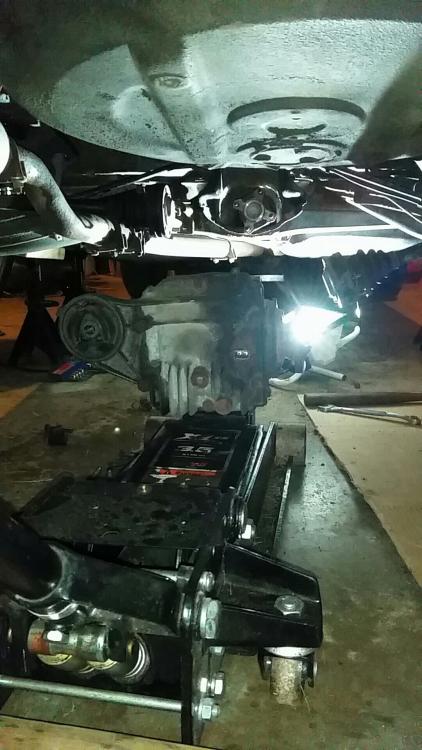
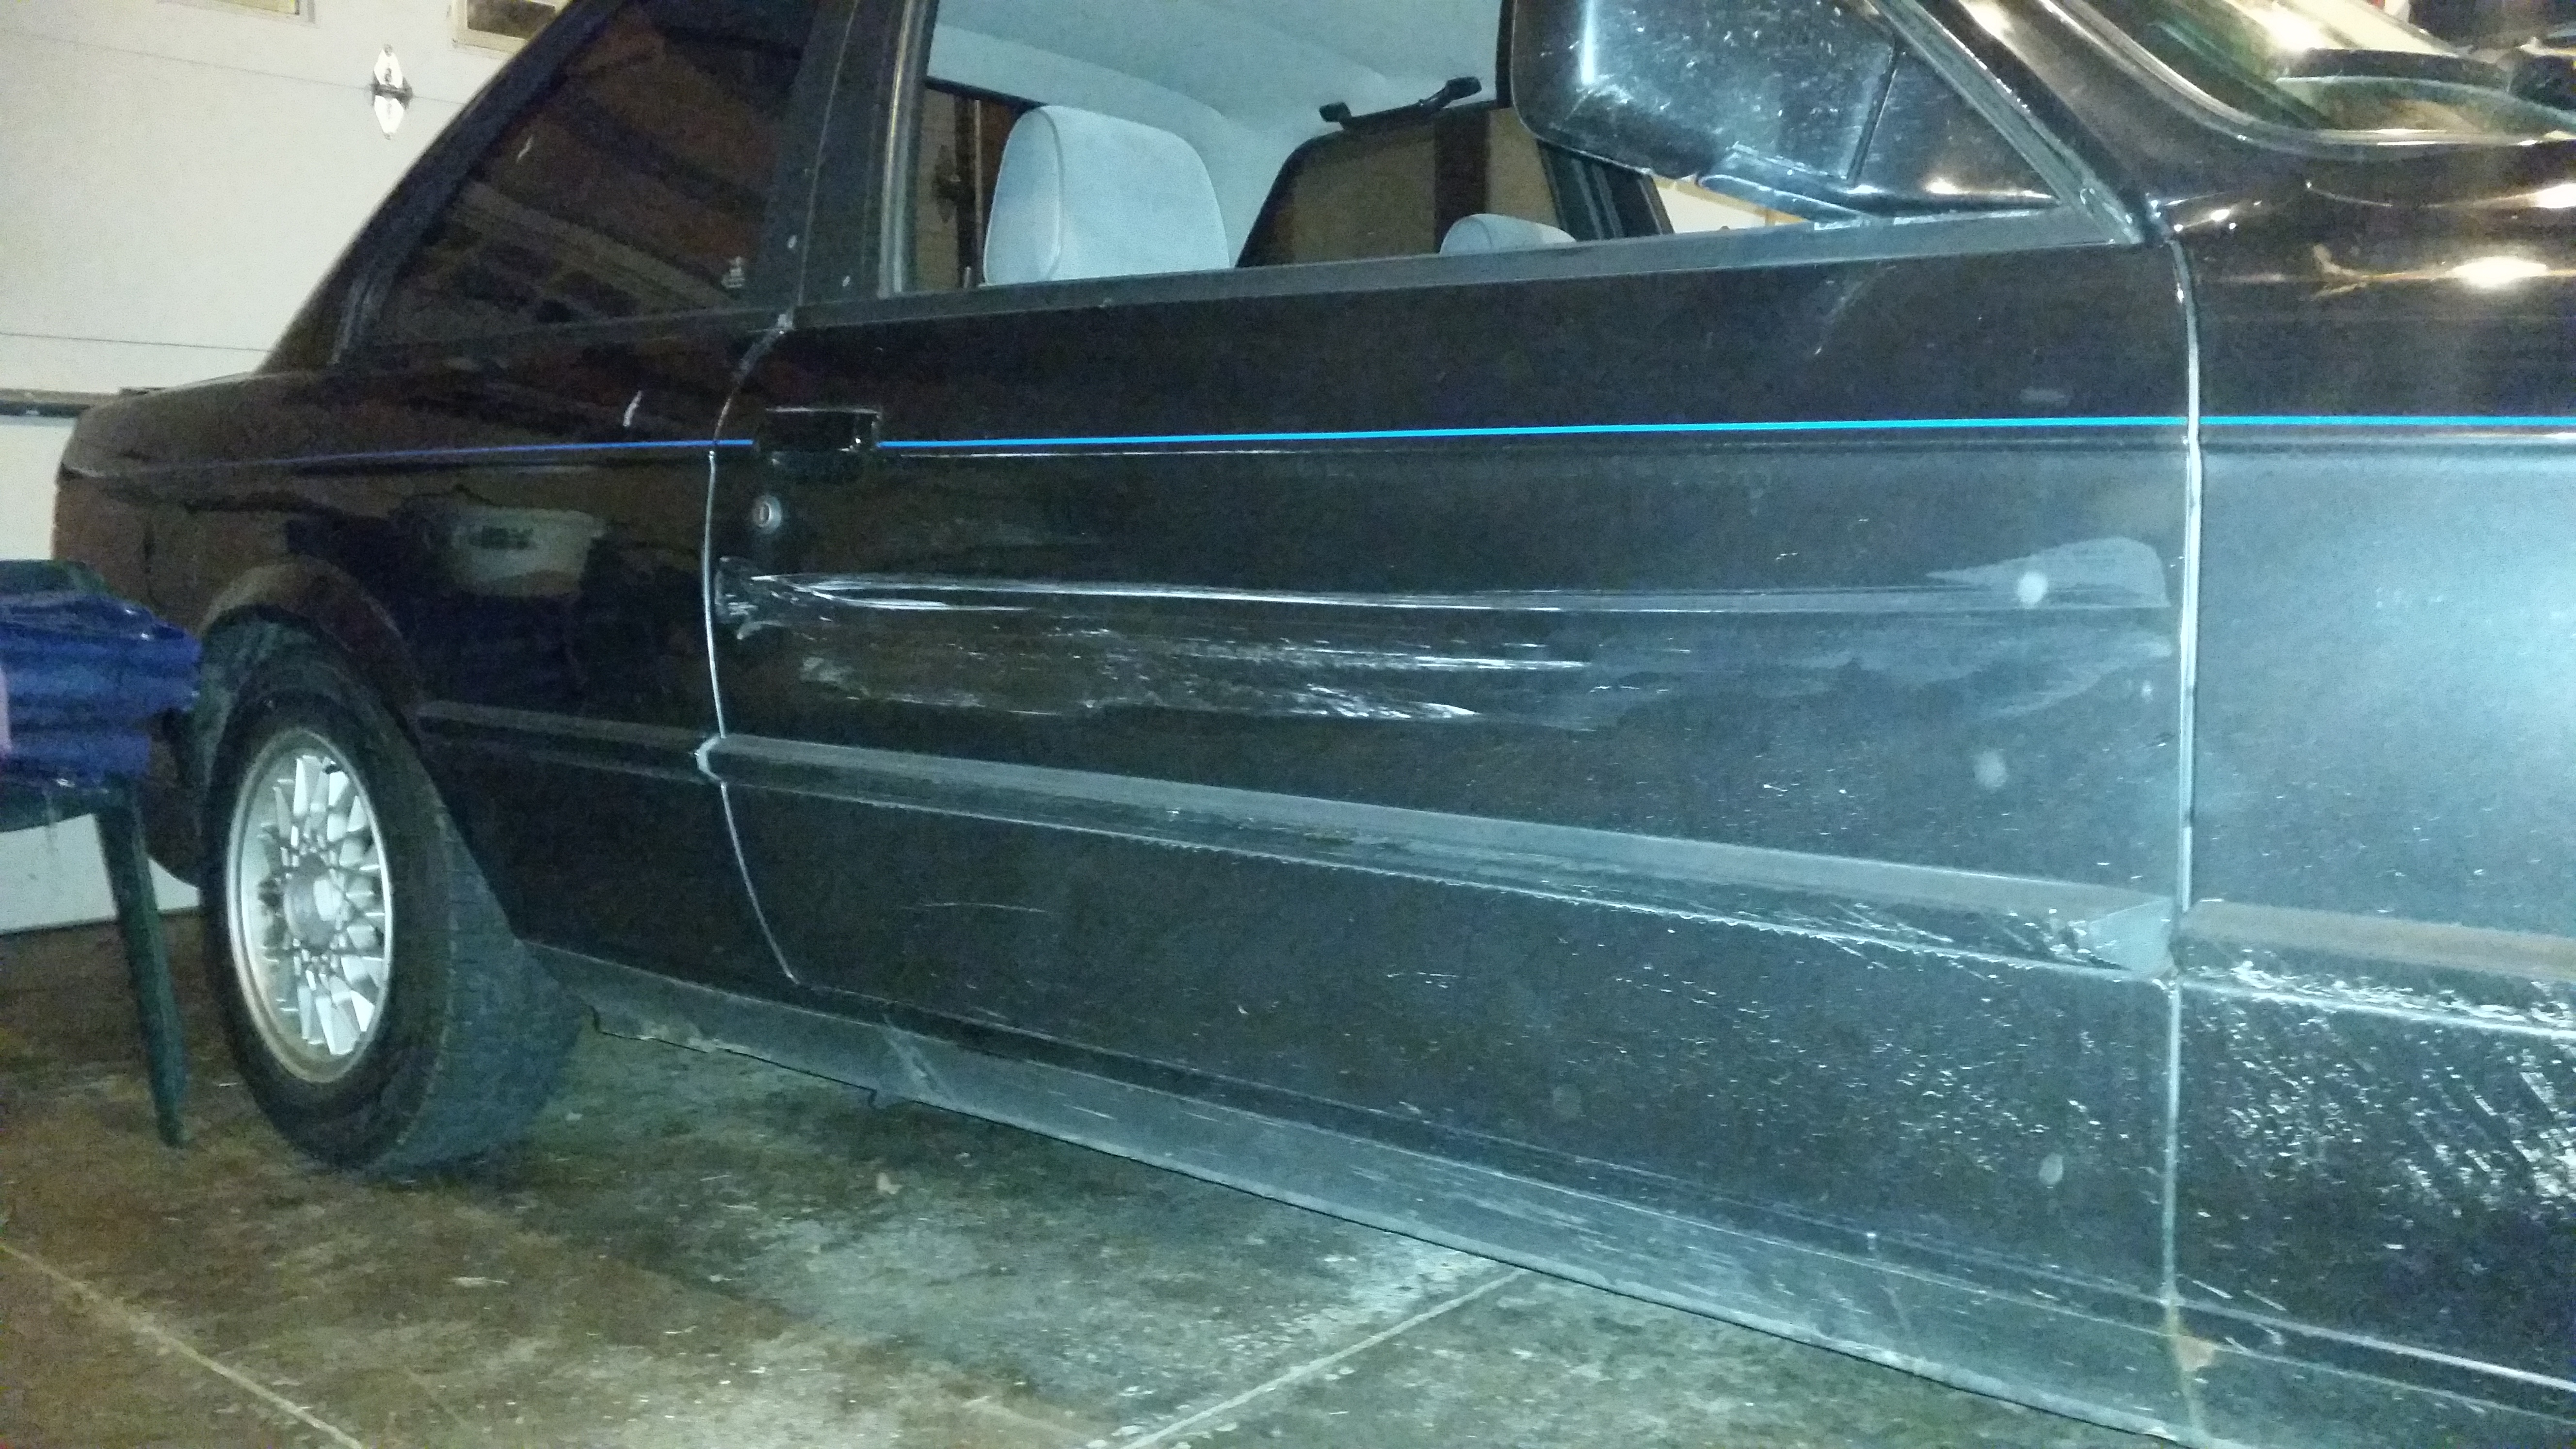
                          20171227215841.jpg

                          Got a new bolt for the motor. Also in the process of getting the shit bolt and tap welded together, thank you for that idea by the way! Will have that done tomorrow. Just hoping I manage to save the threads enough for them to be effective.

                          1 Reply Last reply
                          0
                          • B
                            B
                            B C
                            wrote on last edited by
                            #121

                            I have read that the M42 cable works fine

                            1 Reply Last reply
                            0
                            • GunMetalGreyG
                              GunMetalGreyG
                              GunMetalGrey
                              wrote on last edited by
                              #122

                              AsparagusMike said:

                              So I went over to the shop this afternoon to mess around with the motor for a few hours and maybe get the thing timed. Everything was going smooth as can be, everything smooth as can.....
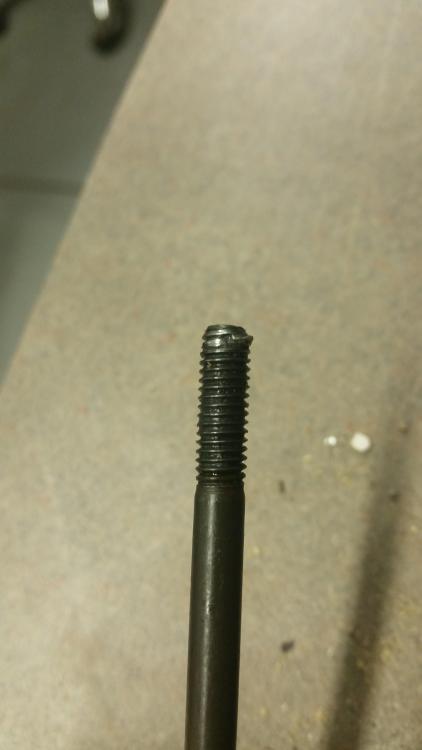
                              Its the longest of the 2 bolts that hold the upper chain guide in place. 

                              So this bolt runs down and fastens to the timing cover (aluminum). These are quite common to strip and are certainly a pain to deal with. 
                              I don't think you will get the threads to take with a new bolt, though it's an easy thing to try. 
                              I've had this happen a couple times (don't go by the book spec, it's too much) and I started putting inserts in them before assembly to cover my ass. 

                              Pulling the timing cover off is my advice if you want to be proper. 
                              Loosen up the head, pull the jesus bolt, loosen the pan, and you can slide the cover out and use inserts.

                              ...

                              1 Reply Last reply
                              1
                              • AsparagusMikeA
                                AsparagusMikeA
                                AsparagusMike
                                wrote on last edited by
                                #123

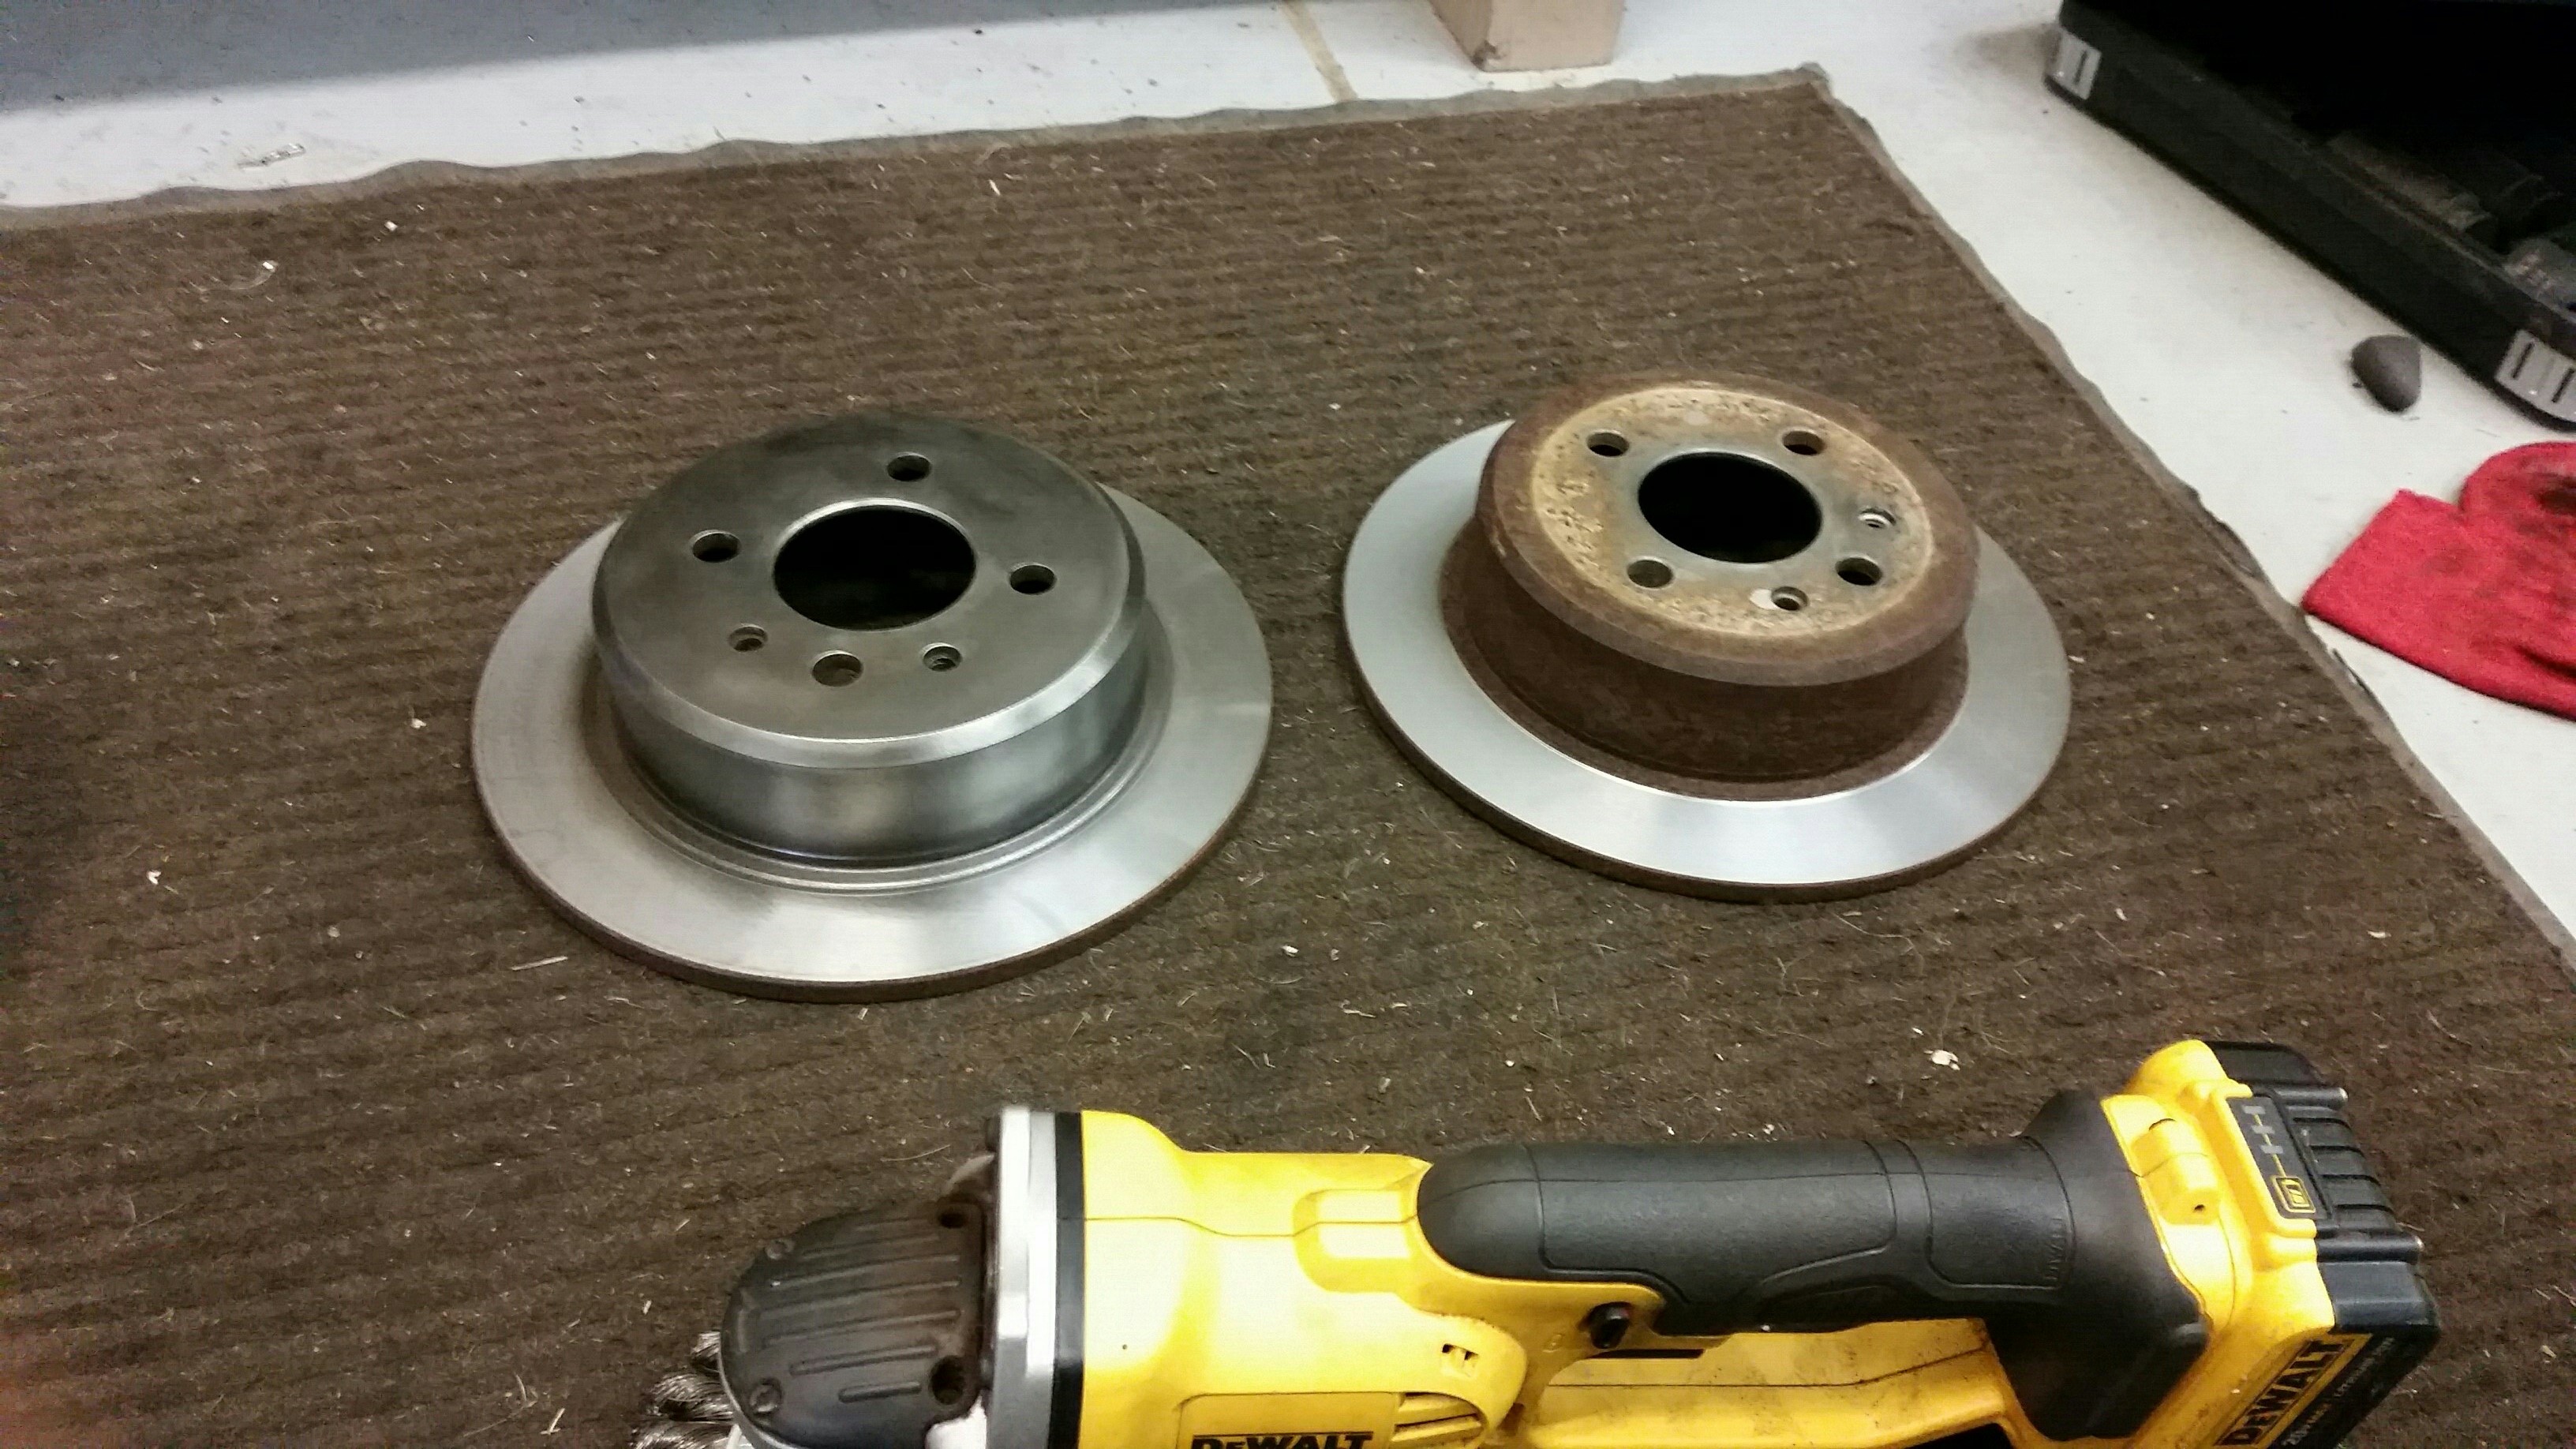
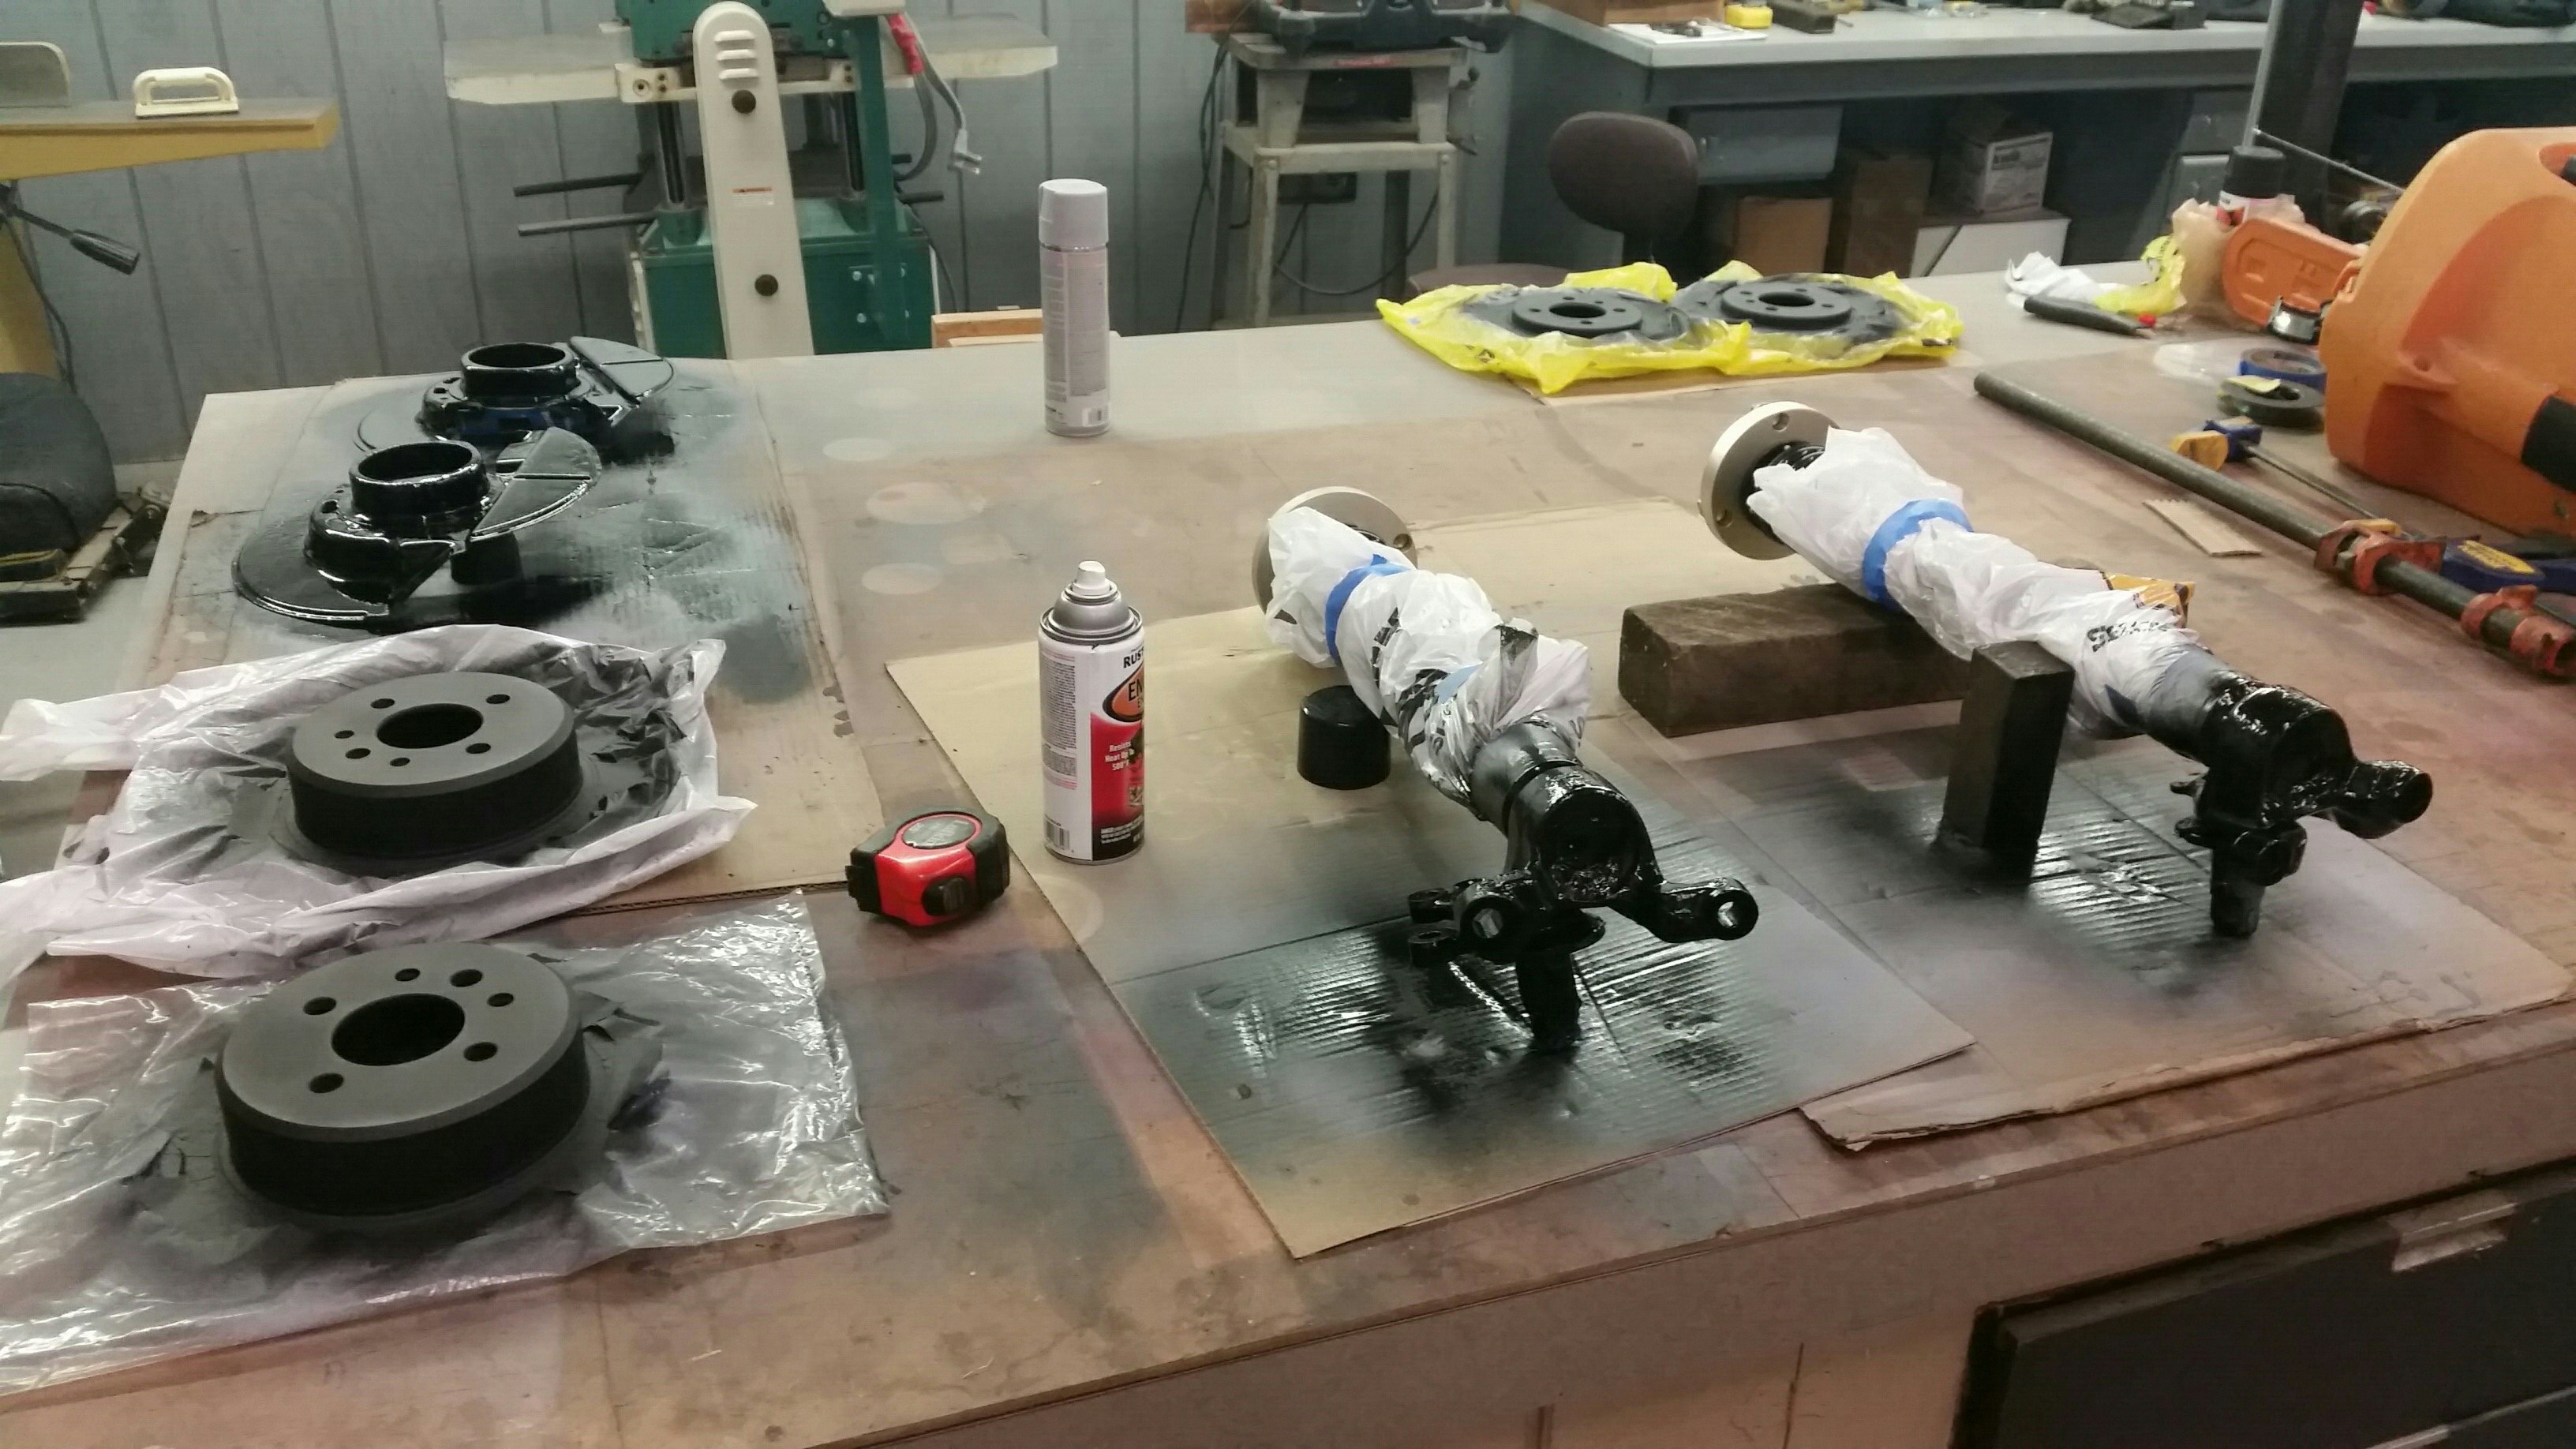
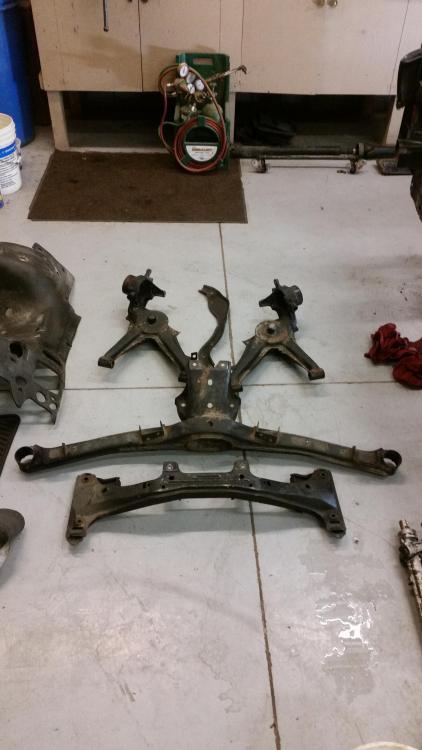
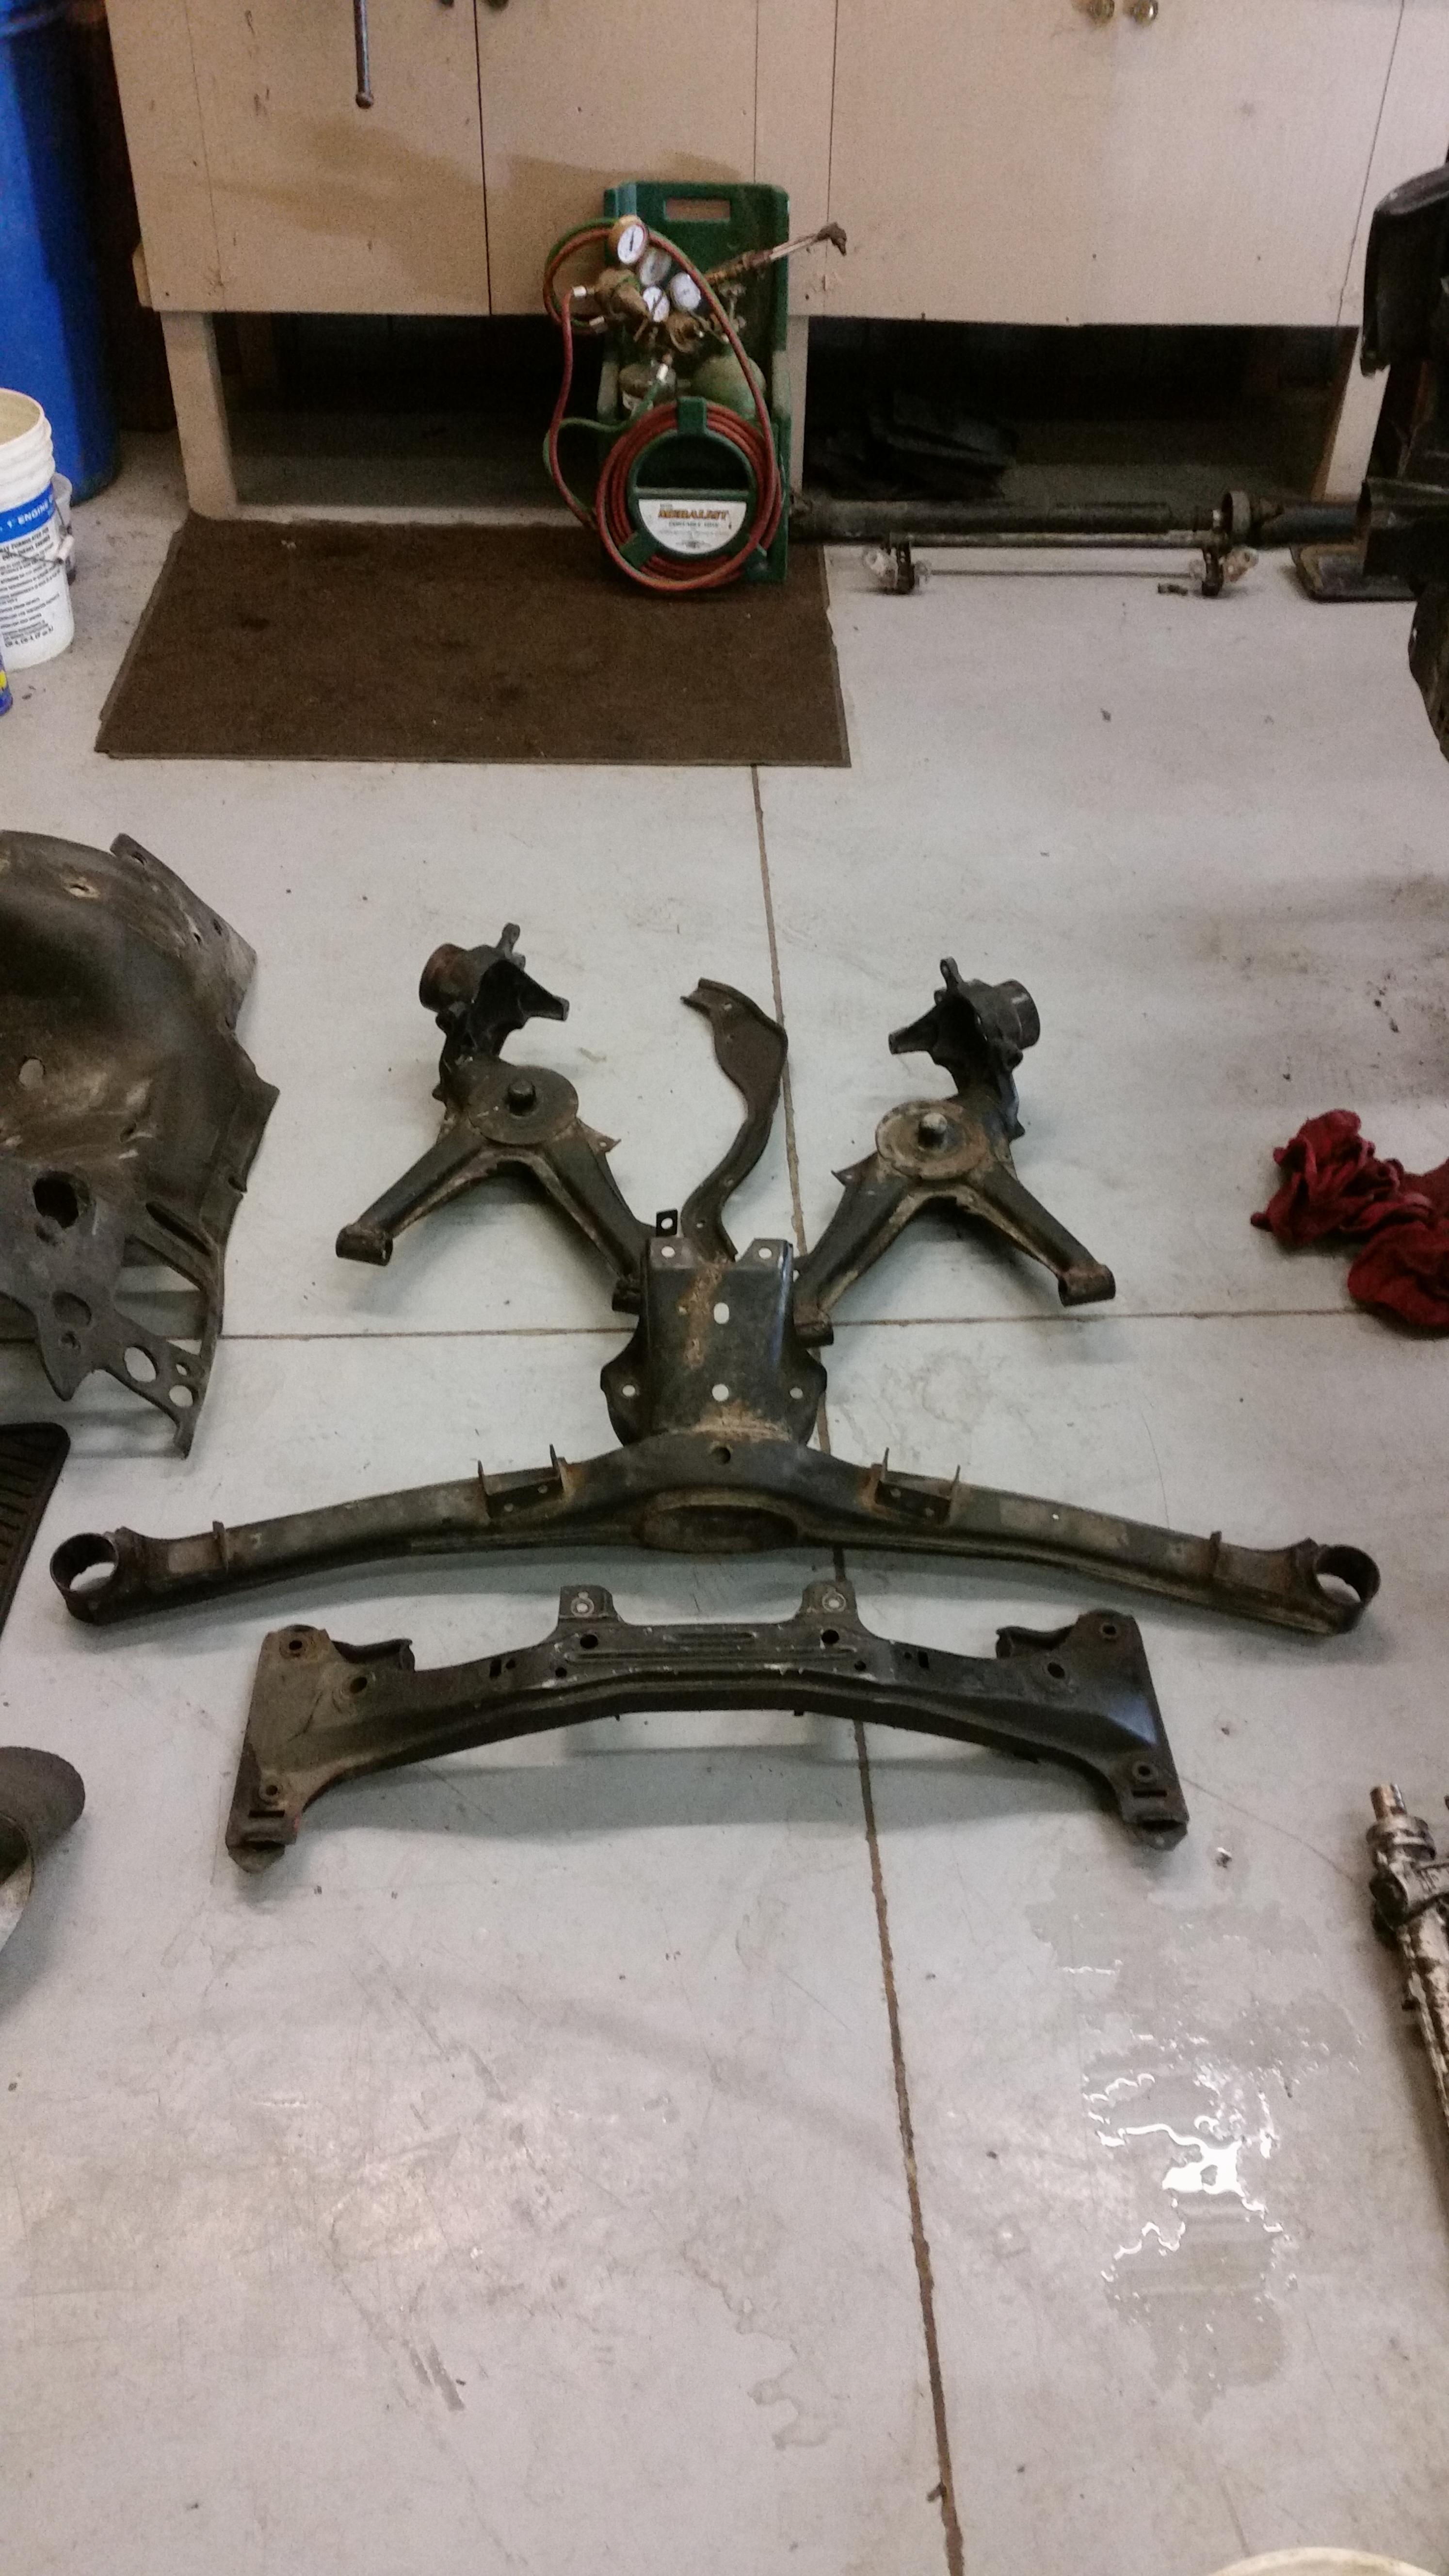
                                Trialing arm bearings out as well as everything else that was still on them. Taking everything in to get blasted tomorrow and then reinforcement time. 😄

                                20171228201147.jpg

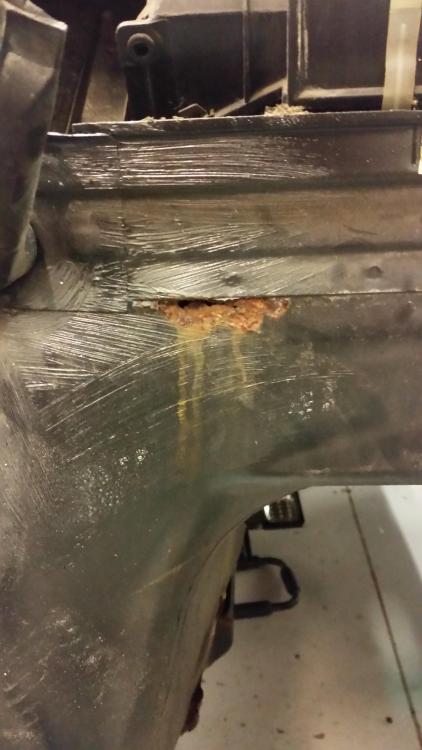
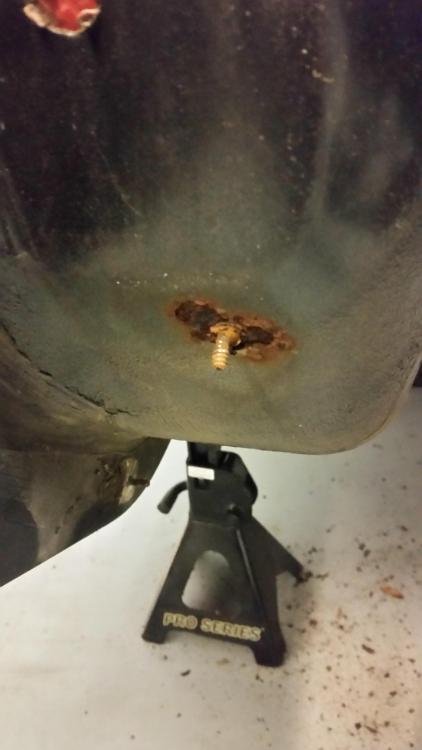
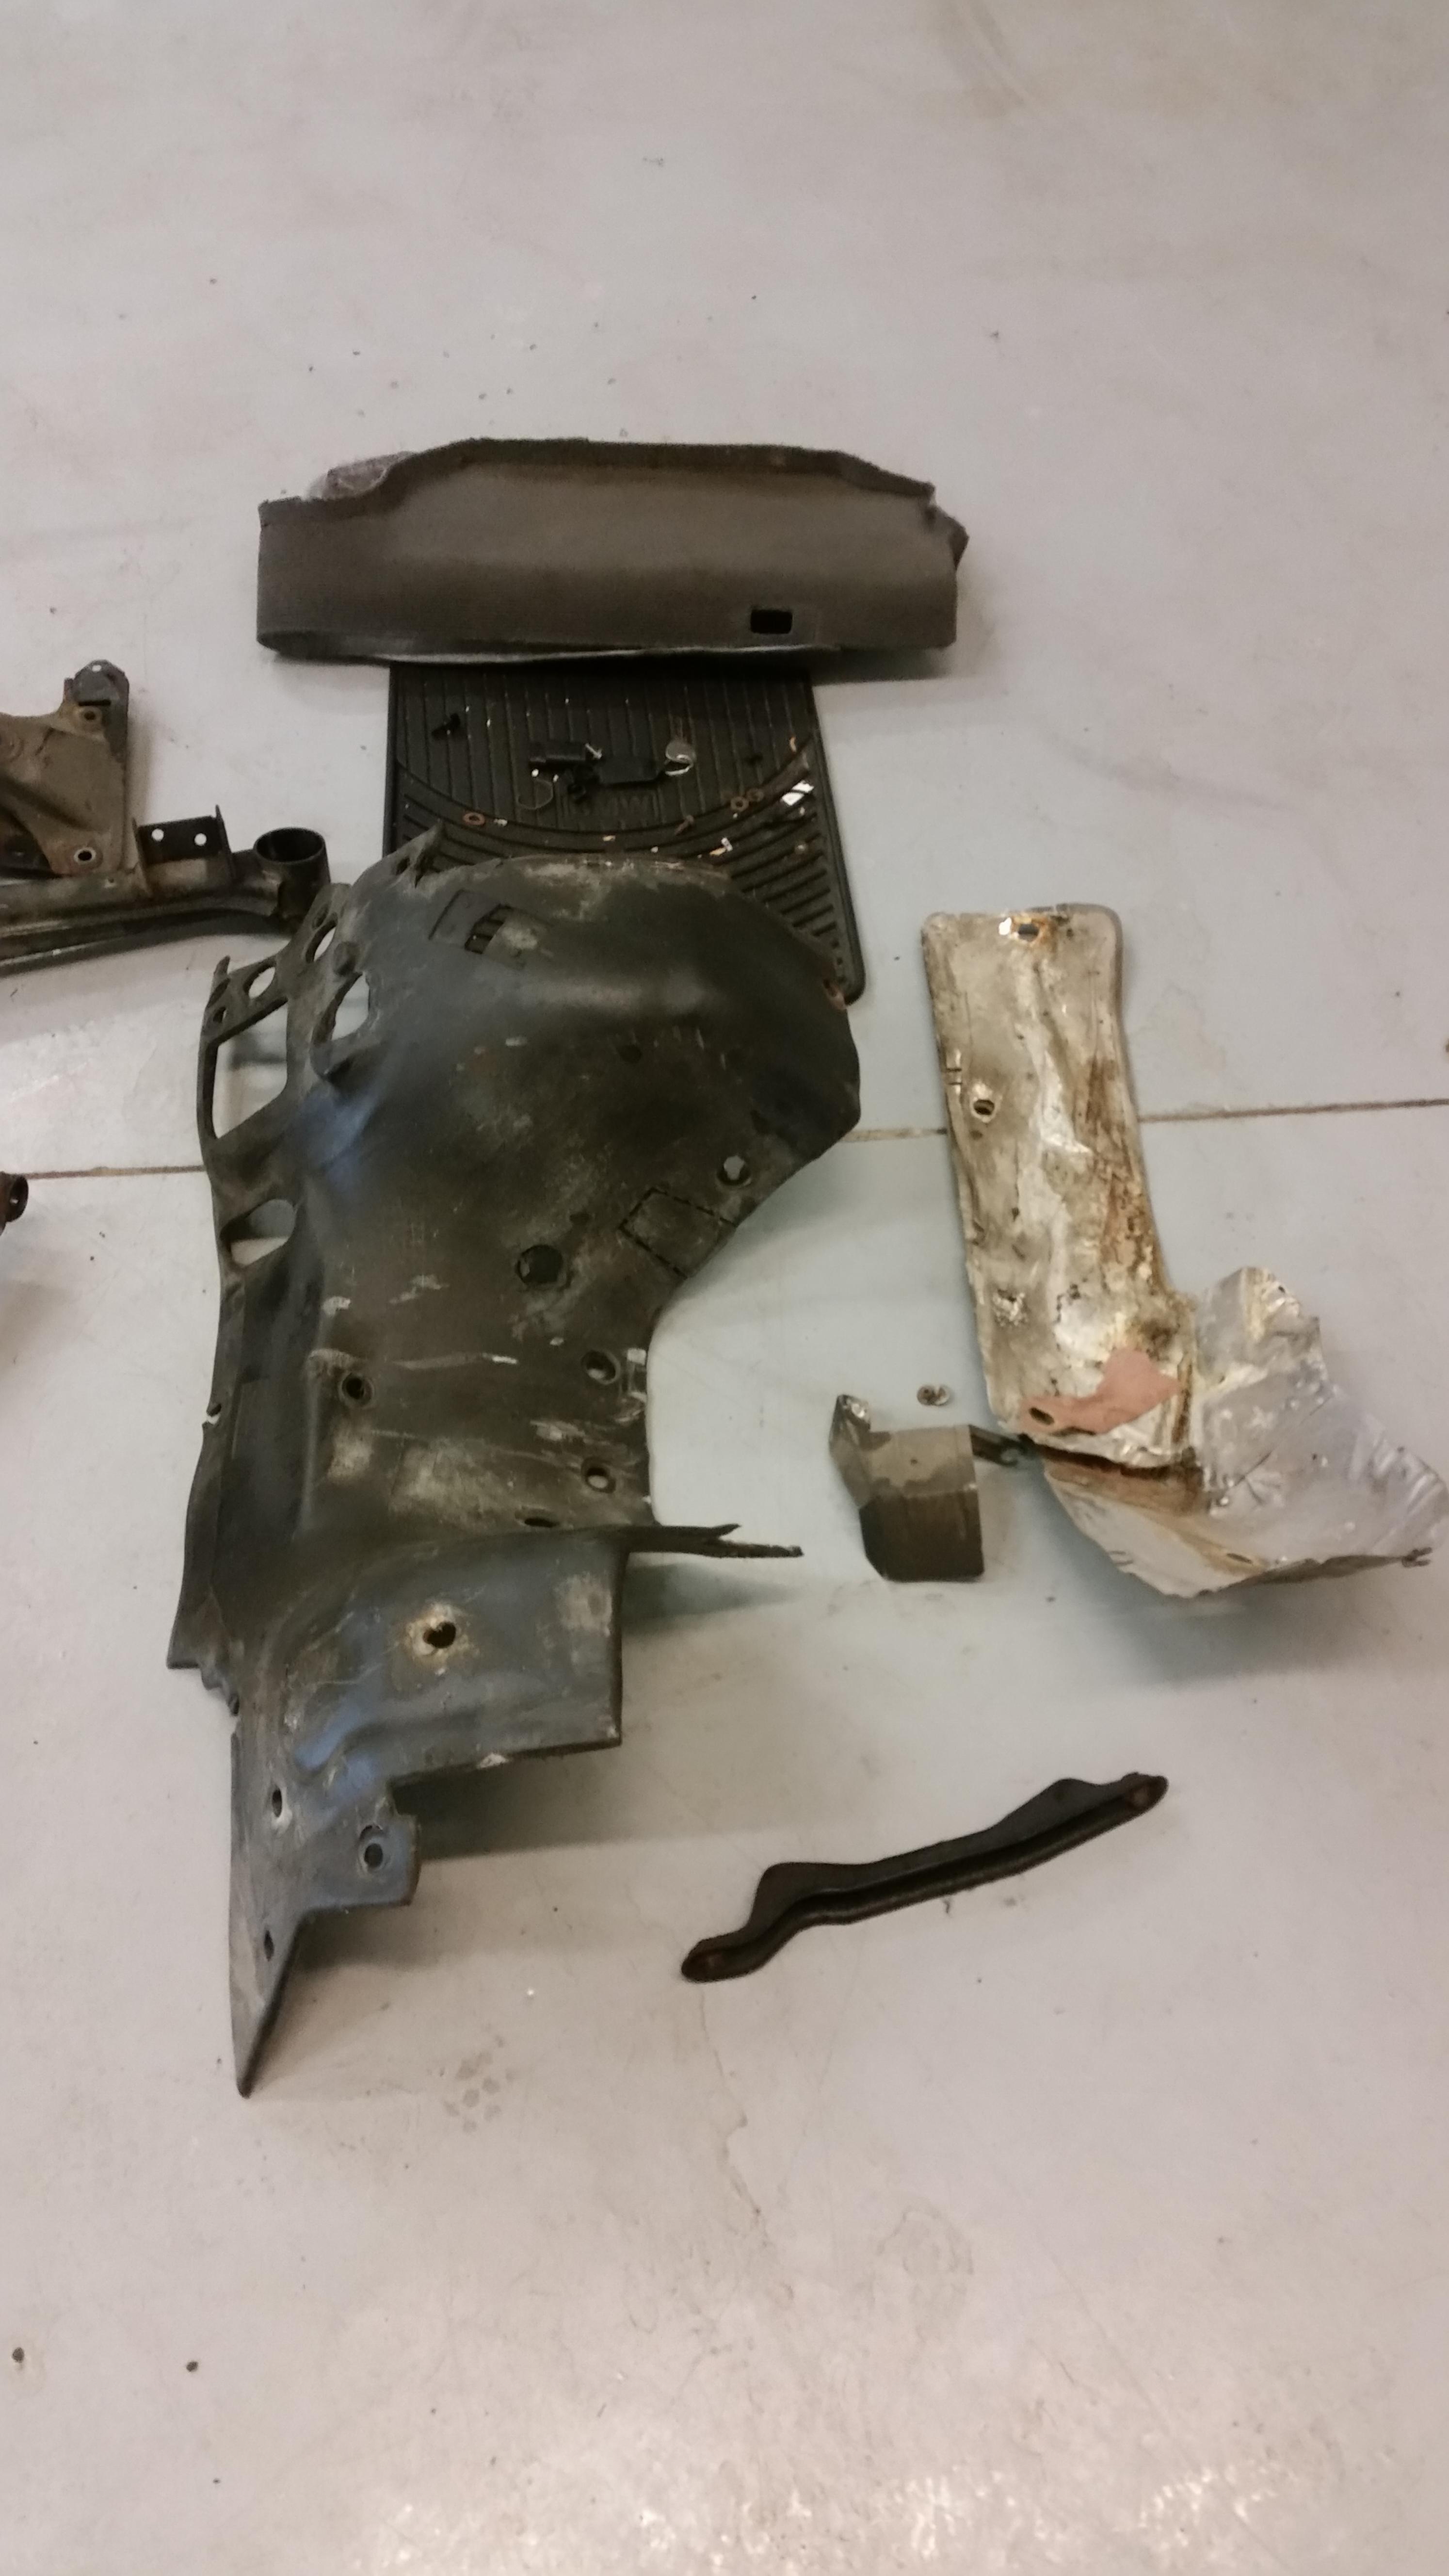
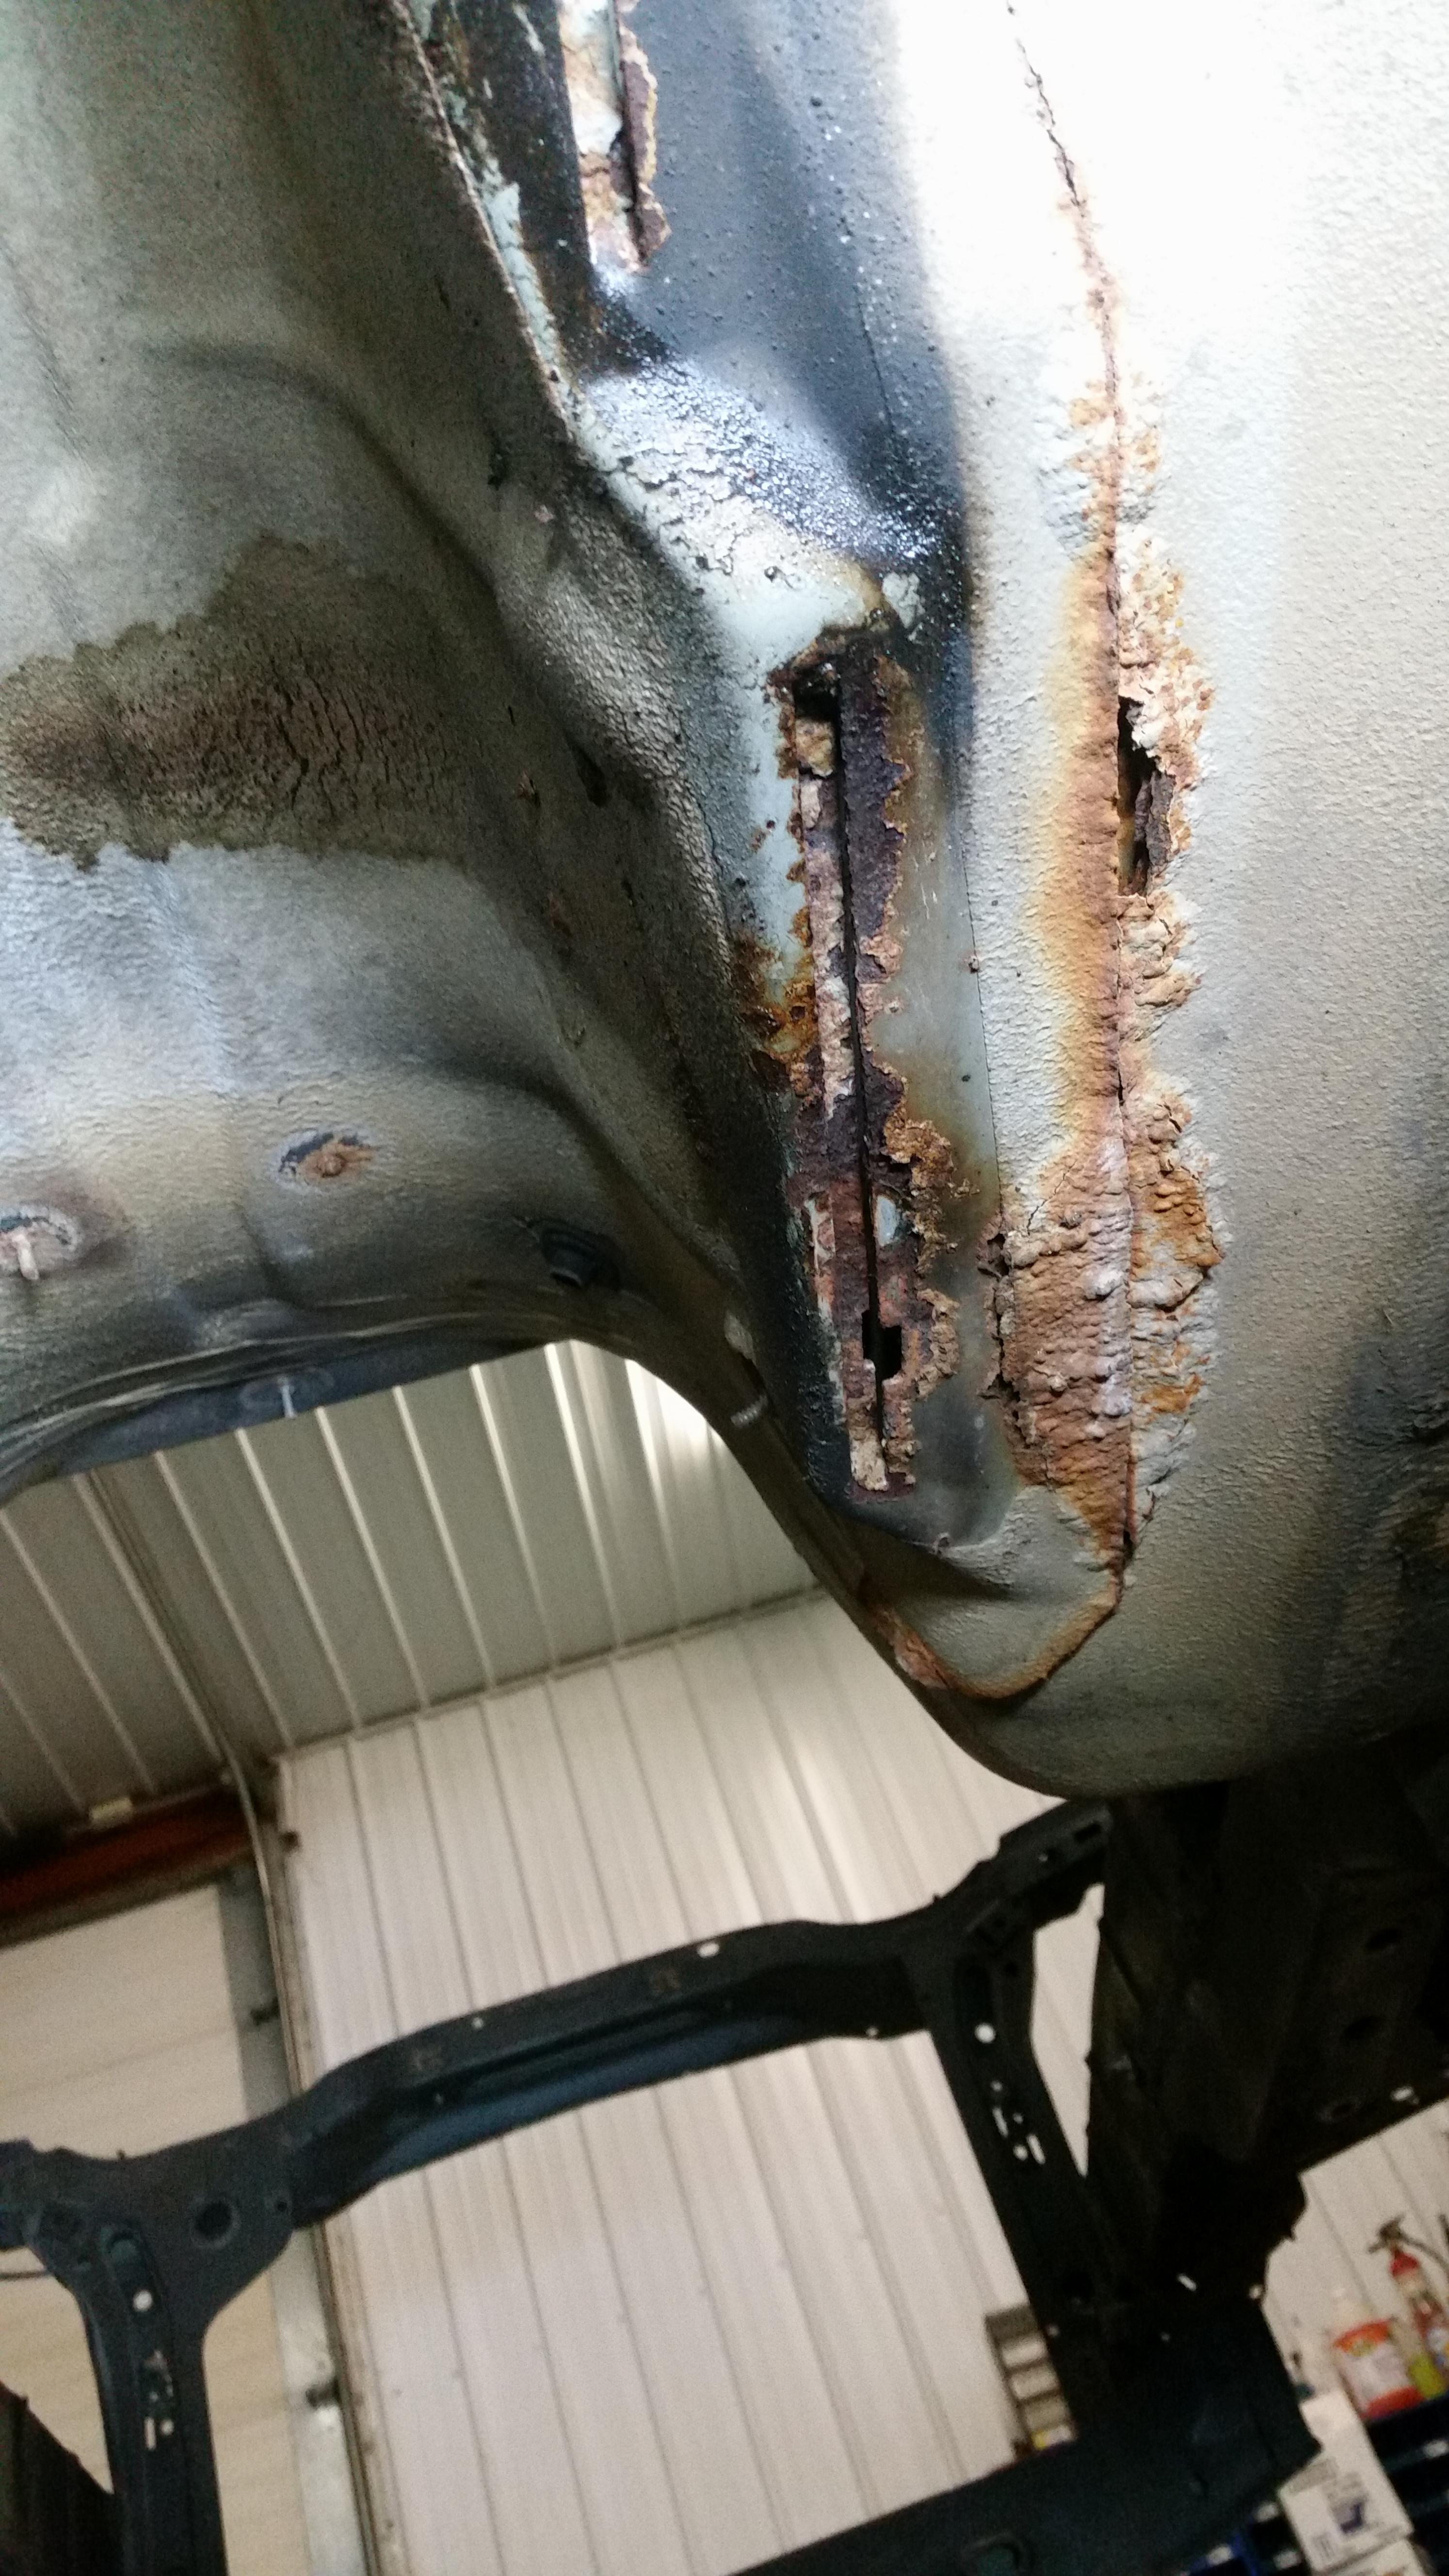
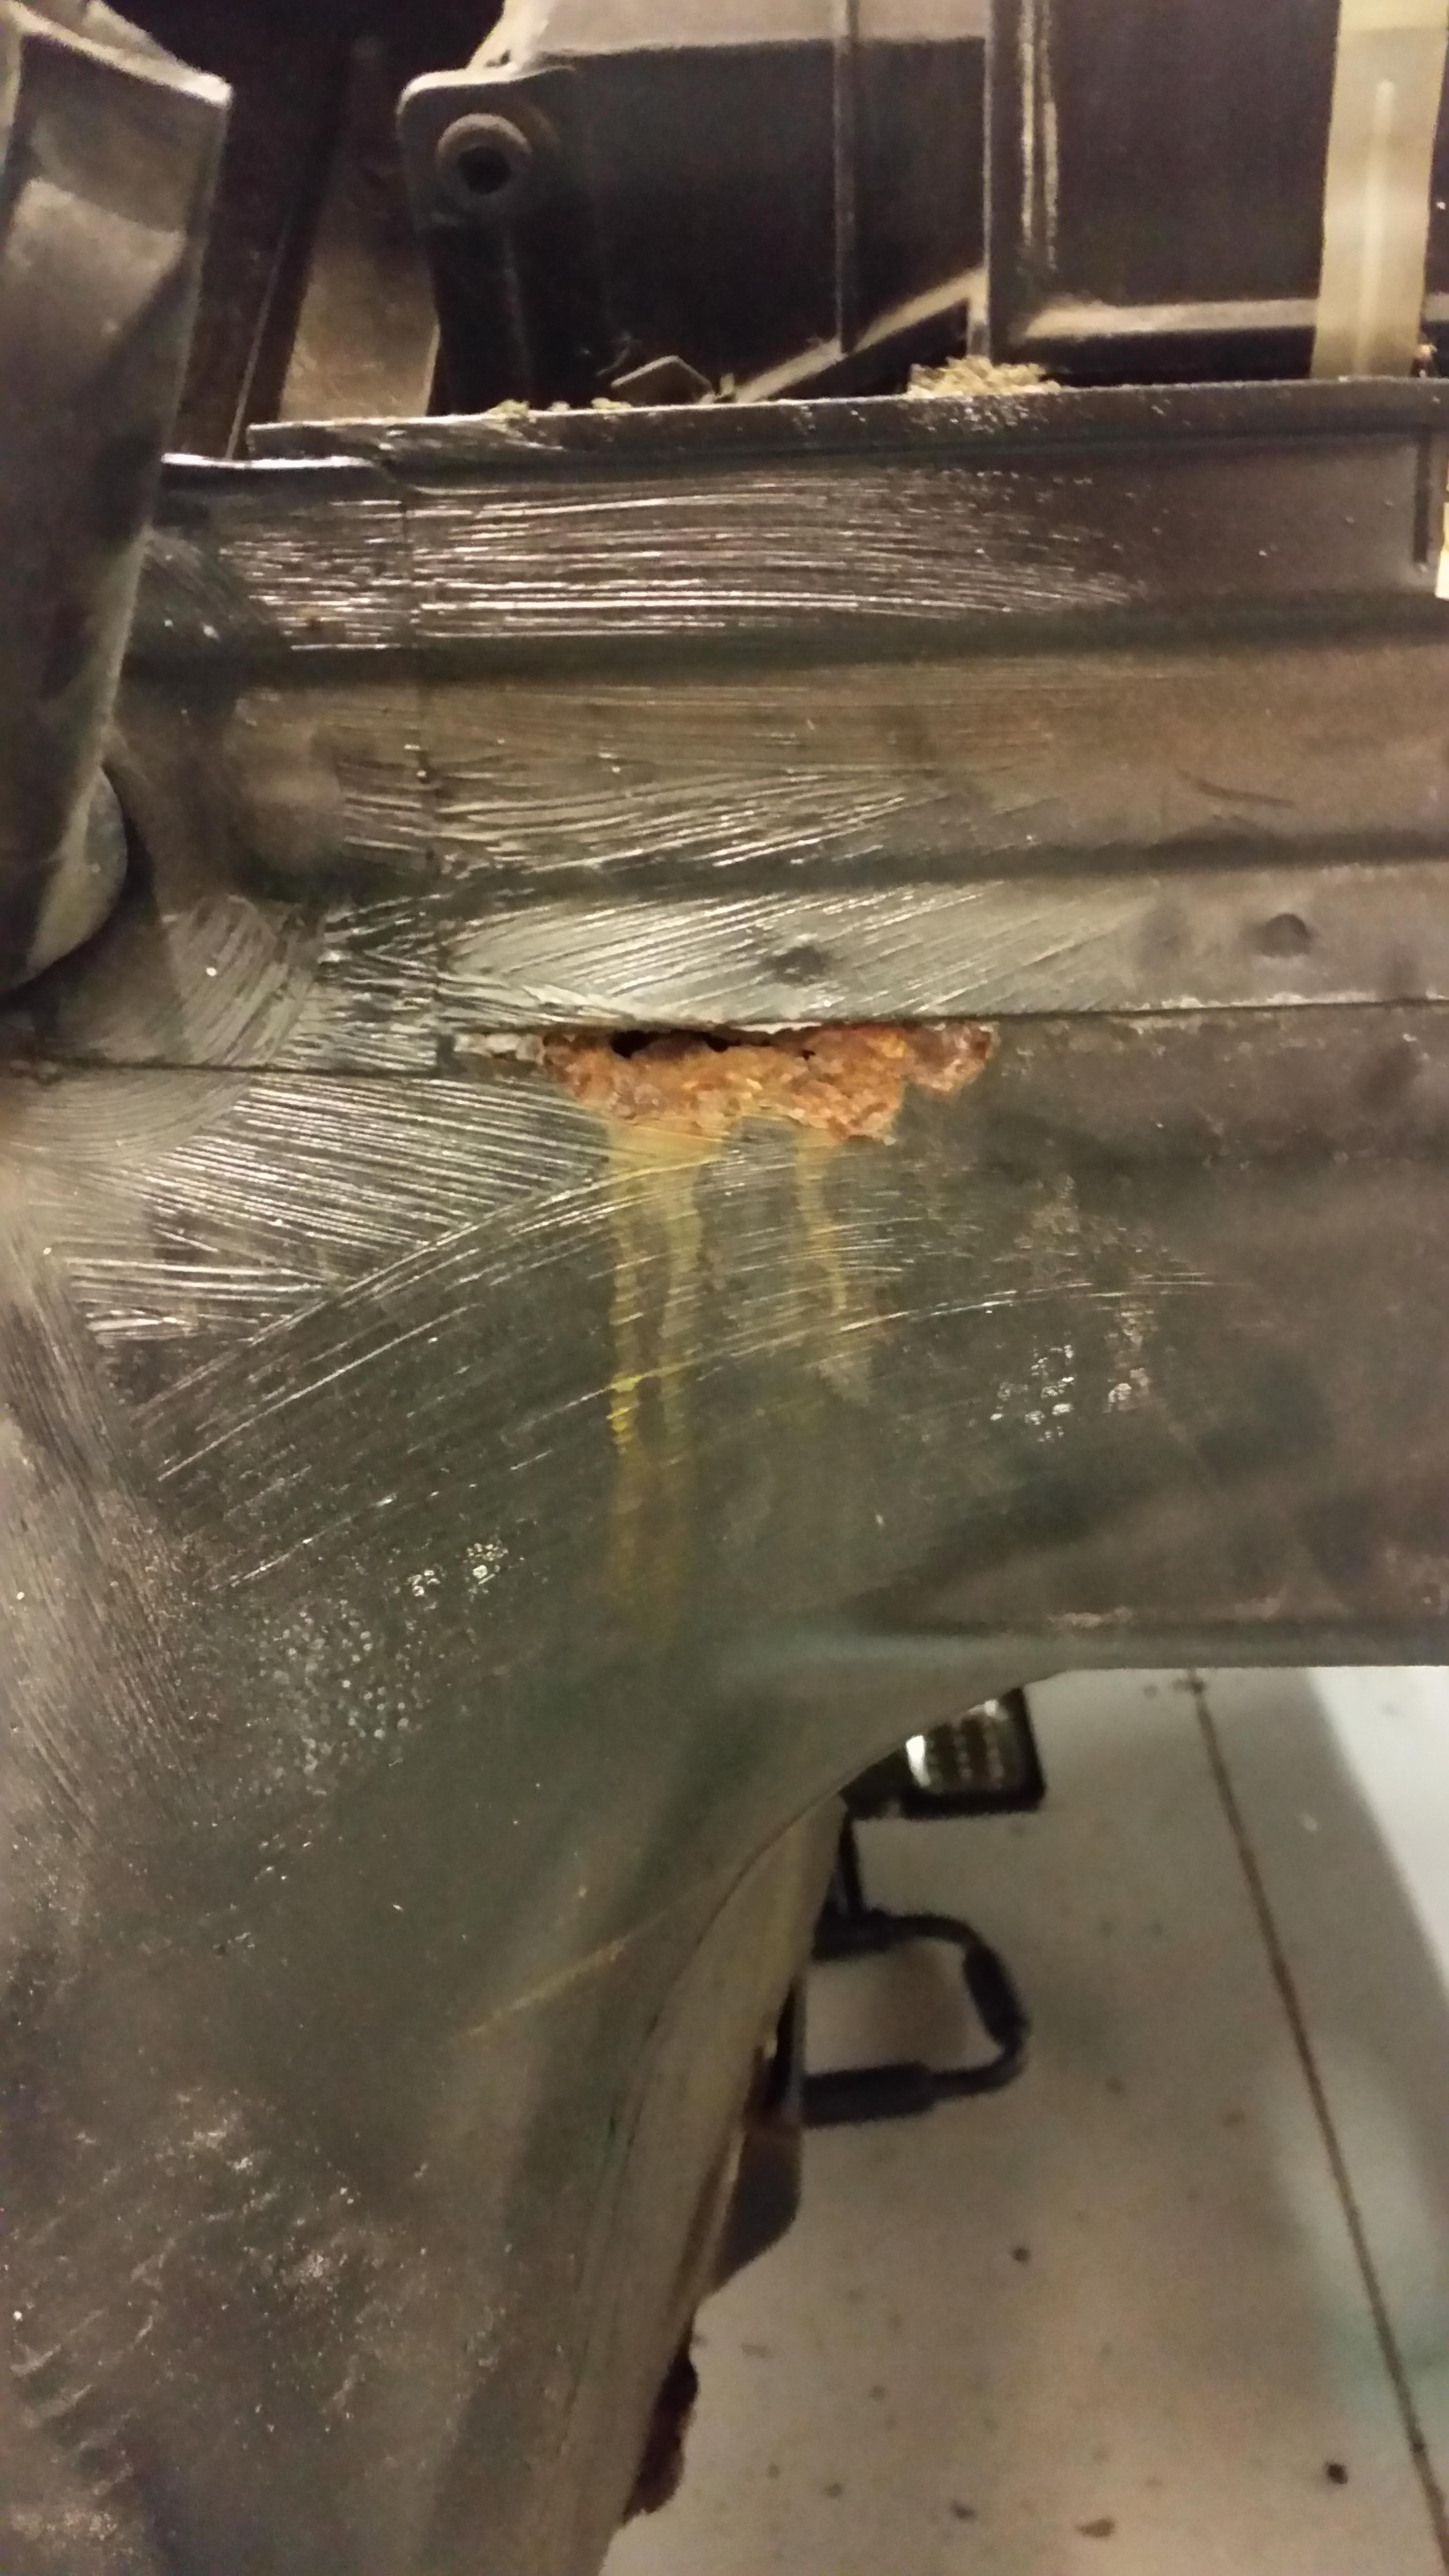
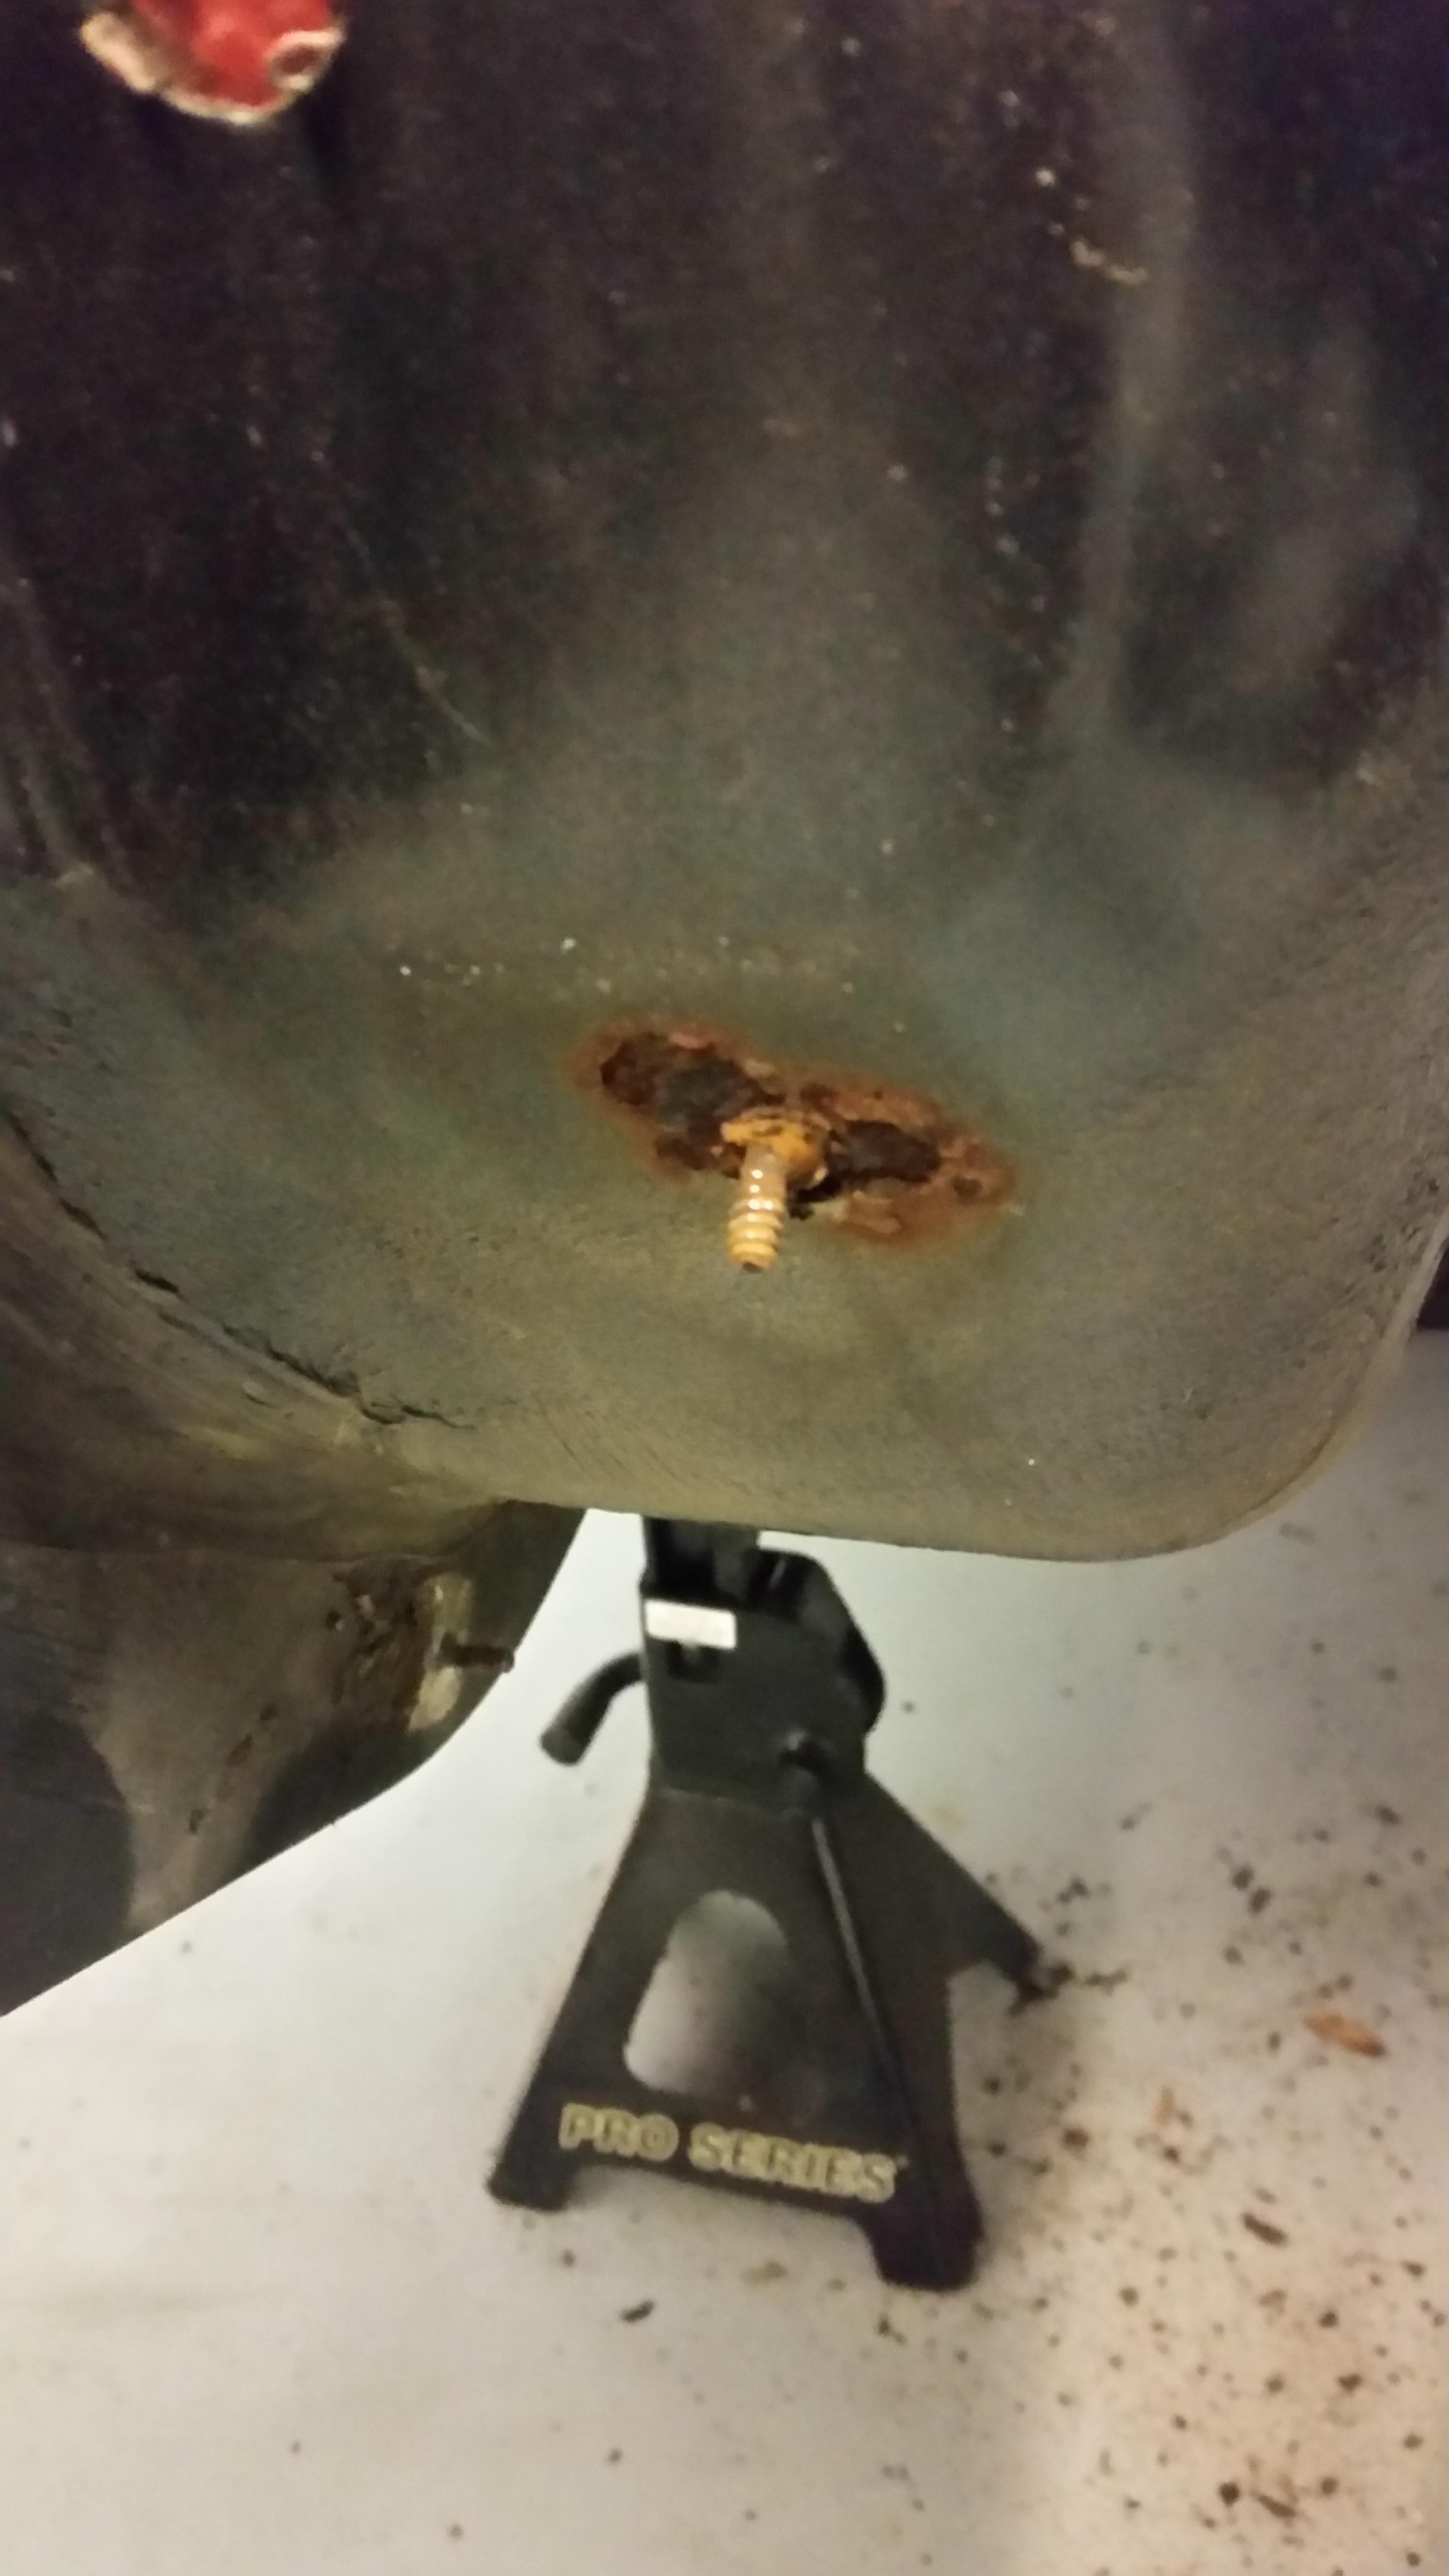
                                Rear firewall soundproofing rubberish thingy removed as well as the heat shield underneath it revealing some glorious surprises.
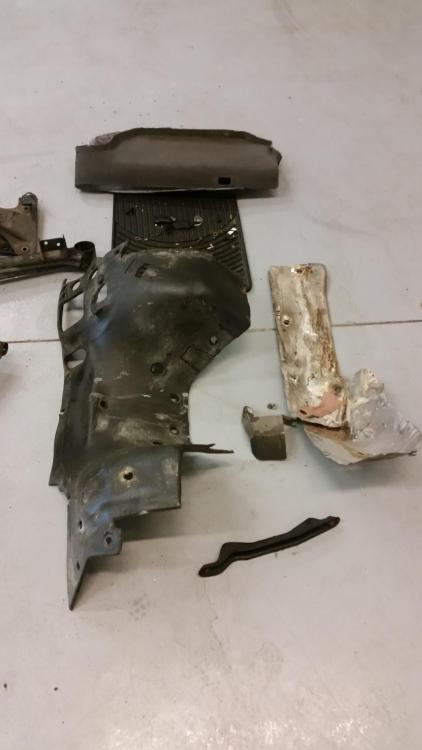
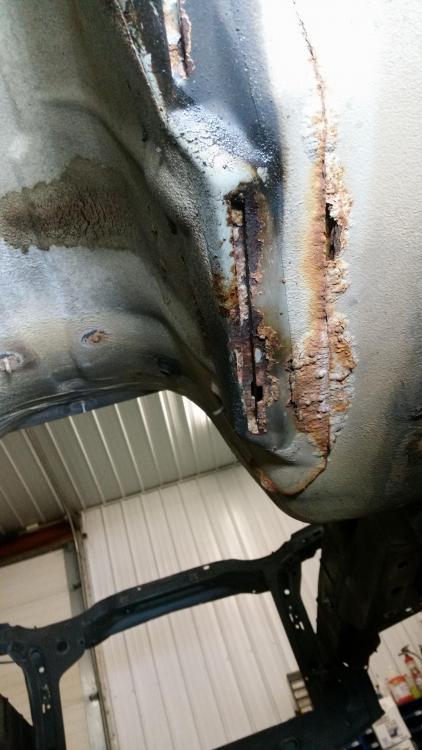
                                20171228201102.jpg

                                20171228201006.jpg

                                20171228201311.jpg

                                20171228201325.jpg

                                Got an angle grinder with a wire wheel sitting on the bench, yets see where that gets me tomorrow.

                                On another note...

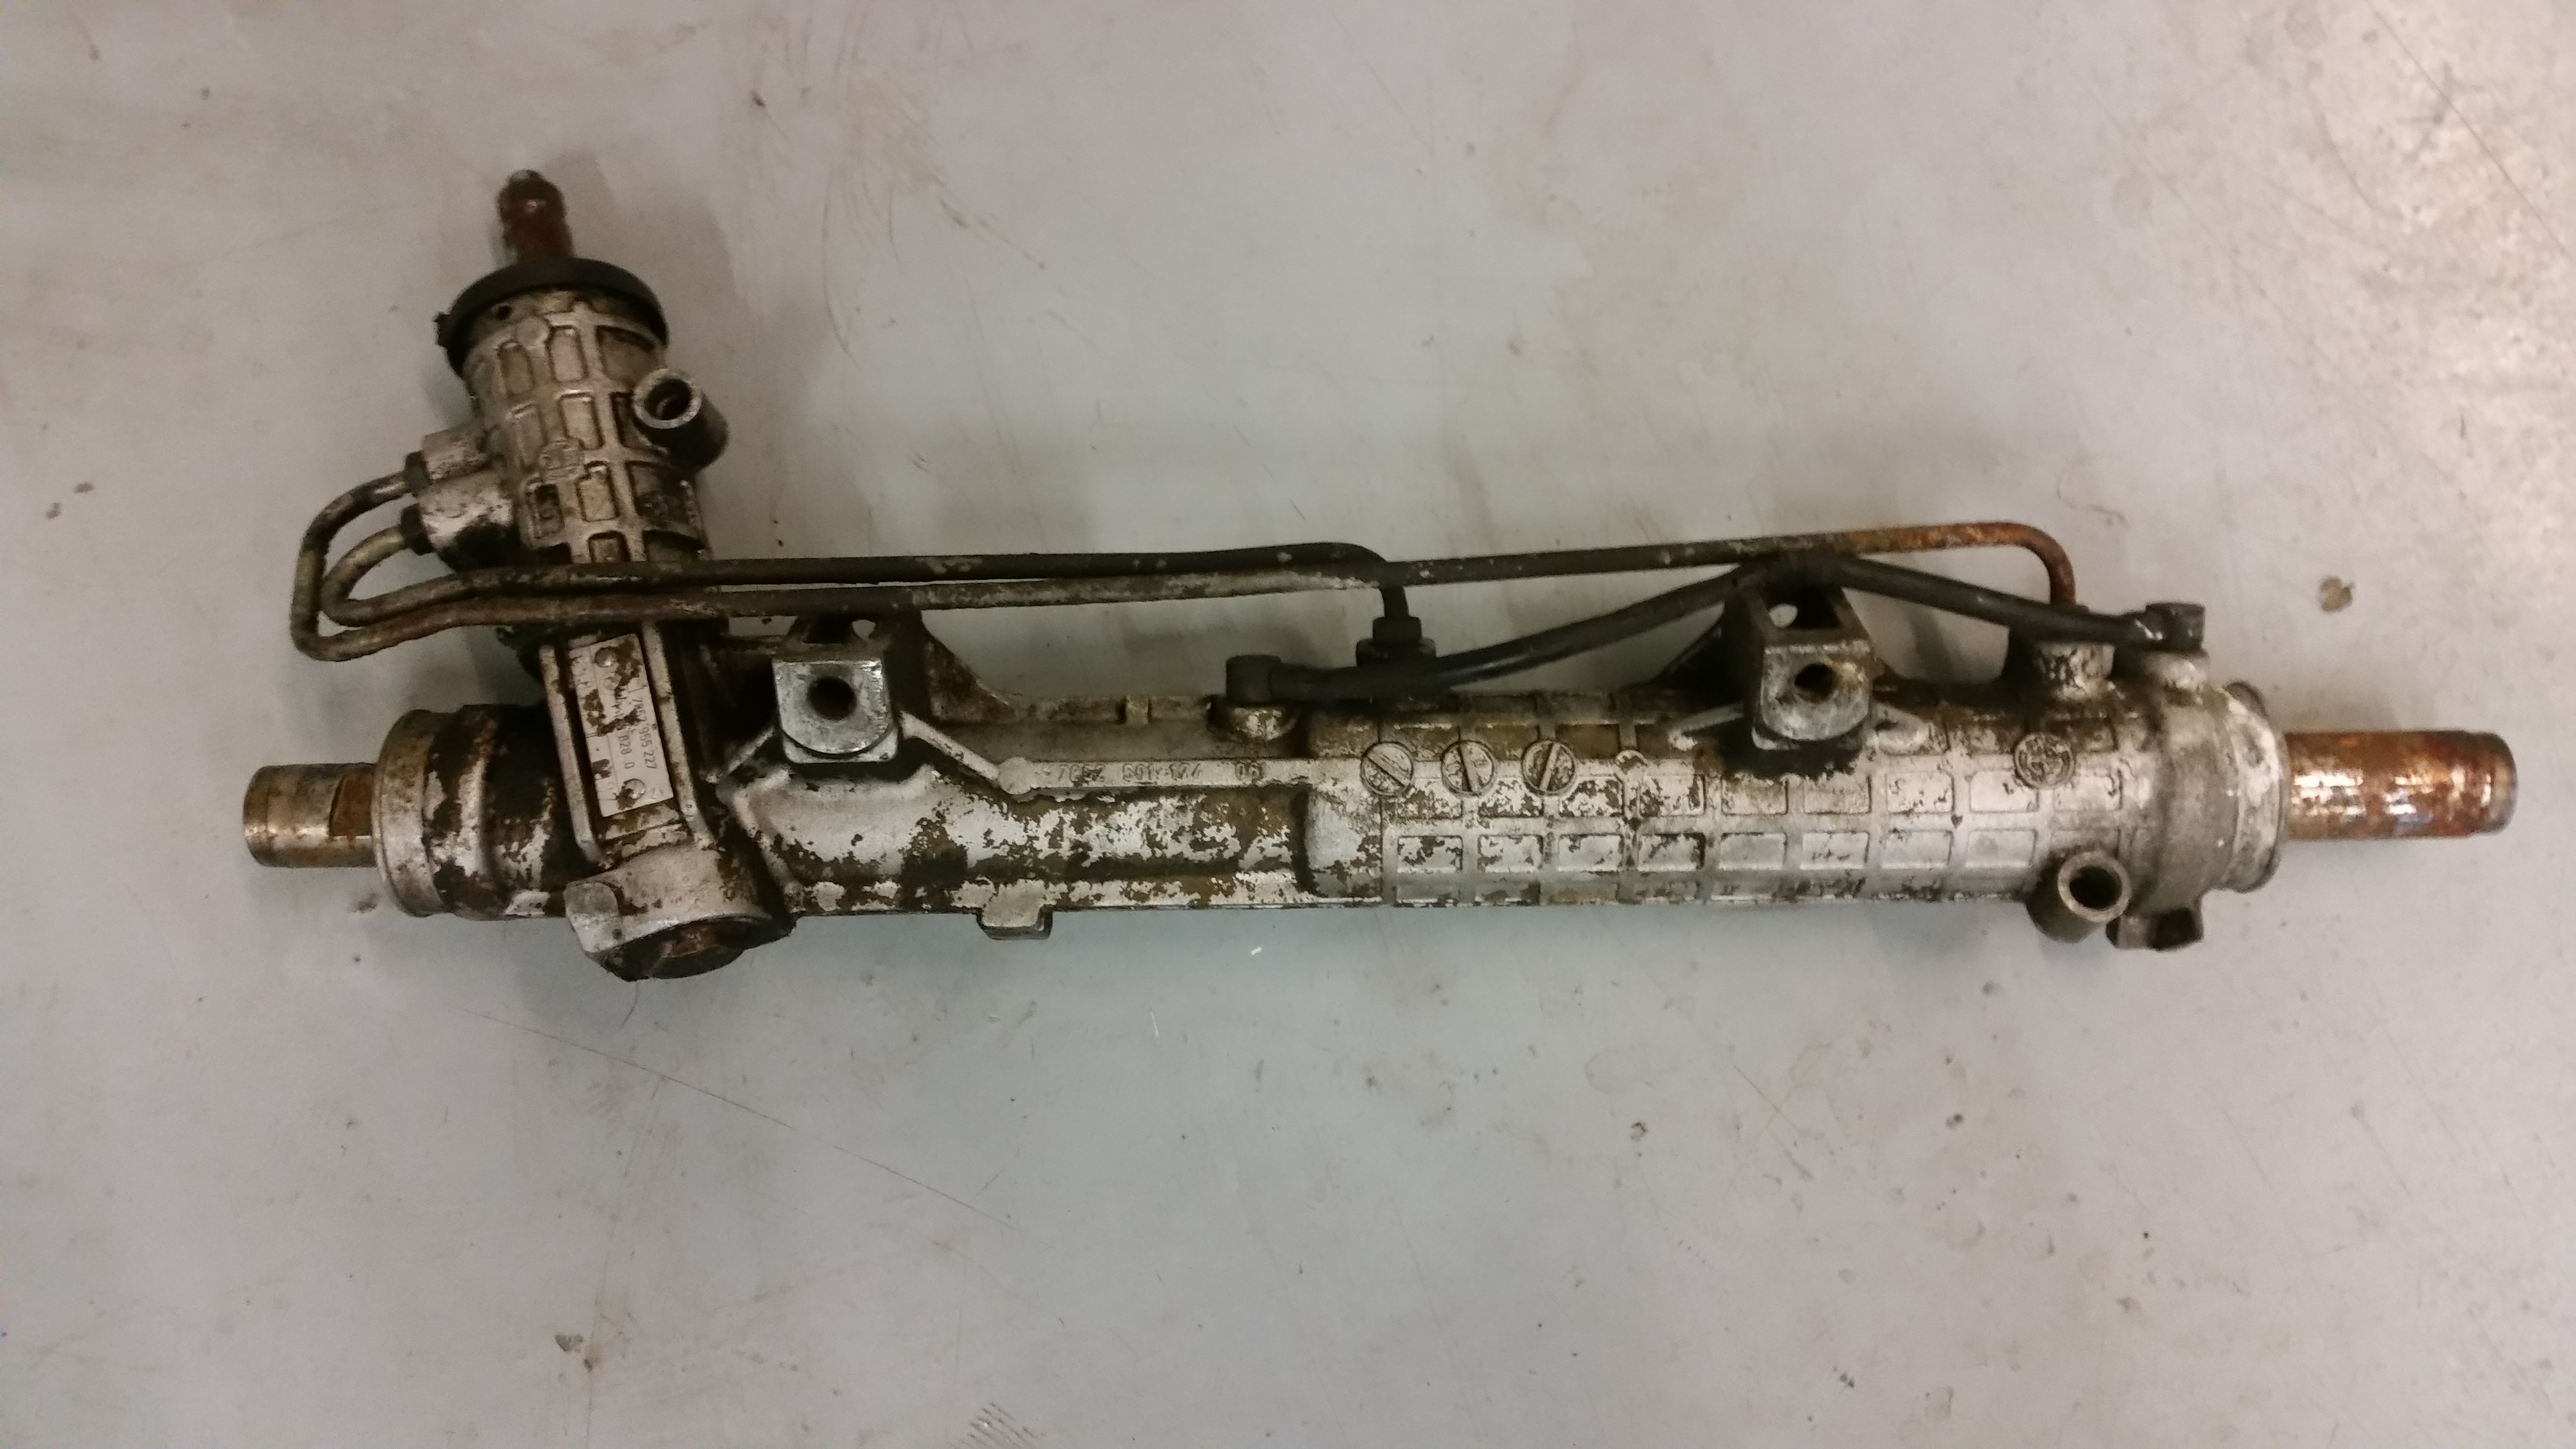
                                I completely forgot to mention it but I did end up getting the e36 m3 steering rack.
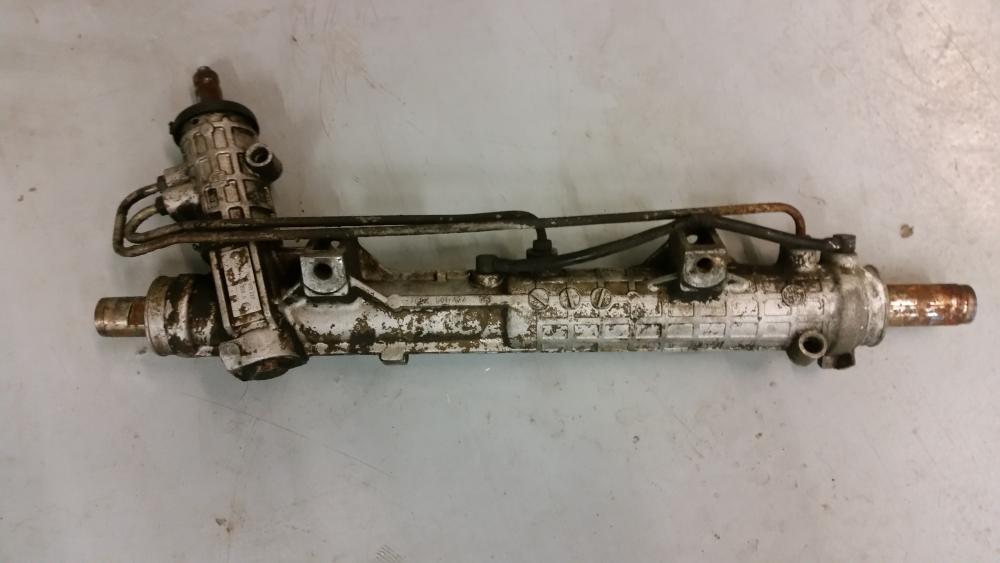
                                20171228201220.jpg

                                Yes the rack is in pretty rough shape right now but after a reseal kit and a little TLC I think it'll turnout alright.

                                Didn't mention this yet but I am planning on repainting the engine bay. Still deciding on what color to go with though.

                                1 Reply Last reply
                                0
                                • KaiserRollsK
                                  KaiserRollsK
                                  KaiserRolls
                                  wrote on last edited by
                                  #124

                                  I’m sure you will, but check the front subframe closely for cracks. I found a couple in my old one before I replaced it

                                  1 Reply Last reply
                                  1
                                  • AsparagusMikeA
                                    AsparagusMikeA
                                    AsparagusMike
                                    wrote on last edited by
                                    #125

                                    GunMetalGrey said:

                                    So this bolt runs down and fastens to the timing cover (aluminum). These are quite common to strip and are certainly a pain to deal with. 
                                    I don't think you will get the threads to take with a new bolt, though it's an easy thing to try. 
                                    I've had this happen a couple times (don't go by the book spec, it's too much) and I started putting inserts in them before assembly to cover my ass. 

                                    Pulling the timing cover off is my advice if you want to be proper. 
                                    Loosen up the head, pull the jesus bolt, loosen the pan, and you can slide the cover out and use inserts. 

                                    Welp, the tap and die failed. I guess you were right Ben.

                                    Although the tap and bolt welded together was a really good idea that did work by cleaning up the threads, It was at a point where they were no longer really savable.

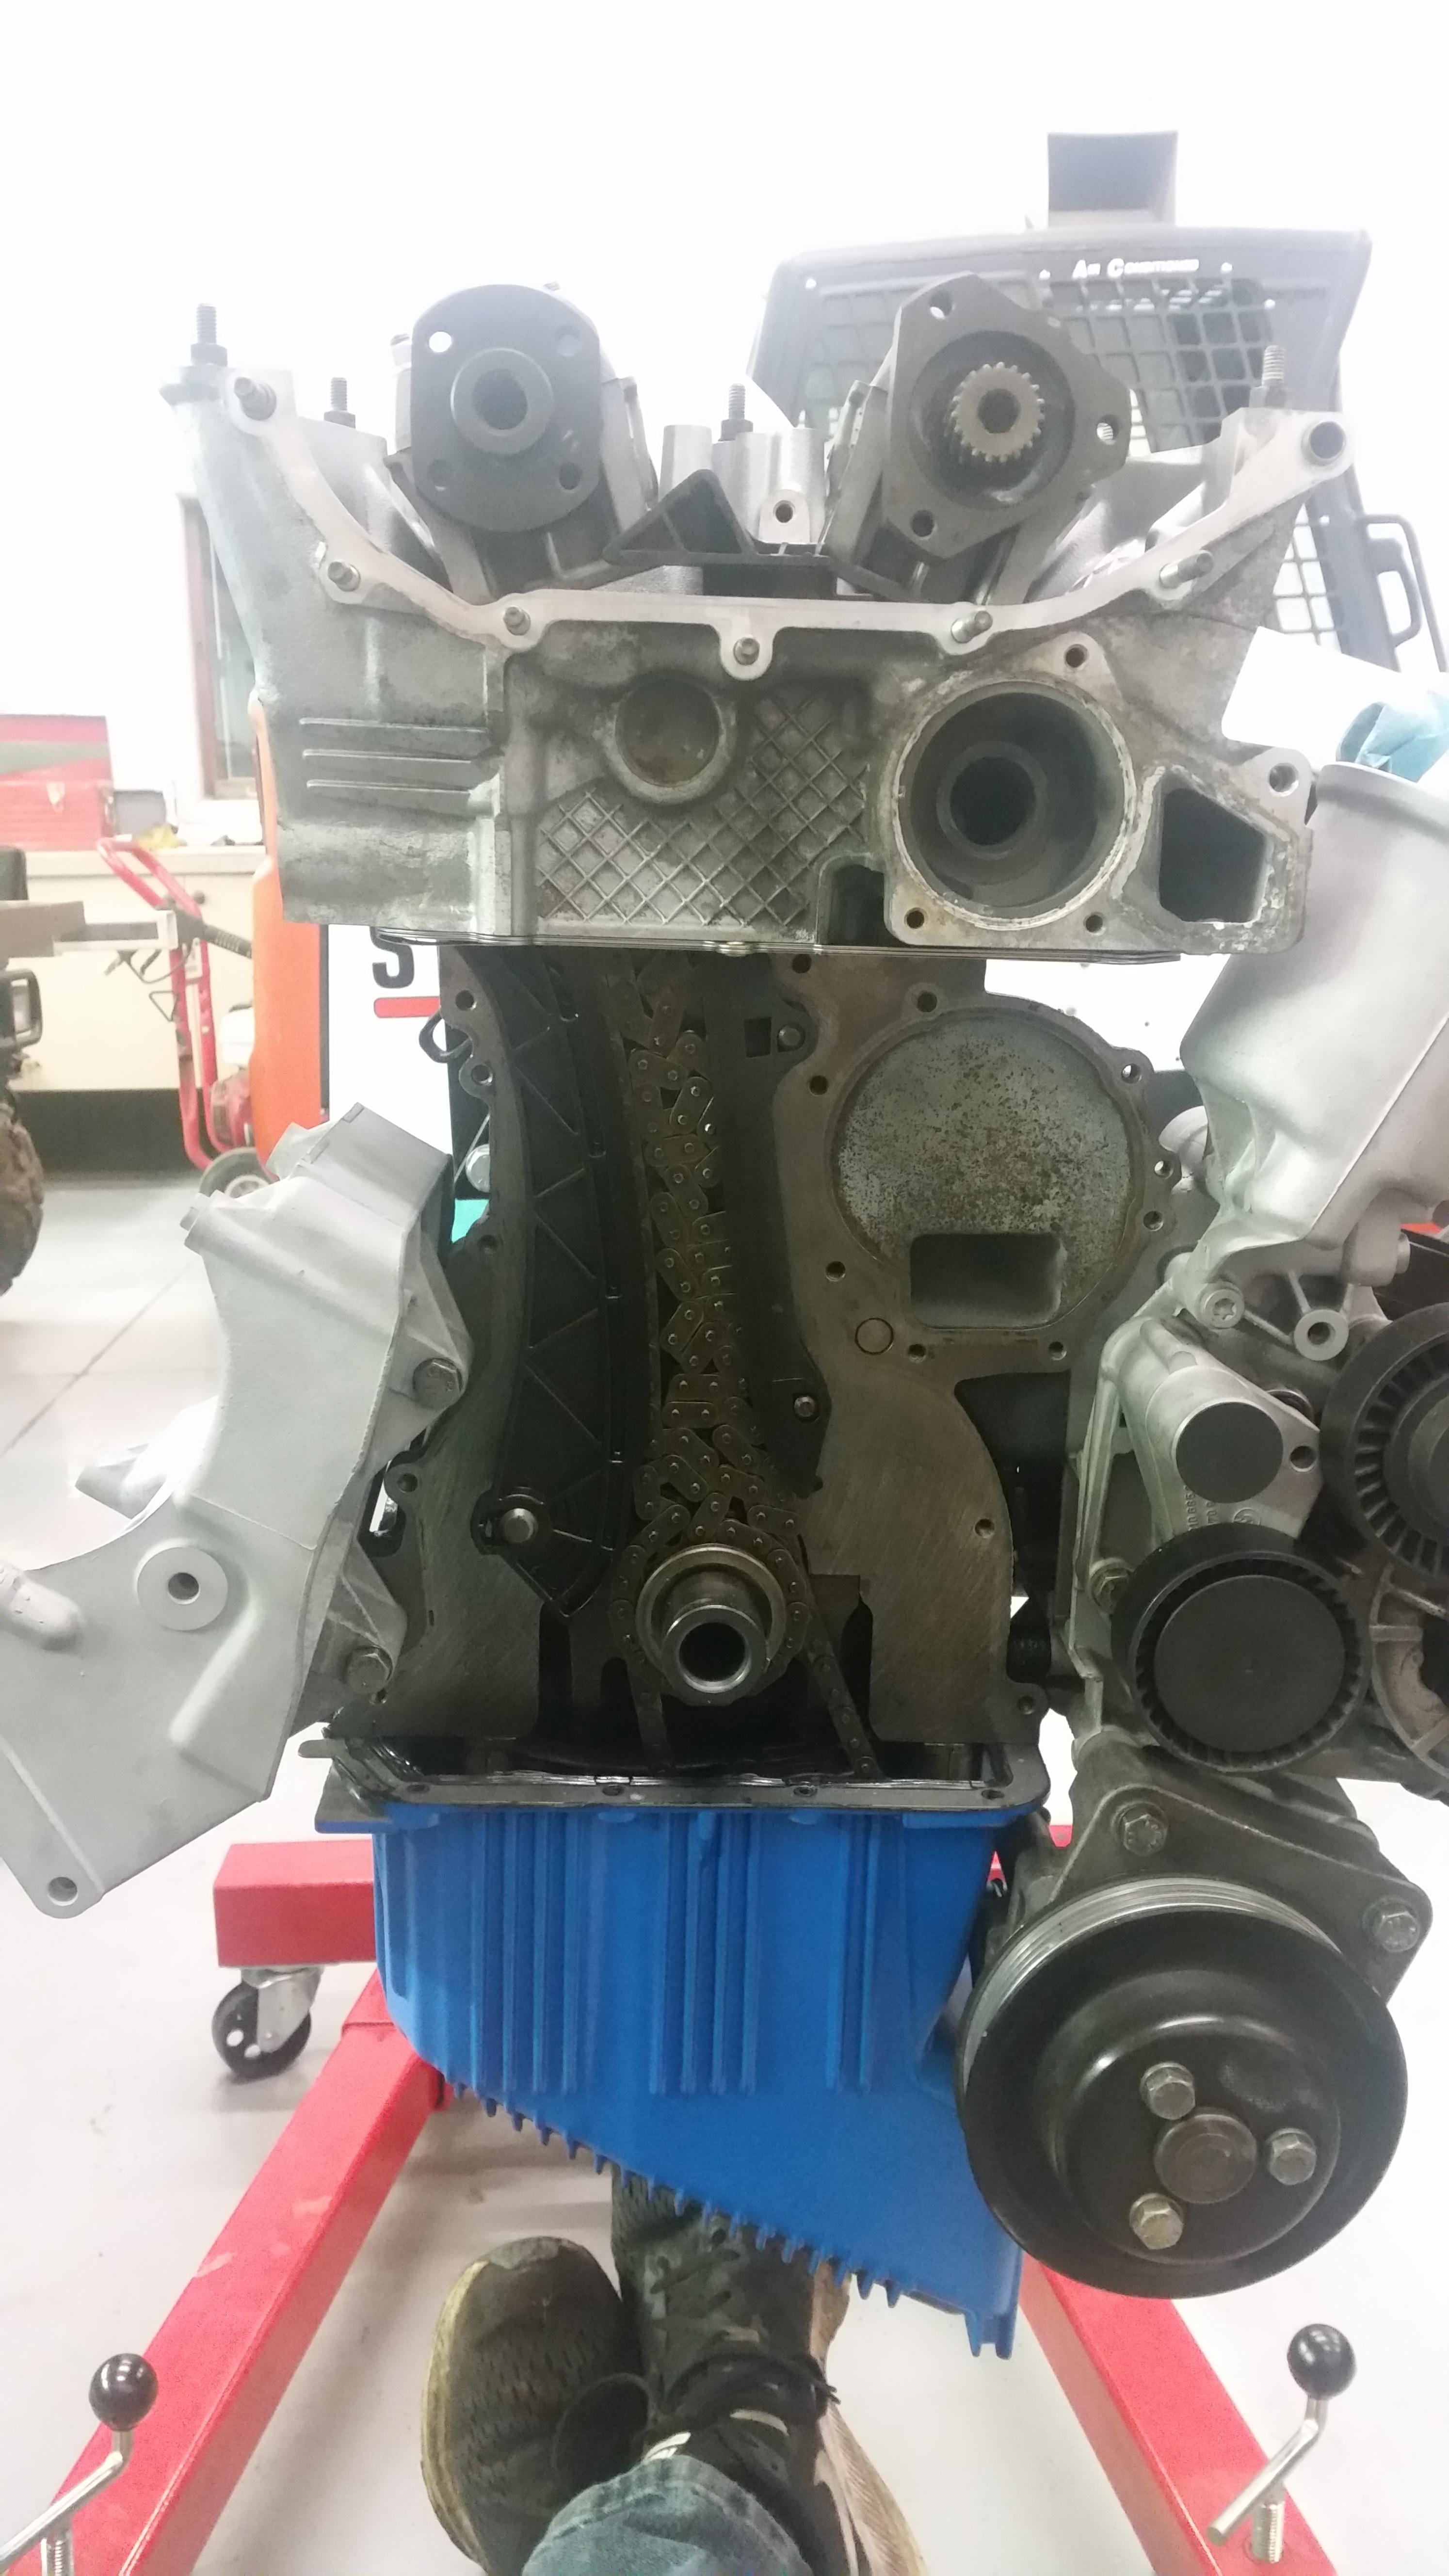
                                    So Saturday I pulled the timing cover on the motor.
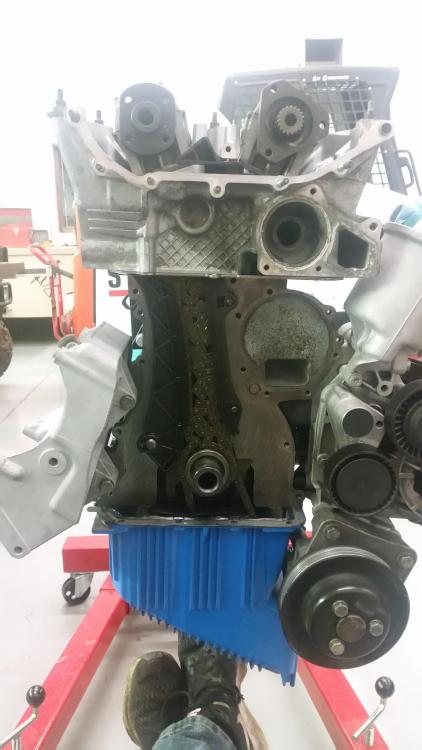
                                    20171230213057.jpg

                                    20171230213116.jpg

                                    This morning I ordered new timing cover gaskets, steering rack reseal kit, rear wheel bearings, last of the gaskets I need for the motor as well as a few other things to keep me busy.

                                    Gonna head in to auto zone this morning and find myself a helicoil kit and then I'll be on my way.

                                    On another note...

                                    I haves a question.

                                    What I want is to get rid of that charcoal canister and with it the fuel line that runs to it from the gas tank. The canister itself is pretty much shot and the fuel line running to it is rusty as can be. I honestly don't want to pay to order another line and canister when the only purpose for it is to lower emissions.

                                    Can I just delete the system back to the tank, run a tube with the purge valve attached to it off of that piece, tuck it away and let it vent to atmosphere? Not sure how it would but will that cause a vacuum build up in the tank?

                                    I also know of the other method people chose to do which is simply deleting the canister leaving the purge valve between the two lines running to the the throttle body. Other people also commented that this will cause a vacuum build up in the tank.

                                    What have you guys done for this part of the car?

                                    Thx!

                                    1 Reply Last reply
                                    0
                                    • AsparagusMikeA
                                      AsparagusMikeA
                                      AsparagusMike
                                      wrote on last edited by
                                      #126

                                      Ya, so things have been a happenin...
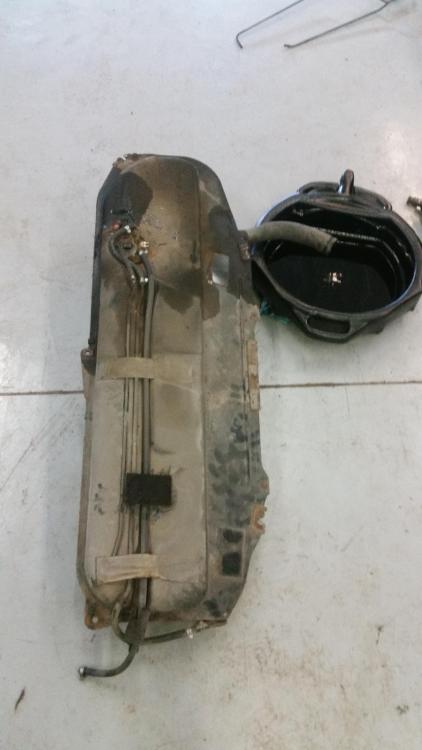
                                      20180103131420.jpg

                                      20180105101152.jpg

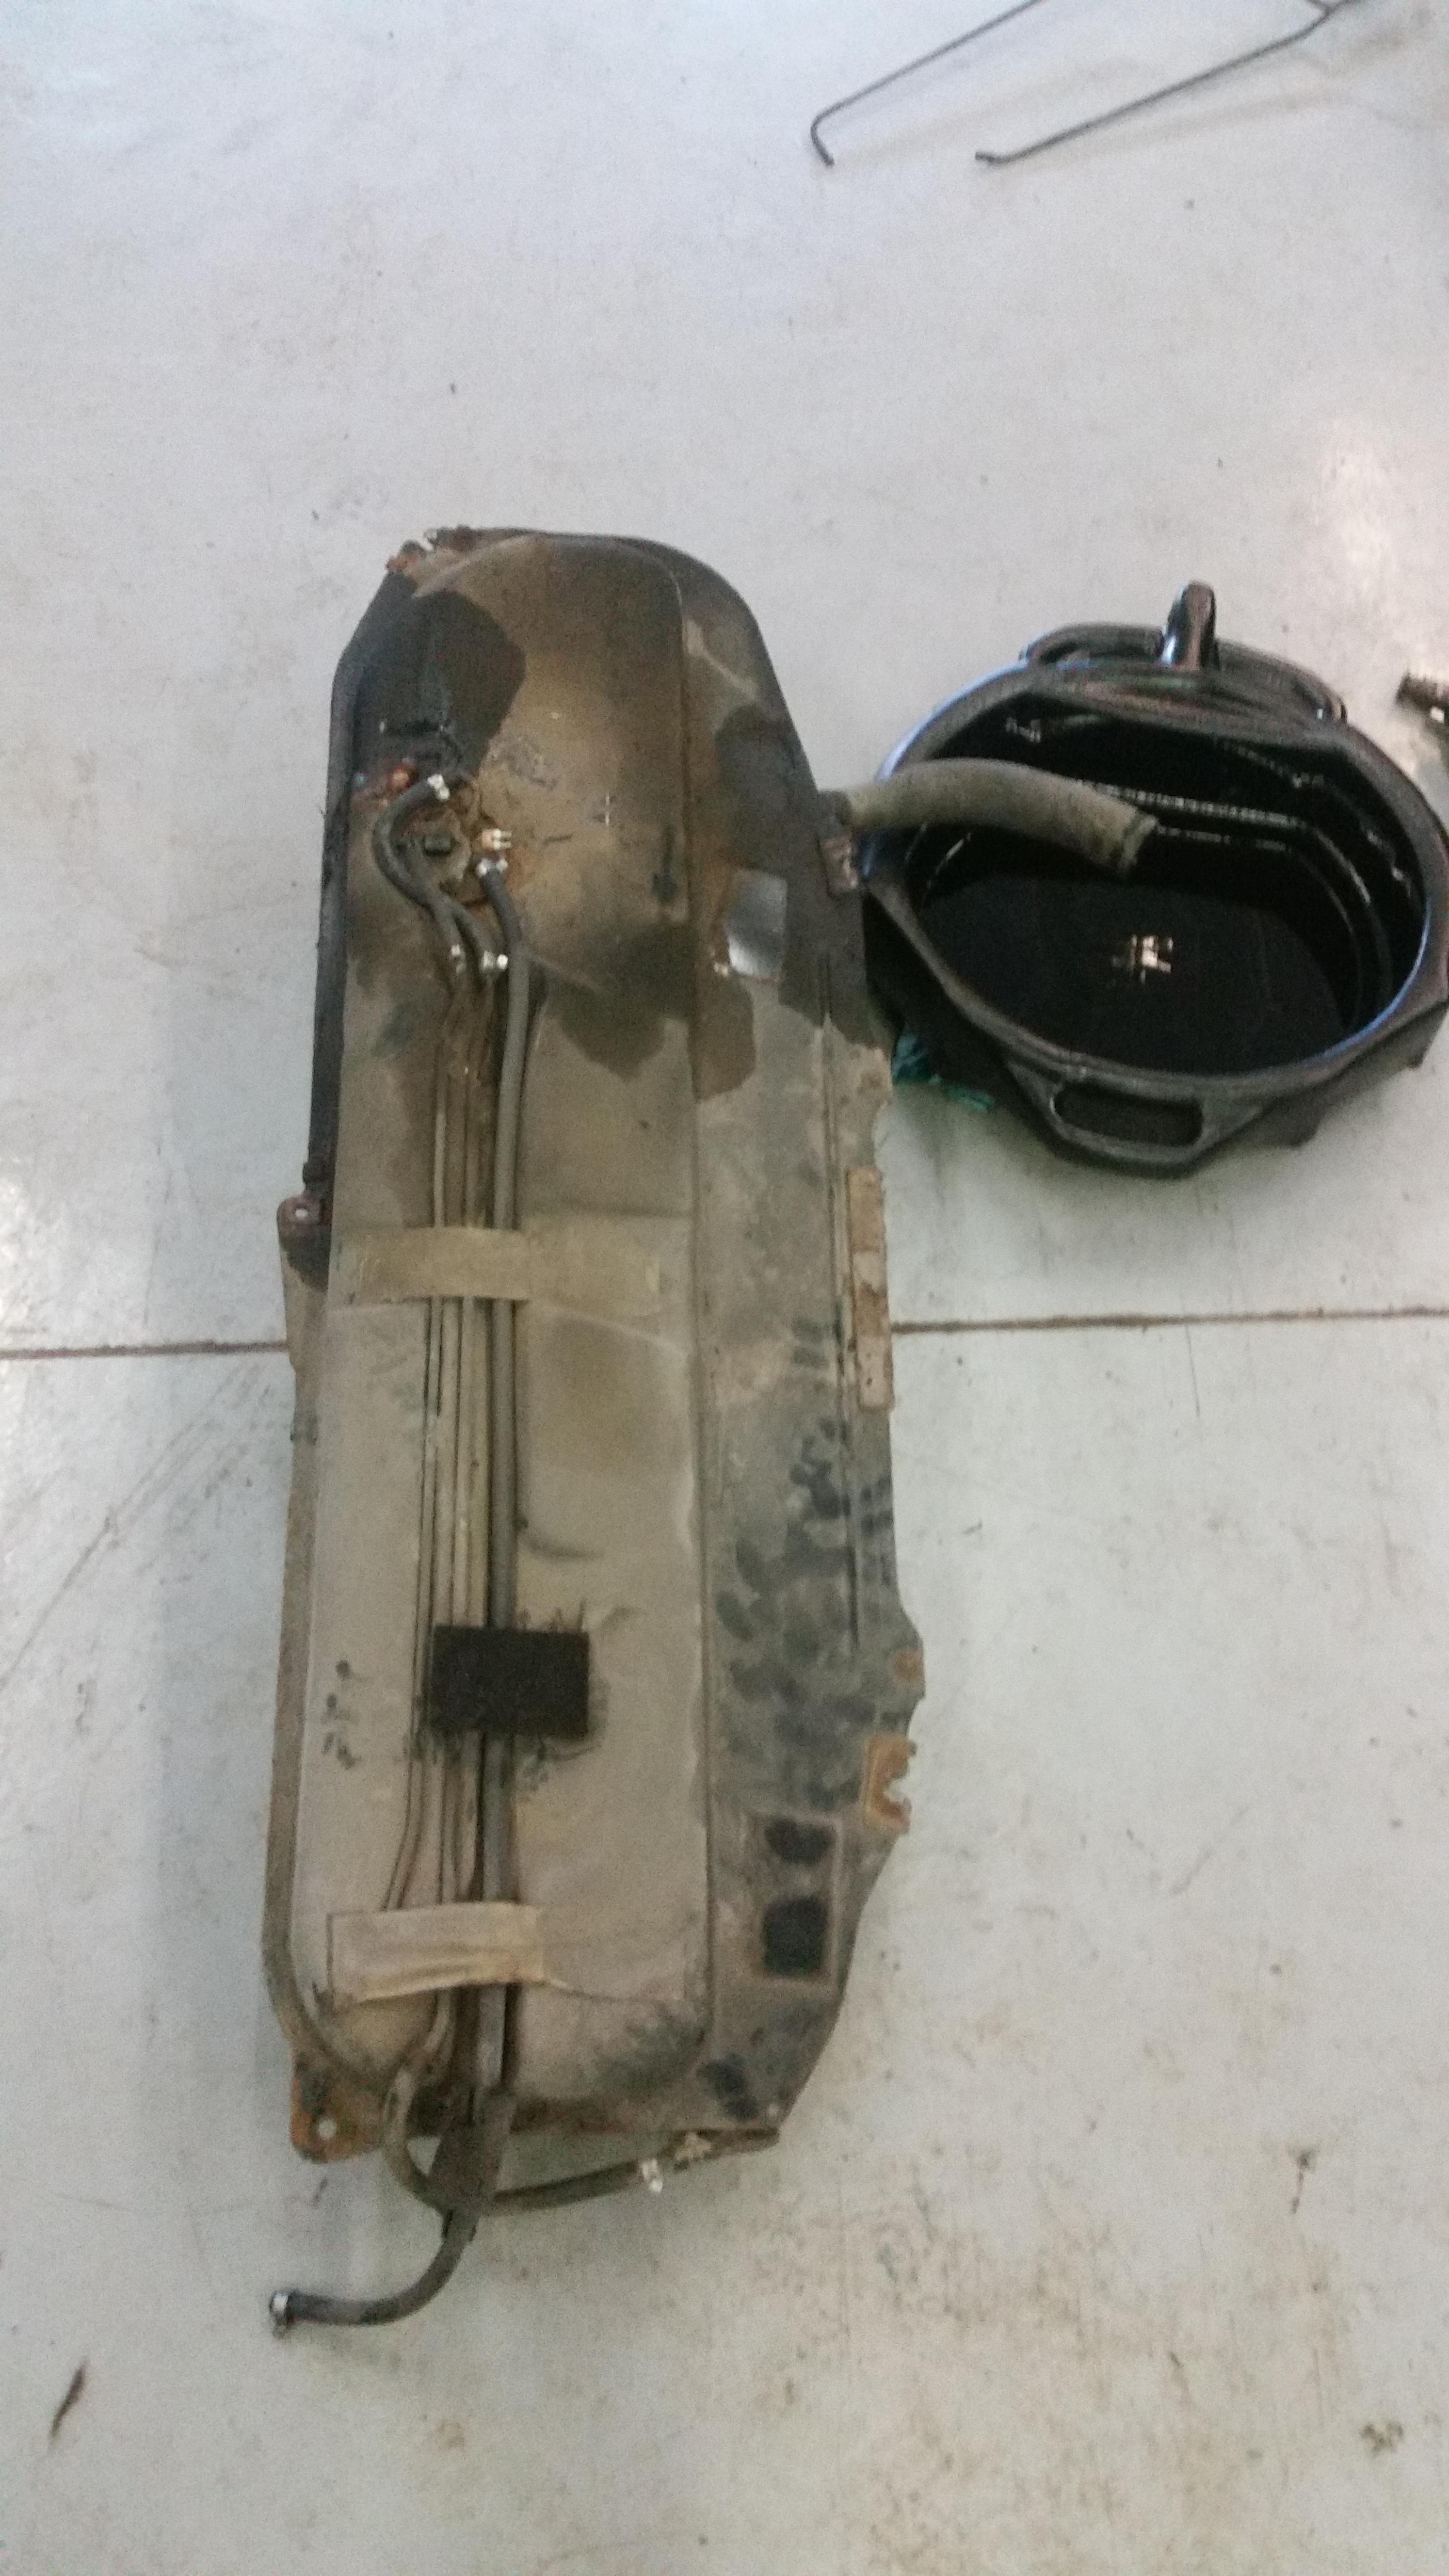
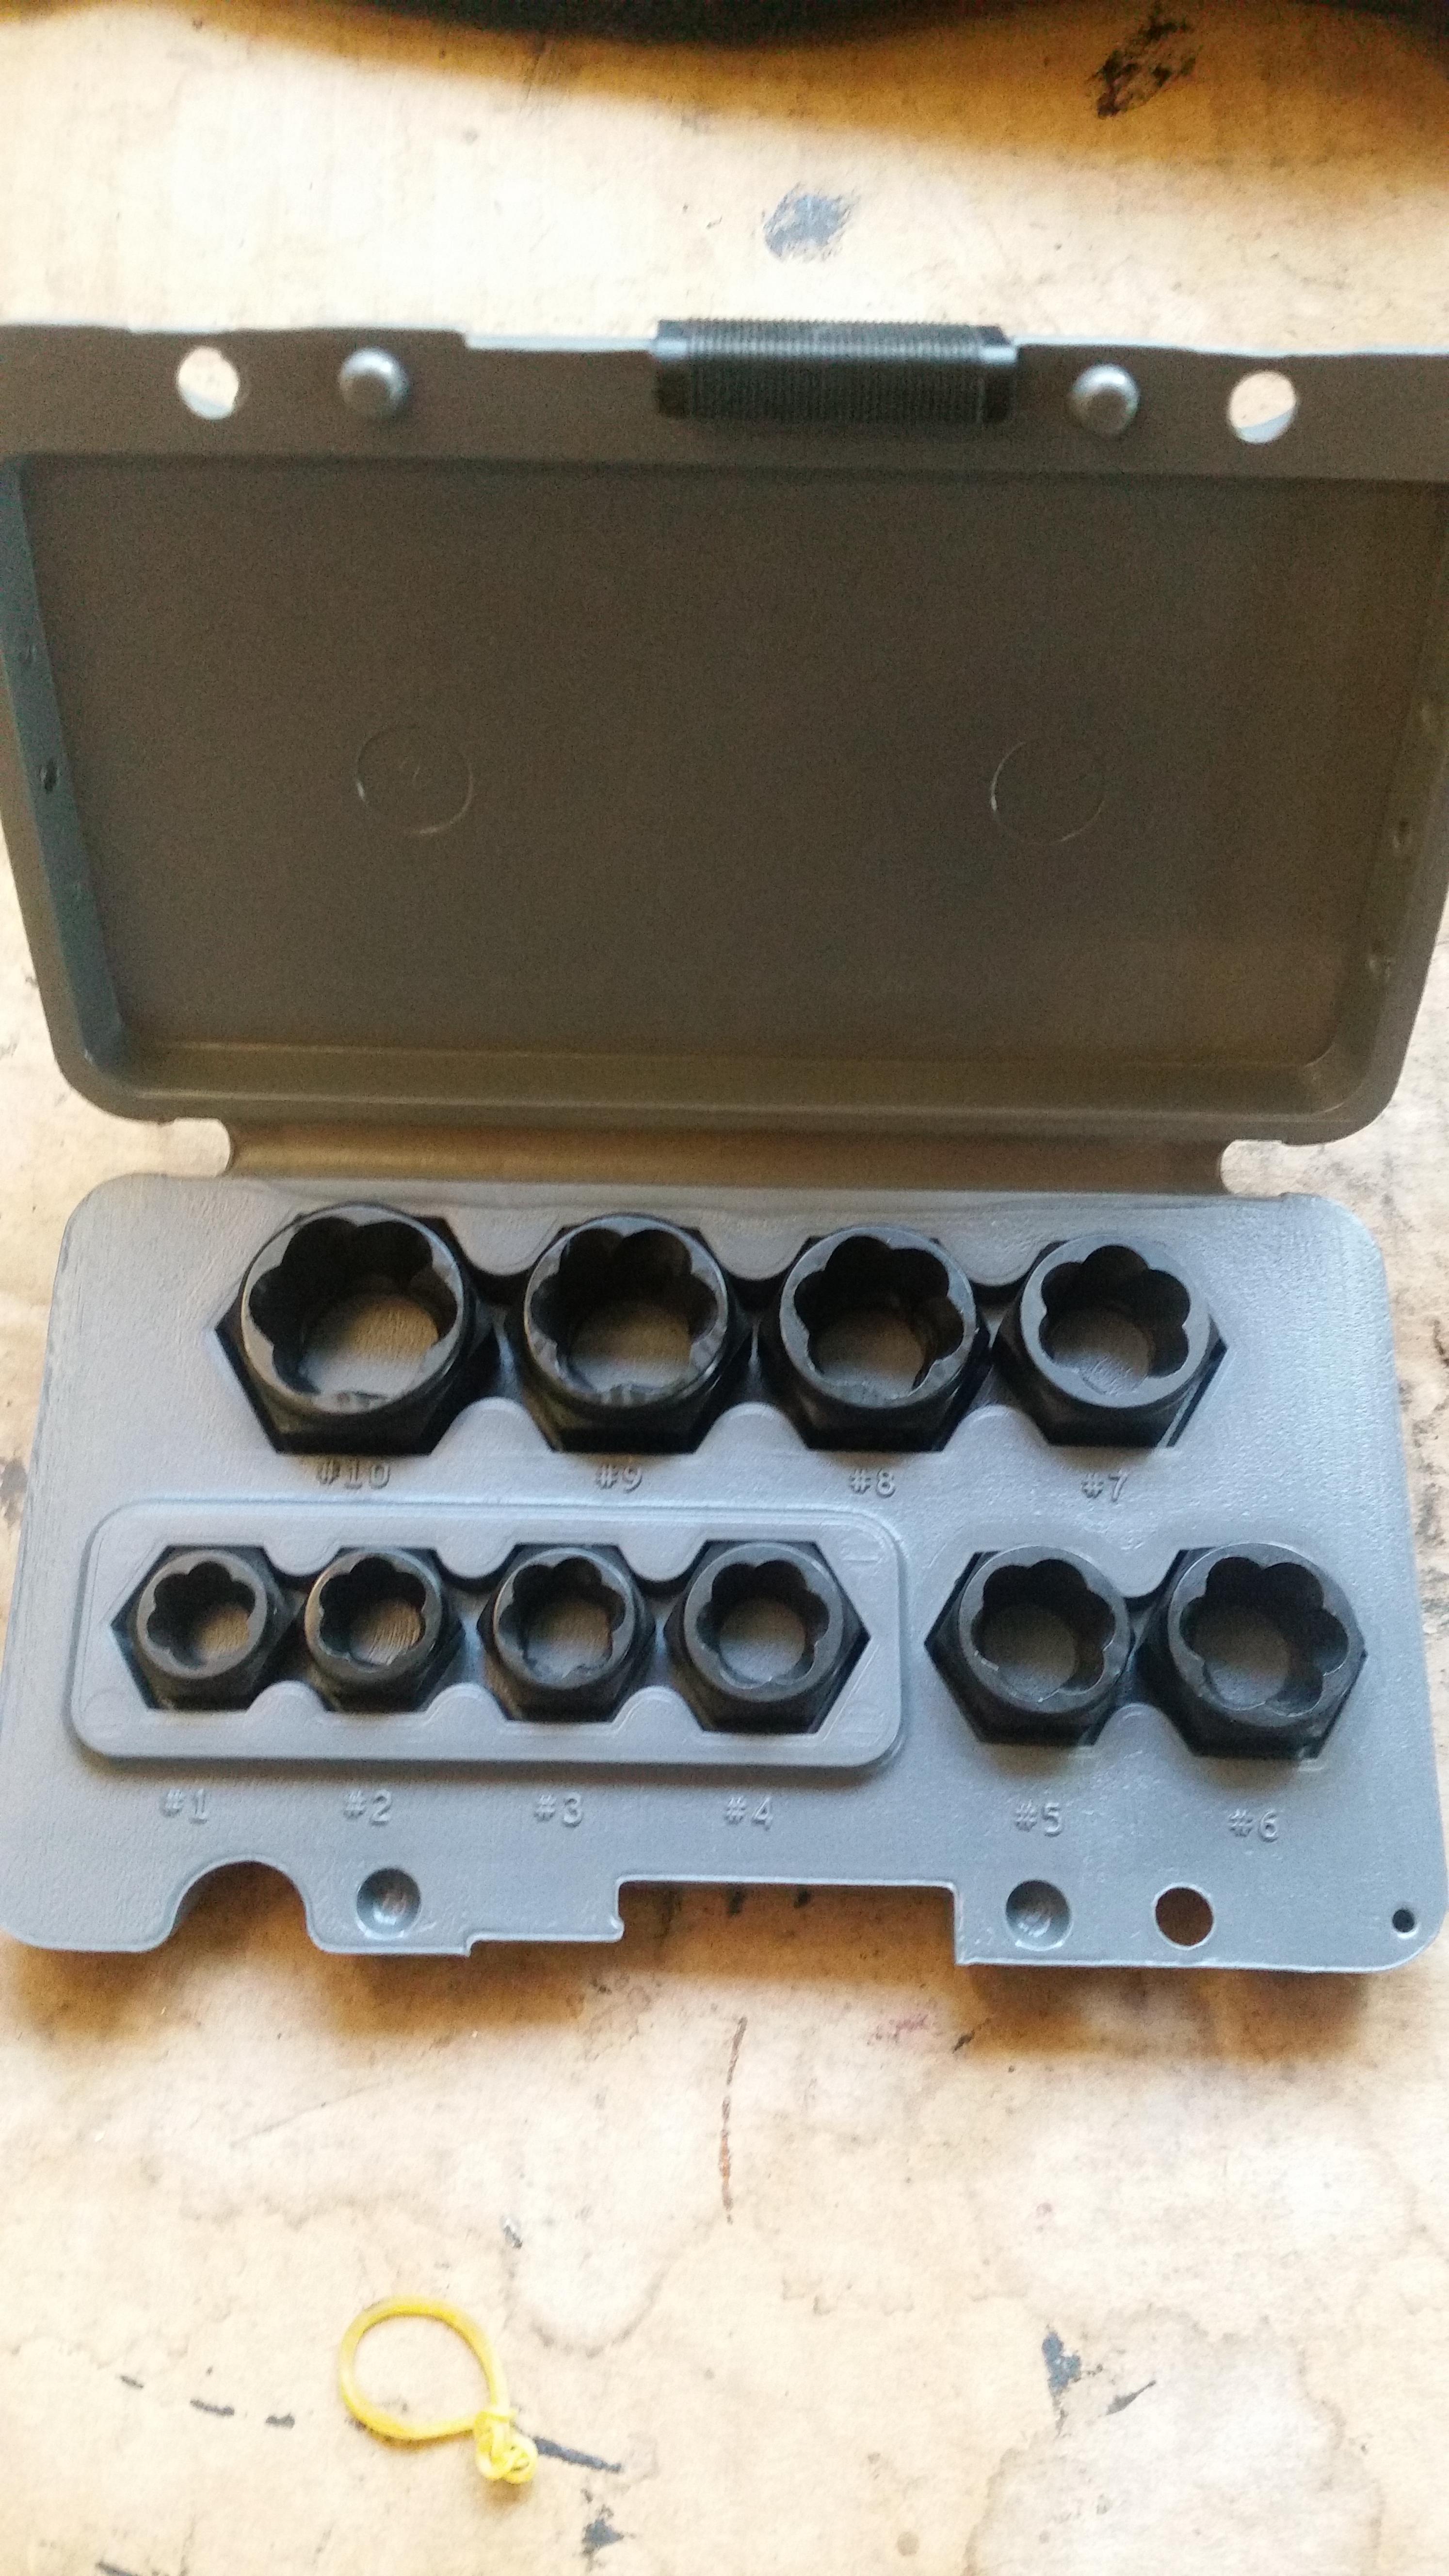
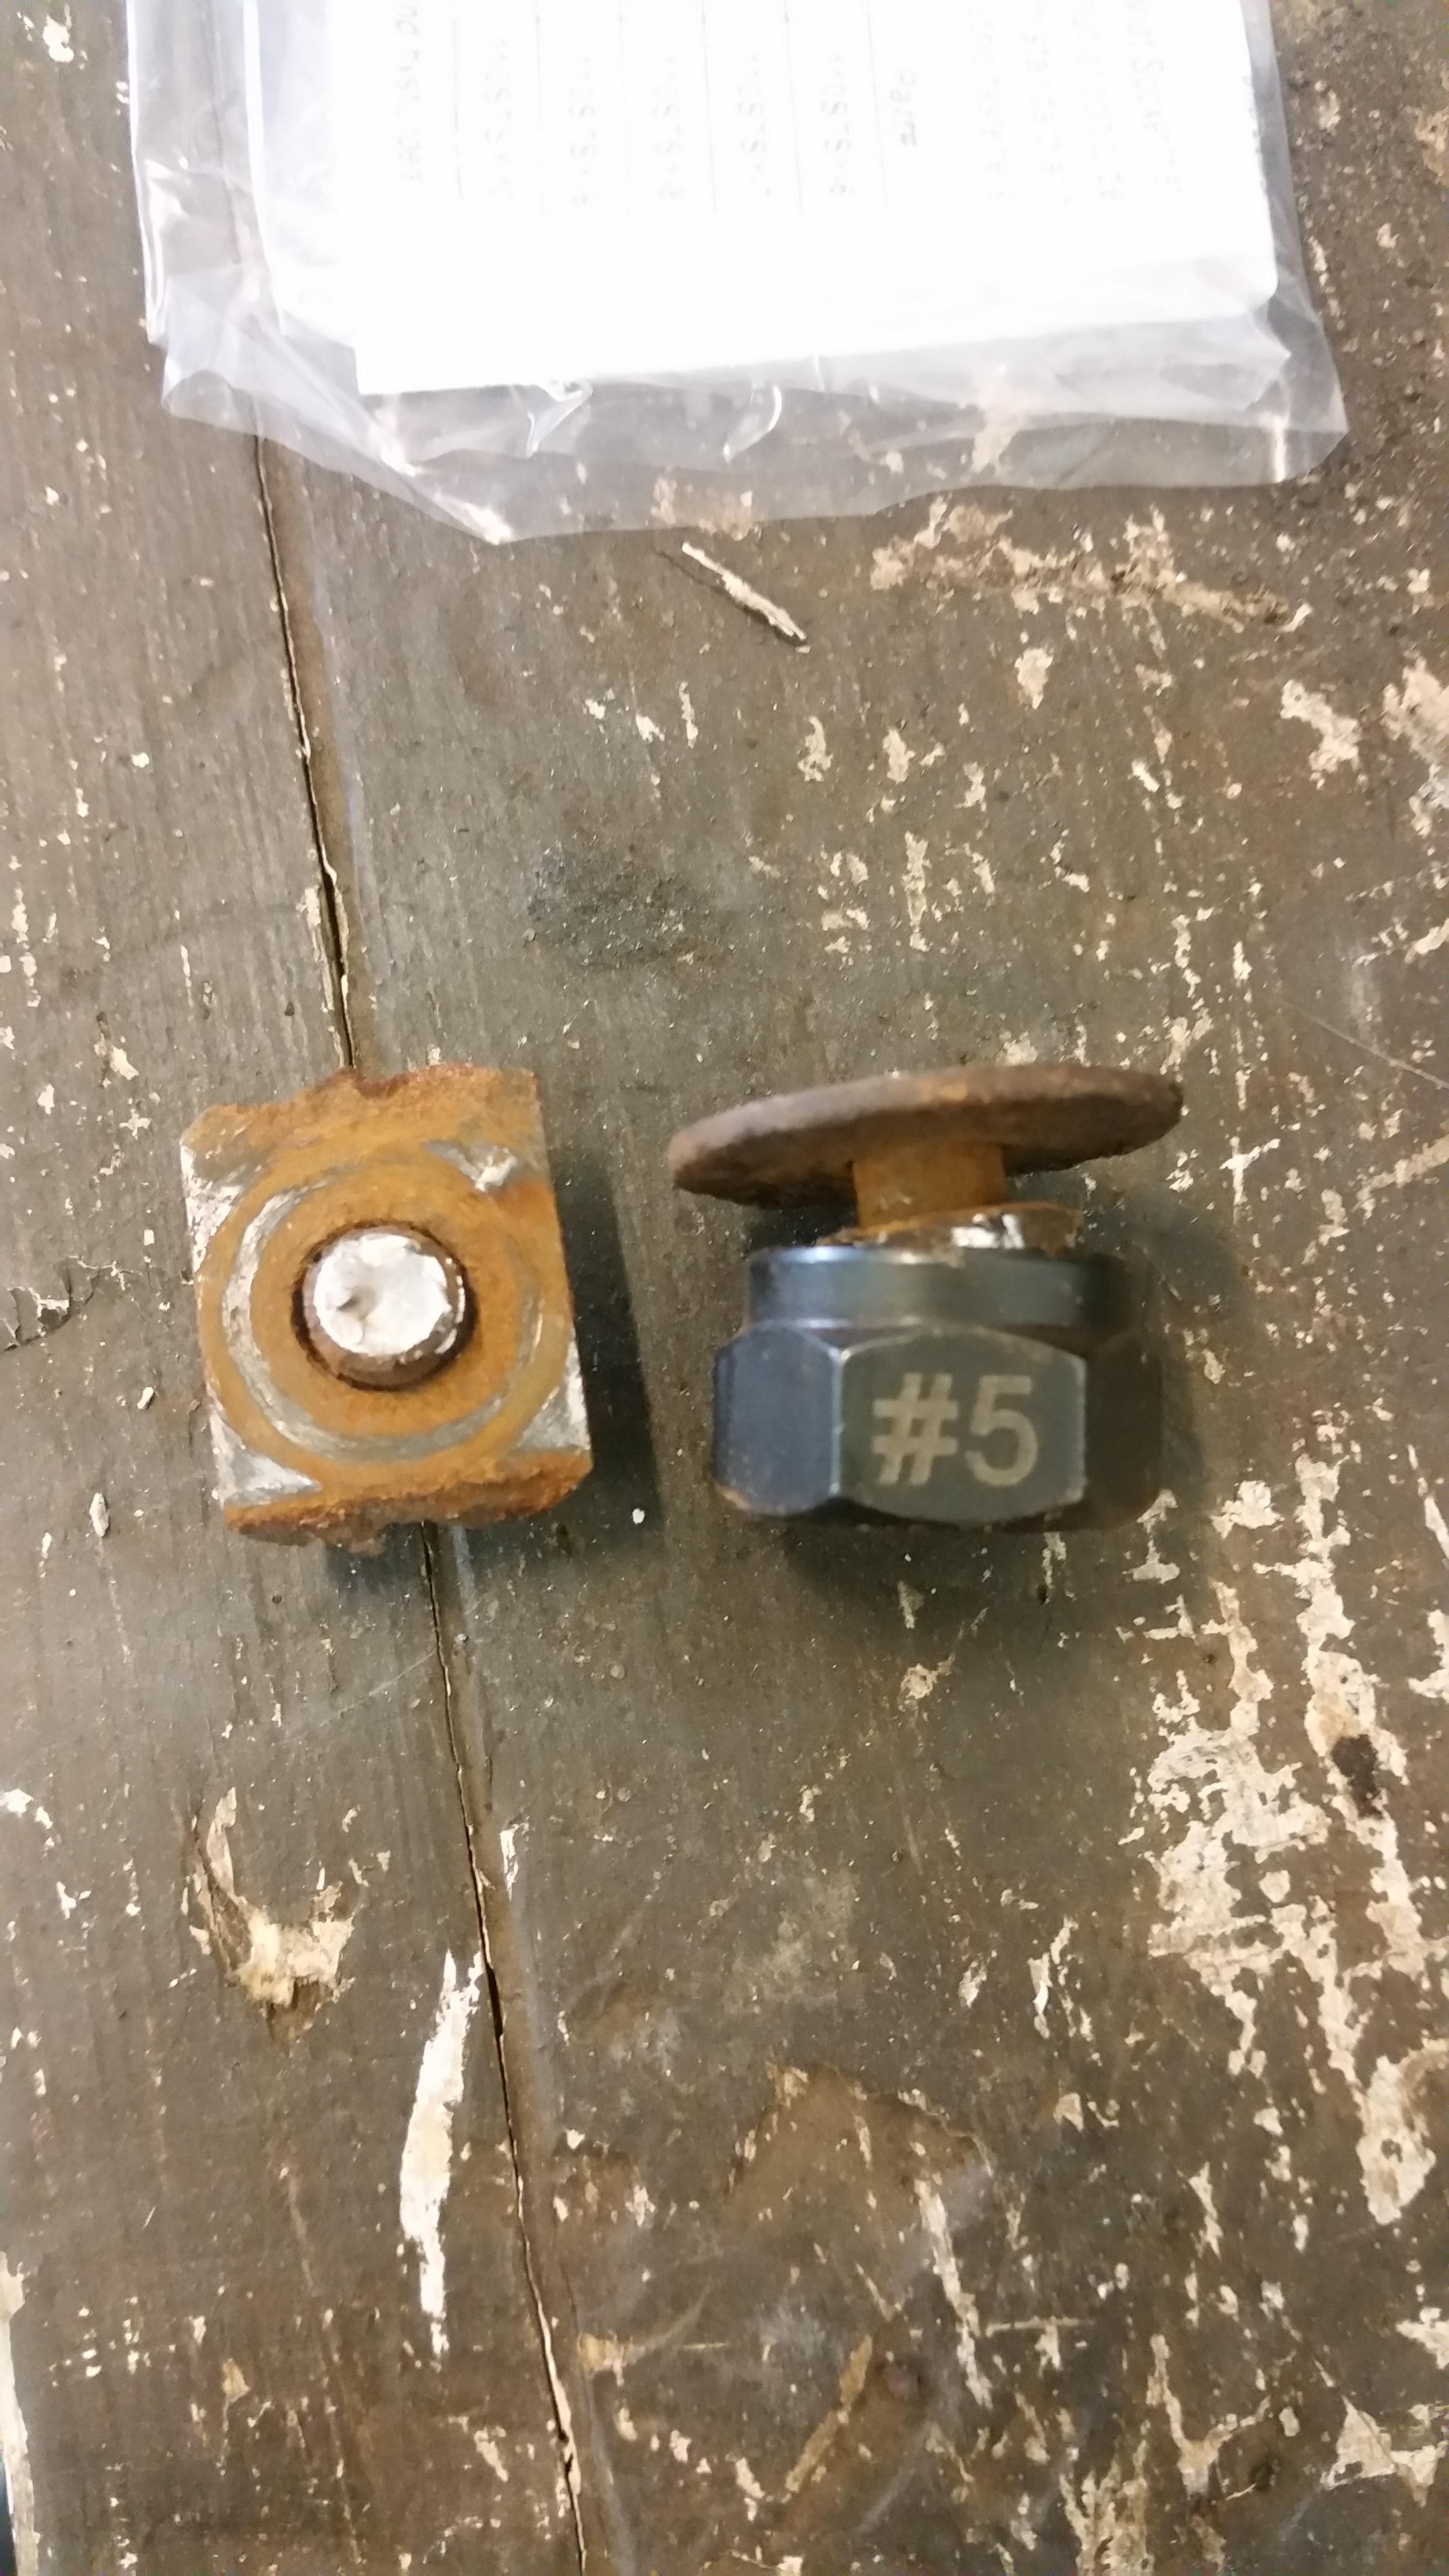
                                      By the way, thx for the tip on that bolt extractor kit for getting the last bolt out on the gas tank. Worked like a charm.
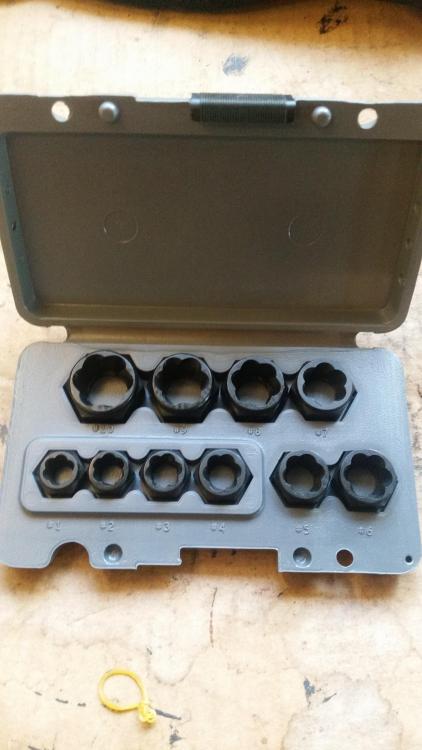
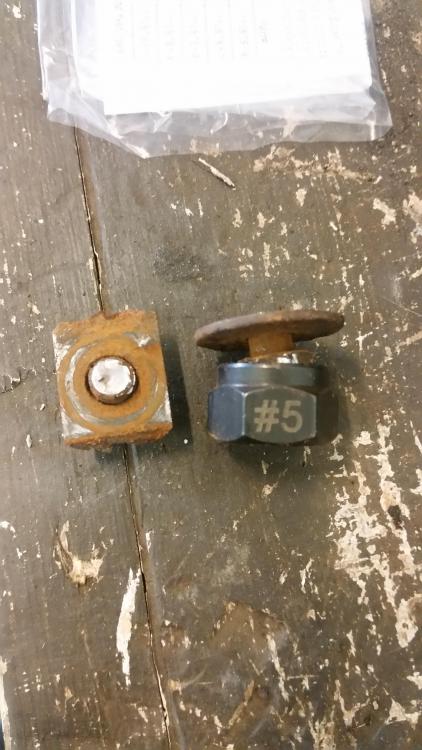
                                      20180105091652.jpg

                                      20180105094127.jpg

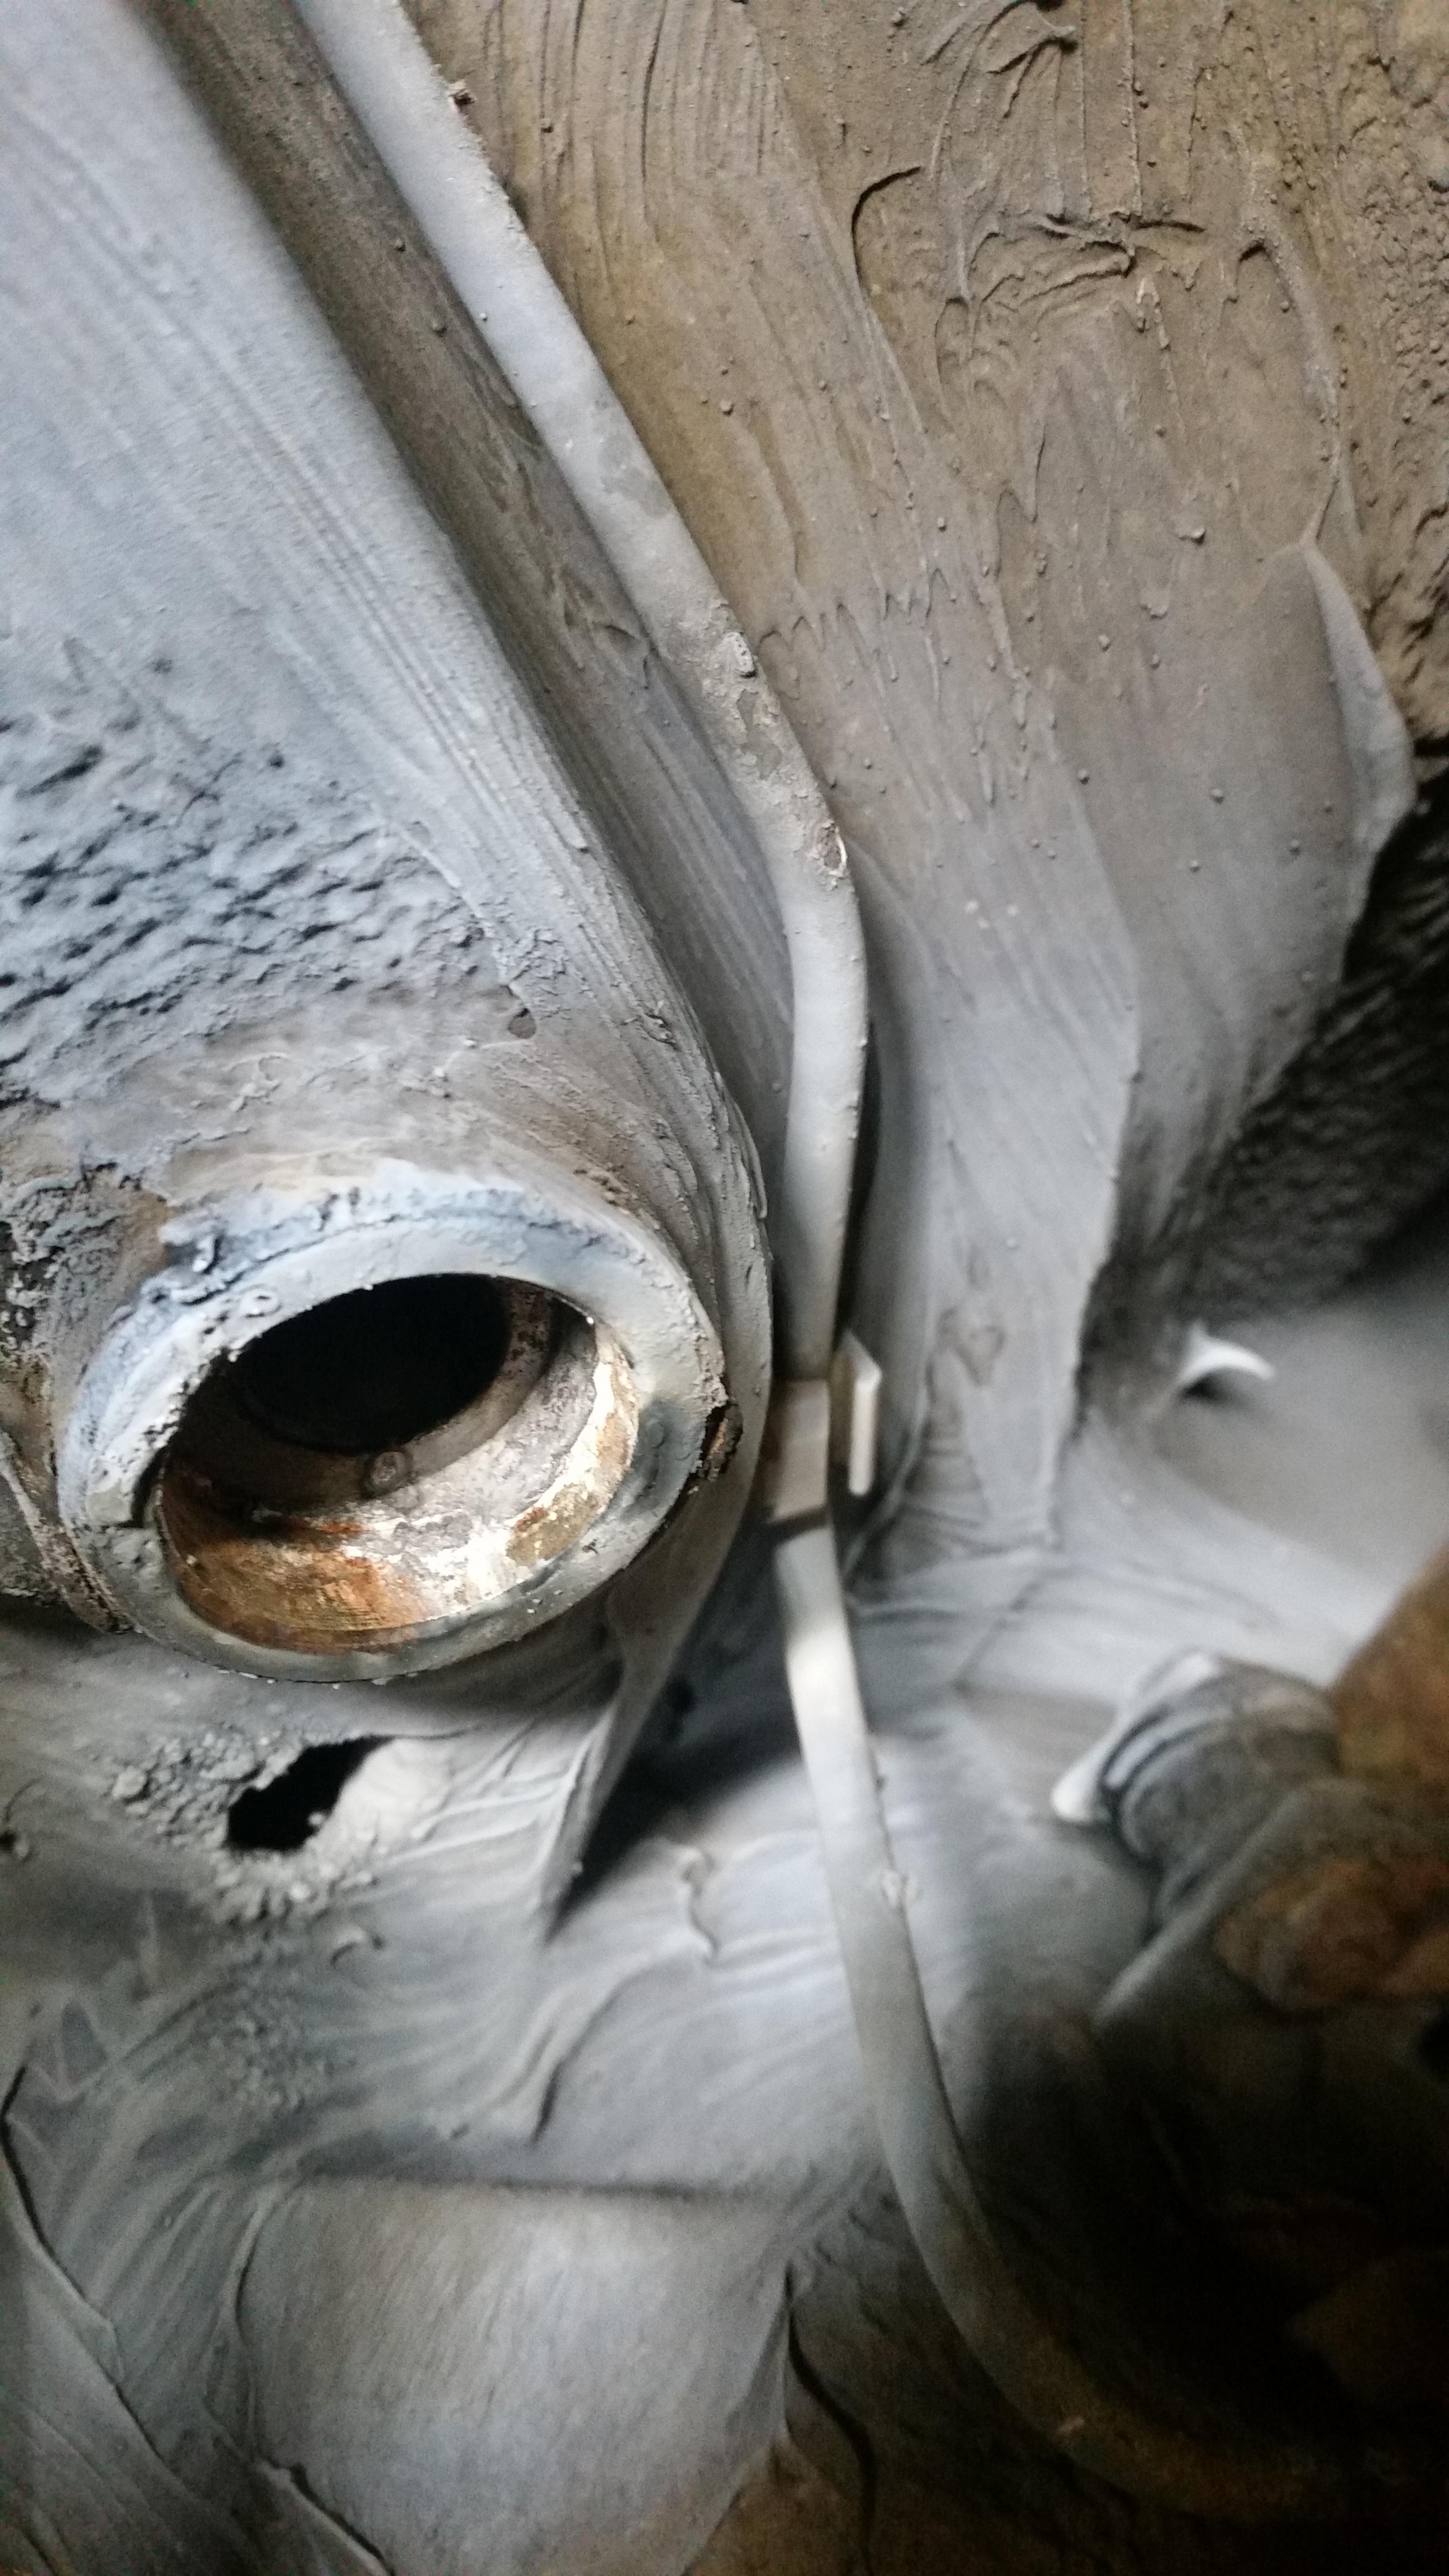
                                      As well as the rest of the aluminum subframe sleeve... To get it out I used a tig torch set on AC (usually used for welding aluminum) and it pretty much just heated up really fast and blasted it out all at the same time.
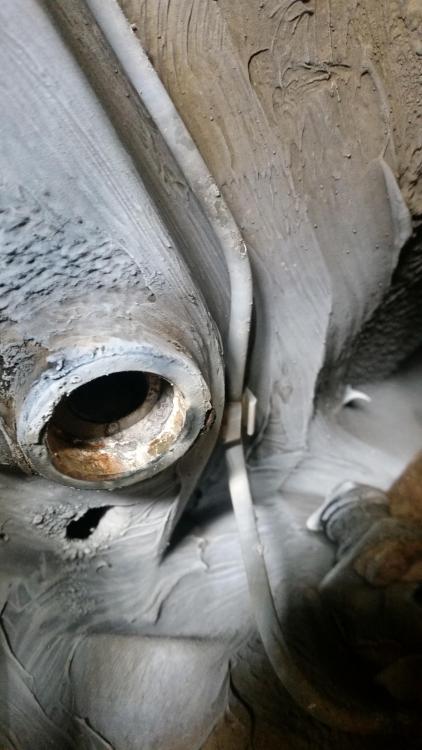
                                      20180103200917.jpg

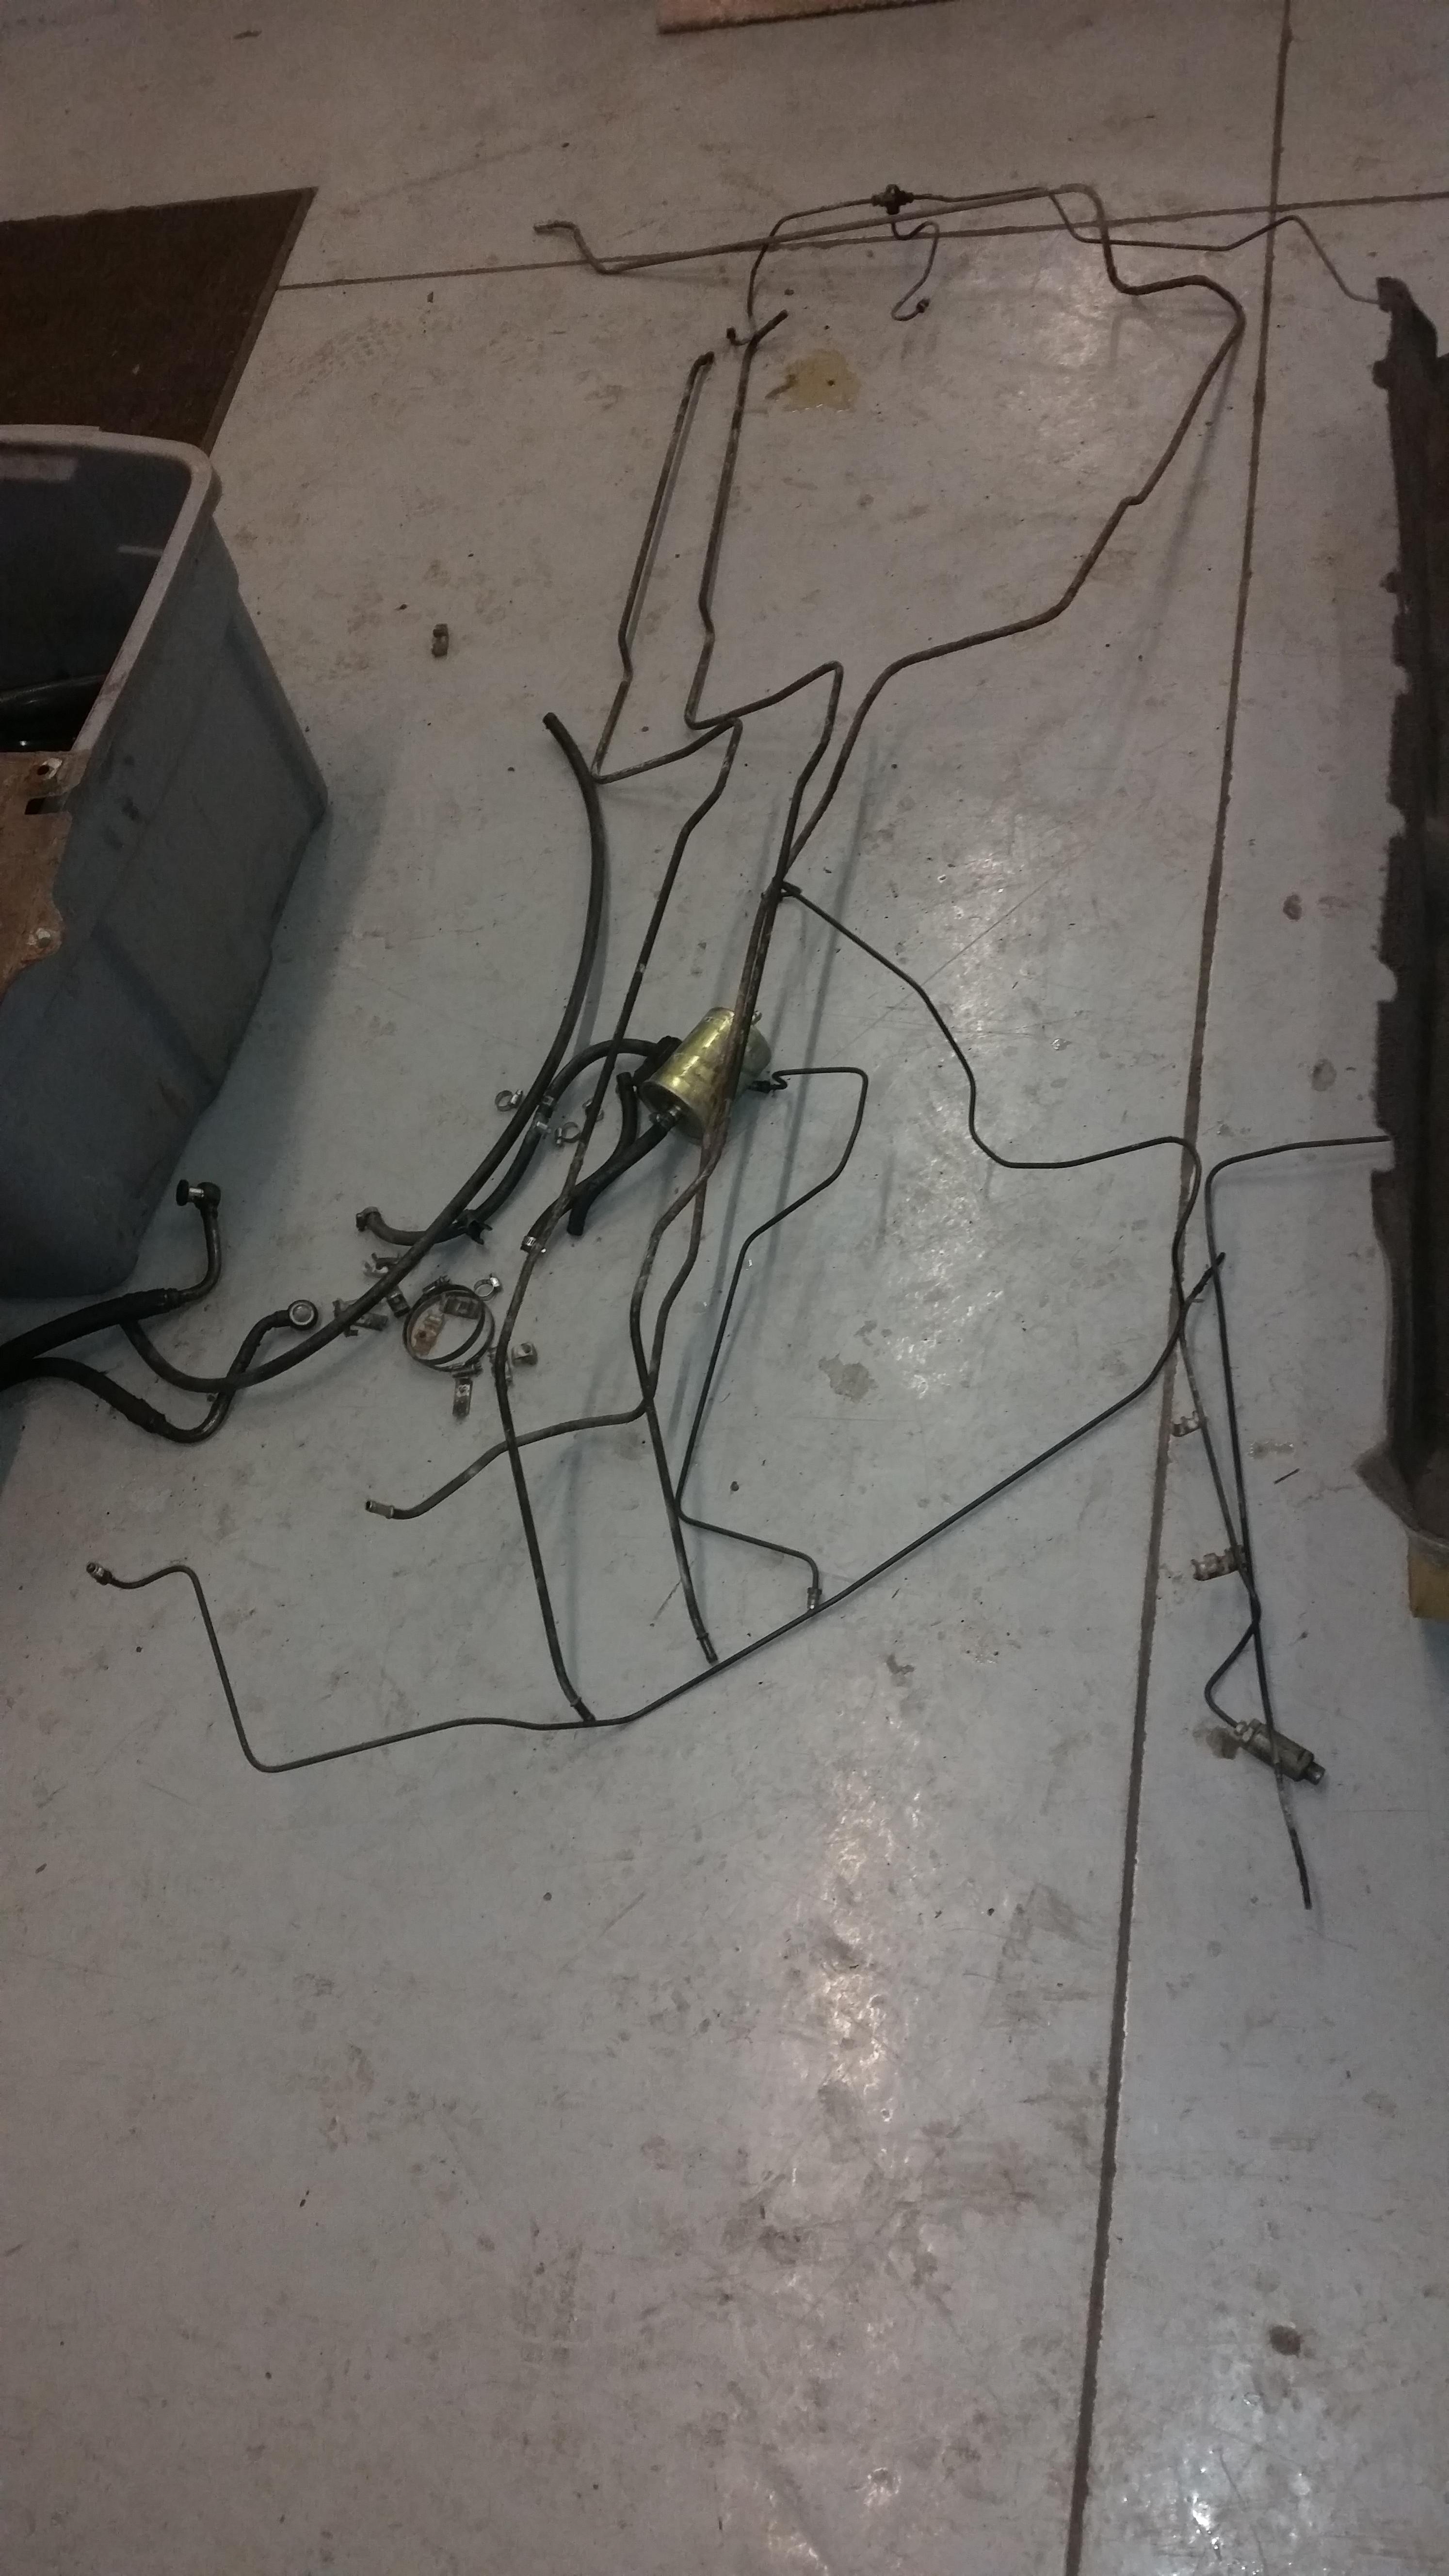
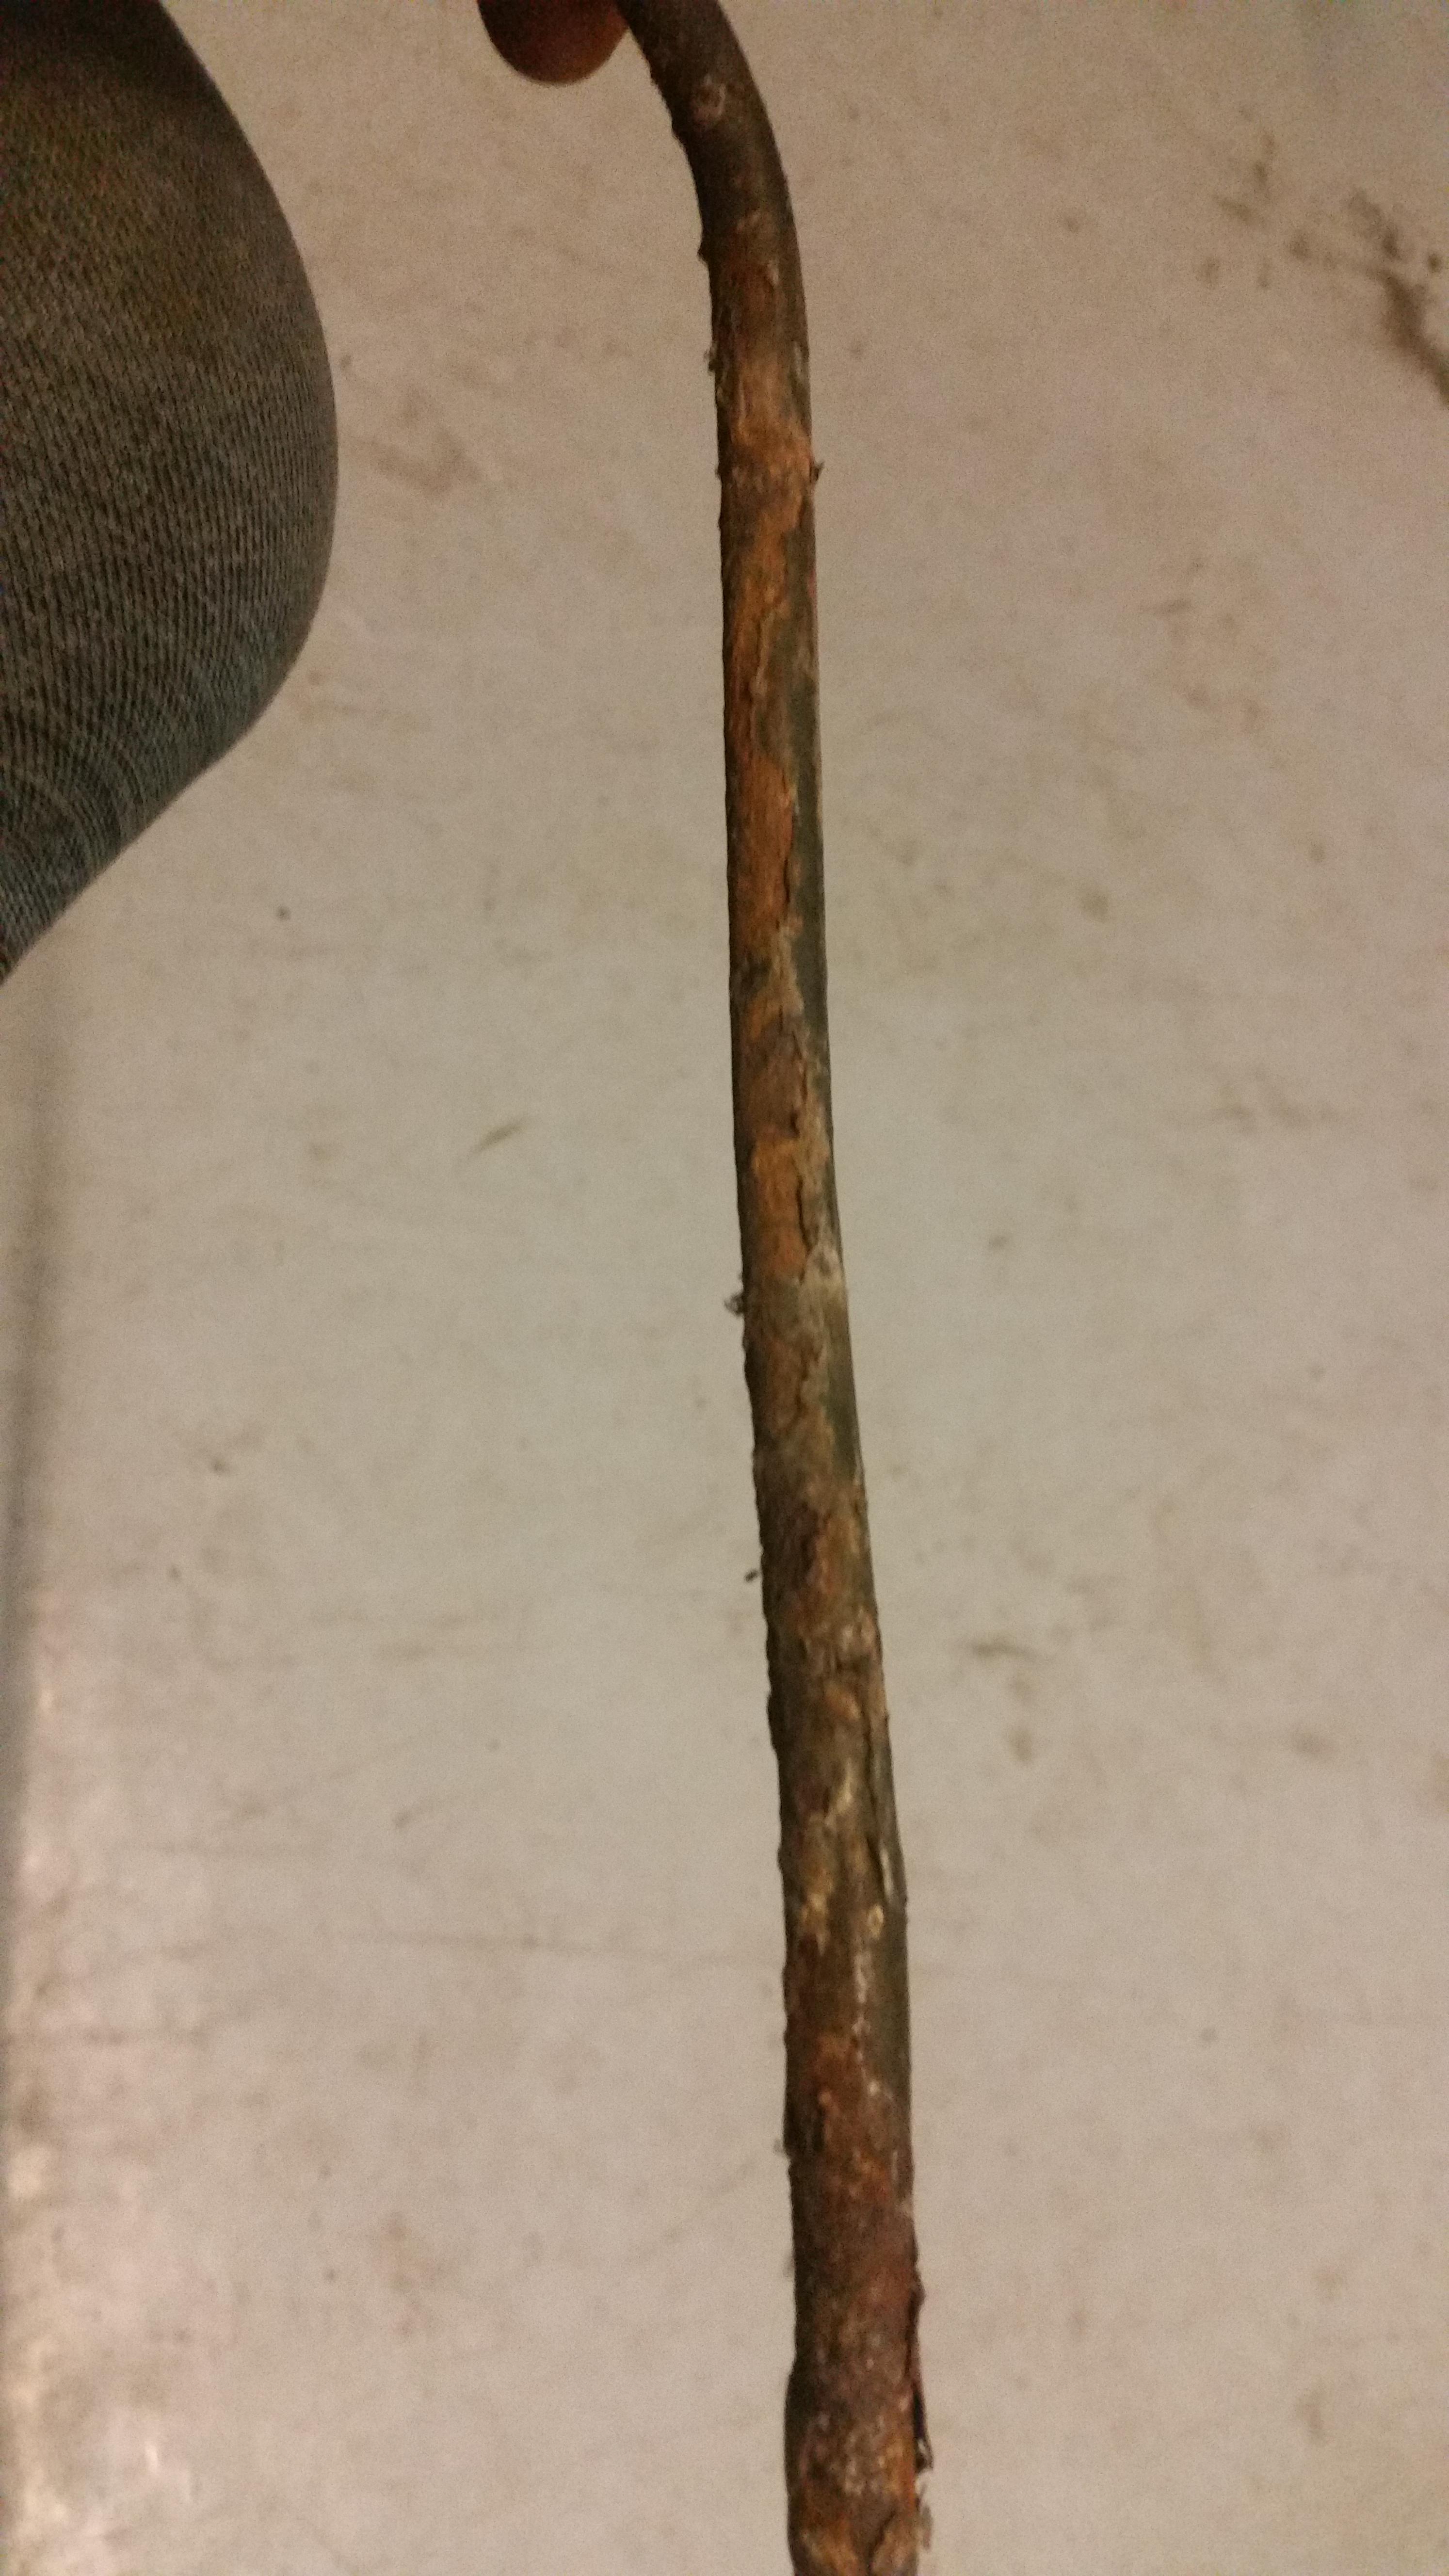
                                      After getting that done, I was able to pull all the rest of the brake and fuel lines which I should say were very crusty and in dyer need of replacement.
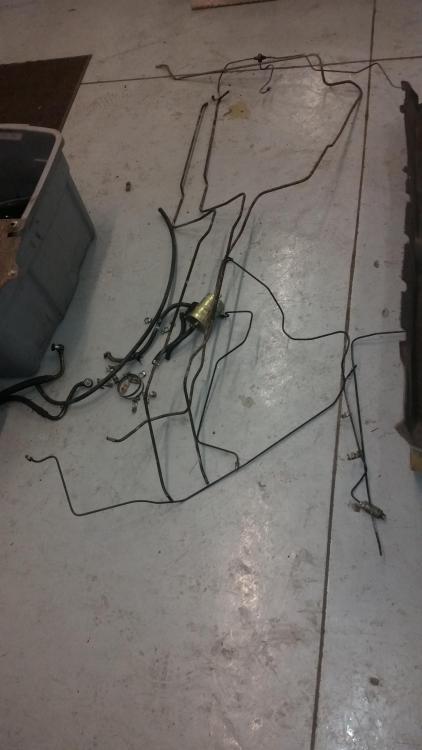
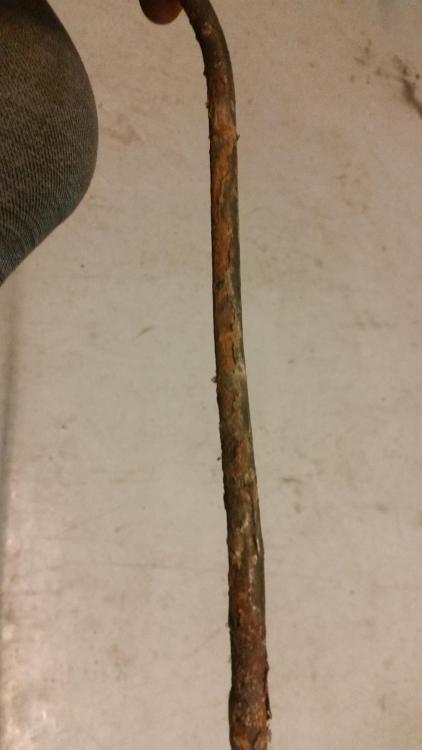
                                      20180107000254.jpg

                                      20180107000421.jpg

                                      In fact once I started to pop the fuel lines out of the brackets they immediately started to leak in 3 different spots. Gonna be replacing all the lines with copper nickel line 5/16 for the fuel and 3/16 for the brake.  Ordered a bubble flaring kit from Matco the other day. Hoping to see it here Monday or Tuesday.

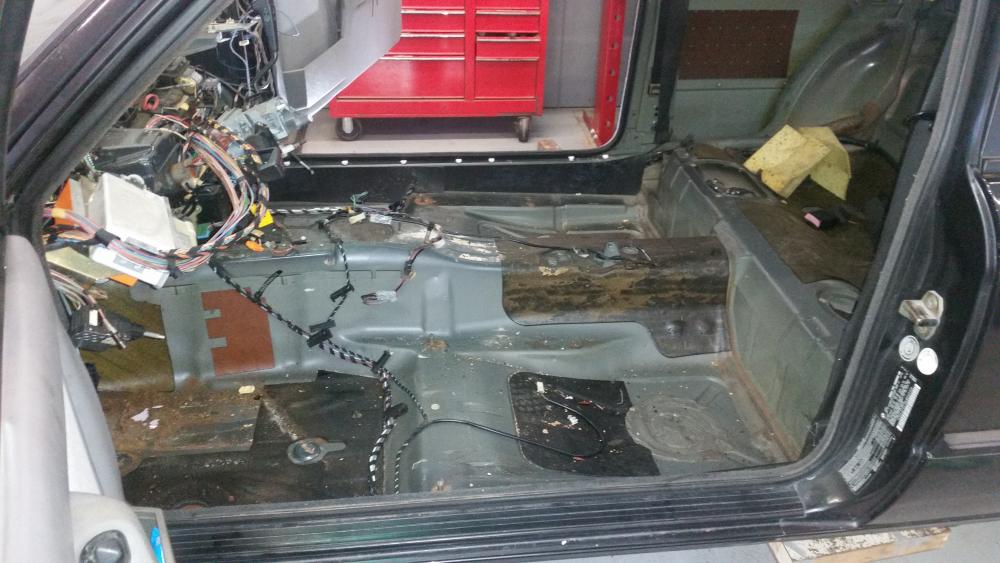
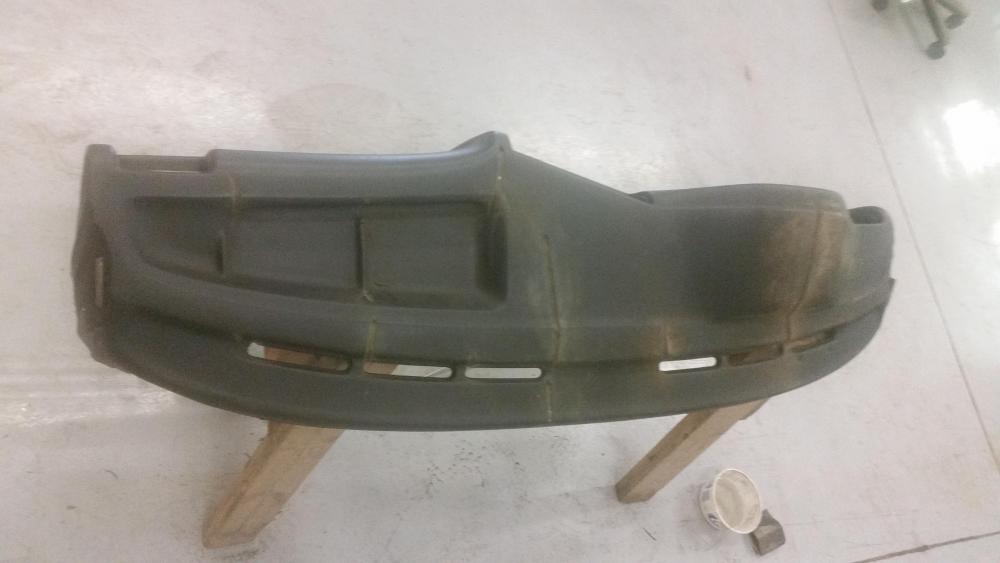
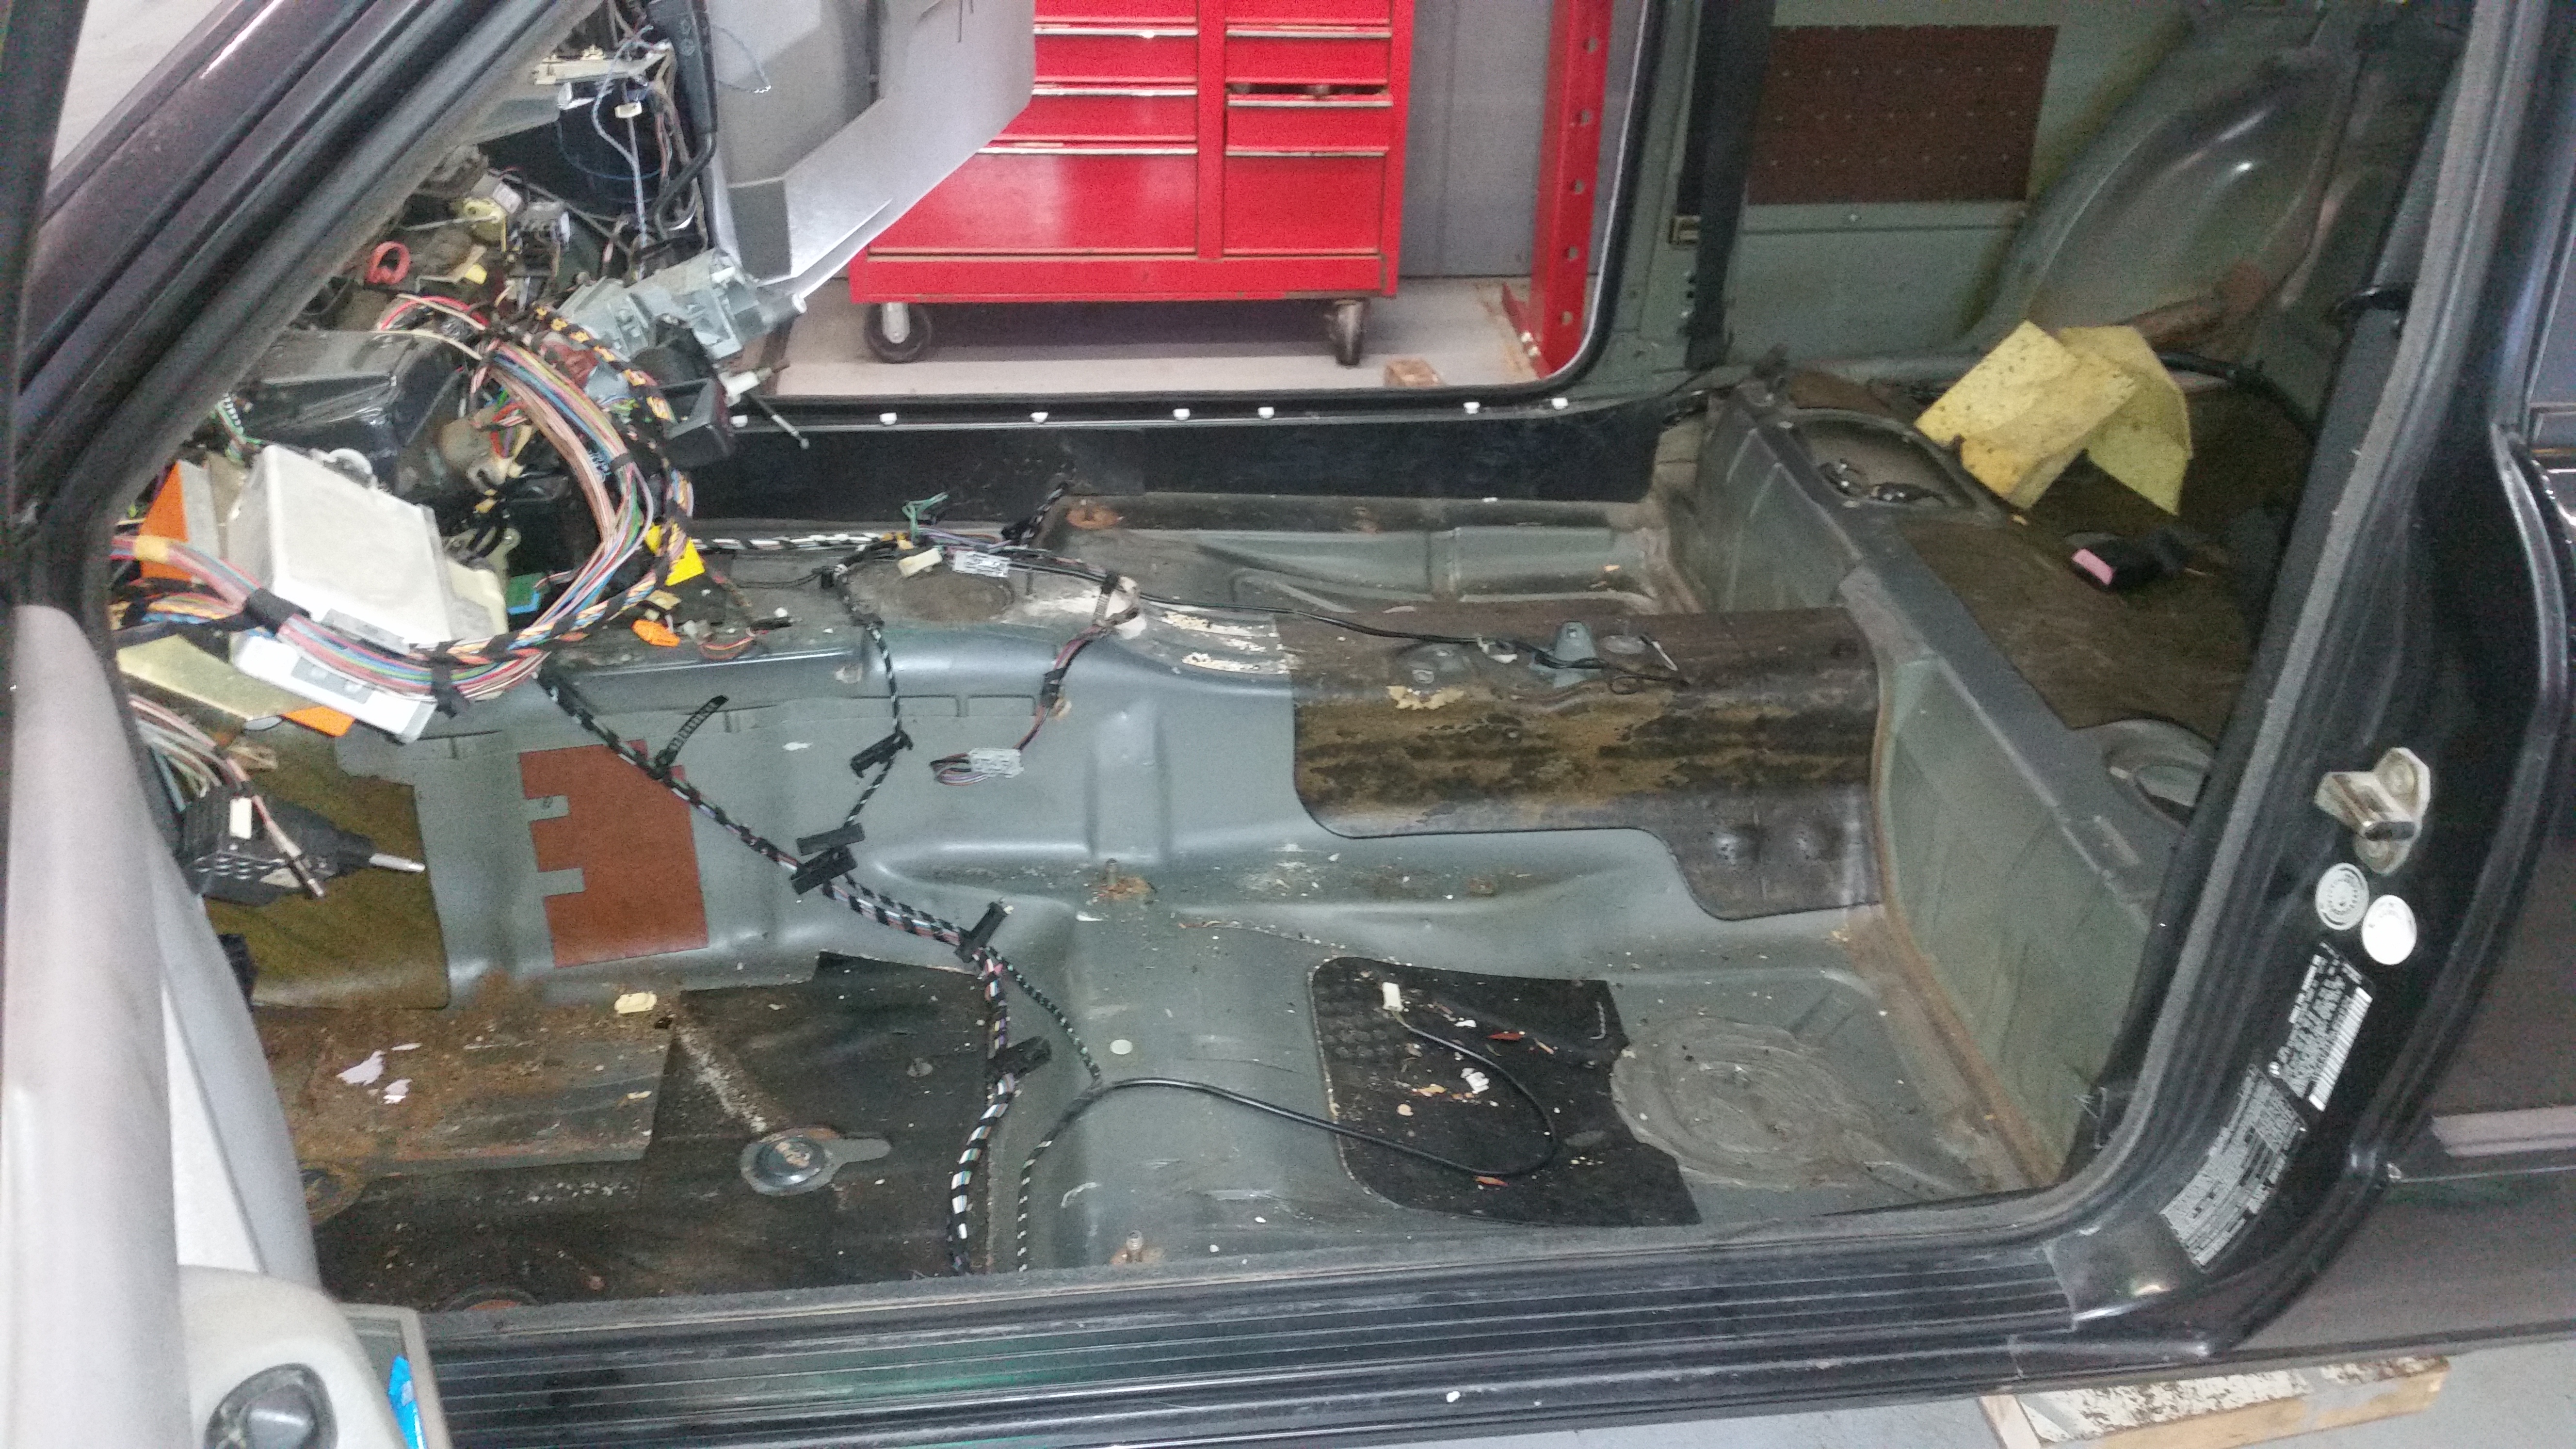
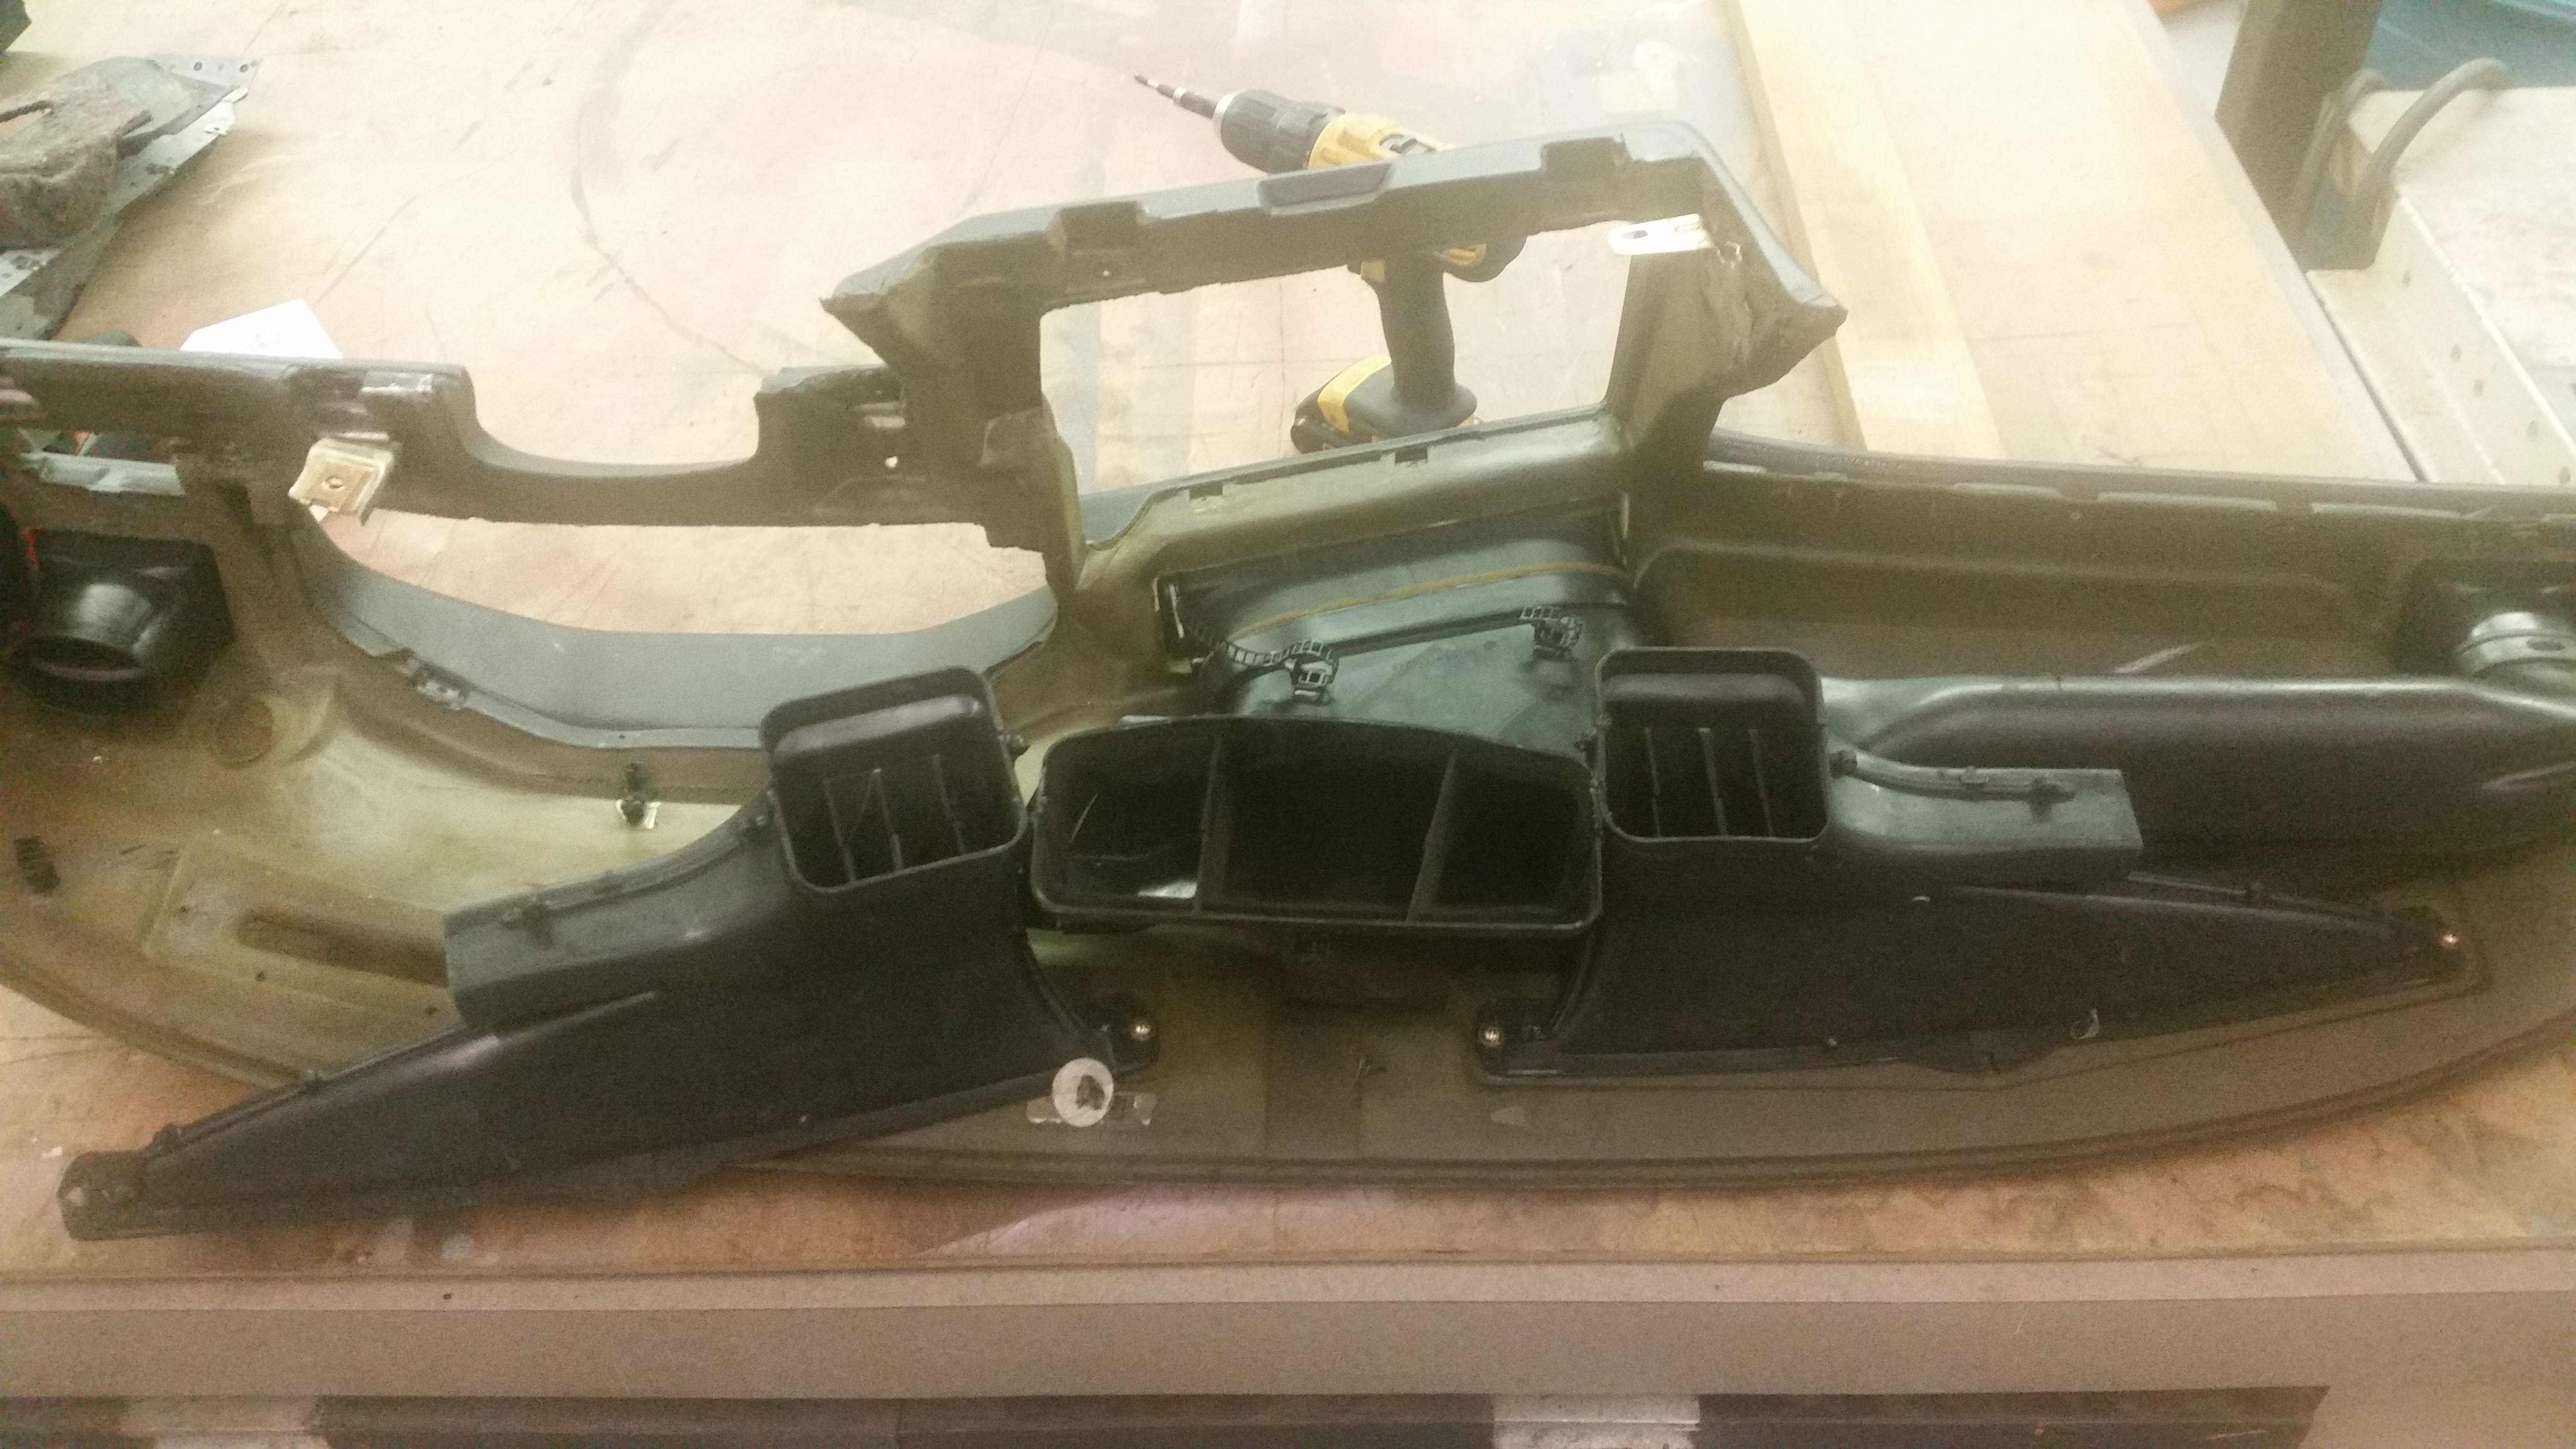
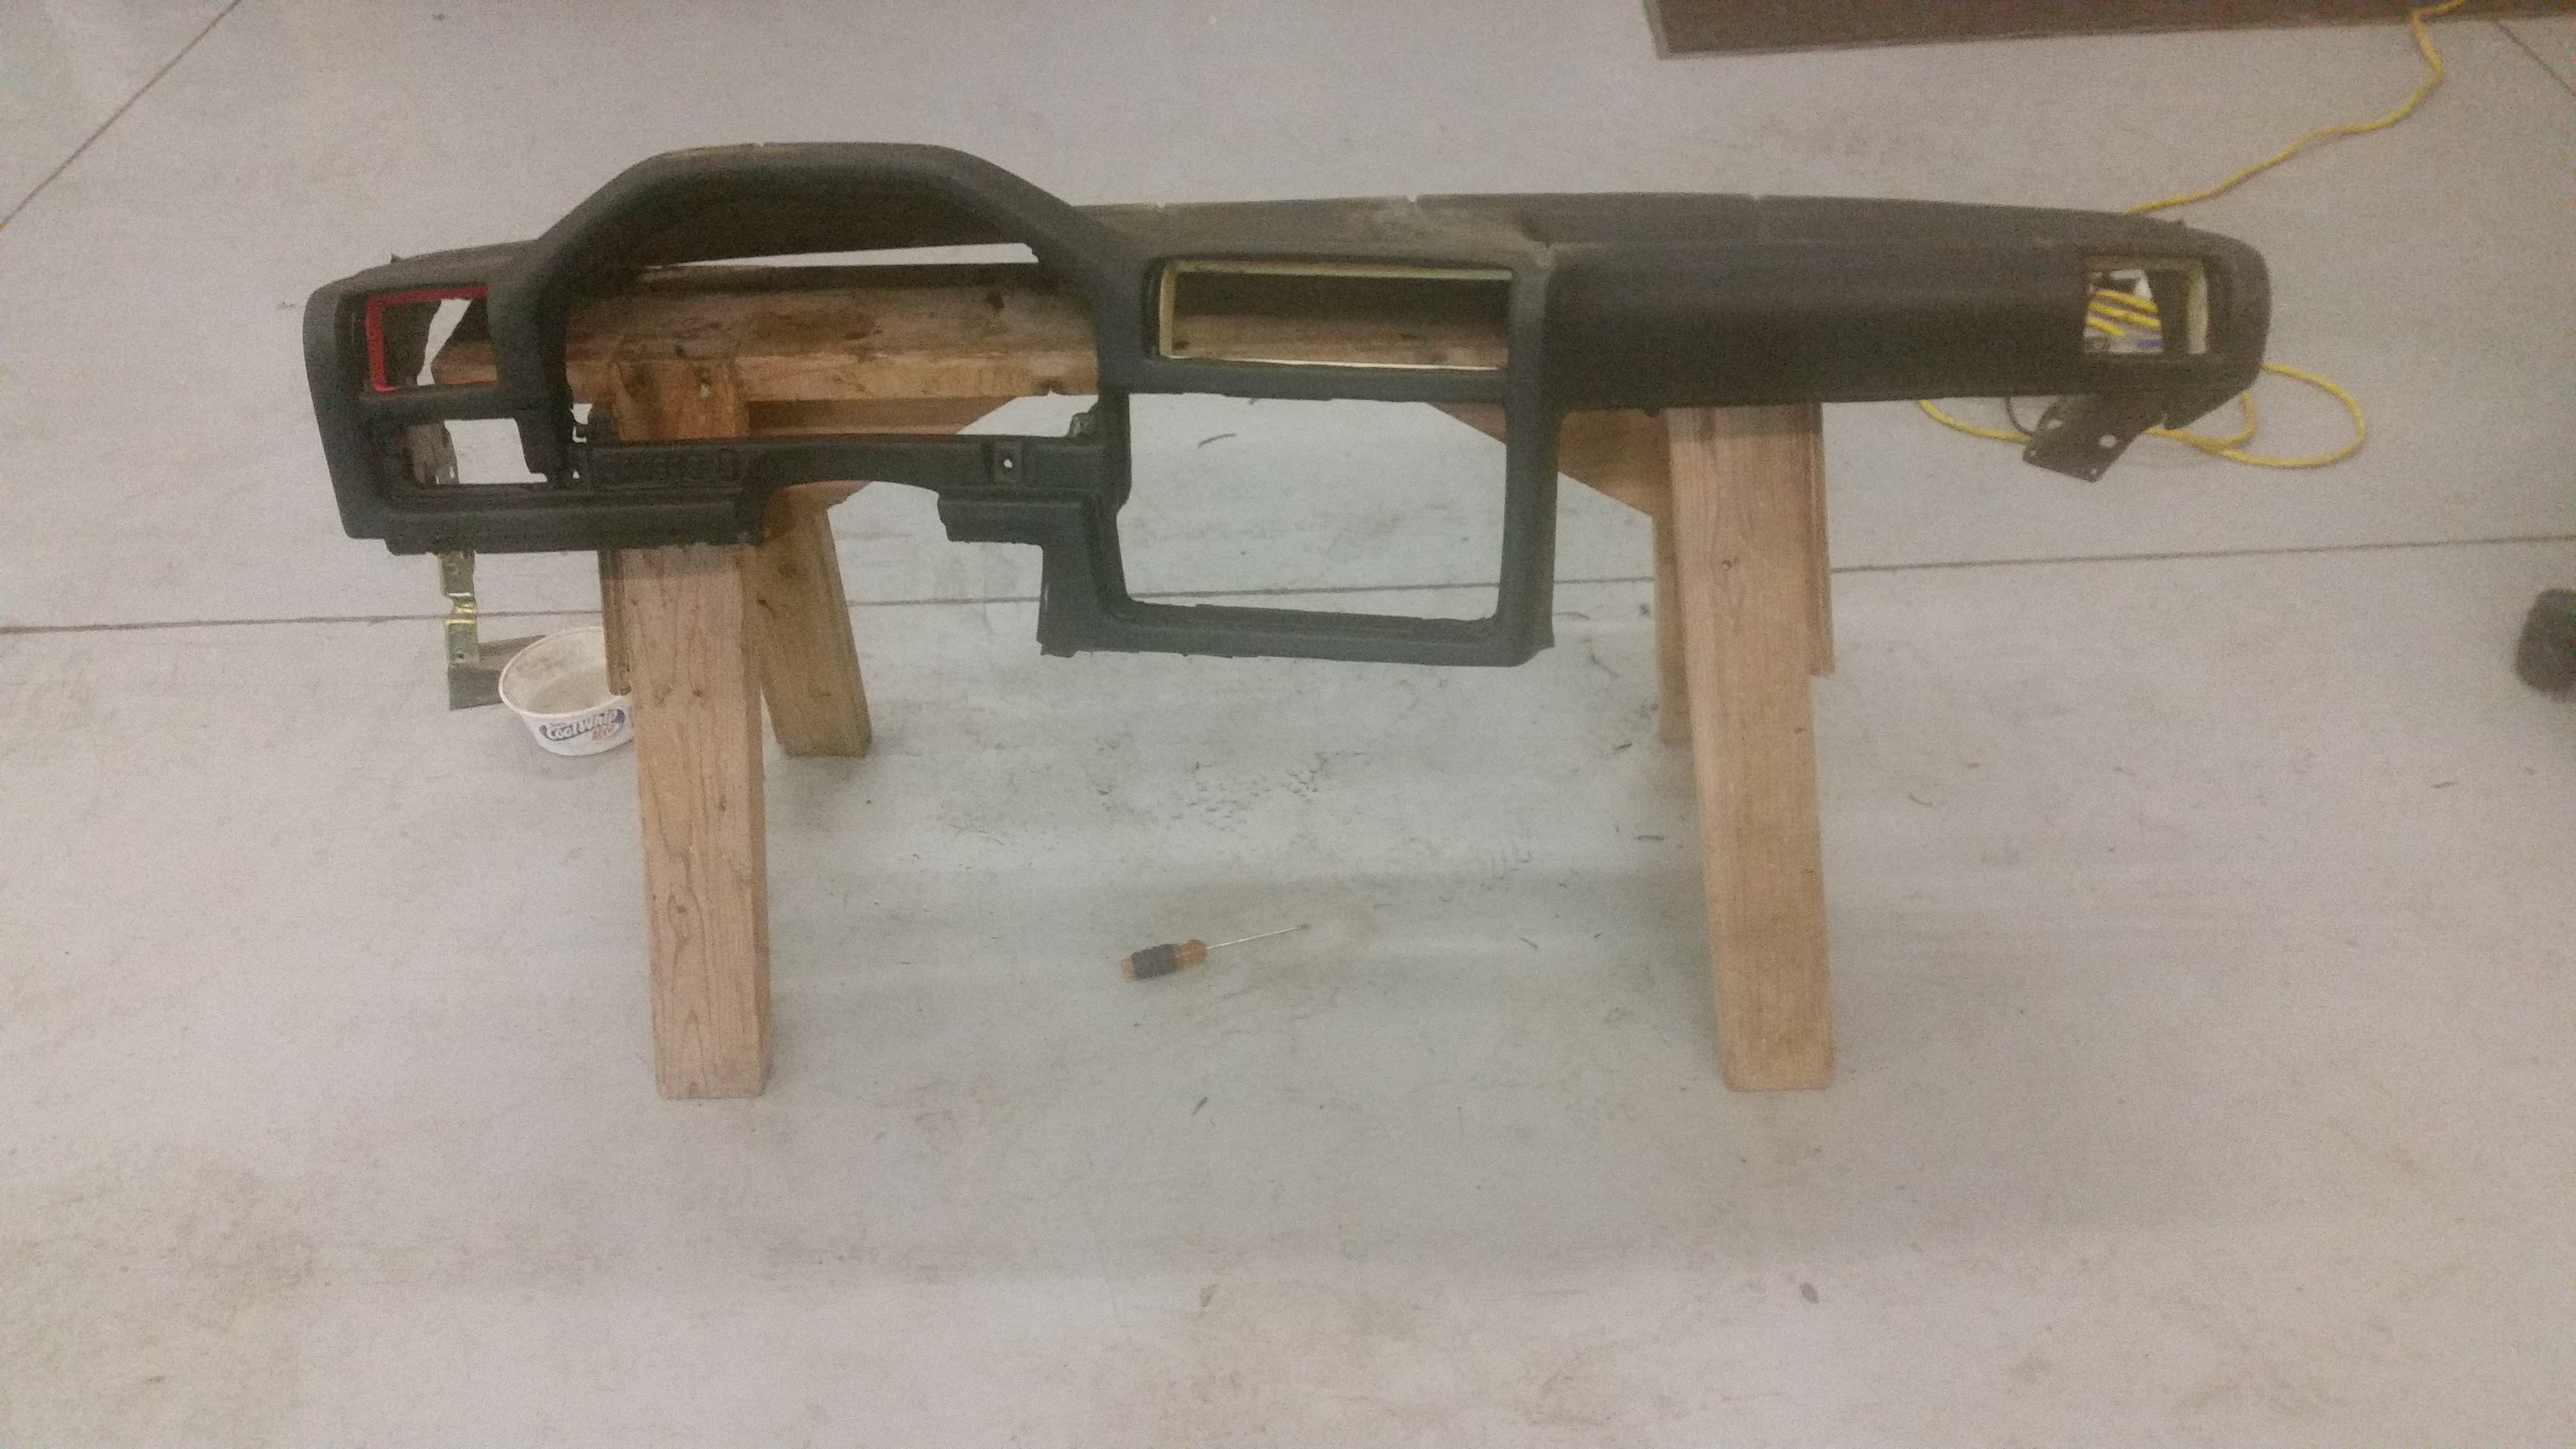
                                      For the interior, as you've seen above I got the dash and carpet pulled. Carpet is a nasty mess ,  Gonna try cleaning it today back at home and see how she looks. Not really sure about dying the carpet as I am a little leery about how it may hold up over time. Also came upon a website while researching carpets for bmw's called stockinteriors.com. They will make a molded carpet with the foam for an e30 for about 170 bucks, only thing I would have to do is cut in the necessary holes for it to fit, something I may have to consider if the original carpet doesn't work out.

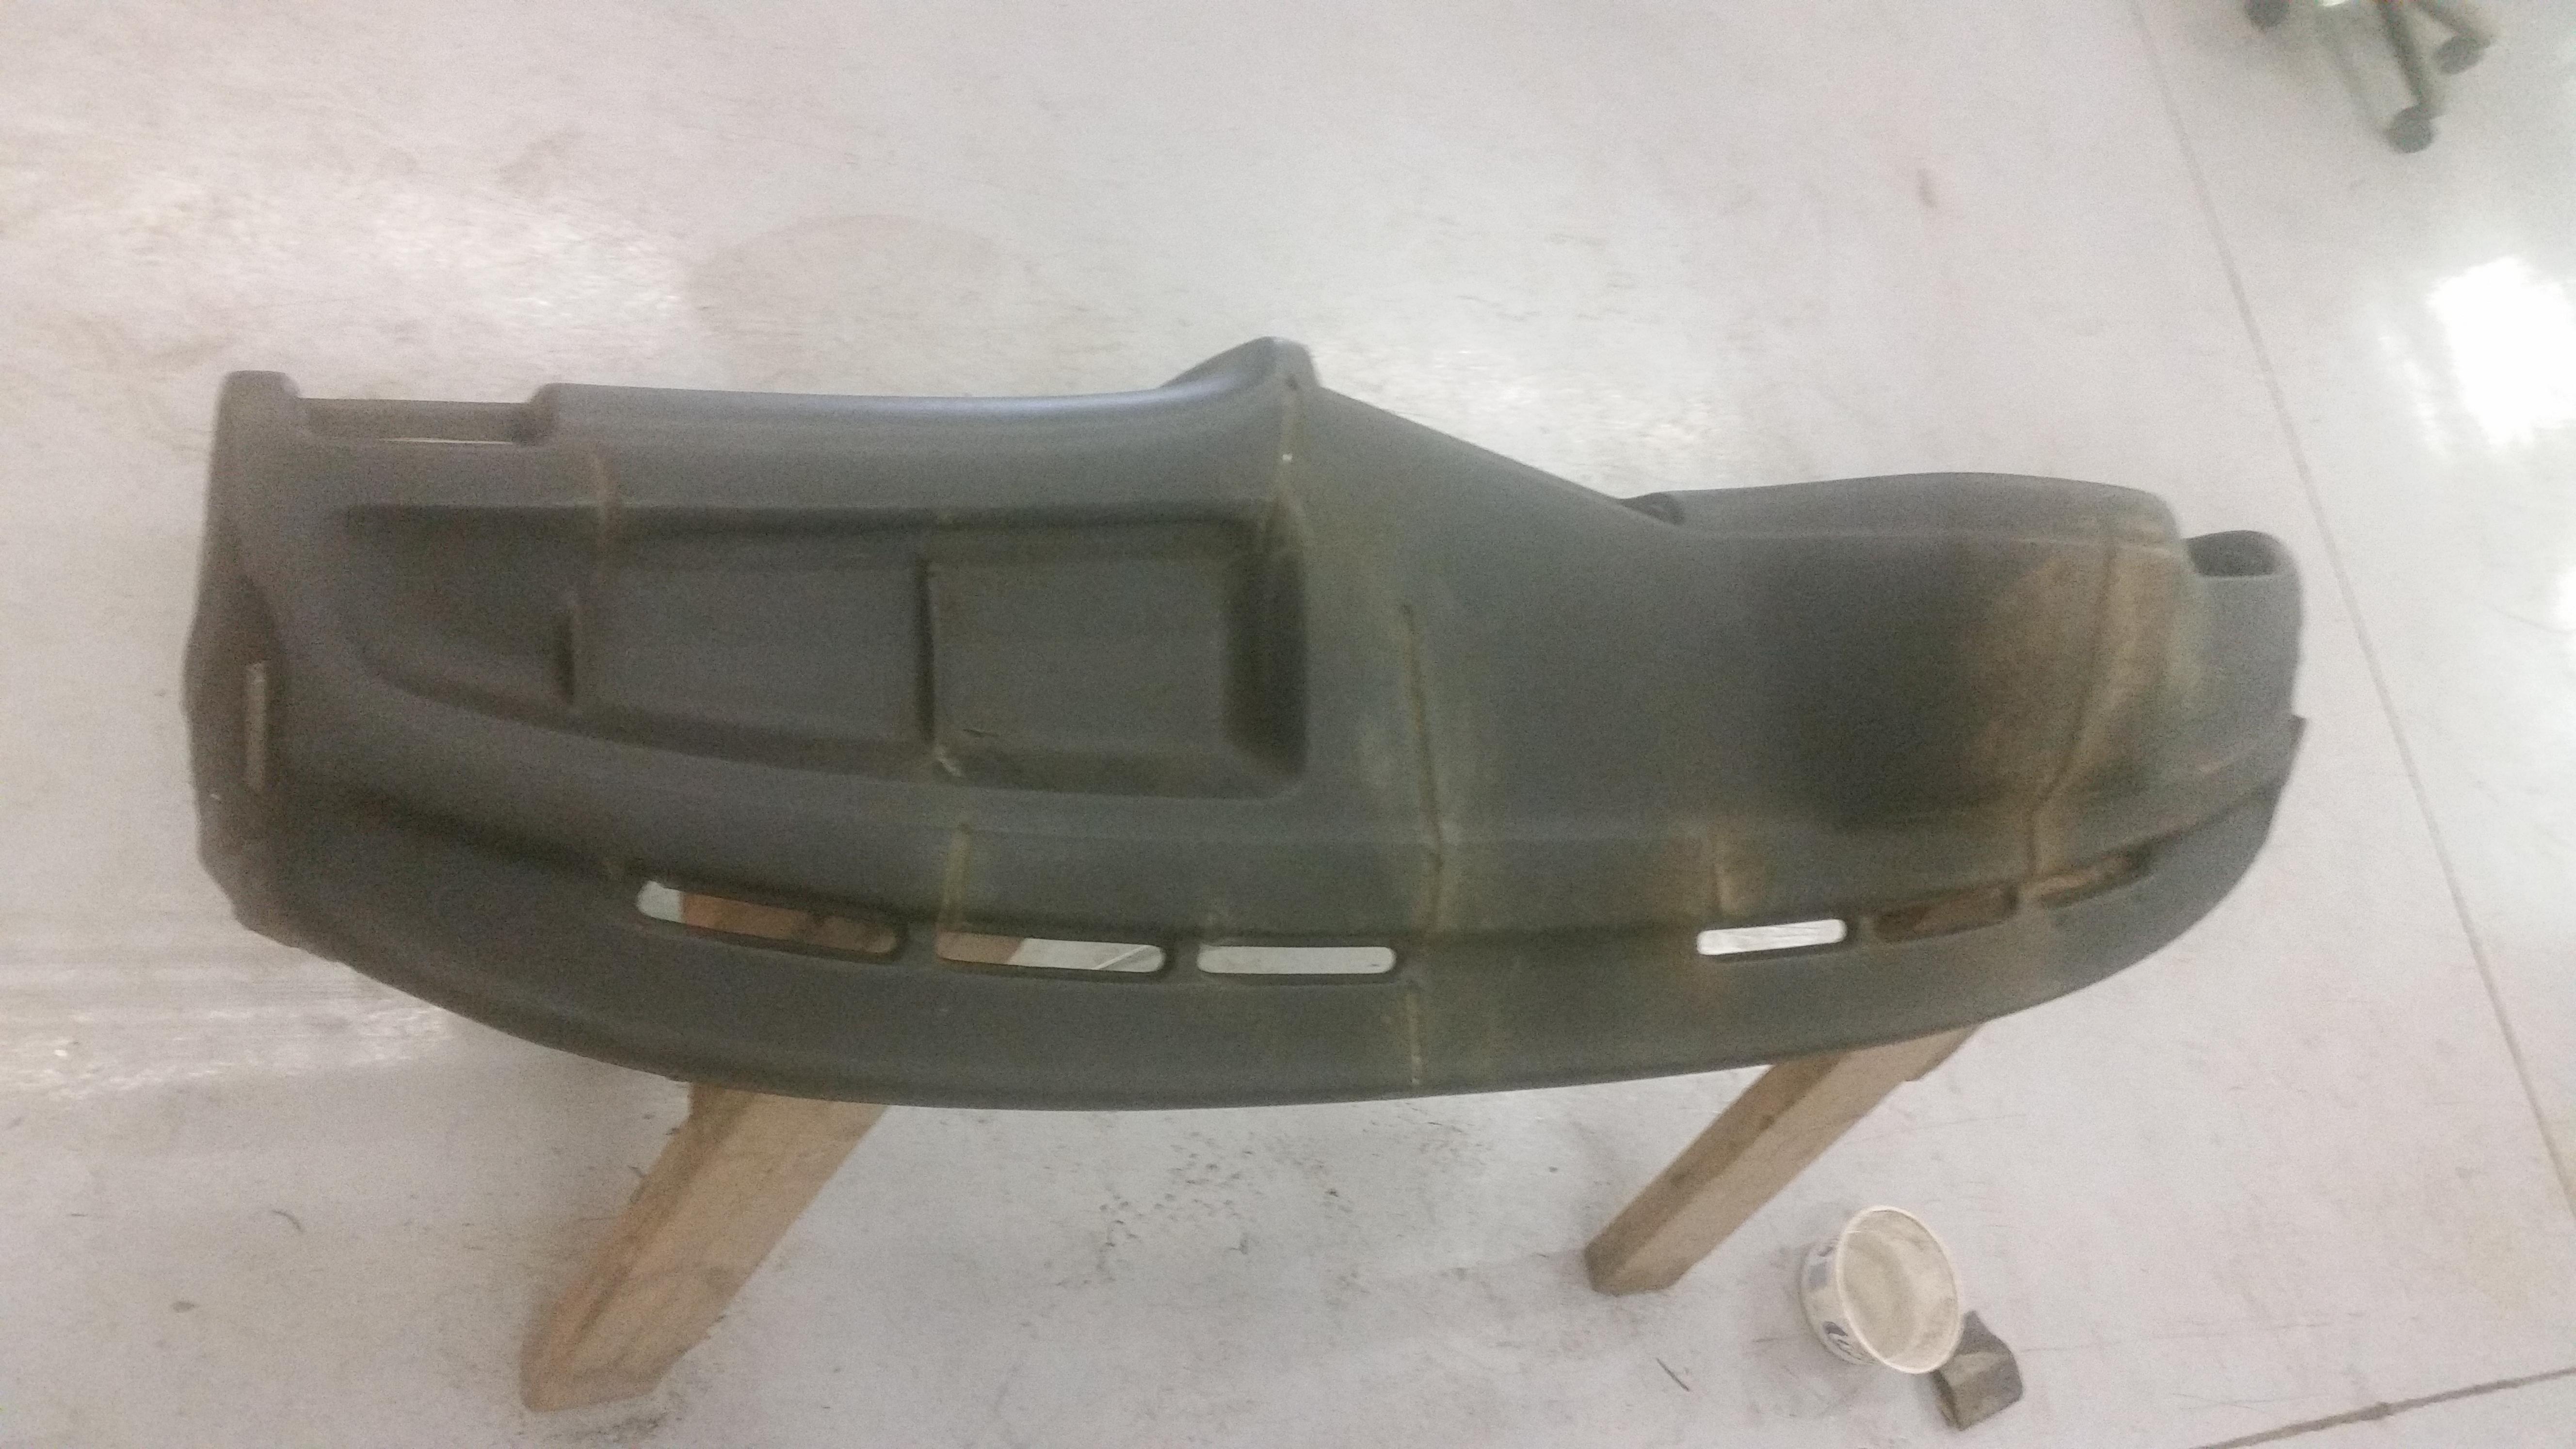
                                      As for the dash, Got it completely dissembled last, dremeled out all of the cracks with a grinding stone. Will begin body filling the cracks tonight and sand it down. Order dash flocking kit, check.
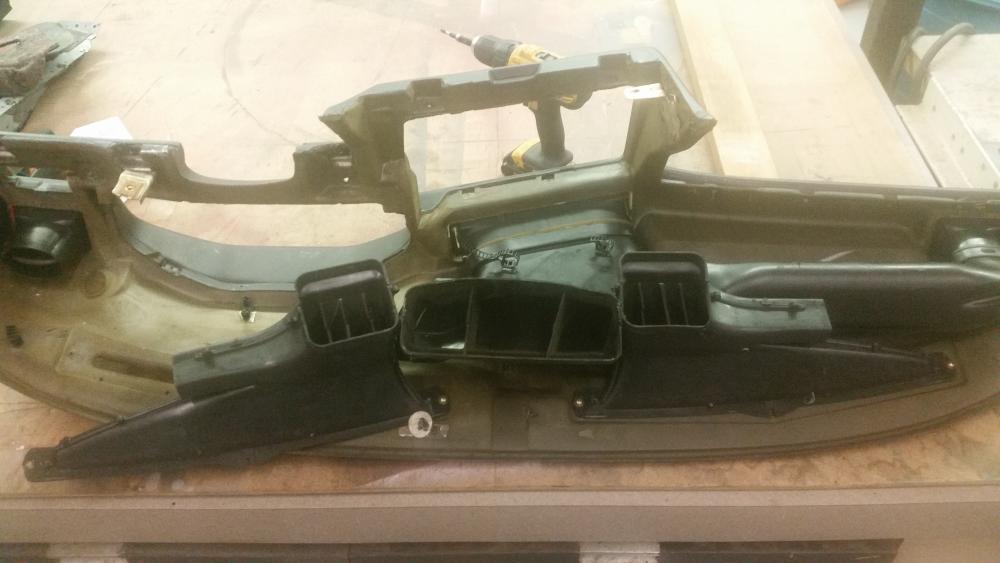
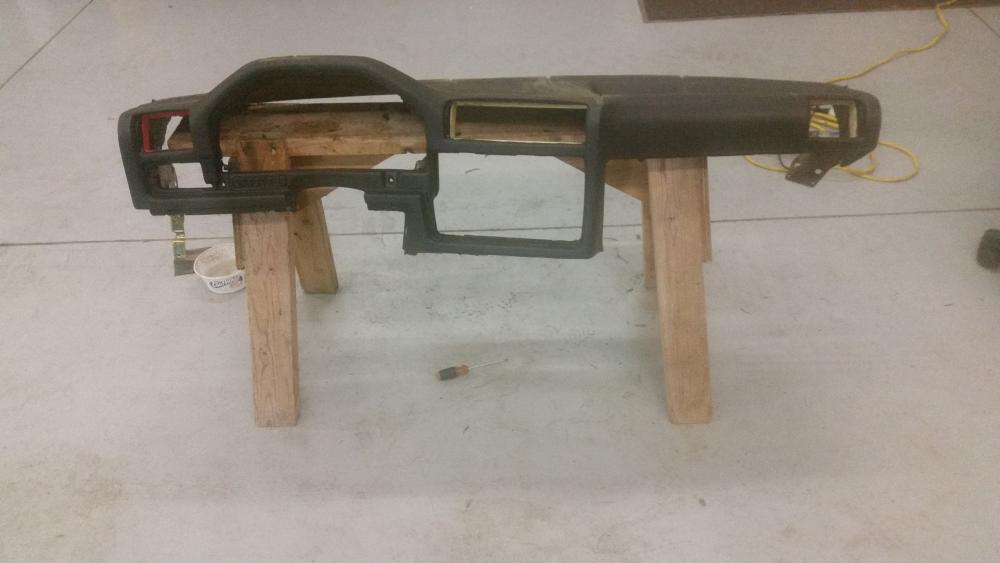
                                      20180106202330.jpg

                                      20180106212356.jpg

                                      20180106212506.jpg

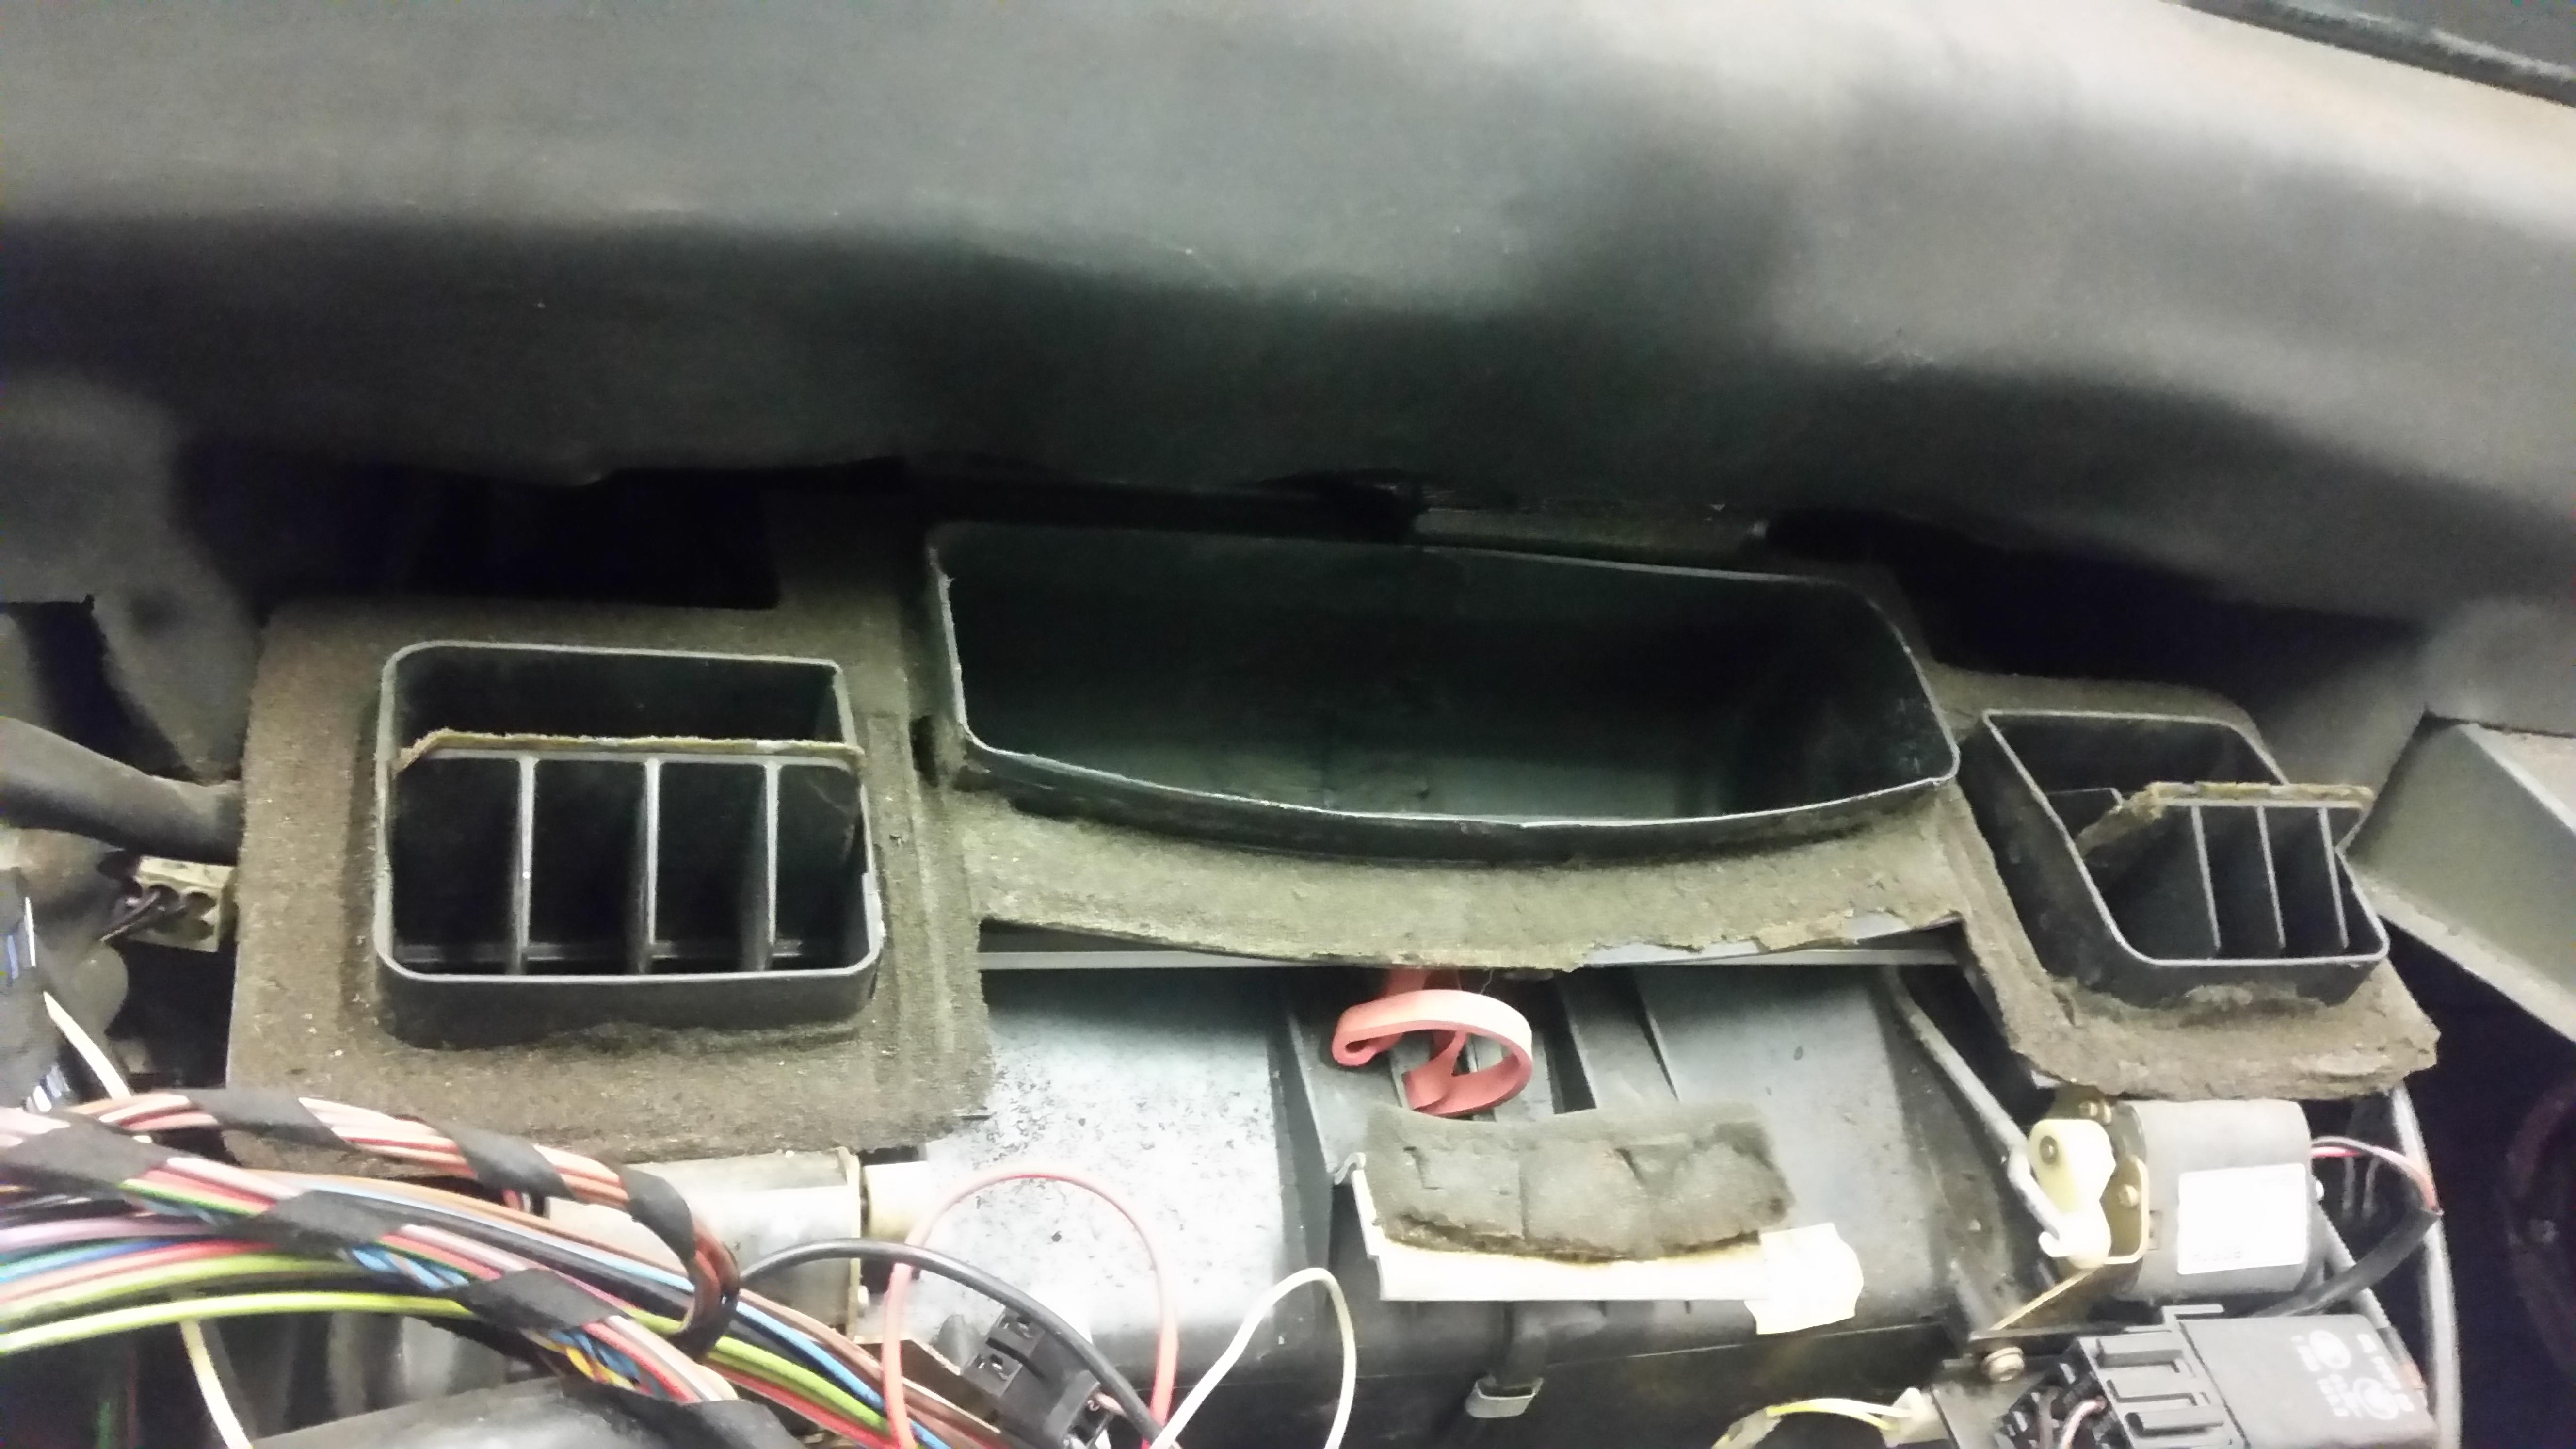
                                      Also started to clean all the foam for sealing the duck work. Anyone know where I can get a good replacement for that kind of stuff?
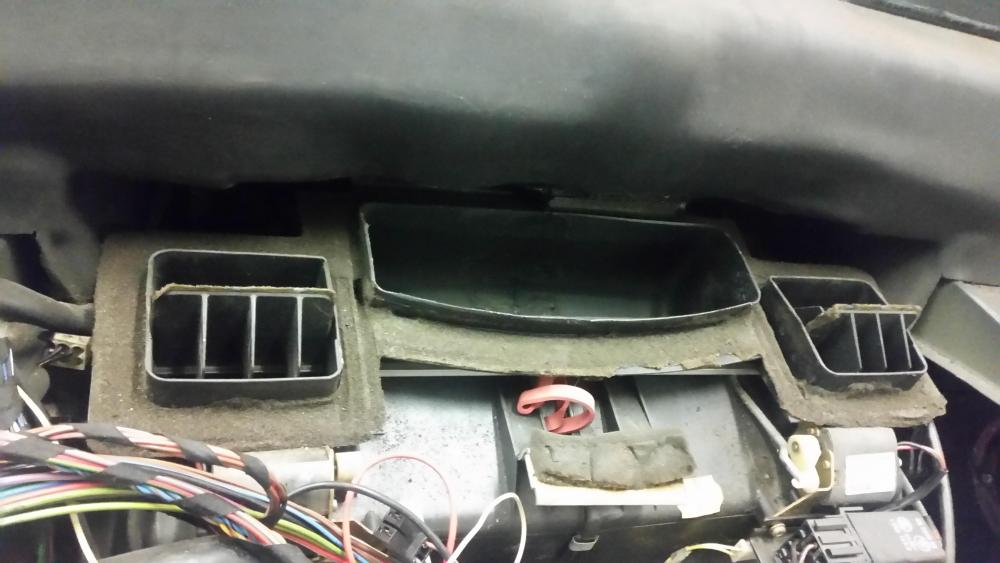
                                      20180107000602.jpg

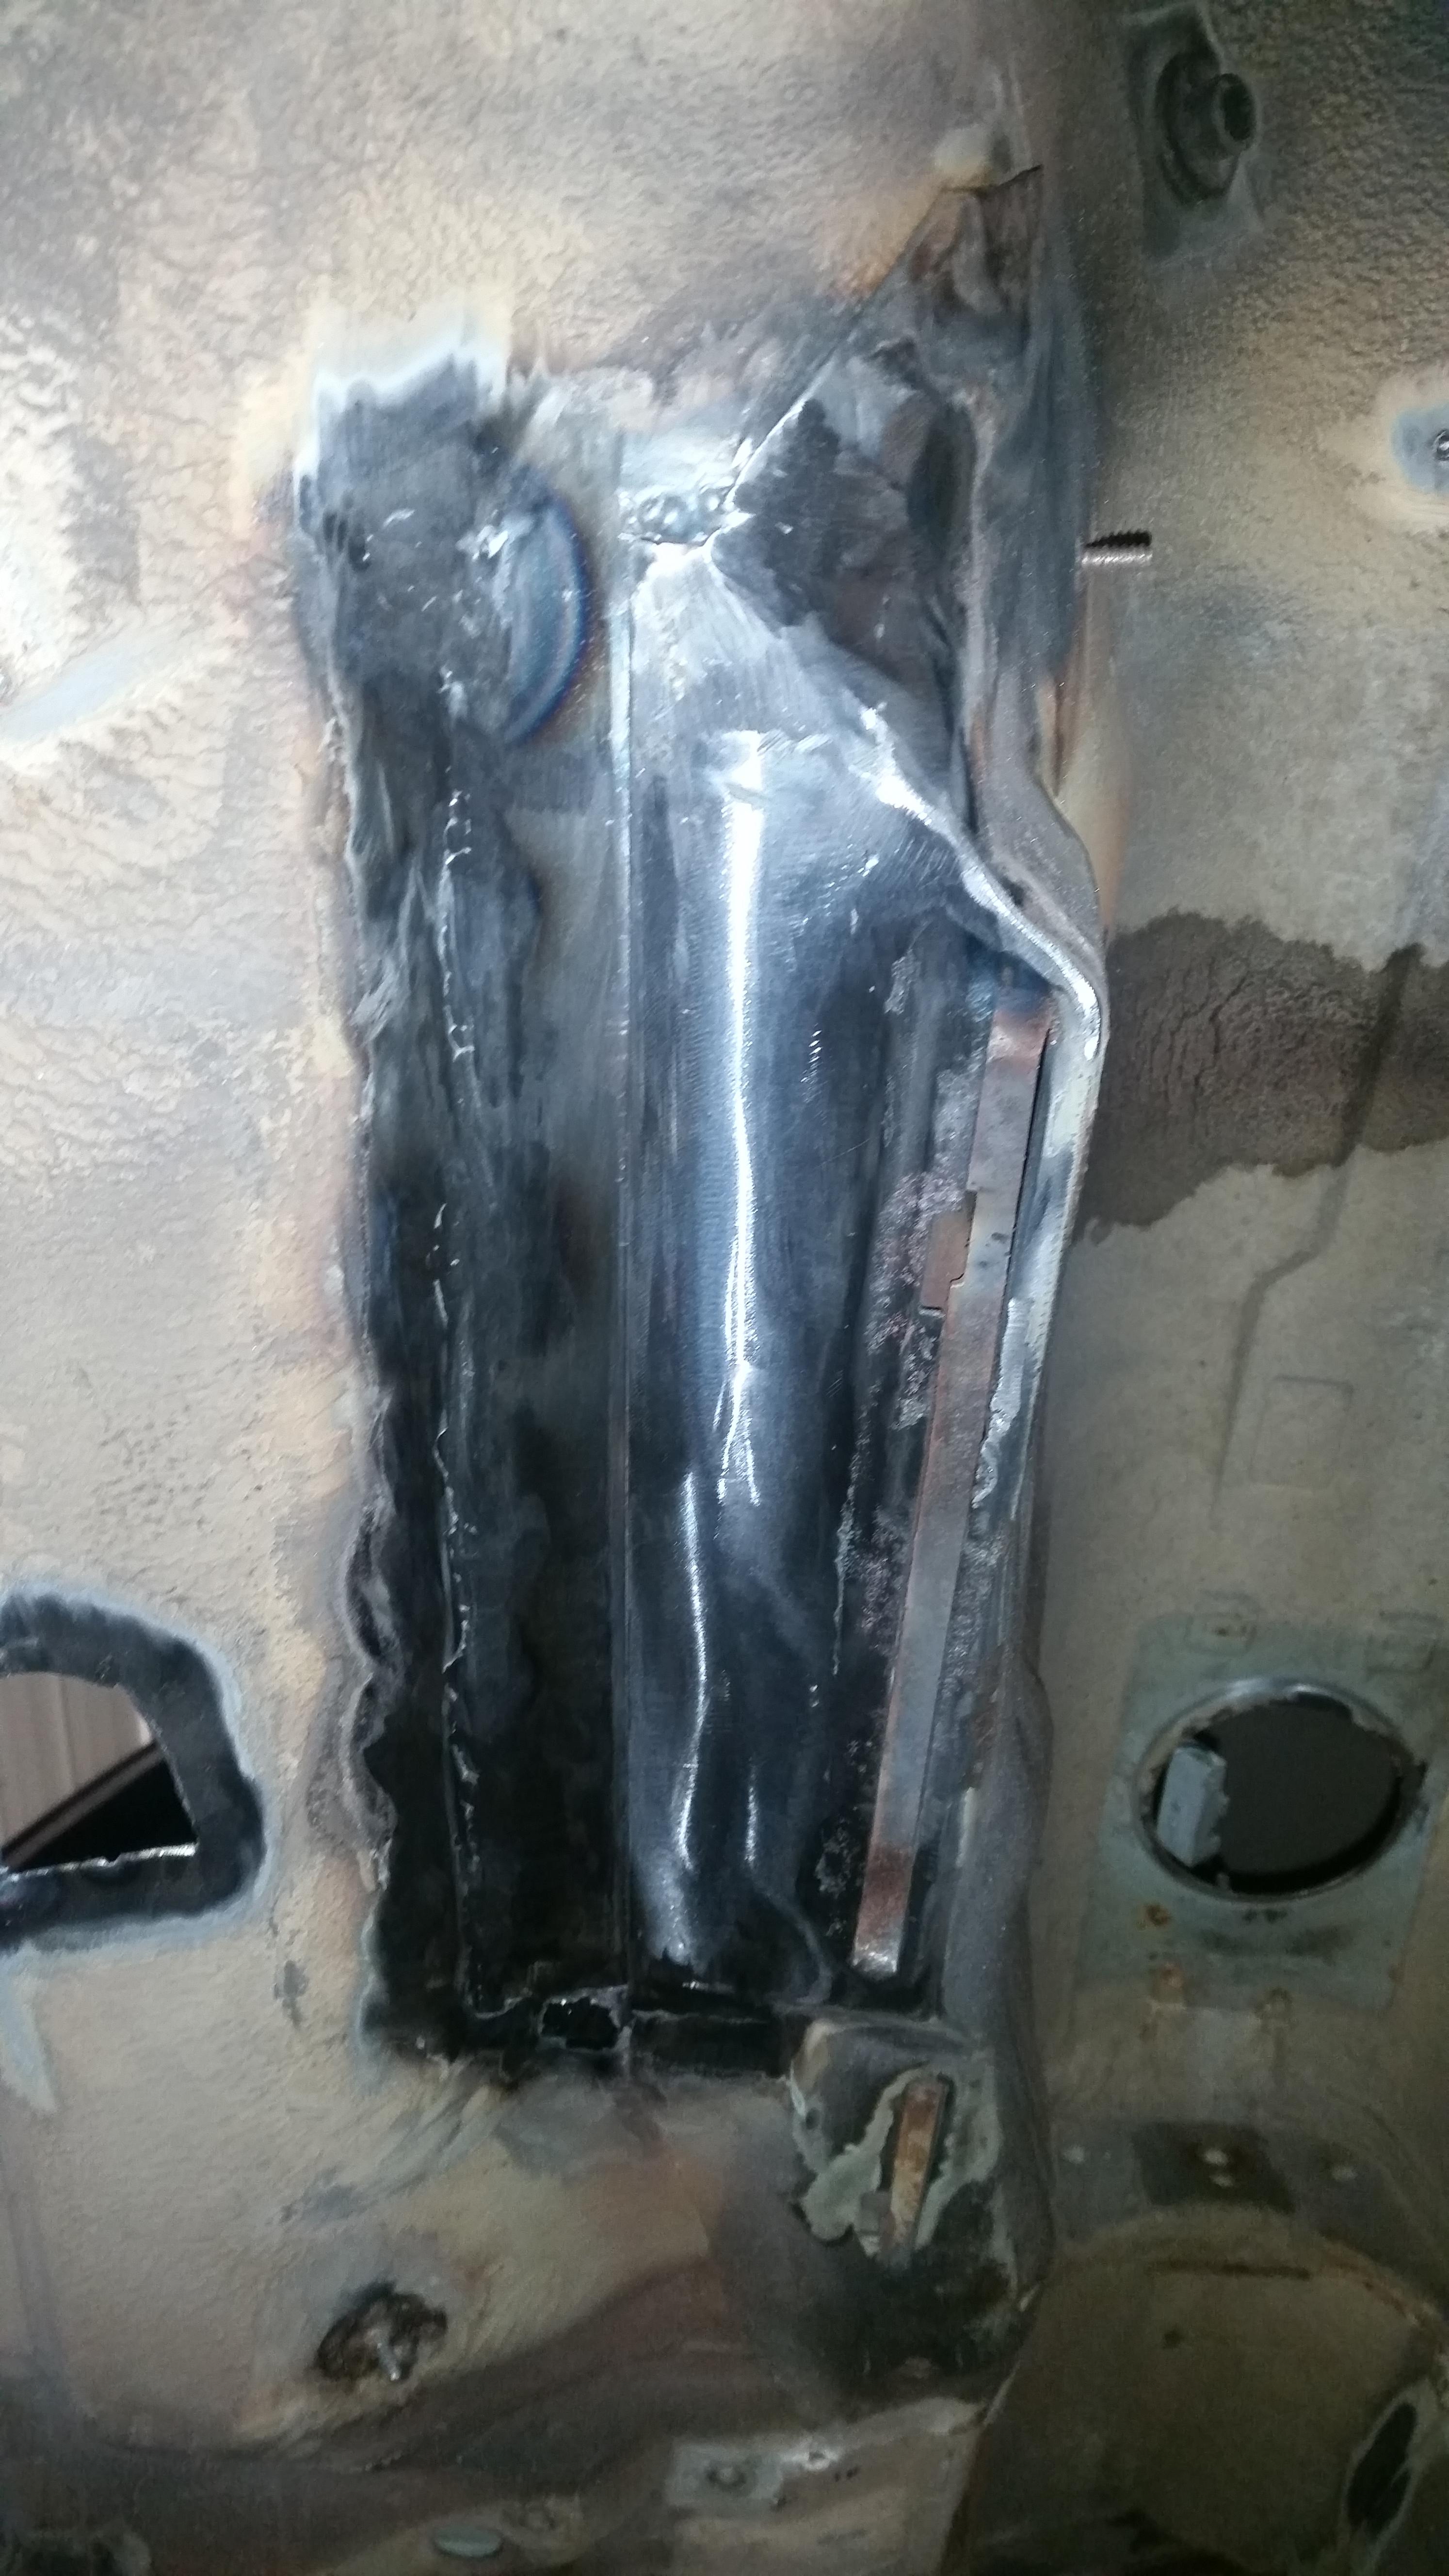
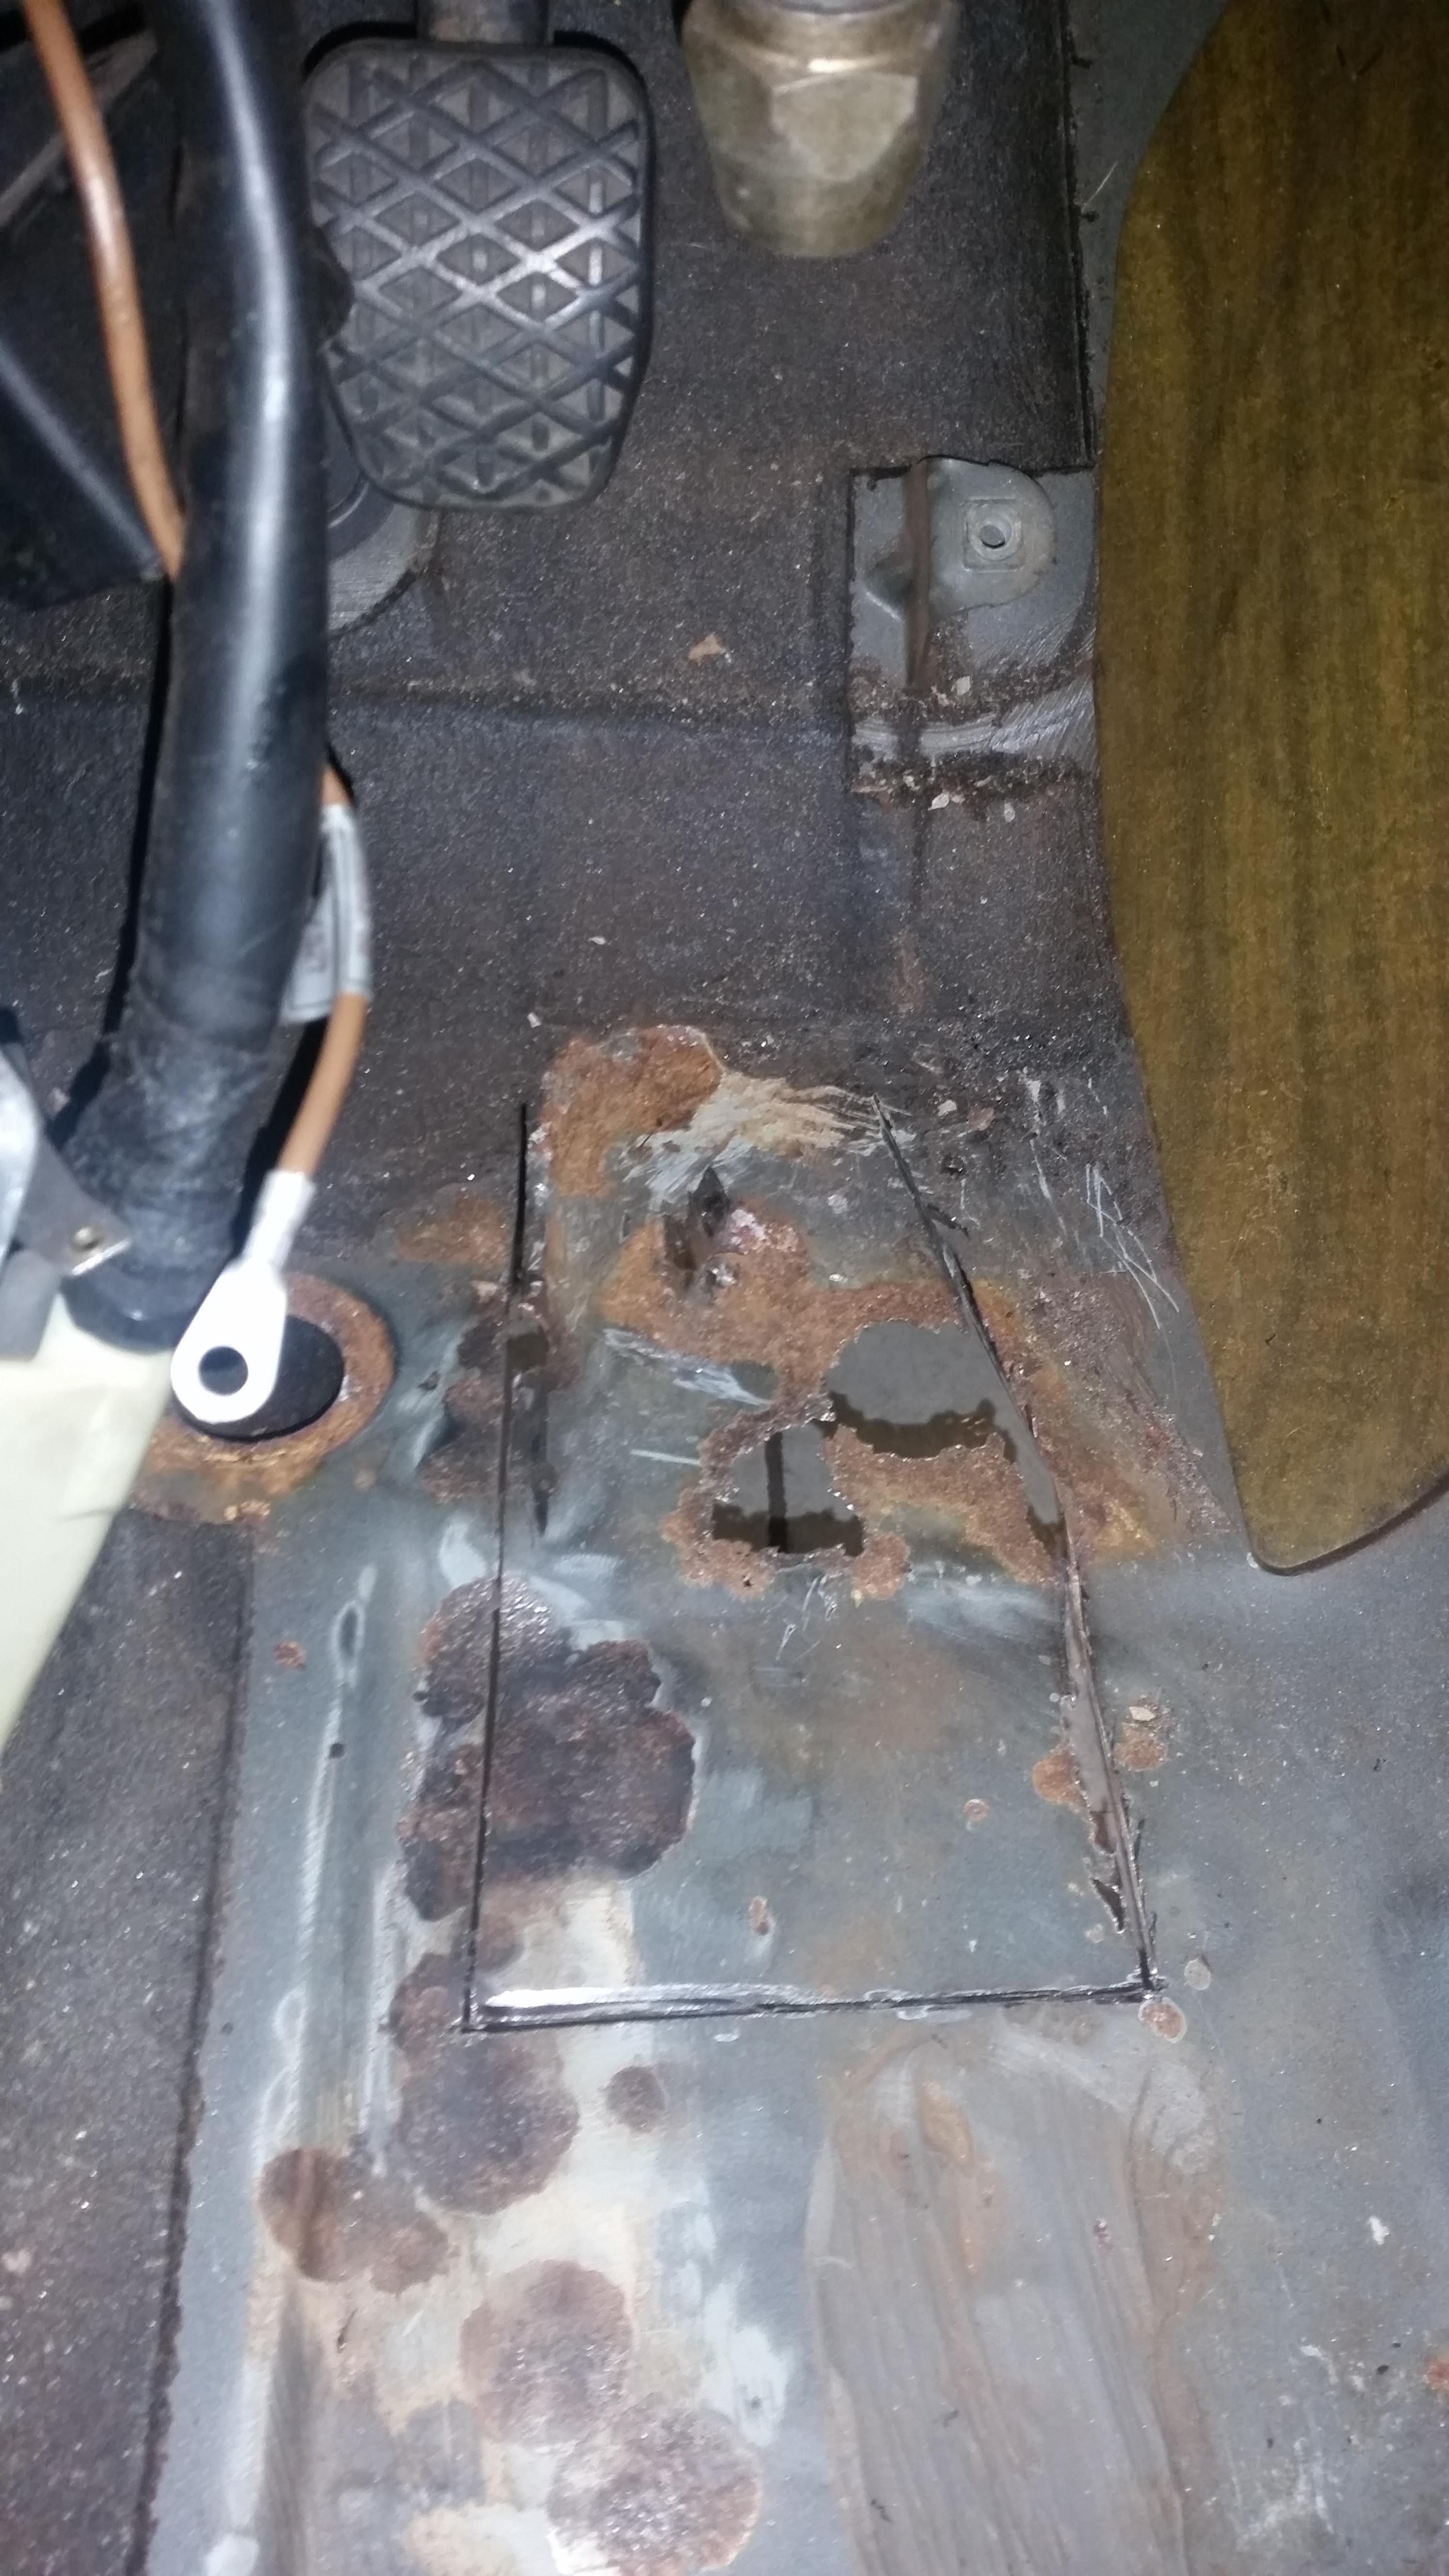
                                      And onto the rust repair...

                                      20180105204047.jpg

                                      20180107000059.jpg

                                      20180107000157.jpg

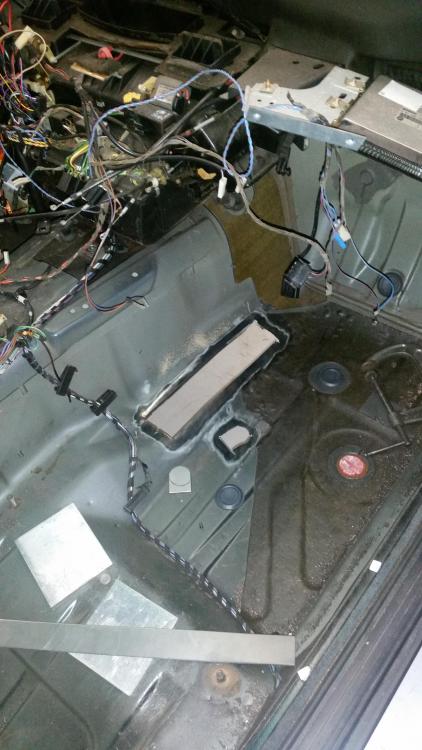
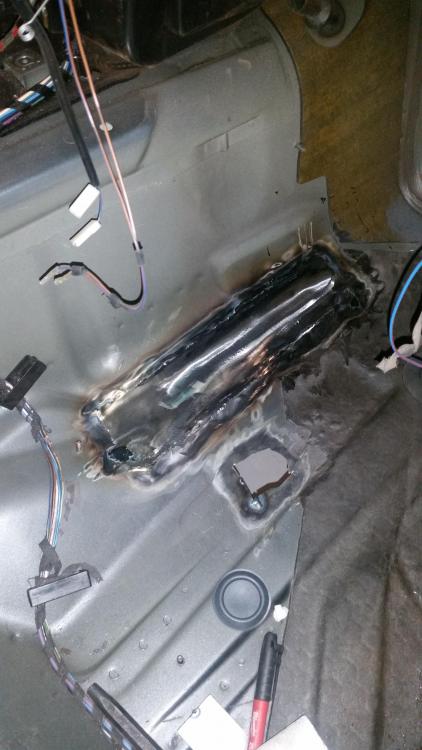
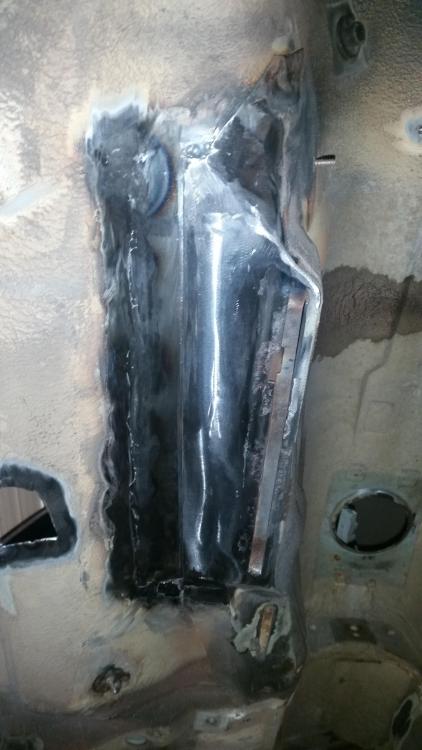
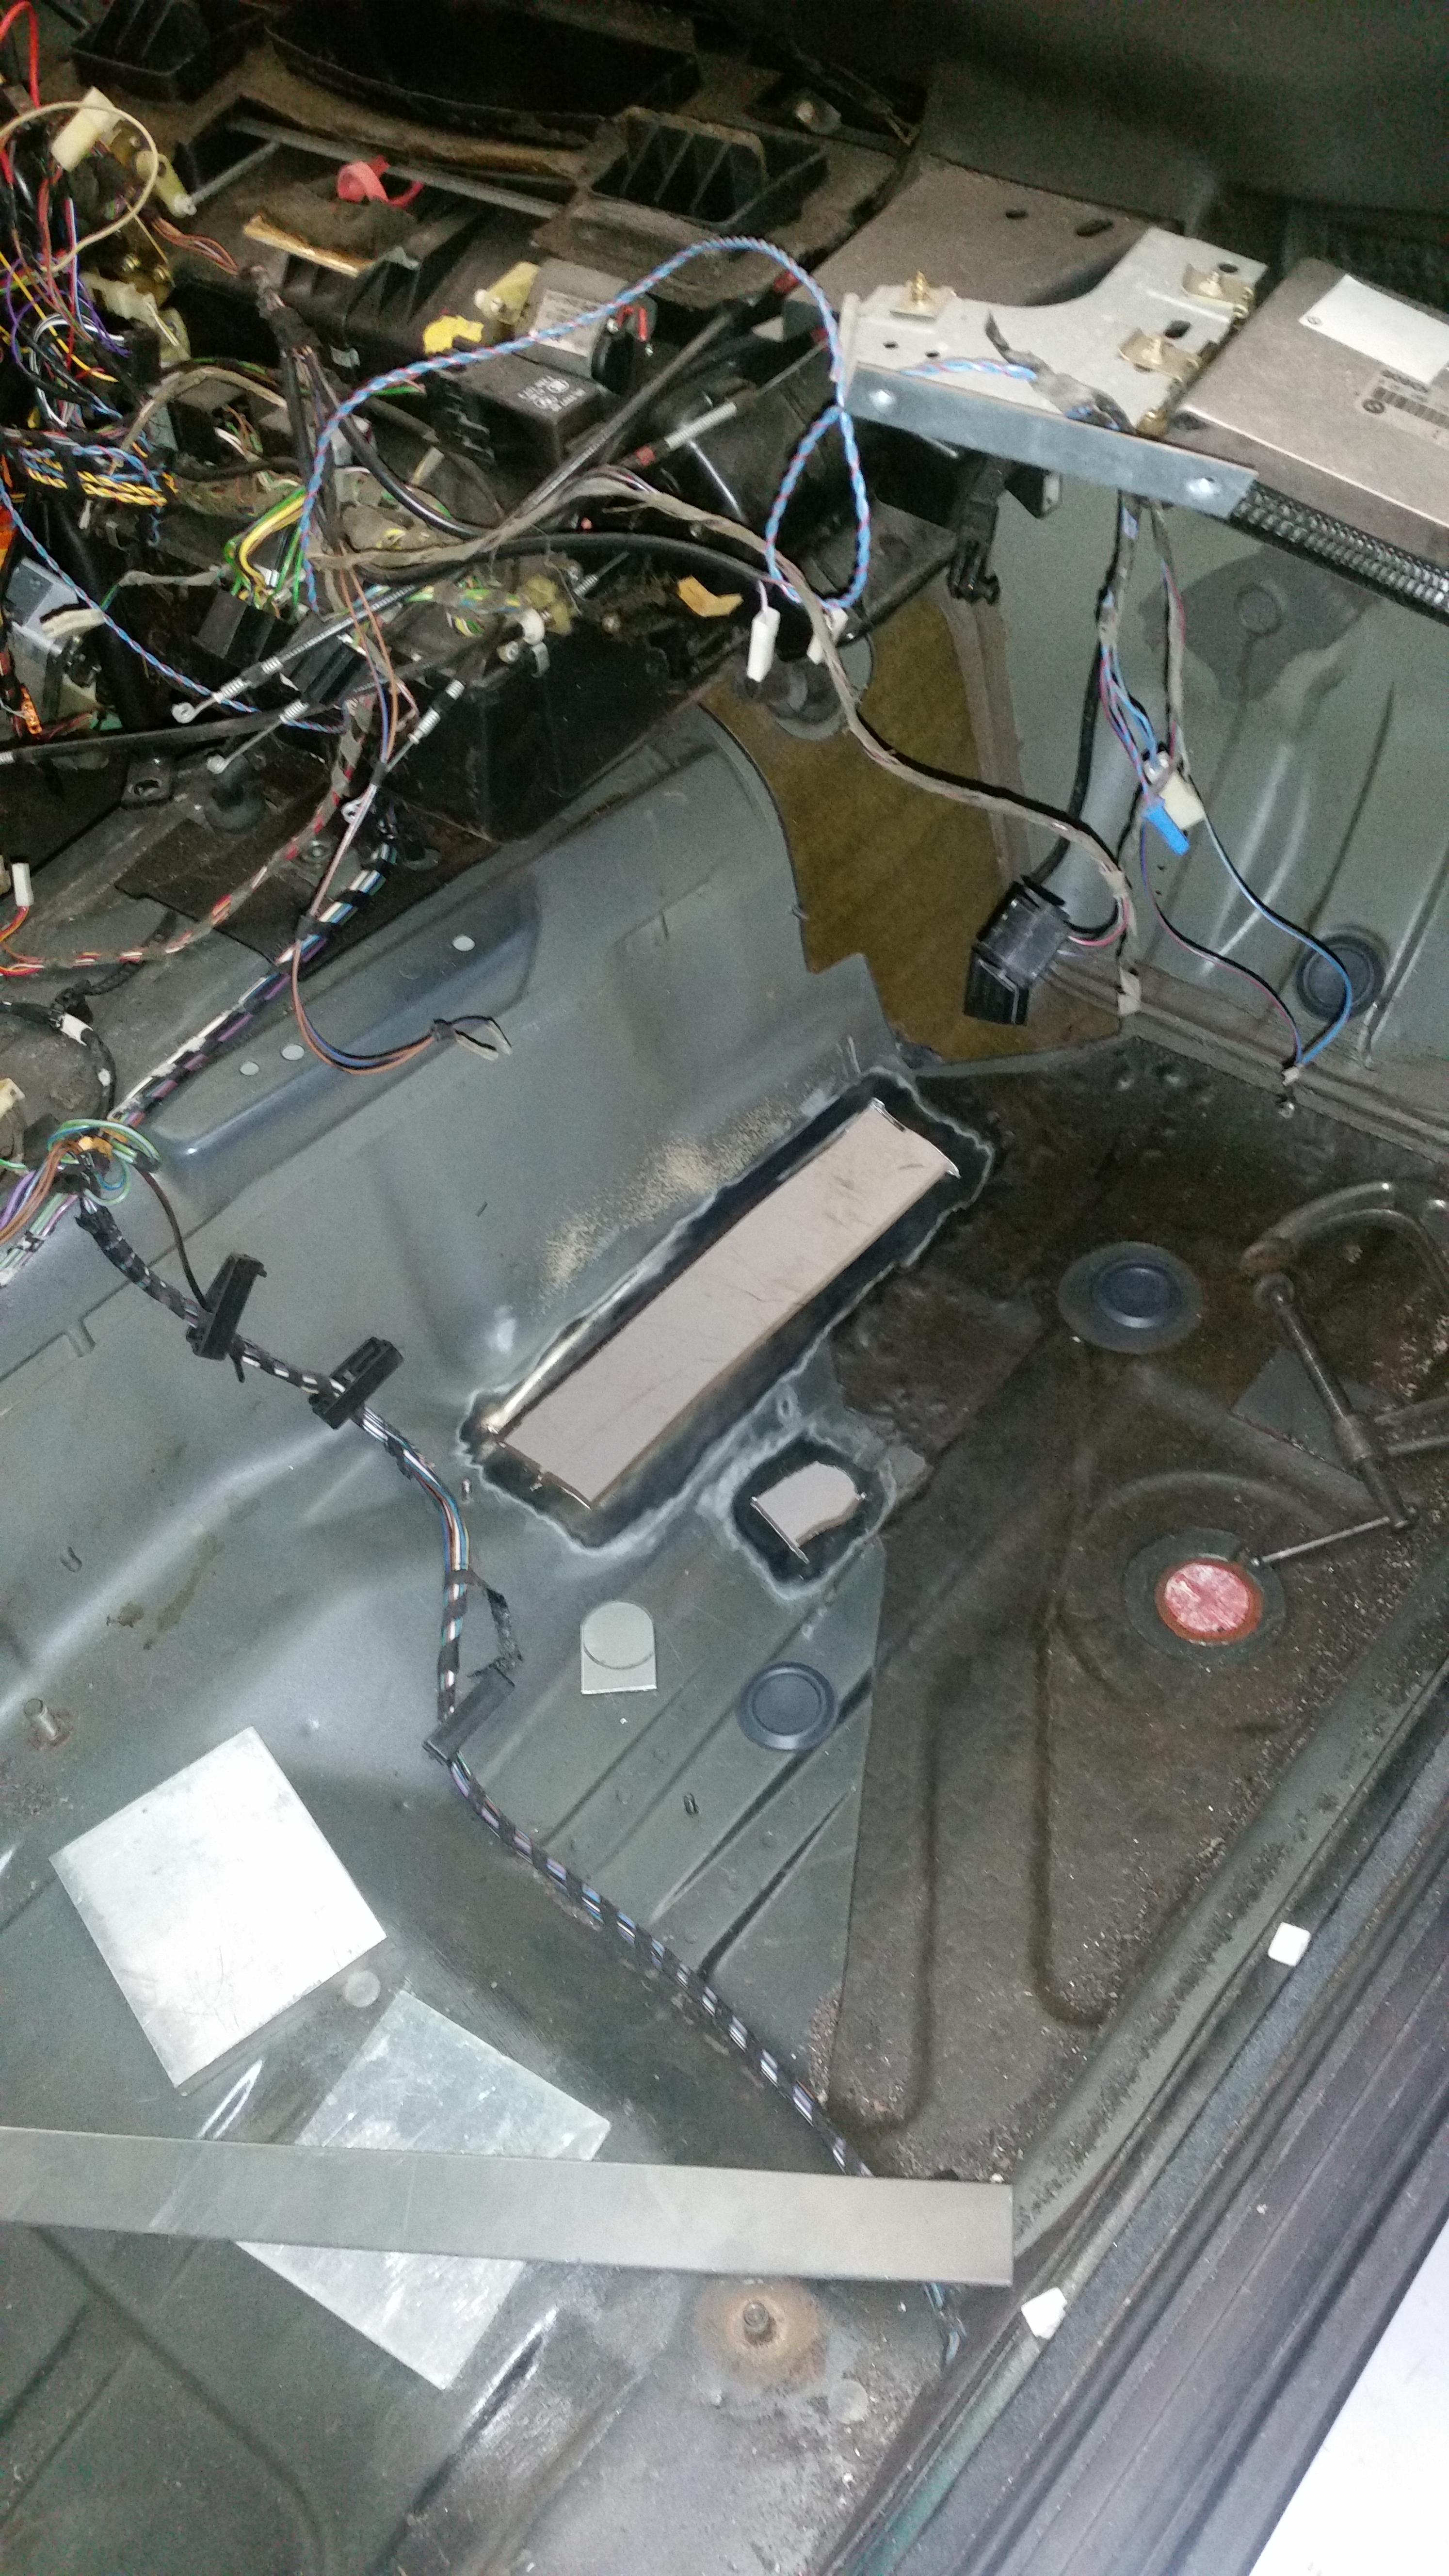
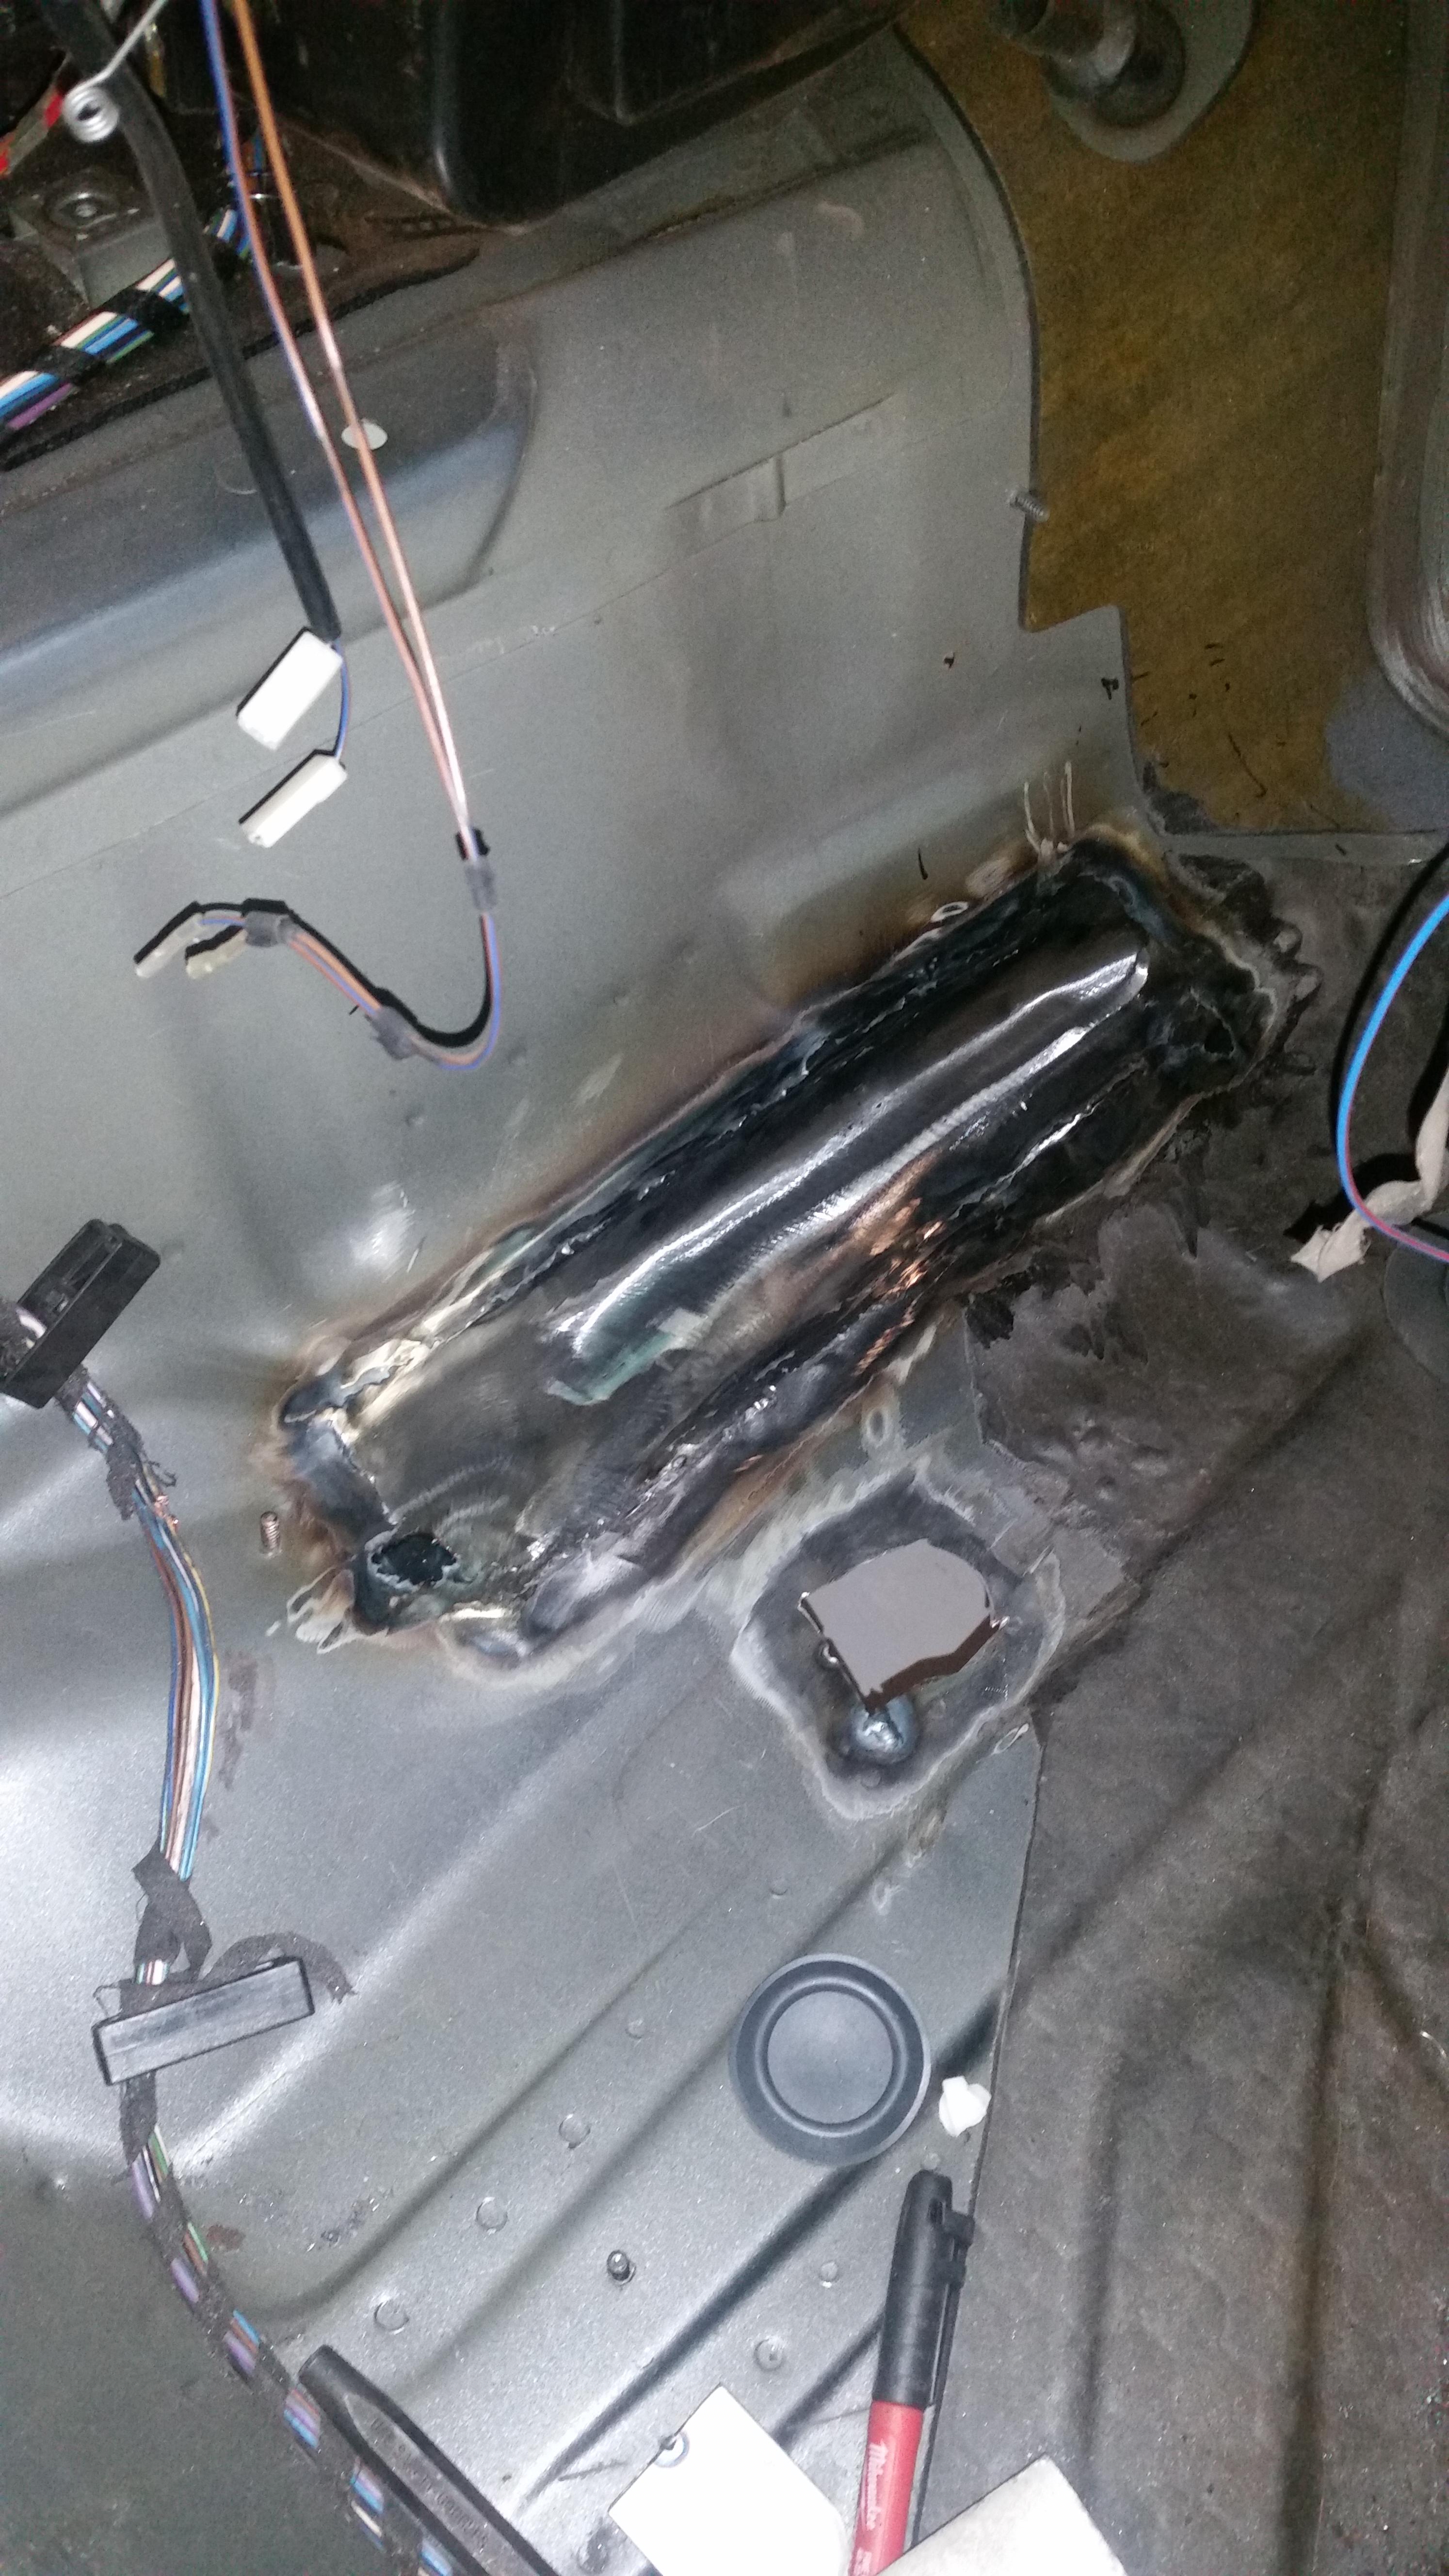
                                      So far this is all that I was able to get done for repair so far. Tough thing I learned my lesson from is the fact I decided to use 12 gauge steel instead of something a bit liter like 16 or 18. It still ended up turning out alright and welded up nicely with just a few issues where the amperage was to high and burned holes in the original body metal because of how much thinner it was. Will clean it up a bit more with a paddle wheel and paint on the por-15.

                                      There are about three more spots that need to be cut and welded up with new metal on the passenger side floor panel. After that, on to the driver side which I have began cutting out where the rust has ate through.
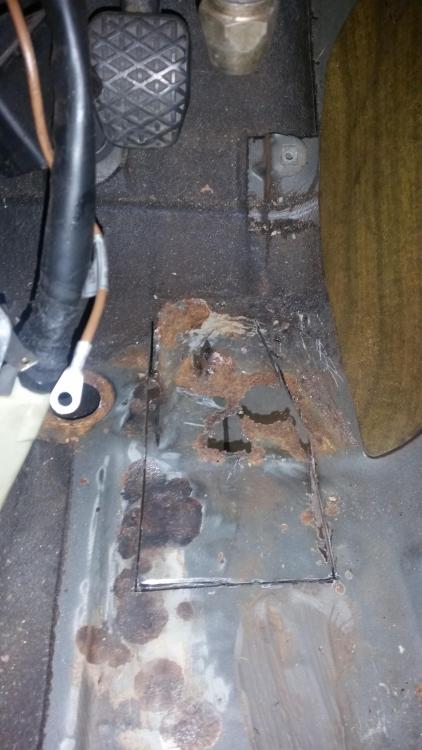
                                      20180107000217.jpg

                                      After learning my lesson, gonna be using something a bit liter on this side like 18 gauge. Gonna weld much better to the original metal and bend nicer.

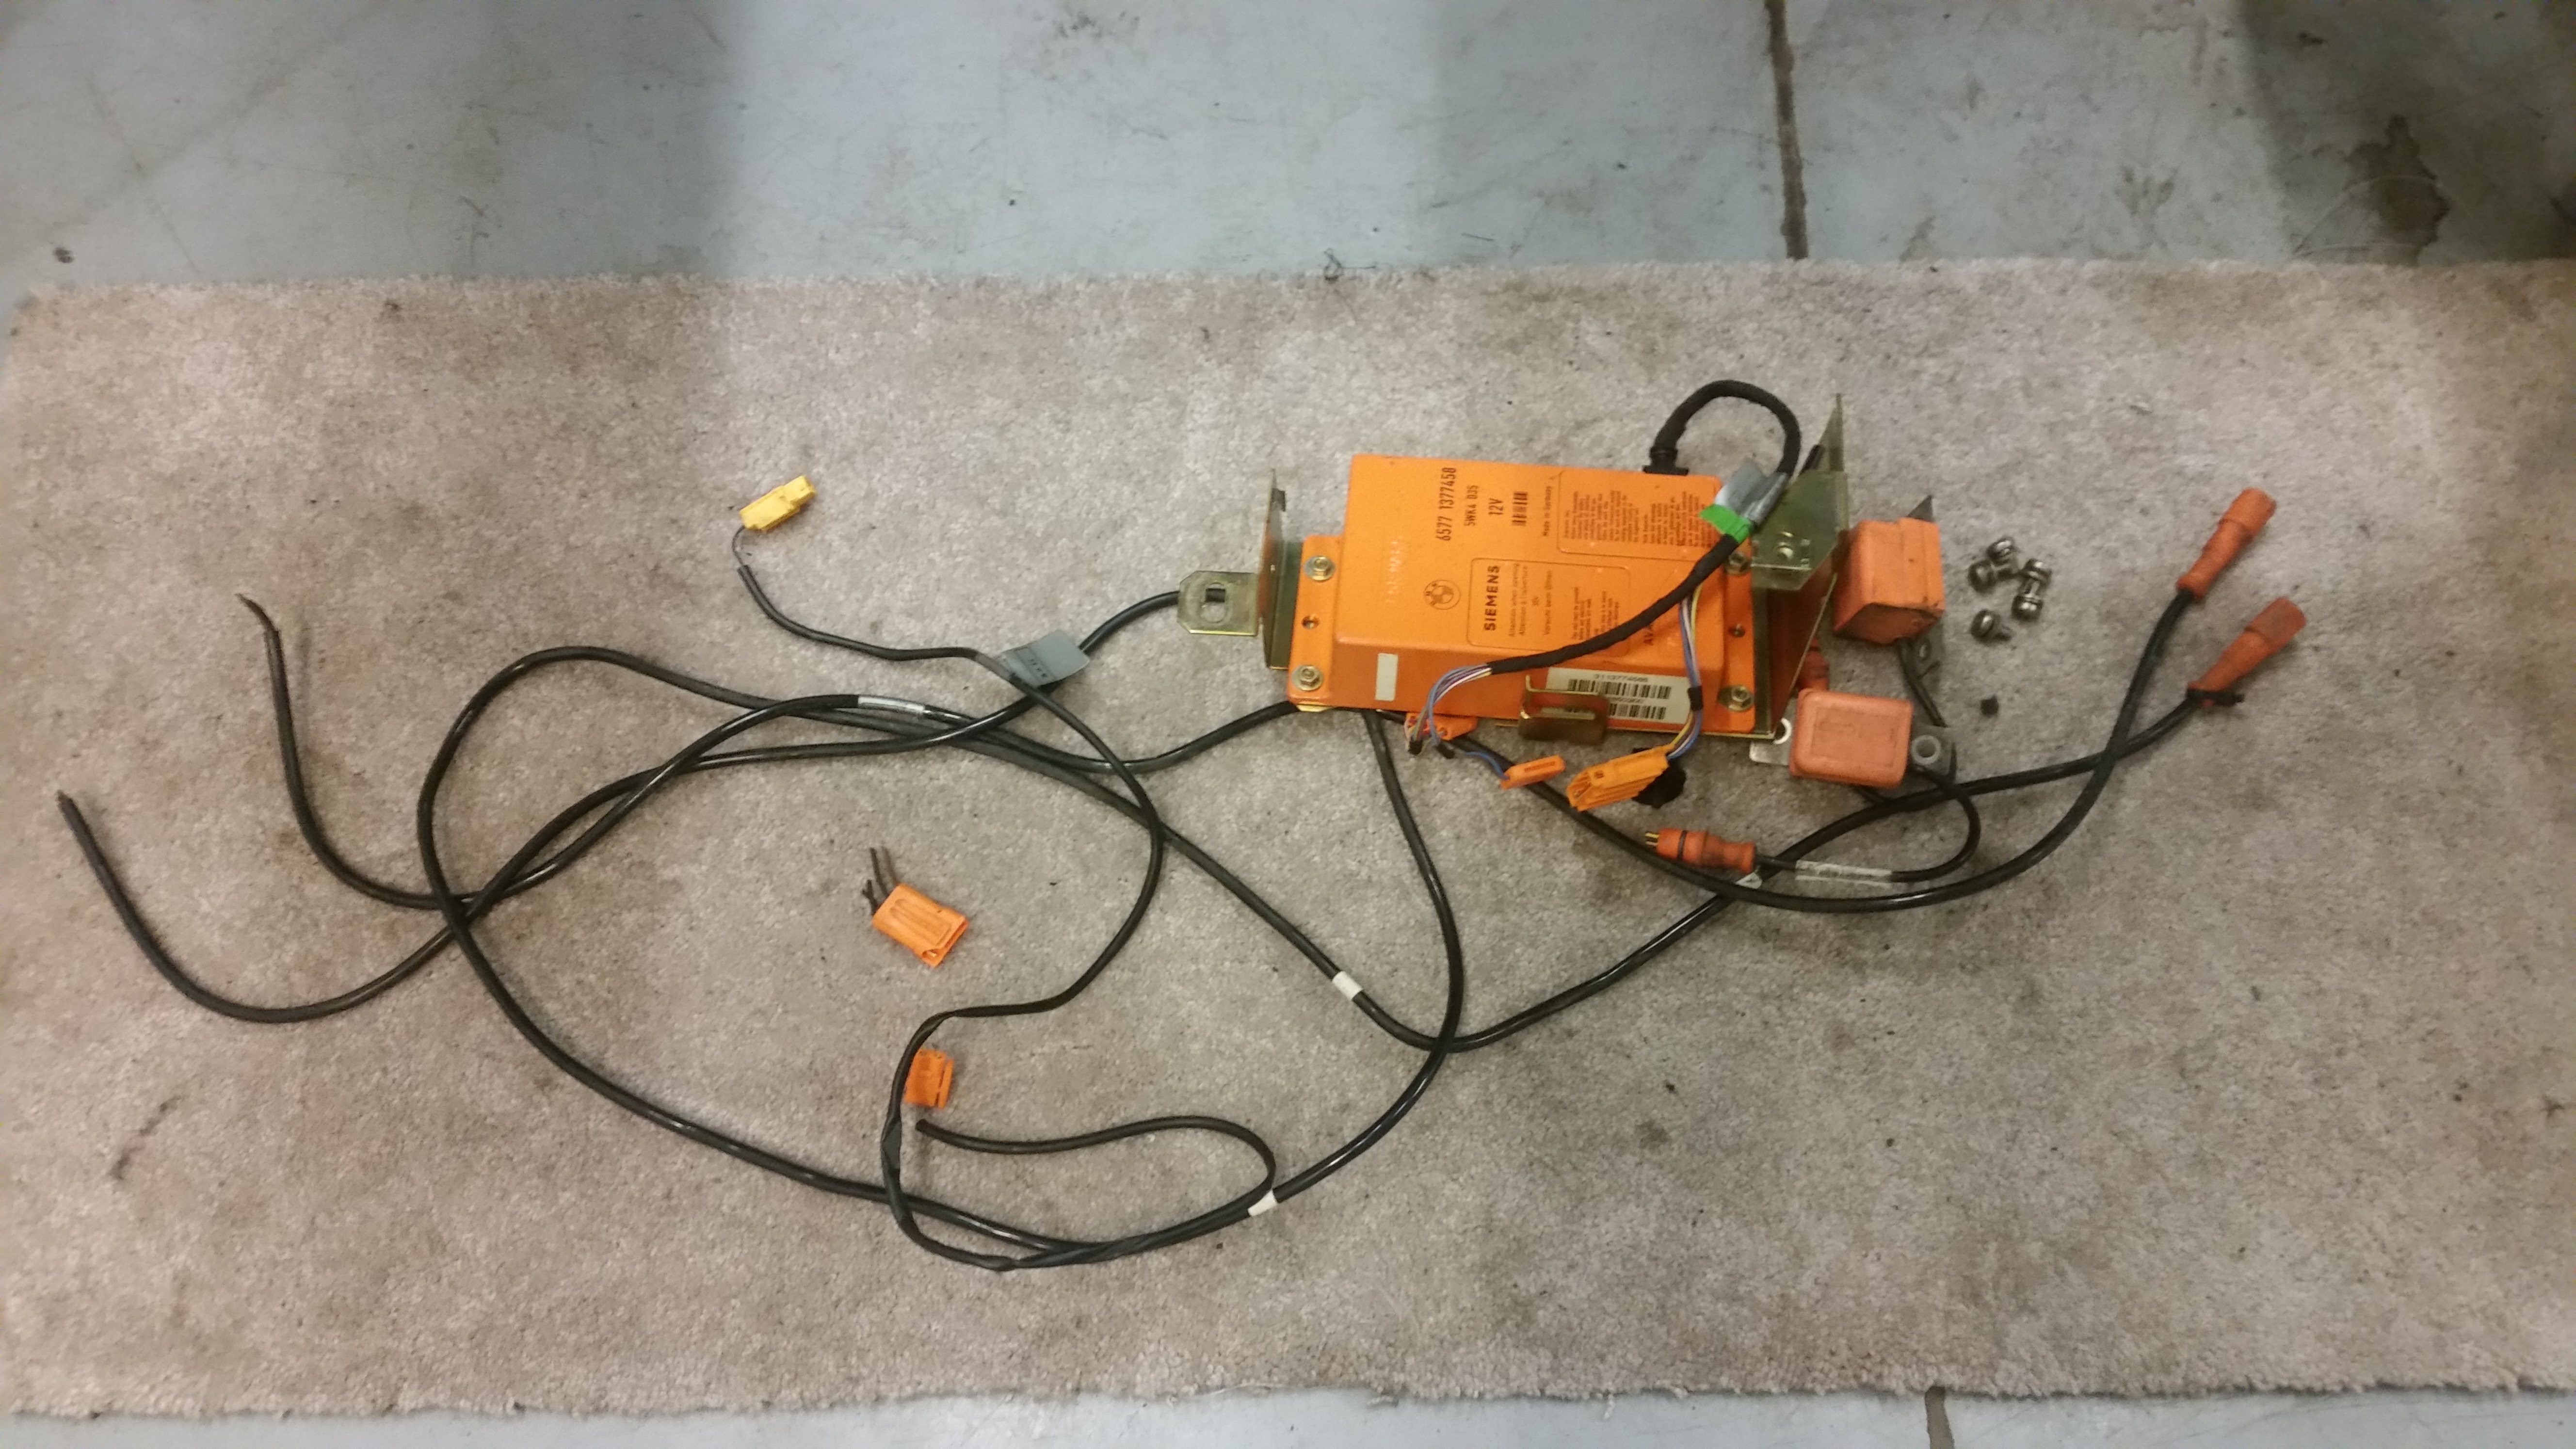
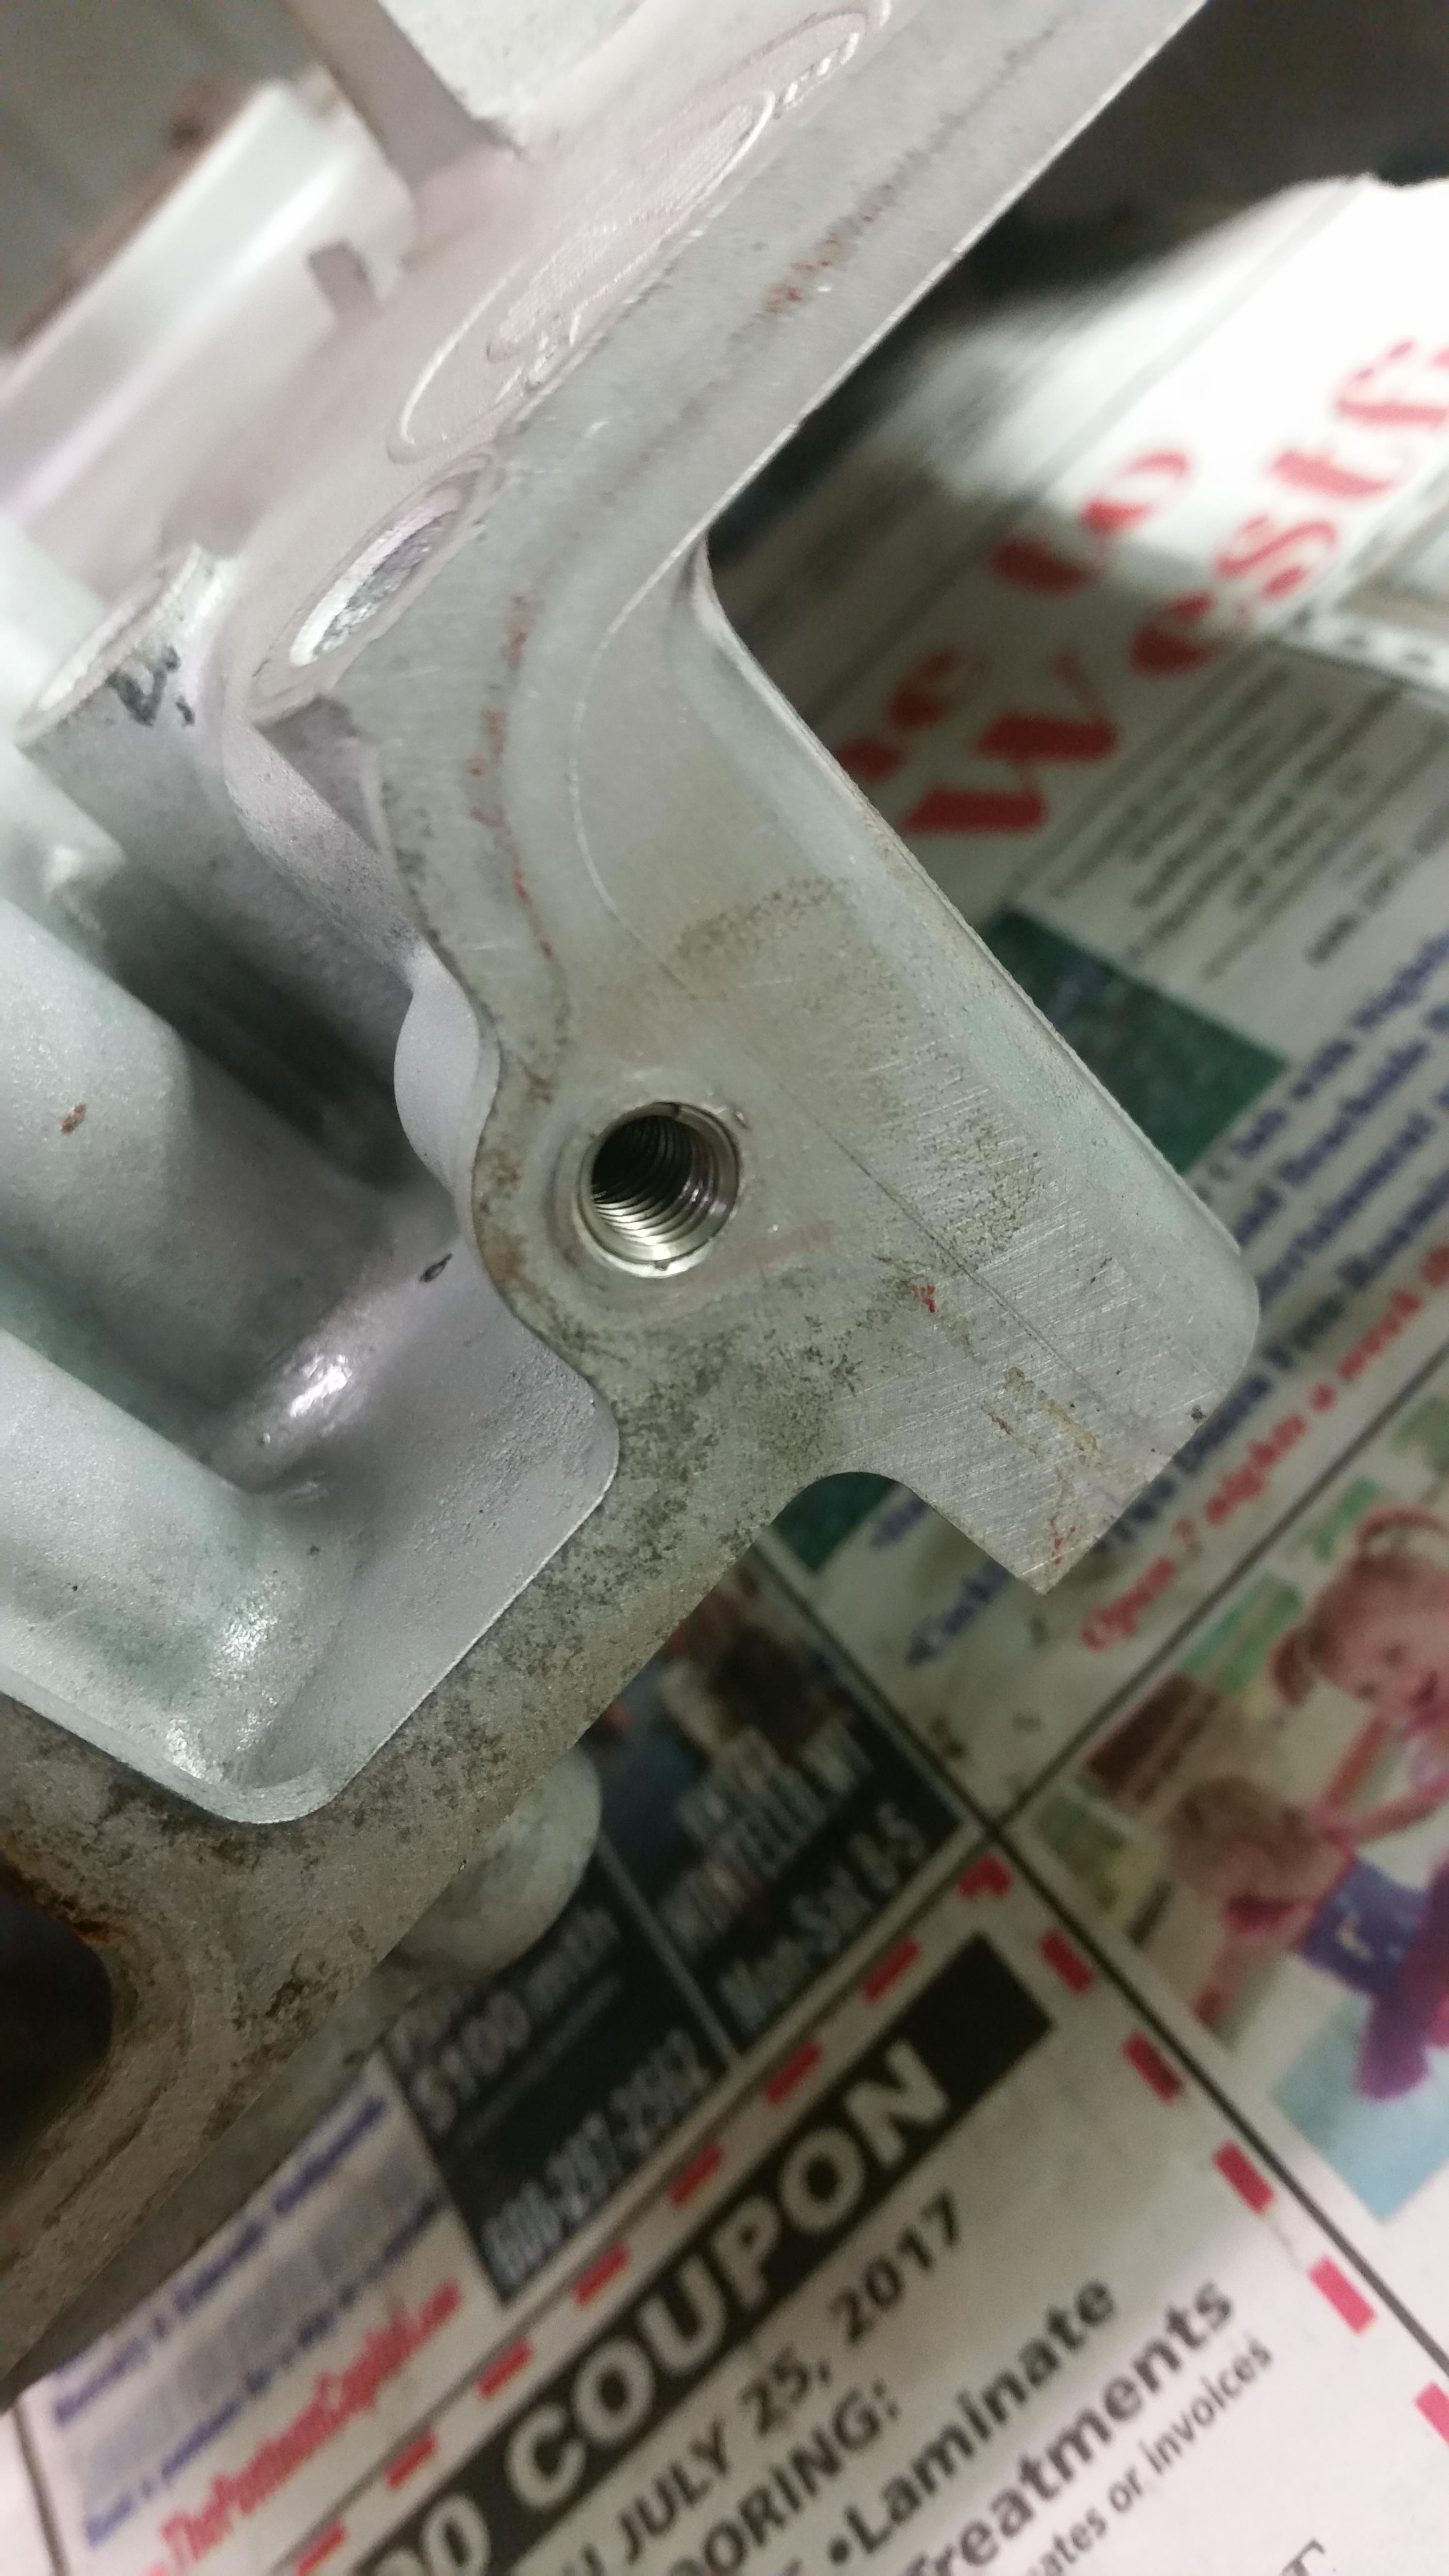
                                      A couple other things done... removed the entire airbag system and got the hole drilled, tapped, and helicoiled on the timing cover.
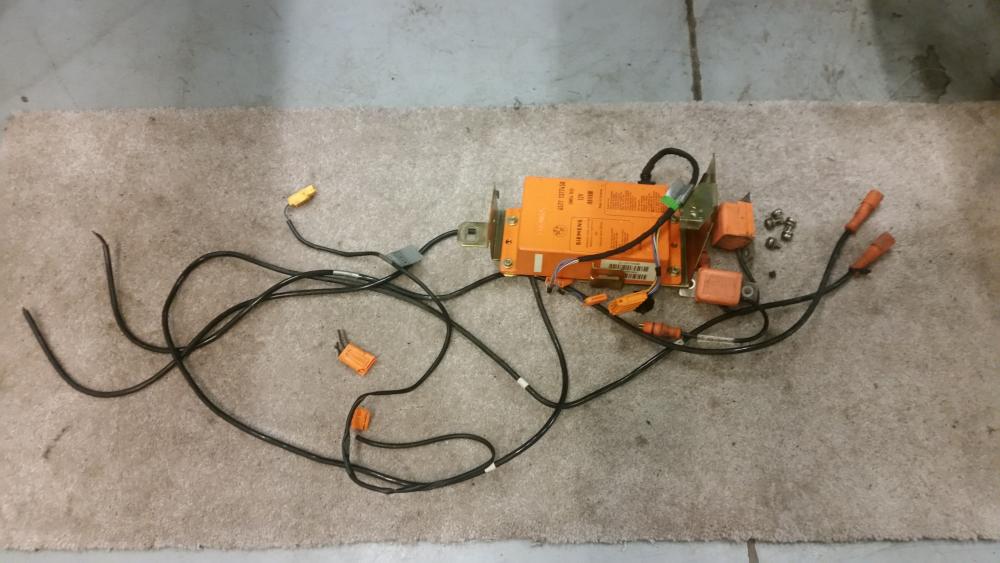
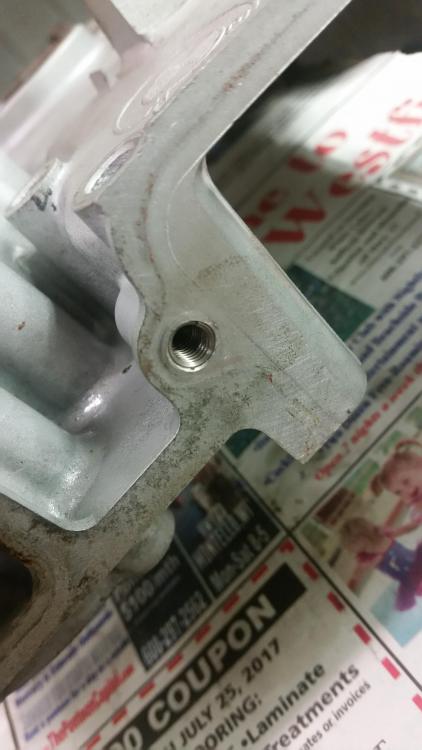
                                      20180107000042.jpg

                                      20180107000525.jpg

                                      Still waiting on new gaskets to reinstall it as well as hand full of other parts including all new 95a poly bushings, motor mounts, and trans mounts from revshift! Still waiting on my frames to get blasted which were suppose to be done this last Friday but it seems everyone I have been getting work done by recently have been telling me they would get it done by this time and end up not having it done when I call them on that date, some people's kids I tell ya.

                                      1 Reply Last reply
                                      1
                                      • KaiserRollsK
                                        KaiserRollsK
                                        KaiserRolls
                                        wrote on last edited by
                                        #127

                                        Awesome progress!
                                        As far as the purge valve stuff goes, I let that line vent to atmosphere & have the purge valve still connected to the harness, just let that hang out wherever


                                        1 Reply Last reply
                                        0
                                        • EarlE
                                          EarlE
                                          Earl
                                          wrote on last edited by
                                          #128

                                          You can buy those HVAC gaskets new from the dealer. Check realoem.com for the part number

                                          museum sig 2earl.jpg

                                          1 Reply Last reply
                                          0

                                          Hello! It looks like you're interested in this conversation, but you don't have an account yet.

                                          Getting fed up of having to scroll through the same posts each visit? When you register for an account, you'll always come back to exactly where you were before, and choose to be notified of new replies (either via email, or push notification). You'll also be able to save bookmarks and upvote posts to show your appreciation to other community members.

                                          With your input, this post could be even better 💗

                                          Register Login
                                          Reply
                                          • Reply as topic
                                          Log in to reply
                                          • Oldest to Newest
                                          • Newest to Oldest
                                          • Most Votes


                                          • Login

                                          • Don't have an account? Register

                                          • Login or register to search.
                                          Powered by NodeBB Contributors
                                          • First post
                                            Last post
                                          0
                                          • Categories
                                          • Recent
                                          • Tags
                                          • Popular
                                          • Users
                                          • Groups