
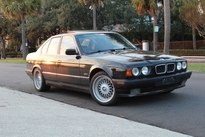
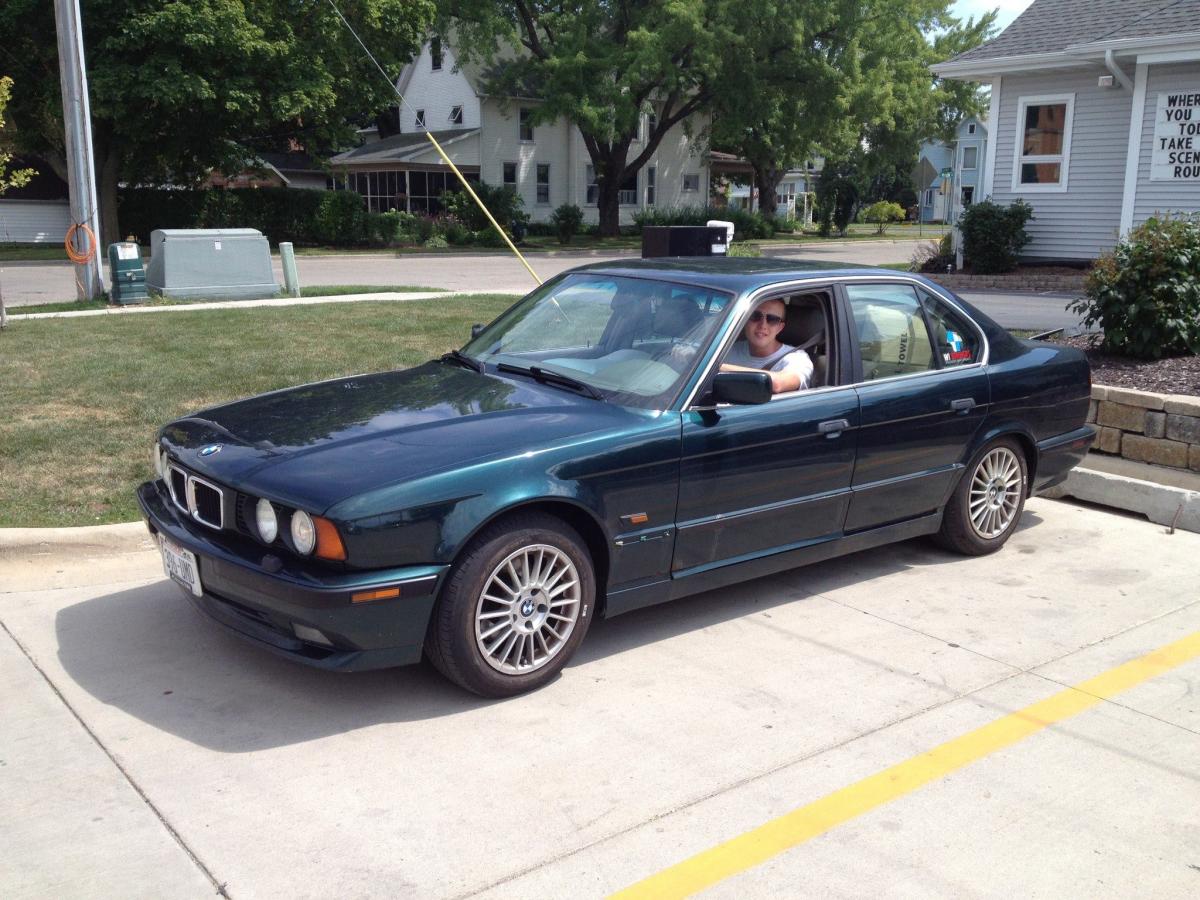
My new 1995 540i/6
-
Voila!
-
i may or may not have witnessed this car do a burnout in brookfield square.
it was awesome
-
i may or may not have witnessed this car do a burnout in brookfield square.
it was awesome
That was my first experiment with no traction control so thats why it was terrible
 I did get it into a second gear burnout though
  . There may or may not be a burnout at scooters this weekend...
I really dug being parked next to your car at the E30 picnic. Our paints look so different next to eachother and your wide grilles and m tech kit make your car look much different=)
Are you going to any of the meets in Milwaukee this weekend? I would like to meet your green e34 since we have this club going.
Voila!
Thanks!
BMWCCA #499464
Current - 1995 540i/6 V 2.0 | Dead - 1995 540i/6 | Sold - 1995 318is
-
nonsense chris.
bushings can wait...
burnouts bring babes and babes dont have time for bushings
-
nonsense chris.
bushings can wait...
burnouts bring babes and babes dont have time for bushings
This statement makes more sense than anything else on this forum. This should be our mission statement.
-
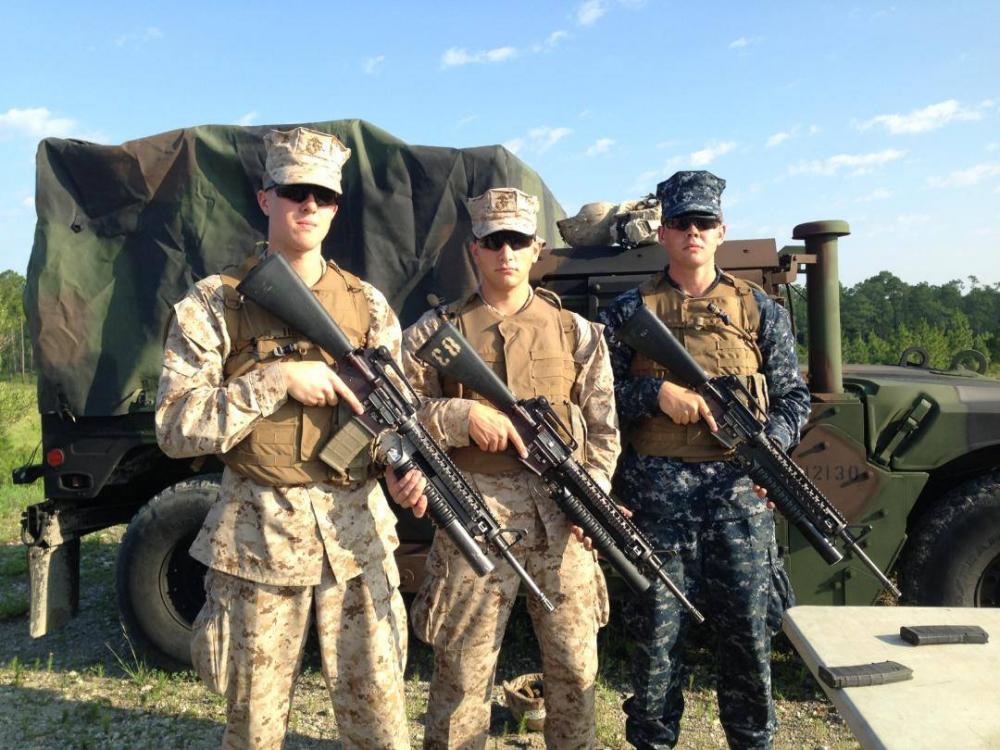
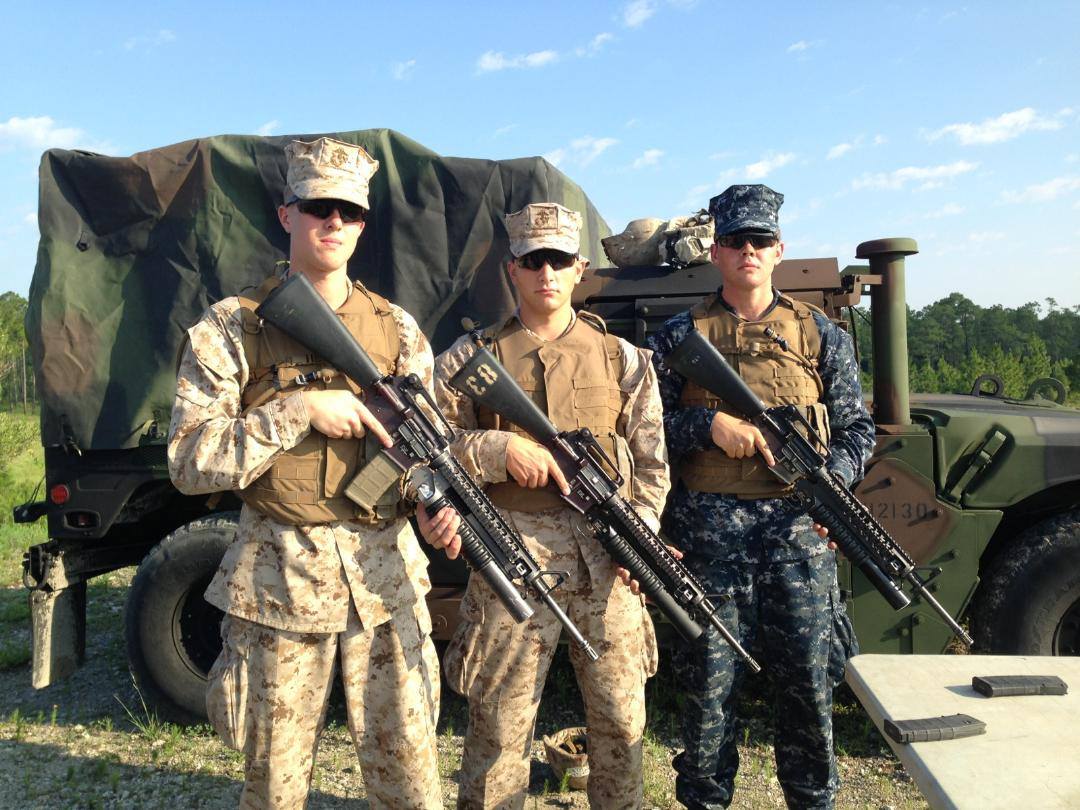
So while this guy is off doing Naval training down south....
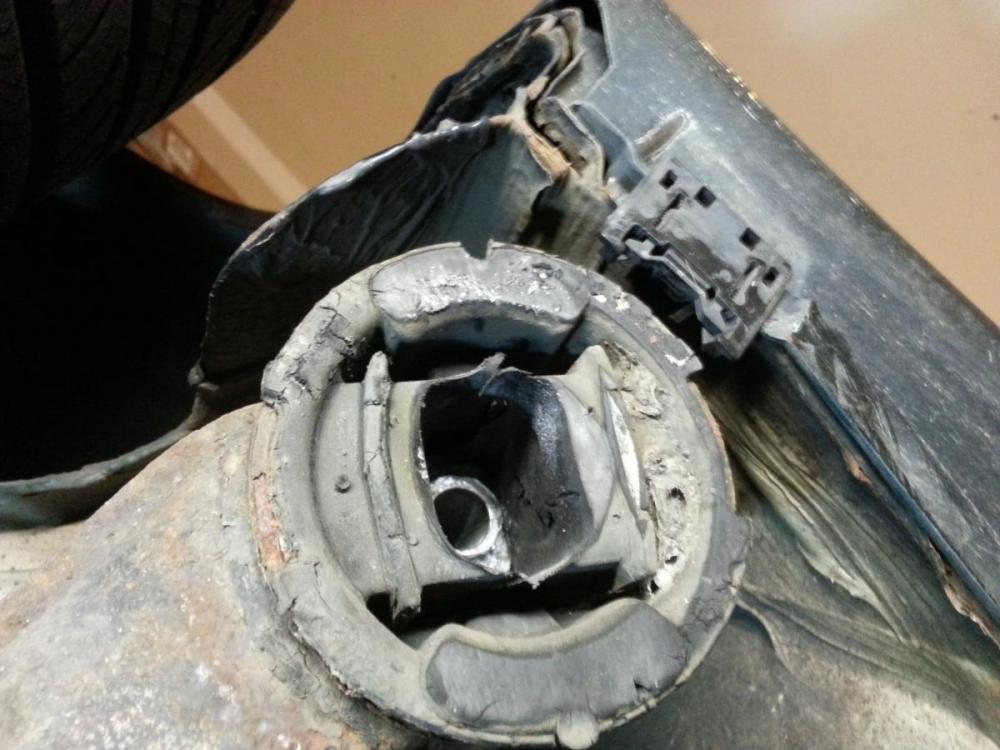
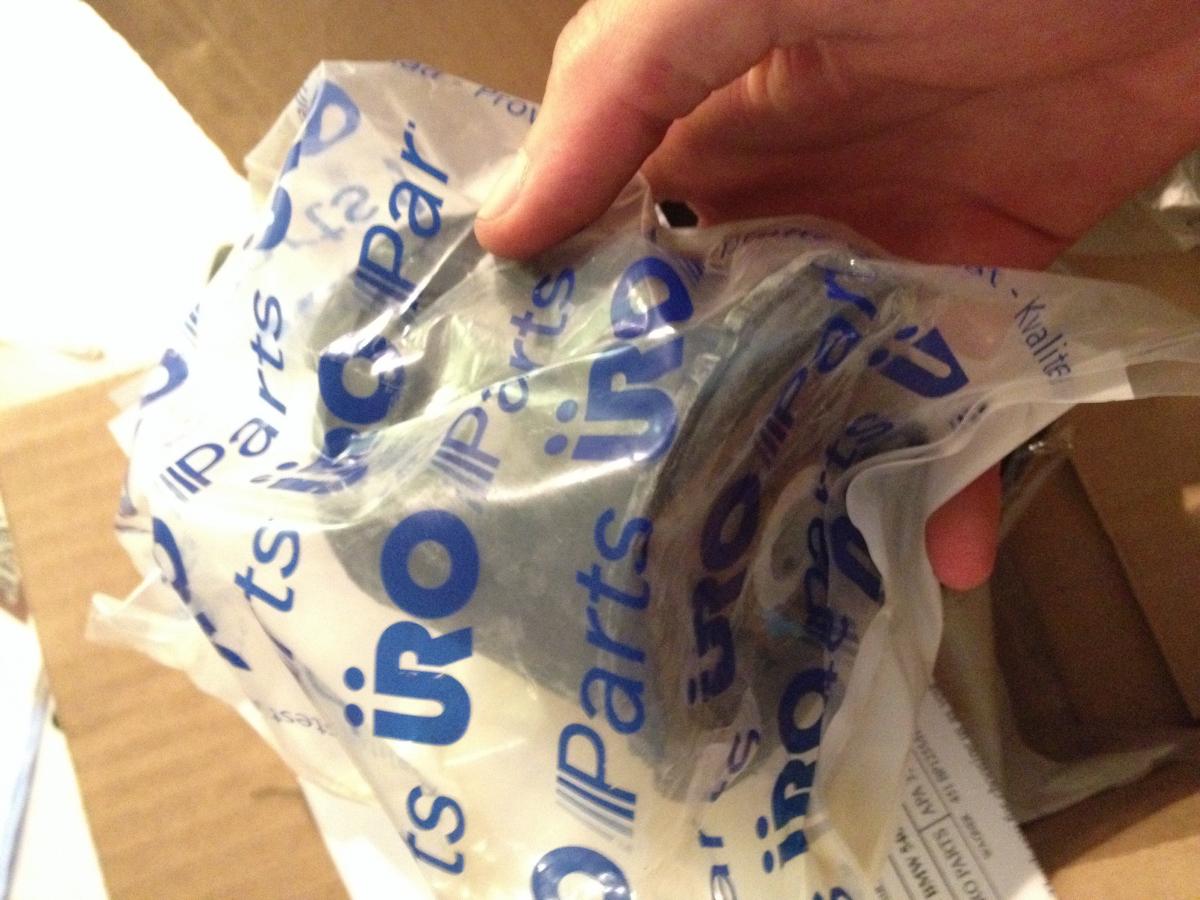
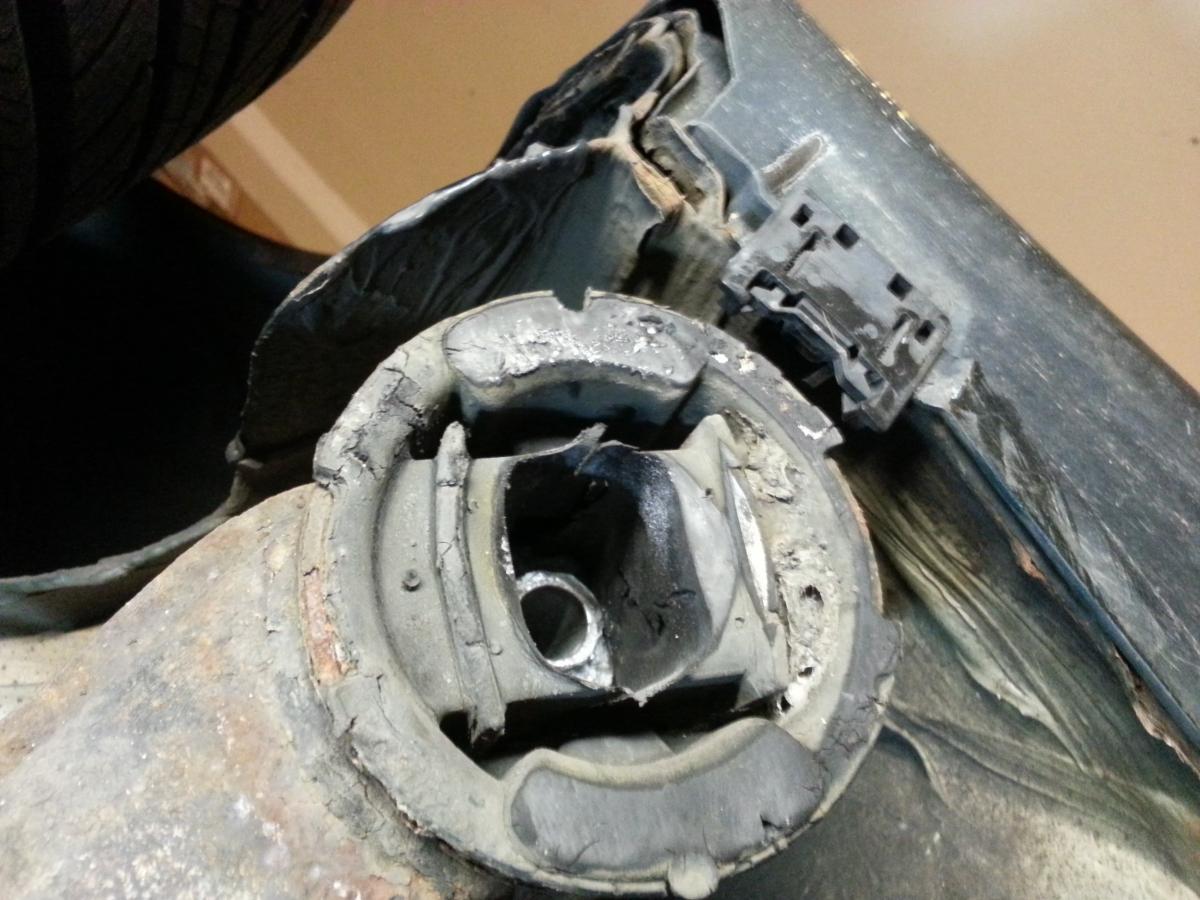
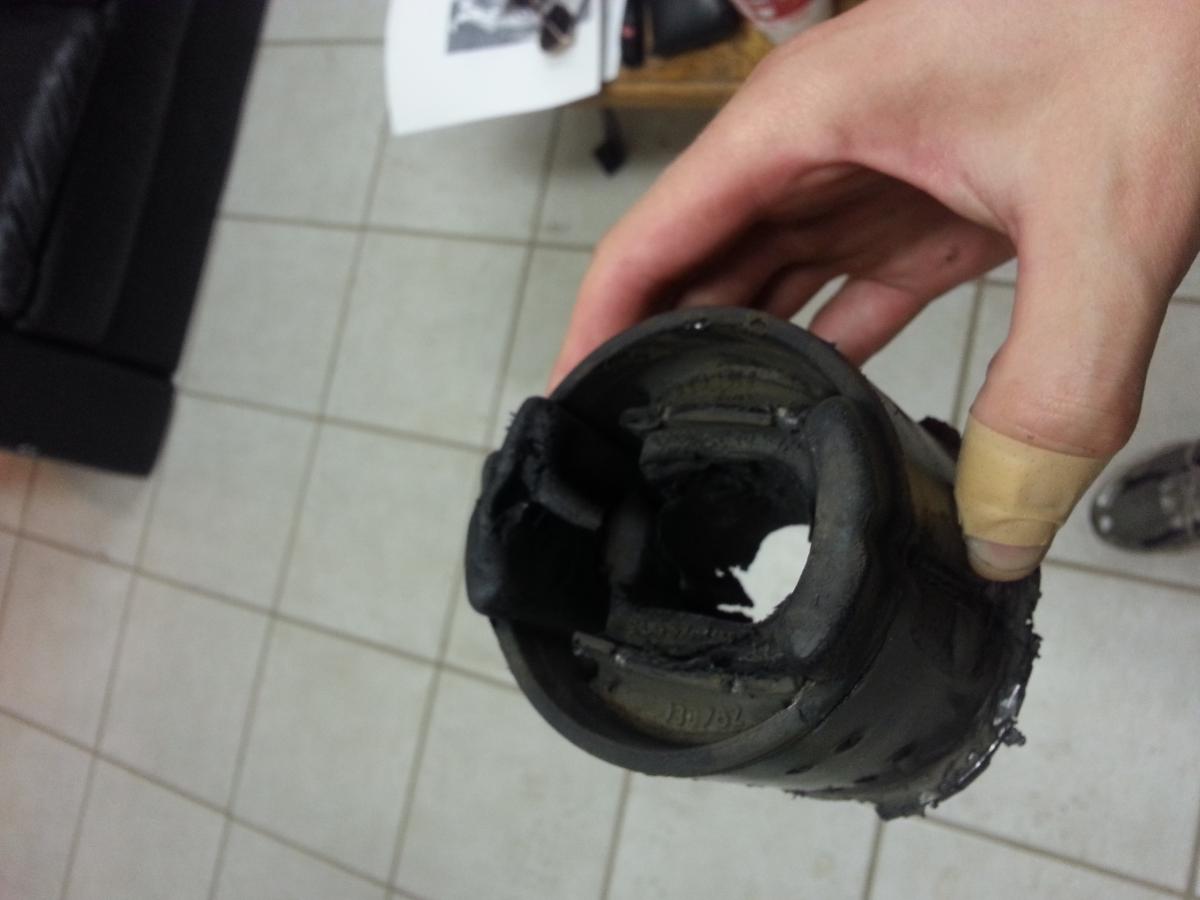
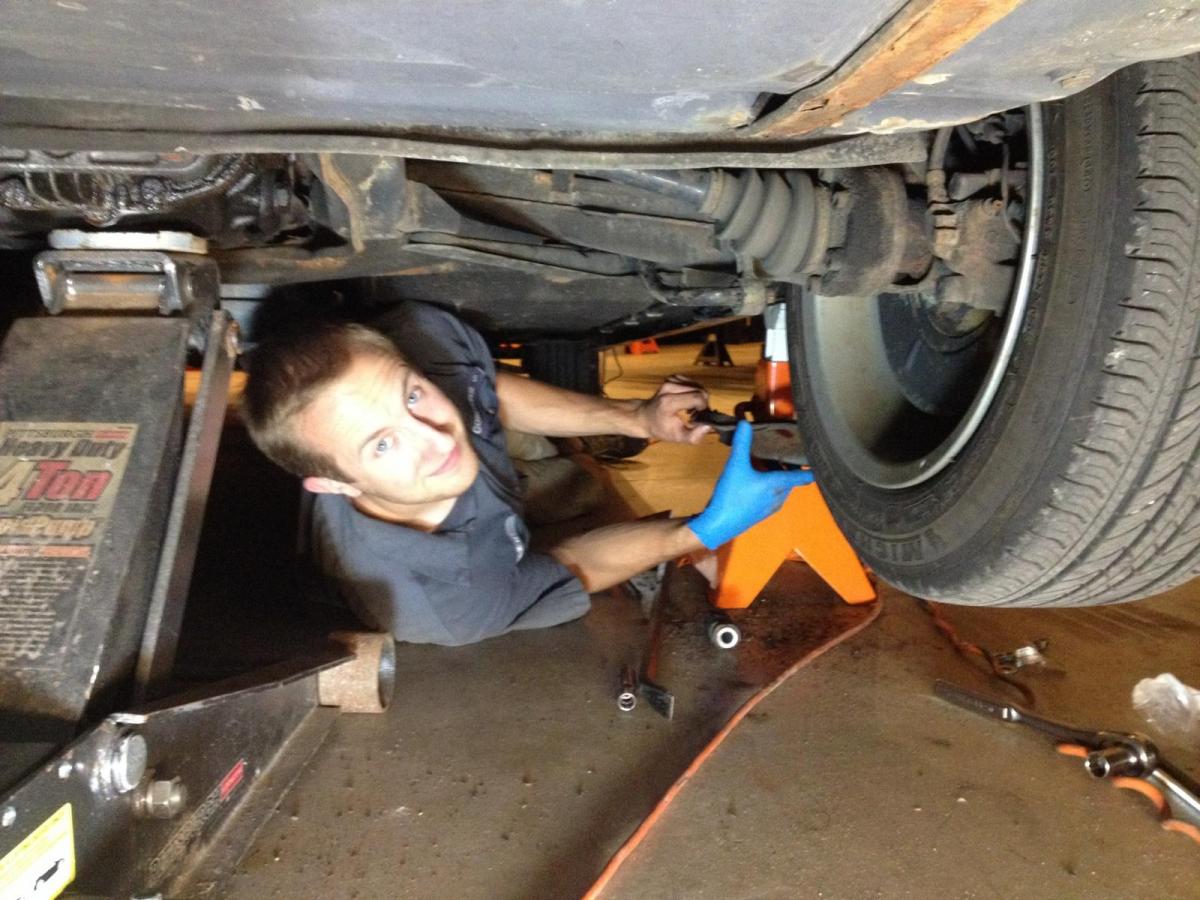
The car has been residing at the Bimmer HQ in Sun Prairie and my father and I tackled the Rear subframe Mount bushings last weekend. Wasn't surprised at all when we started taking things apart that there wasn't much left of the bushing itself.
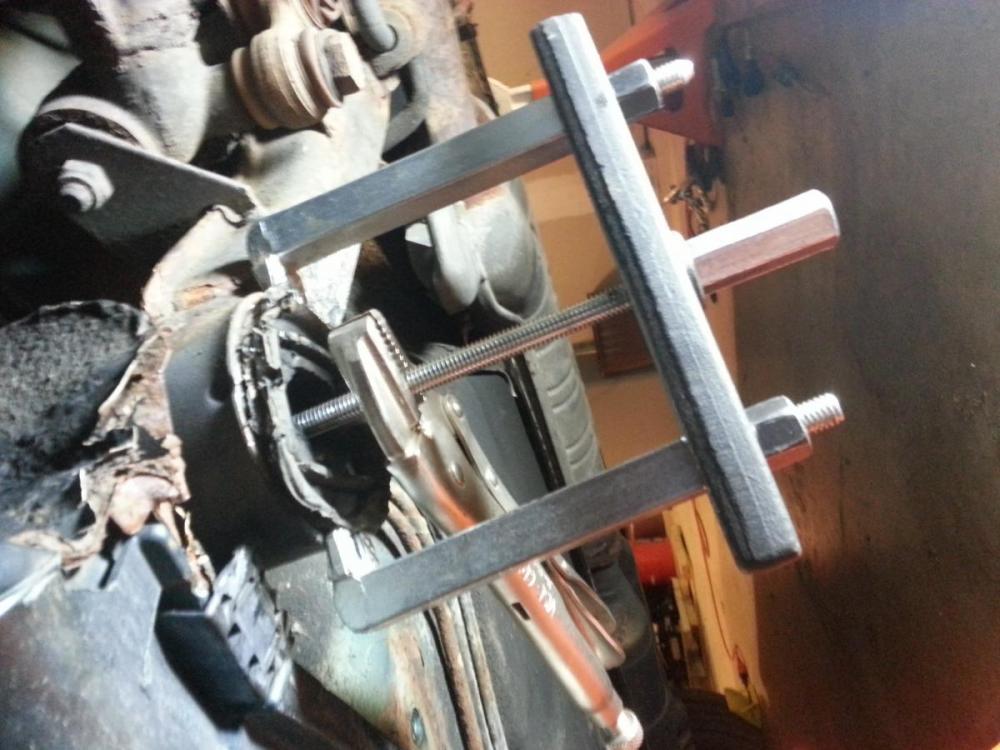
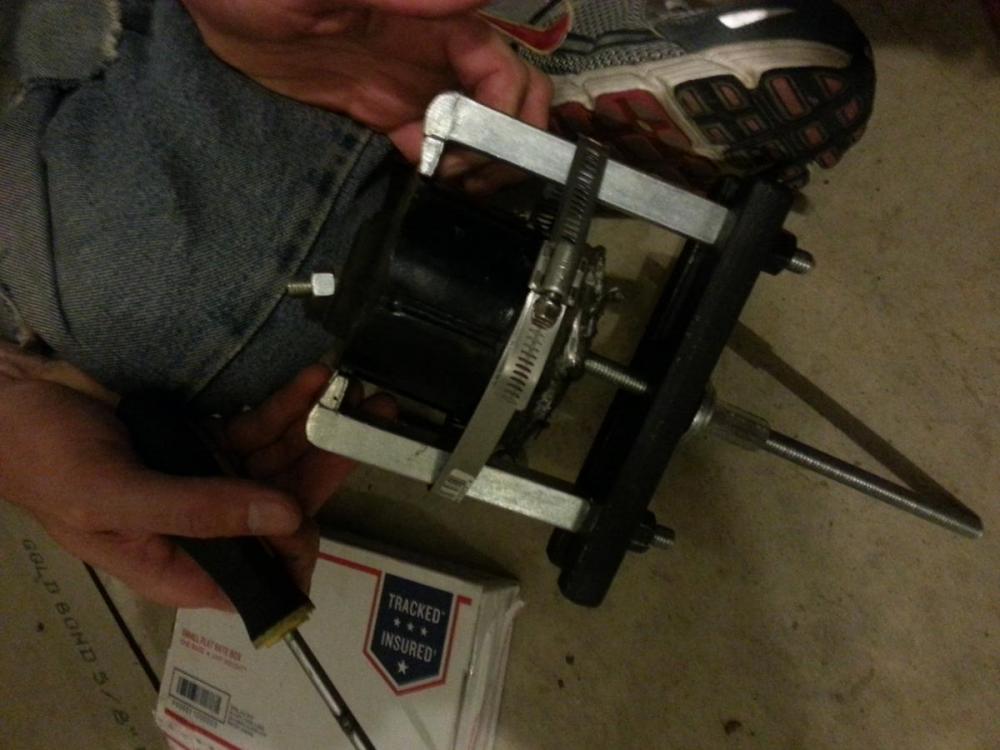
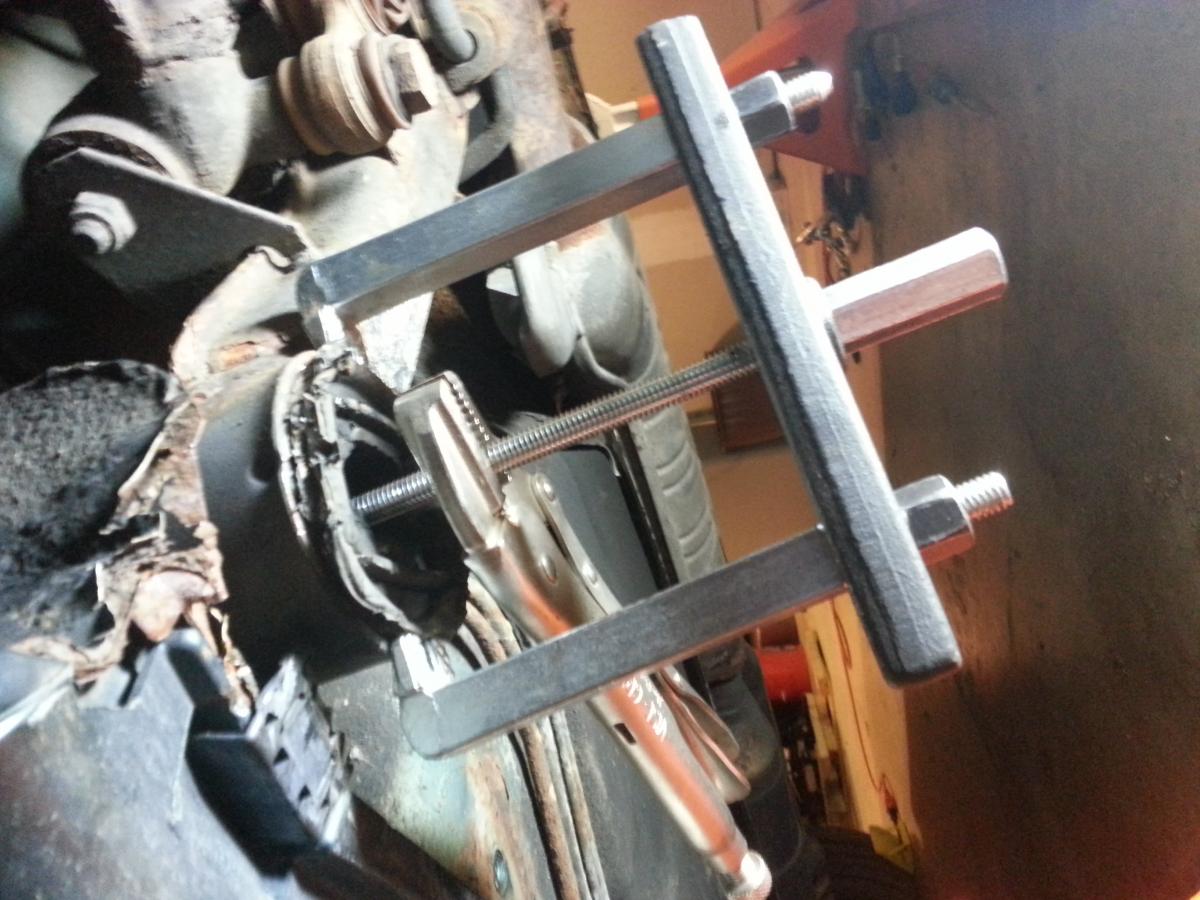
The bushing puller tool borrowed from BenDem ended up being to small as the E34 bushings are bigger than those on a E30/E28. So we ended up doing some creative engineering. We followed the instructions on this page for the basic steps http://www.bmwe34.net/E34main/Maintenance/Suspension/SubframeBushing.htm
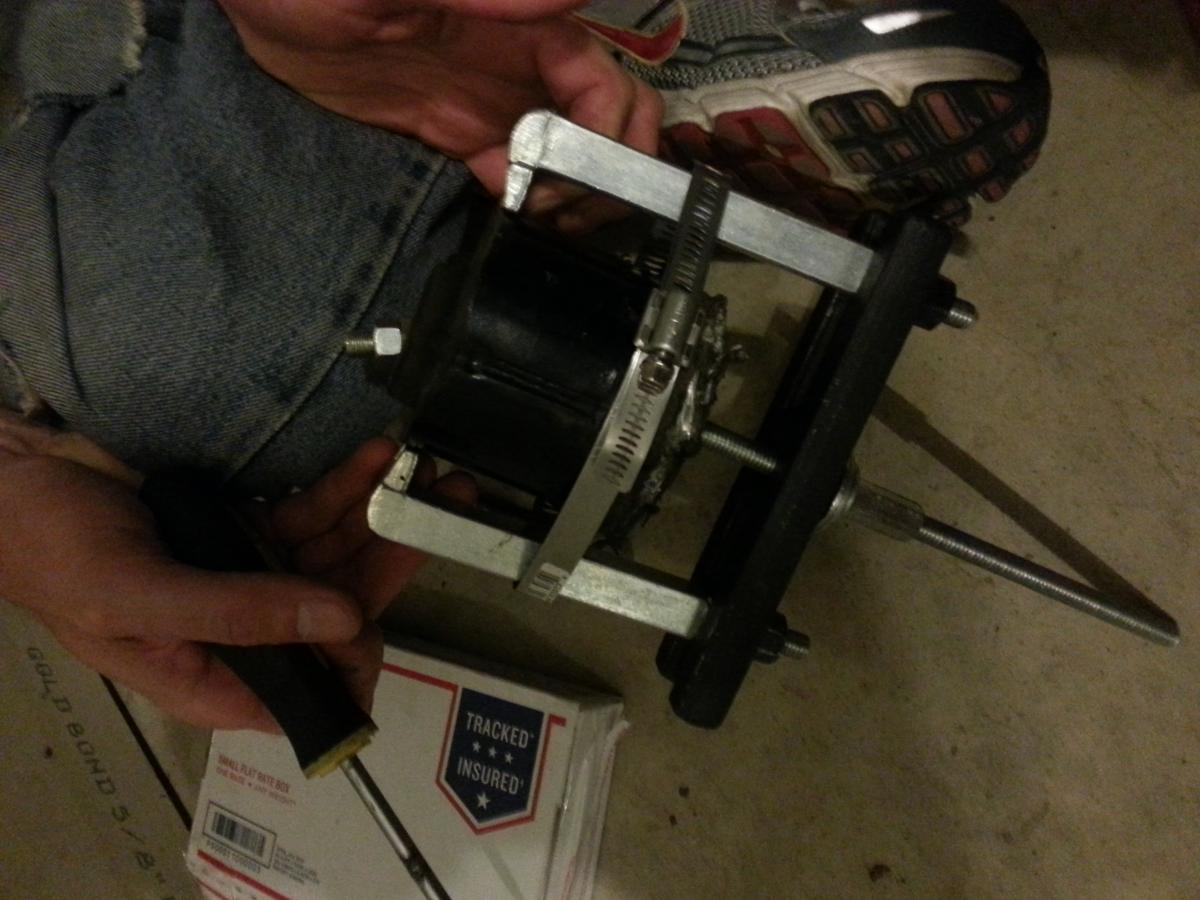
As for the puller, we bought a basic gear puller at Harbor Freight and along with threaded rod, nuts, various sized washers and u-bolt plates from Menards. Essentially we had a pyramid of washers on top of the bushing, ran the threaded rod through the middle with two nuts on top of the washers and then through the puller with a coupling nut used to turn the rod. We had to add a large band clamp around the arms of the puller to keep them from popping off which worked quite well. Once we had a start on the bushing, using a propane torch to heat the outside of the sub frame mount they slipped right out.
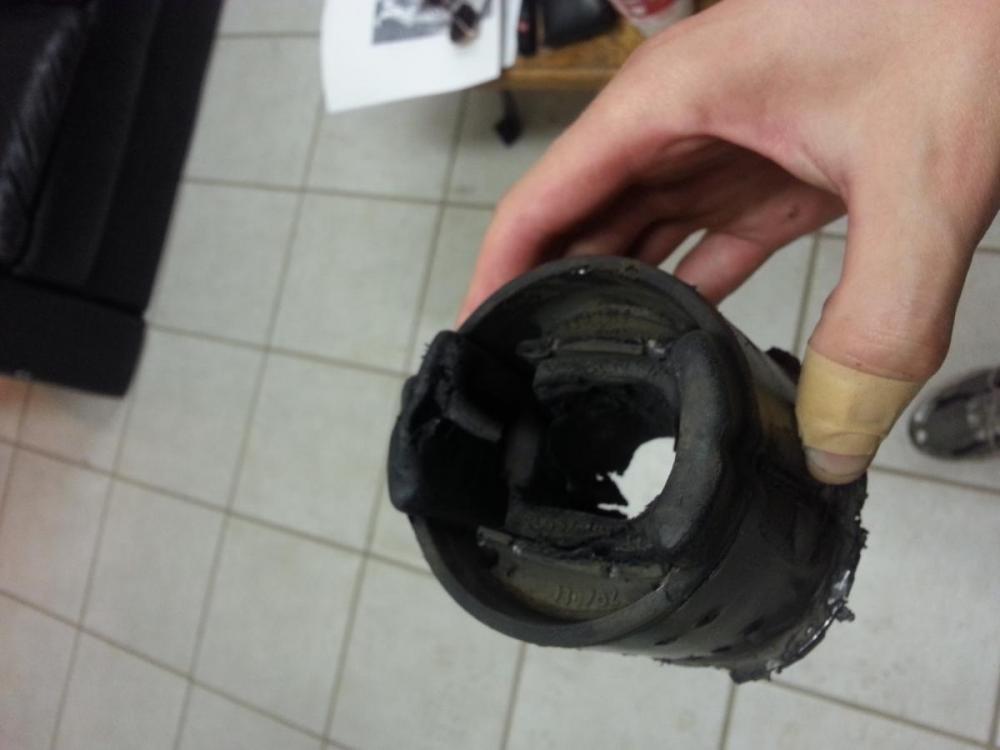
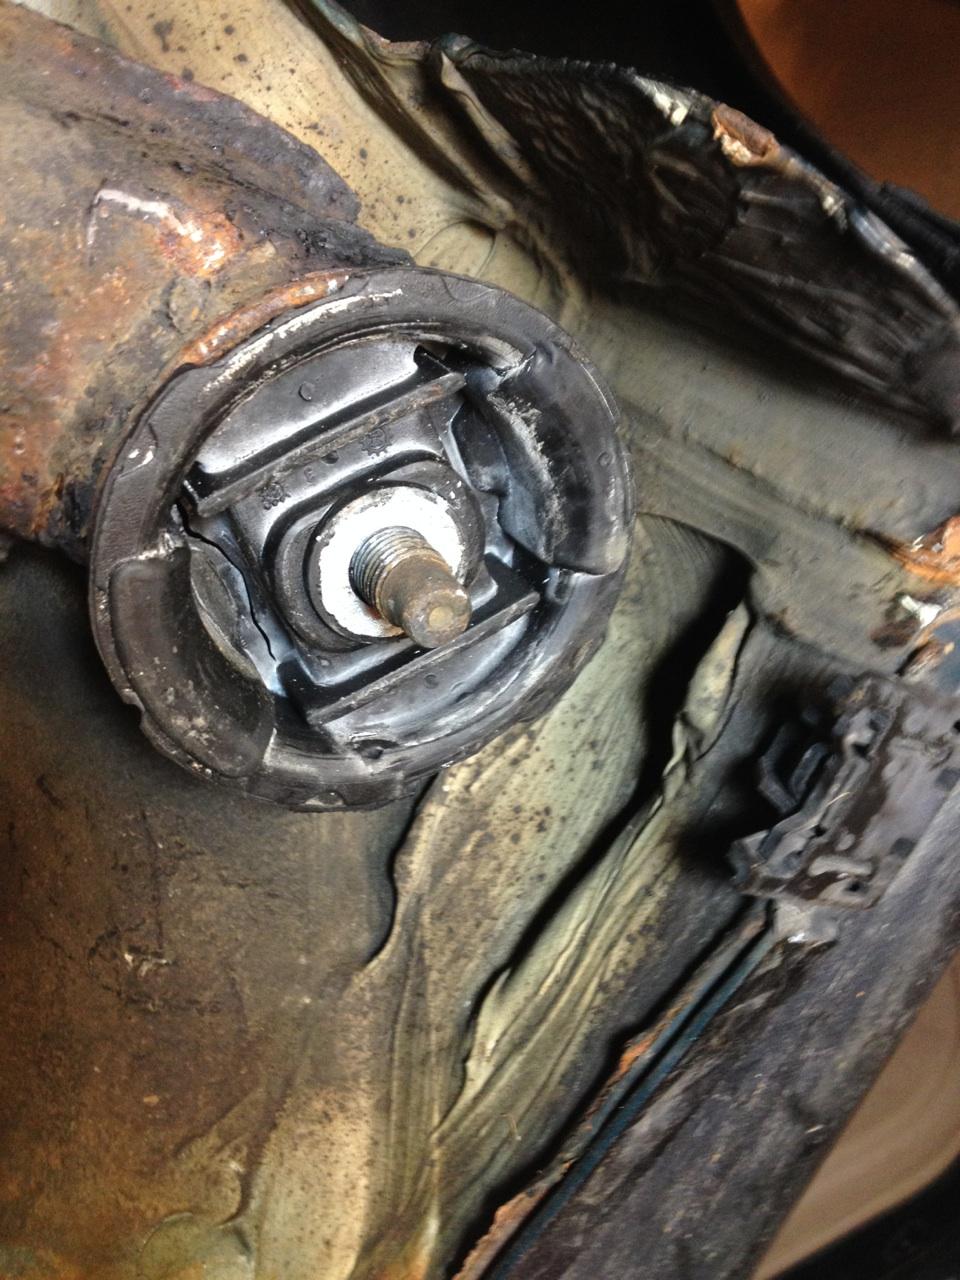
Didn't take any pictures of the installation rig but it was basically the same setup except we placed two metal u-bolt plates on top and ran two threaded rods down the sides into the H-plate of the puller. These replaced the puller arms. By tightening the threaded rod on each side it pushed the new bushings into the housing. Below is the end result! I can't wait to have a lift...
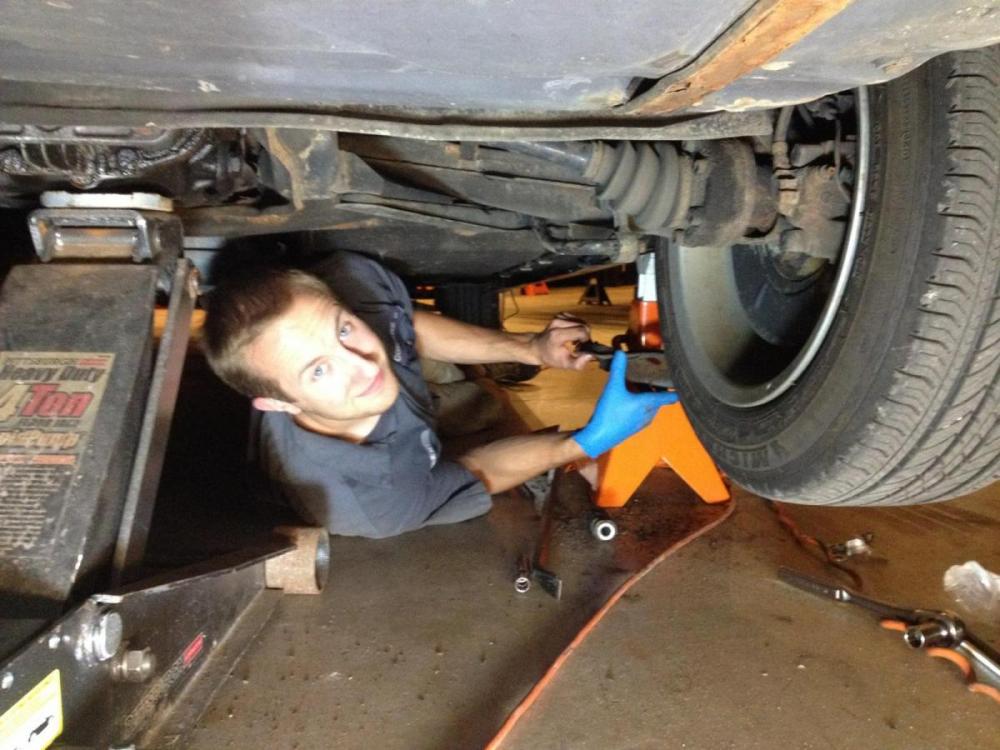
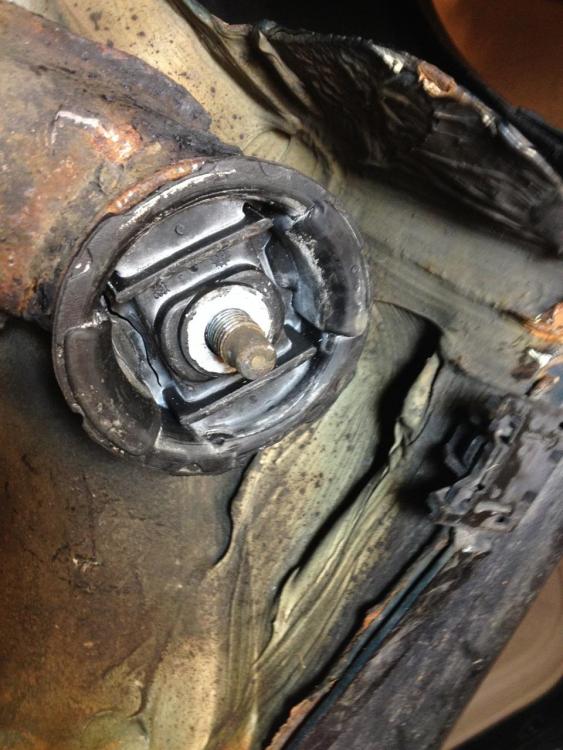
Ride quality greatly improved! New plugs and rear brakes are on the list of to do's before Sunday when Ben leaves down south for school. I still have yet to find out where this occasional coolant leak if coming from

-
I'm still weary on doing burnouts as there is still a slight driveline vibration in 1st/2nd. Ben bought the Guibo and CSB for me to replace while hes gone but I'm thinking the rear CV joint on the drive shaft might be the issue. I didn't feel any play in the CSB while under the car and the guibo just needs replacement for age, otherwise its holding up. I'm not sure if I wanna mess with taking off the exhaust system either so these items might have to wait till winter. I'll do some more investigating tomorrow afternoon at the shop.
-
Saturday I ended up doing some last minute work on the car while Ben was flying back from Virginia. Bought a set of ceramic brake pads to replace the rears only to find out the pads on the car are basically new. Looks to me like the rear calipers are sticking slightly so time for a rebuild.
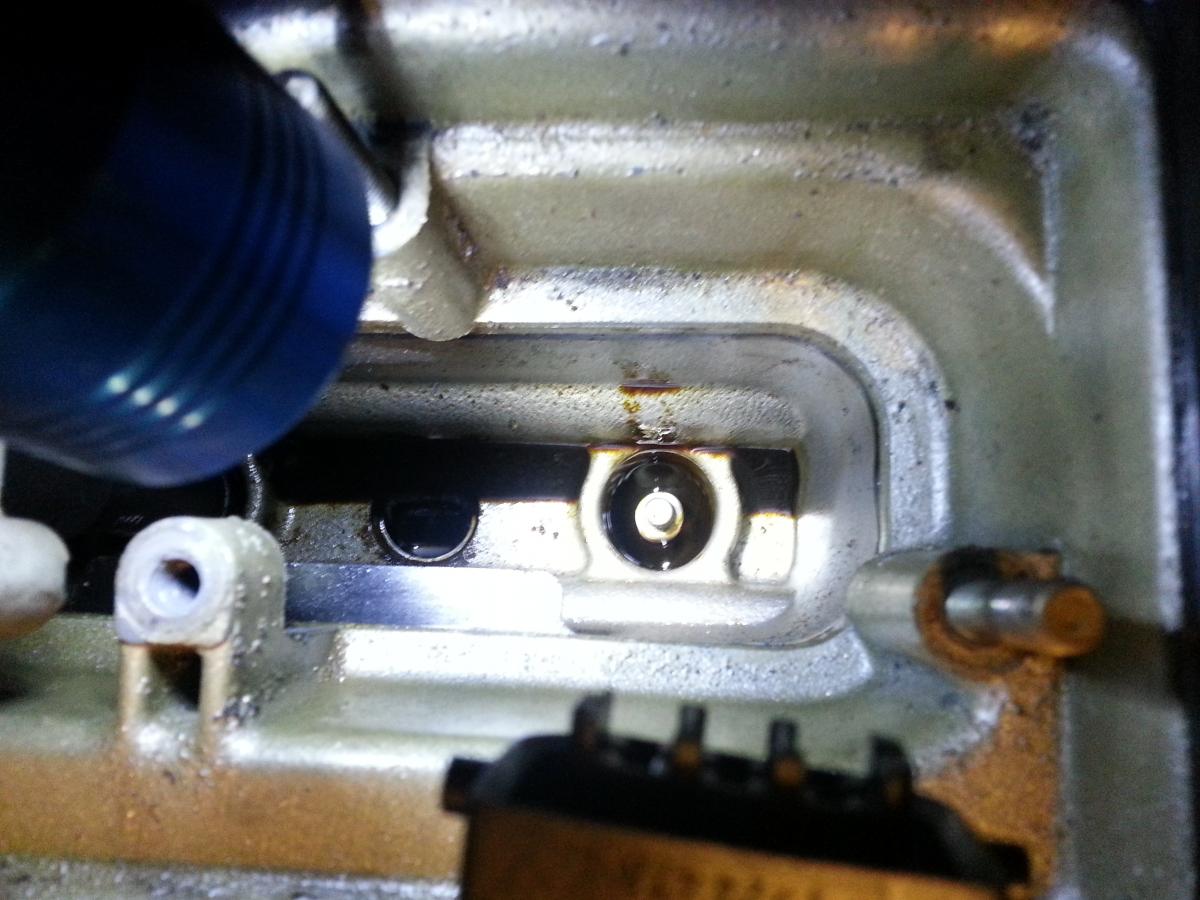
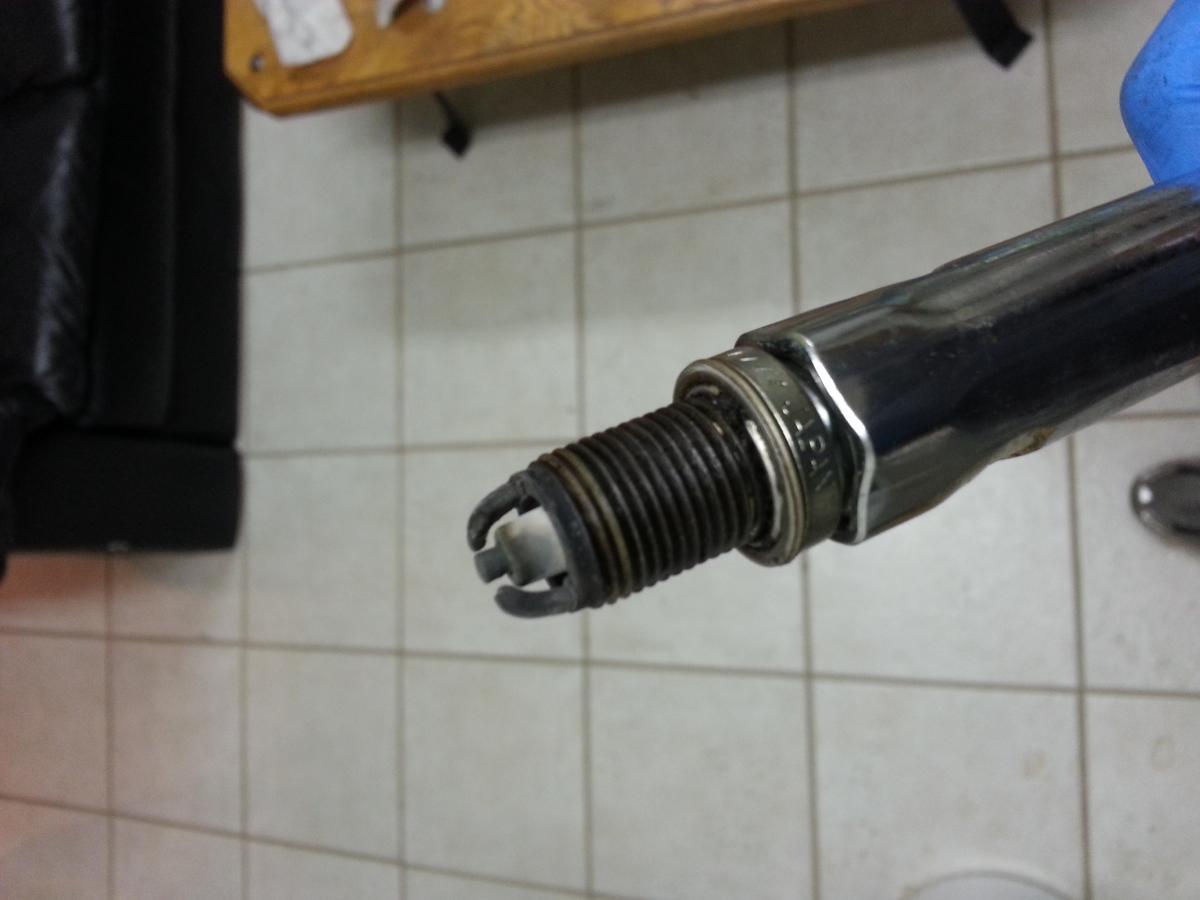
The car started a little roughly after finishing the sub frame mounts last weekend, so figured it was time for new spark plugs.
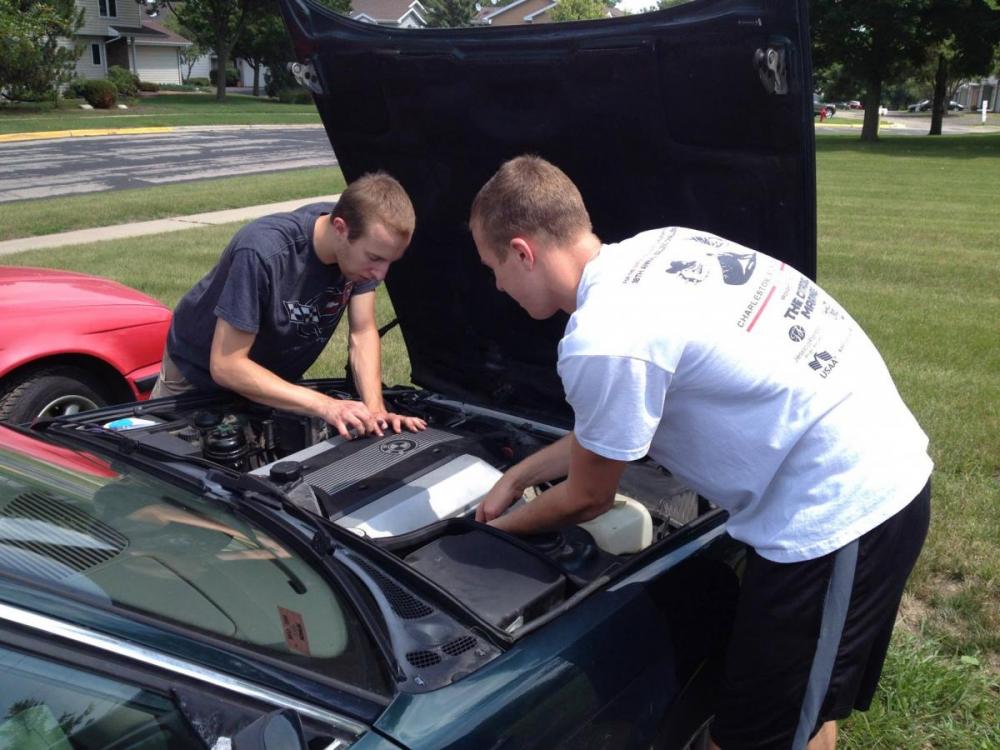
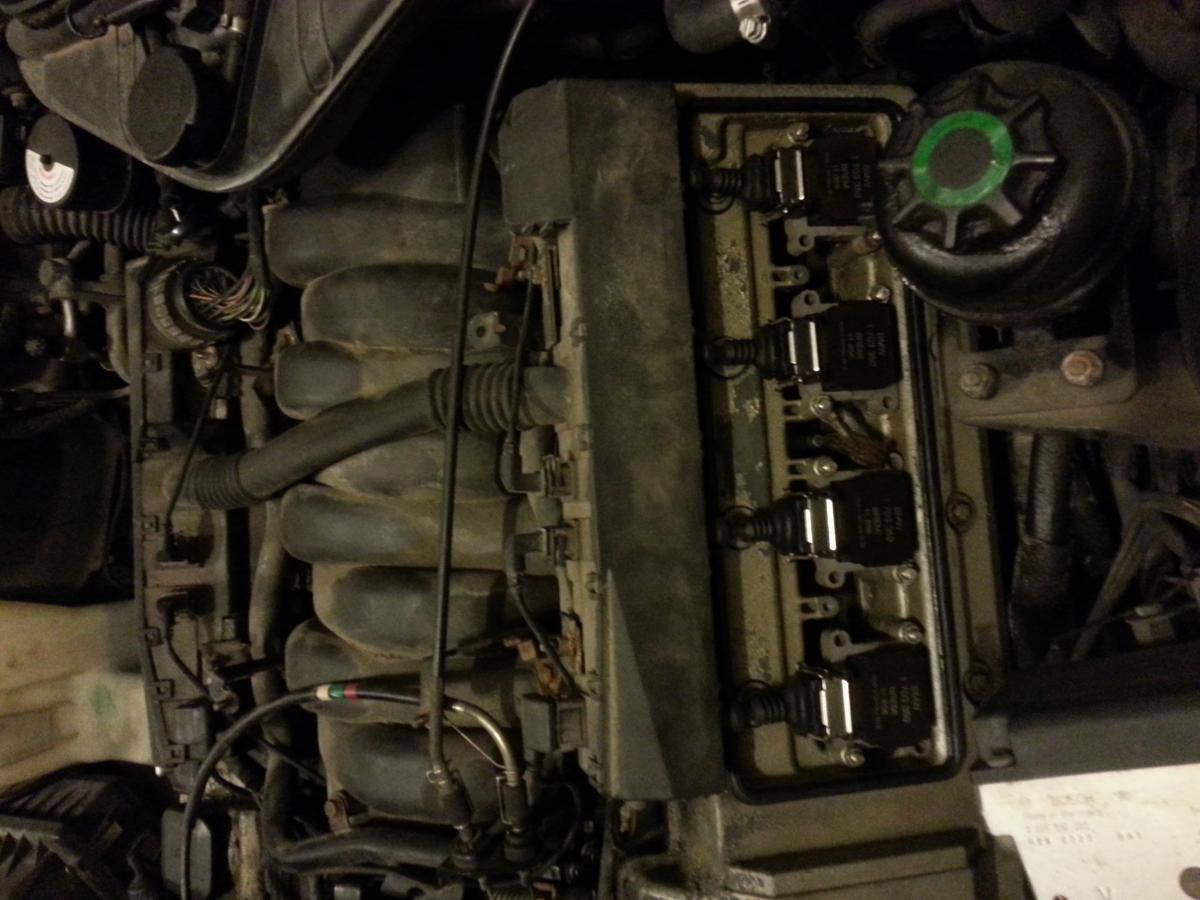
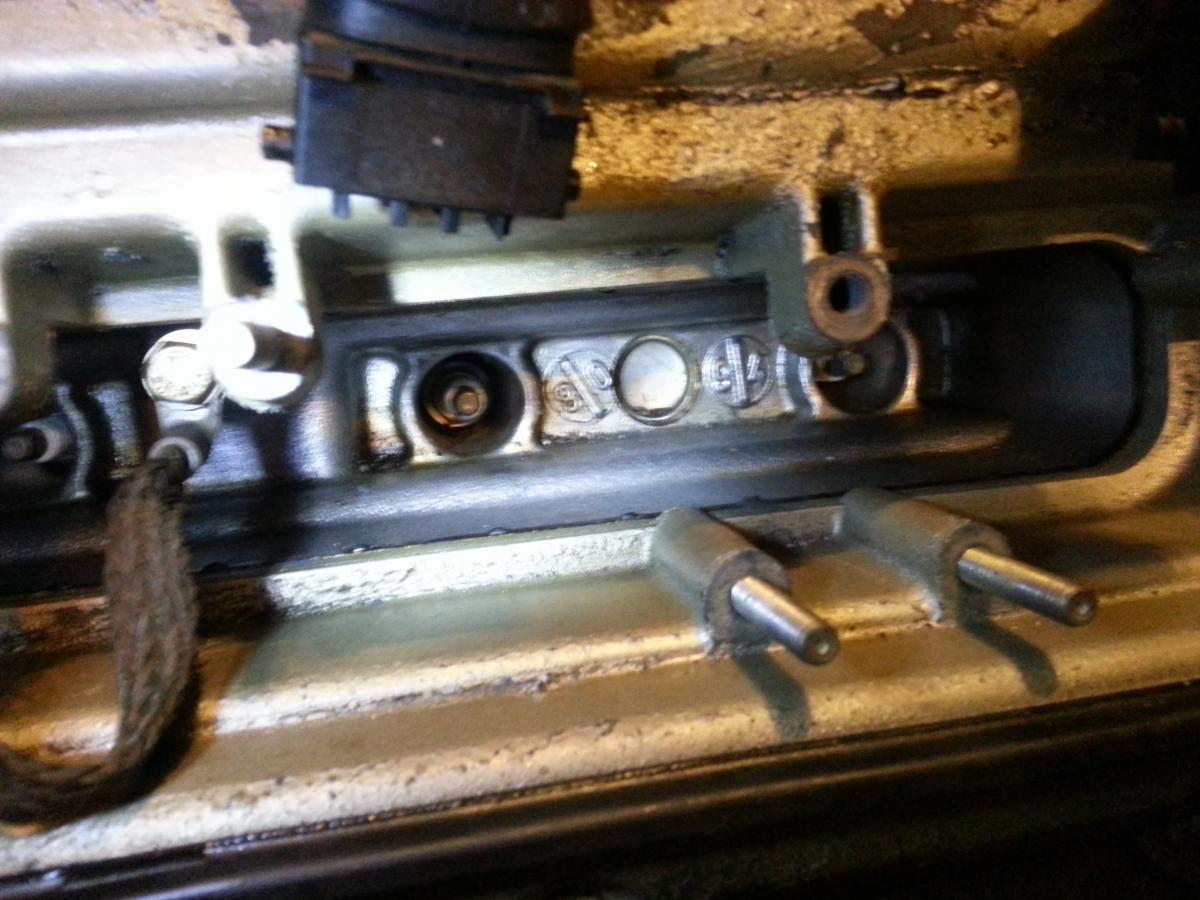
In case you wondered what a M60B40 looked like naked...
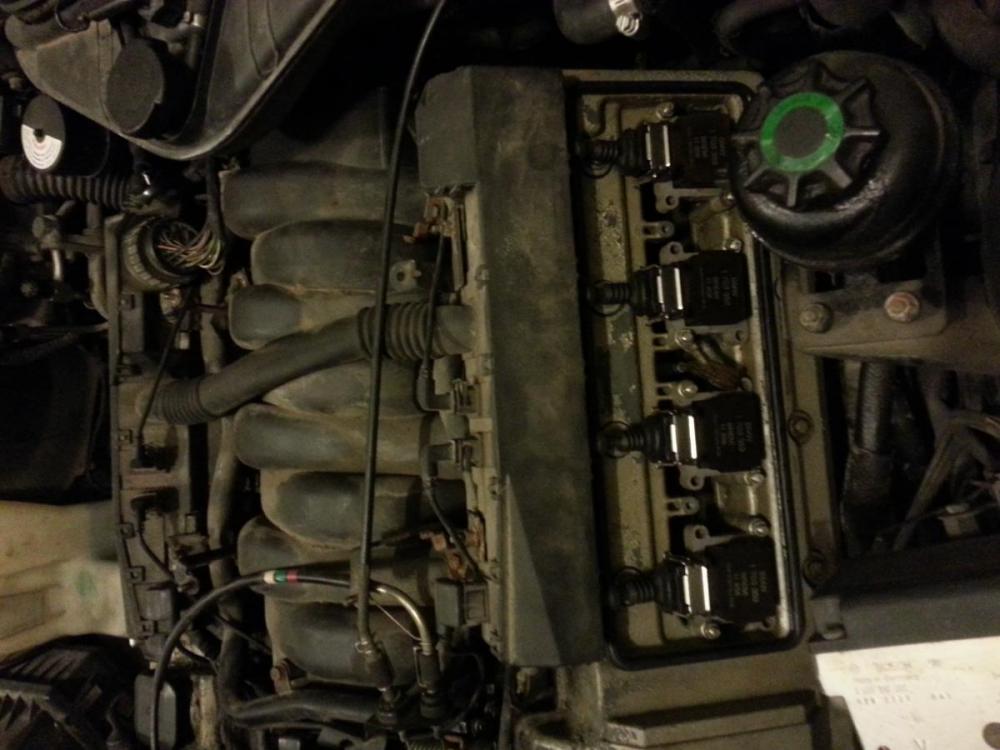
I knew the drivers side valver cover gasket was leaking when I bought the car but it was only visibly leaking on the back of the head, but never left puddles. Now I know the oil was leaking down in the spark plug wells. Took me a good hour or so to soak all that out with paper towls.
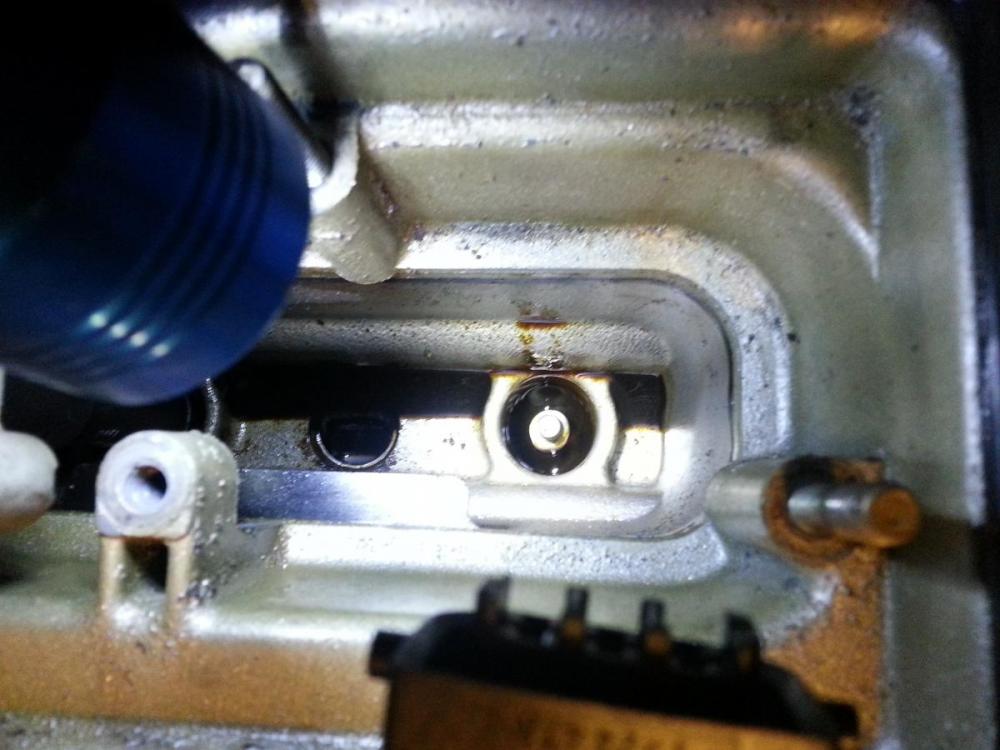
Not sure when the plugs were last changed but they didn't look too bad.
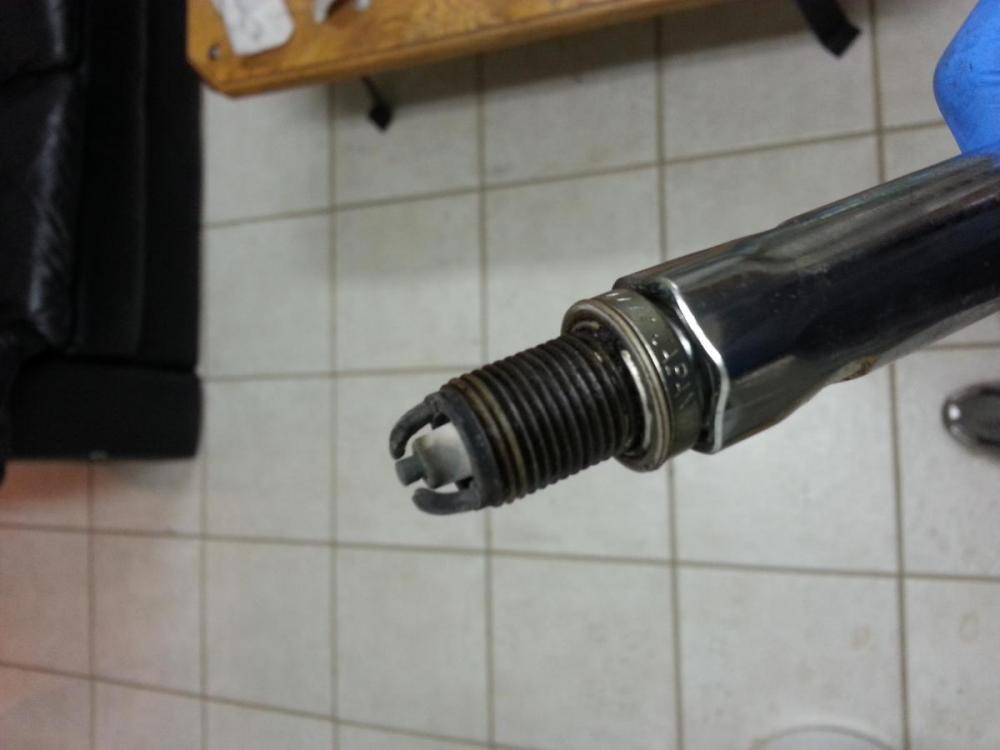
Replaced them all with Bosch plugs and cleaned it up. Special shout out to Kaiser for the 11pm service adivsor call. I've never changed plugs on a car with coil packs so I learned they just kinda sit there instead of popping on like the caps of a plug wire. Thanks bud.
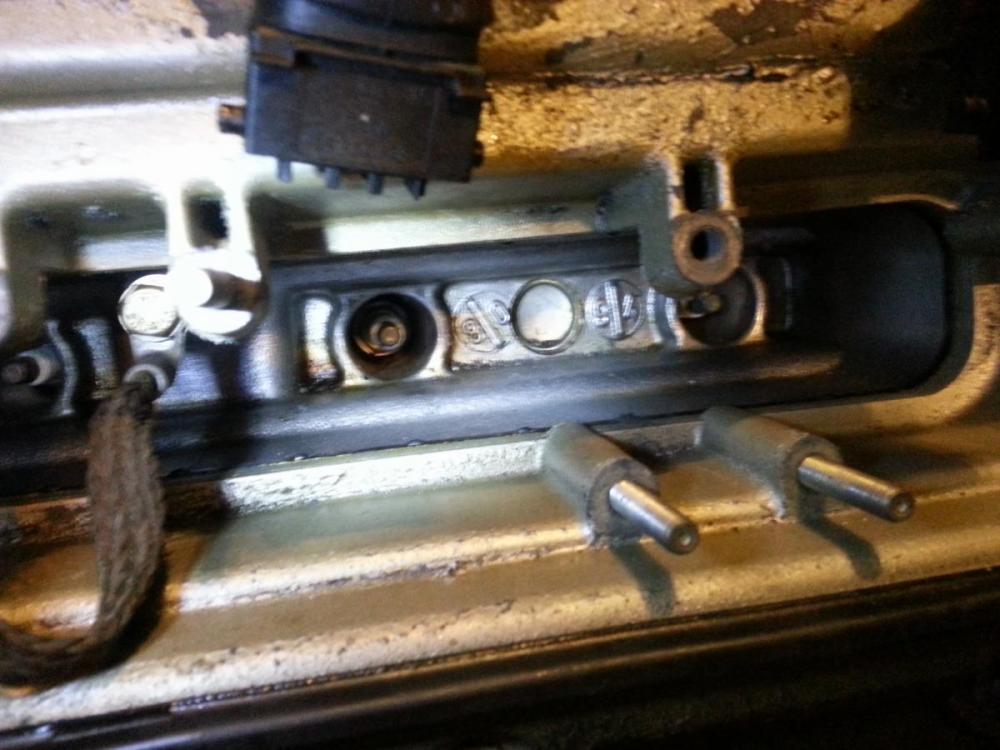
Fired right up without hesitation and definantly felt some power gained back. Next morning after a big breakfast with the family and some of his friends Ben got the car all packed for the maiden voyage down south.
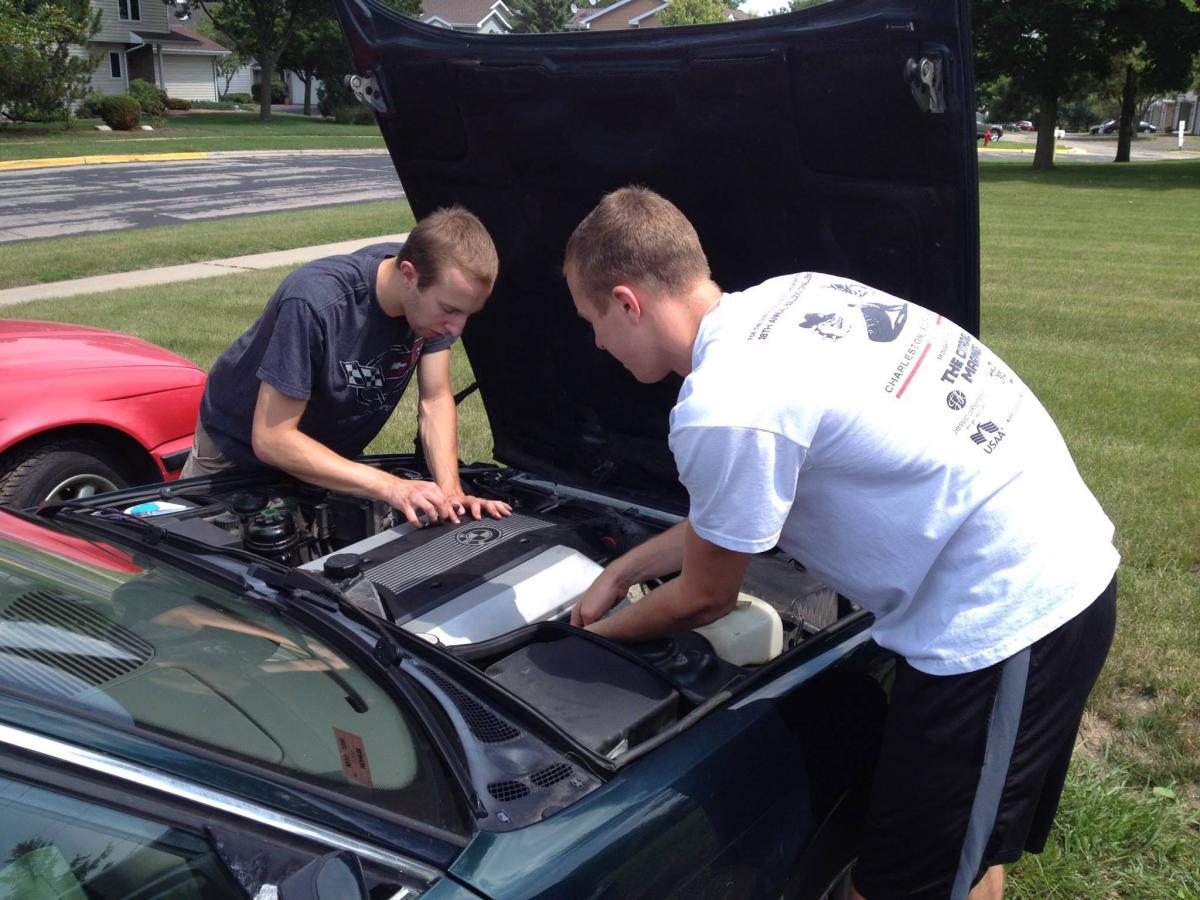
Putting the engine covers back on
All packed and filled the tank.
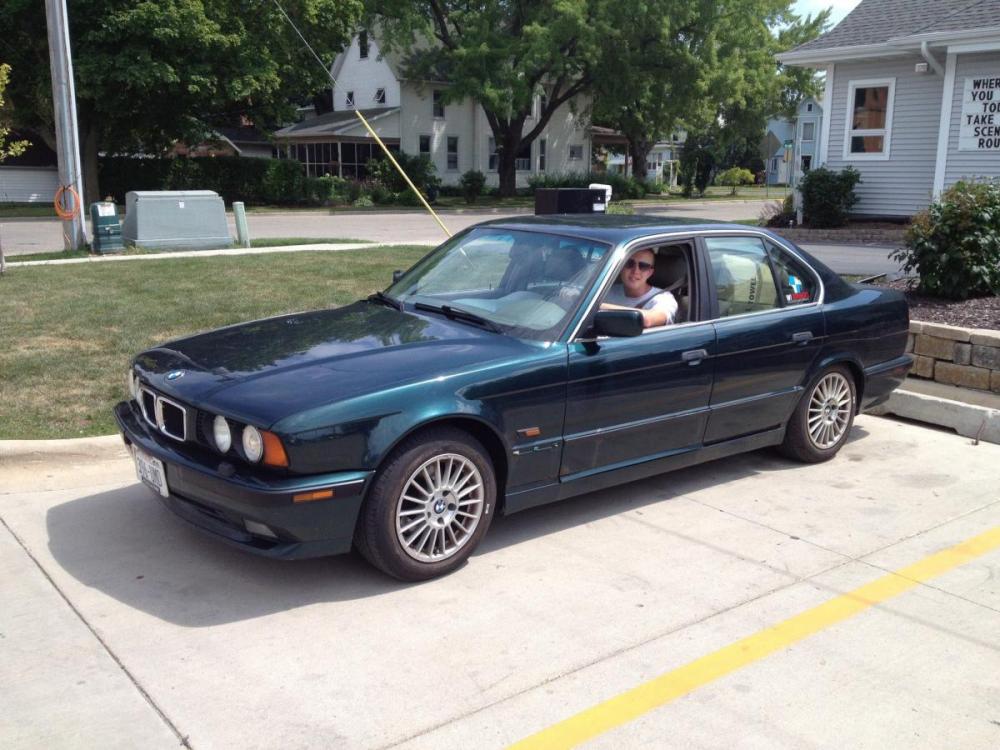
Good news, he got 26mpg on the way down and even maintained 25mpg through the mountains. Bad news is down near Charlotte, NC he had to pull over due to some severe front end vibrations. I was on the phone with him on and off for most of this morning. We are thinking his front calipers probably stick too and he noticed he had a vibration clip missing from the passenger side where the wheel vibrations were coming from.
I had checked out the driveshaft and it seamed pretty solid by feel but apparently the vibrations have gotten a lot worse too. Car had been driving normally over the past two weeks so it kinda sucks that things went south as well you know he went south
Looks like he'll have some weekend projects to take care of over the next two semesters. -
The vibration clip i assume you are talking about for the brake caliper? Really does almost nothing. Just for anti rattle. WOuld have nothing to due with your vibration.
Figured so but worth mentioning. Car needs control arm bushings pretty badly along with most other suspension bushings at 260k+. Basically this car needs a baseline on suspension and driveline.
-
I thought I would do a little update post since Chris did all the posting for me on my trip (thanks by the way
 ). My car is still sitting in Summerville, SC at my grandparents place. It's about 30 minutes away from me in Charleston and I haven't been able to get out there to do any work yet. I did start her up this past Sunday, she started right away and sounded great so I've got that going for me. I did my research and sourced parts for what I think is wrong as of right now. My plan is to rebuild all 4 calipers and replacing the pistons on the front two. I'm pretty sure the front right caliper is stuck open causing the pads to rattle around in the mounts. This also giving my car's computer the illusion that the pads where low because there wasn't any pressure on the pads. When I looked at the calipers there was a good layer of rust and corrosion on the pistons that possibly could have seized it up and they didn't budge when I went at them with a C-clamp. I tried moving all the arms down there around but not one moved even a little. There were some sketchy bushings but that's a job for another day. I set a budget of $250 to rebuild all of the calipers, this includes new seals, gaskets, anti-rattle clips (somehow I'm missing 3 of the 4), wear sensors, front pistons, shipping and lubes/ cleaning crap. I was thinking about getting all the parts sand blasted and then putting a protective coat on as well. I will have to find a place to do this down here but does anyone have any idea how much it would cost for sand blasting?
Now for the drive shaft...I have a guibo and center bearing at home so I'll have Chris send them down here. Once I get 6 new lock-tight bolts and nuts (M17 I believe?) and a drive shaft centering bushing (According to E34website.net) I'll replace all those parts. At this point all take her to a repair shop of the sorts and have them check out the drive shaft to ensure that no other parts need to be replaced (such as the CV joint, which is around $180). Hopefully I shouldn't need to buy too much more for the drive shaft project but it will probably cost around $100 for them to inspect my car to I set my overall estimated cost at $450. Then my car should be drive-able once again
 .
.I also brought my style 5s down planning on sanding/cleaning them up so I could put a nice set of summer tires on, because it's summer all year around down here
. Anyone have any good DIY for cleaning up your wheels? I would really appreciate it if someone could point me in the right direction. For some motivation, I found this picture which is a sneak peak to what my car will look like when the wheels are done. I have a lot of work to do but I'm excited to get it done. I'm just waiting on the Marine Corps to start paying me this semester so I can kick this all off. I will probably be able to get some stuff done in 2 weekends but we will see what happens.
BMWCCA #499464
Current - 1995 540i/6 V 2.0 | Dead - 1995 540i/6 | Sold - 1995 318is
-
It is in the beginning of the never ending story
Is that in Genesis or Exodus?
-
Finally getting around to doing a little work on my car this weekend. I plan on doing some prep work for rebuilding the rear calipers and maybe even taking the exhaust off. Worst comes to worst and I'll start refinishing the wheels. I'm really excited to start getting some work done though
BMWCCA #499464
Current - 1995 540i/6 V 2.0 | Dead - 1995 540i/6 | Sold - 1995 318is






Hello! It looks like you're interested in this conversation, but you don't have an account yet.
Getting fed up of having to scroll through the same posts each visit? When you register for an account, you'll always come back to exactly where you were before, and choose to be notified of new replies (either via email, or push notification). You'll also be able to save bookmarks and upvote posts to show your appreciation to other community members.
With your input, this post could be even better 💗
Register Login