Skip to content
  • Categories
  • Recent
  • Tags
  • Popular
  • Users
  • Groups
Skins
  • Light
  • Brite
  • Cerulean
  • Cosmo
  • Flatly
  • Journal
  • Litera
  • Lumen
  • Lux
  • Materia
  • Minty
  • Morph
  • Pulse
  • Sandstone
  • Simplex
  • Sketchy
  • Spacelab
  • United
  • Yeti
  • Zephyr
  • Dark
  • Cyborg
  • Darkly
  • Quartz
  • Slate
  • Solar
  • Superhero
  • Vapor

  • Default (No Skin)
  • No Skin
Collapse
WIBIMMERS logo

WIBIMMERS

  1. Home
  2. General Discussion
  3. Members BMWs
  4. ClassE 1989 325IS Build Thread

ClassE 1989 325IS Build Thread

Scheduled Pinned Locked Moved Members BMWs
686 Posts 32 Posters 0 Views 1 Watching
  • Oldest to Newest
  • Newest to Oldest
  • Most Votes
Reply
  • Reply as topic
Log in to reply
This topic has been deleted. Only users with topic management privileges can see it.
  • GunMetalGreyG
    GunMetalGreyG
    GunMetalGrey
    wrote on last edited by
    #506

    If your U joints are shot you will still get some clunking back there, the joints shouldn't have any play.

    ...

    1 Reply Last reply
    0
    • DrLeadFootD
      DrLeadFootD
      DrLeadFoot
      wrote on last edited by
      #507

      No play and there shouldn't be a lot 'sticky' spots when you move the joint around.

      15924991875a64c599885m.jpg

           @DrLeadFoot

      1 Reply Last reply
      0
      • ClassEC
        ClassEC
        ClassE
        wrote on last edited by
        #508

        Once removed - I couldn't find any "slop" in the u-joint at all. Moved freely and didn't have sticky spots.

        1 Reply Last reply
        0
        • DrLeadFootD
          DrLeadFootD
          DrLeadFoot
          wrote on last edited by
          #509

          That's a good sign

          15924991875a64c599885m.jpg

               @DrLeadFoot

          1 Reply Last reply
          0
          • ClassEC
            ClassEC
            ClassE
            wrote on last edited by
            #510

            Didn't get as much done this morning as I had hoped - but overall got stuff done! New rear bearings are in, rear axles are in - gonna eat some lunch then reassemble rear brakes and move to radiator swap I think.

            1 Reply Last reply
            0
            • EarlE
              EarlE
              Earl
              wrote on last edited by
              #511

              Give er hell!

              museum sig 2earl.jpg

              1 Reply Last reply
              0
              • ClassEC
                ClassEC
                ClassE
                wrote on last edited by
                #512

                Early Fathers Day gift from my wife (she's the best!):

                DBA6345F-6D19-443F-BACC-B55422FAB0FB.jpg

                1 Reply Last reply
                1
                • B
                  B
                  B C
                  wrote on last edited by
                  #513

                  Im so happy for you!

                  1 Reply Last reply
                  0
                  • EarlE
                    EarlE
                    Earl
                    wrote on last edited by
                    #514

                    Dat m70 manifold though

                    museum sig 2earl.jpg

                    1 Reply Last reply
                    1
                    • ClassEC
                      ClassEC
                      ClassE
                      wrote on last edited by
                      #515

                      Earl said:

                      Dat m70 manifold though

                      YOU SEE NOTHING!!!

                      Not sure I'll be using that - might have a slight change of plans in mind for the intake manifold.... We'll see how the summer pans out.

                      1 Reply Last reply
                      0
                      • ClassEC
                        ClassEC
                        ClassE
                        wrote on last edited by
                        #516

                        Shift linkage is rebuilt and back in.... And it was a monumental PITA. Thankfully it was worth the headache because the shifter feels fantastic.

                        Electric fan is mounted and radiator mounting is done. Gotta figure out fan wiring and figure out what I'm gonna do for an upper rad hose.

                        Hopefully tonight I can yank those rear diff spacers and remove the no longer needed accessory crank pulley. I'm assuming I should get shorter bolts to replace the existing ones - or add washers?!? Will have to figure out tonight.

                        1 Reply Last reply
                        0
                        • YoungCRY
                          YoungCRY
                          YoungCR
                          wrote on last edited by
                          #517

                          ClassE said:

                          YOU SEE NOTHING!!!

                          Not sure I'll be using that - might have a slight change of plans in mind for the intake manifold.... We'll see how the summer pans out.

                          Budget = ITB's

                          Chris Young
                          BMWCCA #458972
                          1986 528e/5  | 1994 530i/5 | 1995 540i/6 | 2013 X5 35d | 1998 C1500 Suburban | 1995 K2500 Suburban

                          1 Reply Last reply
                          0
                          • ClassEC
                            ClassEC
                            ClassE
                            wrote on last edited by
                            #518

                            CYoung said:

                            Budget = ITB's

                            I can neither confirm nor deny anything.

                            1 Reply Last reply
                            1
                            • B
                              B
                              B C
                              wrote on last edited by
                              #519

                              Much excite!

                              1 Reply Last reply
                              0
                              • ClassEC
                                ClassEC
                                ClassE
                                wrote on last edited by
                                #520

                                I retract my previous statements - I did not install those diff spacers when I put the subframe bushing in (josh and I both thought we saw them up there - but went to pull them out last night and realized they weren't in there after all!)

                                Driveshaft is back in now, and got front studs in.... Just gotta get exhaust up, figure out elec fan wiring, torque axle nuts all around, and get an upper rad hose sourced/spliced.

                                Lots of detail work - but if things go smooth hopefully I'll be rolling tomorrow night?!?

                                1 Reply Last reply
                                0
                                • ClassEC
                                  ClassEC
                                  ClassE
                                  wrote on last edited by
                                  #521

                                  My "Holy crap..." Moment of the evening though was when I was getting out from under the car and noticed the rear subframe bolts didn't have as much thread showing as I remembered. Threw a socket on them to check tightness.... And got another 4-5 turns out of them both!!!

                                  They are now loctited.

                                  1 Reply Last reply
                                  0
                                  • ClassEC
                                    ClassEC
                                    ClassE
                                    wrote on last edited by
                                    #522

                                    It's truly pathetic how bad I am with wiring. Need to get an electric fan wired into car, and just can't wrap around how I am supposed to do this. Spent more then an hour looking at written directions - then the wiring in the car - and got nothing accomplished. So frustrating.

                                    1 Reply Last reply
                                    0
                                    • jc43089J
                                      jc43089J
                                      jc43089
                                      wrote on last edited by
                                      #523

                                      Are you keeping the oe aux fan? If not it's super easy. Replace the fan switch on the passenger side of the radiator with an 80/88c one (stock is 91/99c) from a 318, its plug and play. The hook the large wires that go to the oe fan to your new one.

                                      Sent from my potato phone

                                      2/94 325i Sedan, Arctic Gray: UUC LTW FW, EVO 3 and DSSR, +.020 Maxsil pistons, ASC delete, Eibach shocks/springs, 16" contour reps 238k
                                      3/93 325i Coupe, Schwarz 2, Sketchy stance action, ebay turbo, 300k
                                      '89 325i Vert, Alpine White: 5spd swapped, sold.

                                      '04 Toyota Sienna: 24V to 24V swap in progress

                                      '05 Volvo V70R, 6spd.  200k
                                      '85 Toyota LandCruiser: Lifted, gas hog. 205k
                                      '99 Nissan Maxima: 5spd, Rusty but trusty winter beater. 252k RIP.

                                      1 Reply Last reply
                                      0
                                      • ClassEC
                                        ClassEC
                                        ClassE
                                        wrote on last edited by
                                        #524

                                        jc43089 said:

                                        Are you keeping the oe aux fan? If not it's super easy. Replace the fan switch on the passenger side of the radiator with an 80/88c one (stock is 91/99c) from a 318, its plug and play. The hook the large wires that go to the oe fan to your new one.Sent from my potato phone

                                        I removed all the original A/C stuff including that electric fan in front. This is the write up I was following:

                                        This is for 88 cabrio (late model wiring) you may be slightly different

                                        Stock AC Fan wiring:

                                        Brown = Ground

                                        Black (at the fan) or Black/Green (after fan connector) = low speed positive feed

                                        Connect your new electric fan Ground to the brown wire, if you cut off the connector connect the positive from your new electric fan to the Black/Green, if you still have the wiring after the connector use the Black.

                                        Thermo switch:

                                        Green/Black = power feed (must be connected)

                                        Black = Low speed relay feed (the one you want to connect to the new thermo switch)

                                        Black/Brown = High speed relay feed (do not connect)

                                        Since your stock themoswitch in the side of the radiator has 3 pins we need to figure out what one will trigger the low speed fan relay to supply power to the new electric fan. You need to put on some spade connectors and connect the Green/Balck to either of the two posts on the back of the new thermoswitch. Then connect the Black line with a spade to the other. Tape off the Black/Brown it is not needed anymore.

                                        The wiring is done in this fashion to allow the stock relays to control the new fan, also if you push the AC switch inside the cabin, you can force on the electric fan anytime you want

                                        Here's what I gathered from this:

                                        -Cut off the original wiring that was connected to the elec aux fan (3-wire harness with a black, brown, and red wire that was "part of" the fan).

                                        -Connect the brown wire to my new electric fan ground.

                                        -Connect the black wire to my new electric fan power.

                                        -Cut the red wire off?!?

                                        After that I'm a lost. The original thermo switch has a 3-wire harness leading to it as described above, am I cutting wires going to that switch? If so - what am I connecting them to?!? It sounds like leave the black/green wire alone... So cut the other two wires and do what with them?

                                        If someone could dumb down the next steps to a kindergarten level id be eternally grateful.

                                        I didn't order a different thermo switch. My original radiator has one in it (obviously) and the radiator I got from Earl had his orginal one in it. I was planning to leave the orginal thermo switch that was in the radiator in it (since Earls car is a 318 I should be fine?)

                                        1 Reply Last reply
                                        0
                                        • i_love_carsI
                                          i_love_carsI
                                          i_love_cars
                                          wrote on last edited by
                                          #525

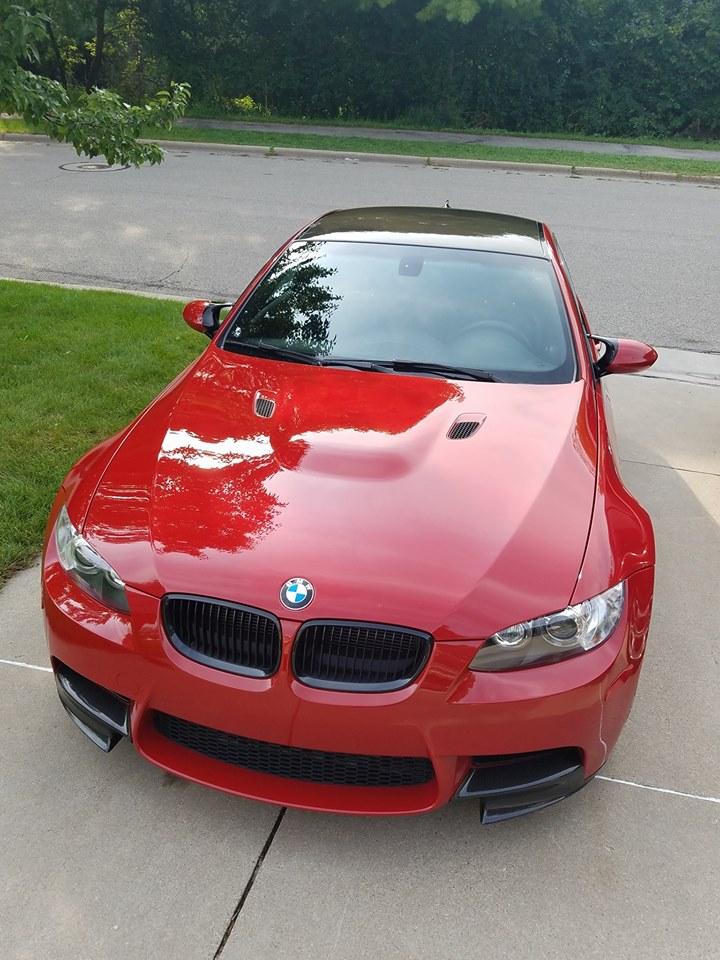
                                          wiring is my least favorite thing to work on in a car. Eventually I'll need to bite the bullet and wire up a JB4 and meth kit so I can spray, but definitely not looking forward to it. 

                                          The above instructions make perfect sense to me, however, it doesn't sound like you have exactly the same parts/setup. Without a way to visual what's what, I can't be of much use. If I could see what wires run where and how they are connected to the sensors it would make more sense :(

                                          IMG6593.jpg

                                          2011 E92 M3 6MT ZCP - ESS 625 supercharged
                                          2007 Z4MR 
                                          2003 E39 M5
                                          2002 E46 M3
                                          2021 X5 40i

                                          1 Reply Last reply
                                          0

                                          Hello! It looks like you're interested in this conversation, but you don't have an account yet.

                                          Getting fed up of having to scroll through the same posts each visit? When you register for an account, you'll always come back to exactly where you were before, and choose to be notified of new replies (either via email, or push notification). You'll also be able to save bookmarks and upvote posts to show your appreciation to other community members.

                                          With your input, this post could be even better 💗

                                          Register Login
                                          Reply
                                          • Reply as topic
                                          Log in to reply
                                          • Oldest to Newest
                                          • Newest to Oldest
                                          • Most Votes


                                          • Login

                                          • Don't have an account? Register

                                          • Login or register to search.
                                          Powered by NodeBB Contributors
                                          • First post
                                            Last post
                                          0
                                          • Categories
                                          • Recent
                                          • Tags
                                          • Popular
                                          • Users
                                          • Groups