
Alpine e30 progress/build thread
-
A few of us on here know the painfully long nights of senior design and that would NOT be fun at all to have a snafu like that. What part of FSAE did you get to work on? I wanted to do FSAE but I knew I wouldn't fit in the car/wouldnt get to drive it, and working with non-car enthusiasts would really irk me for some reason.
-
A few of us on here know the painfully long nights of senior design and that would NOT be fun at all to have a snafu like that. What part of FSAE did you get to work on? I wanted to do FSAE but I knew I wouldn't fit in the car/wouldnt get to drive it, and working with non-car enthusiasts would really irk me for some reason.
At my school it is actually a club so you can do it for all four years (I will be a senior next year) but we don't receive any credit or anything, I have been a part of the team since freshman year. We have to do all our own fundraising and everything is on our own time so the team is fairly small but the majority is car enthusiasts which is cool. This past year I designed and made the entire brake system and helped build a majority of the car which was a lot of fun. Brake test for tech inspection (your car must lock up all four wheels to a stop and not stall) was a heart stopper, proud to say we passed on the very first try which many teams fail to do. Next year I am redesigning part of our powertrain (getting the power from the transmission to the wheels), doing some optimizing on the suspension we completely redesigned this past year, and a few other odds and ends
-
Well, I was going to dive into a bunch of mechanical things but I got distracted.
I've been sanding wheel lips and stripping wheel faces here and there. Making progress but boy is it slow, one face is almost completely stripped (sooo many layers of paint) and one lip is about halfway sanded since there are many small imperfections I want out, it should be worth it though!
With the car, I got sick and tired of looking at the dull, completely flat paint. I spent a ton of time with a claybar and some nice car wax. The results speak for themselves:
Didn't take a before picture because I forgot again,
In progress:
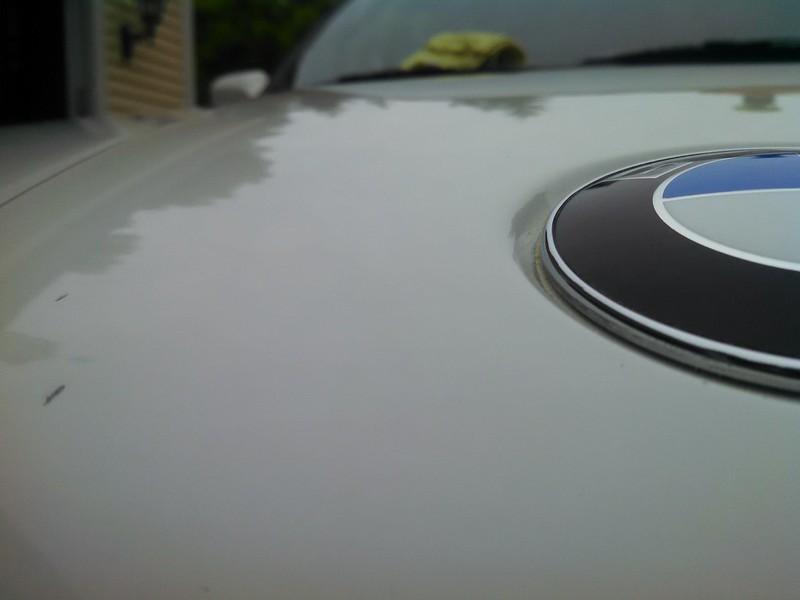
(I rather like this picture)
And the result!
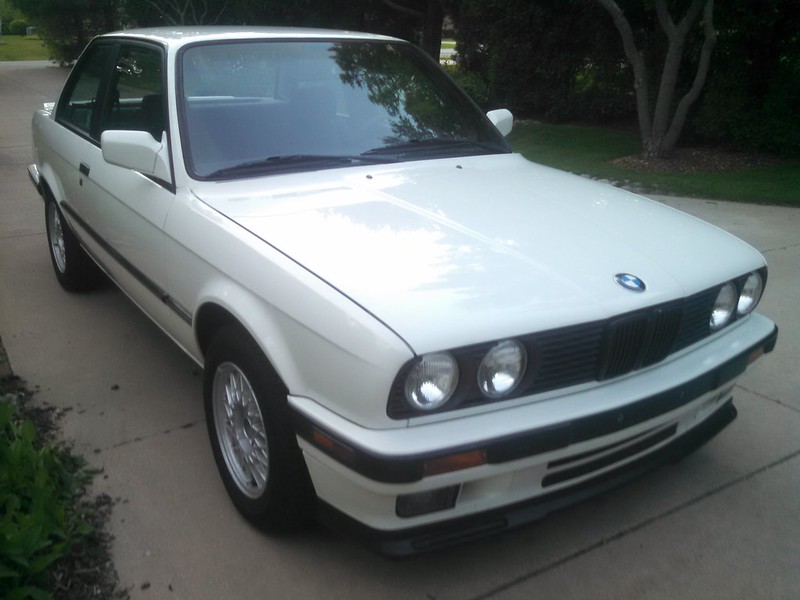
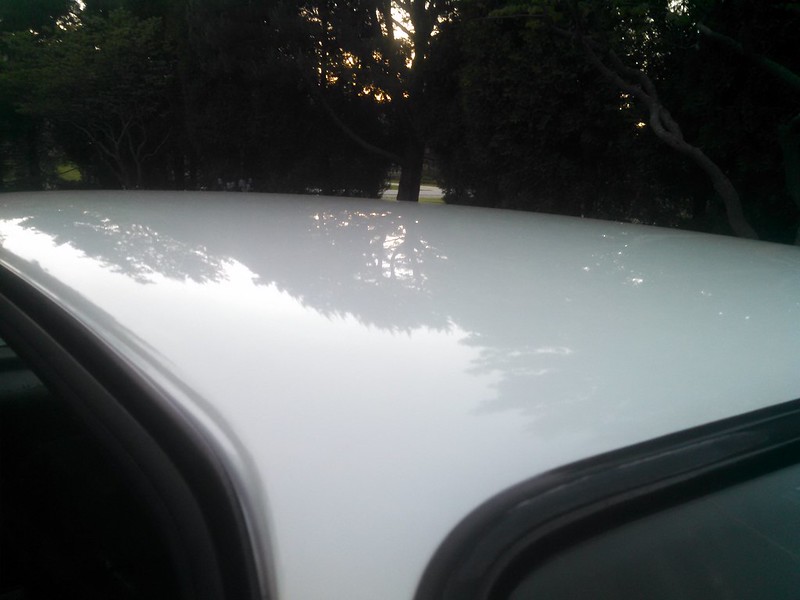
Before I started, the roof didn't even reflect any light, but boy is it a mirror now!
-
Very nice, what clay do you use?
I used the mothers clay bar system, so its a clay bar plus their own spray which seems to work well
-
Updates!
So was going to completely tear into the car and do a ton of work but I got hit with a bunch of bills and haven't been paid by my work in quite a while so that didn't happen. I did, however, start doing some of the smaller things that needed to be done:
Brake fluid was leaking from the grommets between the reservoir and master cylinder. They do not sell the Girling master cylinder grommets anymore (hex shape on top) and list the ATE grommets as the replacement part. I was skeptical as the ATE master cylinder is completely different but they do in fact fit properly on the Girling master cylinder.
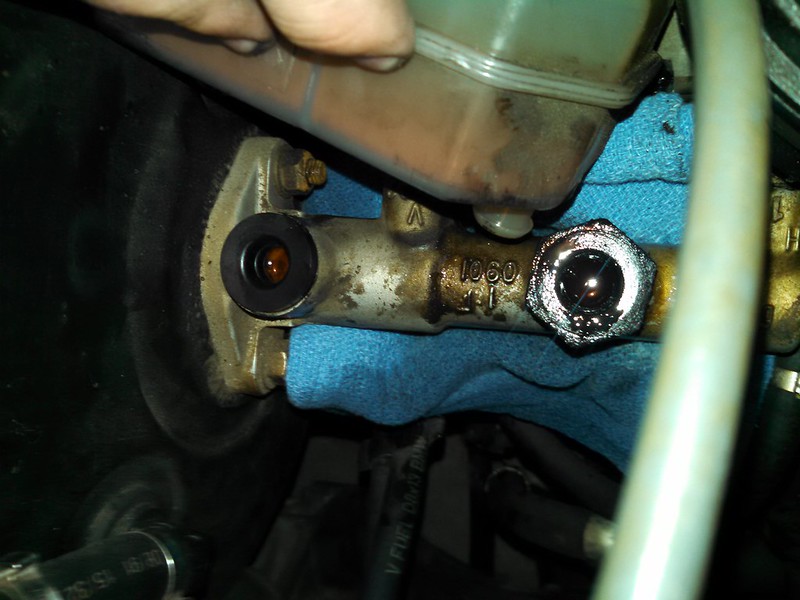
My brakes are total crap so last summer I ordered a set of rotors and pads but never got around to installing them until this morning
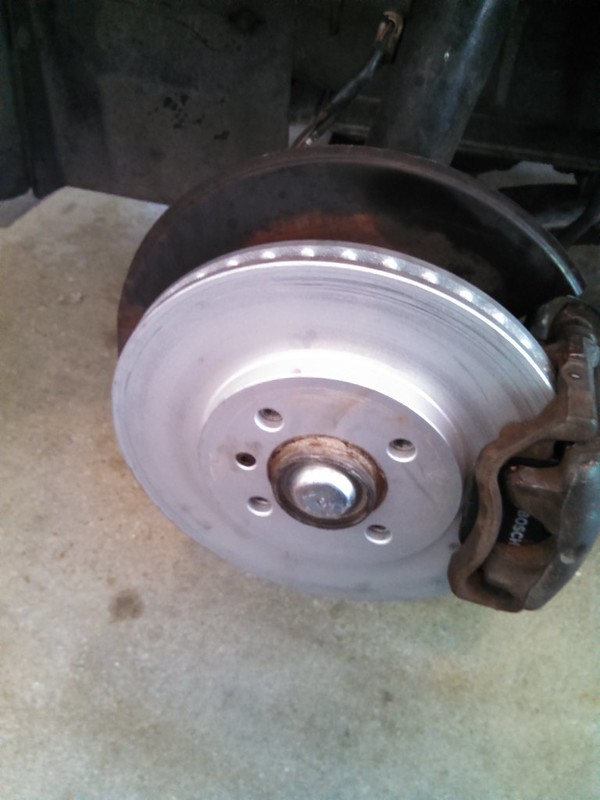
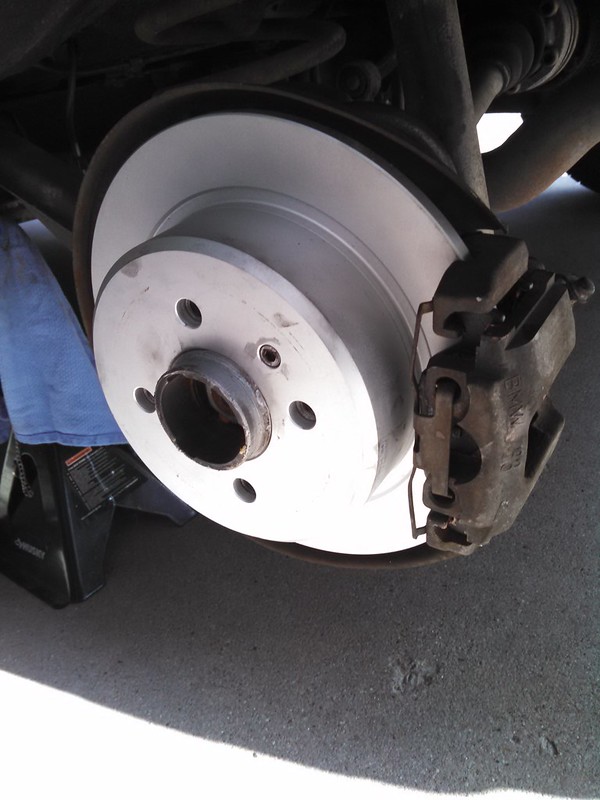
The rotors are blank/coated Balo-Motrex (OE supplier to Audi/VW and much cheaper than brembo's) and I bought OE Bosch pads, I will most likely replace these with a better pad down the road but for my budget they will work perfectly fine. All but one rotor retaining screw came out so I had to drill that one out, I have a replacement on the way. I have a set of braided stainless soft lines waiting to go in, I just need to figure out a good way to do the lines running over the subframe in the rear as I've heard it is a huge pain in the ass.
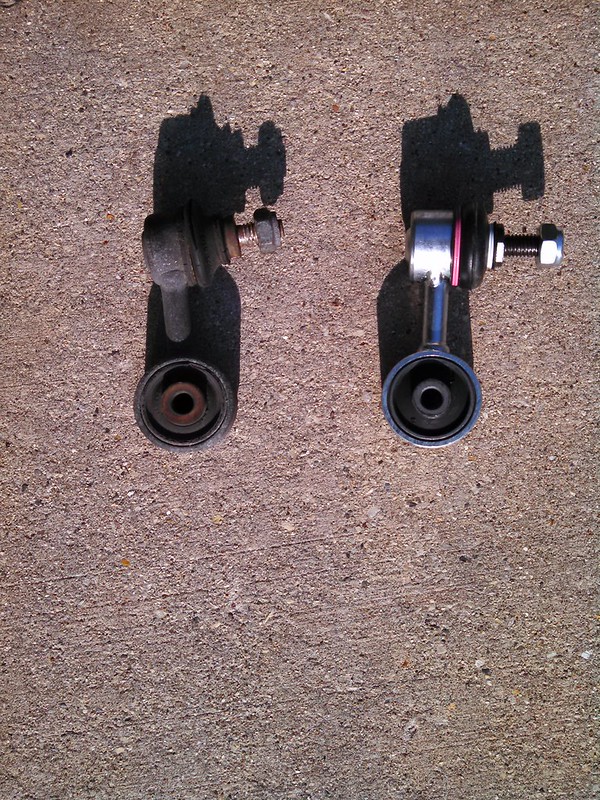
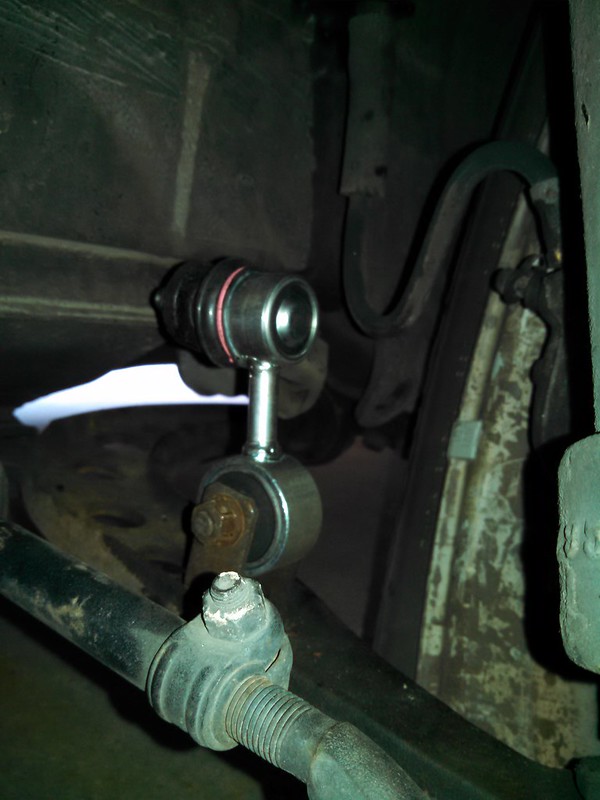
While I had the brakes apart I noticed that my front sway bar drop links were totally junk, the bushings were ripped and the dust boots were all torn up. I happened to have a set I got for my E36 laying around so I threw those in as well
Old vs. New
-
Nice work! The good brakes should improve the driving experience. How did you get the master cylinder bushings installed? I have done it before and it was very difficult so I am wondering if there is a trick to it?
All I did was drain the master cylinder reservoir (a huge pain because there is no good way to do it, I just put a ton of rags underneath and popped it off, brake fluid is water soluble so you can just wash any spills away with water) and then move it to the side so you don't have to disconnect the clutch master feed line. The old ones popped right out and the new ones popped right in, doesn't leak a drop now. Didn't have to bleed anything because I didn't get any air into the master cylinder itself thankfully.
-
Instead of getting my work done I decided to post a little update:
got this from andyhundley a month or two ago!
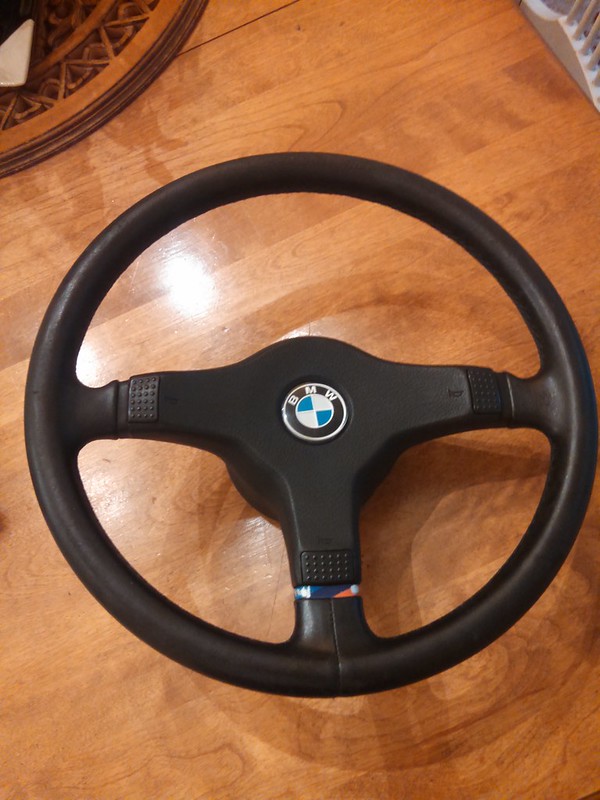
Deep cleaned and conditioned the leather to restore it to its former glory:
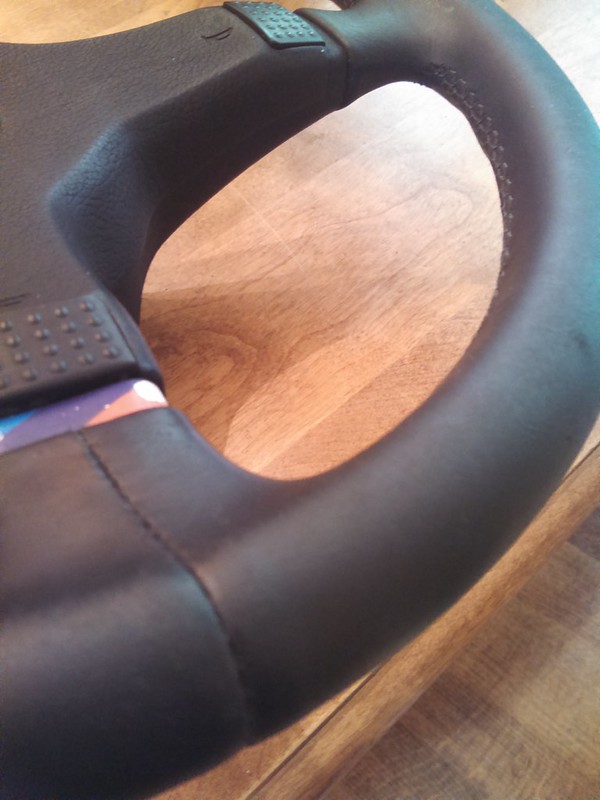
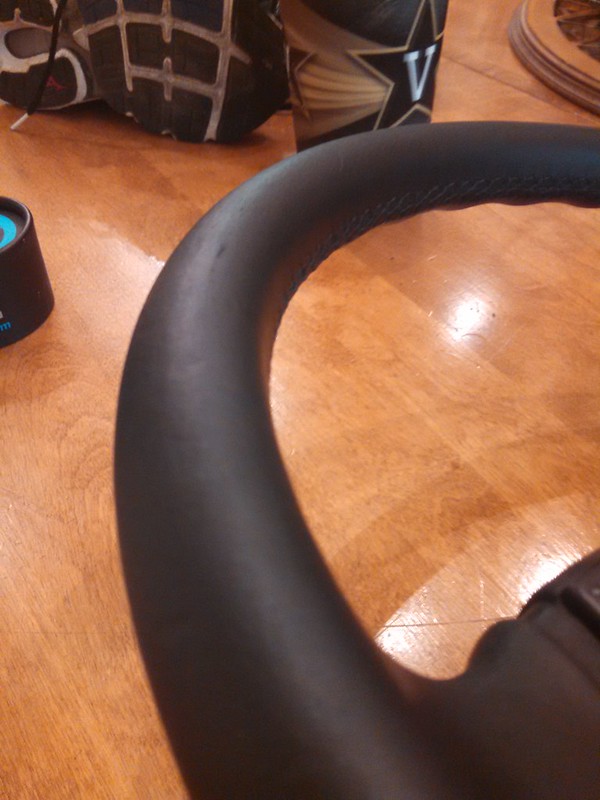
It came out really nicely! Looks almost brand new
Made the necessary spacer by cutting a steel sleeve from the hardware store to the exact same dimensions as the one from the car. Installed it and everything works perfectly, unplugged the SRS module as well so the SRS light is disabled and stays off without the airbag
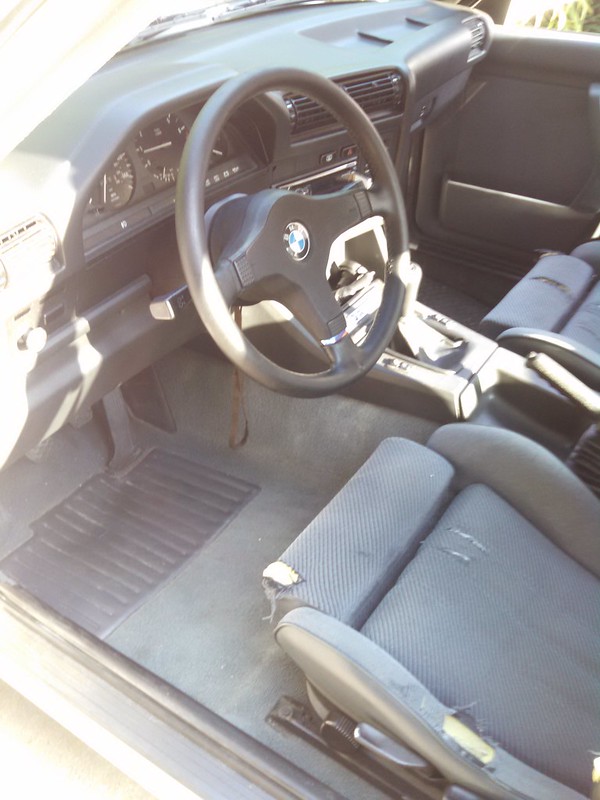
Going to order the colored strip at the bottom at some point too
-
Well I was home about a week ago and I popped the radiator, fortunately I was only backing out of the driveway and the car wasn't even warm yet so no overheating or anything. It is leaking from the middle of the core so I would guess that it was just old and gave out. It is the original radiator so it was really just a ticking time bomb. I will be ordering a new radiator and will be replacing a number of the coolant hoses as well when I return at the end of November
-
Will you be doing all of the hoses? I have a brand new overflow for a 6 cyl, I wonder if you can swap to a 6cyl radiator and expansion tank I am not familiar with the 4cyl though.
Sorry! Totally didn't see this, The 4cyl cars have an integral one with the radiator so I doubt they are interchangeable.
Also, due to UPS's pure genius, the car is stuck for another few weeks. My parts from FCP Euro went from Connecticut to Illinois....to Nevada. Their customer service is top notch though, I emailed them (as I had paid for faster shipping) and I got a refund for the shipping within an hour! I will certainly continue to order from there, they are great
-
So I am home for about a month so I will be tackling a bunch of jobs on the car all at once:
- Replace the radiator, all coolant lines, and the plastic tube down under the intake manifold
- Replace all the vacuum lines while I am in there
- Clean the throttle body, and upper/lower intake manifold
- Clean the ICV
- Rebuild the injectors
- Replace all the rubber fuel line and fuel filter
- Generally clean everything I can reach while it is apart and make everything pretty
- Potentially replace the valve cover gasket (significant oil in two of the plug wells, it has a new valve cover gakset from the PO but it may have been installed incorrectly)
I have been working on it for a few hours over the last few days and here is where the car is at the moment:
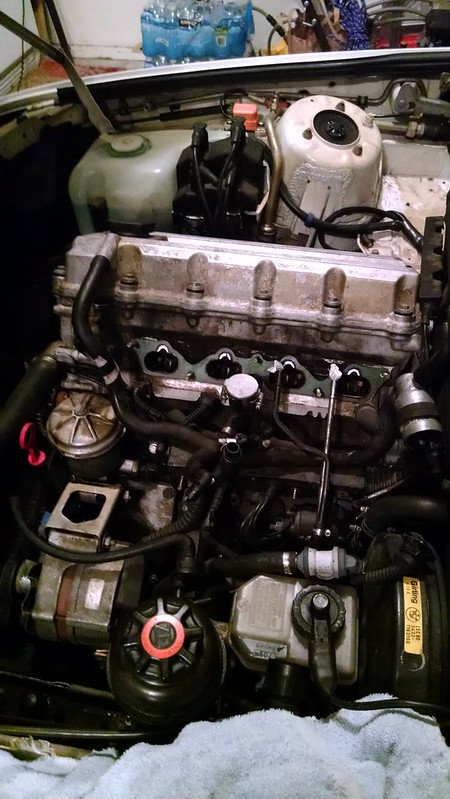
Everything came apart fairly smoothly with the exception of a broken injector tip when I removed the fuel rail, I ordered injector rebuild kits that include the pintle caps so that problem will be taken care of.
Upon removing the lower intake manifold I found some pretty significant deposits on the intake ports in the head:
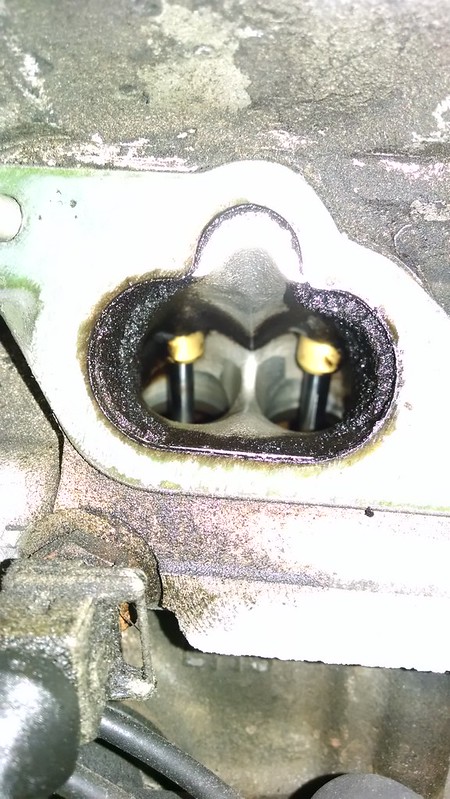
^ This is probably the worst one but they are all fairly messy. I would assume it doesn't affect the car too much but I would like to clean it out. Is there a good way to go about doing this without dumping a bunch of crap down into the valves?
-
^ That's a scary thought about that big of a chunk of plastic falling into the engine haha, fortunately the valves were closed where I broke the cap and I was able to vacuum the pieces out.
As far as the car goes I have made a ton of progress, basically waiting on some parts now (Injector rebuild kits, a few odds and ends for the cooling system)
All rubber fuel lines have been replaced and a new fuel filter is installed. The hose that connects to the feed line above the gas tank was a massive PITA
All the remaining coolant lines, etc. have been removed, old radiator is out and the new one is in with a few of the new hoses installed.
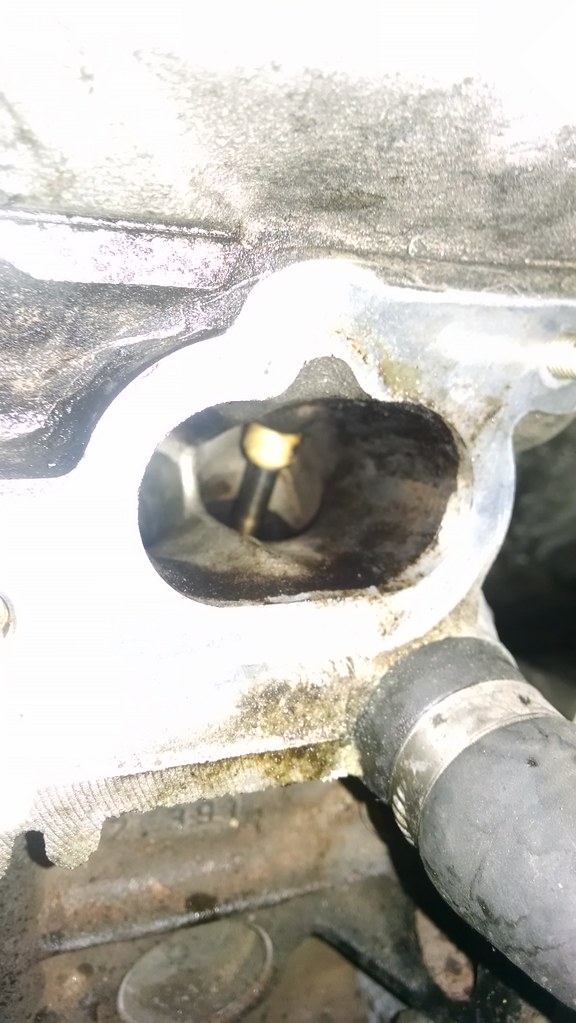
I spent quite a while thinking about how to clean out those intake ports and I ended up making a tool out of some flexible tubing and a shop vac and was able to clean them out quite nicely!
I have decided not to do the "mess under the intake" delete as I do not want to lose the throttle body heater for cold weather. My car also has the secondary thermostat recall and I will be keeping that as I would rather not have the heater core blow up and cook my legs for some clean looking hose routing.
I also notices that two of the spark plug wells are full of oil, I have cleaned them out and I have ordered a valve cover gasket set to fix that as well. The gasket on there was new about four years ago so it was odd to see it leaking



Hello! It looks like you're interested in this conversation, but you don't have an account yet.
Getting fed up of having to scroll through the same posts each visit? When you register for an account, you'll always come back to exactly where you were before, and choose to be notified of new replies (either via email, or push notification). You'll also be able to save bookmarks and upvote posts to show your appreciation to other community members.
With your input, this post could be even better 💗
Register Login