
Alpine e30 progress/build thread
-
Love those wheels on there and I feel your pain about this rain


https://www.instagram.com/_jdesigner_/ http://nevertoolow.tumblr.com/
🥳SOLD BMW E24 633CSI - BMW M30B32 🧪SOLD HCH ES9 - 1.3 LDA
👽BMW E30 325IC - Toyota 1JZ-GTE ⏰ HONDA EF9 CIVIC SI - JDM B18C5
☠️BMW E36 318i - Ford 5.0 FE302 🚴♂️ GT-Labomba - 26x2.75 Freeride
🤹♀️SOLD BMW E36/7 Z3 - BMW M54B25 🧓SOLD BMW E10 2002 - BMW M10M05 -
I've put over 100 miles on the car already, fixed a few little issues here and there and I'm starting to get a list of all the 'refinements' I want to make.
I was having a bit of binding and the occasional creak from the steering so I did some investigating after work today. It turns out the drop hats were rubbing on the inside of the strut towers as the struts rotated with the steering. To remedy this I pulled the struts yet again, changed the top hats out for the standard e30 top mounts to remove 0.5 degrees of camber and swapped the drop hats out for the standard top hats. The drive home was much smoother and the steering feels way better. The half degree of camber didn't make too much of a difference as far as wheel fitment, but the front is sitting a bit higher now.
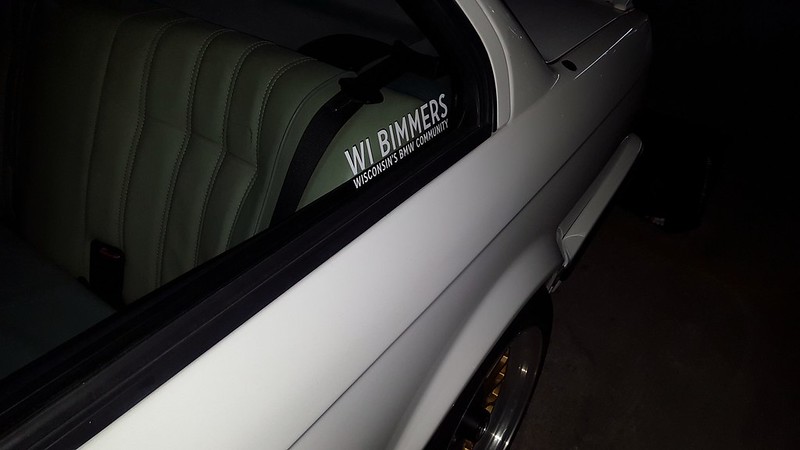
Also slapped this bad boy on the driver's side quarter window:
-
154k: Changed the oil with Mobil1 15w50 over the long weekend. The m42 has the easiest drain plug ever, forgot how quick the changes are!
The rear tires have been rubbing on the un-rolled portion of the quarter panel lips and chewing up the sidewalls of the tires. Finally got around to rolling them today after work
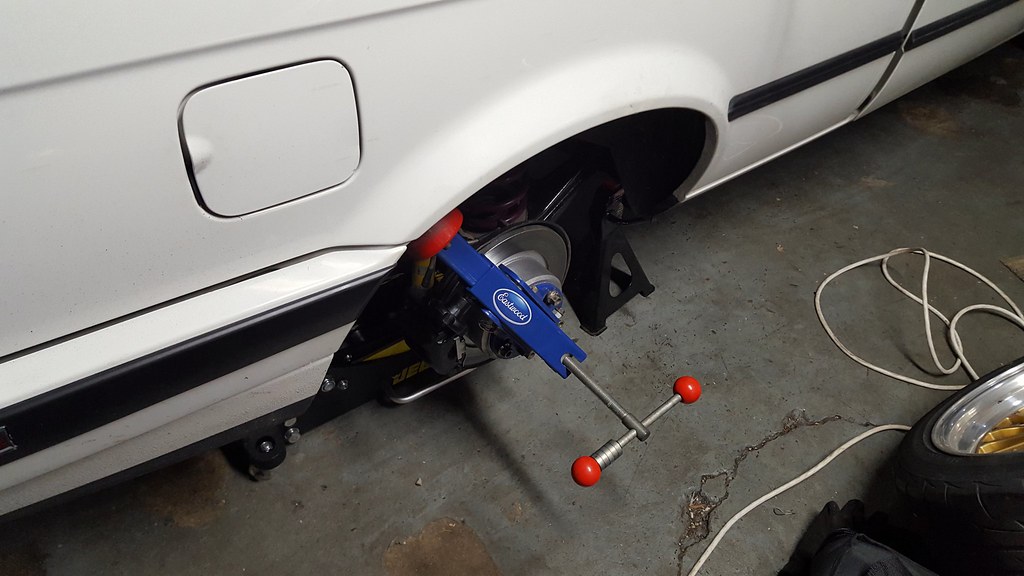
I pretty much worked the front half of the lip to match the rear half of the quarter panel, went slow and used a heat gun and only got one very small crack in the paint on one side, but it is way underneath the lip so it's no big deal. Loads more clearance and no more rubbing on the drive home!
Thanks for lending me the roller TJ!
-
I have started leaking oil pretty badly so I parked the car back in the garage after the Brew City Cruise Night last night. I am fairly certain the leak is coming from where the front and rear halves of the profile gasket meet on the passenger side, it looks like they have either worked a gap between themselves or were never properly sealed in the first place. I really don't want to pull apart the entire engine to repair this as the PO had a headgasket and timing components done (includes the profile gasket...) about 5 years ago at EAH. My hope is that I can clean the whole area really well and then put some RTV in the gap to seal it up, we'll see how that goes.
-
What oil were you running before the recent Mobil 1 change? New synth cleaning out old (Dino) sludge in the seals?
Profile gasket leak where the timing cases meet is a possibility. Mine weeps a bit here. Oil filter housing leaks can also throw oil all over the place.
-
What oil were you running before the recent Mobil 1 change? New synth cleaning out old (Dino) sludge in the seals?
Profile gasket leak where the timing cases meet is a possibility. Mine weeps a bit here. Oil filter housing leaks can also throw oil all over the place.
Its been a while since I changed the oil last so it's hard to remember exactly. For the first few years I had the car I used Castrol dino oil, but I recall switching to synthetic a change or two before hitting the deer. It's definitely possible that the switch started cleaning things inside and made the leak a lot worse...
-
Ive had that happen in the past switching to syth.. When you say profile gasket, is that oil pan, valve cover, or something else? I've never had a M42.
https://www.instagram.com/_jdesigner_/ http://nevertoolow.tumblr.com/
🥳SOLD BMW E24 633CSI - BMW M30B32 🧪SOLD HCH ES9 - 1.3 LDA
👽BMW E30 325IC - Toyota 1JZ-GTE ⏰ HONDA EF9 CIVIC SI - JDM B18C5
☠️BMW E36 318i - Ford 5.0 FE302 🚴♂️ GT-Labomba - 26x2.75 Freeride
🤹♀️SOLD BMW E36/7 Z3 - BMW M54B25 🧓SOLD BMW E10 2002 - BMW M10M05 -
Accomplished a bunch of odds and ends over the last week.
- I'm 99% sure my oil leak is coming from the passenger side gap between the halves of the profile gasket. I cleaned the area really well and applied some RTV over the gap. Hopefully this stops, or at least slows the leak.
- I also went through and replaced the bulbs in the marker lights, turn signals, and fogs. The driver's side running light still doesn't work with a new bulb, so I'm going to have to go through the wiring behind the bumper and find the problem.
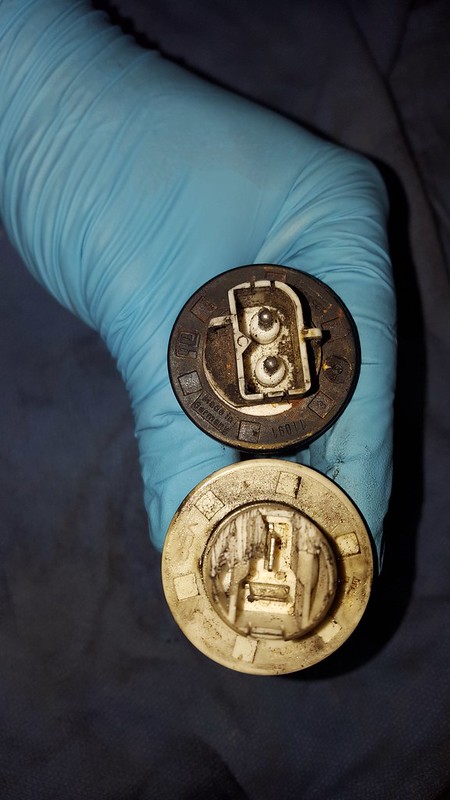
- Replaced the cam position sensor o-ring as it was weeping quite a bit from there. Turns out the threads in the timing cover where the sensor is secured were stripped at some point in the past. Used a helicoil and it's back in business, hopefully no more leaking from there.
- Swapped the speed sensor from the old small-case diff into the new one as the plugs were different. Should have a working speedo now
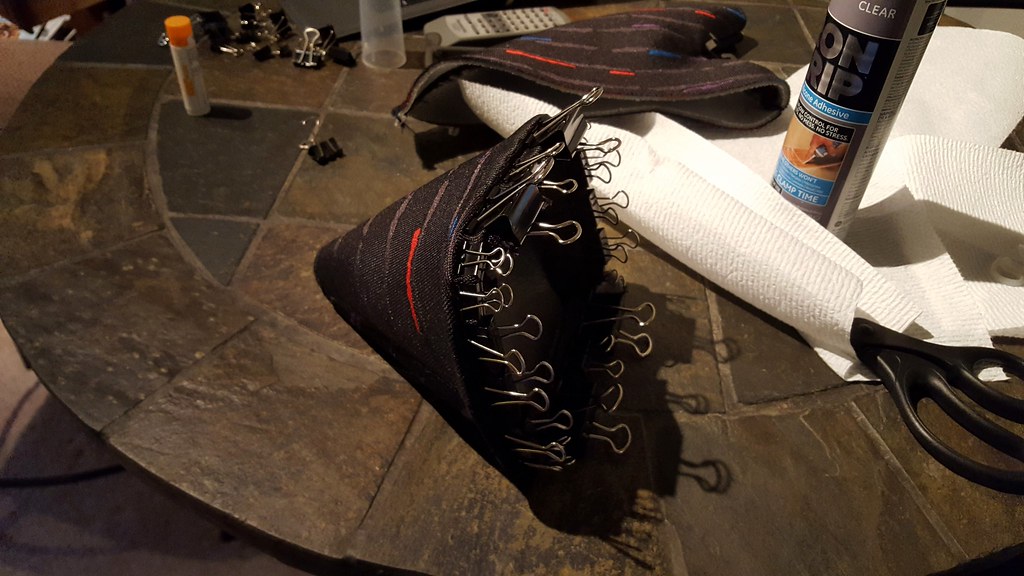
- Re-upholstered my shift boot and e-brake boot with an M-rain boot set from 2M/Matt-B on r3vlimited. Install was pretty easy and I'm really happy with the results. I had him sew a shift boot with a smaller hole for my shifter, it's still a little big so I'm going to pull it off and tighten it up a little eventually, but for now it's good.
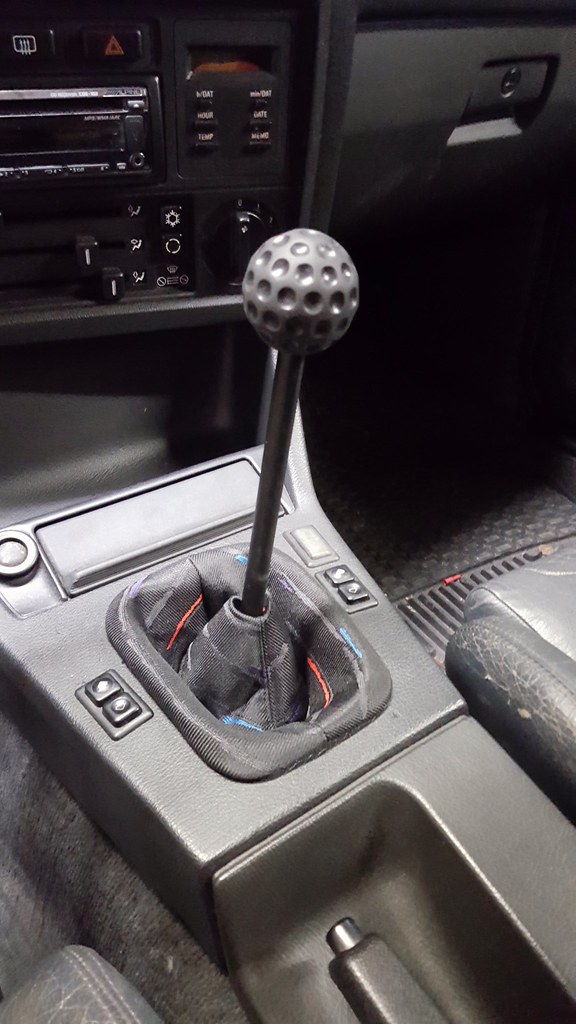
Biggest change in the works:
I'm switching wheels... The Weds just don't fit right on the front of the car, they poke too far due to the spacer needed to clear the brakes...the wheel specs essentially became 16x7 et3. I looked into every method I could think of to get them to fit properly, but re-barreling is super expensive and I didn't want to convert to coilovers and run a ton of front camber.
It took a bit of time to find something that would be an acceptable replacement and also fit appropriately. I ended up coming across these:
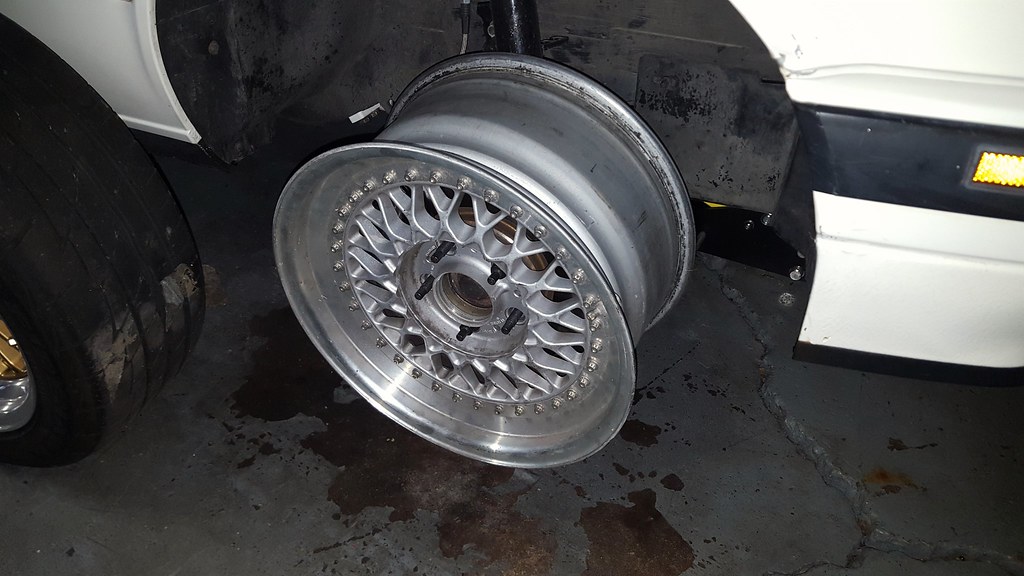
They are a square set of BBS RS061. These are 16x8 et20 (5x120 bolt pattern) and were specifically intended to be run on the E30 M3 so they clear the brakes perfectly without spacers. They are pretty dirty but they should clean up really well. As far as I can tell they have never been split and are in original condition, they aren't perfect but will be good enough for now.
Minor annoyance, the center caps don't clear the 75mm bullet nose studs I currently have installed...
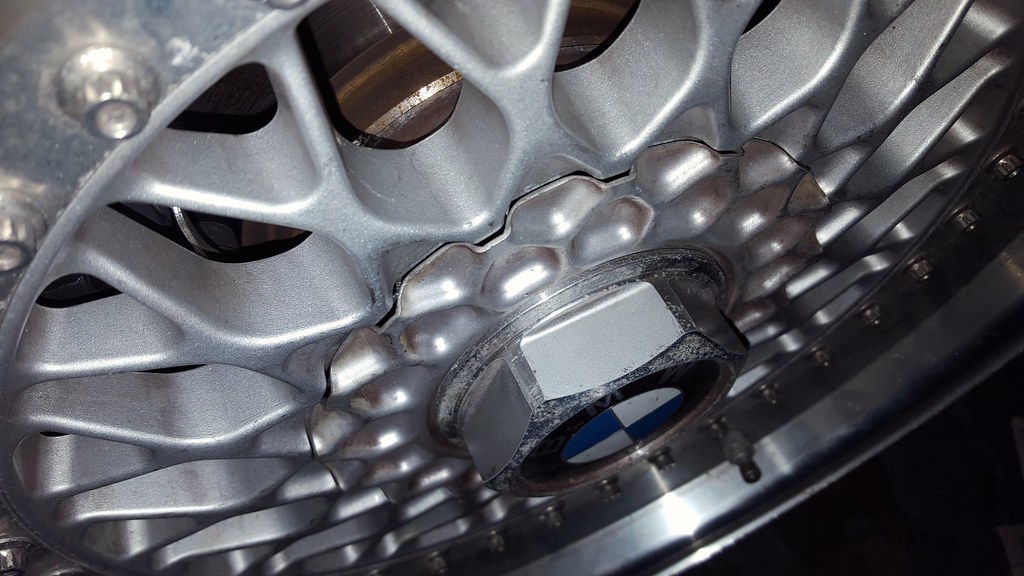
I'm going to swap these studs with the set I have on the e36 and I should be good to go. I'm a little sad to not be running the Weds (for now at least), but I have always wanted a set of RS's so it's not a bad trade off haha
-
Nice scoop on the wheels. whats your plans on refinishing? OEM silver and a polished lip?
https://www.instagram.com/_jdesigner_/ http://nevertoolow.tumblr.com/
🥳SOLD BMW E24 633CSI - BMW M30B32 🧪SOLD HCH ES9 - 1.3 LDA
👽BMW E30 325IC - Toyota 1JZ-GTE ⏰ HONDA EF9 CIVIC SI - JDM B18C5
☠️BMW E36 318i - Ford 5.0 FE302 🚴♂️ GT-Labomba - 26x2.75 Freeride
🤹♀️SOLD BMW E36/7 Z3 - BMW M54B25 🧓SOLD BMW E10 2002 - BMW M10M05 -
Nice scoop on the wheels. whats your plans on refinishing? OEM silver and a polished lip?
Thanks! For now I'm going to run them as is, but whenever I do re-do them I'll be going with either gold or silver centers and polished lips/bolts.
-
I just looked it up, they are "FTE" brand bleeder screws that I bought from AutohausAZ. I'll have to get the length measurements next time I am at my garage, but I replaced them with the original bleeders from my e30's old calipers as the threads were about 1/4" longer,
Dredging this back up re bleeder screws. Turns out that bleeder screws differ for ATE and Girling calipers, taper seals/seats in the calipers are supposedly different? Maybe that explains the thread length difference
Girling fronts: #34111121206 (FTE R0086)
ATE Rears/Fronts: 34111153197 (FTE)
That said most vendors don't make any distinction (and many don't carry the Girling bleed screw), through the difference does show up on Real OEM. I replaced the bleeders on my Girling fronts with the ATE bleeders which have been fine. Maybe the Girling bleeders don't seat well on the ATE front calipers?
Another BMW mystery...
-
Dredging this back up re bleeder screws. Turns out that bleeder screws differ for ATE and Girling calipers, taper seals/seats in the calipers are supposedly different? Maybe that explains the thread length difference
Girling fronts: #34111121206 (FTE R0086)
ATE Rears/Fronts: 34111153197 (FTE)
That said most vendors don't make any distinction (and many don't carry the Girling bleed screw), through the difference does show up on Real OEM. I replaced the bleeders on my Girling fronts with the ATE bleeders which have been fine. Maybe the Girling bleeders don't seat well on the ATE front calipers?
Another BMW mystery...
Thanks for the info! Definitely good to know because I want to put new ones in that actually work. Right now I have the bleeders from the old girling calipers in the M3 ATE calipers, they seem to have stopped leaking after swapping those in but who knows...
-
Still having oil leaks at the profile gasket and the only way to fix them at this point is to pull the head, so I did the only logical thing I could think of and sold the LSD...
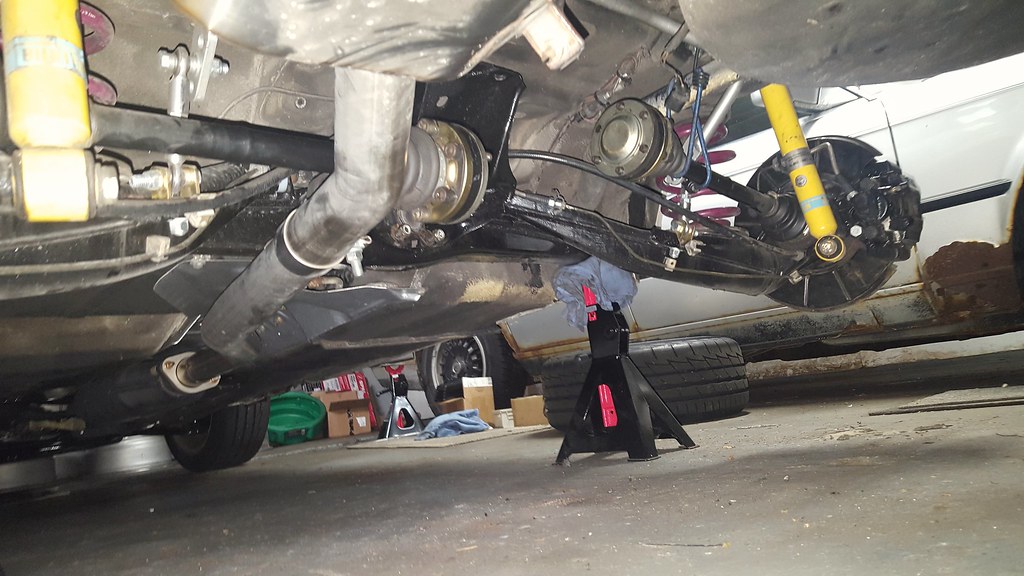
(Thanks again Andy) So back into immobile mode until I put the original open diff back in, probably next week, so I can finish out the summer. The real reason, in case you hadn't seen my parts wanted post: I'm going to swap in an M54B30 over the winter.
Link to parts wanted ad because I still need stuff:
My ultimate goal is the same as it was when I was planning to turbo the m42: maintain the 318 balance while making n/a s52 power. And based on some simple googling, it looks like the m54 can deliver this with more reliability than a boosted m42:
M42 with g240 trans (source, vorshlag): 427lbs. Add in 25ish(?) for turbo stuff and you're at 453lbs.
M54, per BMW's official weight: 375lbs. Add in 77 for the zf 5-speed and you're at 452lbs.
Obviously this doesn't take into account a bunch of things that could be missing from the weights like a flywheel on the m54, and the CG of the two (m54 is longer and will be farther forward), but for the most part it looks like the best option for my goals with a reasonably well documented swap process and support. Should be a fun winter project!
-
The cost of an S52 swap is high enough that you may as well pay a little more and do an S54 swap and an S54 swap costs so much that you may as well pay a little less and do an LS swap [emoji14]
The M54 is going to be great! I really wish thats what I was swapping into my car but I have a good thing going (i hope)
-
Did some more things on the car on Friday:
Installed a super beefy Mason Engineering strut brace I got from r3vlimited. Since I have new engine mounts and spaced the engine upwards with the reinforcement plates it didn't clear the intake so I had to space it upwards about 1/8" to clear, thankfully my camber plates have really long studs so I still have full thread engagement on everything. I can get a piece of paper in between the two but not a credit card, so hopefully the mounts are stiff enough to prevent it from whacking the intake. It also interferes with the wiring cover but since I'd rather have the performance improvement and this car doesn't really see rain it should be fine for now. Once the new engine is in I can take out the spacers and modify the harness cover to fit.

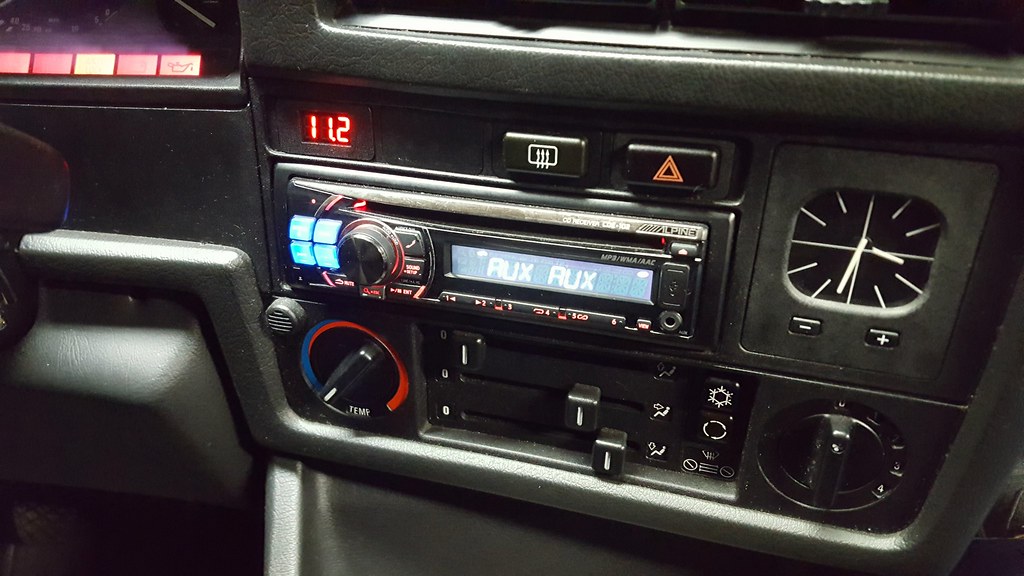
Installed the euro clock I've had sitting around forever. It was simple as my car came with a 6-button OBC so I didn't need to change the mounting bracket and whipped up a simple adapter harness made from a power mirror plug to avoid cutting wires so it will be easily reversible. I also installed a voltmeter screen that I got from a seller on R3vlimited. It replaces a switch blank and looks pretty nice in there. I have it piggy backing off the switched 12v line of rear defrost switch and measuring the voltage at that point, which should directly reflect the battery voltage. (car is off in this pic, hadn't been run in two weeks so the battery is a little low). My only complaint is that the bezel material is a little thicker than the switch blank and causes it to sit proud of the surrounding surface, so I'll have to pull it back out and shave it down at some point.
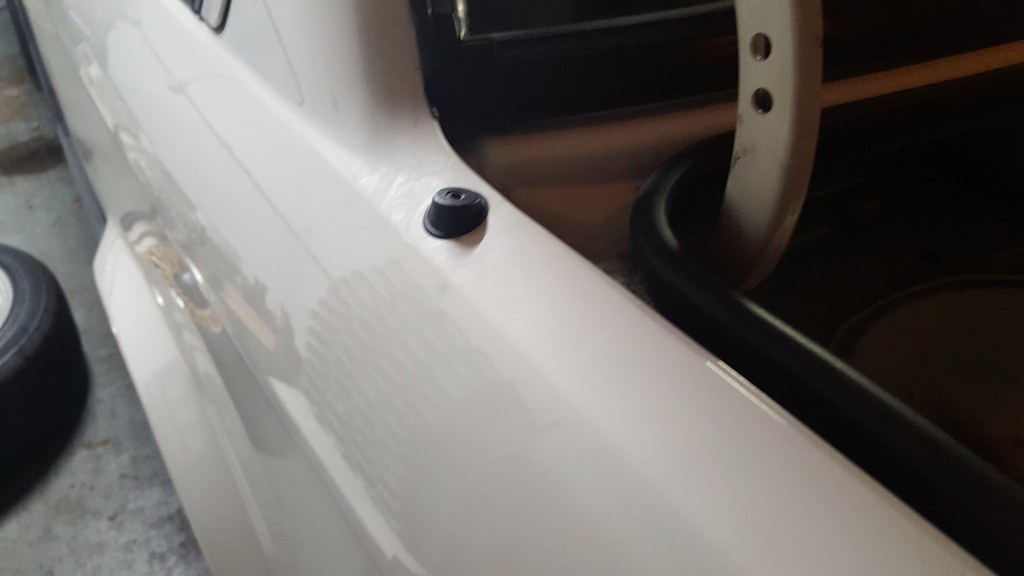
I also swapped in a Z3 antenna base to replace the antenna delete plug I had in there as I wanted my radio back. Install was simple and I made a harness adapter that attaches the power wire to the switched power lead so it wouldn't drain the battery and keeps things reversible. Haven't gotten a stubby antenna yet so its just sitting like this for the time being. With the antenna swapped in I installed all the trunk liner stuff from the parts car to have a complete trunk again.
Hoping to get the old diff back in this afternoon so I can take this to BMW/MINI night at Brew City Cruise Night on Tuesday this week.
-
Mason Engineering is good stuff! I have one of their rear braces. My front brace was mighty close to the M20 manifold but the engine didnt rock much at all with the mounts I had. Which member did you get a voltmeter from? I was thinking of adding one
Here is the thread I got it from: http://www.r3vlimited.com/board/showthread.php?t=281134&highlight=voltmeter
So far I'm happy with it. Its brighter than the rest of the dash at night but its not blinding, I'd say its on the same level as the headunit. It did take a really long time to ship (about a month) with no word from the seller, I actually opened a paypal dispute because I thought he disappeared but that got his attention and it was sent out within two days.
Side note: the old diff is back in the car as of tonight and its back on the road!
-
Here is the thread I got it from: http://www.r3vlimited.com/board/showthread.php?t=281134&highlight=voltmeter
So far I'm happy with it. Its brighter than the rest of the dash at night but its not blinding, I'd say its on the same level as the headunit. It did take a really long time to ship (about a month) with no word from the seller, I actually opened a paypal dispute because I thought he disappeared but that got his attention and it was sent out within two days.
Side note: the old diff is back in the car as of tonight and its back on the road!
Really dig that voltmeter, sucks it took so long to get.
https://www.instagram.com/_jdesigner_/ http://nevertoolow.tumblr.com/
🥳SOLD BMW E24 633CSI - BMW M30B32 🧪SOLD HCH ES9 - 1.3 LDA
👽BMW E30 325IC - Toyota 1JZ-GTE ⏰ HONDA EF9 CIVIC SI - JDM B18C5
☠️BMW E36 318i - Ford 5.0 FE302 🚴♂️ GT-Labomba - 26x2.75 Freeride
🤹♀️SOLD BMW E36/7 Z3 - BMW M54B25 🧓SOLD BMW E10 2002 - BMW M10M05 -
Really dig that voltmeter, sucks it took so long to get.
Yeah its a nice place to put one, that way you don't need to waste a spot for a proper gauge. It sounded like the seller had something come up and got behind, seems like he is back on track now so it wouldn't stop me from ordering again.
-
RS's are now mounted (Thanks Andy/Kummrow!) and the width and offset are spot on. I can't run the center caps because the studs I currently have are too long, but for now I don't mind the look. I'm going to clean it up today after work and will get some pictures up soon! I like the Weds better but the offset in the front was going to trash my fenders if I went any lower/cornered hard enough...
Speaking of cornering, I registered for my first first autocross (WAI event #4 at Miller Park) on Sunday!


Hello! It looks like you're interested in this conversation, but you don't have an account yet.
Getting fed up of having to scroll through the same posts each visit? When you register for an account, you'll always come back to exactly where you were before, and choose to be notified of new replies (either via email, or push notification). You'll also be able to save bookmarks and upvote posts to show your appreciation to other community members.
With your input, this post could be even better 💗
Register Login