Skip to content
  • Categories
  • Recent
  • Tags
  • Popular
  • Users
  • Groups
Skins
  • Light
  • Brite
  • Cerulean
  • Cosmo
  • Flatly
  • Journal
  • Litera
  • Lumen
  • Lux
  • Materia
  • Minty
  • Morph
  • Pulse
  • Sandstone
  • Simplex
  • Sketchy
  • Spacelab
  • United
  • Yeti
  • Zephyr
  • Dark
  • Cyborg
  • Darkly
  • Quartz
  • Slate
  • Solar
  • Superhero
  • Vapor

  • Default (No Skin)
  • No Skin
Collapse
WIBIMMERS logo

WIBIMMERS

  1. Home
  2. General Discussion
  3. Members BMWs
  4. E21 project thread

E21 project thread

Scheduled Pinned Locked Moved Members BMWs
233 Posts 19 Posters 0 Views 1 Watching
  • Oldest to Newest
  • Newest to Oldest
  • Most Votes
Reply
  • Reply as topic
Log in to reply
This topic has been deleted. Only users with topic management privileges can see it.
  • Bassboy3313B
    Bassboy3313B
    Bassboy3313
    wrote on last edited by
    #48

    You got it Earl! The material is thicker in the area that is normally drilled and tapped for the oil feed line for the turbo. The standard m10 is prone to breaking when trying to drill it for the fitting.

    CHECK OUT >>> RAGE DRIFT DESIGNS <<< FOR DECALS AND MORE!

    1 Reply Last reply
    0
    • Bassboy3313B
      Bassboy3313B
      Bassboy3313
      wrote on last edited by
      #49

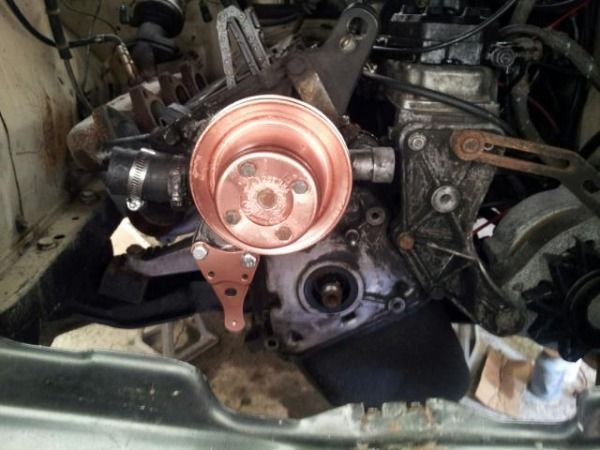
      It has definitely been busy as hell at work and my weekends have been preoccupied with others things, but I can finally post an update. To answer 02intherockies questions, the rear brake hose issue was solved by using e30 rear brake hoses screwed directly into the caliper. It’s a tiny bit of a stretch, but it works. I finally got the crank pulley to come off thanks to the help of a gigantic gear puller from Advance Auto. The smaller one I got from O'reilly just didn’t cut it apparently. I am in the process of replacing the seal in the timing cover right now. Once that is done, I will mount the new machined down crank pulley and mock up how to trigger wheel will sit in relation to the vr sensor. Going along with my copper rear end, I said screw it and used up some more paint on the pulleys. Most of you probably won’t agree, but to each their own, right?

      Water pump pulley and vr sensor mount
      pulleyampmountzps0b9fc5e1.jpg

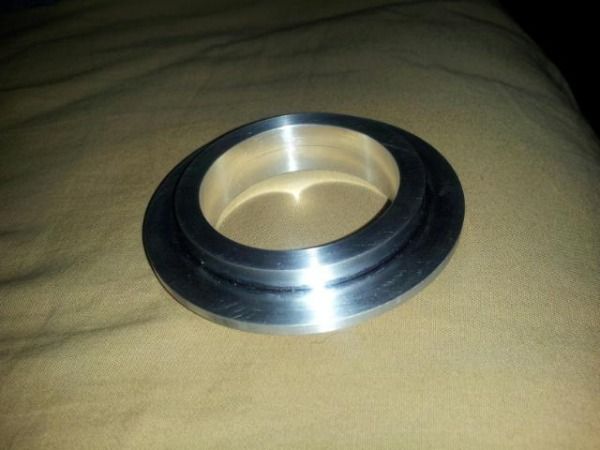
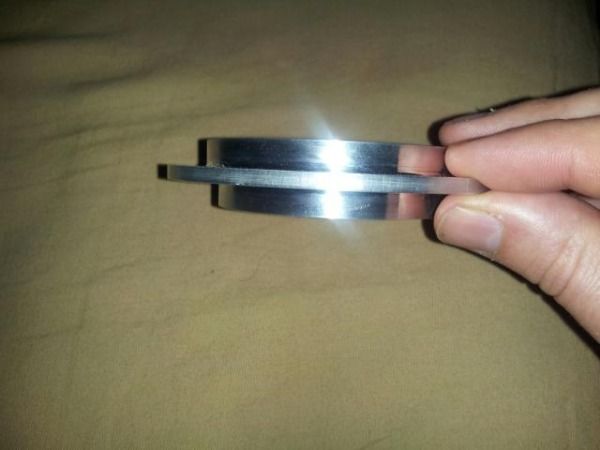
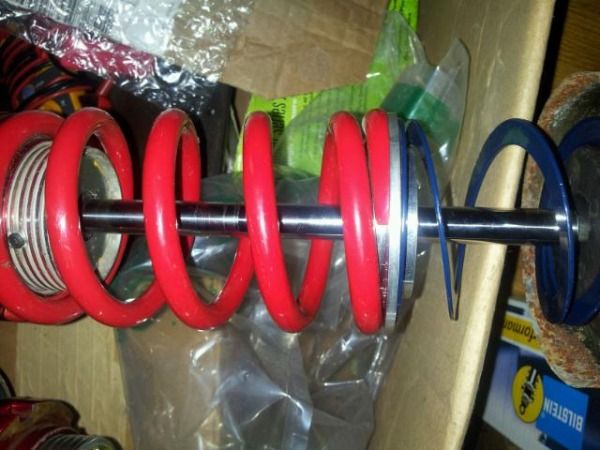
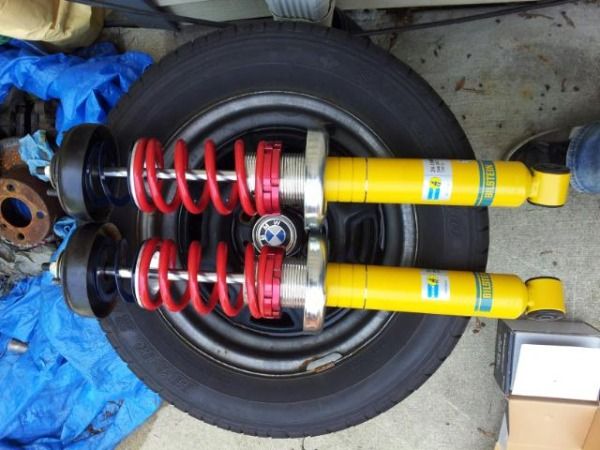
      My brother and my dad both work at a machining/metal spinning company, so I utilized their expertise and machines at their work. I picked up a big chunk of solid aluminum 3-1/4” rod from Speedy Metals for $20 and had my brother throw it on the lathe to make some spring dividers. I just drew it up in CAD and away it went. As you know, when using helper springs you need a divider between it and the main spring. A couple days later and we had this.

      Sspringdivider1zps957849c0.jpg

      Sspringdivider2zpsb3b53602.jpg

      Which gets installed like this.

      Sspringdivider3zps3d6bb9b1.jpg

      From that point, the rear coilover setup was complete to the point of install. I will have to wait and see the ride height once I can put the car on the ground, so tweaking most likely will be needed.
      coiloversdonezpsbaf00fdc.jpg

      CrearCOinstalledzps60a773c9.jpg

      Cwheelmounteddroopzpsa649f1af.jpg

      Along with that stuff I mocked up the front euro bumper using bmacs adapters that I powdercoated earlier in the build. My front valance is dented in from someone backing into the car, so that made it a big rough to mount it. All-in-all I think it looks better than what I had.

      Ffronteuroinstalledzps5dc782f1.jpg

      That is all for now. Stay tuned!

      CHECK OUT >>> RAGE DRIFT DESIGNS <<< FOR DECALS AND MORE!

      1 Reply Last reply
      1
      • B
        B
        B C
        wrote on last edited by
        #50

        I smell some updates a-brewin'

        1 Reply Last reply
        0
        • Brian.B
          Brian.B
          Brian.
          wrote on last edited by
          #51

          Coming along nicely! Keep it up!

          instagram @howdoyoudrivethat

          1 Reply Last reply
          0
          • need4speed1299N
            need4speed1299N
            need4speed1299
            wrote on last edited by
            #52

            Bump. ;)

            sig3zps7bd08024.png

            1 Reply Last reply
            0
            • B
              B
              B C
              wrote on last edited by
              #53

              yeah no kidding bassman, we need updates. I stay up late at night hitting F5 on this thread hoping to see an update,

              1 Reply Last reply
              1
              • Bassboy3313B
                Bassboy3313B
                Bassboy3313
                wrote on last edited by
                #54

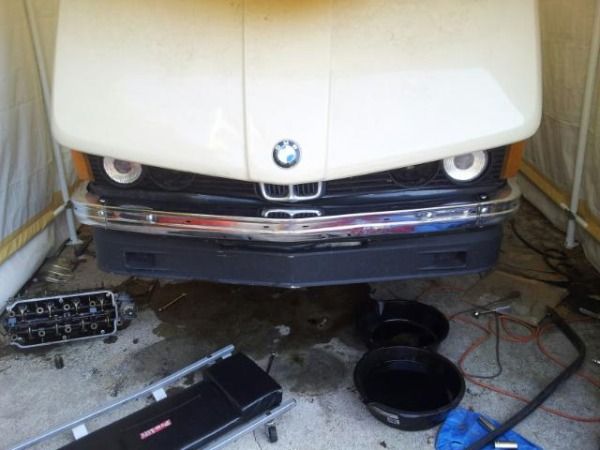
                Havent updated this in a loooooong time! Hopefully I remember everything. This time I will let the pictures do most of the talking. Firstly tho, the rebuilt head, intake mani and exhaust mani/turbo were reinstalled into the block. Timing covers were cleaned and painted with a new crank seal installed into lower cover.

                Pulleys/trigger wheel painted and installed.
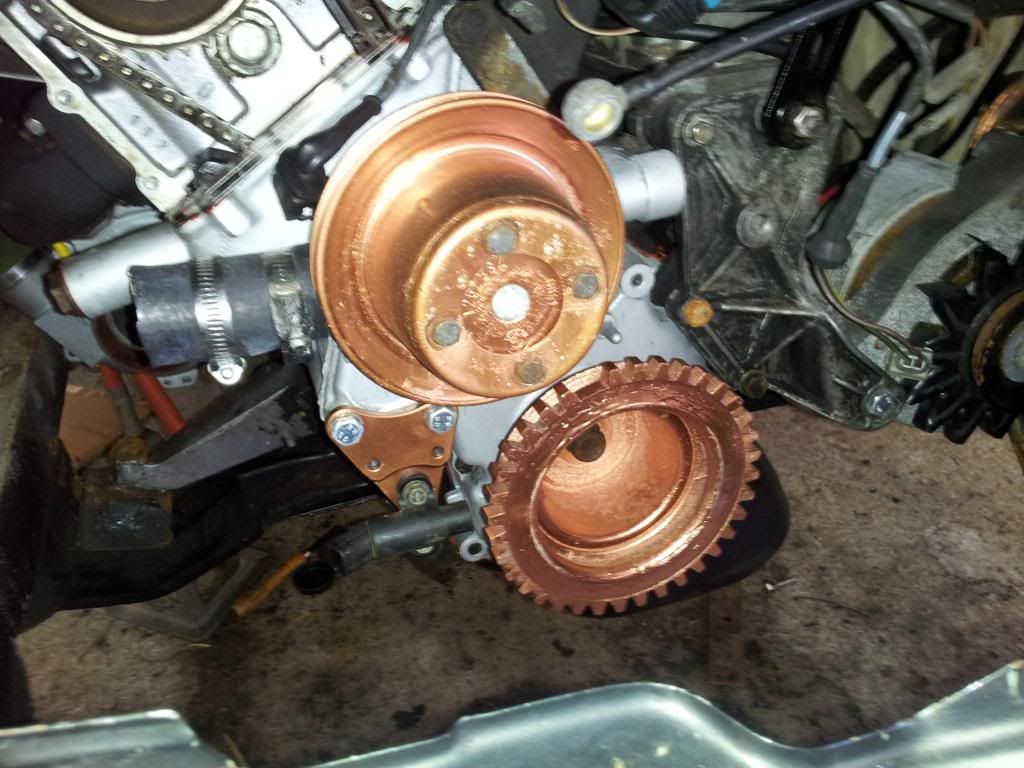
                2013-07-29175353zps373b8013.jpg

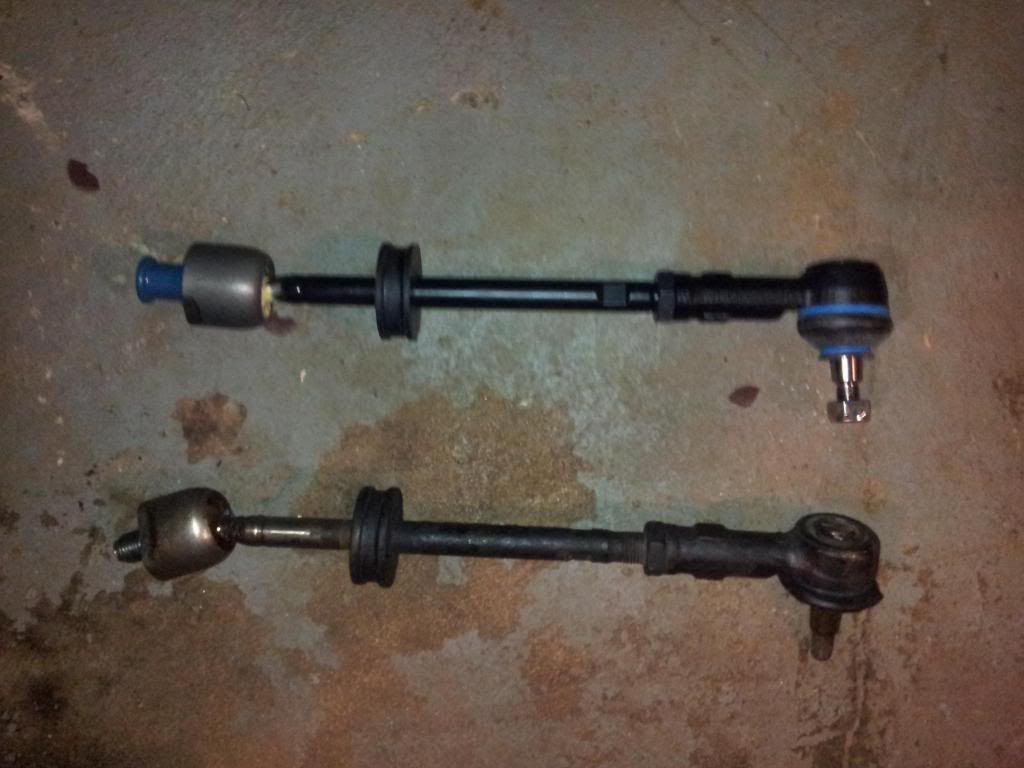
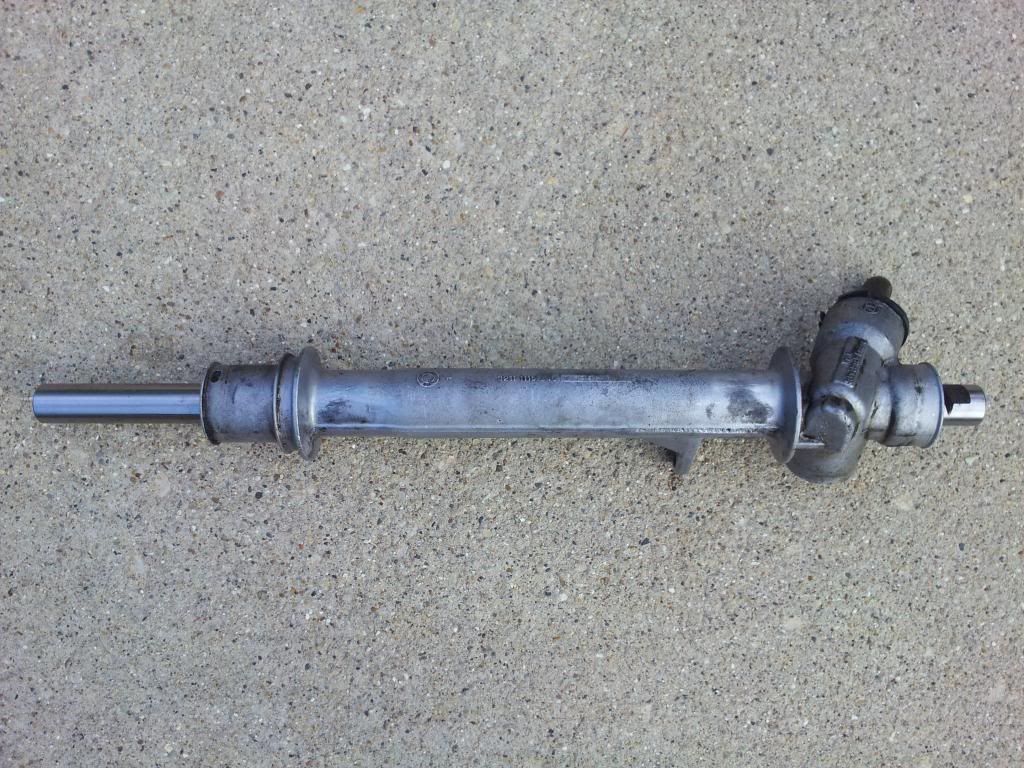
                Steering rack rebuilt with new poly bushings and tie rod assemblies.
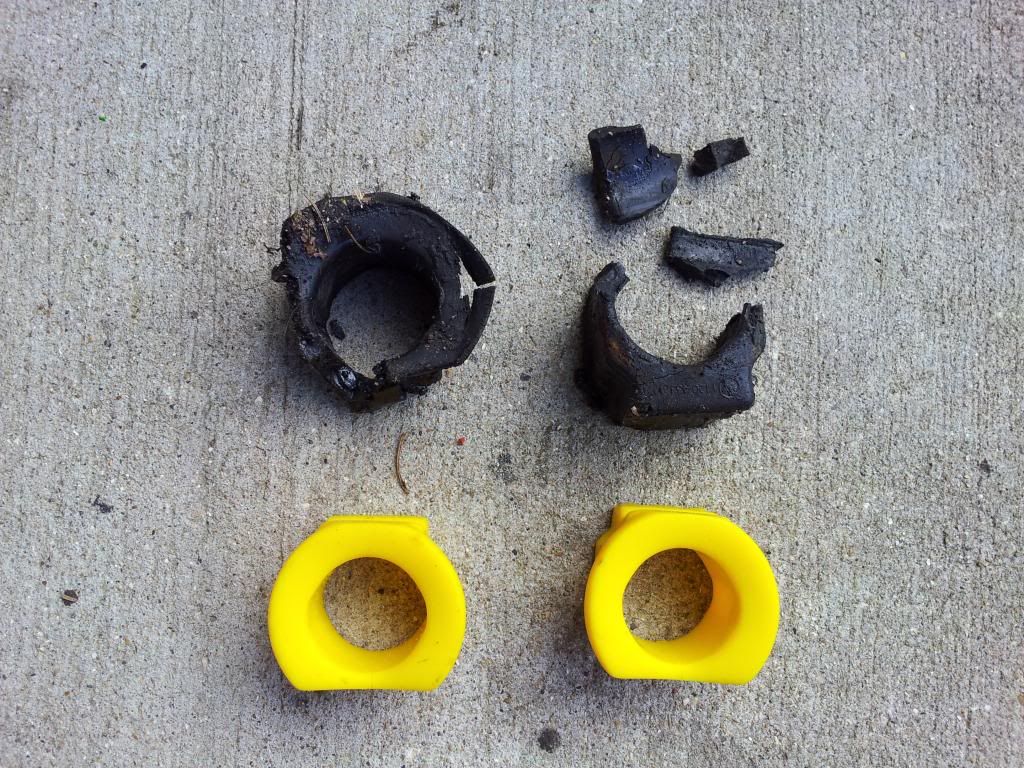
                2013-06-29175141zpsc52b3cf1.jpg

                2013-07-10172357zps3c91932f.jpg

                2013-07-10181233zps15c85322.jpg

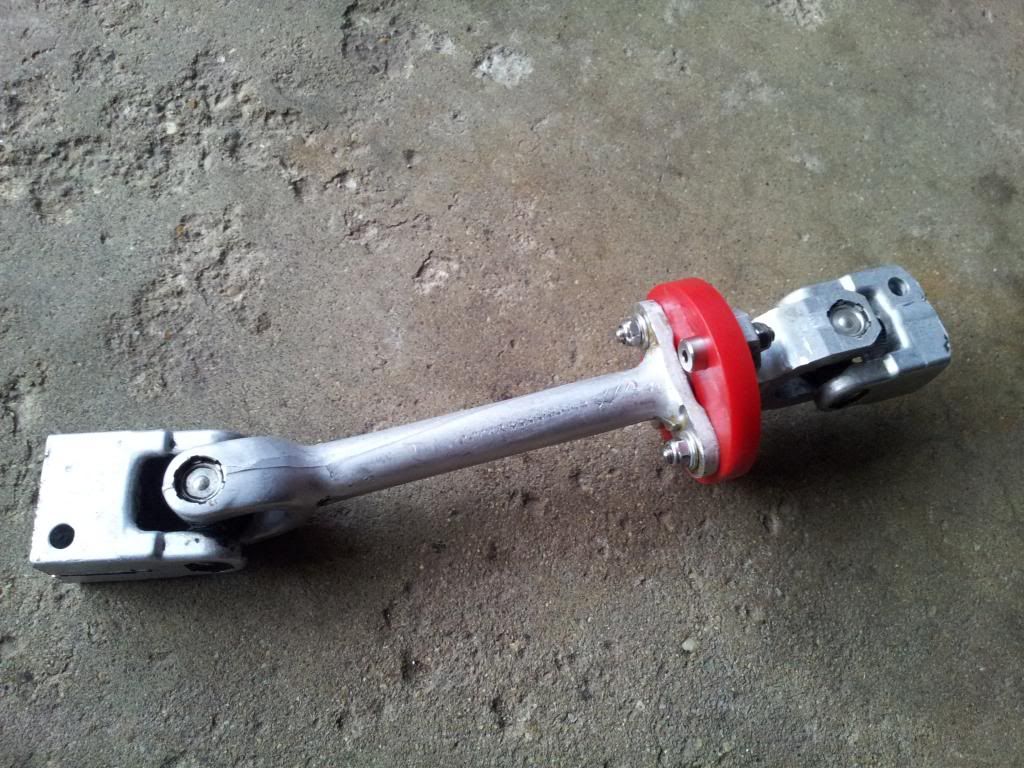
                Steering shaft cleaned and rebuilt with new poly bushing.
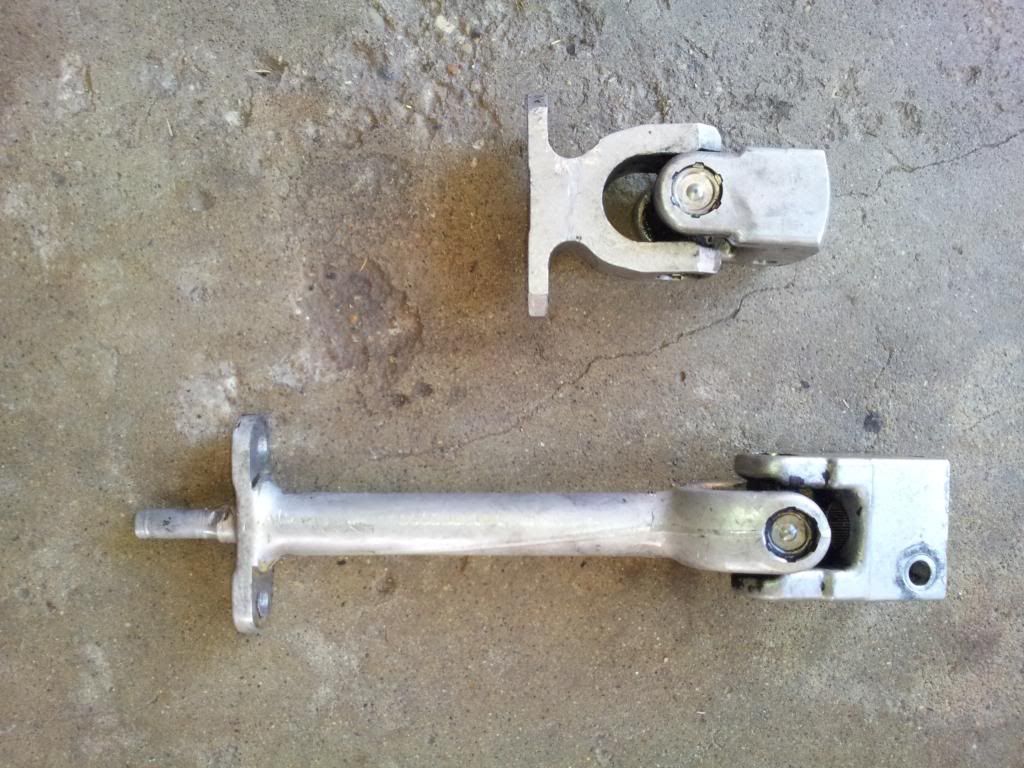
                2013-07-13094906zps6226ba9b.jpg

                2013-07-18194931zps17523113.jpg

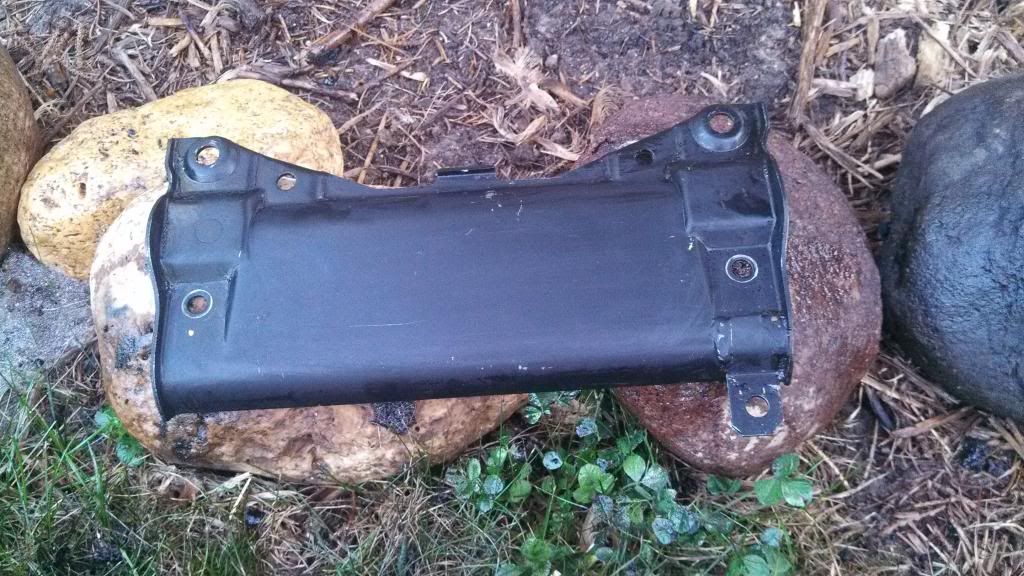
                Steering rack covers cleaned and painted.
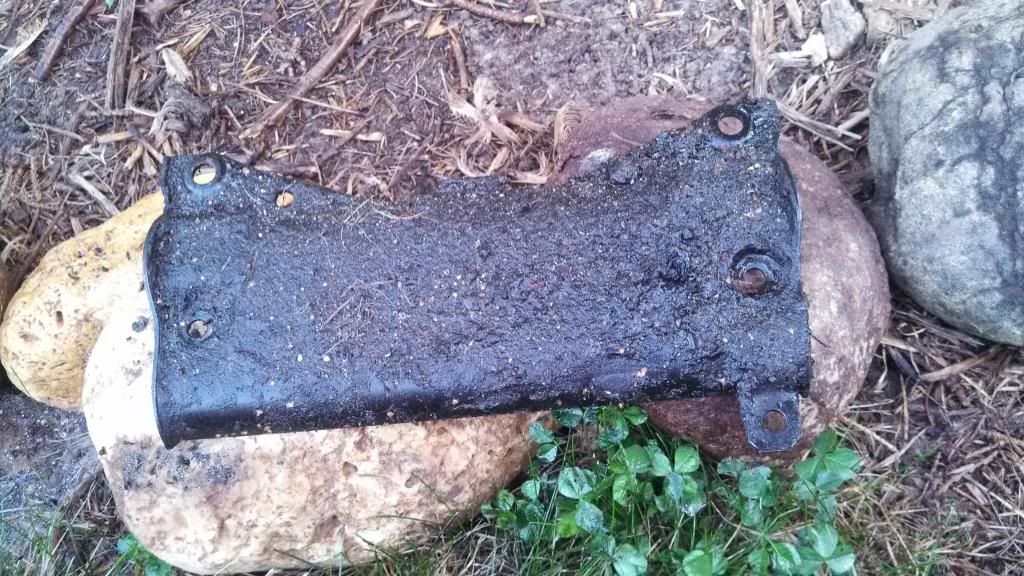
                IMG20130807184216688zpse0ad12b0.jpg

                IMG20130807184951312zps94275a1e.jpg

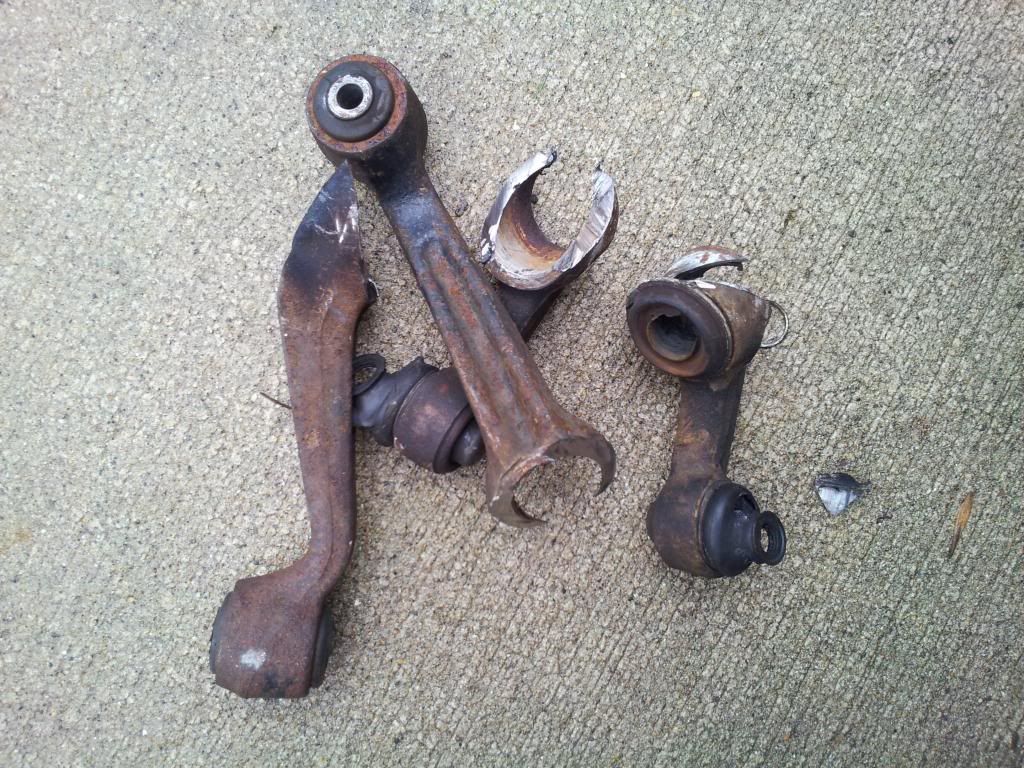
                New control arms installed due to old ones seized completely. This is one way to remove them, lol.
                2013-07-31182006zps7acb57e1.jpg

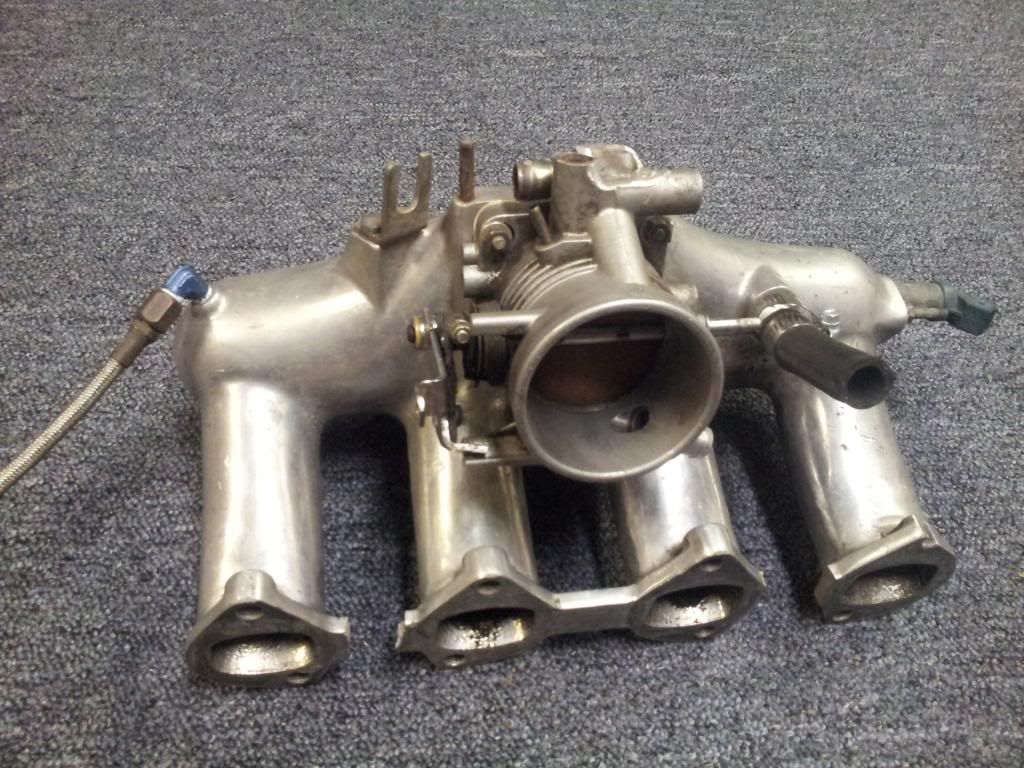
                E12 throttle body installed.

                2013-06-10201801zpsb03e1e8b.jpg

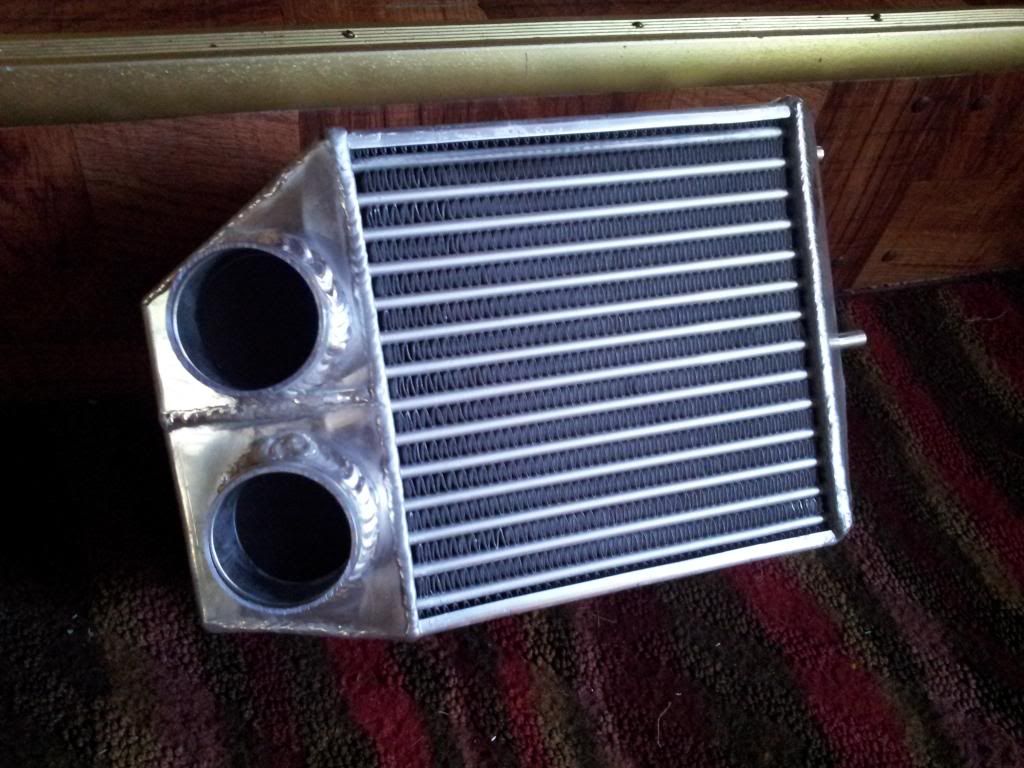
                Intercooler came in the mail.

                2013-07-18173113zpsd0e94821.jpg

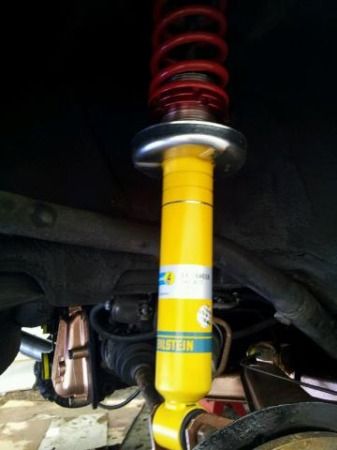
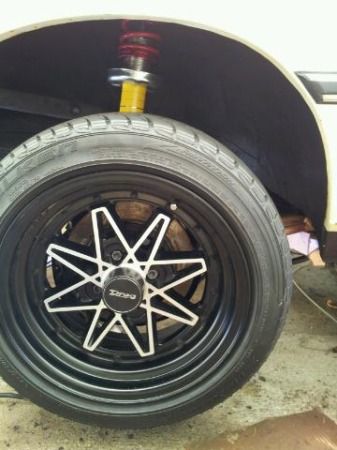
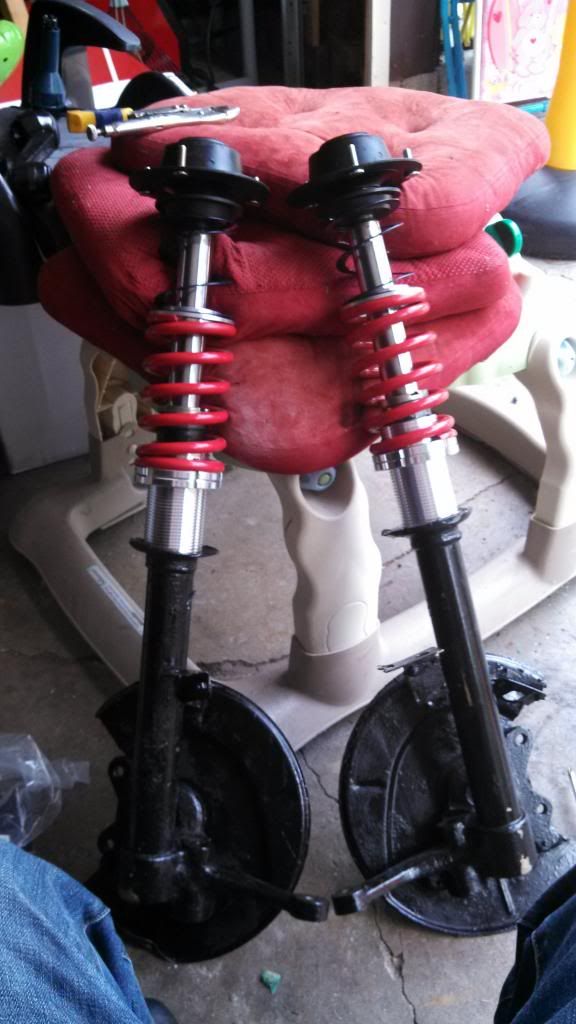
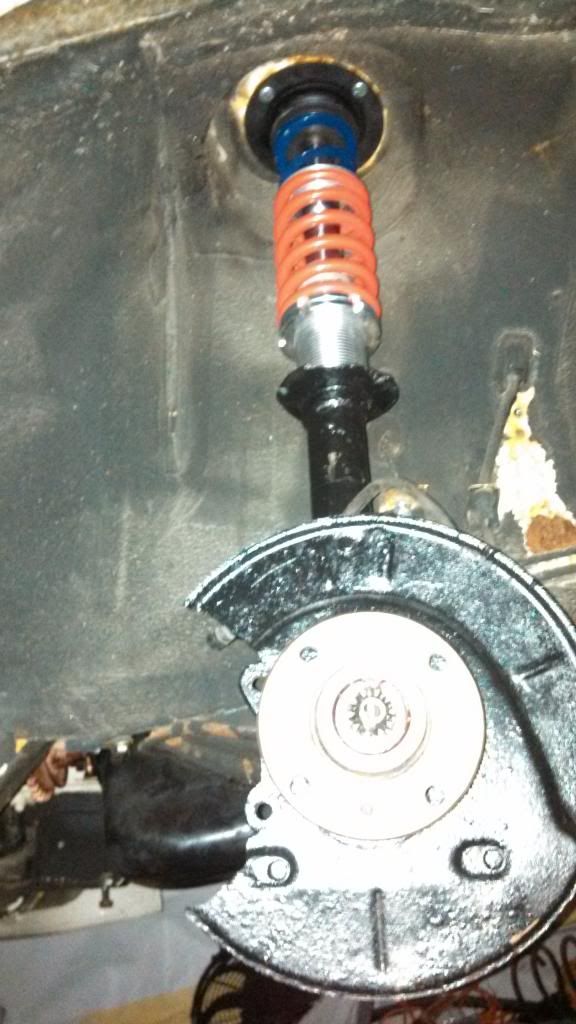
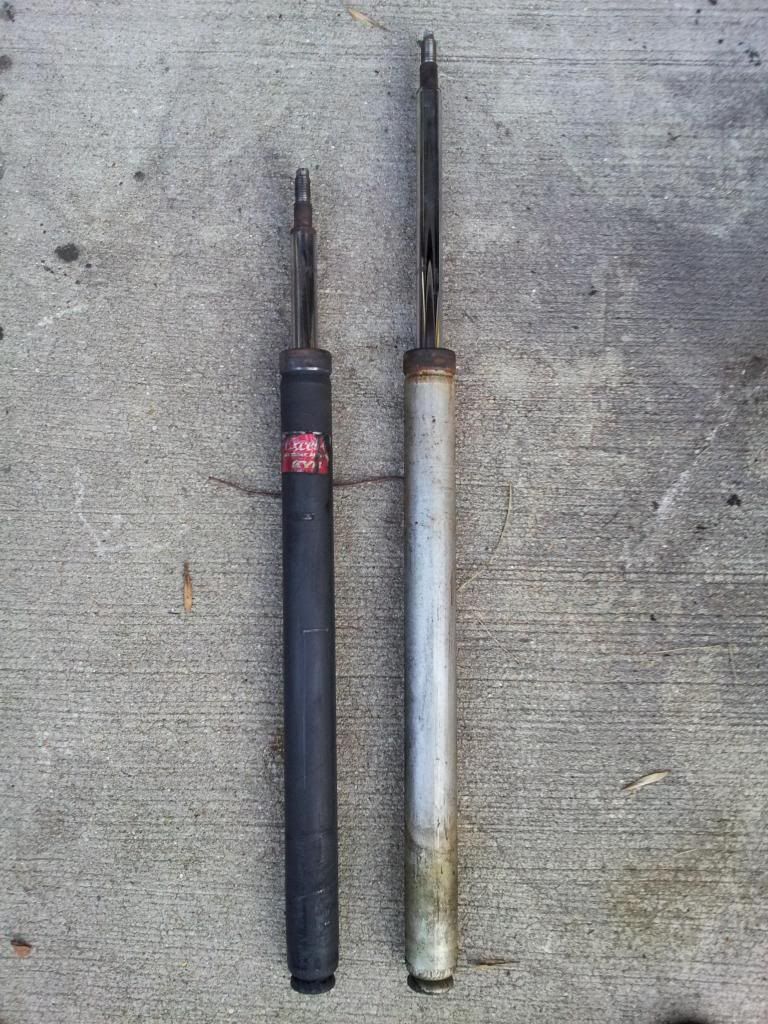
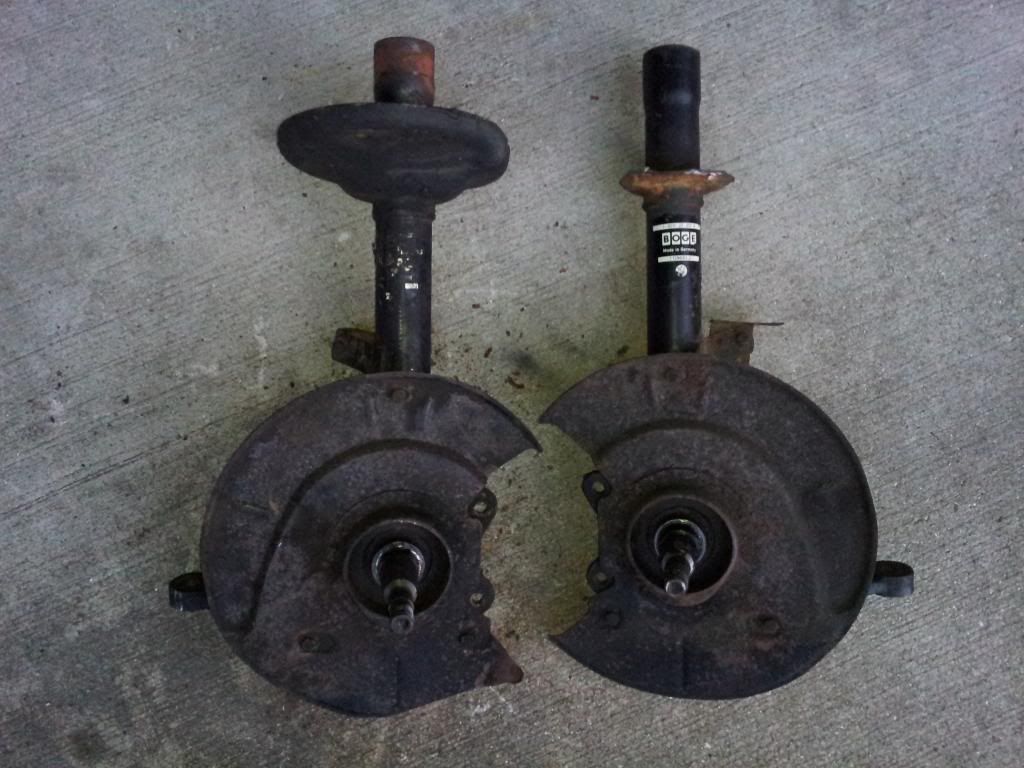
                Front suspension rebuilt with custom coilovers and Bilstein struts.

                Old
                2013-08-01195418zpsf2defad4.jpg

                Stock springs perch cut off comparison
                2013-08-01201913zps1ce995d8.jpg

                Coilovers

                IMG20130806135534415zpsd625e611.jpg

                IMG20130808202015154zpsf4017dcb.jpg

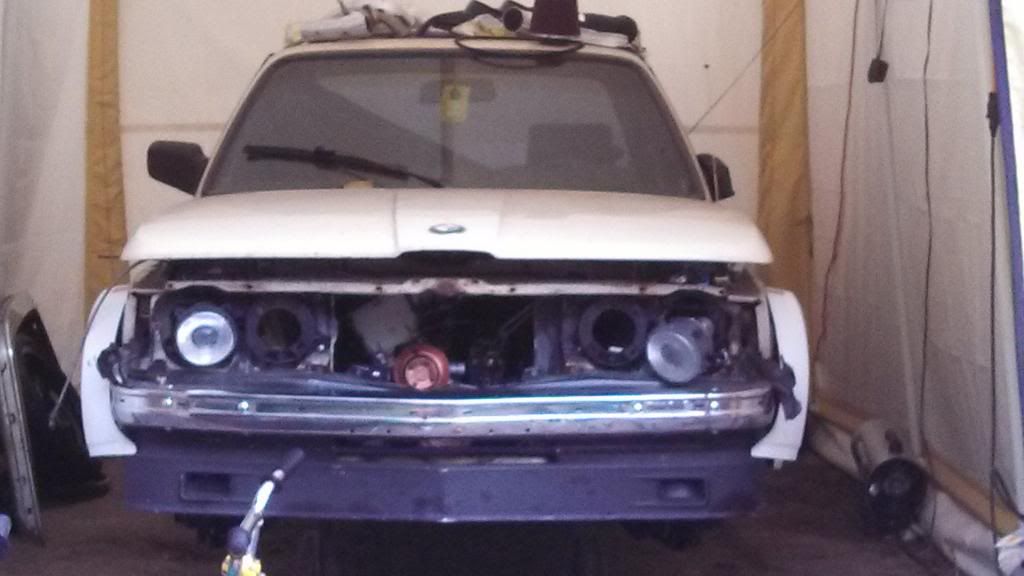
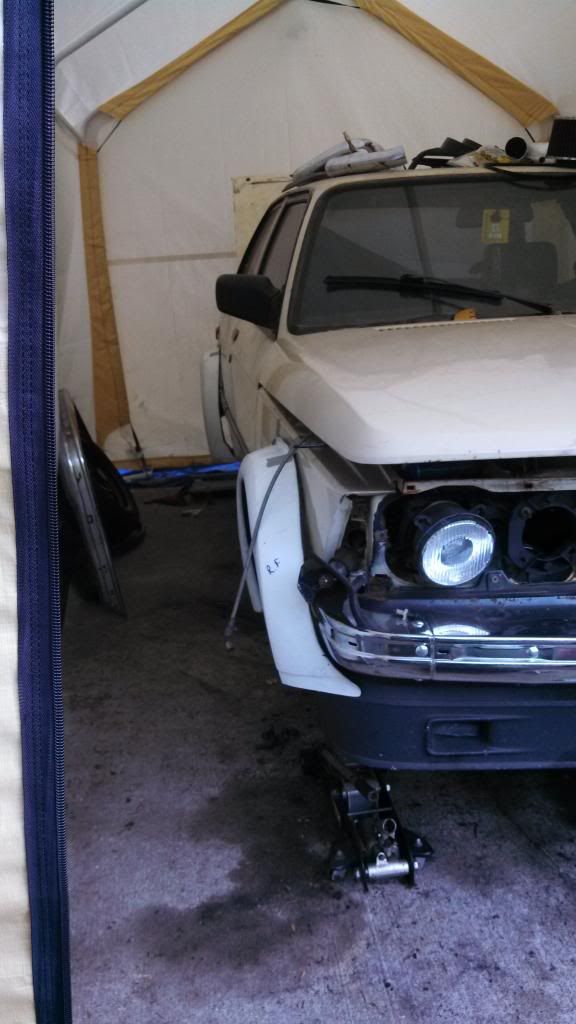
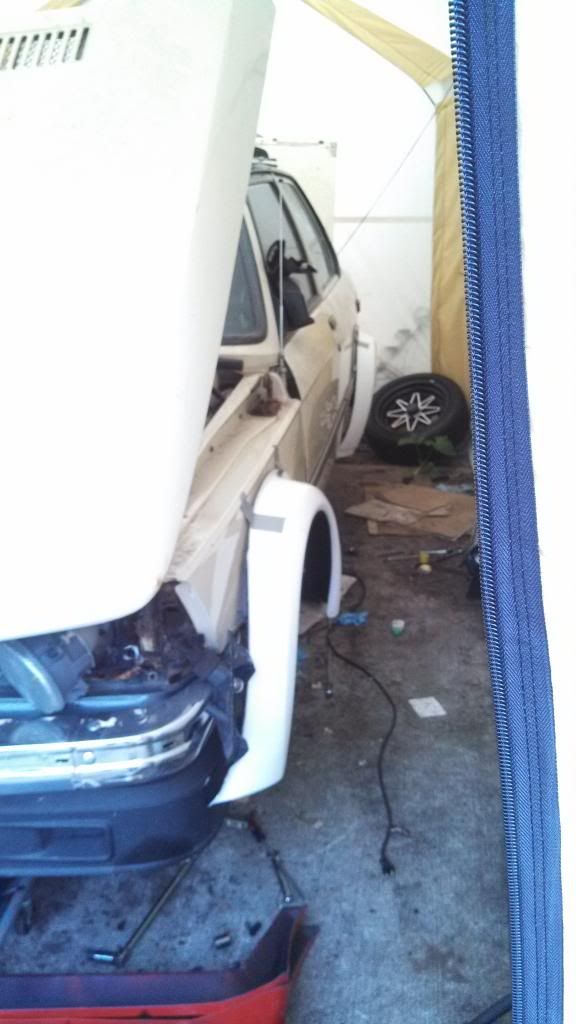
                And for a little sneak peak of whats coming in the winter …..
                IMG20130829164841242zps87e2132f.jpg

                IMG20130831174952993zps11185ae9.jpg

                IMG20130831175510823zps85055120.jpg

                CHECK OUT >>> RAGE DRIFT DESIGNS <<< FOR DECALS AND MORE!

                1 Reply Last reply
                1
                • KaiserRollsK
                  KaiserRollsK
                  KaiserRolls
                  wrote on last edited by
                  #55

                  nice meeting you today dude!!!

                  Can't wait to see this thing on the road!!

                  1 Reply Last reply
                  0
                  • Bassboy3313B
                    Bassboy3313B
                    Bassboy3313
                    wrote on last edited by
                    #56

                    Great meeting you too man!

                    CHECK OUT >>> RAGE DRIFT DESIGNS <<< FOR DECALS AND MORE!

                    1 Reply Last reply
                    0
                    • Bassboy3313B
                      Bassboy3313B
                      Bassboy3313
                      wrote on last edited by
                      #57

                      So I have been busy with getting smaller things done and out of the way. I am hoping to have the car done and on the road for the meet on Sunday, so cross your fingers. The biggest job right now is machining a throttle body adapter from a block of aluminum. With the BAE Century turbo intake manifold and the e12 throttle body, the charge piping wont clear the valve cover. So, I came up with a wedge design to angle the throttle body slightly up to clear the valve cover. Hopefully this will solve my issue. My dad who is a machinist is working on it as I type, so I am hoping it can be done for Sunday.

                      Raw chunk of aluminum
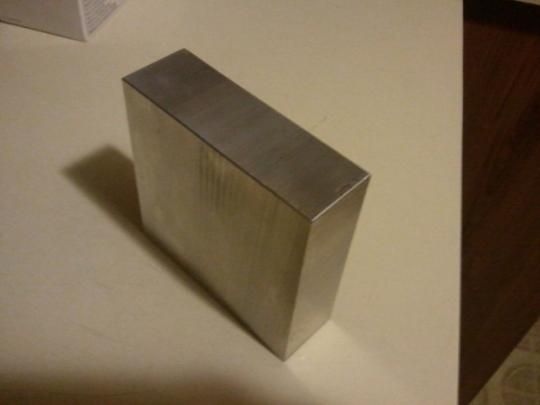
                      2013-09-18205115zpsbc079778.jpg

                      The design concept that I came up with and Brian (Snap) put into solidworks for me!
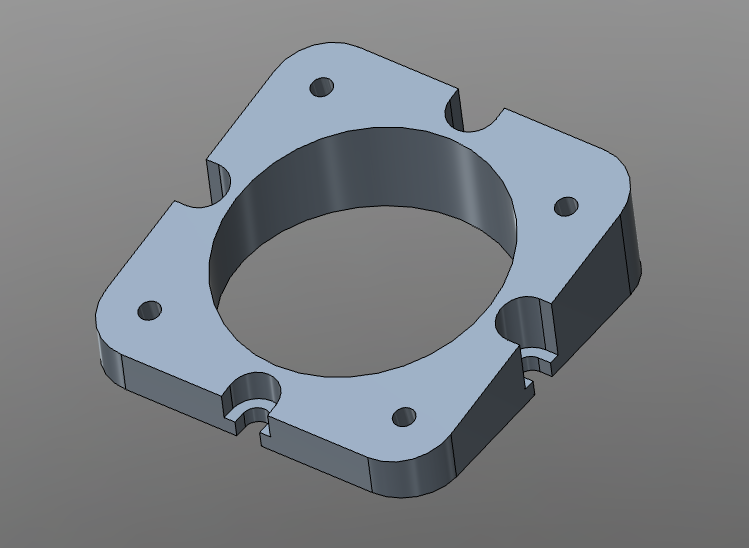
                      TBAdapterzps79704046.png

                      Stay tuned for the final product

                      CHECK OUT >>> RAGE DRIFT DESIGNS <<< FOR DECALS AND MORE!

                      1 Reply Last reply
                      0
                      • B
                        B
                        B C
                        wrote on last edited by
                        #58

                        Really hoping it is present this Sunday. It would probably be the oldest vintage car there and maybe we could even get some generational photo action goin on with some other 3's

                        1 Reply Last reply
                        0
                        • YoungCRY
                          YoungCRY
                          YoungCR
                          wrote on last edited by
                          #59

                          Snap said:

                          Really hoping it is present this Sunday. It would probably be the oldest vintage car there and maybe we could even get some generational photo action goin on with some other 3's 

                          You would do this at my 5er meet  :P jk I would love to see this too! Hopefully we can both pull are cars together in t-minus 2 days

                          Chris Young
                          BMWCCA #458972
                          1986 528e/5  | 1994 530i/5 | 1995 540i/6 | 2013 X5 35d | 1998 C1500 Suburban | 1995 K2500 Suburban

                          1 Reply Last reply
                          0
                          • Bassboy3313B
                            Bassboy3313B
                            Bassboy3313
                            wrote on last edited by
                            #60

                            I am definitely working my ass off to make it on Sunday. Gonna be putting in some long and late hours the next 2 days.

                            CHECK OUT >>> RAGE DRIFT DESIGNS <<< FOR DECALS AND MORE!

                            1 Reply Last reply
                            0
                            • Bassboy3313B
                              Bassboy3313B
                              Bassboy3313
                              wrote on last edited by
                              #61

                              It has definitely been awhile since I have updated this. Obviously I didnt make it to the 5er meet with the car. I busted my ass getting everything done and together, she just didnt want to fire up. Since then, I have been chasing this no spark issue forever it seems. I tried everything and tested everything to no avail. I was to the point of just giving up till next spring, but decided to try out the EDIS-4 and see if that got spark. First try after connecting things together and no spark as well. GAHHH!!! I then decided to completely take apart all the wiring for the EDIS since some of it the PO did and I wasnt certain it was done right. After rewiring I bench tested it and sure enough, the plugs all sparked perfectly. Threw the positive & ground in the car and once again, sparked perfectly. So, I threw the plugs back in the head, turned the key, and she fired right up, FINALLY! OH MY BAGOSH!!! I am so freakin happy!!

                              Now is the time to finish up the little things around the car and wire everything in permanently. I decided to go with a separate fuse panel and for the EDIS, Megajolt (MJ), and throw the gauges on it too for good measure. Most of it will be mounted in the glovebox except the EDIS module and coilpack, obviously. I used a spare sheet of plexi that I had laying around and mounted the circuit breaker, relay, fuse panel and MJ with 3M tape.
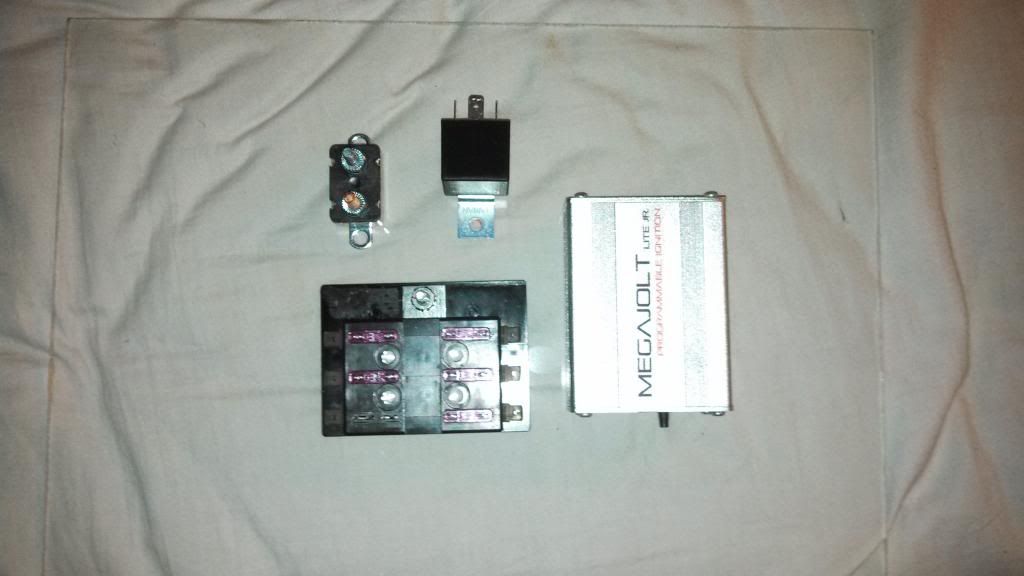
                              gloveboxzps28e41e62.jpg

                              I then went ahead and wired everything up. I decided to take the constant power and ground from the glovebox flashlight circuit since I dont have the flashlight anyways. Turns out that some female bullet connectors fit perfectly on the pins of the flashlight circuit. All-in-all I think it looks great and of course, works like a charm.
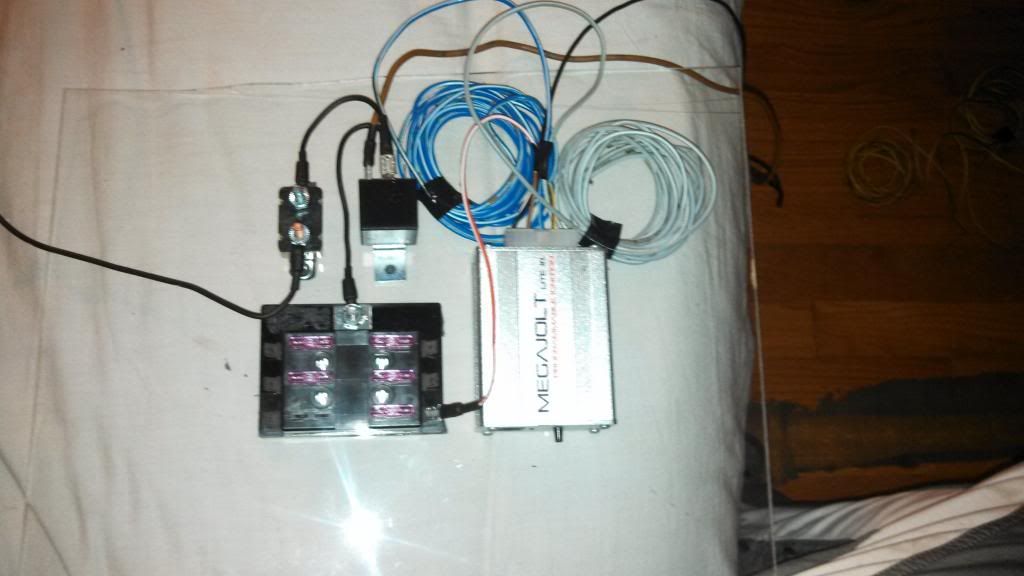
                              gloveboxwiredzps4df98b52.jpg

                              Now all I have to do is finish the wiring in the car and this part should be good to go. Then its just odds and ends stuff and hopefully I will be driving it this weekend. Fingers crossed!!

                              CHECK OUT >>> RAGE DRIFT DESIGNS <<< FOR DECALS AND MORE!

                              1 Reply Last reply
                              0
                              • KaiserRollsK
                                KaiserRollsK
                                KaiserRolls
                                wrote on last edited by
                                #62

                                sub-0001-07.jpg

                                1 Reply Last reply
                                0
                                • Bassboy3313B
                                  Bassboy3313B
                                  Bassboy3313
                                  wrote on last edited by
                                  #63

                                  Dont remind me! :P

                                  CHECK OUT >>> RAGE DRIFT DESIGNS <<< FOR DECALS AND MORE!

                                  1 Reply Last reply
                                  0
                                  • Bassboy3313B
                                    Bassboy3313B
                                    Bassboy3313
                                    wrote on last edited by
                                    #64

                                    Finished up the permanent wiring and she fired right up again. WOOHOO!!! One problem is I am currently running the car with the fuel relay jumpered since that was tied in with the stock ignition wiring. I will be using output #1 from Megajolt as the signal wire to the fuel pump relay. This will allow the fuel pump to run whenever the rpm's are above a preset value by me (I will be using the lowest setting of 500 rpm). For the safety factor if for any reason the car gets disabled but the power is still on, the fuel pump will shut off once it drops below 500 rpm. Below is the diagram I will be following. Just have to compare it to the stock wiring diagrams to see how the current fuel relay works and is wired.
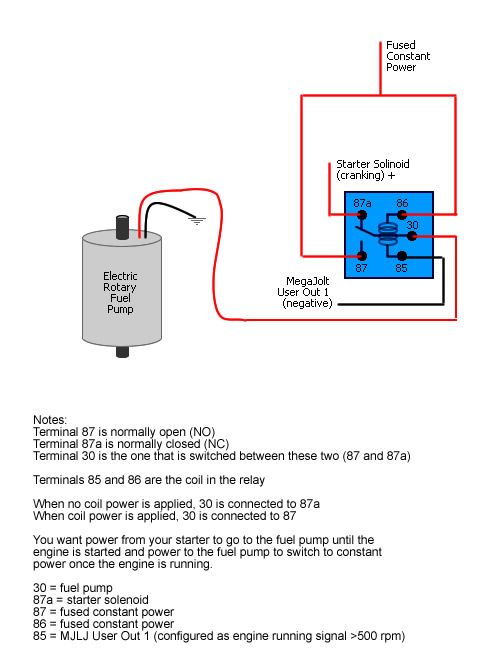
                                    fuelpumpzpsaea92da5.jpg

                                    I also got the front sway bar installed, as well as the front alpina brace installed. I had a leaking hose from the brake reservoir to the clutch master cylinder, so I ended up removing the old one and retrofitting a new setup on. No more leaking. This brought me to bleeding the brakes again which went well, but when bleeding the clutch slave cylinder, I quickly realized its damn near impossible to bleed it by yourself. Will have to wait till I can get some assistance with that.

                                    So close!

                                    CHECK OUT >>> RAGE DRIFT DESIGNS <<< FOR DECALS AND MORE!

                                    1 Reply Last reply
                                    0
                                    • B
                                      B
                                      B C
                                      wrote on last edited by
                                      #65

                                      The world of programmable engine management is a beautiful one that all car nuts should experience :D     You are an hour or so away from being able to do burnouts.

                                      also... im serious about coming over to help at 6:30am.

                                      1 Reply Last reply
                                      0
                                      • KaiserRollsK
                                        KaiserRollsK
                                        KaiserRolls
                                        wrote on last edited by
                                        #66

                                        snap (*_*) said:

                                        The world of programmable engine management is a beautiful one that all car nuts should experience :D     You are an hour or so away from being able to do burnouts.

                                        also... im serious about coming over to help at 6:30am. 

                                        and im serious about the burnouts

                                        1 Reply Last reply
                                        0
                                        • Bassboy3313B
                                          Bassboy3313B
                                          Bassboy3313
                                          wrote on last edited by
                                          #67

                                          She is alive and kicking!!! Took her for a short drive around the neighborhood and the new suspension, steering, shifting all feel amazing!! Like a freaking go-kart on rails. She goes pretty nice as well with the new megajolt ignition system. It has a coolant leak which I will have to address, but at least its external and not internal. Still much more to do to her till completely done (yeah right, done), but all-in-all I am super happy!
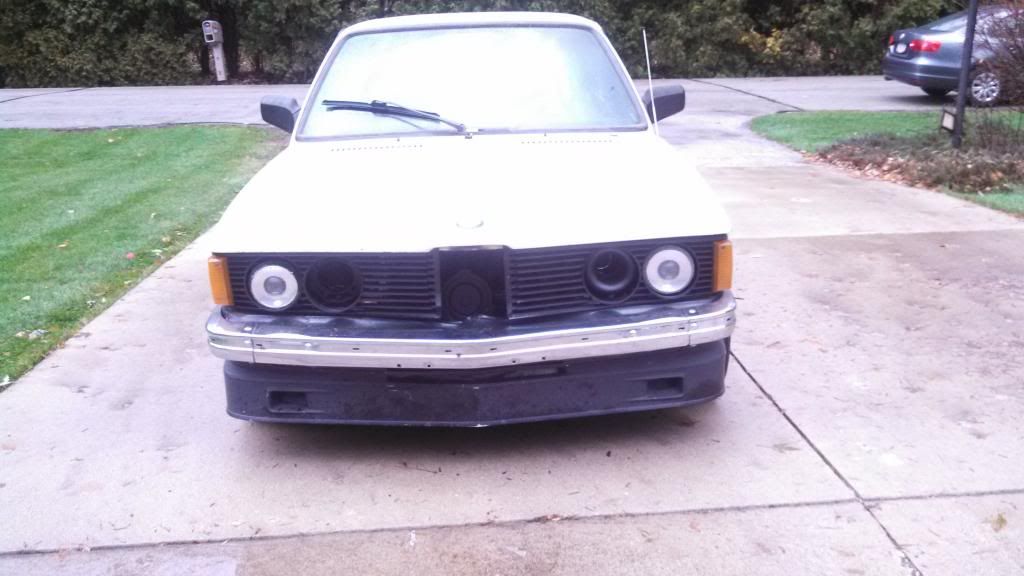
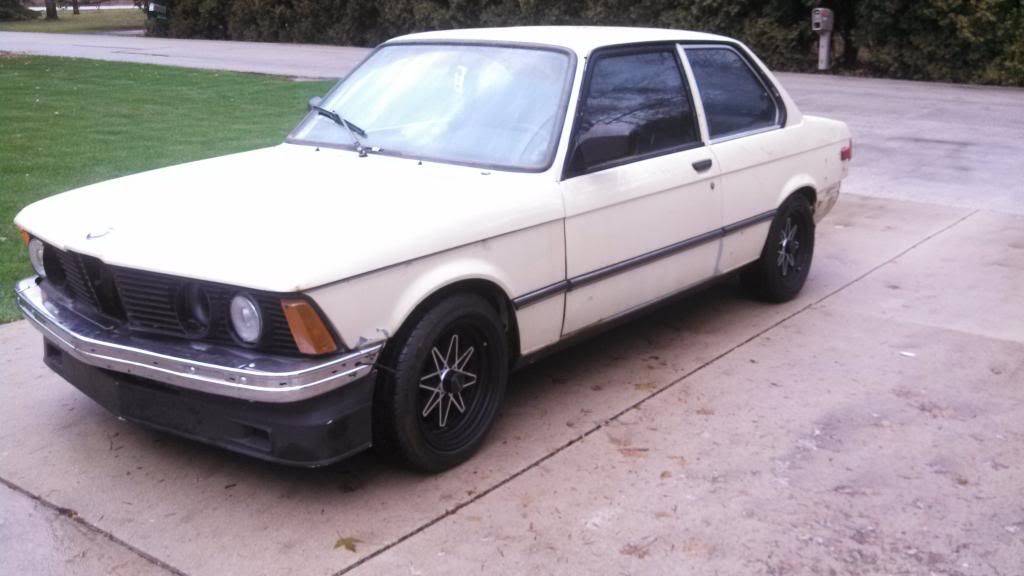
                                          IMG20131117104348759zps06dd4974.jpg

                                          IMG20131117104338817zpsc7319076.jpg

                                          IMG20131117104444630zps6f2dc45d.jpg

                                          IMG20131117104412279zpsc6ddbe9f.jpg

                                          CHECK OUT >>> RAGE DRIFT DESIGNS <<< FOR DECALS AND MORE!

                                          1 Reply Last reply
                                          1

                                          Hello! It looks like you're interested in this conversation, but you don't have an account yet.

                                          Getting fed up of having to scroll through the same posts each visit? When you register for an account, you'll always come back to exactly where you were before, and choose to be notified of new replies (either via email, or push notification). You'll also be able to save bookmarks and upvote posts to show your appreciation to other community members.

                                          With your input, this post could be even better 💗

                                          Register Login
                                          Reply
                                          • Reply as topic
                                          Log in to reply
                                          • Oldest to Newest
                                          • Newest to Oldest
                                          • Most Votes


                                          • Login

                                          • Don't have an account? Register

                                          • Login or register to search.
                                          Powered by NodeBB Contributors
                                          • First post
                                            Last post
                                          0
                                          • Categories
                                          • Recent
                                          • Tags
                                          • Popular
                                          • Users
                                          • Groups