
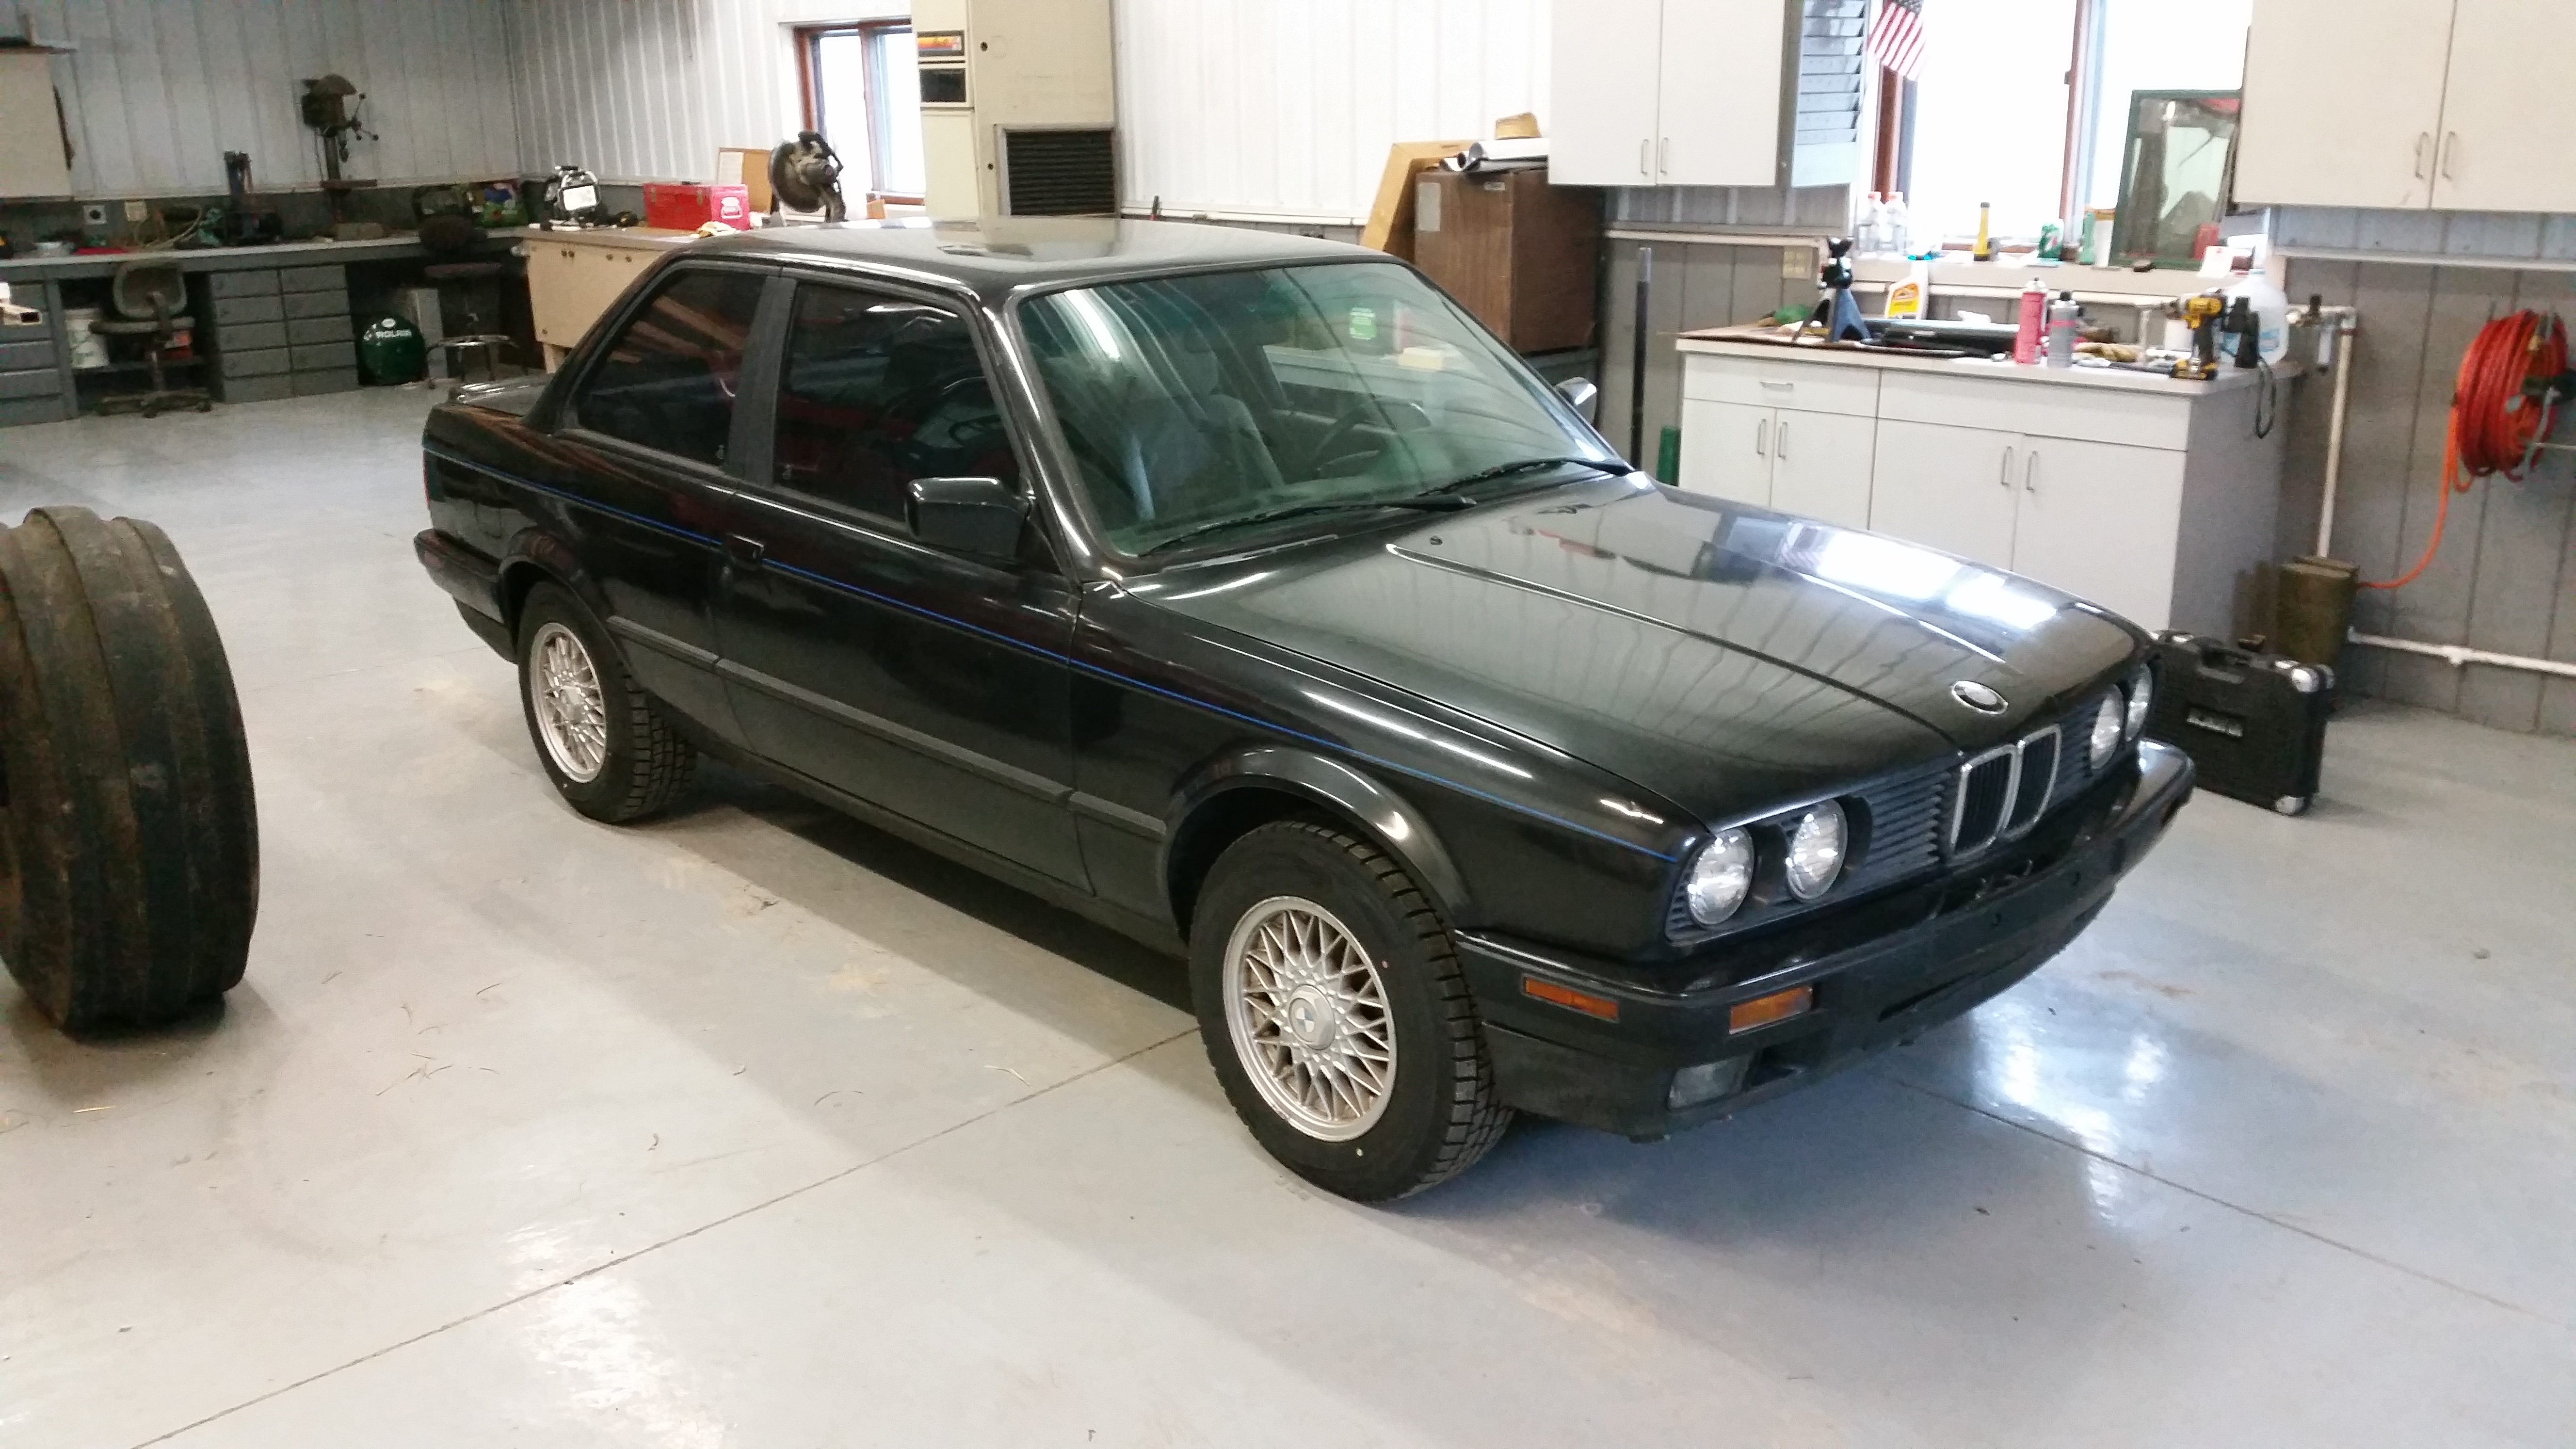
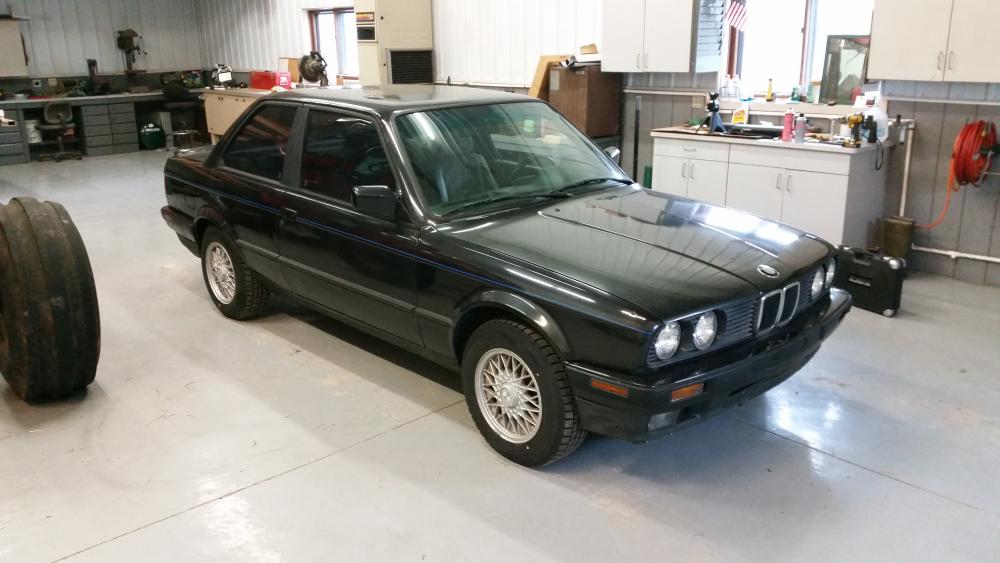
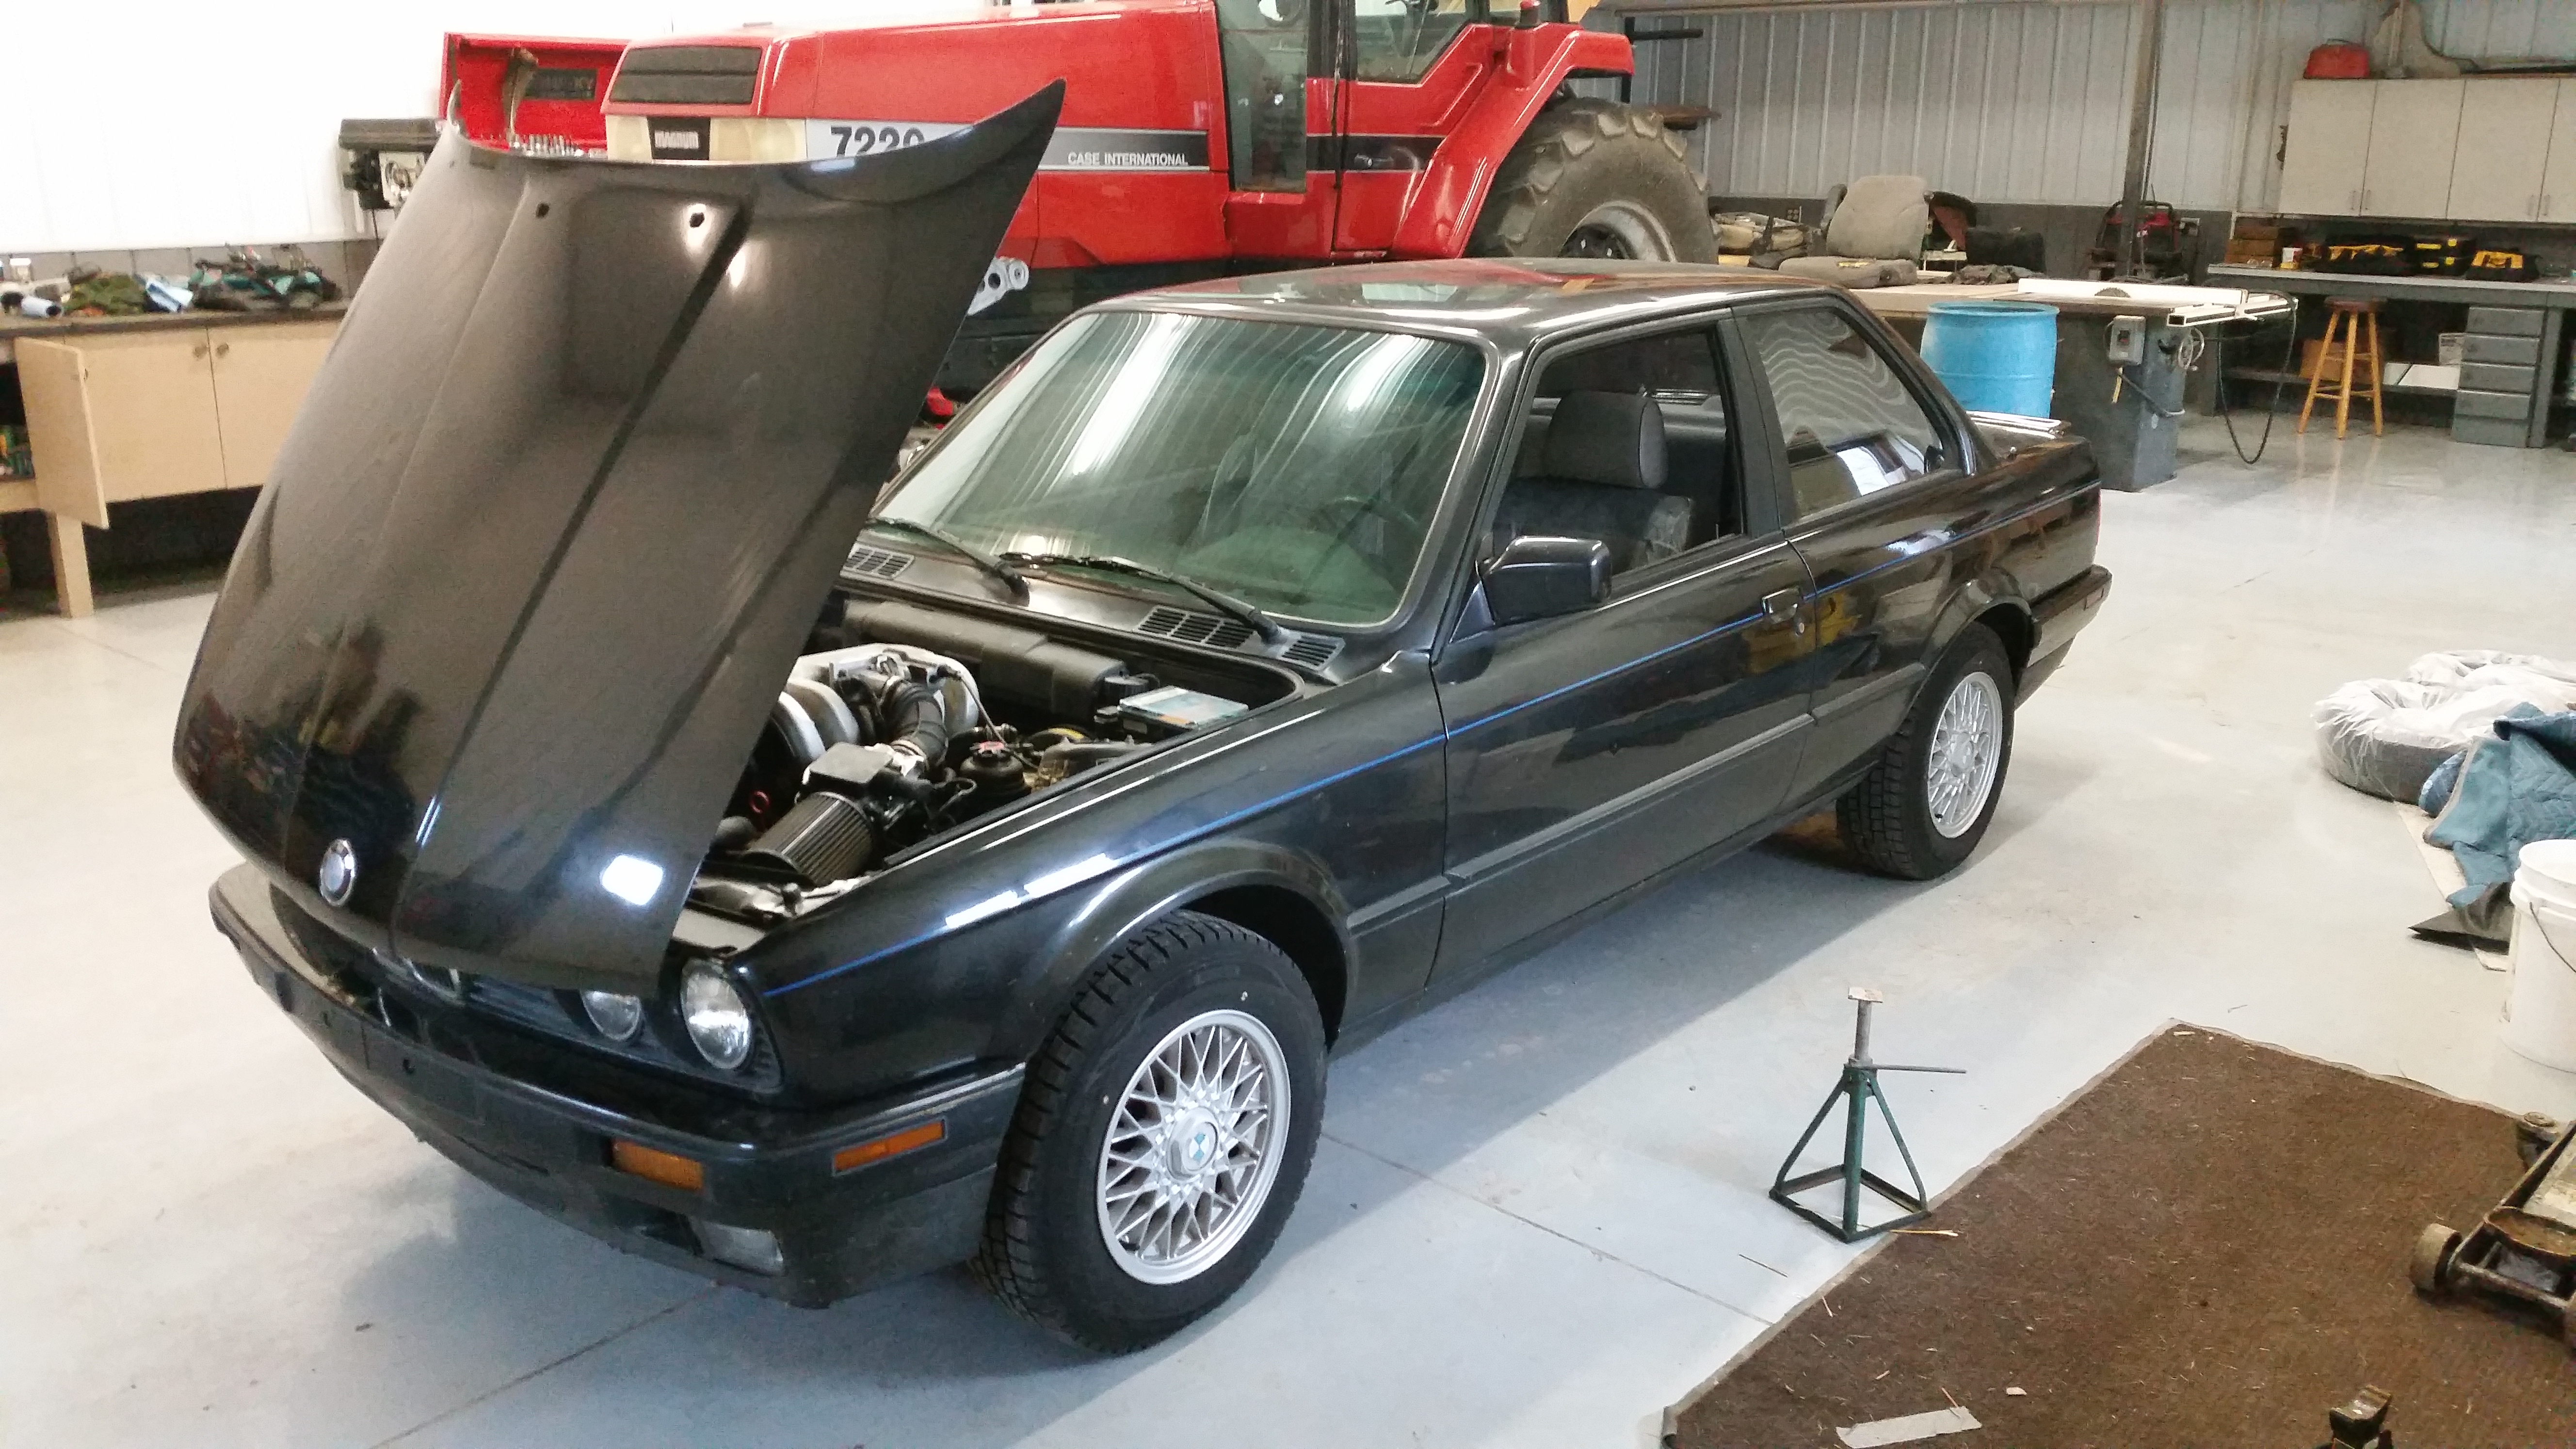
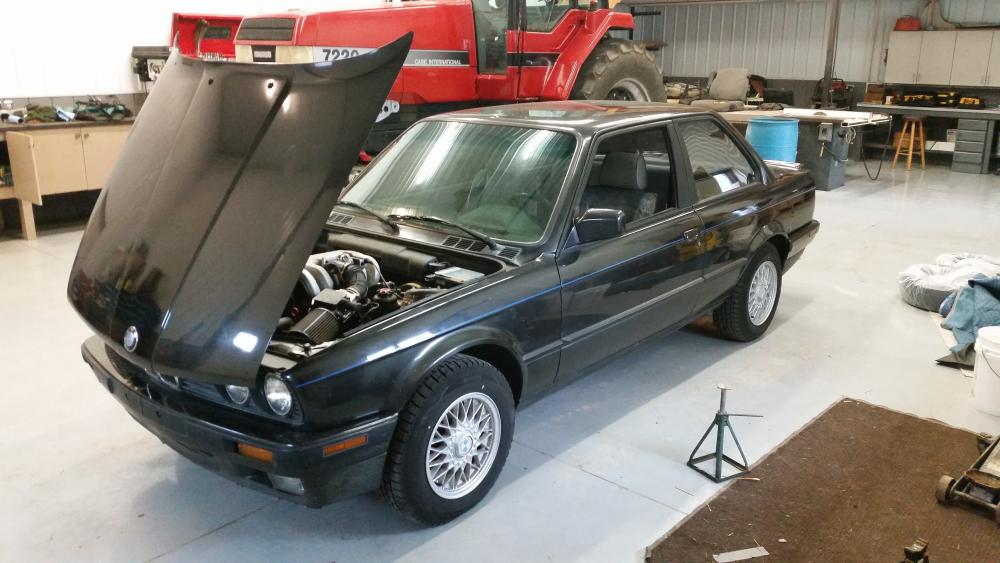
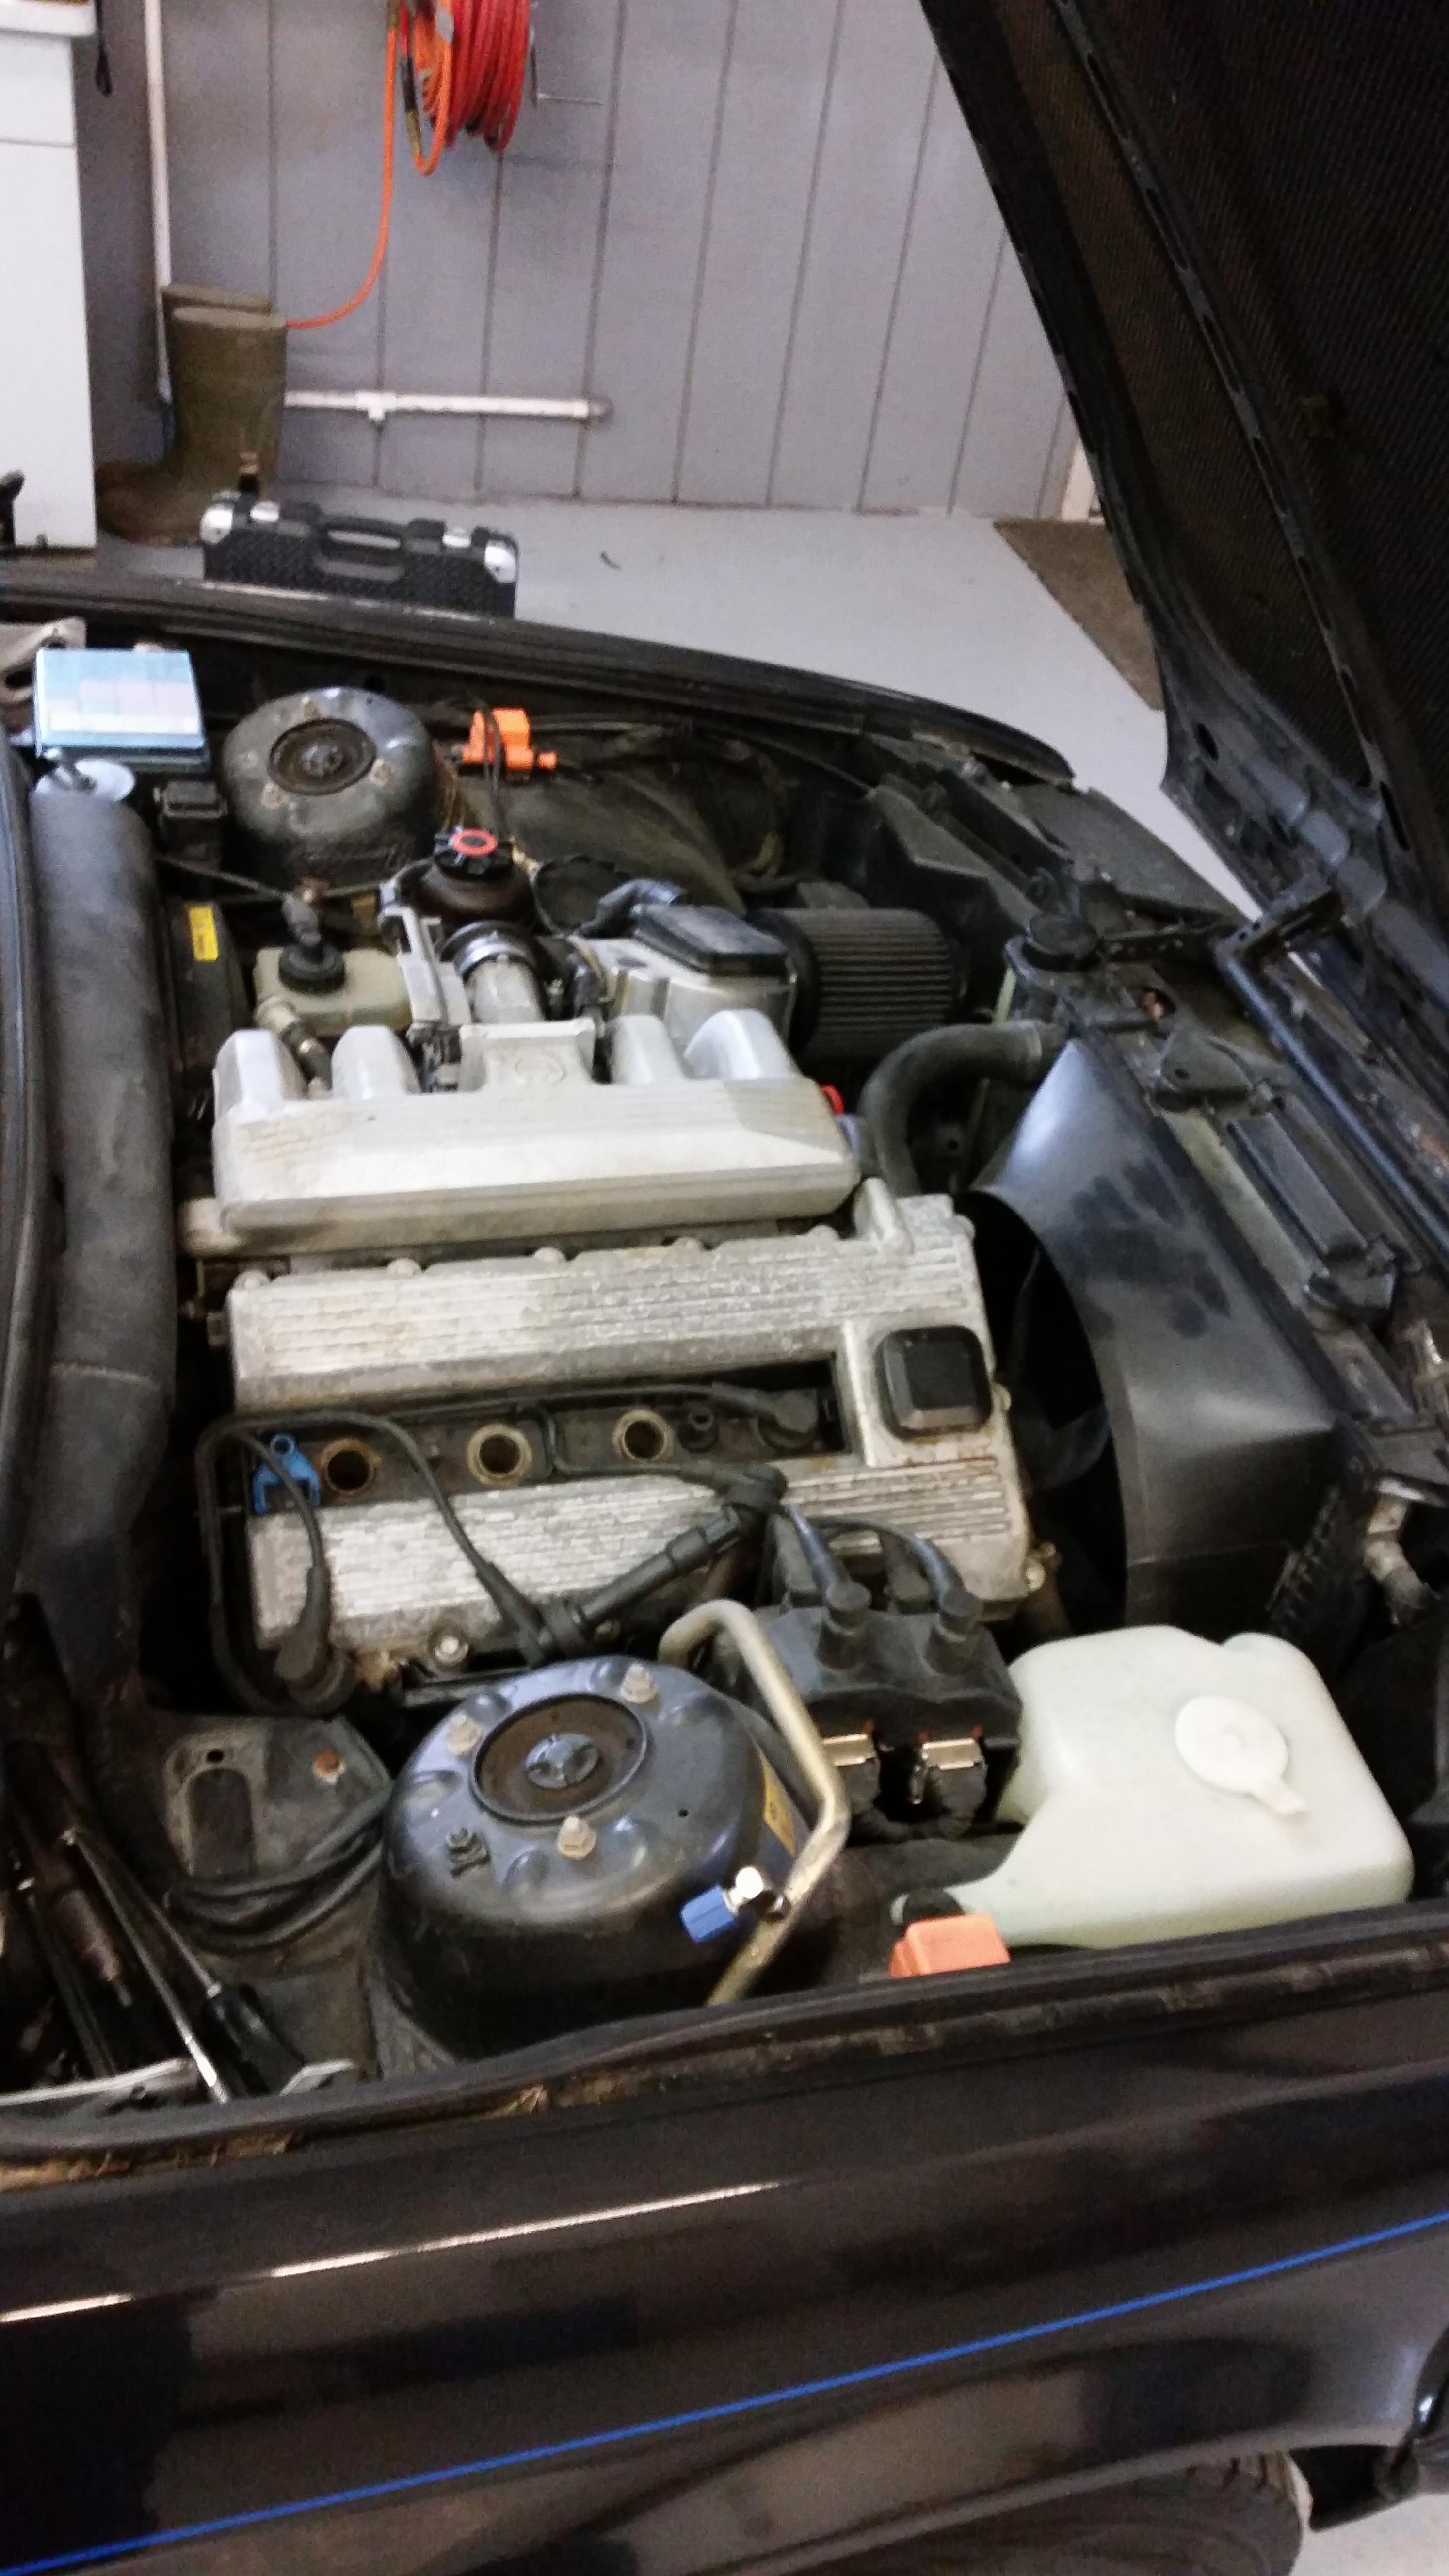
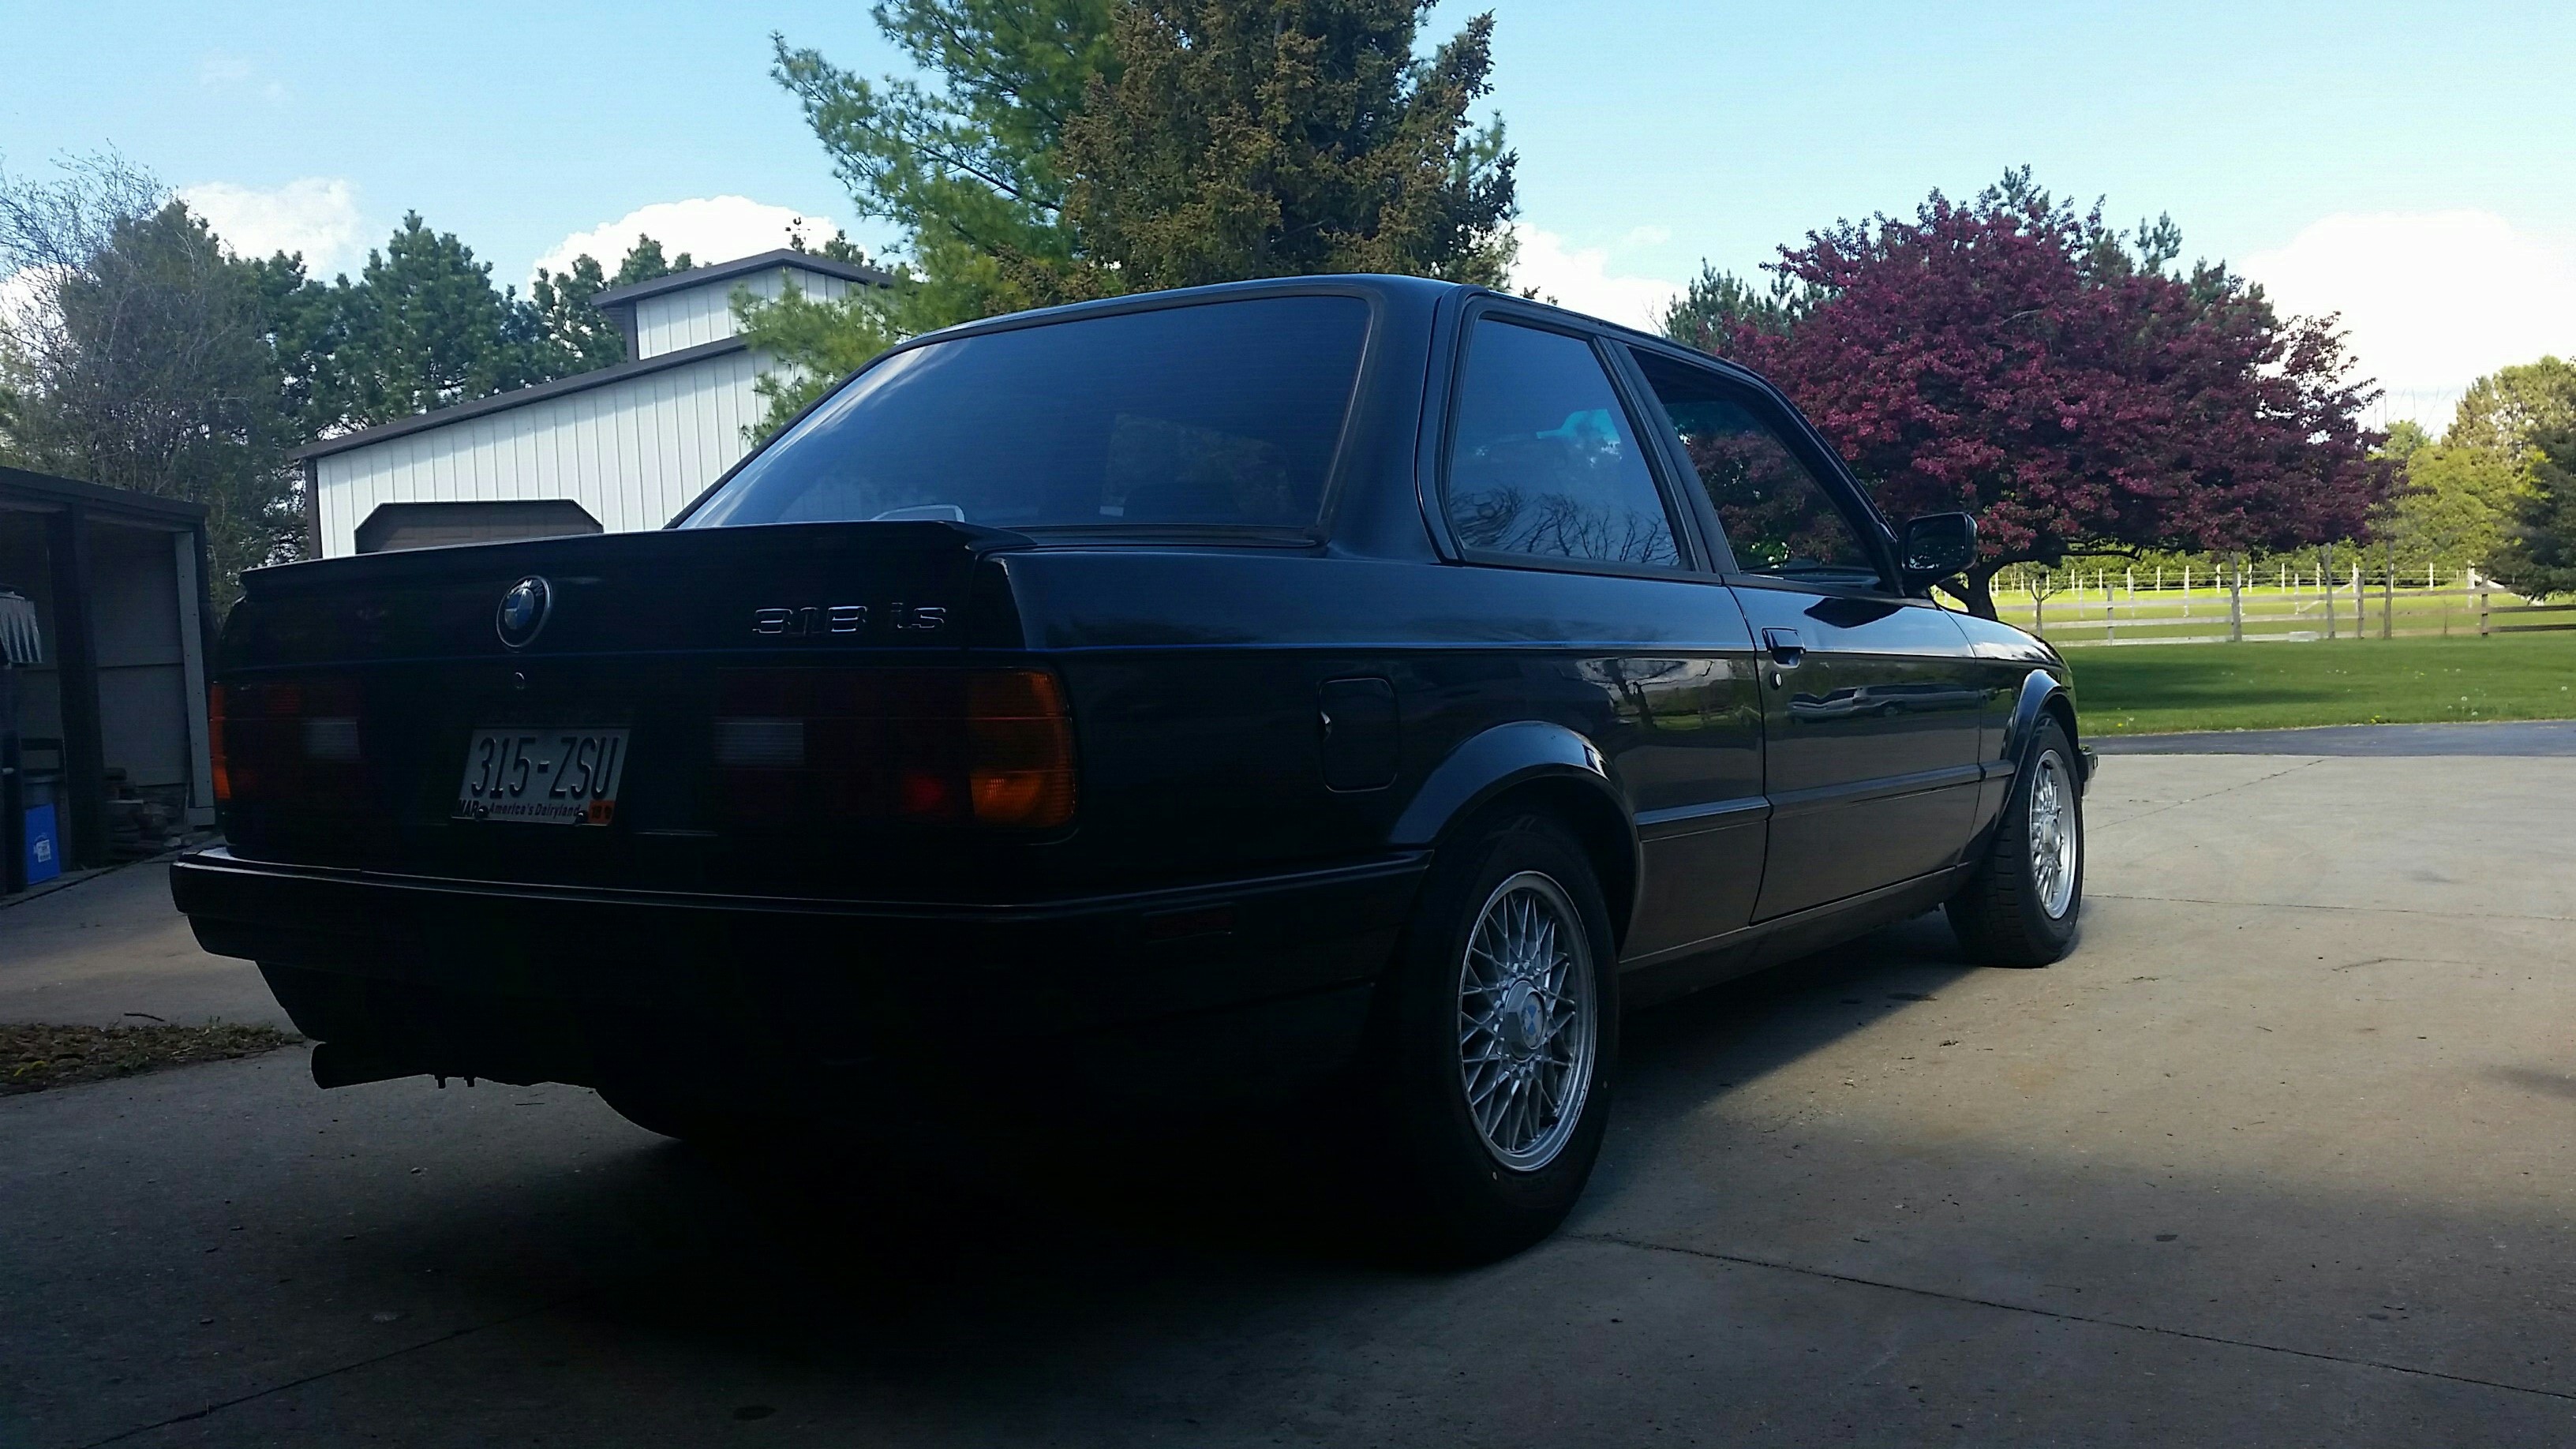
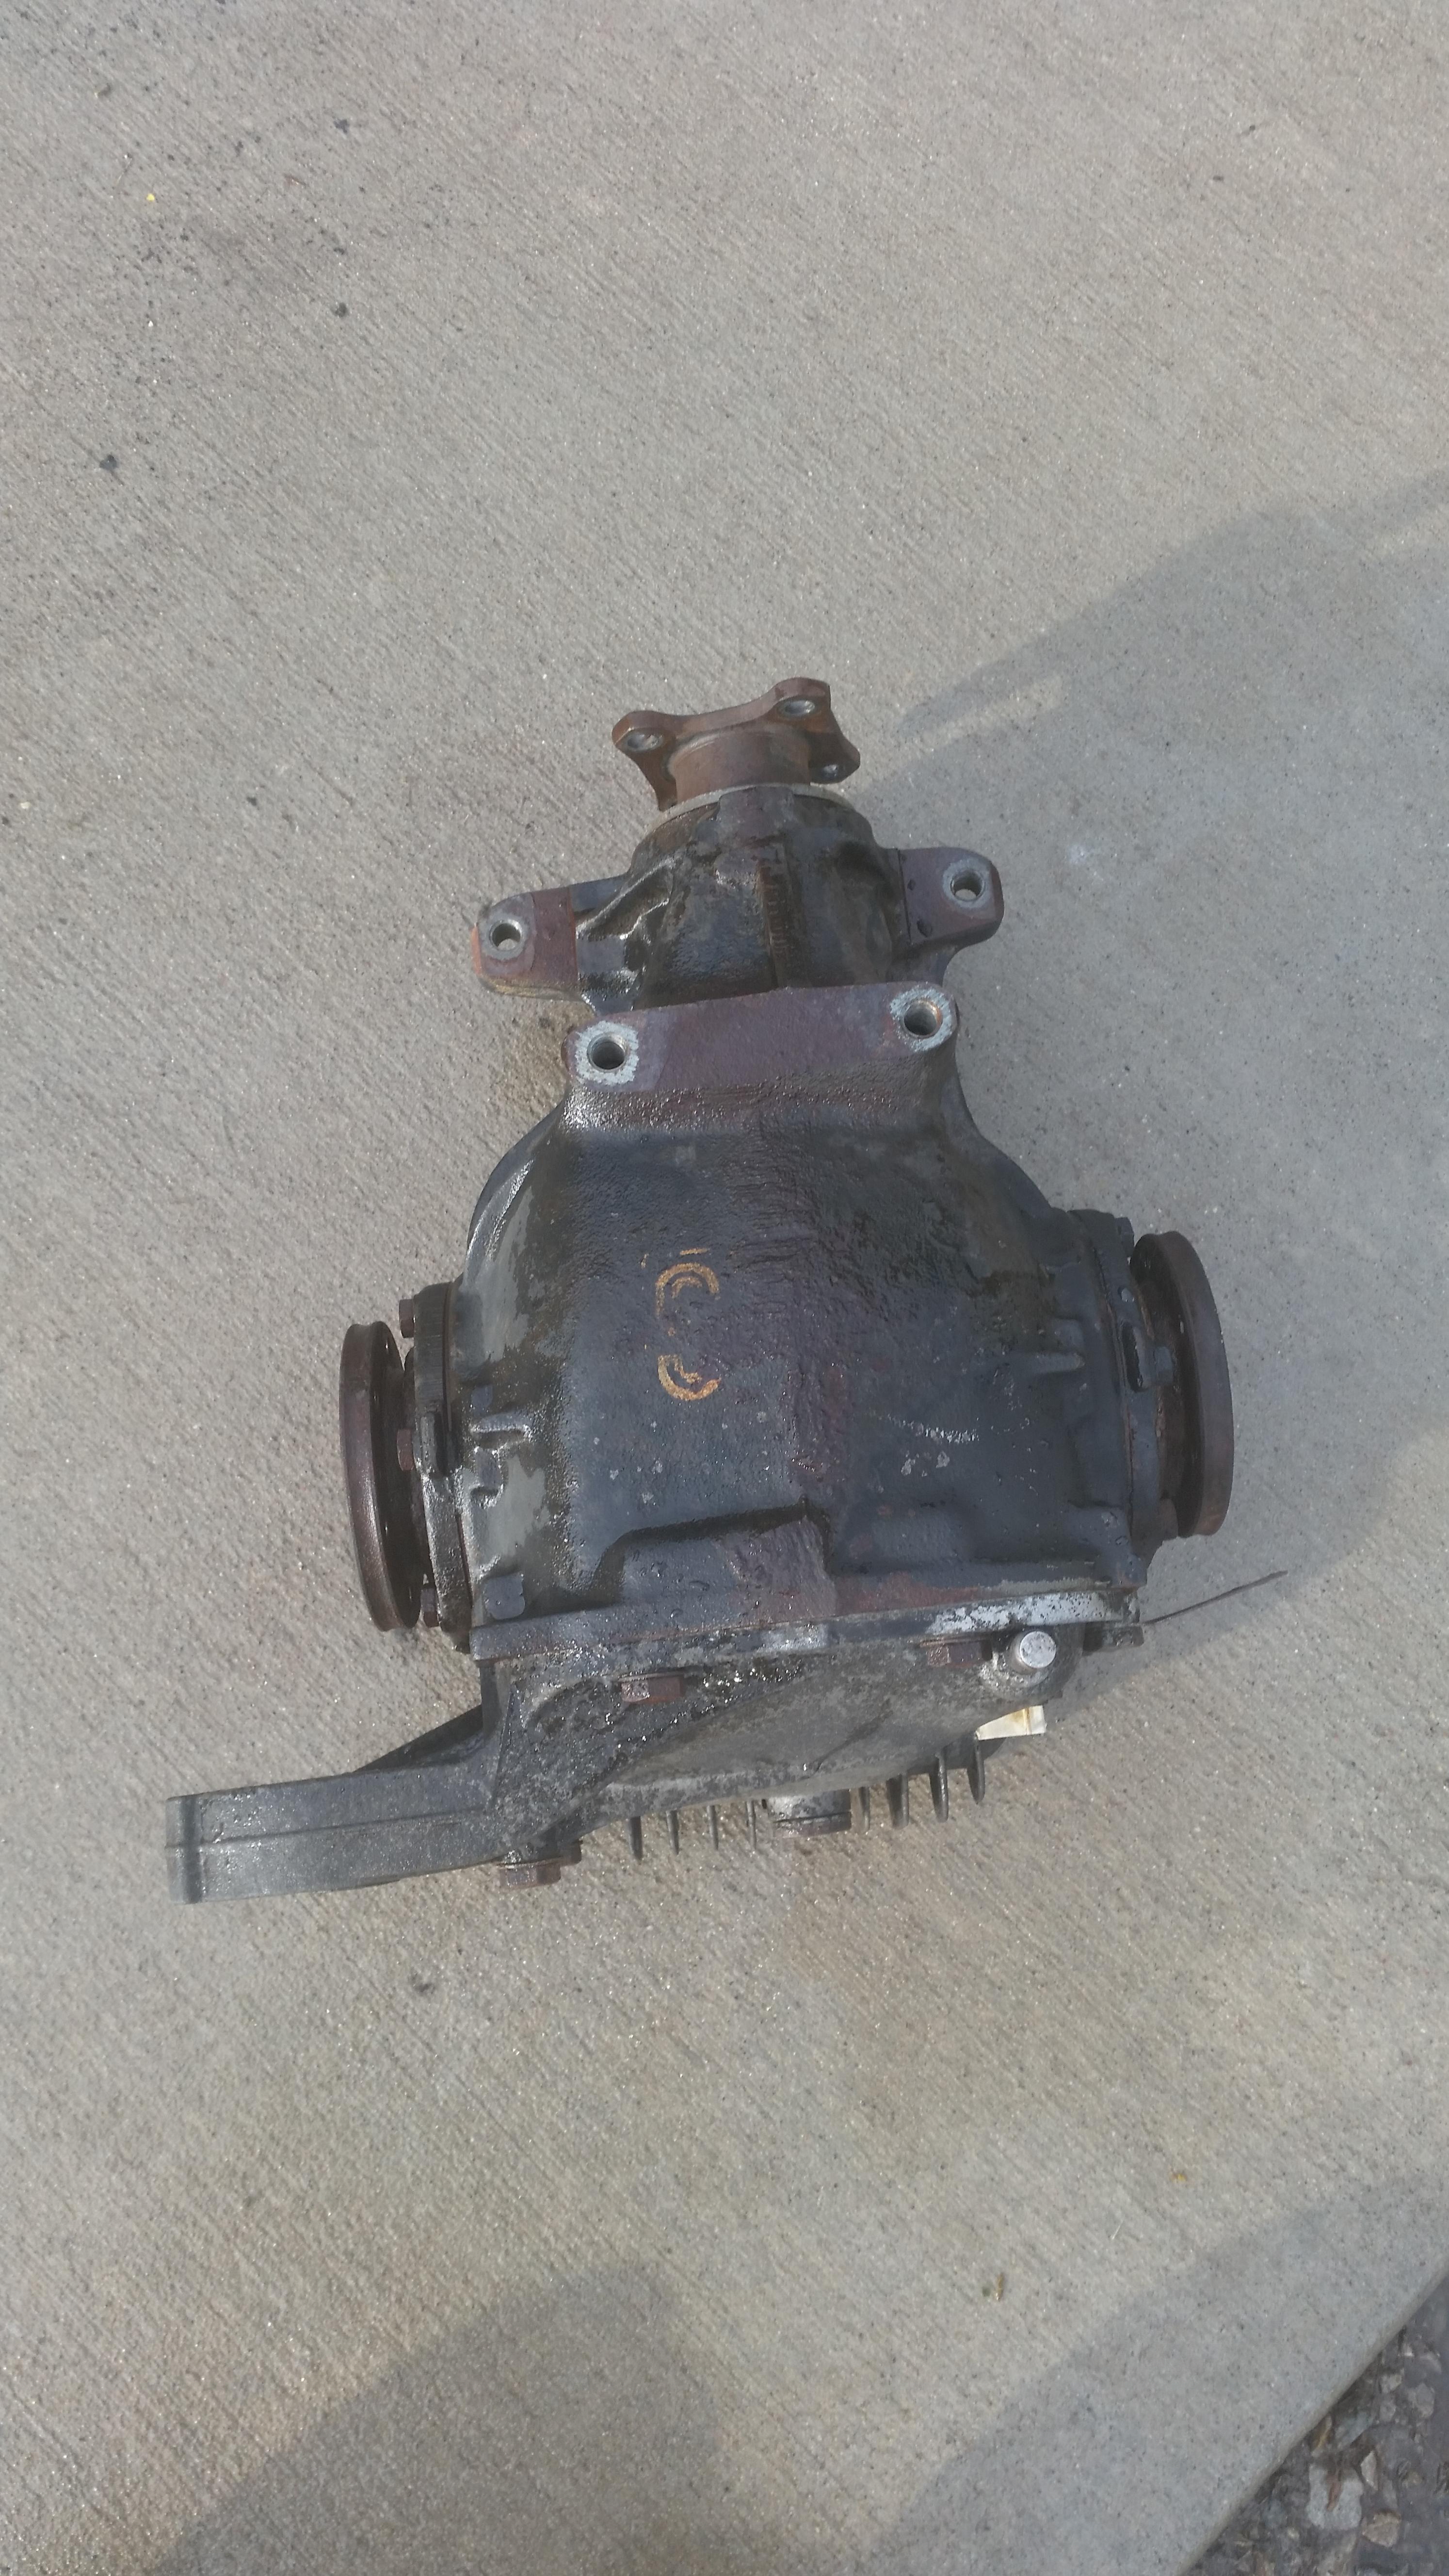
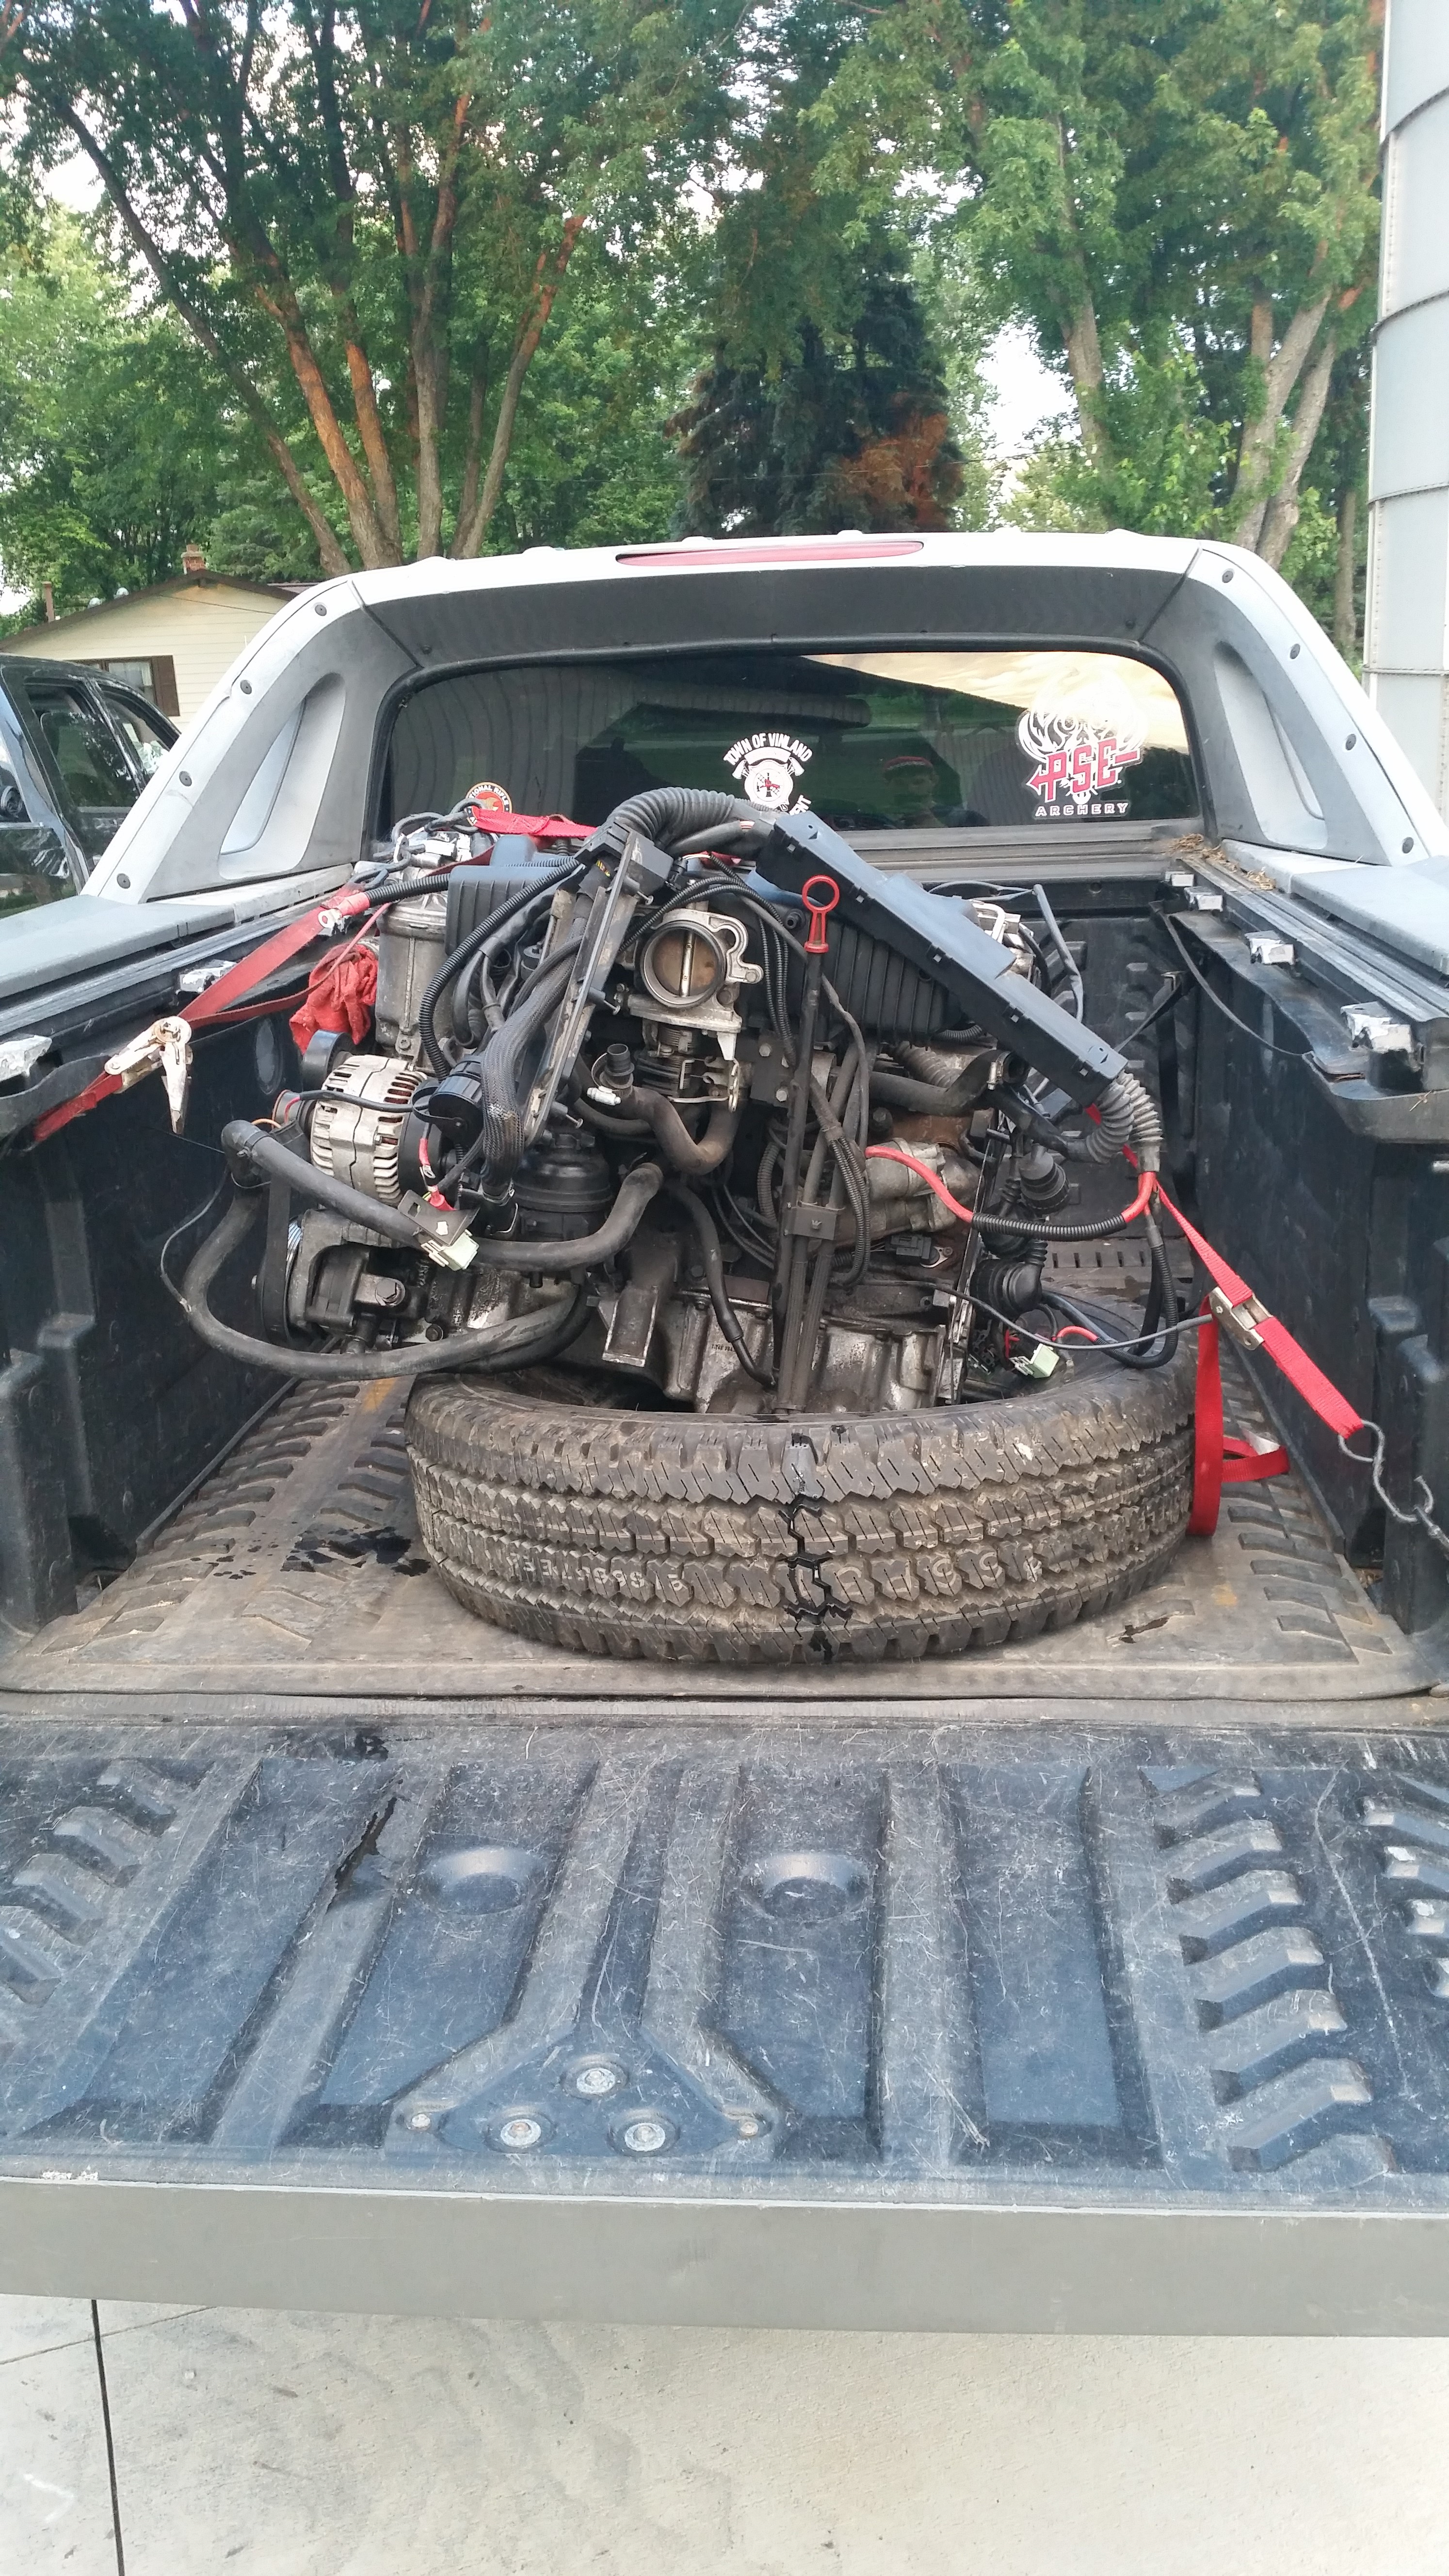
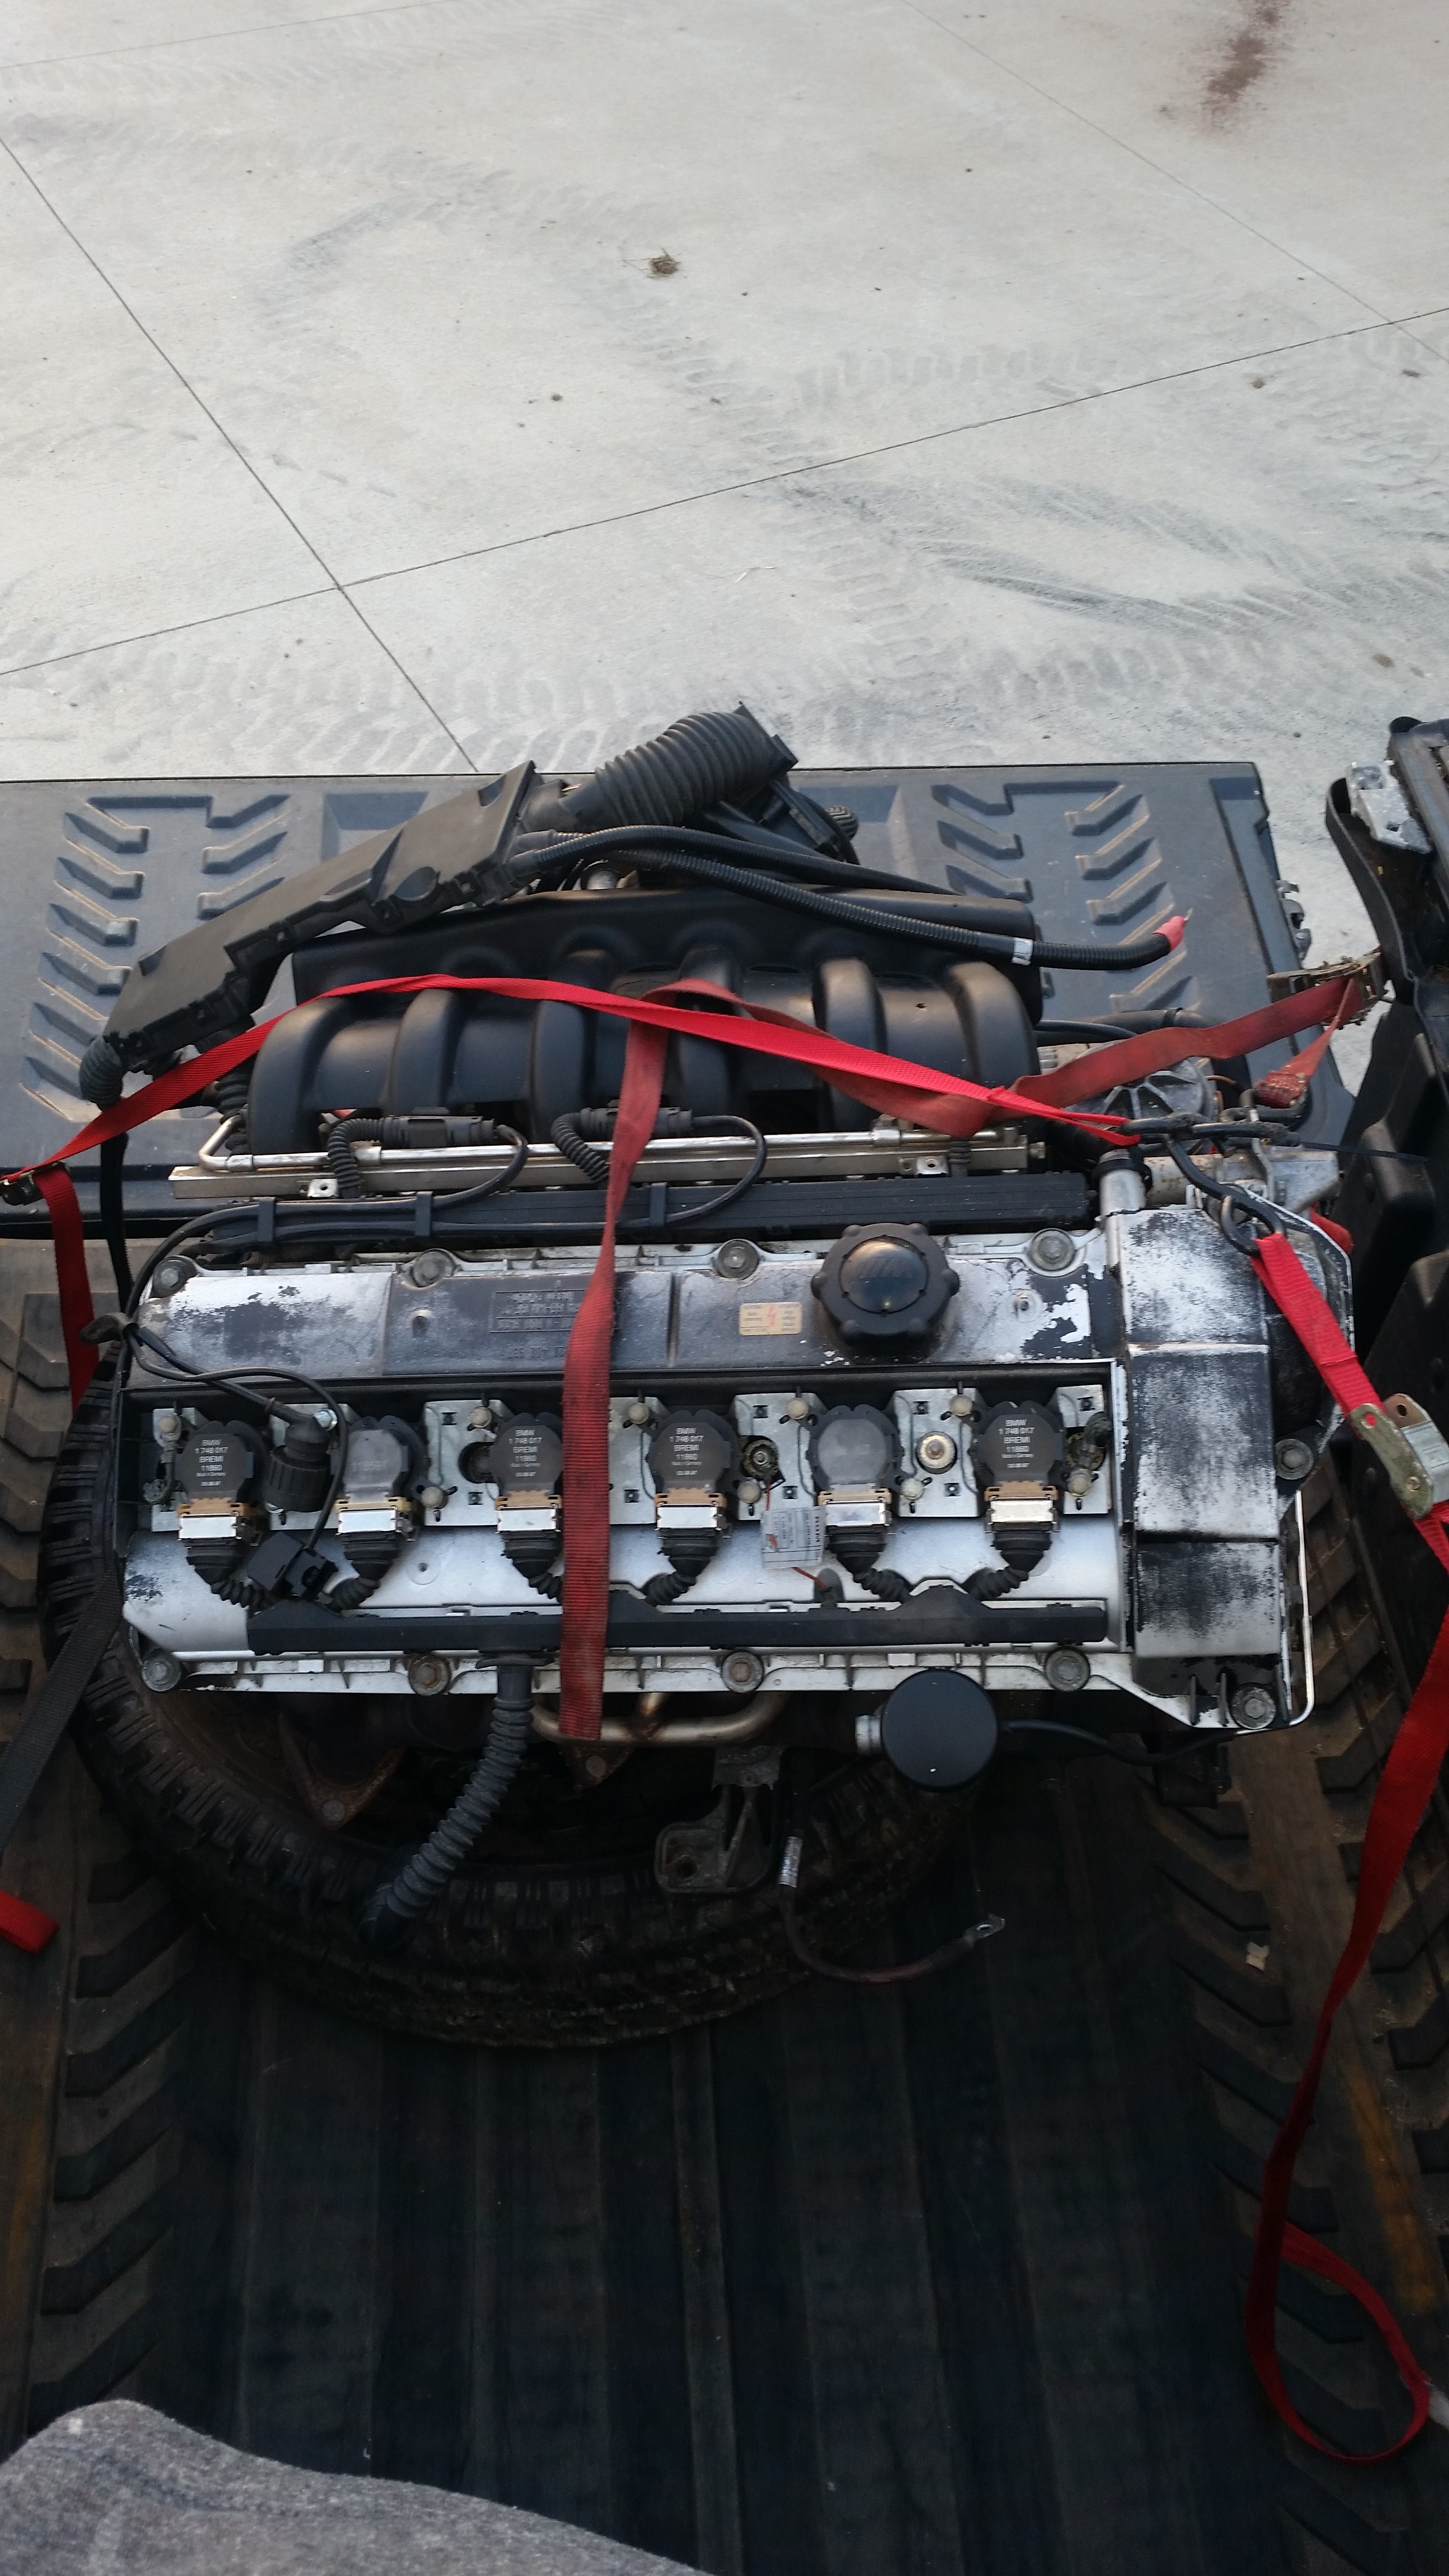
the one and only e30 s52 engine swap
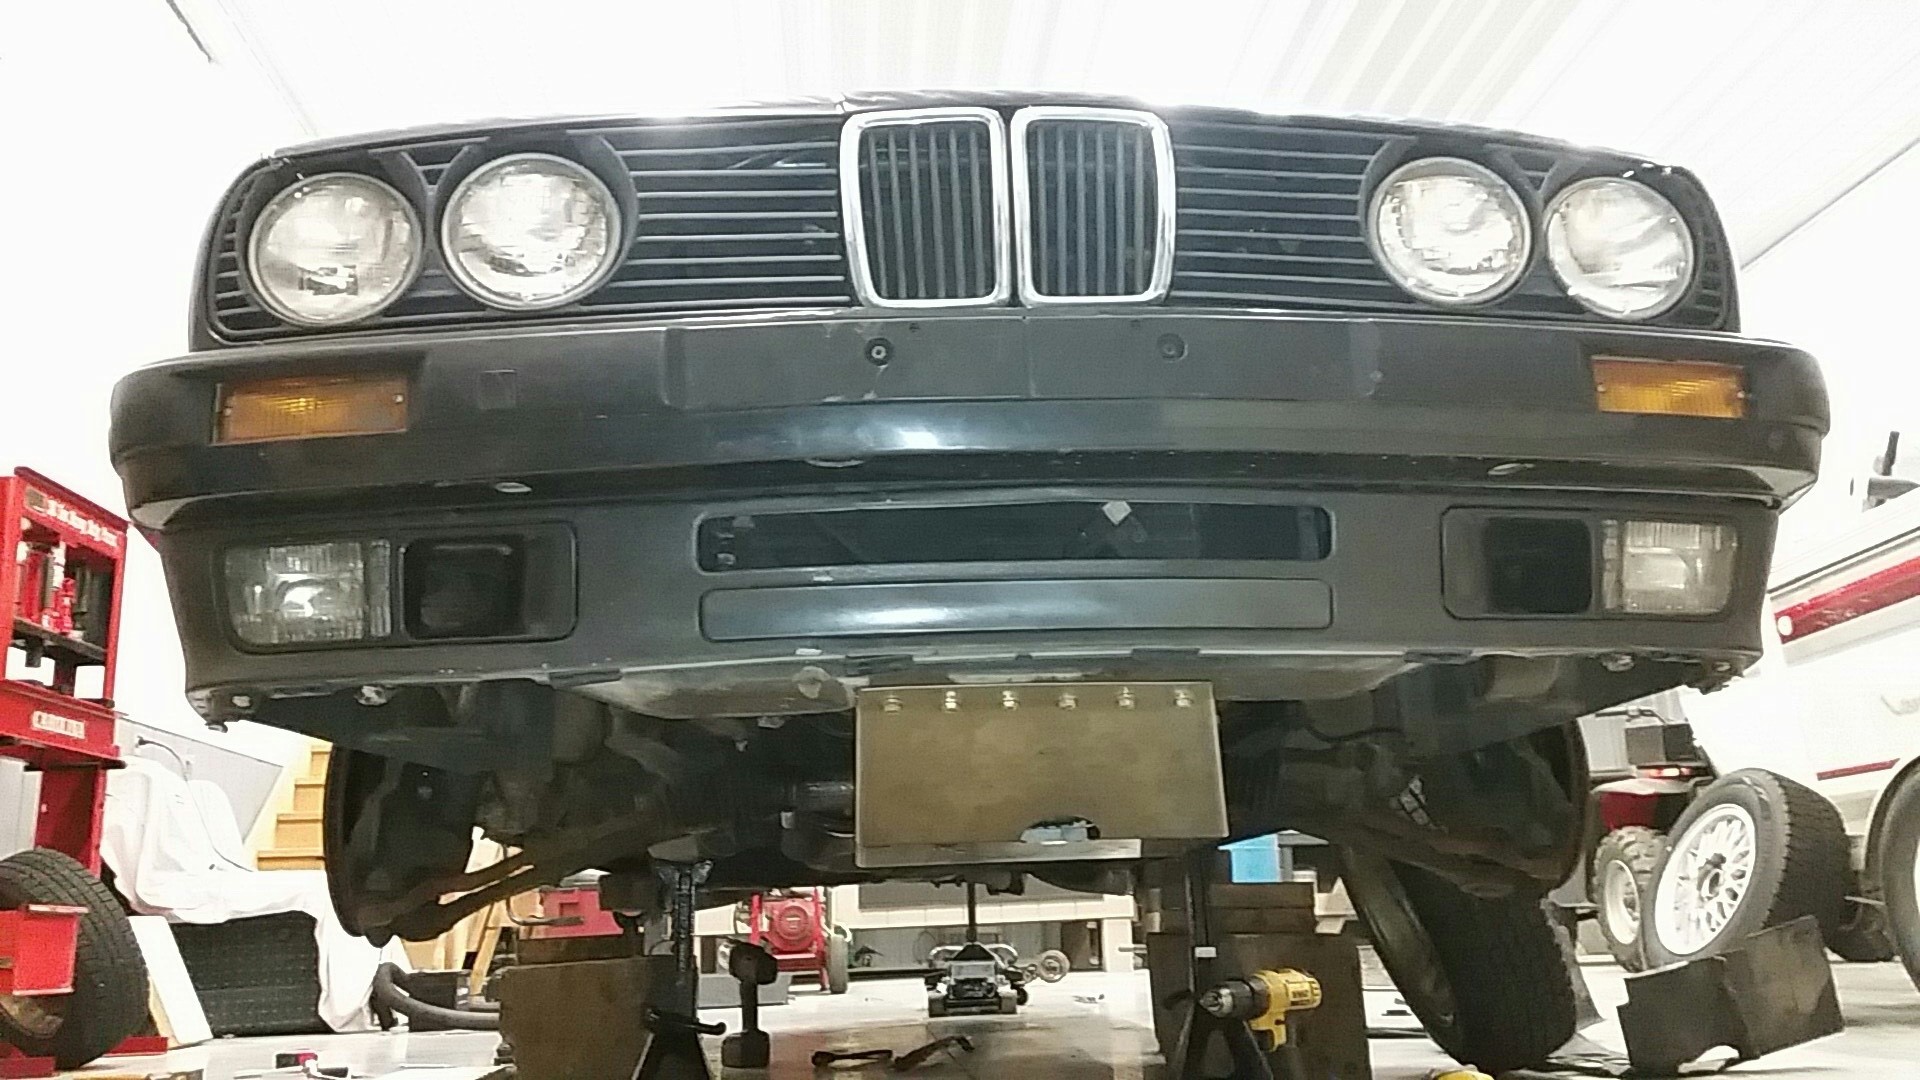
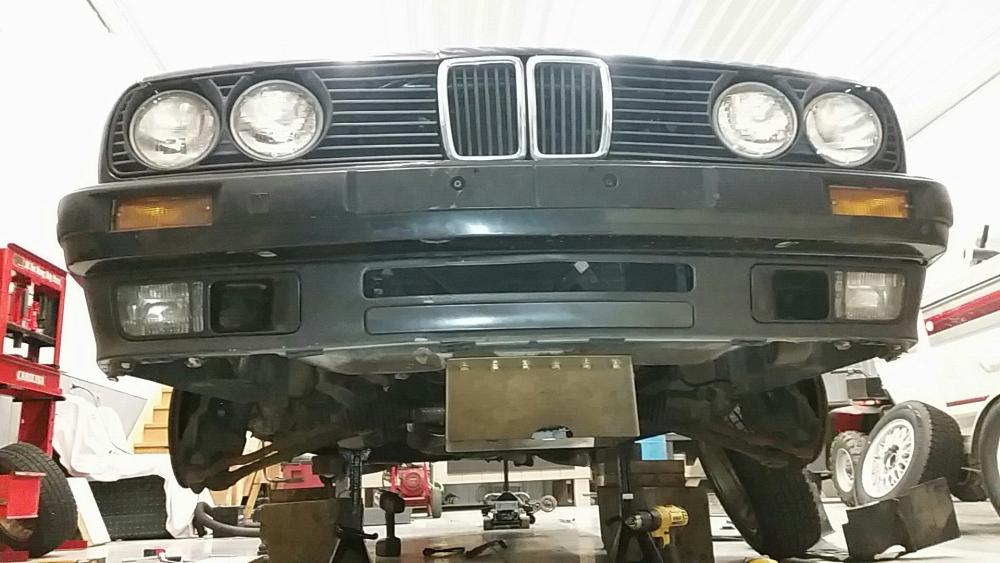
-
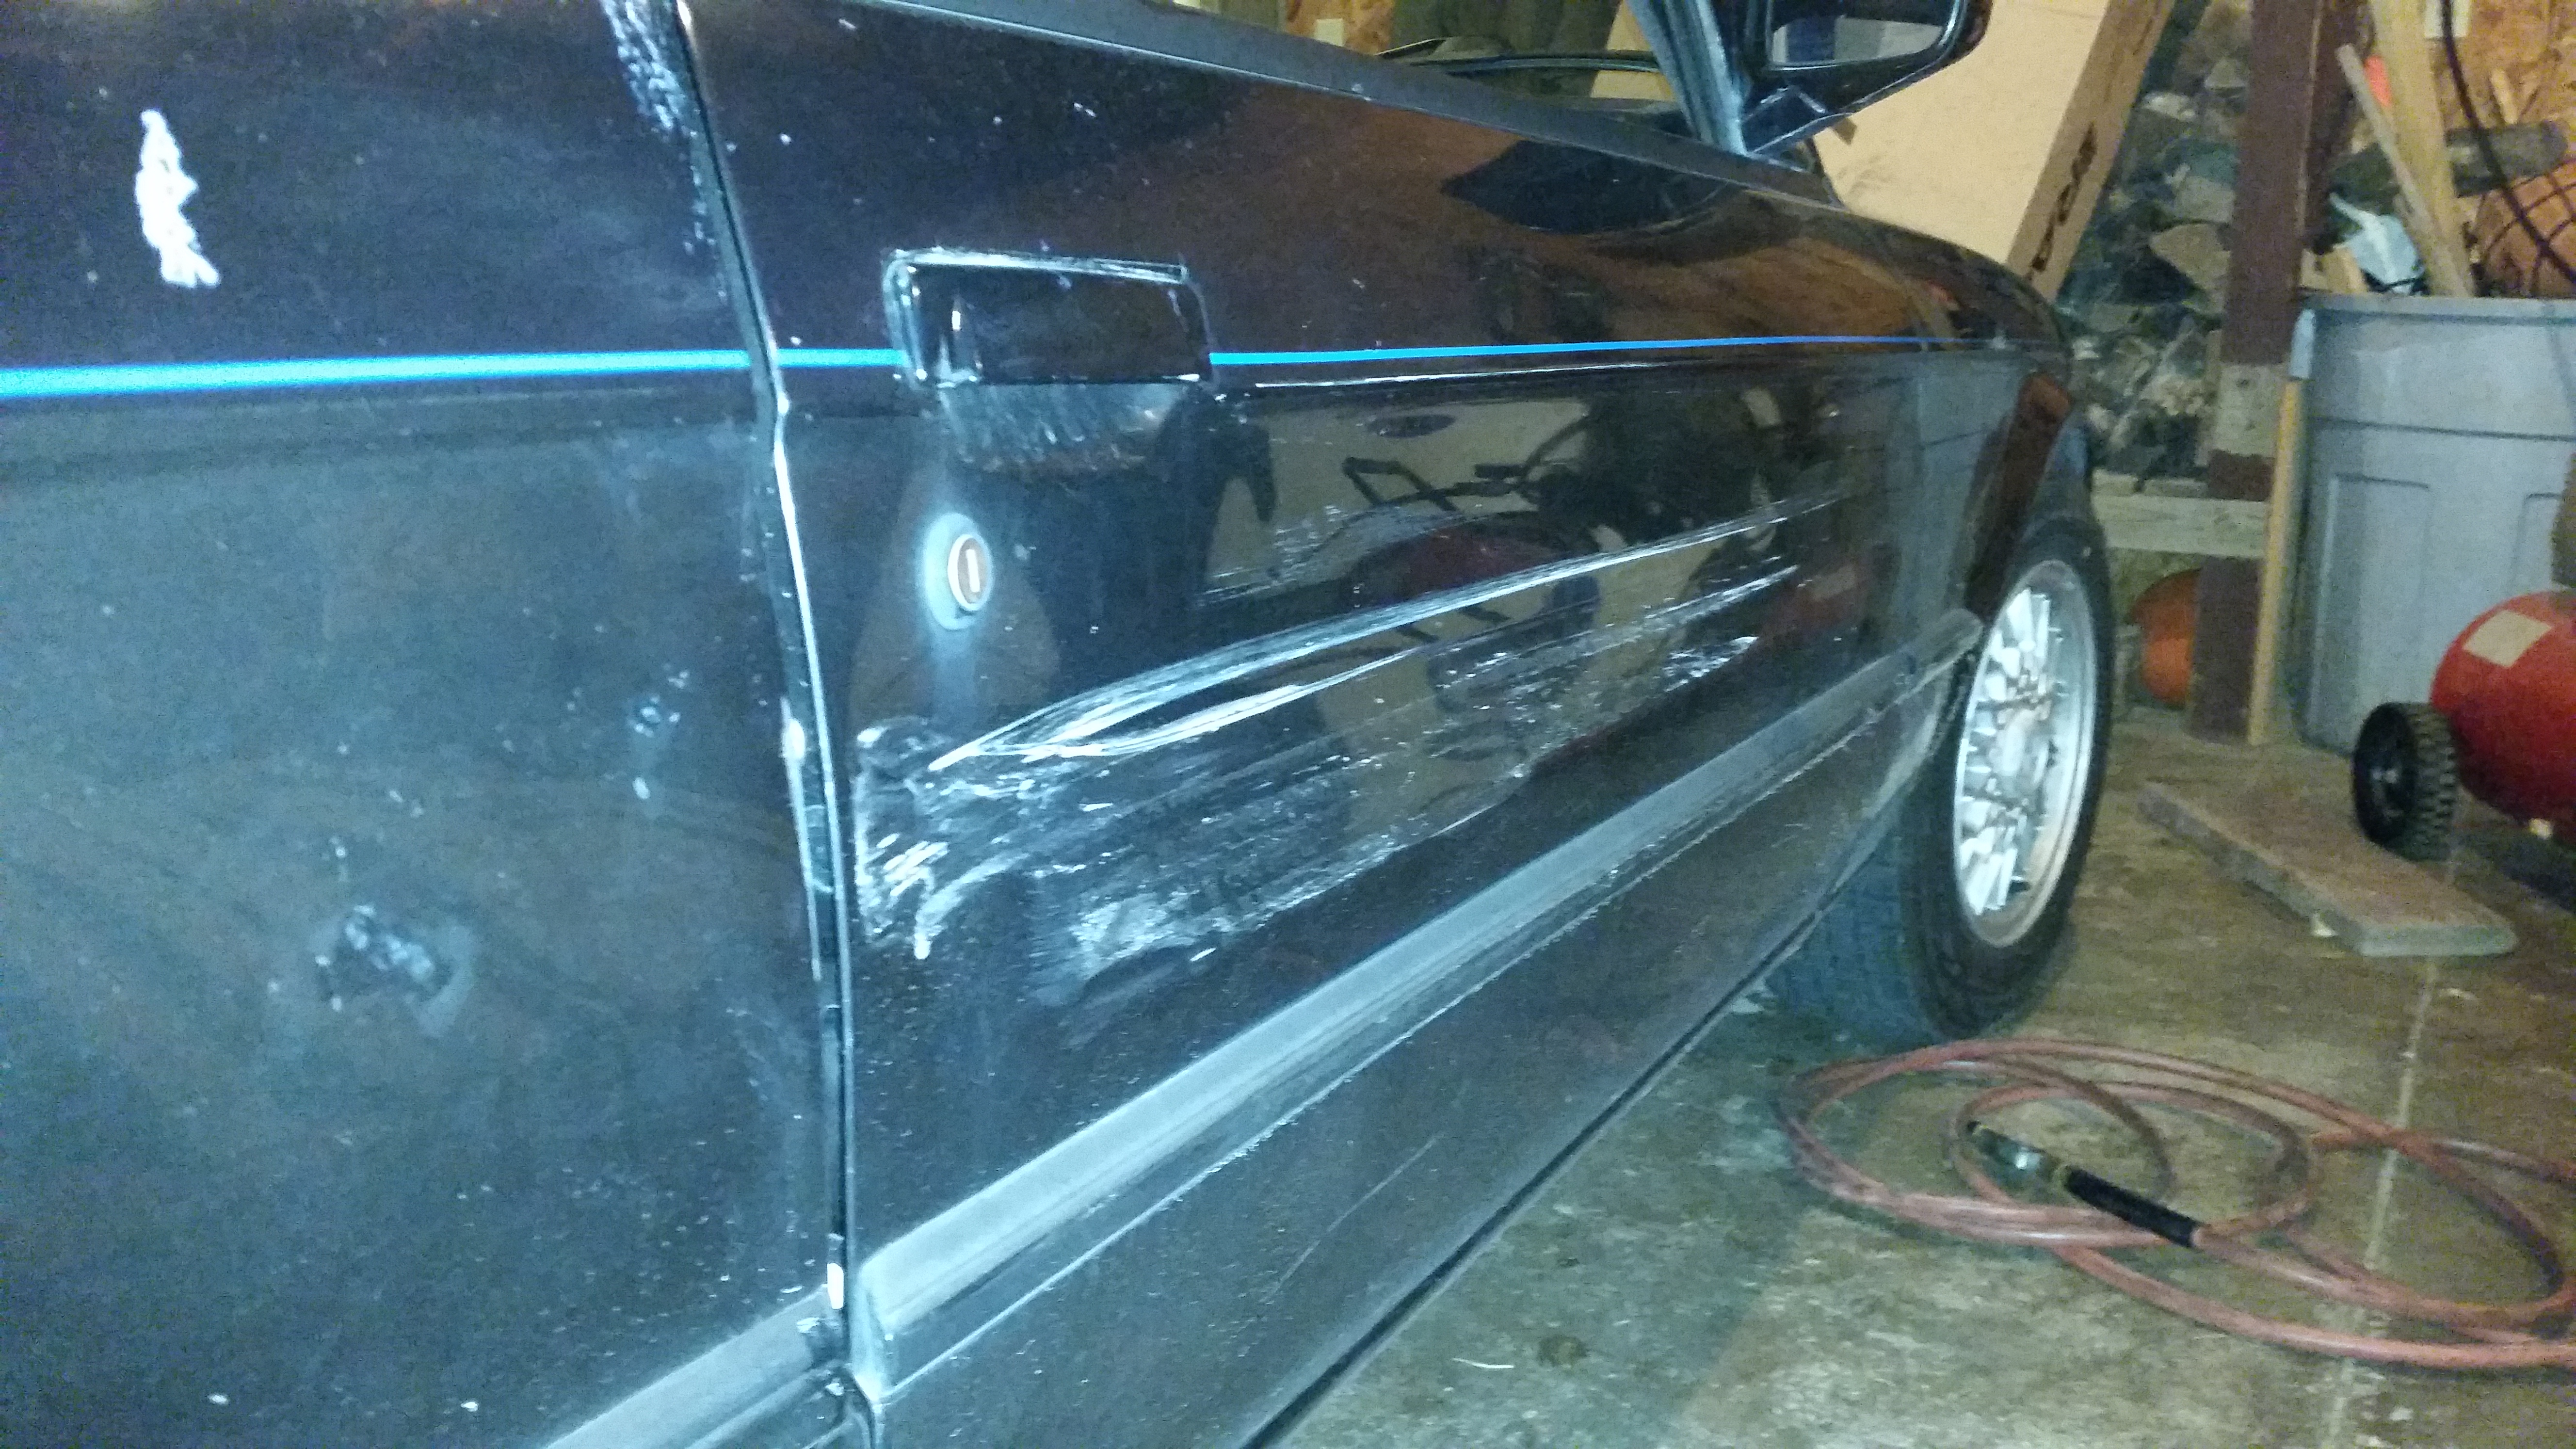
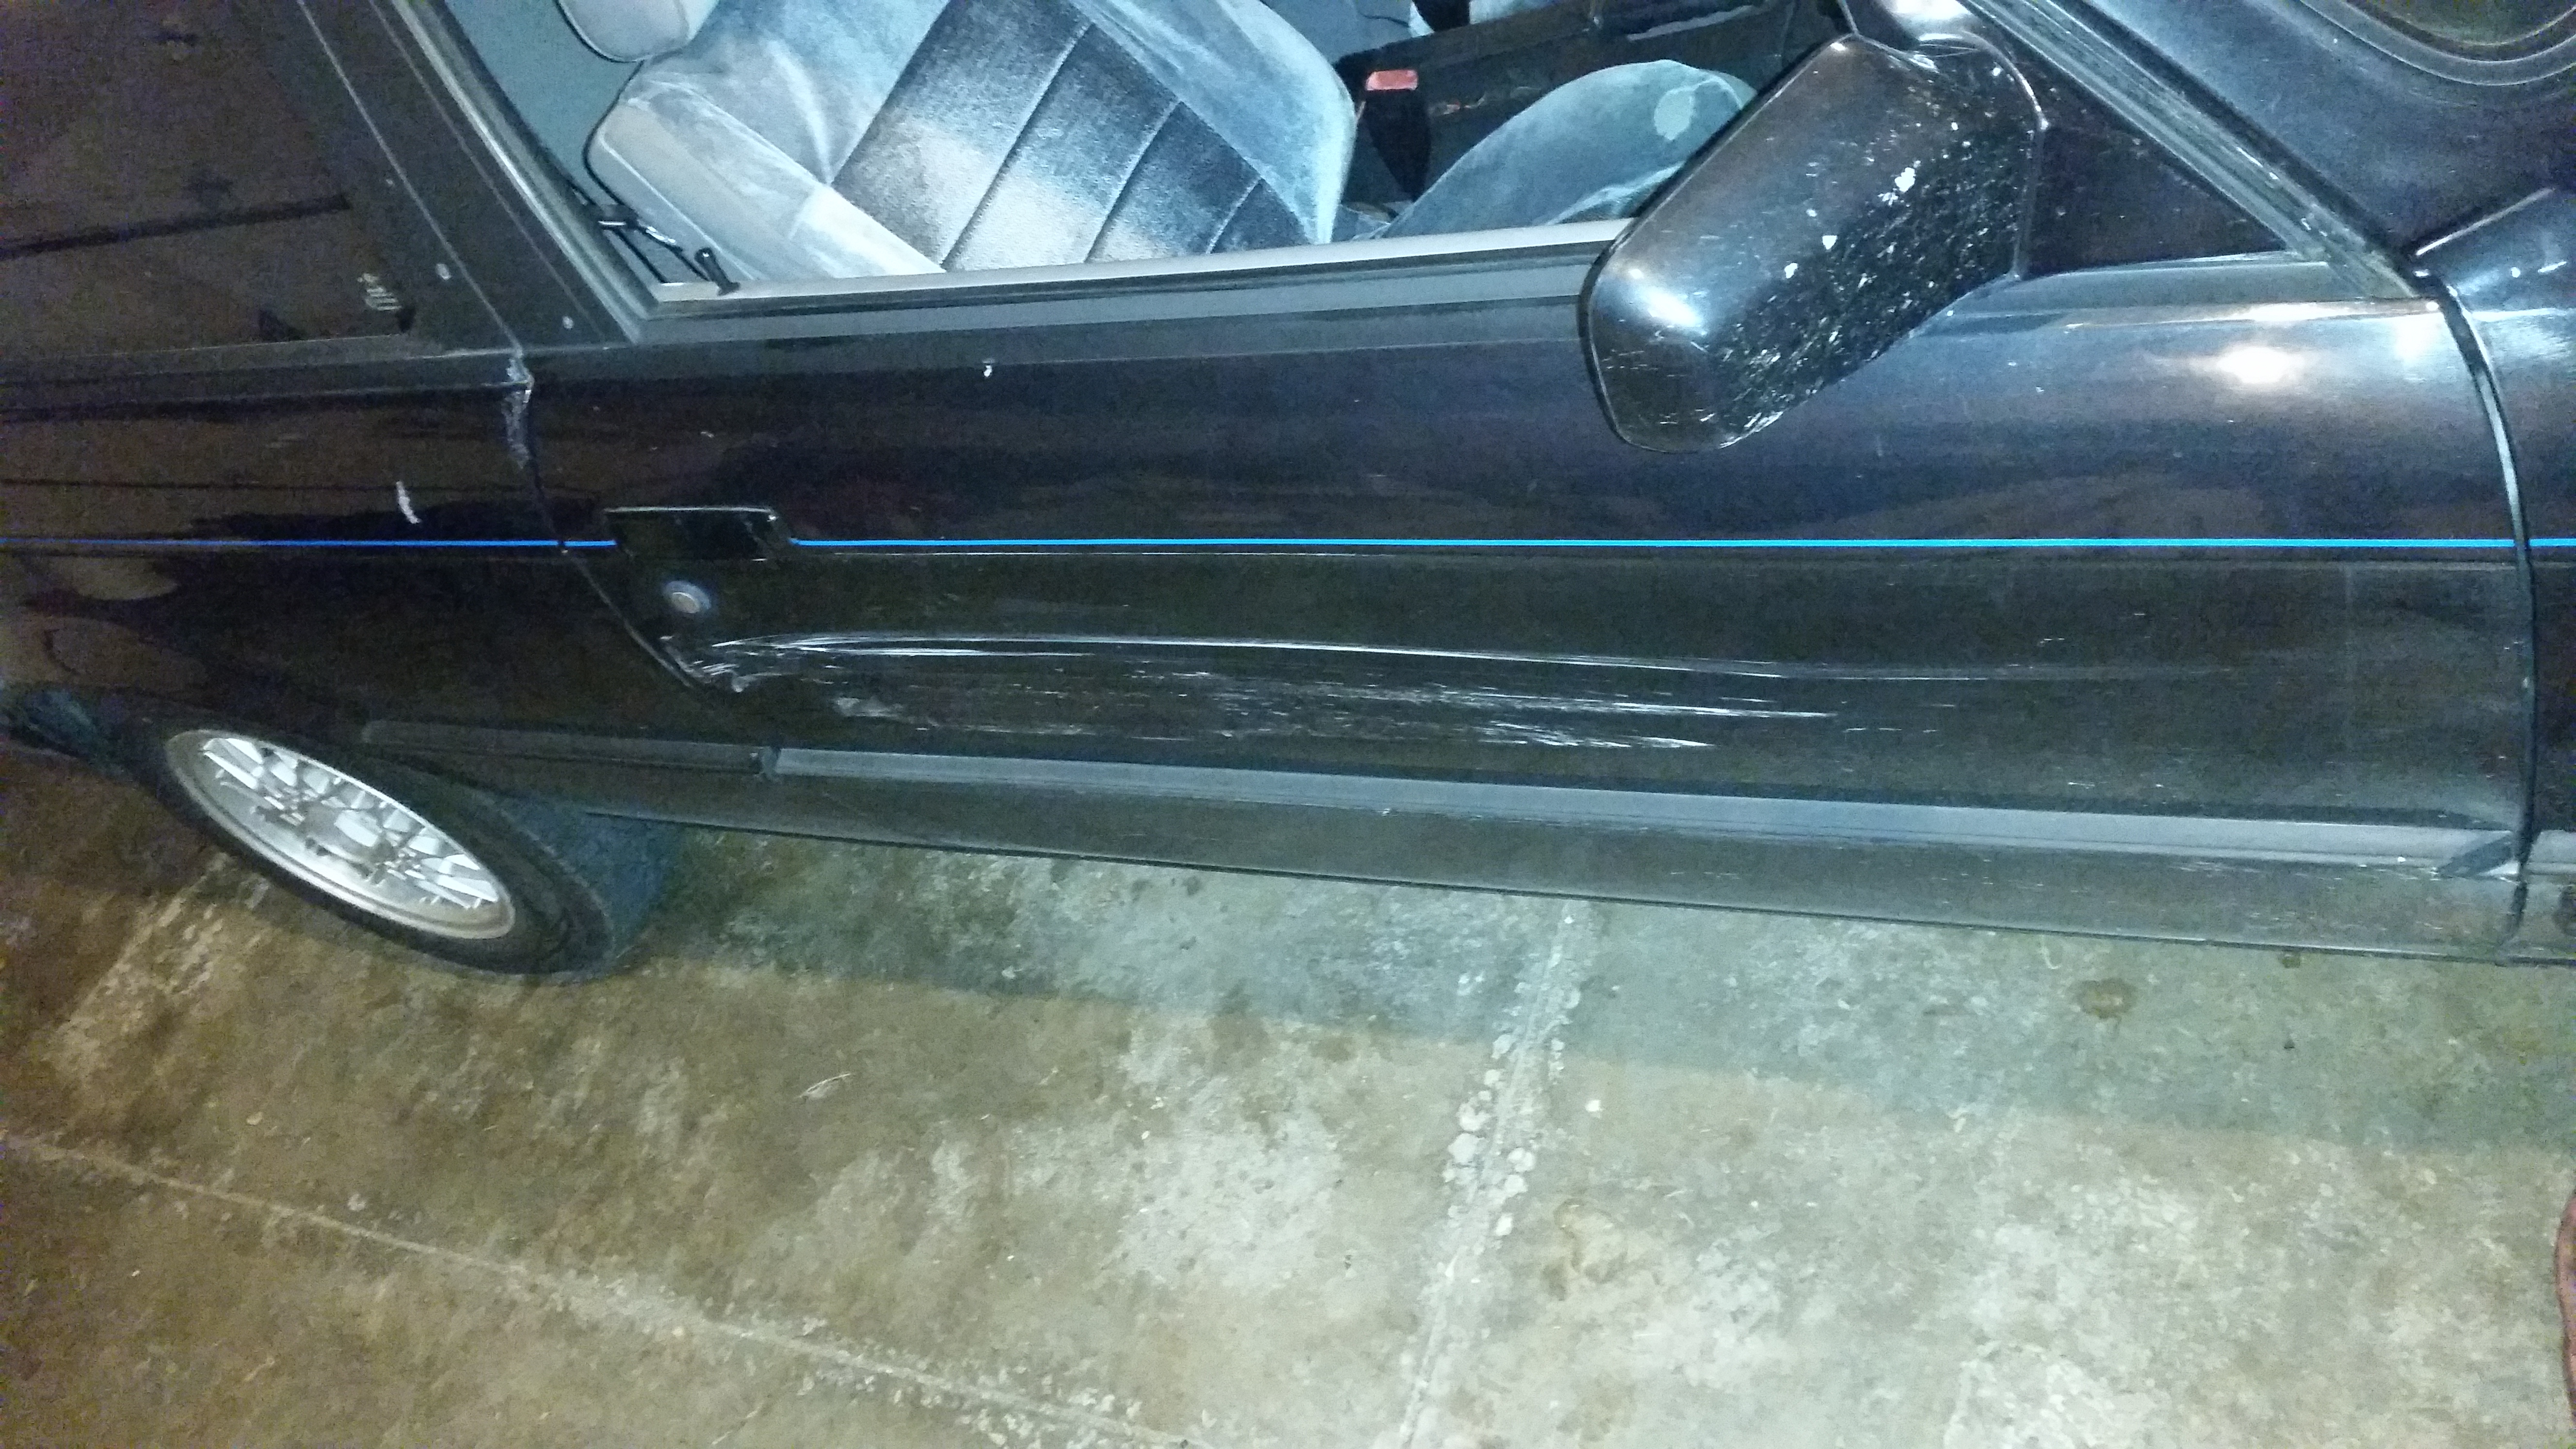
Contact amazon and send em the damaged pic. They will likely give you some money back. I had a window a.c. come with a big dent in it. Damage didn't affect the function so I was ok with it, they refunded me like $60 if I remember correctly.
Sent from my SM-G930R4 using Tapatalk
-
Do you have a link for that tank?
-
Contact amazon and send em the damaged pic. They will likely give you some money back. I had a window a.c. come with a big dent in it. Damage didn't affect the function so I was ok with it, they refunded me like $60 if I remember correctly.
Sent from my SM-G930R4 using Tapatalk
Just sent out an email to them, we'll see what happens. Thanks for the info!
You could always pick up a lead specific respirator too, that'd probably work if all you're doing is scuffing it up a little. Do it outside so that it doesn't get thrown into the air in the shop/settle on anything and you'll be good.
Gonna look into that. I like the idea of having a ruff surface so that's there an edge for the paint to grab to.
Do you have a link for that tank?
-
I can tell you from experience you will have a hard time getting por-15 to adhere to a painted or semi smooth surface EVEN after you scuff it. I made the "por" decision to scuff an entire engine bay and used por-15 to paint it and it all flaked off in a few short months. I could have done a "por" job of prepping the surface, as I was inexperienced at the time, but I just want to give you a heads up. It did work great on my rusty truck frame though!
From a Hotrodding site:
"best applied to minor surface rust to get bite. When you completely take out the rust it doesn't seem to adhere as well and it comes off in sheets or flakes." -tech69

https://www.instagram.com/_jdesigner_/ http://nevertoolow.tumblr.com/
🥳SOLD BMW E24 633CSI - BMW M30B32 🧪SOLD HCH ES9 - 1.3 LDA
👽BMW E30 325IC - Toyota 1JZ-GTE ⏰ HONDA EF9 CIVIC SI - JDM B18C5
☠️BMW E36 318i - Ford 5.0 FE302 🚴♂️ GT-Labomba - 26x2.75 Freeride
🤹♀️SOLD BMW E36/7 Z3 - BMW M54B25 🧓SOLD BMW E10 2002 - BMW M10M05 -
Paint
Over
Rust -
I would use truck bed liner if you want it black. Probably the only thing that will hold up all the road debris that gas tanks get exposed to.
-
The tank I bought from Advanced Auto either had that crossover pipe already installed, or somehow didn't have one (doubtful)
I'll see if I can find pictures. It was sub $200 to get it to my door. -
Does anyone have any experience with the UUC sway barbarian sway bars or the IE sway bars? What's the reason for the even larger 25mm front 22mm rear IE sway bar kit? Just trying to rap my head around it all and what would be the best route to go for my intentions with the car.
-
I have a UUC 19mm rear sway bar, it doesn't fit very well. I had to modify multiple brackets, and the sway bar itself rubs the underside of the trunk floor above the diff. After all that, the rear end links are too long to actually use the softer adjustment holes so now I have to make new ones that are shorter. If I were to do it again, I'd probably get the Turner reinforcements and an ST 19mm rear bar.
-
I have the turner reinforcements and ST bars & adjustable endlinks. 22F/19R
No complaints about install besides the typical lack of room
-
I have the turner reinforcements and ST bars & adjustable endlinks. 22F/19R
No complaints about install besides the typical lack of room
So it seems the st sway bars came with rear adjustable links but not front ones. Where did you resort to for the front ones?
-
So it seems the st sway bars came with rear adjustable links but not front ones. Where did you resort to for the front ones?
-
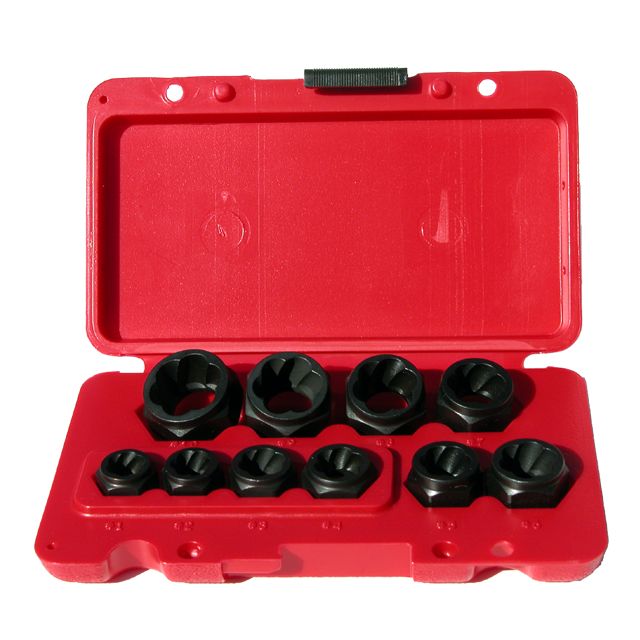
These guys work wonders for rounded bolts. If you dont have a set, you are welcome to borrow mine.
Just wanted to add my thanks for pointing out that these kits exist. Went out and bought one the same day, and it was the answer for a half-destroyed rusted O2 sensor nut on the truck this evening.
-
Contact amazon and send em the damaged pic. They will likely give you some money back. I had a window a.c. come with a big dent in it. Damage didn't affect the function so I was ok with it, they refunded me like $60 if I remember correctly.
Sent from my SM-G930R4 using Tapatalk
I'm gonna start out by thanking you for this info. I contacted amazon and they did end up refunding me 36 dollars back for the damage to the gas tank with no hassle at all. I threw the bent tab on tank in a vice and bent her straight with no issues.
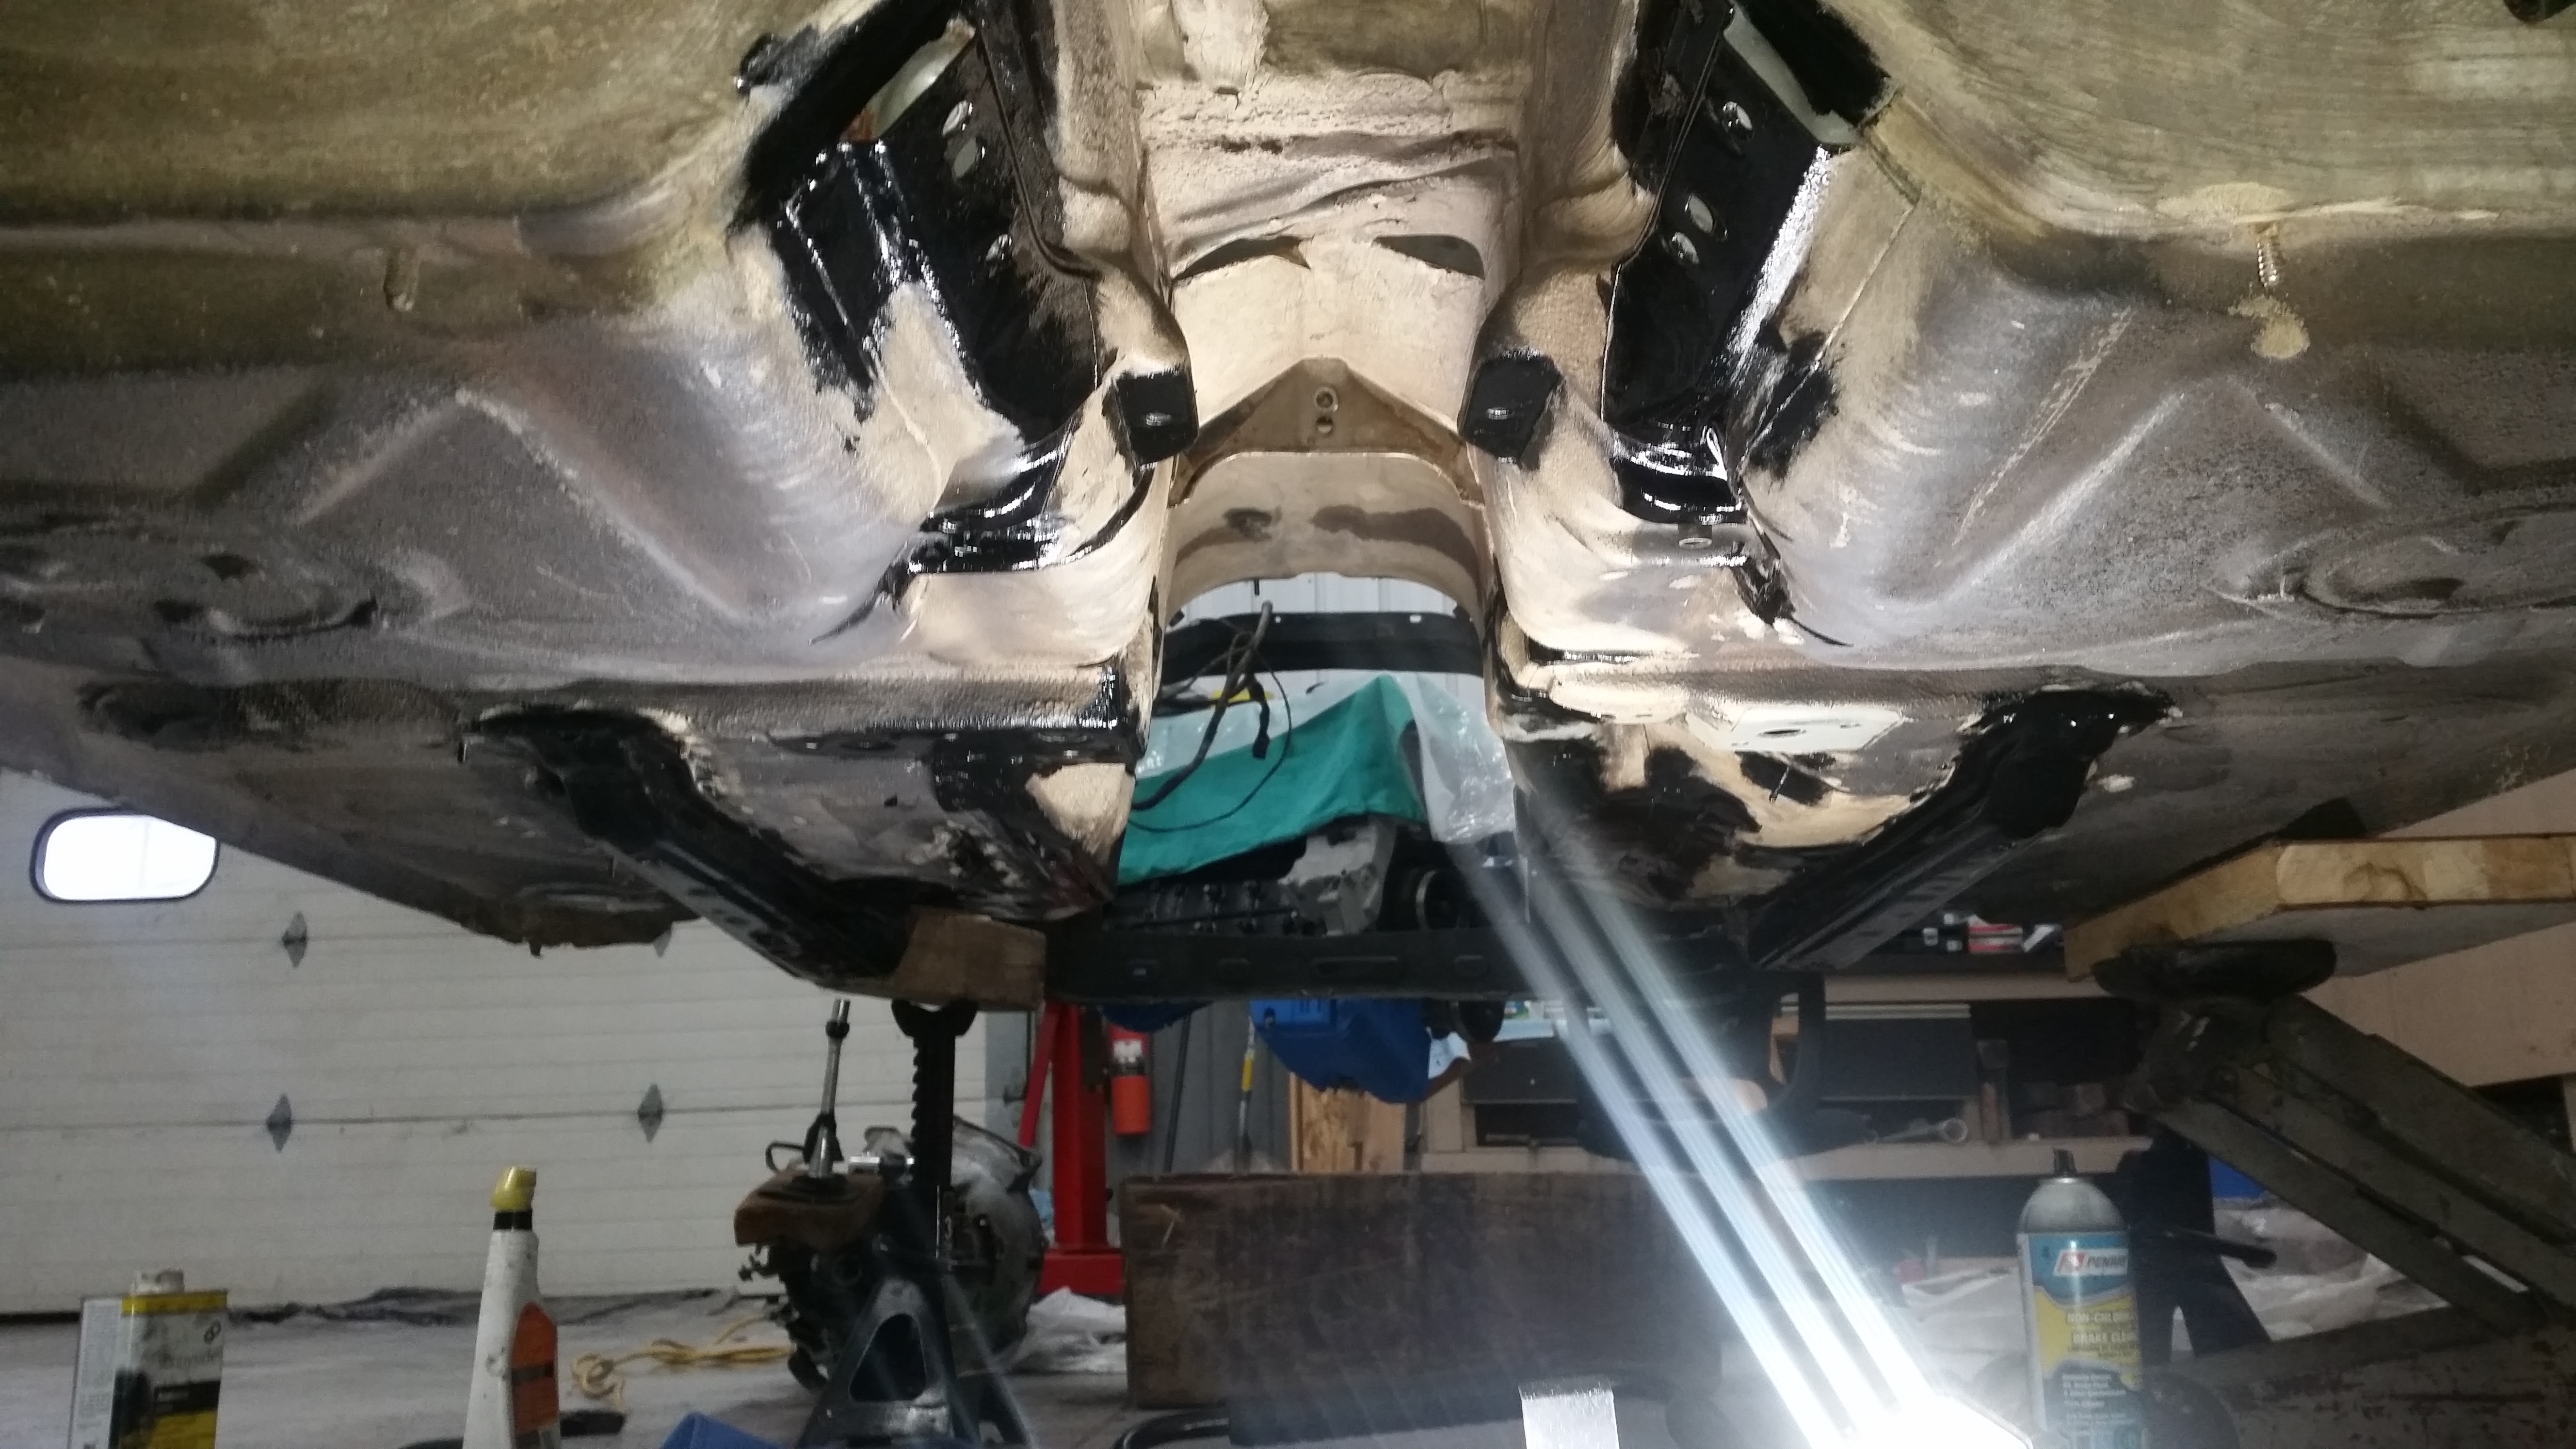
Last Thursday night I finished up the under-body grinding down any rust, prepping it with por-15 metal prep, and then painting 2 coats of por-15 on it.
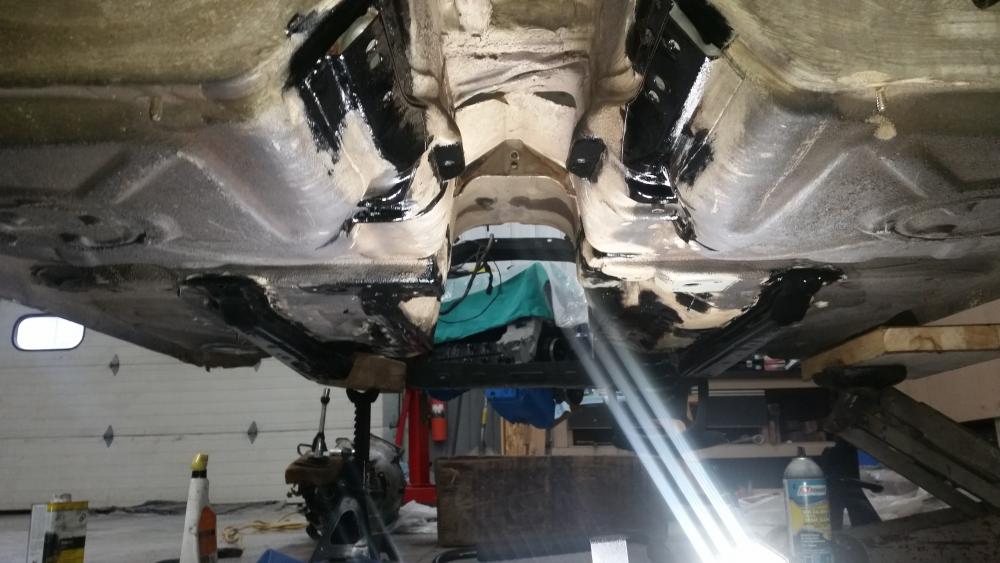
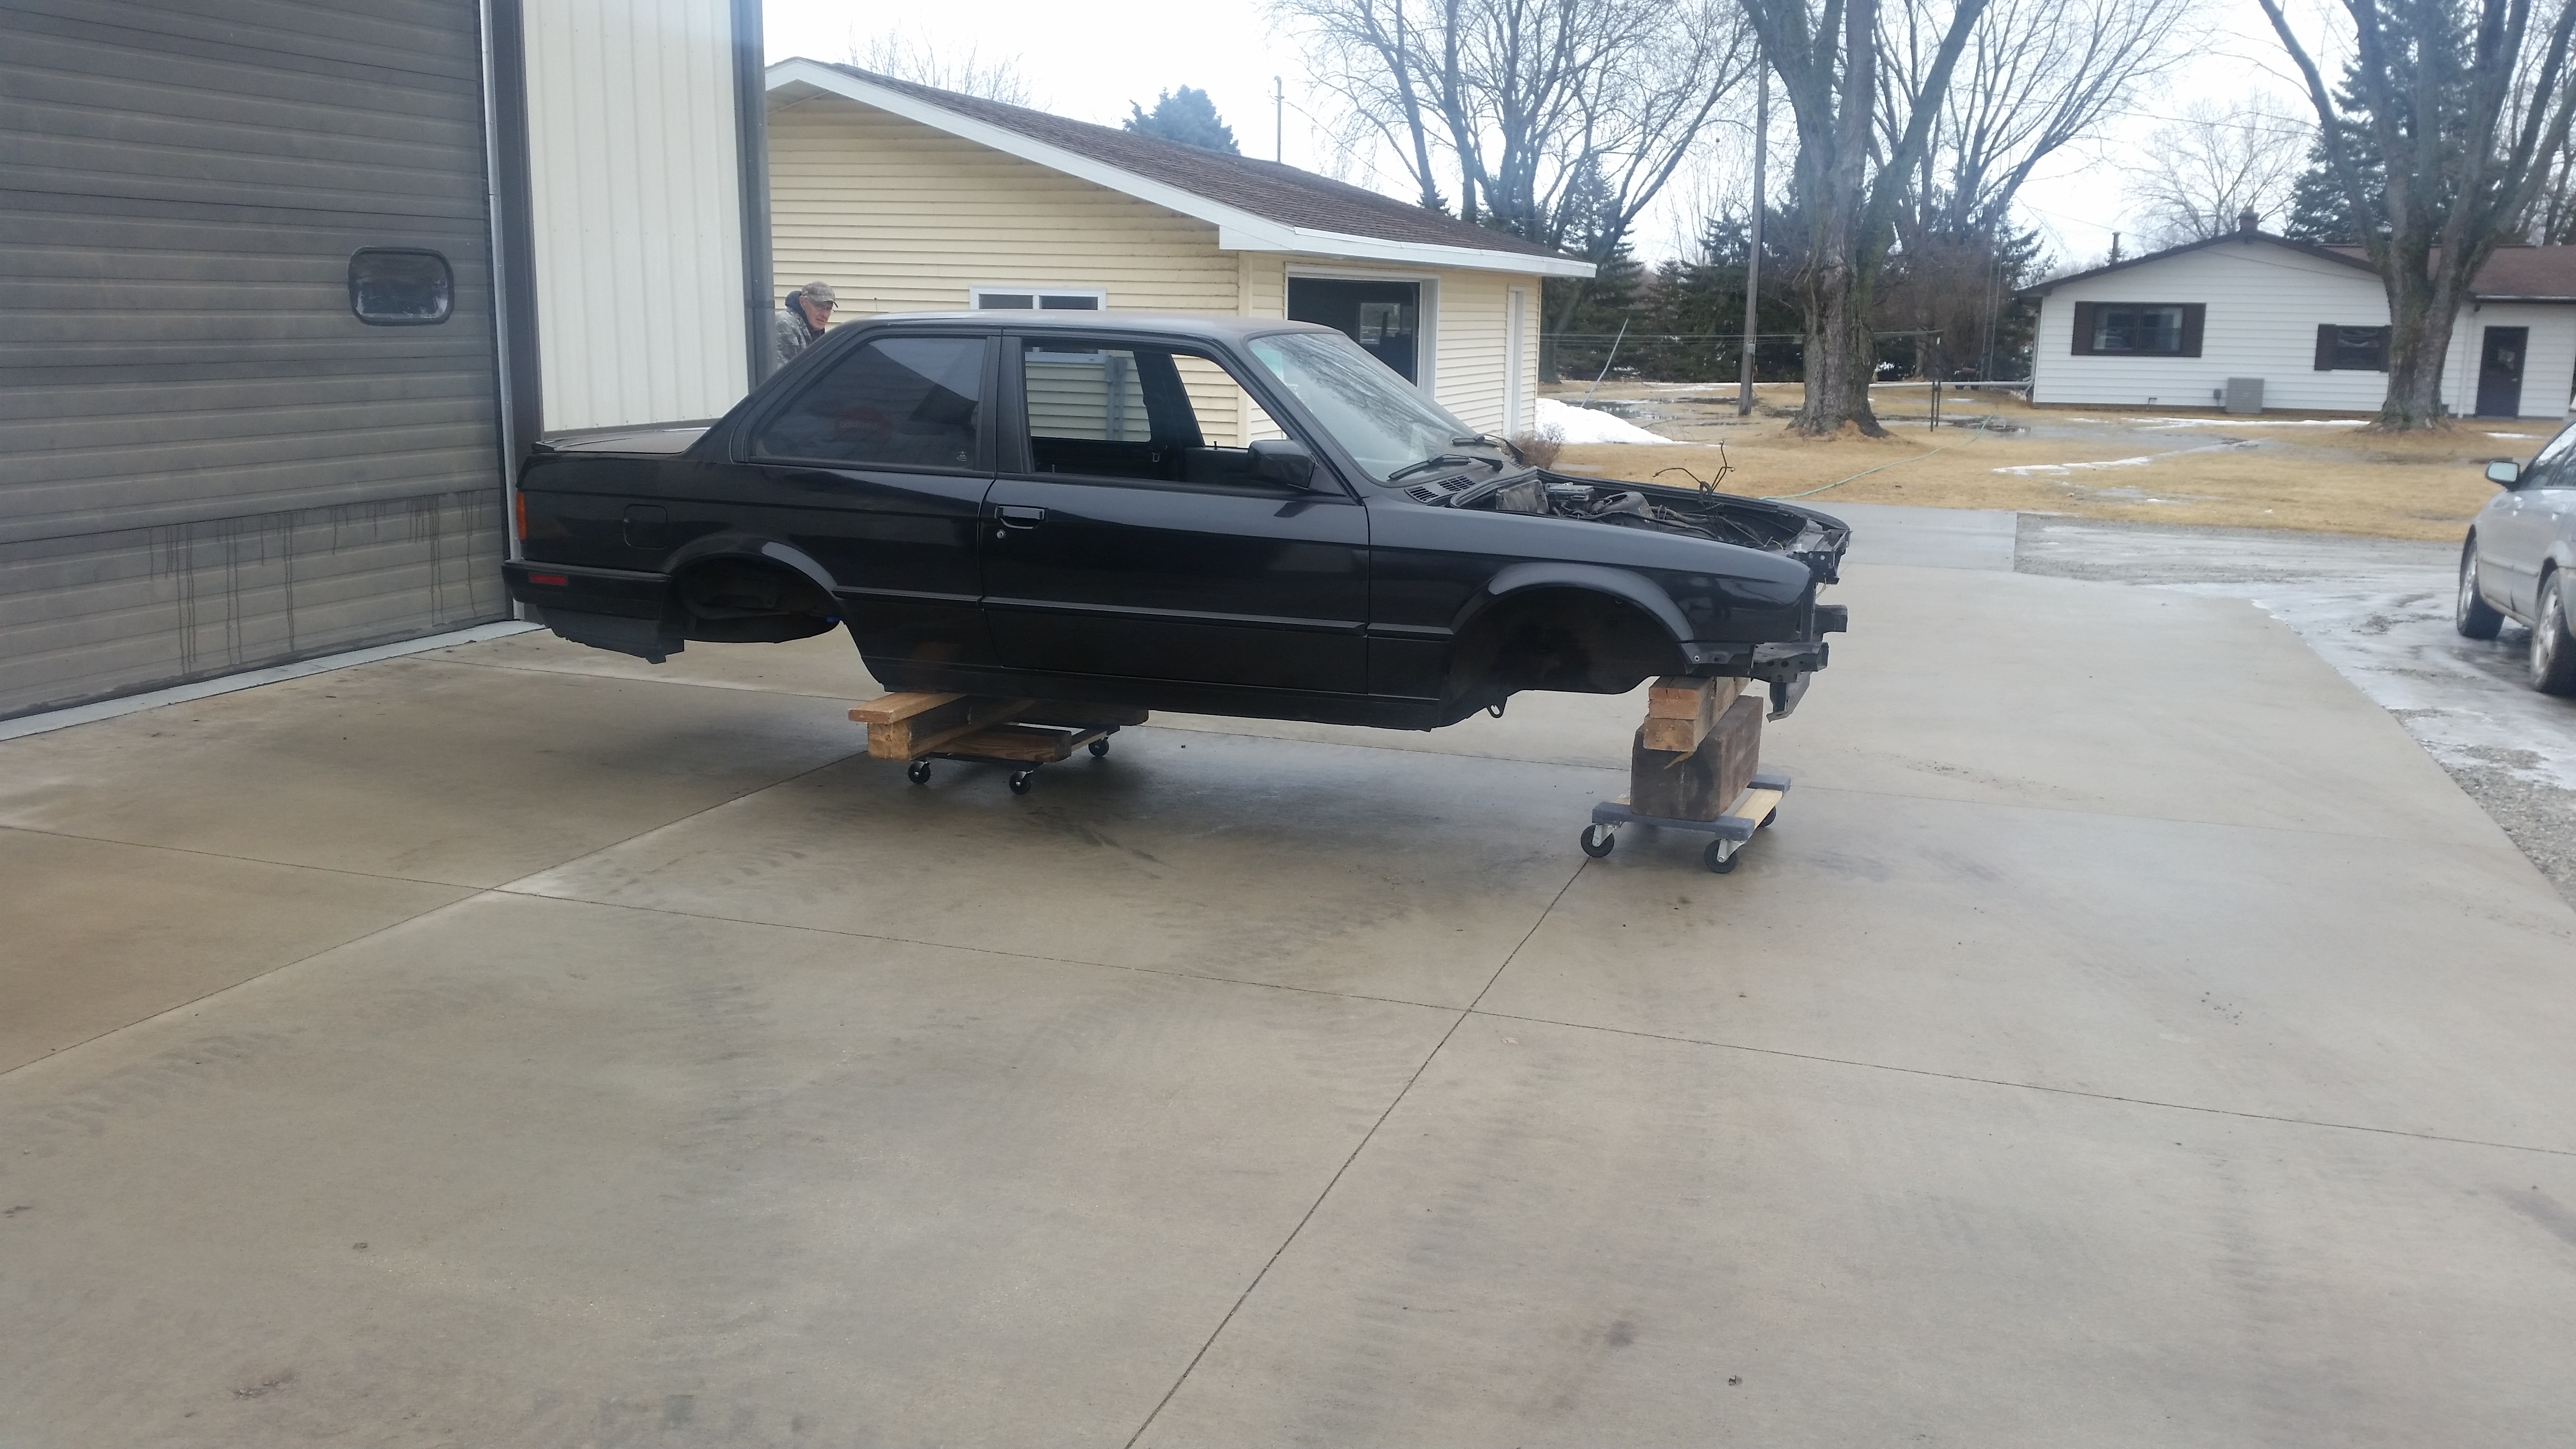
After letting it dry for a good 24 hours I started getting the under-body prepped for undercoat. Little did I know that all the black areas on the floor pans and pretty much everywhere in the rear end was actually 20 year old caked on dirt. I scrubbed for a few hours with heavy degreaser trying to get the shit off but there was little success. Only thing I found to take it off decently was lacquer thinner and even then it wasn't doing a whole lot better. The only thing that was gonna do the job effectively was a pressure washer. Luckily, Friday was a fairly nice day and it was in the middle 40's so I went to the store, bought two 1000 lb rated 4 wheel dolly's, stacked some wood on top of them to reach the height of the car and rolled her outside.
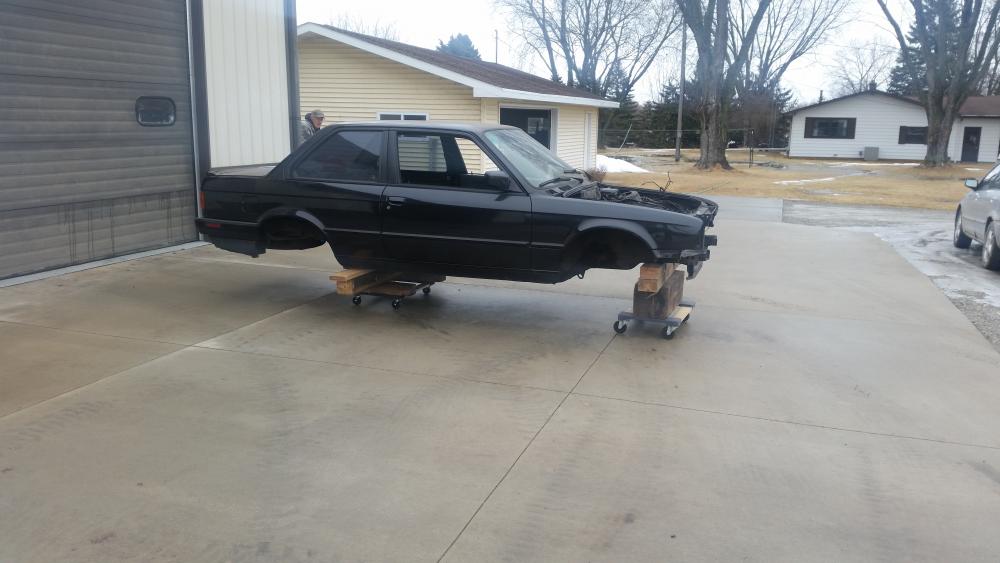
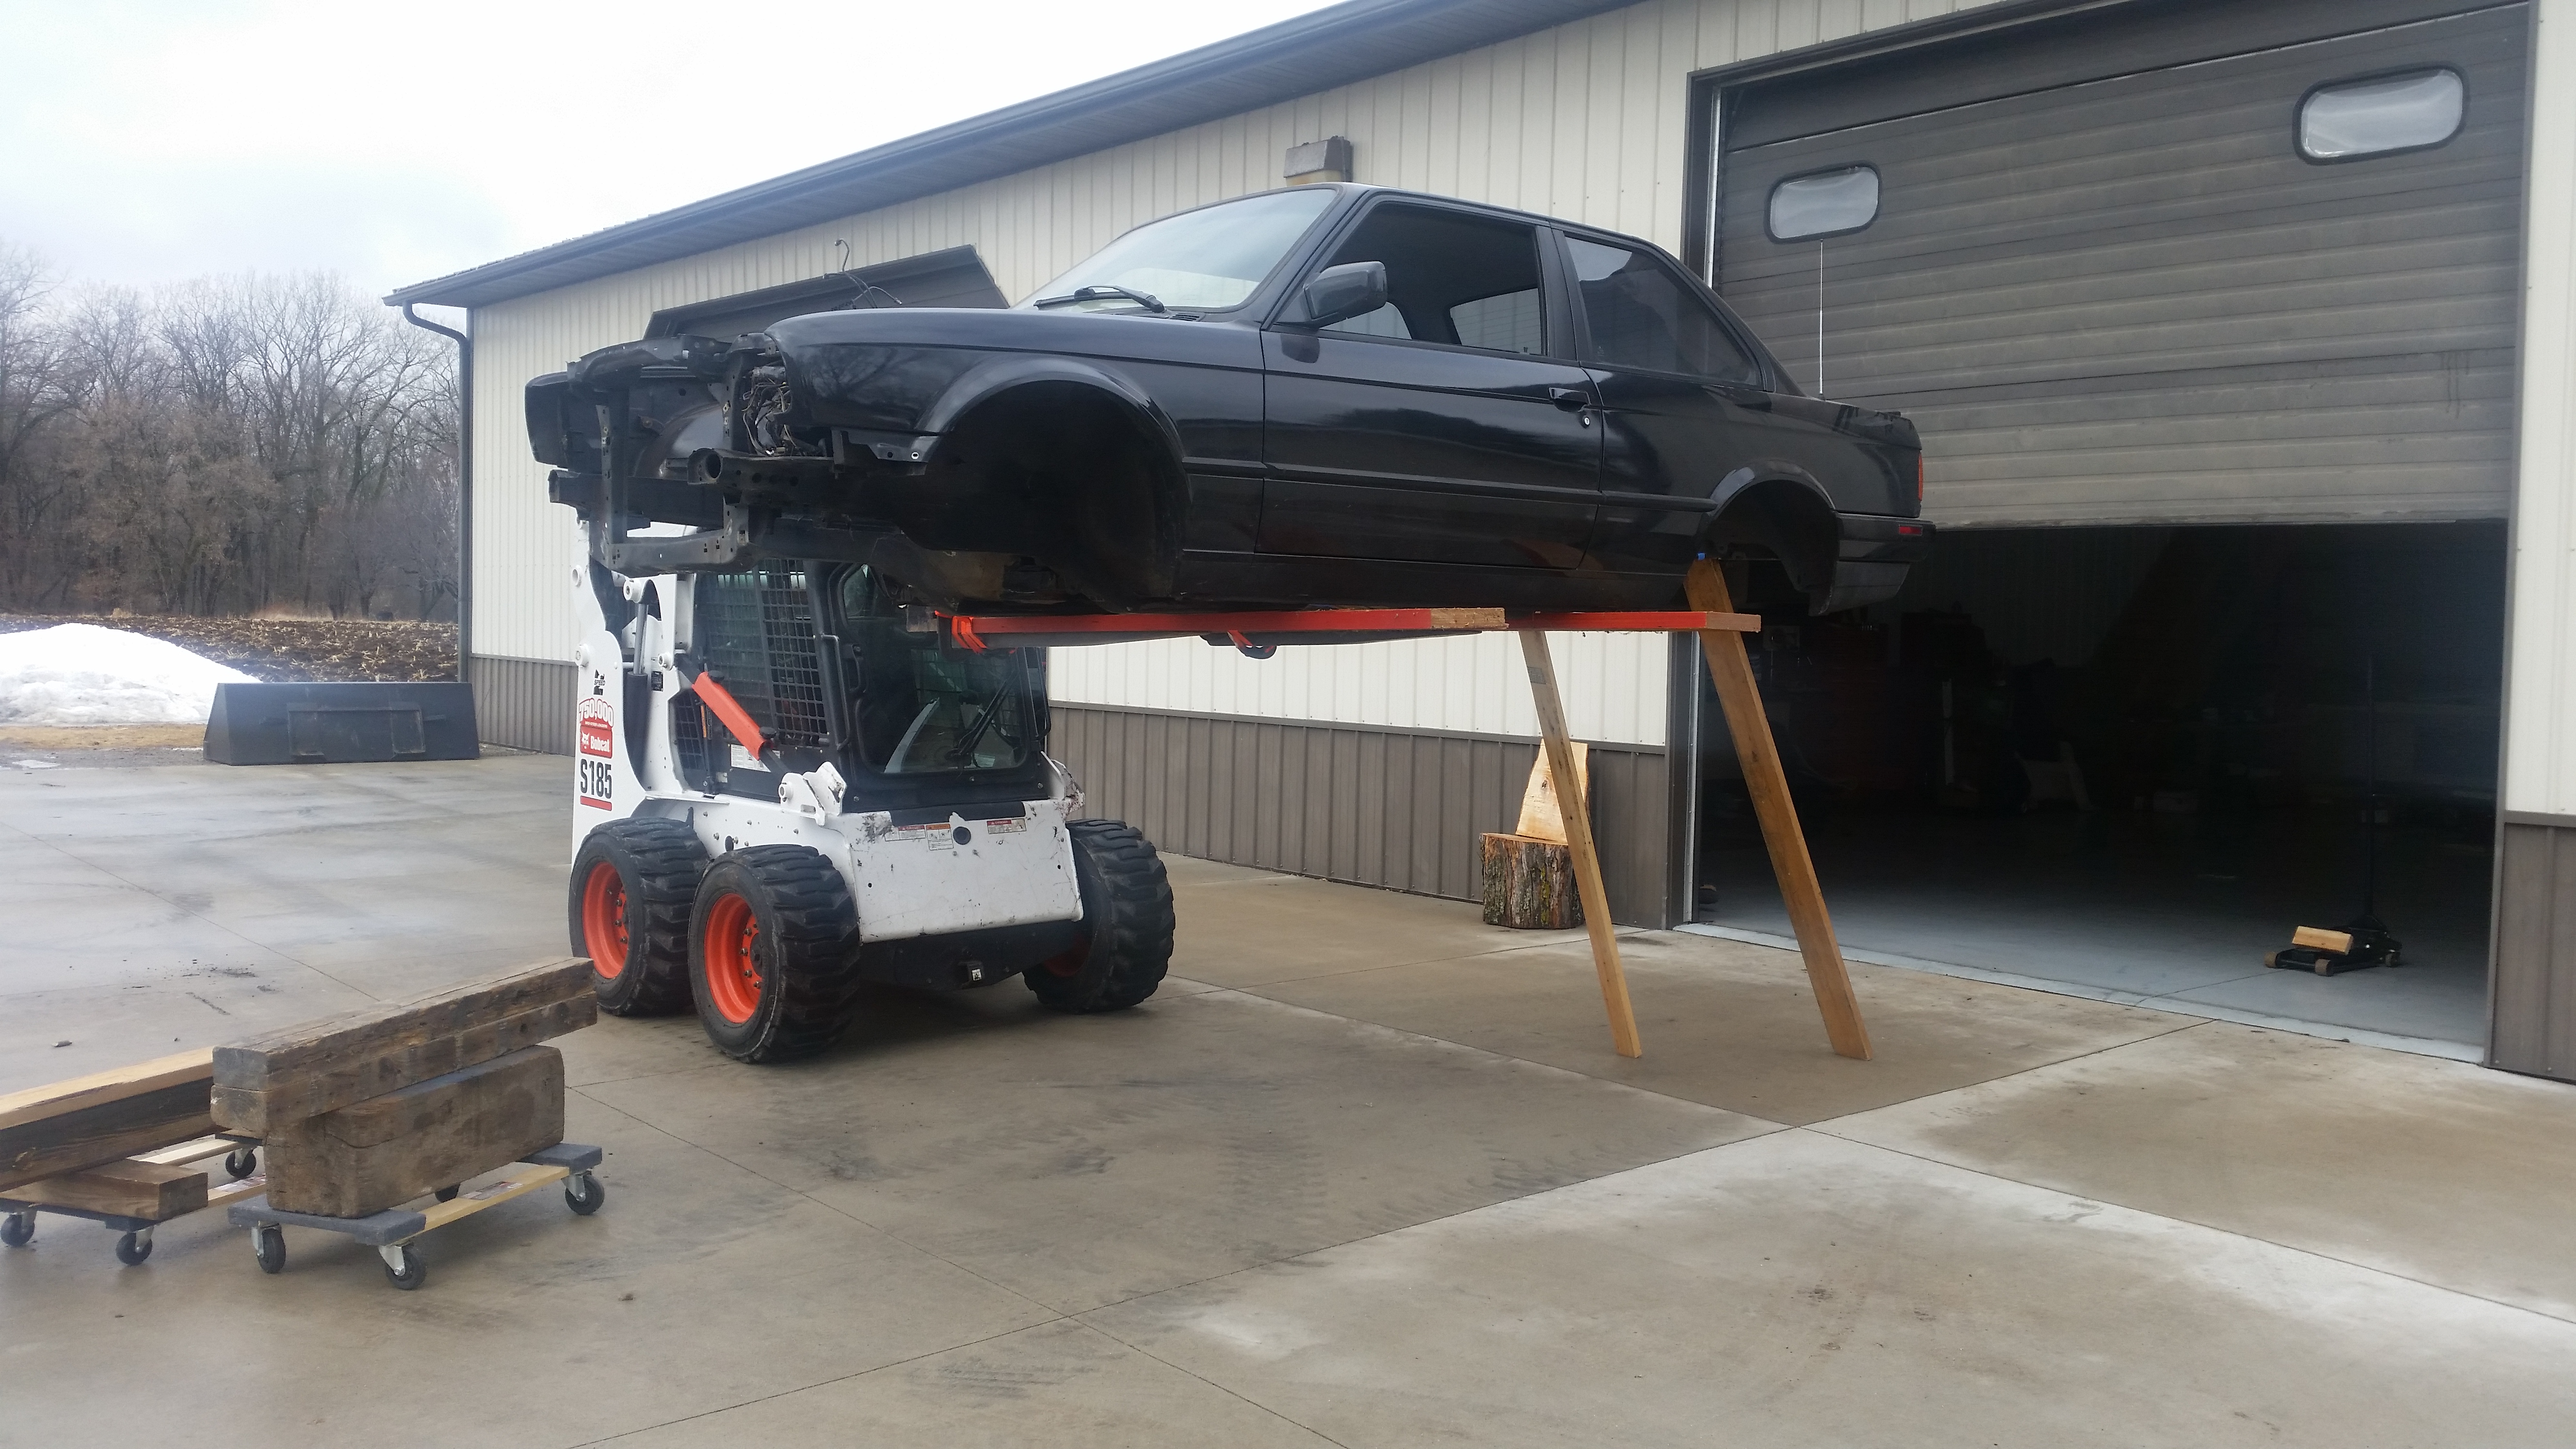
I knew the shell couldn't have been more then maybe 1200 pounds max so I wasn't worried about them braking even if they are cheap ones. My original plan was to just lay on the ground while pressure washing but trying to fit the gun underneath while trying to hit all the areas wasn't working out quite well, the car was gonna have to go higher.
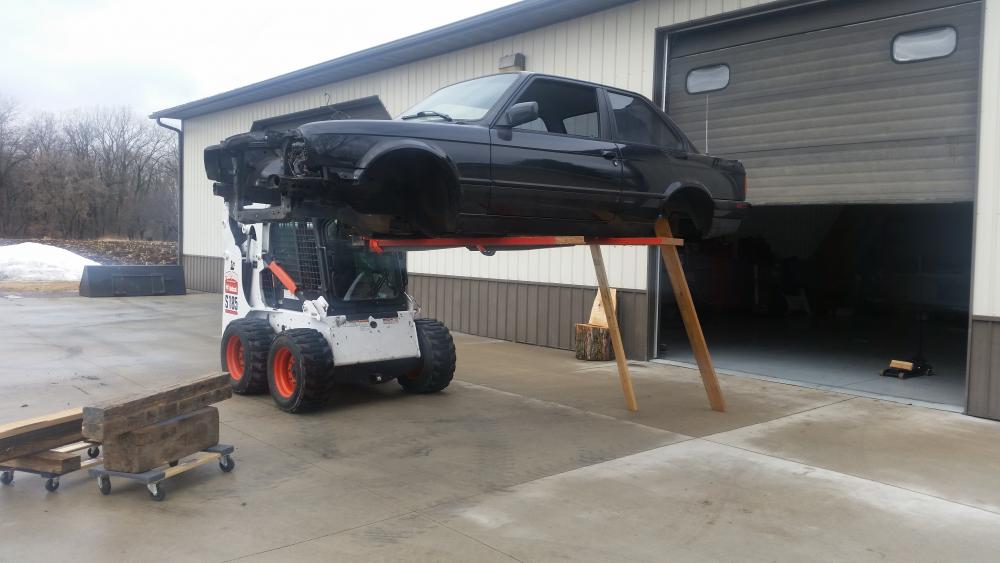
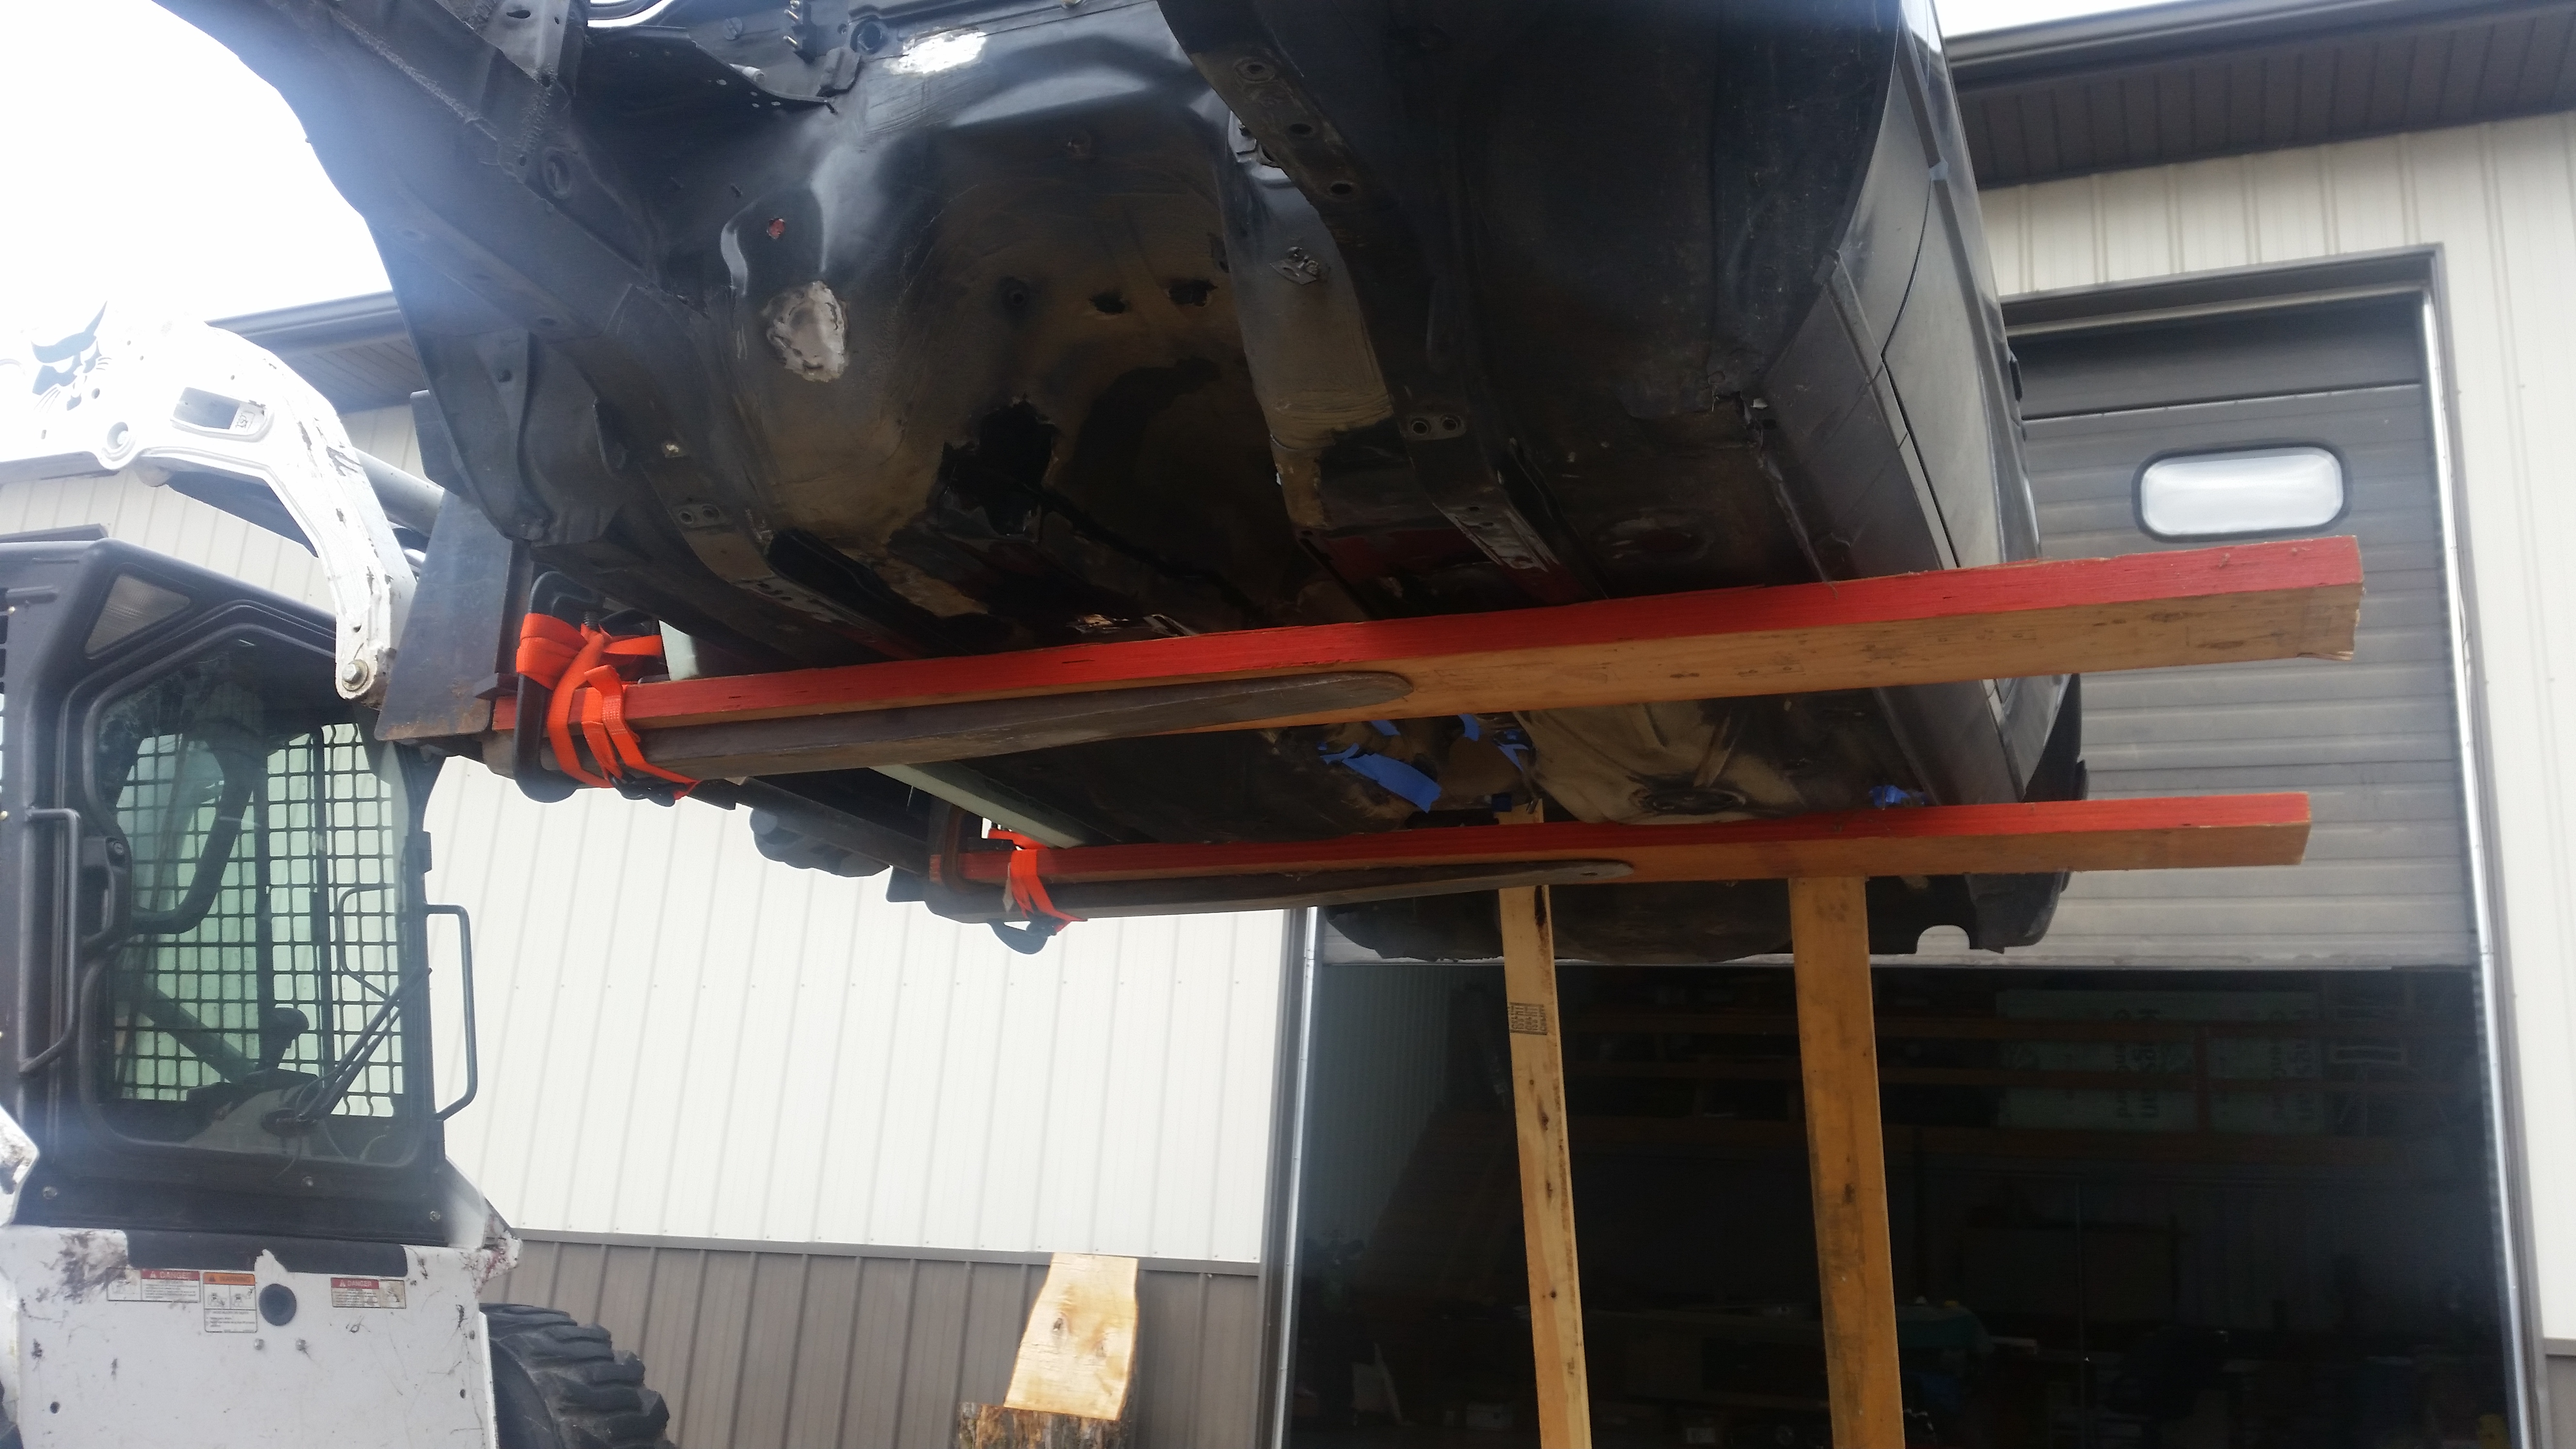
I knew the forks would be to short so I dug around and found some old 2 by 10 thick ash type wood that is used for making headers above doors. Threw them on there, c clamped em down and threw a ratchet strap over it for extra per-caution. As you can see I didn't have the forks in the exact middle so the rear end was a tad heavier then the front causing it to slightly wobble, that's why the extra boards are there supporting the back, lol.
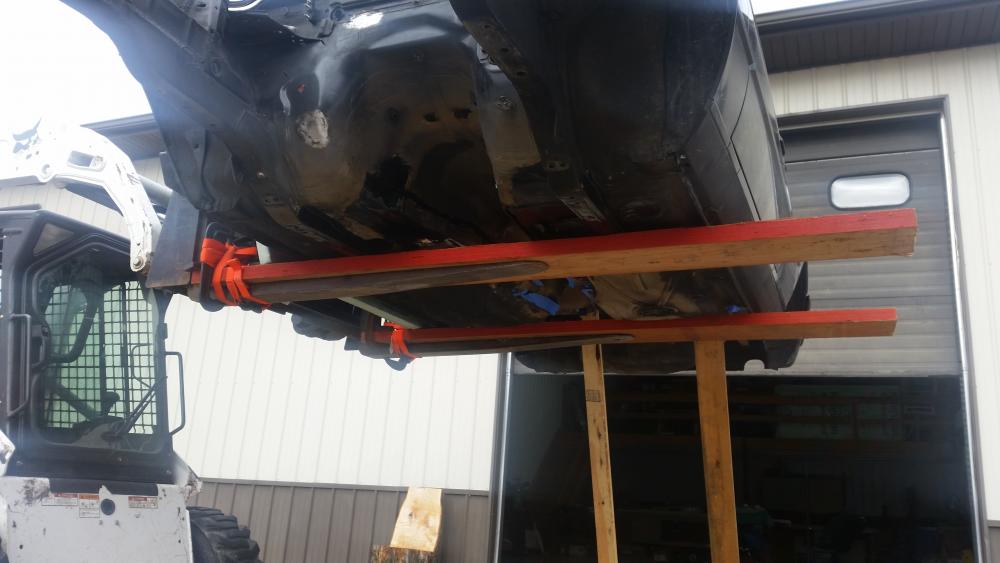
There was some spots where the pressure washer still couldn't remove (which I had turned up all the way which is just about 3500 psi of pressure) so I said screw it, If it ain't comin off with that it ain't comin off when the undercoat is on.
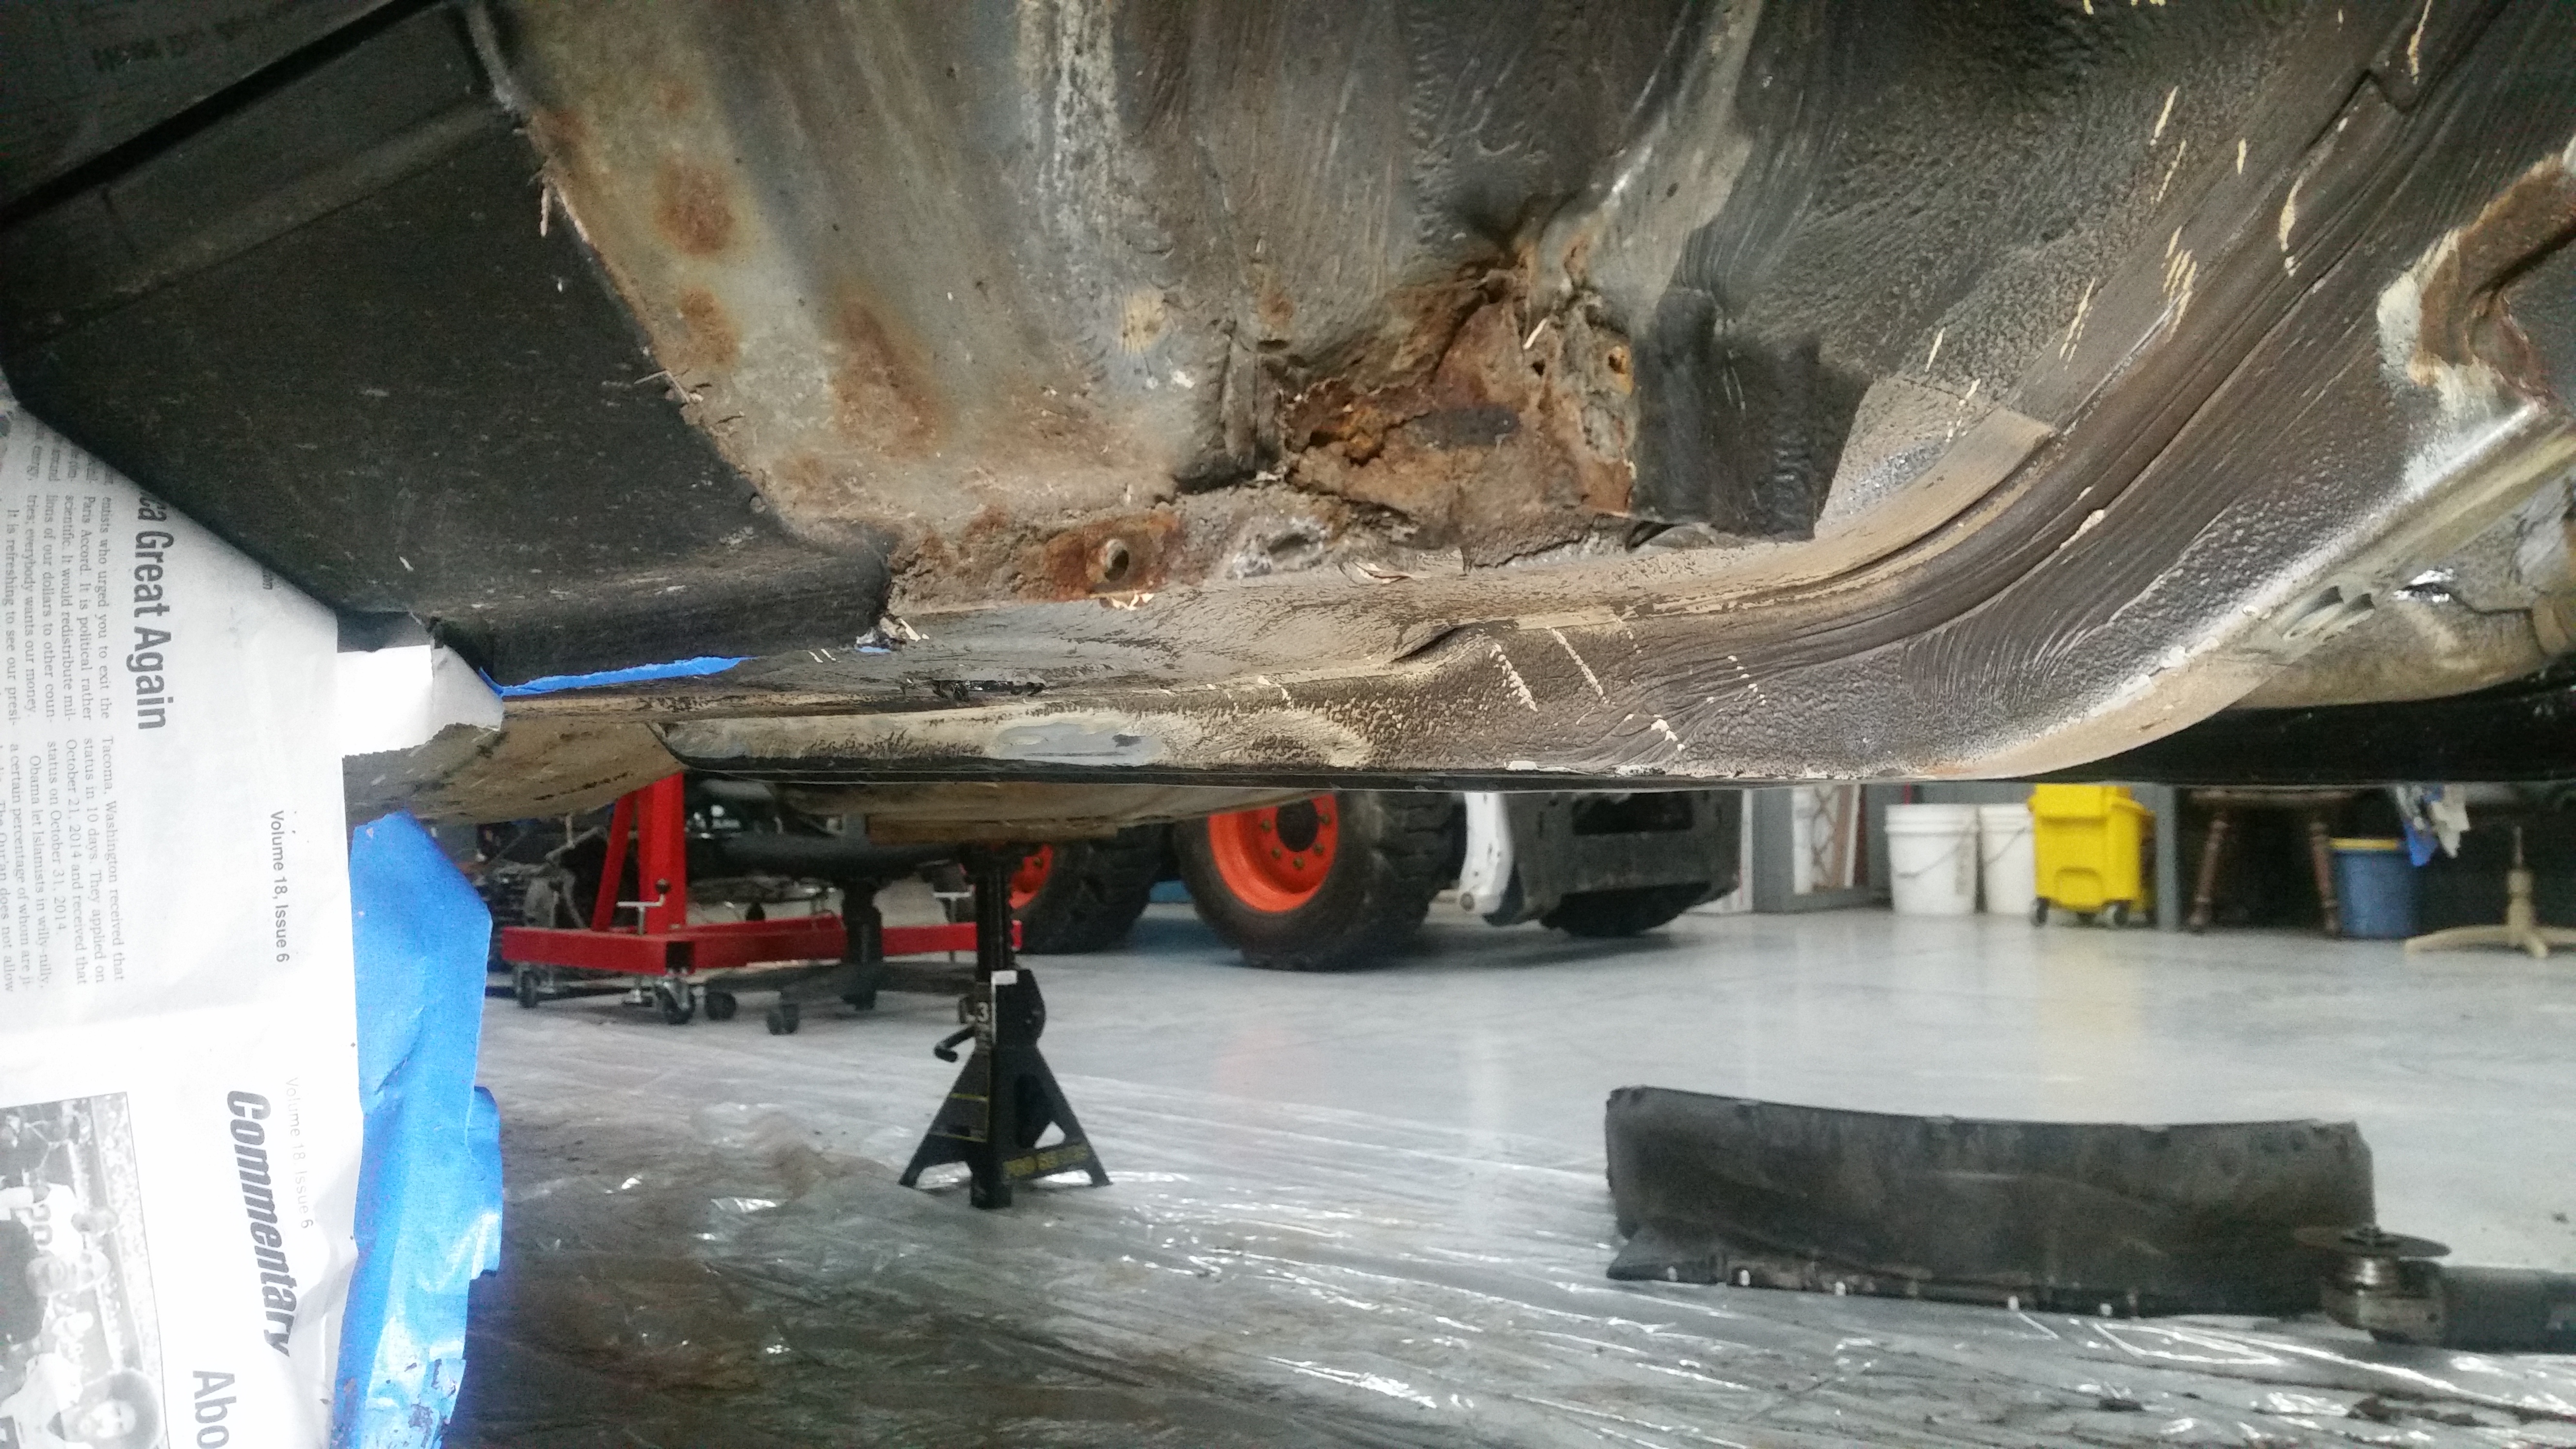
After rolling the shell back in the shop I took a thorough look over the underneath of the car to check for any more rust that had been covered up by the dirt.
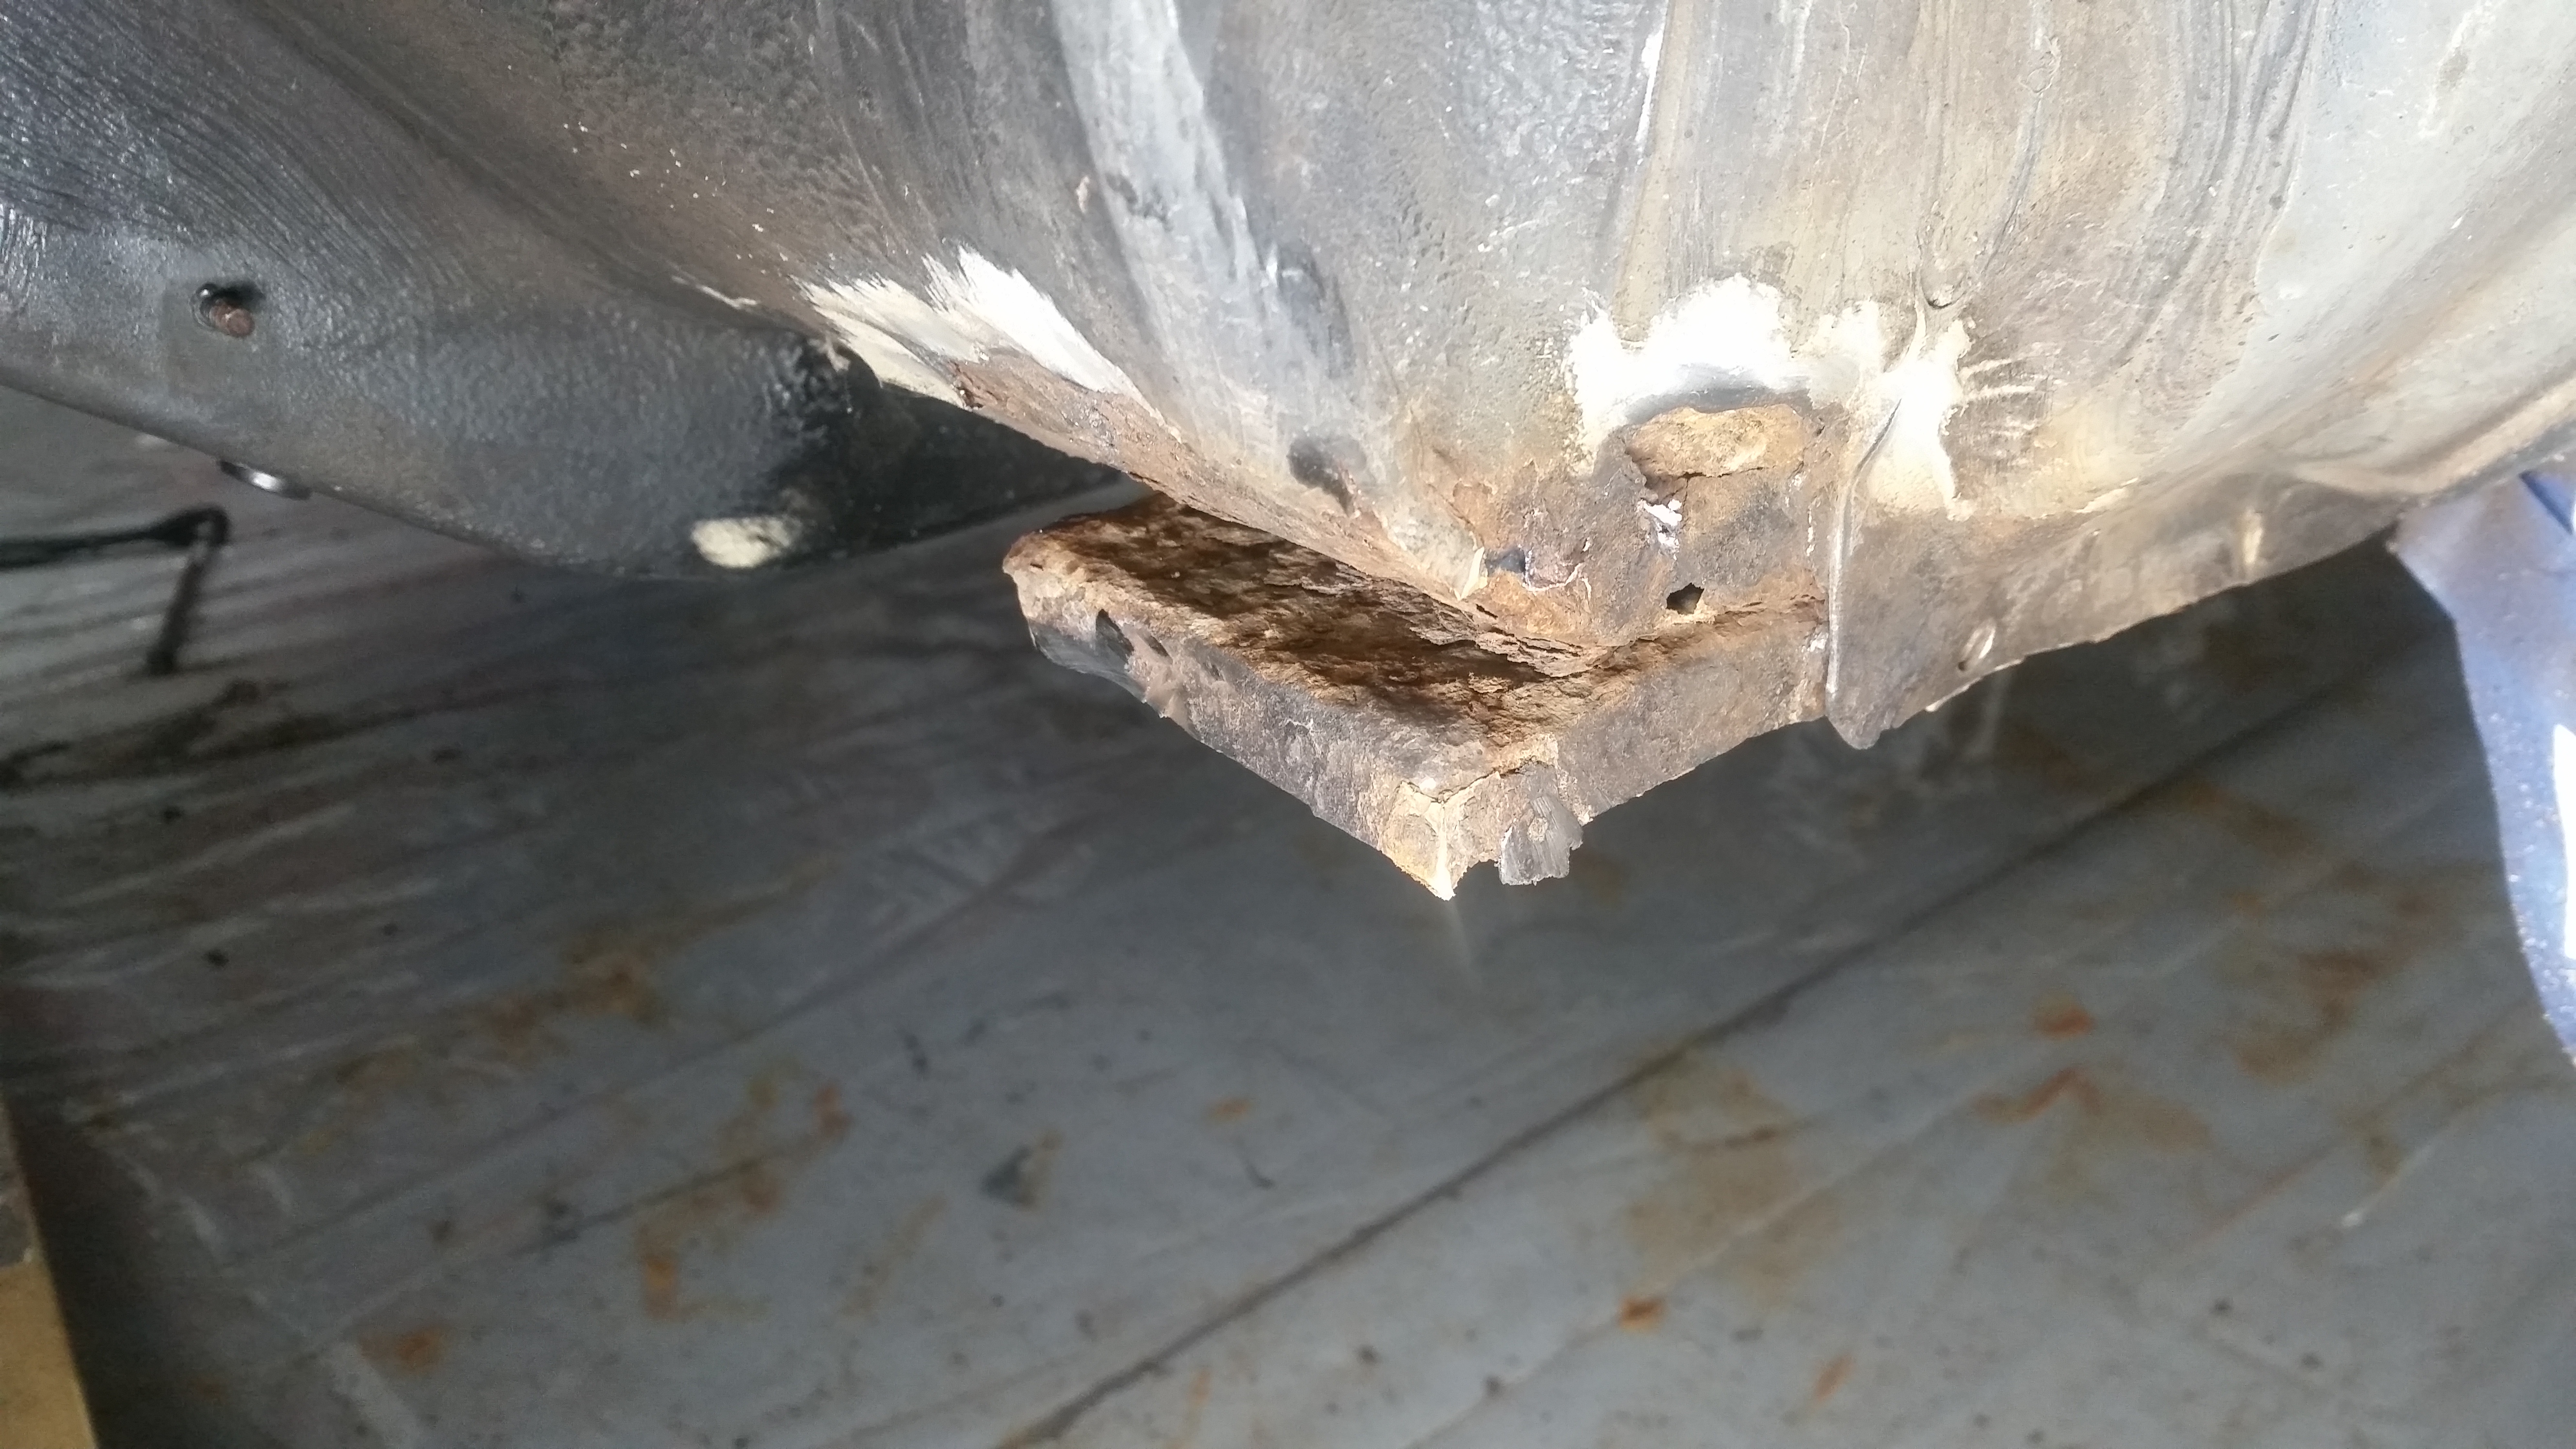
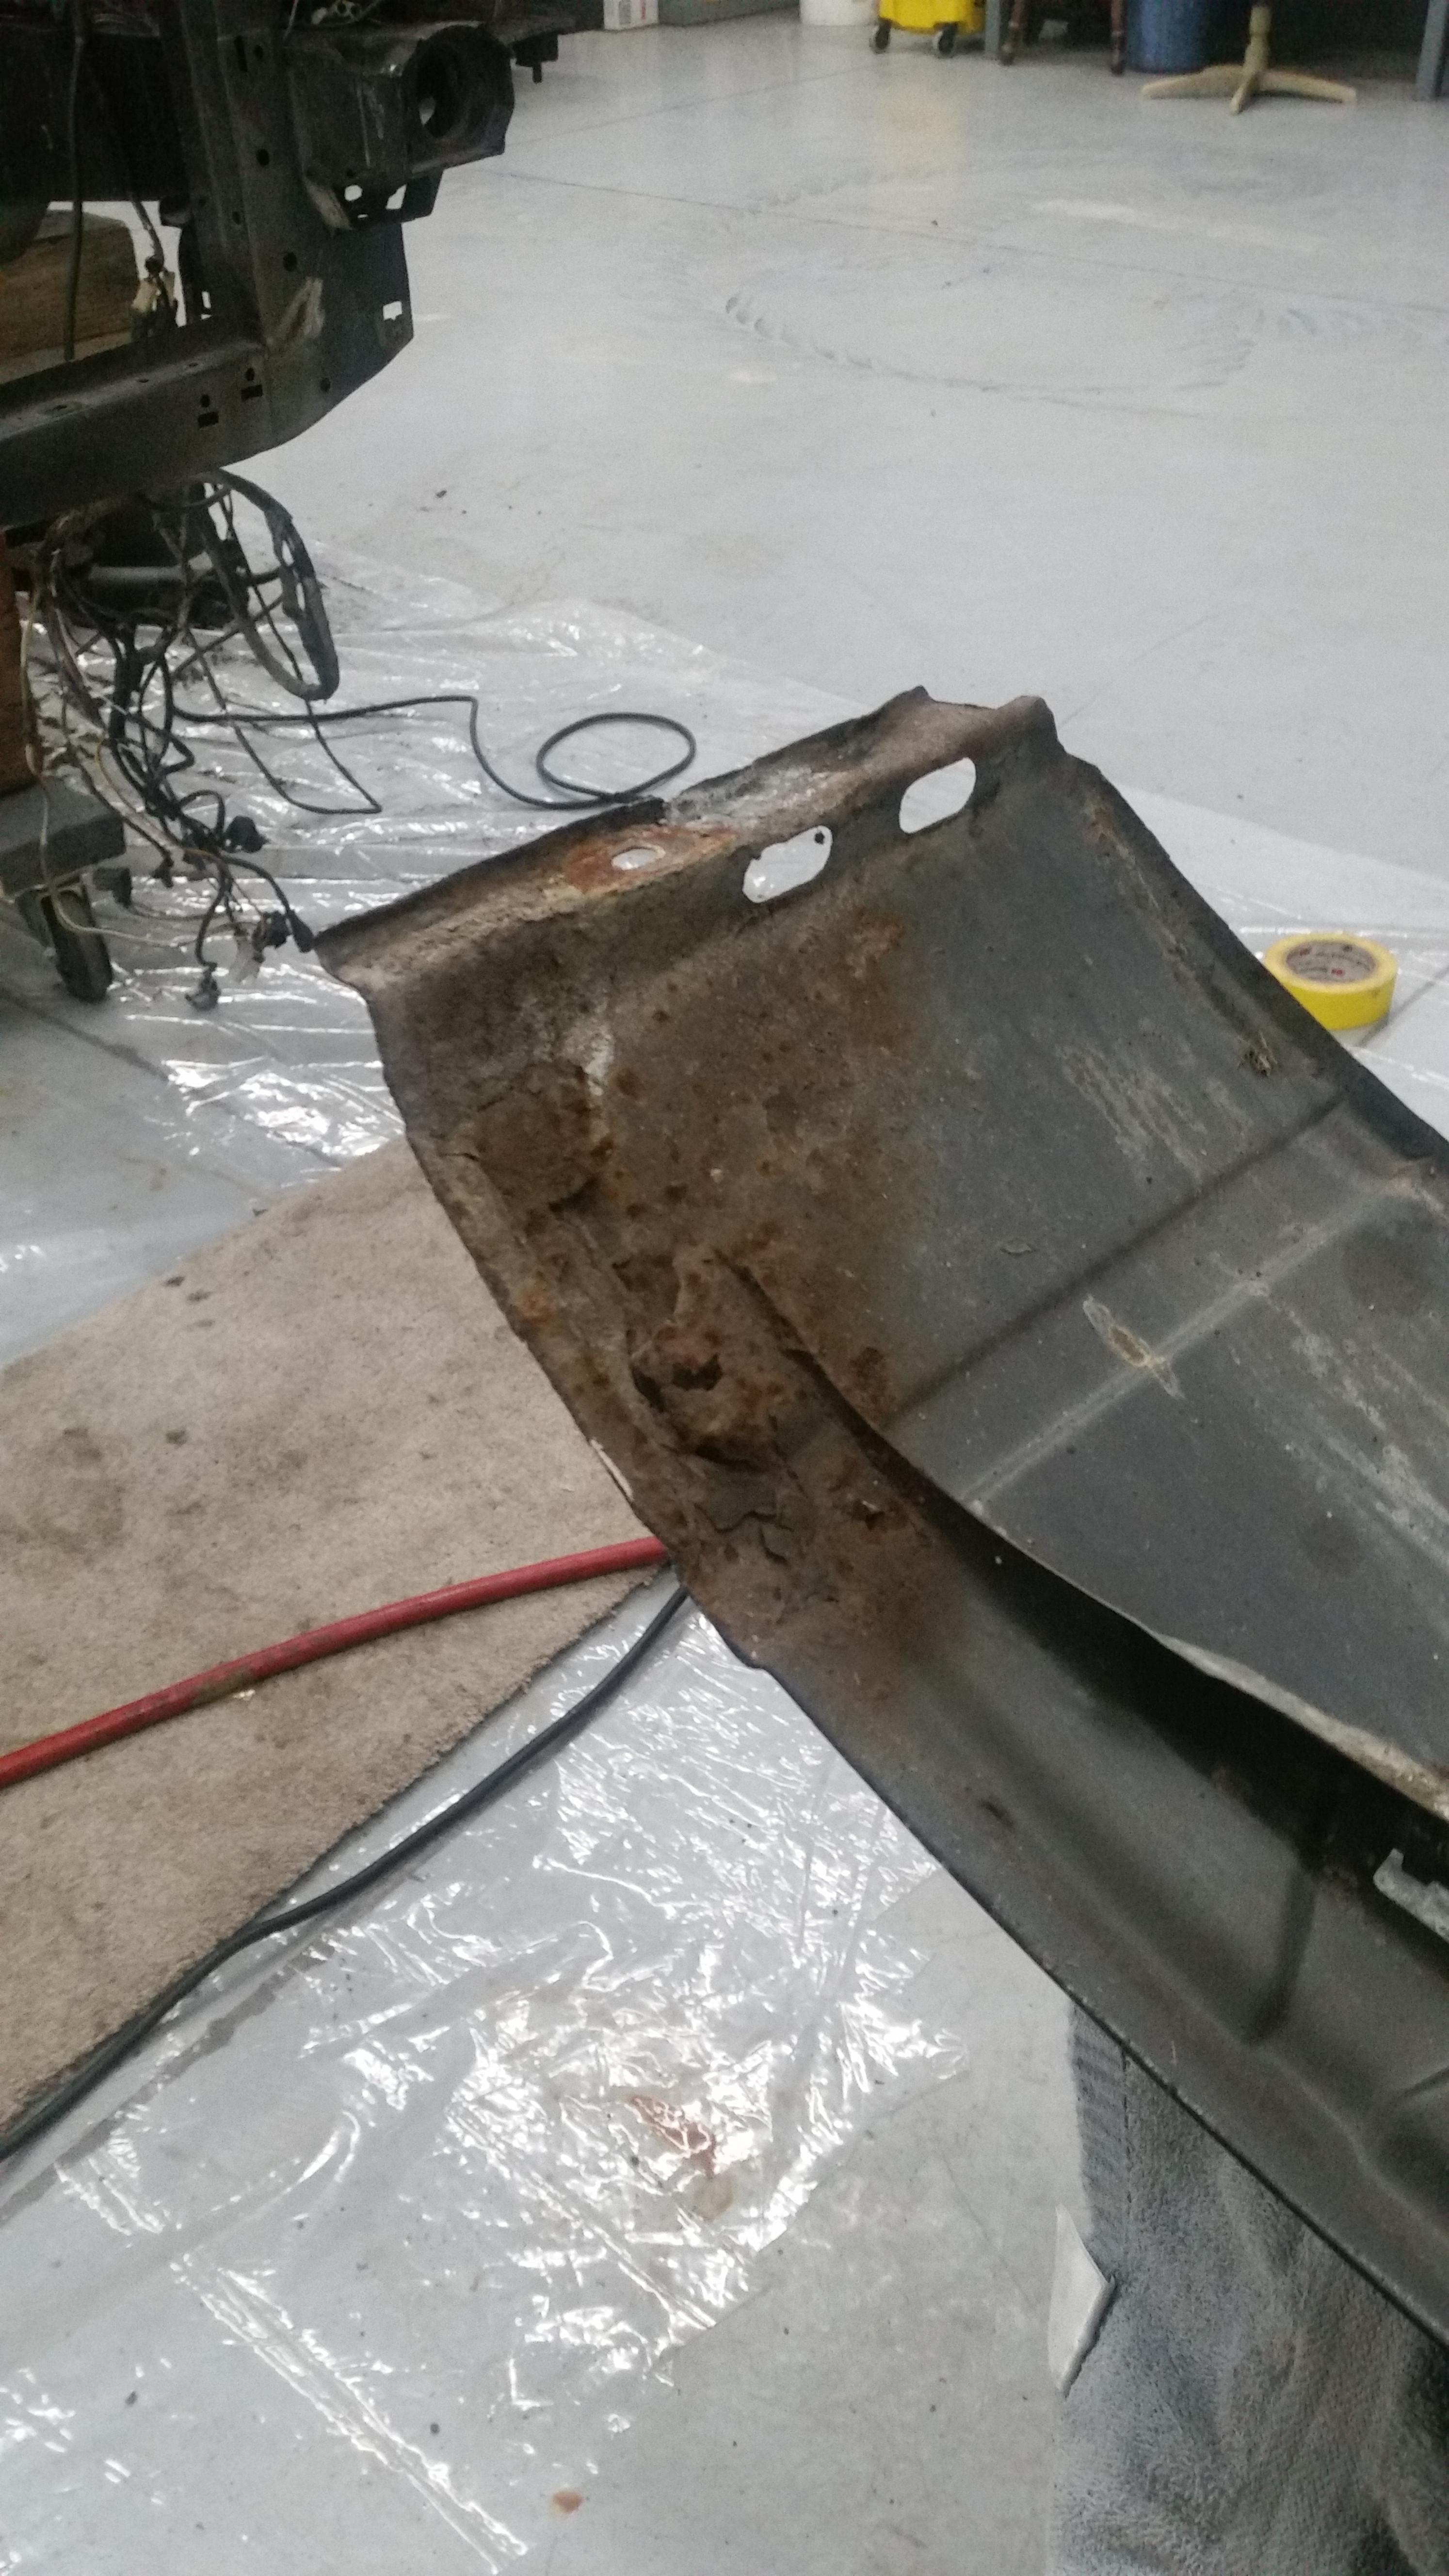
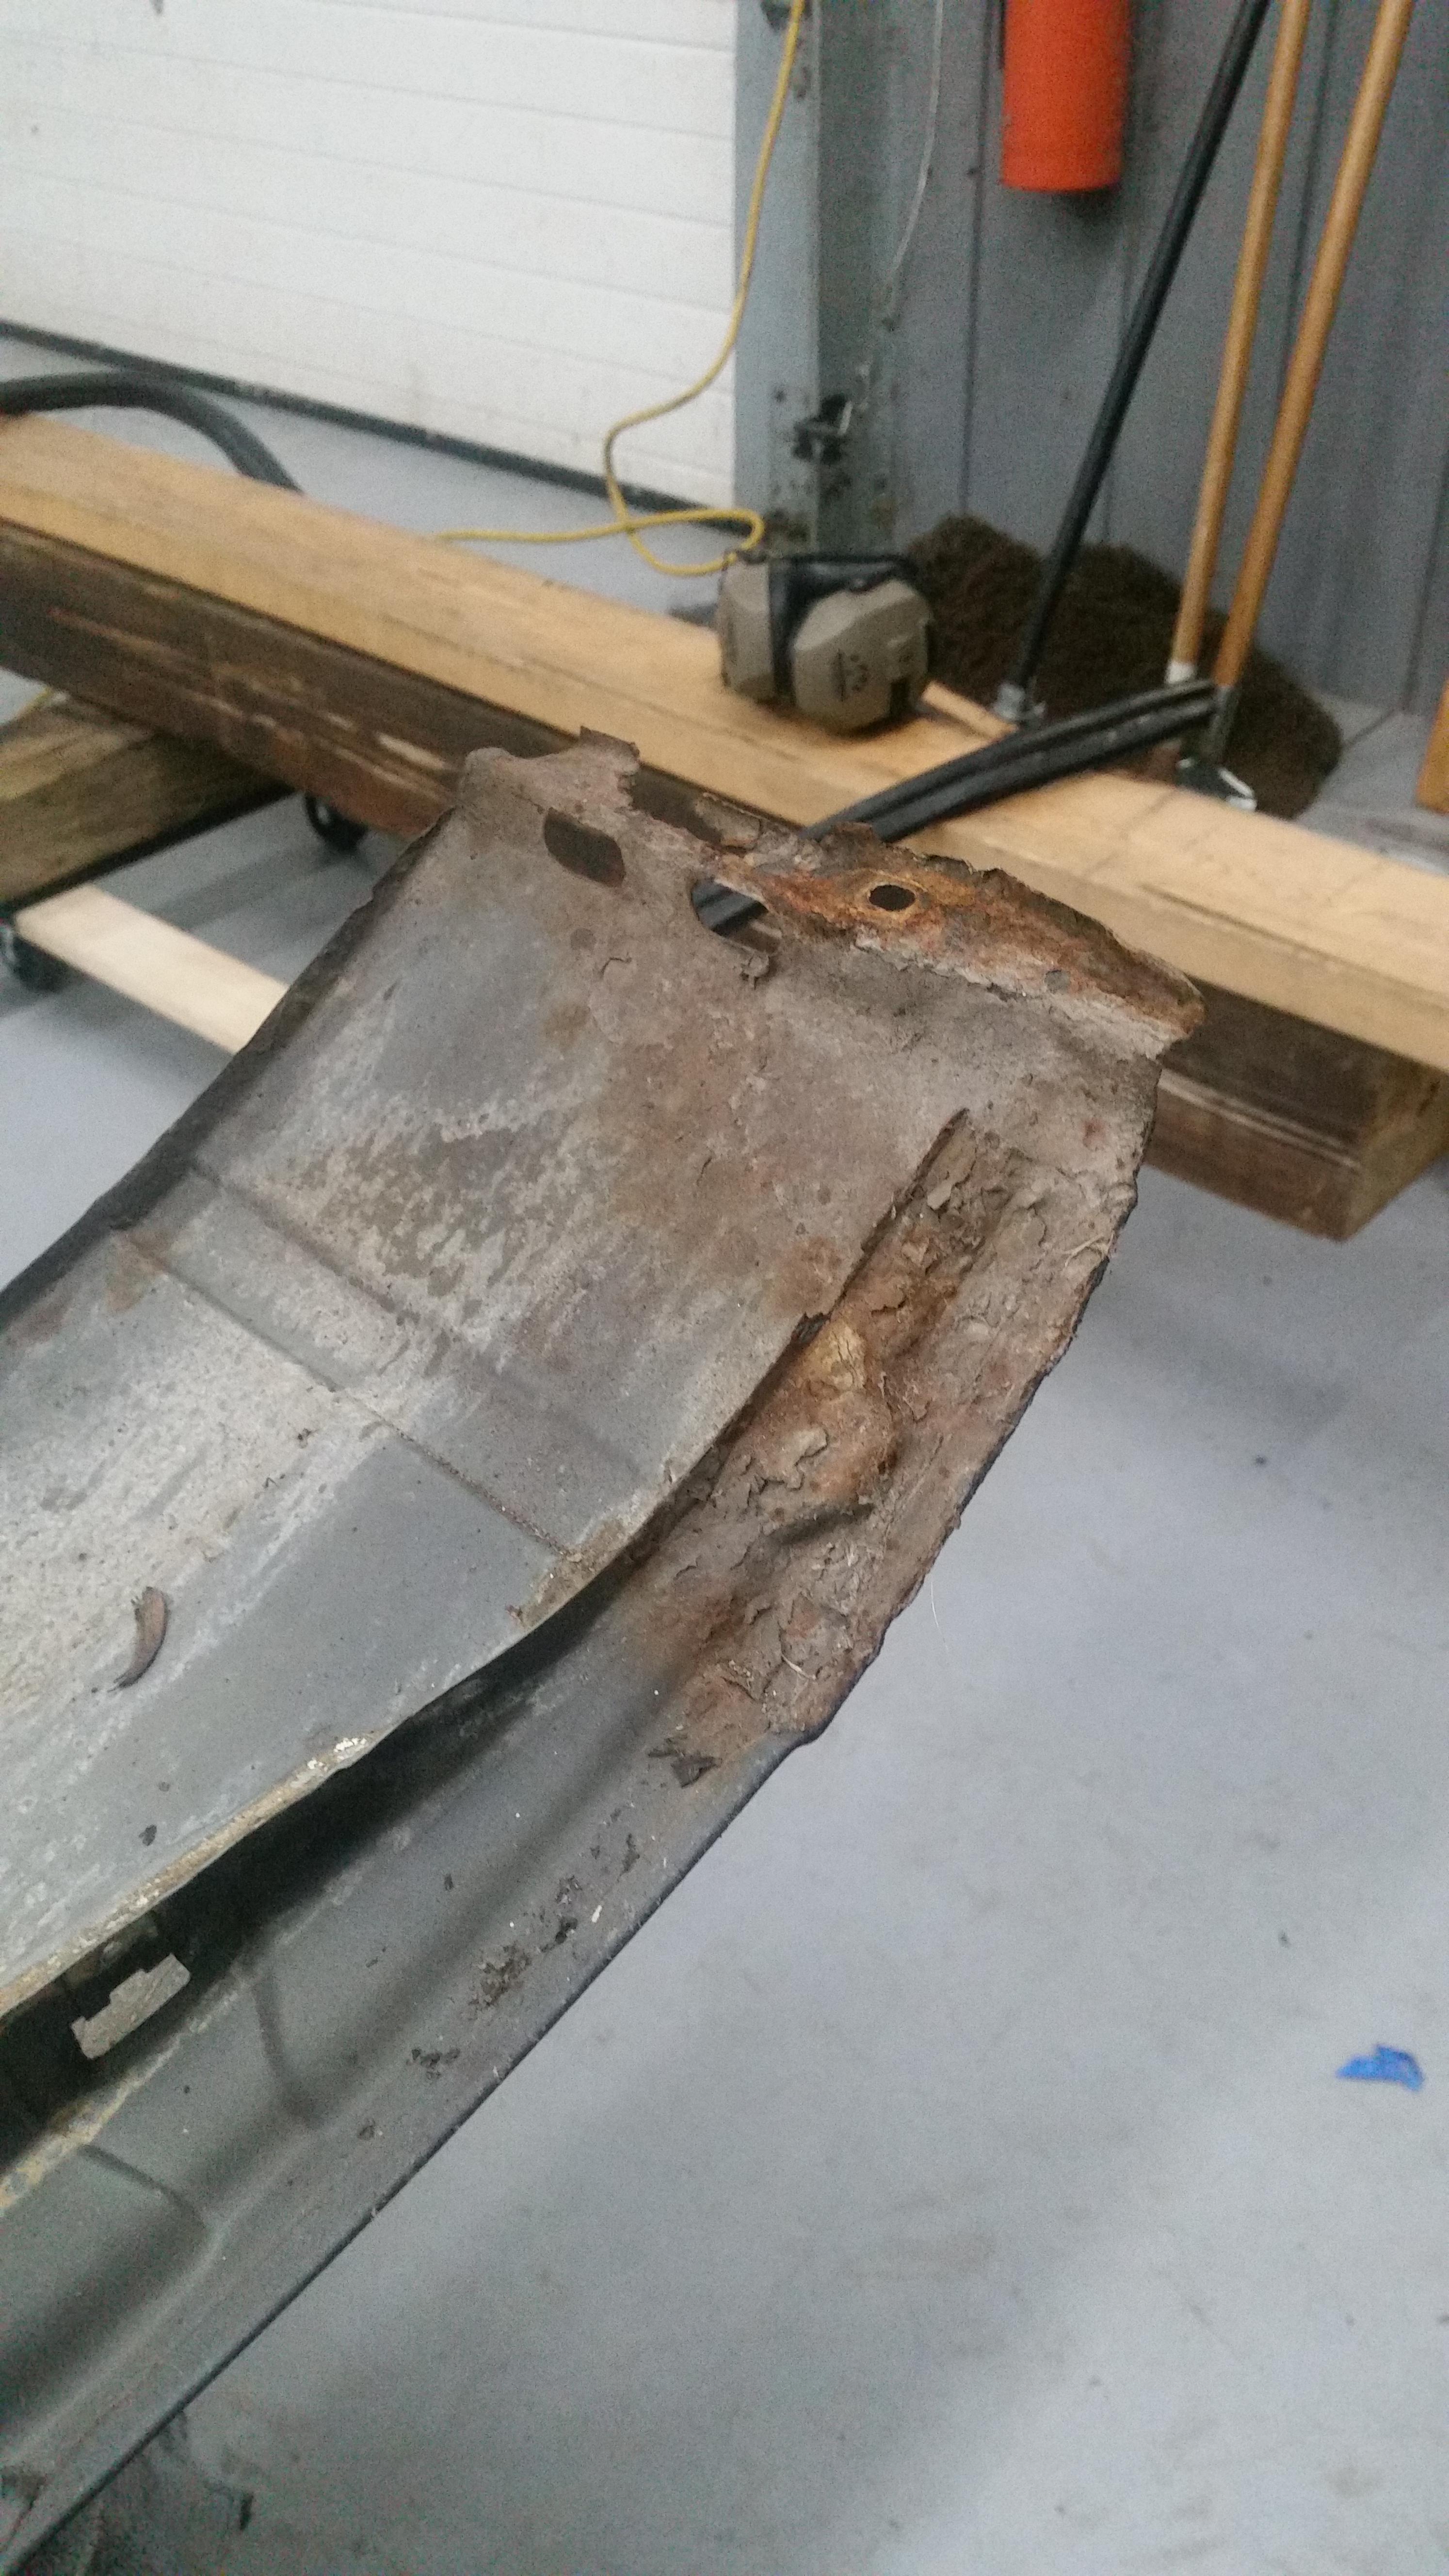
After taking a good look at the inside of the front fender I noticed some rust coming through. Grabbed the die grinder and started wire wheeling away the undercoat which just ended up coming off in large pieces to reveal some more uplifting surprises.
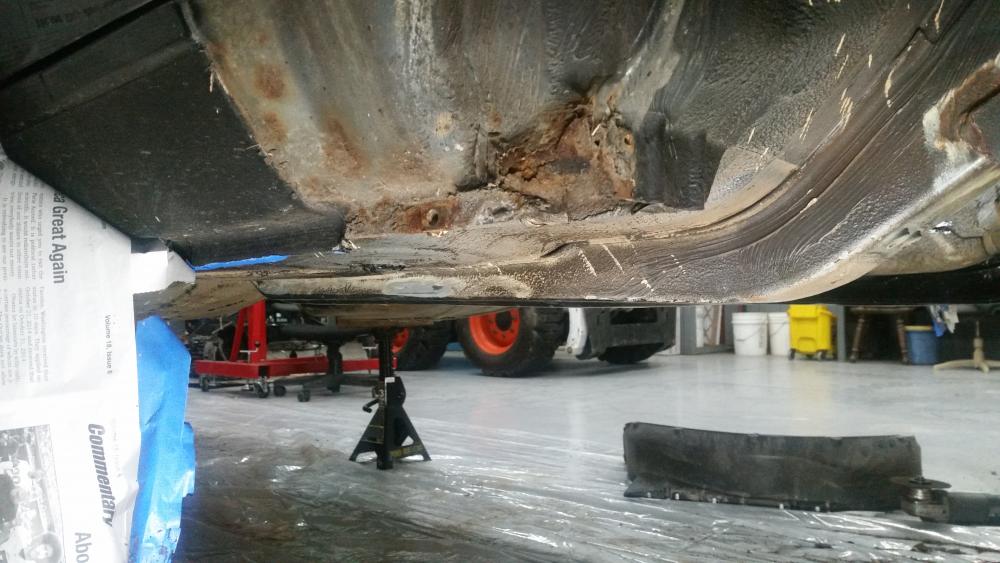
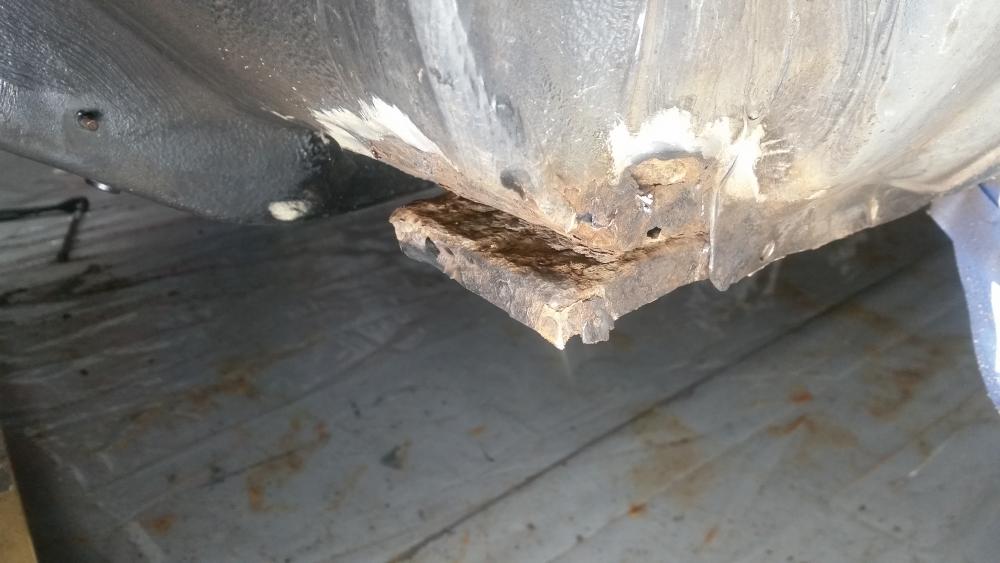
I'm gonna try to start cutting away all the rusted out areas tonight and then hopefully get to welding in new metal either tomorrow or Friday.
As you can see, the driver side rust pretty much ate right through.
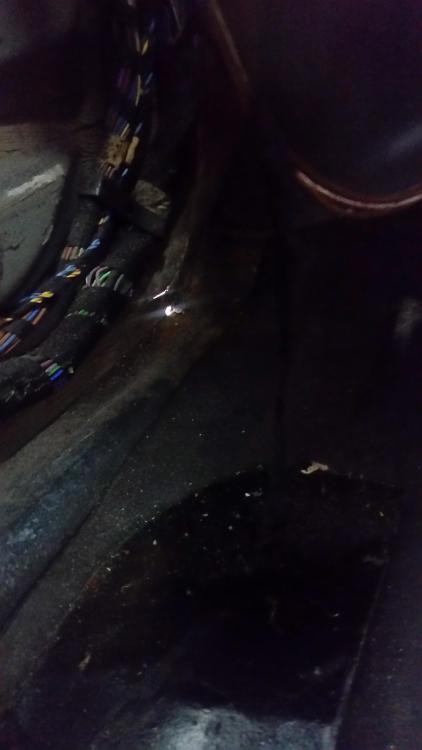
I did end up taking off the fenders as well as they were in rough shape towards the bottom in the same area of course.
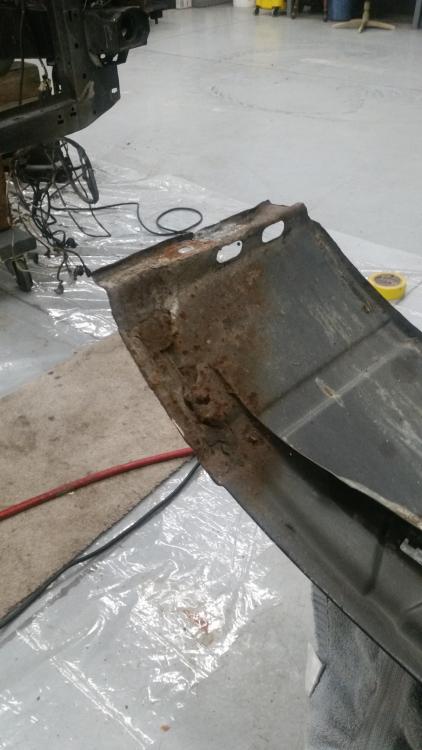
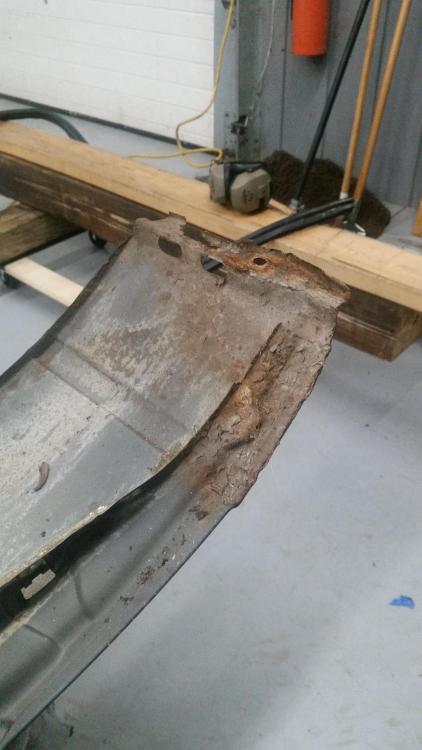
Although they are in rough shape I'm gonna see what they look like after a good wire wheeling. I really don't want to have to find another set of fenders for this car.
I did look lover the rest of the car and everything else seems to be solid and good shape. Hopefully if I can get these areas fixed up I will be shooting for Saturday to undercoat the car. Gonna just leave the fenders off until the undercoating is finished, then reinstall them.
-
I’m enjoying the amount of hatred for rust in this thread
-
I’m enjoying the amount of hatred for rust in this thread

"fixing me is like a flat circle"
Dan

-
I love the level of OCD involved in this build.





Hello! It looks like you're interested in this conversation, but you don't have an account yet.
Getting fed up of having to scroll through the same posts each visit? When you register for an account, you'll always come back to exactly where you were before, and choose to be notified of new replies (either via email, or push notification). You'll also be able to save bookmarks and upvote posts to show your appreciation to other community members.
With your input, this post could be even better 💗
Register Login