
Alpine e30 progress/build thread
-
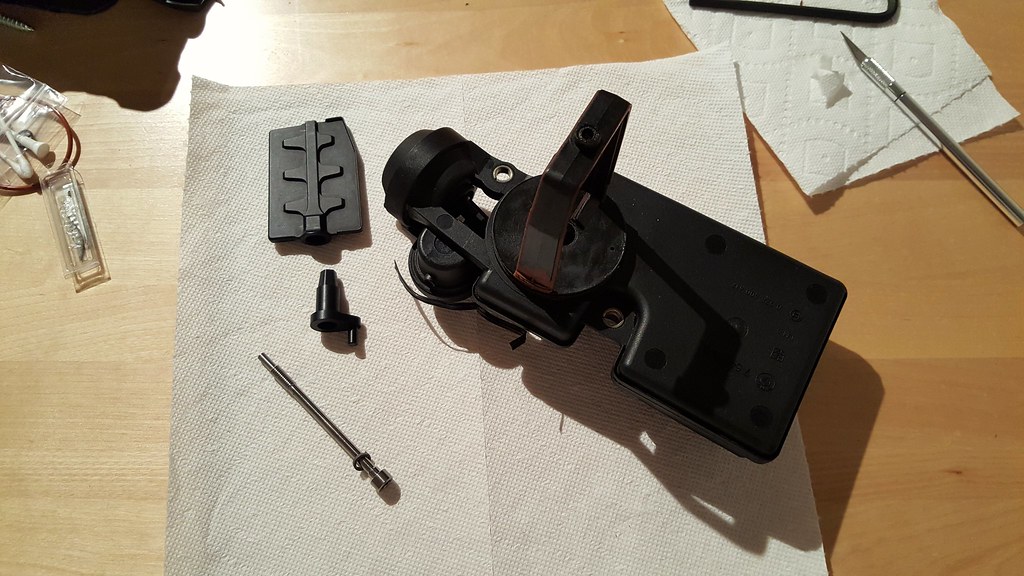
Got a used OEM DISA valve to replace the busted aftermarket one that came with the motor, and while it was surprisingly still functional, I decided to rip it apart anyway and install the German Auto Solutions rebuild kit. This kit replaces the plastic flapper valve and bell crank with machined aluminum parts held together by a pretty cool titanium screw. The quality and fit of the parts is pretty amazing, highly recommended to anyone needing to repair a failing DISA valve.
-
E30 PICNIC OR BUST!
I sure hope so! I want to drive it as much as possible this summer
-
I sure hope so! I want to kick Dan's ass in auto-x this summer
fixed.
Dan

-
More progress.
Getting the block about as clean as it's going to get, maybe 60% done and then I ran out of brake cleaner.
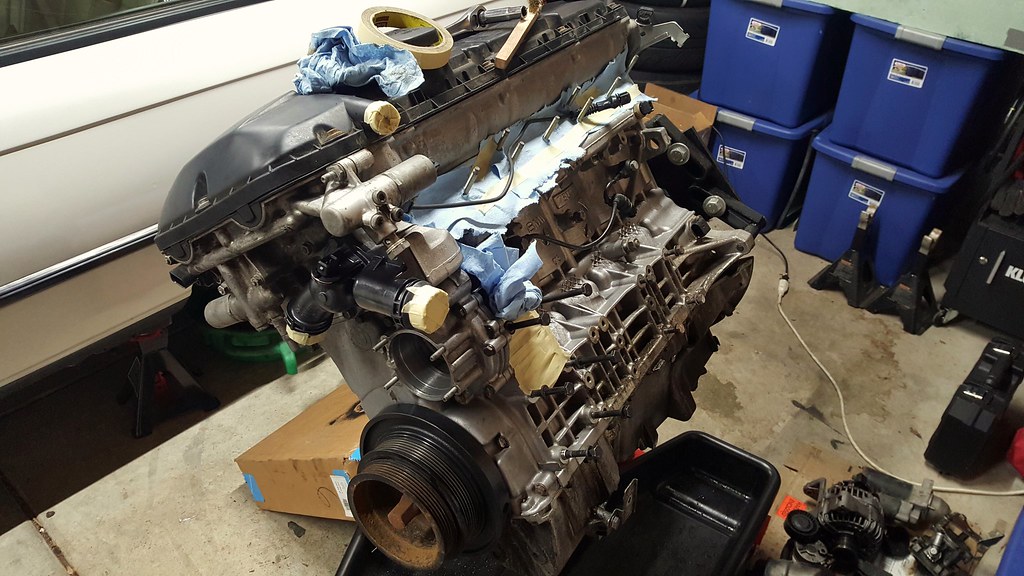
VANOS unit is still grubby but I'll clean it up when it's removed, going to pick up more supplies and I hope to finish it up the cleaning next week. It looks like I'll need to replace the front crank seal, any tips on getting the jesus bolt off on a stand?
I installed the new thermostat, and when I went to install the new water pump I noticed it looked a little different than the one I pulled out...
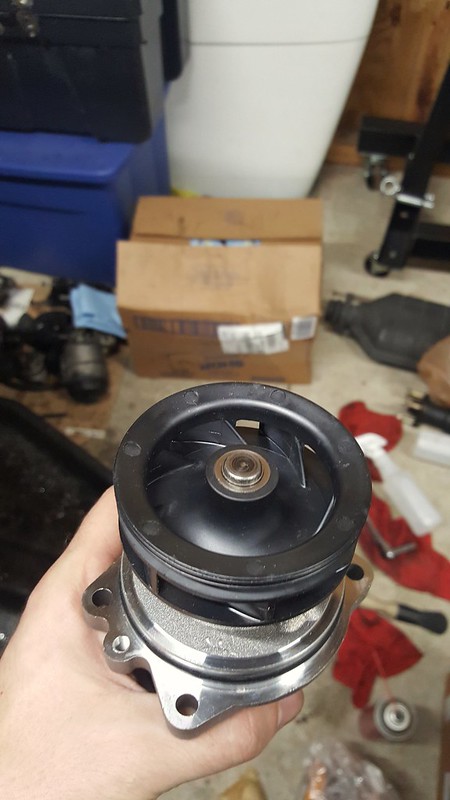
The impeller was pressed on backwards! Glad I noticed, that would've been a quick overheat. I contacted FCP and they're going to send me a new one thankfully.
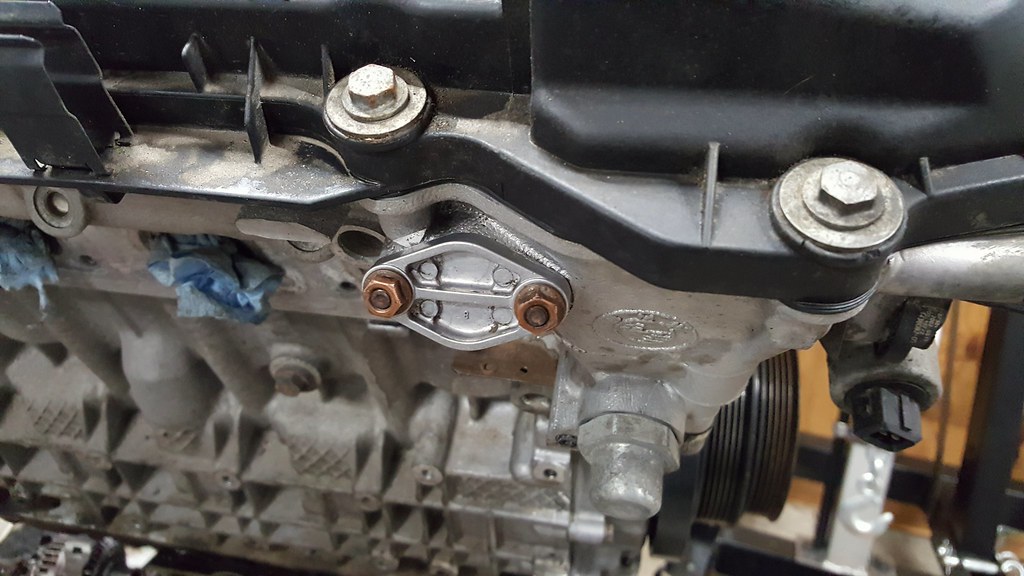
Also popped on the SAP delete plate with a new gasket. Its really easy on the M54, just cap a vacuum port and install the single delete plate. I'll be coding out the SAP with the DME (forced readiness) so it shouldn't cause any problems.
-
Cans of brake clean last two seconds at WOT
Is that a plastic water pump impeller??
-
Cans of brake clean last two seconds at WOT
Is that a plastic water pump impeller??
WOT

Nice catch on the impeller. it would probably run in reverse and make for some screwy stuff. Reminds me of when @Jdesign discovered left hand and right hand water pumps on his 302.
can't trust anybody!
you can also put me on the aluminum block envy list
-
Reminds me of when @Jdesign discovered left hand and right hand water pumps on his 302.
can't trust anybody!
God that sucked. Sure I will install the water pump 5 times NBD.

https://www.instagram.com/_jdesigner_/ http://nevertoolow.tumblr.com/
🥳SOLD BMW E24 633CSI - BMW M30B32 🧪SOLD HCH ES9 - 1.3 LDA
👽BMW E30 325IC - Toyota 1JZ-GTE ⏰ HONDA EF9 CIVIC SI - JDM B18C5
☠️BMW E36 318i - Ford 5.0 FE302 🚴♂️ GT-Labomba - 26x2.75 Freeride
🤹♀️SOLD BMW E36/7 Z3 - BMW M54B25 🧓SOLD BMW E10 2002 - BMW M10M05 -
Cans of brake clean last two seconds at WOT
Is that a plastic water pump impeller??
Its a composite impeller from Saleri which is the OEM supplier (made in Italy), so it likely has better bearings than the aftermarket metal ones as a lot of them seem to be made in China. BMW switched to that material sometime in the late 90's and they've just about eliminated the failing impeller issues.
-
Its a composite impeller from Saleri which is the OEM supplier (made in Italy), so it likely has better bearings than the aftermarket metal ones as a lot of them seem to be made in China. BMW switched to that material sometime in the late 90's and they've just about eliminated the failing impeller issues.
I can second this. If its white its likely going to explode. If its black and swirly, its likely a composite and much better material. I have had a metal Chinese one fail on my E46 and it literally chewed itself apart. It was so bad in fact, I put it on a shelf as a reminder that not all metal ones are good replacements.
https://www.instagram.com/_jdesigner_/ http://nevertoolow.tumblr.com/
🥳SOLD BMW E24 633CSI - BMW M30B32 🧪SOLD HCH ES9 - 1.3 LDA
👽BMW E30 325IC - Toyota 1JZ-GTE ⏰ HONDA EF9 CIVIC SI - JDM B18C5
☠️BMW E36 318i - Ford 5.0 FE302 🚴♂️ GT-Labomba - 26x2.75 Freeride
🤹♀️SOLD BMW E36/7 Z3 - BMW M54B25 🧓SOLD BMW E10 2002 - BMW M10M05 -
Had some time to work on this on Sunday. Installed a new water pump (with an impeller that faces the correct direction) and ECS aluminum water pump pulley. I also got as far as I could installing the Beisan Systems dual vanos seals and anti-rattle kit. This is a much easier job on the M54 compared to the S52 since you don't need to deal with the splined interface between the cam and the piston.
Got the valve cover off, cam lobes and lifters all look excellent. Could be a little cleaner, but there really isn't any sludge so I can't complain.
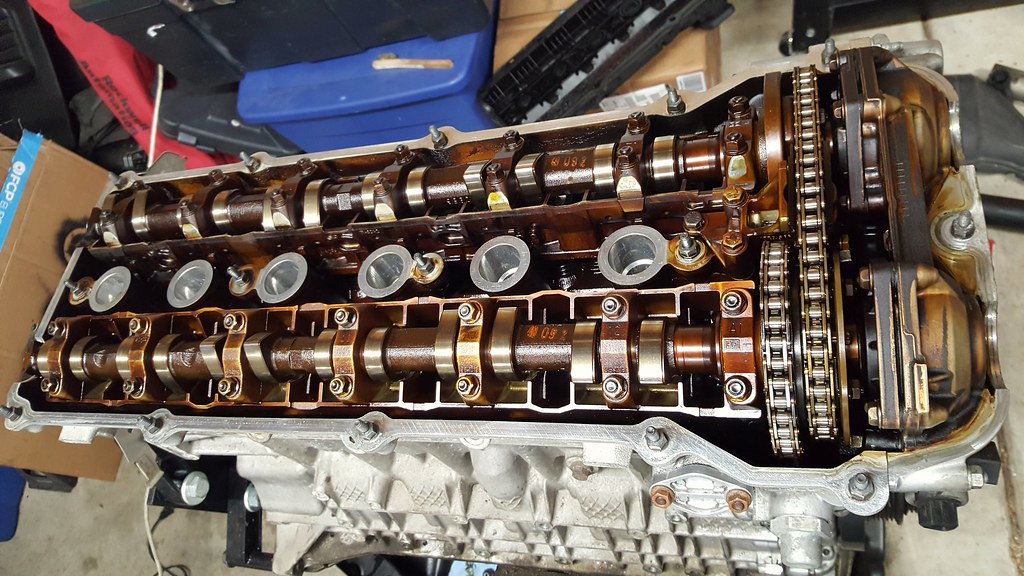
Vanos unit removed and disassembled:
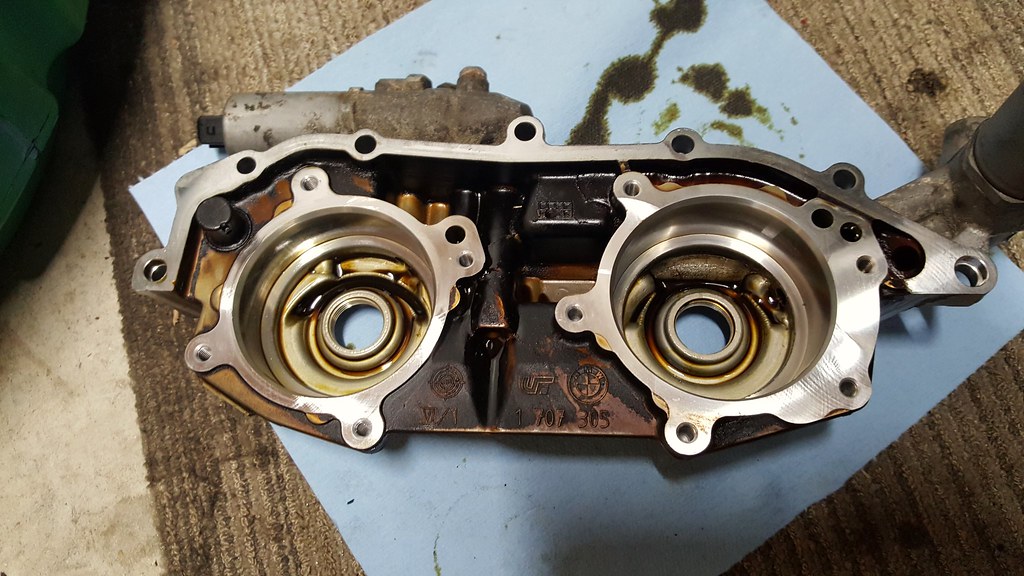
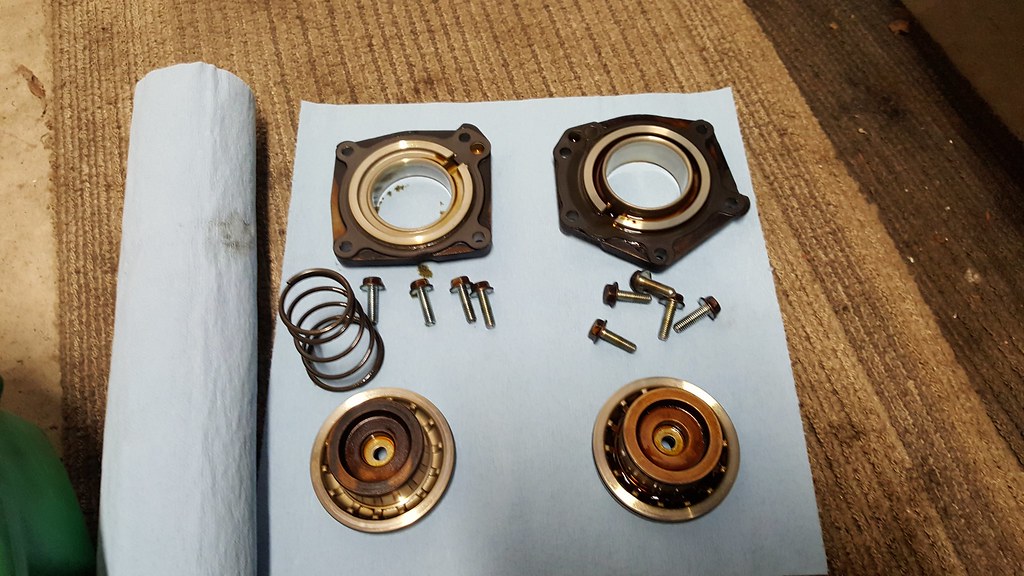
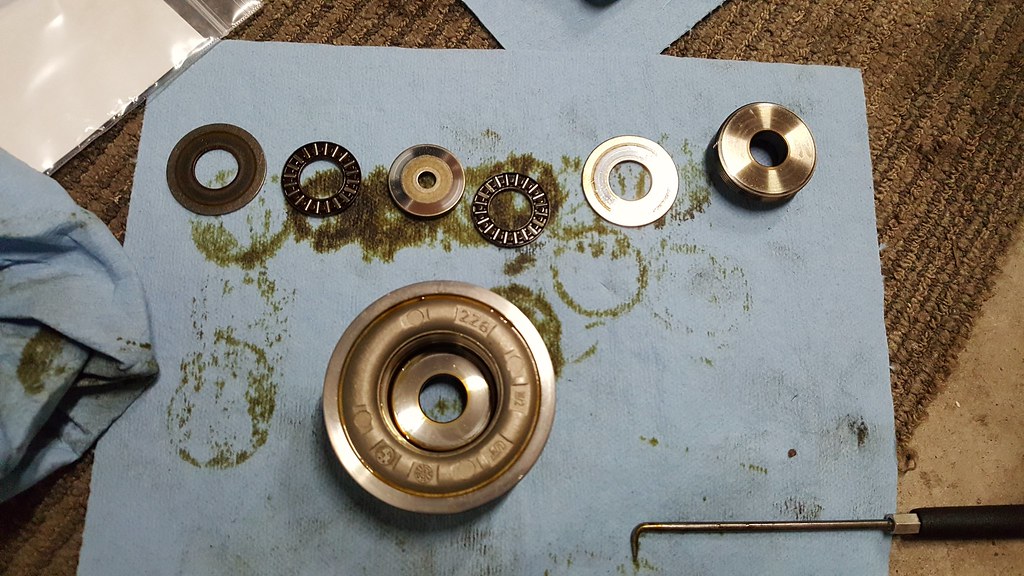
The anti-rattle kit made a huge difference, so hopefully they are nice and quiet. Before I took them apart there was a pretty significant amount of axial play, but once the new spacers were installed it was completely gone while still allowing them to spin freely. I didn't have to do any sanding or adjusting on either piston which was a nice surprise since that can get tedious. New seals went in easily as well. Got it all reinstalled but ended up breaking one of the plastic plugs that covers the bolt holding the piston to the cam, so I can't go any further till I order a new one.
-
Took advantage of the somewhat decent weather on Sunday and got some work done. Three cans of brake cleaner later I'm calling the block clean enough. It's not perfect, but this car isn't winning any shows so it'll do just fine.
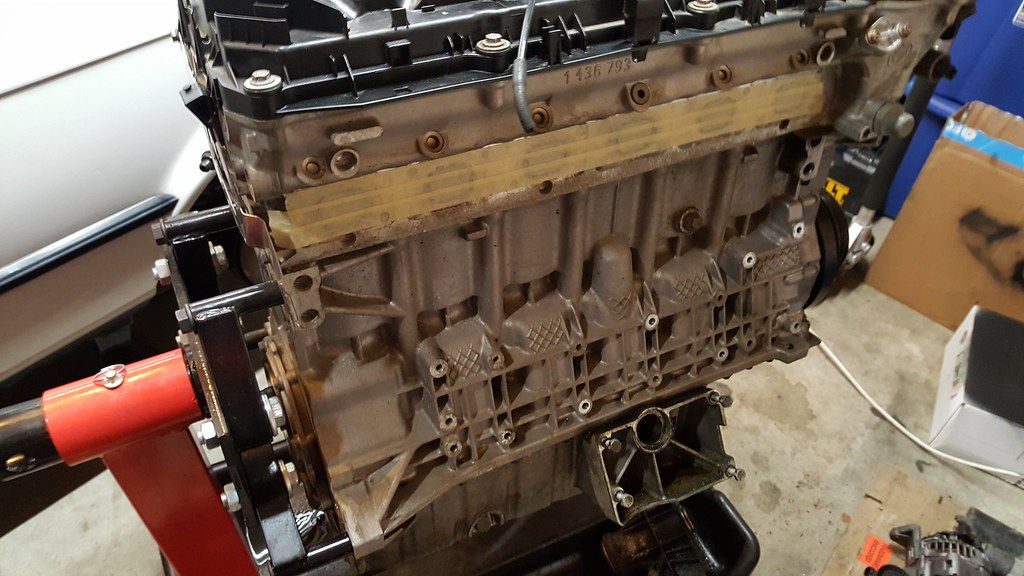
I got the replacement caps to finish the VANOS install and replaced the OEM buna o-rings with the viton ones that came with the Besian kit. With that installed I finished it off by checking the spark plugs and reinstalling the valve cover (with new gaskets) and coils. I cleaned and re-installed the oil filter housing with a new gasket and filter as well. The bores for the two plastic coolant pipes didn't look the best, so I hit them lightly with some 600 grit sandpaper to smooth them out. There is one scratch on the heater feed bore that might be a problem, not sure if it was there from before or I did it, but I applied a really thin coat of RTV so hopefully between that and new o-rings it doesn't leak. With those installed I zip-tied the knock sensor wires back into position and reinstalled the intake manifold that I rebuilt with new gaskets on the throttle body and head flange, repainted brackets, capped vacuum ports for the exhaust flapper valve and SAP valve, and the newly rebuilt DISA.
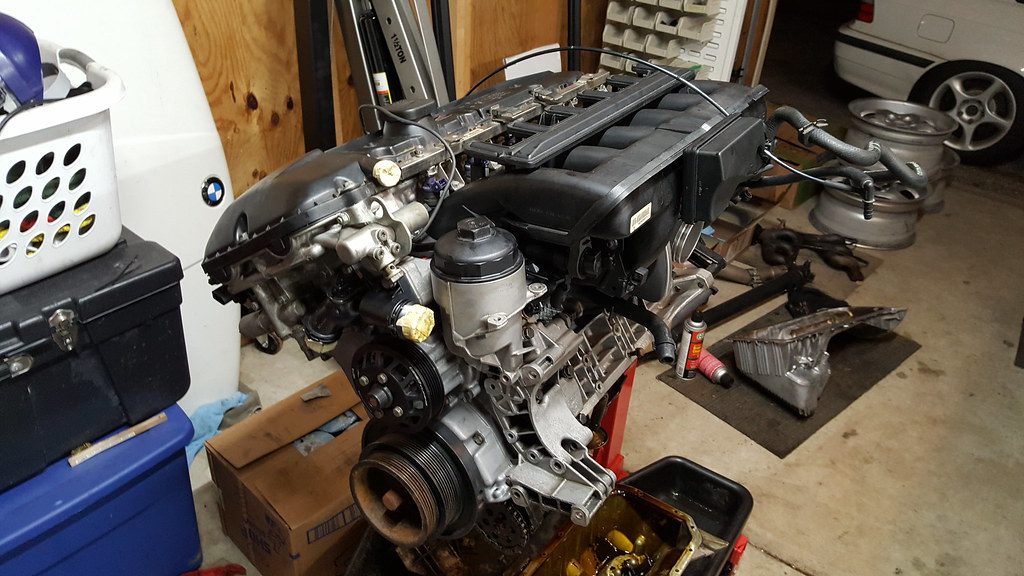
With all that done I zipped off the oil pan bolts, expected it to stick with the gasket (it didn't), and spilled all the residual oil in it all over the garage floor. Like the head, it's a little dirty but it isn't covered in sludge or anything.
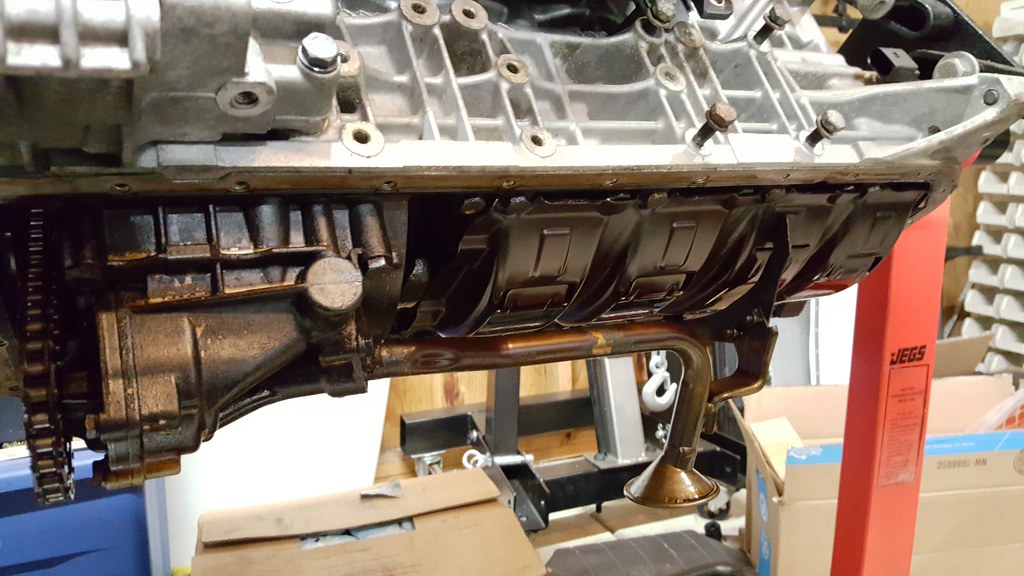
I didn't get any pictures of this, but I took the lower power steering mounting bracket off the M54 oil pan, and luckily for me, the boss on the e34 m50 pan appears to be in the exact same spot. I had to make some minor modifications to the bracket to fit the pan, but other than that it should be a direct swap. As my e30 does not have a check panel, I replaced the oil level sensor with the BMW delete plate and a new o-ring. Once I finish some tasks on the bottom end it should be ready to seal back up.
I also started some work on the fuel system. The M54's fuel pressure regulator is part of the fuel filter assembly underneath the car, and since I want to keep the original e30 fuel filter setup and not have a huge fuel filter strapped to the frame rail under the hood, I will be using an s54 fpr housing. I removed the 5.0 bar S54 fpr (left), and replaced it with a new 3.5 bar part from an e39 530i (right).
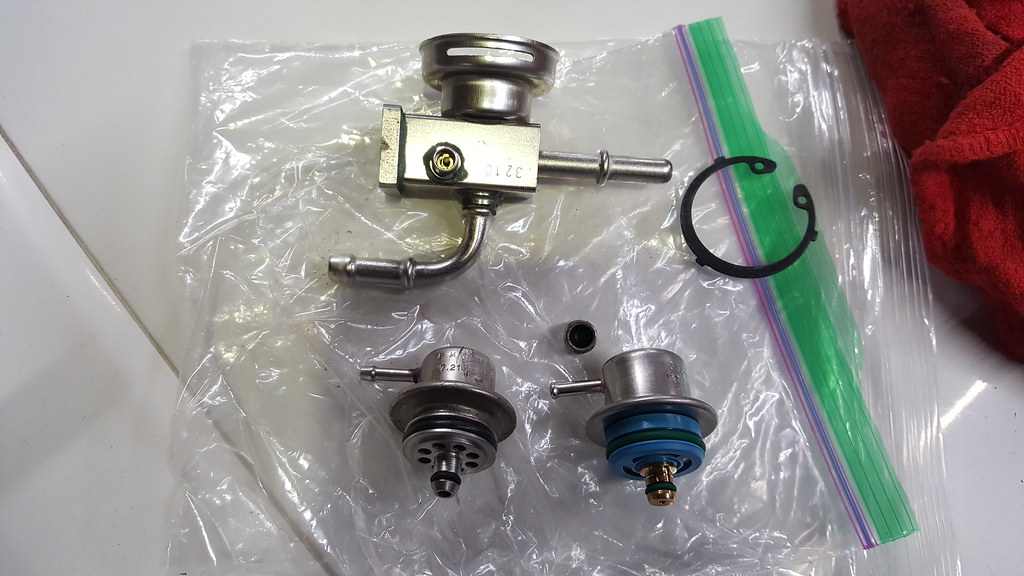
I just need to order a fitting to adapt the threads for the e46 m3 fuel filter to a barb for the inlet and figure out a place to mount it.
-
What about the oil pump nut and shaft? is this still a concern on the X54?
the little bit of grime in the corner of one of the block casting features is the stuff thats going to ignite on a hot day. Murphy's Law said so.
Yeah they have the same problem. I have a drilled oil pump nut with safety wire that I was planning on installing (with loctite too) and calling it good. If I do that, there is always the possibility that the shaft itself could shear, but that is much less likely than the nut coming off. I'm just having an internal debate on whether the added insurance of the Achilles pump shaft/bolt combo is worth $200...
Based on what I've read, most of the problems come from spending extended periods of time at high rpm's/raising the redline without upgrading the damper to compensate for the M54's bad crank harmonics above 6k. I'll be keeping the 6500rpm redline for now (I'd only raise it if I got my hands on an ATI super damper) which will help.
-
I did some more research and found that the M54B30 is probably the most likely of any m/s5x to throw the oil pump nut or shear the shaft. It experiences really bad crank harmonics above 6k rpm, likely due to the aluminum block. I figure $200 for the hardened pump shaft is cheap insurance compared to blowing up a motor and ruining all this work I've done.
Decided to pull the oil pump apart to inspect it before I order anything. Oil pump nut was 'tight', but didn't take that much force to remove. It definitely took more force to remove the one on my M3 by comparison. The internals don't look bad, but I don't really know what I'm looking at so I figured I'd post some pictures and get your opinions:
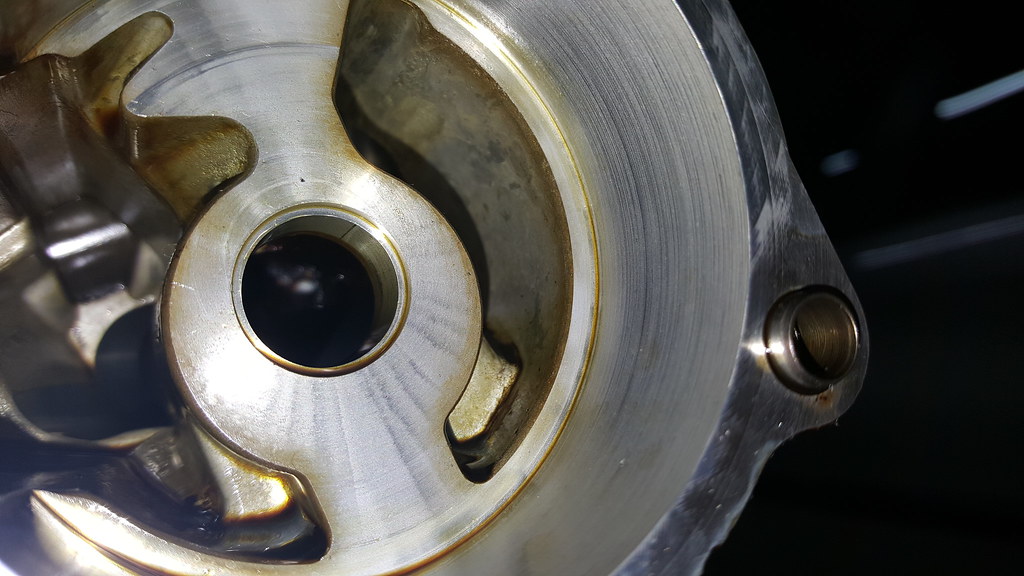
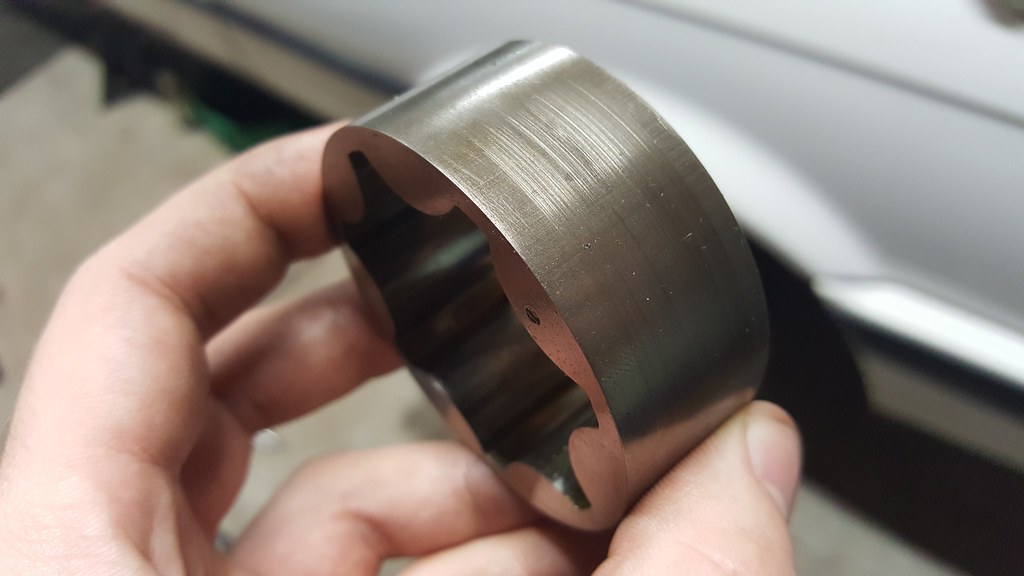
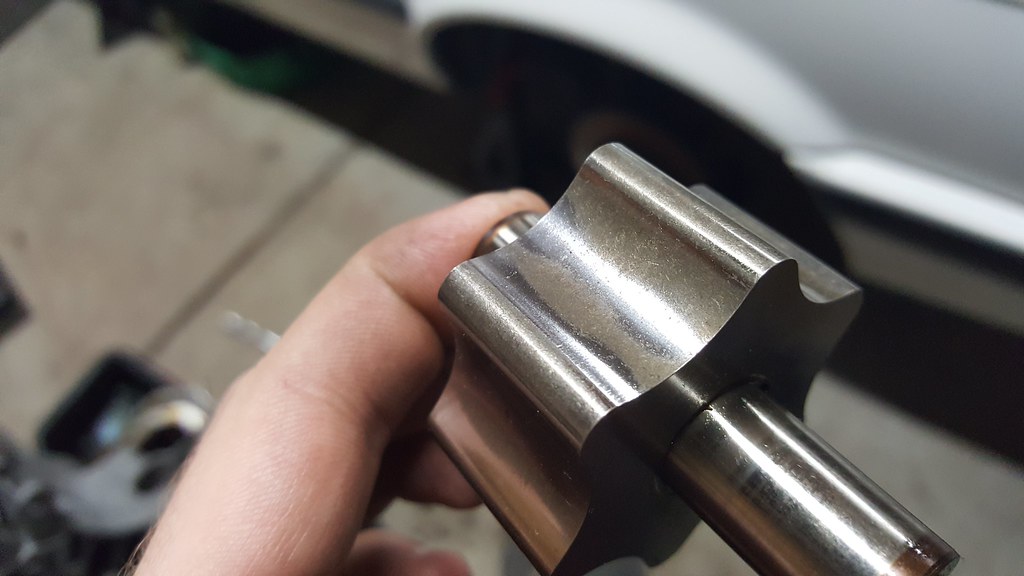
There was some minor scoring on the bore and the outside of the outer rotor. I can barely feel it when running my fingernail over it on both parts. There is some discoloration/wear where in places on the inner rotor, but it isn't rough to the touch or anything like that. Not much scoring on the inside of the cover or back of the housing. Are these in usable condition or should I replace them with new ones?
Another note, when I pulled them apart I noticed dimples stamped into each rotor. Are these supposed to line up for assembly or do they not really matter as long as it spins smoothly? The outer rotor had the dimple facing the cover, while the inner had it on the inside. Didn't seem to be any correlation between the two.
-
the dimples didnt seem to have any sort of reasoning when I was dealing with mine. The rotor and that outer rotor piece are both readily available individually. I bought a new outer piece because it had a little bit of grooving, but most of all I replaced it because it had a notch in it

-
Run it
-
upon scanning your photo with an electron microscope, i've found they've used steel with too much carbon content. better replace it.
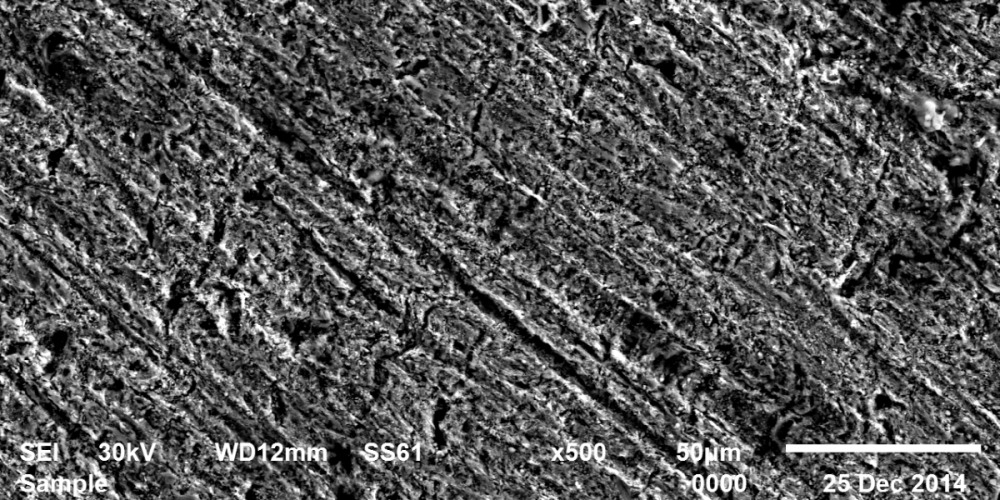
read: this seems nit picky.
Dan




Hello! It looks like you're interested in this conversation, but you don't have an account yet.
Getting fed up of having to scroll through the same posts each visit? When you register for an account, you'll always come back to exactly where you were before, and choose to be notified of new replies (either via email, or push notification). You'll also be able to save bookmarks and upvote posts to show your appreciation to other community members.
With your input, this post could be even better 💗
Register Login