Skip to content
  • Categories
  • Recent
  • Tags
  • Popular
  • Users
  • Groups
Skins
  • Light
  • Brite
  • Cerulean
  • Cosmo
  • Flatly
  • Journal
  • Litera
  • Lumen
  • Lux
  • Materia
  • Minty
  • Morph
  • Pulse
  • Sandstone
  • Simplex
  • Sketchy
  • Spacelab
  • United
  • Yeti
  • Zephyr
  • Dark
  • Cyborg
  • Darkly
  • Quartz
  • Slate
  • Solar
  • Superhero
  • Vapor

  • Default (No Skin)
  • No Skin
Collapse
WIBIMMERS logo

WIBIMMERS

  1. Home
  2. General Discussion
  3. Members BMWs
  4. the one and only e30 s52 engine swap

the one and only e30 s52 engine swap
Scheduled Pinned Locked Moved Members BMWs
521 Posts 25 Posters 1 Views 1 Watching
  • Oldest to Newest
  • Newest to Oldest
  • Most Votes
Reply
  • Reply as topic
Log in to reply
This topic has been deleted. Only users with topic management privileges can see it.
  • stealthbimmerS
    stealthbimmerS
    stealthbimmer
    wrote on last edited by
    #130

    Told ya, those extractors are a life saver. Lookin good

    1997 328ic

    1 Reply Last reply
    0
    • JdesignJ
      JdesignJ
      Jdesign
      wrote on last edited by
      #131

      So many pictars. Keep it up man this thread is great.

      SumBunny.jpg

      https://www.instagram.com/_jdesigner_/                                          http://nevertoolow.tumblr.com/

      🥳SOLD BMW E24 633CSI - BMW M30B32                                          🧪SOLD HCH  ES9 - 1.3 LDA
      👽BMW E30 325IC - Toyota 1JZ-GTE                                                     ⏰ HONDA EF9 CIVIC SI - JDM B18C5
      ☠️BMW E36 318i - Ford 5.0 FE302                                                         🚴‍♂️ GT-Labomba - 26x2.75 Freeride
      🤹‍♀️SOLD BMW E36/7 Z3 - BMW M54B25                                                🧓SOLD BMW E10 2002 - BMW M10M05

      1 Reply Last reply
      0
      • GunMetalGreyG
        GunMetalGreyG
        GunMetalGrey
        wrote on last edited by
        #132

        You're really digging into this thing! 

        You are going to love the feel of the brake pedal after swapping all of the lines. While you are at it make sure to replace the soft brake lines, and may as well replace all of the hardlines (trailing arm lines etc.)

        Keep up the good work! 

        I'll dig for the vanos tools sometime this week, should be able to get out to the shop.

        ...

        1 Reply Last reply
        0
        • straight6pwrS
          straight6pwrS
          straight6pwr
          wrote on last edited by
          #133

          Daggerty said:

          @straight6pwr bought a carpet from stockinteriors.com or a similar site. 

          He could tell you what the pros cons are of it.

          pros:

          • color choices
          • lightweight
          • synthetic material so better stain resistance
          • cheap, relative to new OEM carpet

          cons:

          • fit is not great
          • takes a bit of effort to install
          • more cabin noise than stock

          basically, if your carpet could be R&R'd back to good condition, I wouldnt bother with an aftermarket replacement. mine was ripped and smelled awful from water intrusion.

          Dan
          yajsYRL.jpg.e5f350b4dfe961d76ac8b32efce2e1a6.jpg

          1 Reply Last reply
          1
          • AsparagusMikeA
            AsparagusMikeA
            AsparagusMike
            wrote on last edited by
            #134

            straight6pwr said:

            pros:

            • color choices
            • lightweight
            • synthetic material so better stain resistance
            • cheap, relative to new OEM carpet

            cons:

            • fit is not great
            • takes a bit of effort to install
            • more cabin noise than stock

            basically, if your carpet could be R&R'd back to good condition, I wouldnt bother with an aftermarket replacement. mine was ripped and smelled awful from water intrusion.

            Thx for the info! Hopefully the original cleans up well.

            Earl said:

            You can buy those HVAC gaskets new from the dealer. Check realoem.com for the part number

            Got the part number. Called up the dealer, 35 dollars for a piece of foam. Ya, no.

            KaiserRolls said:

            Awesome progress!
            As far as the purge valve stuff goes, I let that line vent to atmosphere & have the purge valve still connected to the harness, just let that hang out wherever

            That's exactly what I want to do. Thanks for confirming it.

            1 Reply Last reply
            0
            • EarlE
              EarlE
              Earl
              wrote on last edited by
              #135

              I mean $34 sounds more than fair for what it is lol. I replaced the one in my compact new and it was painless. I think being such a funky shape, it'd take a while to try and get a piece of strip to apply nicely.

              museum sig 2earl.jpg

              1 Reply Last reply
              0
              • B
                B
                B C
                wrote on last edited by
                #136

                For the charcoal canister, I will see if I can cut the line back closer to the fuel tank then install an inline fuel filter just to allow it to breathe but not allow dirt in. I will post more once I get there

                1 Reply Last reply
                0
                • jc43089J
                  jc43089J
                  jc43089
                  wrote on last edited by
                  #137

                  Snap said:

                  For the charcoal canister, I will see if I can cut the line back closer to the fuel tank then install an inline fuel filter just to allow it to breathe but not allow dirt in. I will post more once I get there

                  That will stink, literally, anytime the car is parked and the temperature increases you will smell gas.  Maybe I missed something?  Why are we not connecting charcoal canisters?  There are aftermarket universal ones for cheap if the original is broken.

                  2/94 325i Sedan, Arctic Gray: UUC LTW FW, EVO 3 and DSSR, +.020 Maxsil pistons, ASC delete, Eibach shocks/springs, 16" contour reps 238k
                  3/93 325i Coupe, Schwarz 2, Sketchy stance action, ebay turbo, 300k
                  '89 325i Vert, Alpine White: 5spd swapped, sold.

                  '04 Toyota Sienna: 24V to 24V swap in progress
                  '05 Volvo V70R, 6spd.  200k
                  '85 Toyota LandCruiser: Lifted, gas hog. 205k
                  '99 Nissan Maxima: 5spd, Rusty but trusty winter beater. 252k RIP.

                  1 Reply Last reply
                  0
                  • B
                    B
                    B C
                    wrote on last edited by
                    #138

                    jc43089 said:

                    That will stink, literally, anytime the car is parked and the temperature increases you will smell gas.  Maybe I missed something?  Why are we not connecting charcoal canisters?  There are aftermarket universal ones for cheap if the original is broken. 

                    I wanted to keep it but I already had to relocate it 2 "above the stock E30 location in order to clear the E36 engine mount arms. Now the top of it hits the master cylinder. I will proceed with removing it as planned but if I can find a suitable smaller replacement then I will consider it.

                    1 Reply Last reply
                    0
                    • KaiserRollsK
                      KaiserRollsK
                      KaiserRolls
                      wrote on last edited by
                      #139

                      FWIW I don’t smell gas

                      1 Reply Last reply
                      0
                      • GunMetalGreyG
                        GunMetalGreyG
                        GunMetalGrey
                        wrote on last edited by
                        #140

                        I had my tank vent through a small filter and had a small line going towards the ground right by the fuel tank. I had removed all of the stock hardline and canister stuff. 
                        Never smelled gas, never had the car start on fire.

                        ...

                        1 Reply Last reply
                        0
                        • Bassboy3313B
                          Bassboy3313B
                          Bassboy3313
                          wrote on last edited by
                          #141

                          I've never smelled gas from my canister removal. Only when the fuel rail line leaked. ;)

                          CHECK OUT >>> RAGE DRIFT DESIGNS <<< FOR DECALS AND MORE!

                          1 Reply Last reply
                          0
                          • AsparagusMikeA
                            AsparagusMikeA
                            AsparagusMike
                            wrote on last edited by
                            #142

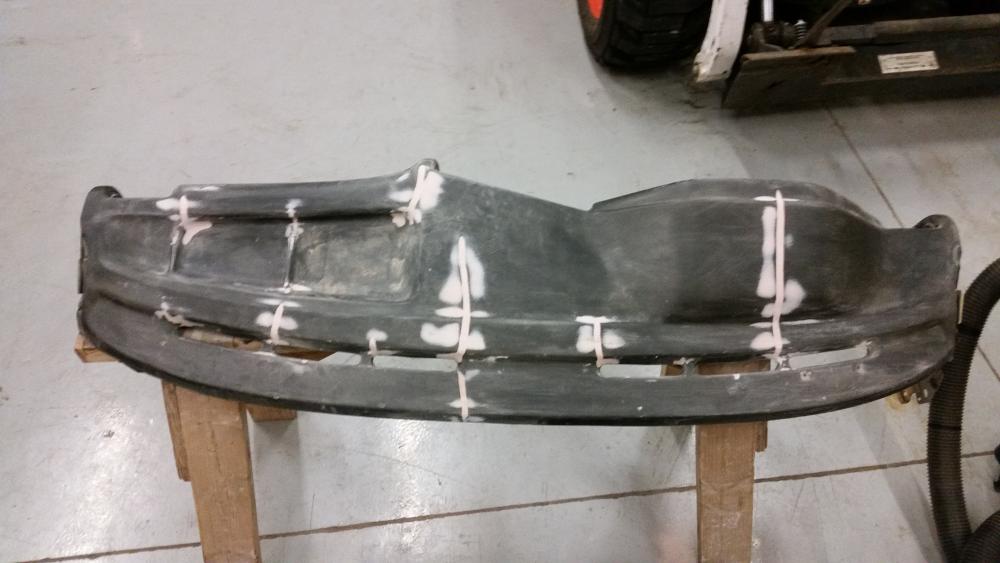
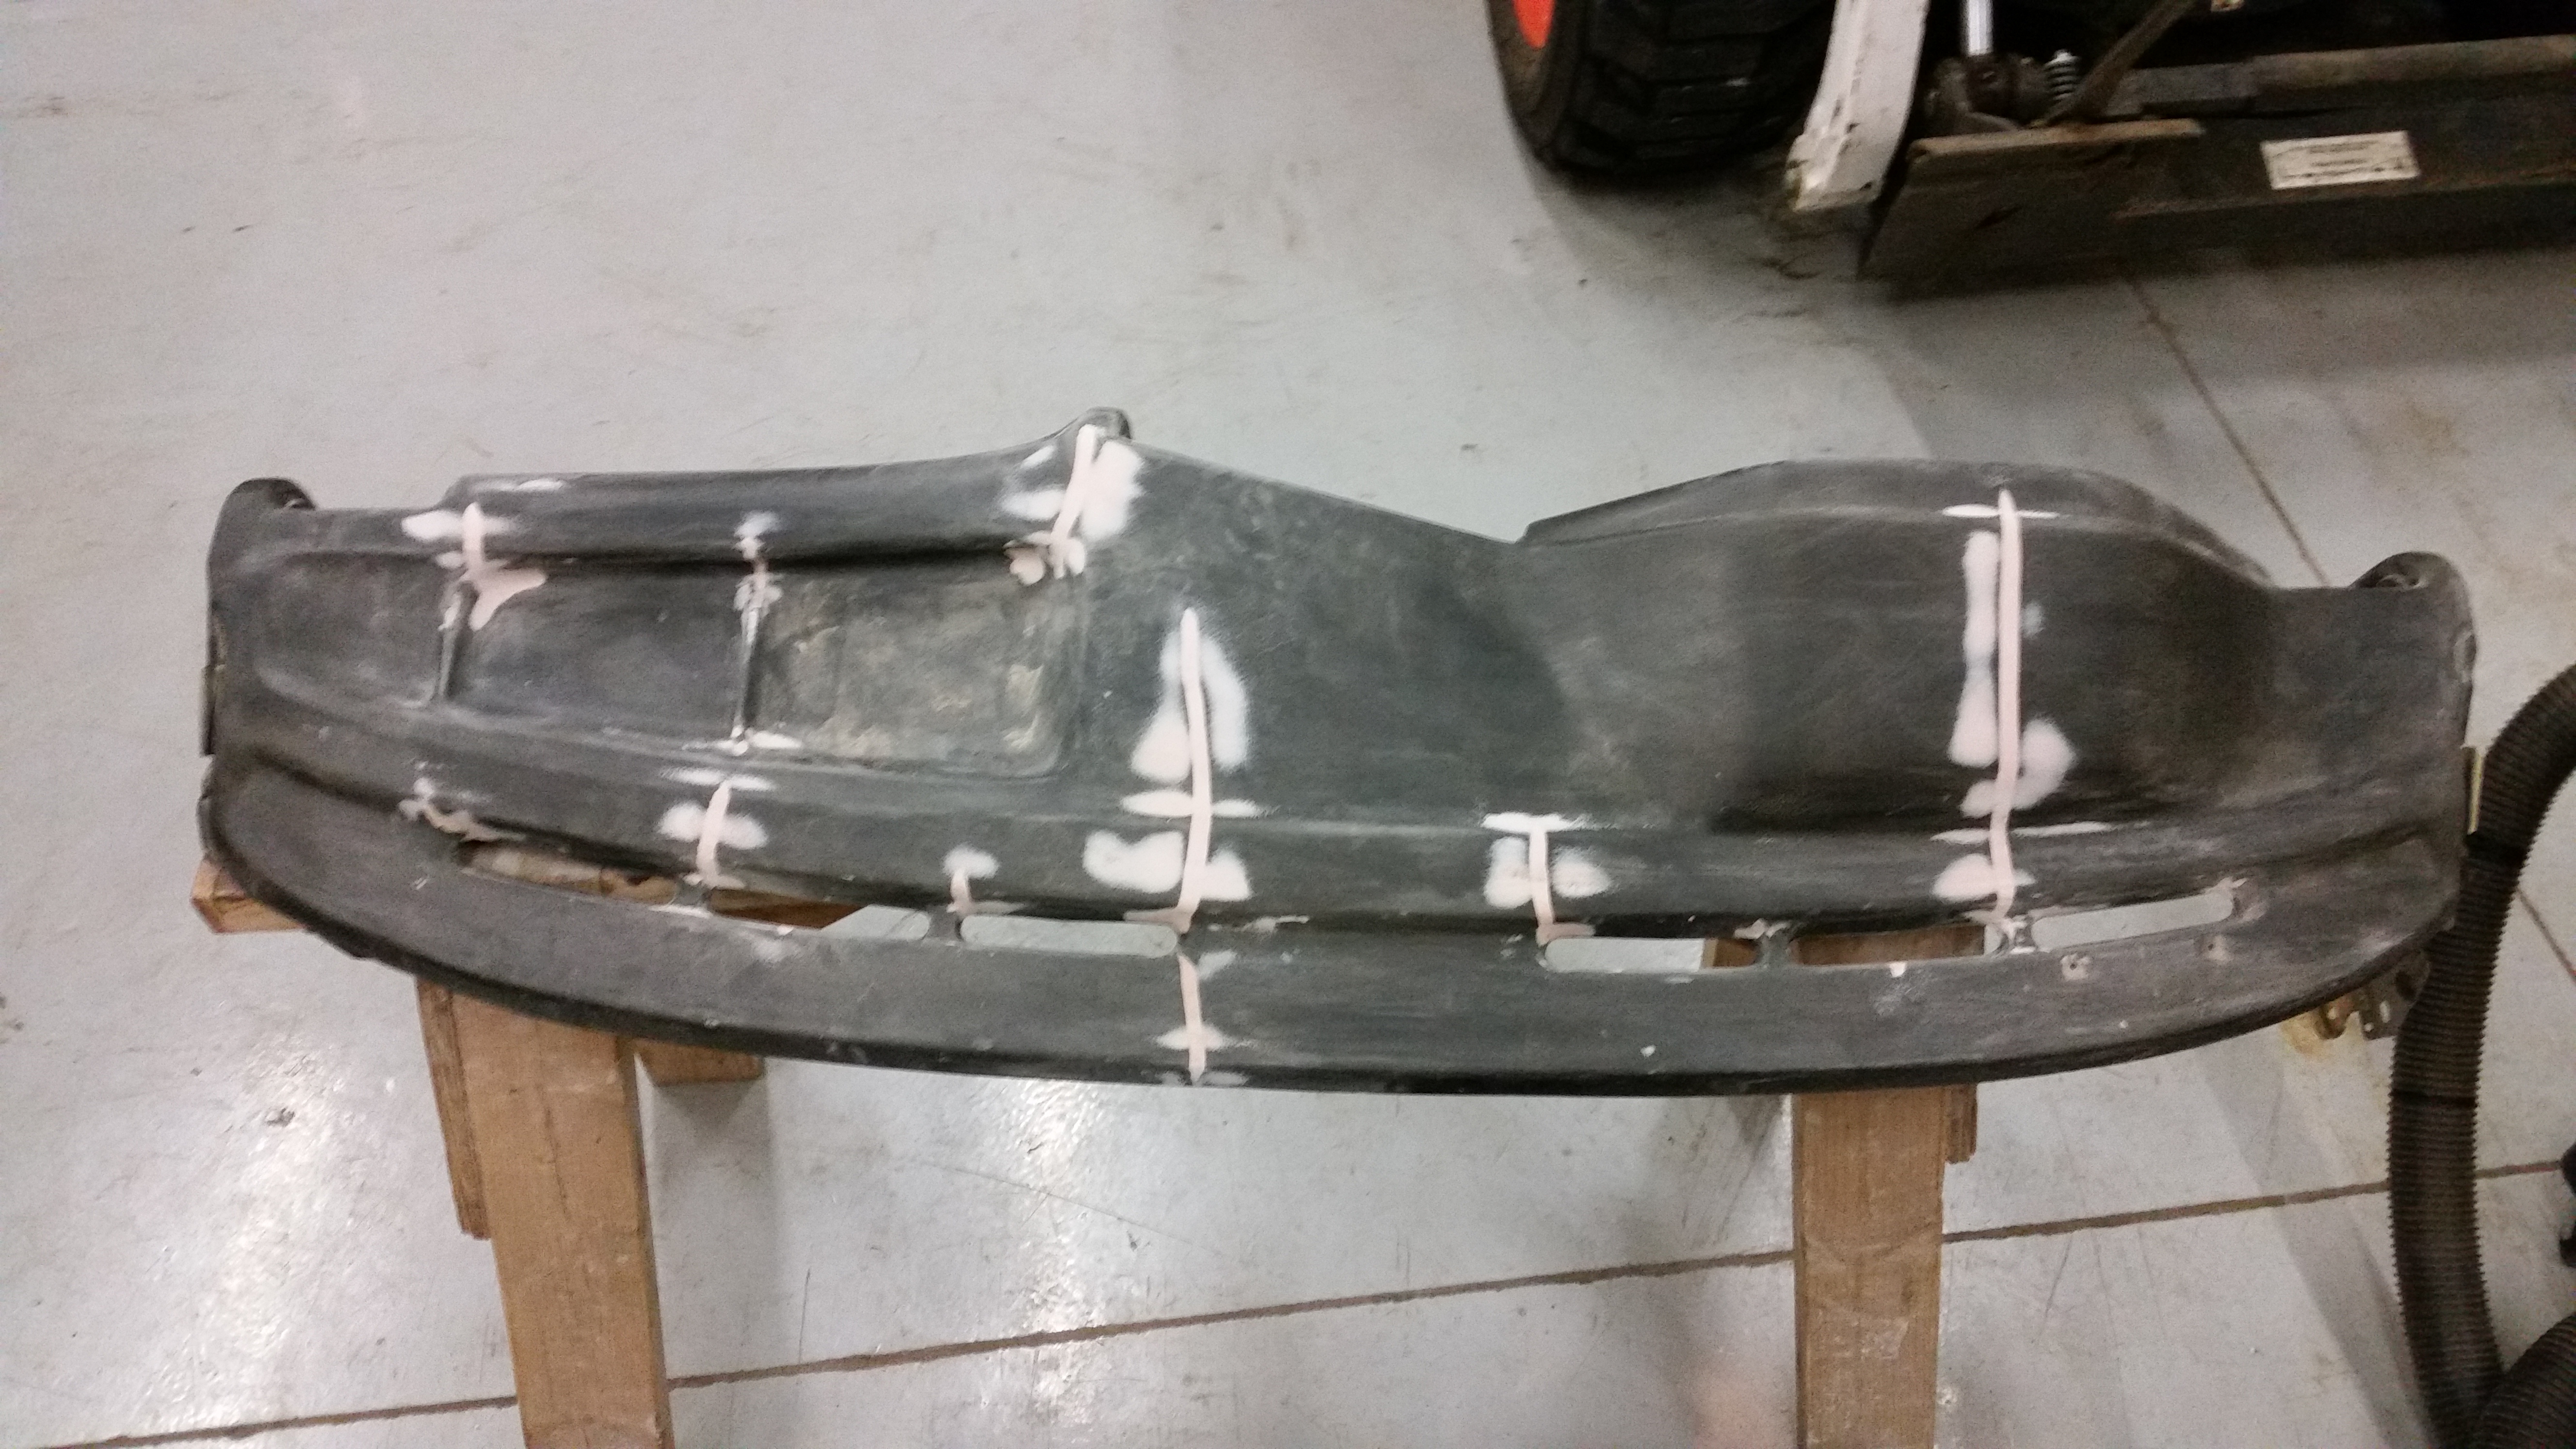
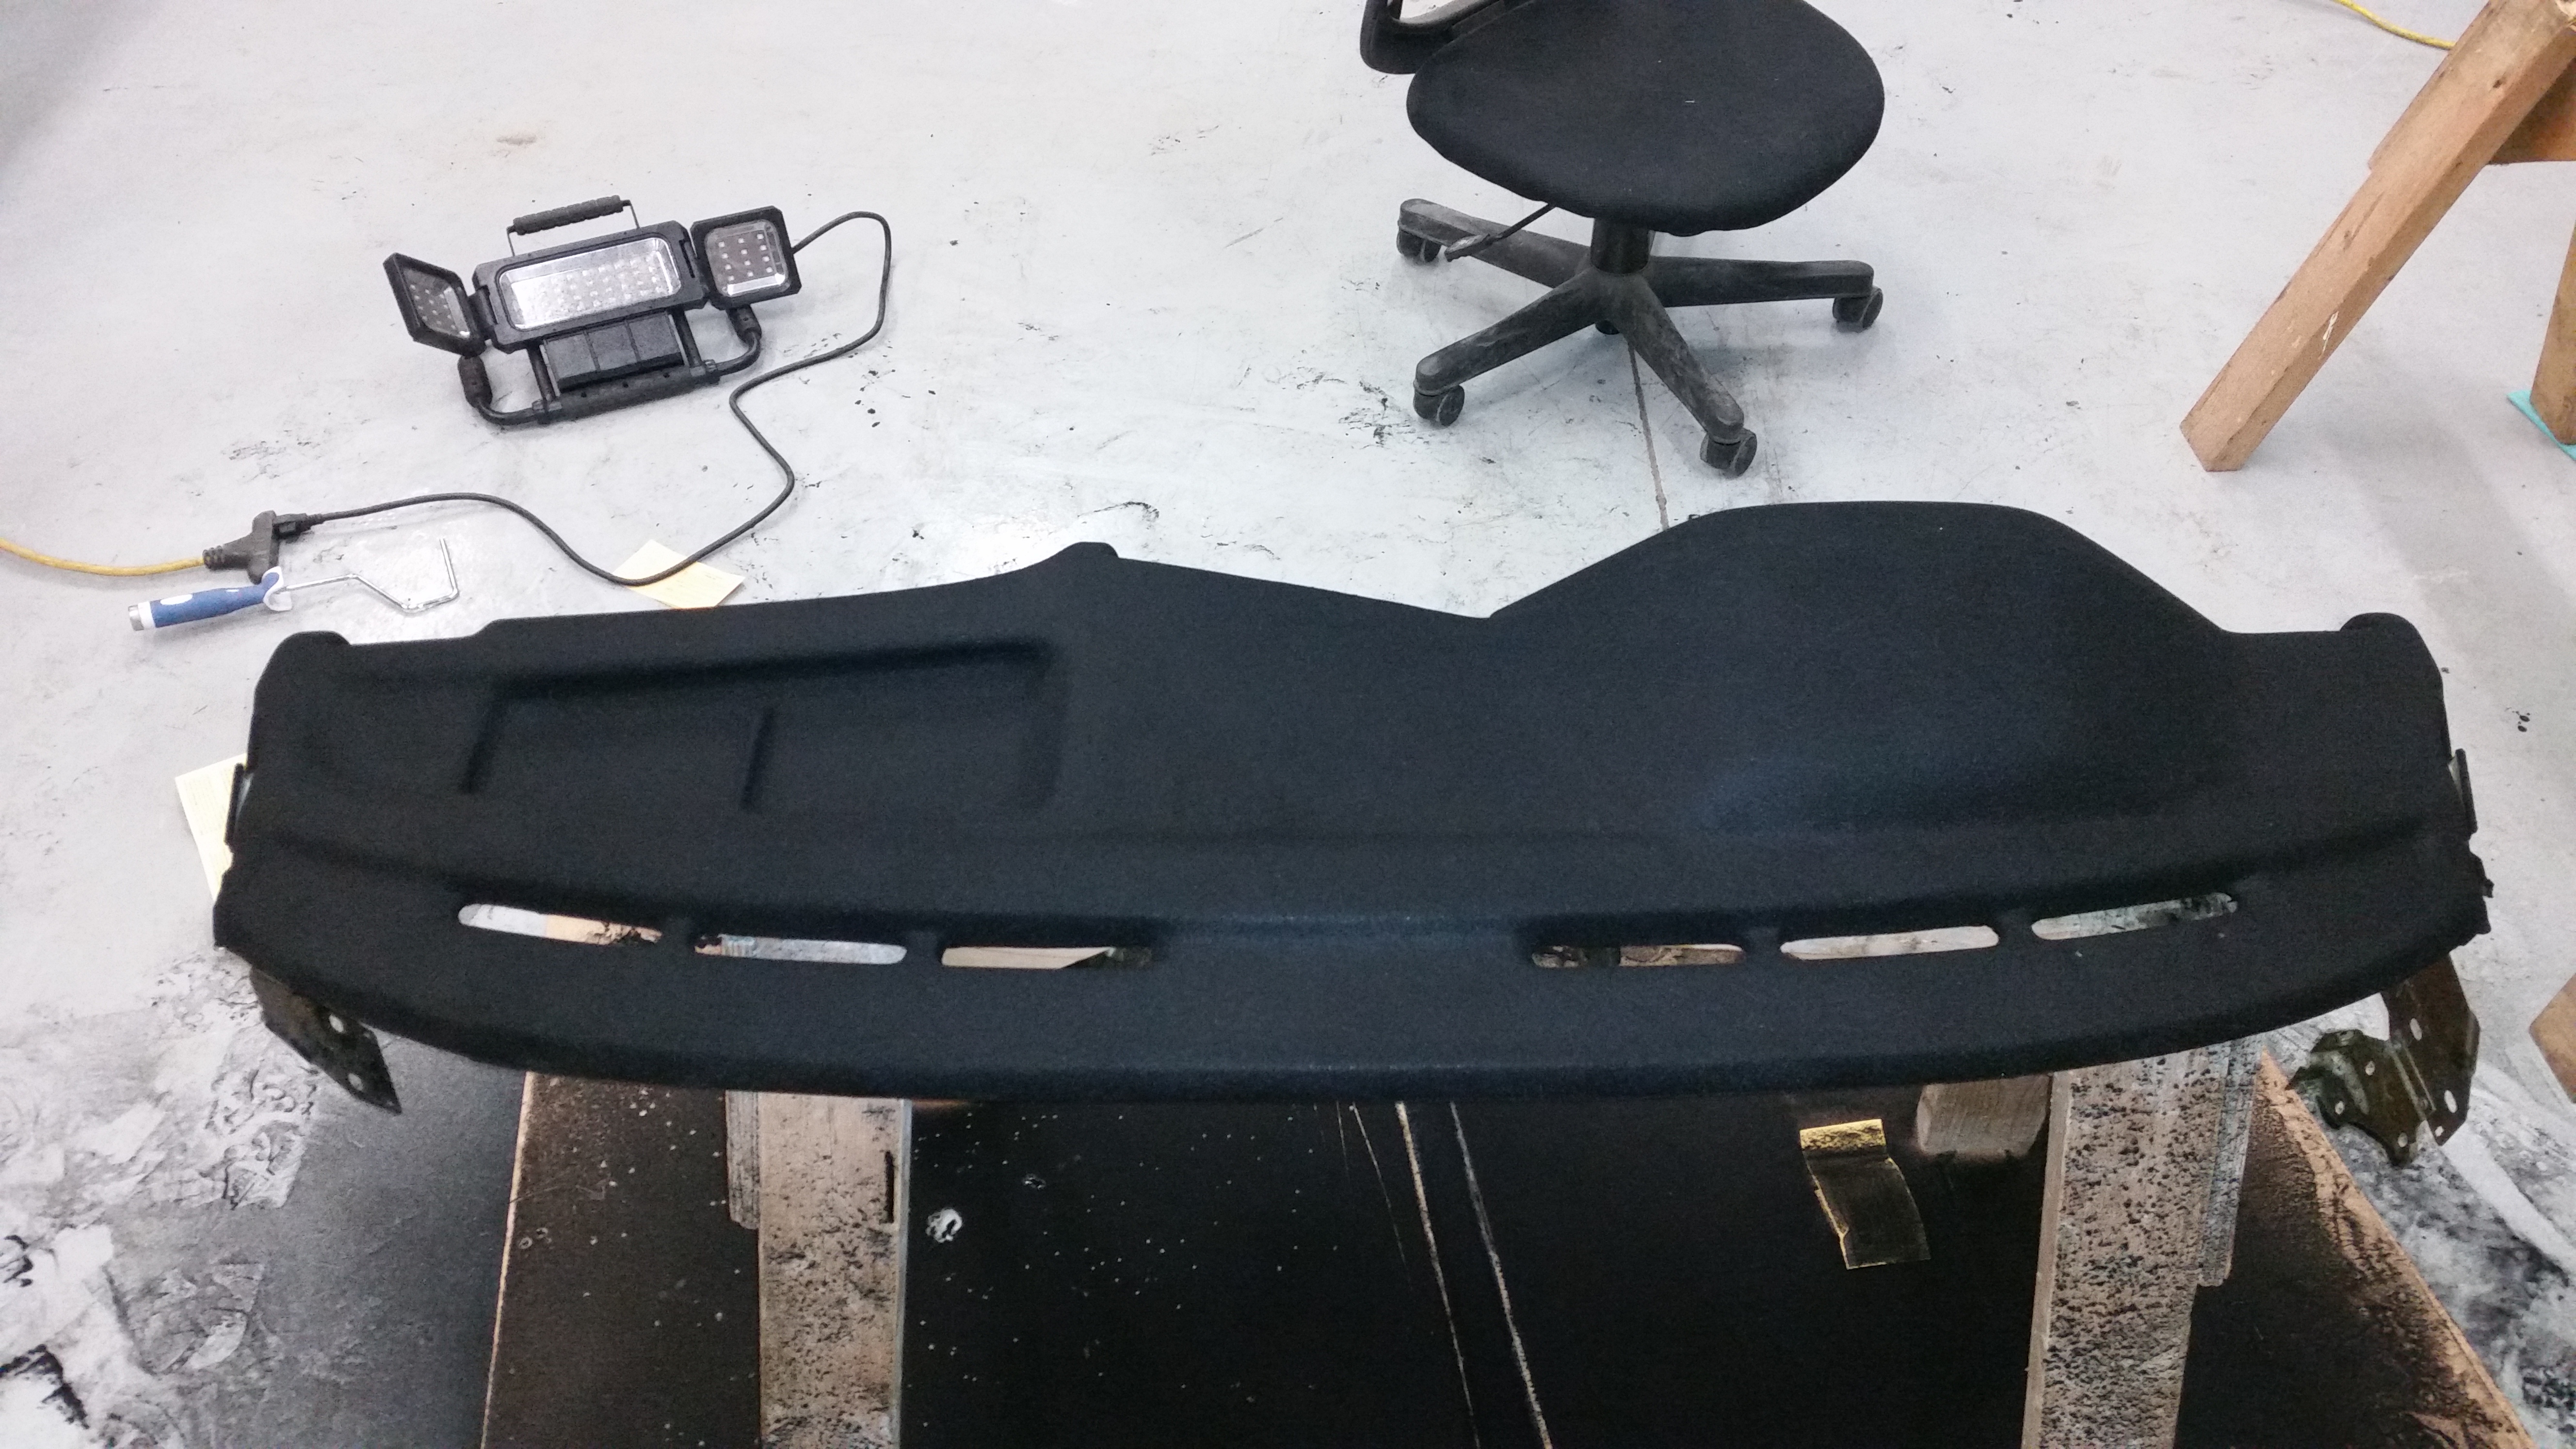
                            I'll start off right away by saying that dash repair, is not as easy as it seems. I spent right around 8 hours total body filling and sanding the shit out of this thing. Many times I came upon more small cracks I hadn't noticed before and had to go back and open them up and fix em.  All in all it ended up turning out really great and I couldn't be more pleased.

                            20180110223531.jpg

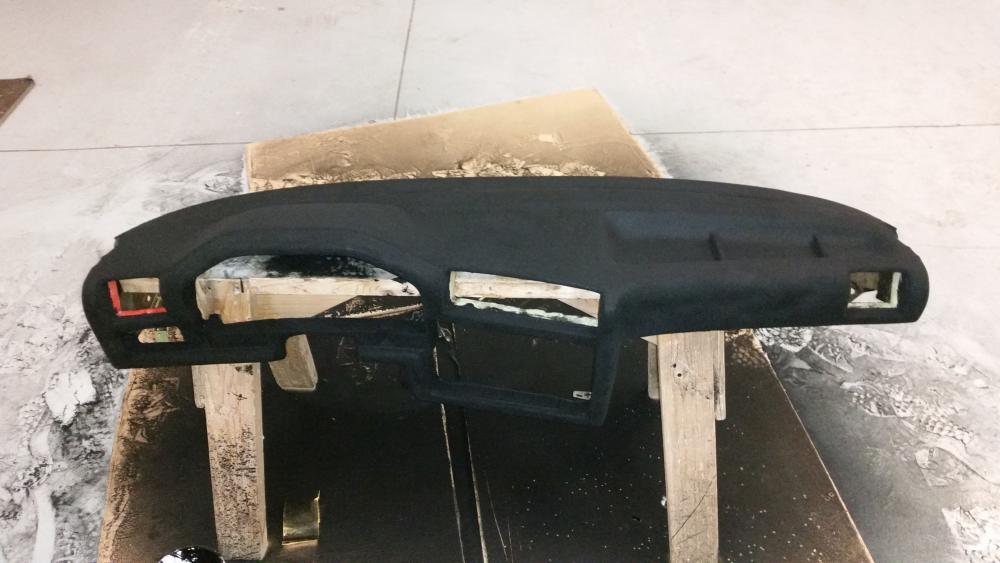
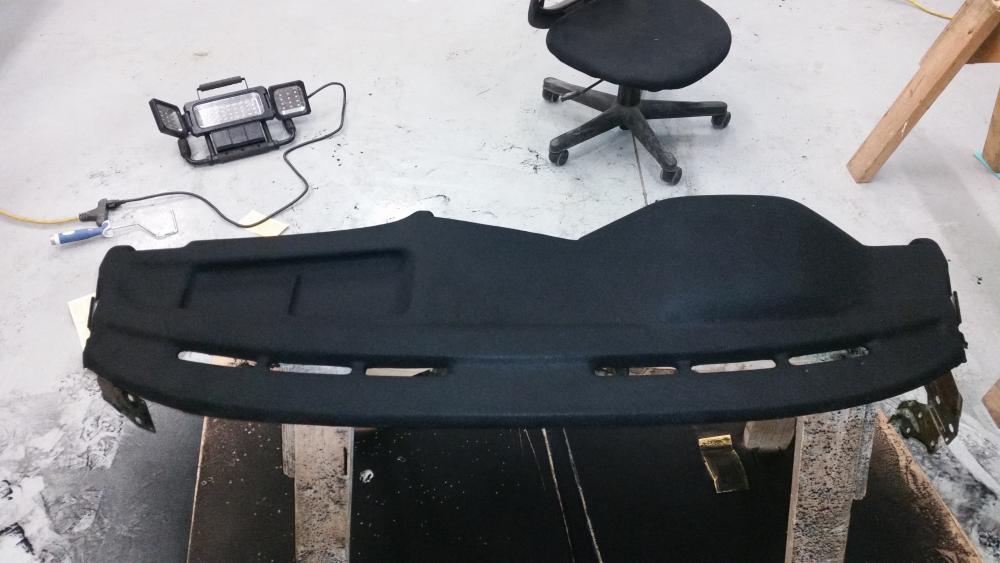
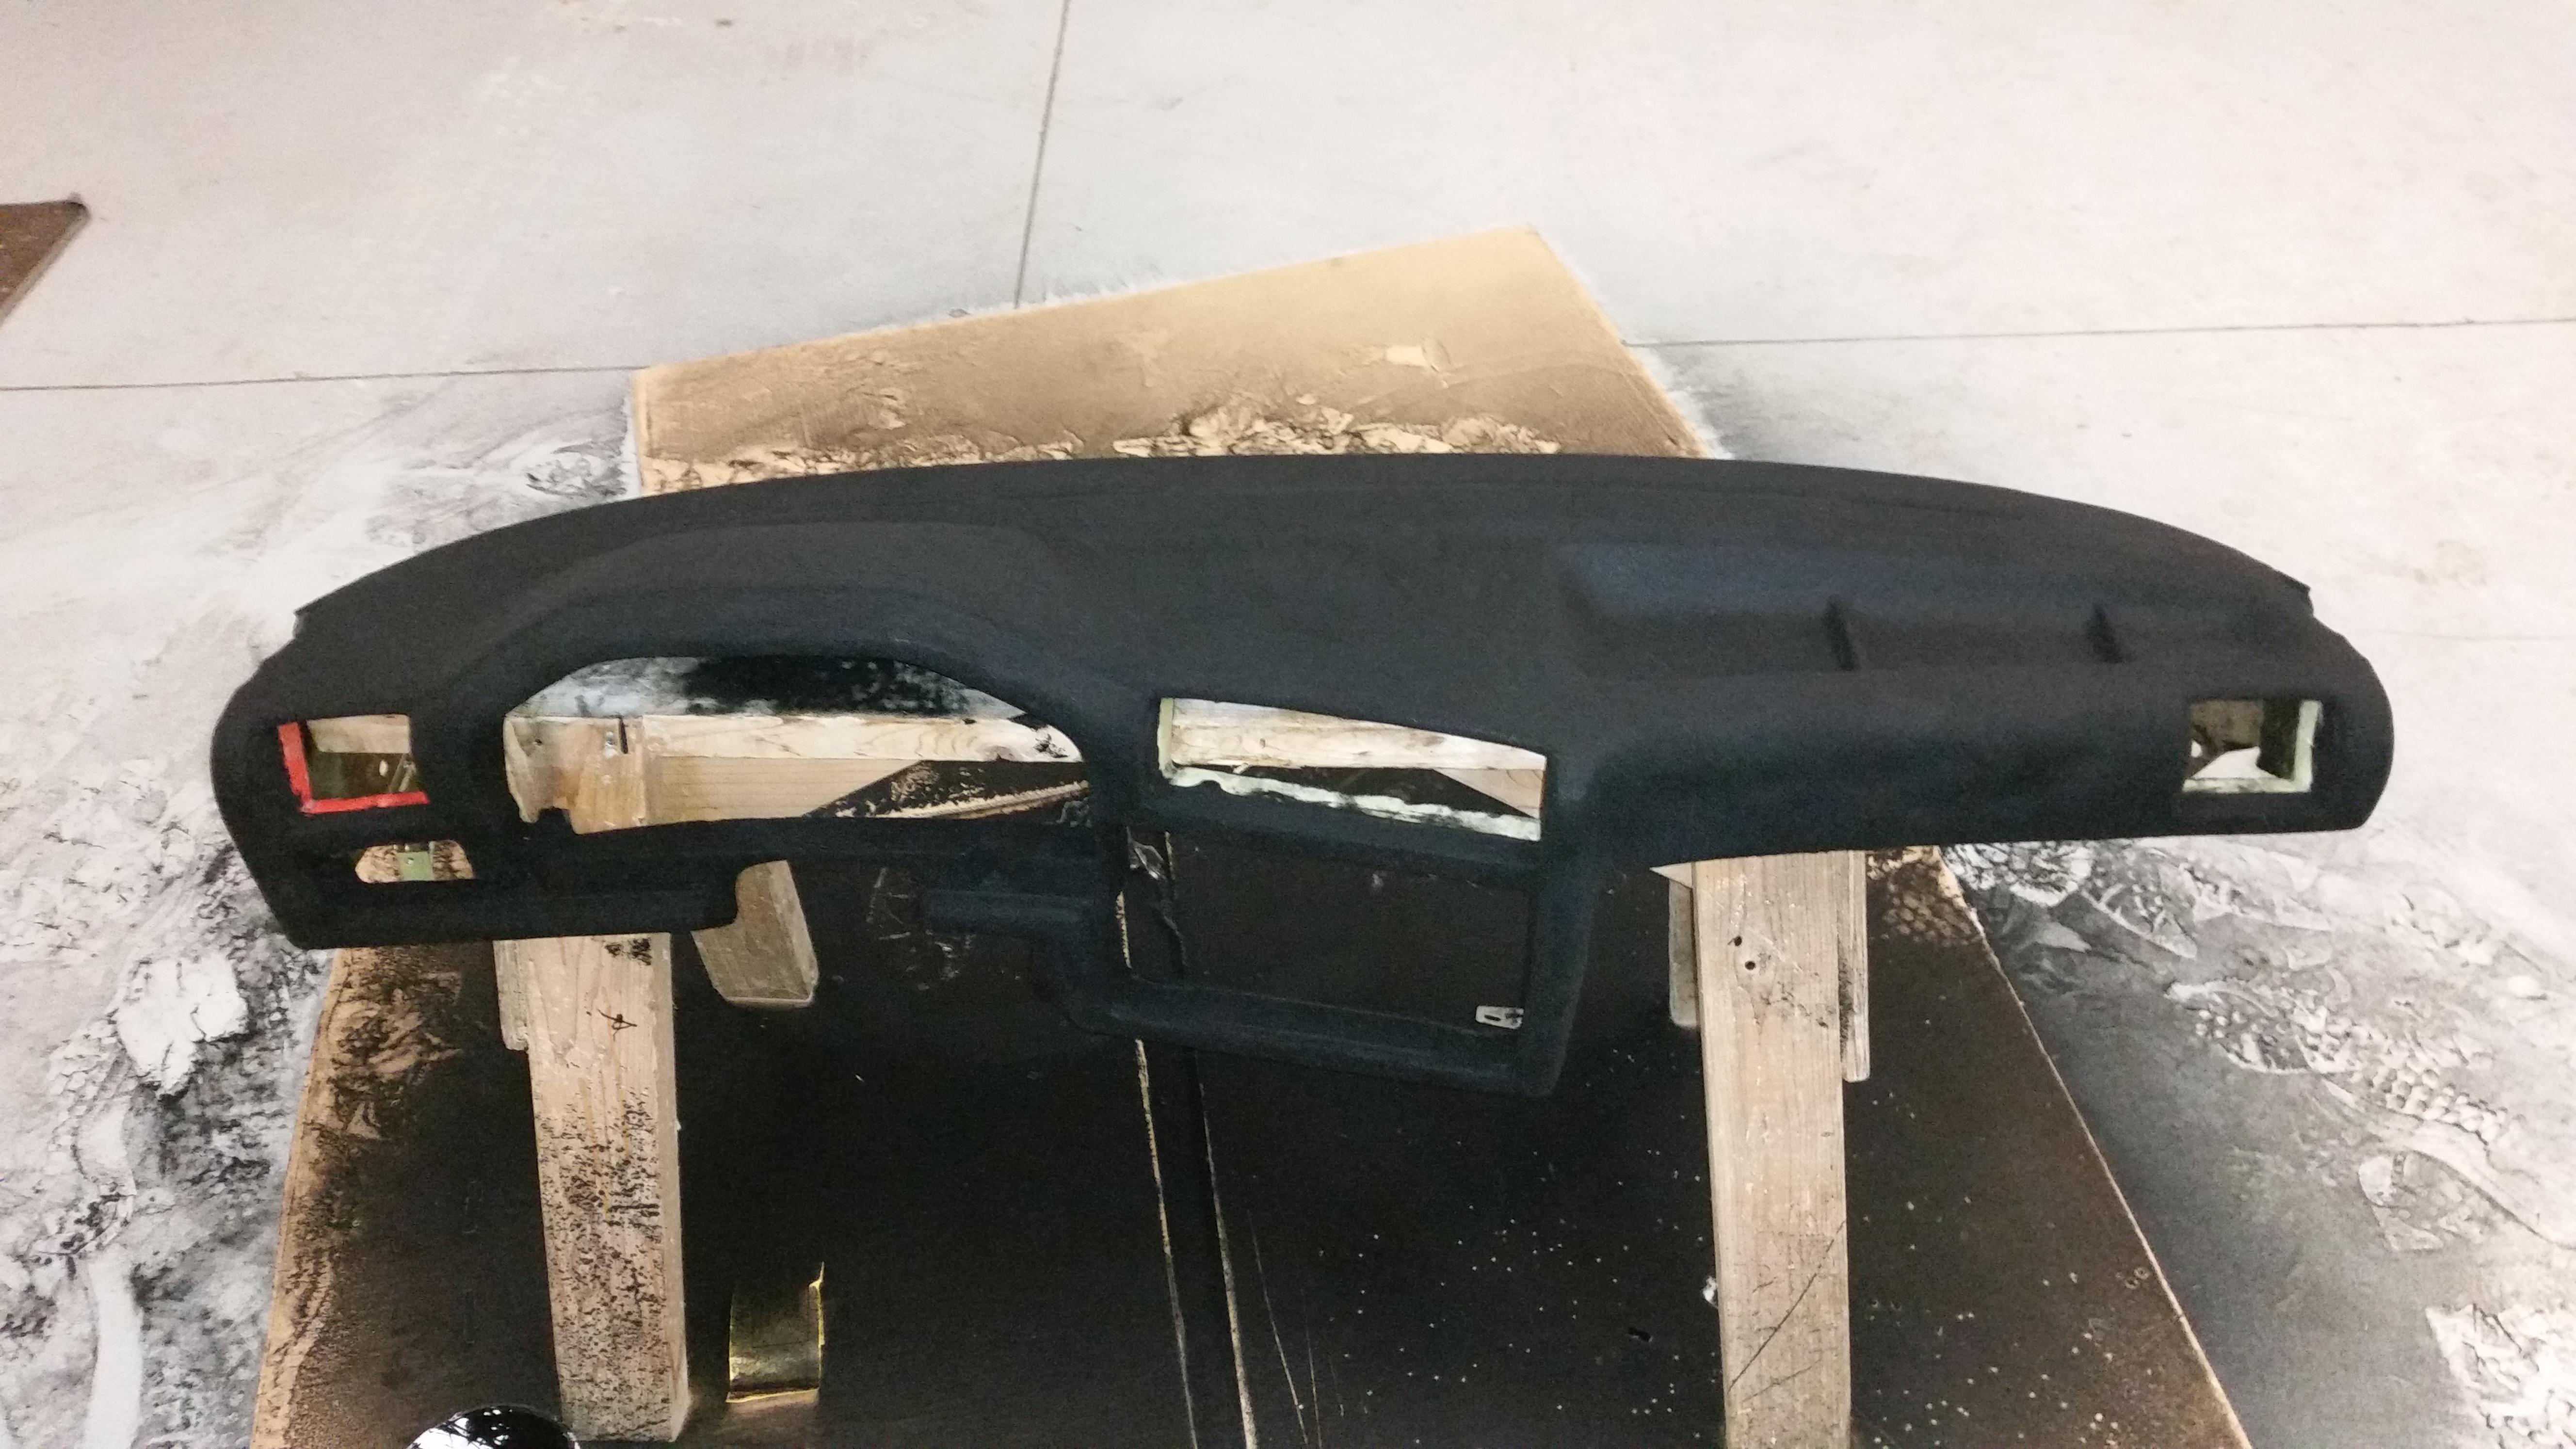
                            The dash flocking was pretty straight forward as there is a pretty well written instructions that comes with the kit. I would say the one and only struggle about the hole process was the amount of time I had to get it done. You get 15 minutes total to get the black undercoat and the fibers on. Luckily I had a friend help me with the painting and so it took us about 10 minutes to get the painting done and the last few minutes to frantically get the fibers blown on before the undercoat dried. I went overboard with the fibers as the kit advises u to in order to cover all the areas. The cure takes about 15 - 17 hours before u can shake the excess fibers off and another 72 hours to a week before u can install it back in the car.

                            20180111171554.jpg

                            20180111171843.jpg

                            We'll see how she looks tomorrow once I shake it off.

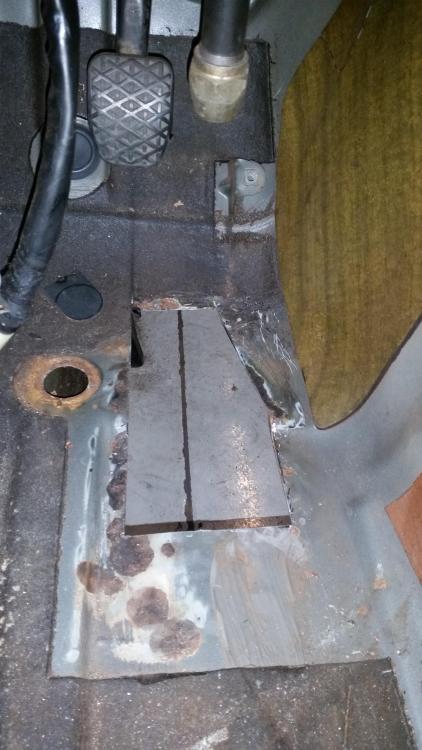
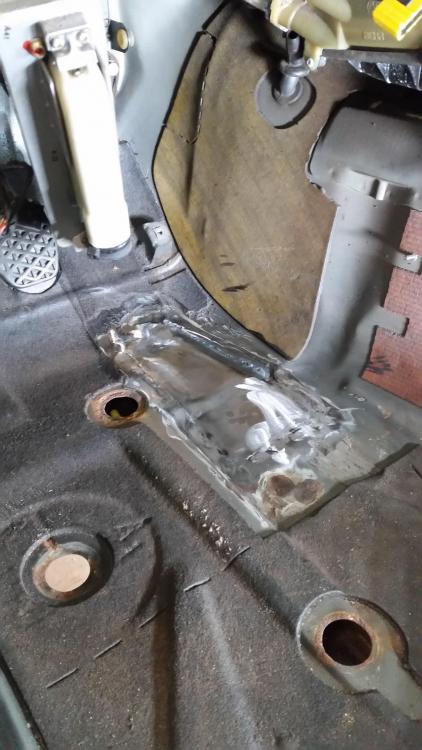
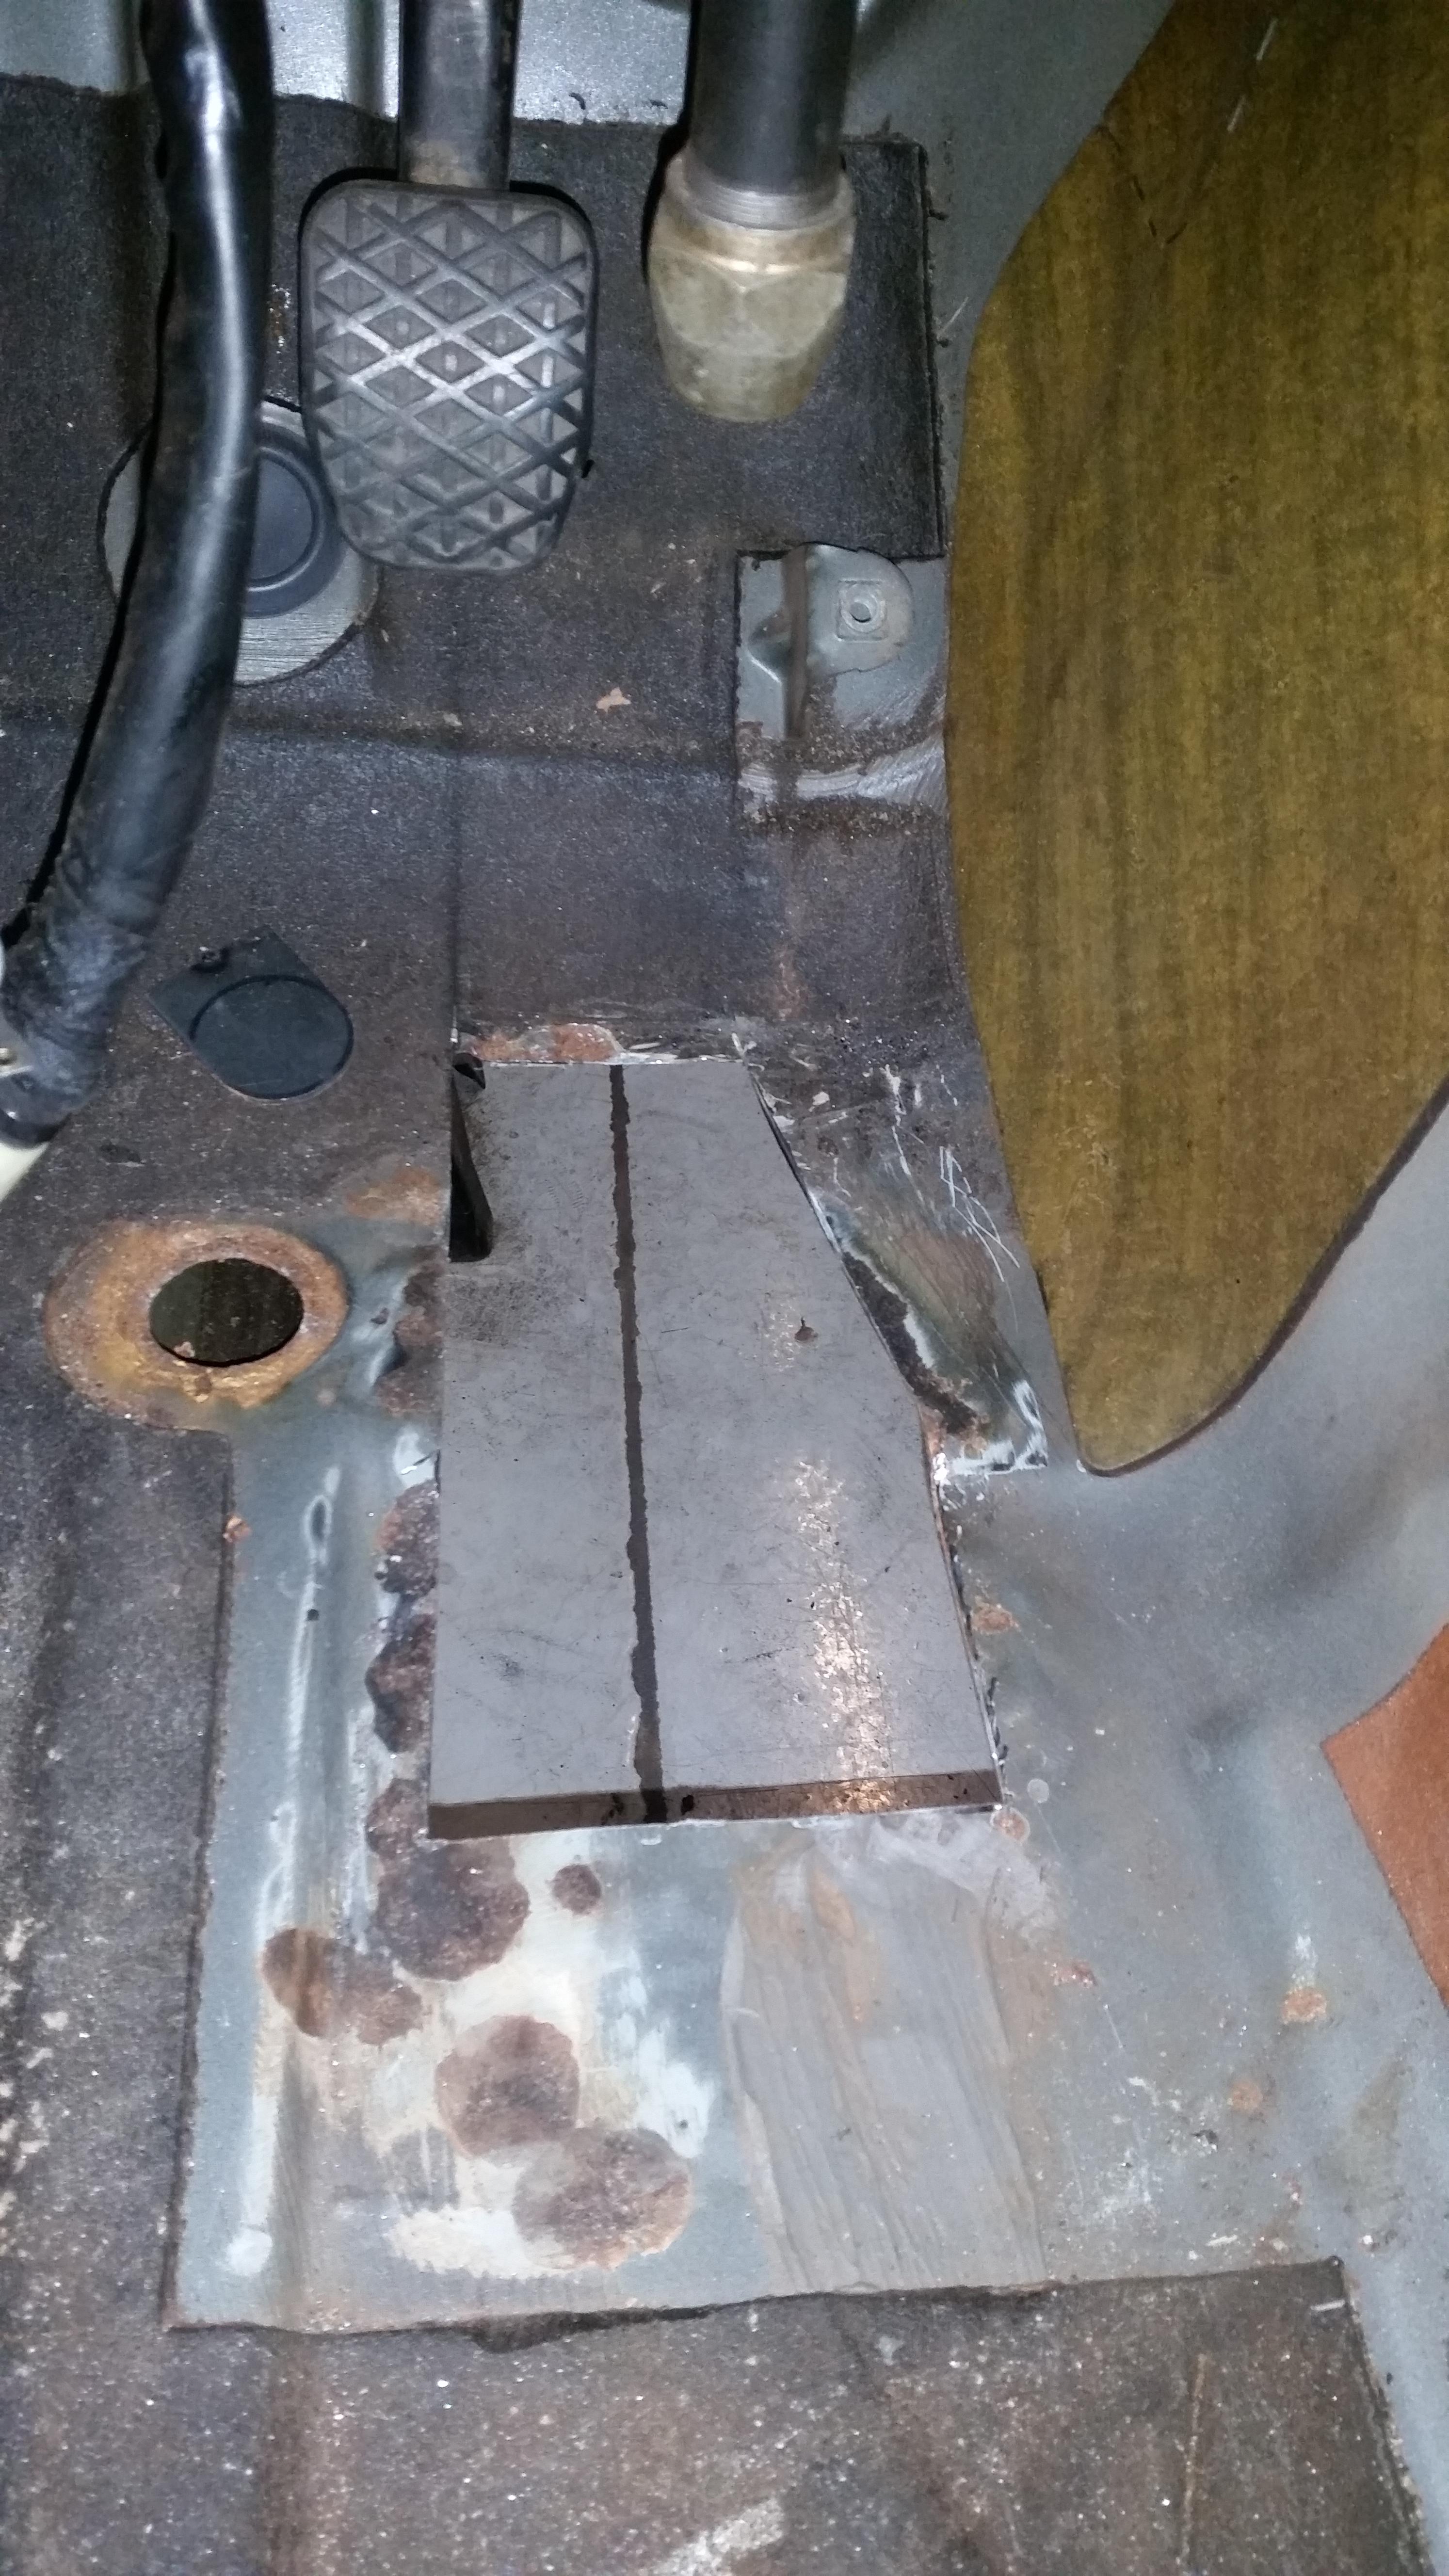
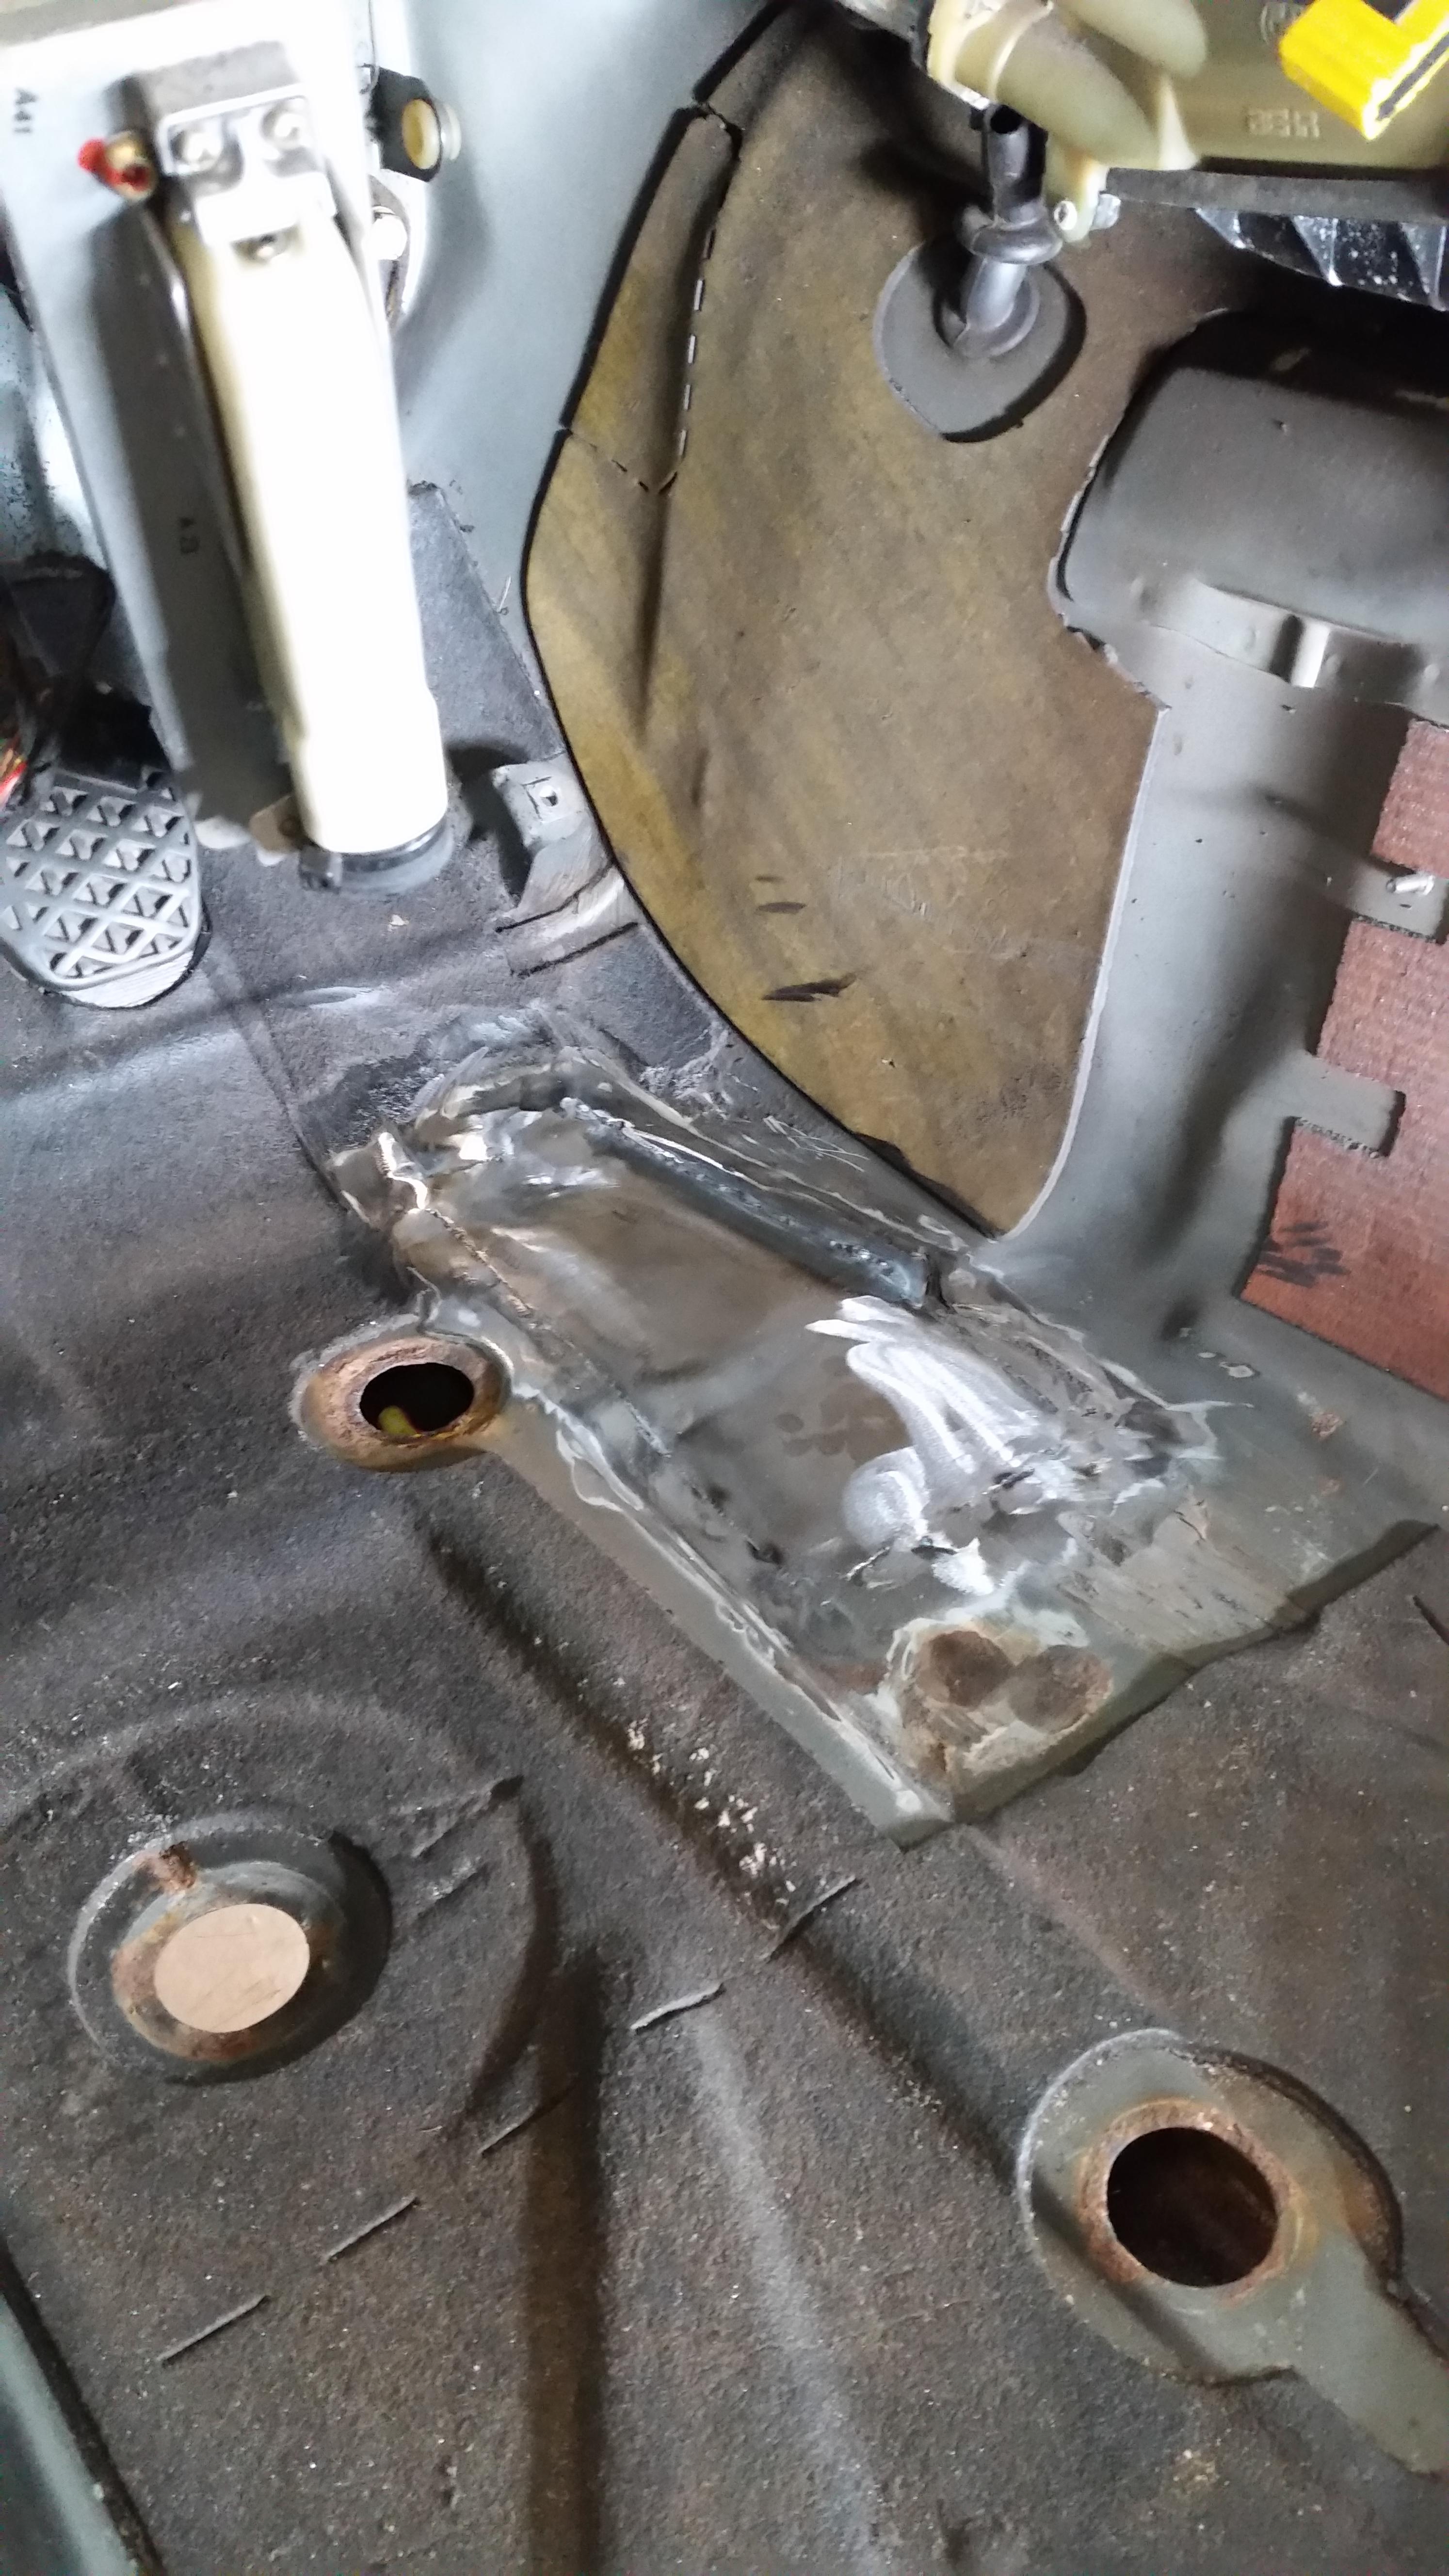
                            On another note, got the driver side rust hole fixed up, 16 gauge worked so much better and welded up with little issue.

                            20180109141144.jpg

                            20180110220454.jpg

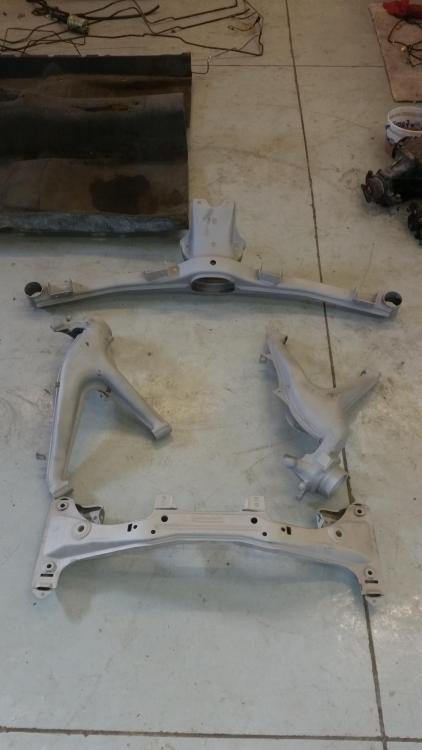
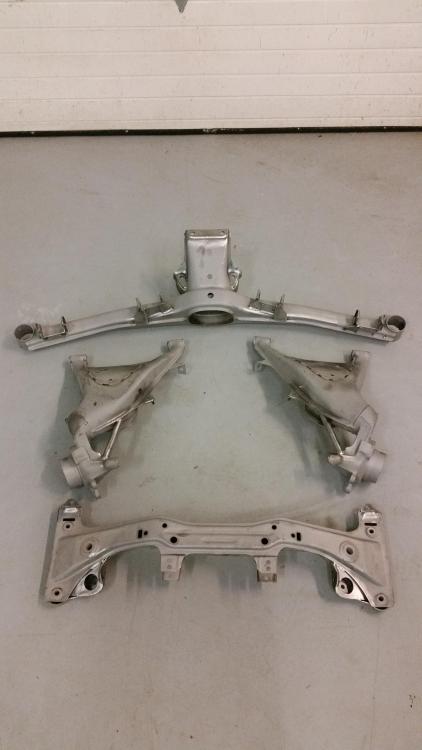
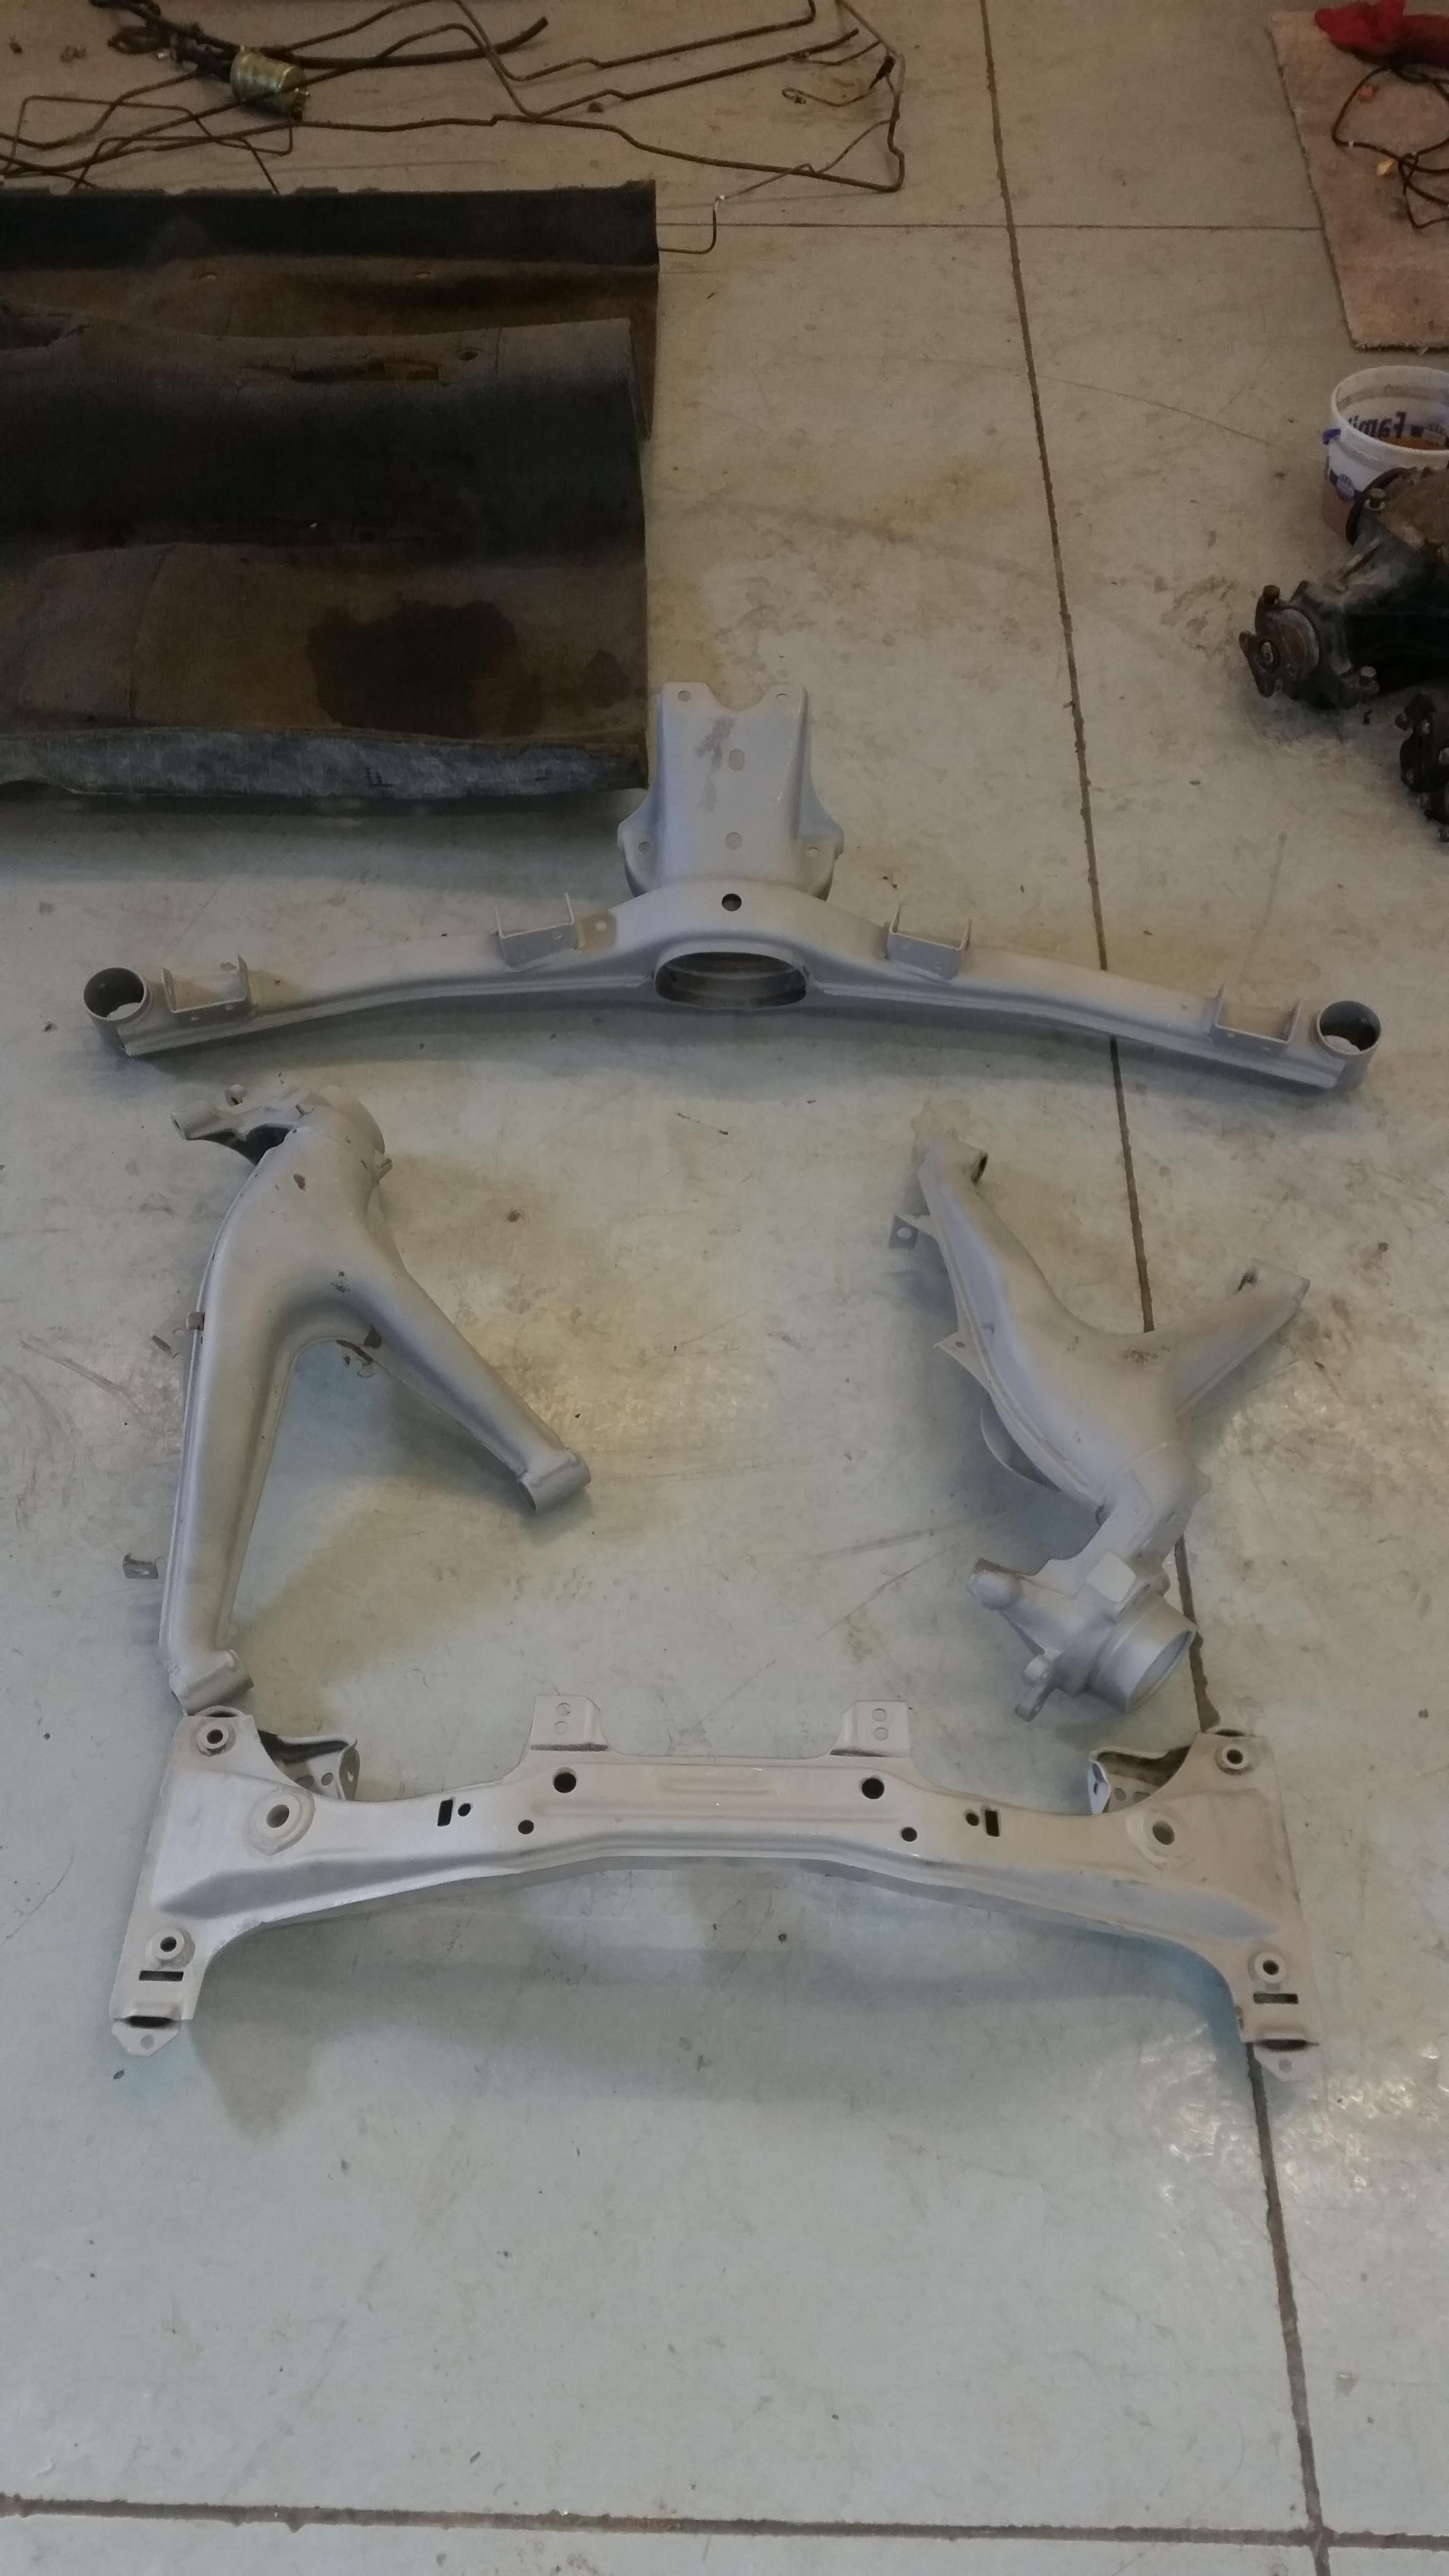
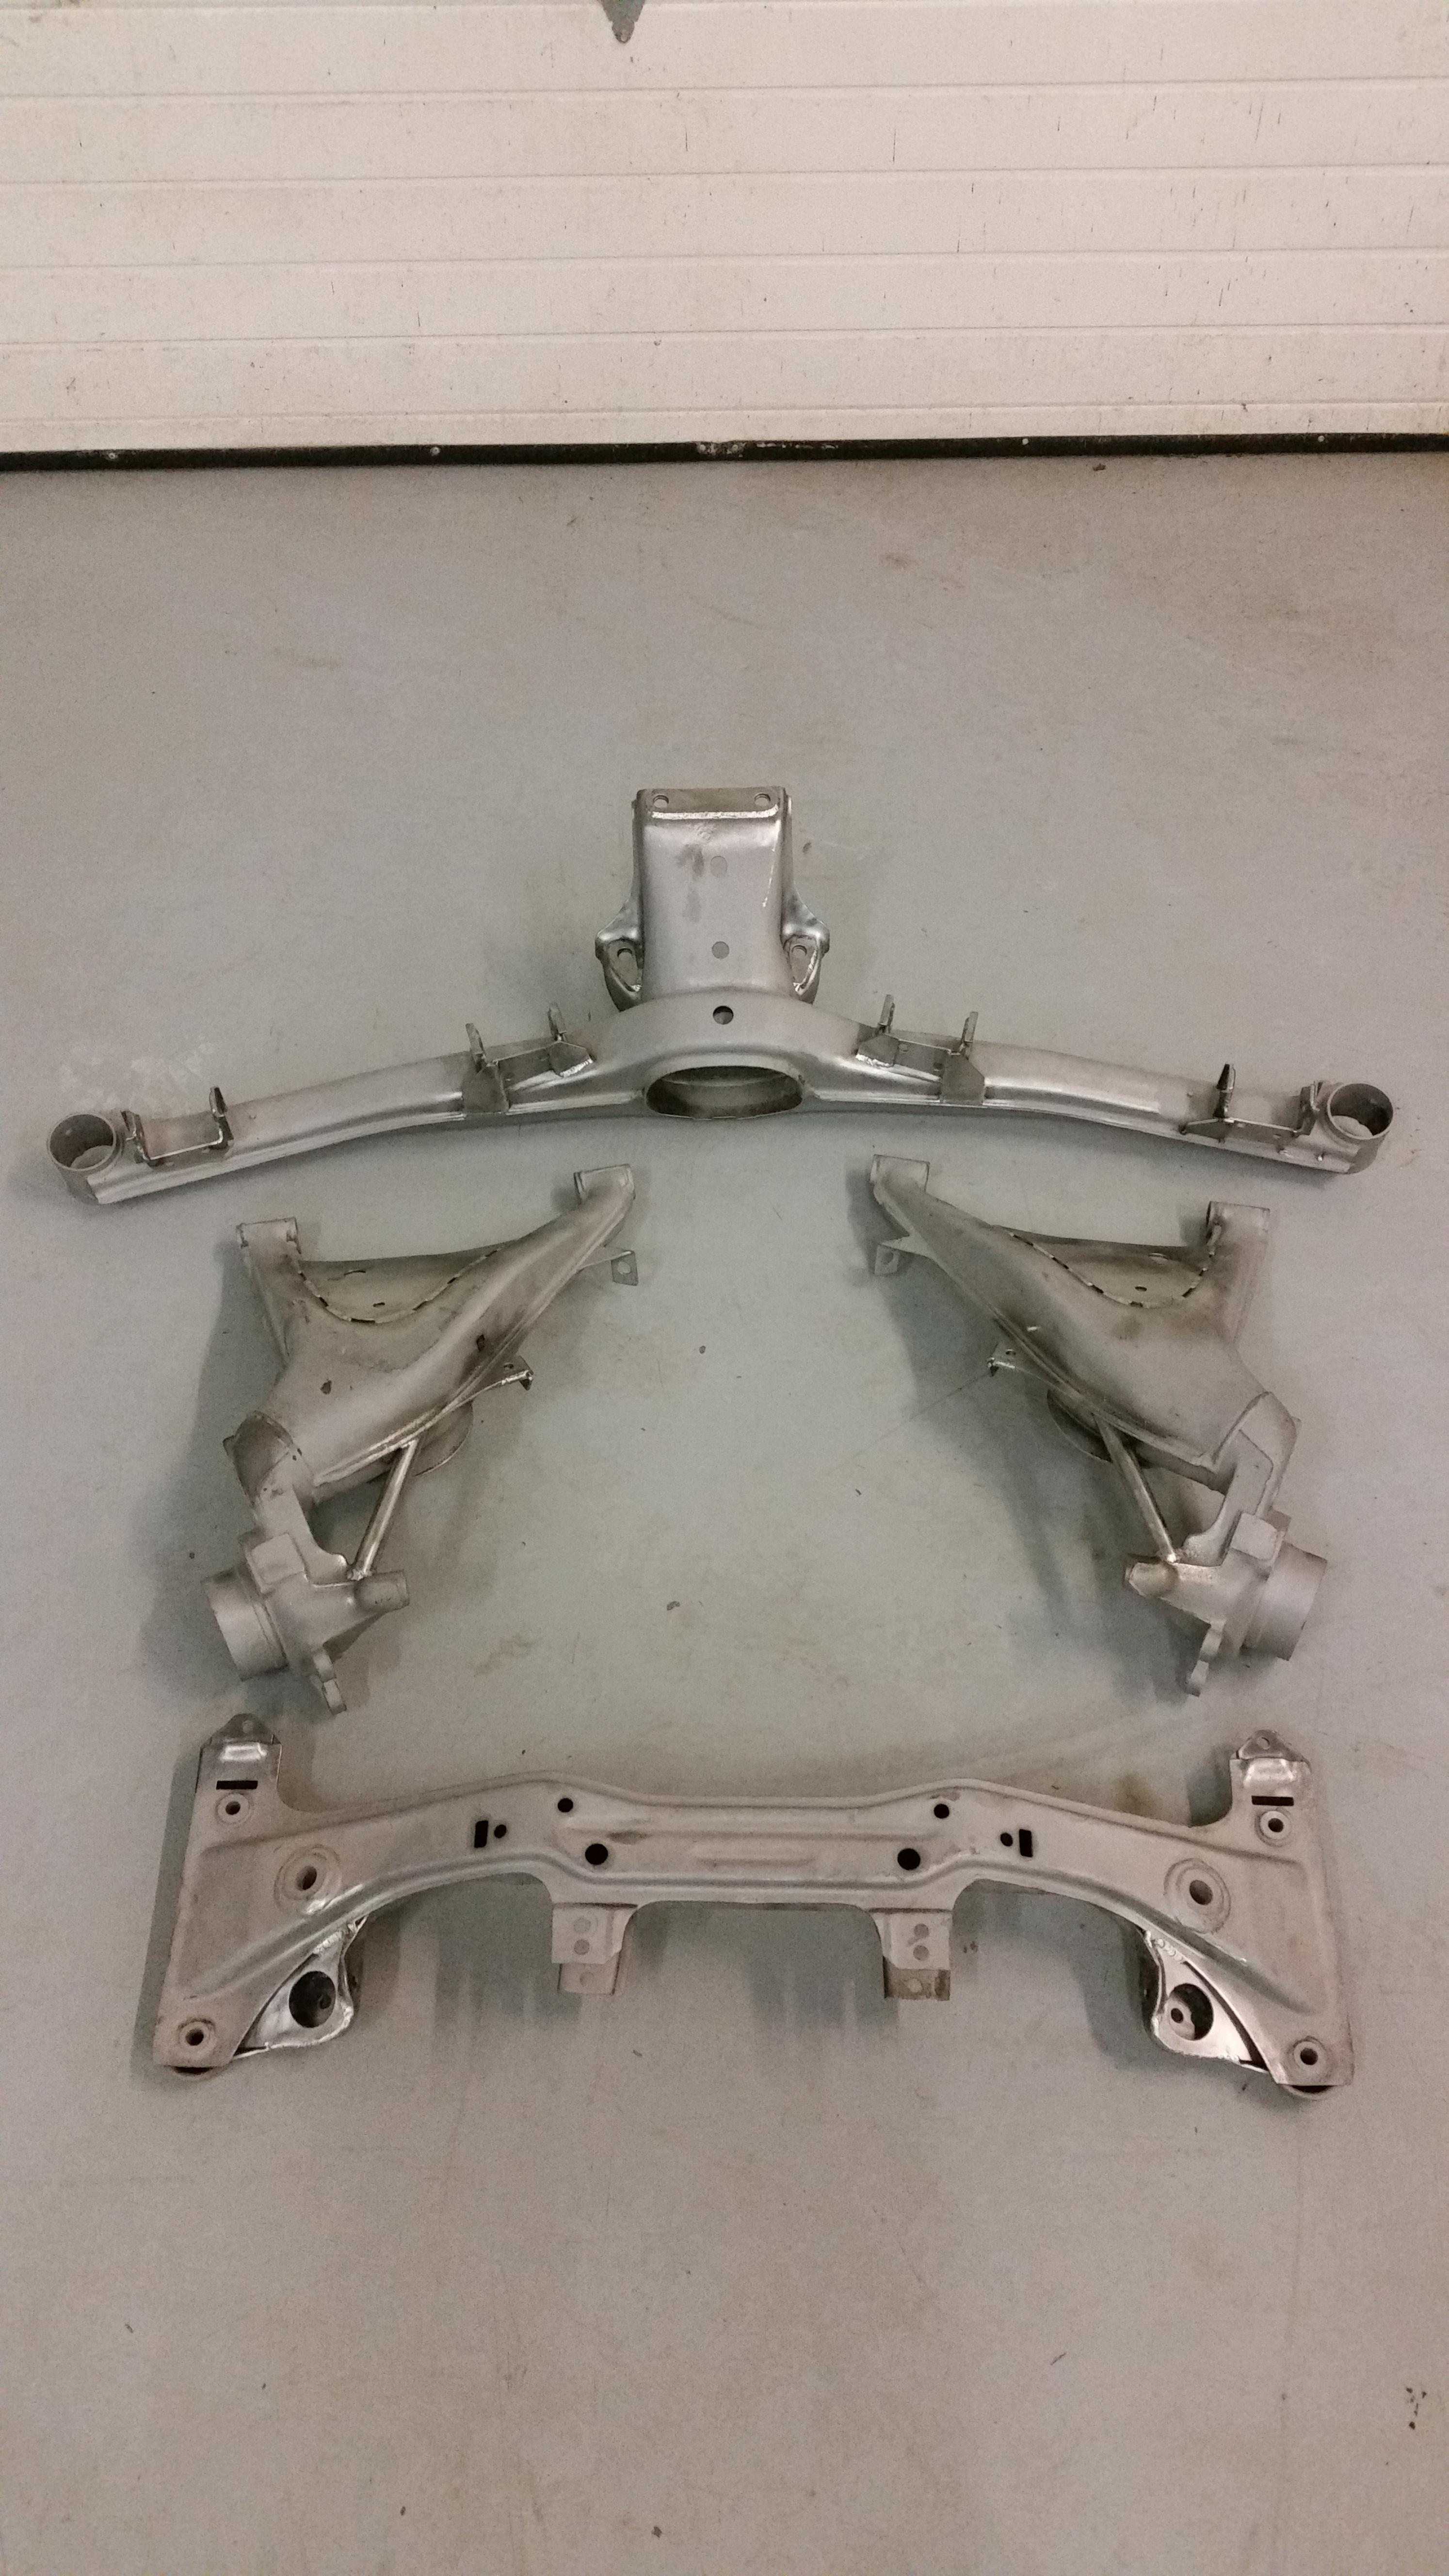
                            Subframes and trailing arms back from blasting!

                            20180109141251.jpg

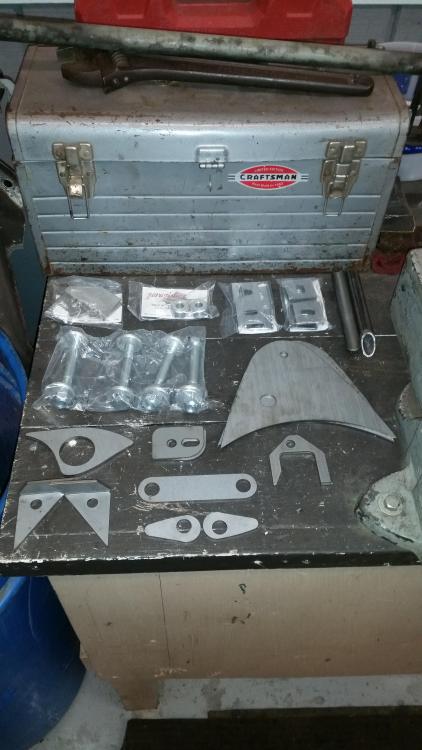
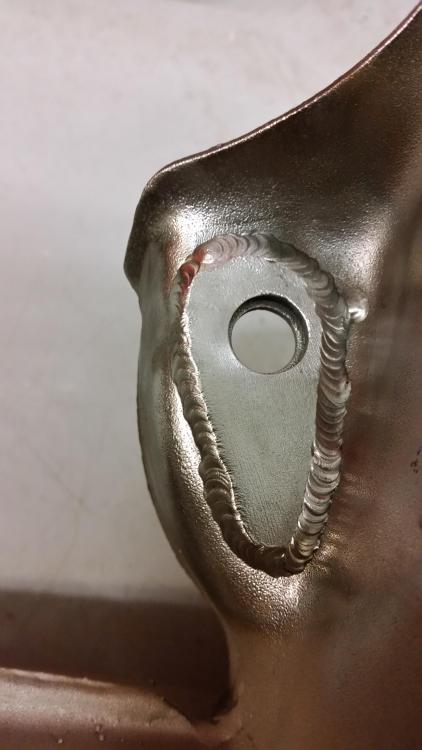
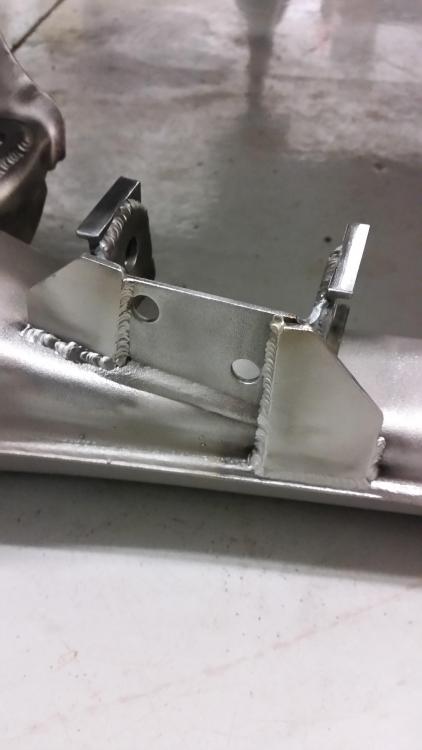
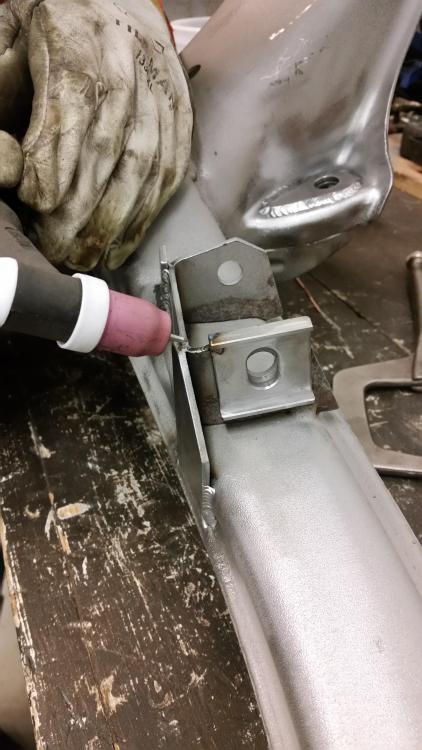
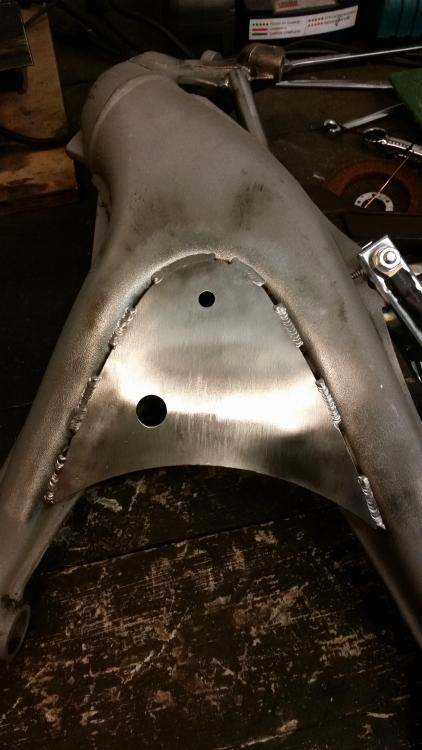
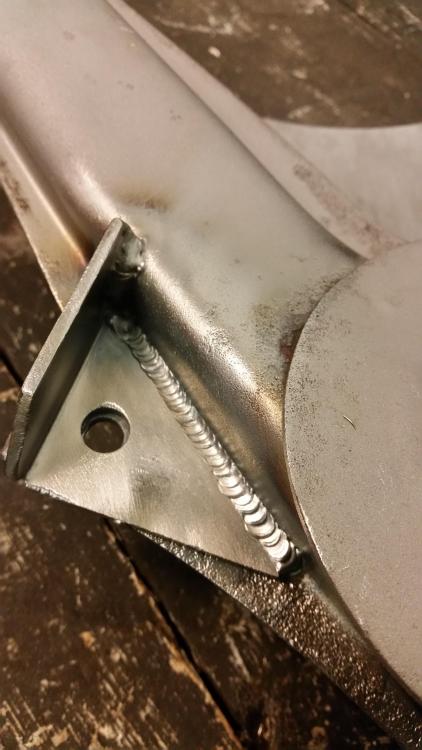
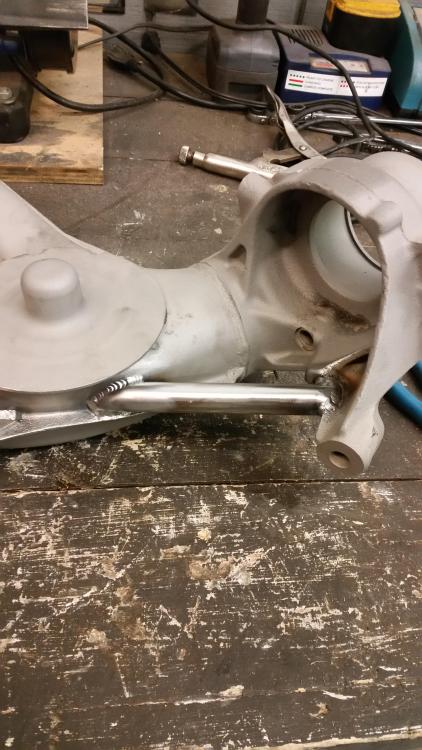
                            Reinforcement time...

                            20180111173343.jpg

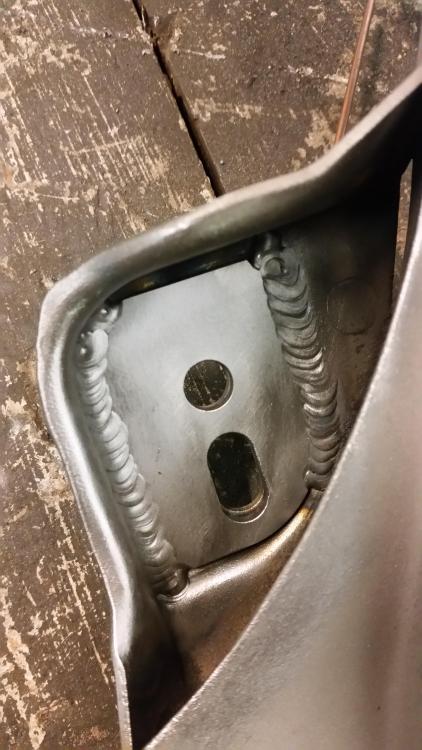
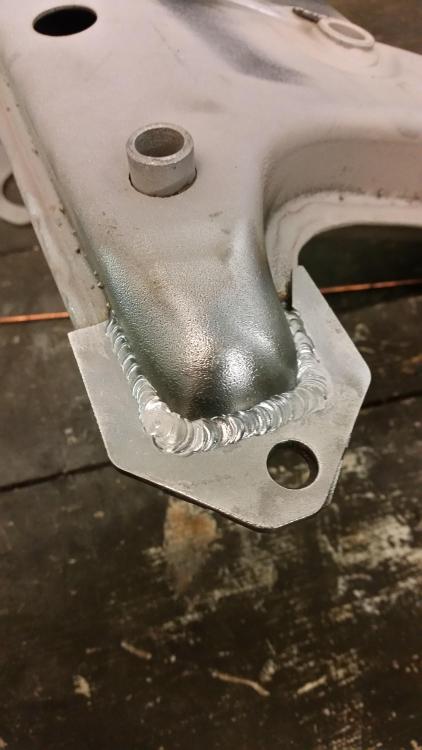
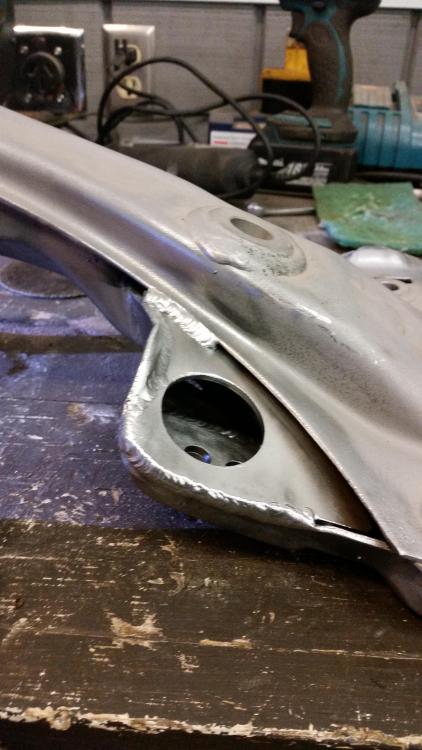
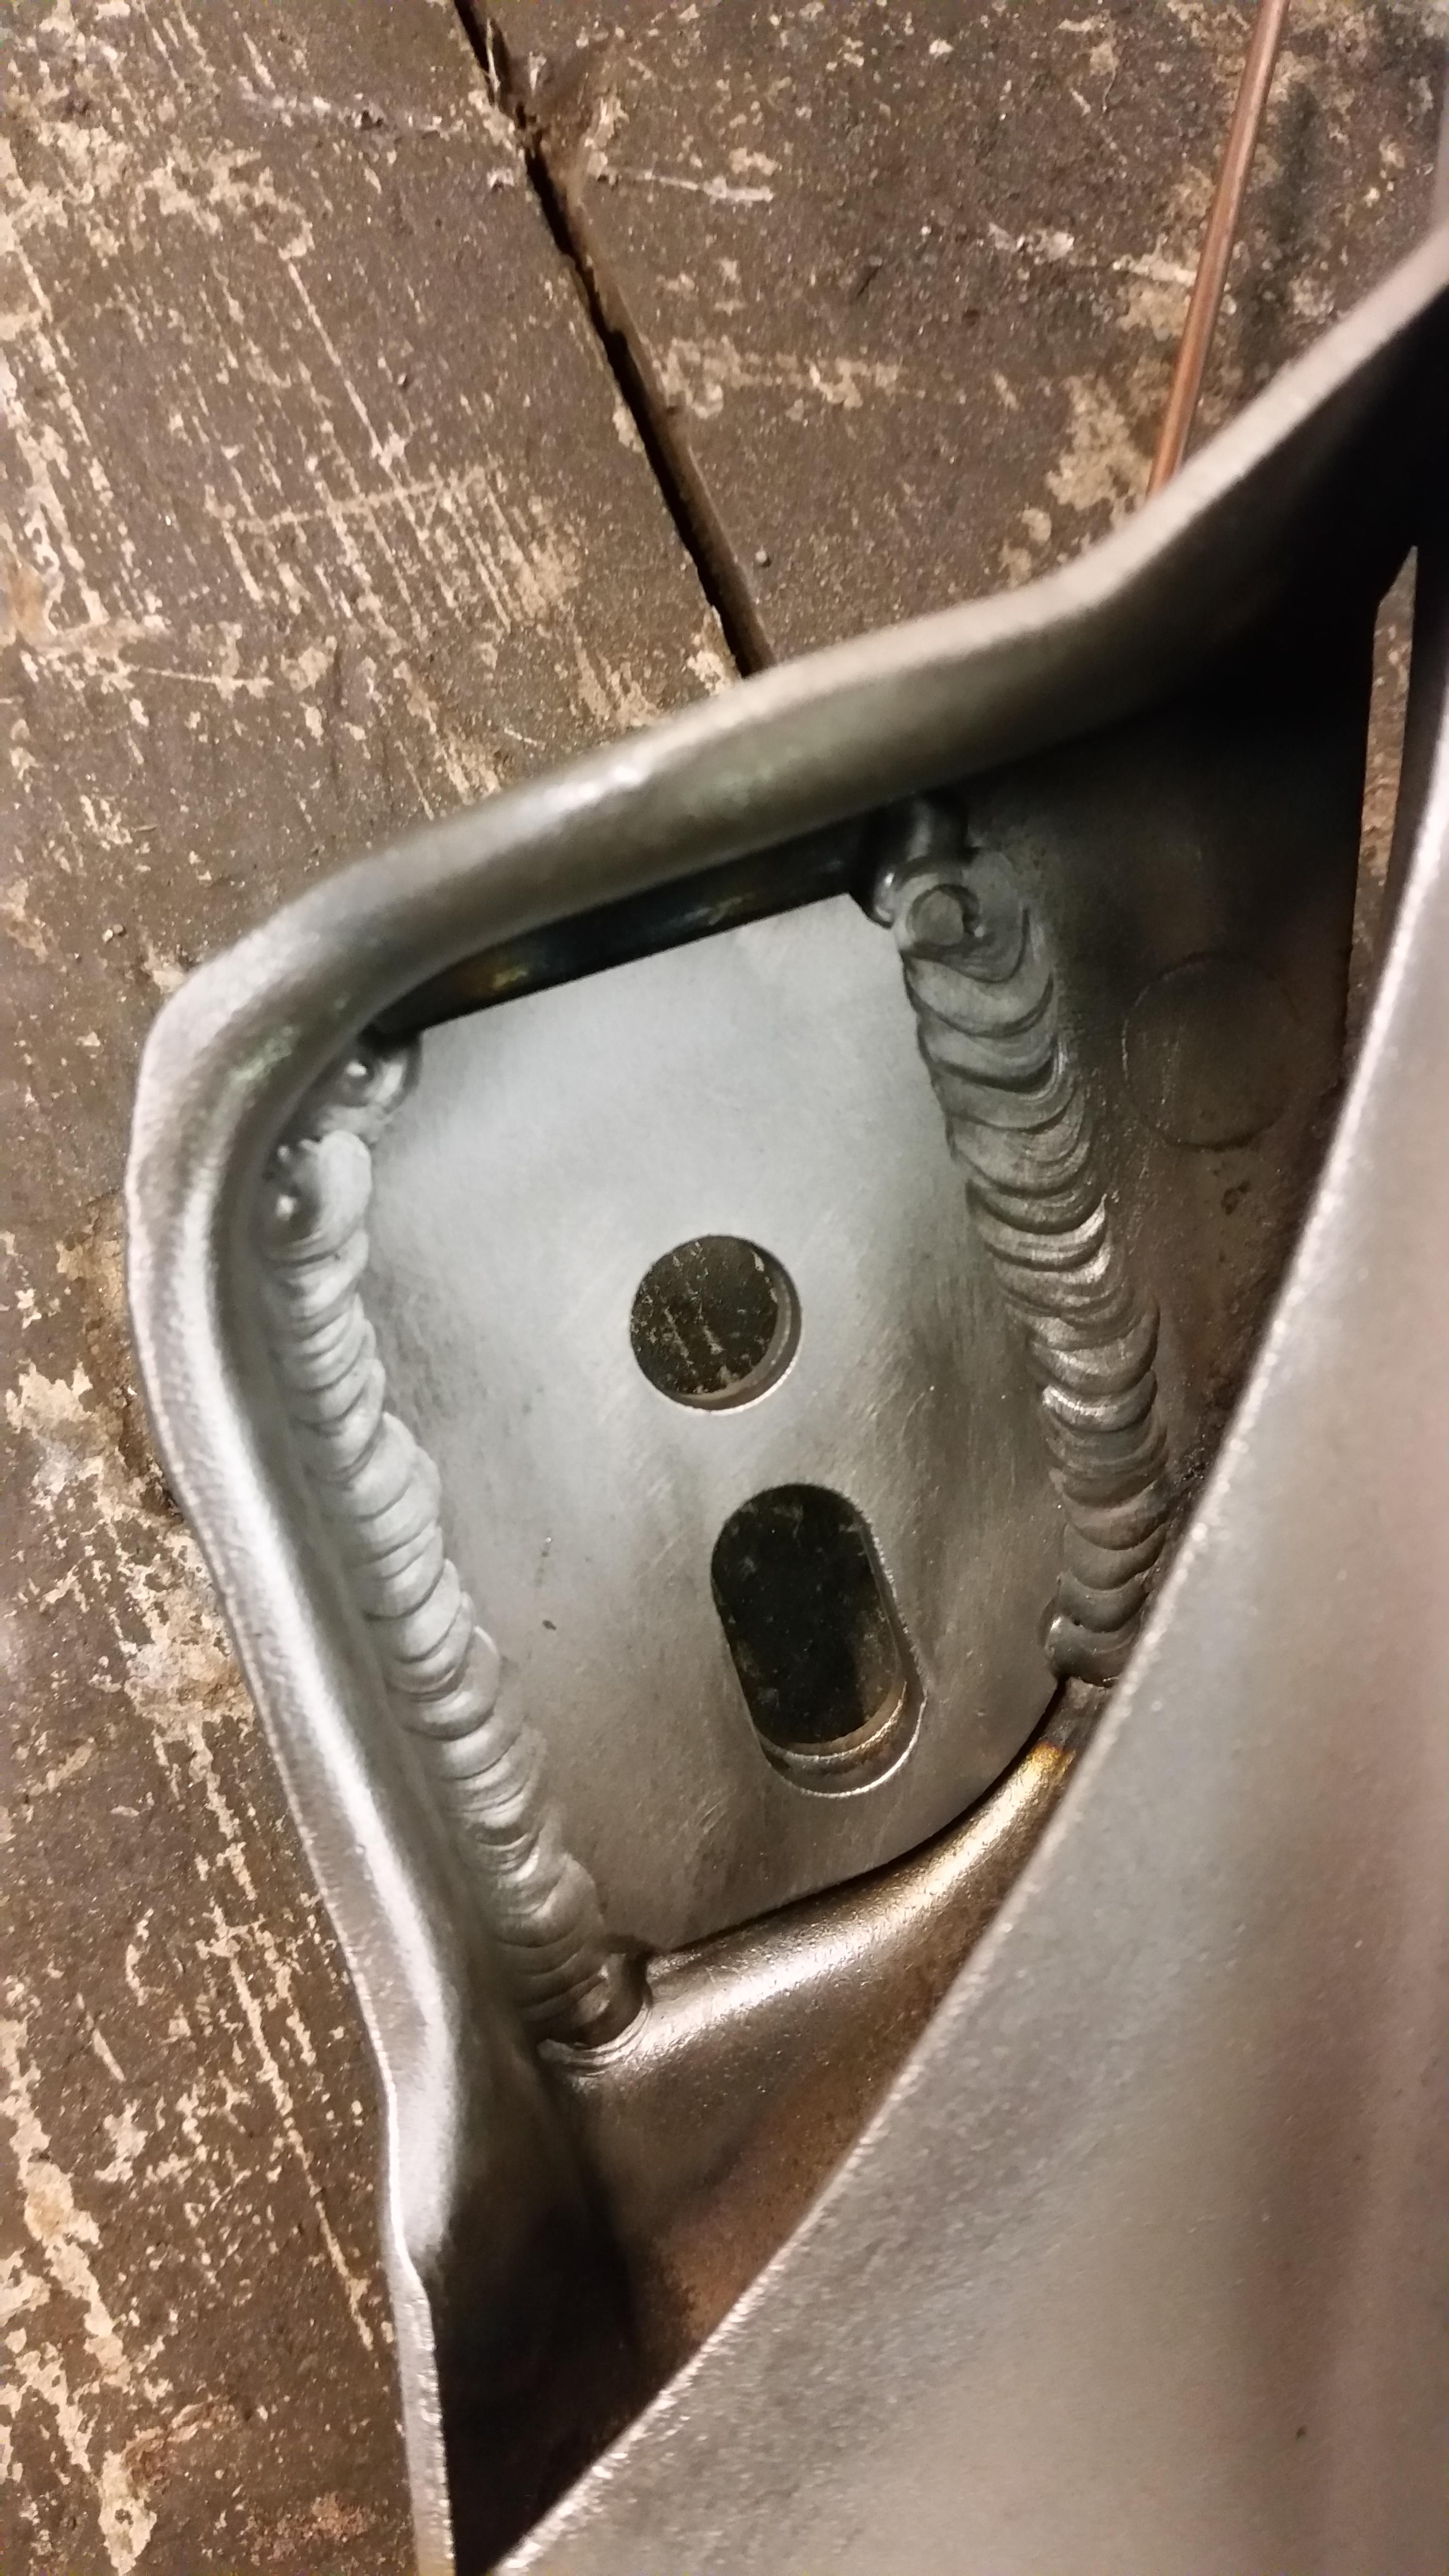
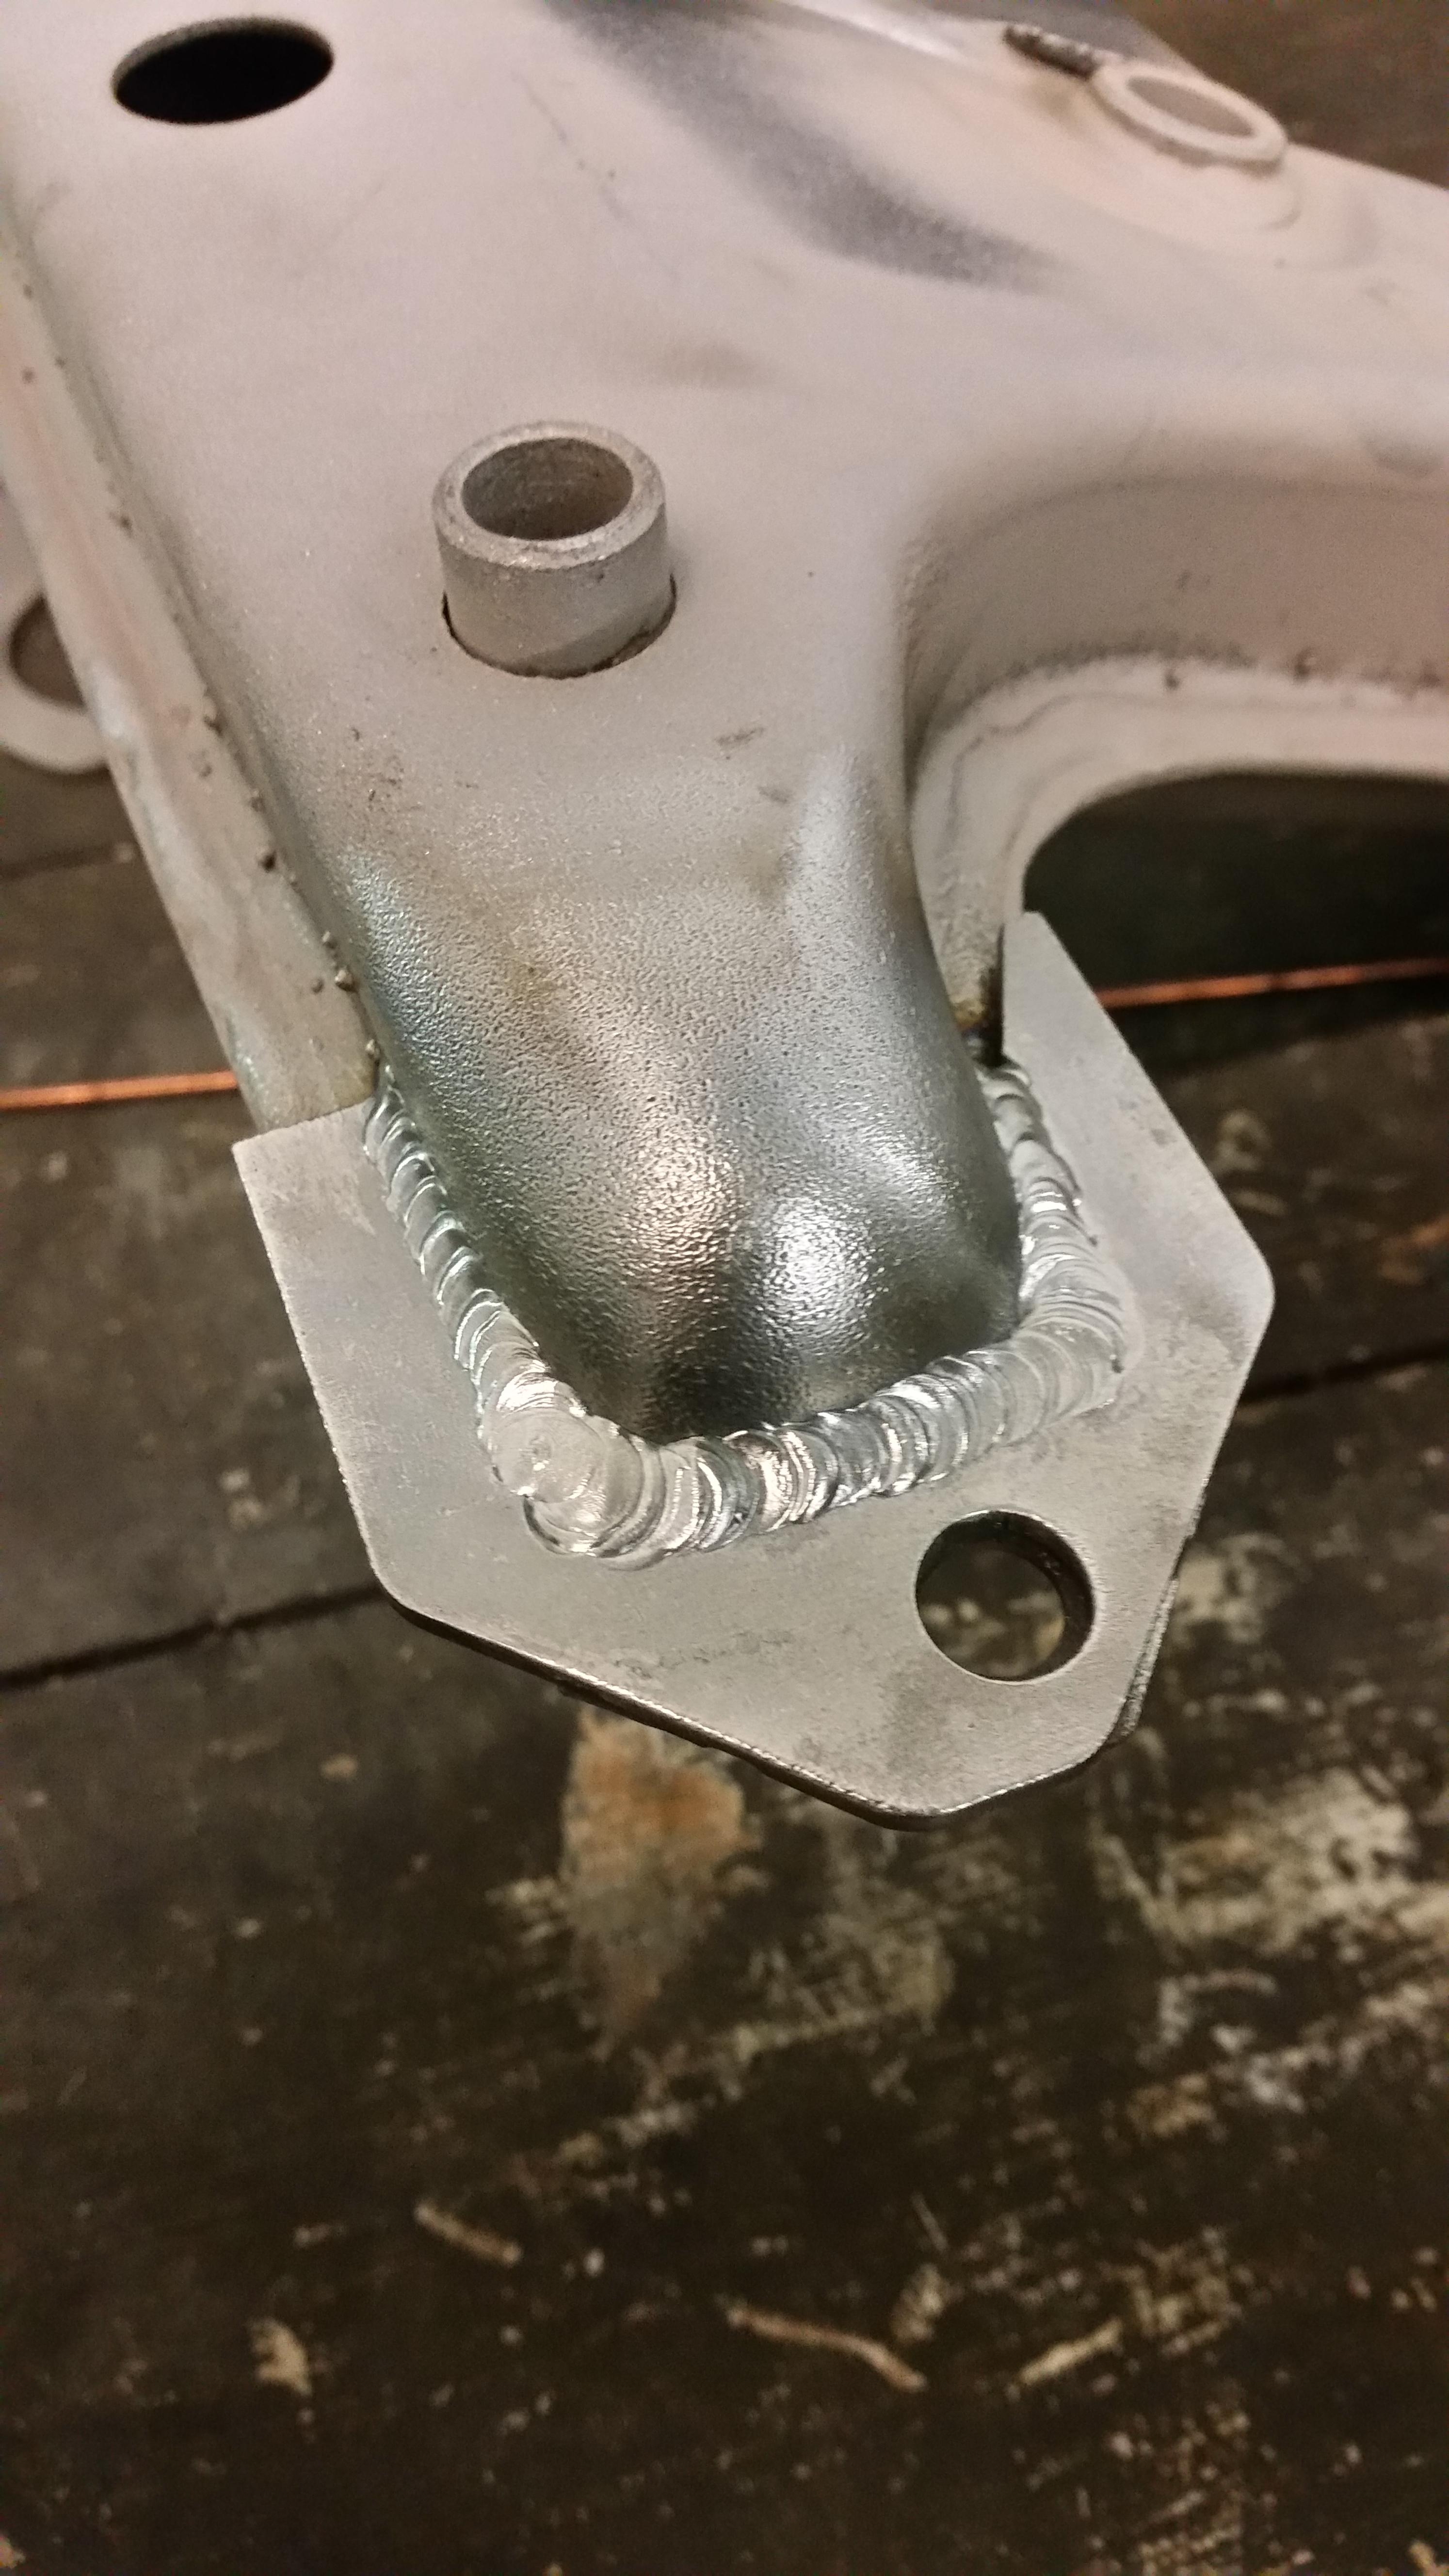
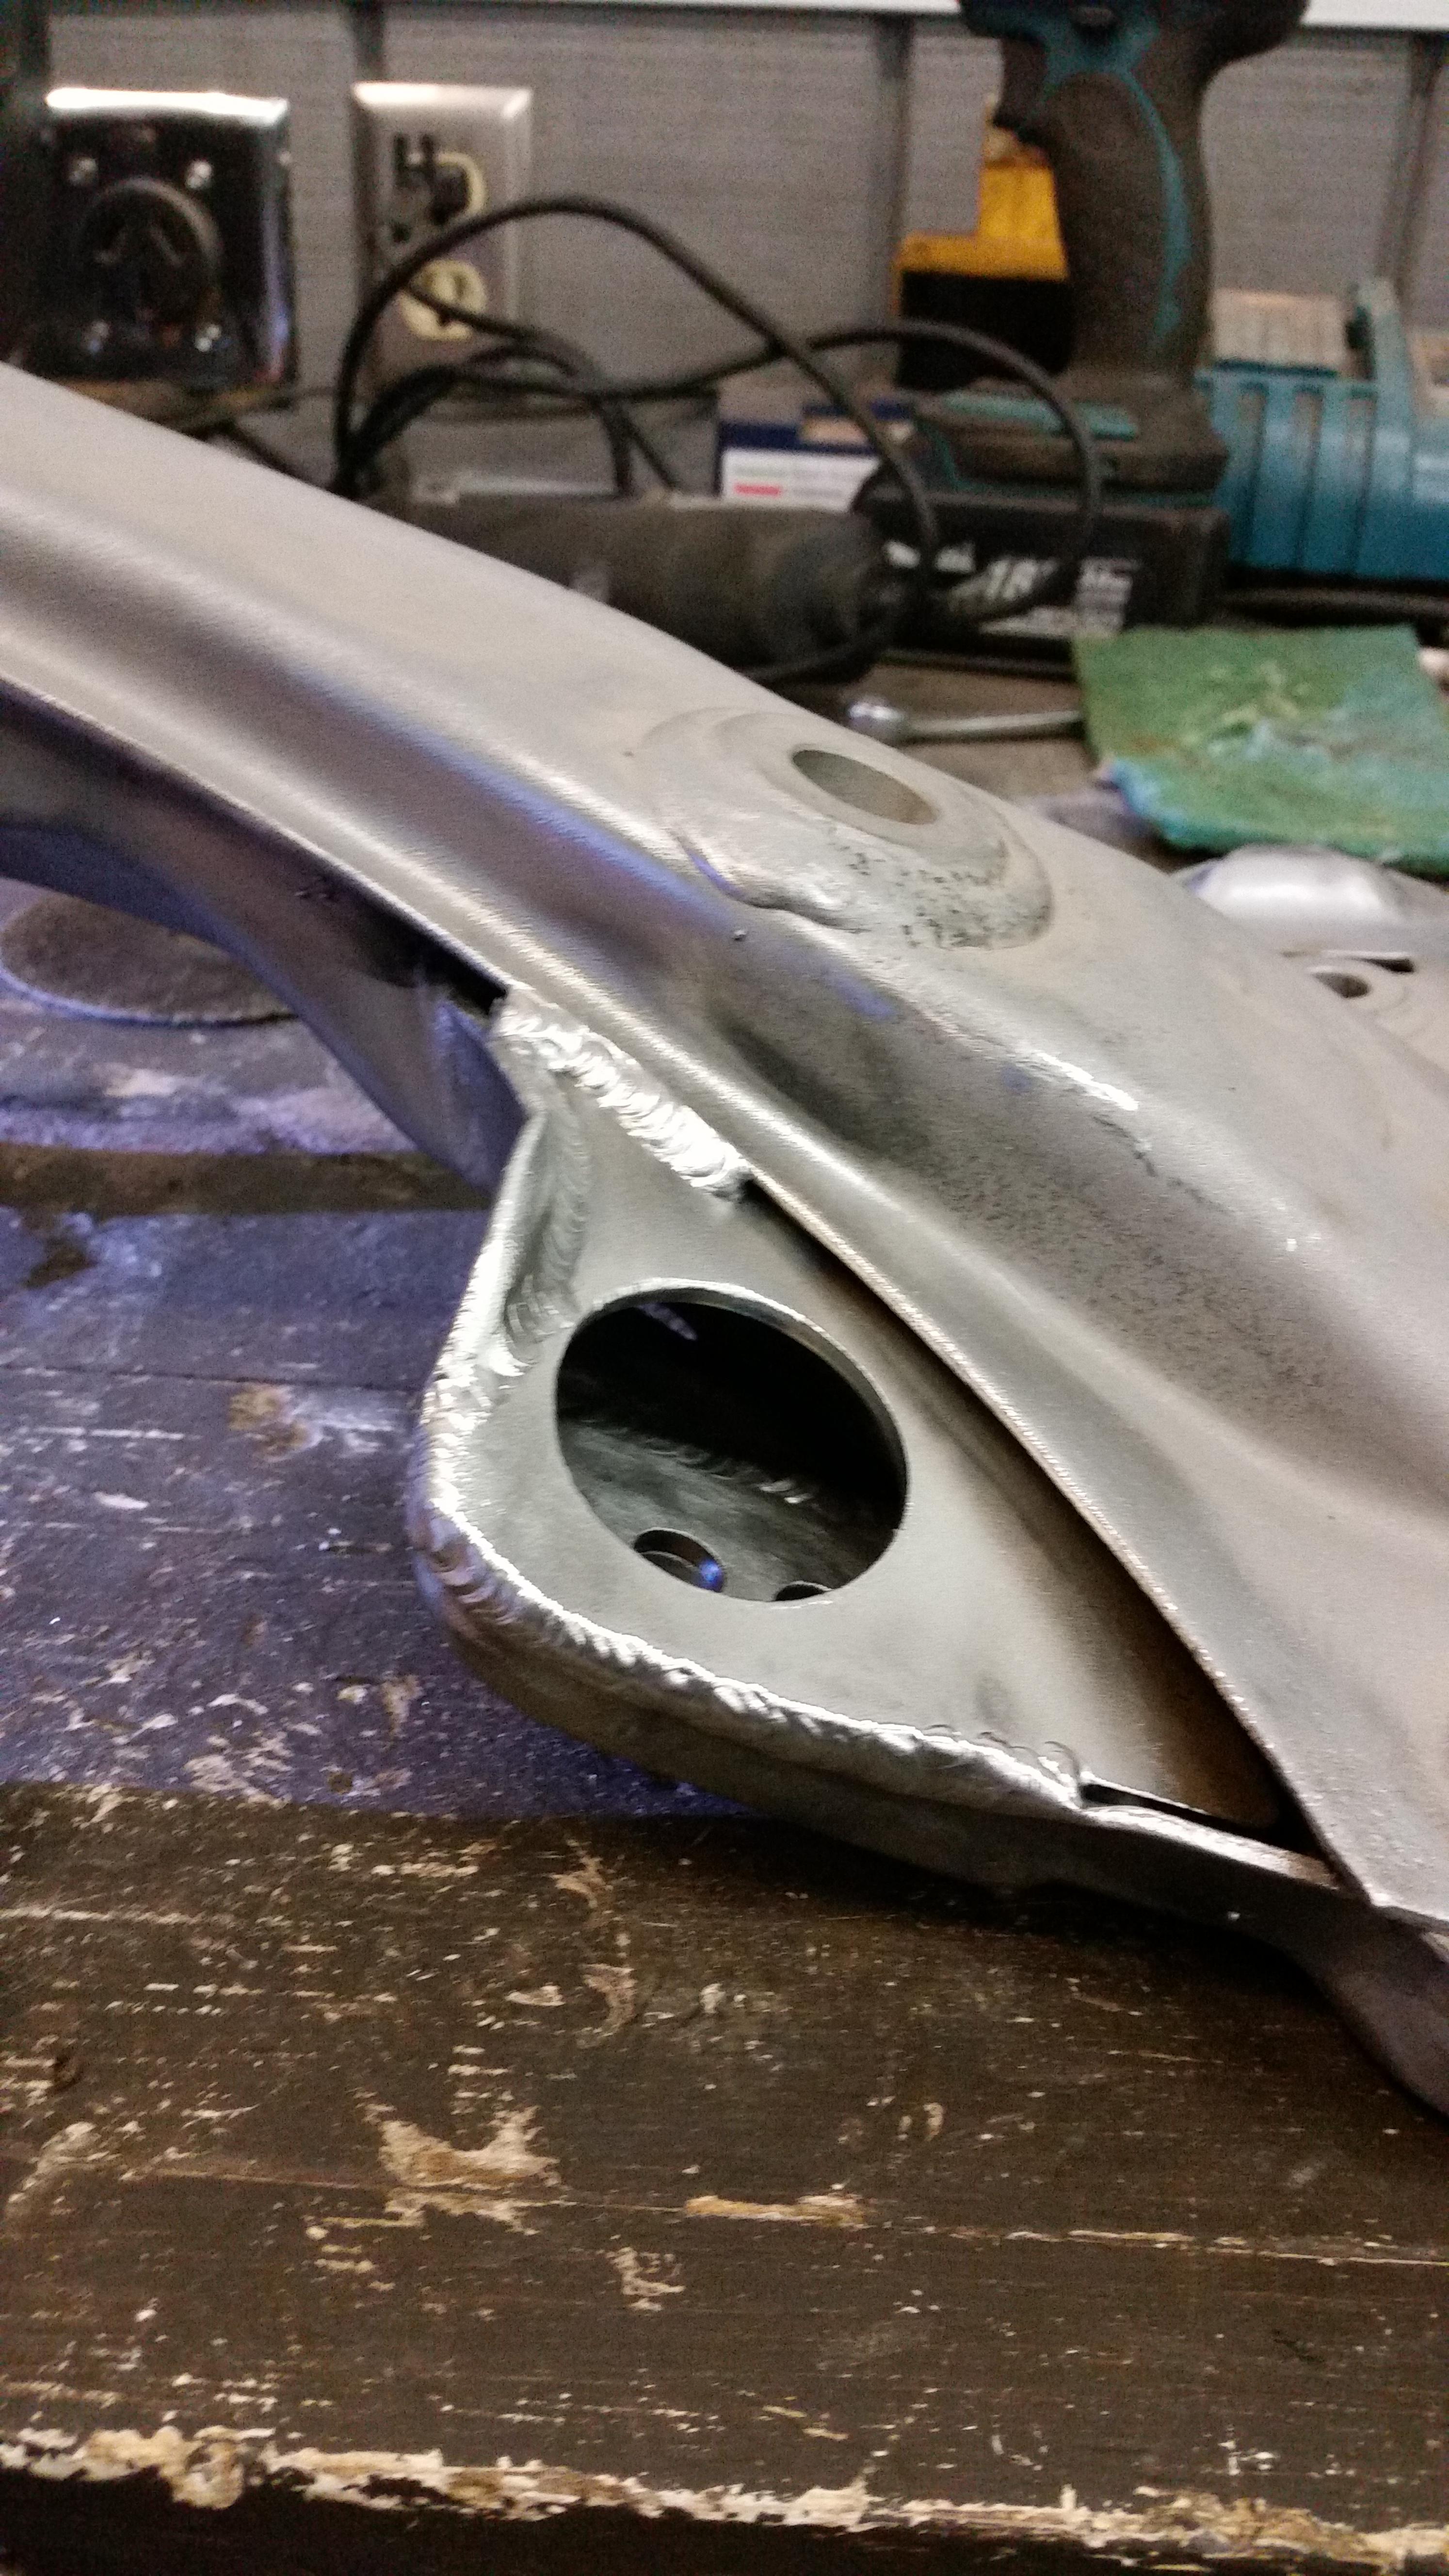
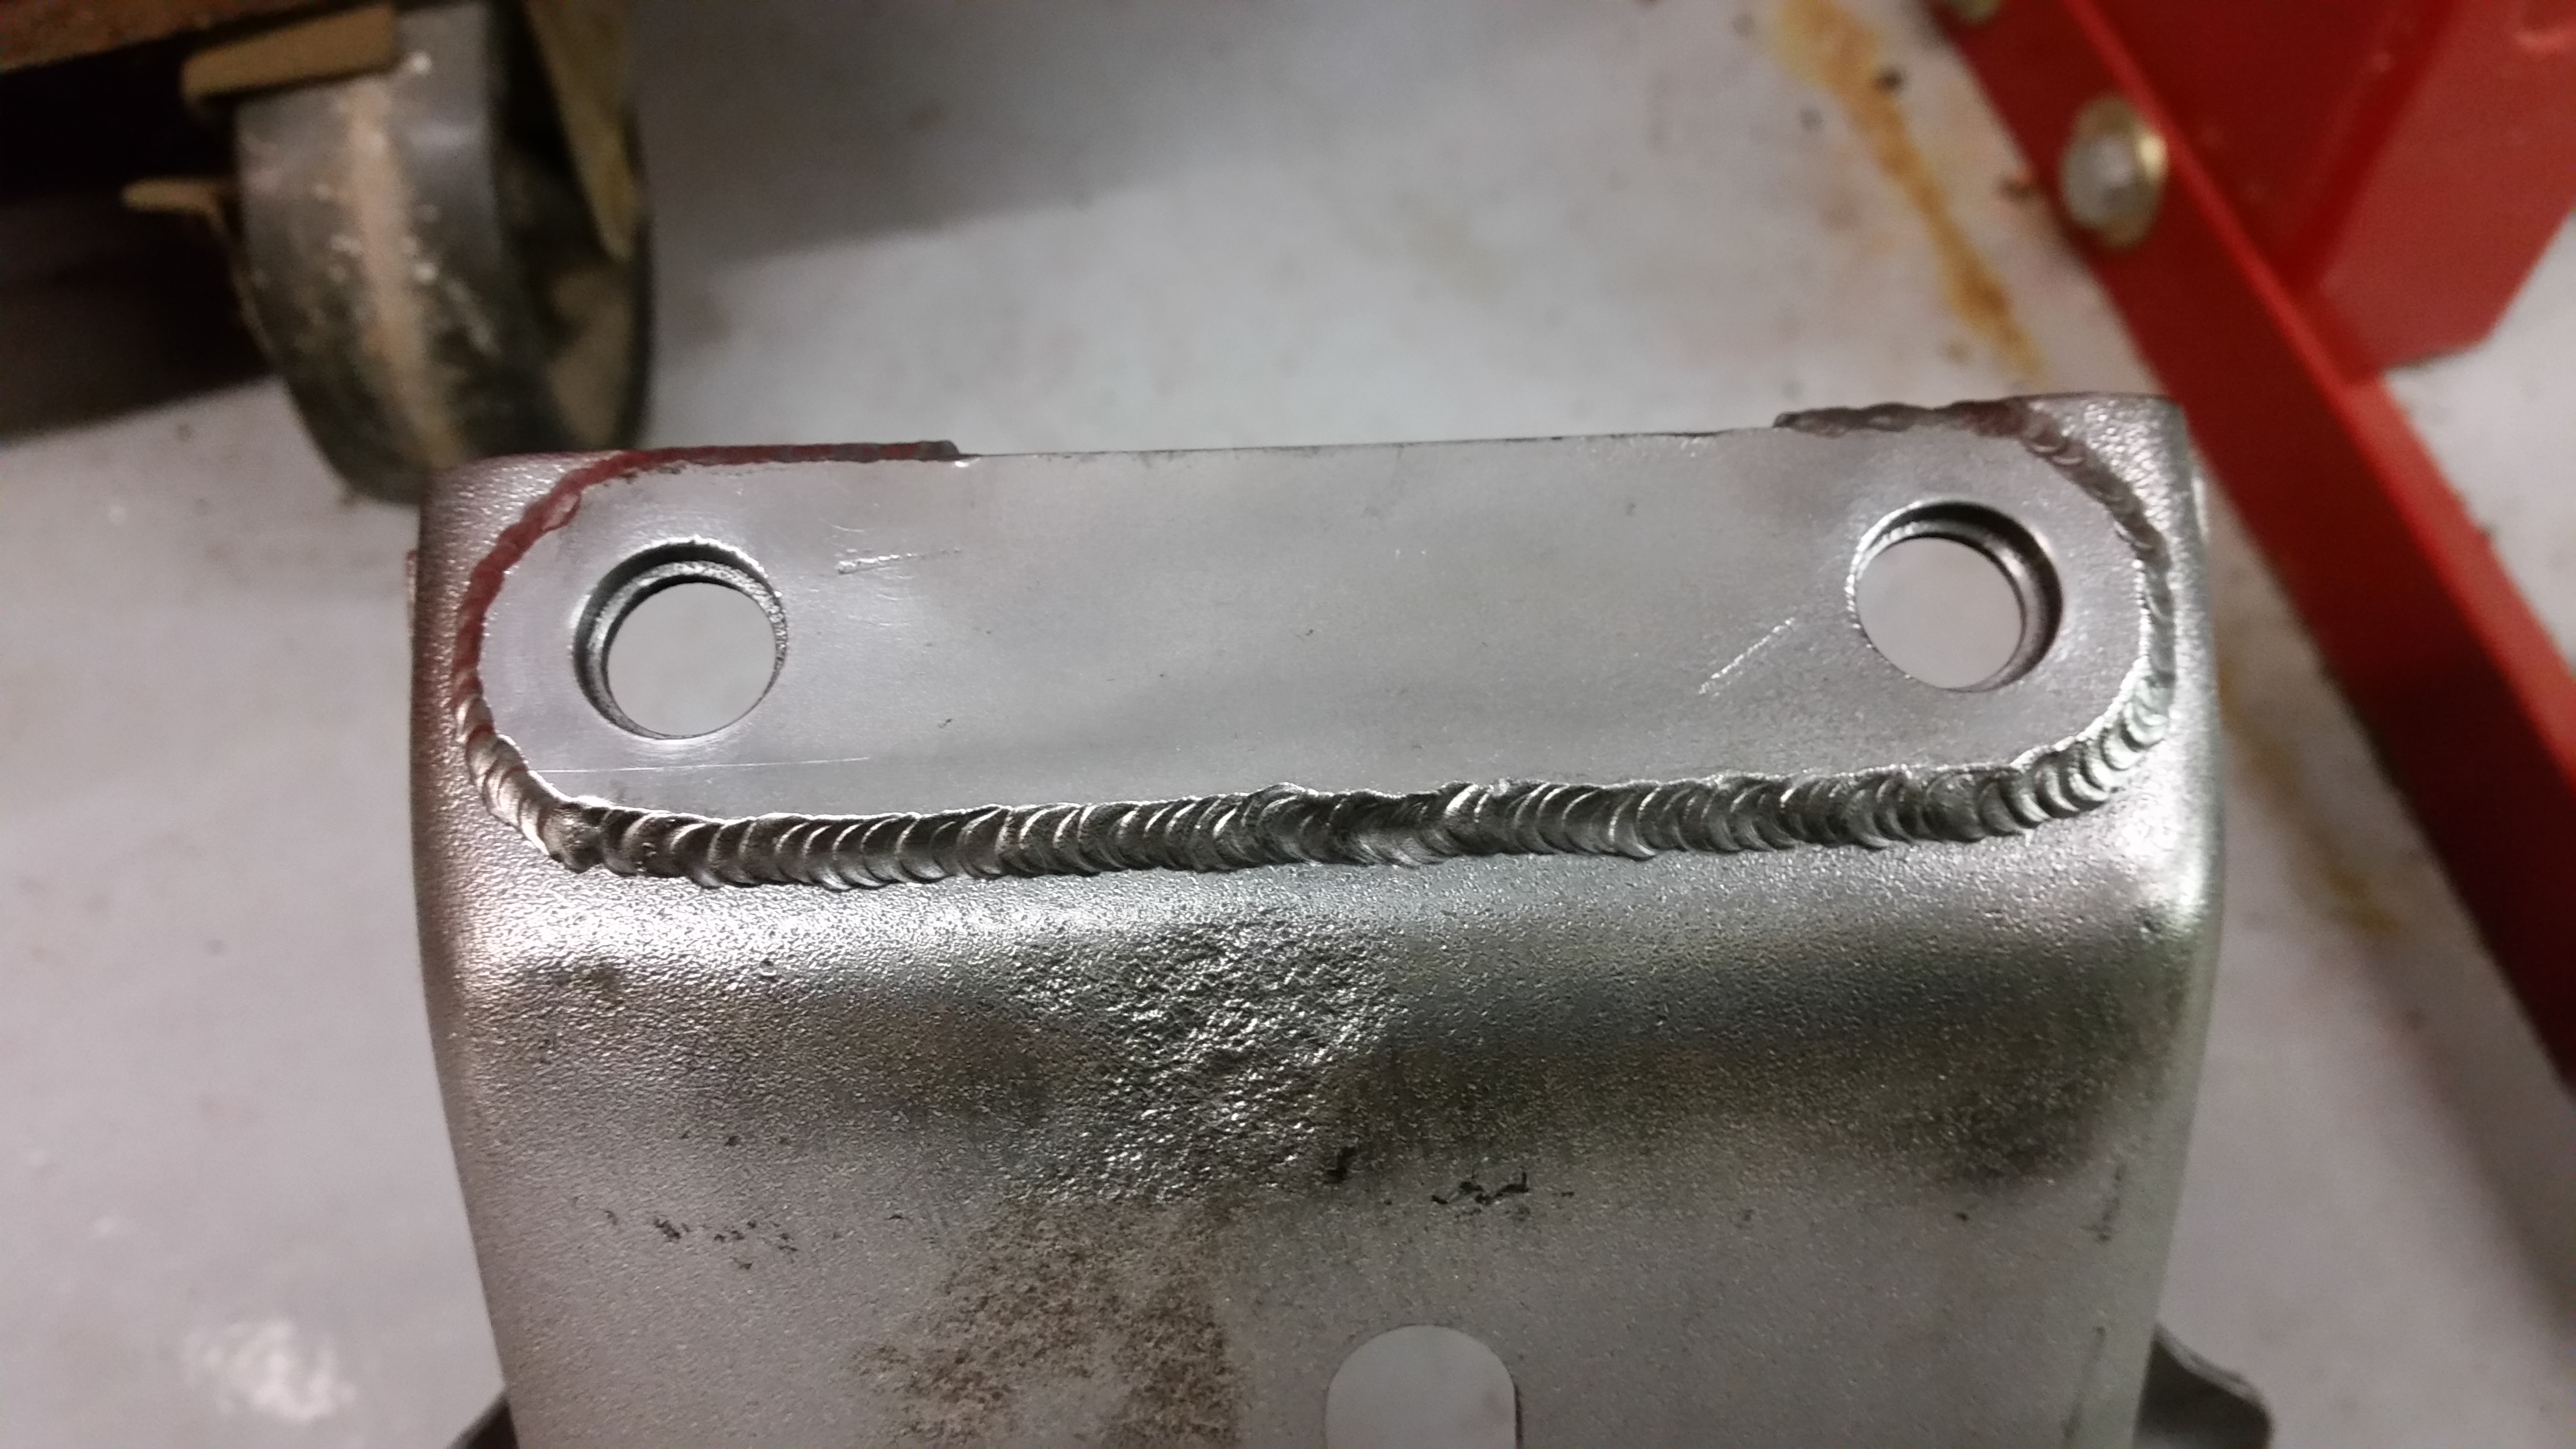
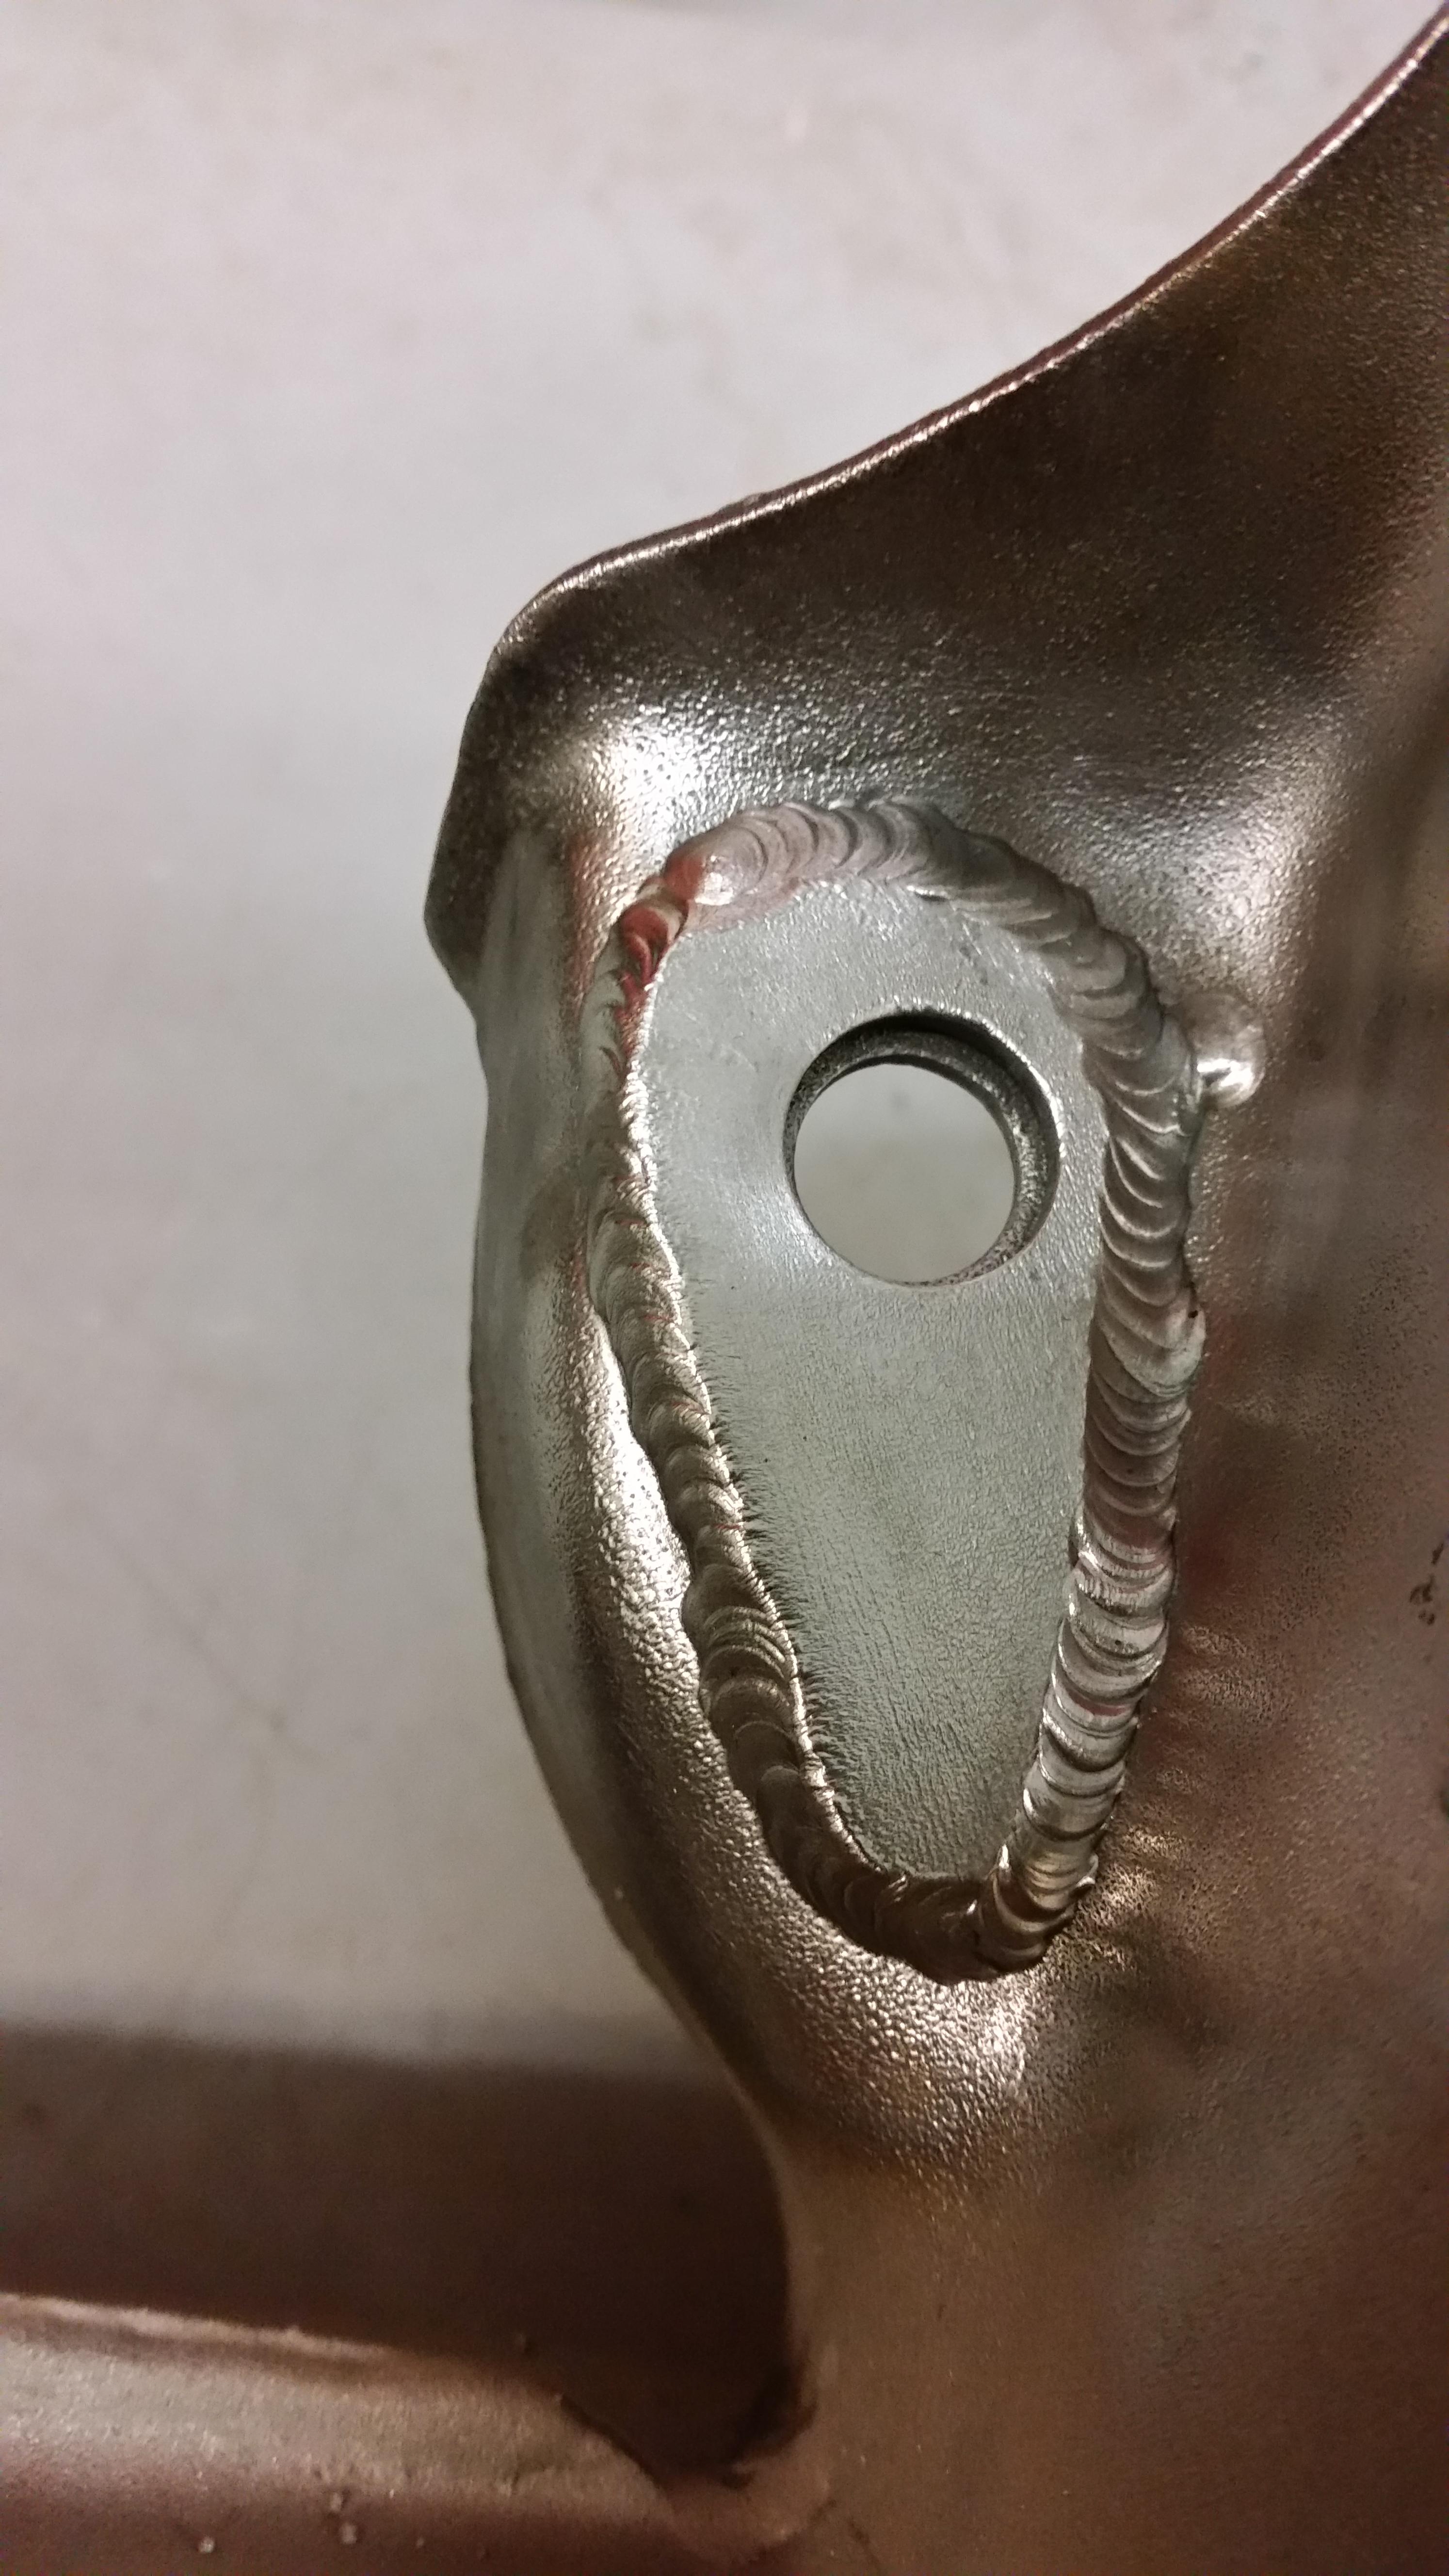
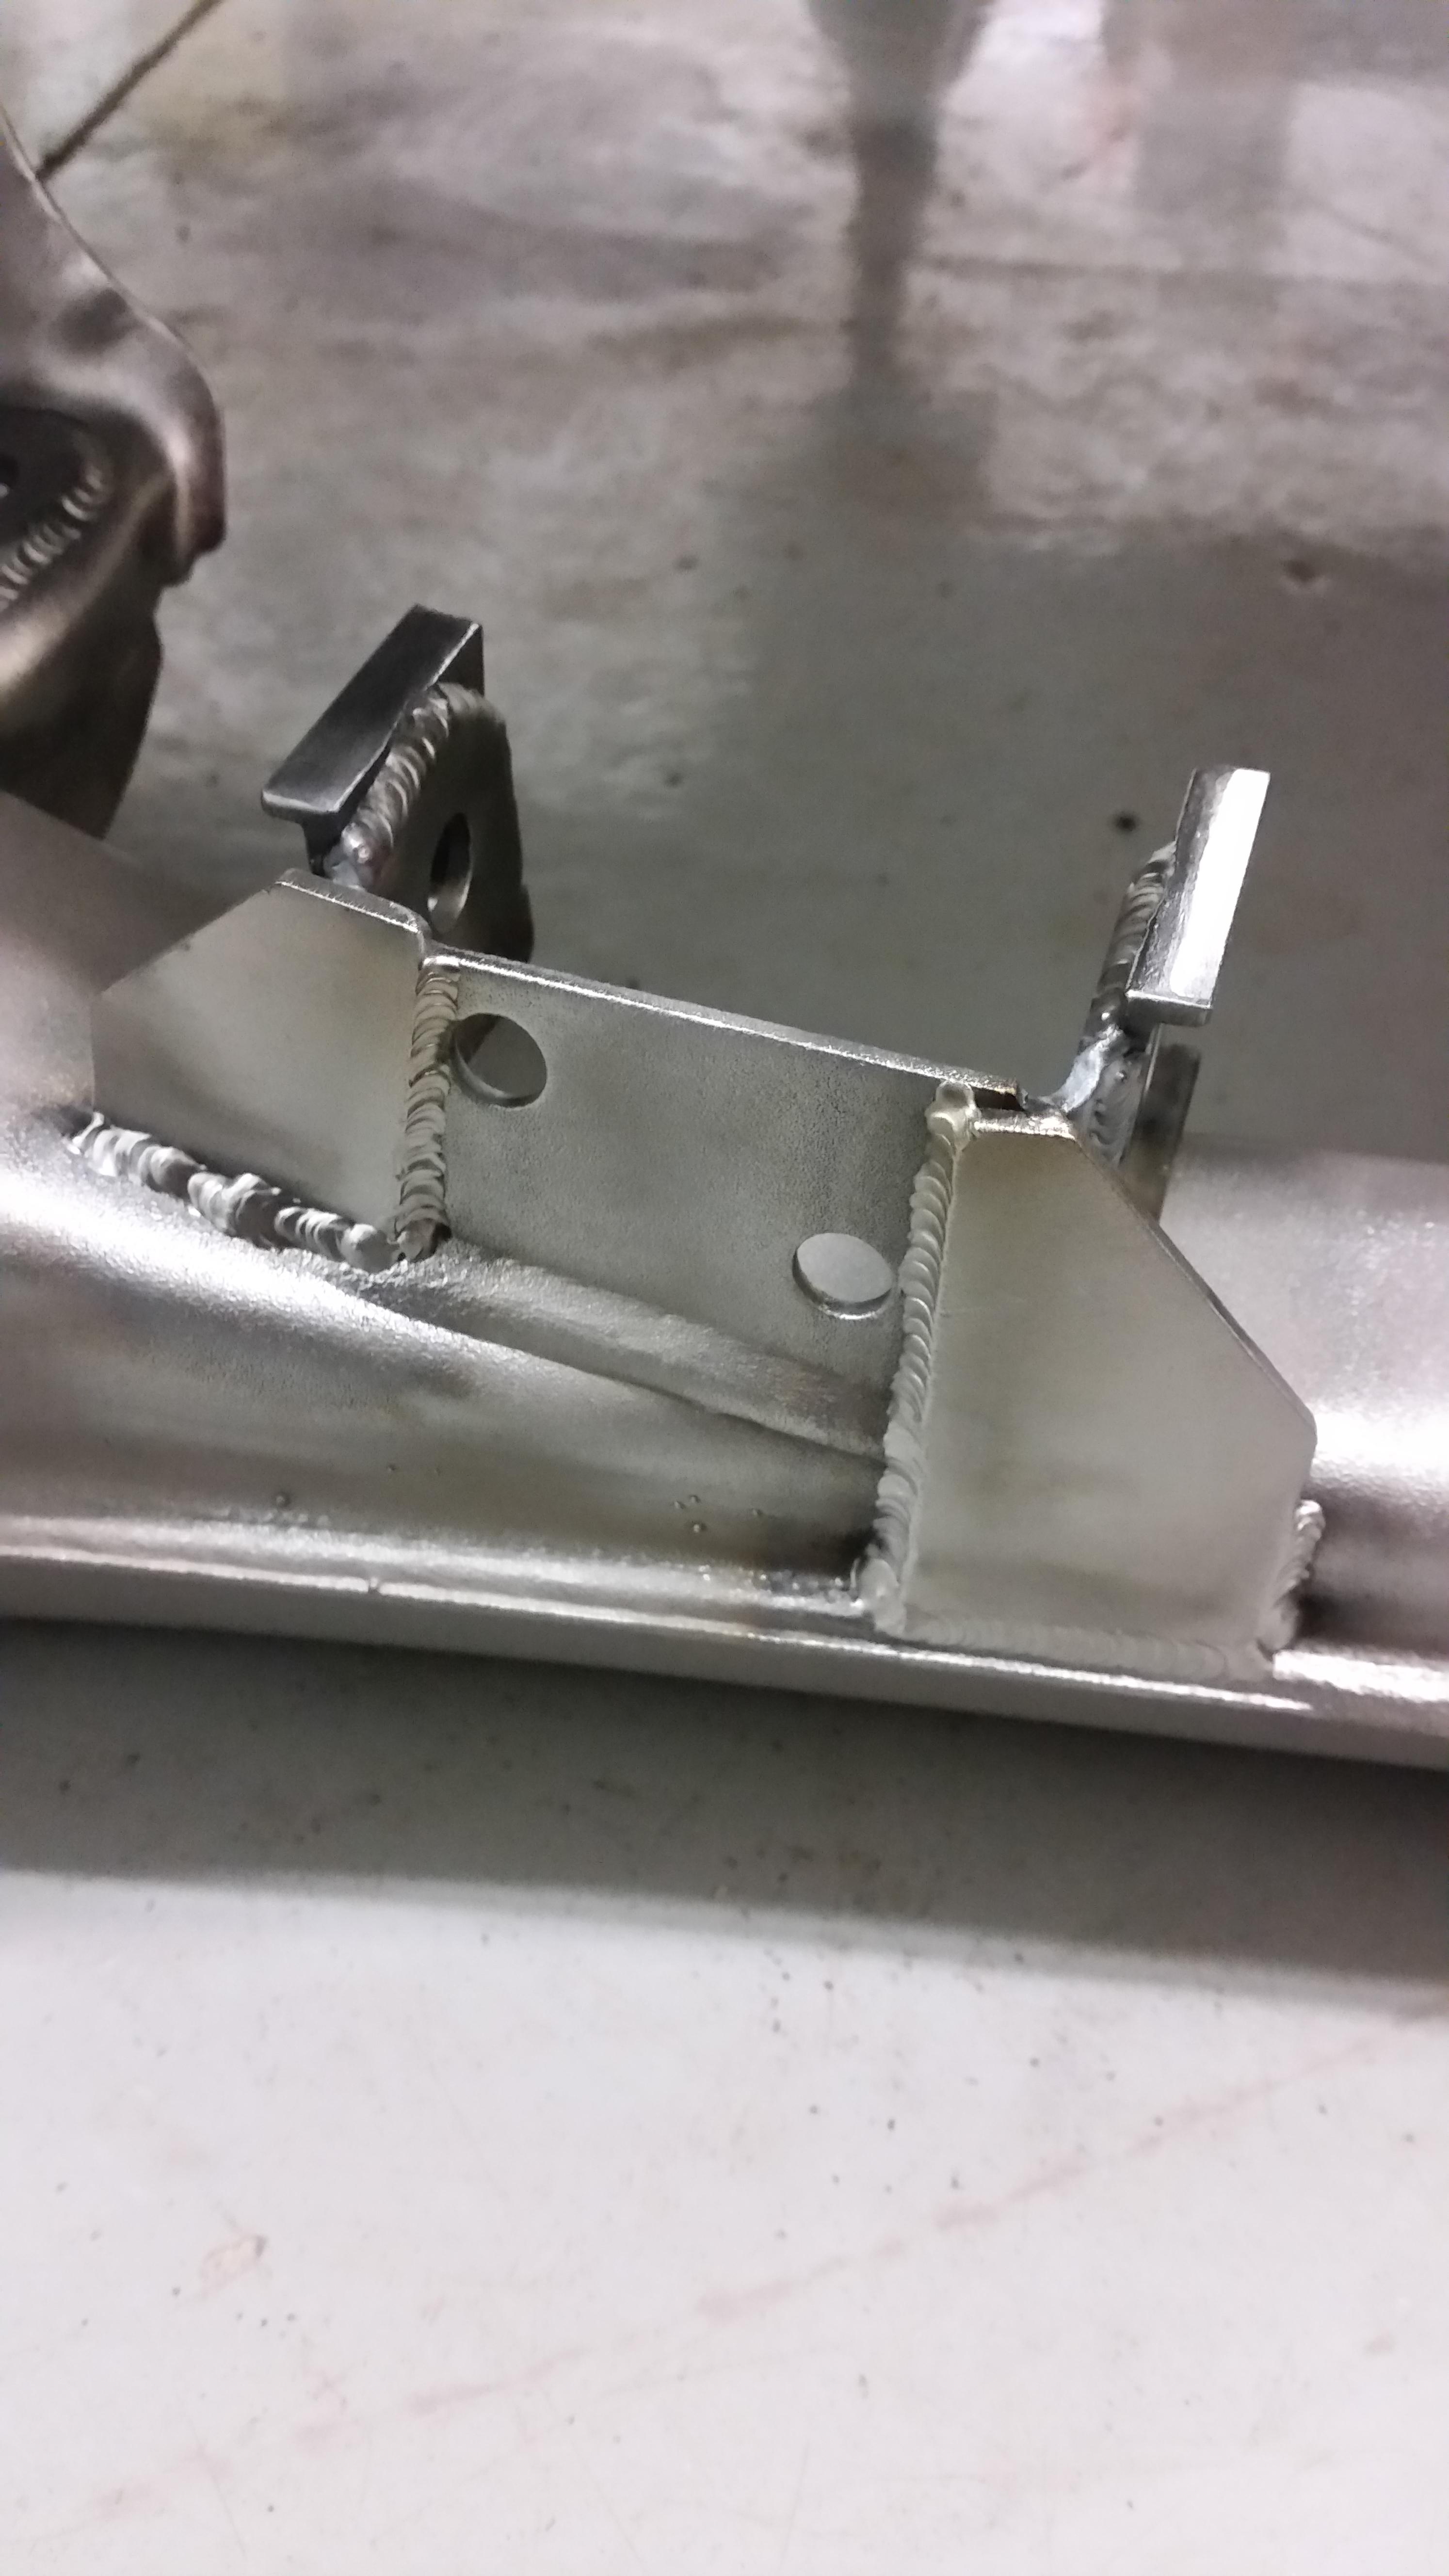
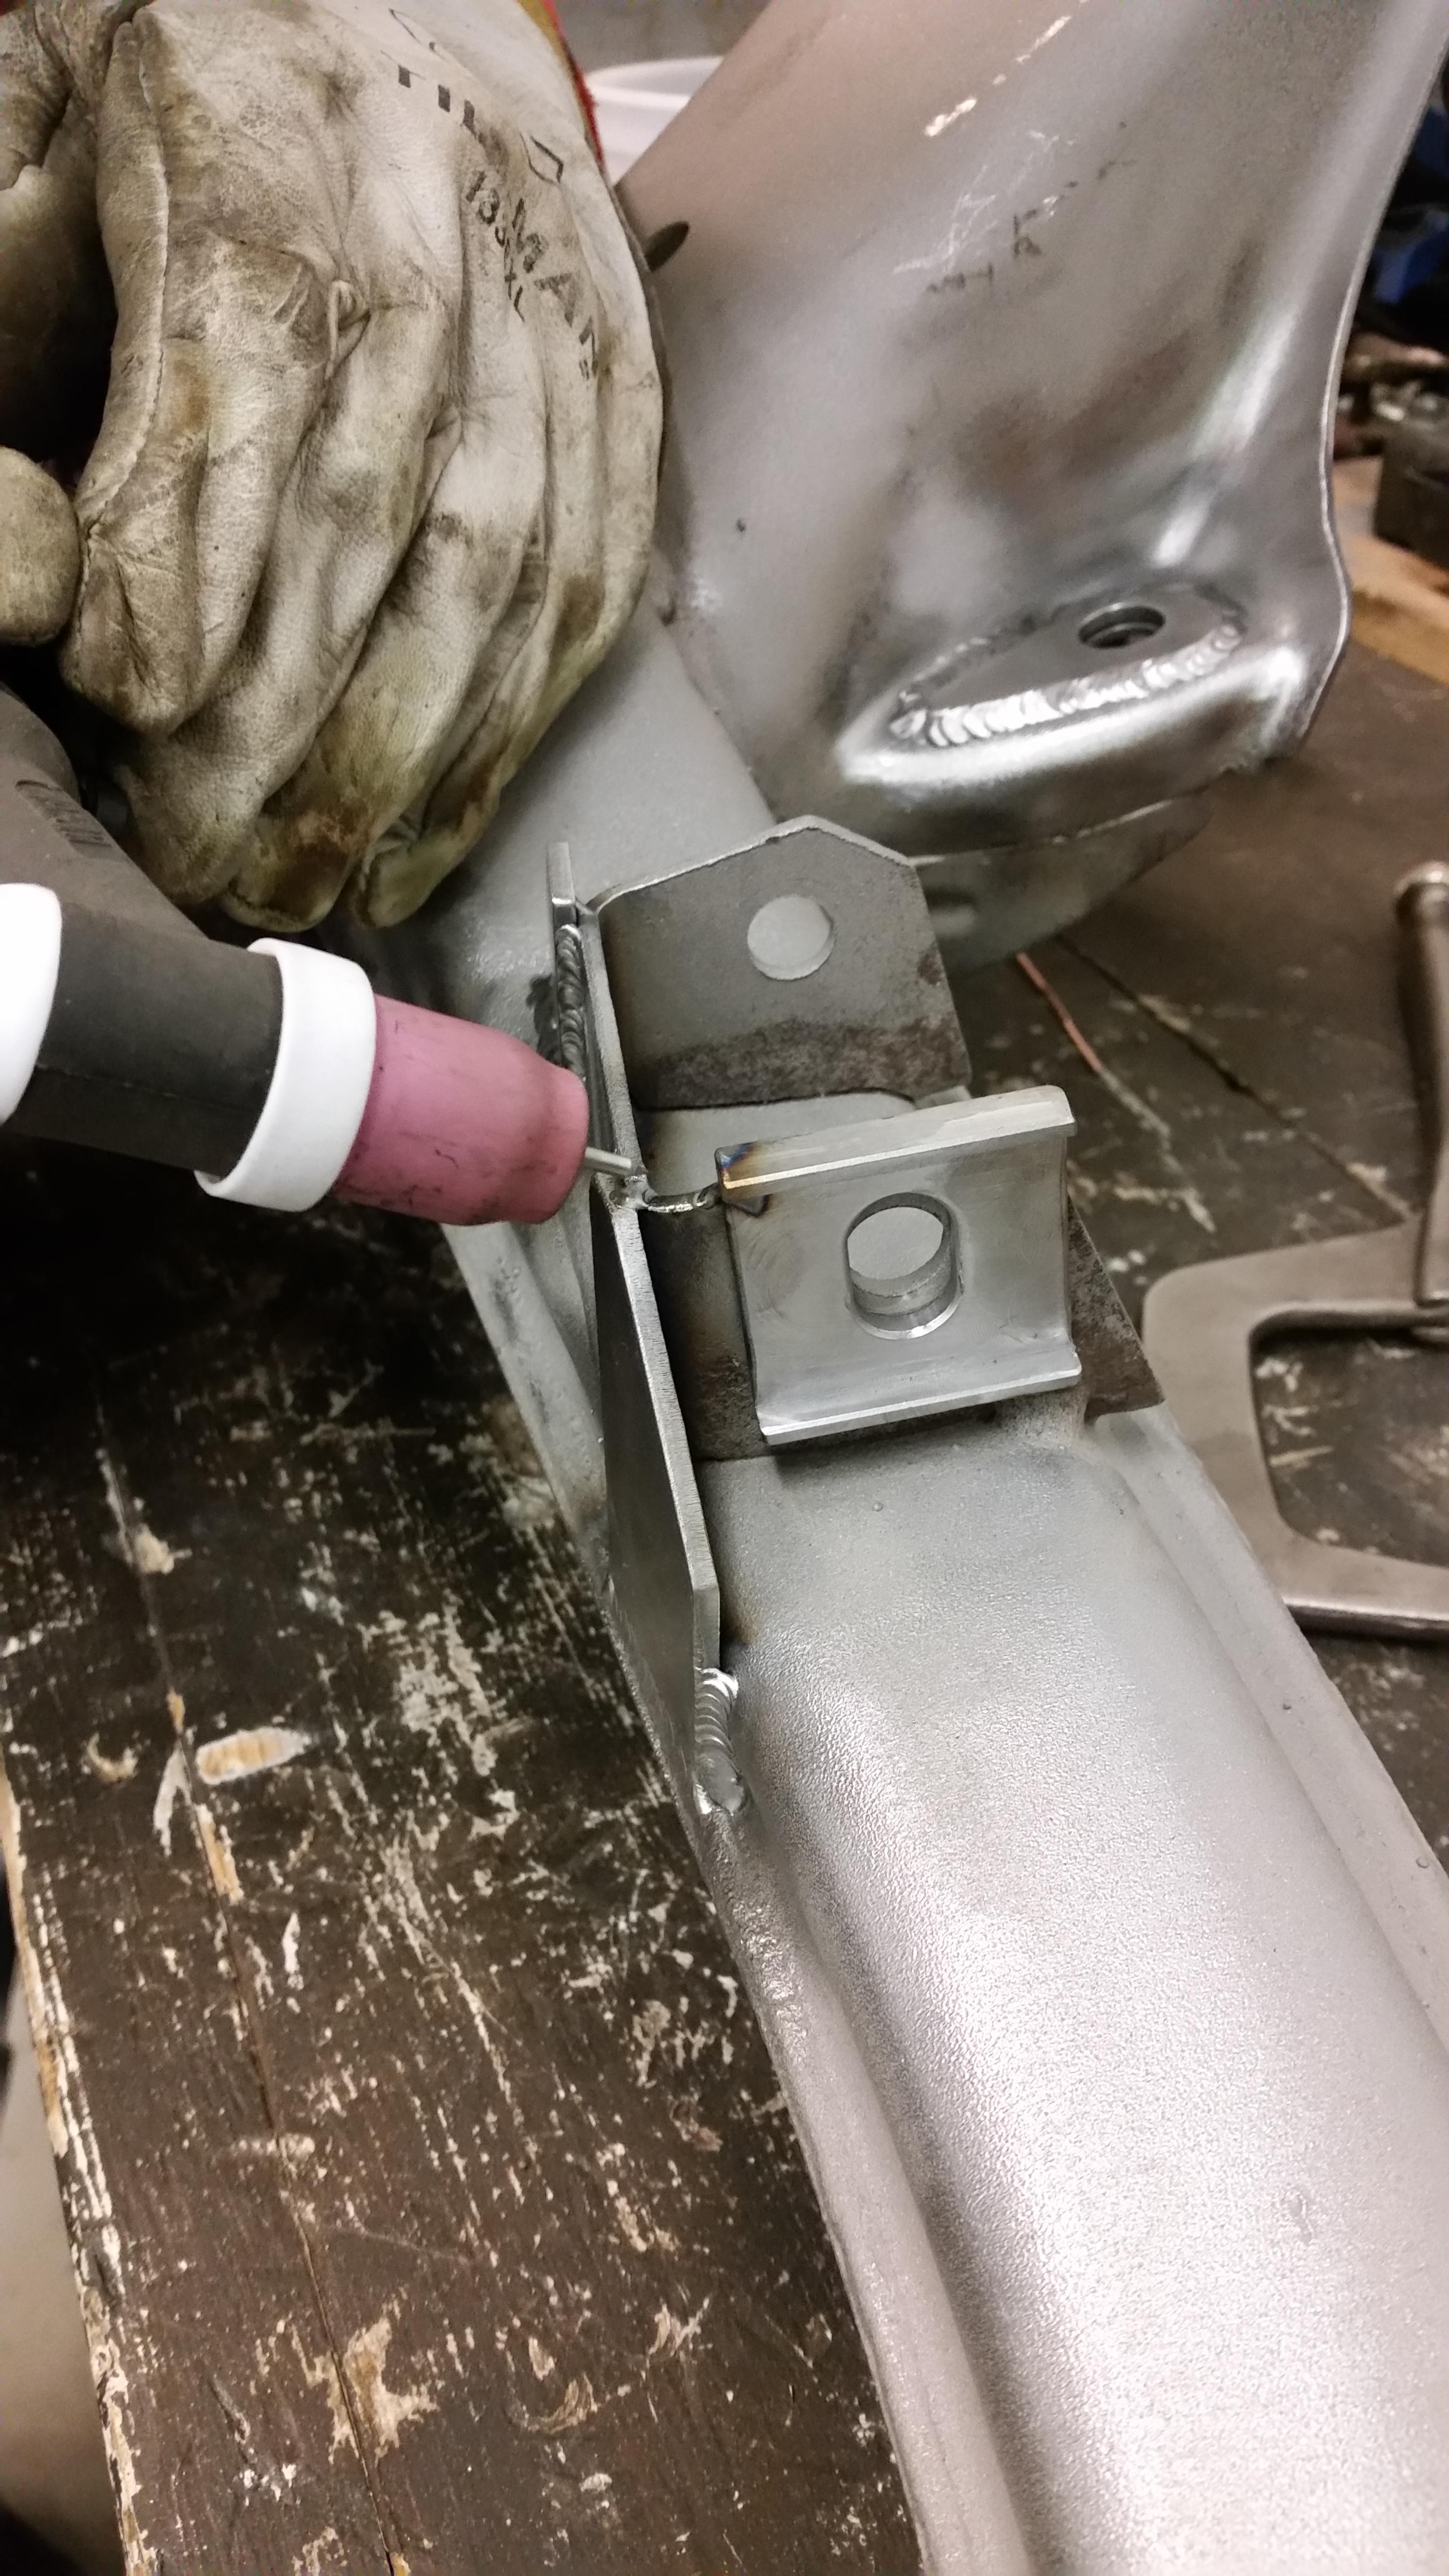
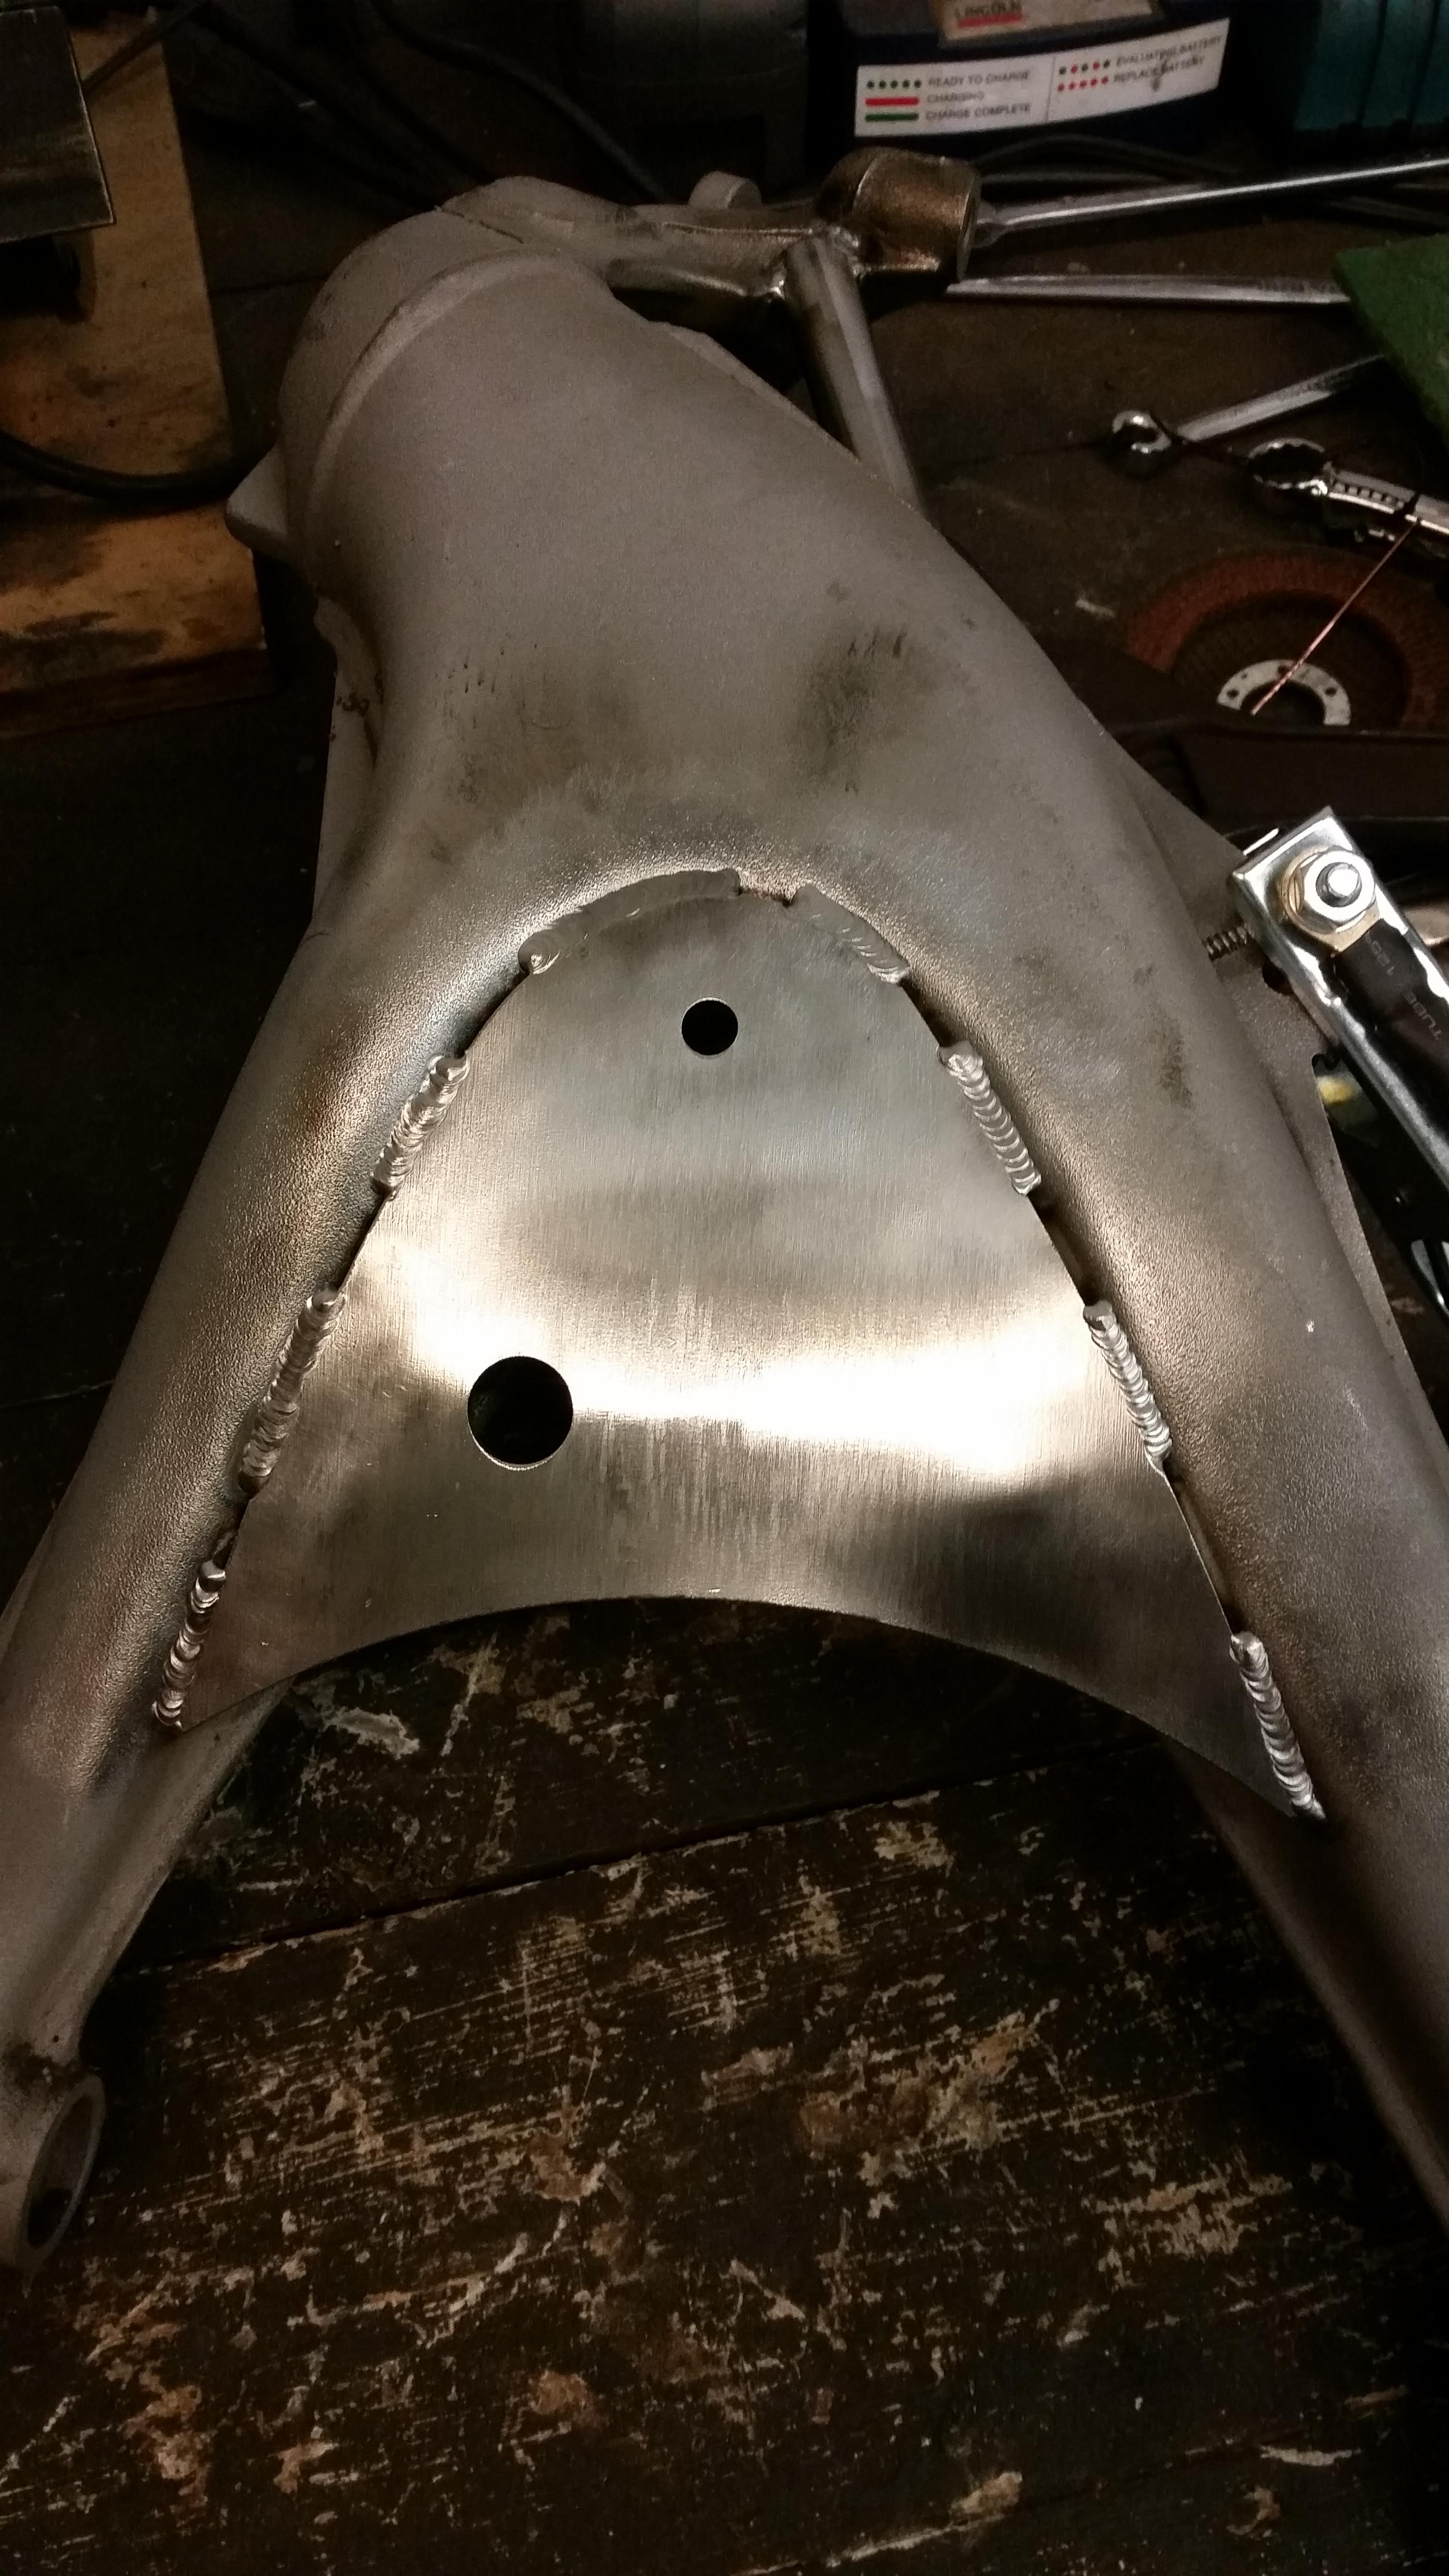
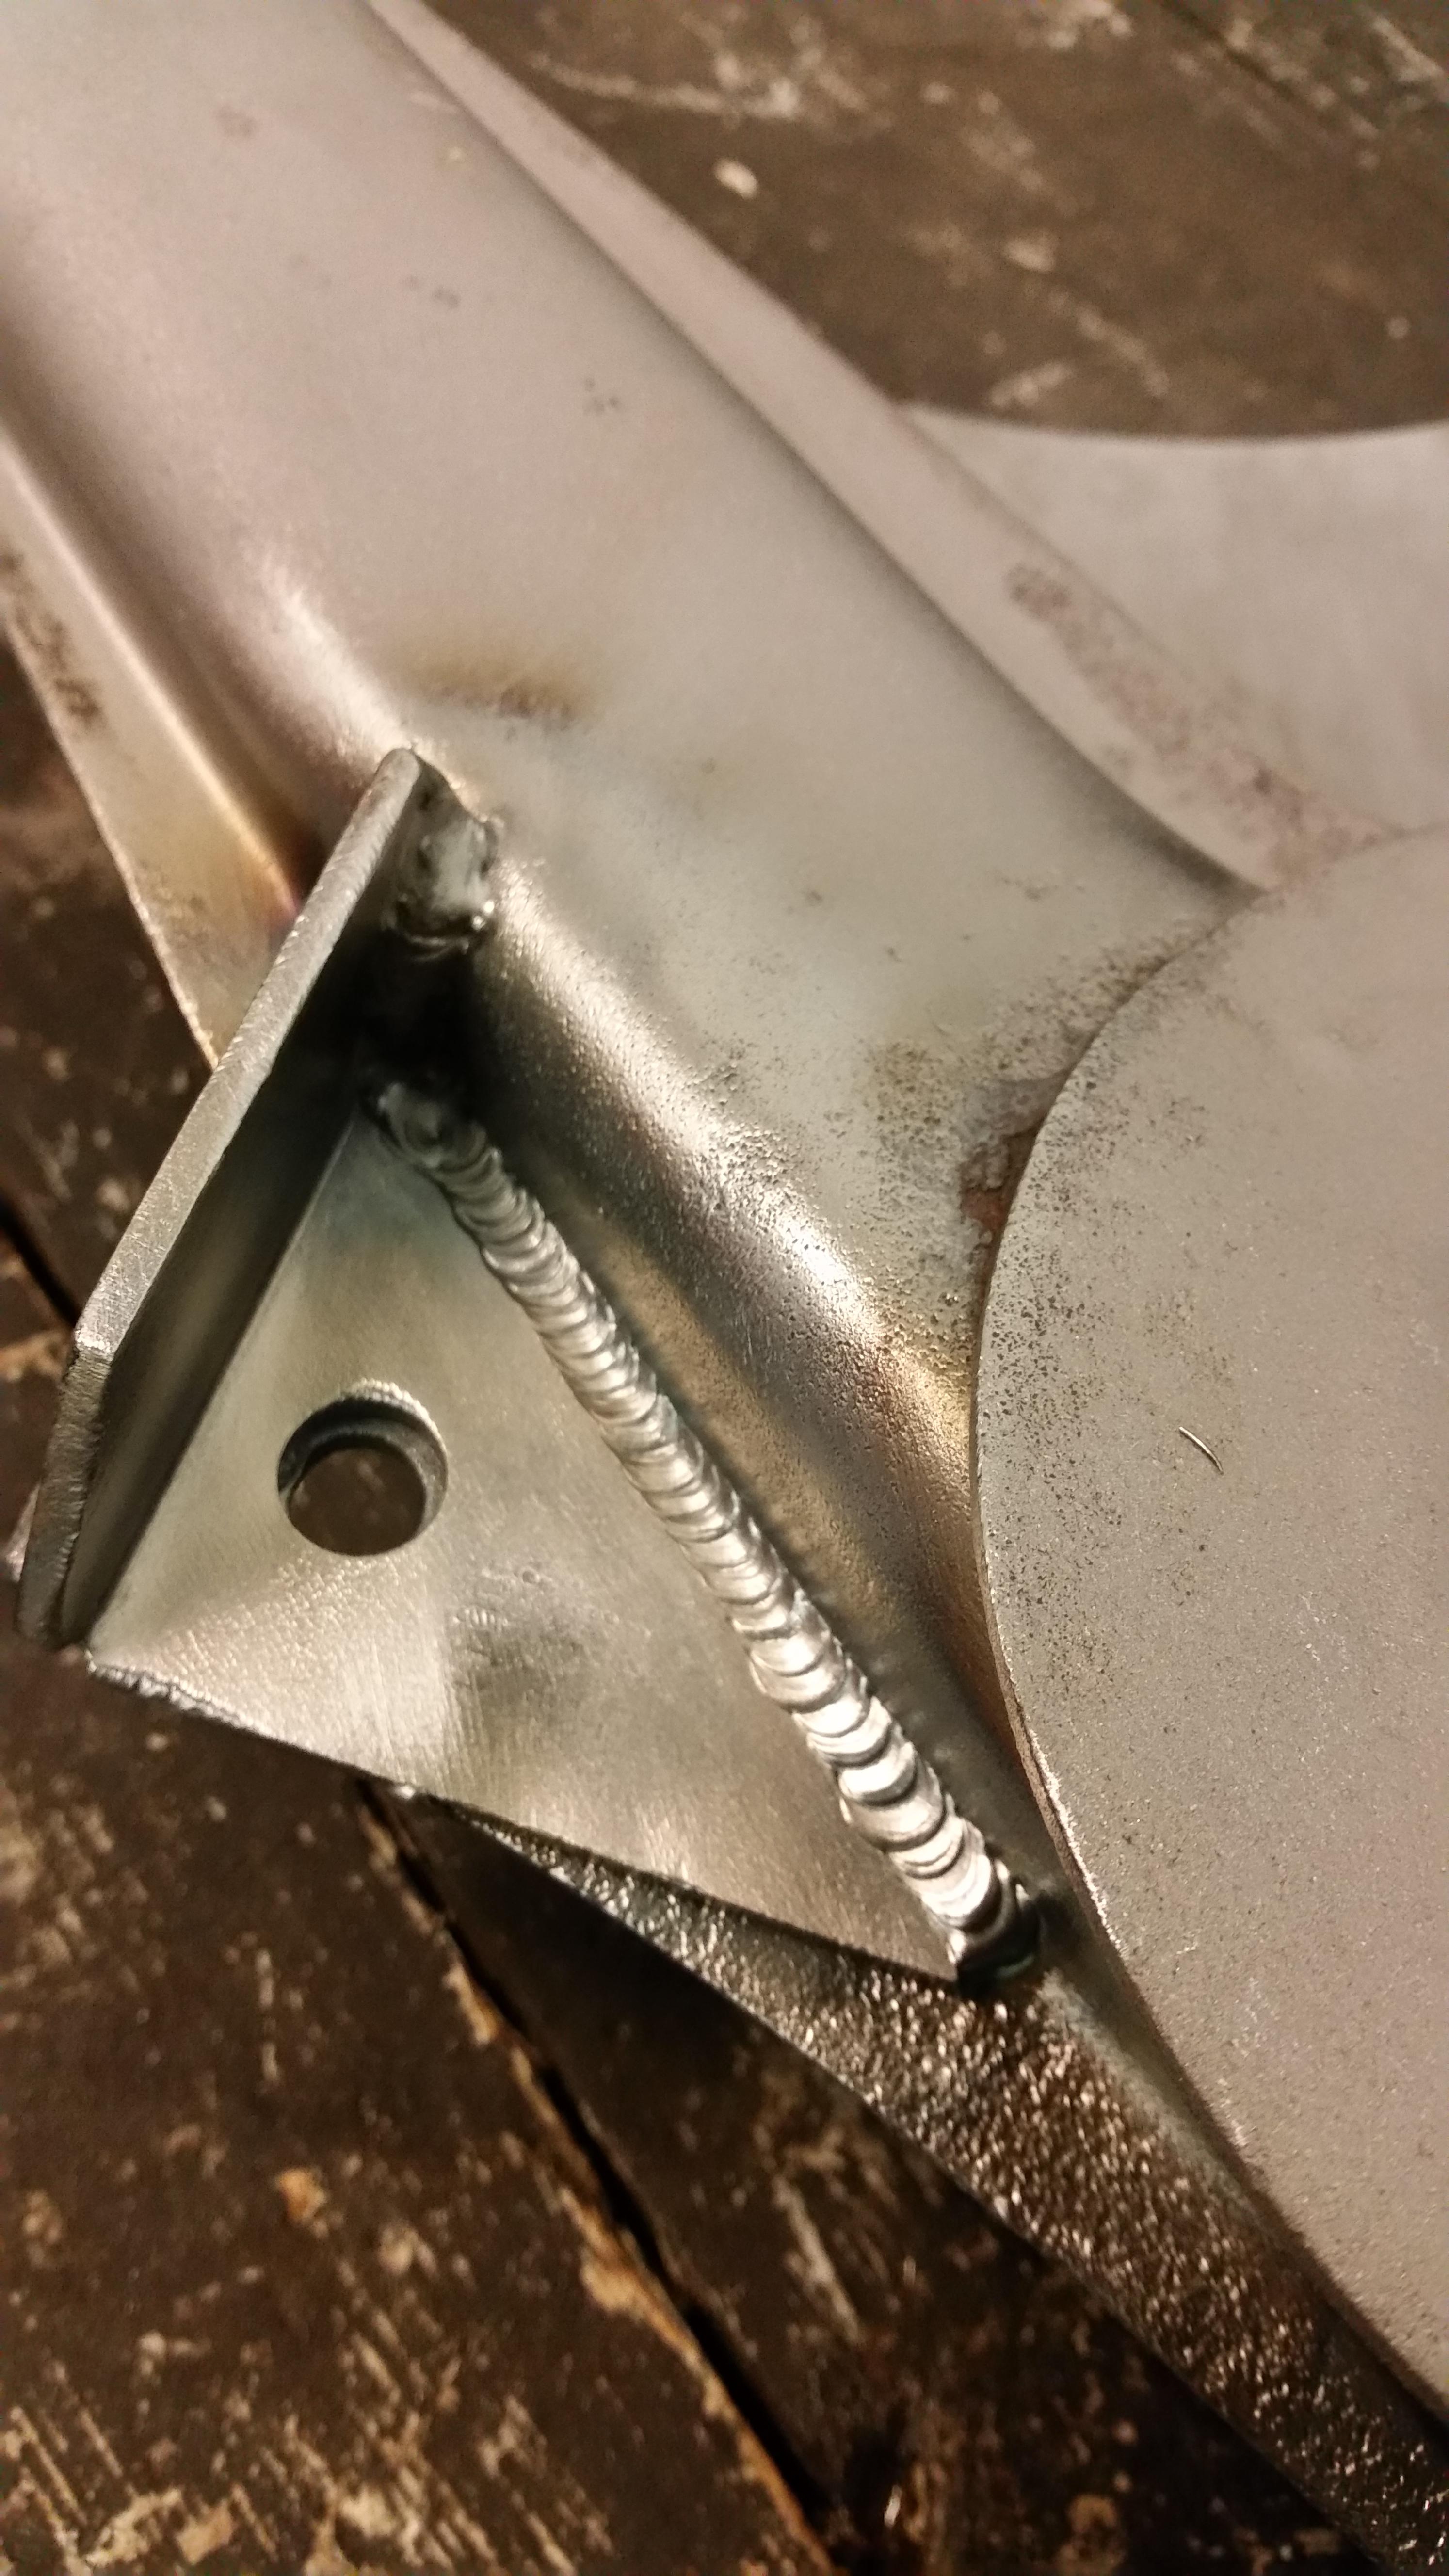
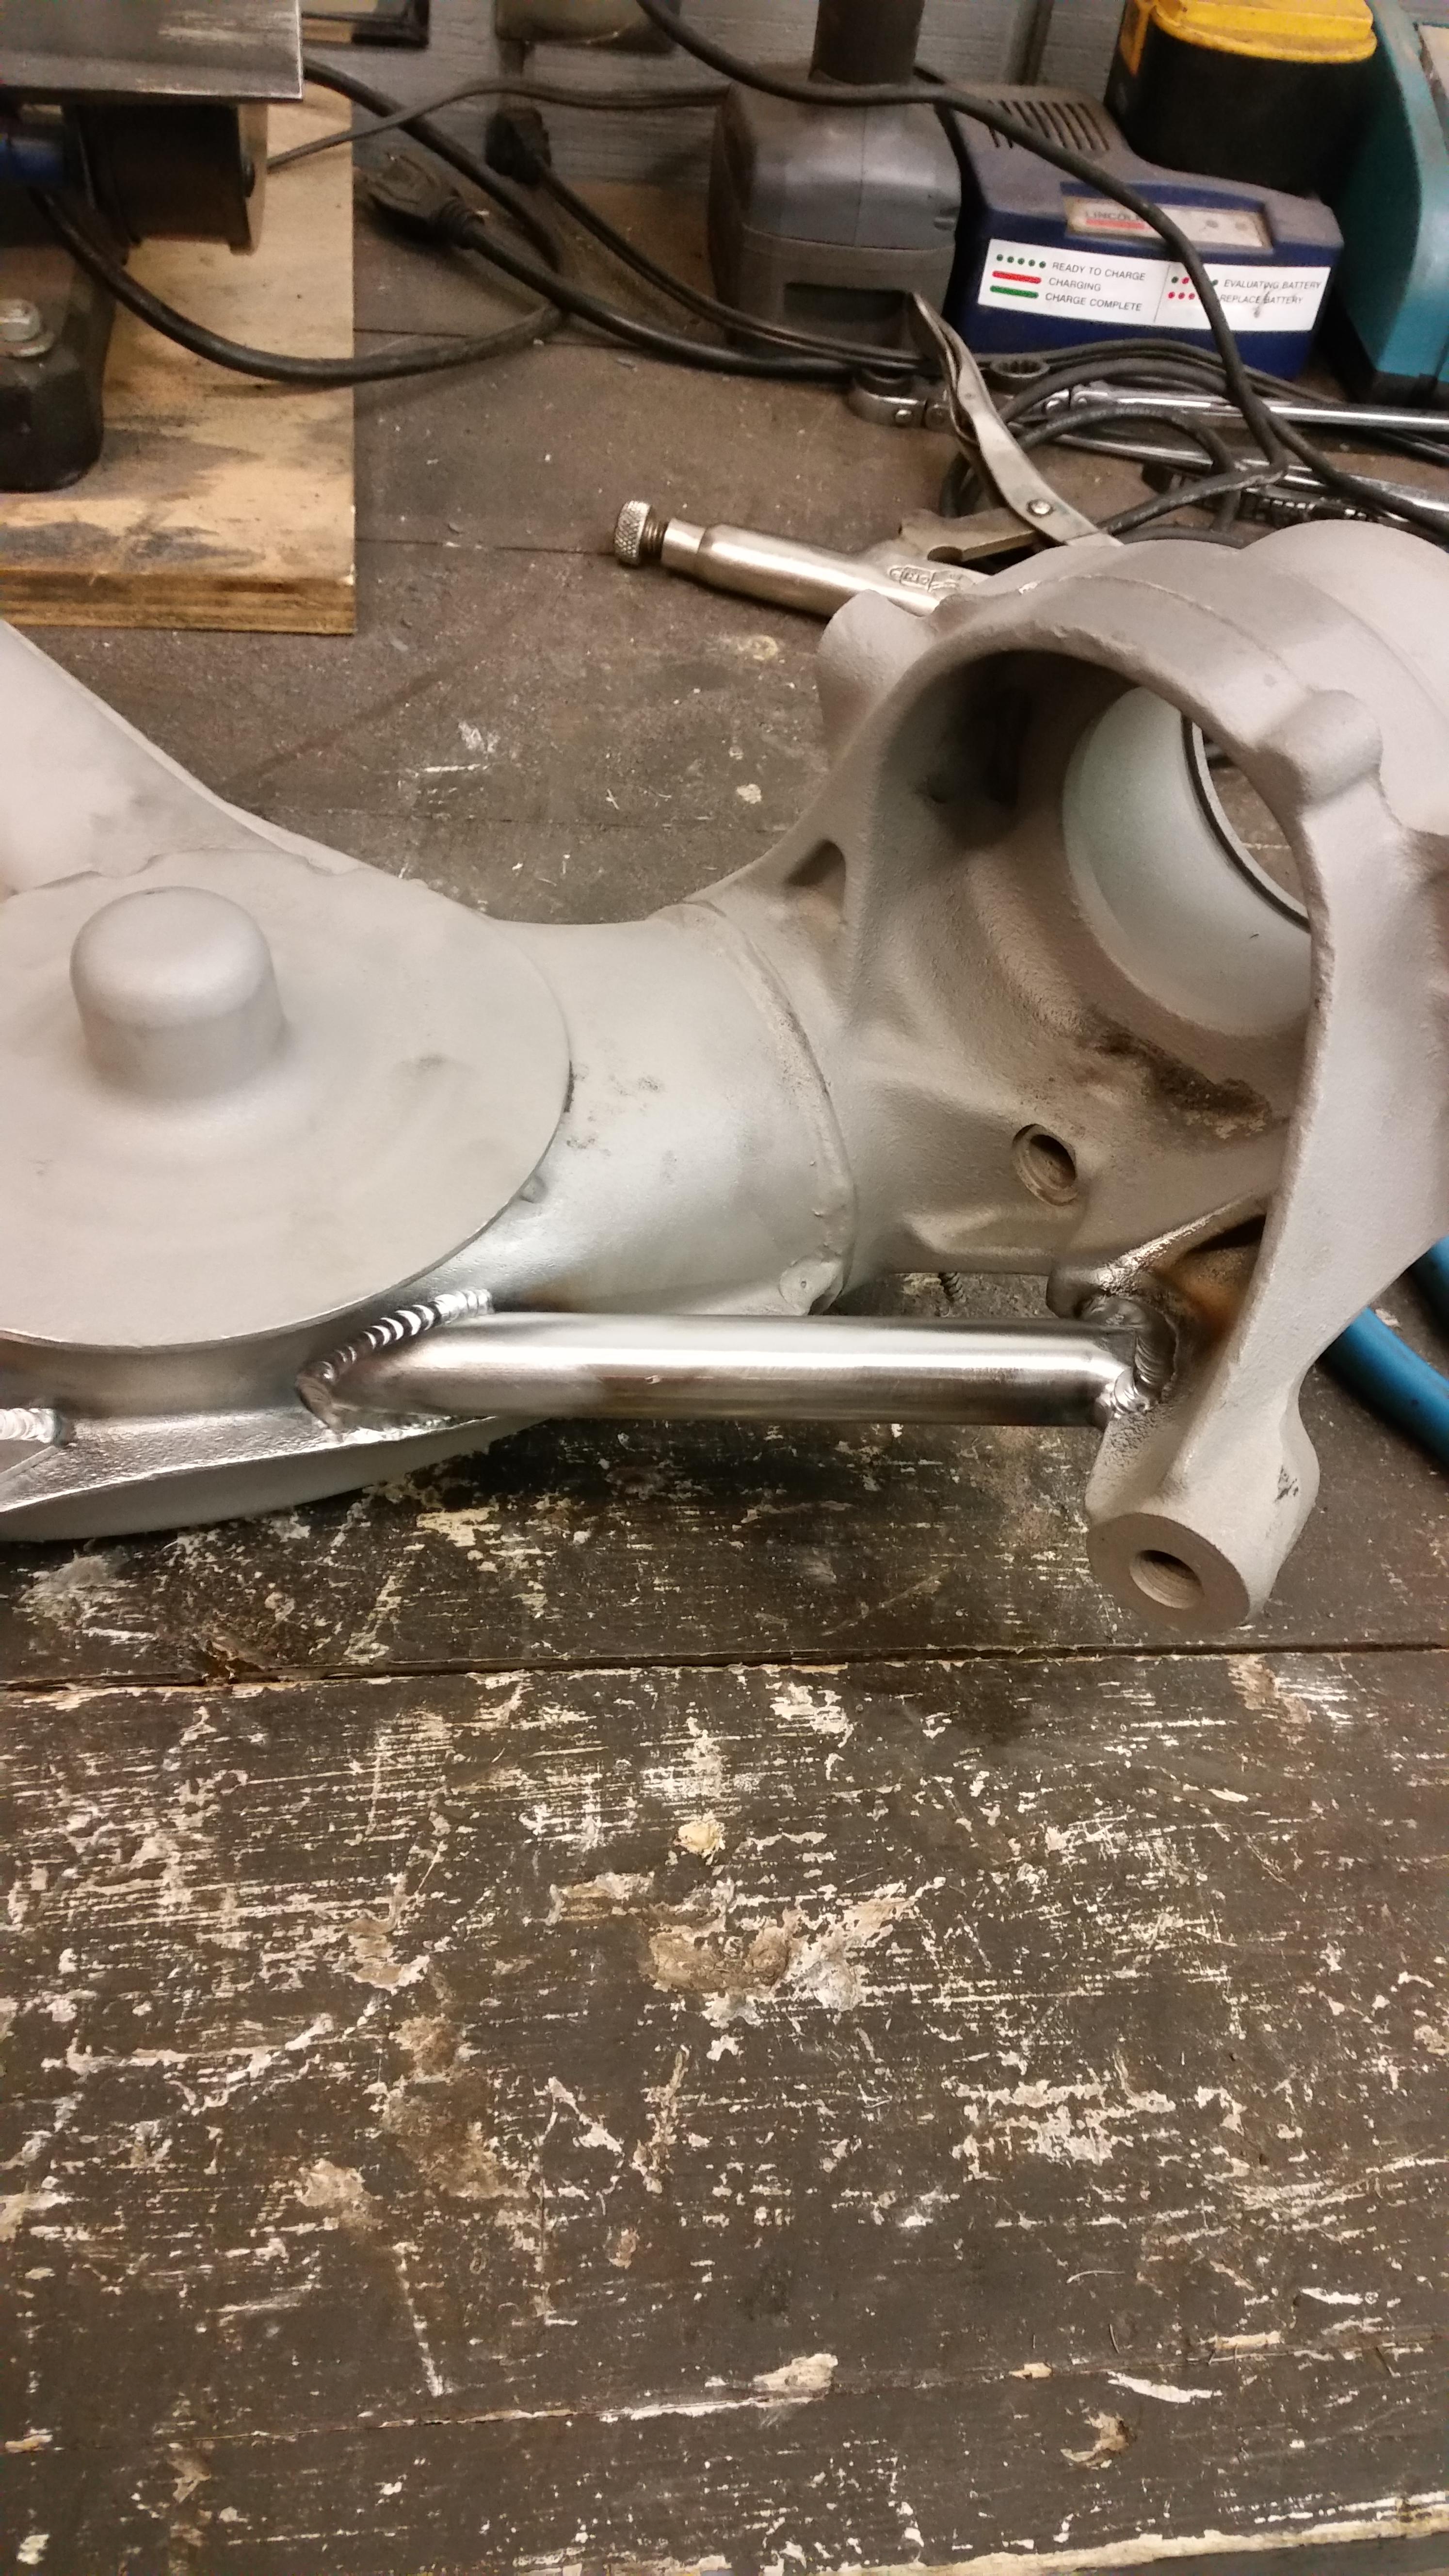
                            Front subframe all welded up before calling it quits tonight. All credit goes to my buddy Forrest and his master skills with a tig welder...

                            20180111205228.jpg

                            20180111211922.jpg

                            20180111215823.jpg

                            Gonna help finish up the reinforcement welding tomorrow as well as two other small rust holes on the passenger side that need to be cut out and welded up. Also praying that my parts show up from fcp so that I can get the timing cover back on the motor. Was suppose to get a few parts I was having powder coated back about week ago but it seems that their oven broke down and was unable to get it back up and running tell about a day ago, so once again, I wait. :(

                            1 Reply Last reply
                            4
                            • m42b32M
                              m42b32M
                              m42b32
                              wrote on last edited by
                              #143

                              Dang, you're making the rest of us look bad with all this progress!

                              1991 318is, 1991 318i, 2022 Bronco

                              1 Reply Last reply
                              0
                              • B
                                B
                                B C
                                wrote on last edited by
                                #144

                                m42b32 said:

                                Dang, you're making the rest of us look bad with all this progress!

                                All that healthy asparagus eatin'

                                1 Reply Last reply
                                1
                                • B
                                  B
                                  Boris3
                                  wrote on last edited by
                                  #145

                                  Man I've got to learn how to weld.  Nice job!

                                  1990 325i racecar (ITS, former Spec E30); 2004 330i ZHP

                                  1 Reply Last reply
                                  0
                                  • jc43089J
                                    jc43089J
                                    jc43089
                                    wrote on last edited by
                                    #146

                                    Looks good!

                                    2/94 325i Sedan, Arctic Gray: UUC LTW FW, EVO 3 and DSSR, +.020 Maxsil pistons, ASC delete, Eibach shocks/springs, 16" contour reps 238k
                                    3/93 325i Coupe, Schwarz 2, Sketchy stance action, ebay turbo, 300k
                                    '89 325i Vert, Alpine White: 5spd swapped, sold.

                                    '04 Toyota Sienna: 24V to 24V swap in progress
                                    '05 Volvo V70R, 6spd.  200k
                                    '85 Toyota LandCruiser: Lifted, gas hog. 205k
                                    '99 Nissan Maxima: 5spd, Rusty but trusty winter beater. 252k RIP.

                                    1 Reply Last reply
                                    0
                                    • JdesignJ
                                      JdesignJ
                                      Jdesign
                                      wrote on last edited by
                                      #147

                                      Looks awesome, much congrats on tons of progress. Please take some nice close ups of that dash when its ready to go back into the car!

                                      SumBunny.jpg

                                      https://www.instagram.com/_jdesigner_/                                          http://nevertoolow.tumblr.com/

                                      🥳SOLD BMW E24 633CSI - BMW M30B32                                          🧪SOLD HCH  ES9 - 1.3 LDA
                                      👽BMW E30 325IC - Toyota 1JZ-GTE                                                     ⏰ HONDA EF9 CIVIC SI - JDM B18C5
                                      ☠️BMW E36 318i - Ford 5.0 FE302                                                         🚴‍♂️ GT-Labomba - 26x2.75 Freeride
                                      🤹‍♀️SOLD BMW E36/7 Z3 - BMW M54B25                                                🧓SOLD BMW E10 2002 - BMW M10M05

                                      1 Reply Last reply
                                      0
                                      • AsparagusMikeA
                                        AsparagusMikeA
                                        AsparagusMike
                                        wrote on last edited by
                                        #148

                                        Sorry for the late update. Spent the whole last week in Arizona enjoying the beautiful warm weather. Before I left I was able to finish up a couple things.

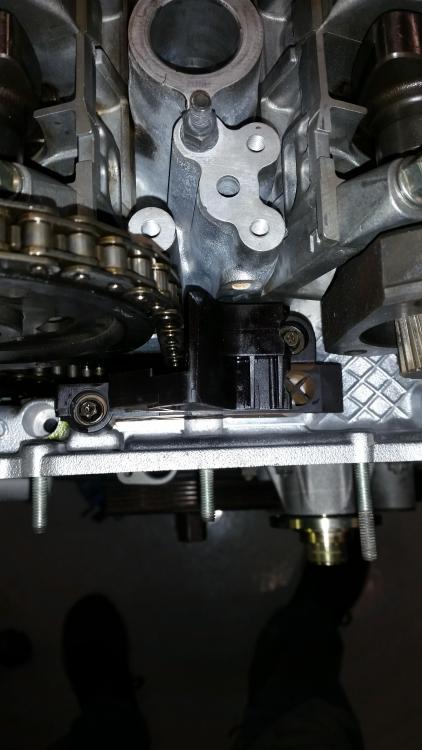
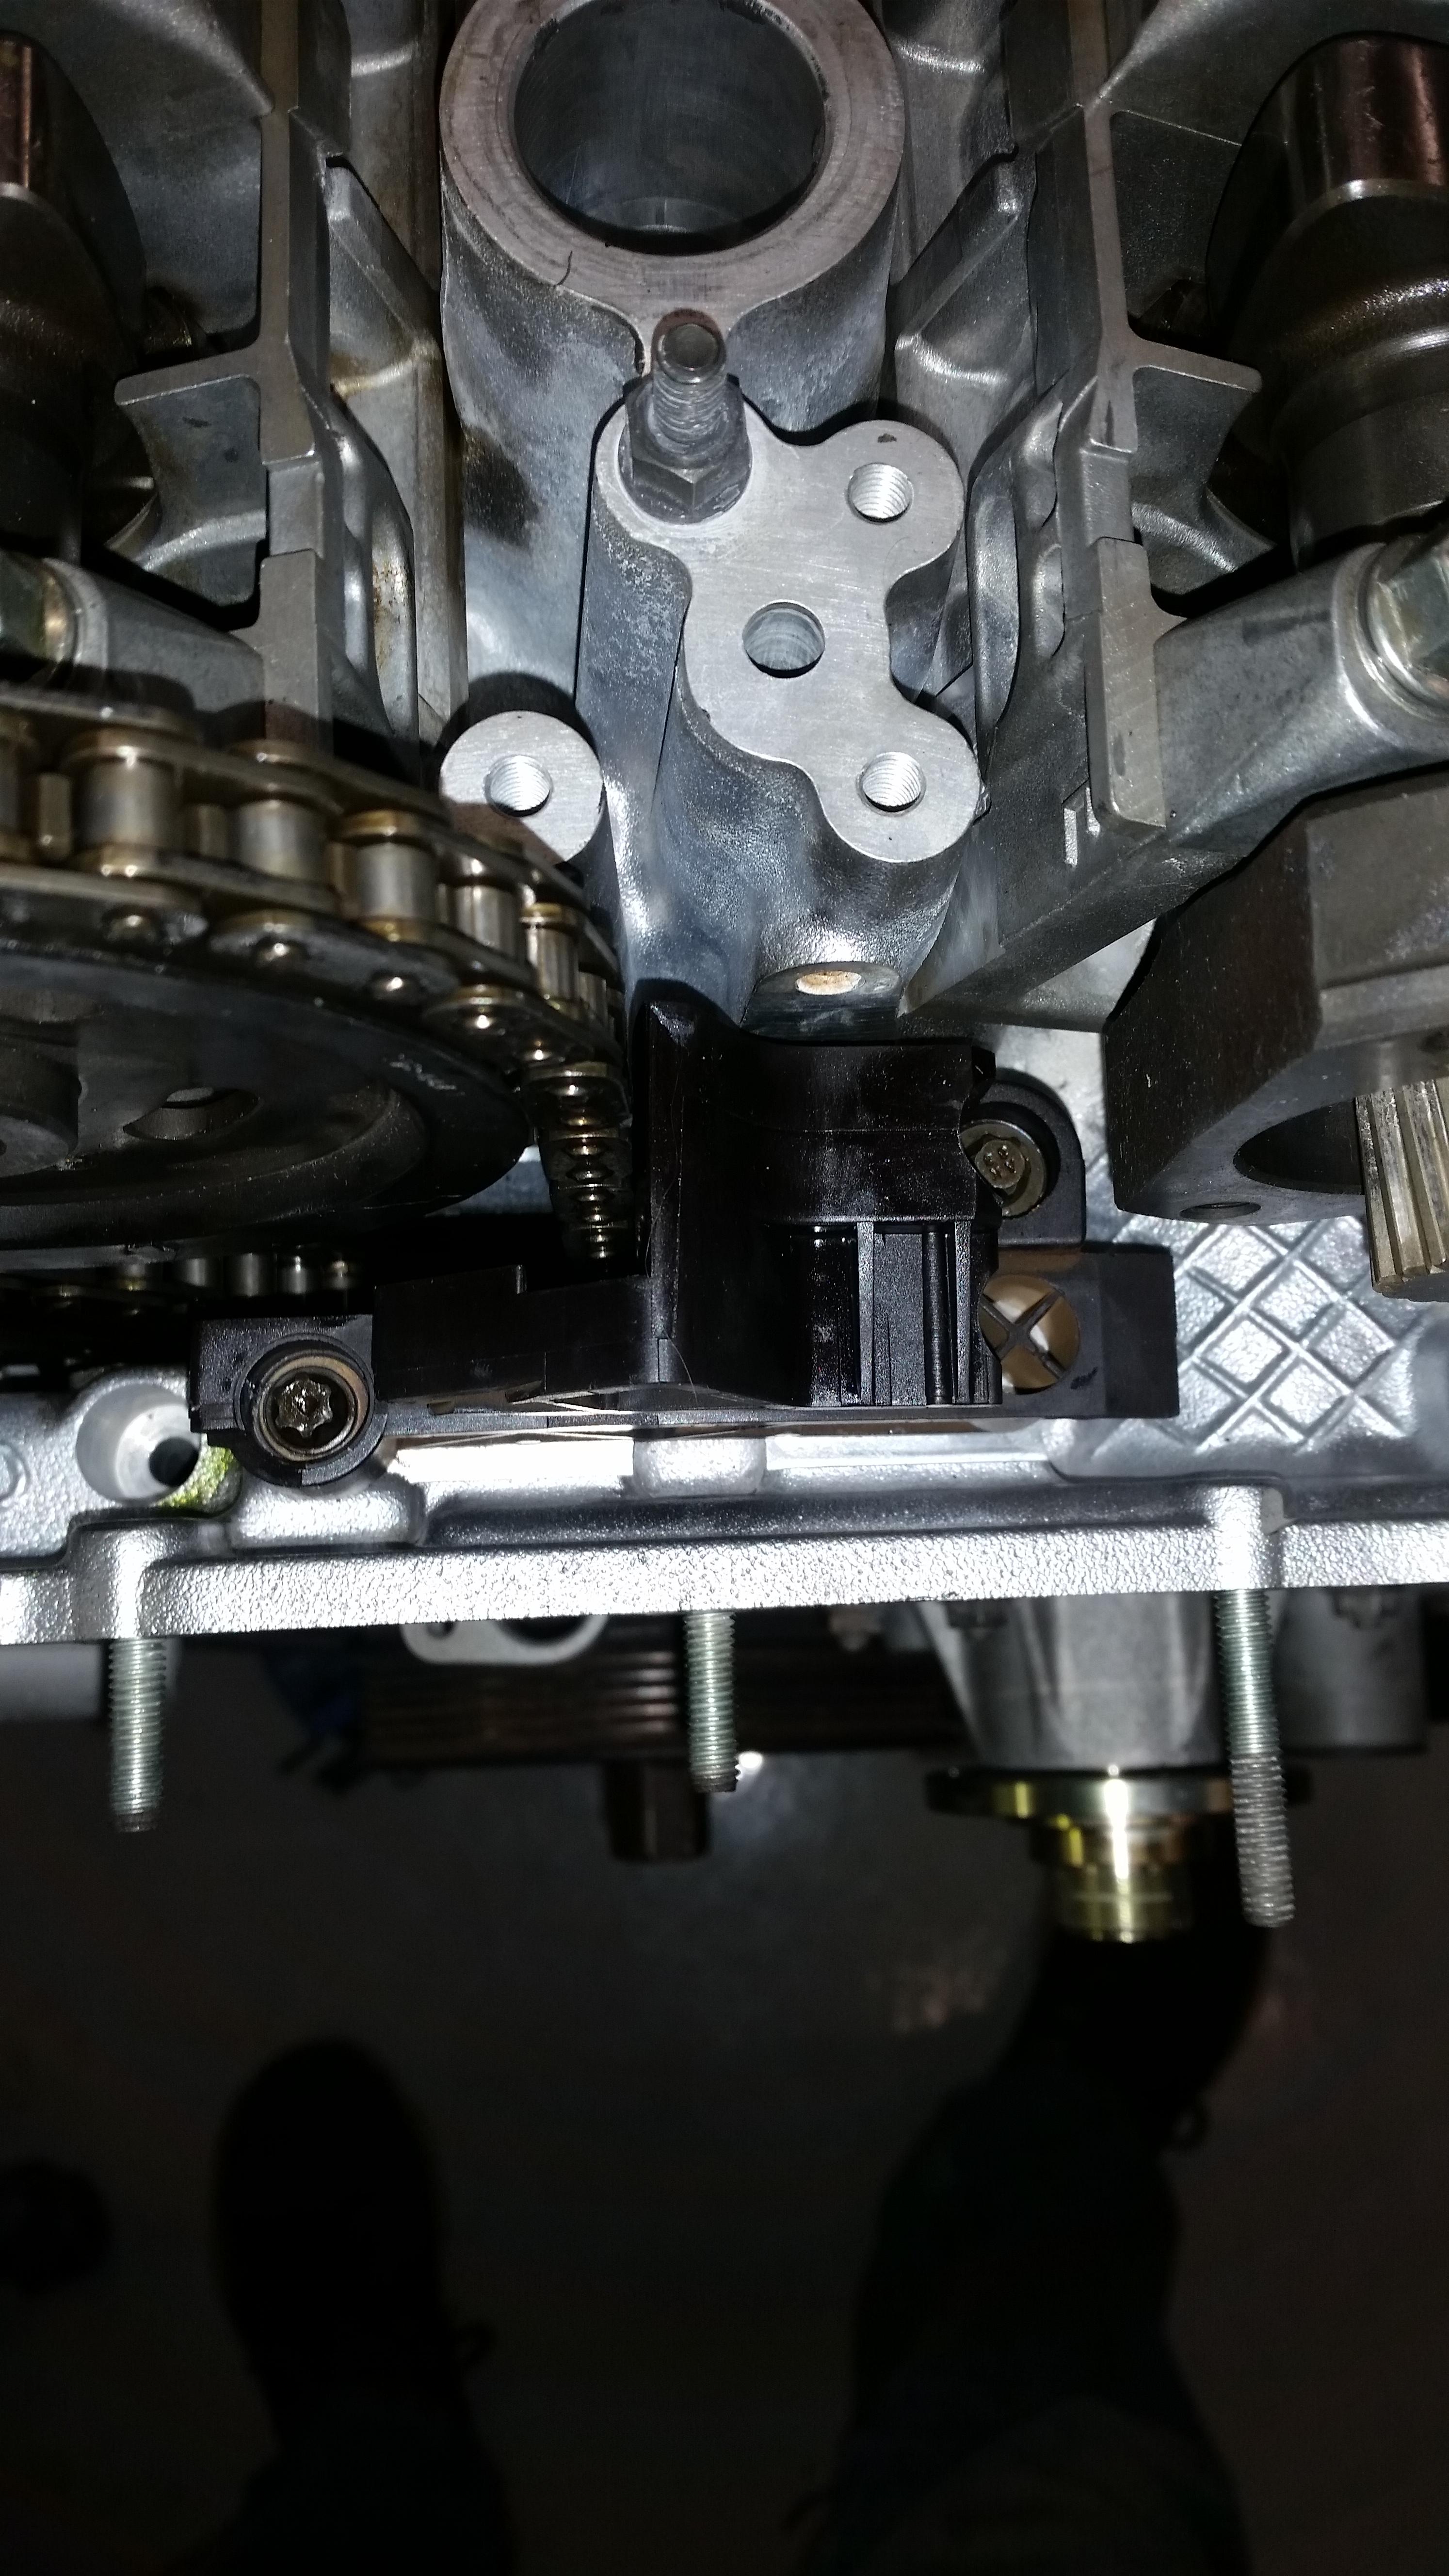
                                        After getting my timing cover gaskets in the mail as well as many other parts needed for the motor I got the timing cover back on and gave the upper timing chain tensioner bolt another shot at redemption... Success acheived :D

                                        20180112162322.jpg

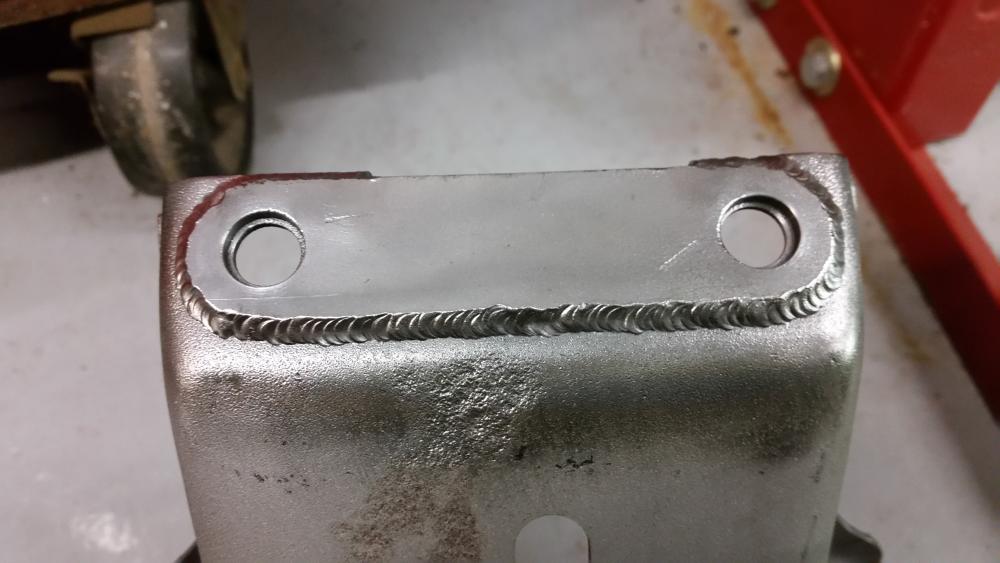
                                        Not to long after, my buddy showed up and went at it finishing welding the reinforcement on the rest of the subframe pieces...

                                        20180112202920.jpg

                                        20180112202949.jpg

                                        20180112231248.jpg

                                        20180112214548.jpg

                                        20180112203606.jpg

                                        20180112212447.jpg

                                        20180112212410.jpg

                                        20180112231412.jpg

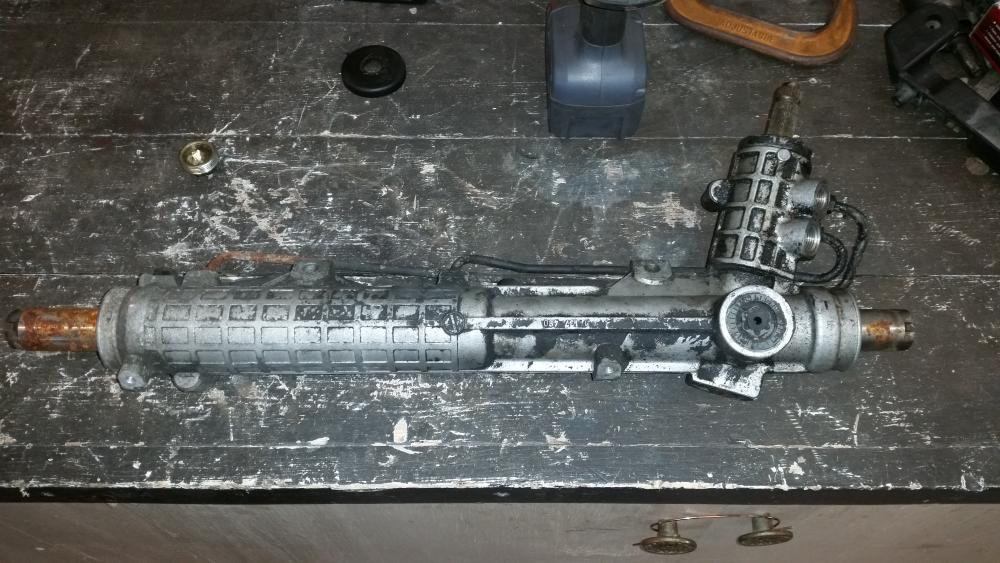
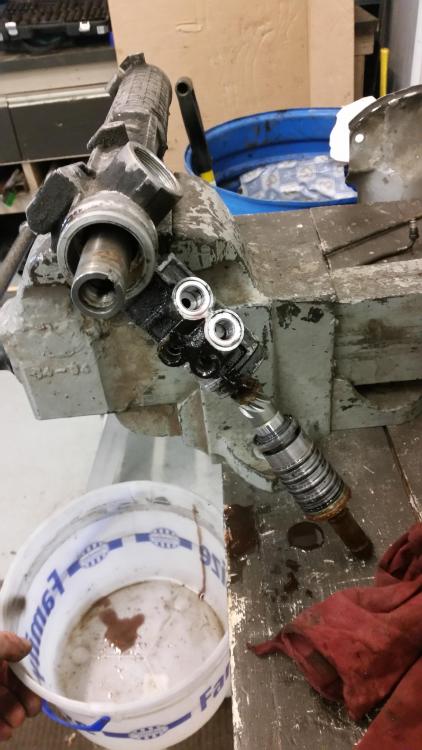
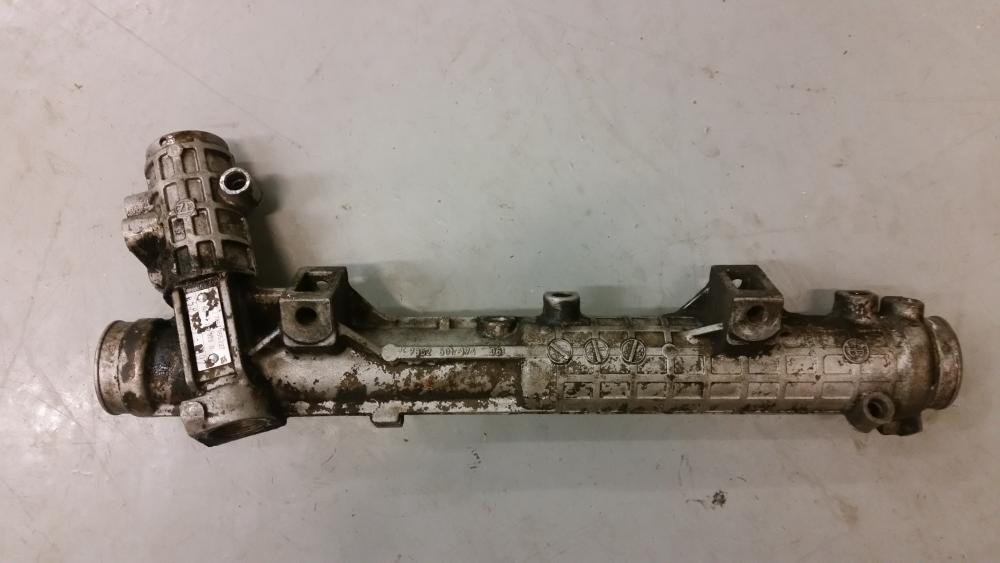
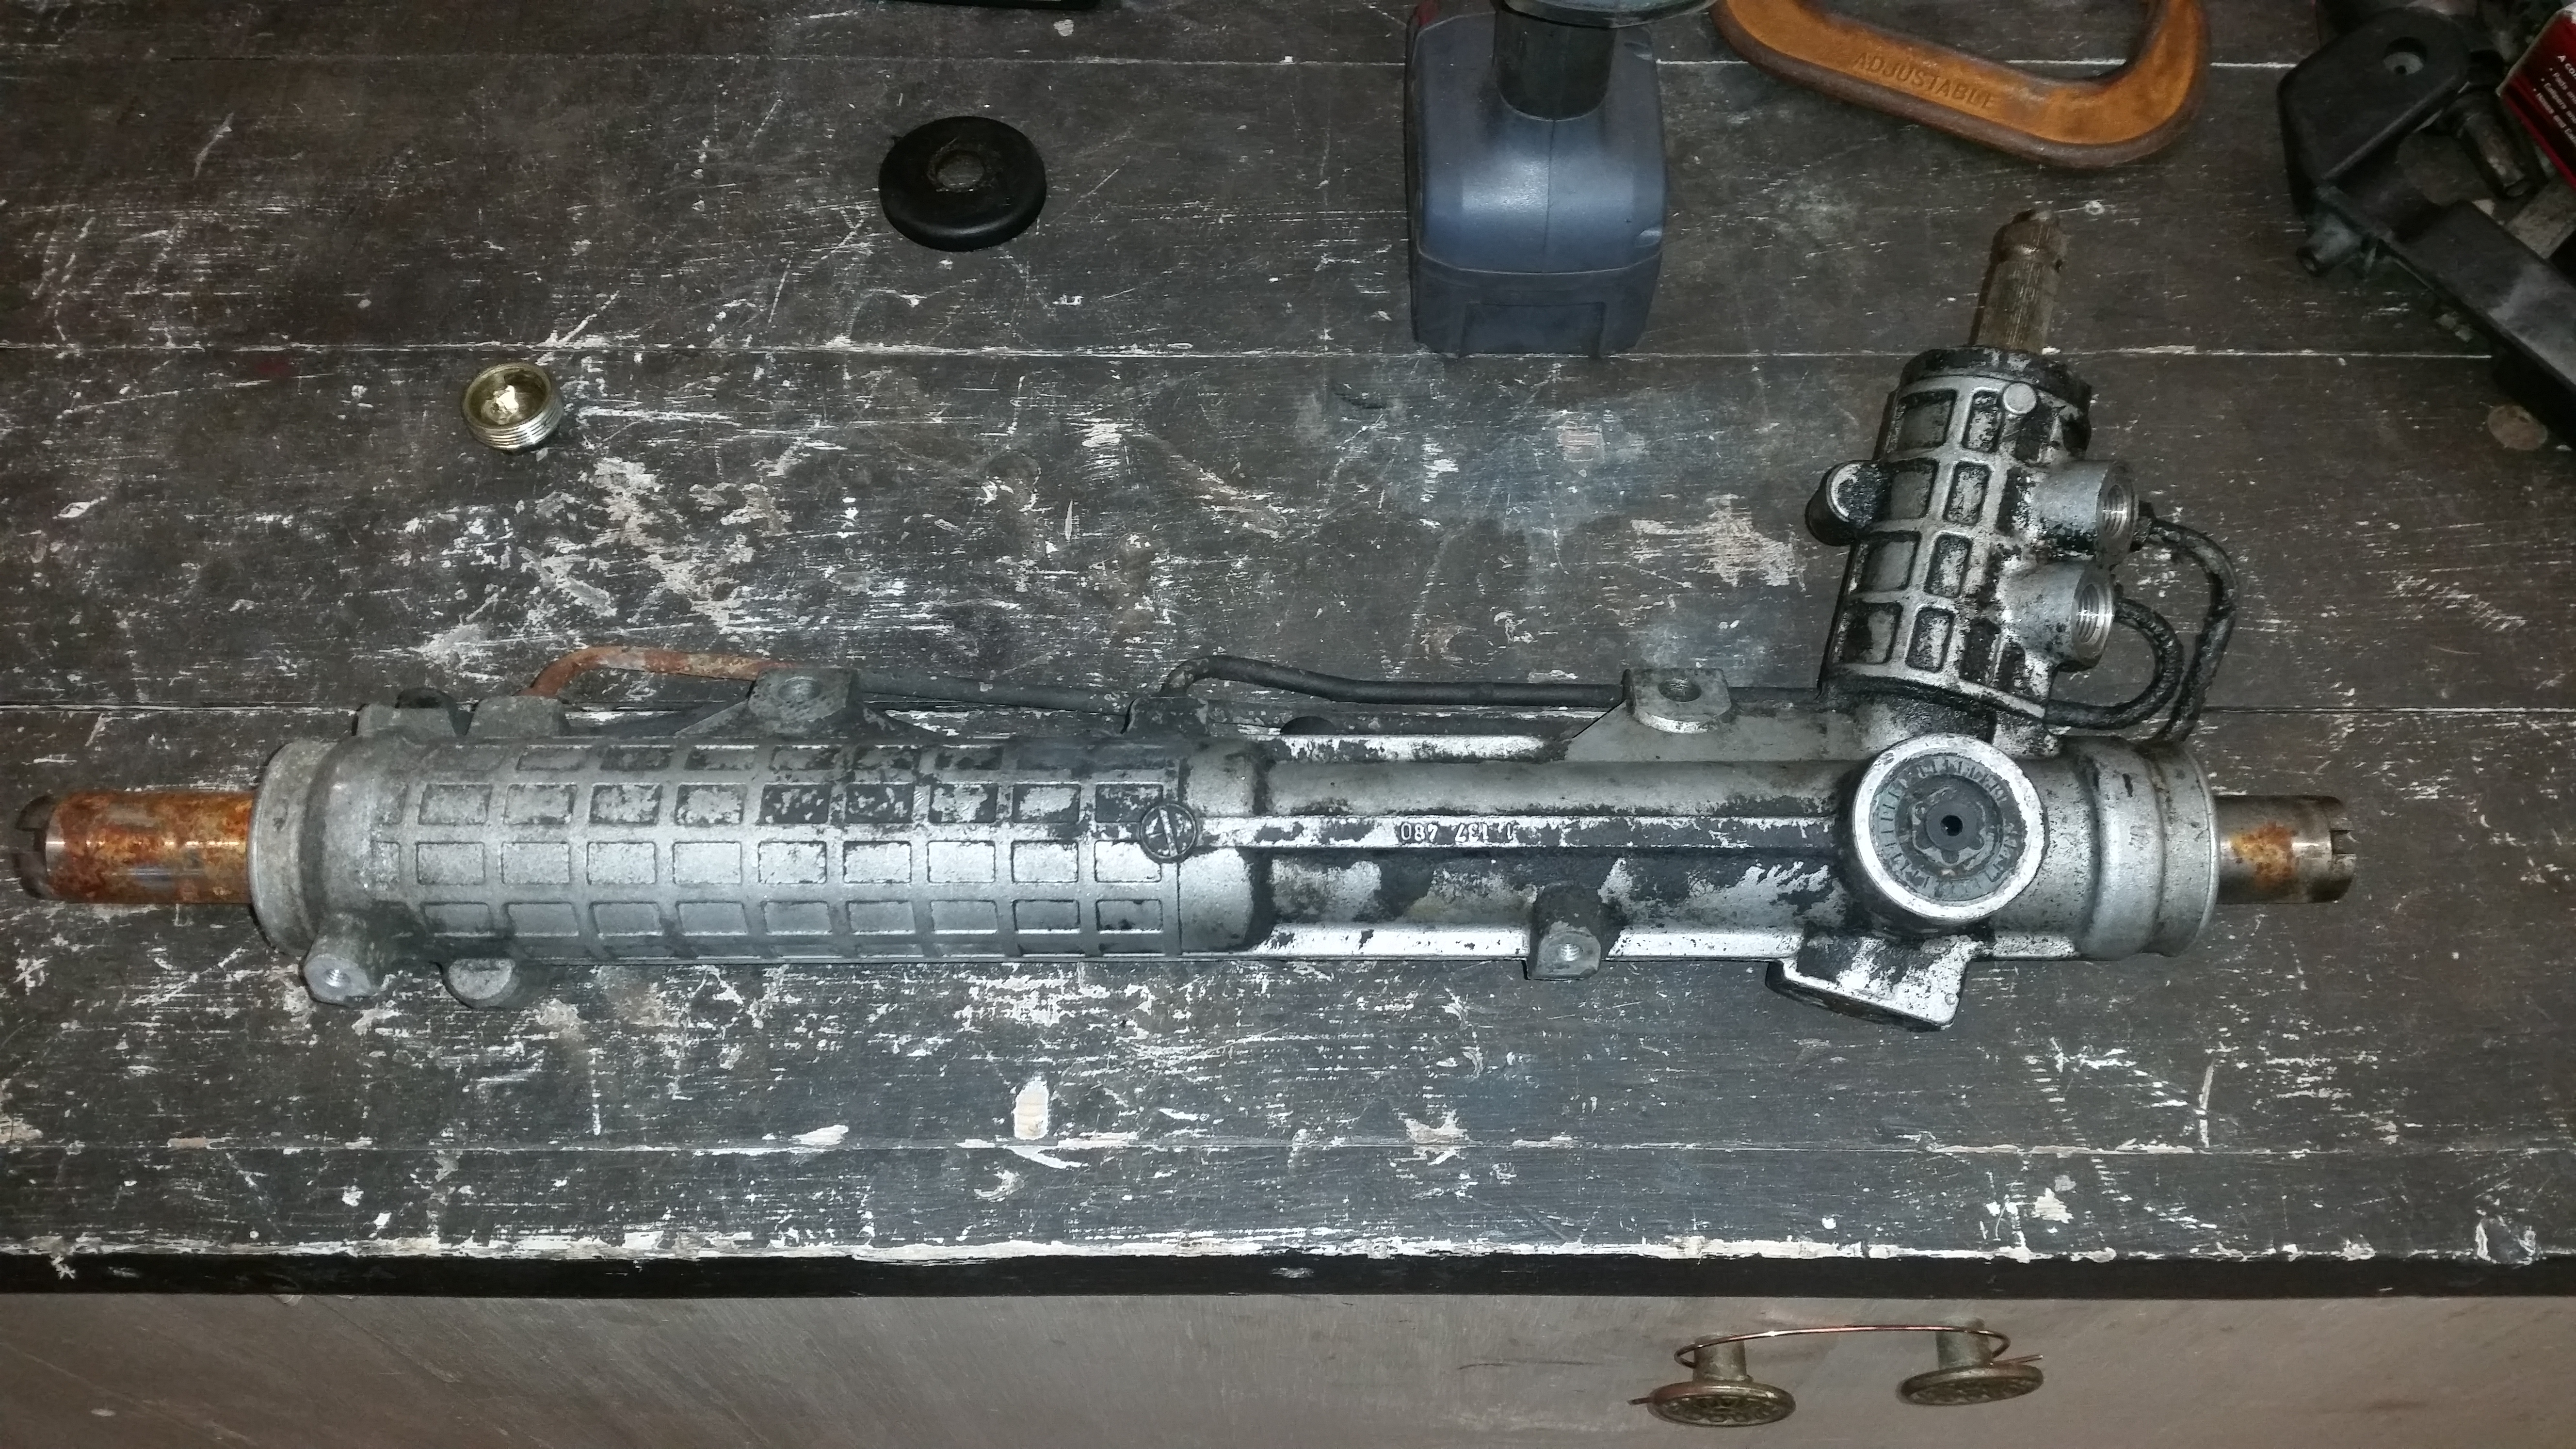
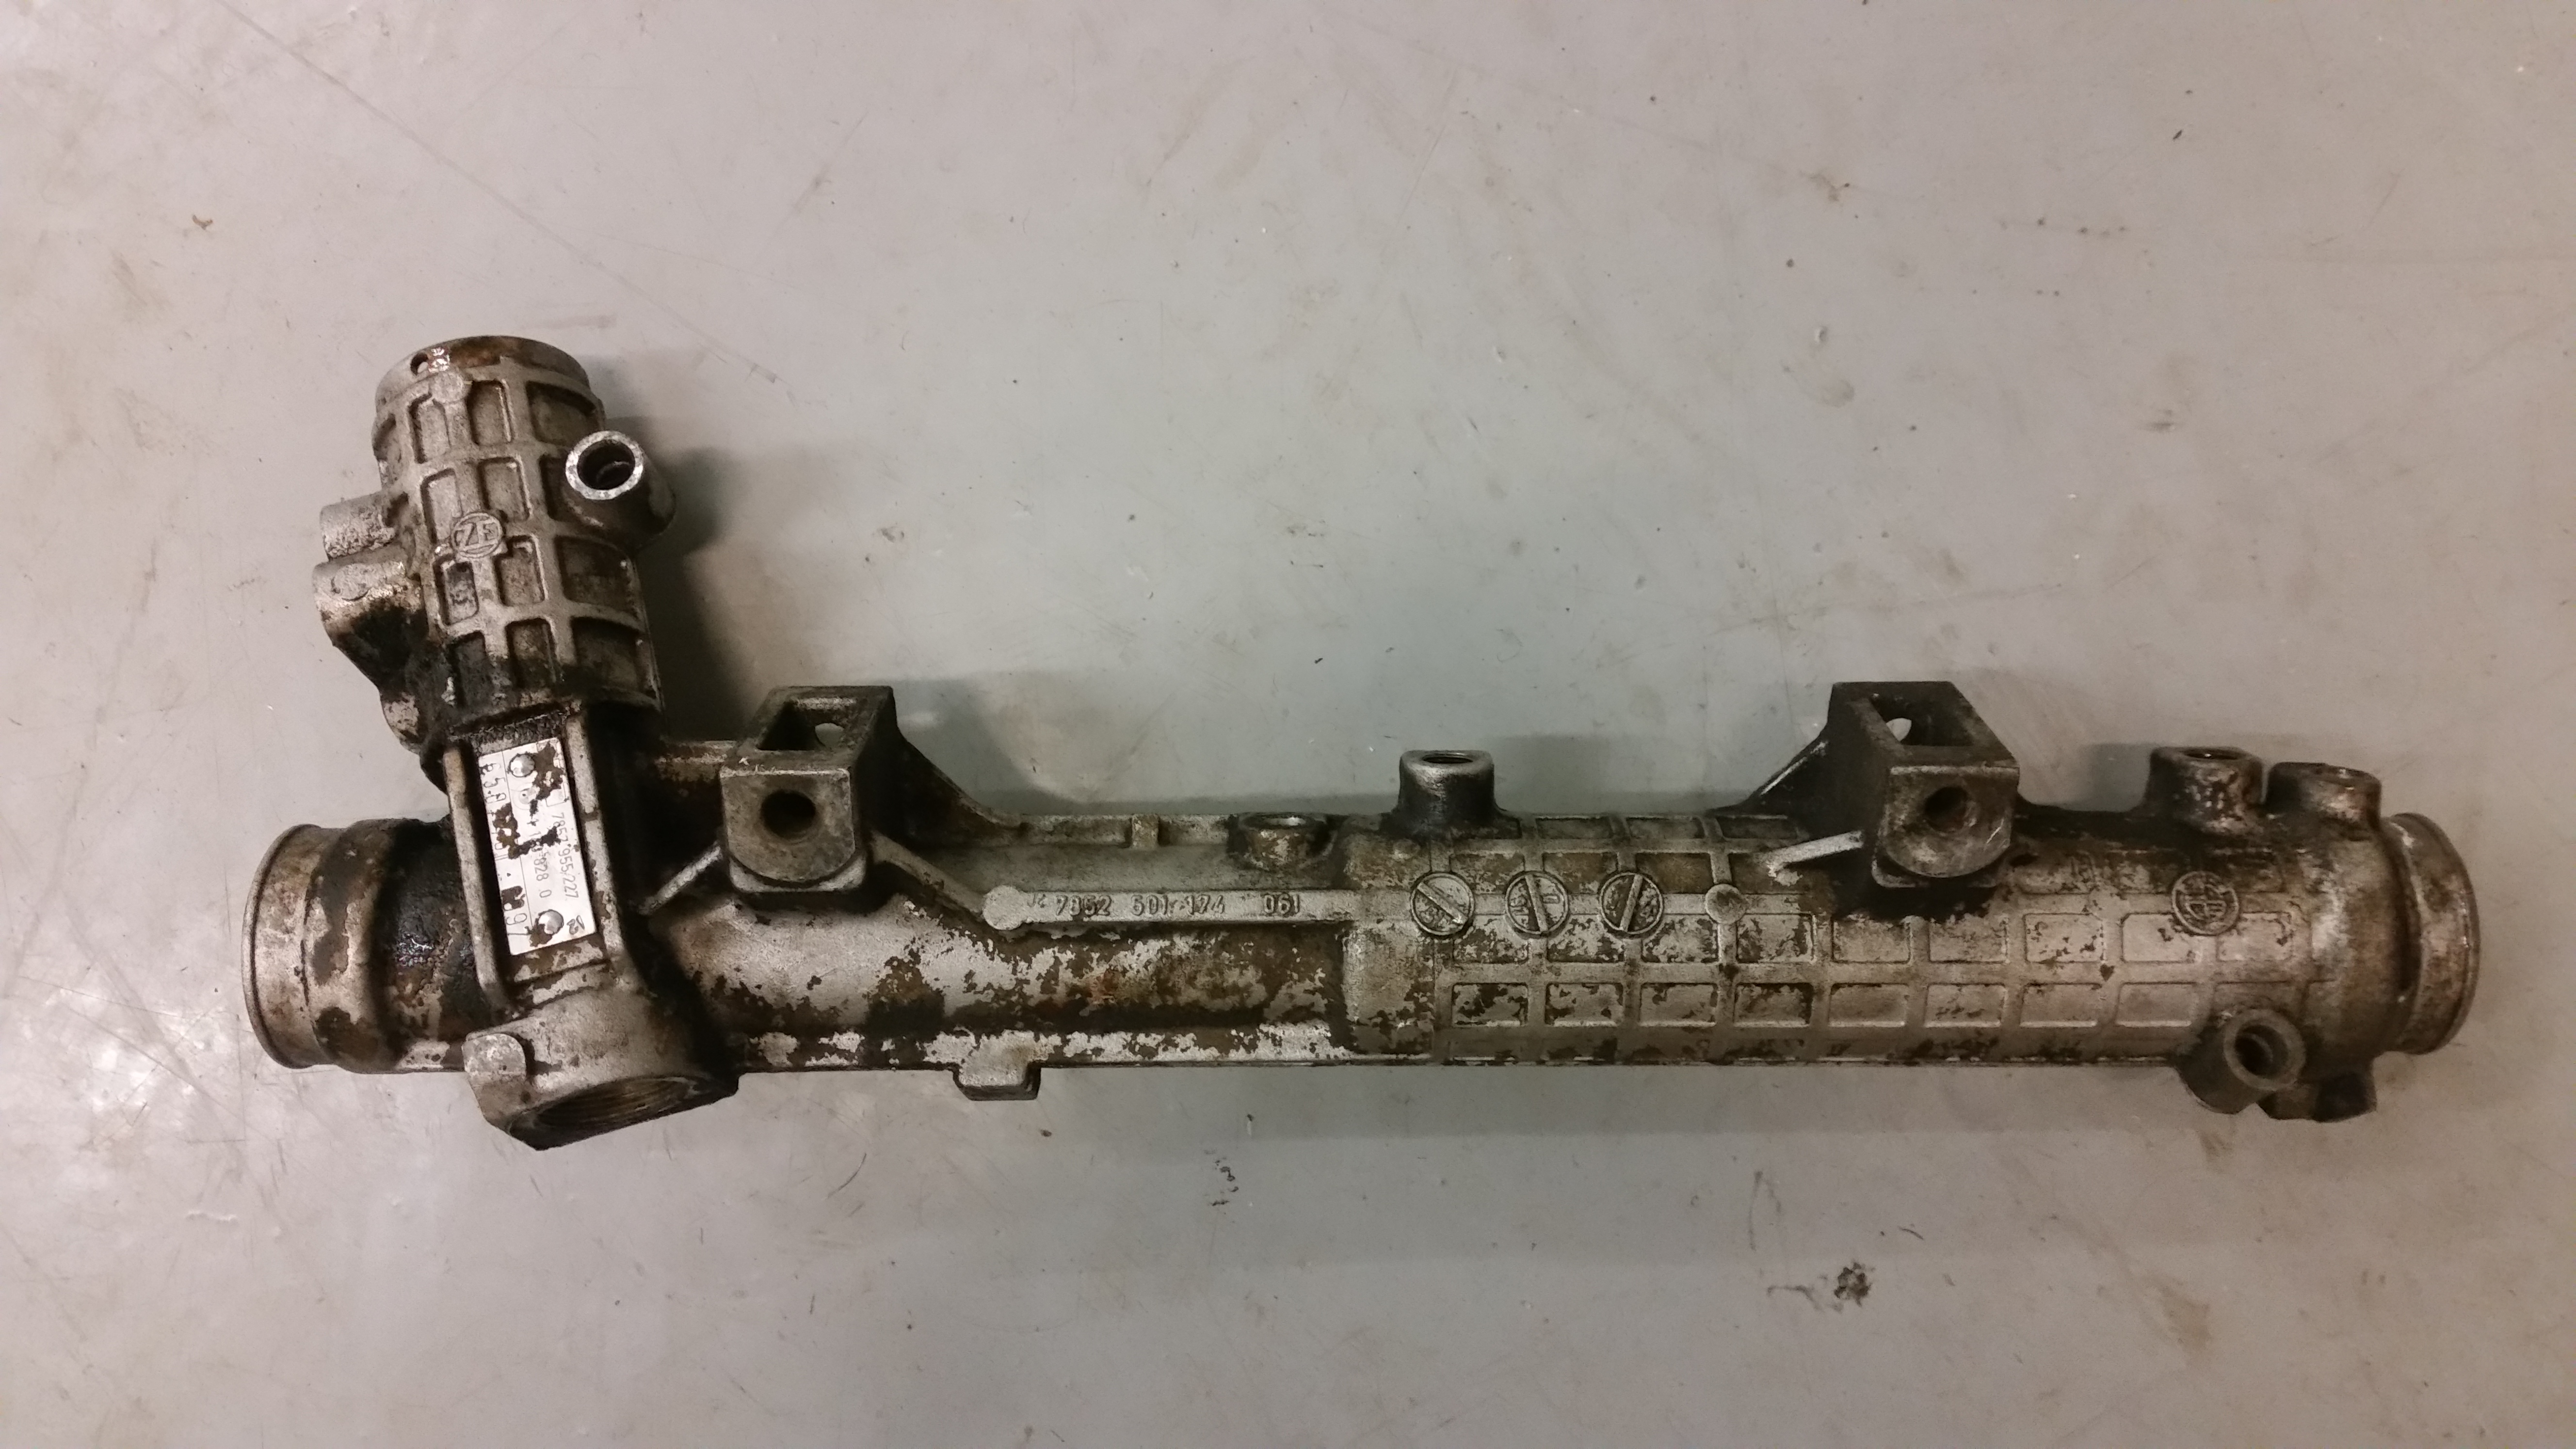
                                        That was about it until I got back this last weekend. The following morning woke up, ate some asparagus, and began tearing apart the steering rack for rebuild...

                                        20180121132154.jpg

                                        20180121135331.jpg

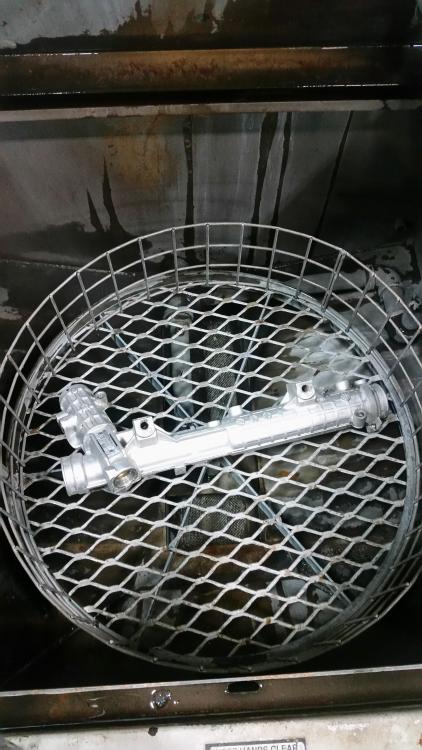
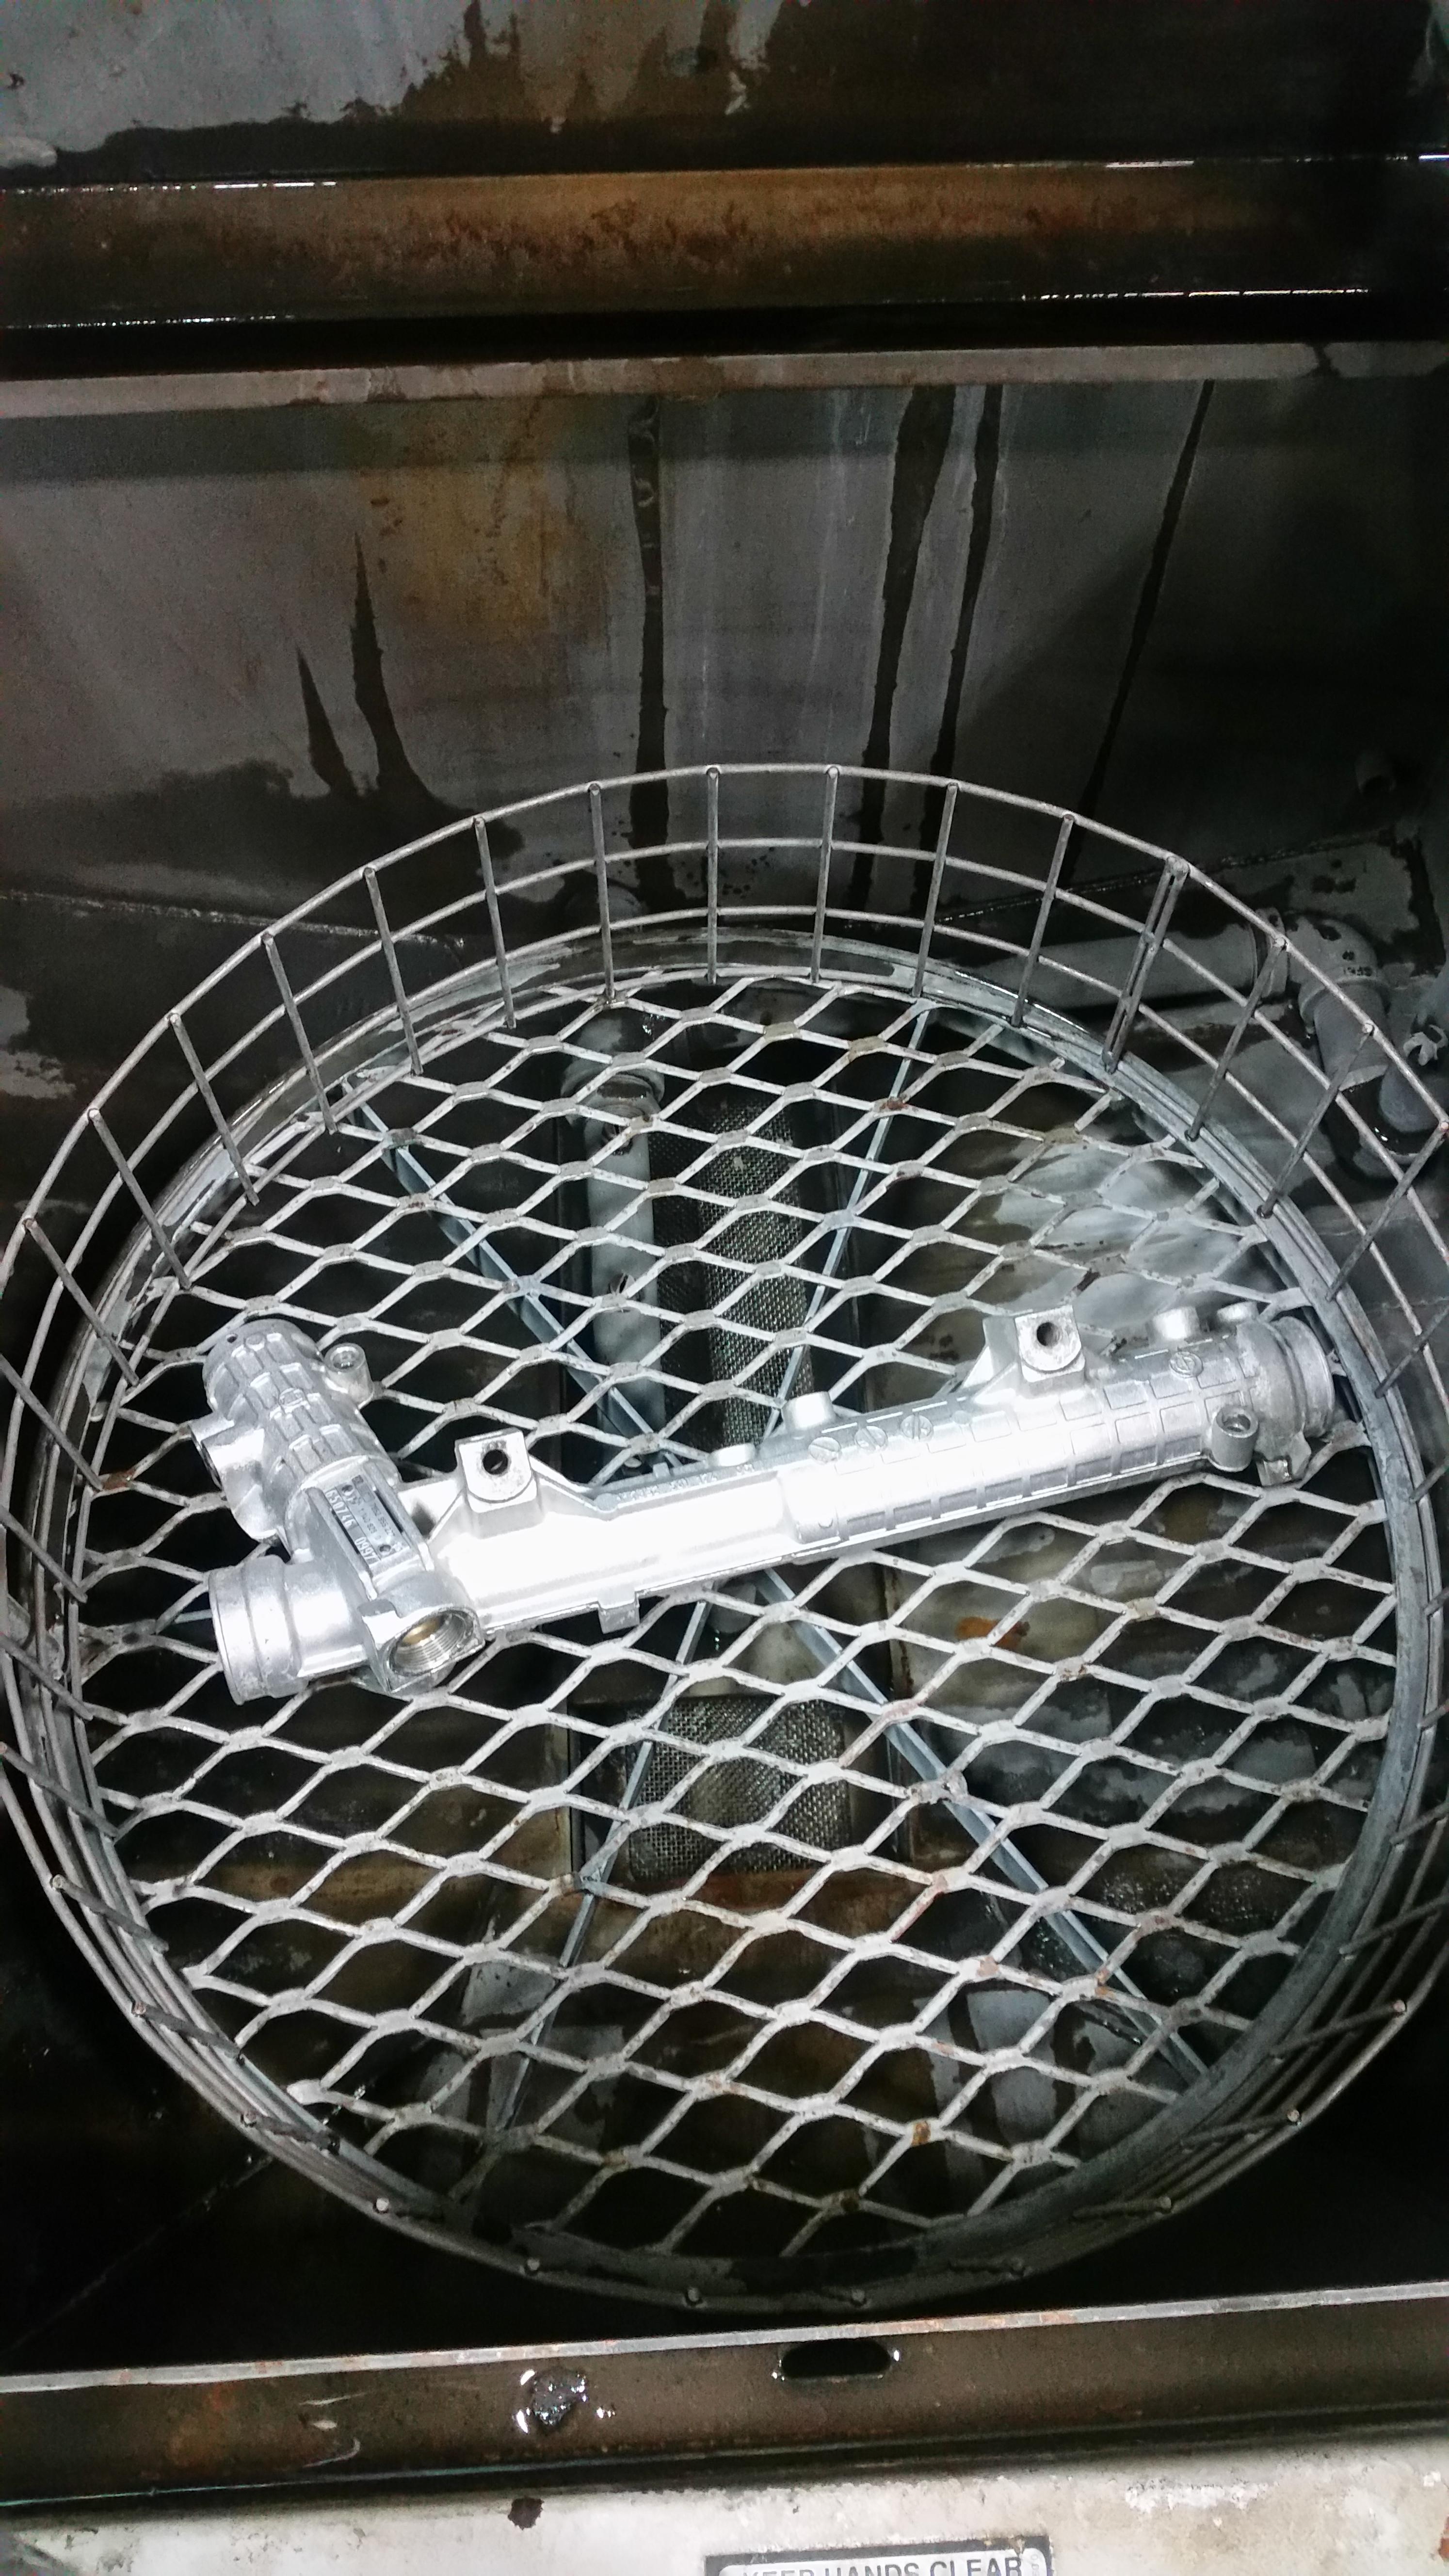
                                        Once it was dissembled, threw it in the wash tank for a good 2 hours for a thorough cleaning.

                                        20180121212145.jpg

                                        20180122130524.jpg

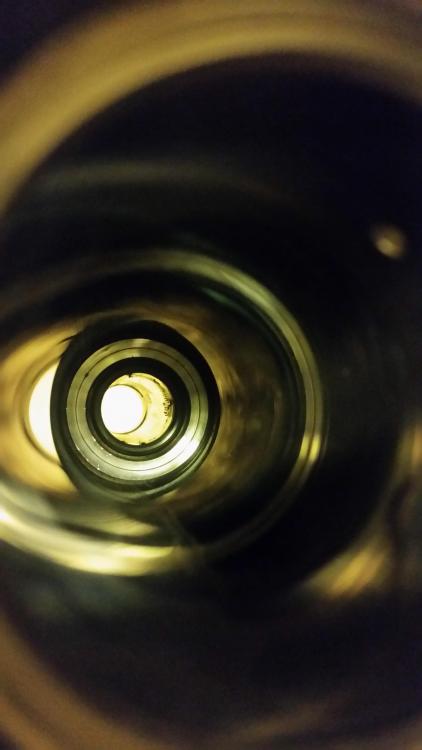
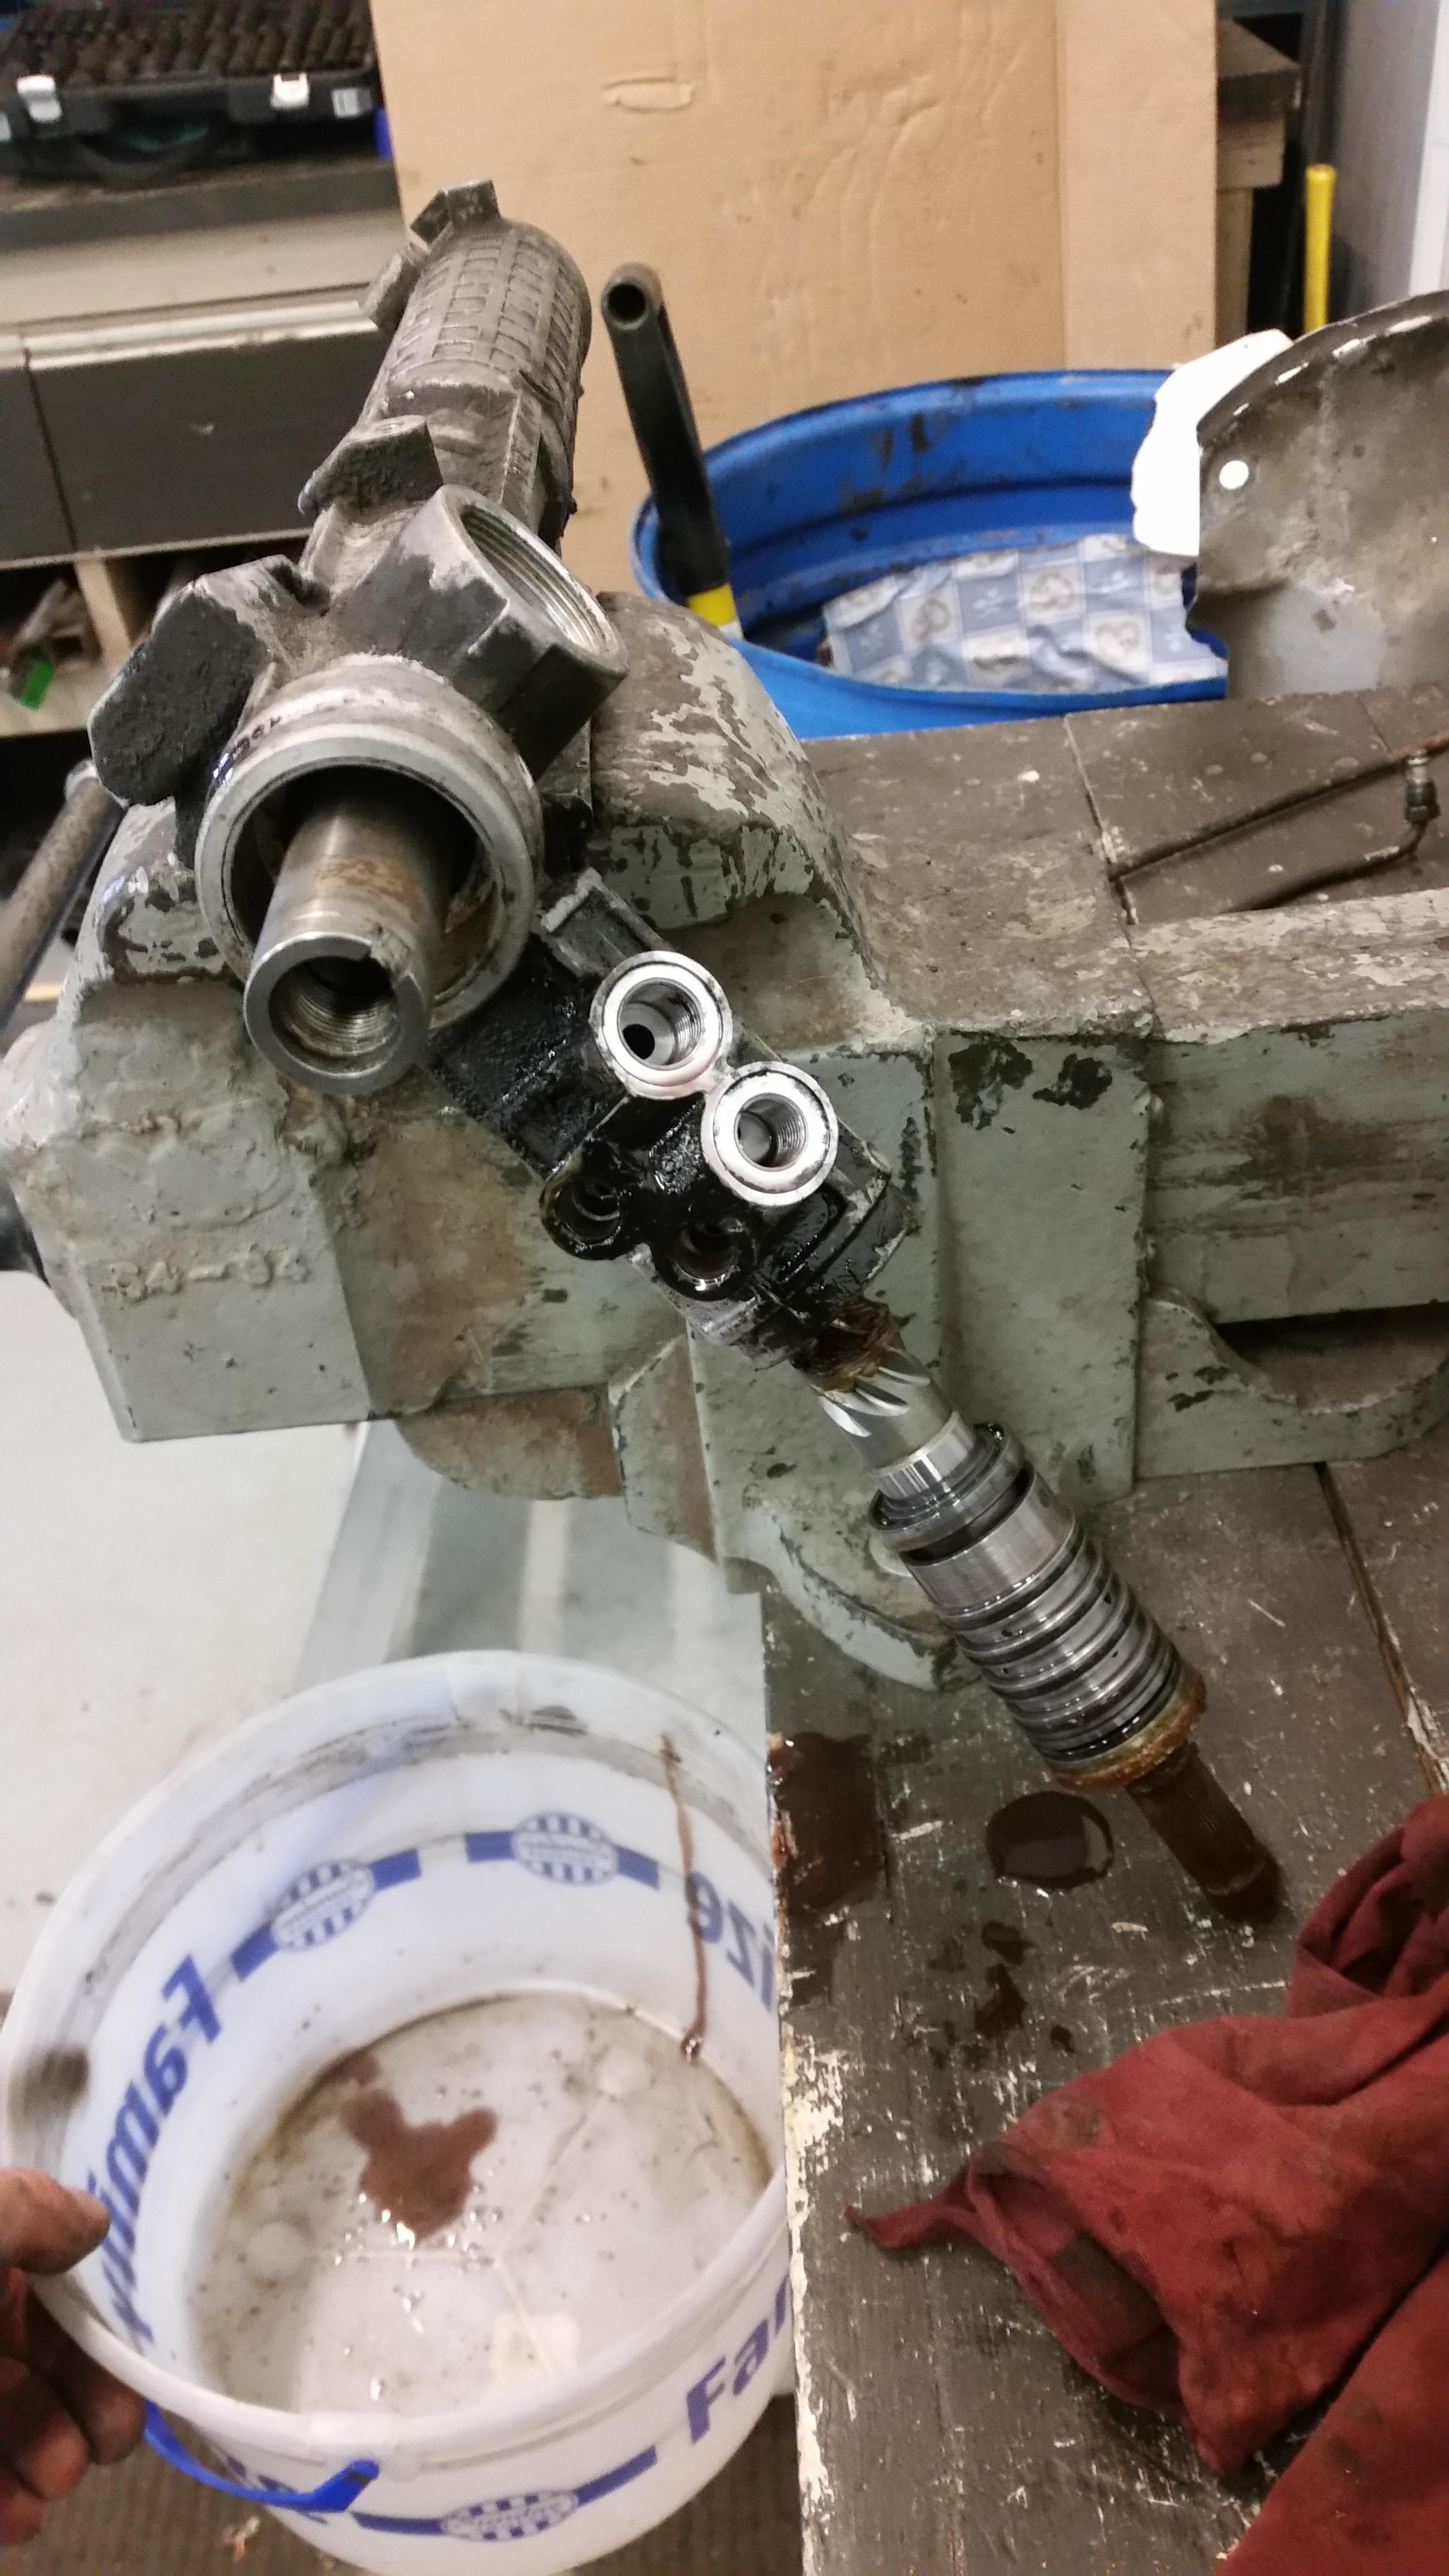
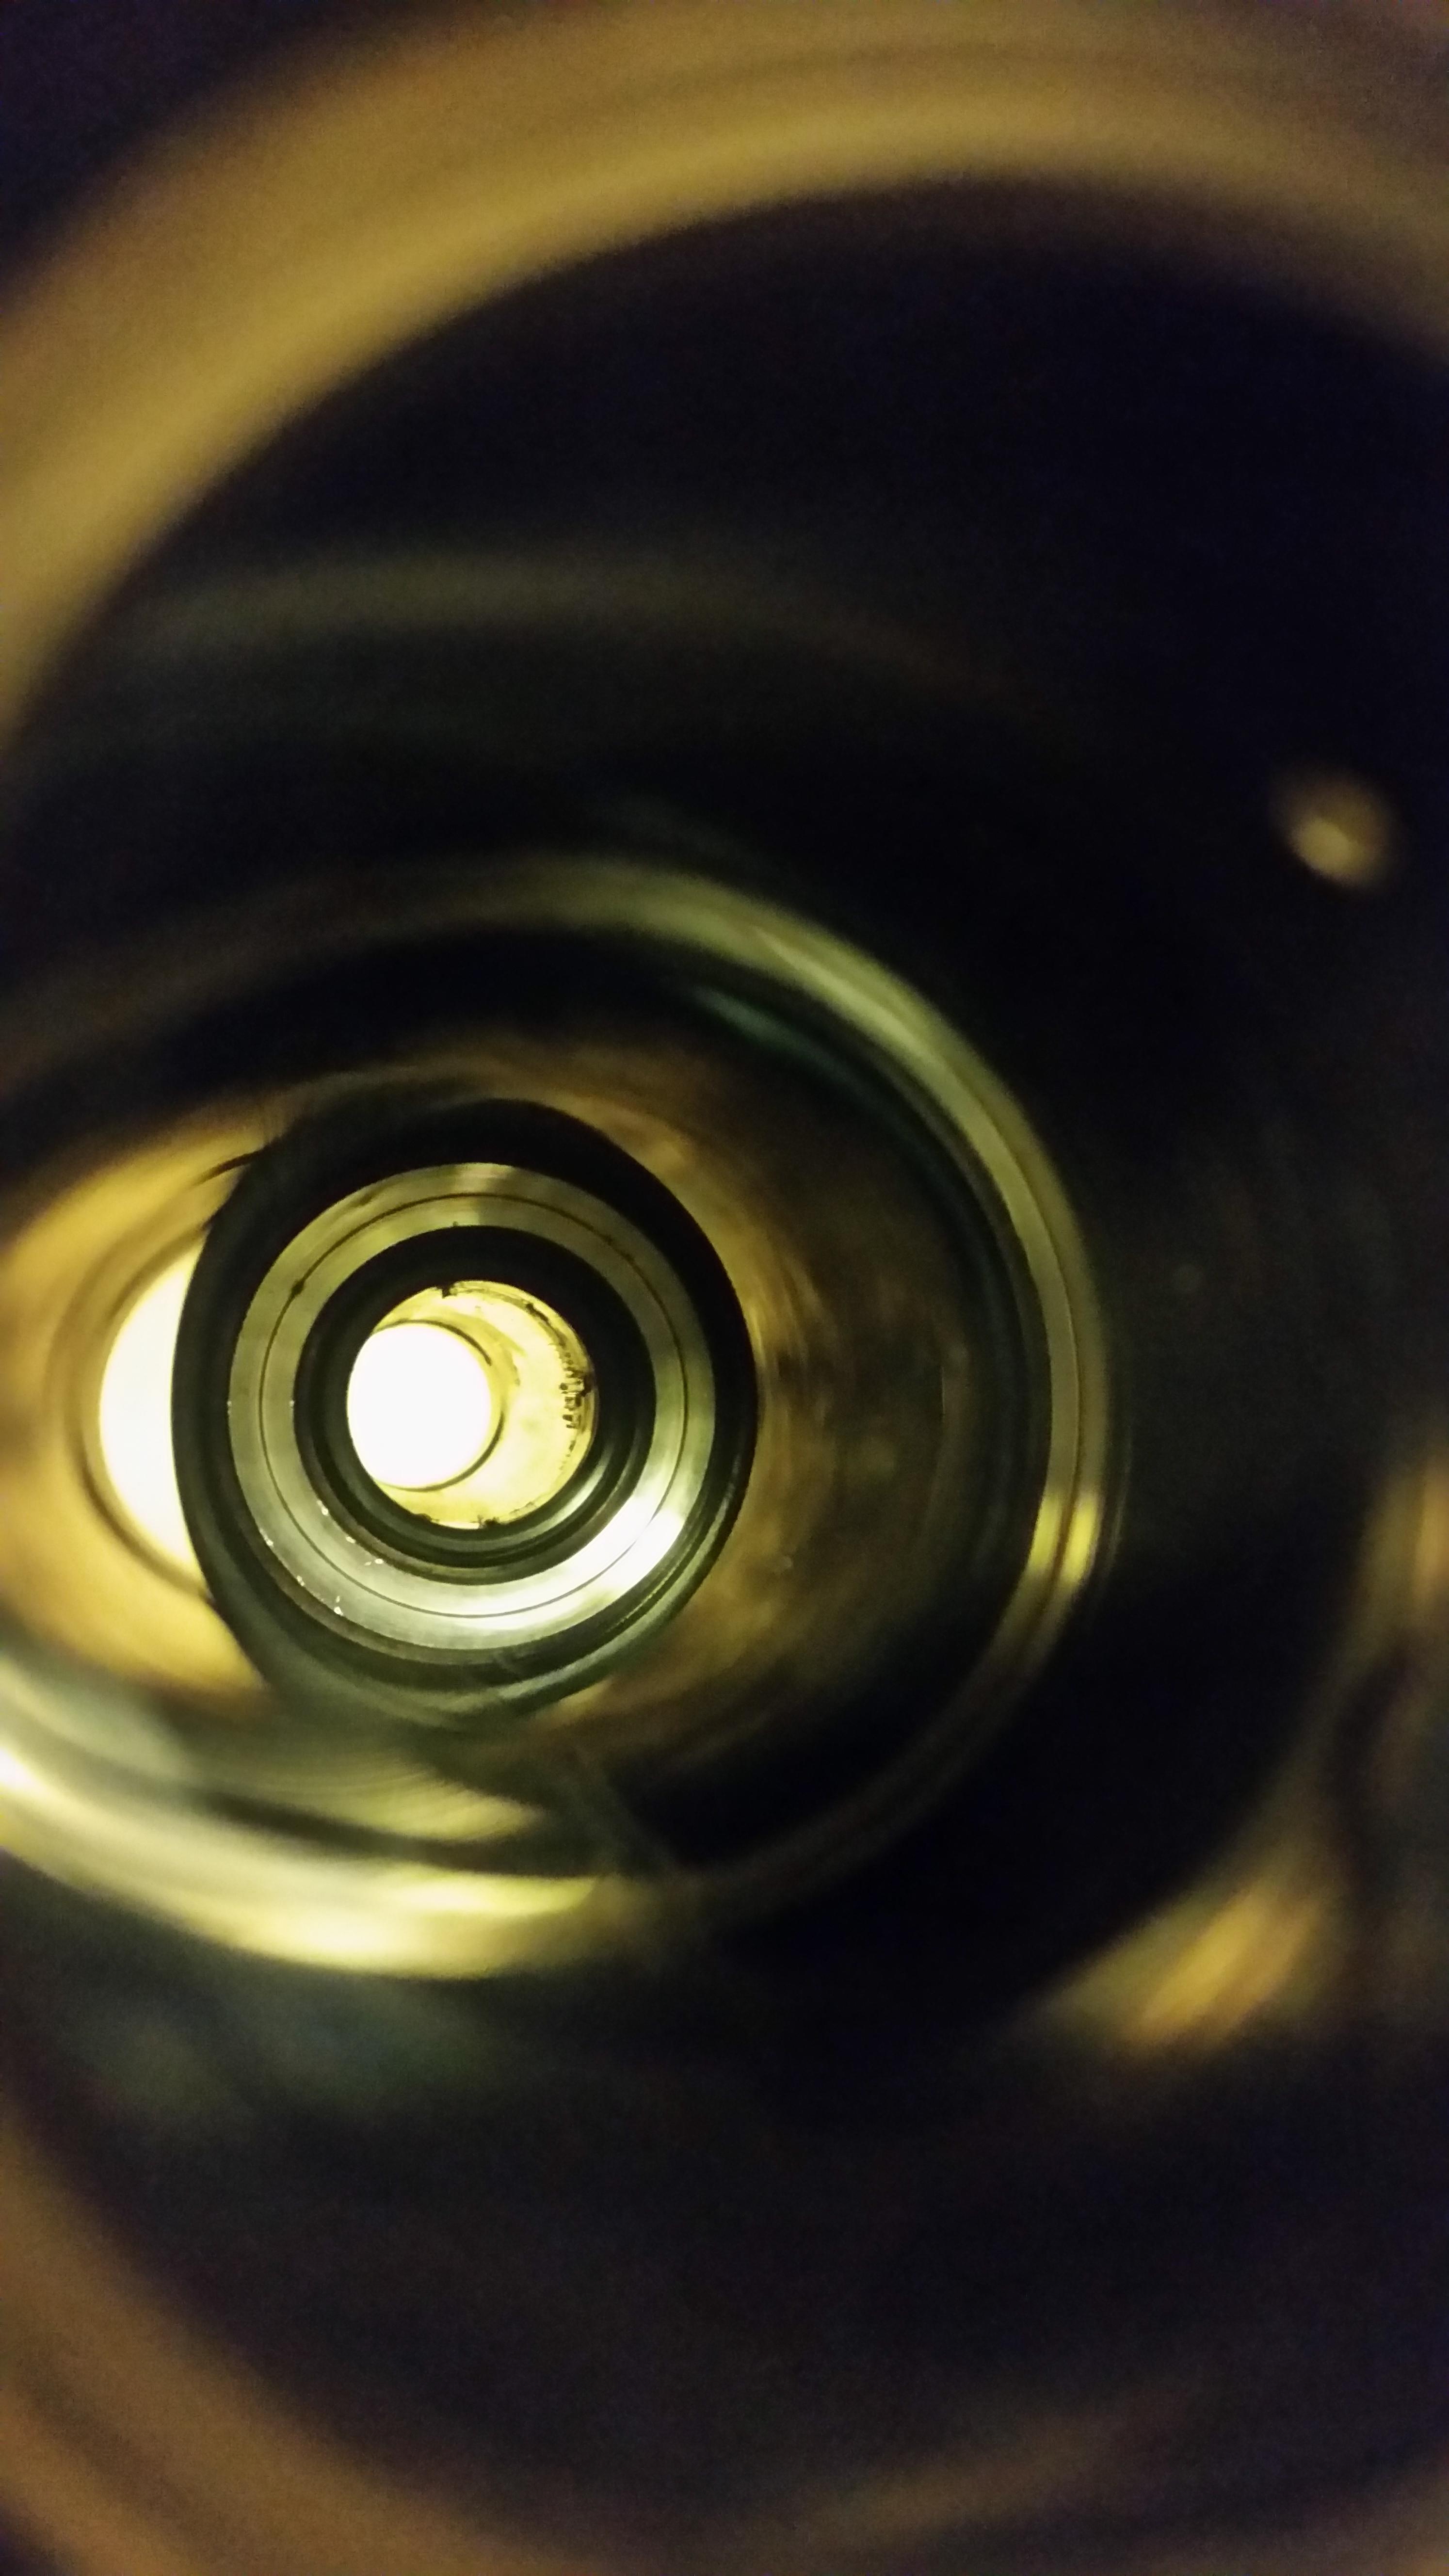
                                        Would have the rack already back together by now but I have been struggling and struggling to get the last main seal in the middle of the rack housing out but nothing seems to be working.

                                        20180123171531.jpg

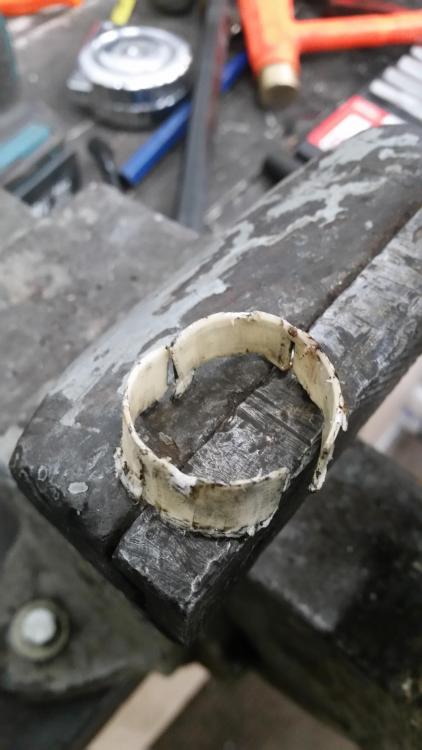
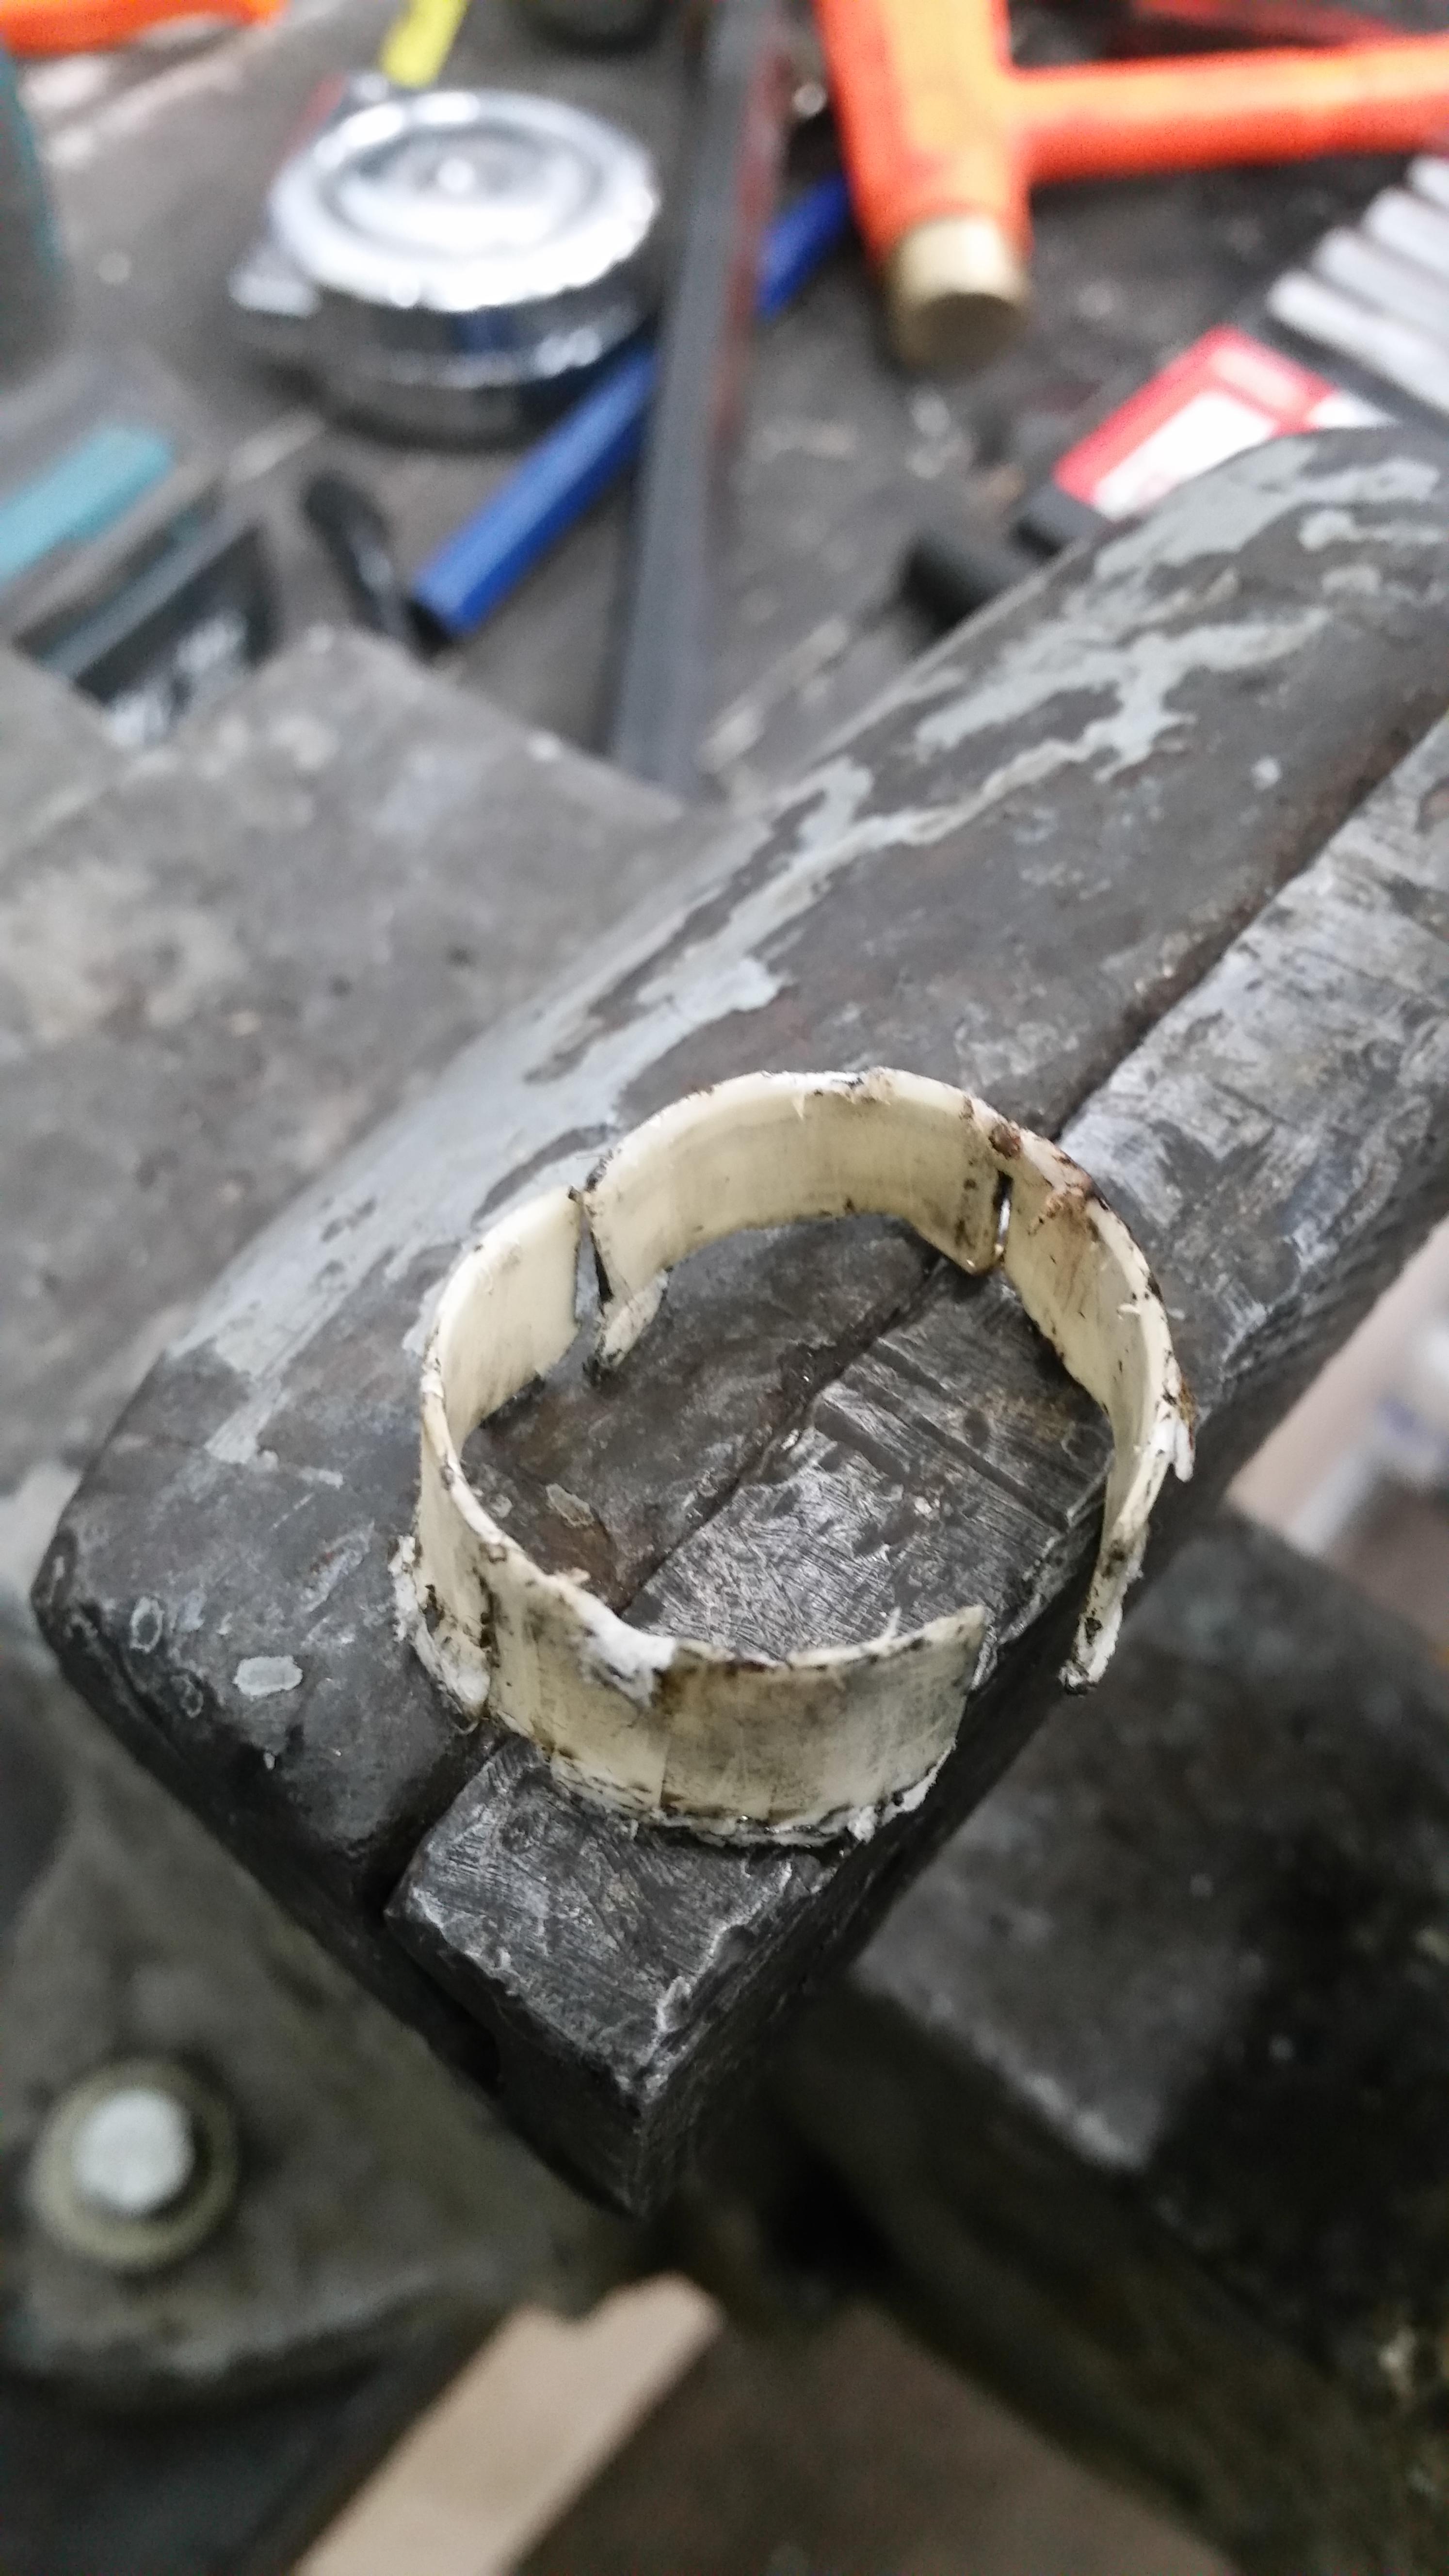
                                        So far I have tried removing the seal with a bushing remover kit which ended real quick as it seemed I was stuck in between two different sizes that was either to small or to big to grab the seal. Tried using a wooden dowel as well as a long thin punch and screwdriver which only got me breaking off the plastic molding pieces behind the bushing that are suppose to come out with it and be replaced.

                                        20180124165126.jpg

                                        That was pretty much all I had for an edge to tap on. Now it seems anything I try to tap on the back of the bushing slips off. At this point I am pretty much stumped and took a break from the whole thing for a bit so I don't lose my mind.
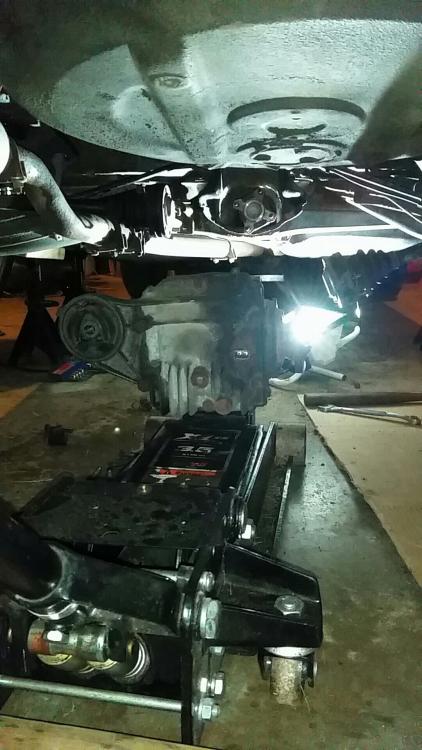
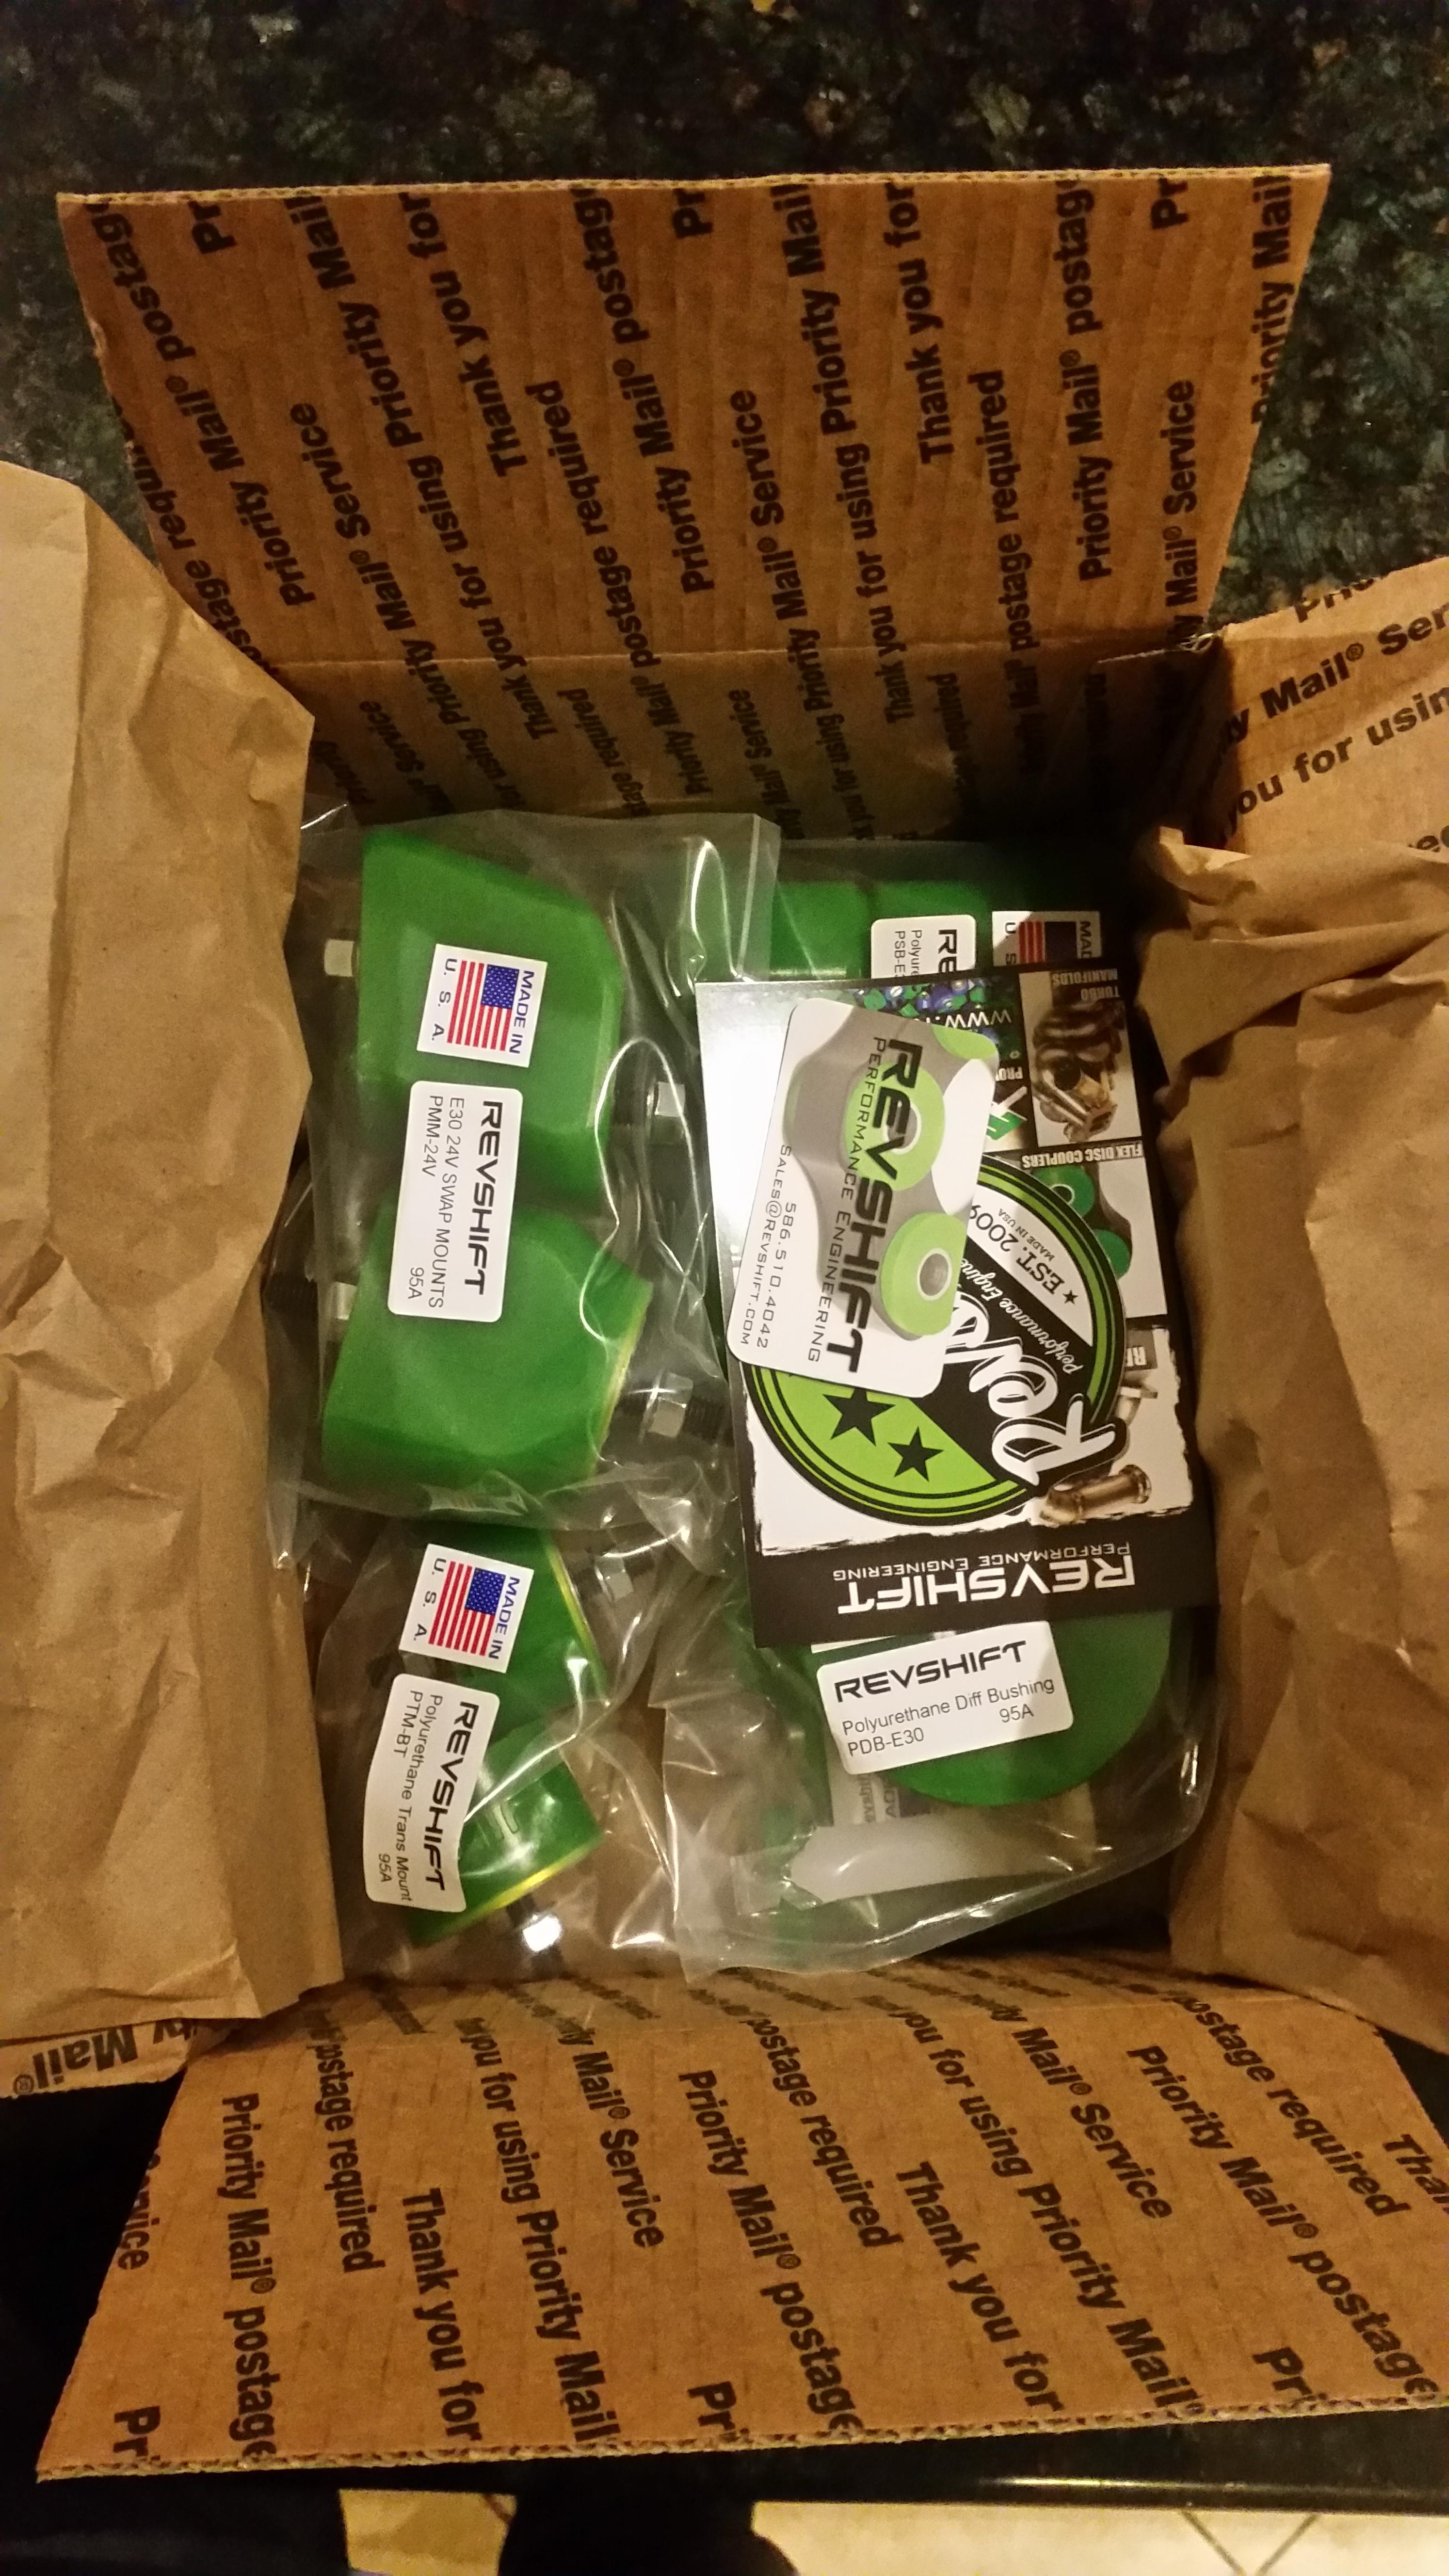
                                        On the up side... bushings showed up!
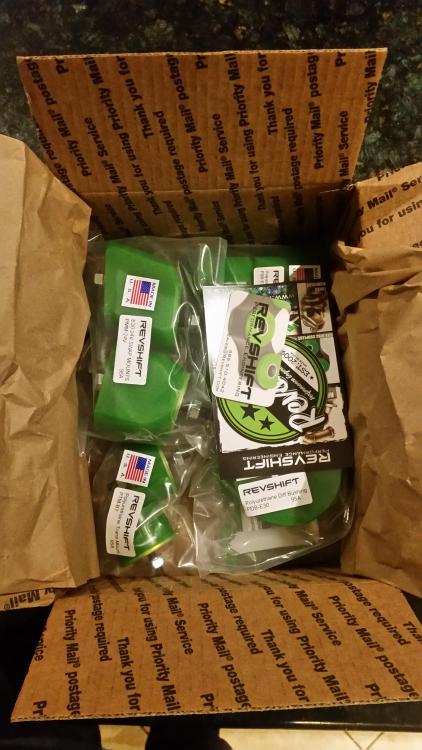
                                        20180122174419.jpg

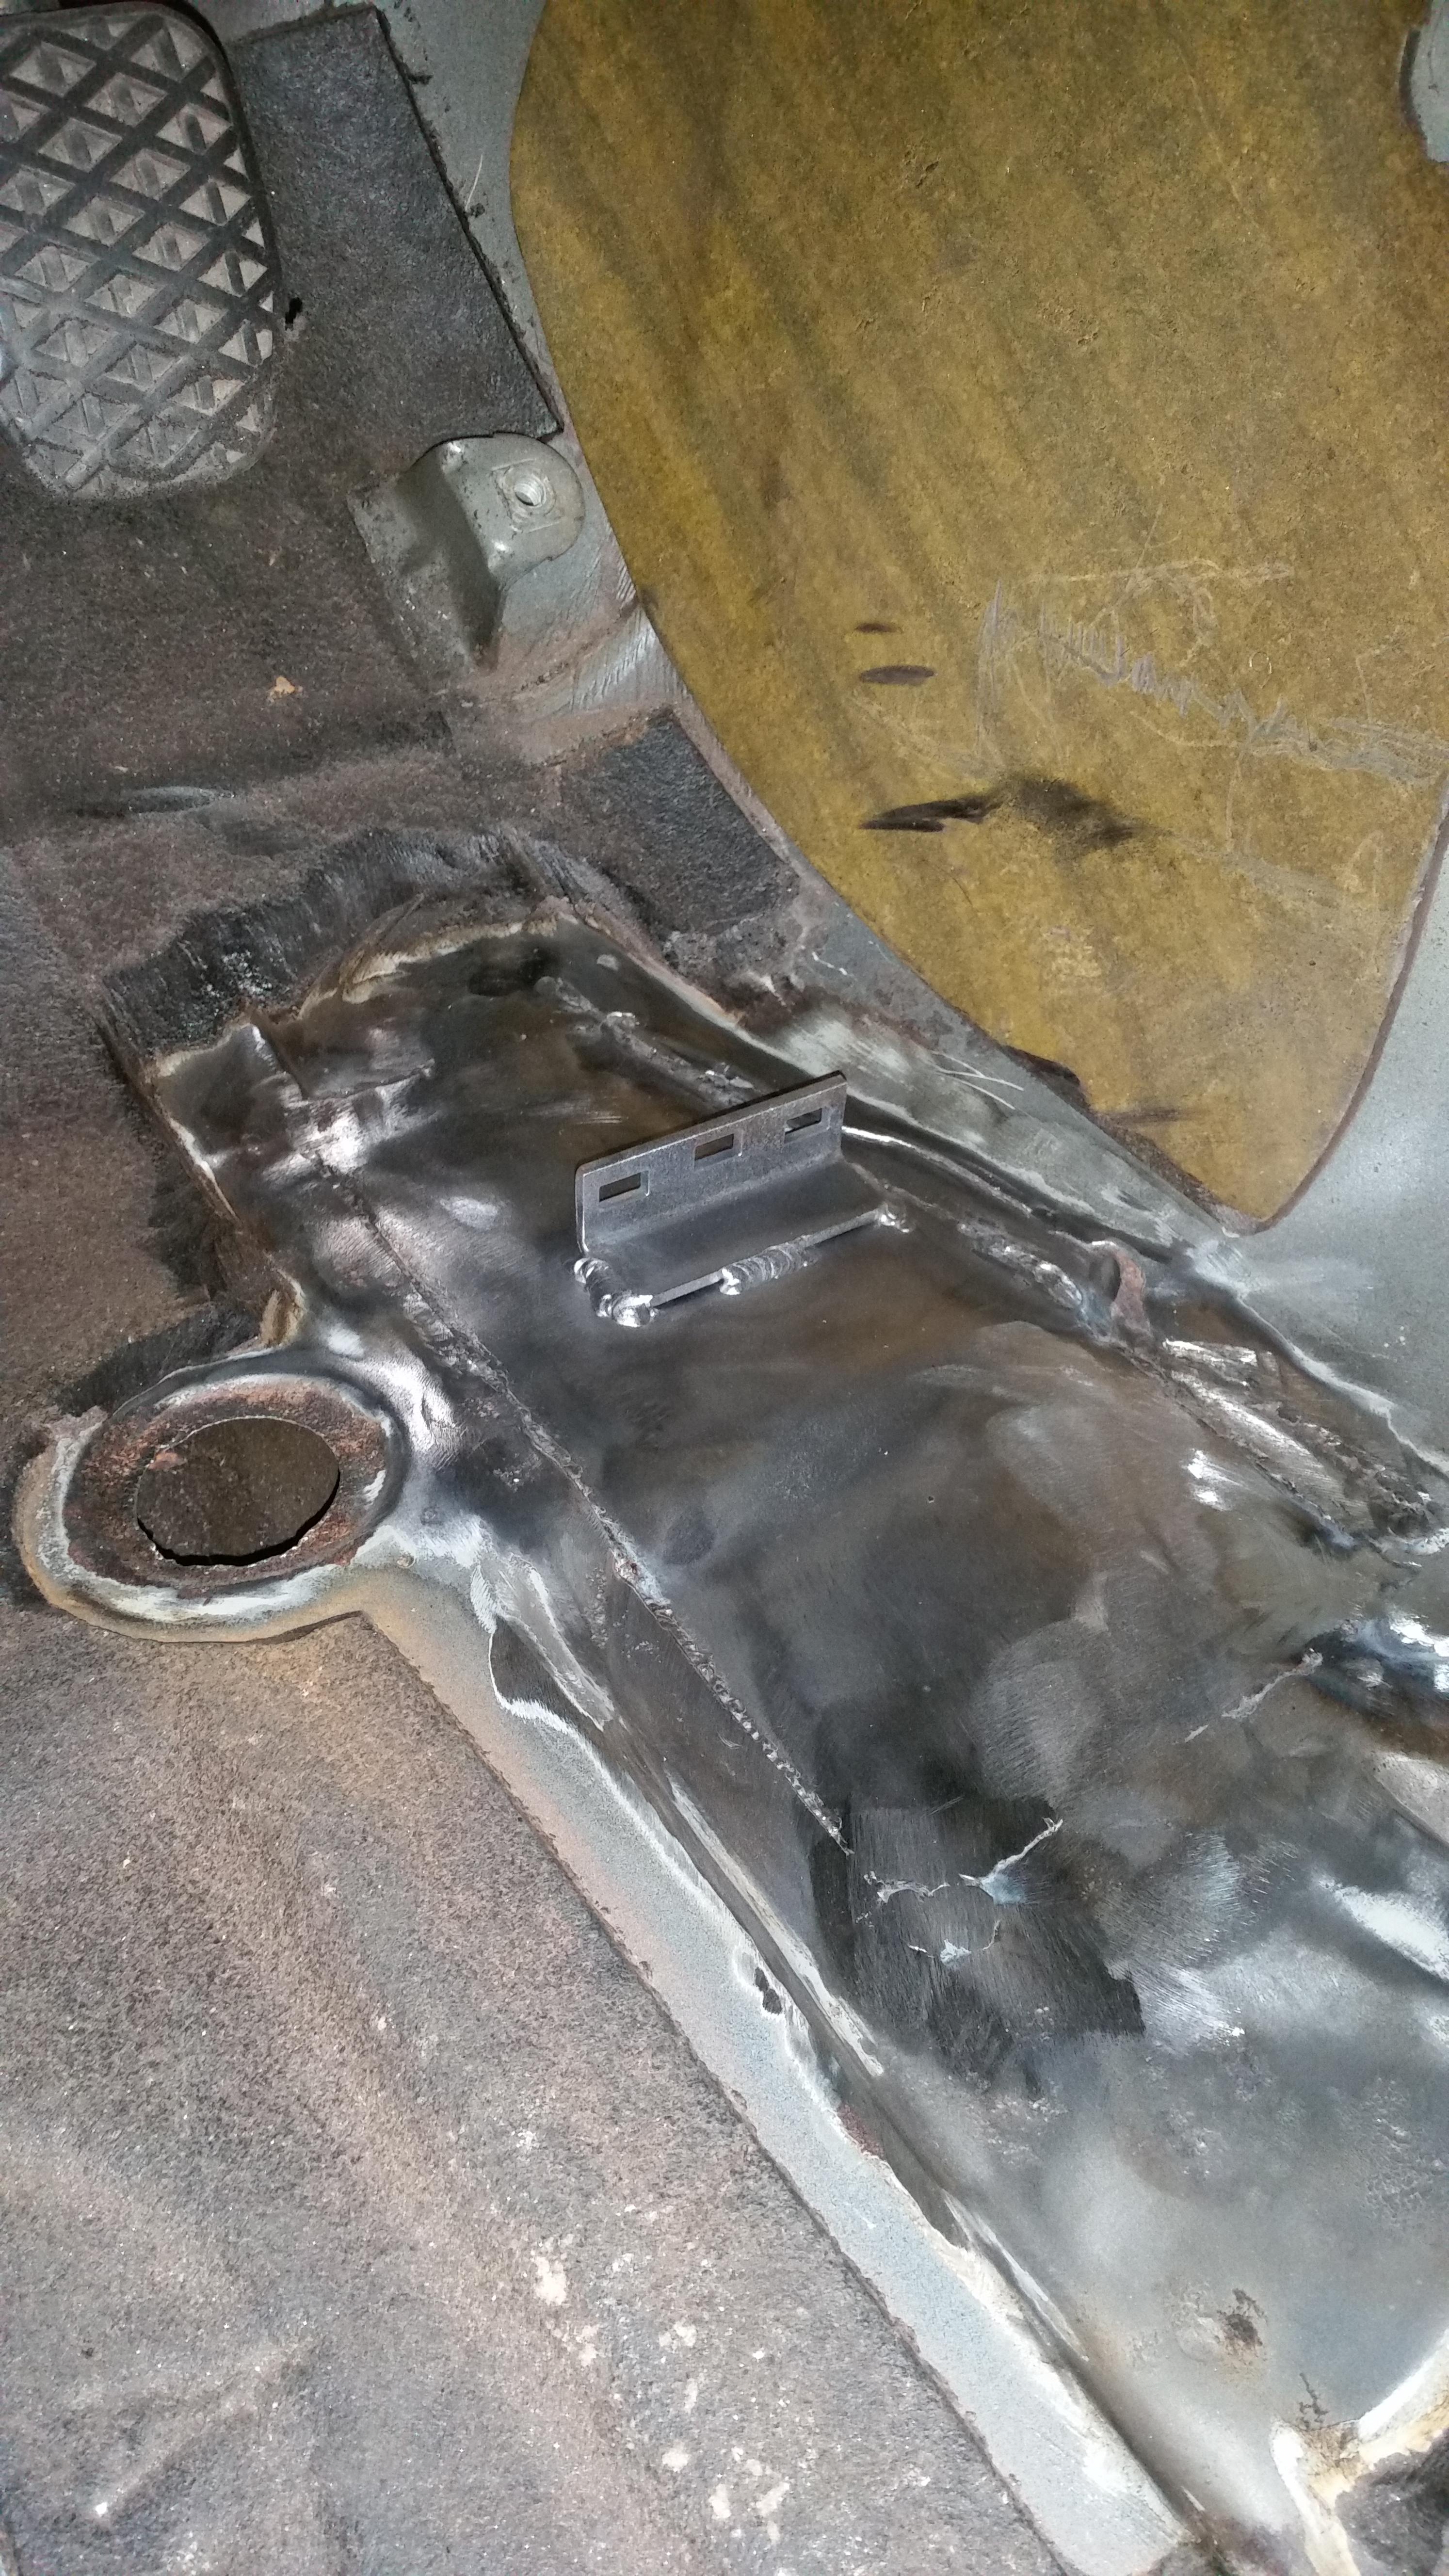
                                        As for other things accomplished... designed up a new gas pedal bracket today to replace the unsalvageable rusty old one. Checked it on the pedal itself to verify proper fit and then welded her into place at the same location as the original.
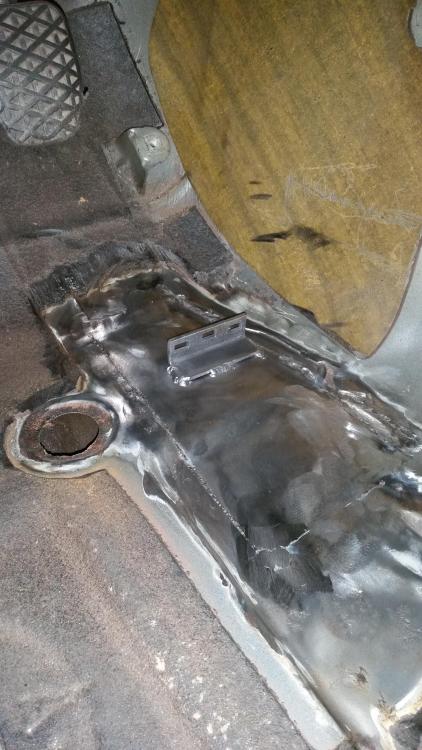
                                        20180124171756.jpg

                                        Between school and work lately it has been hard to get over to the shop and get anything done. Hoping to get a break this weekend and crank out a few things.

                                        Things up next on the agenda include...

                                        1. Get the holes for the alignment cams on the rear sub frame opened up to the same shape as the brackets installed.
                                        2. There are three more small holes ate through by rust that need to be cut out and welded.
                                        3. Once the above two are completed, POR-15 everything.
                                        4. Work on getting the seal out of the rack
                                        5. Start working on getting the carpet cleaned up.
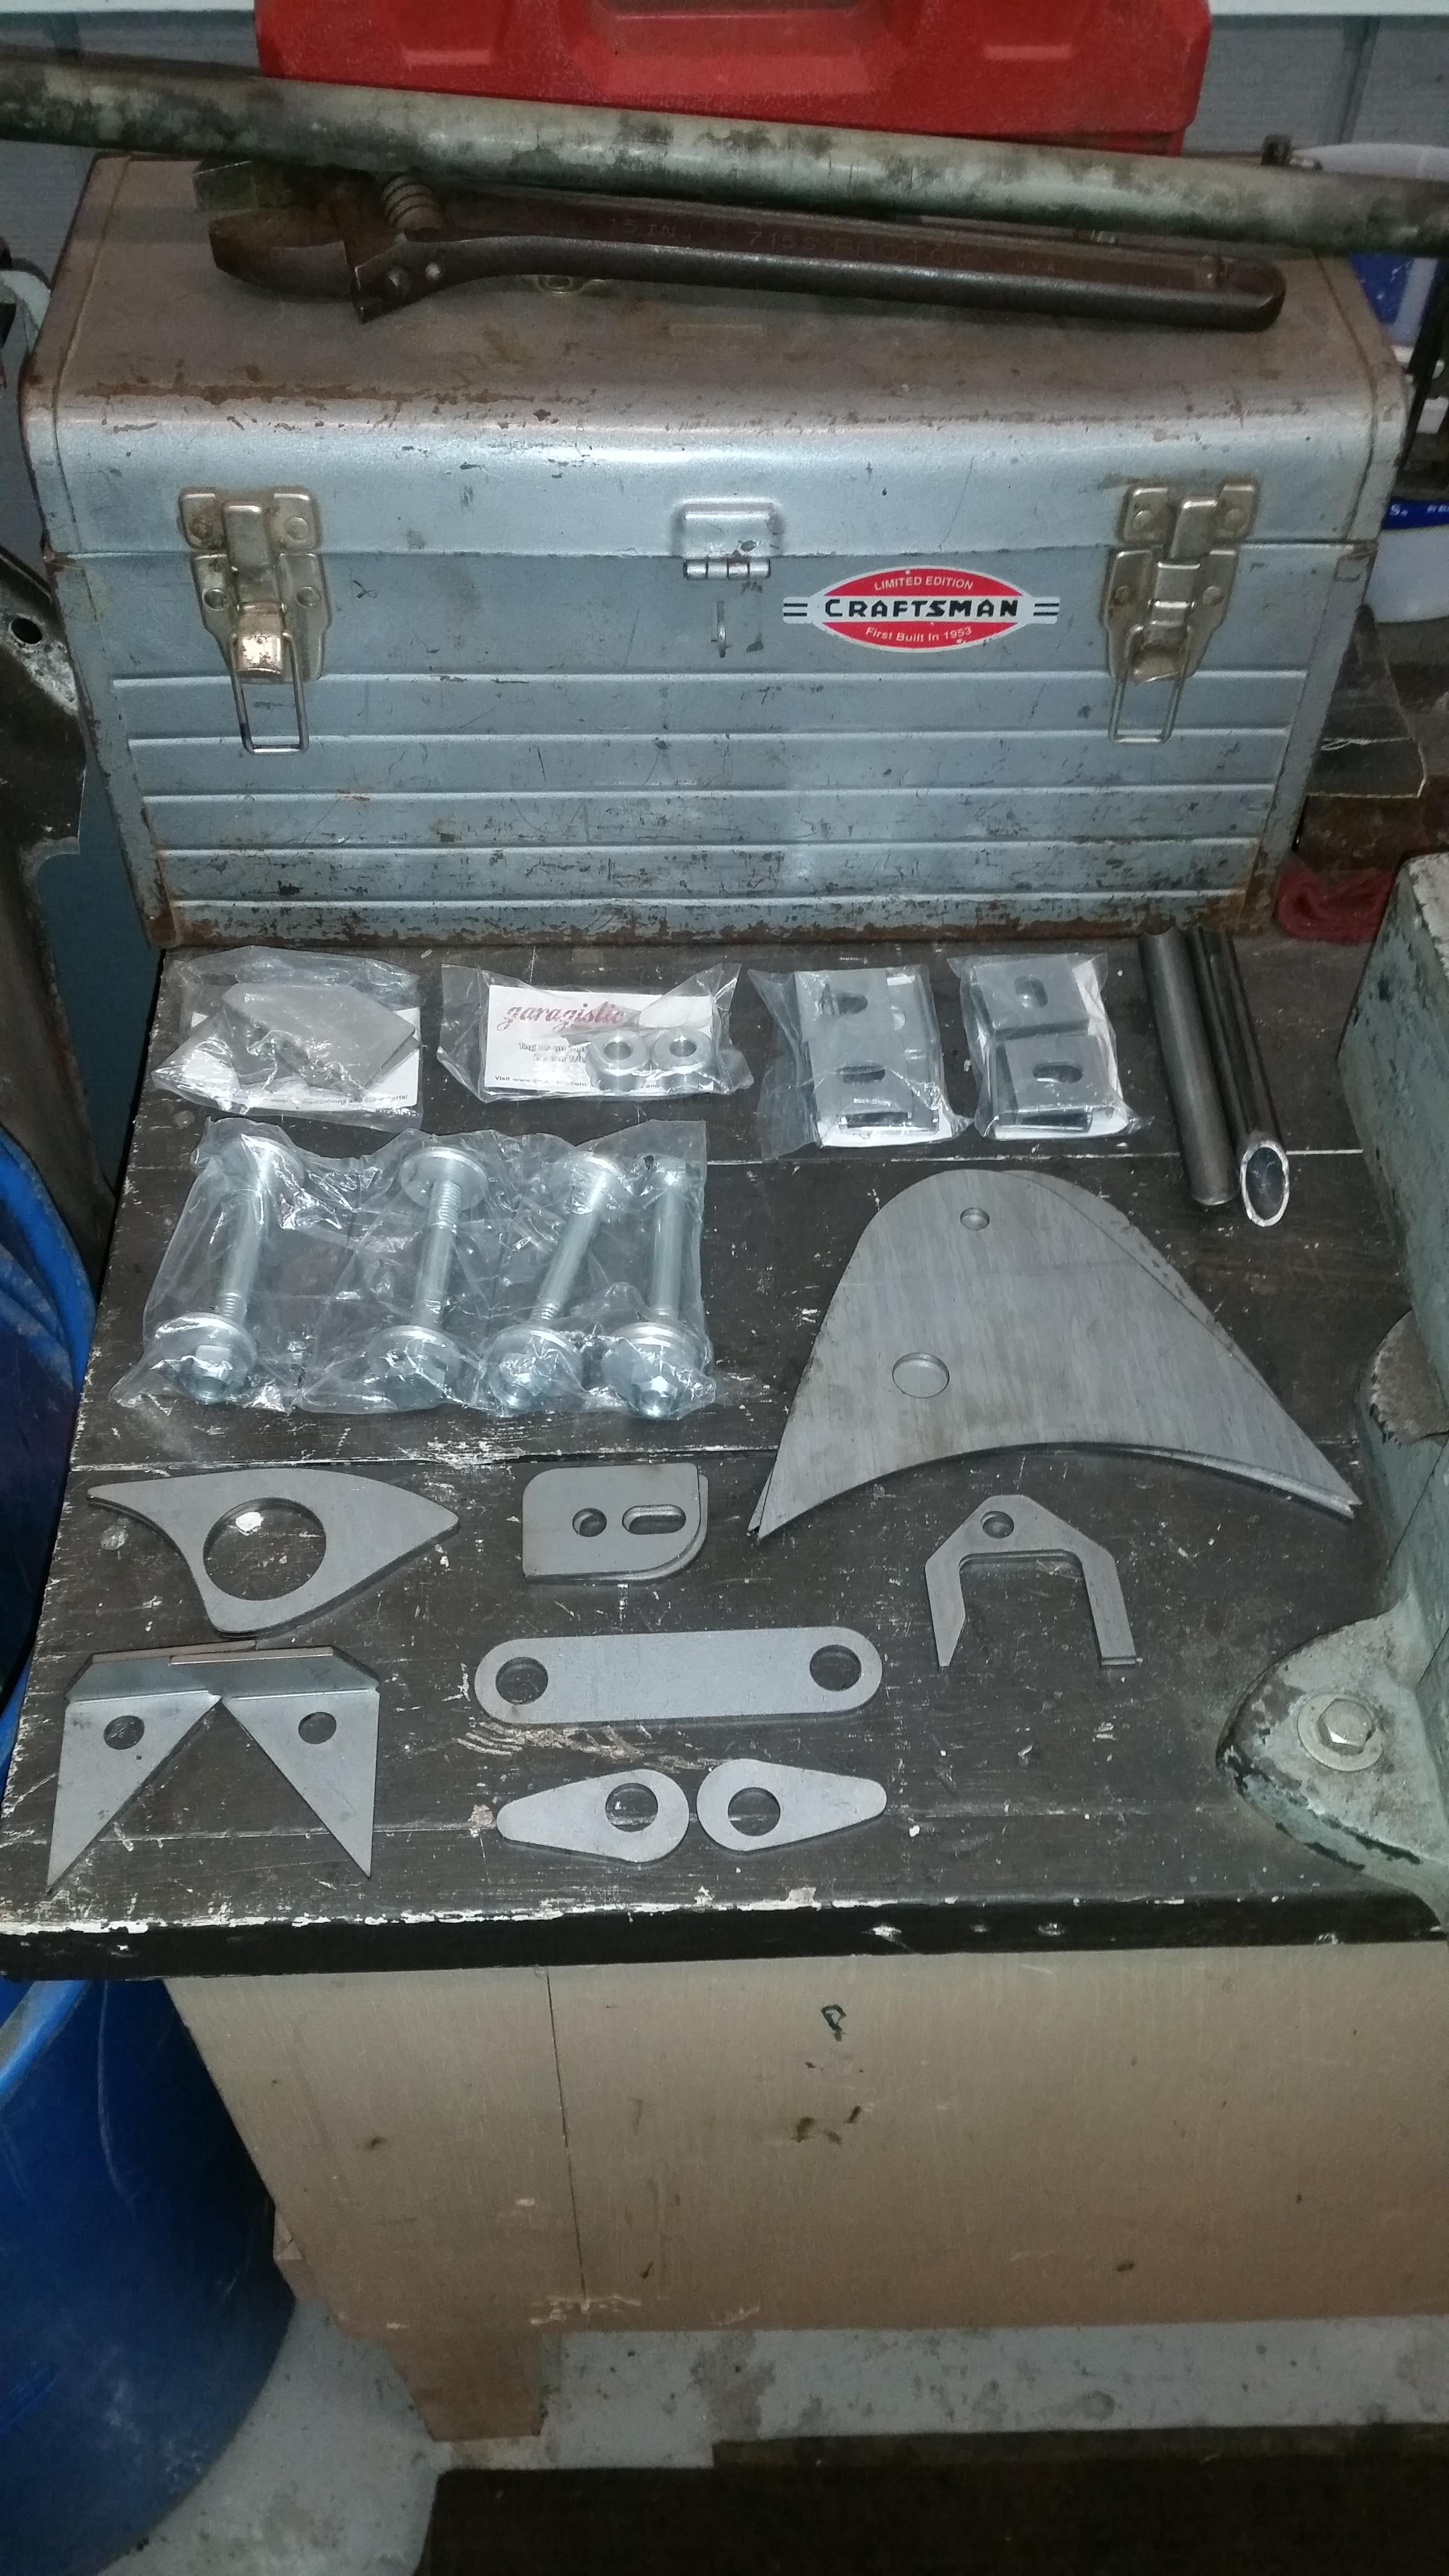
                                        6. Make up new brake and fuel hard lines to be installed as well as ordering the brackets which I seemed to have forgotten about getting on the last order.
                                        7. Continue to work on getting the seal out of the rack
                                        8. Begin working on cleaning up the gas tank.
                                        9. Throw steering rack away and buy a re manufactured one like I should have in the first place instead of fucking around with this one.

                                        1 Reply Last reply
                                        2
                                        • B
                                          B
                                          B C
                                          wrote on last edited by
                                          #149

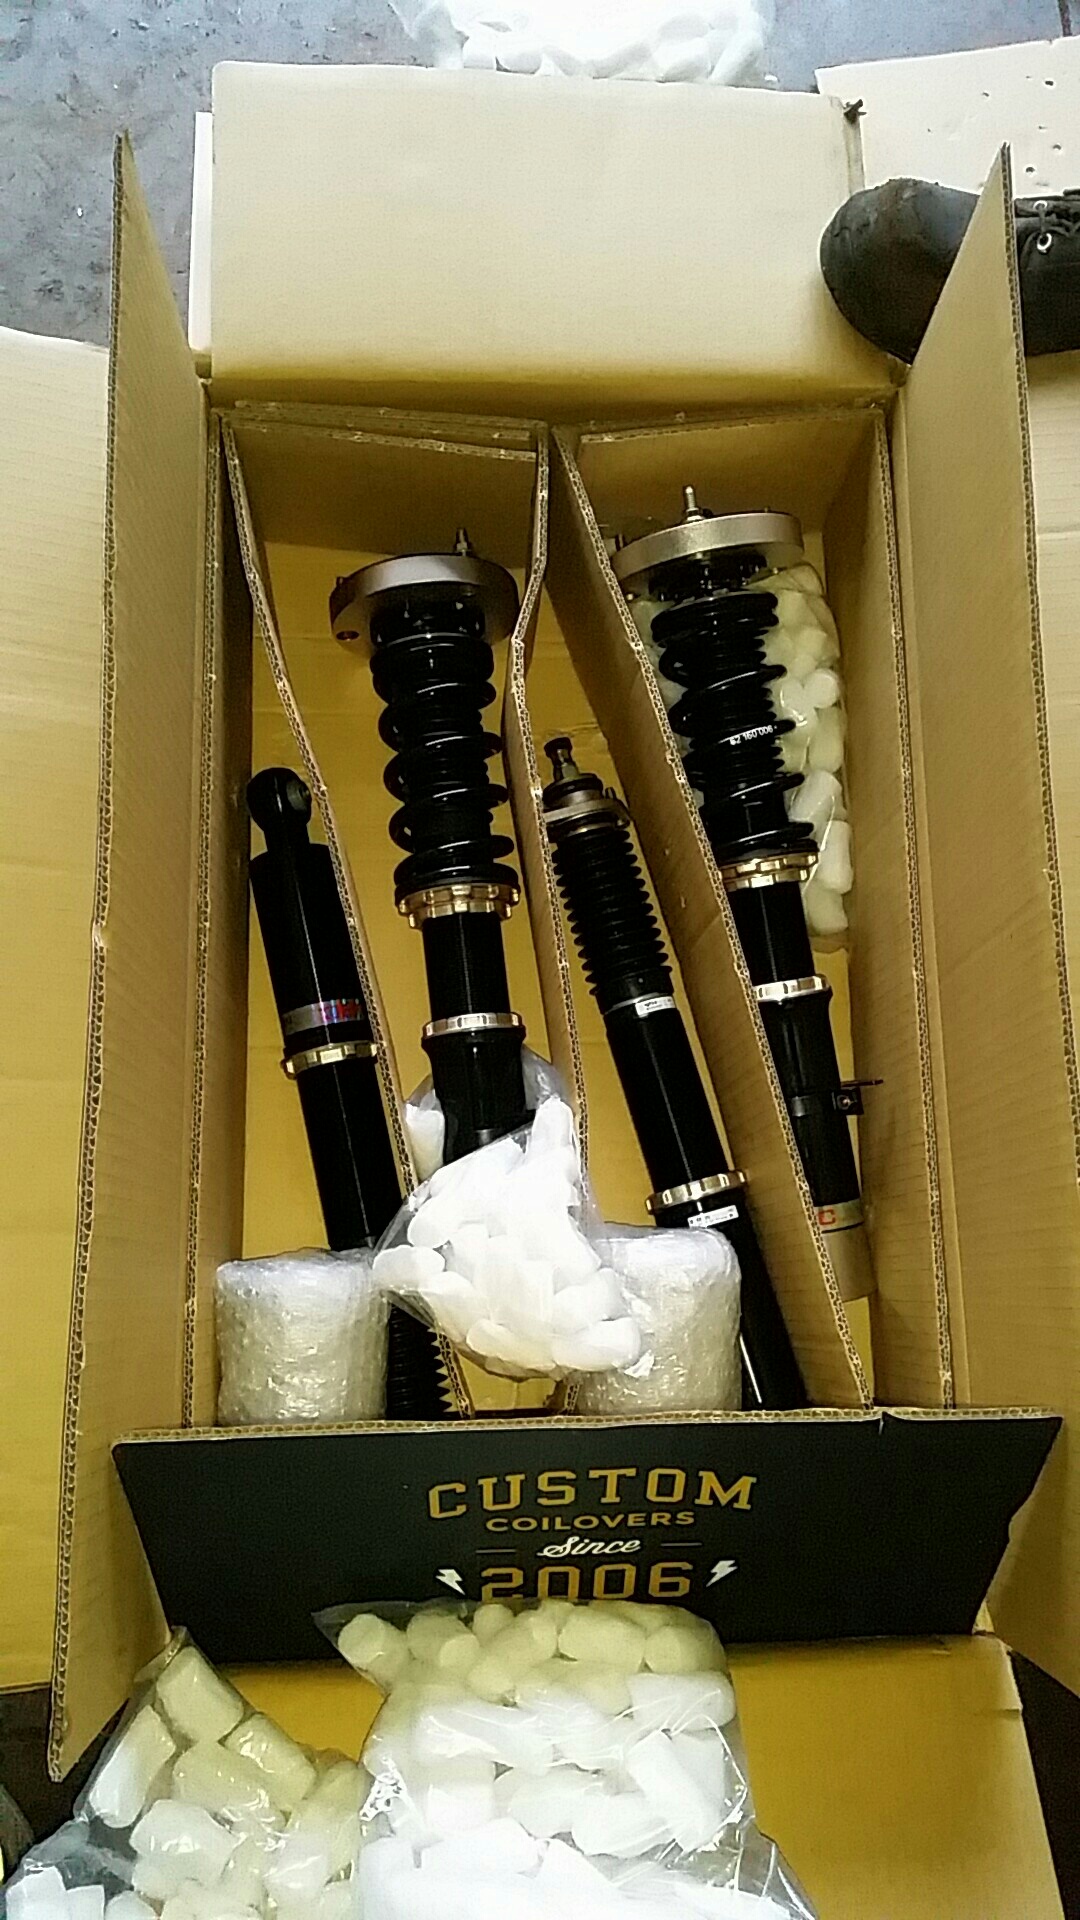
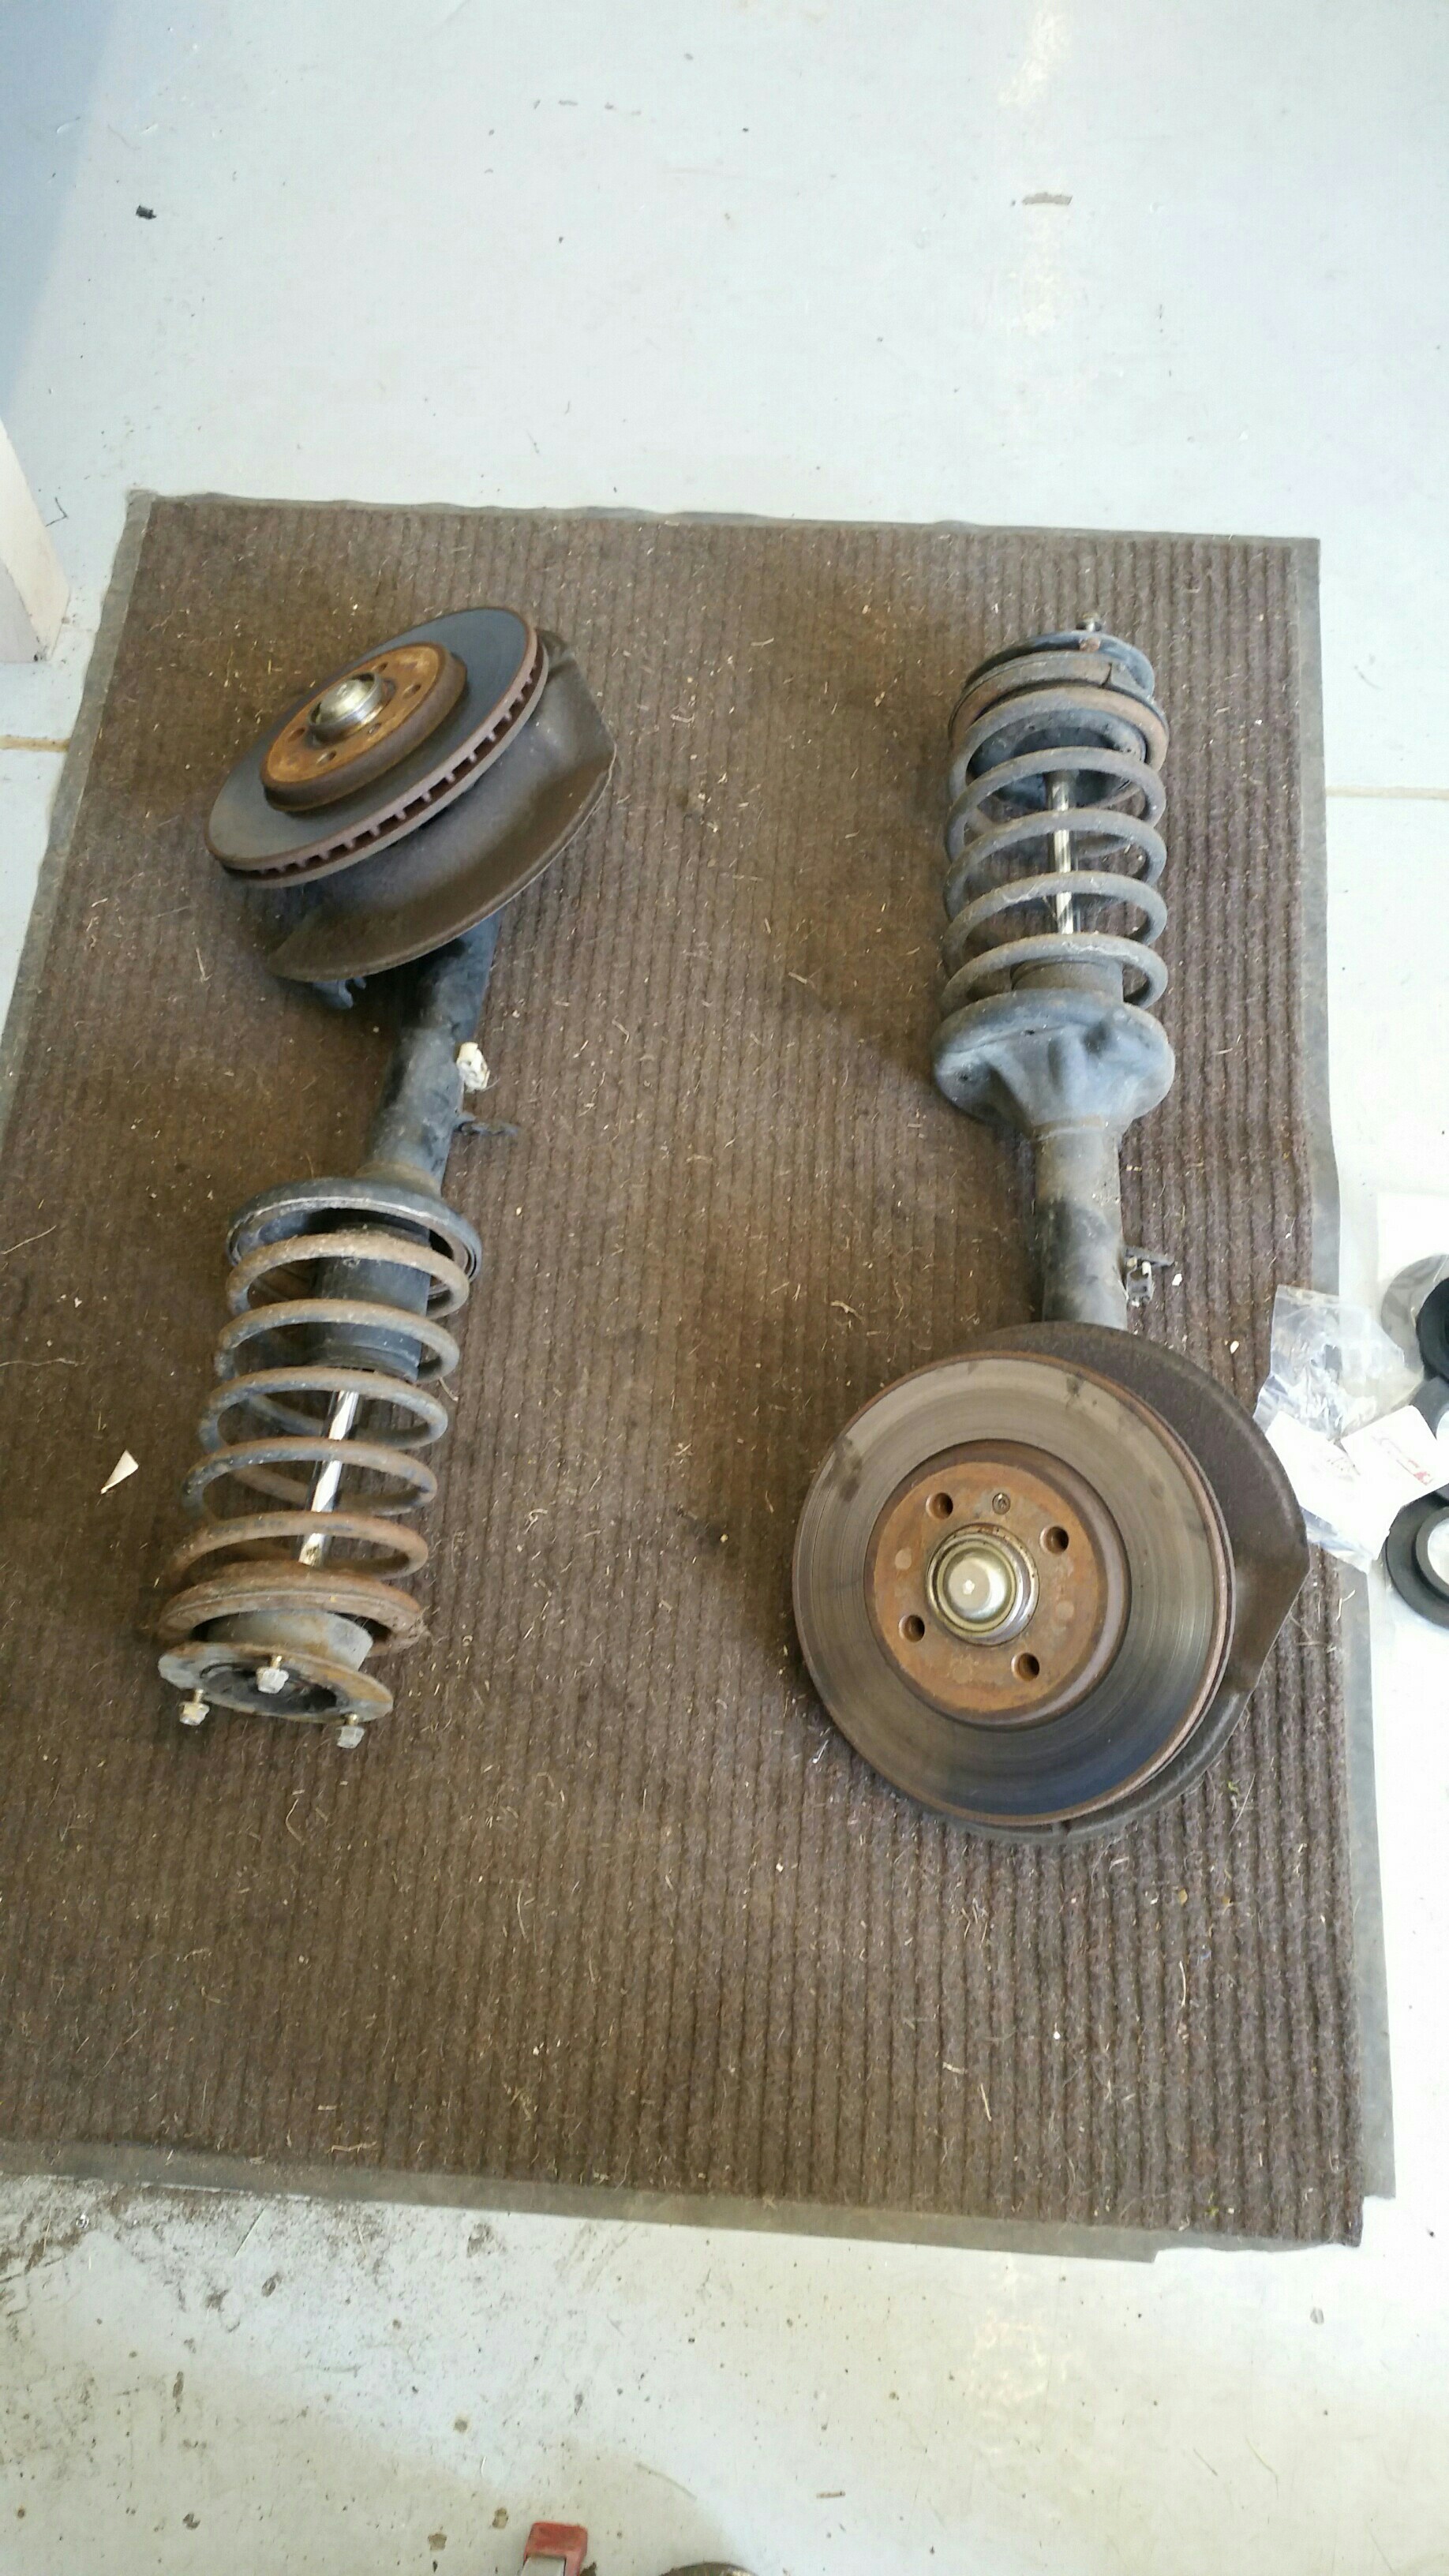
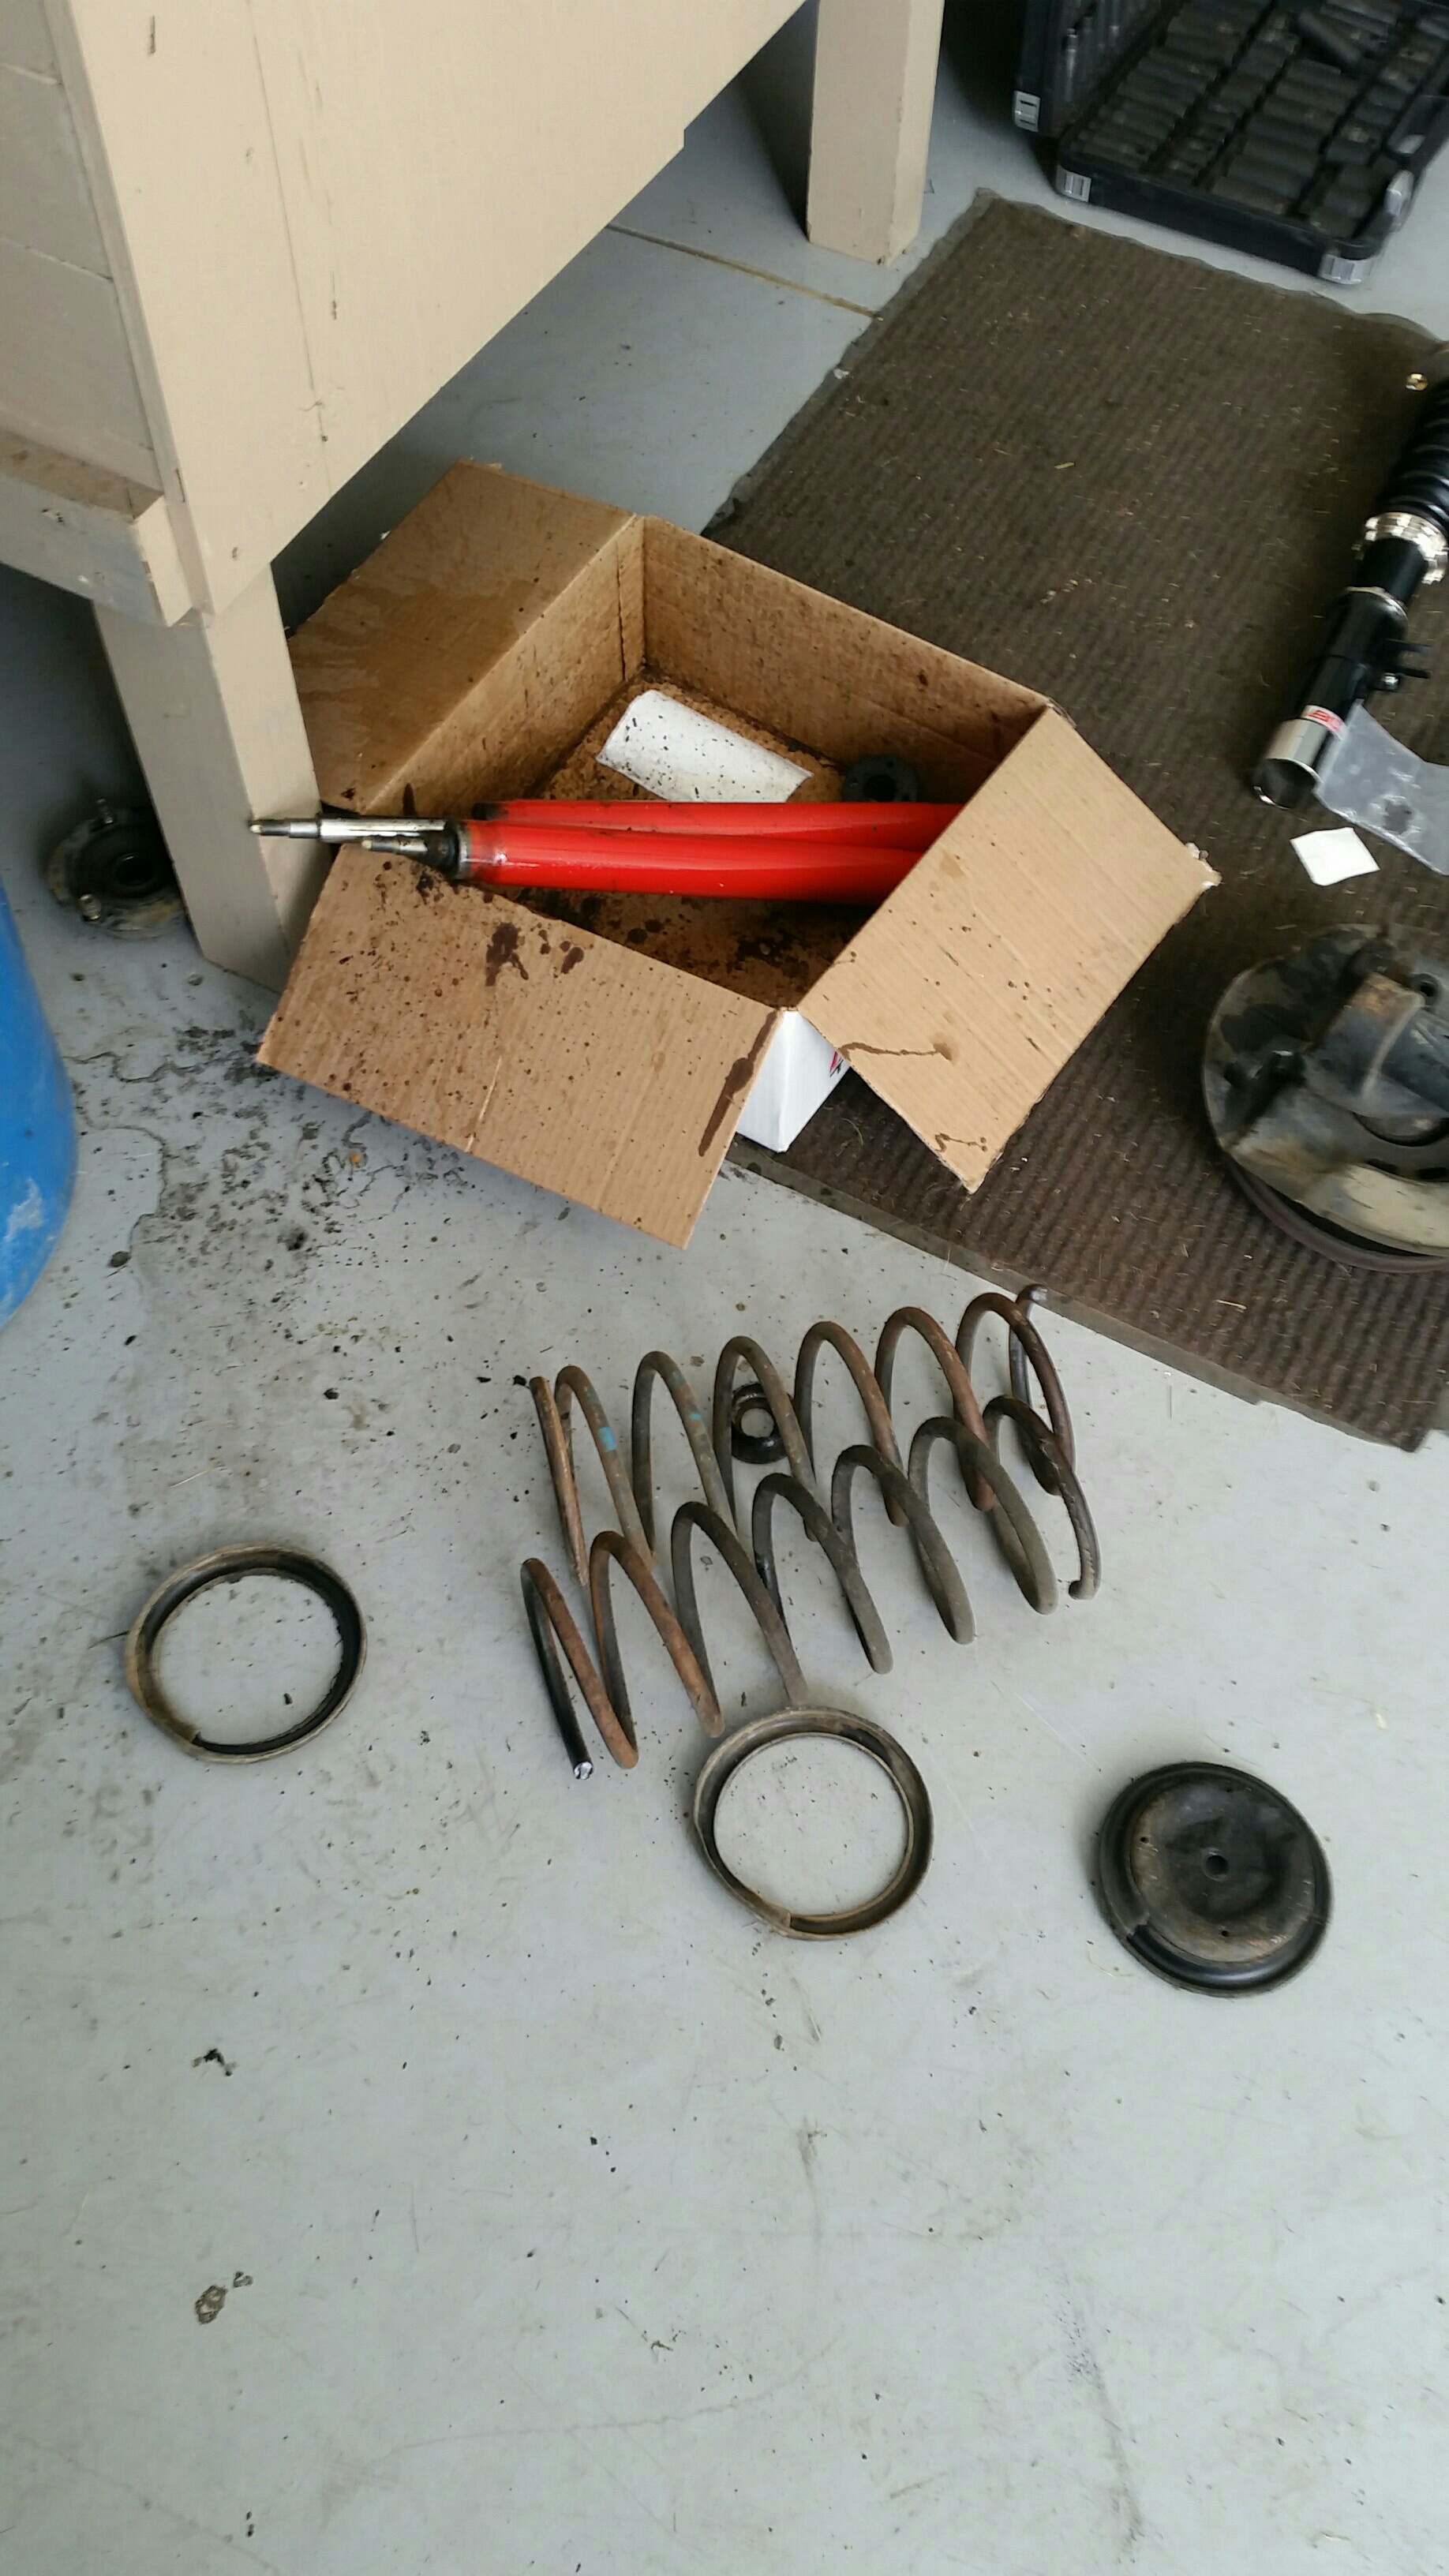
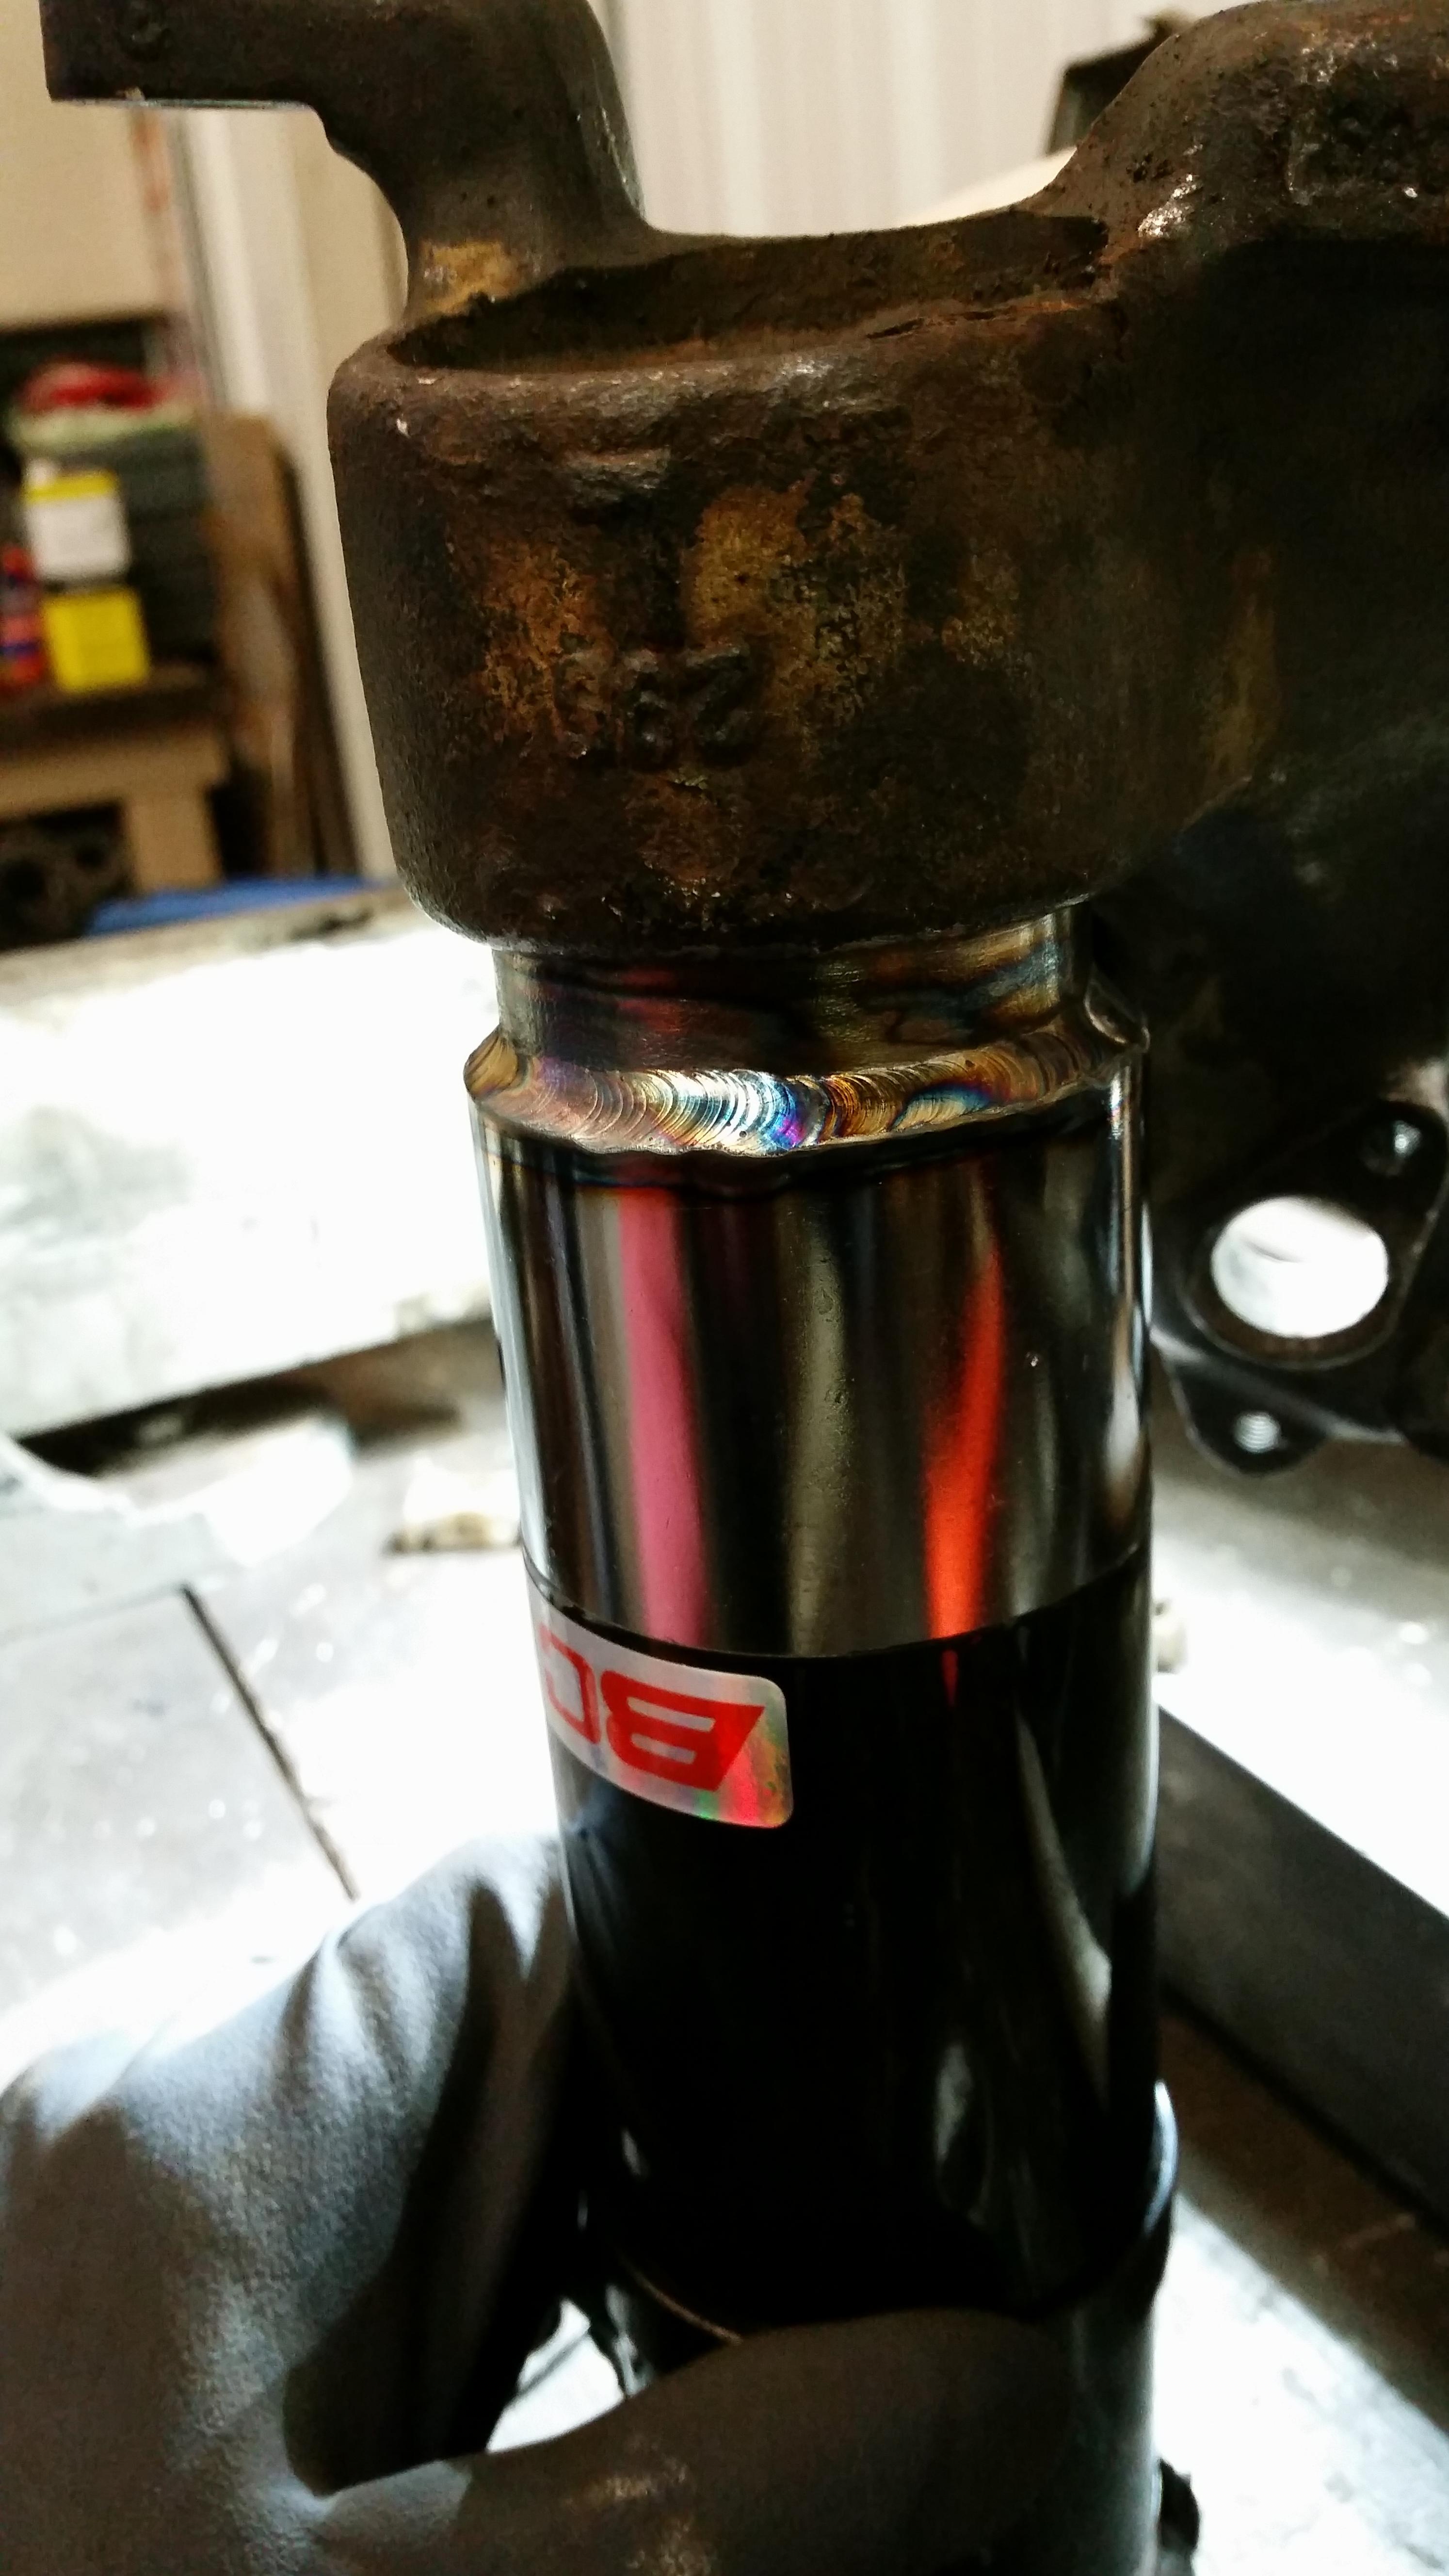
                                          I wasnt aware some of those reinforcements existed, I only have a few of those. What is your spring and damper situation?
                                          1 Reply Last reply
                                          0

                                          Hello! It looks like you're interested in this conversation, but you don't have an account yet.

                                          Getting fed up of having to scroll through the same posts each visit? When you register for an account, you'll always come back to exactly where you were before, and choose to be notified of new replies (either via email, or push notification). You'll also be able to save bookmarks and upvote posts to show your appreciation to other community members.

                                          With your input, this post could be even better 💗

                                          Register Login
                                          Reply
                                          • Reply as topic
                                          Log in to reply
                                          • Oldest to Newest
                                          • Newest to Oldest
                                          • Most Votes


                                          • Login

                                          • Don't have an account? Register

                                          • Login or register to search.
                                          Powered by NodeBB Contributors
                                          • First post
                                            Last post
                                          0
                                          • Categories
                                          • Recent
                                          • Tags
                                          • Popular
                                          • Users
                                          • Groups