
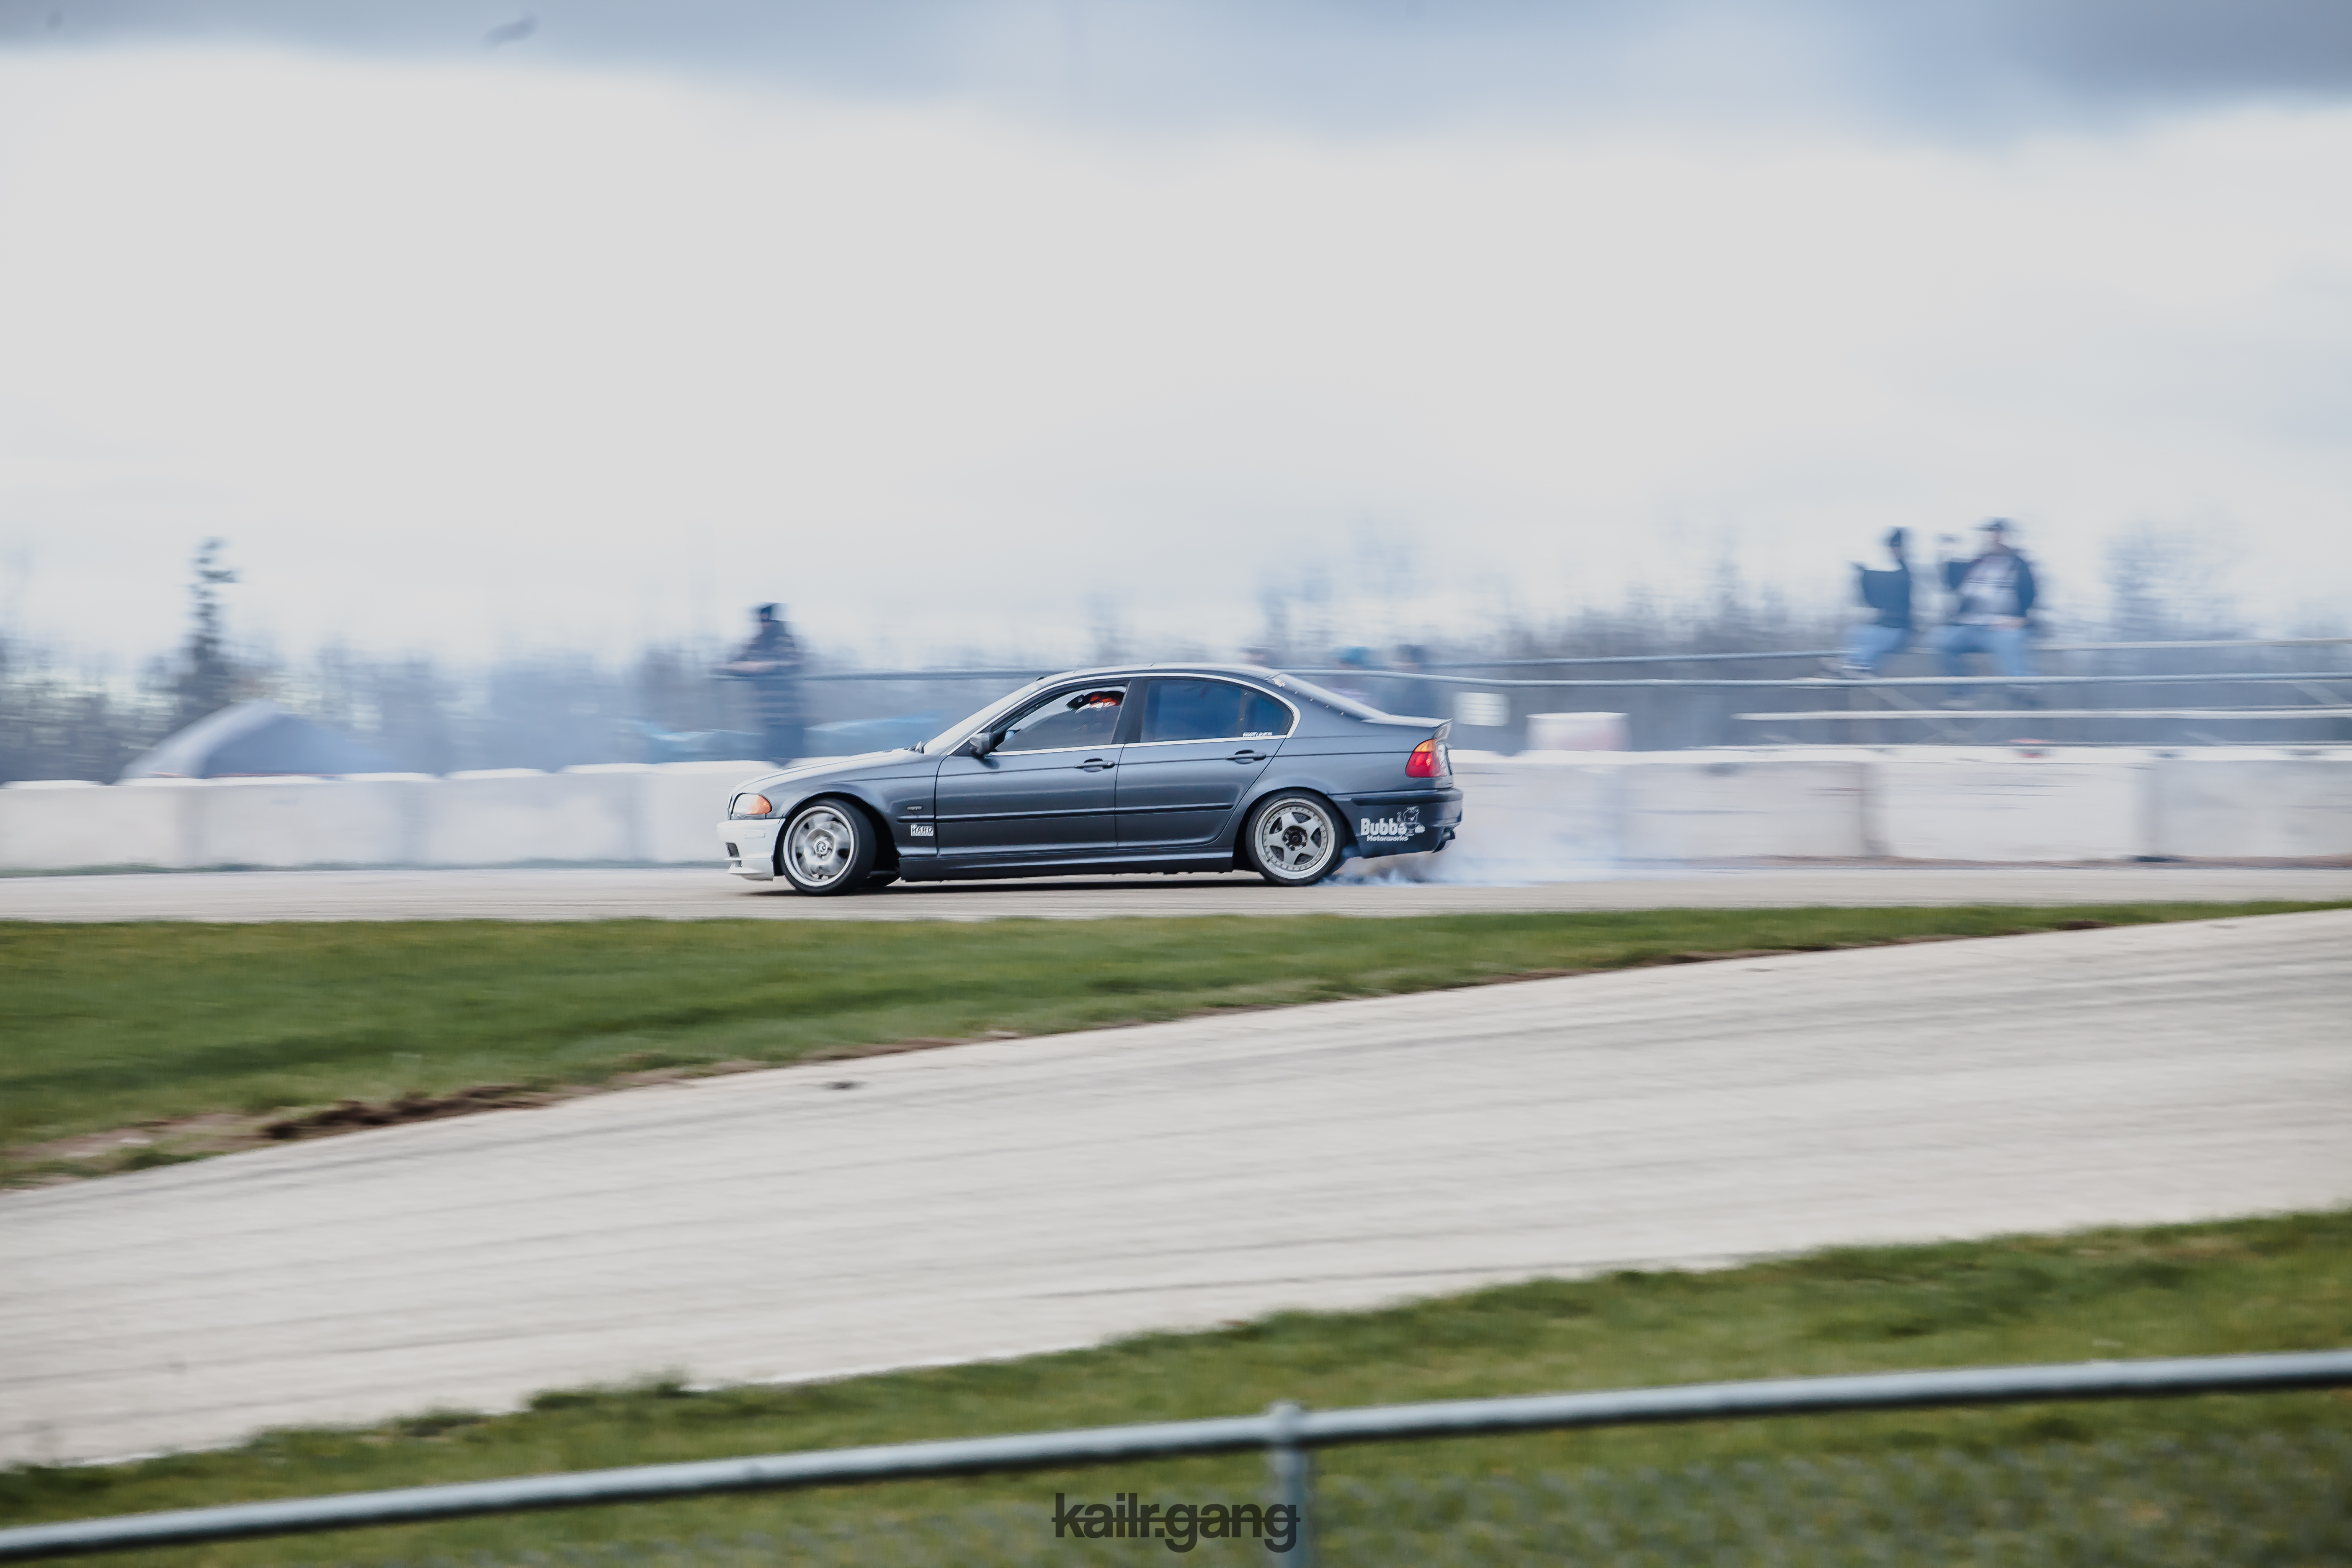
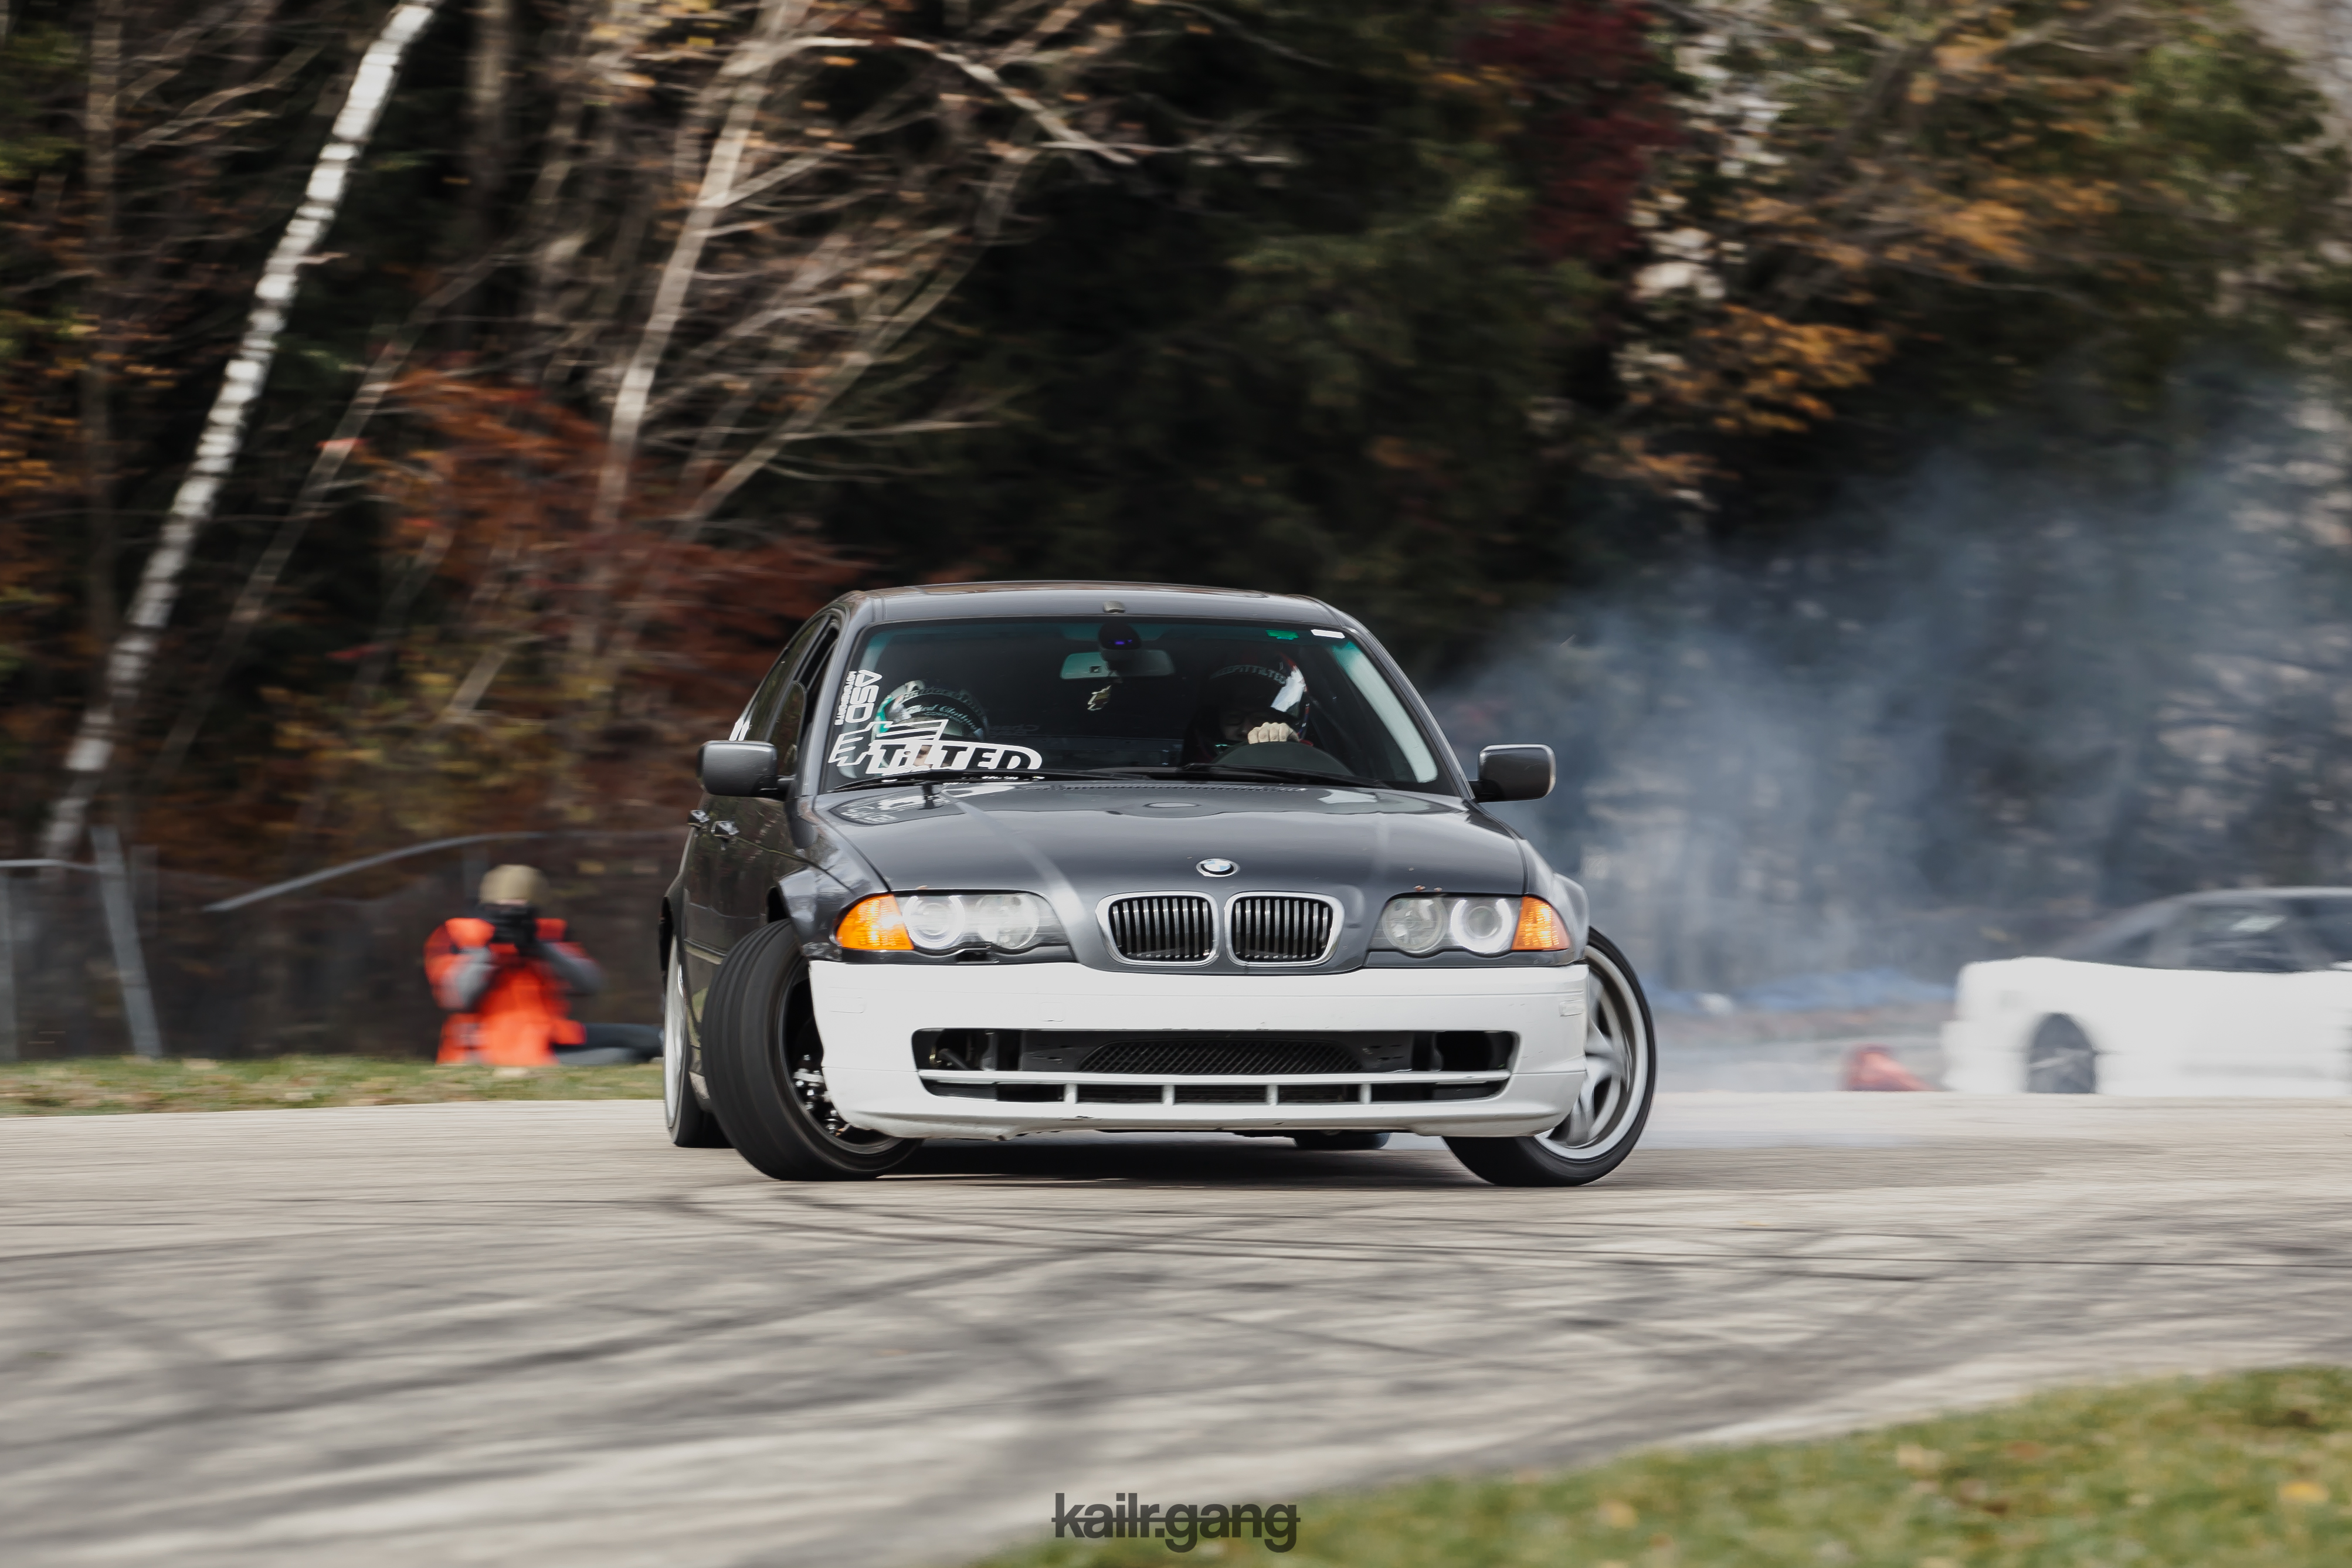
A purists nightmare - E46 drift build

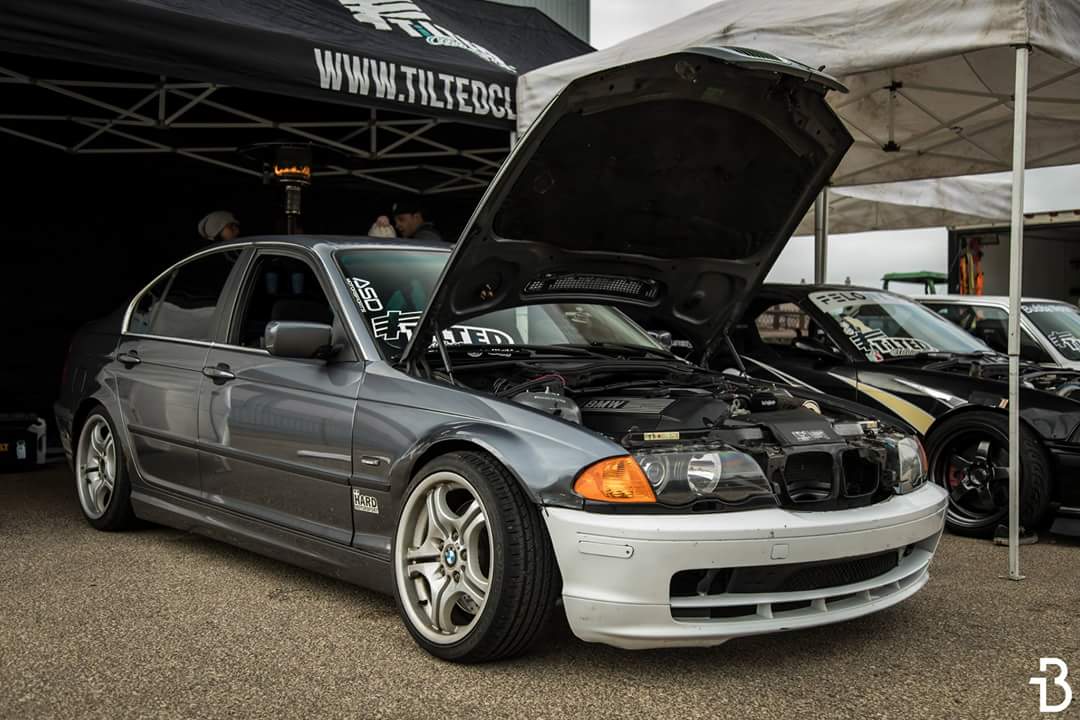
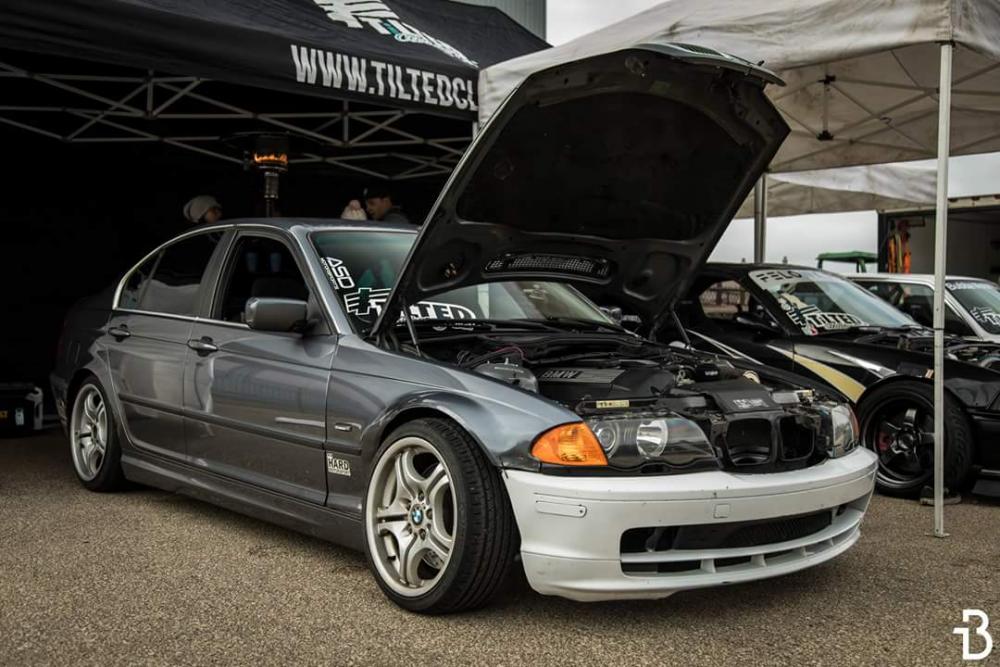
-
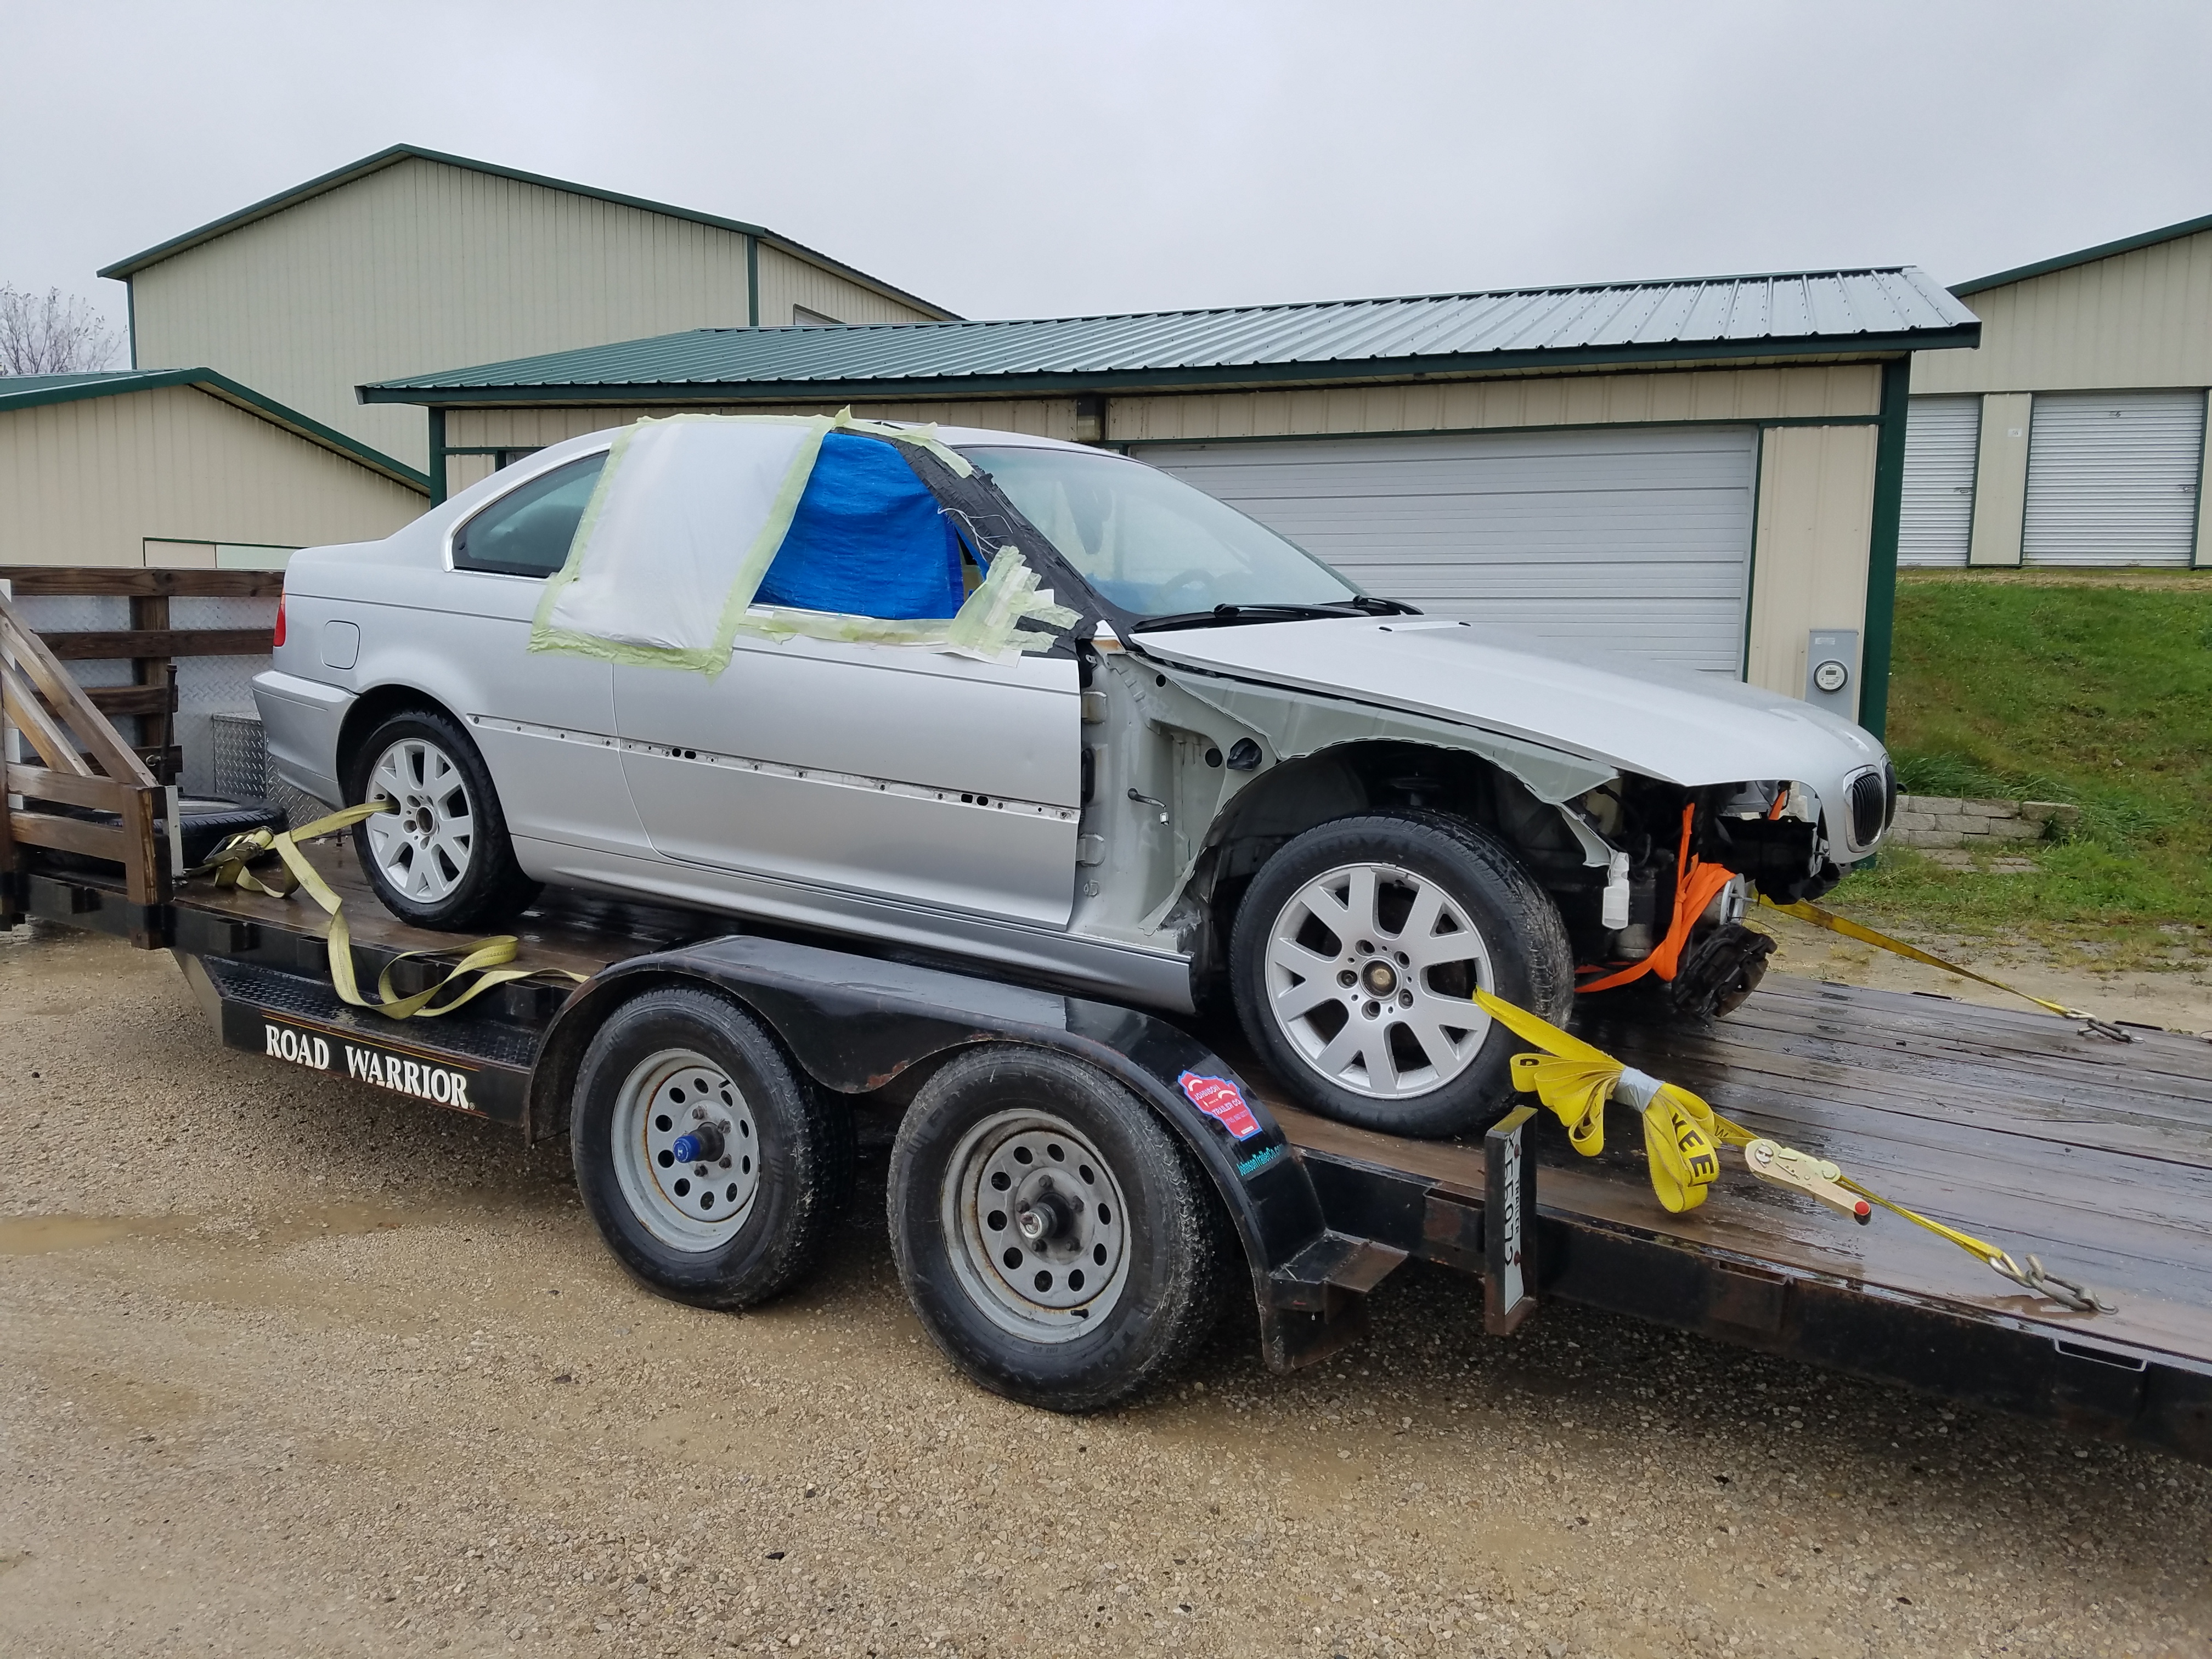
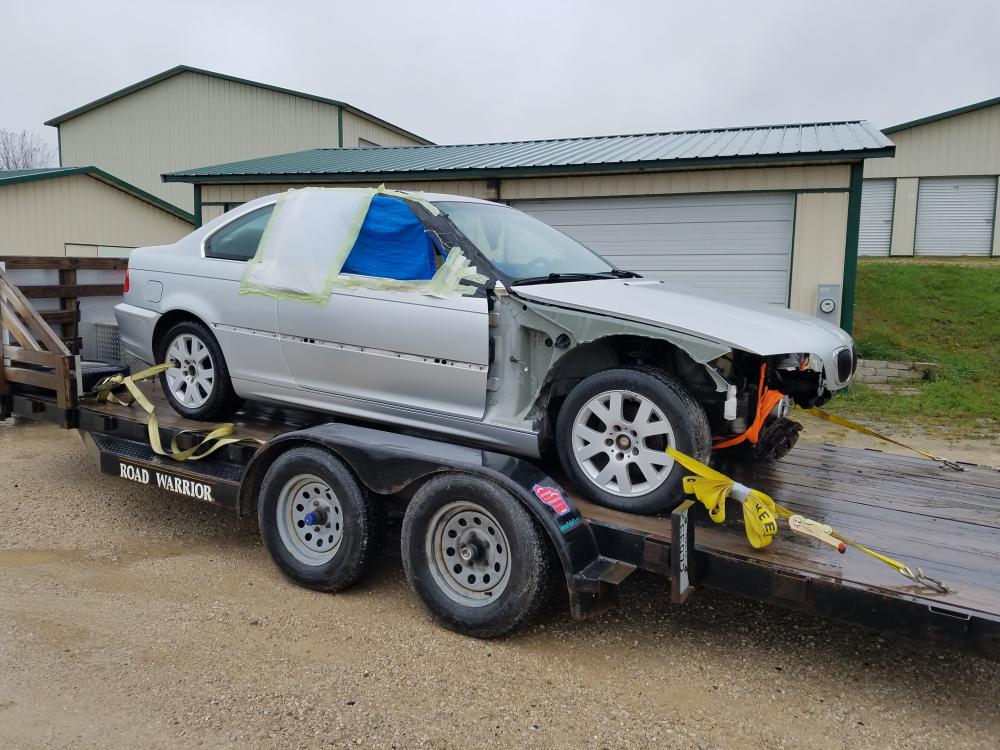
The M54 is going to be awesome! One honest question though: you mentioned that you are doing the swap into the 323i chassis because it is nicer. you also mention that you participate in skid racing. When I imagine skid racing, I imagine inevitable carnage. So from way over here in my armchair I get a little worried for you thinking about all that swap and cleanup work when the original 330i chassis was still "good"
I know im missing something here so please correct/enlighten me, or maybe your skid racing venues aren't as treacherous as my imagination would make them out to be.
Loving the updates, keep em coming!
-
Holy crap, you are really digging into this thing!
Looks like you're doing good work, keep up the pace and you'll be done sooner than anyone else here! -
I see a very bright future. Way to hammer on!

https://www.instagram.com/_jdesigner_/ http://nevertoolow.tumblr.com/
🥳SOLD BMW E24 633CSI - BMW M30B32 🧪SOLD HCH ES9 - 1.3 LDA
👽BMW E30 325IC - Toyota 1JZ-GTE ⏰ HONDA EF9 CIVIC SI - JDM B18C5
☠️BMW E36 318i - Ford 5.0 FE302 🚴♂️ GT-Labomba - 26x2.75 Freeride
🤹♀️SOLD BMW E36/7 Z3 - BMW M54B25 🧓SOLD BMW E10 2002 - BMW M10M05 -
@Snap
Understandable statement lol. So that's the thing, when most people think drifting they assume a bunch of piles of shit that smash into walls and eachother but that's not necessarily the whole case. It's more fun to get close while in tandem and not hit. Although I still have alot to learn and seat time to be had I can tell you that for sure. It's really all in a person's style, which is all drifting is based around, style. While it may happen someday that the bumper drags a wall or there's some contact with another car, I'm completely aware that cars can get thrashed while sliding. The idea behind this car is it's a rust free and unmolested chassis. My goals are a street car that I take to the track on the weekends as well as probably do some dumb shit in the streets (when it is safe) and also to build it to be presentable at any show. I mean when it comes down to it some people like smashing things and having shitty cars haha I'd like to have a nice car that is a looker and still performs well. I hope that makes some sense atleast haha
-
Thanks! I'm definatly trying to bring a bit of the style from what I learned over 7 years on my civic to this chassis. The plan is to have this first version of the build done before automotion 2018 in May. Because it's more important to me to get seat time and more enjoyable to have the car done and on the road then tear into it over the next winter to make improvements and build onto what I already have.
-
nice work on the wiring! i don't have the patience for that haha
Thanks! Just wait till the update from this weekend

-
UPDATE
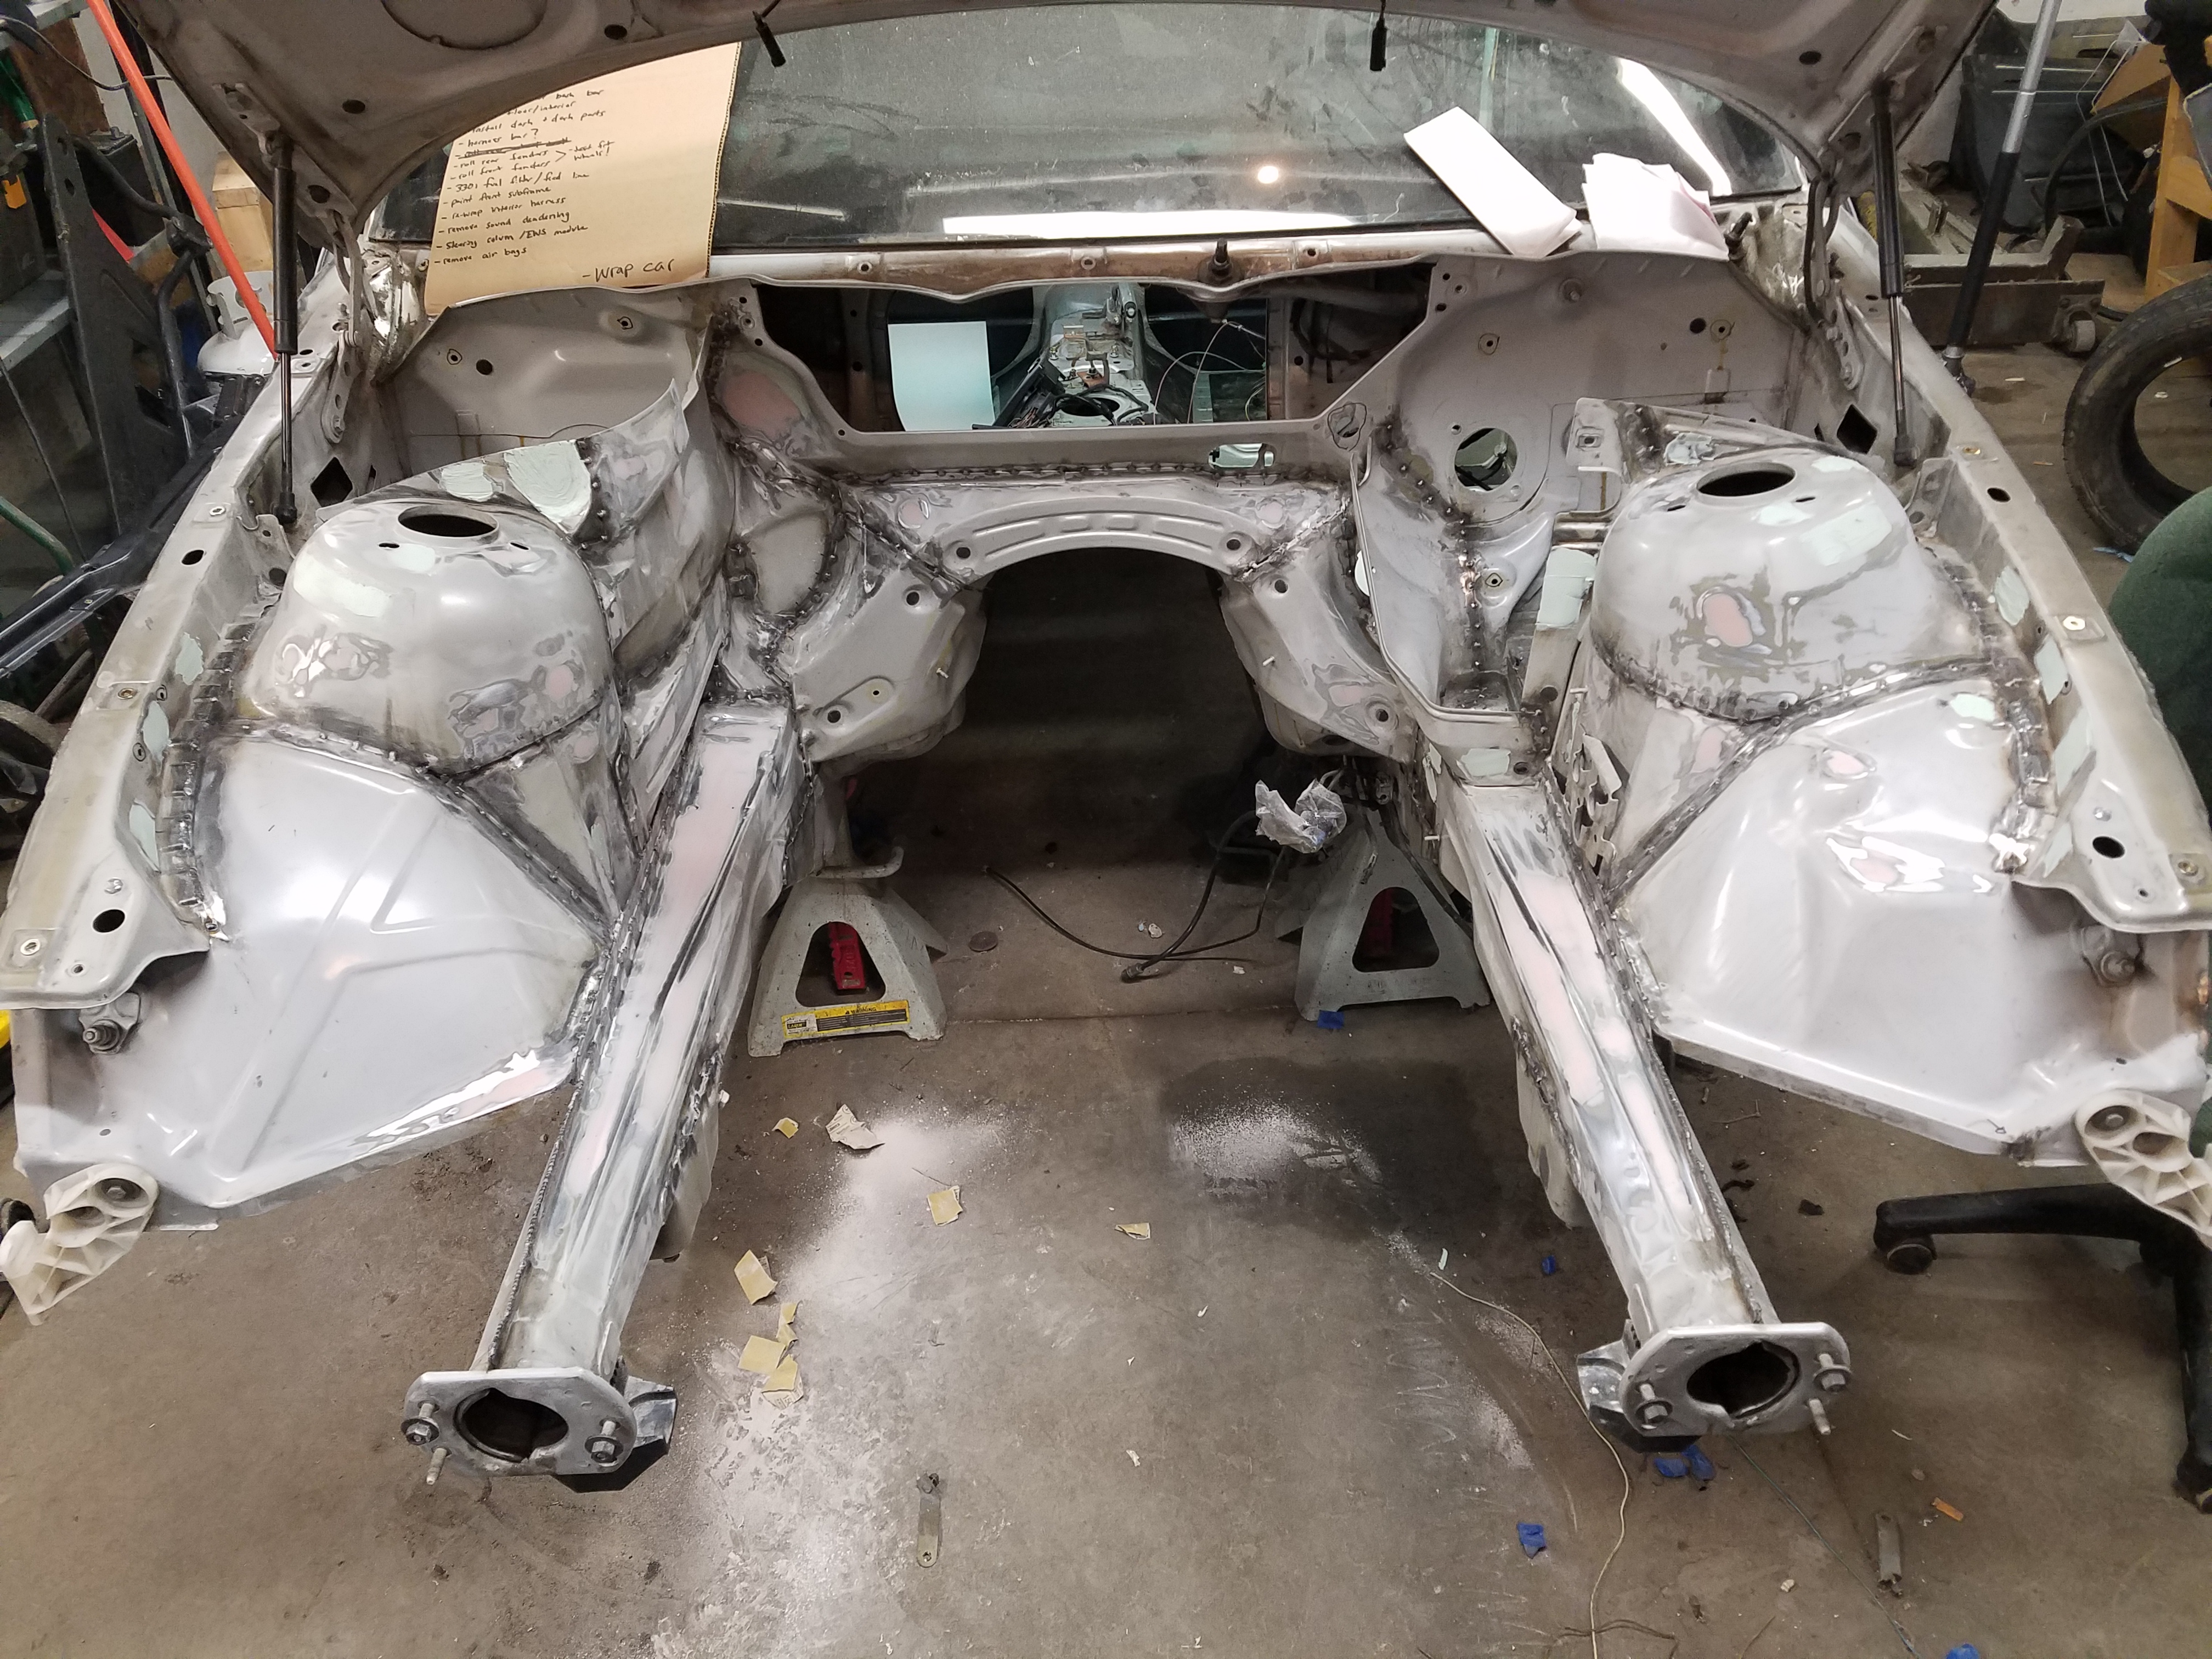
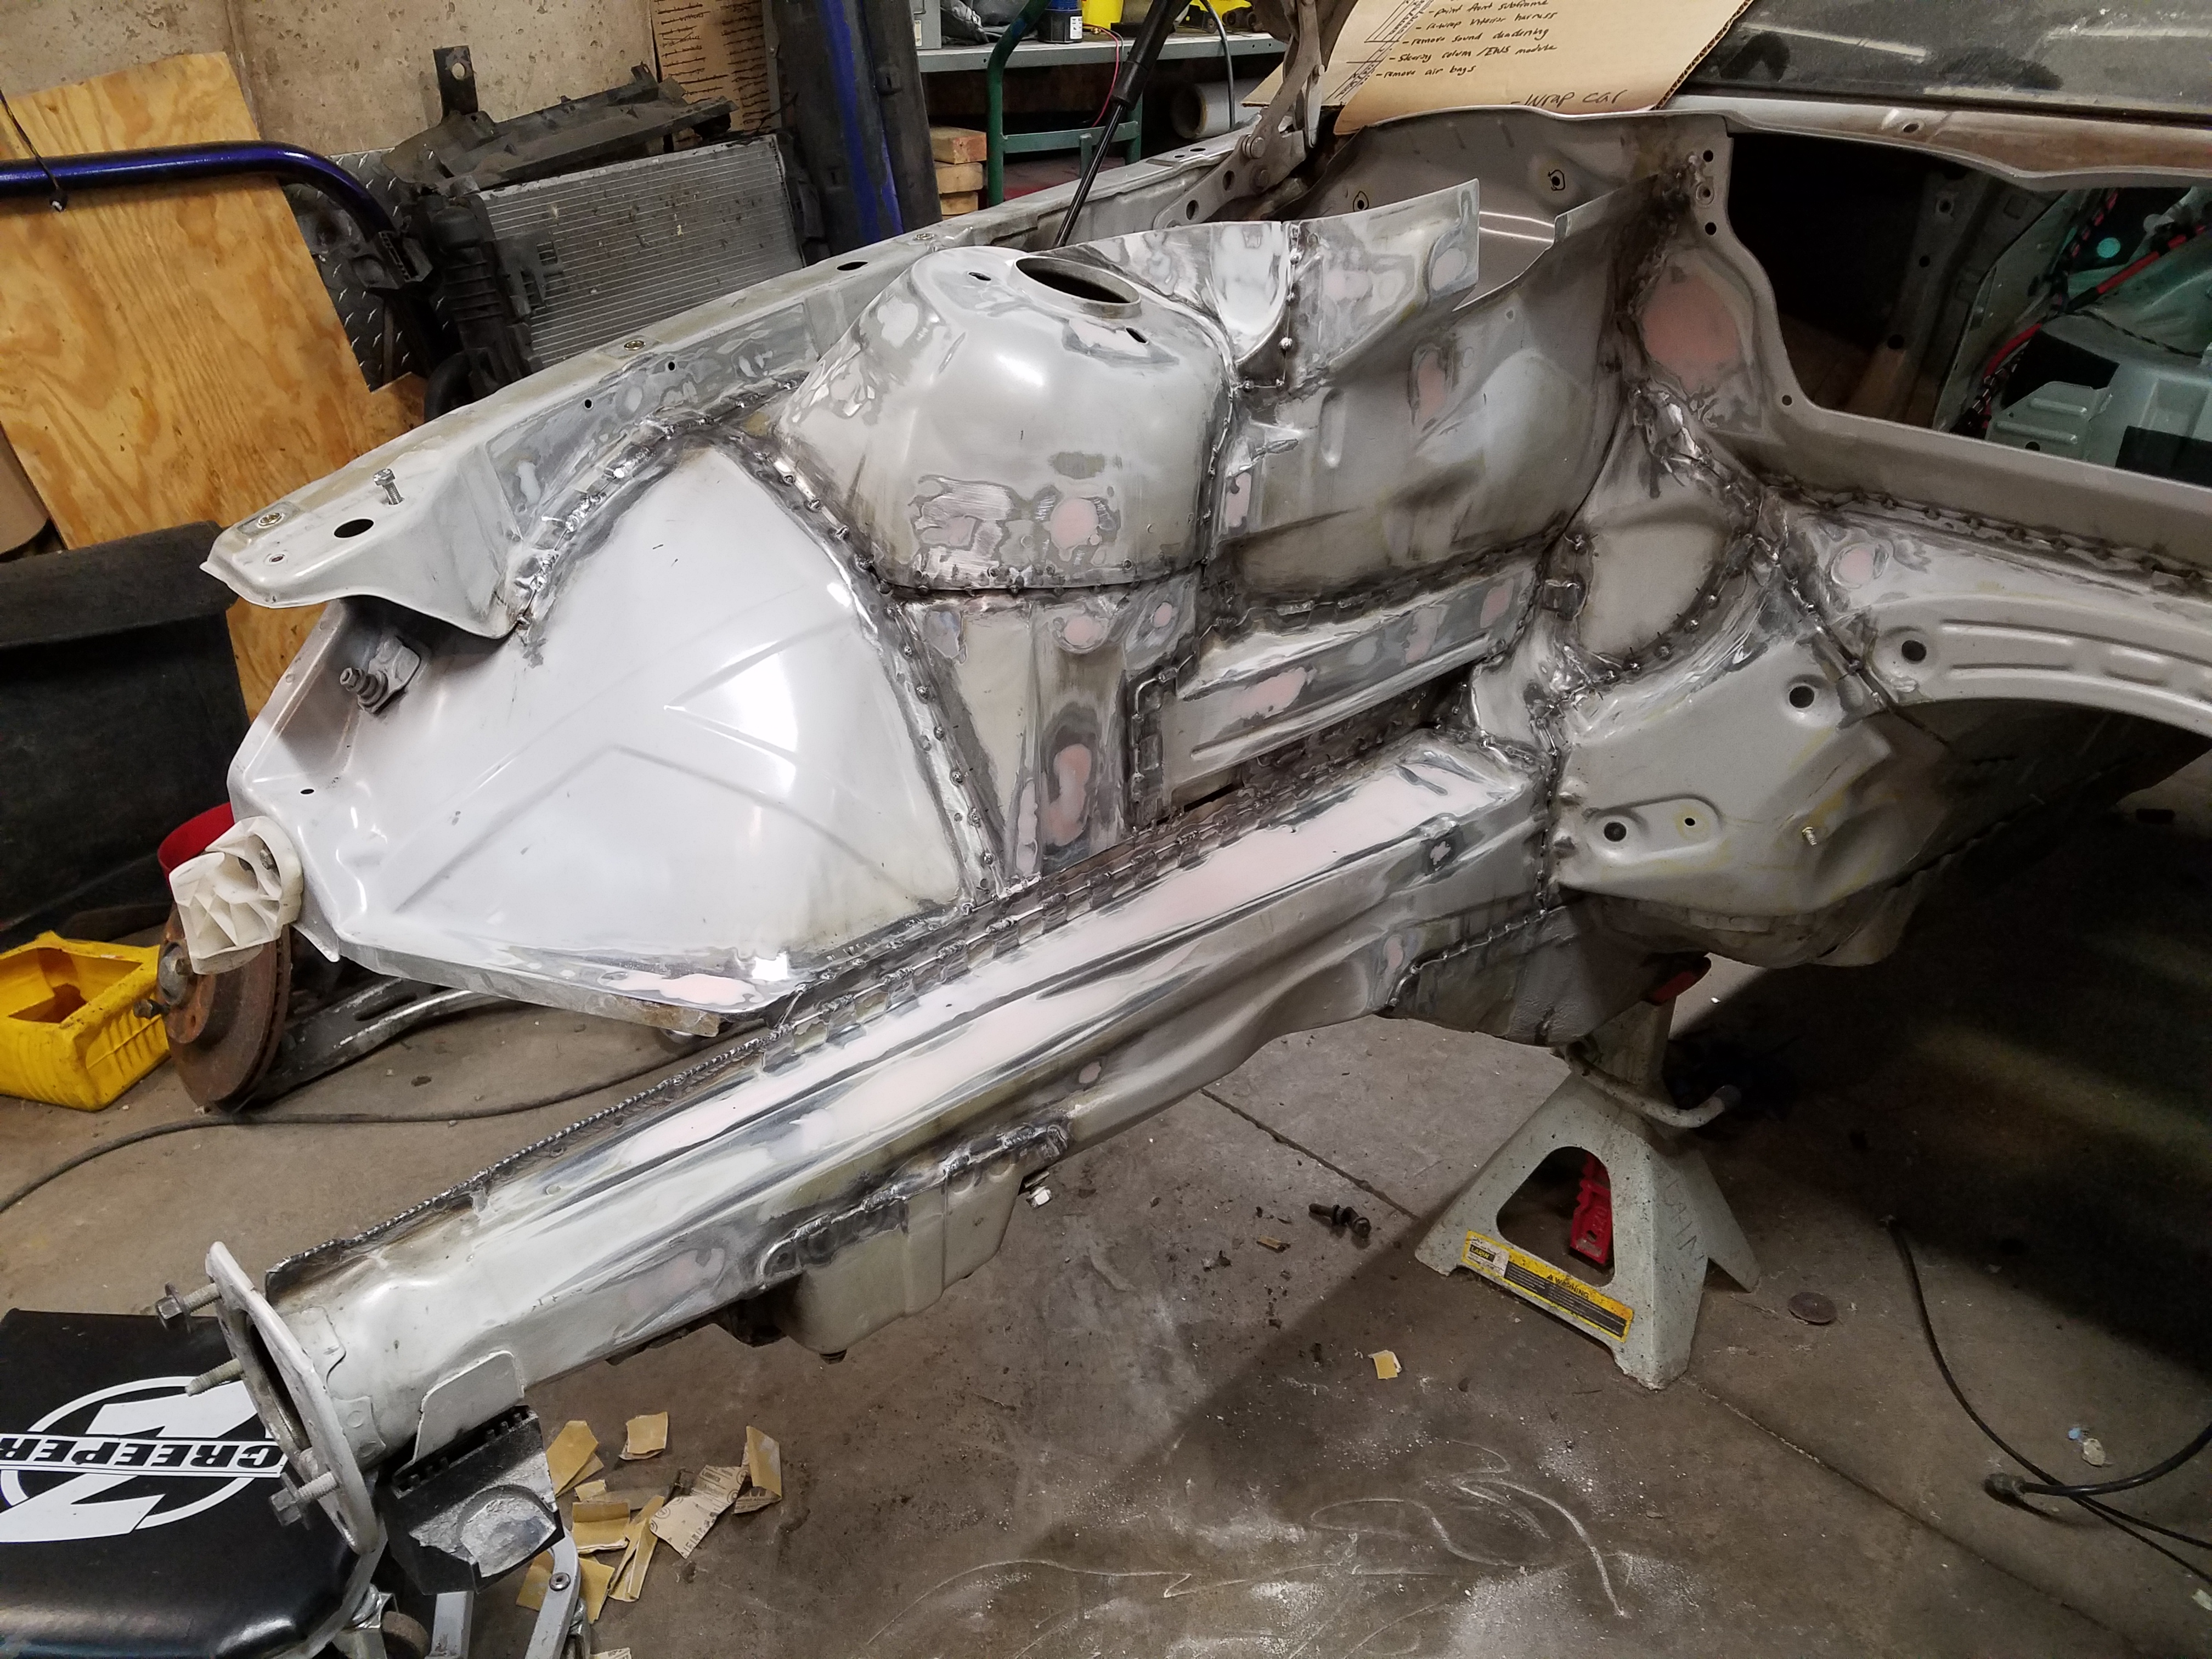
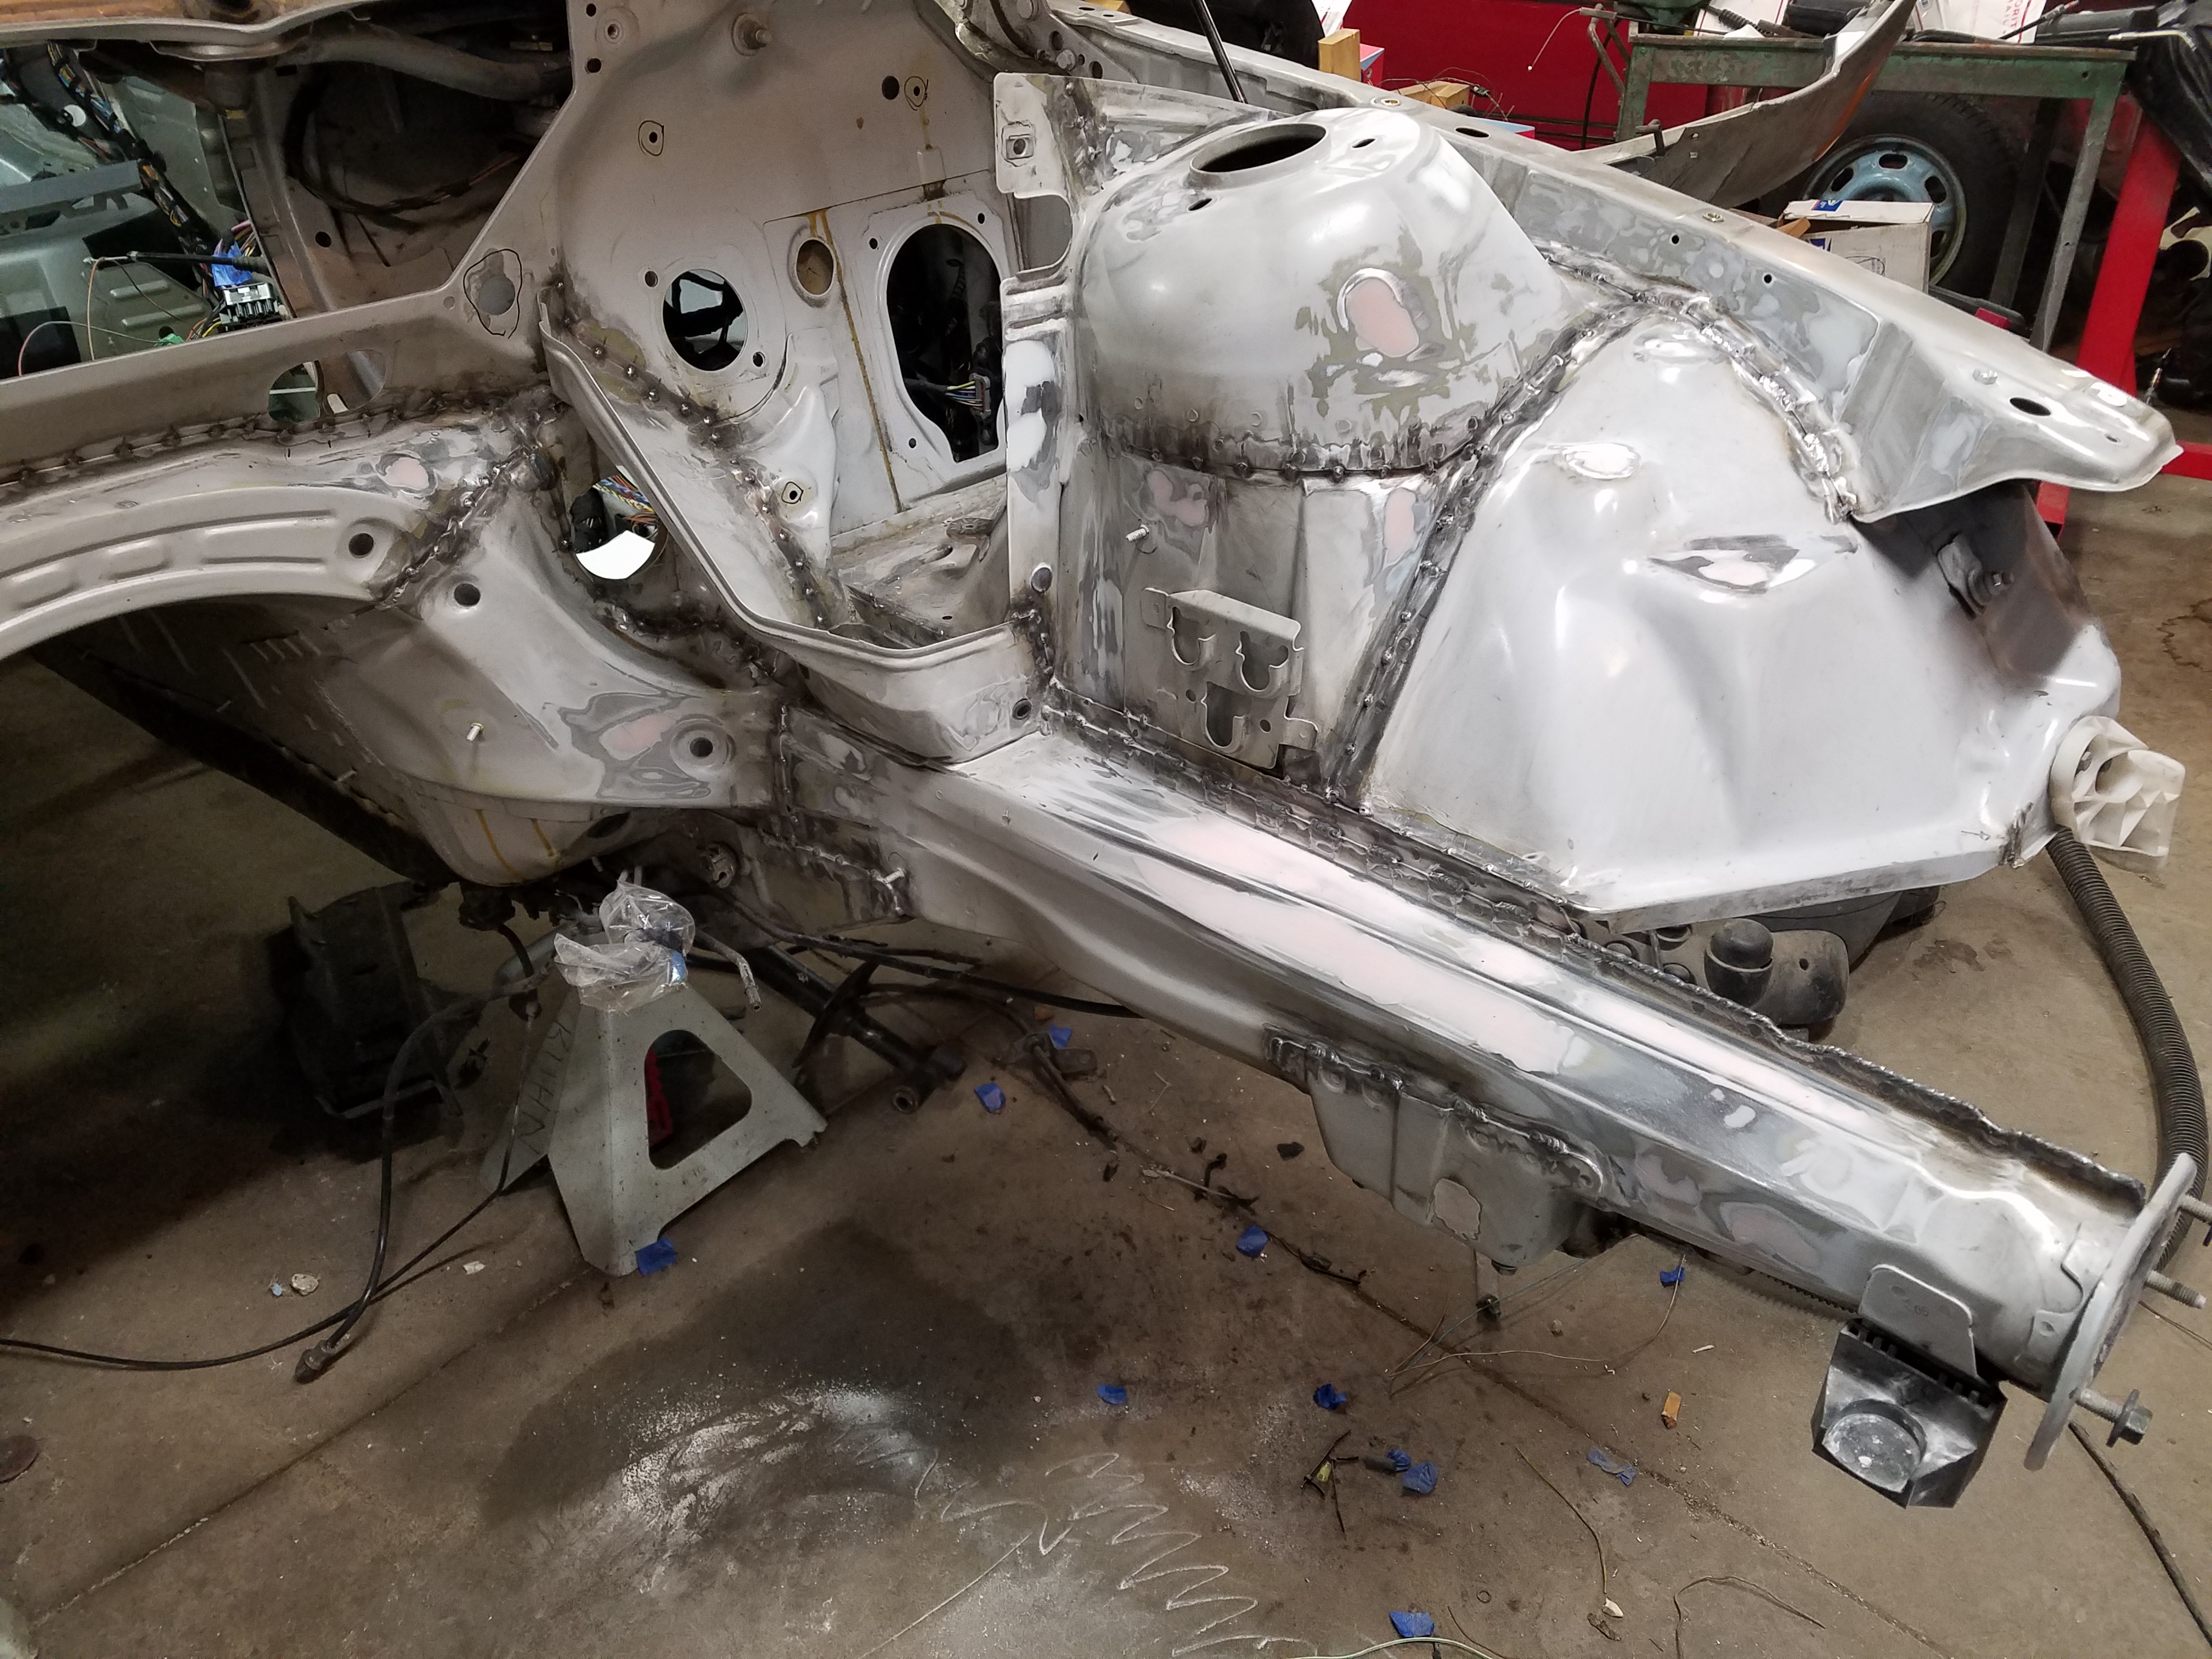
Welding has been completed on the bay. All of the holes that I wanted to have filled to be shaved are completed as well as the stitch welding on the under sides of the frame rails. Next up is some more grinding then filler, sanding and paint!
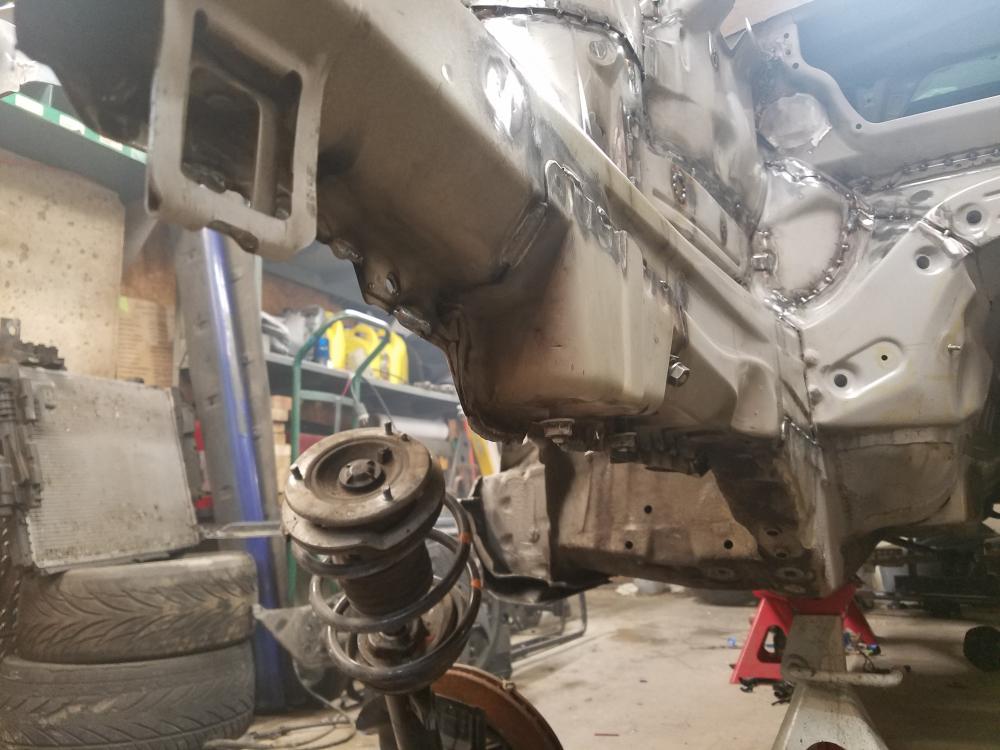
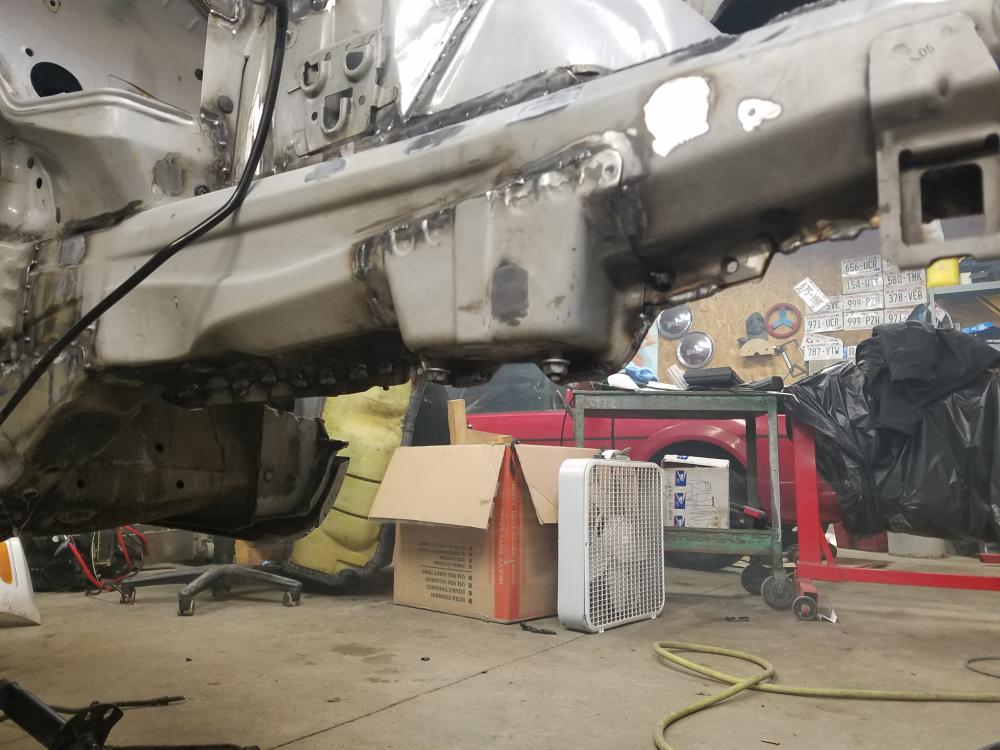
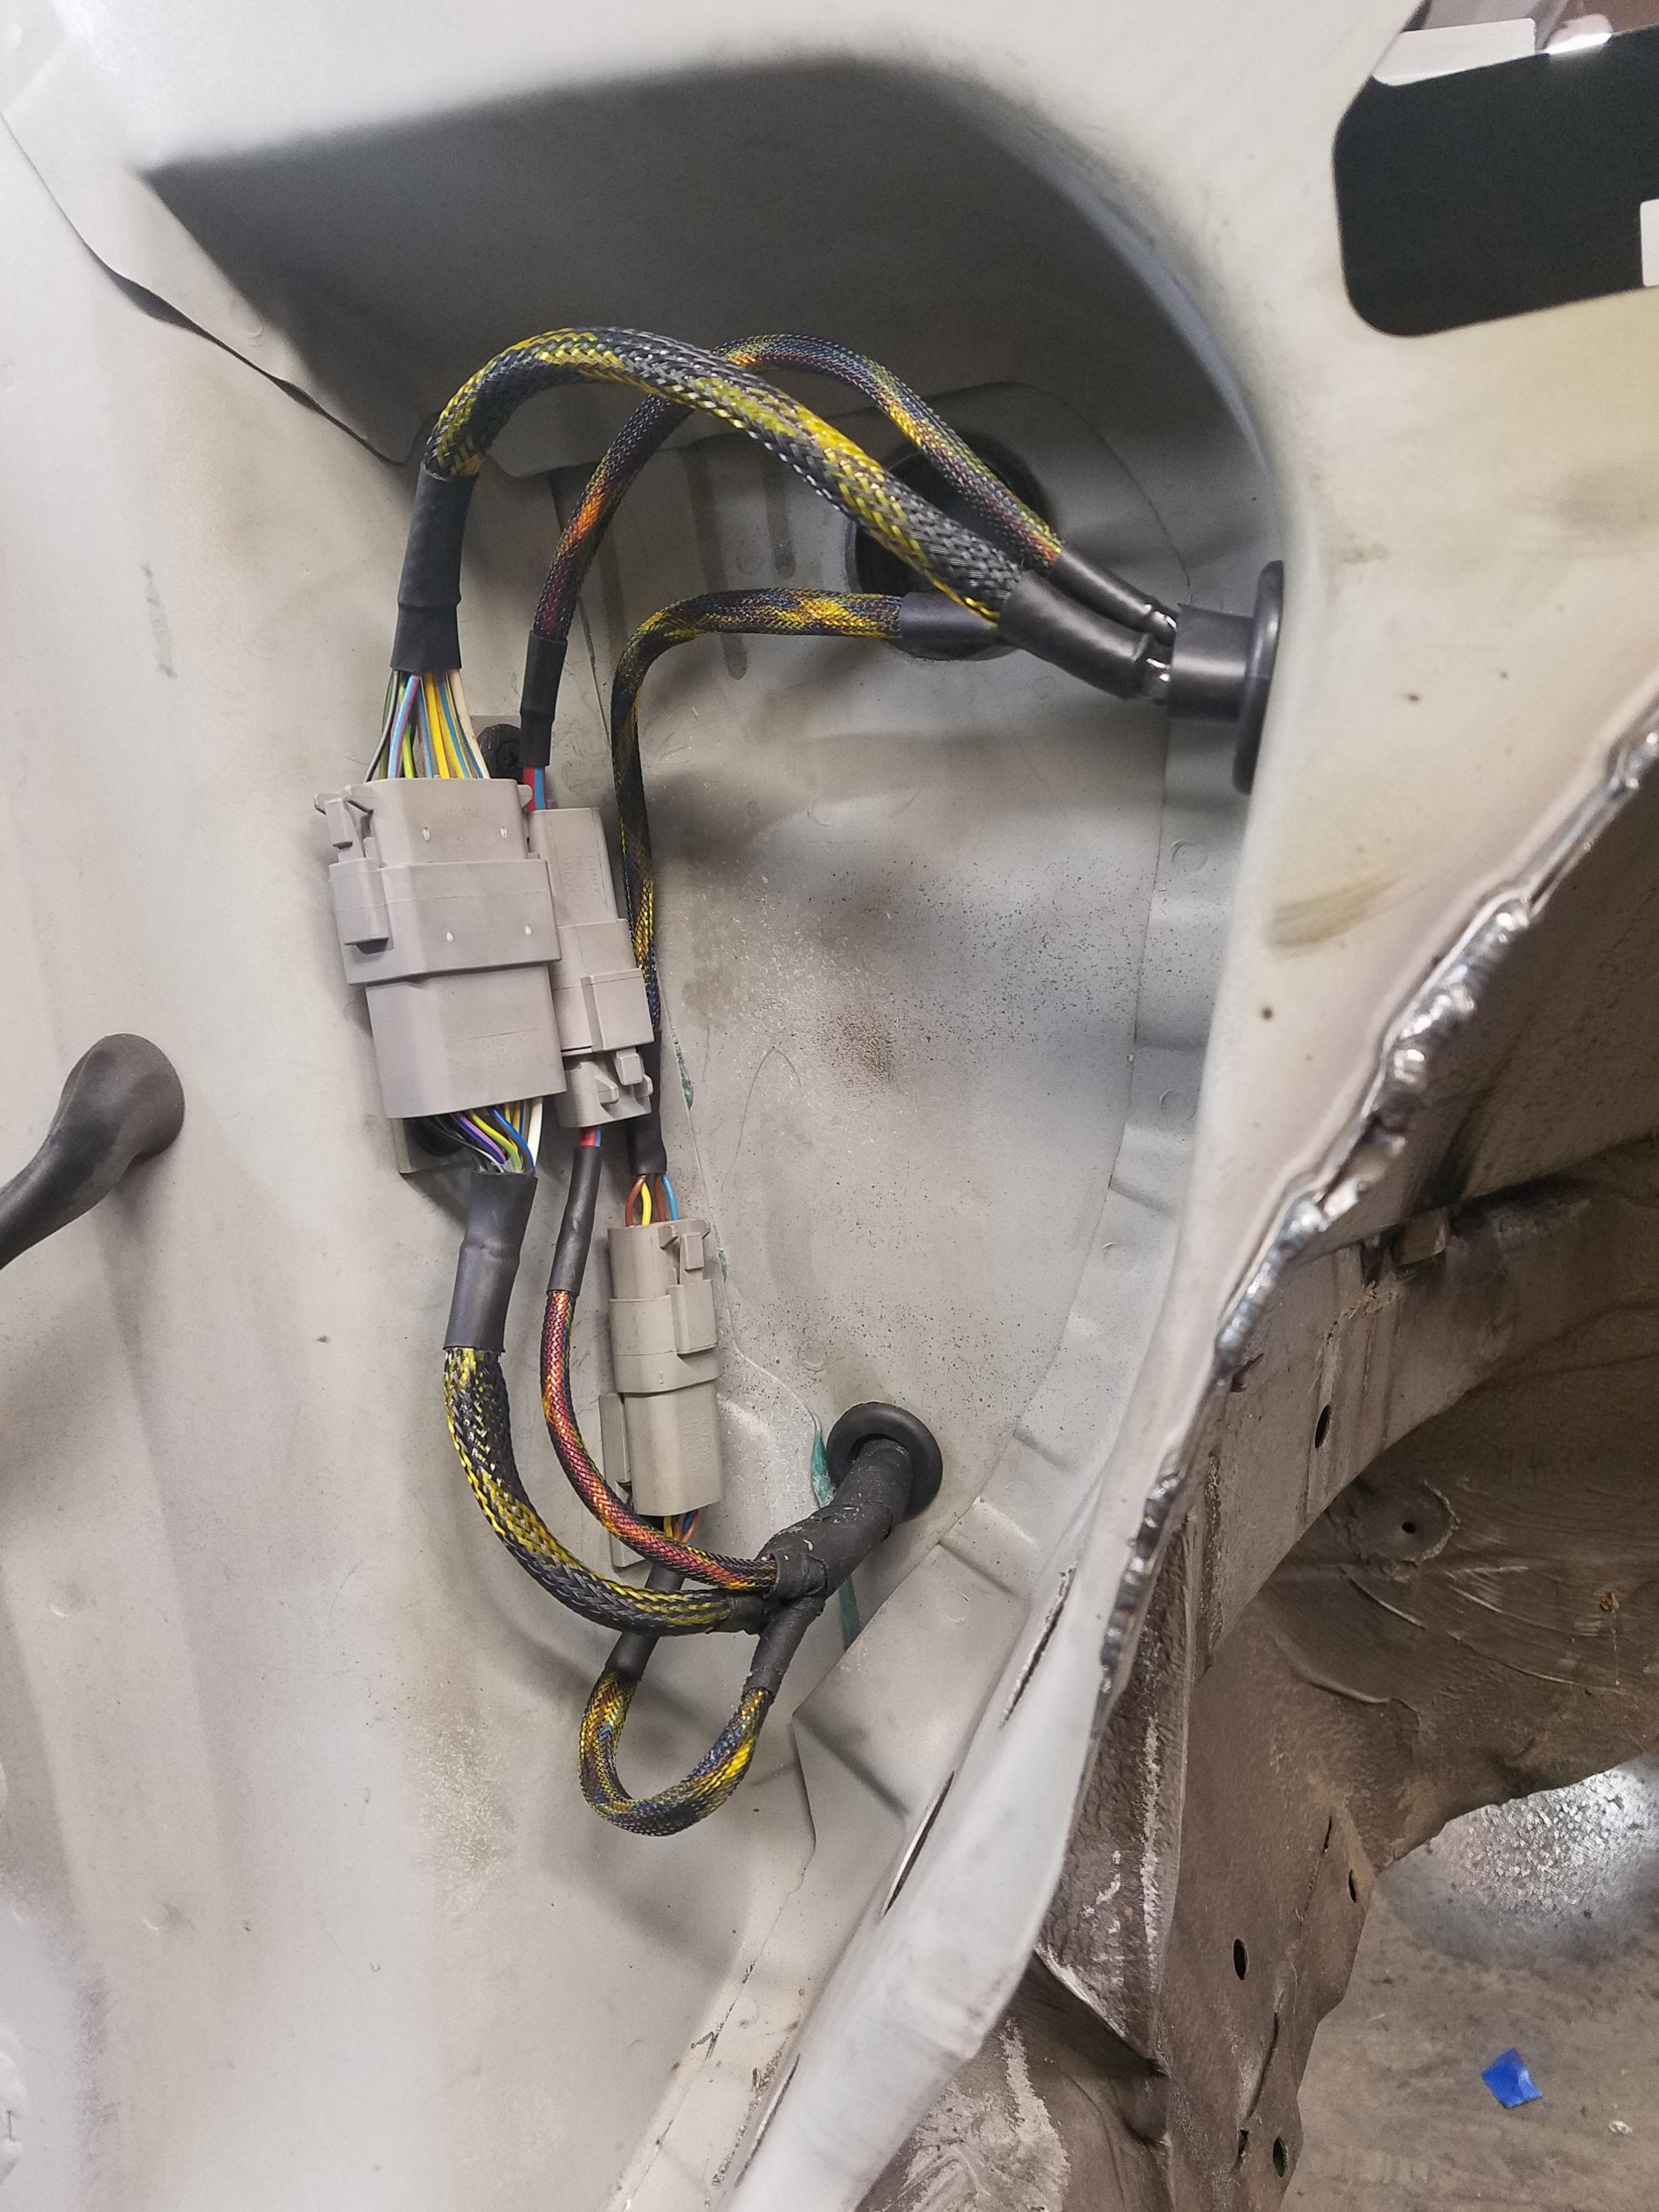
My wiring supplies came in as well and I am super happy with the way things are turning out. Got both of the harnesses finalized where they exit the cabin of the car and are routed up though the fender frames. I learned alot about wiring and my work developed alot over the years that I was building my civic, if there is one thing I learned its do it right the first time (I redid the wiring on my hatch 4 times before I was close to happy with it). So with that being said I am going into this car with every bit of knowledge I have and doing everything right the first time.
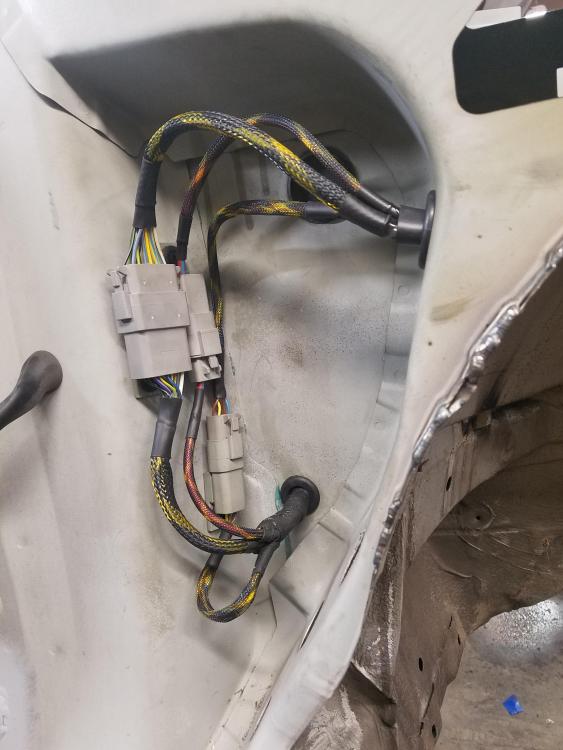
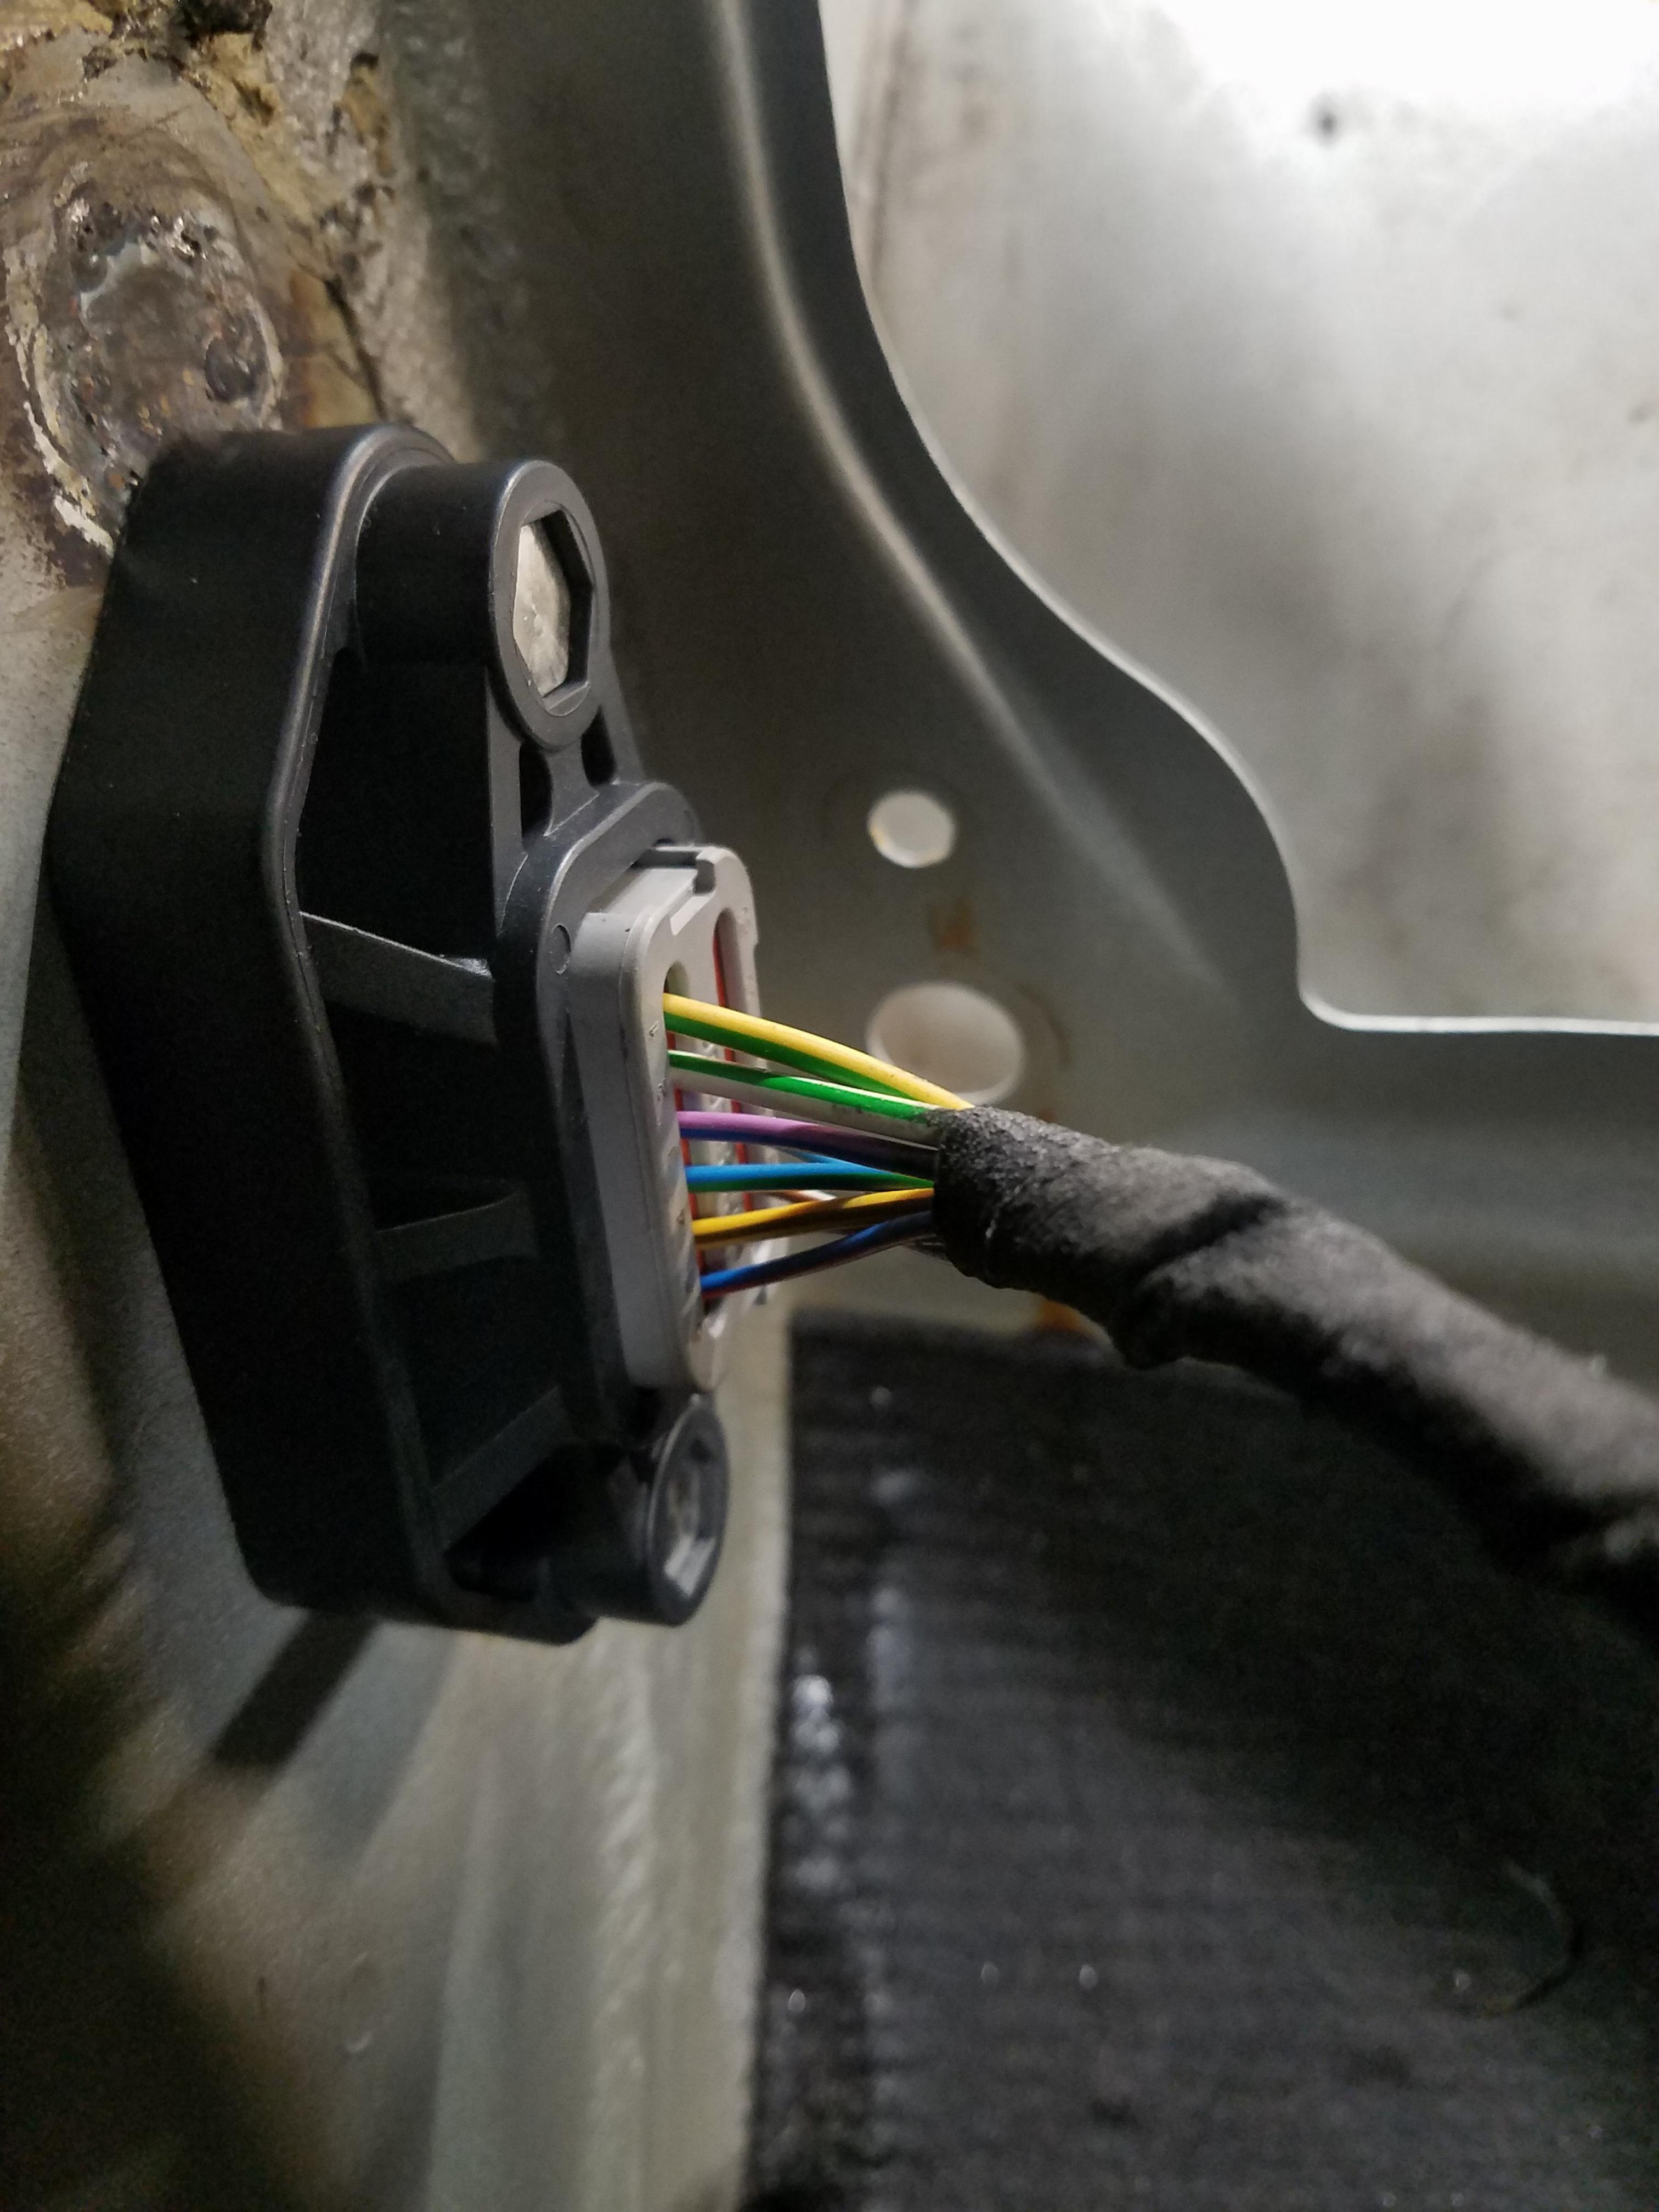
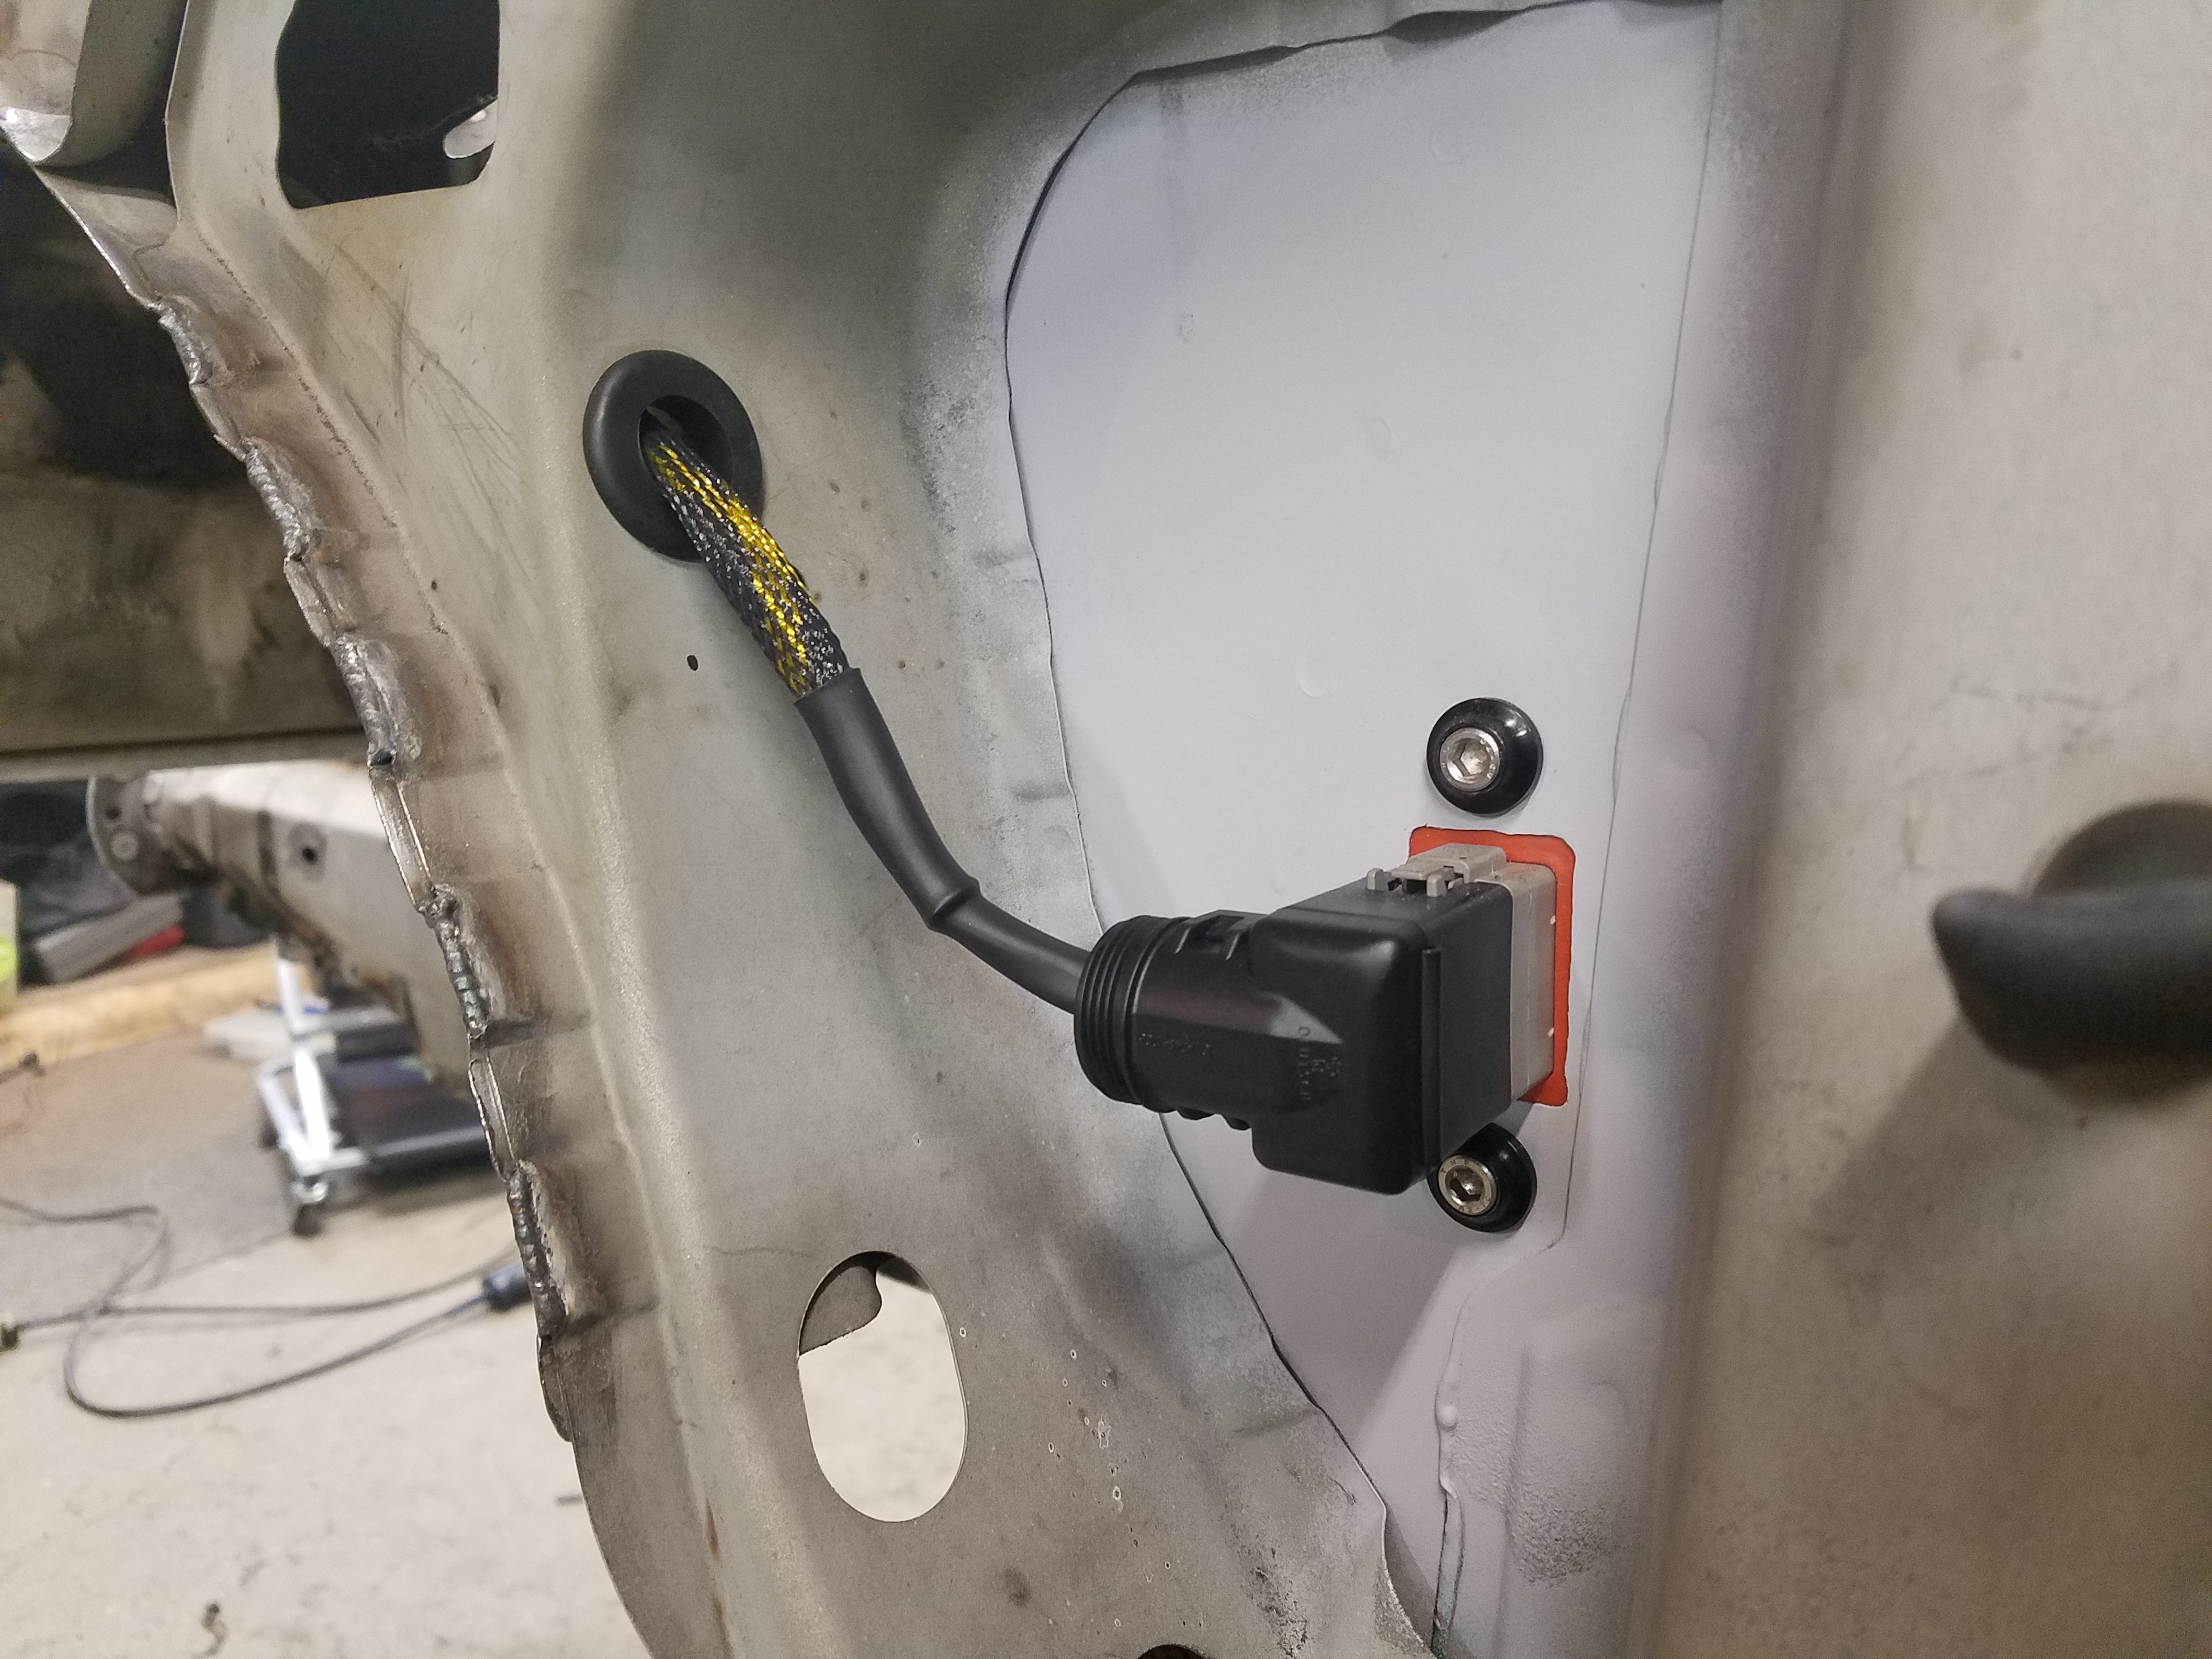
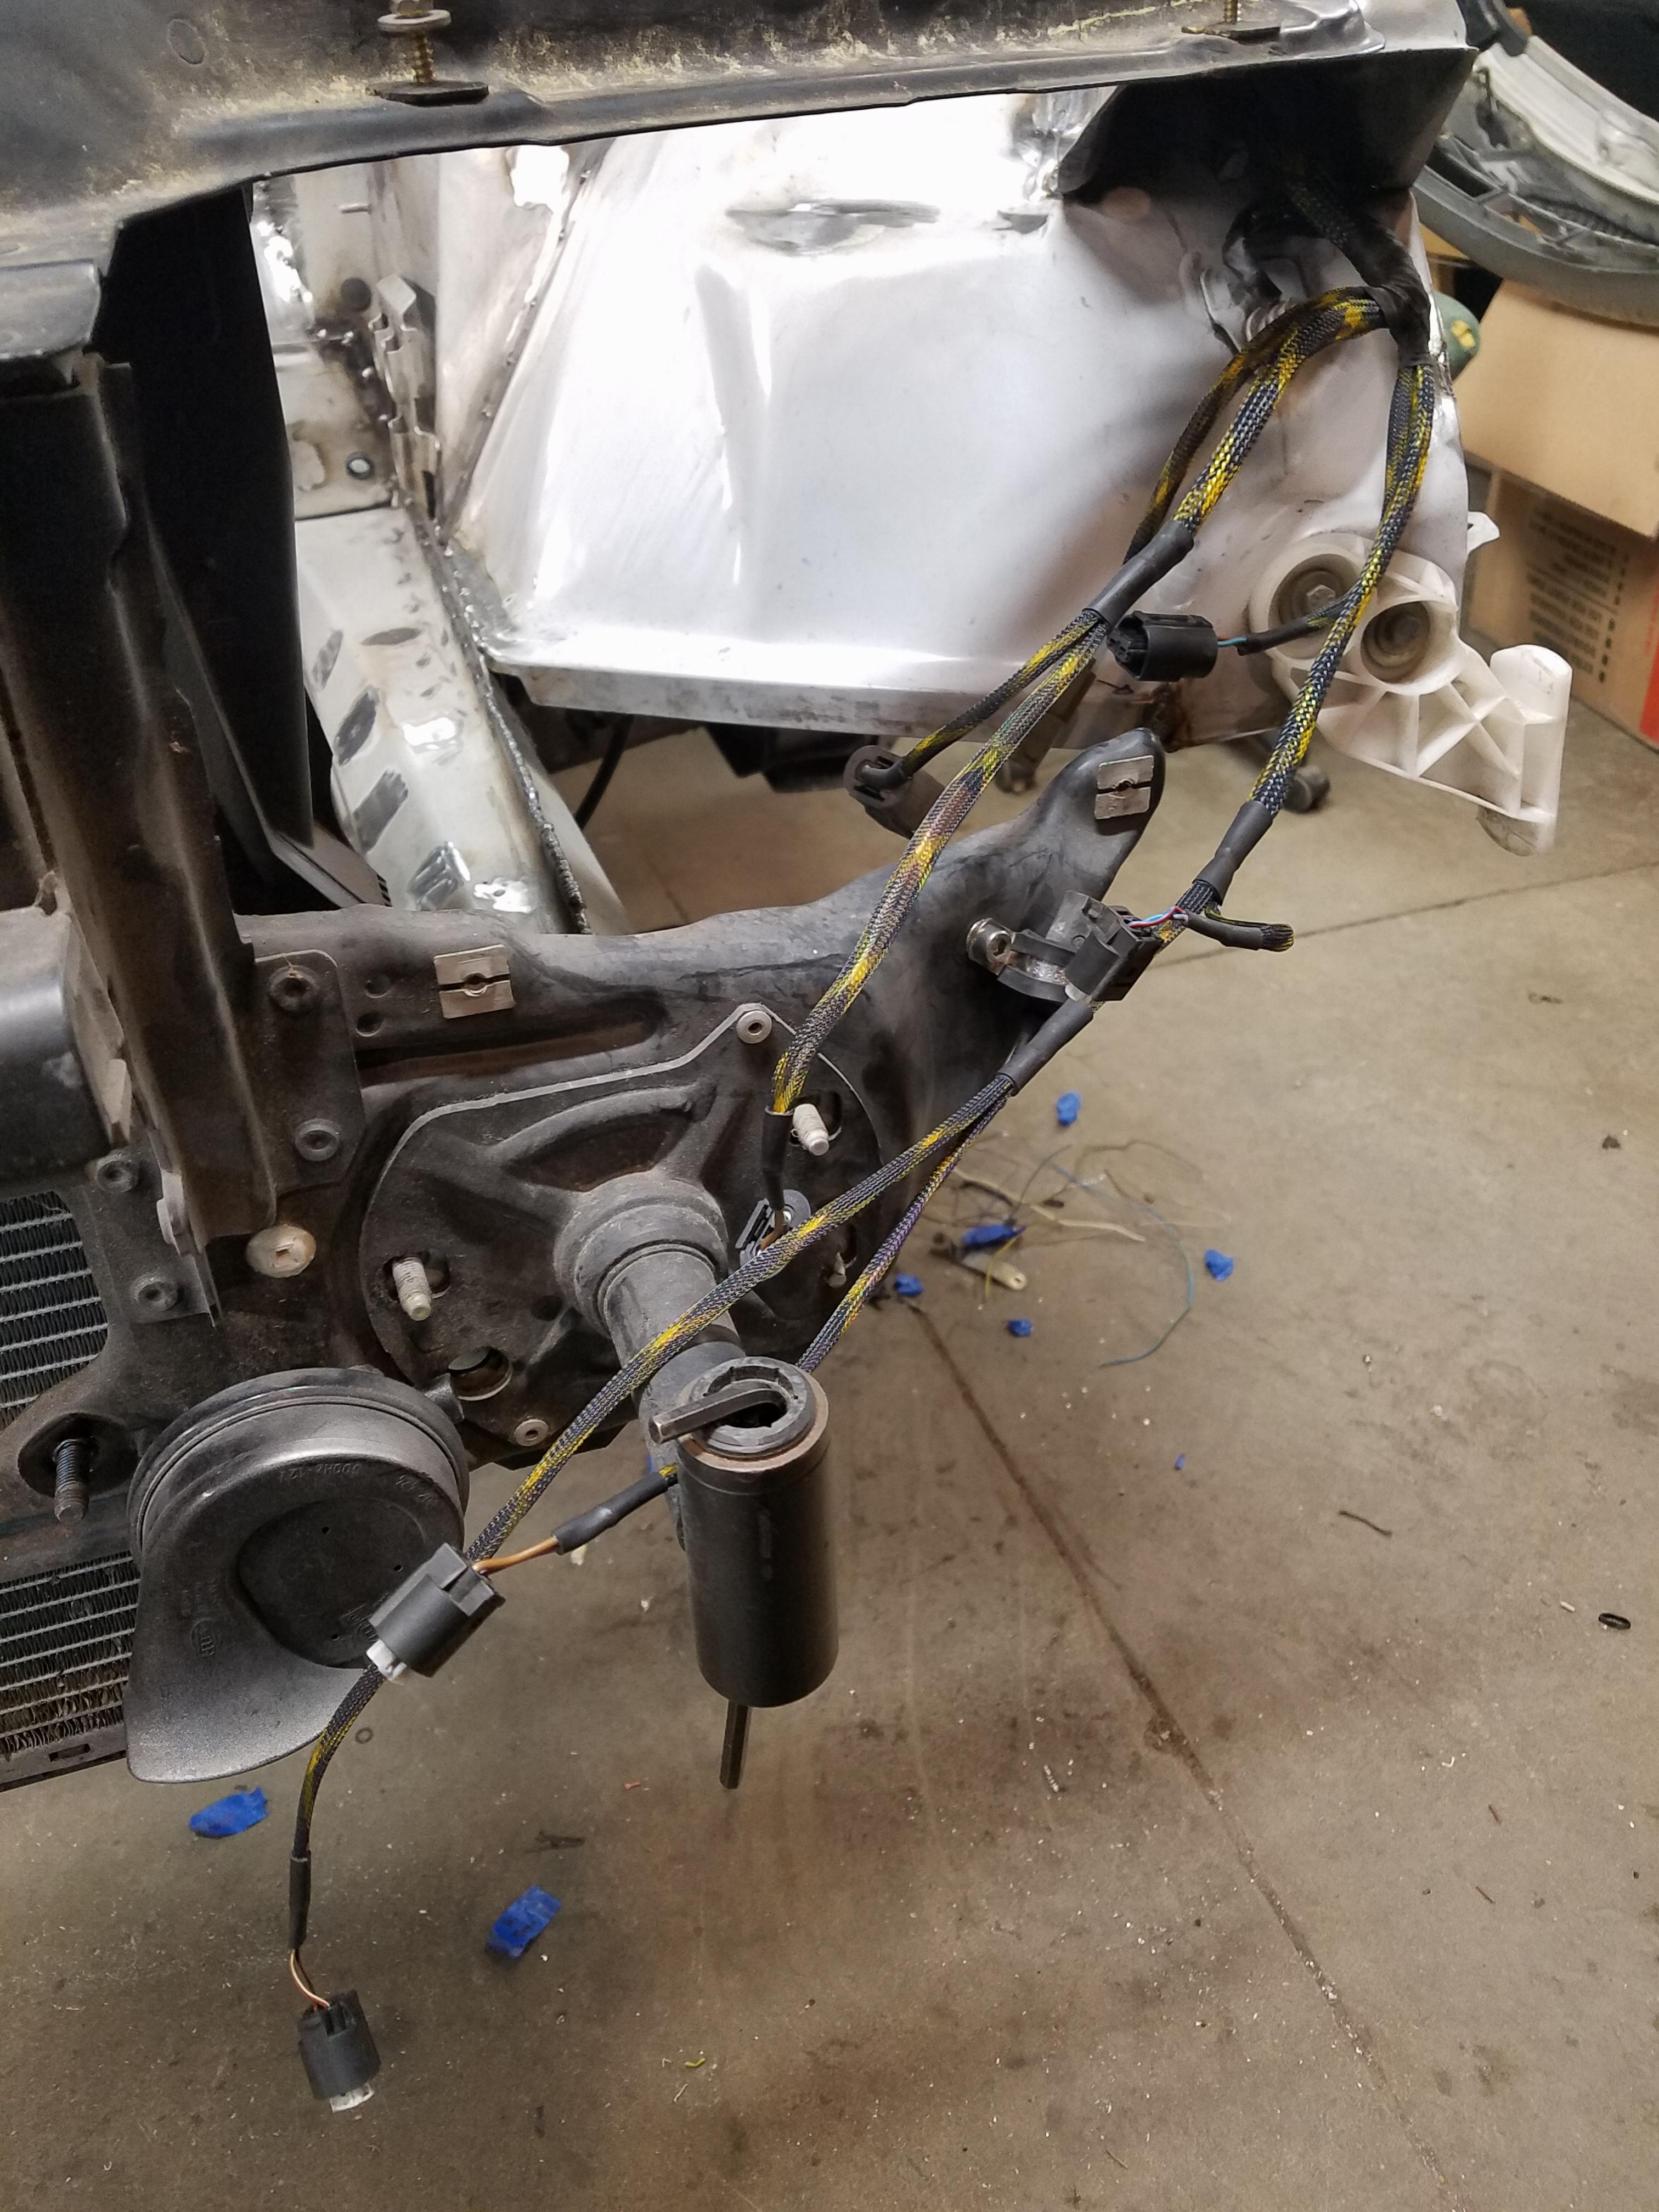
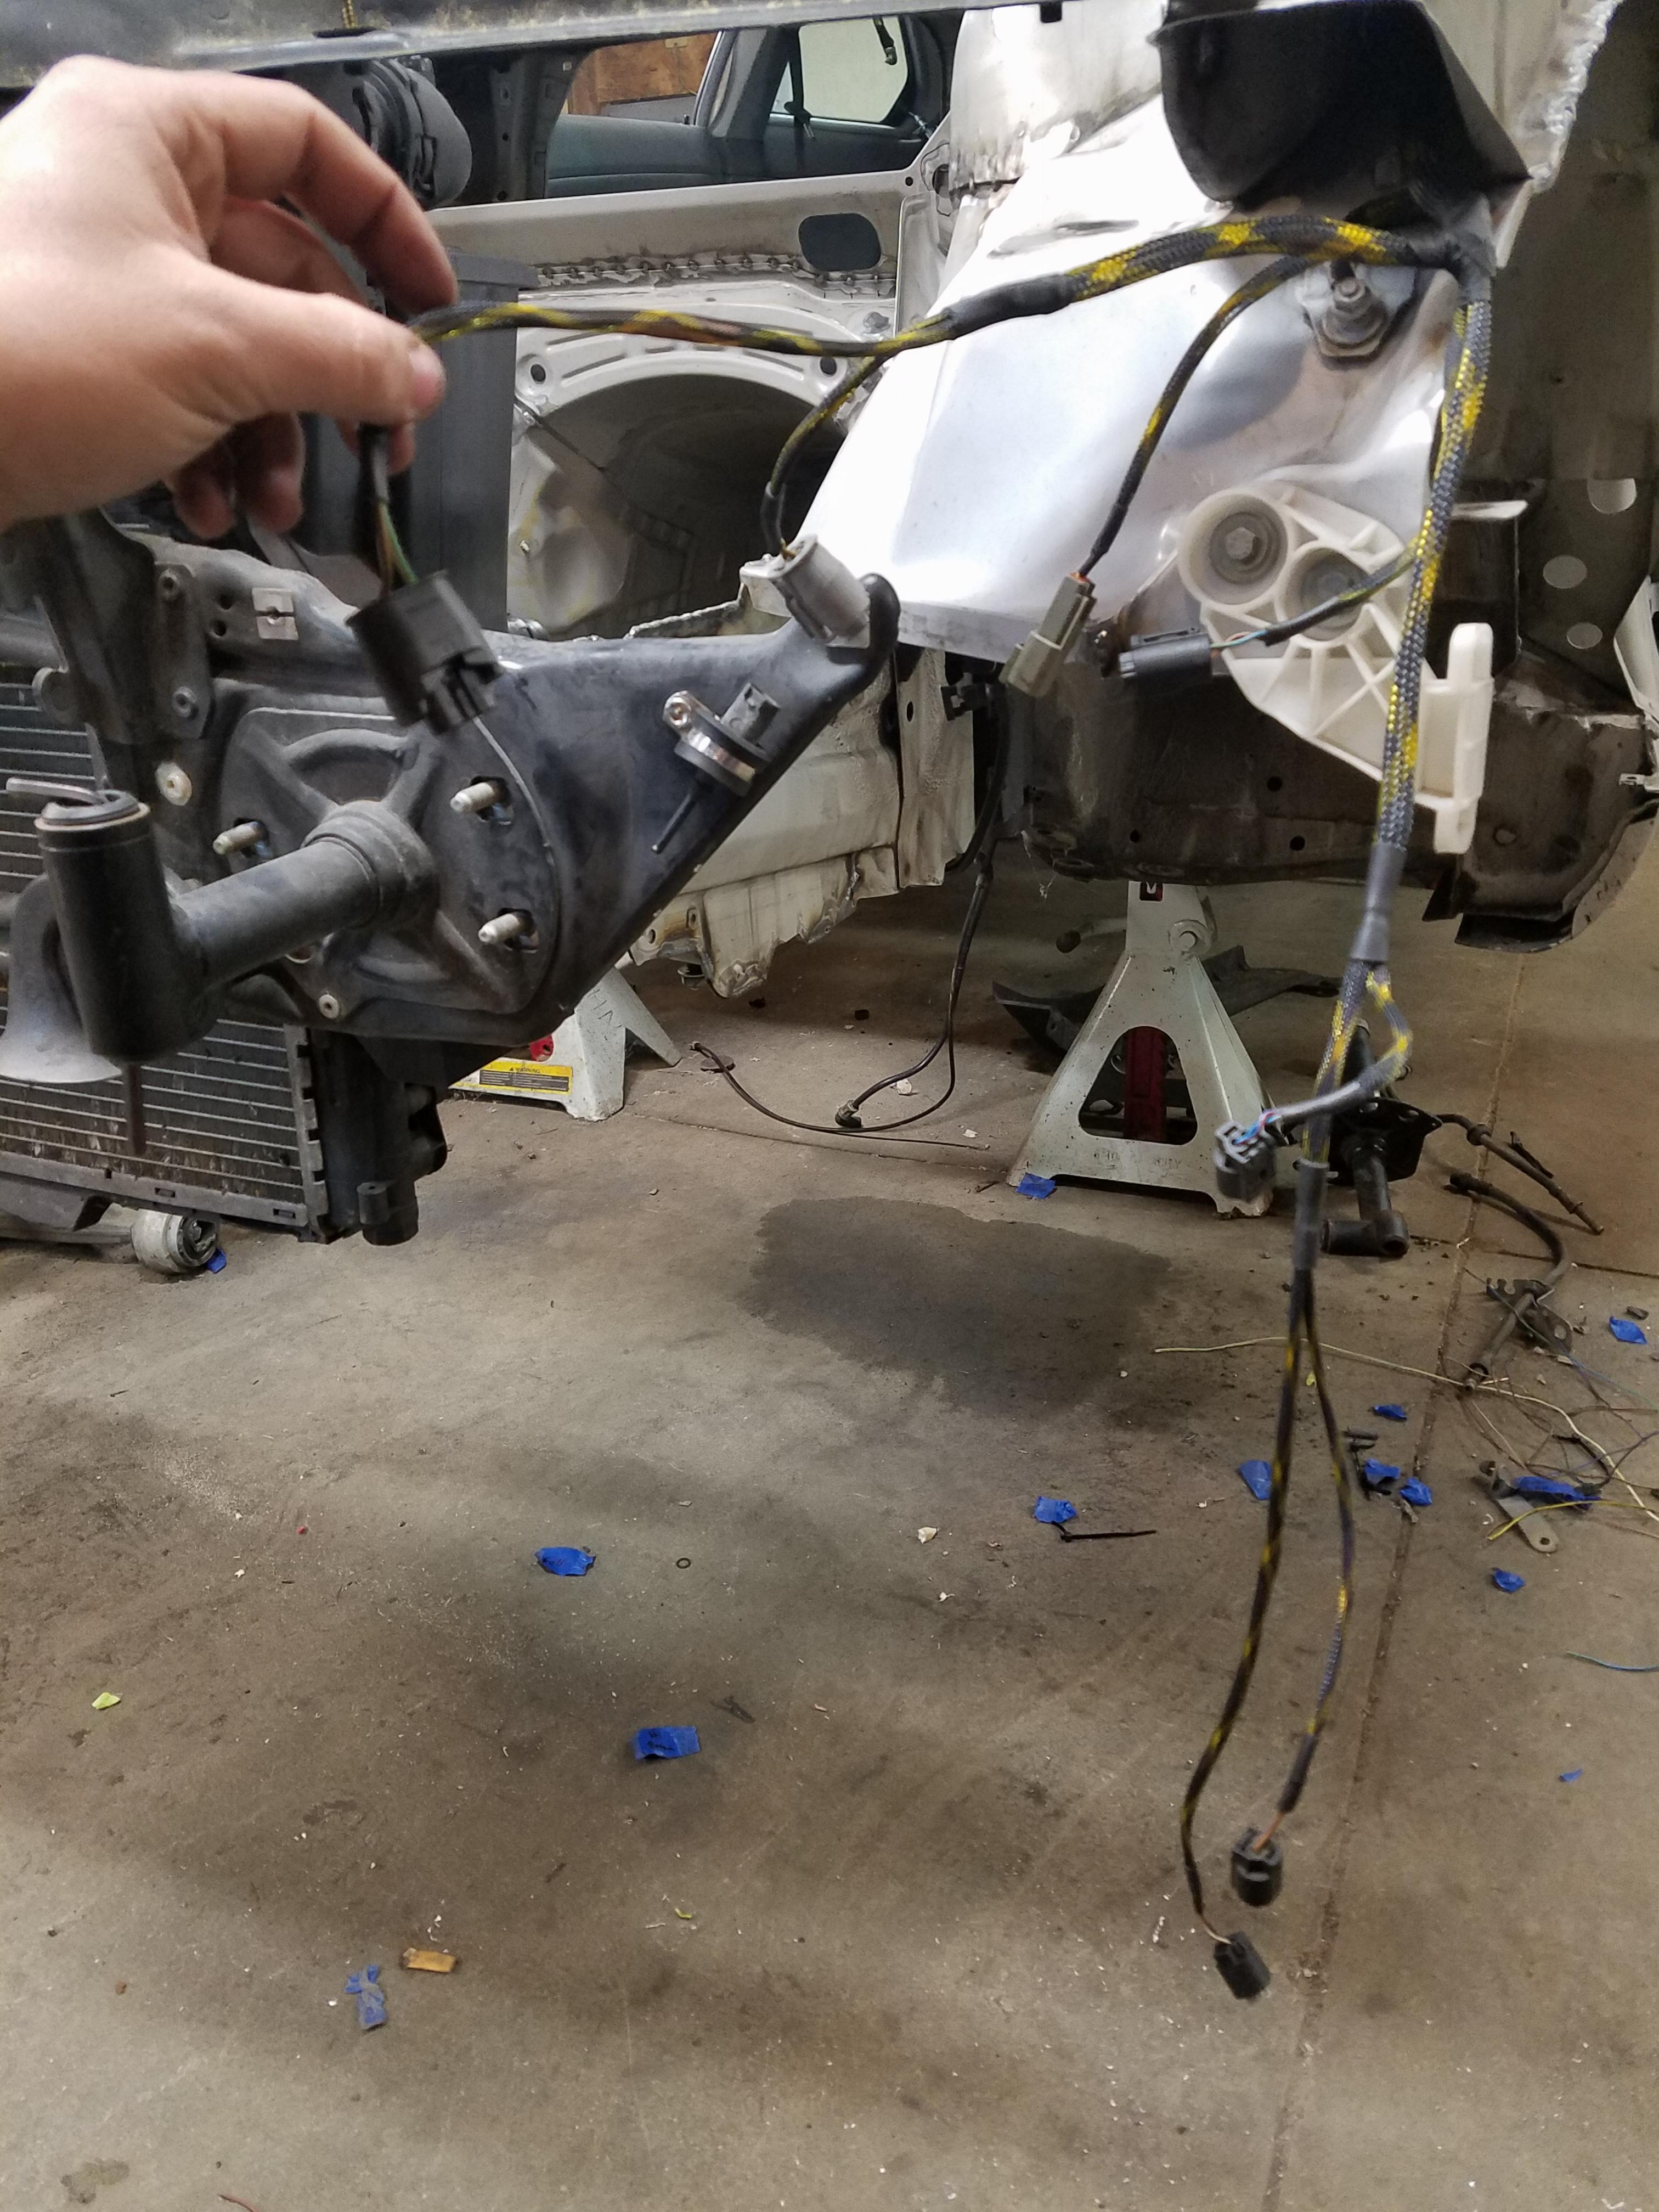
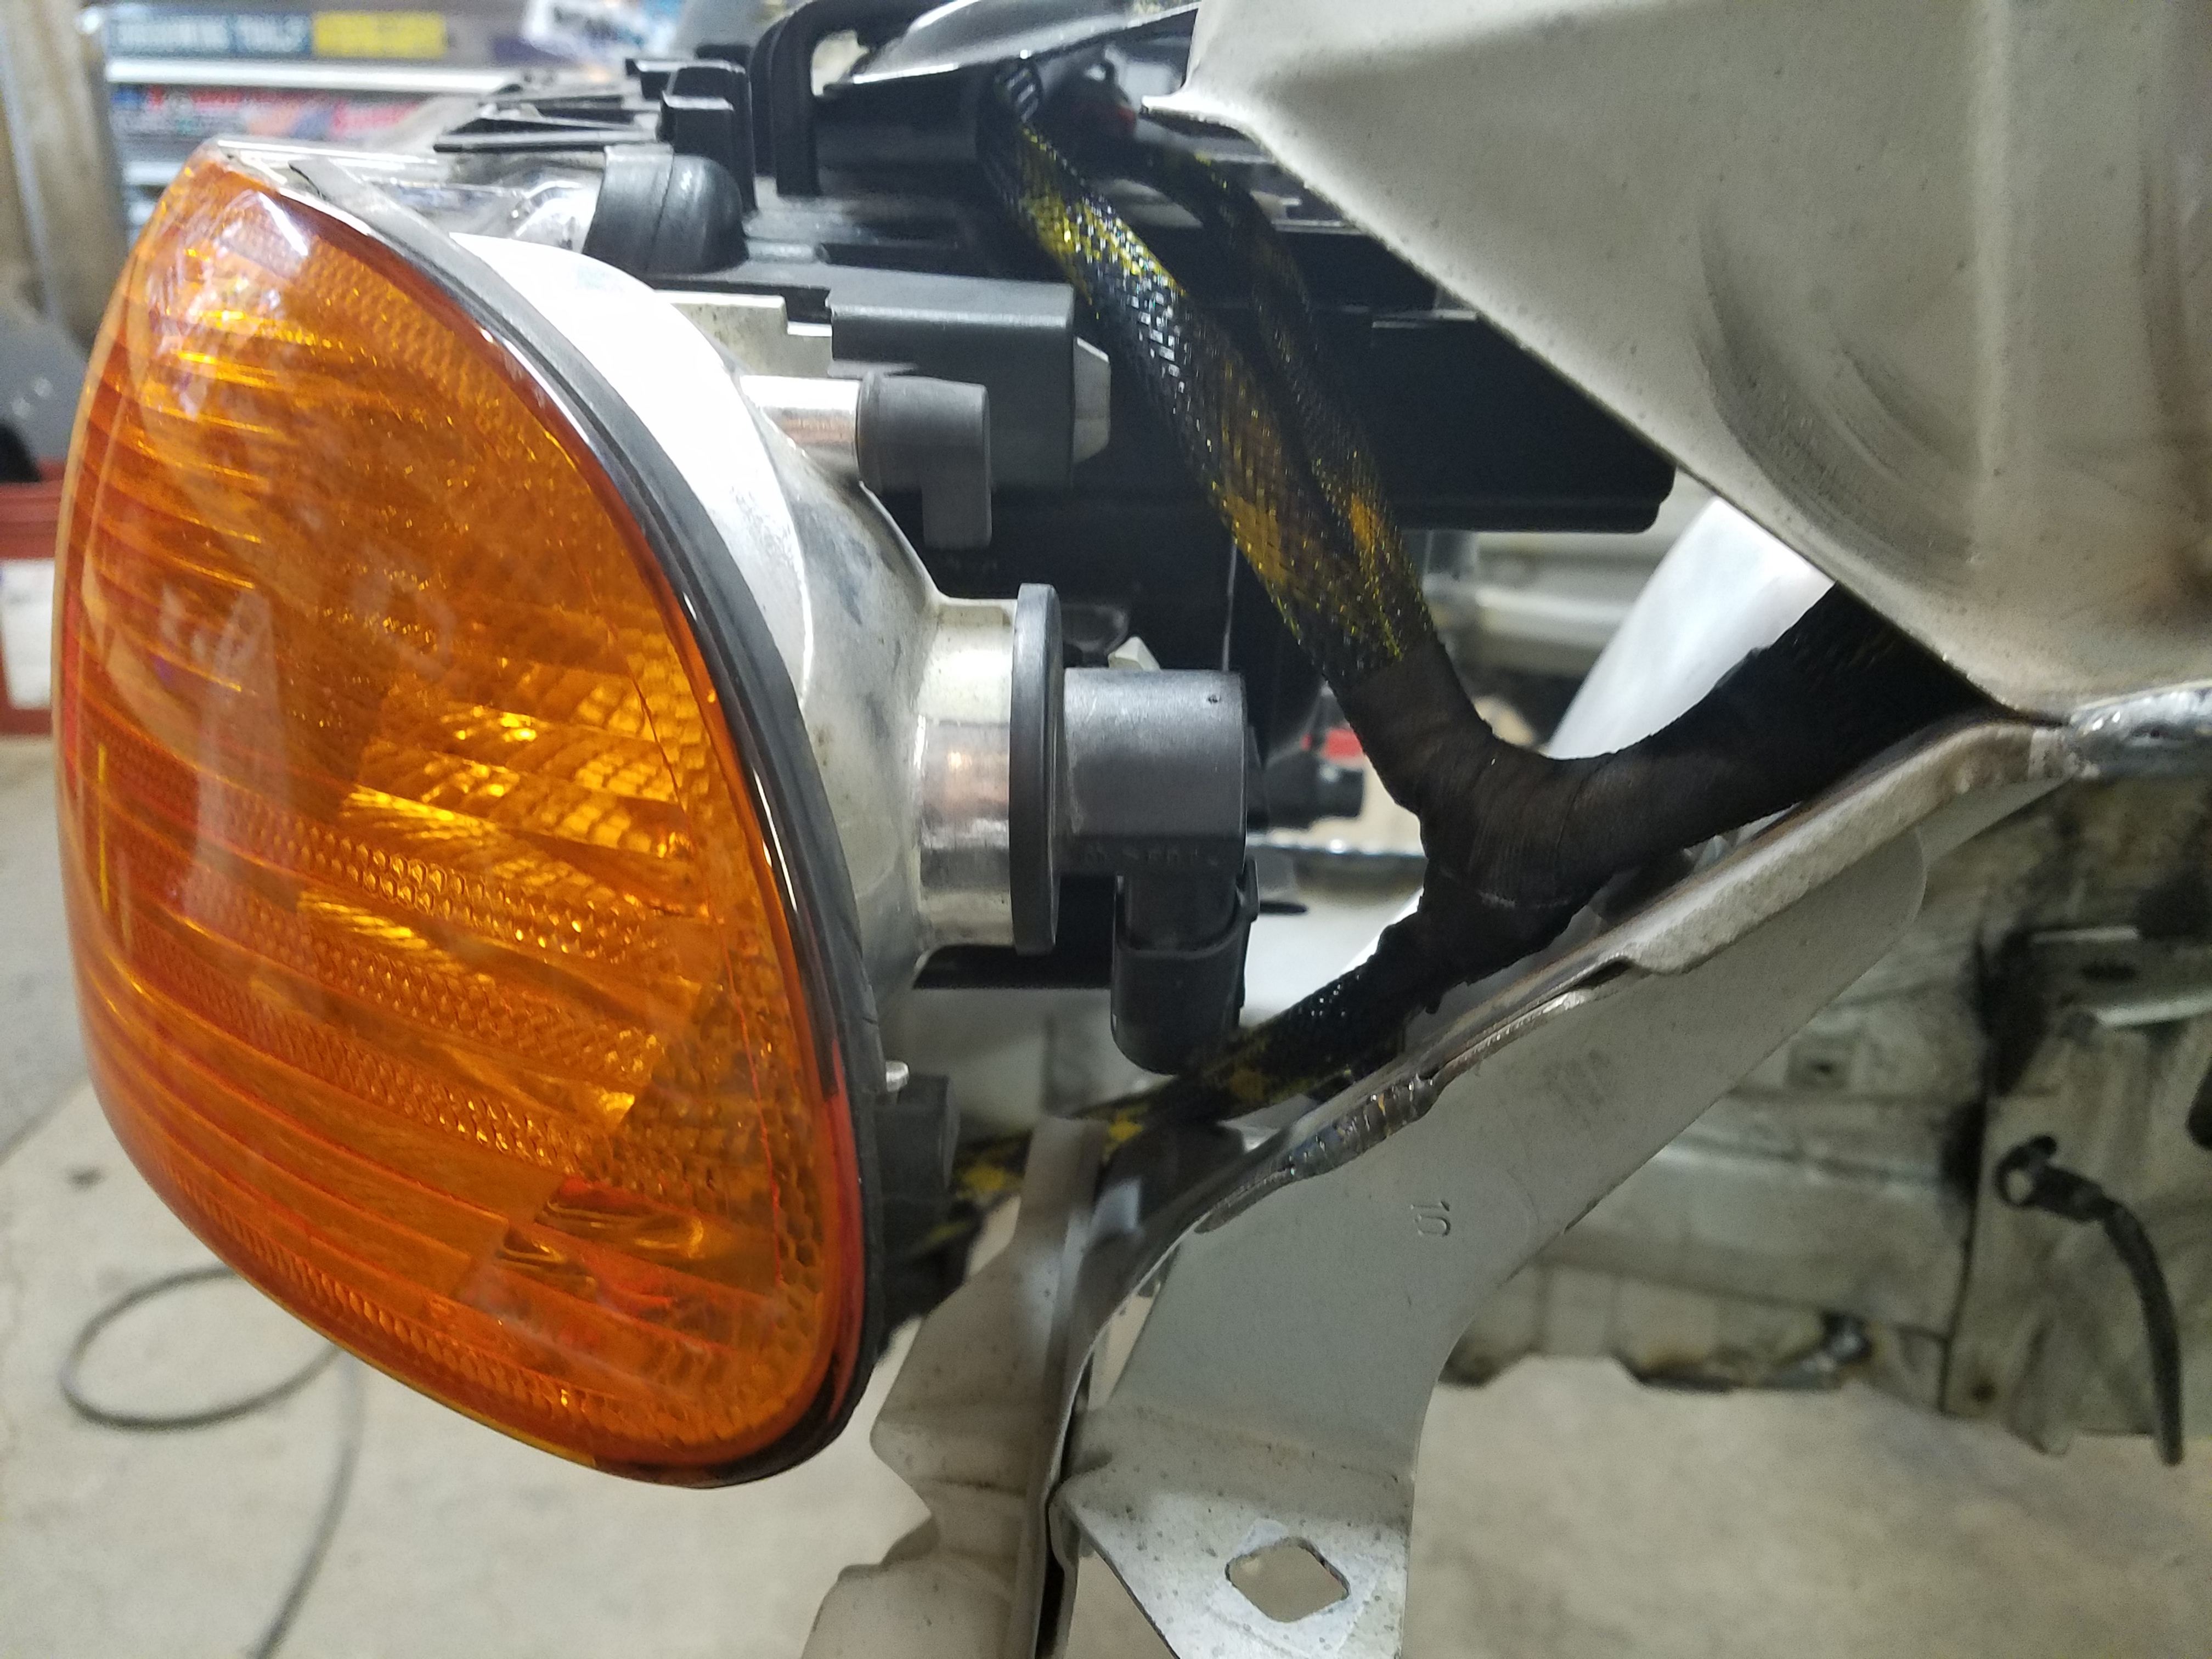
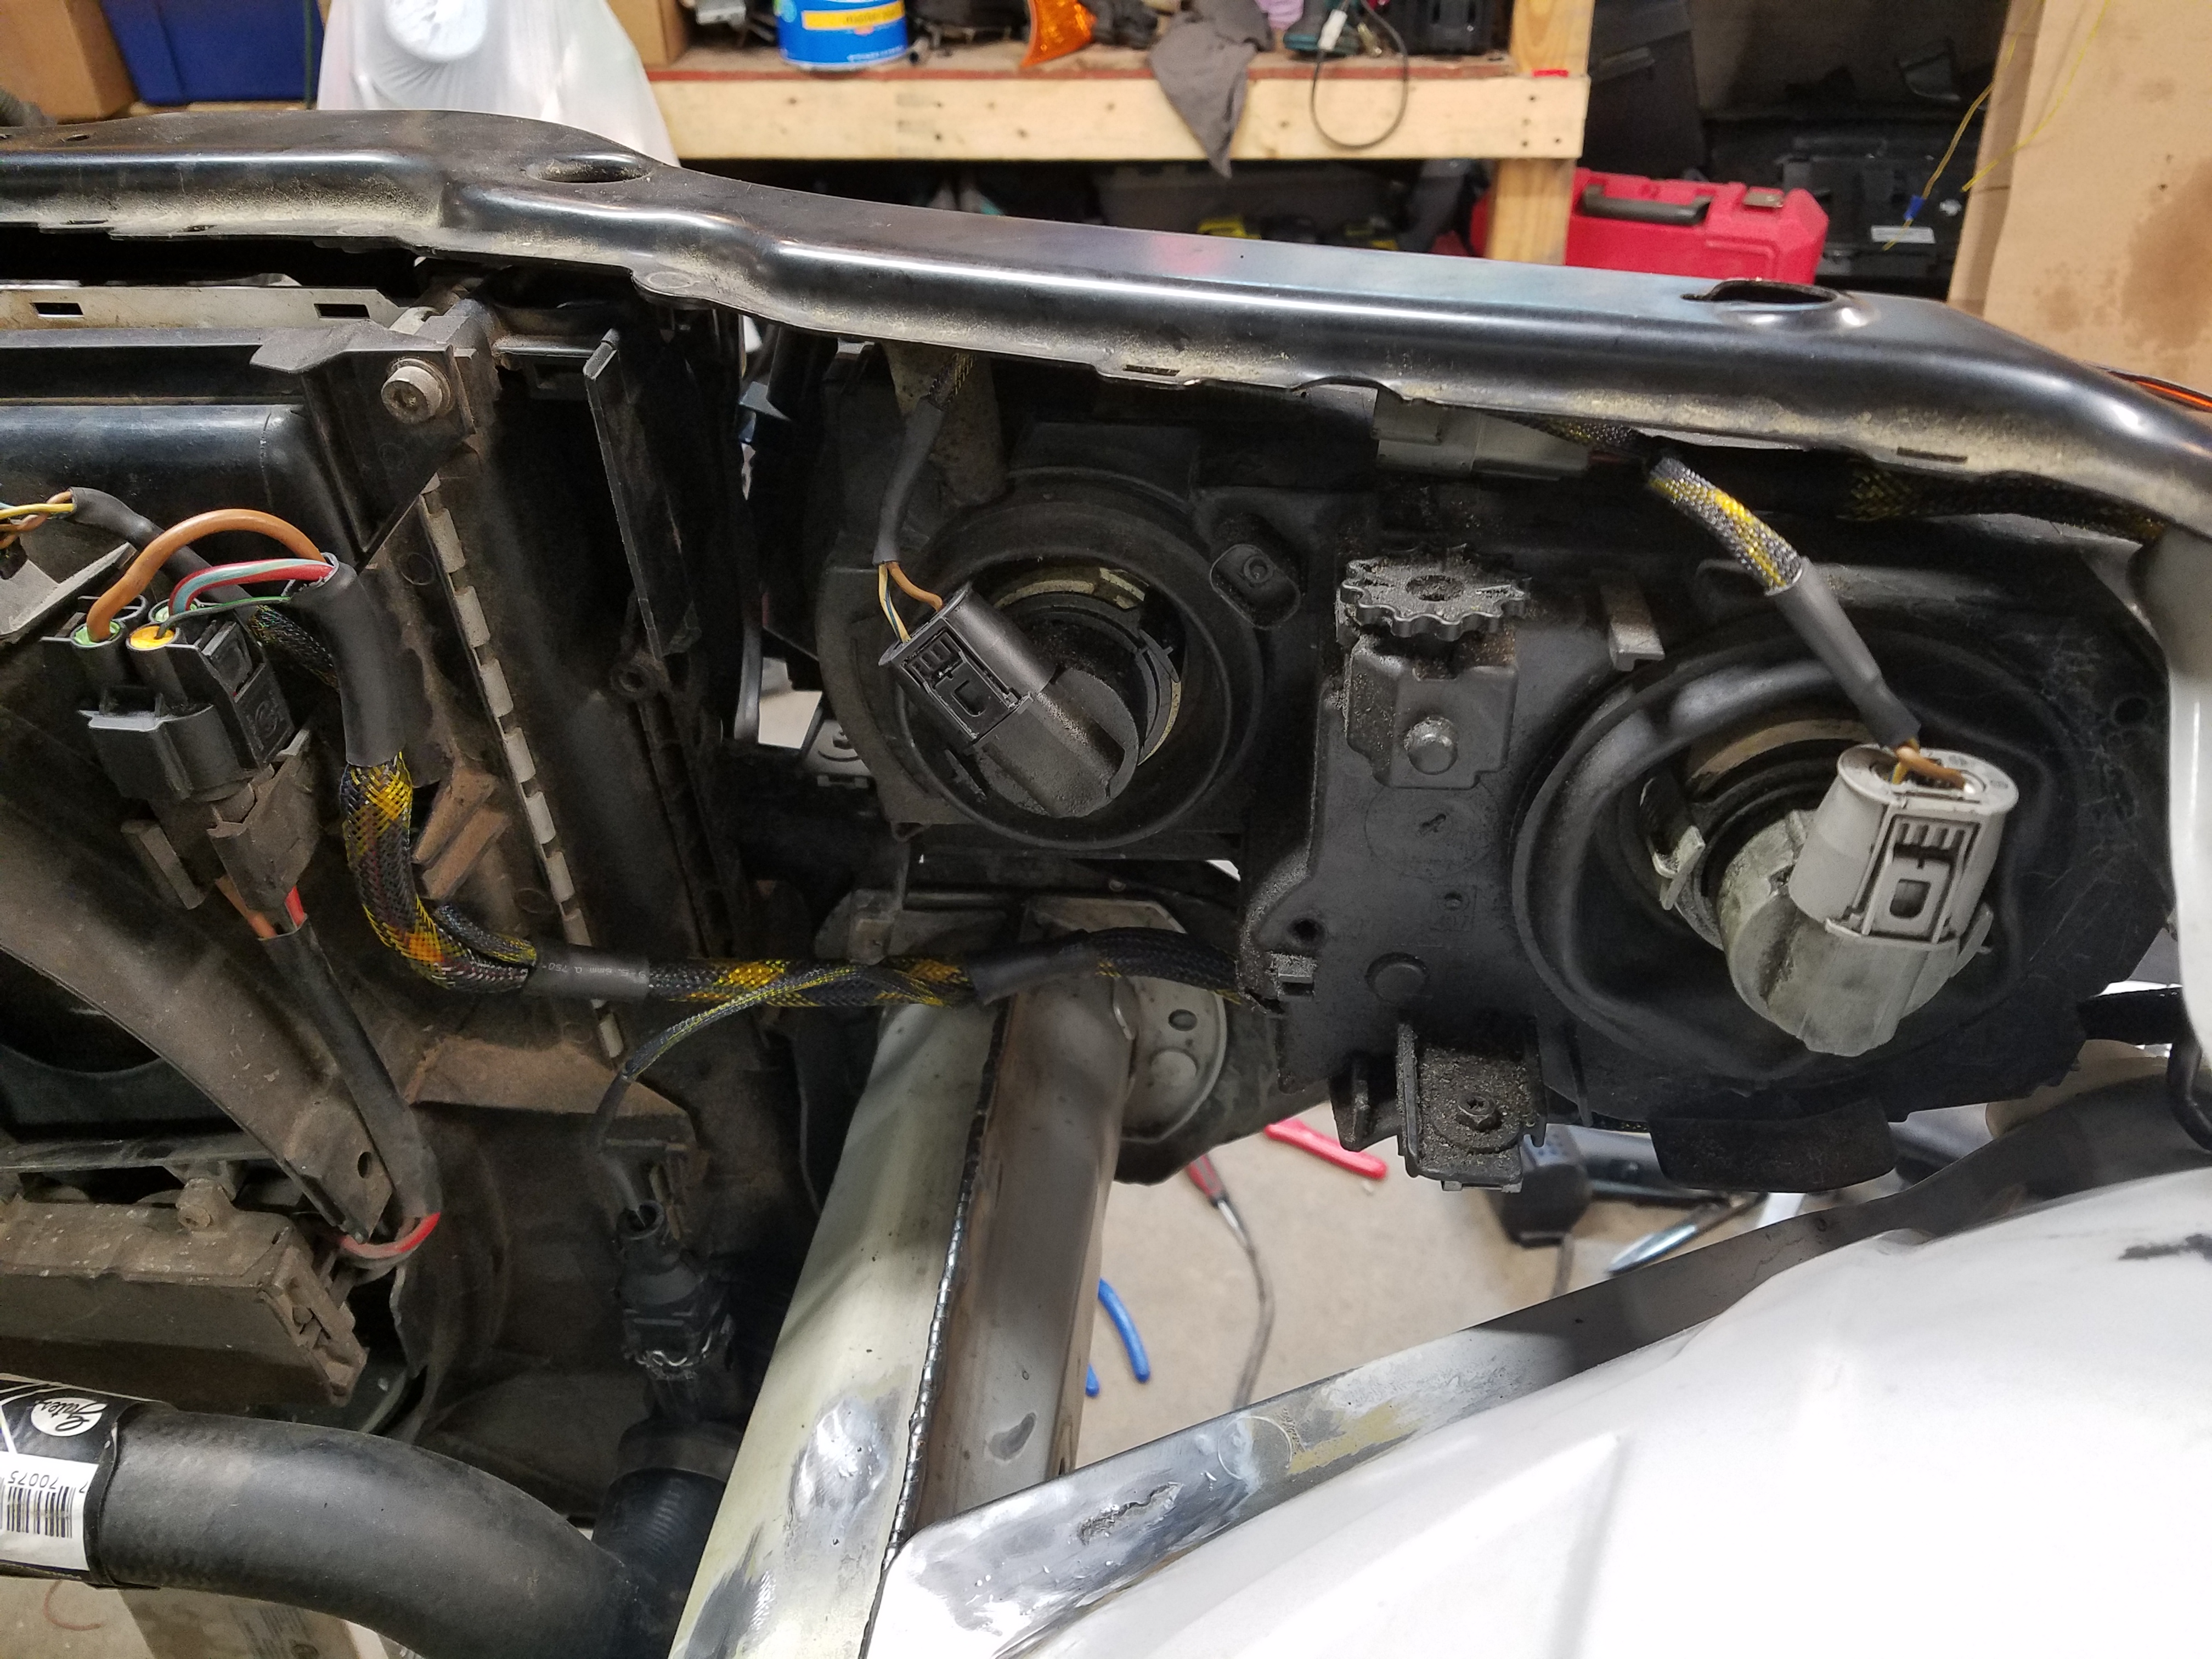
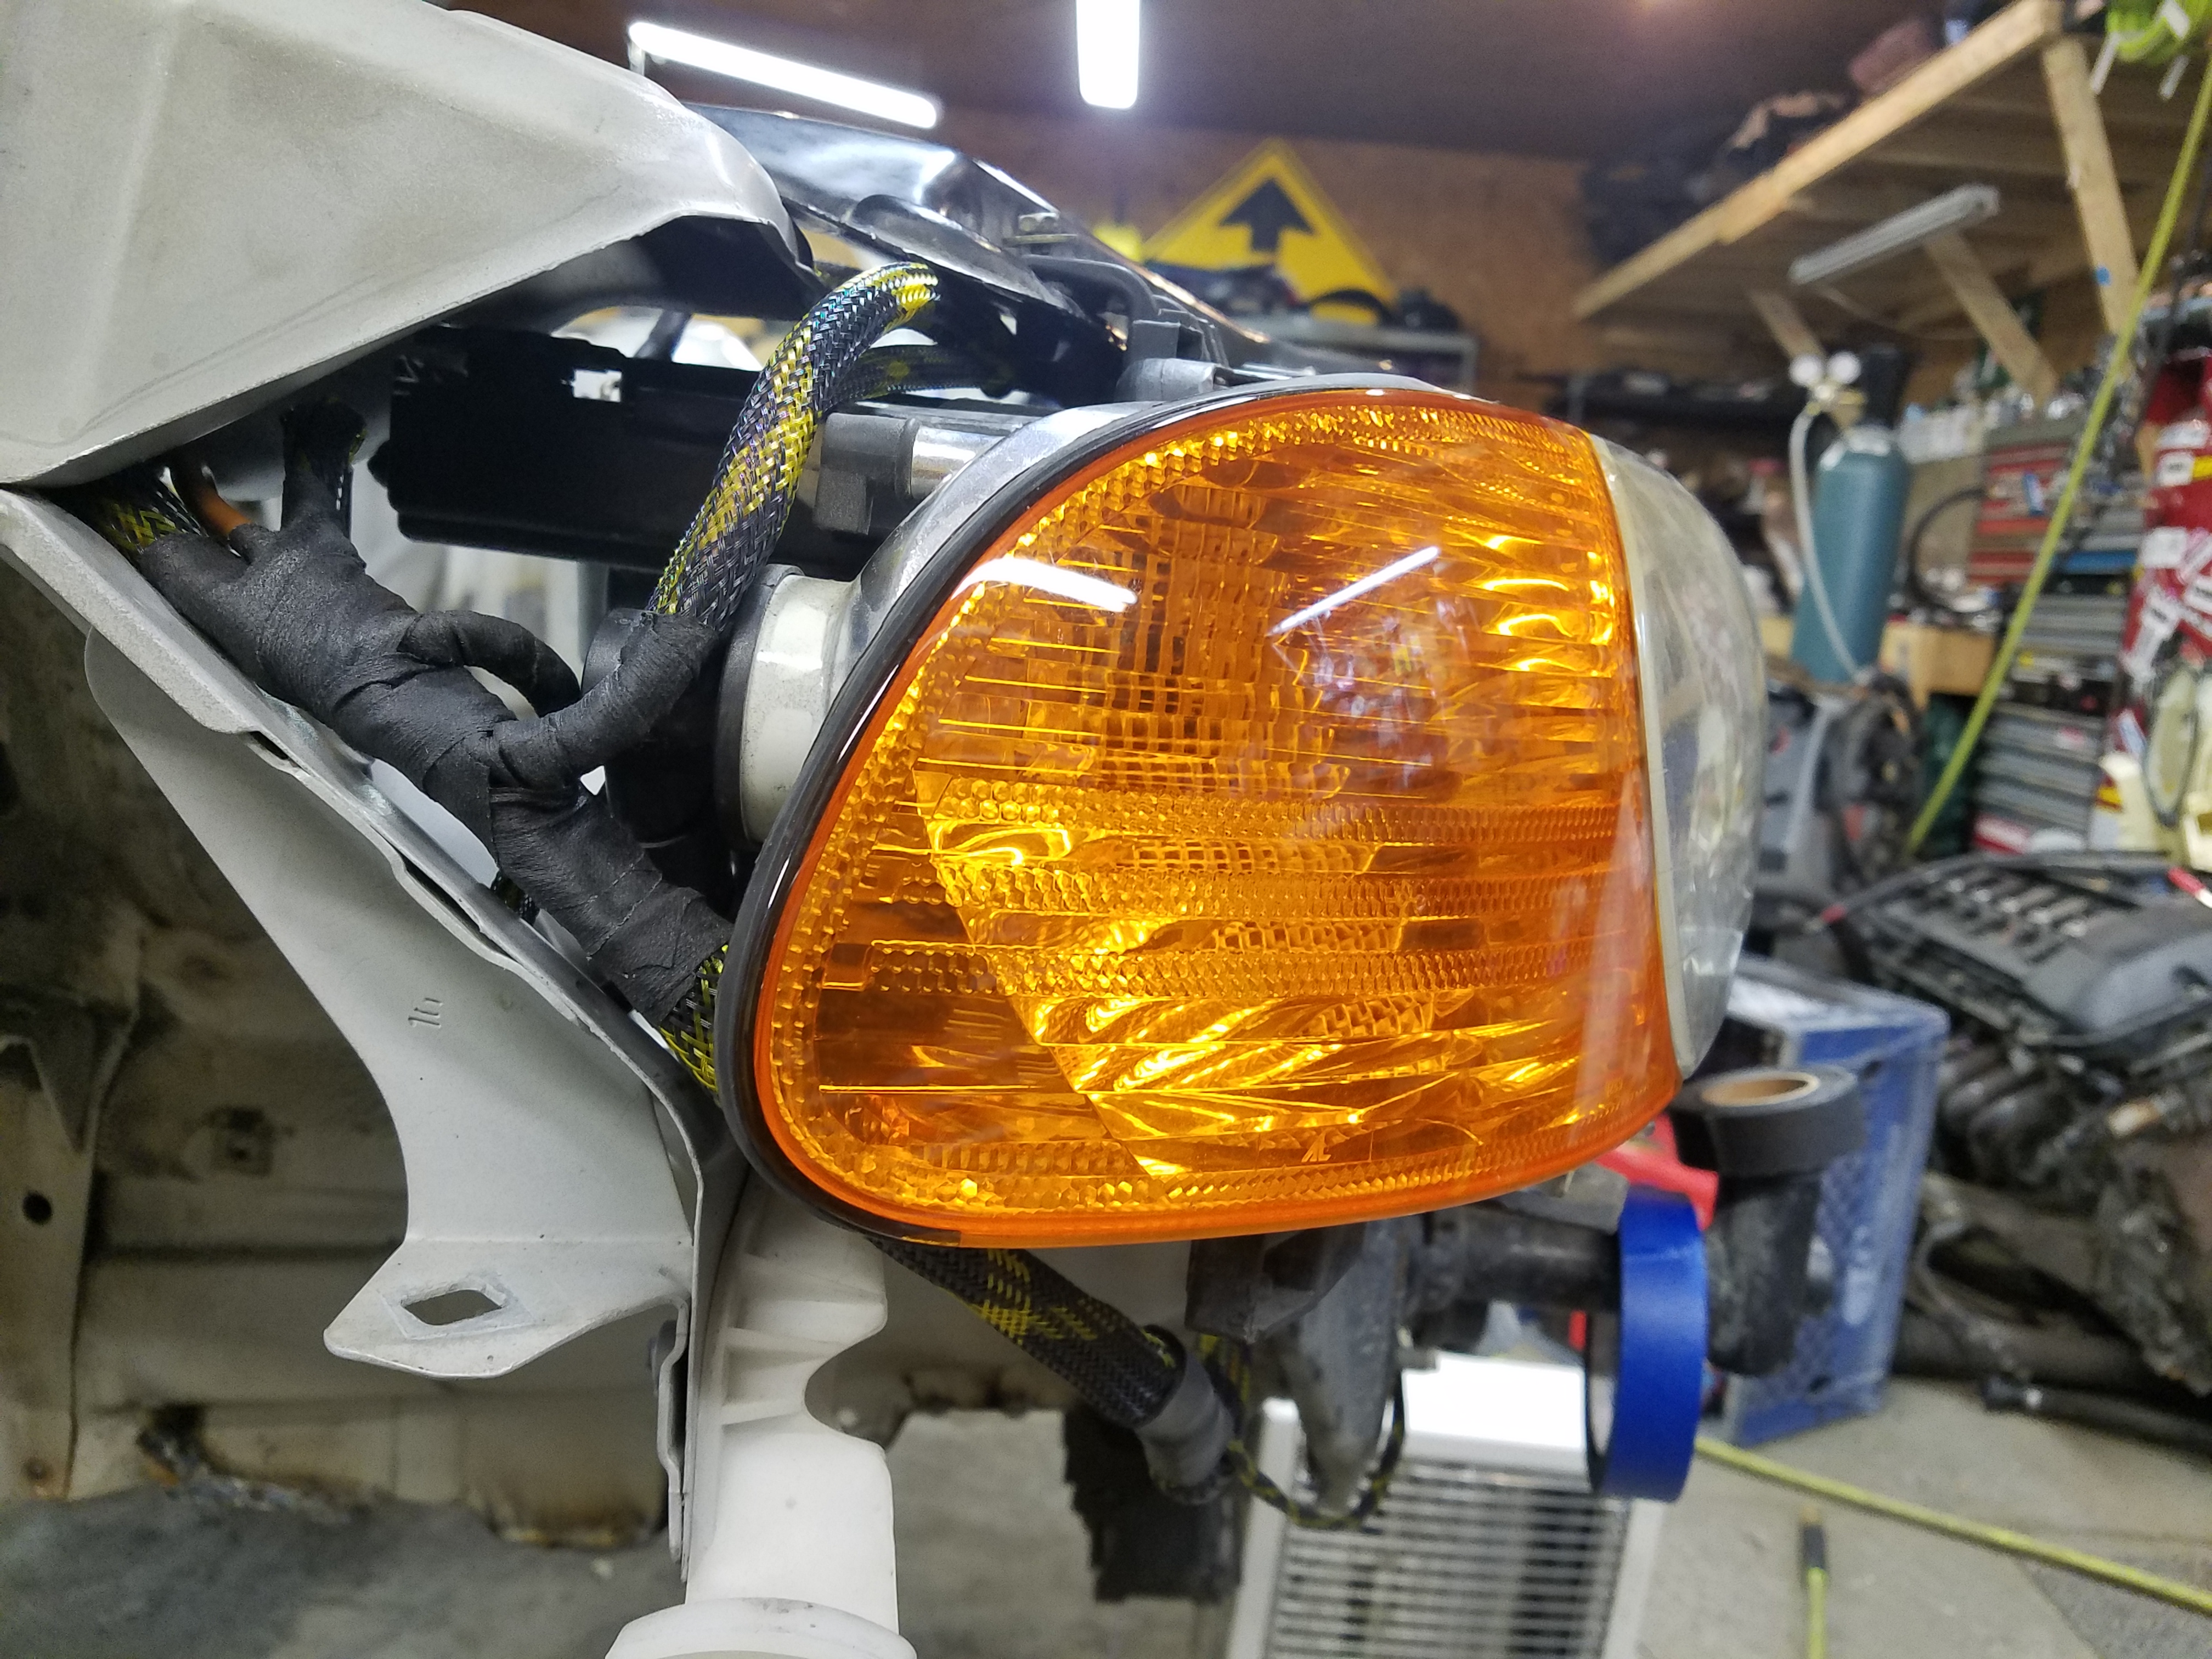
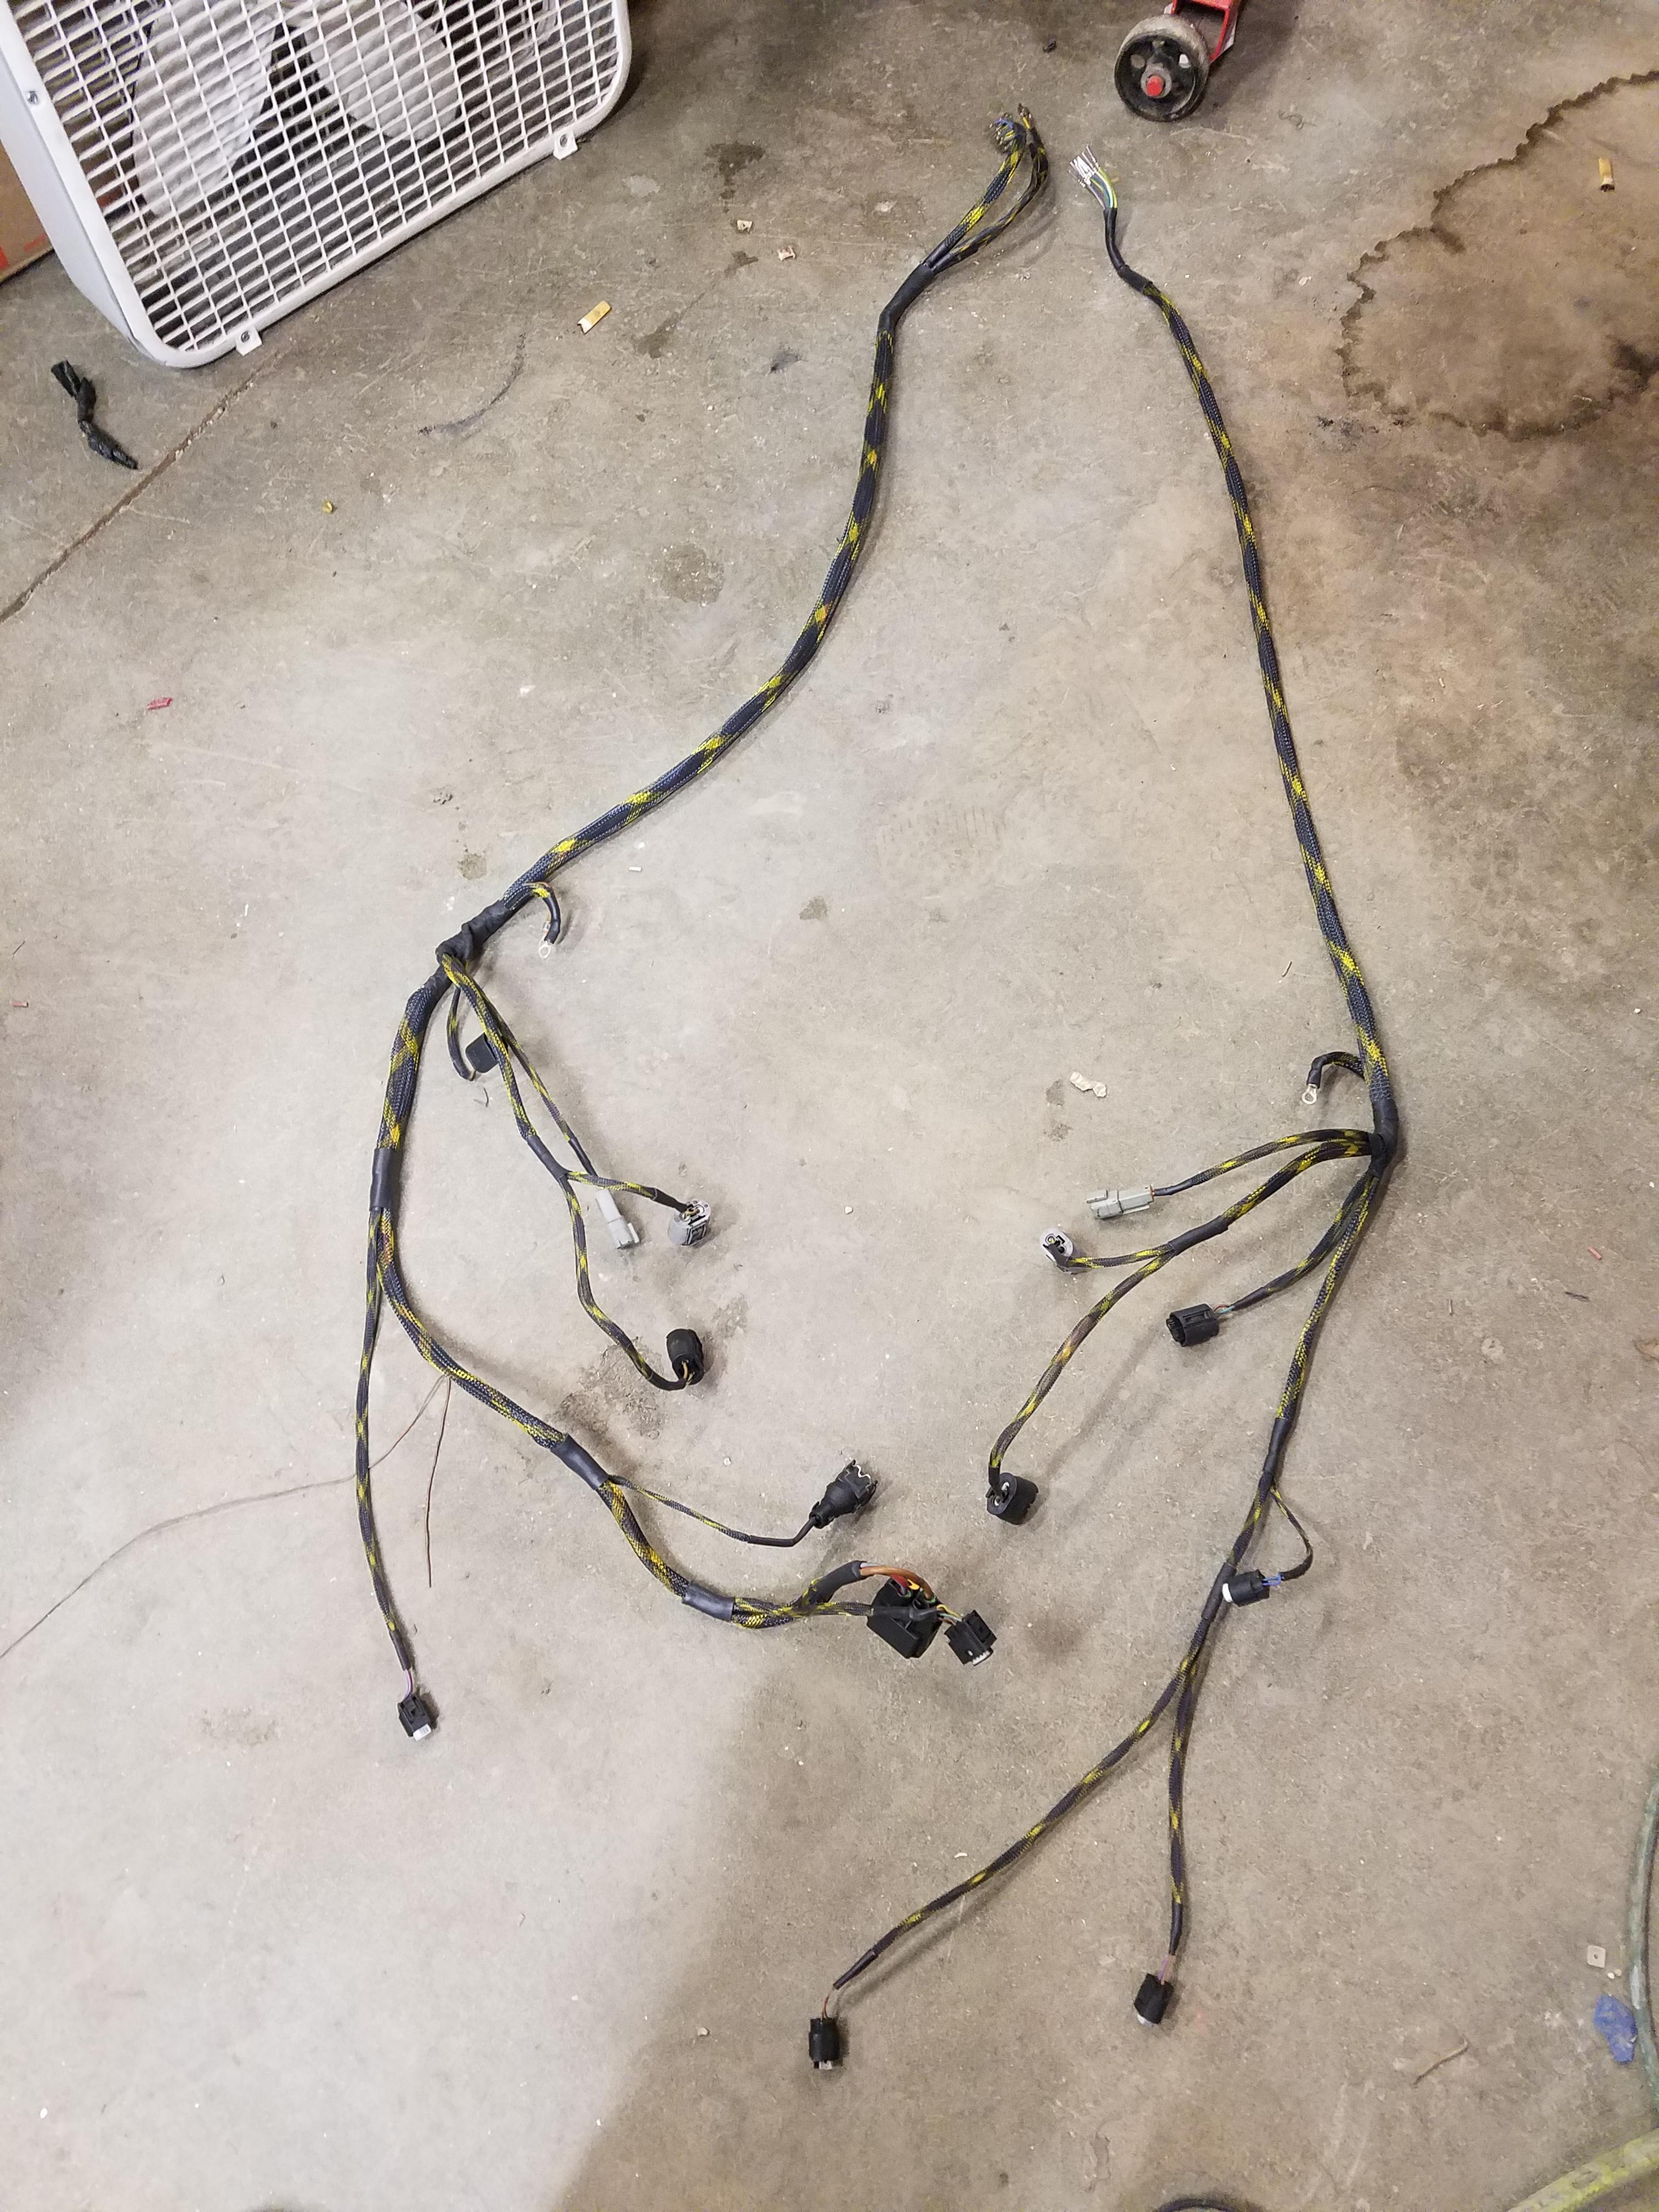
All of the wiring is wrapped in flame resistant tech-flex and the harness connections are Deutsch plugs as well.
Here is the passenger side connections.
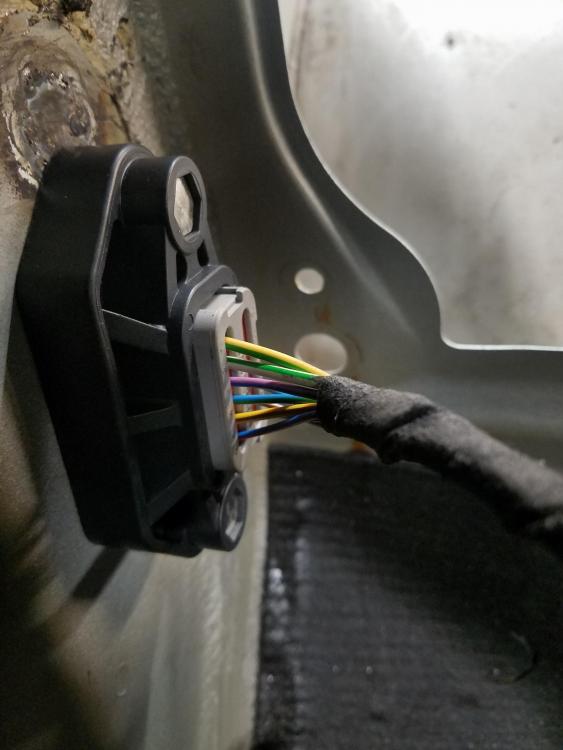
And on the driver side I was able to use just one 12 pin bulkhead style connector.
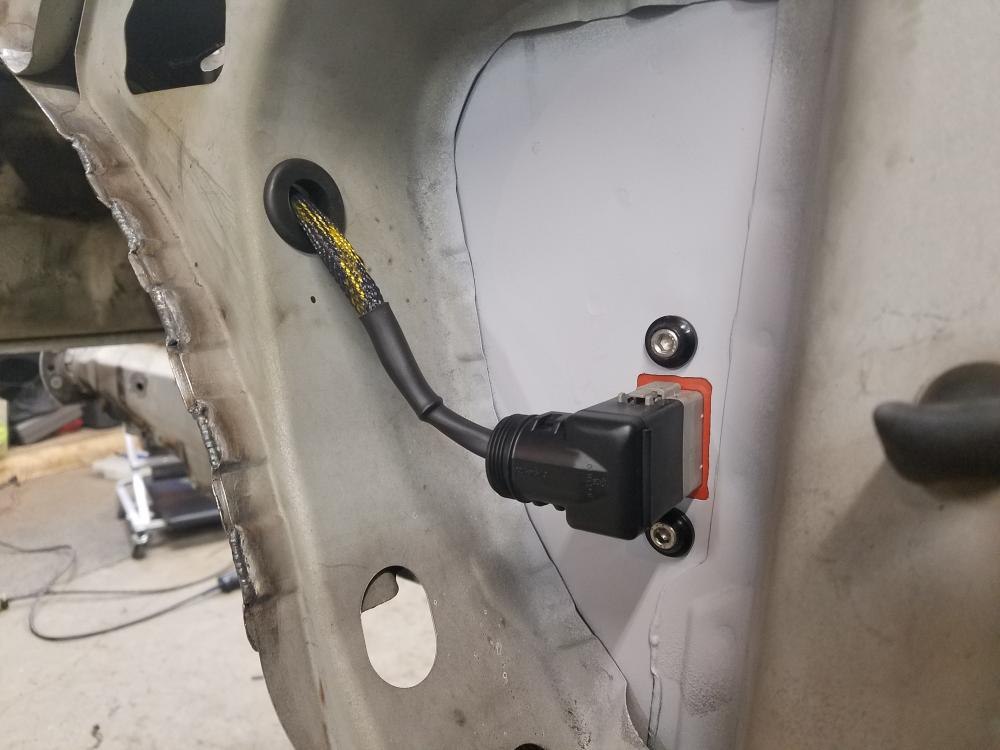
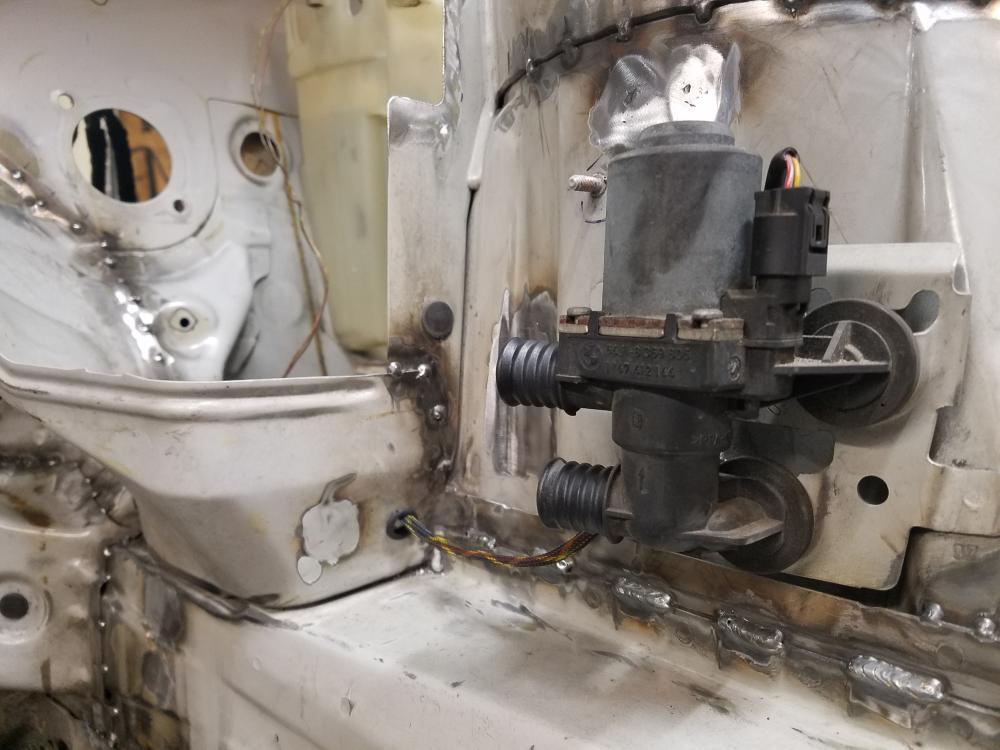
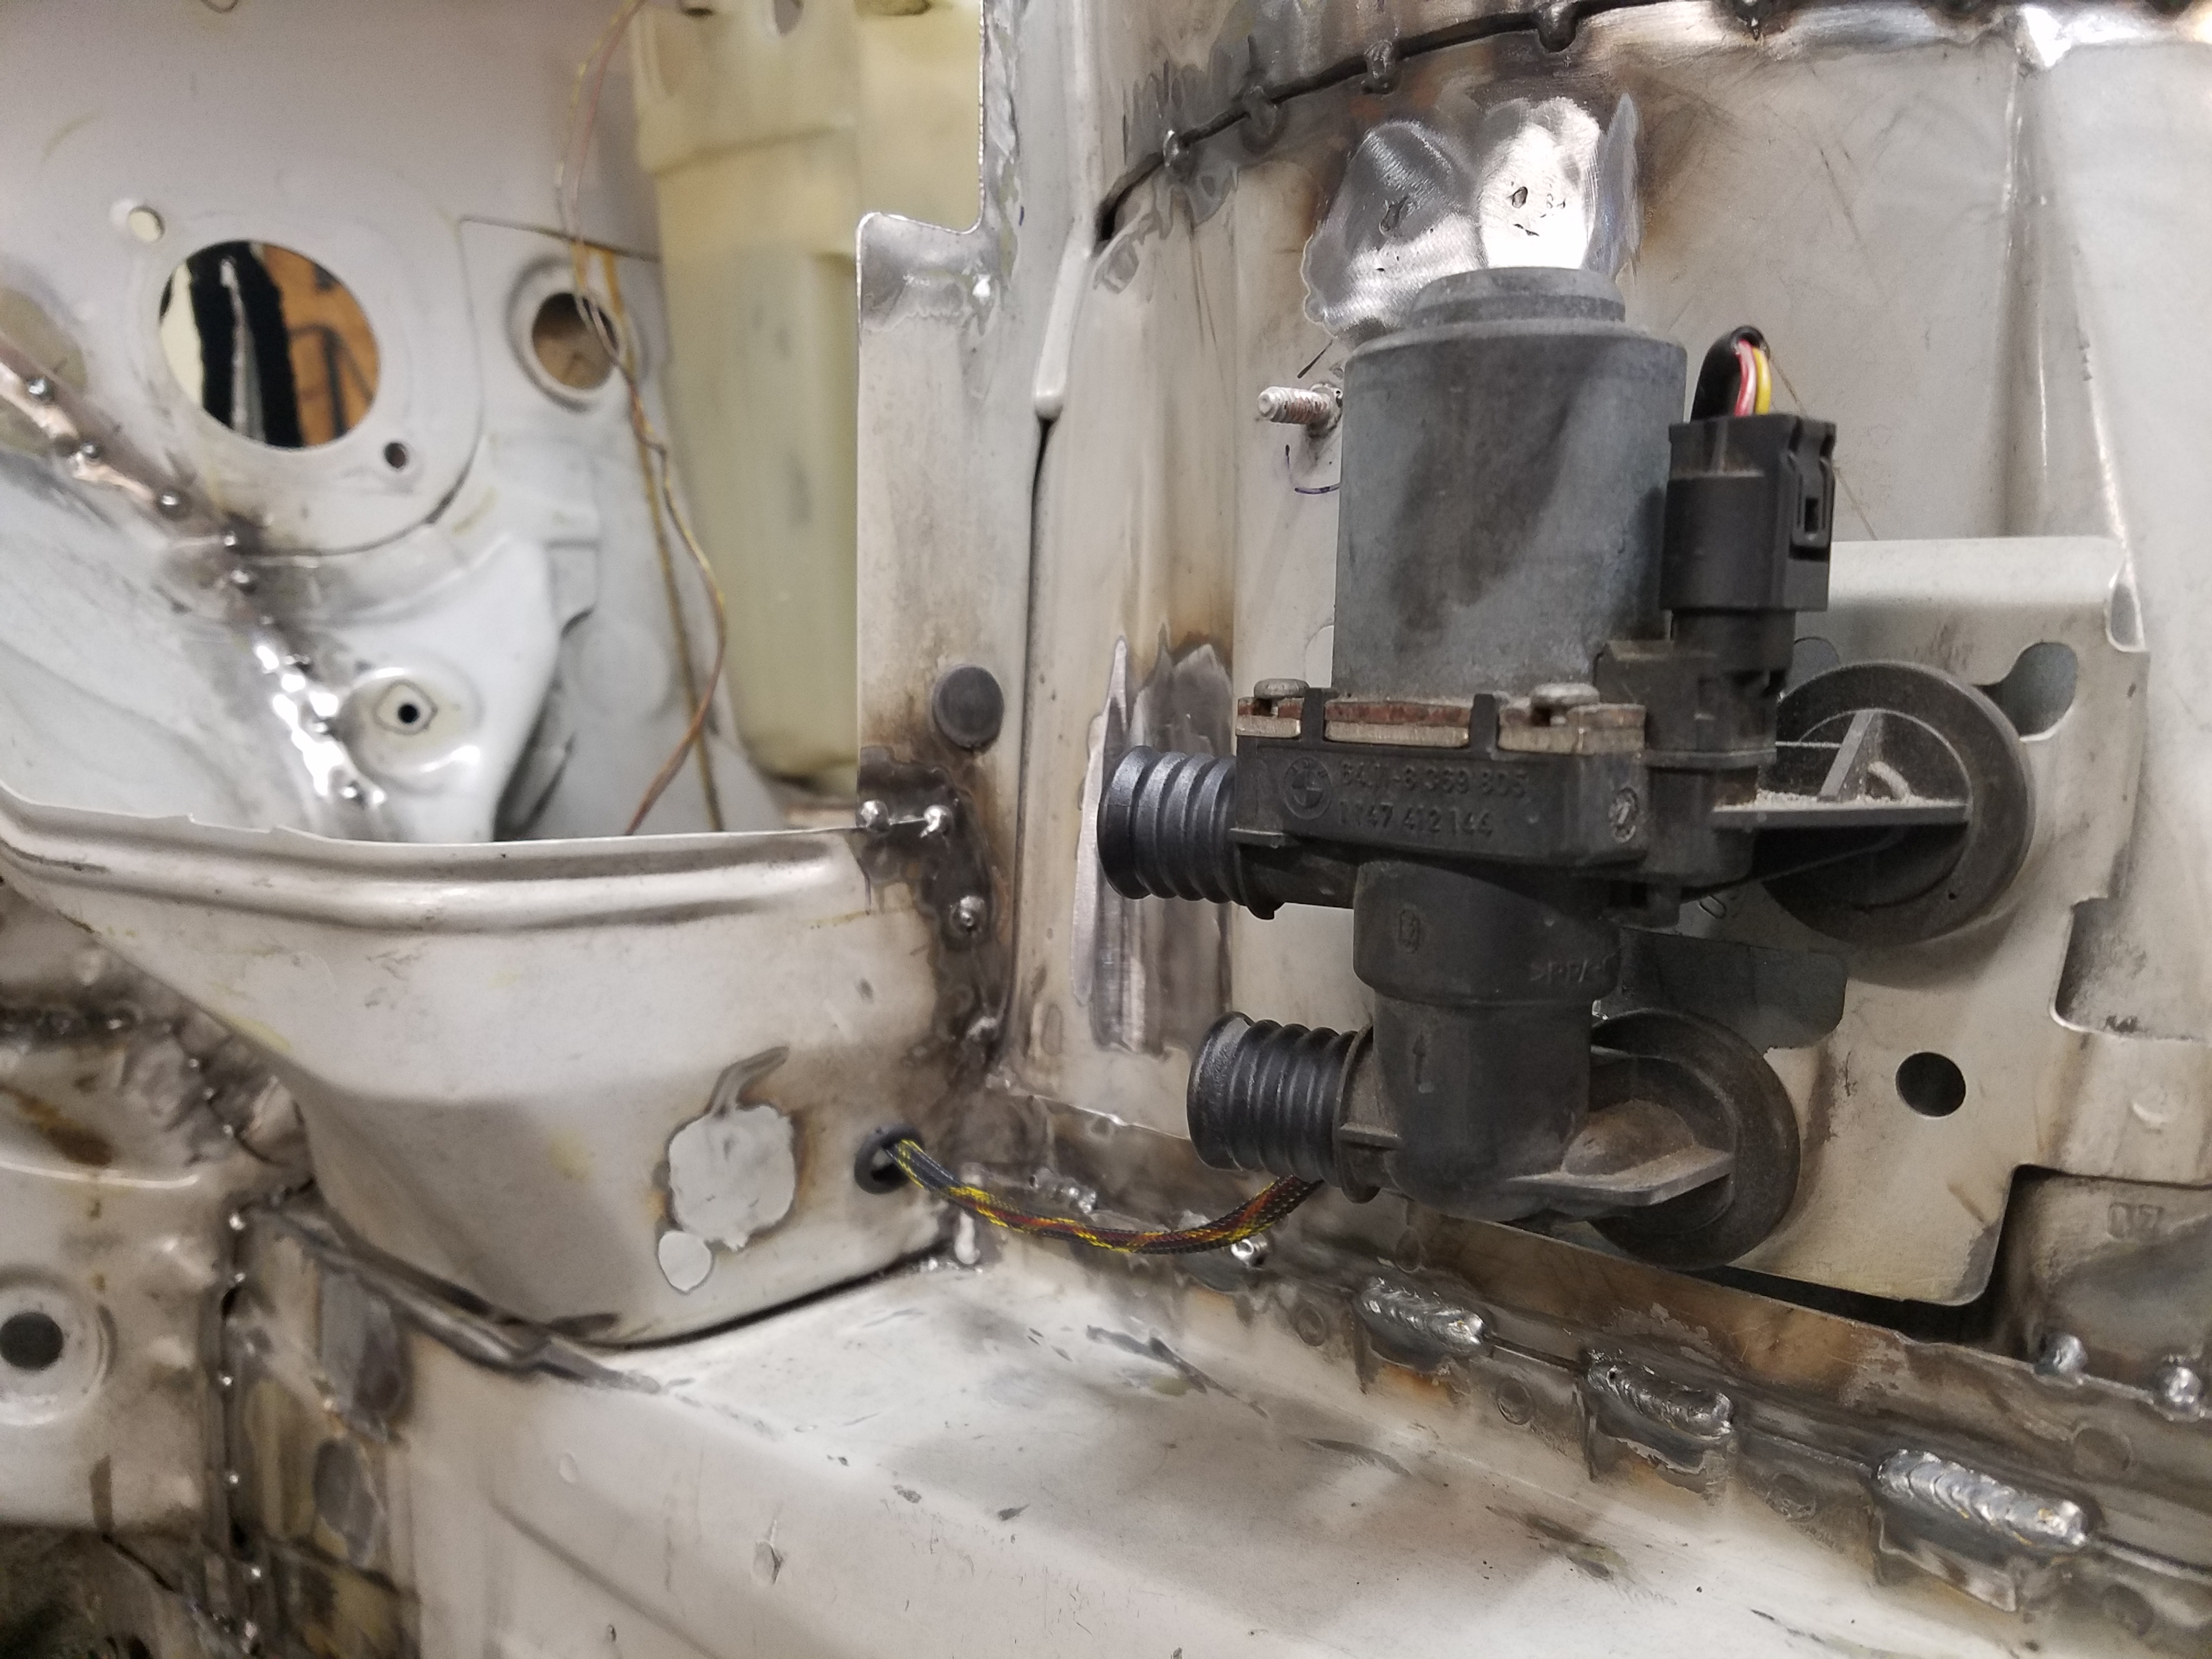
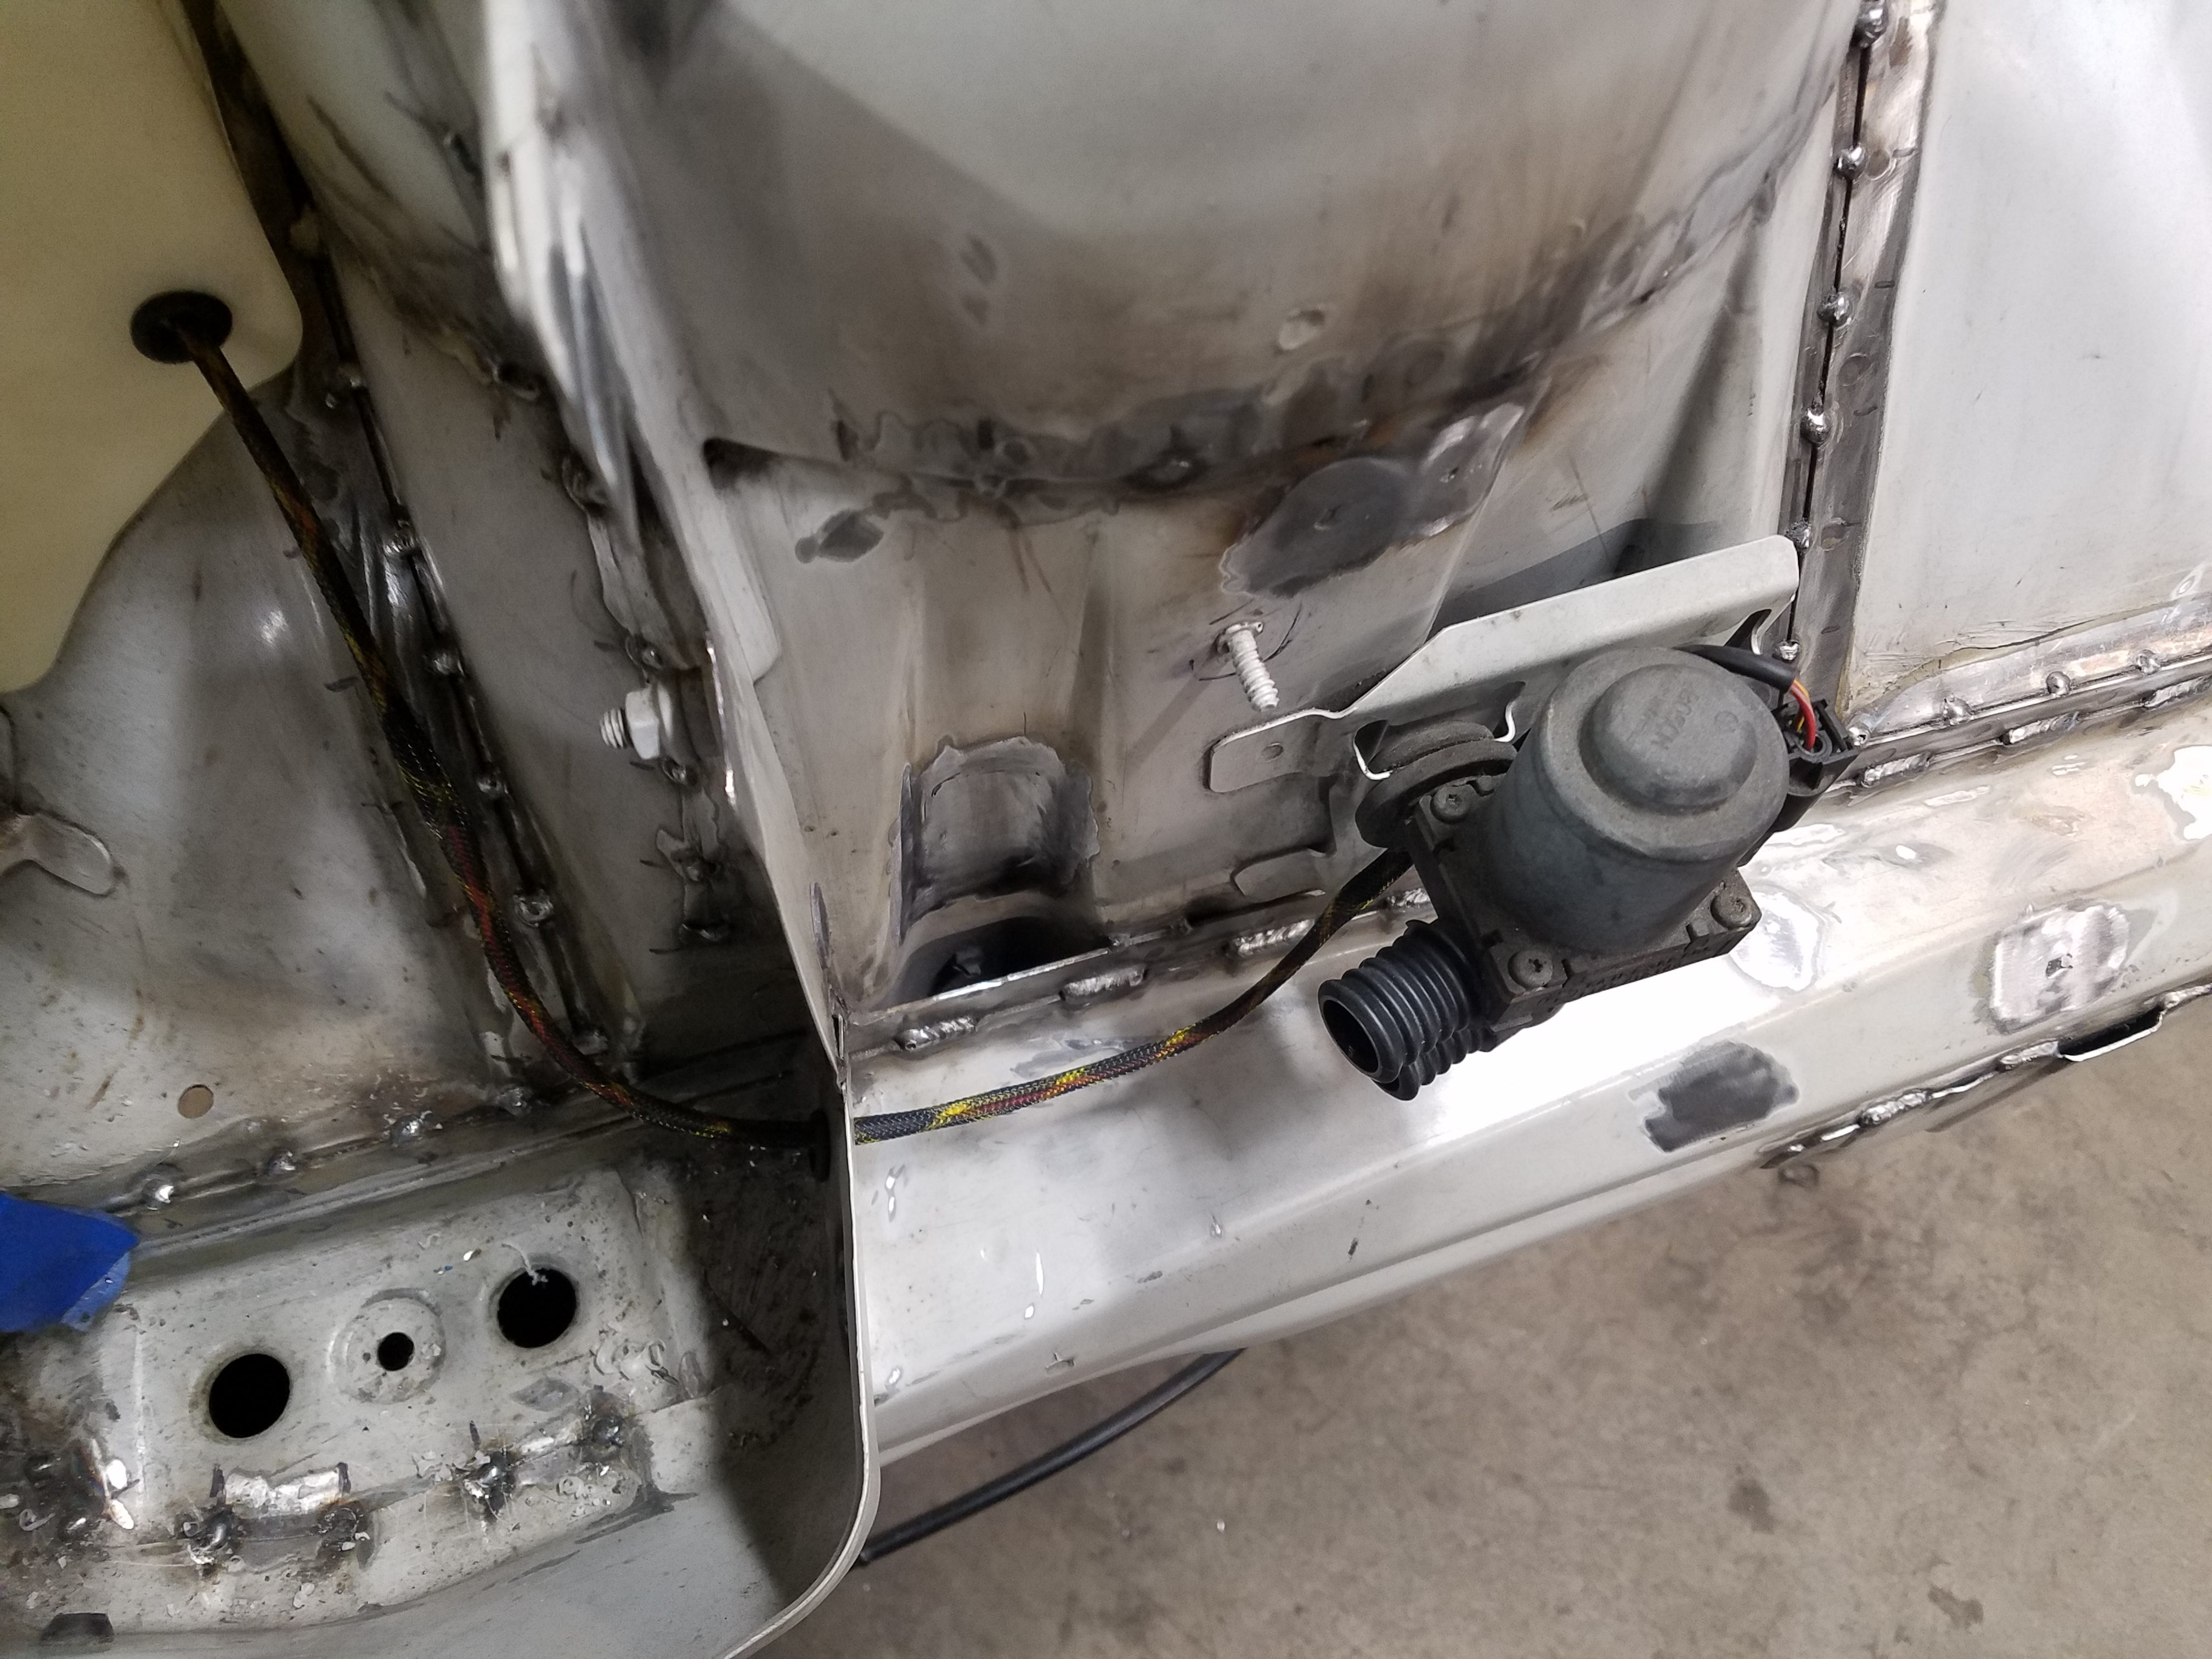
And I was also able to figure out the routing and set up for the heater valve wiring. This car will still have a heater core and heat, because I enjoy driving in fall with the windows down and the heat on haha.
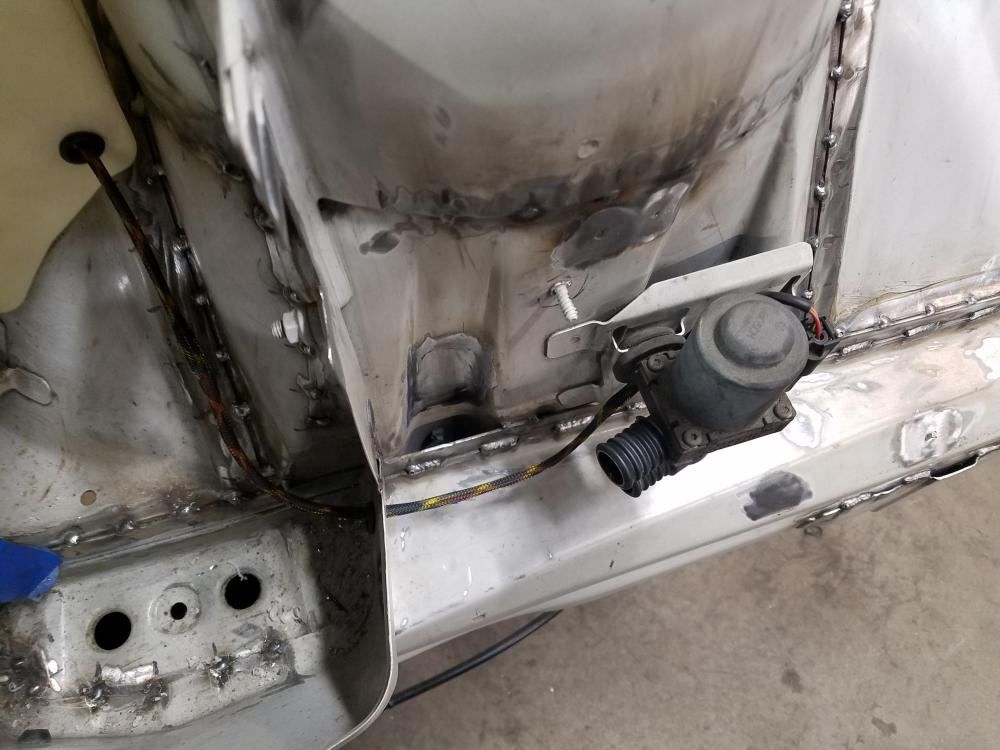
That's it for now. Grinding, filler and sanding will hopefully start this week. Then once the bay is near ready (or i get sick of not feeling my fingers) I will be continuing the wire tuck with routing to all of the components on the front end.
-
Never seen the insides of a wire tuck, great work!
Thank you! Although not too sure many people do tucks on e46s, atleast that I've seen haha. I'll be doing Nicks as well, but I can gaurentee not many people go this in depth either lol.
-
Looking good. All those connectors and bulk heads add up quick. Where are you ordering your wiring supplies from?
https://www.instagram.com/_jdesigner_/ http://nevertoolow.tumblr.com/
🥳SOLD BMW E24 633CSI - BMW M30B32 🧪SOLD HCH ES9 - 1.3 LDA
👽BMW E30 325IC - Toyota 1JZ-GTE ⏰ HONDA EF9 CIVIC SI - JDM B18C5
☠️BMW E36 318i - Ford 5.0 FE302 🚴♂️ GT-Labomba - 26x2.75 Freeride
🤹♀️SOLD BMW E36/7 Z3 - BMW M54B25 🧓SOLD BMW E10 2002 - BMW M10M05 -
Looking good. All those connectors and bulk heads add up quick. Where are you ordering your wiring supplies from?
Wirecare.com ! It's awesome, one stop shop for all my extremely particular wiring needs, even when people are never going to see it lol
-
Quick little update.
Got all of the final welds ground down and the bay is ready for filler and sanding.
Also was able to wire up and finalize the driver side wiring for the headlight, corner, horn, coolant level and temp sensor. Pleased with the outcome and next will be the passenger side.
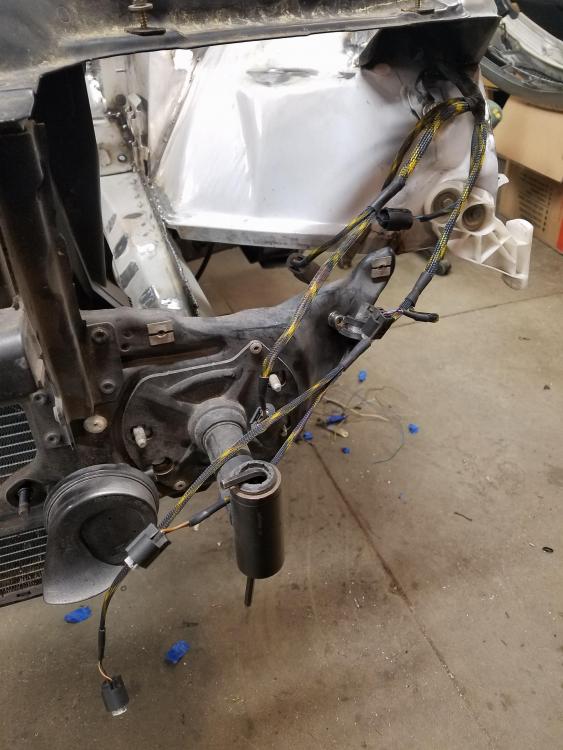
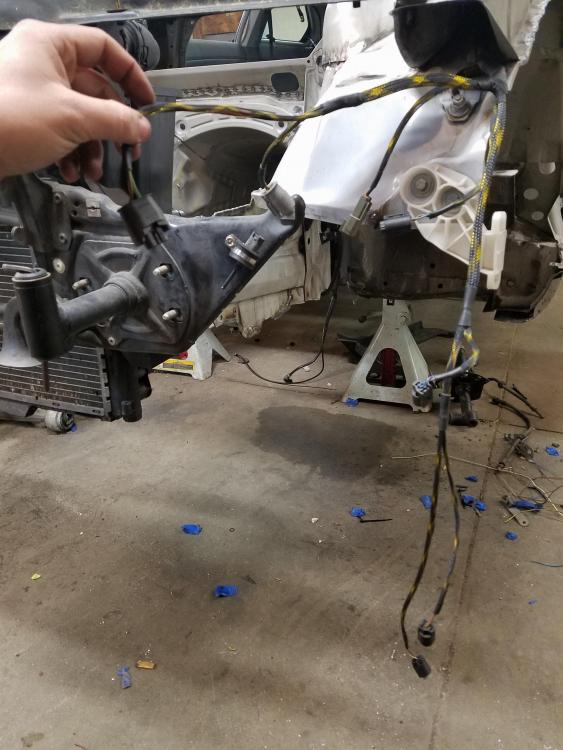
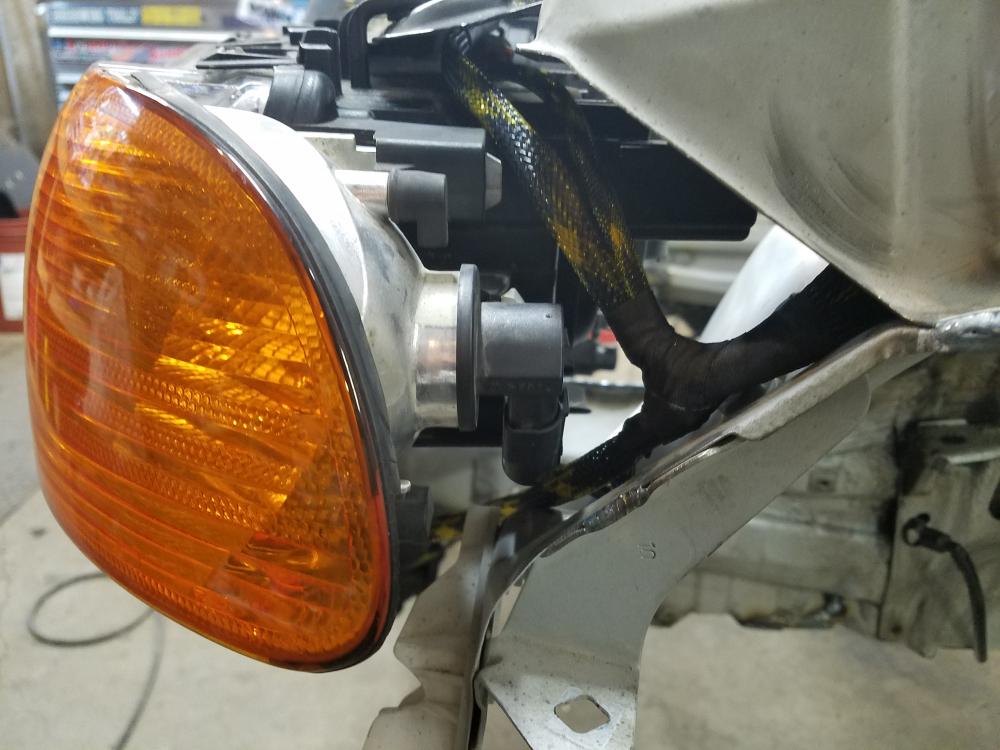
-
UPDATE!
First off Ill save the boring photos of all the interior wires that were cut and dead ended. Hoping there wont be any issues with removing all the abs, srs, seat wiring and etc. Theoretically there should be no problems and if there are I am confident they can be sorted out.
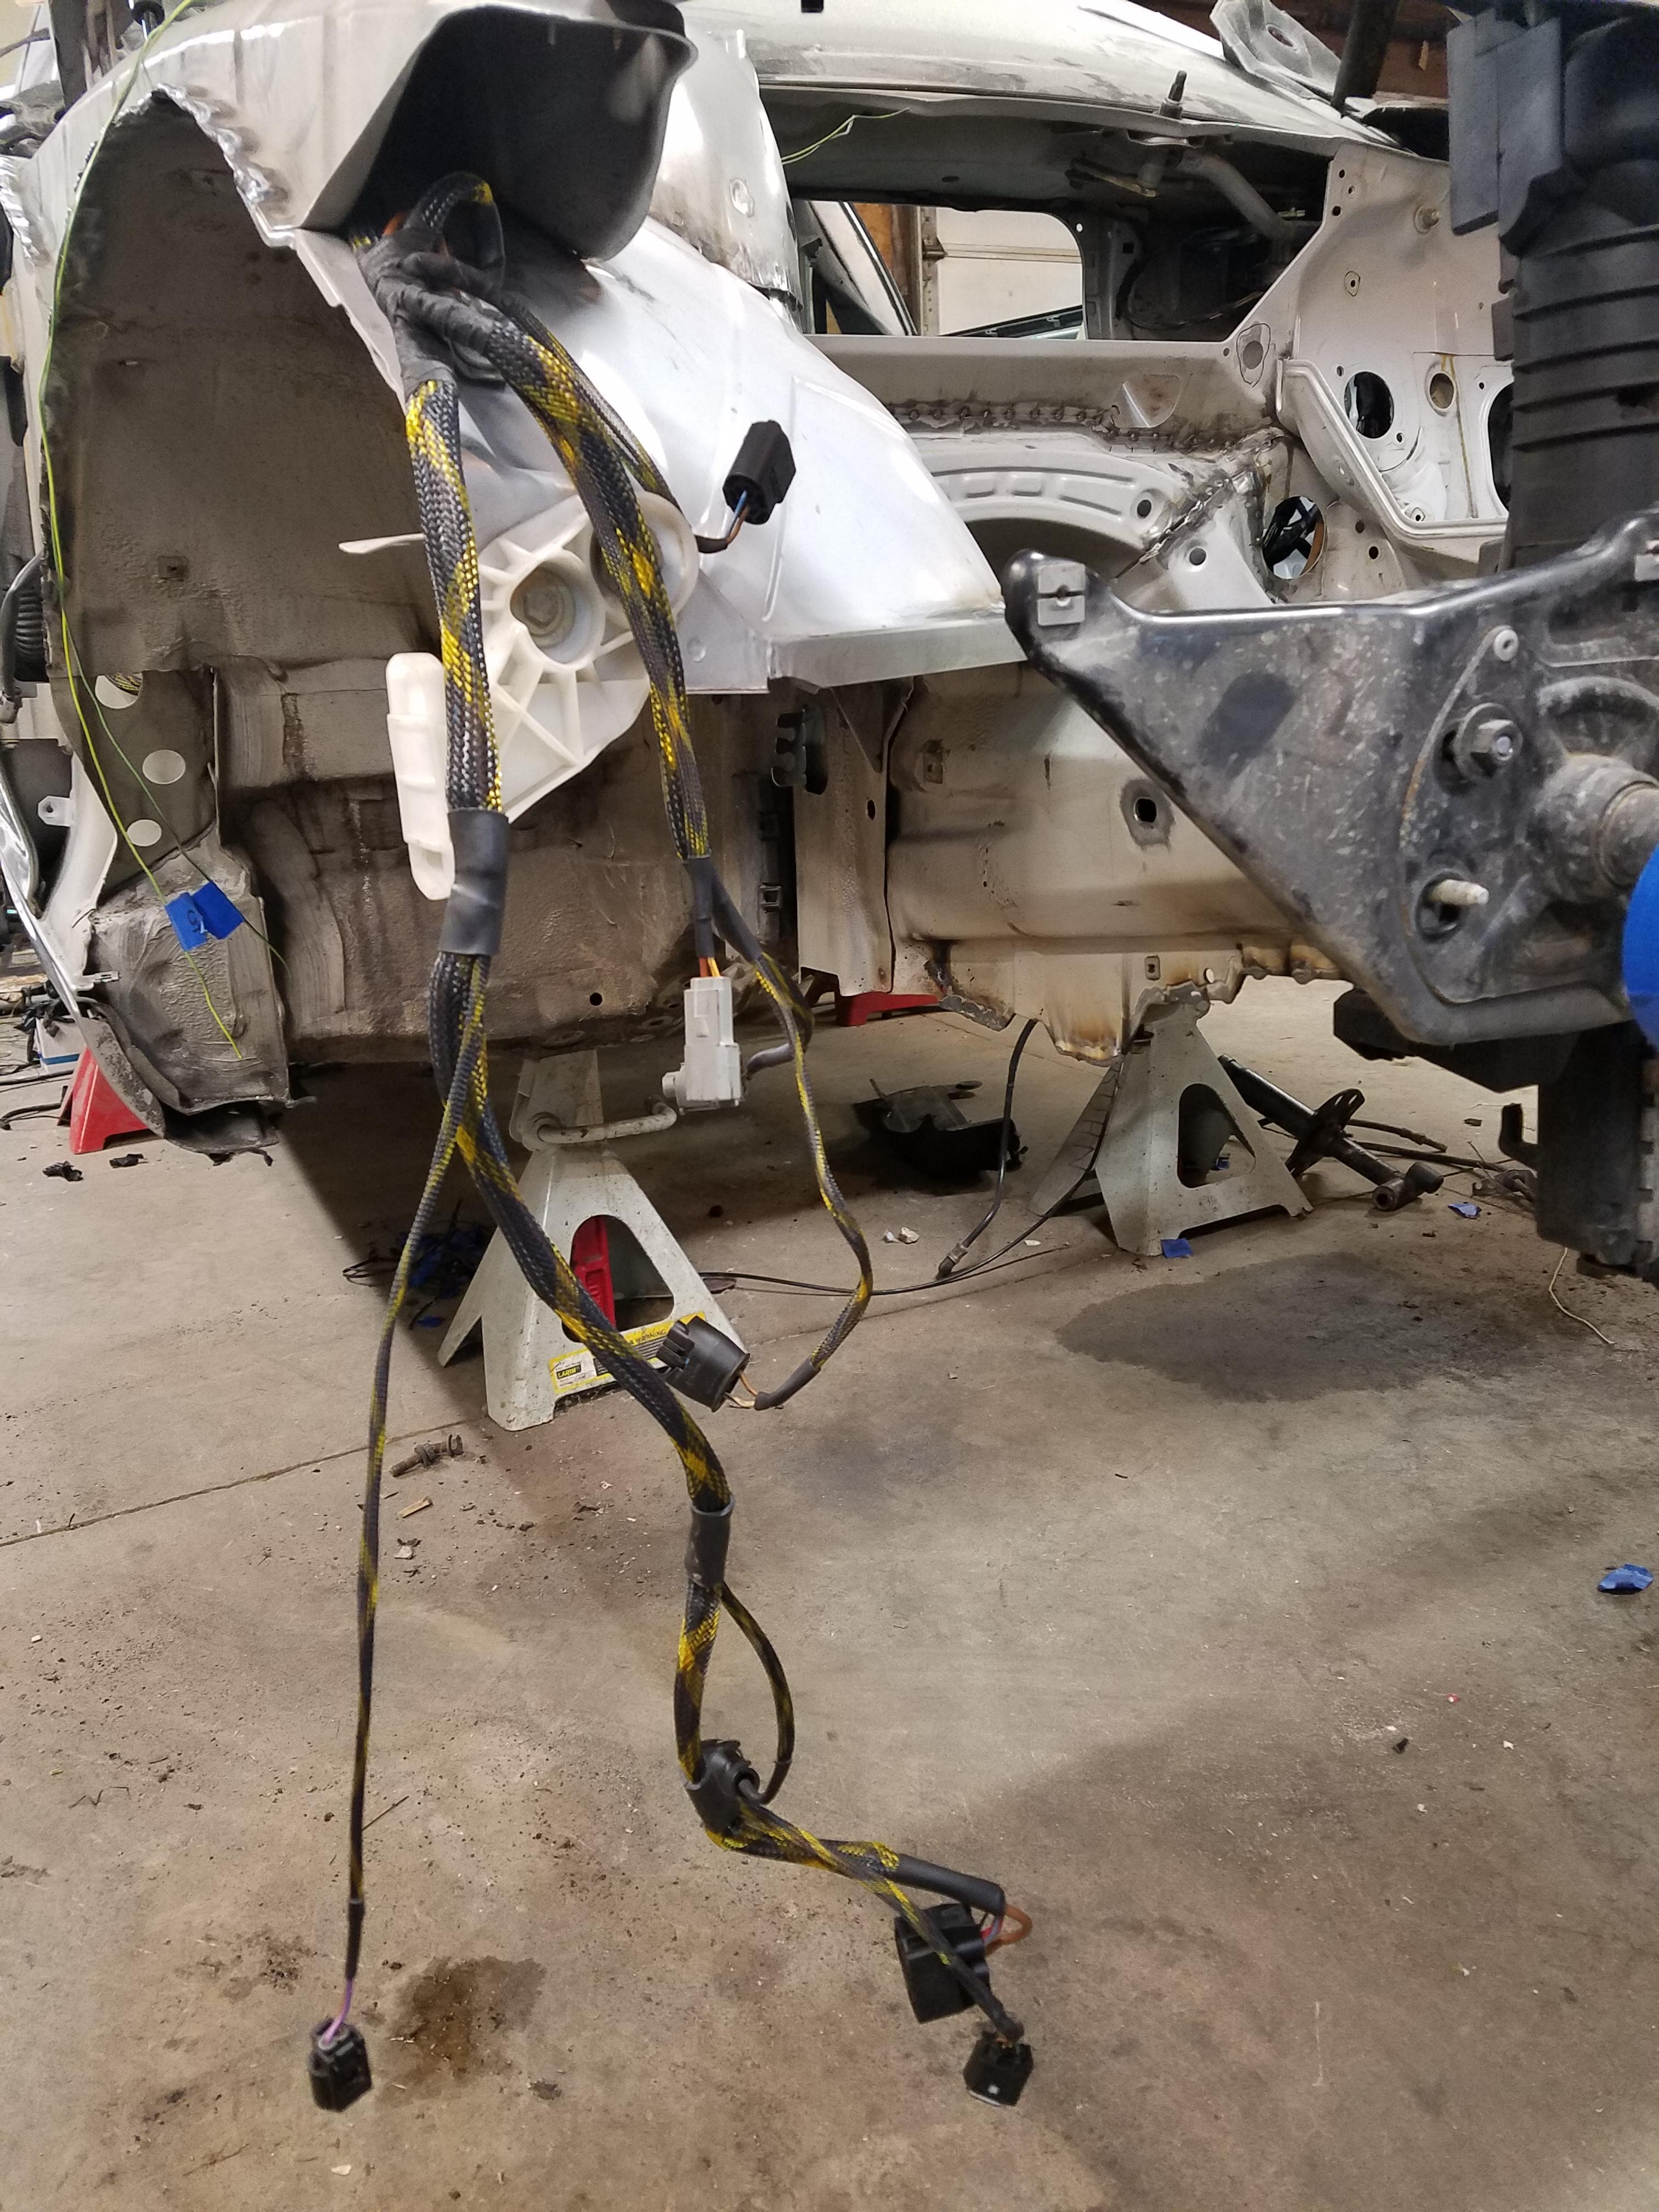
I was able to finish up the wire tuck on the passenger side.
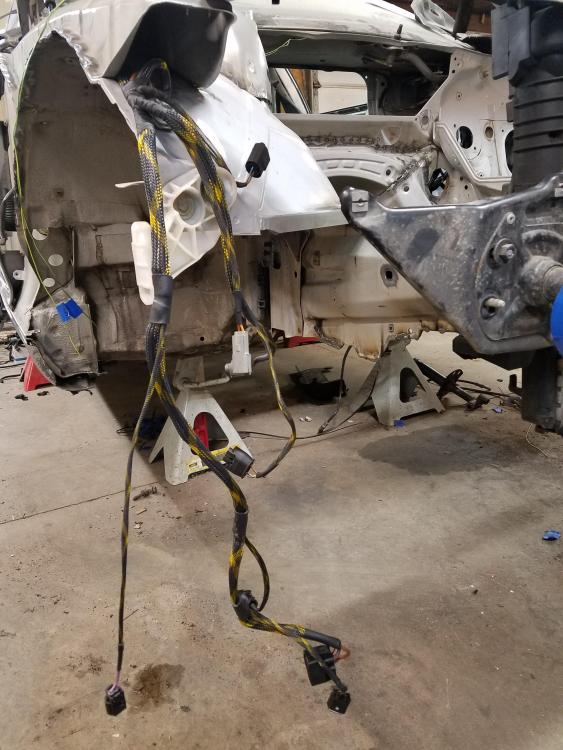
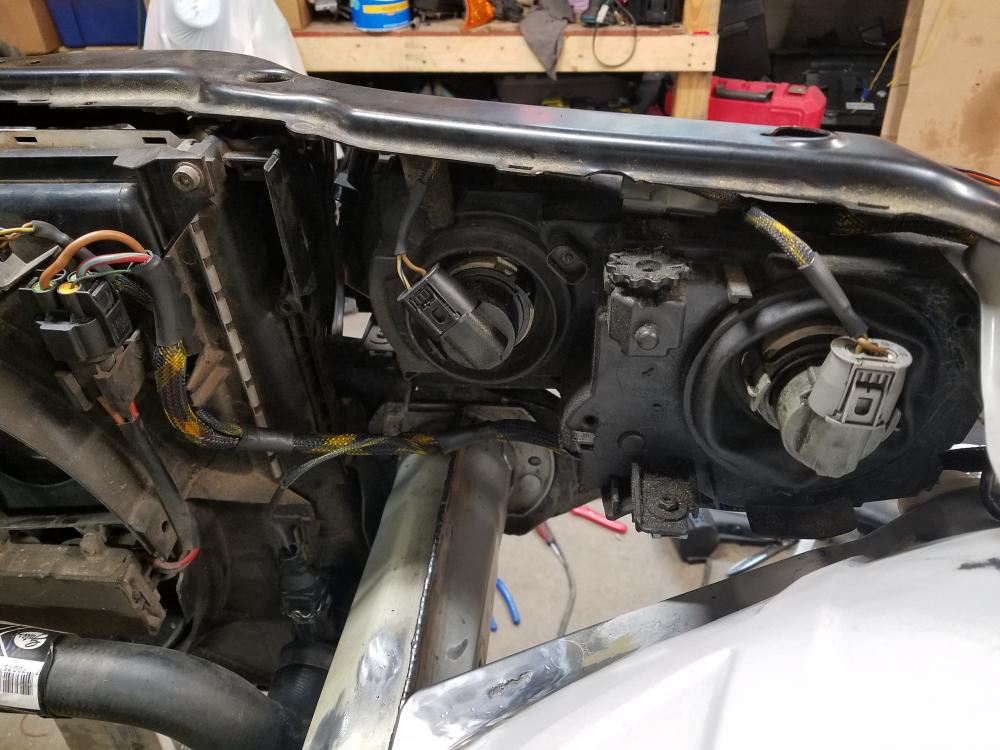
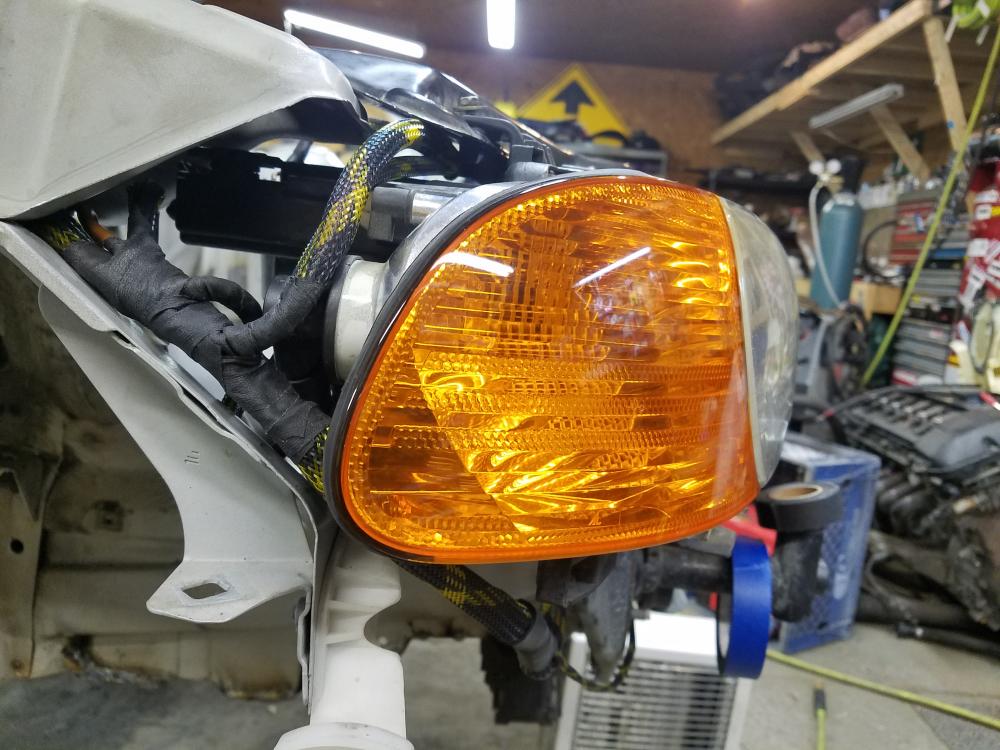
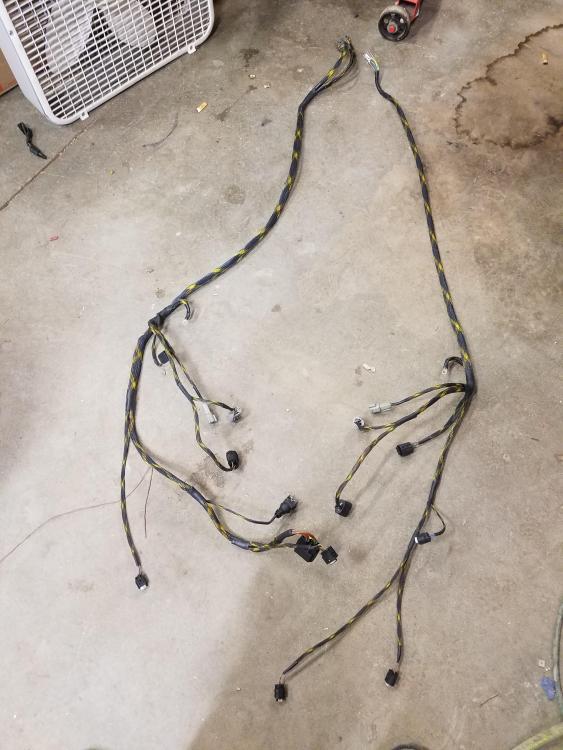
Heres both of the harnesses completely removed from the car. With the deutsch connectors both harnesses are easily depinned from where they connect at the fender near the door. Then they are able to be removed completely.
The bay is also starting to get closer and closer to the finish line. Welding is completed along with all filler was lair and sanded. Next up is final sanding to prep for paint.
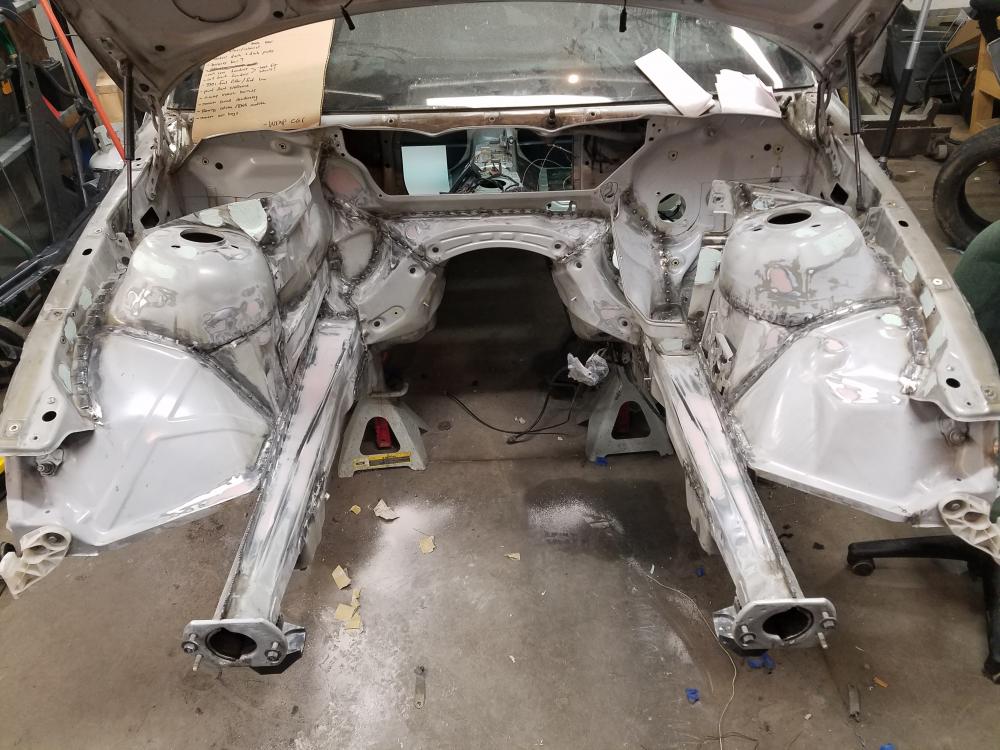
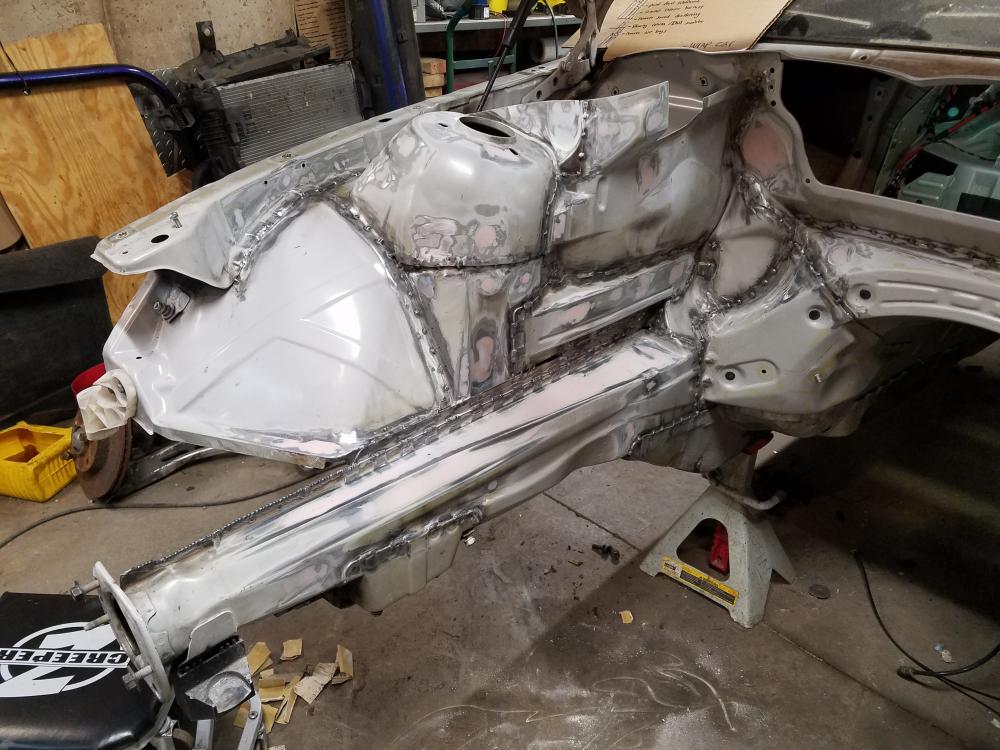
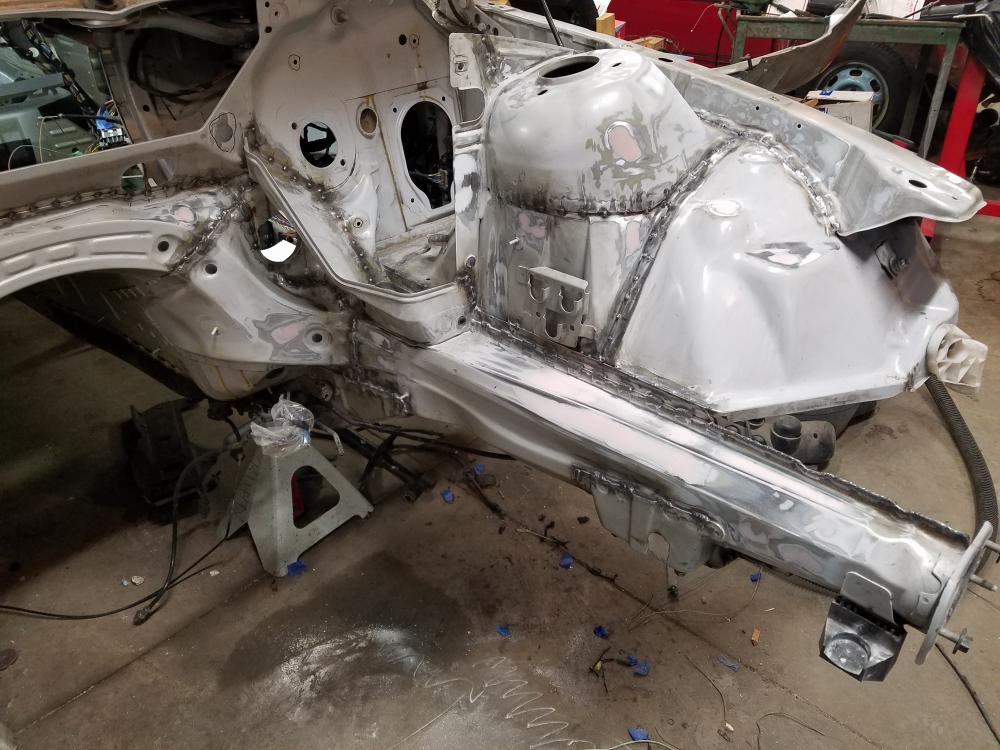
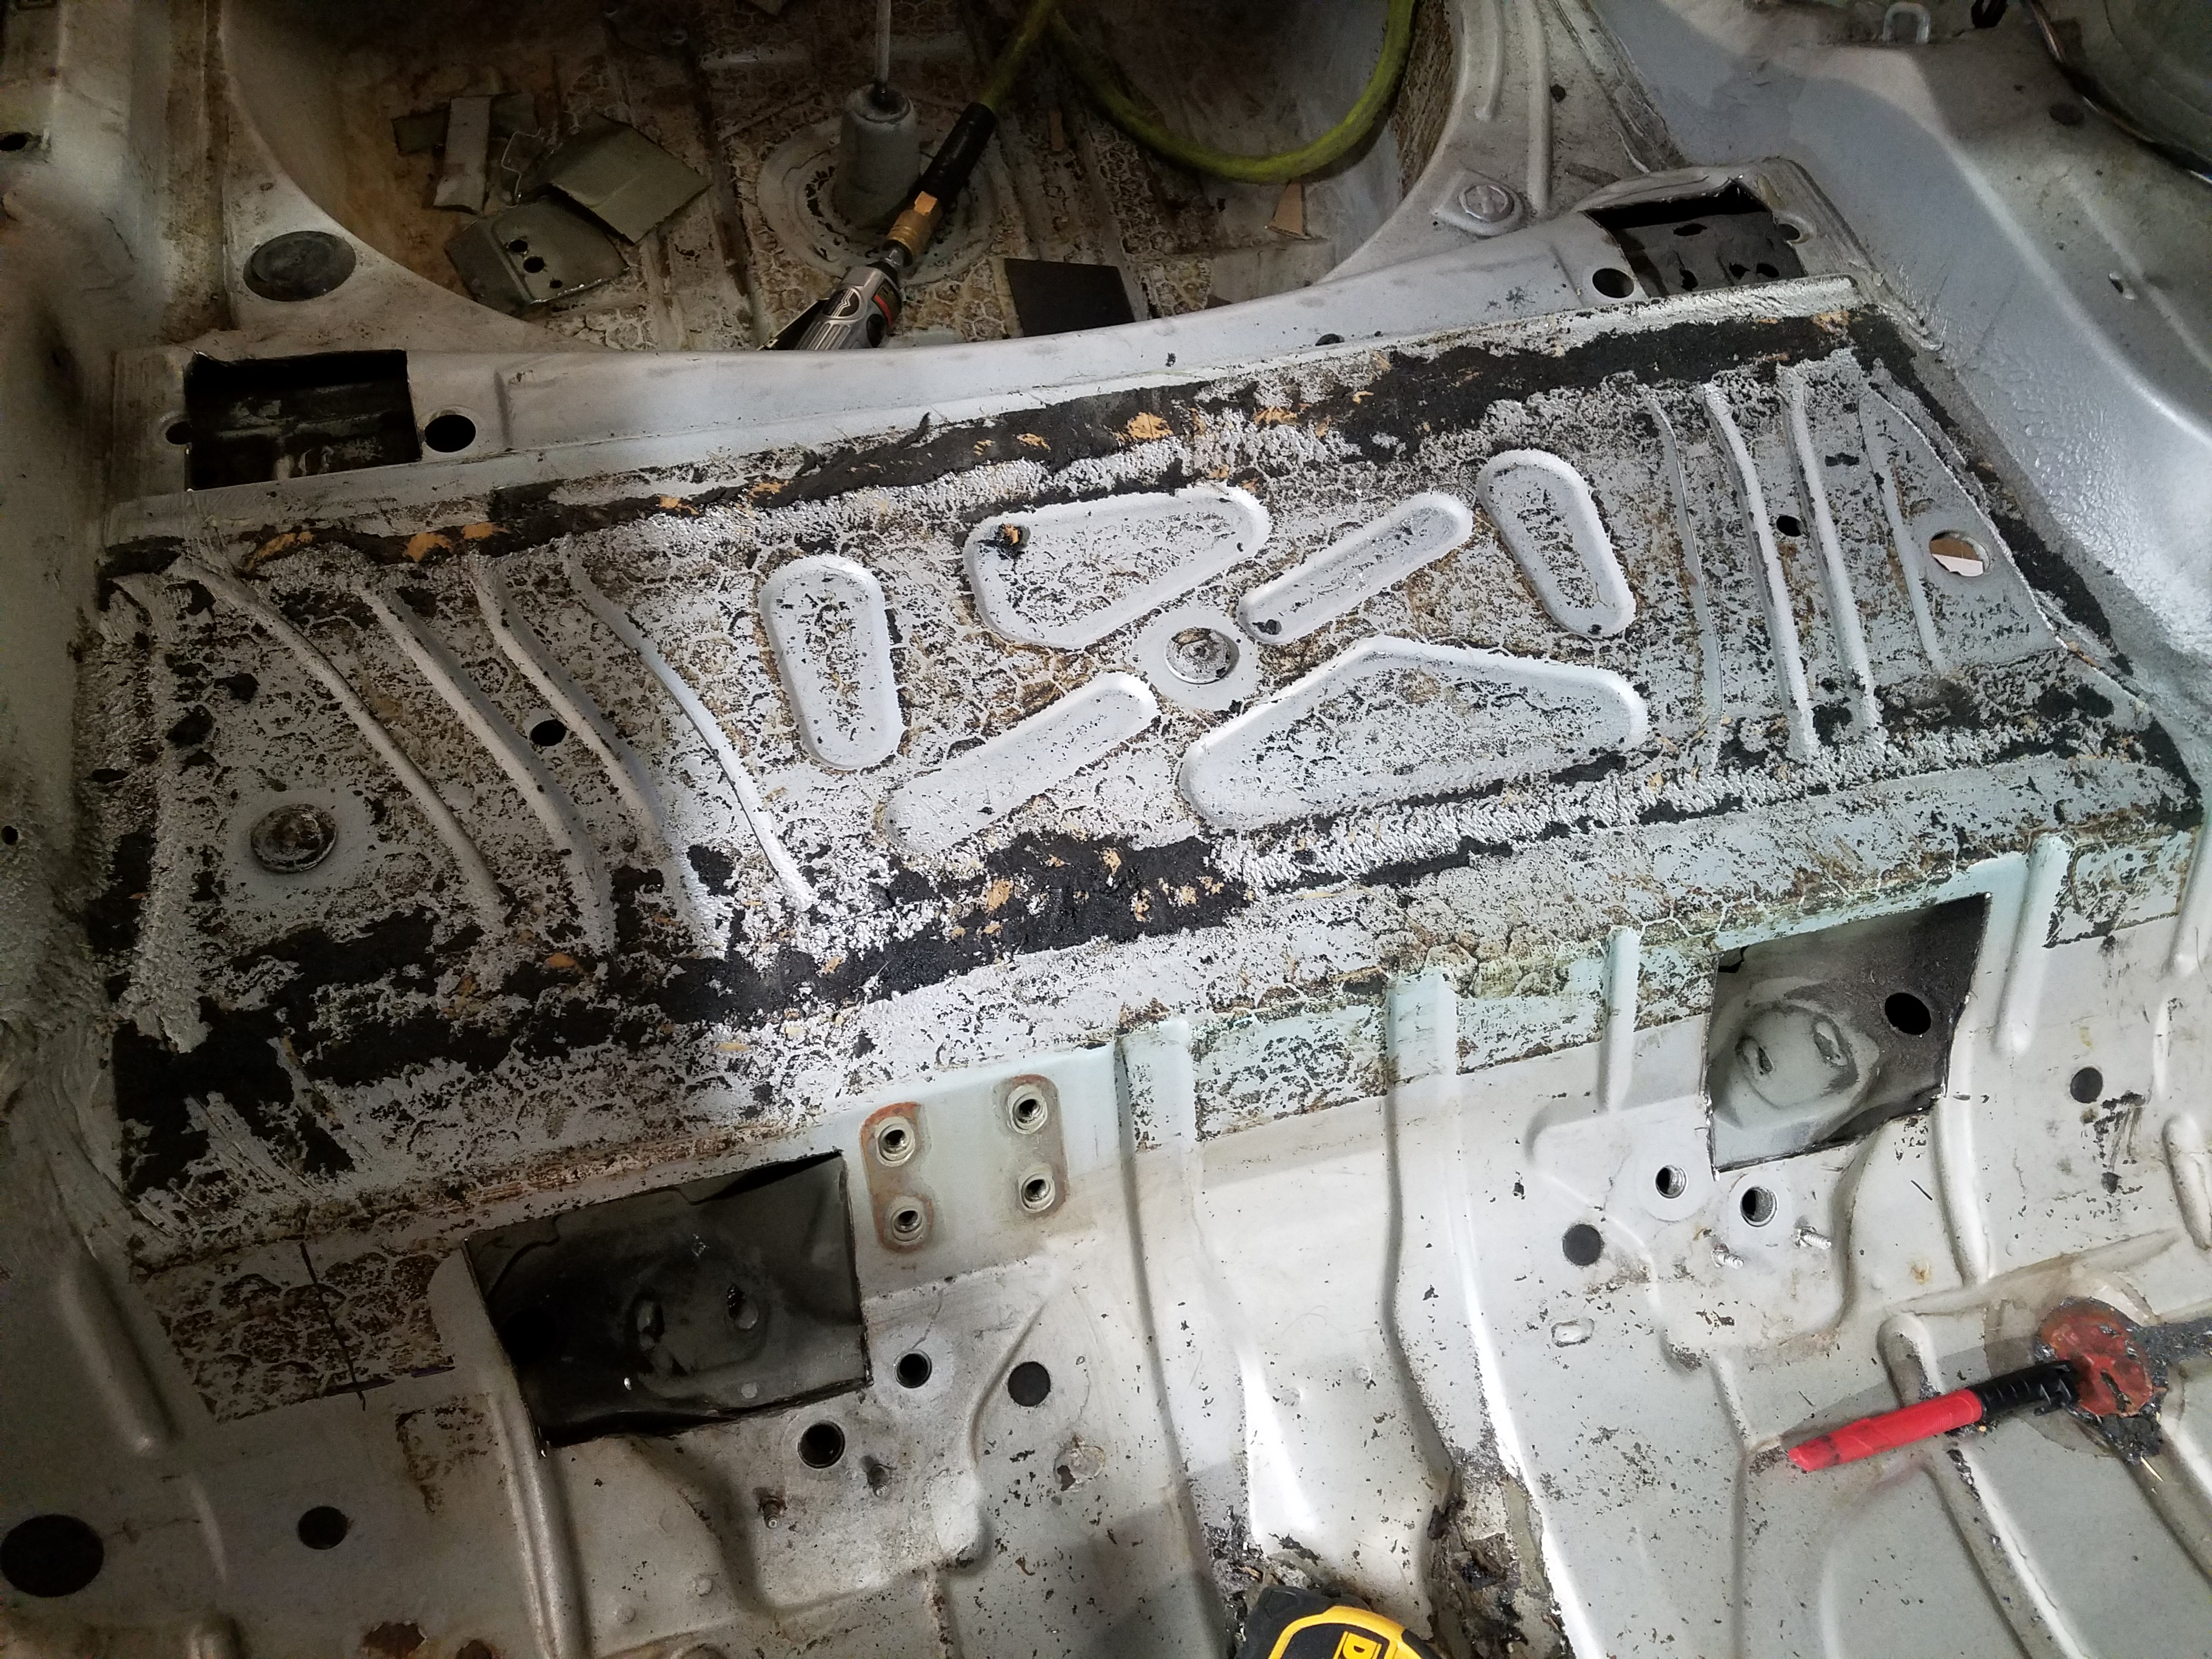
Hoping to get started on stripping some of the sound deadening from the interior soon as well so that the interior can get painted then the entire interior harness can get loomed for final installation.
-
Harnesses and engine bay are looking great! Excited to see paint in that bay!
https://www.instagram.com/_jdesigner_/ http://nevertoolow.tumblr.com/
🥳SOLD BMW E24 633CSI - BMW M30B32 🧪SOLD HCH ES9 - 1.3 LDA
👽BMW E30 325IC - Toyota 1JZ-GTE ⏰ HONDA EF9 CIVIC SI - JDM B18C5
☠️BMW E36 318i - Ford 5.0 FE302 🚴♂️ GT-Labomba - 26x2.75 Freeride
🤹♀️SOLD BMW E36/7 Z3 - BMW M54B25 🧓SOLD BMW E10 2002 - BMW M10M05 -
Harnesses and engine bay are looking great! Excited to see paint in that bay!
Trust me I'm about ready to also hahahah hopefully in a few weeks if time permits!
-
Have had a few parts come in the past few weeks.
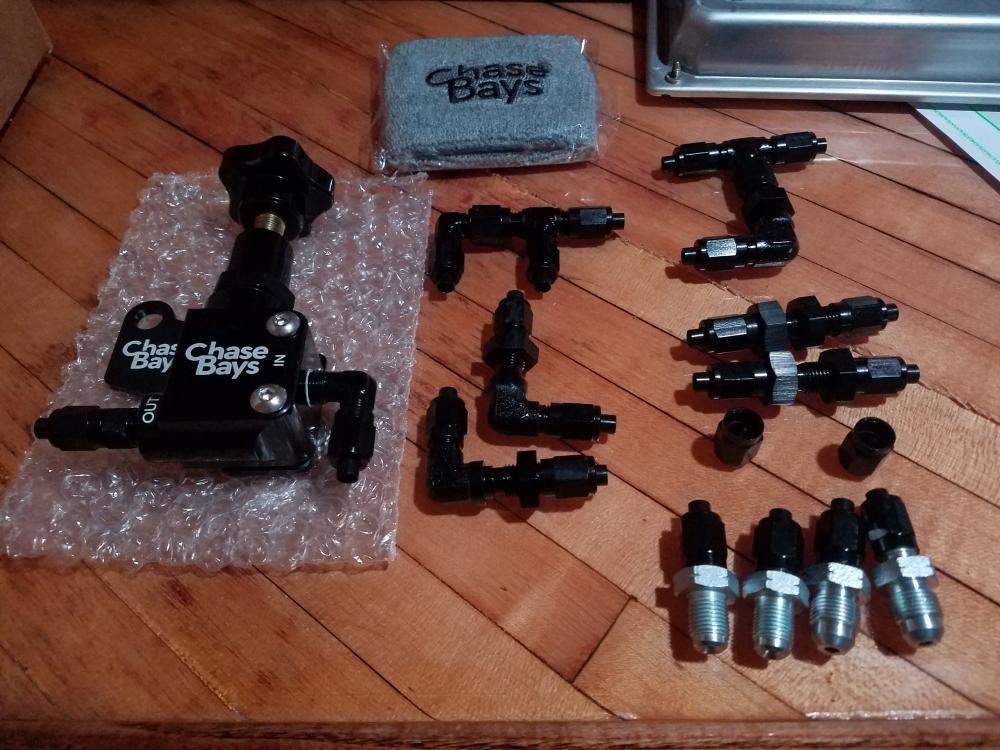
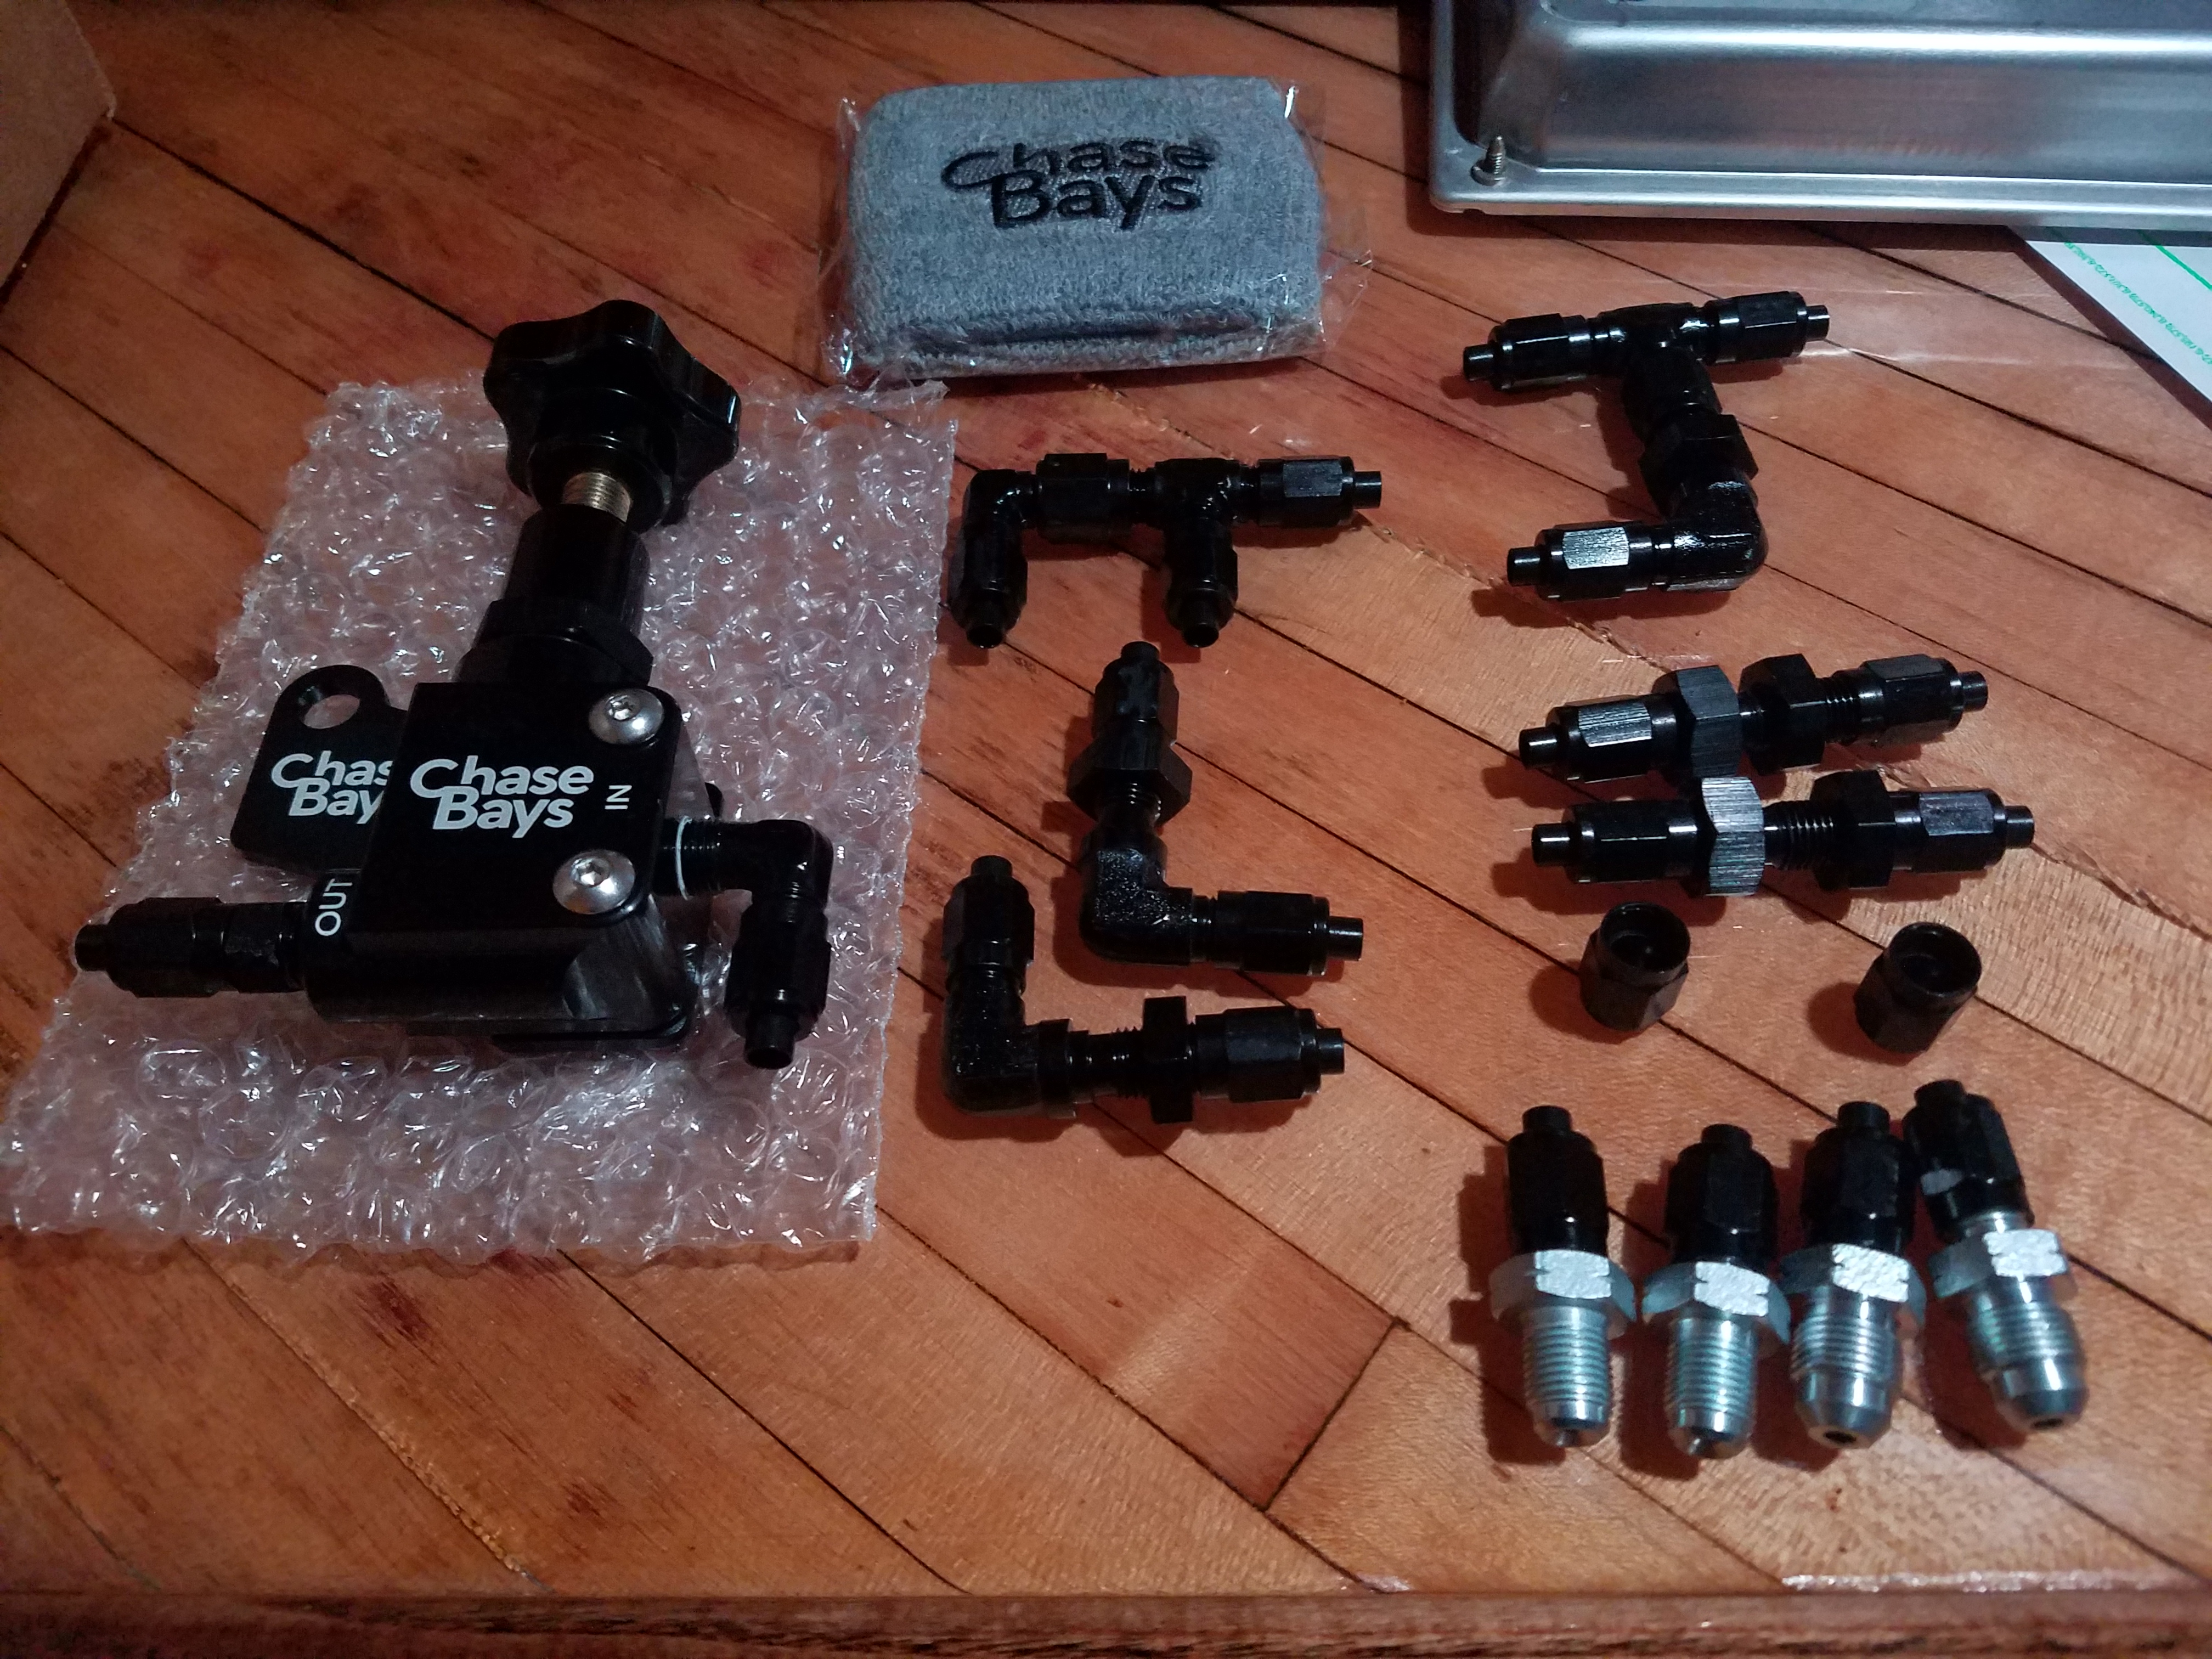
Got my chase bays brake bias valve and all the fittings needed to make it work. This kit is normally sold with PTFE lines but Chase hooked it up with all the bulkheads, tube sleves and nuts to get it done the way I have it planned.
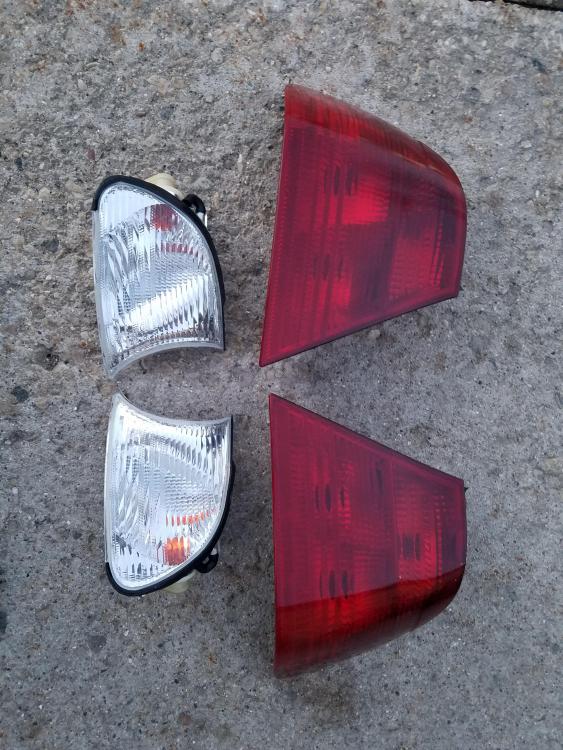
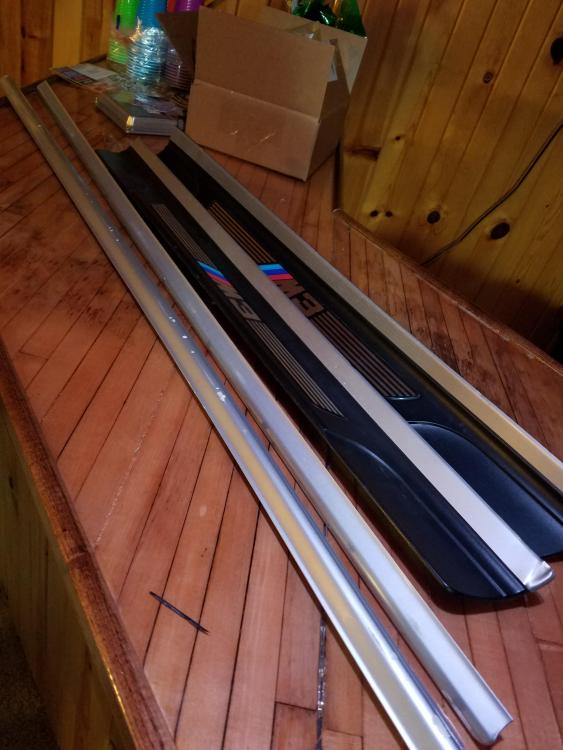
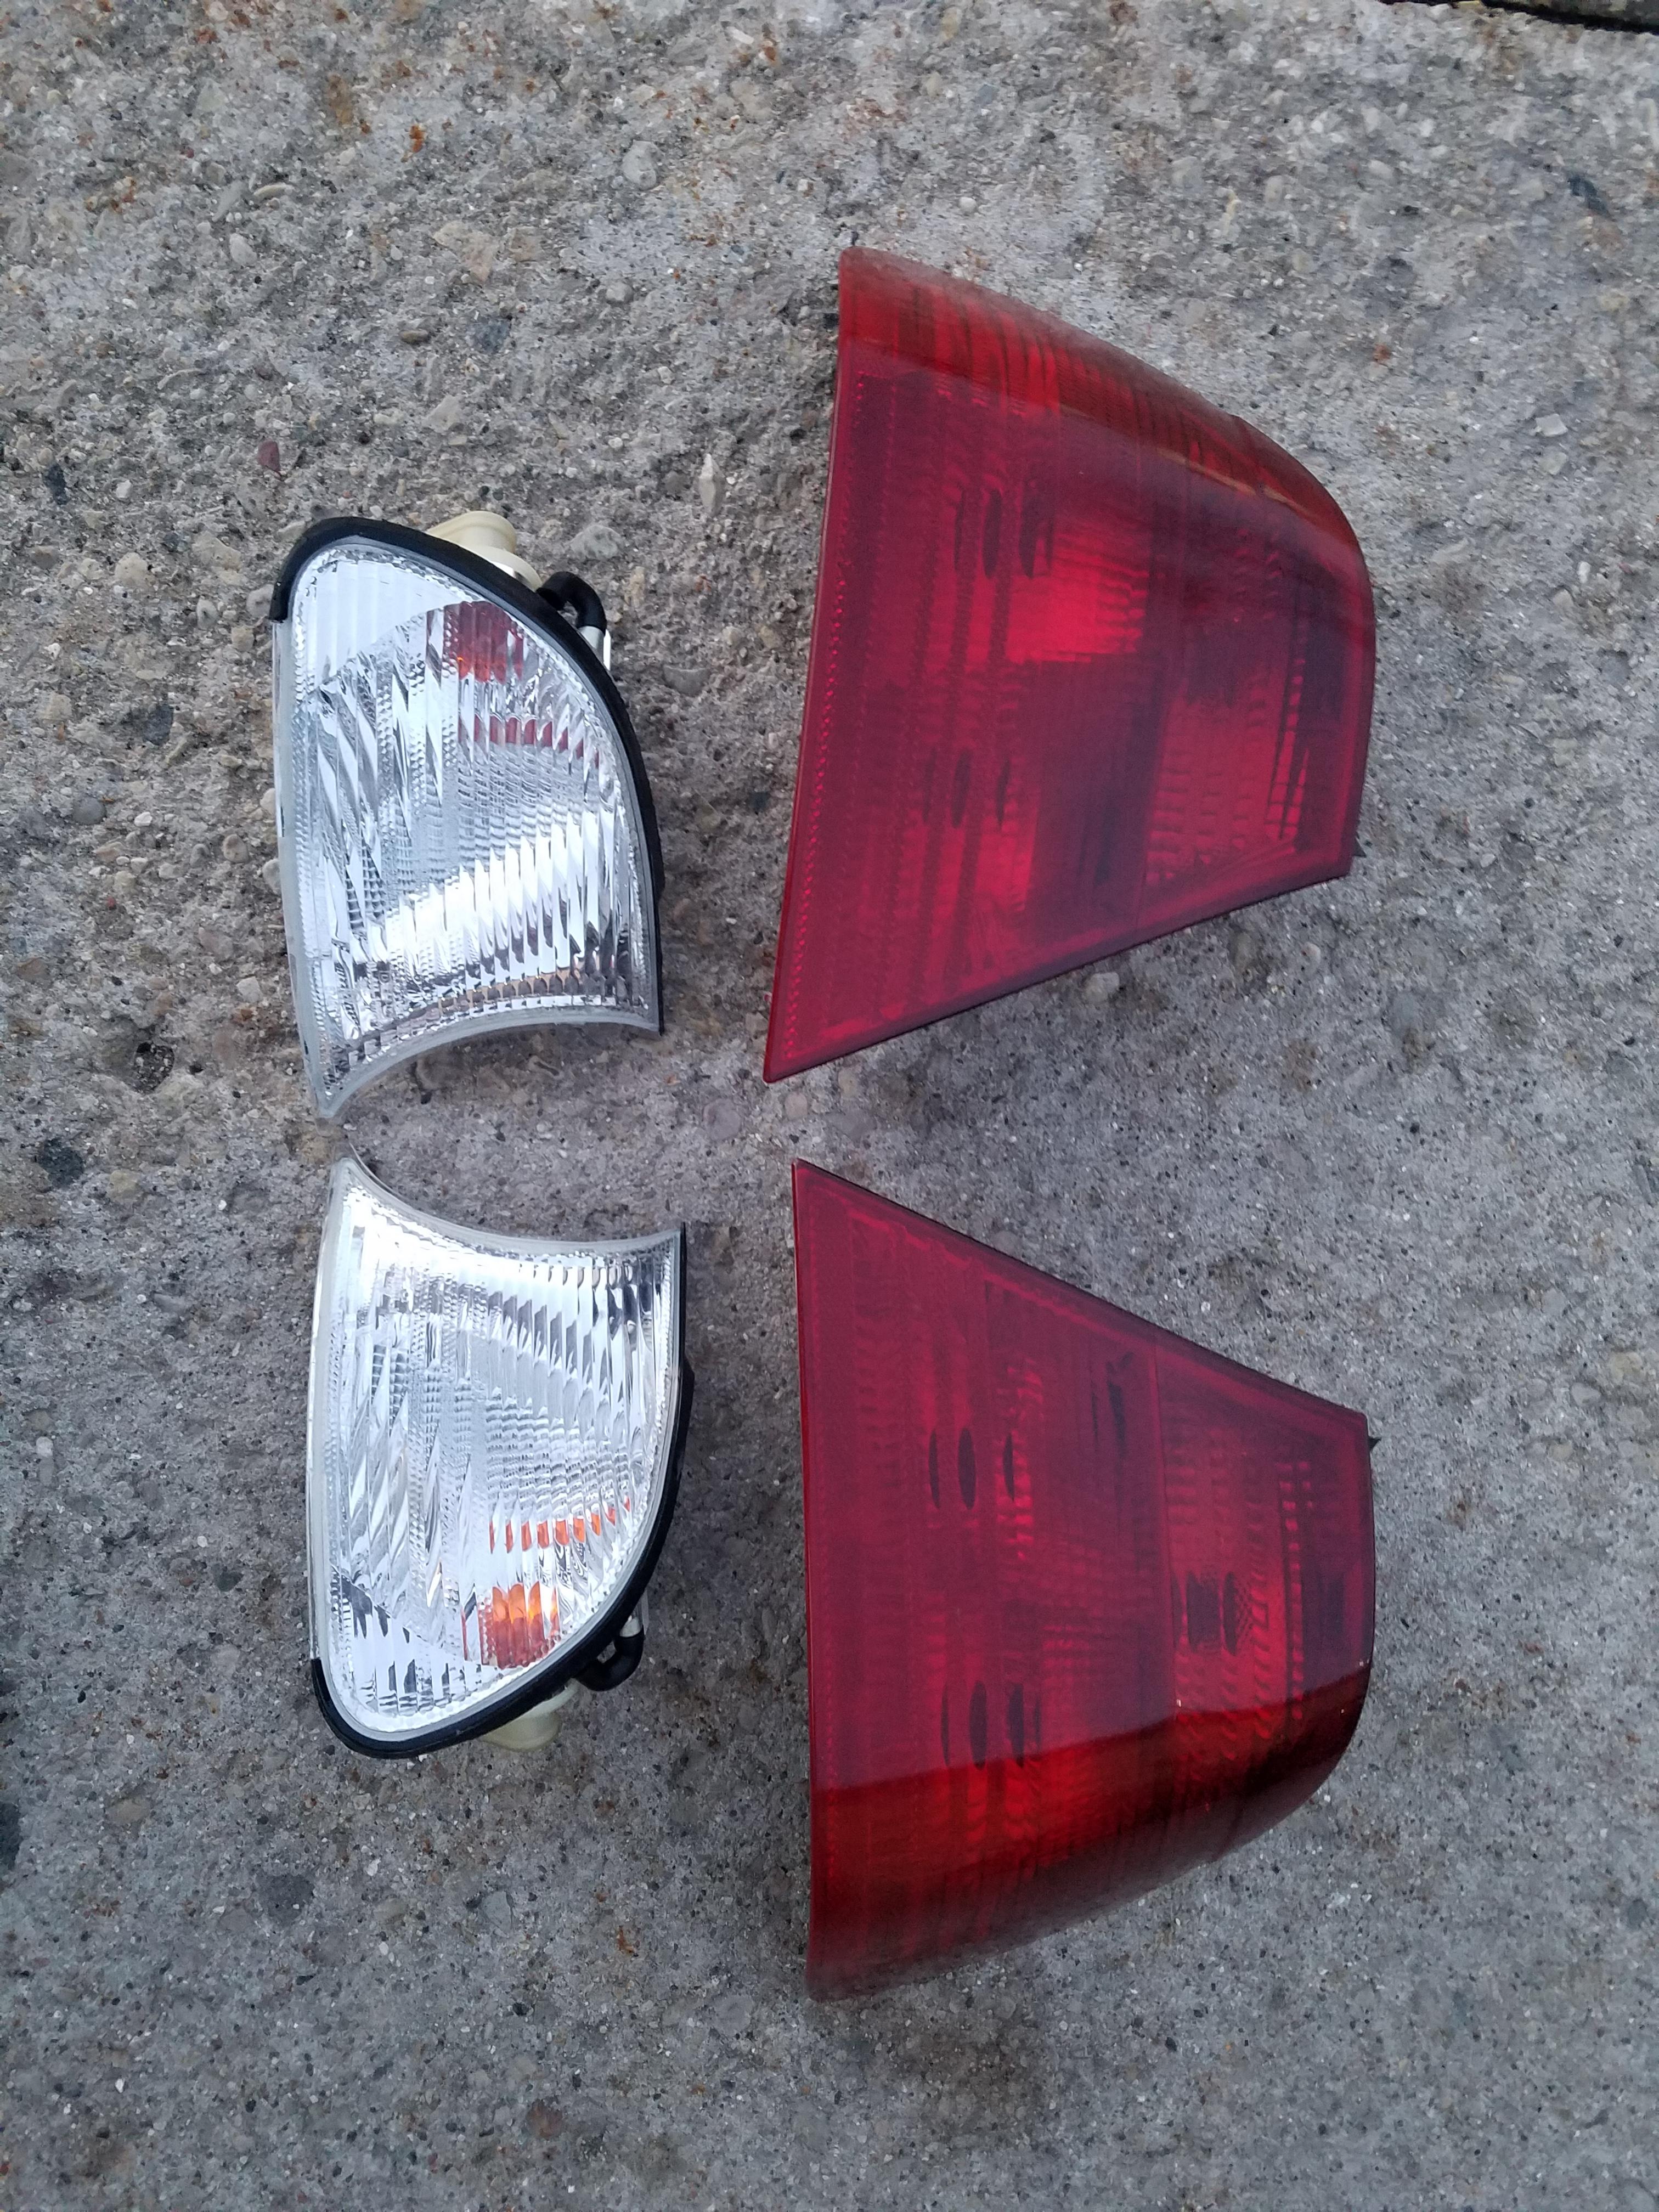
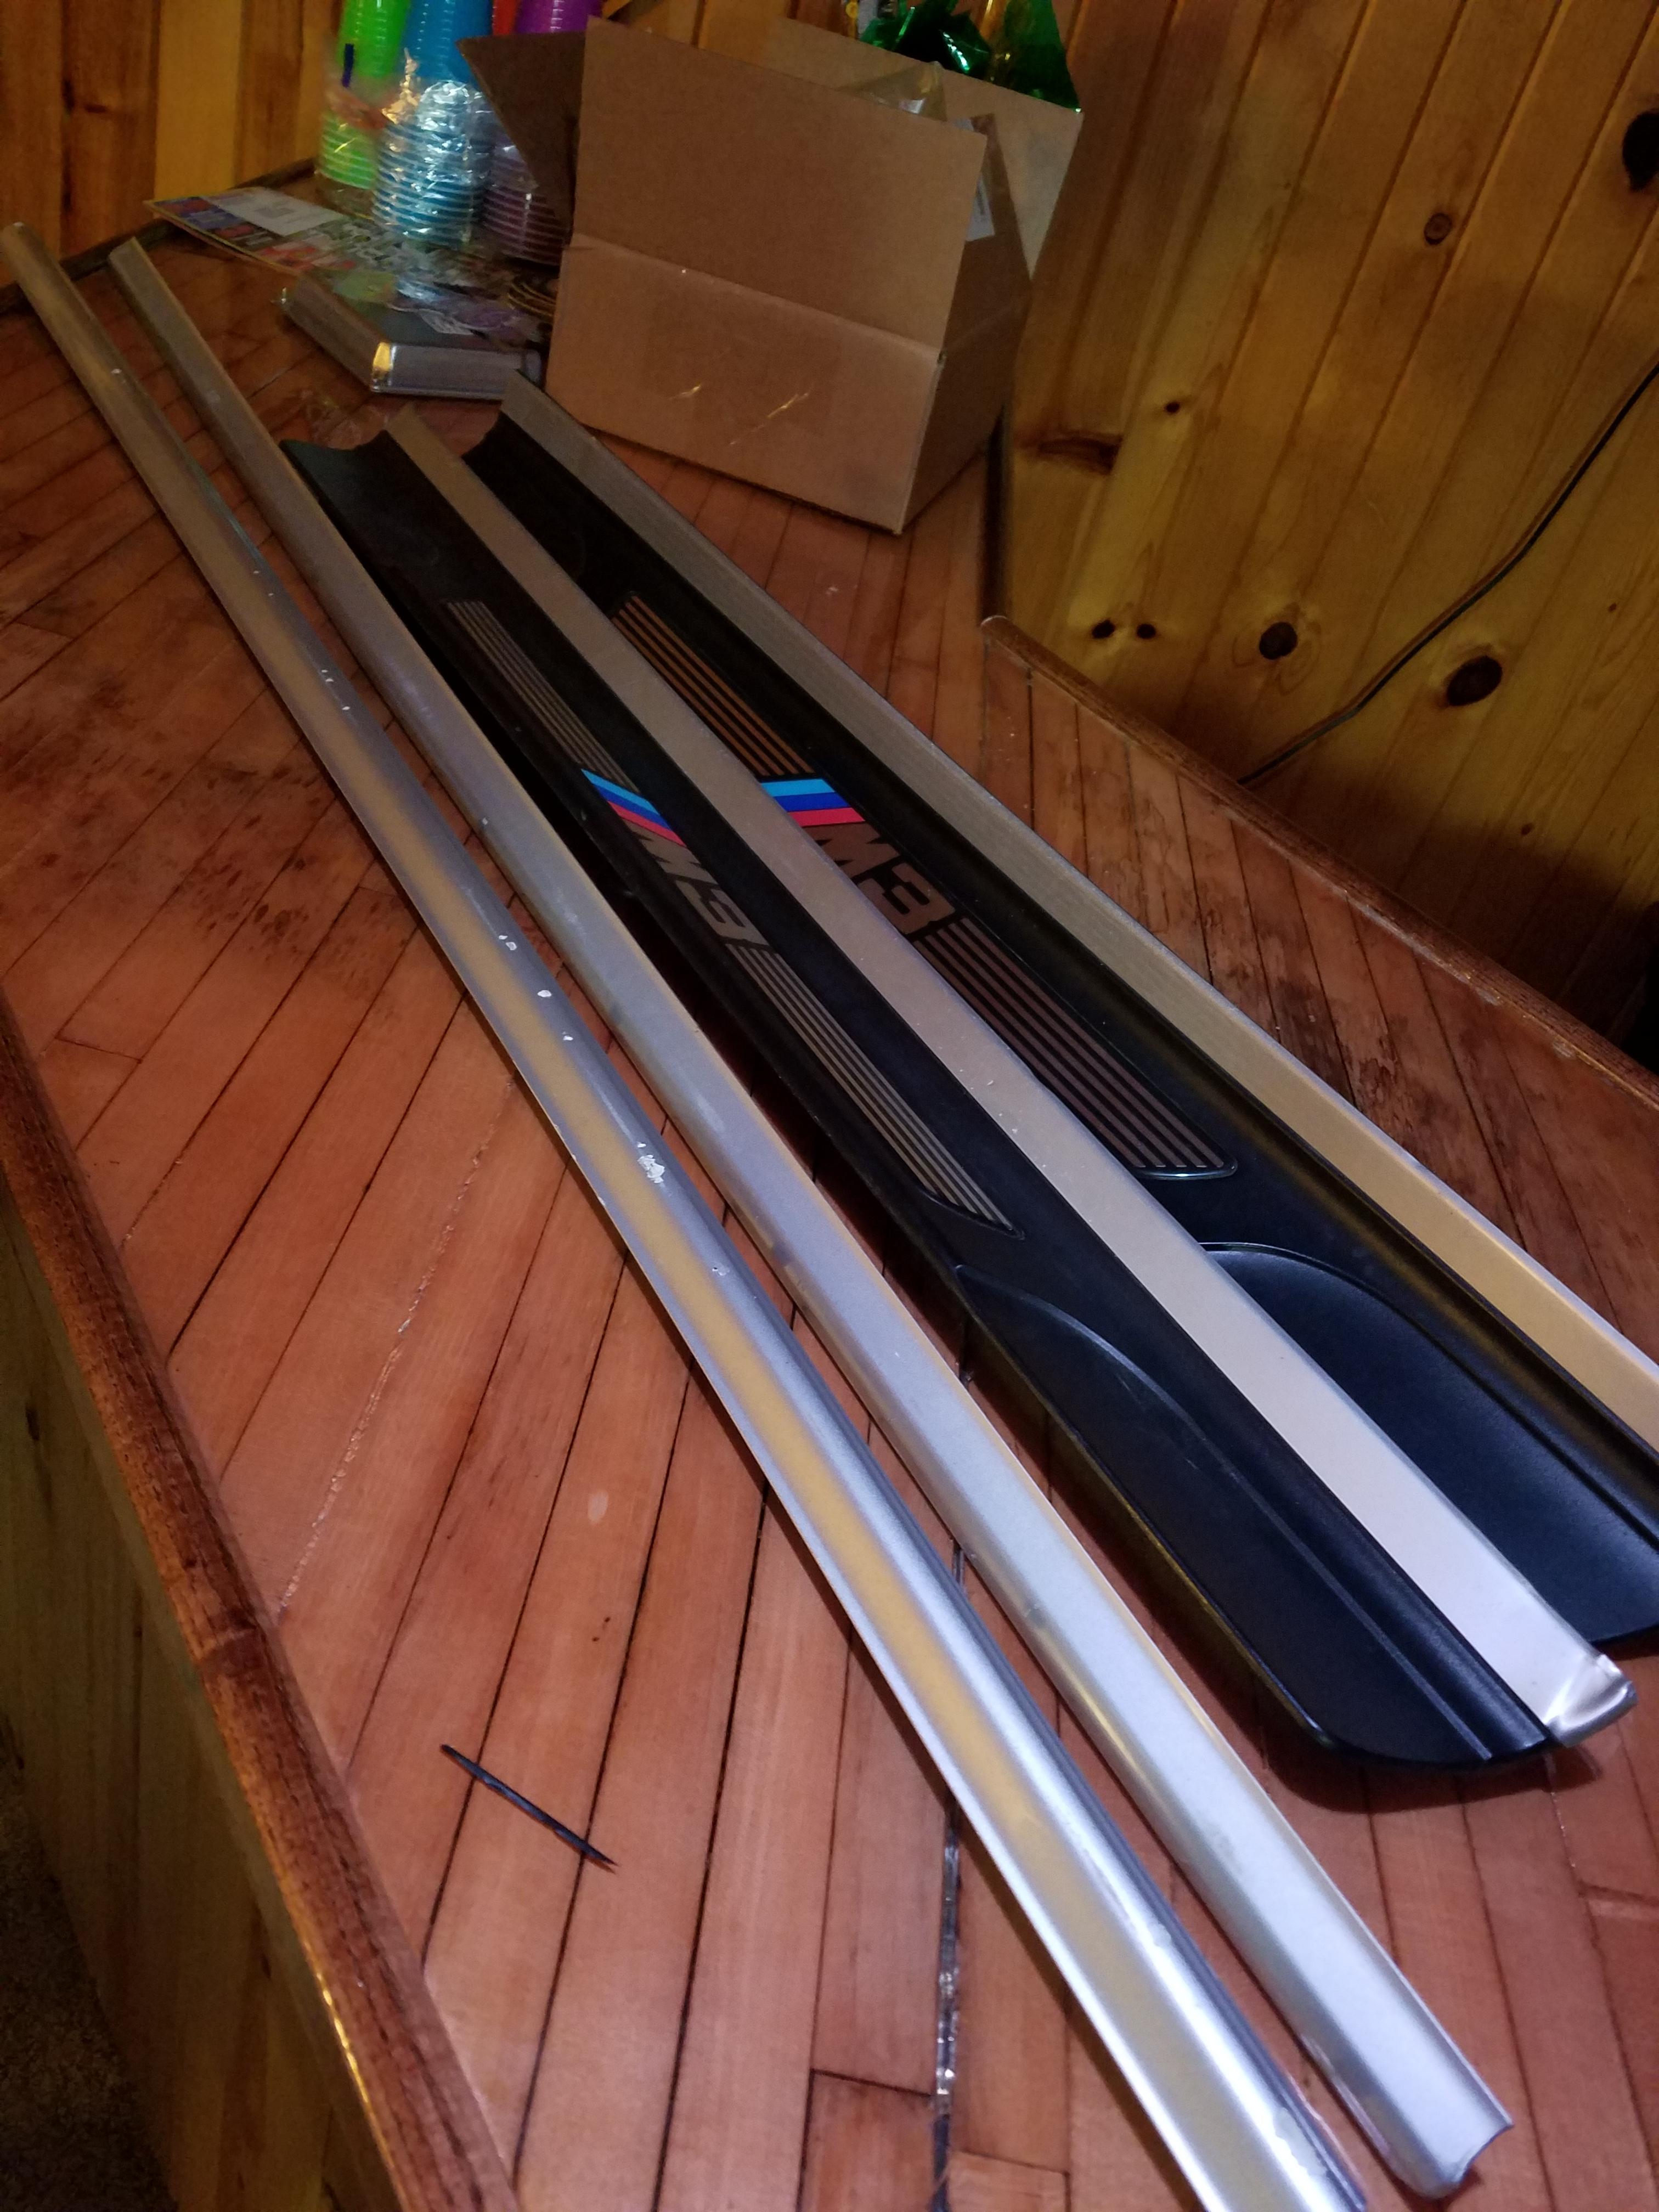
Picked up some clear corners, red tails, some door trim and some M3 door sills.
And last but not least my Street Faction front bash bar came in. I ordered just the basic one because I have a few plans for modifications of my own that the website does not offer. Mocked it up and it fits great, going to have to figure out a different way to mount the bumper because the bar is too long to allow the stock bumper slides to push into the plastic mounts. I believe I have a solution to this and I will share it if it works out lol.
-
Holy shit I have been slacking on the updates. Lots of parts have come in and things are slowly coming together.
So here we go.
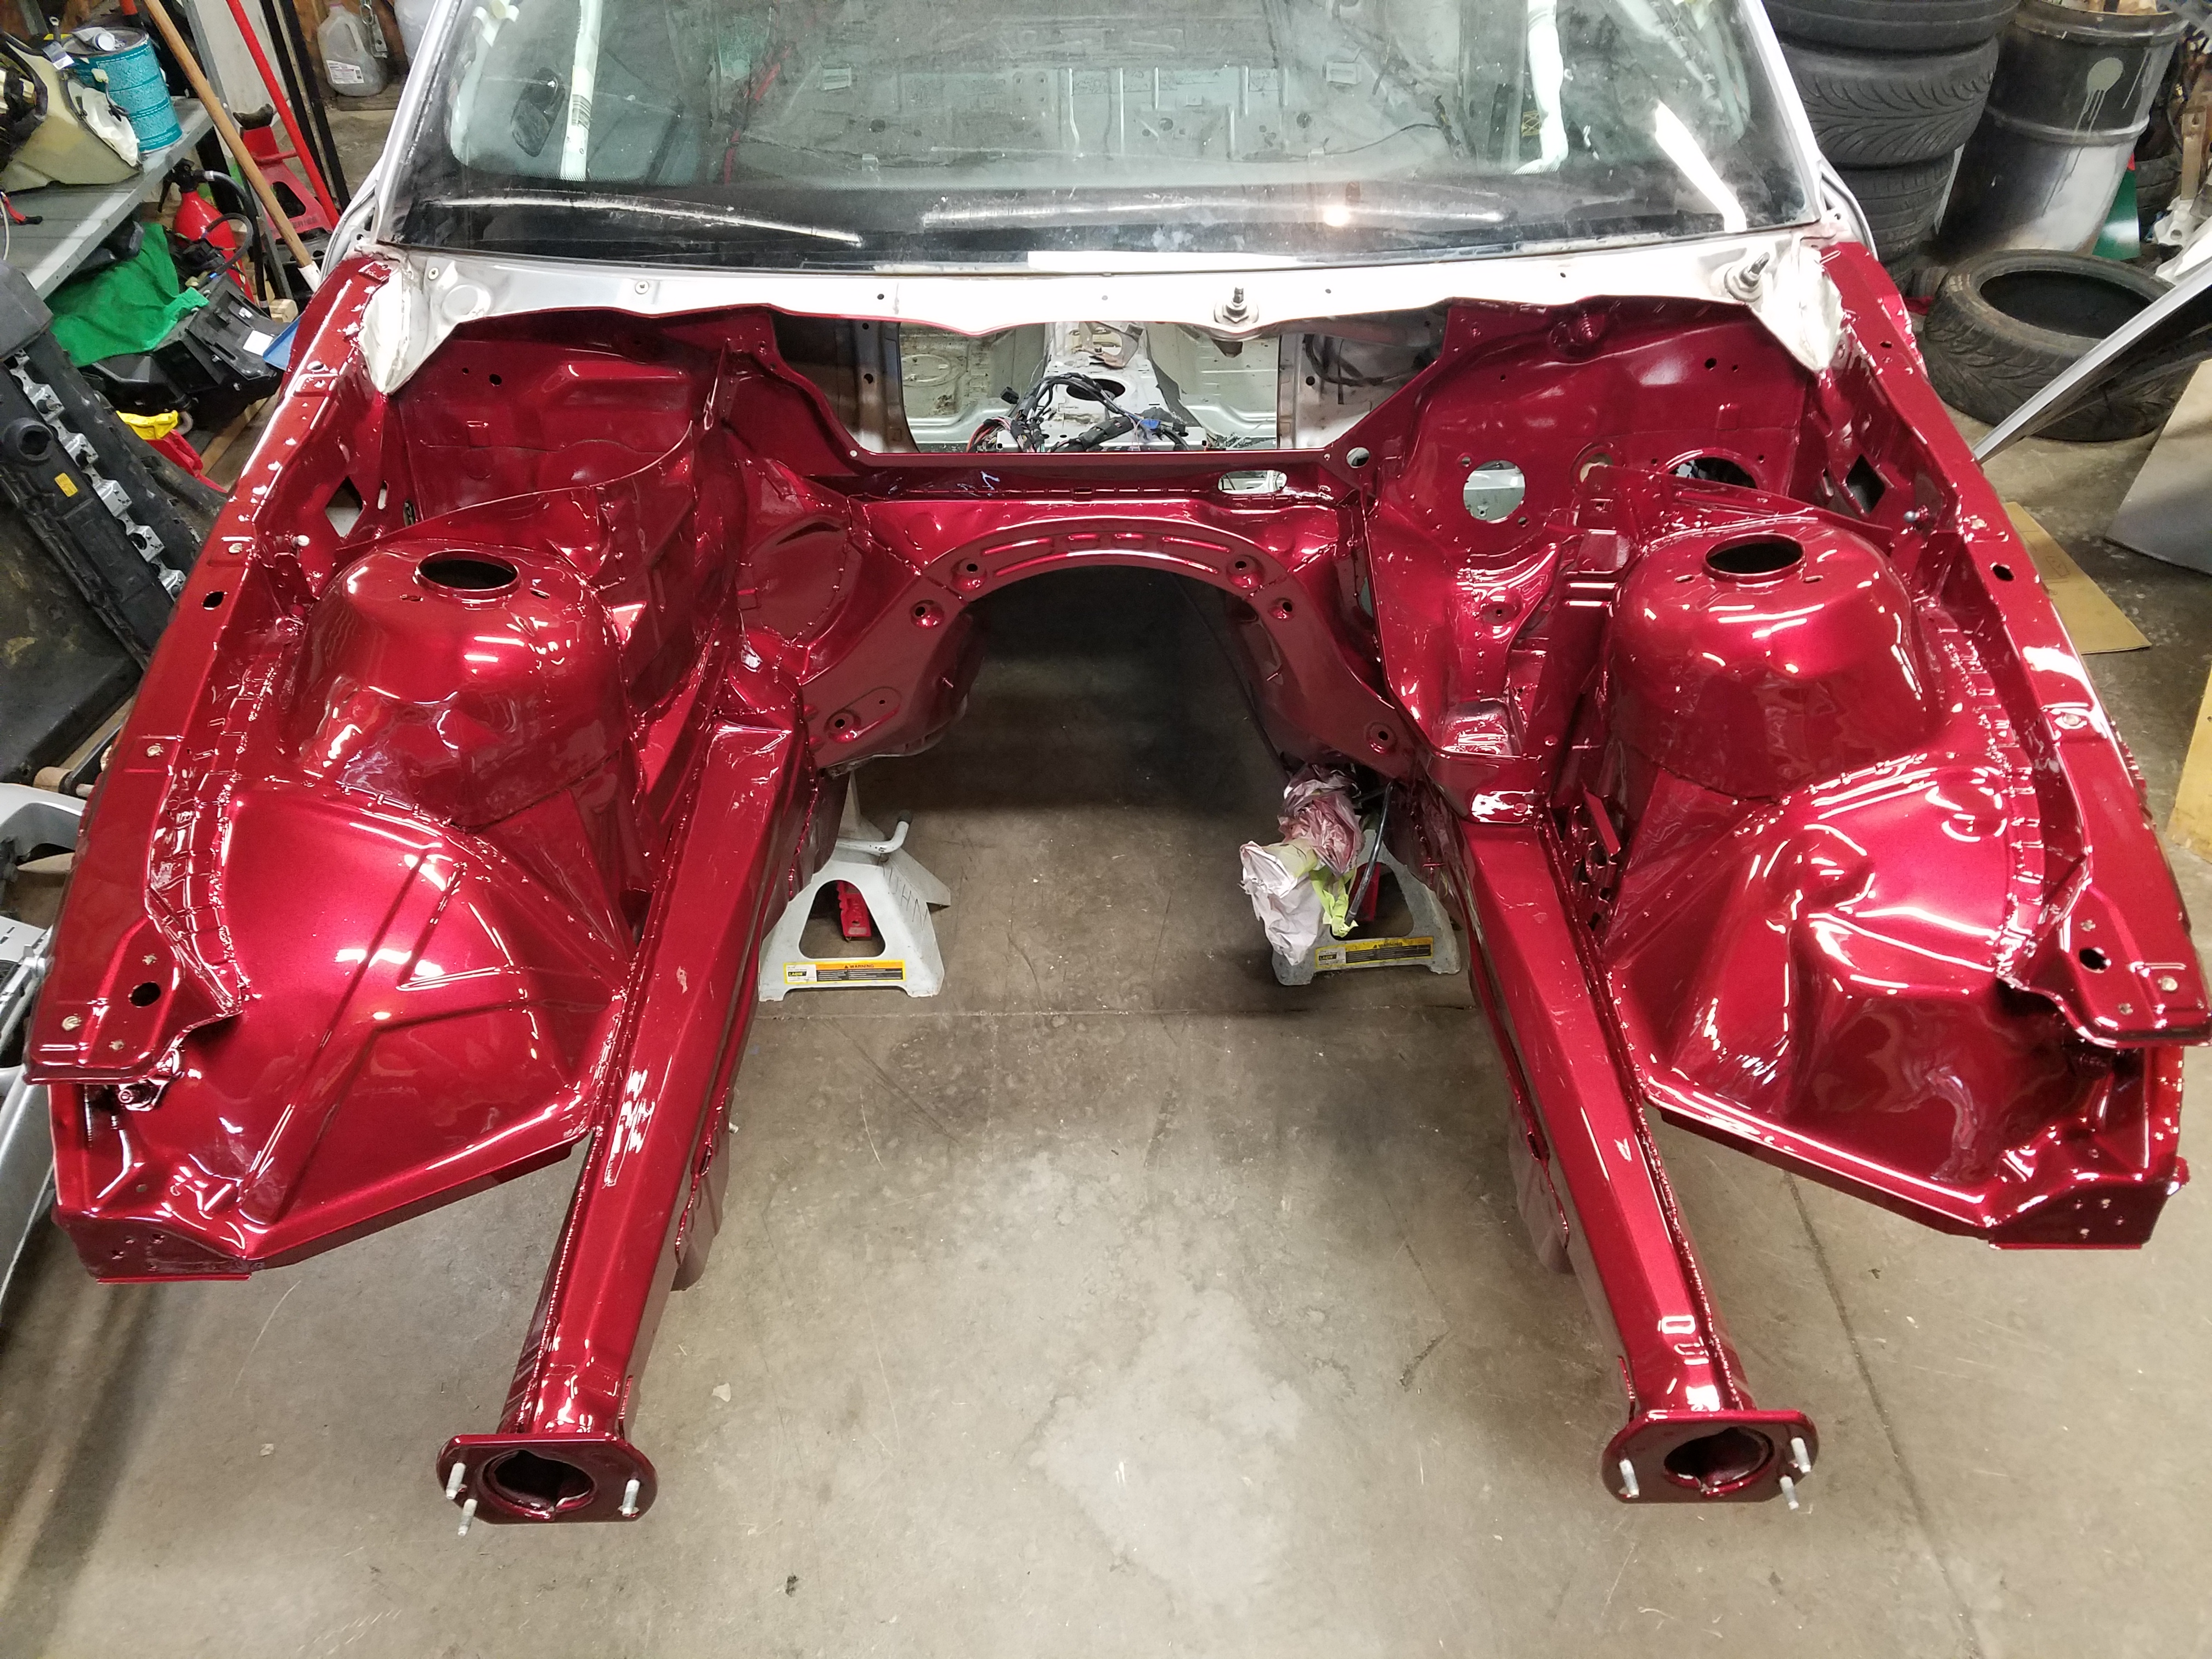
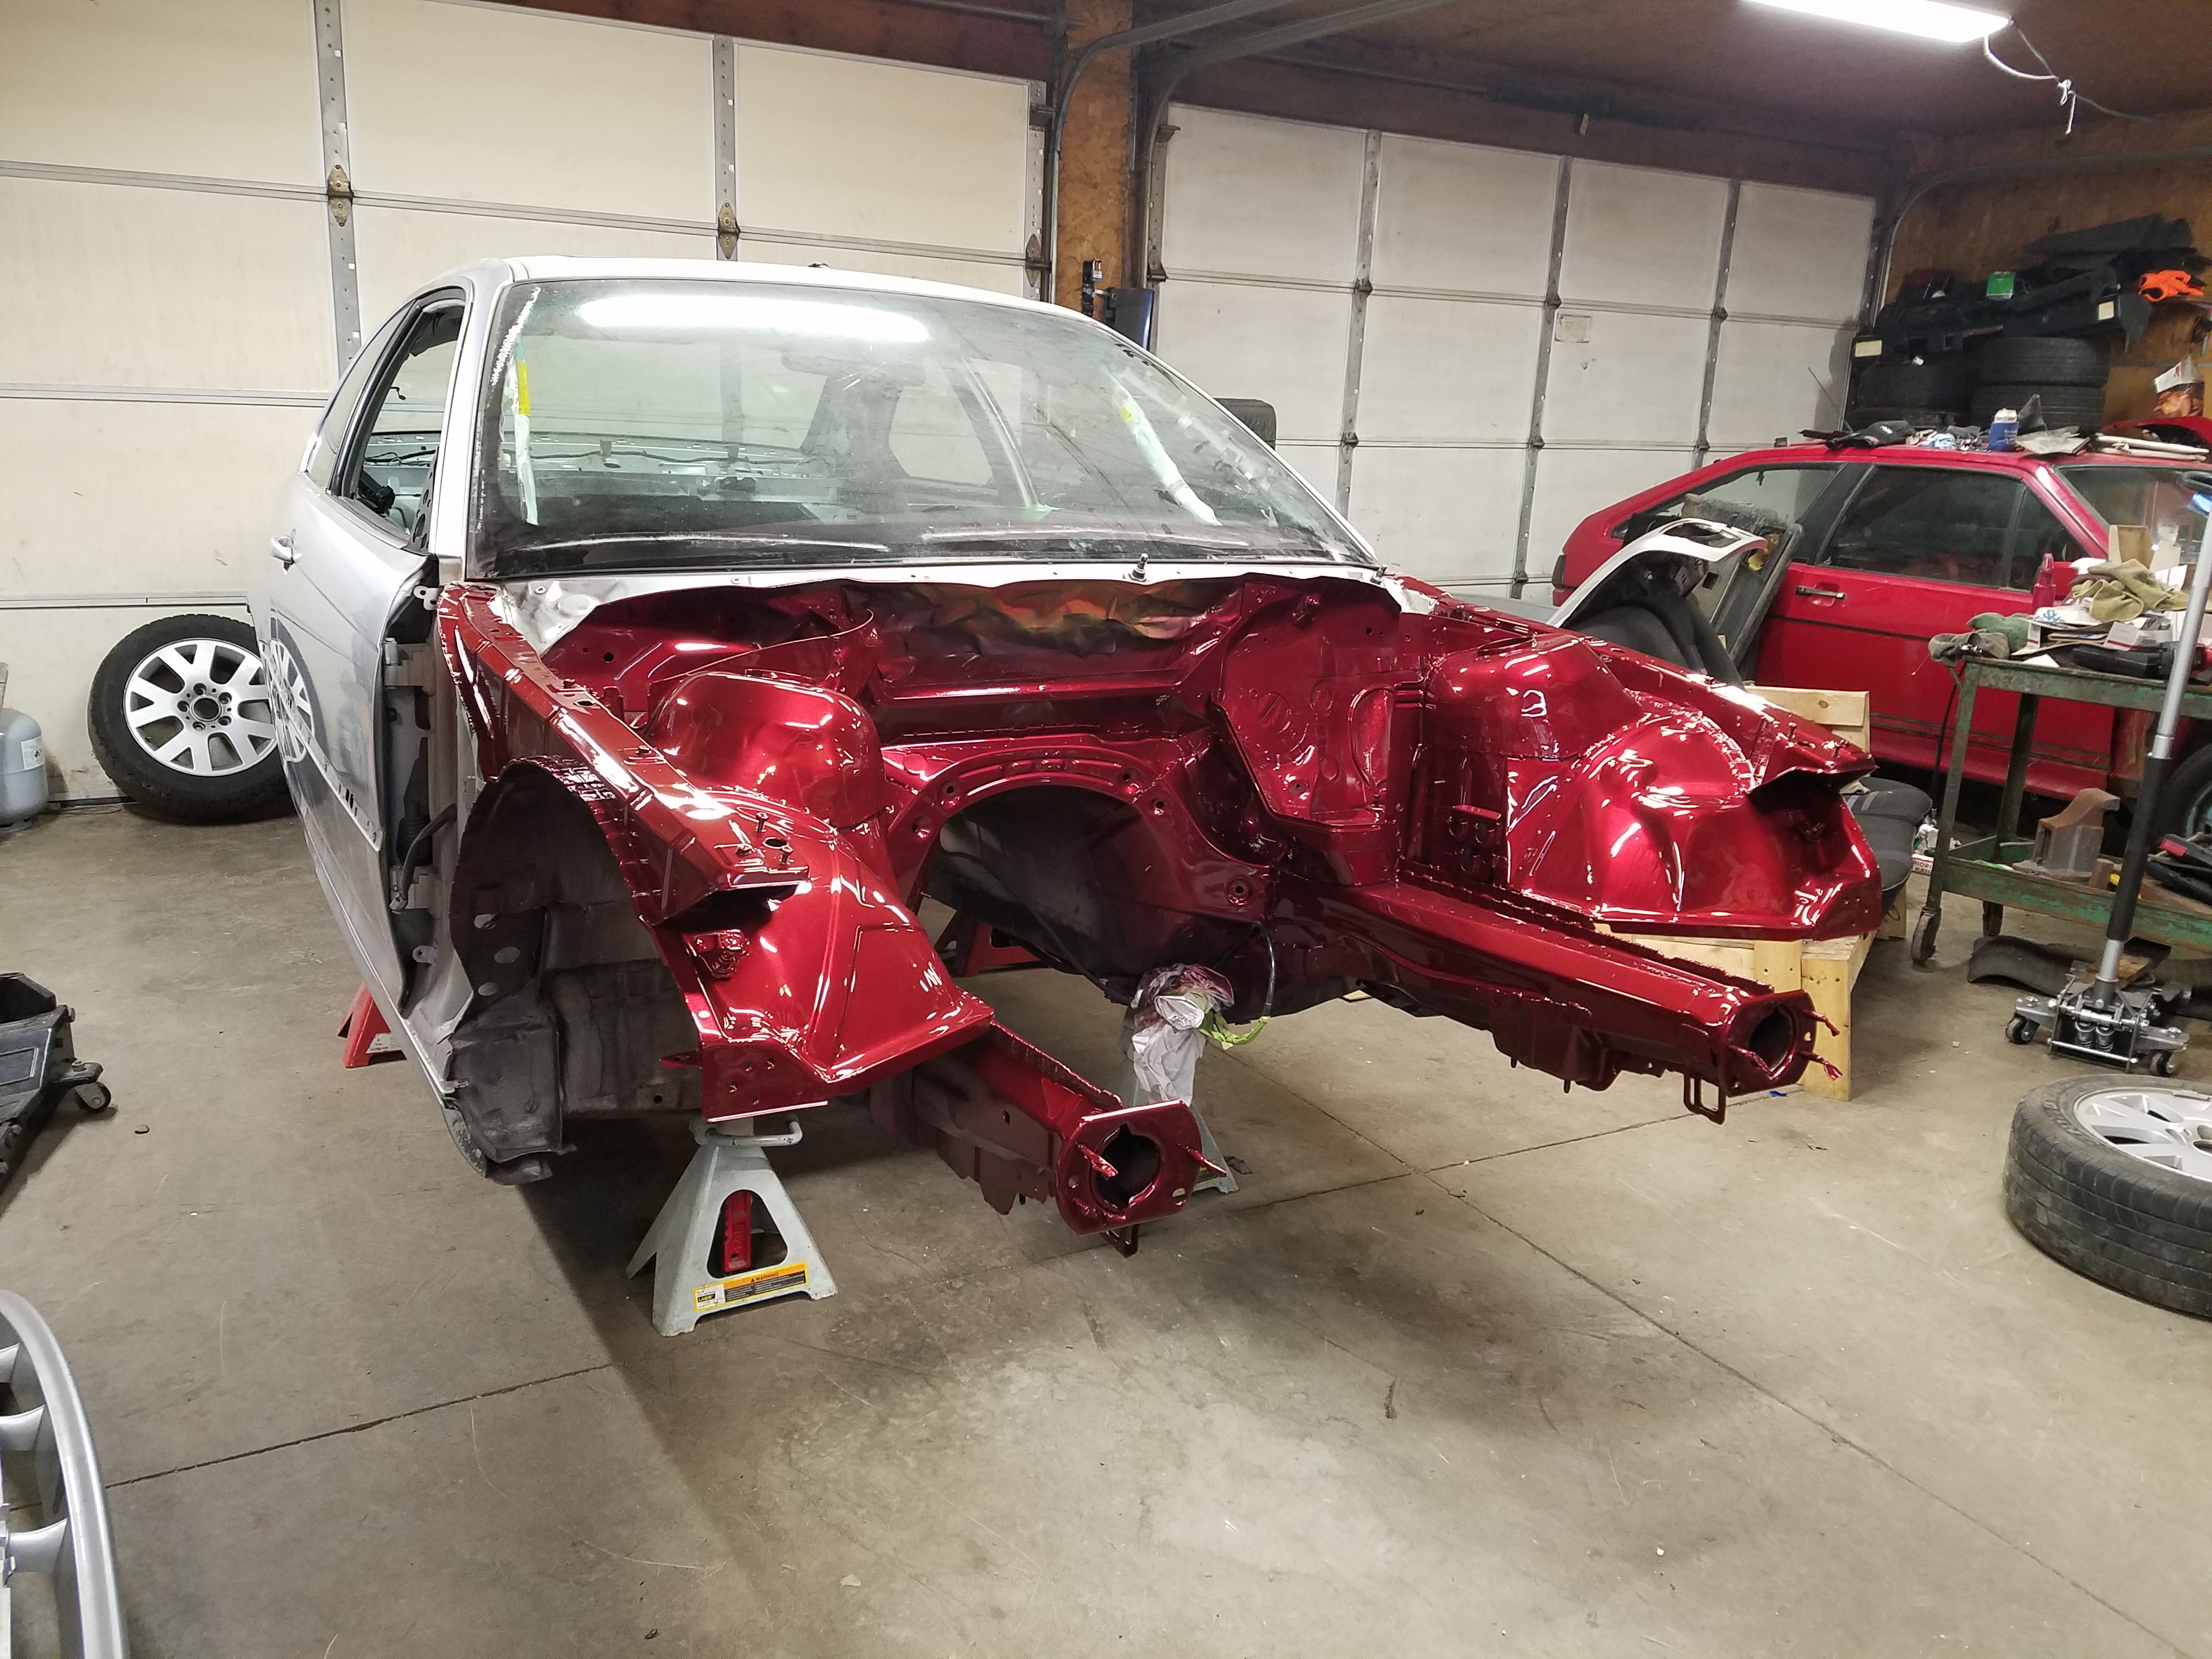
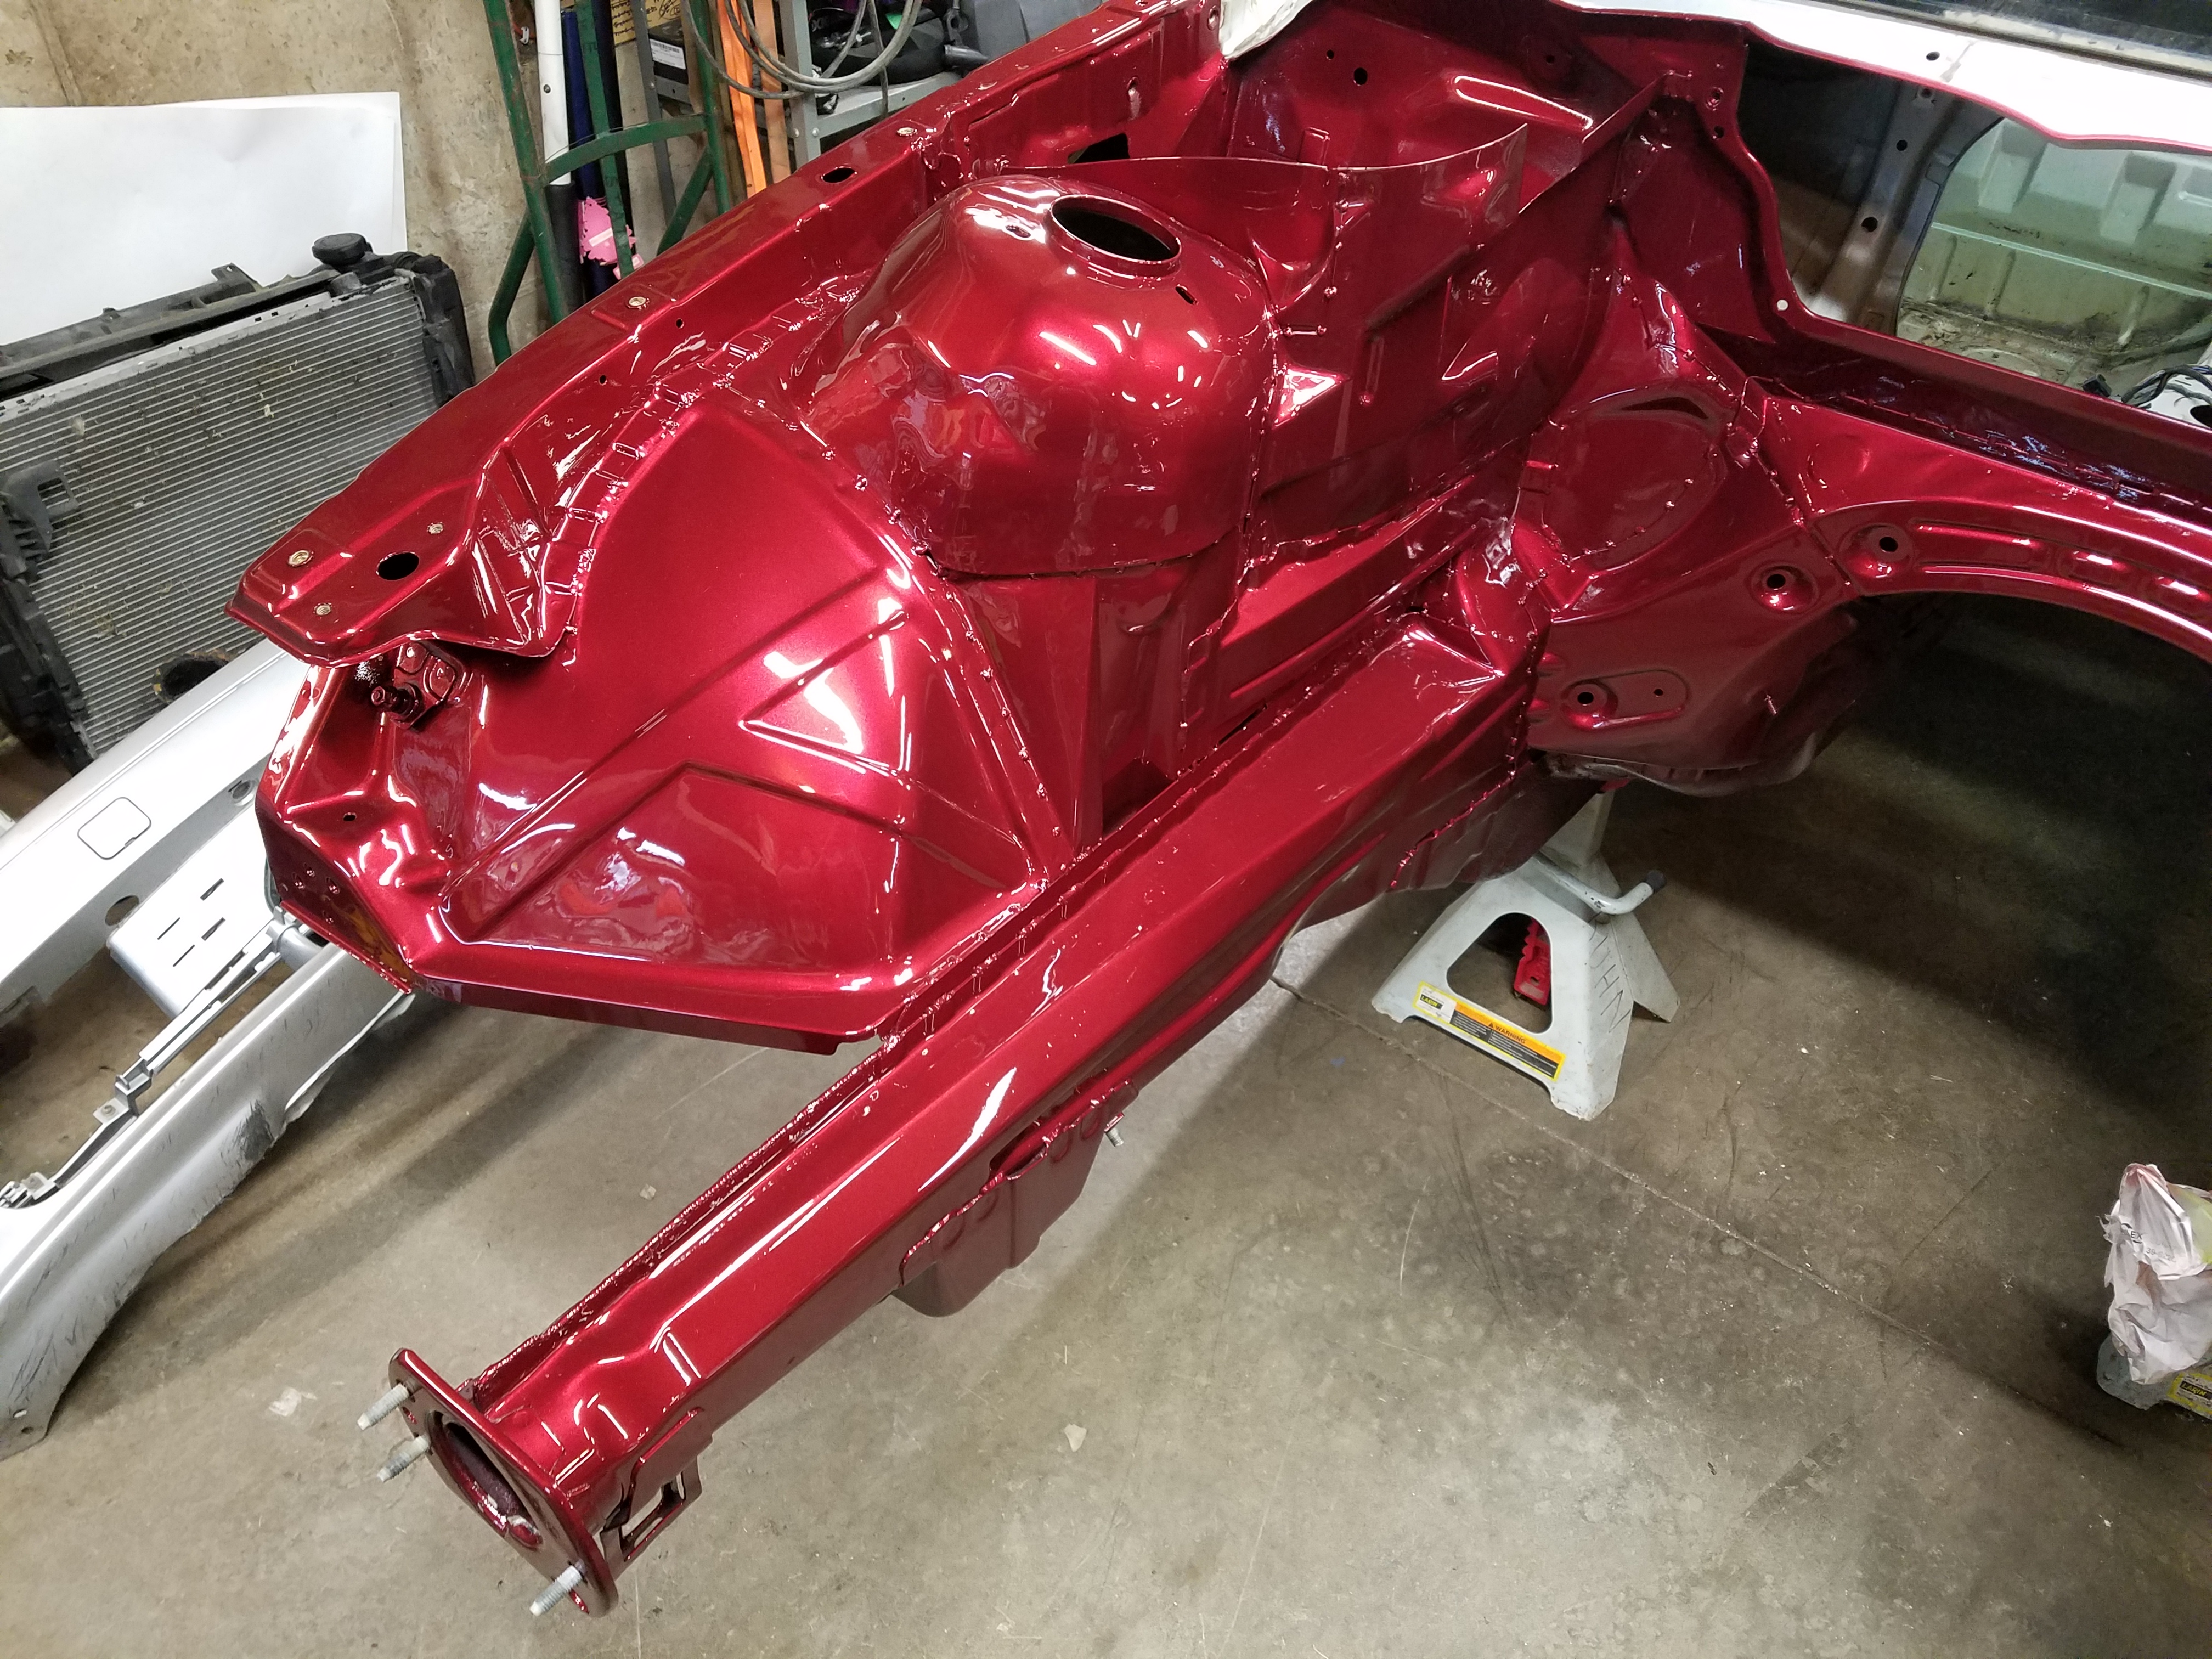
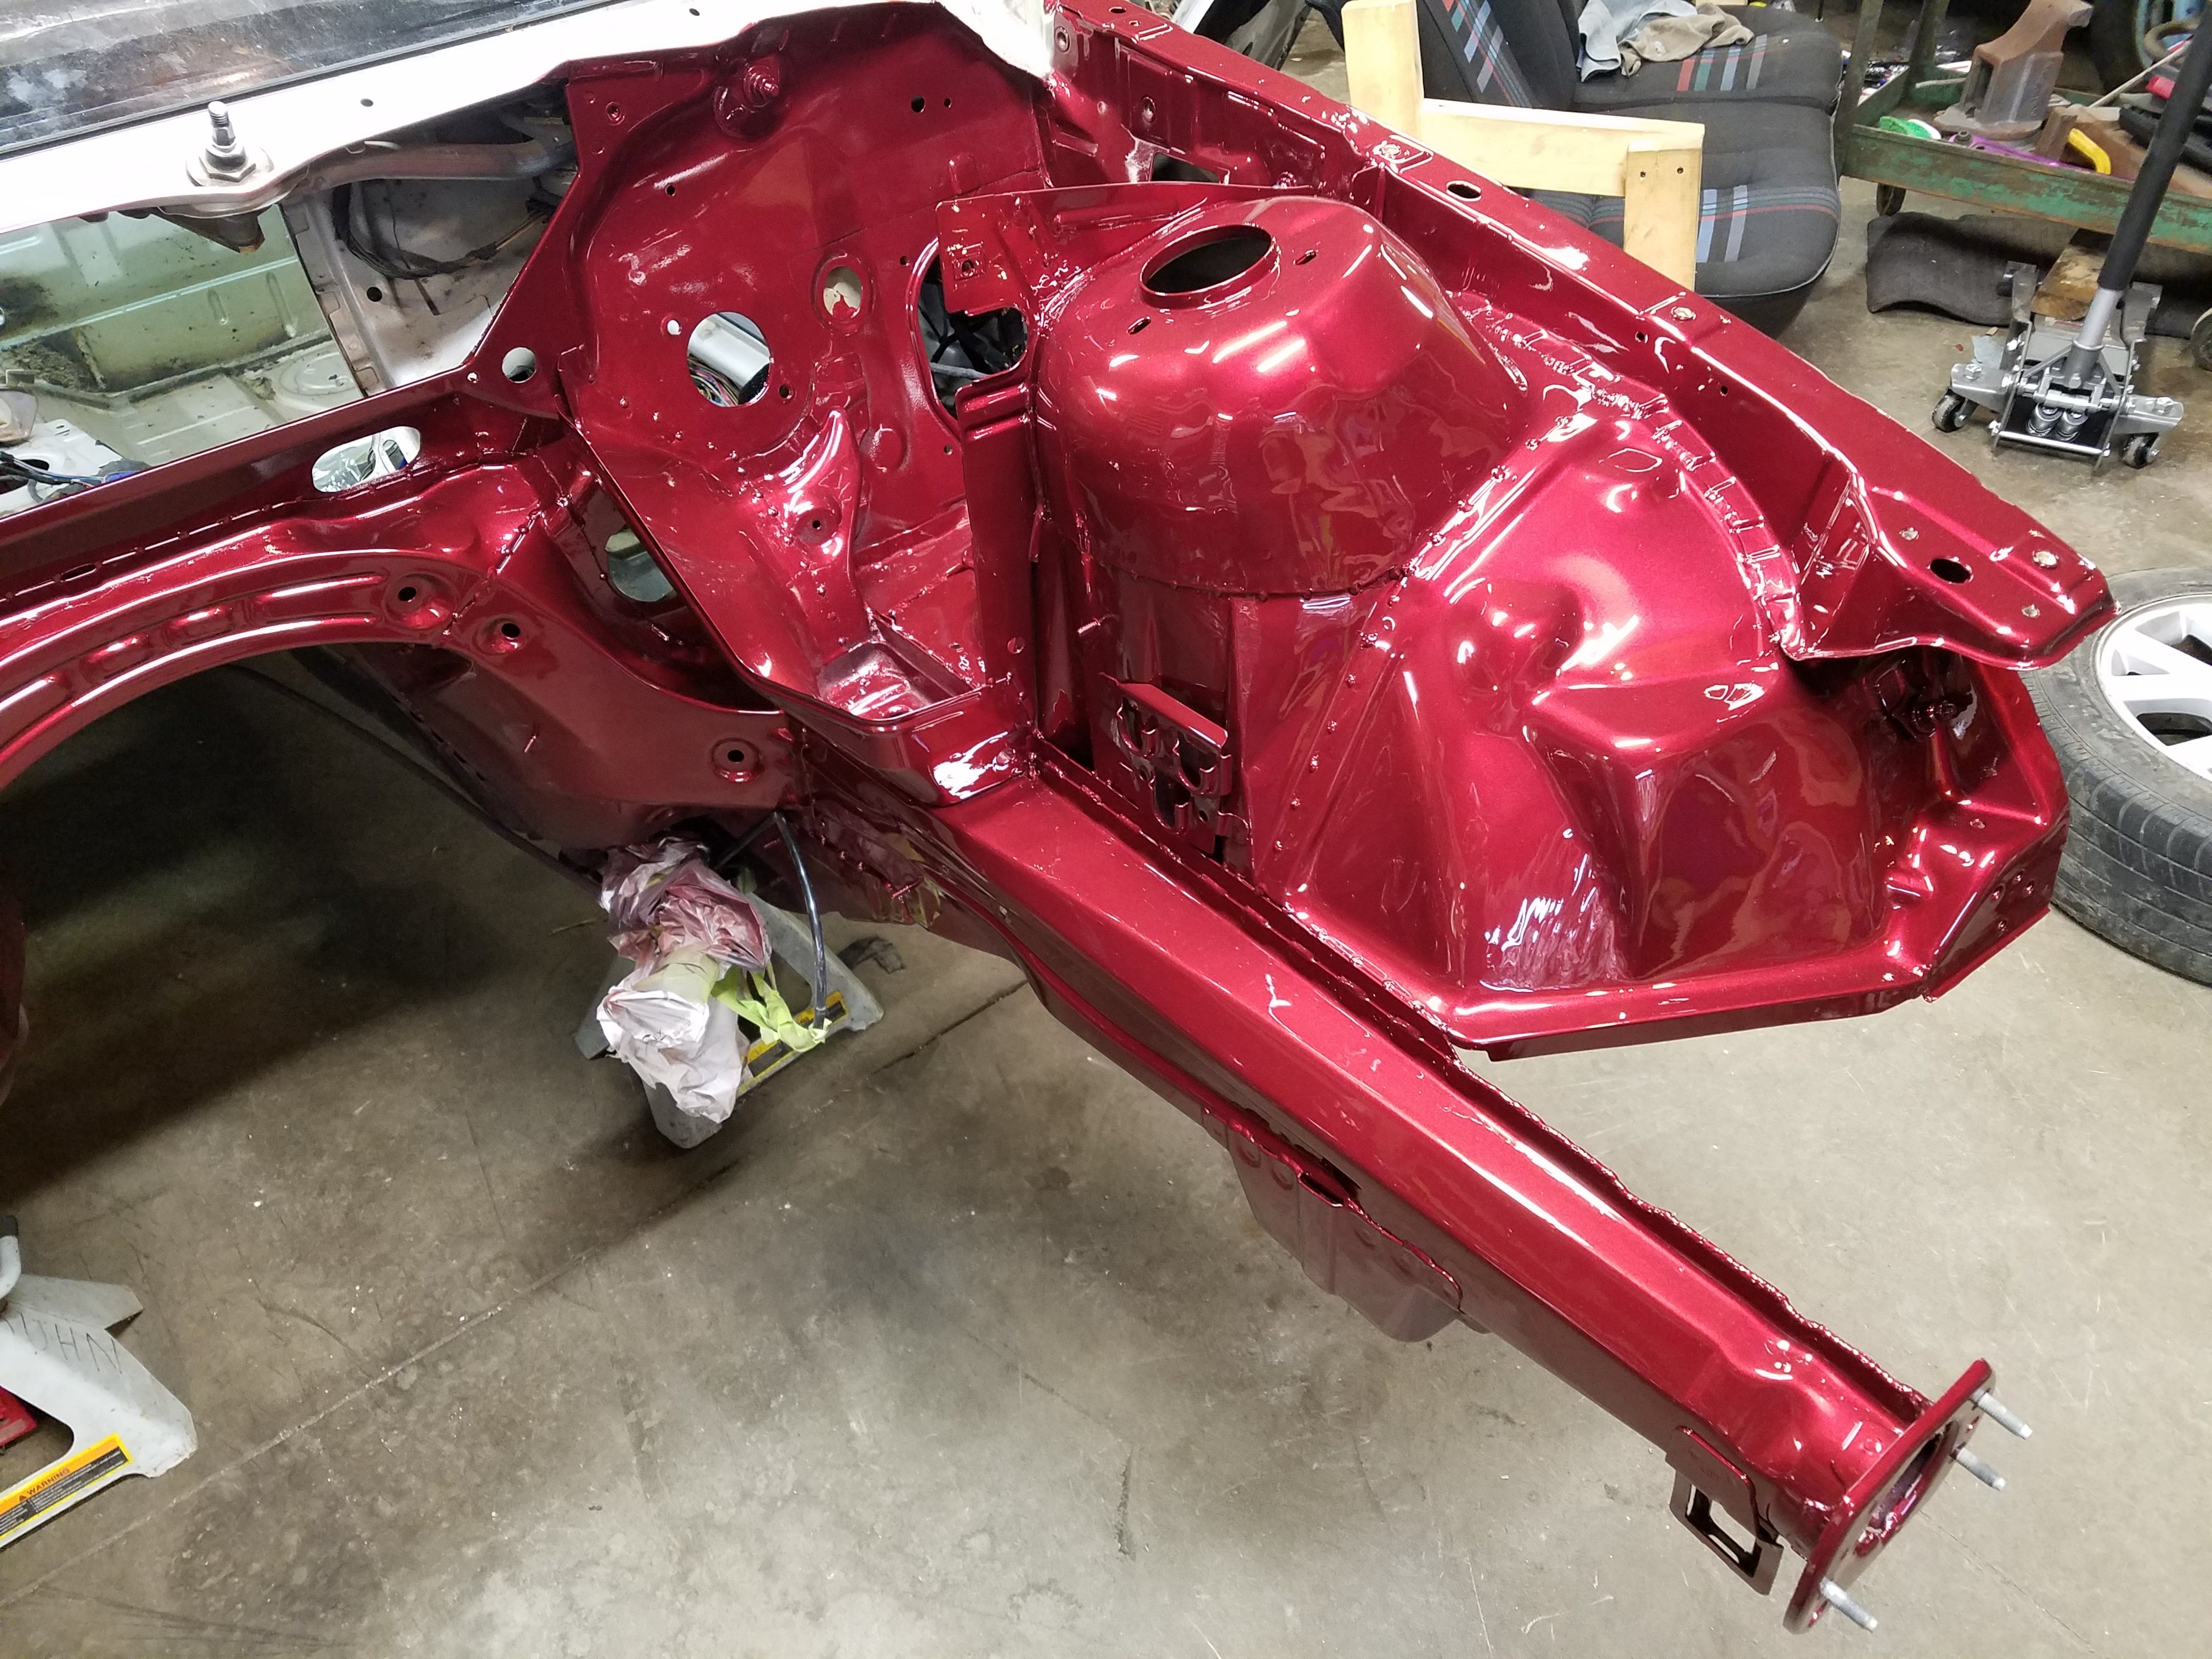
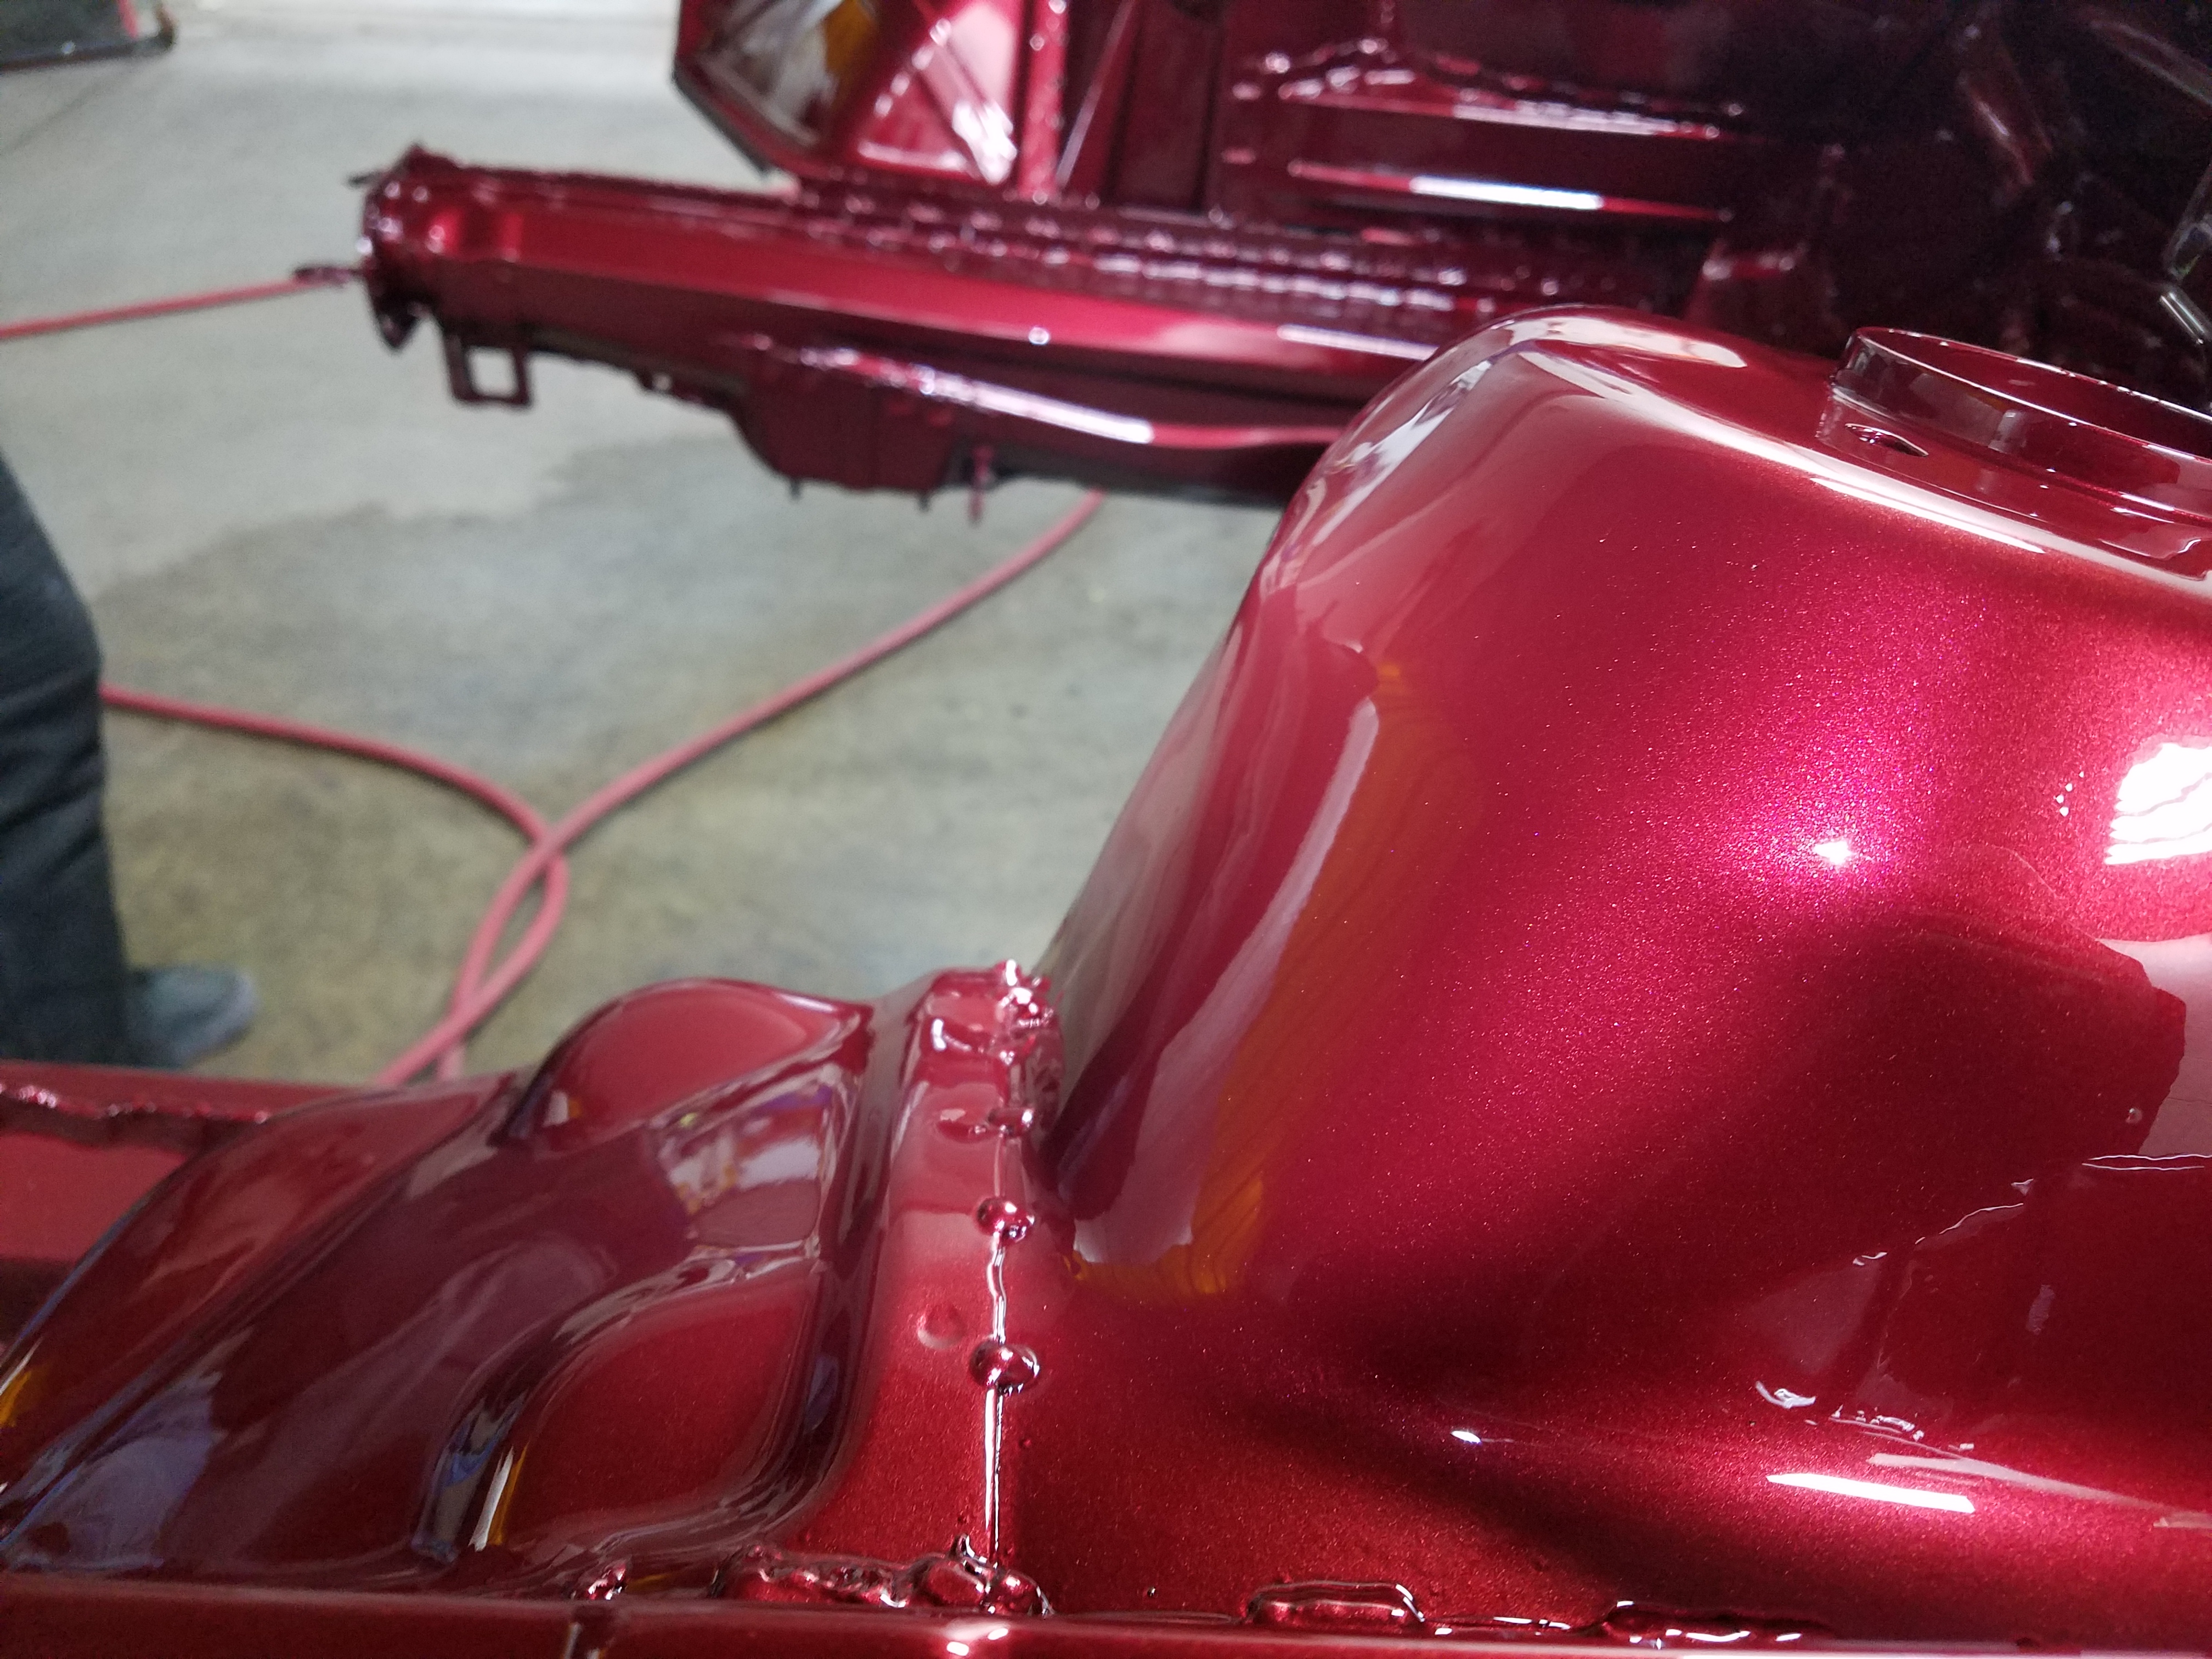
The bay is painted.
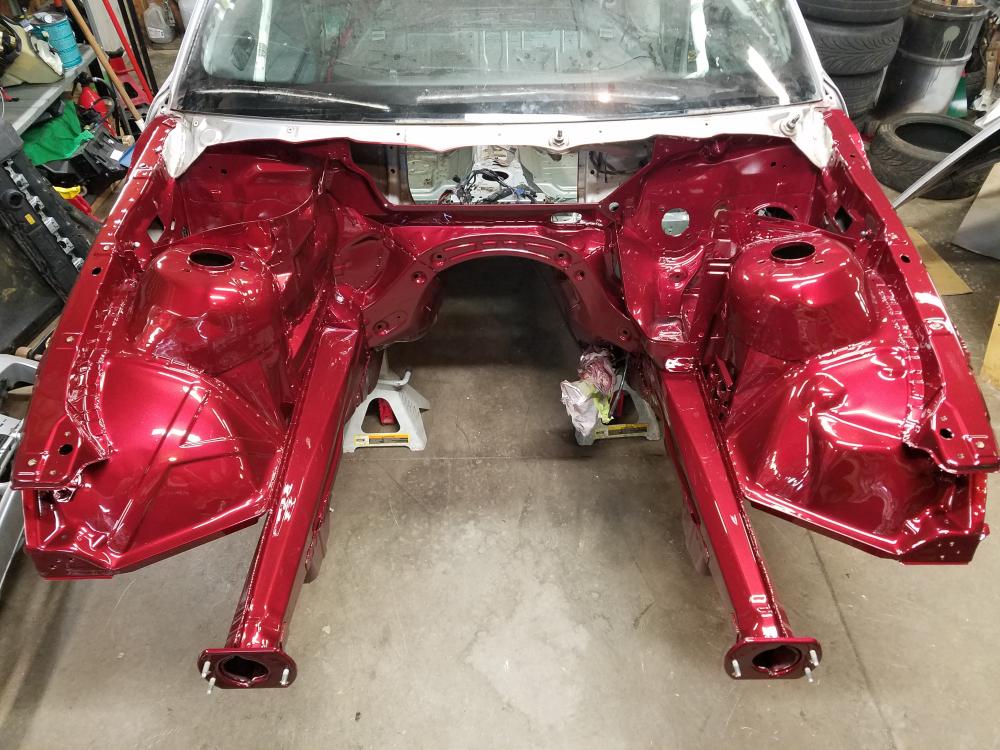
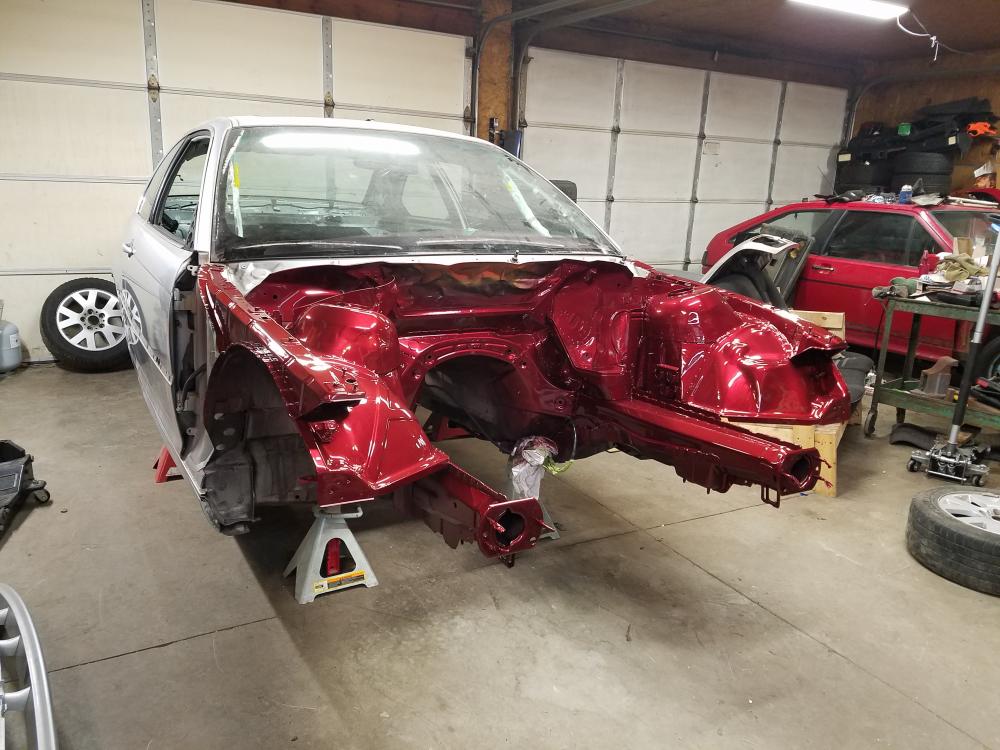
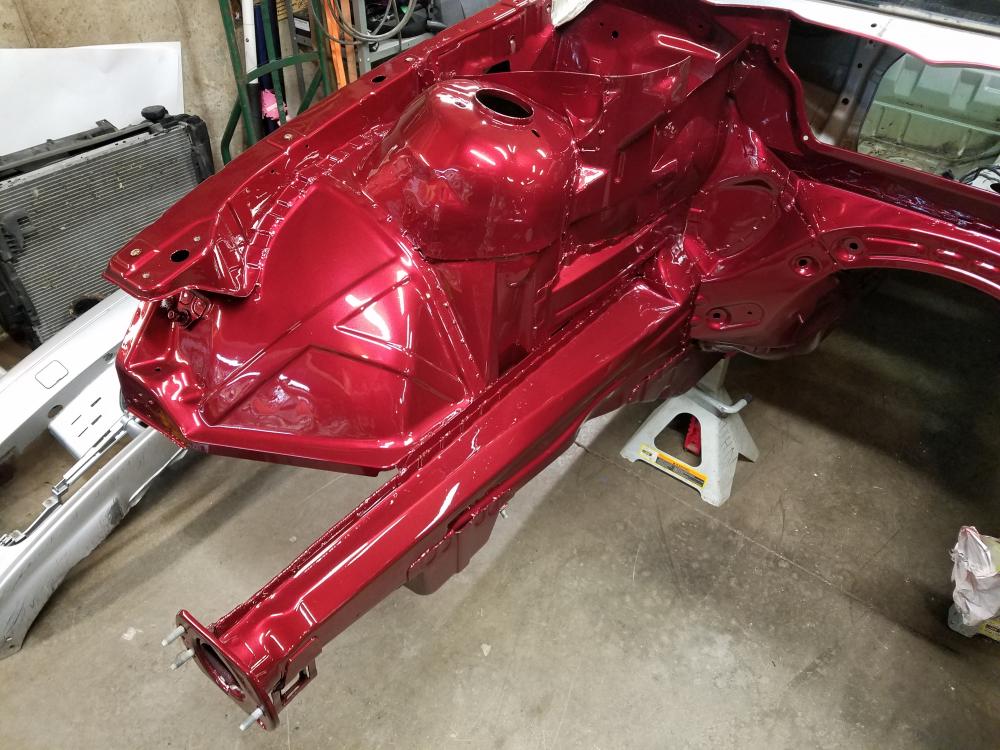
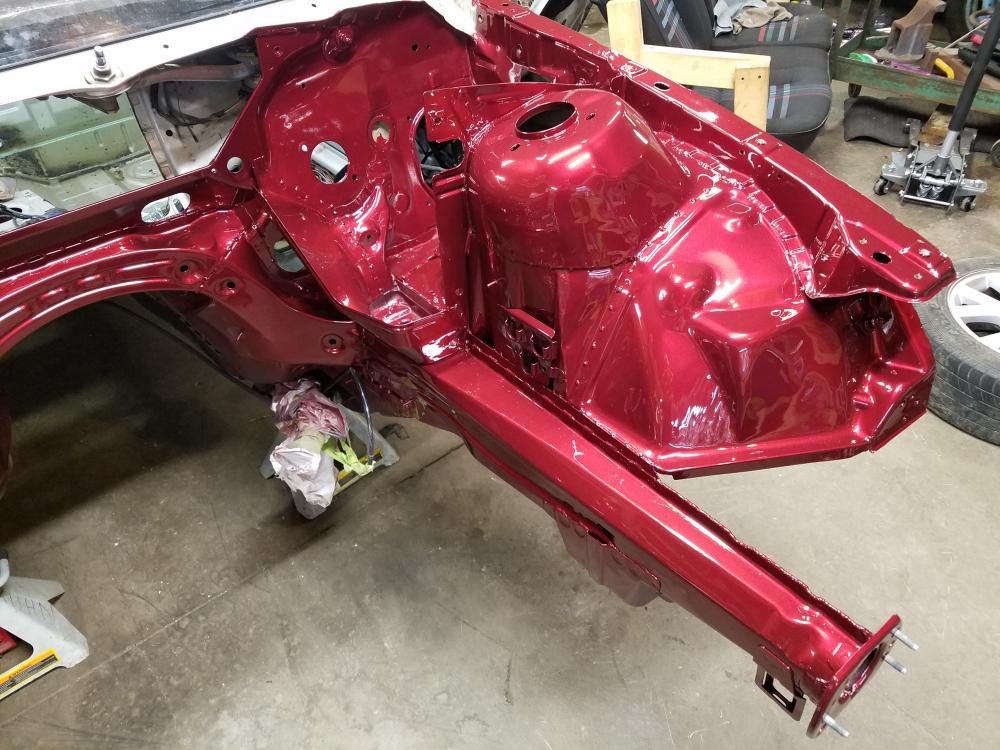
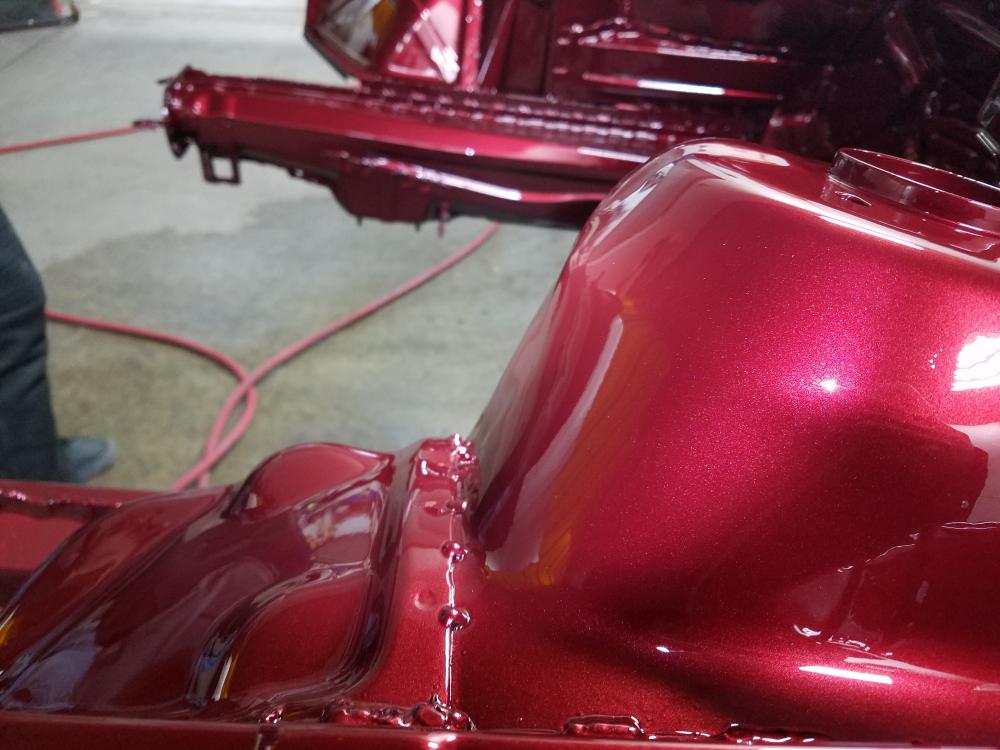
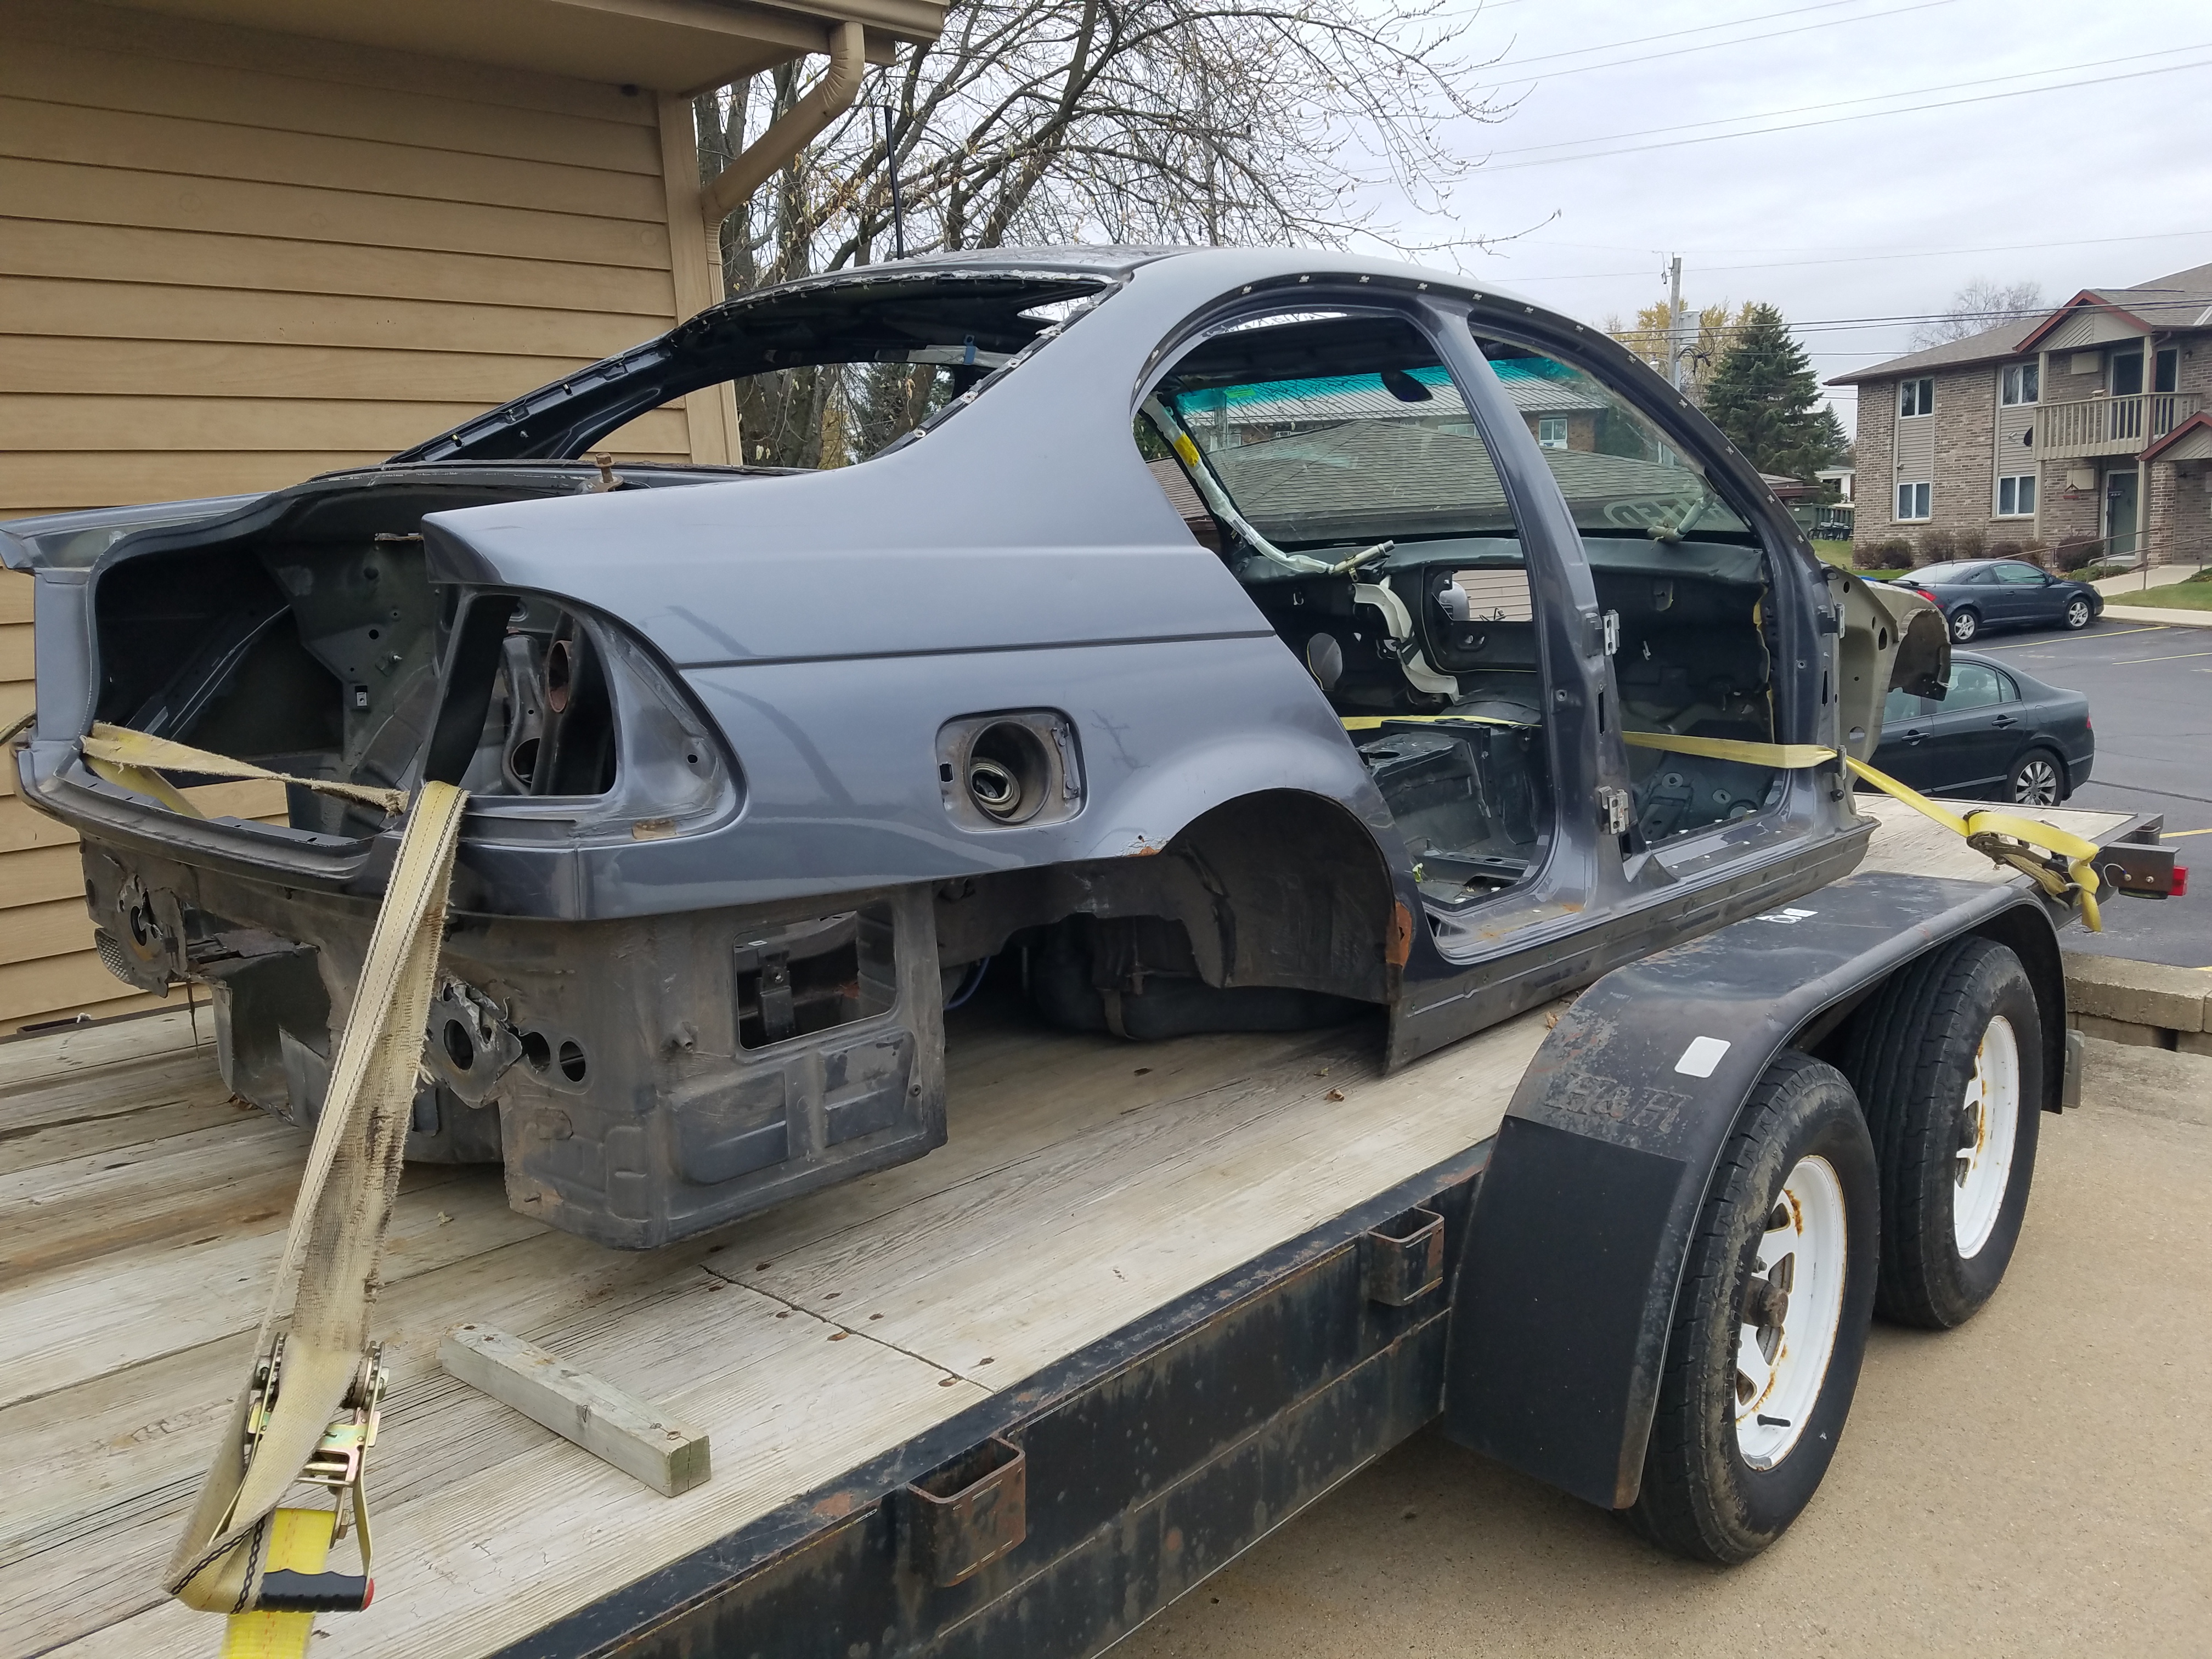
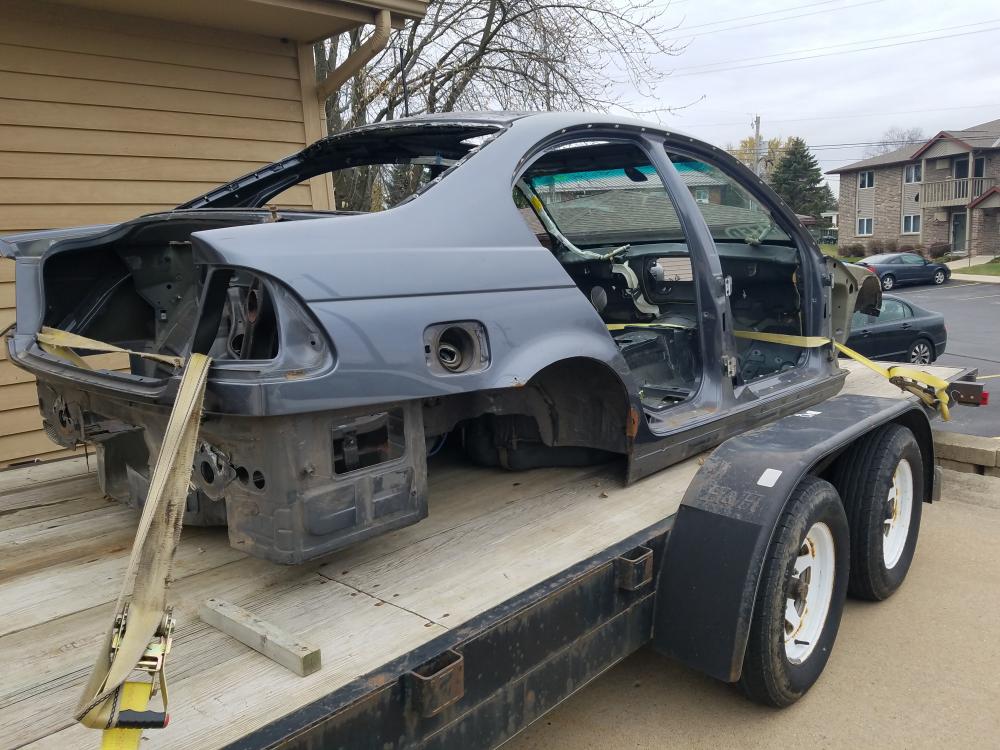
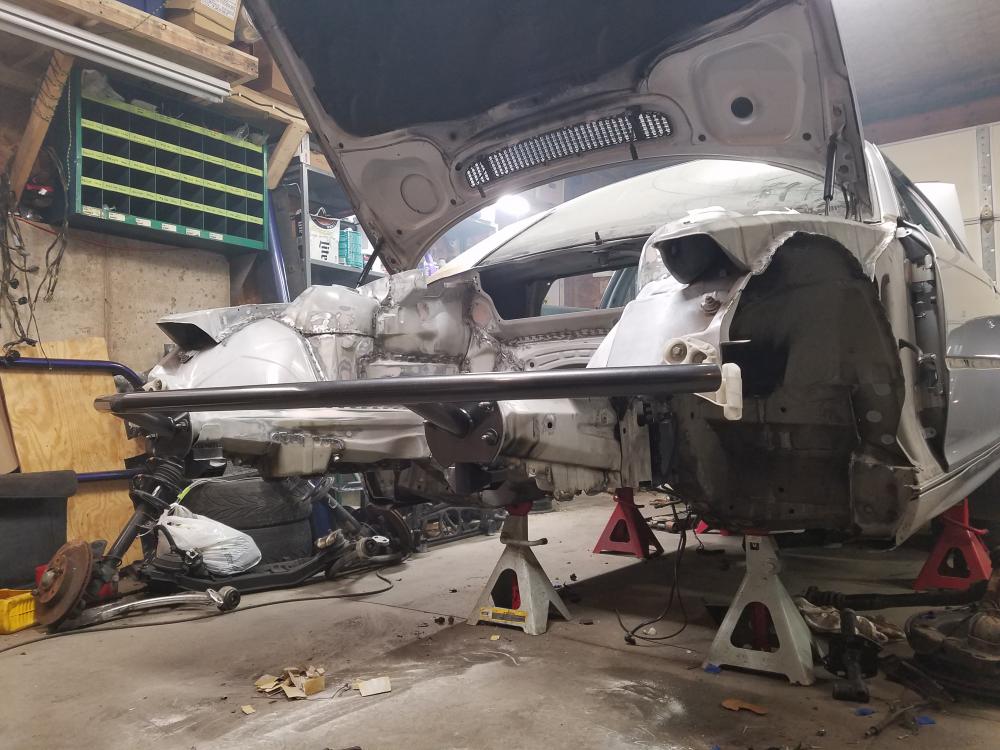
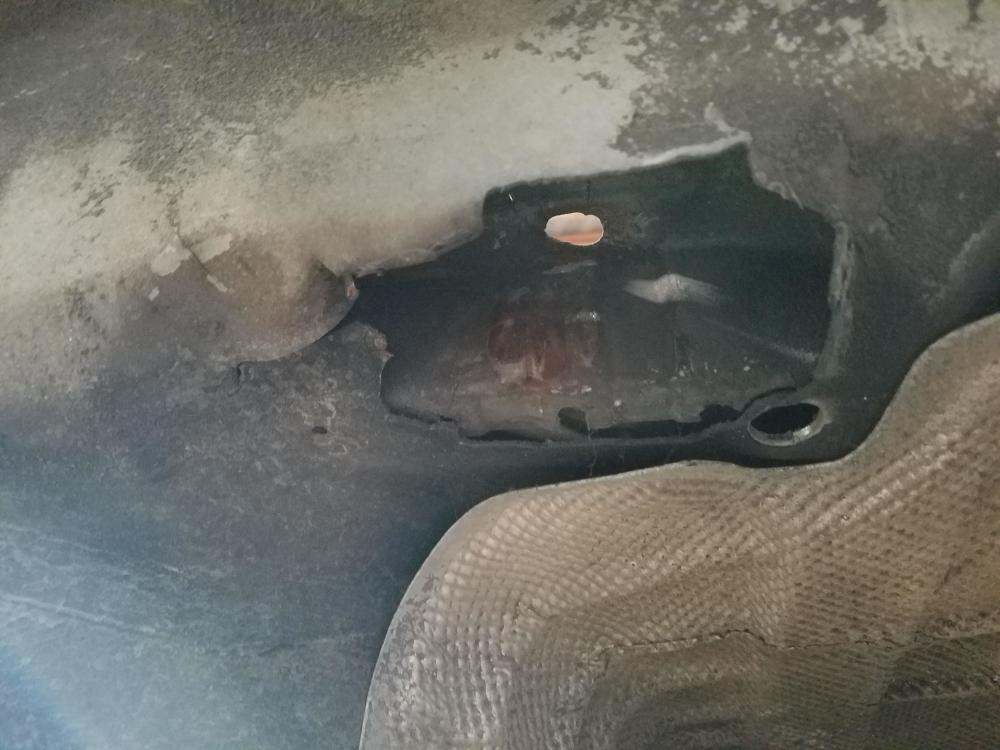
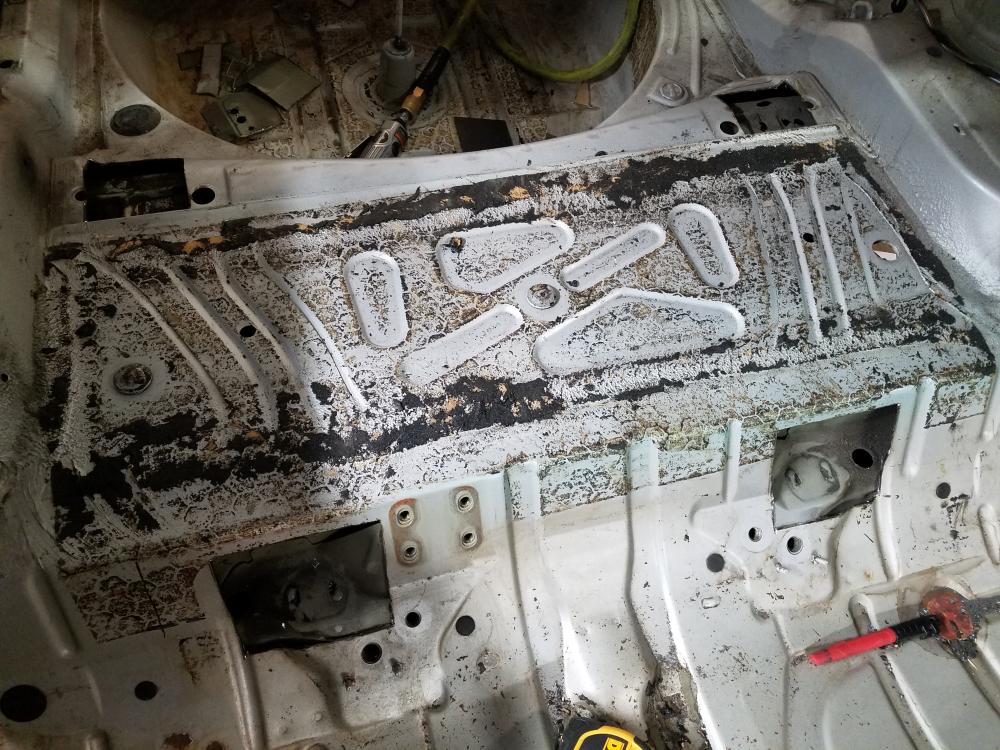
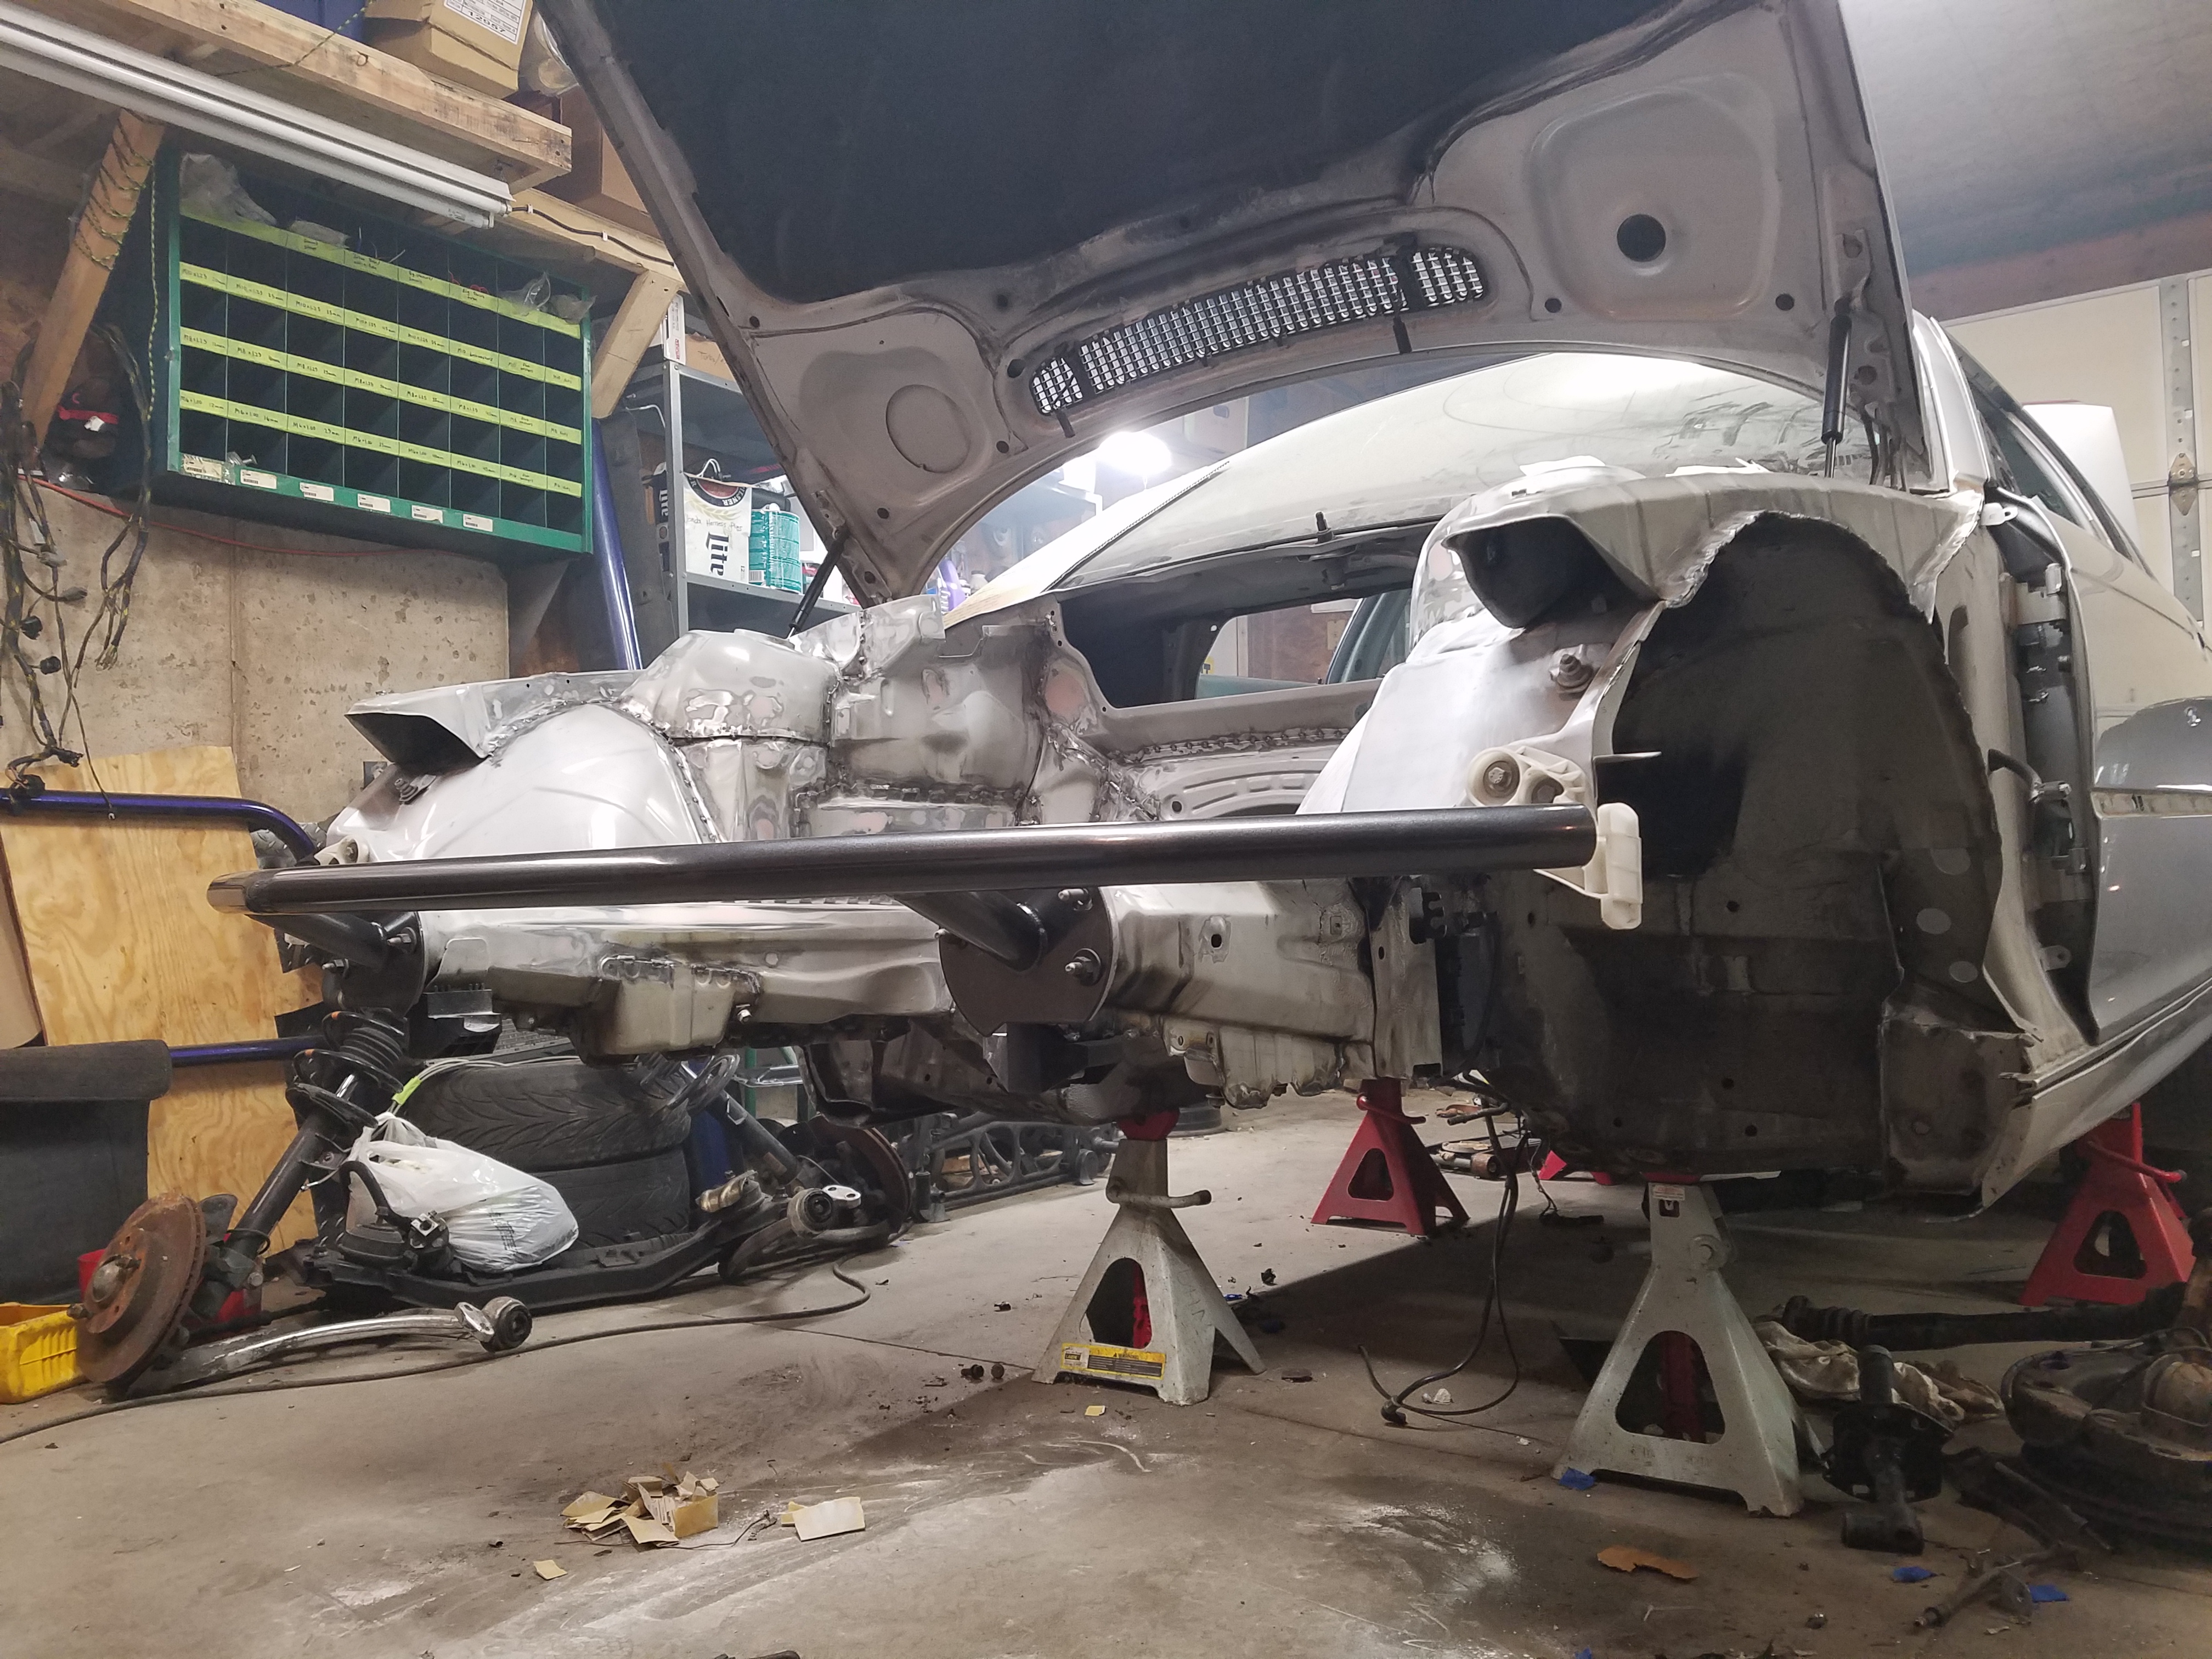
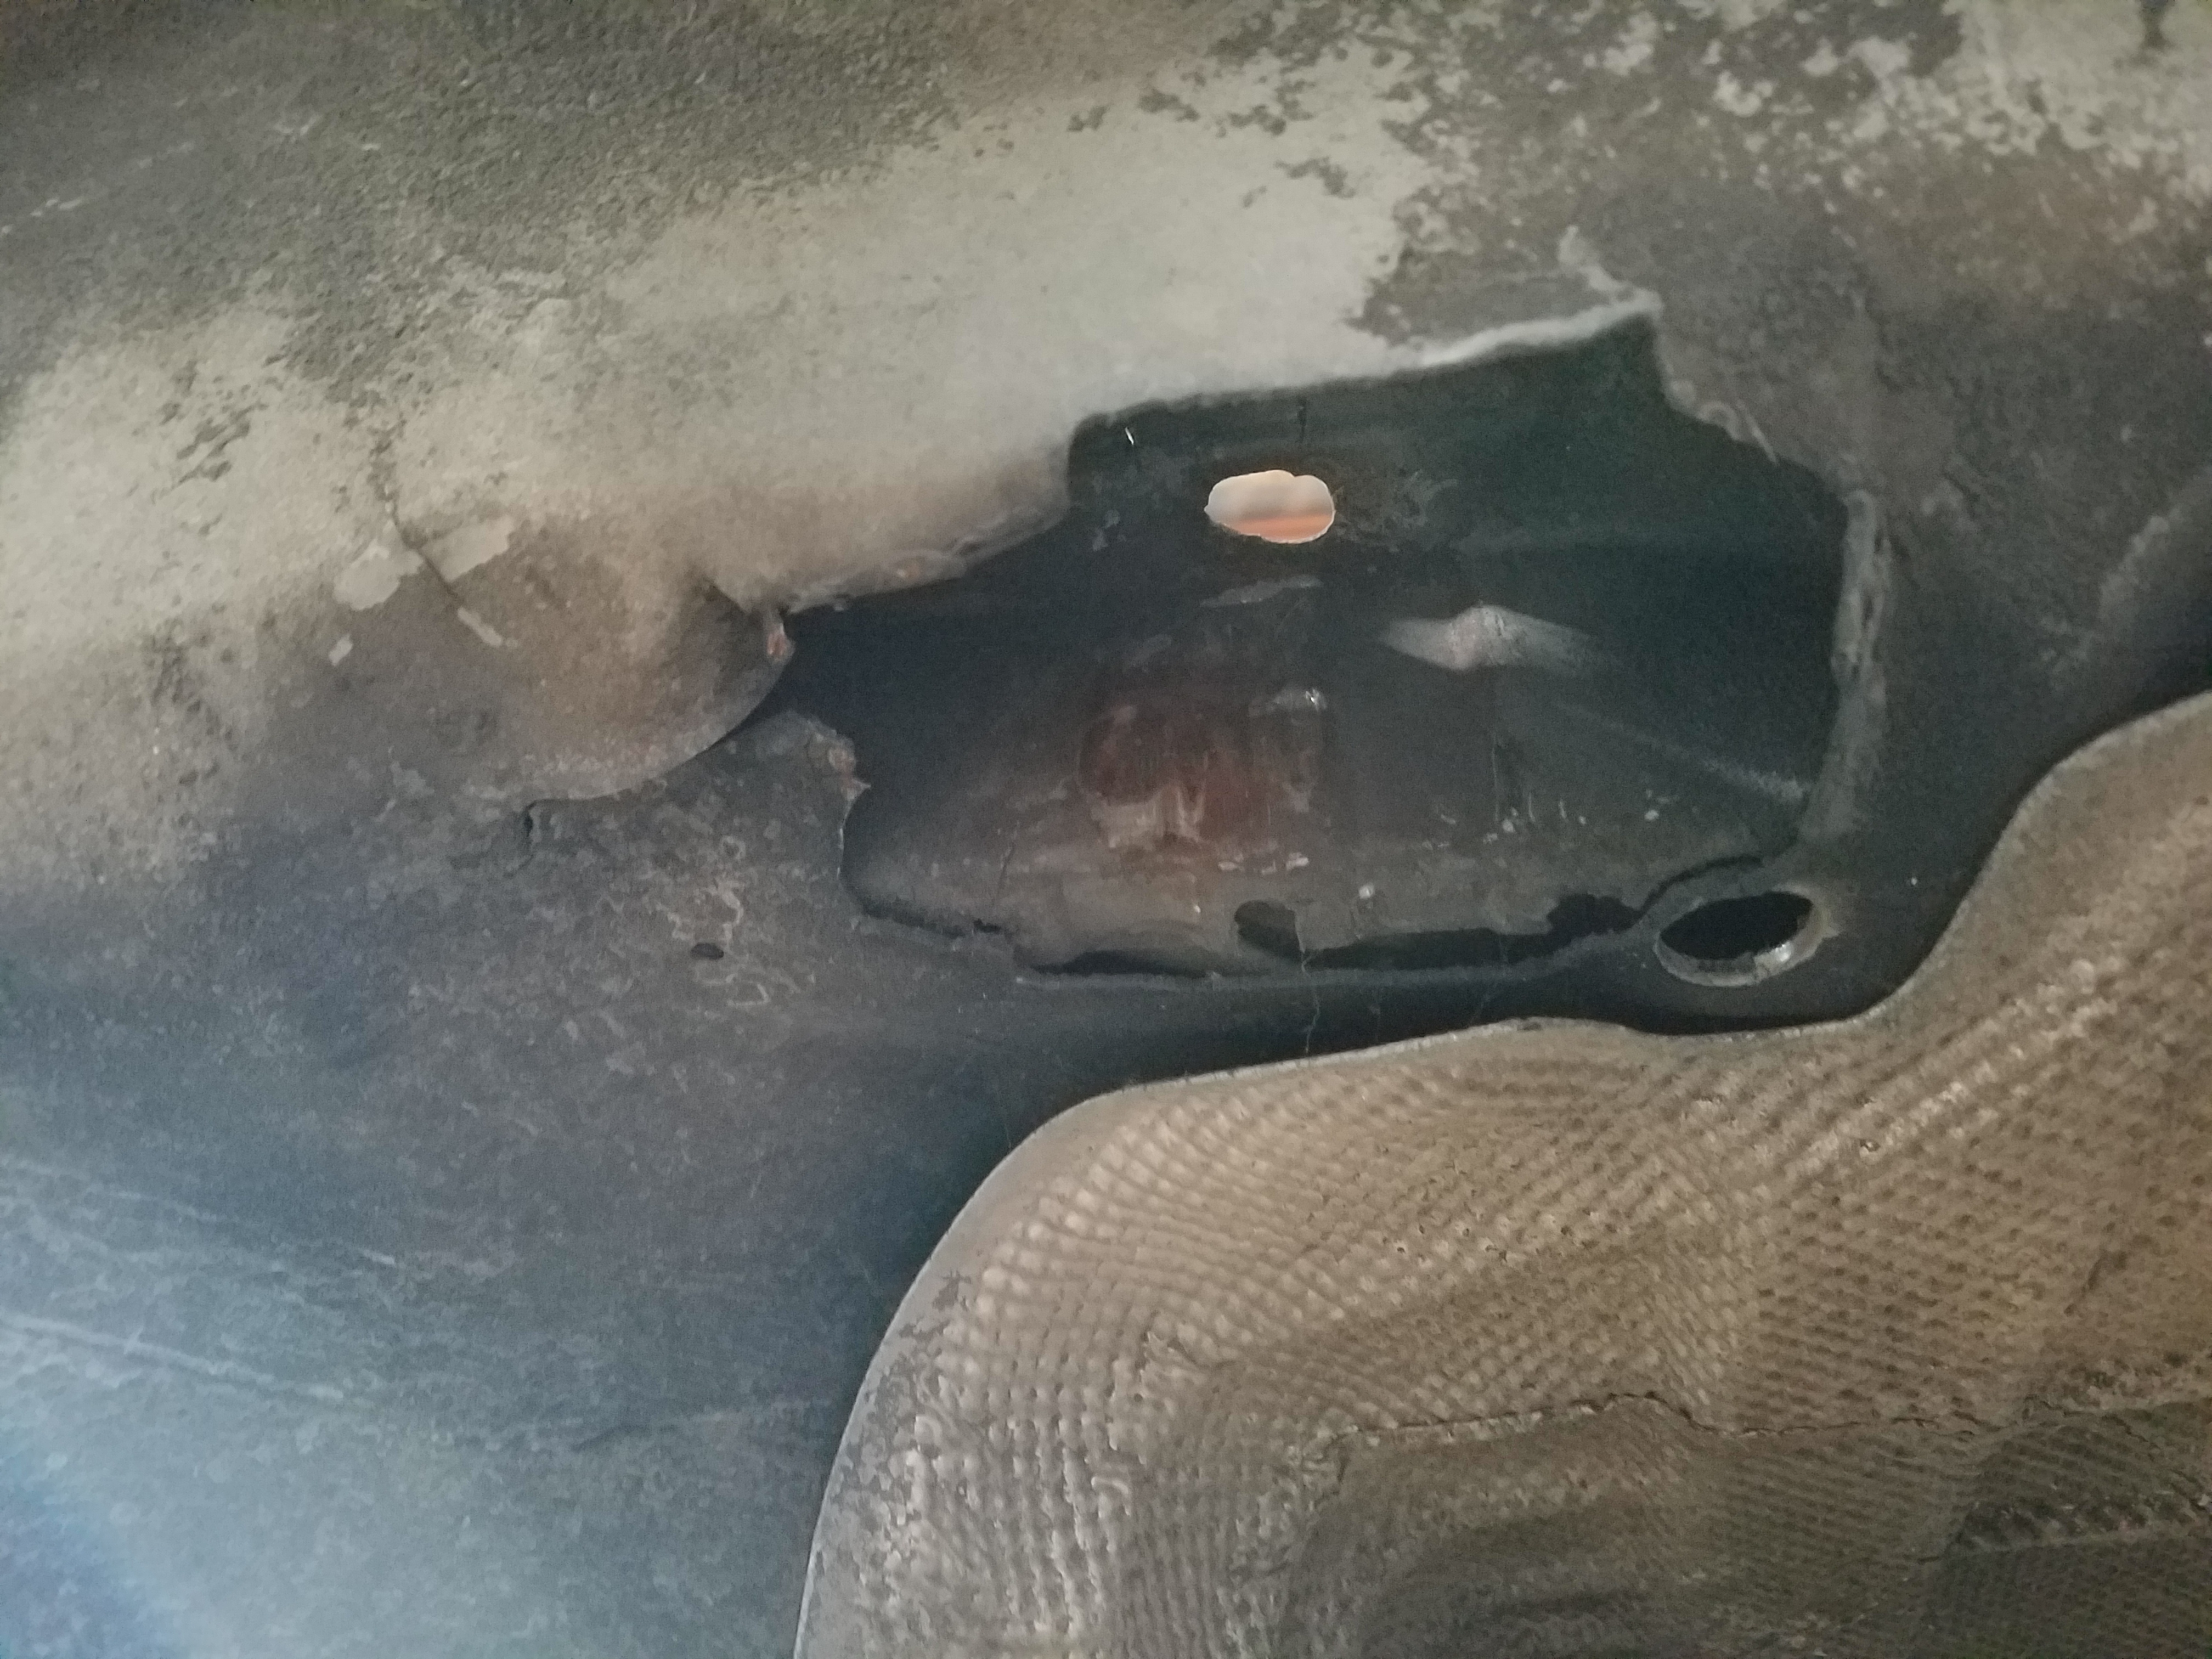
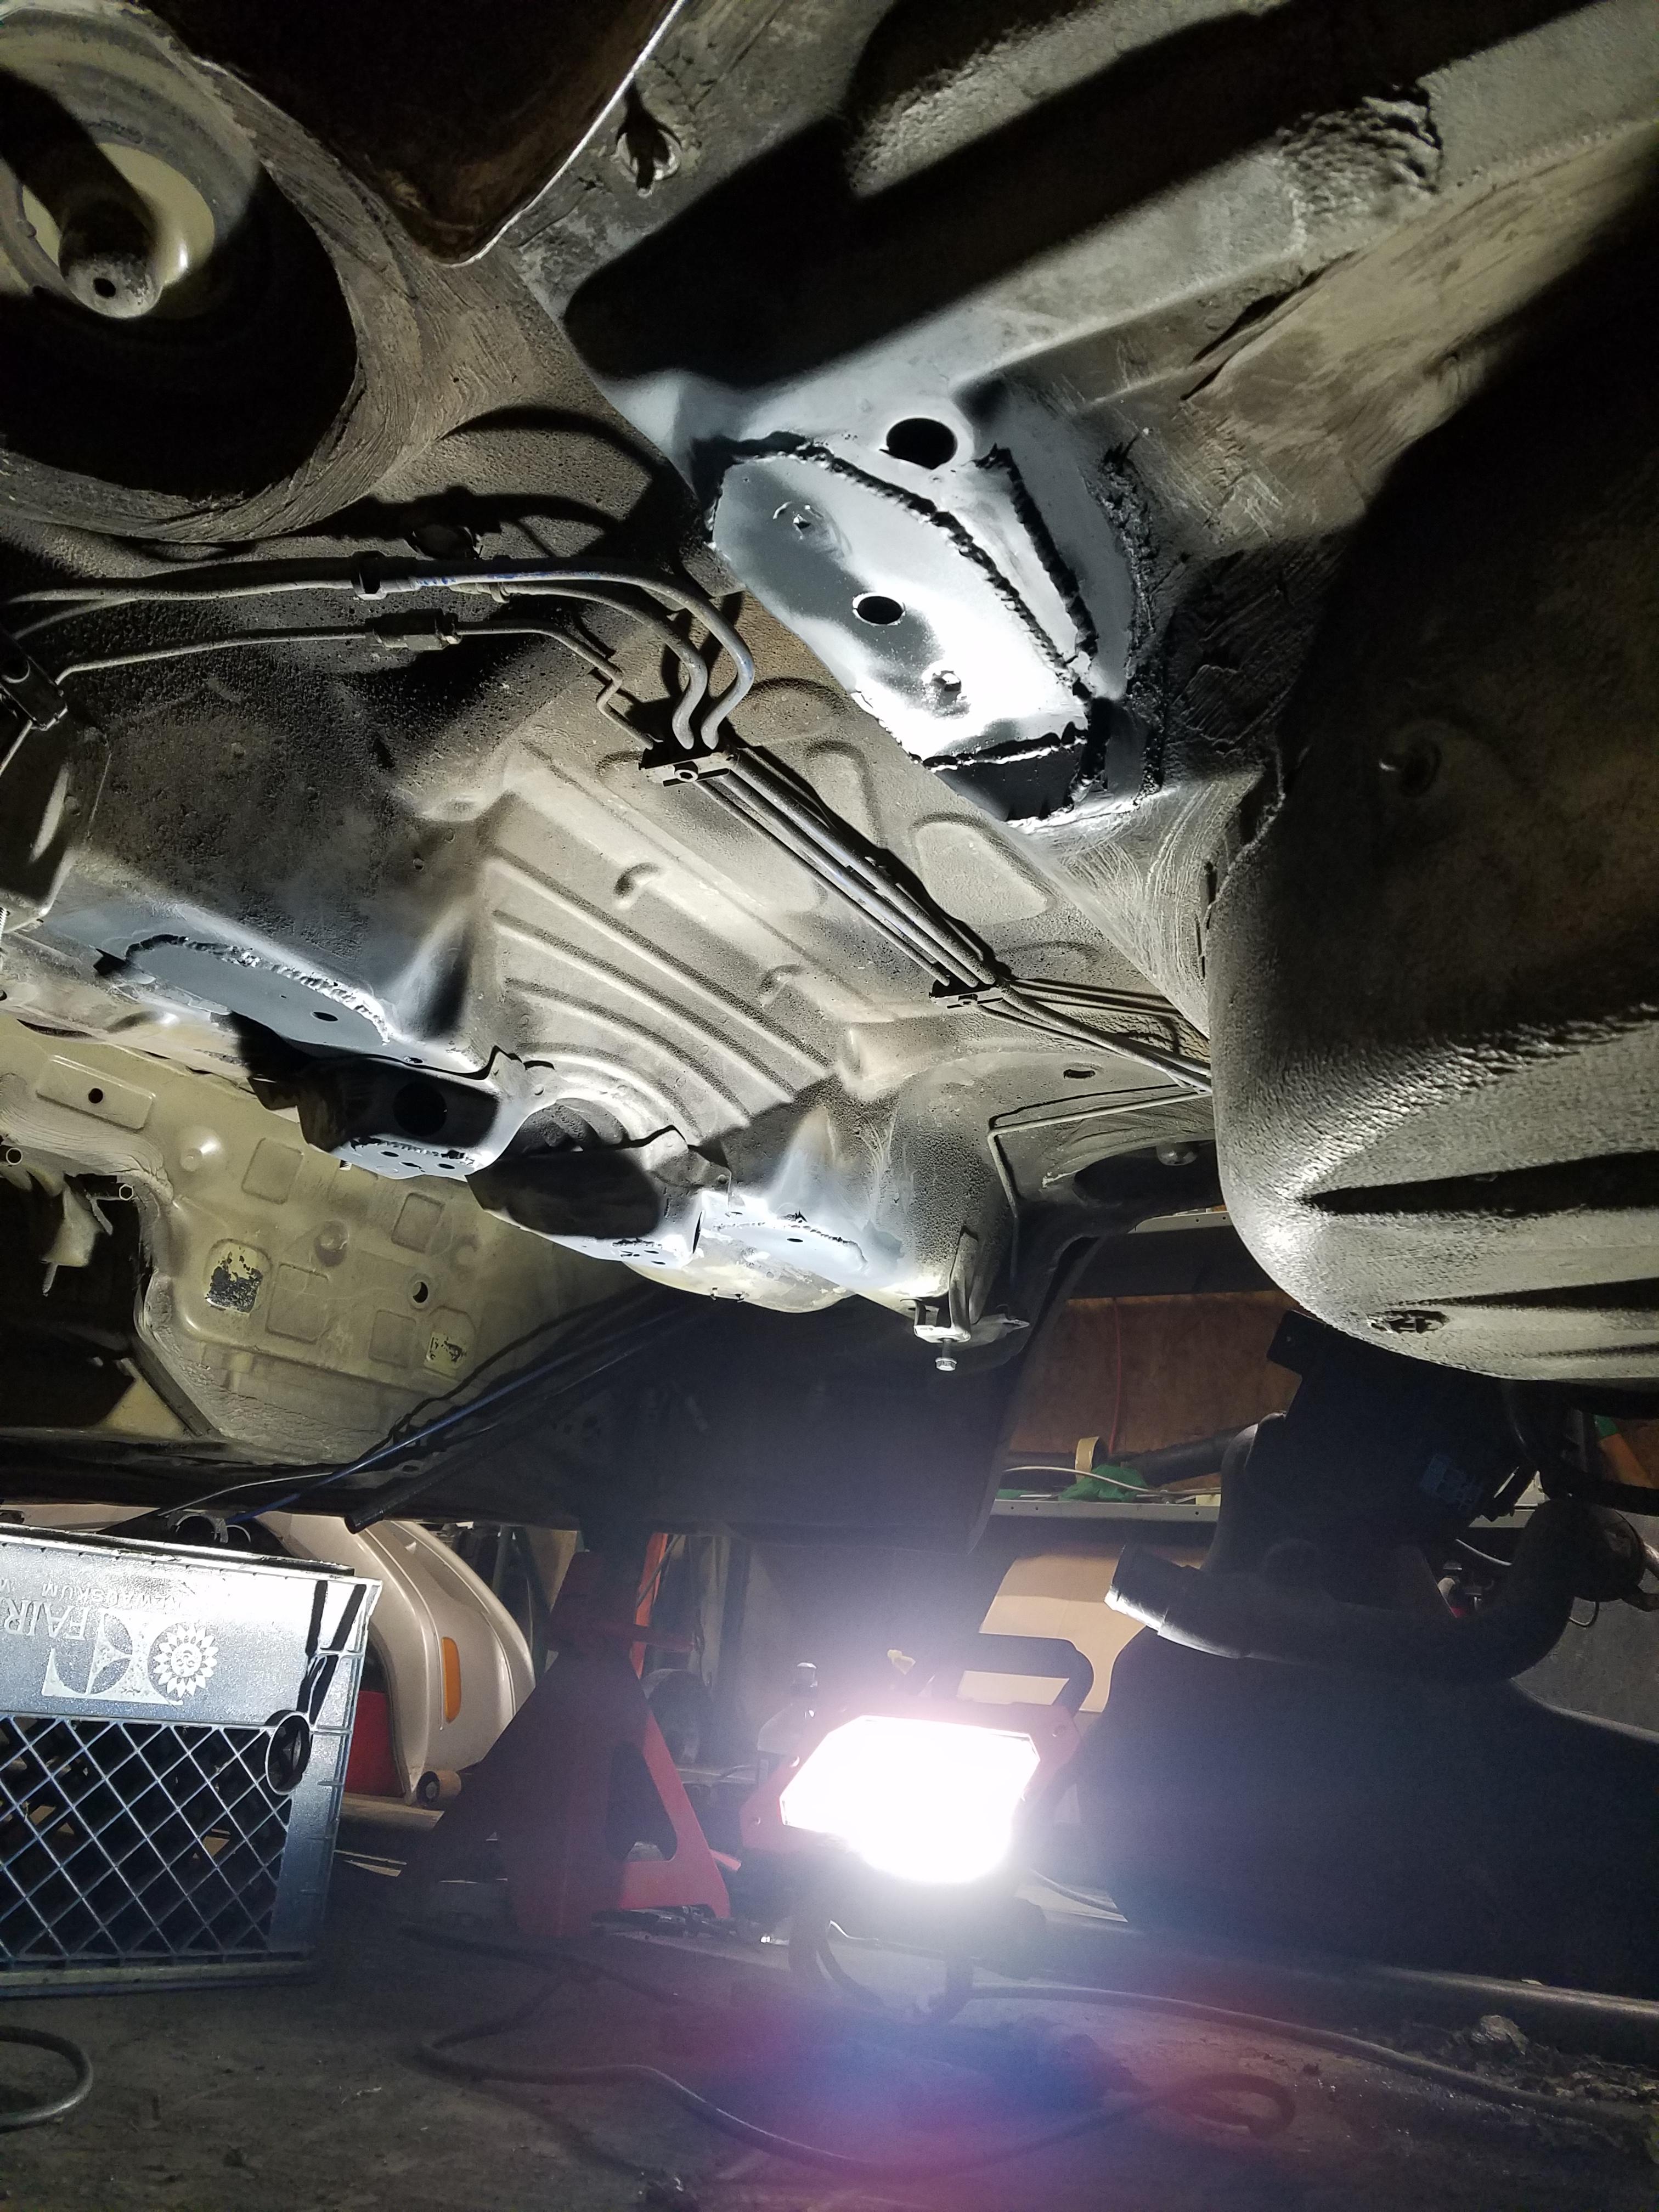
Once the car was back to my shop I dropped the rear end out of the car along with the fuel tank. With that came some bad news.
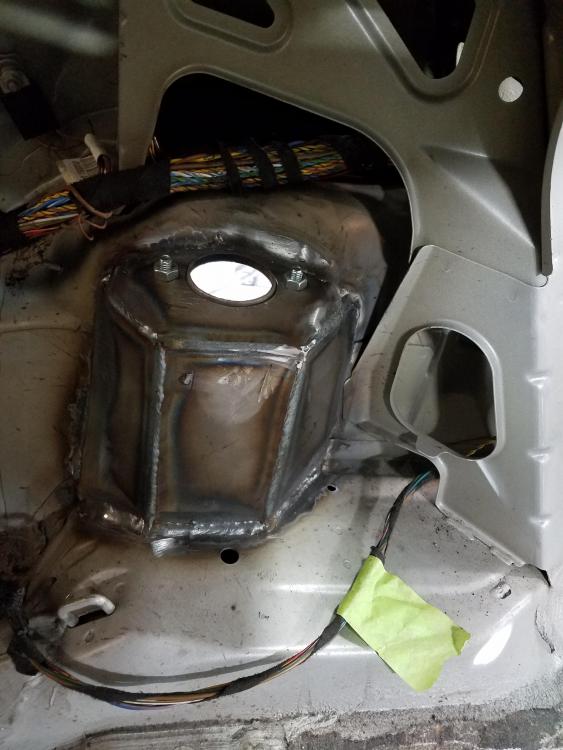
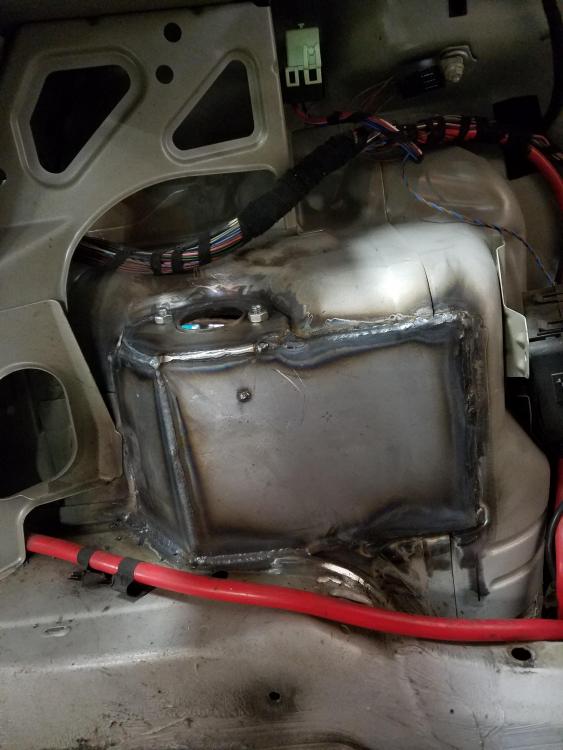
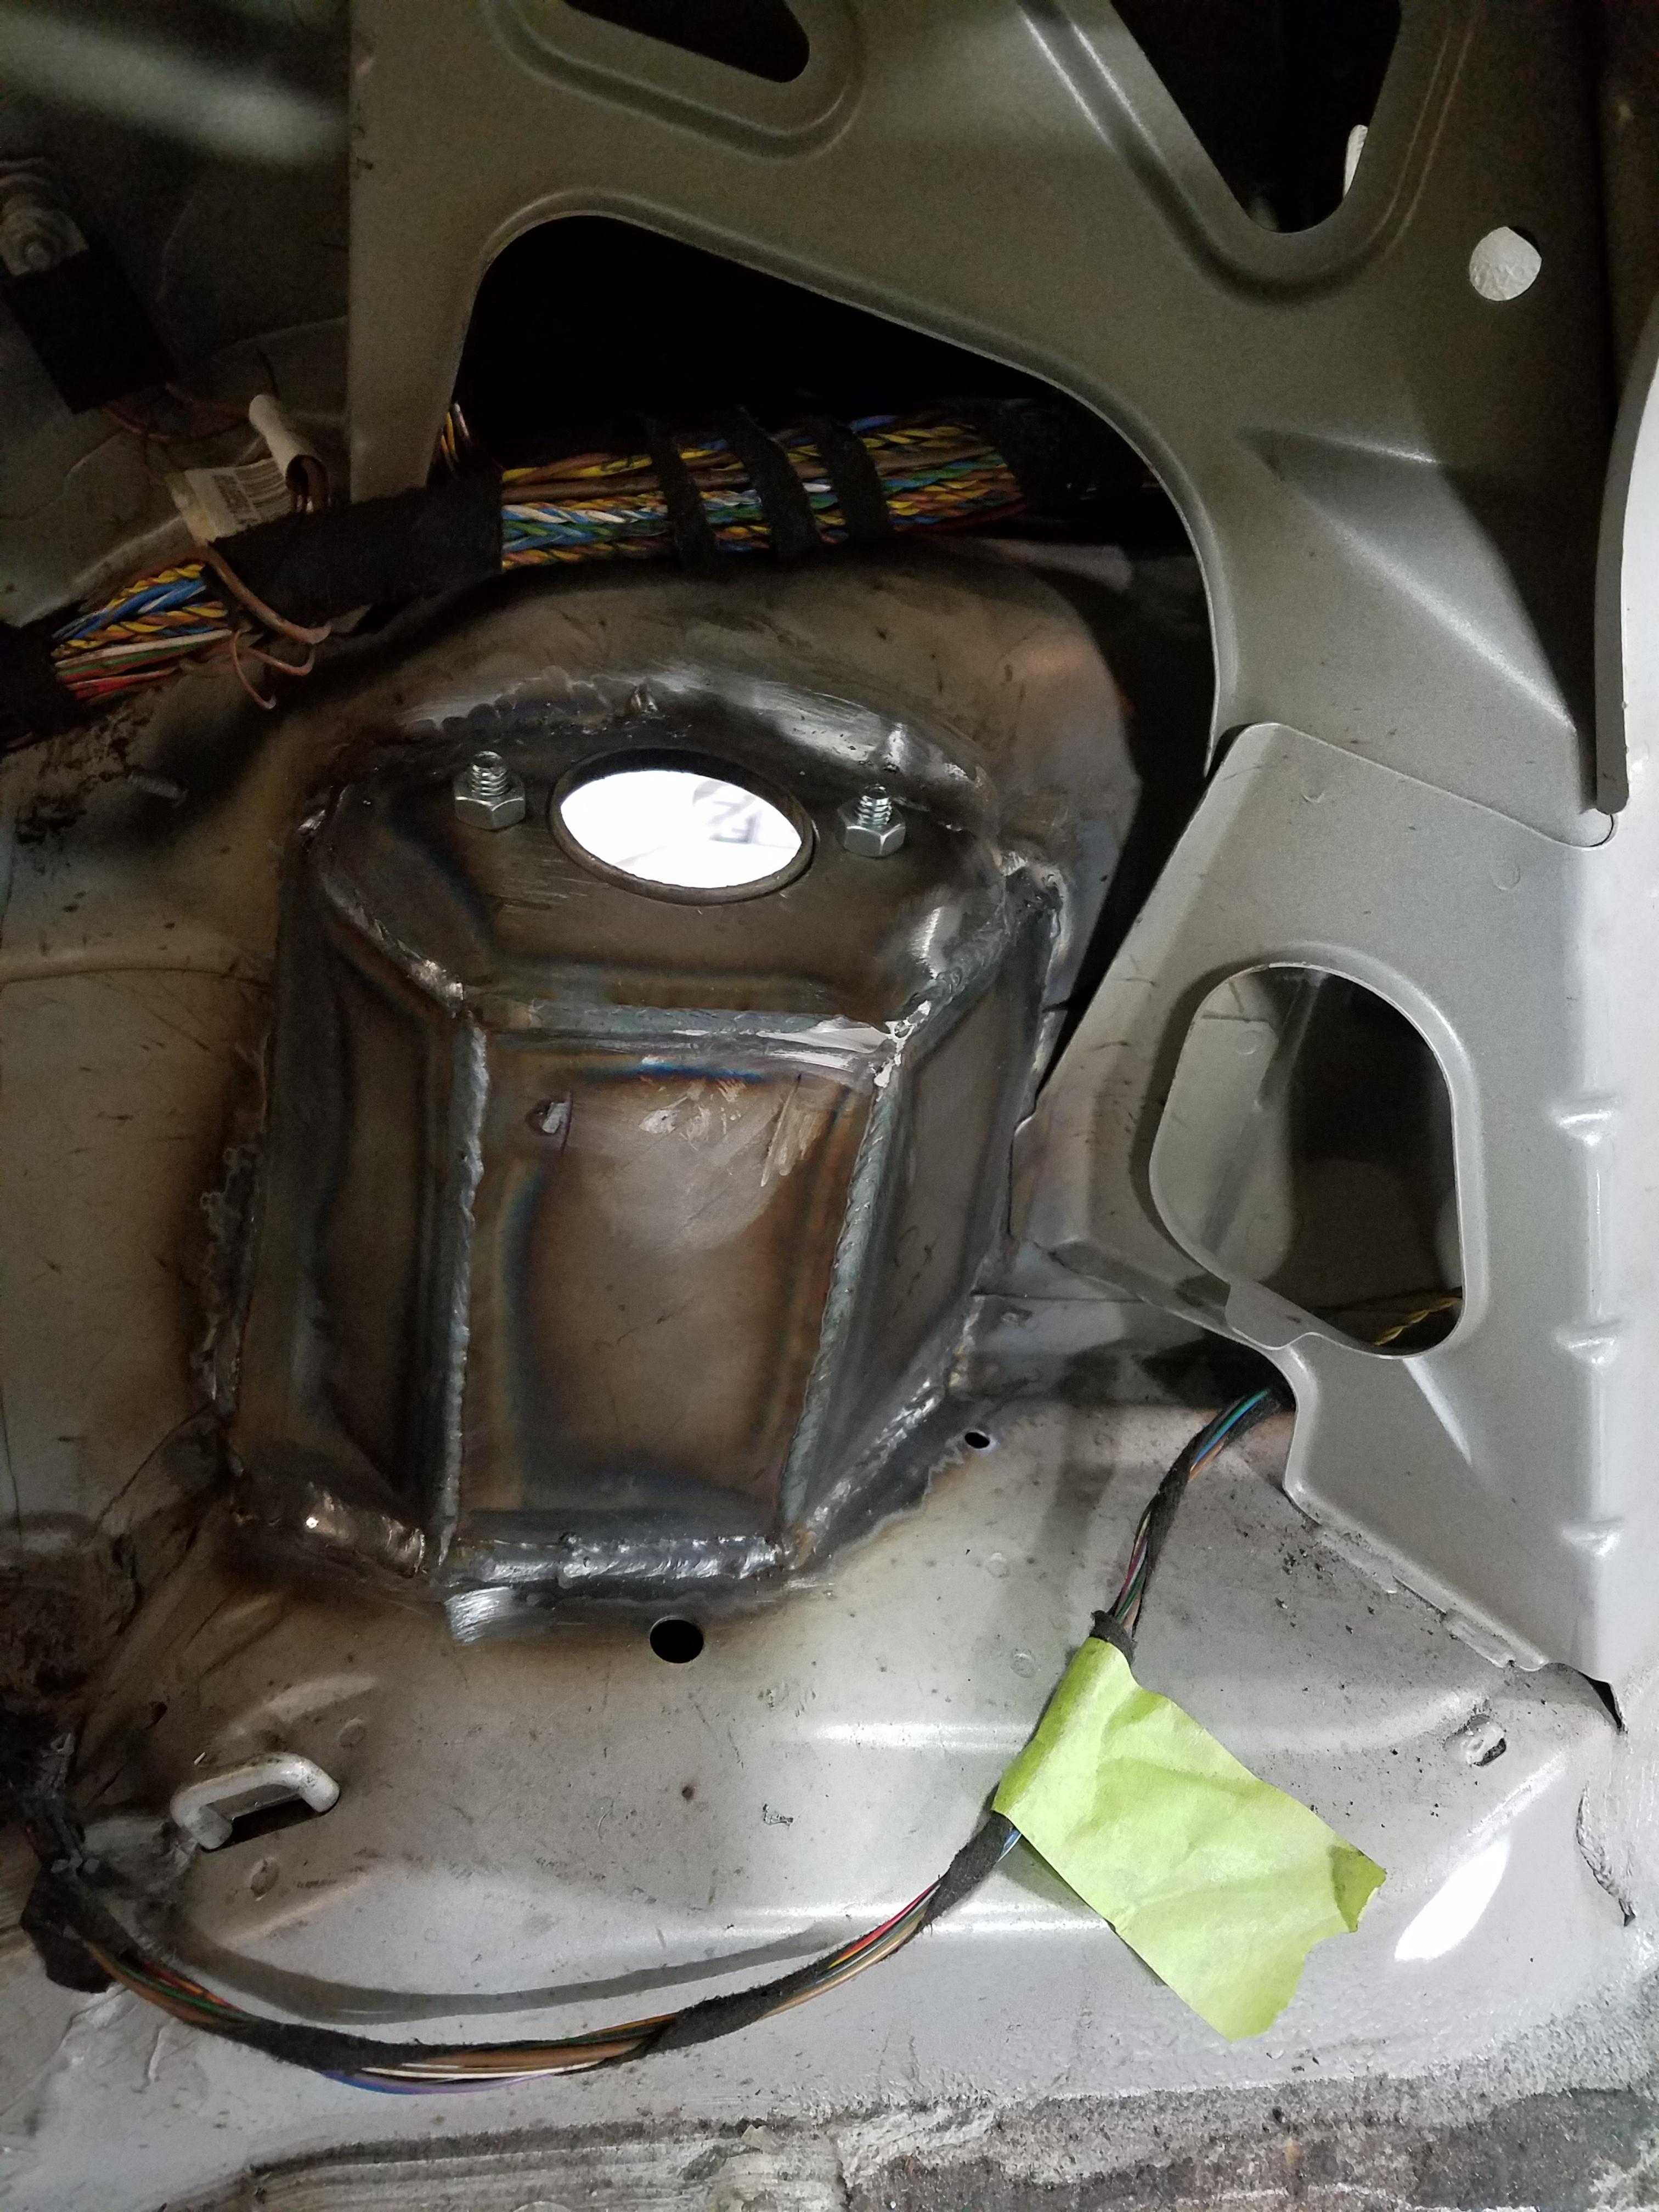
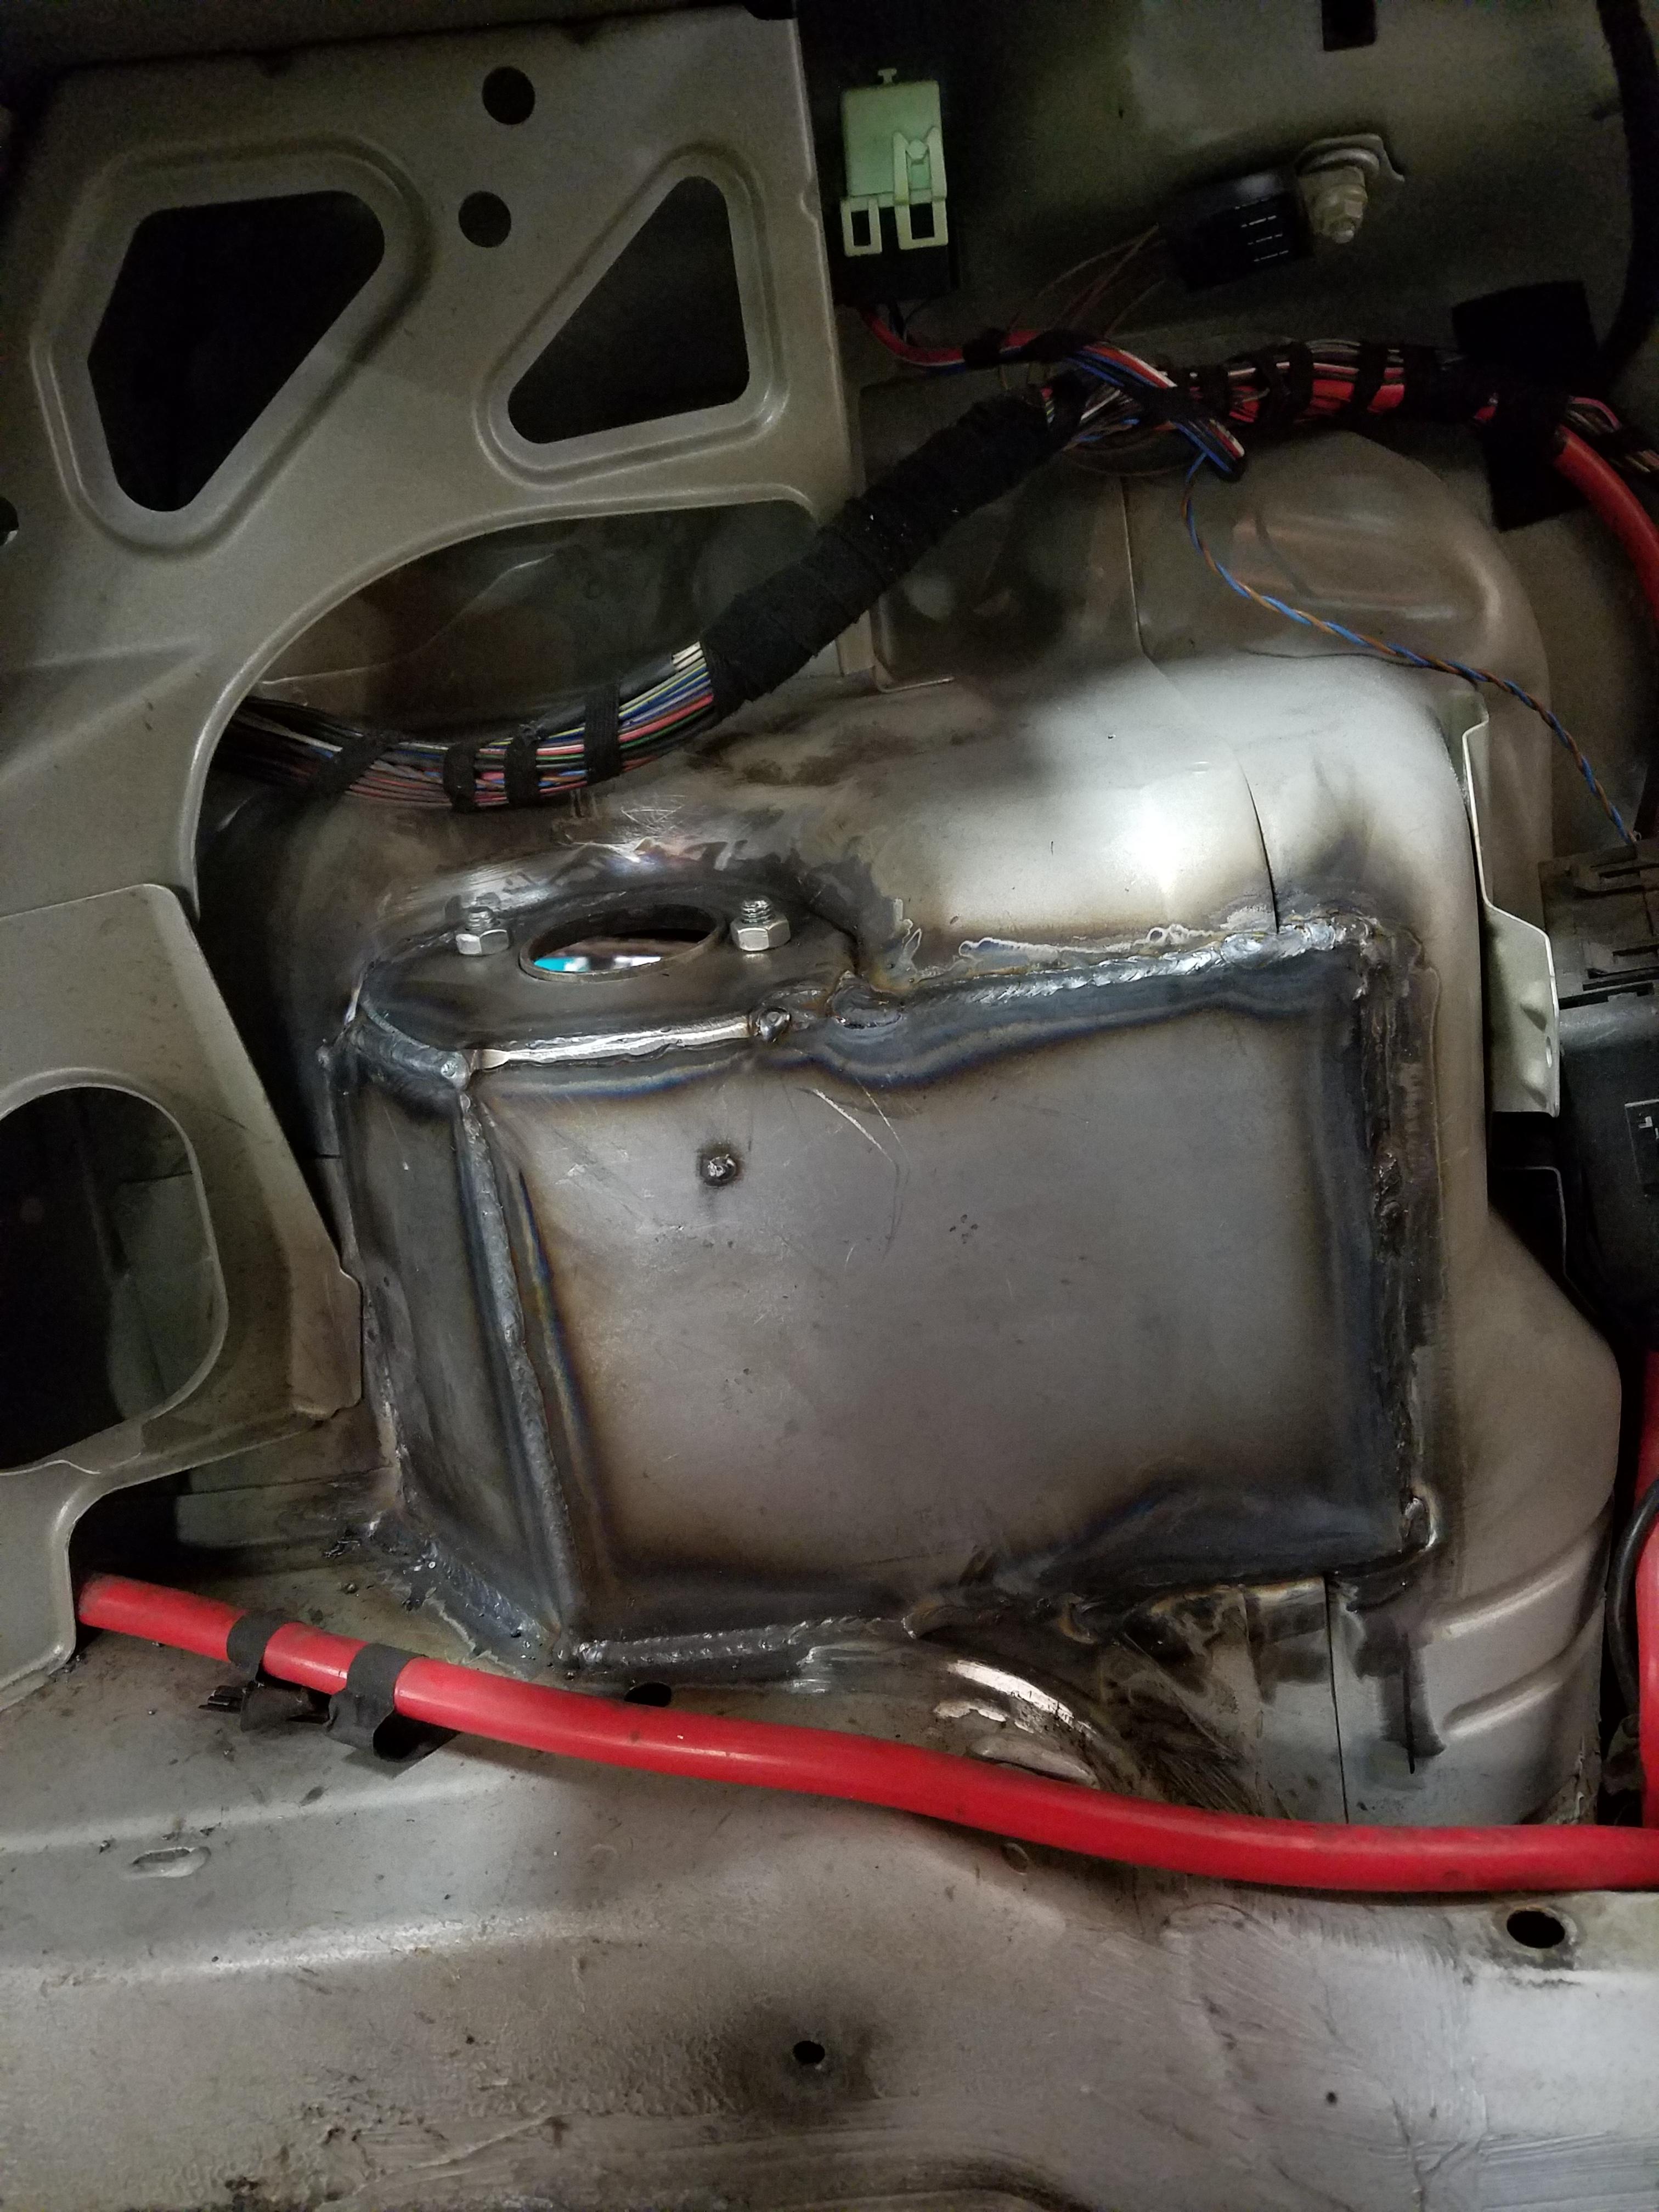
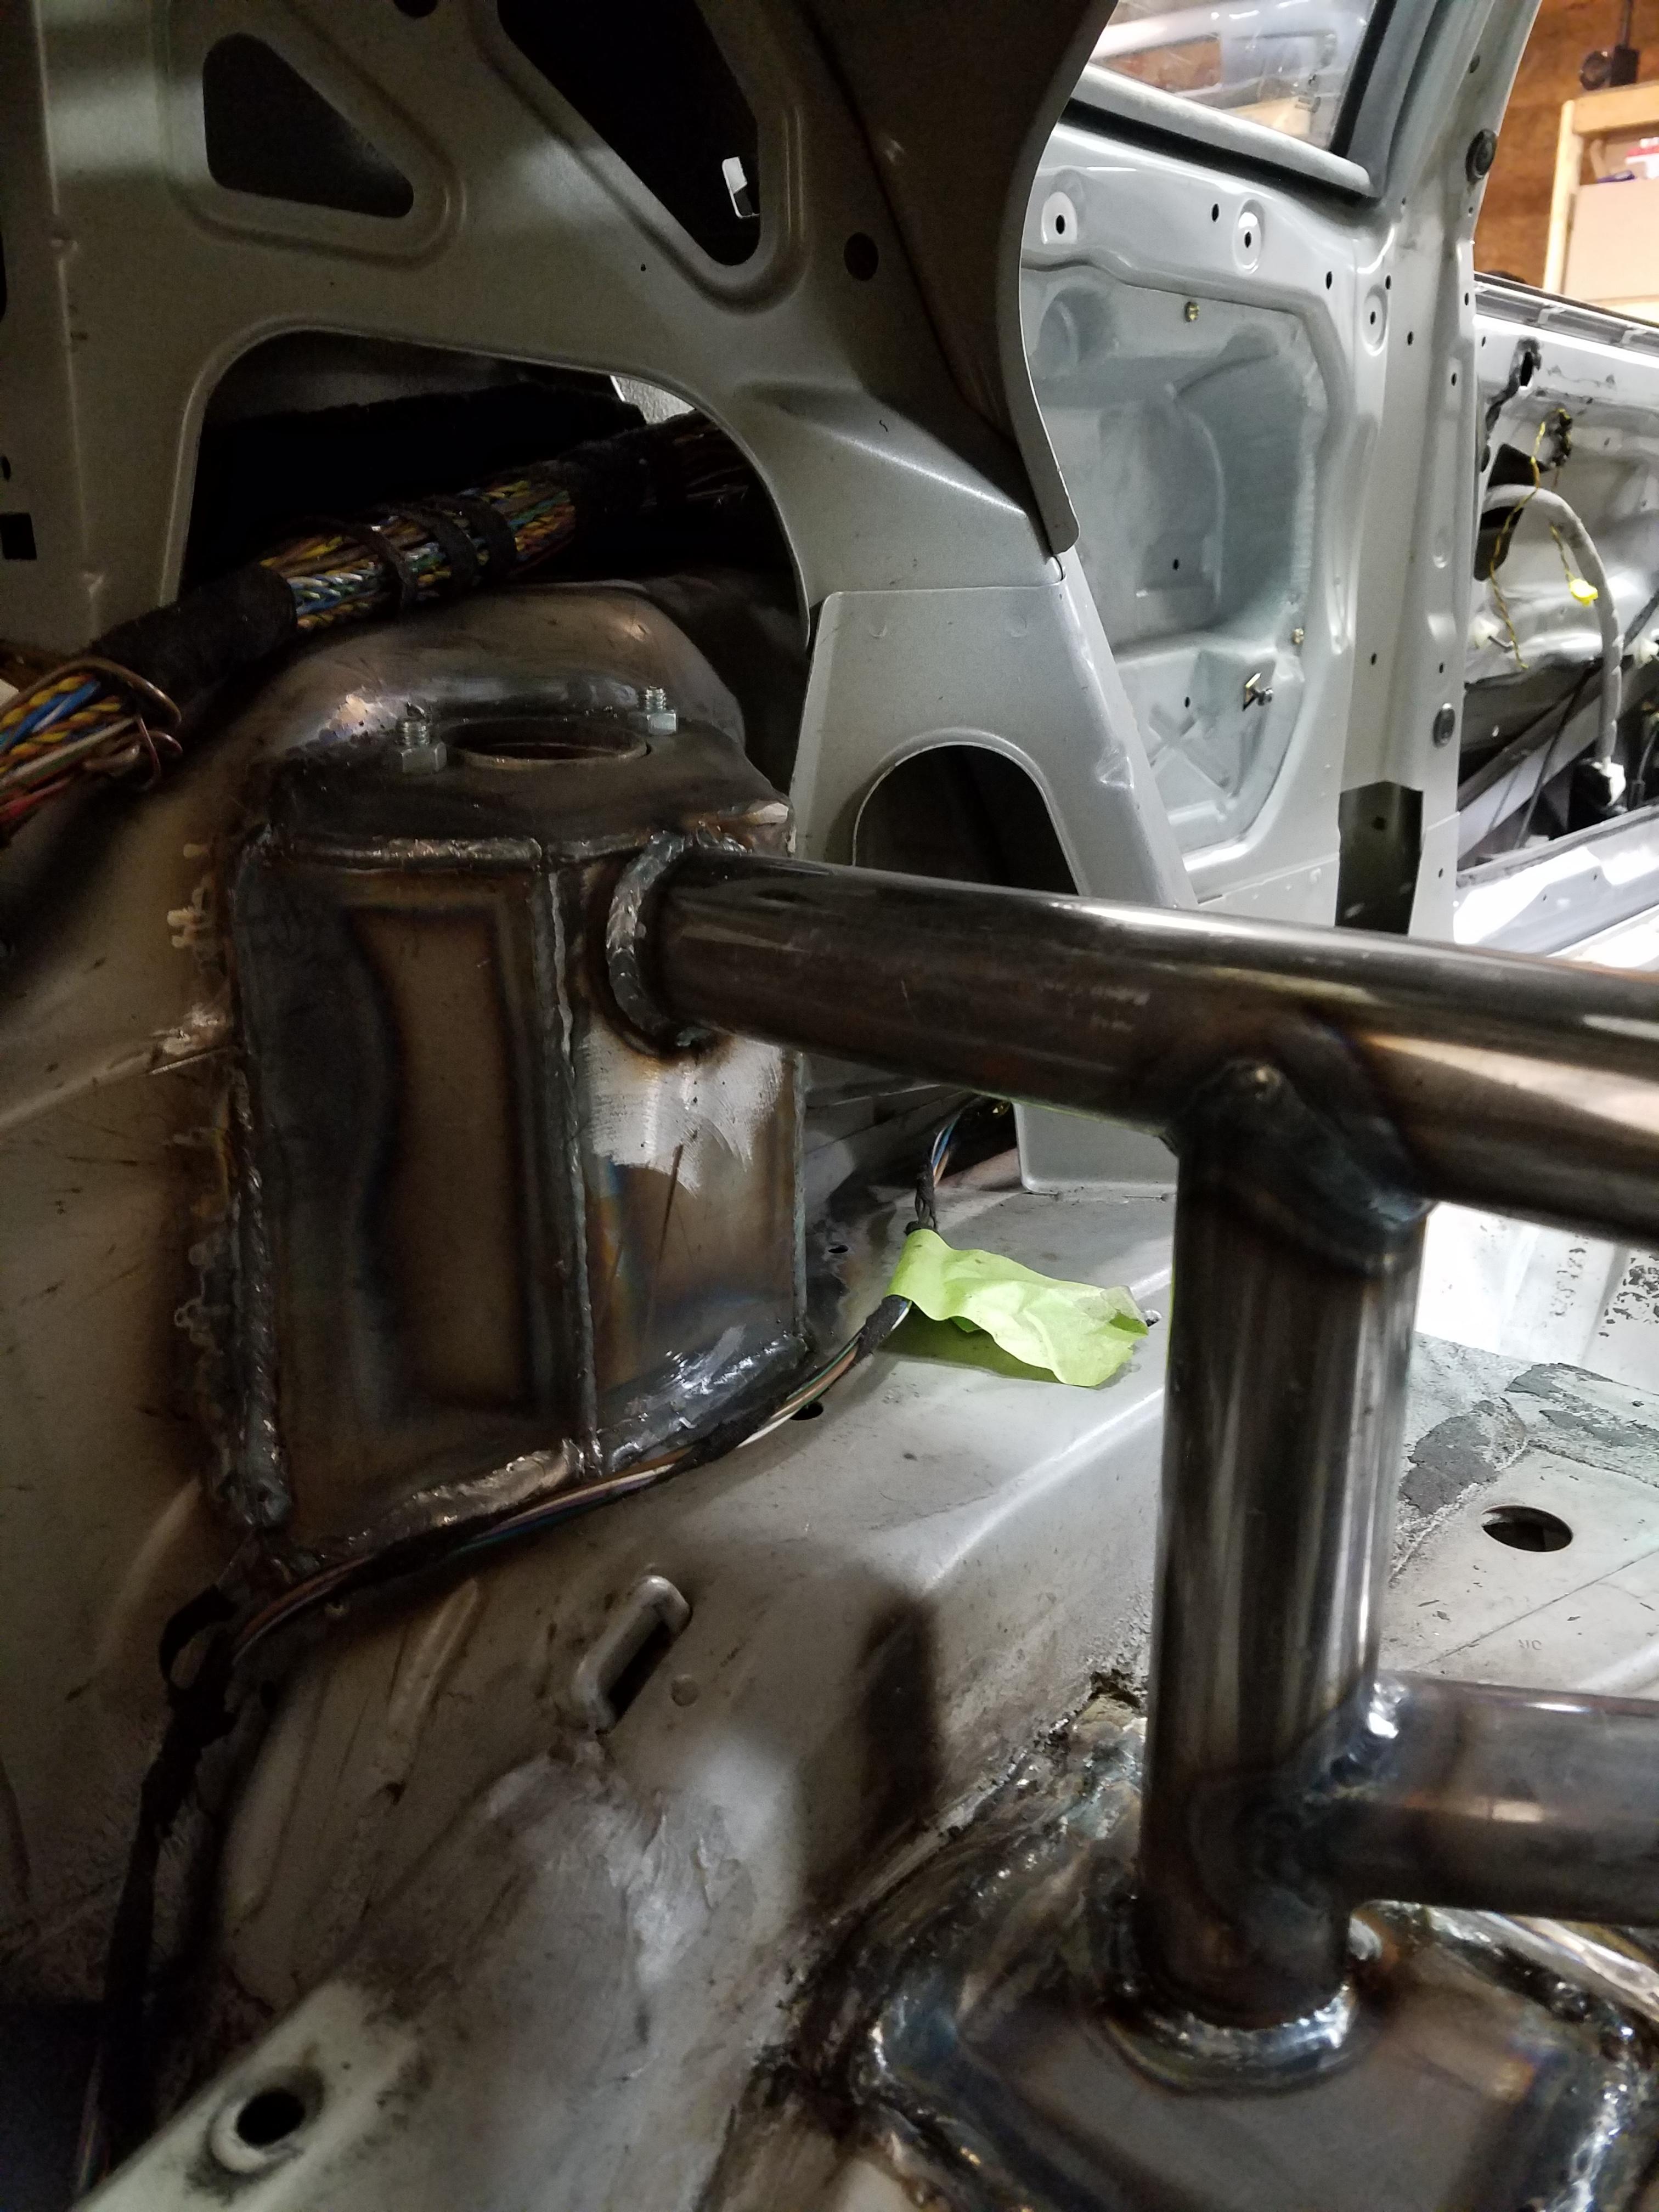
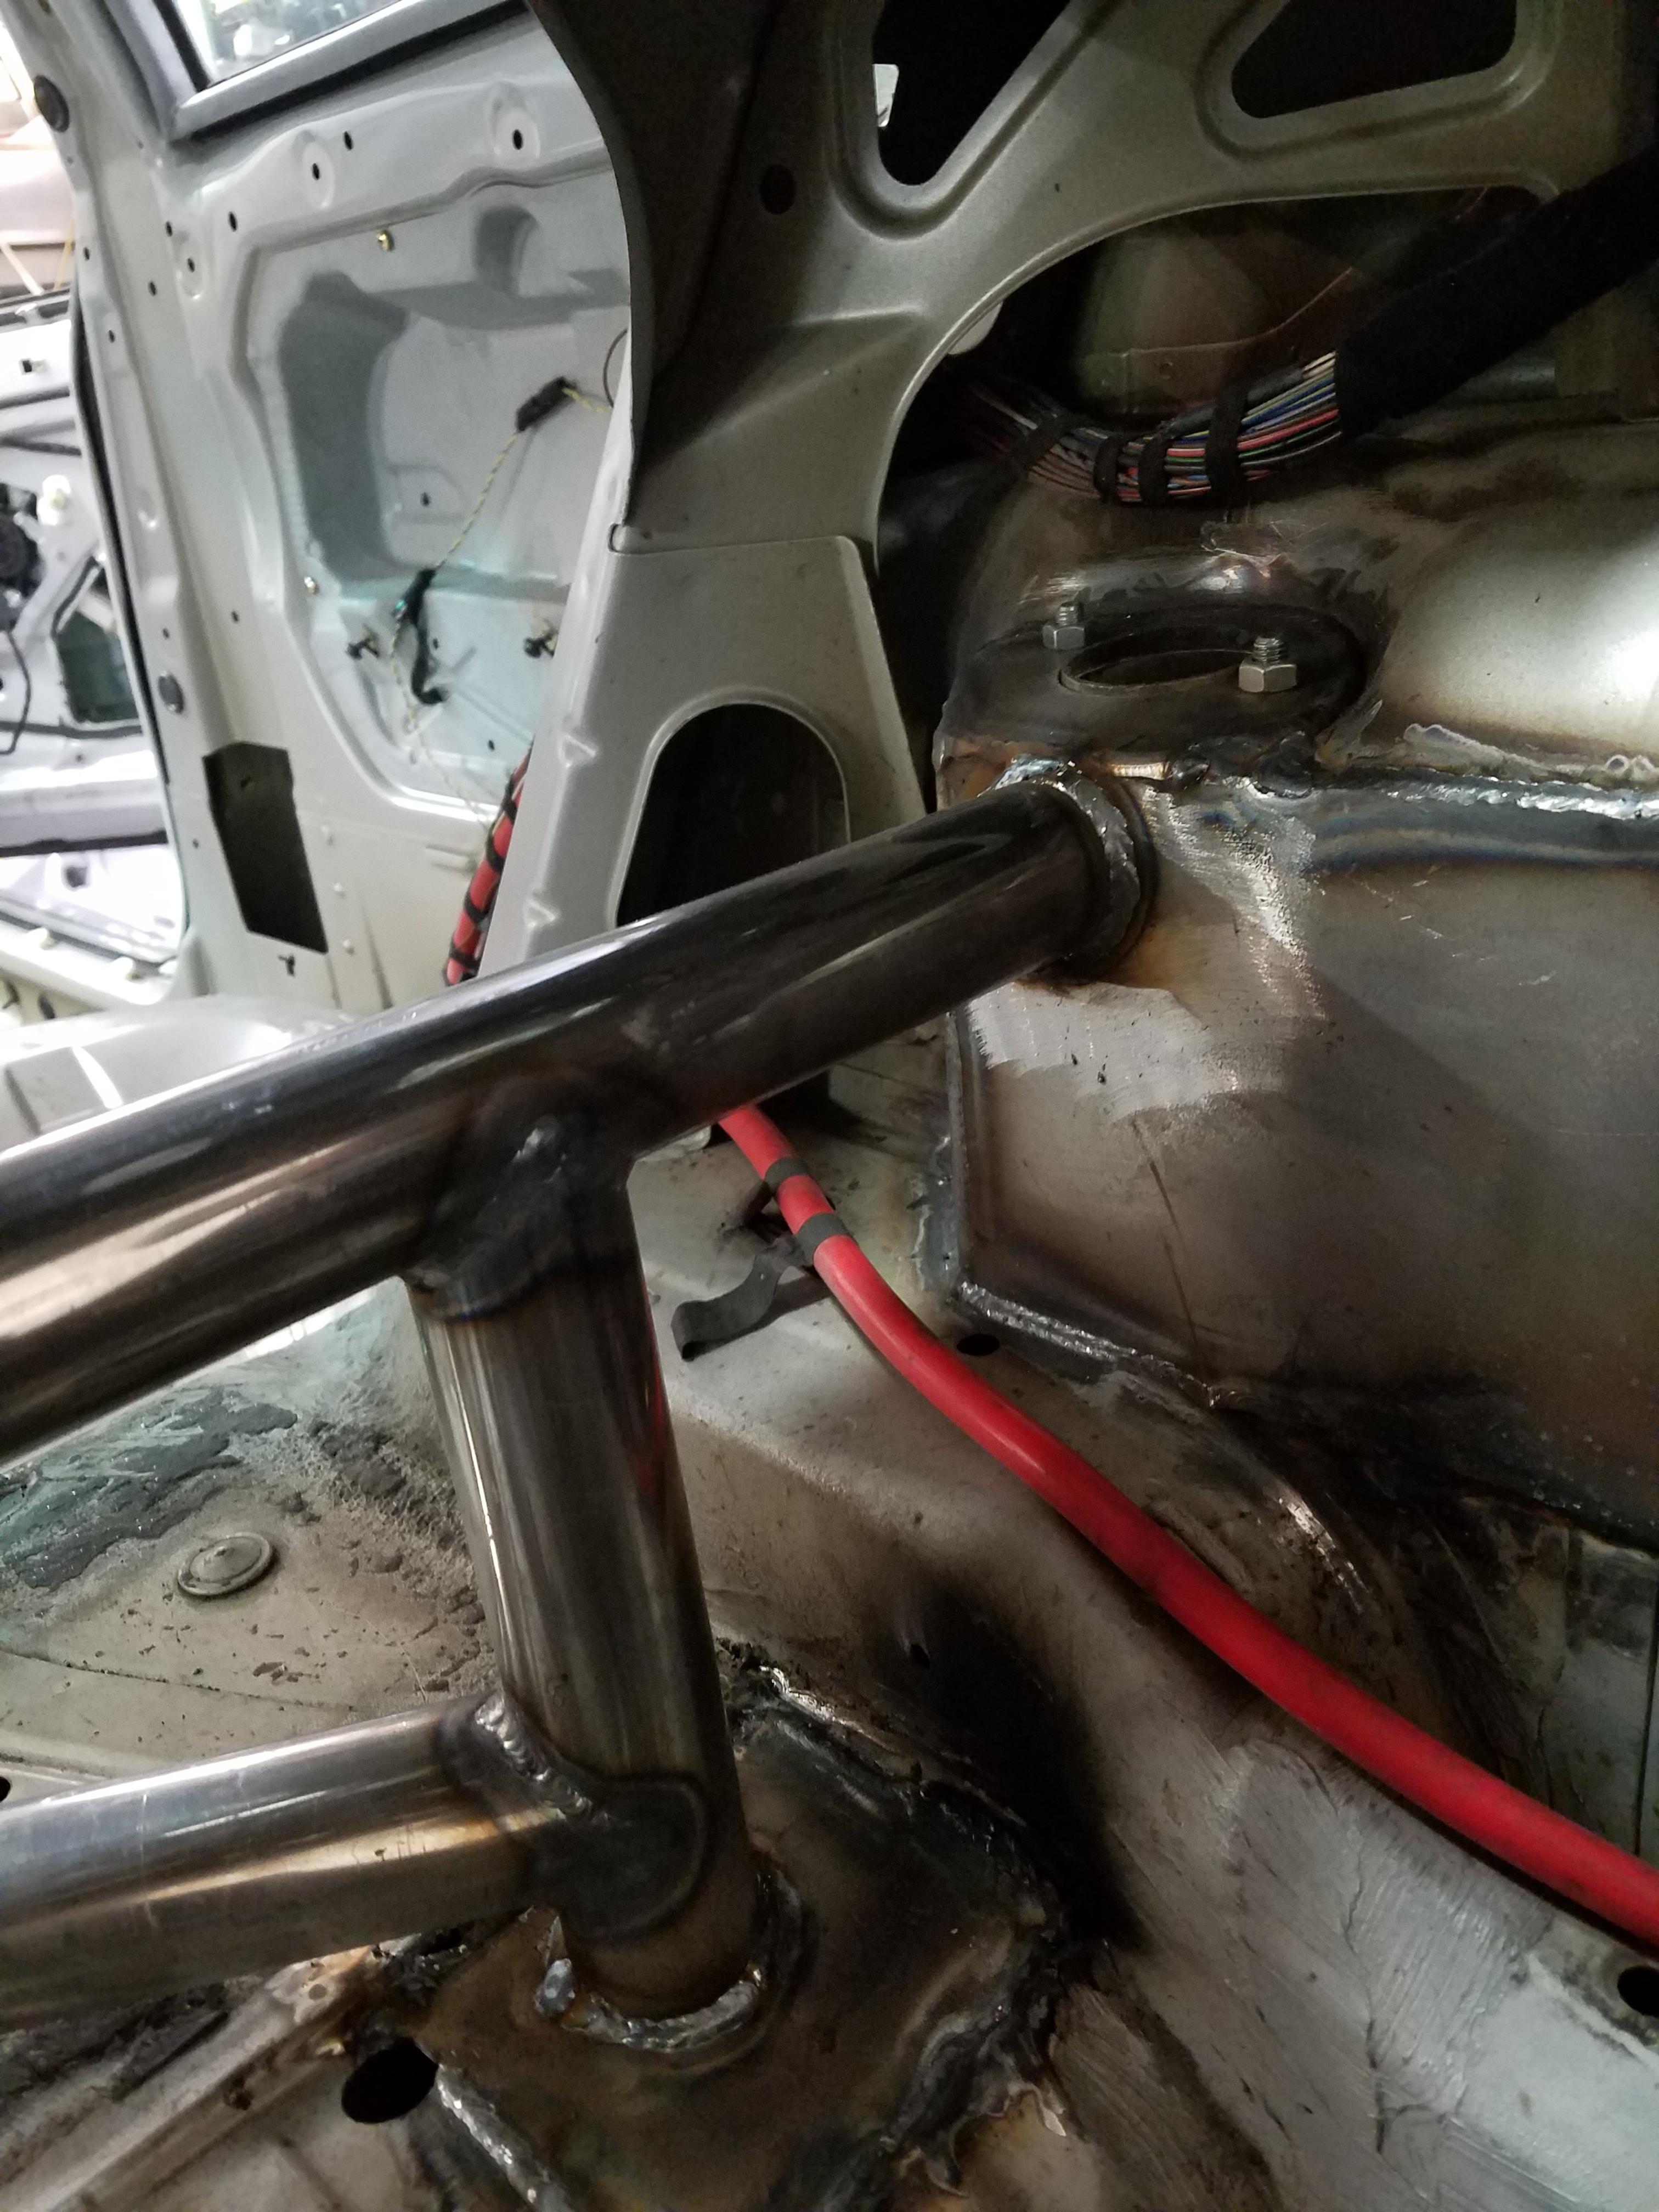
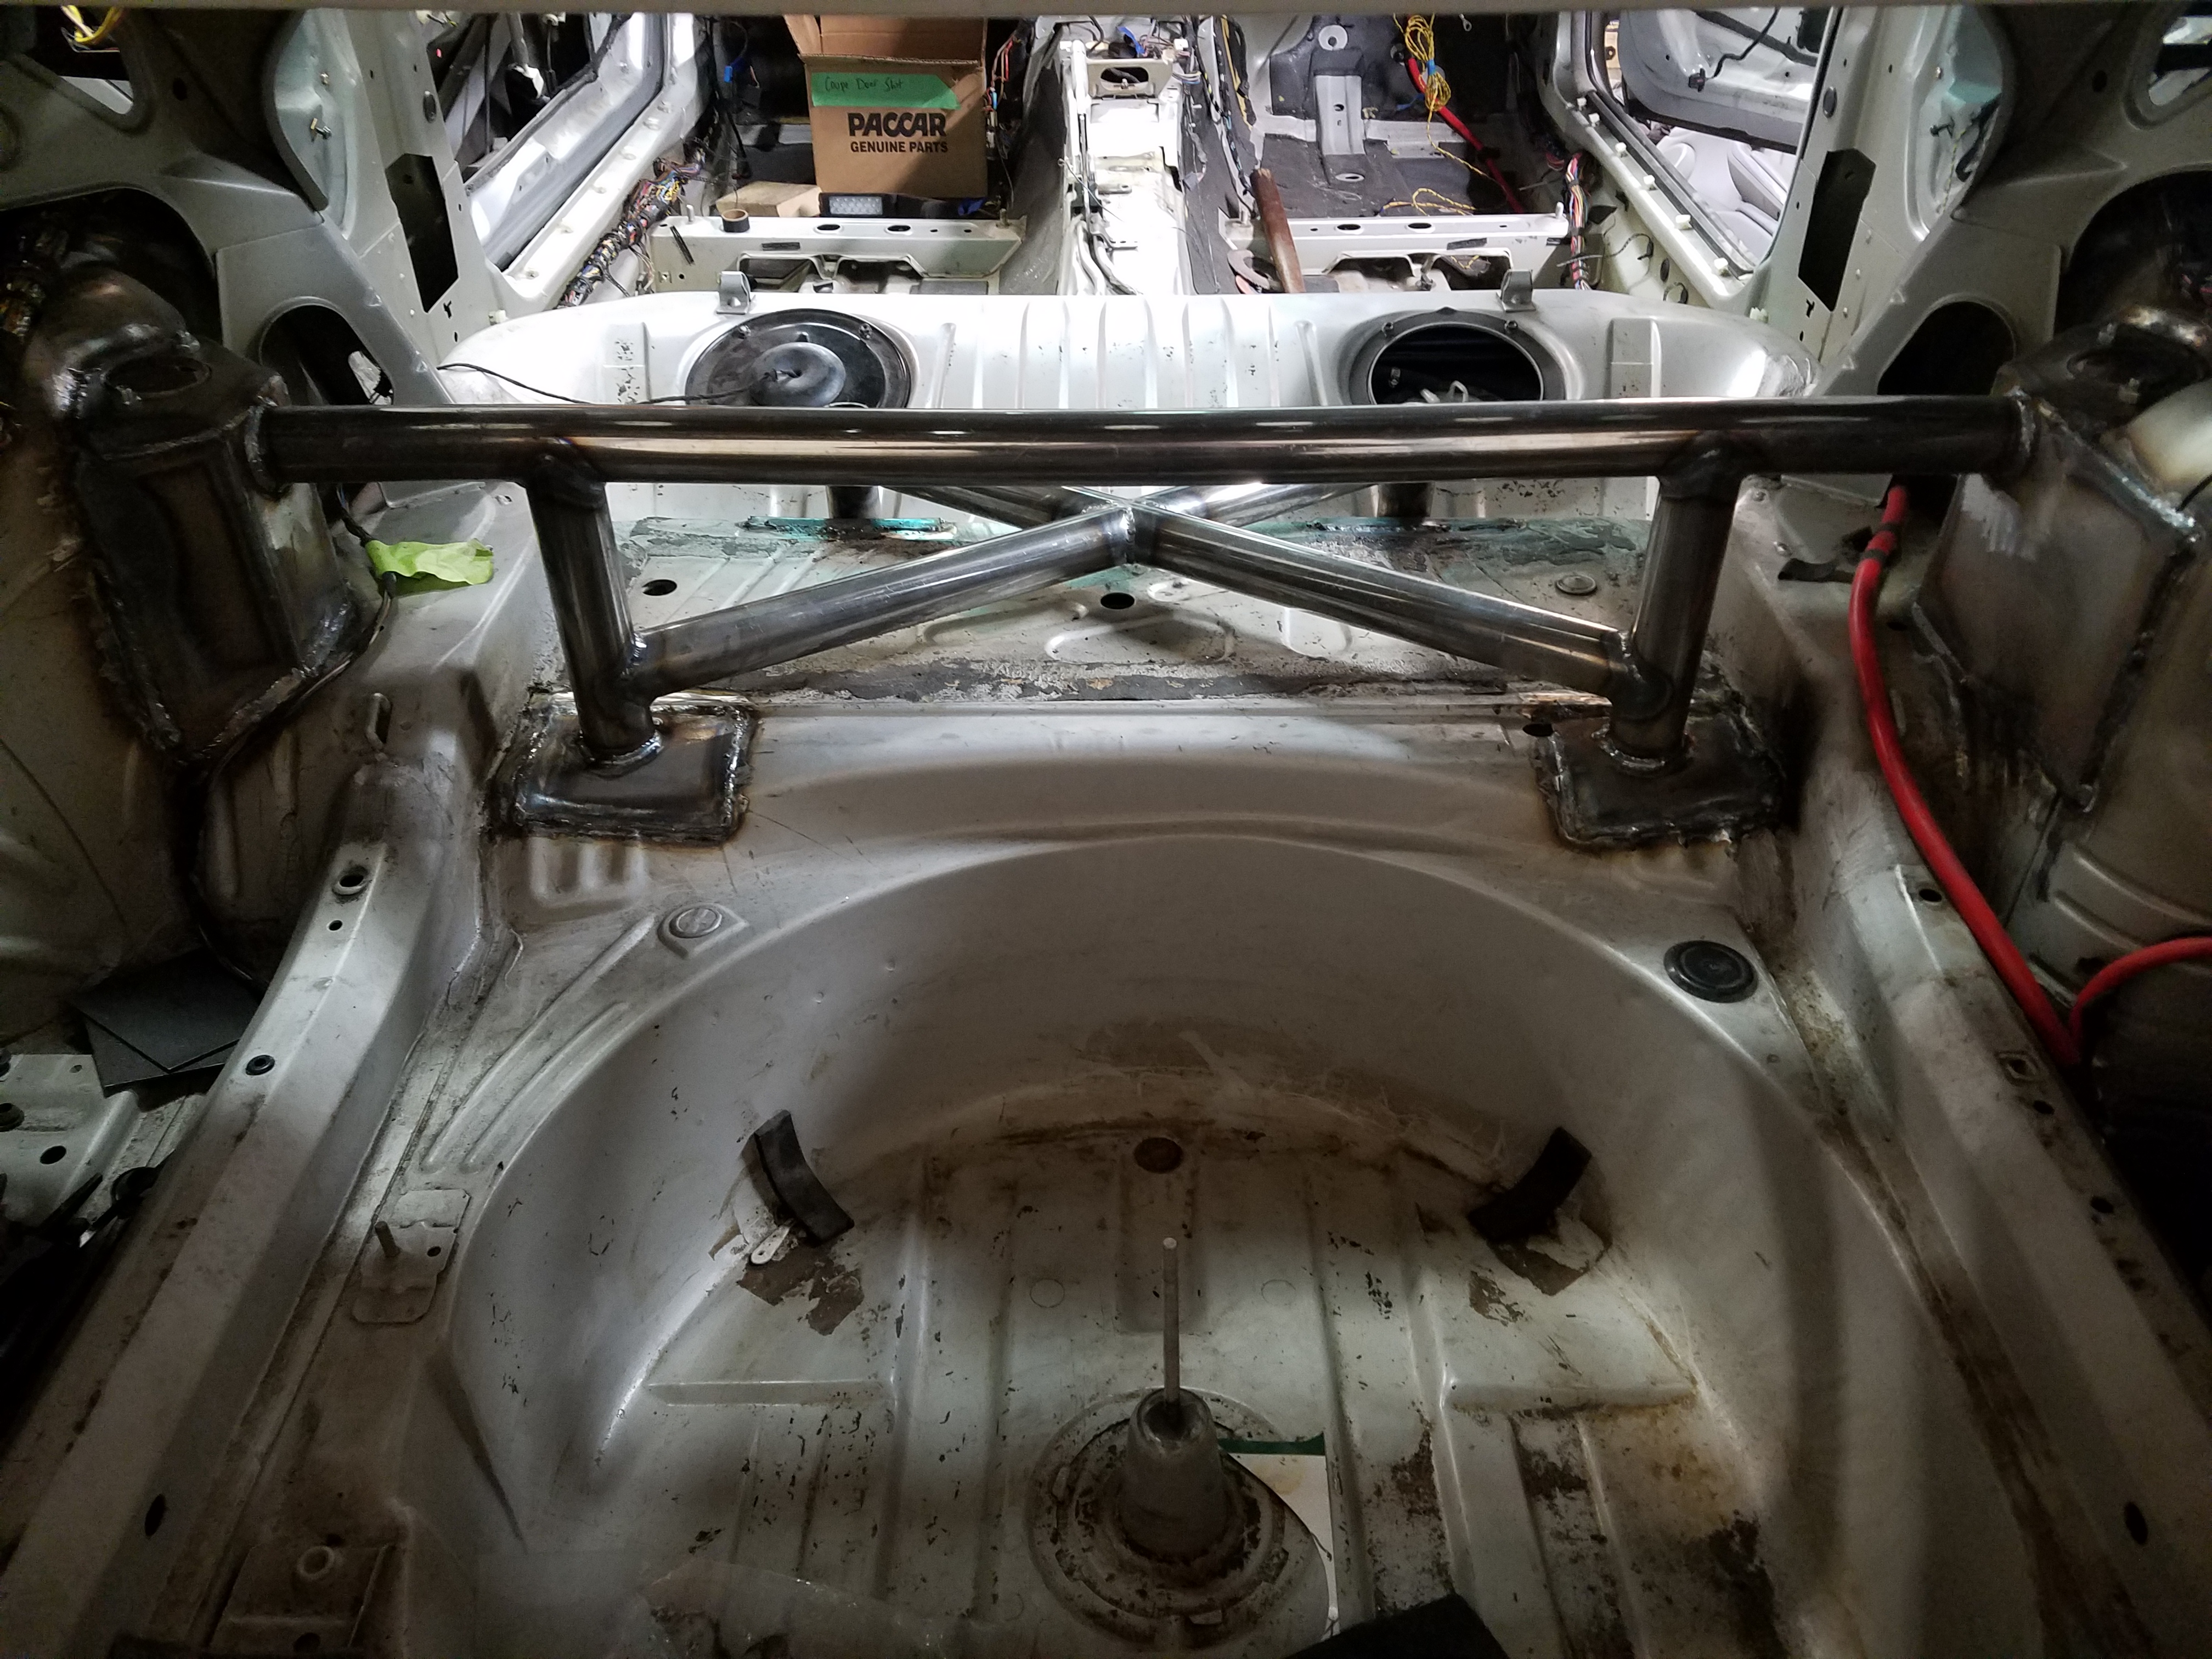
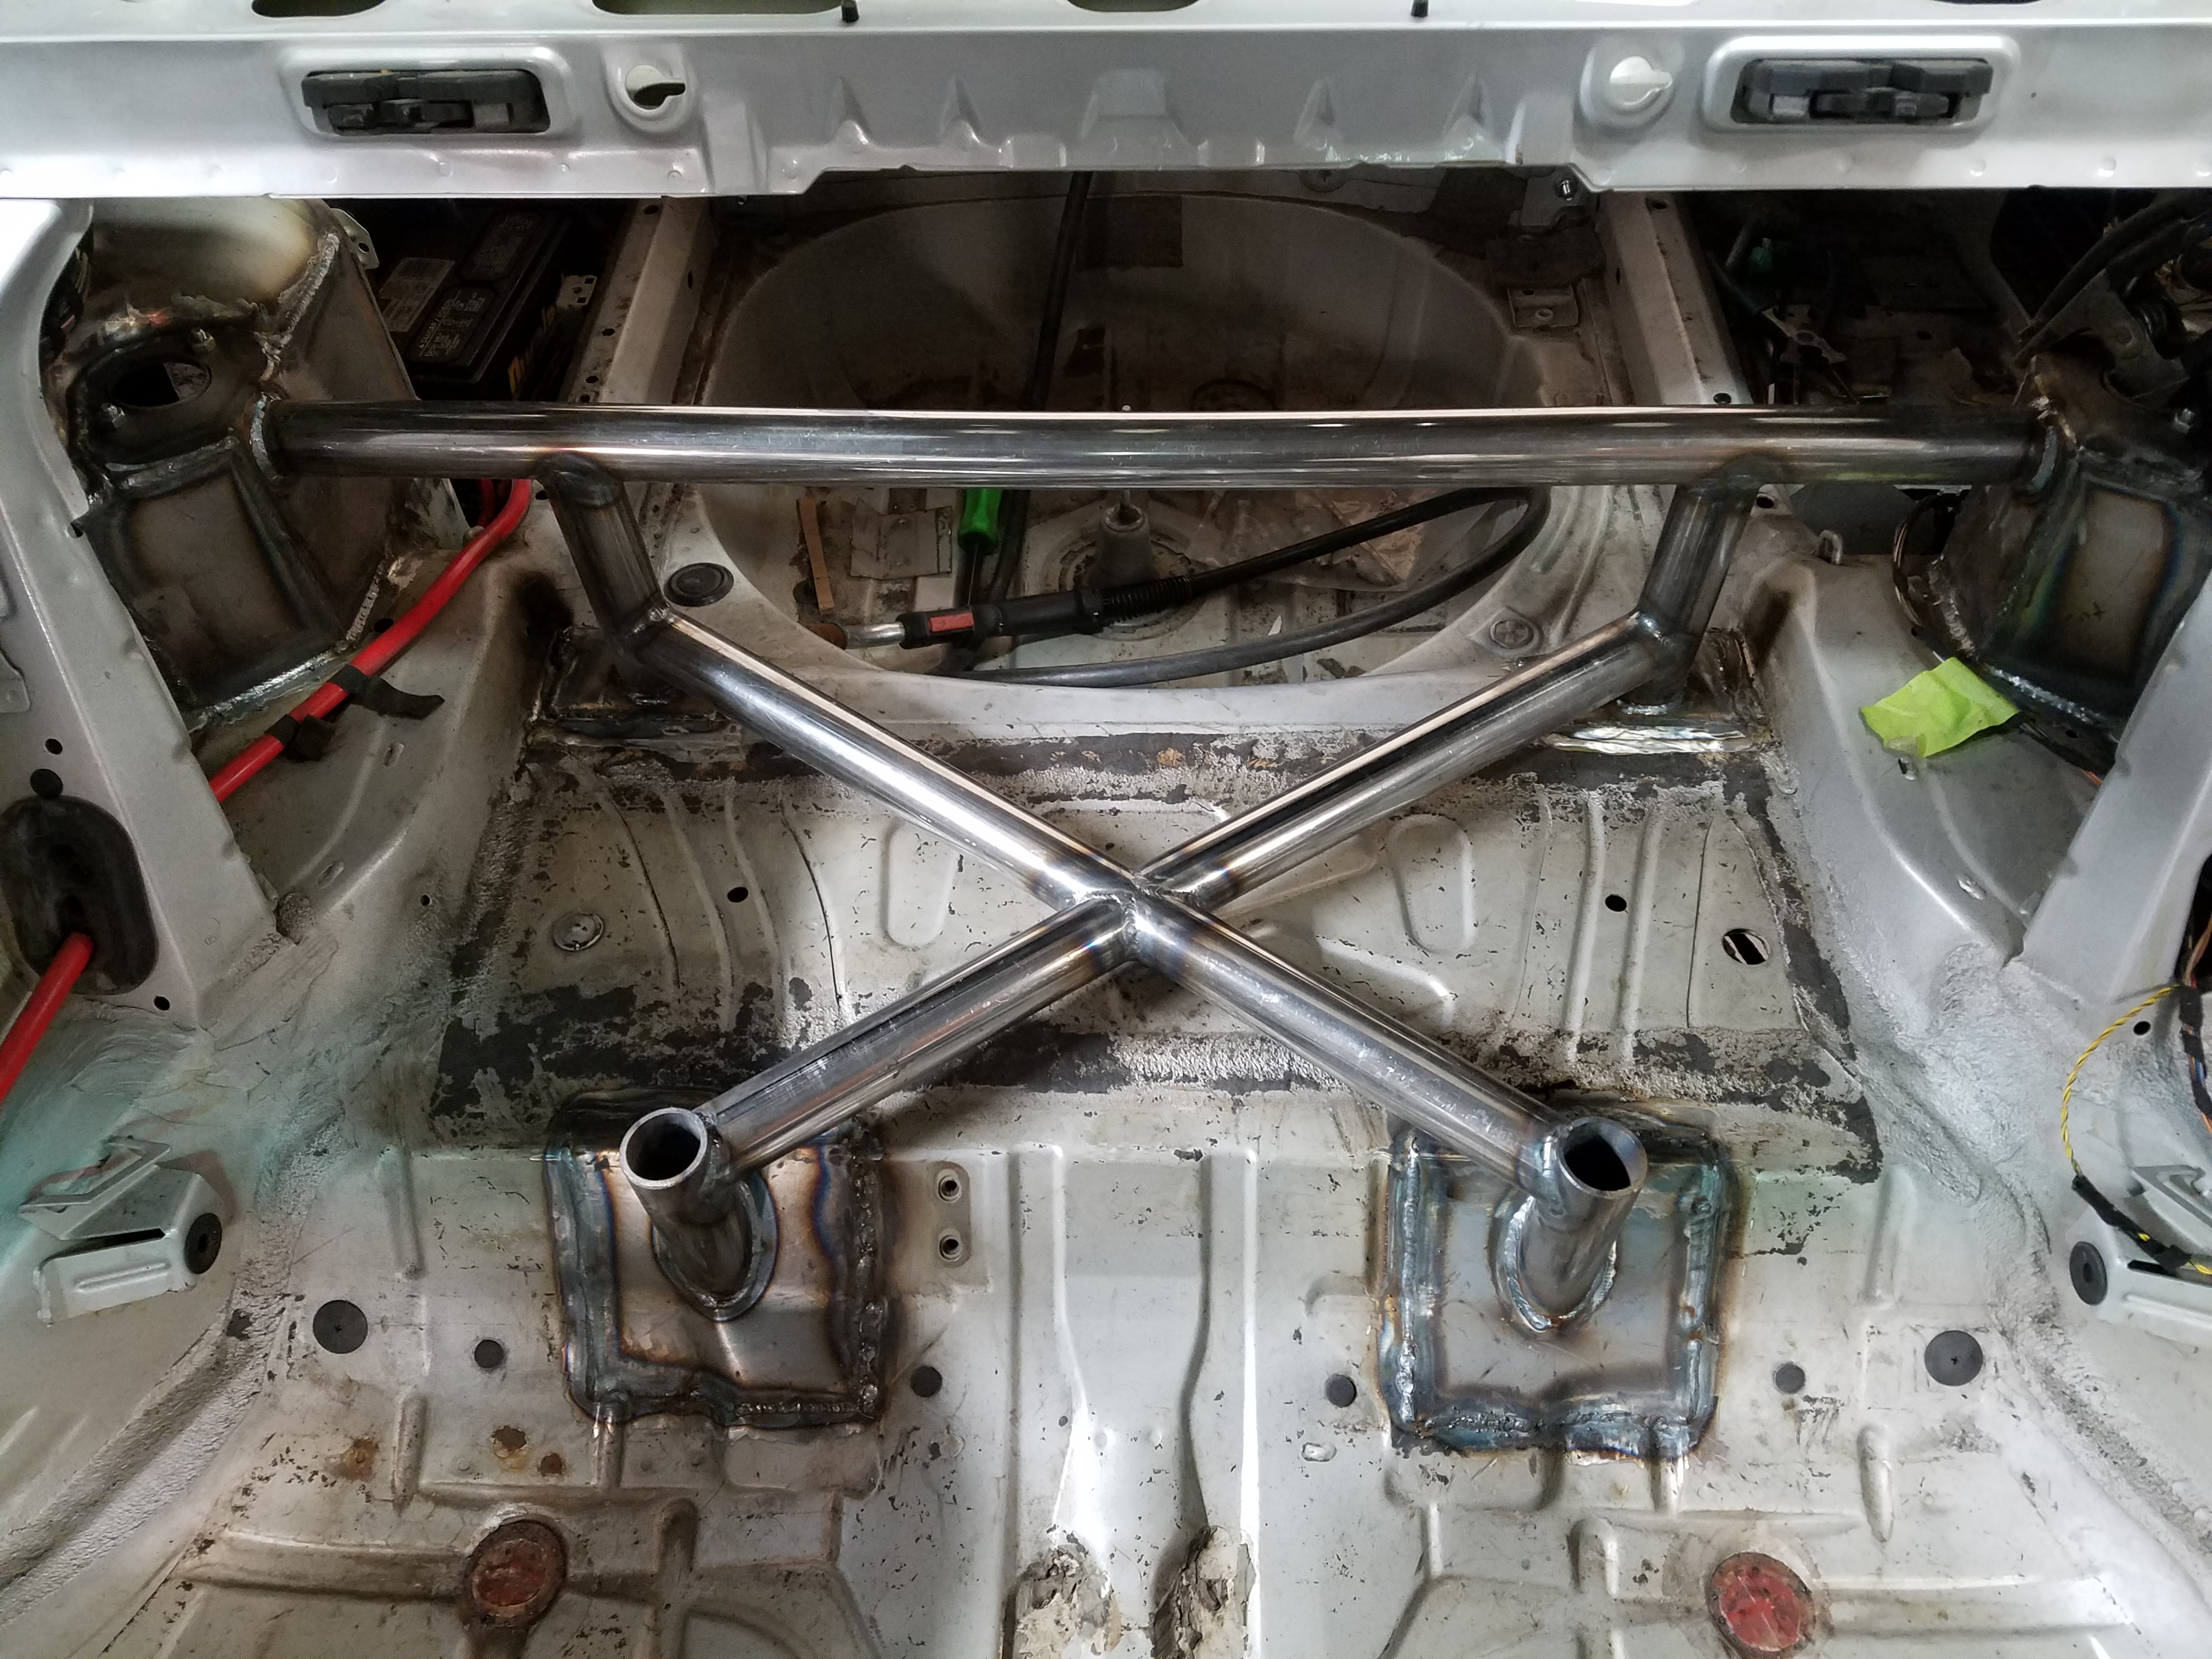
One of the subframe mounts was ripped out and another loose and plenty of cracks lol. So with the help of a good friend we were able to replace the torn area. and get the confor reinforcement kit welded in and then opened up the upper areas inside the chassis where the tops of the mounts were. We then created a tubing brace that connects all 4 of the subframe mounting points to the rear bar which was welded in to support the rear strut towers that was plated in preparation of the rear true coil set up.
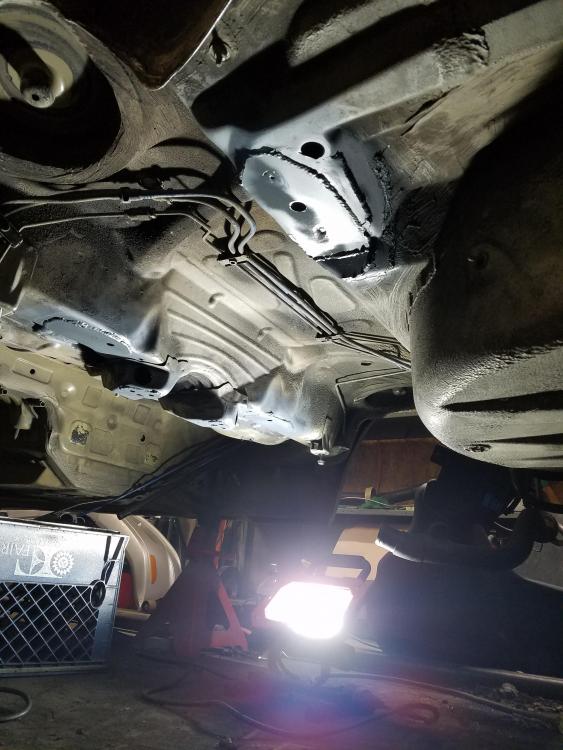
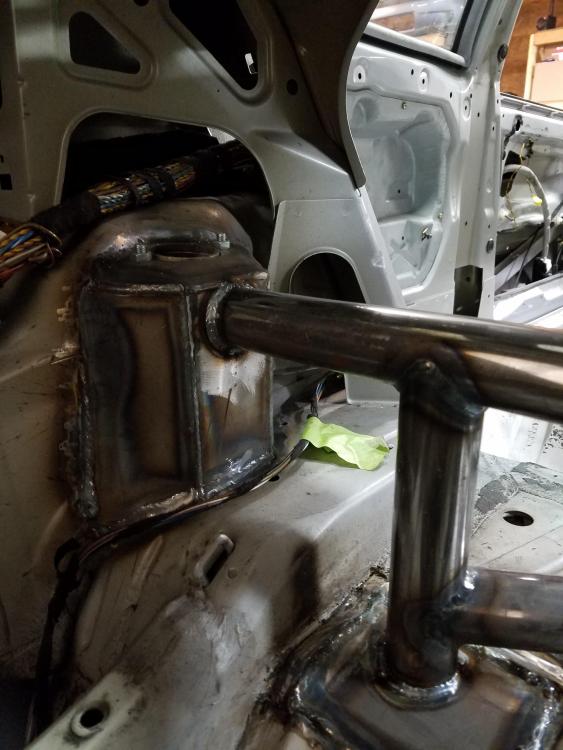
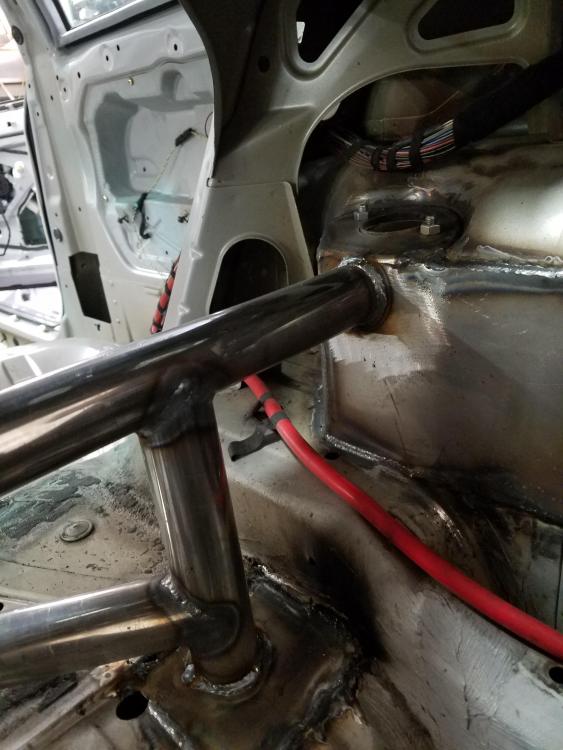
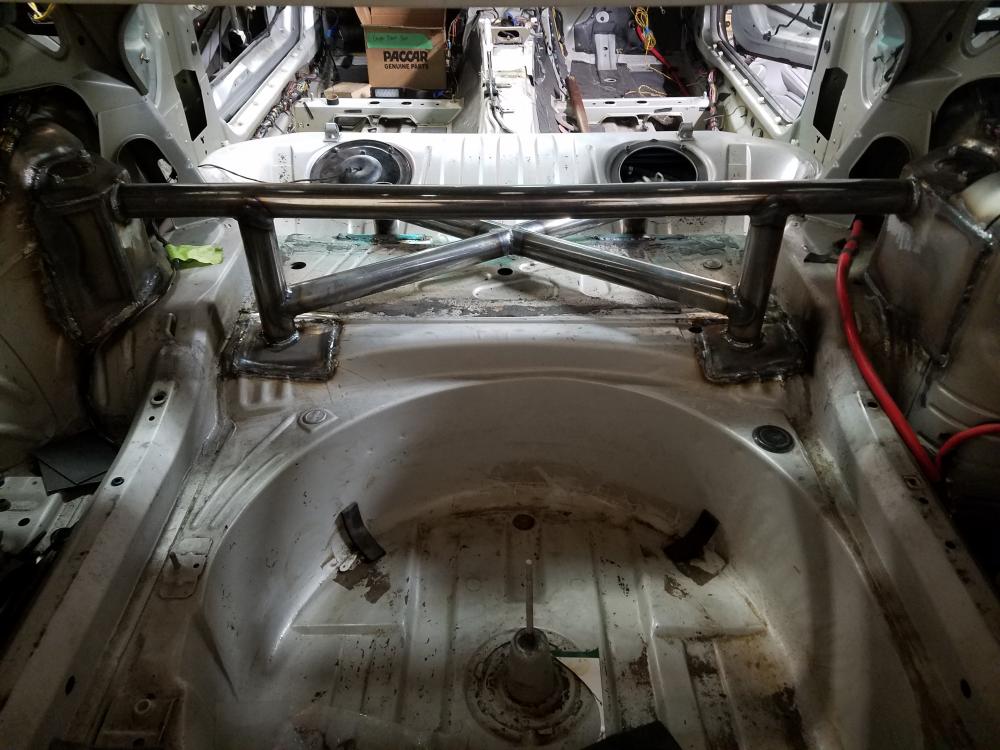
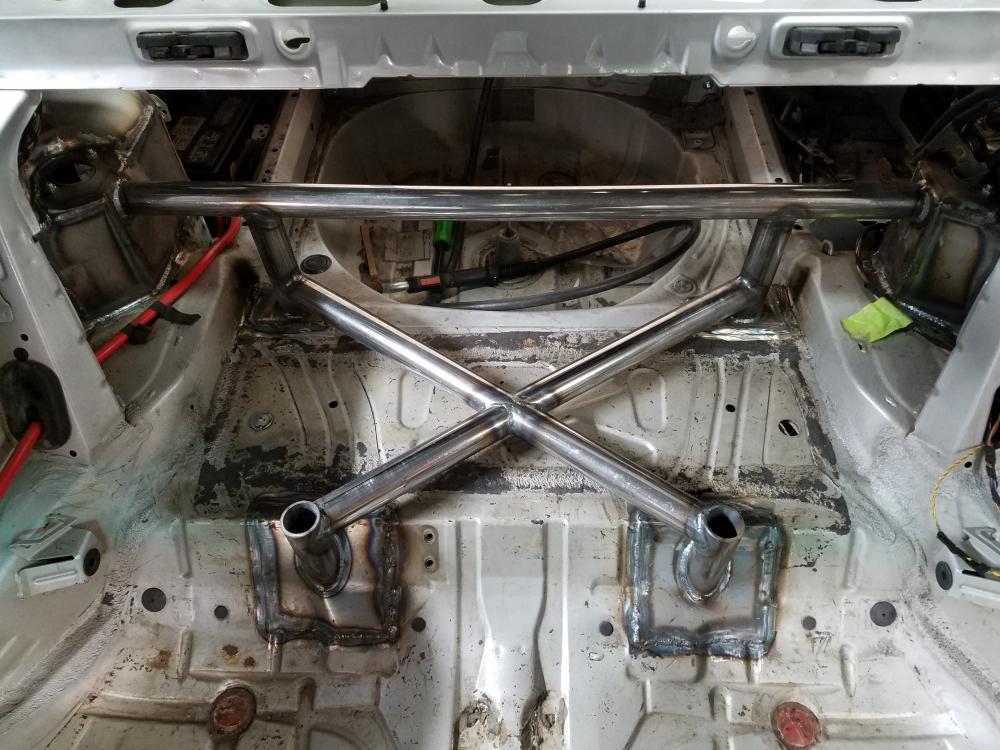
I have alot more progress to share and will upload more when i get a chance!


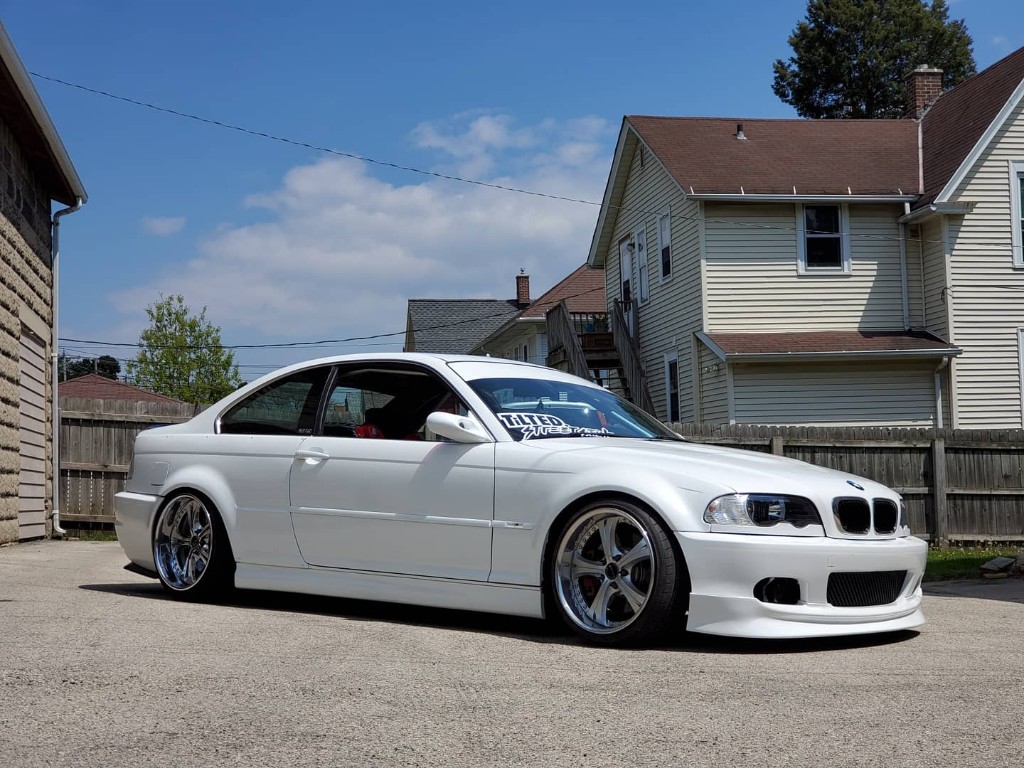

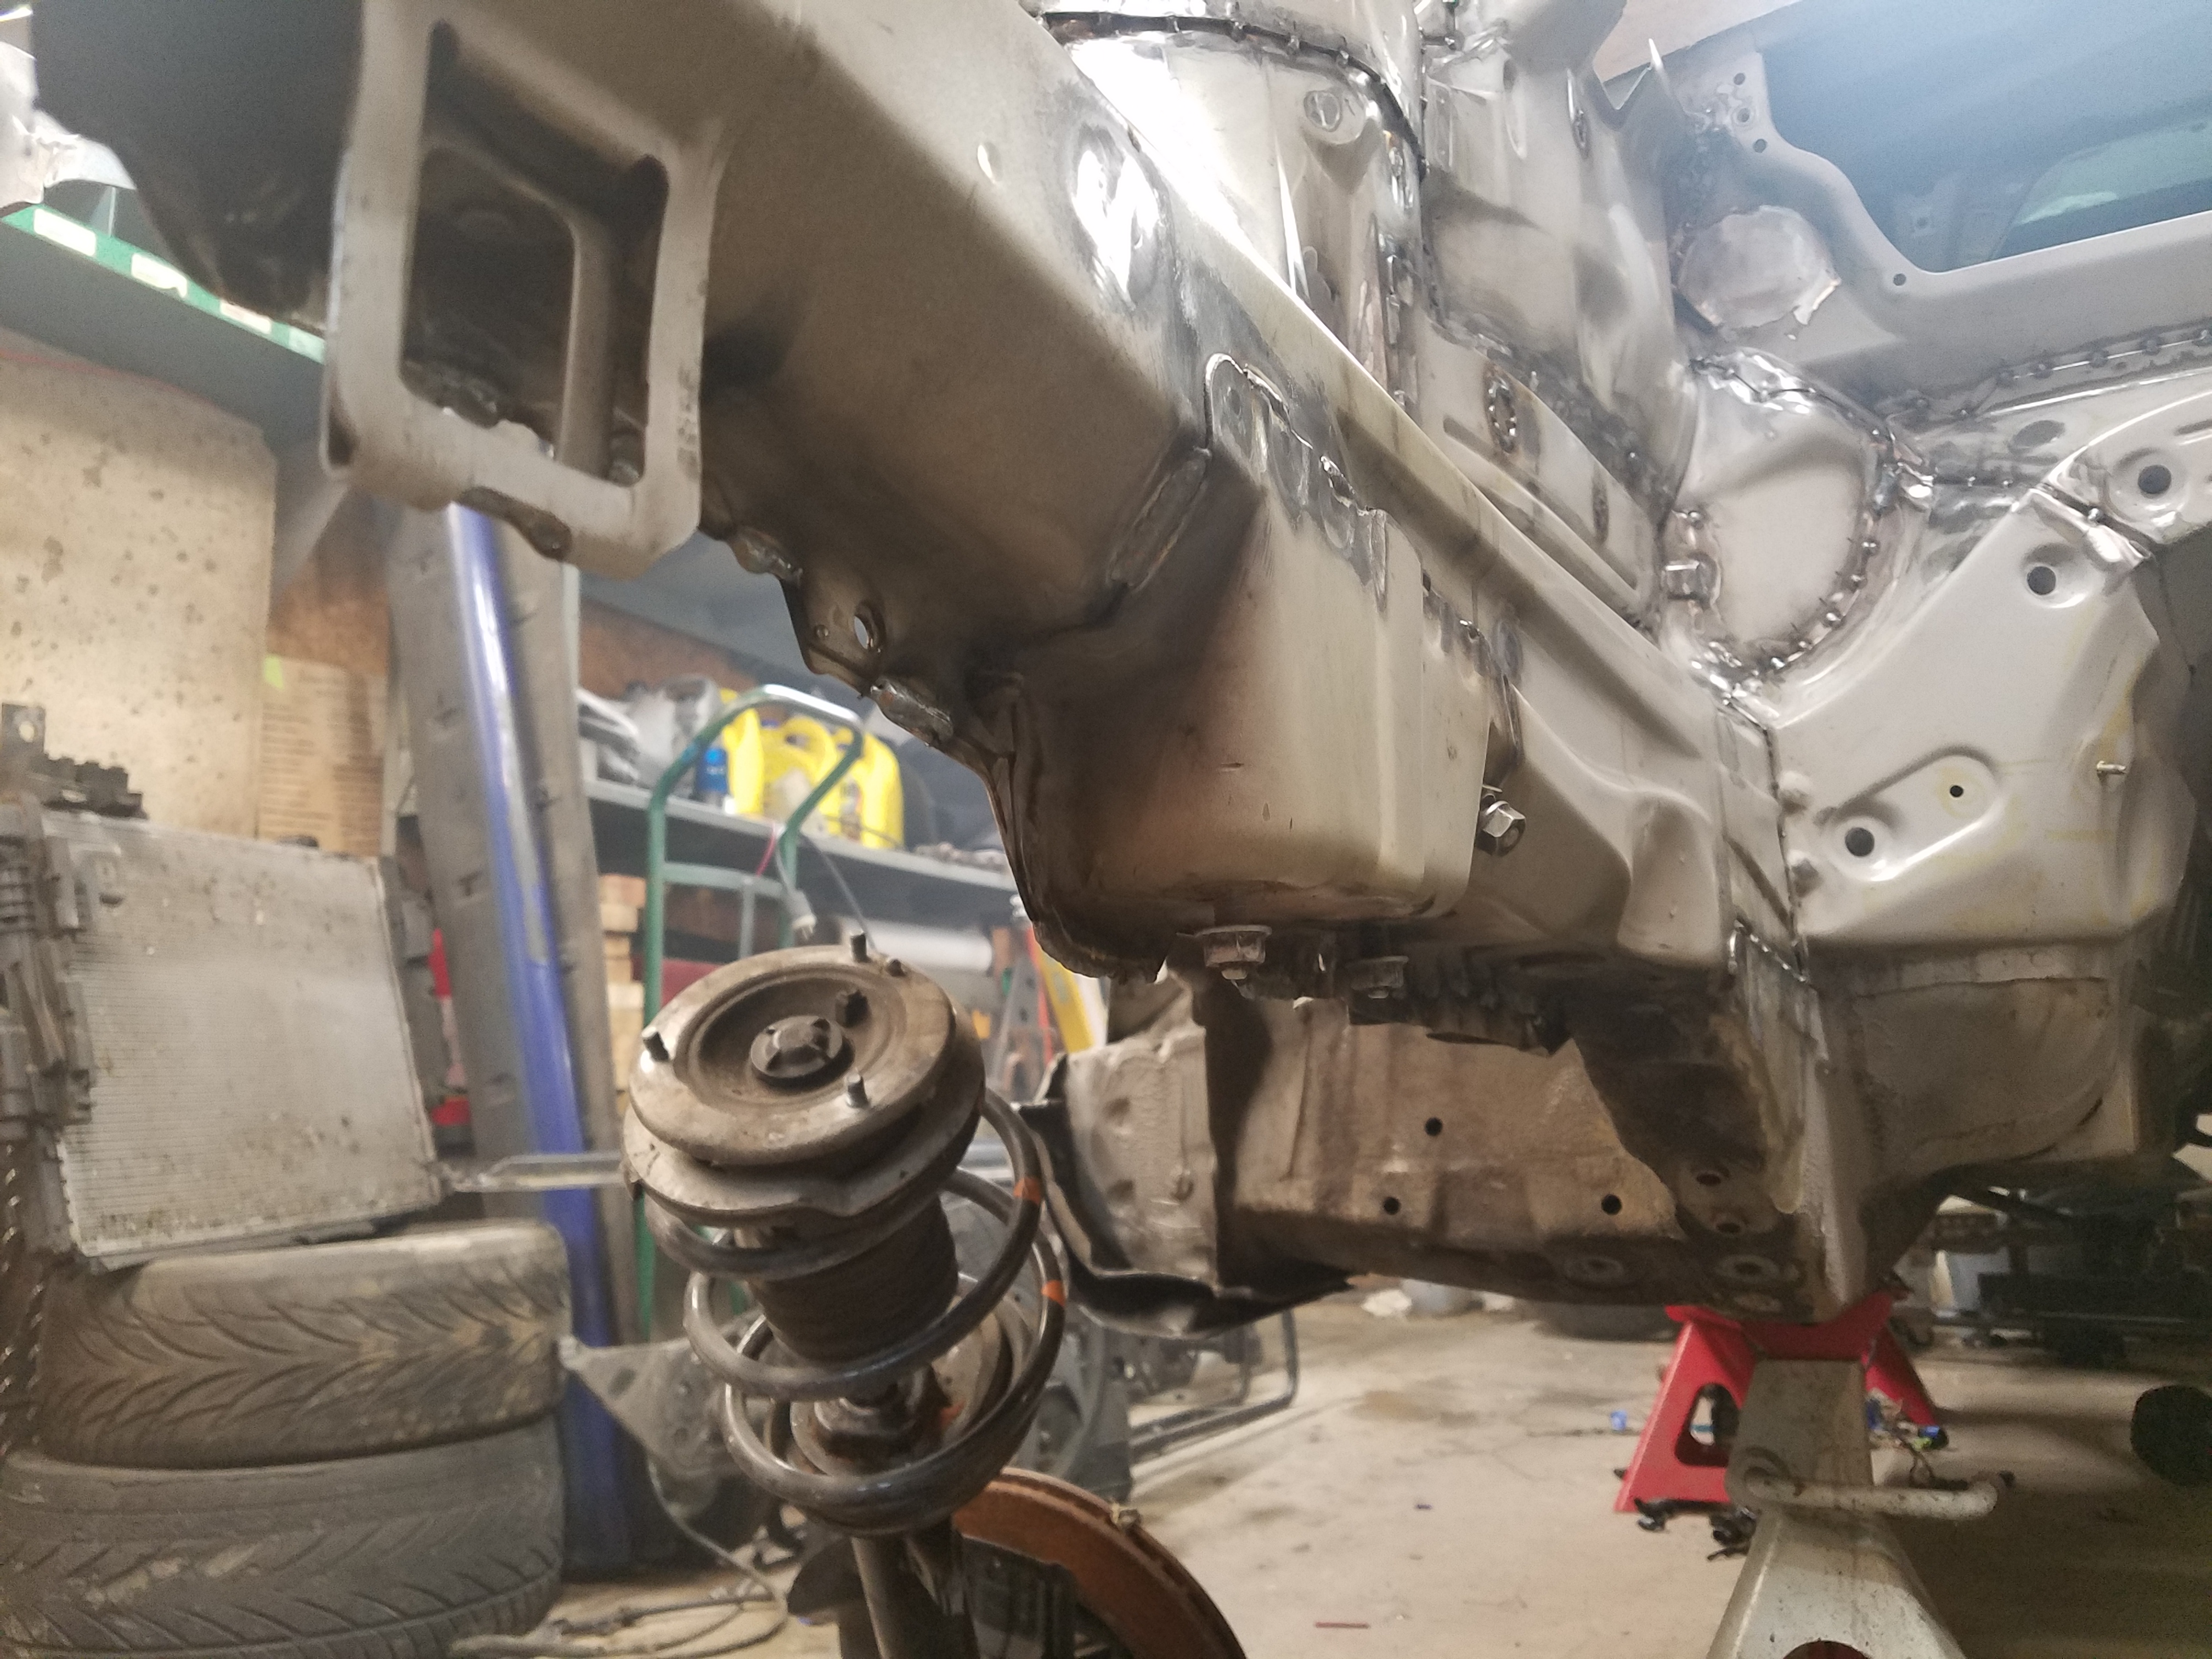
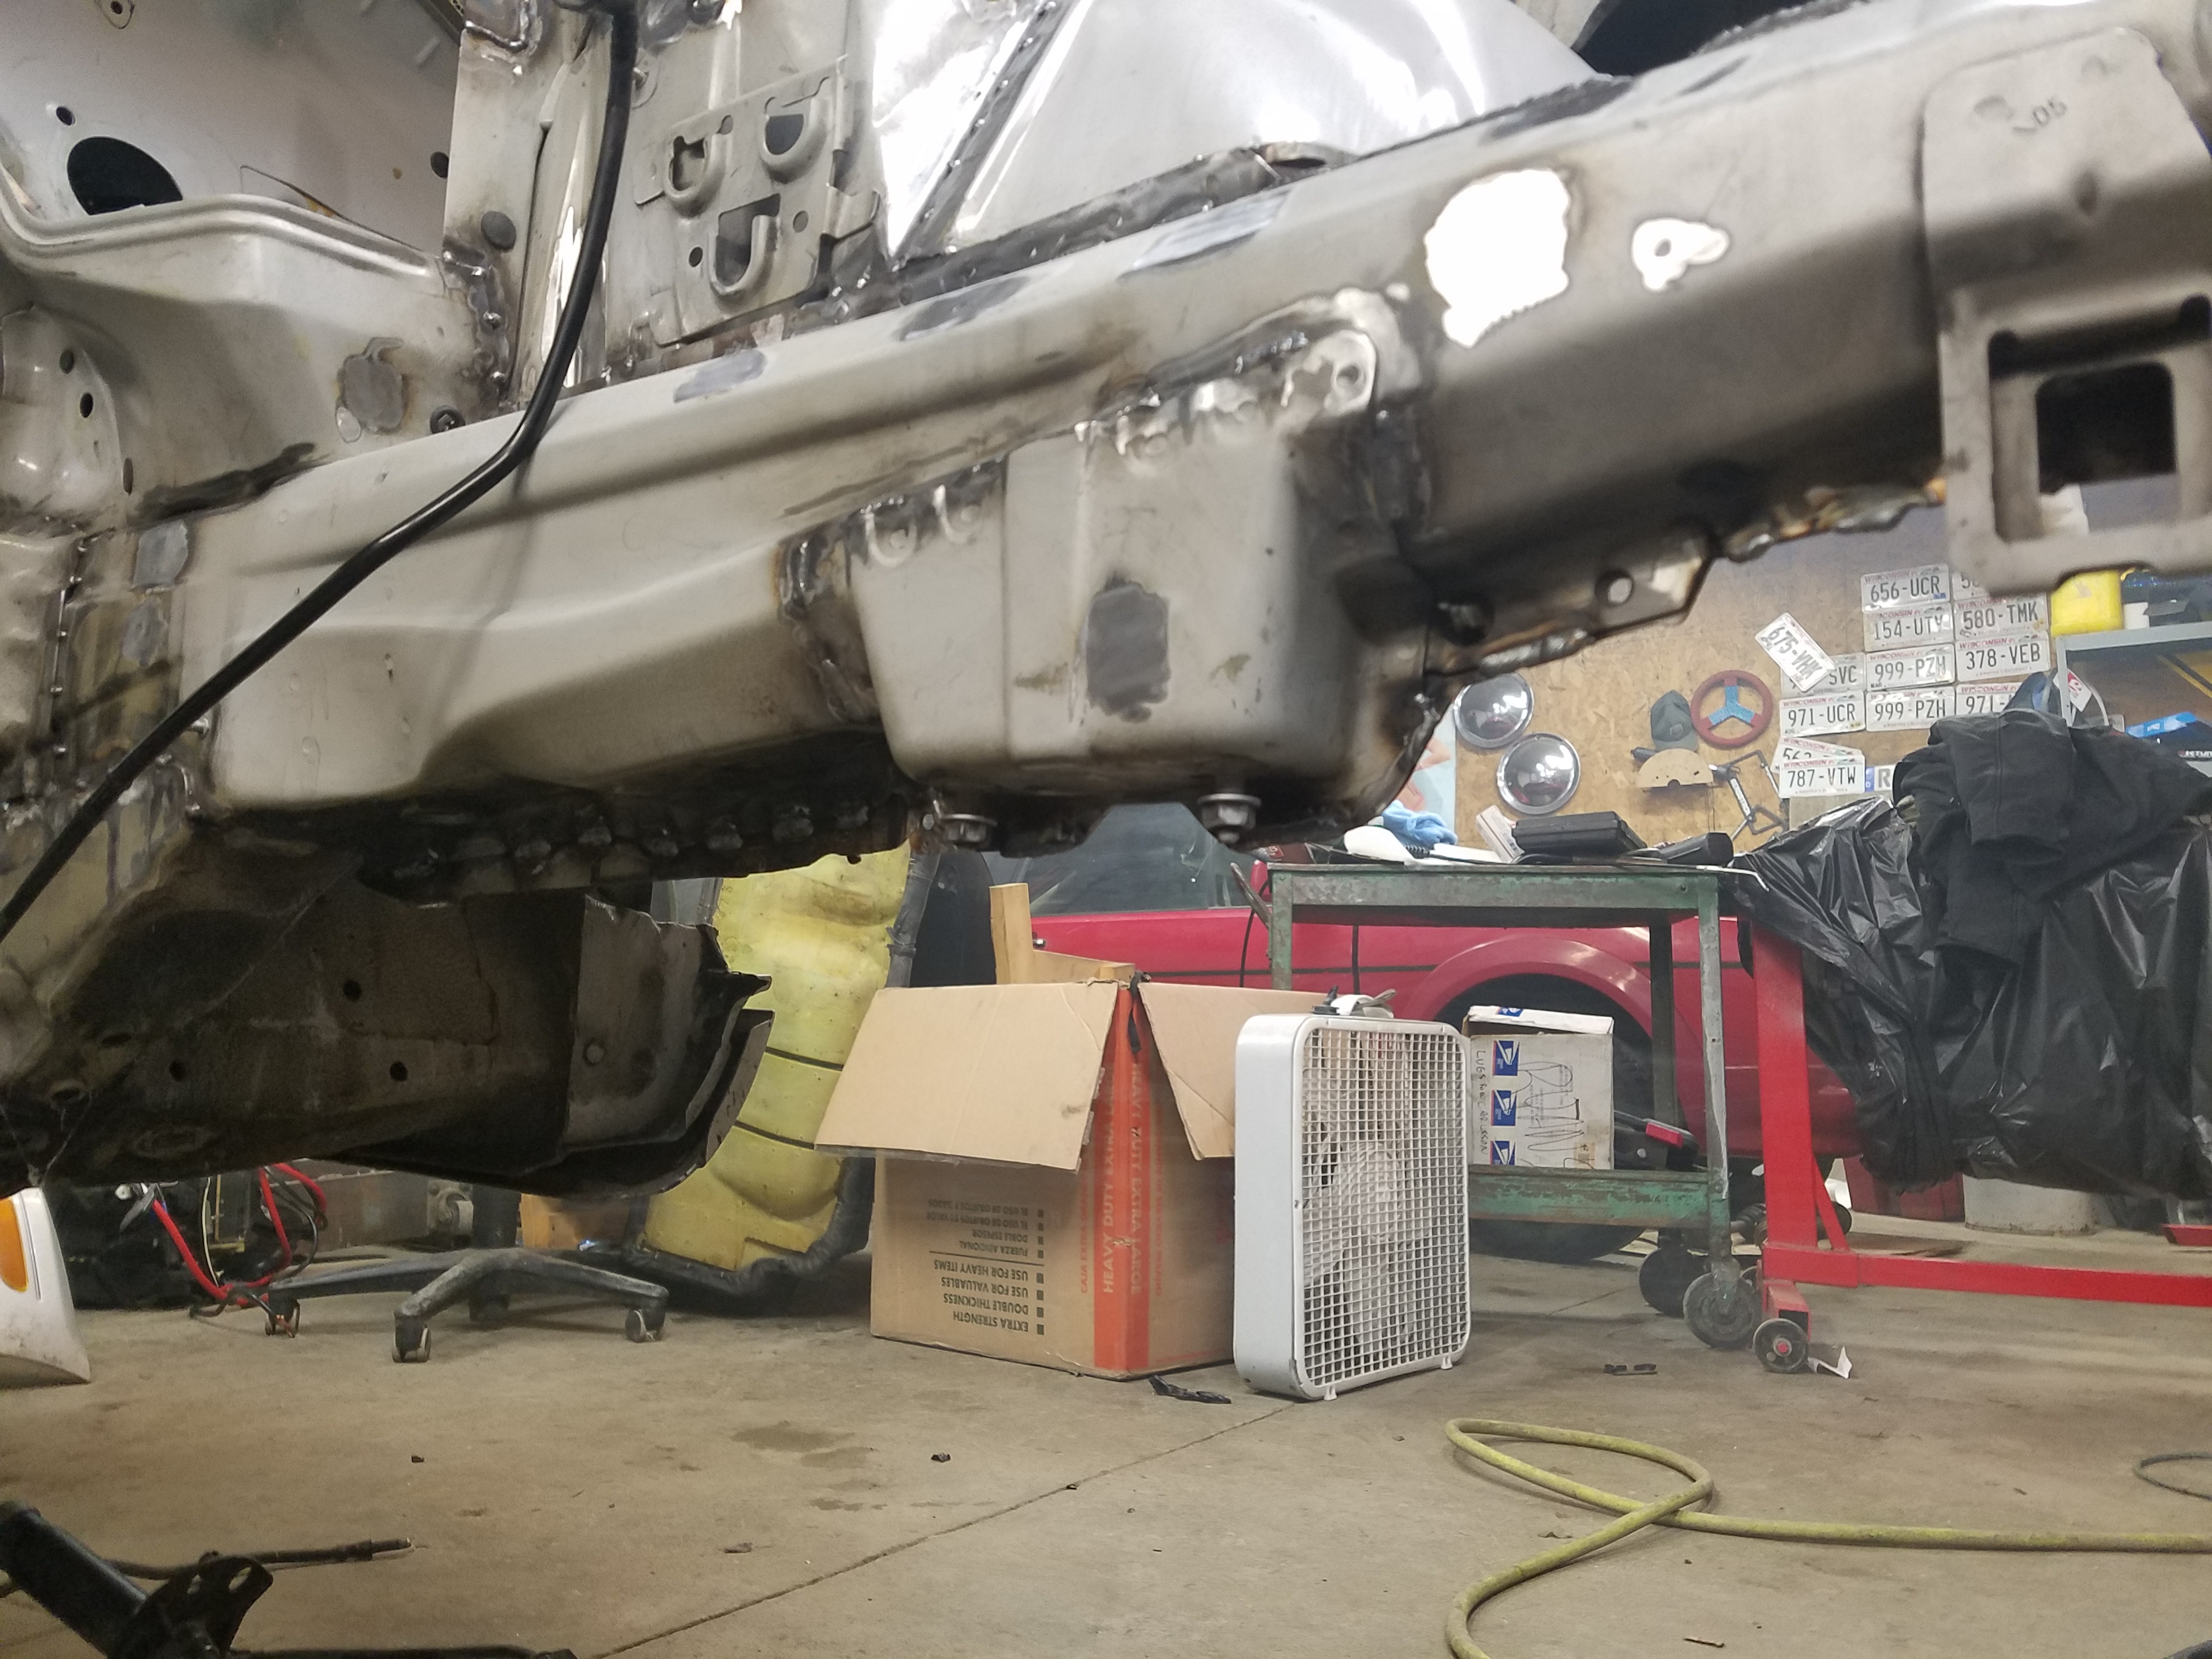

Hello! It looks like you're interested in this conversation, but you don't have an account yet.
Getting fed up of having to scroll through the same posts each visit? When you register for an account, you'll always come back to exactly where you were before, and choose to be notified of new replies (either via email, or push notification). You'll also be able to save bookmarks and upvote posts to show your appreciation to other community members.
With your input, this post could be even better 💗
Register Login