
My name is Earl, and I have a Stainless Steel bolt fetish =)
-
Saturday was great.
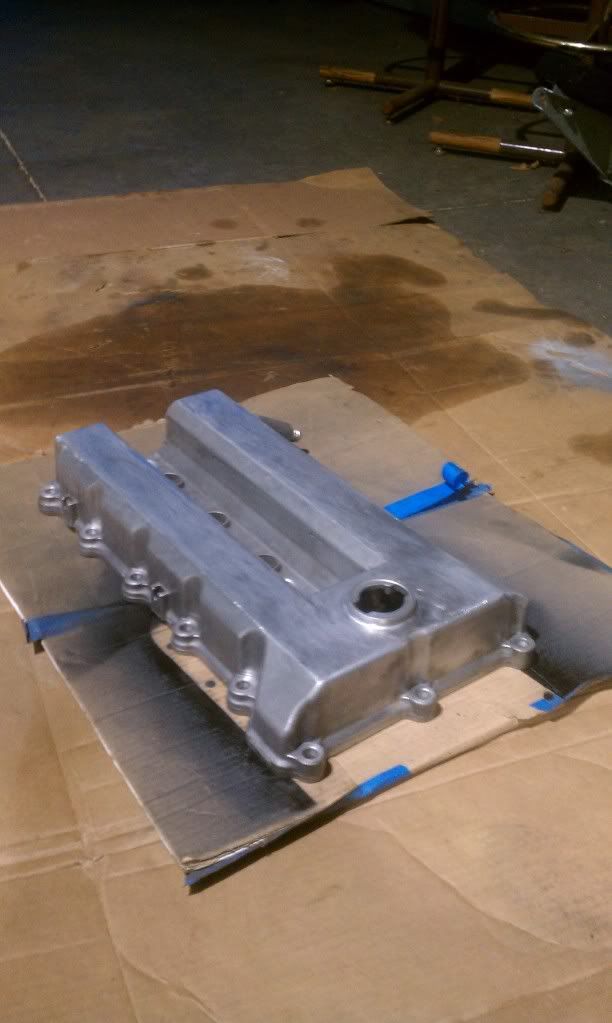
My friend Kyle came over and dropped the valve cover and intake manifold off.
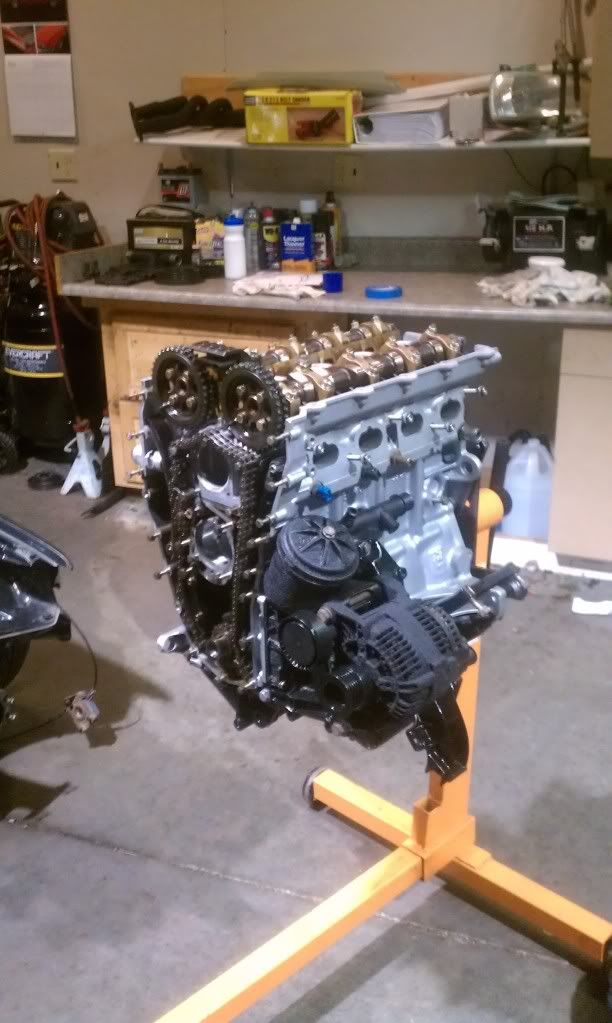
He also installed my head for me.
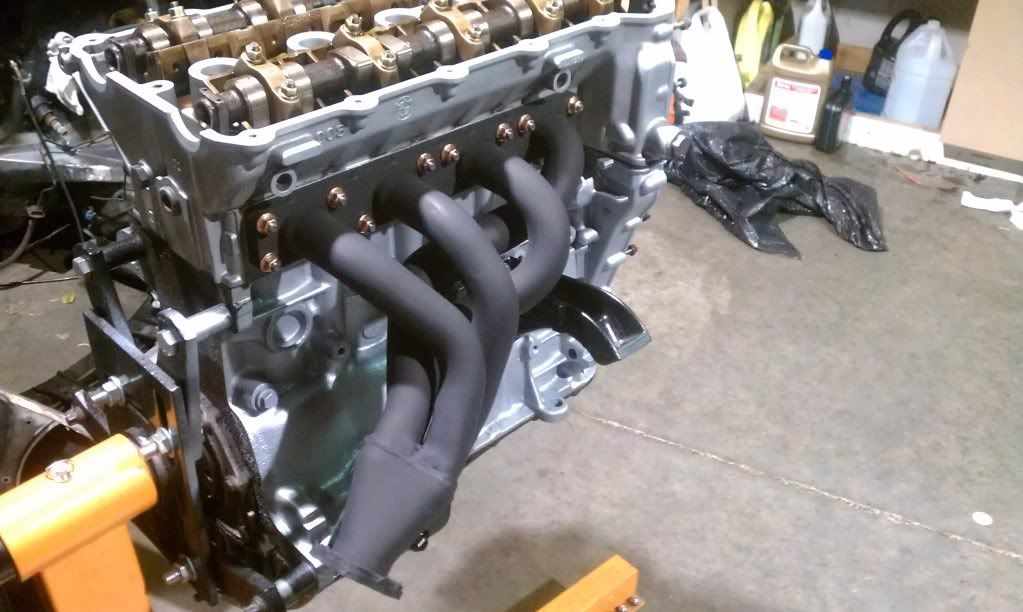
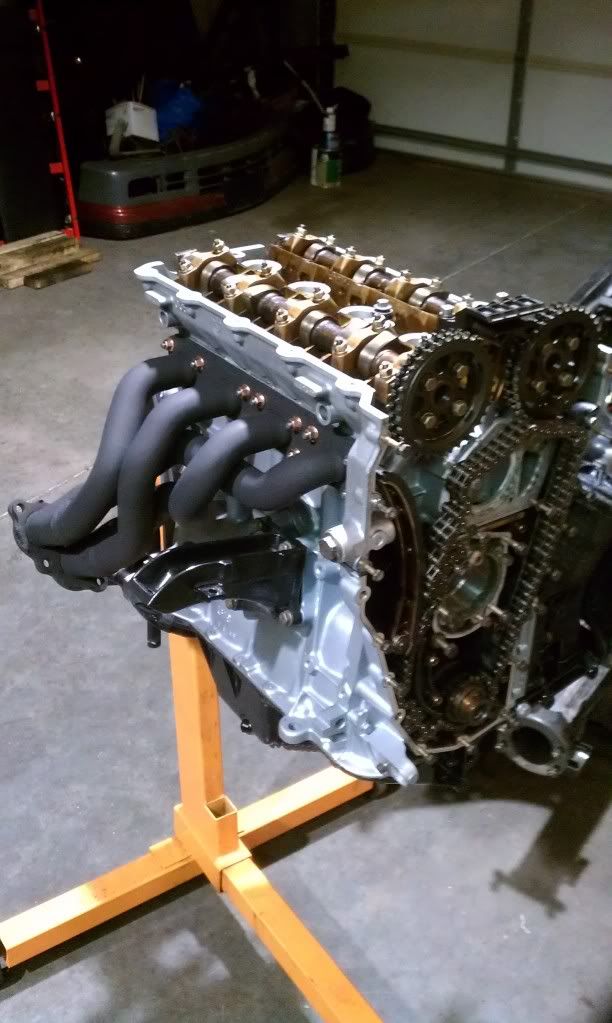
I then installed the exhaust manifold after my friend John polished the nuts.
I then painted the valve cover and intake manifold and only saw them cure for an hour. (Forgot to take any pictures of the intake manifold)
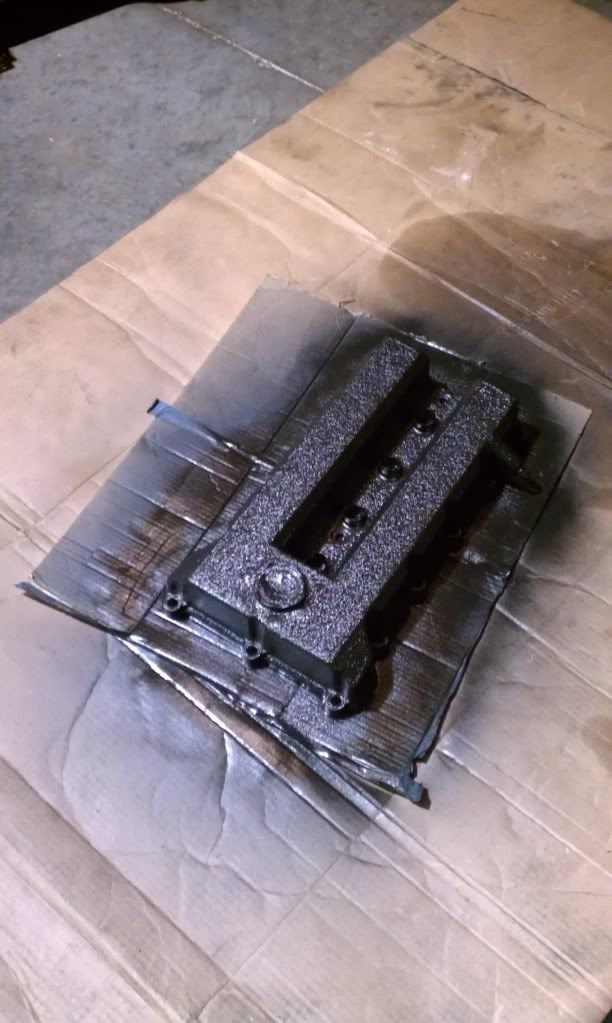
I then packed up for the night and left after midnight.
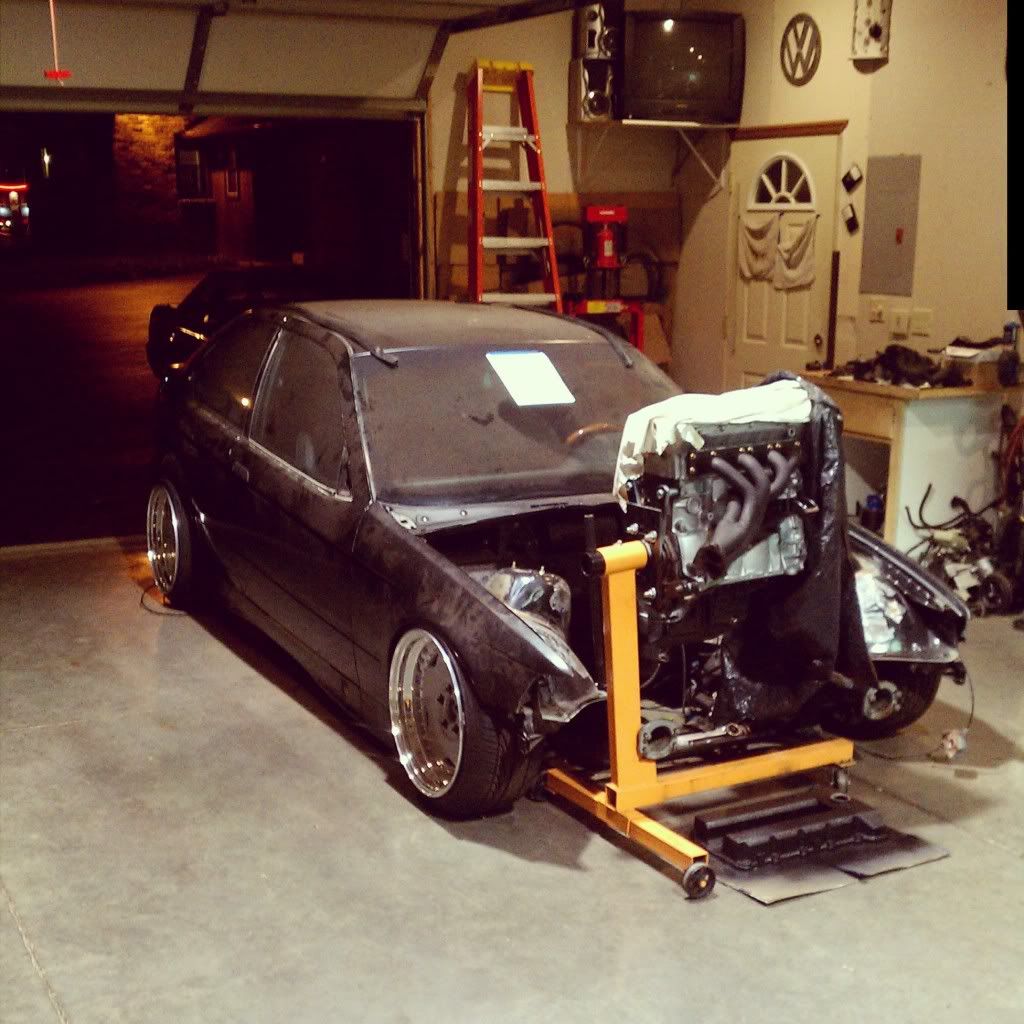
Both the bay welding and fender work are pushed off until next weekend because the welder has to work and the fender man lent his roller out and it was forgotten by his friend.
Progress is still coming steady. More to come Wednesday.
-
-
way to go earl. its coming together great.
Thank you princess=) It's only from your motivation
Got a few things done yesterday.
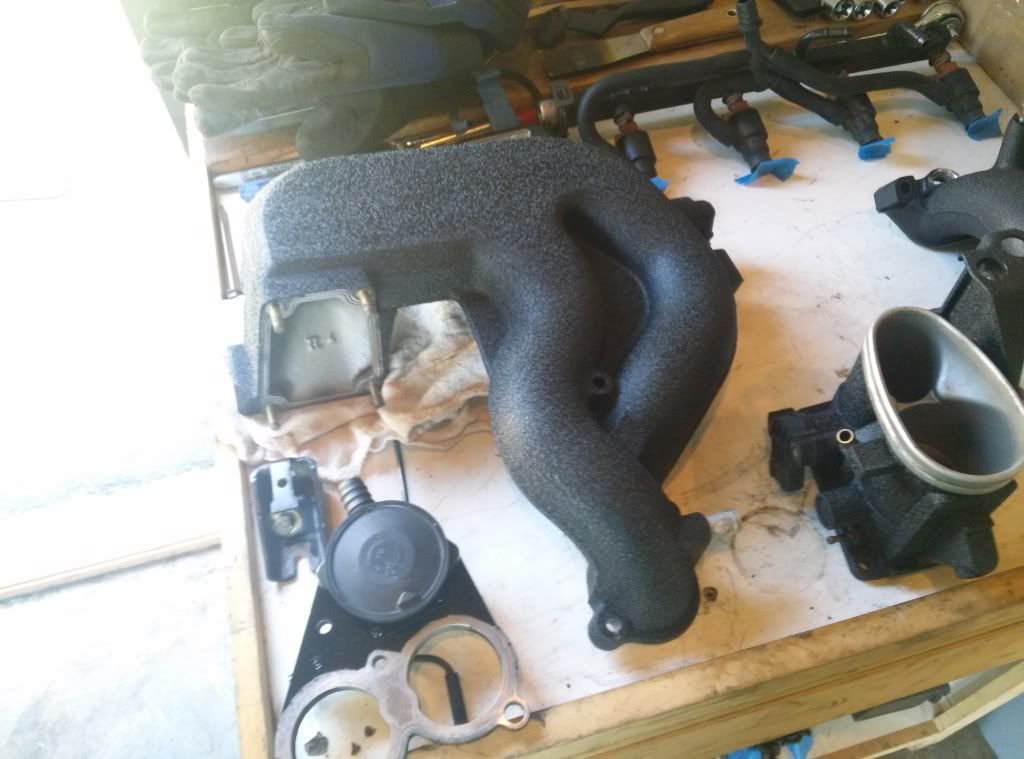
The upper intake manifold and valve cover turned out great=) I love how simple they look shaved with the wrinkle black.
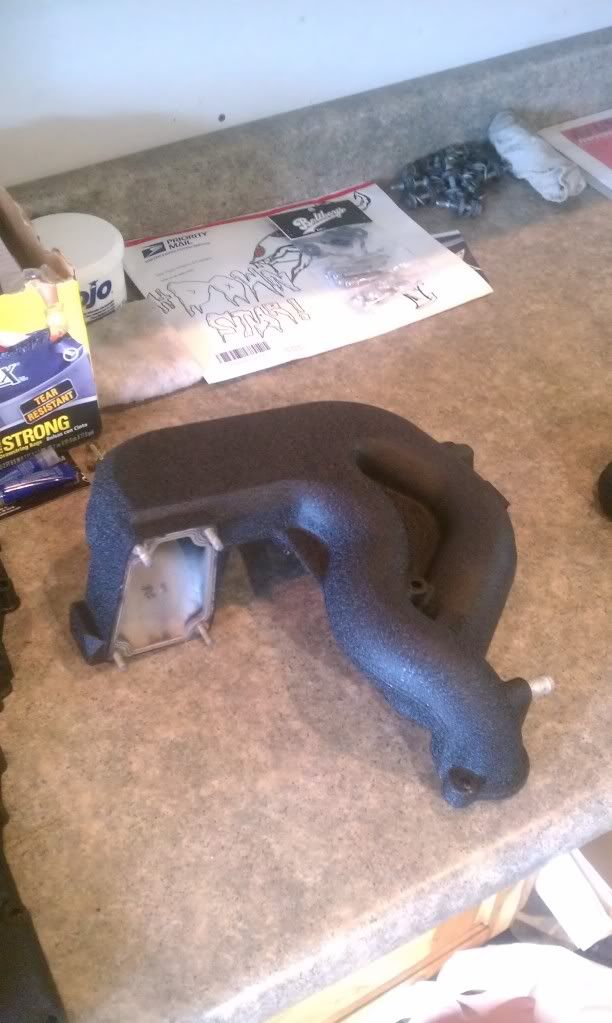
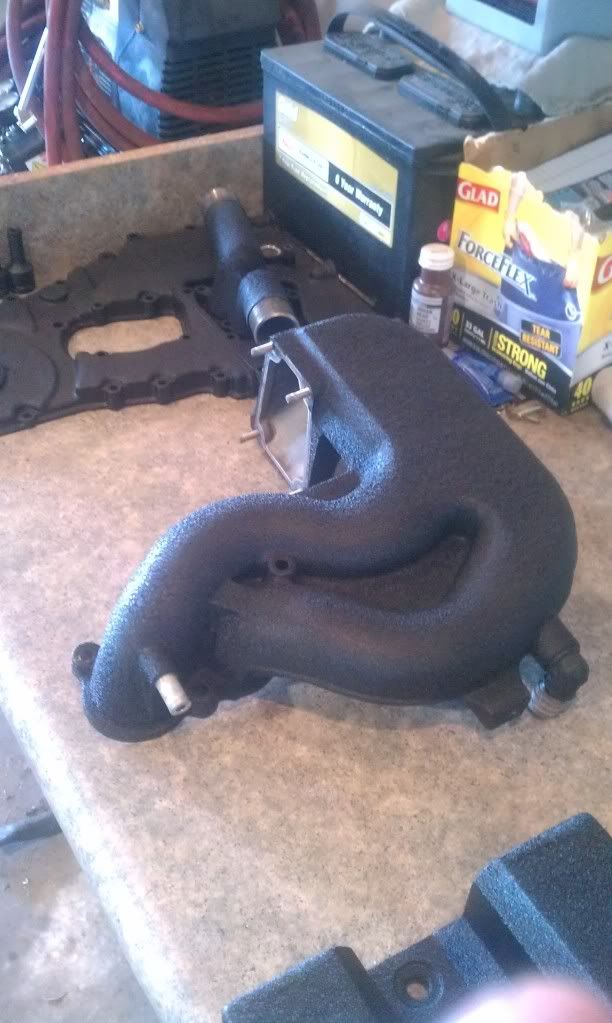
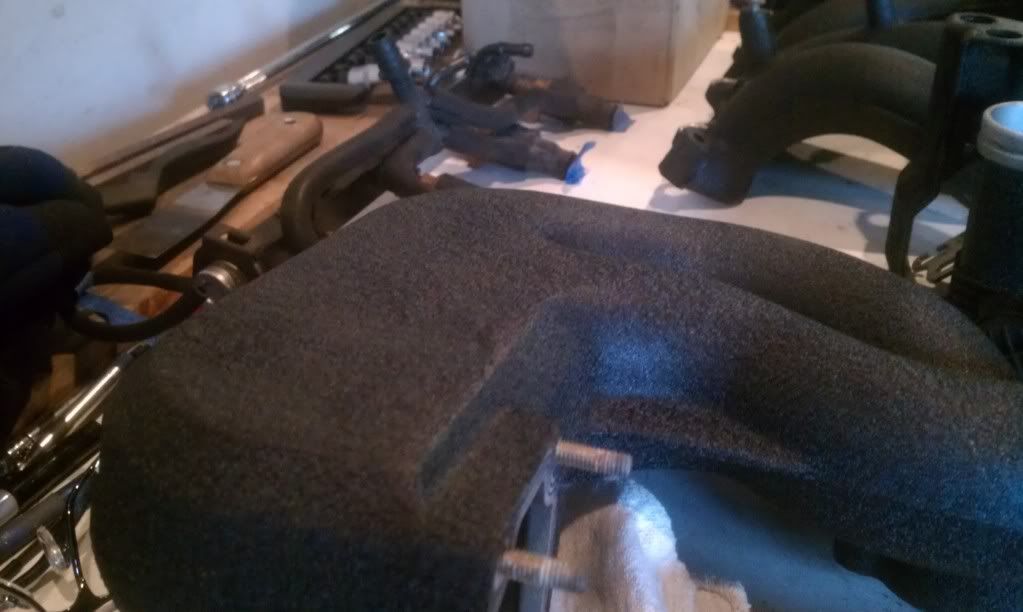
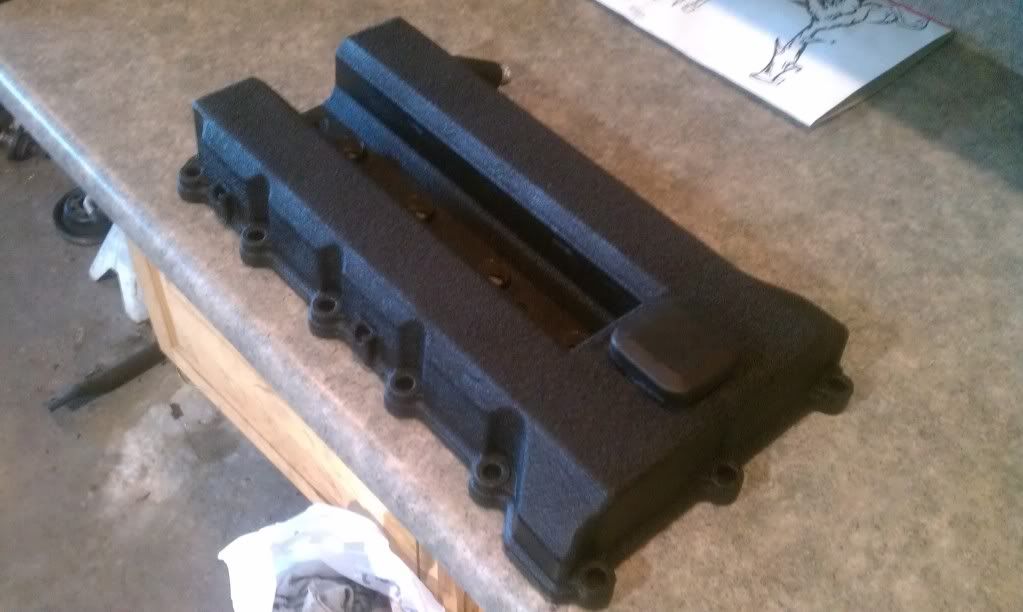
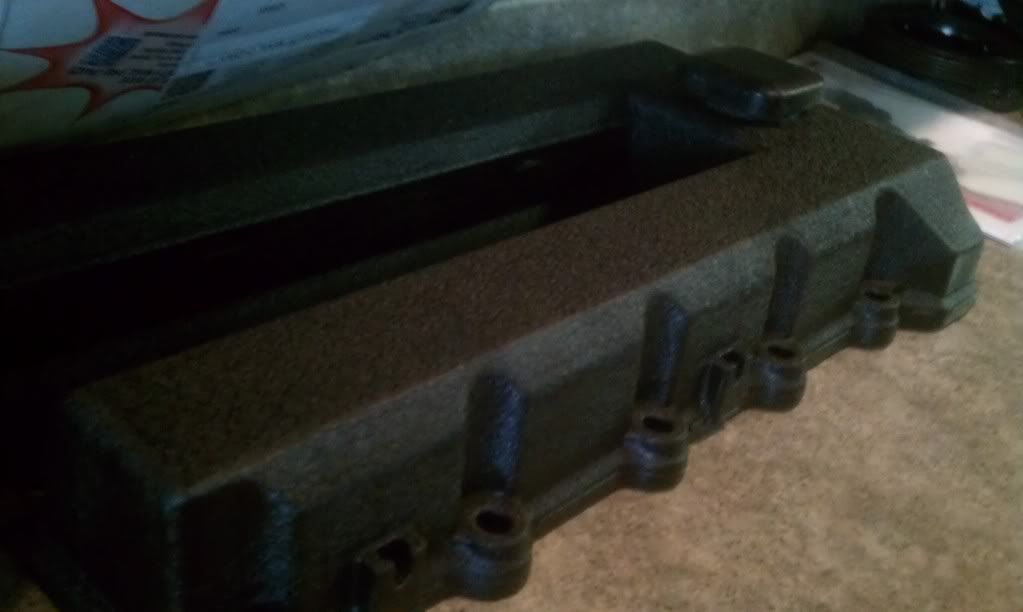
I got curious as to how the hardware would look.
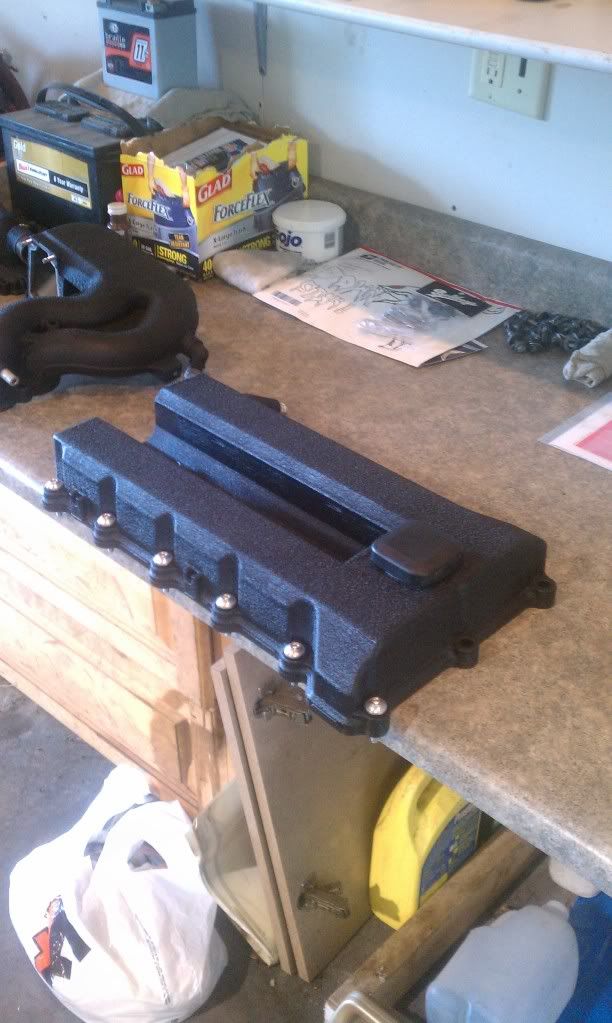
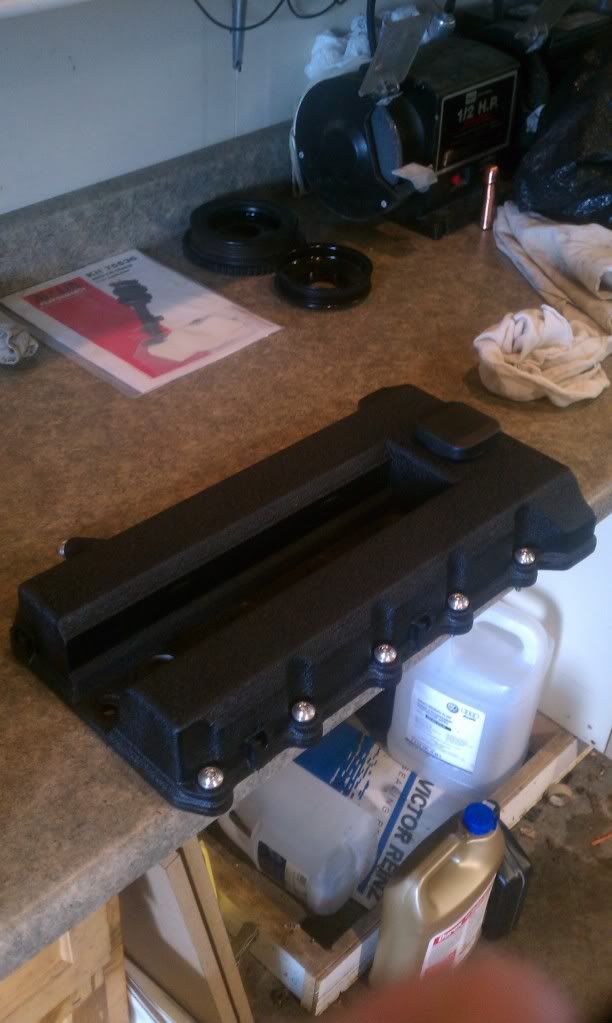
I think I'll be leaving the washers raw instead of polishing them. I am so happy with how the motor is coming together.
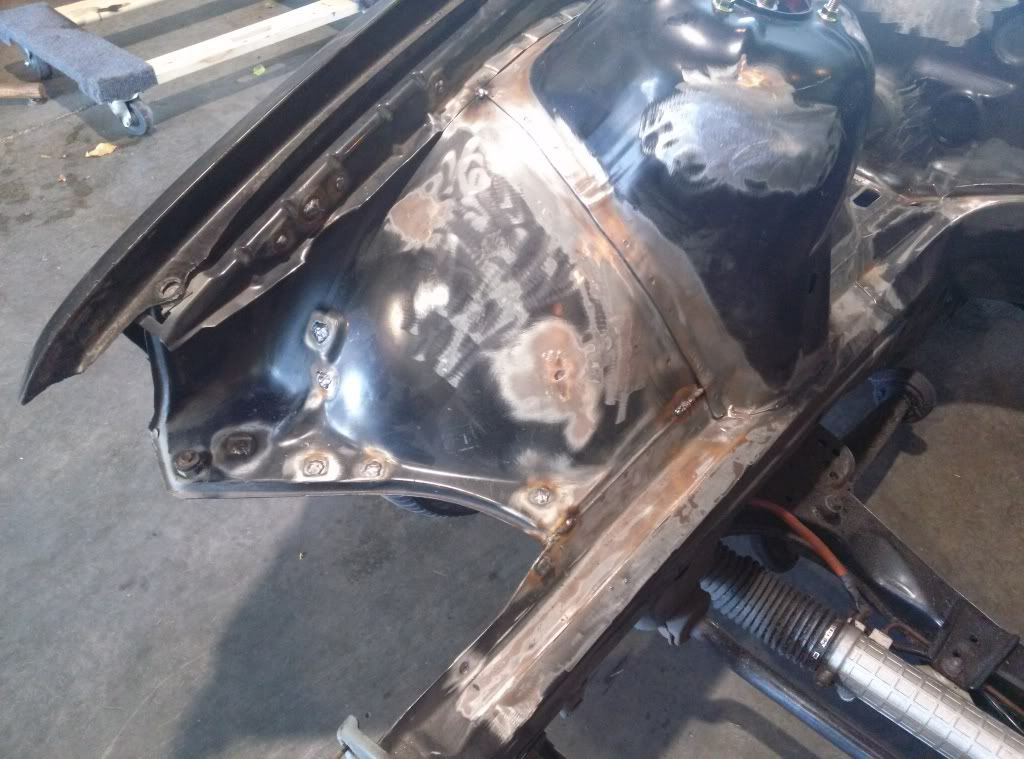
The bay also started getting welded up. My friend Jeremiah ran out of gas shortly after starting so he only got a few holes tacked shut. He will hopefully be back Saturday to continue=)
I also just noticed that these pictures seem to look worse and worse. A new phone is needed and I will be picking one up shortly. A good camera is a must=D
-
looking great earl hurry and get "r" done
No rush=) I would rather get it done right the first time

On a side note, welder couldn't make it Saturday and Lil Joe still hasn't gotten his roller back to do my fenders. Nothing got done this weekend at all
-
Been a while since the last update.
Zero progress on the welding and rear fender work. Trying to get all that sorted out.
I am hopefully placing my order with Downstar this week for the hardware kit for my engine. I've just been sorting out what bolts will be able to use their beauty washers. Unfortunately there are three m7 bolts that they can't source because m7 is hard to come by=( I will try and figure that out.
Yesterday I reorganized and cleaned my shop spot up. I also took pictures of things with my new phone because the camera is much better=)
Enough talking, on to pics.
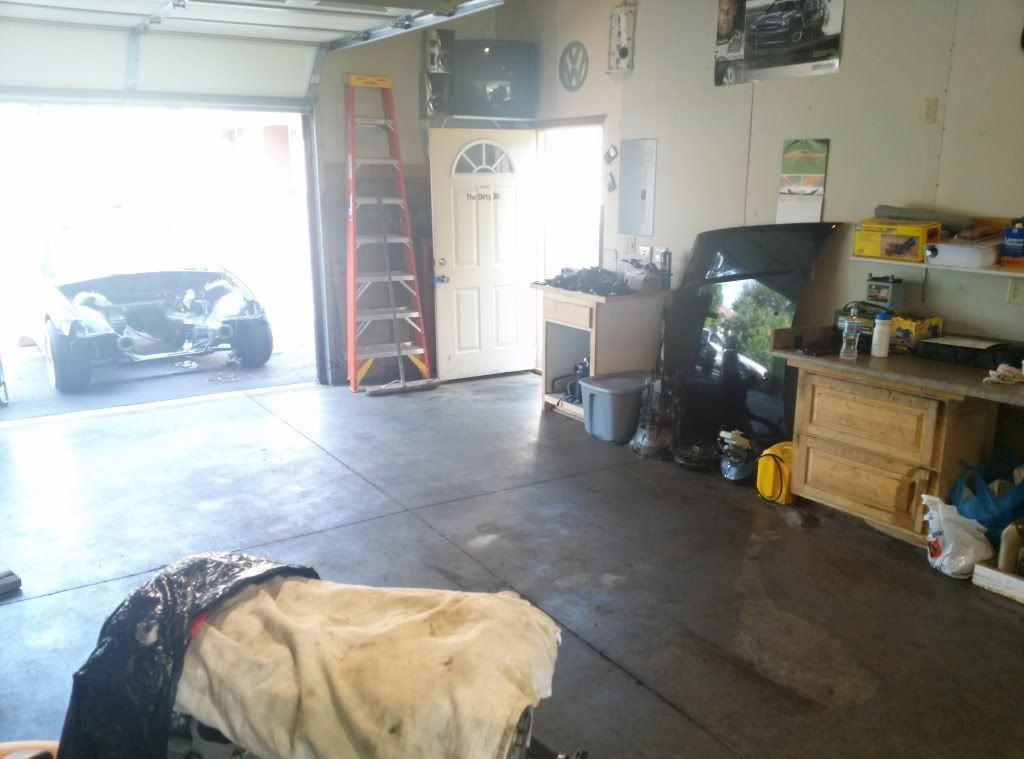
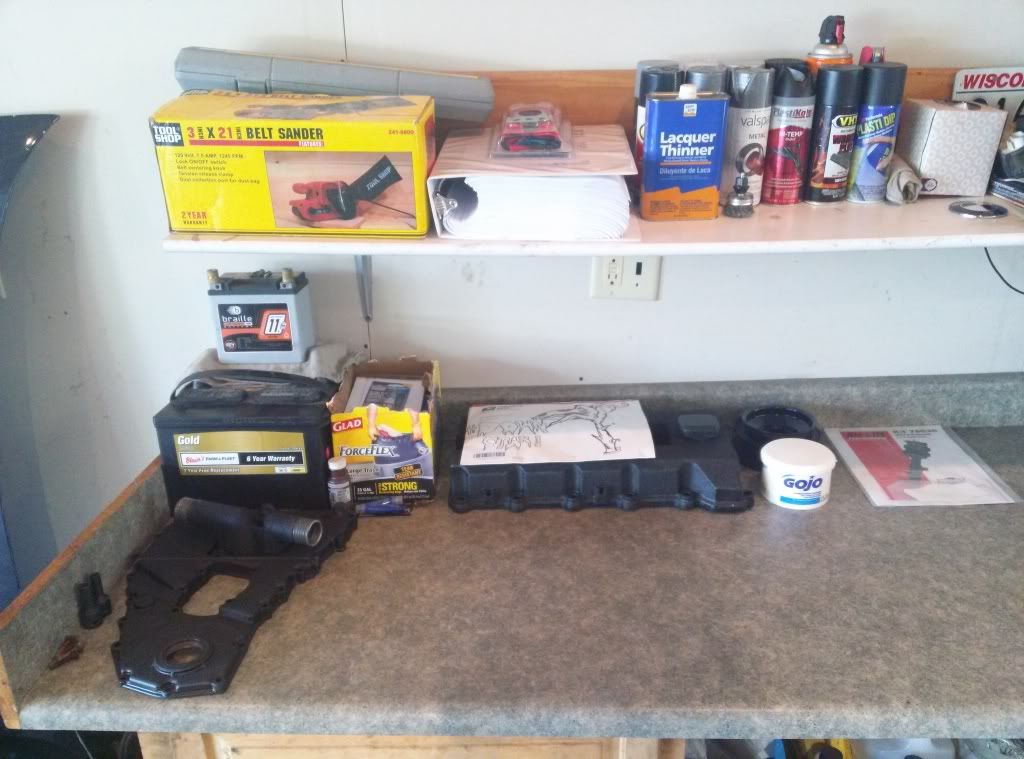
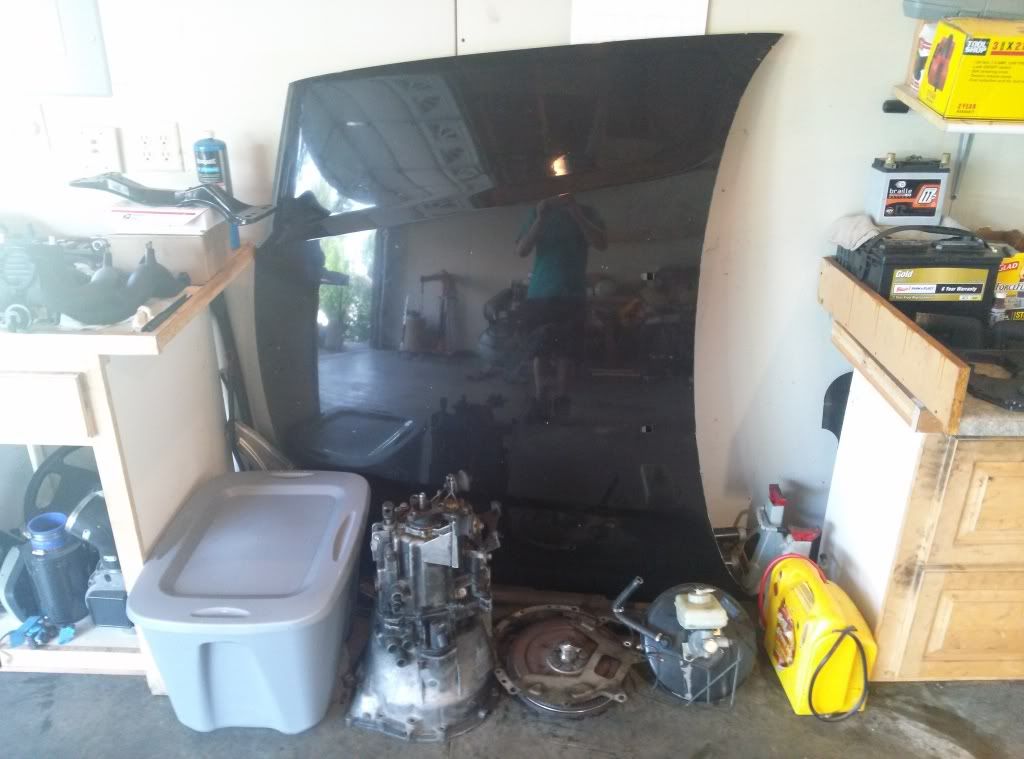
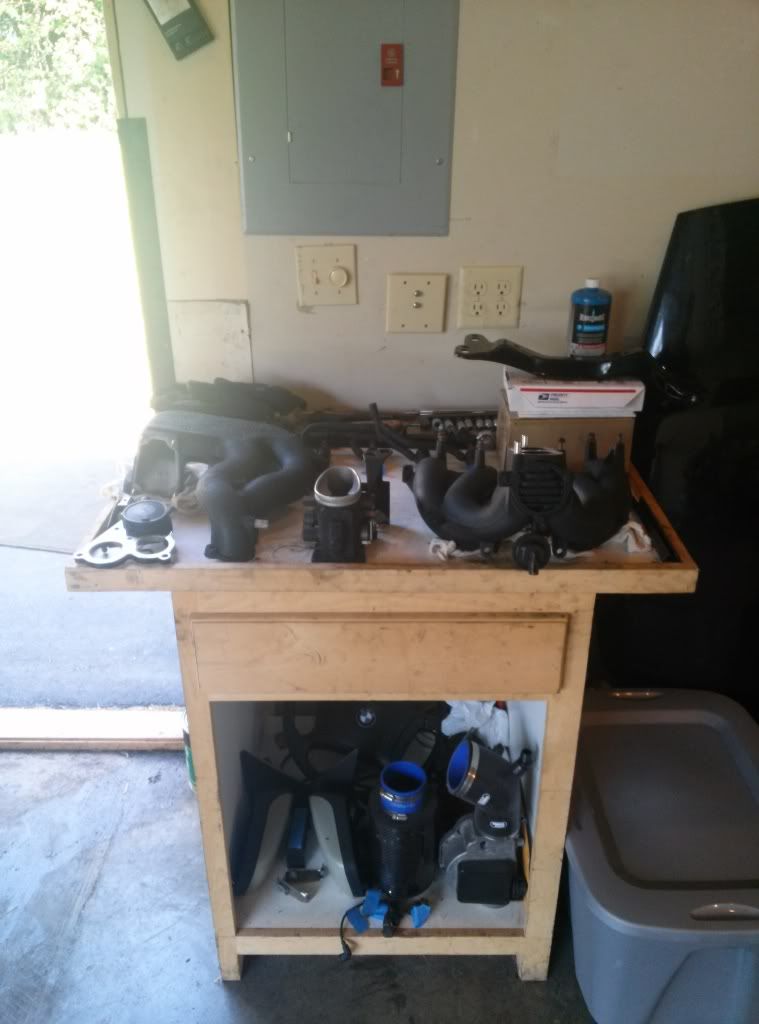
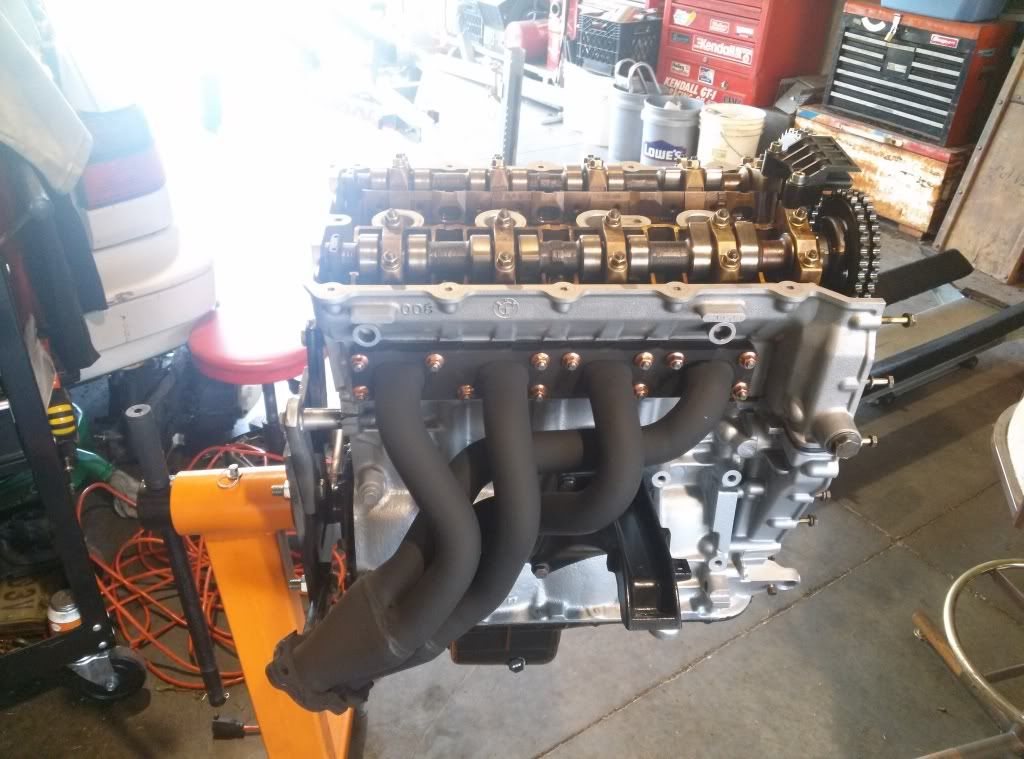
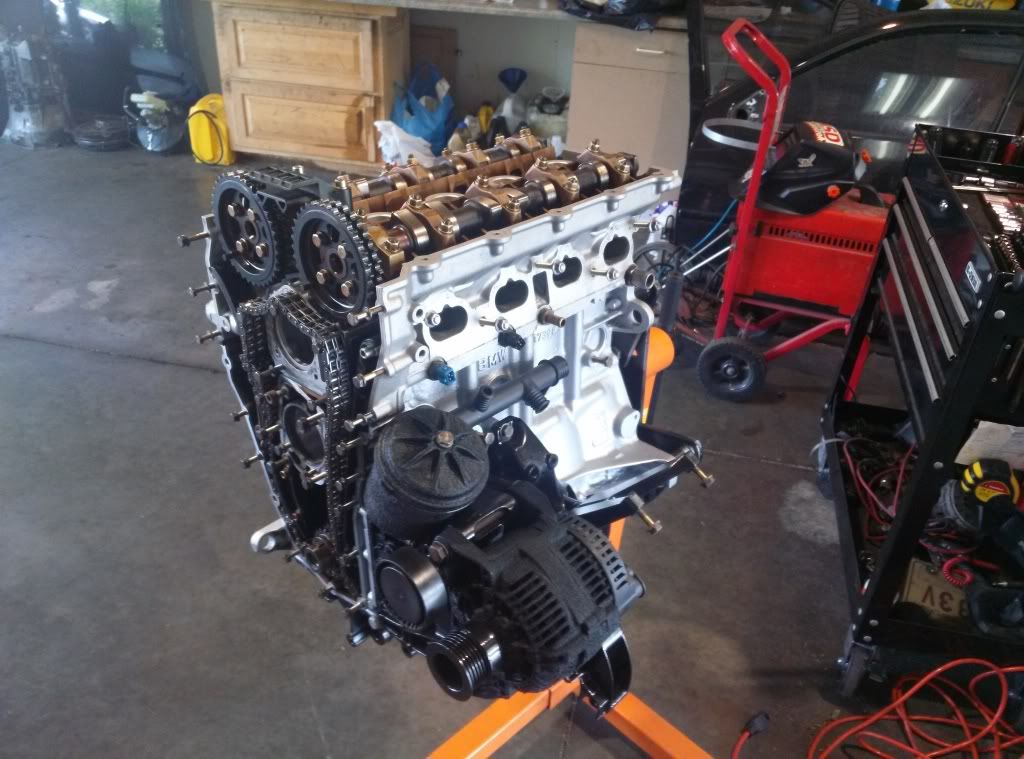
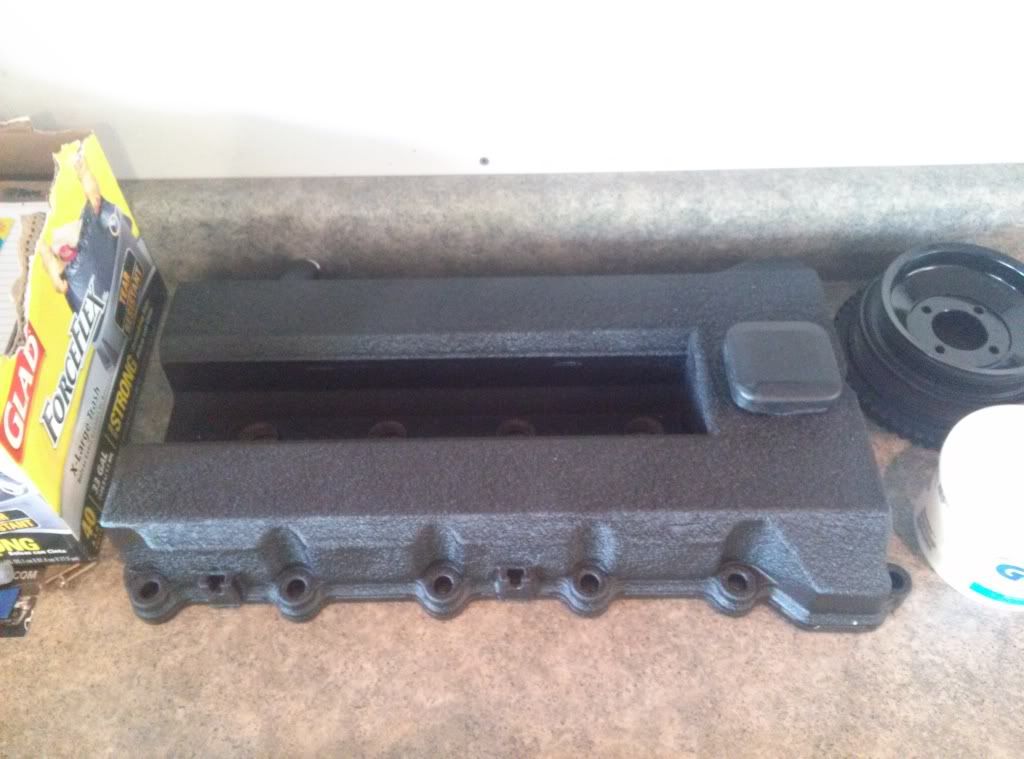
Here is how far the bay got the other day before running out of gas.
Hopefully this next week I quit dragging my ass and get this back in gear.
-
This is looking awesome man, just went through your whole build. Keep up the hard work!

https://www.instagram.com/_jdesigner_/ http://nevertoolow.tumblr.com/
🥳SOLD BMW E24 633CSI - BMW M30B32 🧪SOLD HCH ES9 - 1.3 LDA
👽BMW E30 325IC - Toyota 1JZ-GTE ⏰ HONDA EF9 CIVIC SI - JDM B18C5
☠️BMW E36 318i - Ford 5.0 FE302 🚴♂️ GT-Labomba - 26x2.75 Freeride
🤹♀️SOLD BMW E36/7 Z3 - BMW M54B25 🧓SOLD BMW E10 2002 - BMW M10M05 -
My rear fenders finally got worked over yesterday=)
Saturday was spent moving my stuff around yet again at the shop. I am thinking about relocating to a different shop that a friend of mine is moving into. I would have more space, running water, a toilet, and a small office.
Yesterday I smoothed out the welds for the holes in the bay.
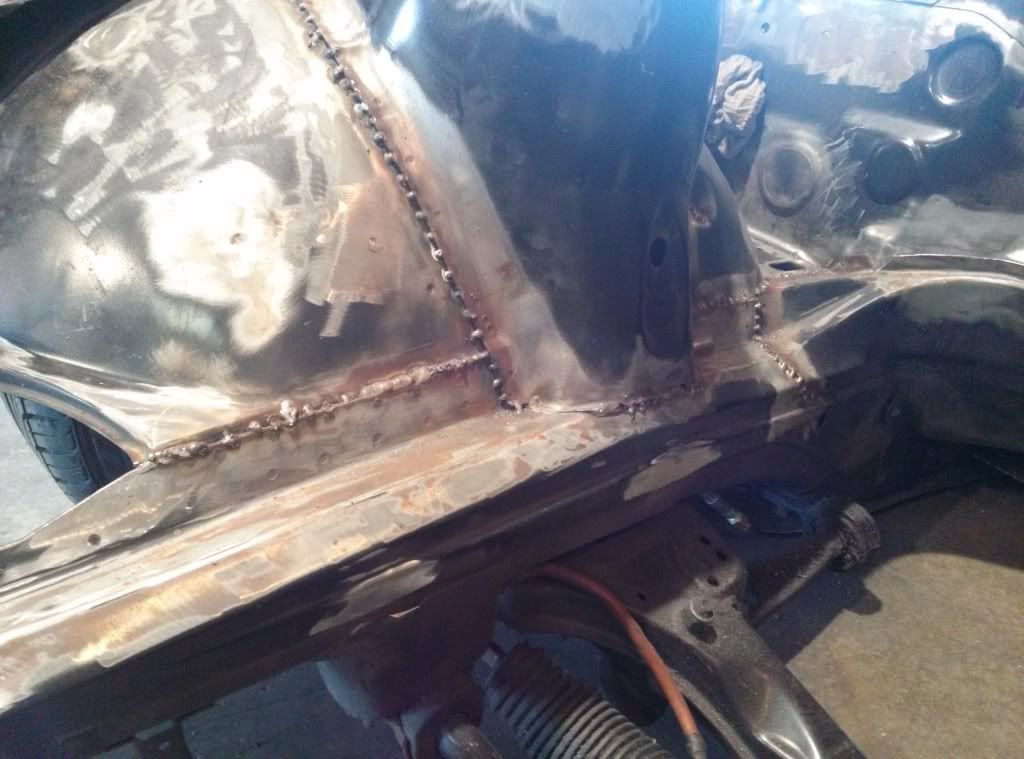
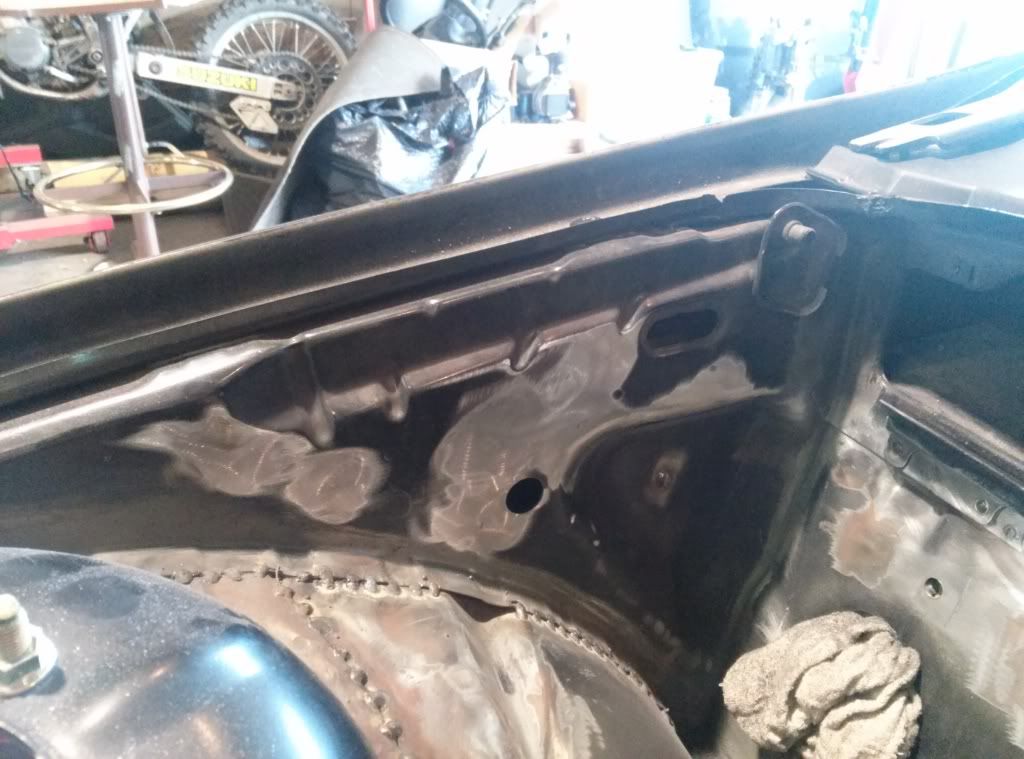
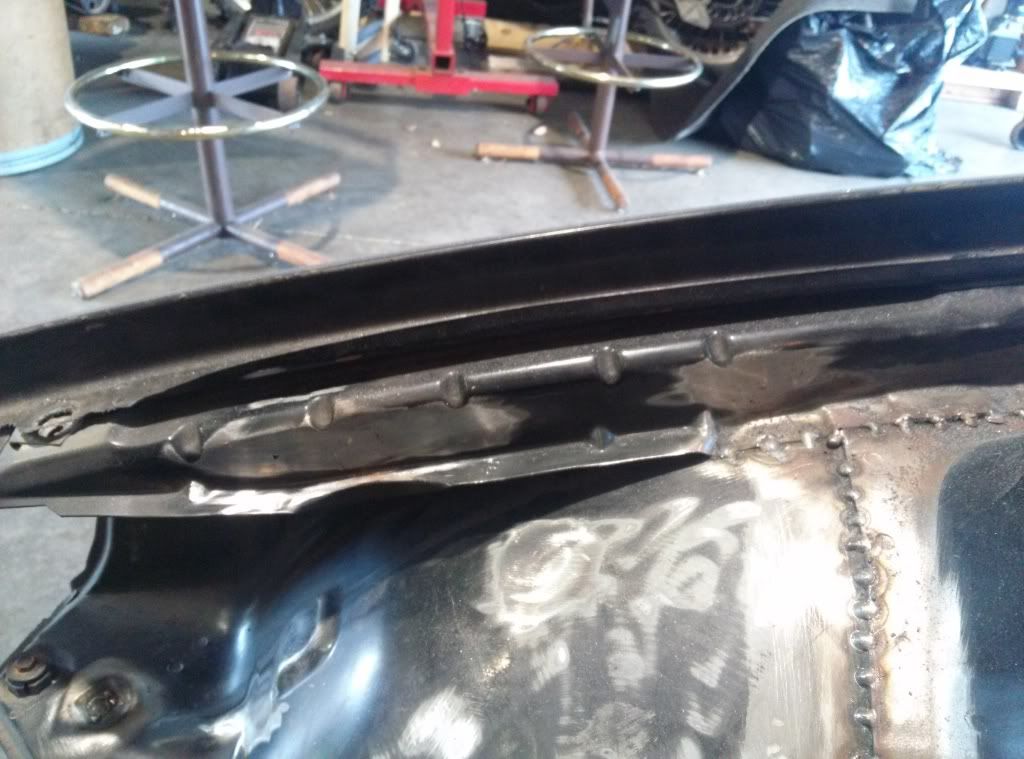
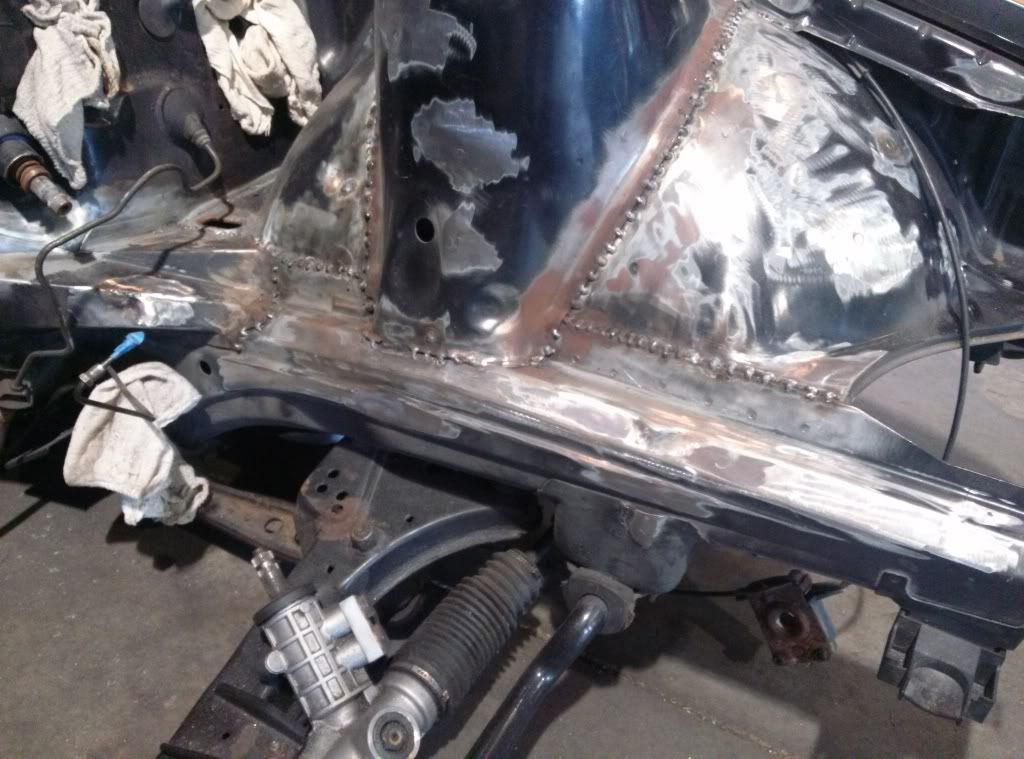
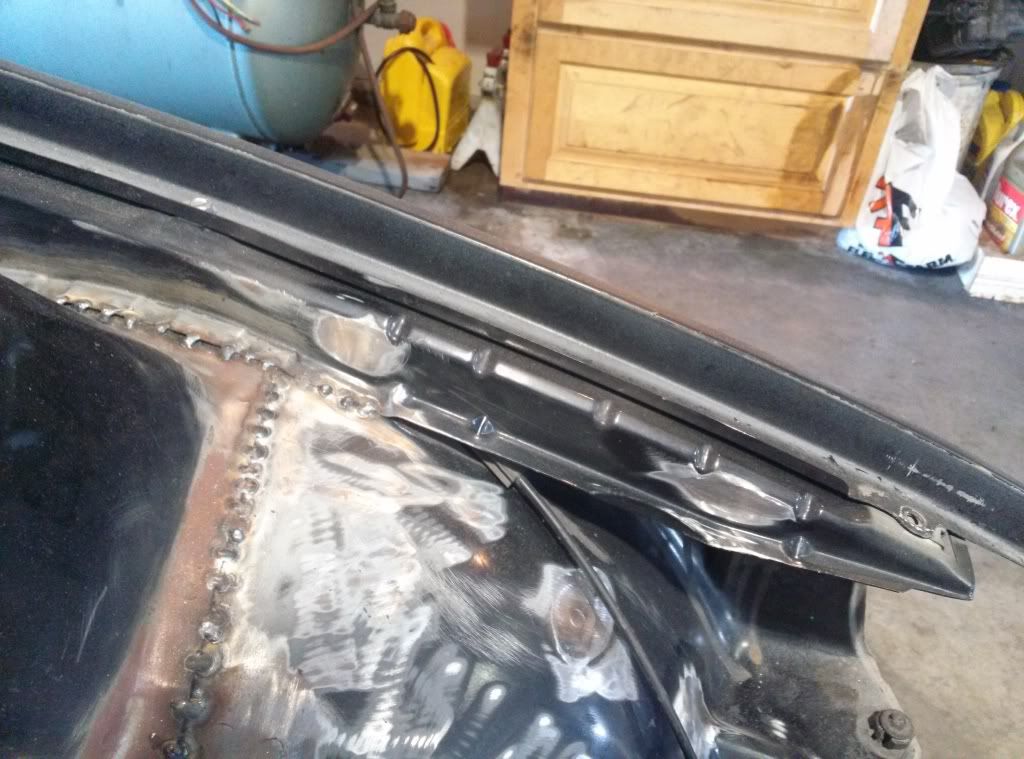
A friend of mine was going over my welded seems and advised me to go a little different direction. Everything he said made total sense to me now and made me feel like a total idiot. According to him, all of these cold tacks have the opportunity to pop when force is applied. This would cause the filler to crack in that location. He also said that once I get it all cleaned back up, I should use a ball peen hammer to tighten the seems up. I don't know how that skipped my mind but now I know=)
Onto the fenders.
The drivers side went really smooth and just needs minimal bodywork. The passenger side is the one that had surface rust and that caused issues. The metal cracked at each end of the arch and once in the middle. This broke up the smoothness, but it will be an easy fix with a little massaging with a hammer and some sanding.
I am very surprised that the arches pulled this far. They are on the verge of as far as they can be pulled without cutting the inner fender. I need to do some slight trimming, heating, and bending of the rear bumper to get it to fit up just right, but that shouldn't be too big of an issue.
Alright, onto pictures.
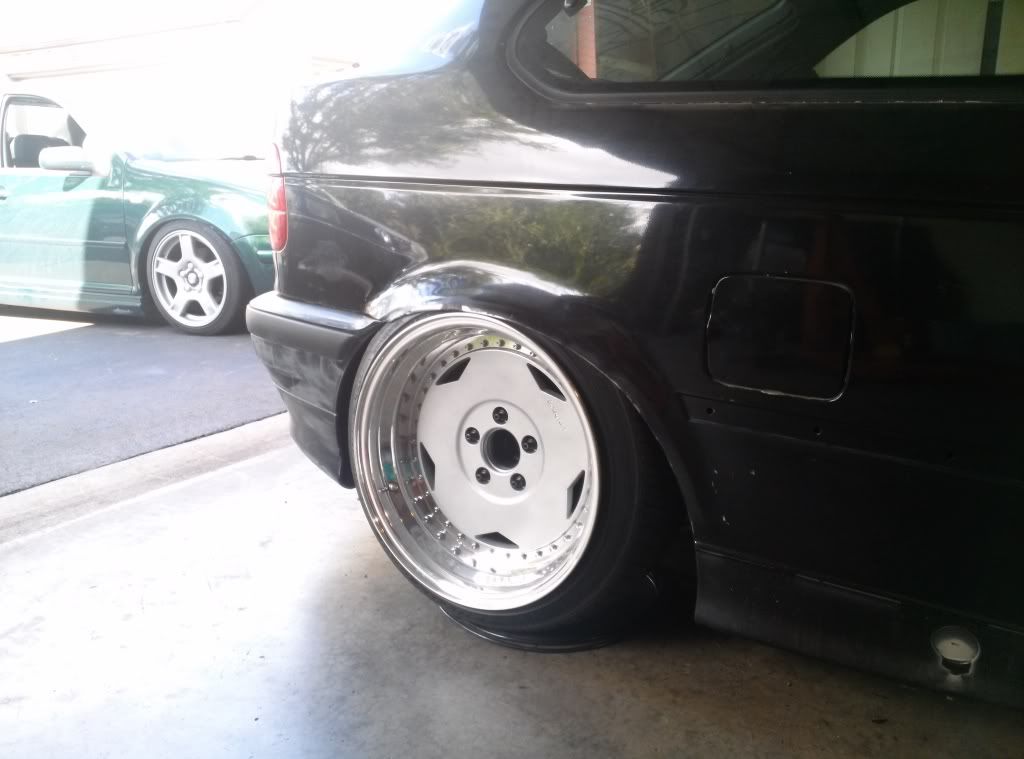
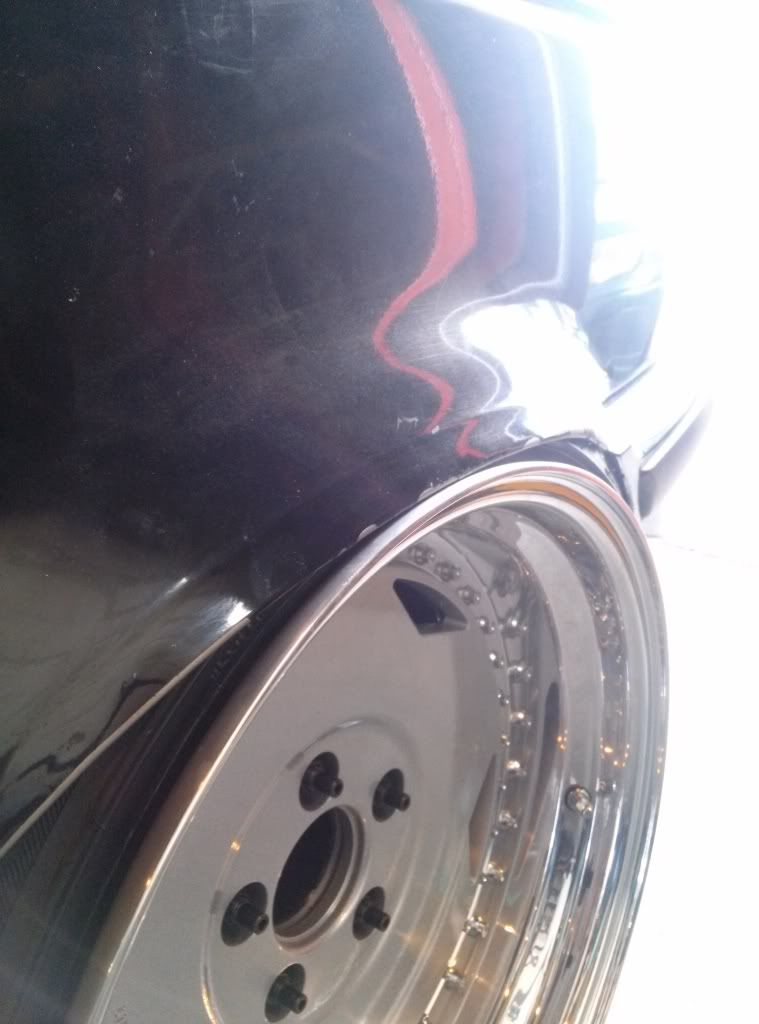
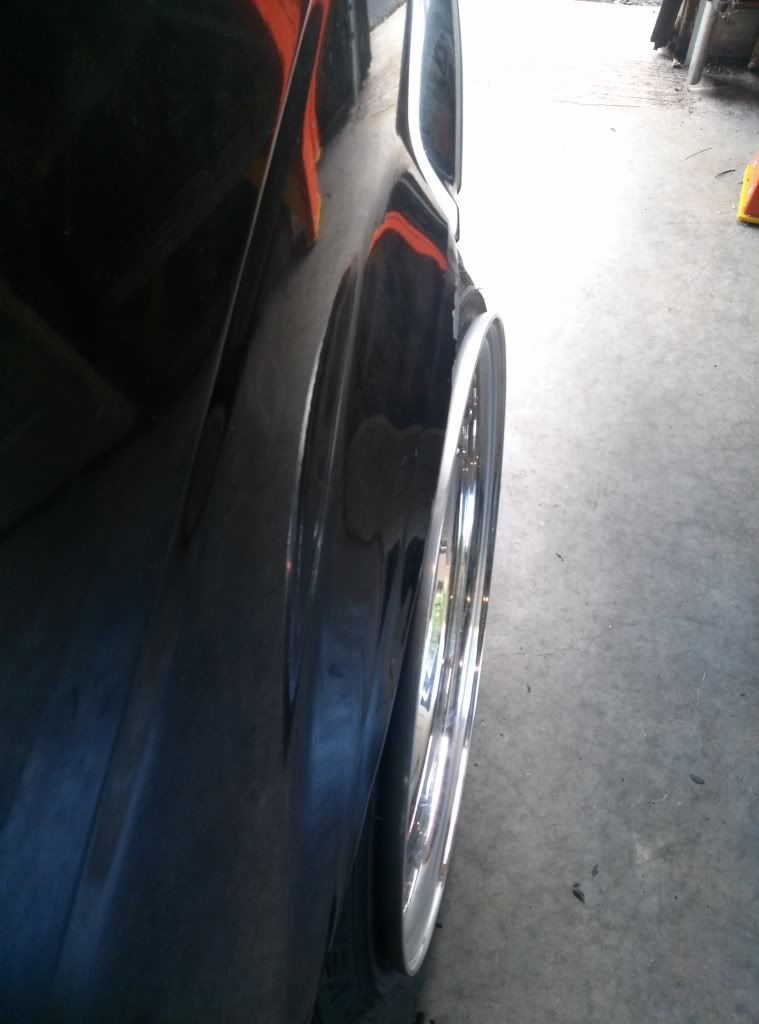
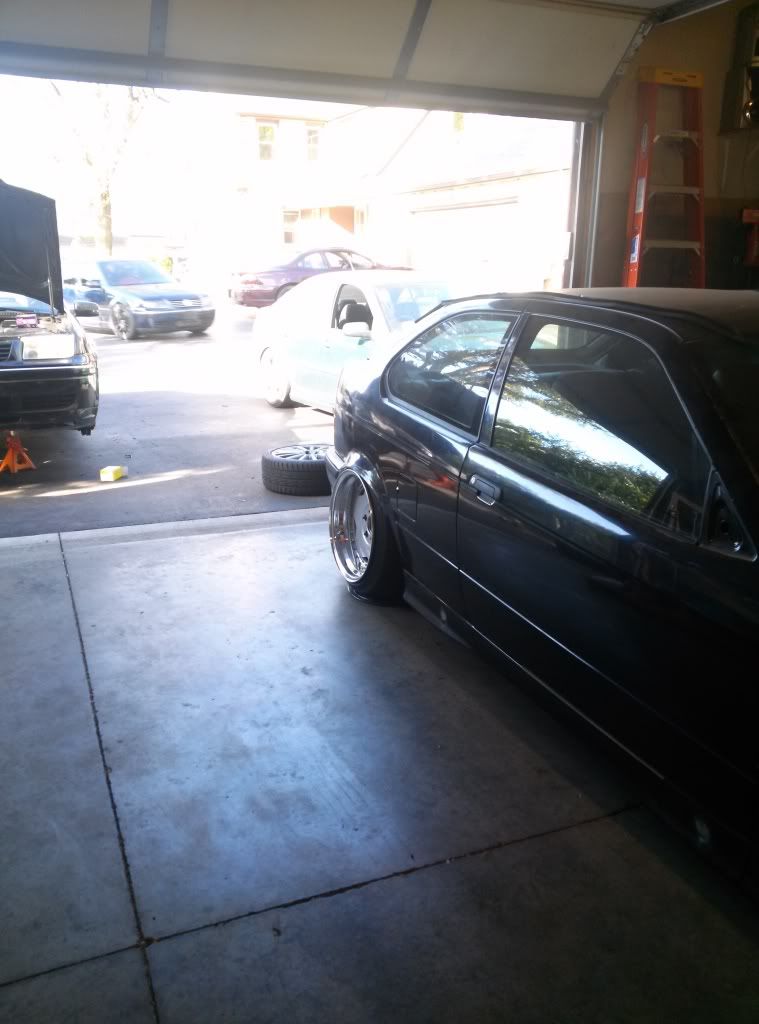
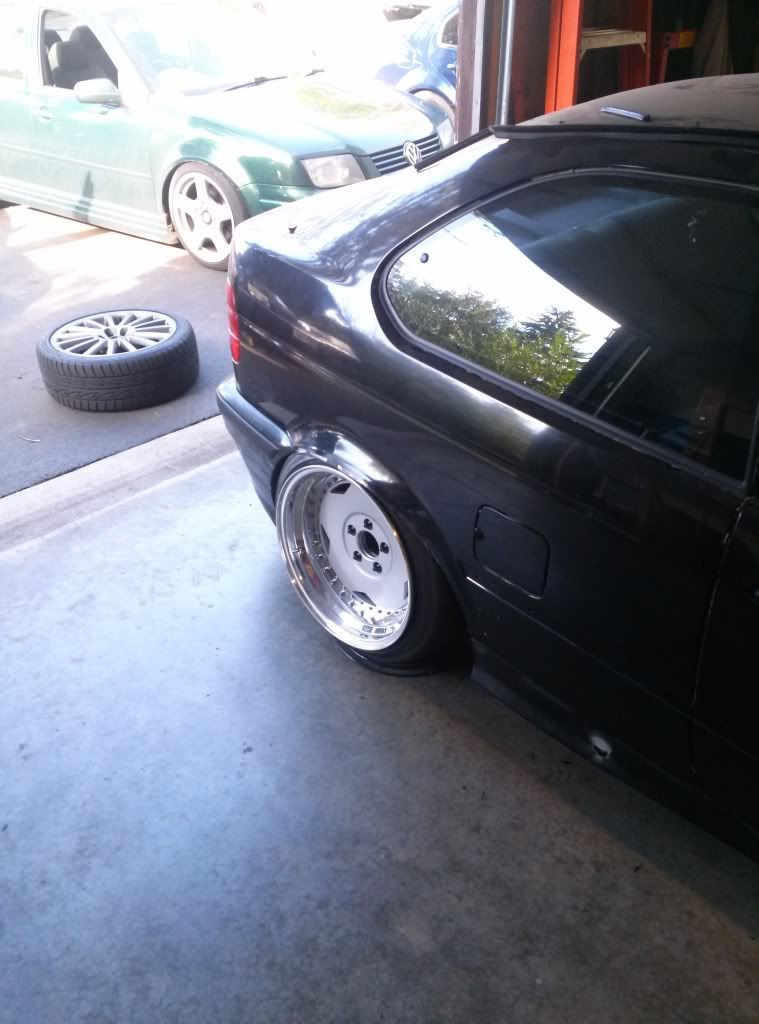
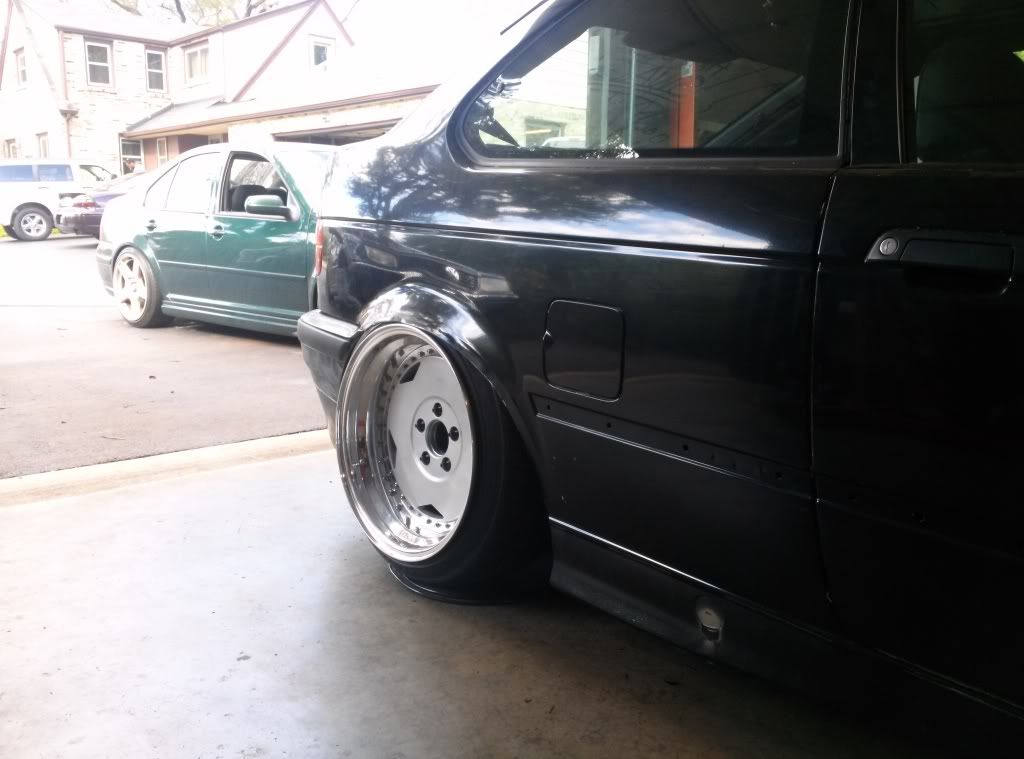
The hard thing to try and fade out with the roller was the body line and it is still pretty visible. When the car goes for paint that will be smoothed out and transitioned cleanly. This is just a crude pull/roll to get the fender where it needs to be and to give it the general shape=)
I am still working on the engine hardware and am really shooting to get that wrapped up later this week, early next week. Now that the fenders are roughed out I should be able to get the fronts sitting right to match. I also need to solidify my air line routing and get my trunk setup mocked up.
Motivation is at an all time high finally.
-
Needs more toe-in.... I see about an inch of space between your side skirts and the ground so im going to have to say that it also needs more low
The toe in when you lower e30 rear suspension gets insane. I may be biting the bullet on having a set of adjustable trailing arms made by Dominant Engineering. That will calm things down a bit=P
-
damn.
nice work.

do a burnout?












Hello! It looks like you're interested in this conversation, but you don't have an account yet.
Getting fed up of having to scroll through the same posts each visit? When you register for an account, you'll always come back to exactly where you were before, and choose to be notified of new replies (either via email, or push notification). You'll also be able to save bookmarks and upvote posts to show your appreciation to other community members.
With your input, this post could be even better 💗
Register Login