
Vinyl Installation Basics
-
While you can easily slap one of our new vinyl stickers on to your window, there are some strategies for getting good results! I thought I'd share some of my pro tips from when I used to install vinyl signs professionally. This will also demonstrate how to combine multiple colors so you can have a unique sign in the end.
Materials/Tools:
- Heat Gun (optional)
- Scissors
- Masking Tape
- Ruler
- Vinyl Squeegee or substitute
- Pen
- Window Cleaning Supplies (Glass Cleaner, 000 or 0000 grade Steel Wool and 2 Dry rags)
- and stickers

Step 1: Clean Windows
No pictures for this but it should be self explanatory. Spray your favorite window cleaning product on the area where the sticker is to be applied. To get it nice and clean, scrub the area with fine steel wool! This will help to remove any grime that won't be taken off by simply wiping with a cloth. As a side note do not use this method for cleaning the inside of your windows with tint, it will scratch your film. Now after scrubbing, wipe away the excess liquid then dry completely with a second cloth. Make sure the cloth leaves no fibers behind.Step 2: Prep Stickers
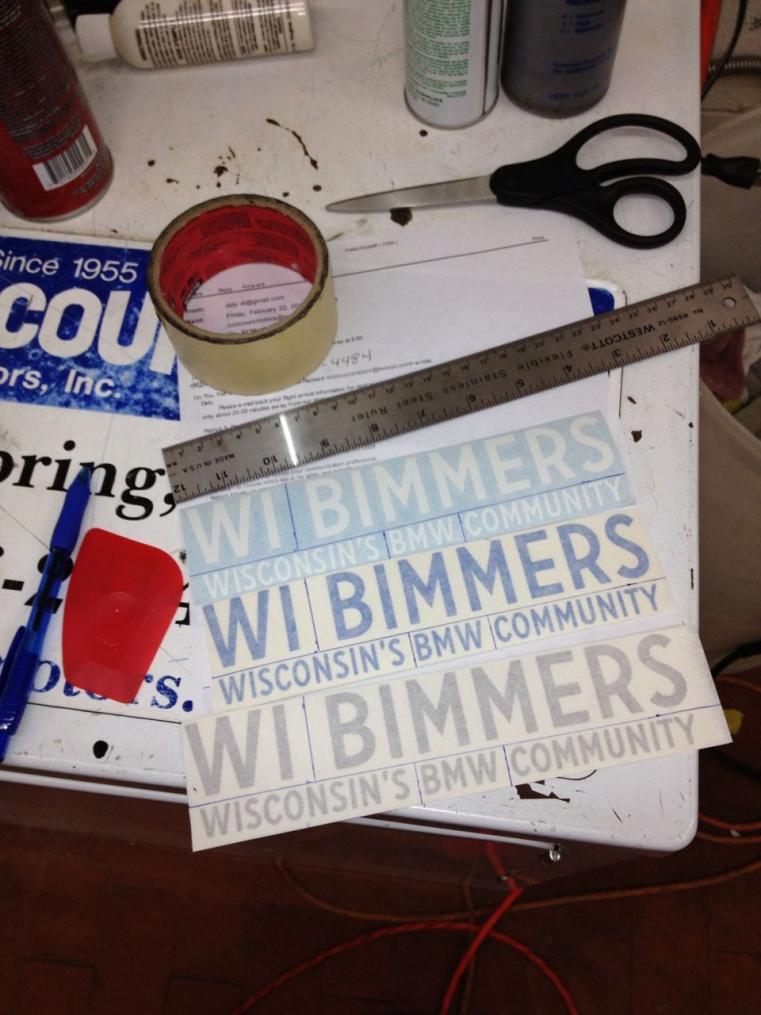
Since we will be doing a mulit-color sticker install, each desired section to be used needs to be marked. The most accurate way to do this is to take measurements off the letter itself, as the paper surround the vinyl most likely wasn't cut straight or accurately. Measure out and draw identical lines for each sticker to be used. Below is a photo of how I divided each sticker so that "WI", "BIMMERS" and the slogan were separate colors.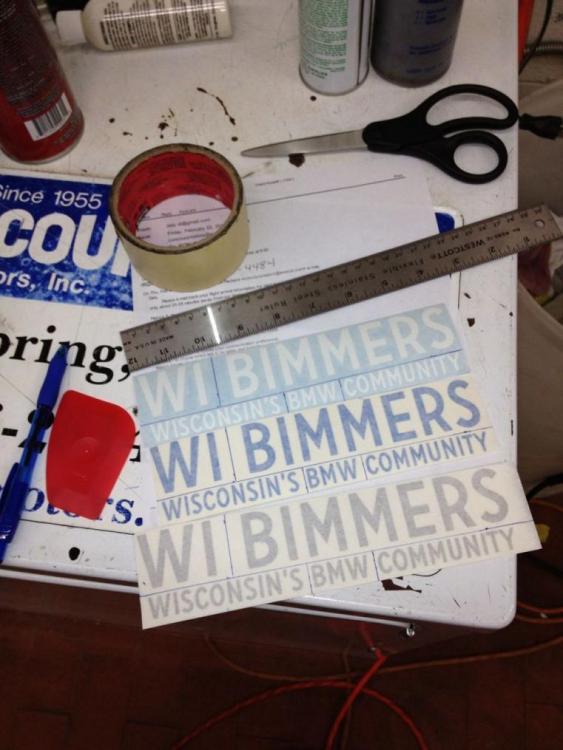
Step 3: Install
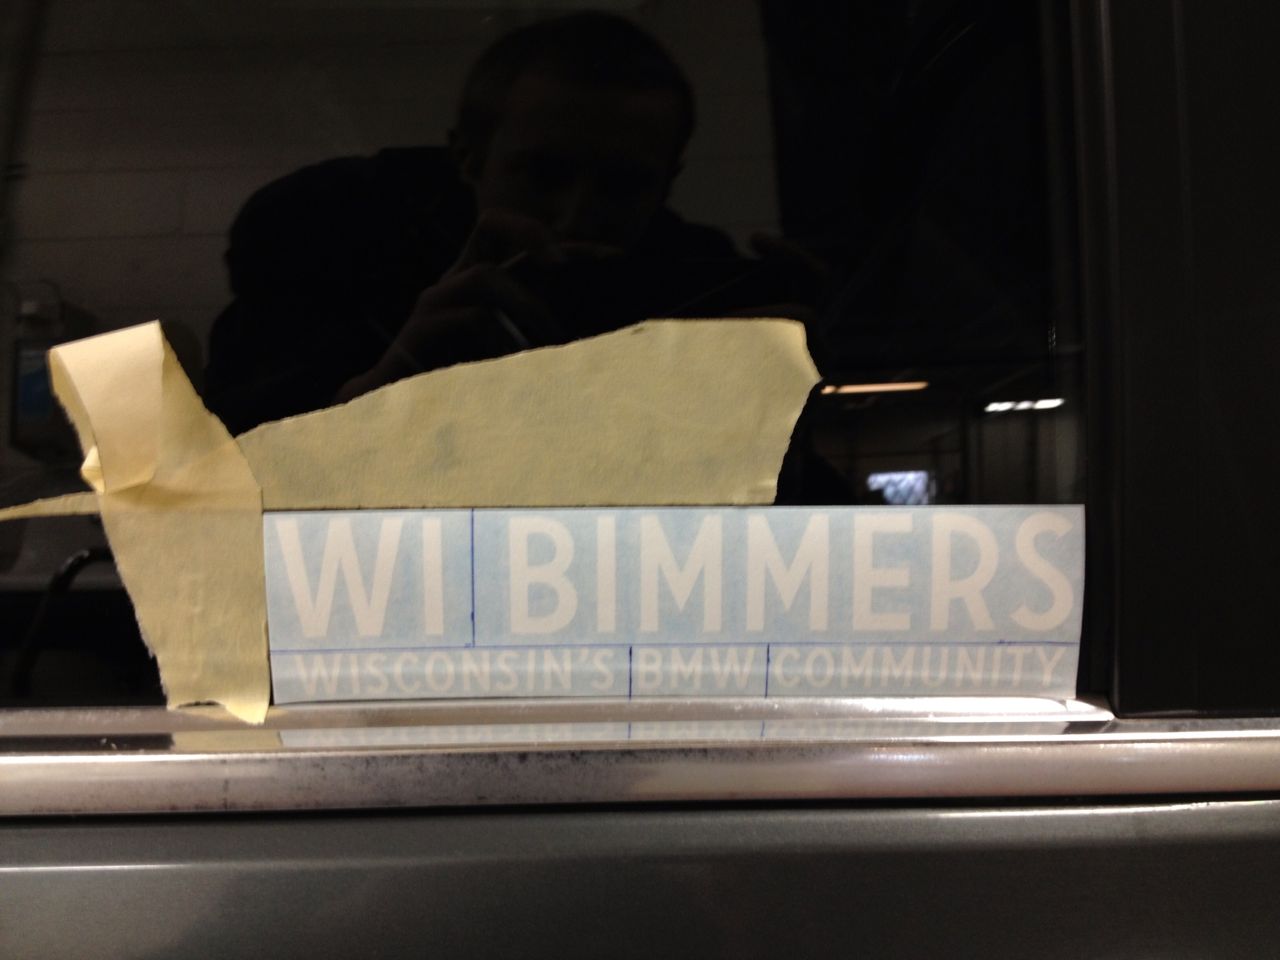
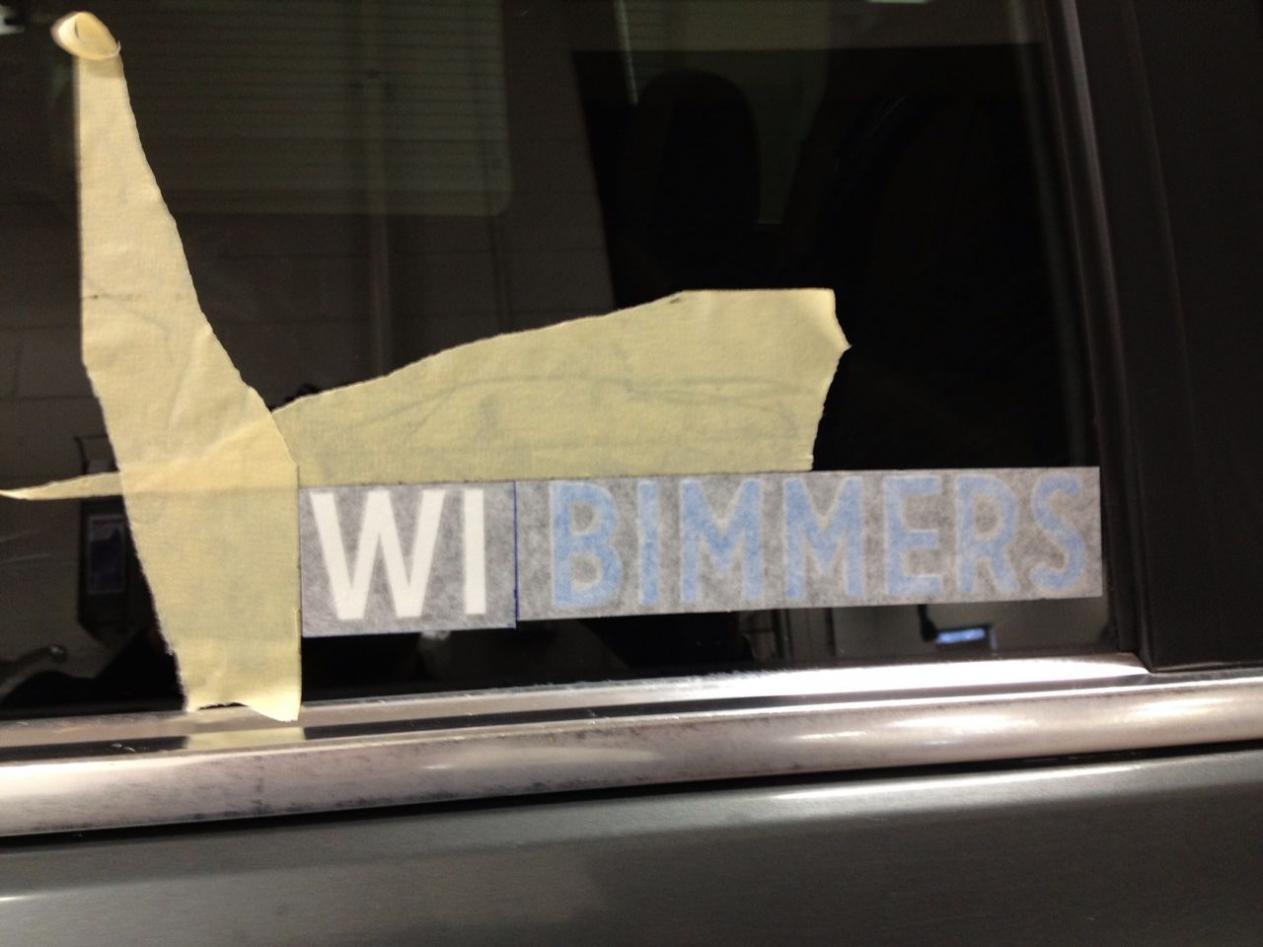
To keep the multiple sections in line, I placed one of the stickers in the desired position and masked off the left corner. This give us an idea of where to place the first piece.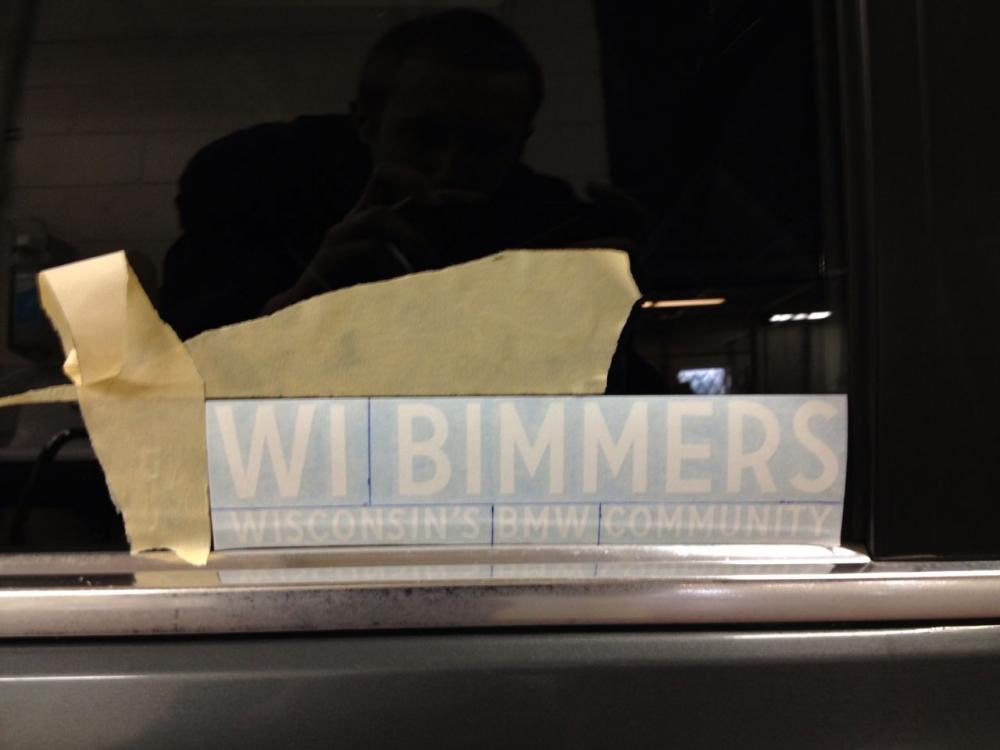
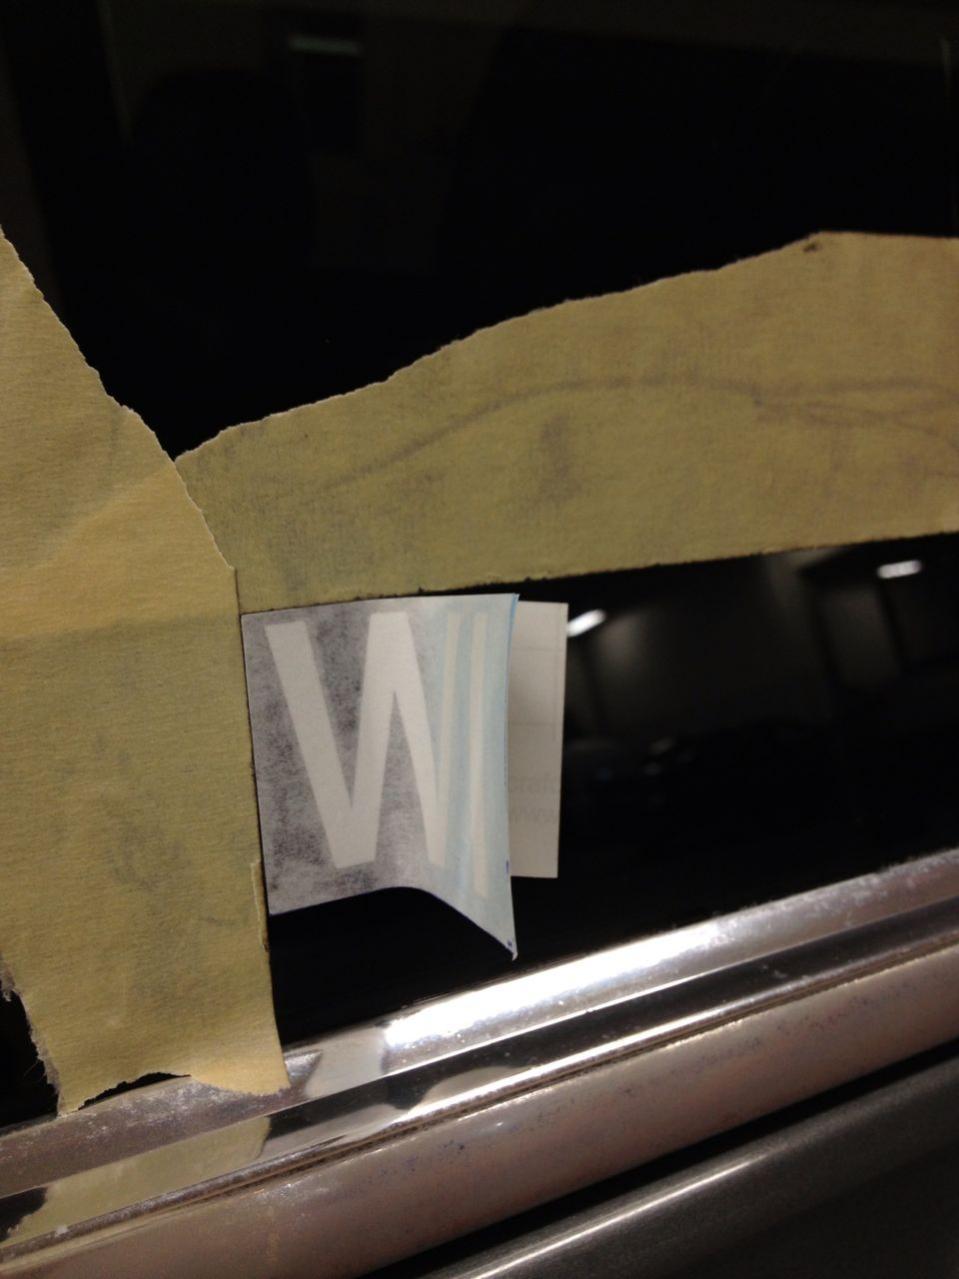
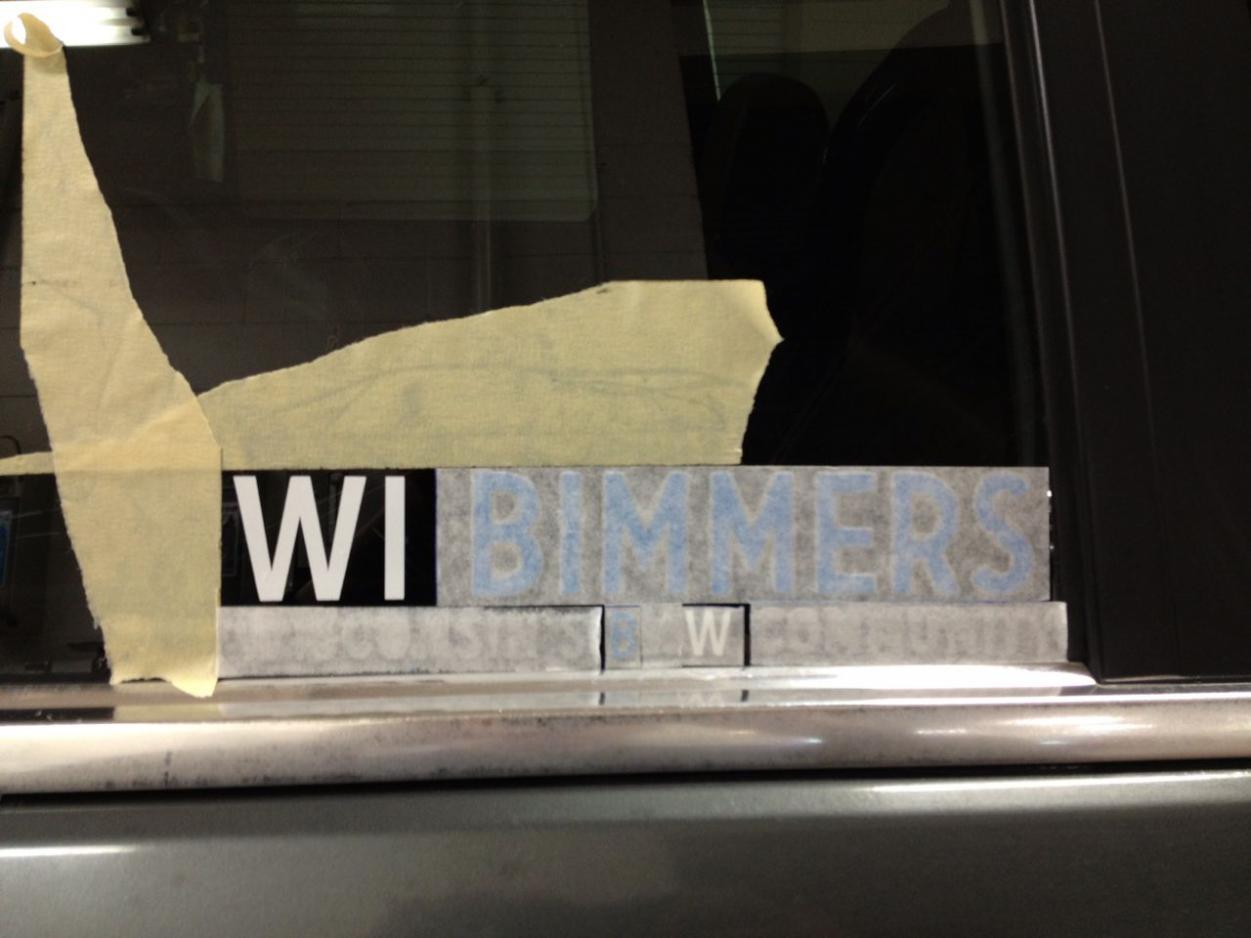
Now its time to place the first piece. Peel off the backing paper and crease it at a 45 degree angle. By doing this you will be able to more accurately align the transfer paper edge because it wont become askew. It is also beneficial when pulling of the backing paper to do it at a 45 degree angle as the vinyl will be less likely to stick and easier to transfer.
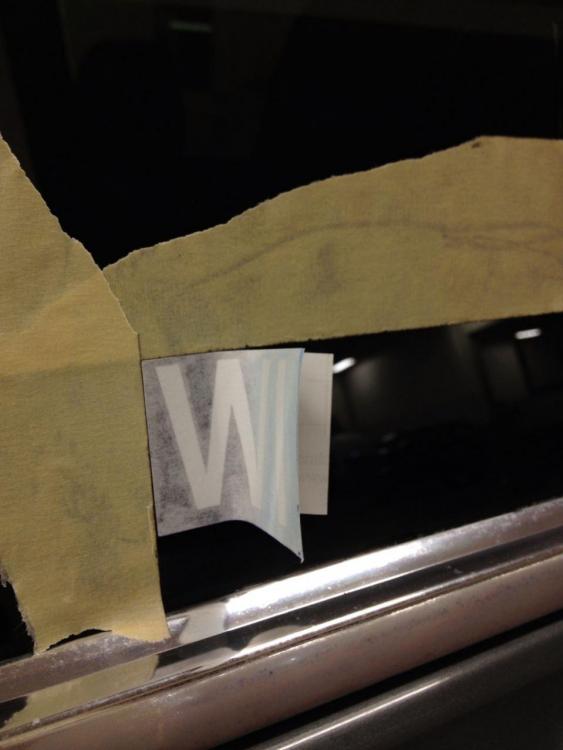
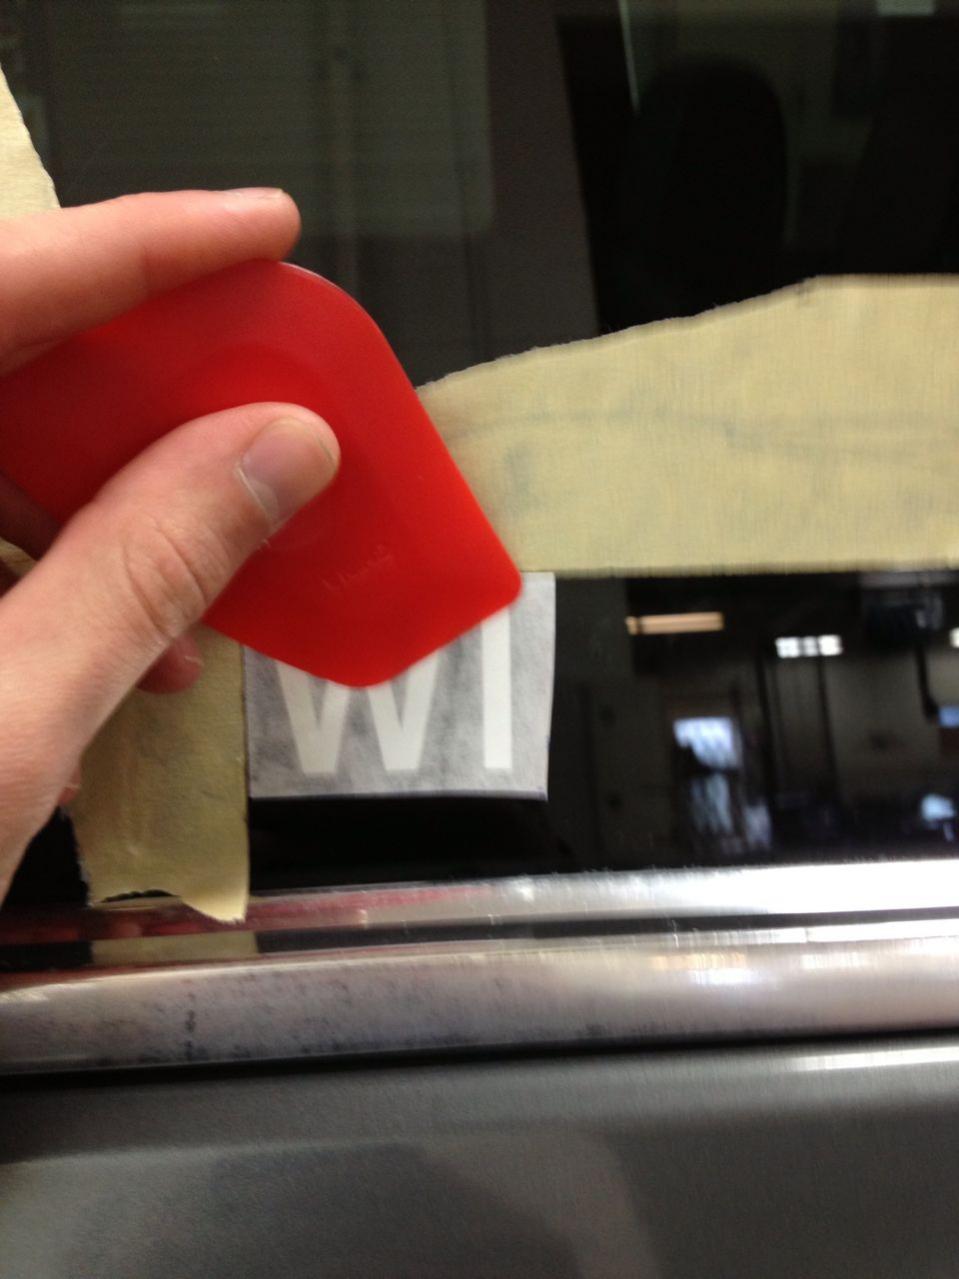
To make sure the vinyl has good adhesion, rub over the decal with a squeegee
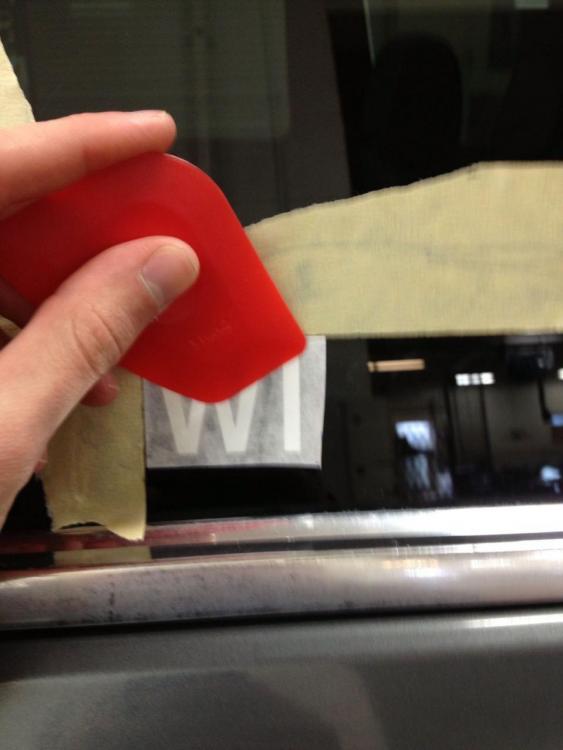
Repeat those steps for the second section
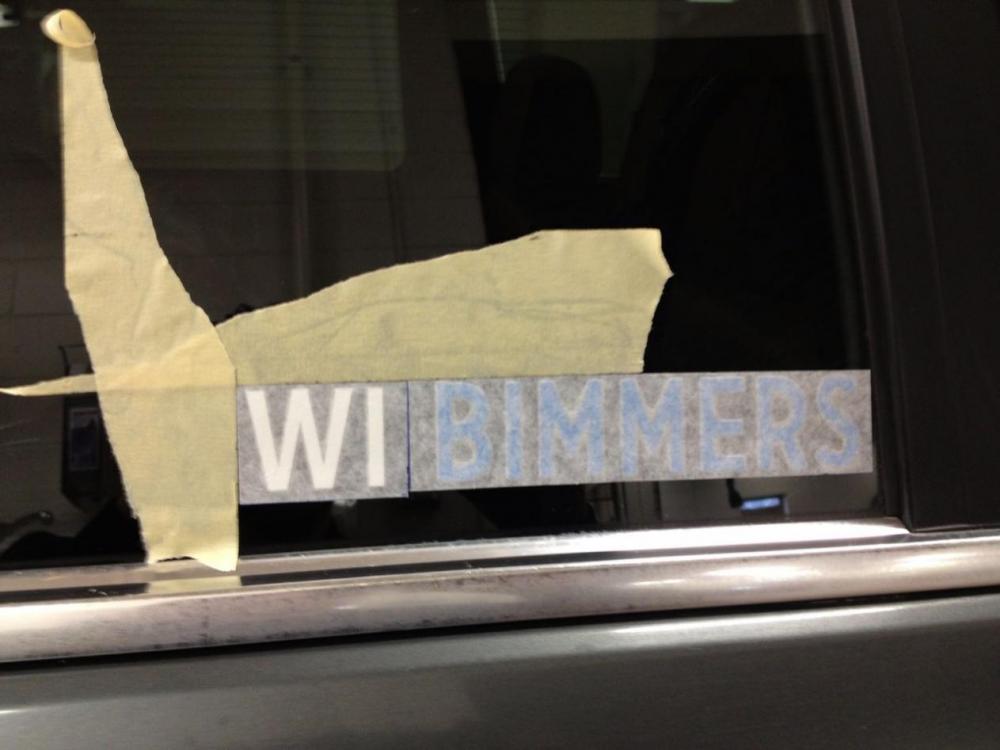
Zach wanted multiple colors on the bottom text also, I would not recommend this for beginners as the smaller things get, the harder they are to line them up.
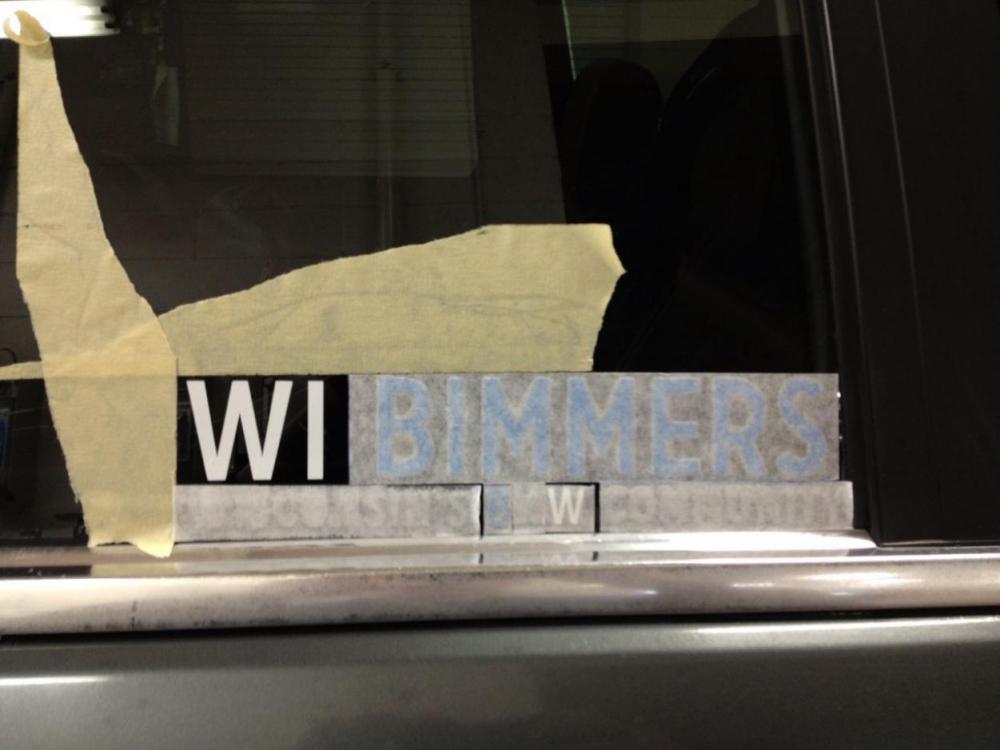
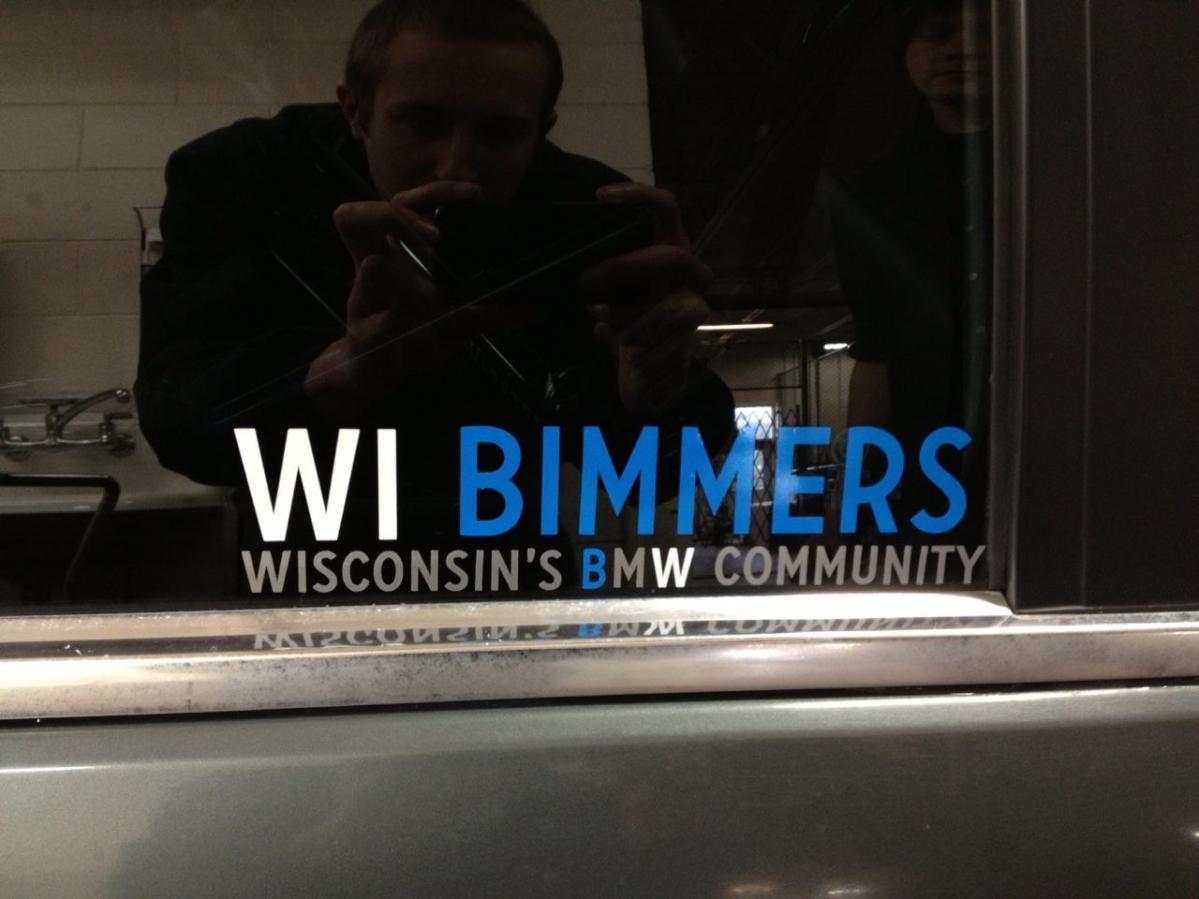
And the finished product!
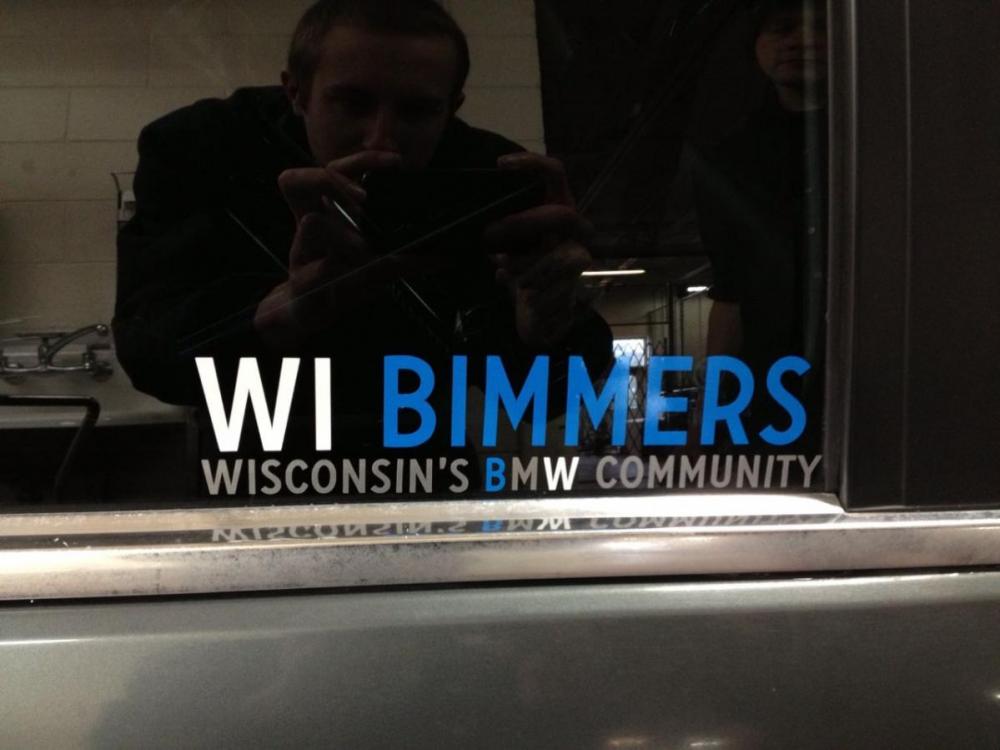
While this looks cool up close, there isn't enough contrast between the blue and black tint from a distance that the "B" in bmw becomes hard to see. I wouldn't recommend changing colors on various letters like this but it was an experiment! I would recommend what I ended up installing on my truck, a simple 3 color layout.

Hello! It looks like you're interested in this conversation, but you don't have an account yet.
Getting fed up of having to scroll through the same posts each visit? When you register for an account, you'll always come back to exactly where you were before, and choose to be notified of new replies (either via email, or push notification). You'll also be able to save bookmarks and upvote posts to show your appreciation to other community members.
With your input, this post could be even better 💗
Register Login