Skip to content
  • Categories
  • Recent
  • Tags
  • Popular
  • Users
  • Groups
Skins
  • Light
  • Brite
  • Cerulean
  • Cosmo
  • Flatly
  • Journal
  • Litera
  • Lumen
  • Lux
  • Materia
  • Minty
  • Morph
  • Pulse
  • Sandstone
  • Simplex
  • Sketchy
  • Spacelab
  • United
  • Yeti
  • Zephyr
  • Dark
  • Cyborg
  • Darkly
  • Quartz
  • Slate
  • Solar
  • Superhero
  • Vapor

  • Default (No Skin)
  • No Skin
Collapse
WIBIMMERS logo

WIBIMMERS

  1. Home
  2. General Discussion
  3. Members BMWs
  4. 2002 E46 M3 // Build Thread

2002 E46 M3 // Build Thread
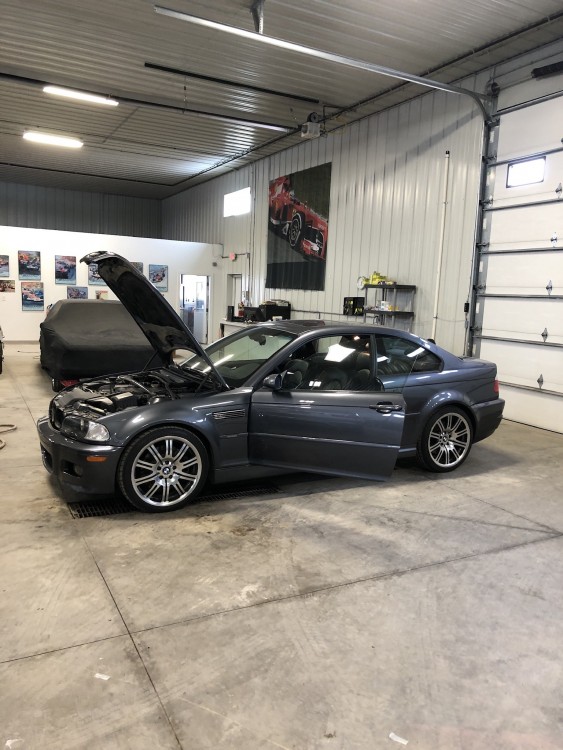
Scheduled Pinned Locked Moved Members BMWs
167 Posts 17 Posters 0 Views 1 Watching
  • Oldest to Newest
  • Newest to Oldest
  • Most Votes
Reply
  • Reply as topic
Log in to reply
This topic has been deleted. Only users with topic management privileges can see it.
  • pynaclP
    pynaclP
    pynacl
    wrote on last edited by
    #54

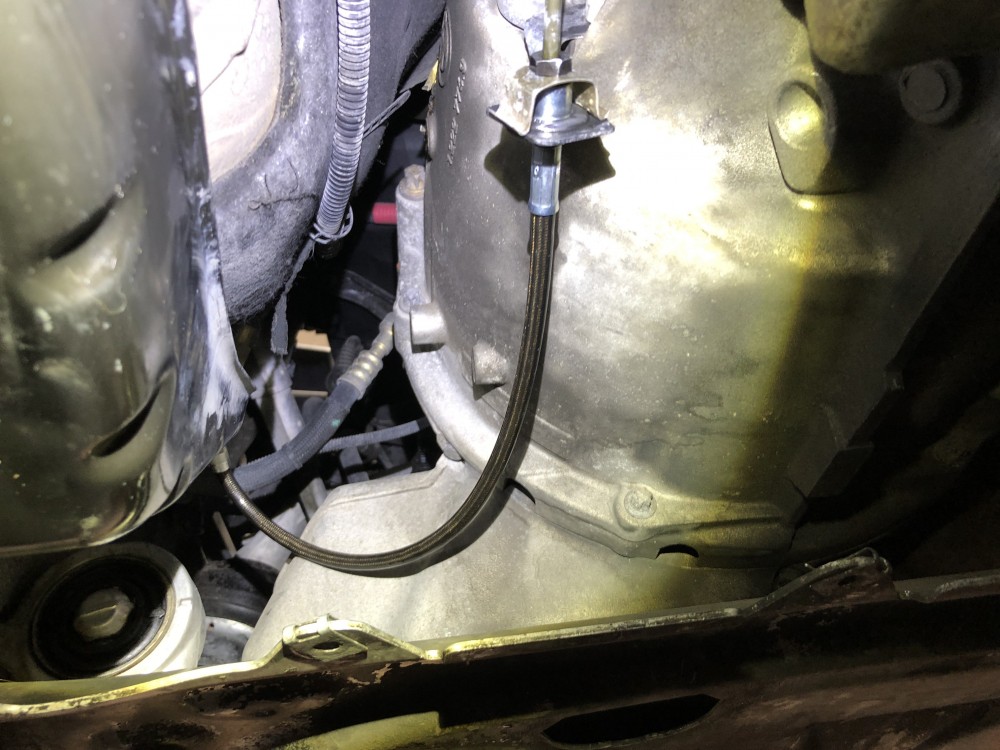
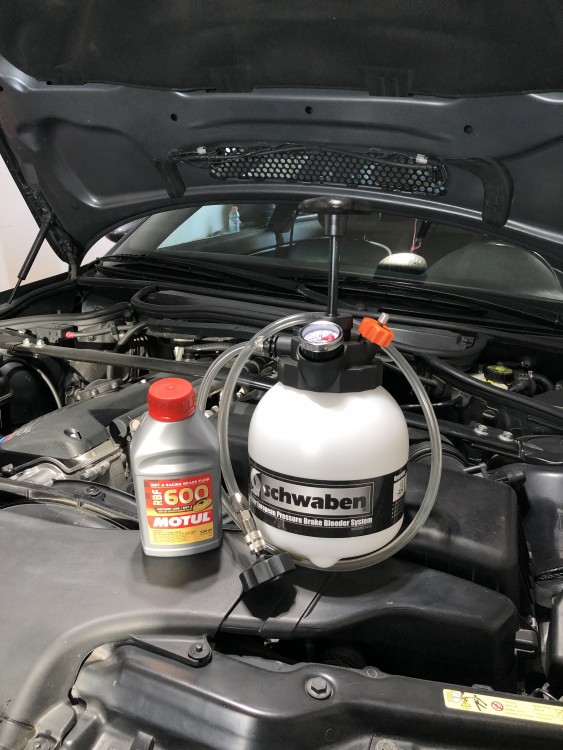
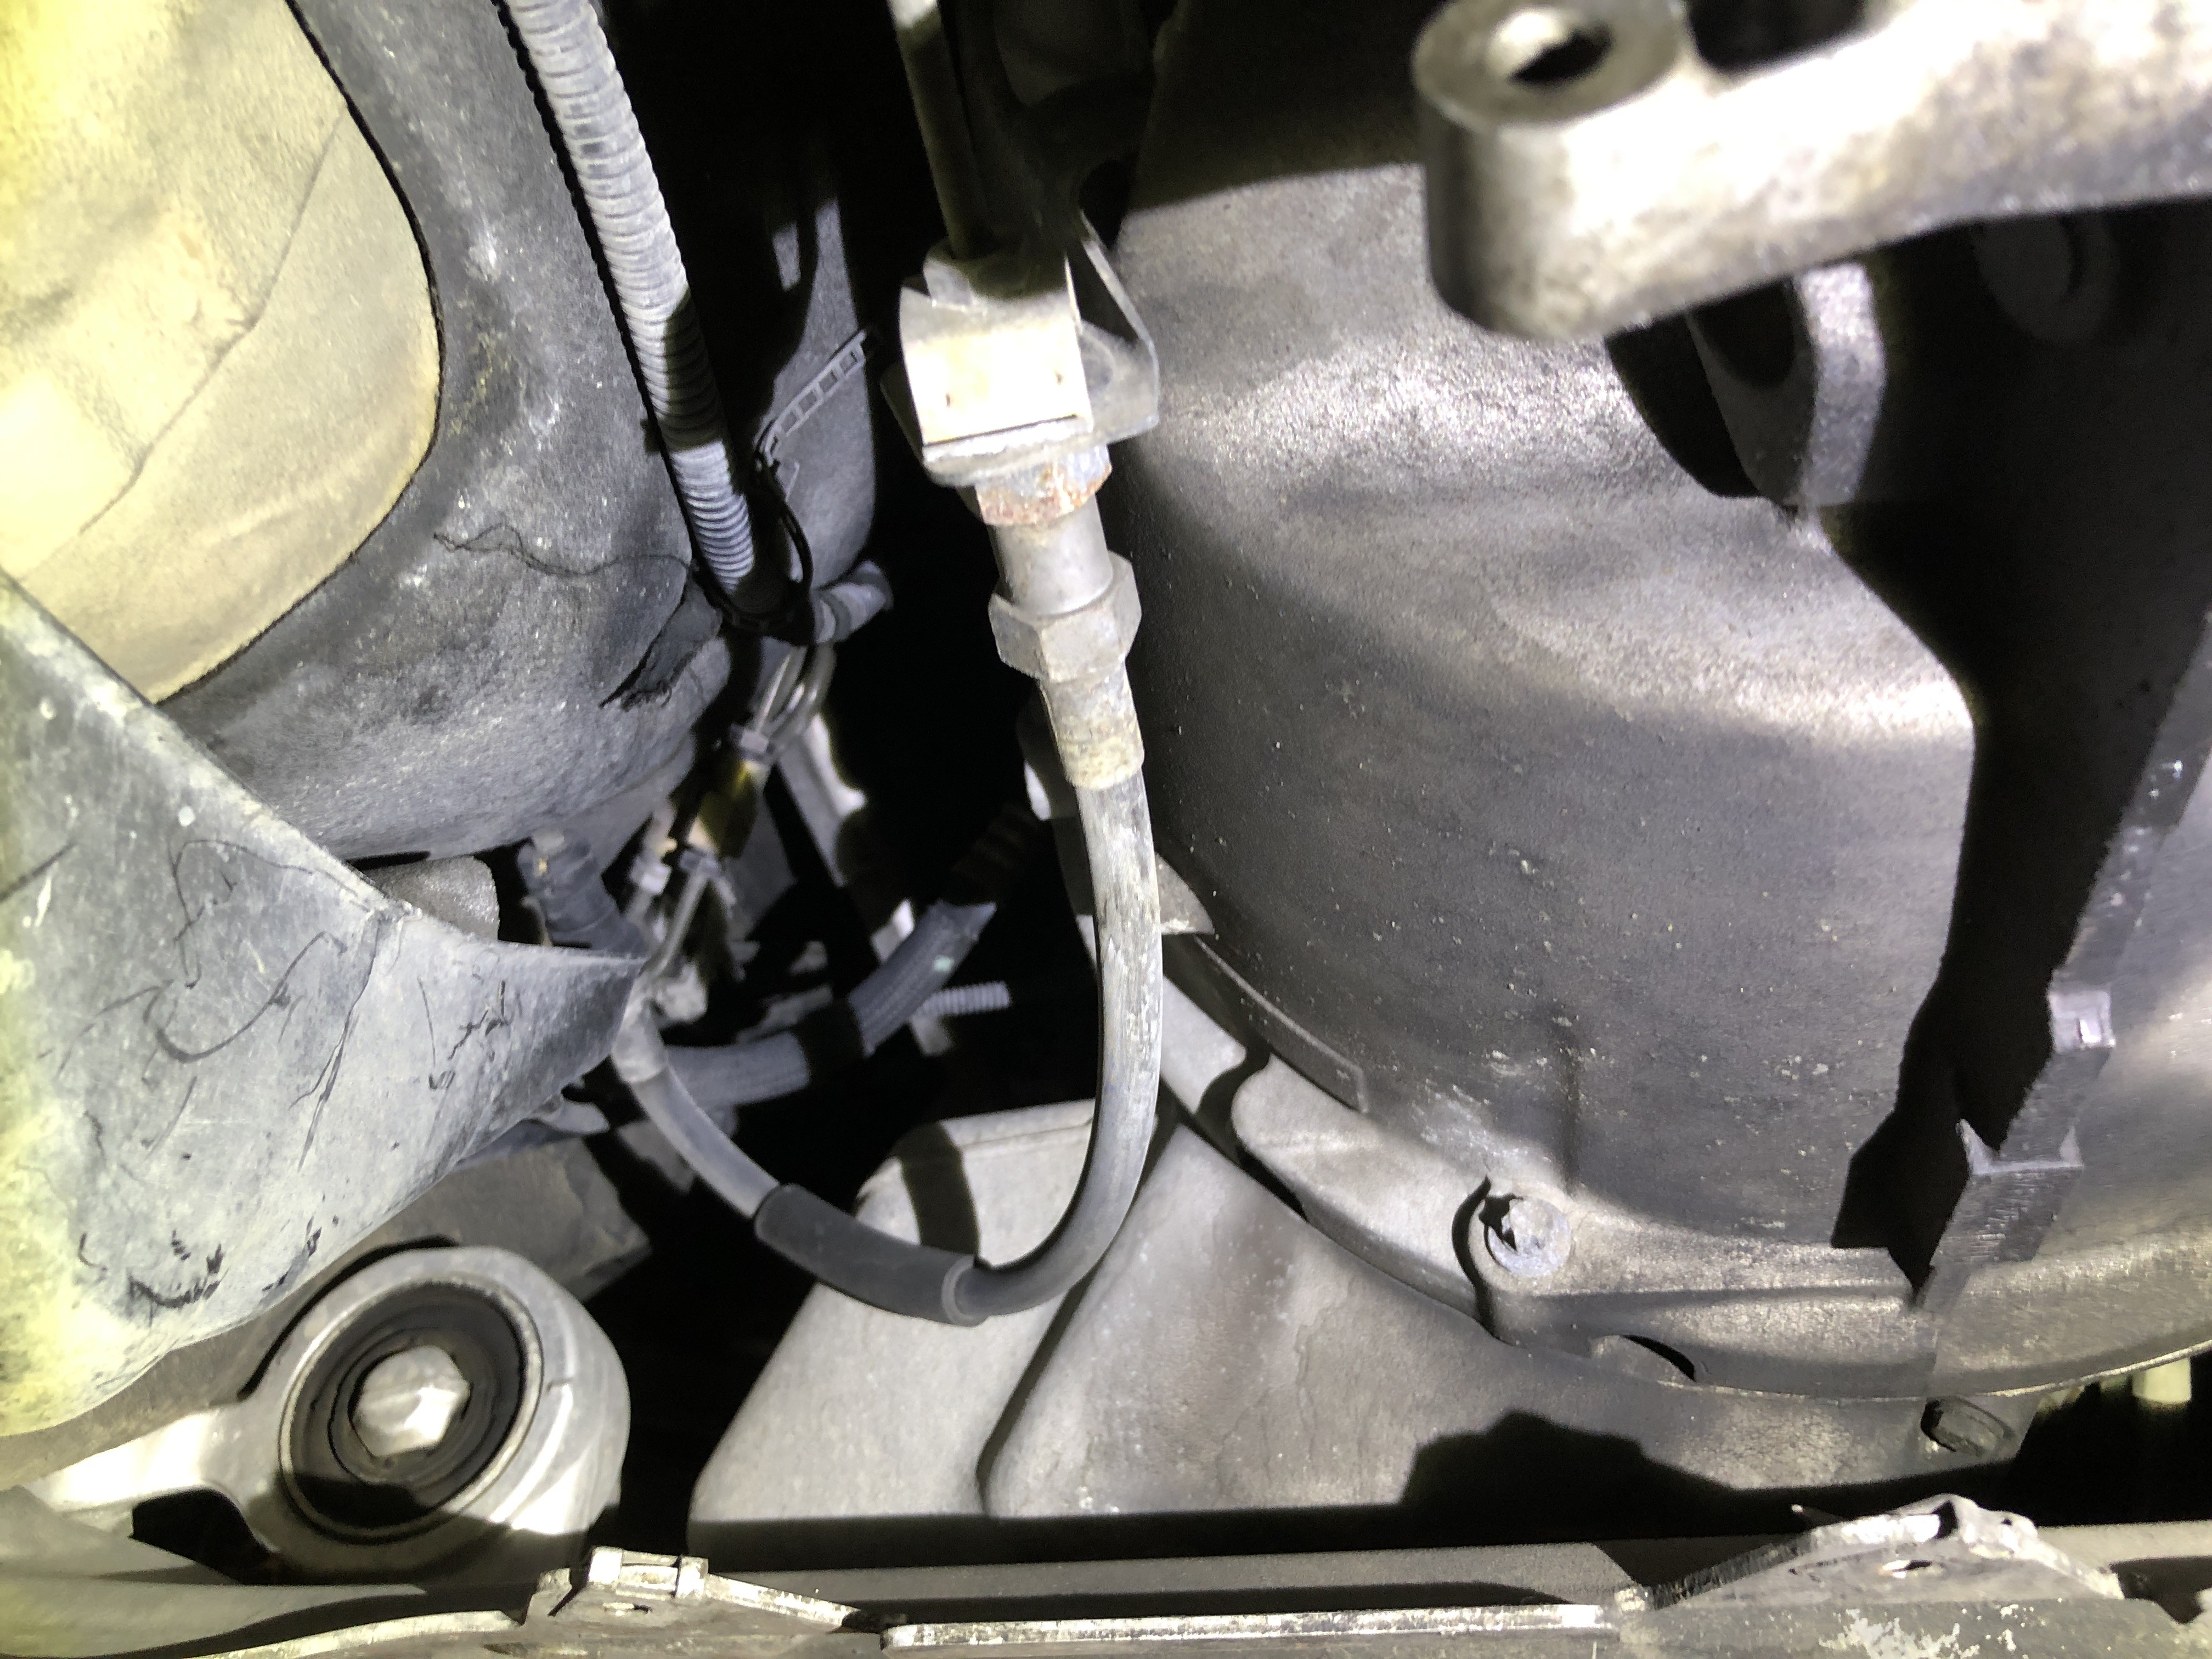
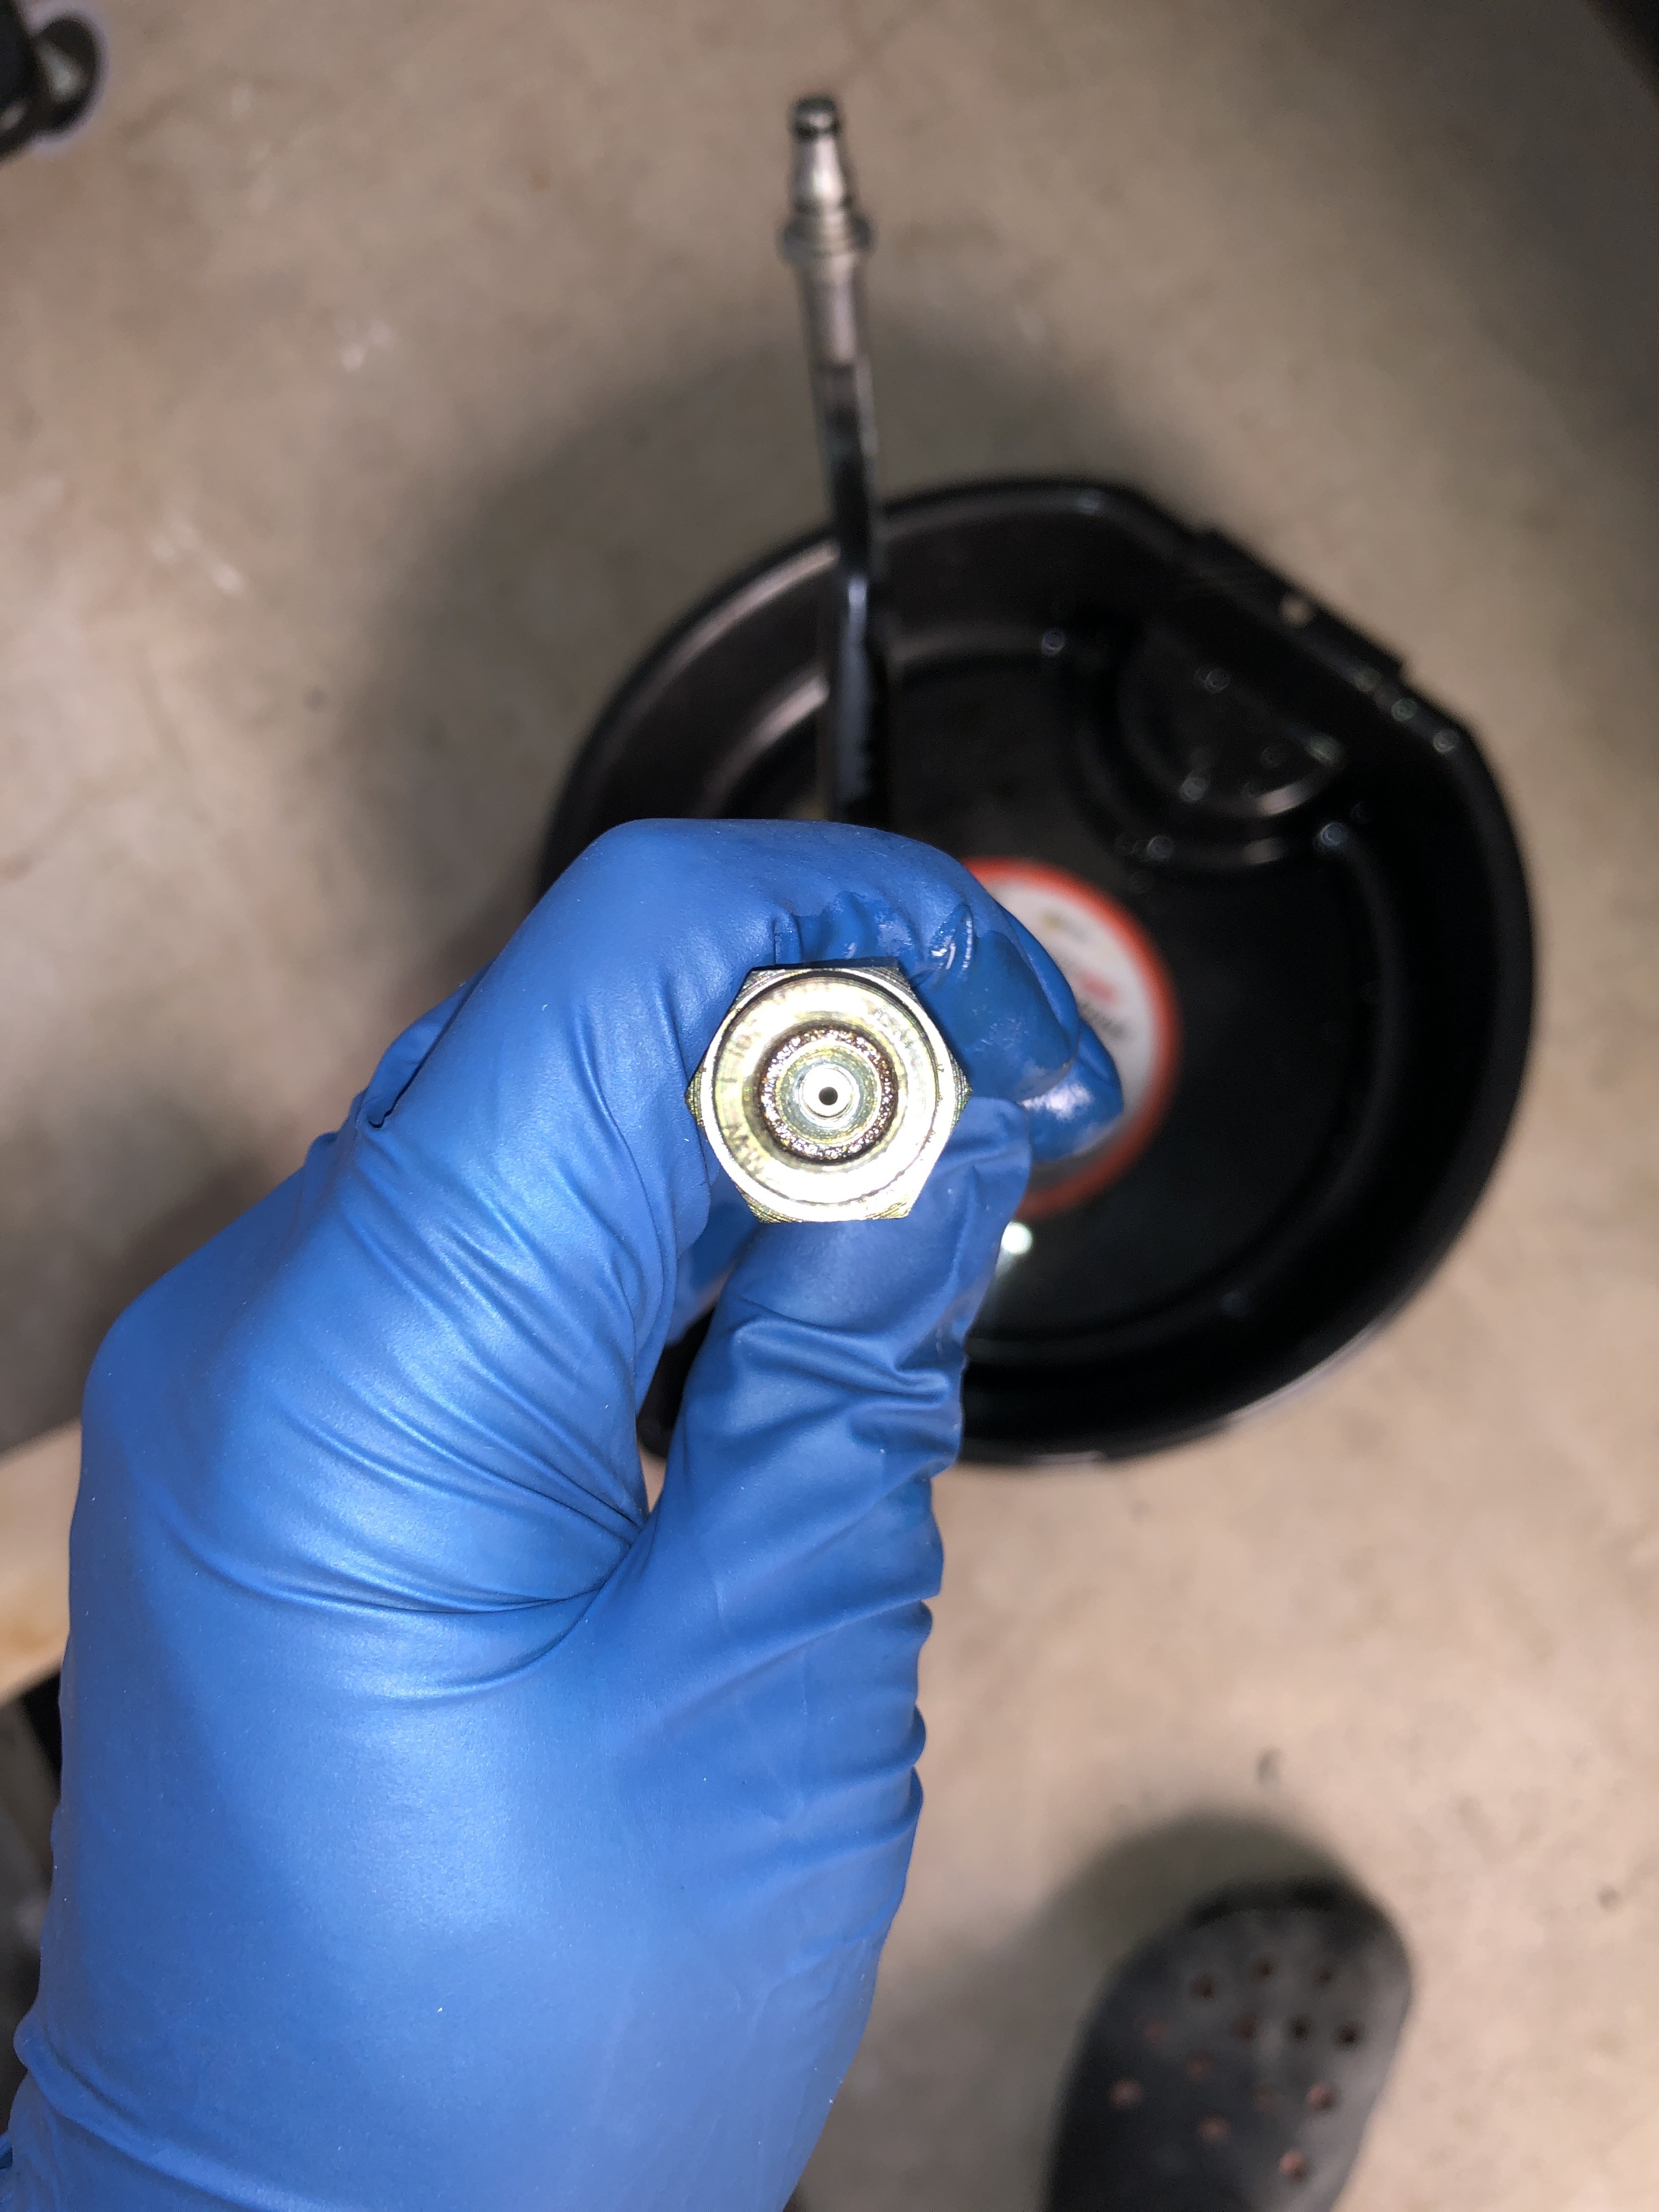
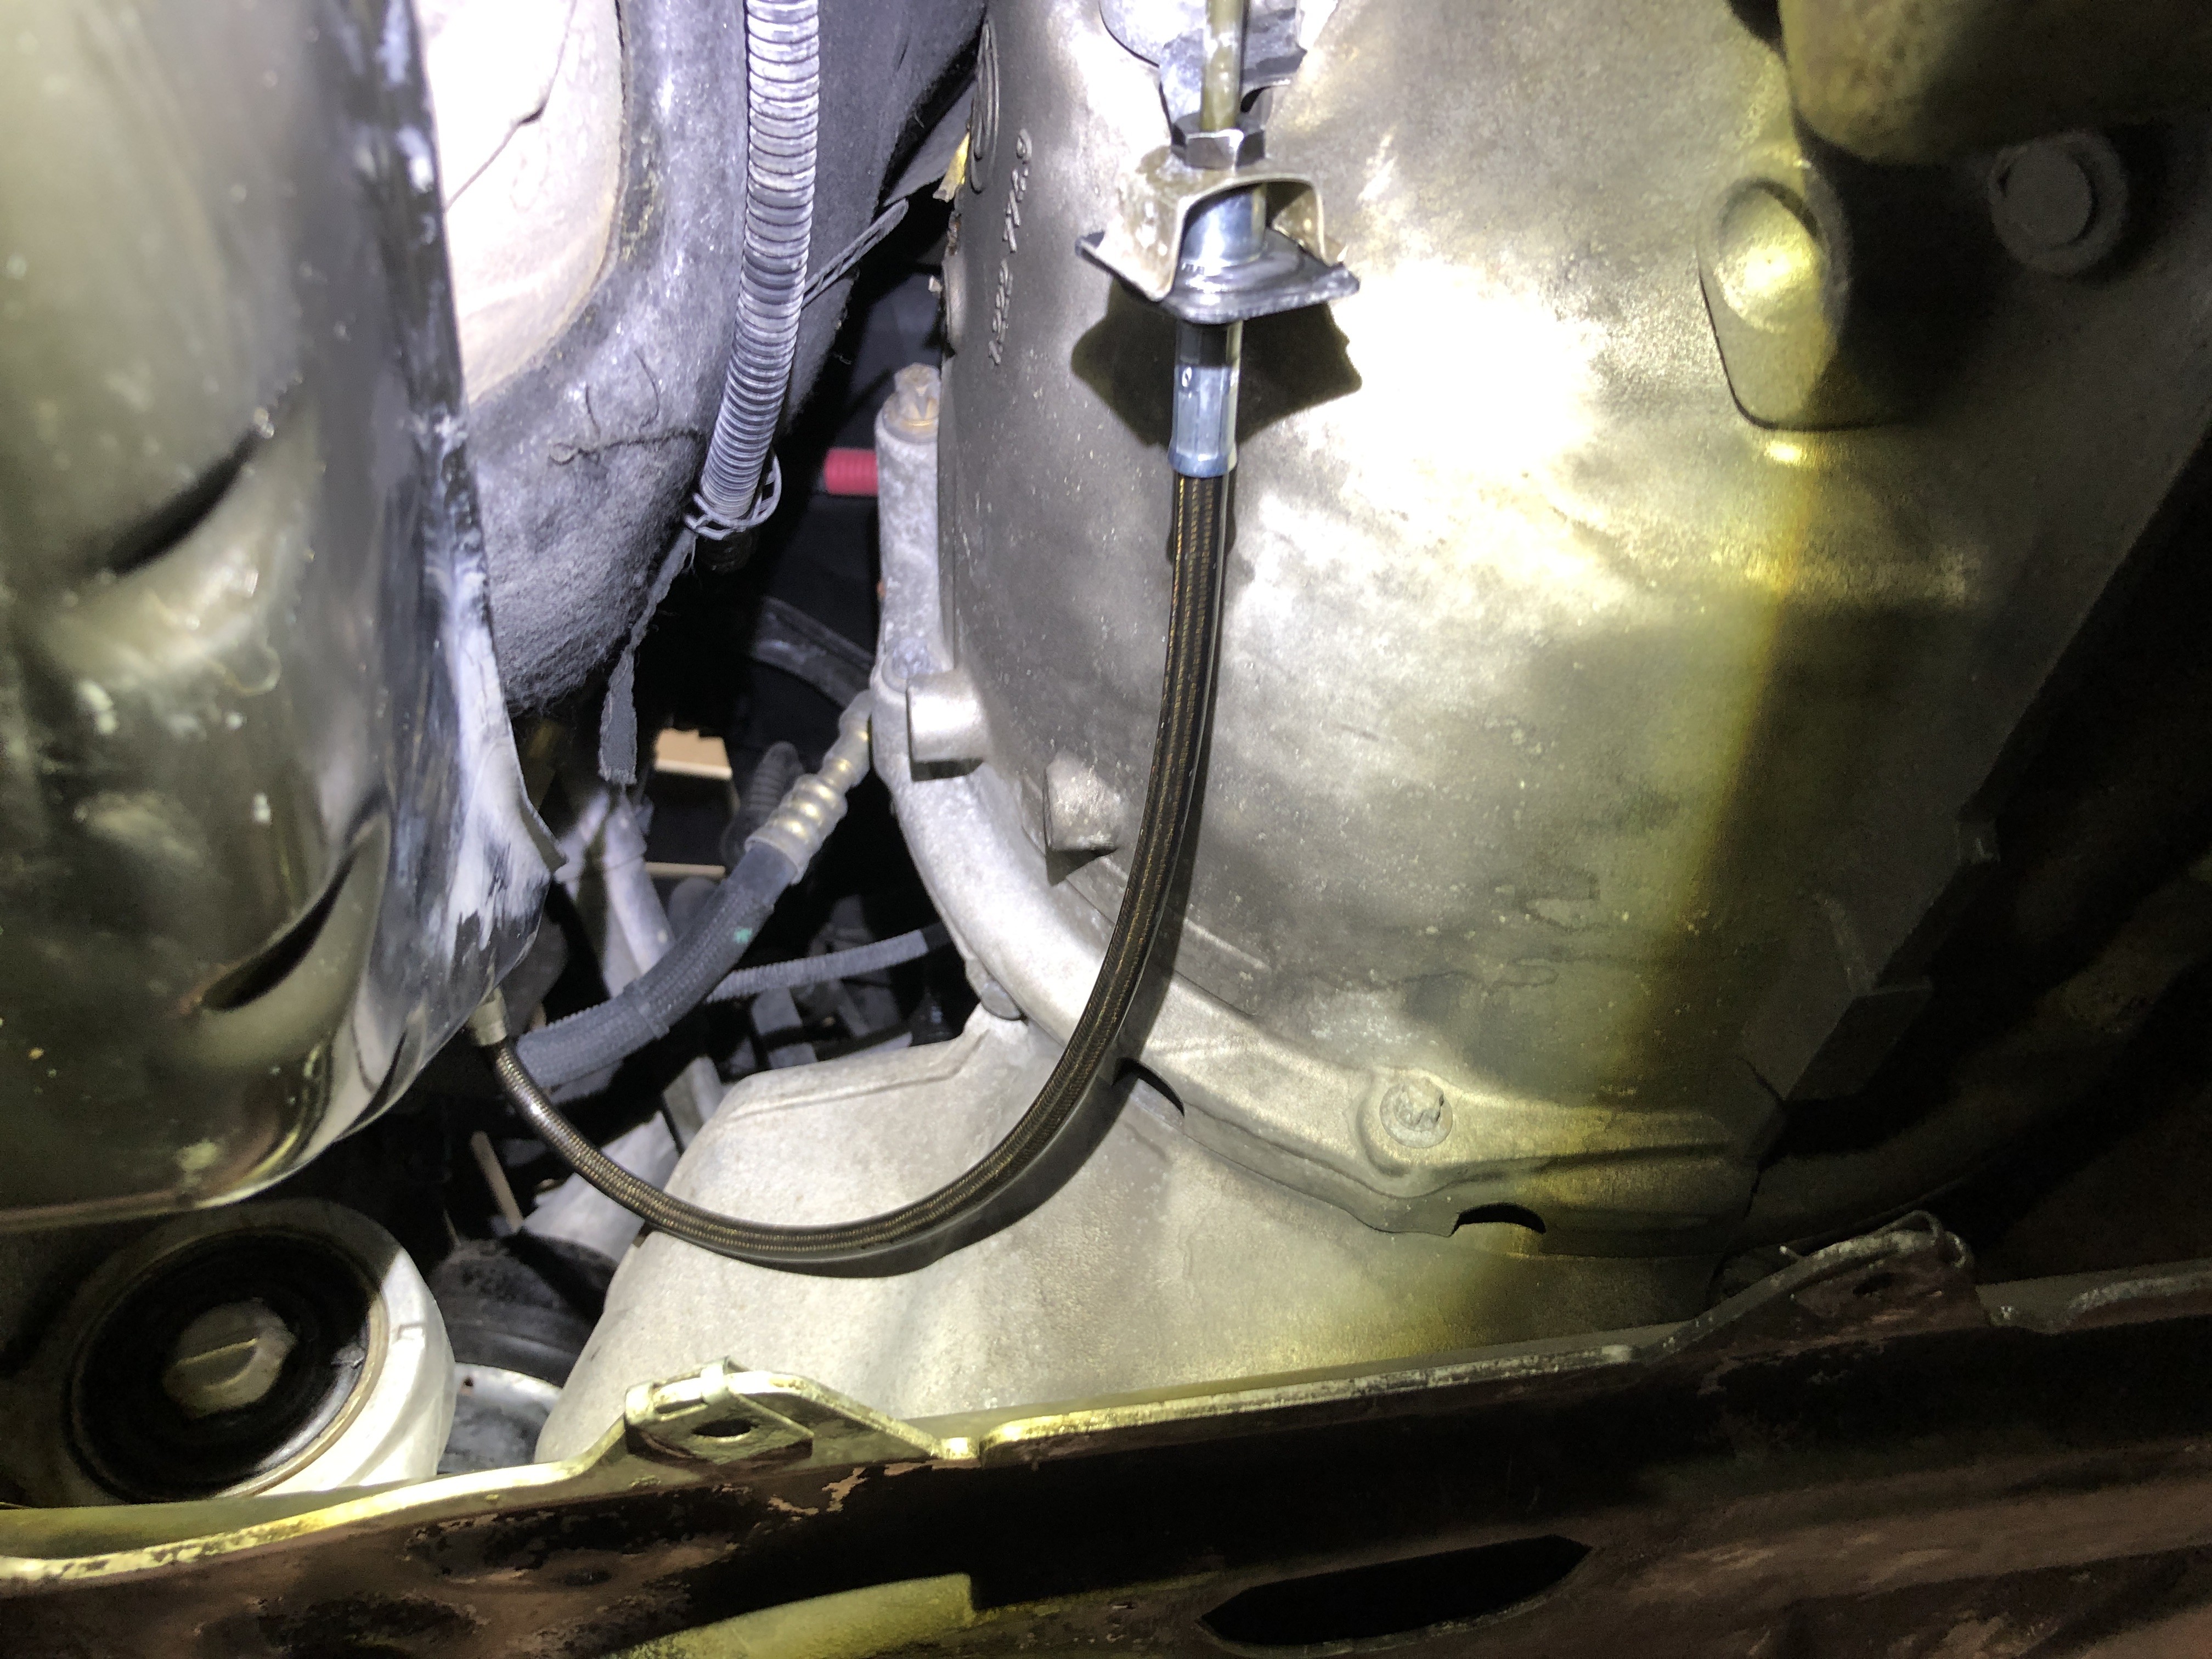
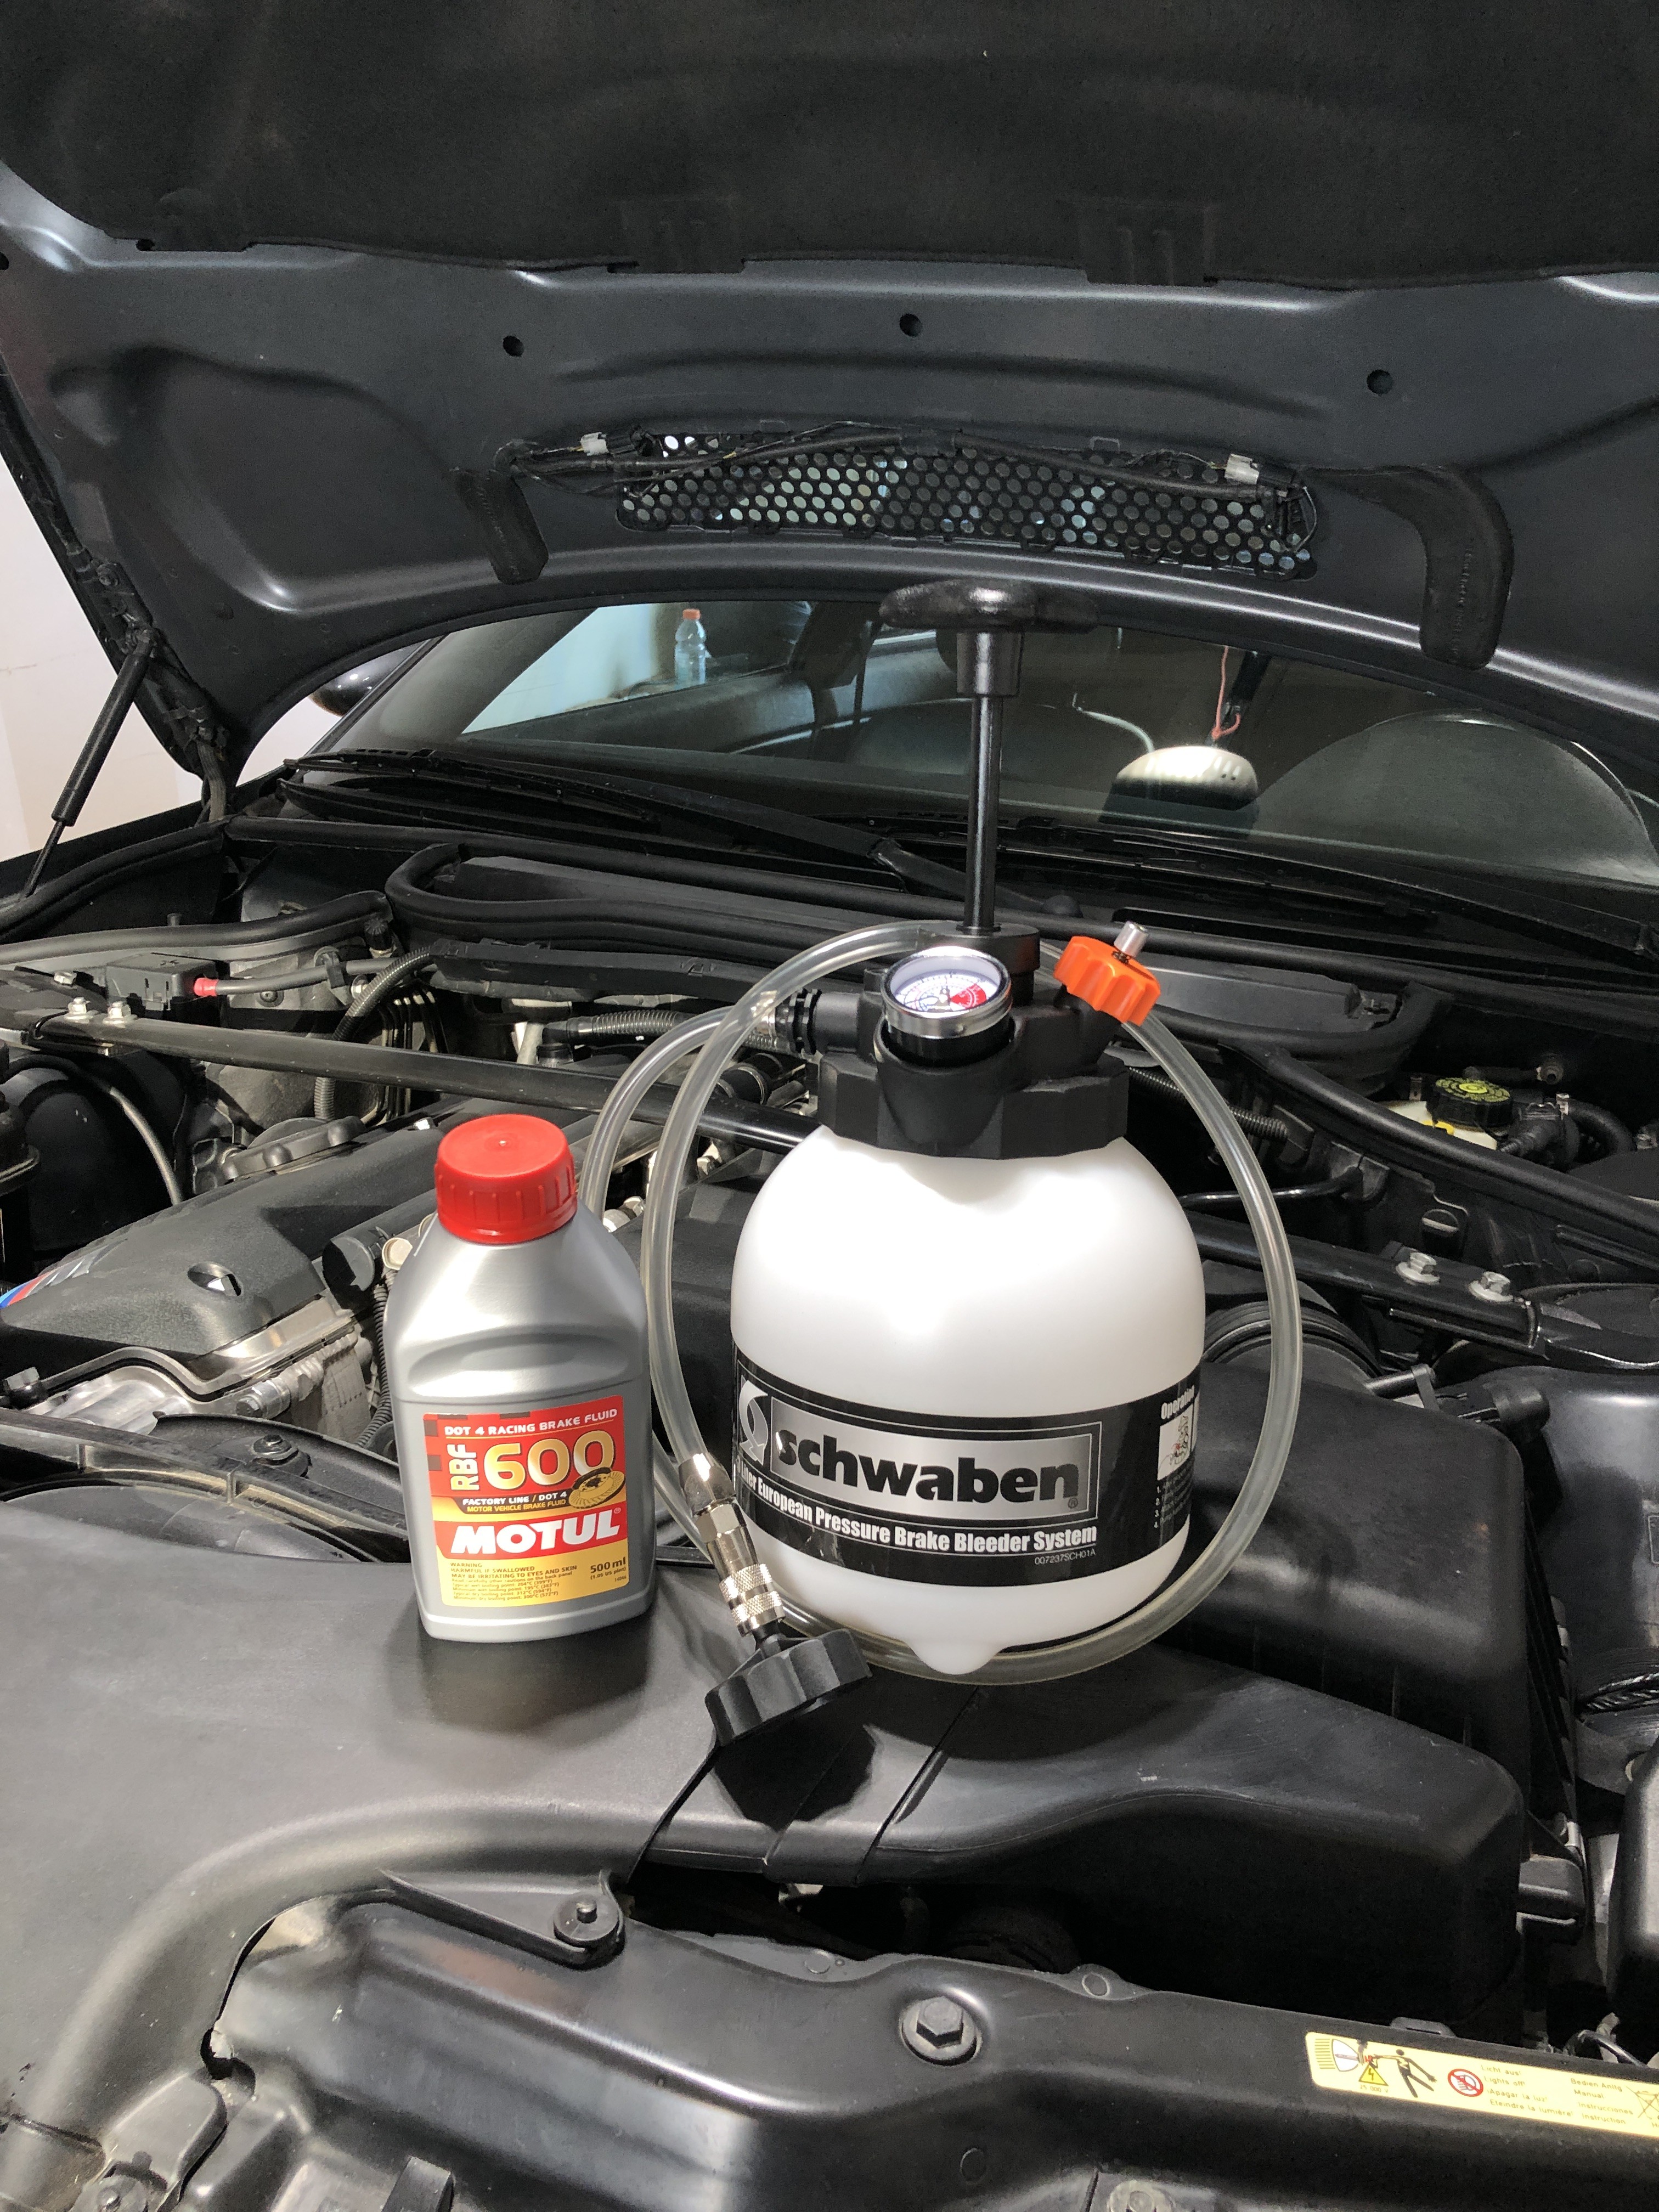
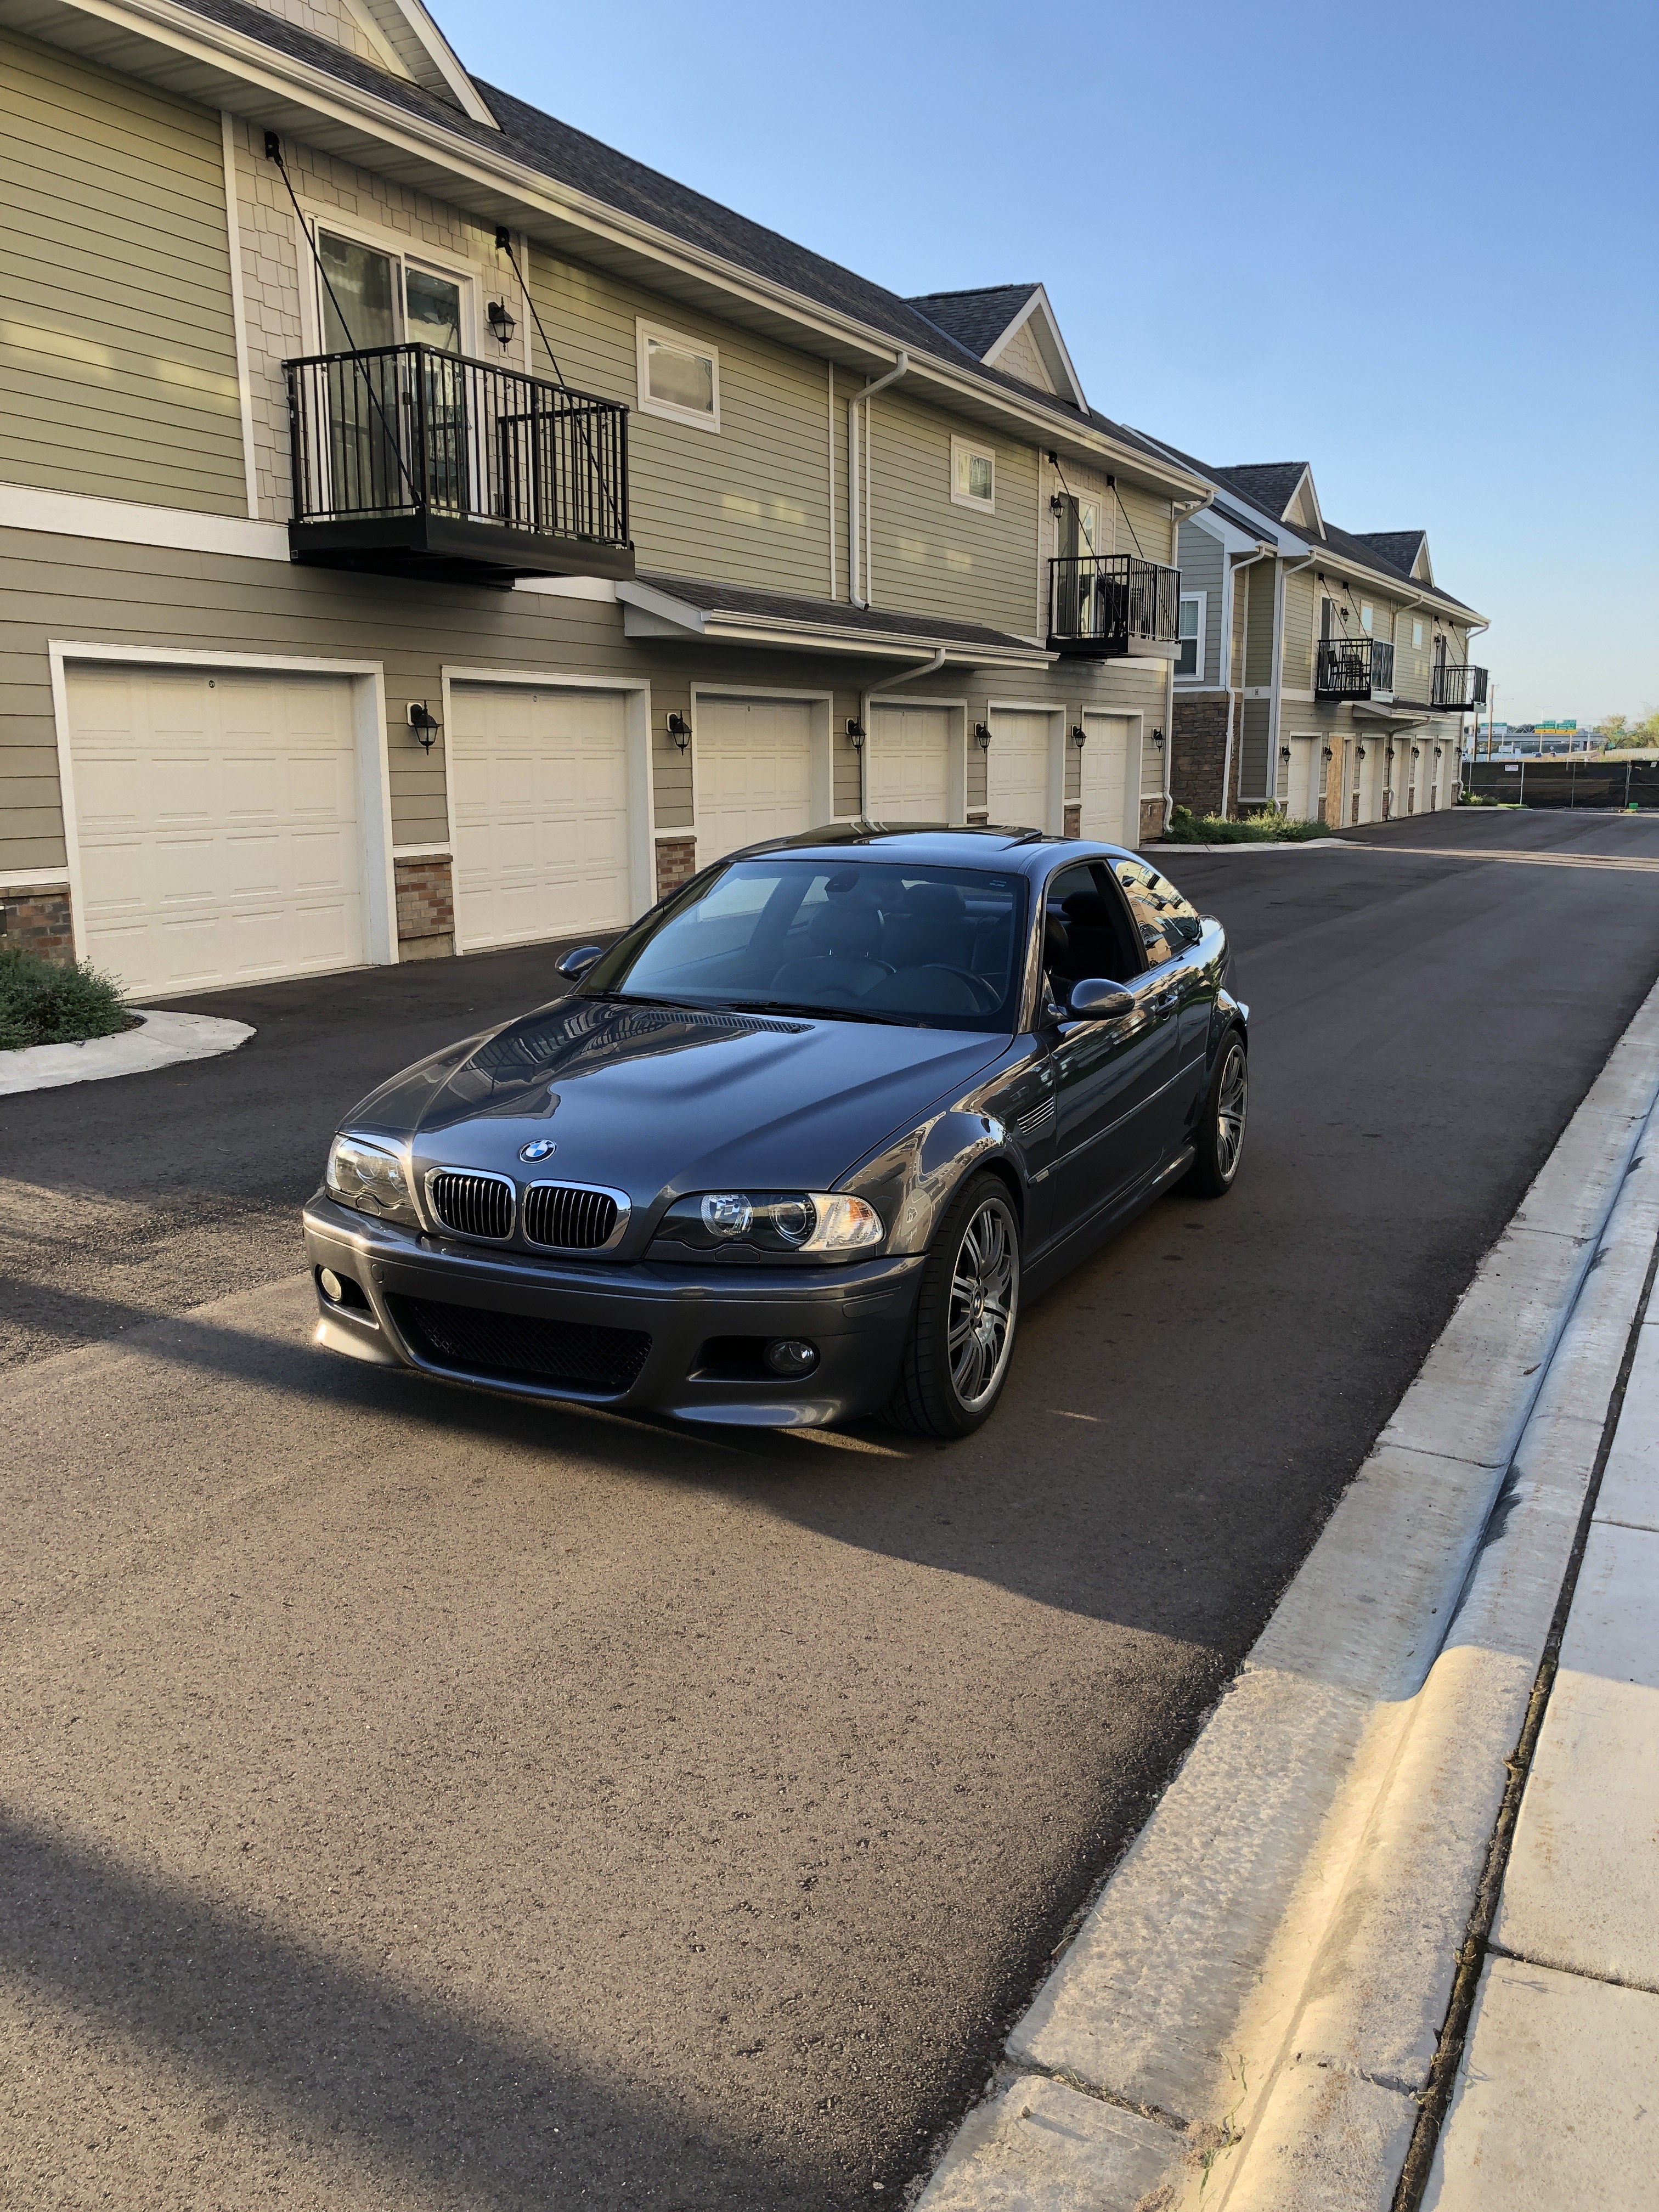
    Finally installed the Rogue Engineering stainless clutch line I've had on the shelf for months. Mainly did this to remove the clutch delay valve for a more responsive clutch feel. Job was messy as all hell but a power bleeder made the bleeding process a breeze. Took it for a test drive and it definitely feels more responsive. Not a night and day difference per say, but totally worth it. Frig I love this car
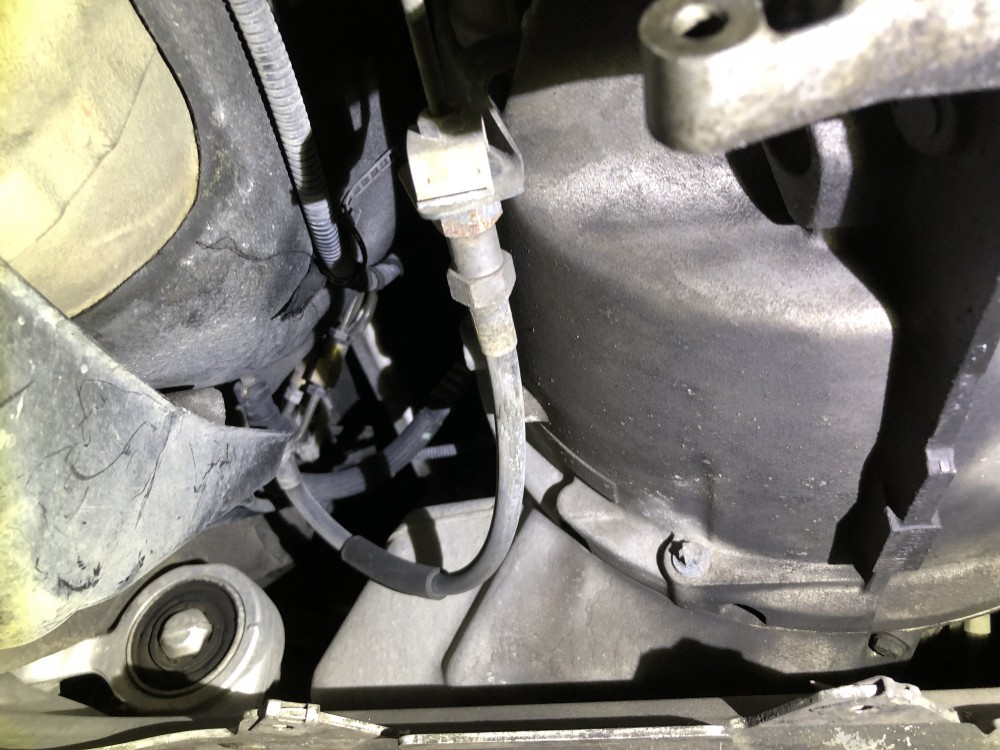
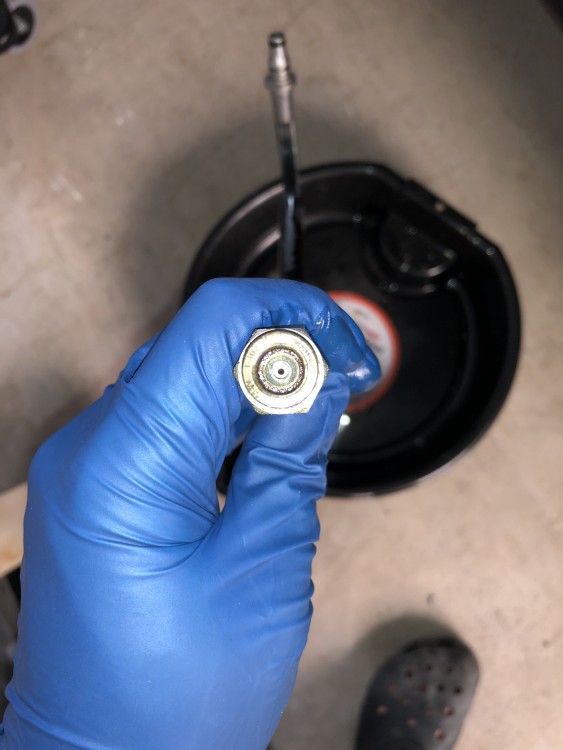
    IMG5841.JPGIMG5850.JPG

    IMG5844.JPGIMG5846.JPGIMG5851.JPG

    1 Reply Last reply
    4
    • pynaclP
      pynaclP
      pynacl
      wrote on last edited by
      #55

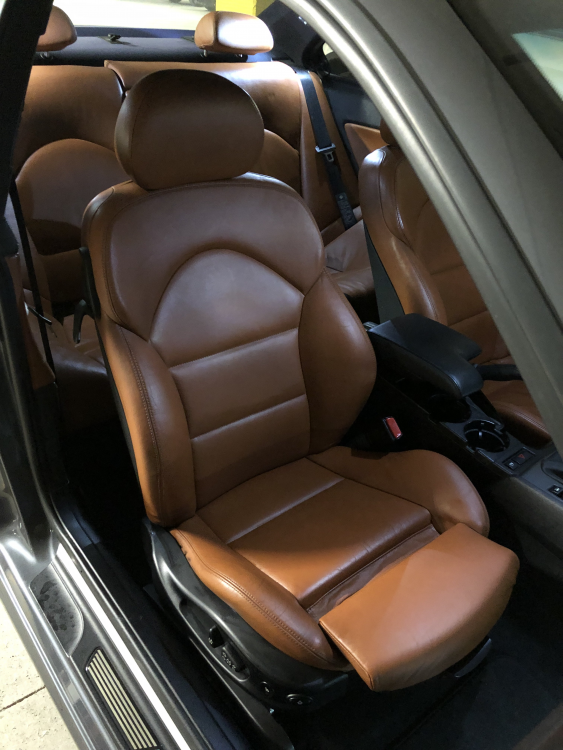
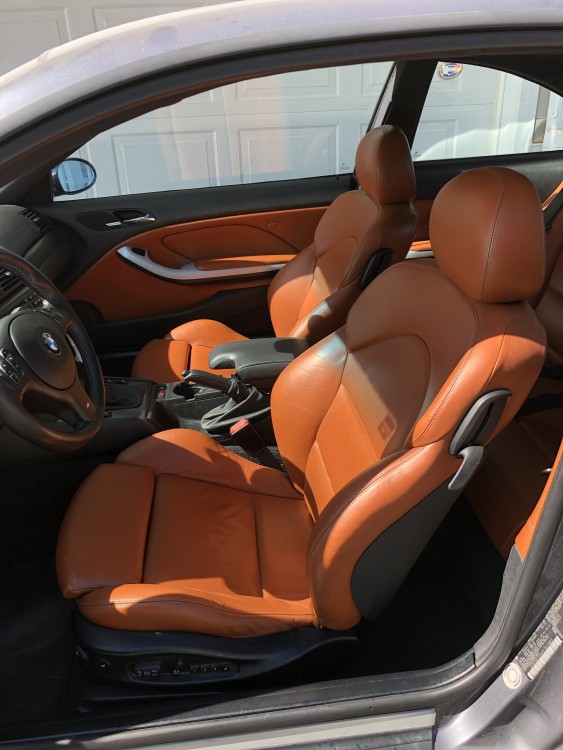
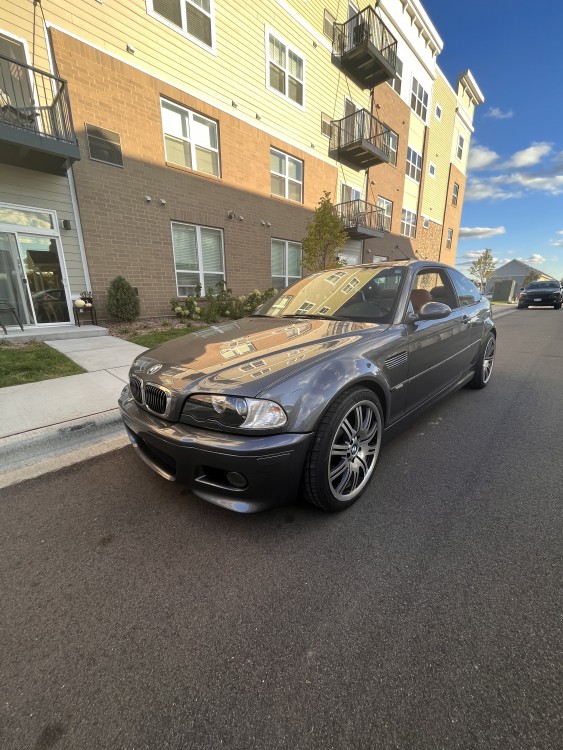
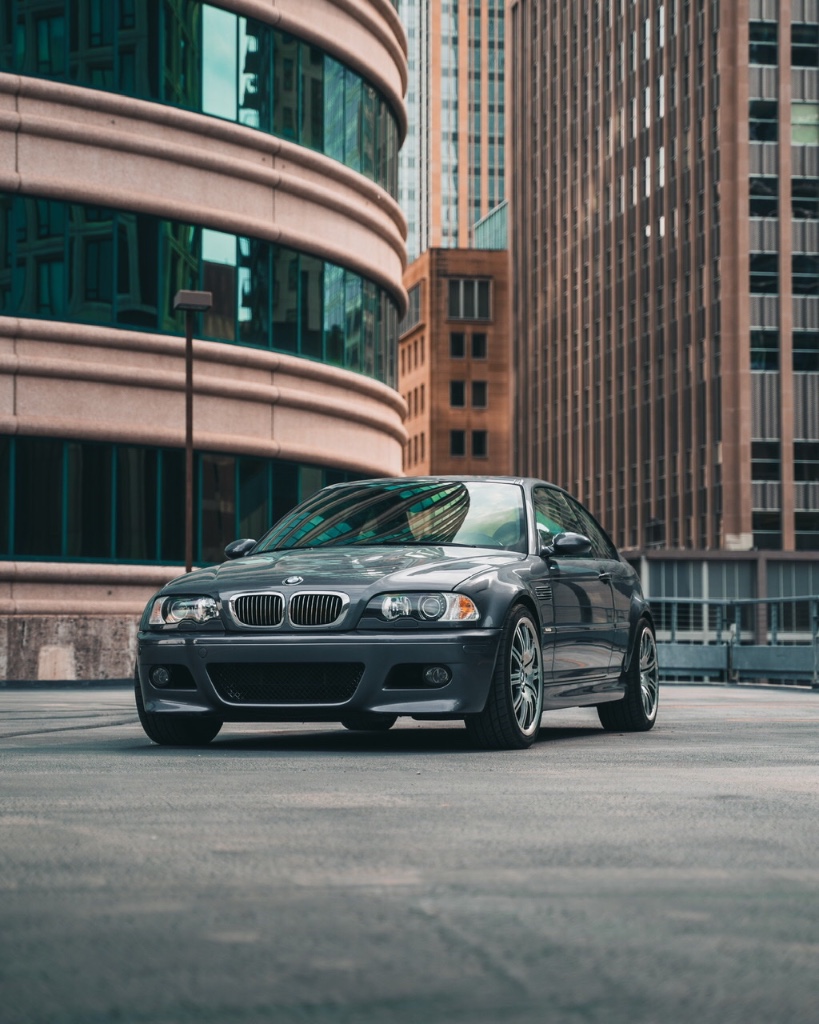
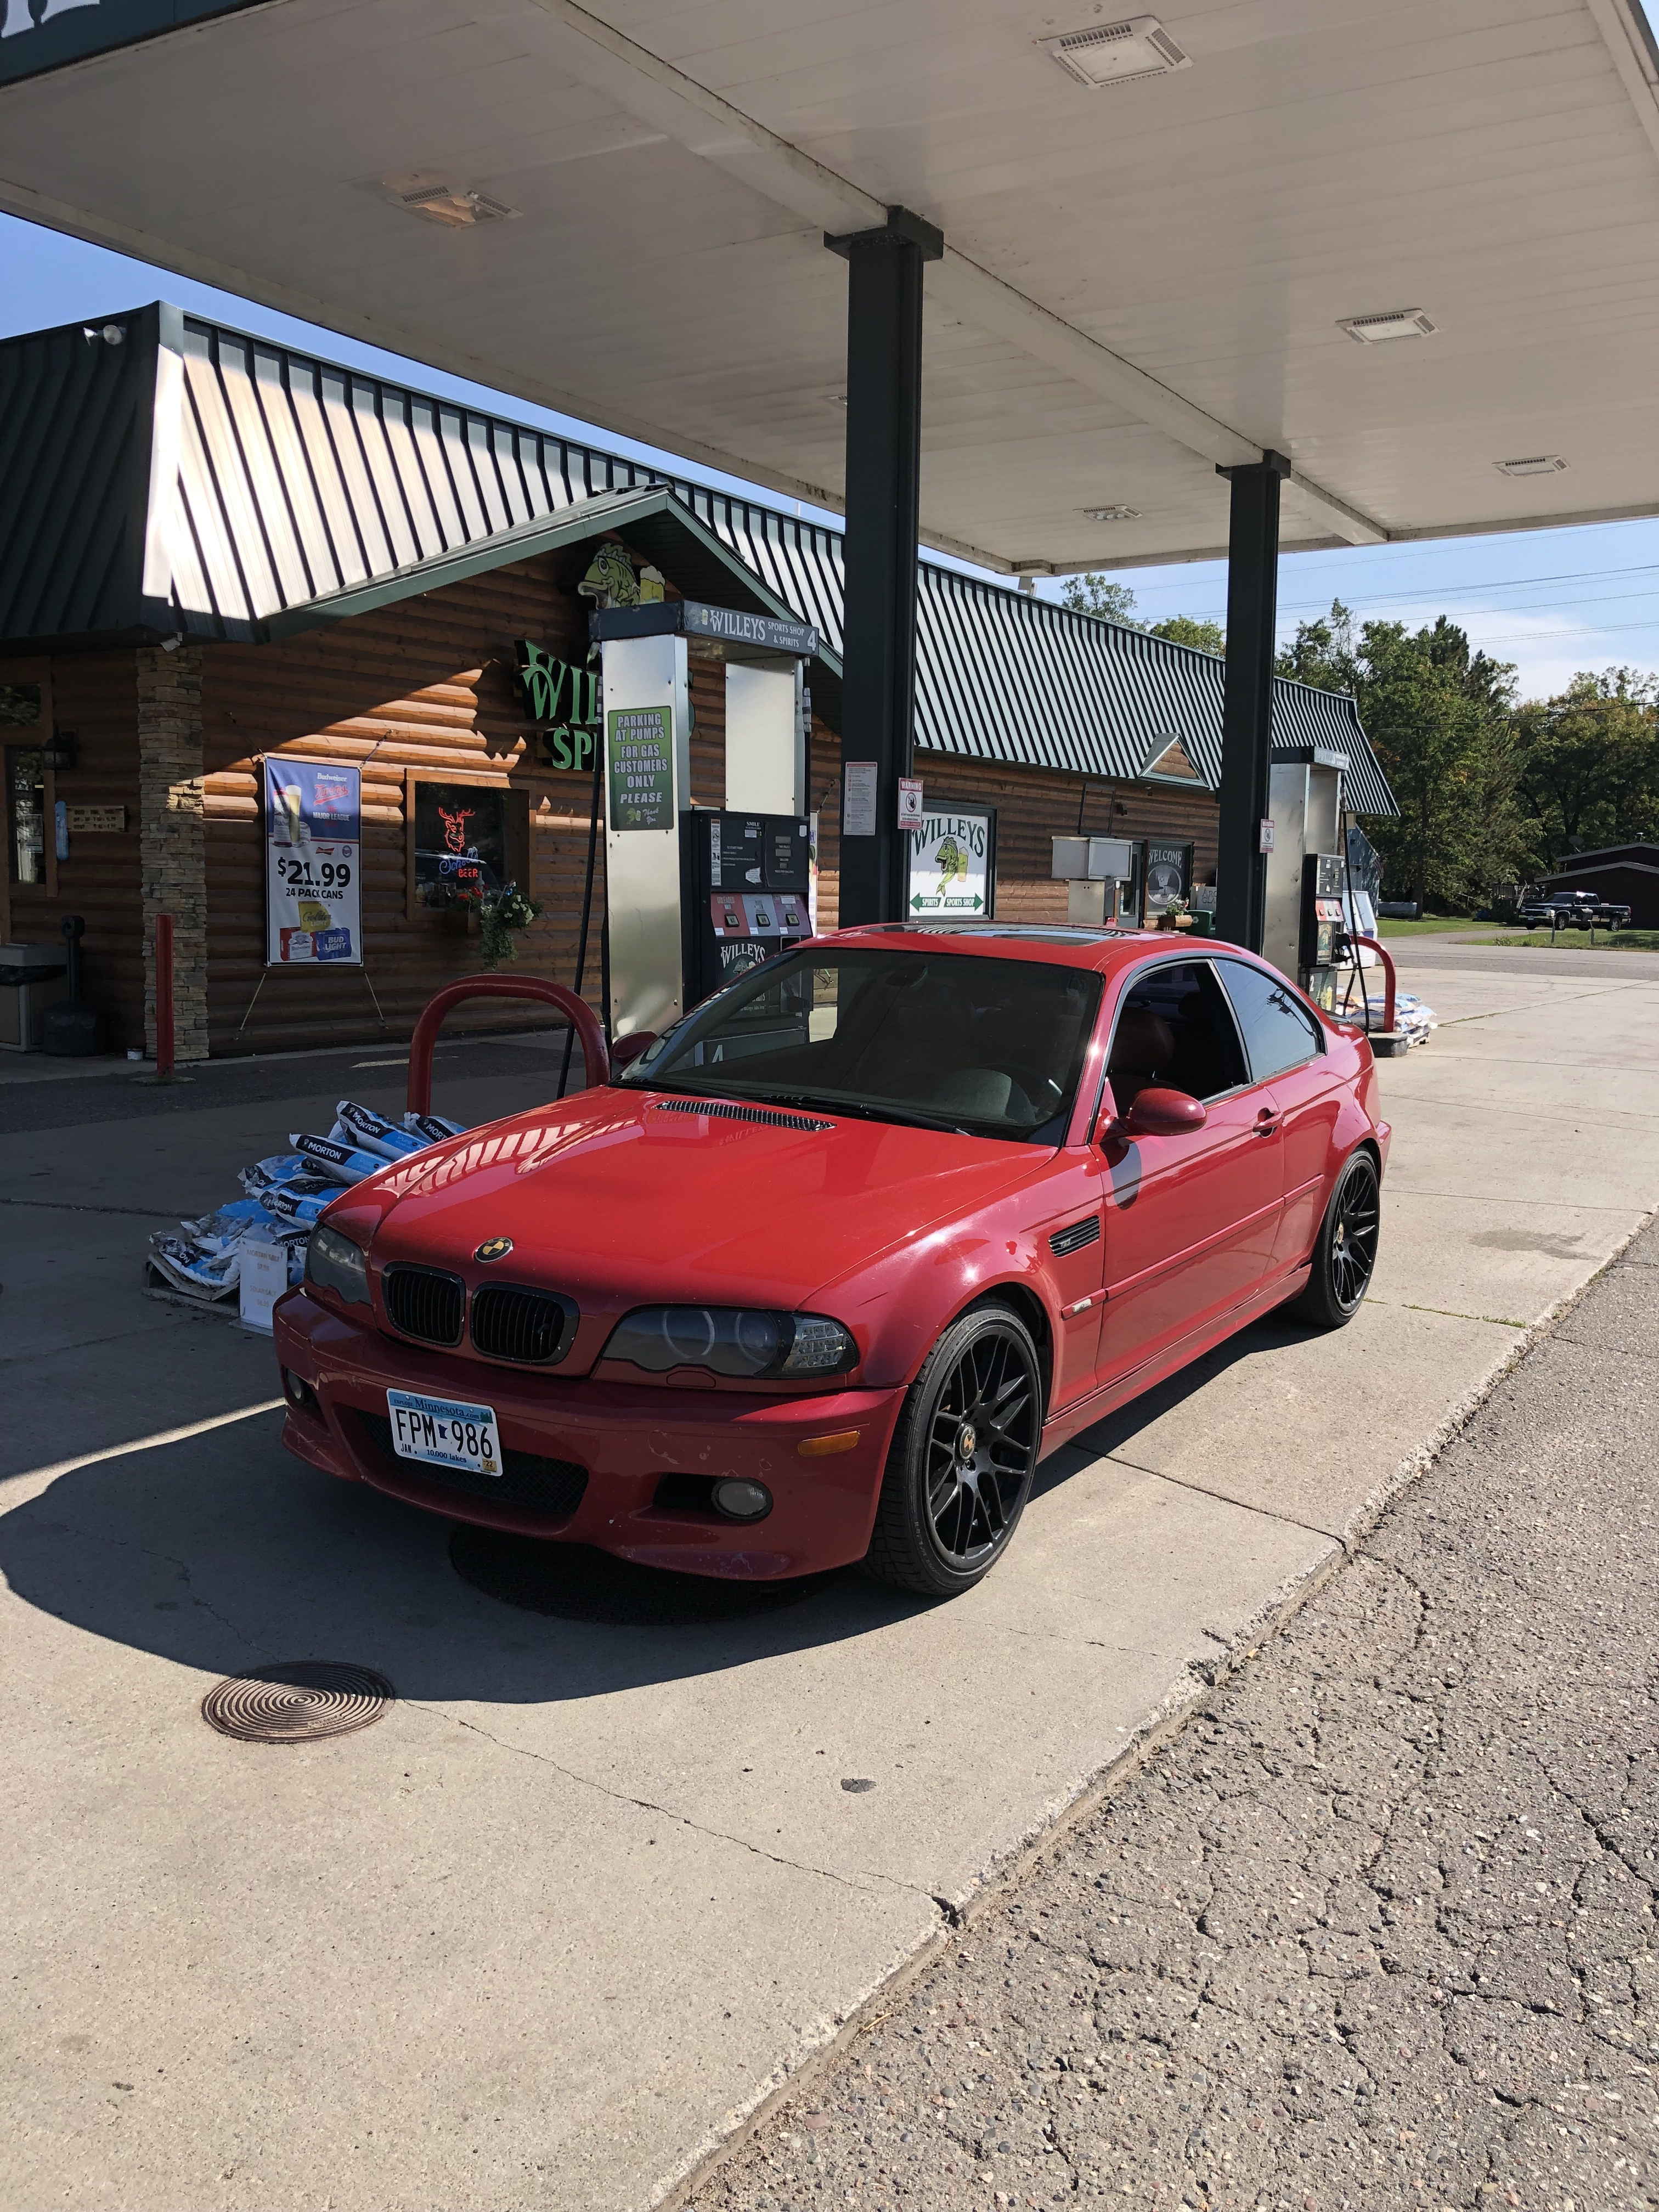
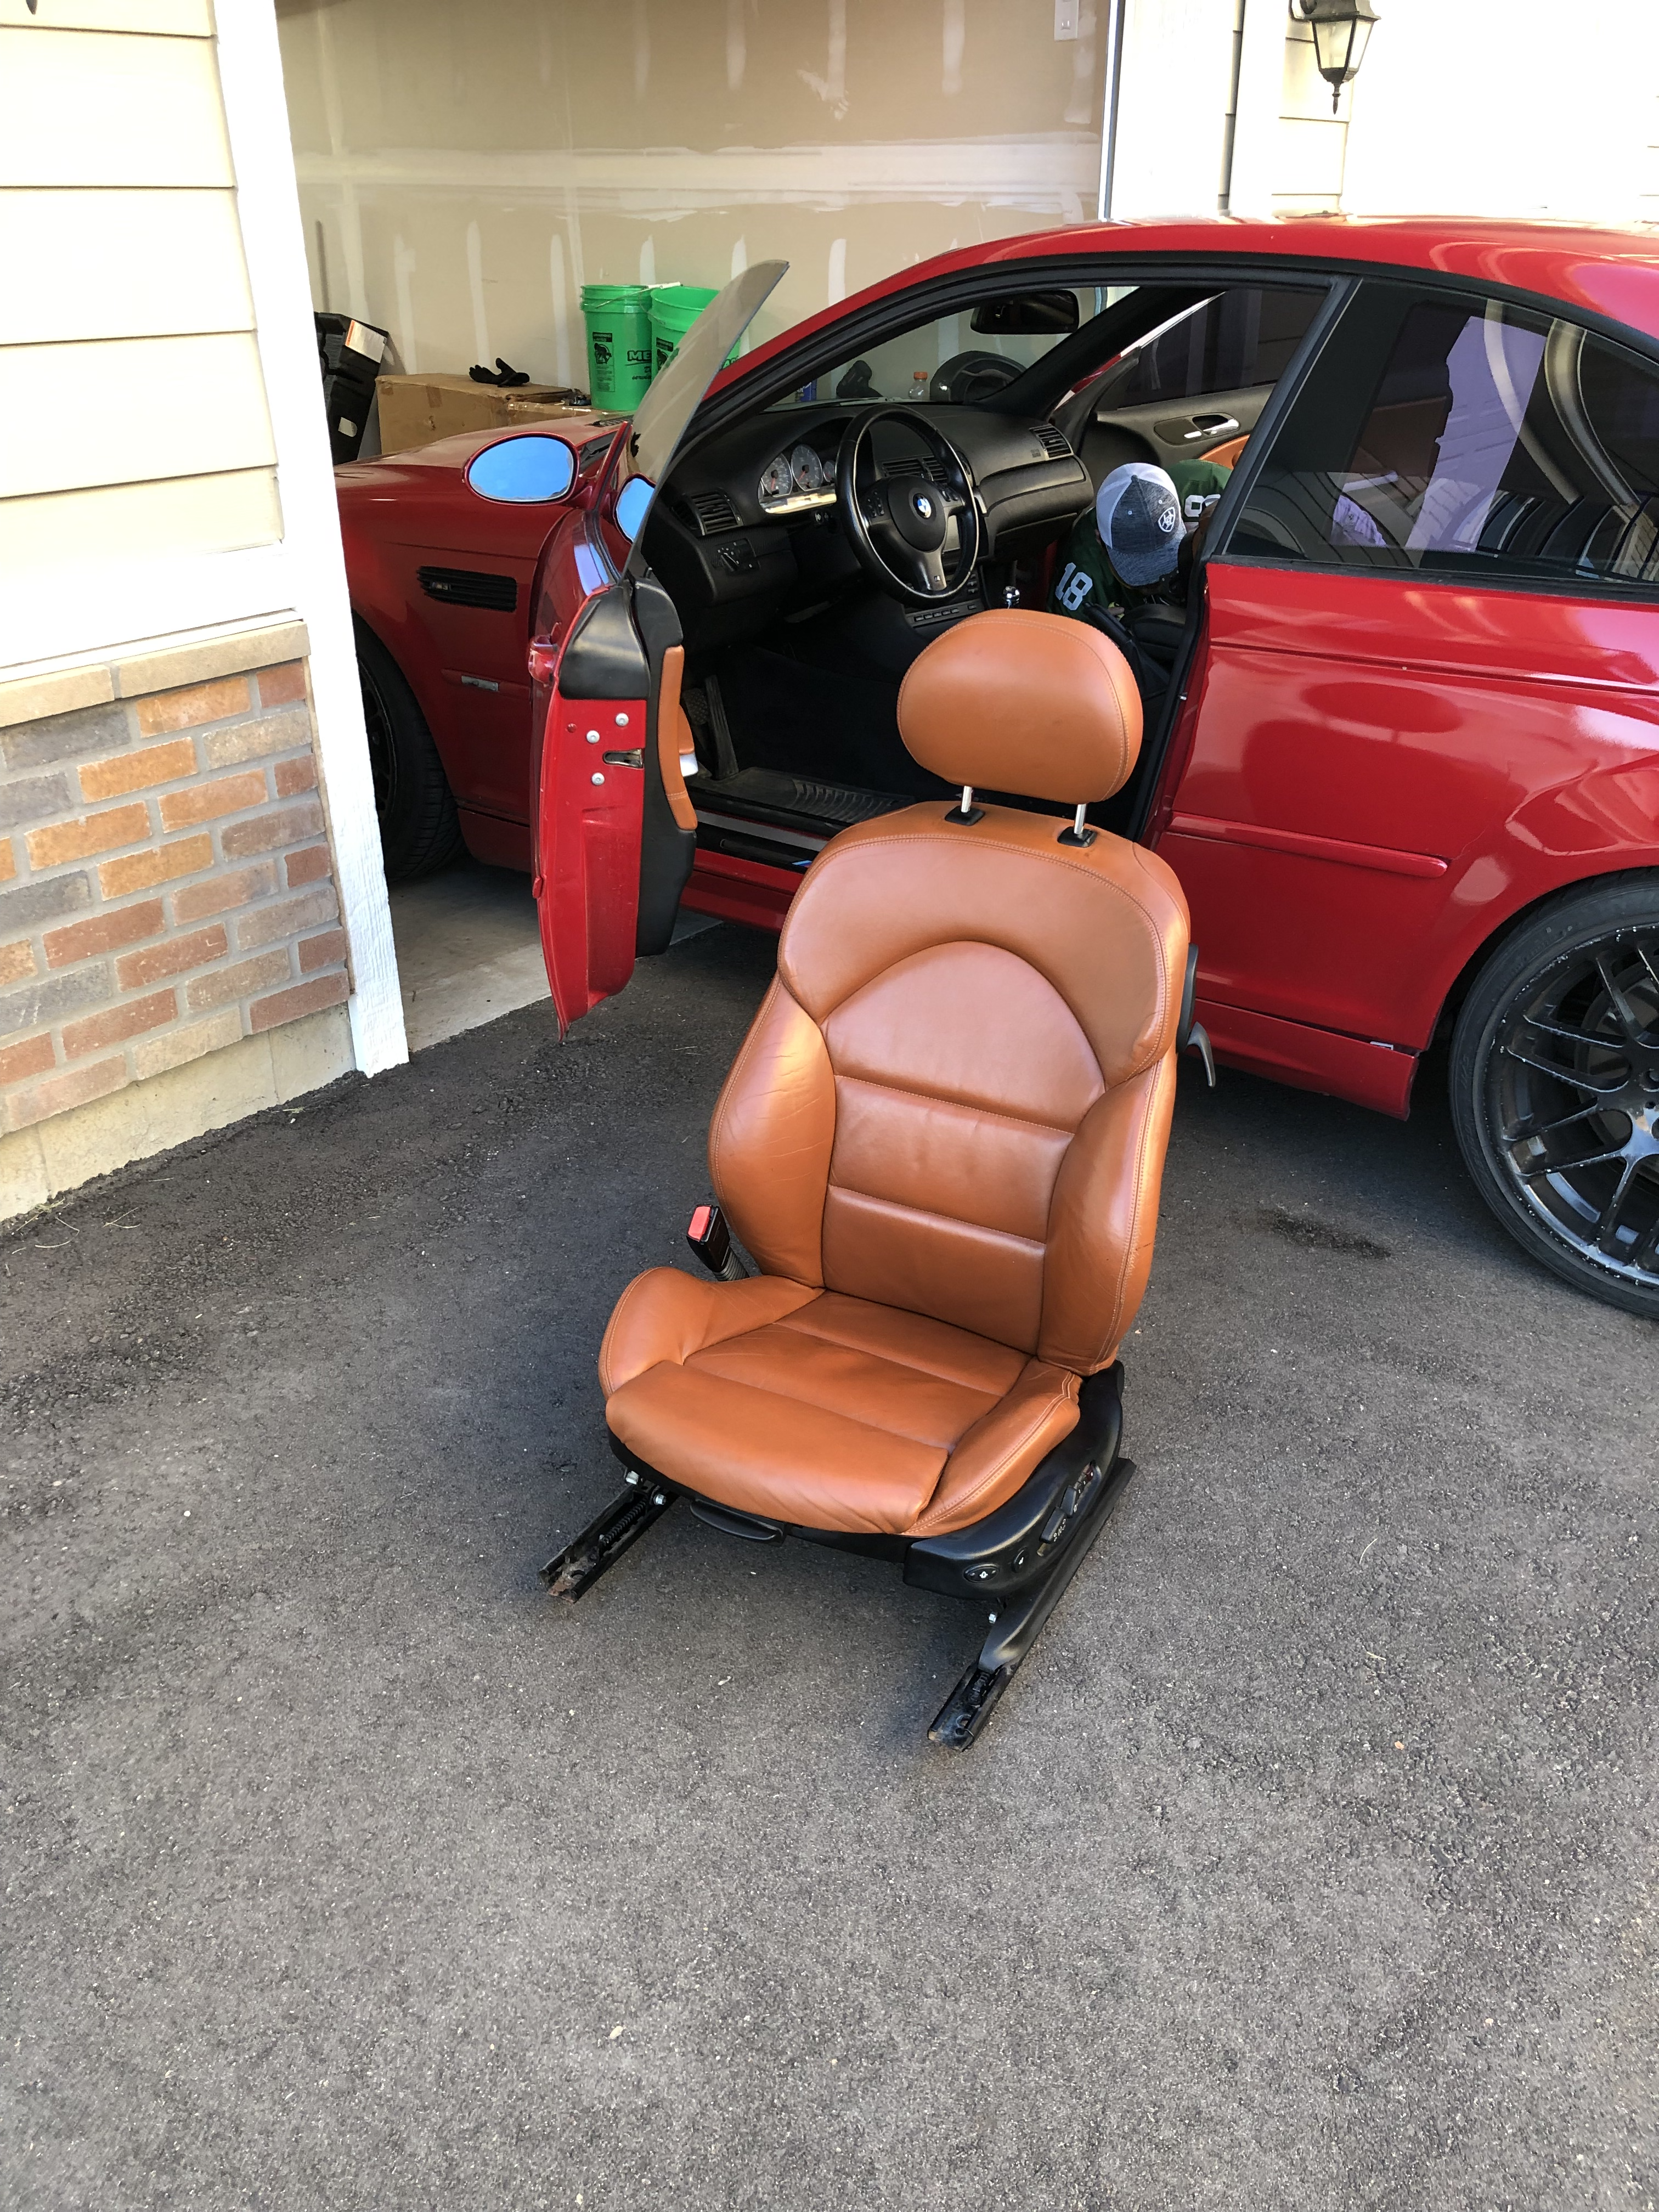
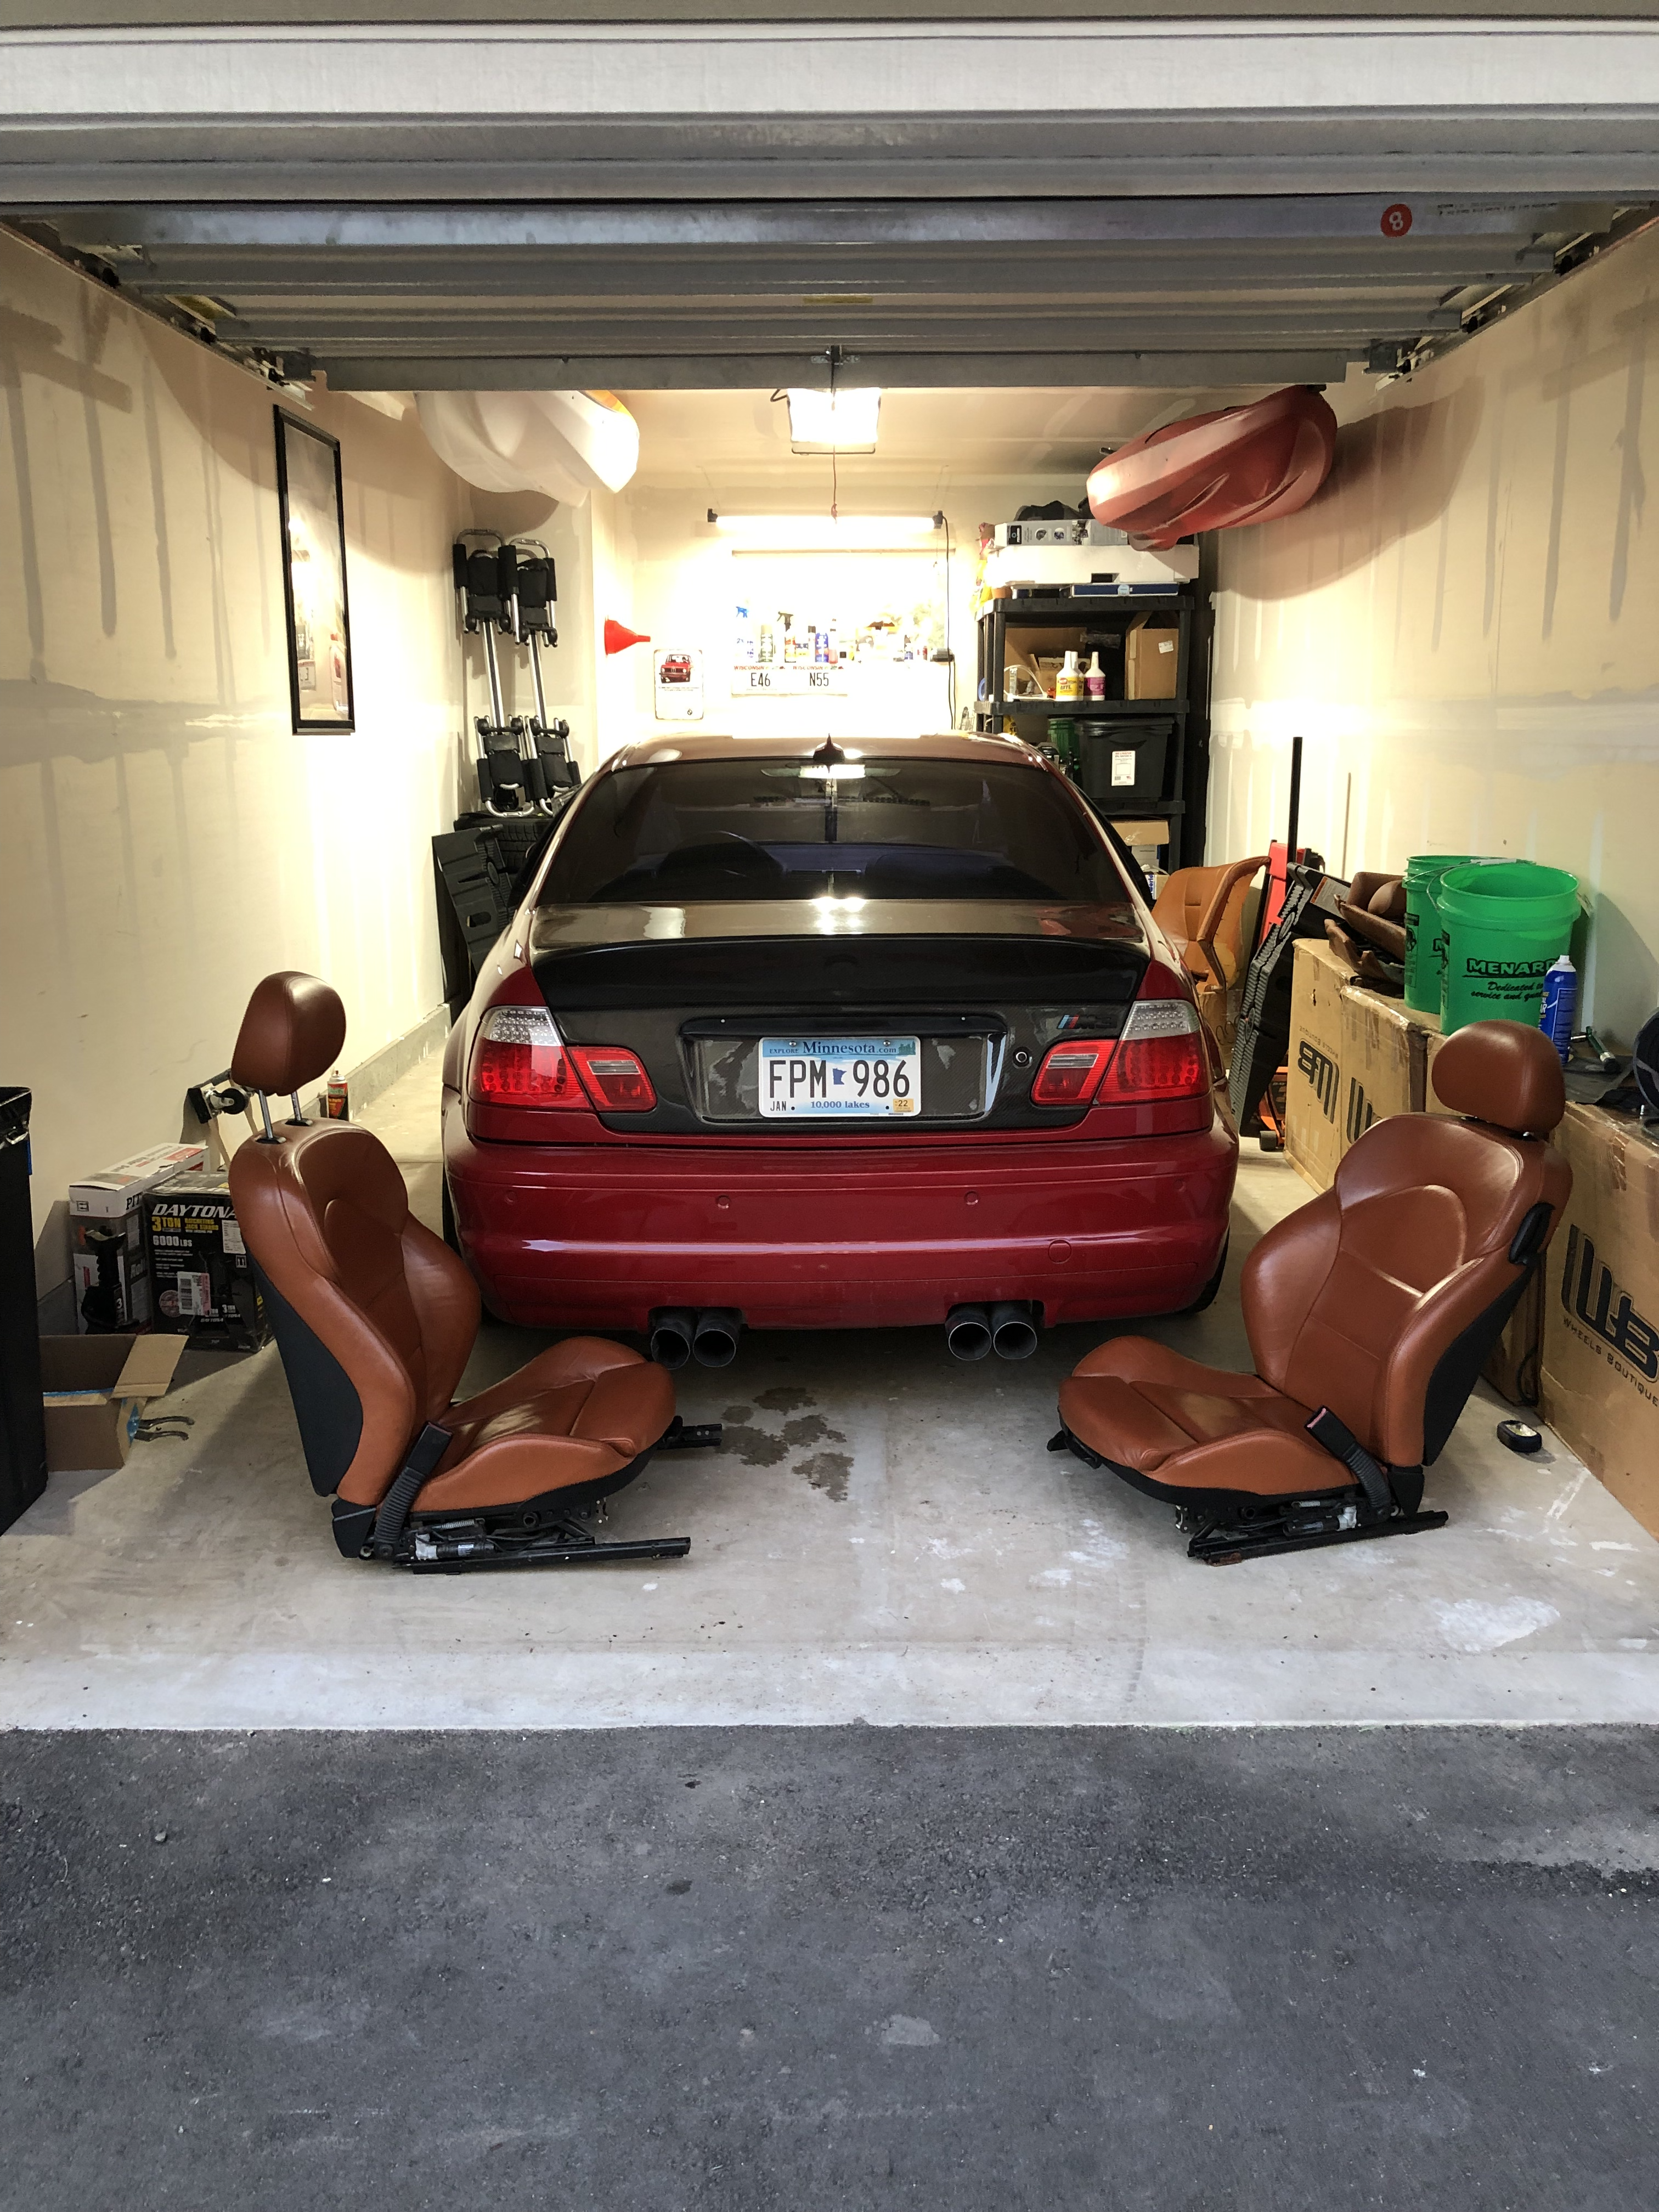
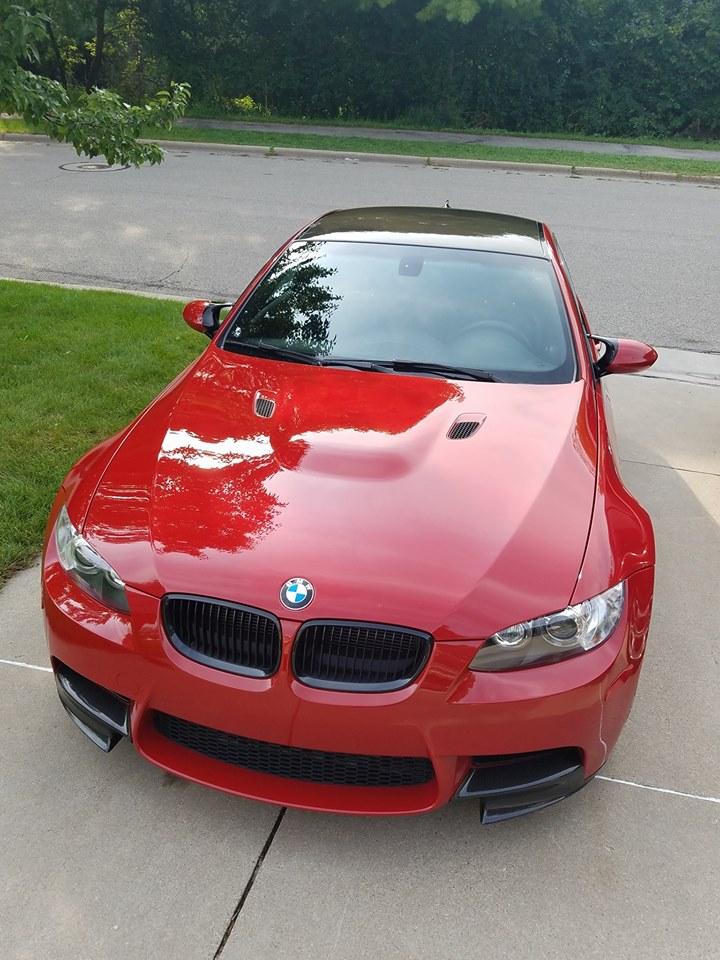
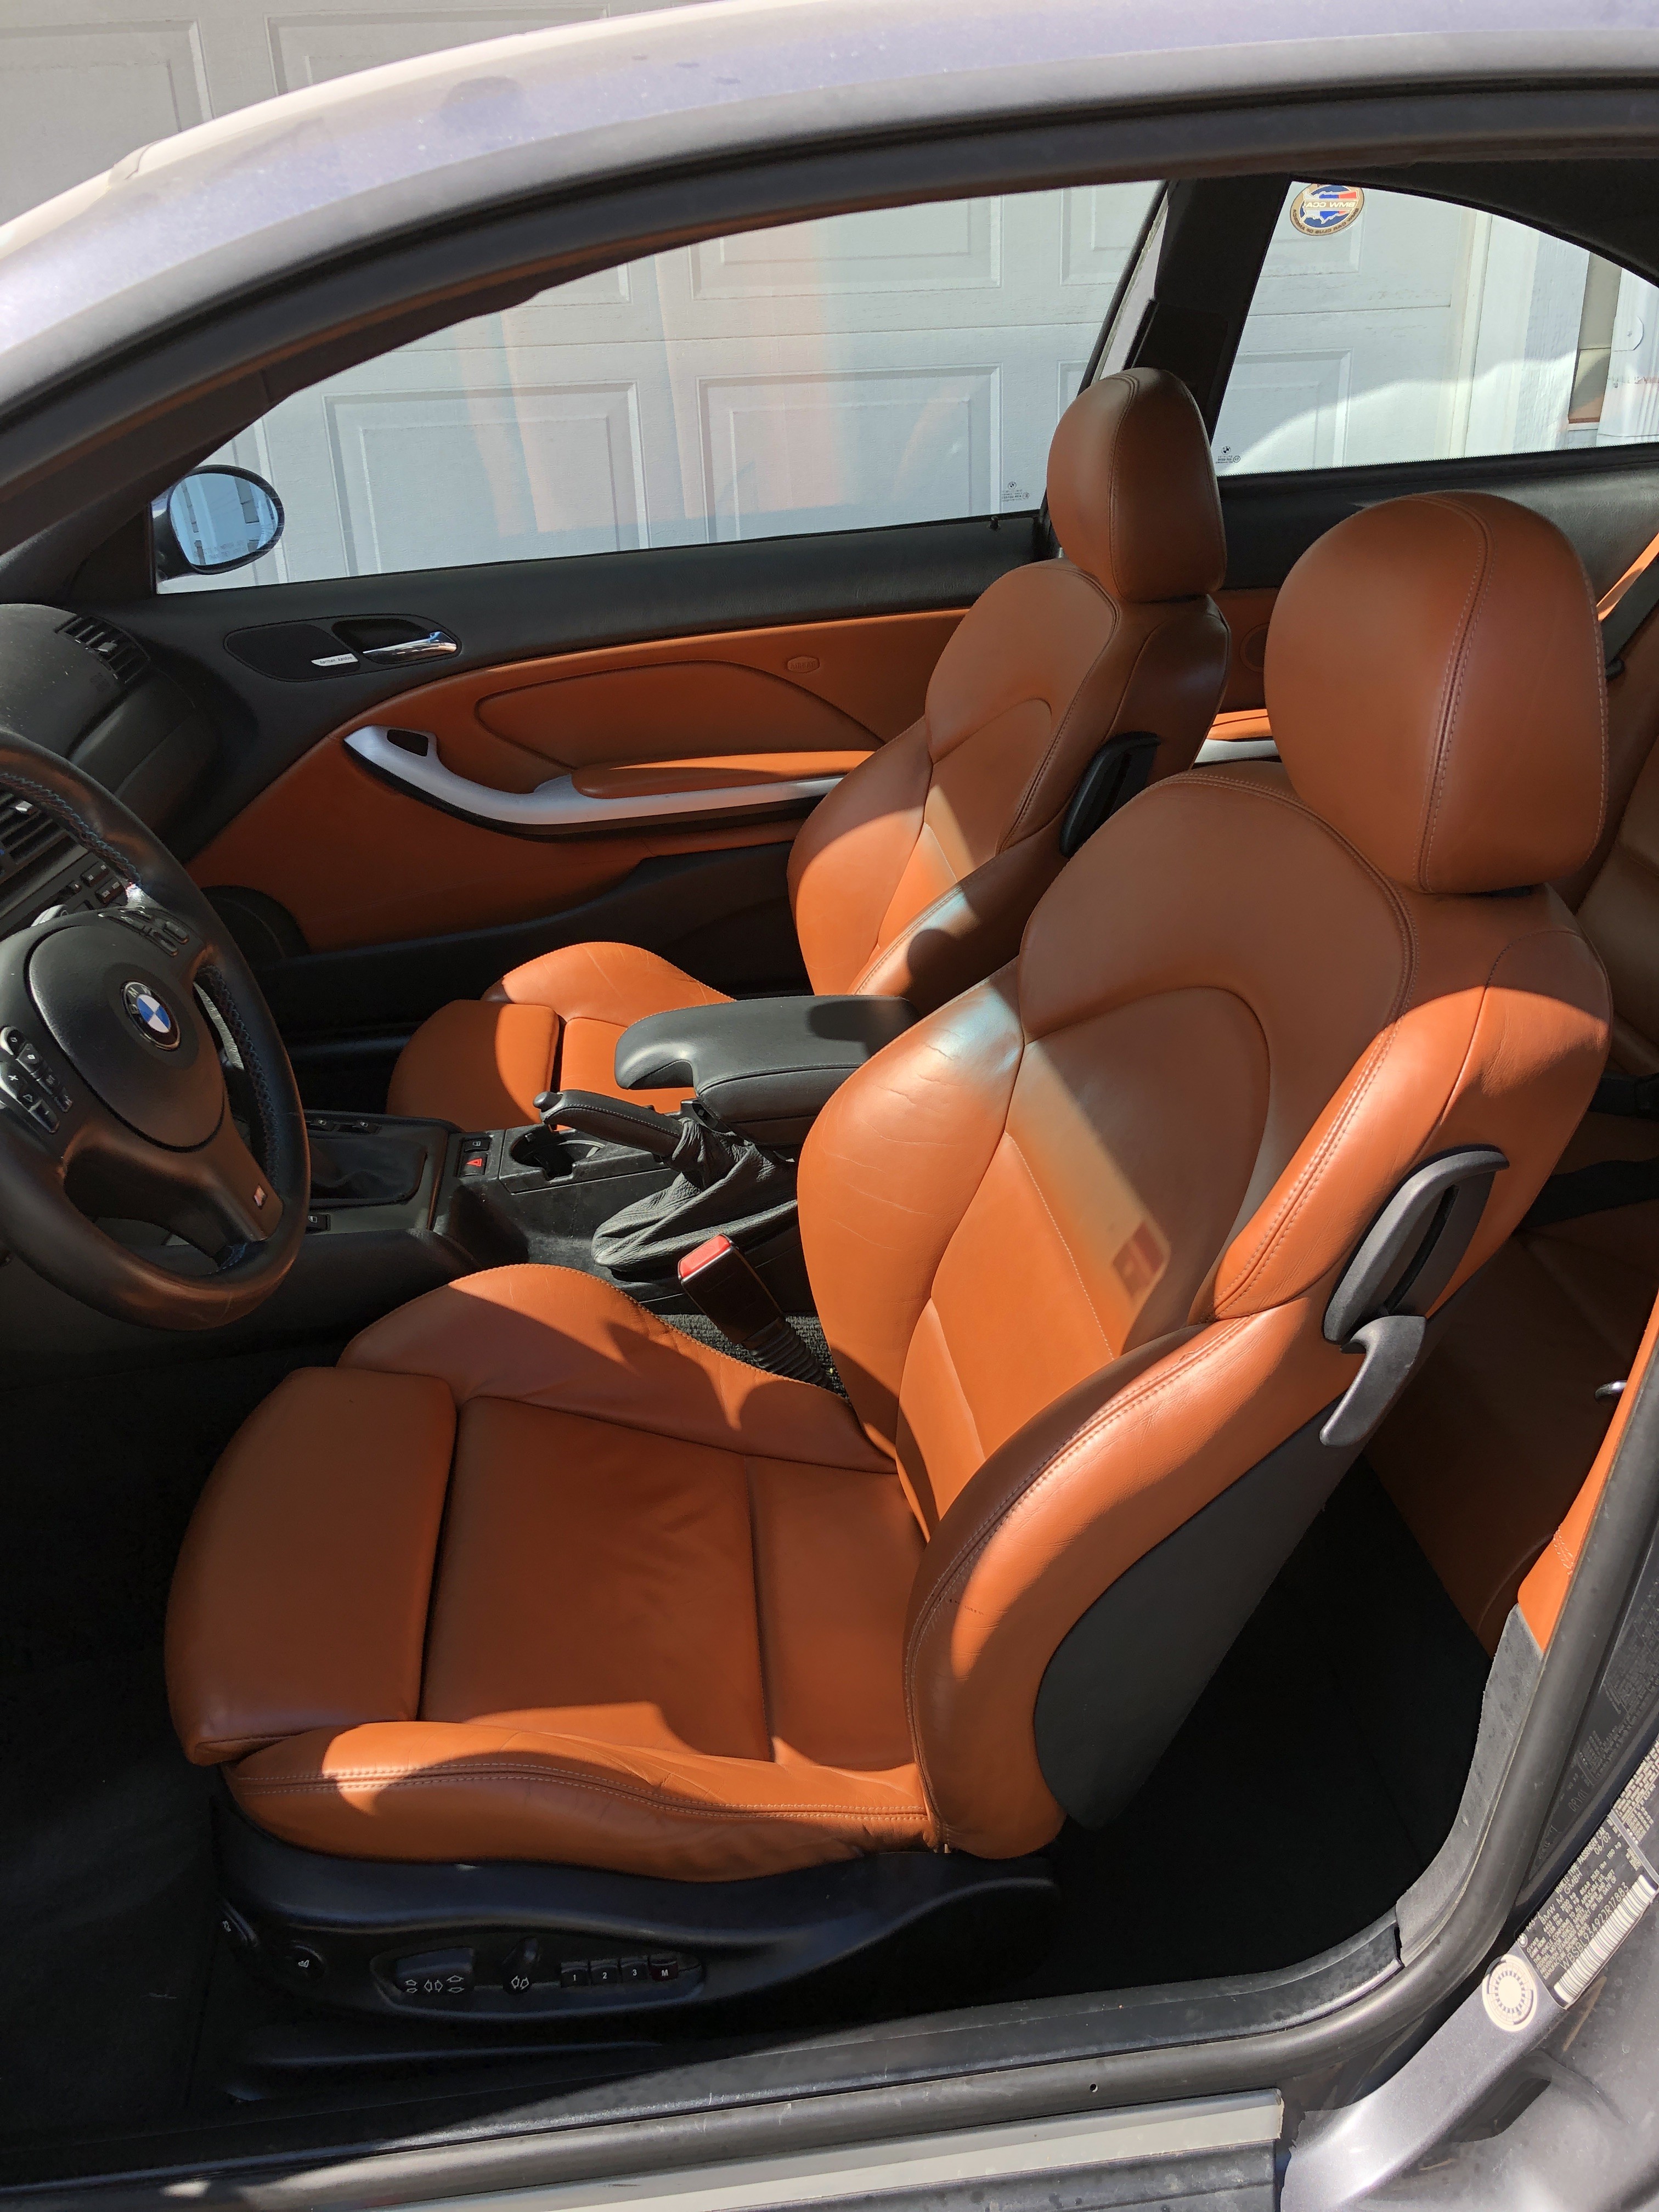
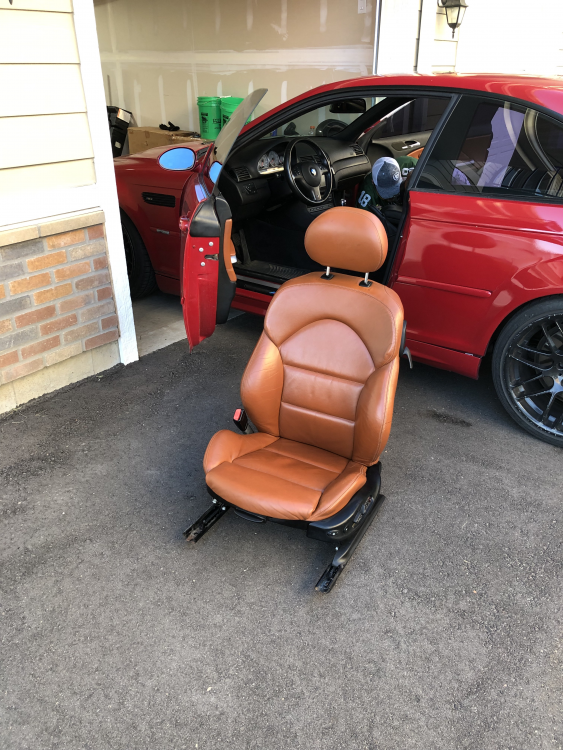
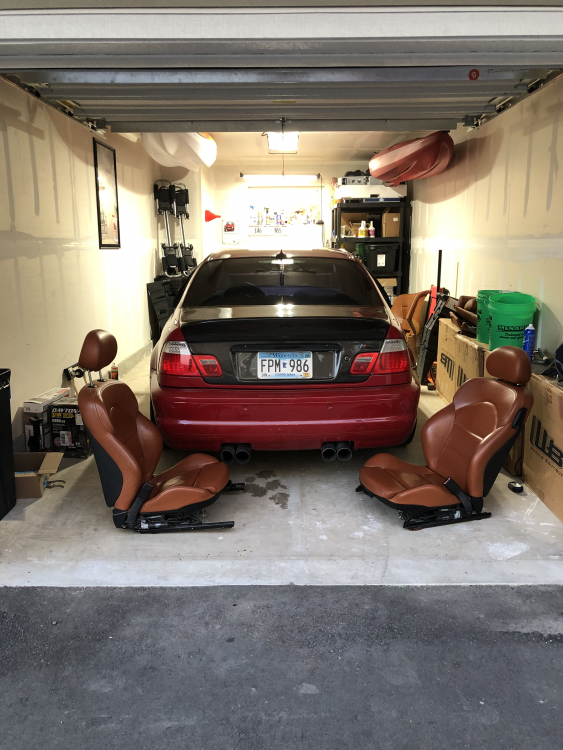
      Where might a great condition cinnamon interior be hiding? In a rebuilt title, dumpster of an M3 of course! Bought this 110k Imola on cinnamon E46 M3 yesterday to be a donor car. I'm swapping the cinnamon interior into my Steel Gray M3, then selling the car for a break even price to another for the motor/trans. Free cinnamon interior 😁

      Also found the car has a sweet Eisenmann exhaust setup. I'm donating it to @Rekpoint for all his help dismantling the interior and helping with the swap, everybody wins!
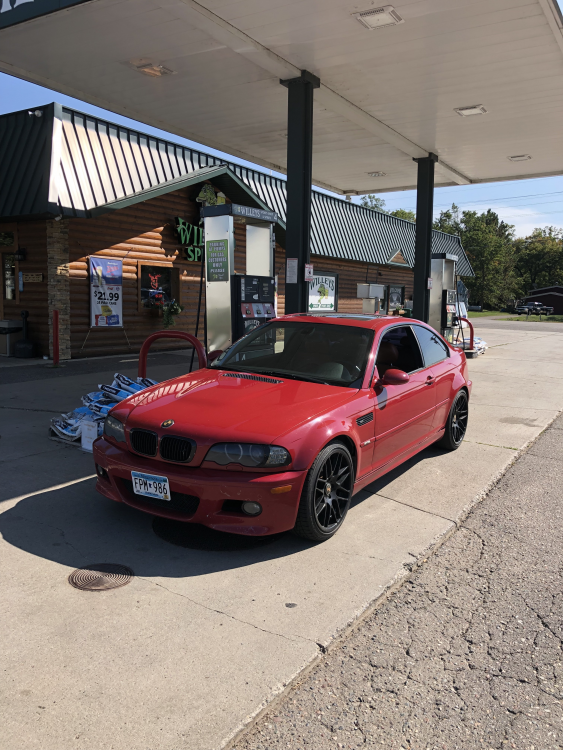
      IMG5953.pngIMG5964.pngIMG5966.png

      1 Reply Last reply
      4
      • RekpointR
        RekpointR
        Rekpoint
        wrote on last edited by
        #56

        pynacl said:

        Where might a great condition cinnamon interior be hiding? In a rebuilt title, dumpster of an M3 of course! Bought this 110k Imola on cinnamon E46 M3 yesterday to be a donor car. I'm swapping the cinnamon interior into my Steel Gray M3, then selling the car for a break even price to another for the motor/trans. Free cinnamon interior 😁

        Also found the car has a sweet Eismann exhaust setup. I'm donating it to @Rekpoint for all his help dismantling the interior and helping with the swap, everybody wins!
        IMG5953.pngIMG5964.pngIMG5966.png

        Let it be known we were able to install everything besides the front door panels in just about an hour. Pretty fast...

        1 Reply Last reply
        0
        • patsbimmer1P
          patsbimmer1P
          patsbimmer1
          wrote on last edited by
          #57

          Well that's pretty awesome

          2011 e90 M3 - DCT, Borla exhaust, BMW Performance Black Grille, ECS Painted Corners, Ziza Angel Eyes

          07 335i Stella - sport package, BMS DCI, zhp knob, TMS cf parking brake lever, VRSF downpipes, MHD tune, H&R race springs, other stuff *SOLD*

          97 328i Lola - sport package, m50 intake manifold, m50 manifold.com install kit, custom CAI, K&N filter, Borla exhaust, FK silverline coilovers, 25.5mm front sway bar, Powerflex front sway bushings, Turner Radiator, fan delete *sold*
          95 325is *sold*
          93 nissan 240sx KA-T *sold*

          BMWCCA #473306

          Instagram @patsbimmer1

          AKA- HALLWAY PAT

          "burnouts bring babes and babes dont have time for bushings" - Kaiser Rolls

          1 Reply Last reply
          2
          • pynaclP
            pynaclP
            pynacl
            wrote on last edited by
            #58

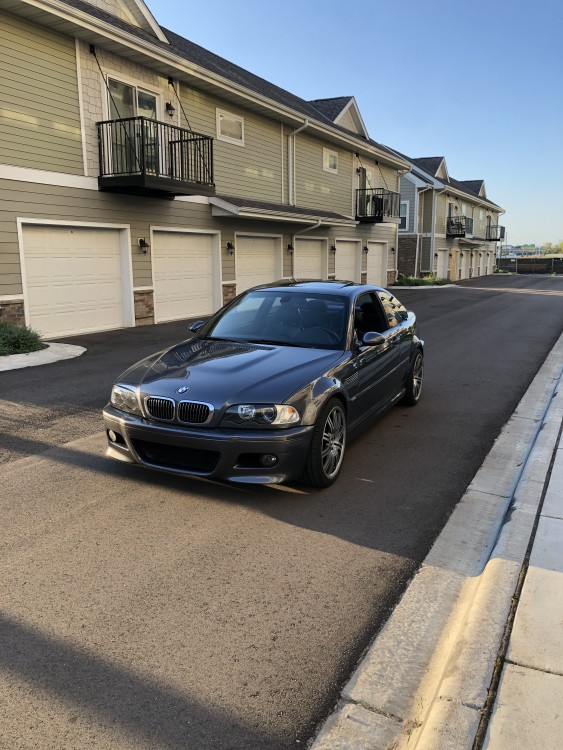
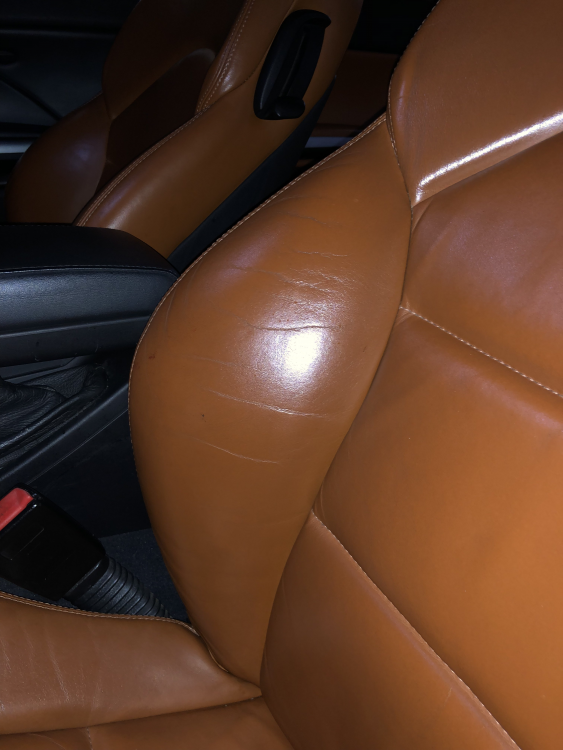
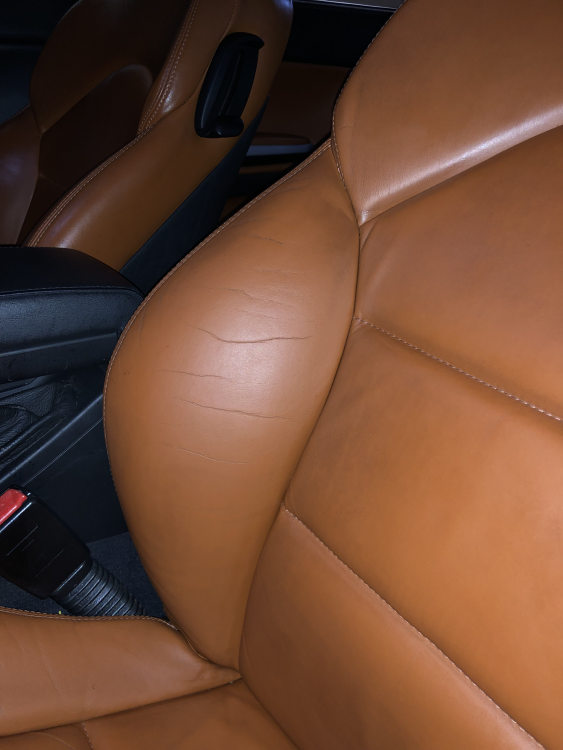
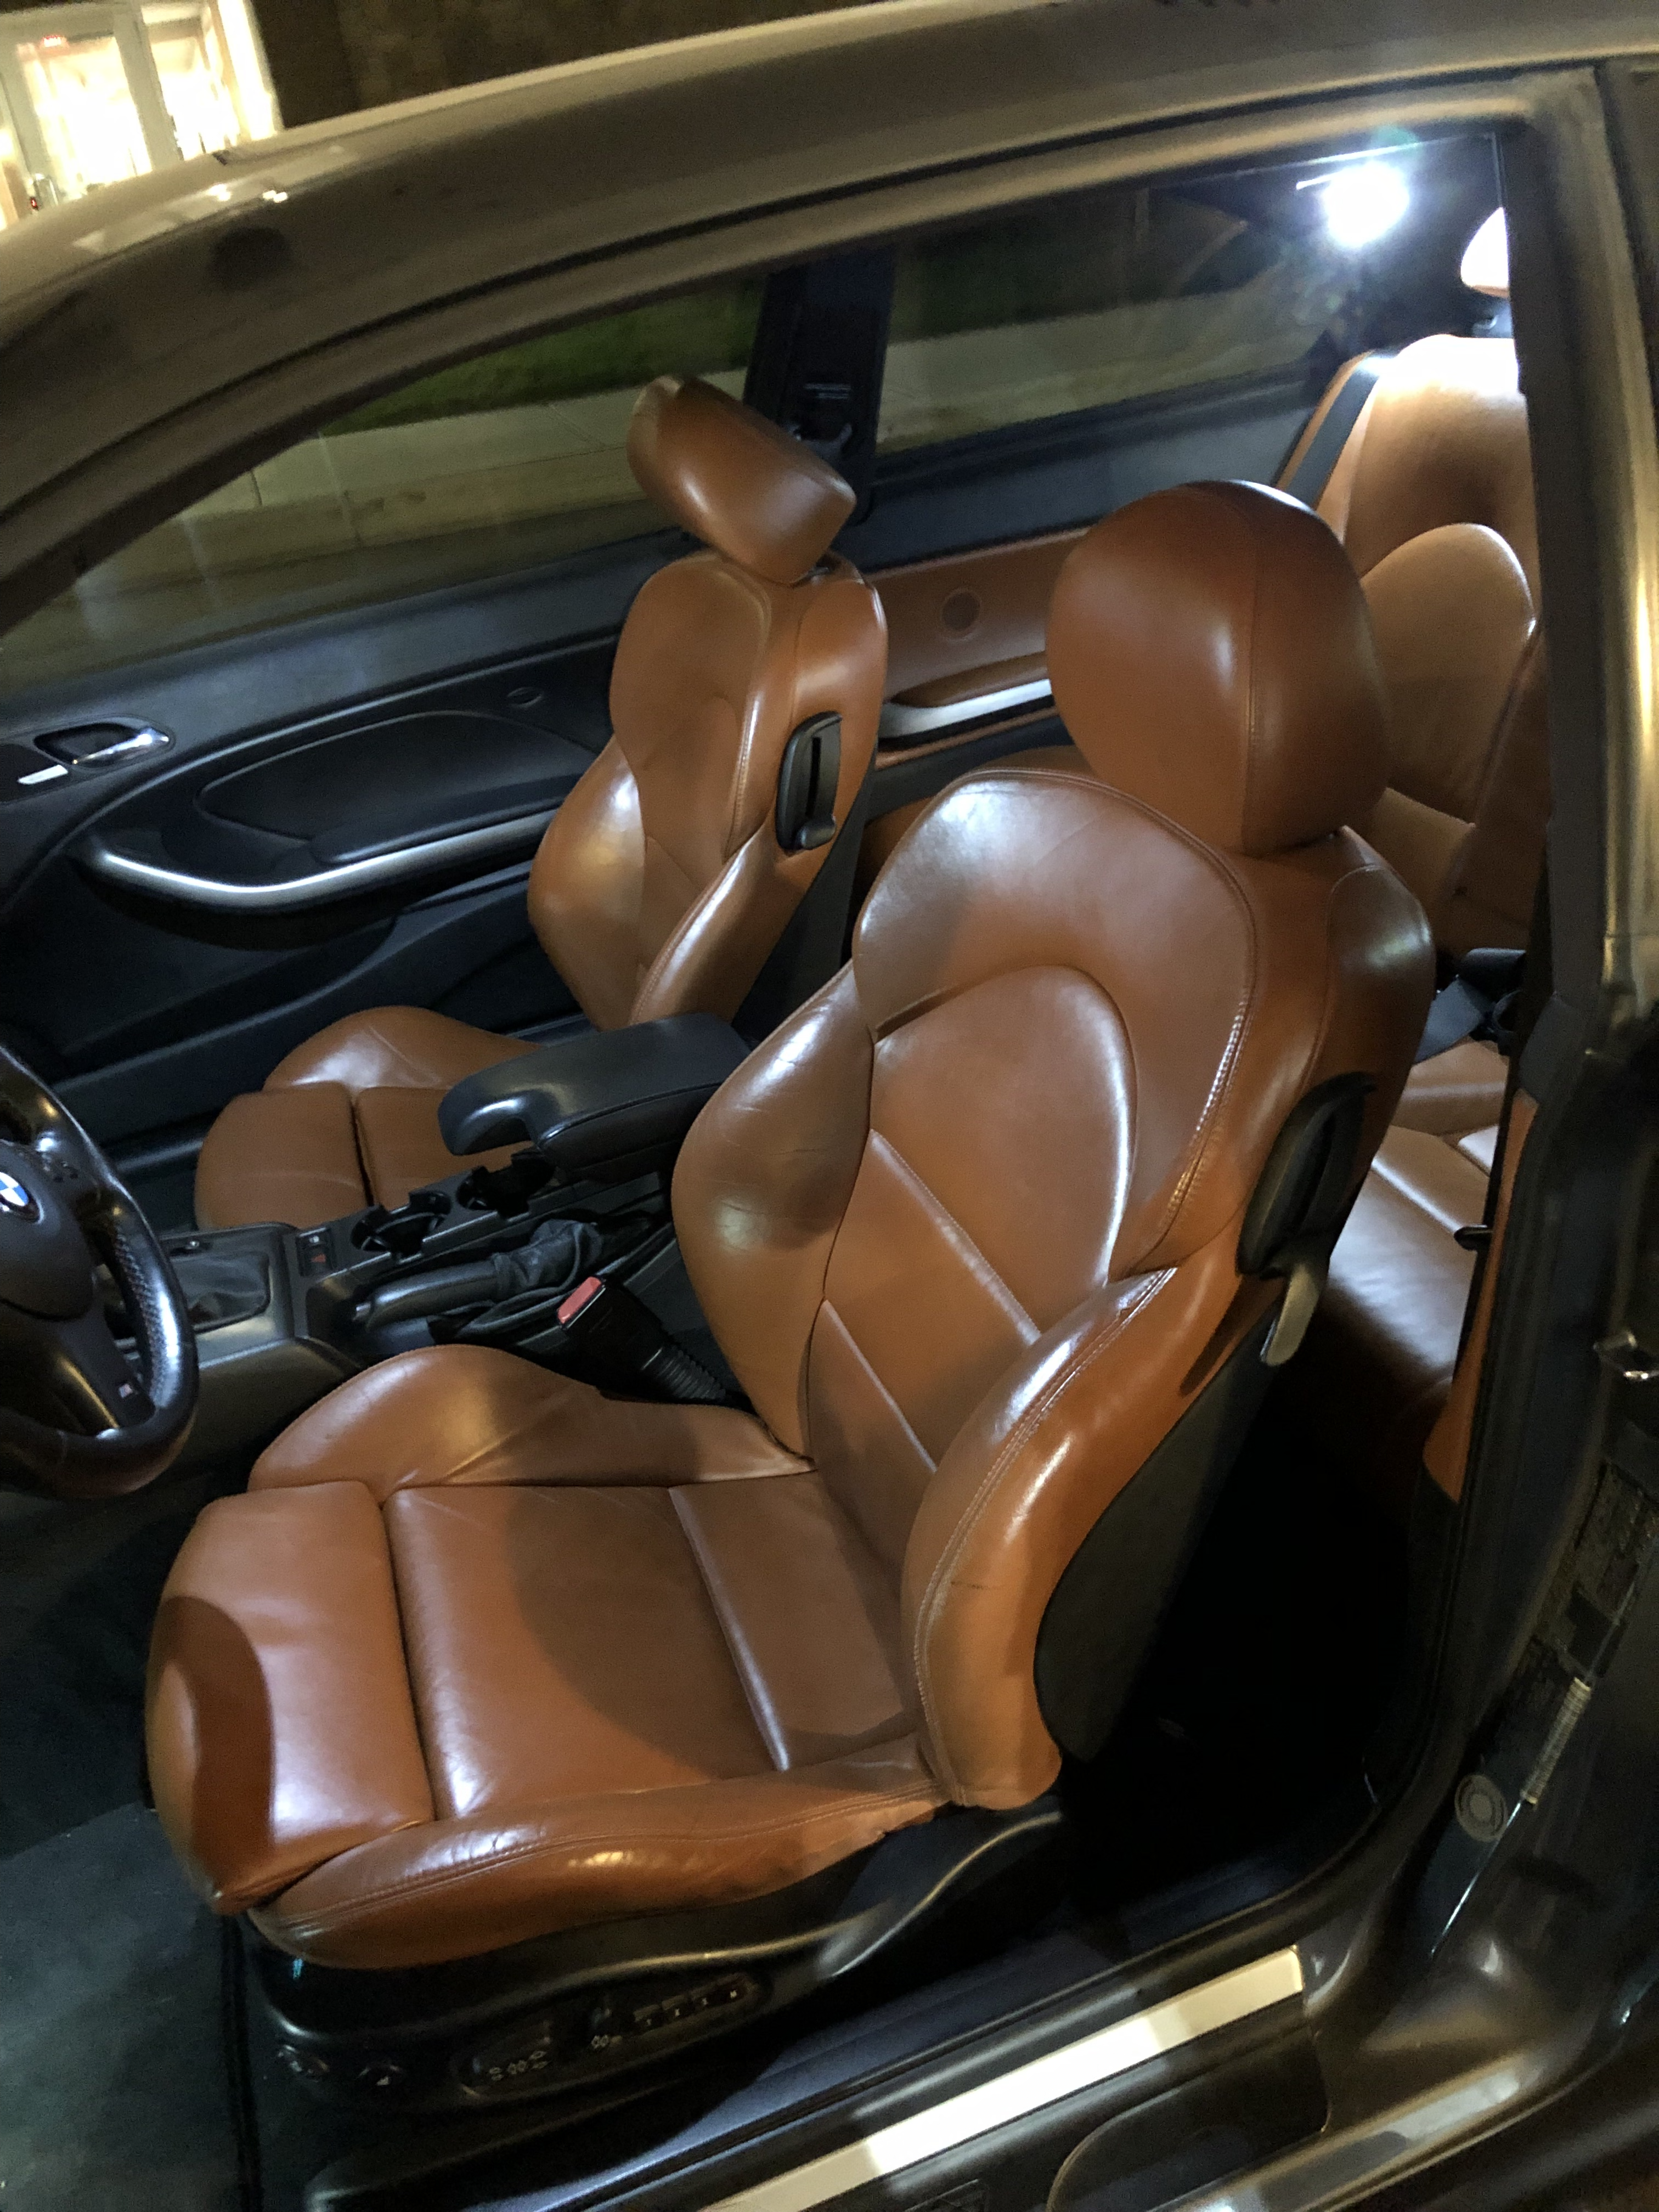
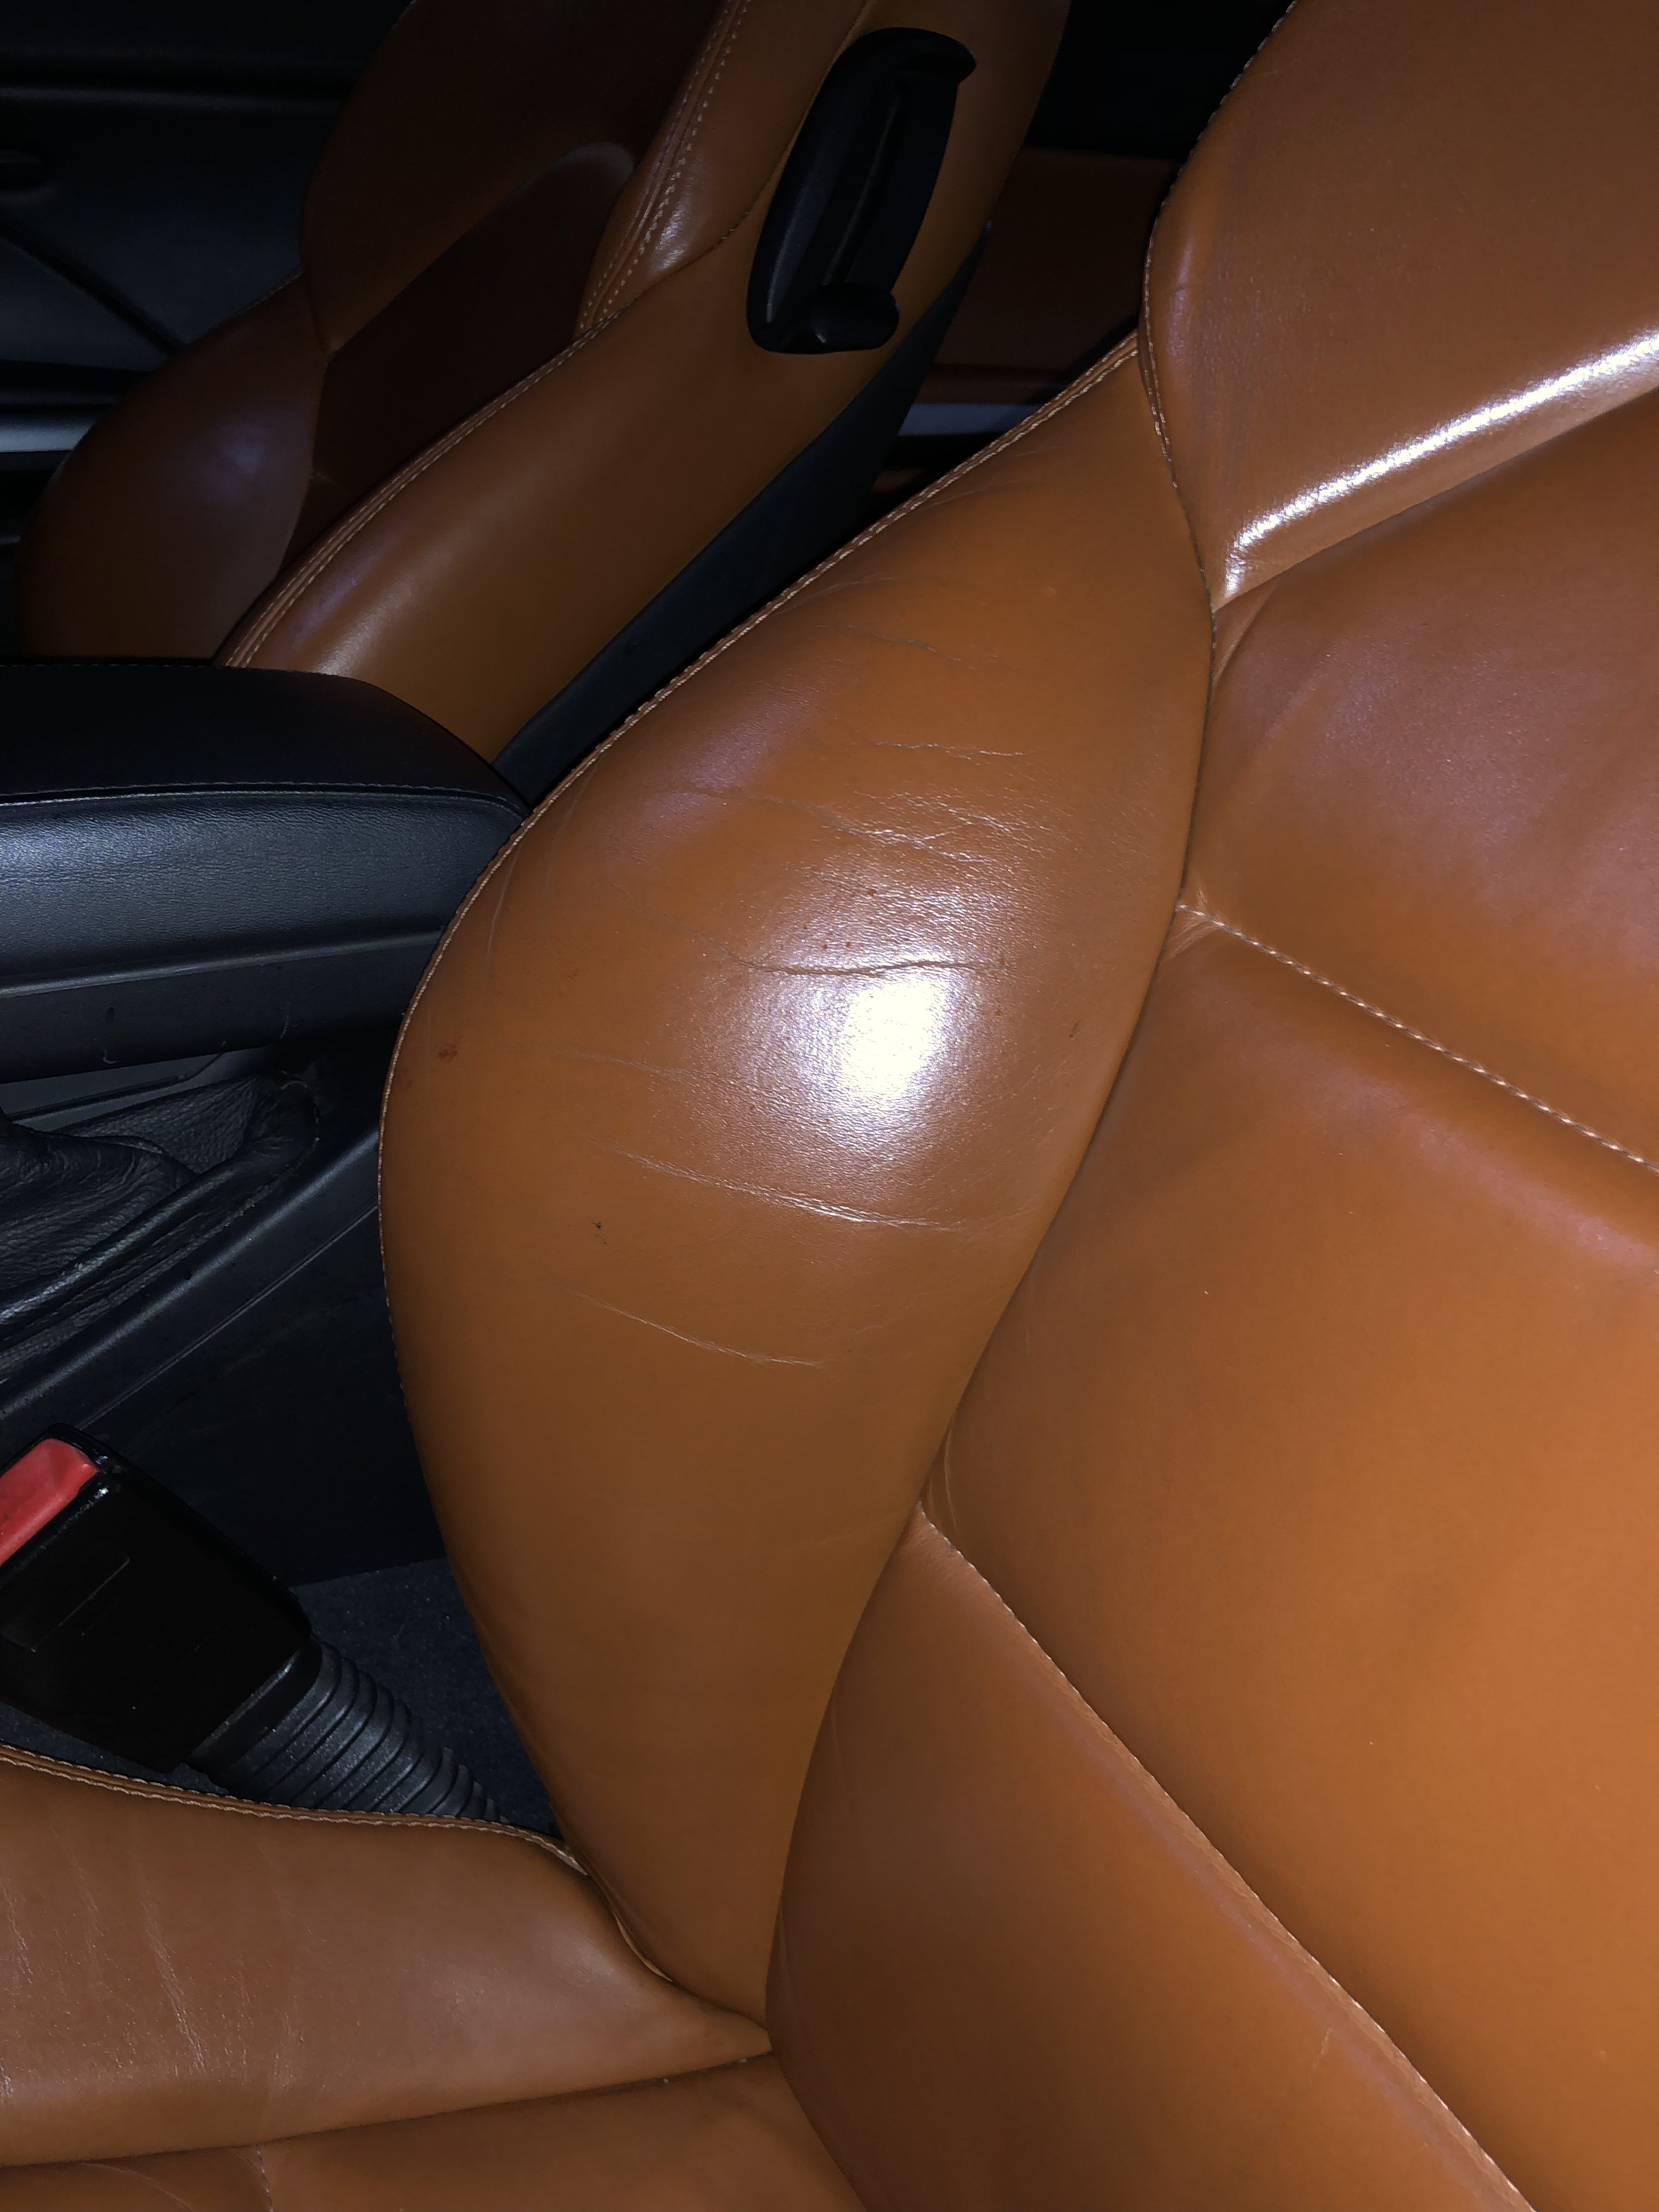
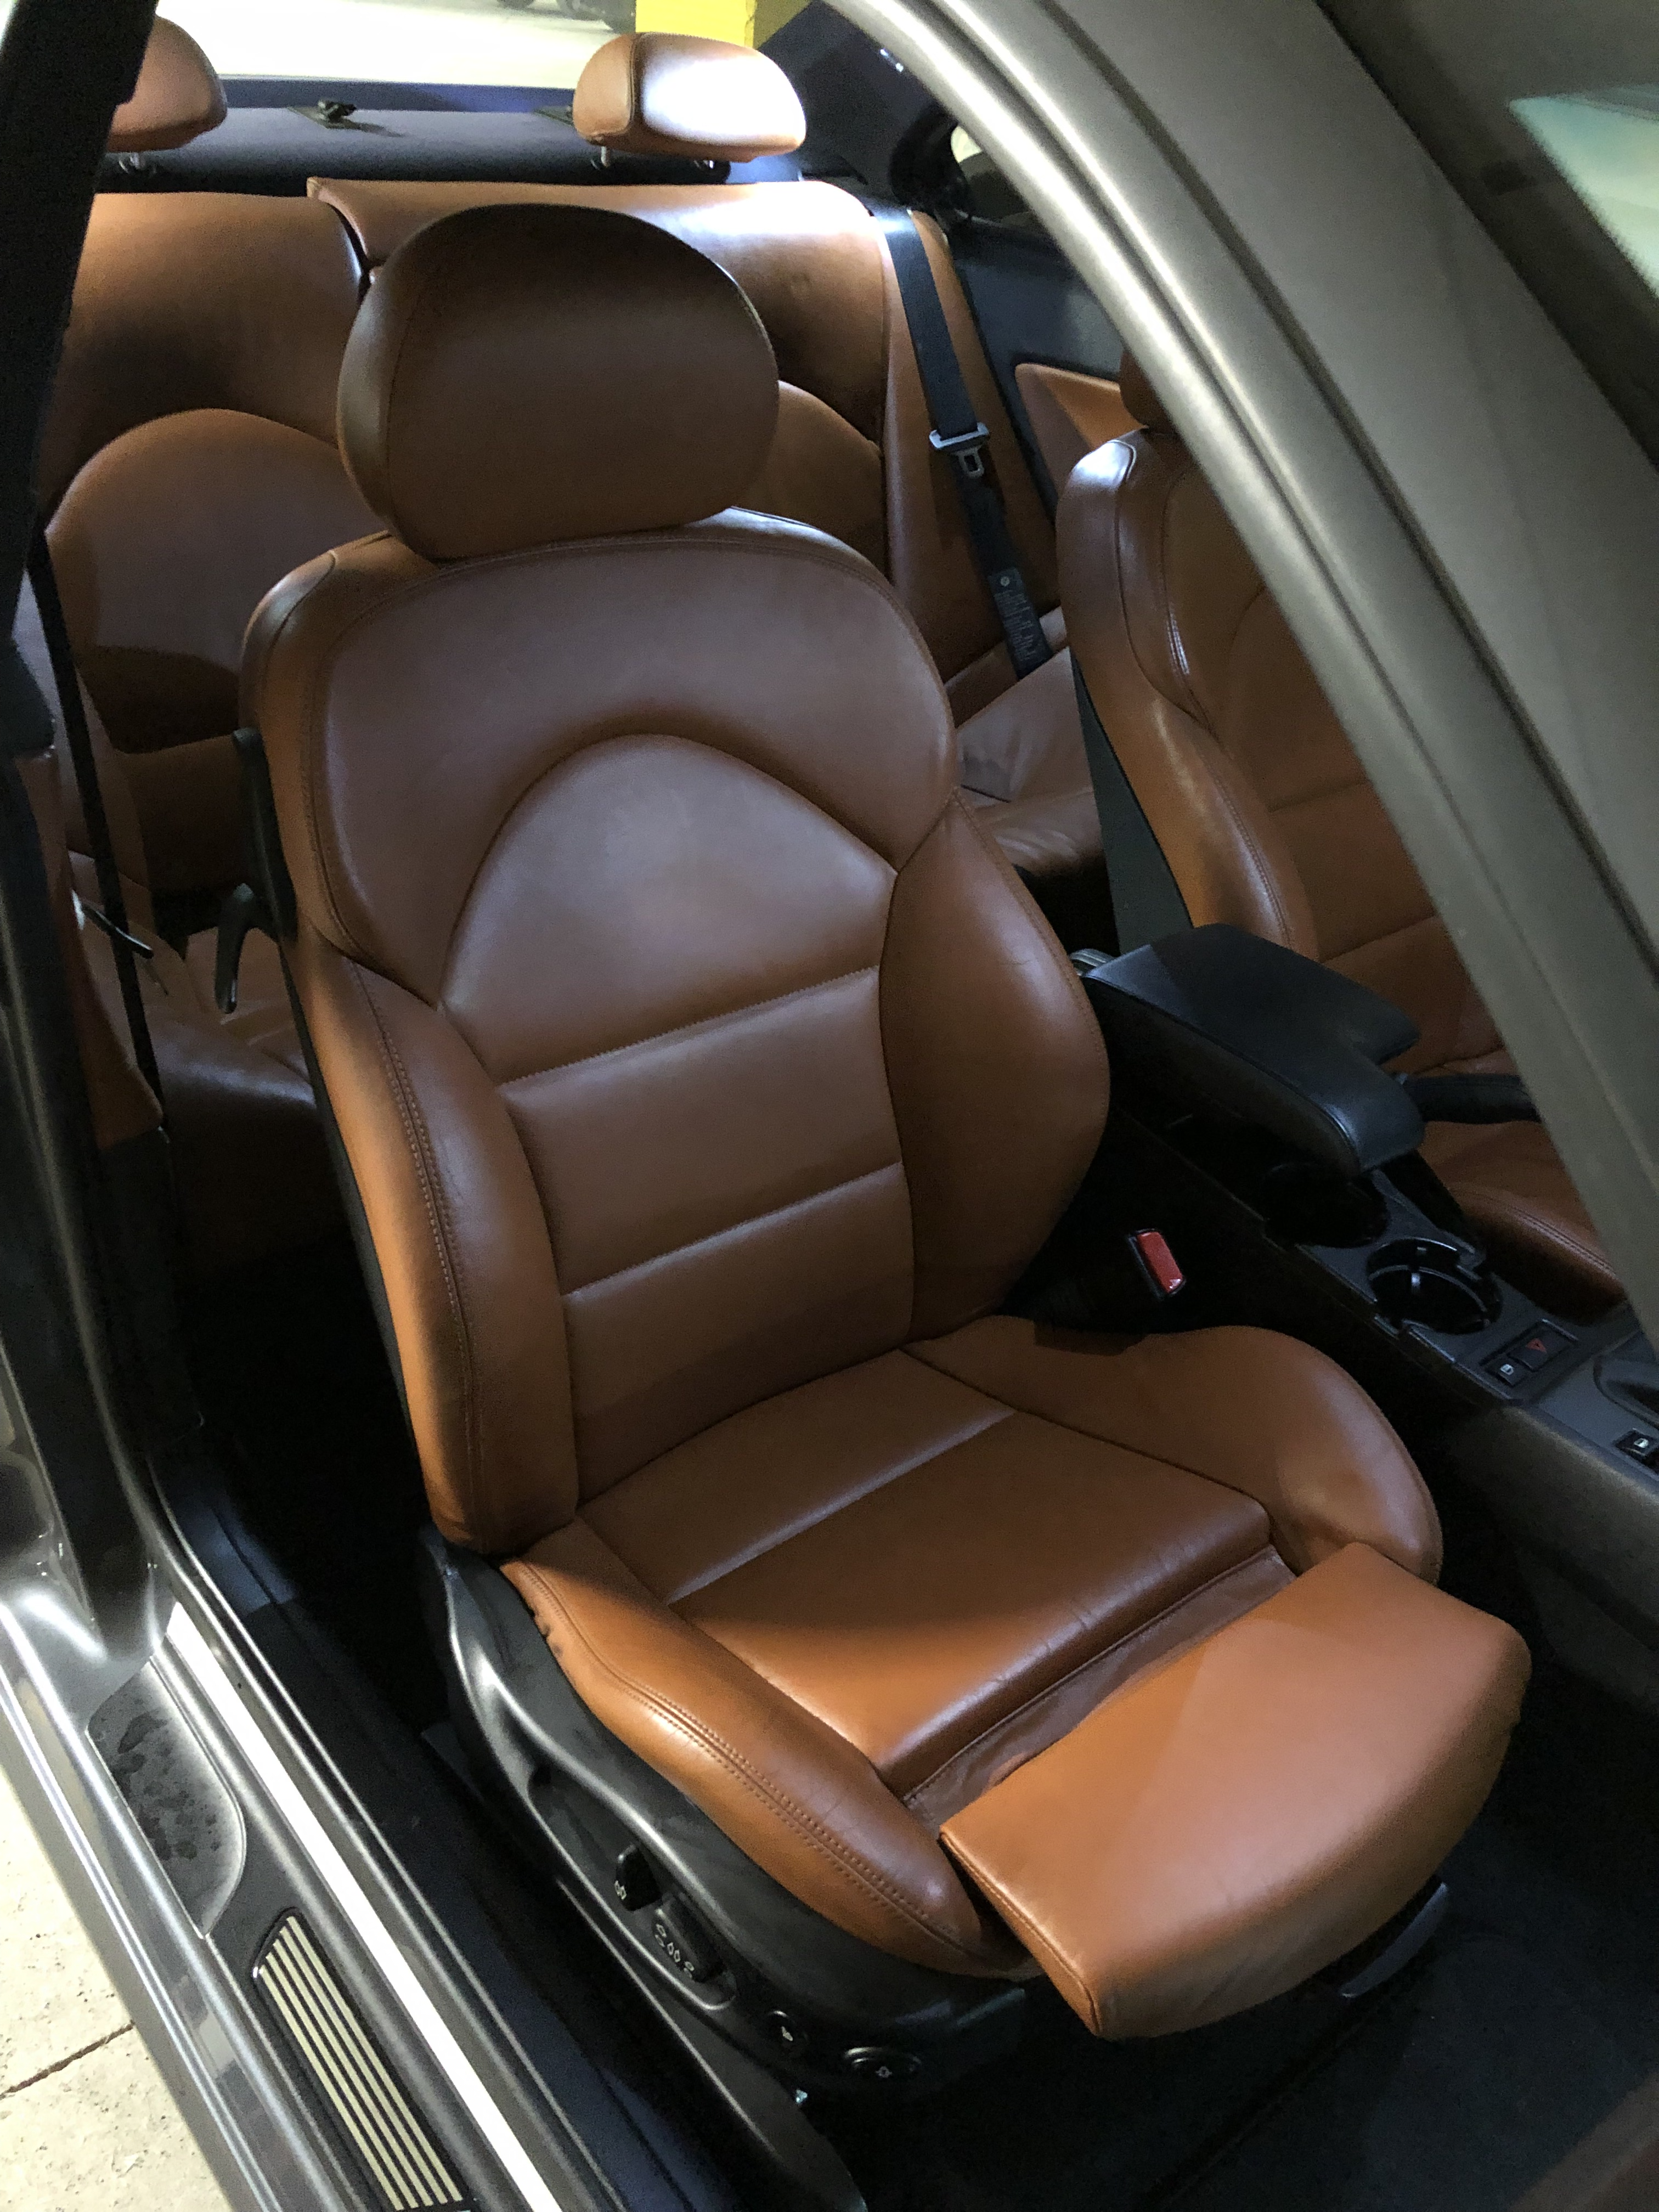
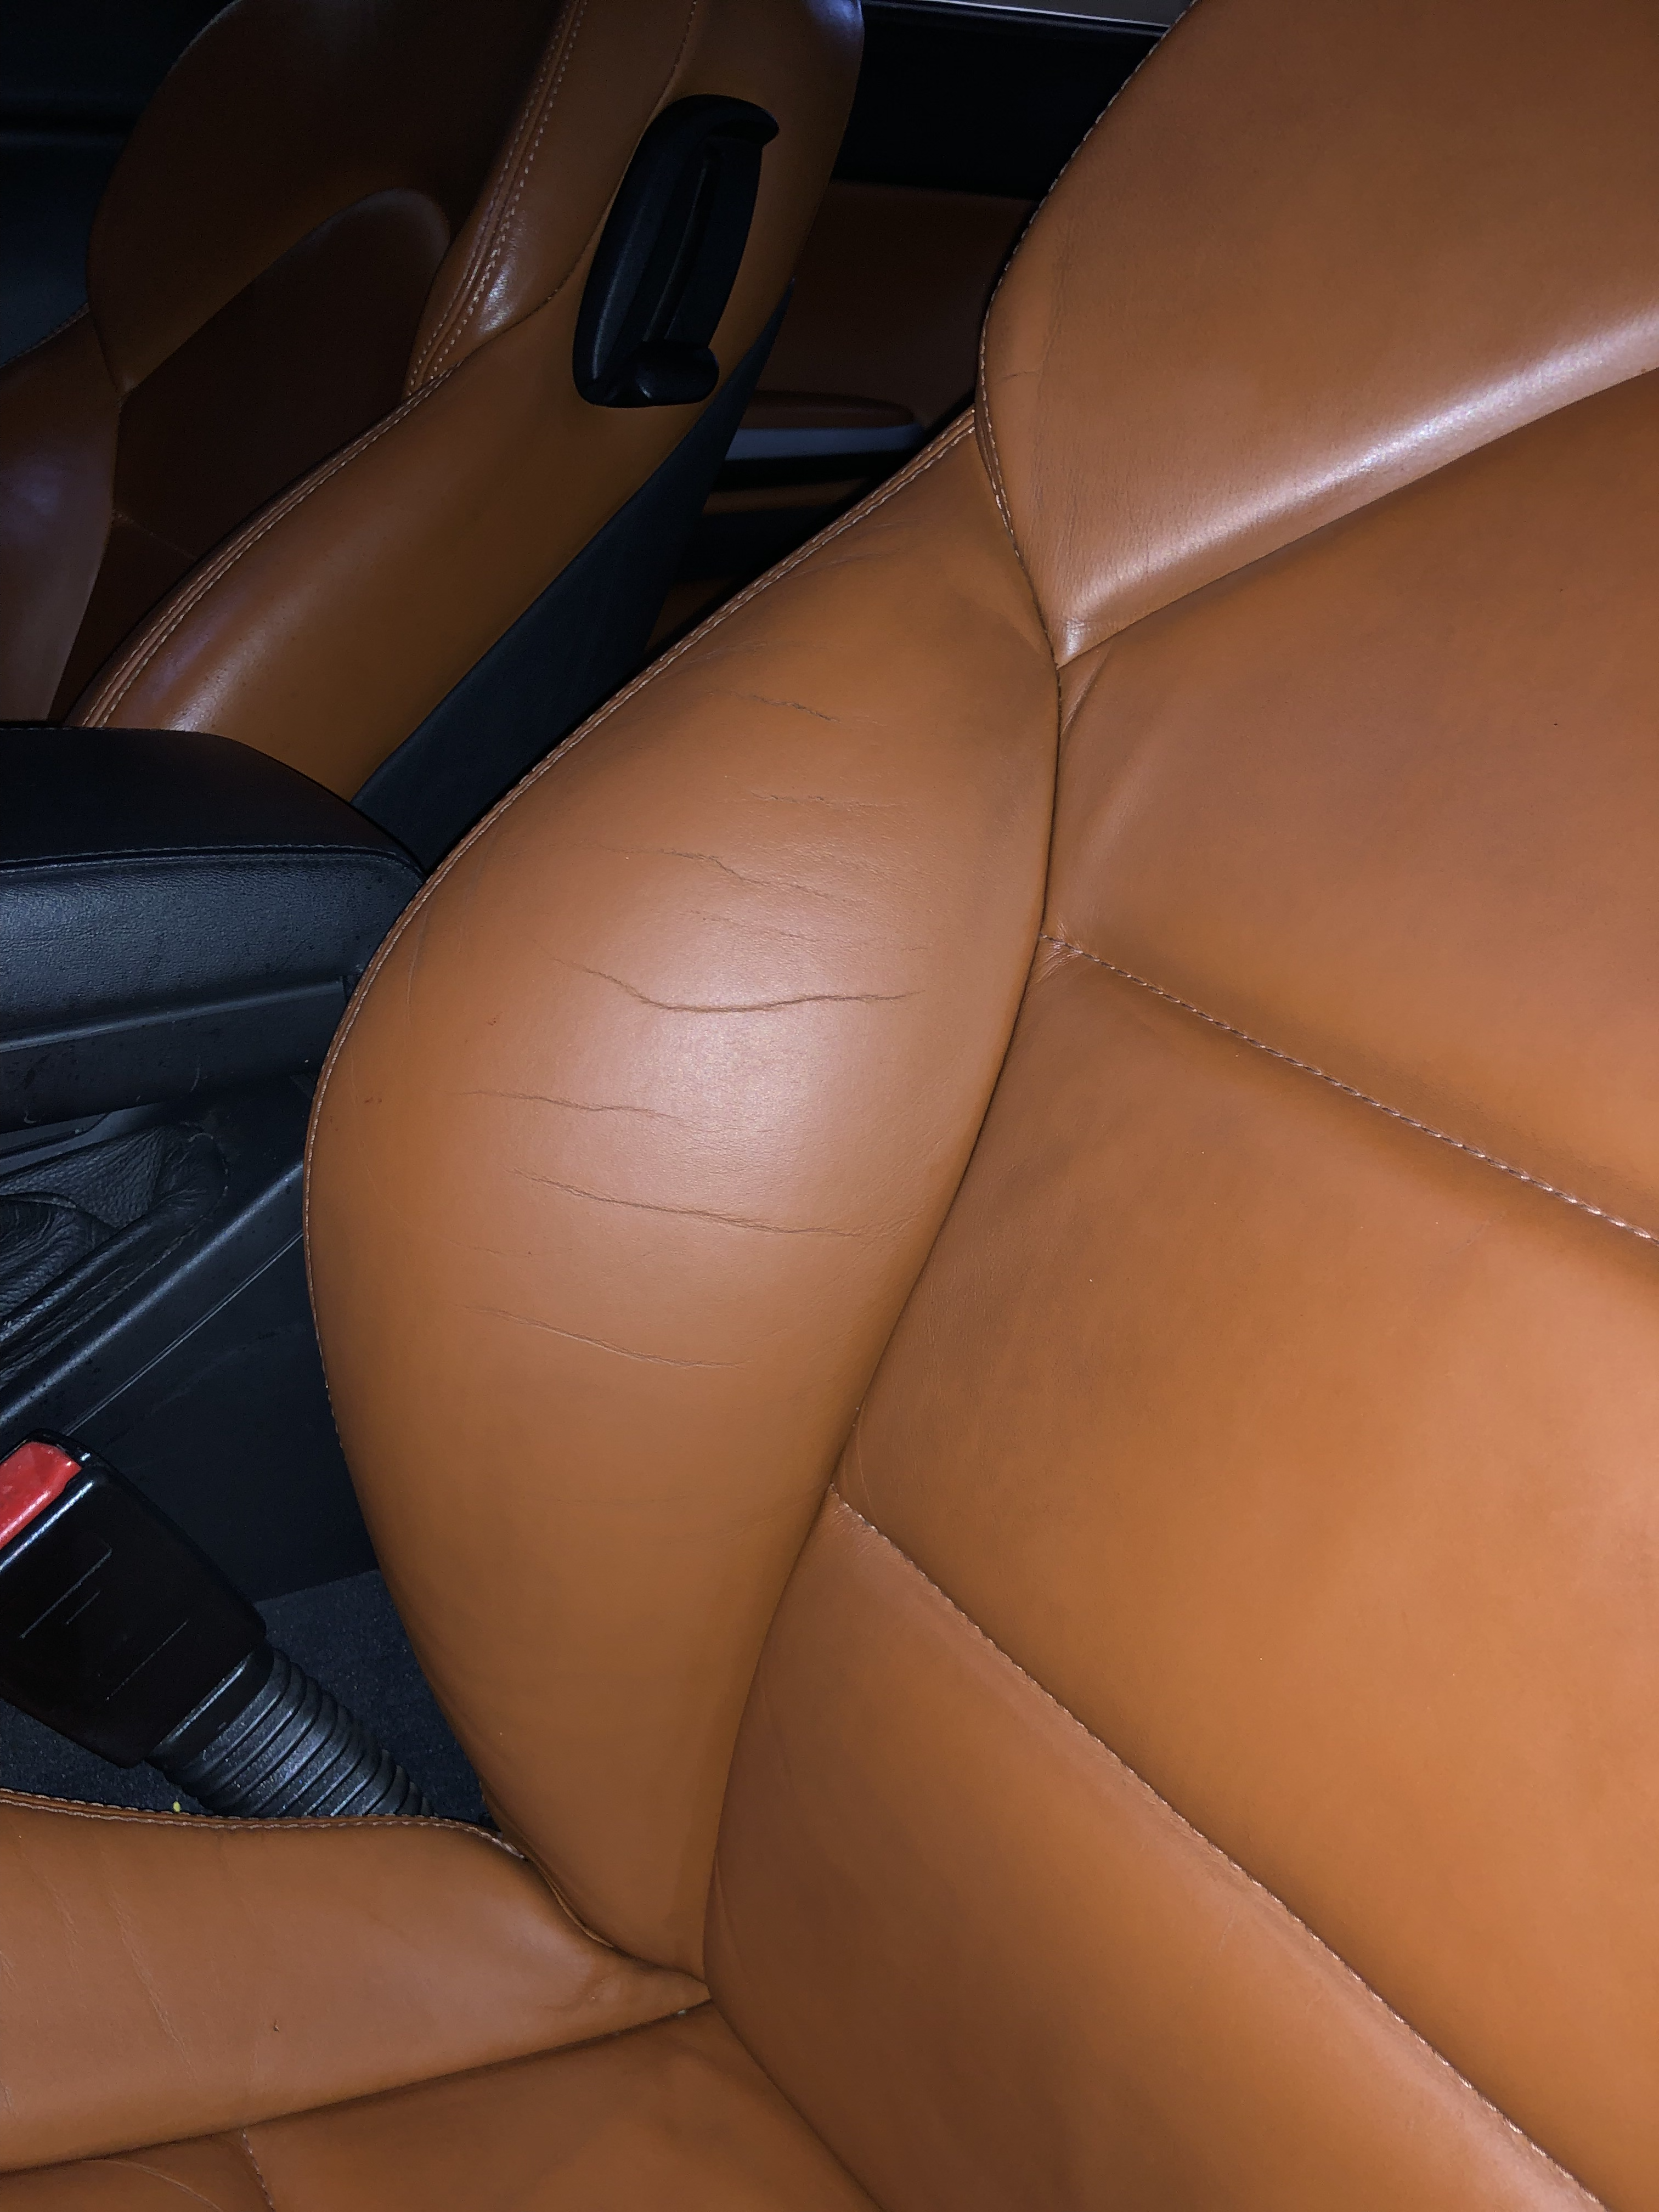
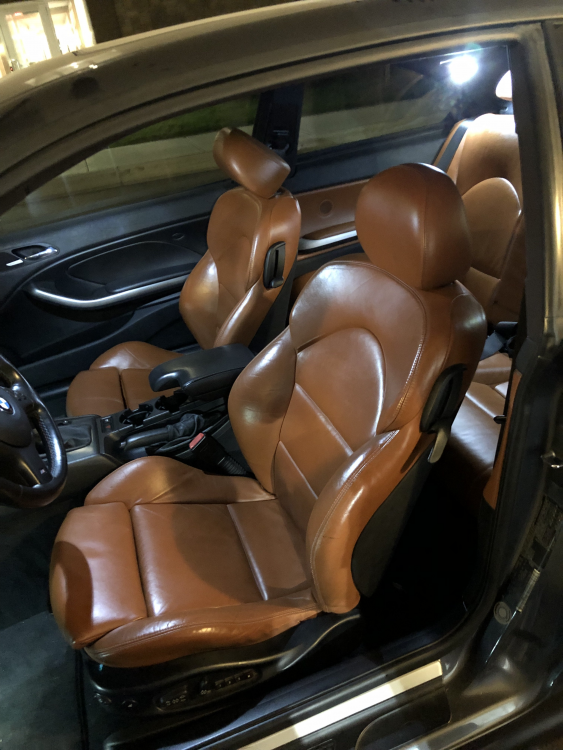
            The seats were REAL shiny. I tried hitting them with some Lexol leather cleaner and a microfiber and it didn't put a dent in it. I know it's a sin, but I VERY carefully used a magic eraser (with zero pressure applied) and Adam's interior detail as lubricant. I was careful to only buff off the oils/grease and not damage the protective "clear coat" layer. Hard to tell from photos, but they look night and day different.

            edit: still need to swap the front door cards, just haven't had time yet

            Before:
            IMG5972.pngIMG5993.png

            After:

            IMG5999.pngIMG5996.png

            1 Reply Last reply
            5
            • GunMetalGreyG
              GunMetalGreyG
              GunMetalGrey
              wrote on last edited by
              #59

              Looks great, its amusing that shiny seats look bad, but yet here we are! 
              The car you got them from was a sweet color combo!

              ...

              1 Reply Last reply
              0
              • pynaclP
                pynaclP
                pynacl
                wrote on last edited by
                #60

                GunMetalGrey said:

                Looks great, its amusing that shiny seats look bad, but yet here we are! 
                The car you got them from was a sweet color combo!

                Haha right? We want everything else shiny, except for those!
                 

                Definitely agree the donor was a sweet spec. Unfortunately it has rear trunk floor and major quarter panel damage from the wreck so it’s just not worth saving. Although it was “rebuilt”, and you can’t tell from the outside, the quarter panel has major bondo and the trunk floor has signs it’s folded in before. Might make a cool drift car or something!

                1 Reply Last reply
                0
                • pynaclP
                  pynaclP
                  pynacl
                  wrote on last edited by
                  #61

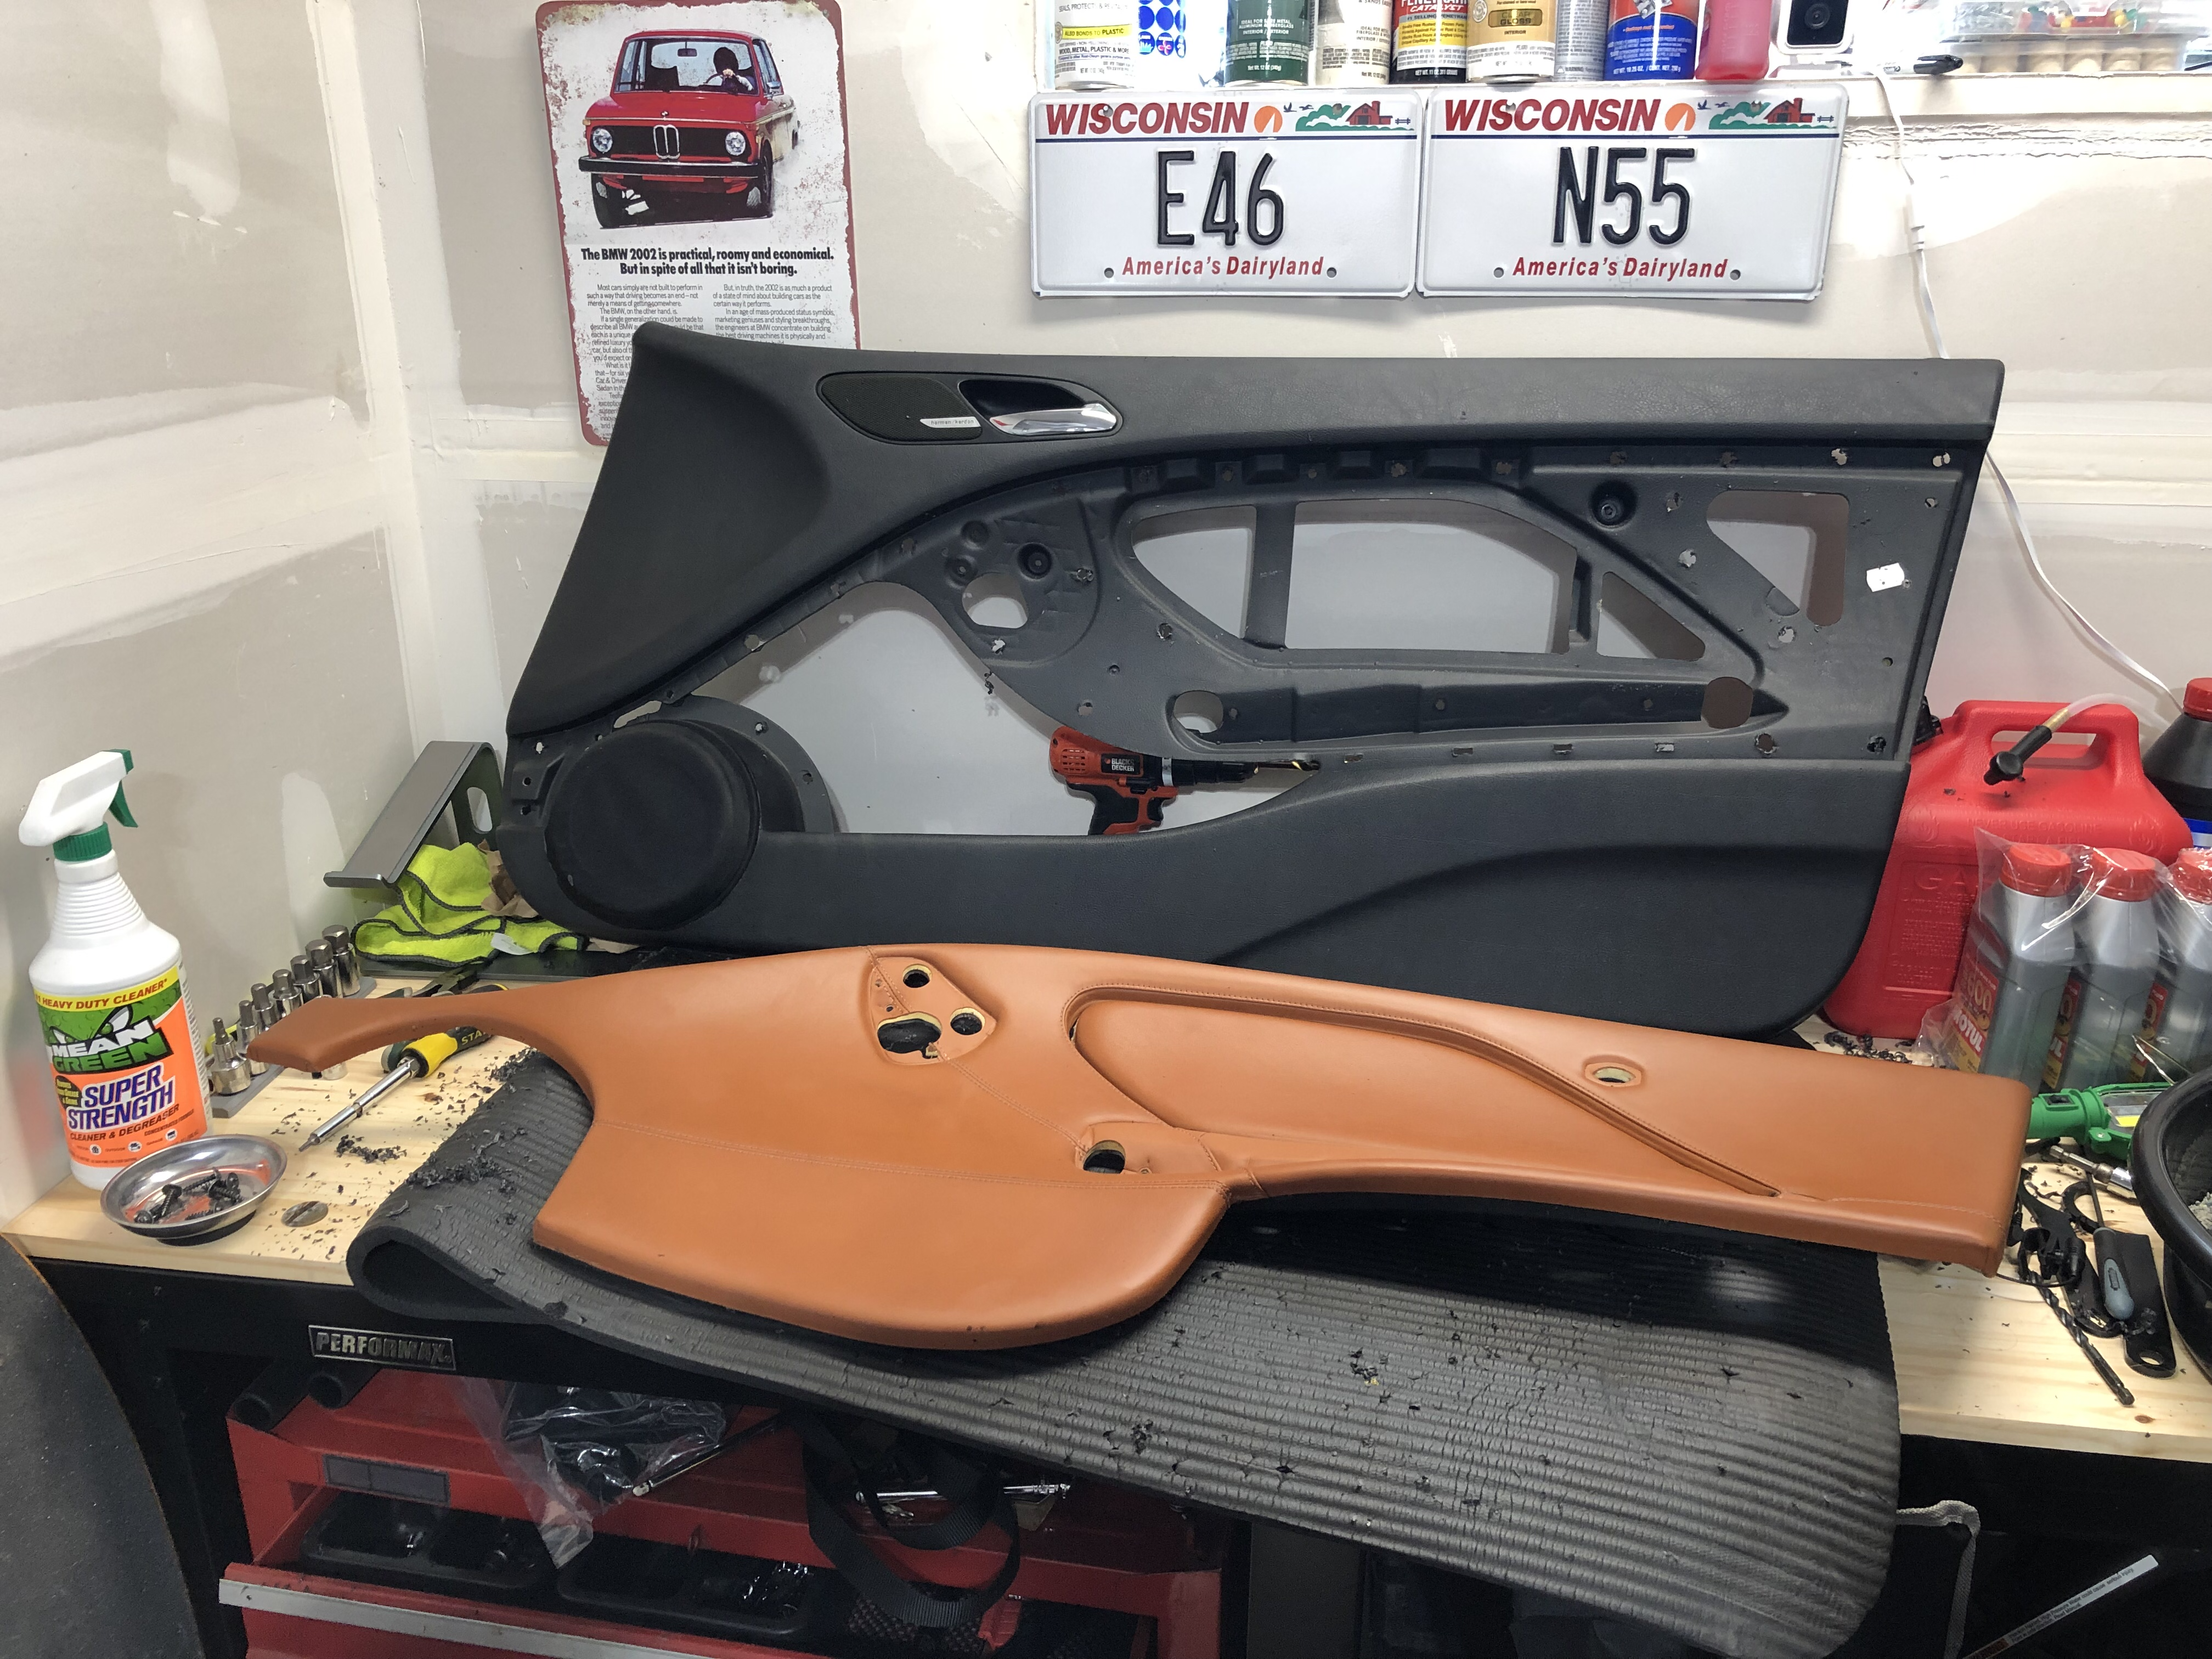
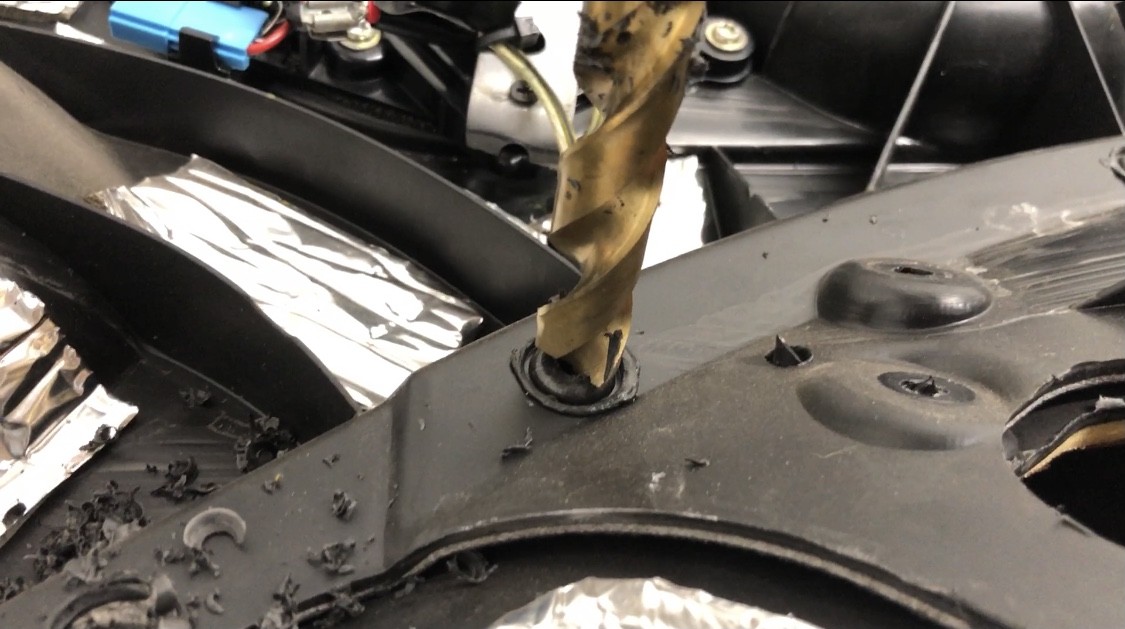
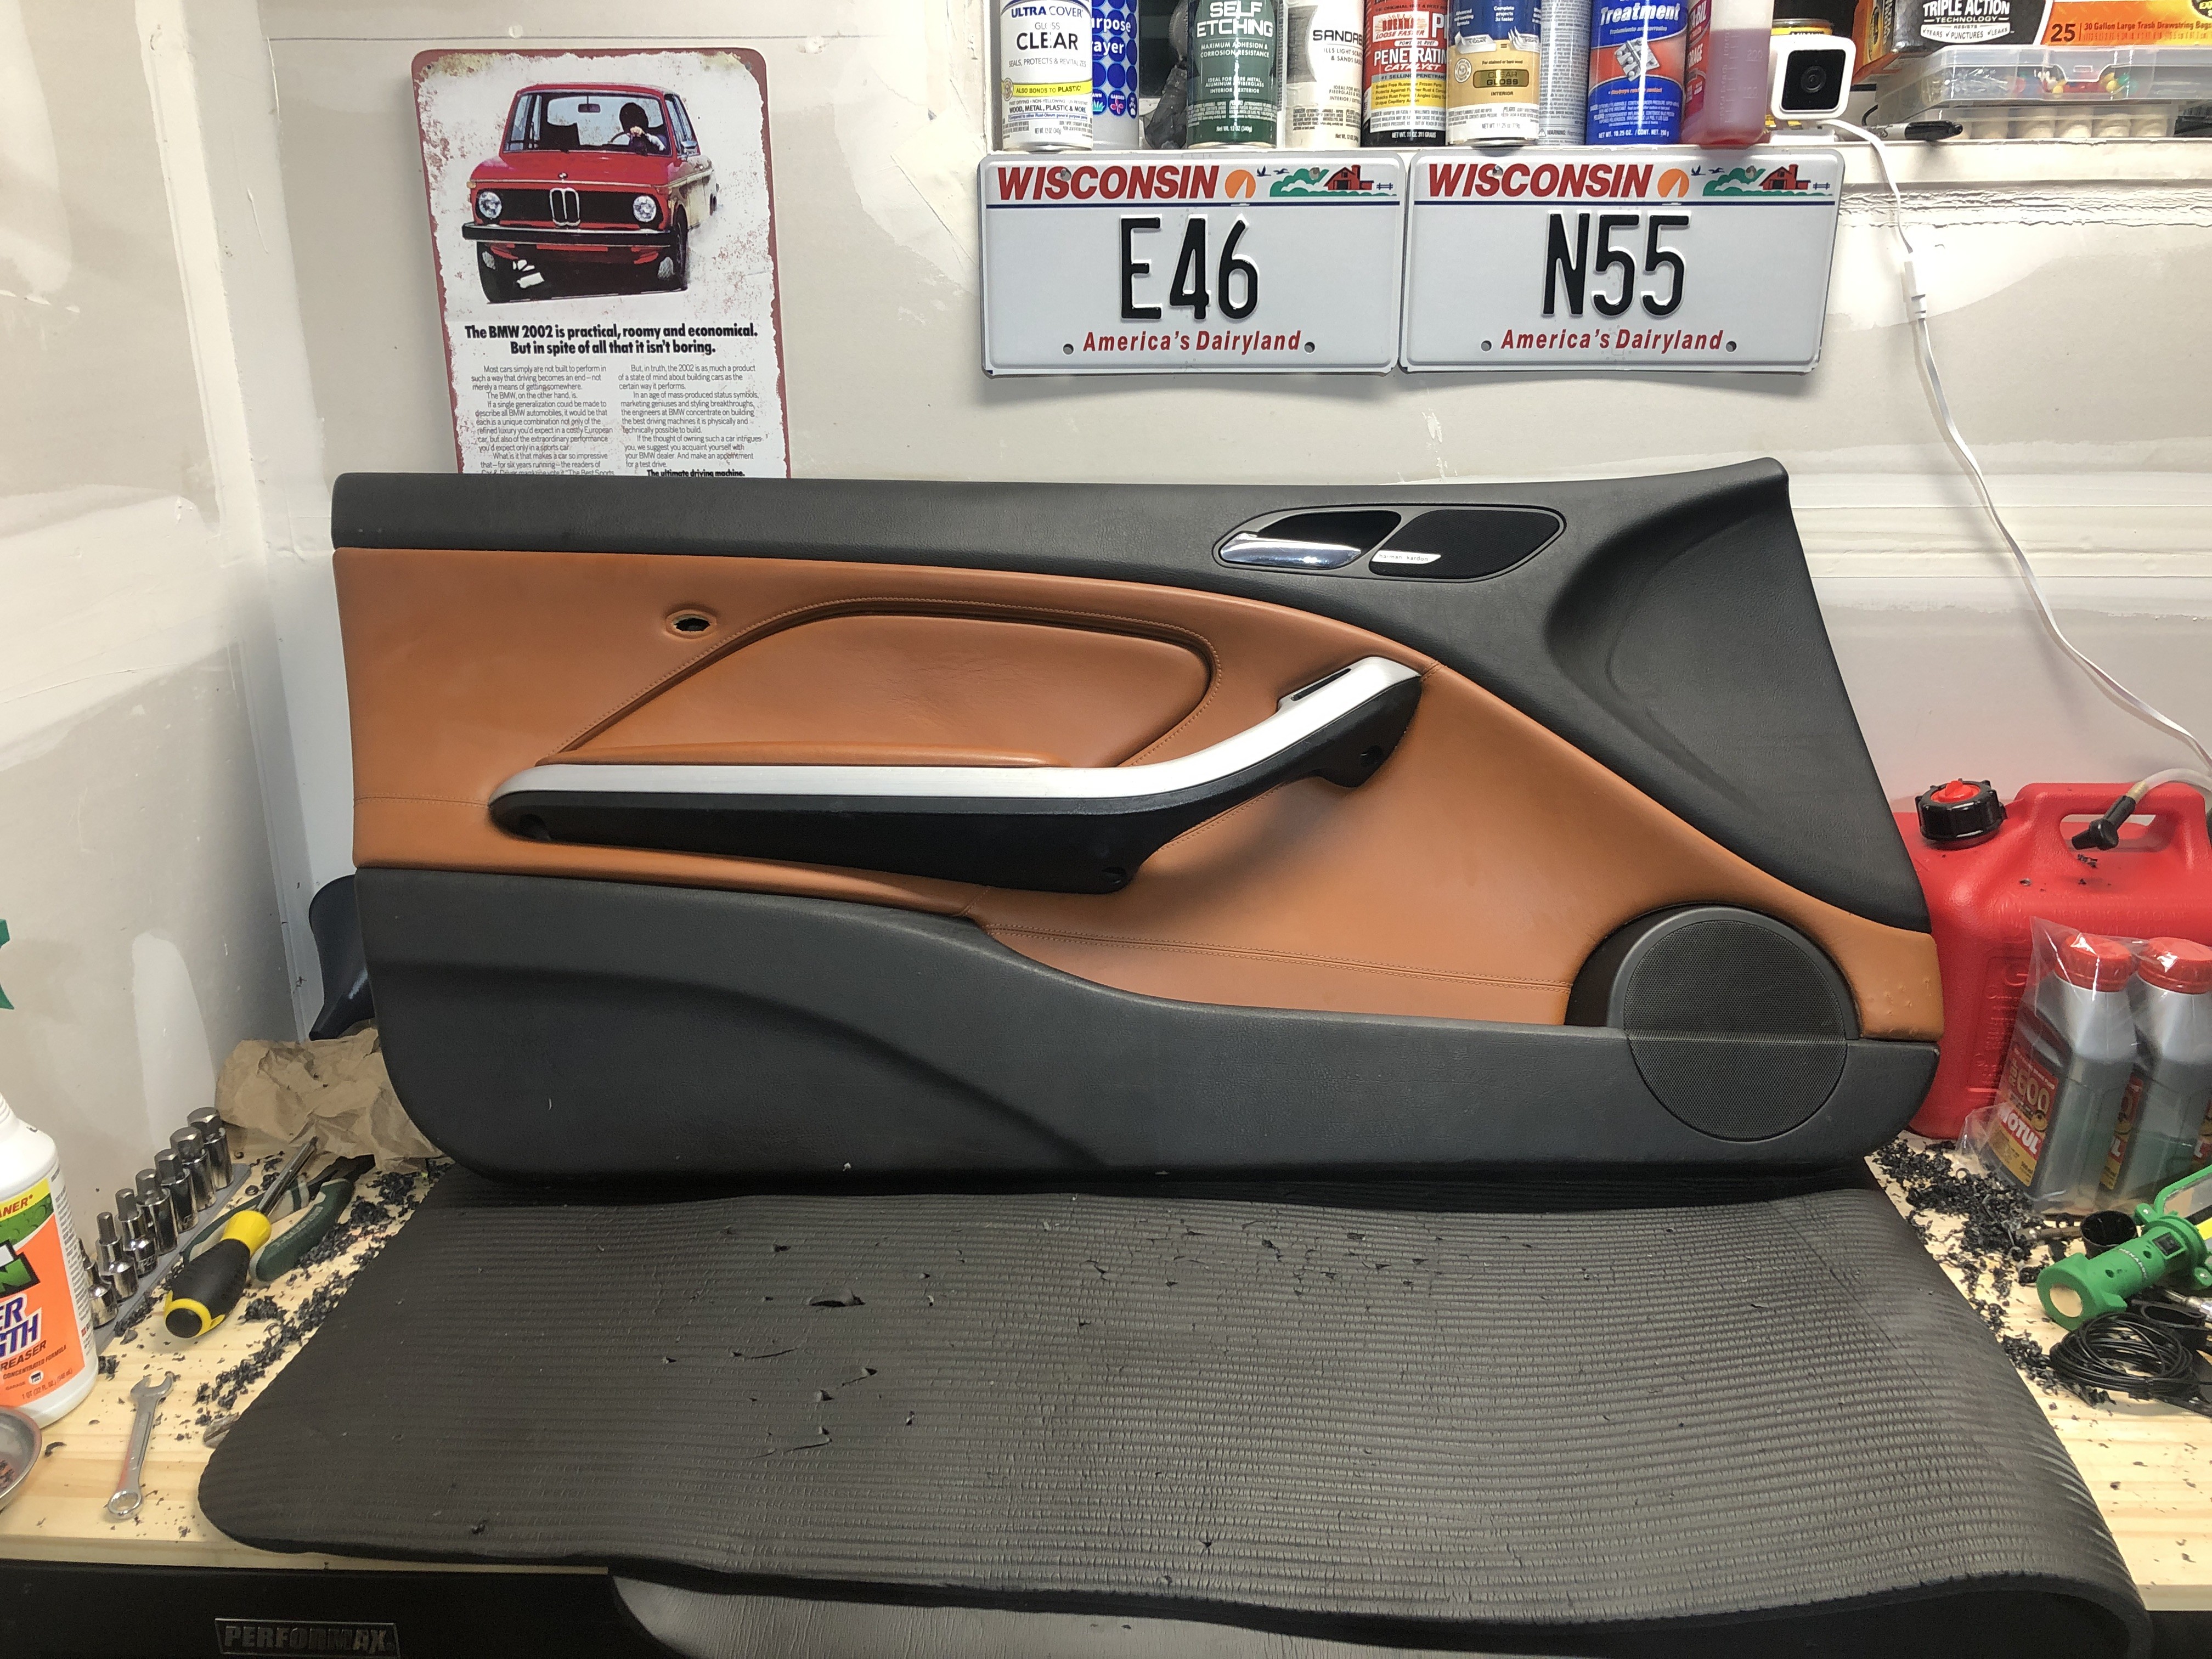
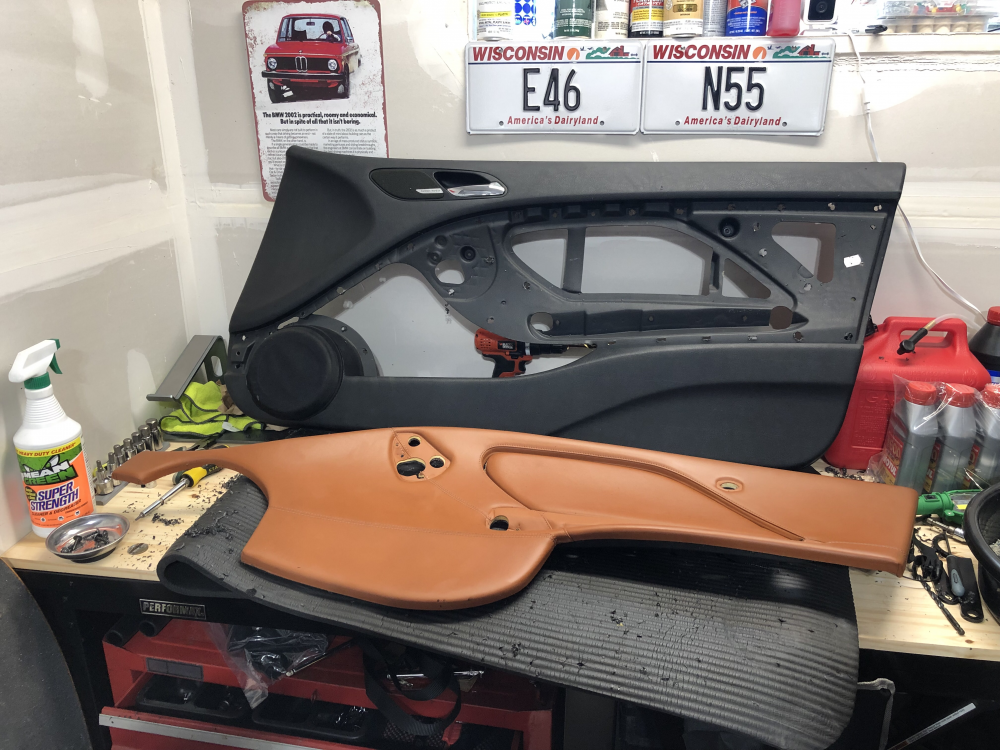
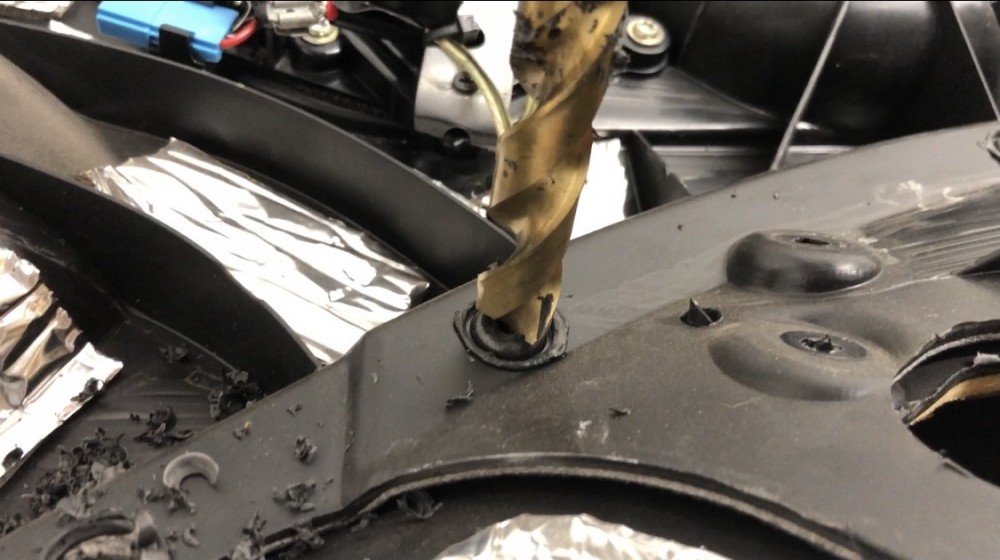
                  Saved the door cards for last since they were going to be the most involved. The previous owner cut the door cards for some janky ass aftermarket speakers, and used what looks like wood glue and  Joann Fabrics clearance shelf felt to put it back together. So it wasn't going to be as simple as swapping door cards. The good news is the damage was exclusively the door card, and not the cinnamon insert. I was able to use a 1/2" drill to drill out the 25 or so plastic welds holding the pieces together and get the cinnamon off in perfect shape. Now I just have to do this a few more times and swap all the panels, then use some very short self tappers/glue to re-secure them in my good condition door cards.
                  IMG6059.png

                  1 Reply Last reply
                  0
                  • i_love_carsI
                    i_love_carsI
                    i_love_cars
                    wrote on last edited by
                    #62

                    did you get rid of the donor car yet? 

                    If not, do you think the person buying it would be ok if I took a couple bits? My imola M3 needs a new passenger rocker panel and side mirror caps.

                    IMG6593.jpg

                    2011 E92 M3 6MT ZCP - ESS 625 supercharged
                    2007 Z4MR 
                    2003 E39 M5
                    2002 E46 M3
                    2021 X5 40i

                    1 Reply Last reply
                    1
                    • pynaclP
                      pynaclP
                      pynacl
                      wrote on last edited by
                      #63

                      i_love_cars said:

                      did you get rid of the donor car yet? 

                      If not, do you think the person buying it would be ok if I took a couple bits? My imola M3 needs a new passenger rocker panel and side mirror caps. 

                      I didn’t get rid of it yet, but I’ll have to check the condition of those in the morning when it’s light out. I honestly can’t remember if those are in good shape or not

                      1 Reply Last reply
                      0
                      • pynaclP
                        pynaclP
                        pynacl
                        wrote on last edited by
                        #64

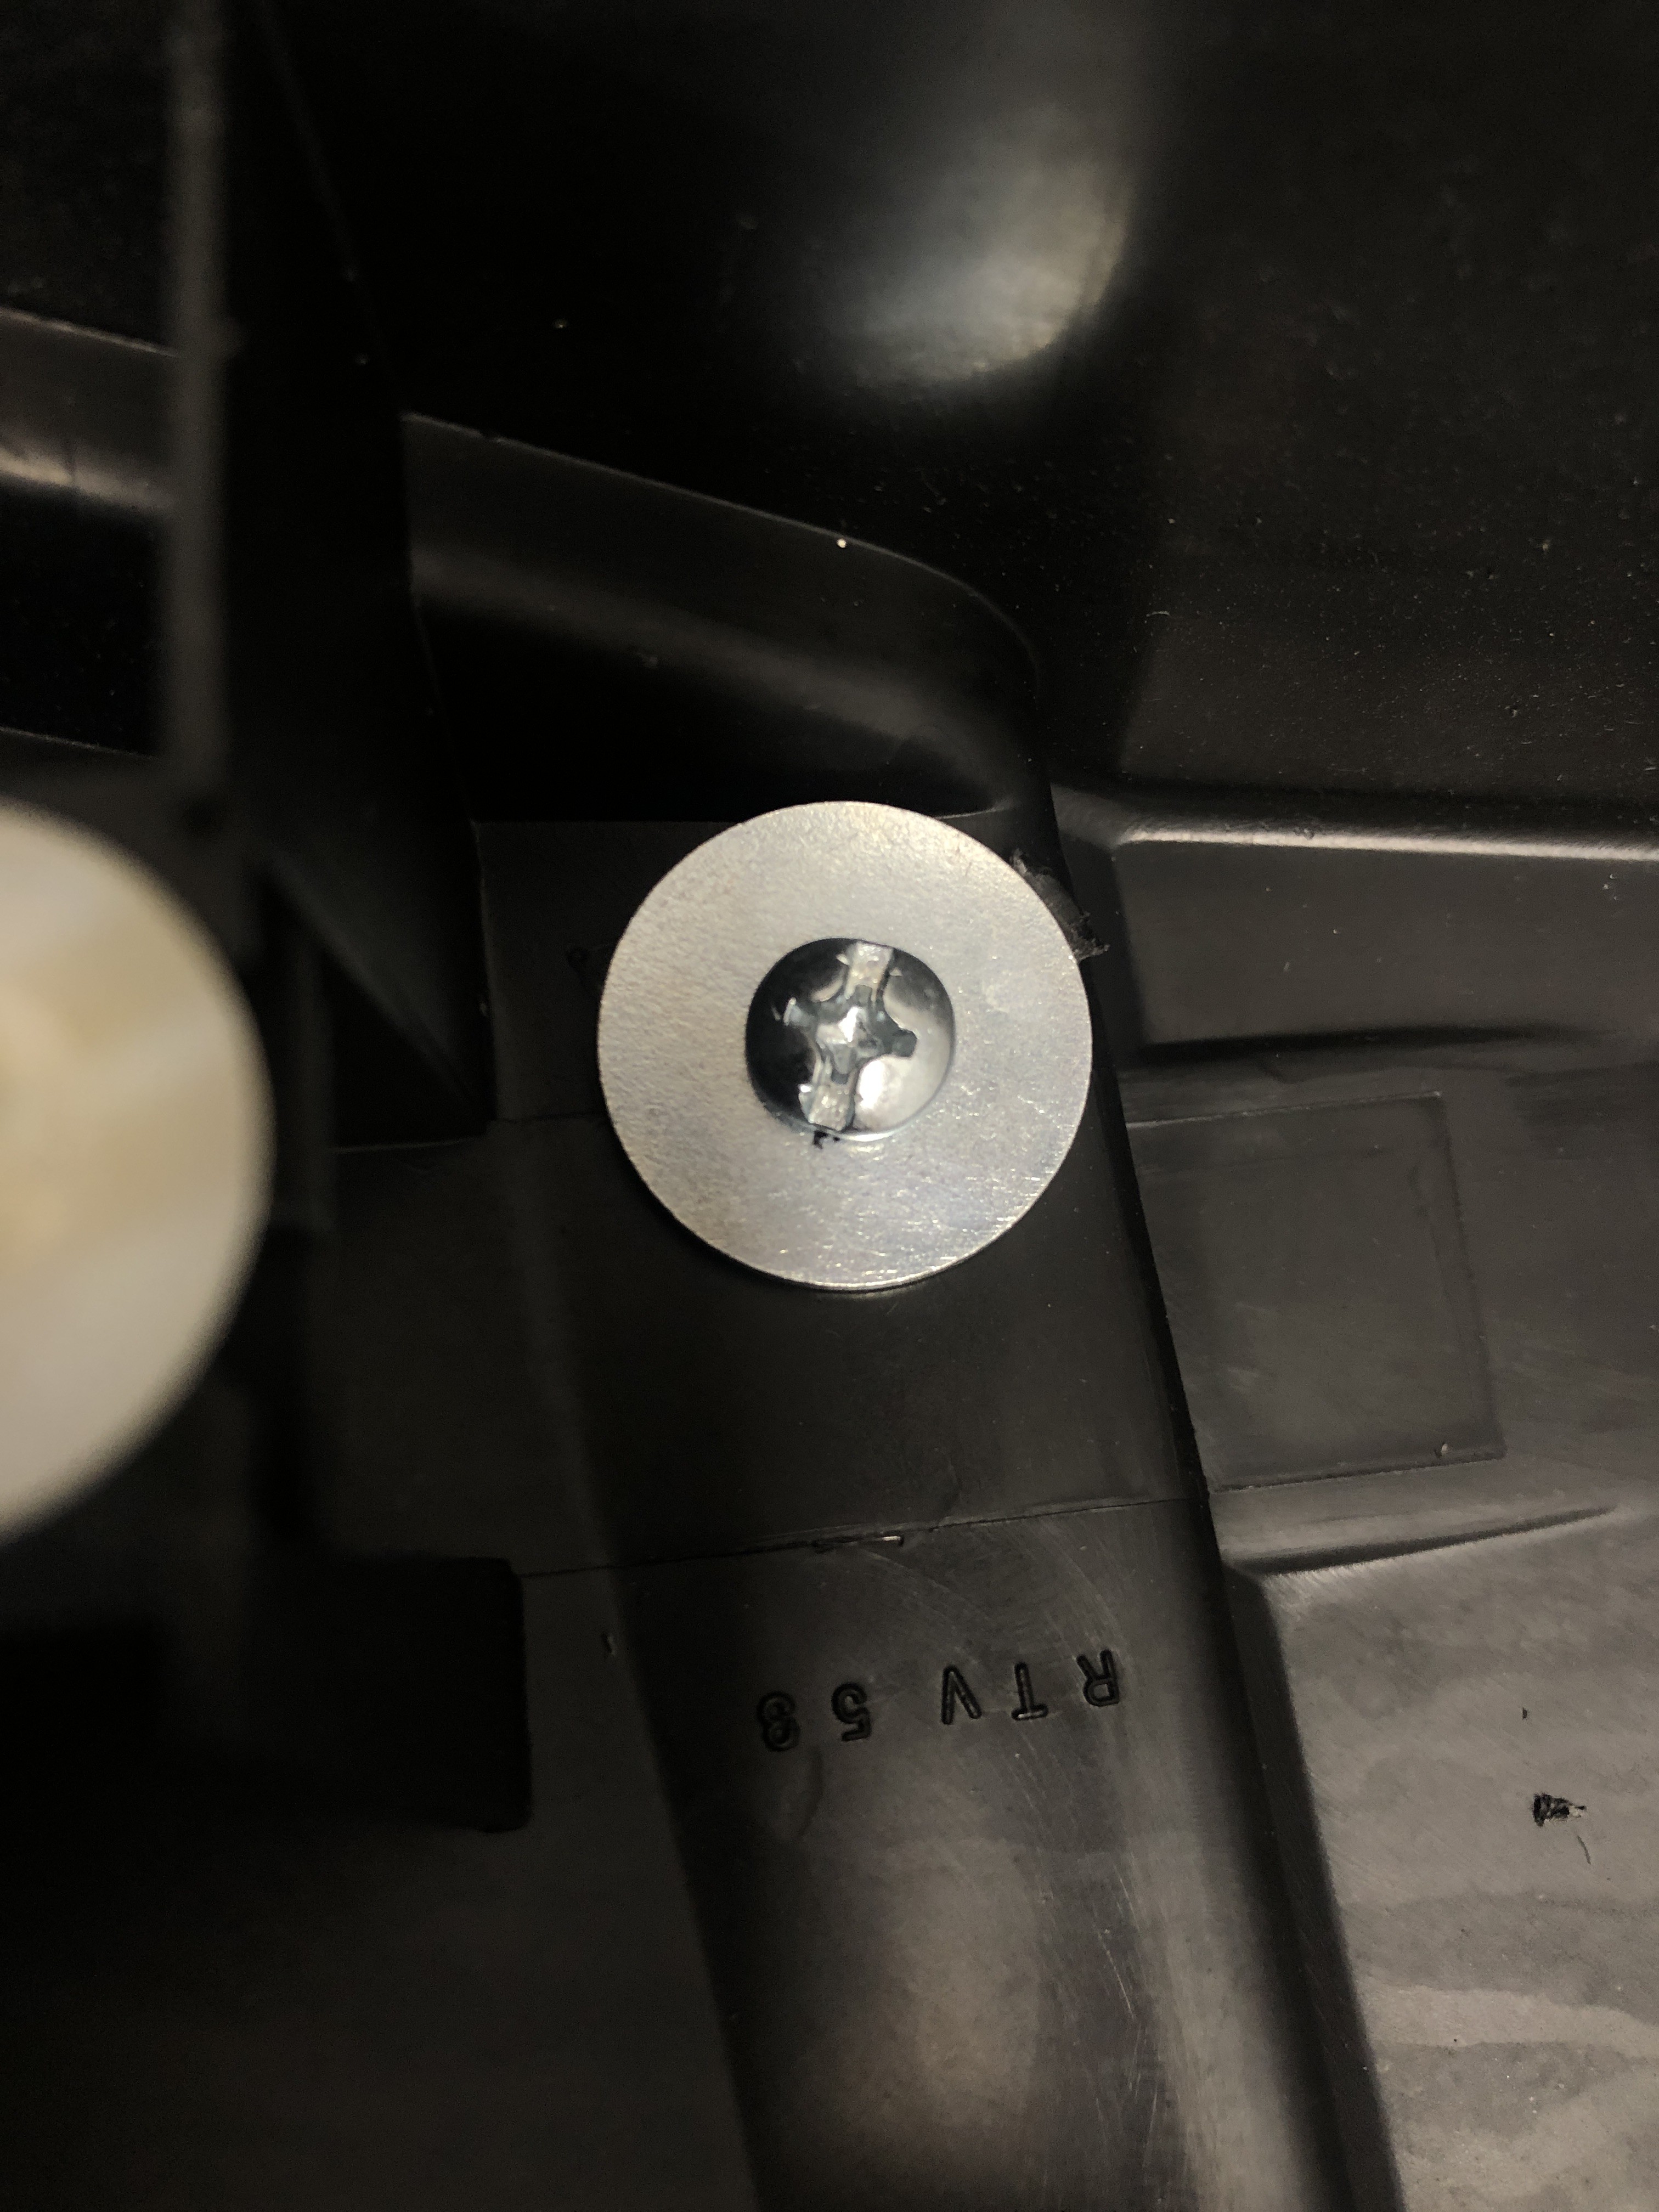
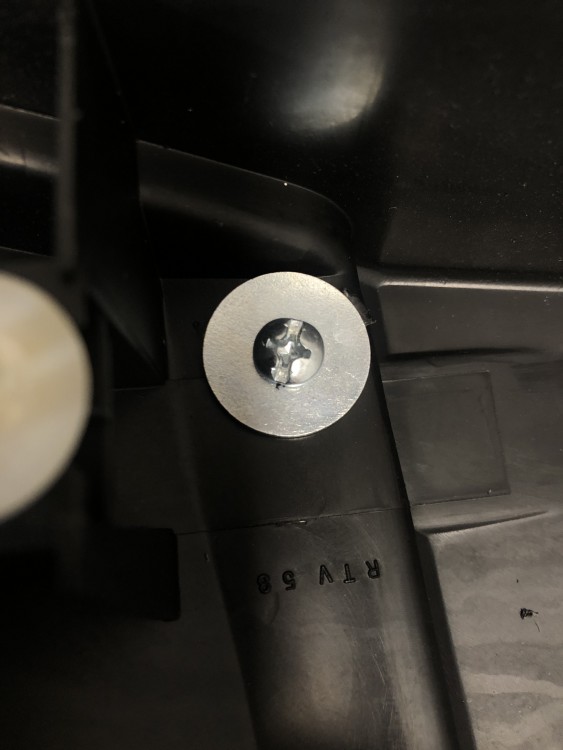
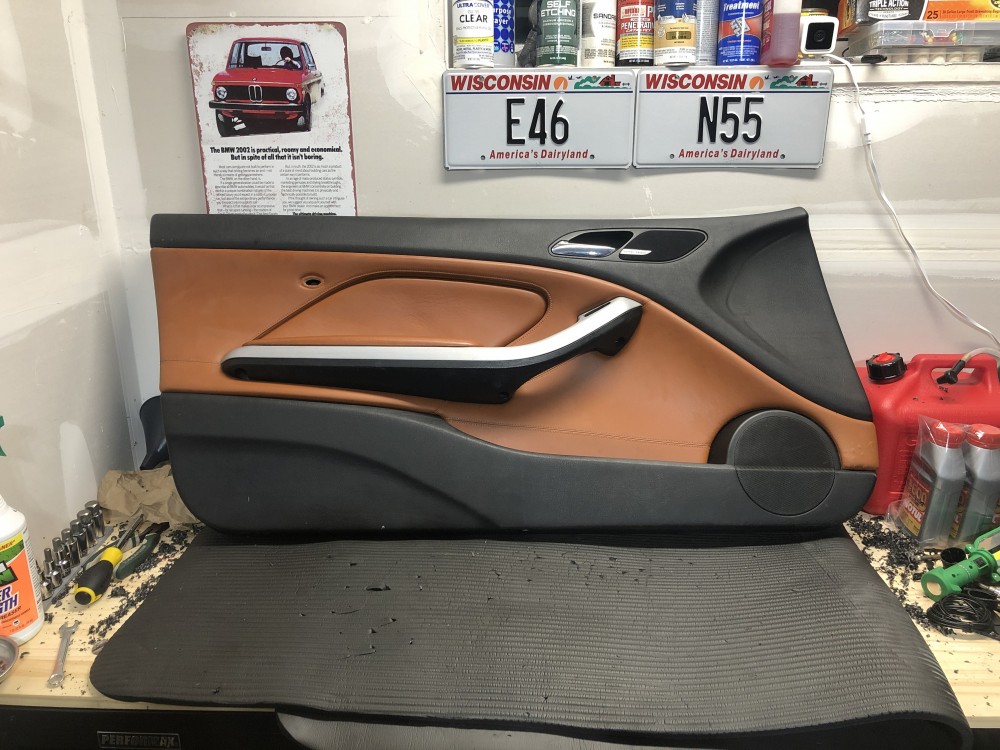
                        Finished drilling out like a million plastic rivet heads and reassembled the inserts into my door cards! Probably not the best solution but I resecured them using short self tappers (3/4”) and fender washers (20mm). Fit and finish is perfect, super jazzed how the swap turned out.
                        7CCC6403-BC8B-44C3-BED6-DA23F30FCCBE.jpeg

                        60775875-2640-4C13-B3F1-42654F2E5B9D.jpeg

                        A72A36AC-FCBE-4671-B928-125A0156374F.jpeg

                        461D402E-E173-490C-97E3-CB987301734E.jpeg

                        1 Reply Last reply
                        5
                        • RekpointR
                          RekpointR
                          Rekpoint
                          wrote on last edited by
                          #65

                          pynacl said:

                          Finished drilling out like a million plastic rivet heads and reassembled the inserts into my door cards! Probably not the best solution but I resecured them using short self tappers (3/4”) and fender washers (20mm). Fit and finish is perfect, super jazzed how the swap turned out.
                          7CCC6403-BC8B-44C3-BED6-DA23F30FCCBE.jpeg

                          60775875-2640-4C13-B3F1-42654F2E5B9D.jpeg

                          A72A36AC-FCBE-4671-B928-125A0156374F.jpeg

                          461D402E-E173-490C-97E3-CB987301734E.jpeg

                          Orgasmic

                          1 Reply Last reply
                          0
                          • patsbimmer1P
                            patsbimmer1P
                            patsbimmer1
                            wrote on last edited by
                            #66

                            That's gorgeous

                            2011 e90 M3 - DCT, Borla exhaust, BMW Performance Black Grille, ECS Painted Corners, Ziza Angel Eyes

                            07 335i Stella - sport package, BMS DCI, zhp knob, TMS cf parking brake lever, VRSF downpipes, MHD tune, H&R race springs, other stuff *SOLD*

                            97 328i Lola - sport package, m50 intake manifold, m50 manifold.com install kit, custom CAI, K&N filter, Borla exhaust, FK silverline coilovers, 25.5mm front sway bar, Powerflex front sway bushings, Turner Radiator, fan delete *sold*
                            95 325is *sold*
                            93 nissan 240sx KA-T *sold*

                            BMWCCA #473306

                            Instagram @patsbimmer1

                            AKA- HALLWAY PAT

                            "burnouts bring babes and babes dont have time for bushings" - Kaiser Rolls

                            1 Reply Last reply
                            1
                            • m42b32M
                              m42b32M
                              m42b32
                              wrote on last edited by
                              #67

                              Damn, that looks fantastic!

                              1991 318is, 1991 318i, 2022 Bronco

                              1 Reply Last reply
                              1
                              • pynaclP
                                pynaclP
                                pynacl
                                wrote on last edited by
                                #68

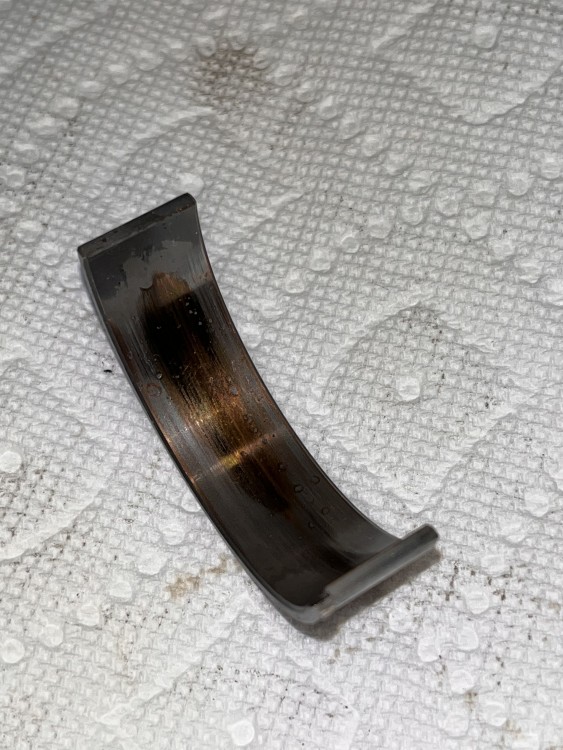
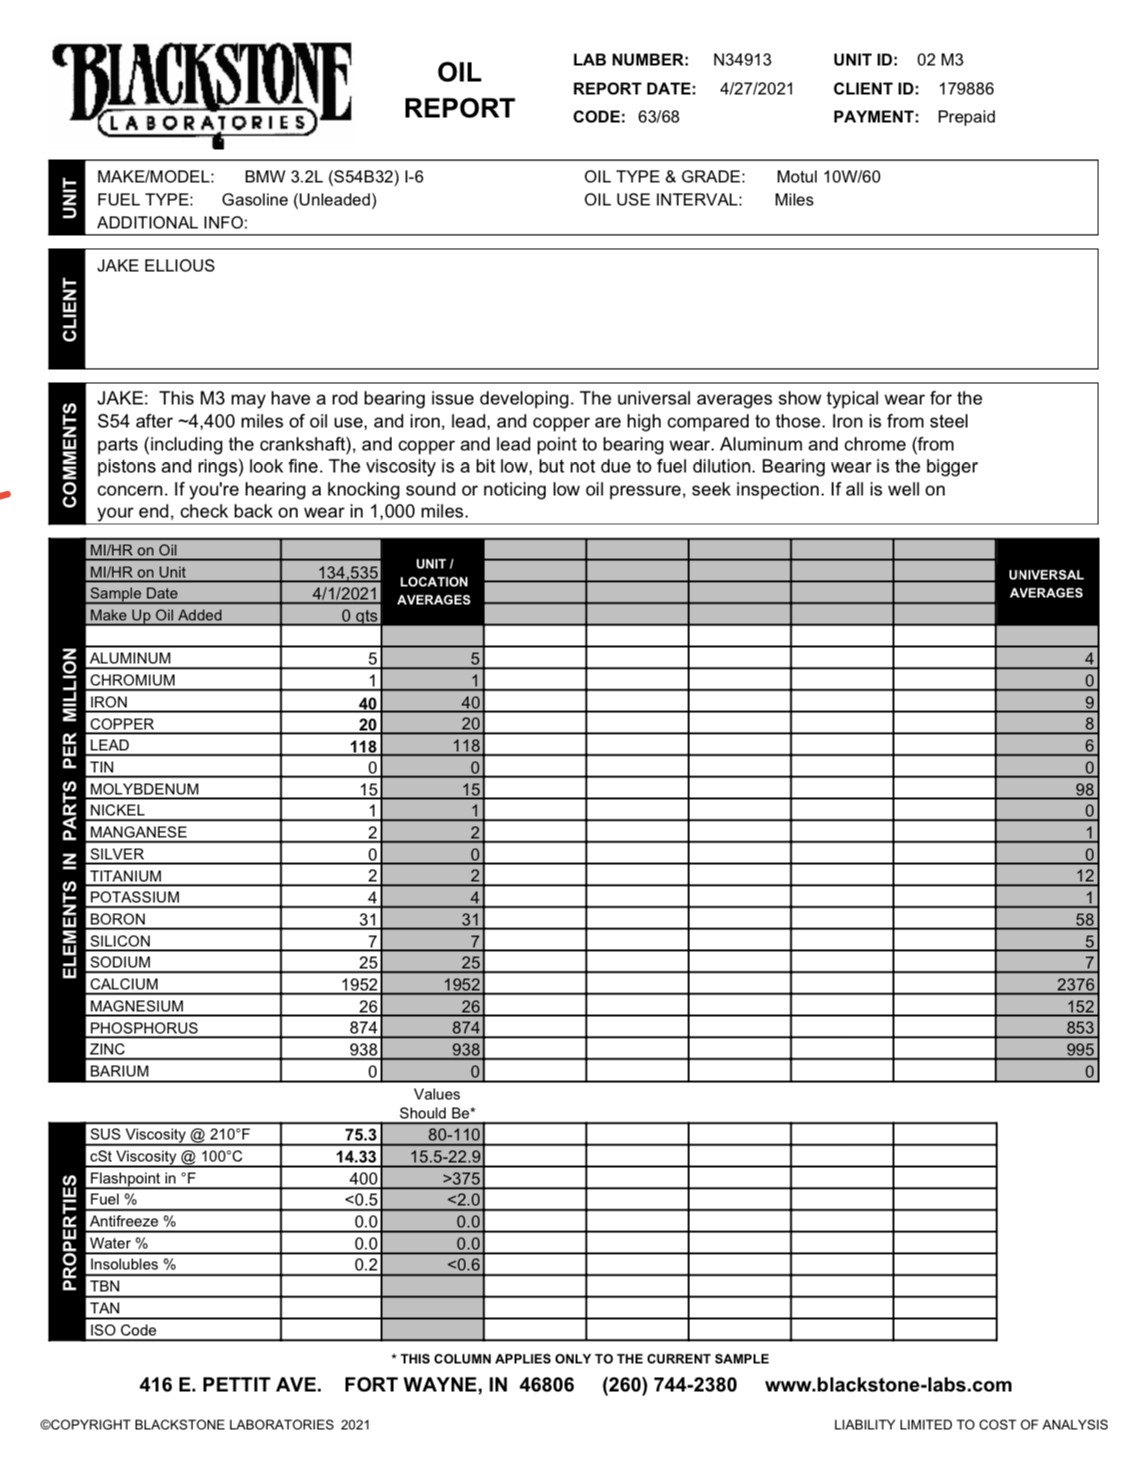
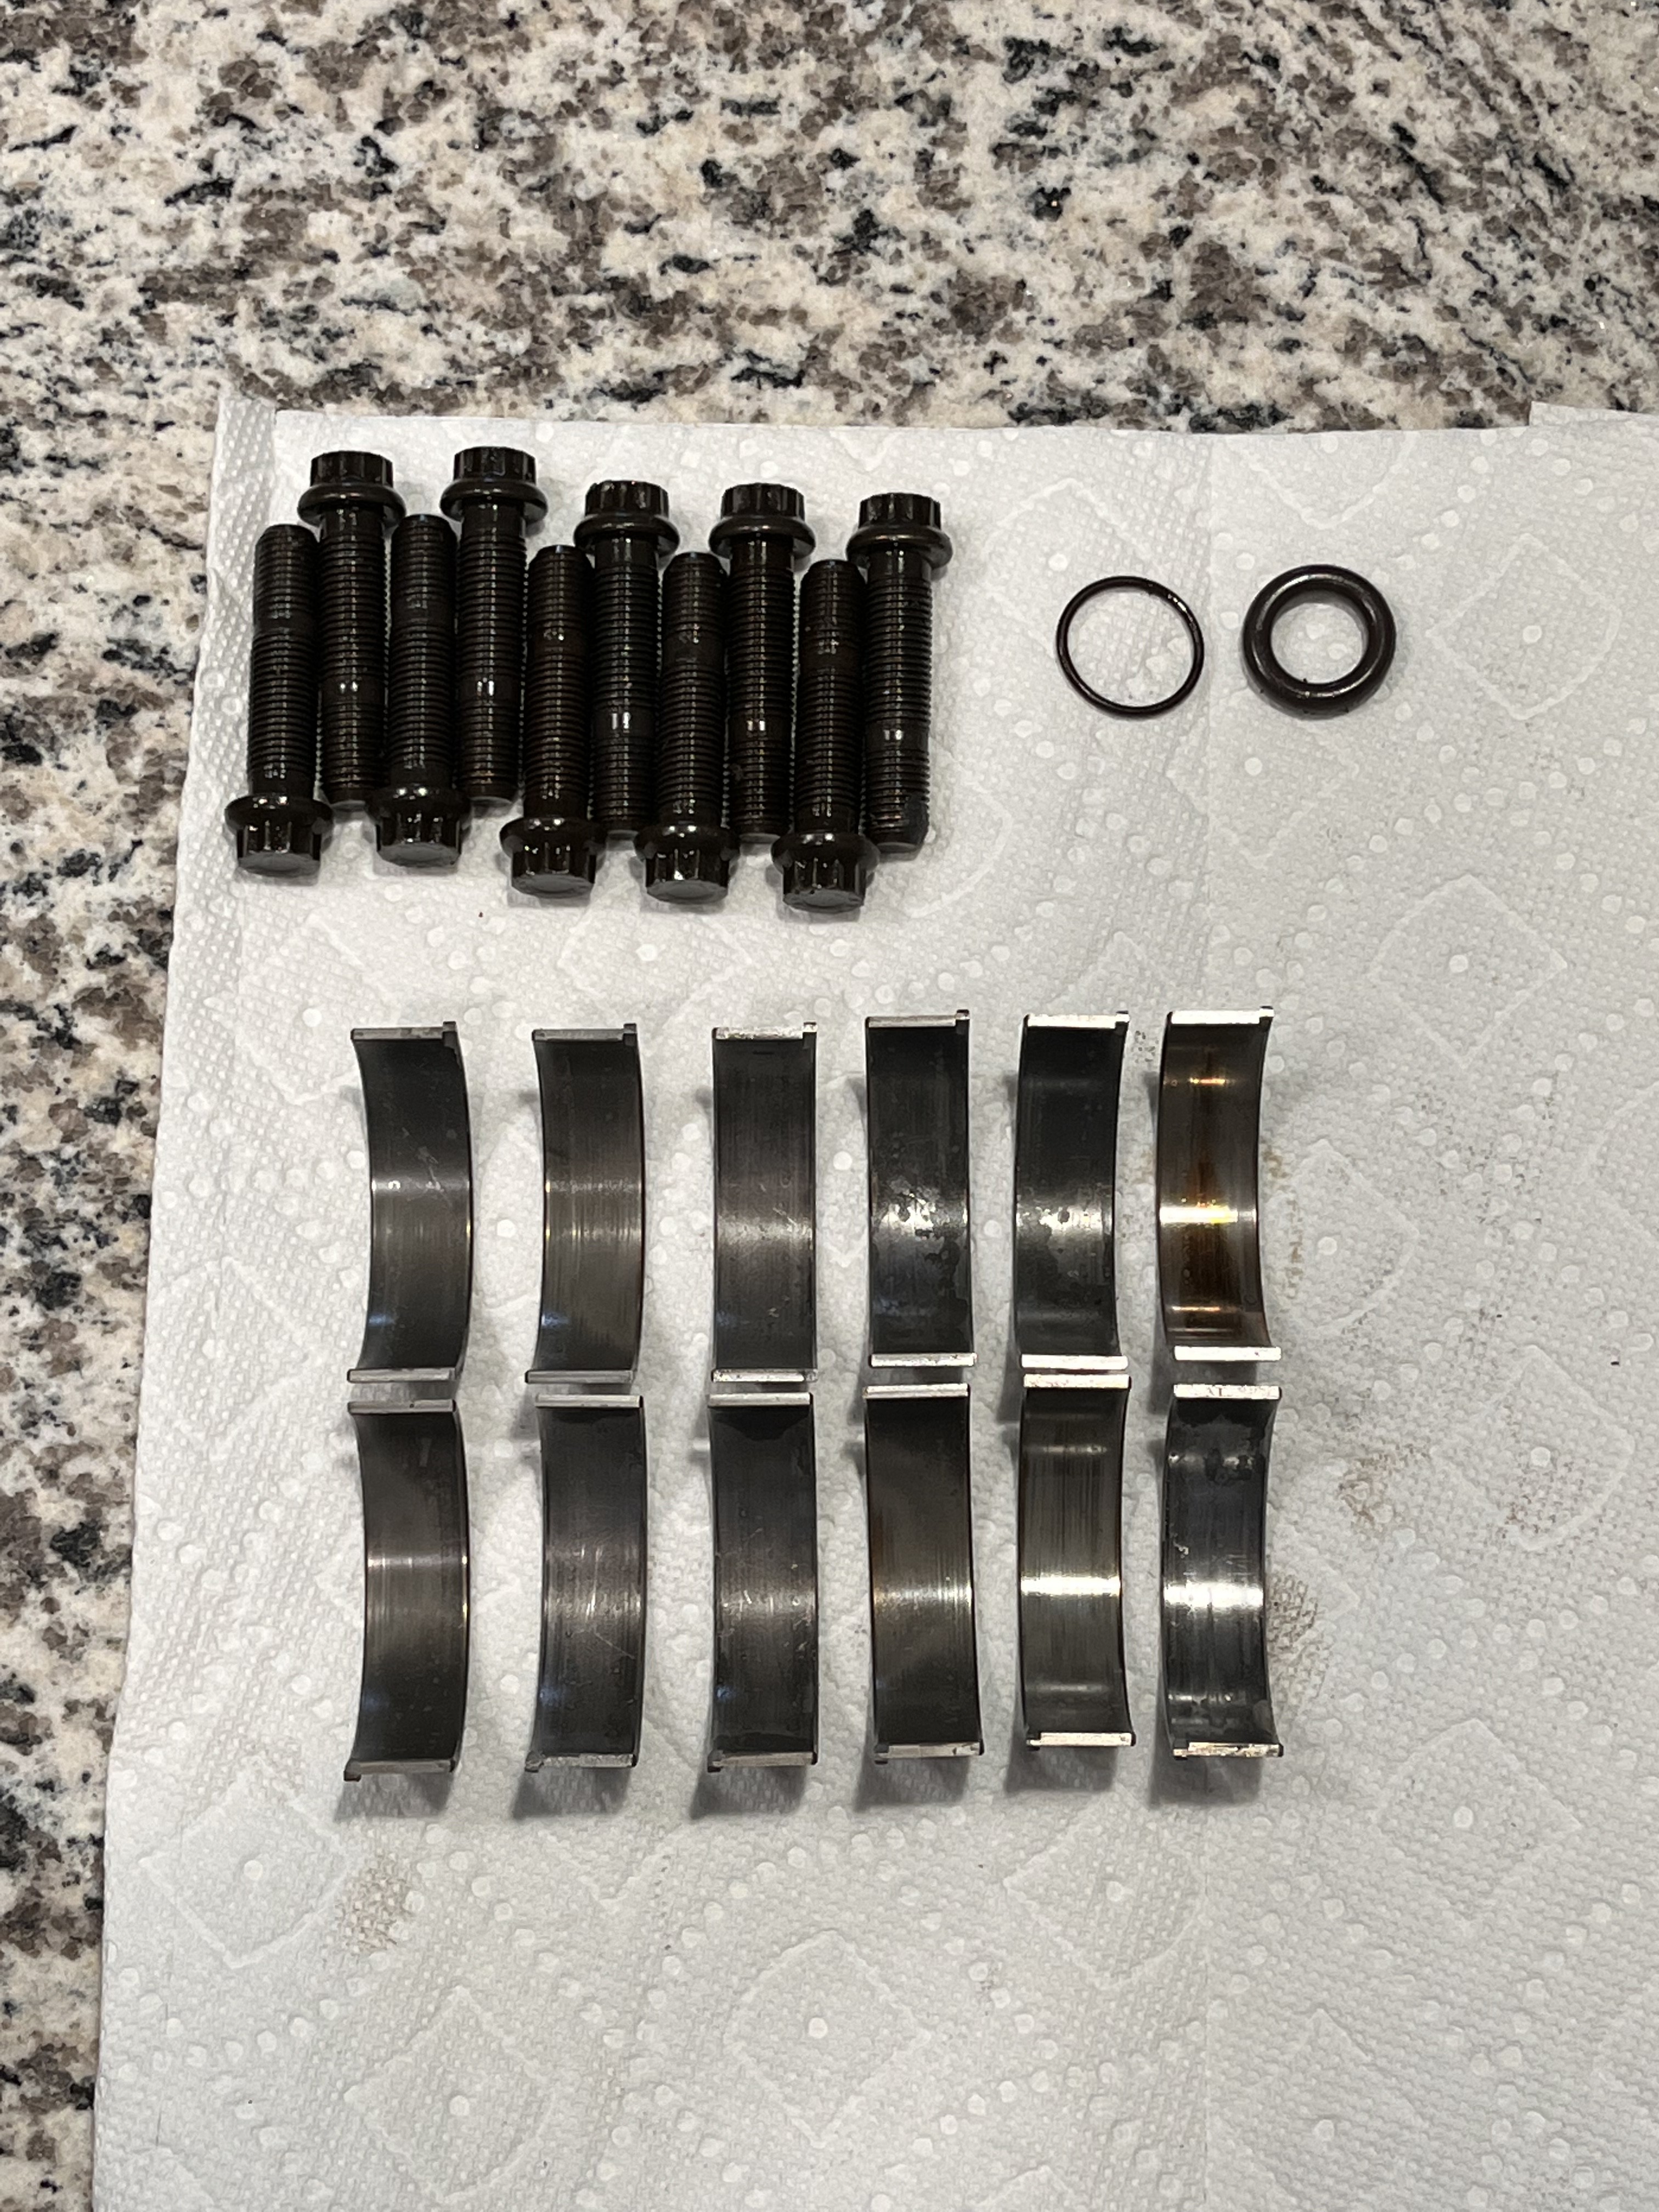
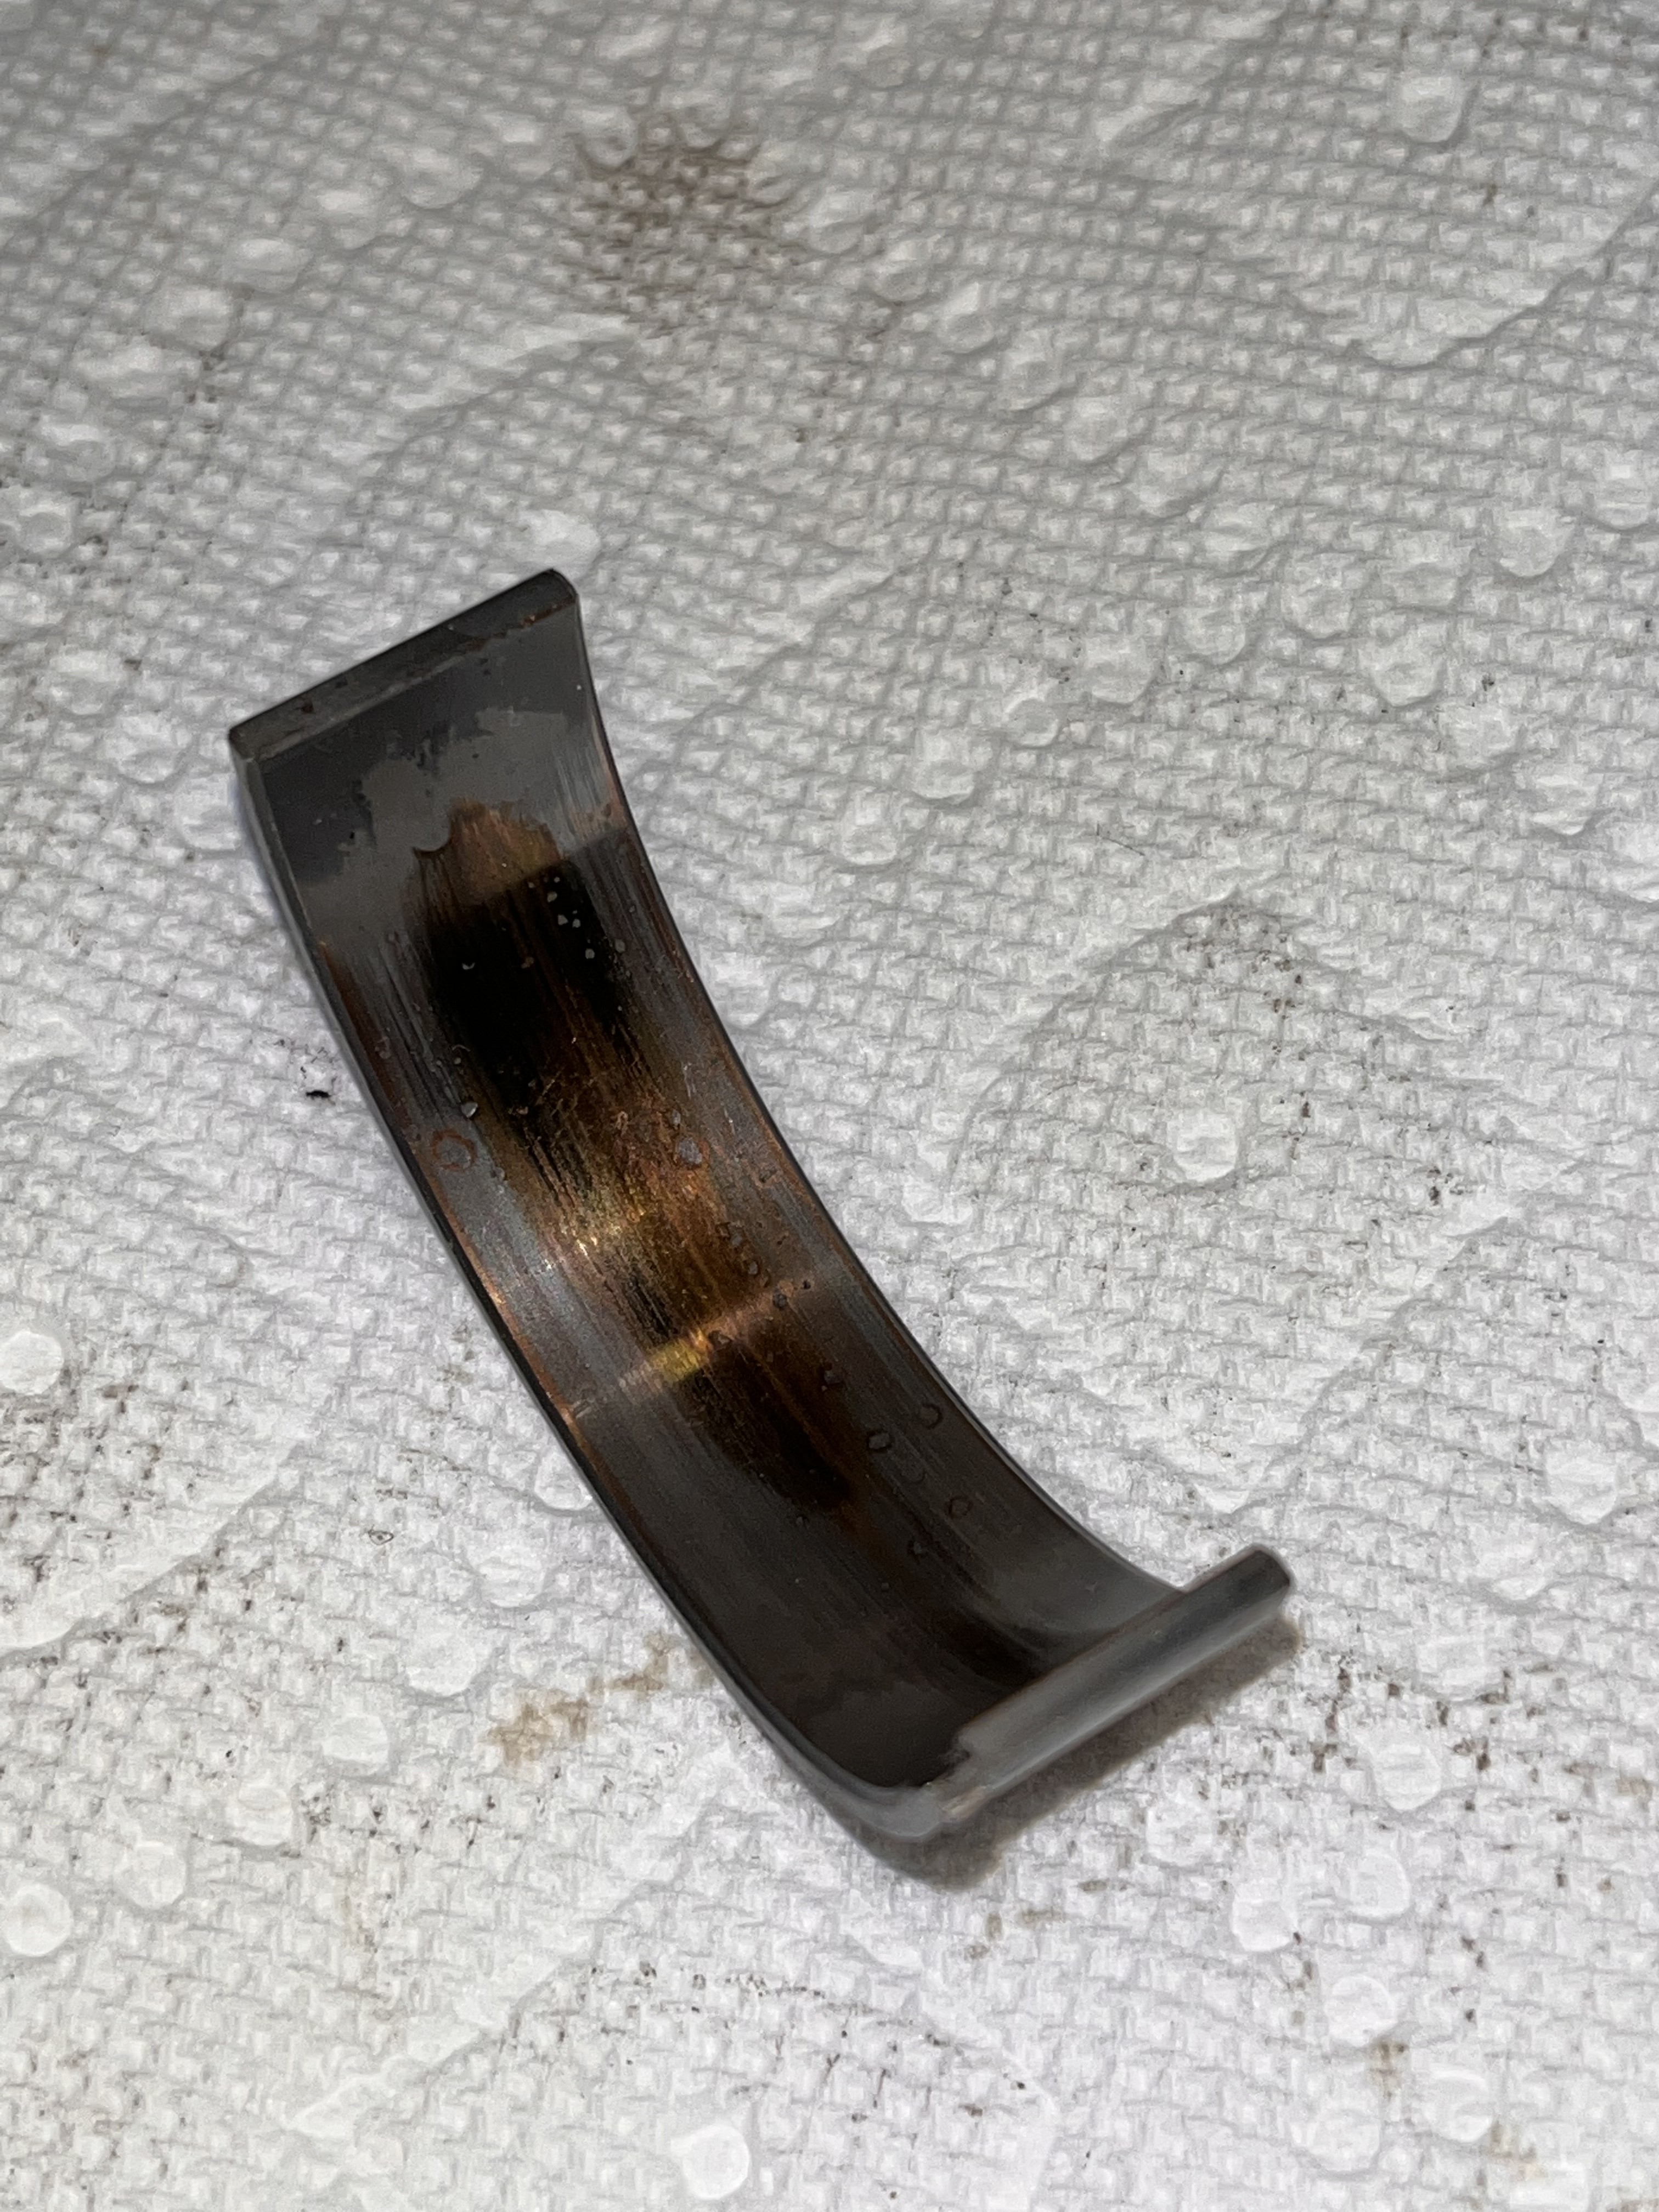
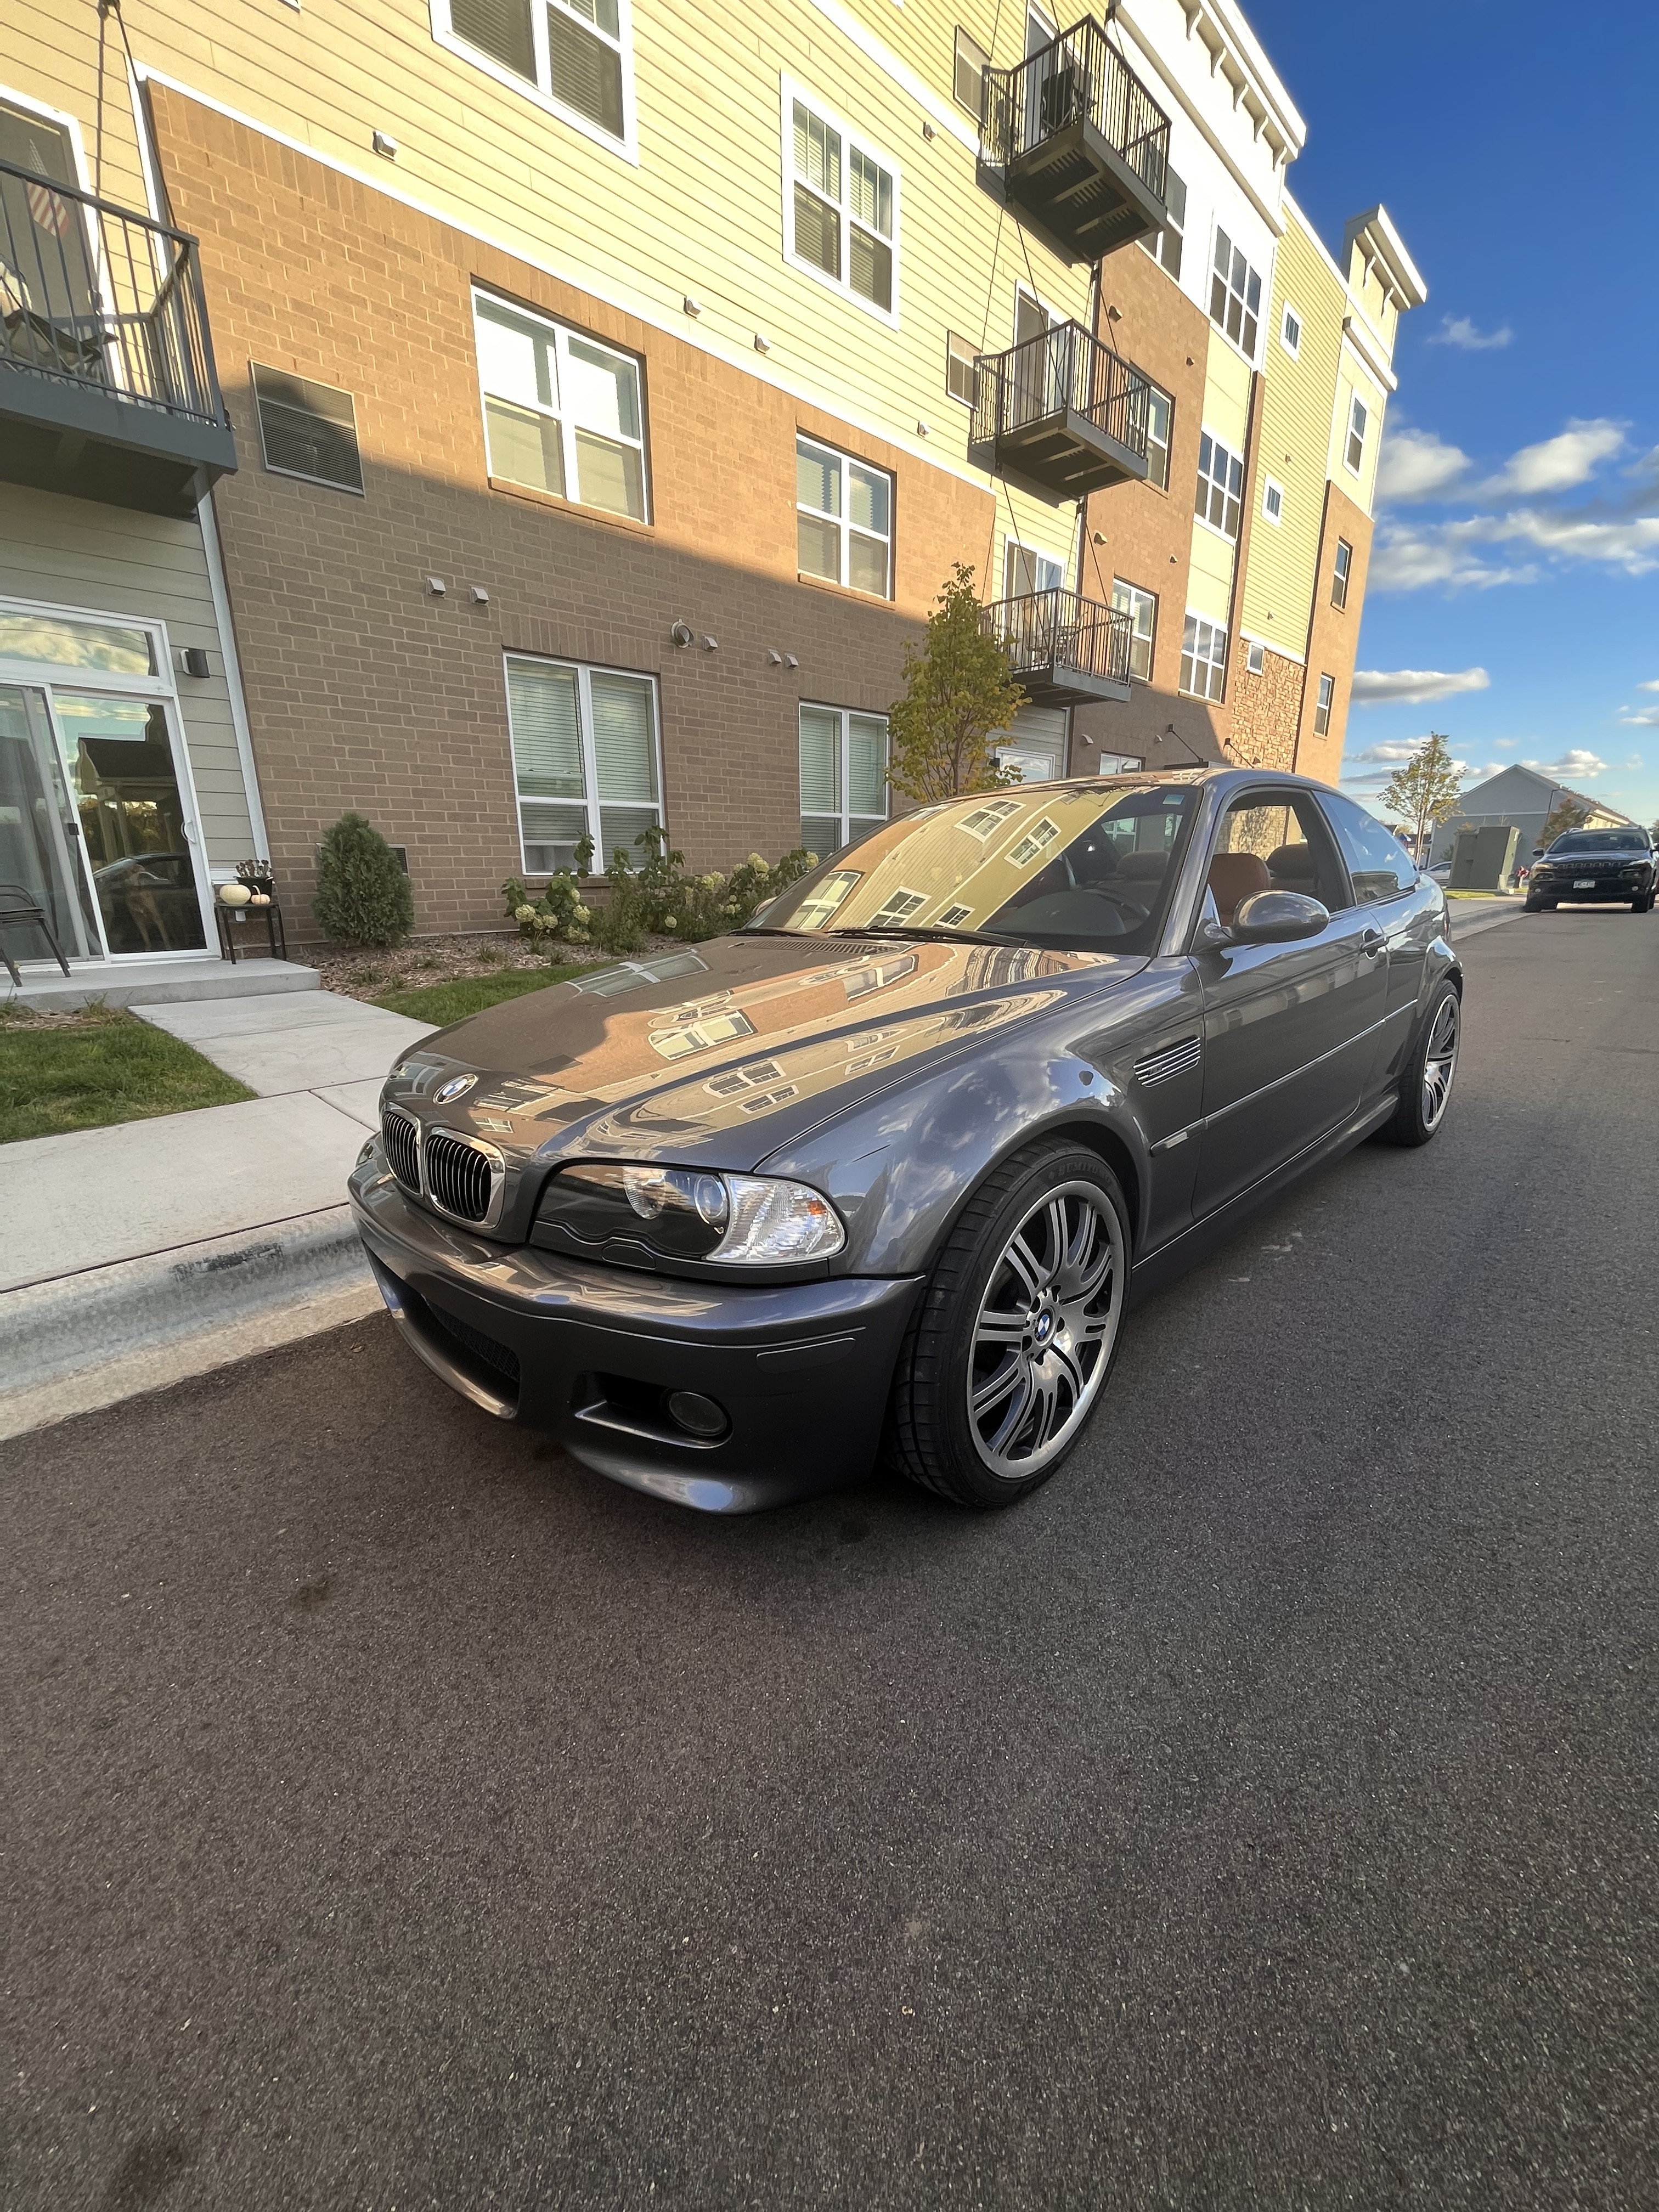
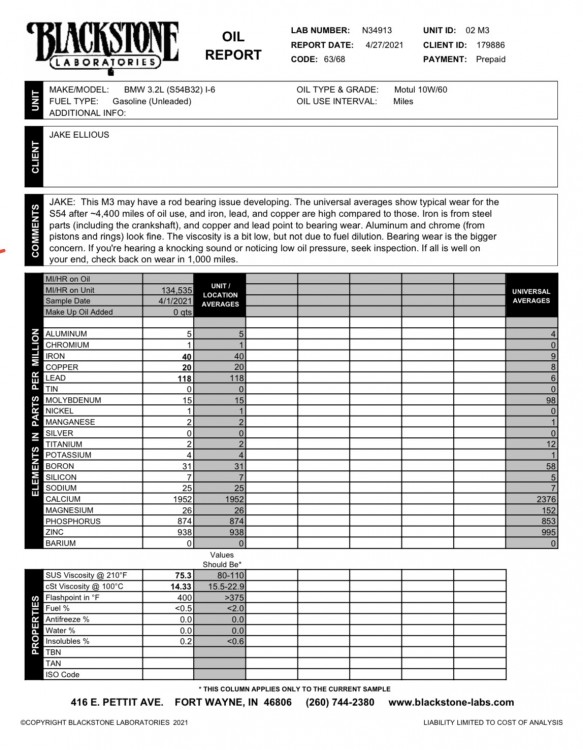
                                Finally sucked it up and committed to getting the rod bearings done. This car had them done as part of the recall way back in ‘06 at 66k miles (car is at 135k now), but black stone tests had me a bit nervous. Once they were pulled they honestly didn’t seem that bad. Seems like cylinder 6 was the main culprit to the test results.

                                Went with WPC treated OE bearings and ARP bolts. Also replaced the oil pan gasket, oil pump seals, motor mounts and a leaking power steering line while it was apart.
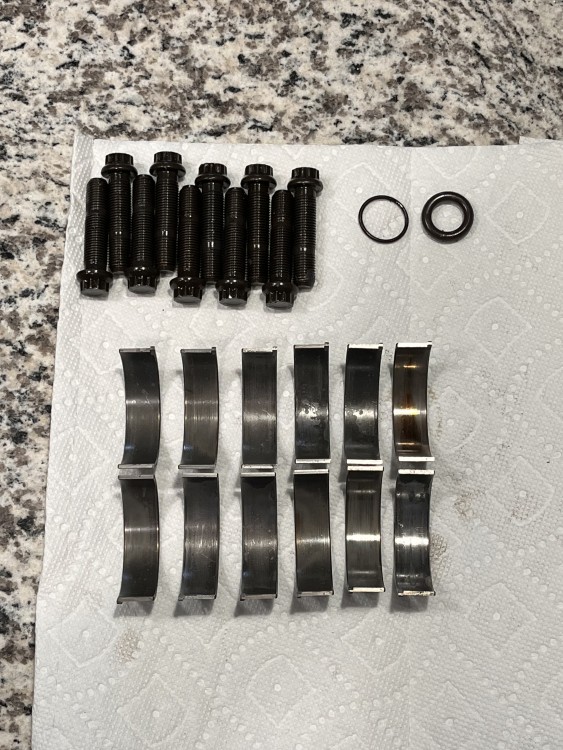
                                E95949A3-864F-48F6-860F-6E10DA8FB6C2.jpeg2C088EA7-58AD-47AC-8102-6310A6628F69.jpegA4786BCF-50AC-40CA-9EE2-59E2B6C79206.jpeg98EB20B5-709F-45F5-8BF3-FC213171C404.jpeg

                                1 Reply Last reply
                                1
                                • pynaclP
                                  pynaclP
                                  pynacl
                                  wrote on last edited by
                                  #69

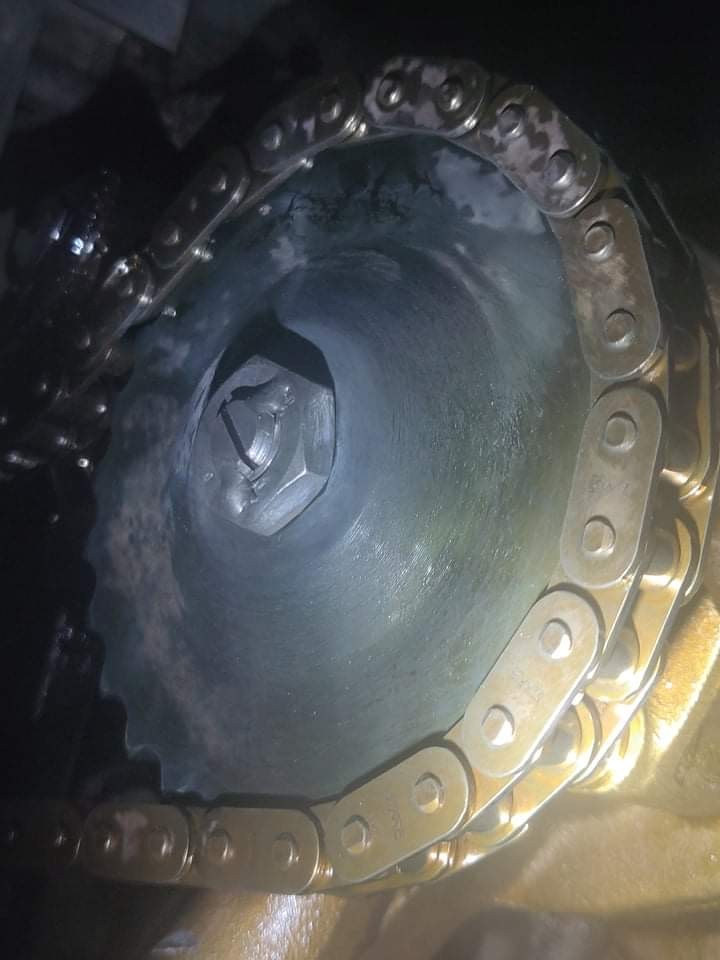
                                  Just remembered I also had the oil pump nut tack welded on. Was reading it was rare, but possible for the nut to back off and then boom. I know I should have used a safety wire nut, but since this component will never need to be removed (if I upgrade, I’ll get the VAC kit with sprocket included), I didn’t care as long as it was a permanent fix.
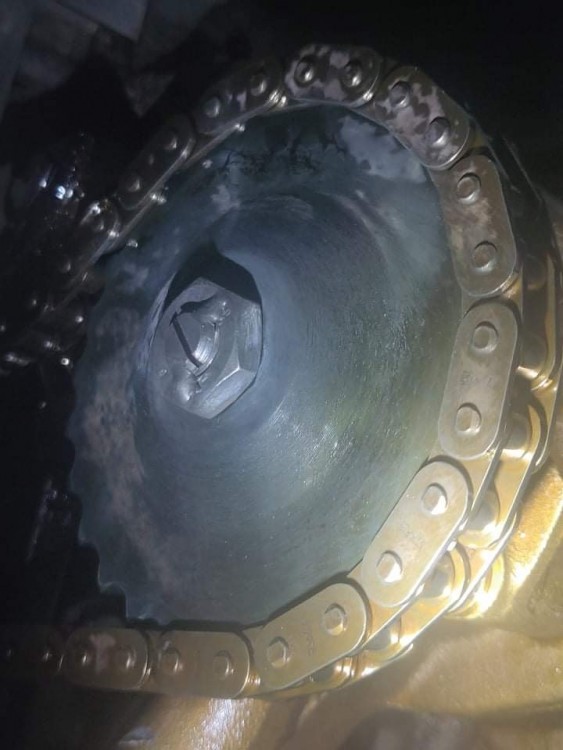
                                  1F1DDBDF-FD1E-40F8-99AA-5E6F22AA43EB.jpeg

                                  1 Reply Last reply
                                  1
                                  • pynaclP
                                    pynaclP
                                    pynacl
                                    wrote on last edited by
                                    #70

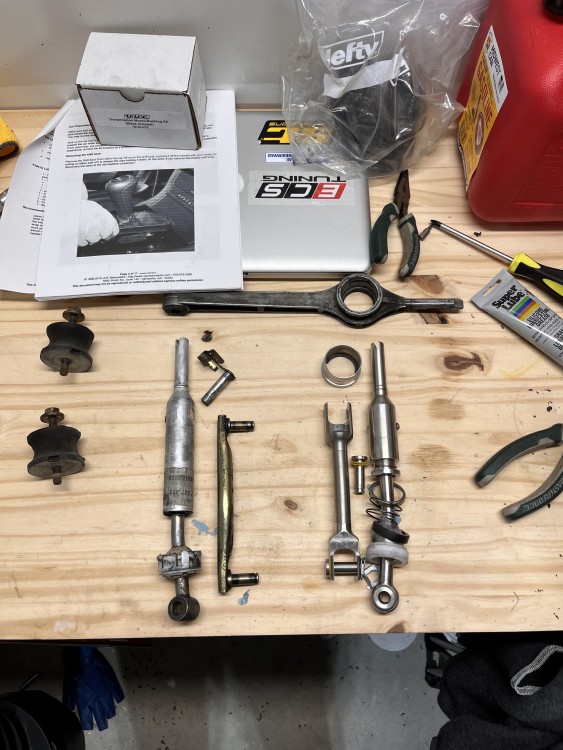
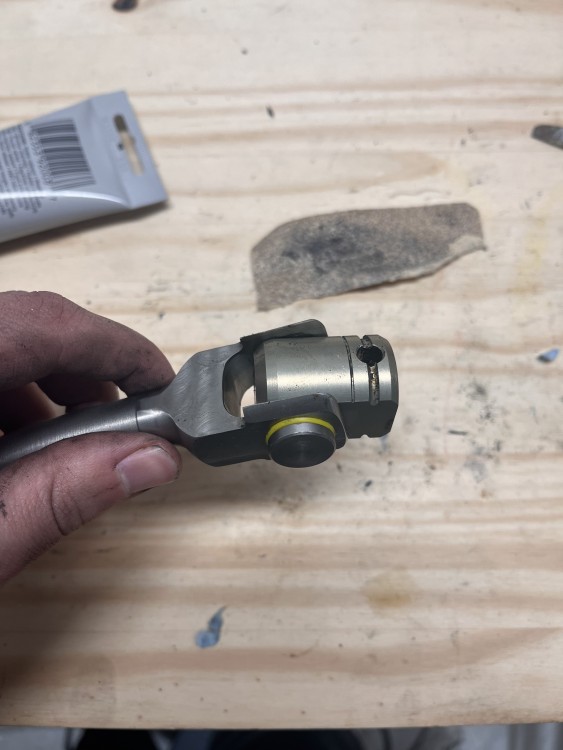
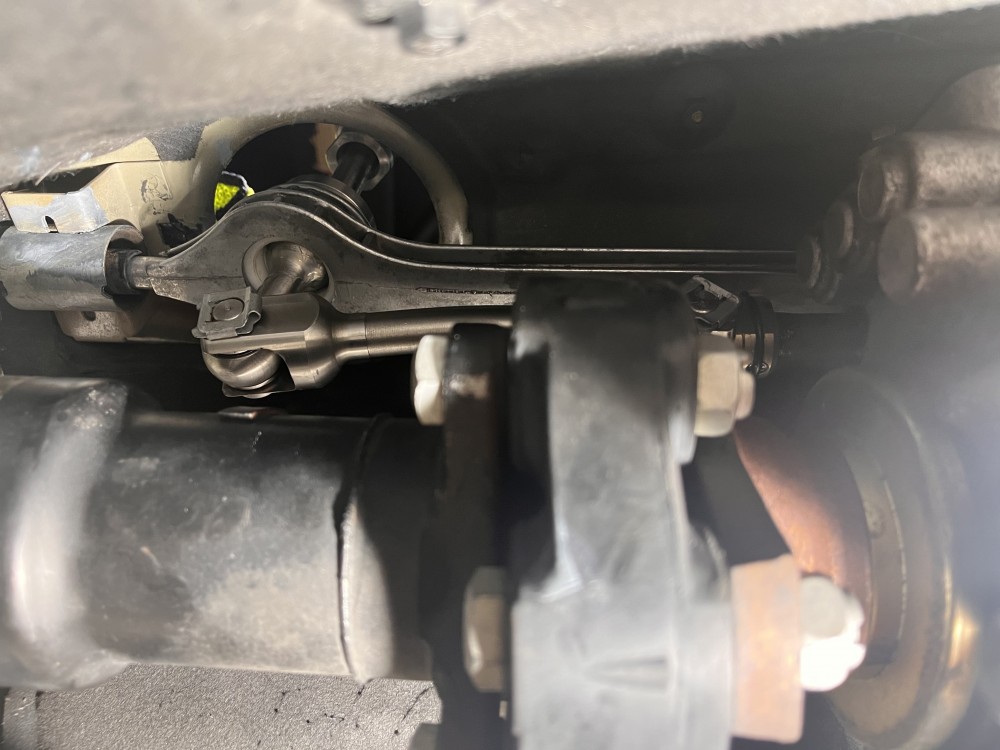
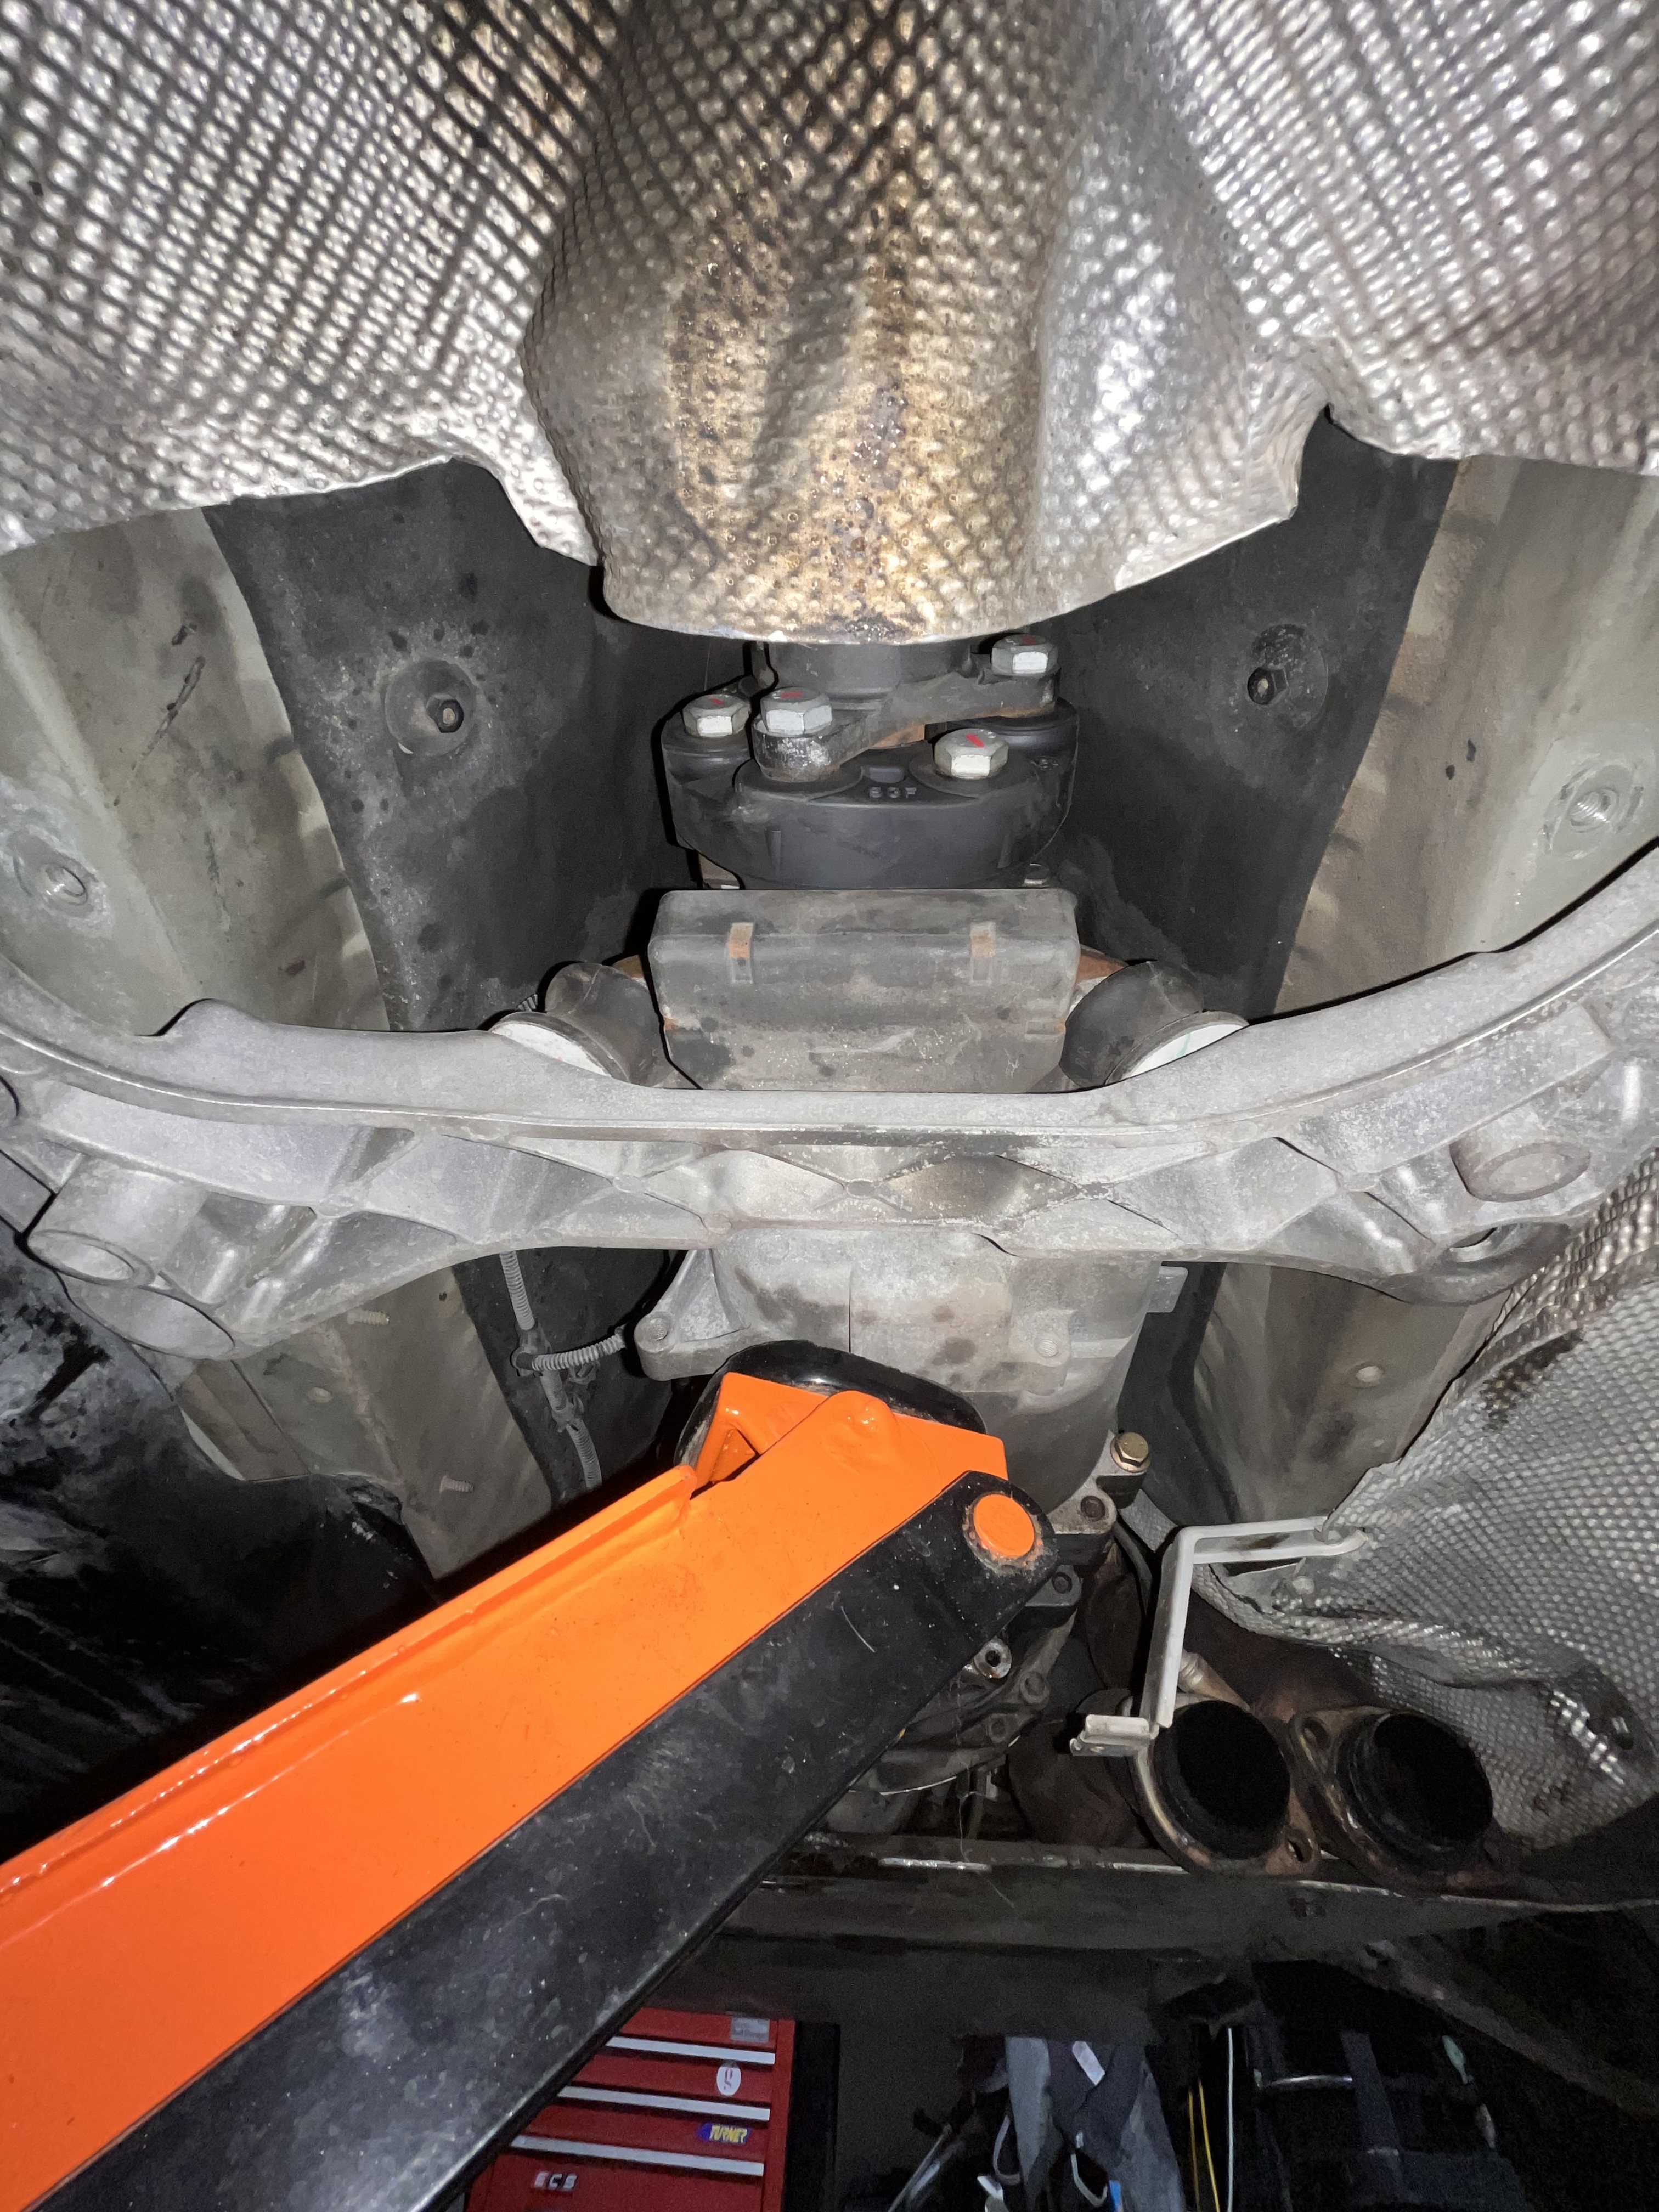
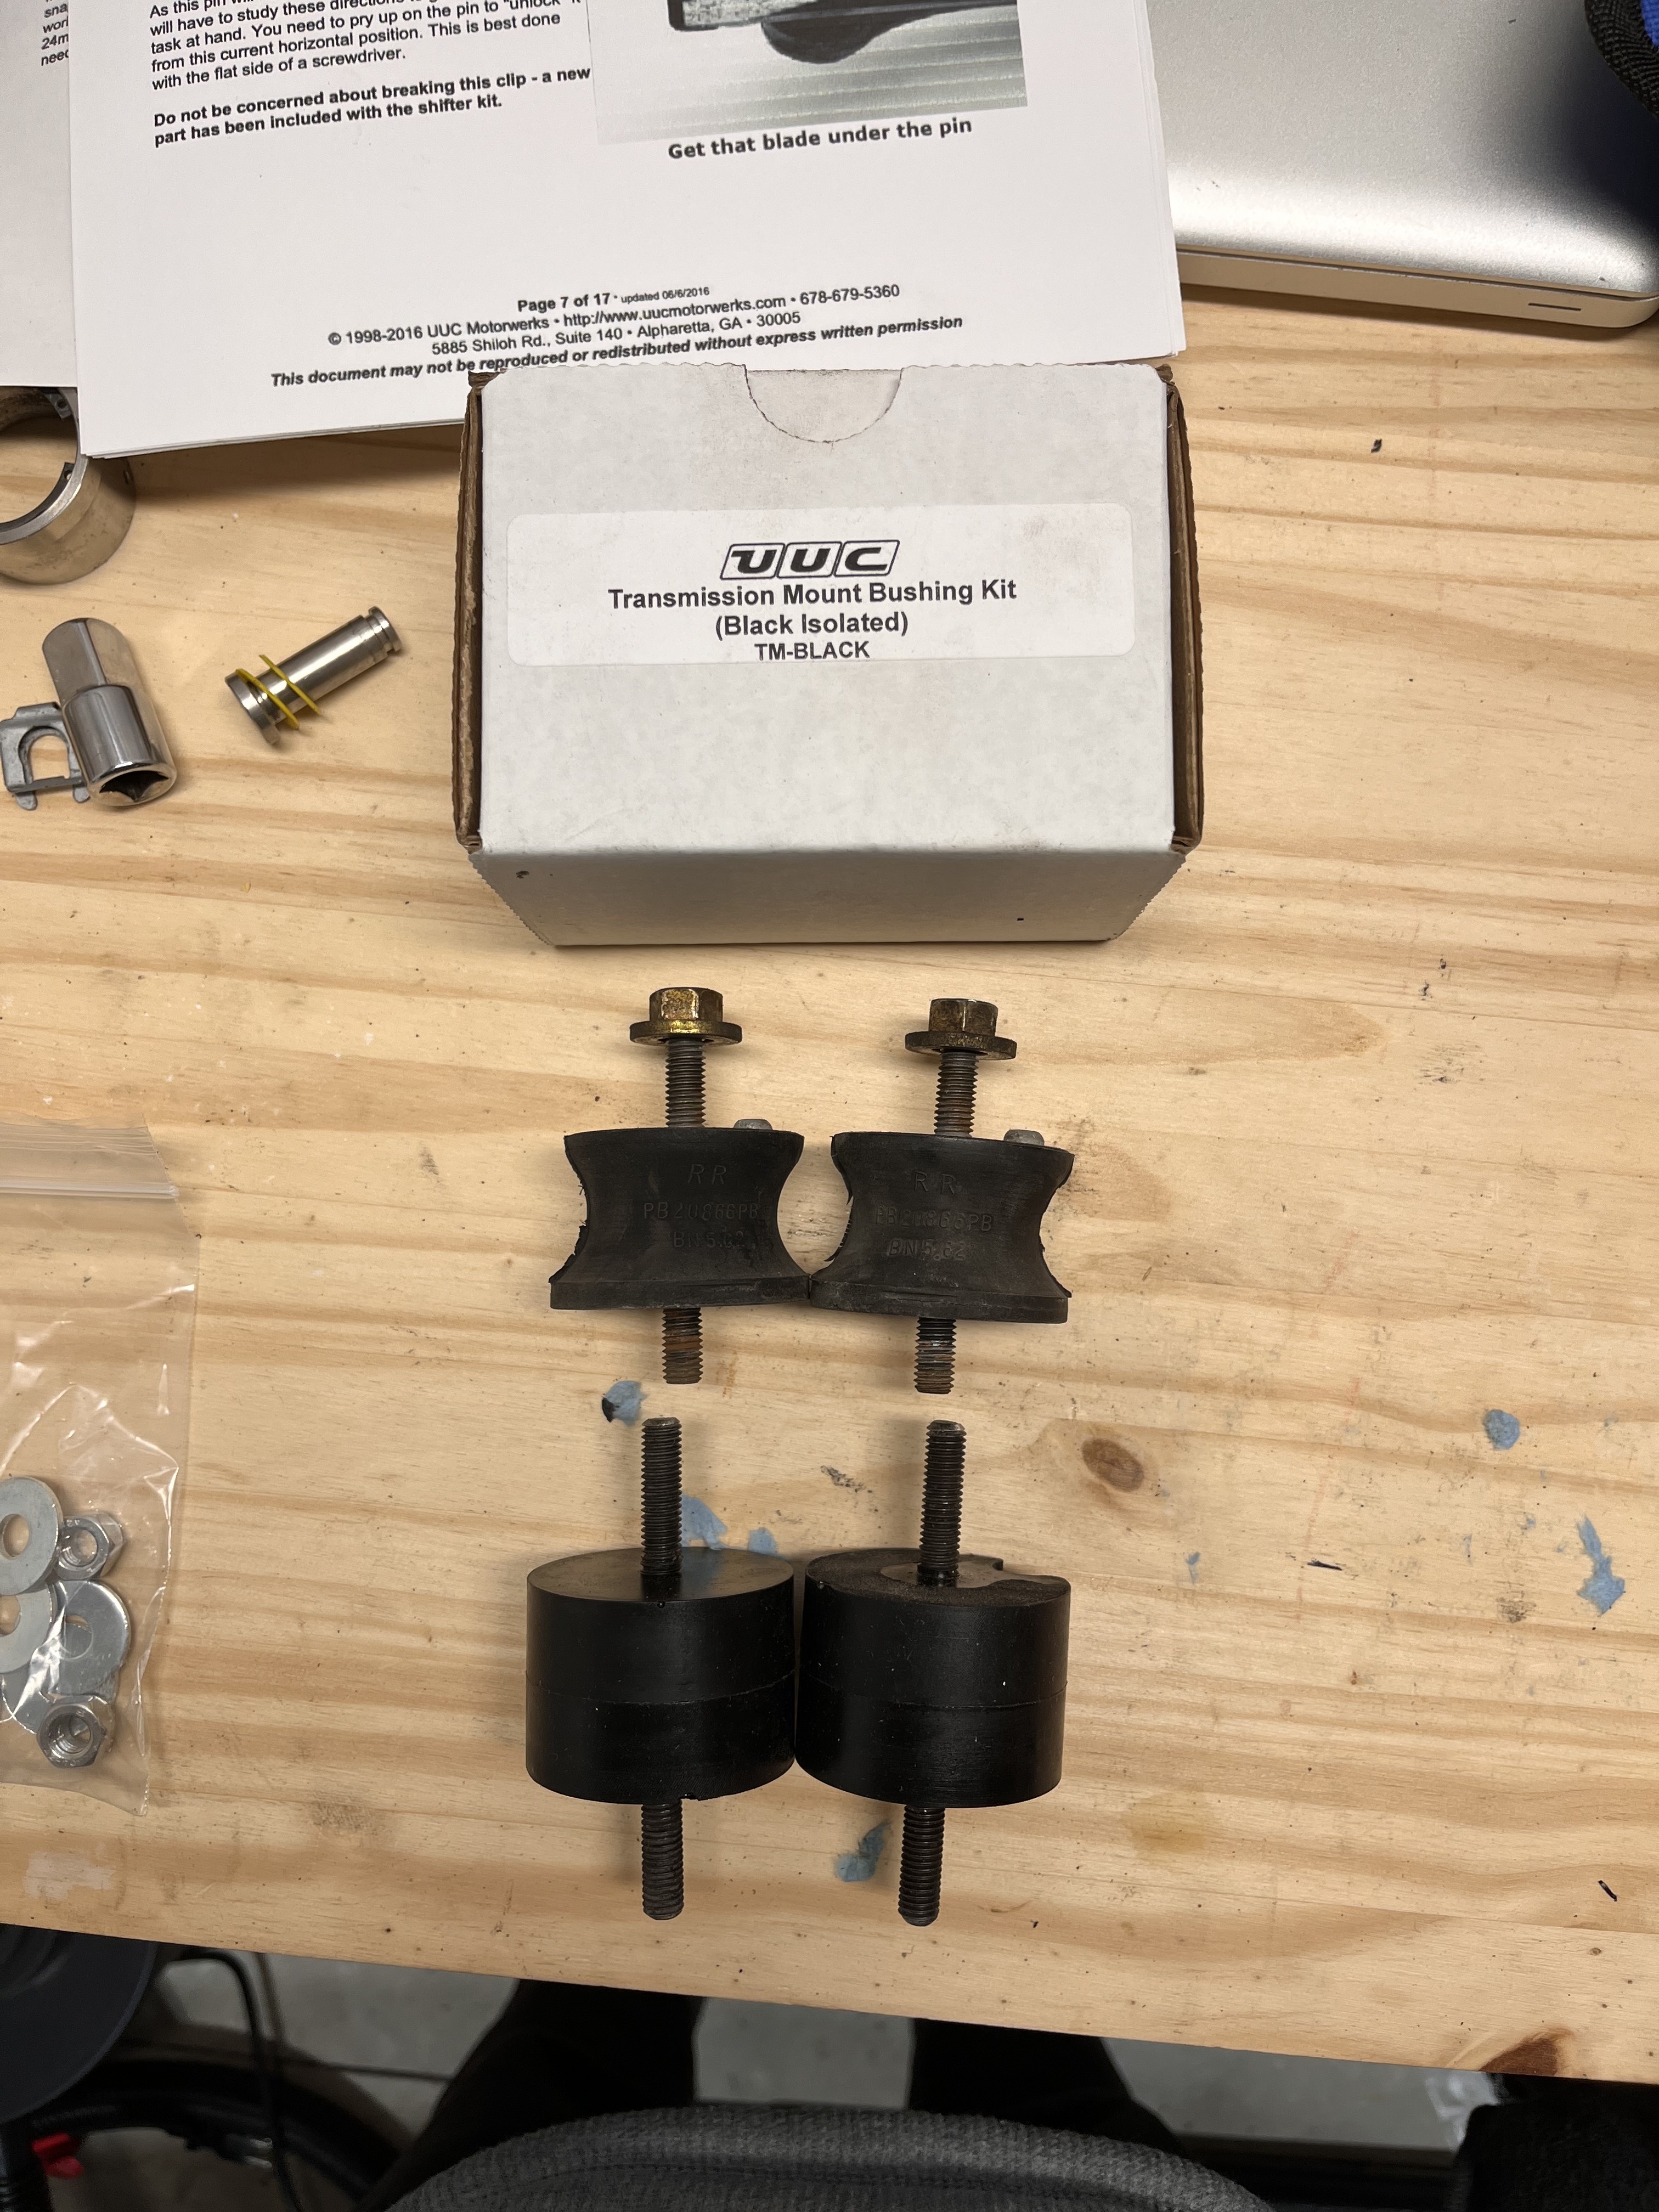
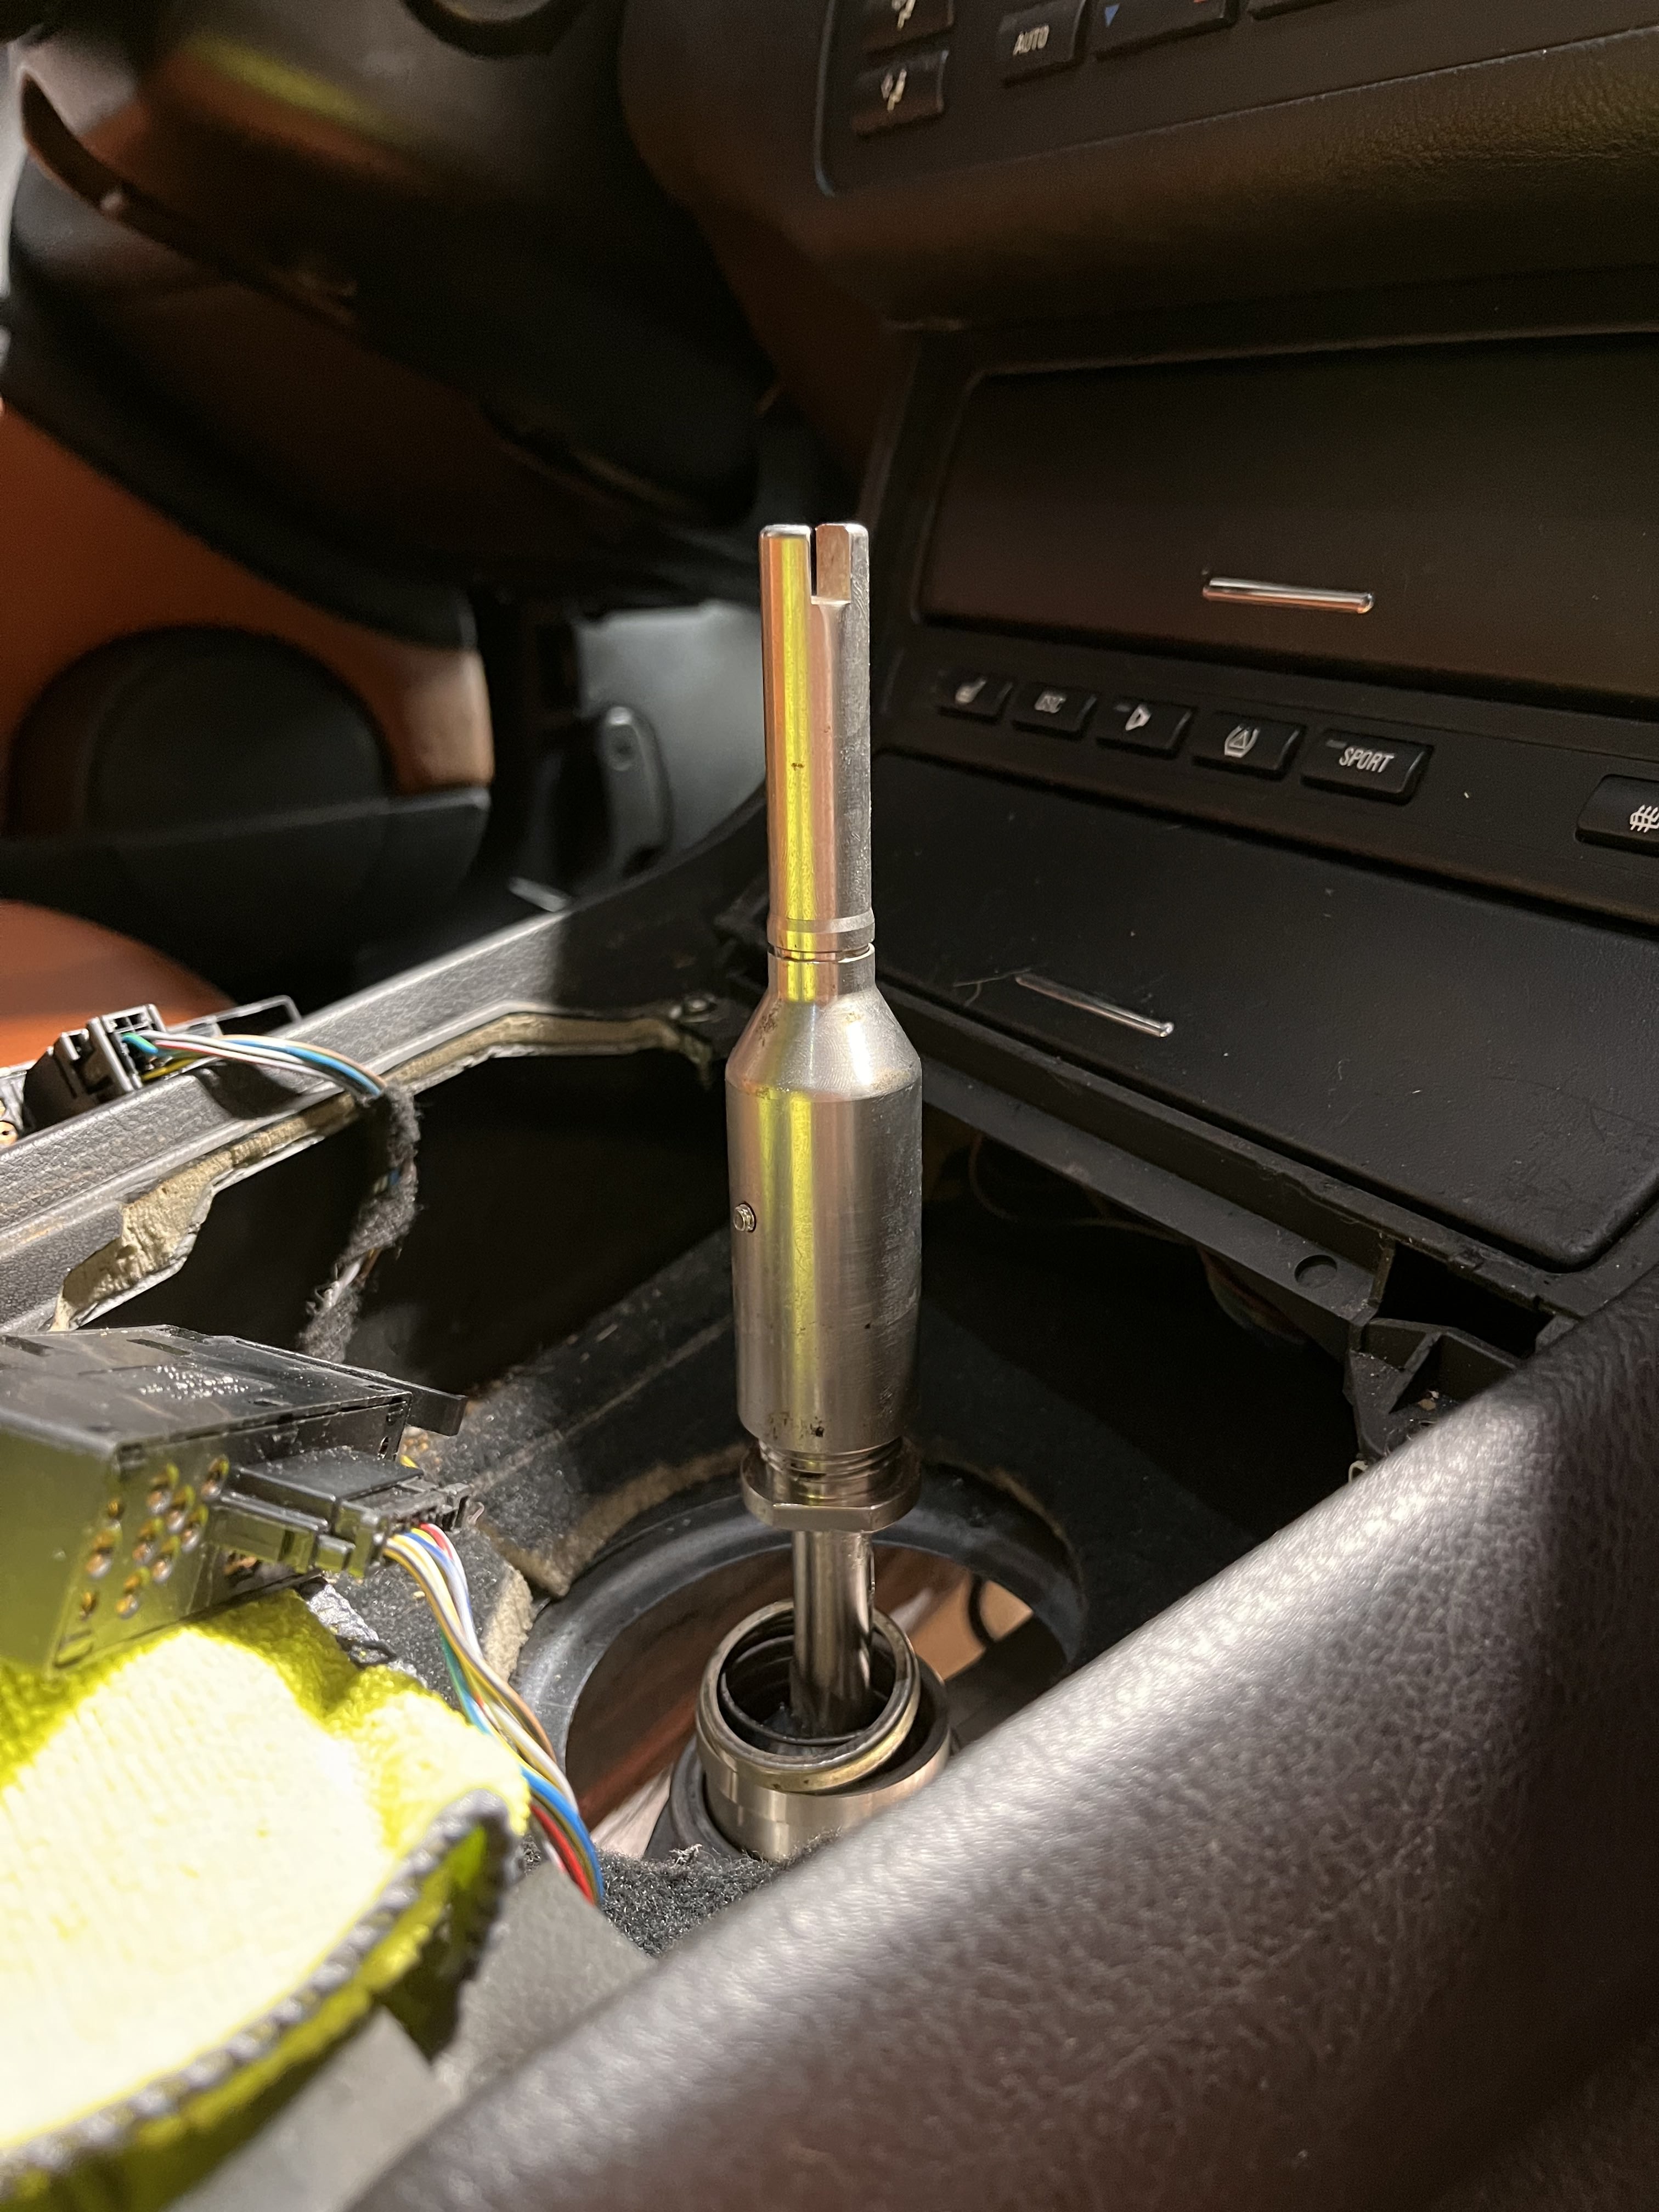
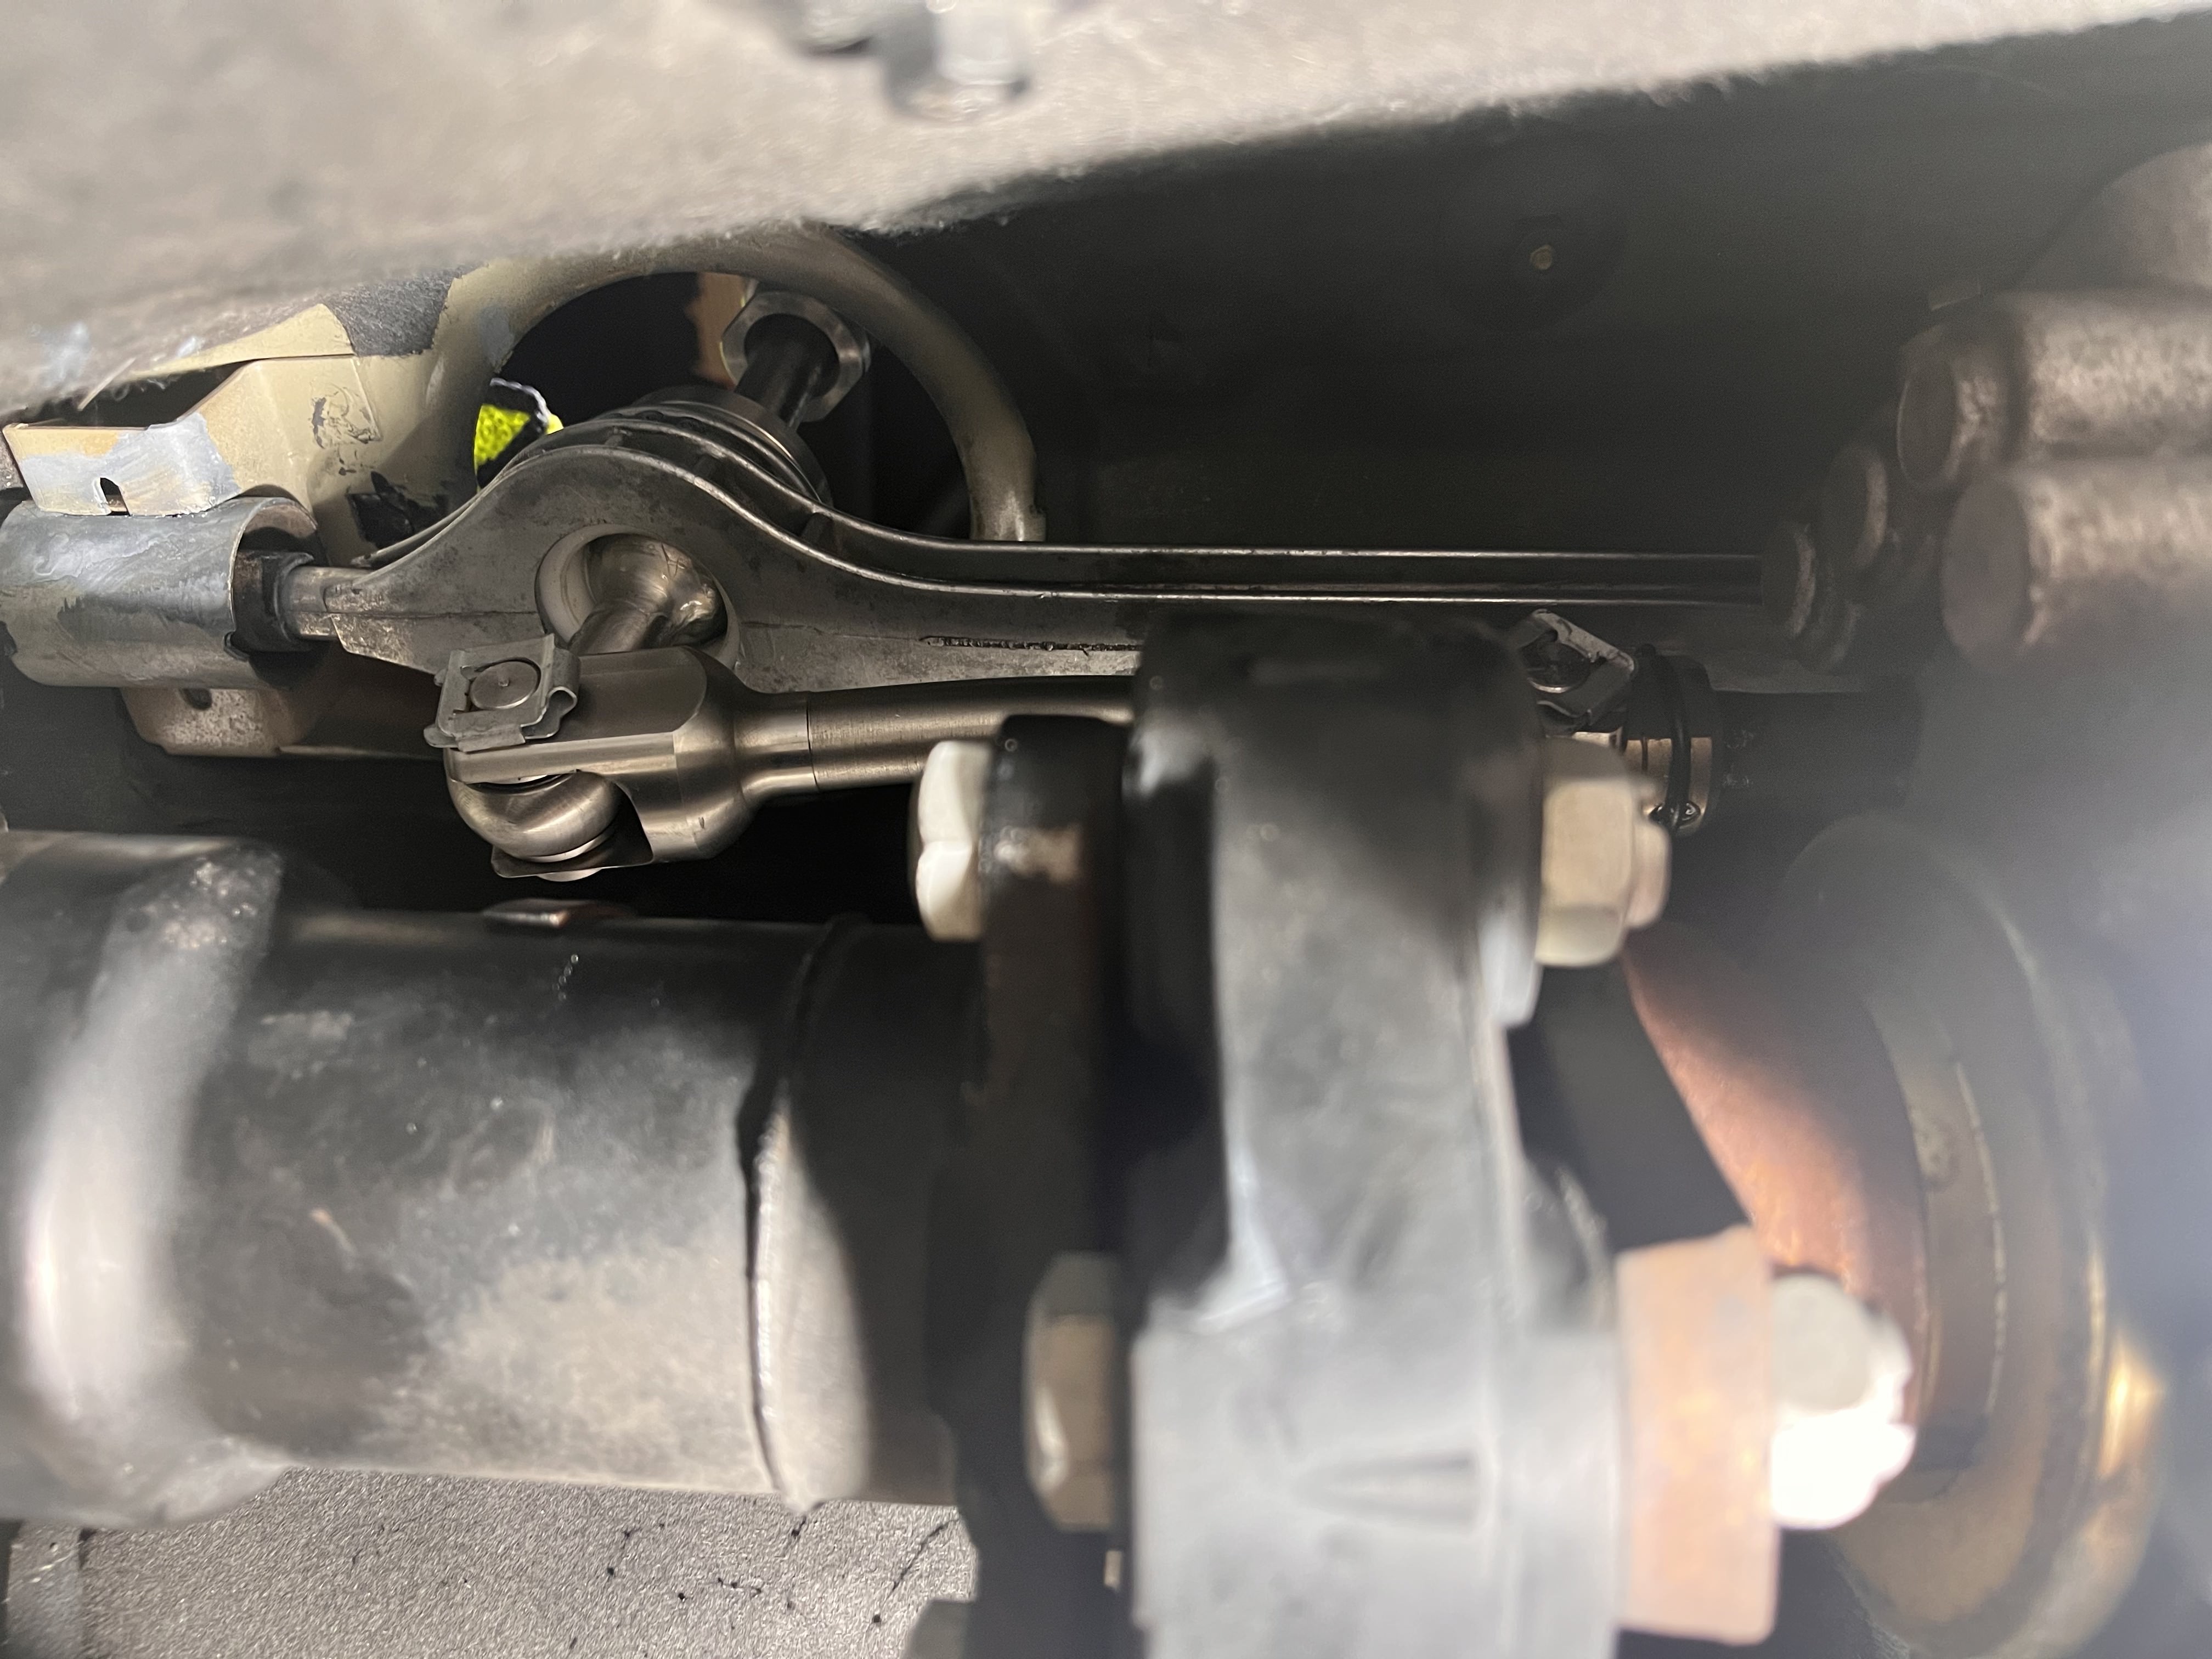
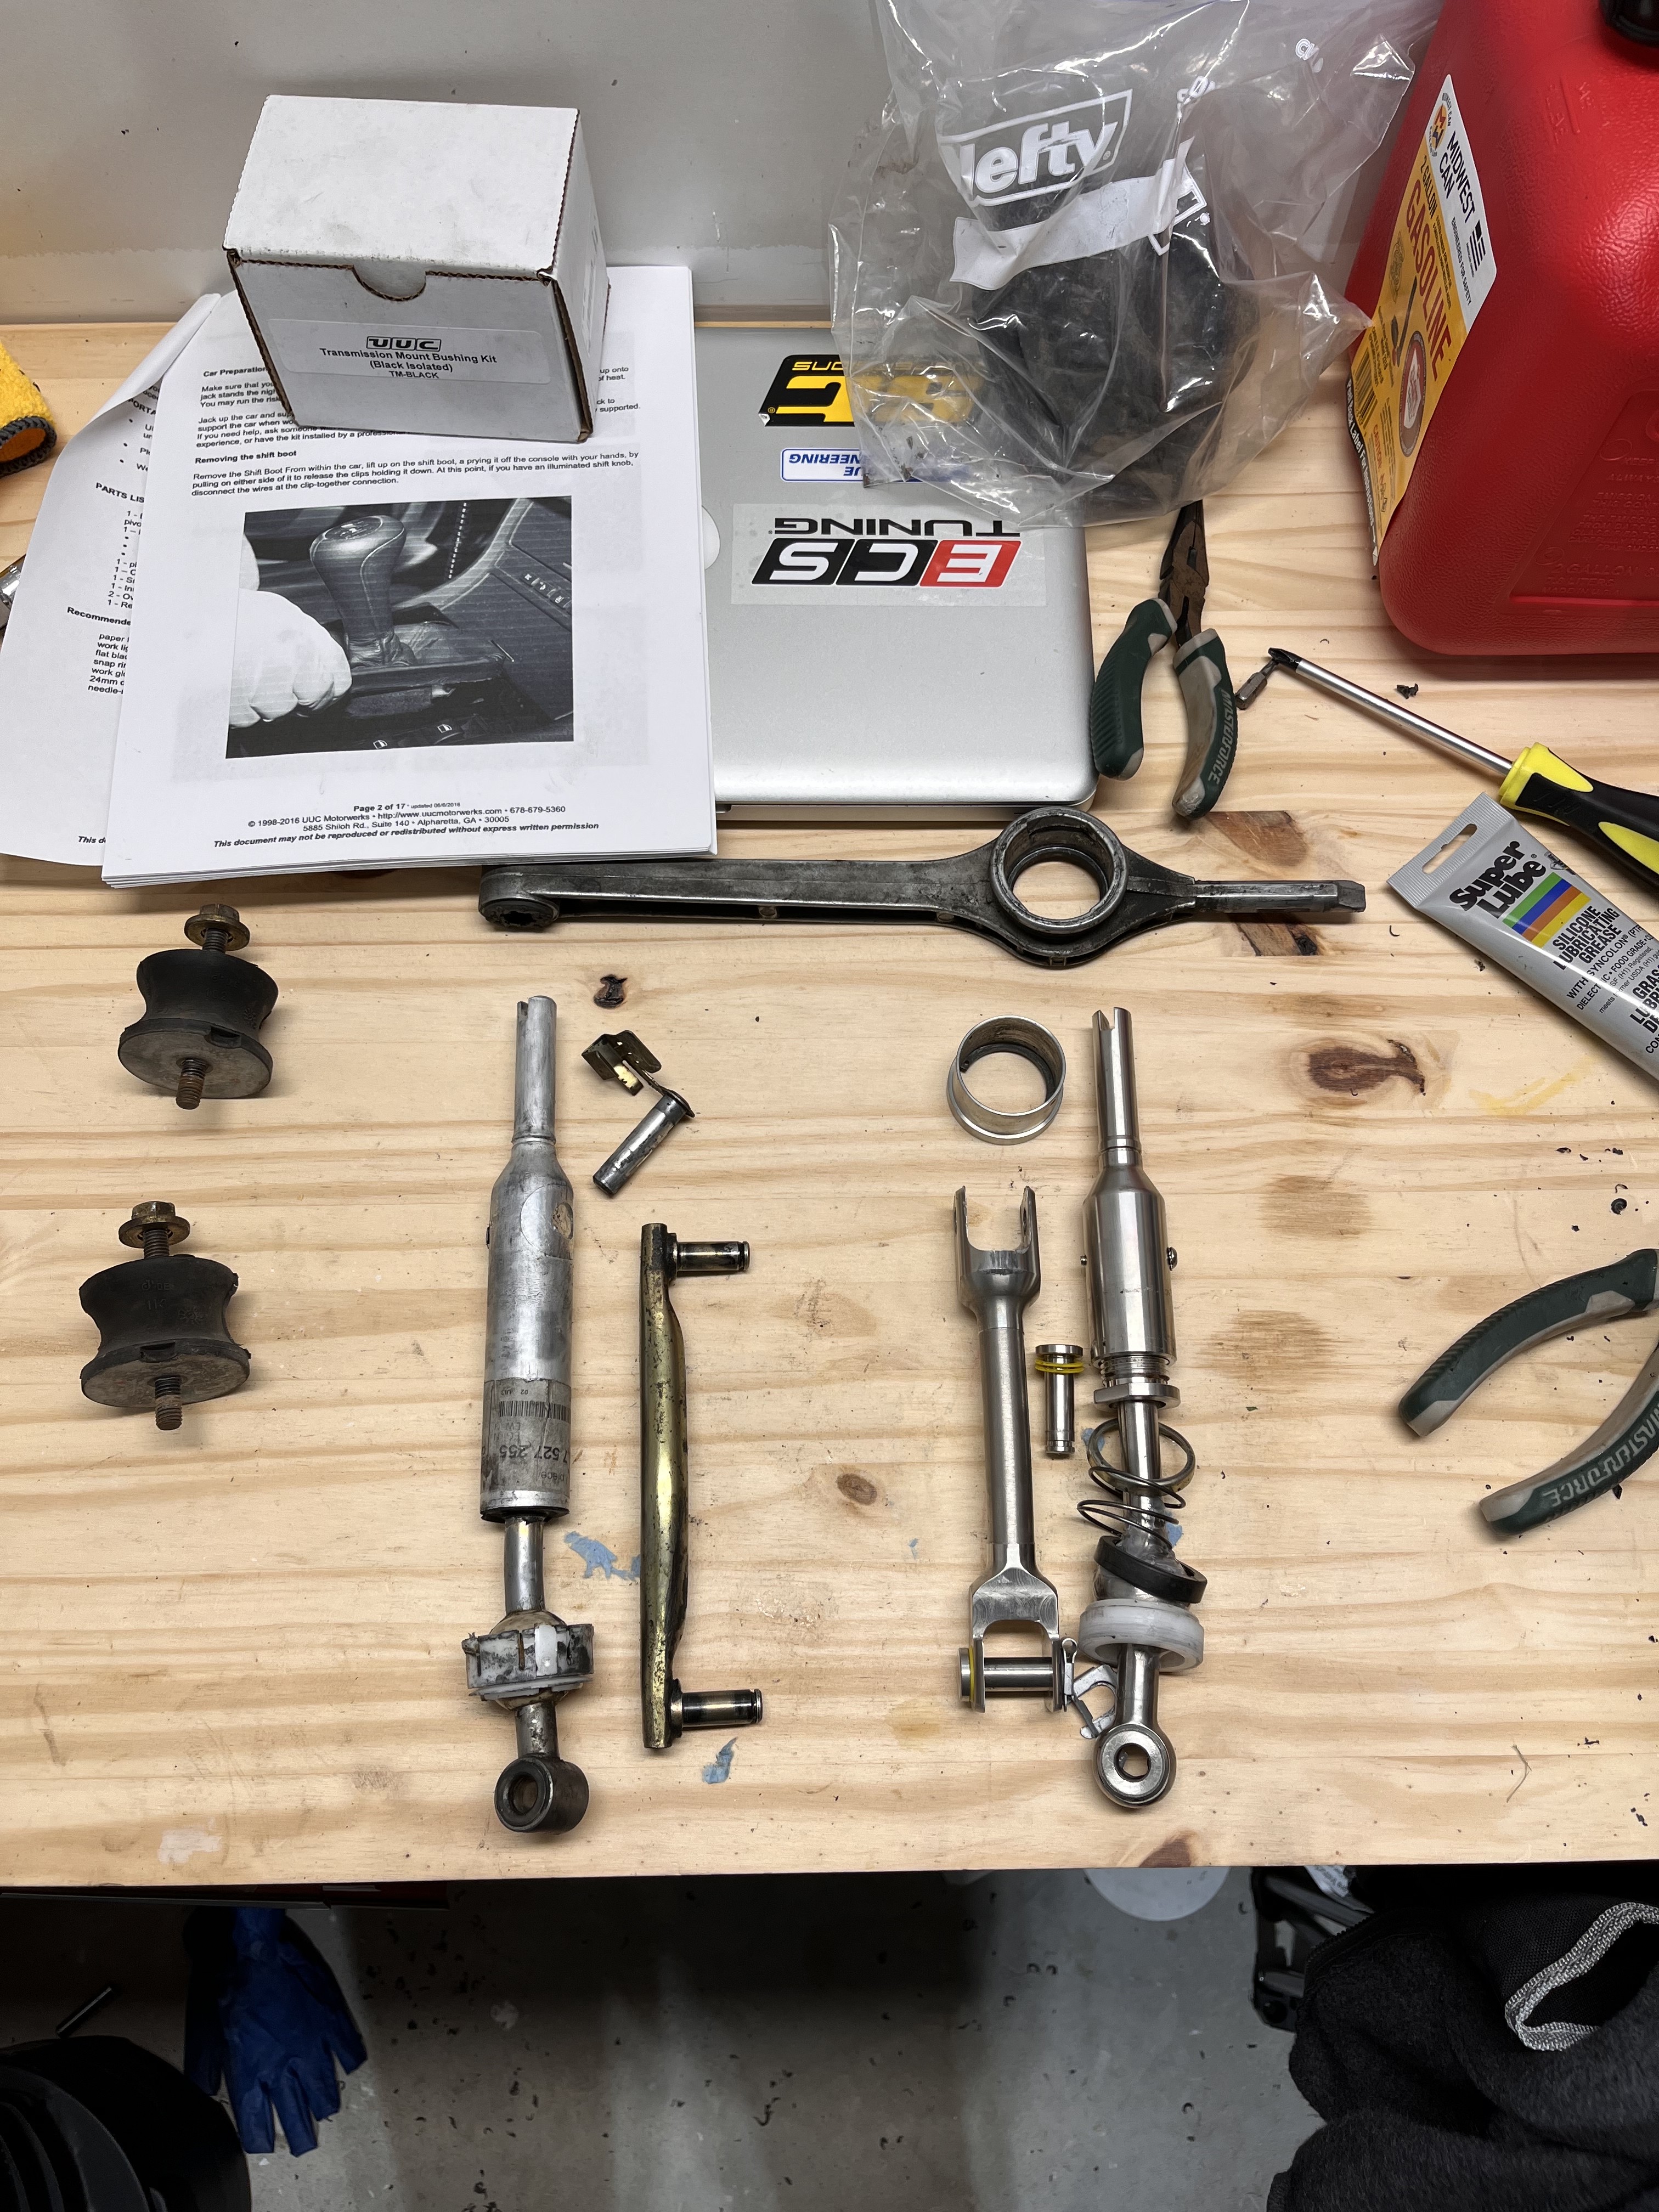
                                    Decided to give the UUC EVO 3 SSK + DSSR kit a go today. Kind of a pain to get to everything. Needed to drop the section 1 exhaust to access the trans brace, tilt the transmission down a couple inches just to reach the top clip on the shift carrier. Figured I might as well swap out the trans mounts with some new UUC ones too while I was at it. Managed to get everything removed (aside from the rear shift carrier bushing, that thing was FUSED to the car. If anyone says they removed it they're lying). Once I had all the shifter components out though, I realized I ordered the wrong front carrier bushing and need the oval one. Damn it, to be continued...
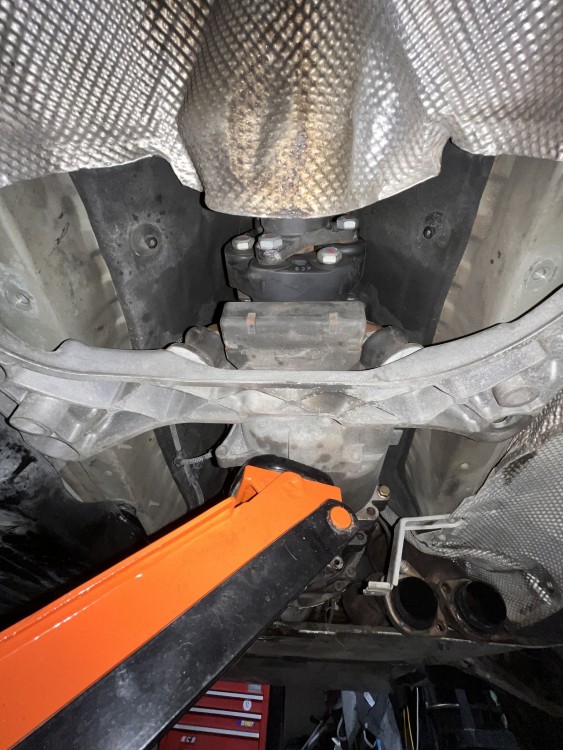
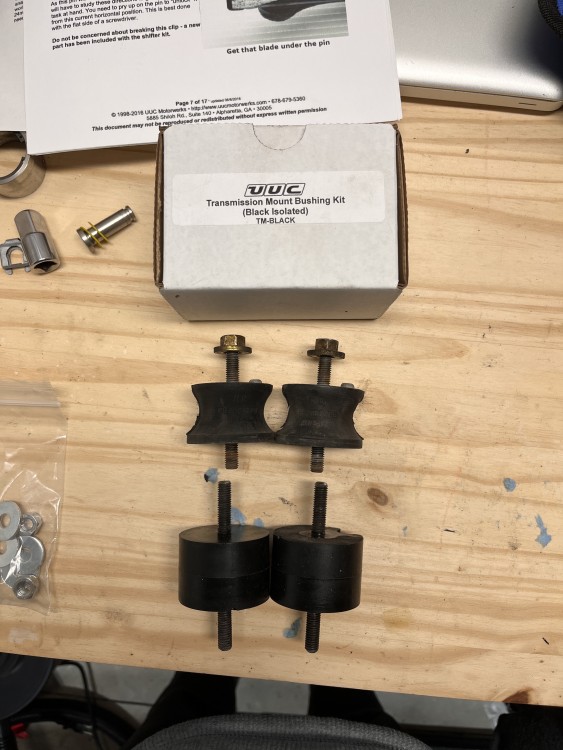
                                    B1E8A3BF-0E41-4D54-B6D8-F16F14E6CA62.jpg4CE1F0B4-3AA0-42D9-83D0-90C4DE554241.jpg365A6684-221D-48BF-AB04-C00E426C652F.jpg7C33B3F1-3300-413A-8AC4-0ED9EFD3F596.jpg

                                    1 Reply Last reply
                                    2
                                    • pynaclP
                                      pynaclP
                                      pynacl
                                      wrote on last edited by
                                      #71

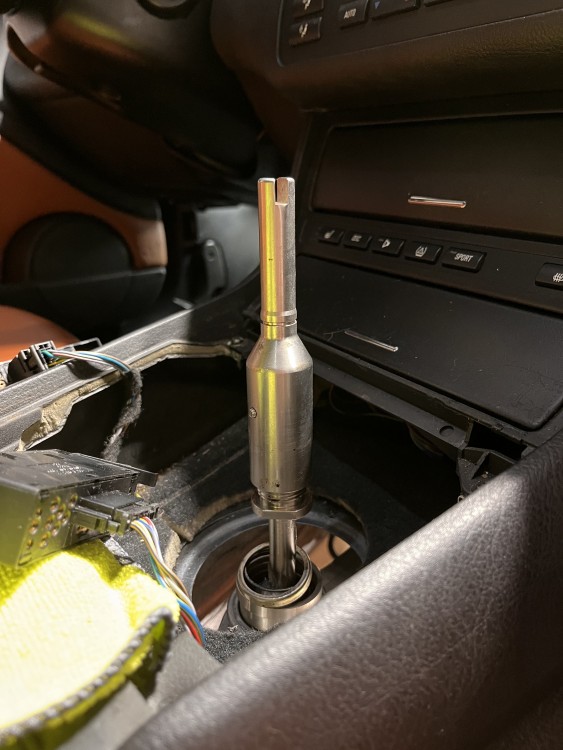
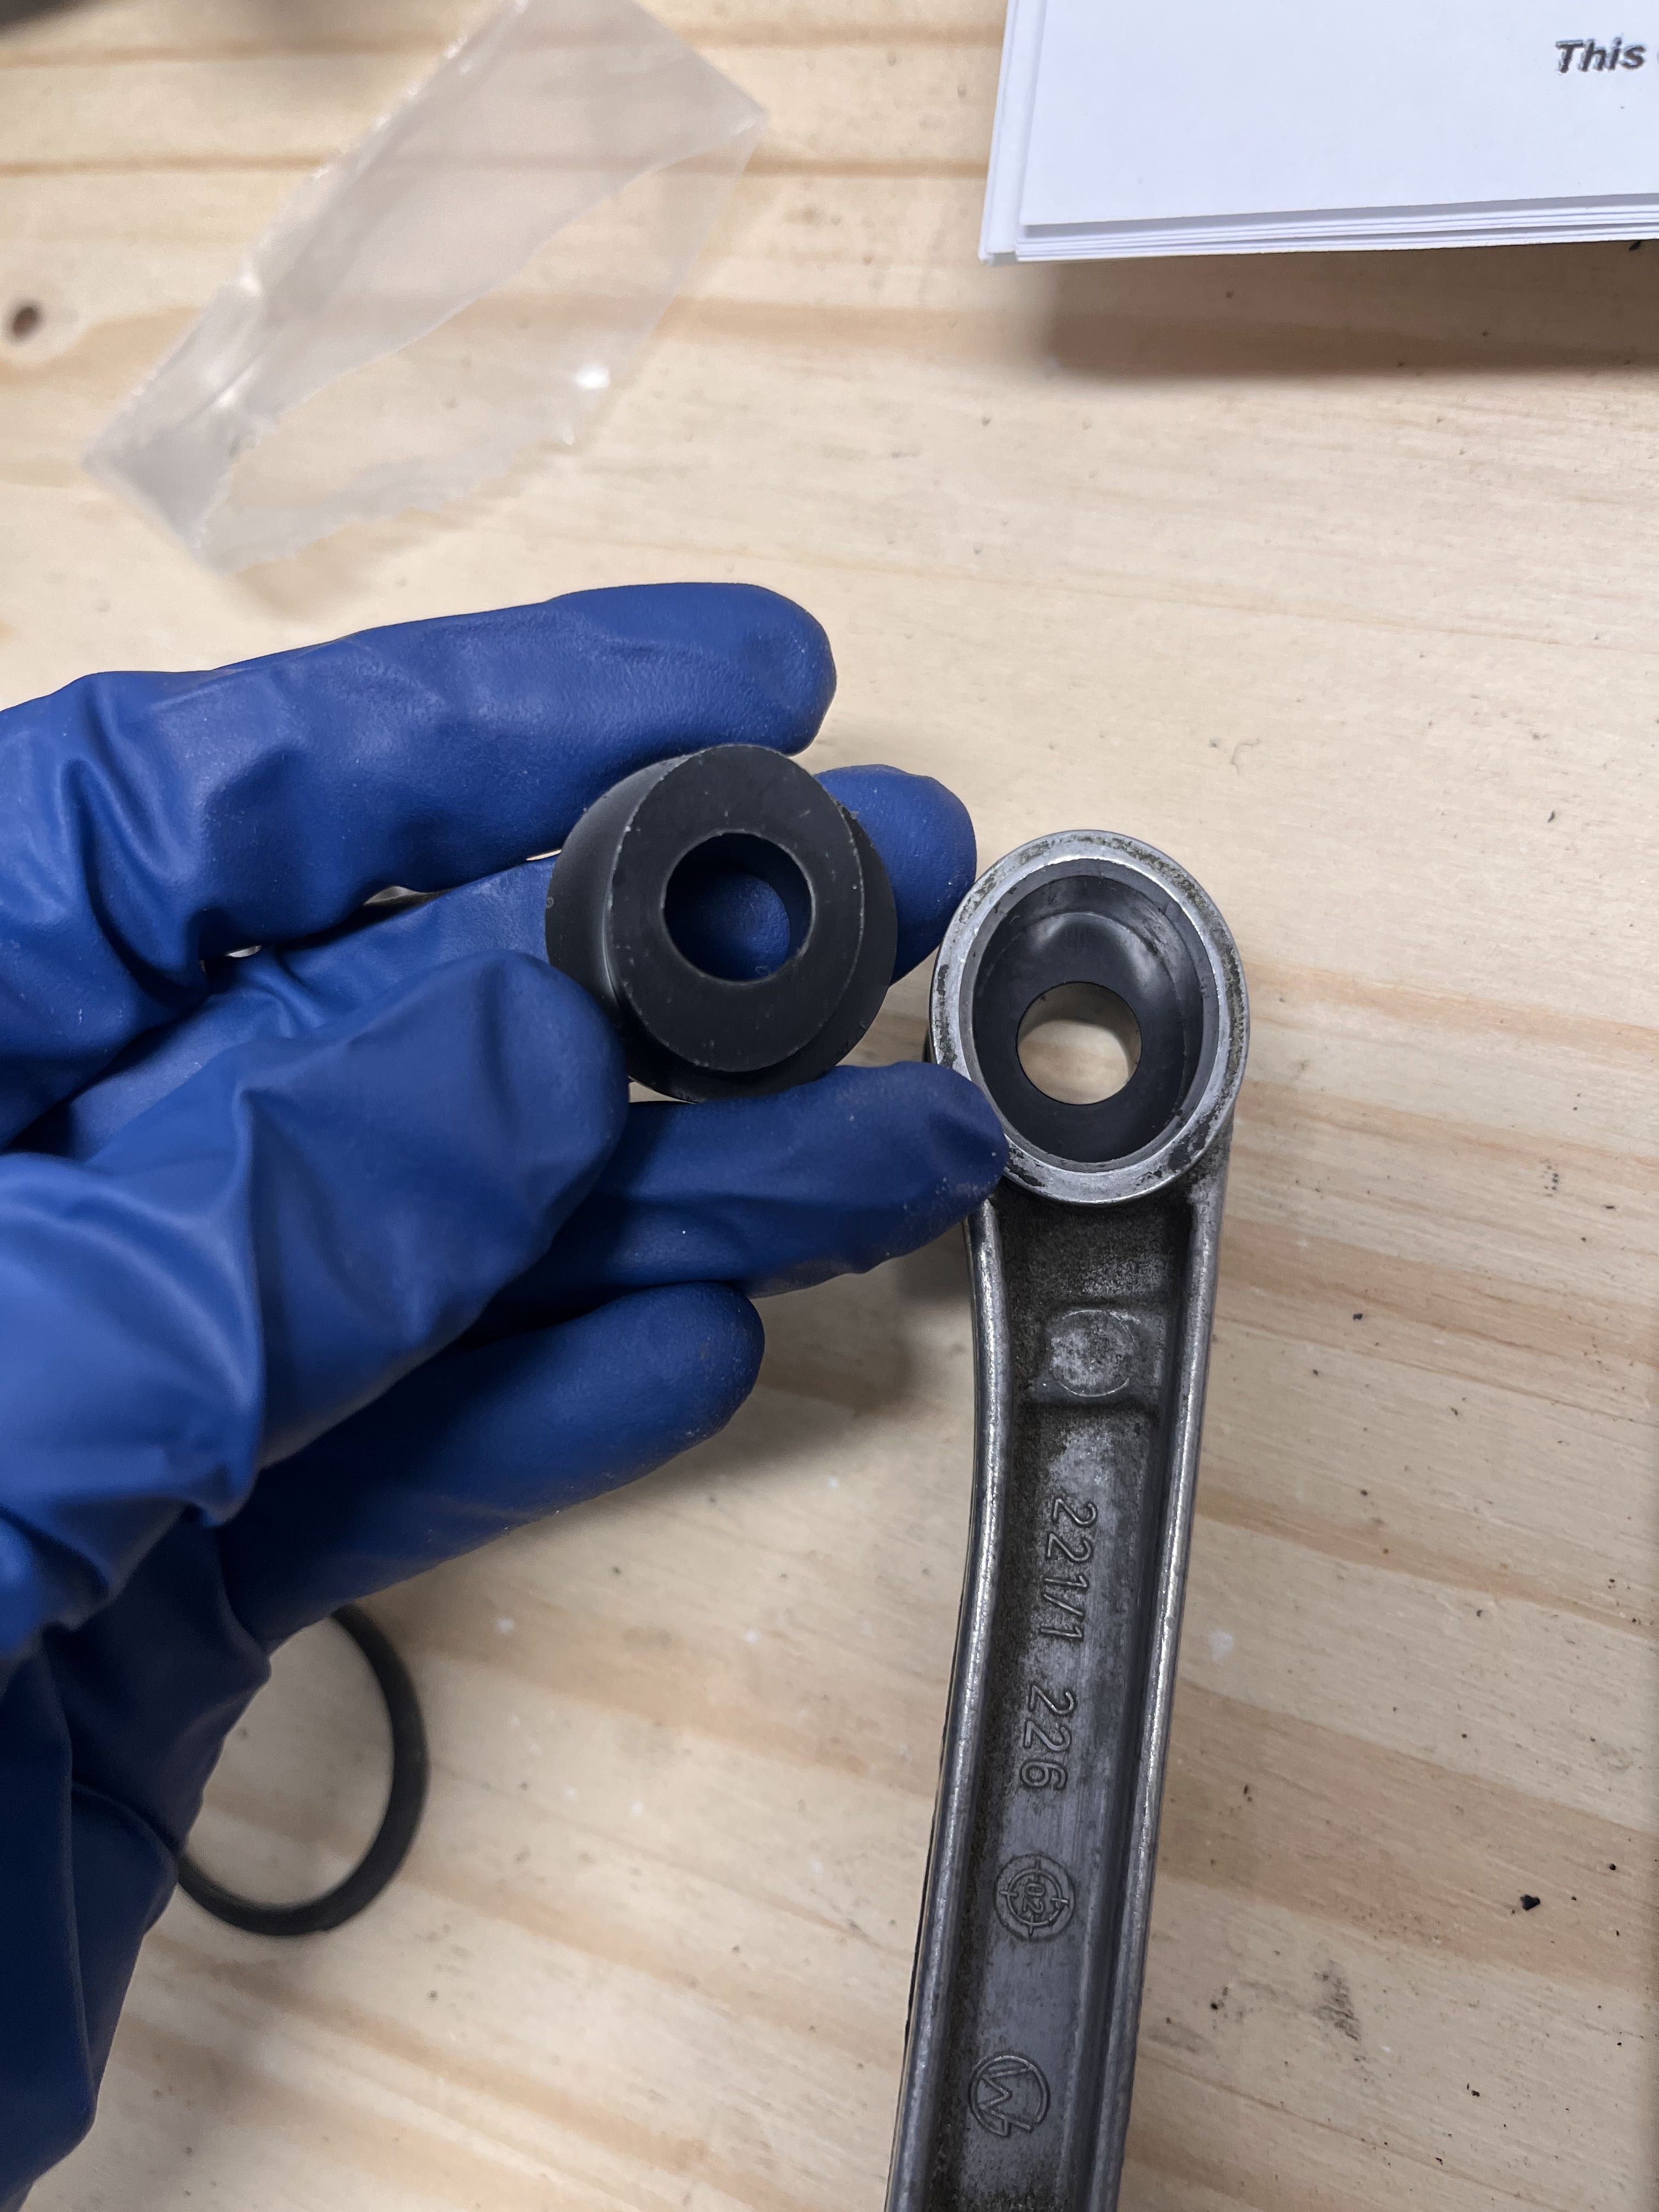
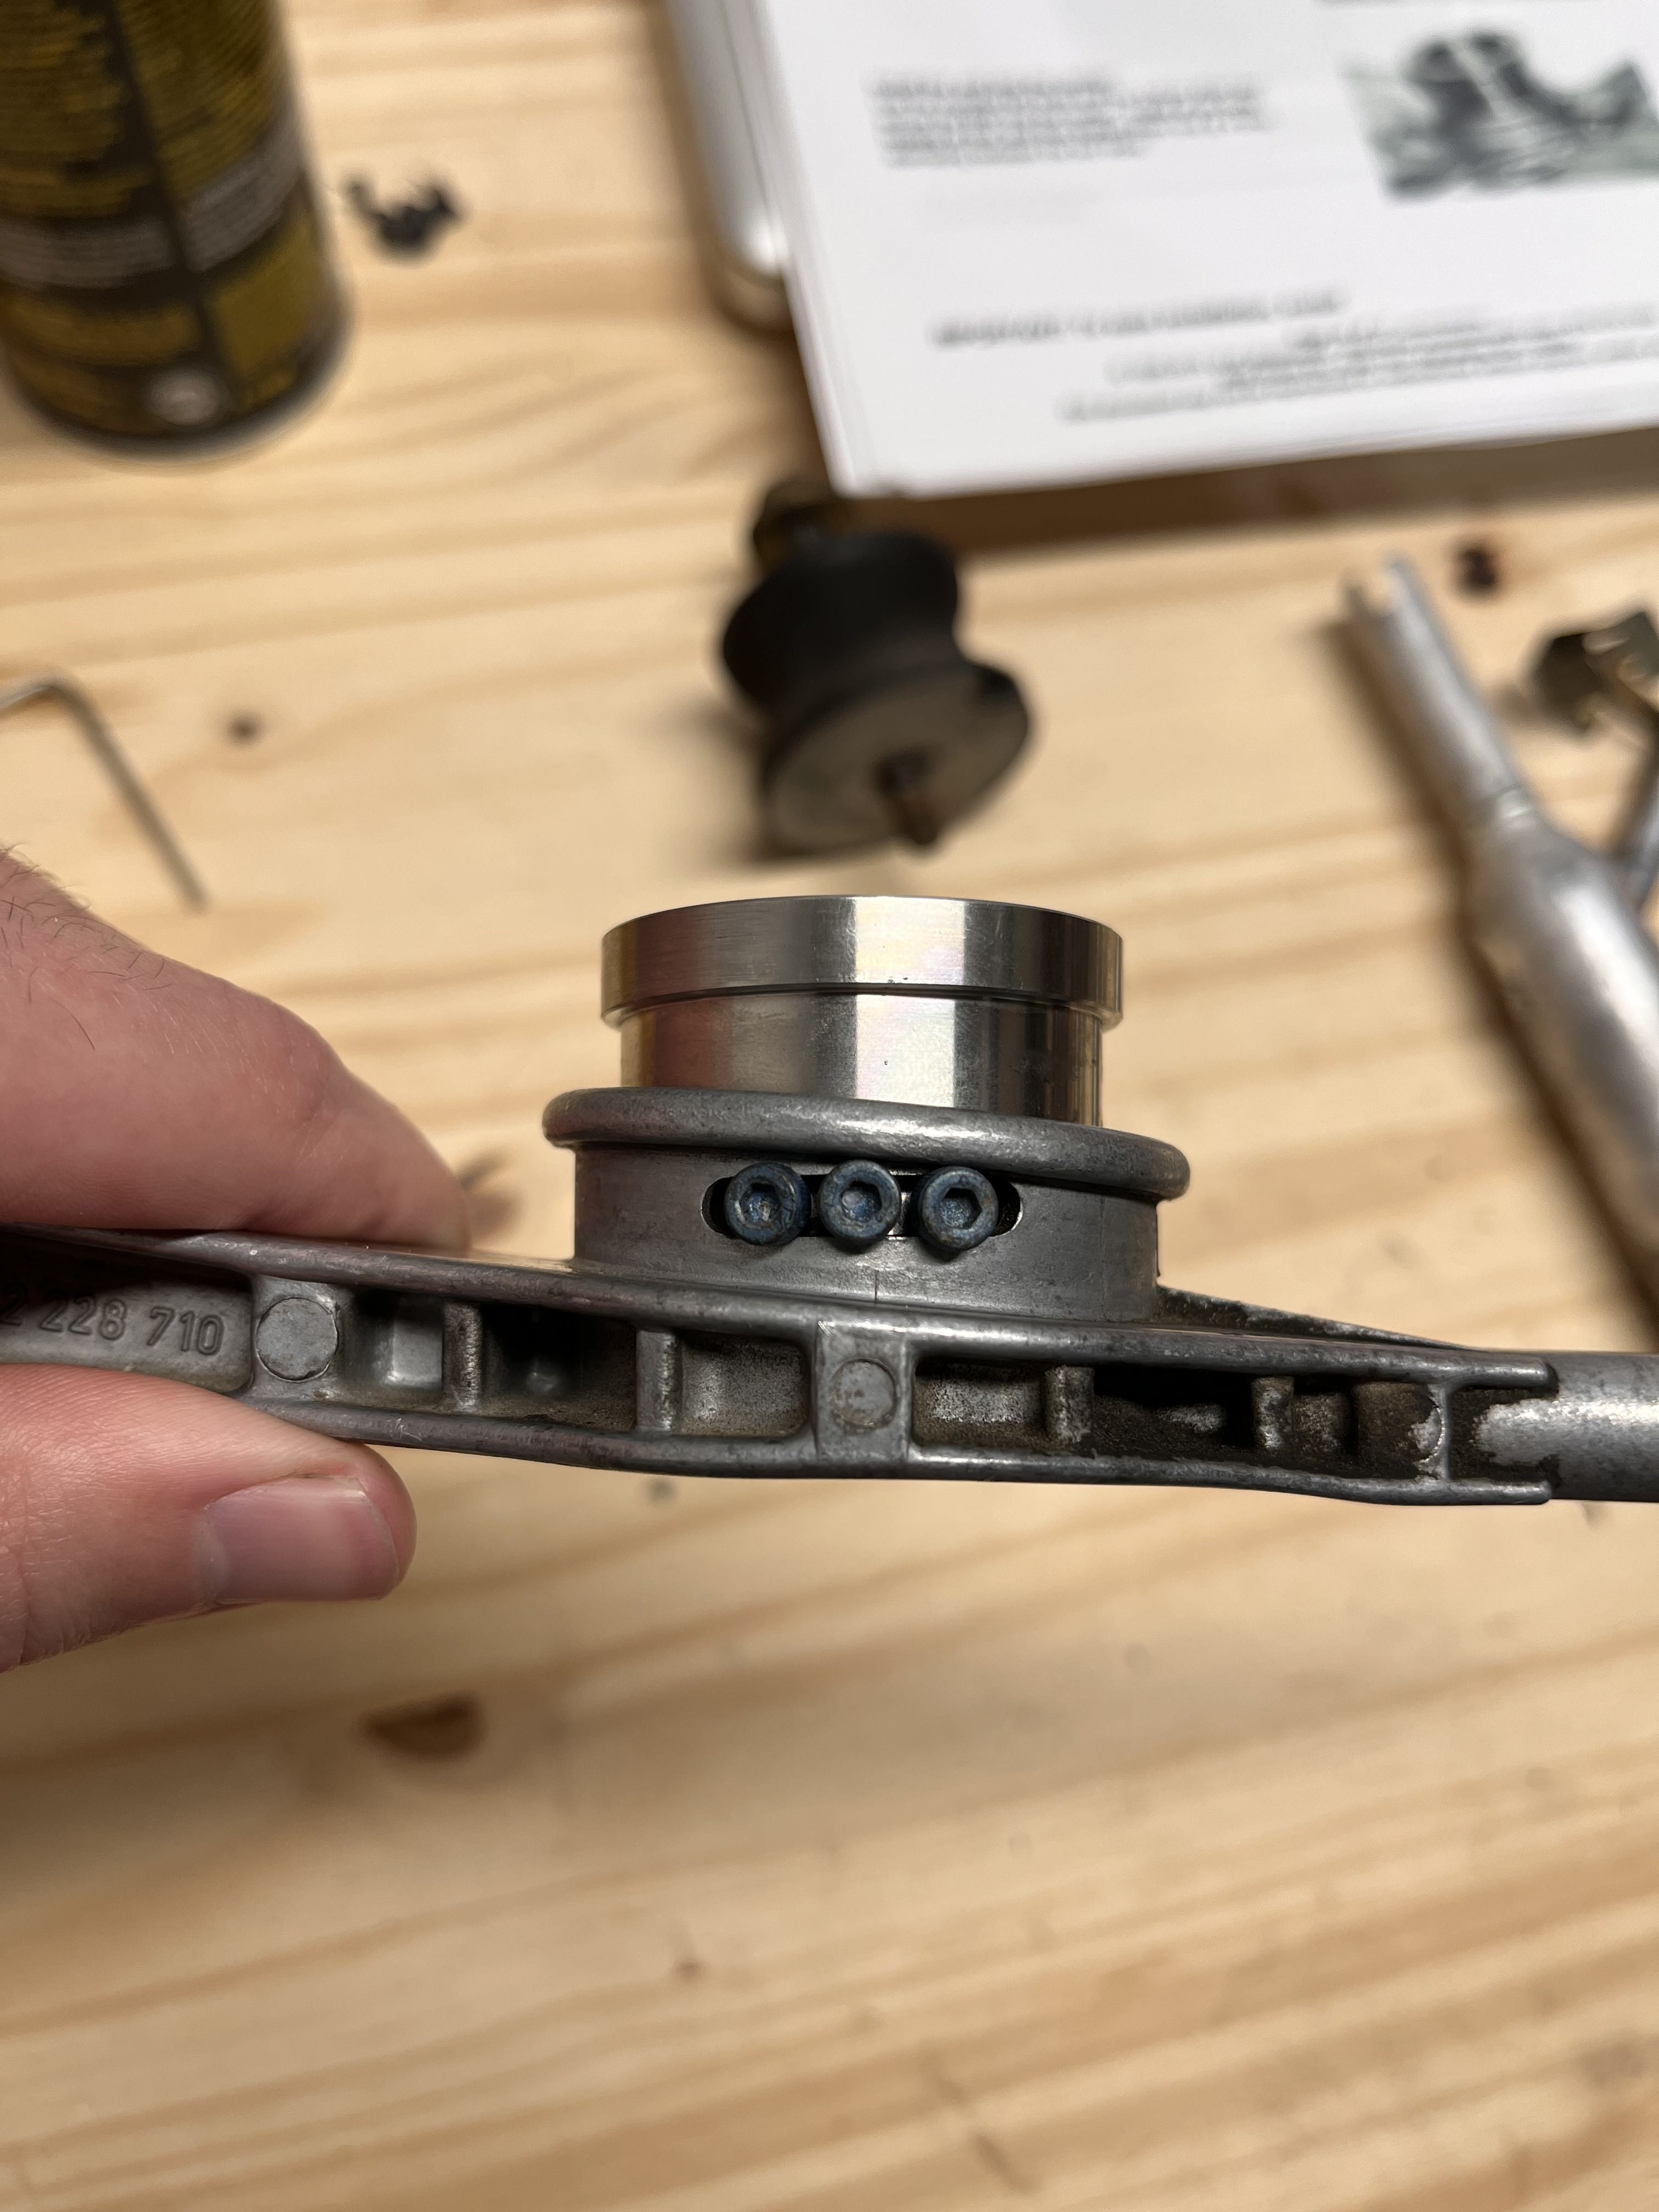
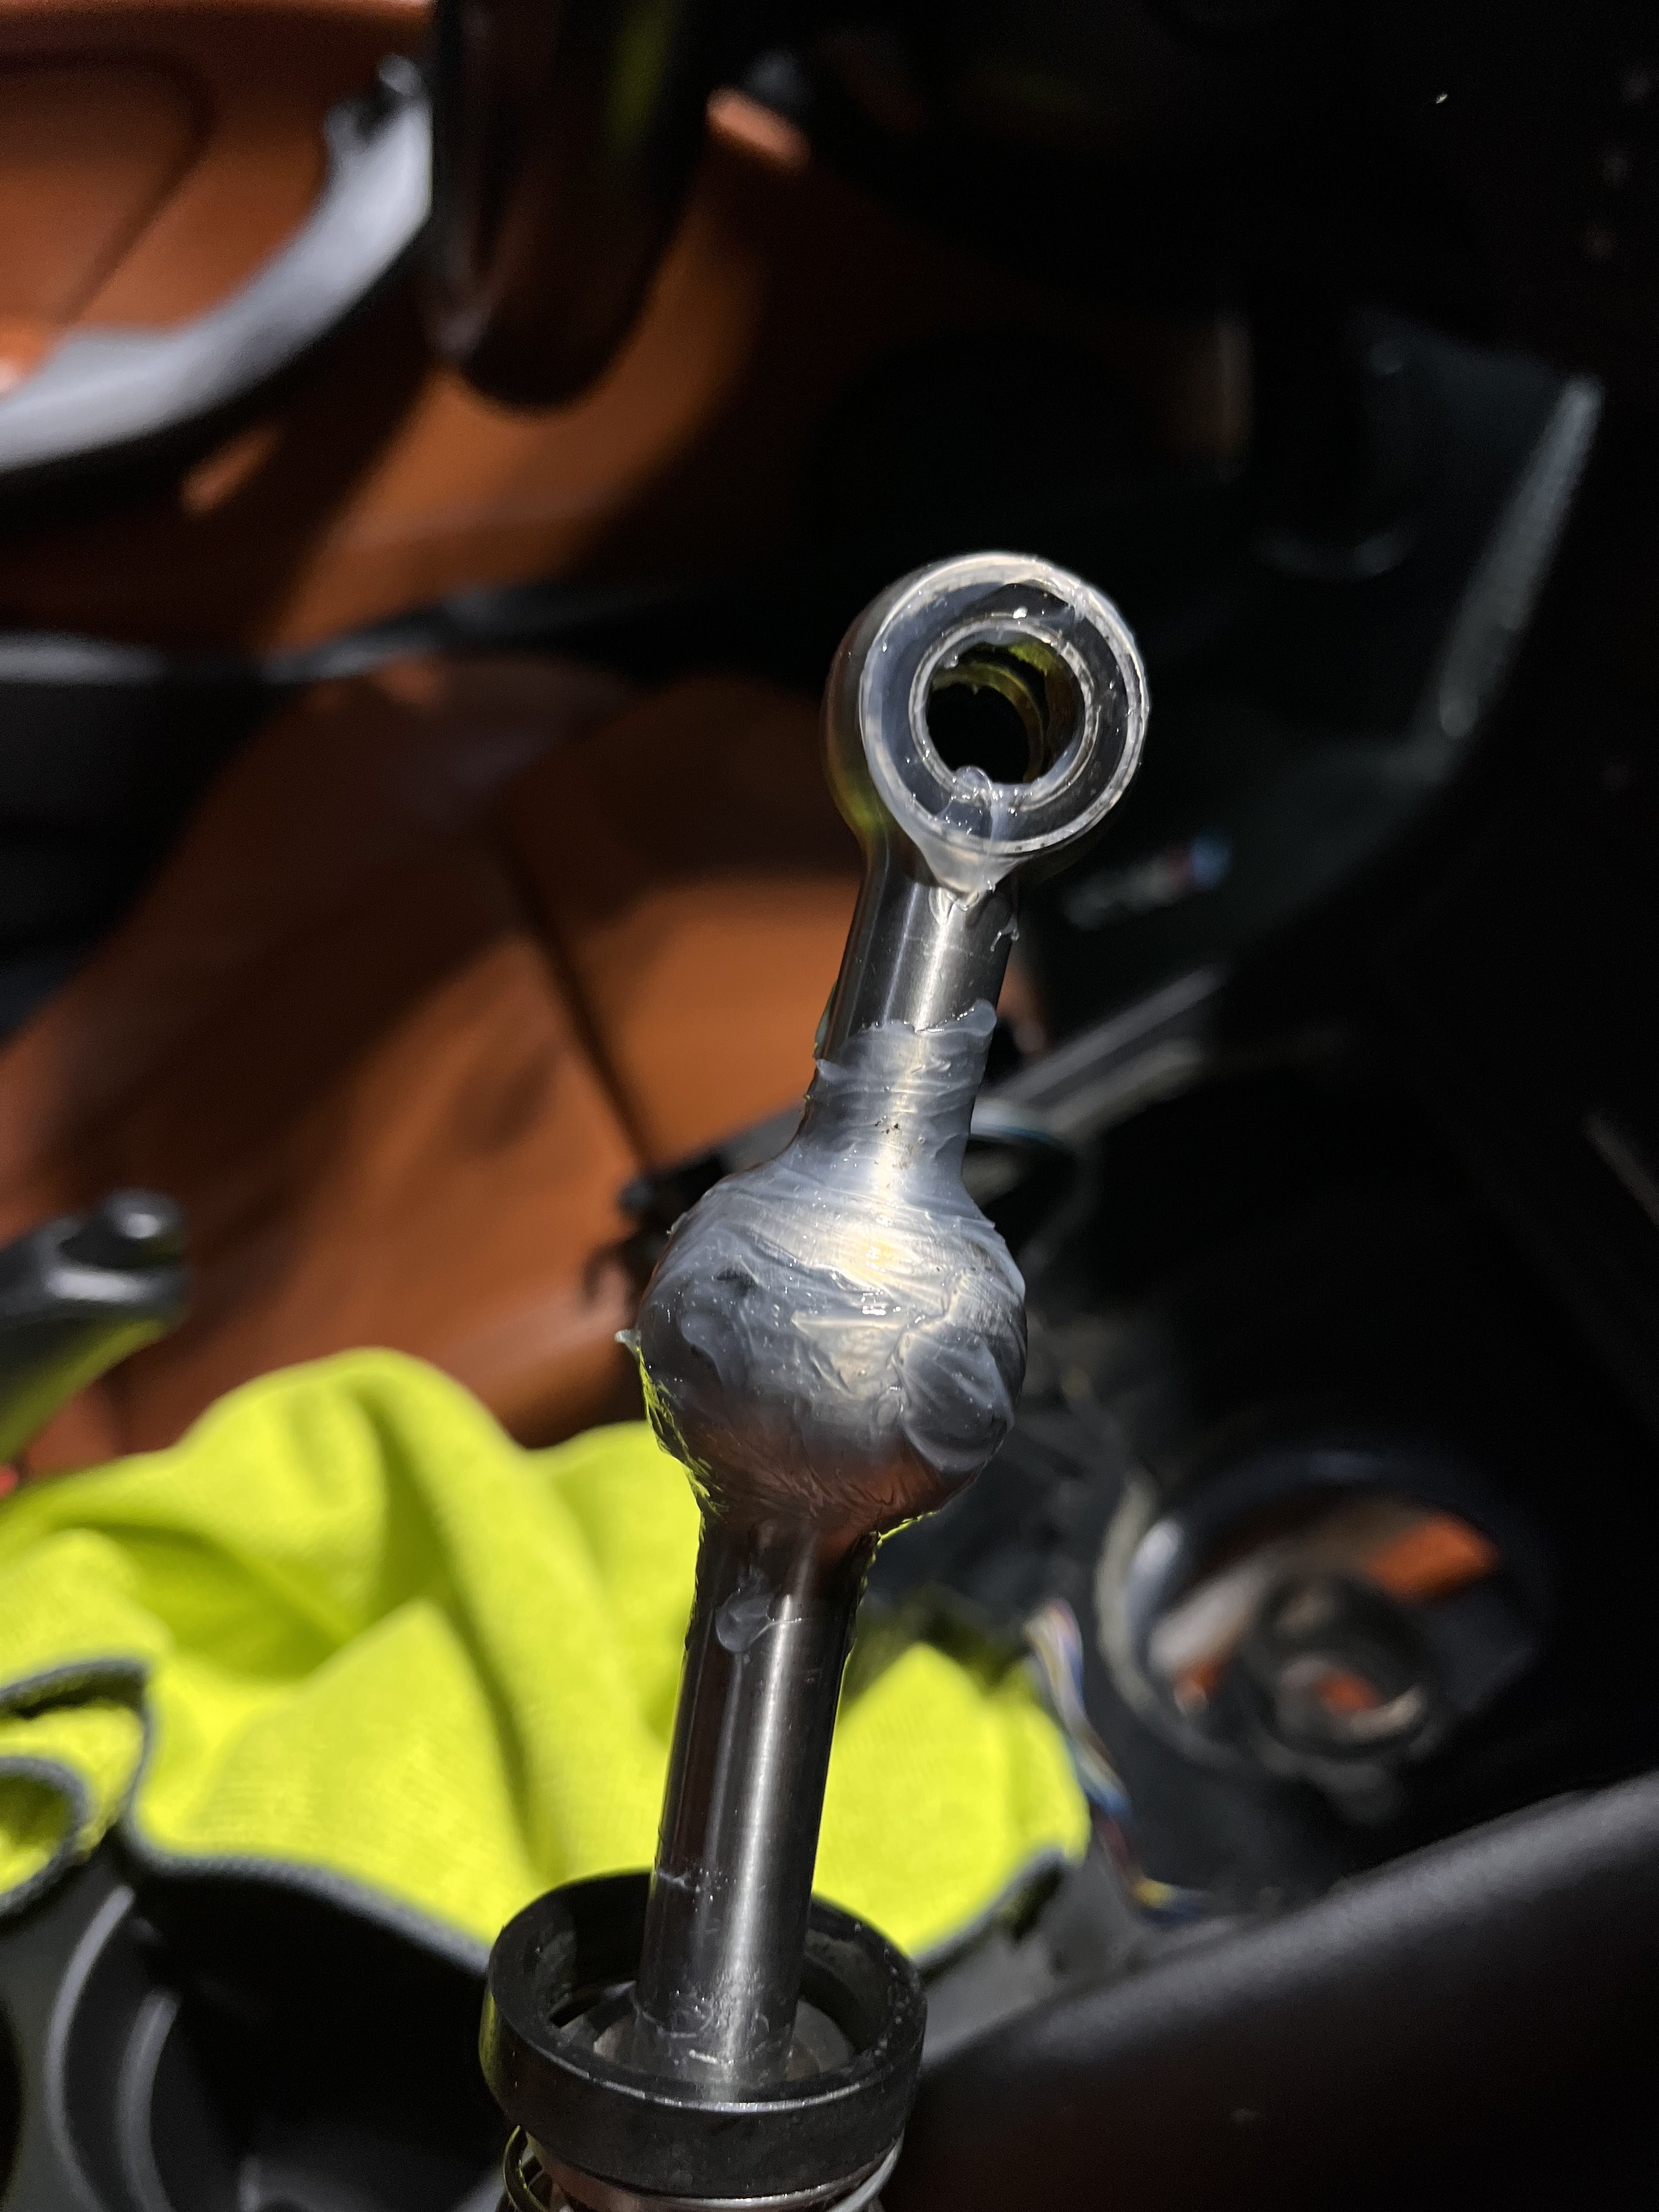
                                      Finally got my new Rogue Engineering Delrin oval carrier bushings and continued on with the install. I would say the rest of the job was like fighting a grizzly bear on meth. My hands are raw, there is zero room to work, most of the job is by feel with no line of sight and there was no part of this job that didn't fight me until I just about gave up. Here's a list of things that went wrong:

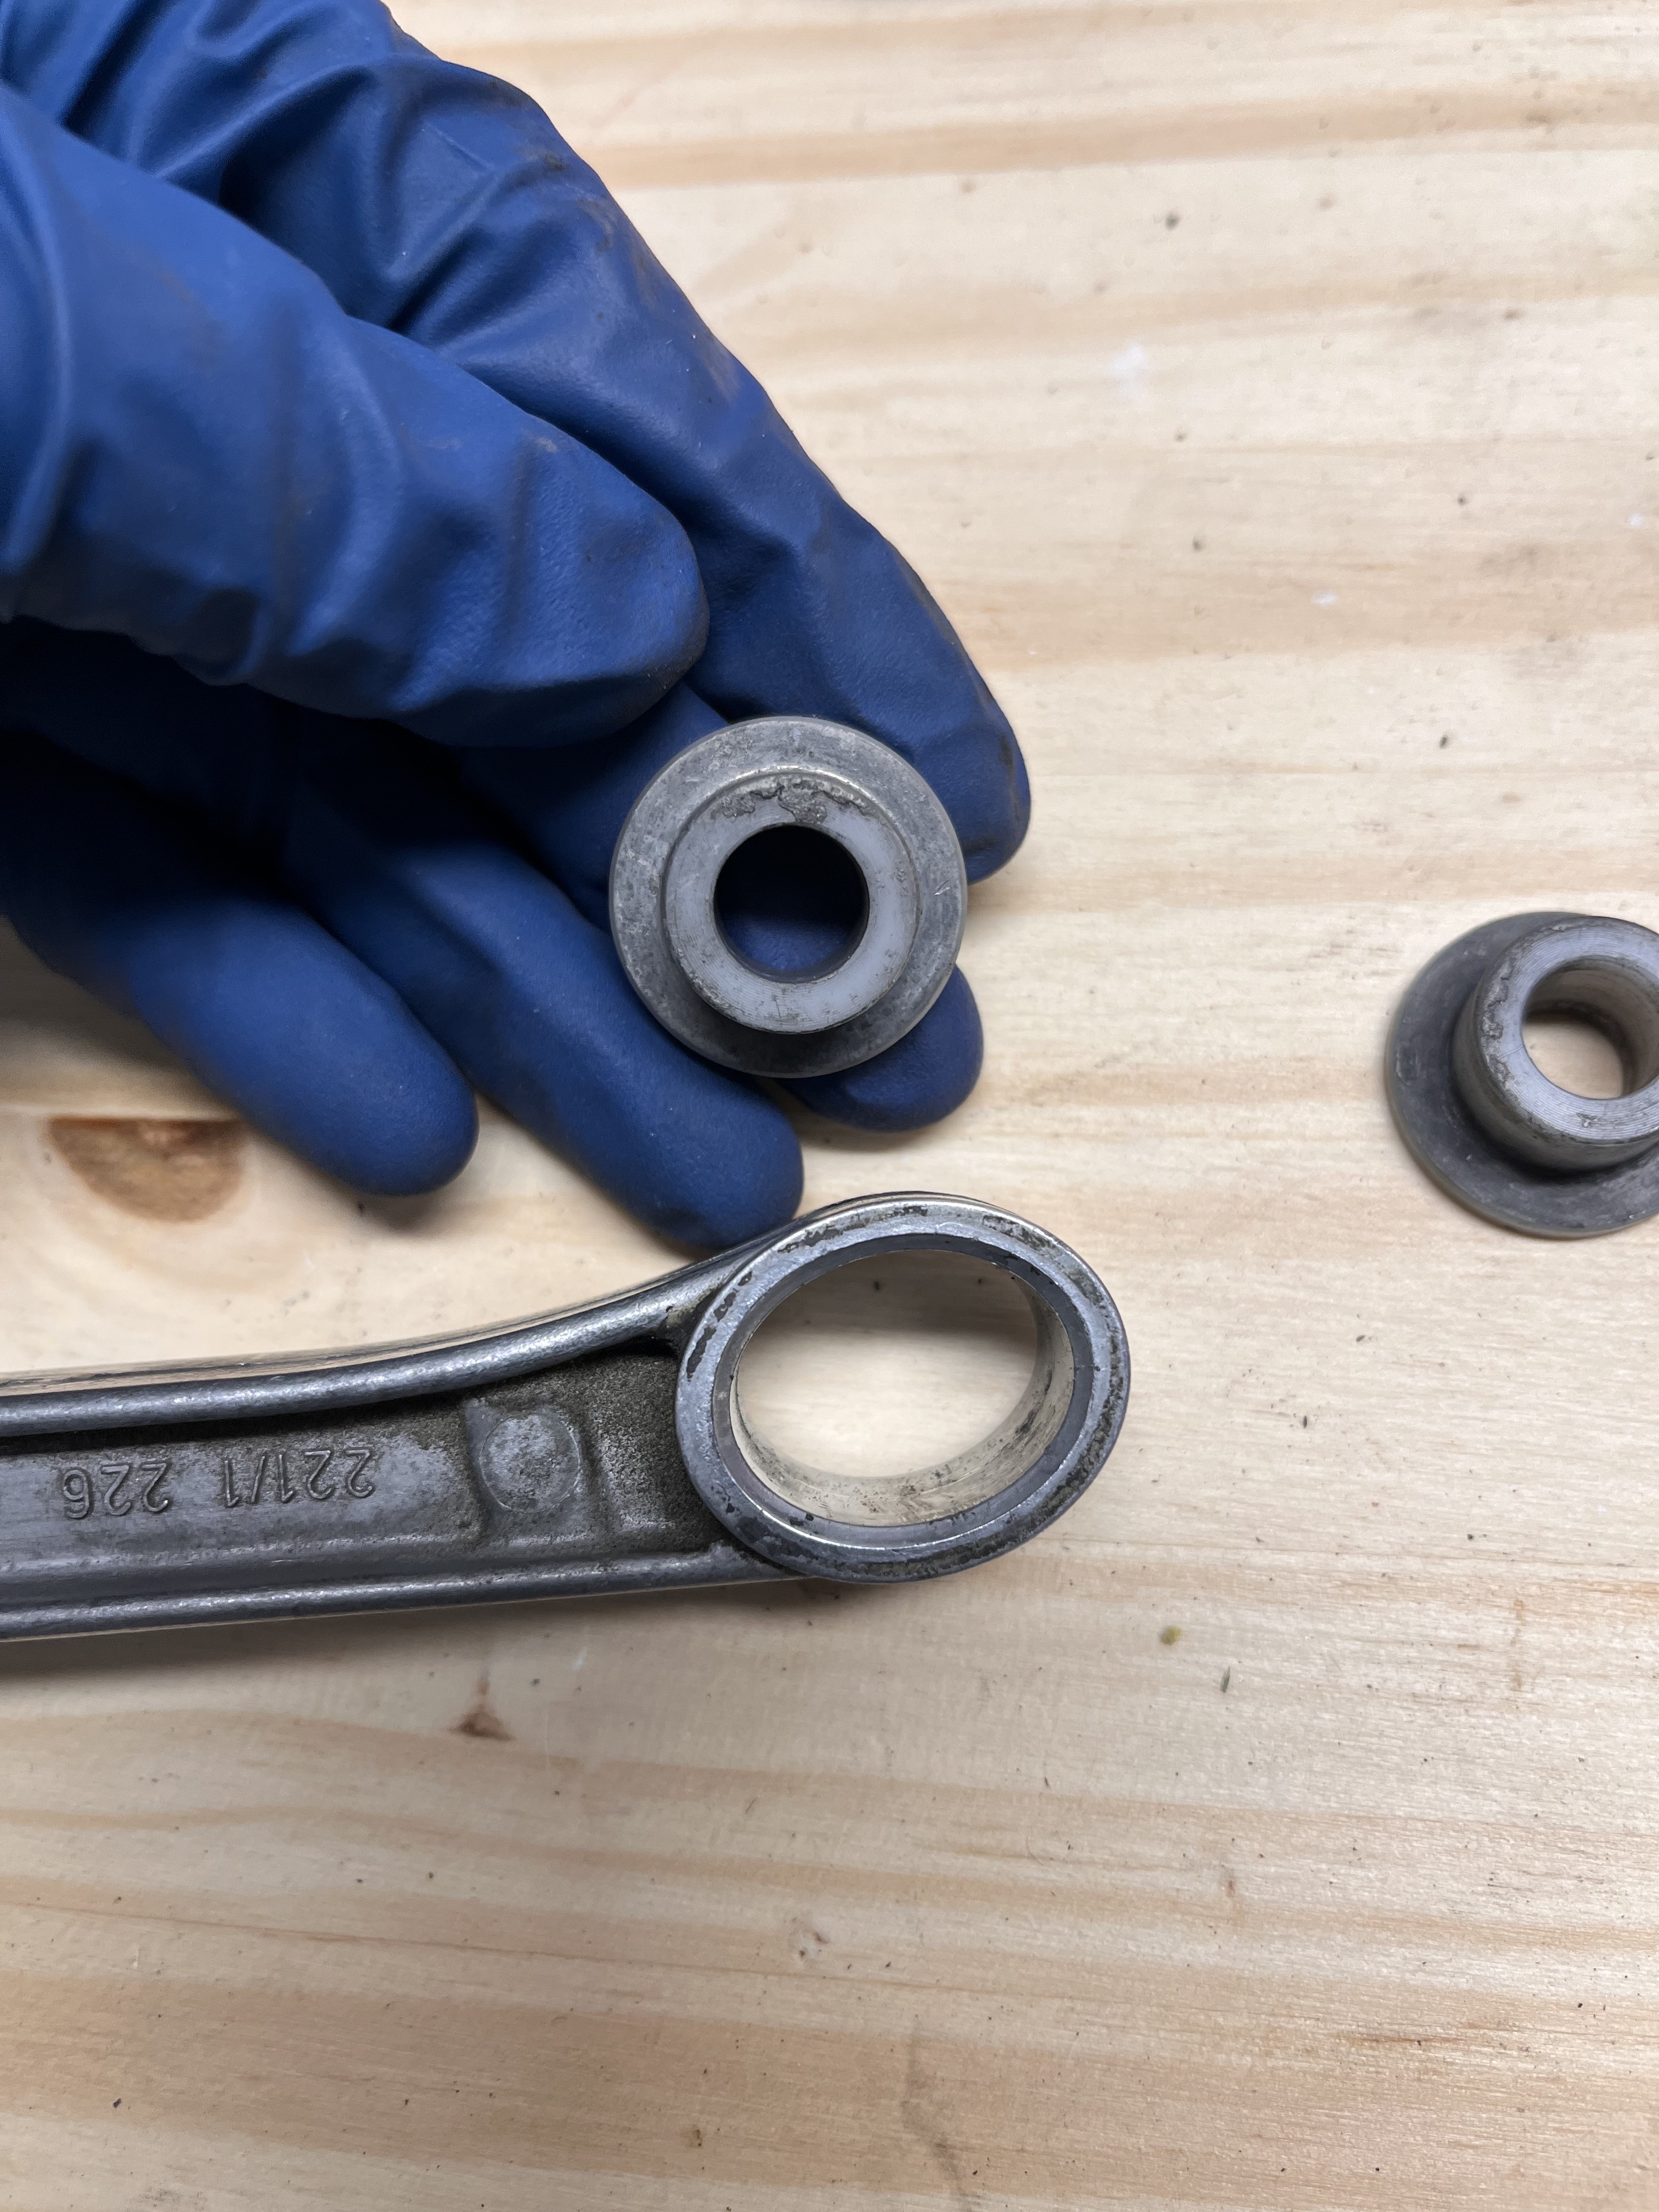
                                      1. Ordered the wrong carrier bushings, circle rather than the correct oval ones
                                      2. I installed the carrier upside down while not paying attention, and sadly I snapped the "bitch clip" down, the one notoriously nicknamed for being nearly impossible to remove
                                      3. Bimmerworld sent me a "bitch clip" thats backwards, causing the part you need to pry against to be inaccessible
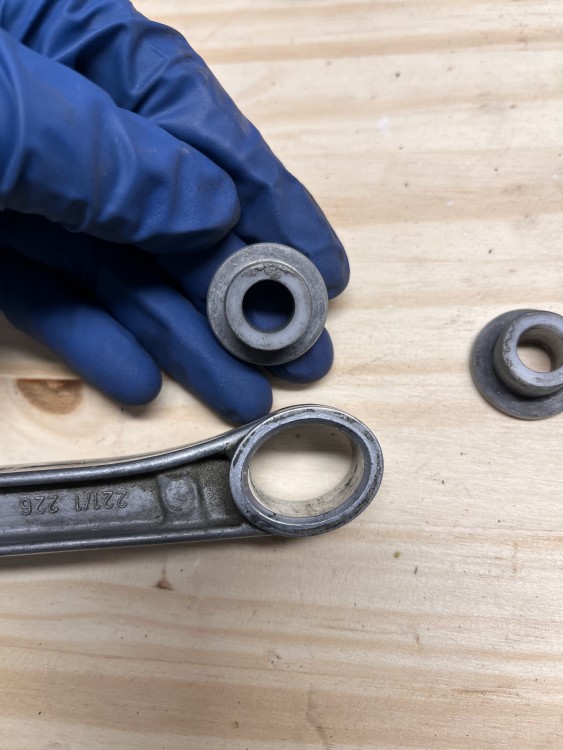
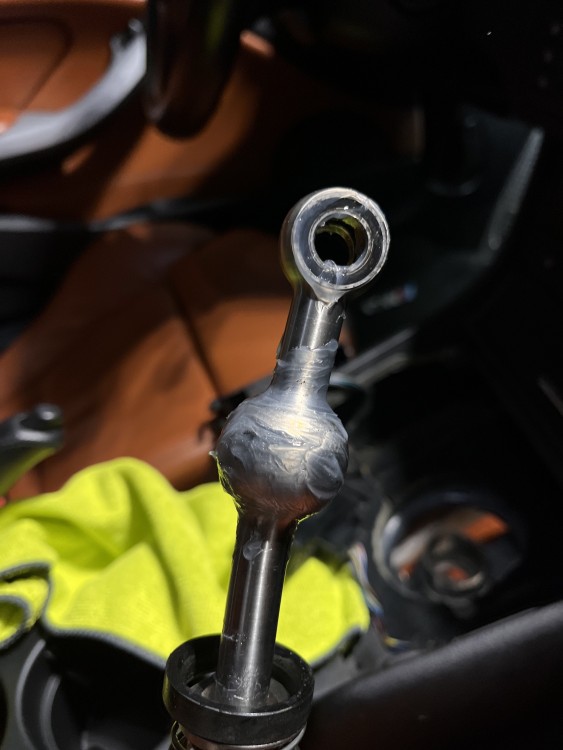
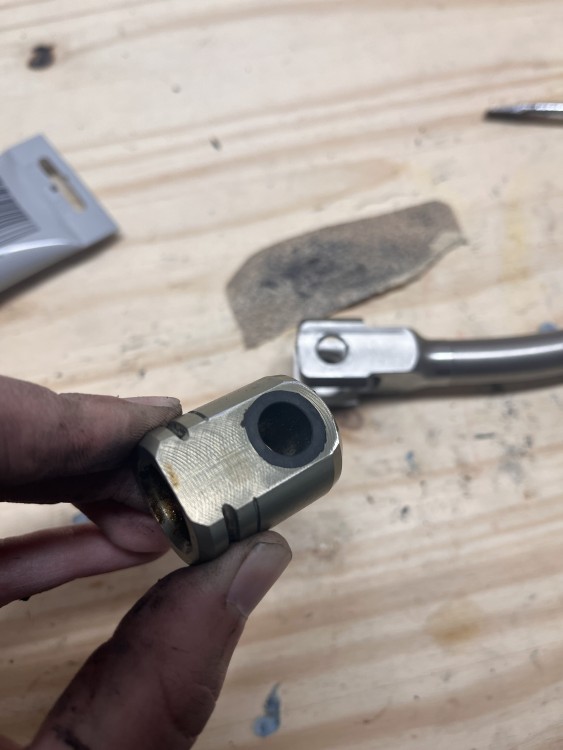
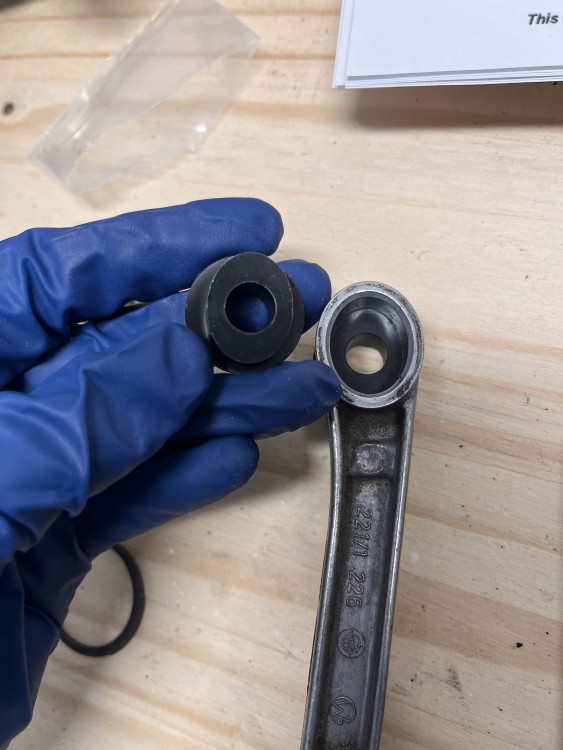
                                      4. The UUC selector rod wouldn't fit on the shift rod joint, the built in bushings were preventing it from sliding on by about 1-2mm.
                                      5. I had to remove the carrier a 3rd time, because it needs to be off to take the shift rod joint out, so I could modify it to fit the DSSR

                                      Lots of swearing and some perseverance I got it done. I ended up removing the selector rod joint and actually sanding down the plastic bushings so they are nearly flush. I'm not sure if this will have consequences down the road, but it articulates freely and I added some grease. Worst case I'm pretty well versed in removing it by now.

                                      I can't actually test it out since it's winter and the salt trucks have already been out here in Minneapolis, but I did row through the gears in the garage and it feels AWESOME. Virtually zero slop and feels like bolting a rifle or rowing a gated manual. I'm sure most would consider this a relatively easy job, but man this kicked my ass. Proud to have done it myself though, since my local shop quoted me at $550 for labor.

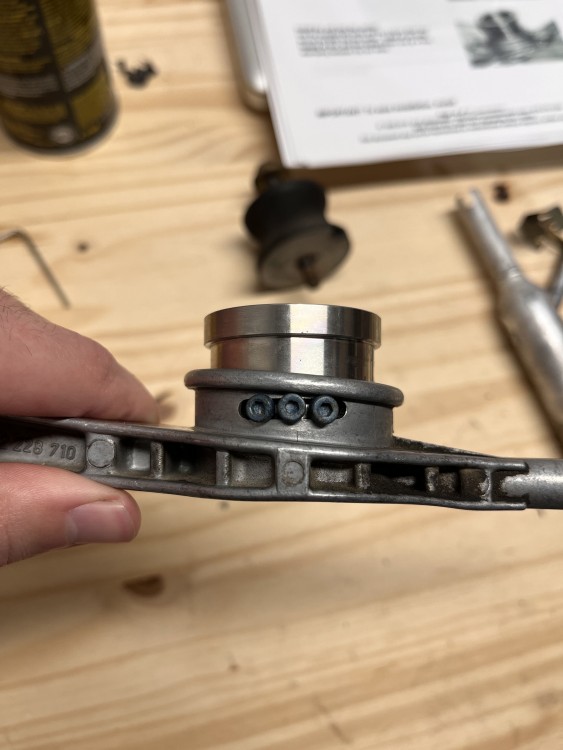
                                      Edit: If you notice the random paint on the rear of the carrier, that's because I scratched the hell out of the sheet metal trying to remove that rear carrier bushing. Added some automotive paint I had laying around to prevent corrosion with the exposed metal. Whoopsie.
                                      IMG0820.jpgIMG0715.jpgIMG0825.jpgIMG0826.jpgIMG0831.jpgIMG0832.jpgIMG0835.jpg

                                      1 Reply Last reply
                                      1
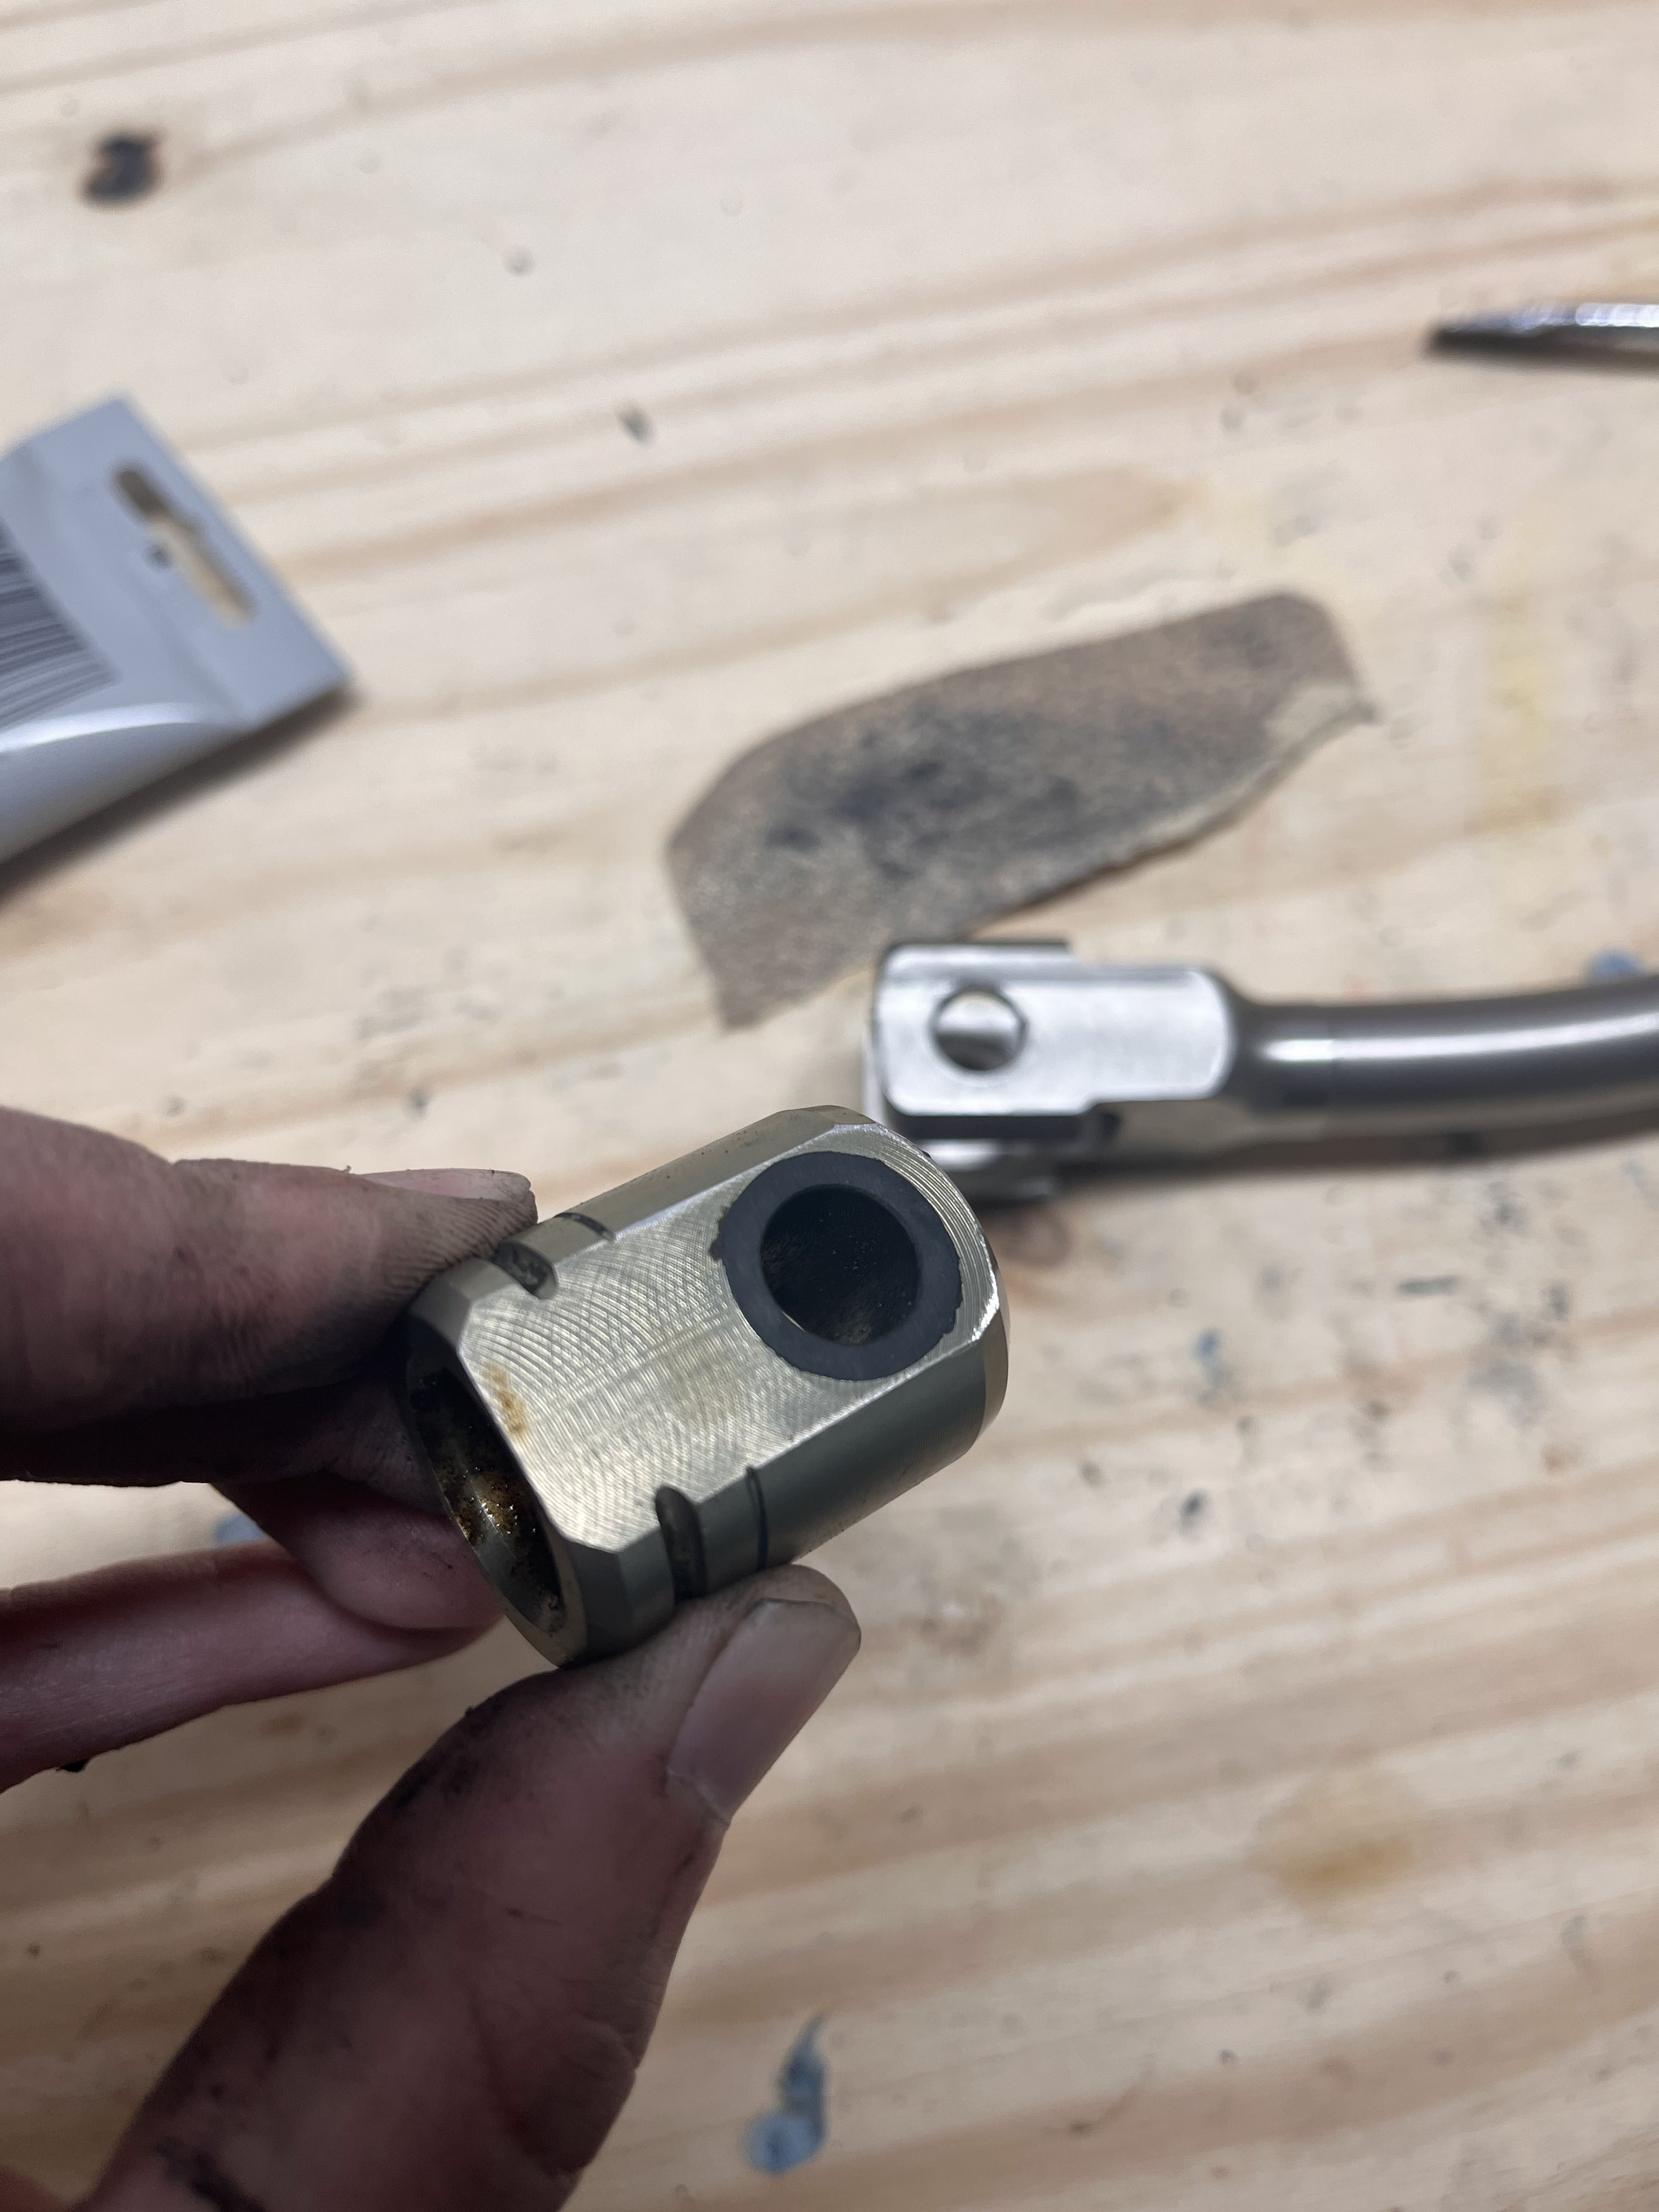
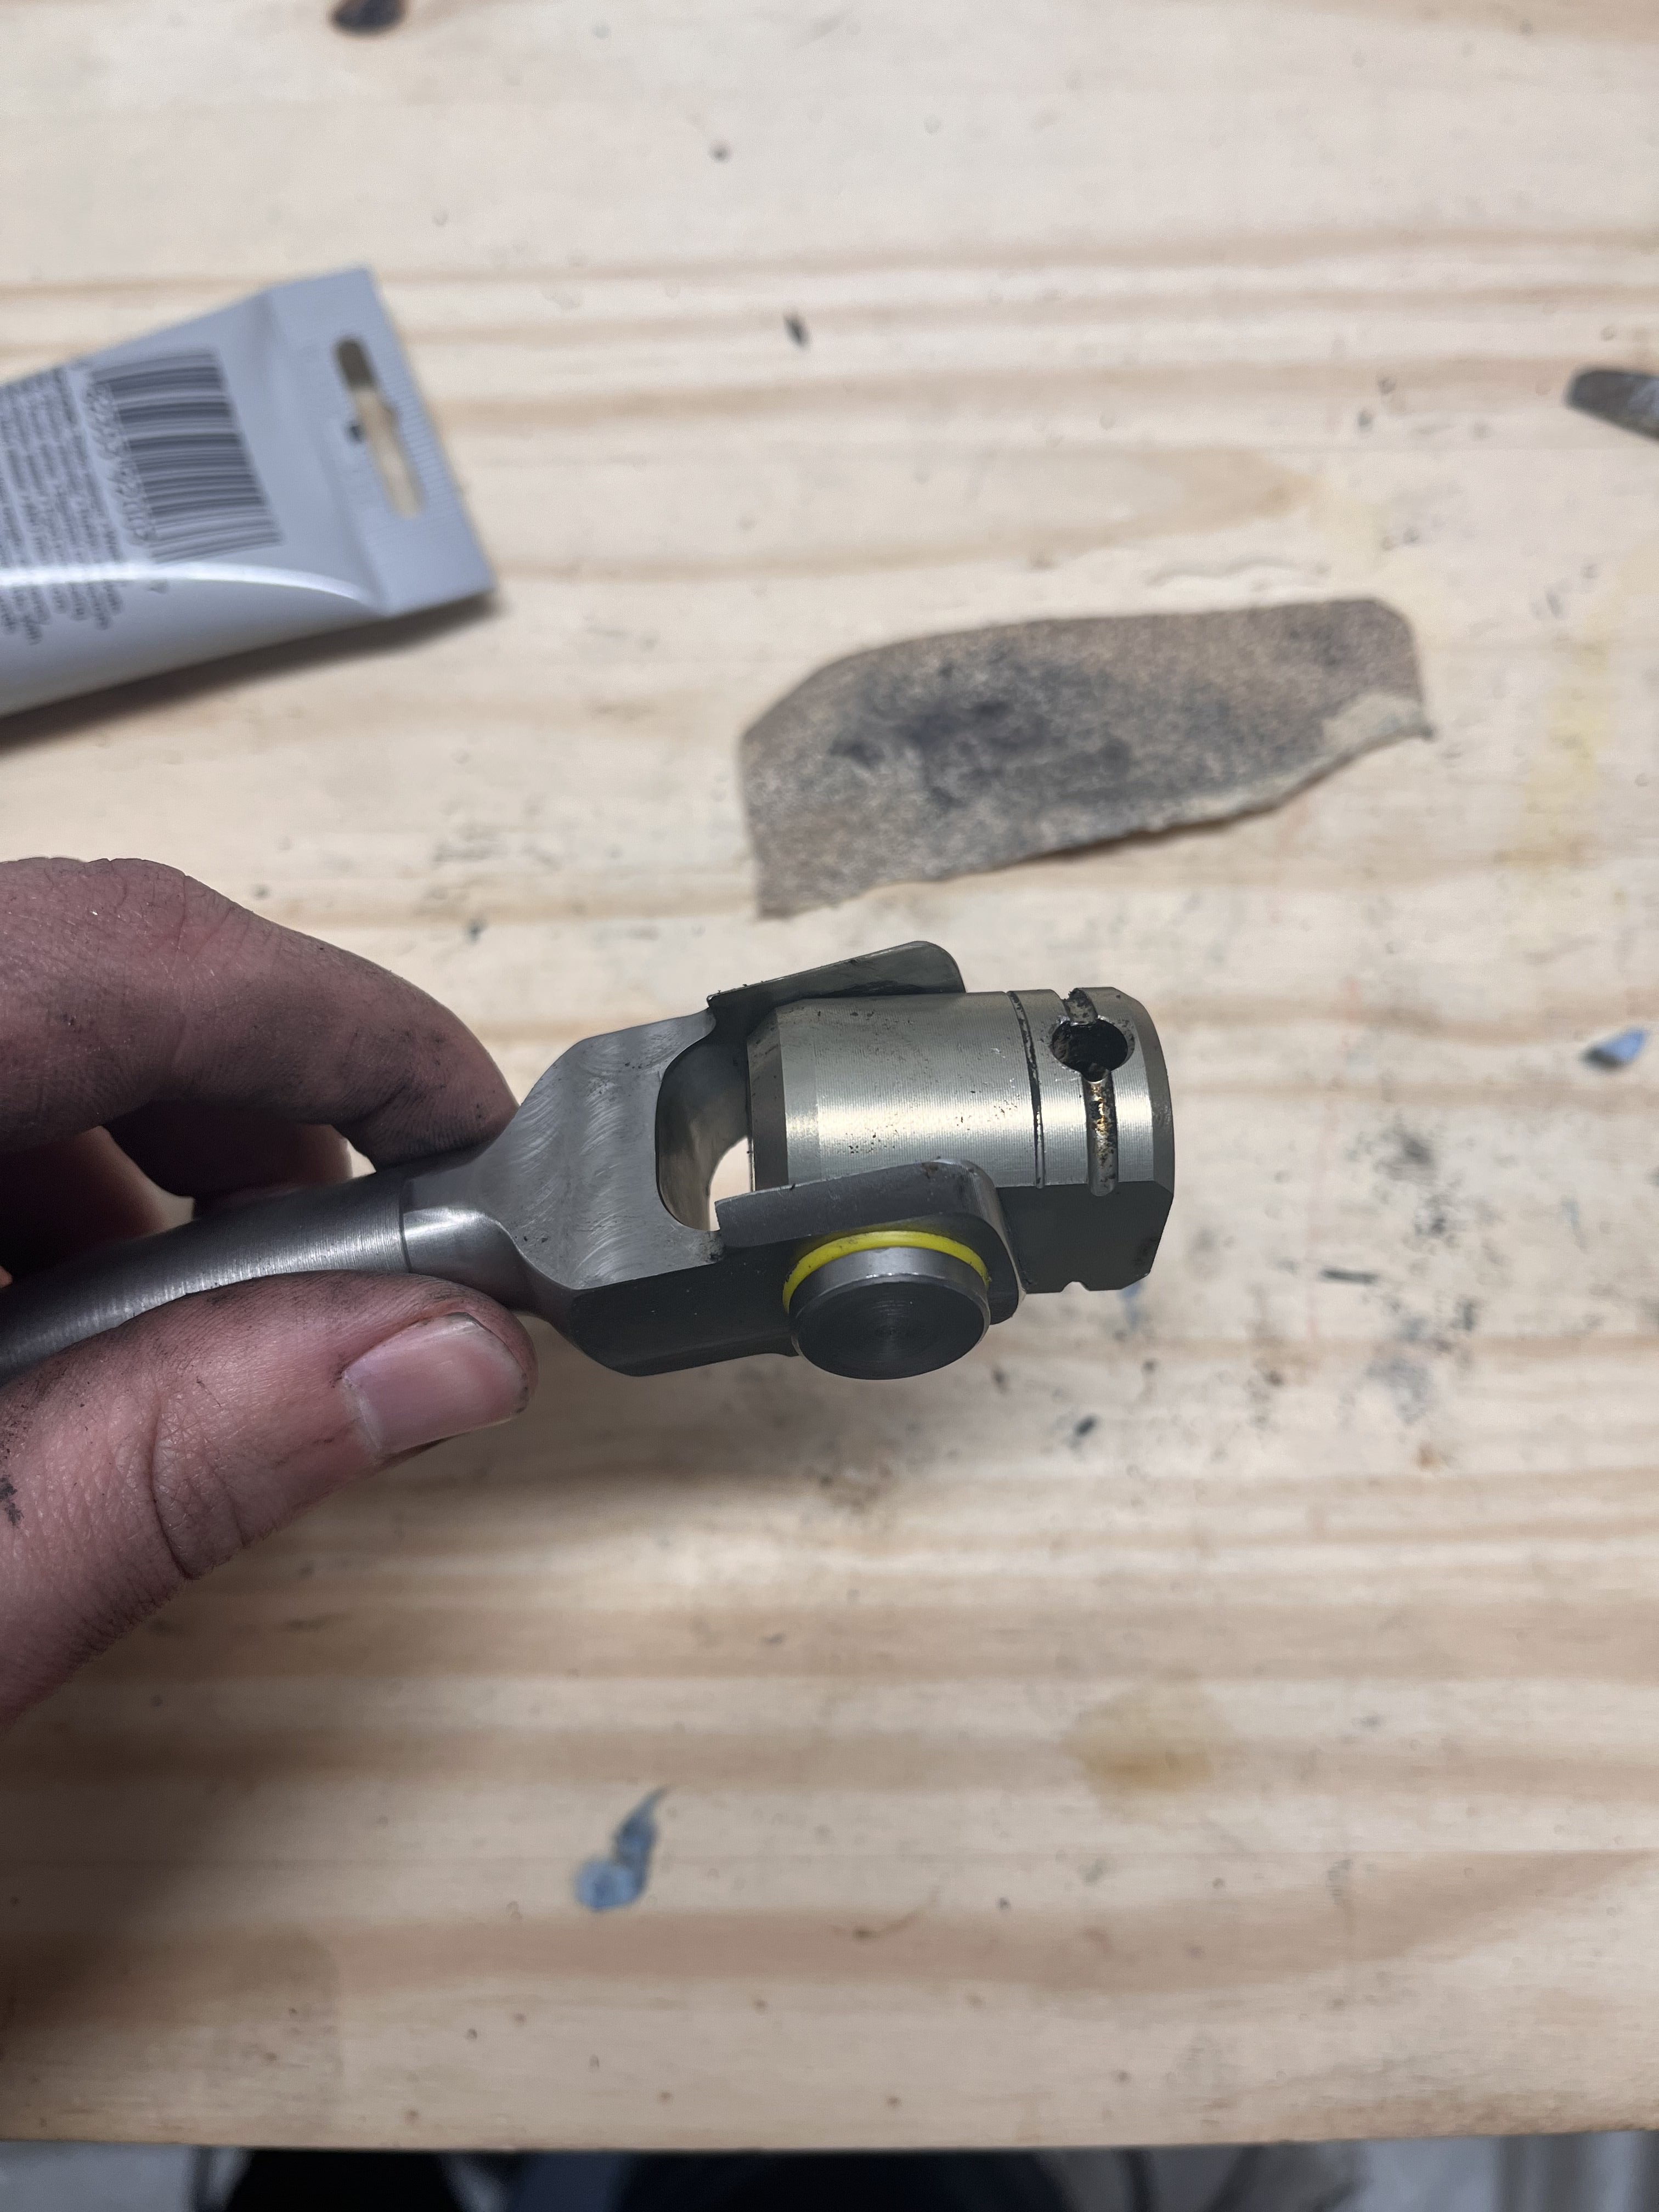
                                      • YoungCRY
                                        YoungCRY
                                        YoungCR
                                        wrote on last edited by
                                        #72

                                        Got the same setup I believe on the 540i. It makes my rebuilt stock shifter on the 530i feel like a soup ladle. It’ll be worth the pain come spring!
                                        Chris Young
                                        BMWCCA #458972
                                        1986 528e/5  | 1994 530i/5 | 1995 540i/6 | 2013 X5 35d | 1998 C1500 Suburban | 1995 K2500 Suburban

                                        1 Reply Last reply
                                        1
                                        • pynaclP
                                          pynaclP
                                          pynacl
                                          wrote on last edited by
                                          #73

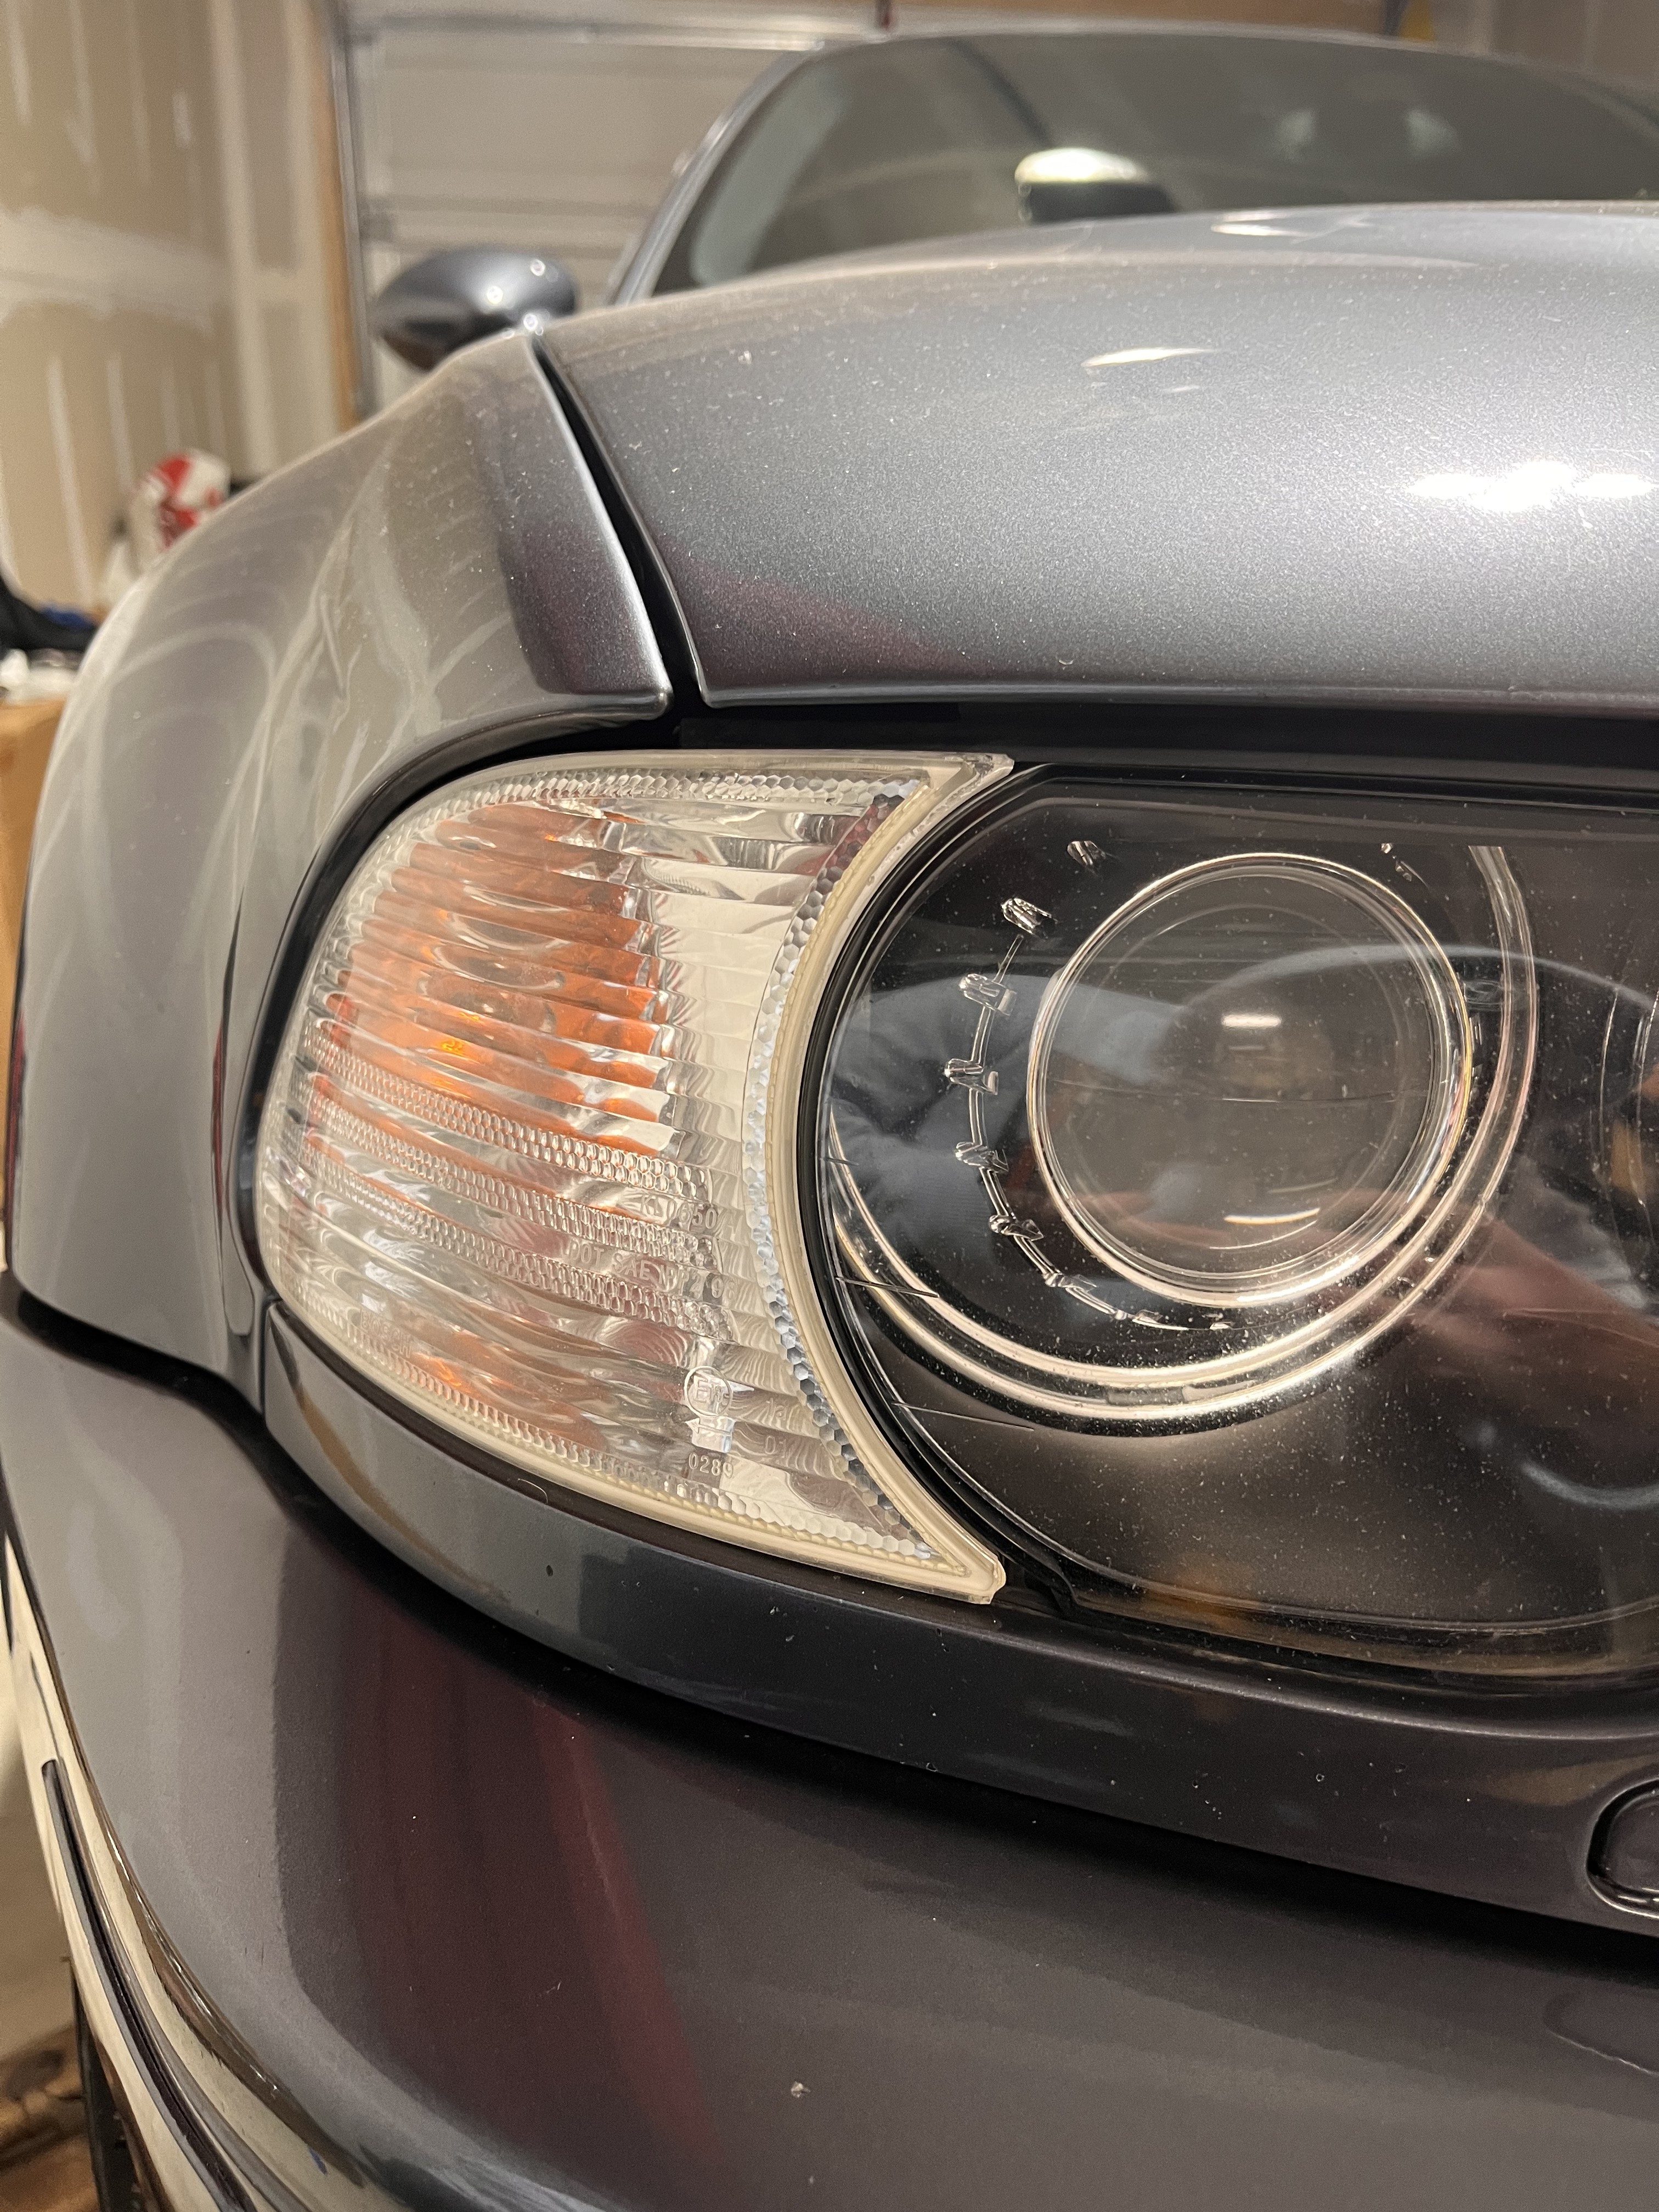
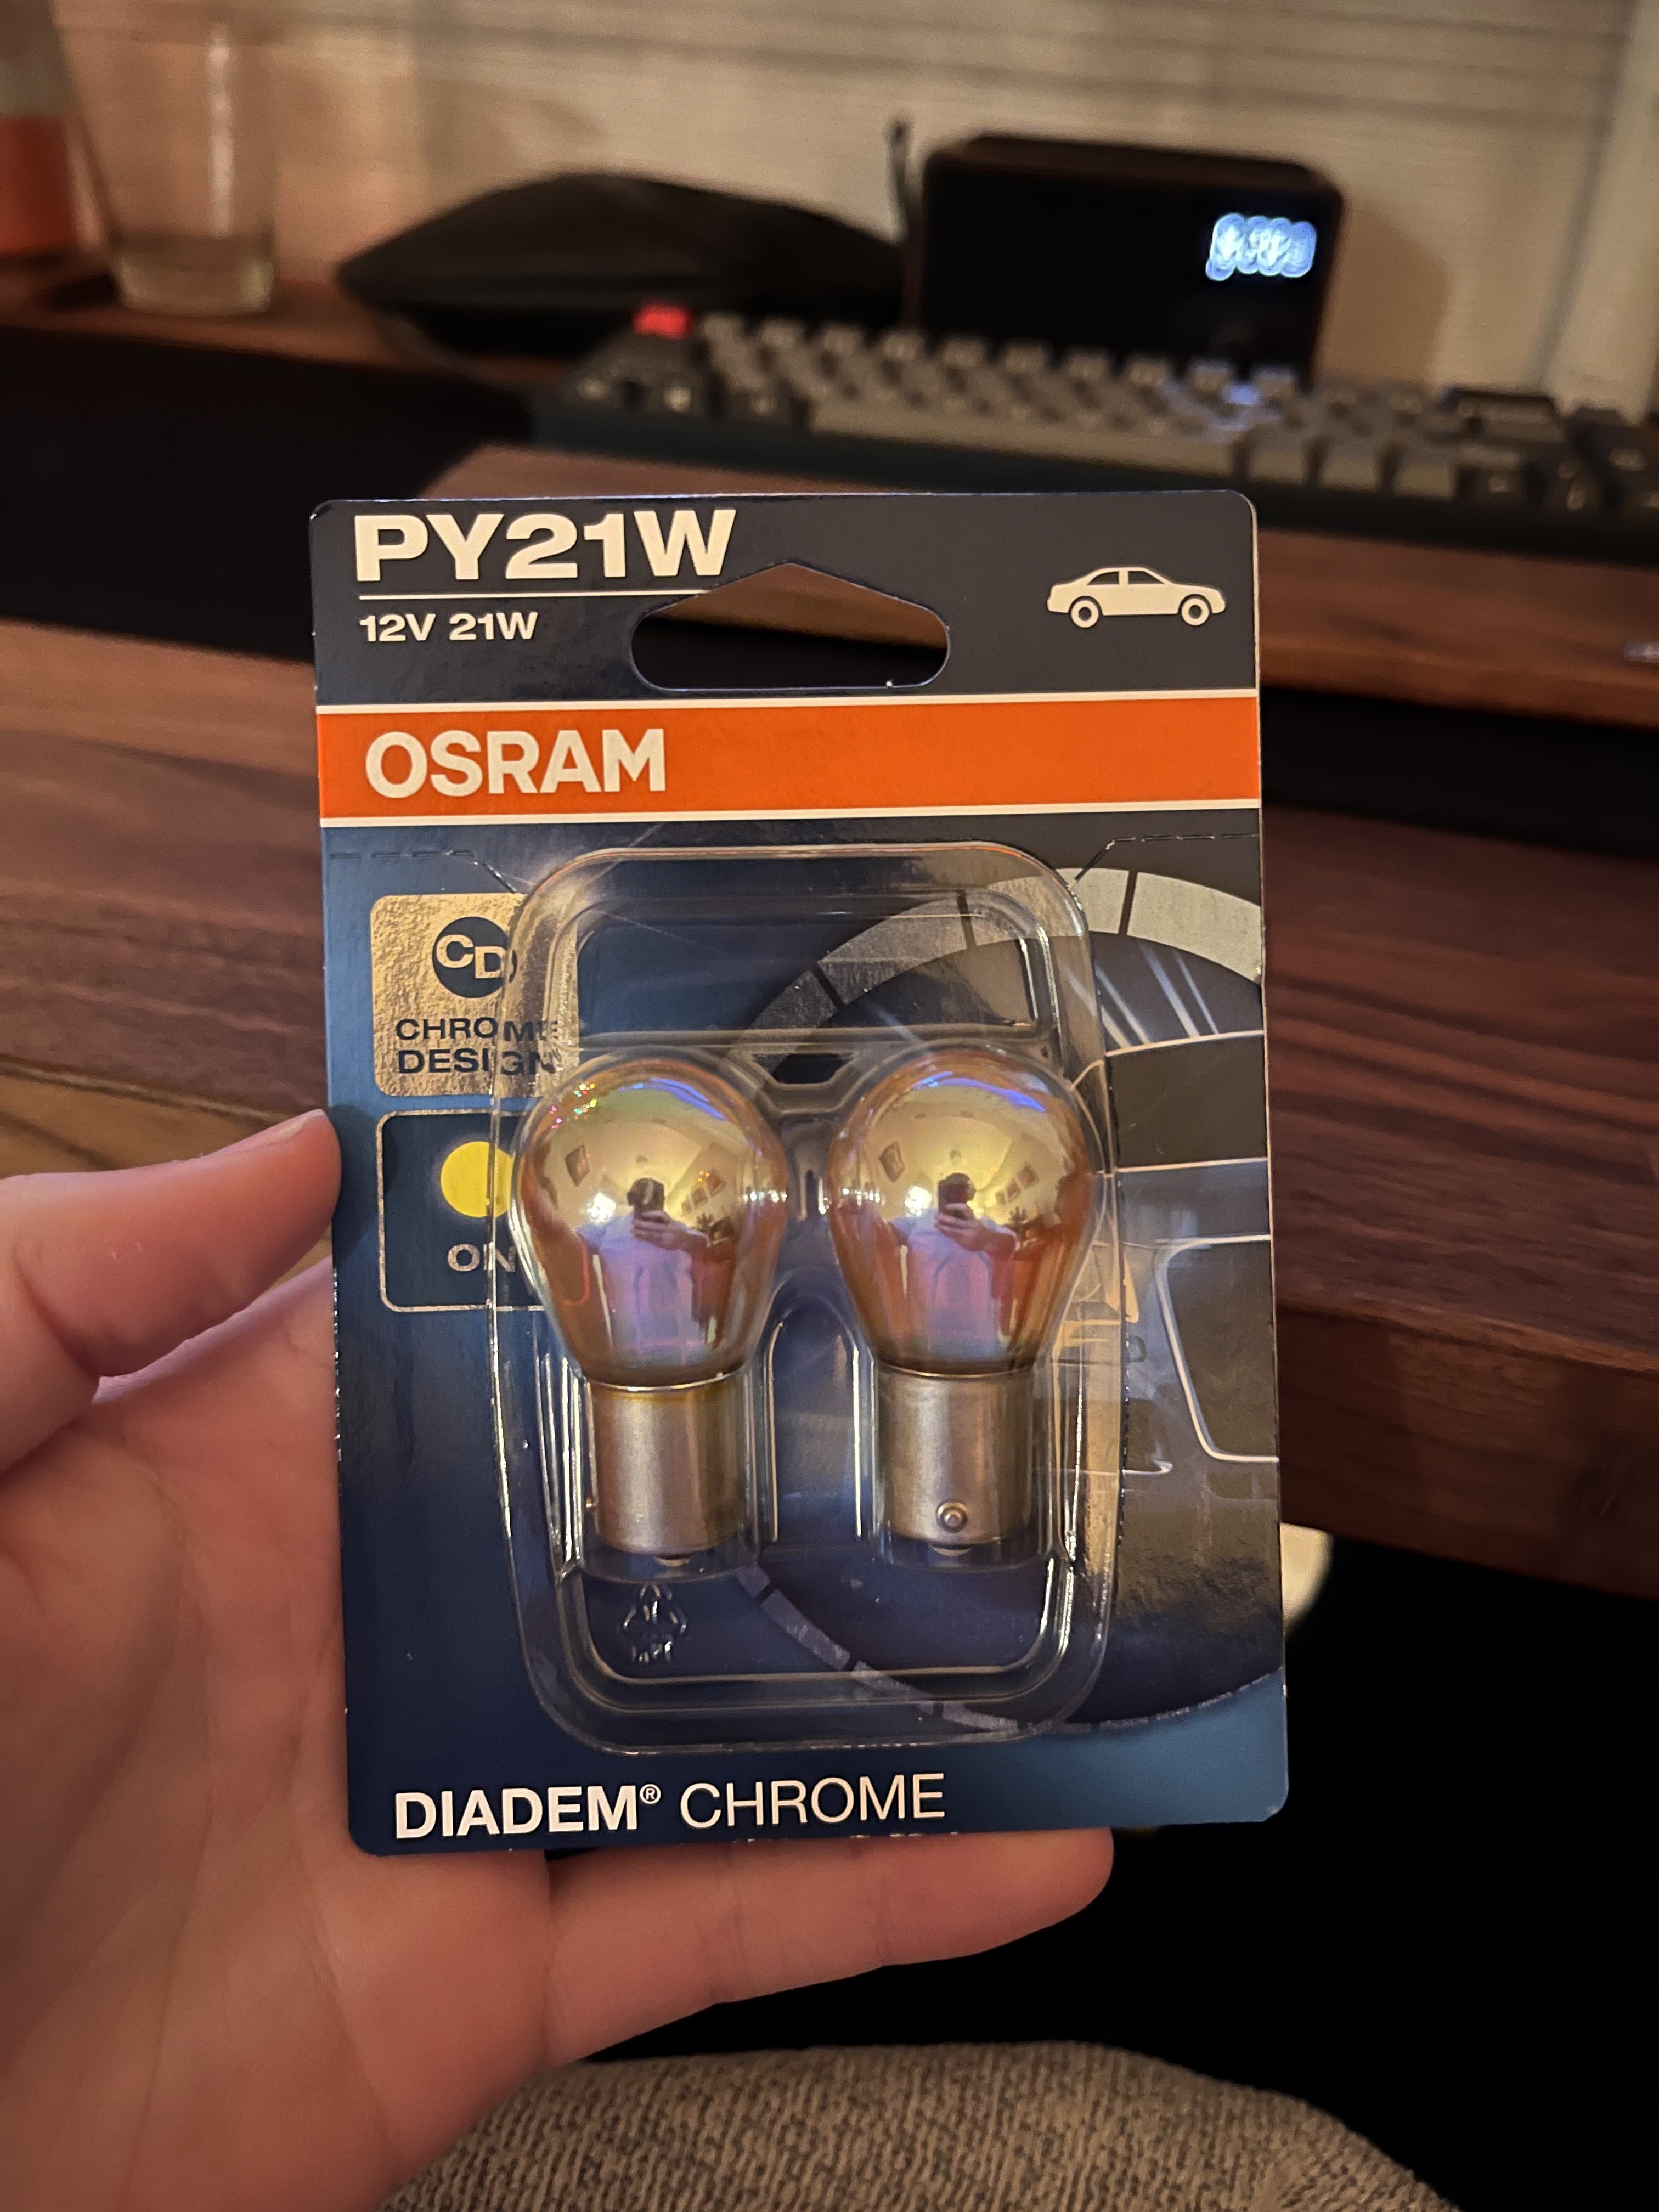
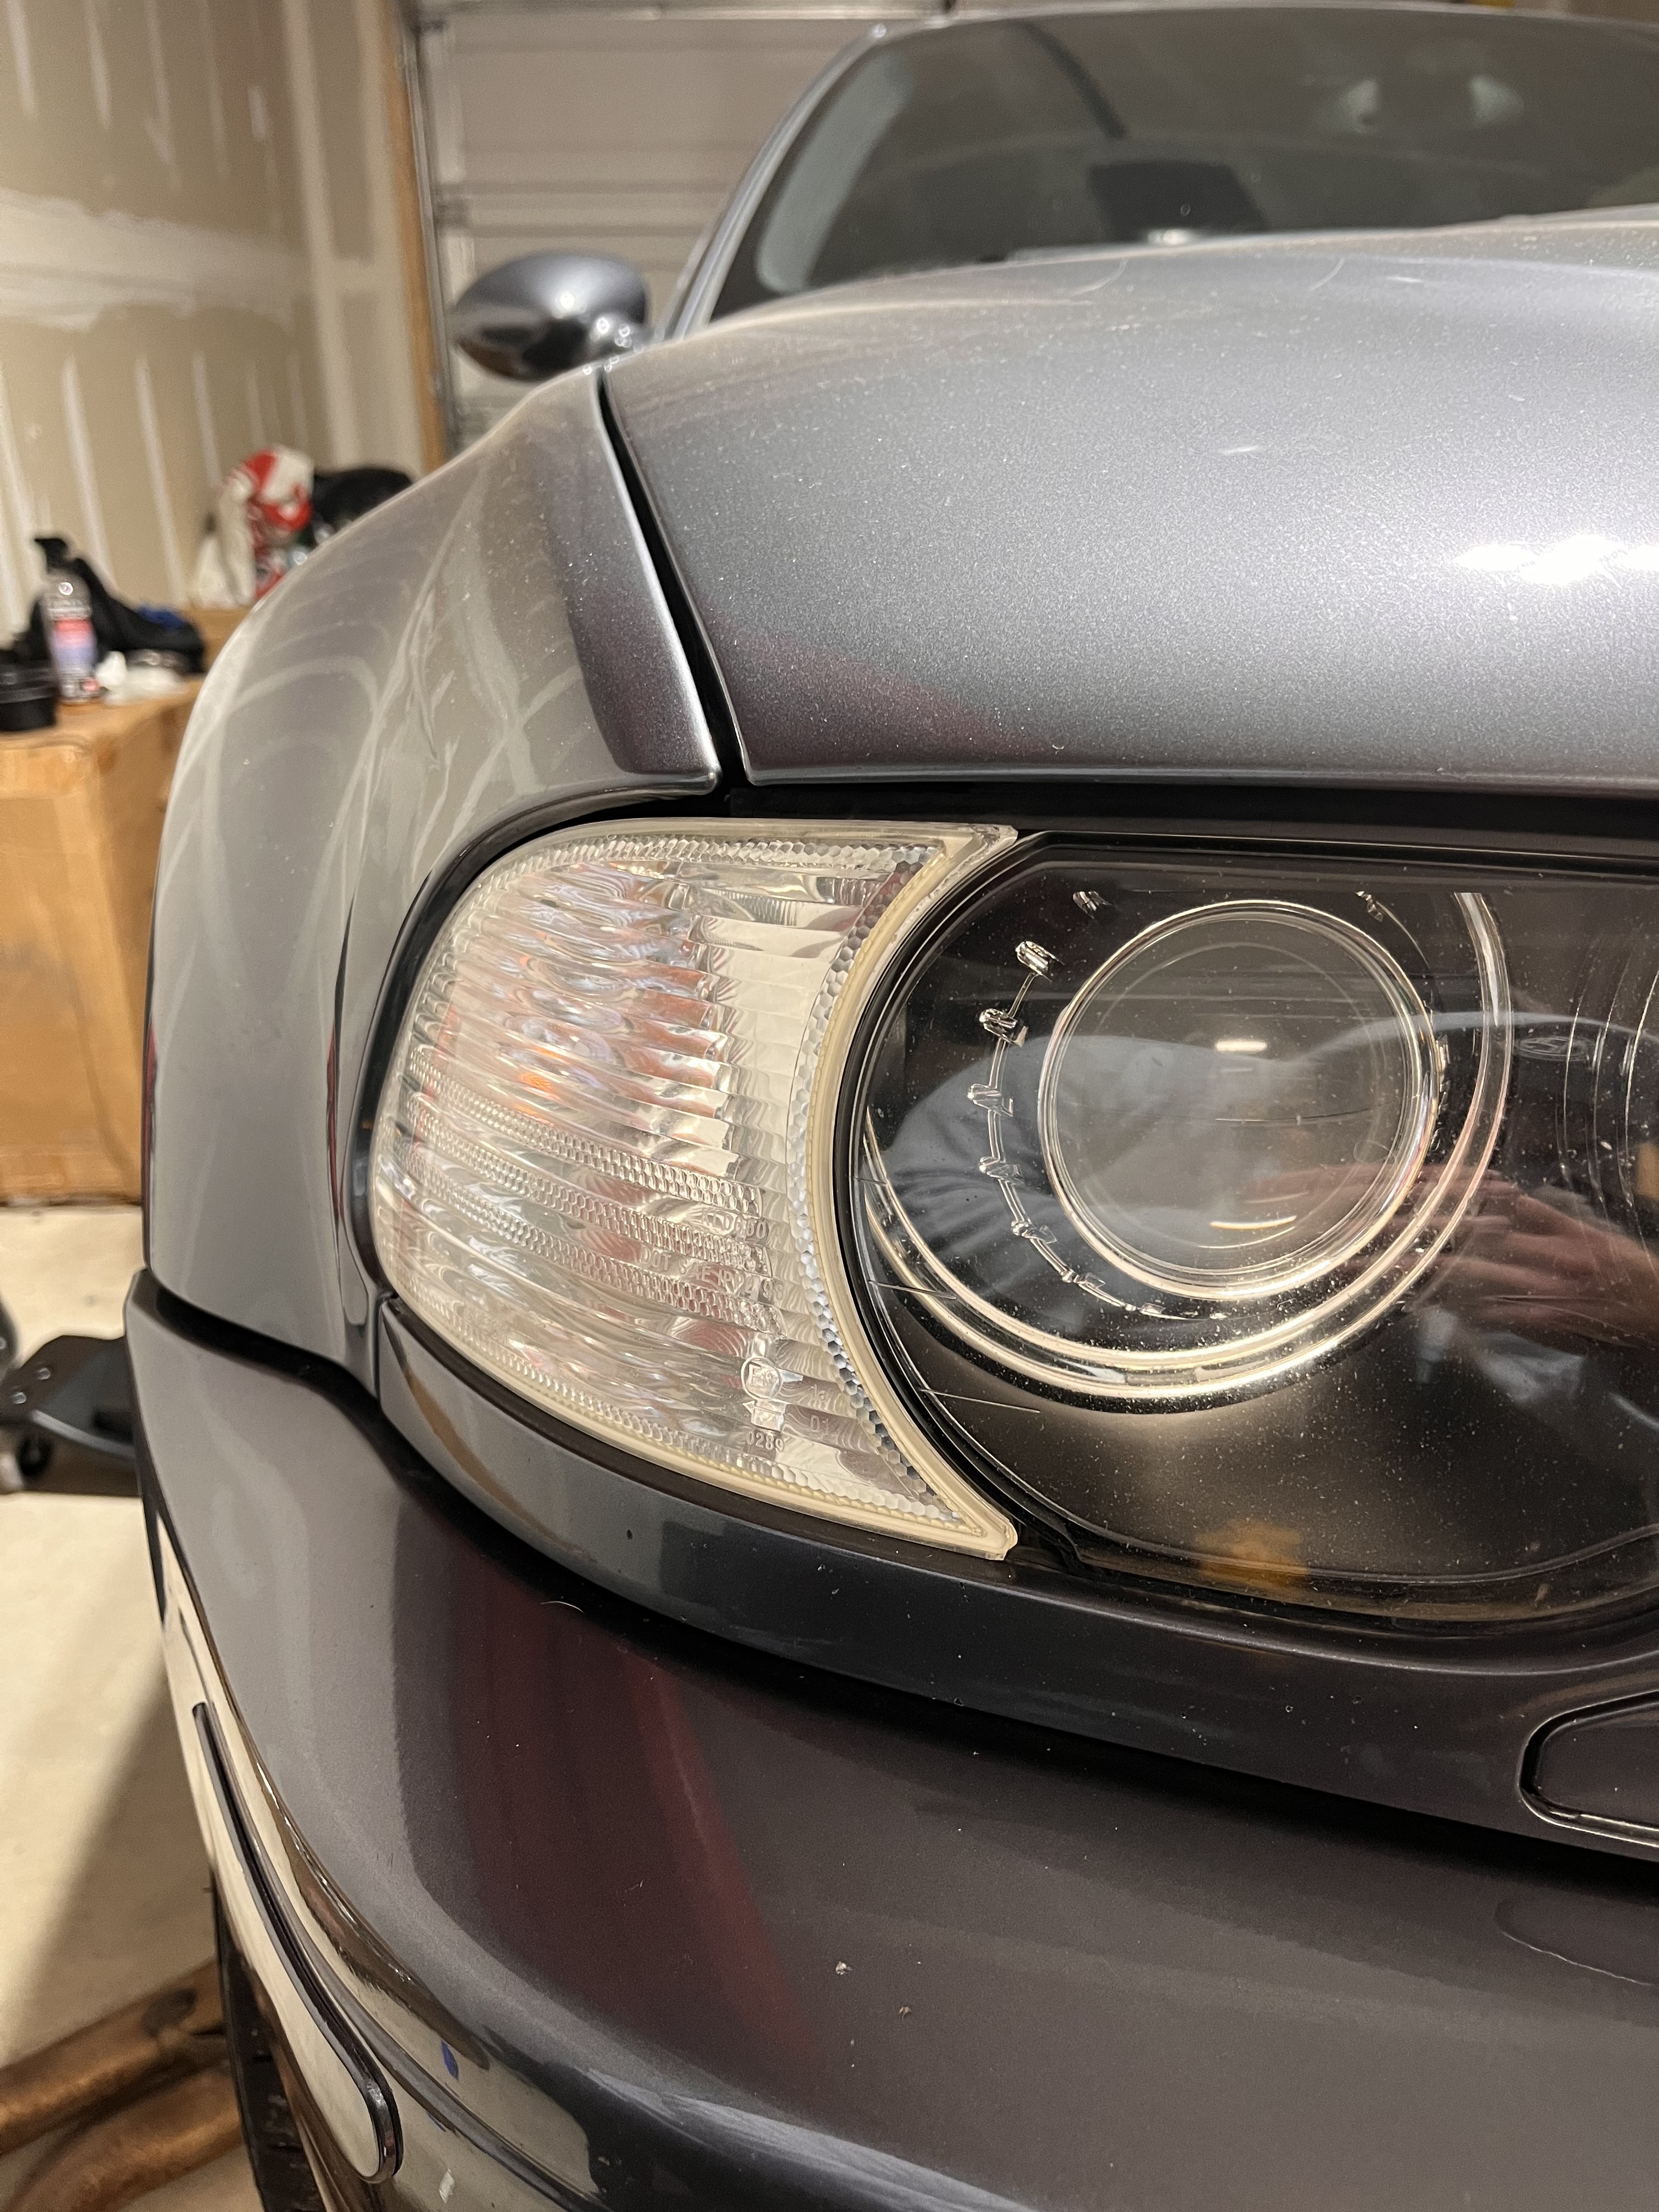
                                          Tiny change, but swapped out the indicator bulbs with chrome coated ones. Barely noticeable but I think it’s subtly better looking in the clear housing. Good tip @Rekpoint
                                          8BE6D0F9-3398-4ACE-9908-E5D00ADE9A37.jpeg0B73768D-597F-4753-843E-41350F2DDB36.jpeg9595E130-21B2-49C1-8A68-992C3E3B86B7.jpeg

                                          1 Reply Last reply
                                          3

                                          Hello! It looks like you're interested in this conversation, but you don't have an account yet.

                                          Getting fed up of having to scroll through the same posts each visit? When you register for an account, you'll always come back to exactly where you were before, and choose to be notified of new replies (either via email, or push notification). You'll also be able to save bookmarks and upvote posts to show your appreciation to other community members.

                                          With your input, this post could be even better 💗

                                          Register Login
                                          Reply
                                          • Reply as topic
                                          Log in to reply
                                          • Oldest to Newest
                                          • Newest to Oldest
                                          • Most Votes


                                          • Login

                                          • Don't have an account? Register

                                          • Login or register to search.
                                          Powered by NodeBB Contributors
                                          • First post
                                            Last post
                                          0
                                          • Categories
                                          • Recent
                                          • Tags
                                          • Popular
                                          • Users
                                          • Groups