
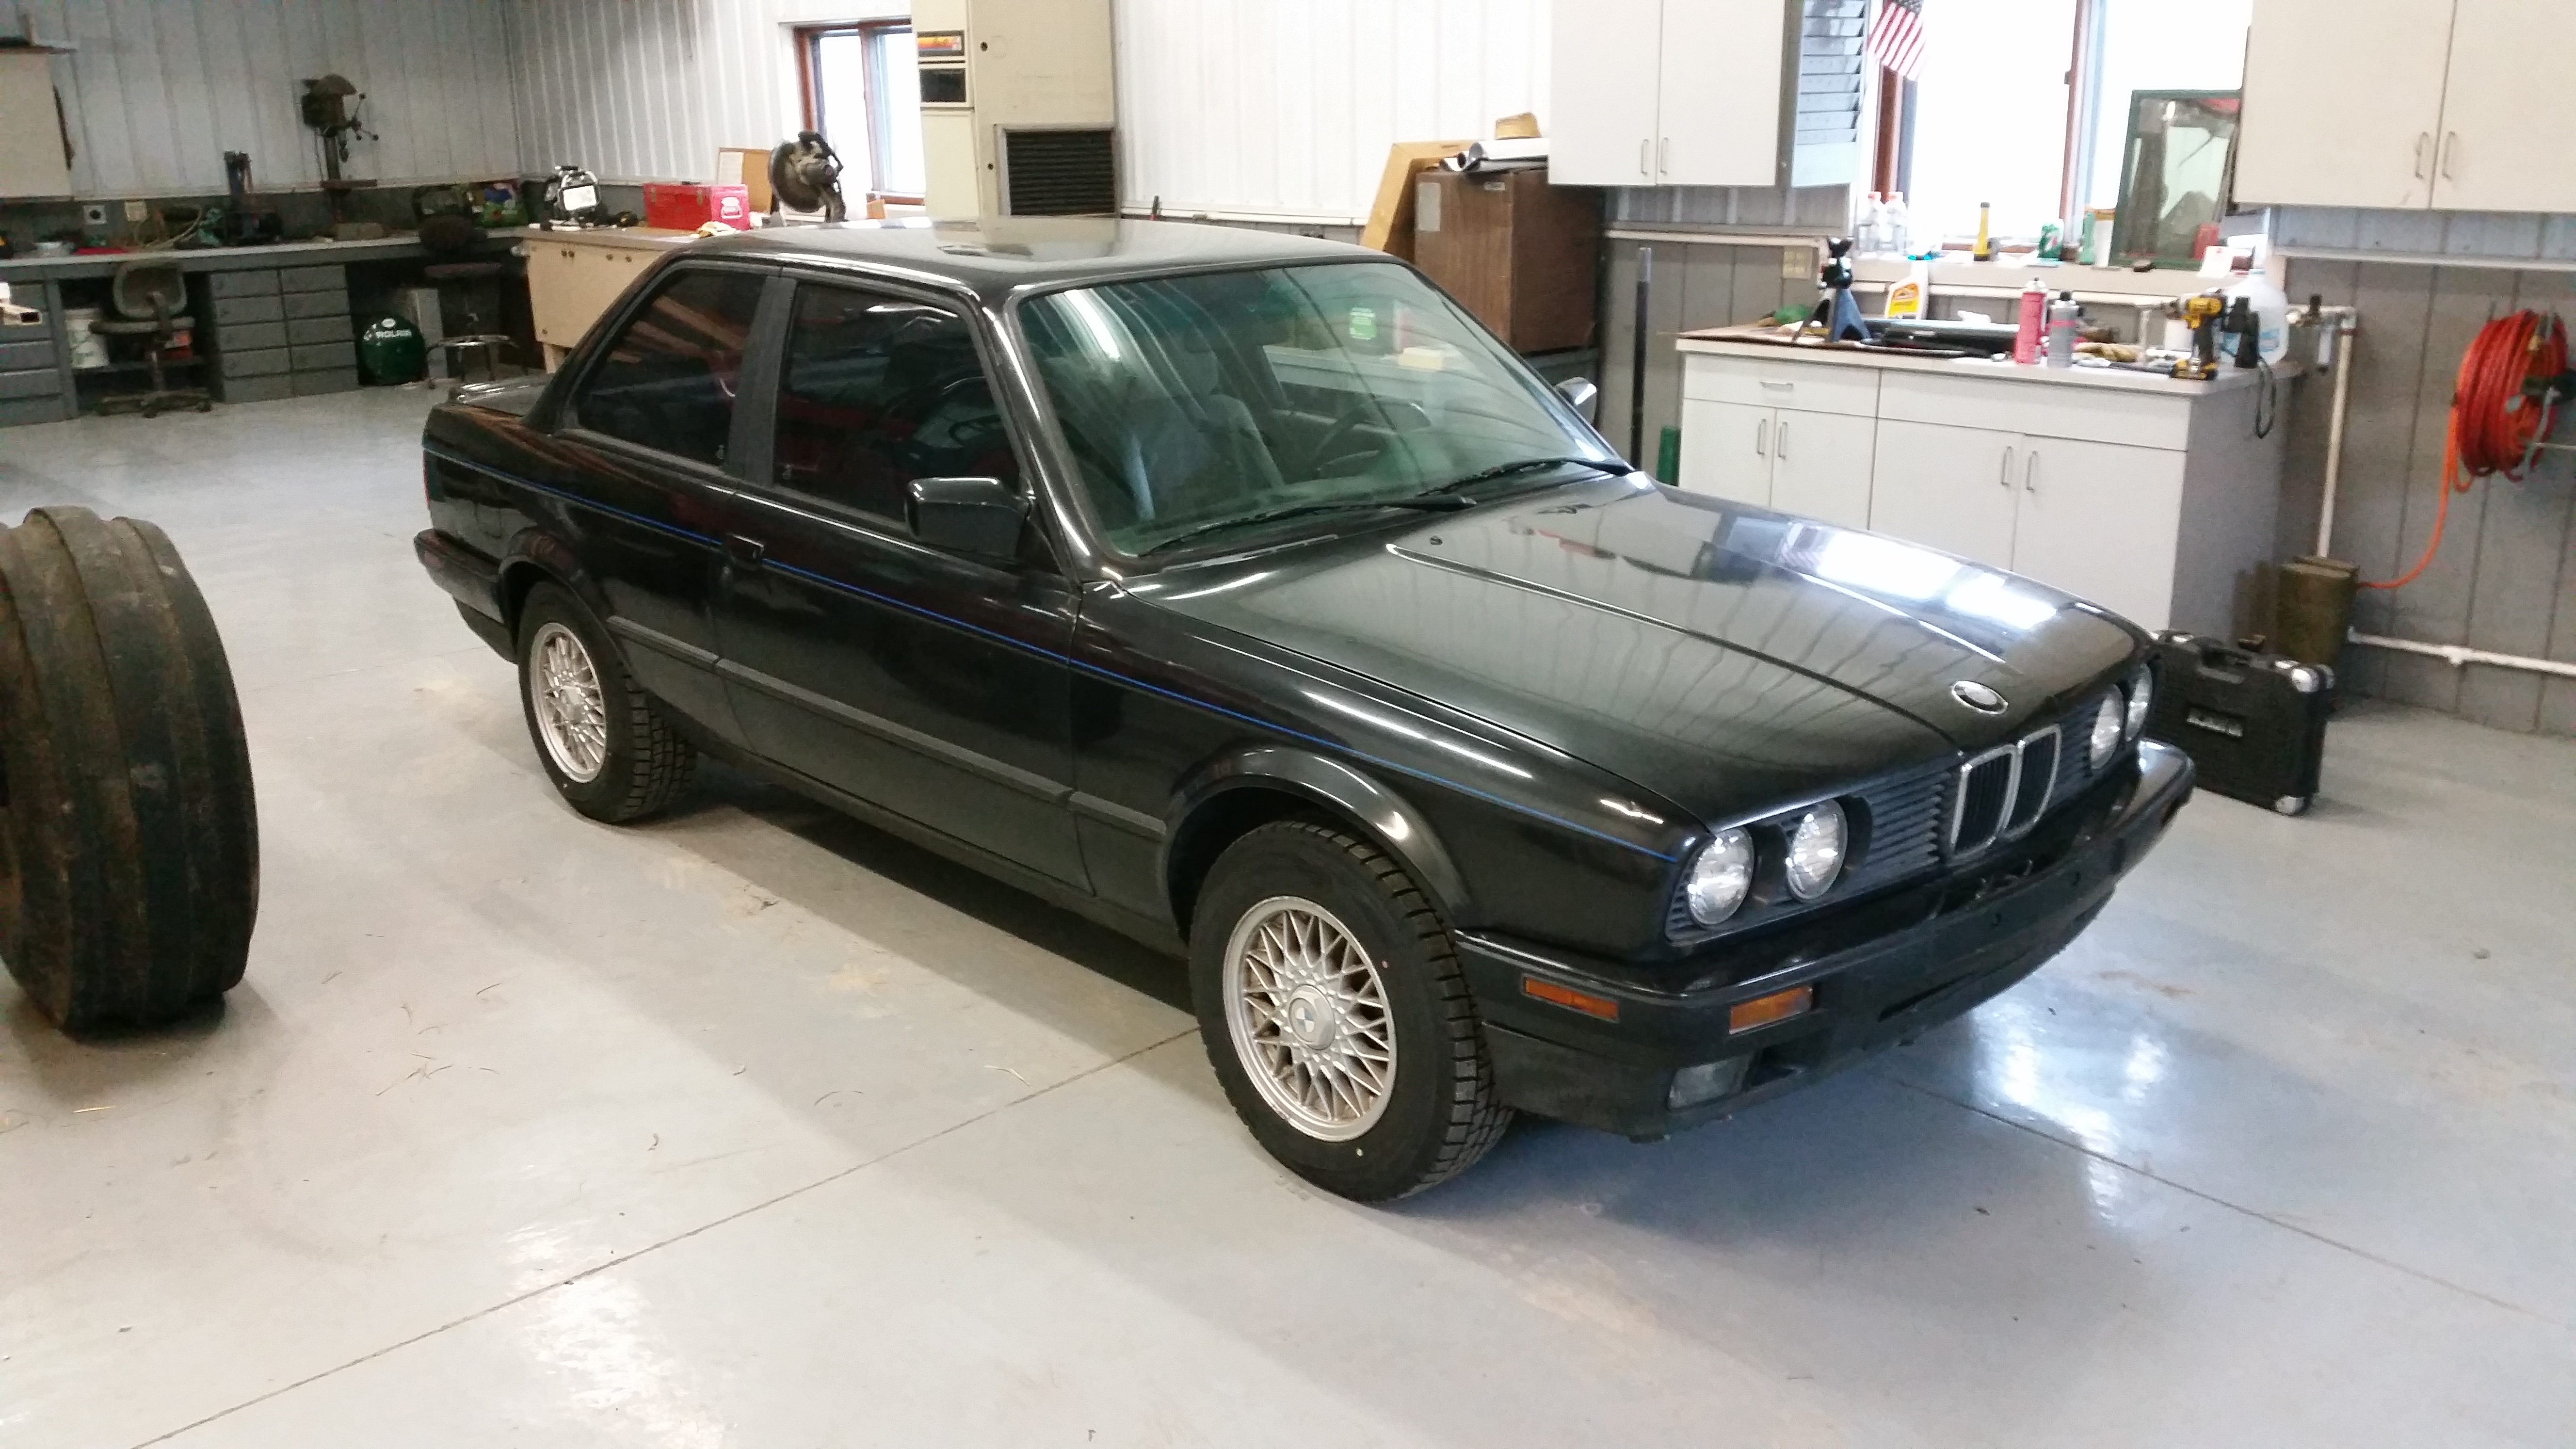
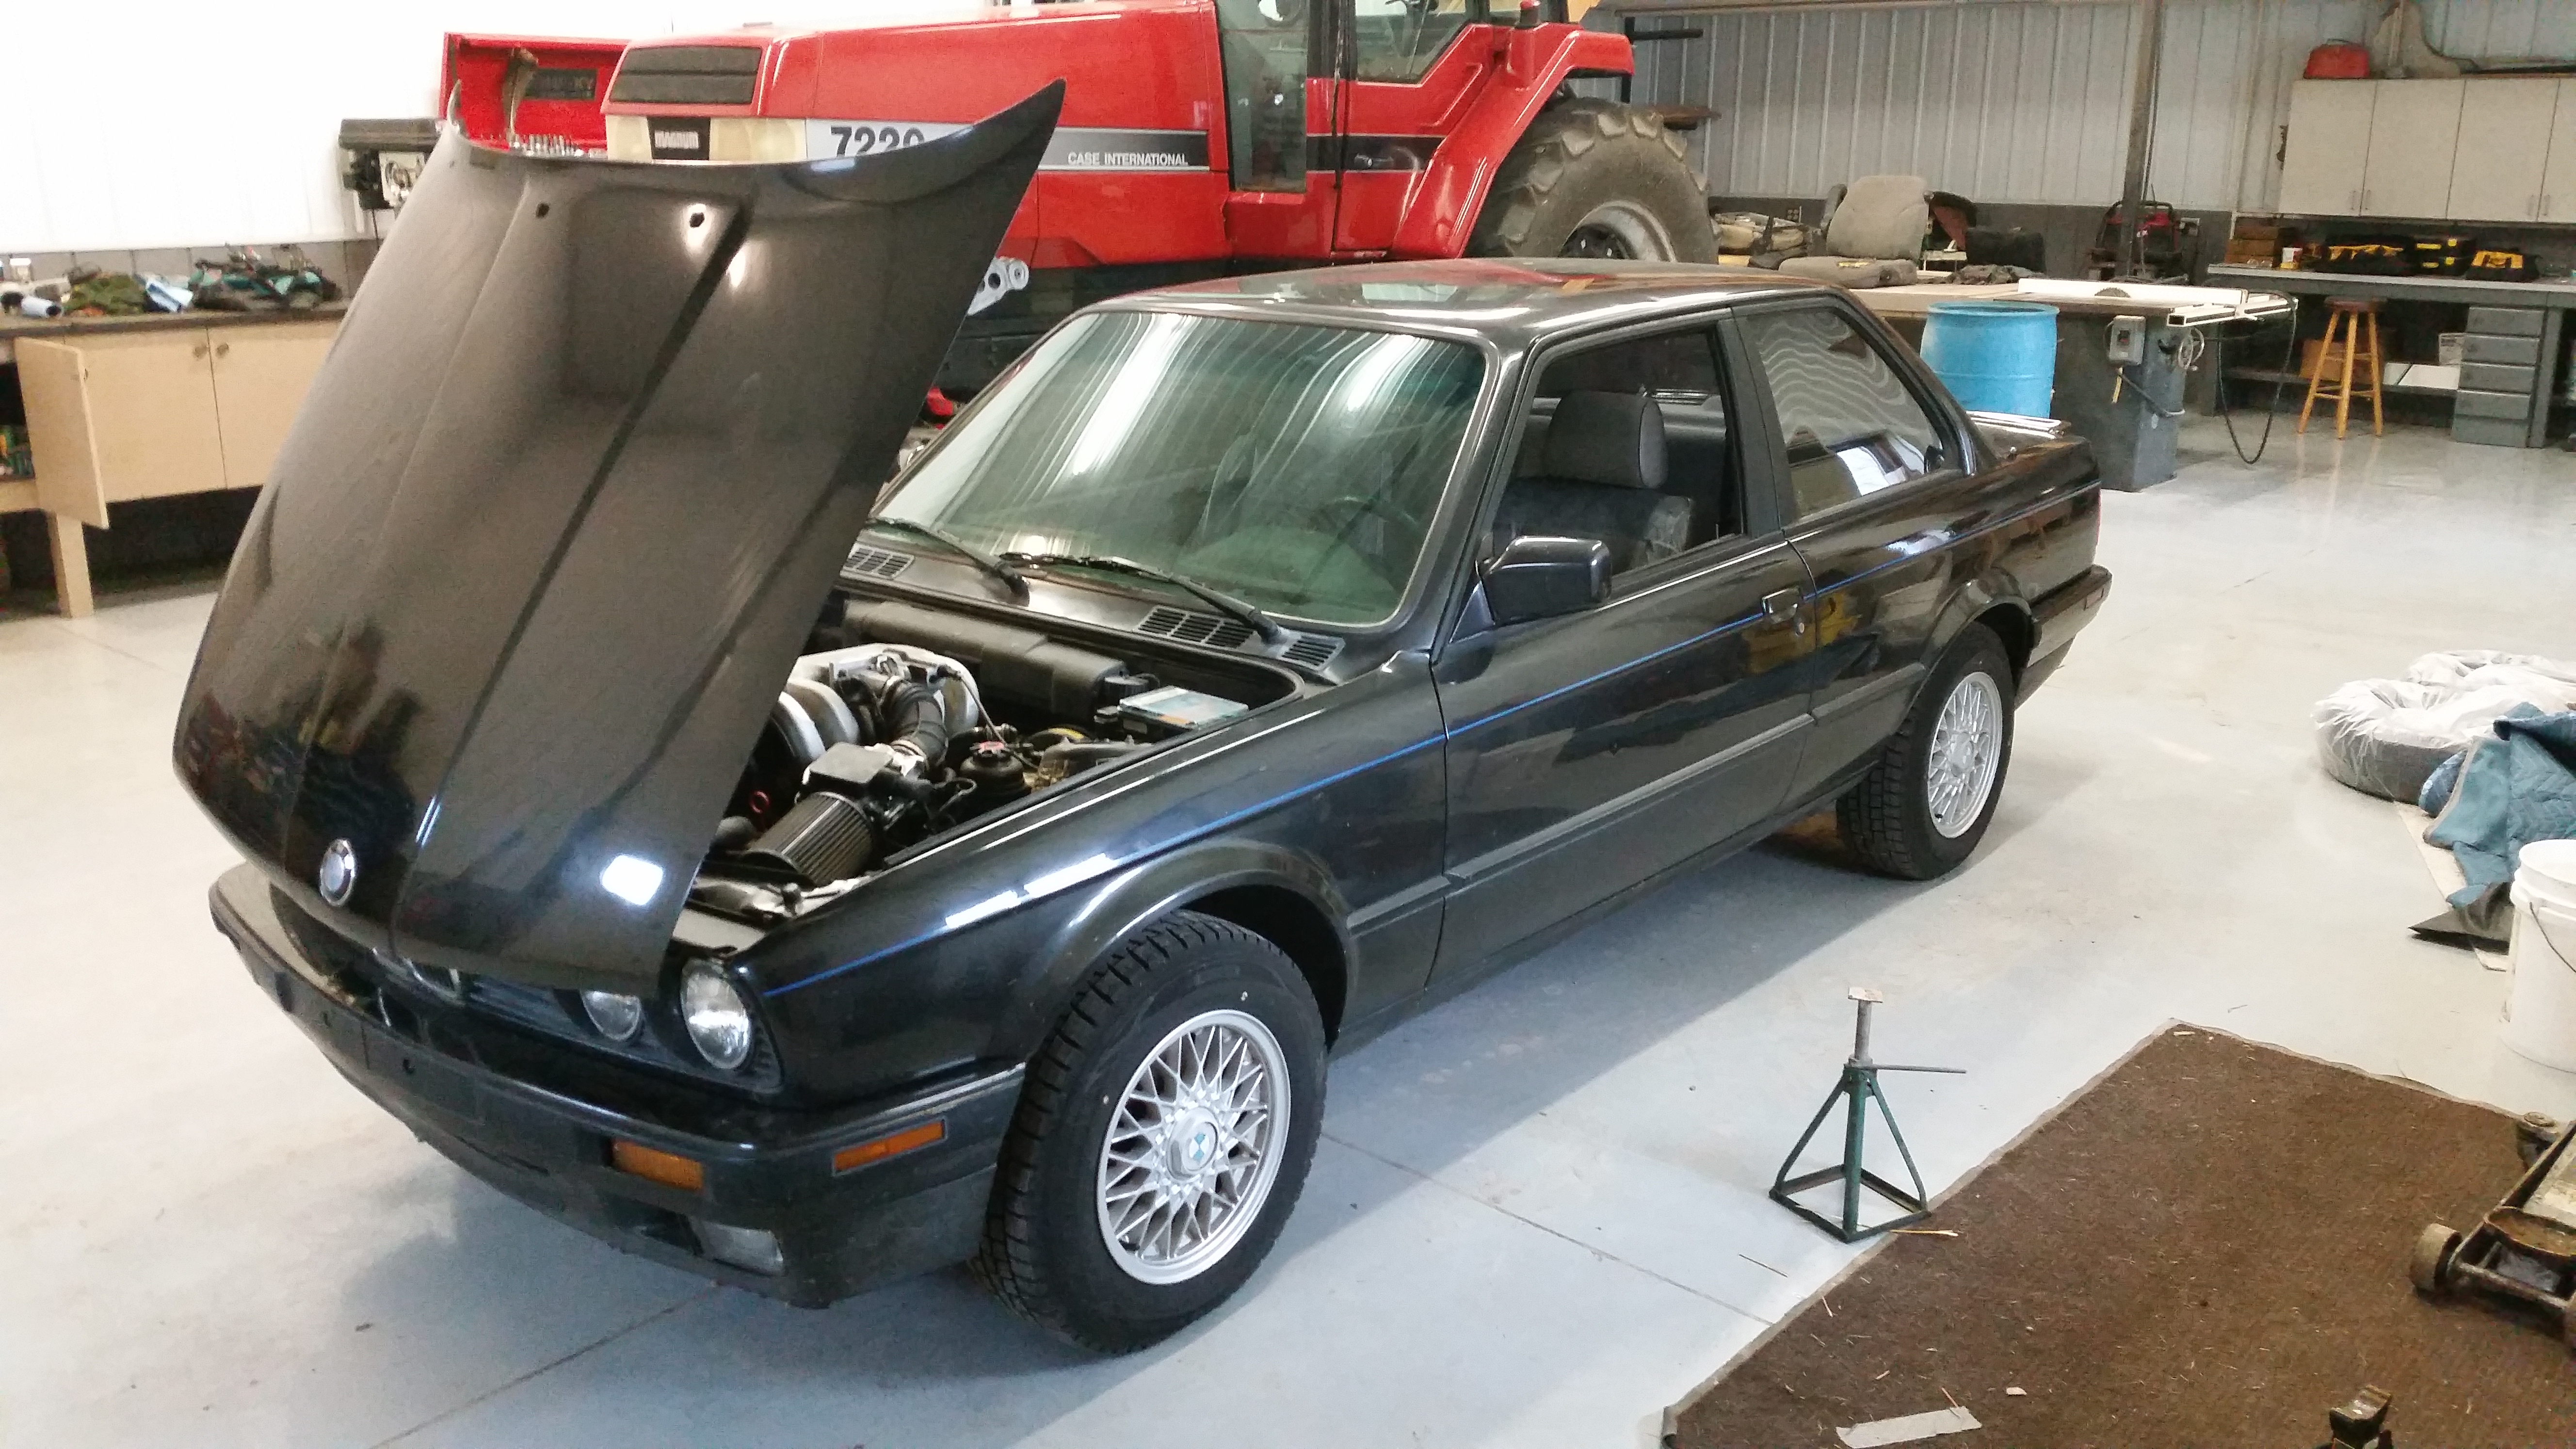
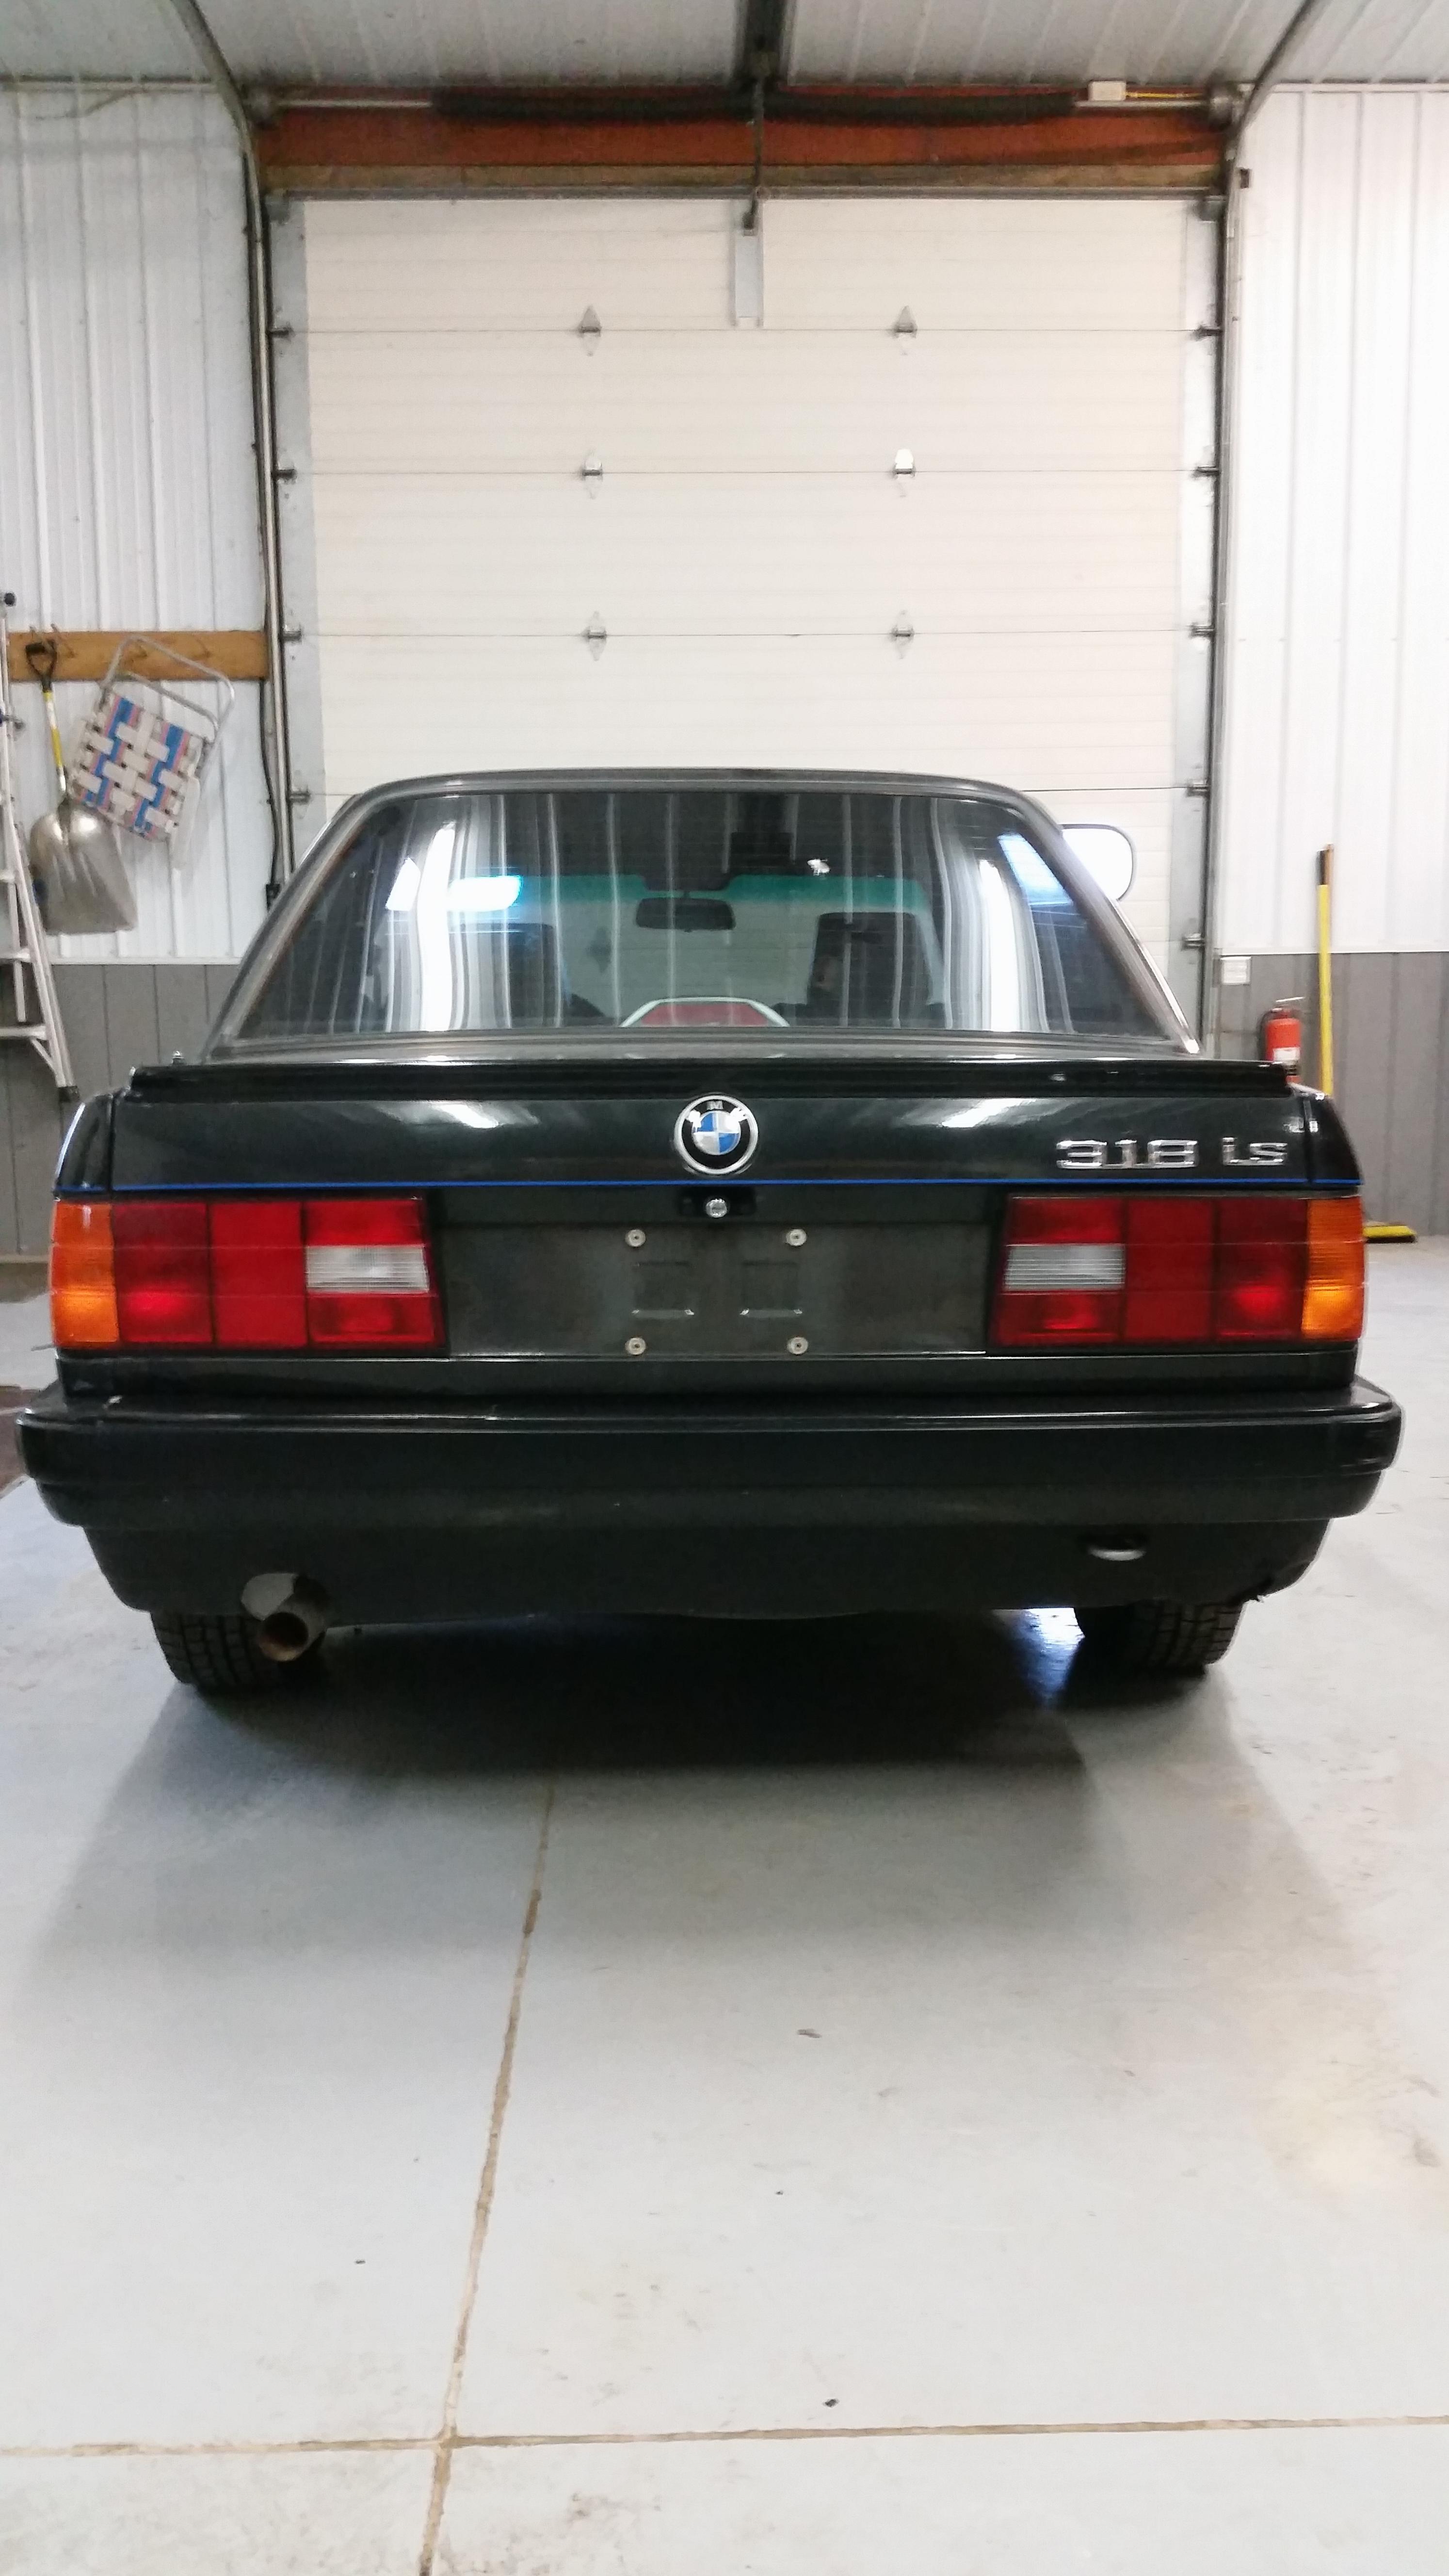
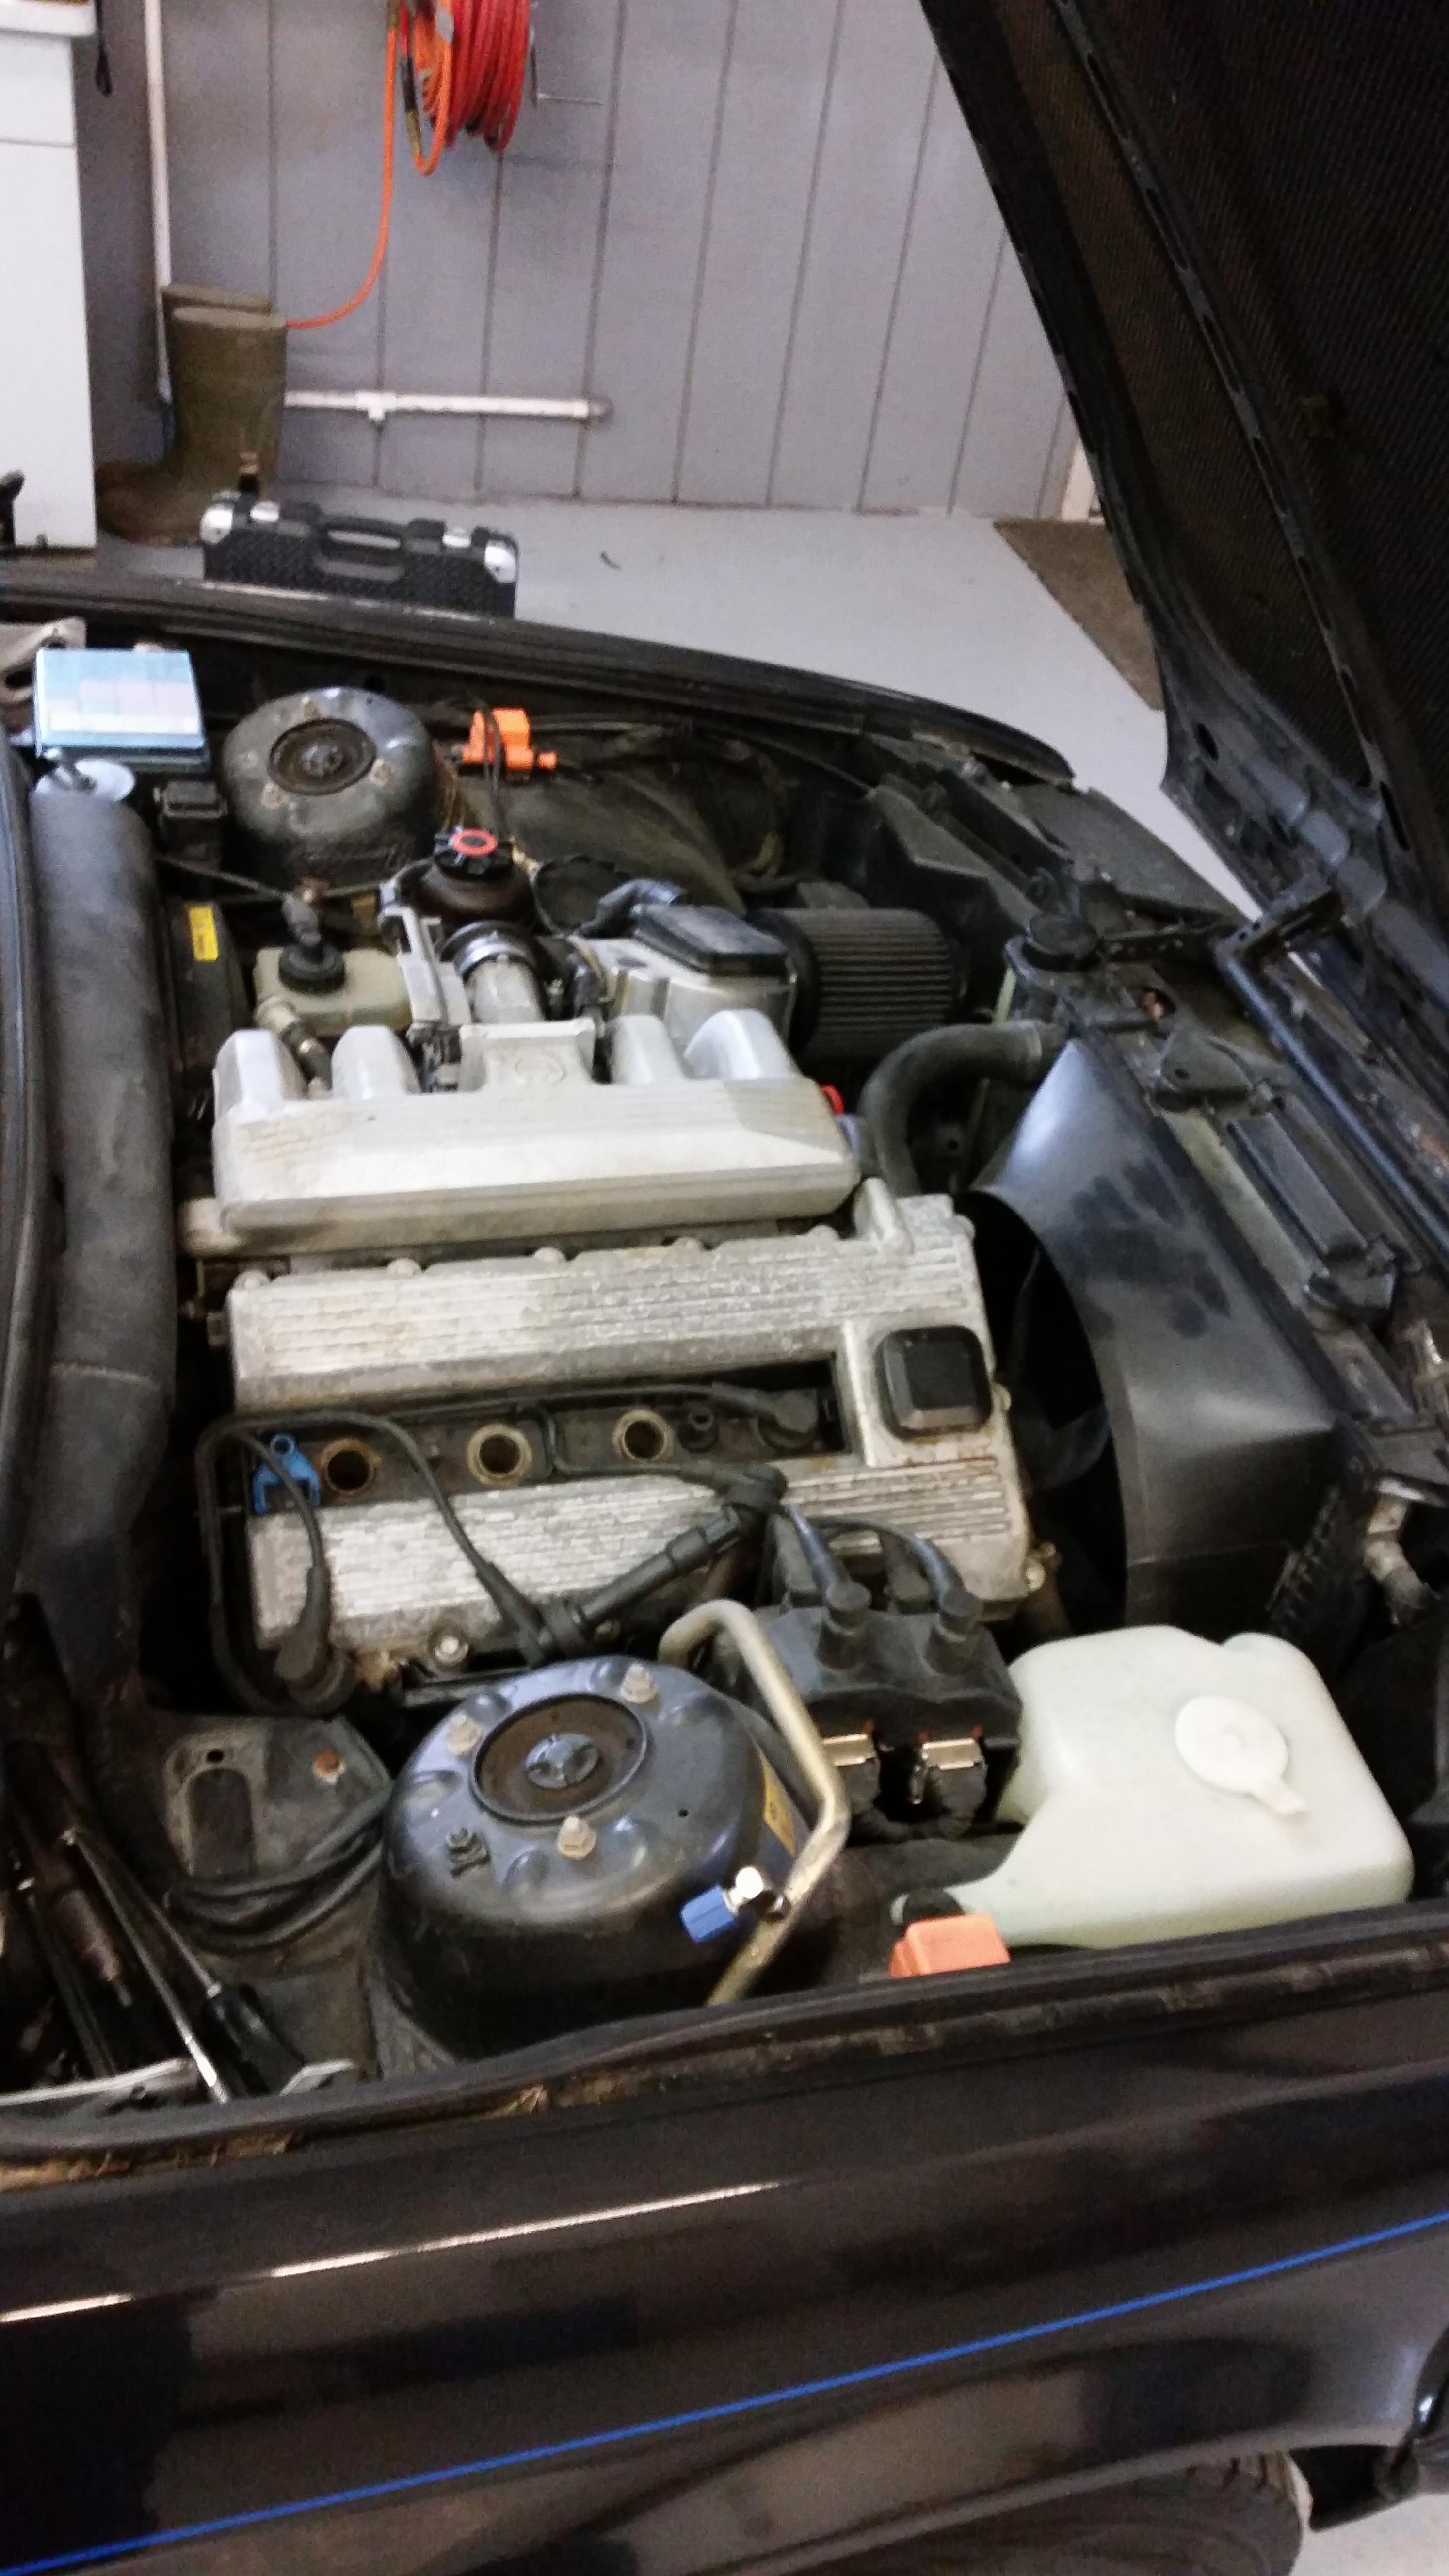
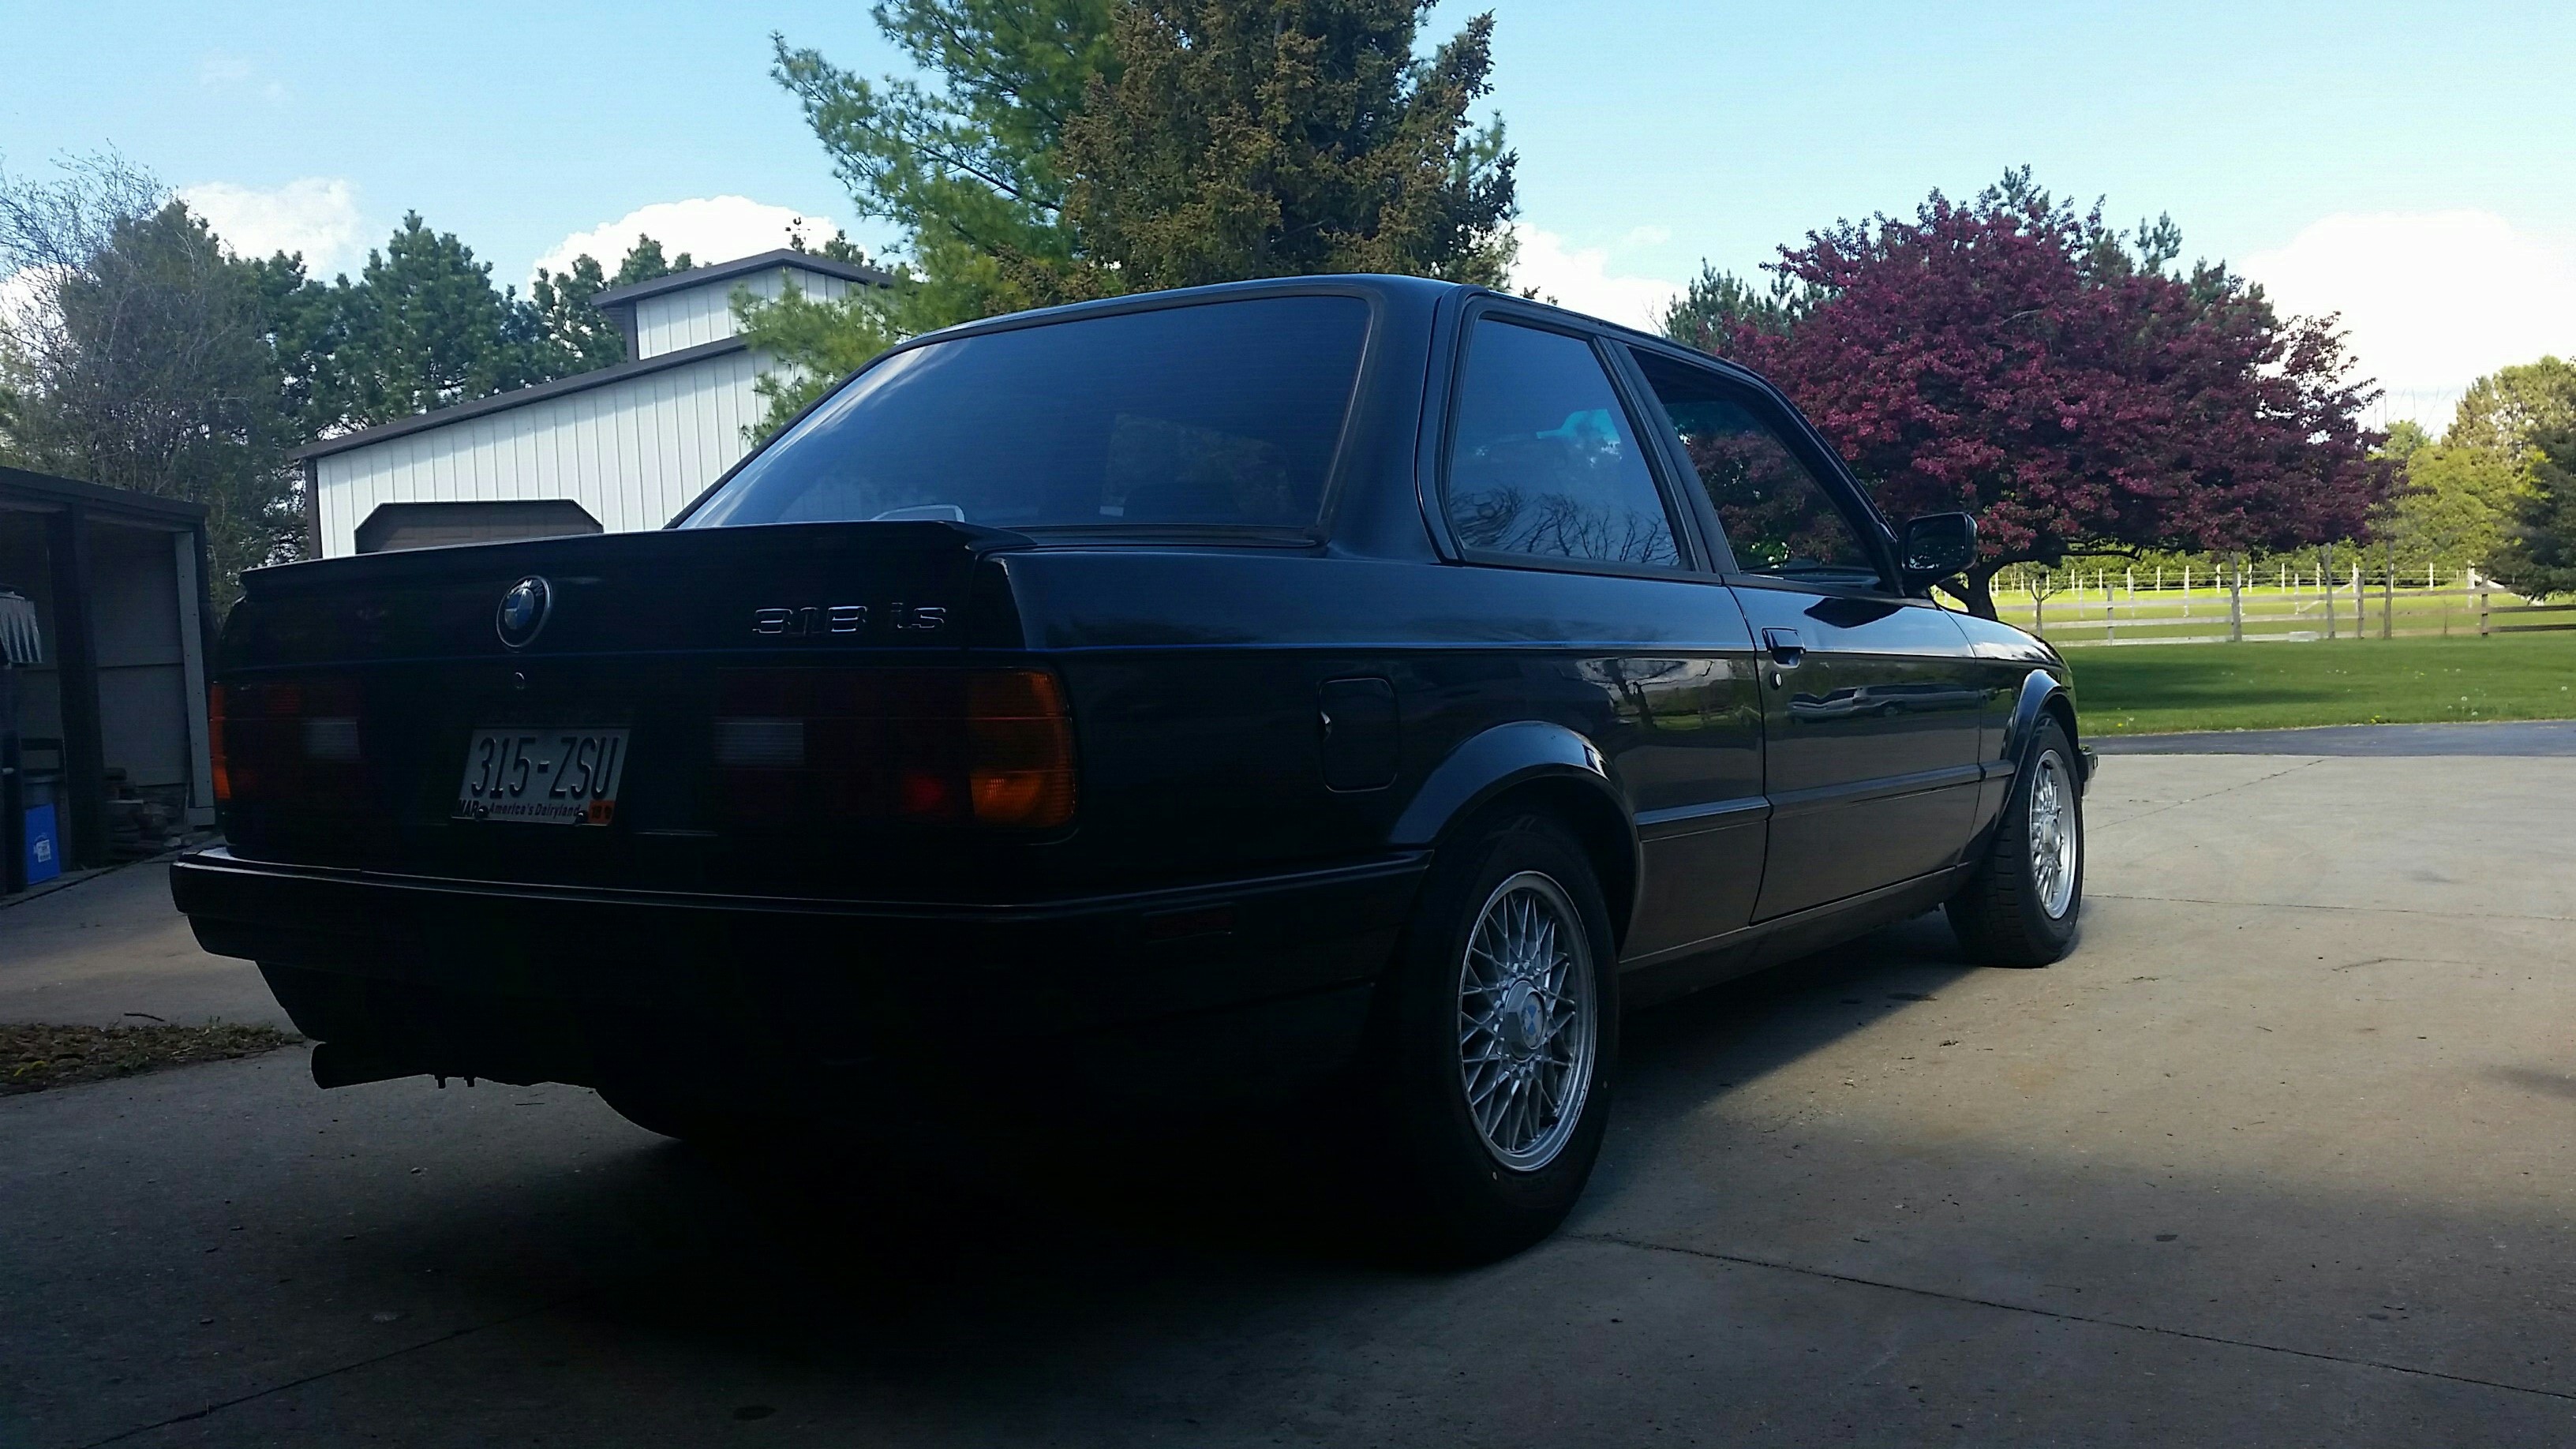
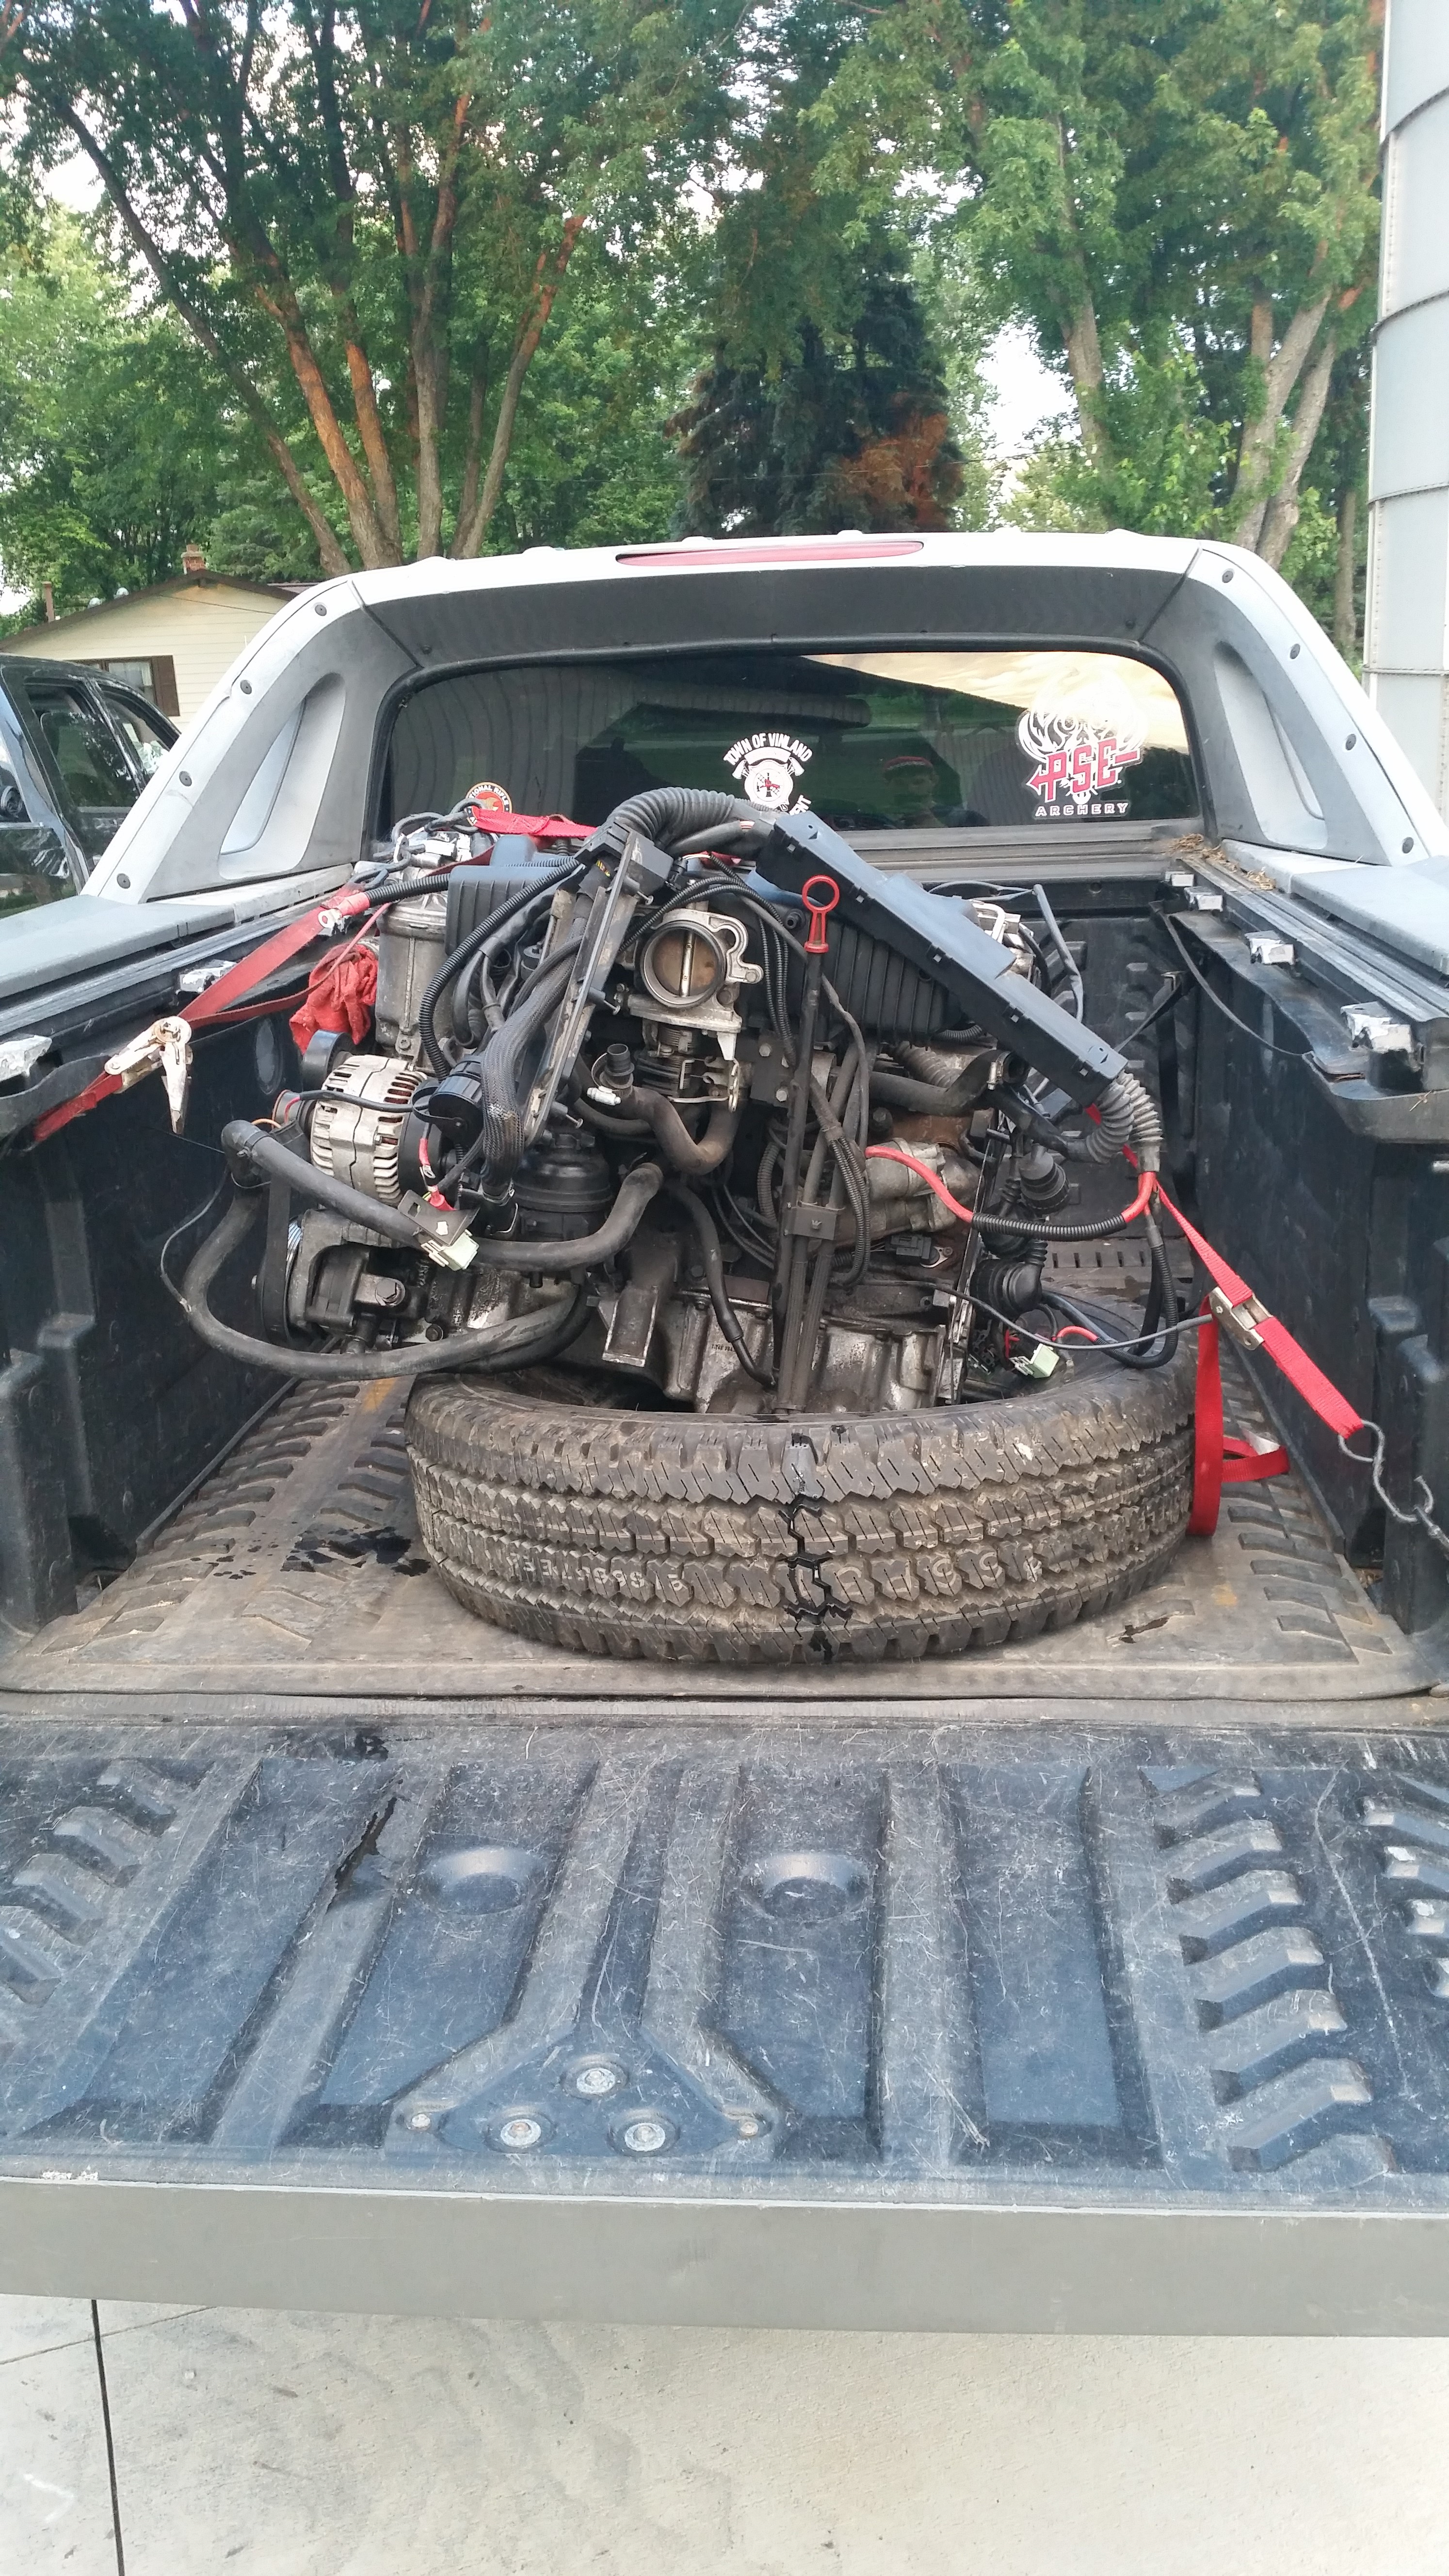
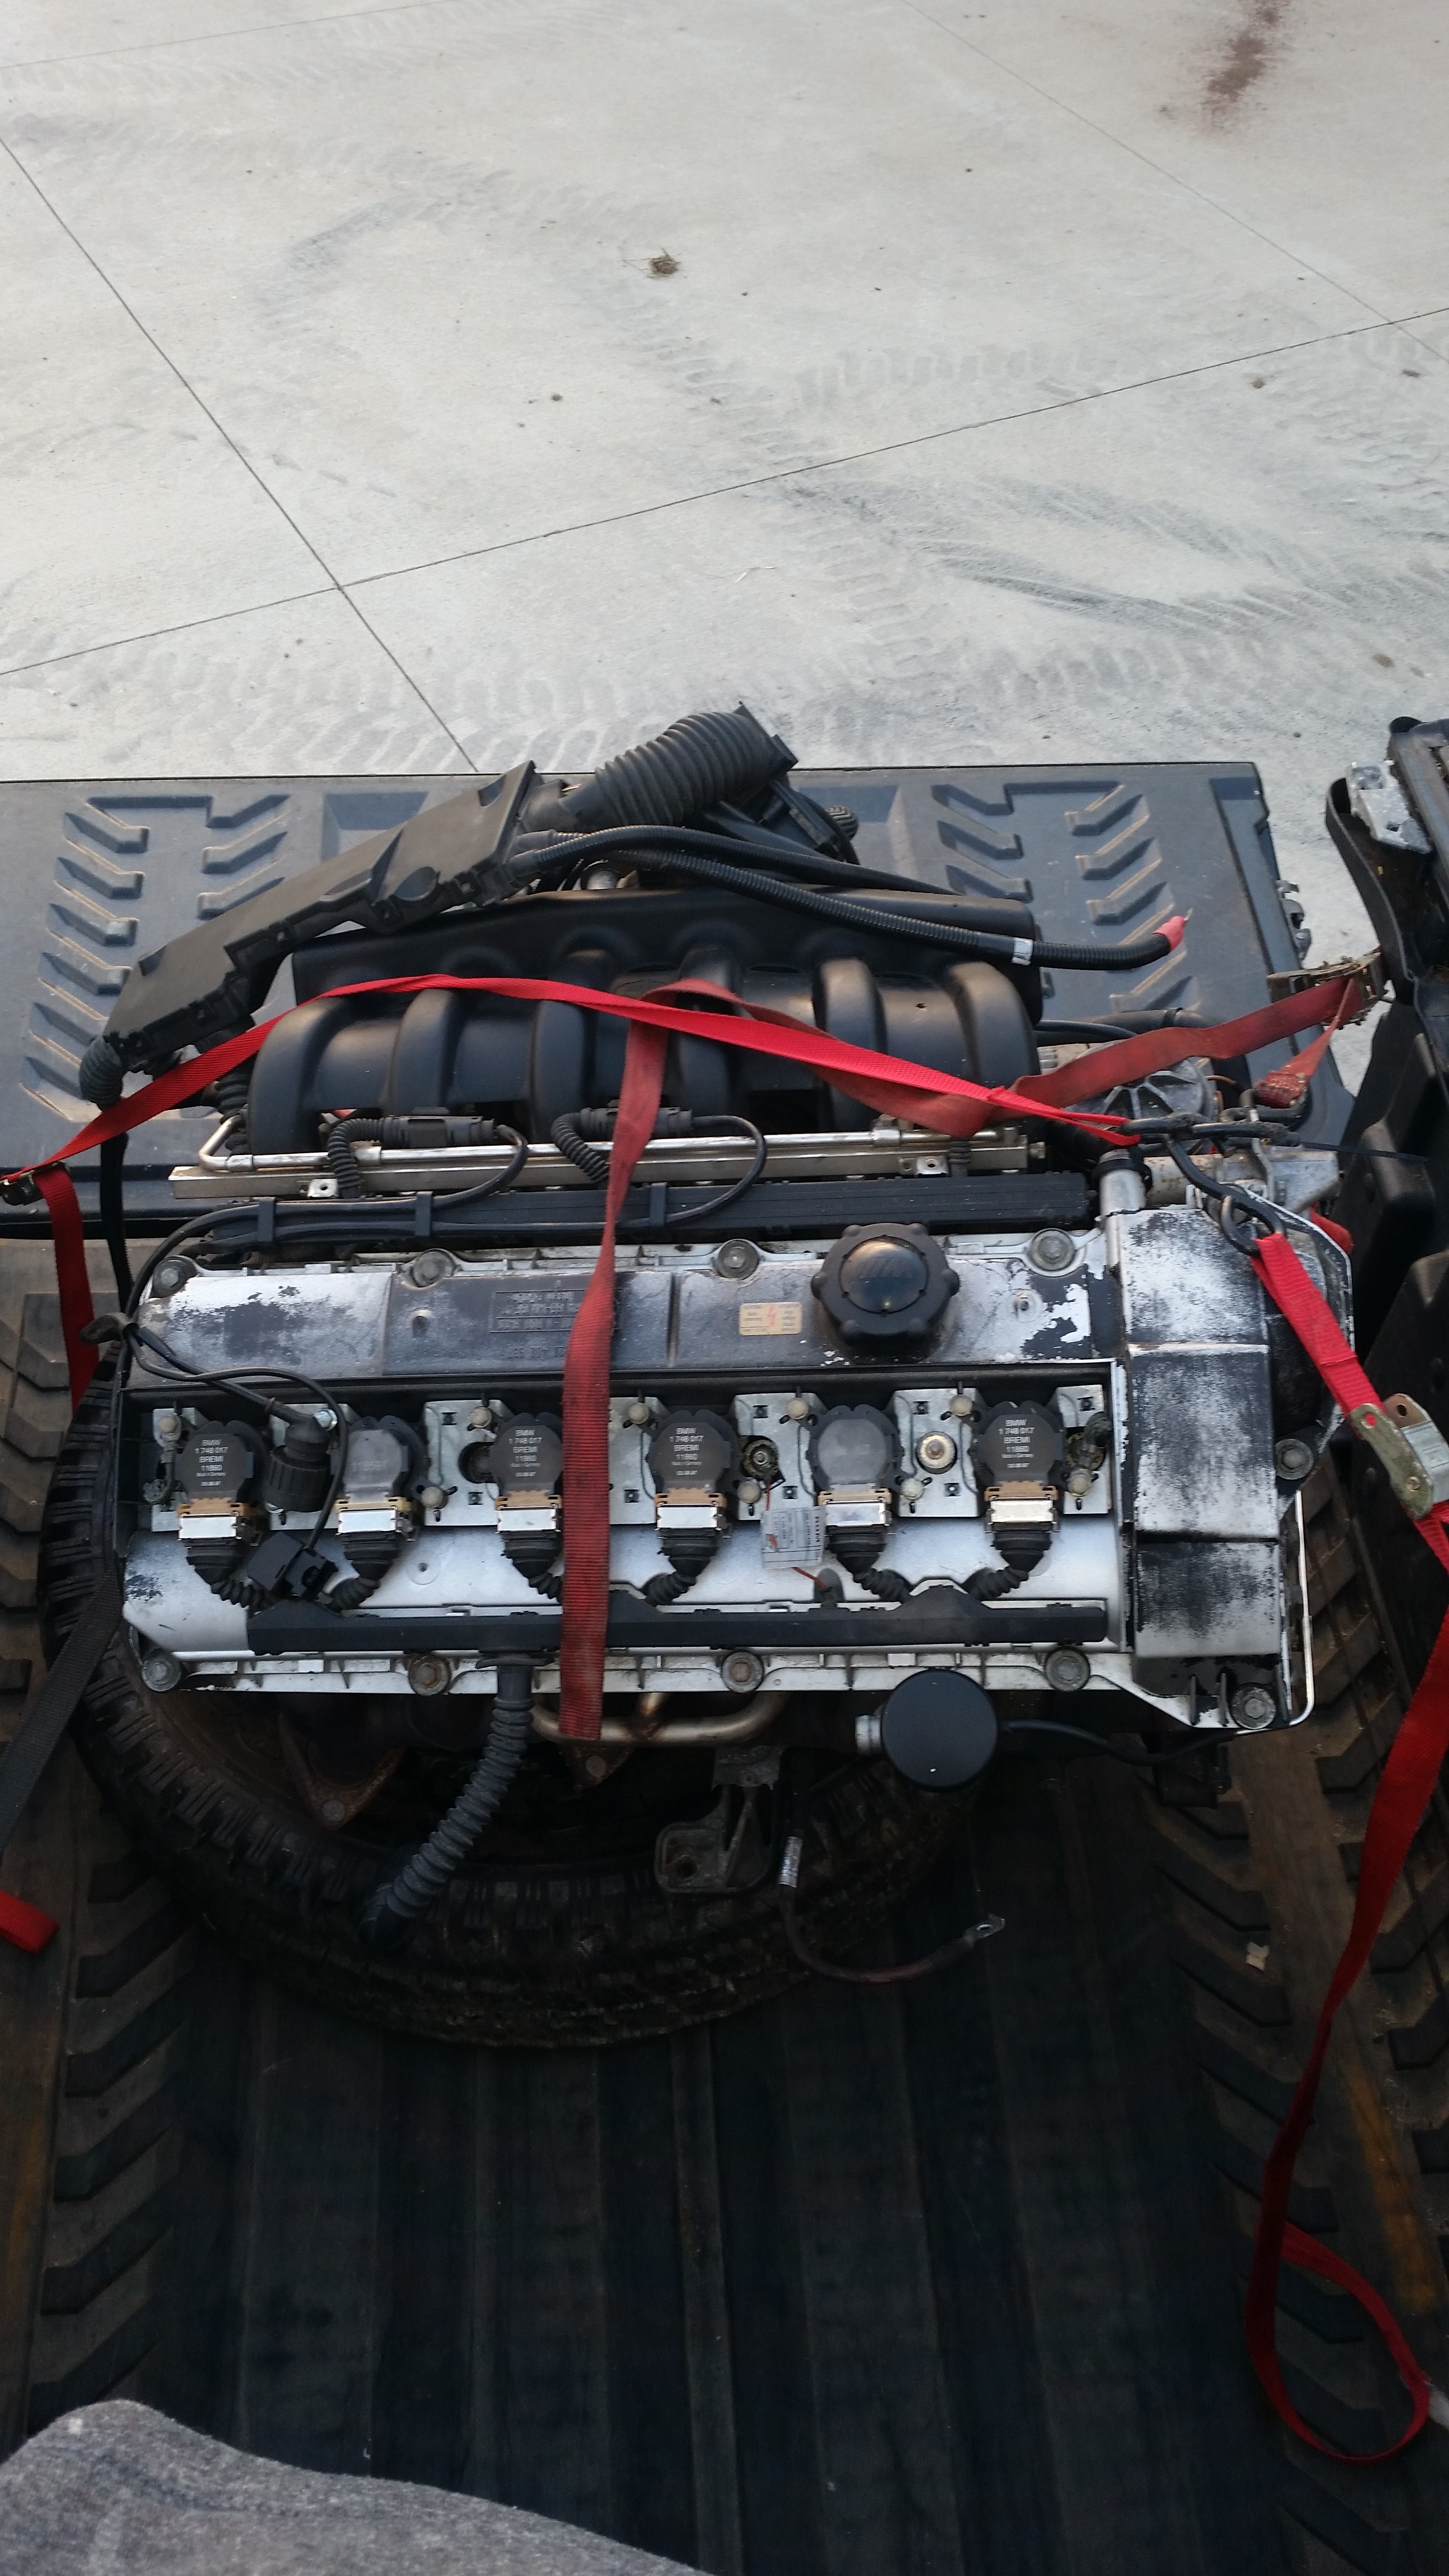
the one and only e30 s52 engine swap
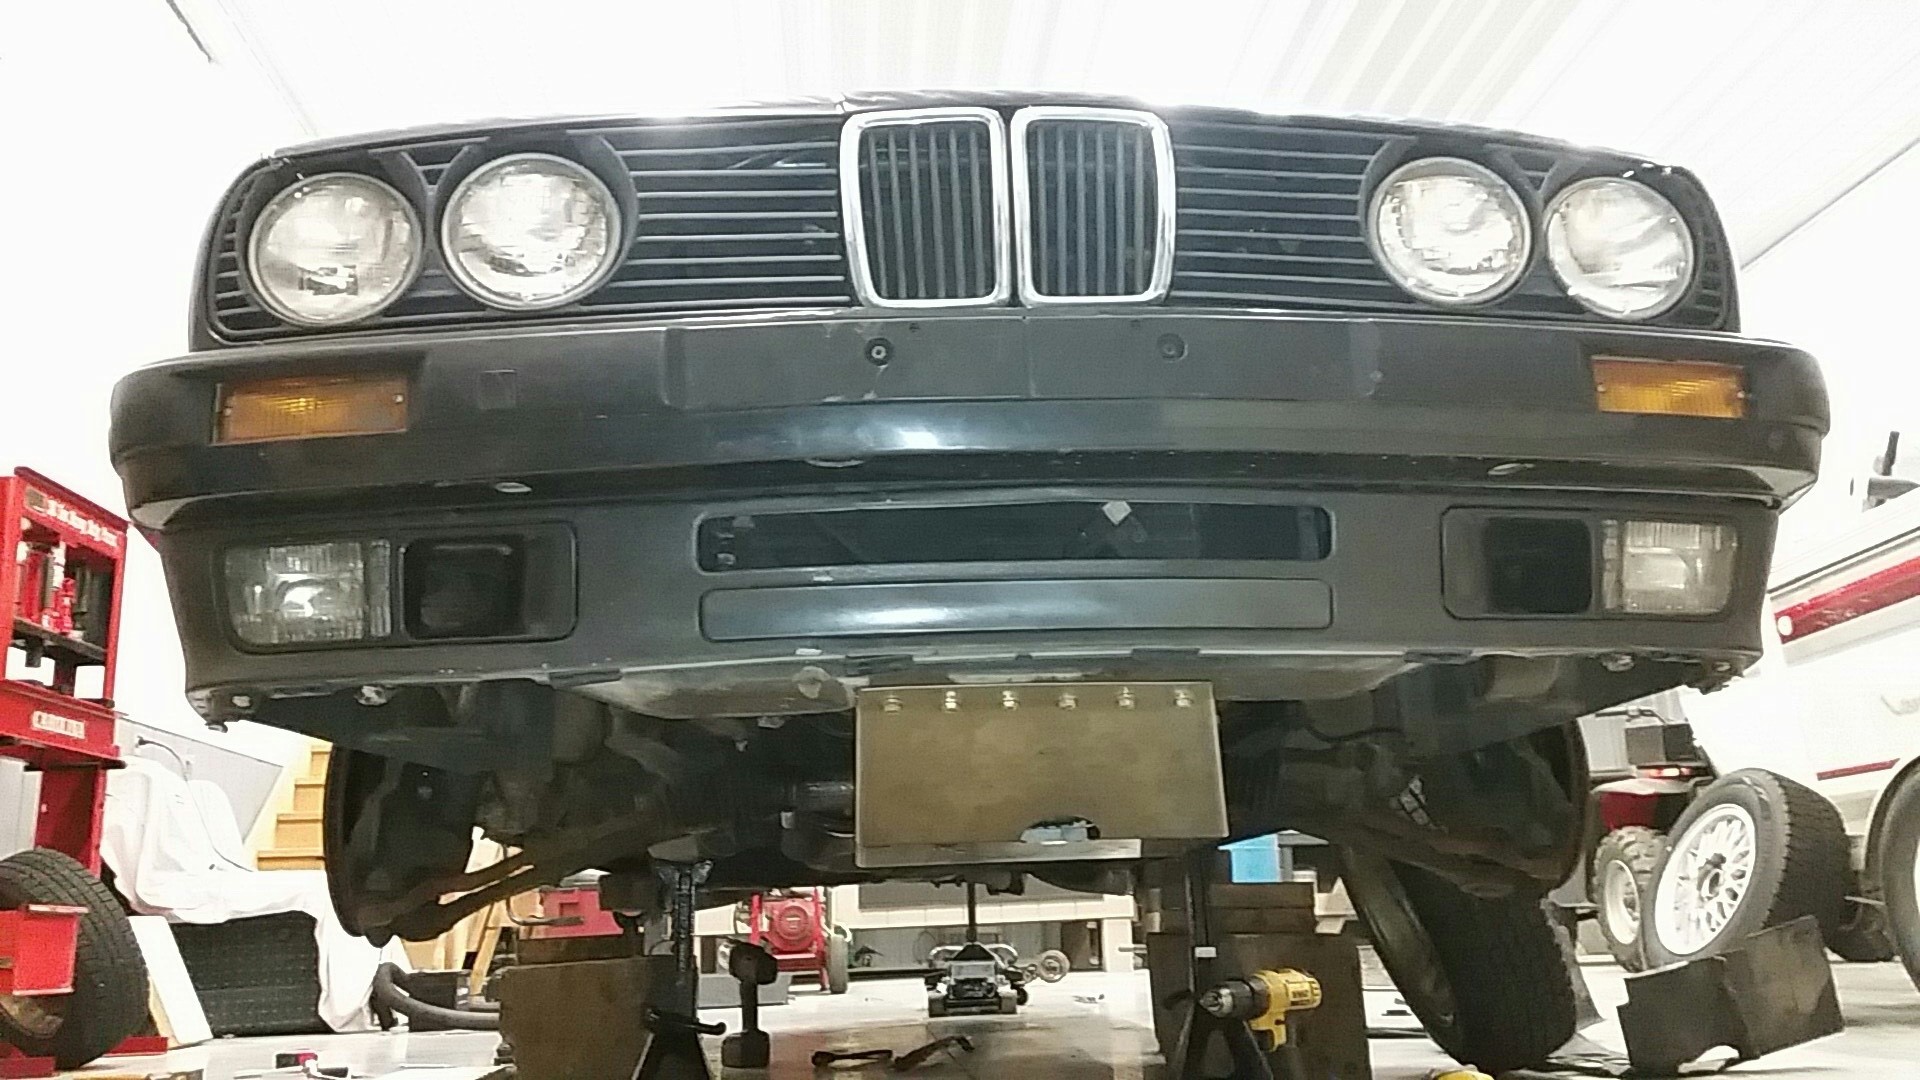
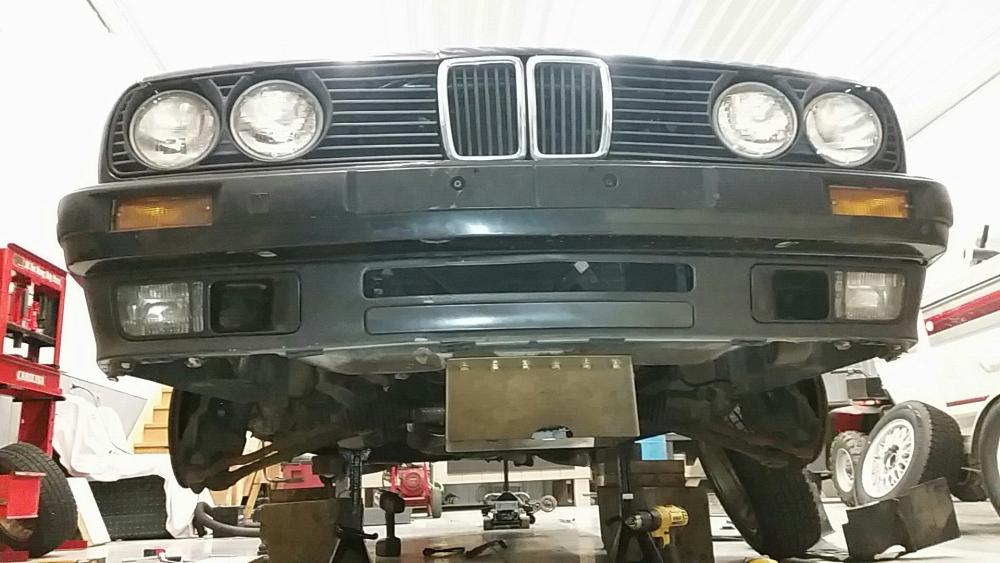
-
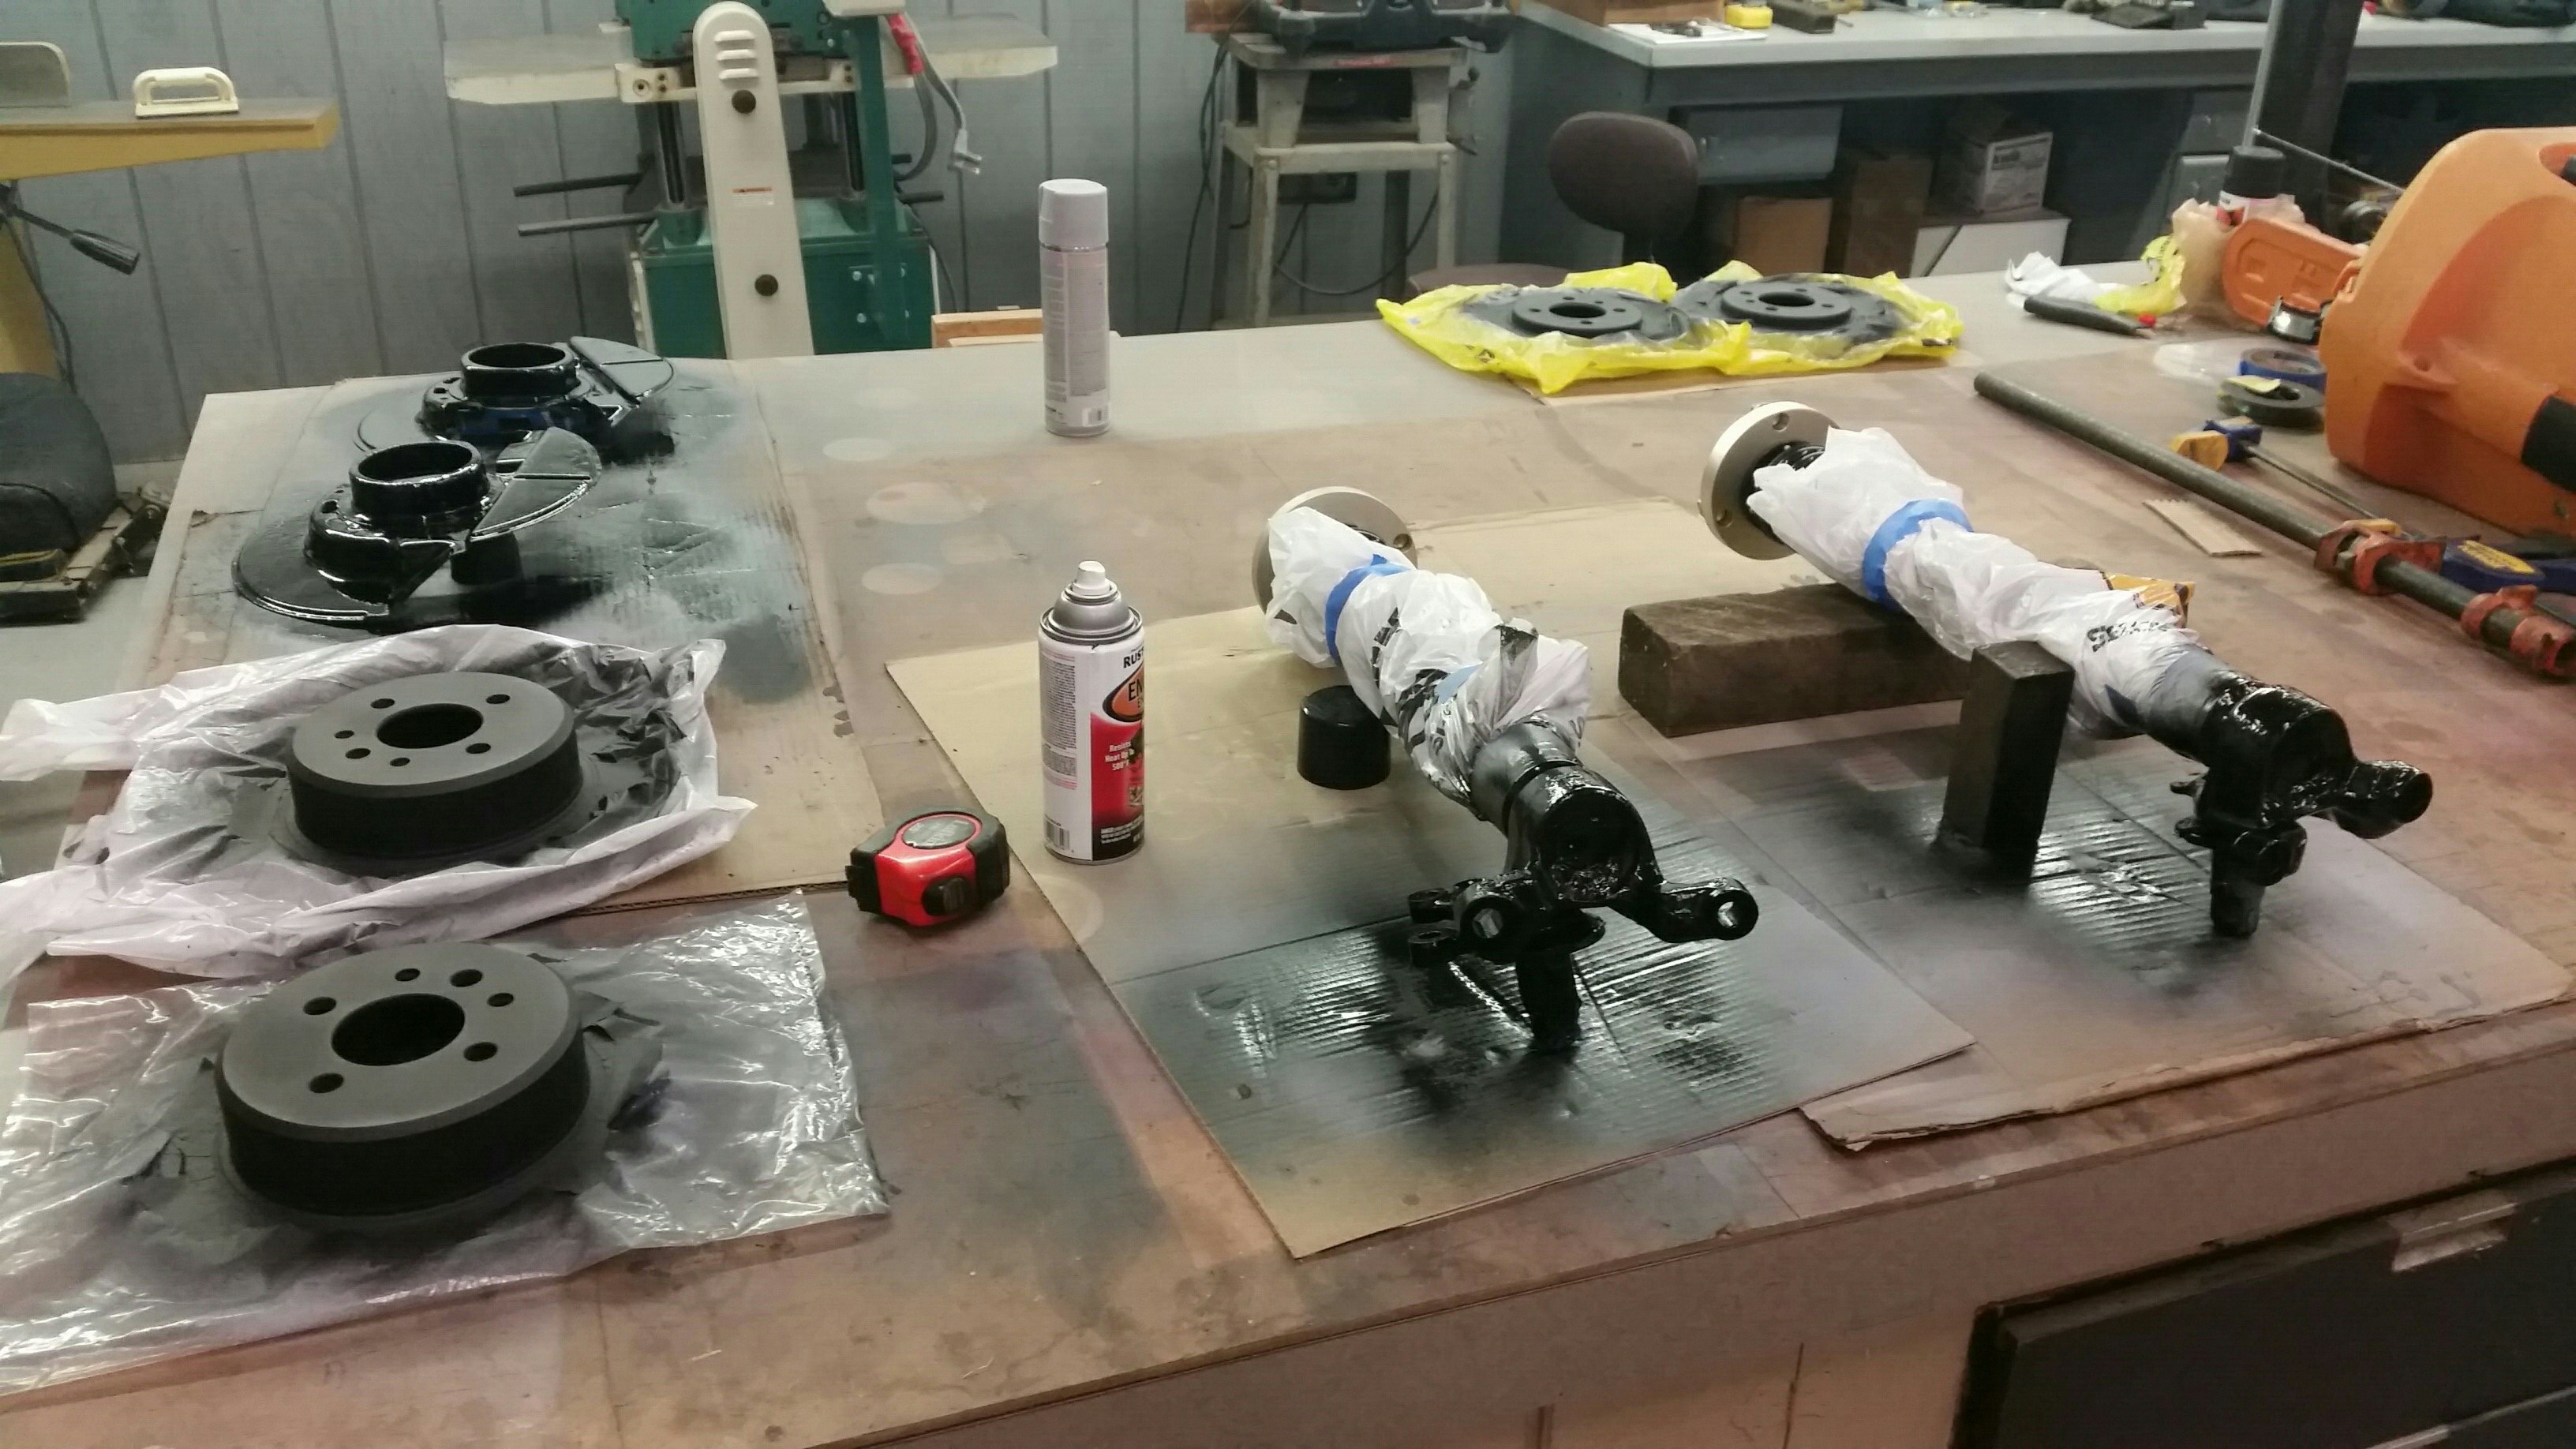
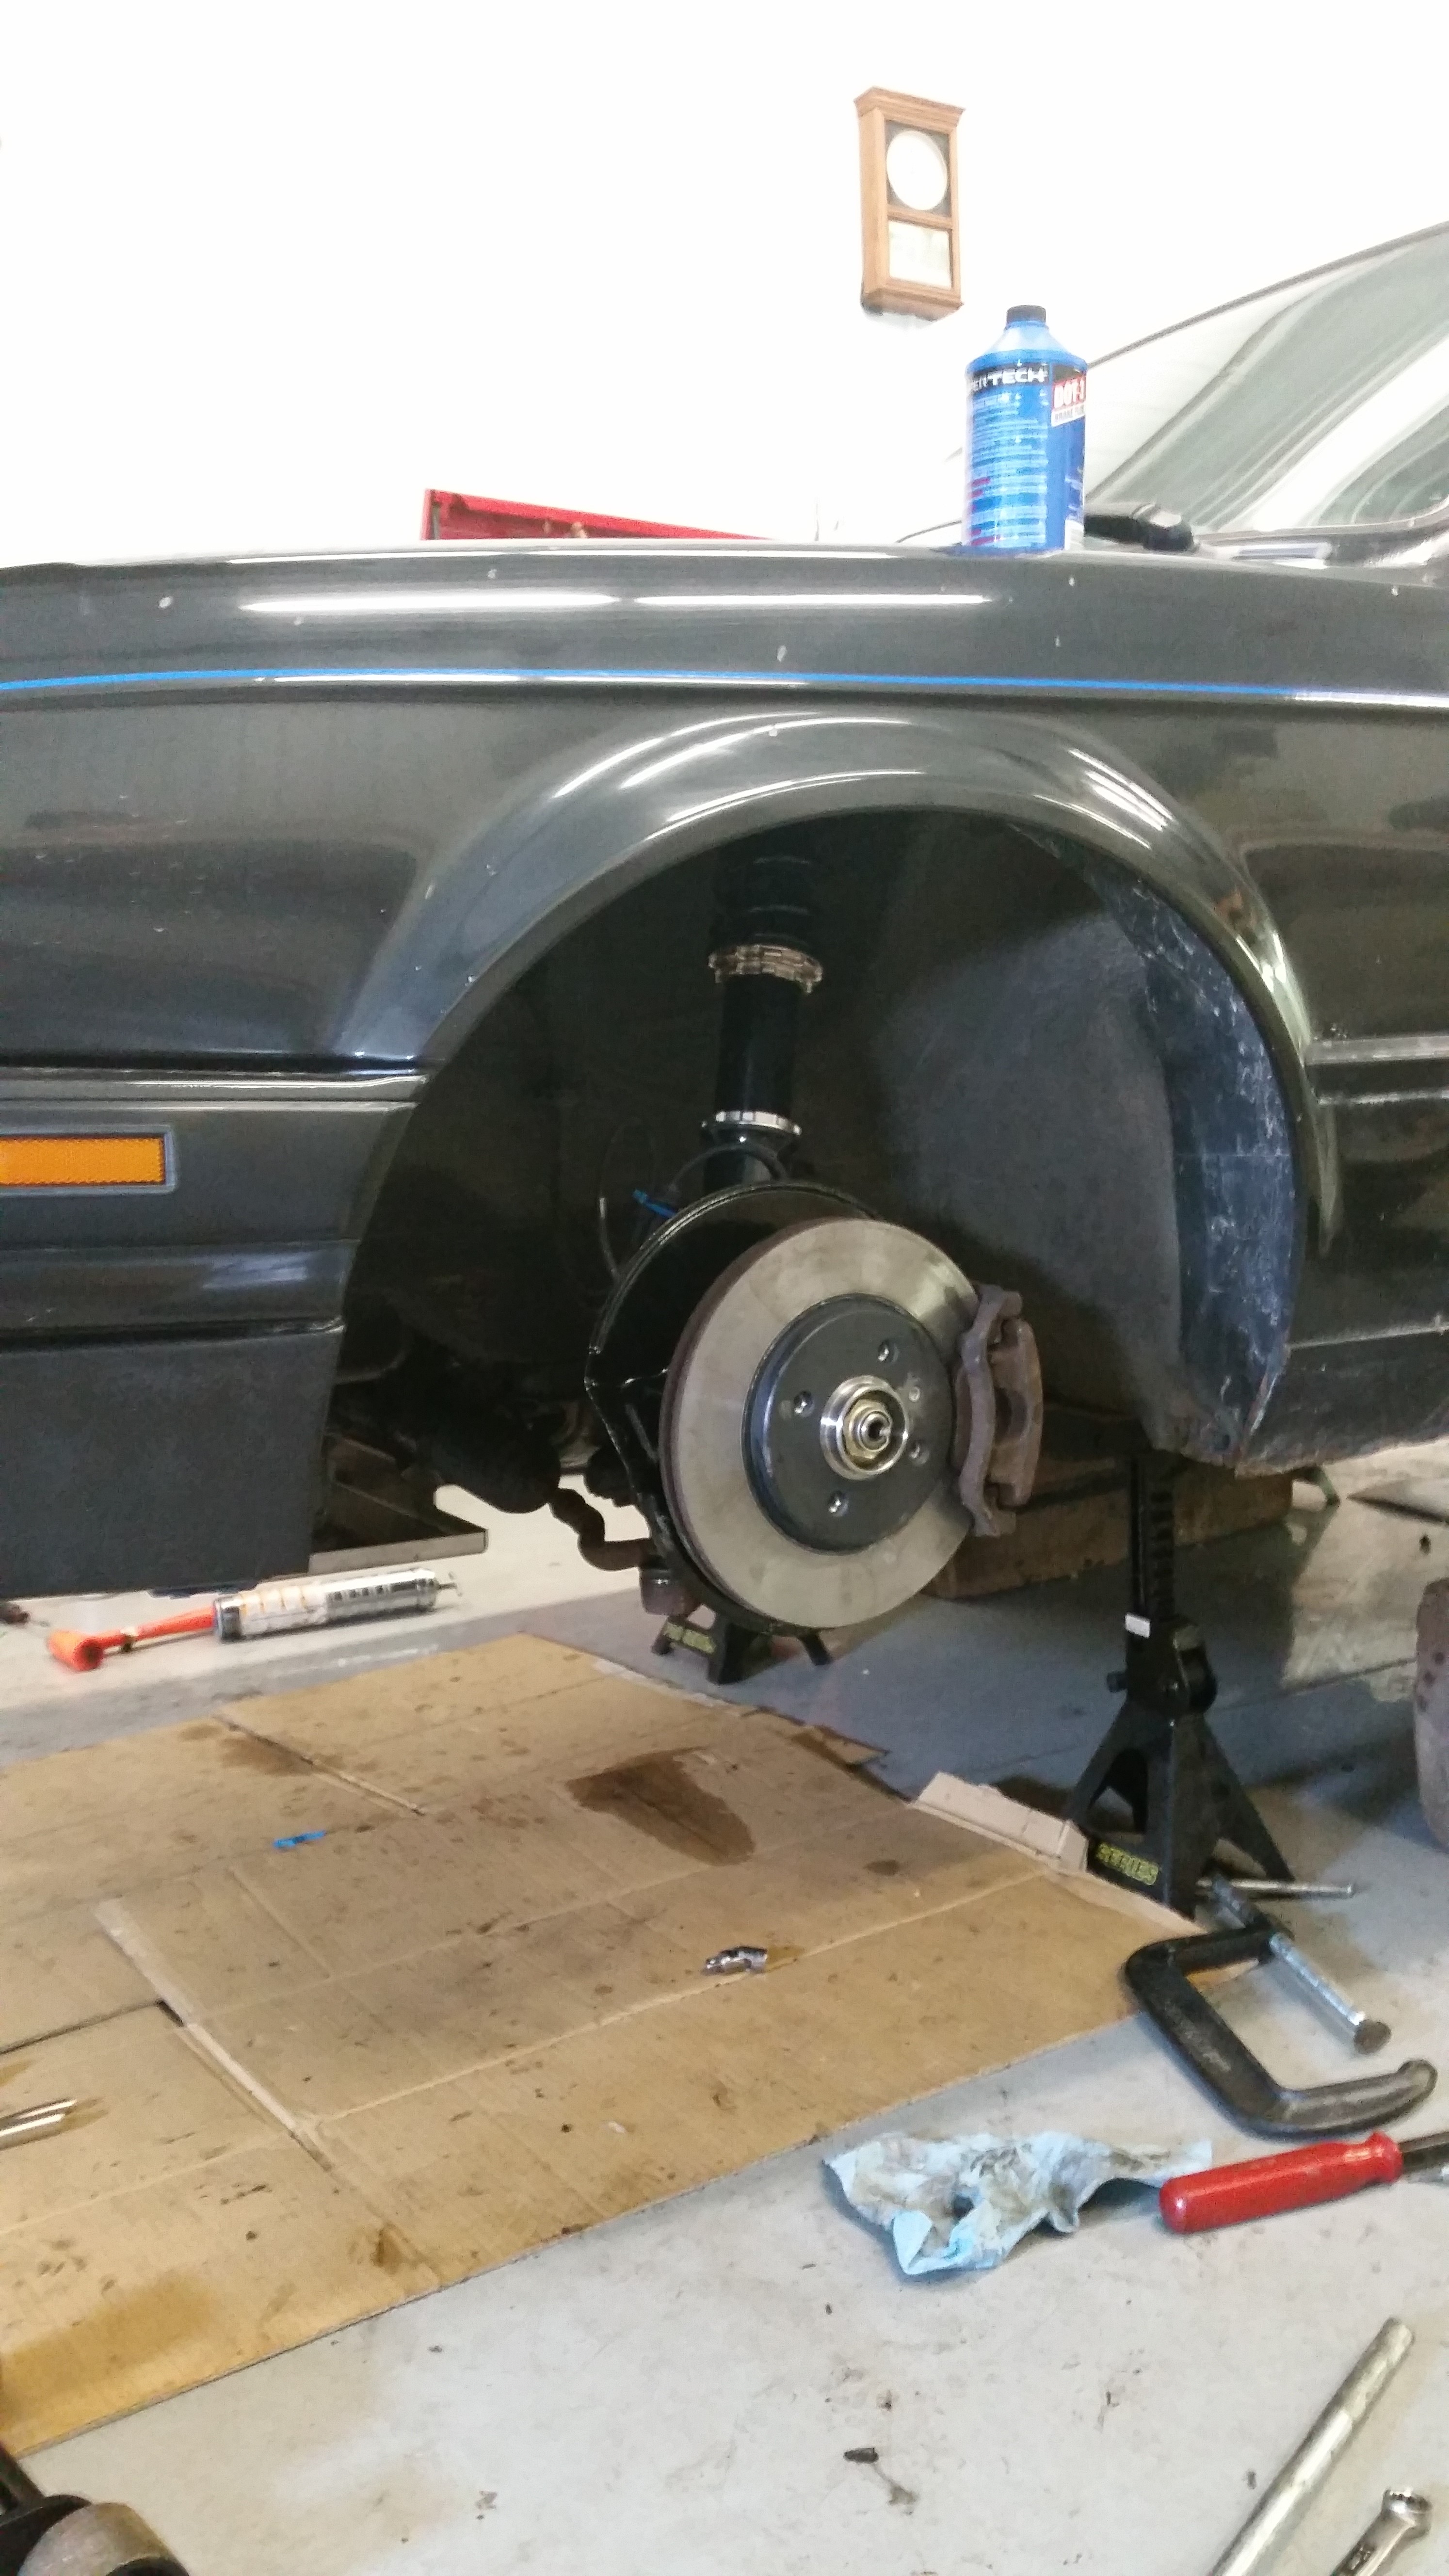
My experience when I started the transition from parking lot autox to on track events at Blackhawk and Road America was that Hawk HPS were rotor friendly but overwhelmed by the speed of a stock m20, HP+ were better for a few laps and then dropped off quickly and also sounded like a dump truck when cold and chewed rotors. I switched to Performance Friction PFC-06s and then the PFC-08s still with stock calipers and rotors which has been great. When I was still driving the car to track events, the PFCs also worked well on the street. Chewed the rotors but no worse than the HP+ and at least you knew you could slow/stop the car...which is a comforting thought to have on the track. Not sure what brake fluid you're running, but ATE or Motul are popular options. Basic auto parts store off the shelf stuff will boil with what you're putting it through.
All that said, with a 400 hp e30, maybe a big brake kit is in your future?
-
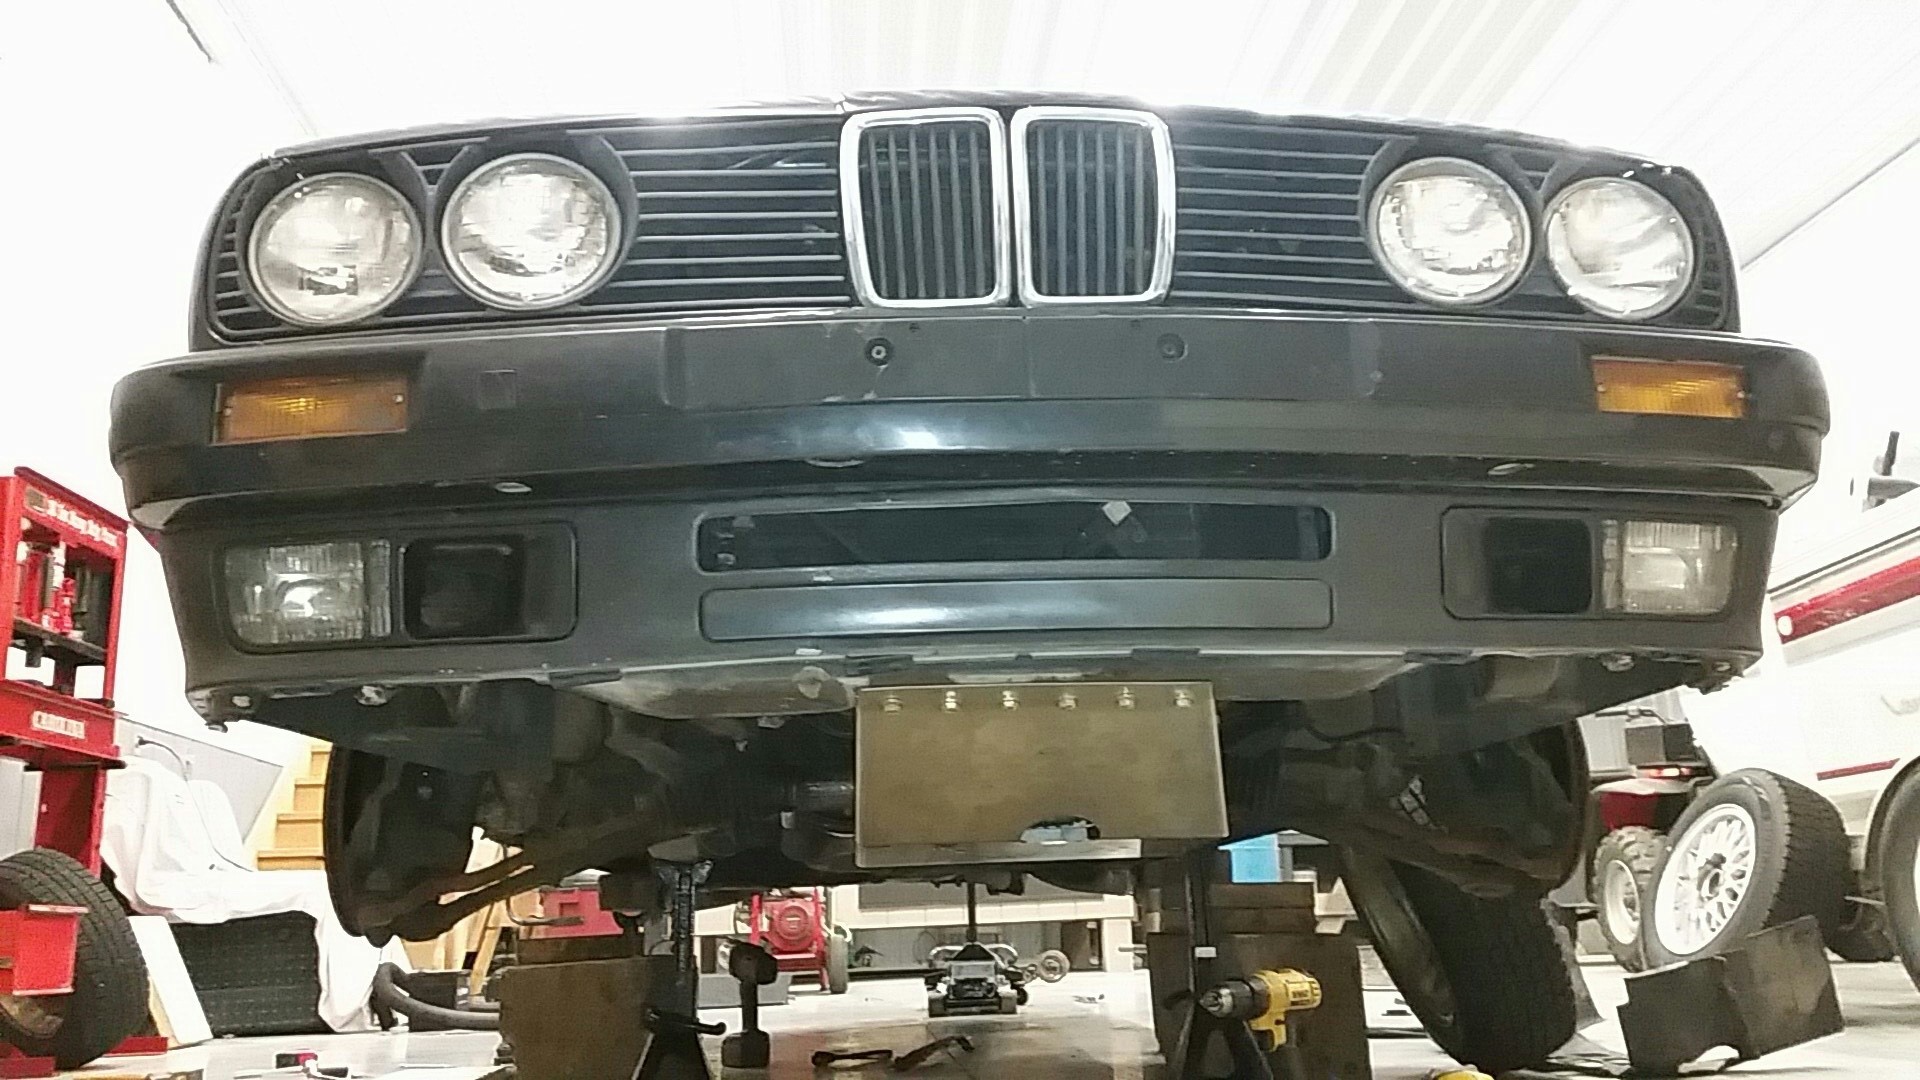
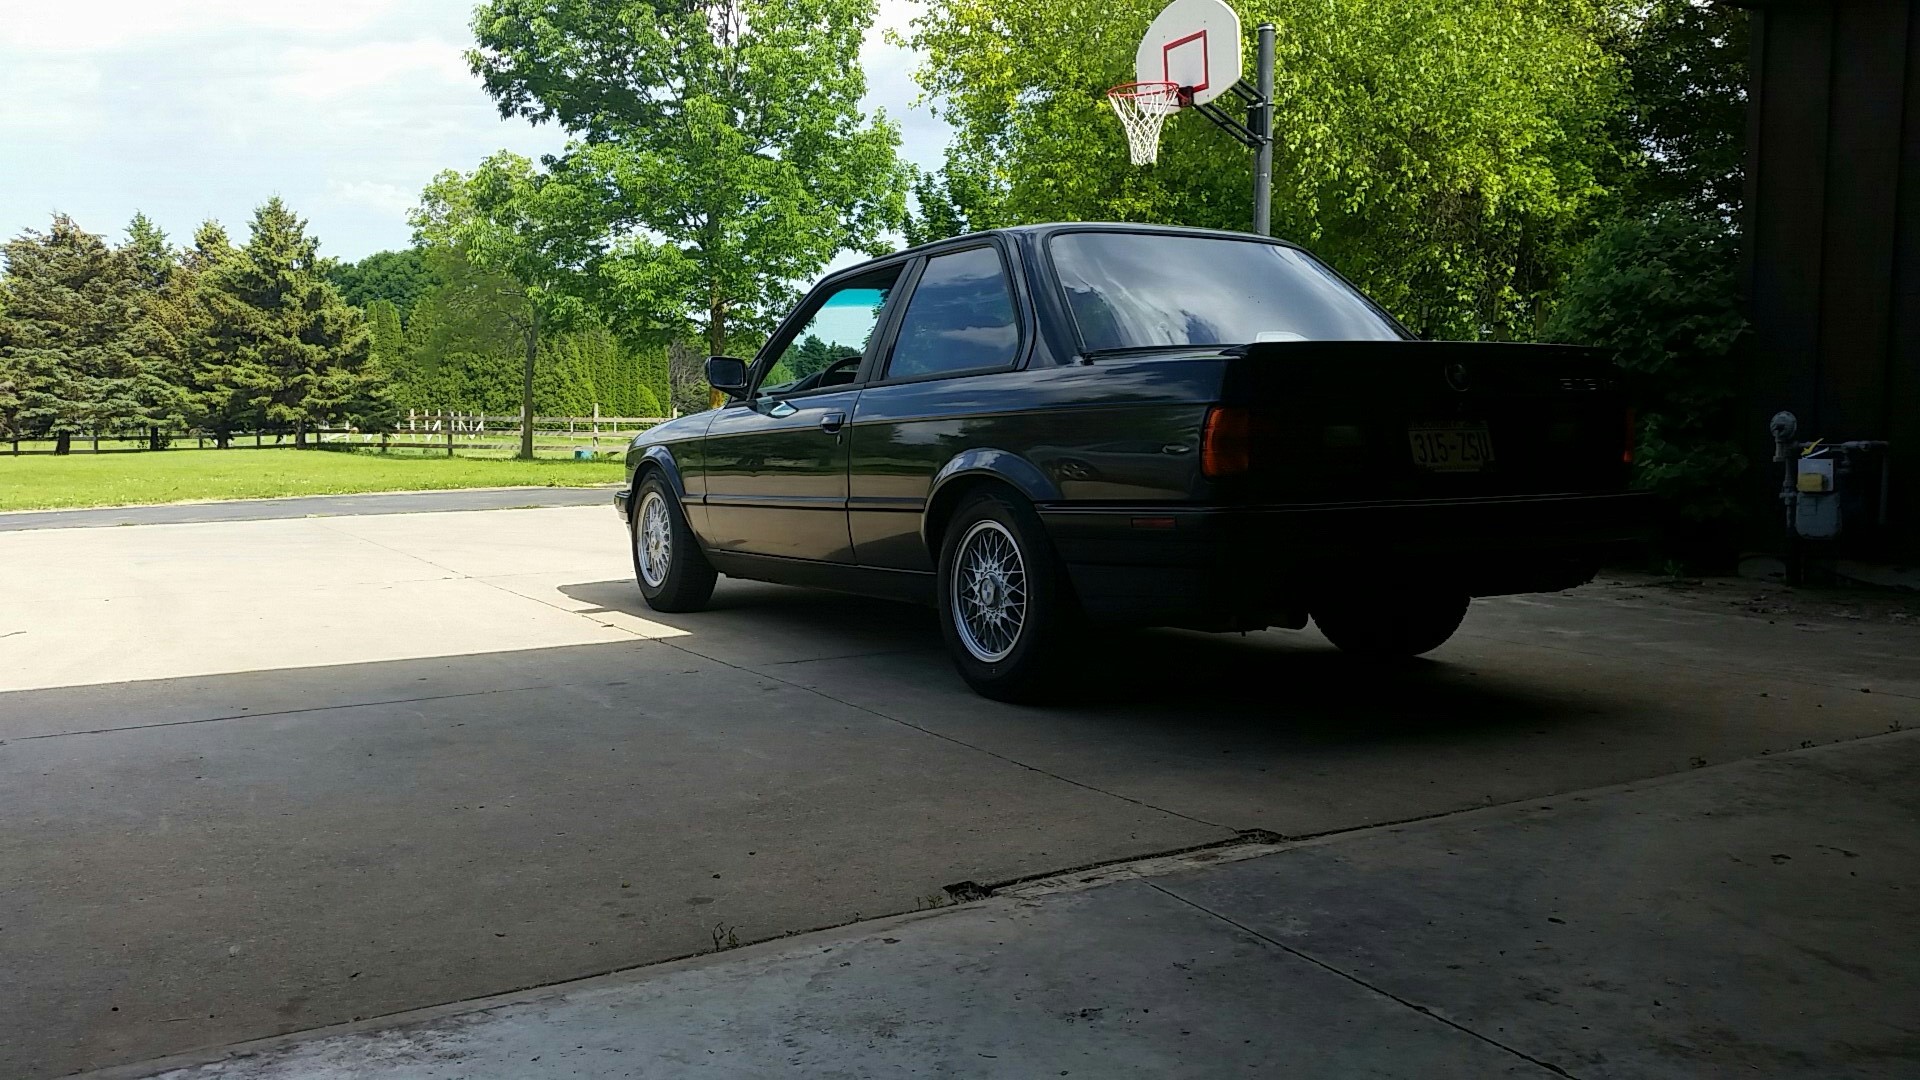
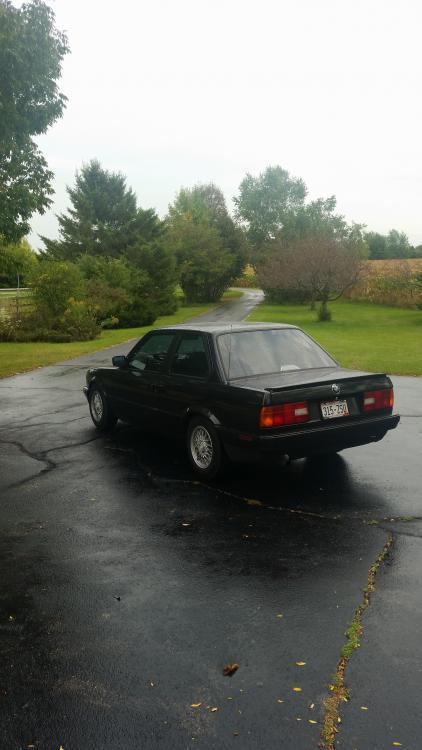
I brought this car up today to Brian, and it made me wonder if anything has happened to it as of late.
Or are you just working on farming the 'sparagus? -
I brought this car up today to Brian, and it made me wonder if anything has happened to it as of late.
Or are you just working on farming the 'sparagus?As of right now the car has been sitting in storage collecting dust. Have a few big things in the works for it to get done before spring time roles around. I've been accumulating parts over the last few months and hoping to get er in the shop within the next 2 weeks. Updates coming soon!
-
Last season was a blast! Car felt near bulletproof throughout the summer but there were a few issues that need tending to.
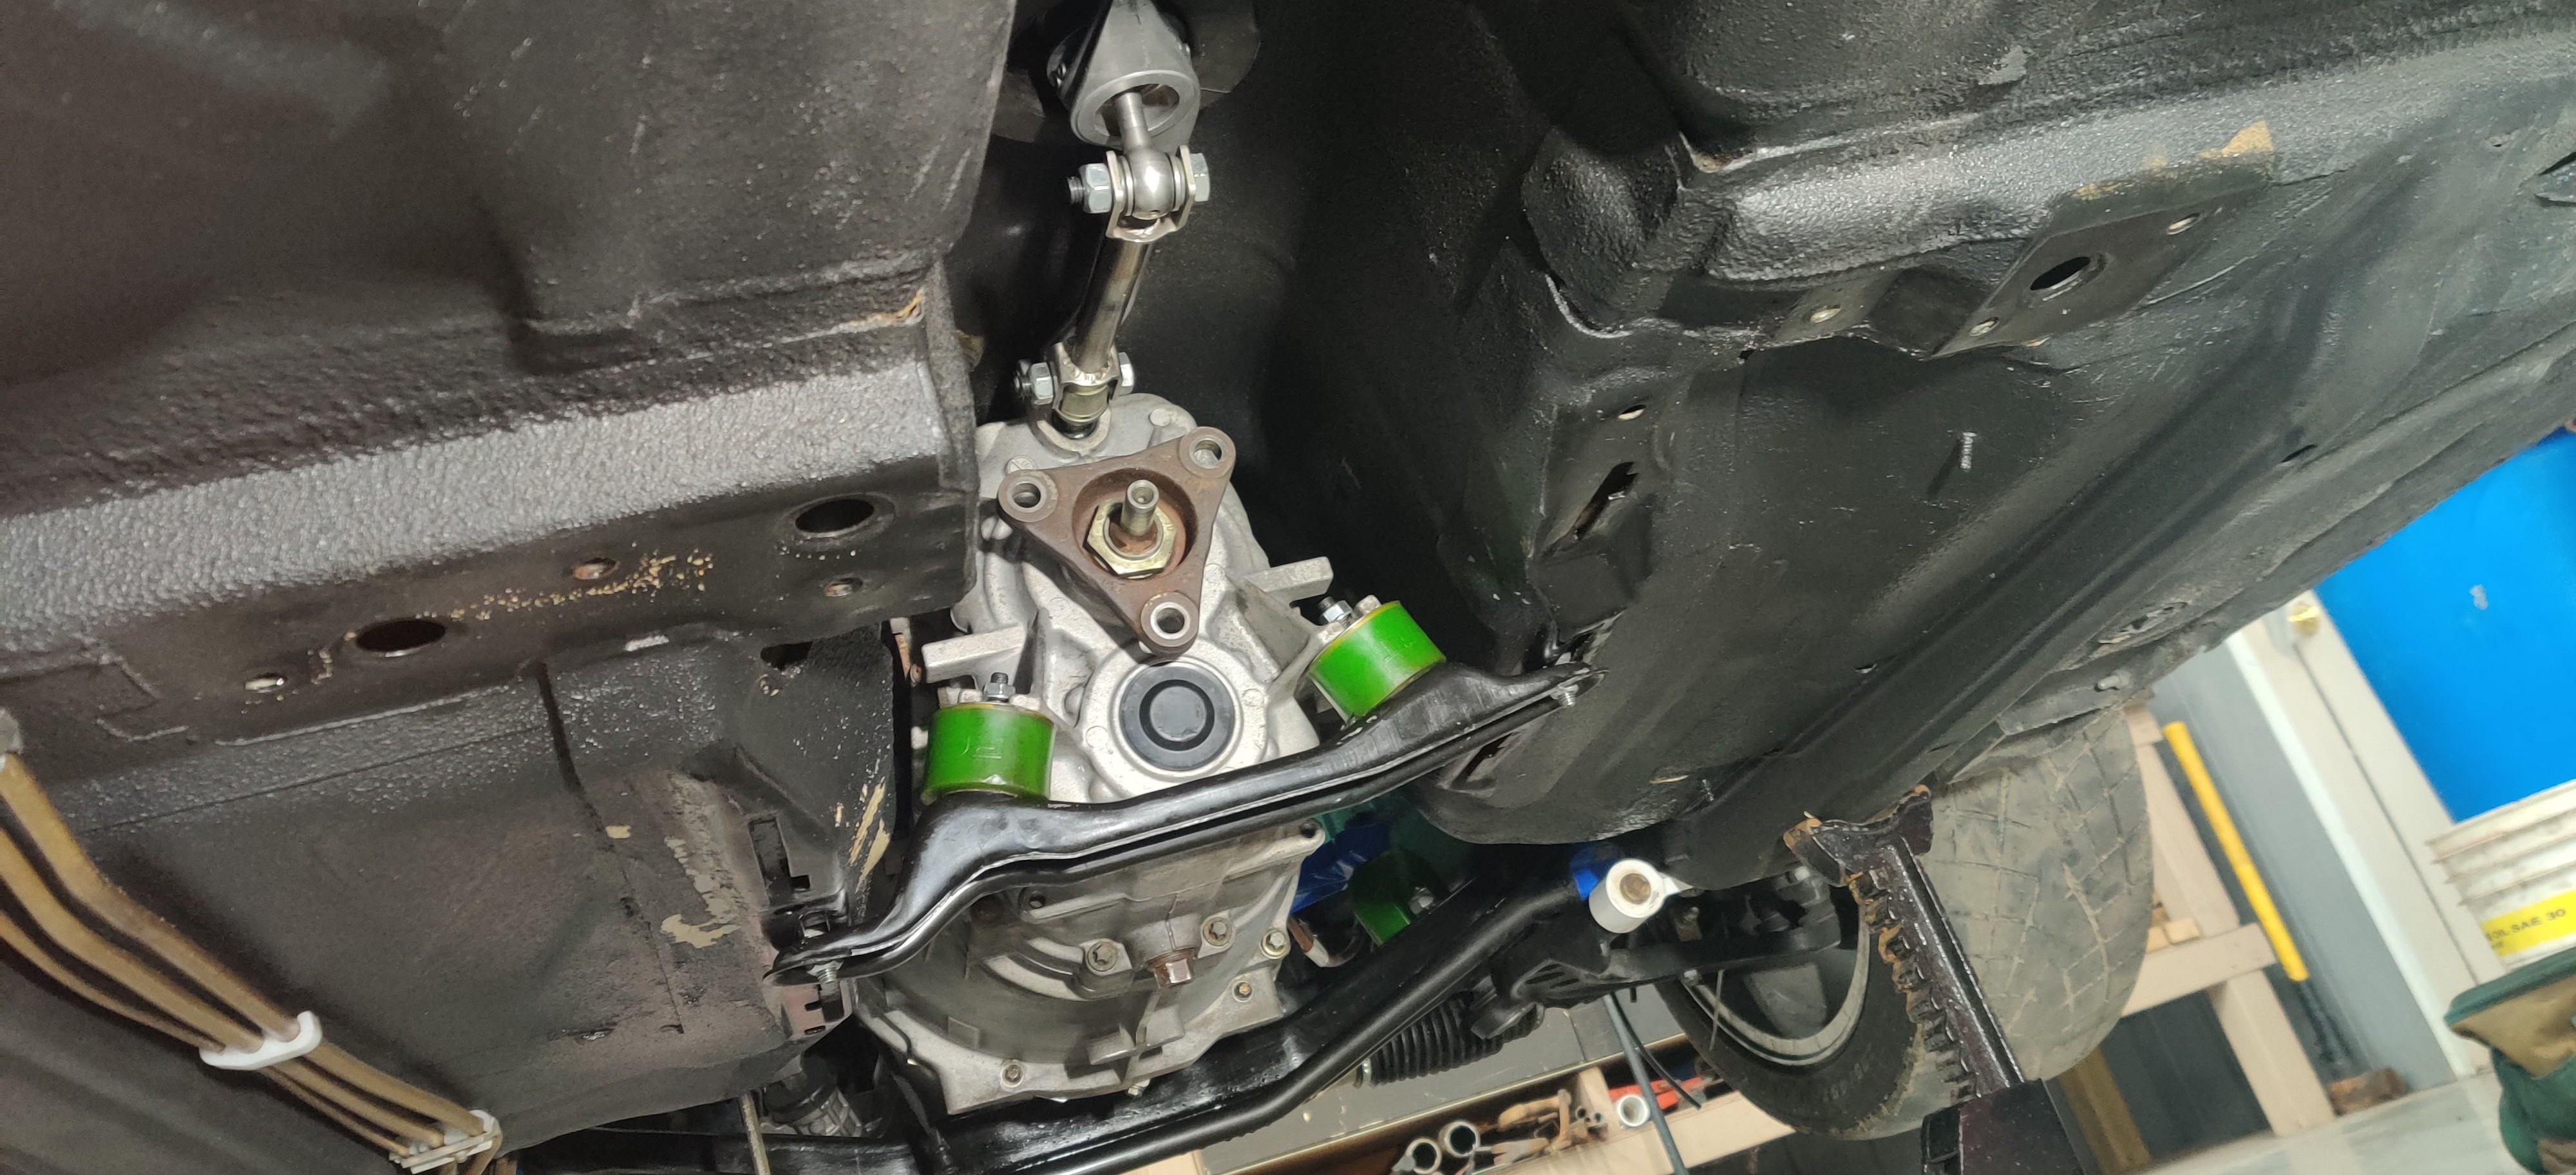
The transmission. G260 + Boost = Ticking time bomb. Also the gearing could be a little longer, So I'm switching it out for the zf trans.
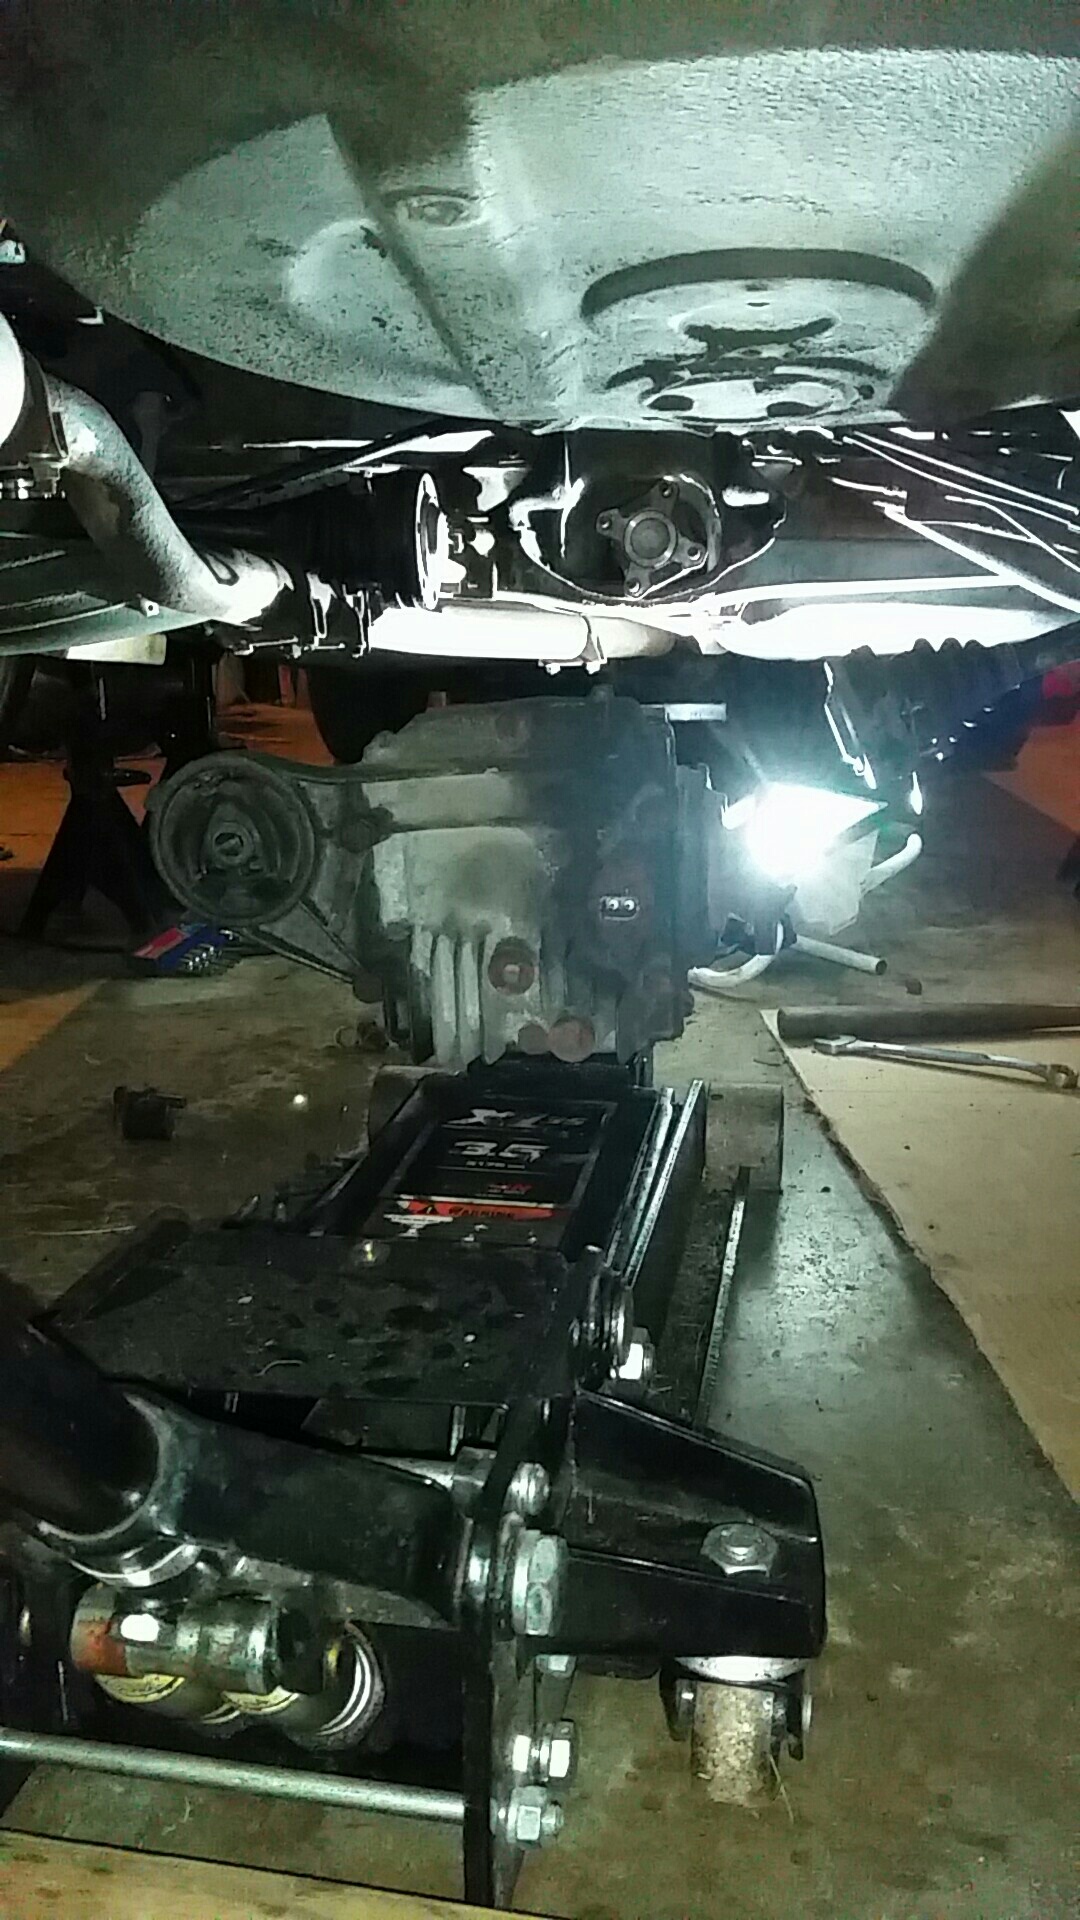
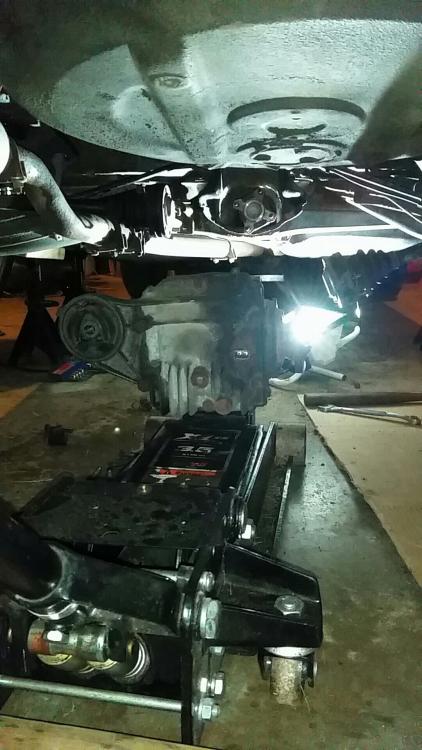
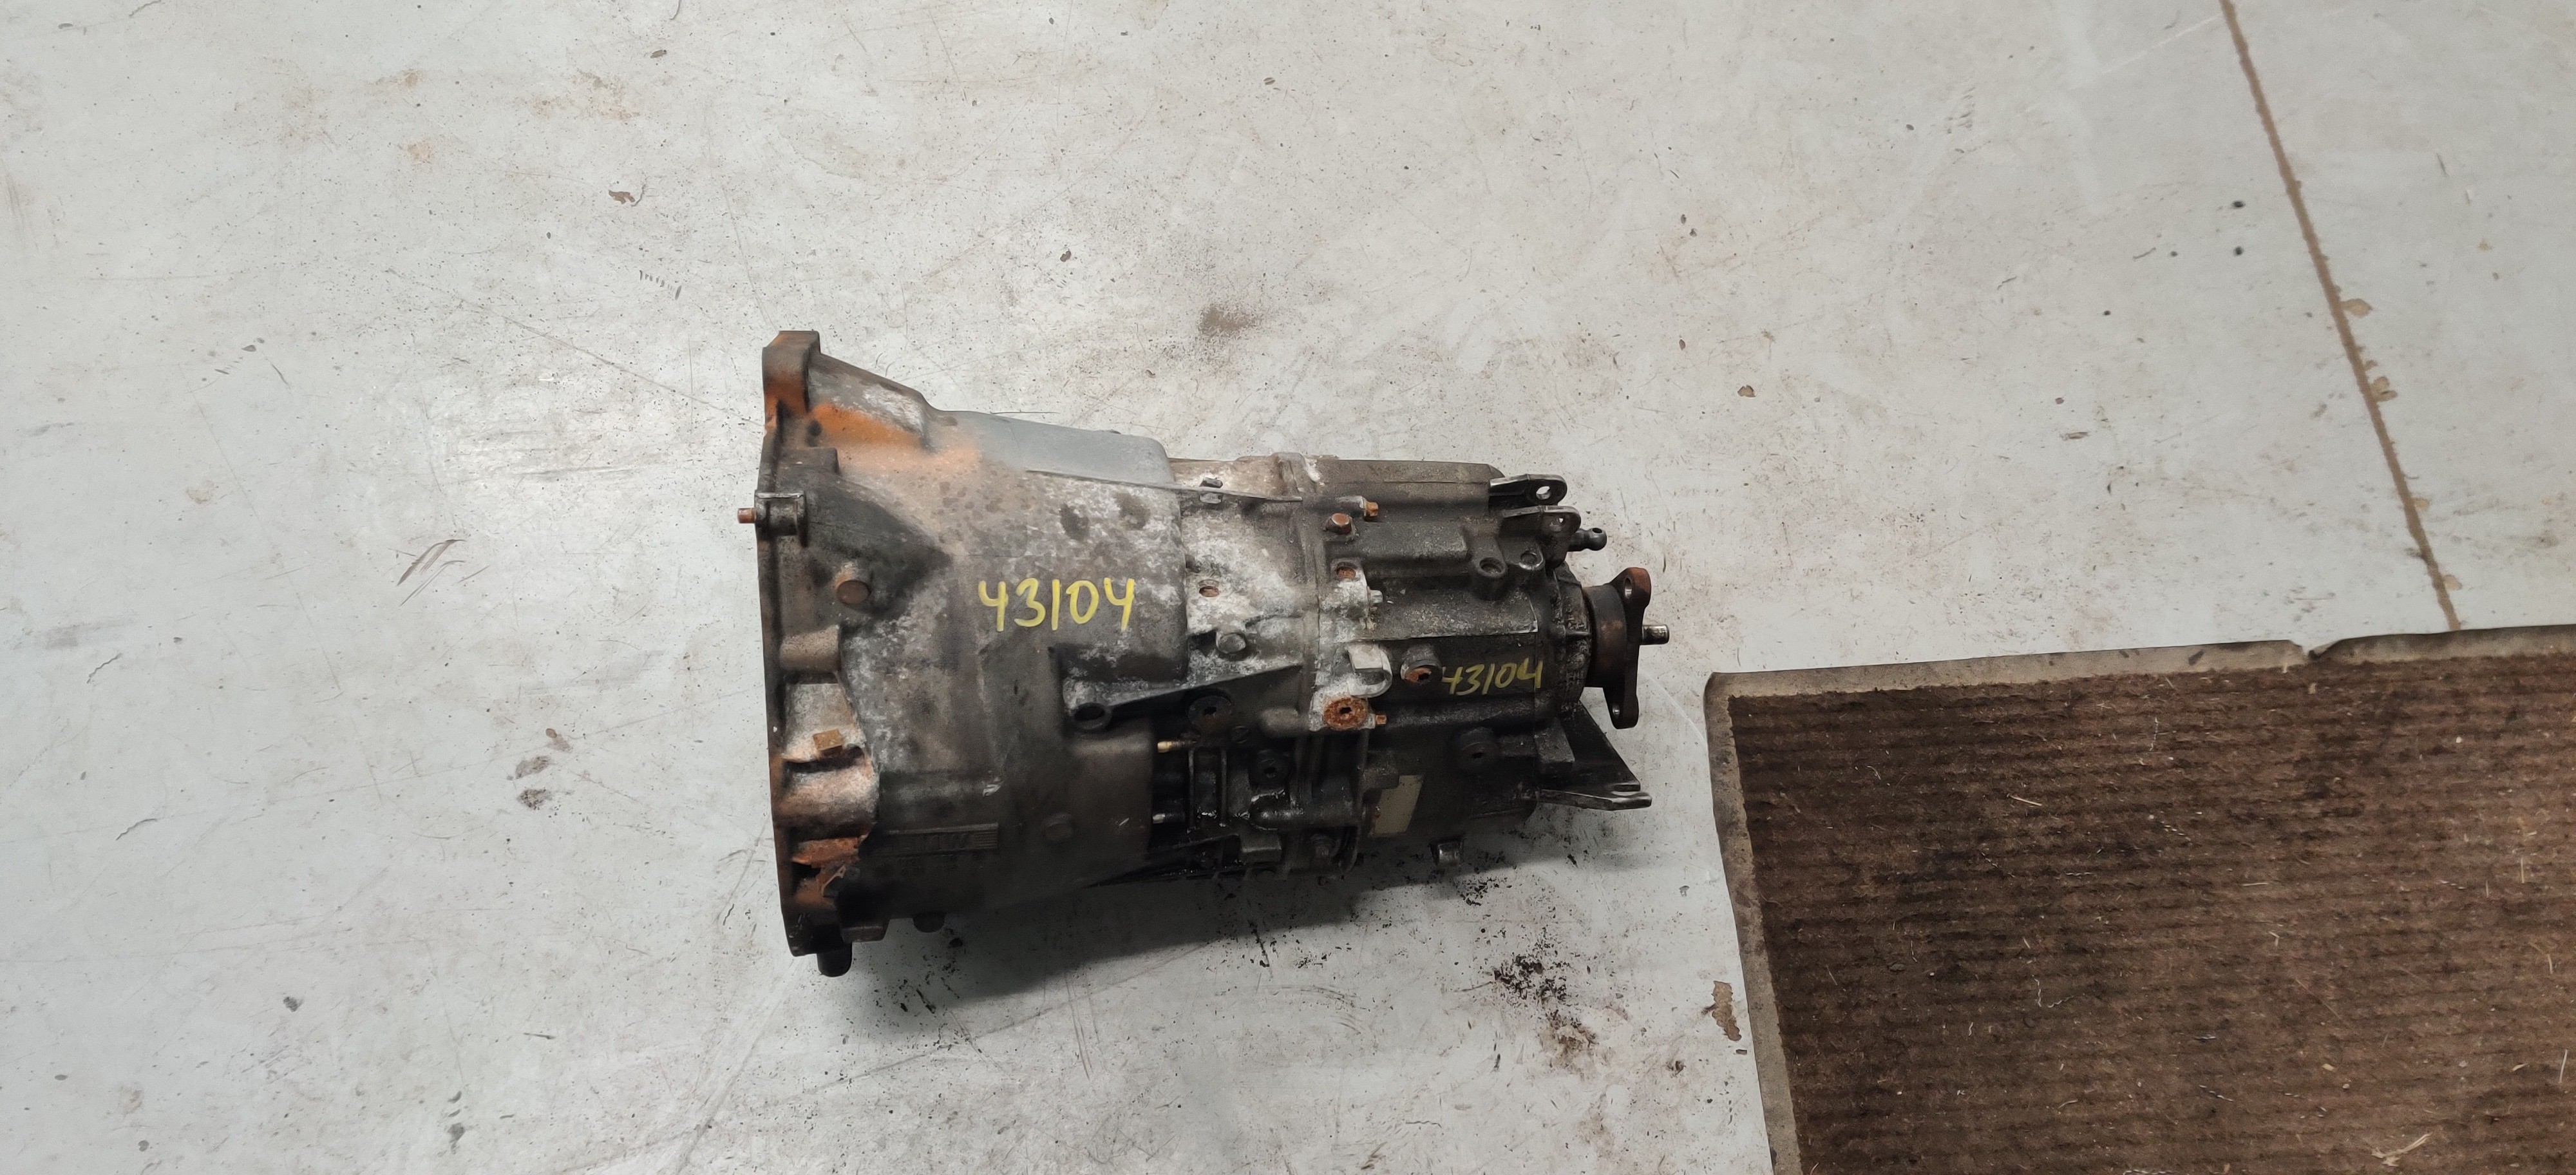
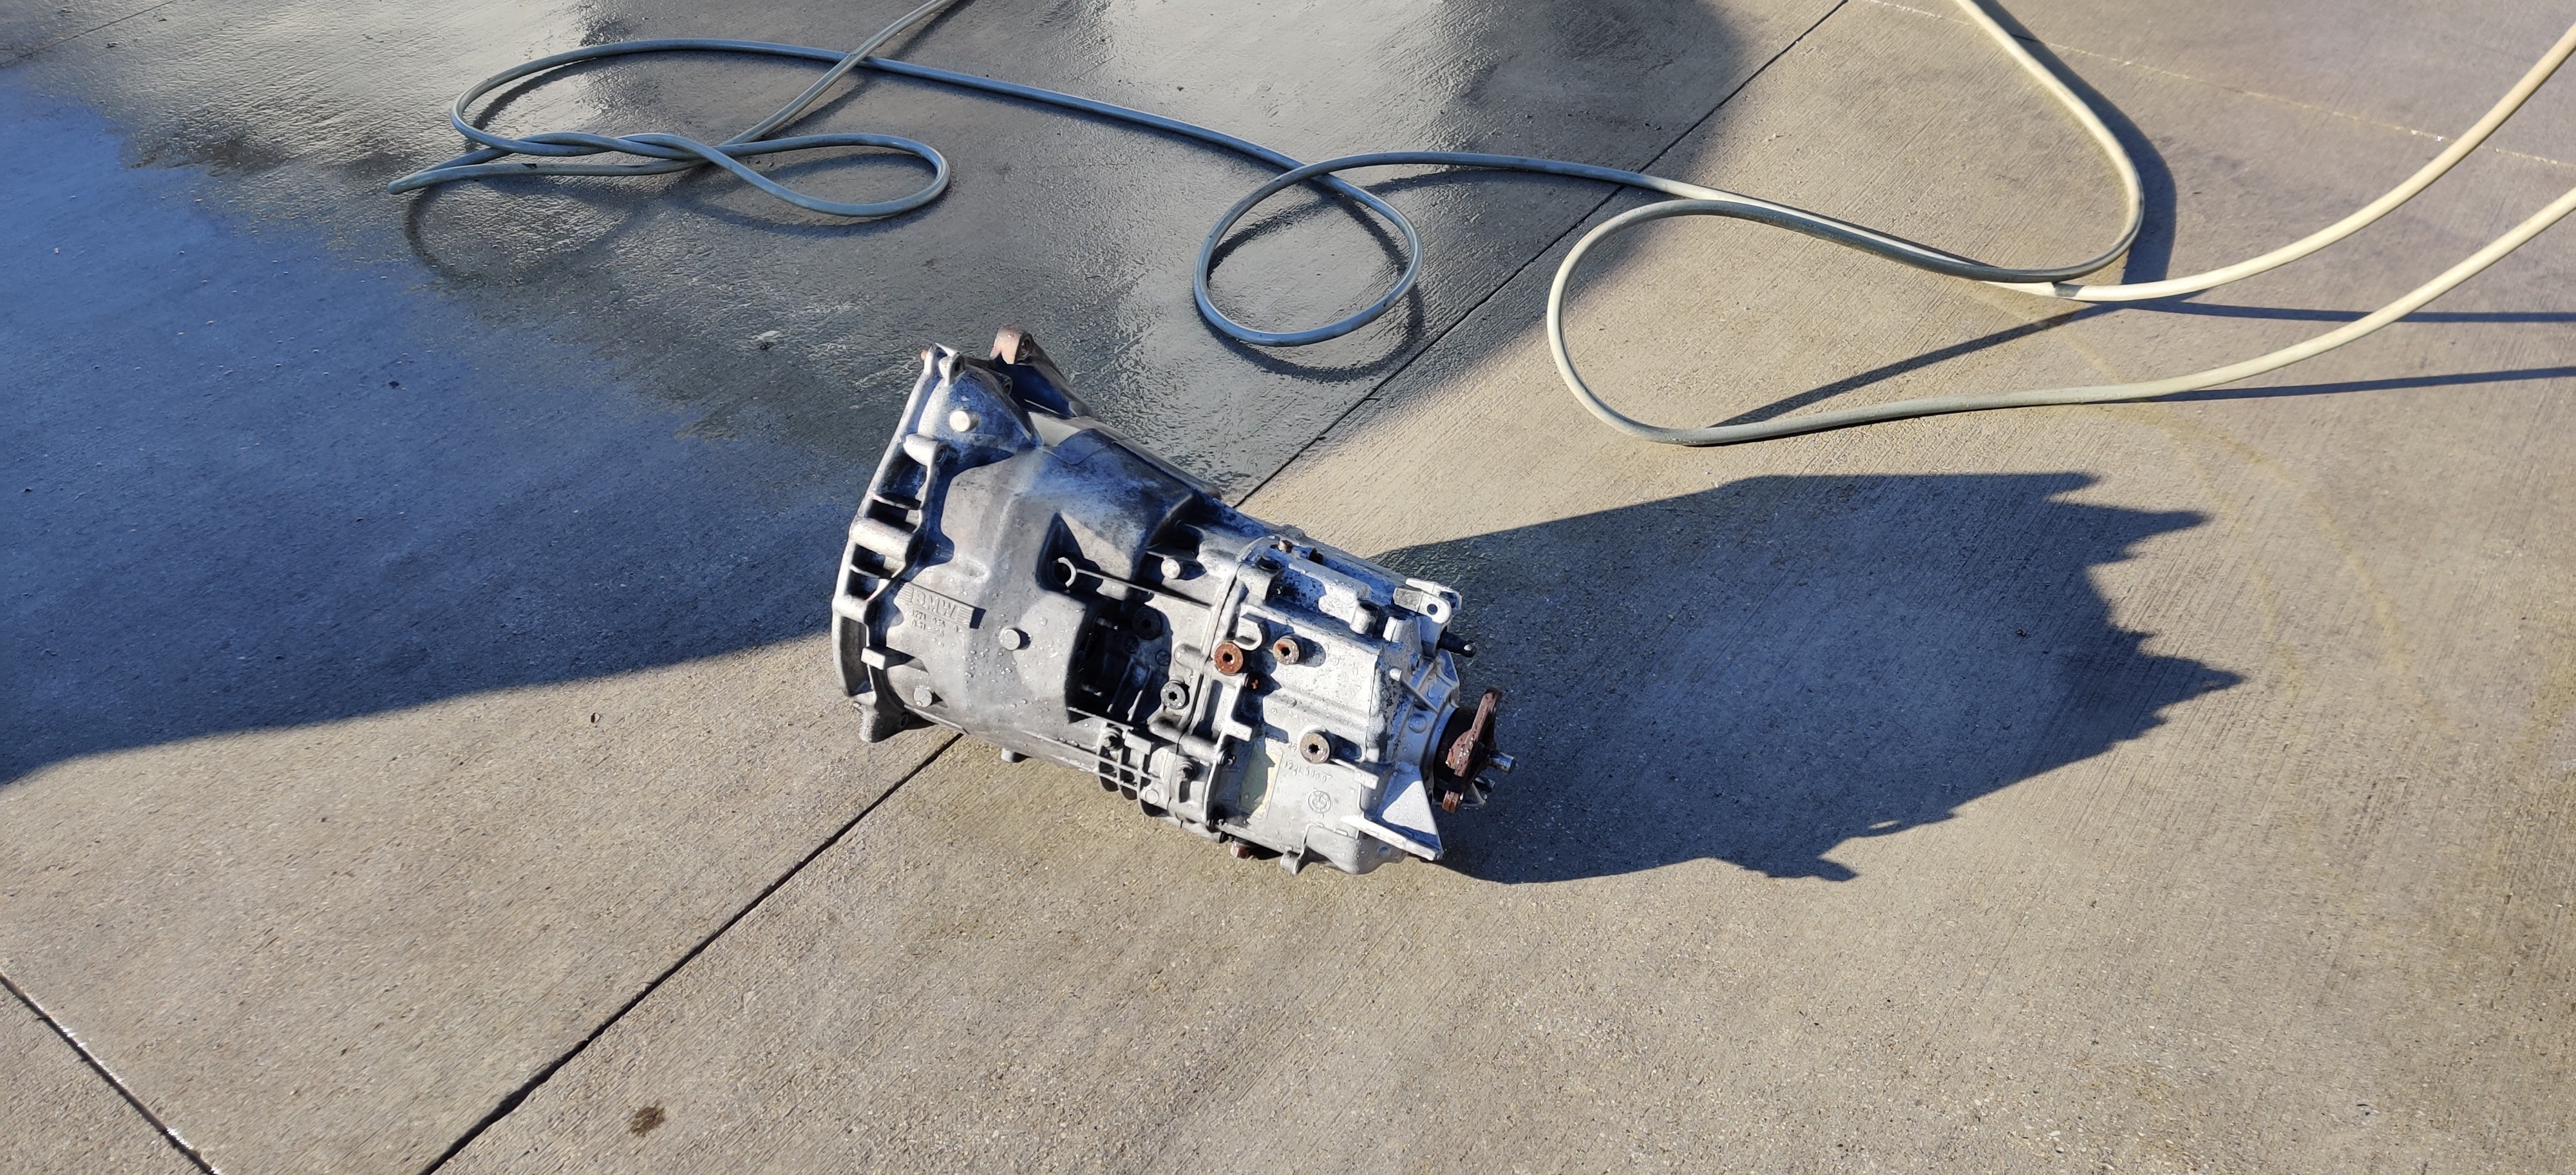
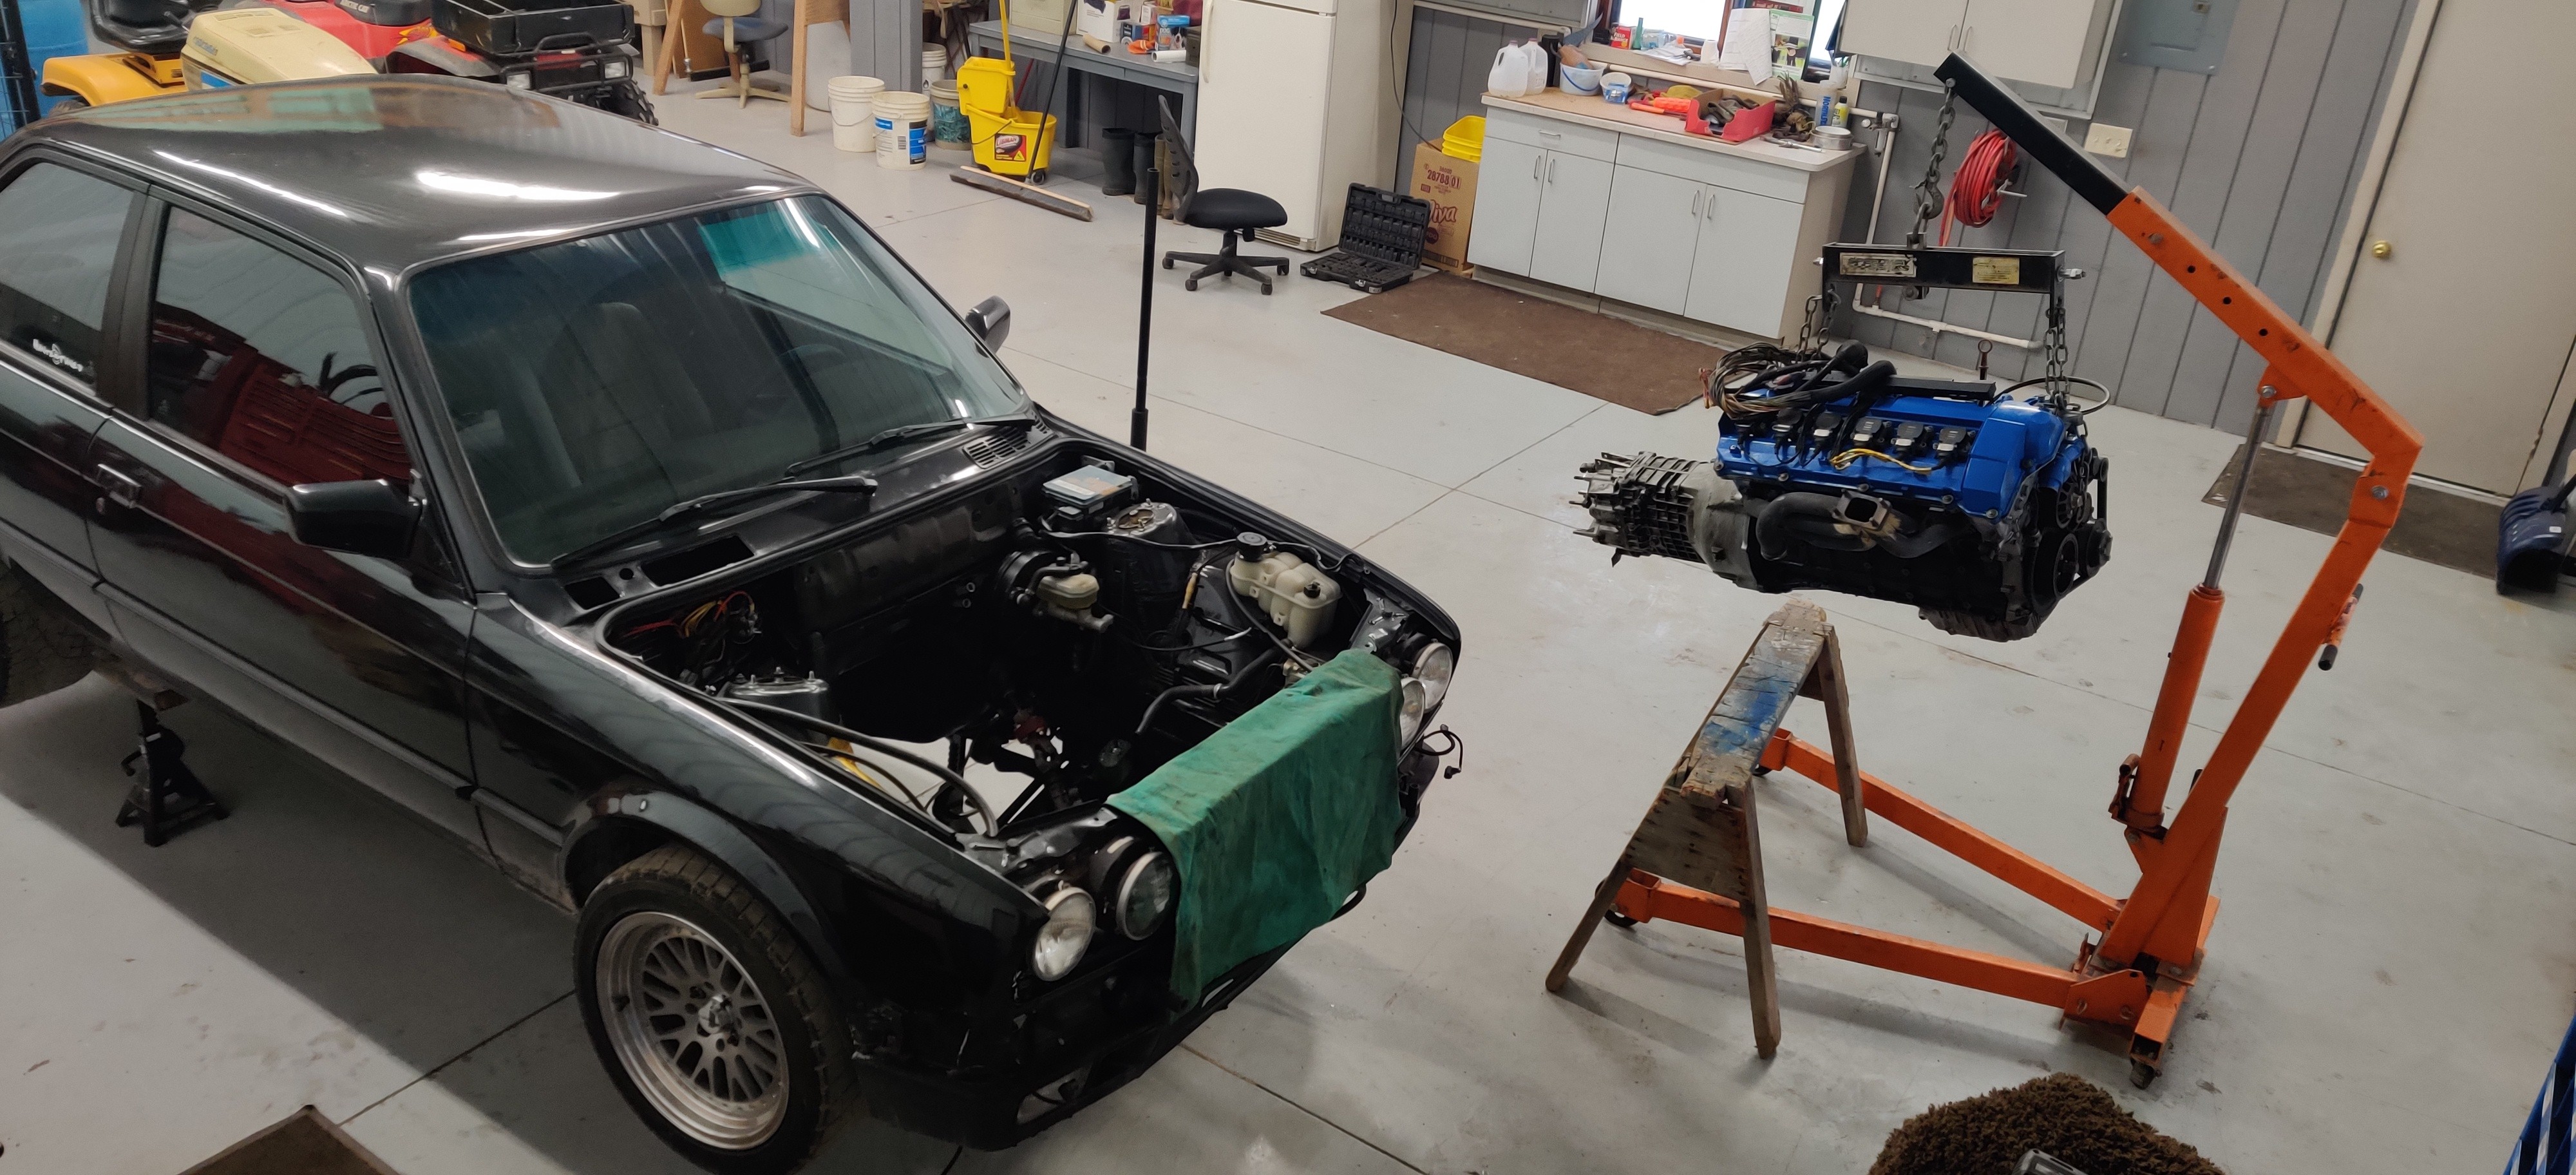
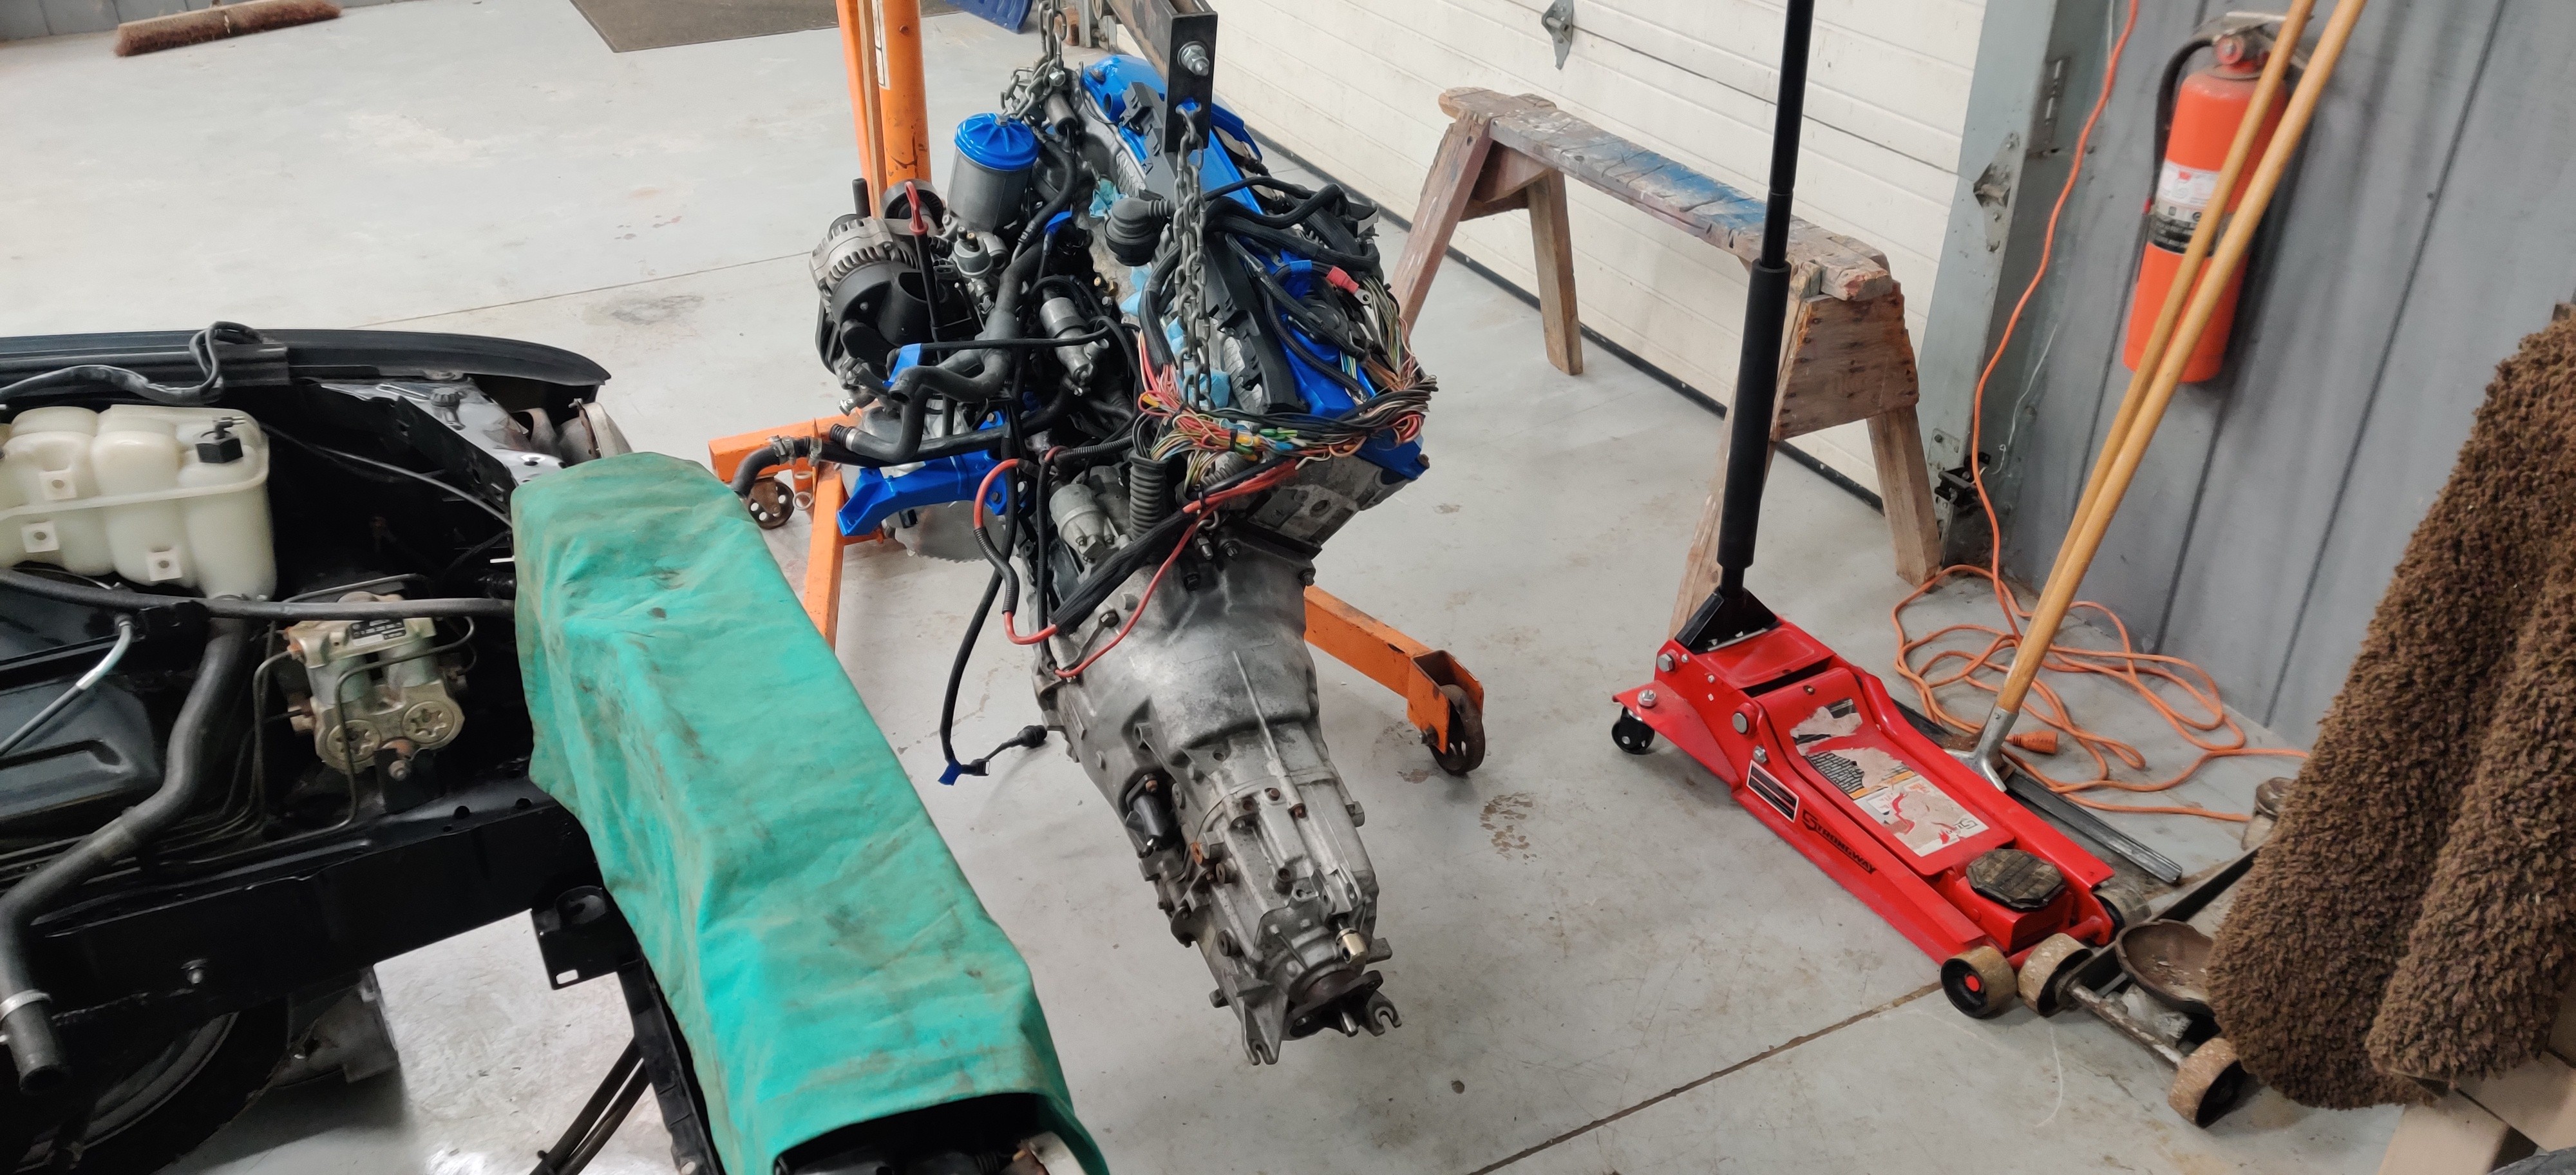
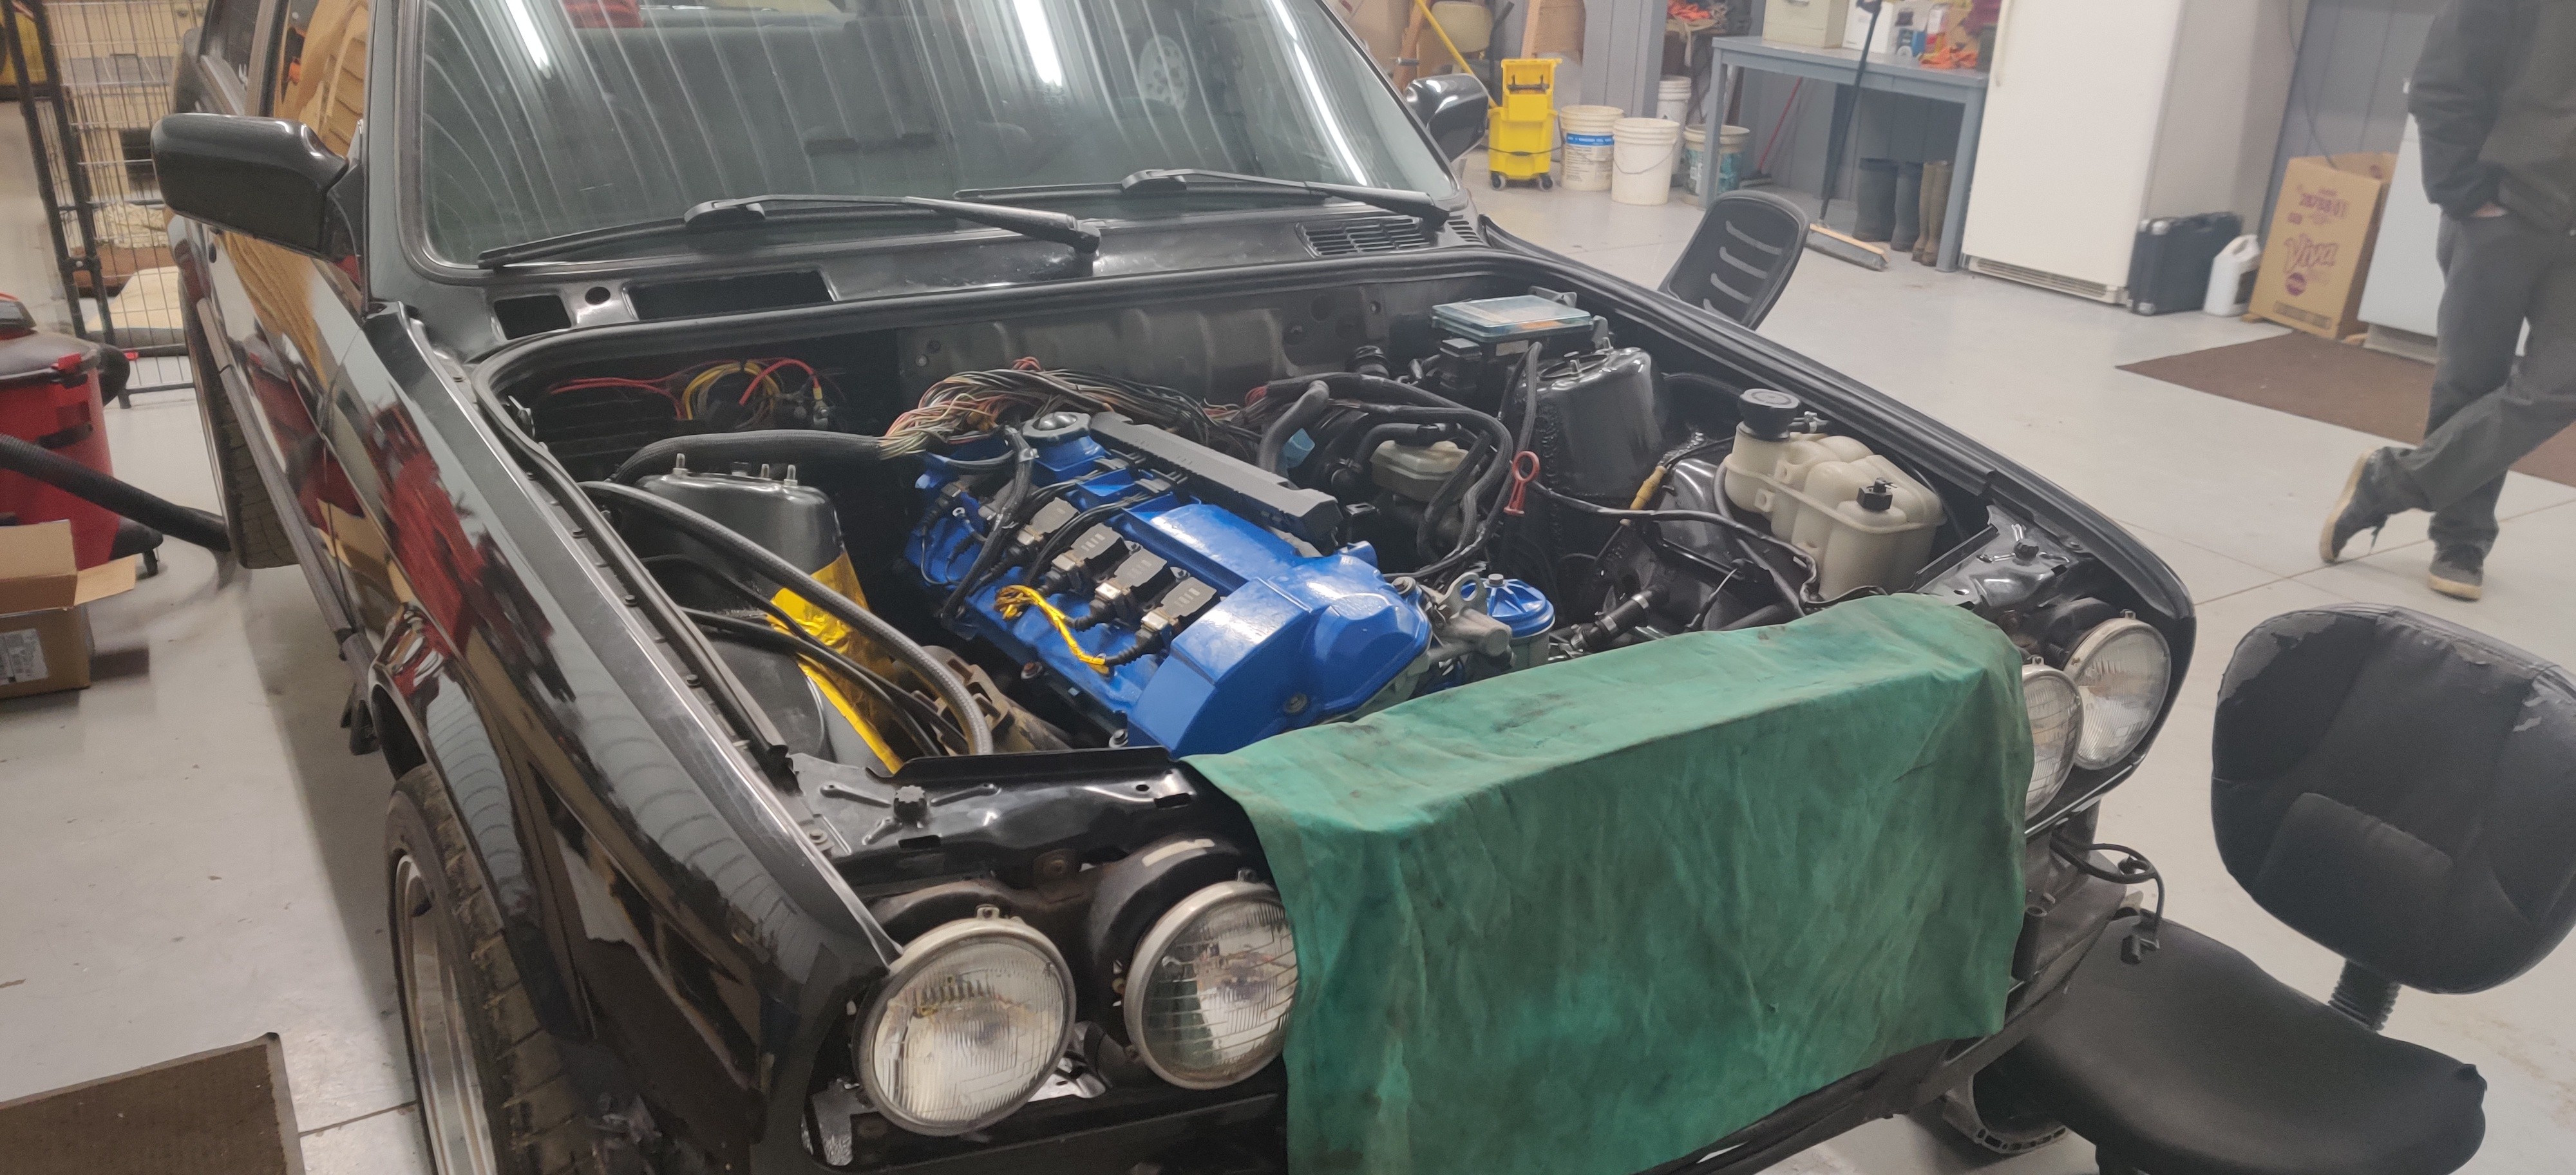
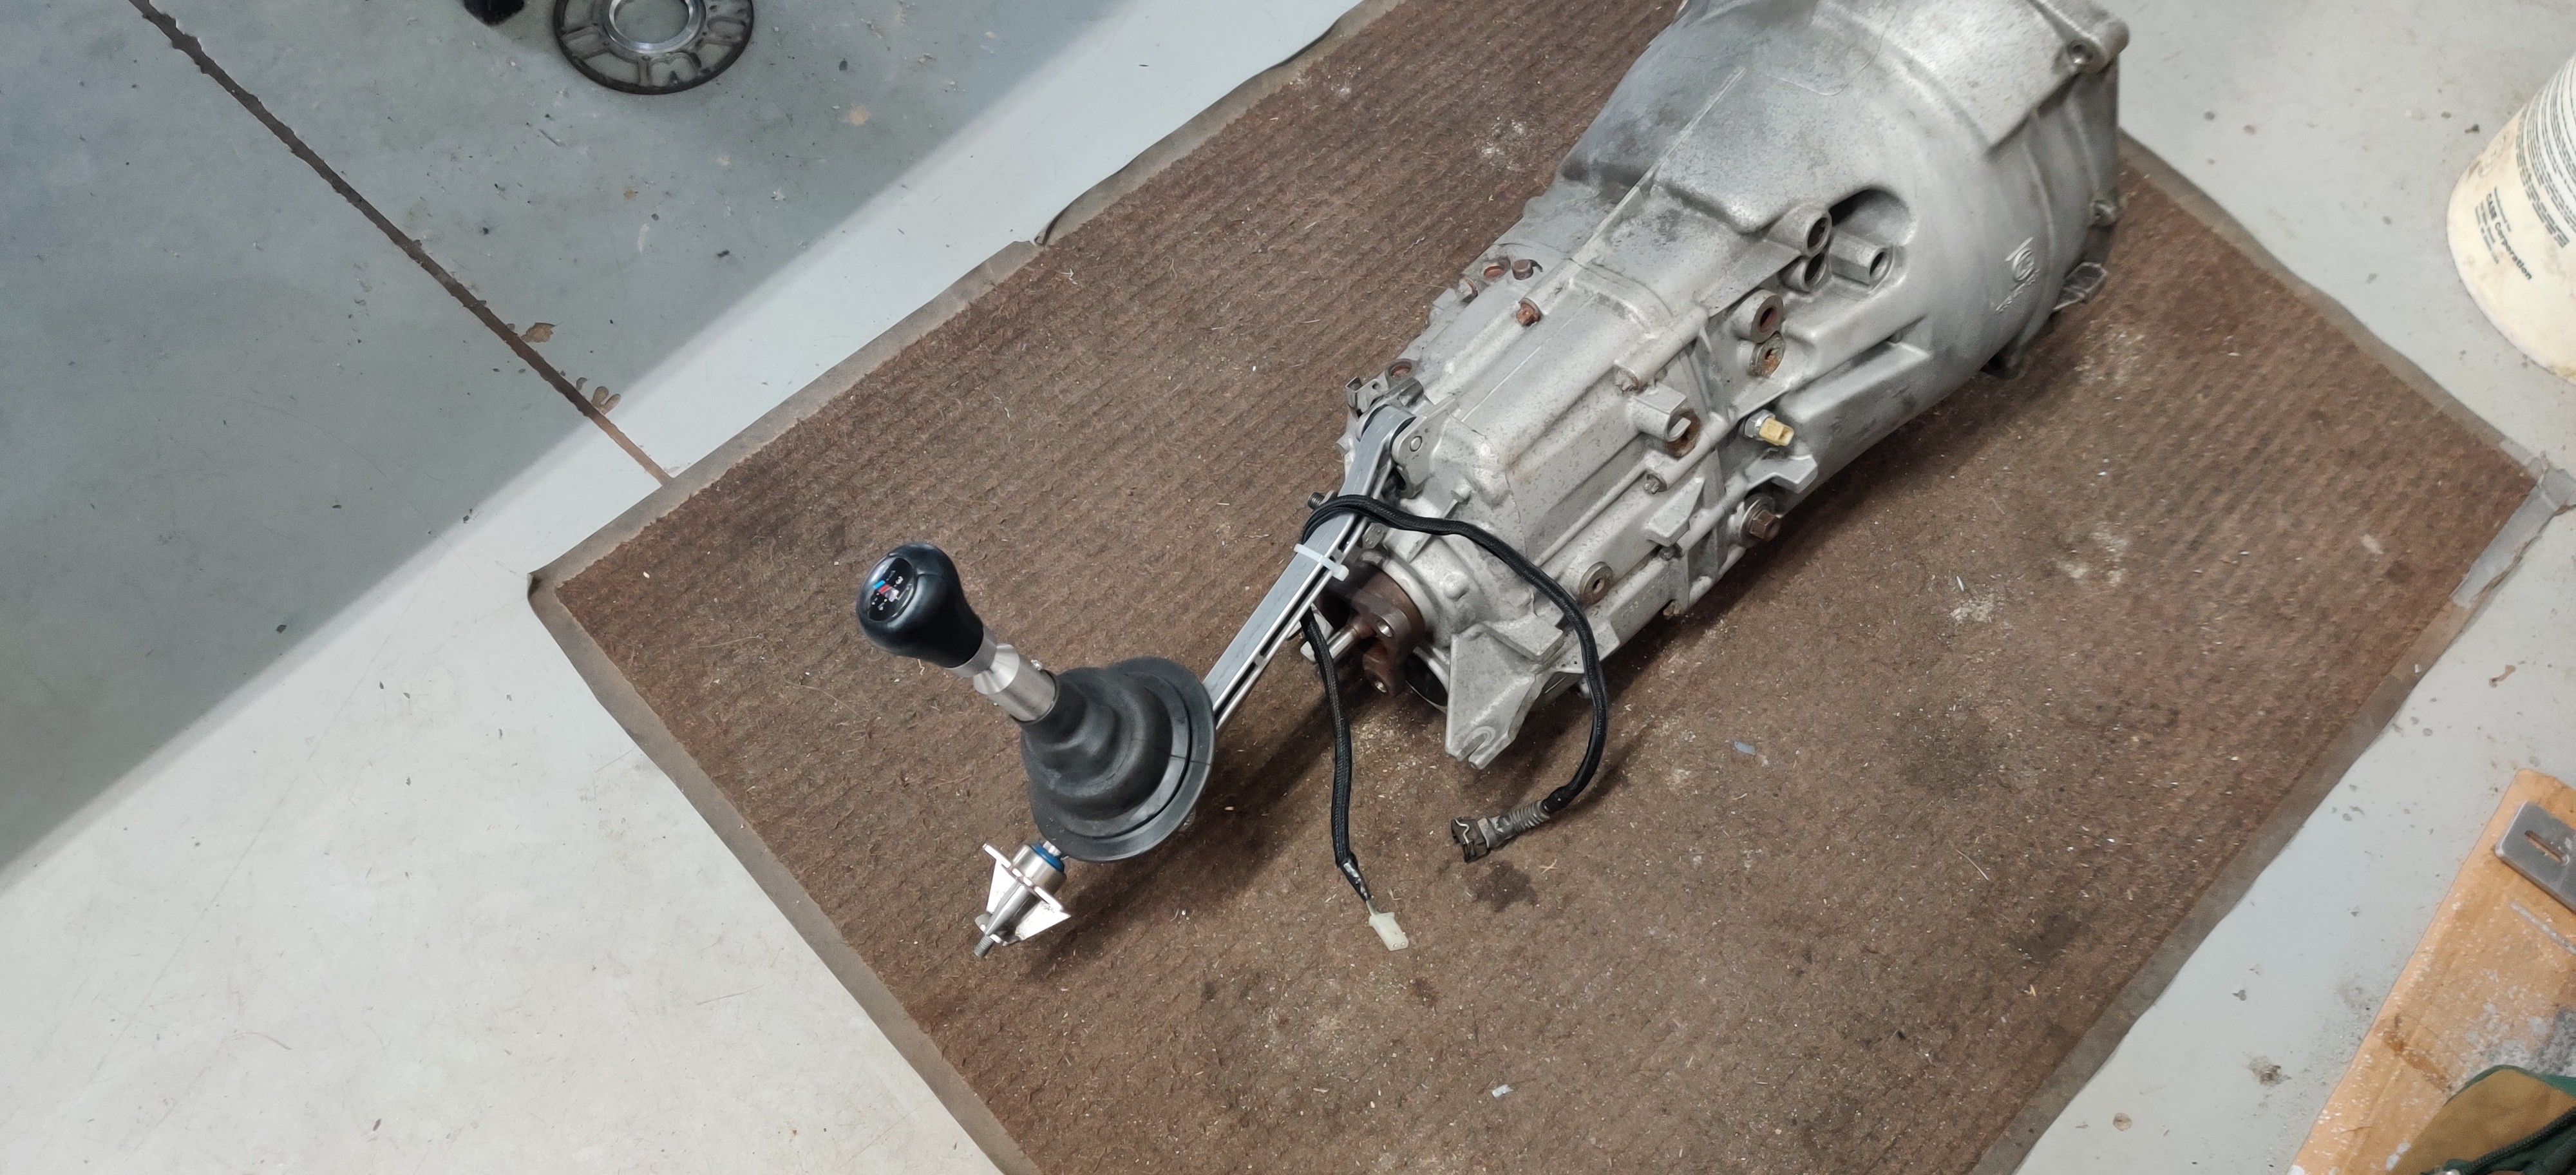
Picked up a zf trans from a local junkyard. Overall condition is not to bad. Trans was pulled from an e39 528i.
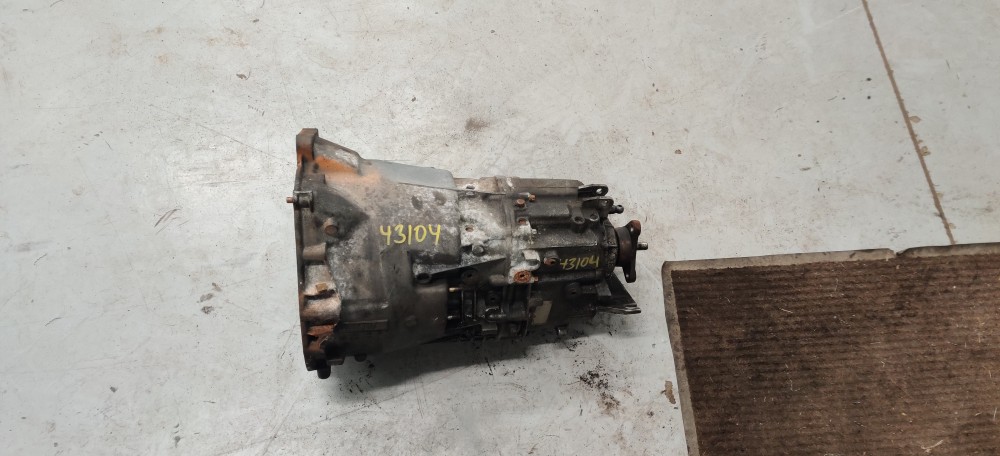
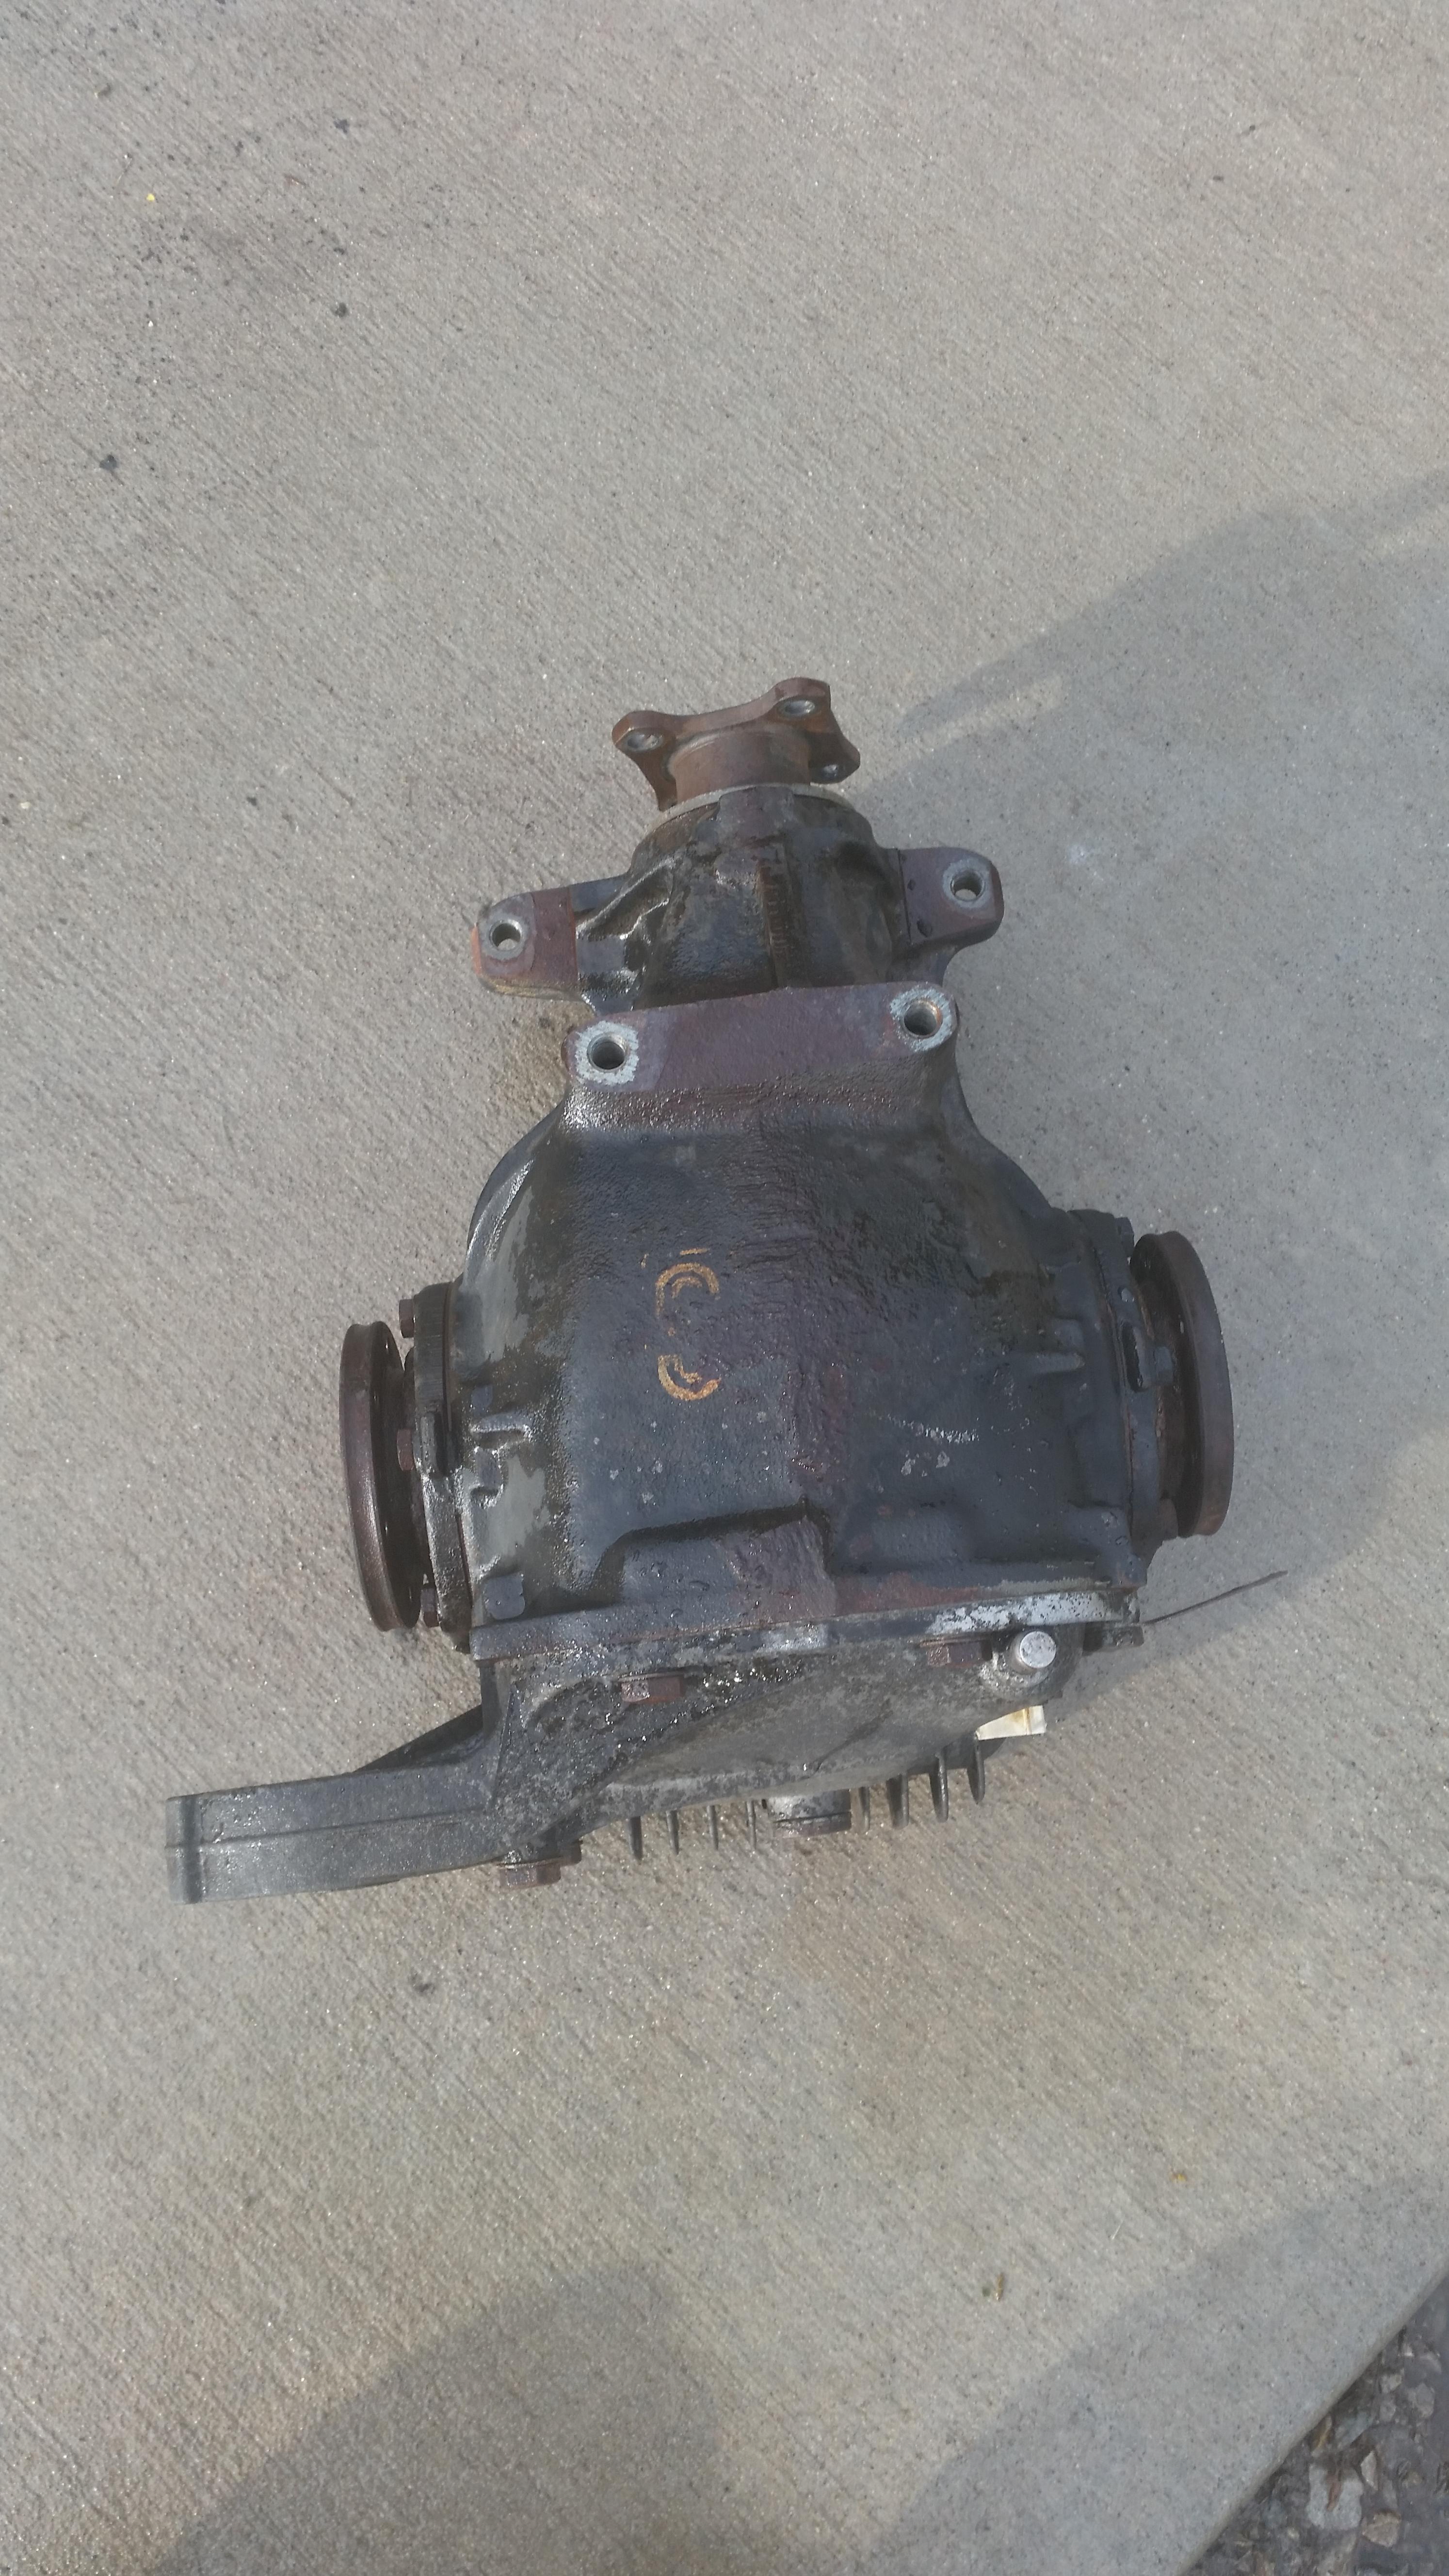
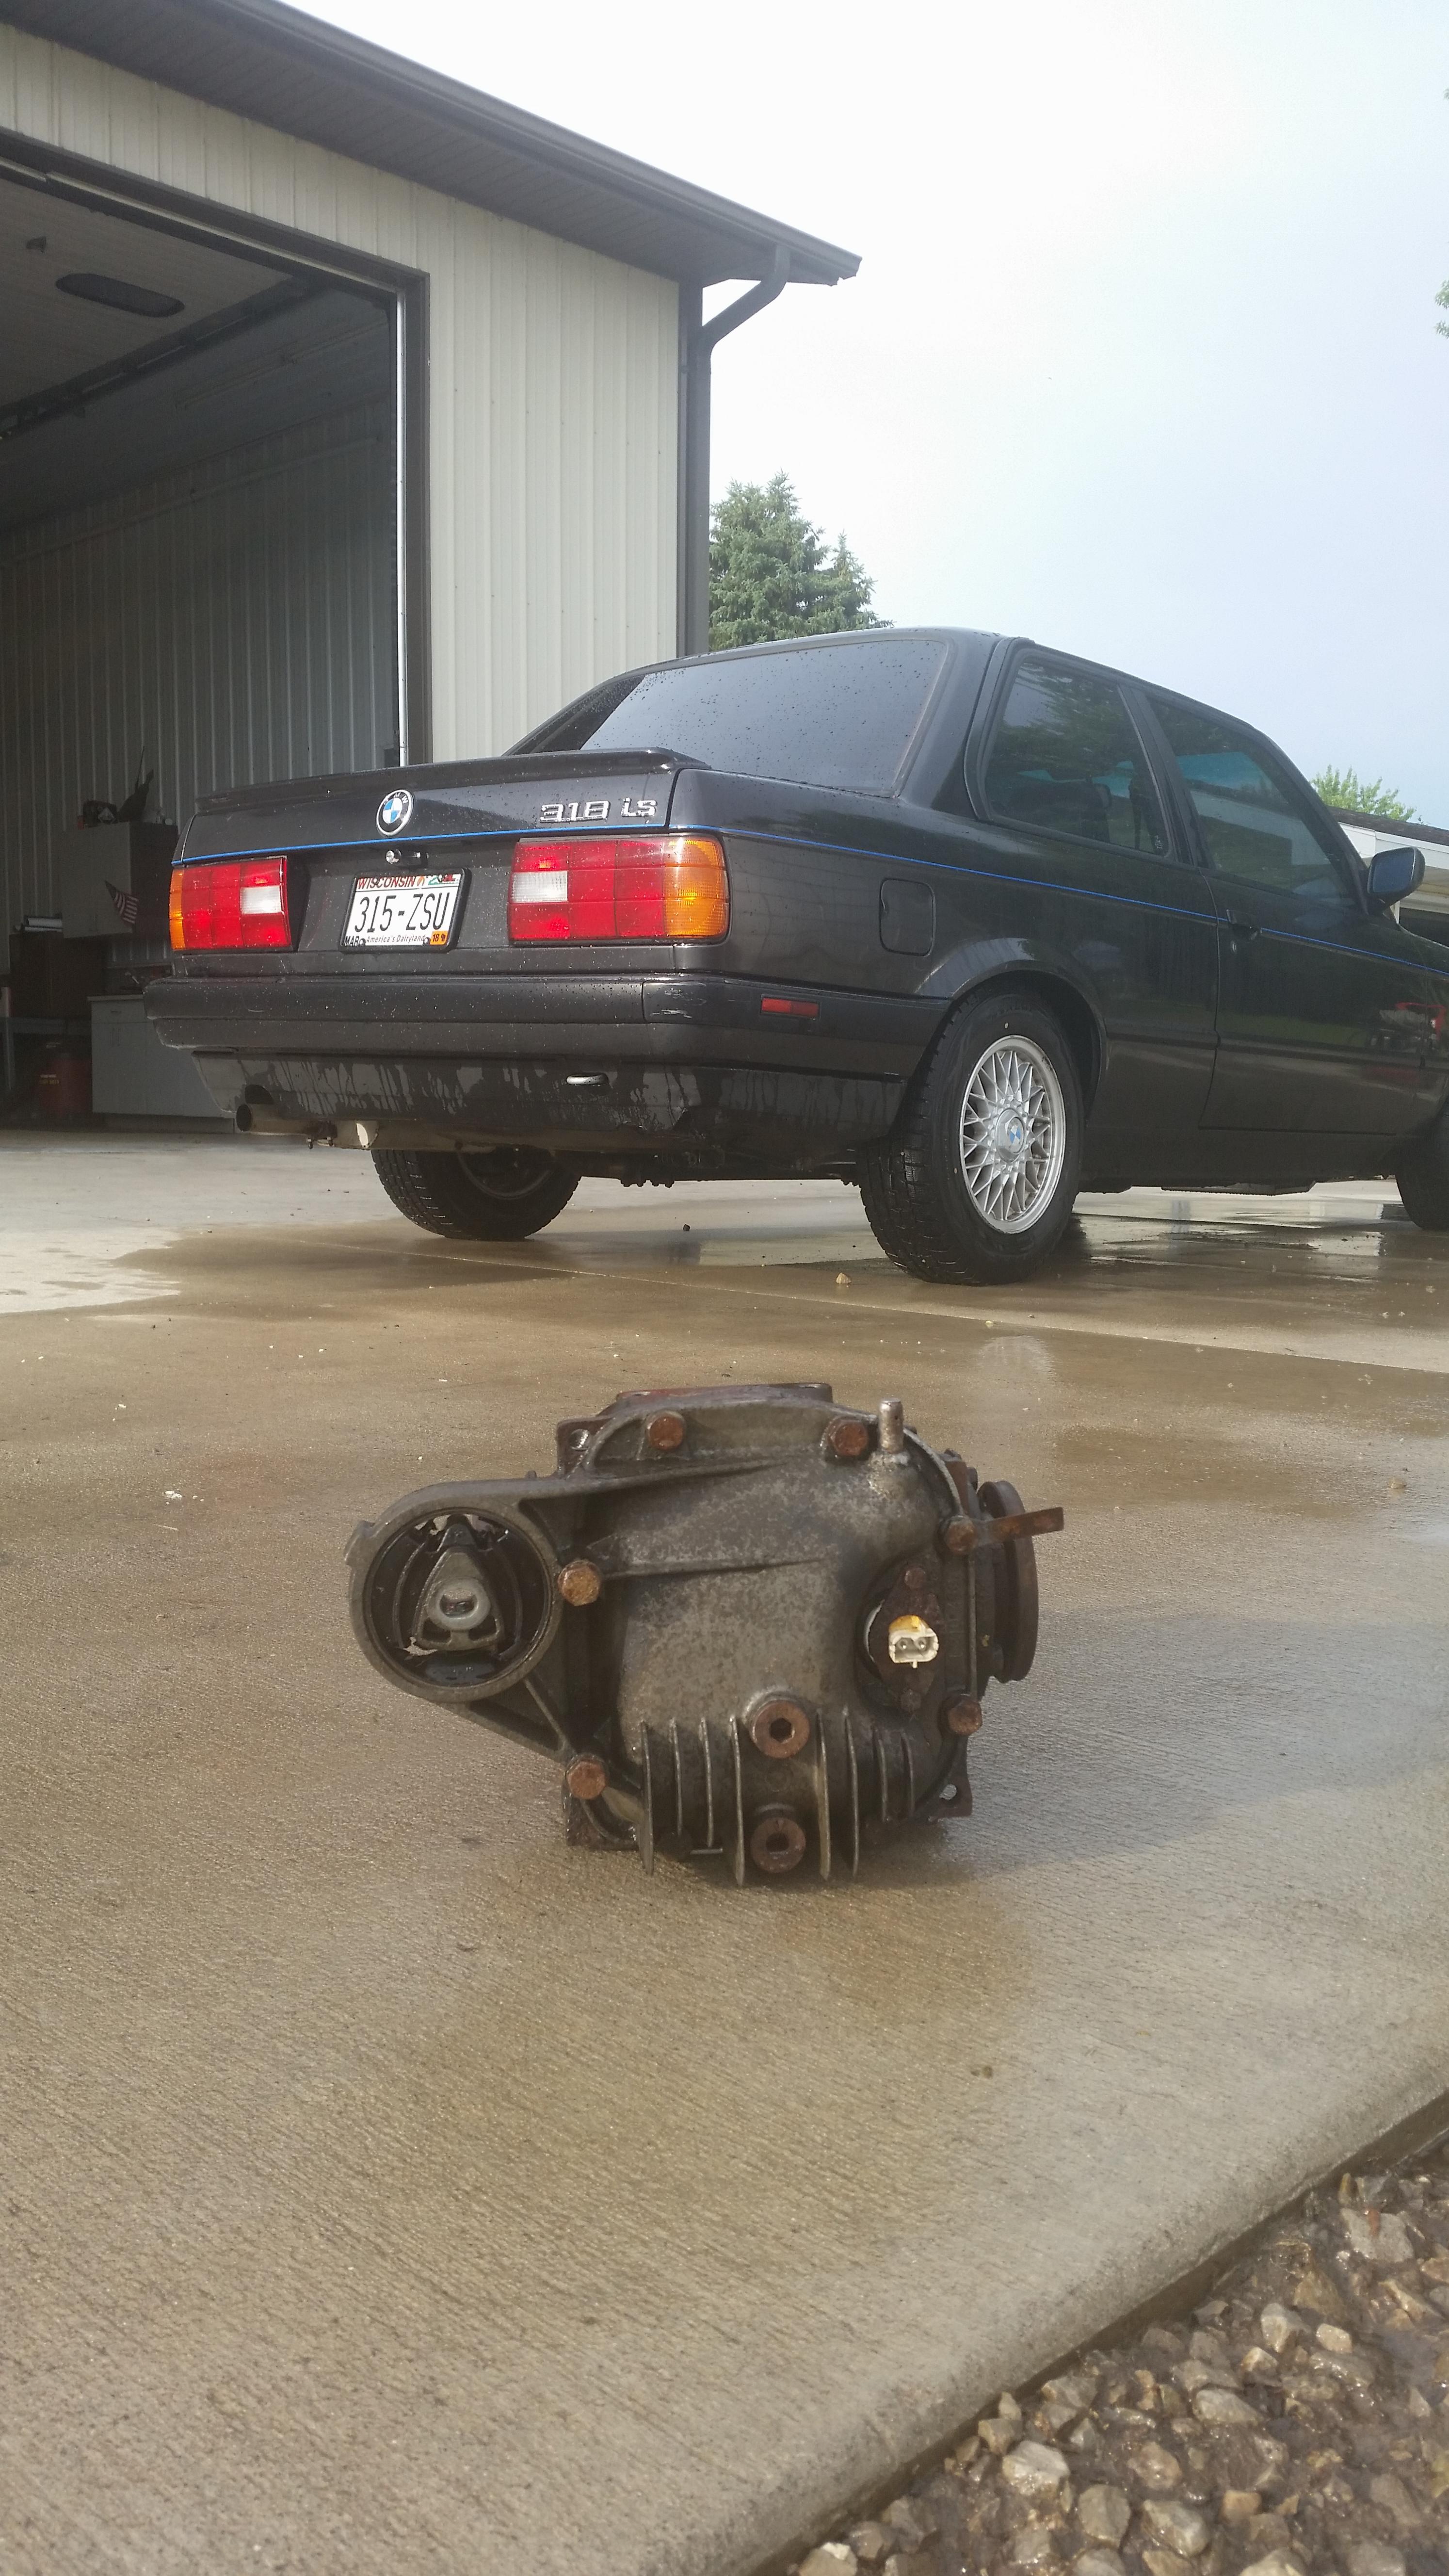
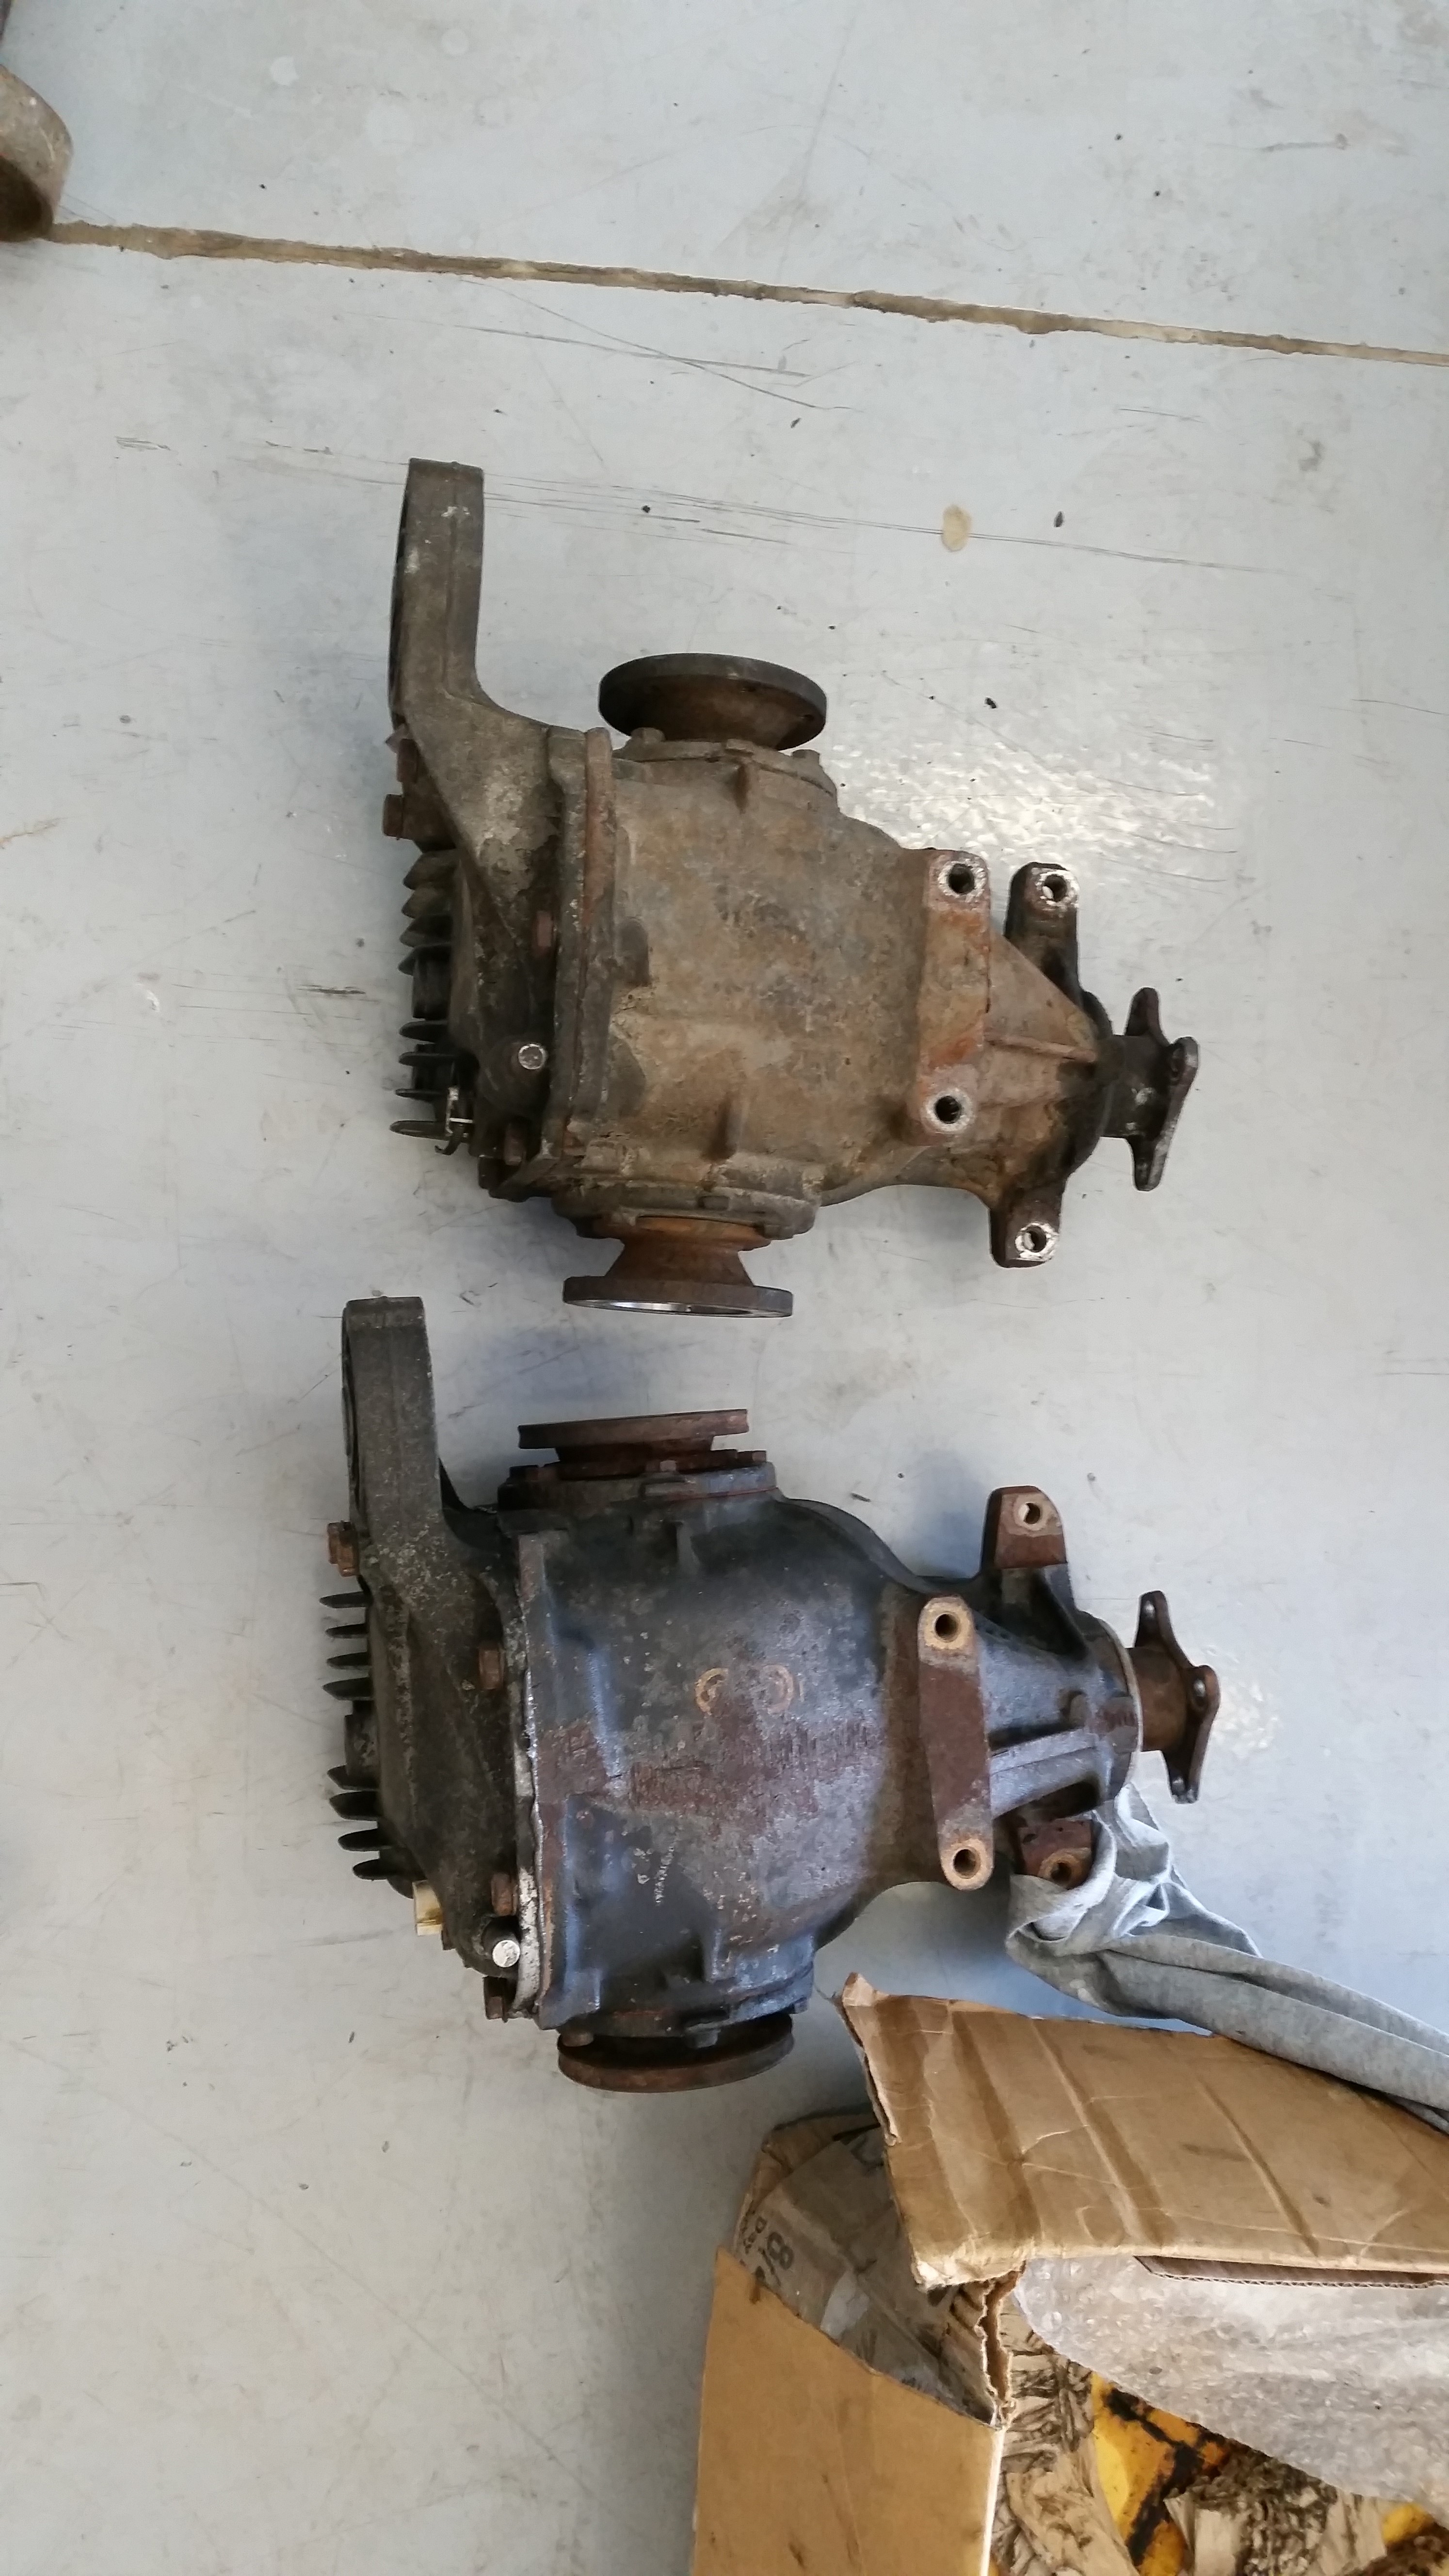
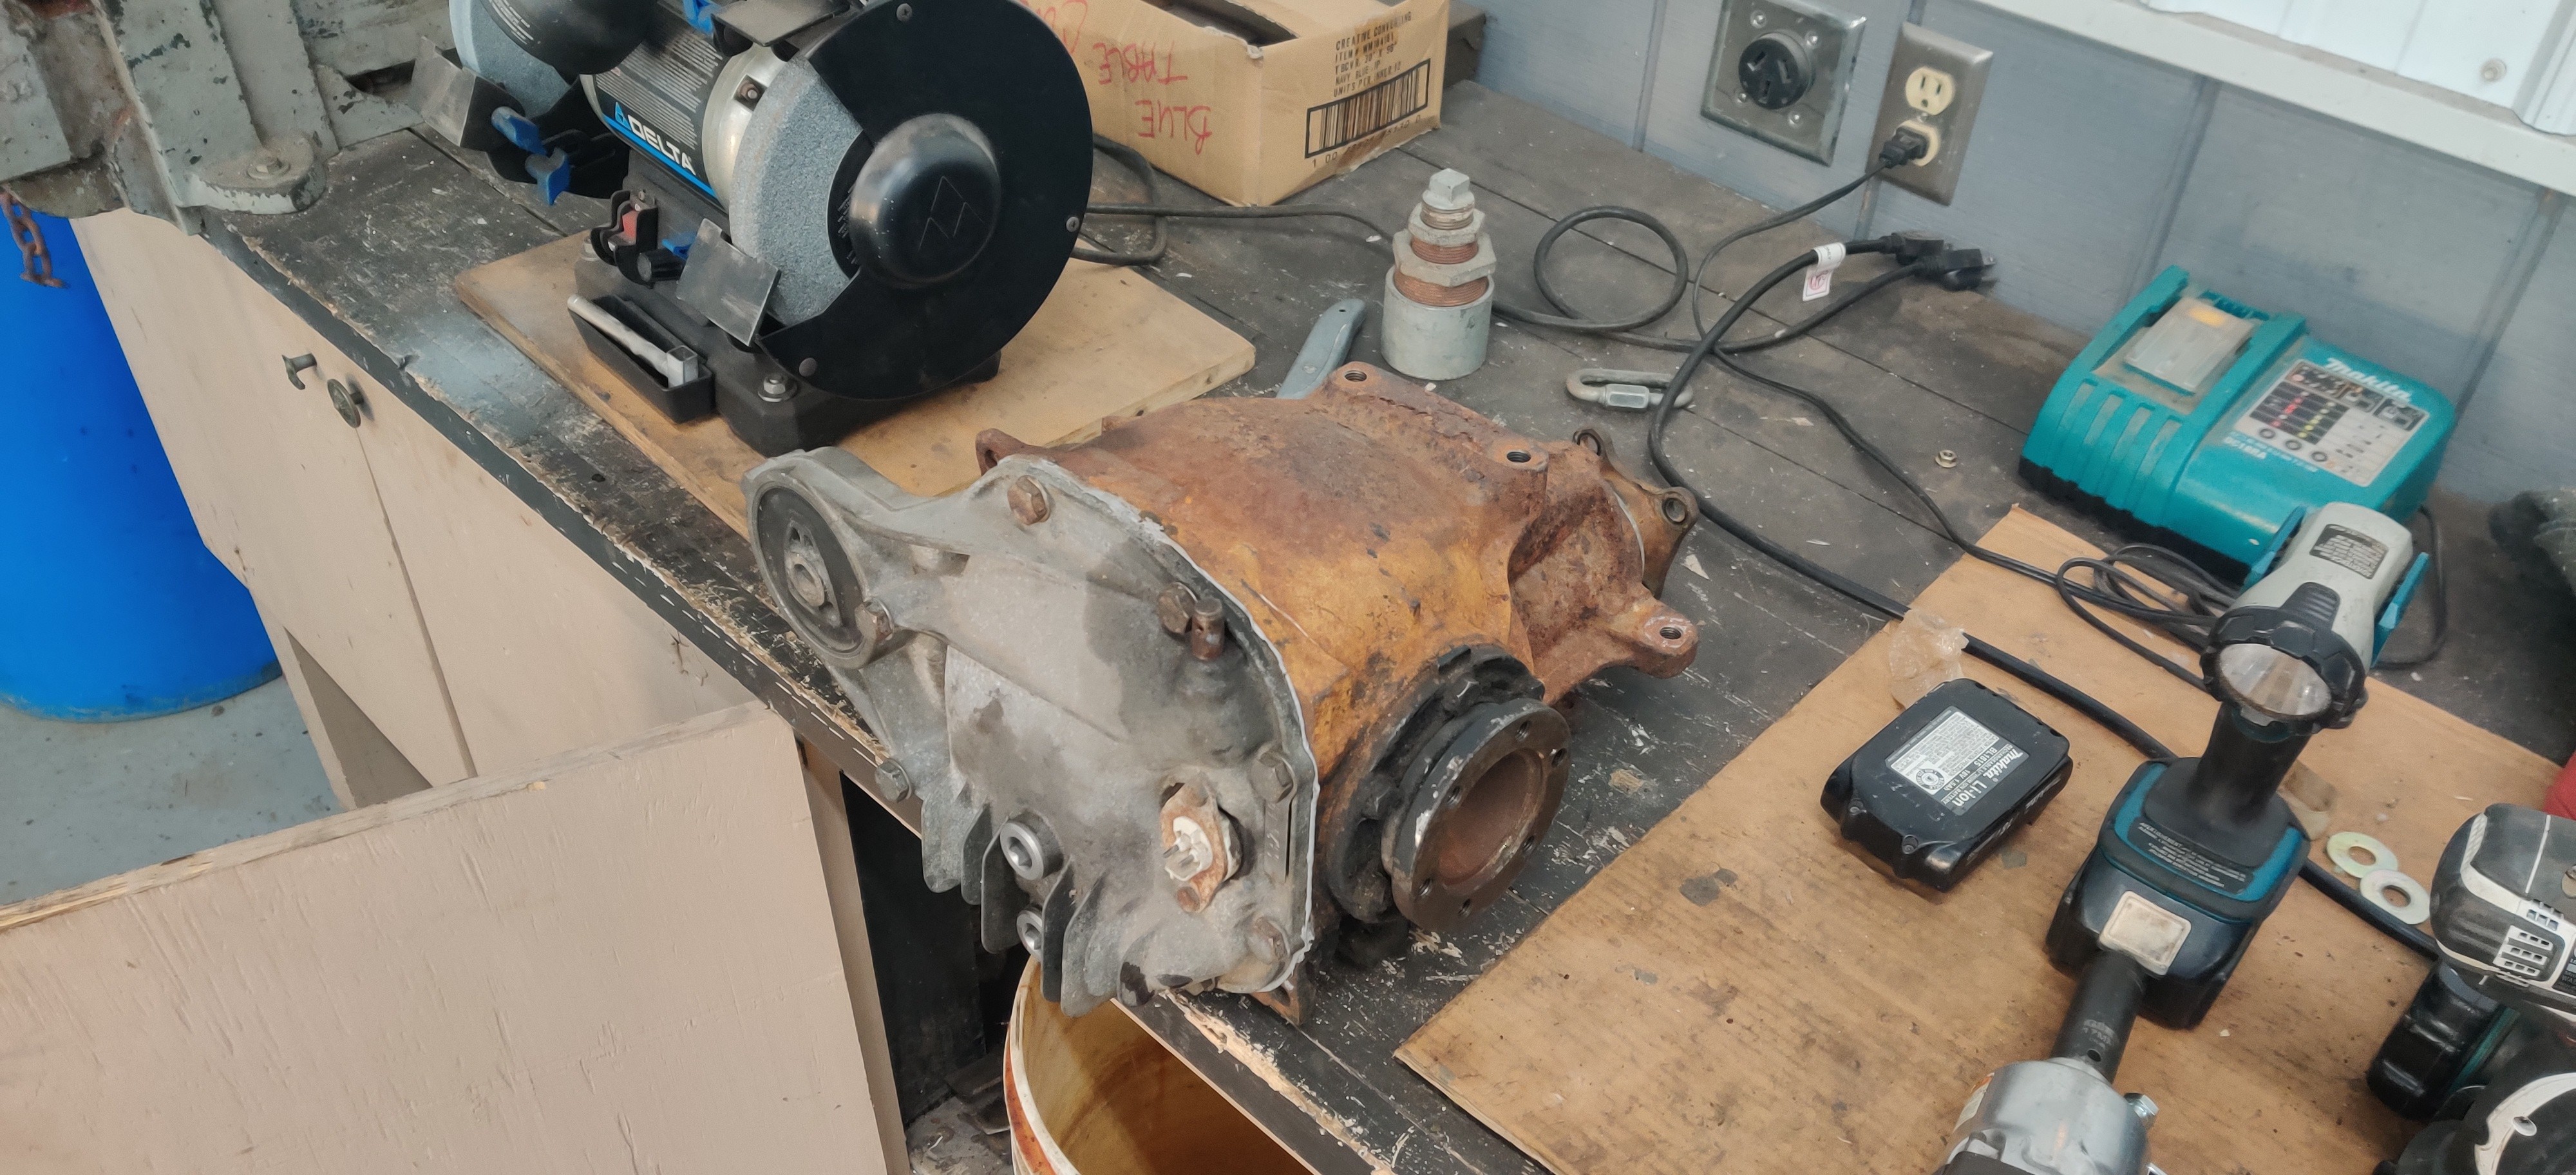
Also snatched up a 2.93 lsd diff to sit behind the zf. Hoping it should make for decent gearing for the power level I'm at. Plan is to rebuild it. It will be getting a 3 clutch disc upgrade to hopefully reach a little more lock up. (40 - 50% I believe)
Unfortunately ever since this car ran with the turbo the oil drain line fittings leaked from the back side caking oil all over parts of the engine, skid plate and car. Should have replaced it sooner buuuuutttt I was lazy so i put it off and now I get to deal with it now.
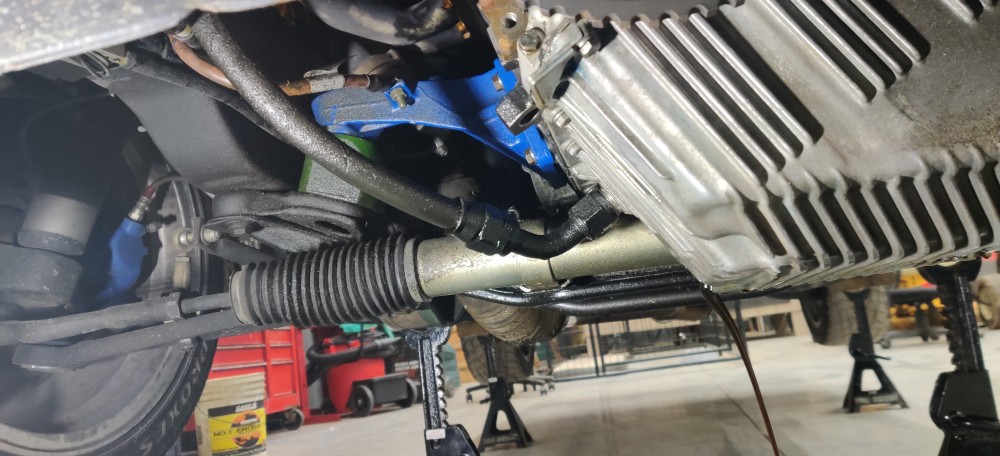
Luckily we hit a patch of warm weather for one day and I ripped out the pressure washer, de-greaser and a scotch brite pad and went to town on all the oil and grease on the transmission casing.
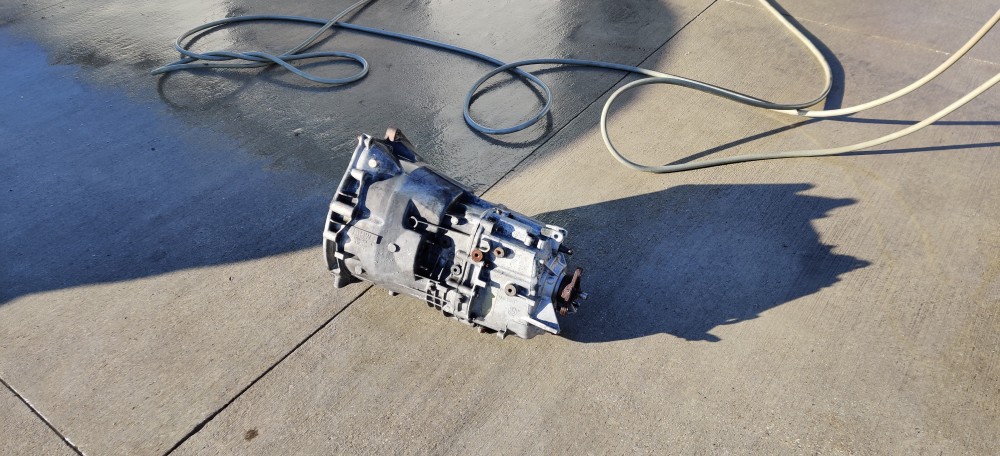
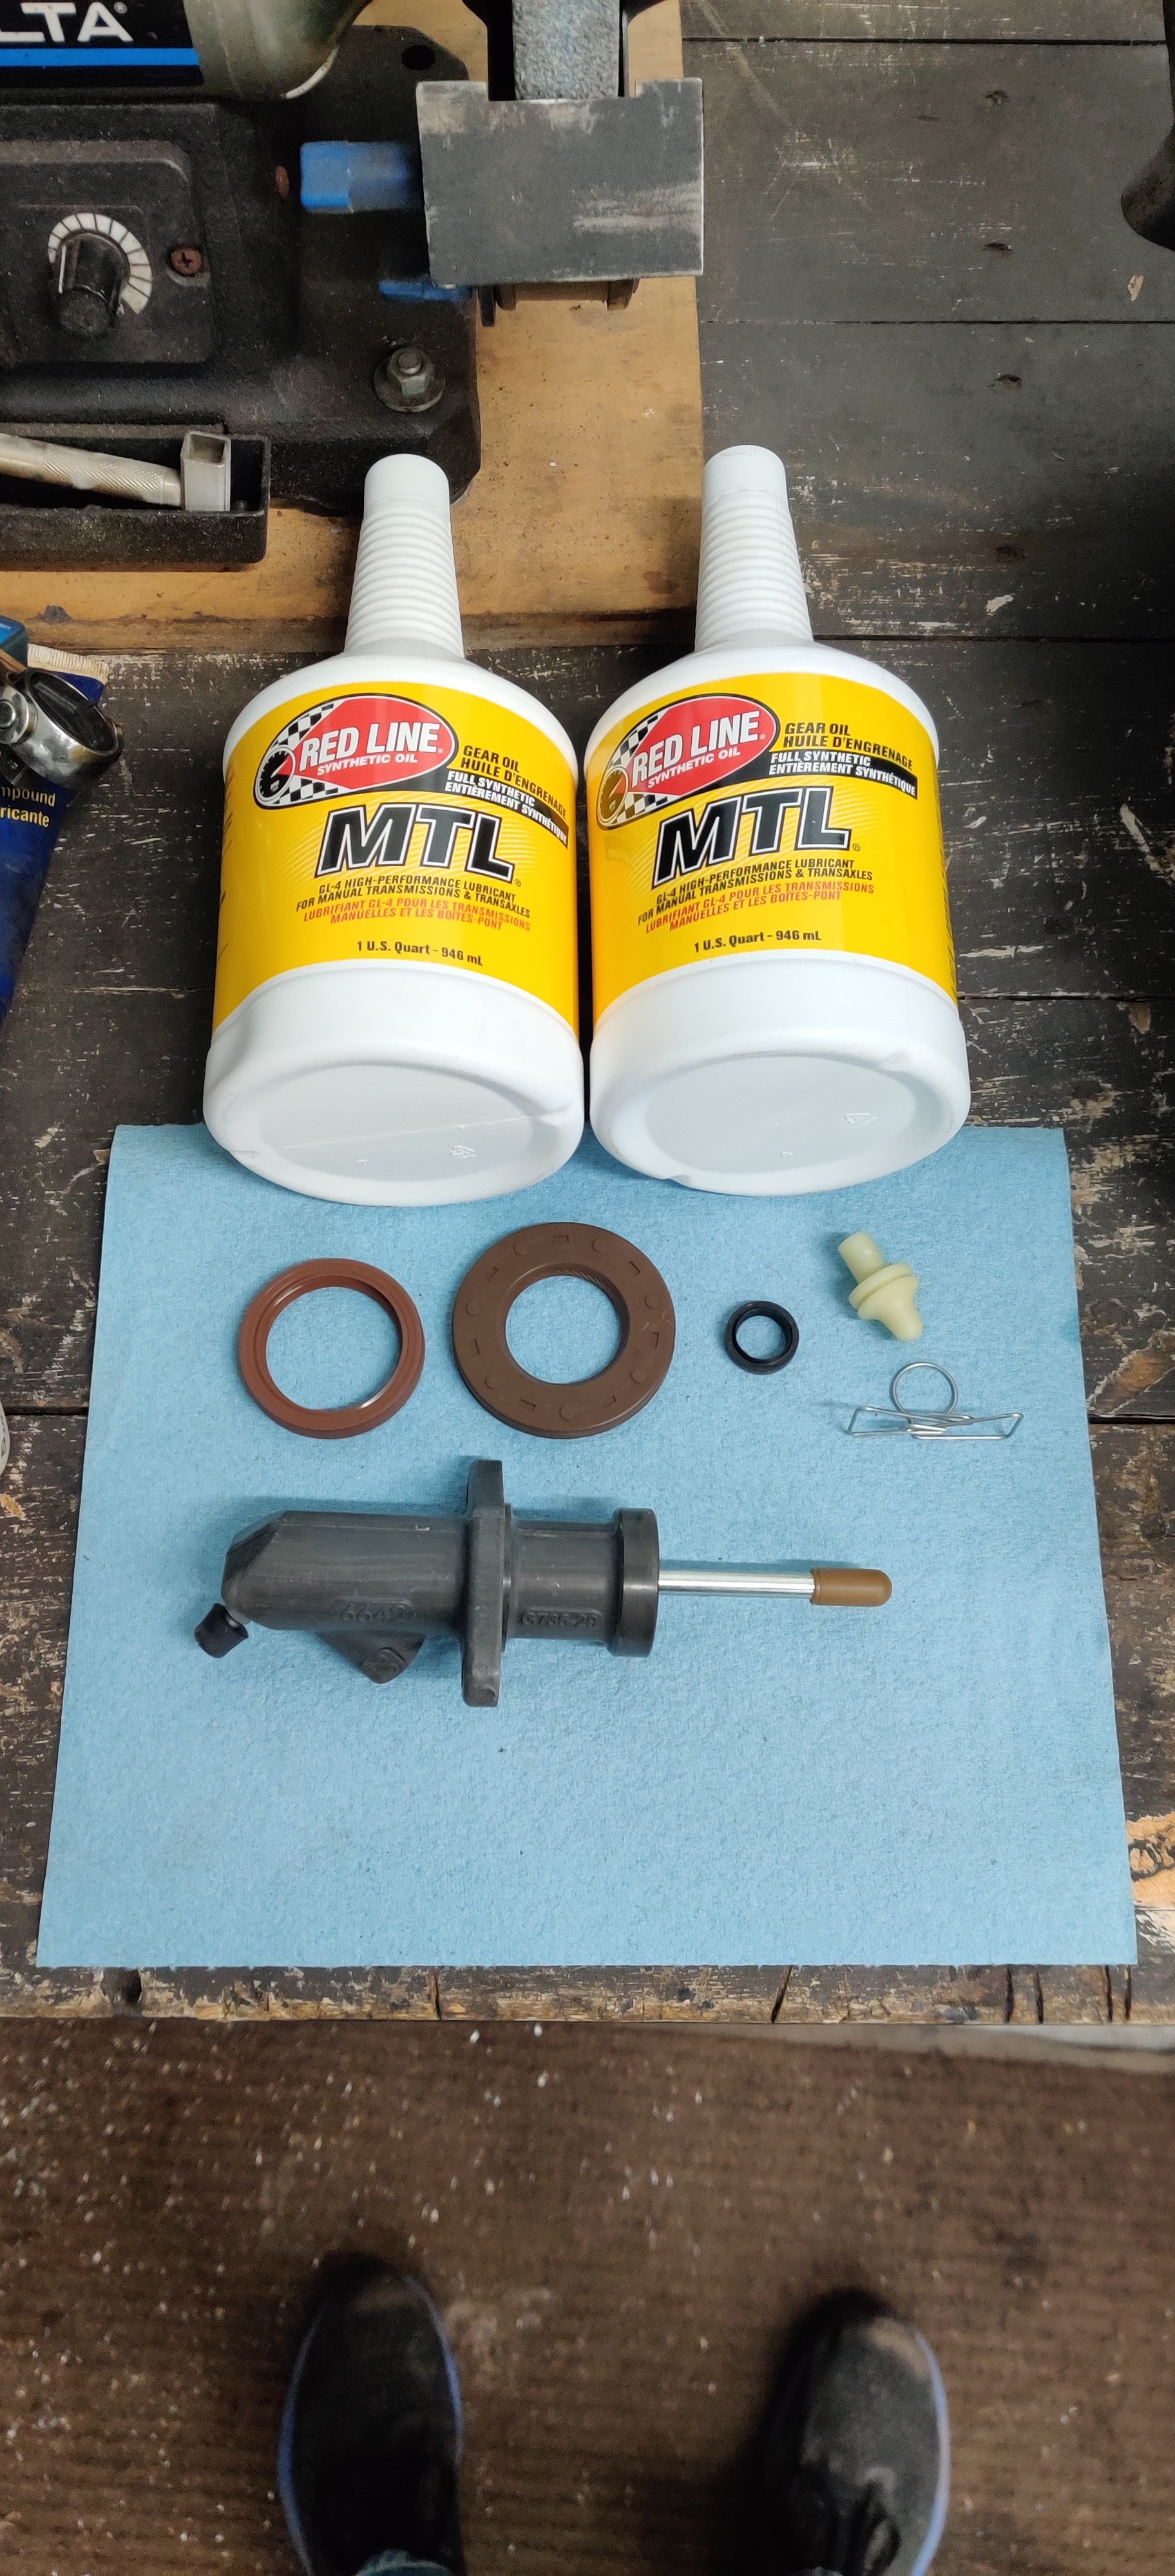
After a good cleaning I got right down to it and replaced a few things.
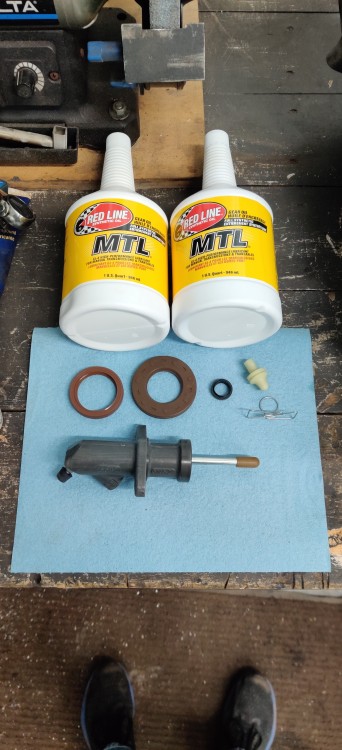
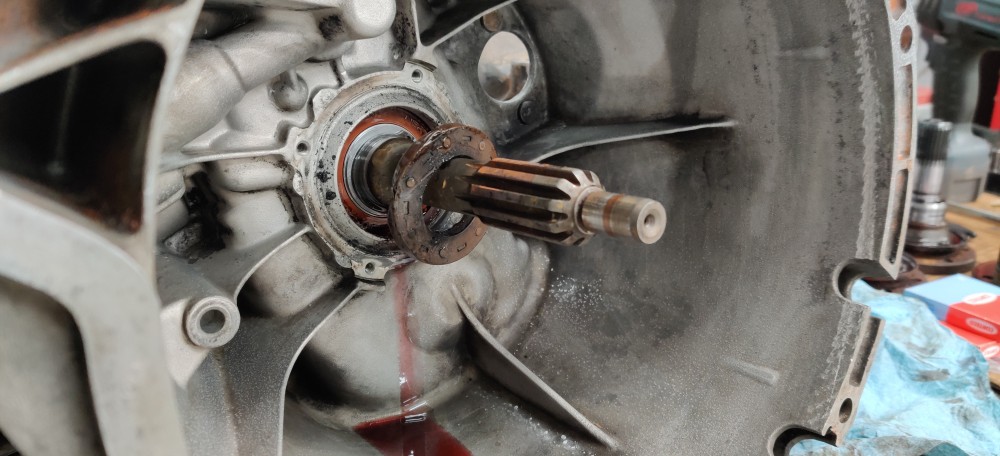
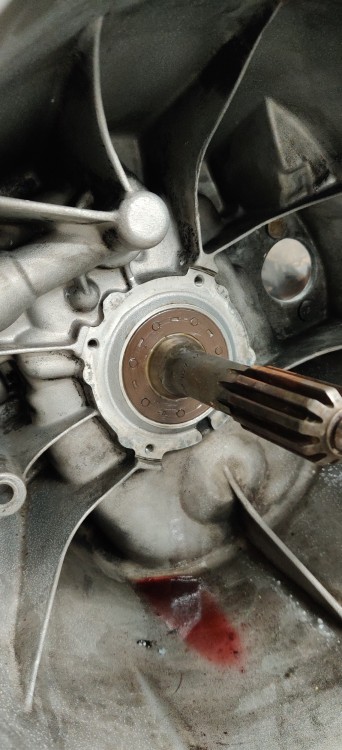
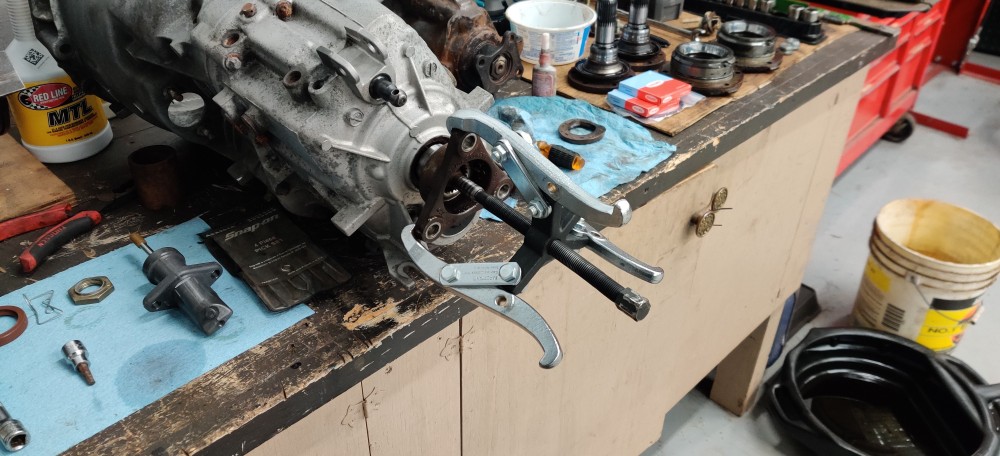
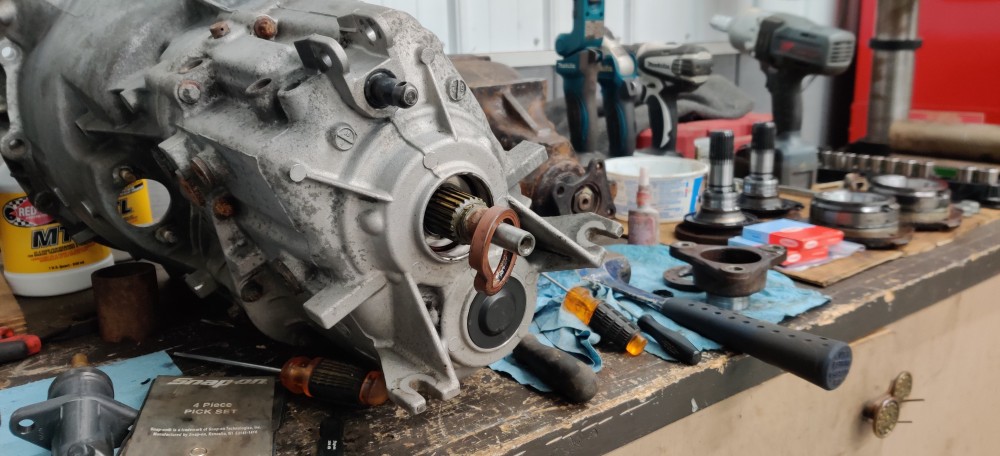
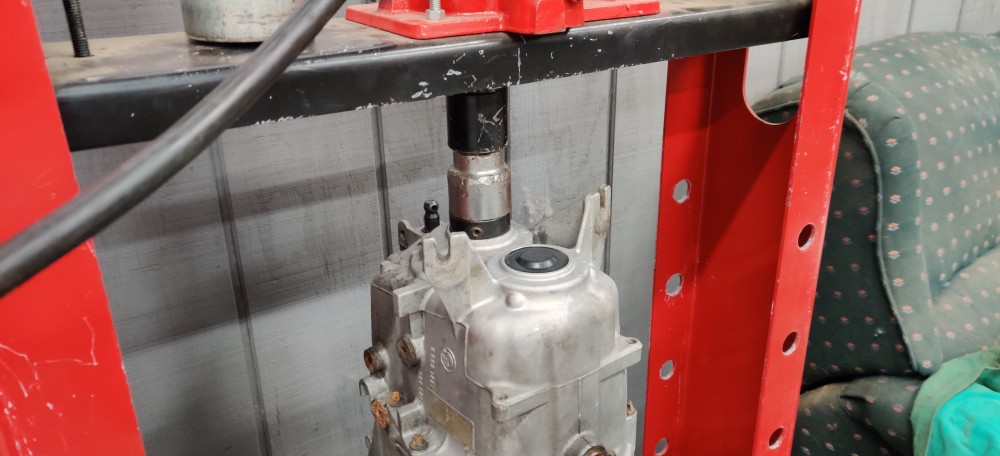
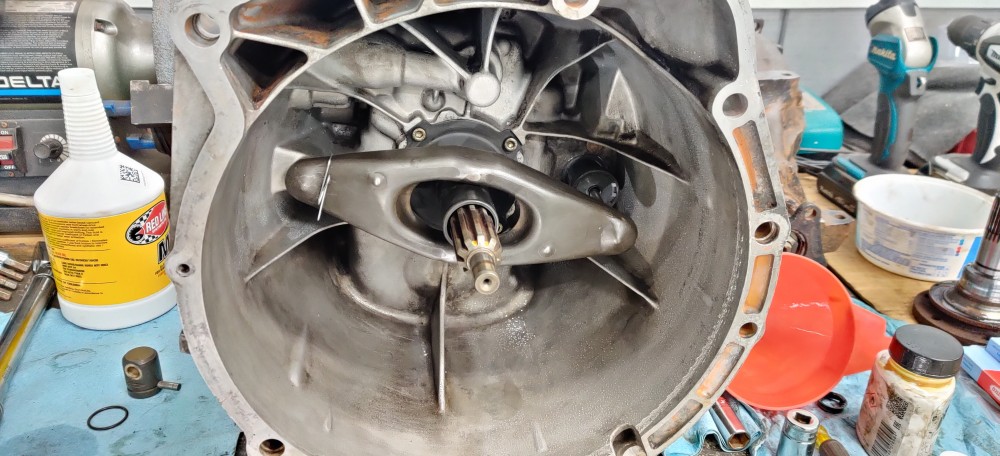
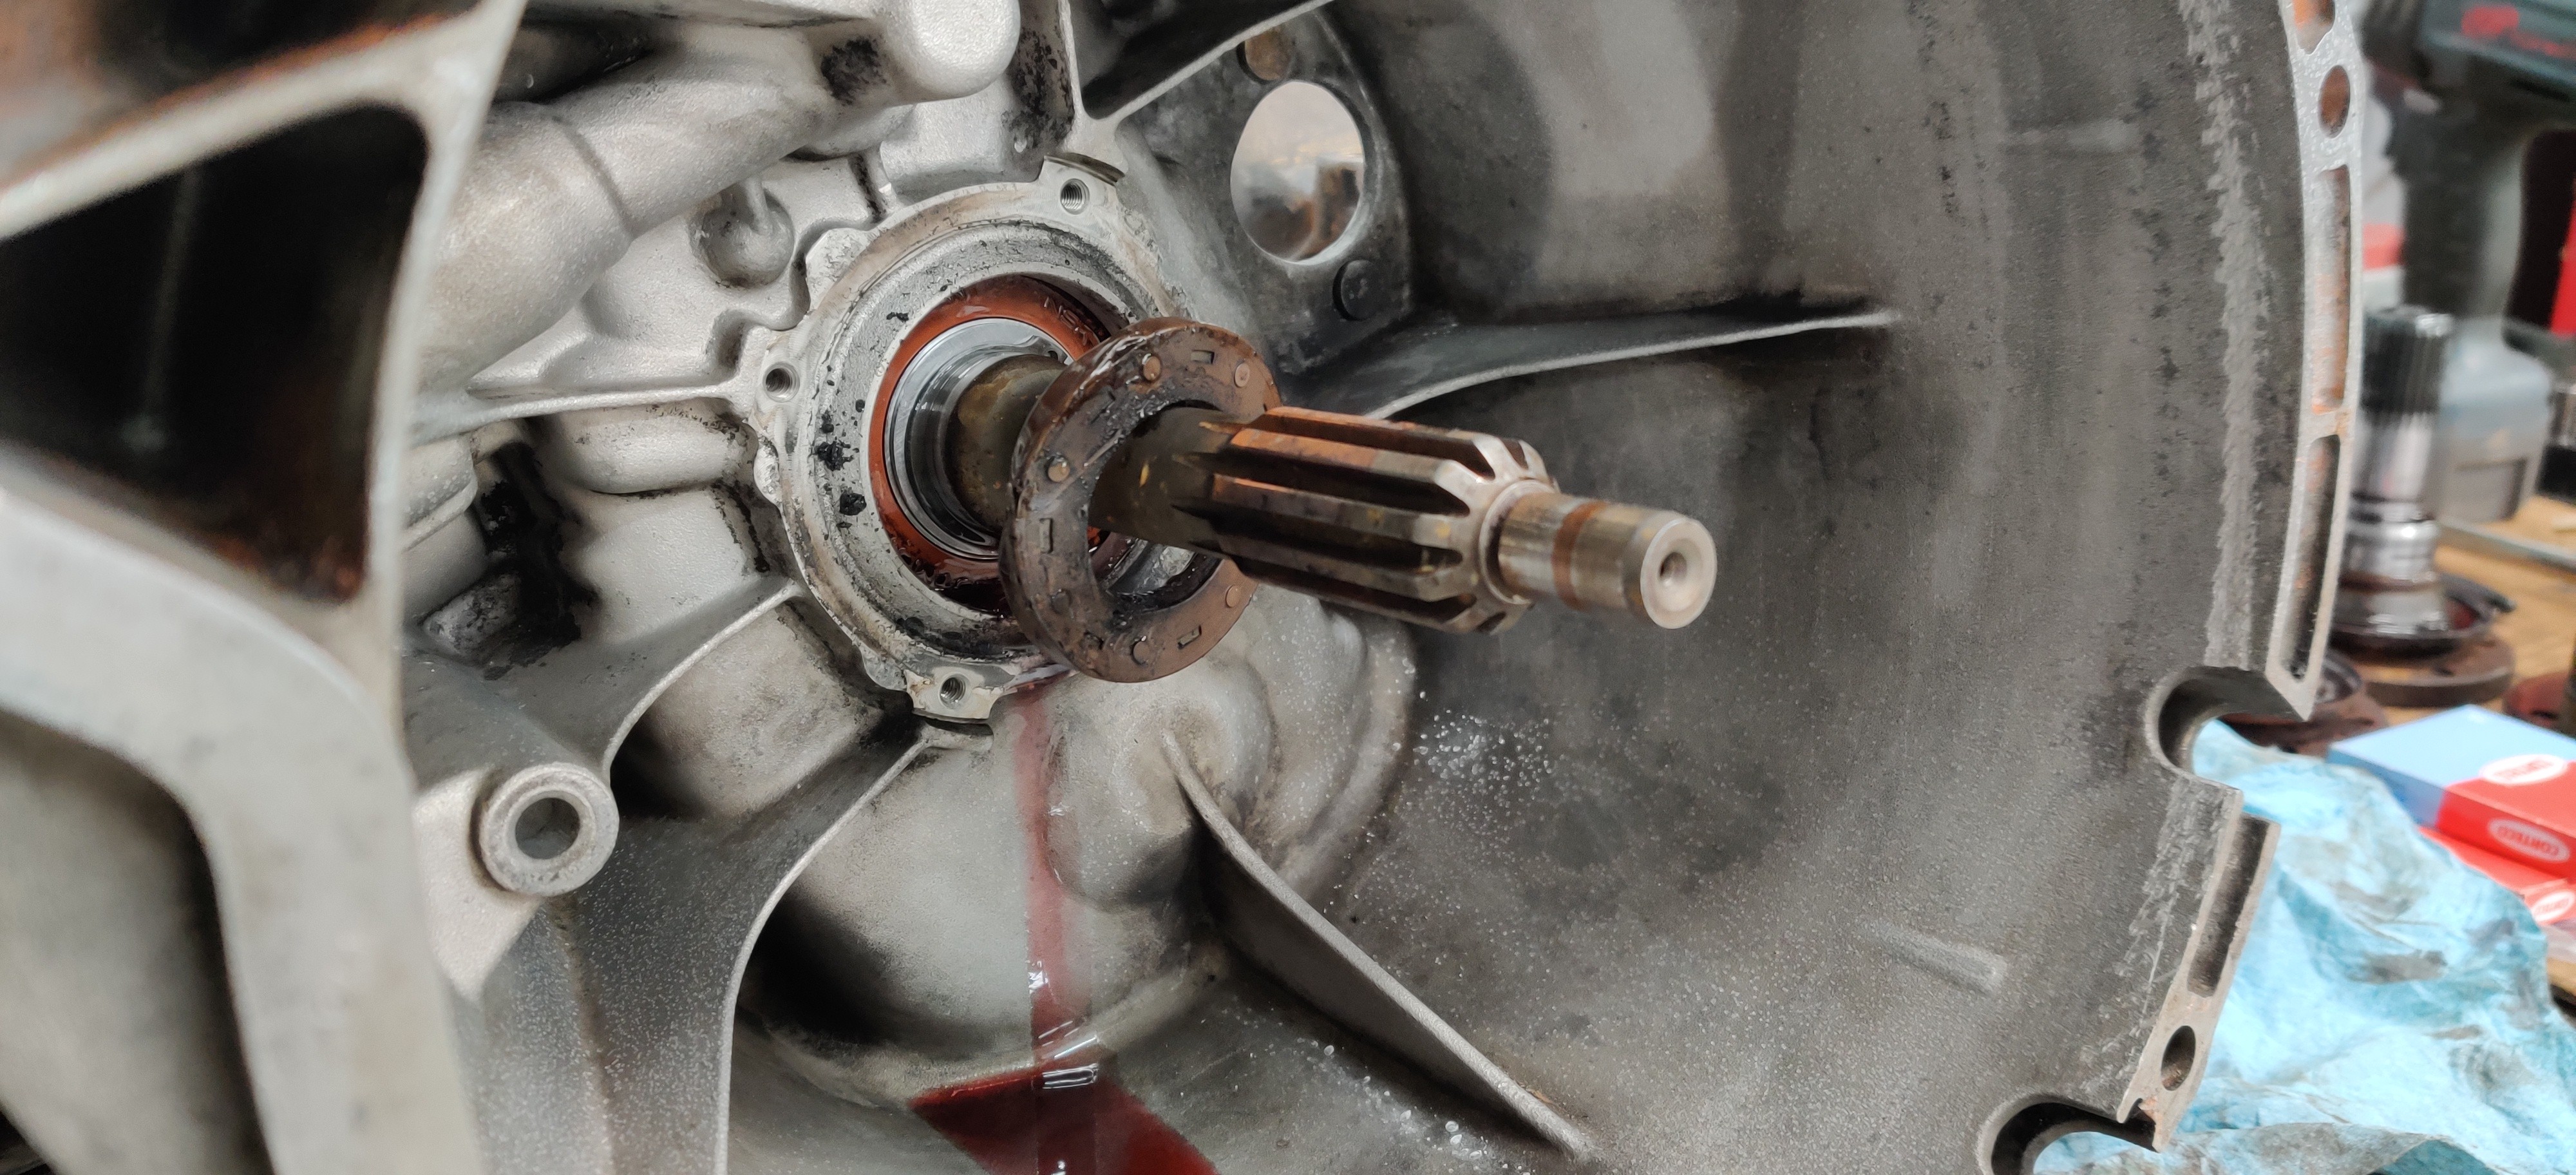
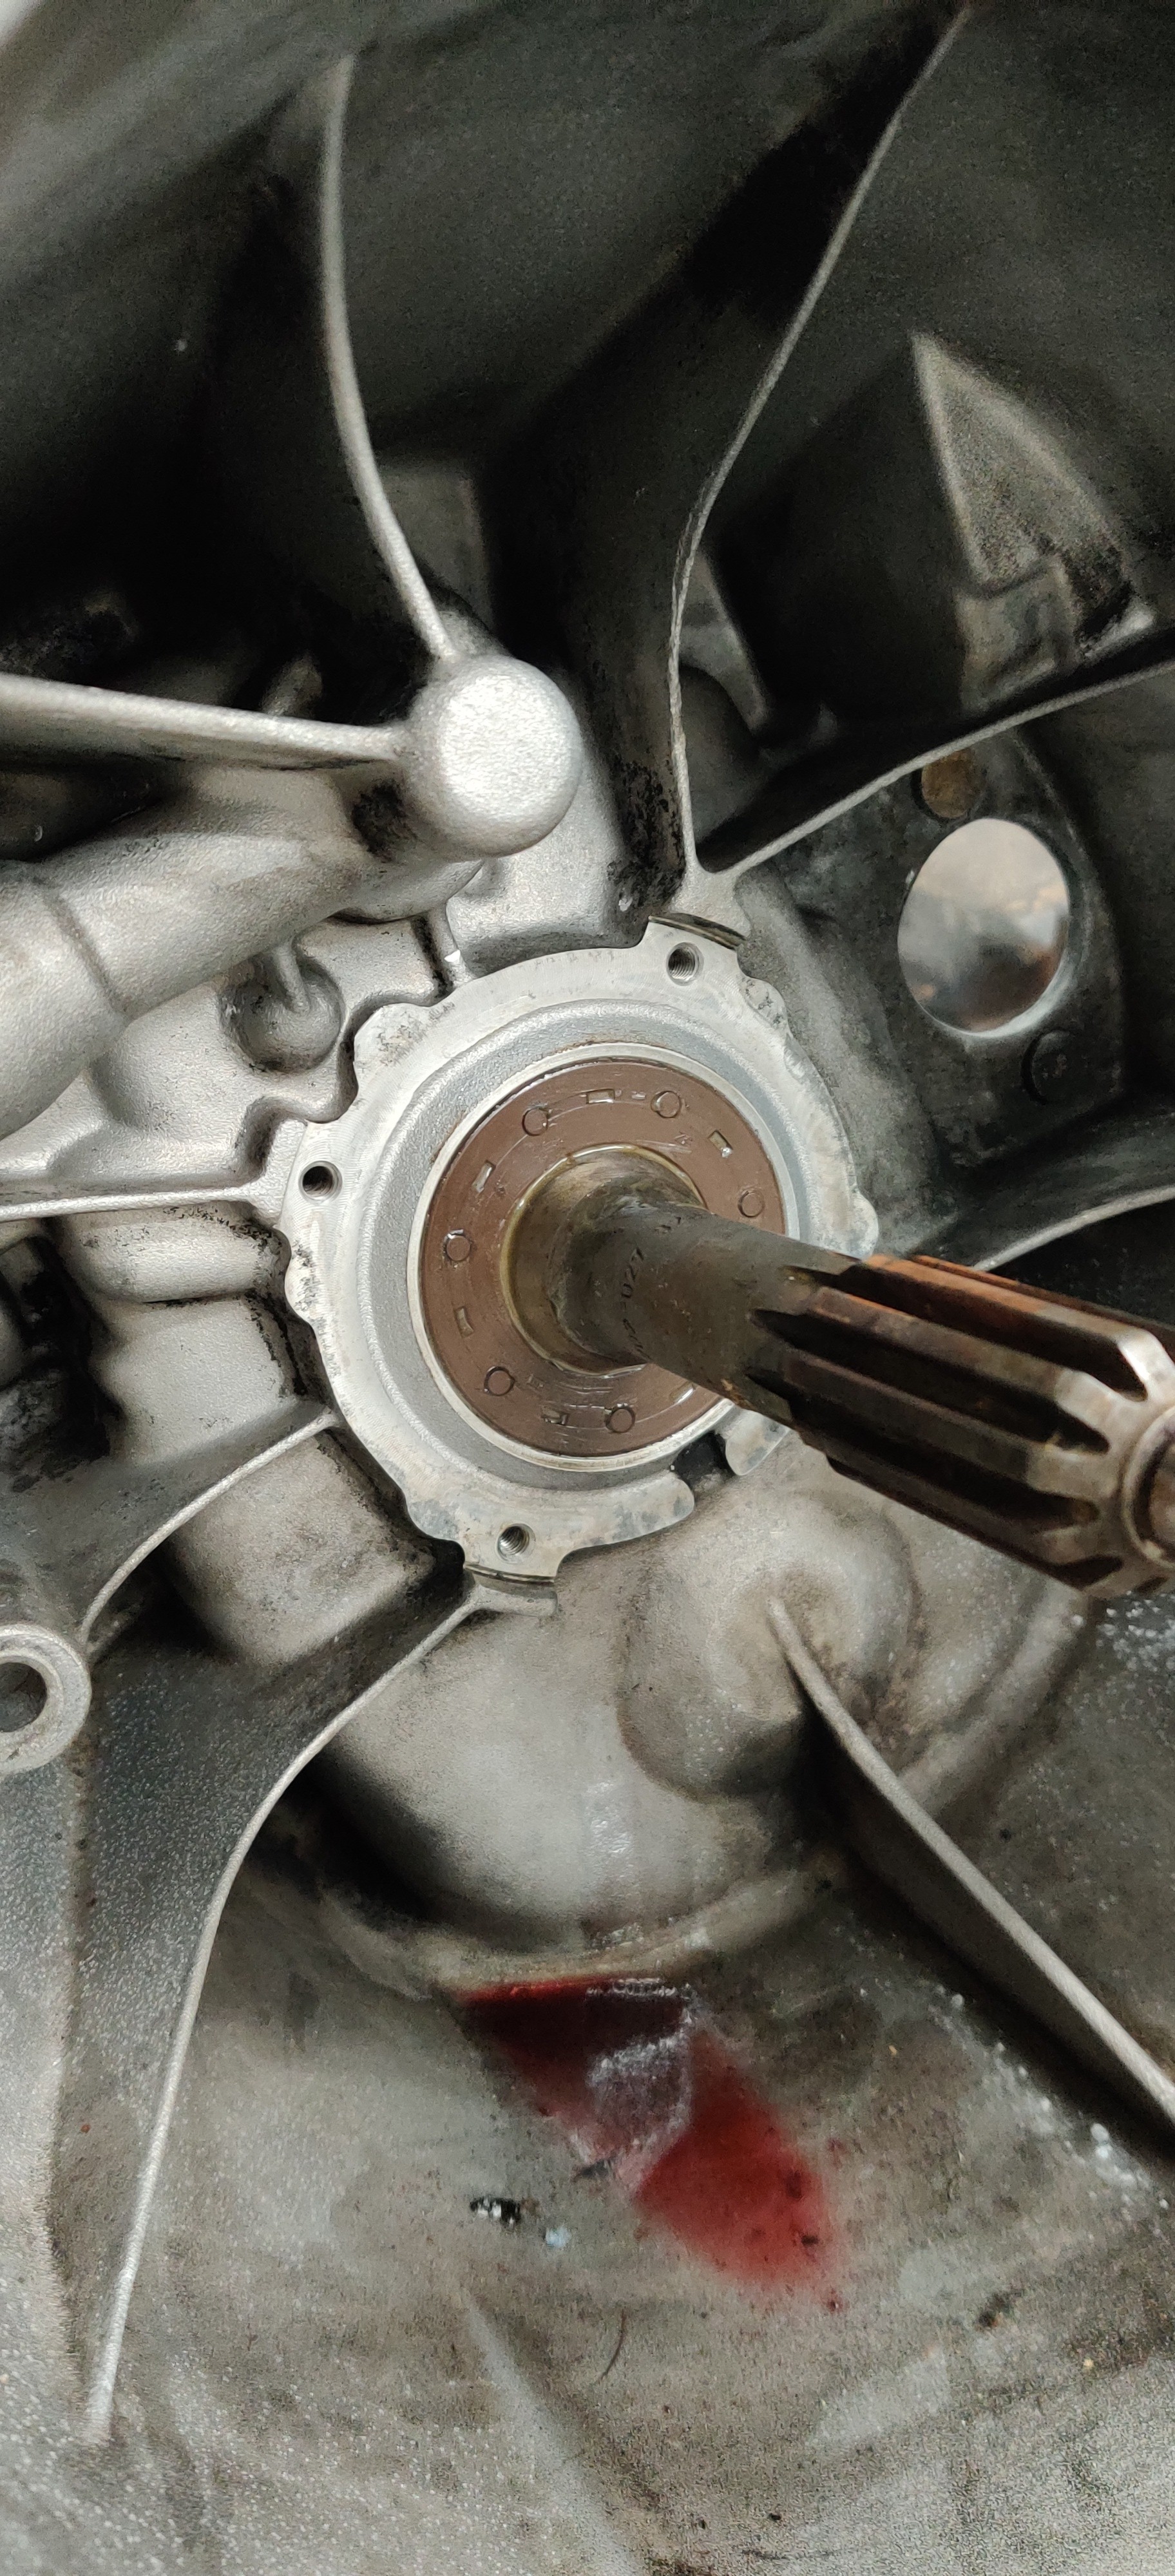
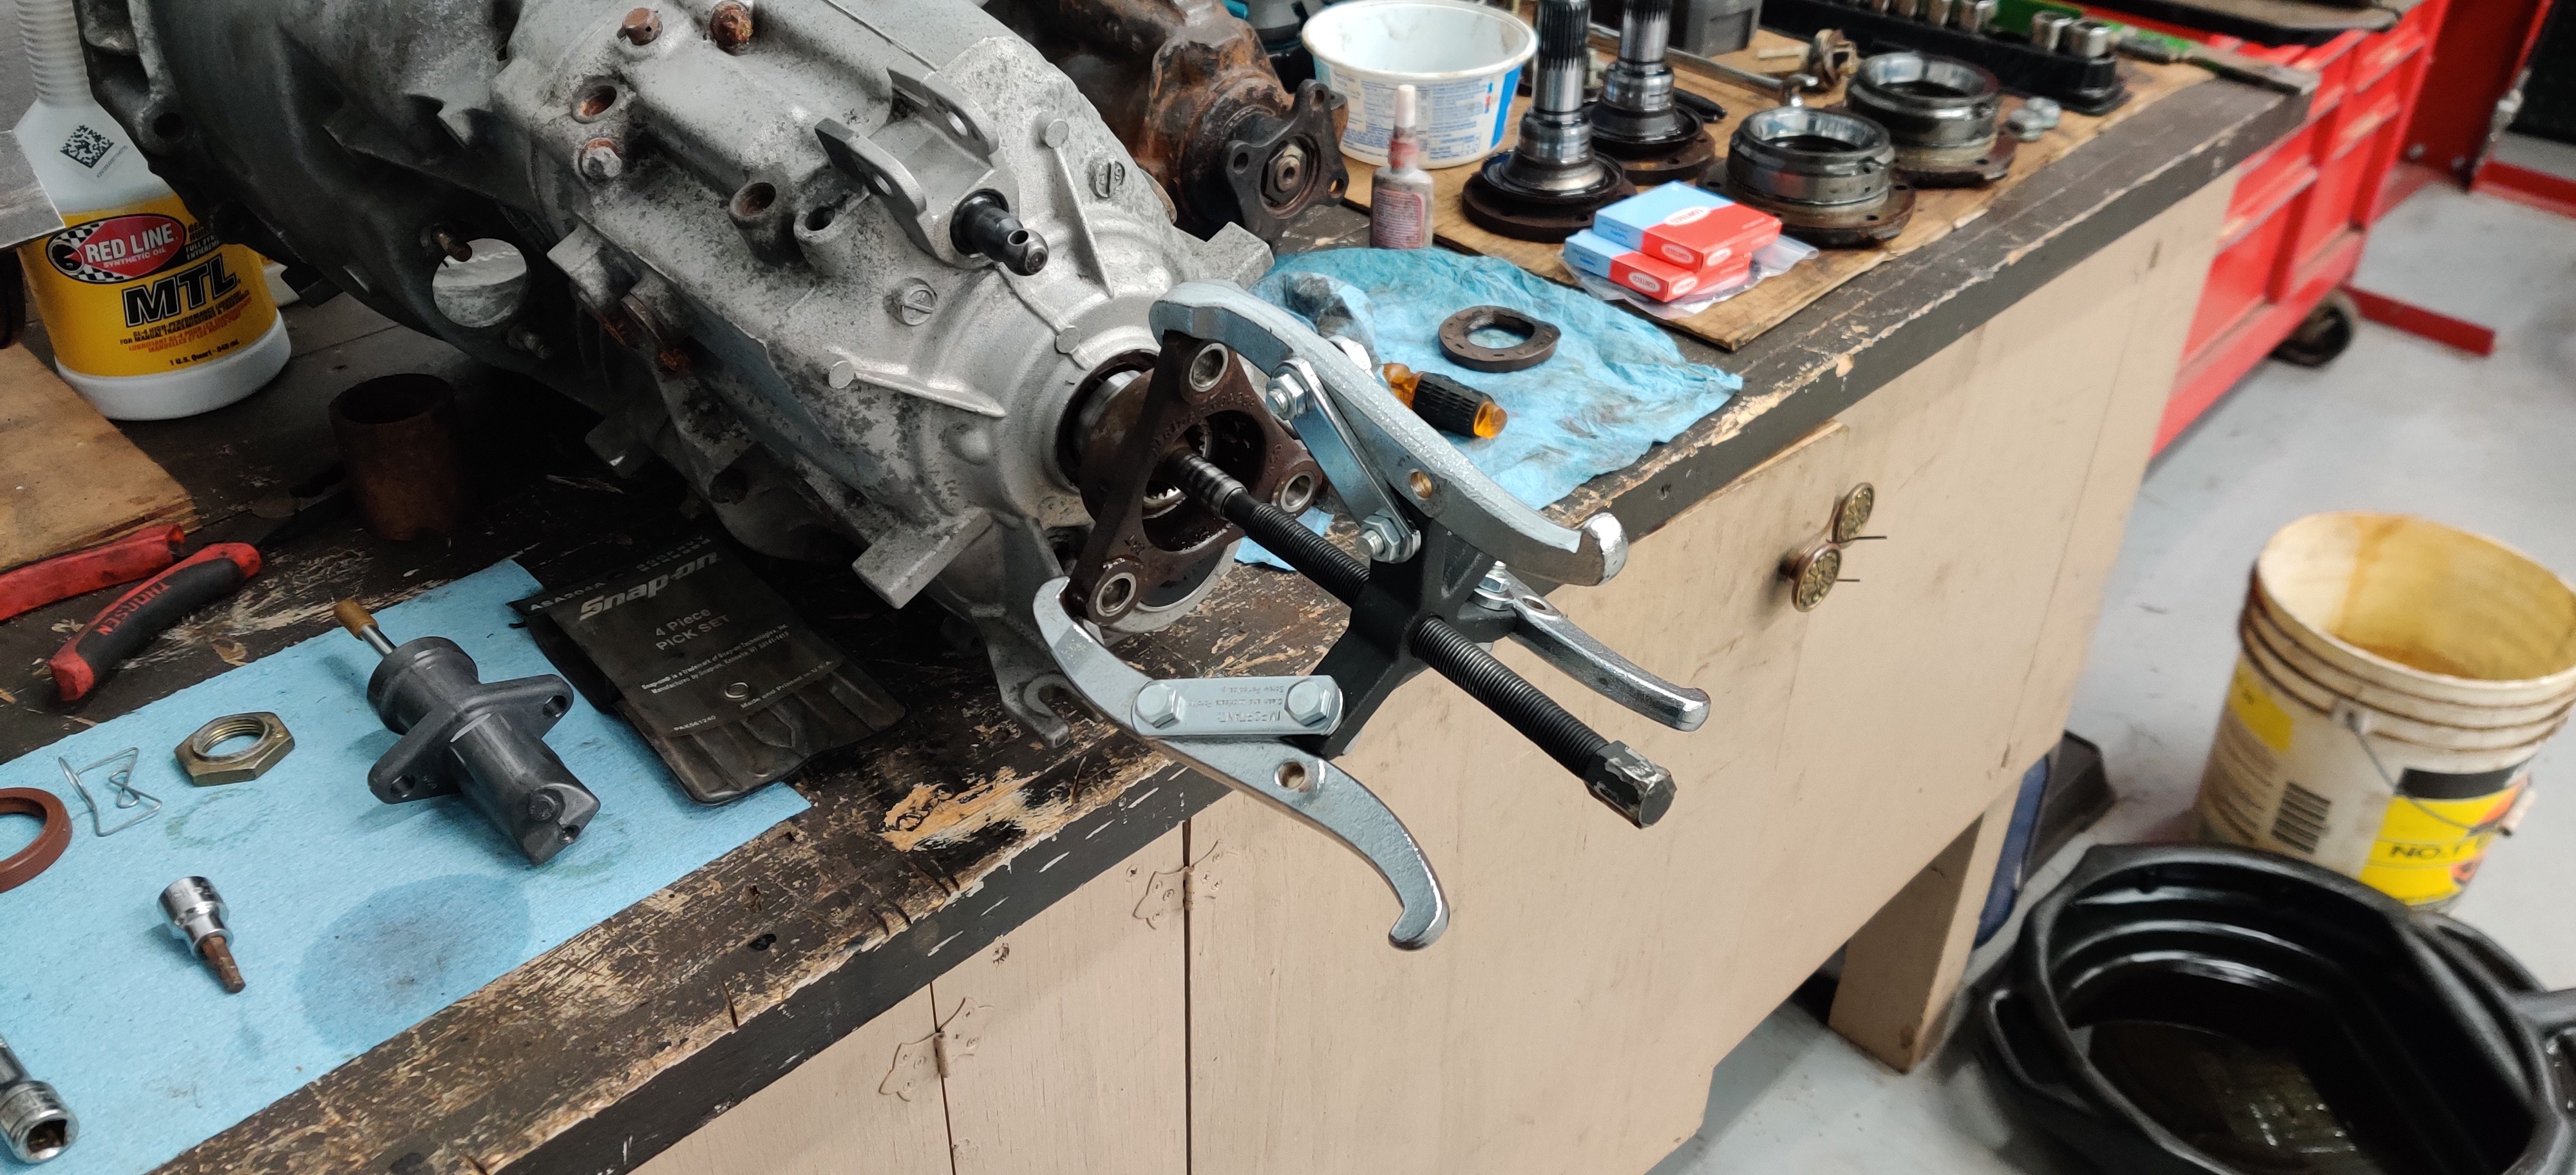
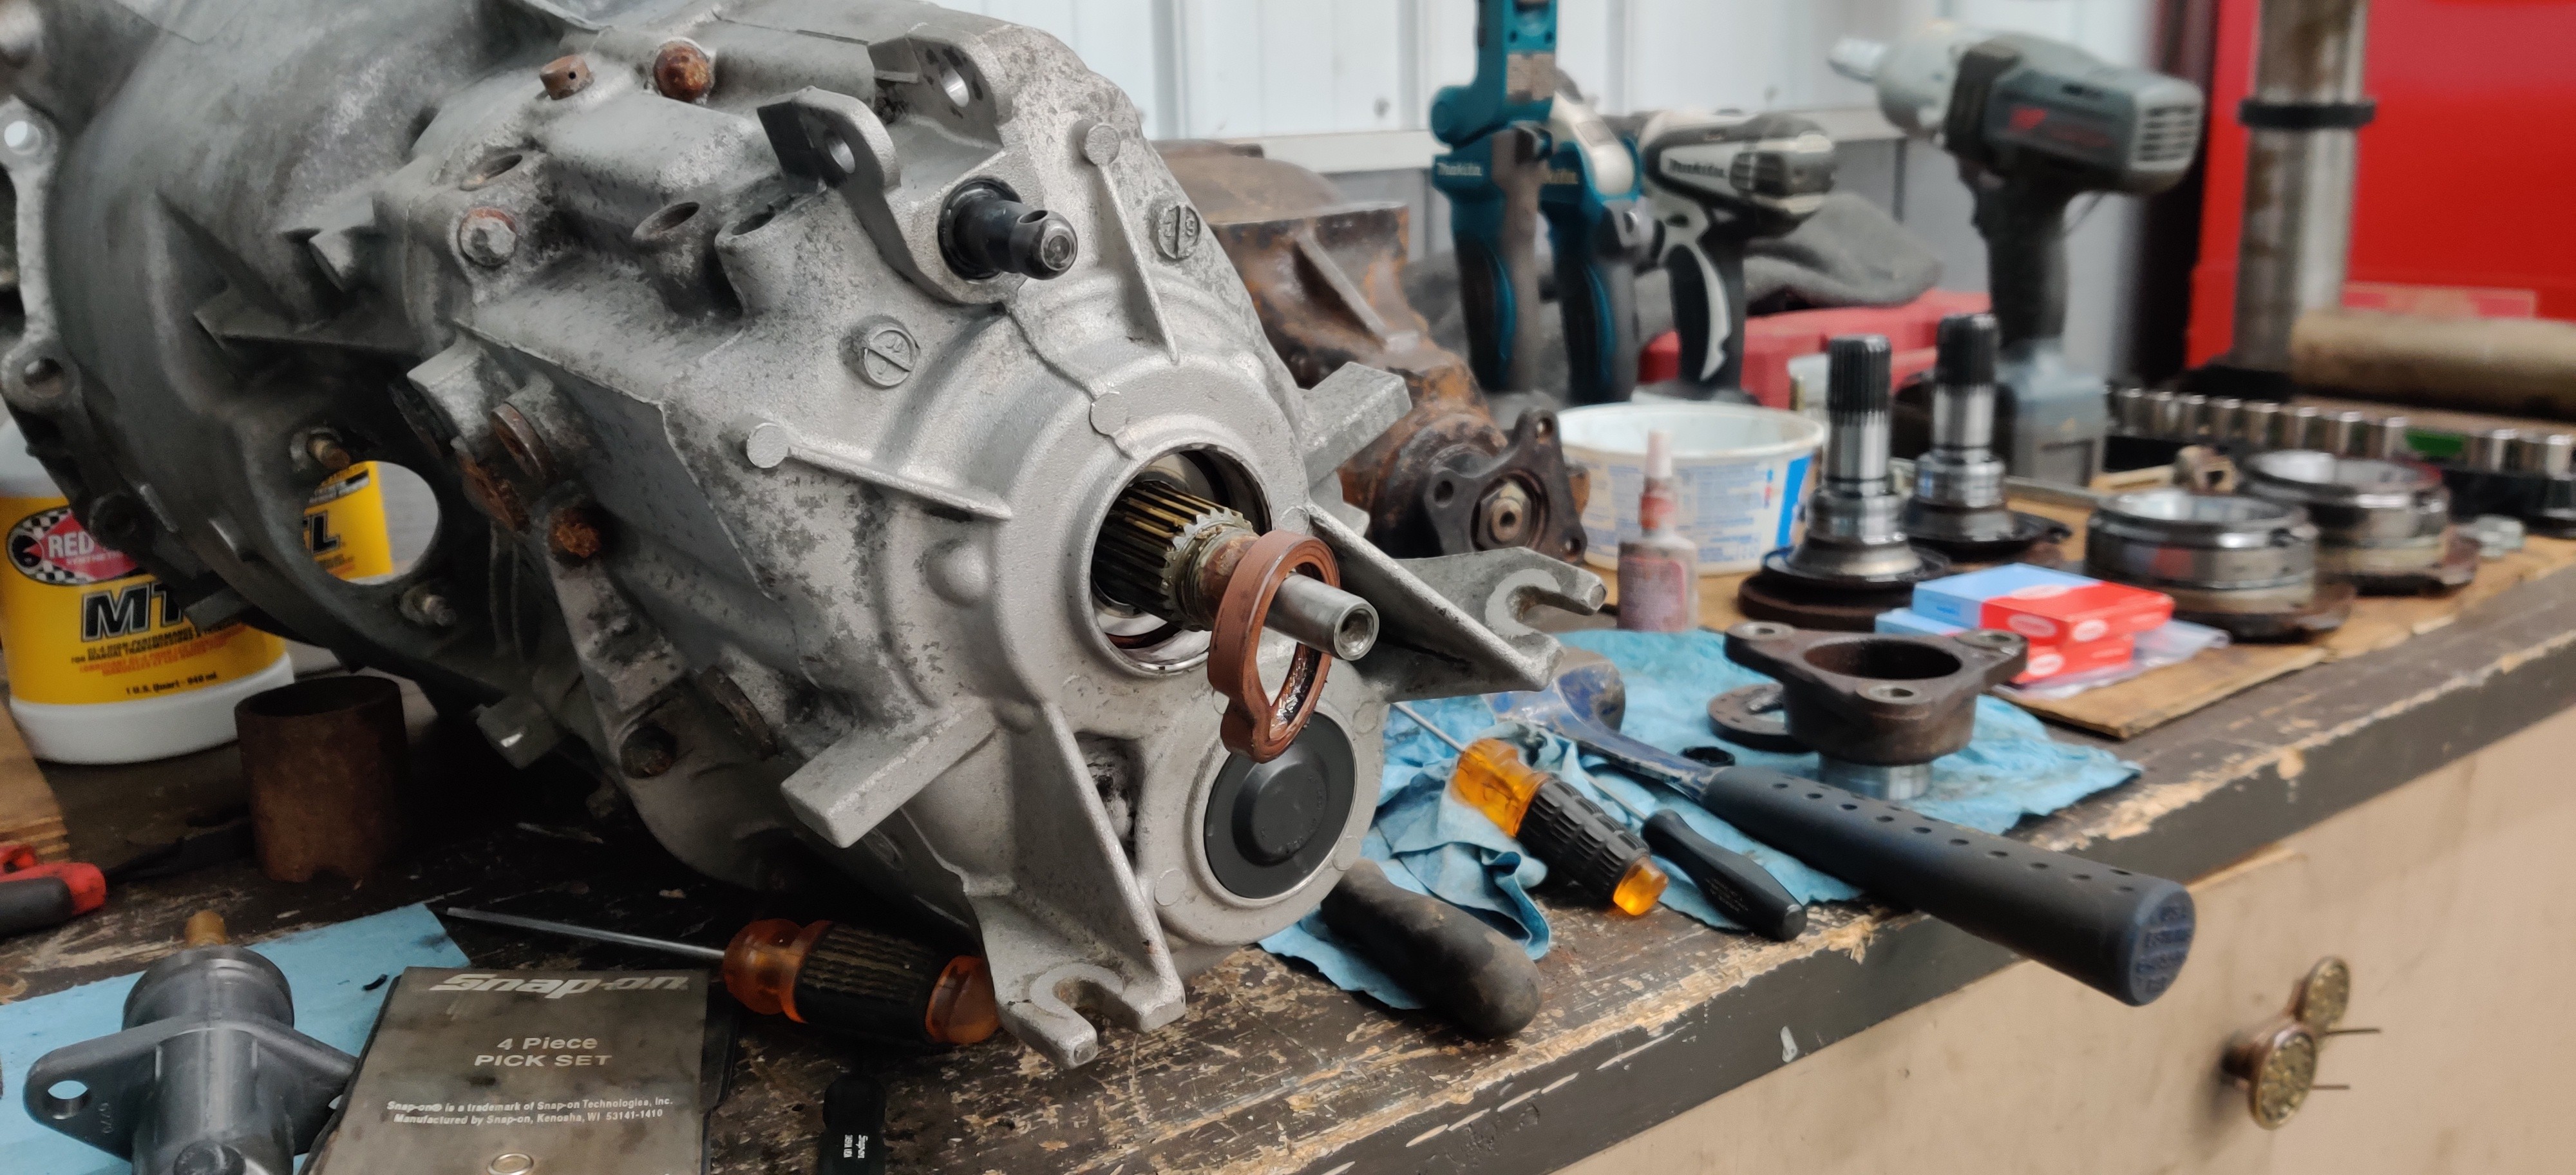
Seal replacement went really well with no major issues along the way and is now all ready to be installed besides the throw out bearing which I had forgotten to order but is now on its way.
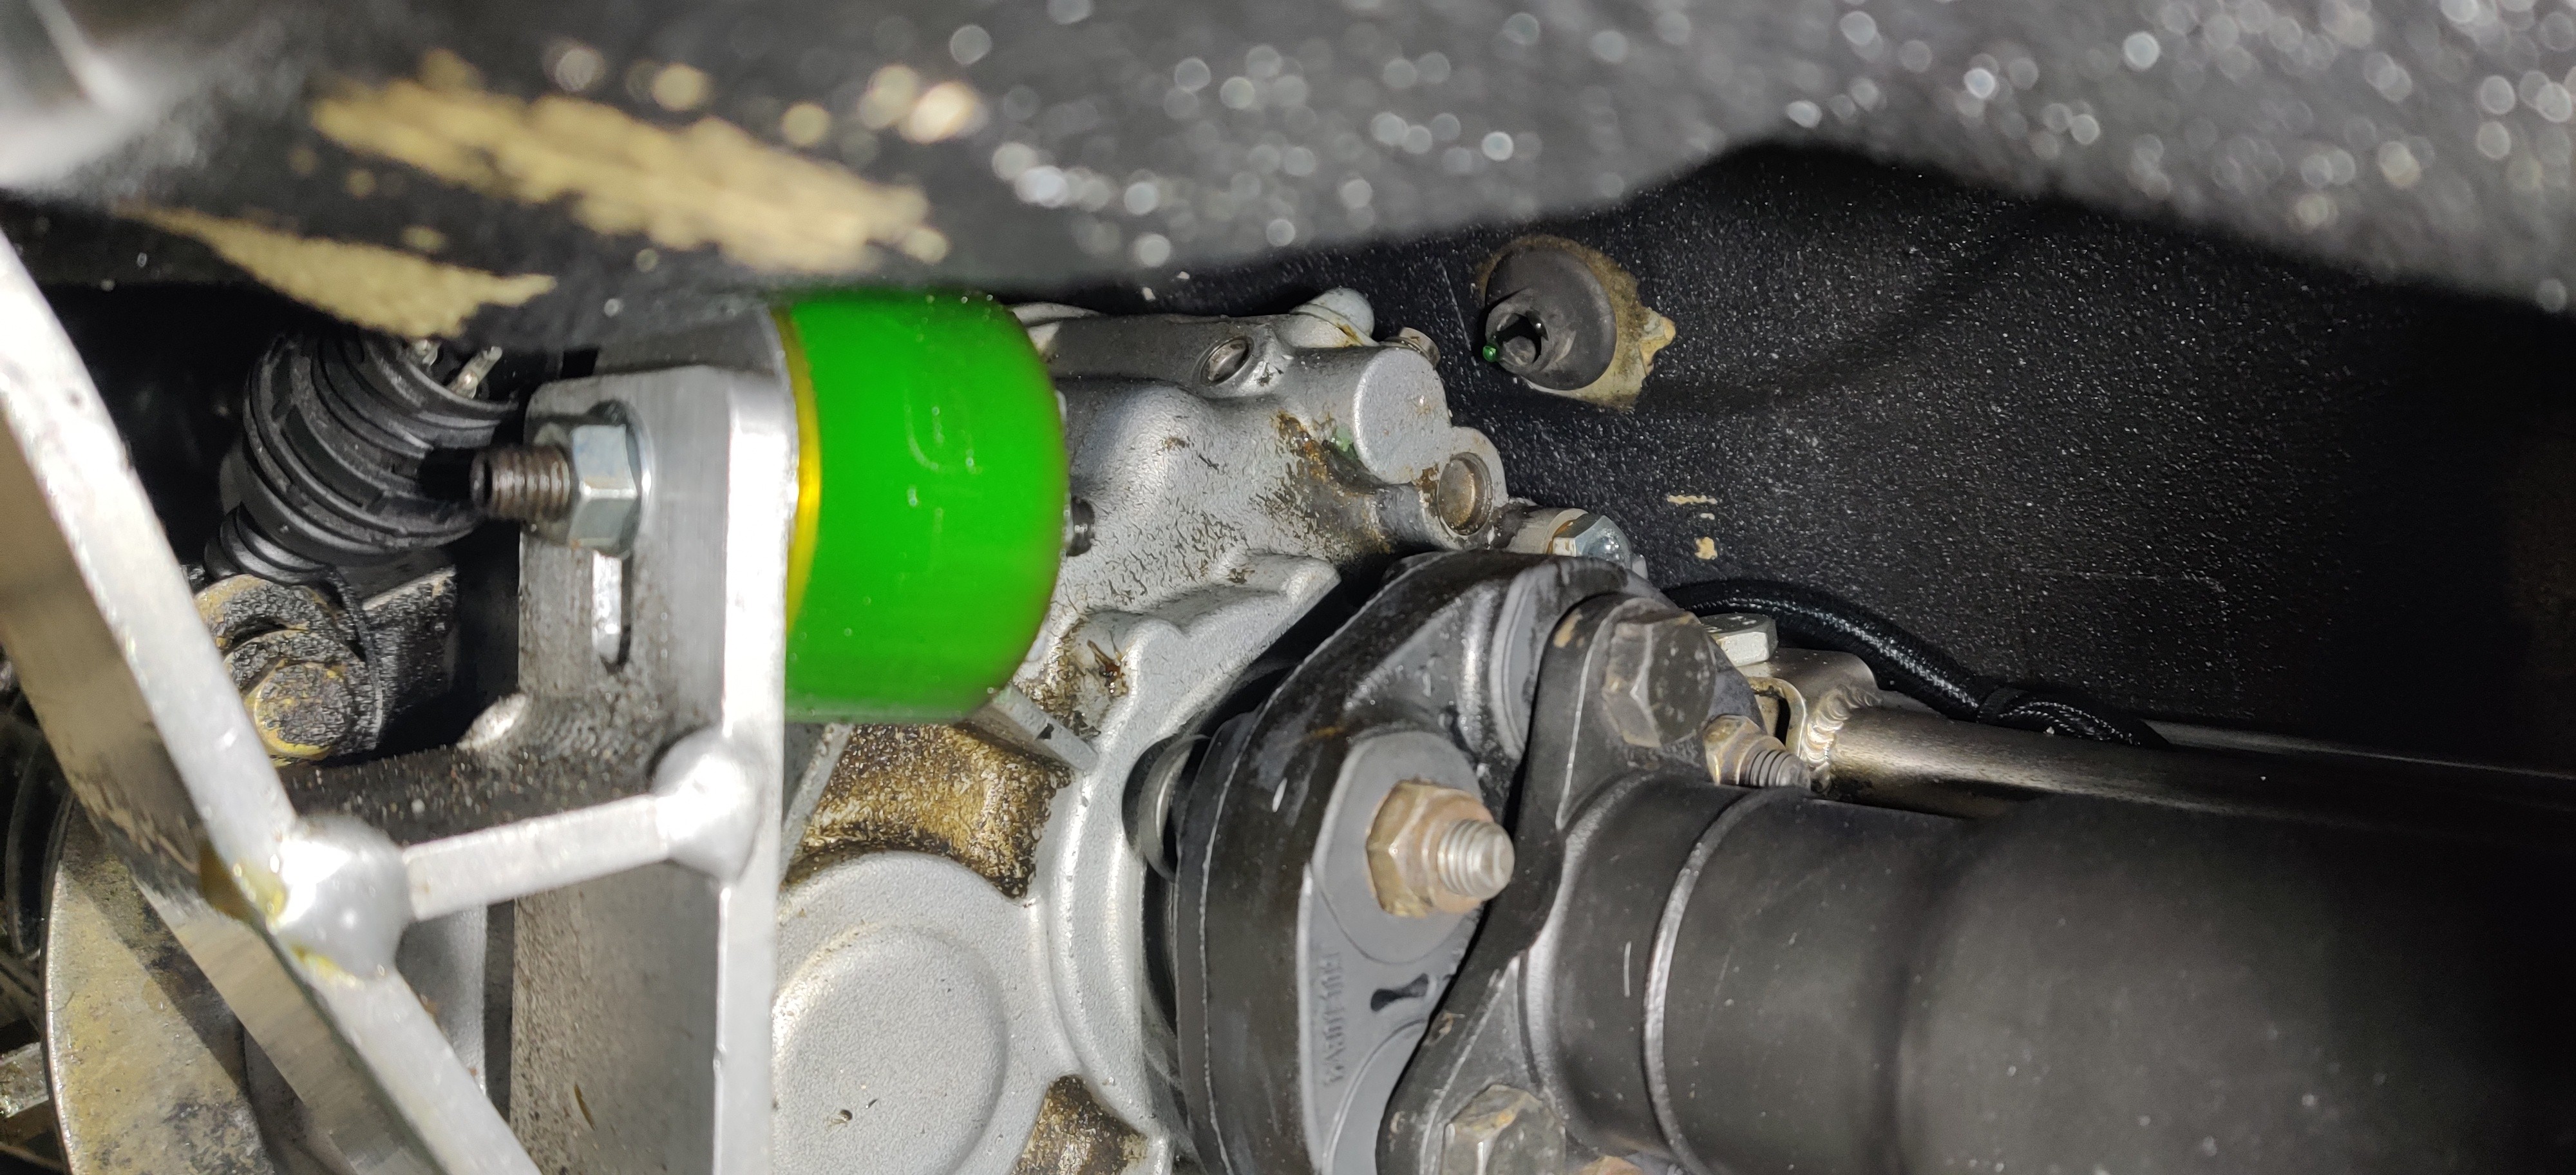
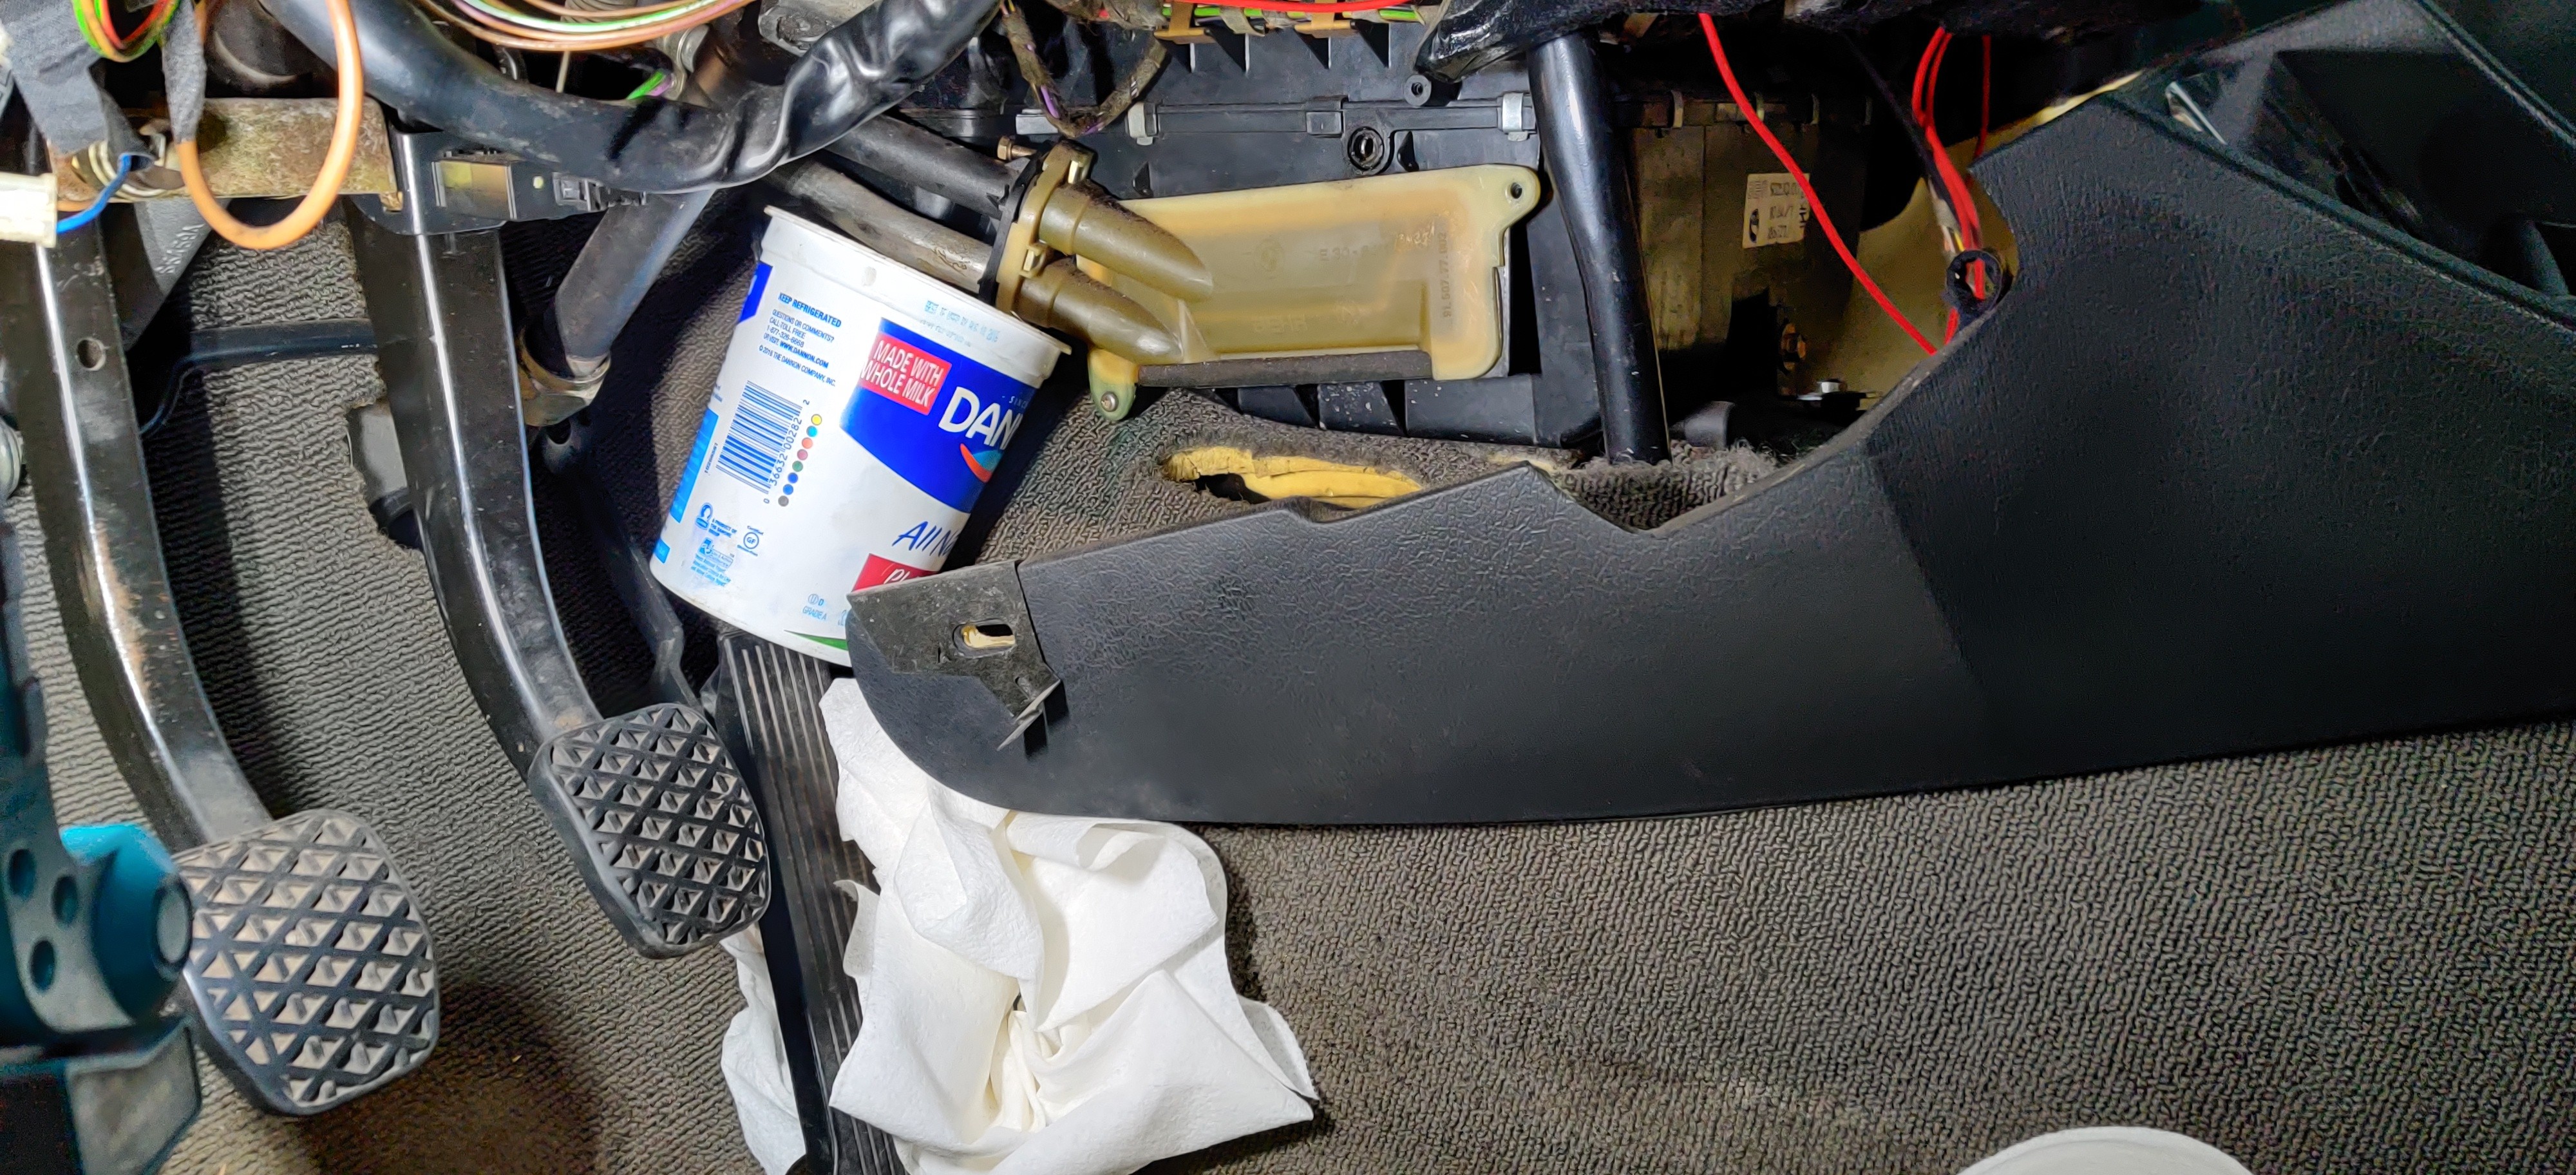
As I started disconnecting the driveshaft and shifter linkages I noticed some blue coolant dripping from the drain ports from the heater core box, great. I had noticed that my coolant level had dropped a good amount over the season but I made sure it never completely emptied itself. Nevertheless I have added to the list to replace the heater core.
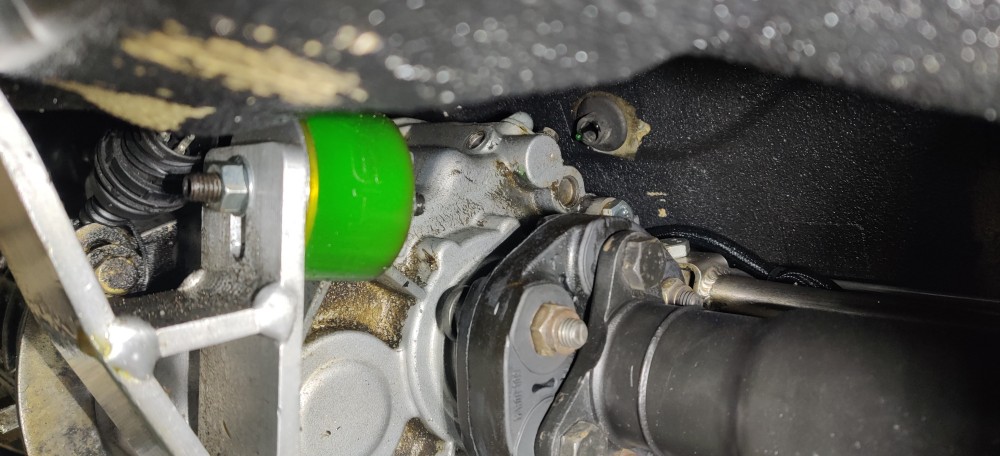
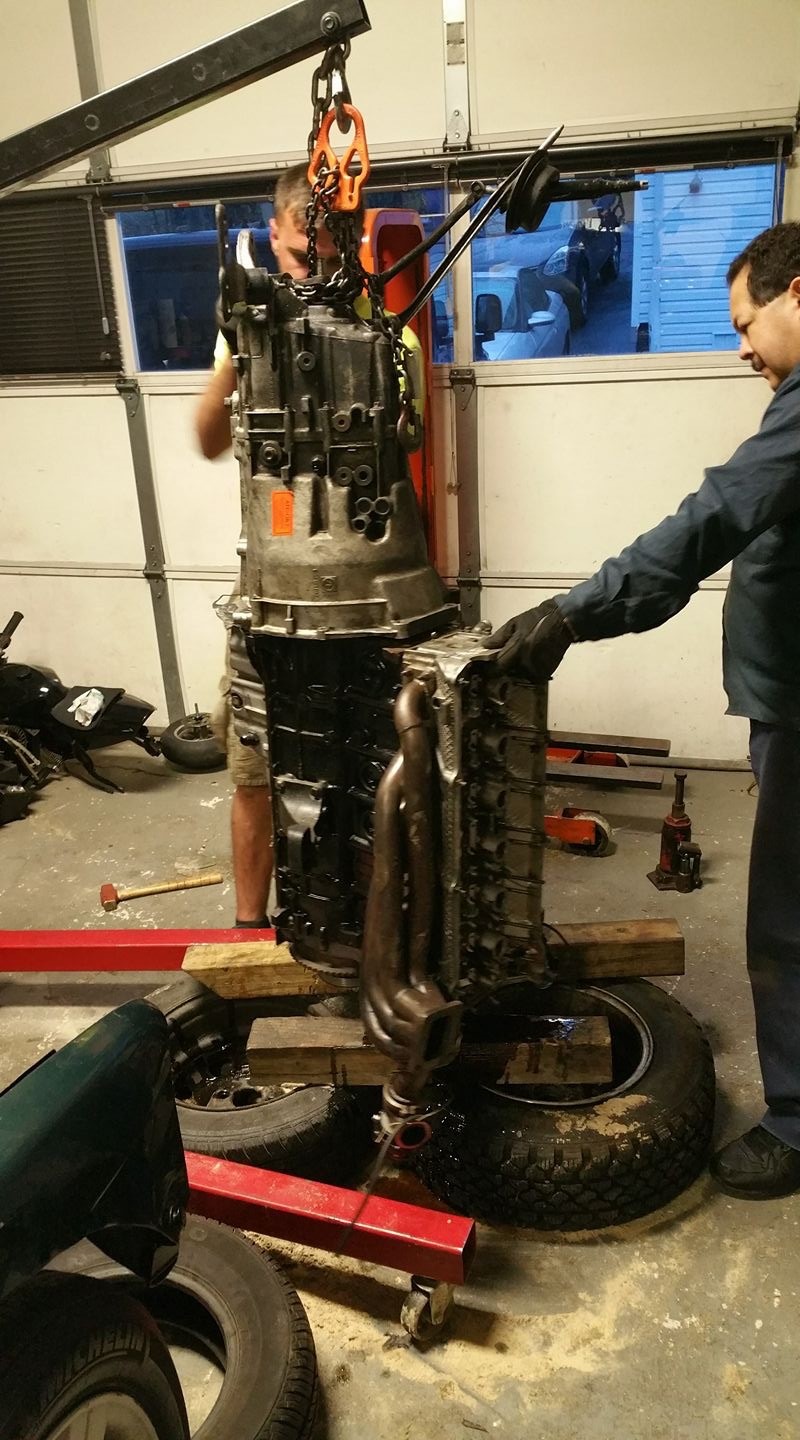
After a few more disconnections...
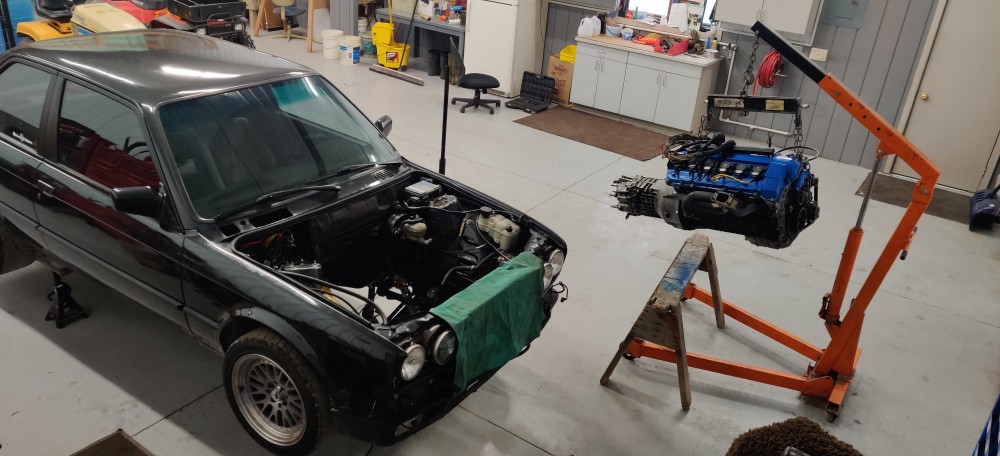
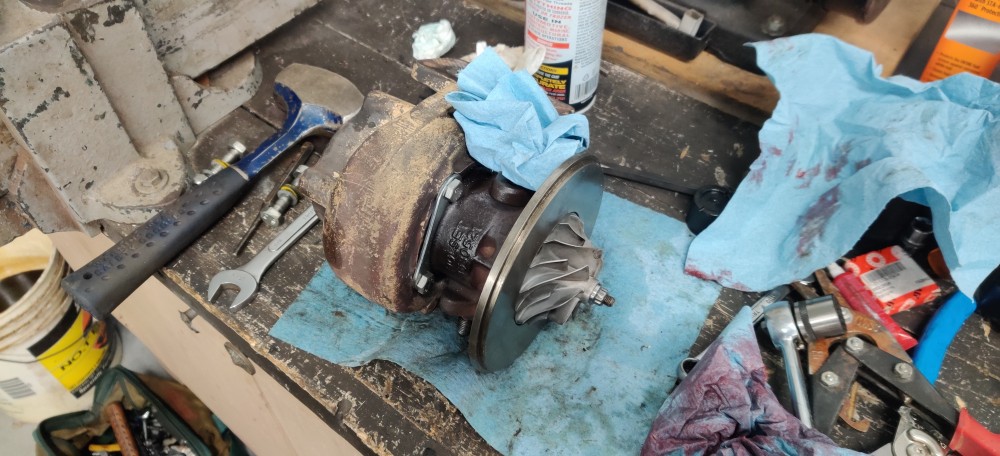
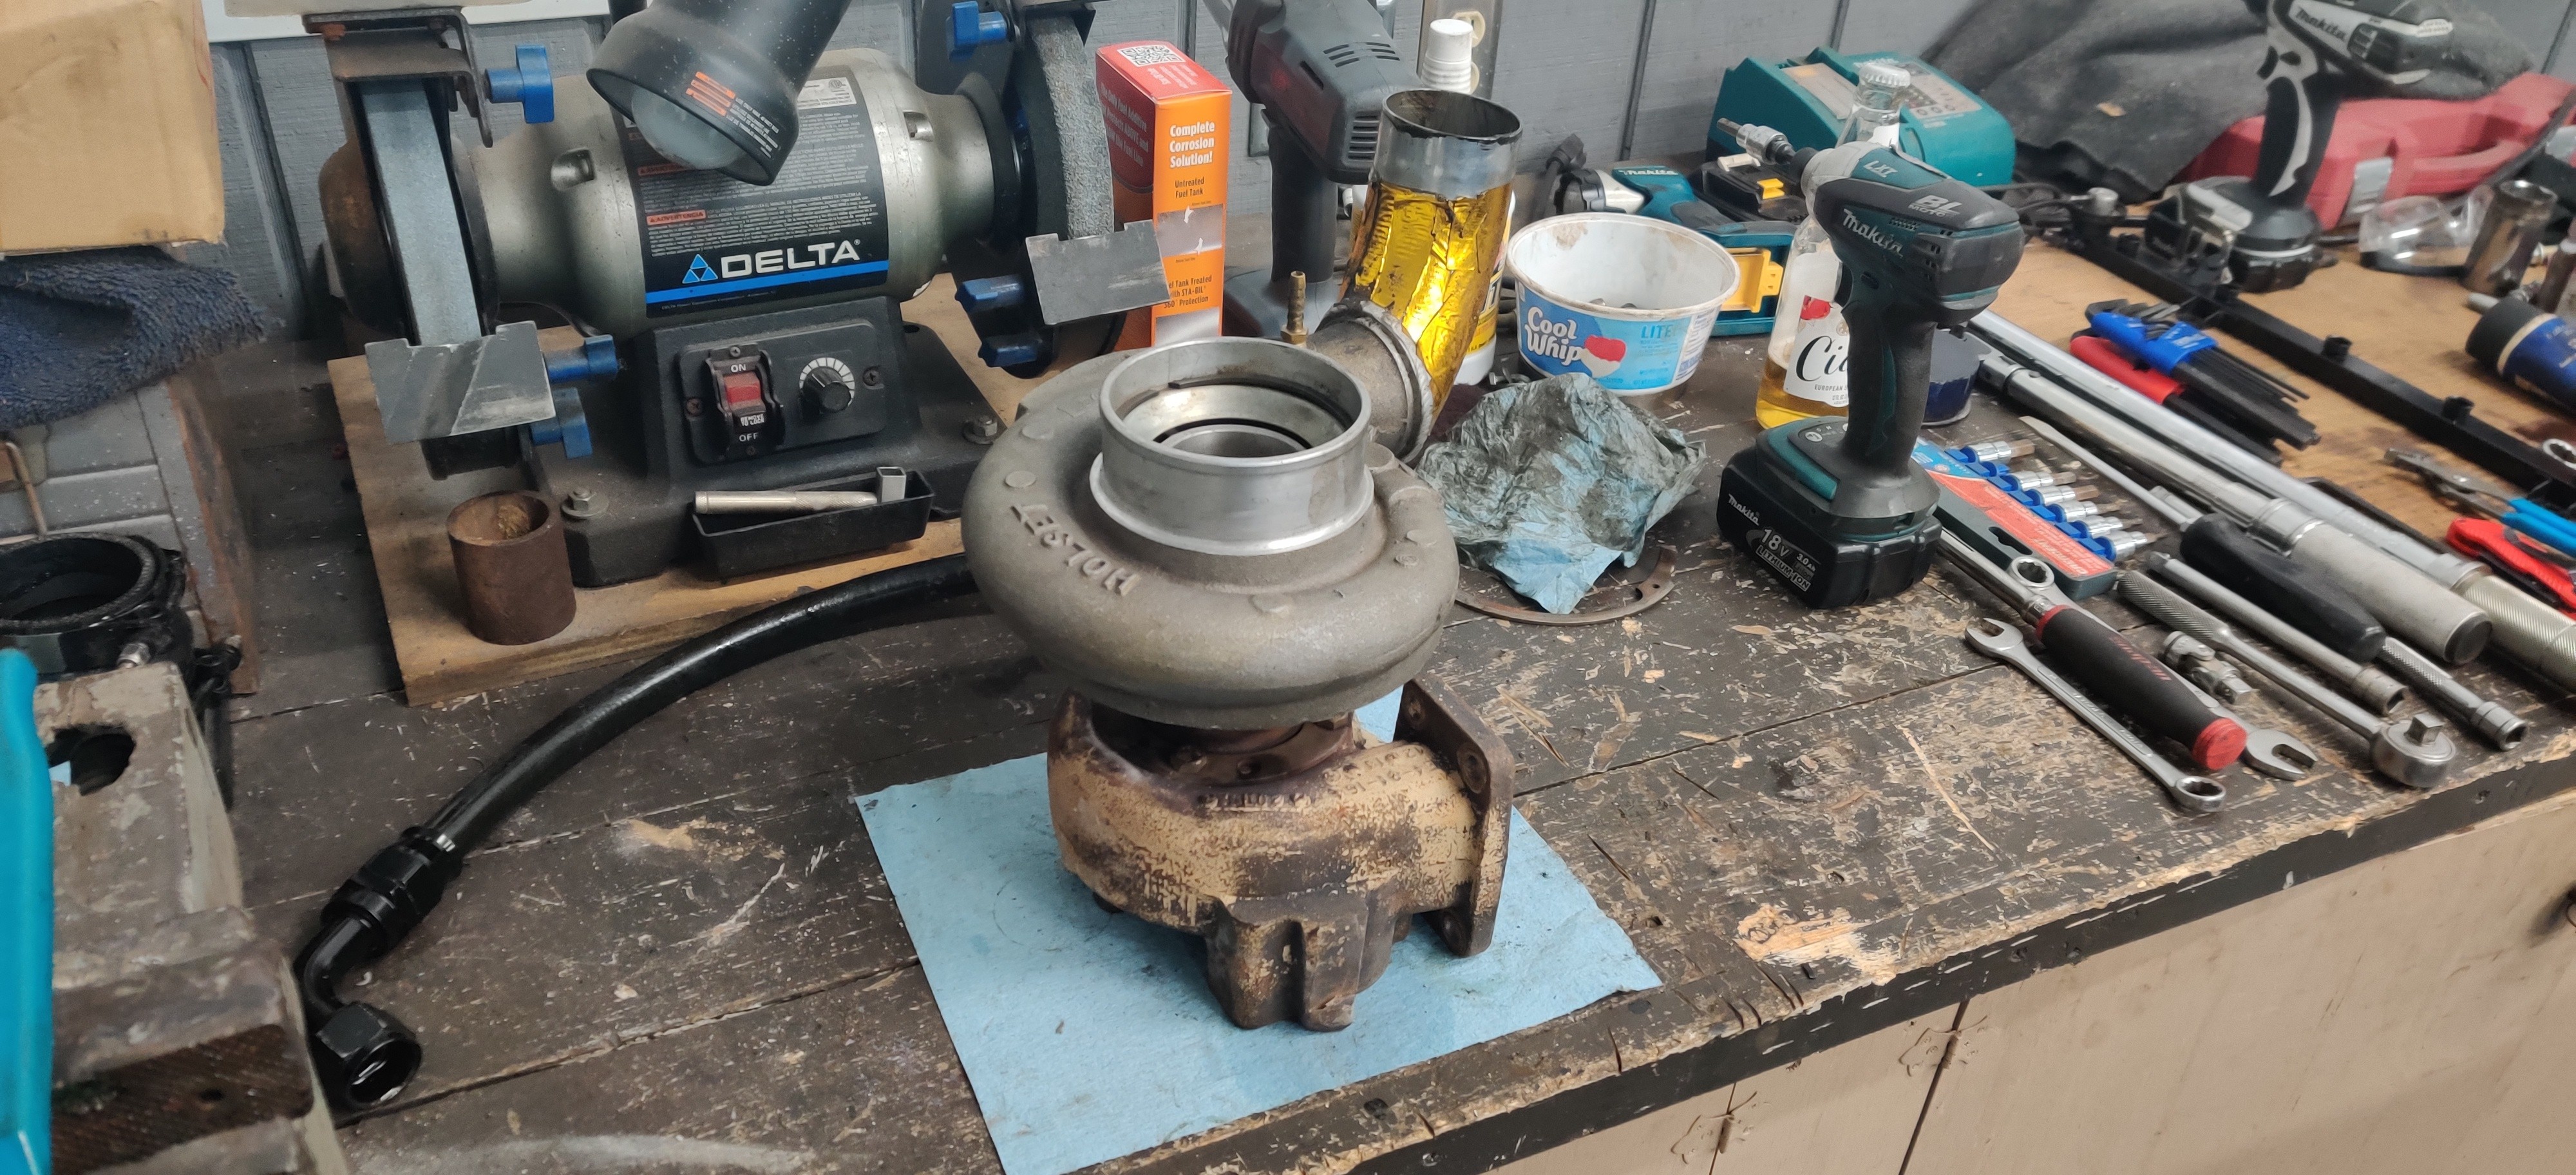
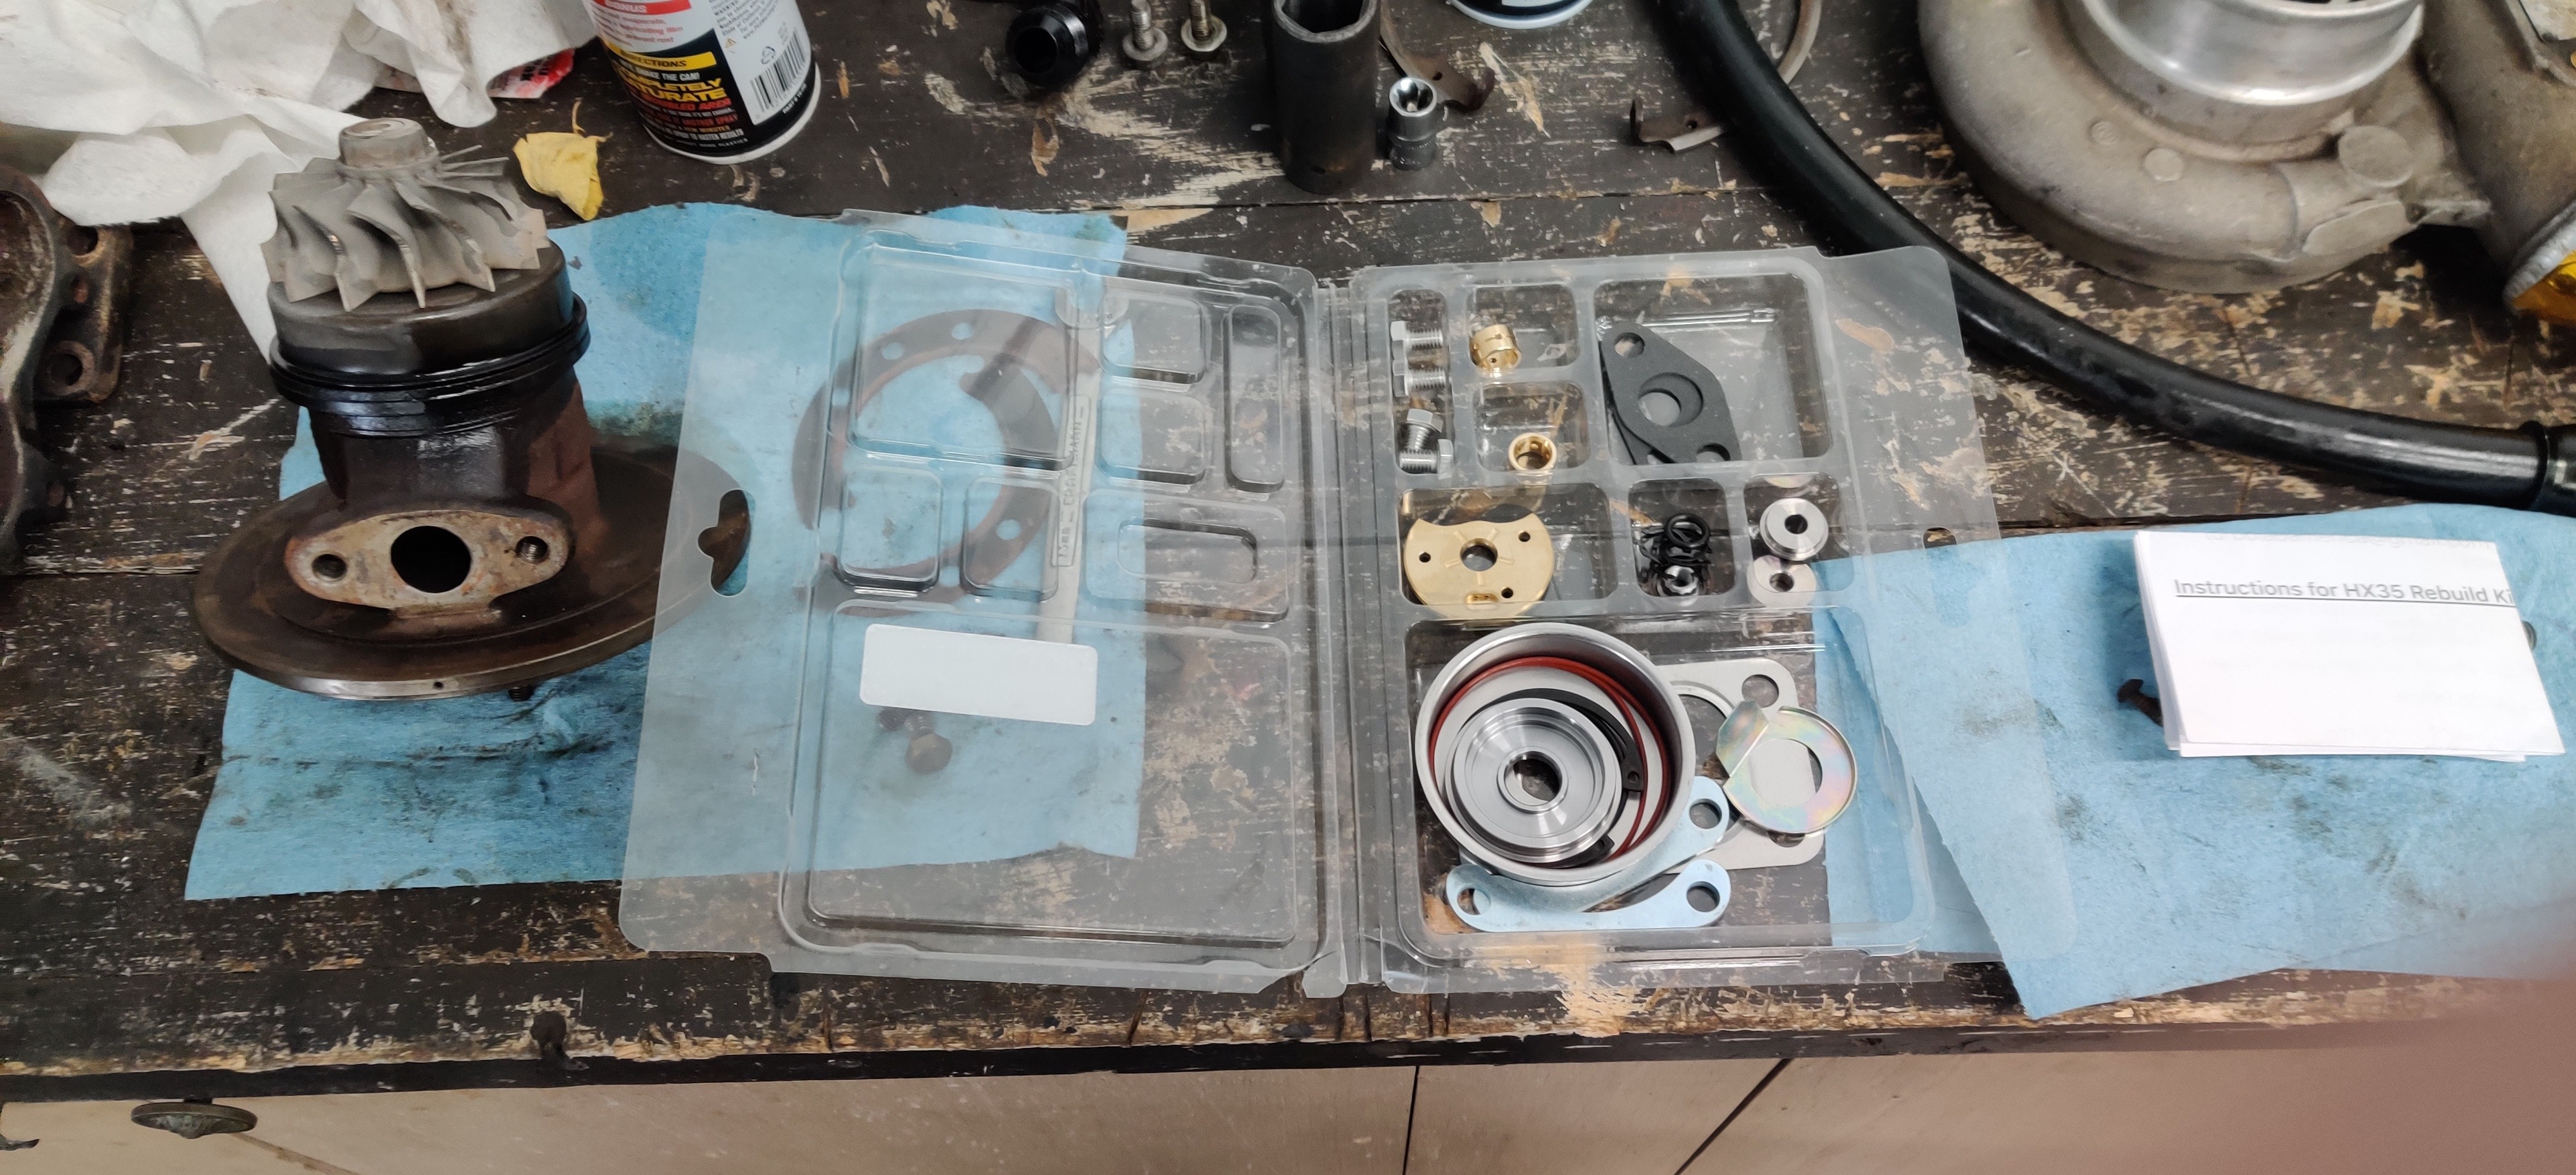
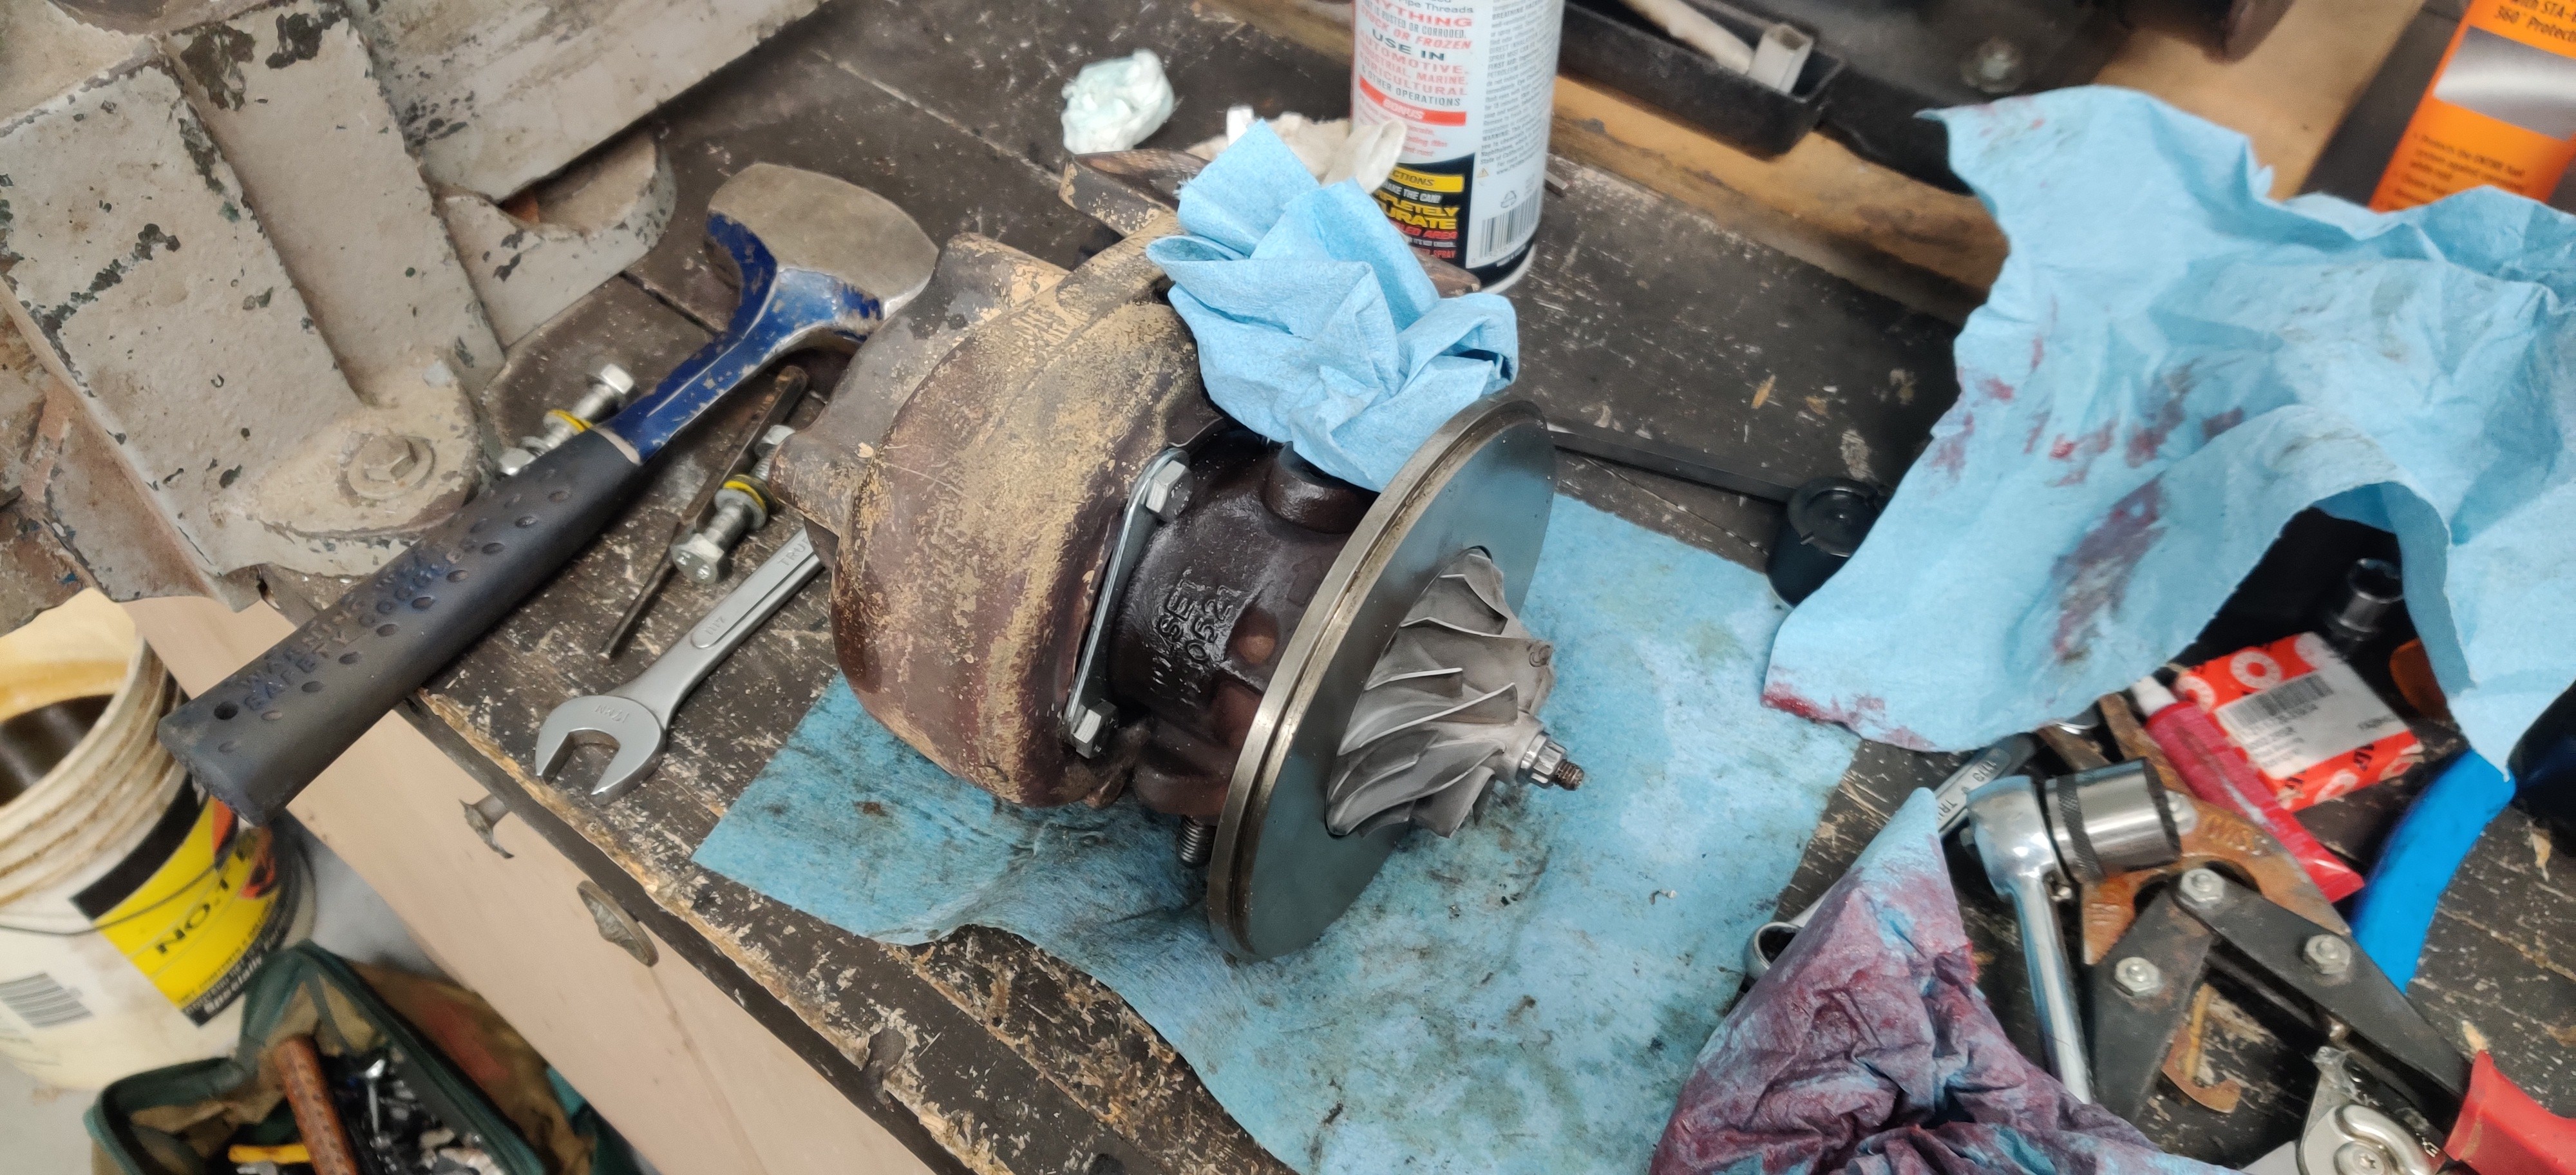
A while back I noticed quite a bit of shaft play on the turbo and thought it might be nice to go ahead and rebuild it.
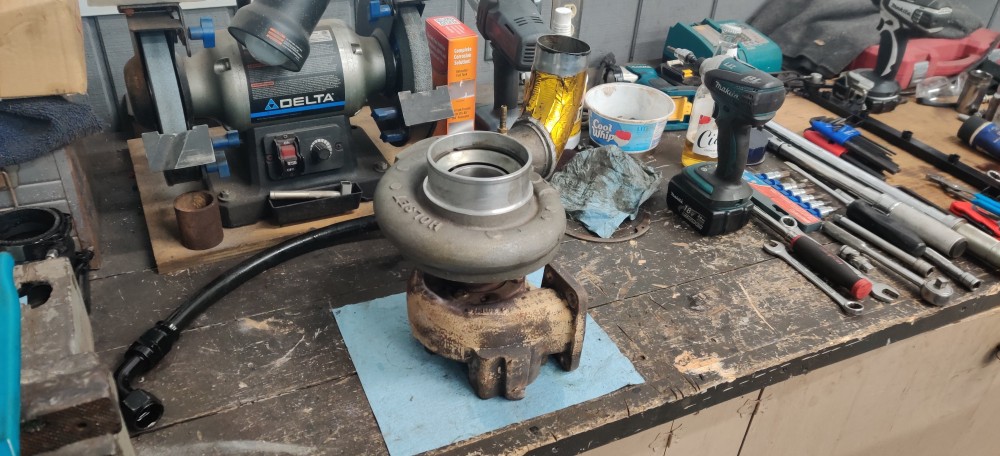
I must say It is quite nice having a turbo with a very reasonably priced rebuild kit. I am also quite impressed with everything that it comes with as well. Kit was from turbo labs of America.
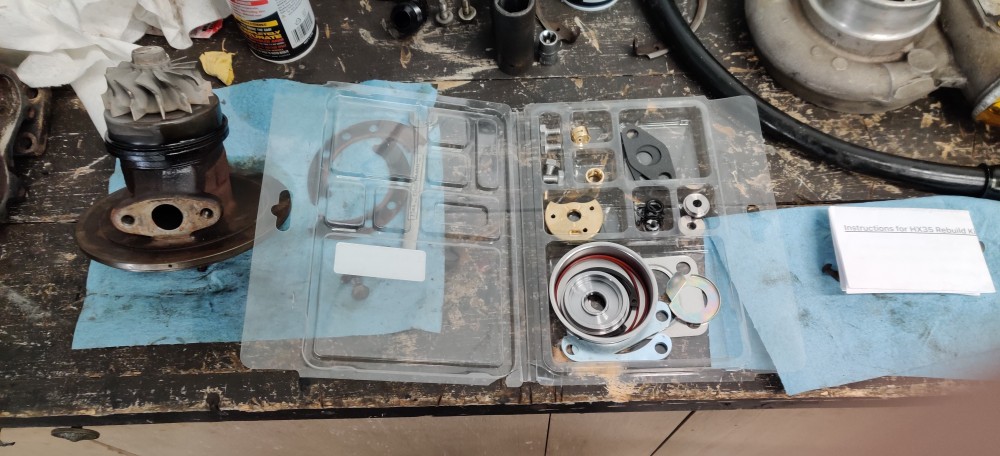
Rebuild process went very well. I was a little nervous at first but quickly realized how easy rebuilding one of these actually is, as long as you take your time. Only challenging part was the removal of the smaller snap rings that hold in the small thrust bearings but otherwise everything else came apart and went together no problem.
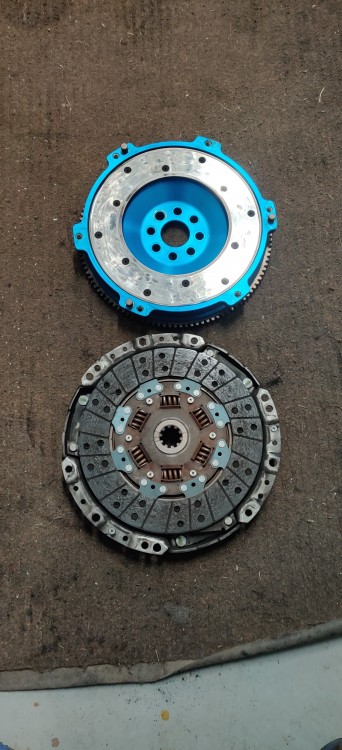
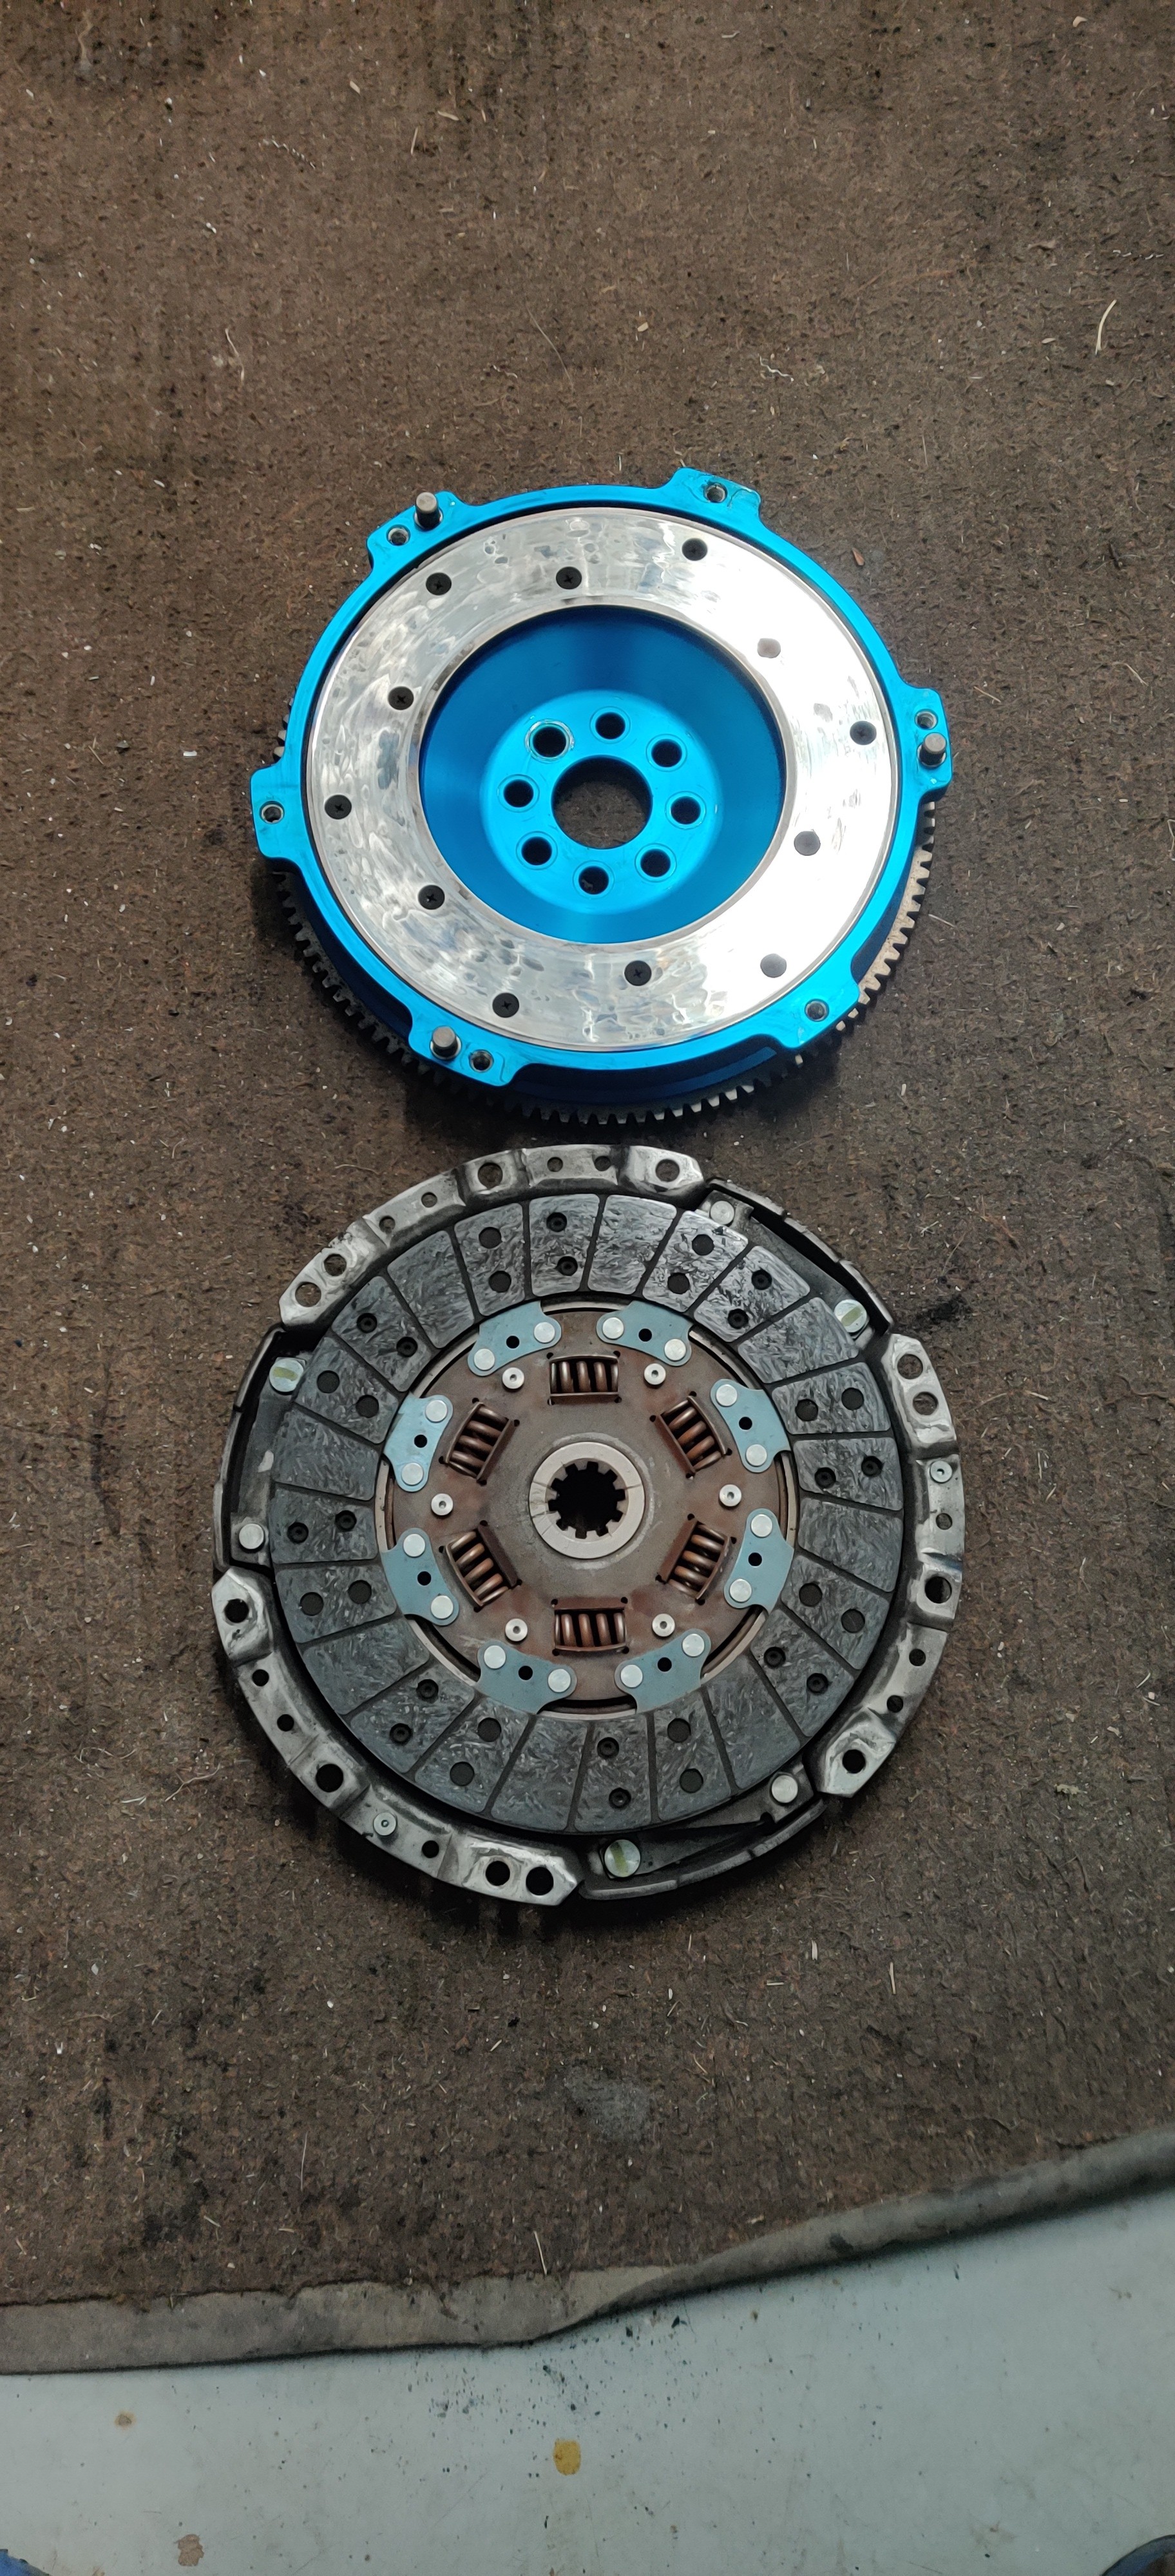
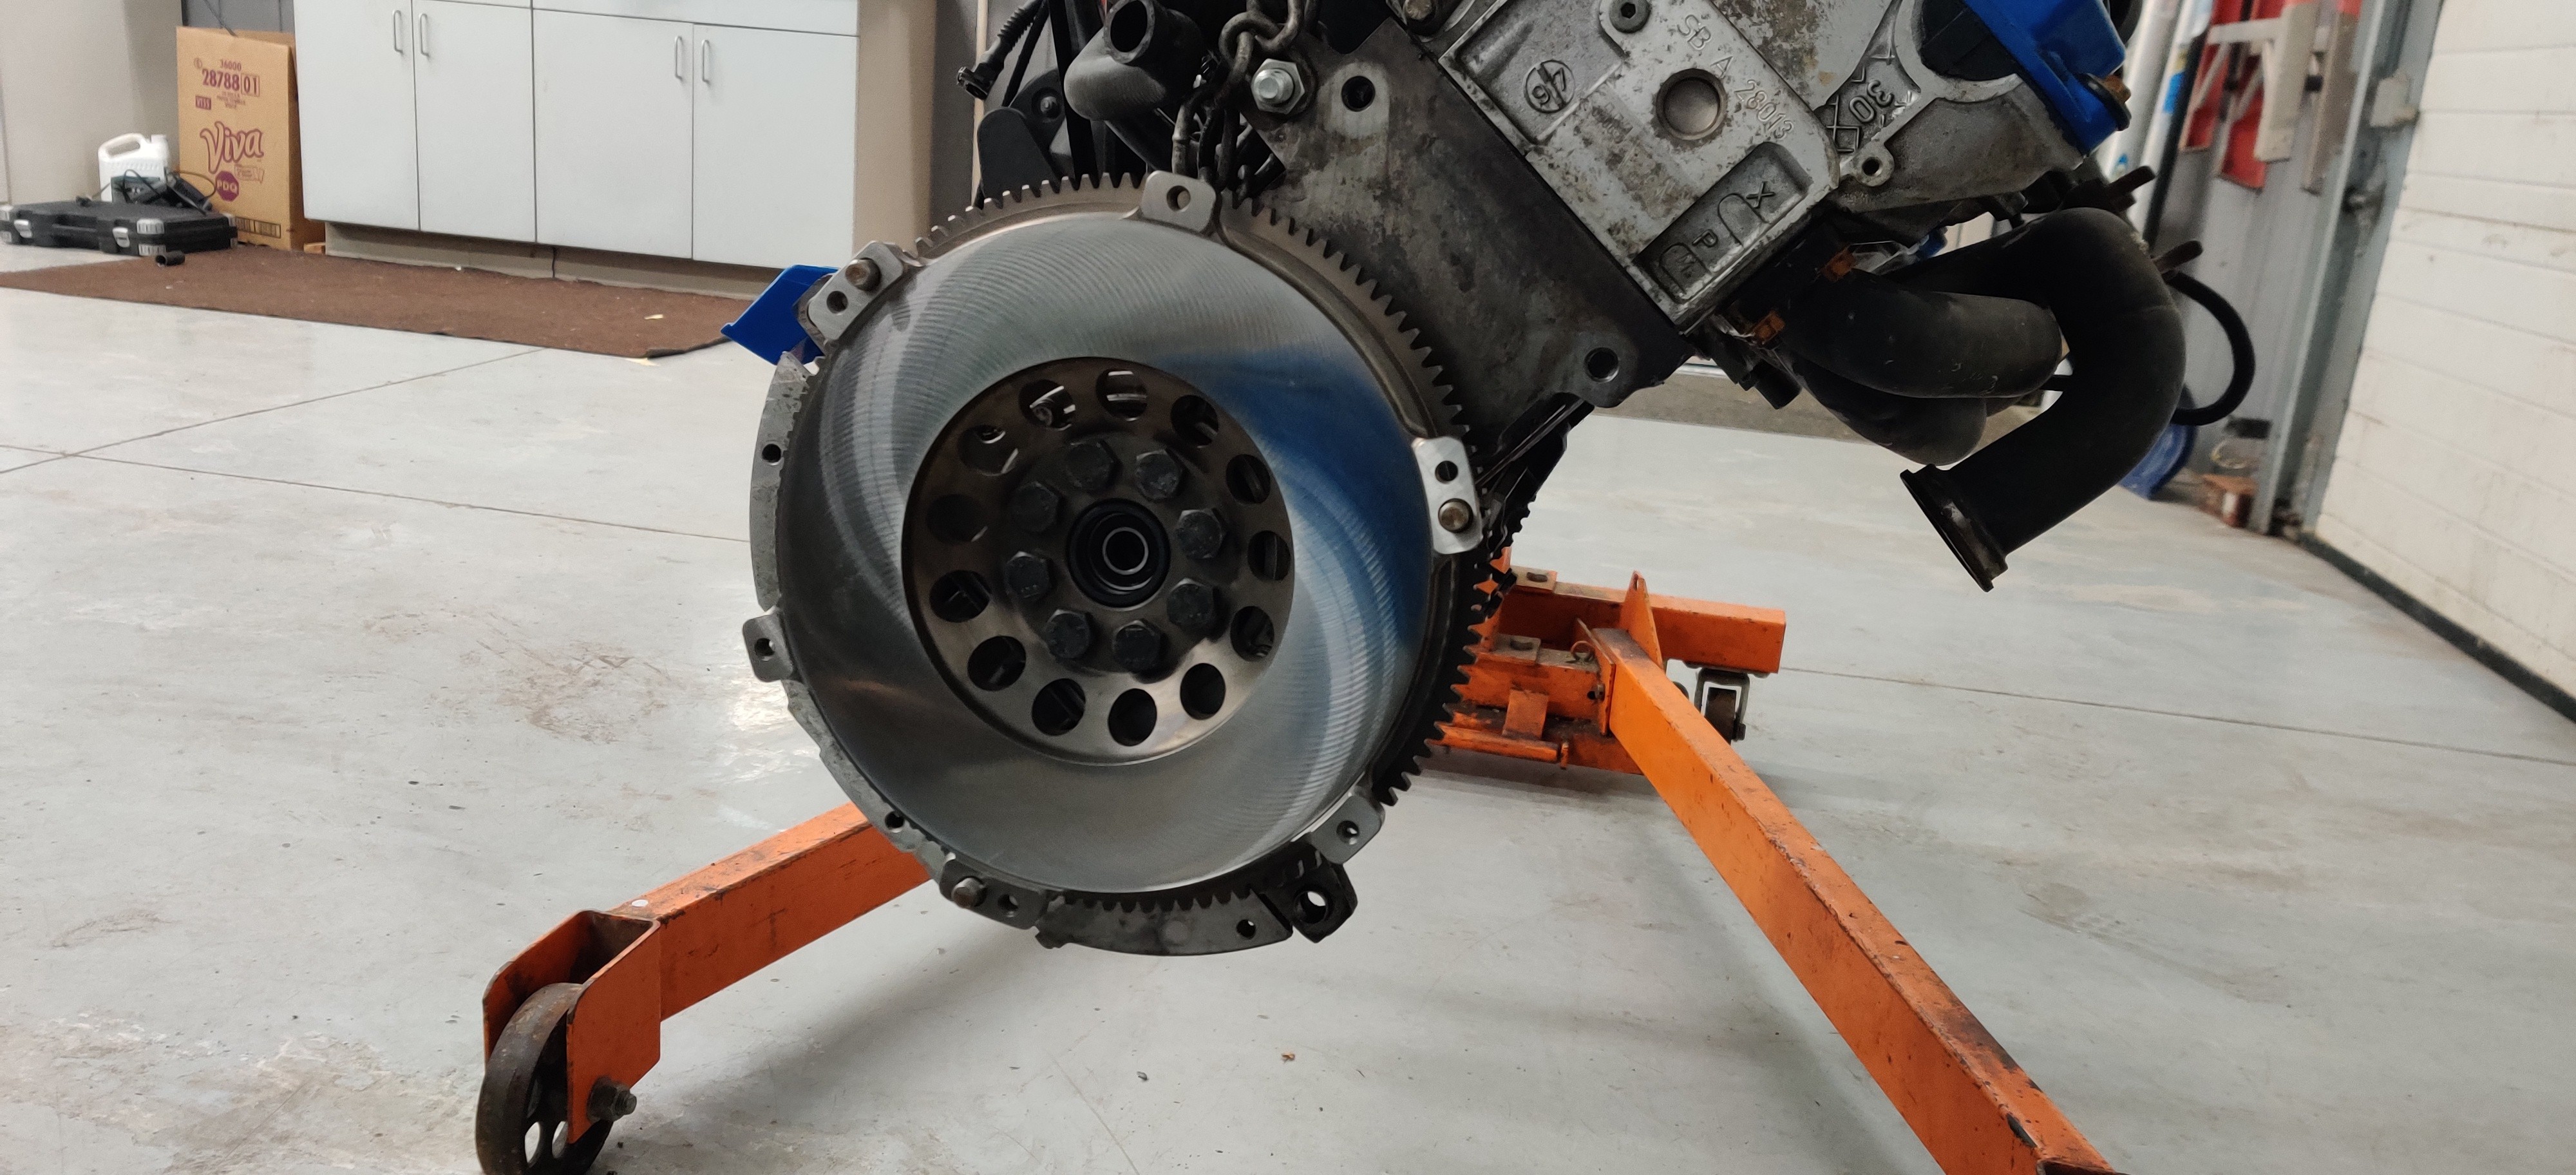
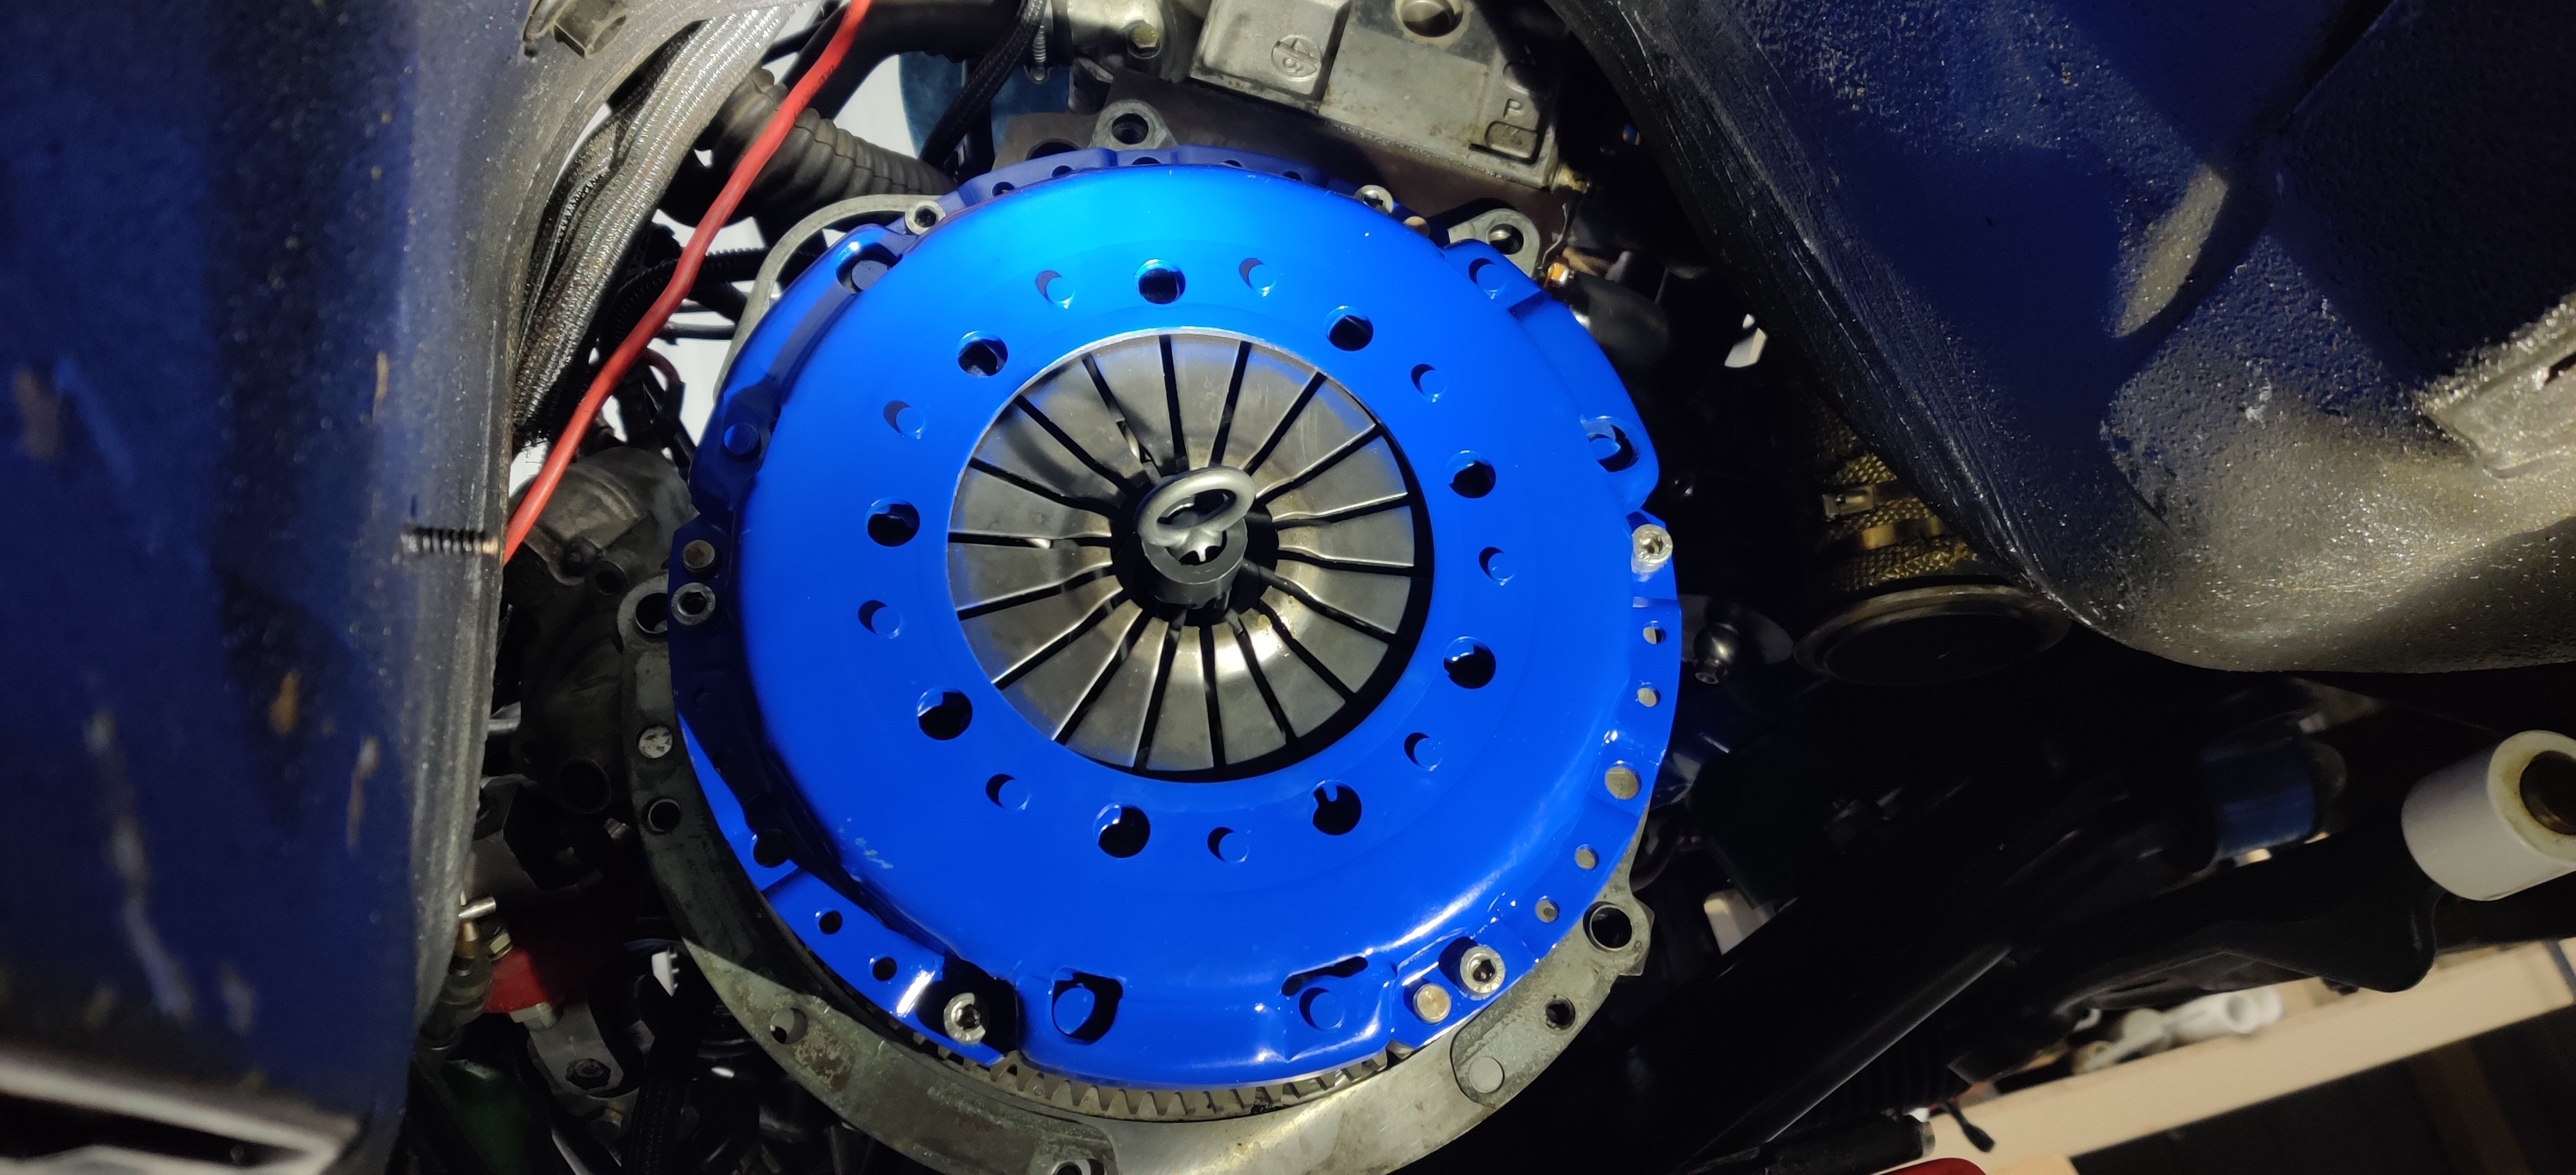
After pulling the g260 off the motor and clutch/flywheel. clutch disc still looks pretty good with no unusual wear. Even though it worked out well most of the time there was a few times during hard pulls from 3rd to 4th gear I could feel it slipping and truly it was at its max if not over what the max for what it was rated for. Luckily when I picked up all the turbo goodies way back when, there was a brand new stage 3 clutch and pressure plate thrown in with everything else as part of the deal so I will be using that as well as switching over to a chromoly flywheel that I am getting resurfaced by a local machine shop this week.
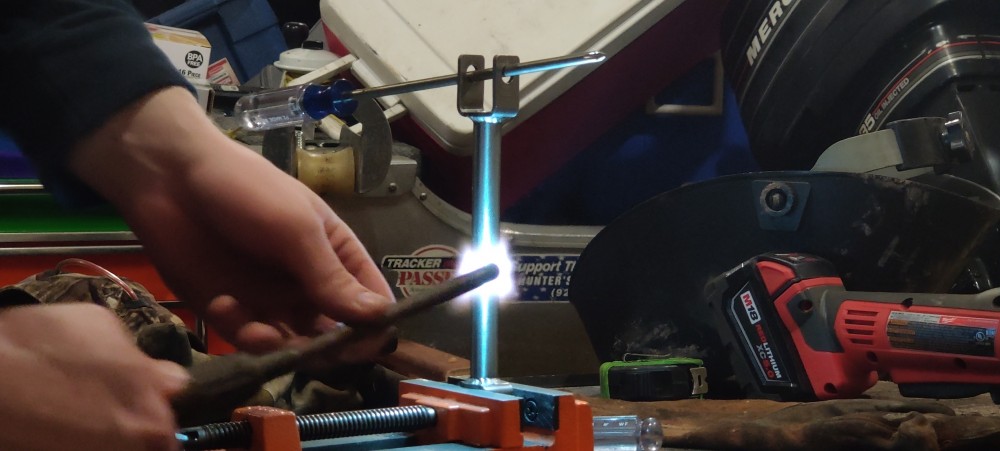
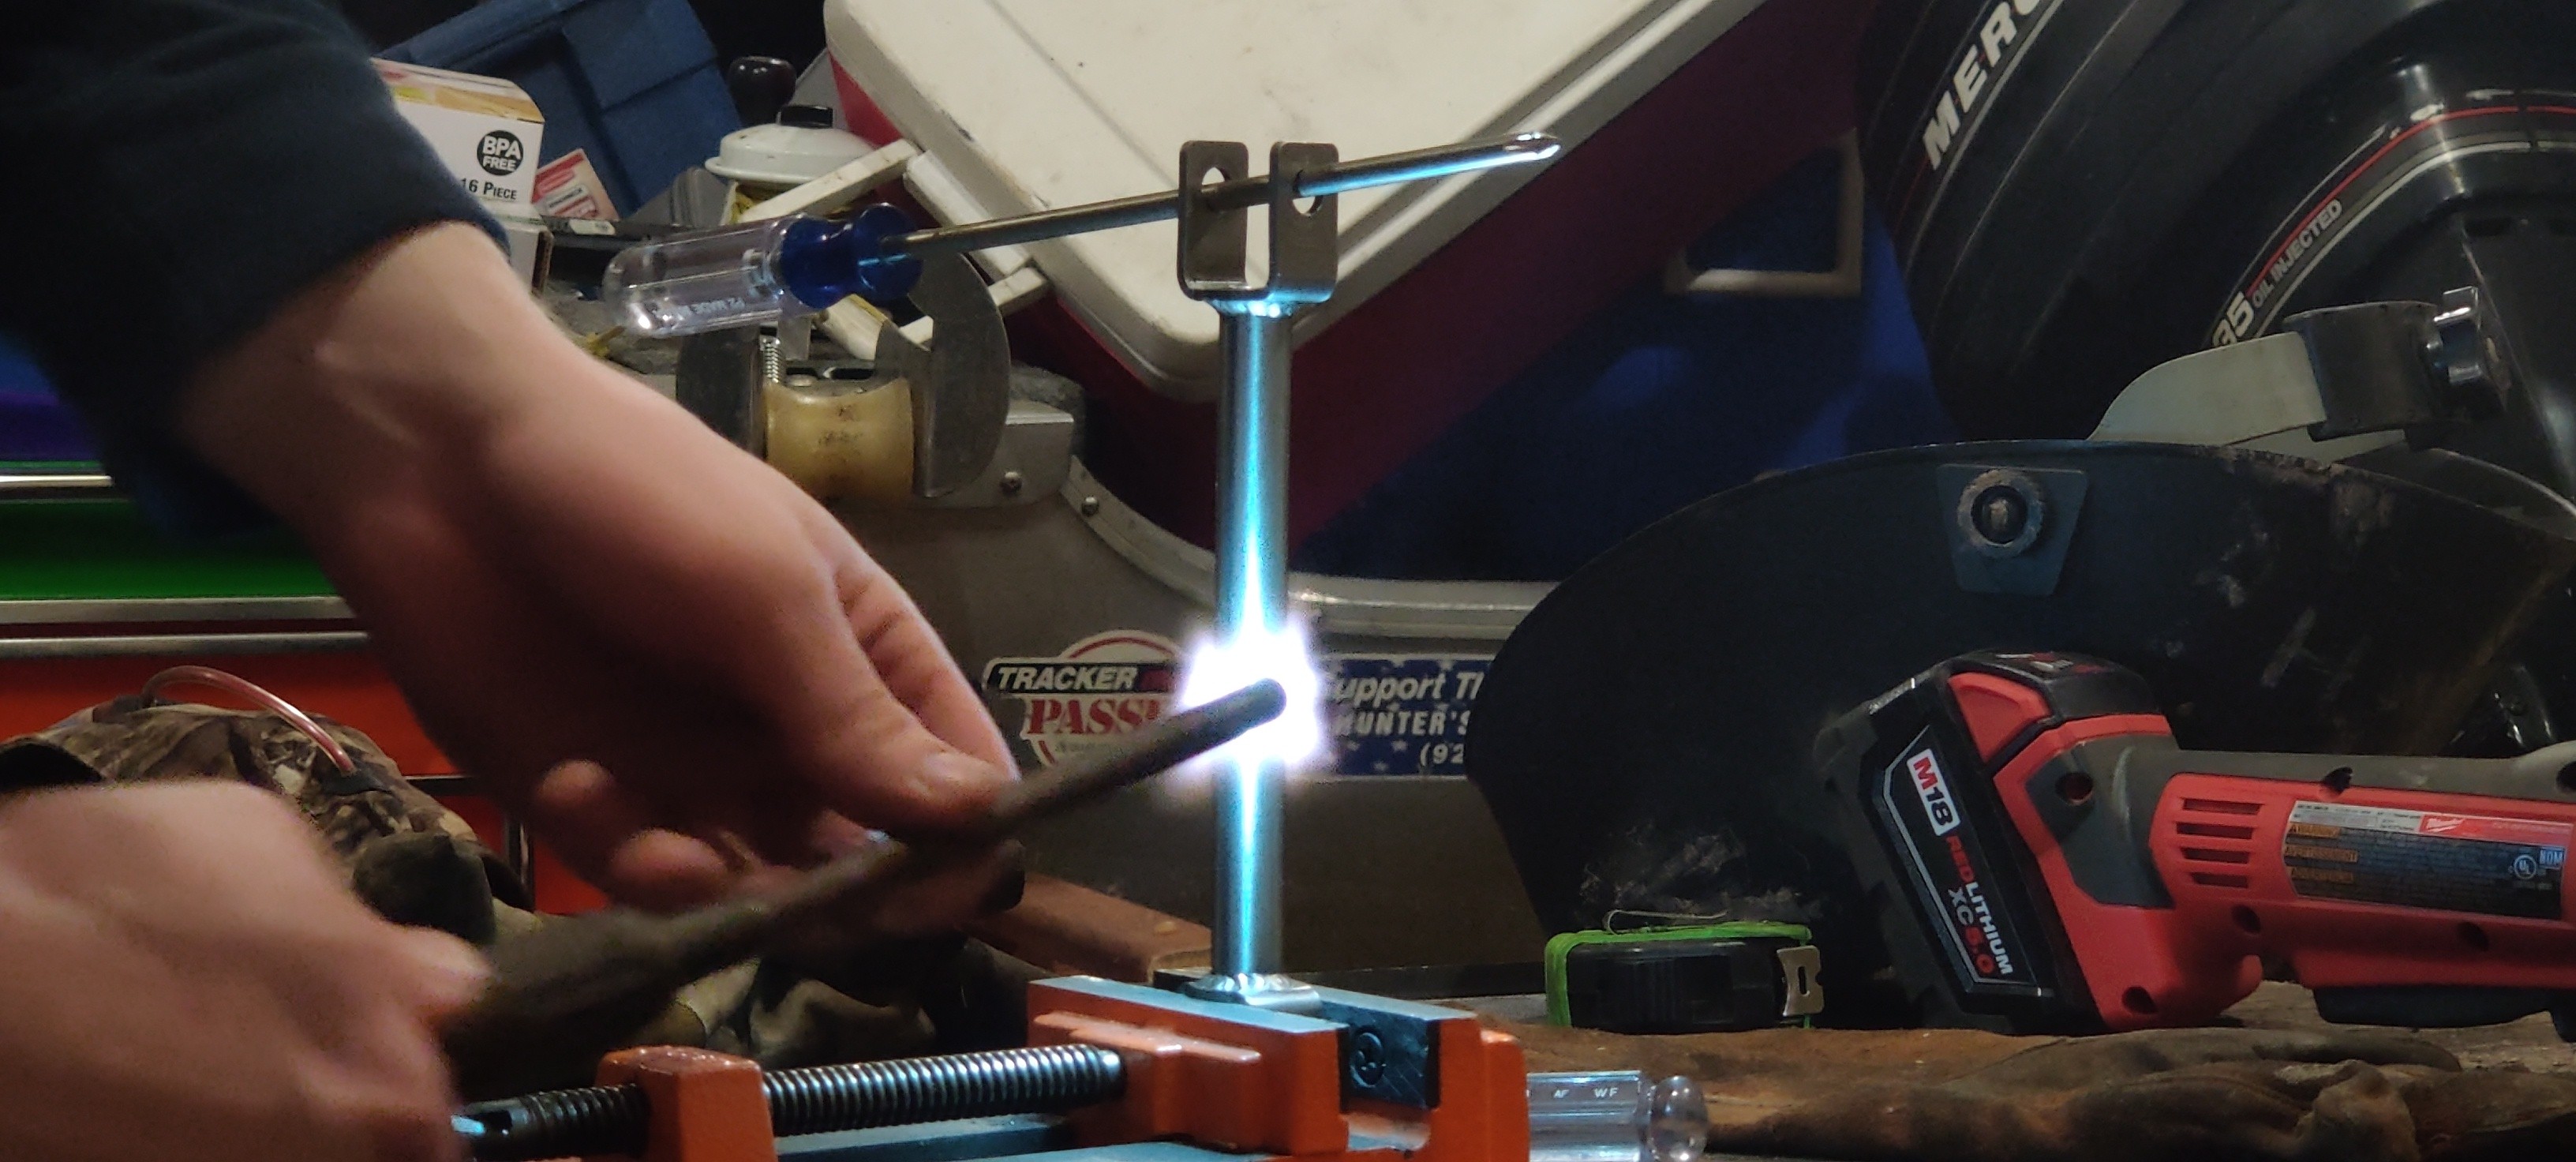
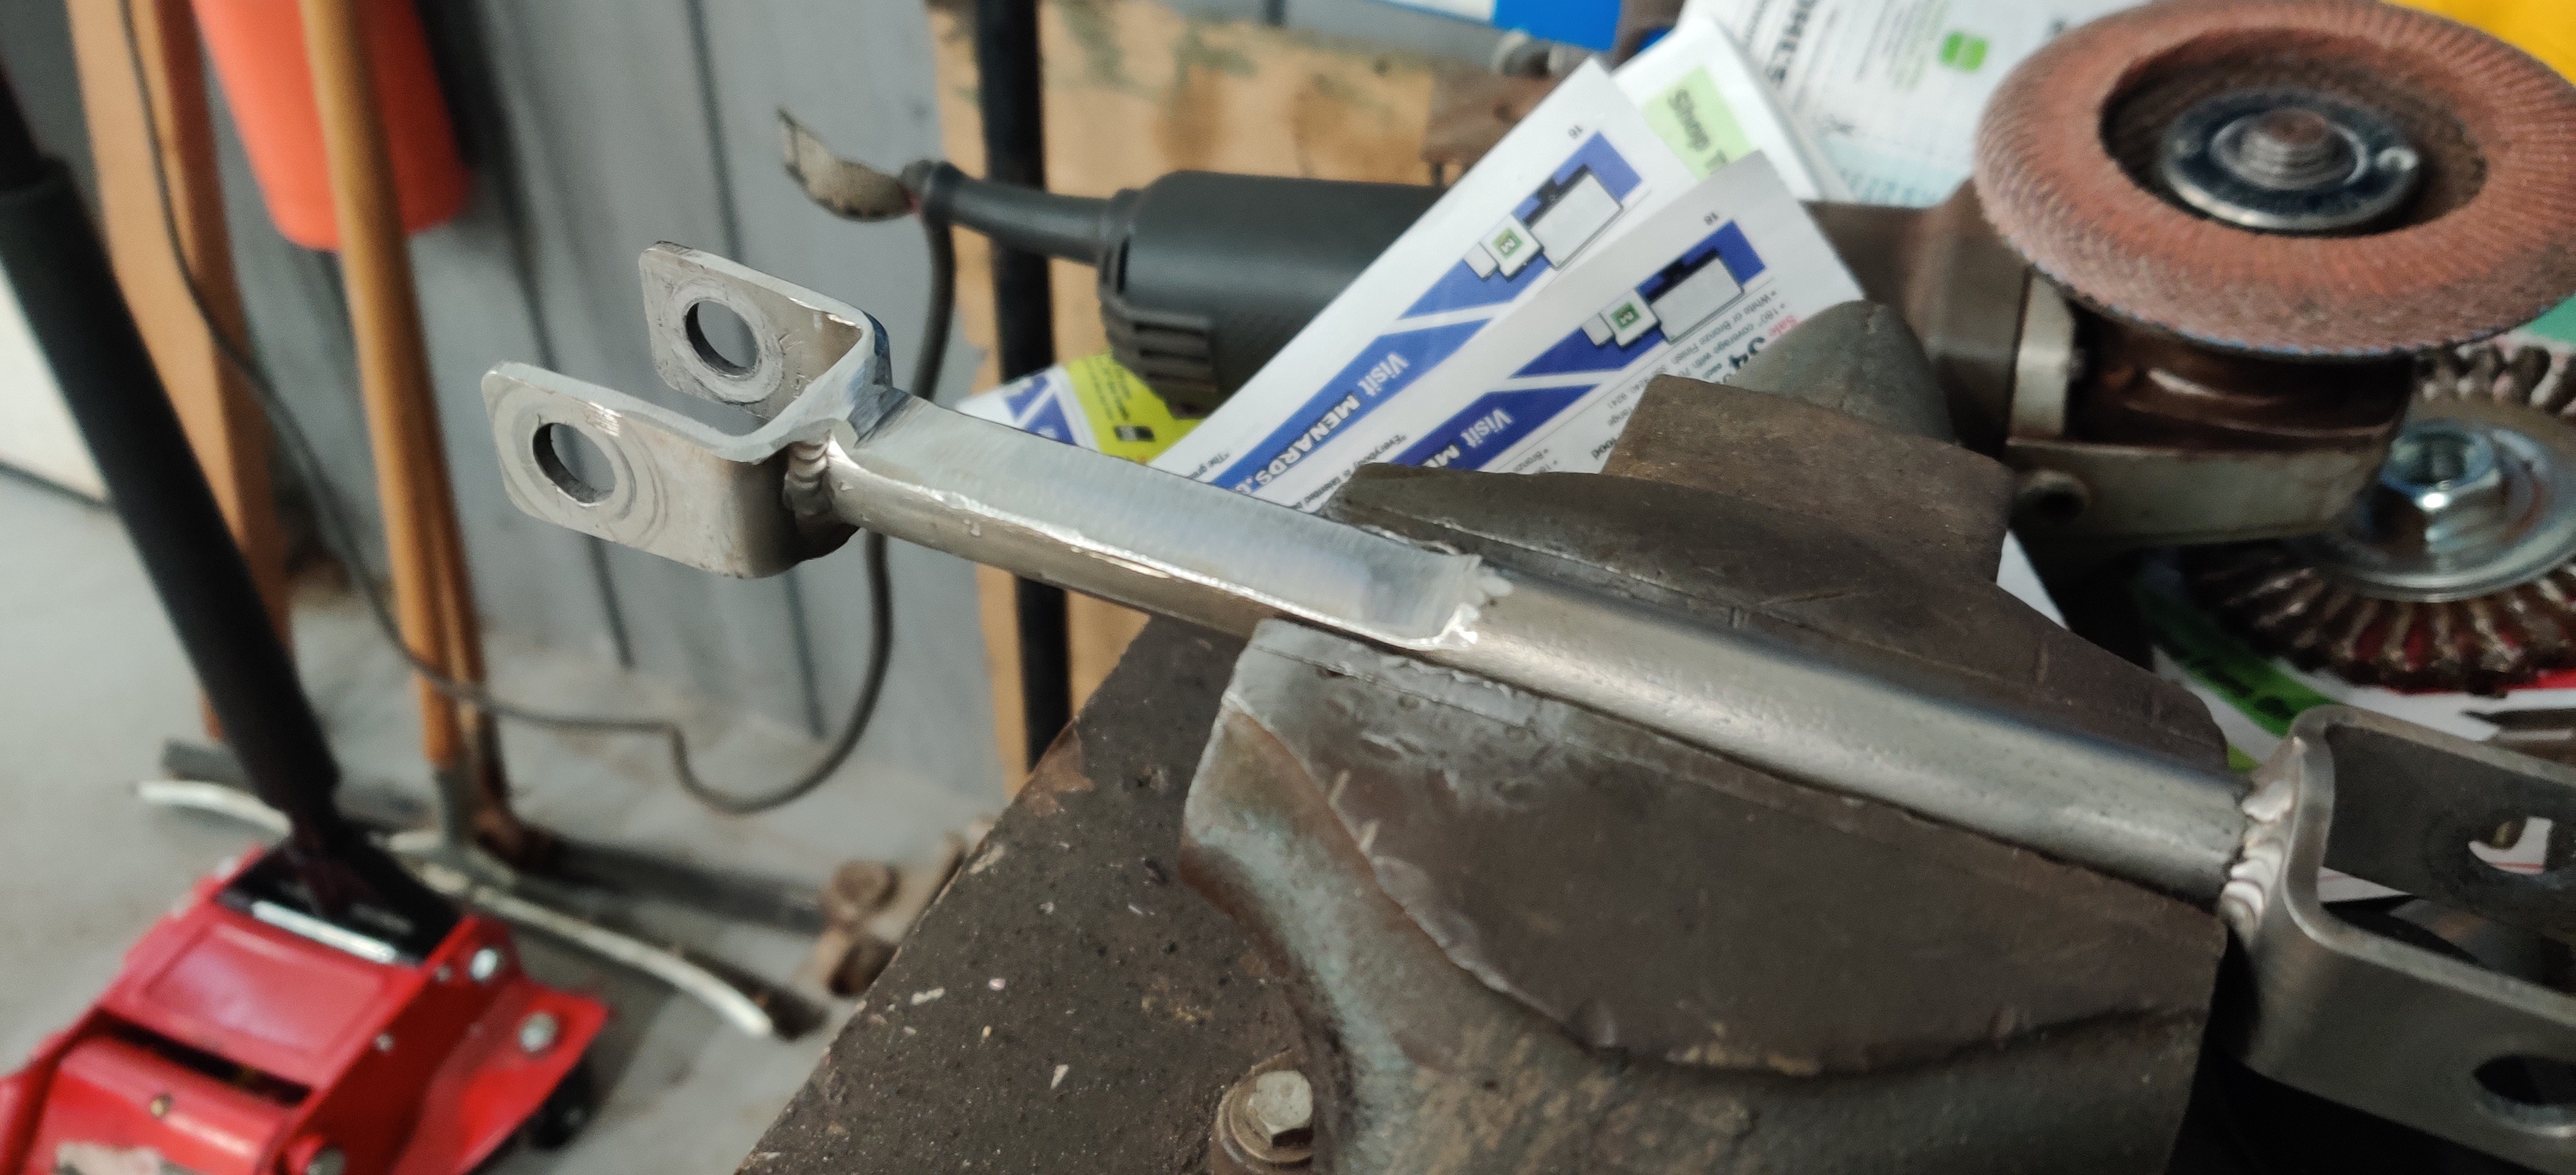
Now that the DSSR was all nicely welded up at 10 degrees it was time to turn it back. There was a few options to do this but I found it easiest to just heat it up red hot and twist it. Called up my buddy who had an oxy acetylene torch and he made that happen. we did figure out that even at red hot we were gonna need better leverage then a screw driver through the holes. A pipe wrench was used instead which worked terrific!
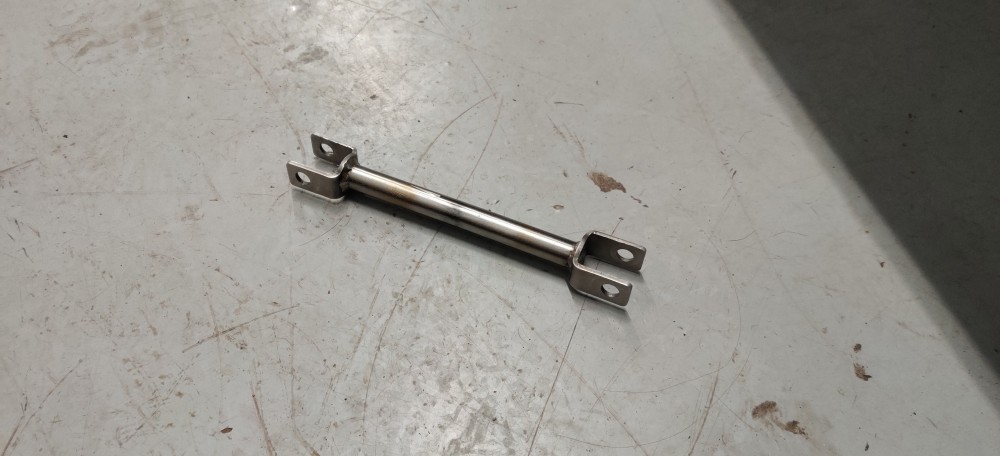
Did my best to polish it up afterwards with a scotch brite pad.
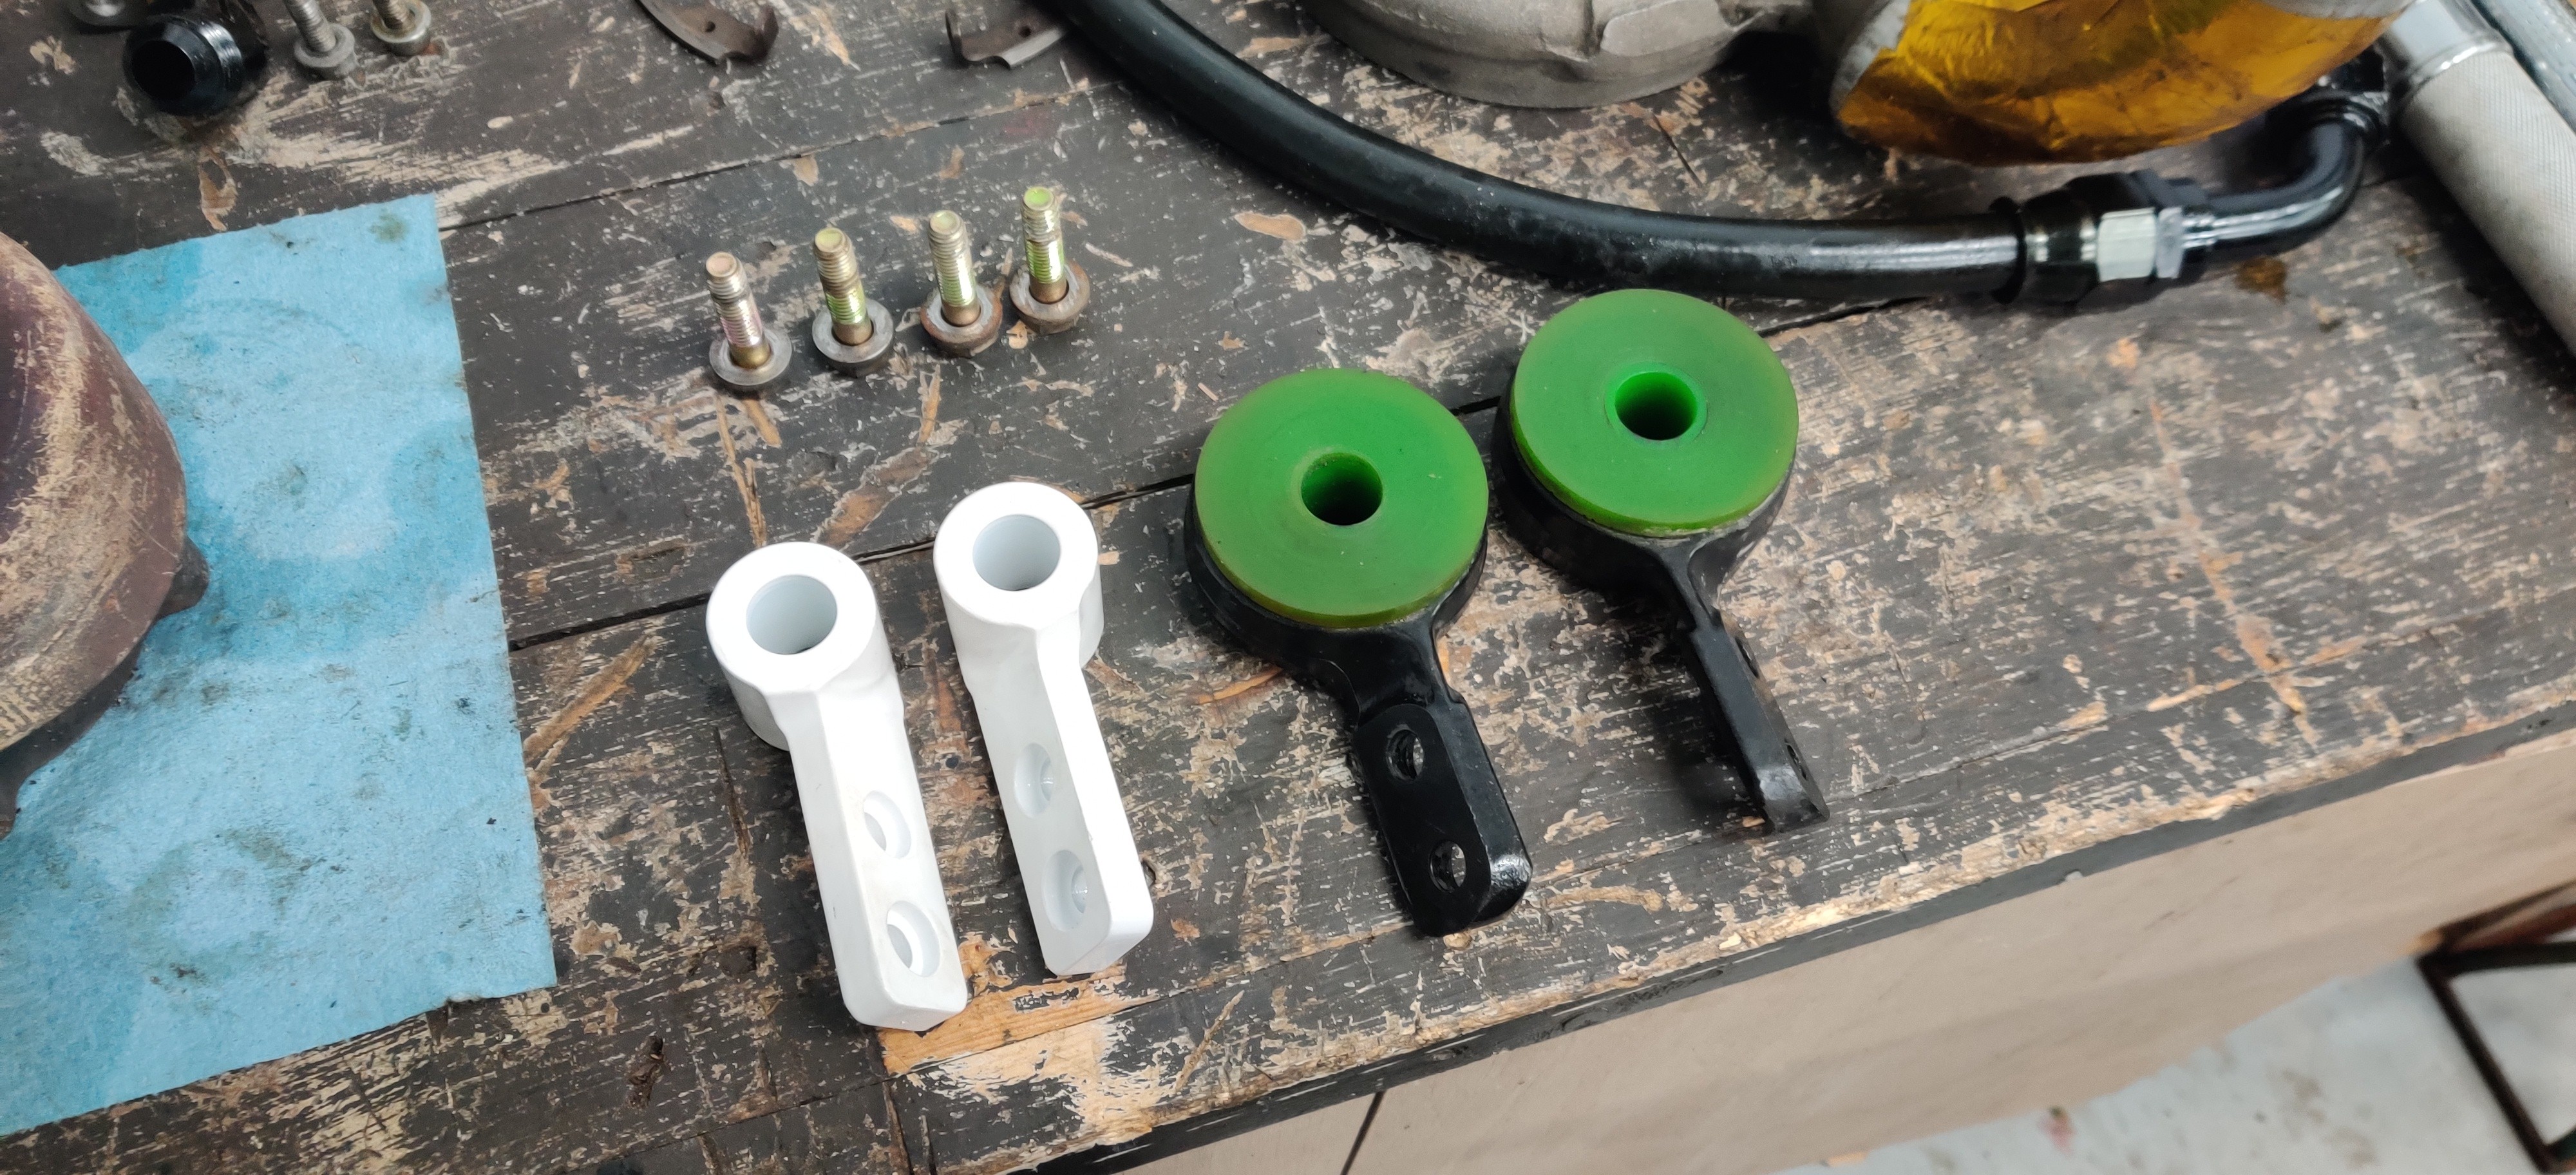
Lastly I picked up some solid control arm mounts from condor back during their black Friday sale. I wanted to try and get a bit more caster for the front wheels and I have heard really good things about these in terms of handling. Install was easier then changing a battery.
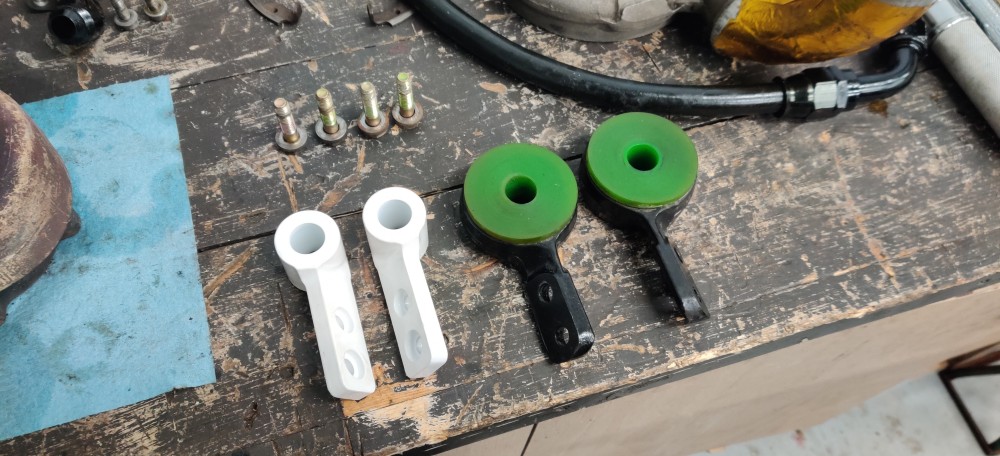
And that's what I have done so far. Ordered quite a few parts last Friday night that should hopefully be arriving sometime later this week. If all goes well I should be able to get the engine back in the car this weekend. Besides getting the diff rebuilt that will be it for drvietrain stuff, at the moment.
There are Couple other things on the check off list.
1. I plan on installing a flex fuel sensor. Come spring time I hope to get the car tuned to run on 91 octane. For the most part I do plan to continue running the car on E85 cause mo power! Its more for when I find myself in an area where E85 is less prevalent.
2. Make some holes where the eccentric hardware are located. With the subframe raised in the rear to fix excessive negative camber there is no longer any room to fit wrenches to adjust them. More to add to this later.
3. Front brake duct cooling kit
4. Different pads and rotors set up
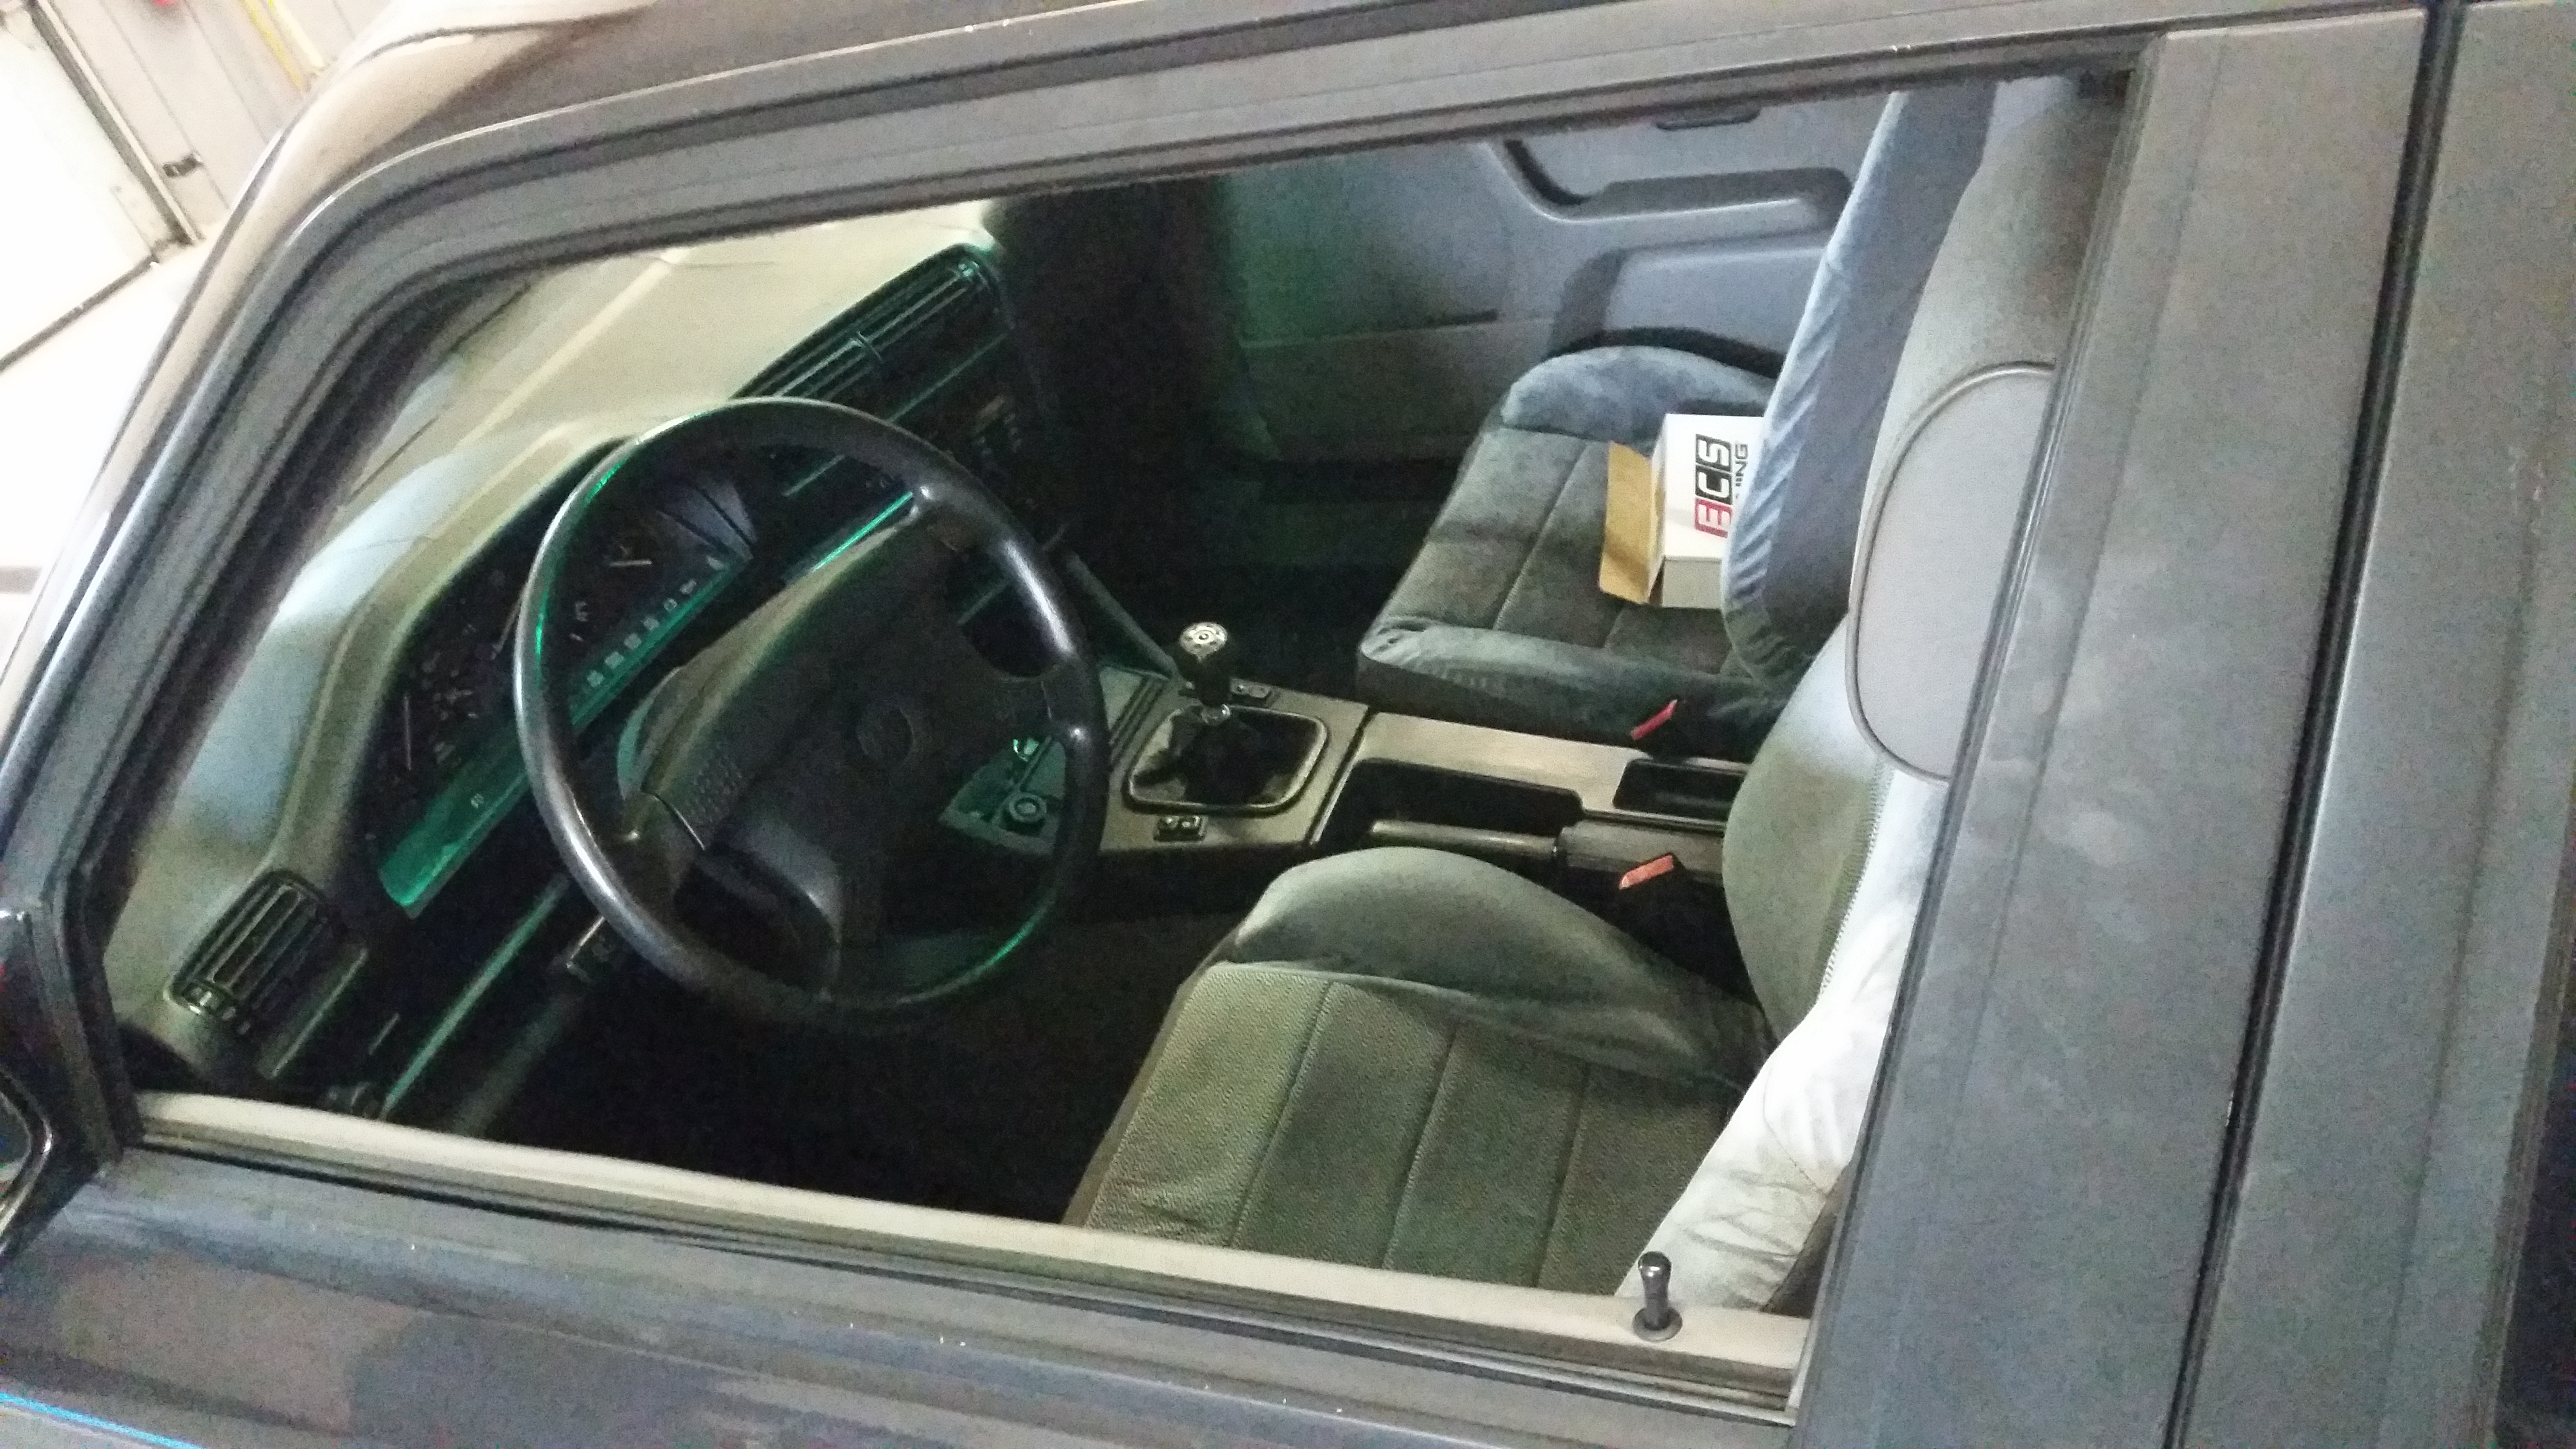
5. Different seats. Still looking around at what I'd like to get, all I know is the seats I have currently have to go. I originally wanted to rebuild/re-upholster the seats but at this point I would rather run something different completely. Still hunting around though.
Maintenance to-do's before returning to the streets...
1. Oil change
2. Clean intercooler
3. Flush brake fluid
4. Swap out spark plugs
5. Replace air filter
6. Drain fuel
-
Have you seen the bronze clutch fork pivot pins?
I have and honestly I don't think they're that much better or worth the extra money. Before I installed the g260 on the motor way back when, I had replaced and installed a fresh oem pivot pin. When I pulled the trans off this last weekend (10,000 miles or so later) the pin barely showed signs of any wear. After seeing this I thought I'd just stick with the oem one. I have also went out and read other threads of people having issues where the brass ones were not lasting all that long and prematurely wearing because of the brass being to soft.
-
Sounds like you have been super busy. Nice update!

https://www.instagram.com/_jdesigner_/ http://nevertoolow.tumblr.com/
🥳SOLD BMW E24 633CSI - BMW M30B32 🧪SOLD HCH ES9 - 1.3 LDA
👽BMW E30 325IC - Toyota 1JZ-GTE ⏰ HONDA EF9 CIVIC SI - JDM B18C5
☠️BMW E36 318i - Ford 5.0 FE302 🚴♂️ GT-Labomba - 26x2.75 Freeride
🤹♀️SOLD BMW E36/7 Z3 - BMW M54B25 🧓SOLD BMW E10 2002 - BMW M10M05 -
Is that blue flywheel a UUC Motorworks one? If it still in decent condition I might be interested. I've got one in the drivetrain that is in the van but I'd like another one in my DD coupe. The heavy stock flywheel is terrible after having experienced a lightweight one. Why are you switching to Chromoly? Nice progress on everything.
-
I have and honestly I don't think they're that much better or worth the extra money. Before I installed the g260 on the motor way back when, I had replaced and installed a fresh oem pivot pin. When I pulled the trans off this last weekend (10,000 miles or so later) the pin barely showed signs of any wear. After seeing this I thought I'd just stick with the oem one. I have also went out and read other threads of people having issues where the brass ones were not lasting all that long and prematurely wearing because of the brass being to soft.
I went with bronze because the last trans I refreshed had a black plastic one worn into the shape of a new tube of lipstick (what!?).
I dont disagree that plastic works, im sure they last 30k miles just fine and that is a lot of summers worth of miles
-
I went with bronze because the last trans I refreshed had a black plastic one worn into the shape of a new tube of lipstick (what!?).
I dont disagree that plastic works, im sure they last 30k miles just fine and that is a lot of summers worth of miles
Ya and if it doesn't last that long then I guess I'll have to pull the trans again. At this point with how many times I have pulled the motor it ain't no big deal to me.

Is that blue flywheel a UUC Motorworks one? If it still in decent condition I might be interested. I've got one in the drivetrain that is in the van but I'd like another one in my DD coupe. The heavy stock flywheel is terrible after having experienced a lightweight one. Why are you switching to Chromoly? Nice progress on everything.
It is not. It's the fx racing's lightweight aluminum flywheel which was an amazing flywheel for the money and I really liked it. The reason for switching is because I am unable to to purchase a replacement friction surface plate. I wanna say right of the bat that gripforce.com has TERRIBLE CUSTOMER SERVICE! I have tried multiple different times to try to call them and every time it goes to voicemail. The only way to get a hold of them is through email which is fine, if they'd answer them in a timely fashion! The first time it took me 3 times to email them before responding by telling me they have not yet come out with a replacement friction plate for their aluminum flywheels but they can offer me a discount on another one of their aluminum flywheels. I was fine with that and then had to email them 7 MORE TIMES asking them what the final price would be after the discount for them to respond that their aluminum flywheels were on back order and they could not help me. Terrific! Luckily I had a fx racing chromoly flywheel sitting around from another car, slightly used, that I decided to get resurfaced and use instead. The chromoly is only about 4 lbs heavier over the aluminum one and from what i've seen from other 24 valve e30's running them, they seem to perform just as well.
I will however be using the aluminum flywheel and stage 2 clutch and pressure plate for another car so I'm not looking to get rid of them.
-
So as usual I've been doing a terrible job of making any updates. A lot of progress has been made over the last few weeks so lets get yall caught up.
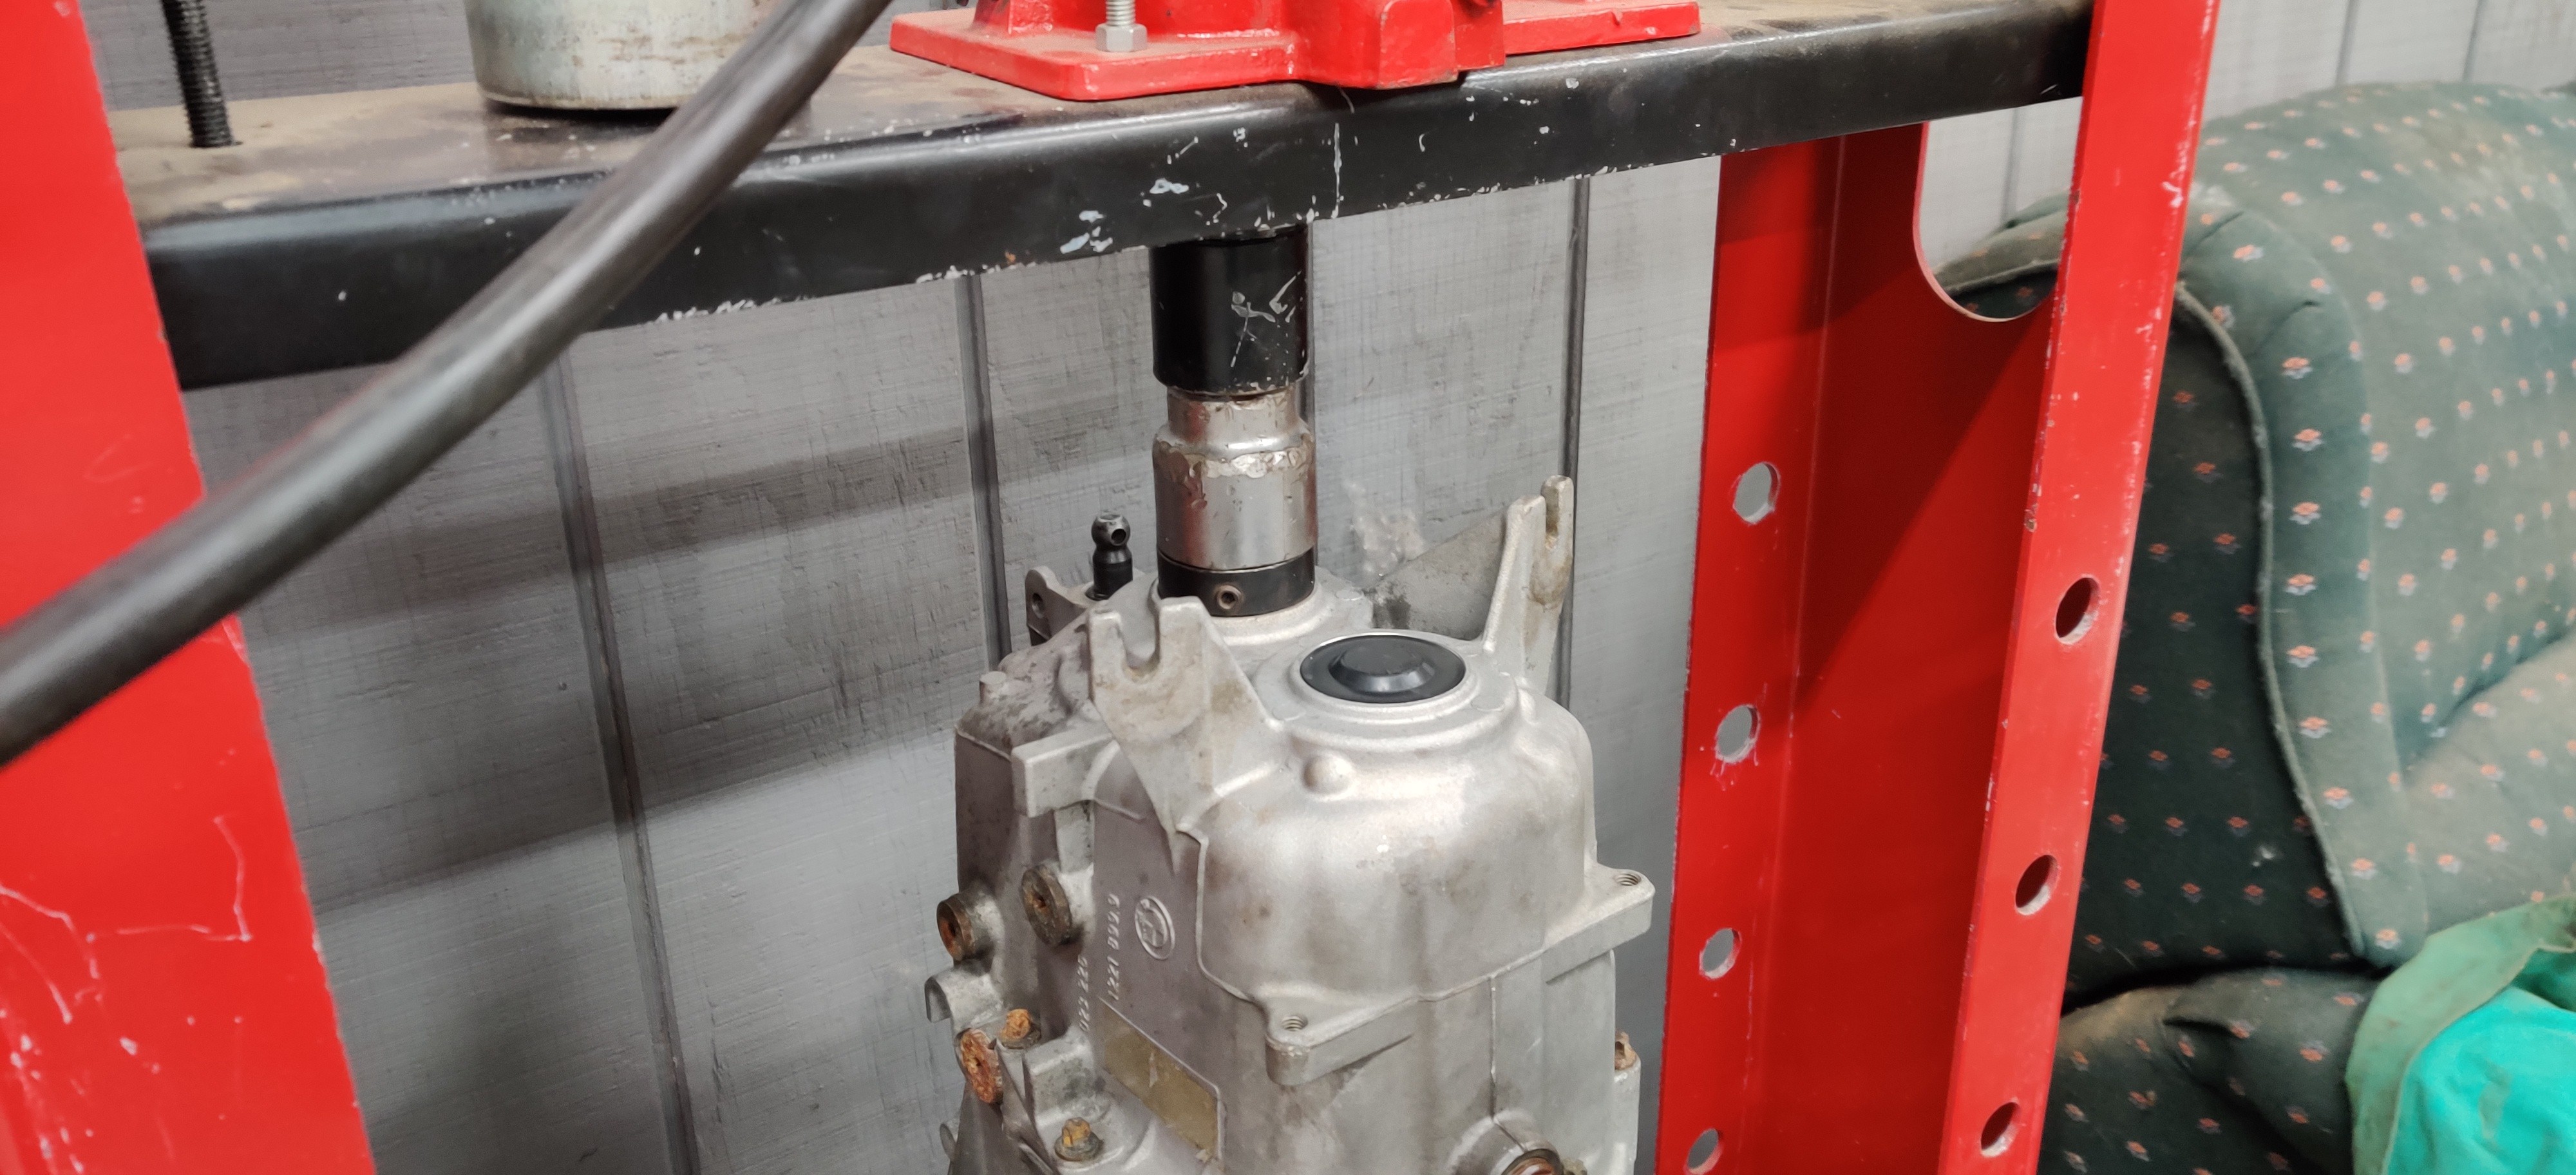
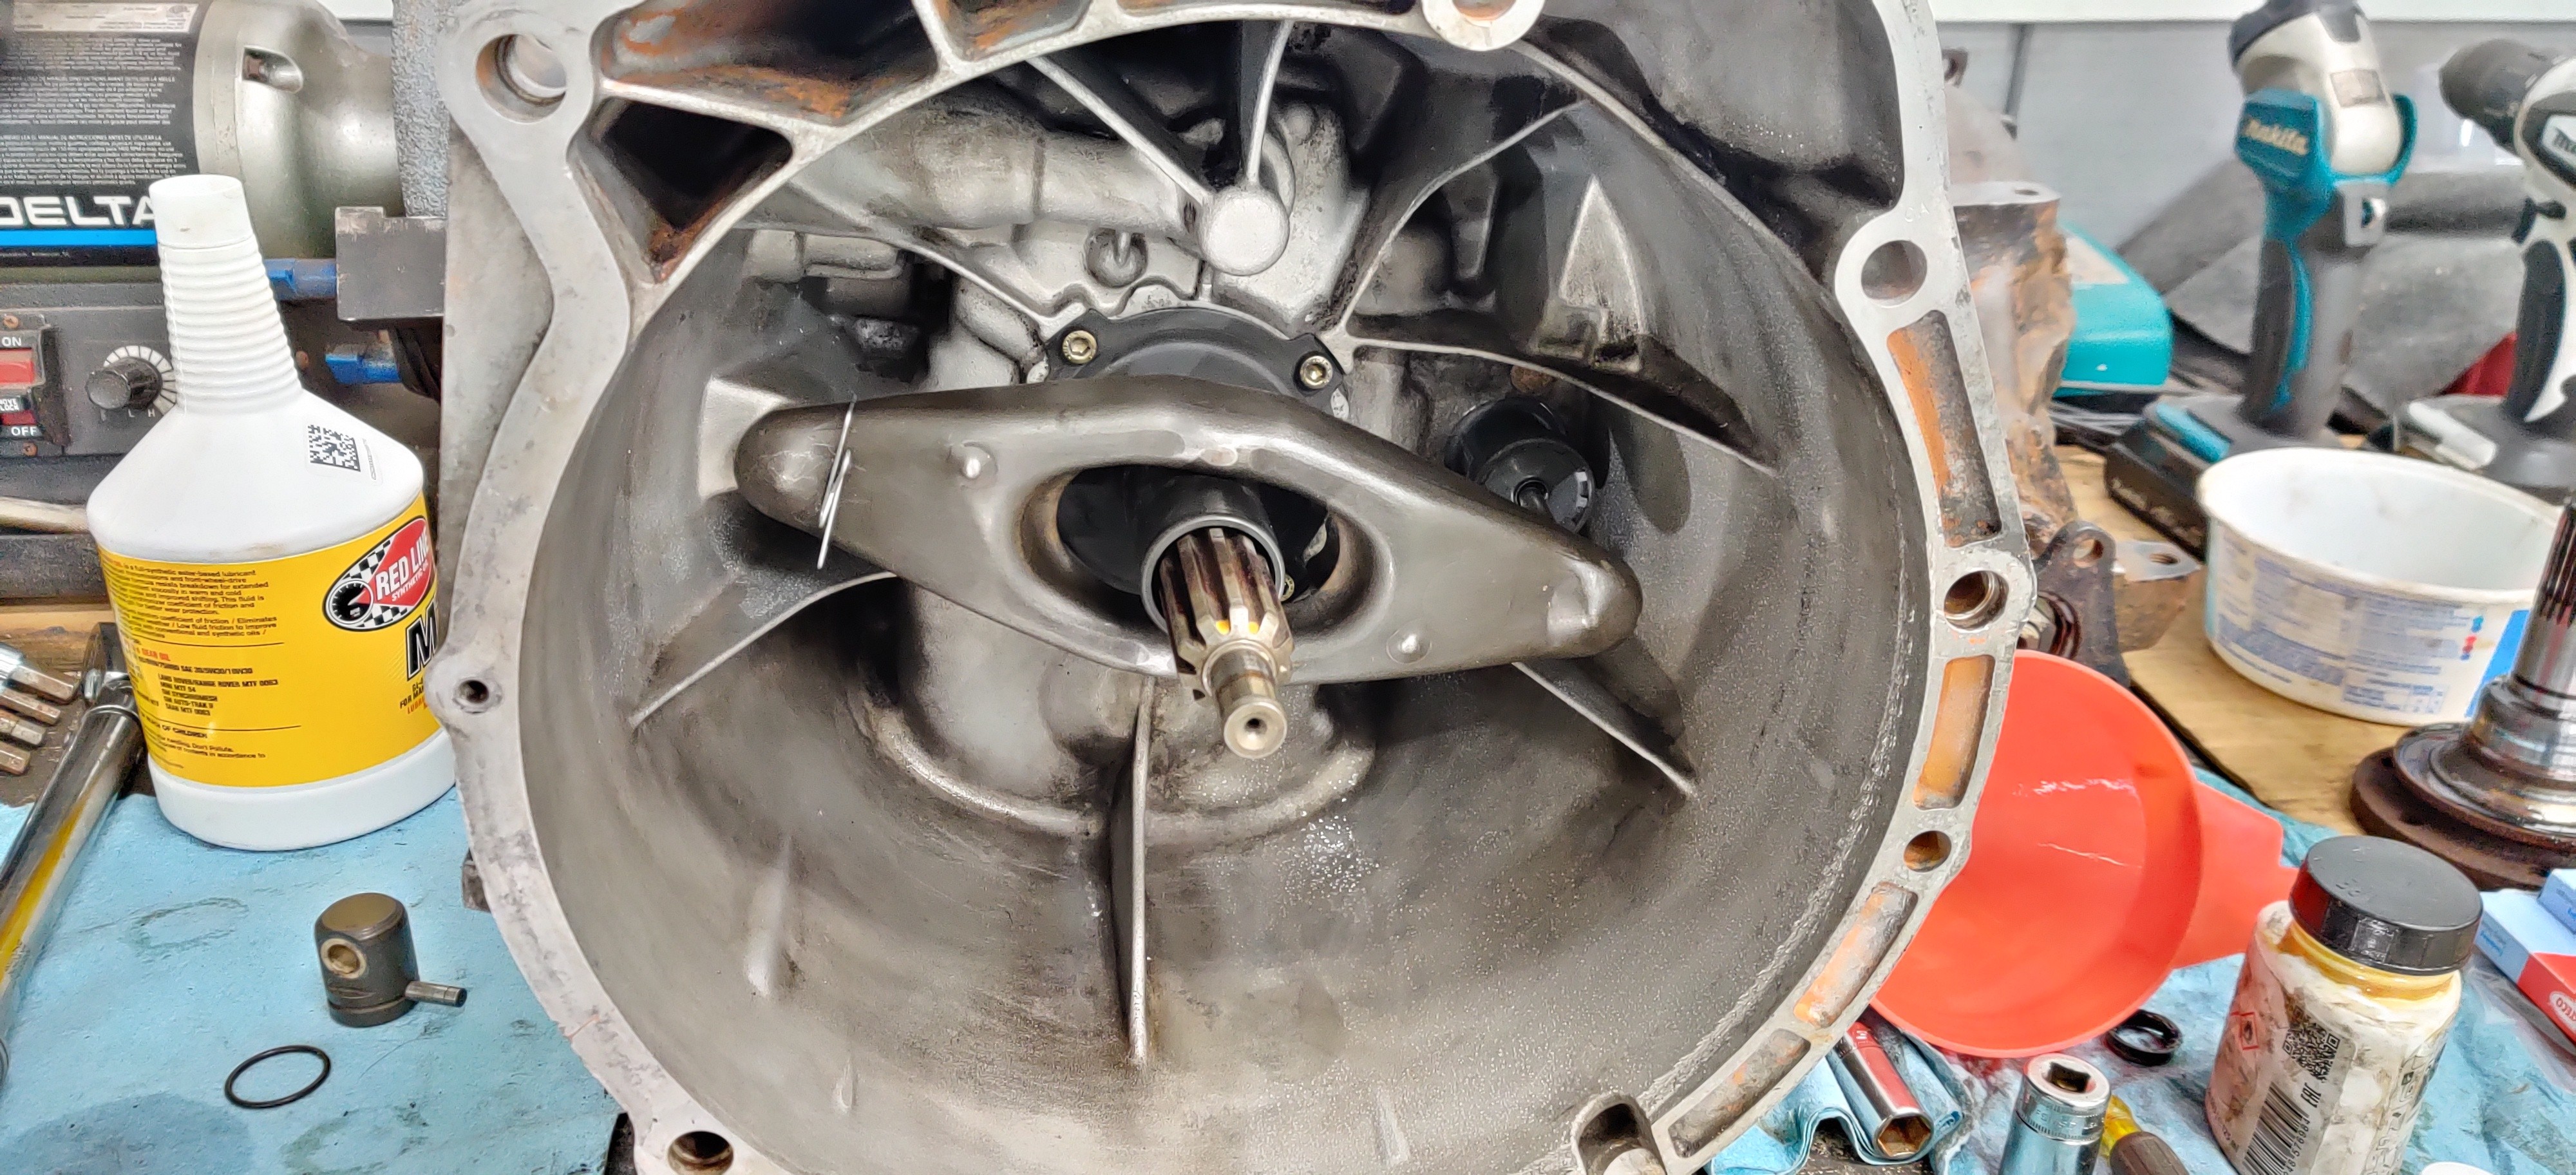
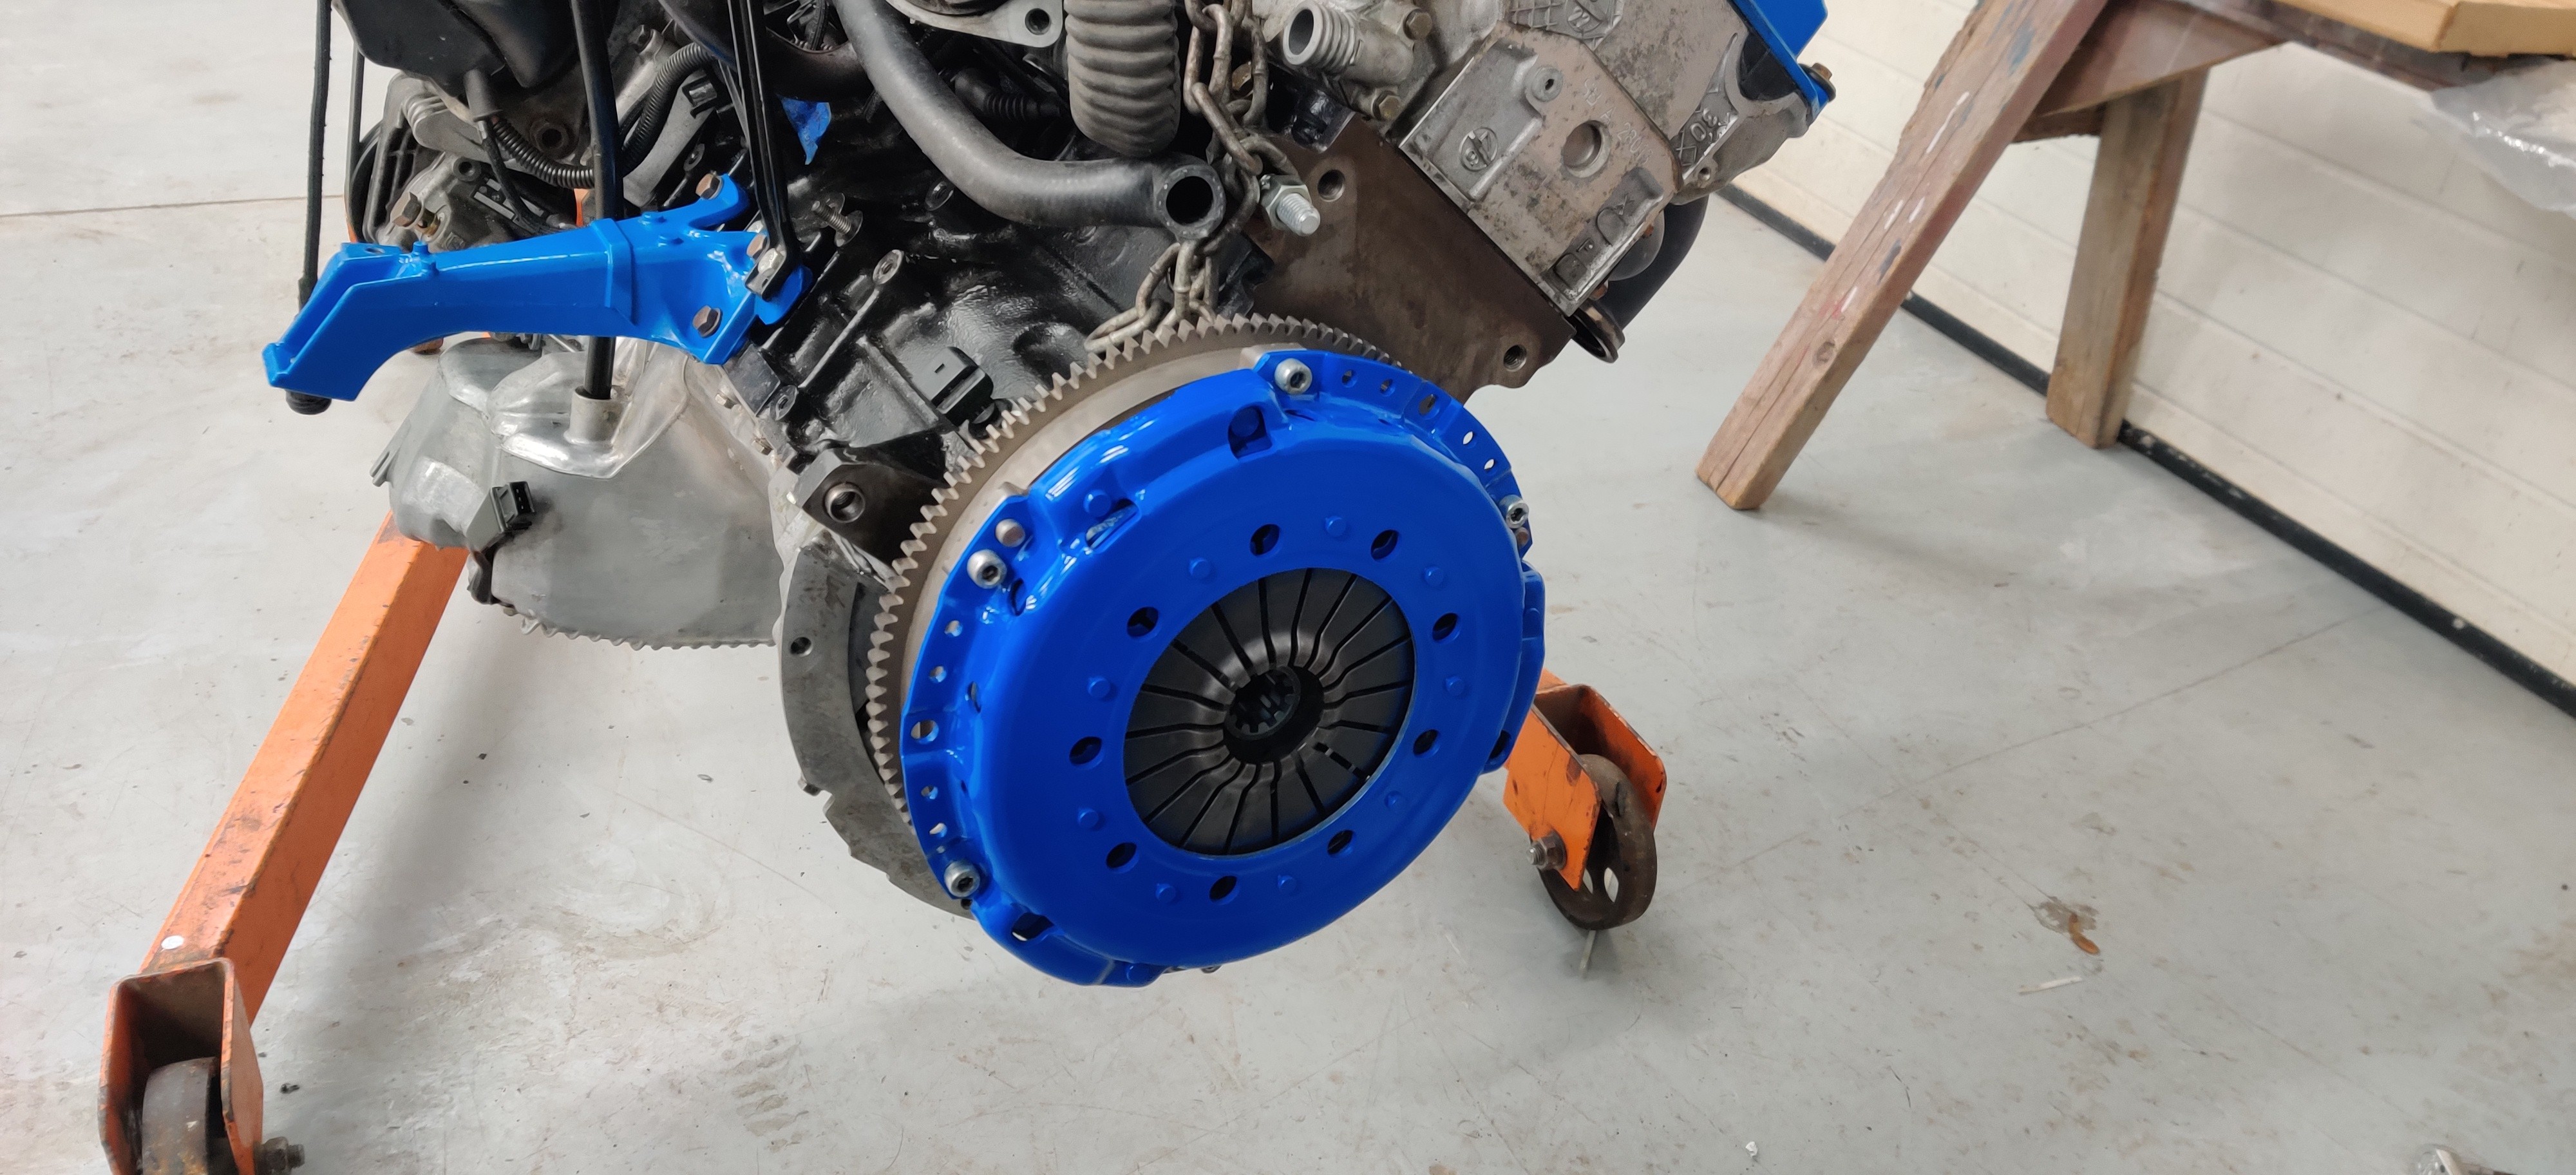
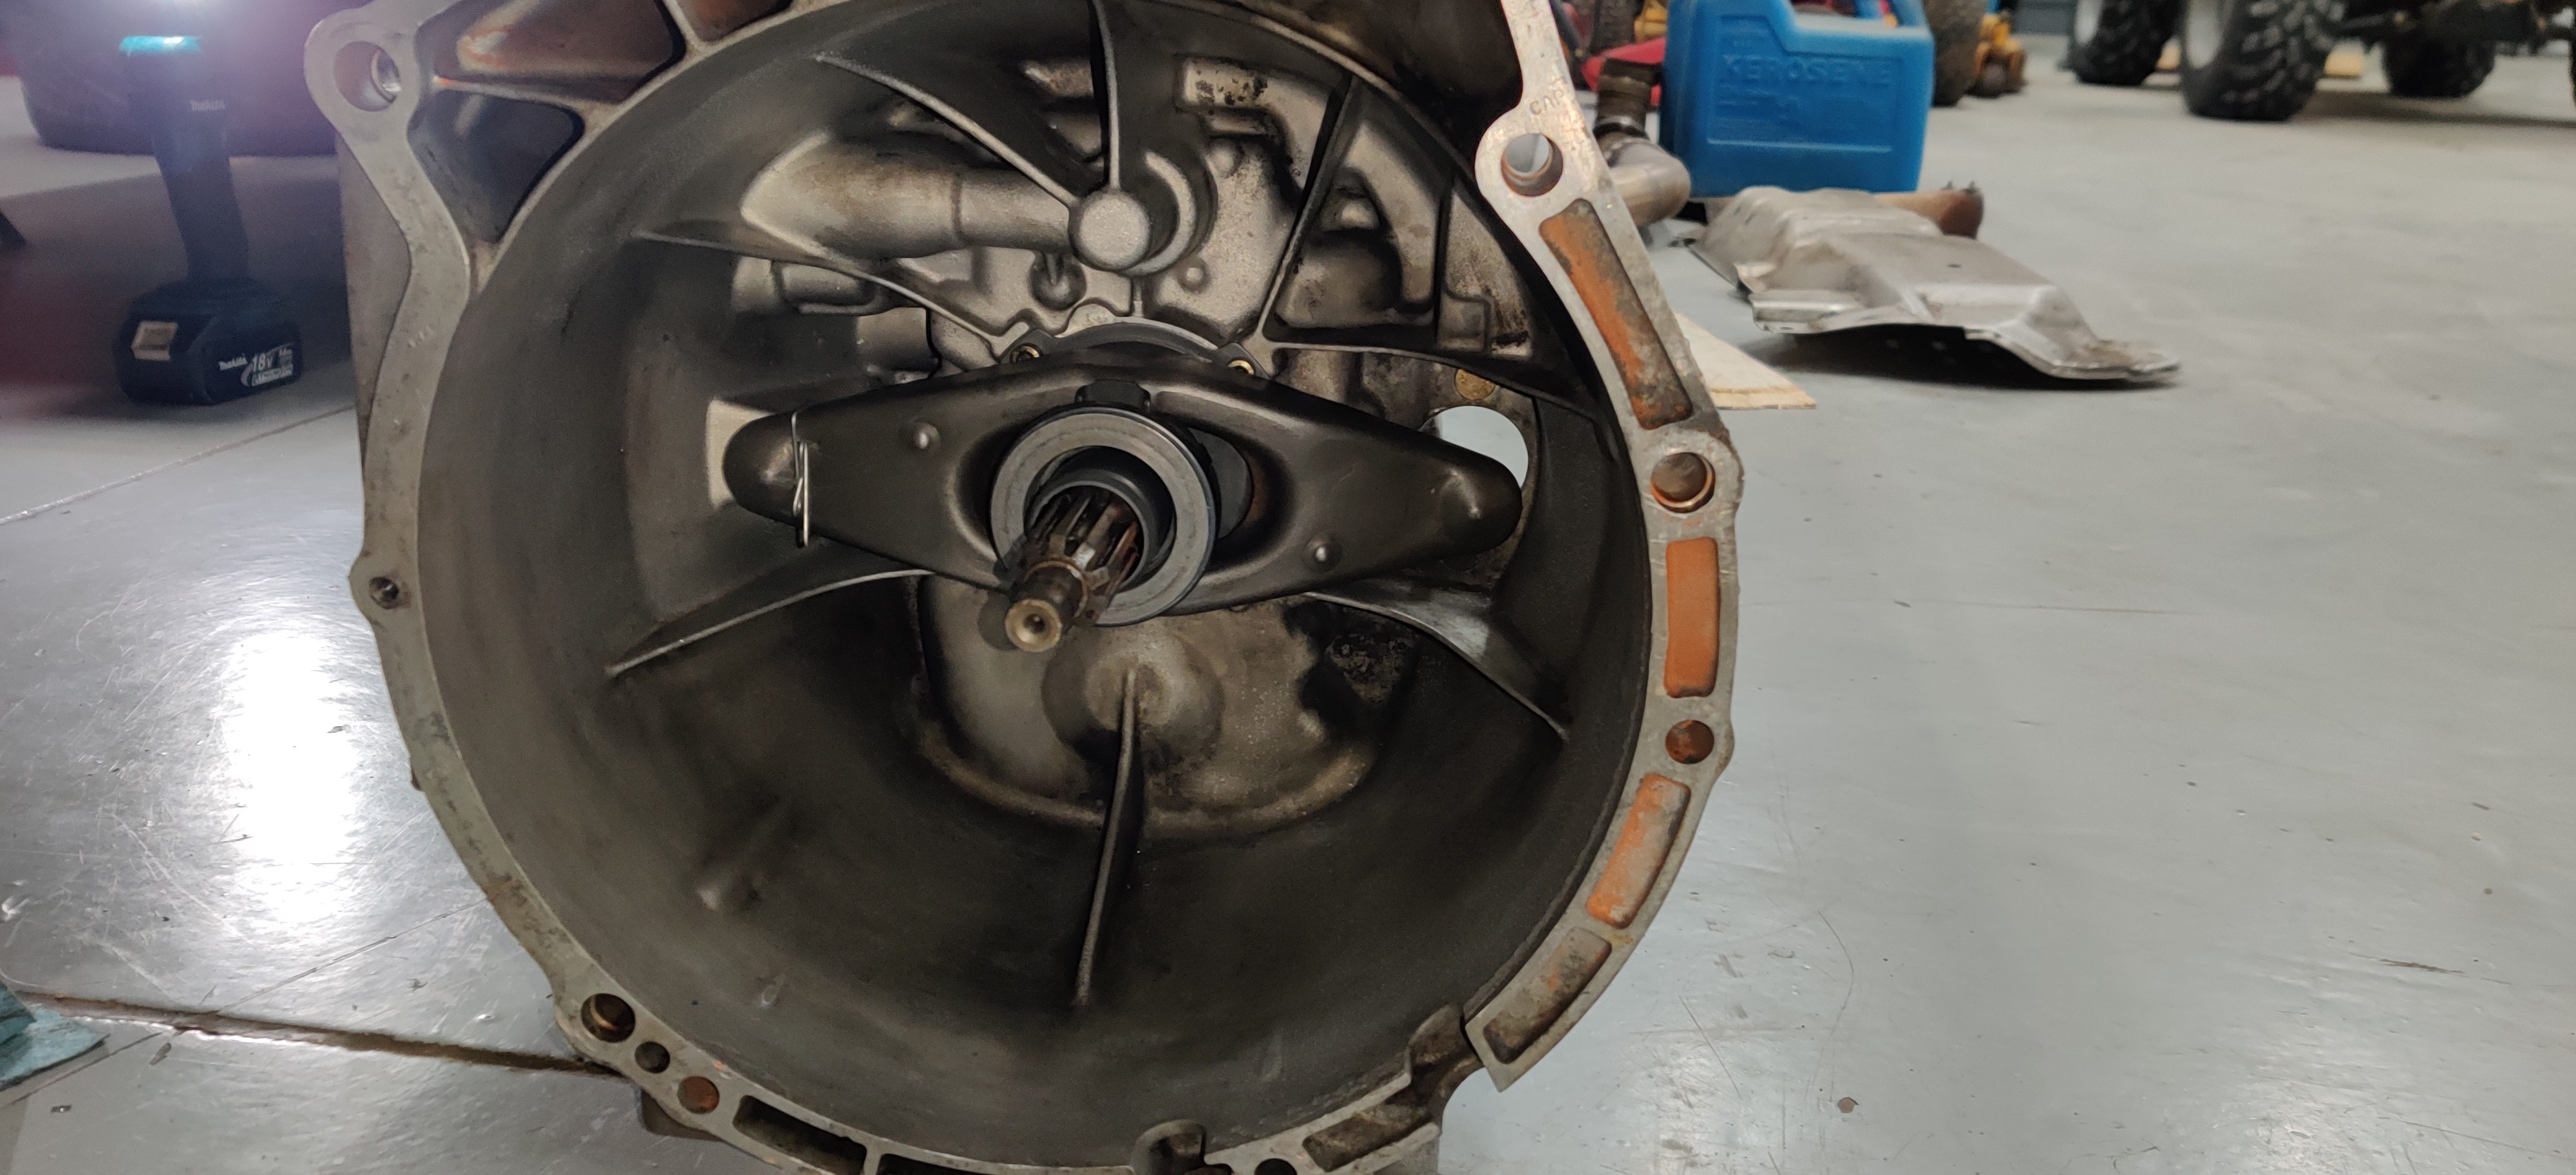
Flywheel is back and on as well as the clutch and trans. While I was in there I did of course replace the pilot bearing to except the larger shaft of the zf trans as well as replace the TOB with a fresh one while i was in there.
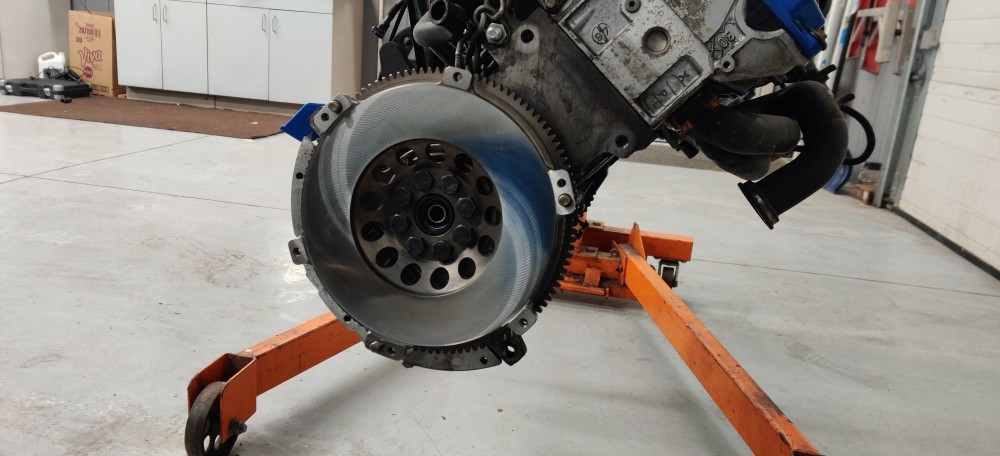
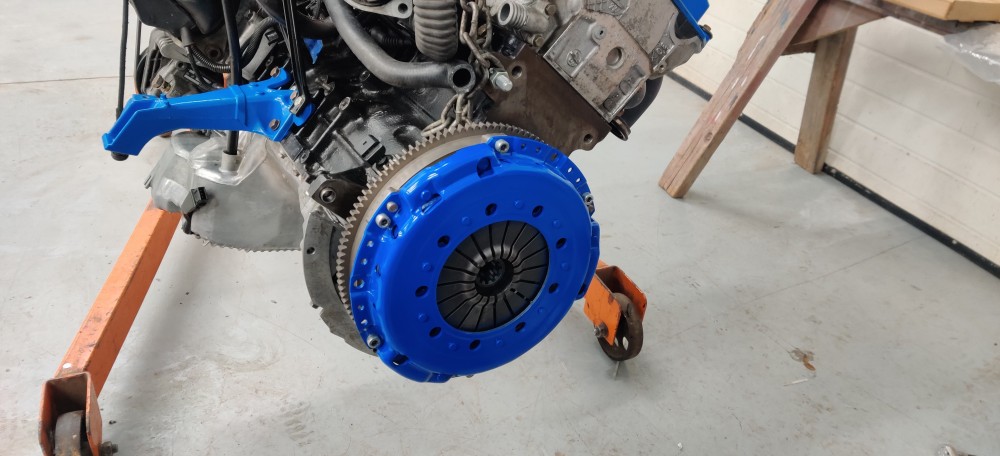
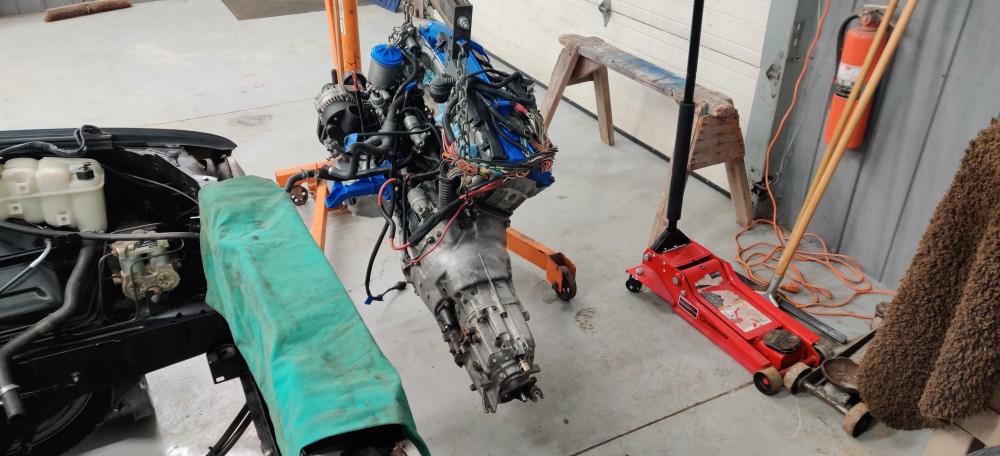
and back in the car she goes.
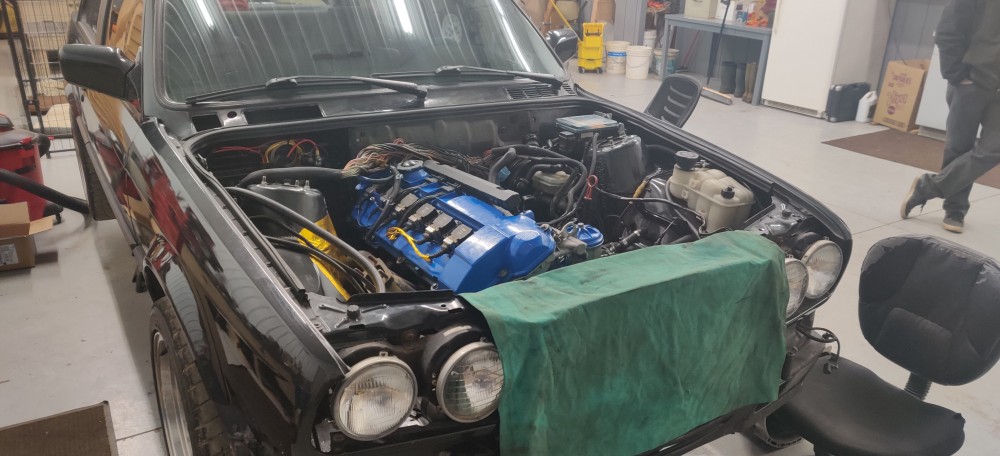
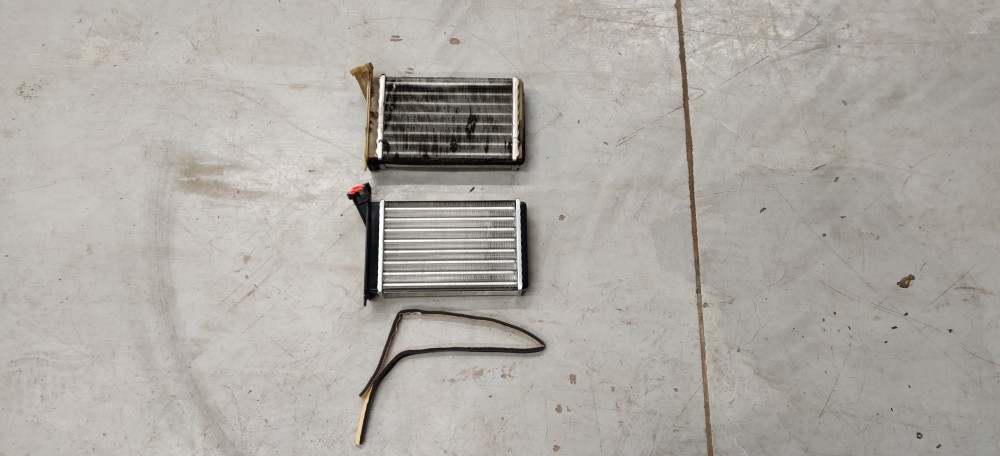
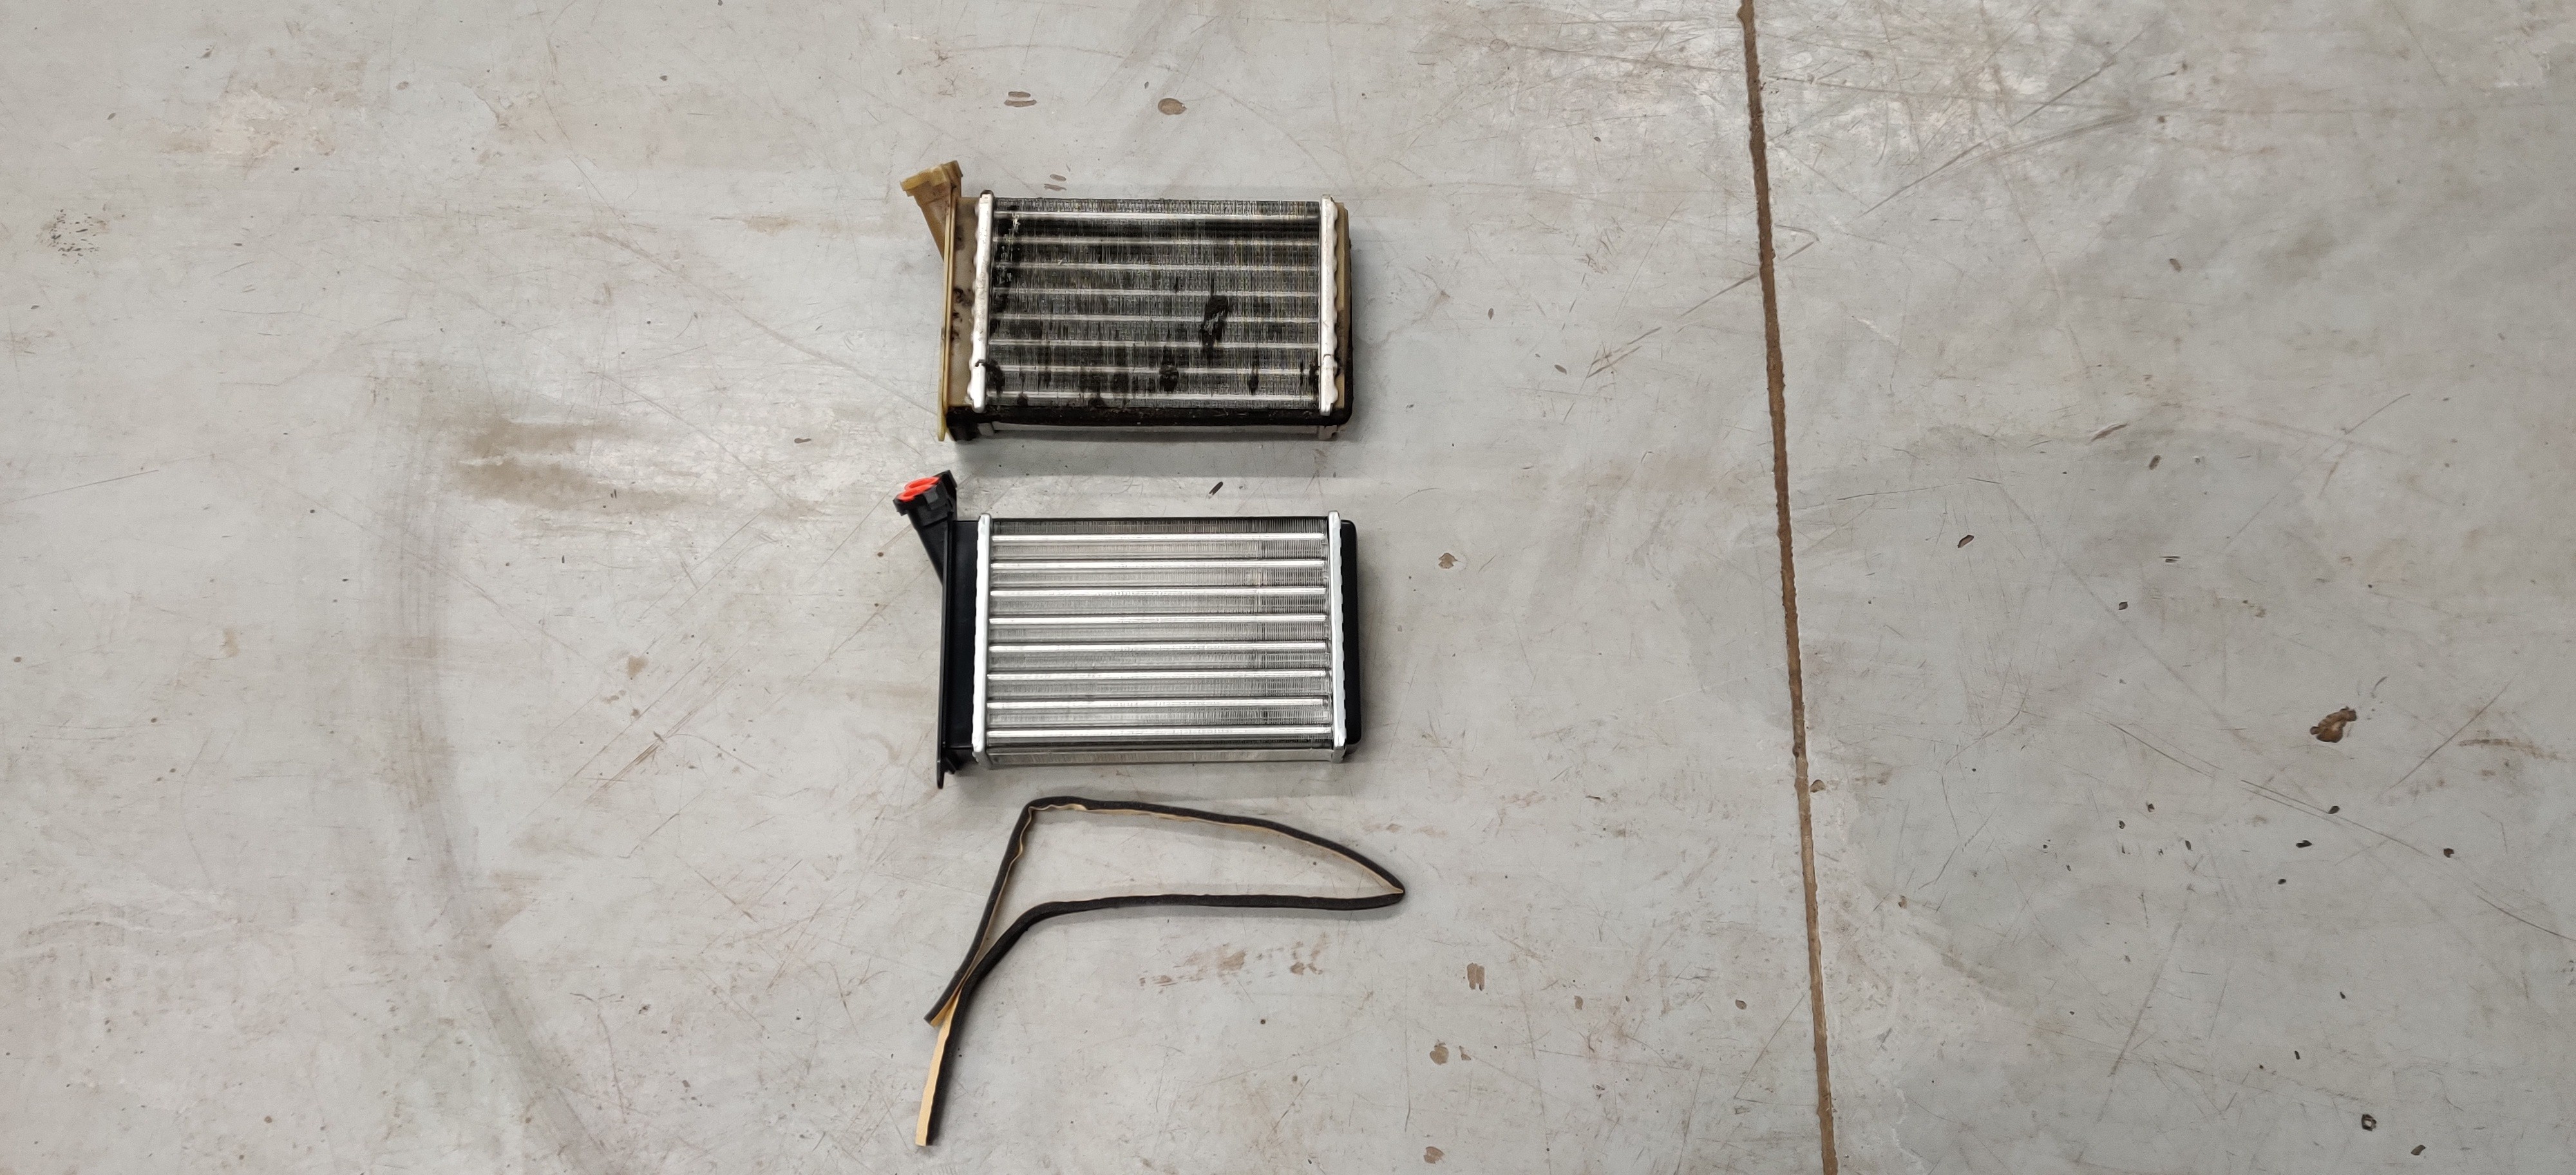
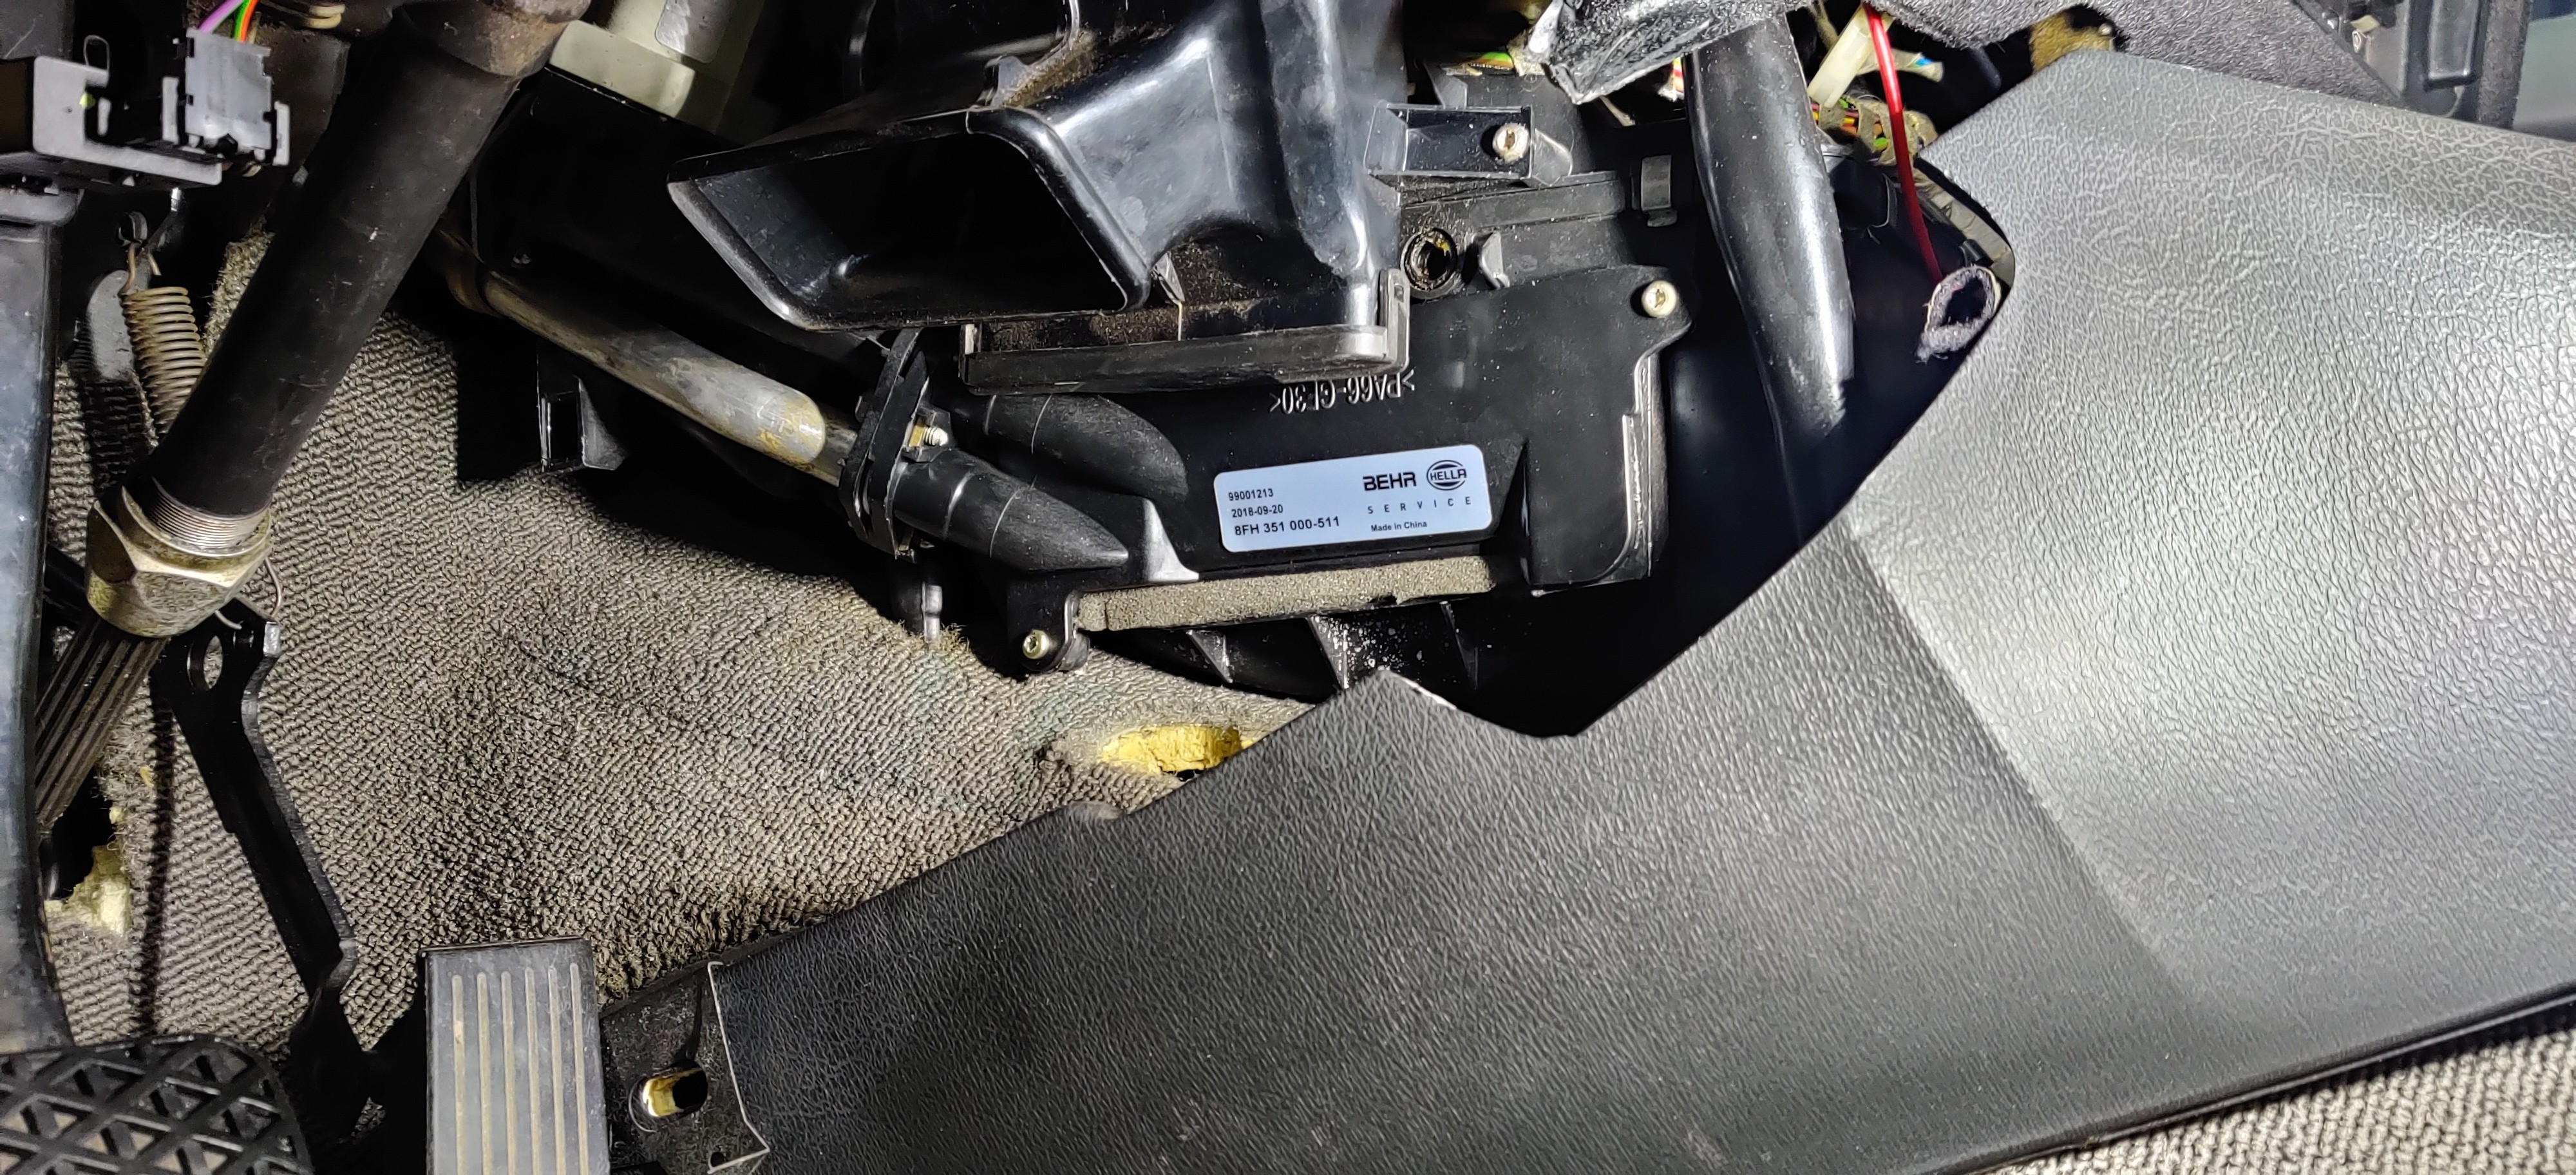
Next off I received a fresh heater core. Got the old one pulled and new one installed as well as replacing the o-rings on the tubes to insure no leaks.
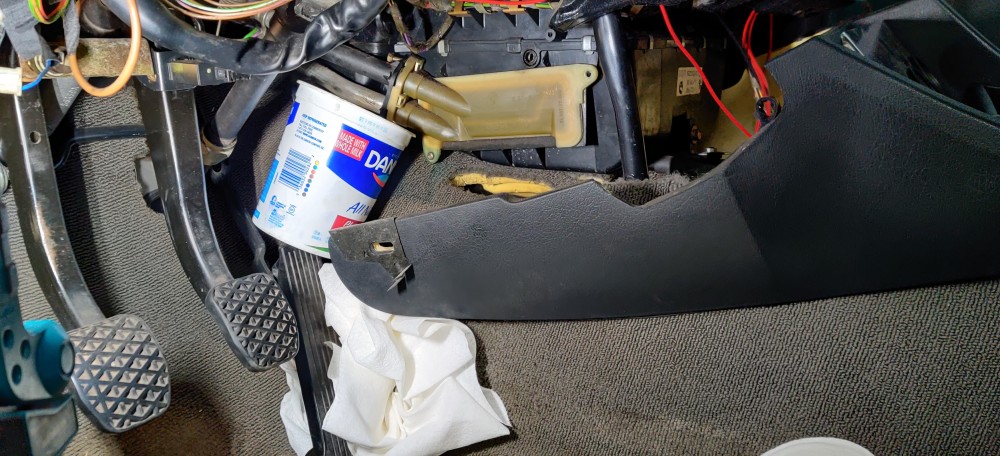
Old one was rough
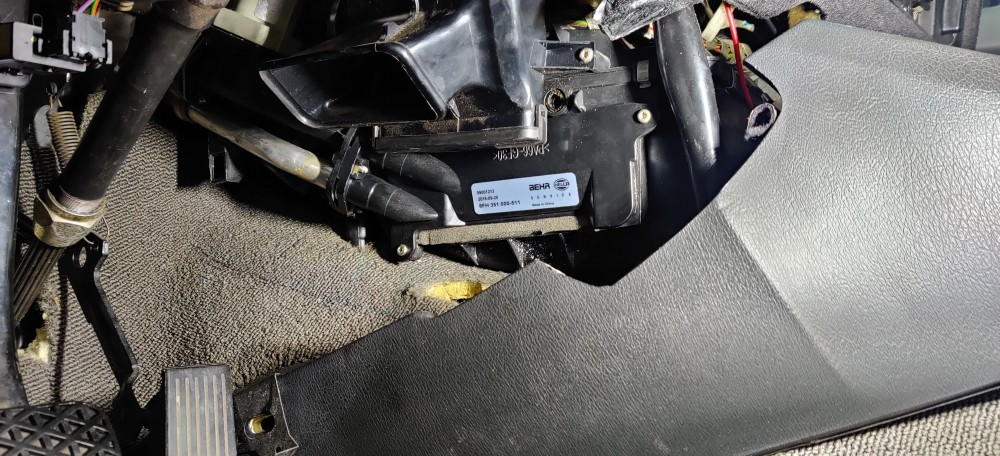
Also installed the rest of the coolant system and air lifted the system to insure there were no leaks anywhere else, non were found.
re-attached the shifter assembly as well as bled the slave cylinder.
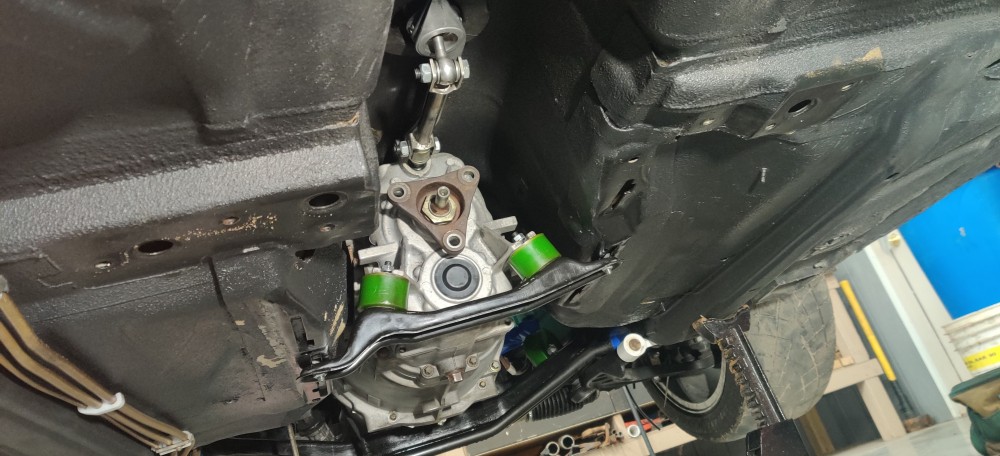
Got a feel of the new clutch pedal weight and I must say I think it feels quite more consistent through out the travel of the pedal compared to the g260 (or maybe its just me)
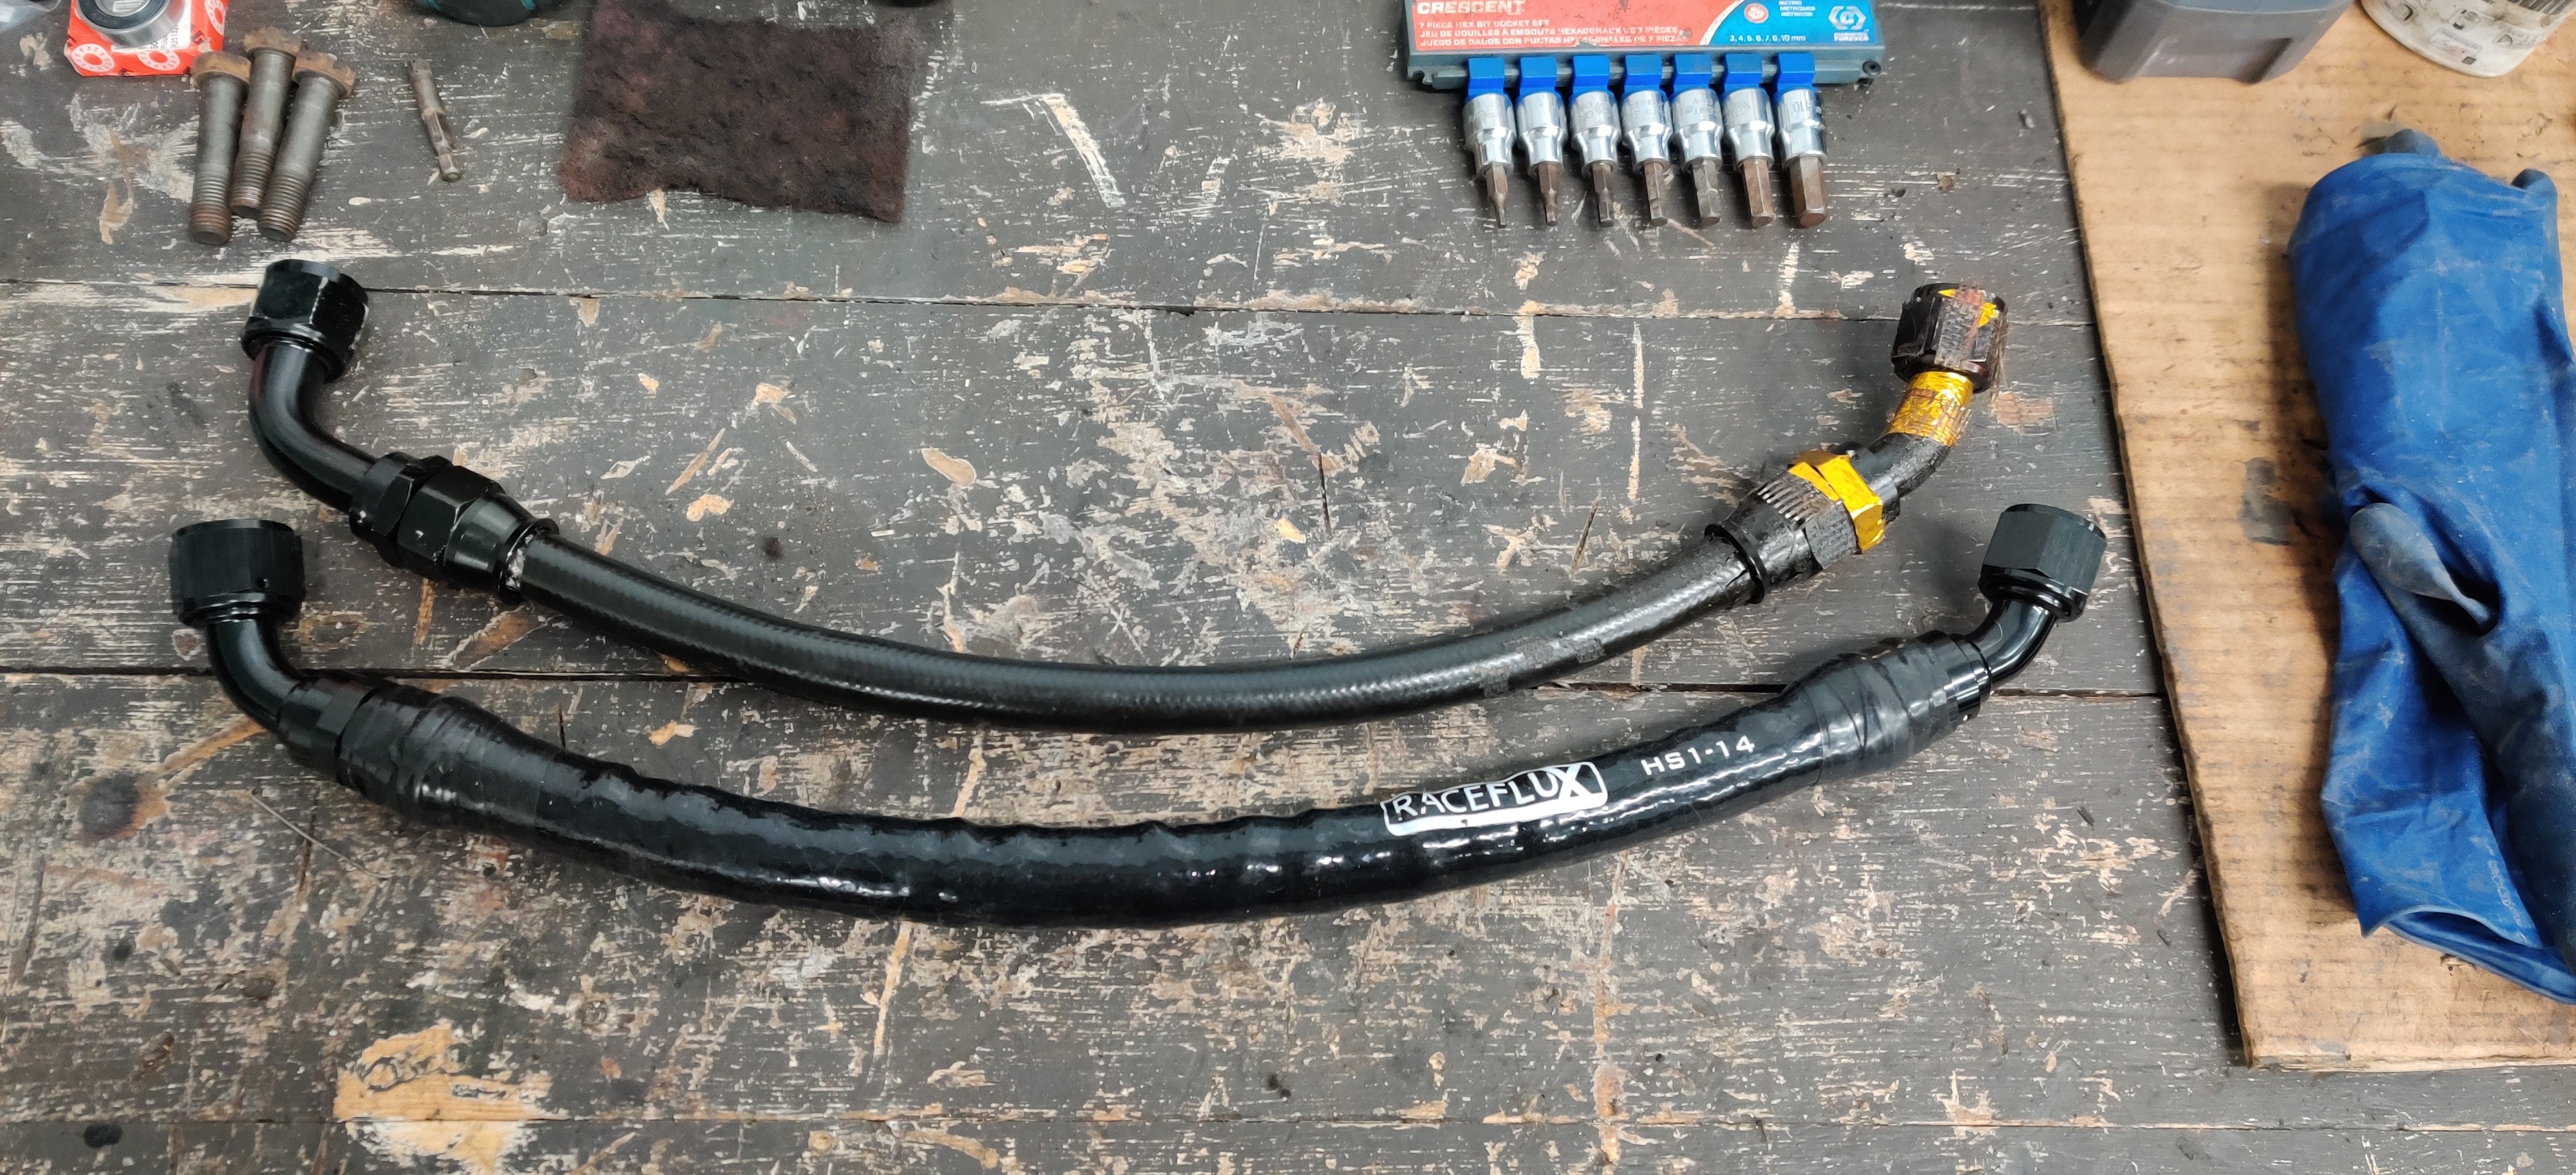
Next up was reattaching the turbo. Before doing so I went ahead and replaced the old leaky line with a fresh oil drain -12an line from improved racing.
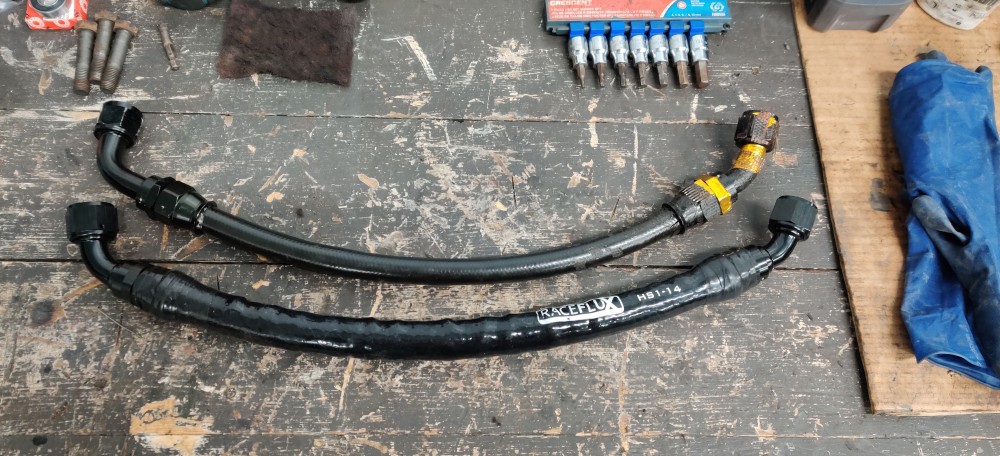
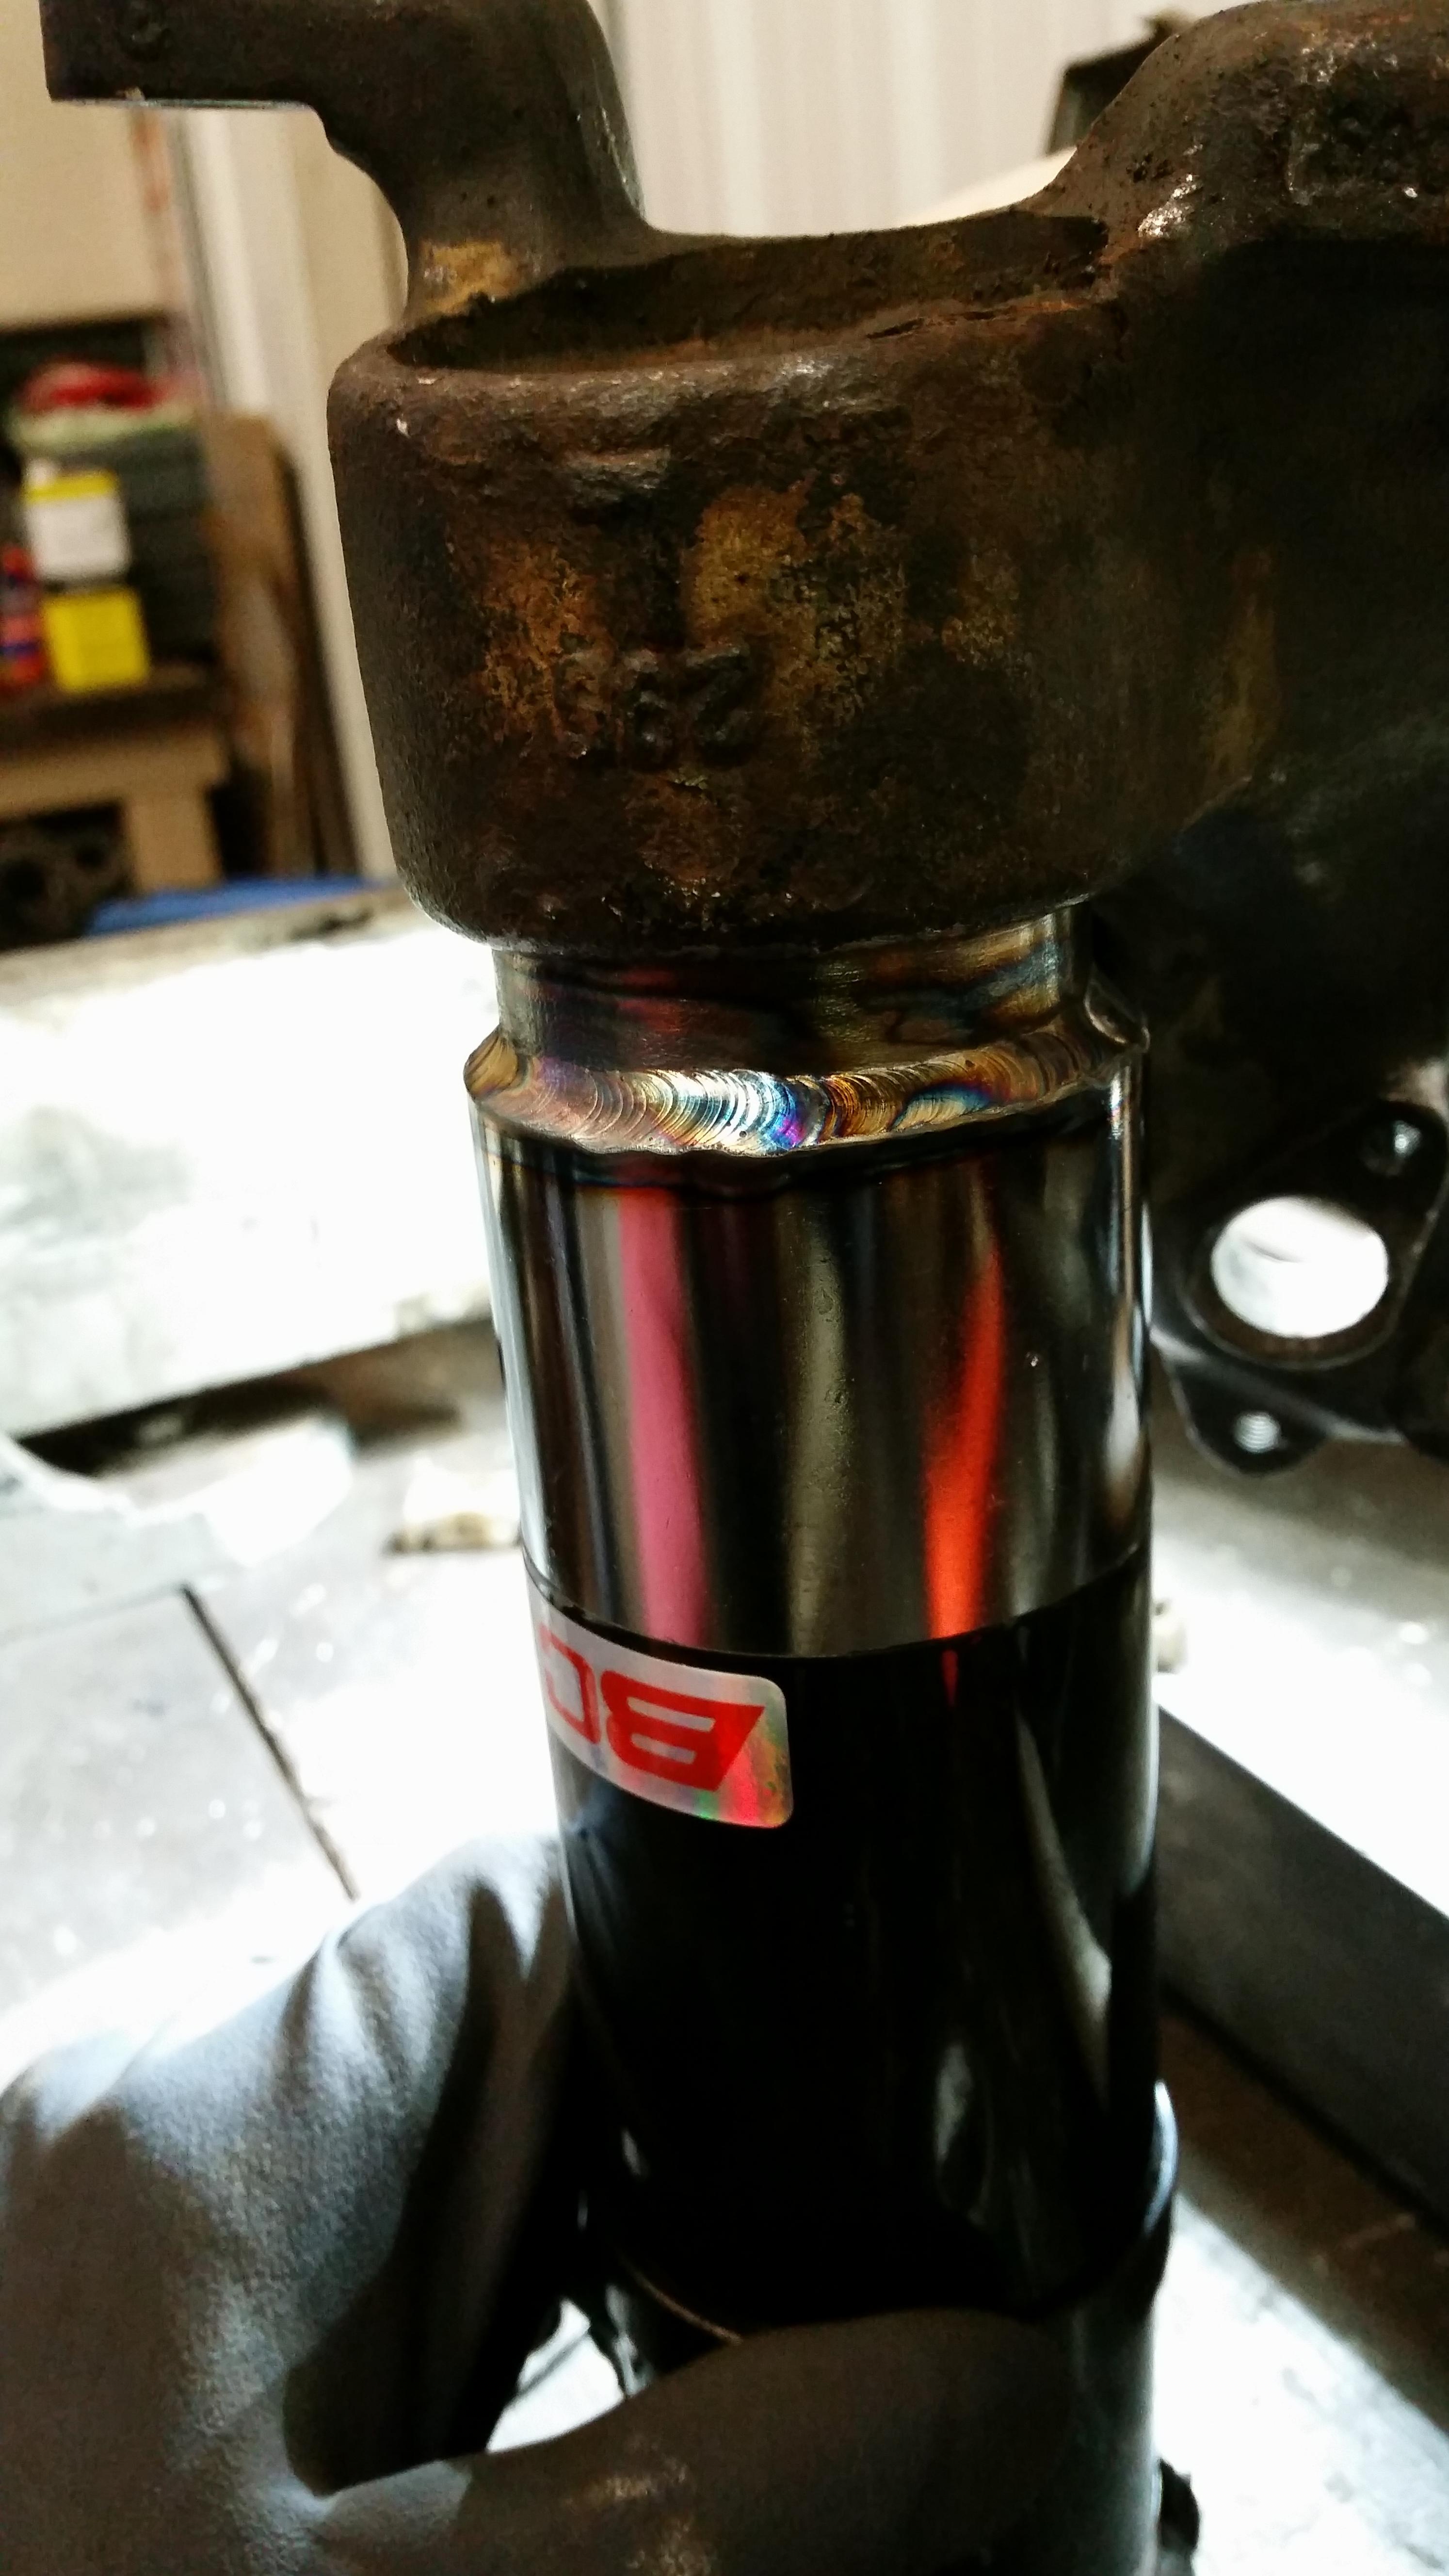
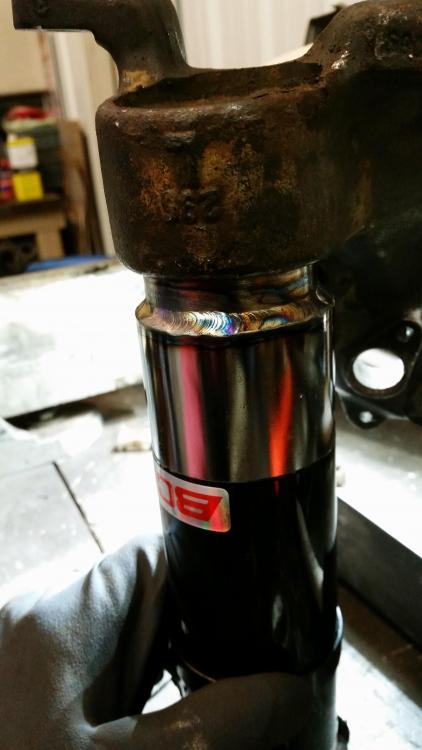
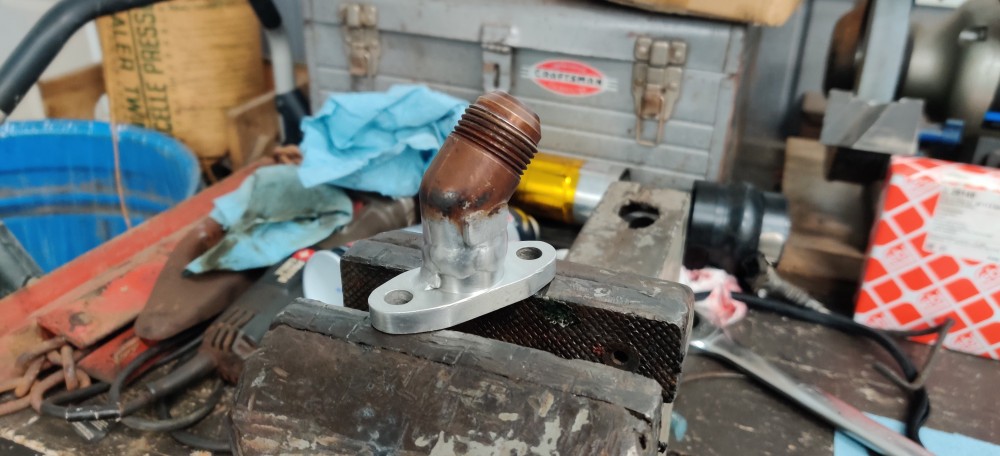
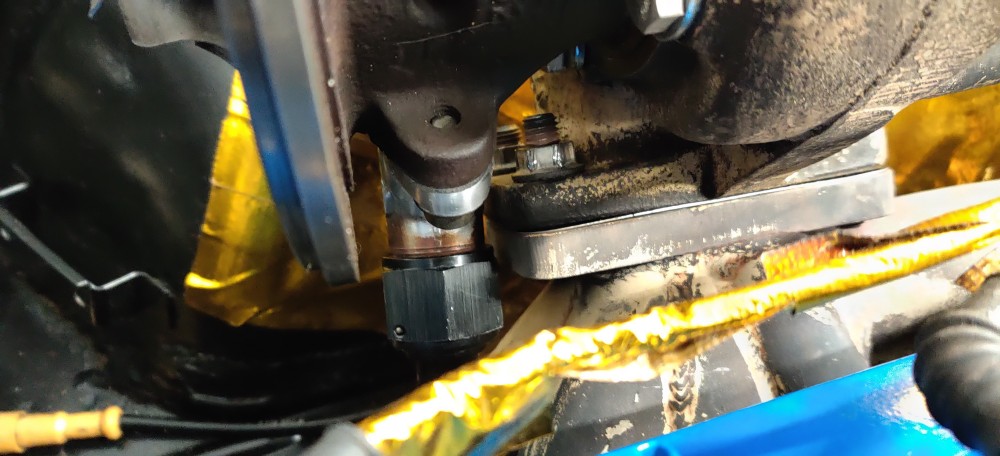
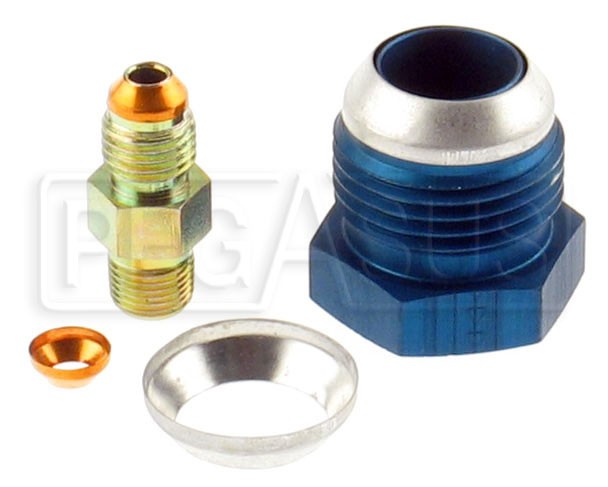
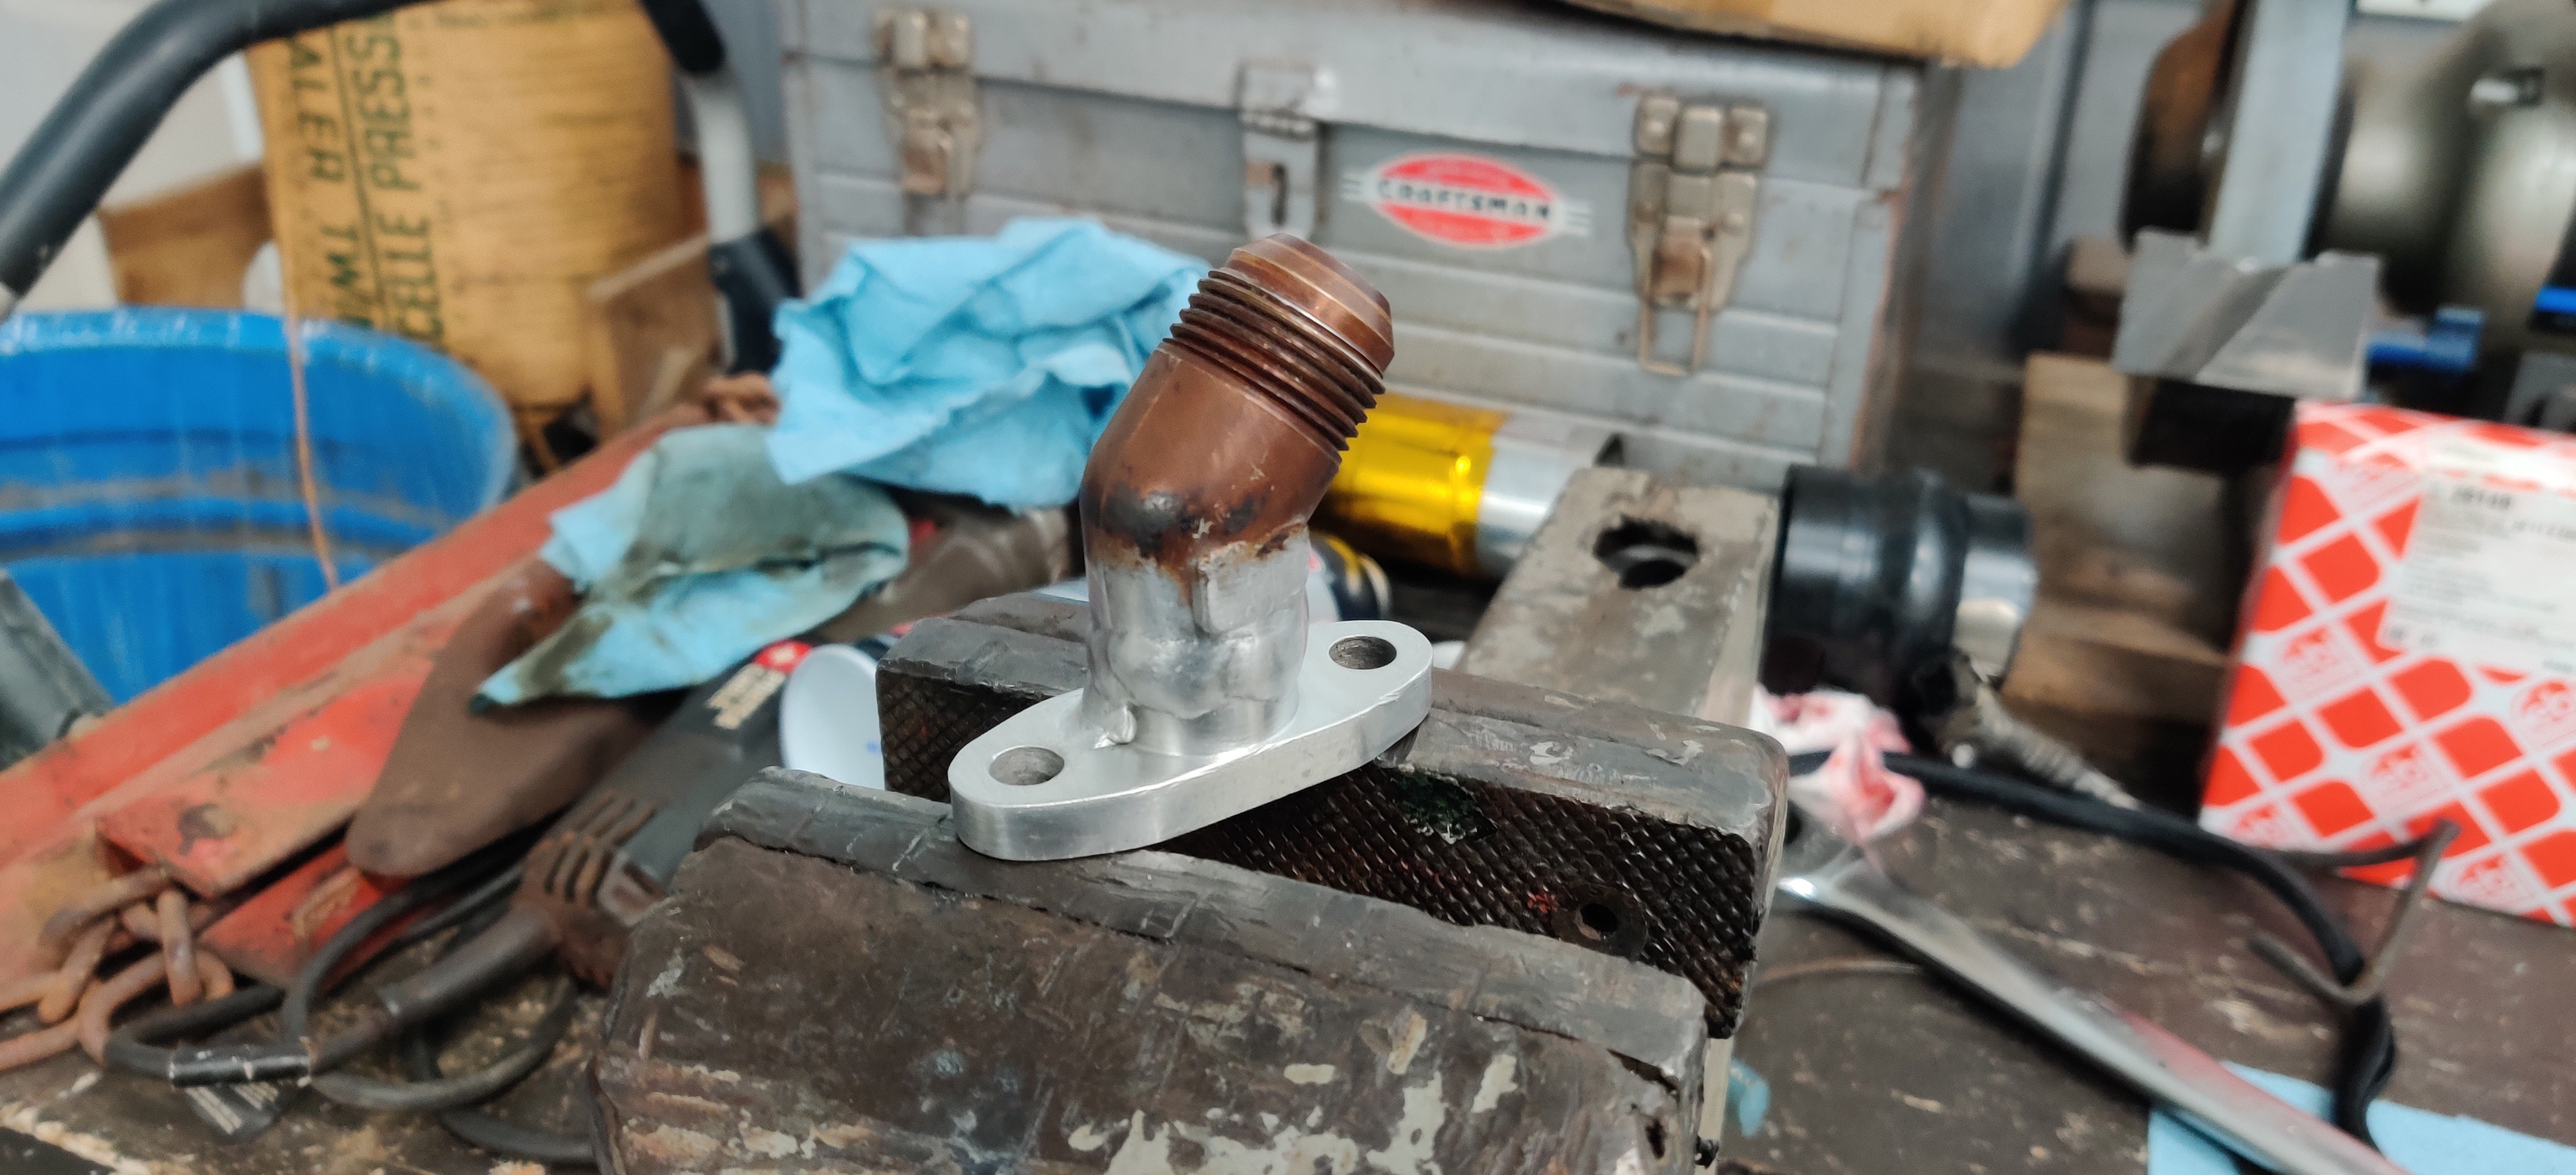
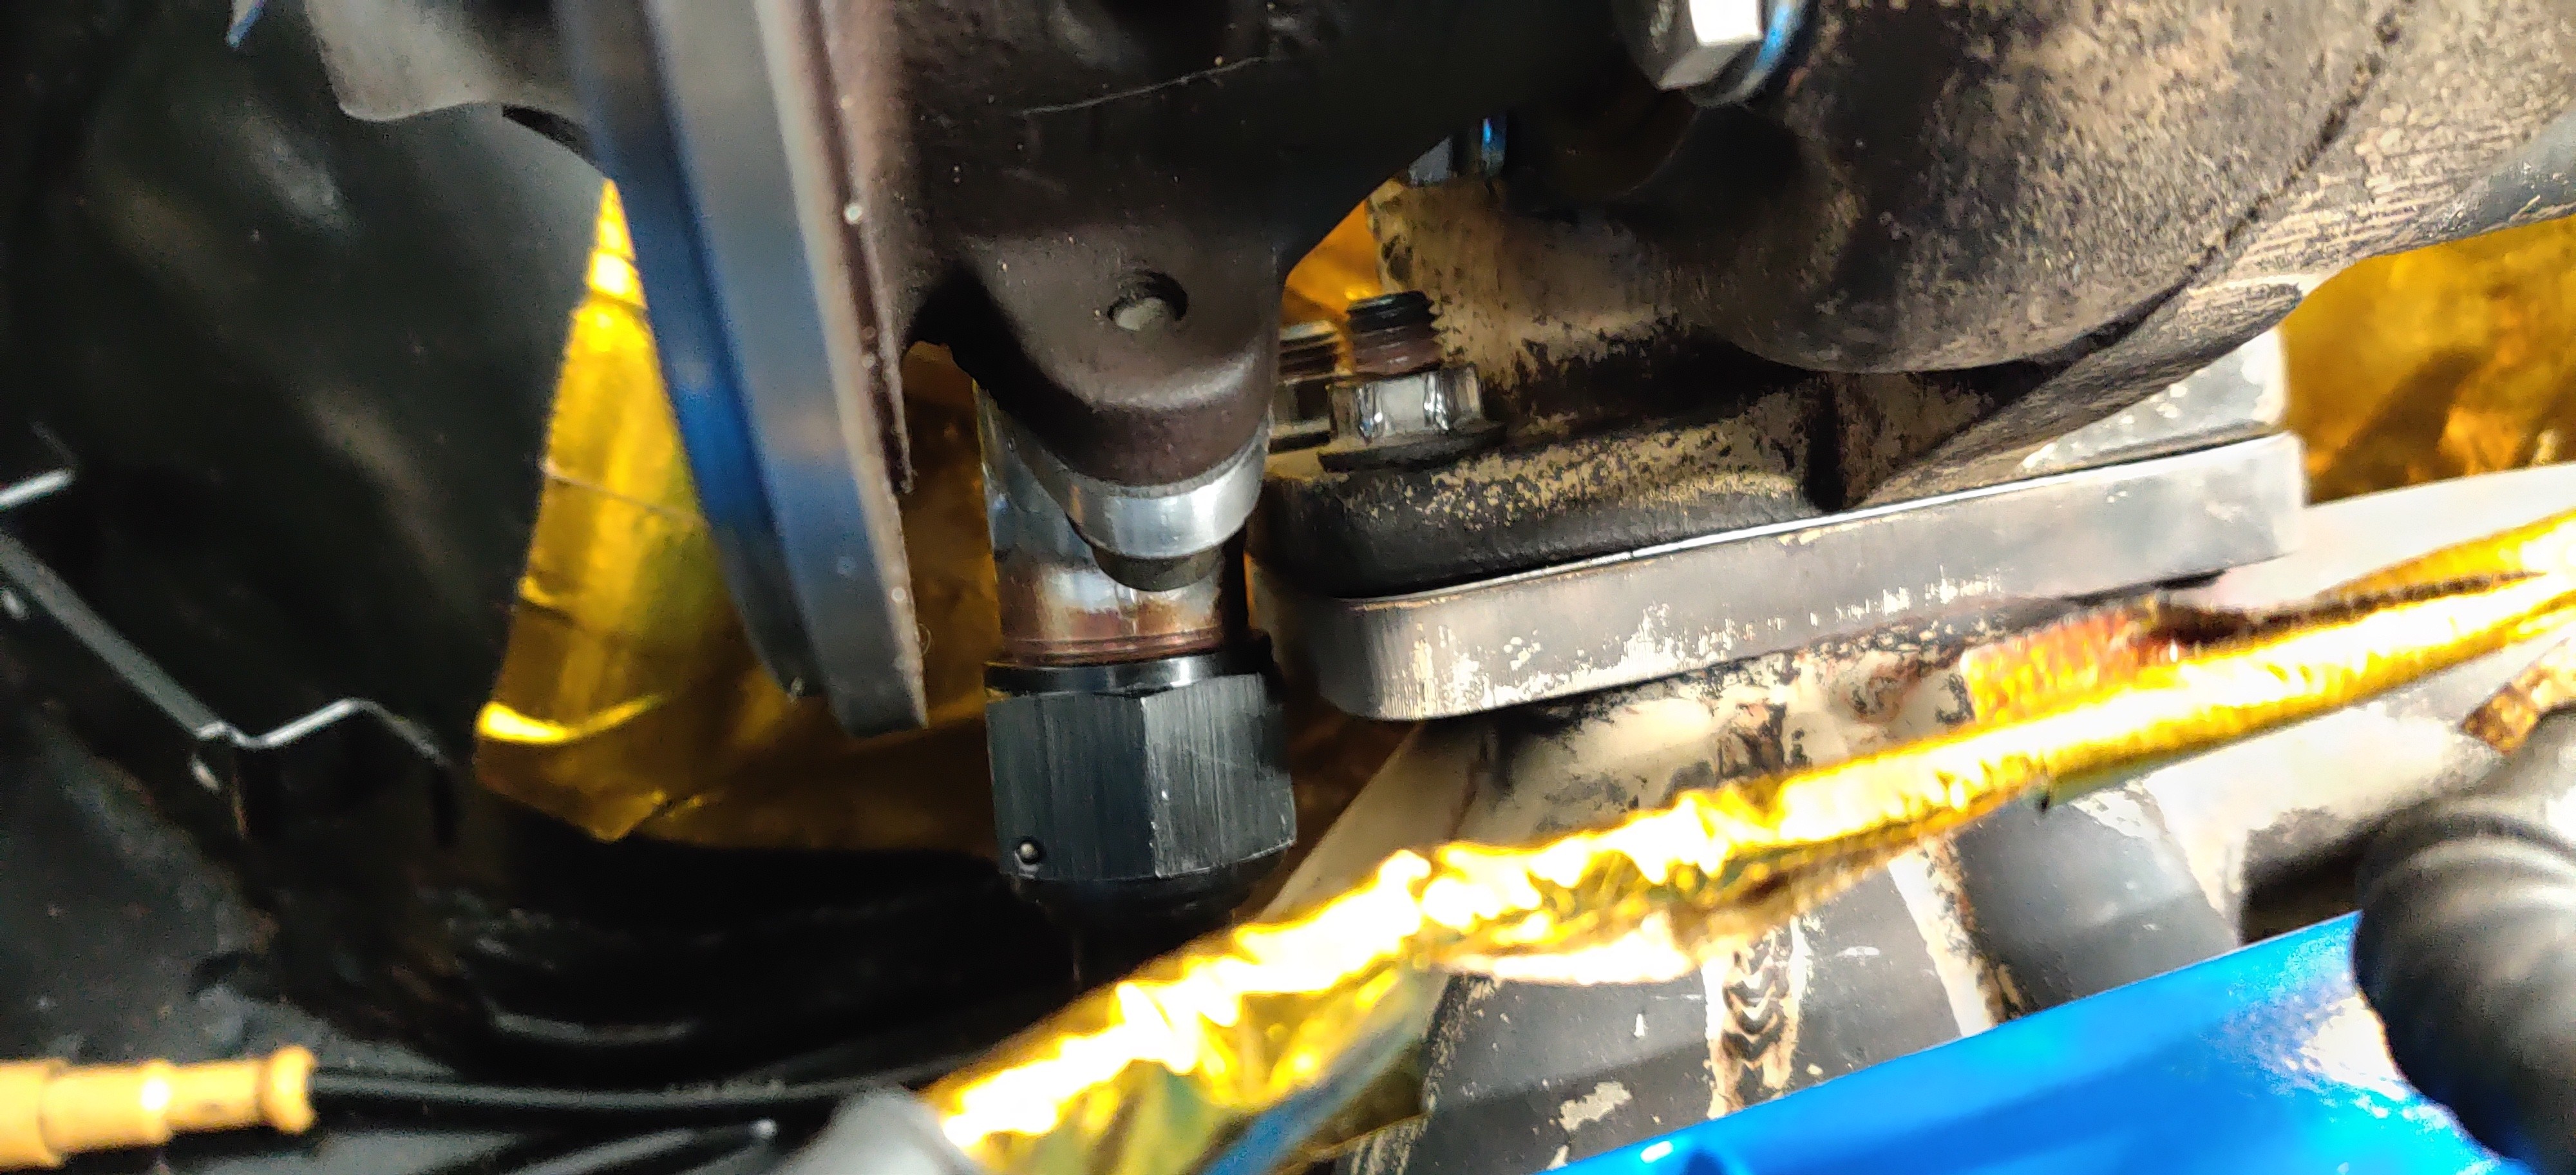
The adapter that connected to the flange coming off of the drain side of the turbo however was also leaking. the flanged piece was threaded for -10 an line which then had a -10 to -12 conversion 45 degree elbow which attached to the oil line. Where these two pieces threaded together was not a strong joint and actually leaked quite bad so instead of having to try to re Teflon the threads in hope of no more leaks I measured up where that piece had to sit in order to clear the cold housing of the turbo and the manifold and had my buddy weld it together.
It fit perfectly however it is a very snug fit.
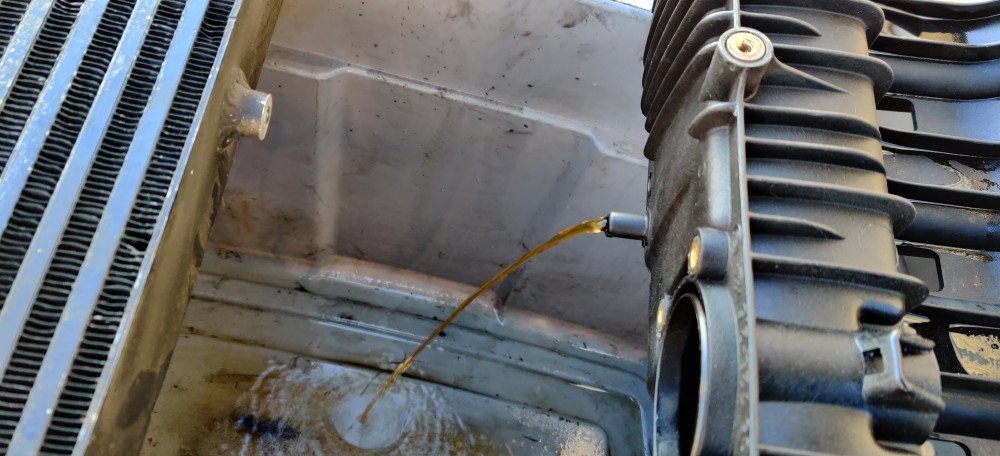
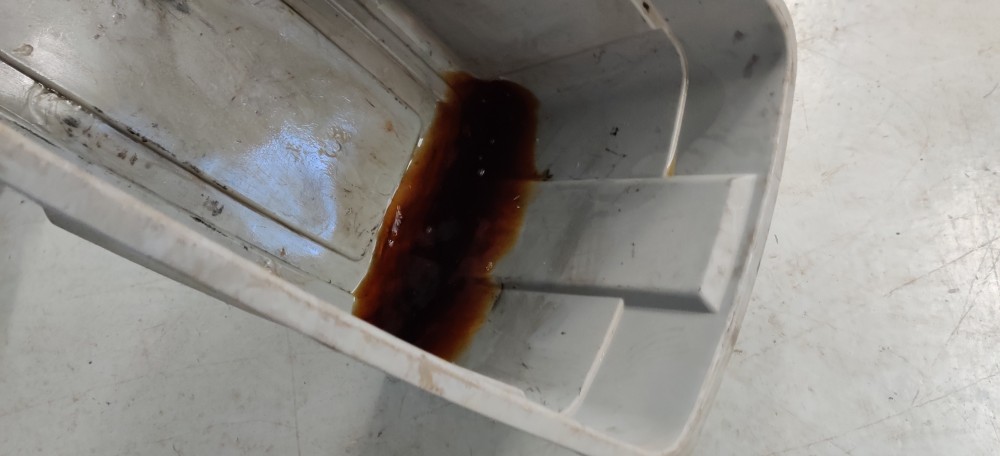
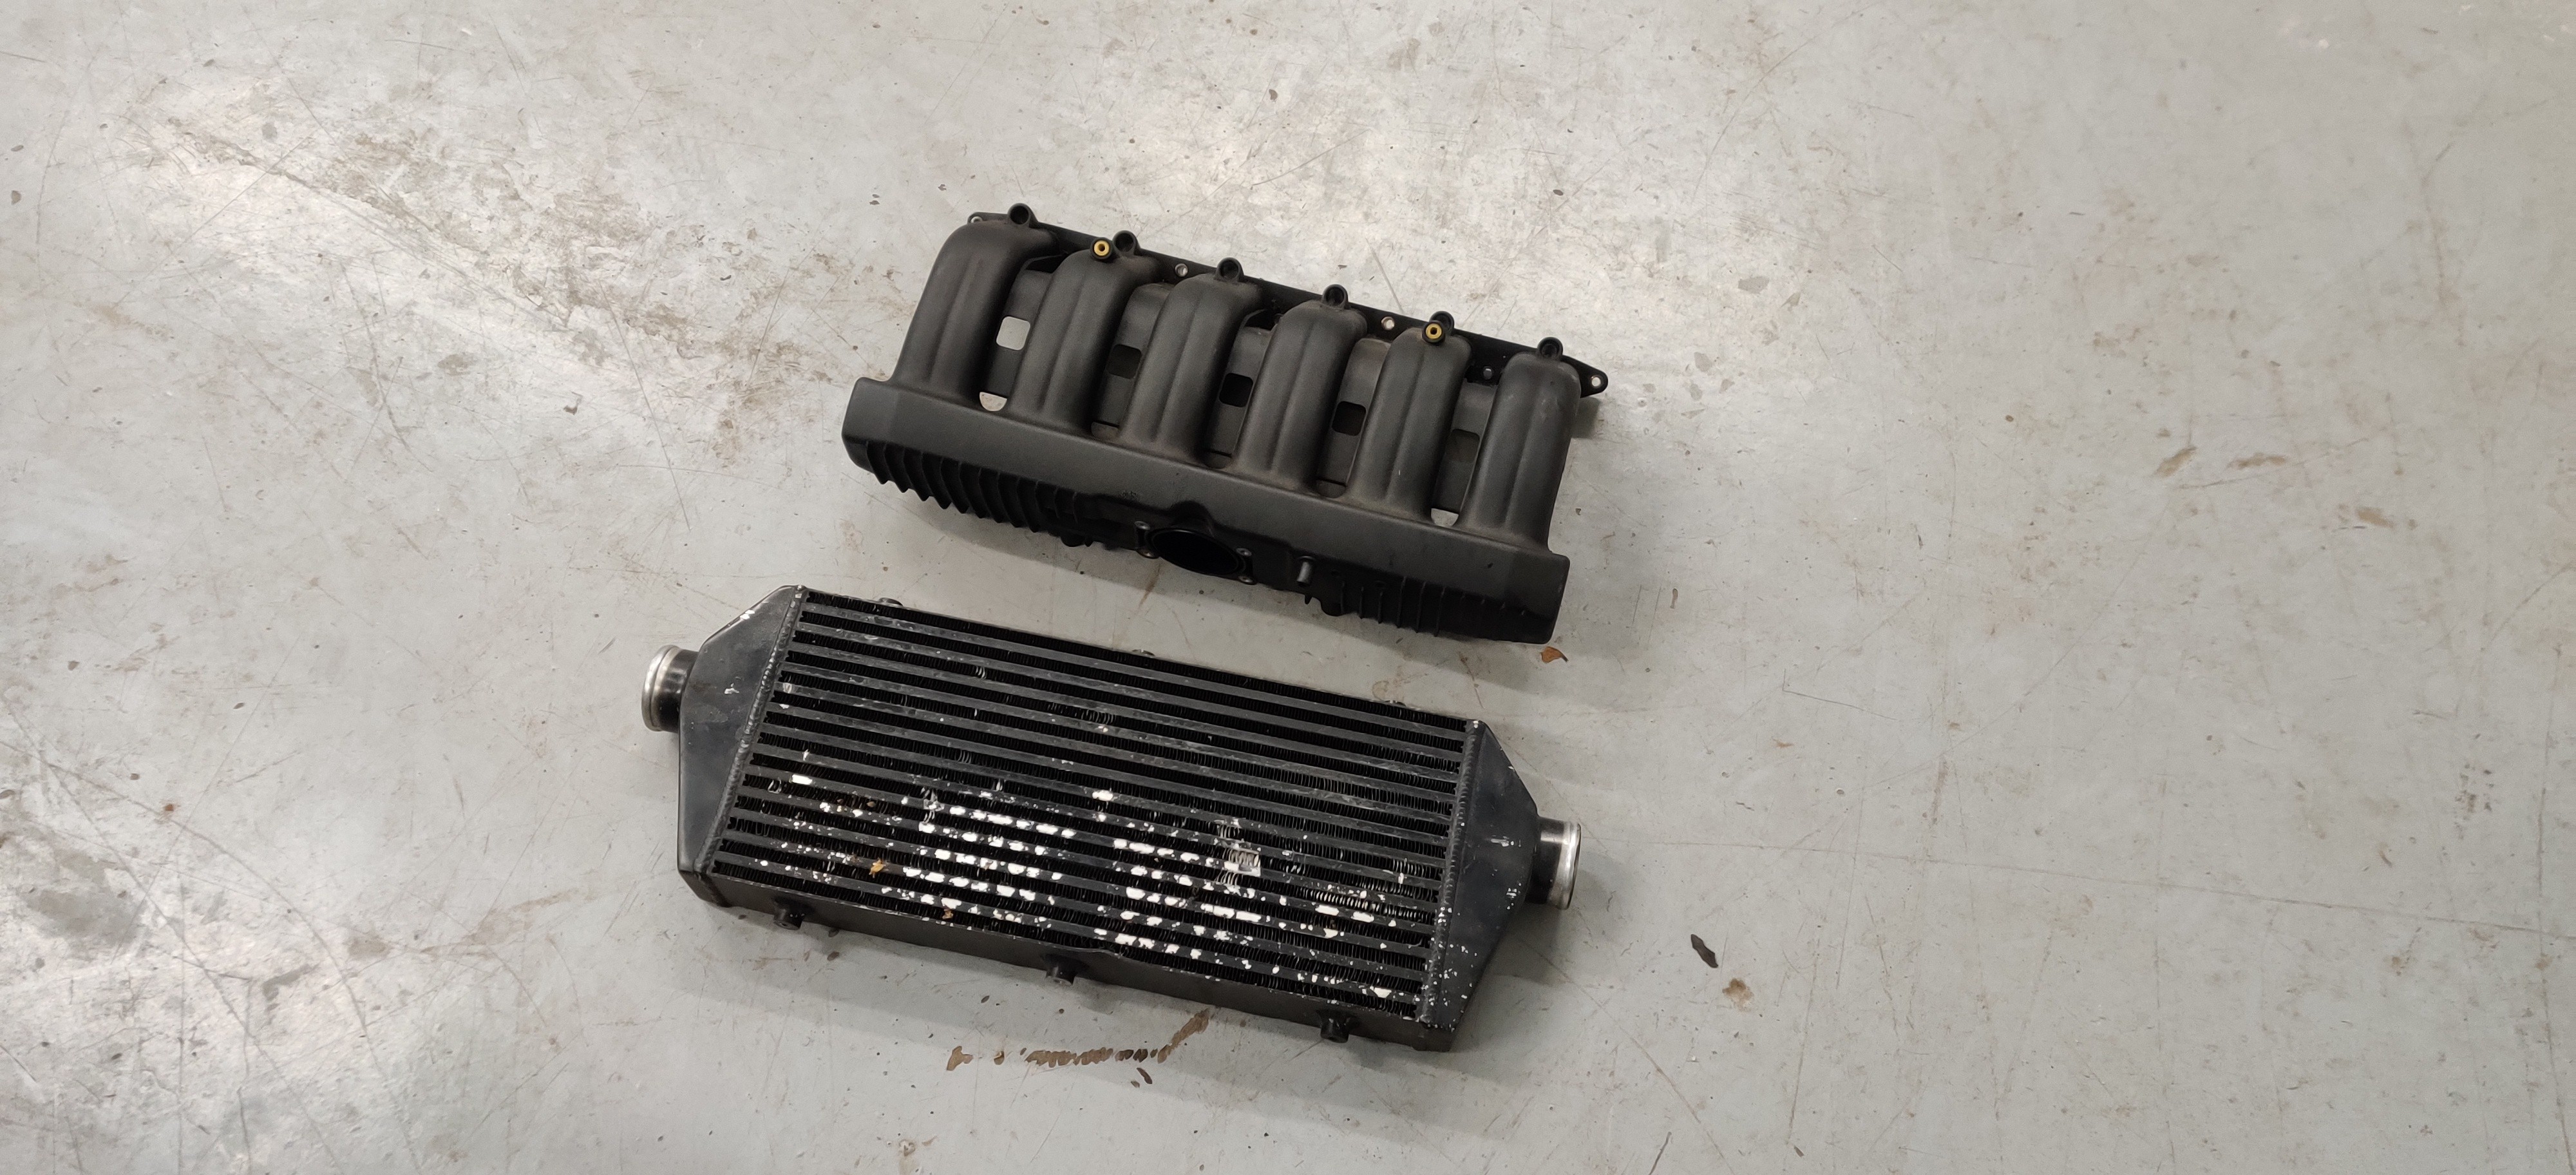
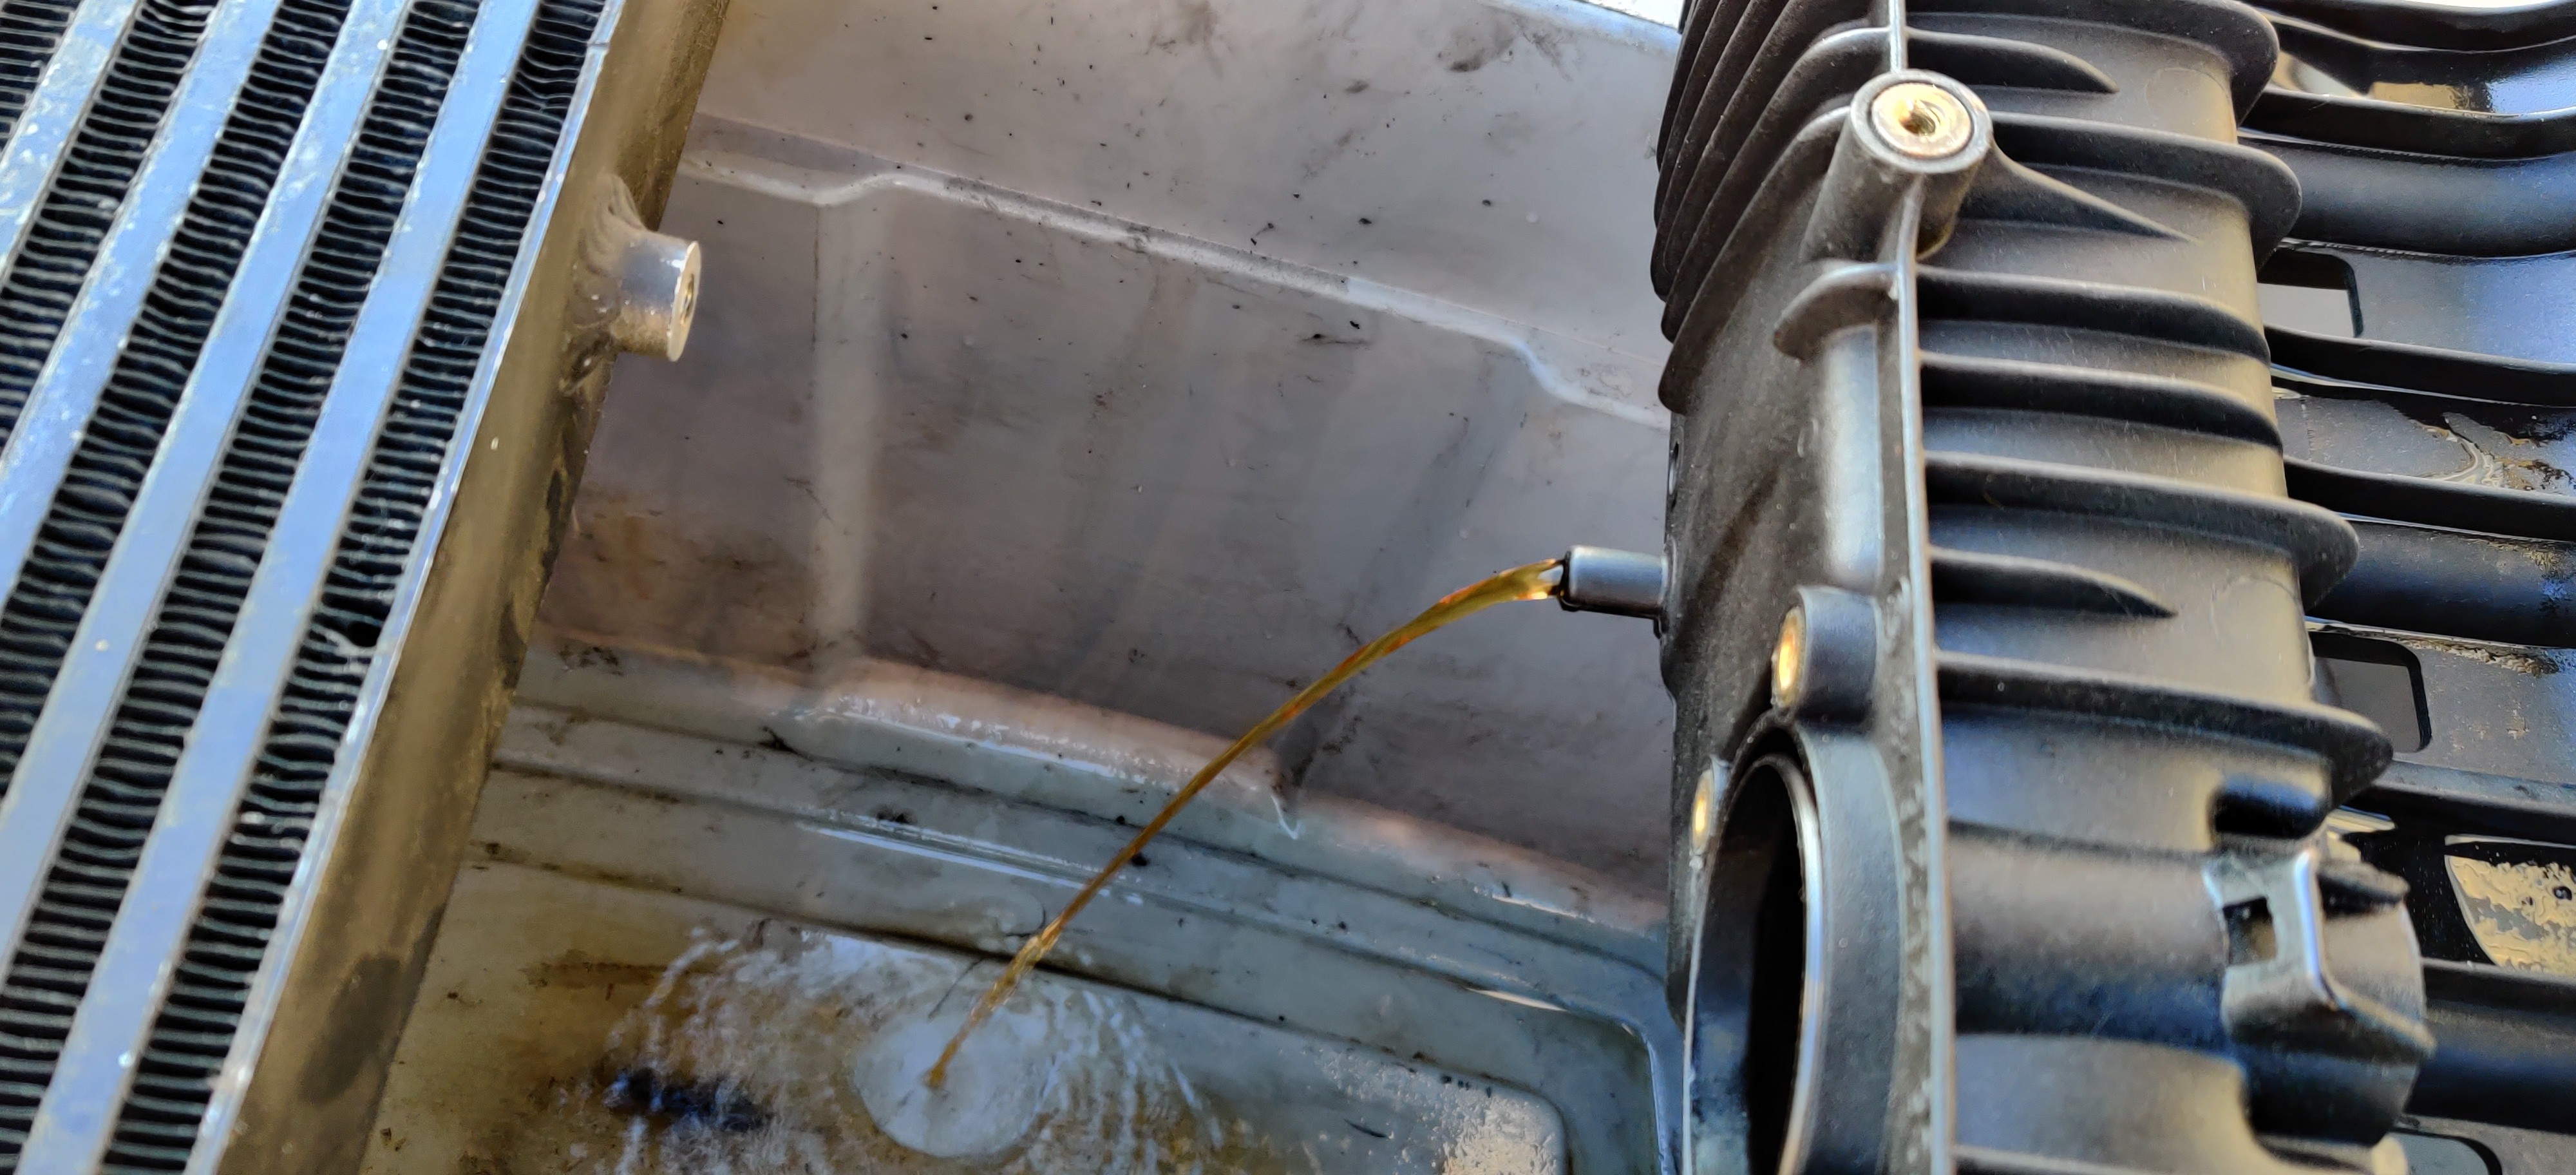
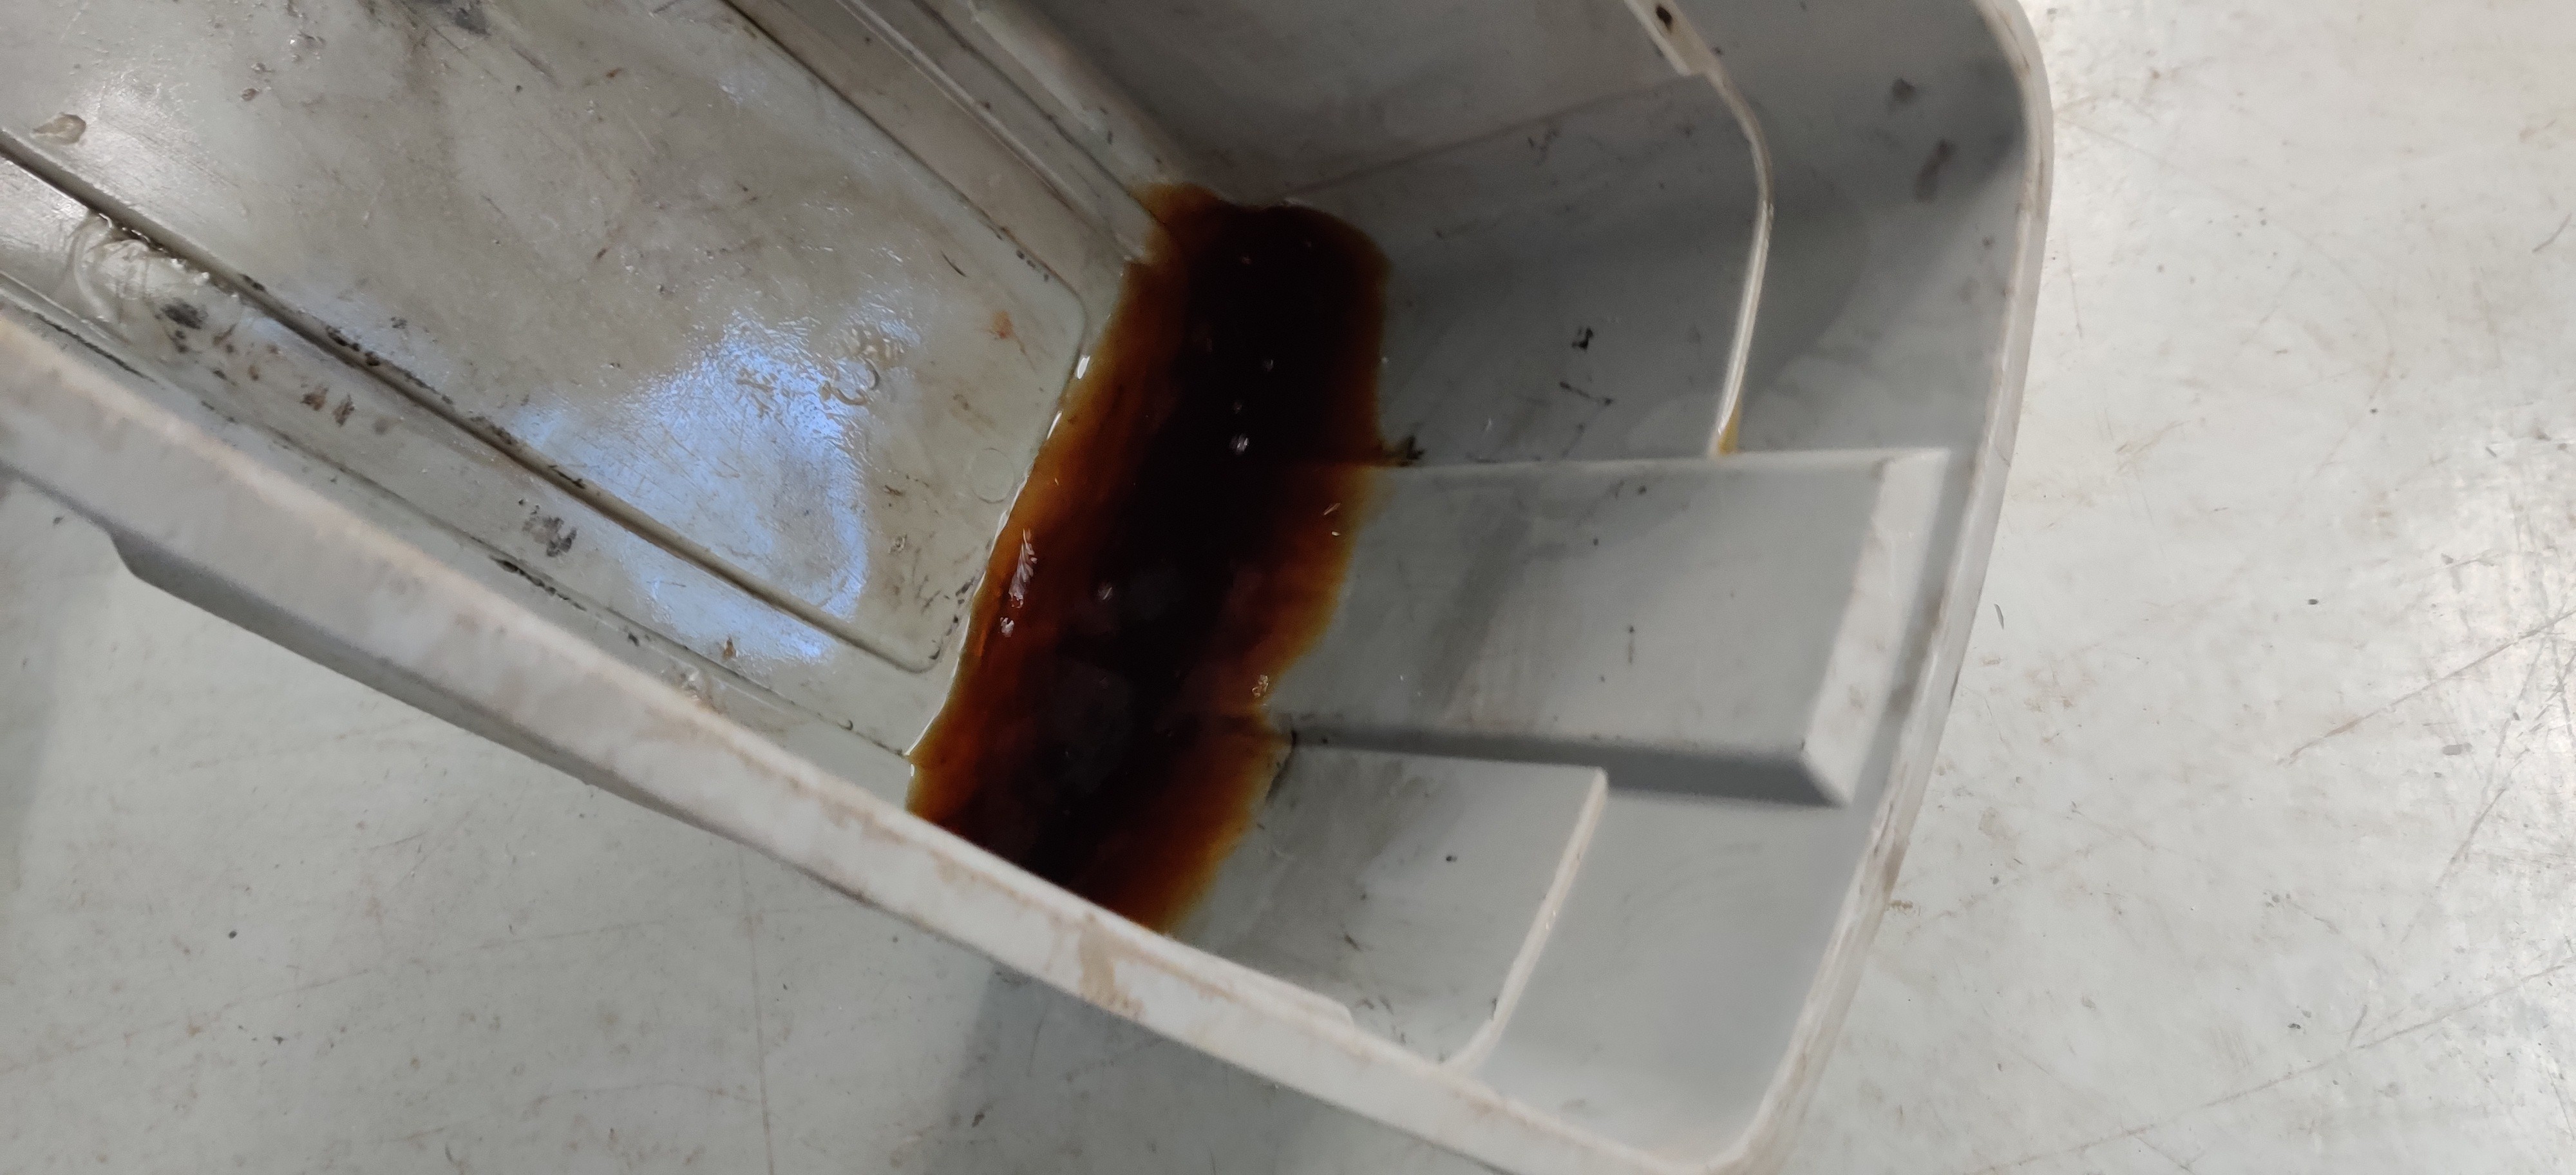
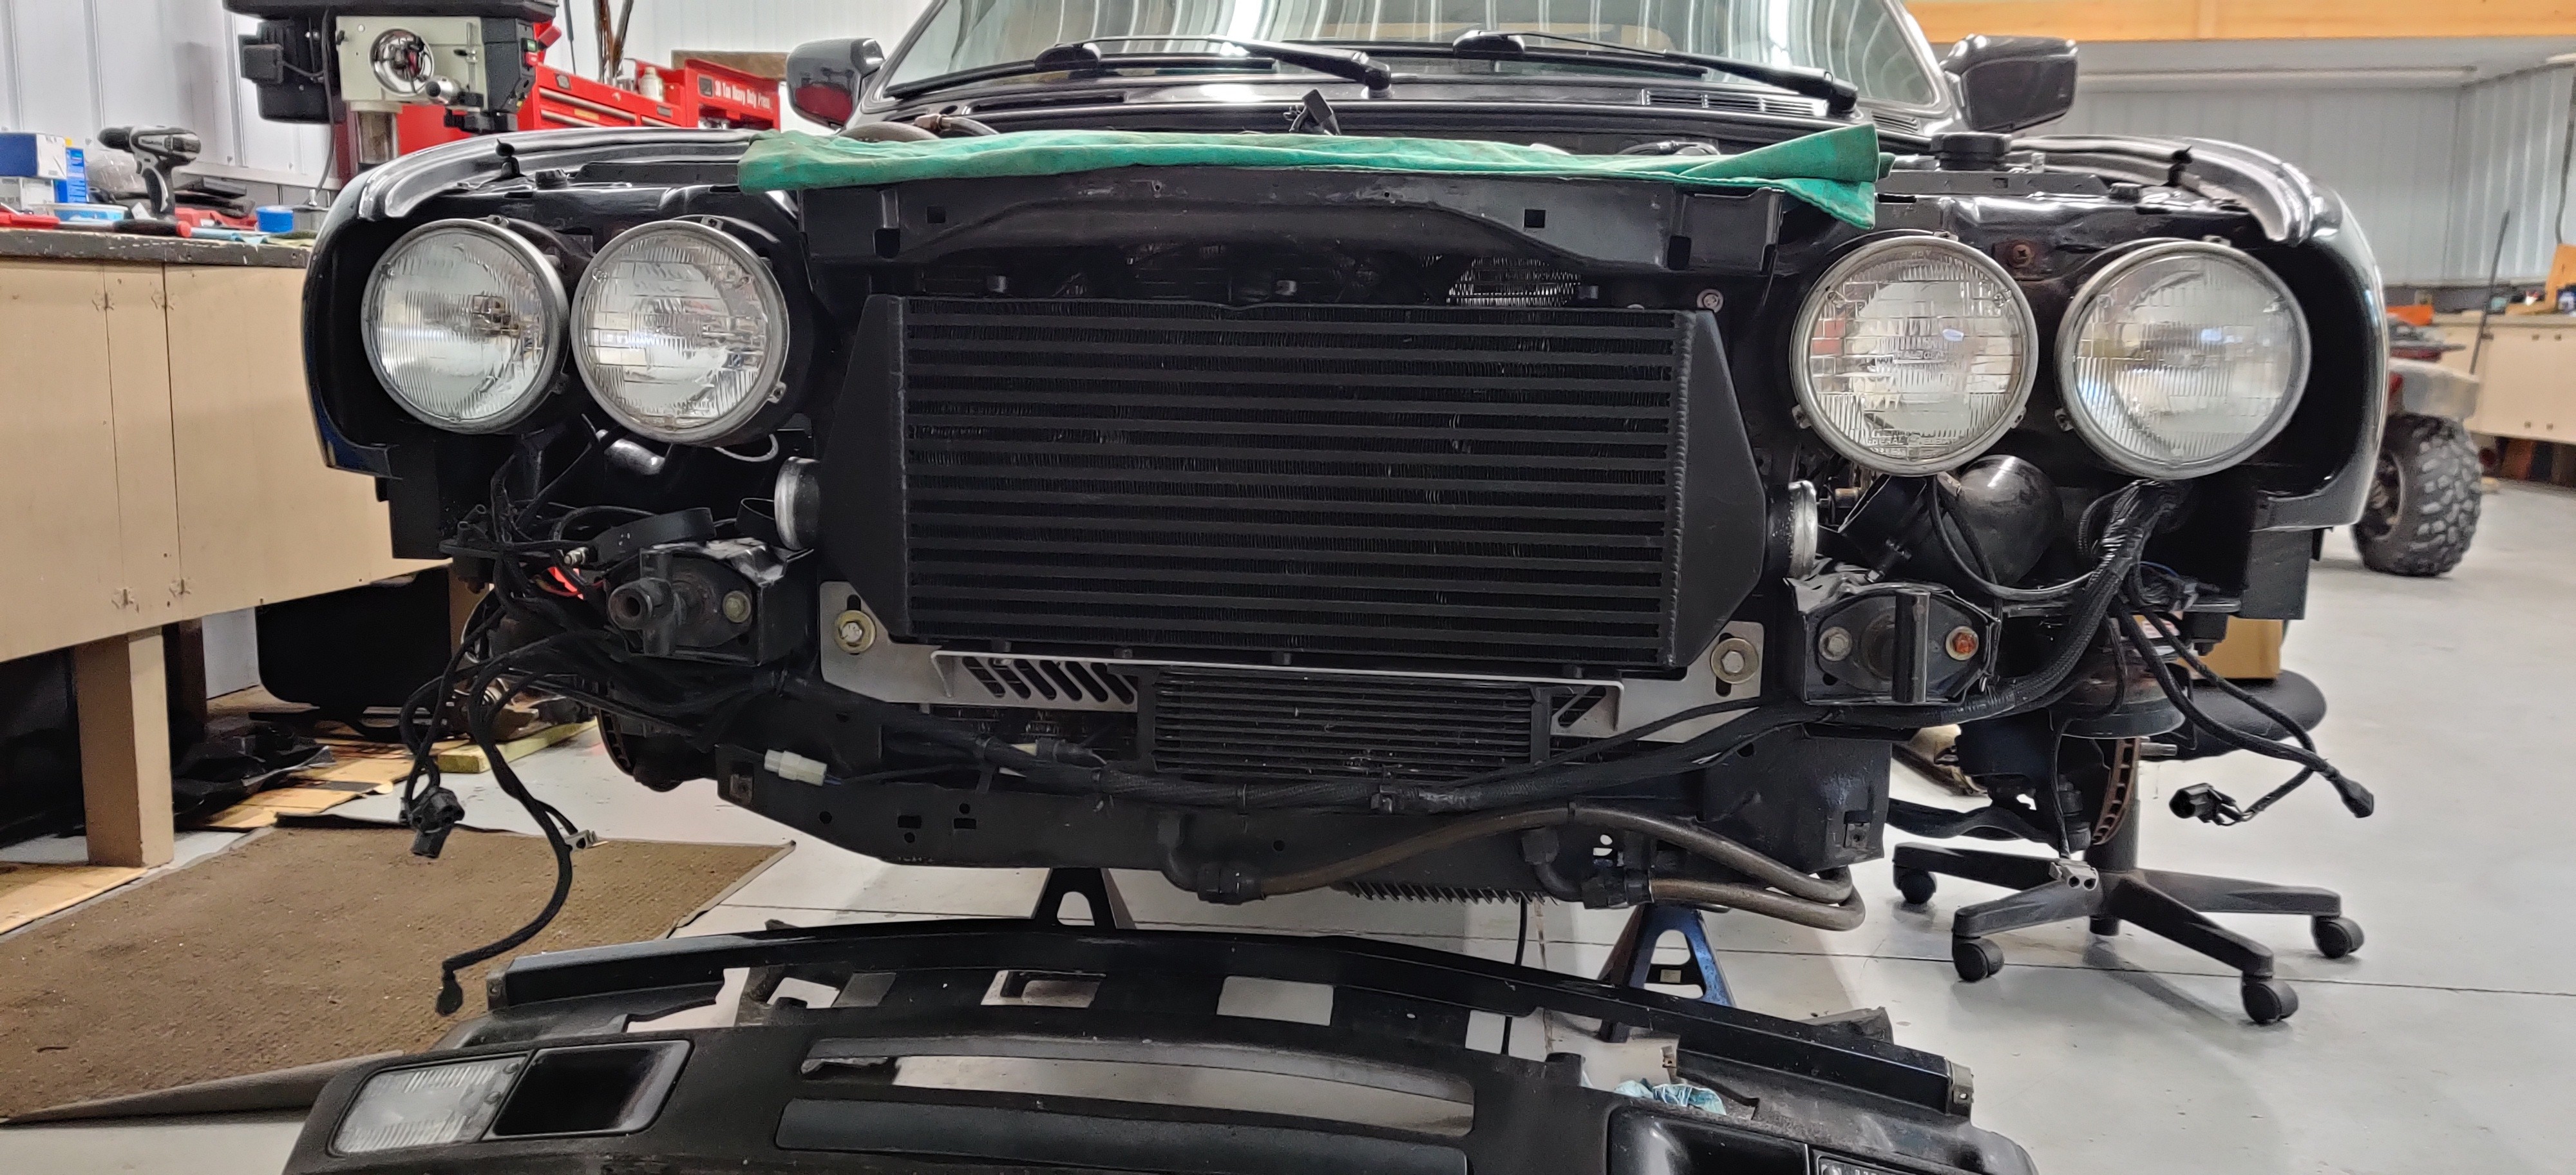
Next up was the front mount intercooler and intake. Before re-installing I wanted to thoroughly clean both out with acetone in order to insure clean flow through the intake system.
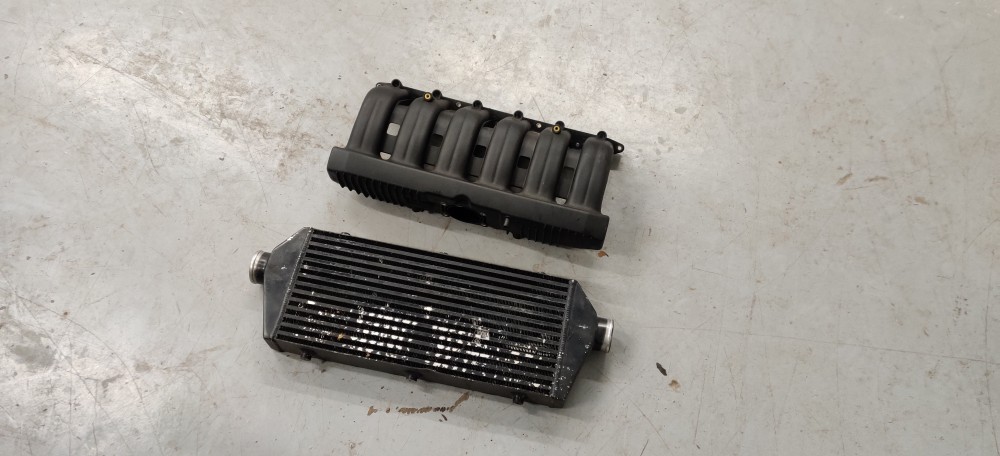
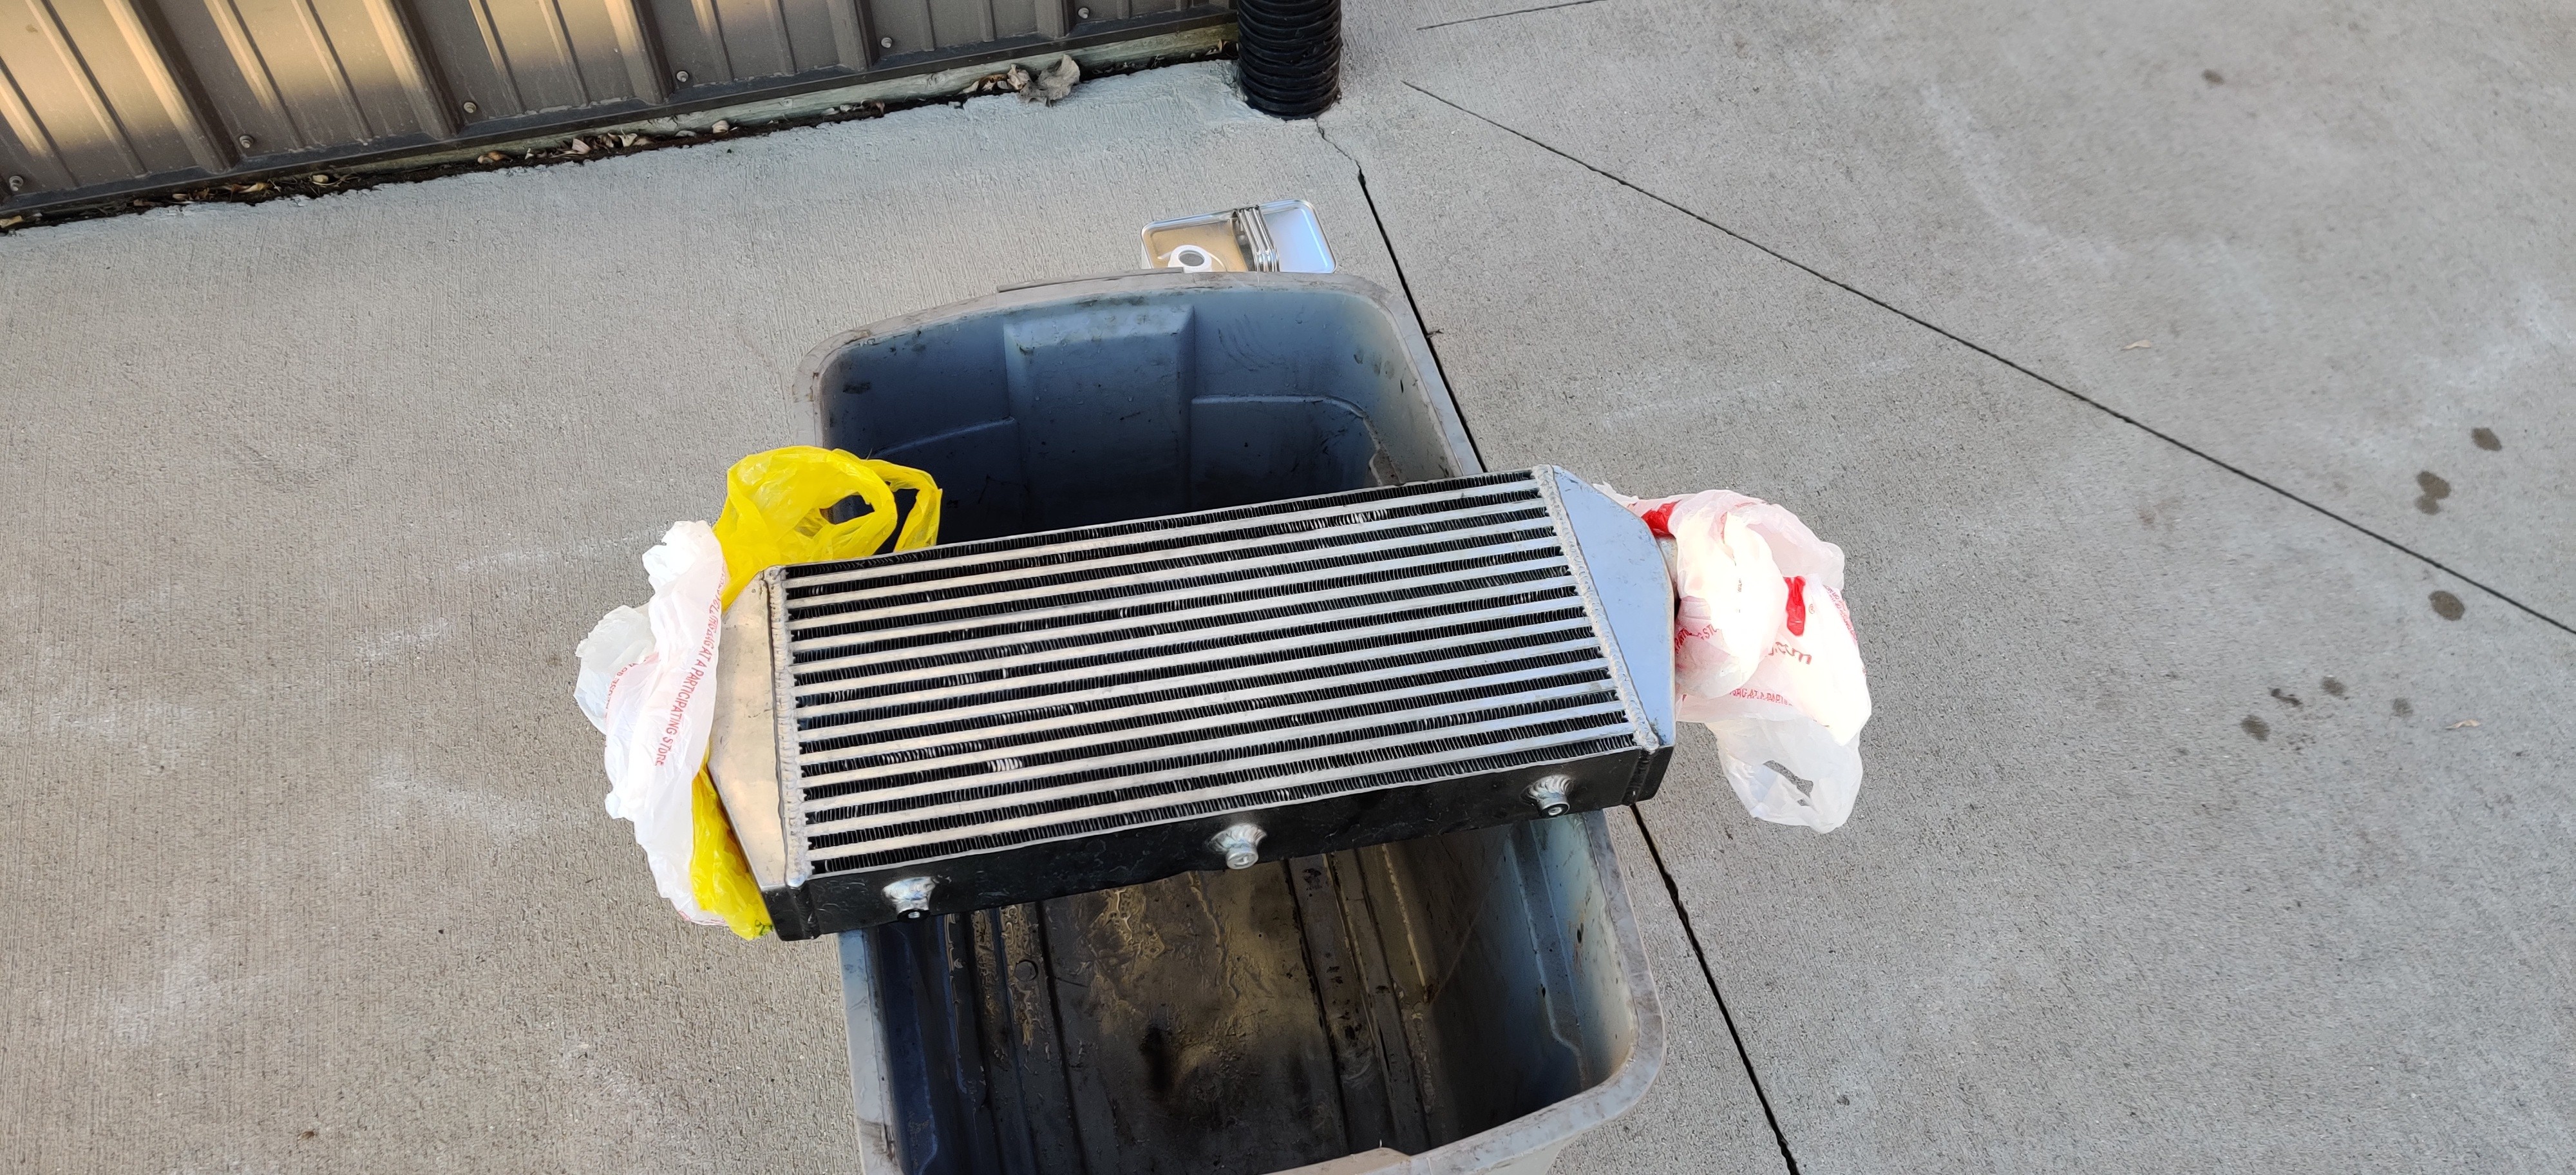
I let the acetone sit in the intercooler sealing it off on both sides before sloshing it around a bit and then pouring it out. I repeated this about 3 times to insure it was completely free of oil. Same goes for the intake although the intake manifold was much filthier and took a few more times to clean.
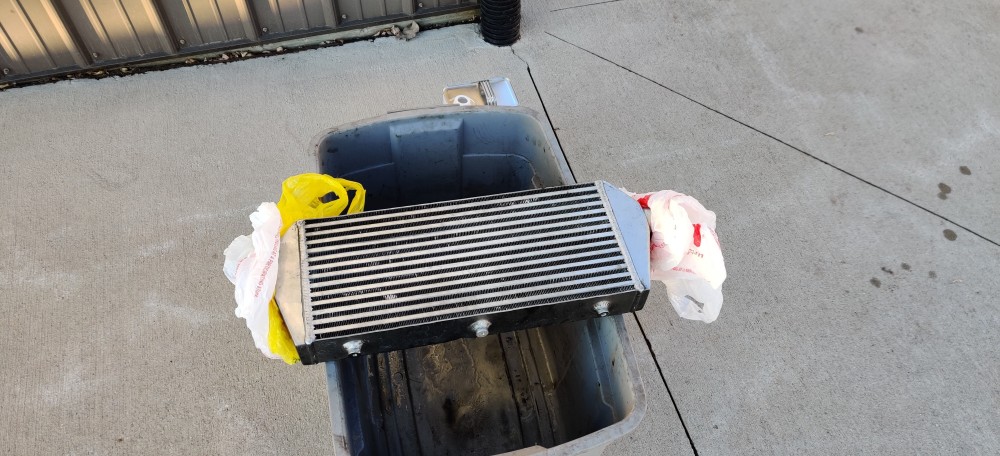
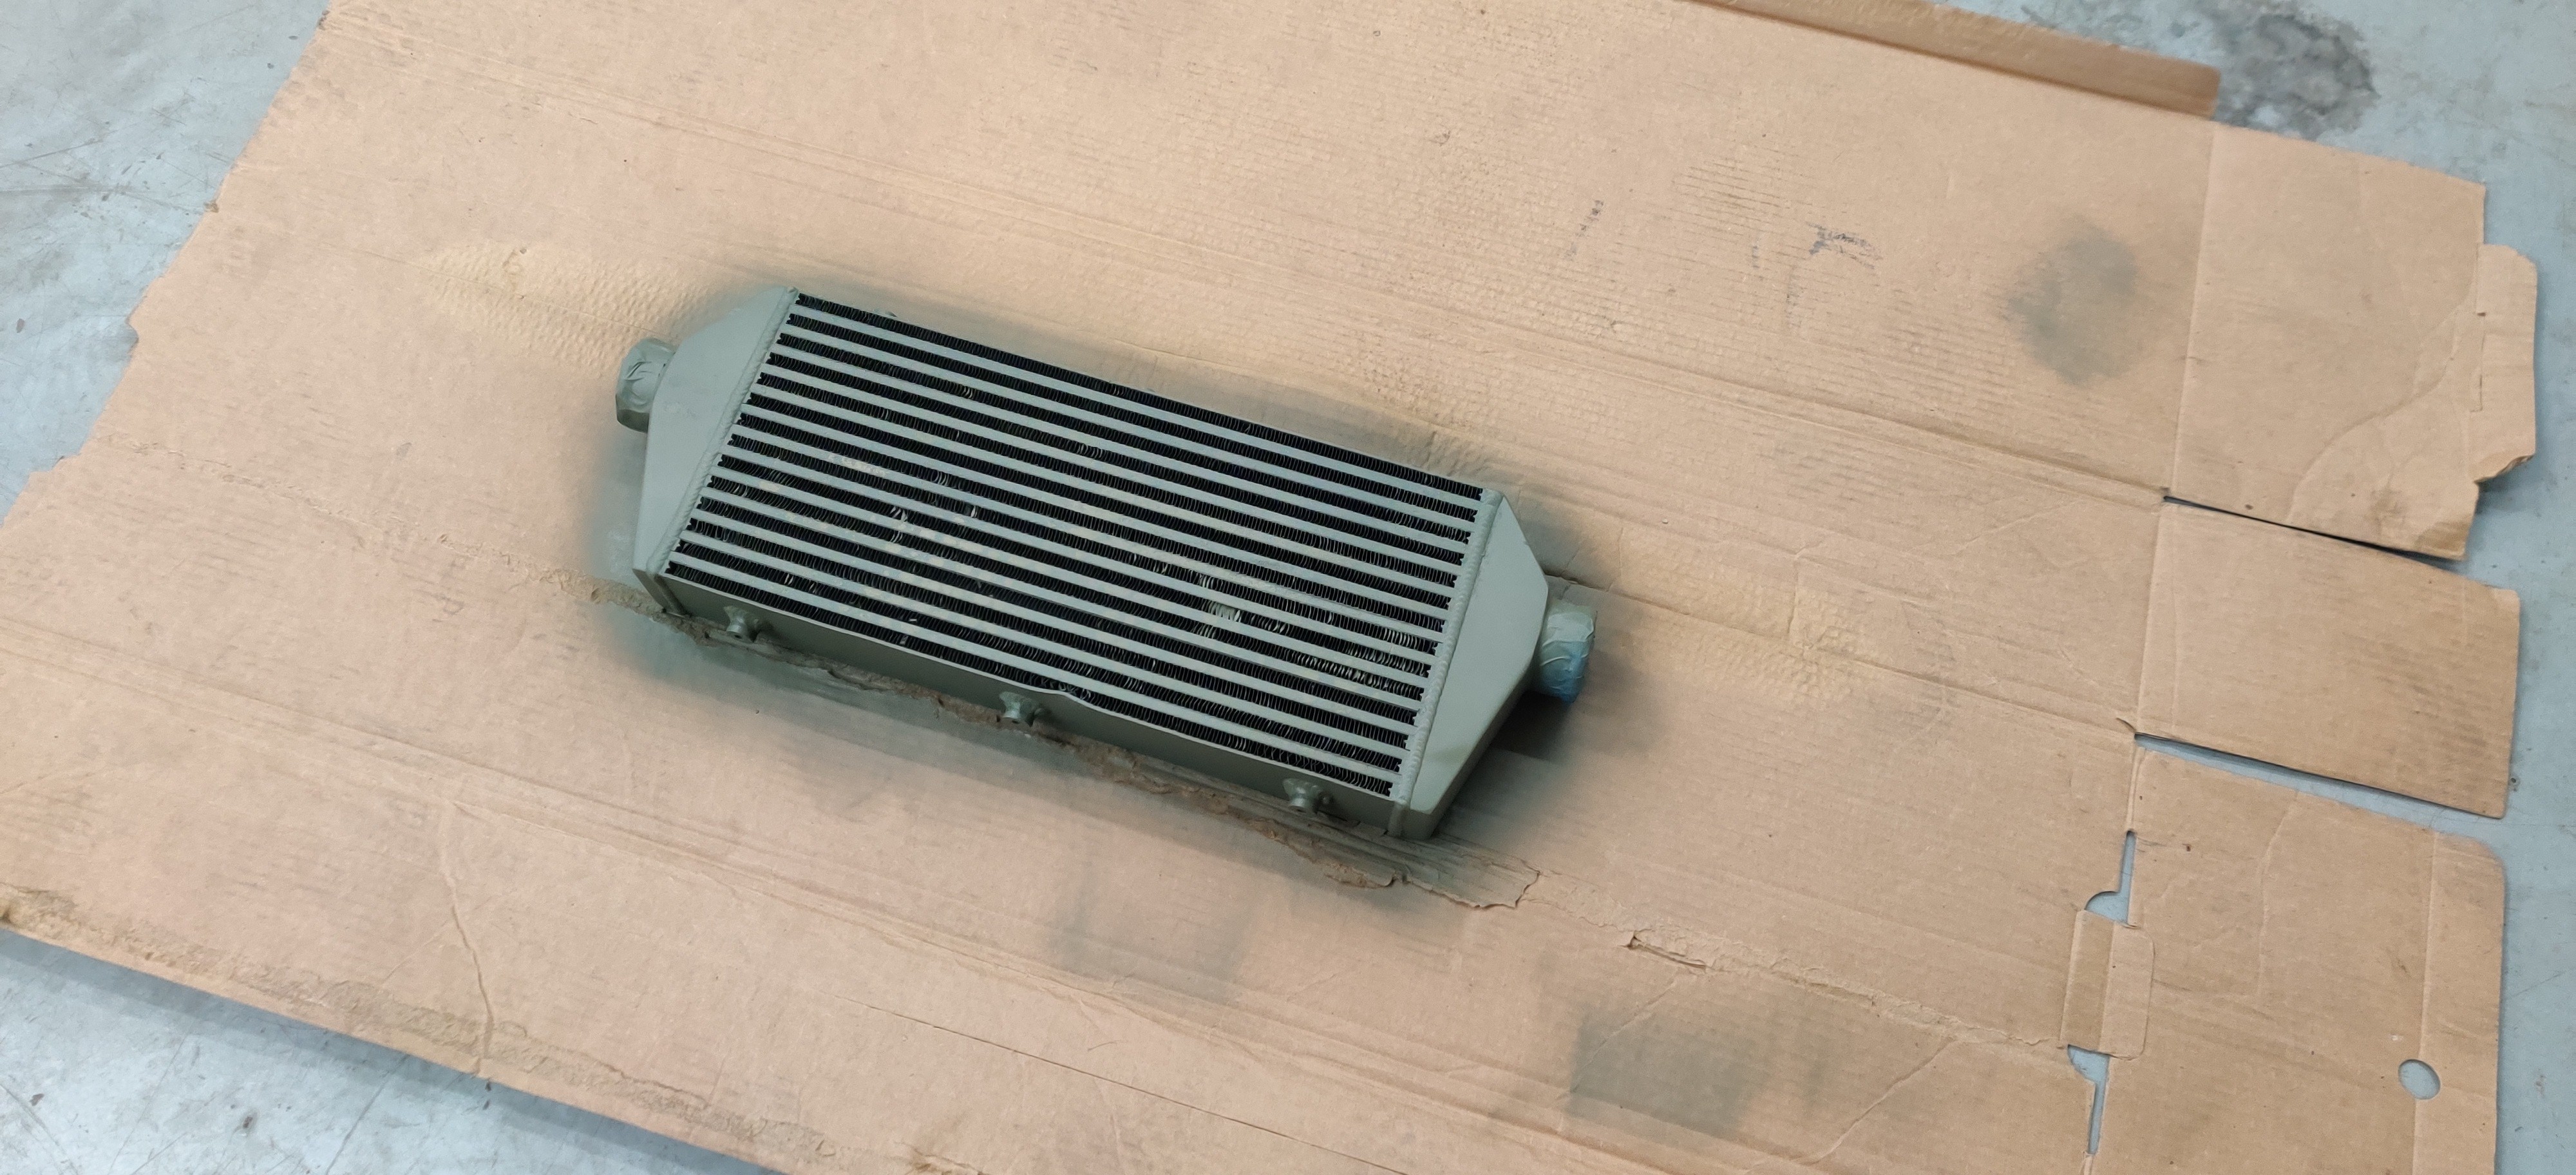
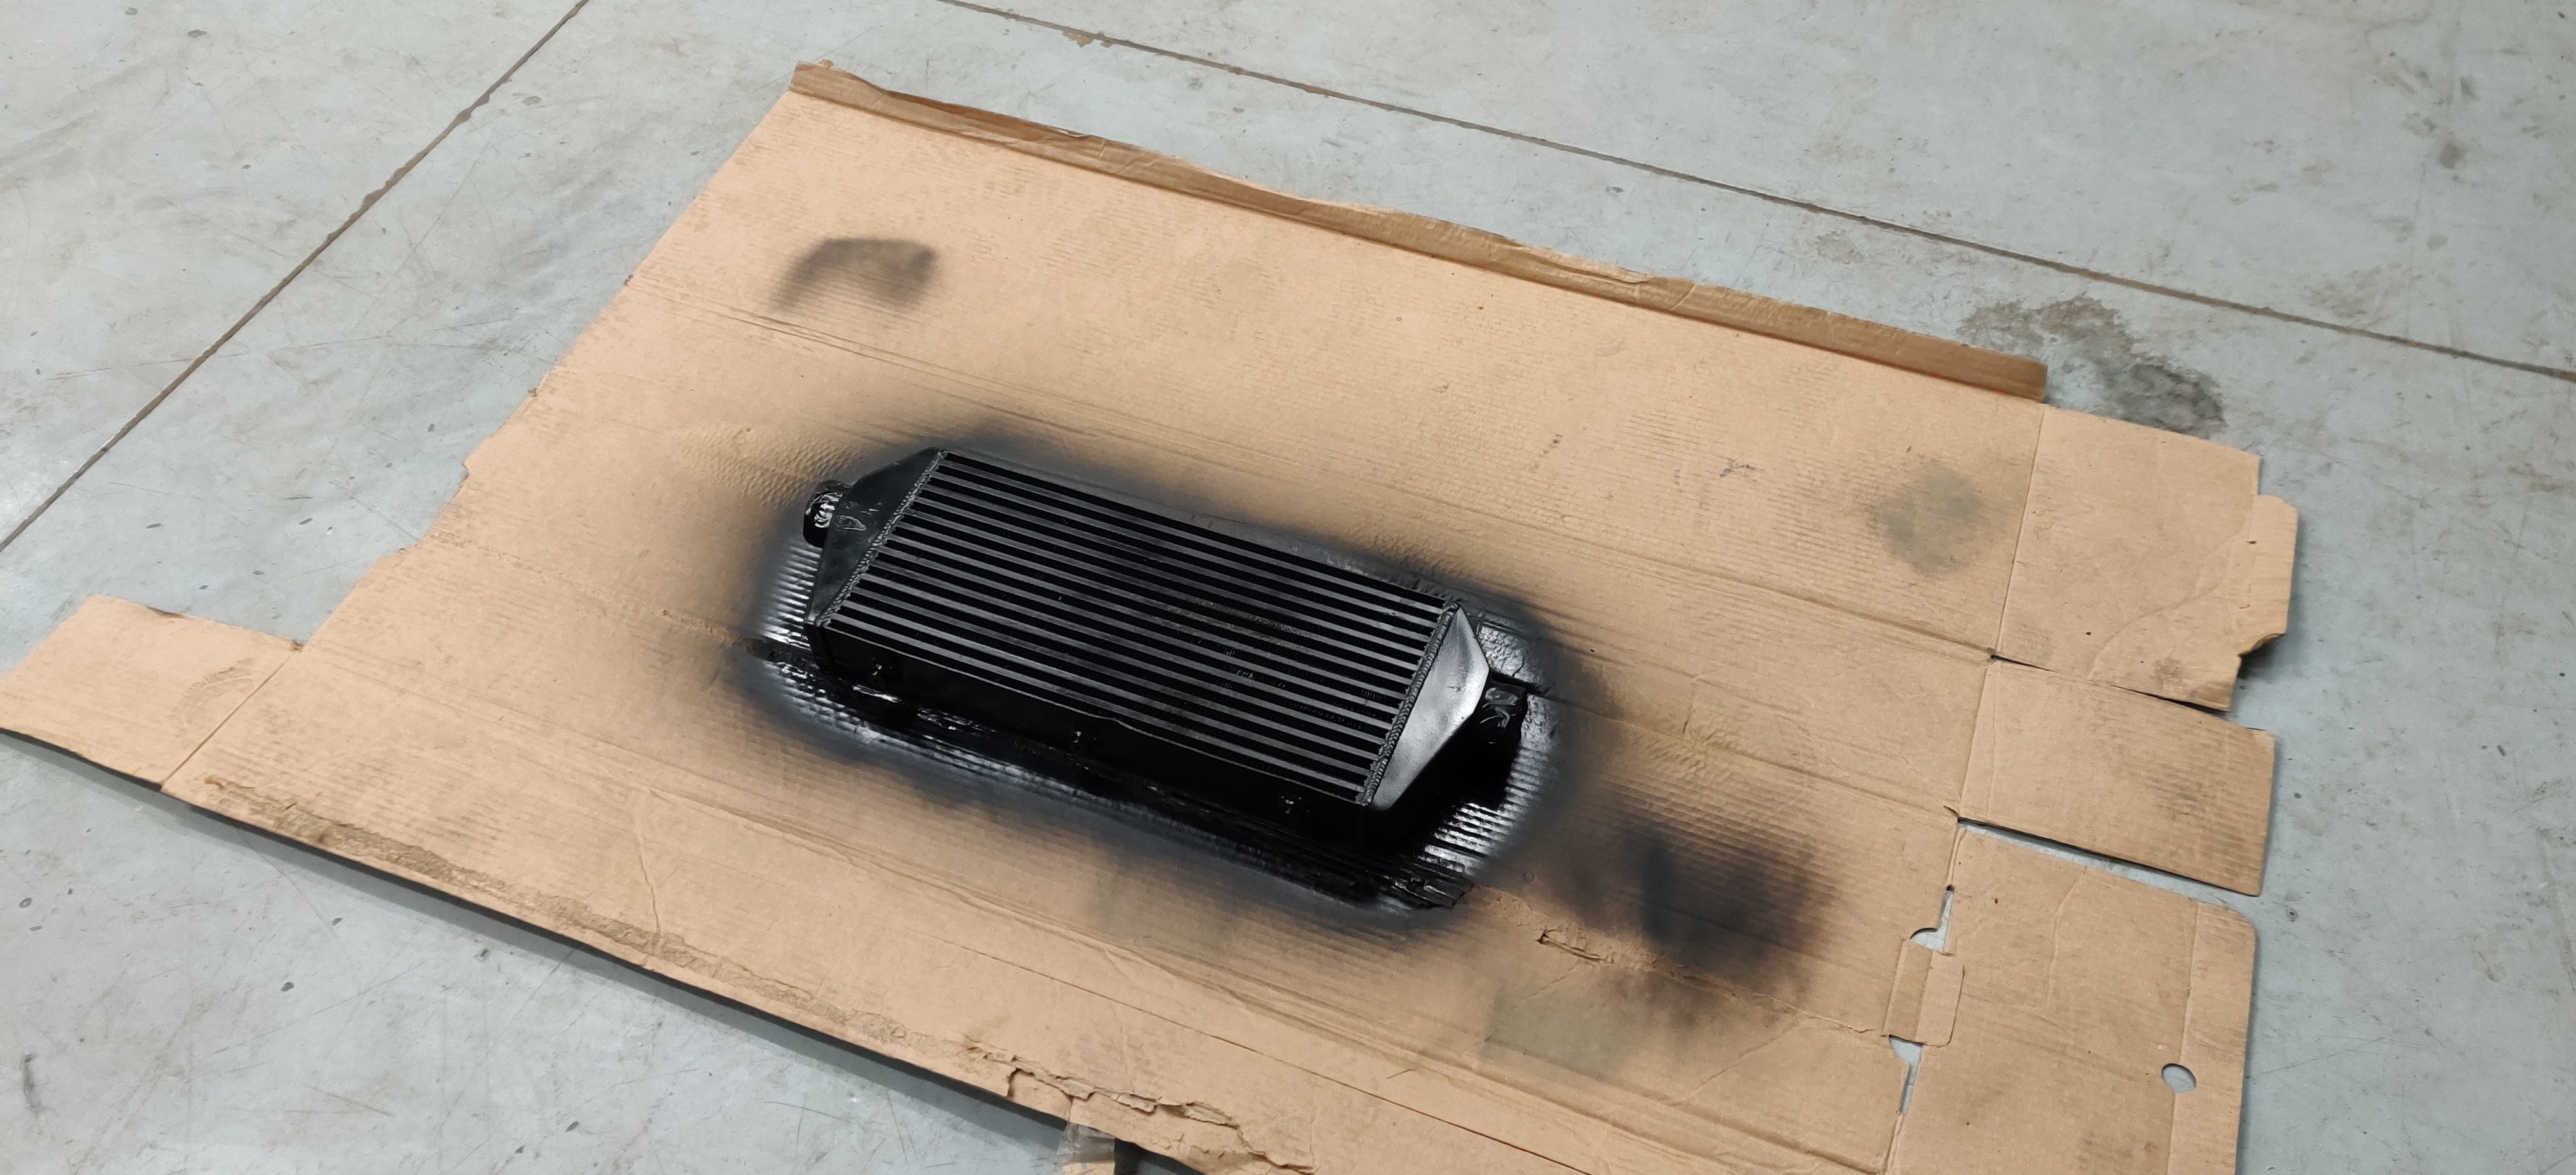
Afterwards I wanted to get a fresh coat of paint on the intercooler. The condition of the paint on it was chipping in many places (as you could tell from the previous pic) and was starting to be a little more visible through the grills.
I could tell the first time around the paint had just been sprayed over the intercooler with not much prep or primer. This time the intercooler was roughed up with a scotchbrite pad before applying a couple light coats of etching primer and then a few medium coats of matt black paint.
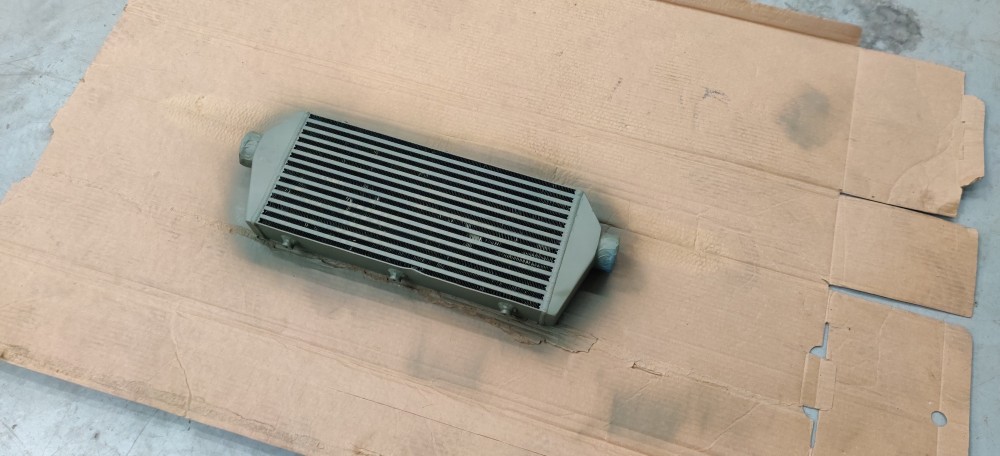
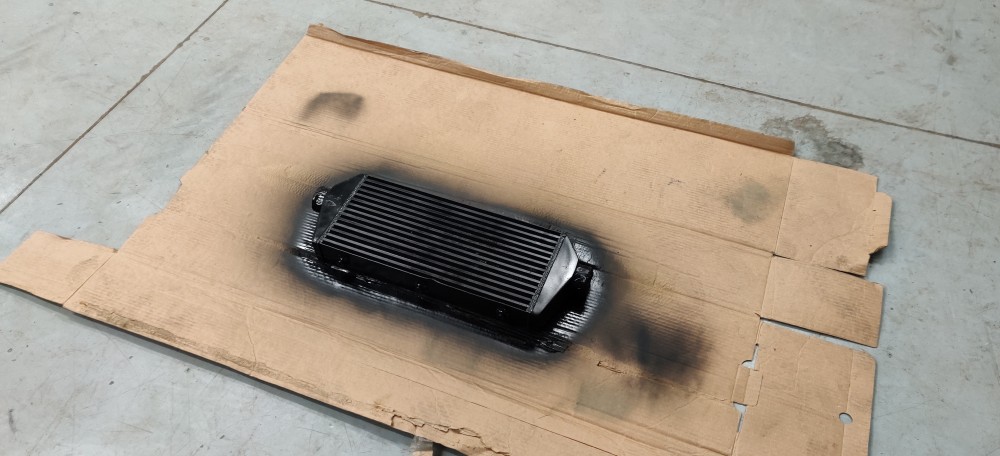
After letting it dry for 24 hrs it was reattached to the car.
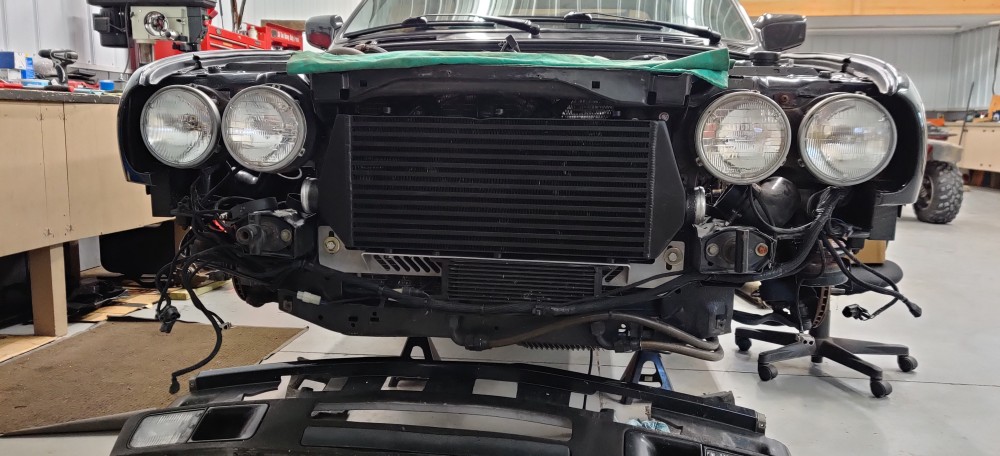
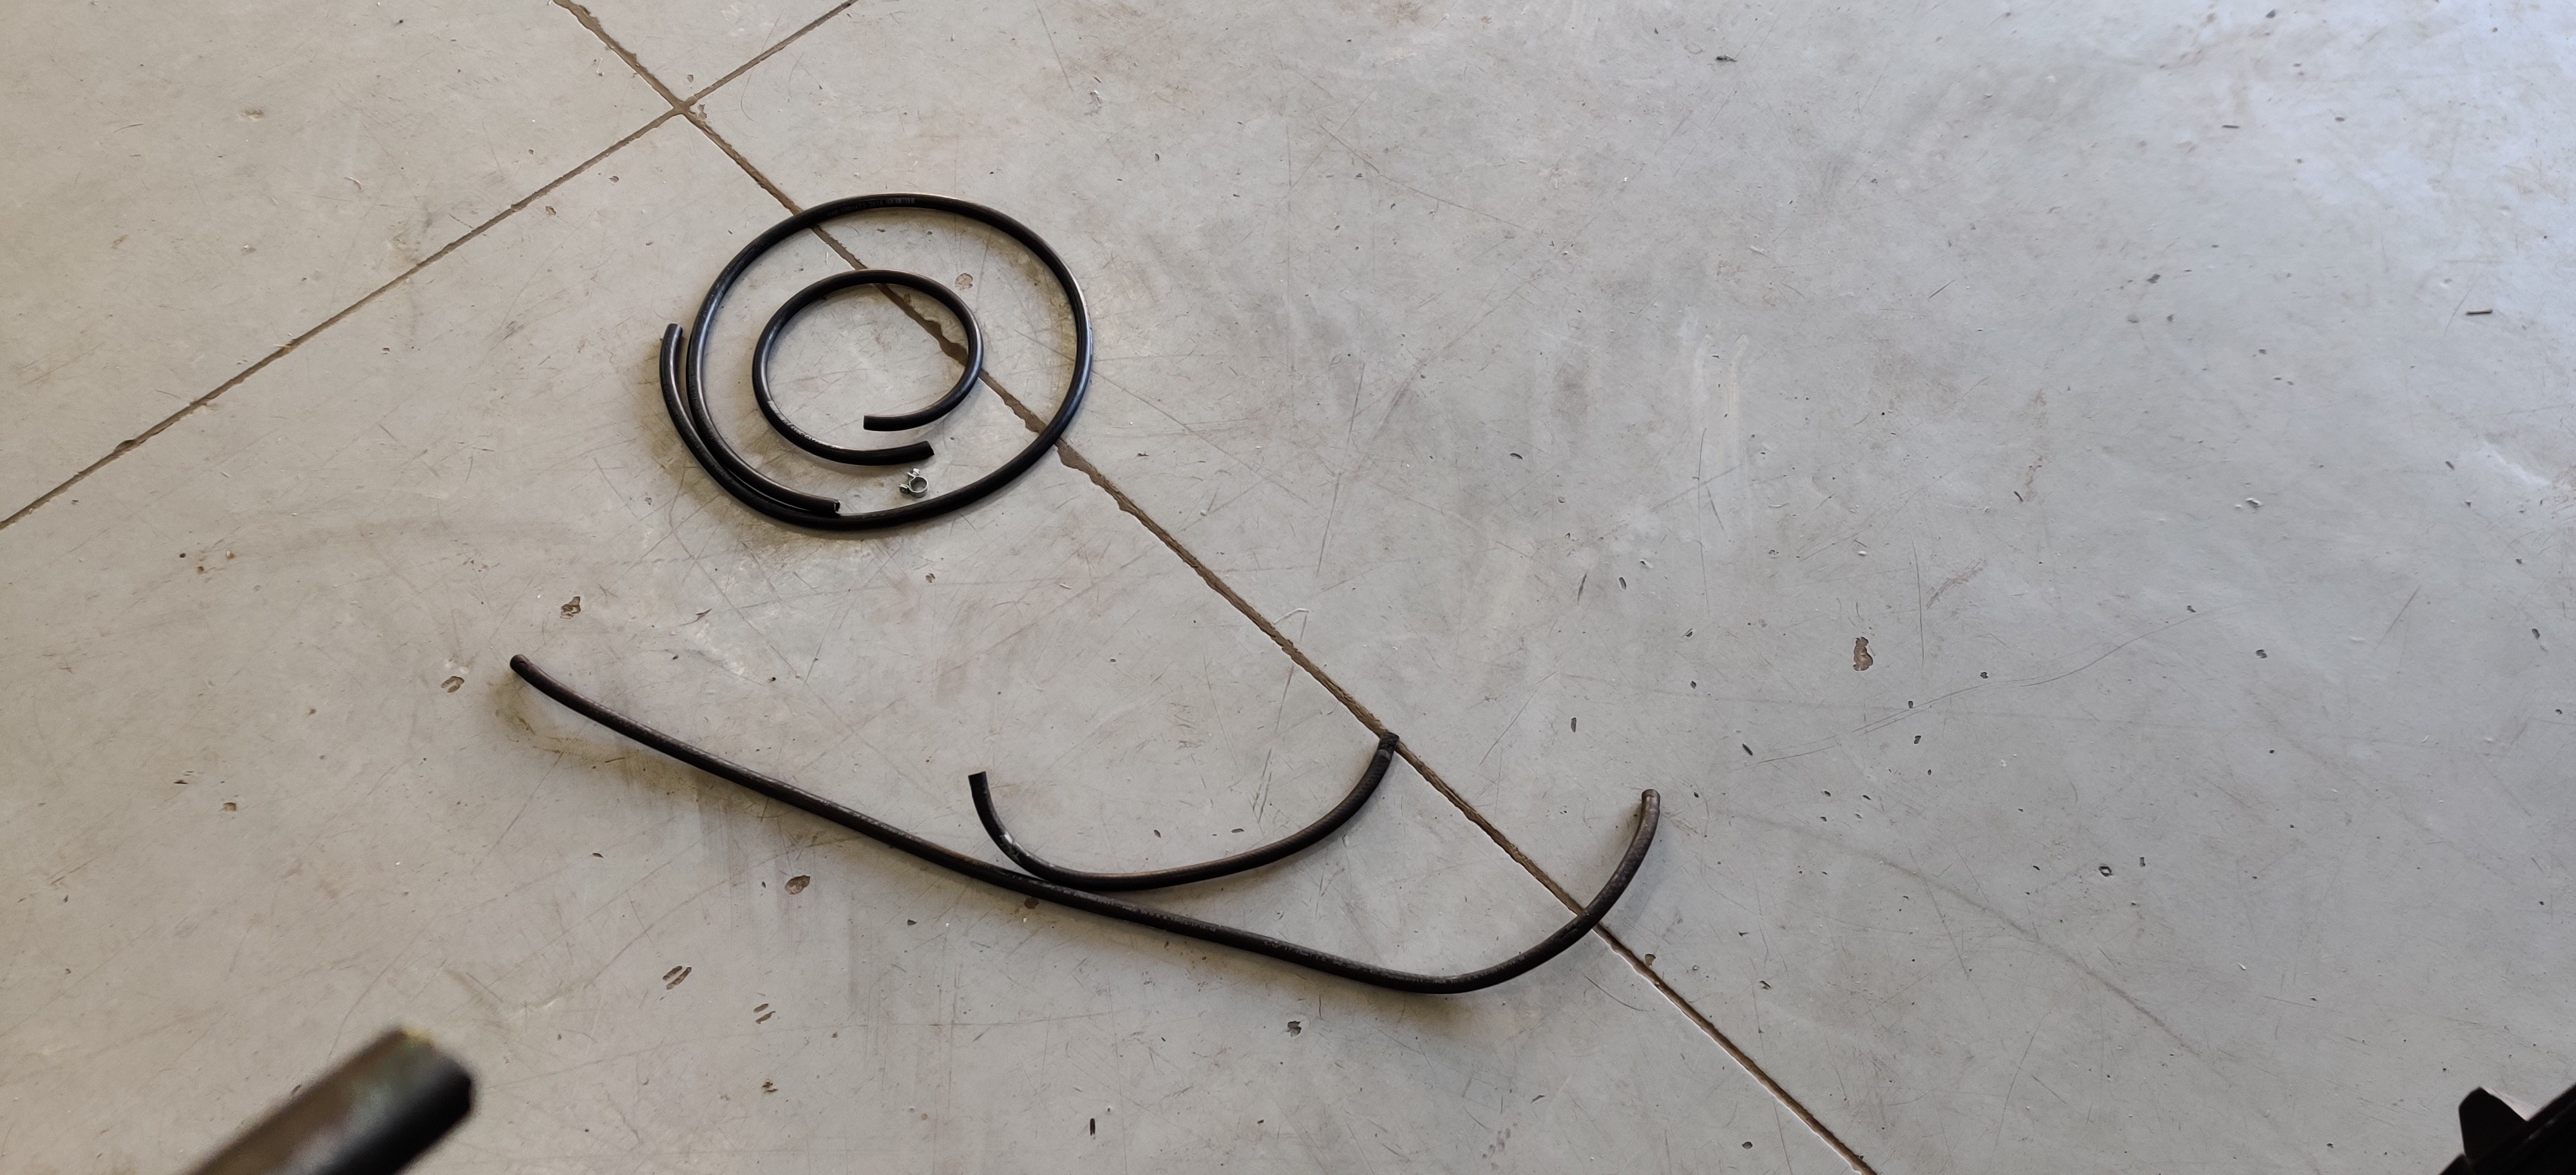
Next up on the agenda was replacing the fuel hose above the tank and in the engine bay. These had been replaced way back when the new tank had been installed in the car but unfortunately they were not rated for e85 and I noticed a large amount of cracking on more then half of them. I went ahead and picked up some e85 rated 5/16 fuel hose from a local auto parts store and got to it.
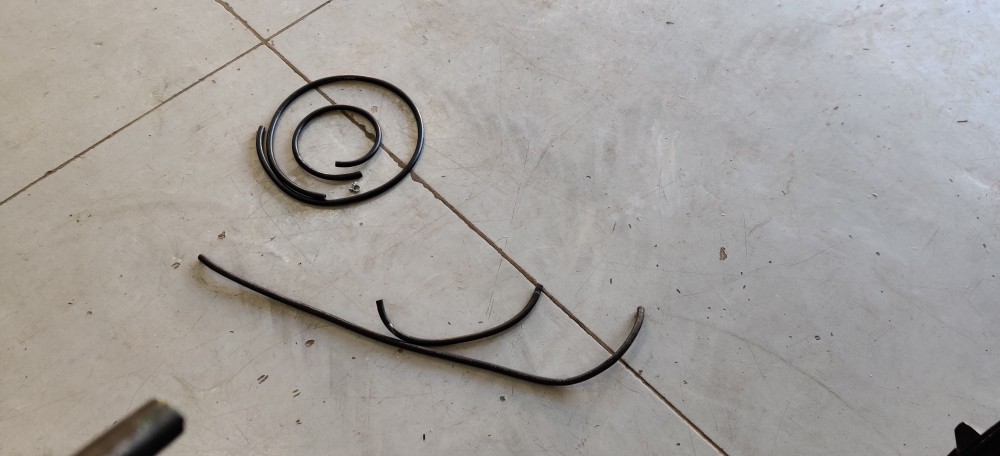
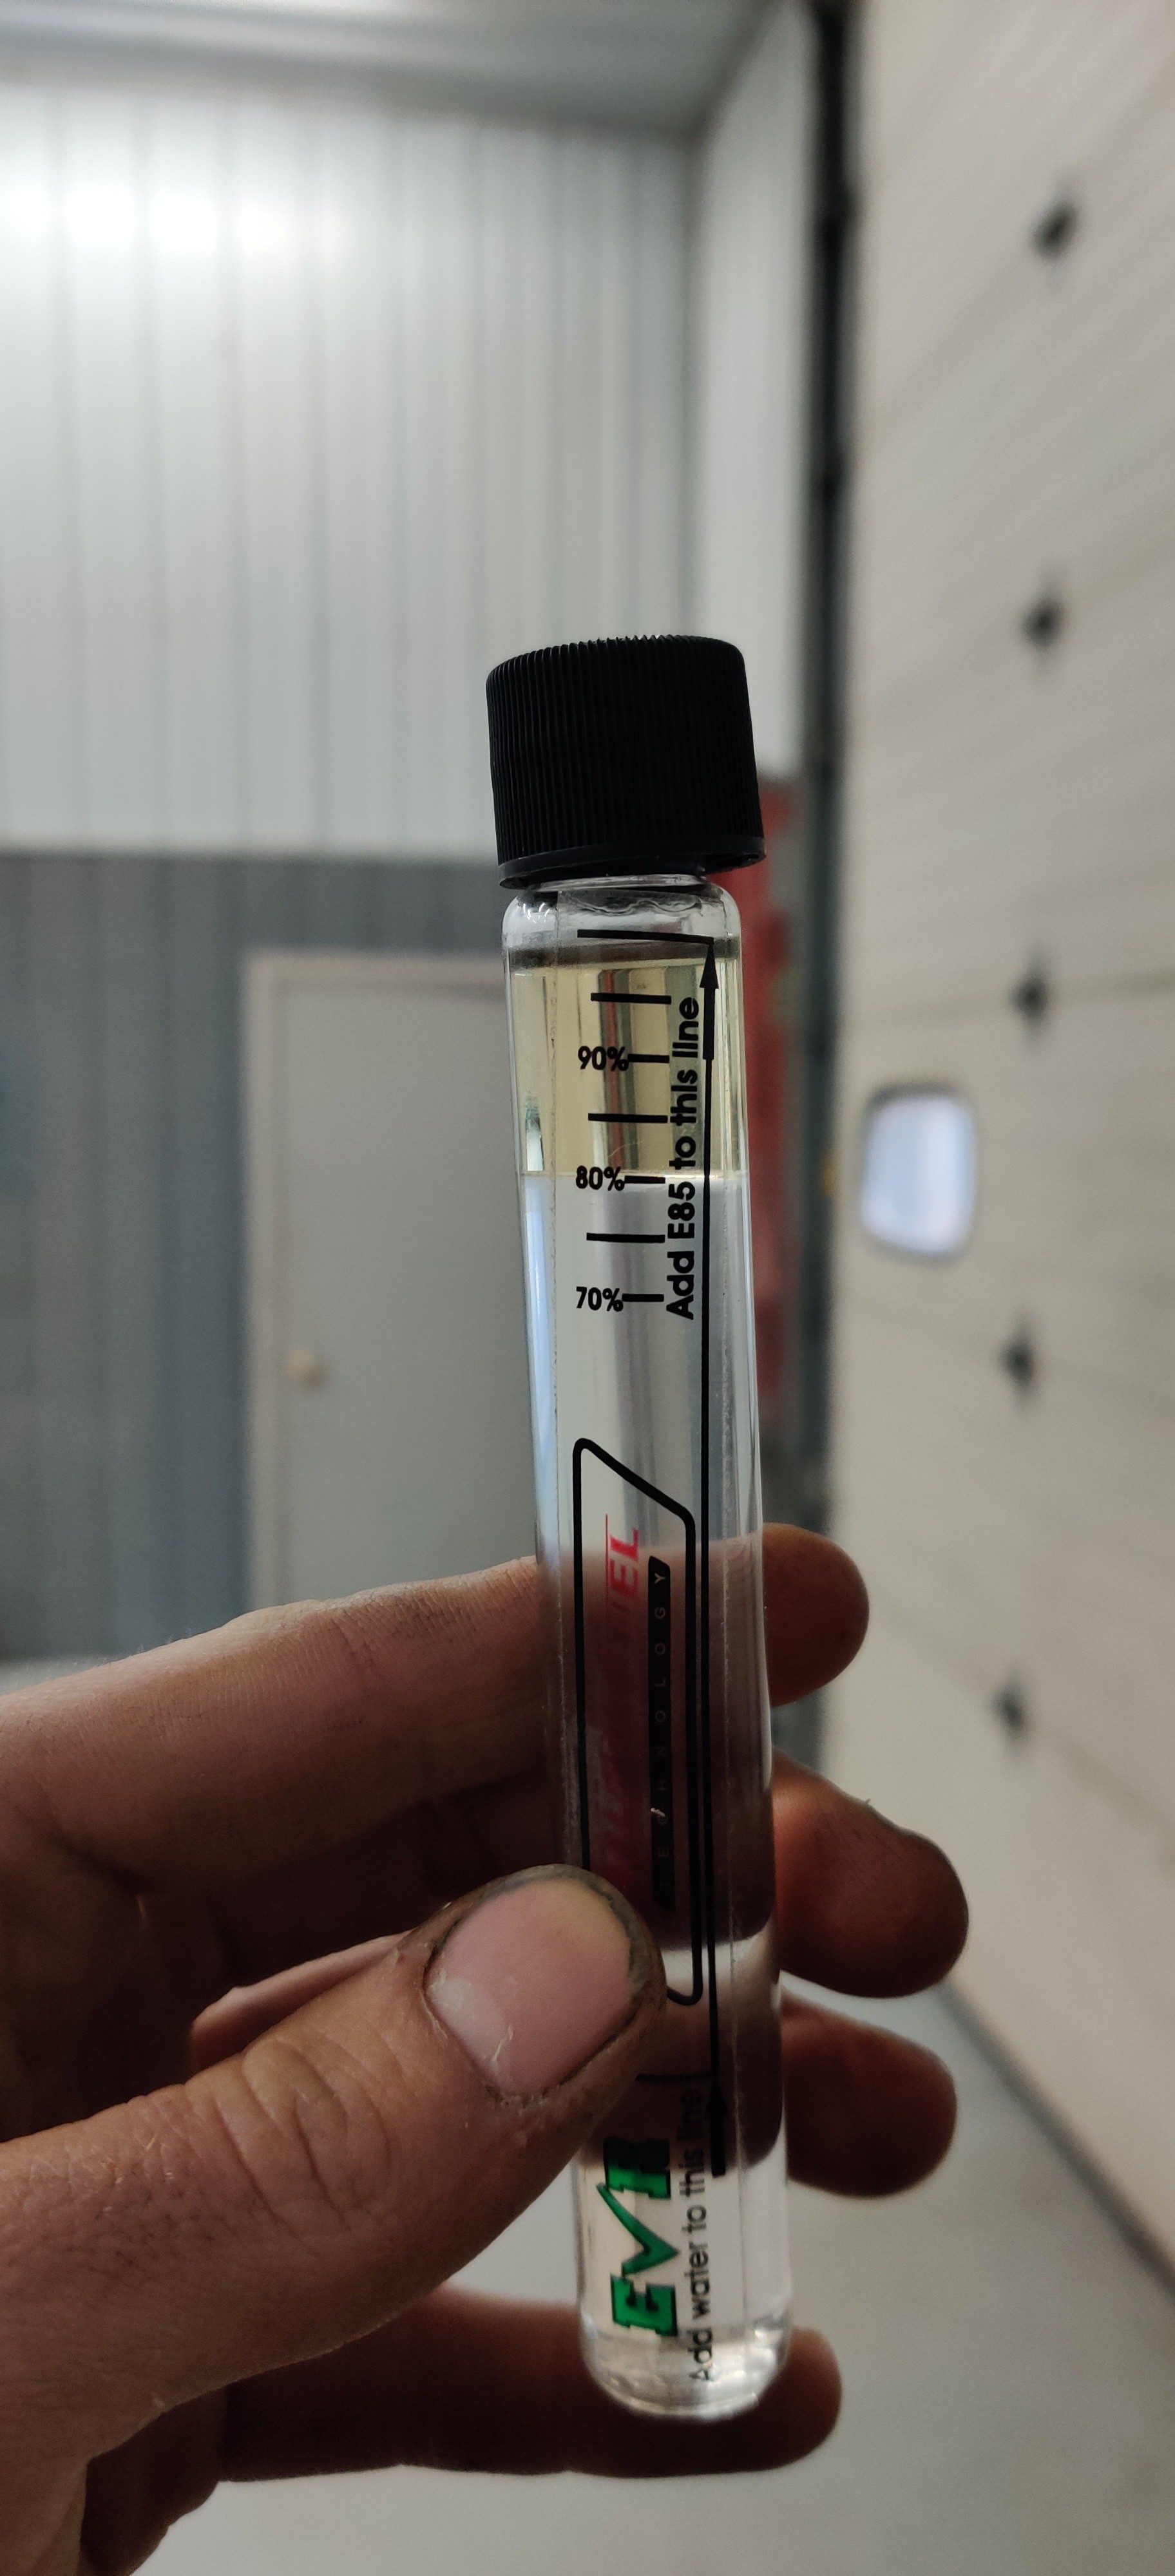
While I was in there I installed a fresh fuel filter while it was apart. I did pop the pump assembly off and glance in the tank to make sure things were all good, which they were. Before storing the car for the winter I topped off the tank with e85 and added some stabil 360 ethanol rated. The idea behind that was to help prevent the ethanol from eating at the inside of the tank and hopefully prevent it from absorbing moisture as quick. I thought for shits and giggles I'll test it and see what the ethanol content of the fuel was after sitting for 4-5 months with the stabil in it. Sure enough it was still at 80% ethanol which was awesome.
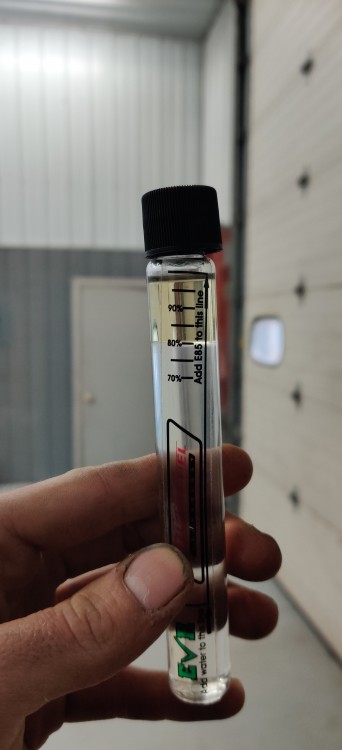
With this checked and complete I got the rest of the motor back together and what not. This brings us to this last Sunday. Everything was done up to the point that I could at least run the motor and make sure it was all good before proceeding on to other things on the list of to-do's. Well, after a motor has been sitting for a while I like to crank it over several times to get oil pumped through before actually starting it. For mine, it's tell I see oil coming out of the turbo feed line which I had disconnected and running into a plastic container. So I start cranking and about 2 or 3 seconds in I hear this terrible, ear piercing screeching. I immediately stopped and tried it once again and sure enough it kept on screeching, sounding like it was coming from the bell housing. I called it a night to think on it. The folllowing day I came back and popped a wrench on the crankshaft bolt and started spinning the motor slowly by hand and as expected it was coming from the bell housing but I still wasn't sure what was causing it all I knew was that the trans had to come back off.
That same evening I got right to it and after about an 1 hr of fiddling around I had the trans back off and almost immediately saw my issue.
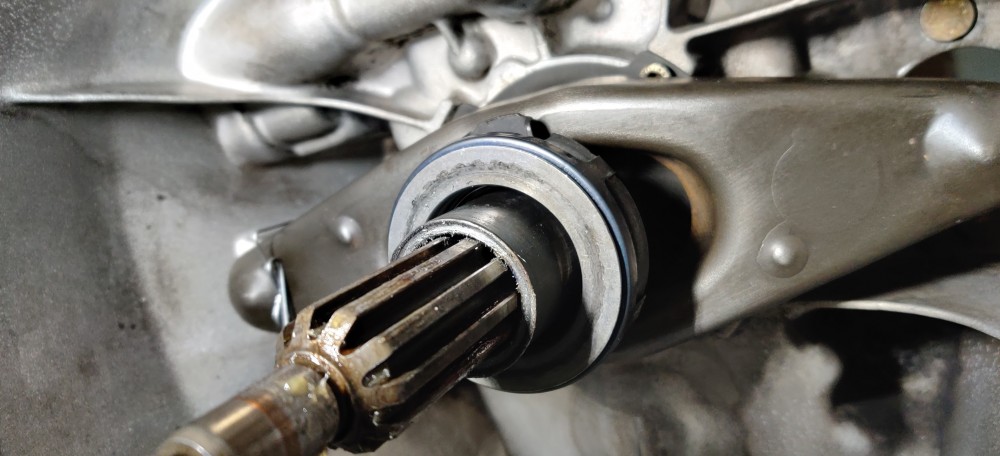
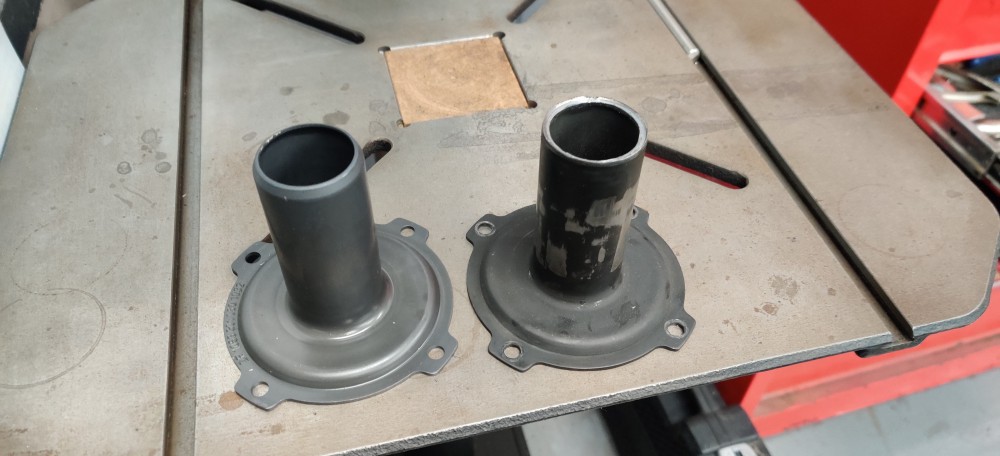
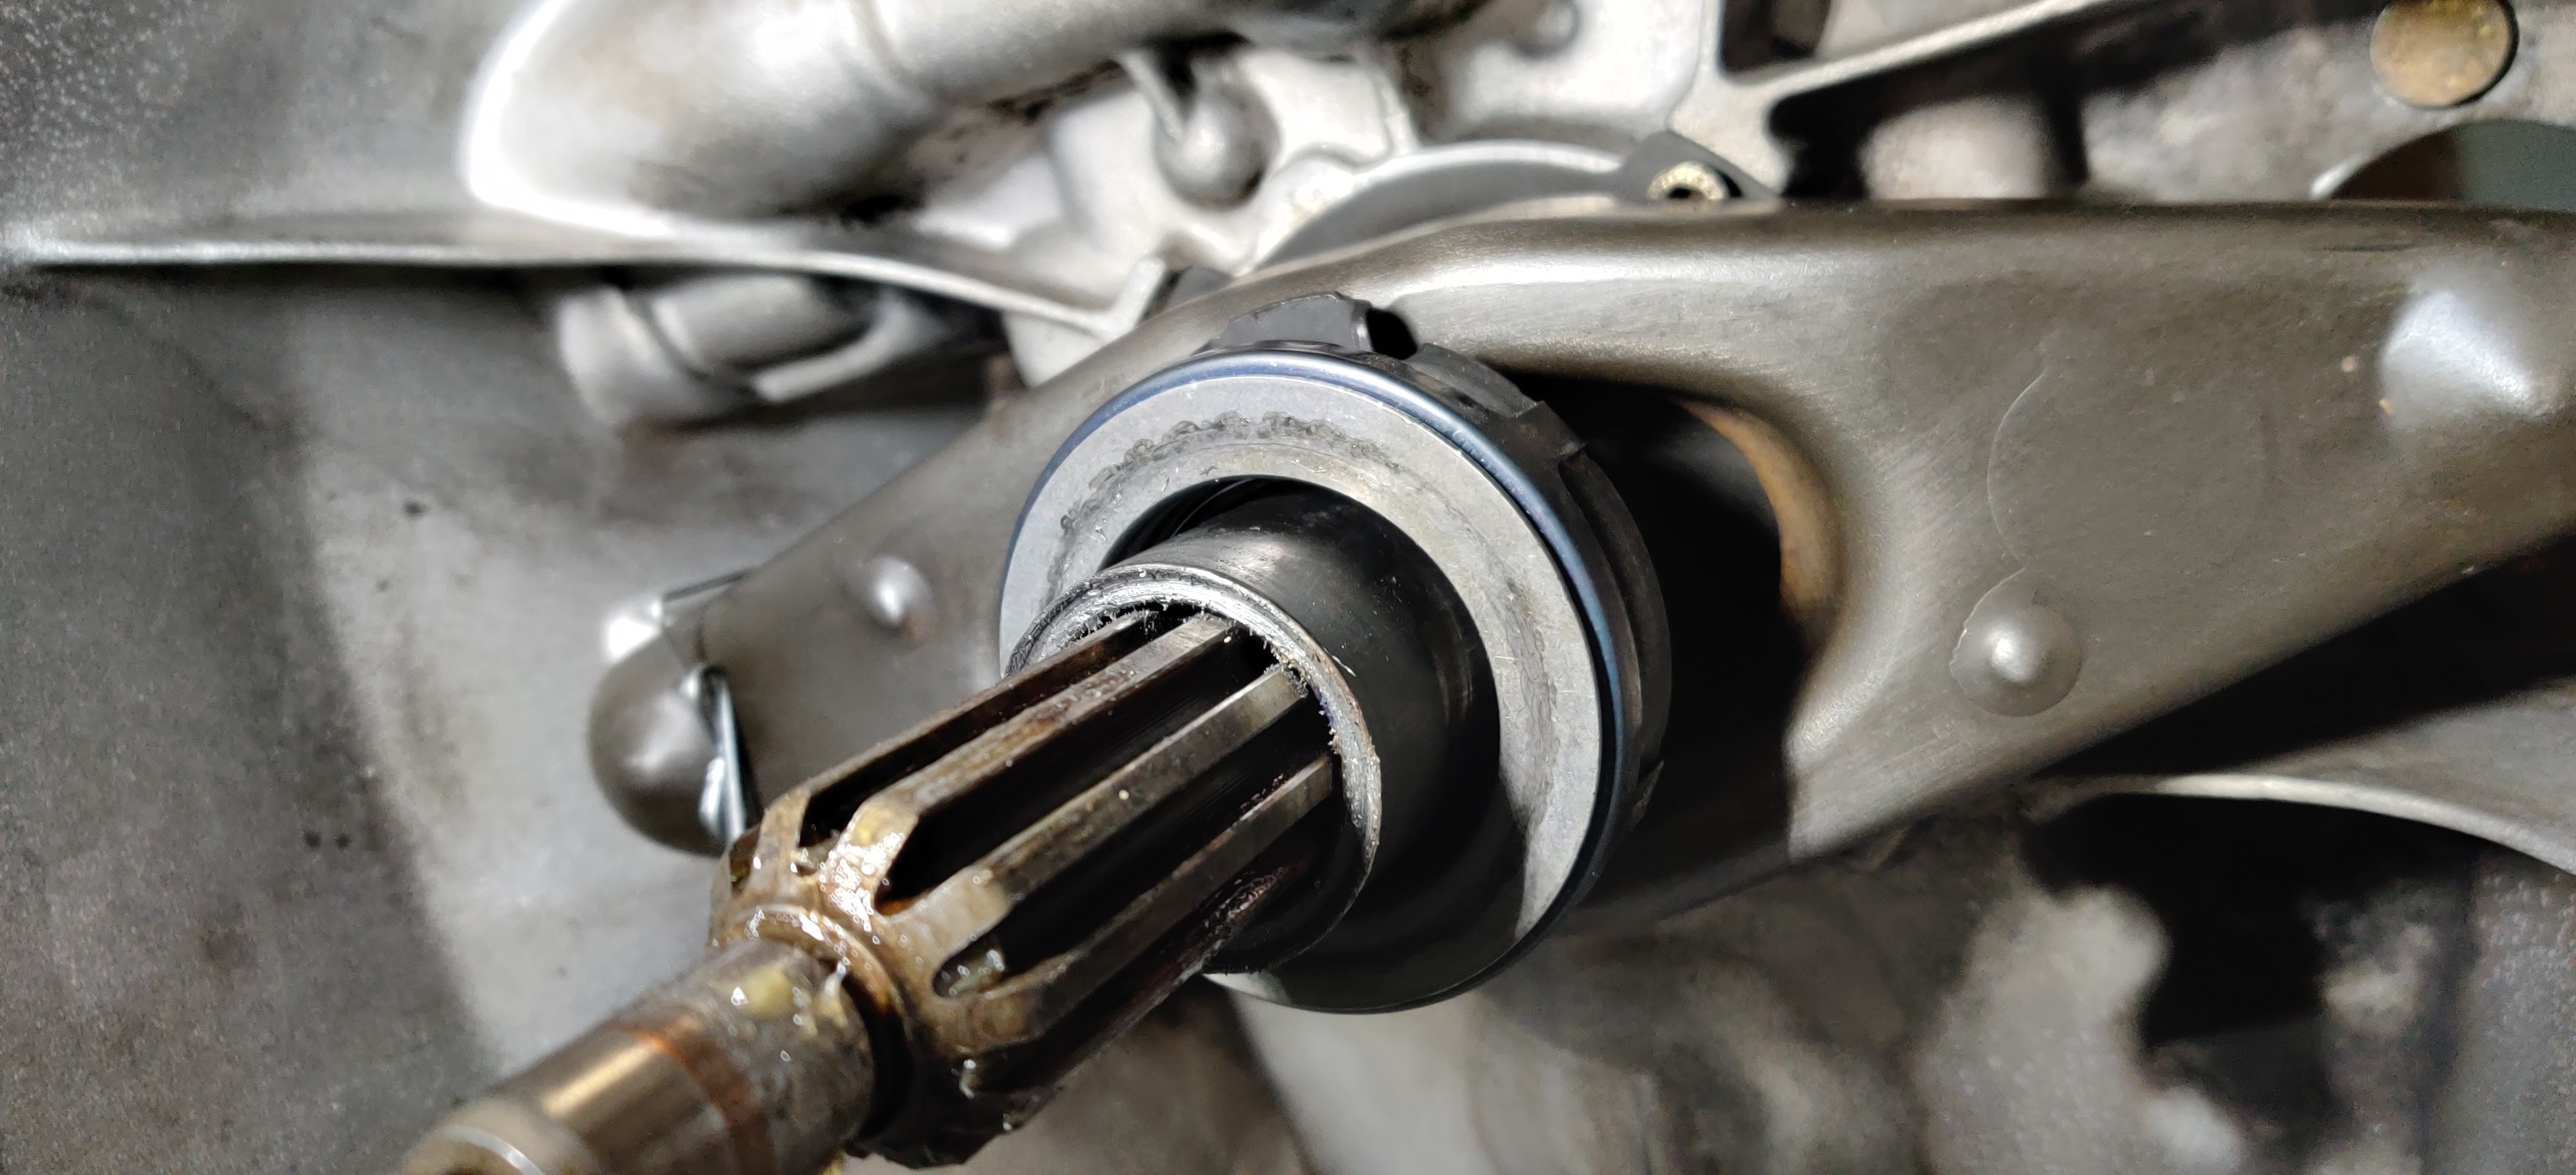
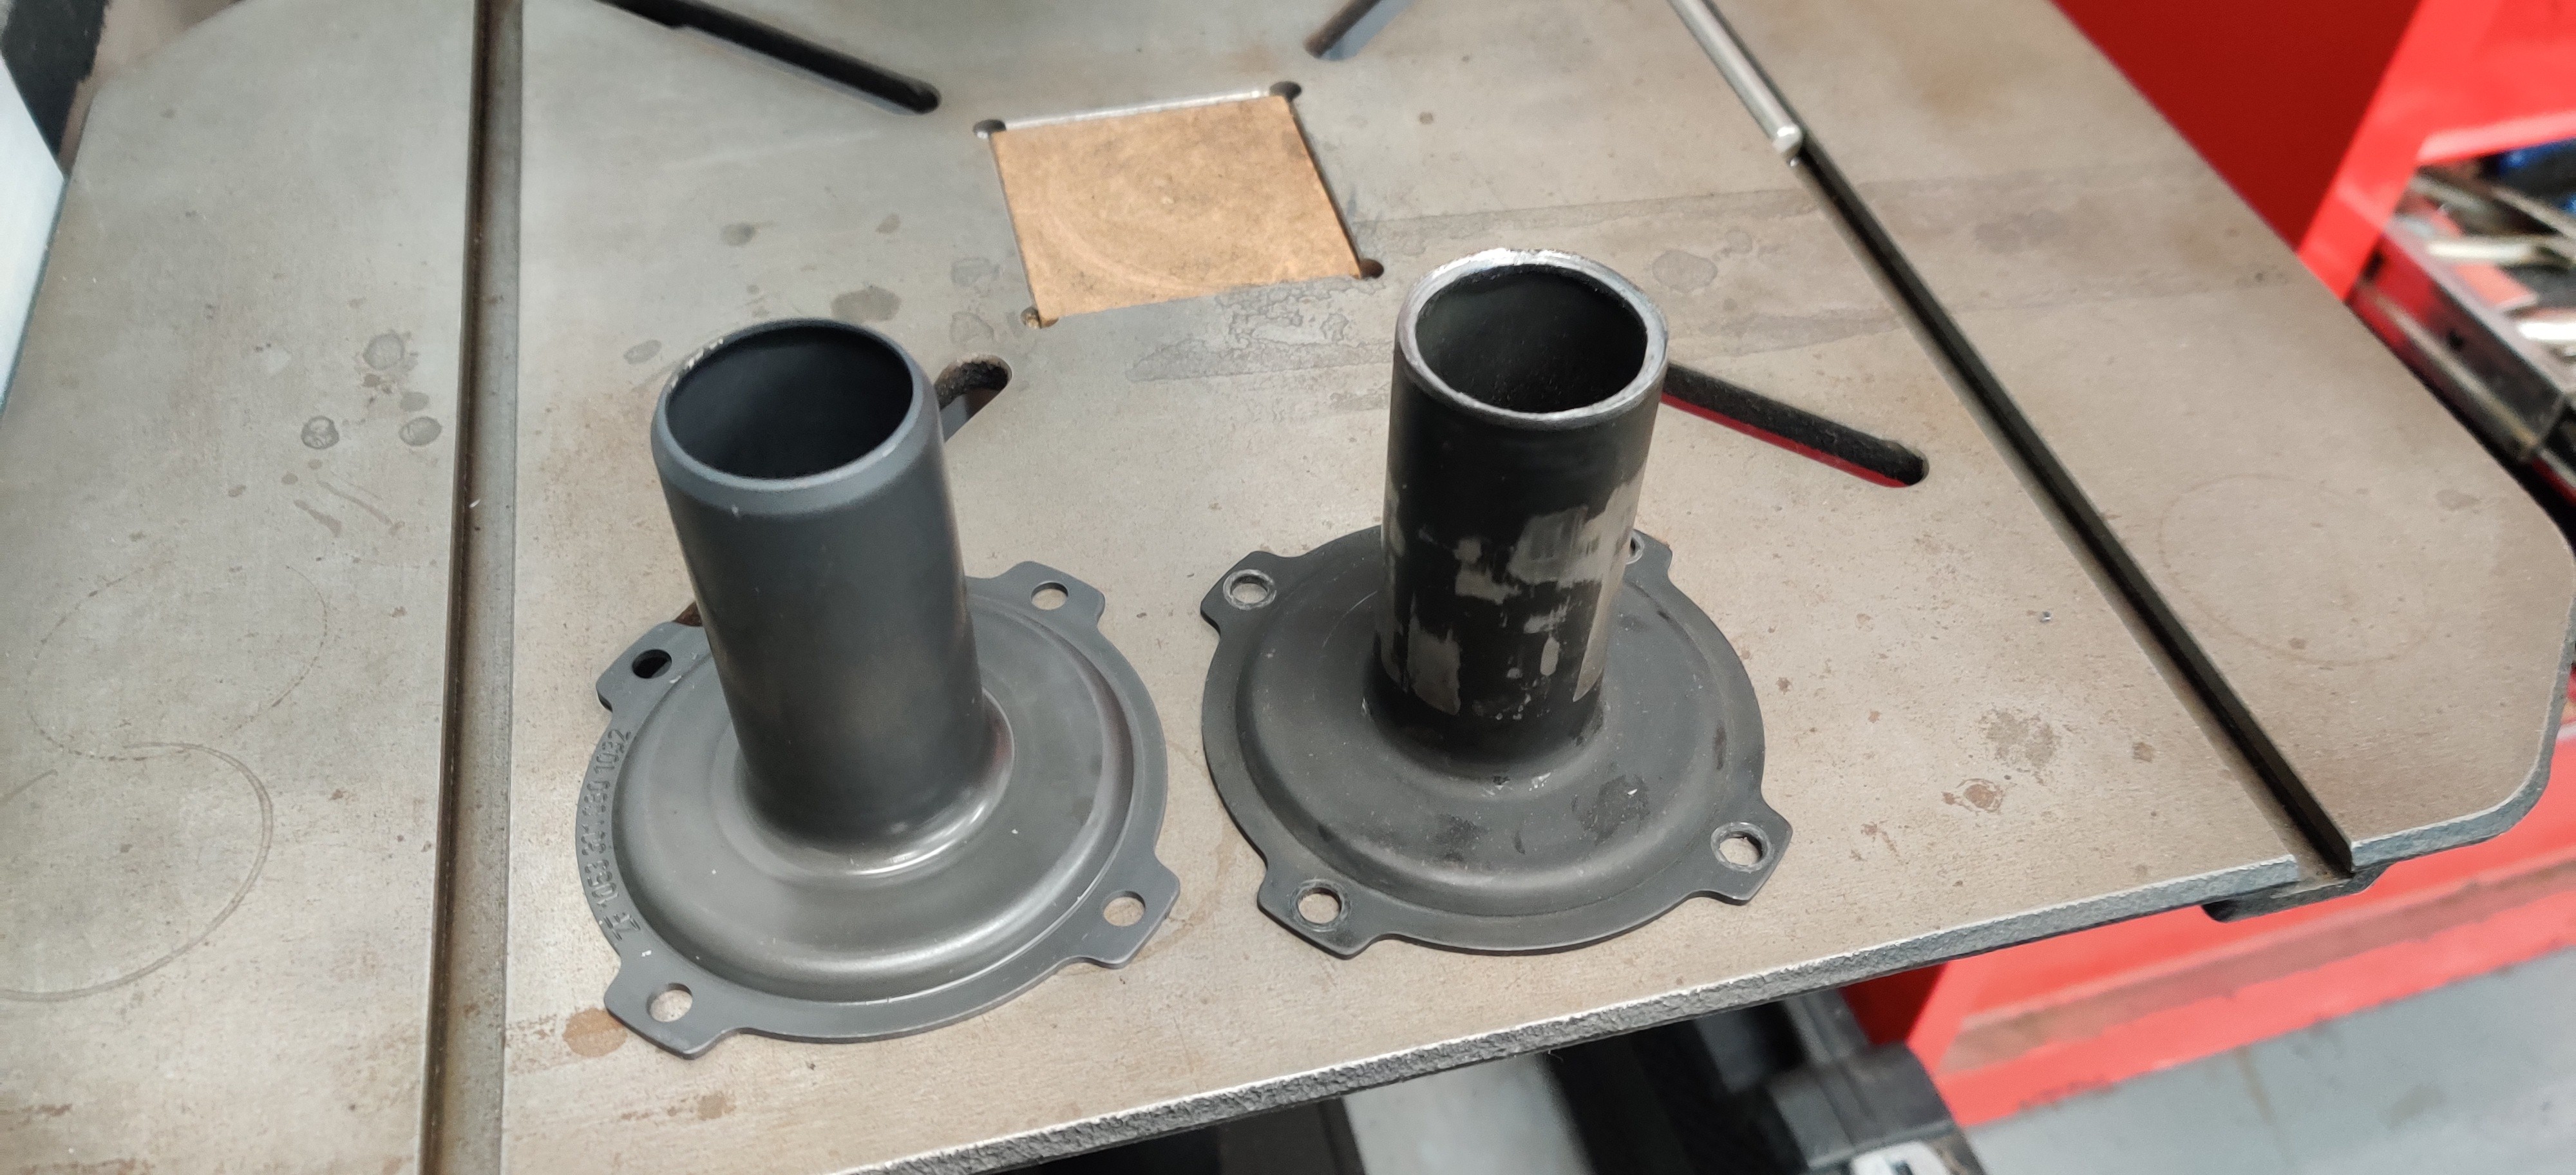
The guide tube had been rubbing on the clutch disc which had caused it to mushroom up. This only meant only one thing, I had the clutch installed backwards. That was confusing for me though cause I recalled following exactly as the instructions had said from fx racing which said to have the hub/protrusion face the trans. After digging around on the intranet I found that I wasn't the only one who had run into this issue and people had started the engine causing the tube and disc to build up so much heat between each other that they ended up friction welding themselves together making it quite the challenge to pull the trans back off. It came down to the fact that the instructions were actually incorrect from fx racing and that the hub on the clutch disc has to be facing the flywheel. Frustrated but thankful it wasn't something worse I got the disk flipped around and the pressure plate re-installed. I do want to point out that I installed the clutch disc the same way when I had the stage 2 kit. However for some reason with the g260 the guide tube never meshed with the disc so I guess if you're running the 260 on a 24 valve you shouldn't technically have any issues running the disc that way.
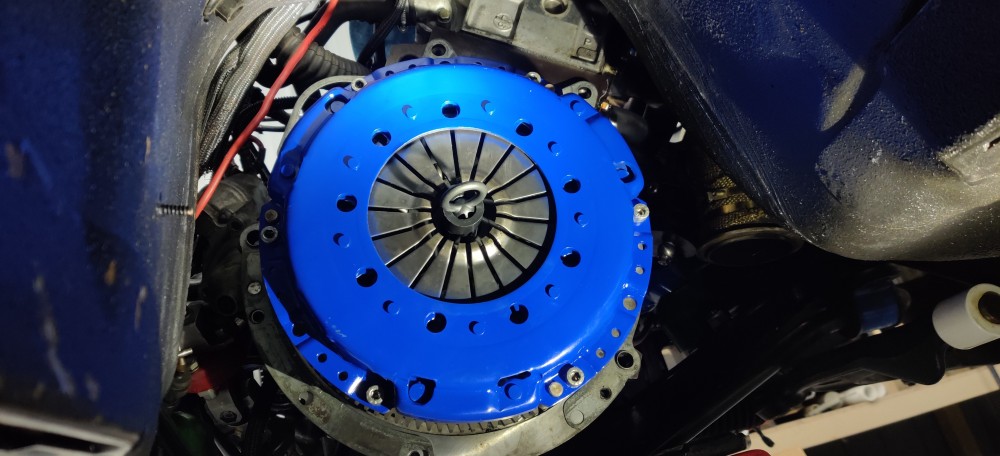
I did go ahead and order a new guide tube from the dealership which should be showing up tomorrow sometime and I should be able to get the trans back on the motor this weekend.
Yesterday and tonight I was able to begin disassembly of the differential and the casing sent off to get sand blasted. It should be done tomorrow and ready to be picked up. The plan is to get that back and repainted, re-built, and installed in the car. We shall see how that goes.
-
At least you caught it when you did. Somewhere on my pc I have a diagram that someone made about the correct way to install the clutch for the fx kit. I guess it’s pretty common to install them backwards.
At least you’re not this guy who friction welded it together and couldn’t get his trans separated lol
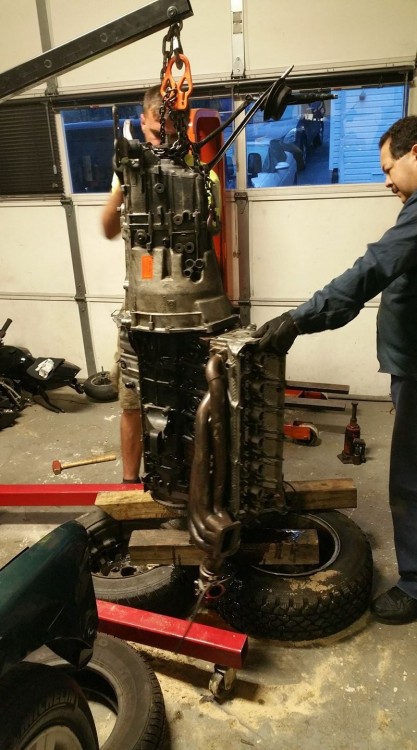
-
Nice progress. fyi no teflon tape should be used for -an fittings, only on tapered pipe threads.
+1
there are much better alternatives to fix pesky an leaks
-
Did you replace the detent stuff on the zf when you had it out? Or were they not bad yet
-
Nice progress. fyi no teflon tape should be used for -an fittings, only on tapered pipe threads.
I miss wrote on the post. the threads on the 45 degree elbow going into the flange fitting was not a -10 an, just regular threads (not sure on size or pitch though, probably like m14 I think). The plan was to use some blue Teflon which I guess was oil resistant but happy I just welded instead.
I ran into the exact same information about the fx racing clutches. Their instructions that come with the clutch are wrong. I installed mine "backwards" and have had zero issues.
Glad to hear it. I'd email them about it but I already know how that would go.
I love that oil cooler mount


Thanks!
Did you replace the detent stuff on the zf when you had it out? Or where they not bad yet
Honestly, after I read this post I had to look up what the hell you were talking about. Never even knew this was something that was a common issue for these. Heading over to the shop in a bit here and I will have to check it. Thanks!
-
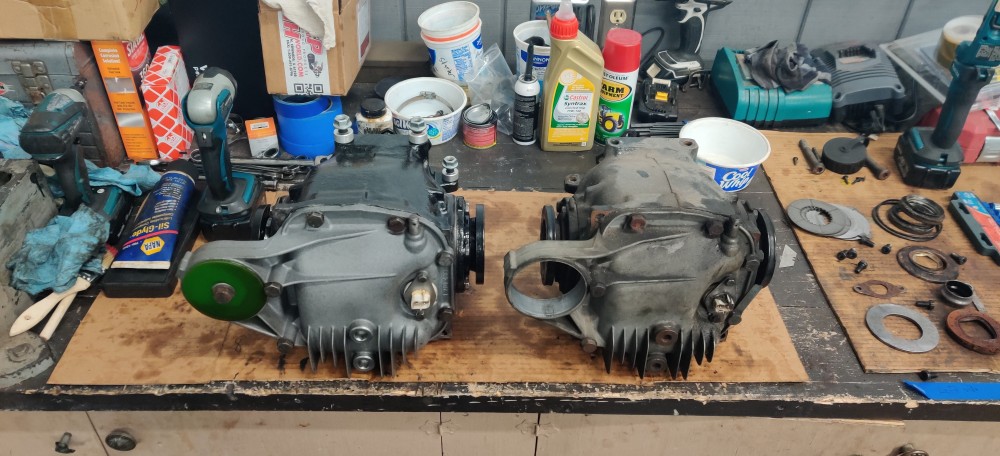
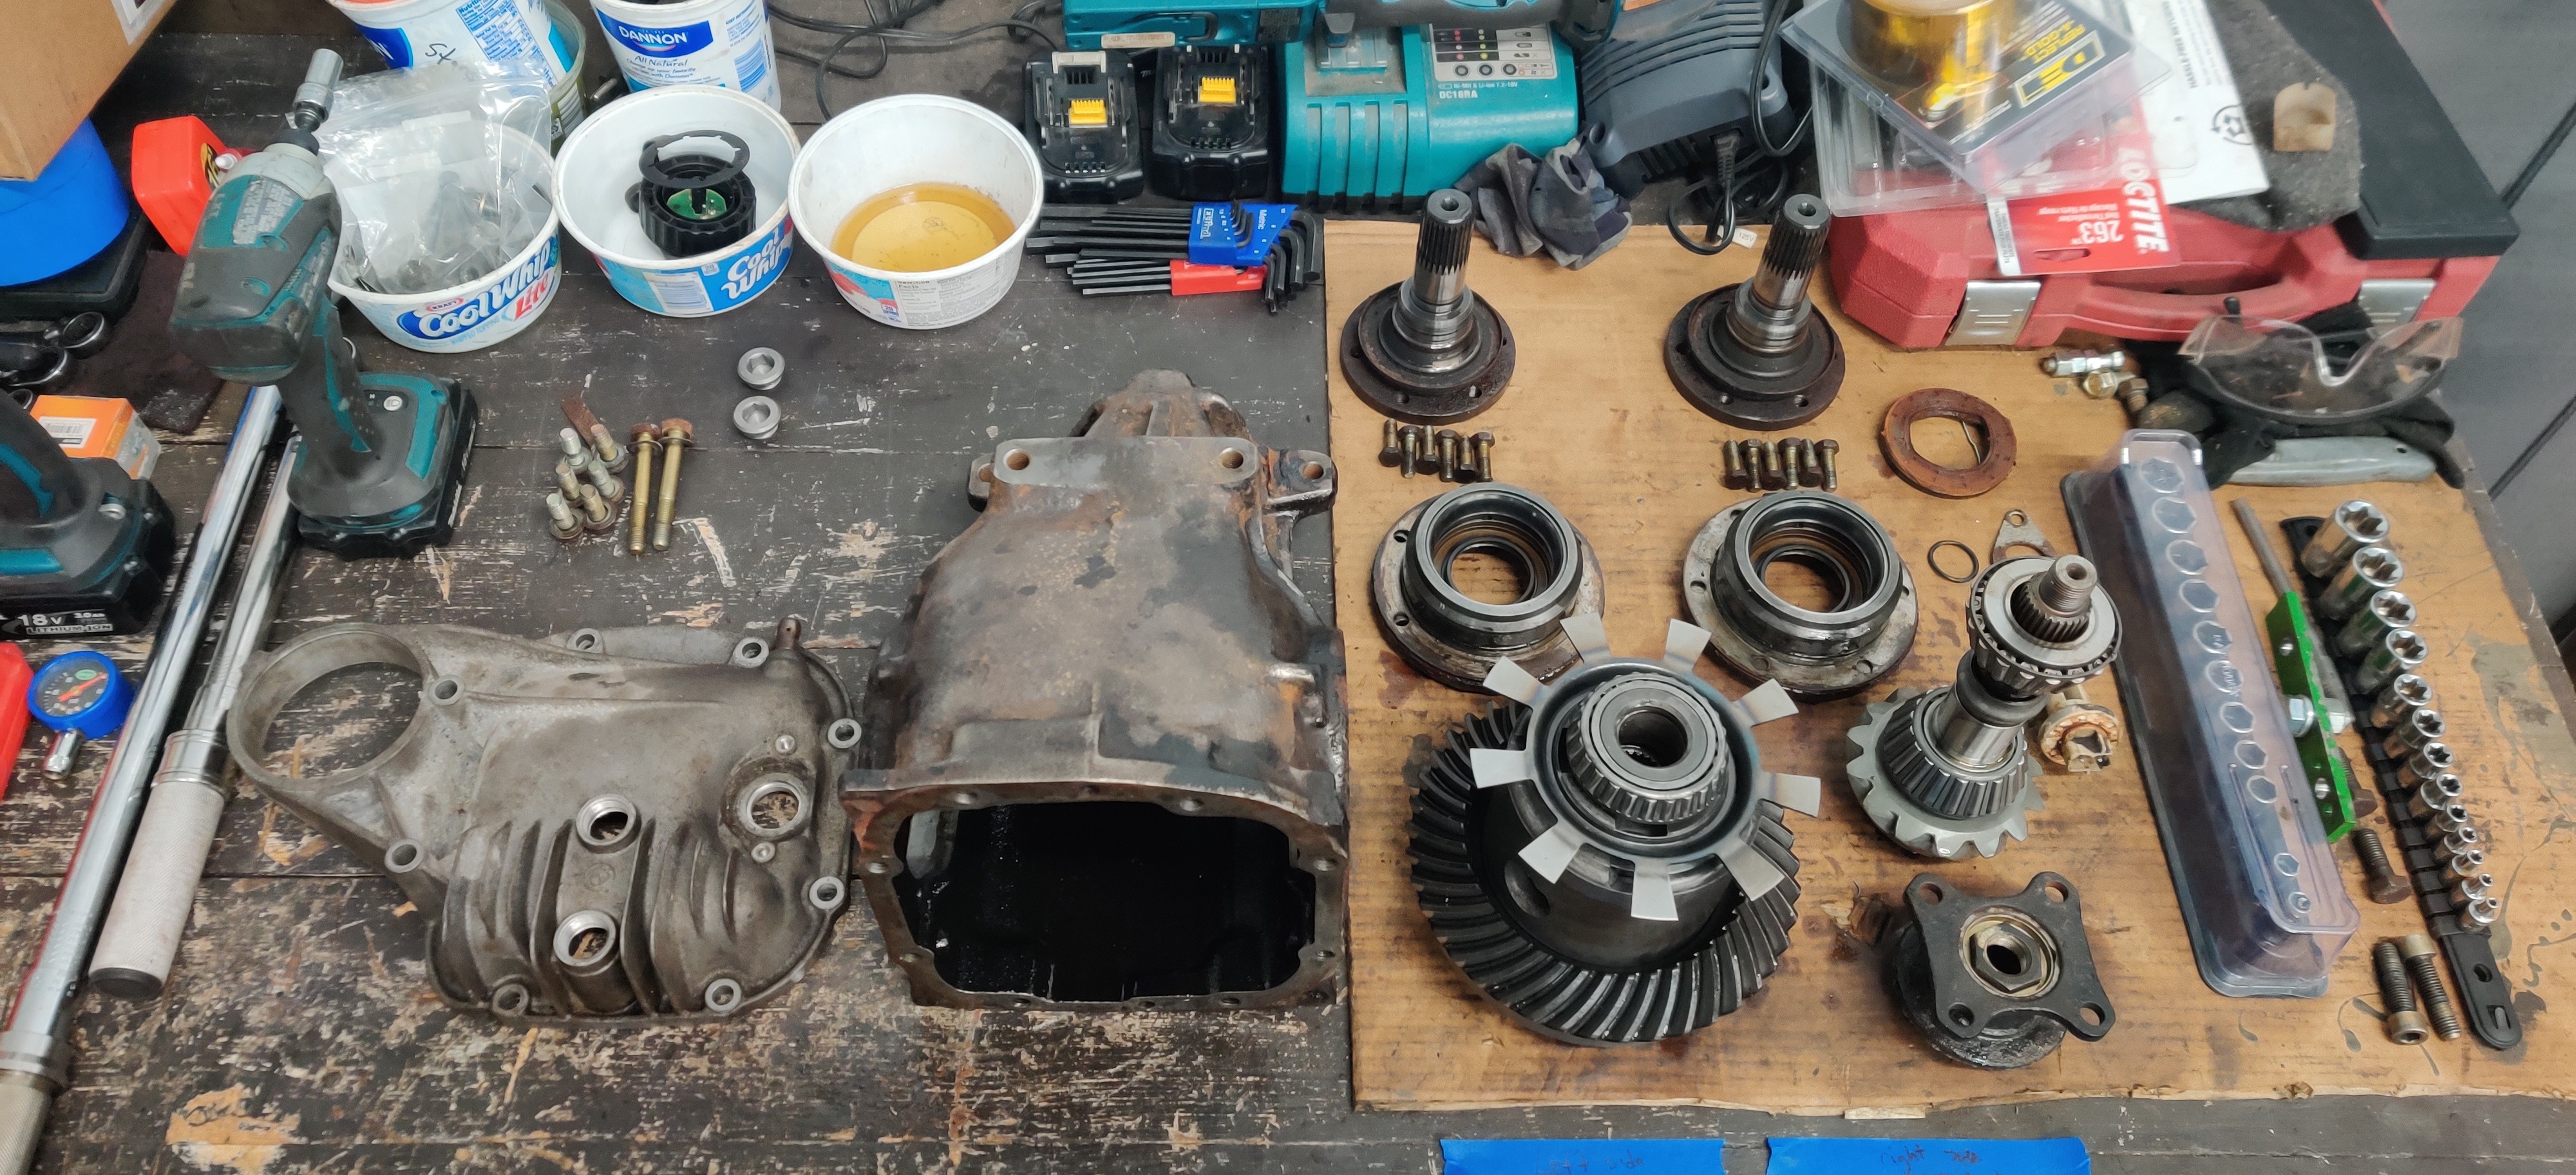
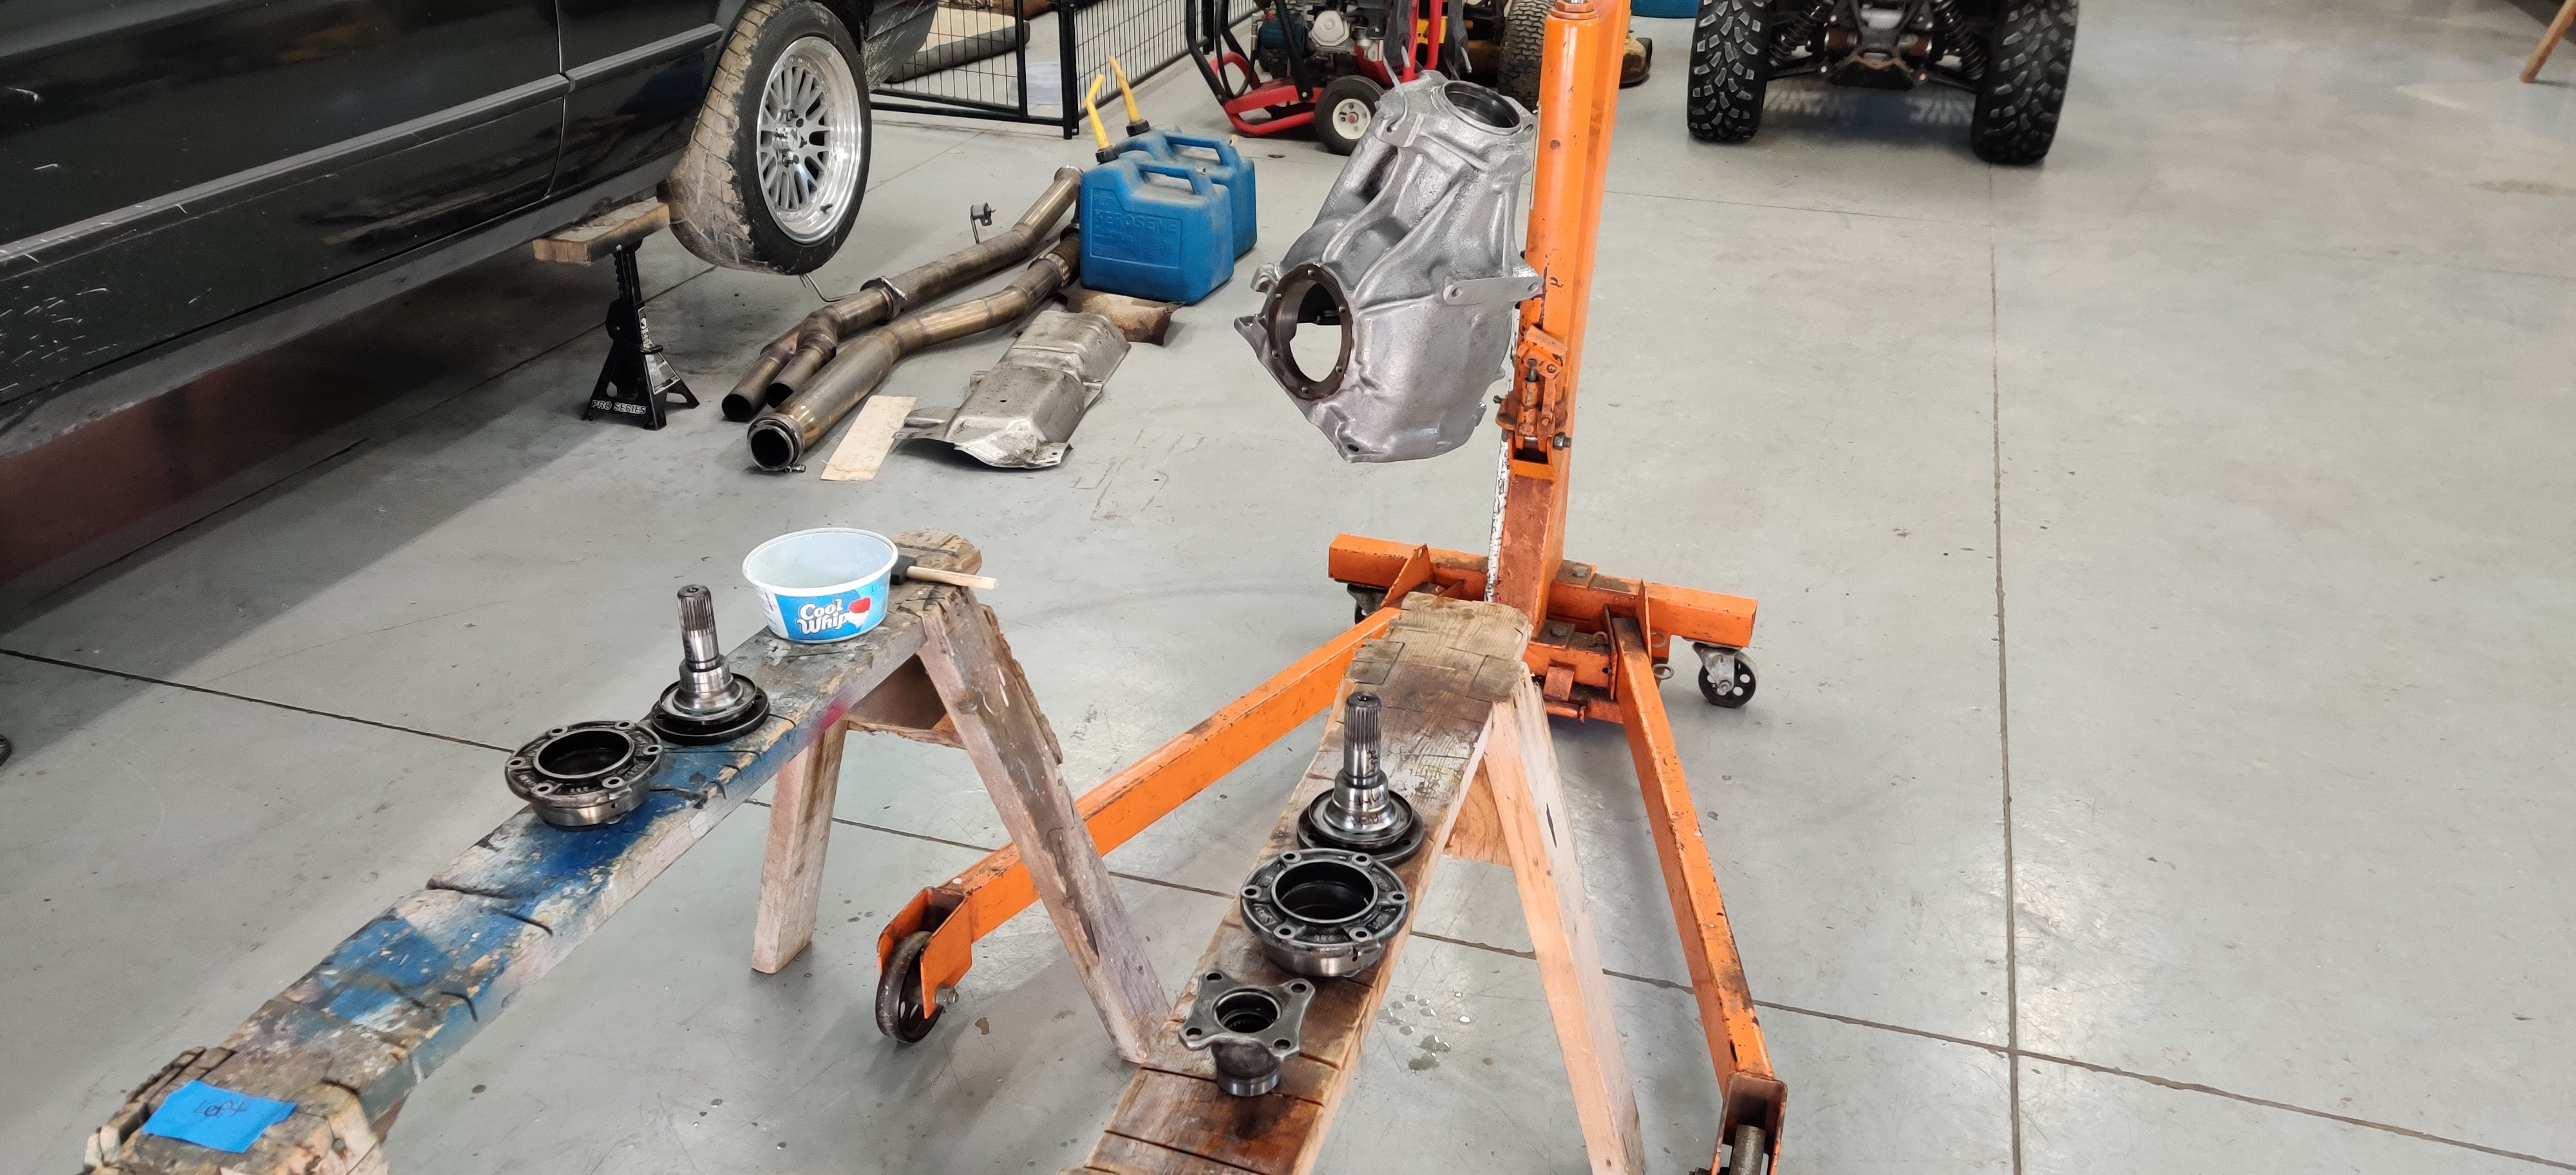
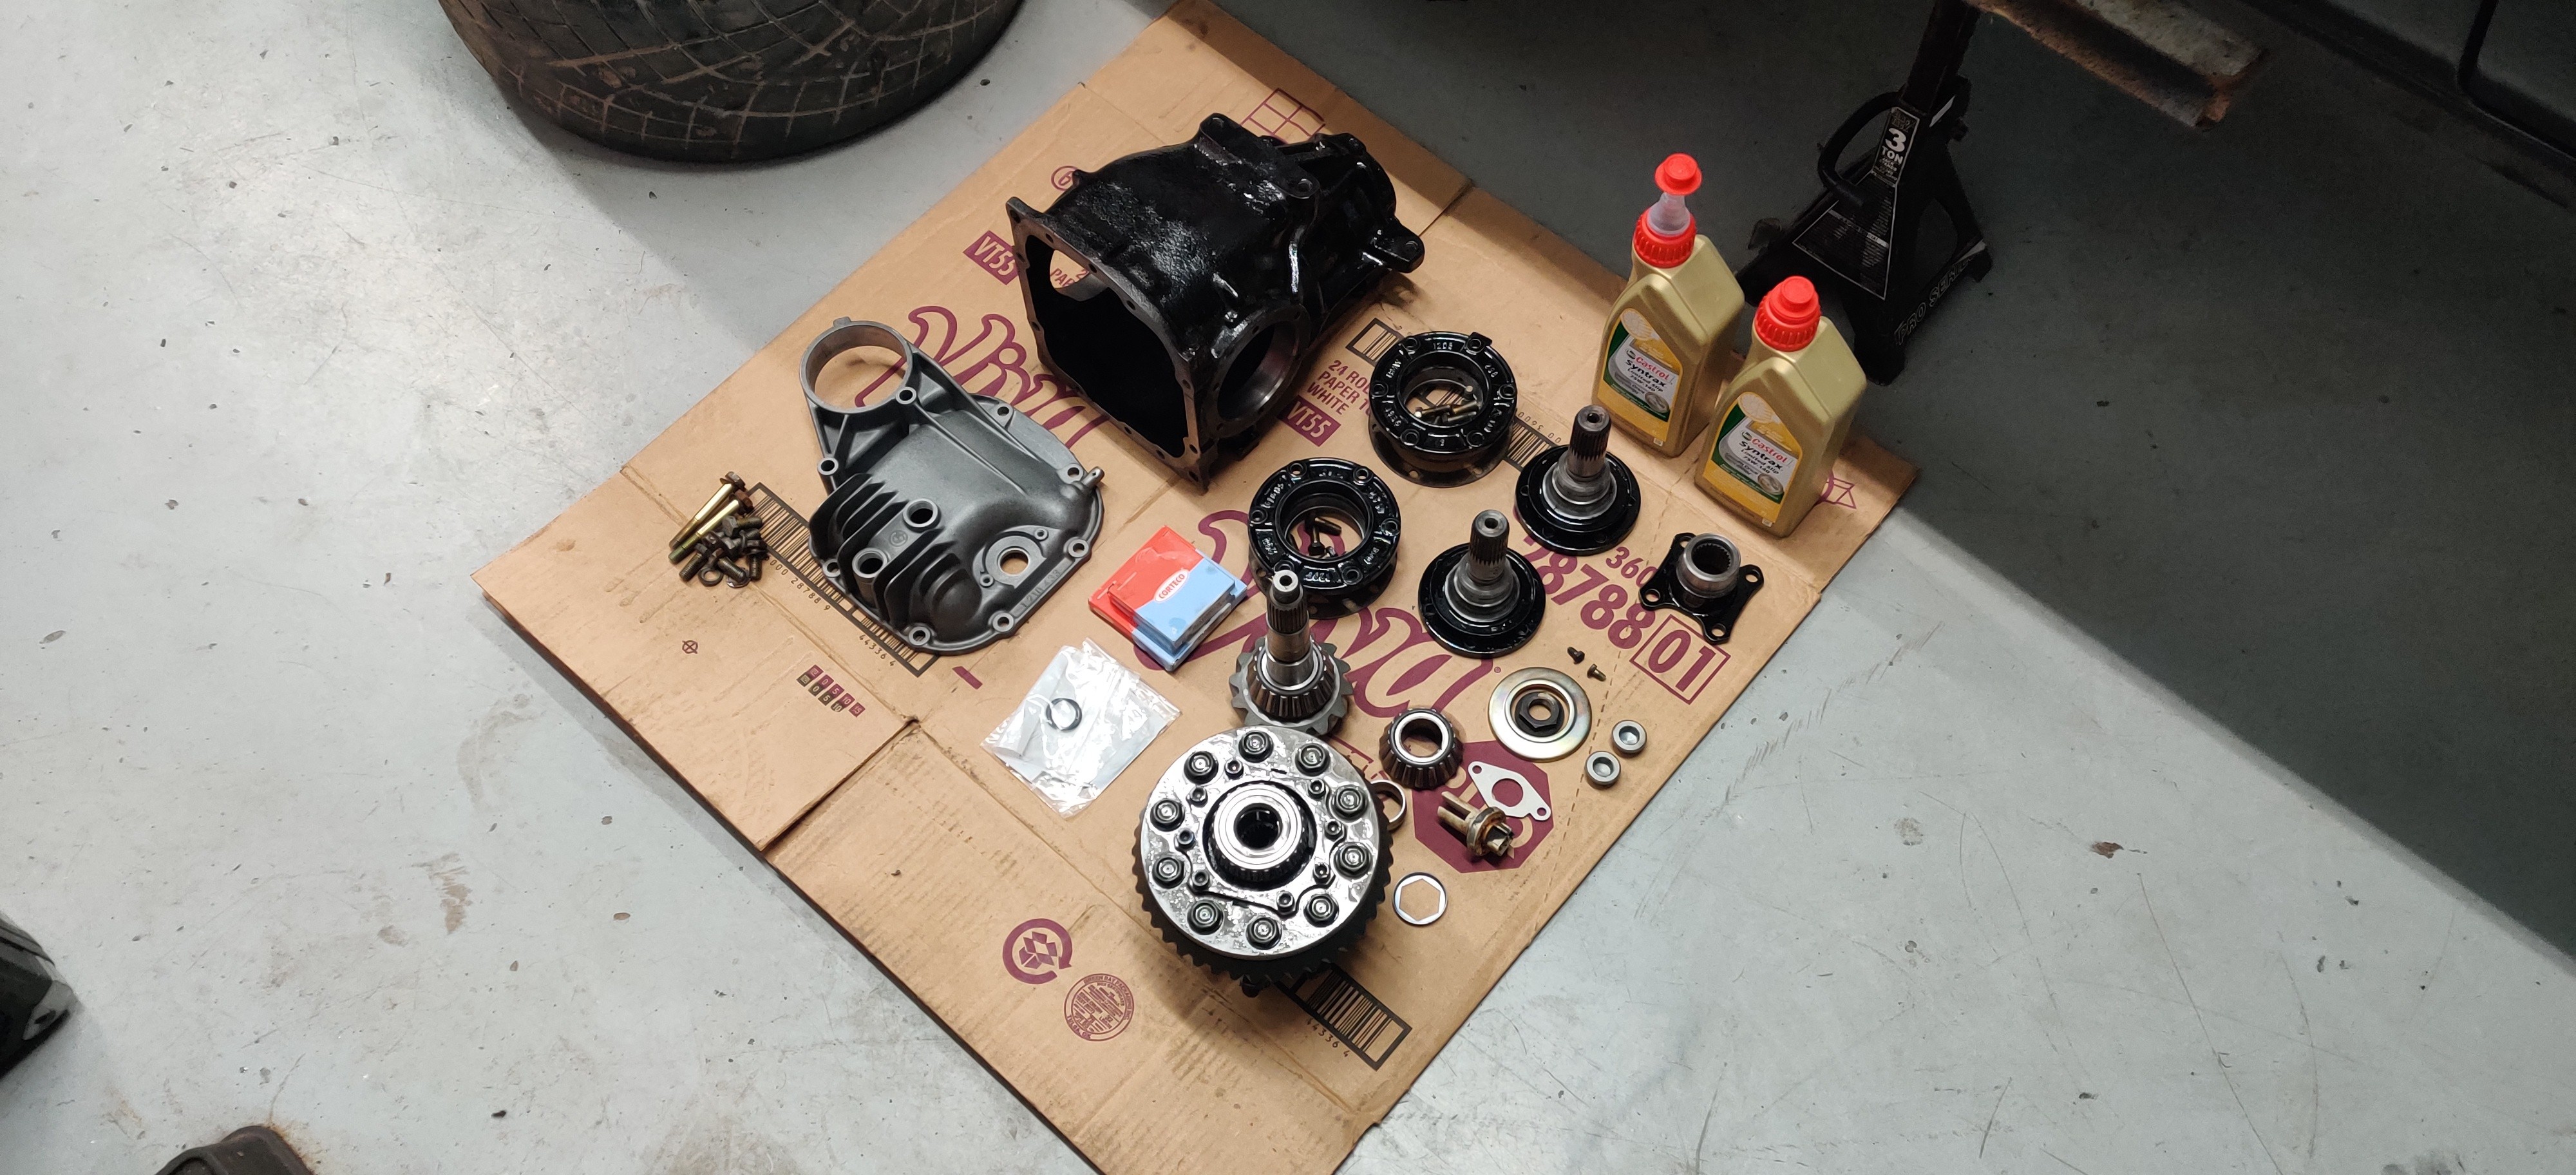
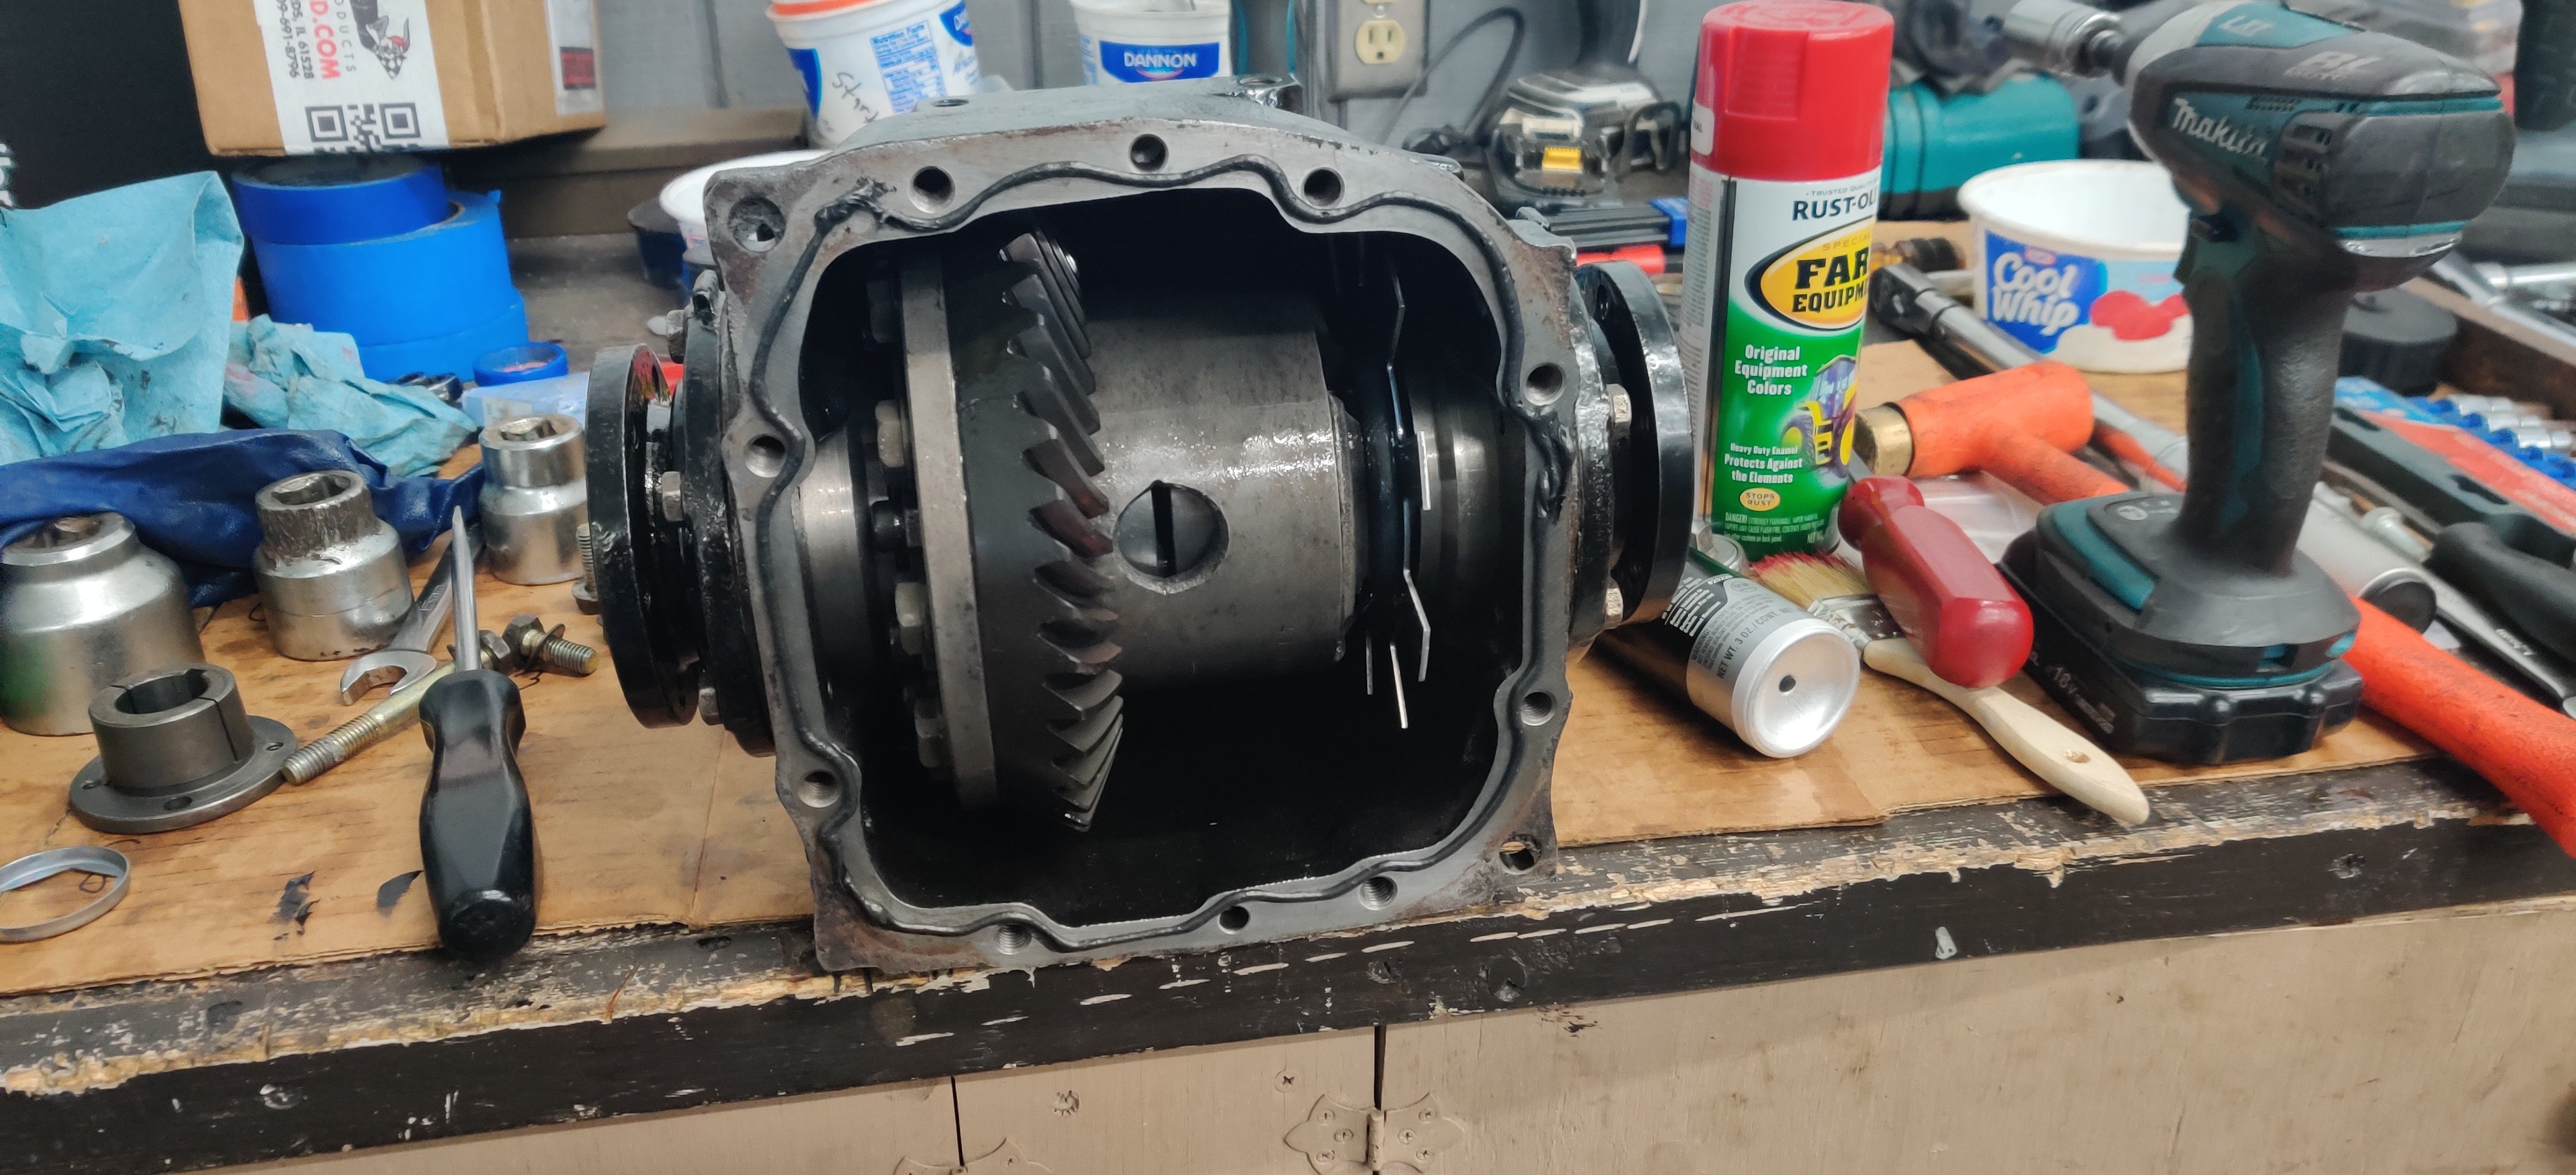
Differential was fully dissembled for the case and cover to be sent in for sand blasting.
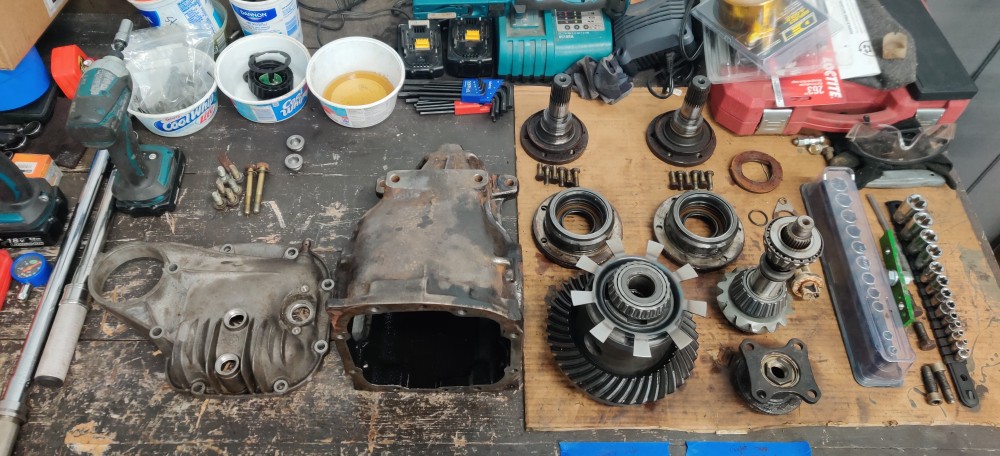
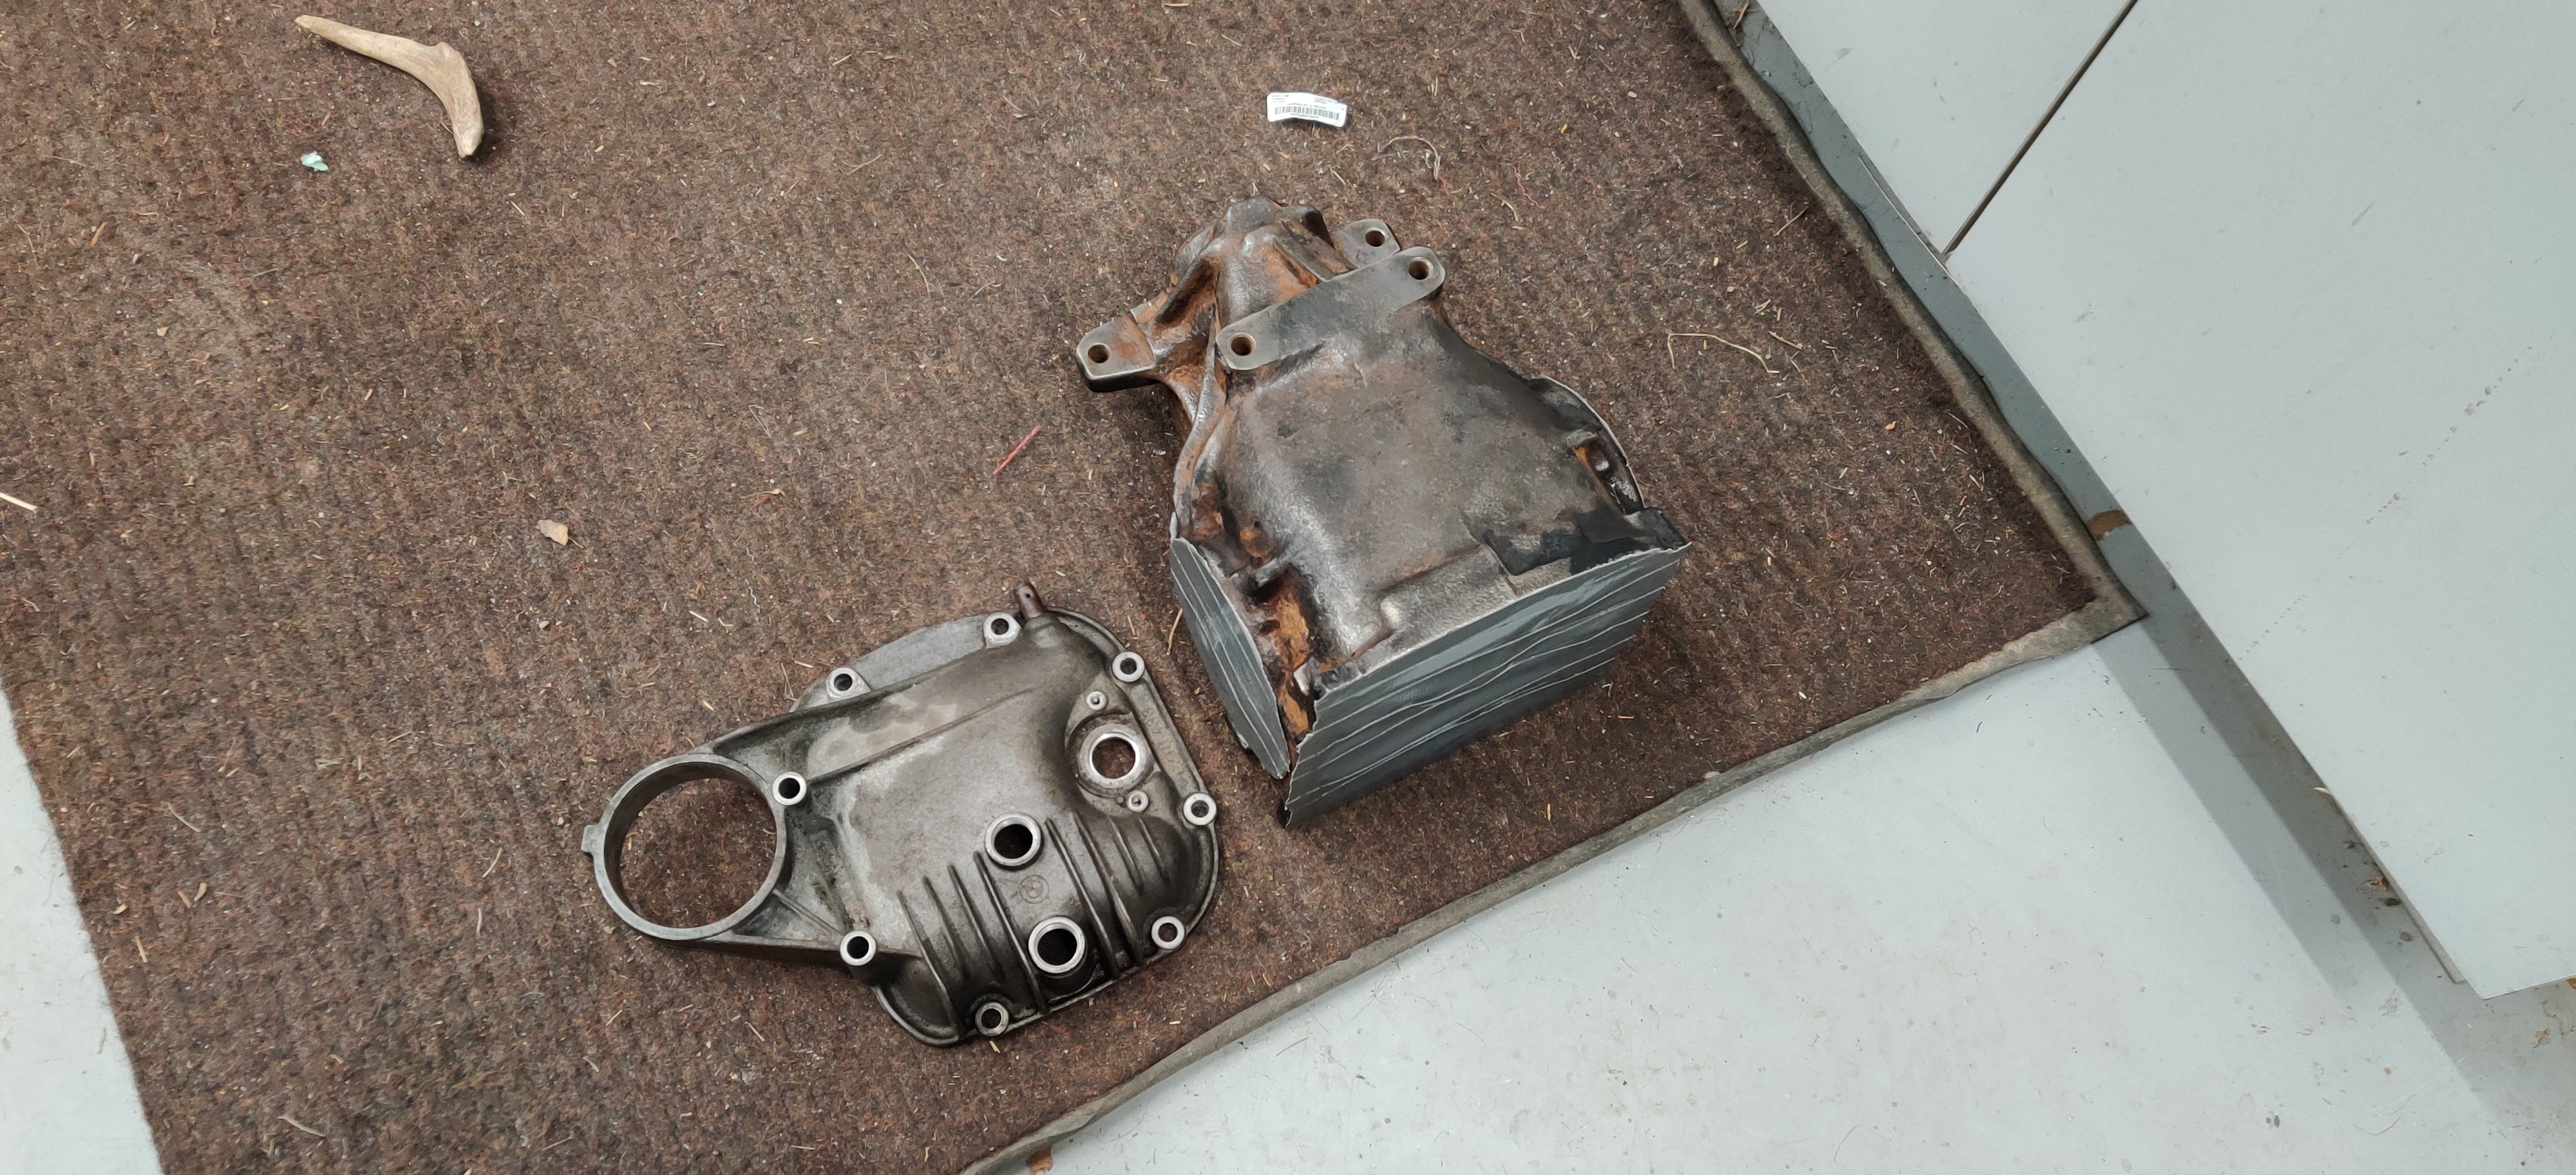
That Thursday I dropped the case and cover off at a local industrial painting shop. I stuffed the casing full of newspaper and duct taped the holes to help prevent to much sand from getting inside or hitting the bearing races for the pinion gear shaft.
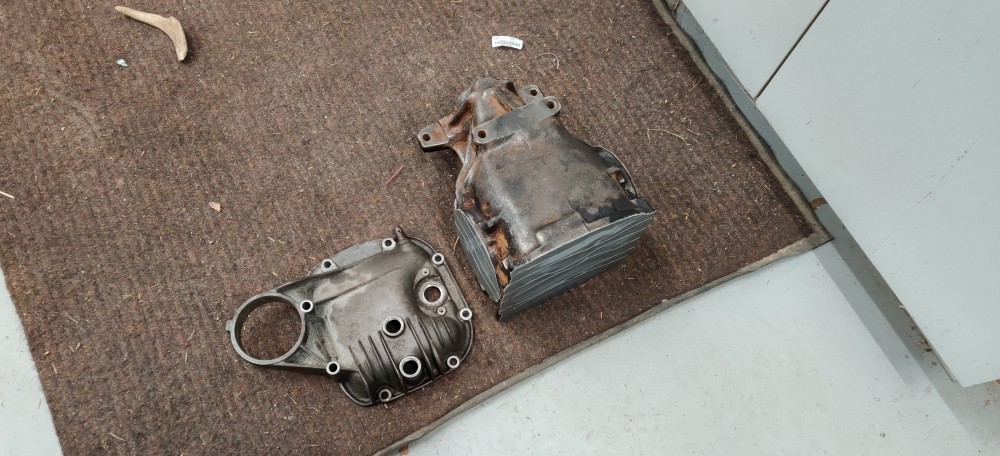
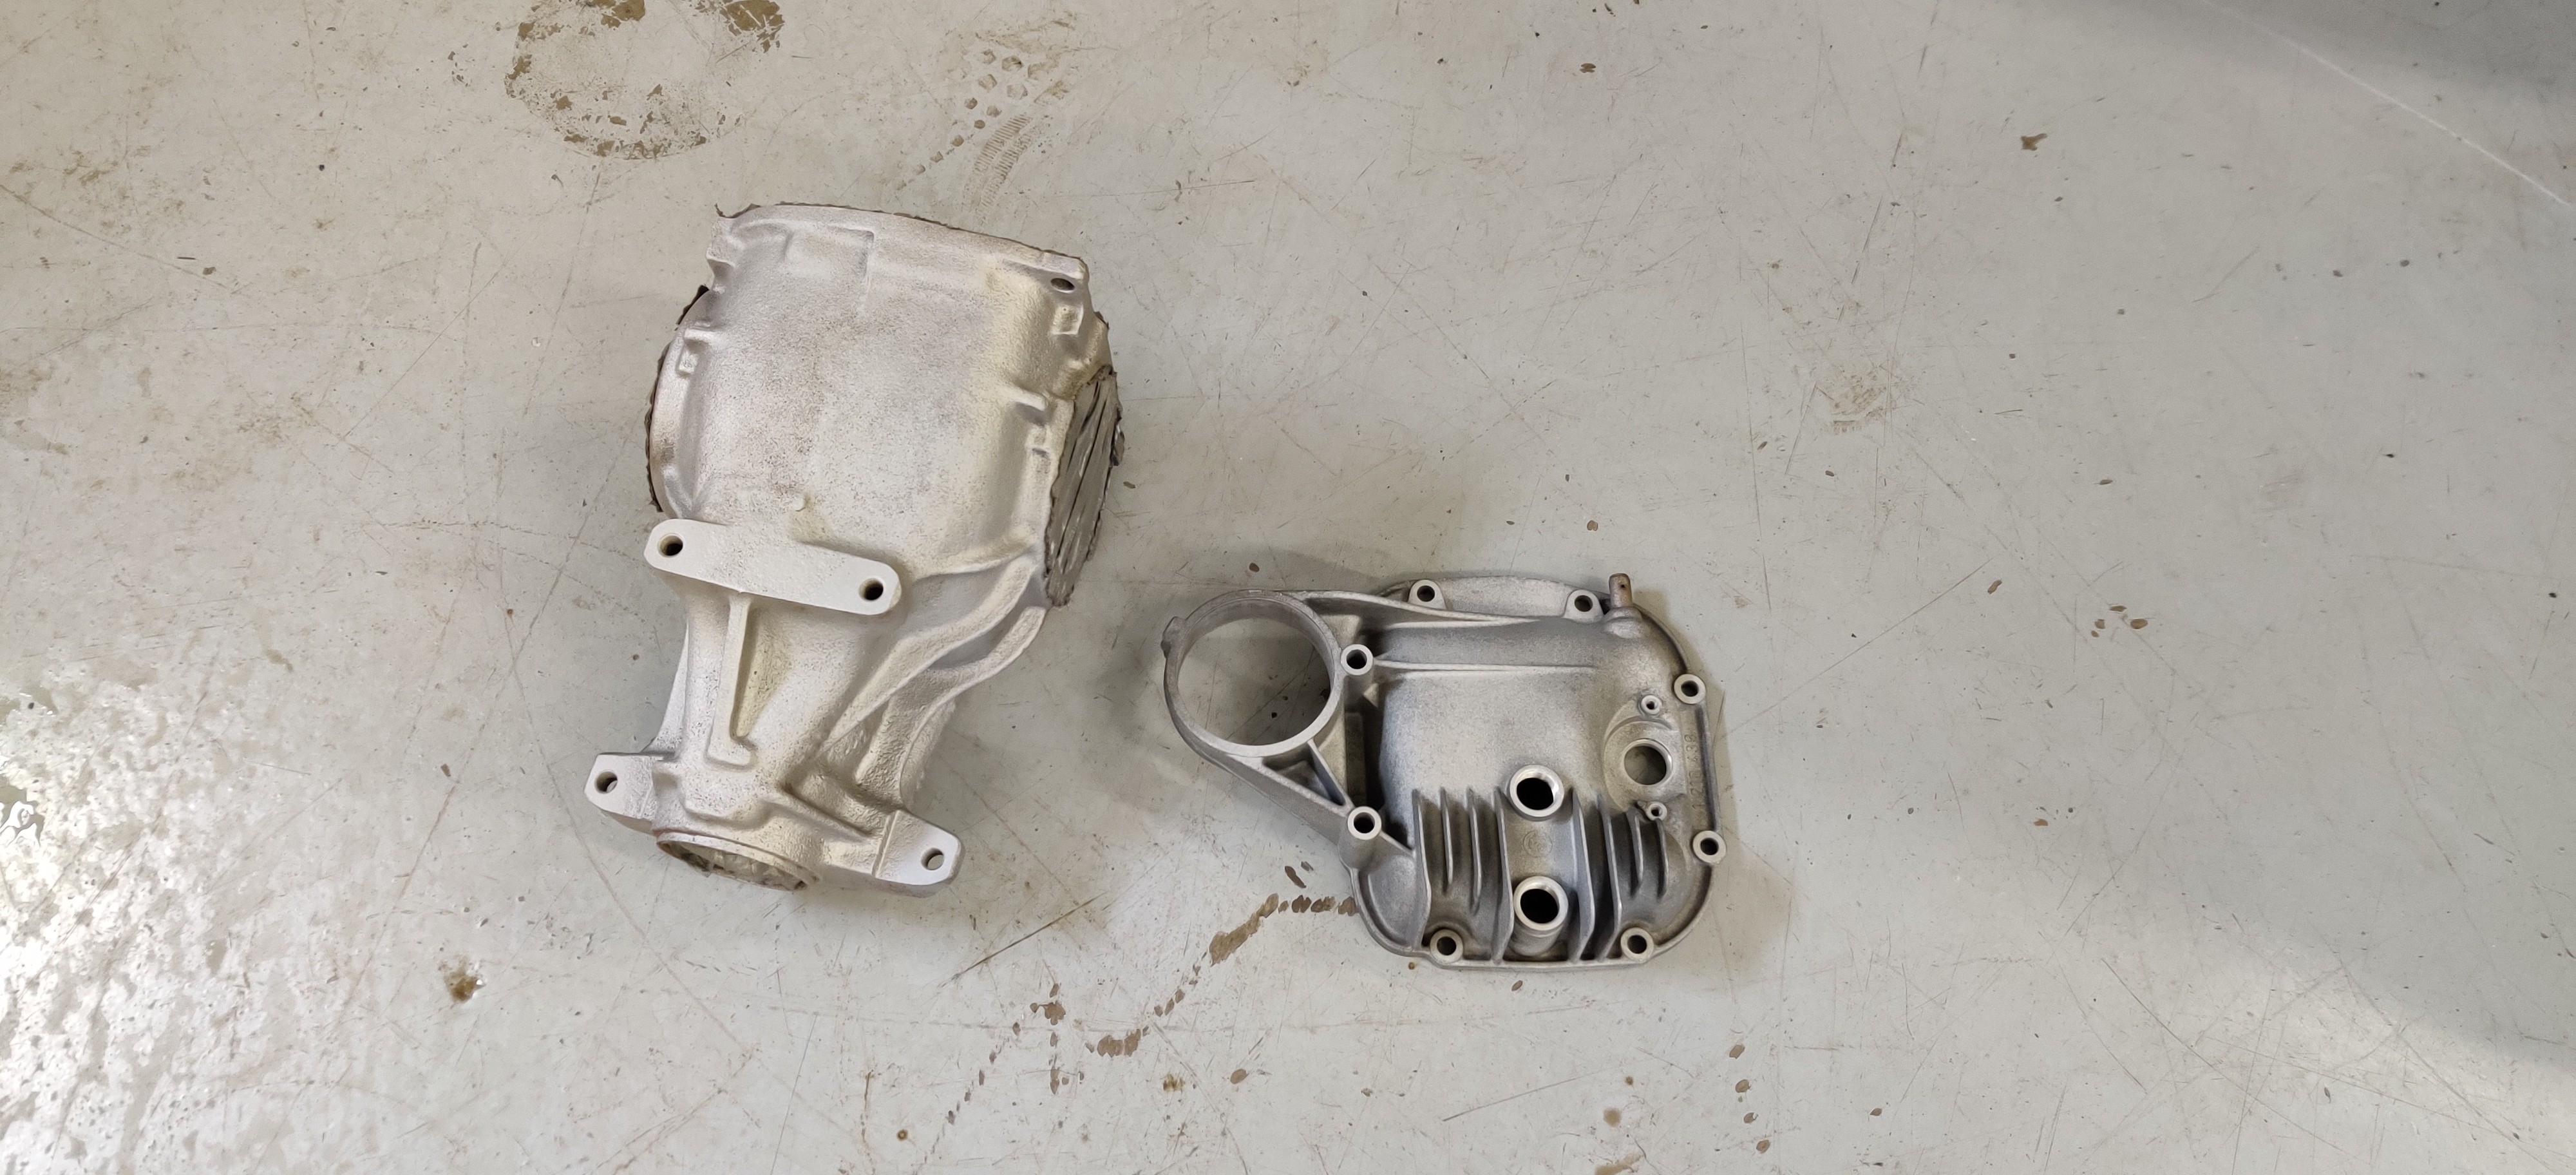
The following day after work I picked them back up.
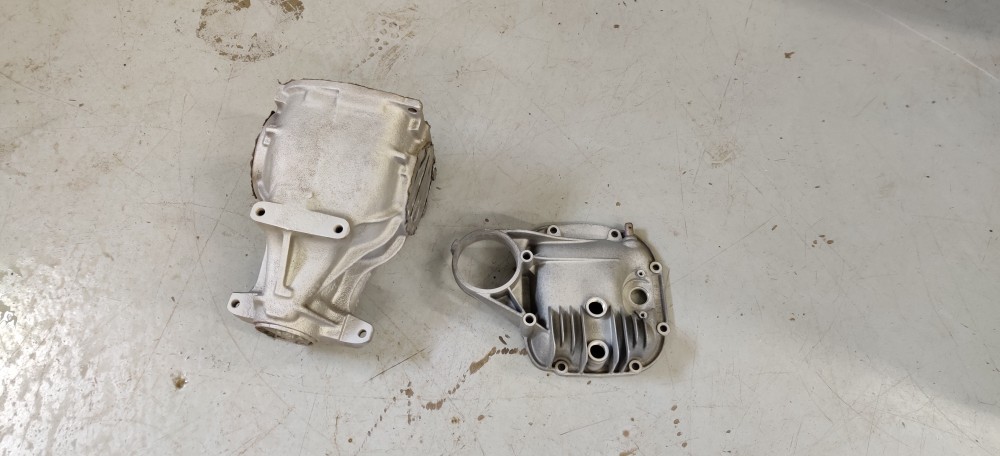
As for the smaller components I threw a wire wheel on a die grinder and went to town cleaning them up.
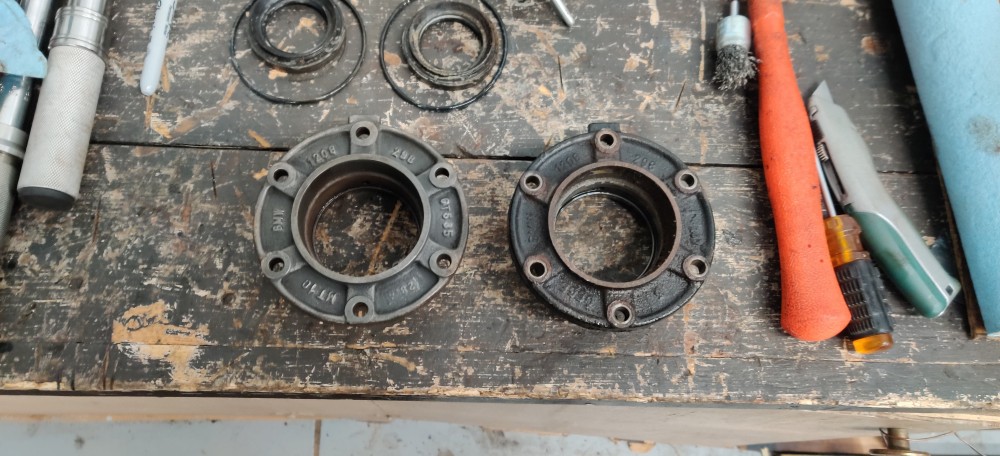
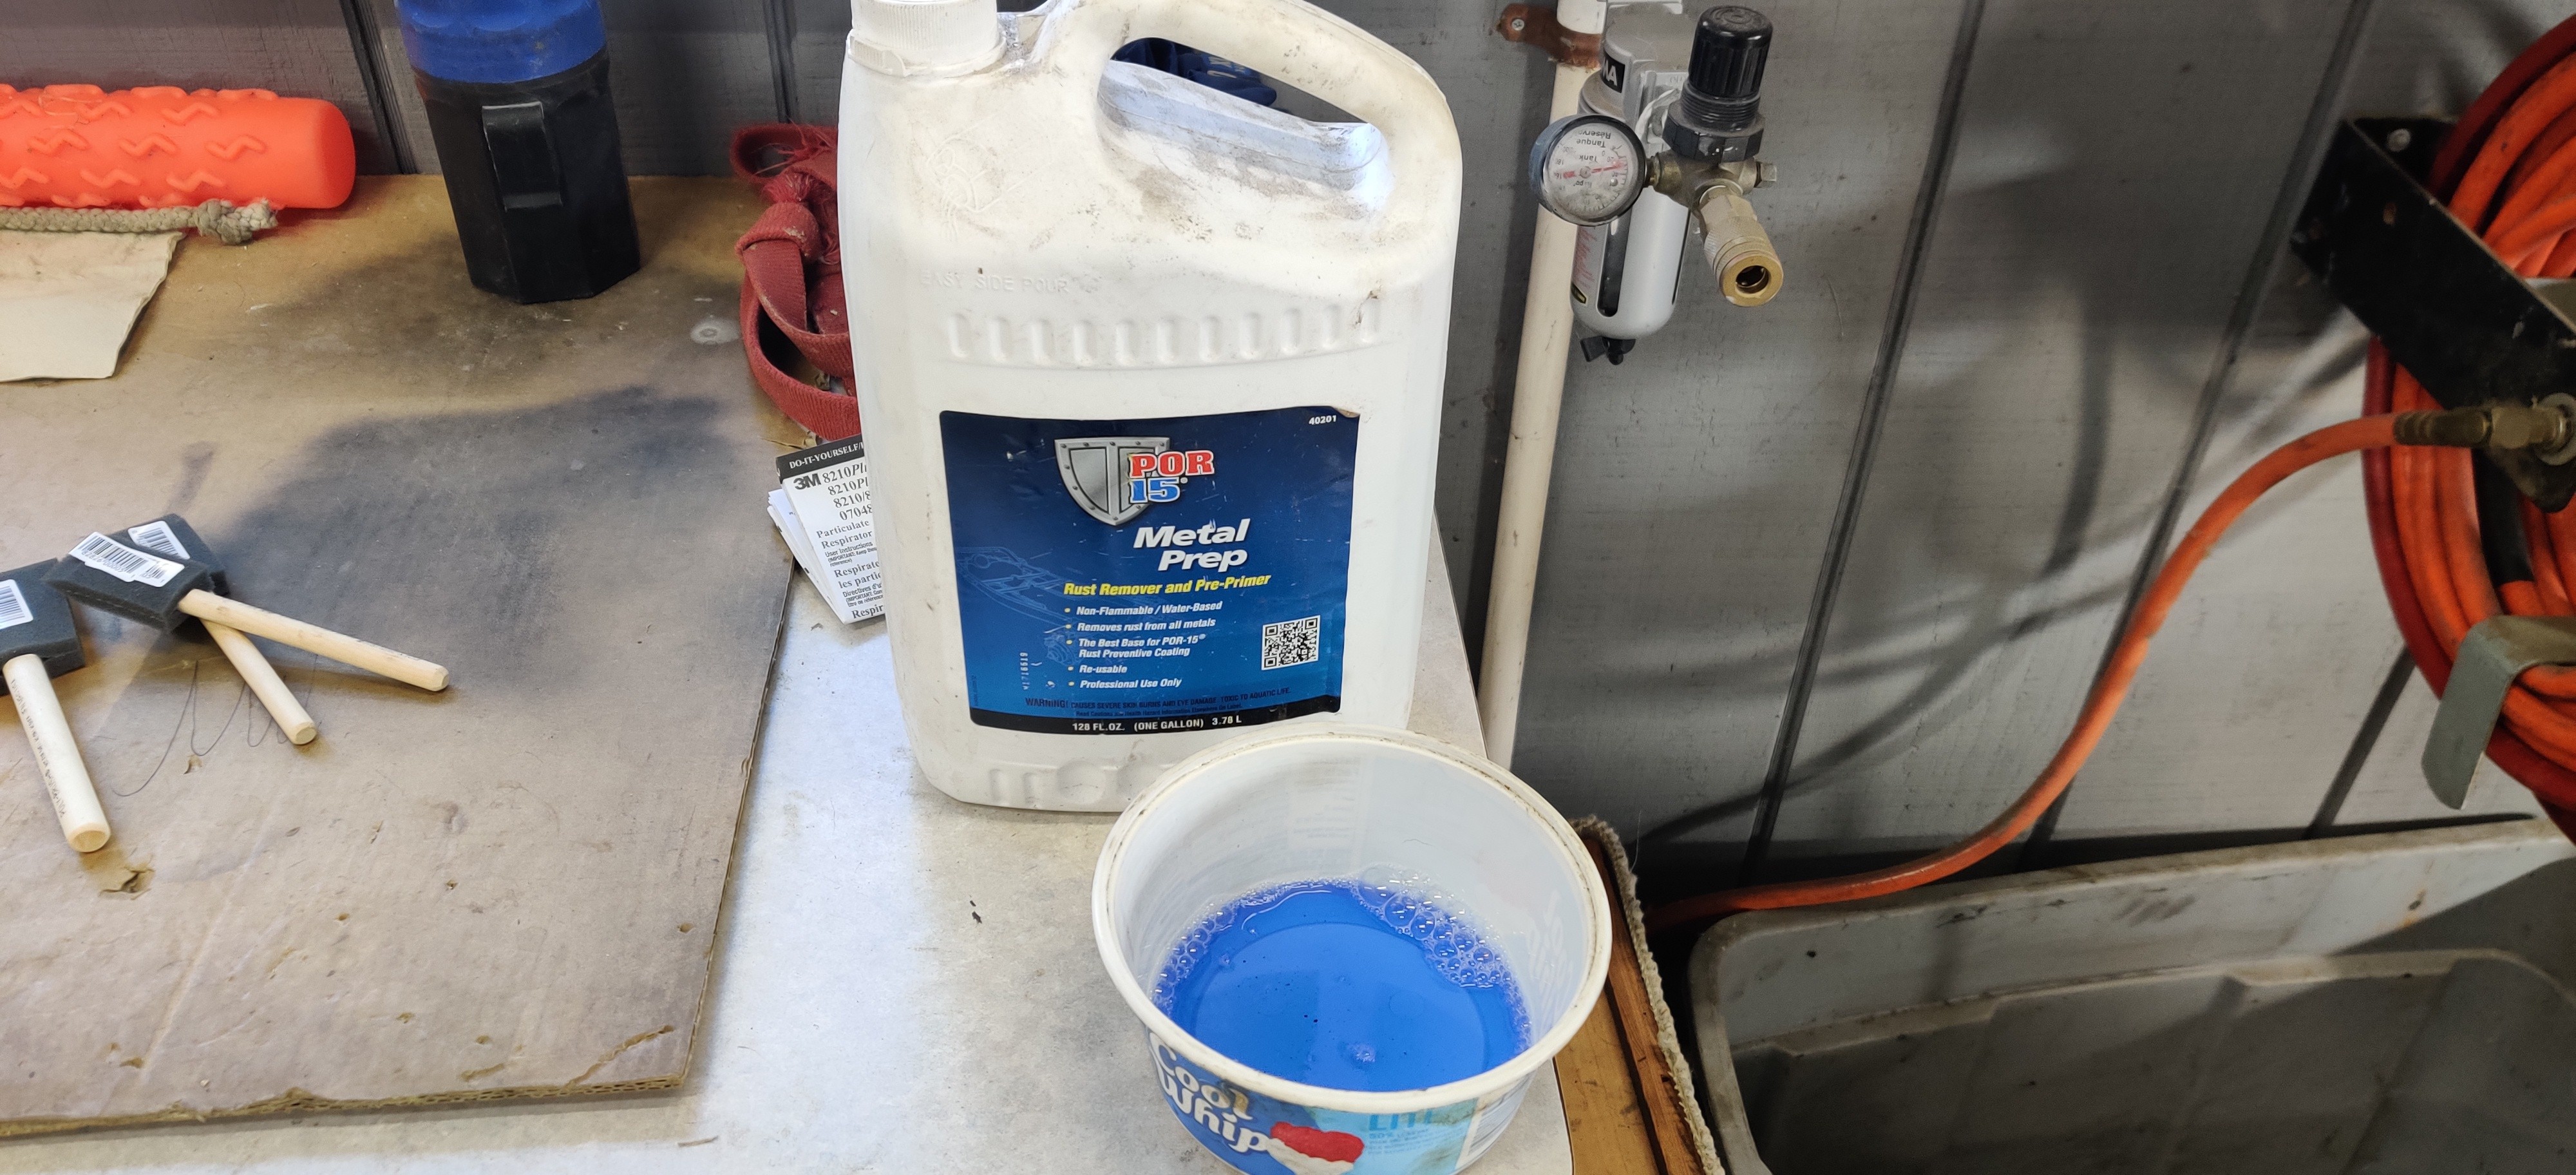
After going through and de-greasing/blowing everything off I prepped all the metal with some por-15 metal prep to add an extra etch to the metal for better adhesion.
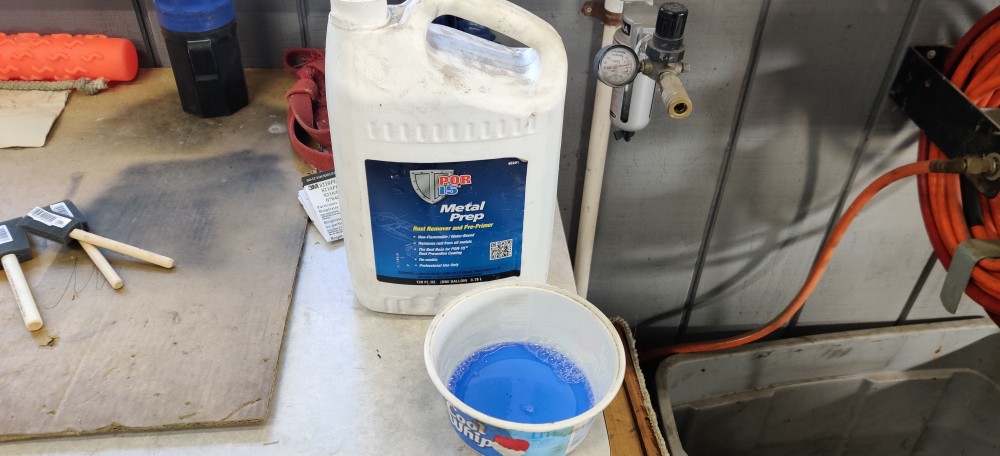
It's a pretty simple task, just simply brush it on all the areas where paint will be applied and let it sit for a half hour. Once a half hour has past rinse everything off with water and your set to go.
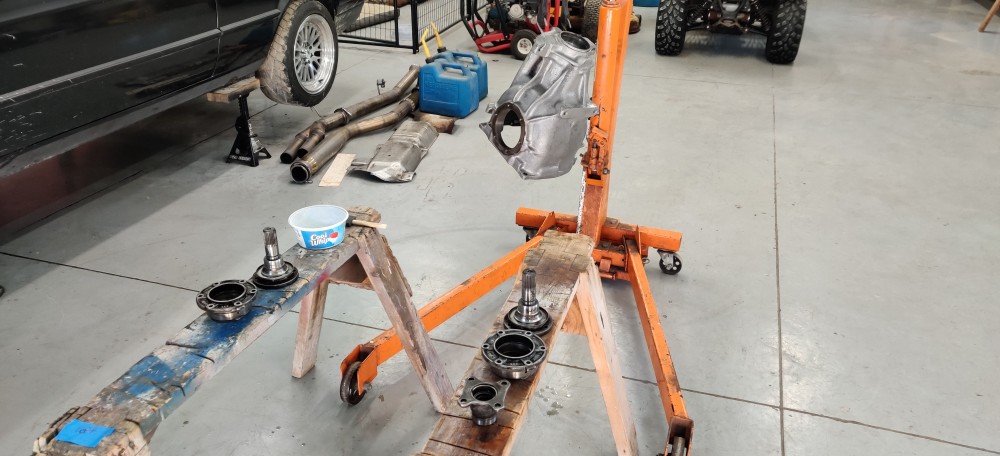
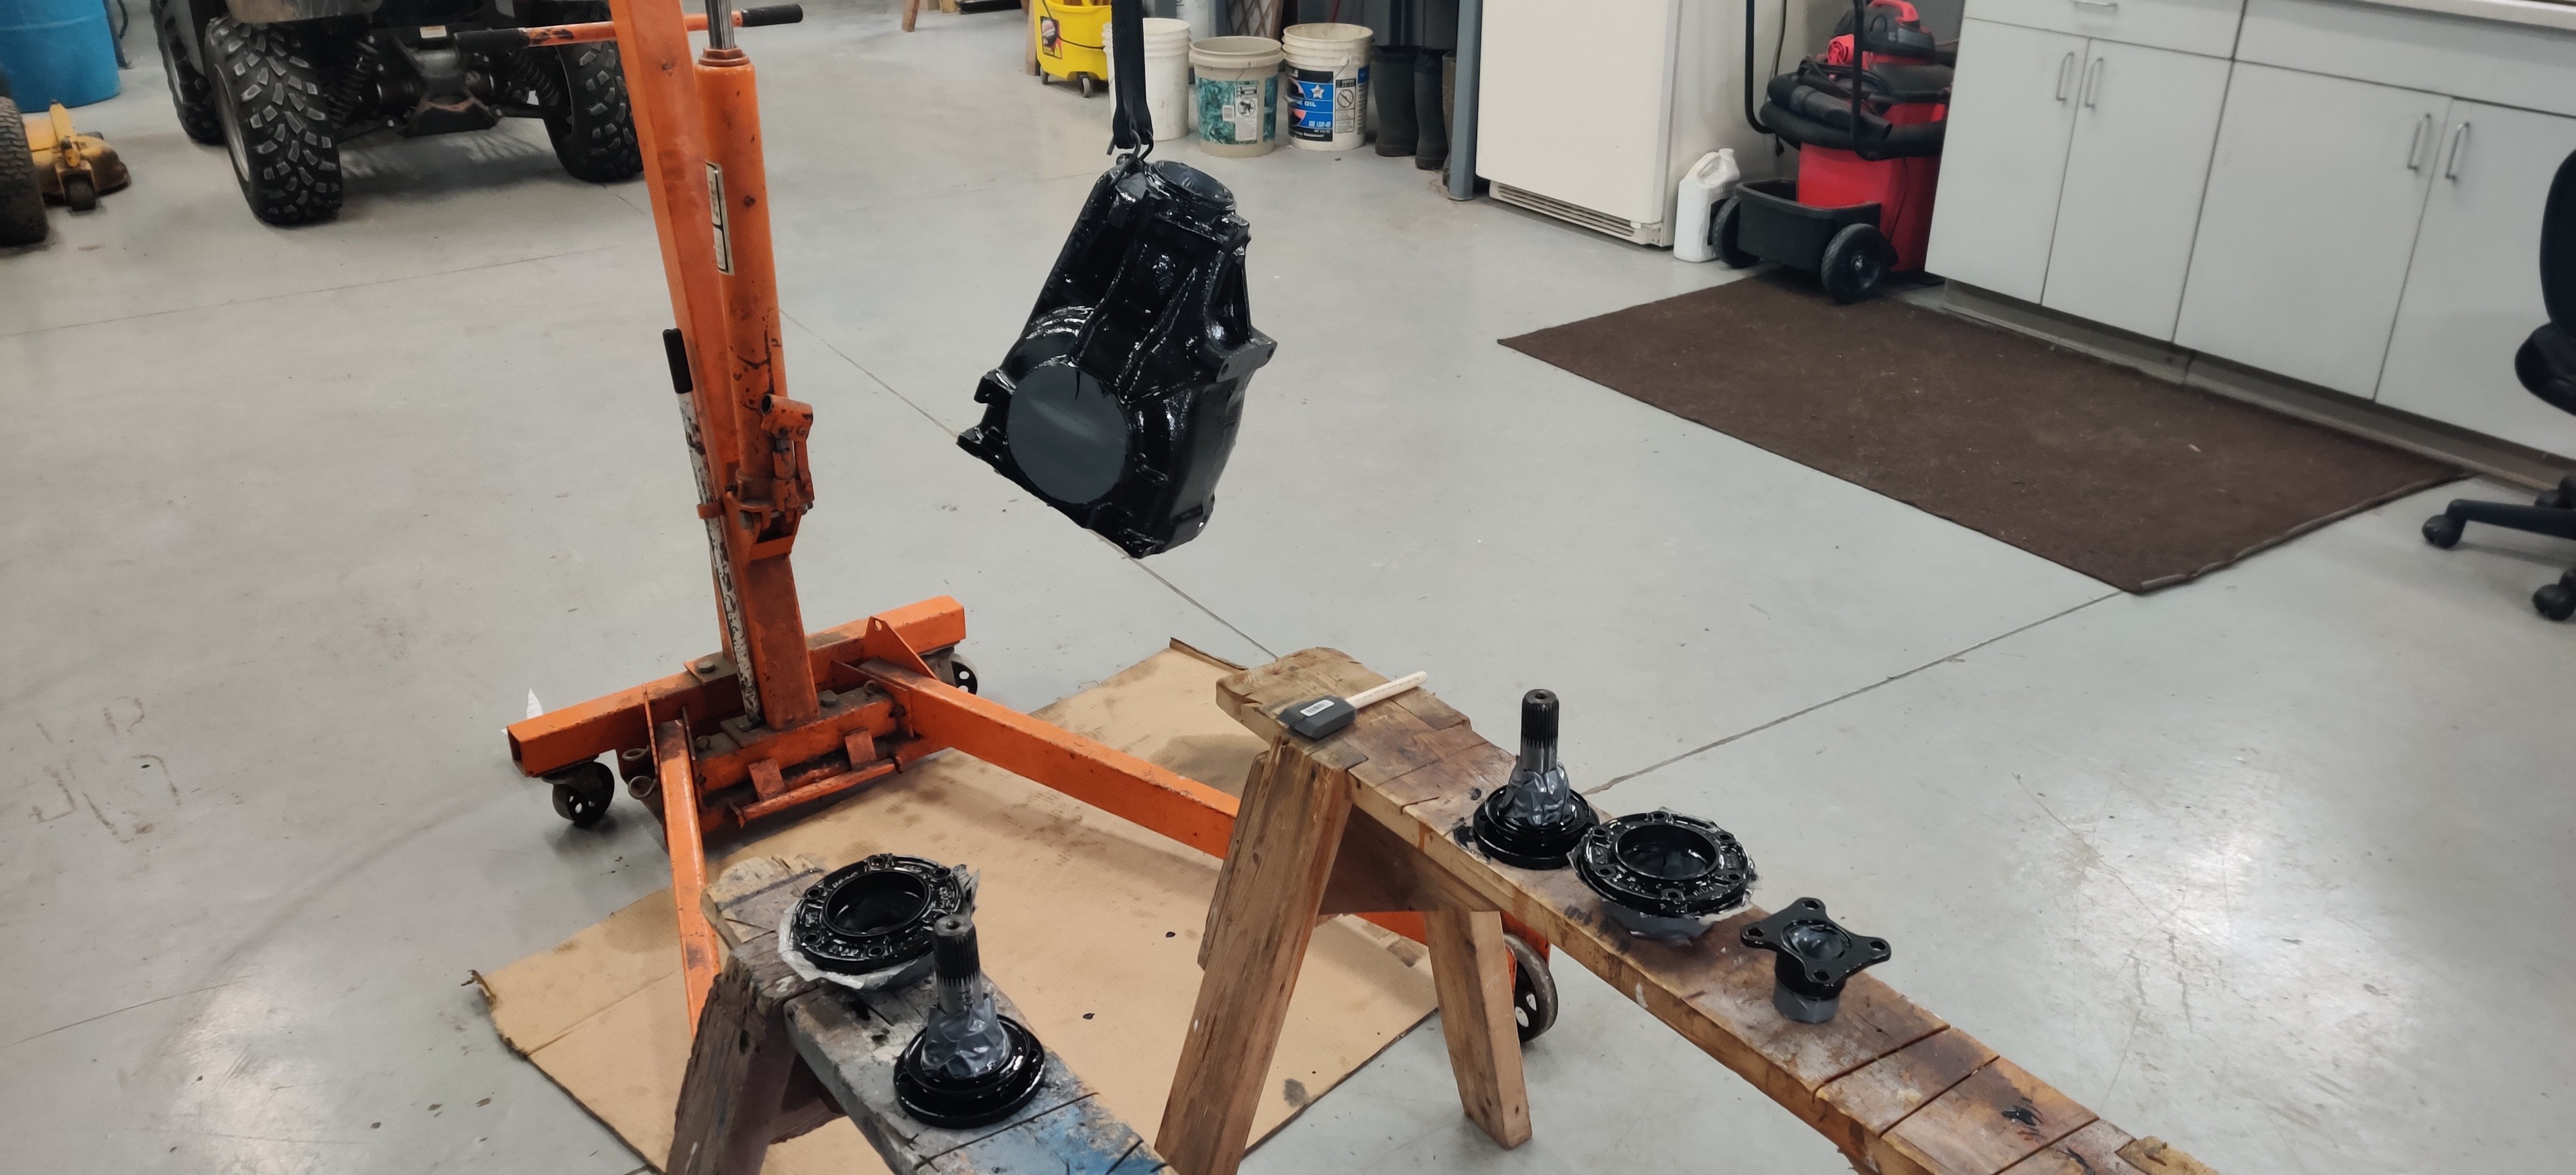
Did two medium coats of por-15 waiting about an hour in between coats. After the last coat I let it dry for a full 24 hours.
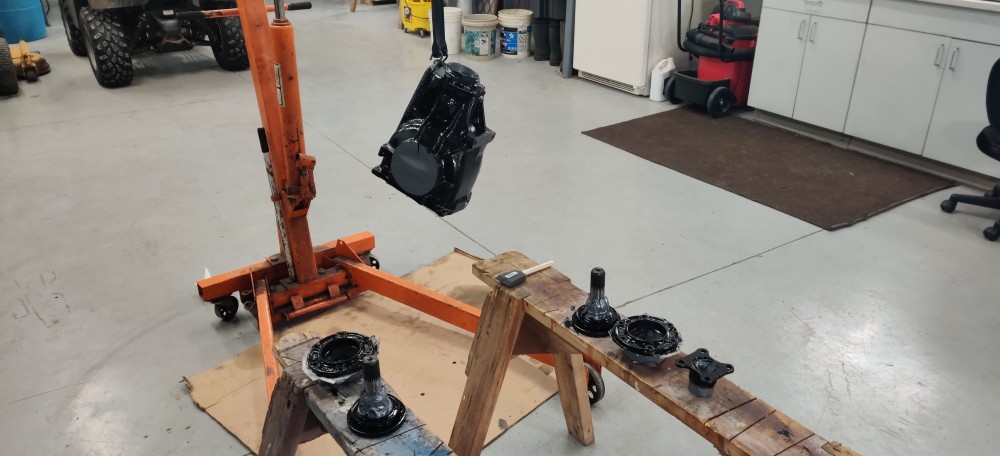
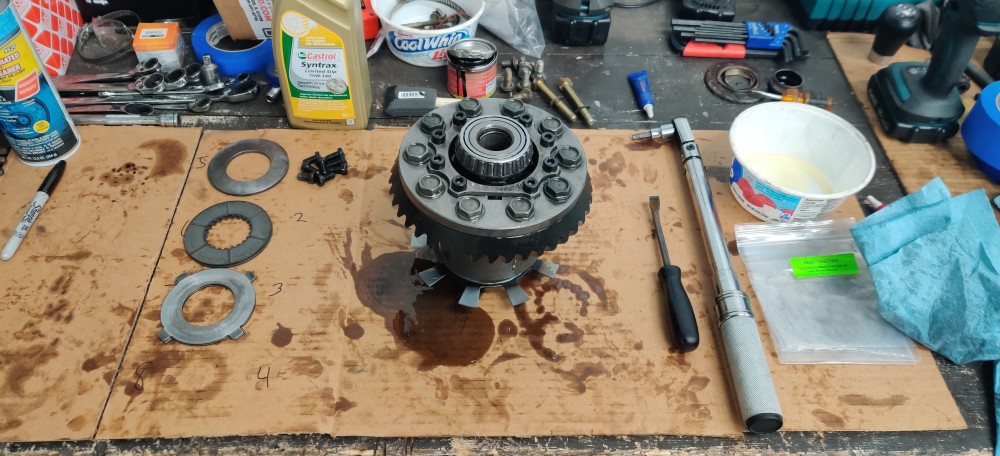
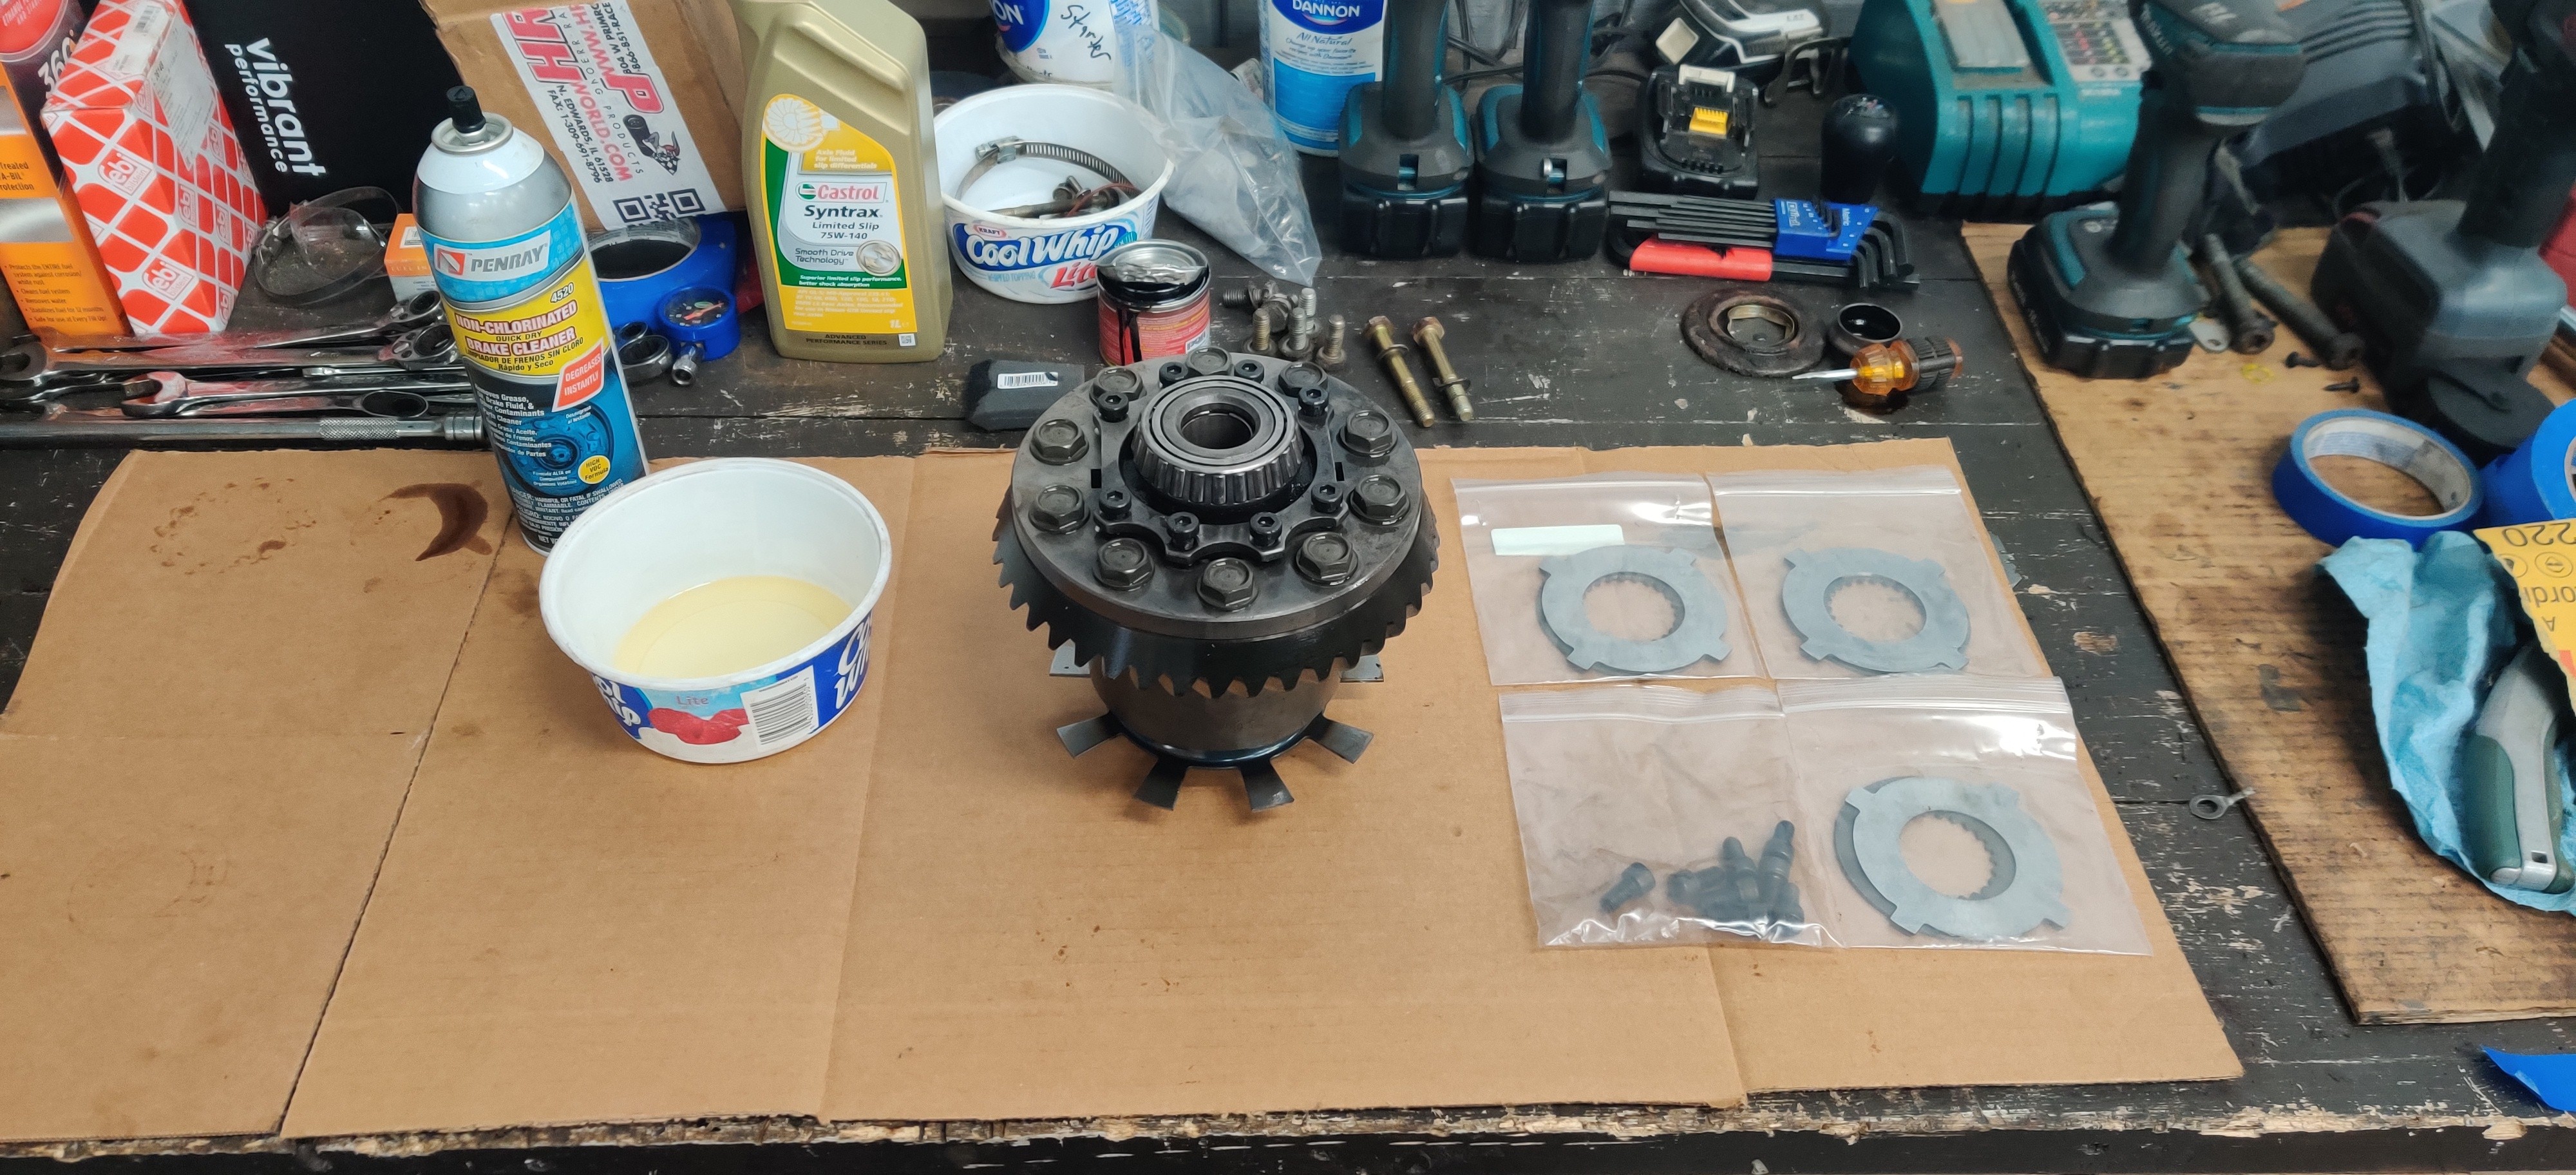
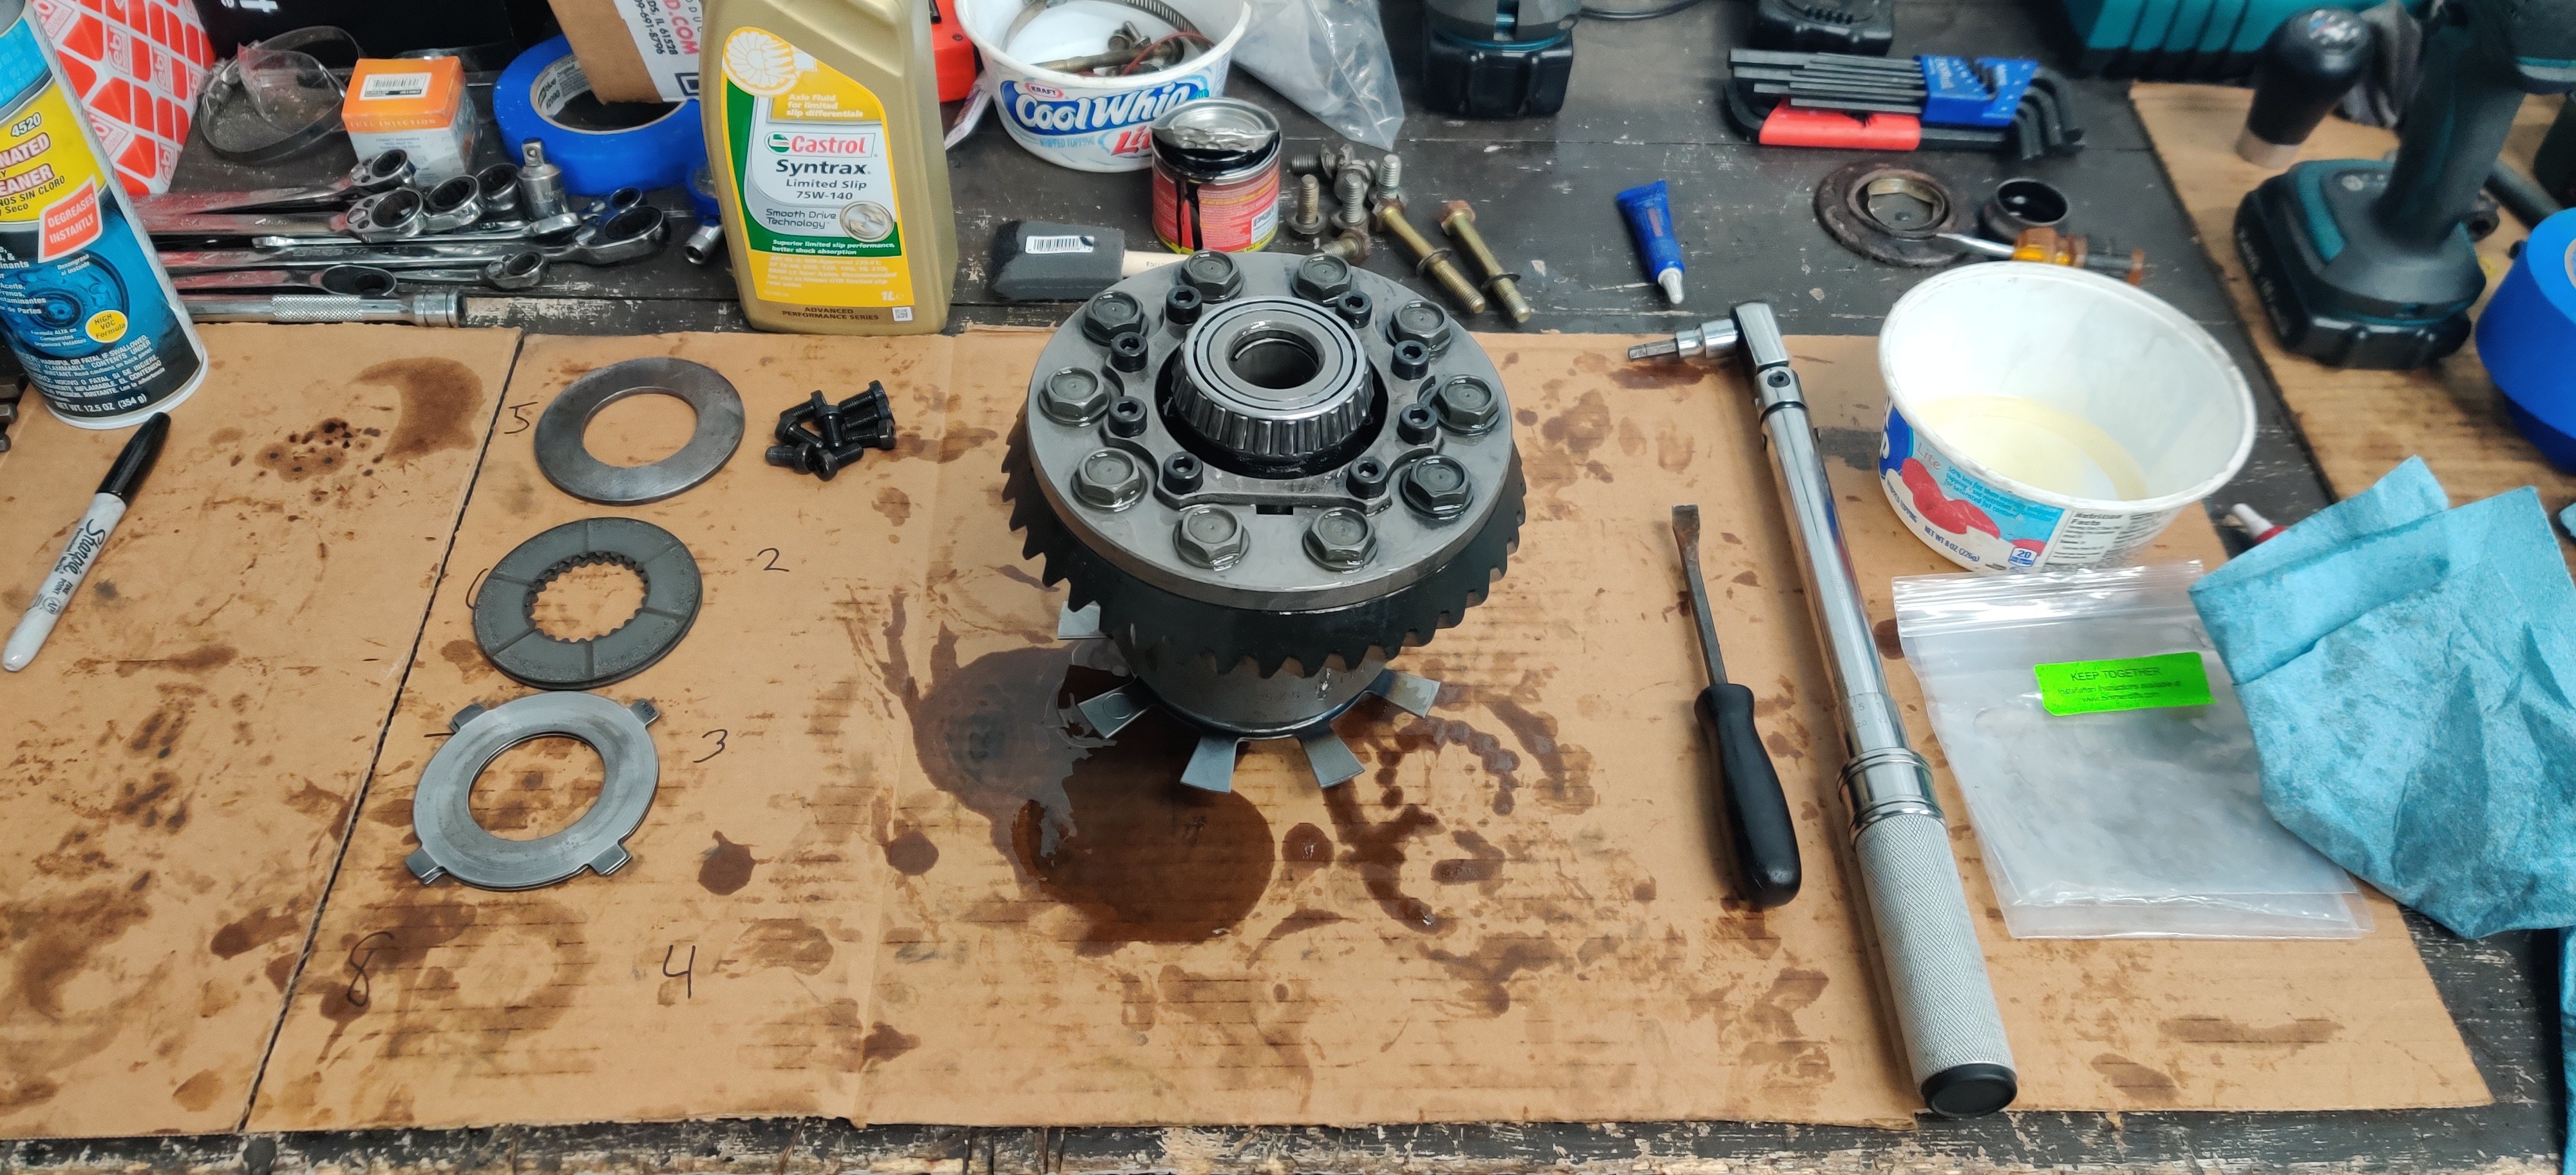
While the paint dried I started on the lsd rebuild. As a refresher this is getting the 3 clutch disc upgrade from thayer motorsports increasing the lock up to around 50%.
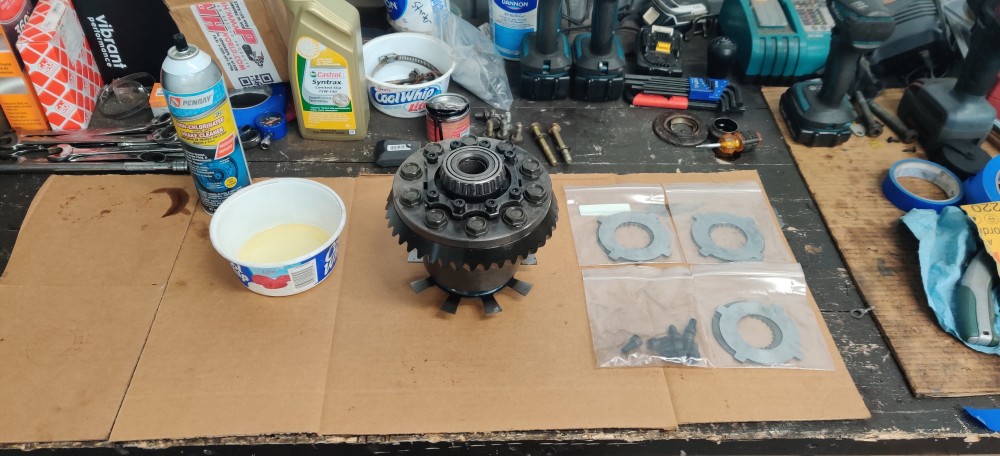
The rebuild is very straight forward and Thayer includes a link on their site with a step by step process. Biggest thing here is taking your time and double and triple checking yourself making sure everything is in the right order facing the correct way. After removing all the guts I did soak the lsd unit in de-greaser cleaning it thoroughly before beginning reassembly. Remembering to lubricate every component with diff oil as it is being installed is crucial. Left over parts after the rebuild was the two old clutchs and dog ears, 4 mm spacer that the third clutch takes the place of and the eight old carrier cap screws.
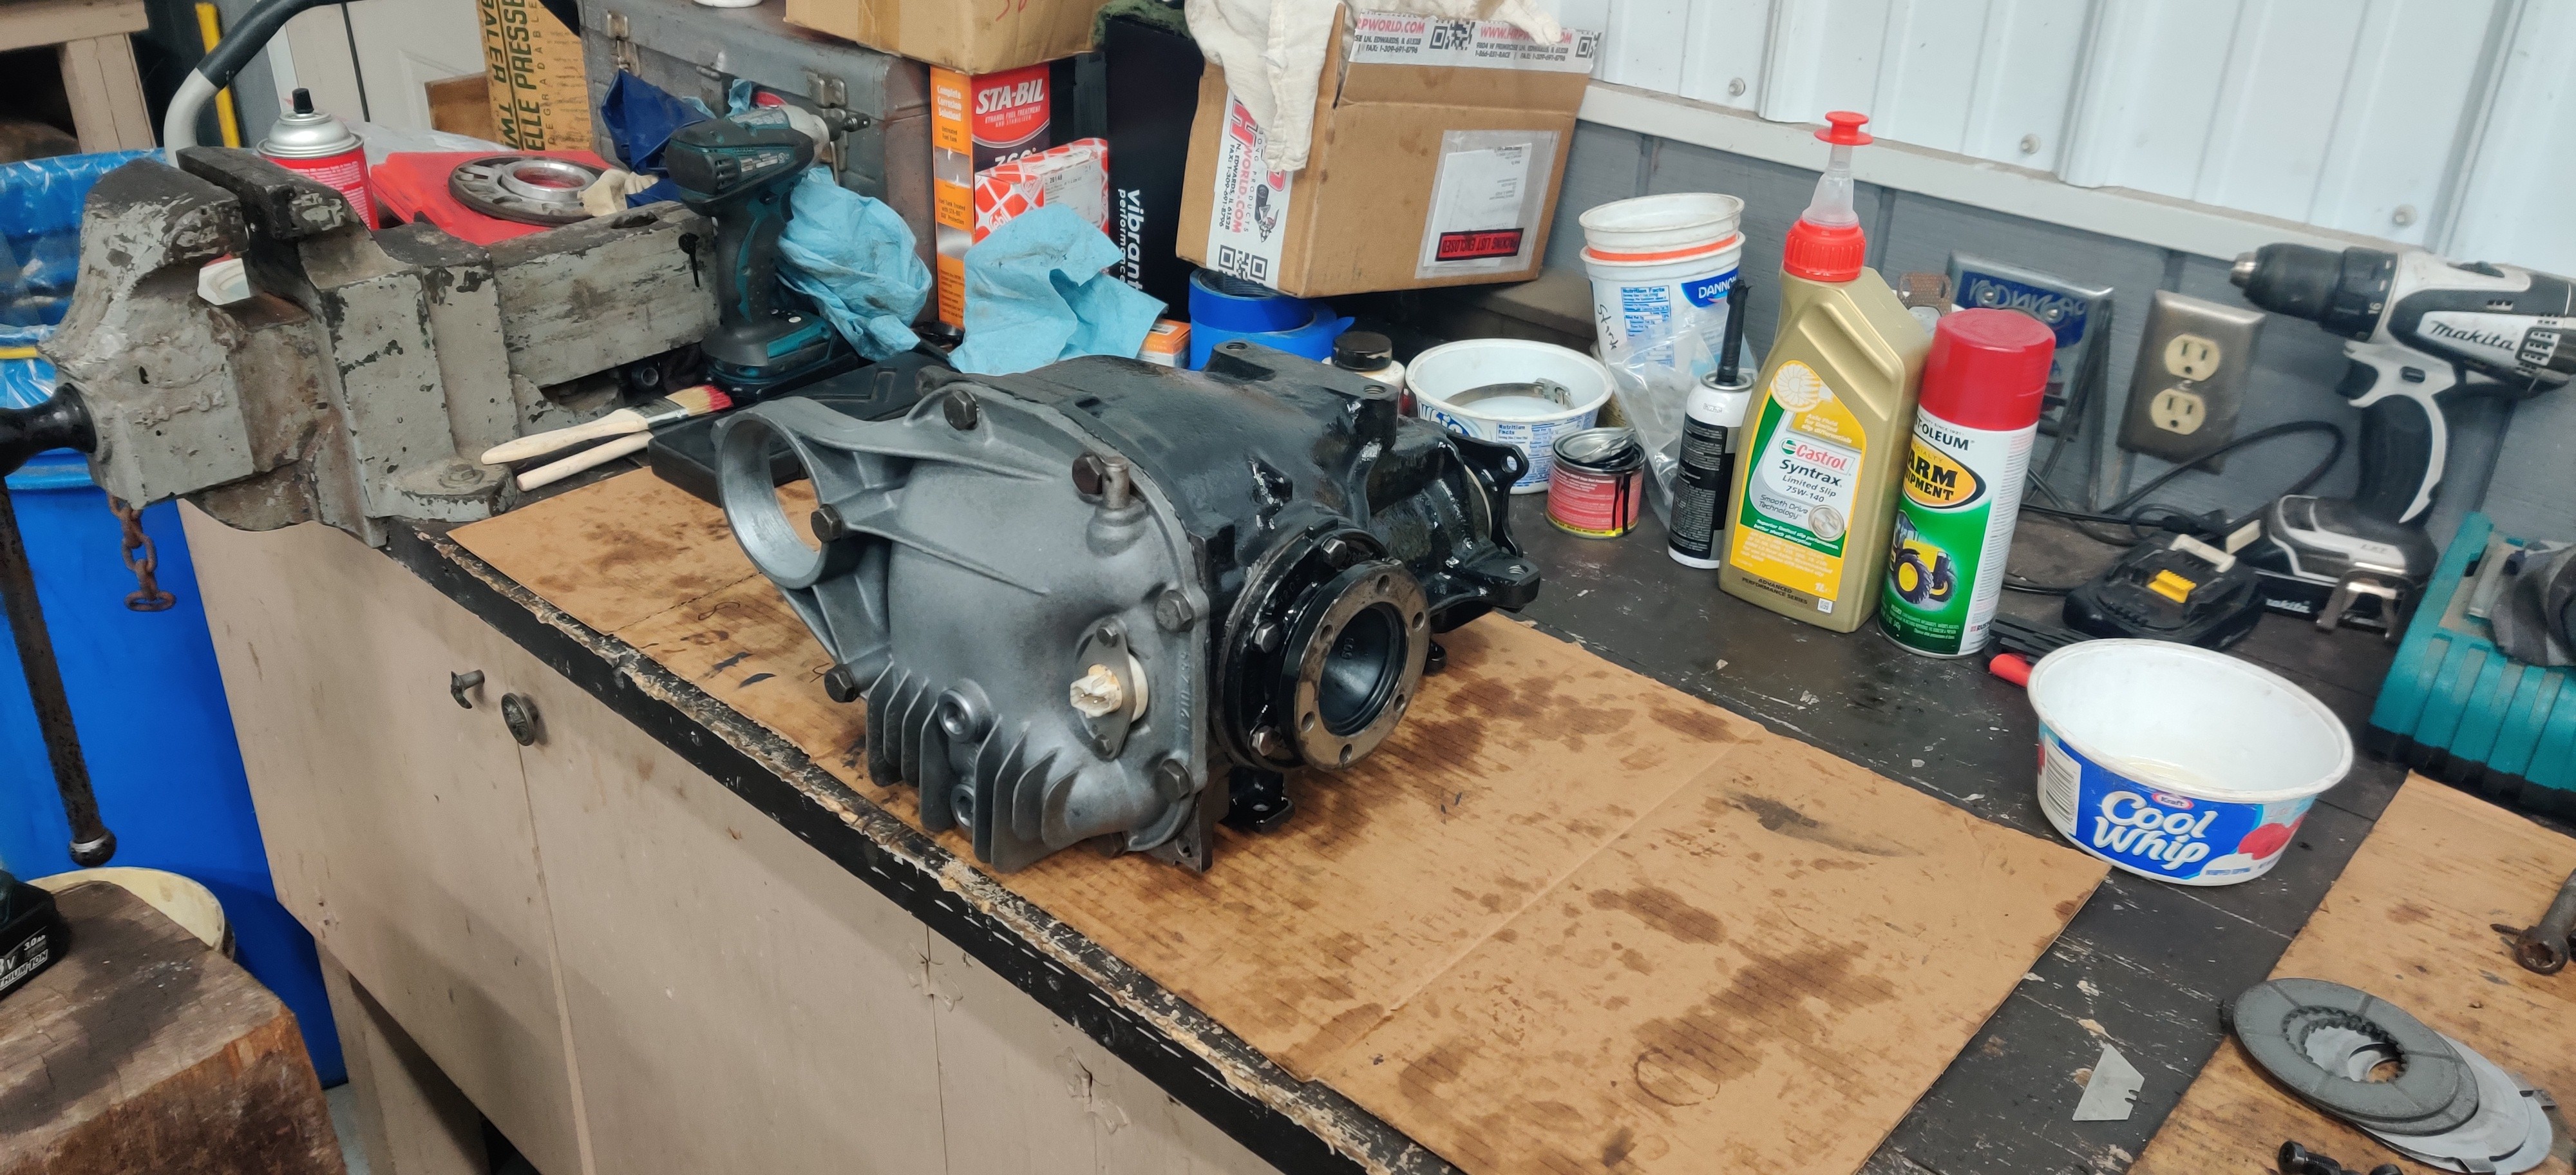
The following day I removed the masking off everything and cleaned everything once more through. I also threw a few light coats of satin clear to the diff cover to protect from corrosion.
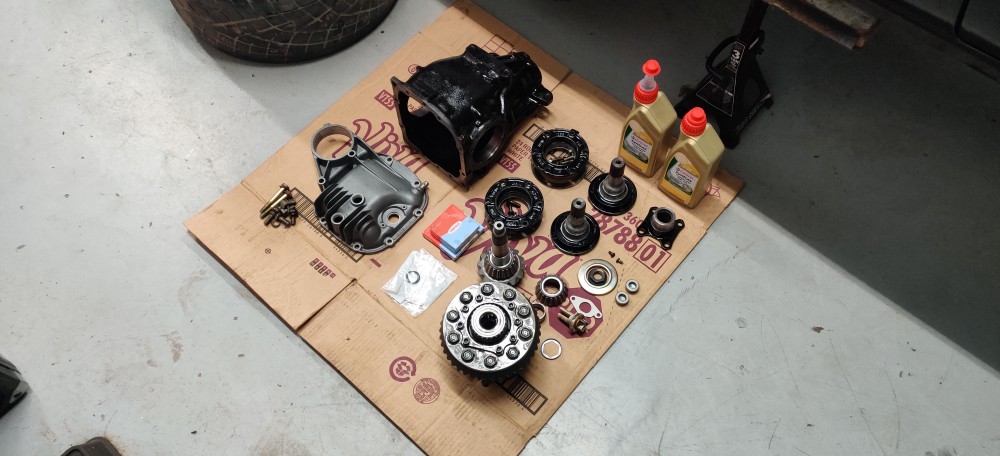
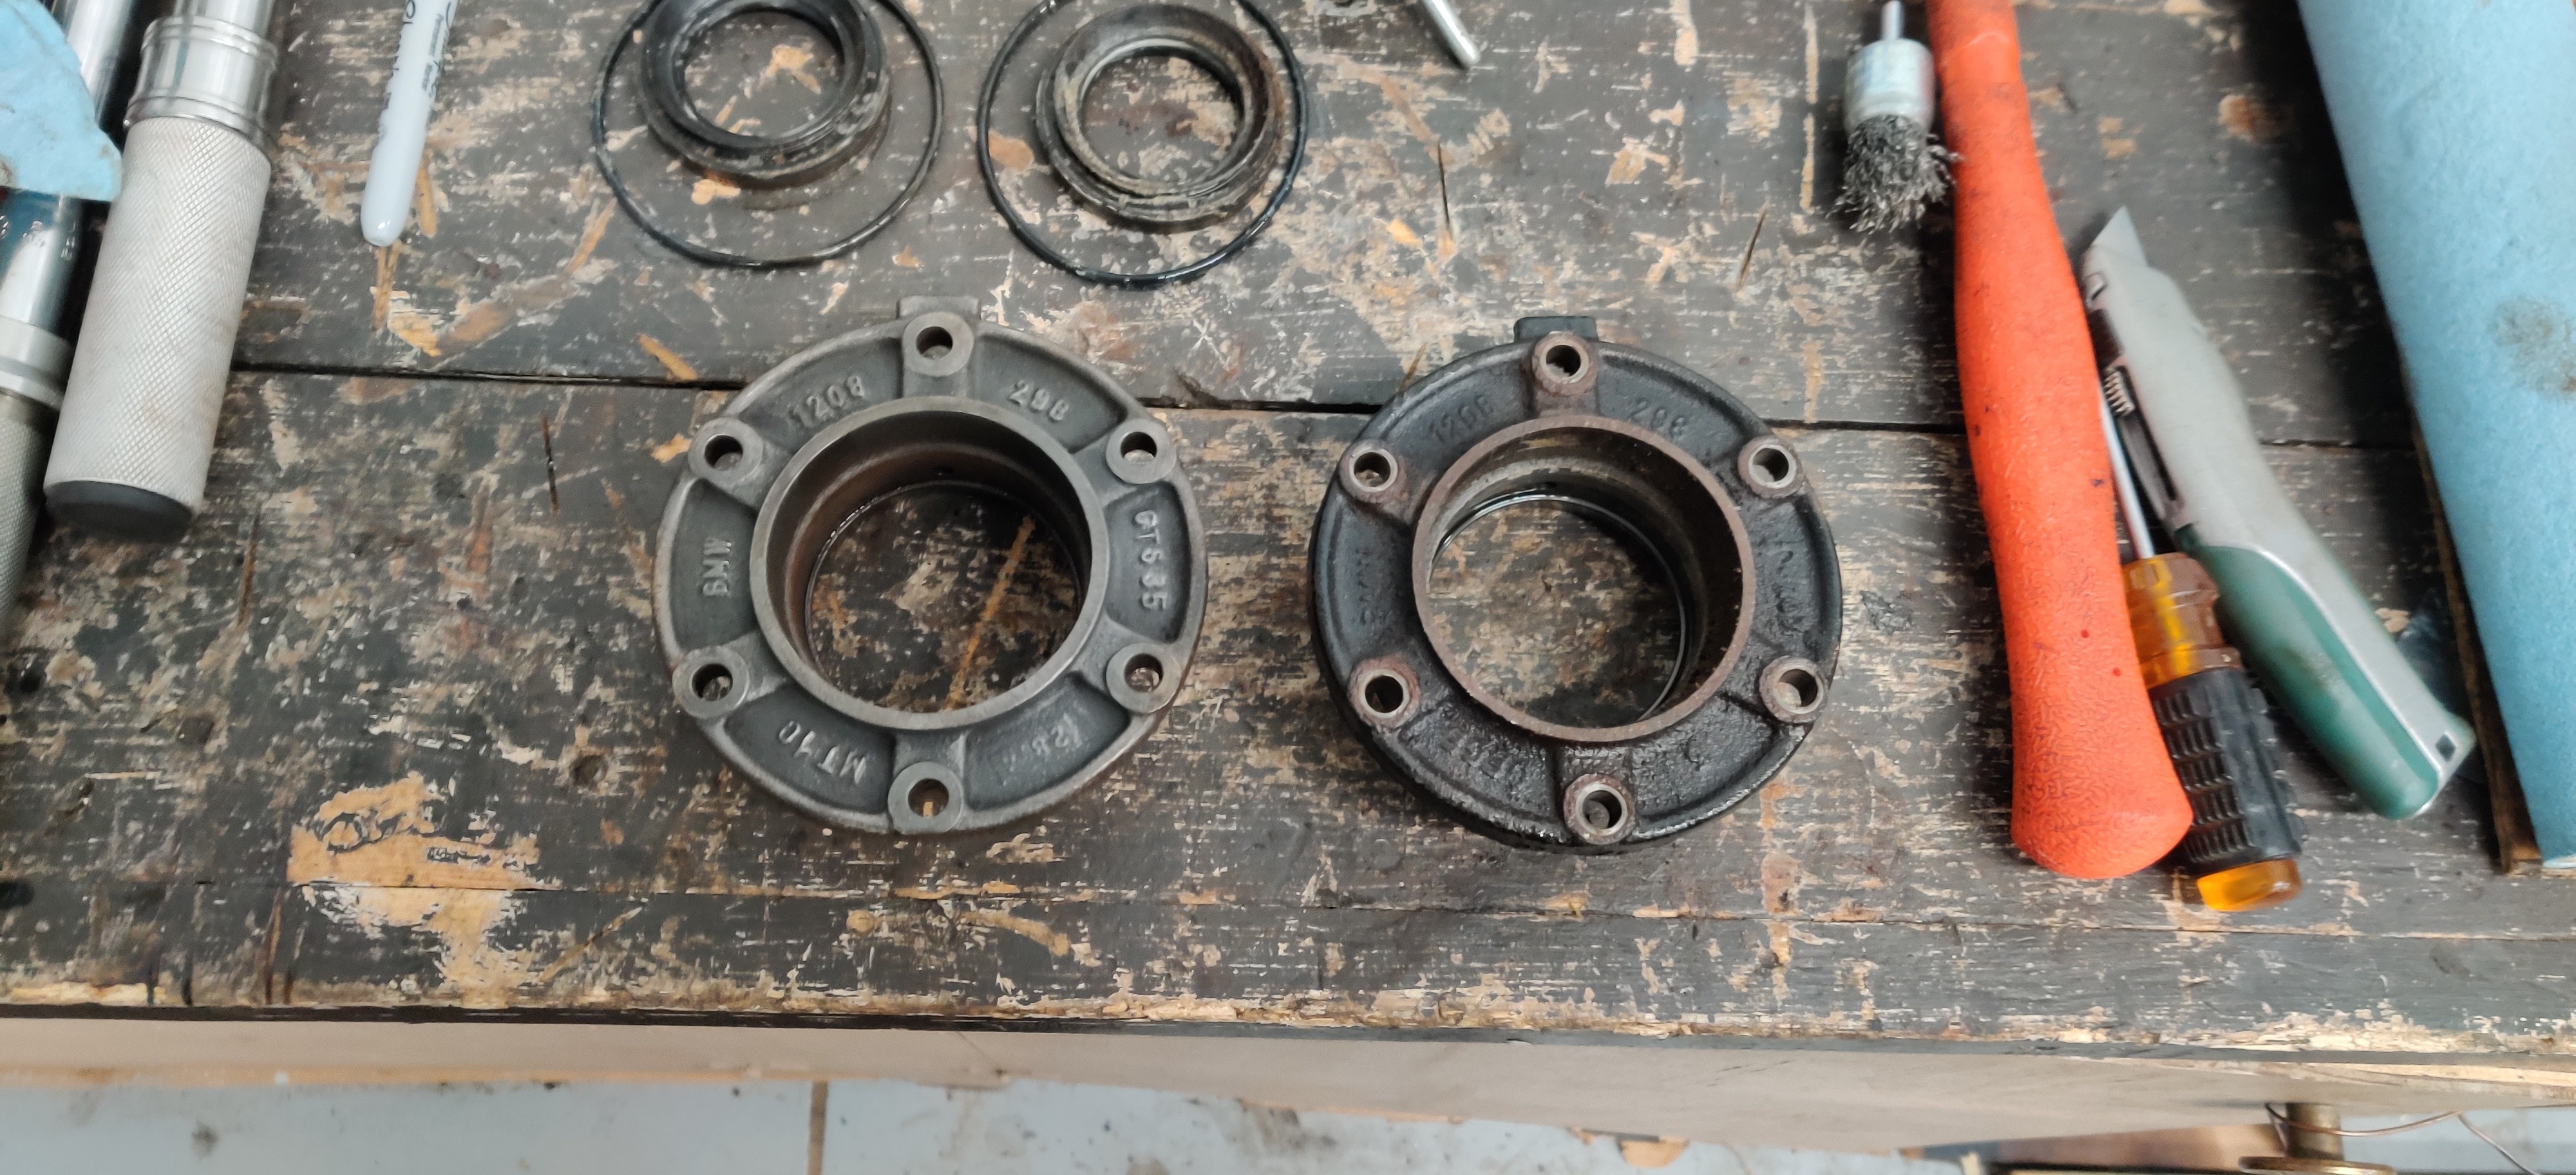
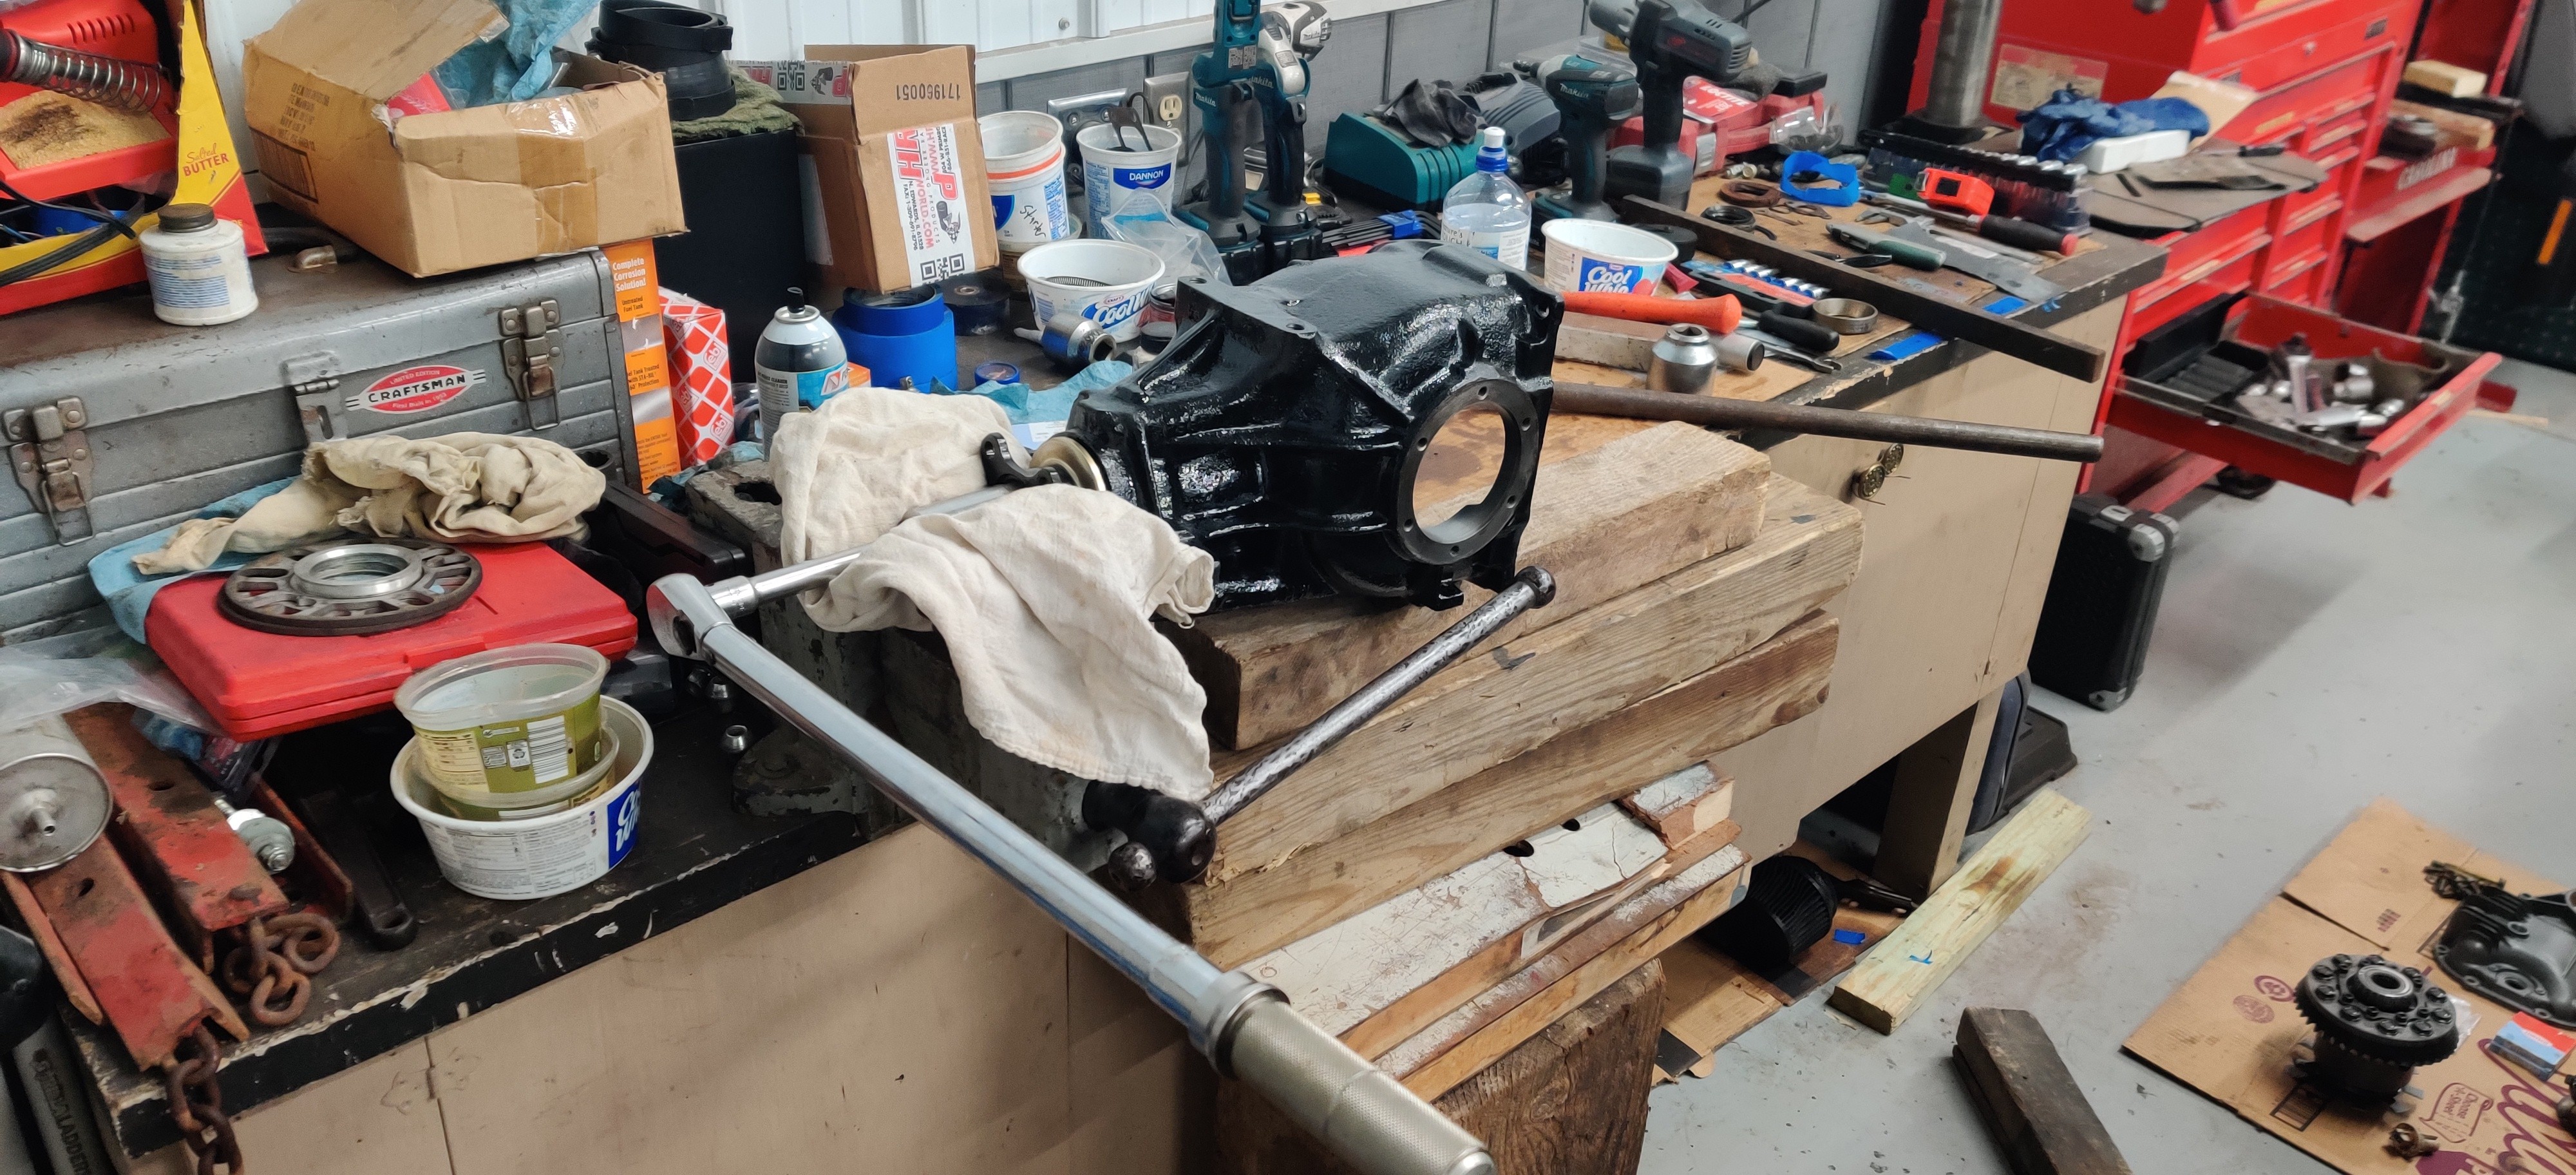
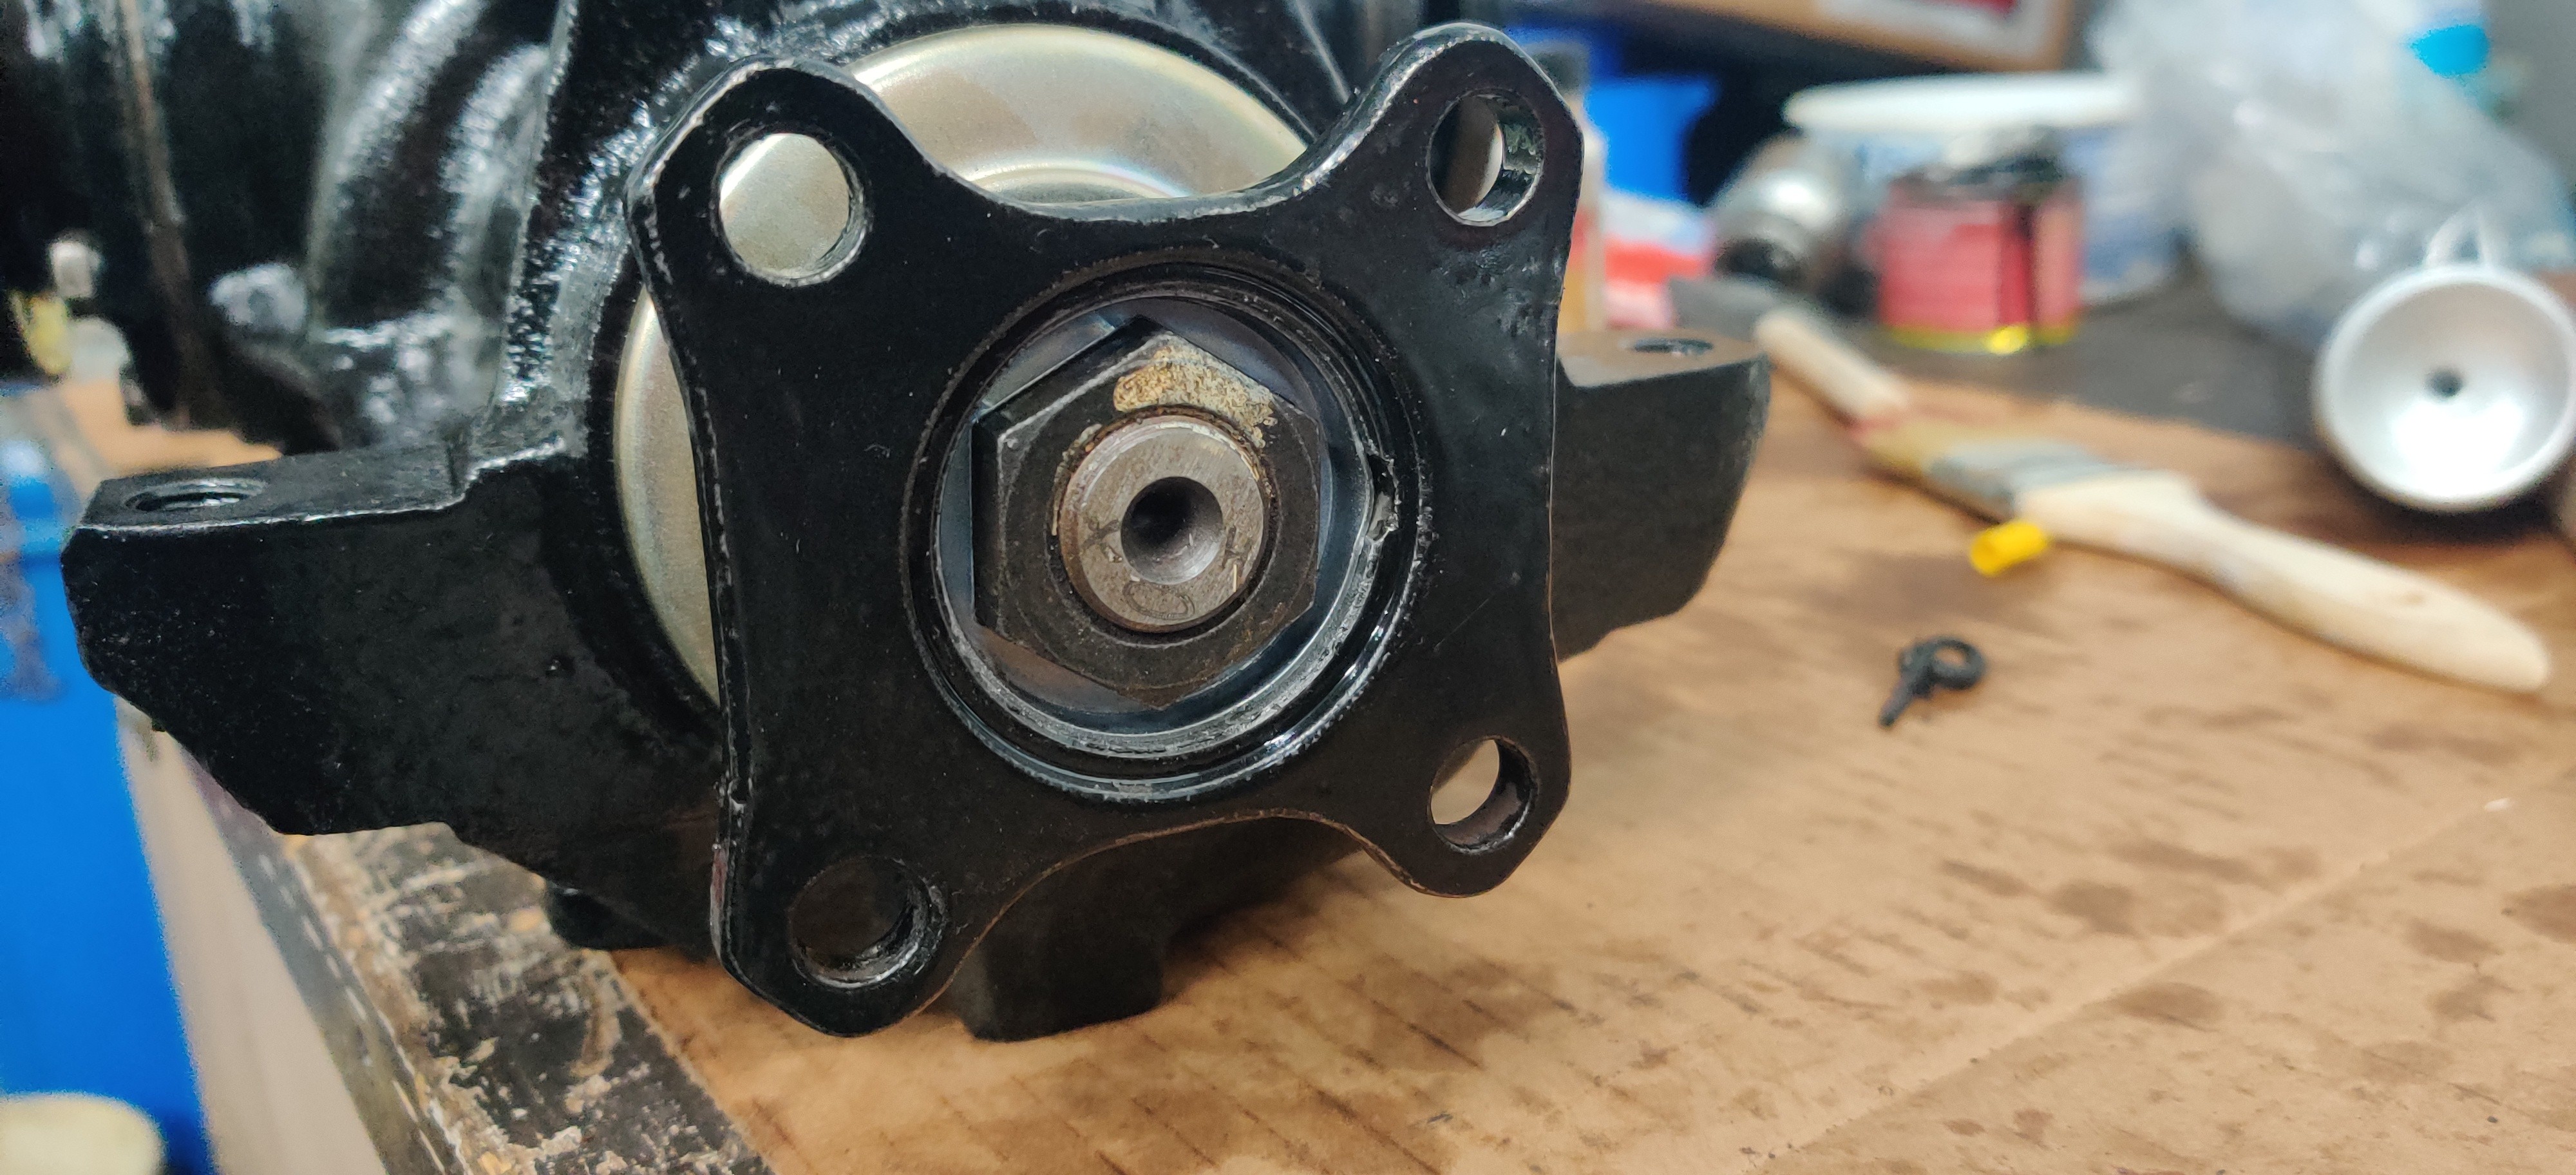
First part of the rebuild is reinstalling the rear pinion gear. I did replace the clamping bushing and the dust cover. After inspecting the bearings I chose to reuse the original ones as they were still in good shape. Being that I hadn't changed anything with gear clearances I simply torqued the nut down to 137 ft lbs as specified from bmw and what I confirmed on a couple threads on other forums and called it good.
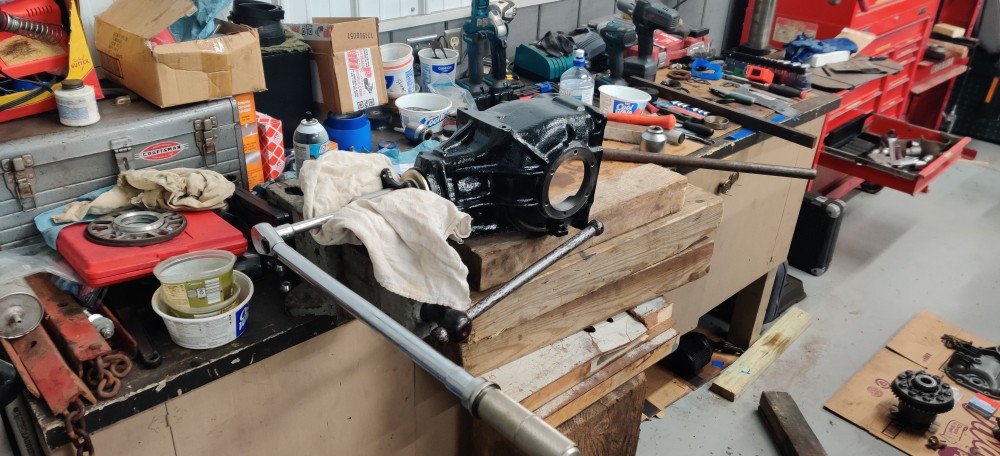
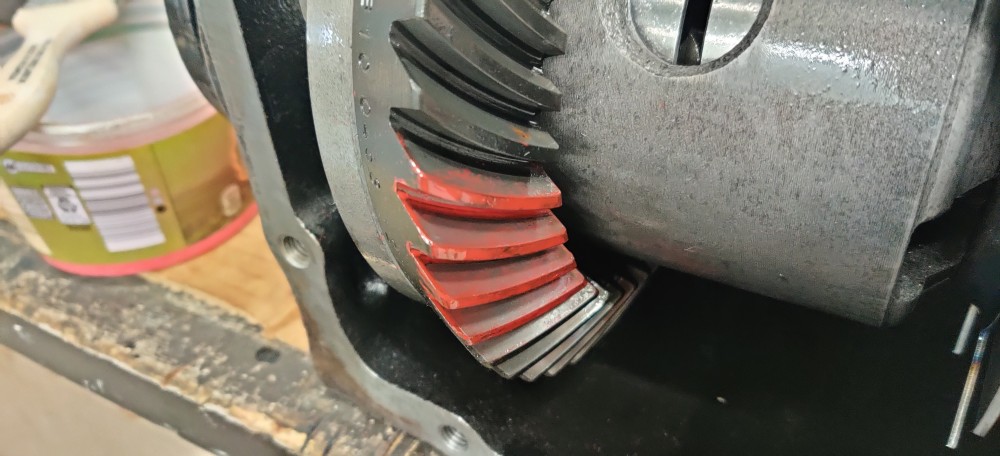
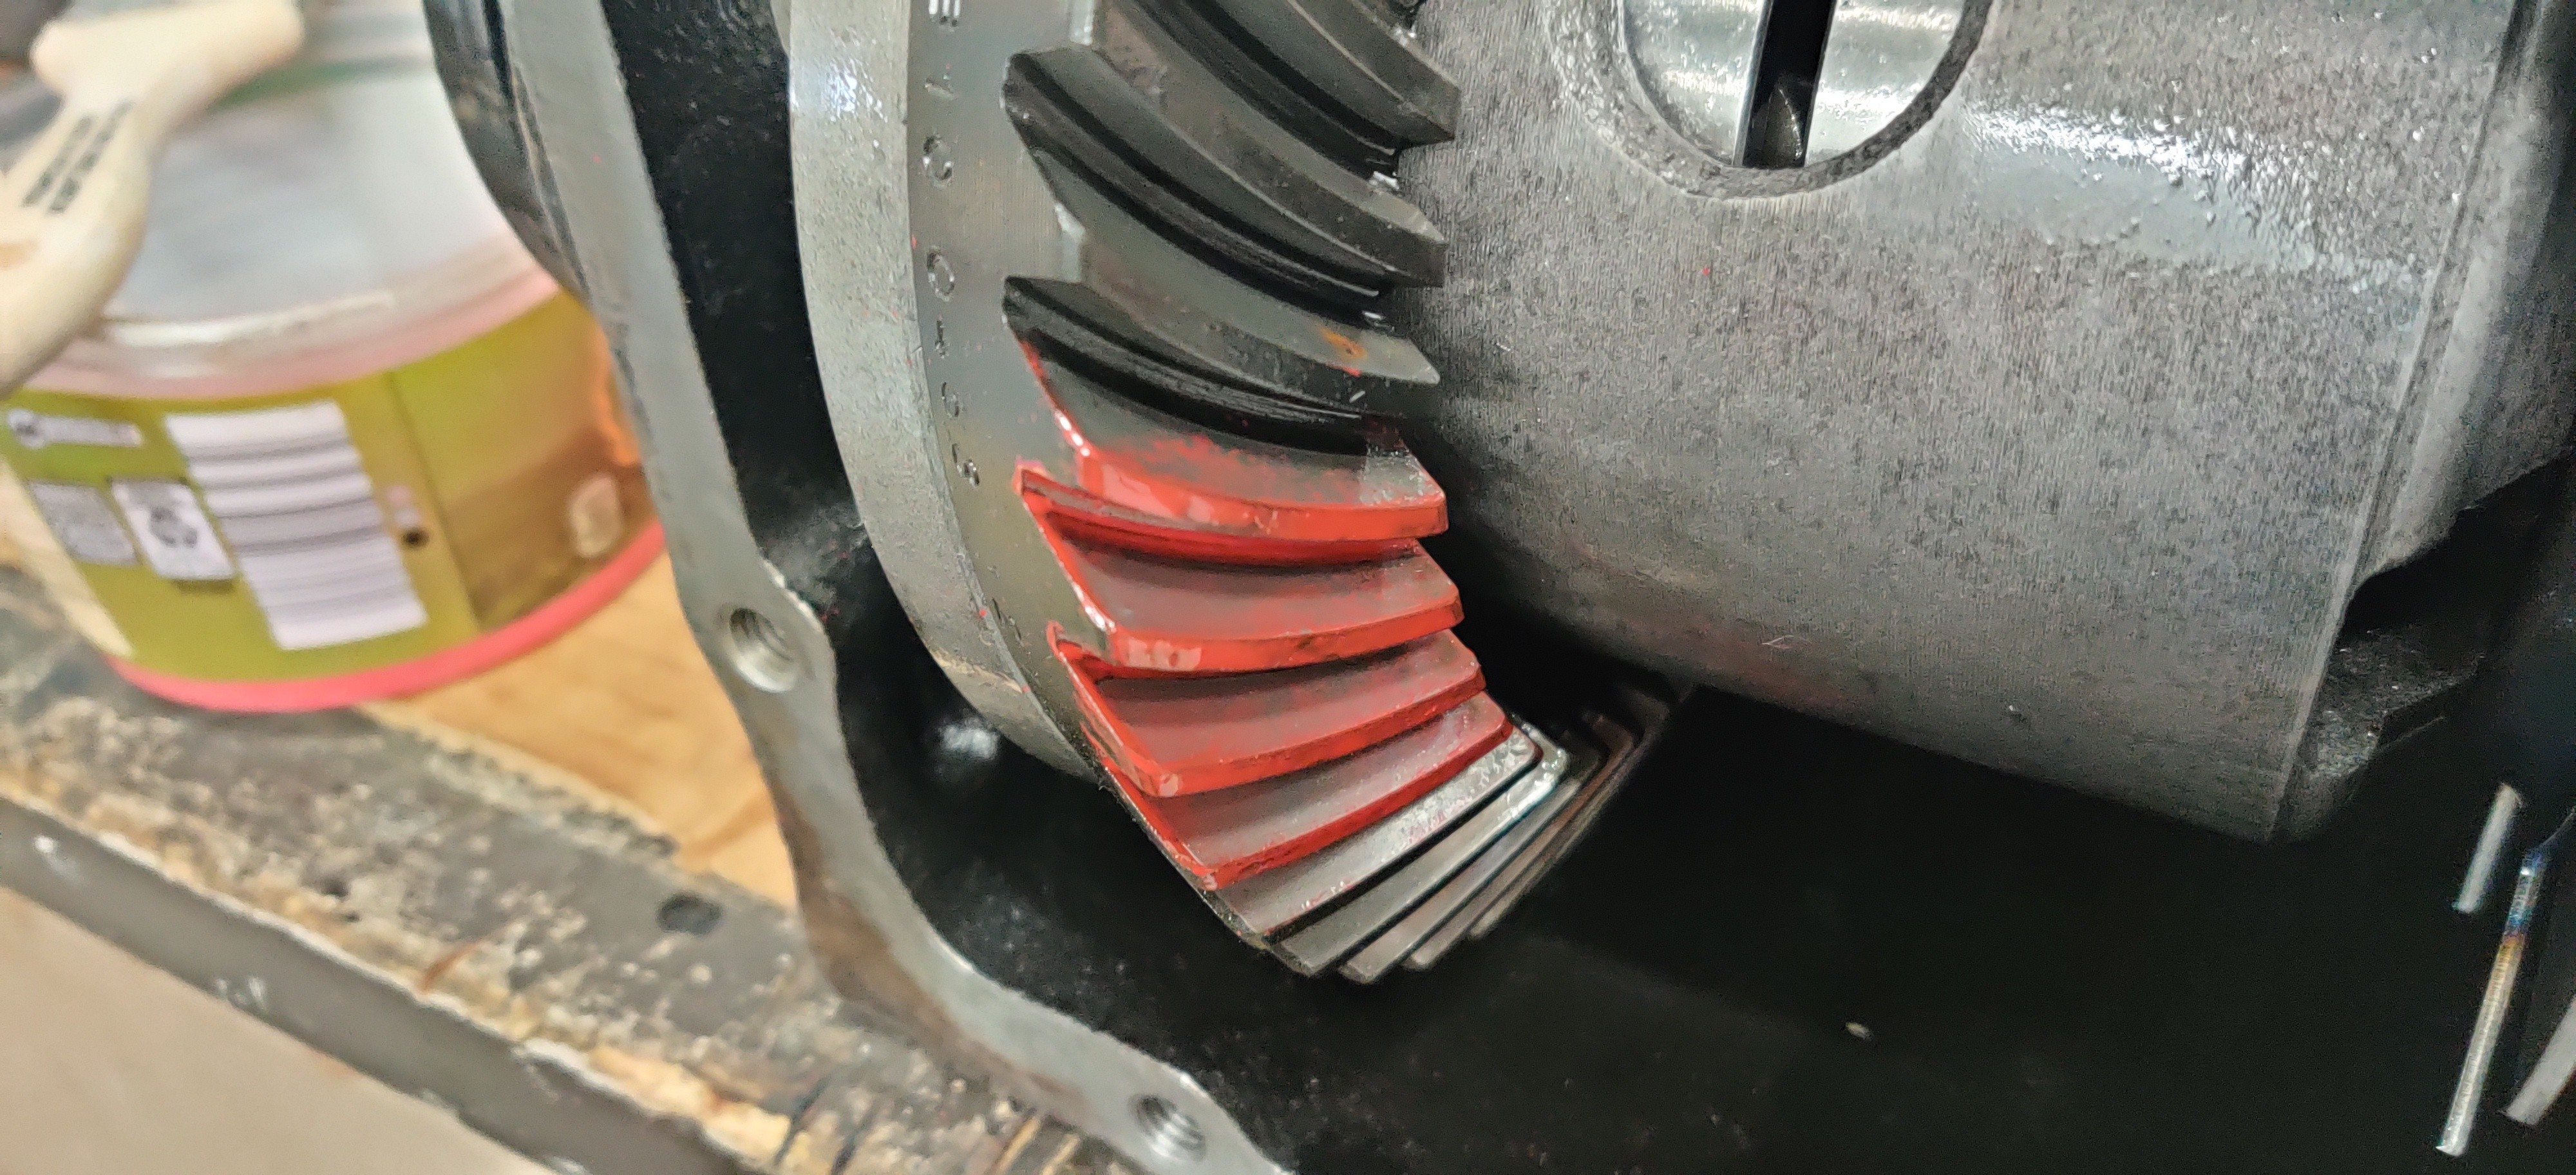
After installing the freshly rebuilt lsd with the ring side retainers and axle shafts I took a little red paint and brushed it on the ring gear and spun it a full turn to ensure that the gears were still properly meshing. I also checked for any crazy amounts of backlash which was also within spec.
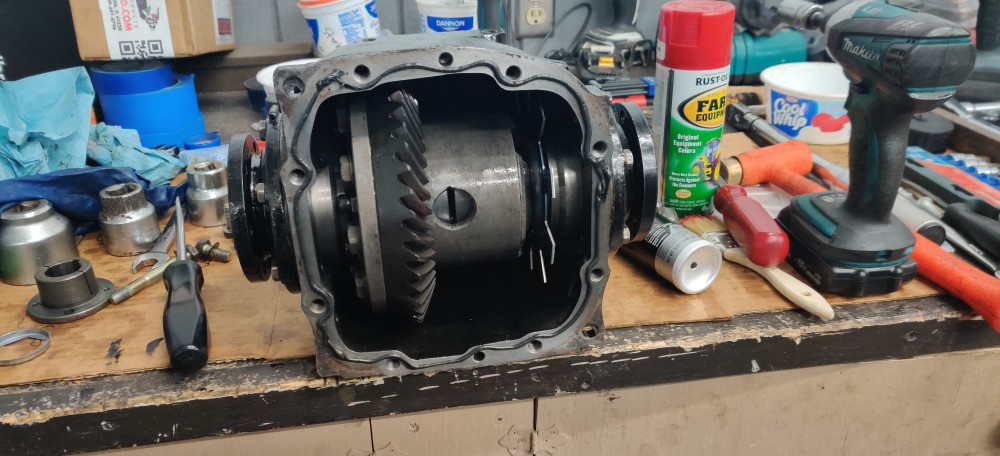
Used some permatex "the right stuff" gasket maker to seal the diff cover to the diff.
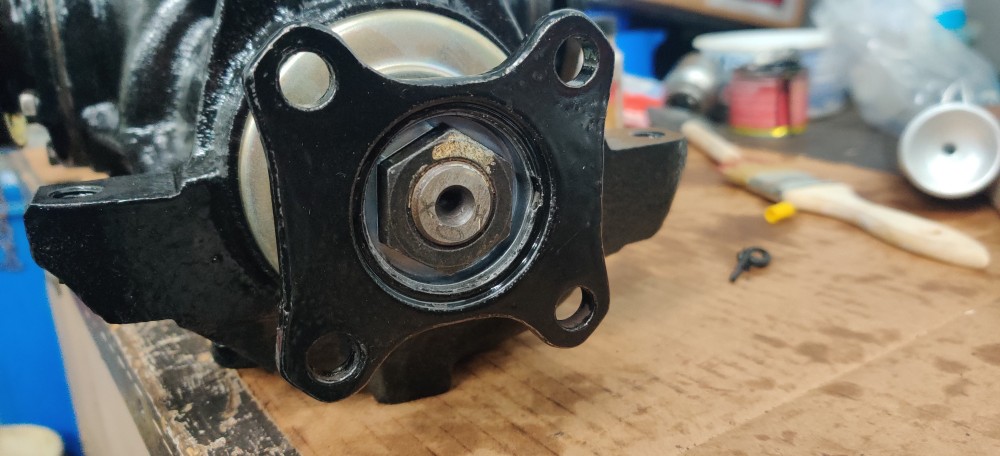
After ensuring the preload of the pinion gear was within spec I popped in a new locking plate for the nut.
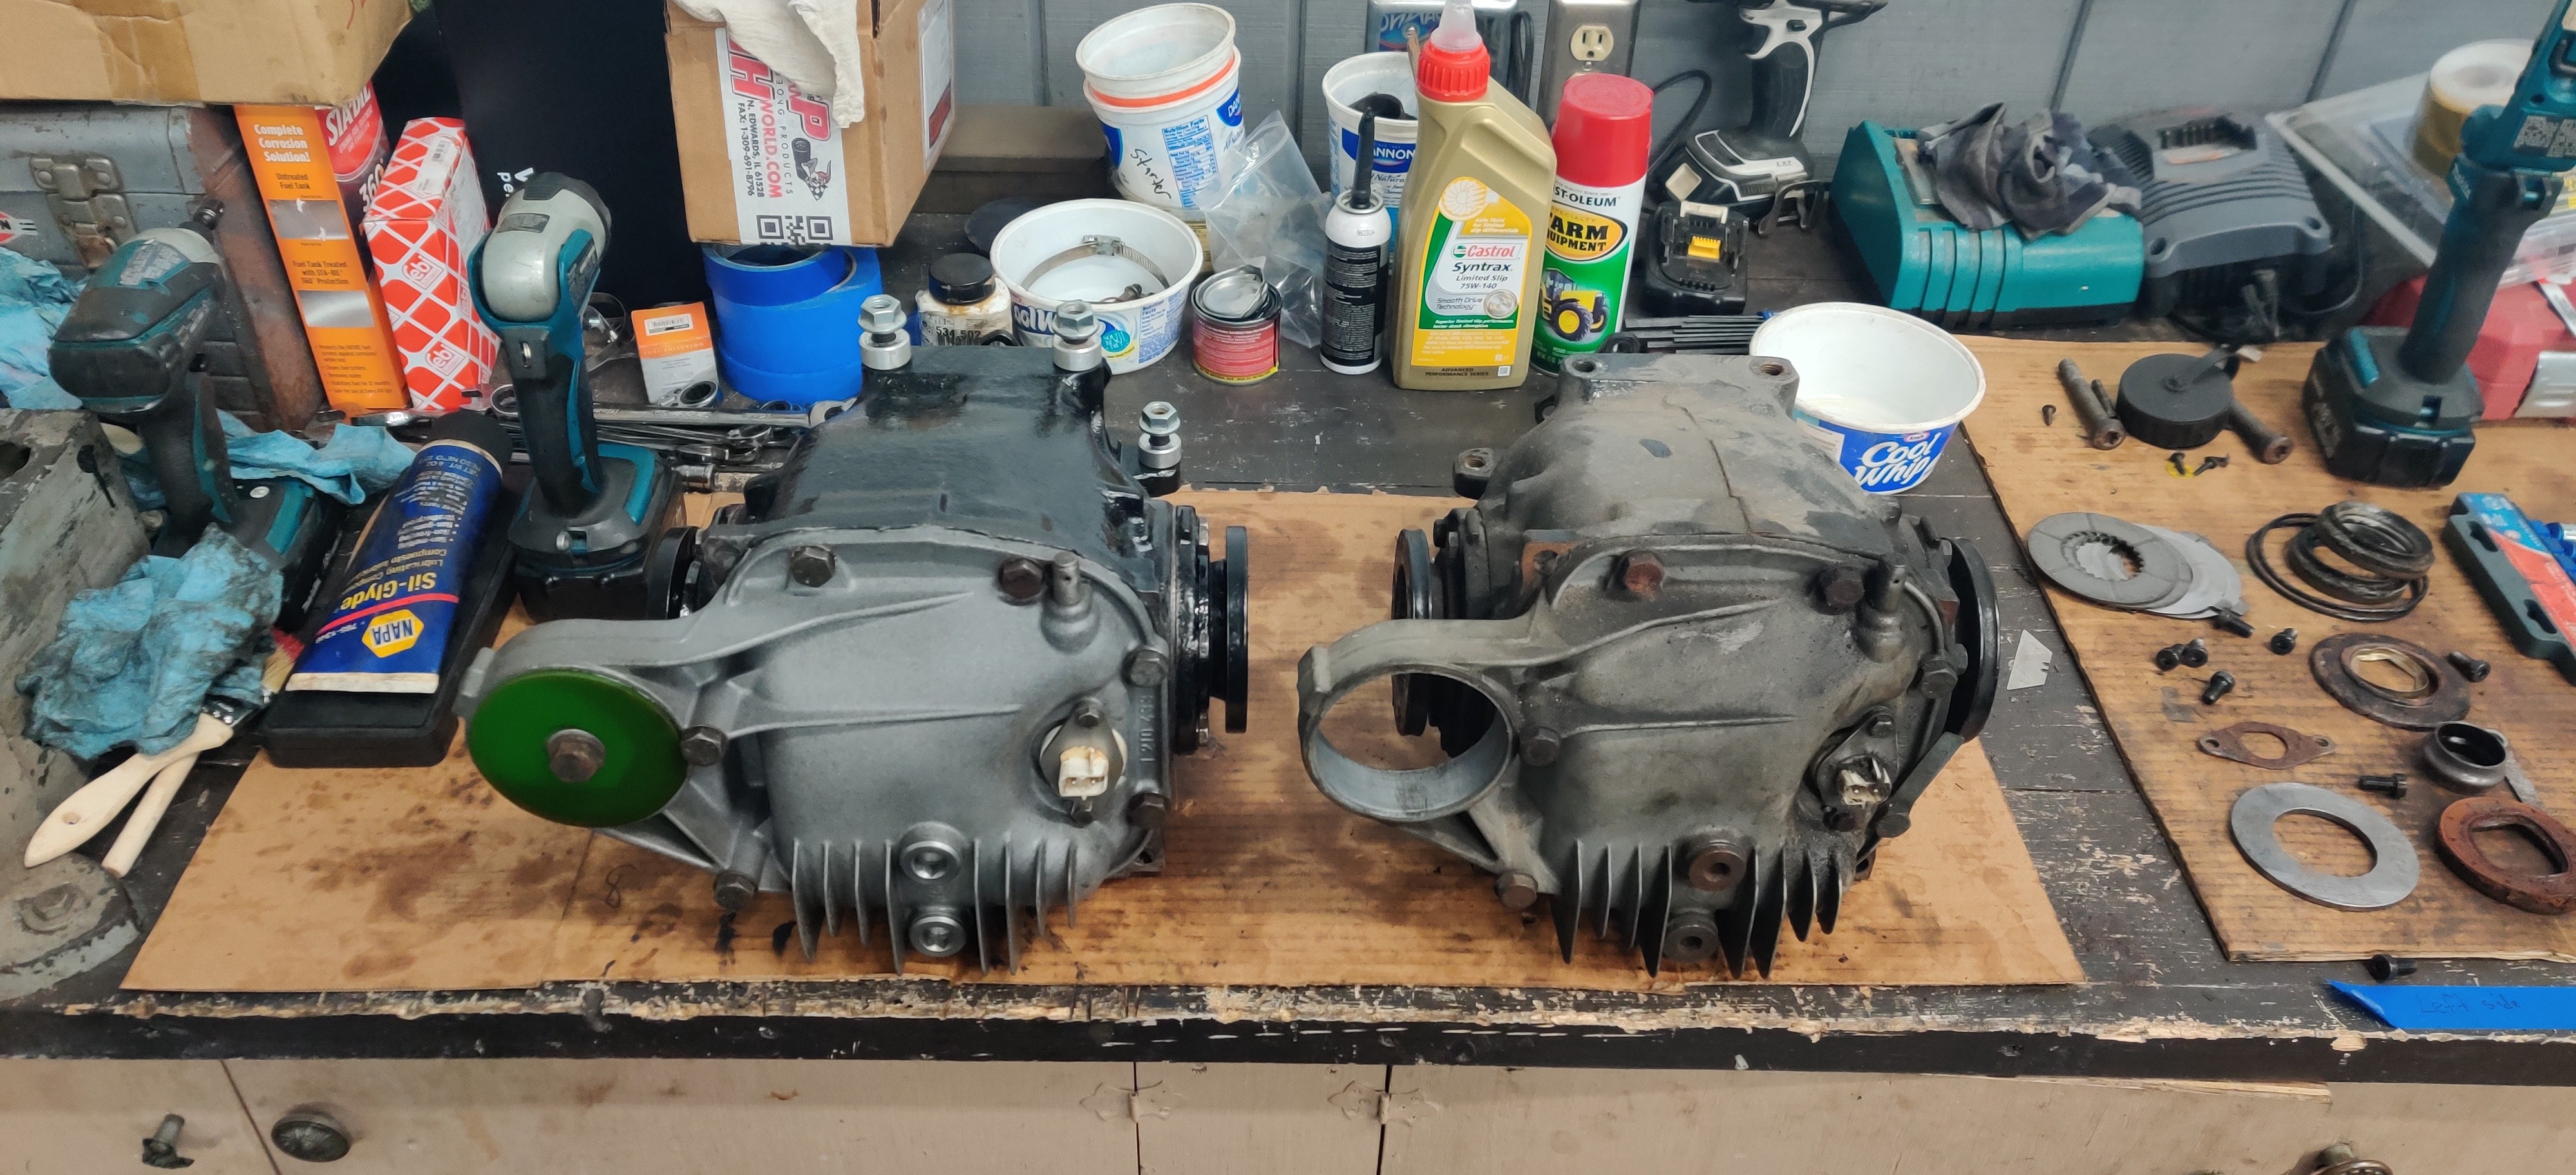
Added 1.75 qts of castrol 75w-140 diff fluid which includes the lsd additive needed for the clutch plates. Also popped in the speed sensor with a new o-ring and metal plate. She is ready to be installed in the car.
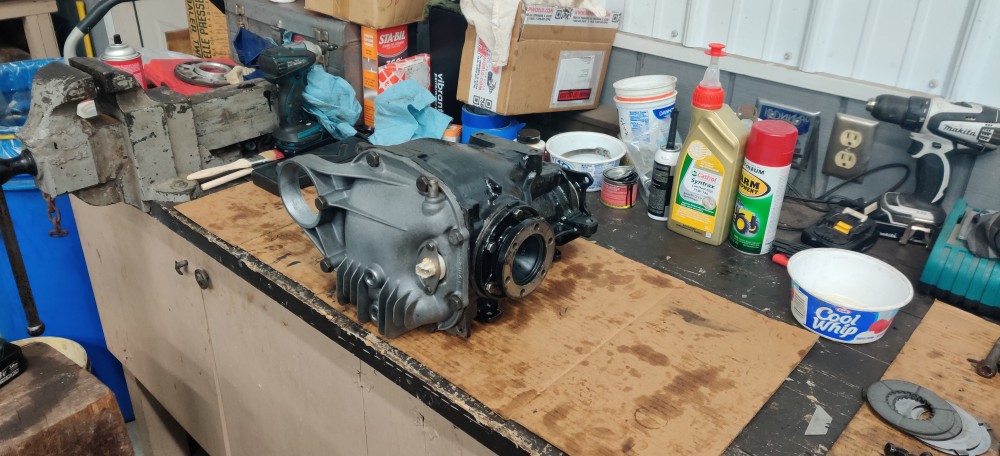
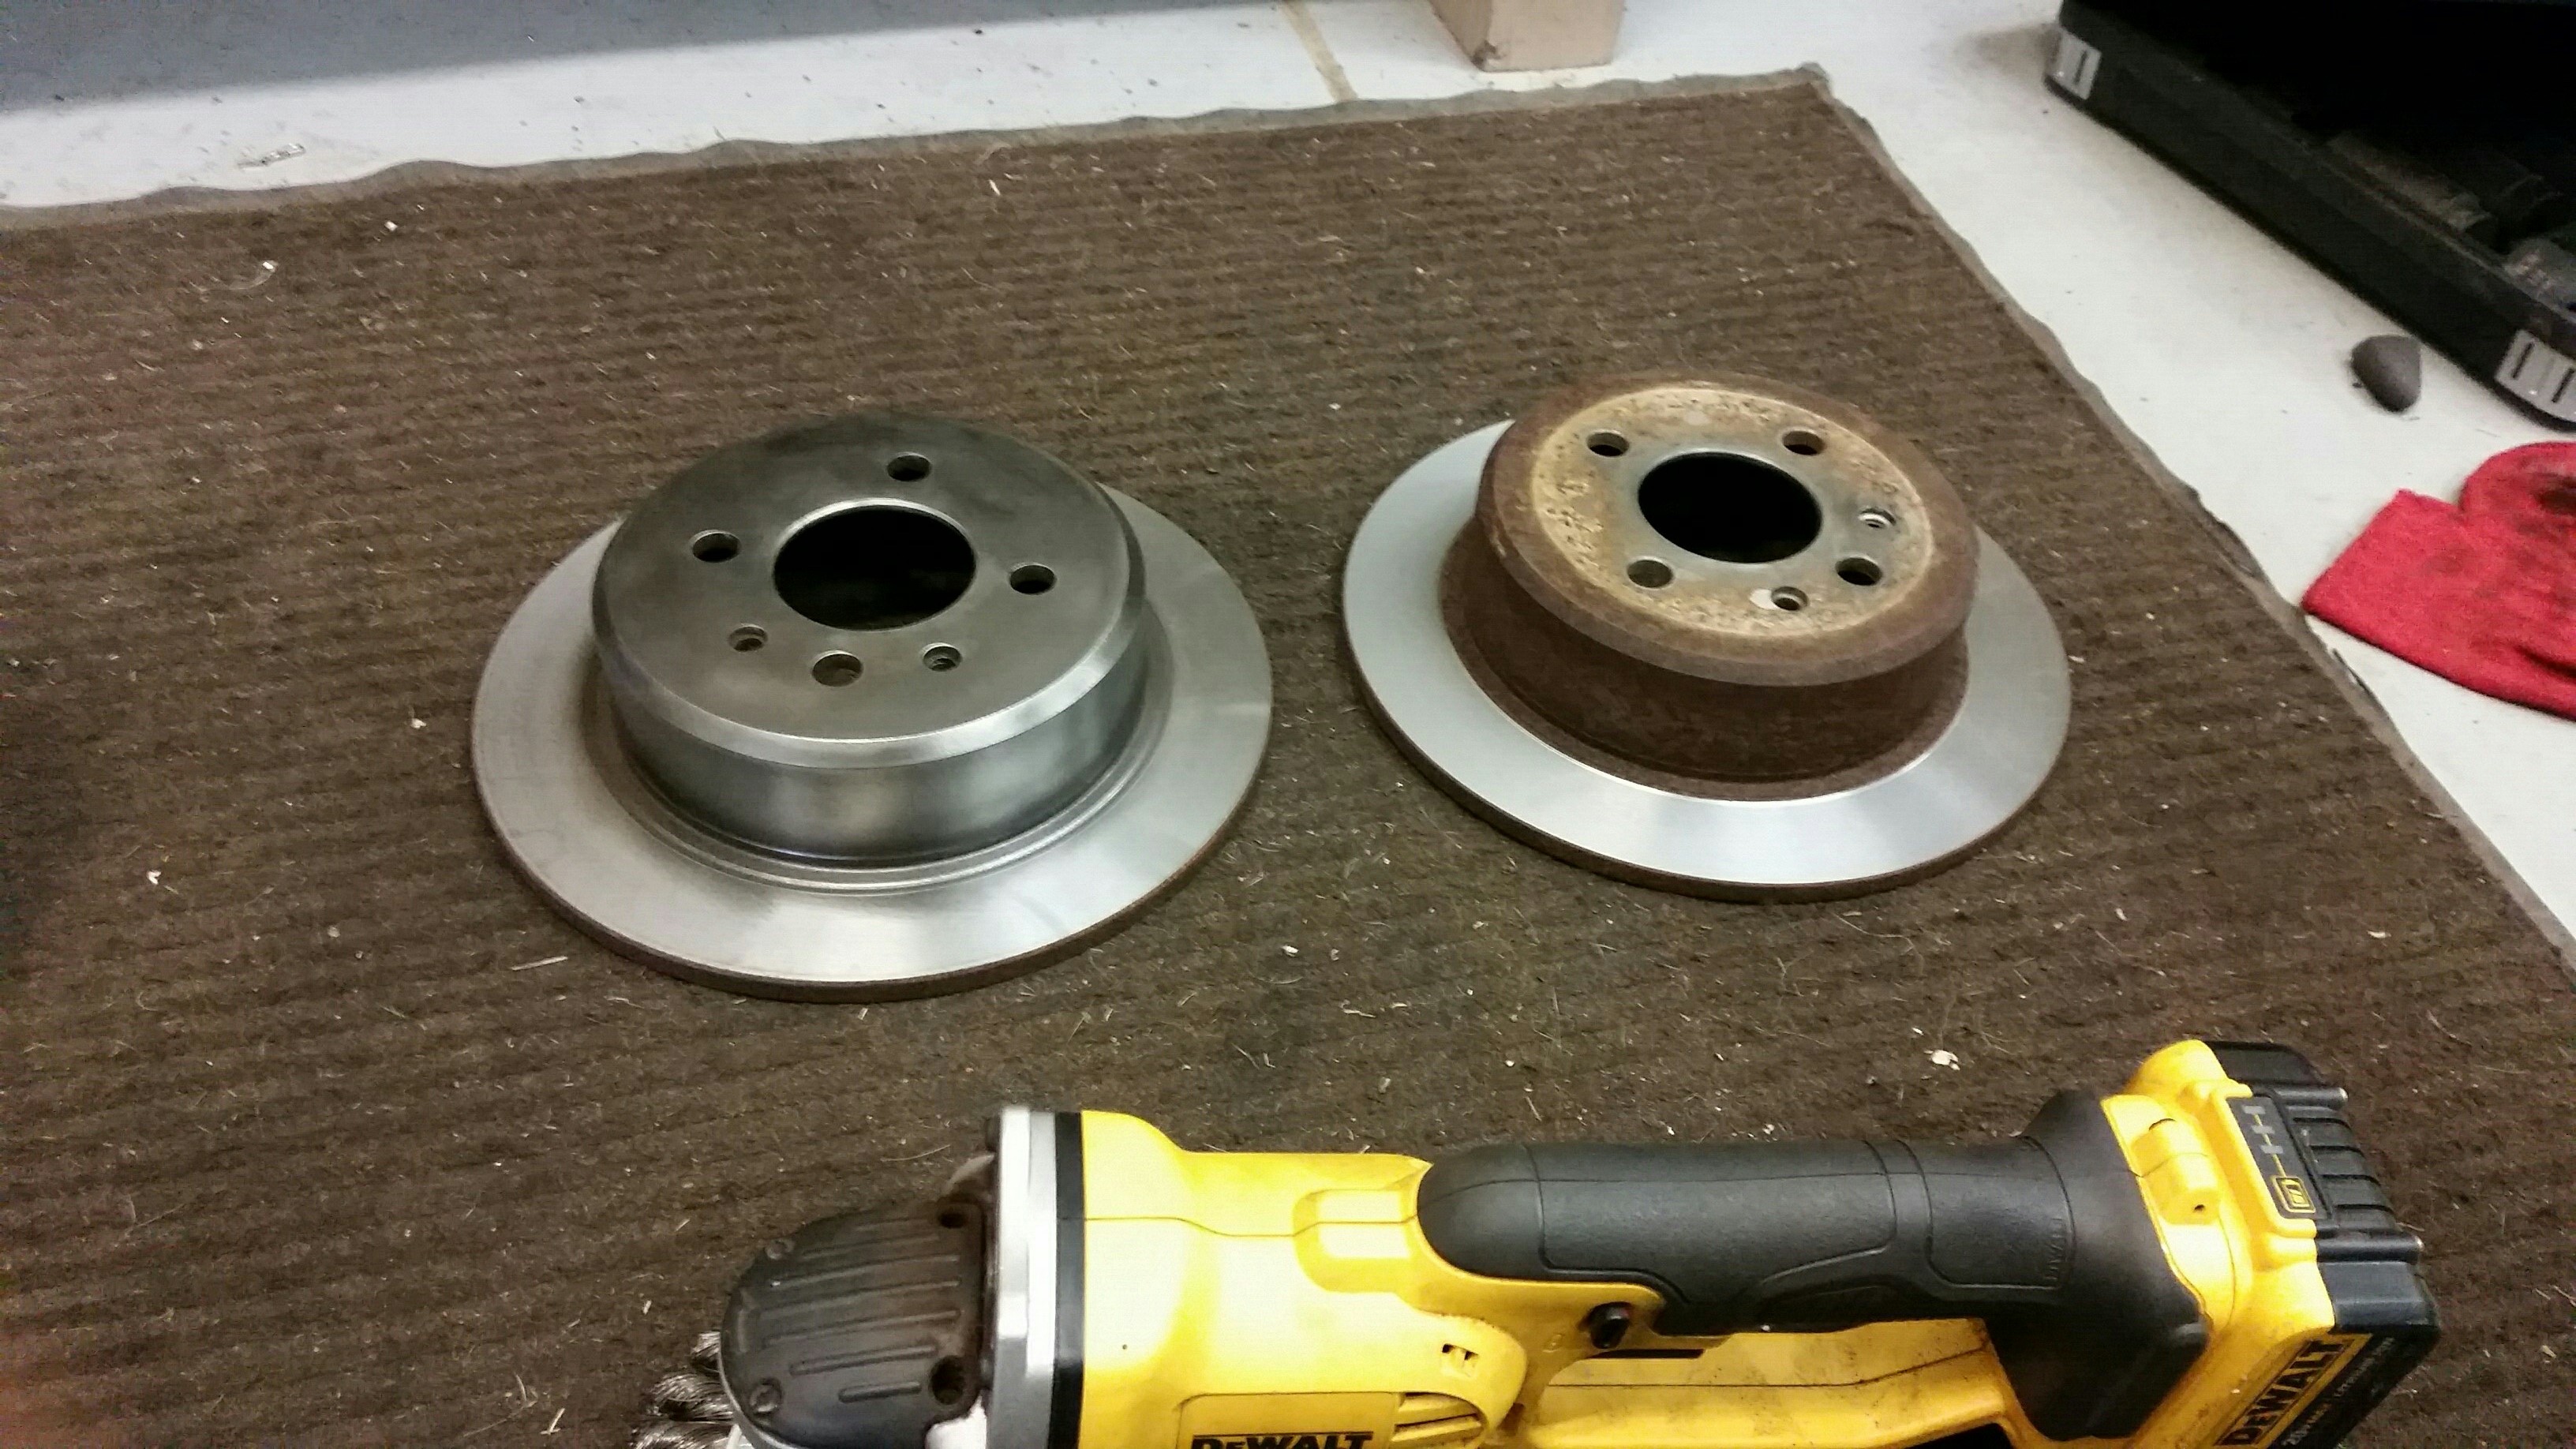
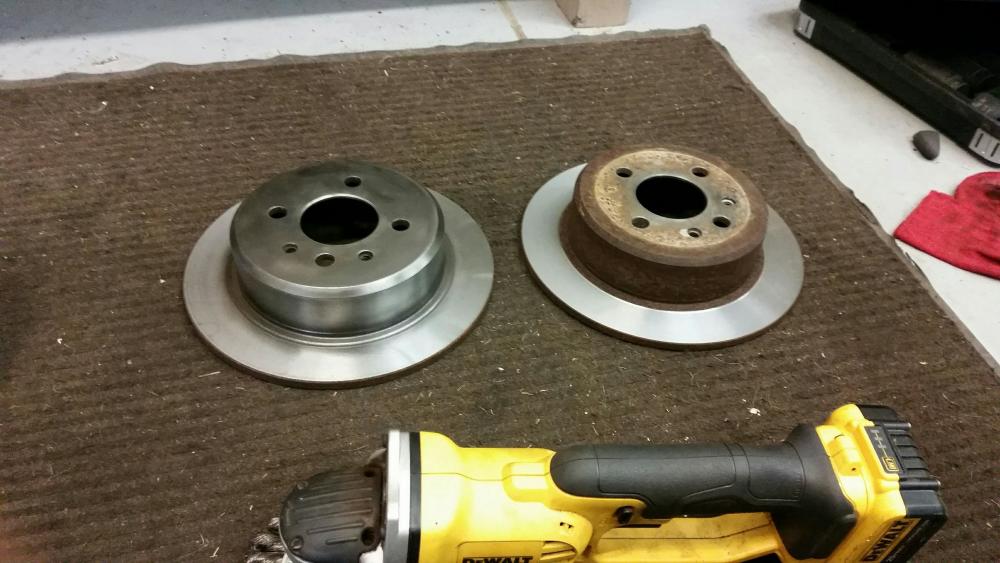
3.73 diff that was in the car on the right.
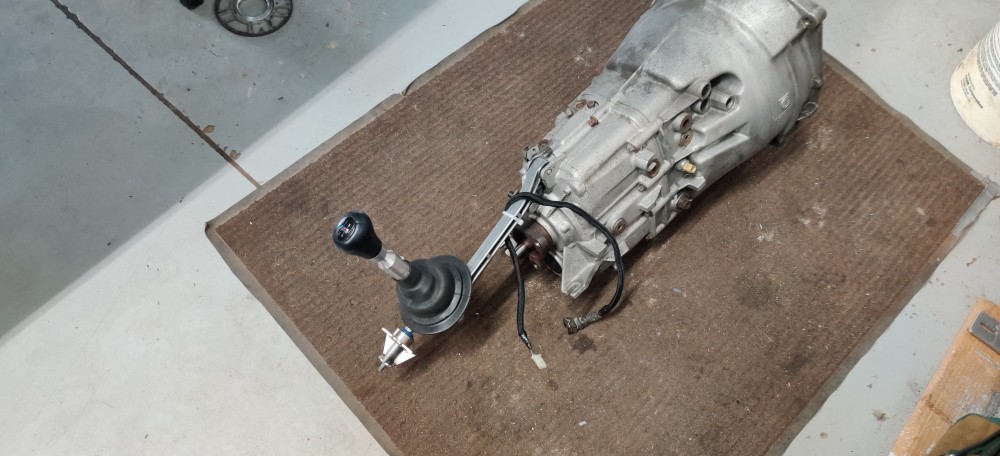
On to the next thing. In a previous post @KaiserRolls mentioned the detent pins in the zf trans. I had not looked into these and did a bit of research as well as checking that it didn't need the replacement done. One of the major signs of failure was the shifter not popping back to center after pulling it out of 5th gear. Luckily everything still felt good.
New guide tube came in and the damaged one from the clutch disc was replaced.
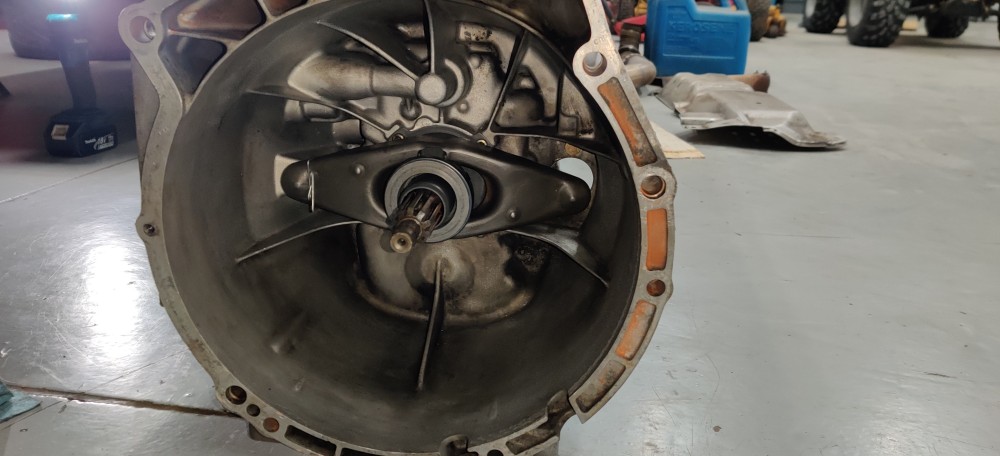
After that was all said and done and the clutch disc was flipped around the correct way the trans was re-installed.
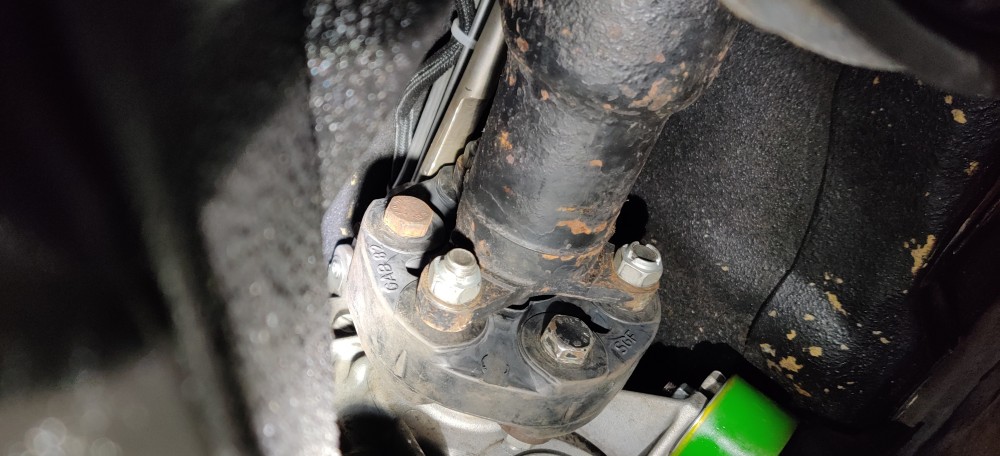
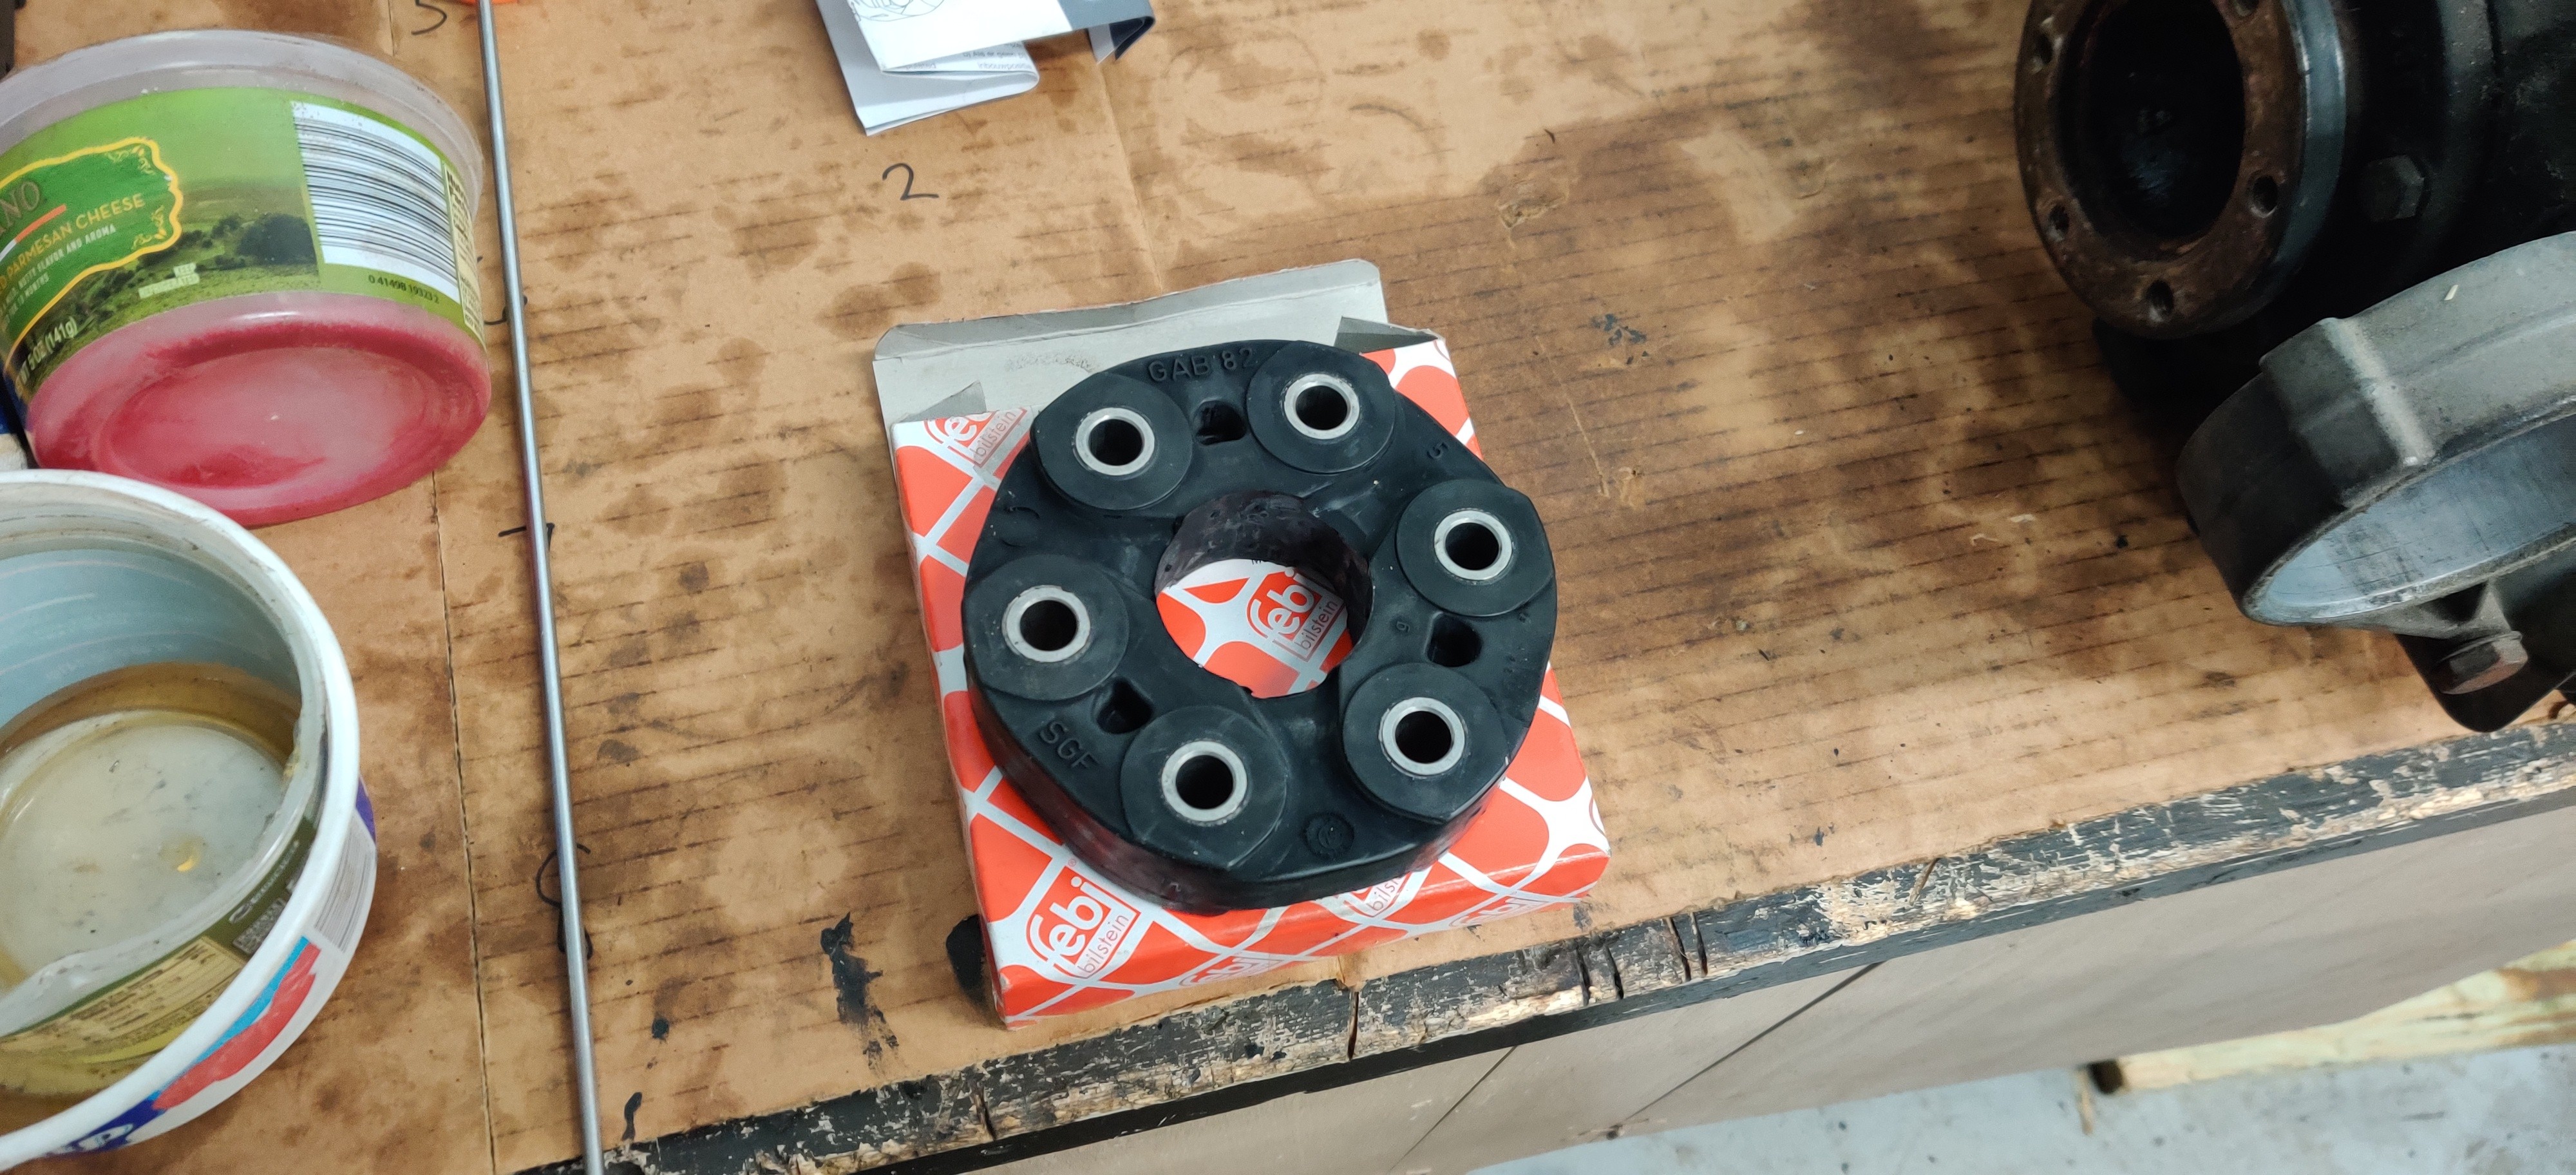
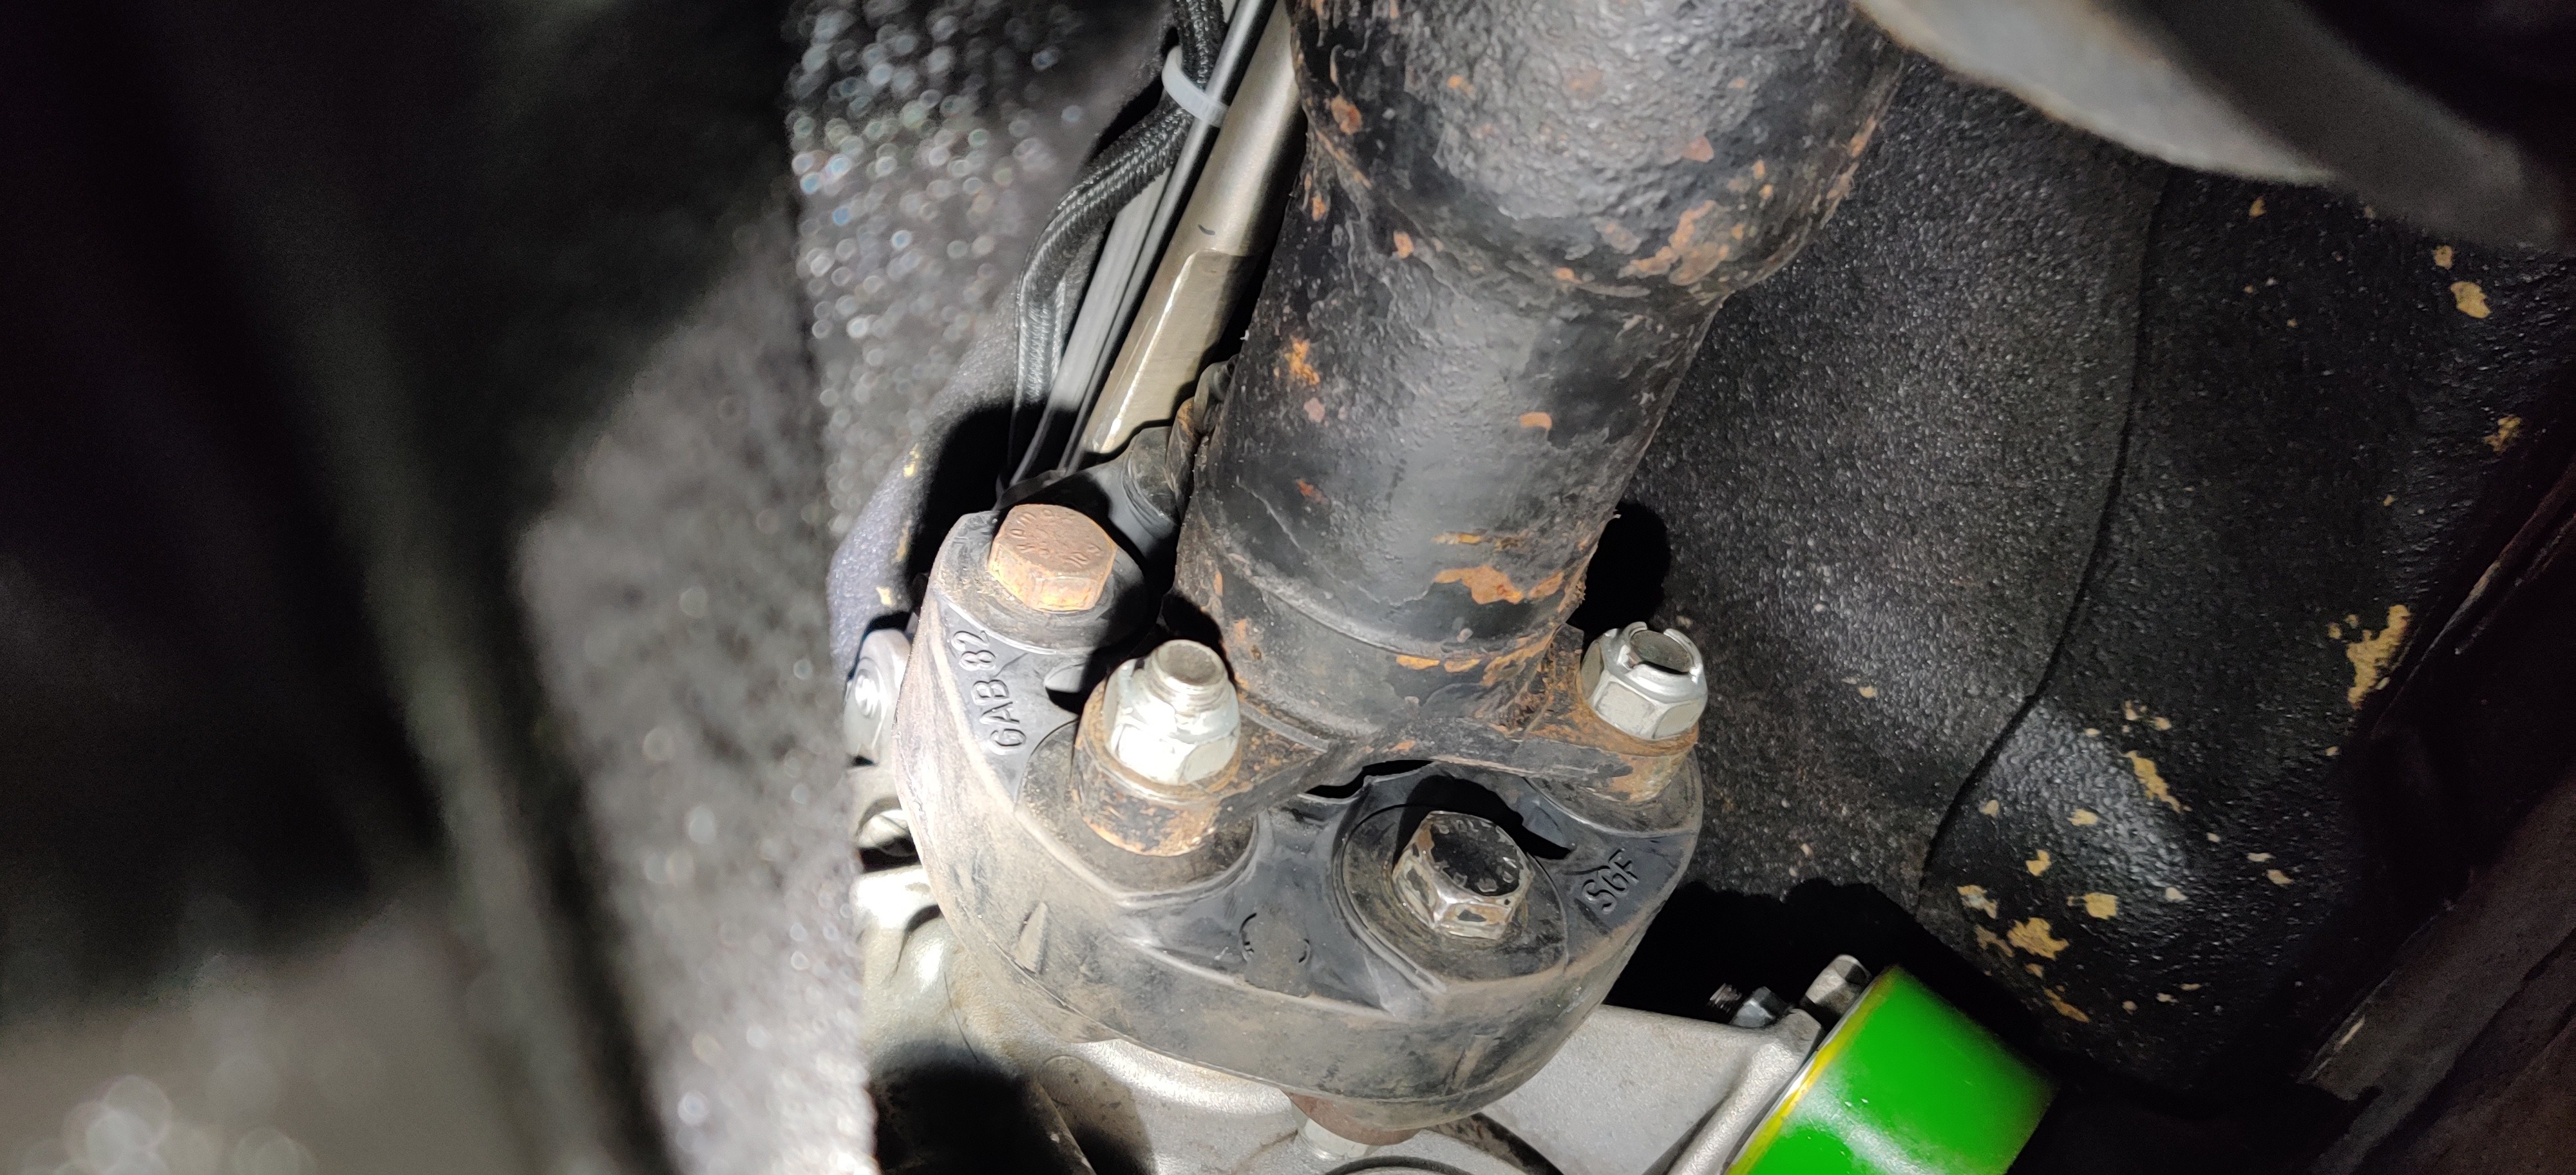
Also installed a fresh guibo
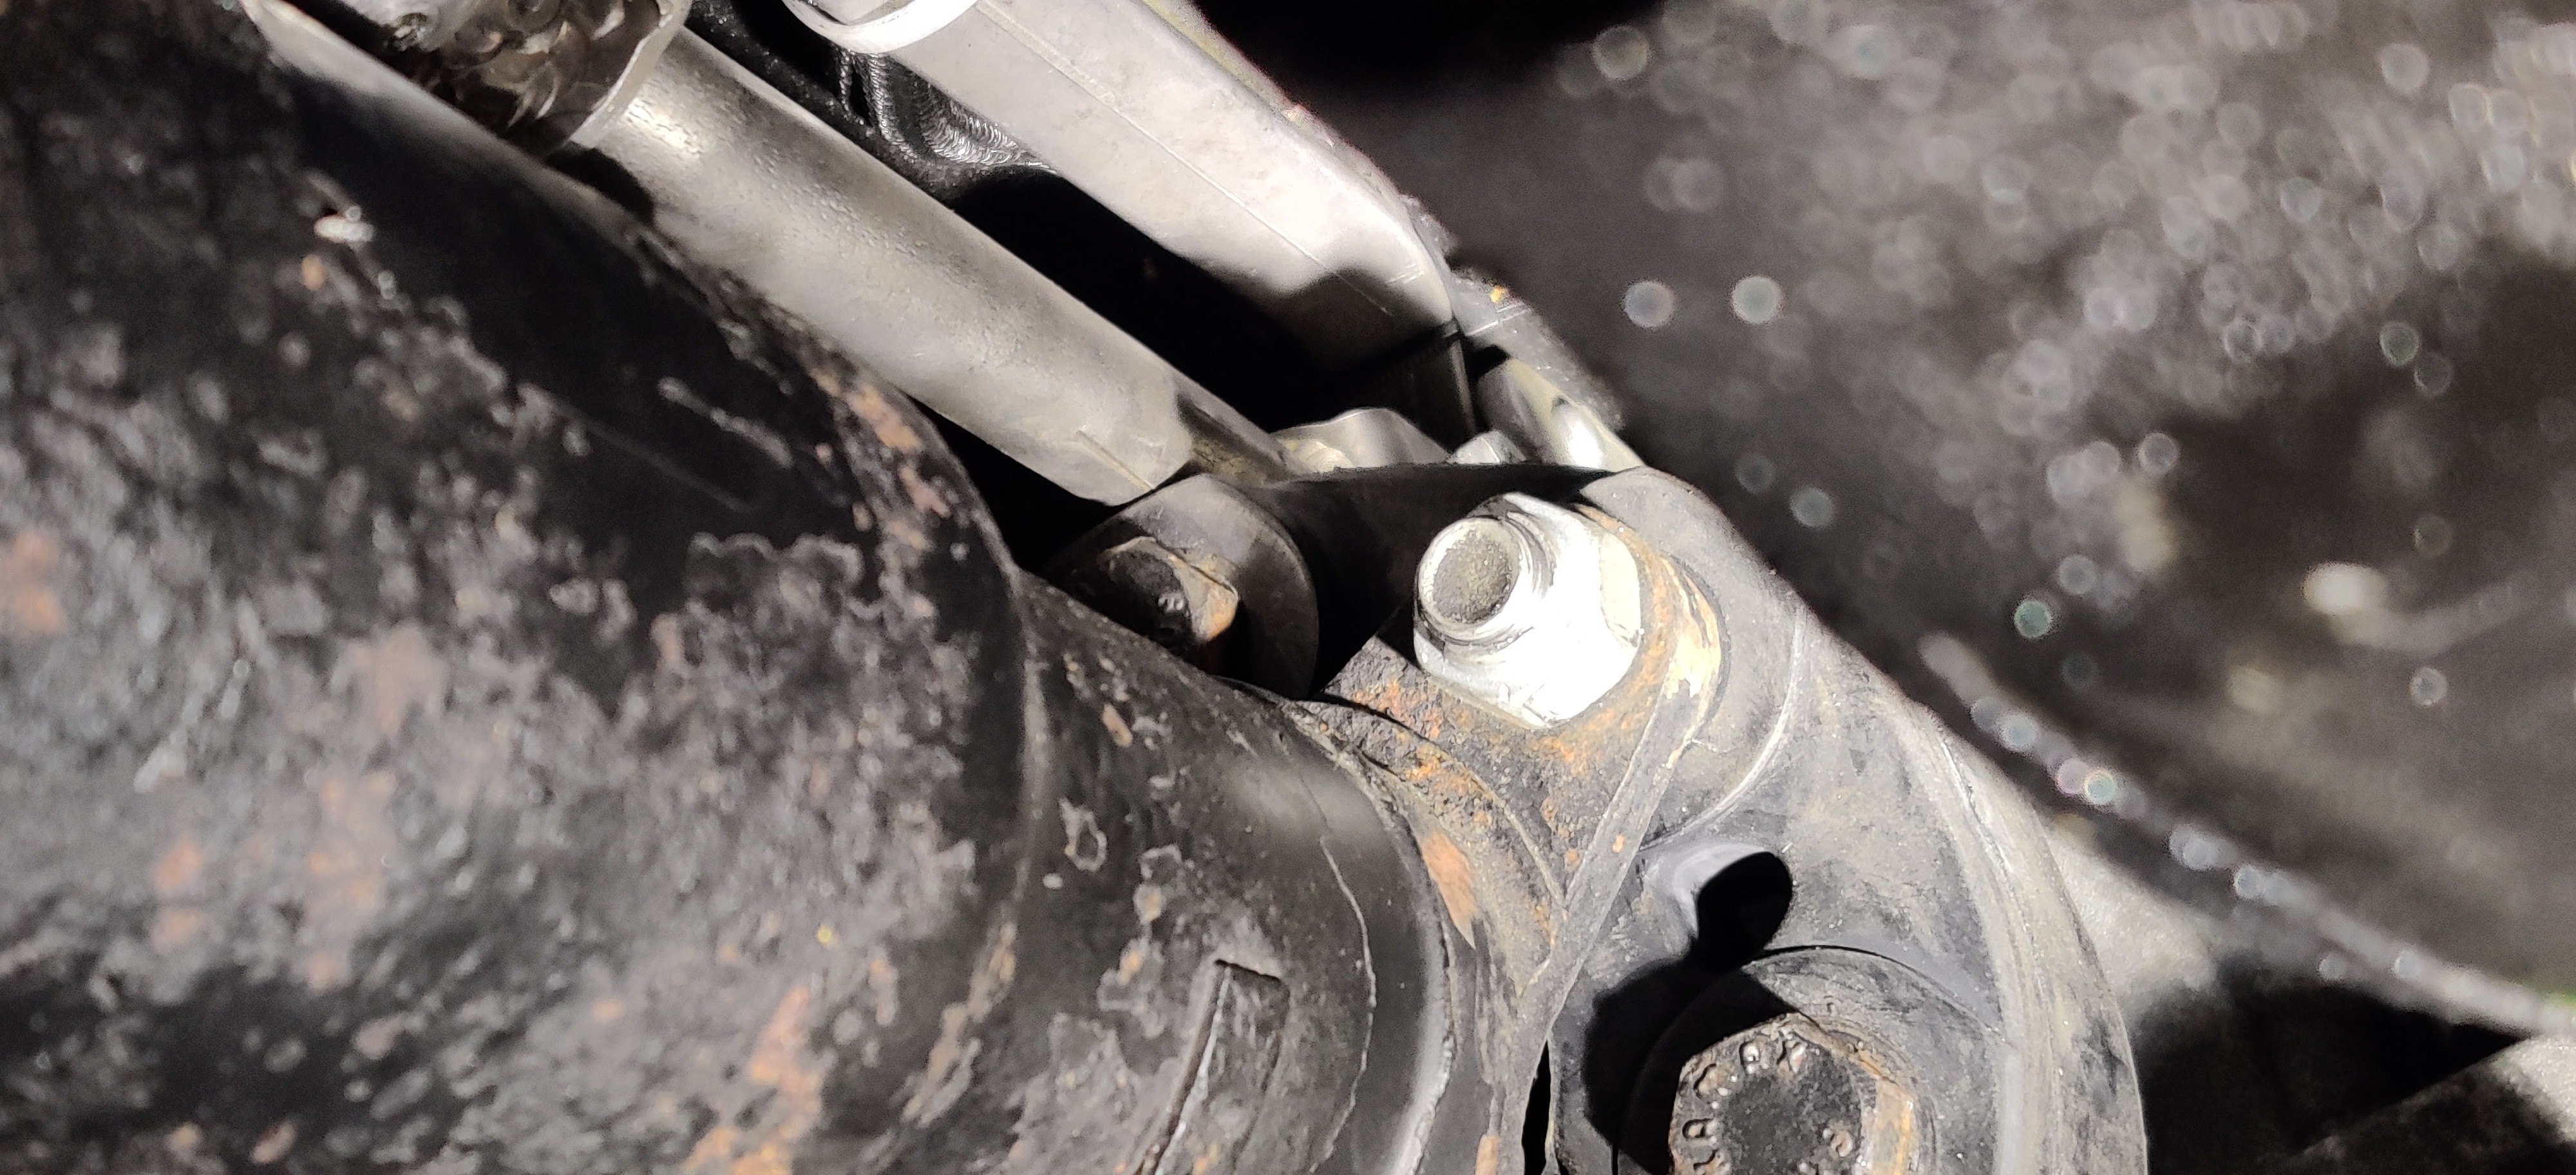
For the manual e36's the 325i guibos were thinner and a bit smaller while the e36 m3 guibos were slightly larger and thicker. If you chose to run the m3 guibo which I preferred the dssr has to be modified. They usually are bent in order to add clearance. Being that I would have had to make a whole new dssr I instead chose to grind away the area that came in contact with the guibo. I over did it on the grinding in order to insure I had no clearance issues. I always knew about the bent dssr's but never knew why until now.
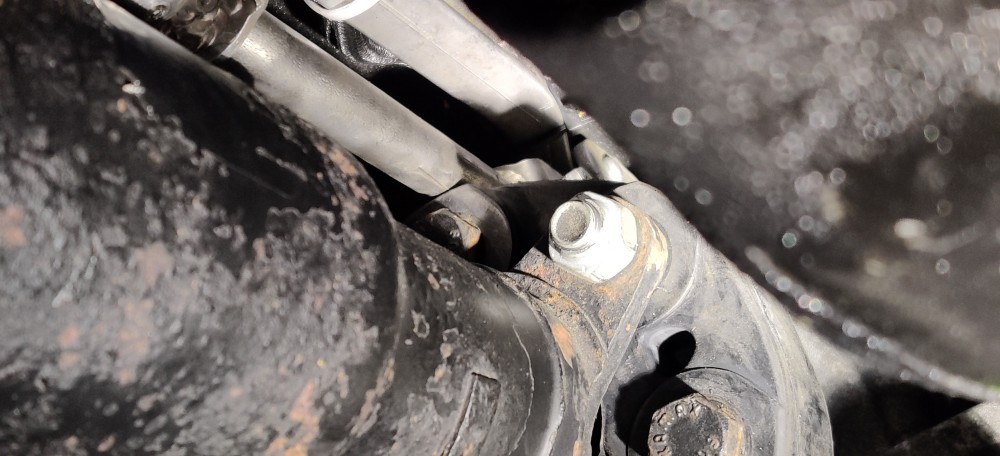
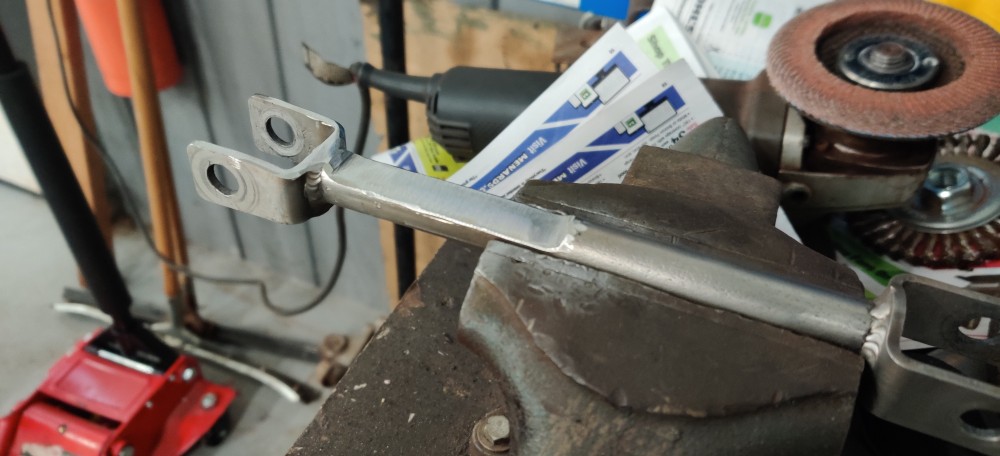
After re-installing I found that I had plenty of clearance now.
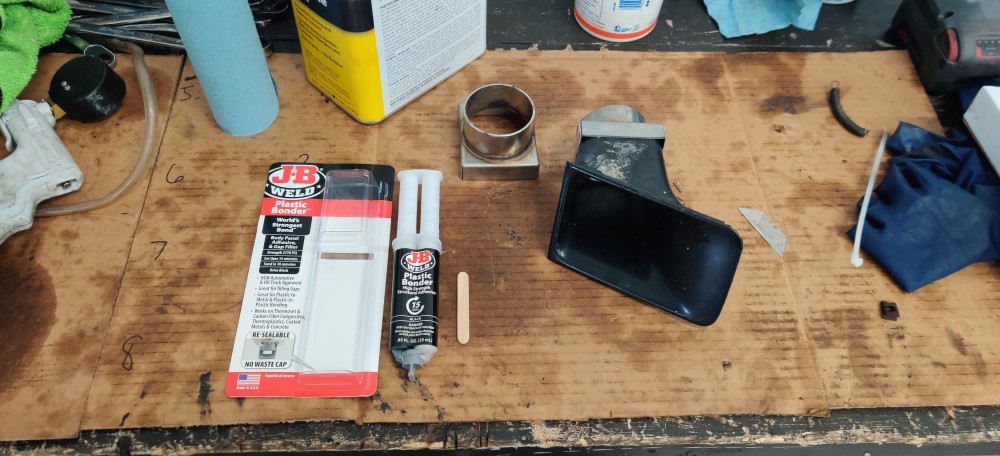
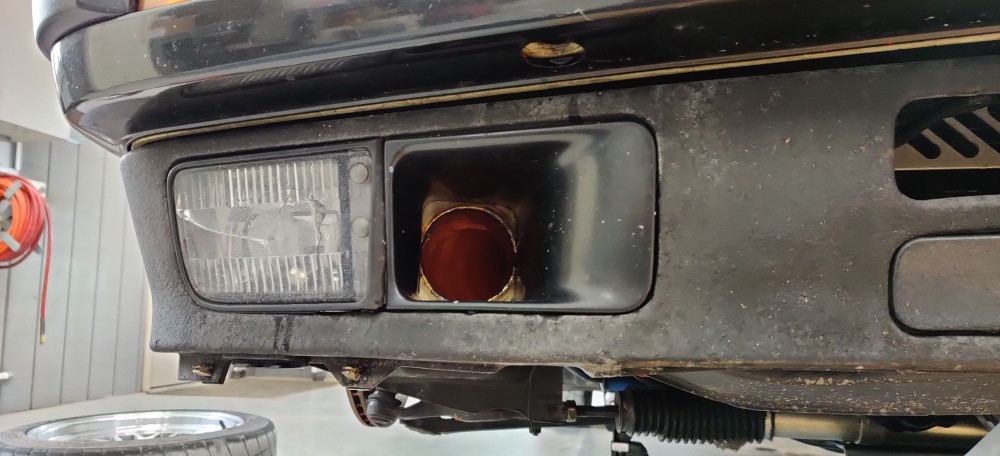
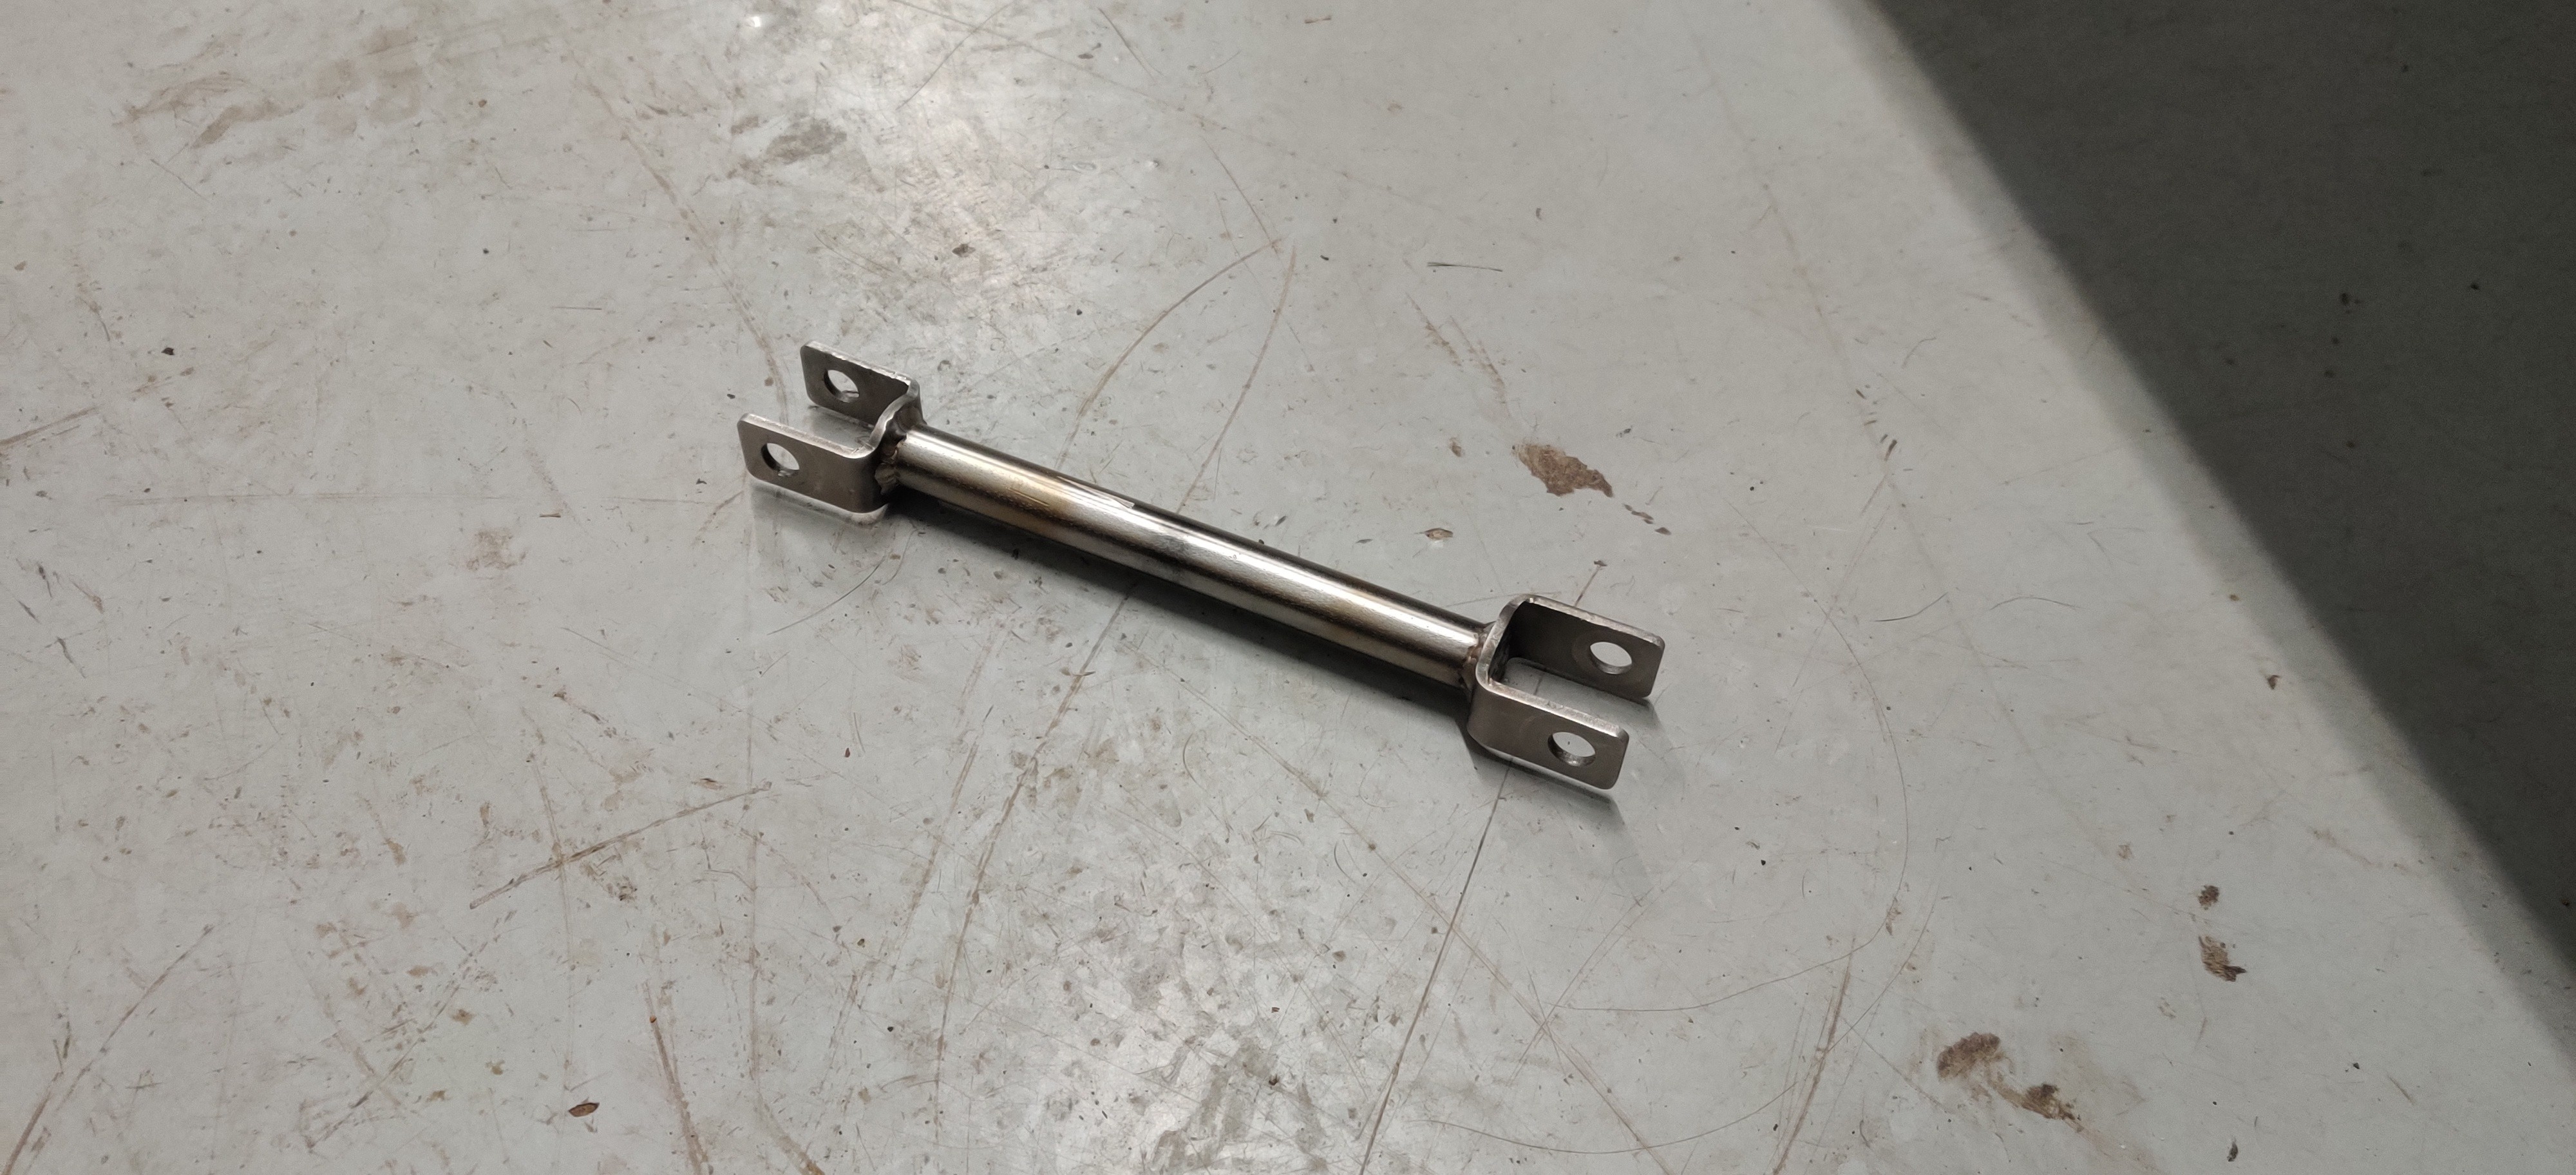
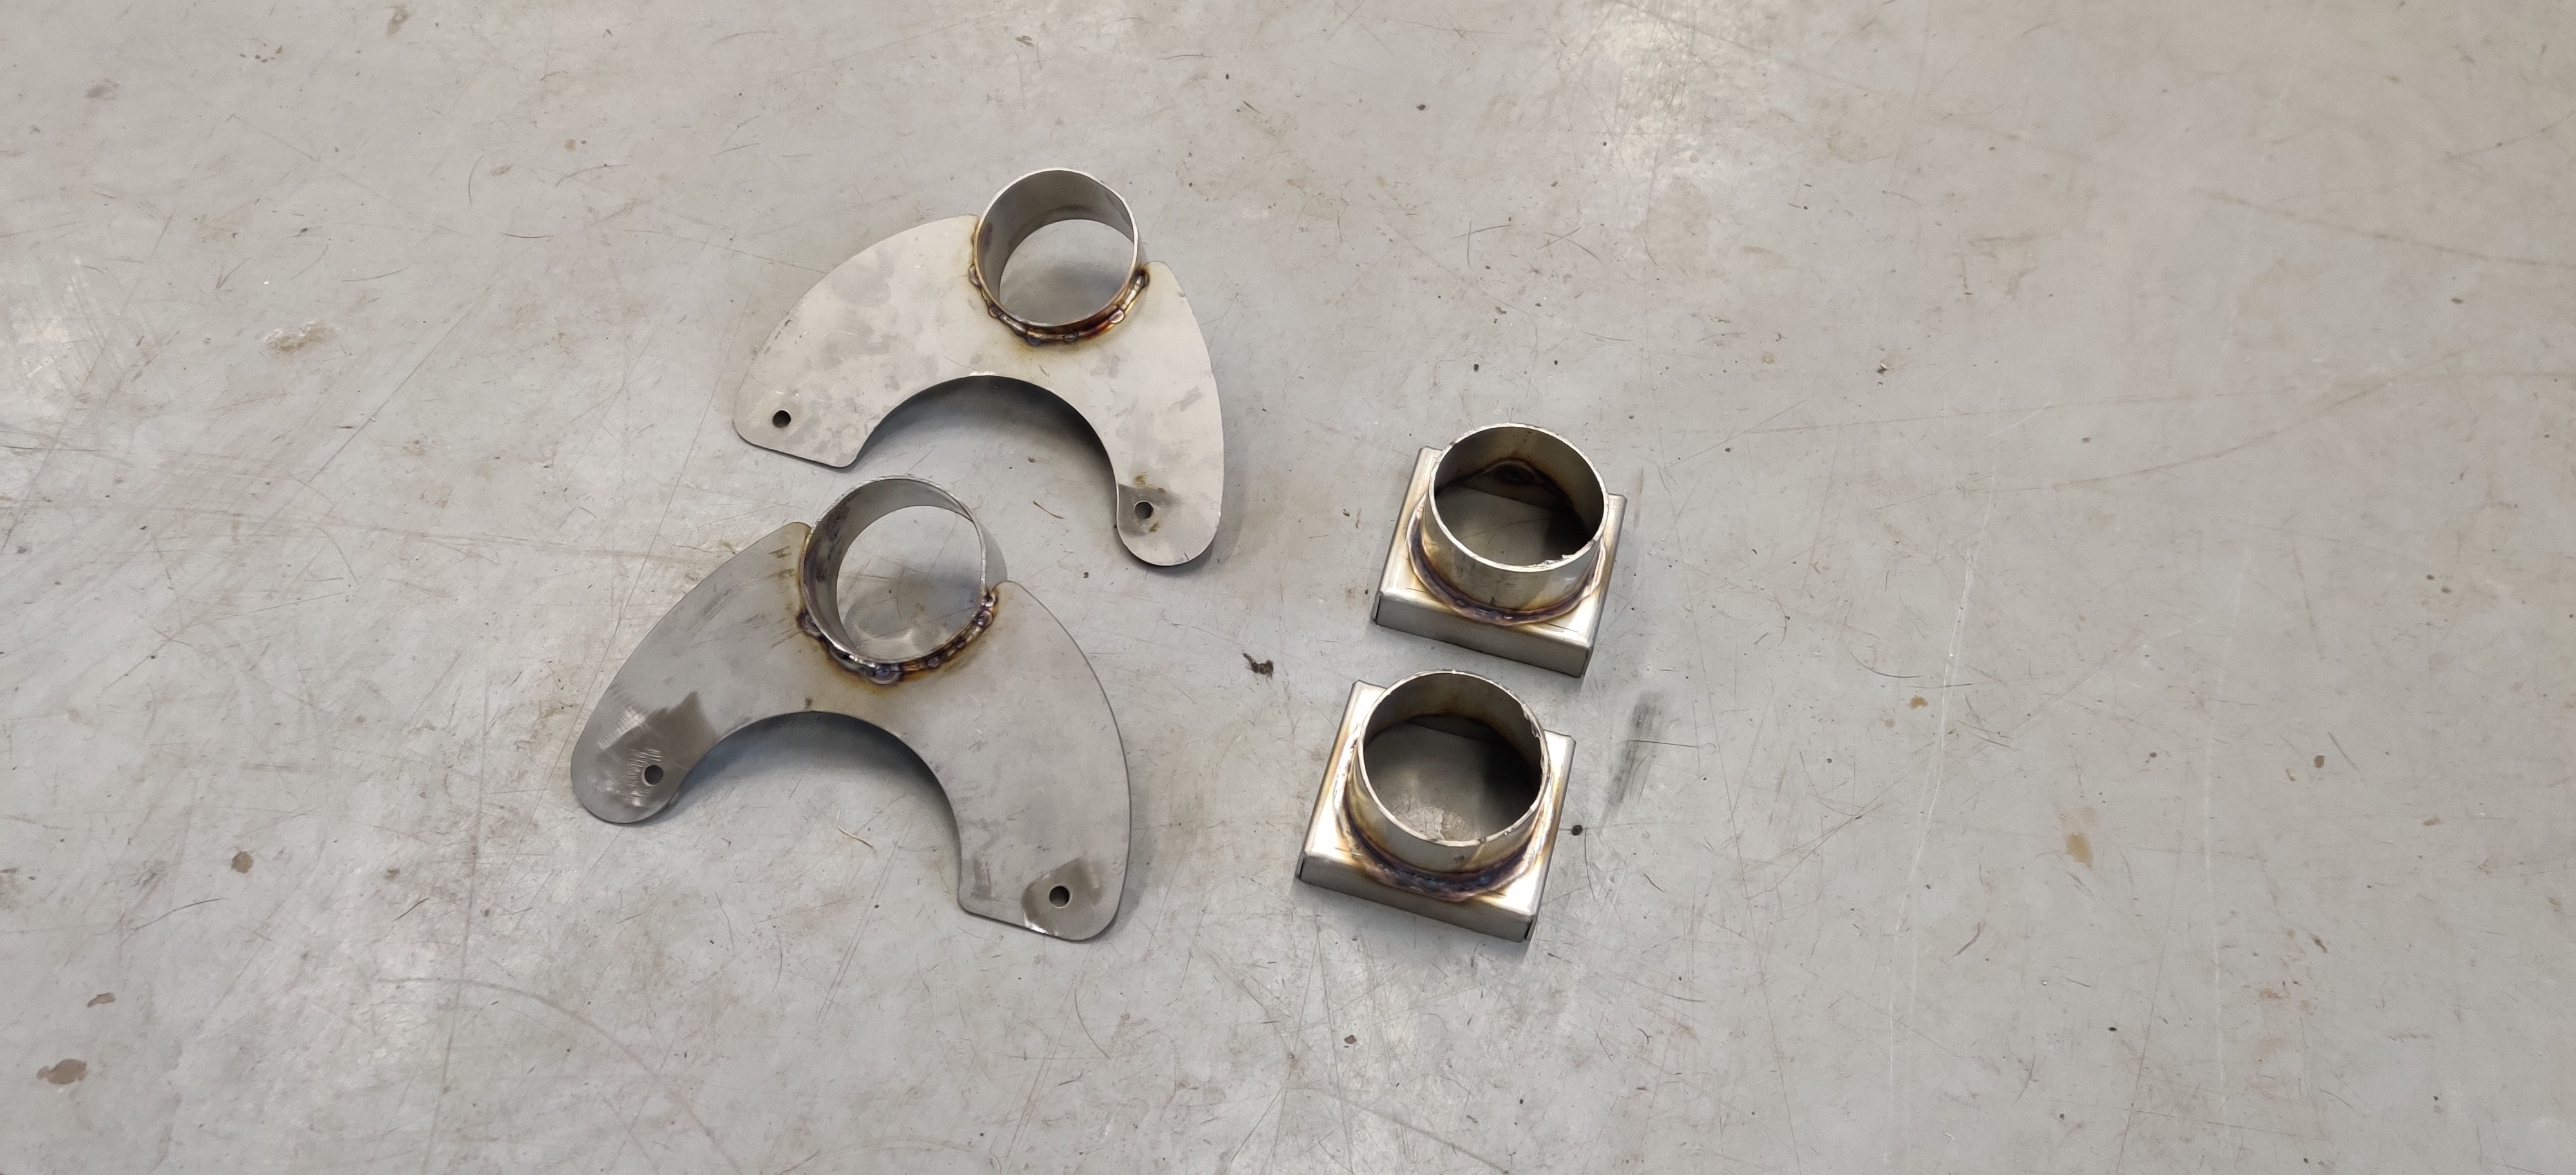
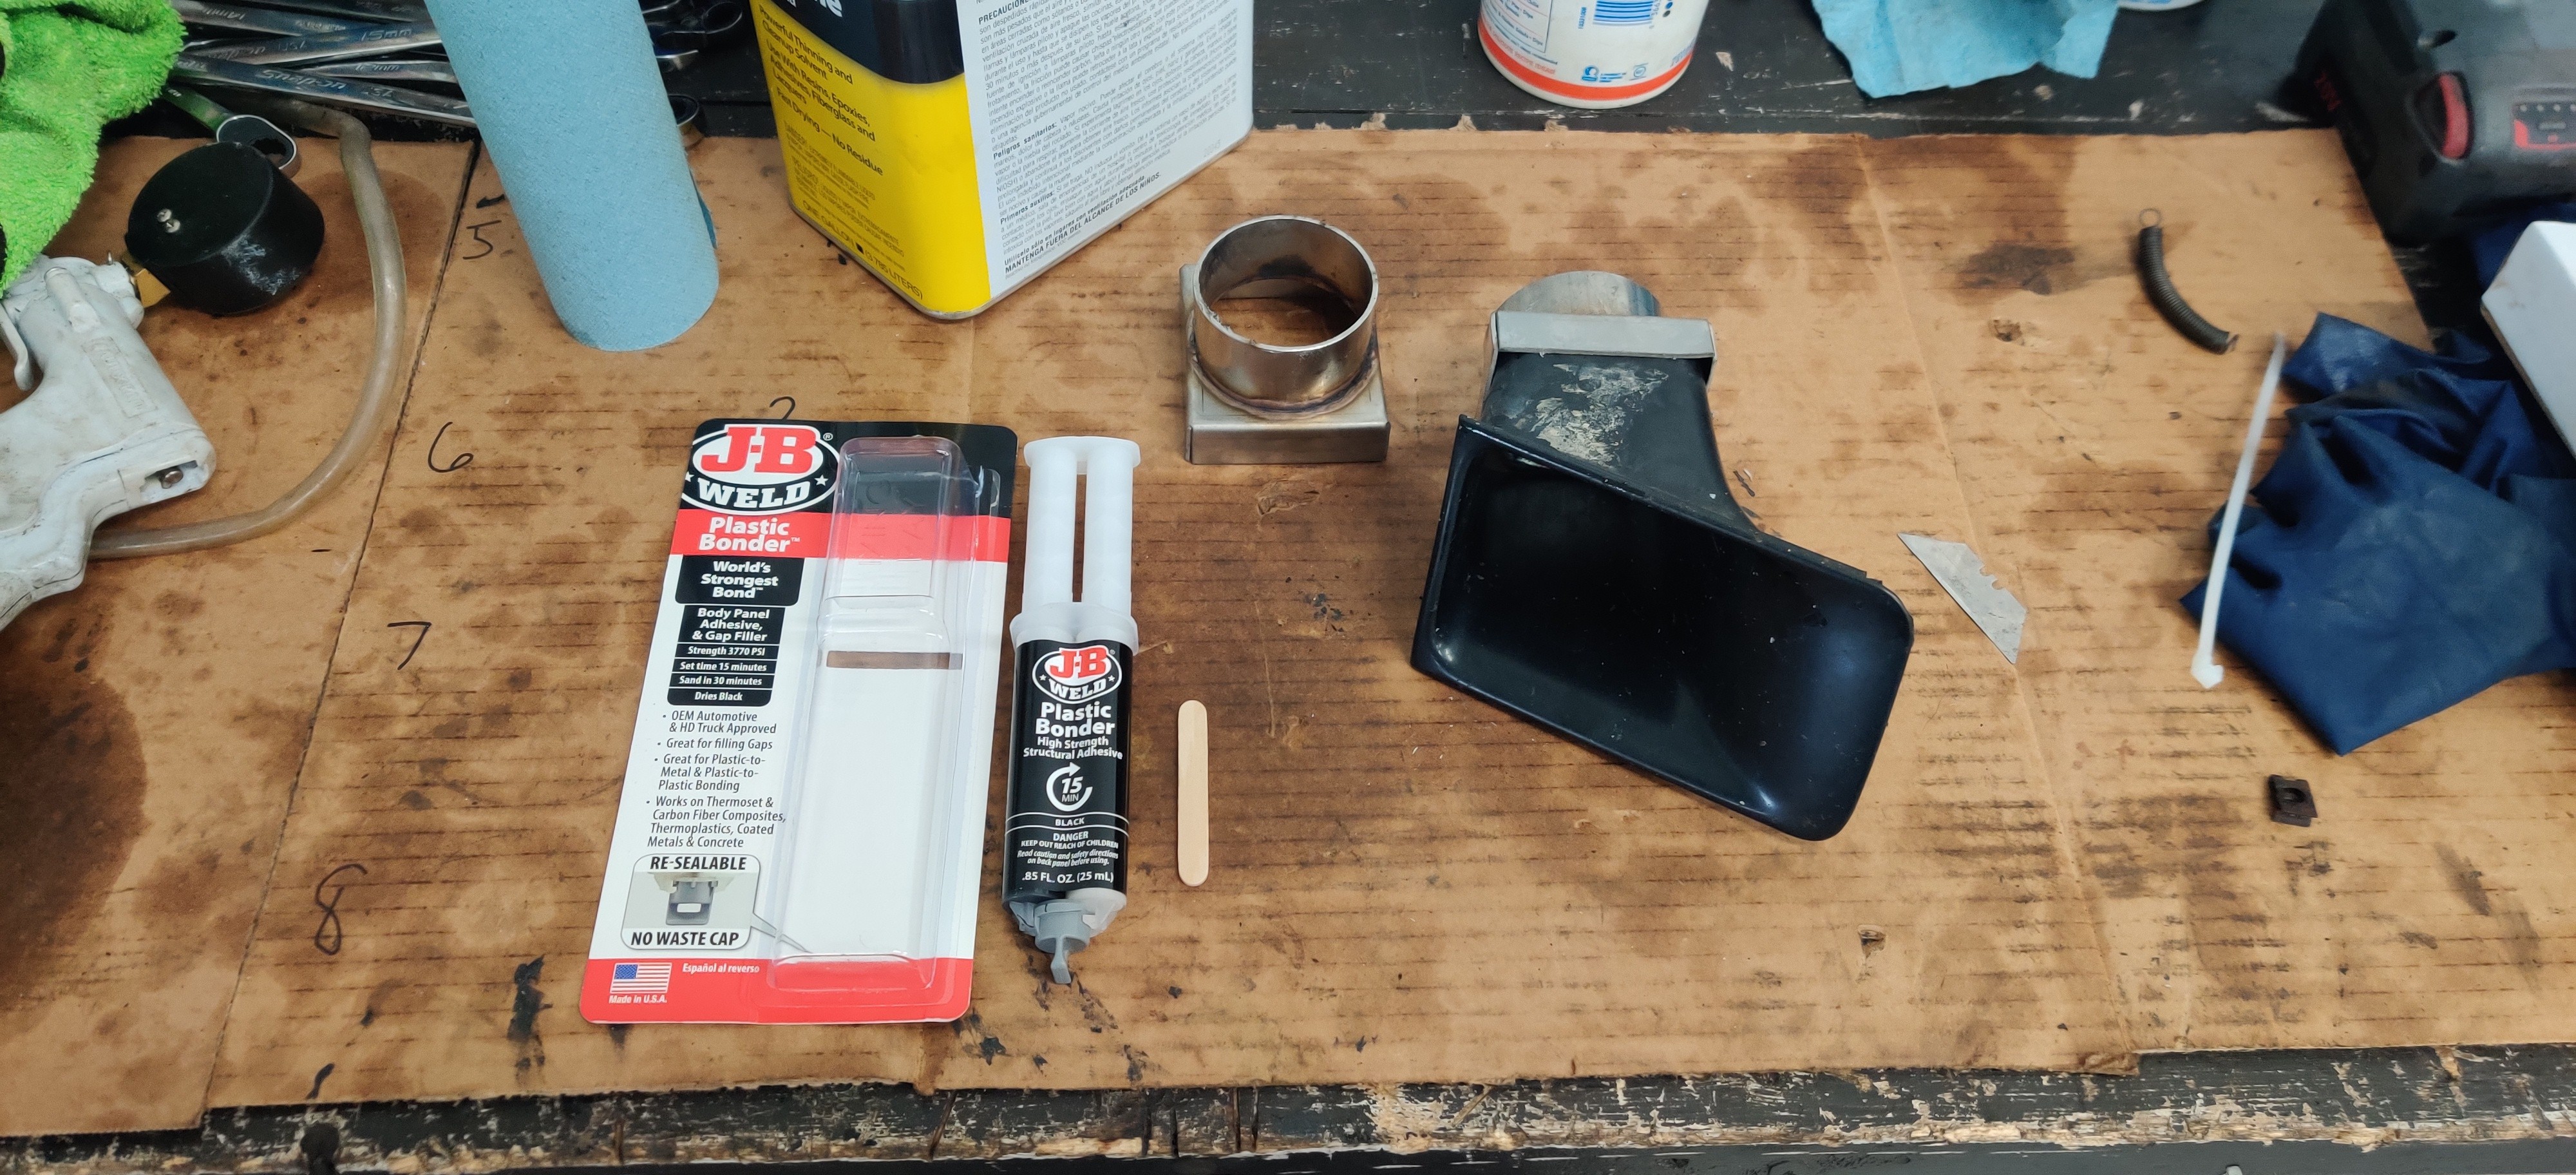
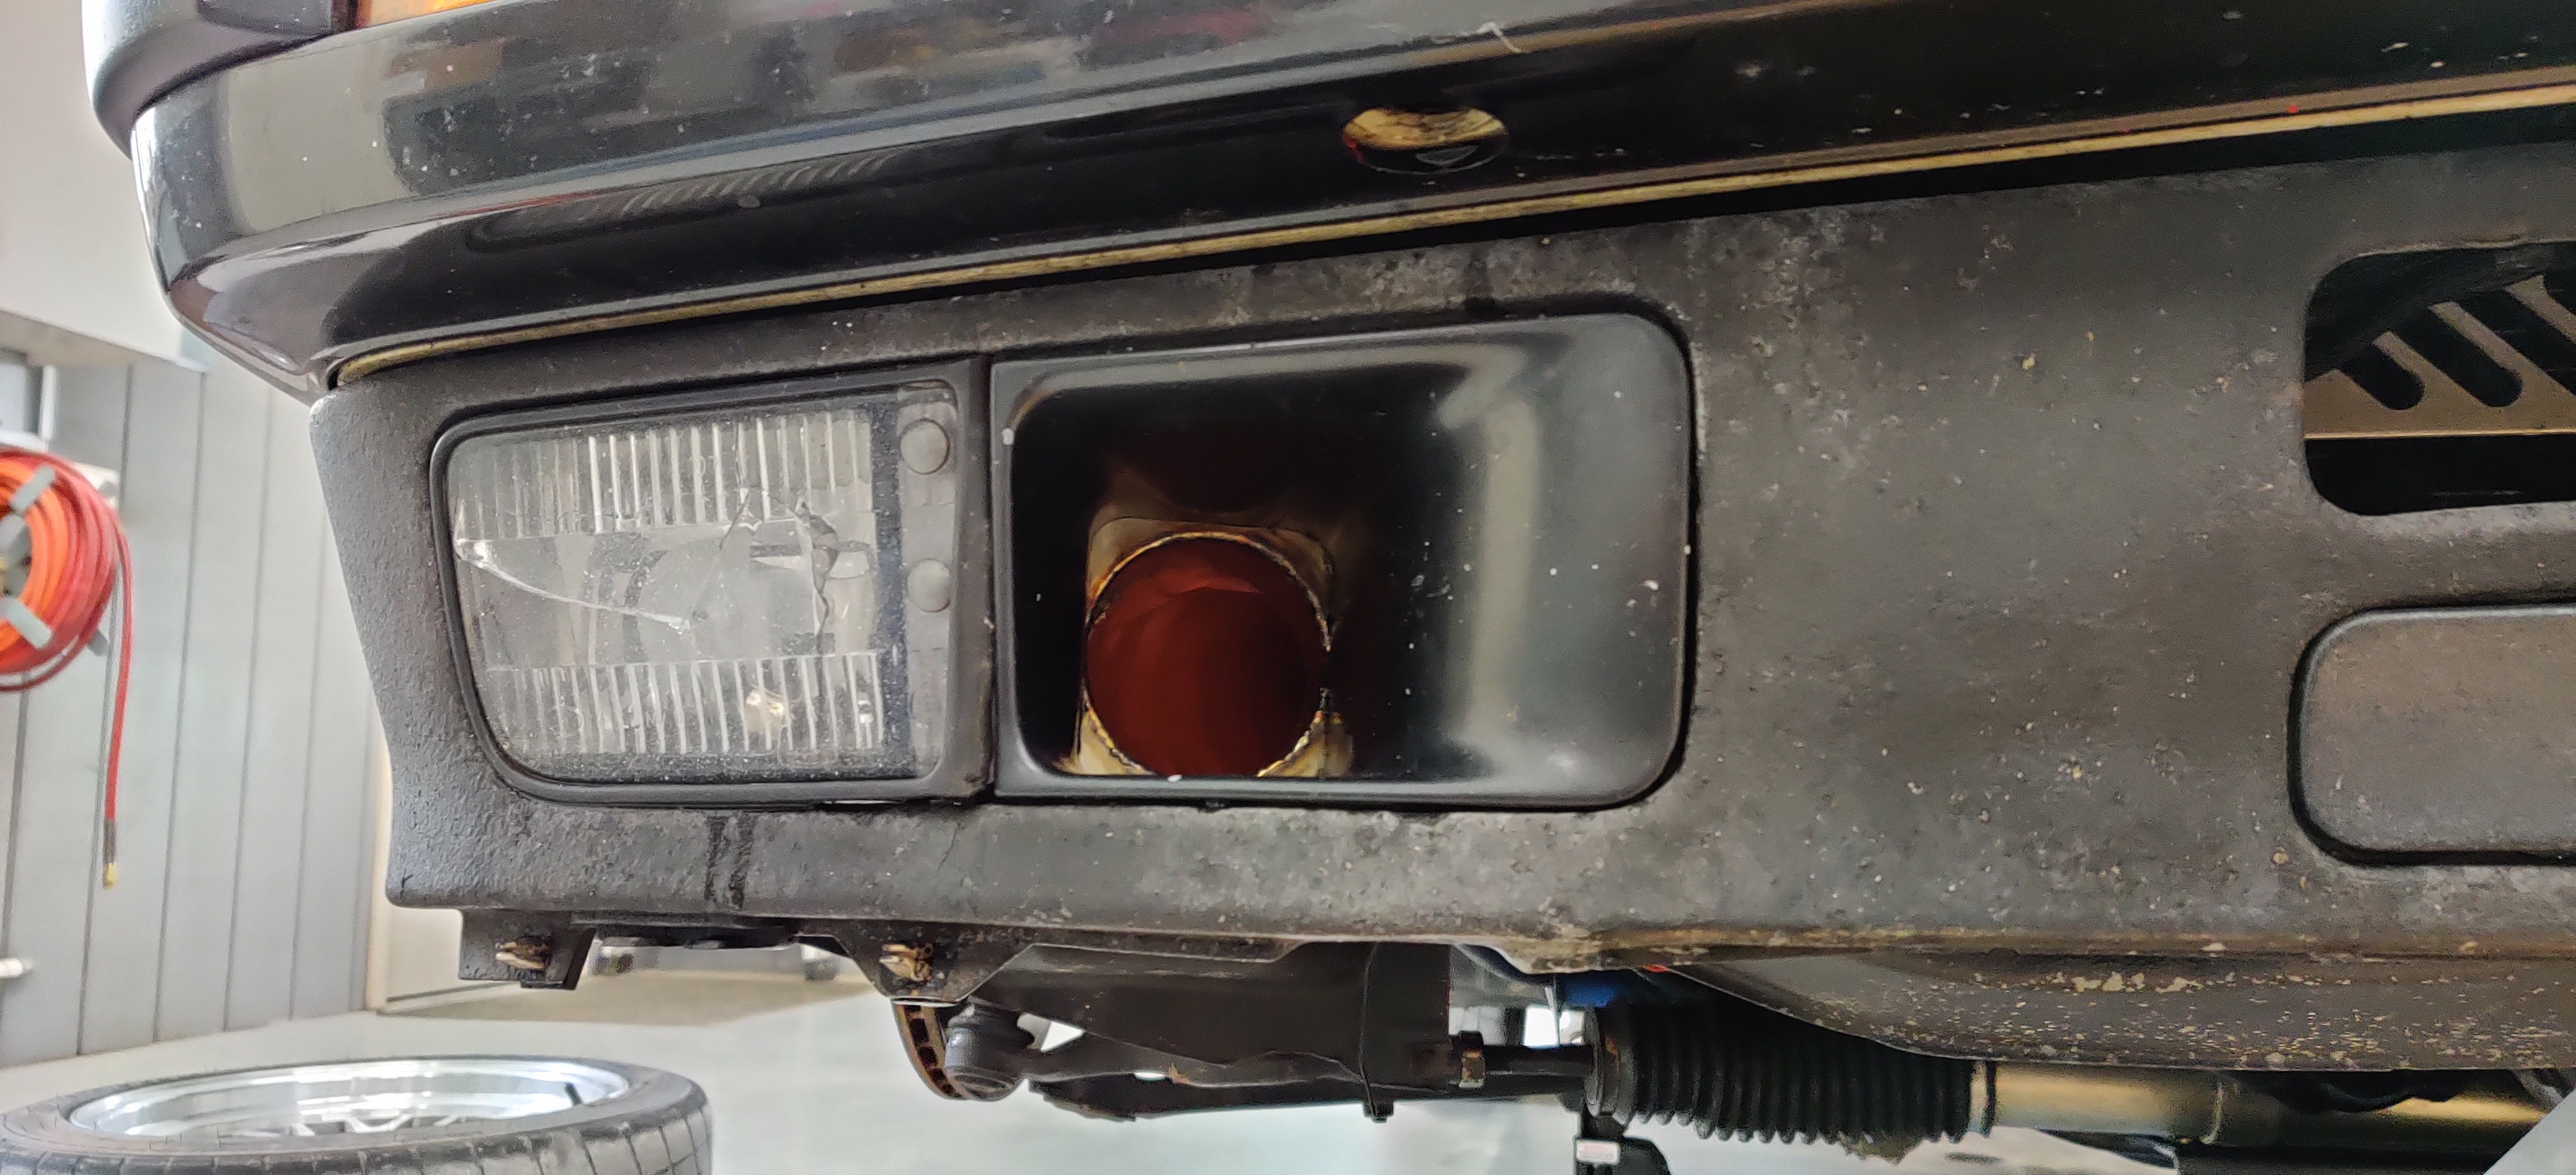
Up next... brake cooling. About a year ago I drew these up on Solidworks in a class I was taking and had them cut out on the water jet. As for the tubing portions I had some left over 2.5 inch stainless exhaust tubing laying around that I cut into sections and had my buddy tig weld them up.
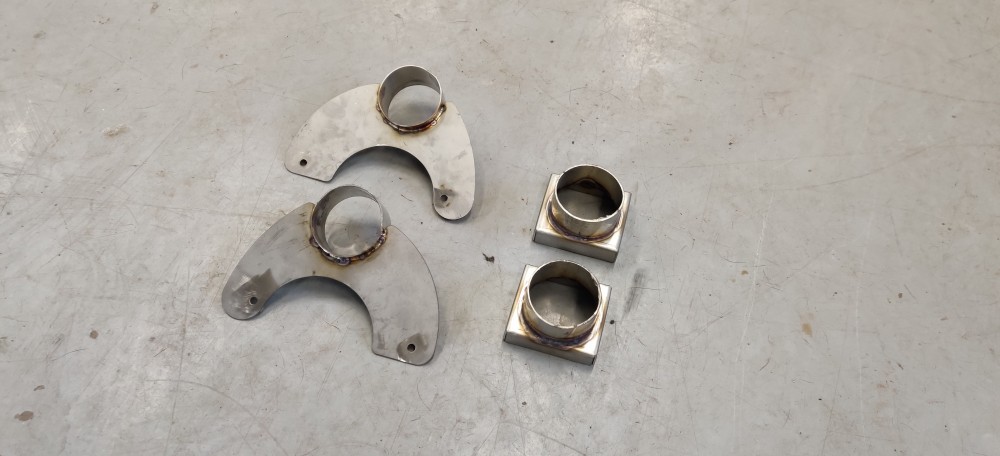
In order to get the adapters for the air ducts on the valance attached I picked up some jb weld plastic bonder. The stuff is designed to attach plastic to metal so I thought I'd give it a try. After letting it dry for about an hour it was solid and definitely not coming off.
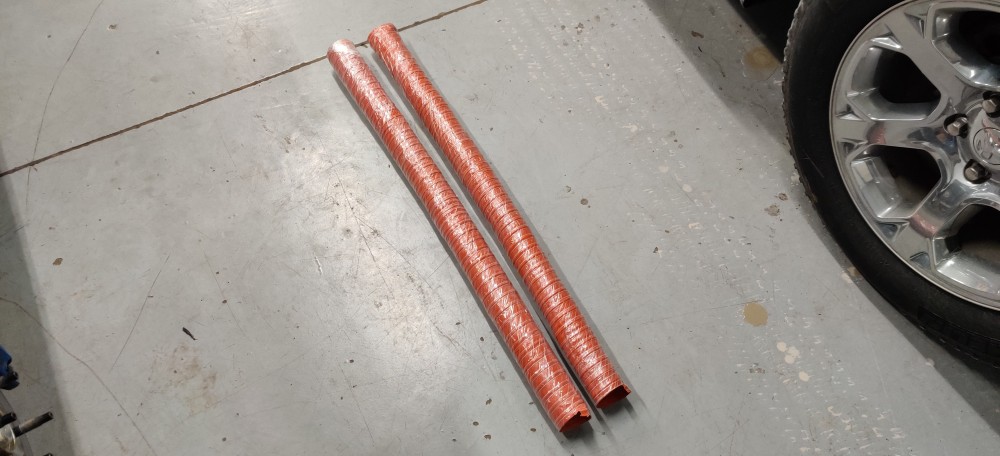
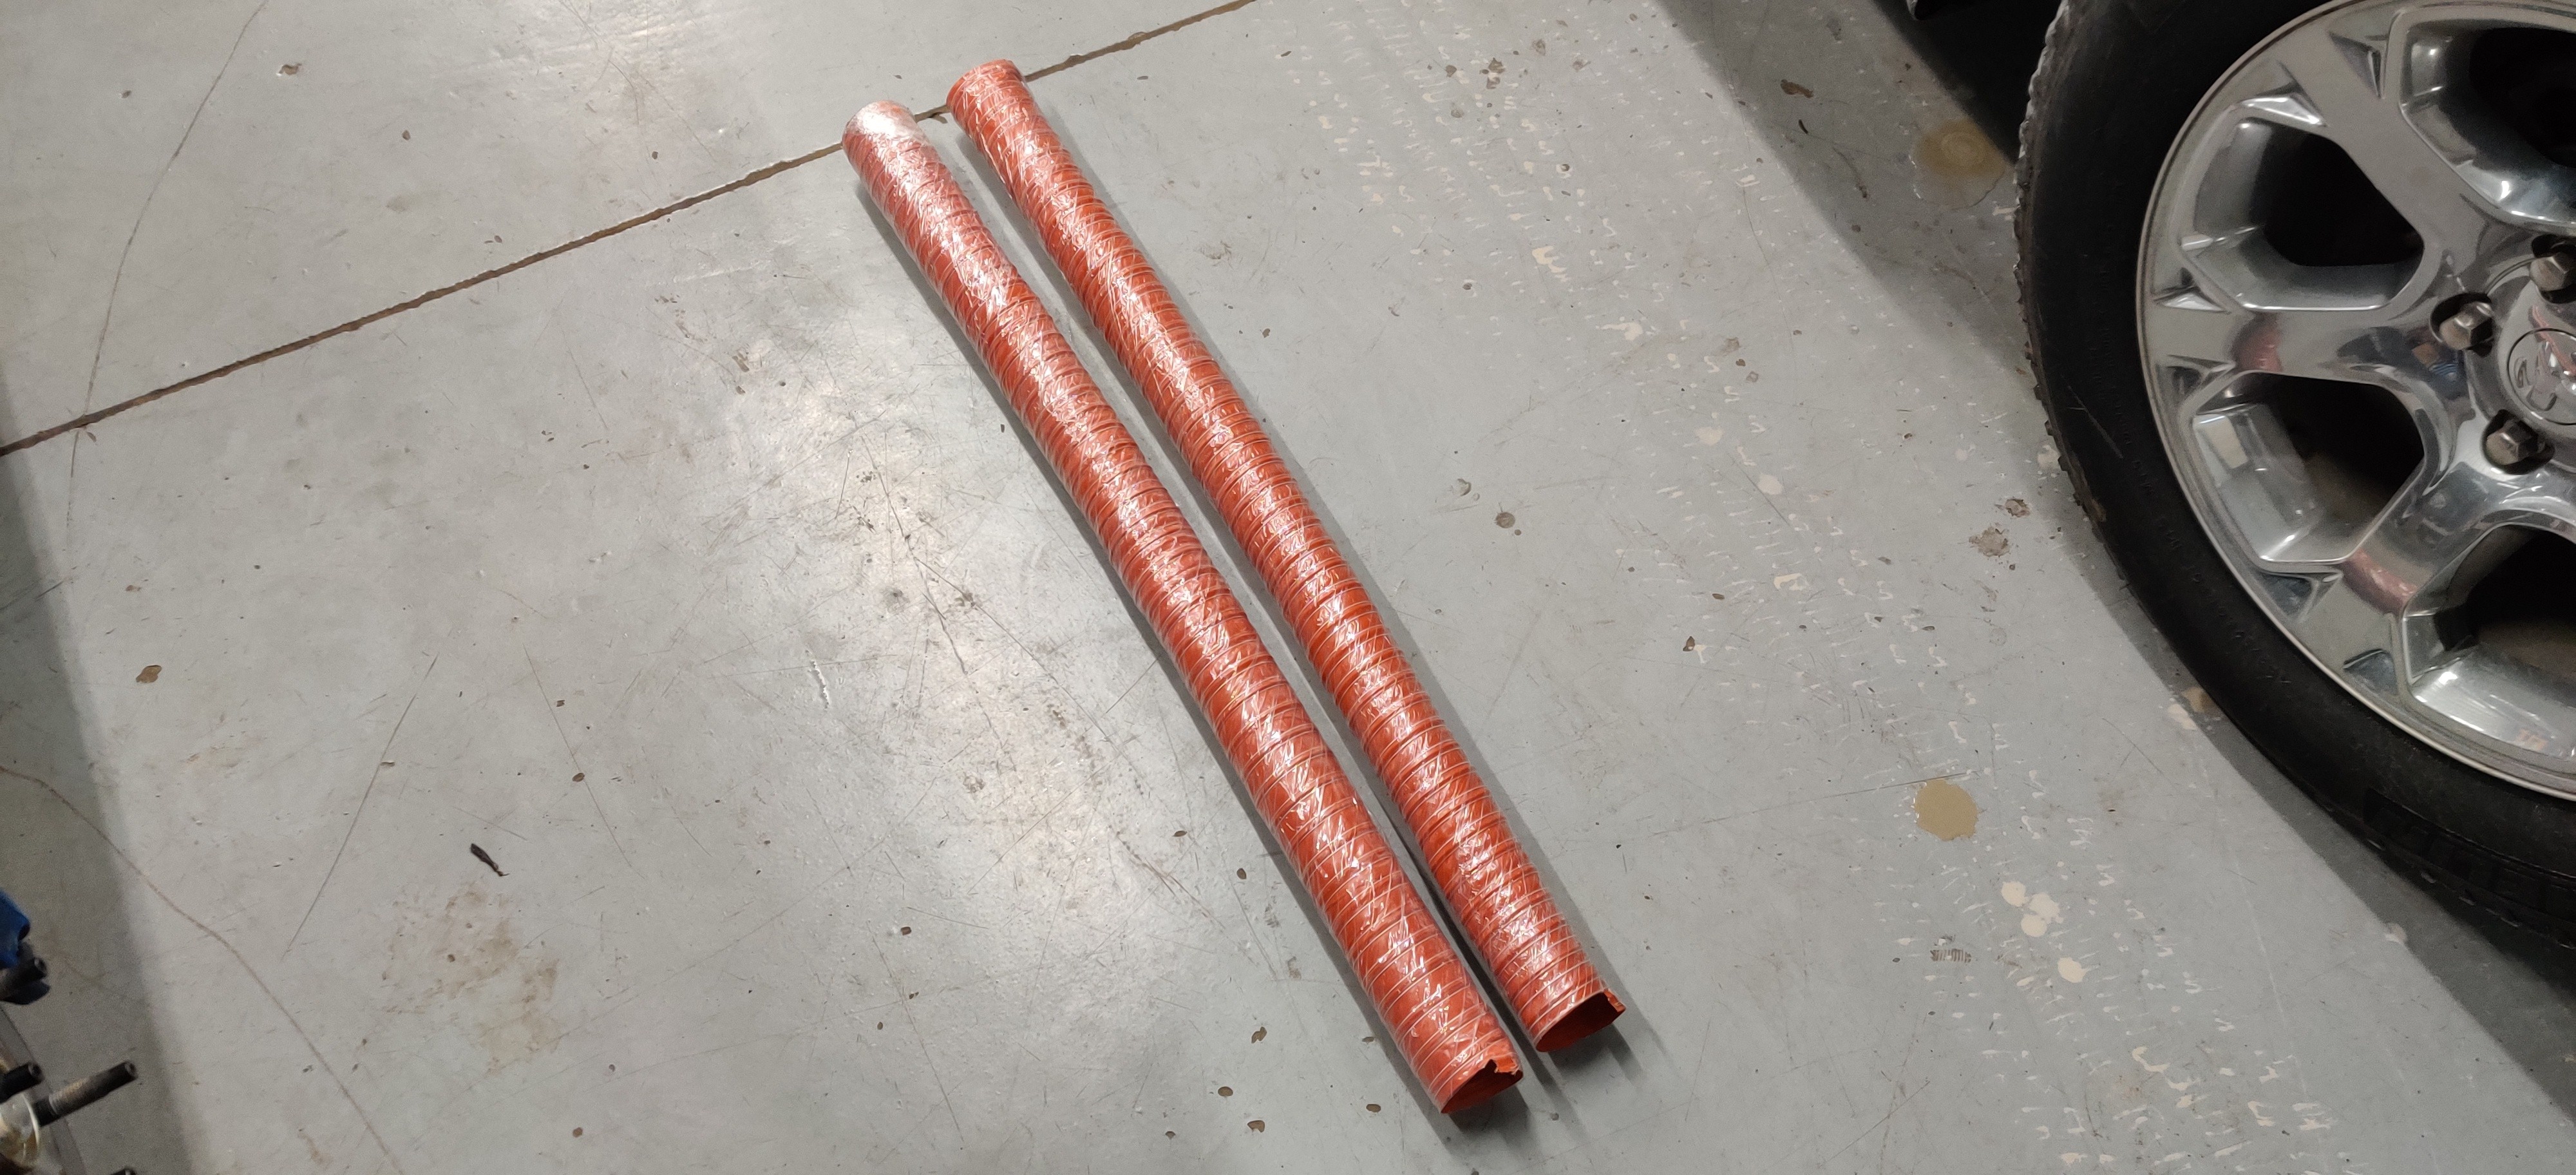
Towards the beginning of March I ordered some ducting tubing 2.5 inch on amazon. I ordered two 1 meter sticks which would be more then plenty for both sides.
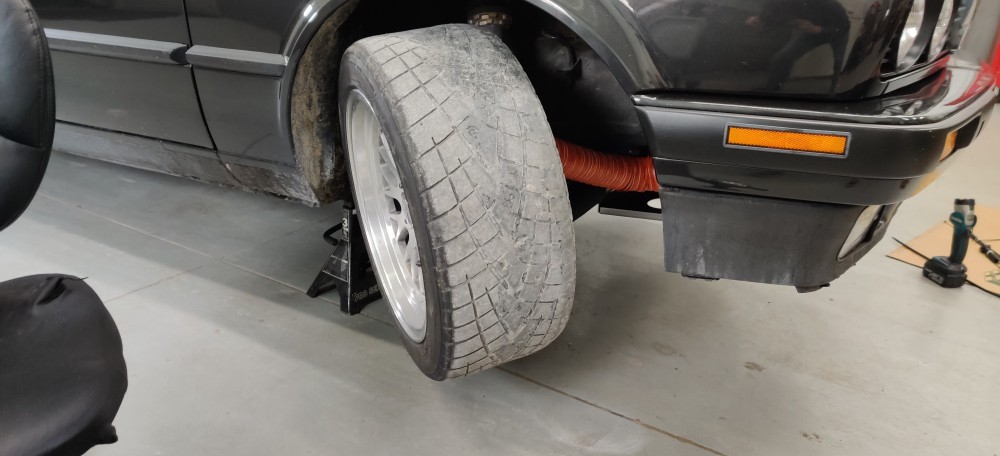
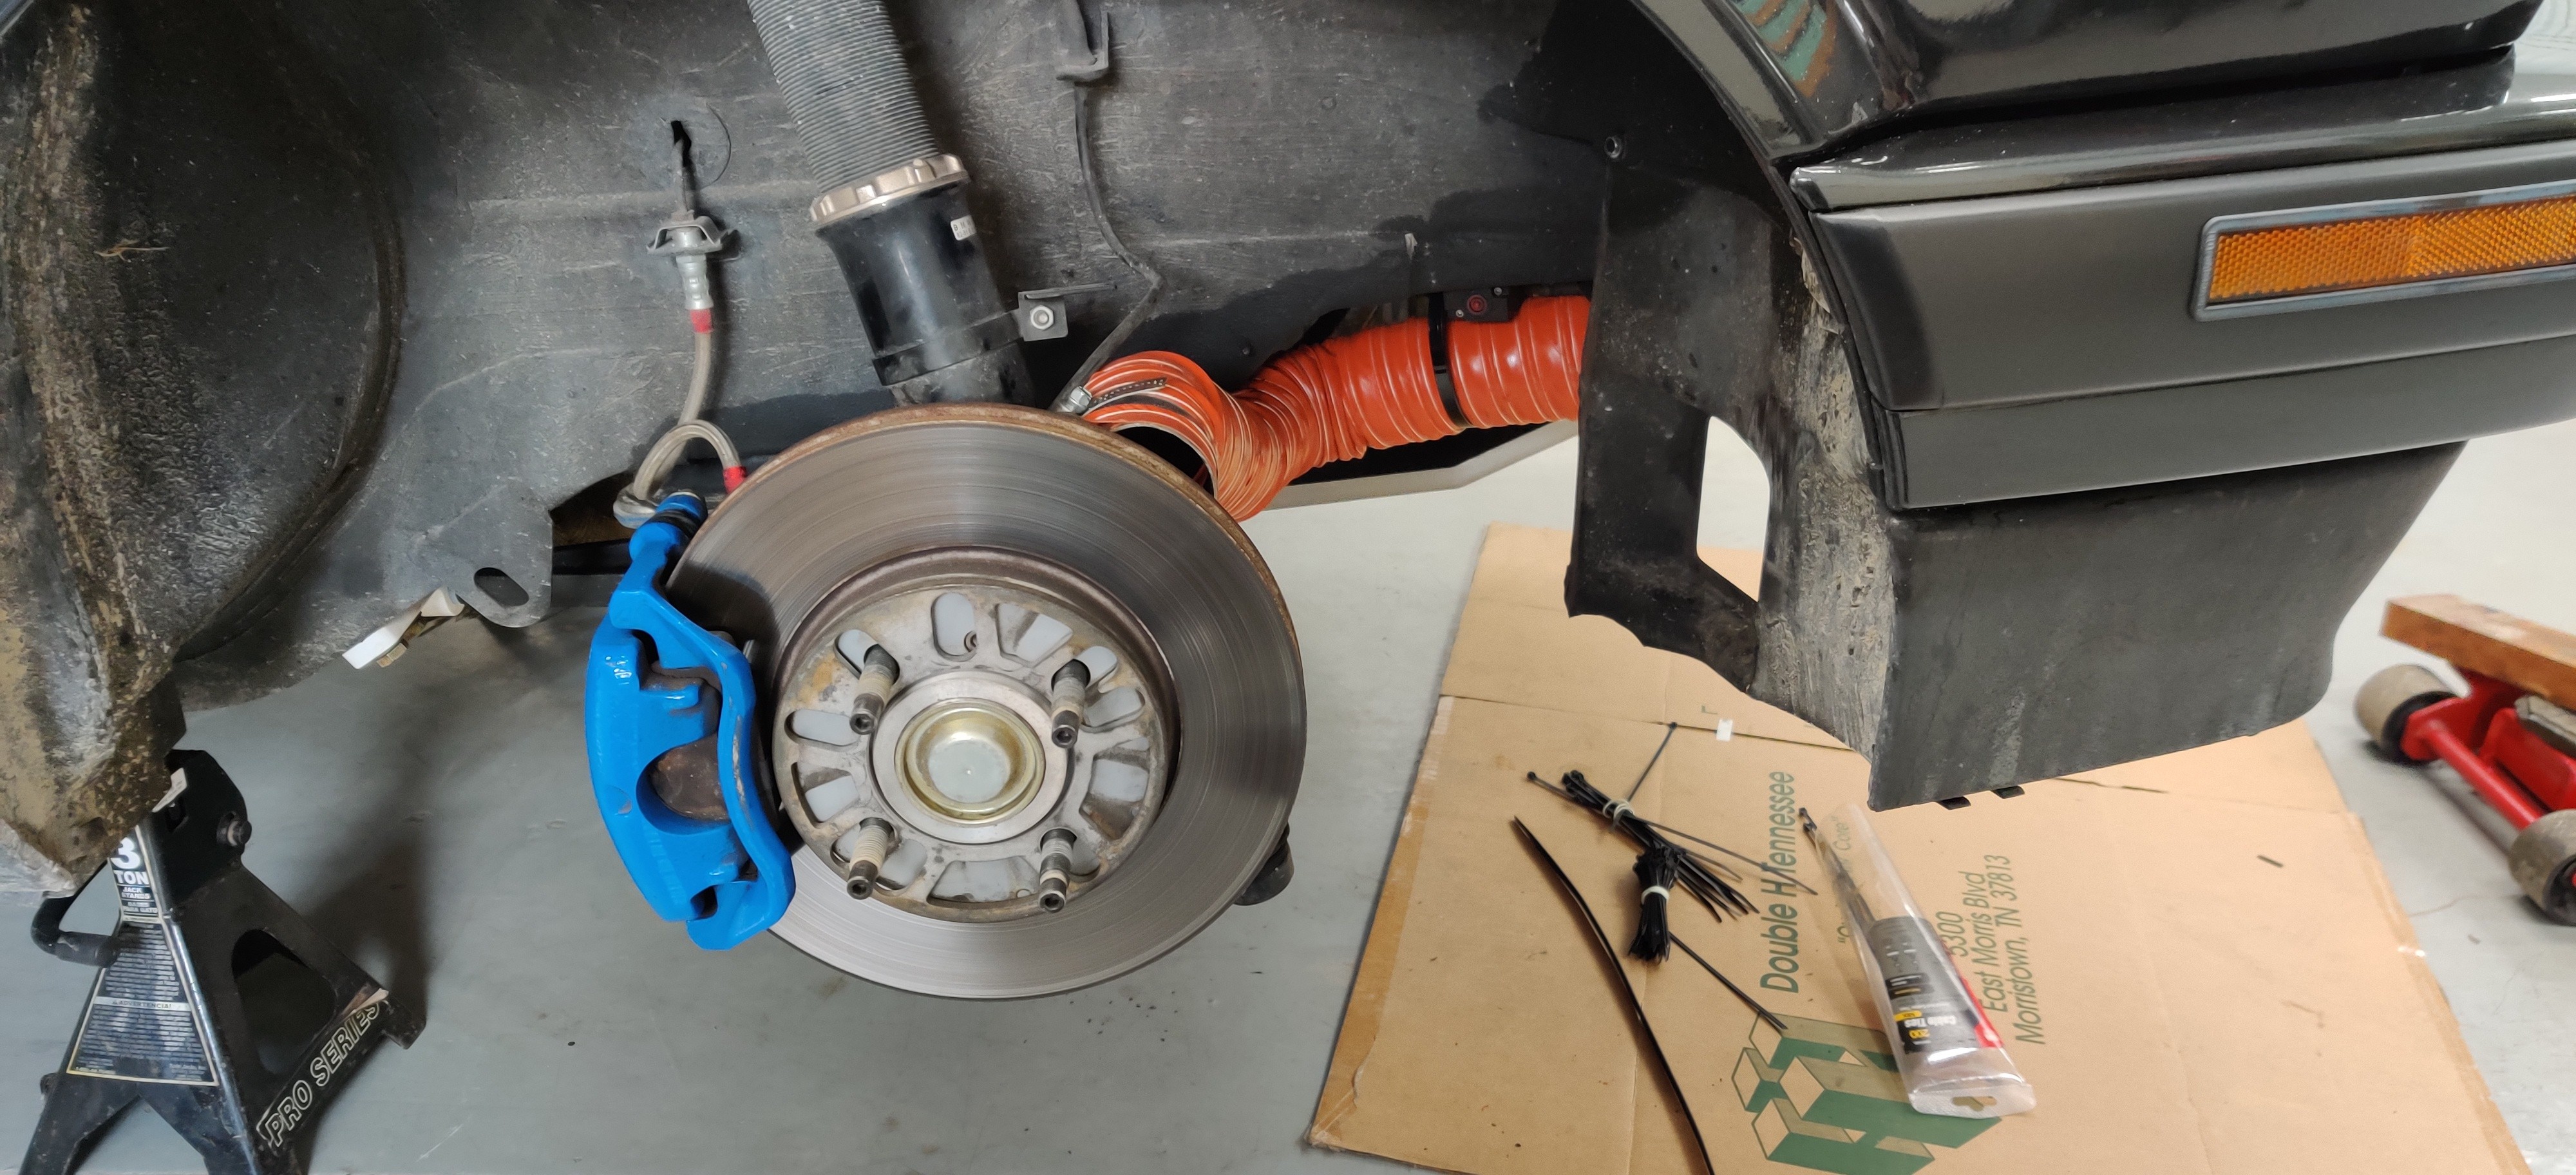
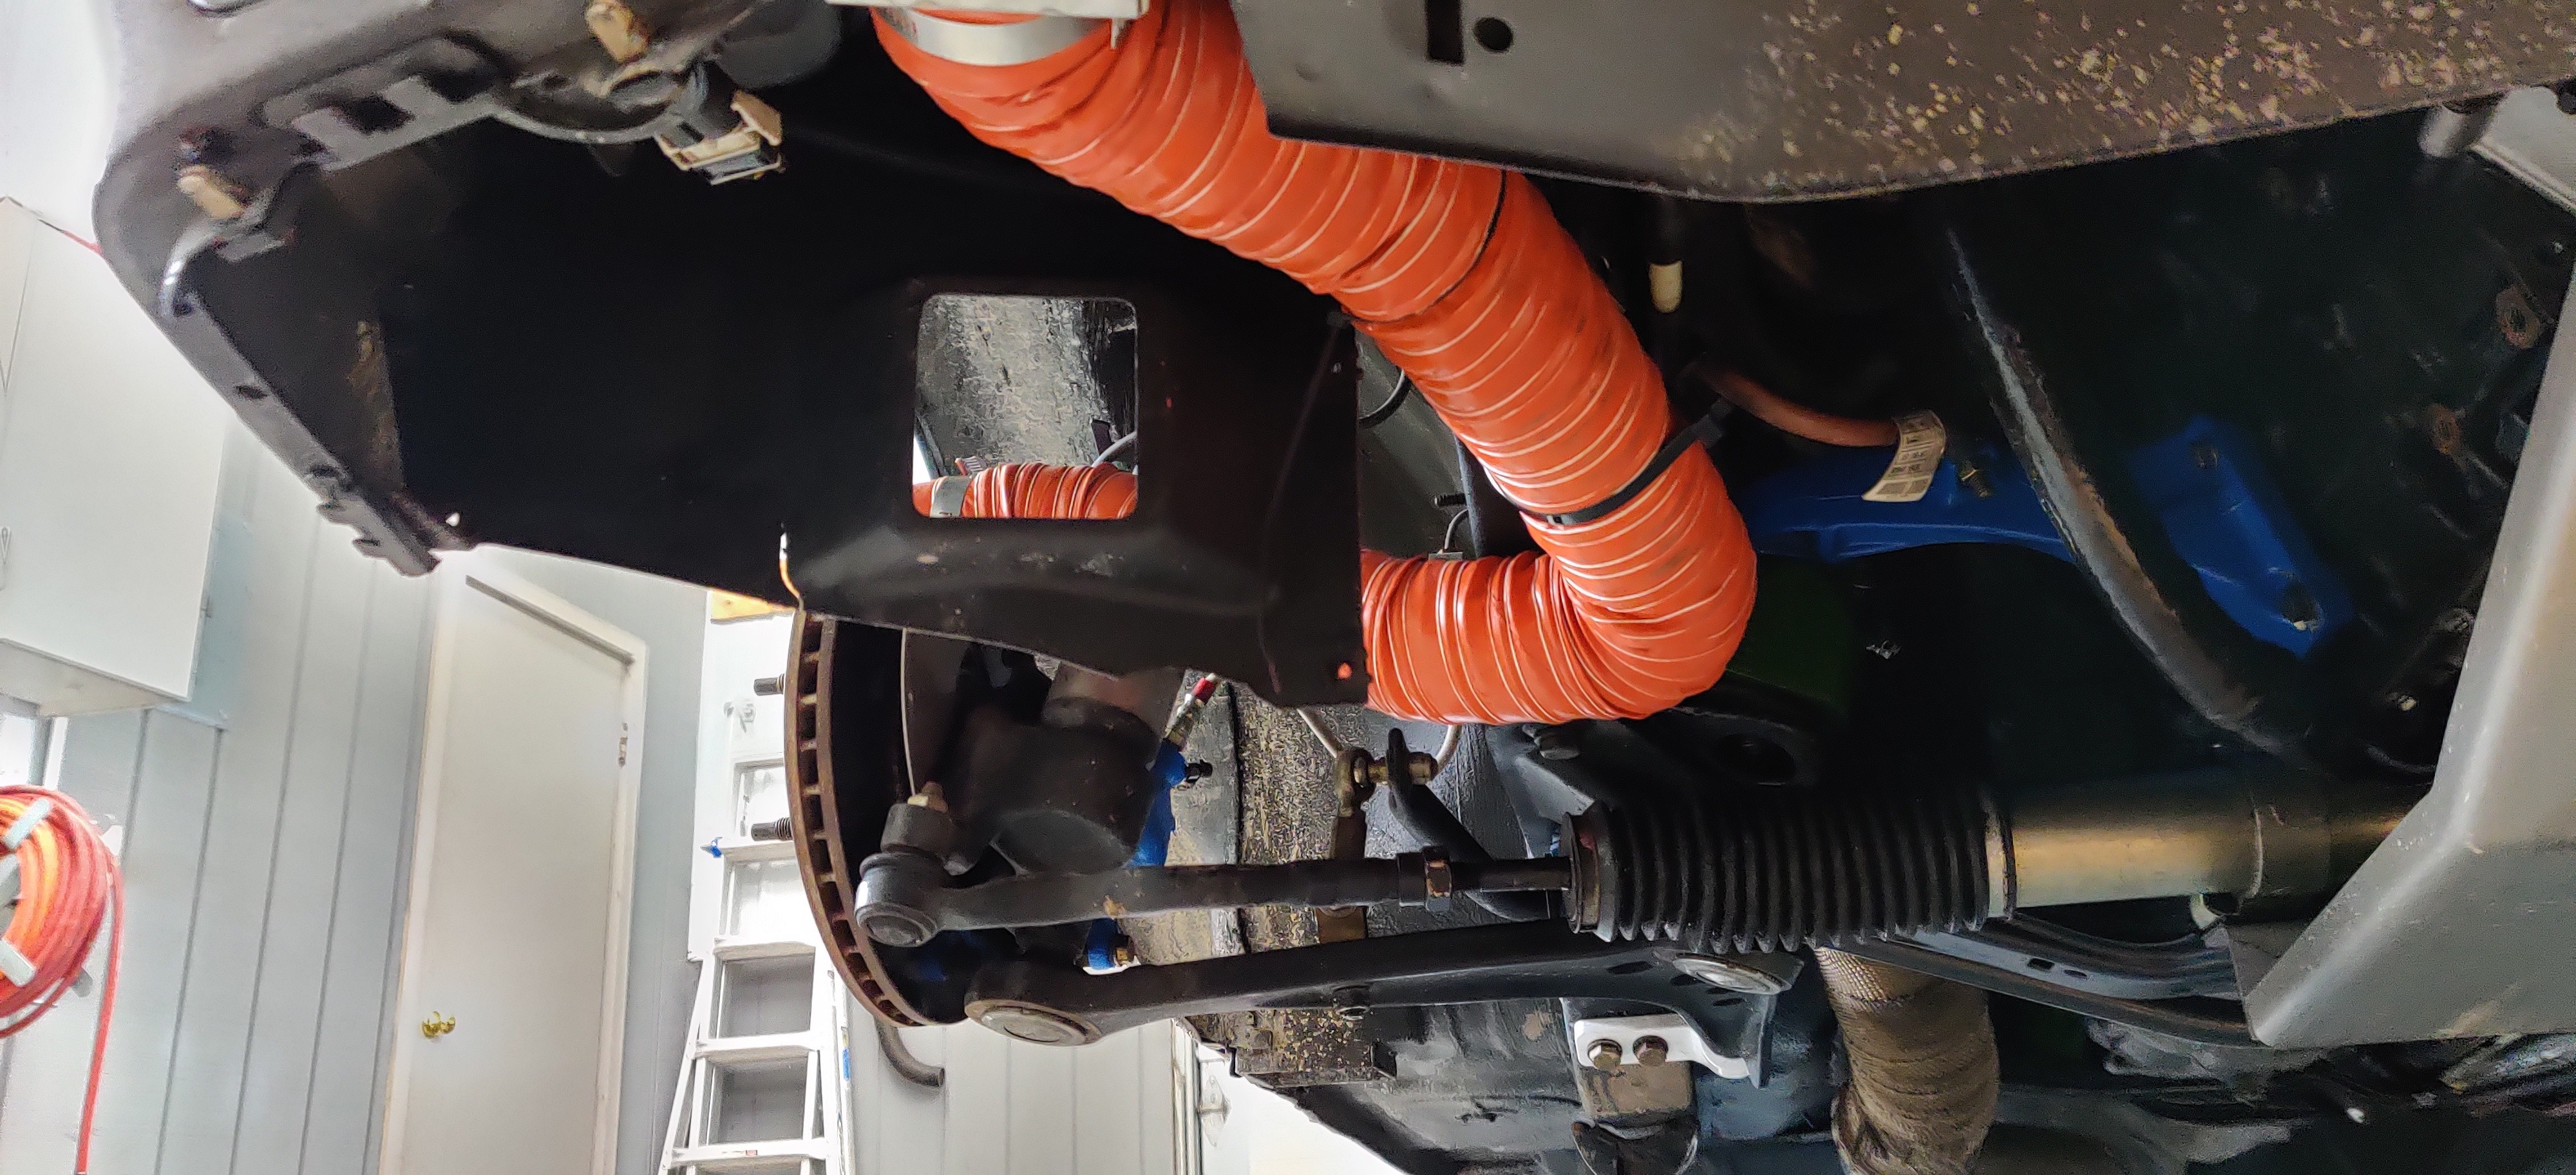
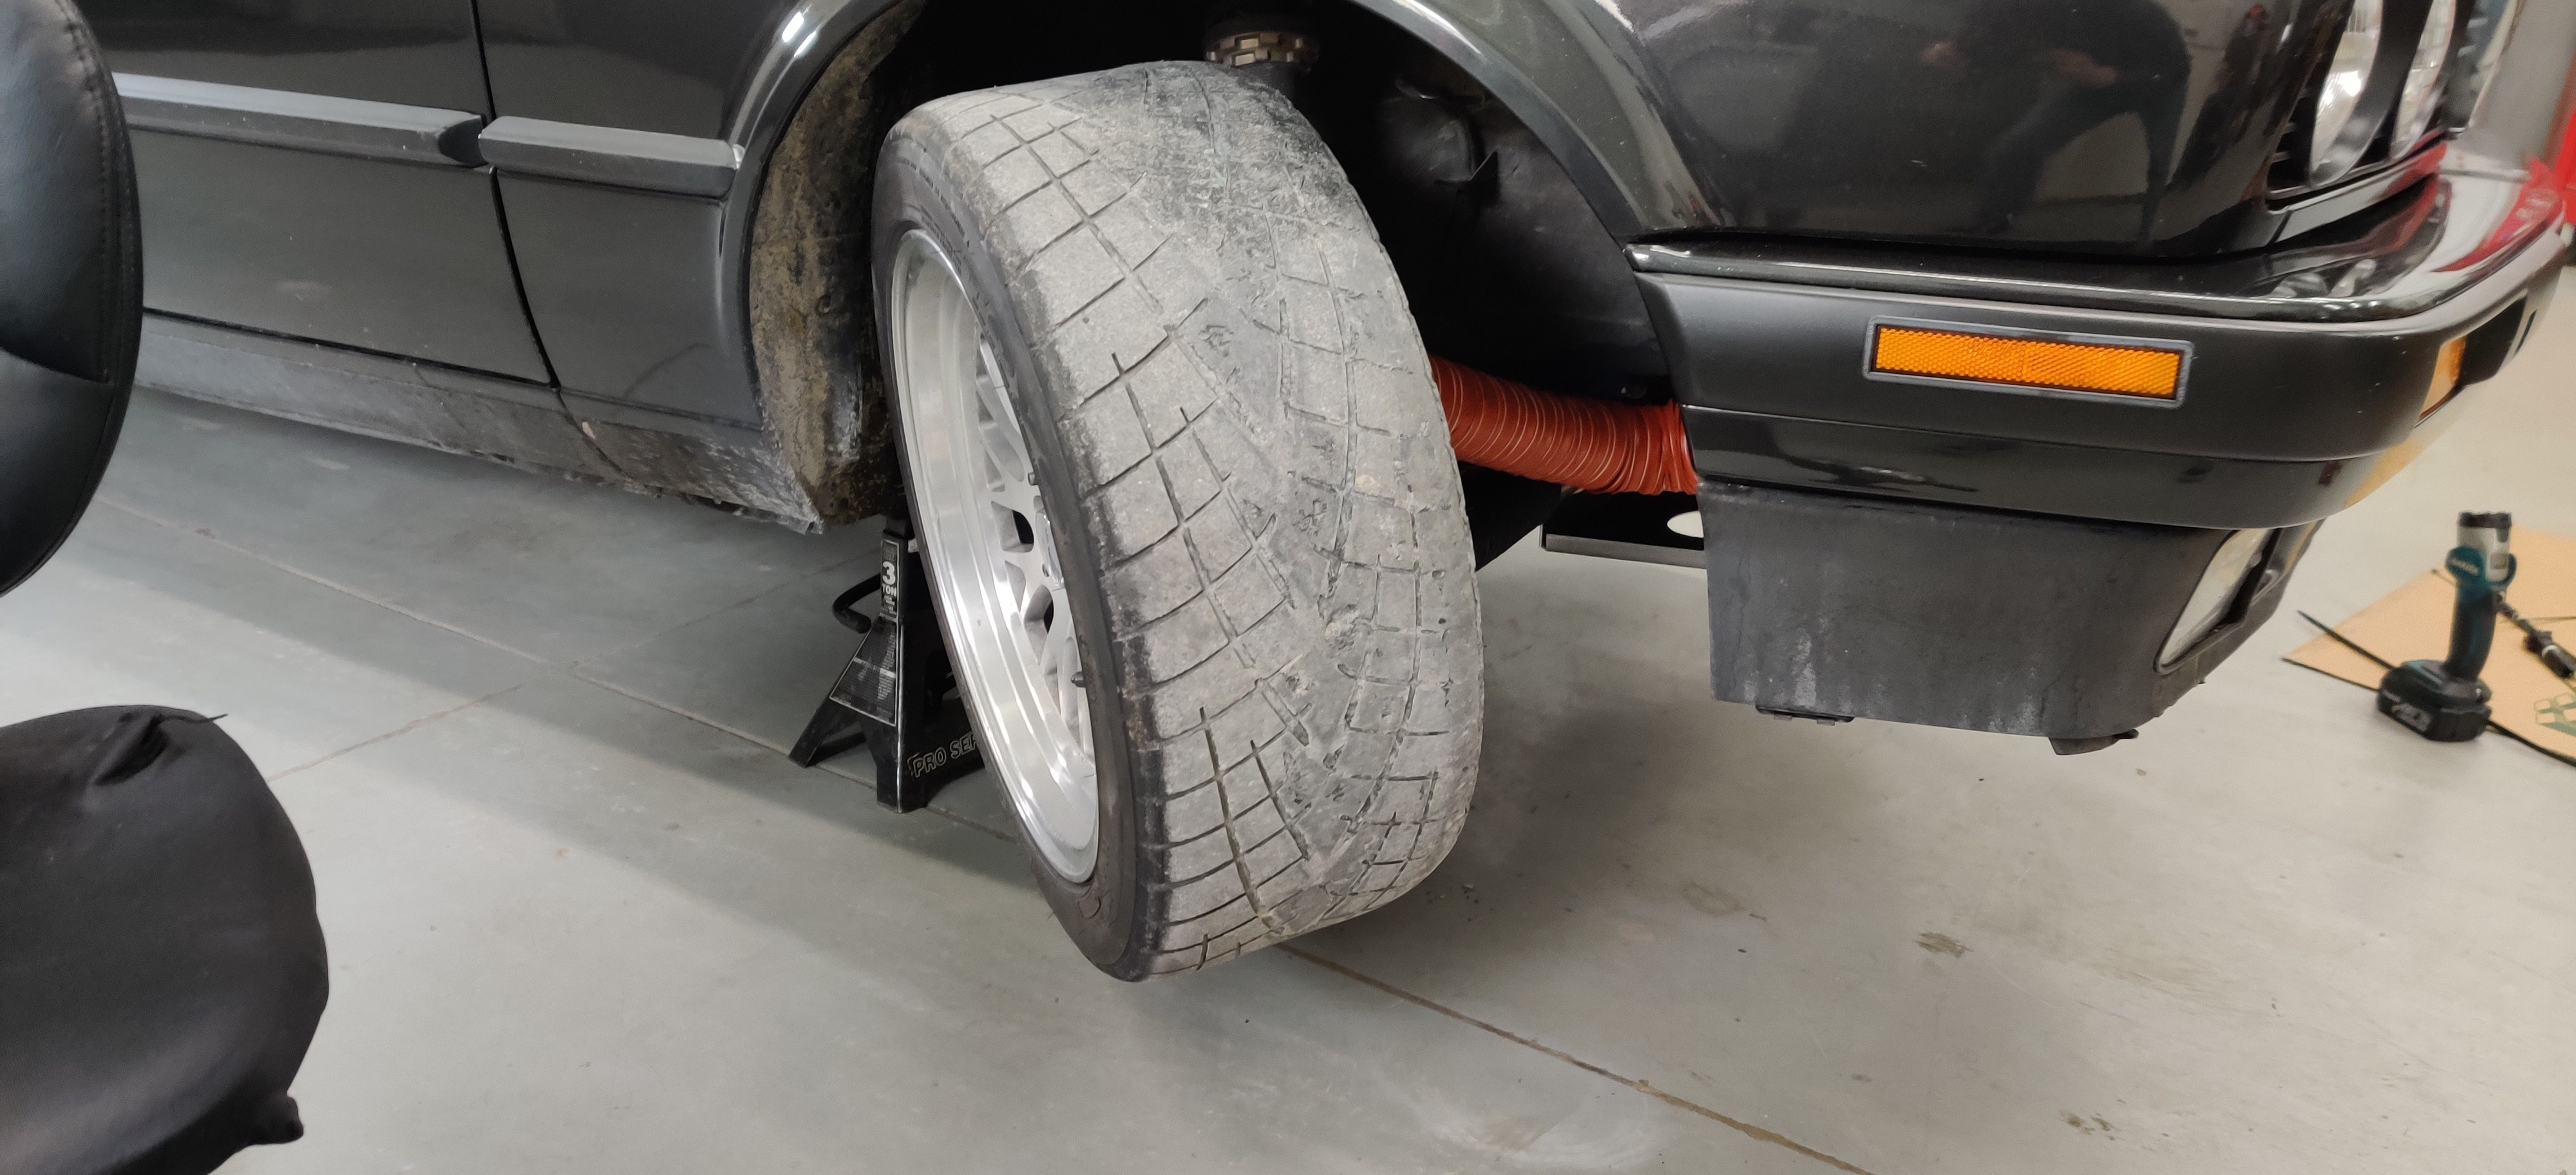
Unfortunately, I did not take any pics of the backing plate installed but it fit up really well. I did have to cut out the original dust shield in order to fit these up. My bigger challenge with this hole setup was where to route the ducting. Originally I thought I'd just run it right through the hole that the factory duct ran through but I ran into issues with the wheel rubbing on it when turning in. I found that my only option was to route straight back and then along the bottom of the frame rail up to the front.
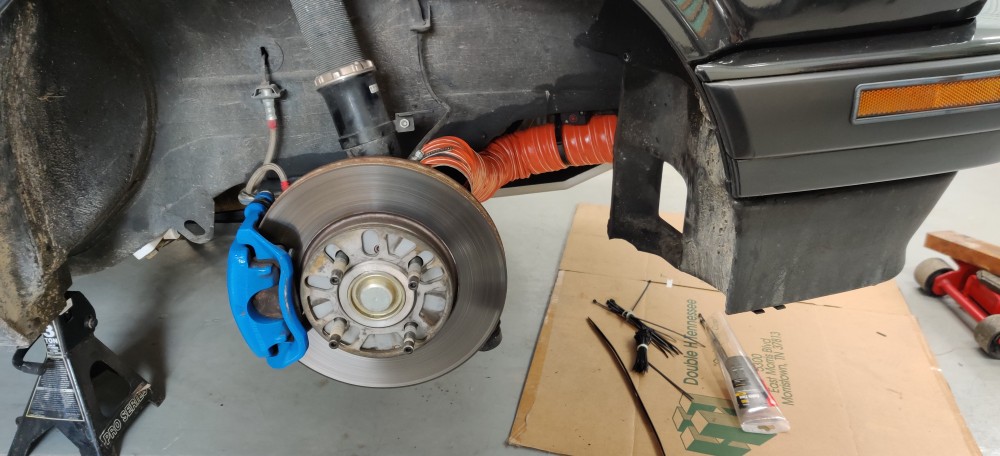
I didn't really have any other method to hang it other then zip ties so I got some beefier ones to make sure it was tight in place but not to tight that it would collapse the tubing.
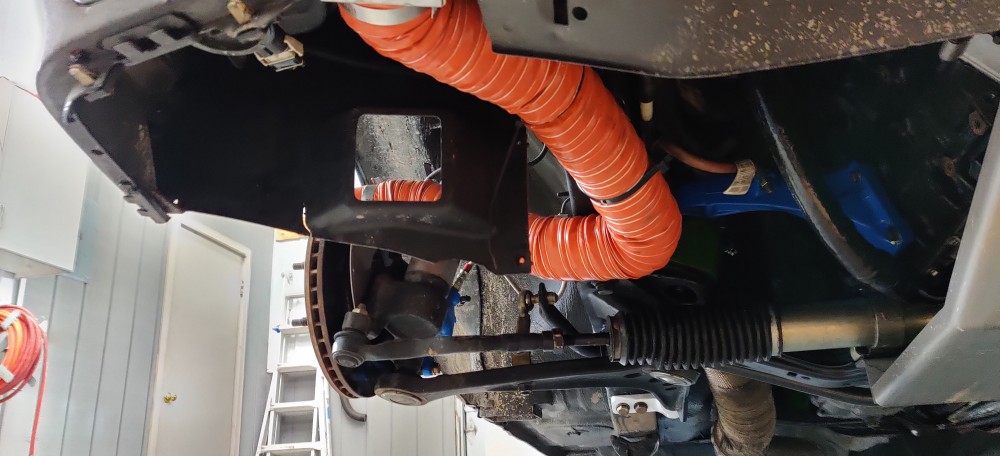
Plenty of clearance with the wheel turned in and enough flexibility with it all the way out.
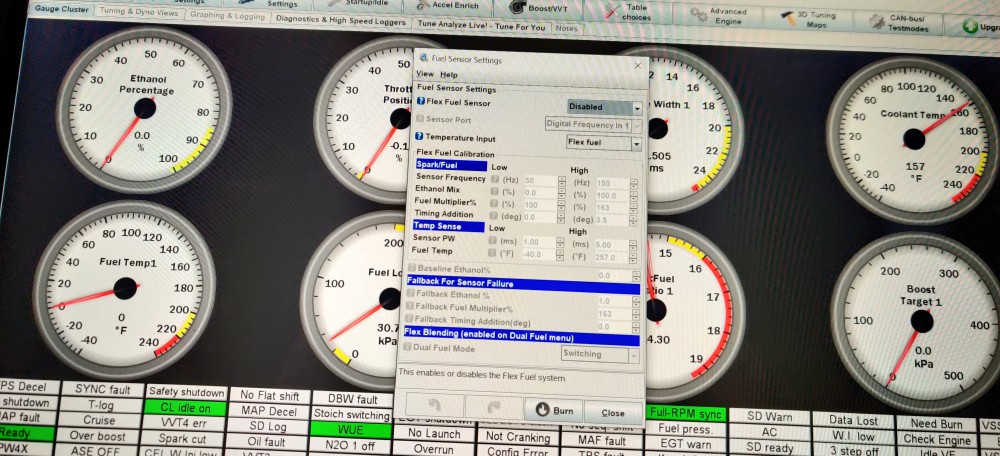
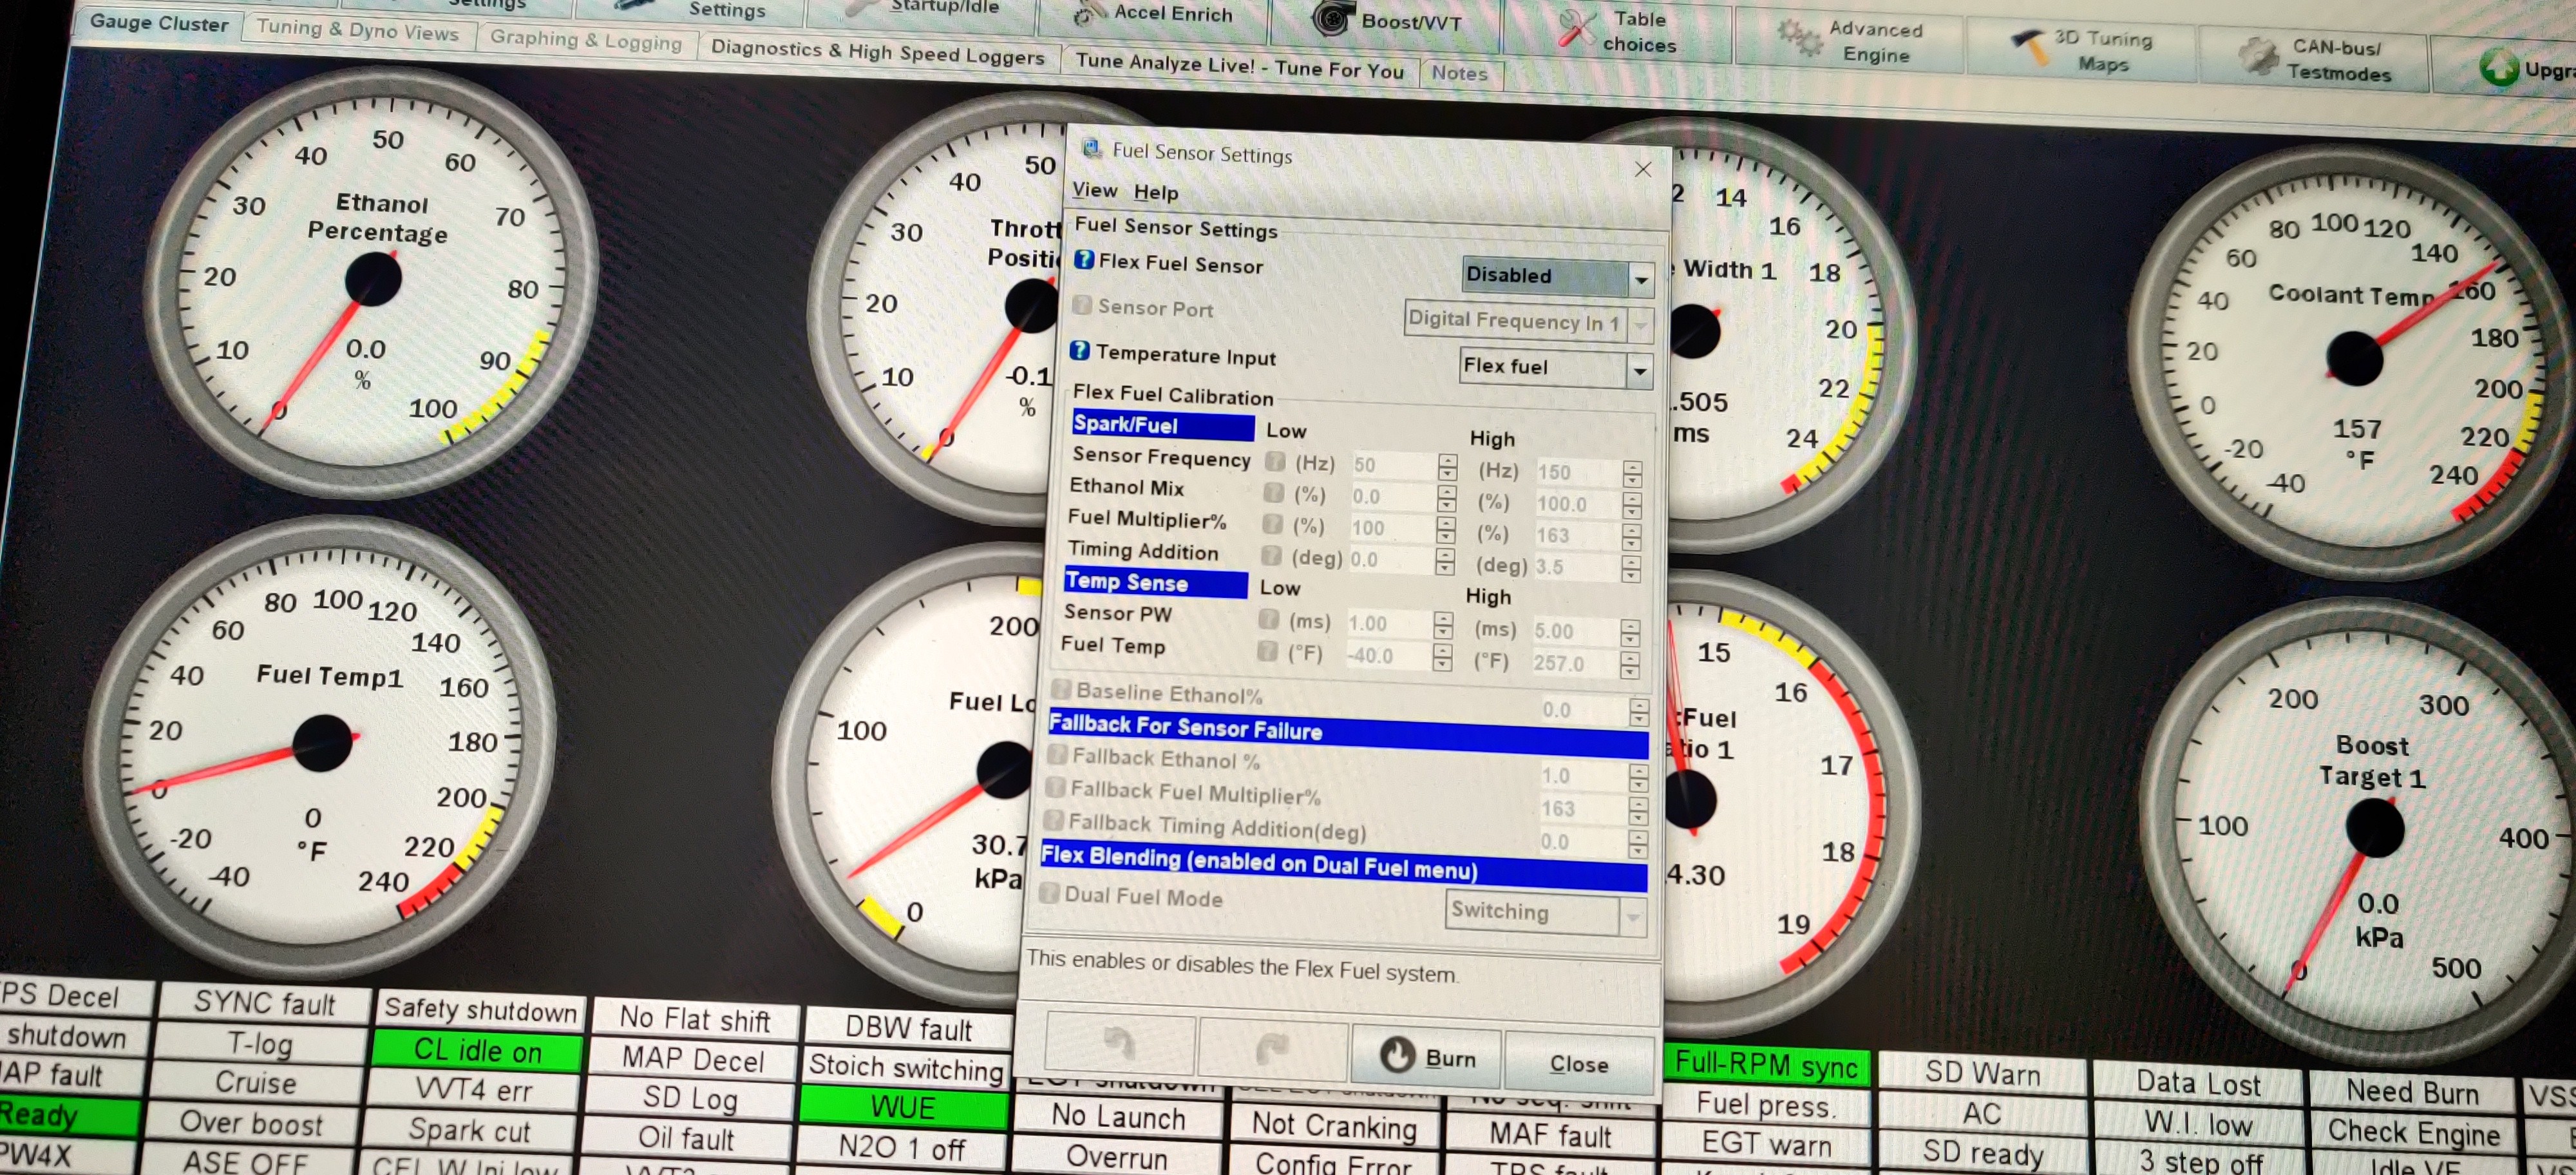
After this was finished I had the car back on the ground and buttoned up the last little bits and pieces. The same day I took the car out for a short drive around the neighborhood and I found the car was running really rich and there was a ton of drone in the cabin. After taking a look through tuner studio I had found that I had left the flex fuel sensor settings enabled and it was messing with the tune. After disabling it the car was back to normal running at the right afr's and no more drone.
I never did take any pics or mention anything about it but I did get a flex fuel sensor installed. I ordered a gm sensor which seemed to be the popular option among many tuners. I ran the sensor on the feed line right below the intake manifold where it goes from hard line to rubber hose. I ordered a gm pig tail as well and wired that in except for plugging it into the ms unit which I decided on waiting to do tell I get the car back into the tuner to get it tuned for 91 octane fuel so I have the option to run both e85 and 91.
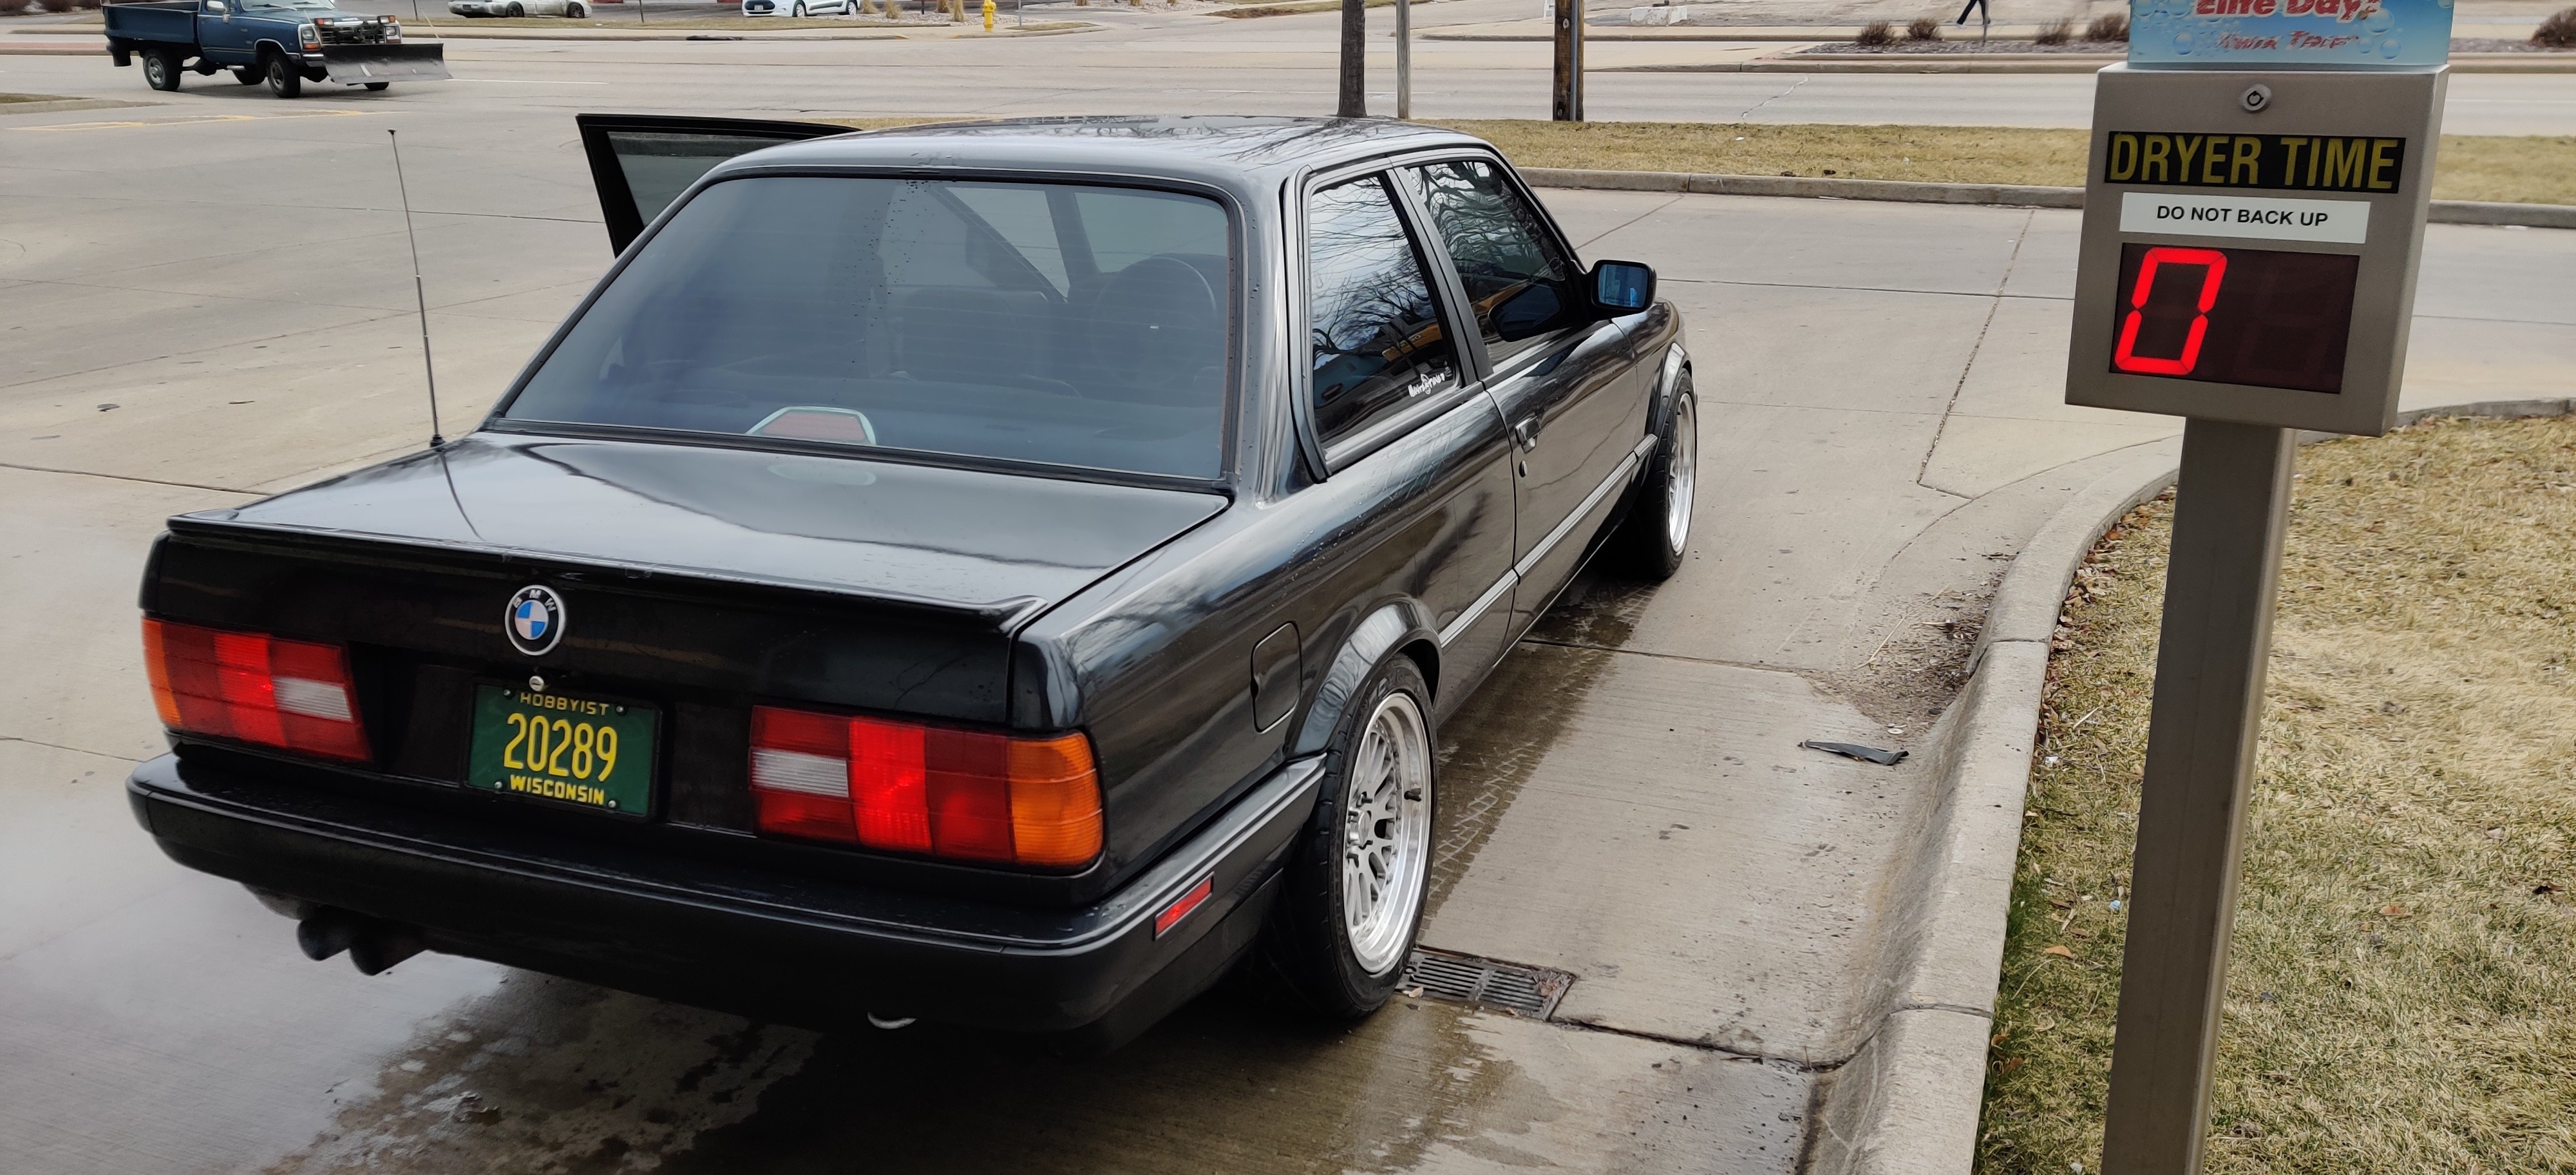
The following Sunday morning I took the car for a drive down to the local gas station and ran it through the car wash. First impressions with the new setup were pretty great. The zf trans shifts so smooth compared to the g260 and with the power numbers I am making it handles it so well. The stage 3 clutch surprisingly does not feel that much heavier over the stage 2 and with the zf trans the pedal feels like it is much less grabby and has a more consistent feel. Right away I took the car for a 25 mile drive of very easy driving to break in the new lsd clutch packs properly.
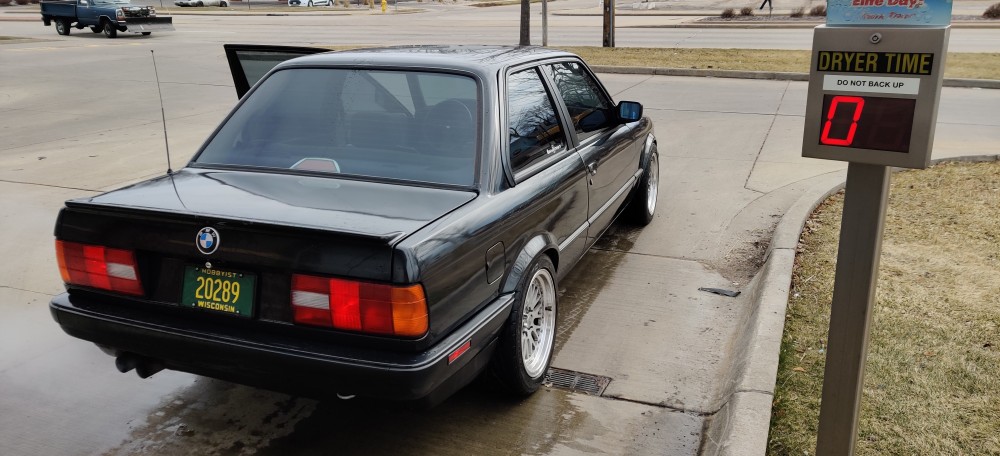
Still on the list to get done is finding some replacement seats and ordering some fresh rubber for the upcoming season. Very excited for this summer and really hoping this pandemic pans out soon.

 i d
i d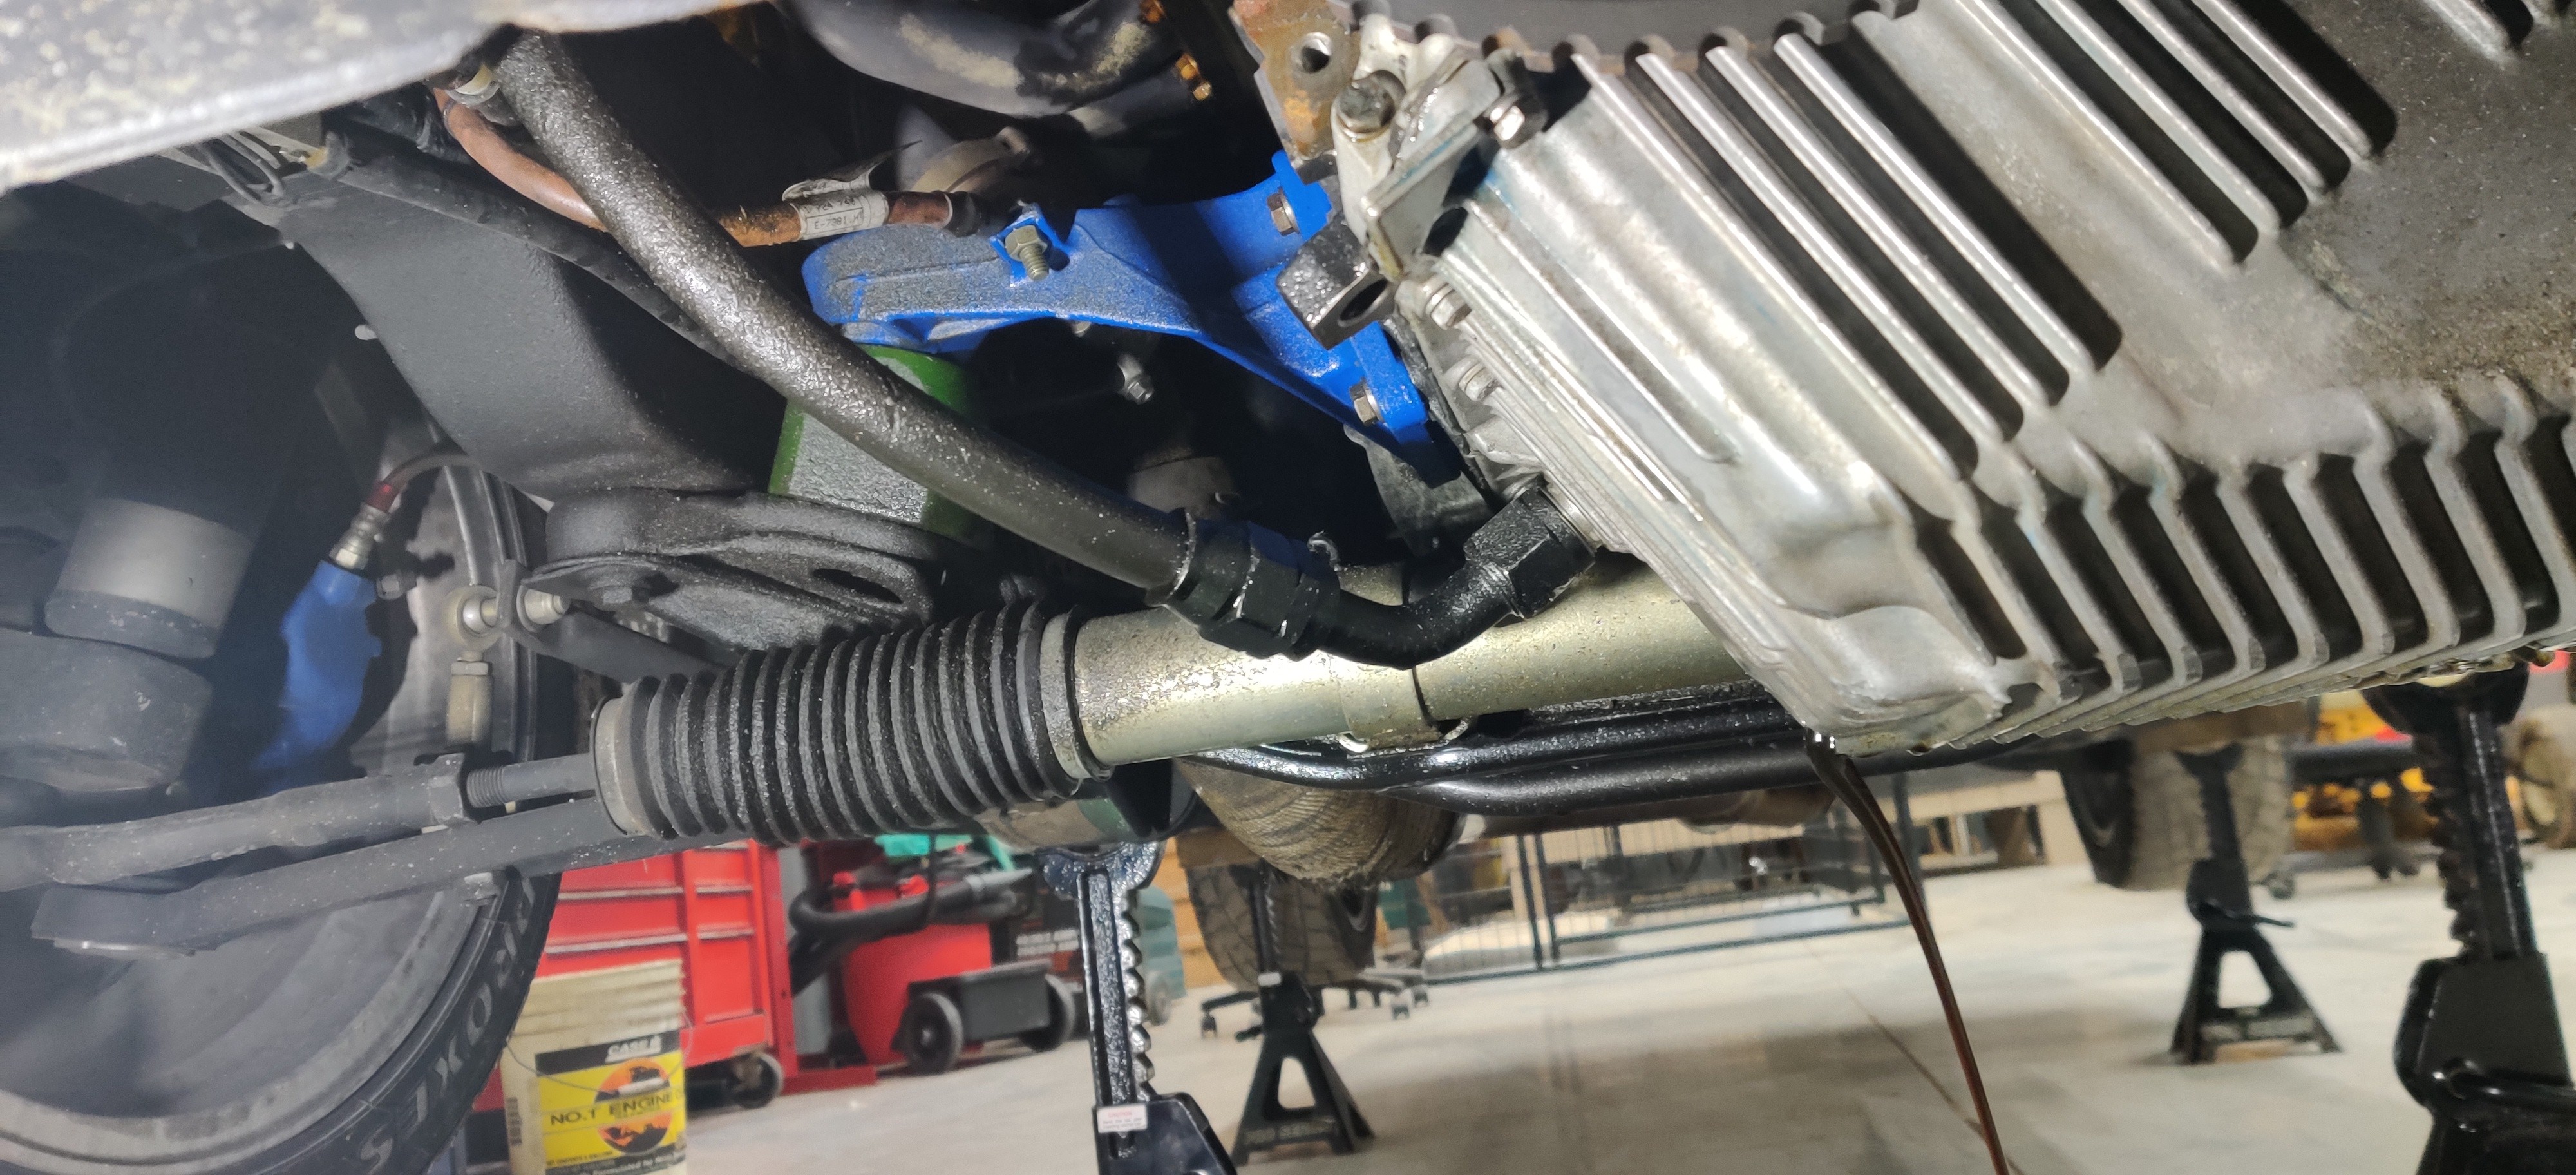




 \
\

Hello! It looks like you're interested in this conversation, but you don't have an account yet.
Getting fed up of having to scroll through the same posts each visit? When you register for an account, you'll always come back to exactly where you were before, and choose to be notified of new replies (either via email, or push notification). You'll also be able to save bookmarks and upvote posts to show your appreciation to other community members.
With your input, this post could be even better 💗
Register Login