
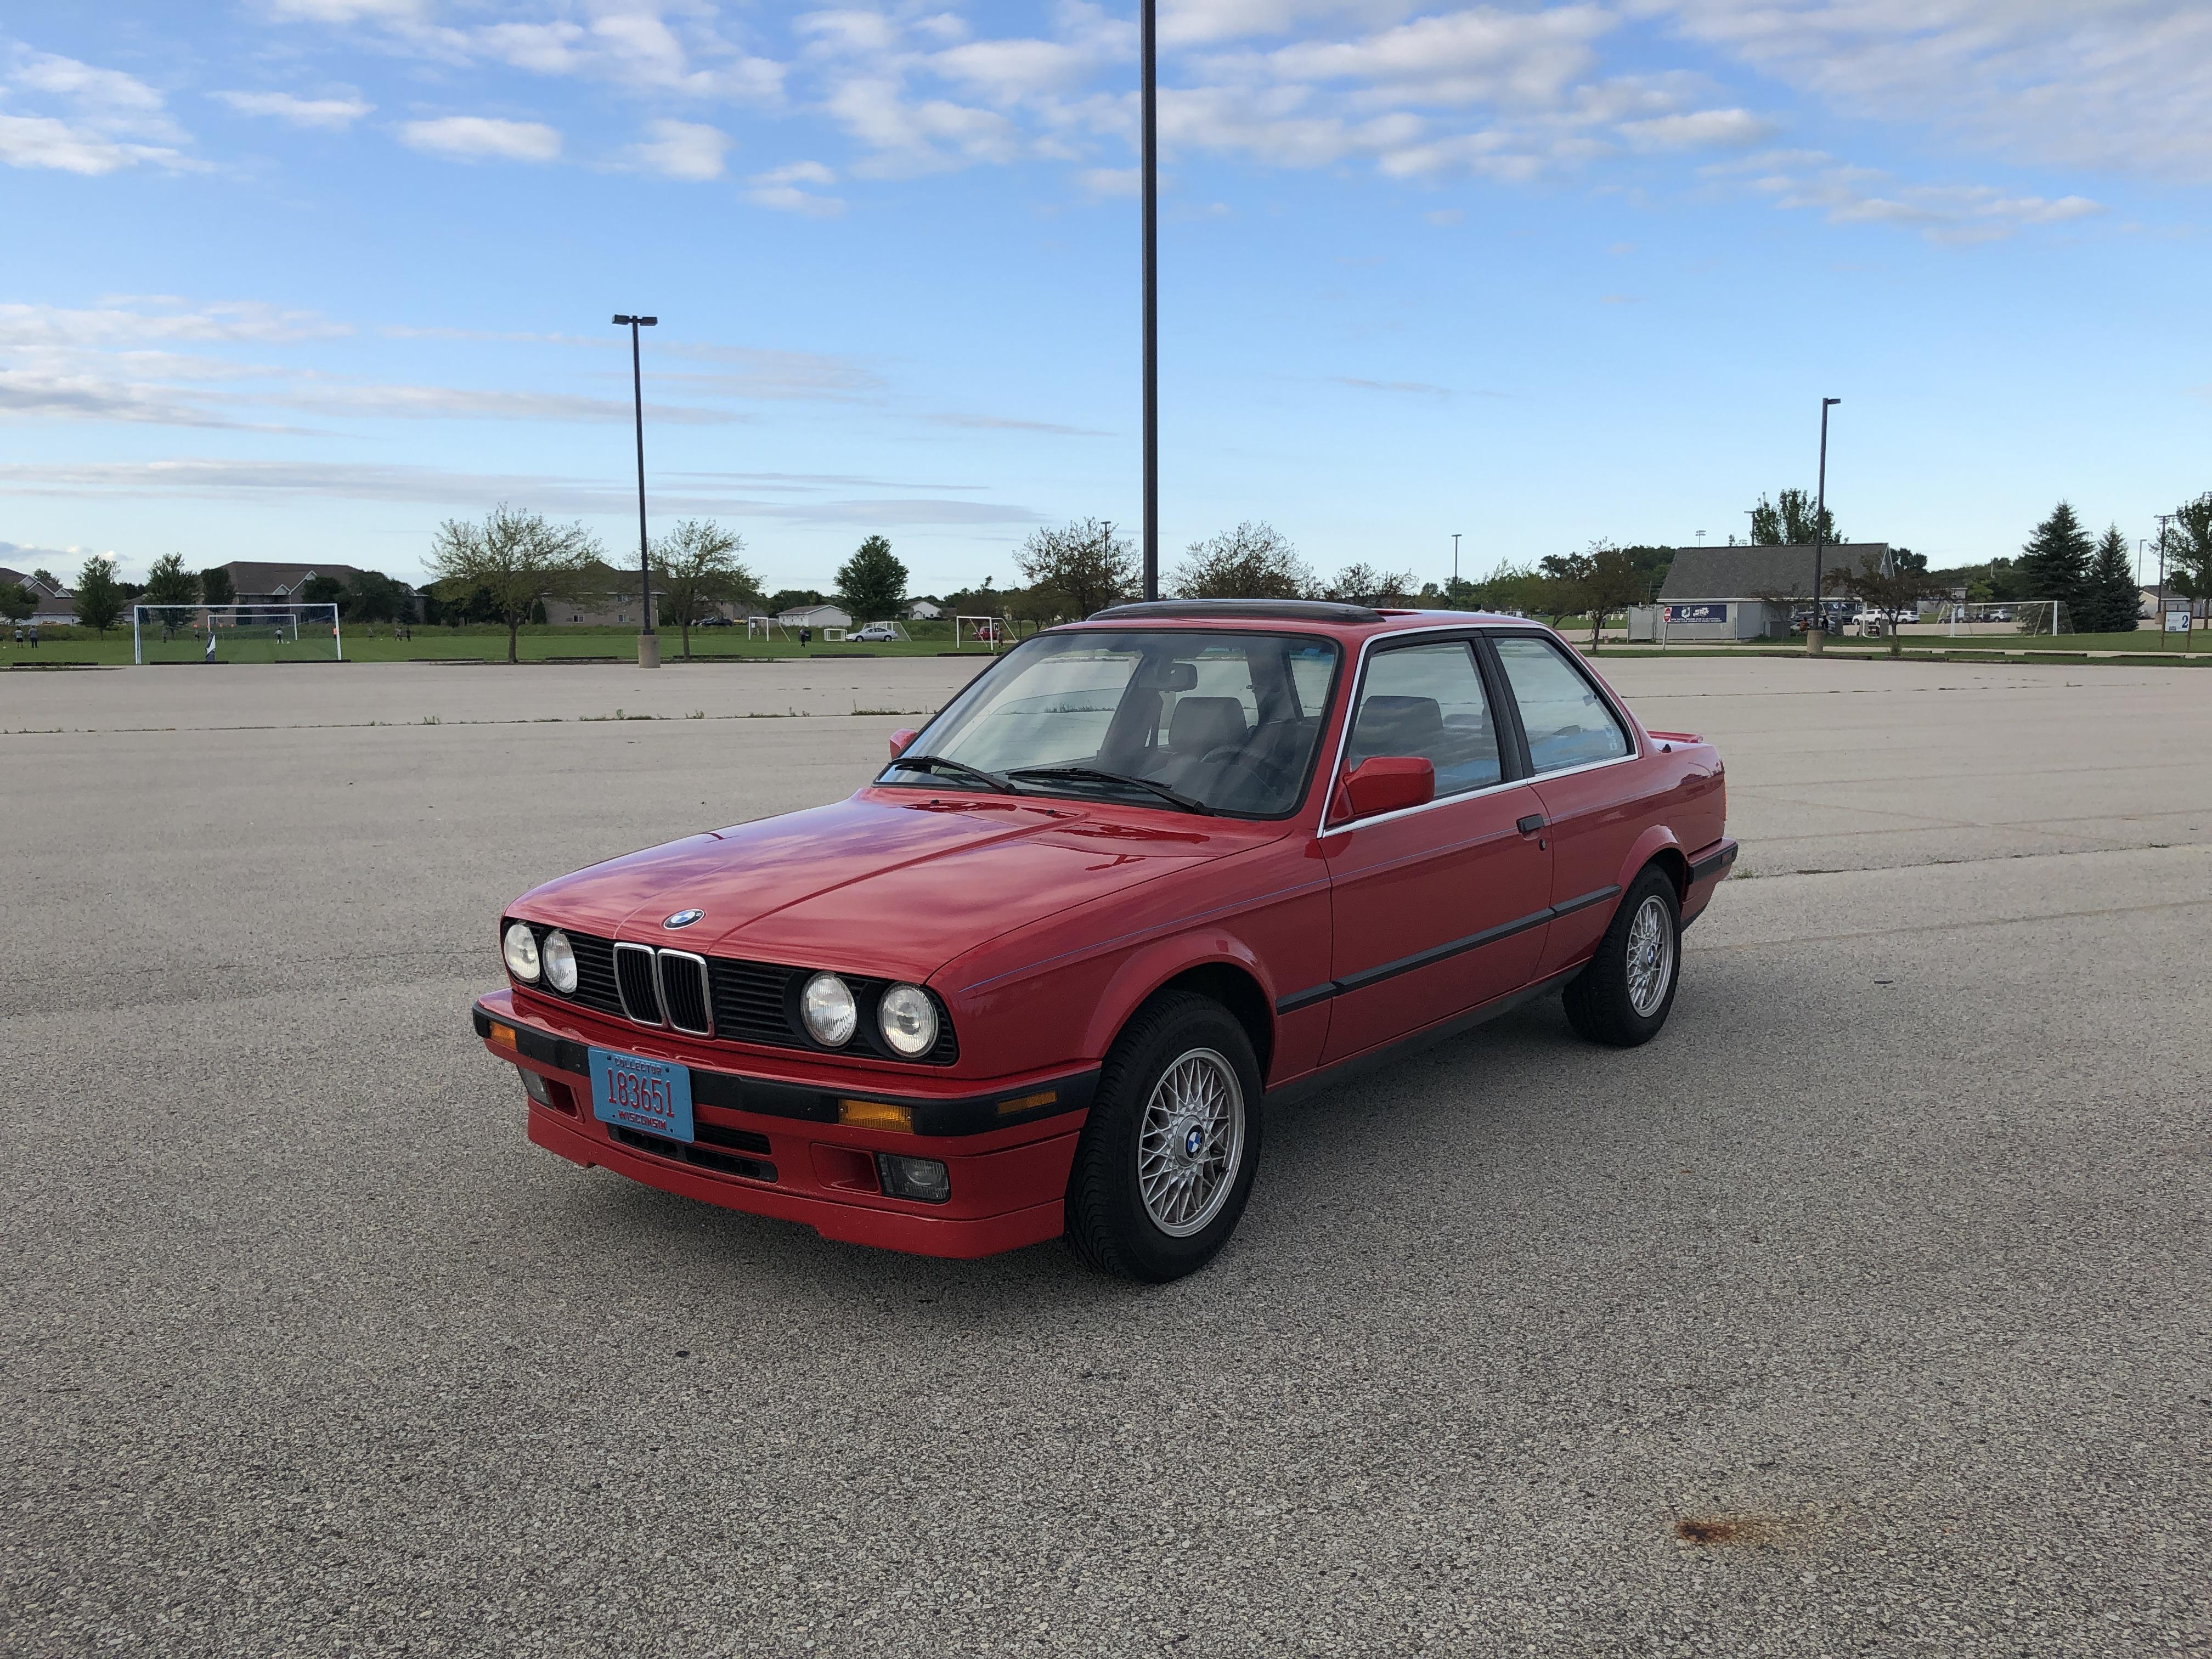
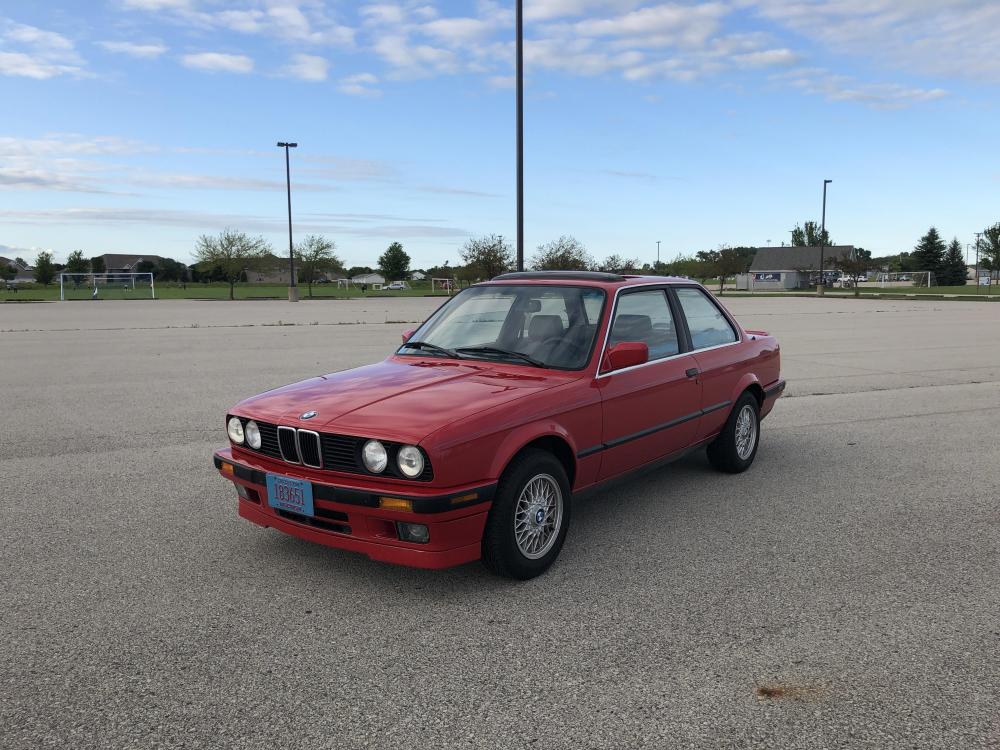
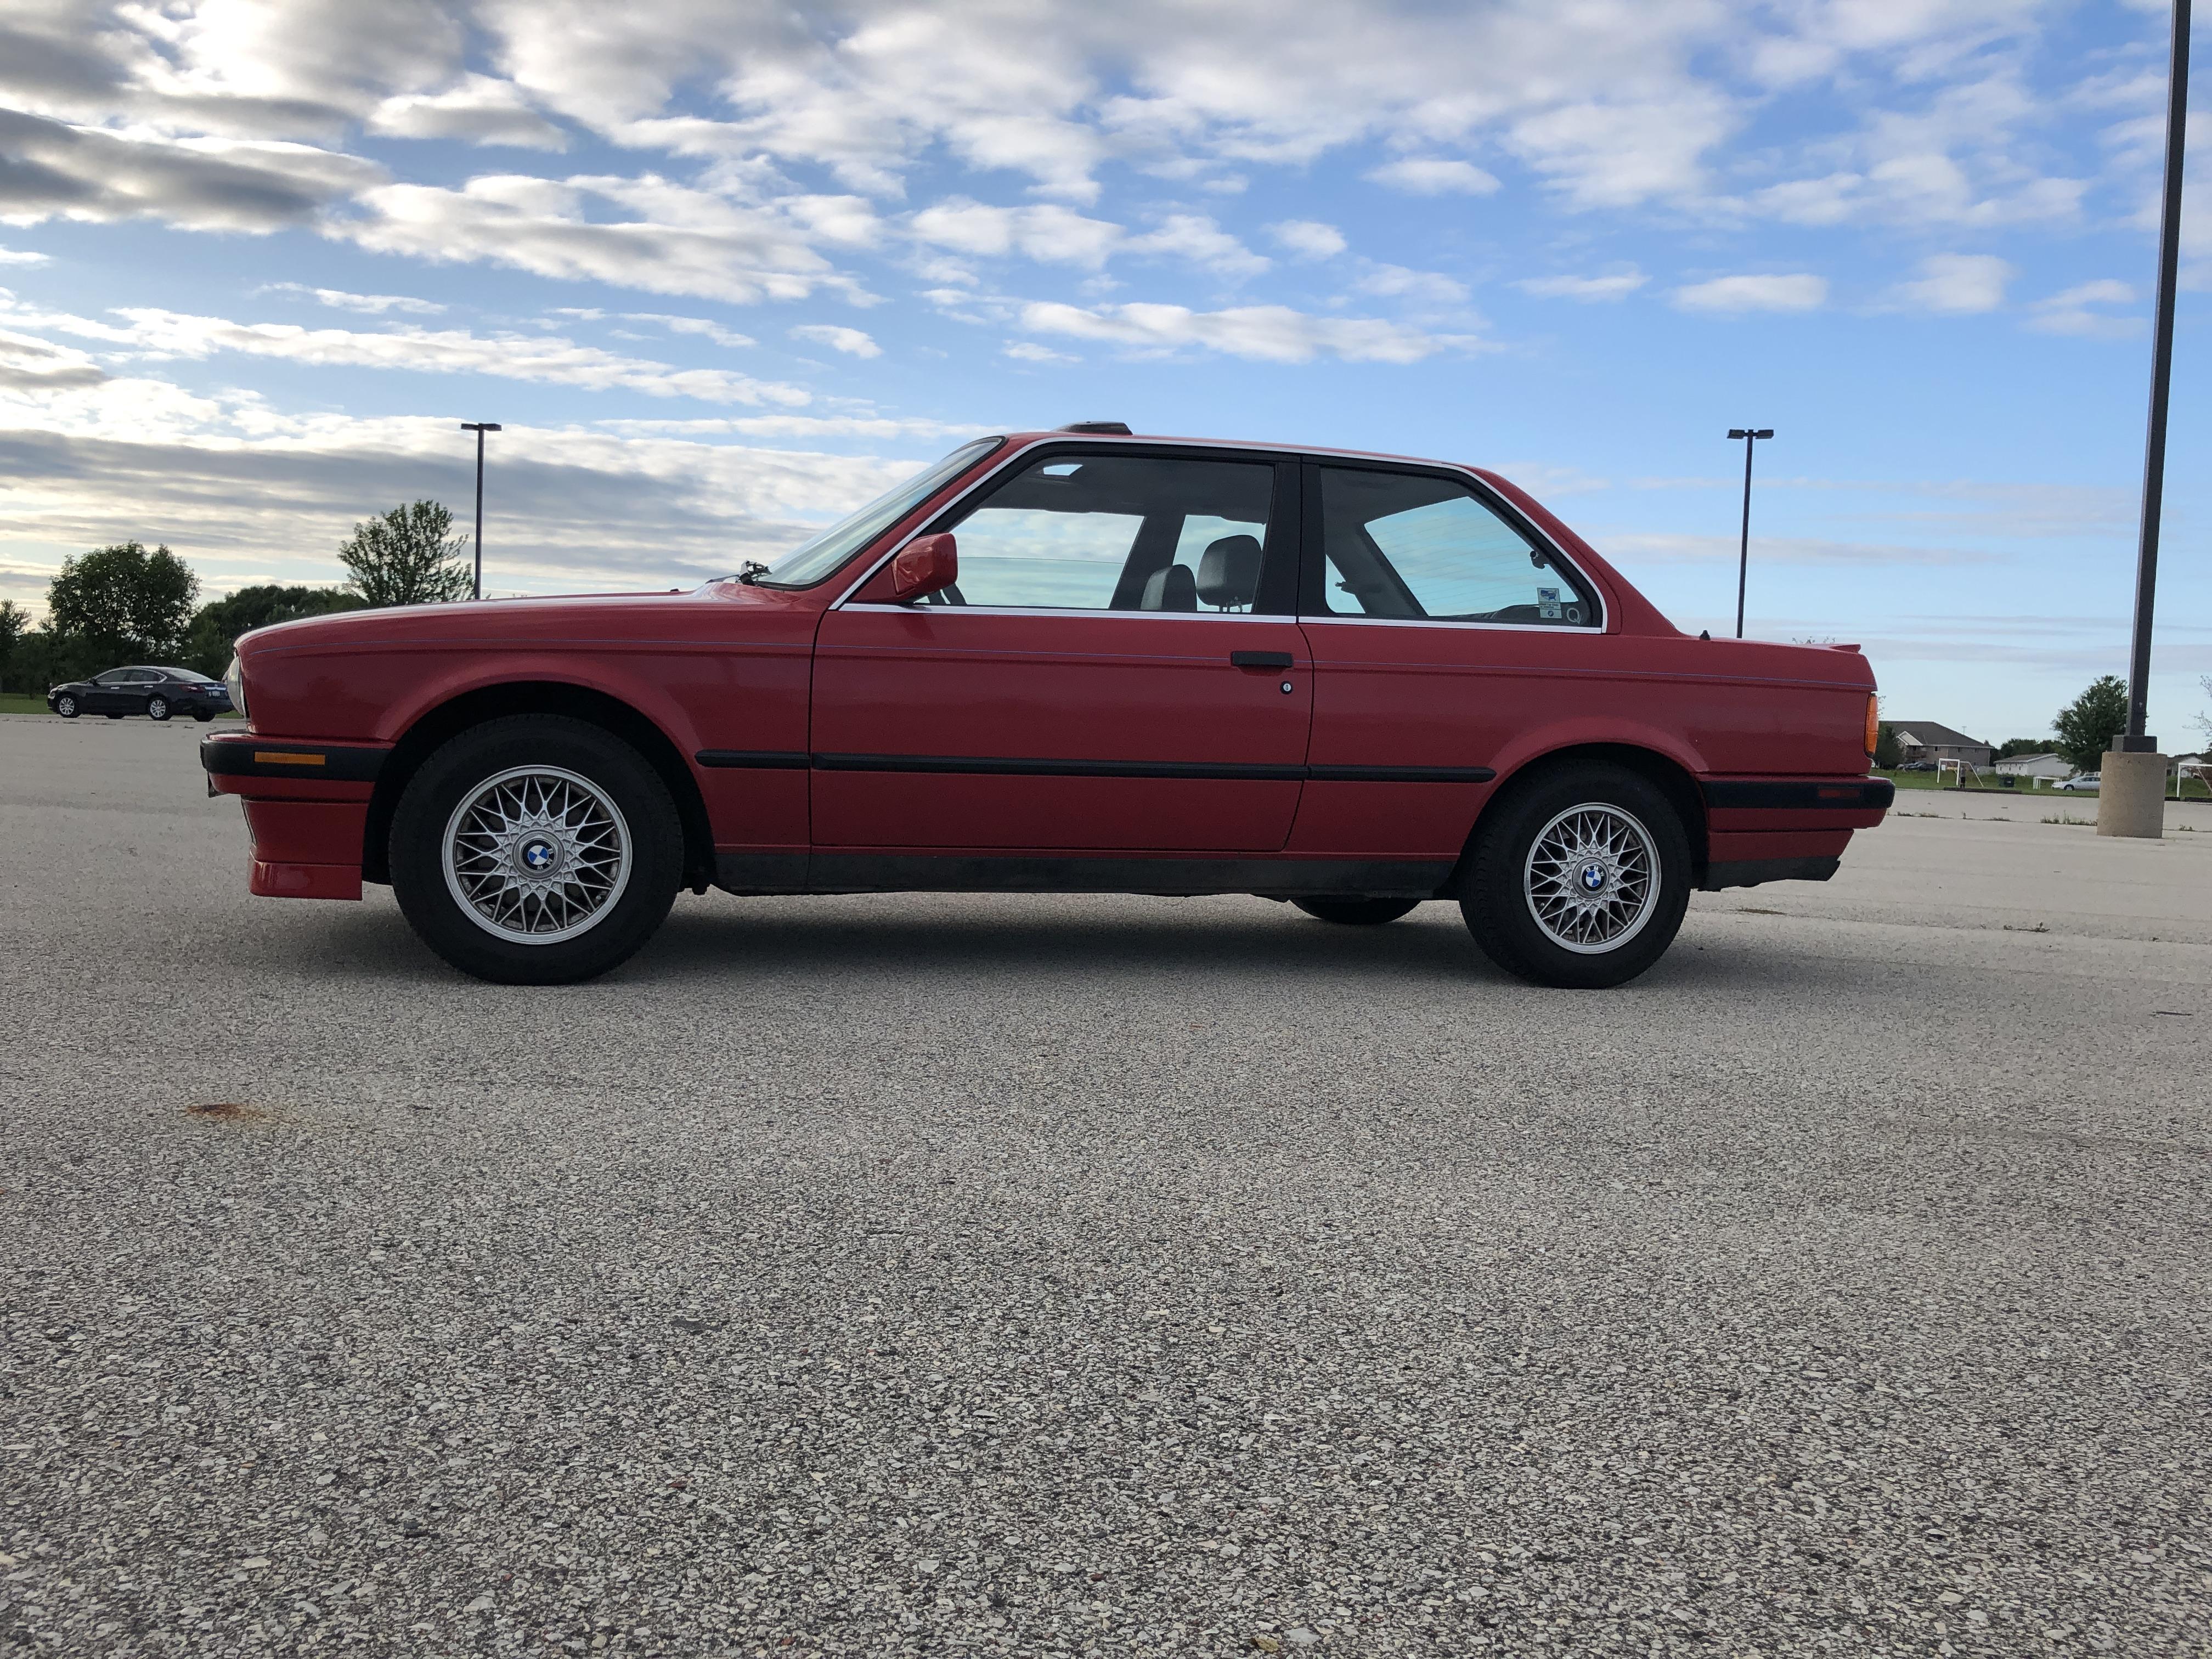
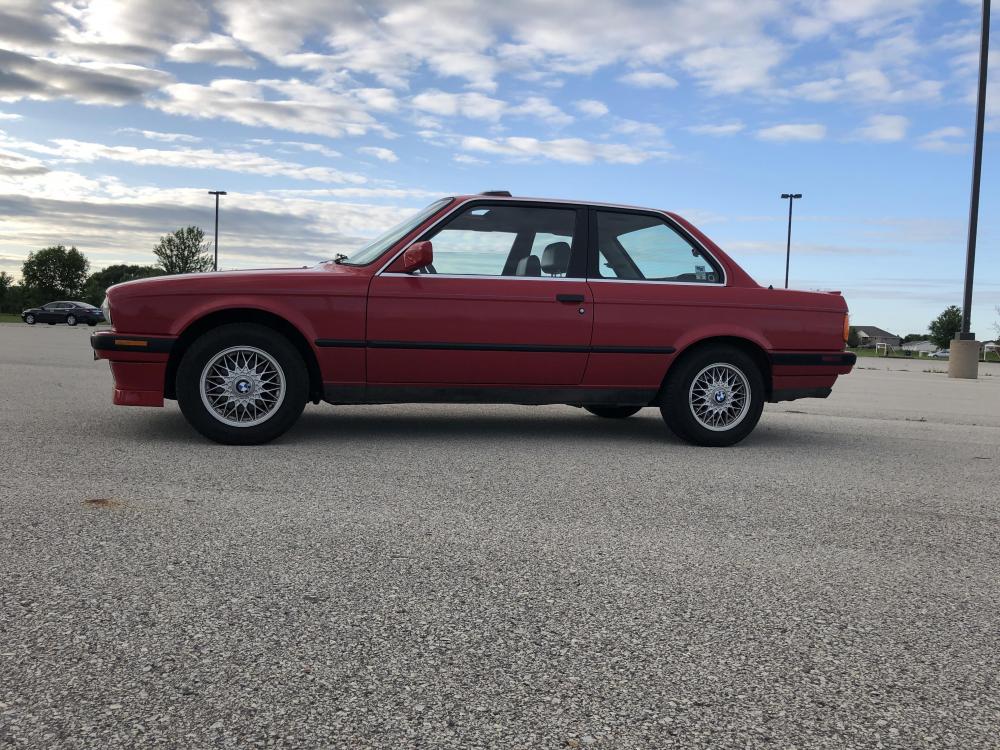
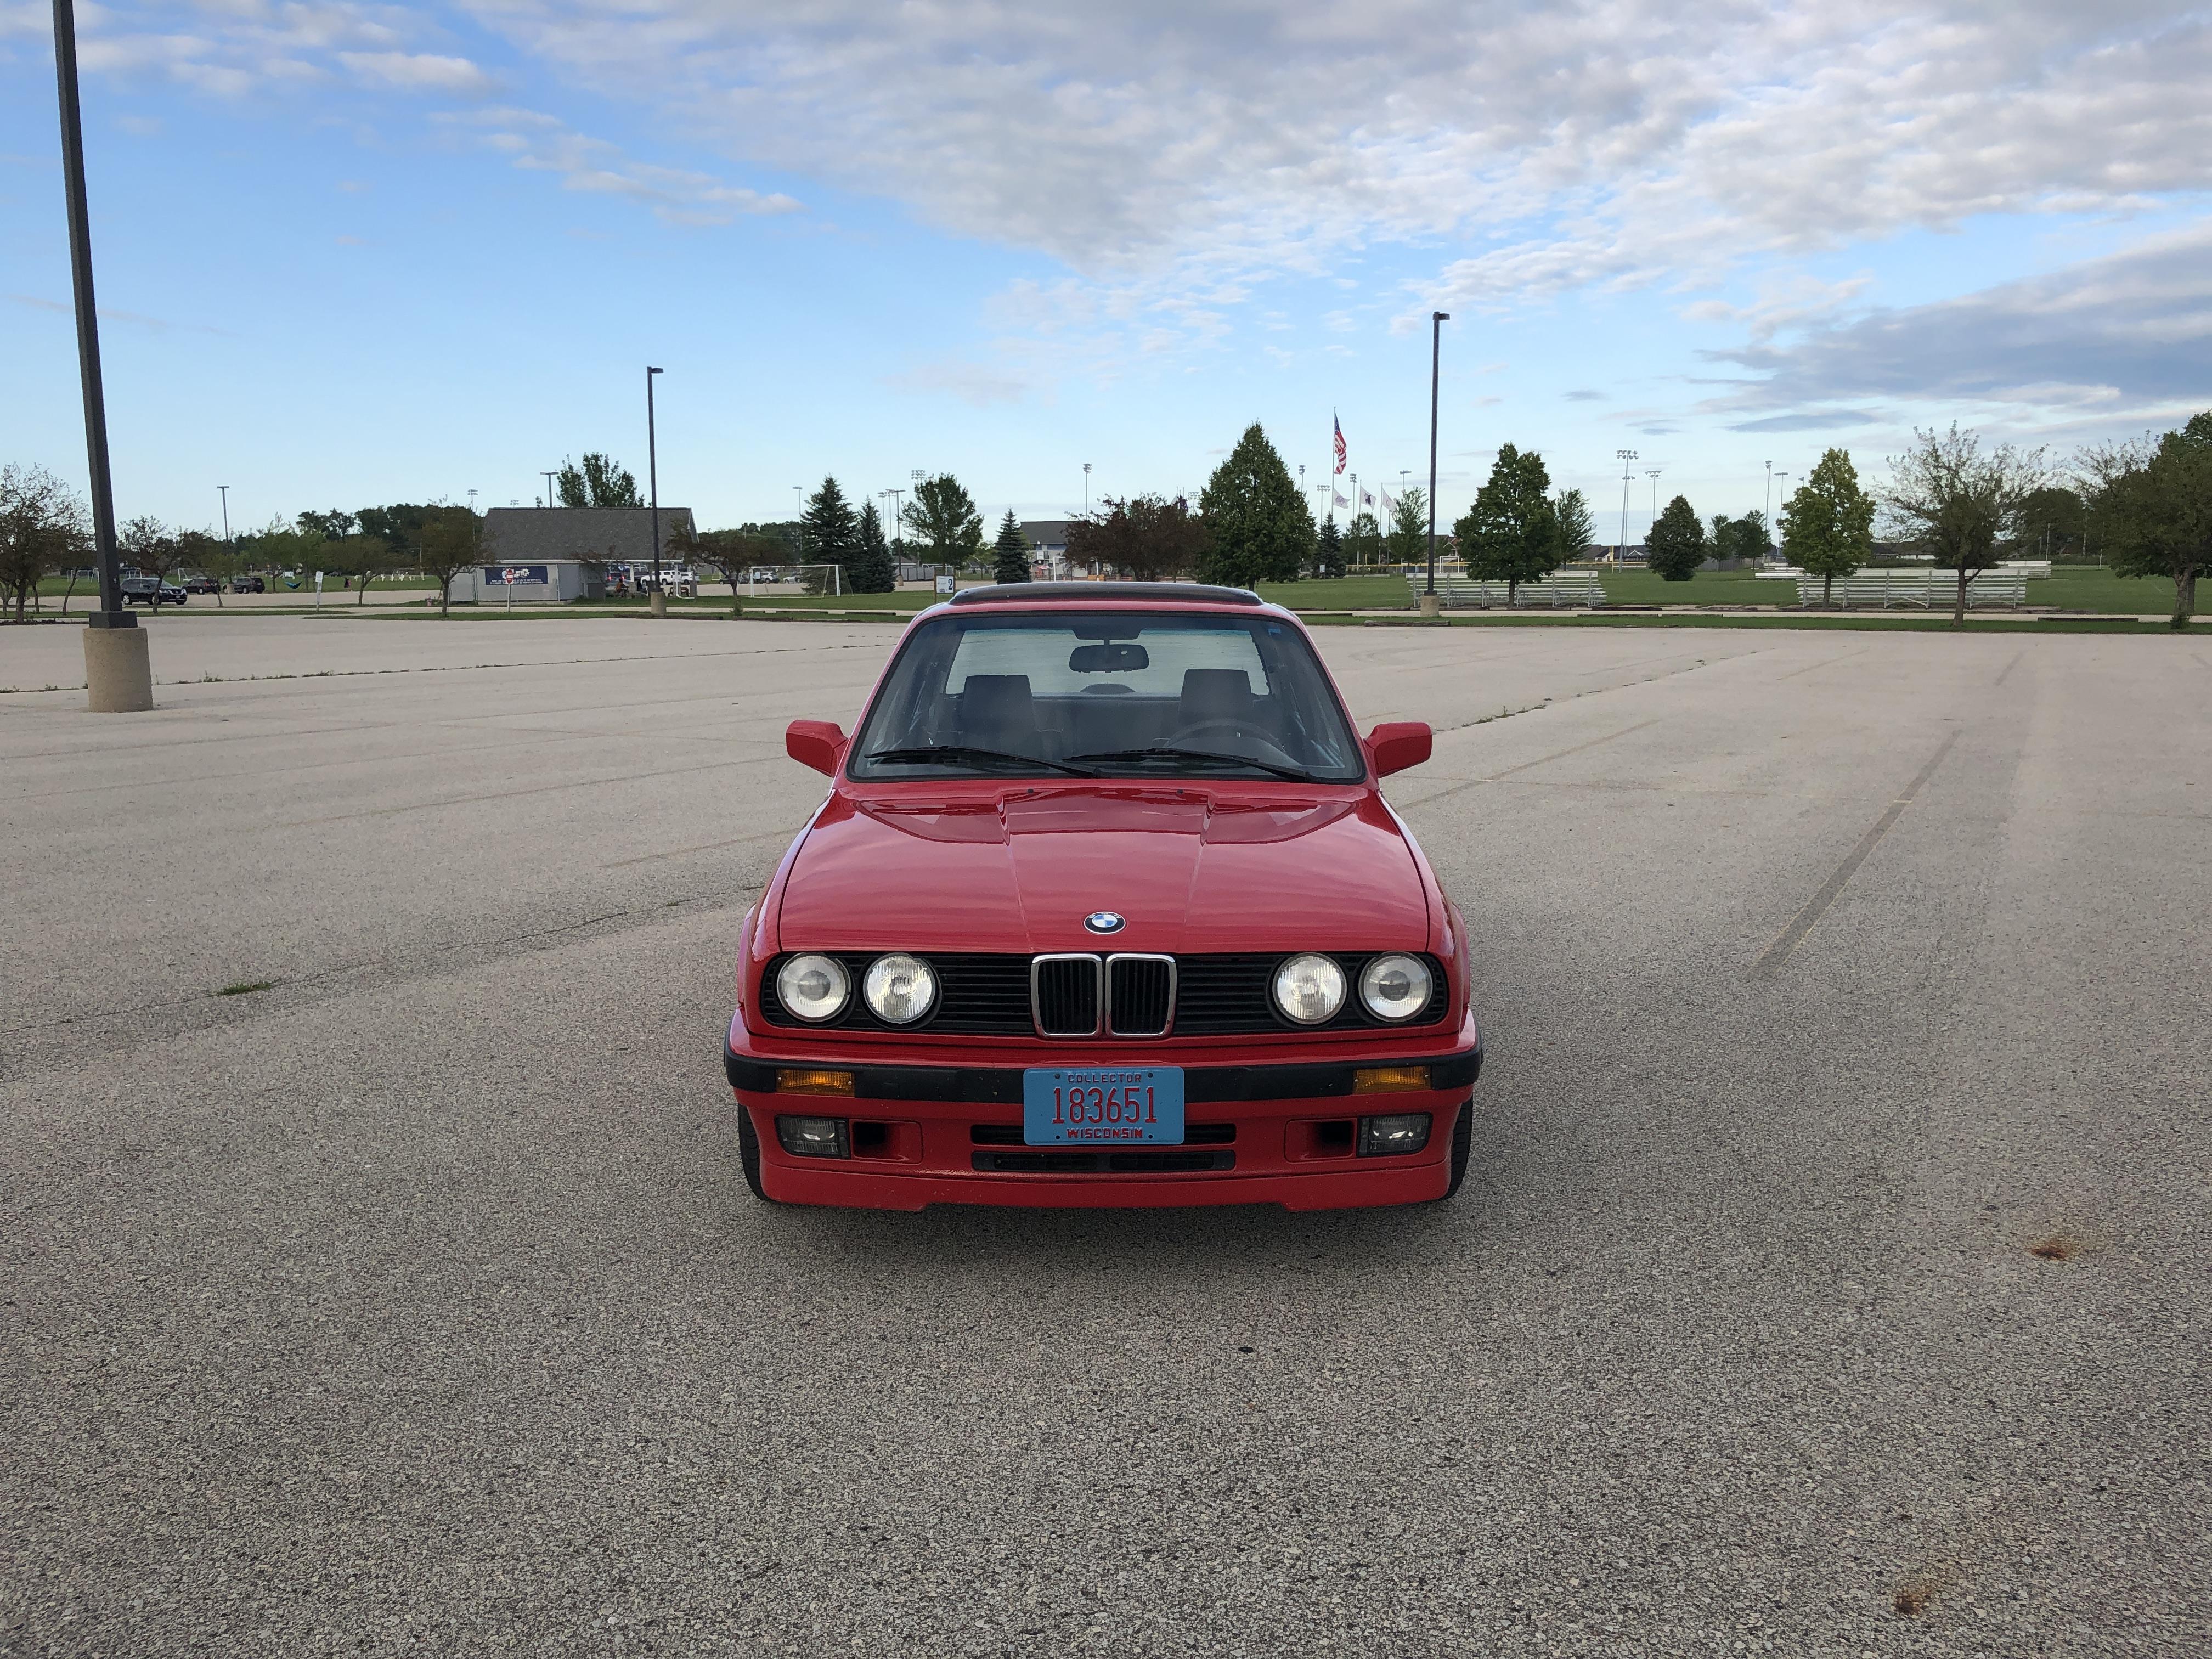
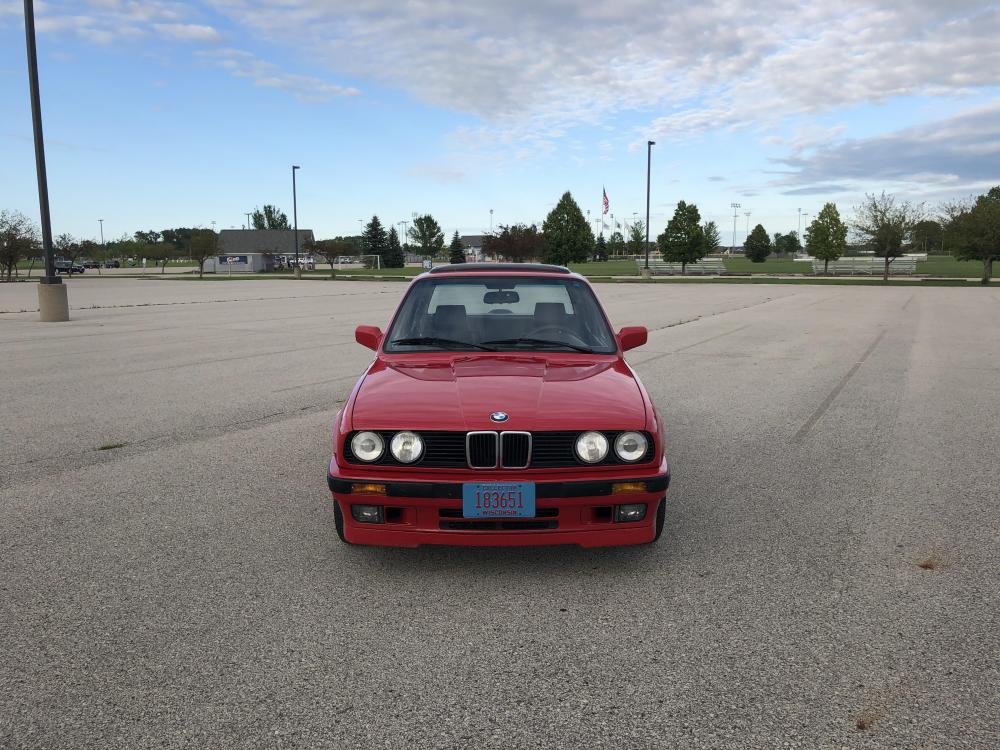
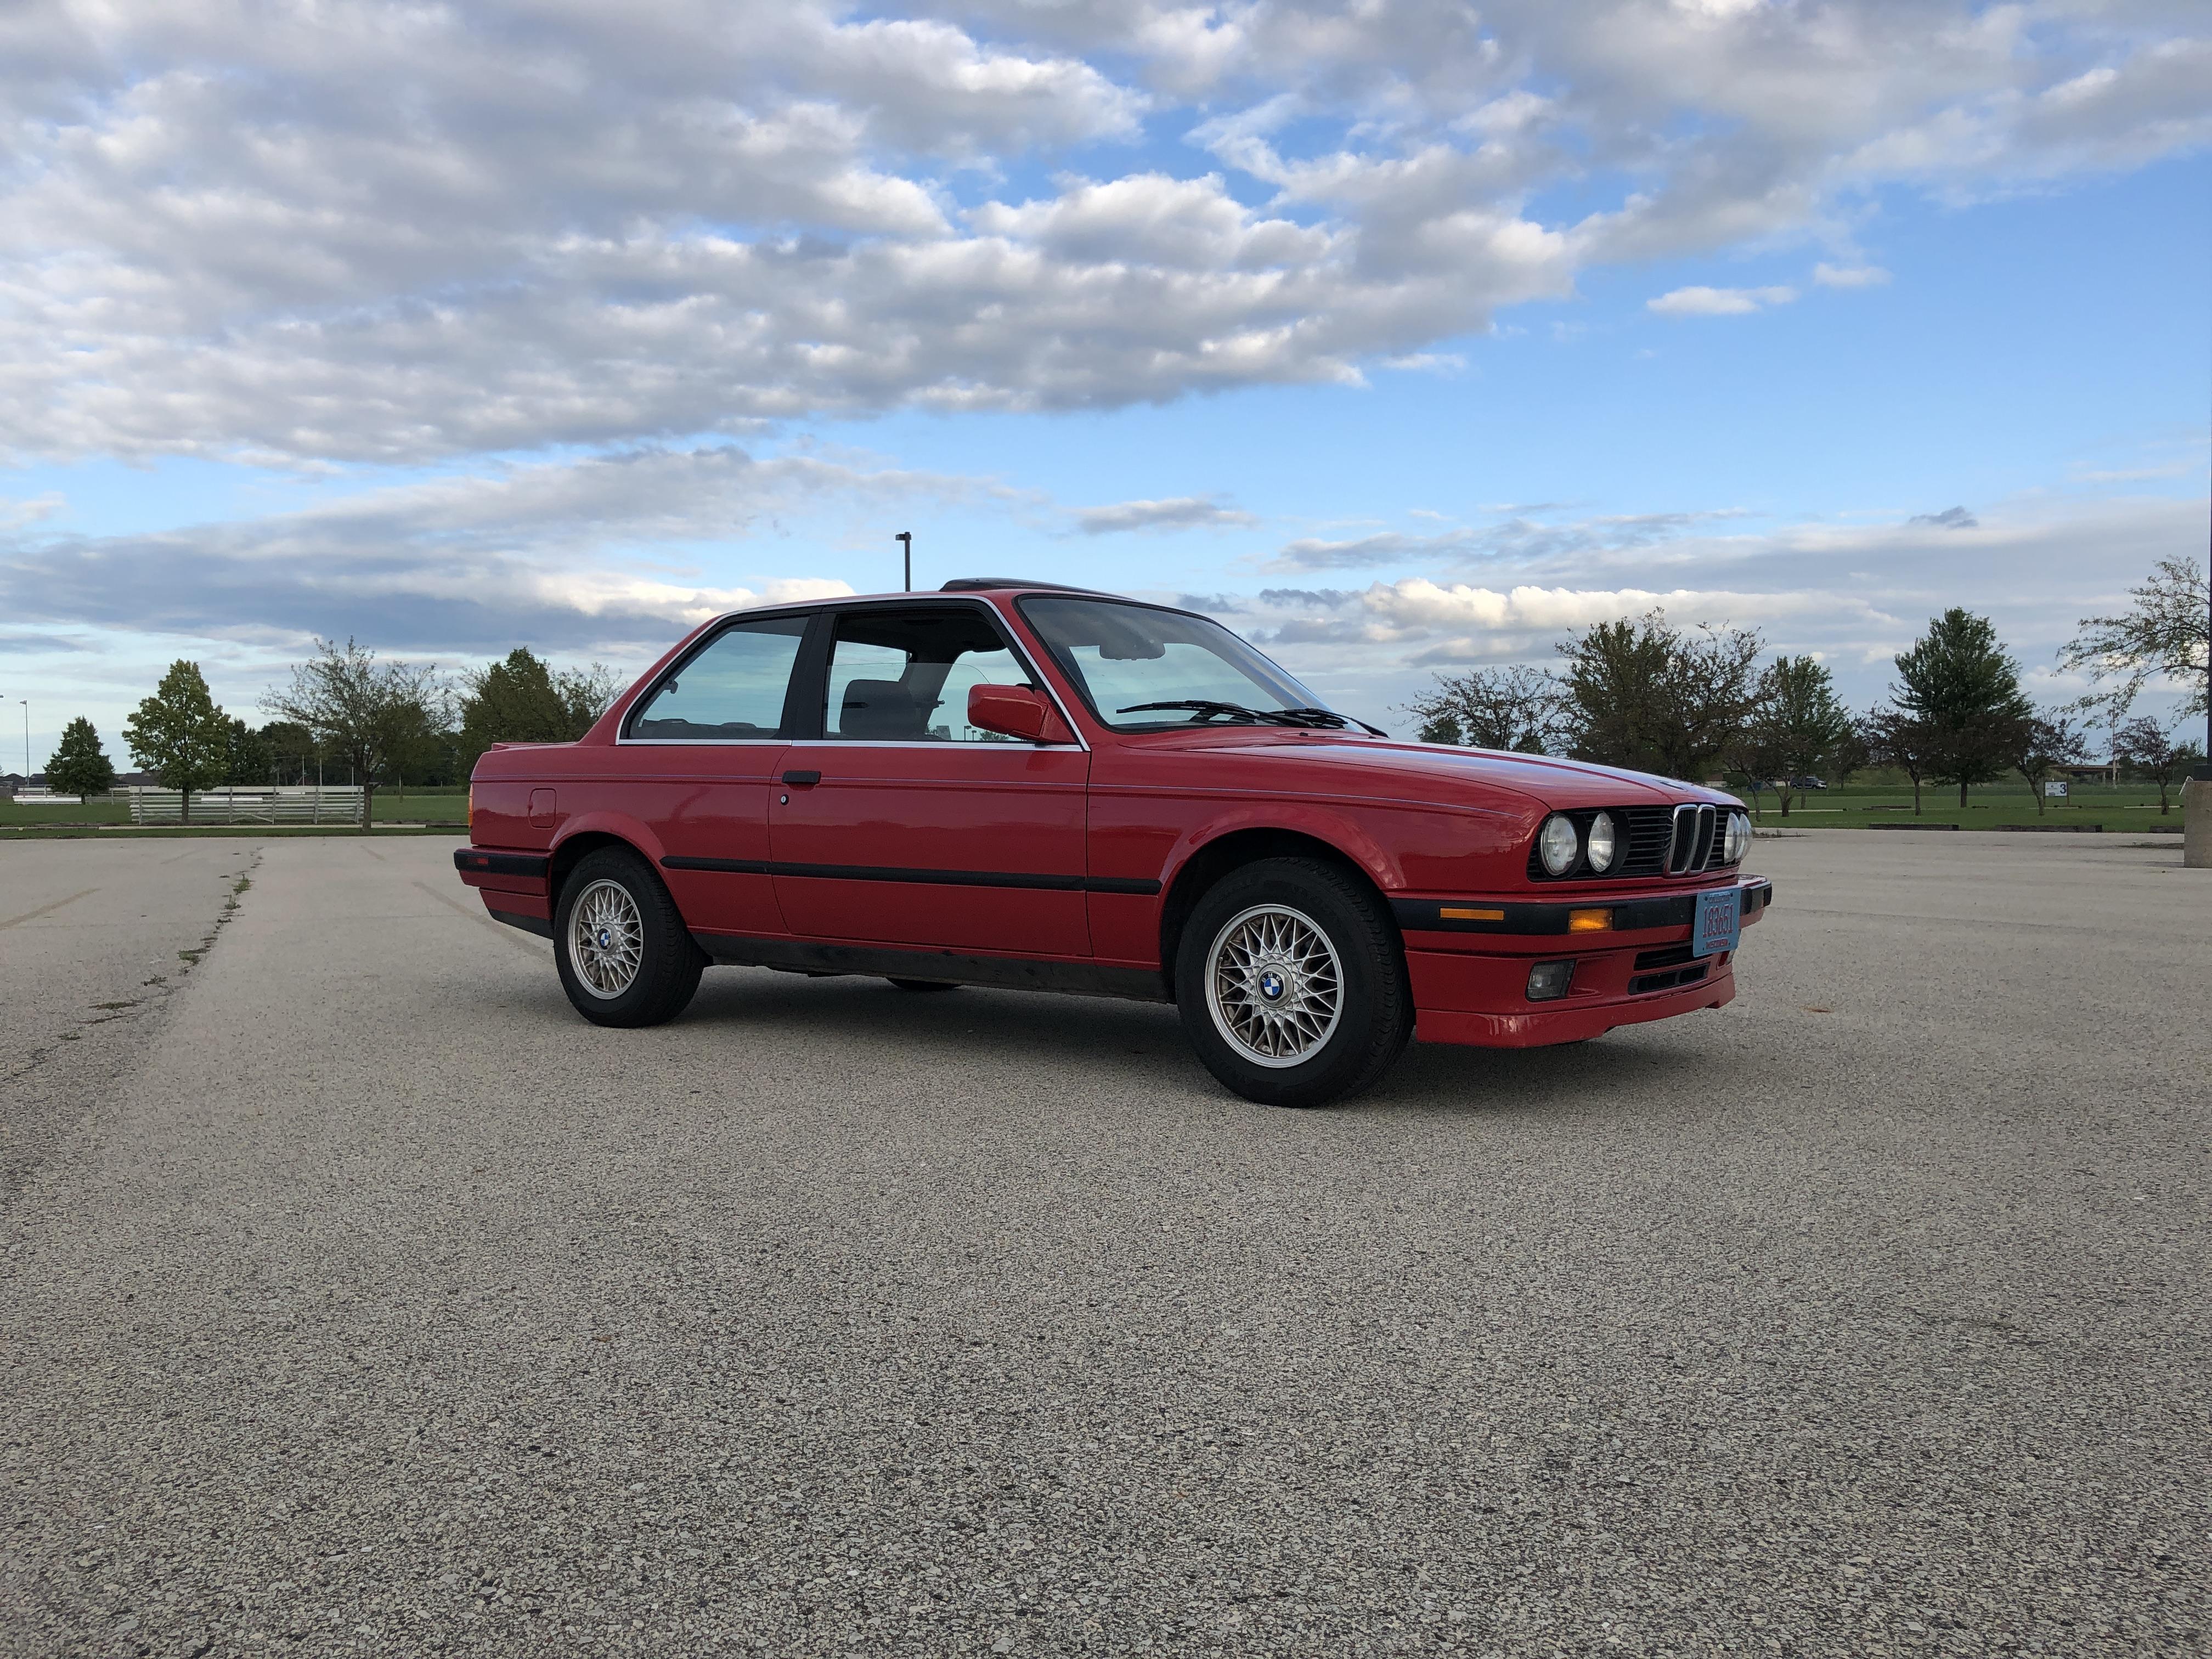
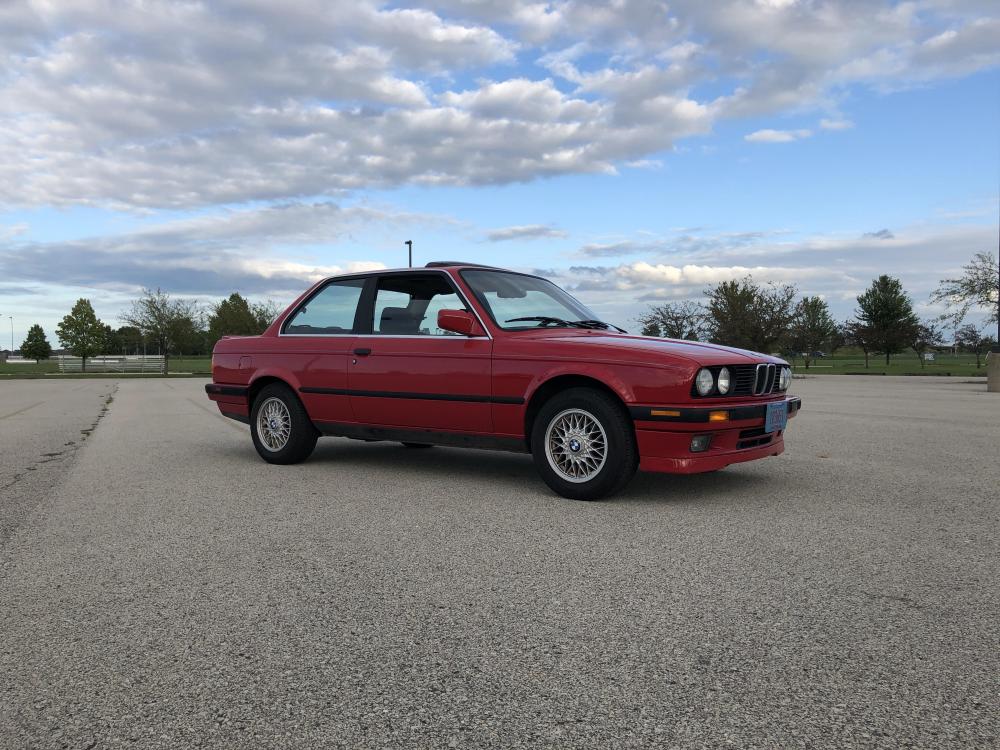
The One That Didn't Get Away [100K Mile E30 325is]
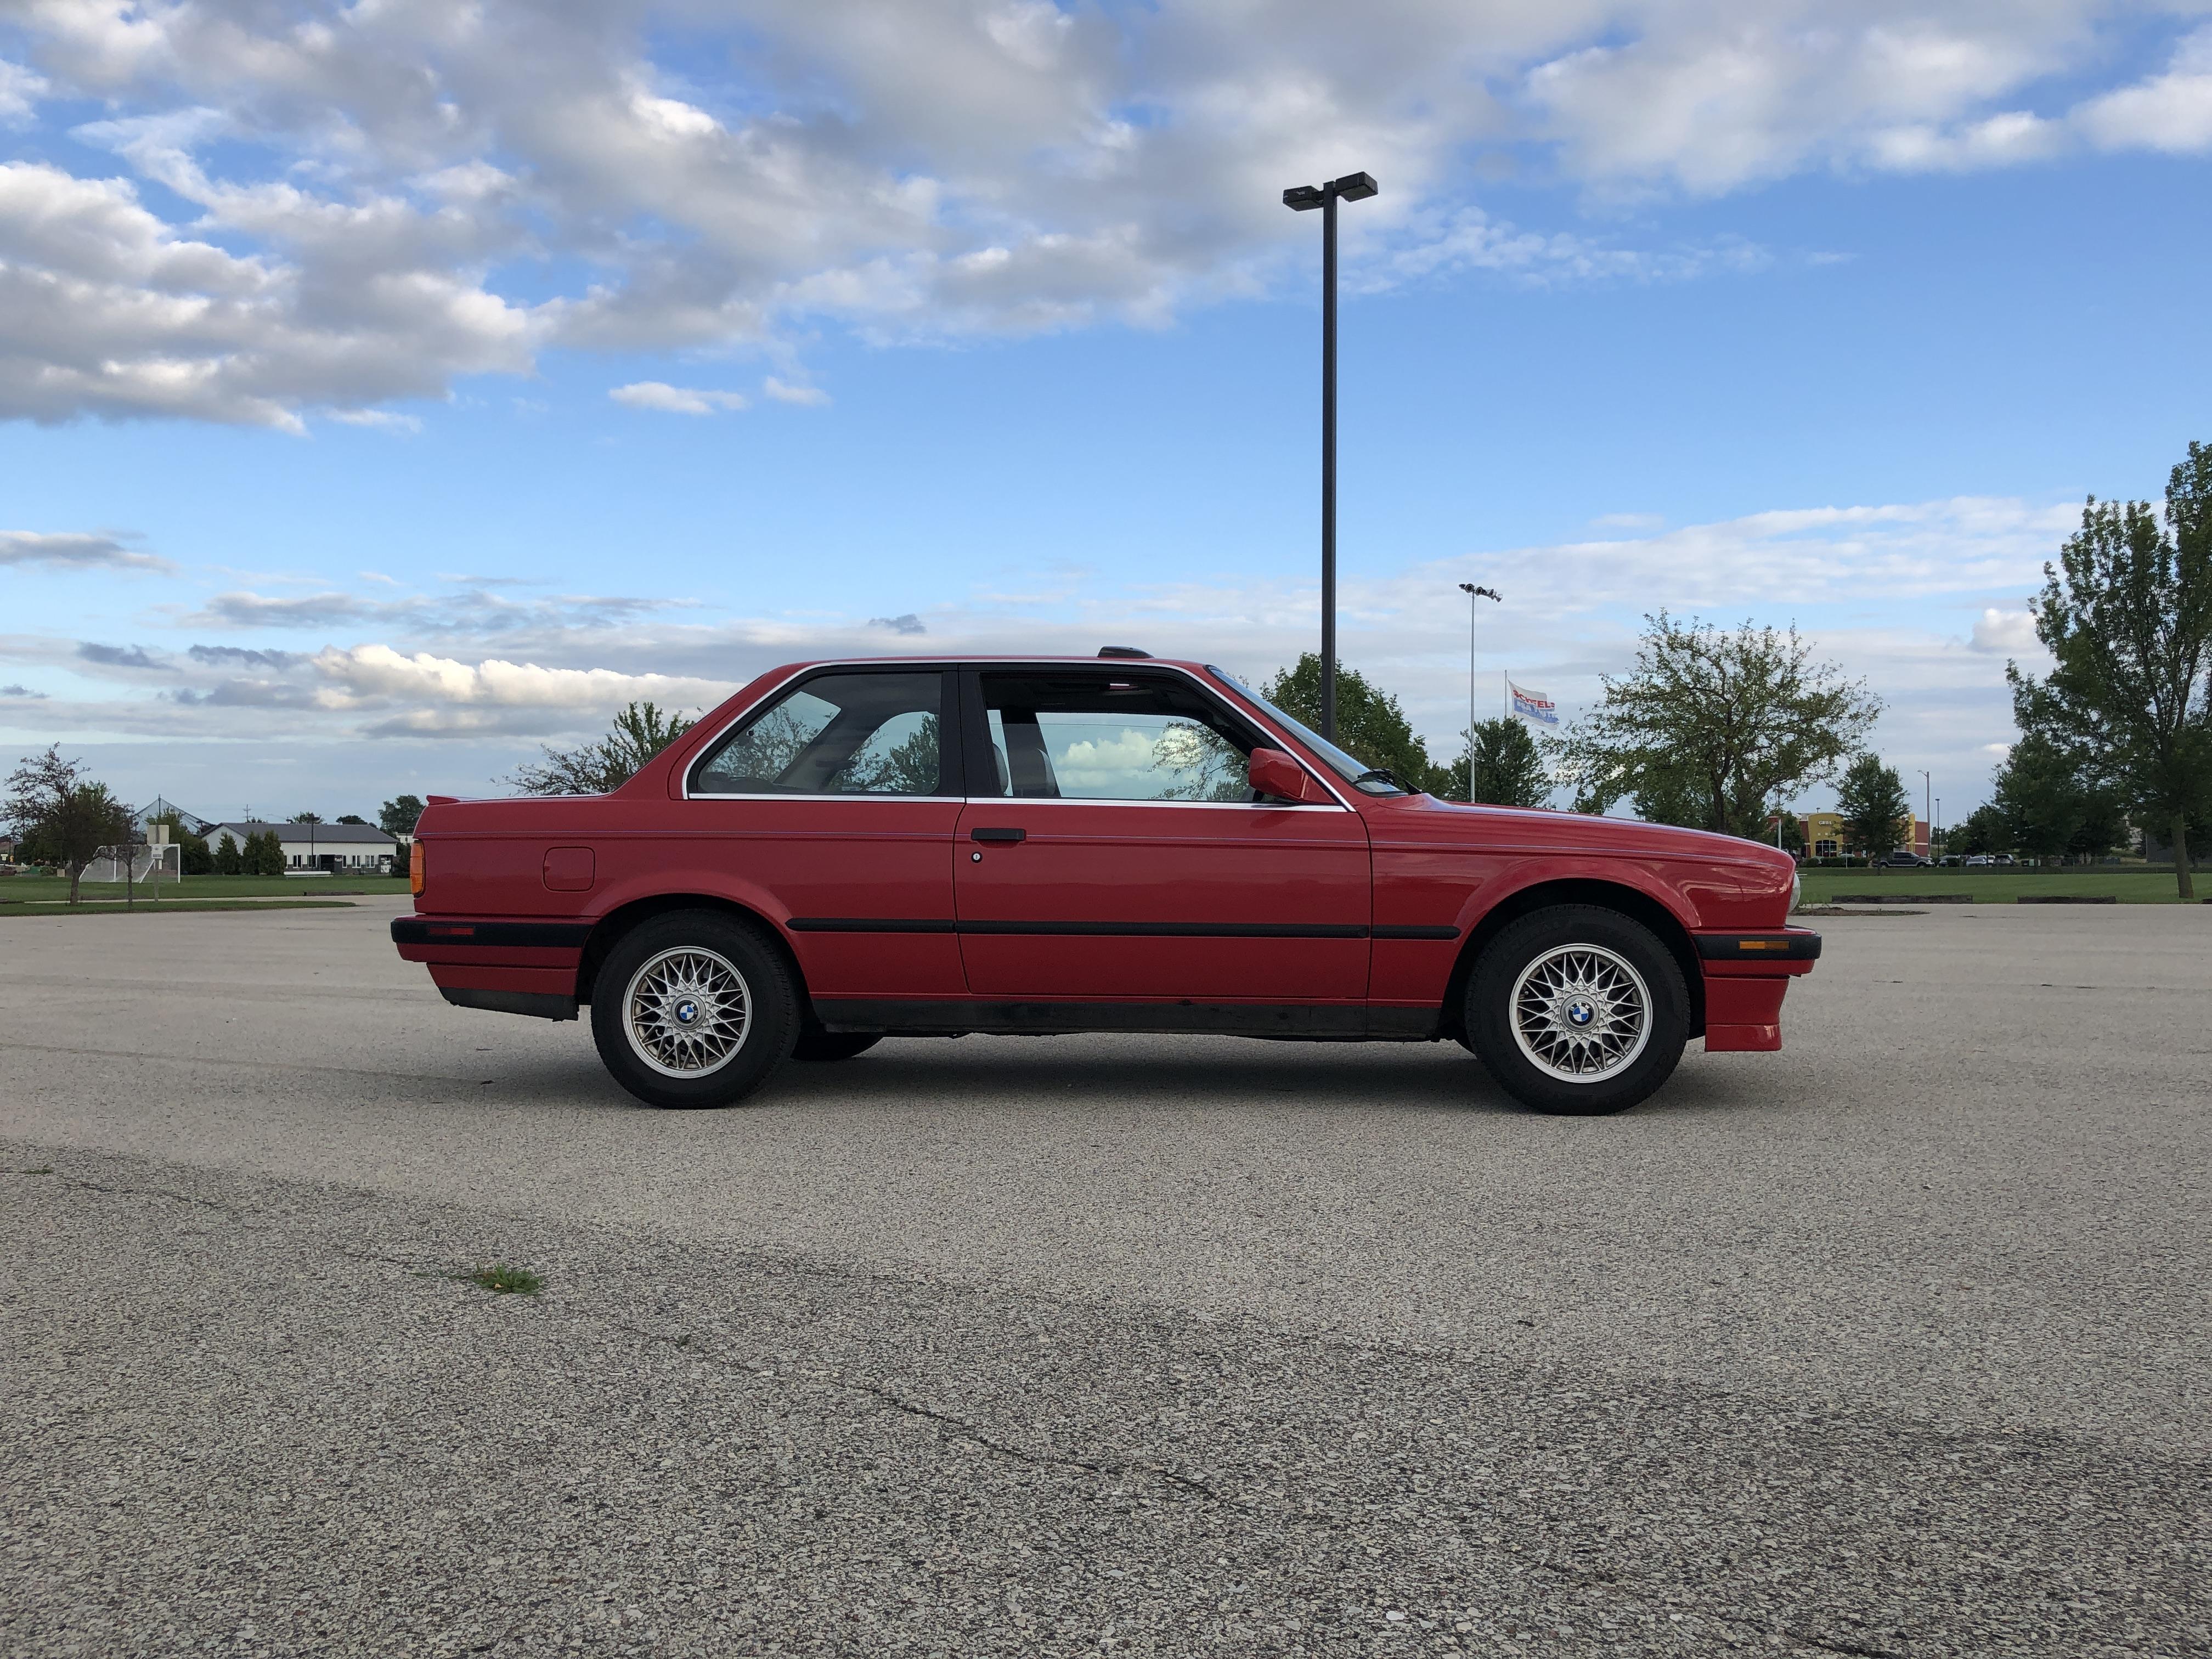
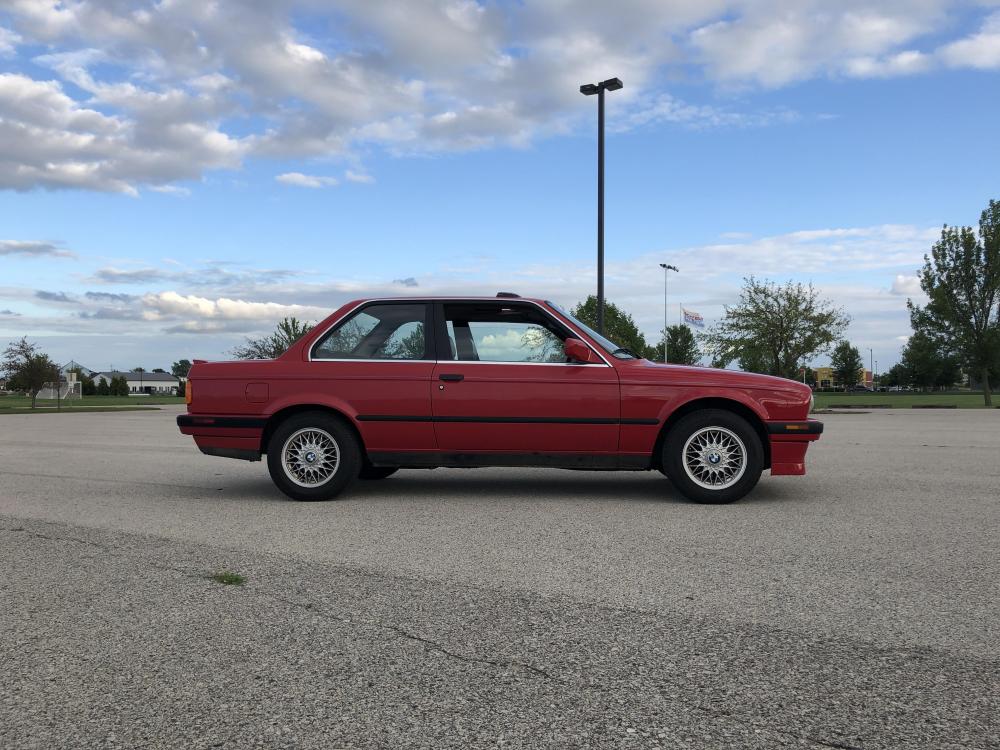
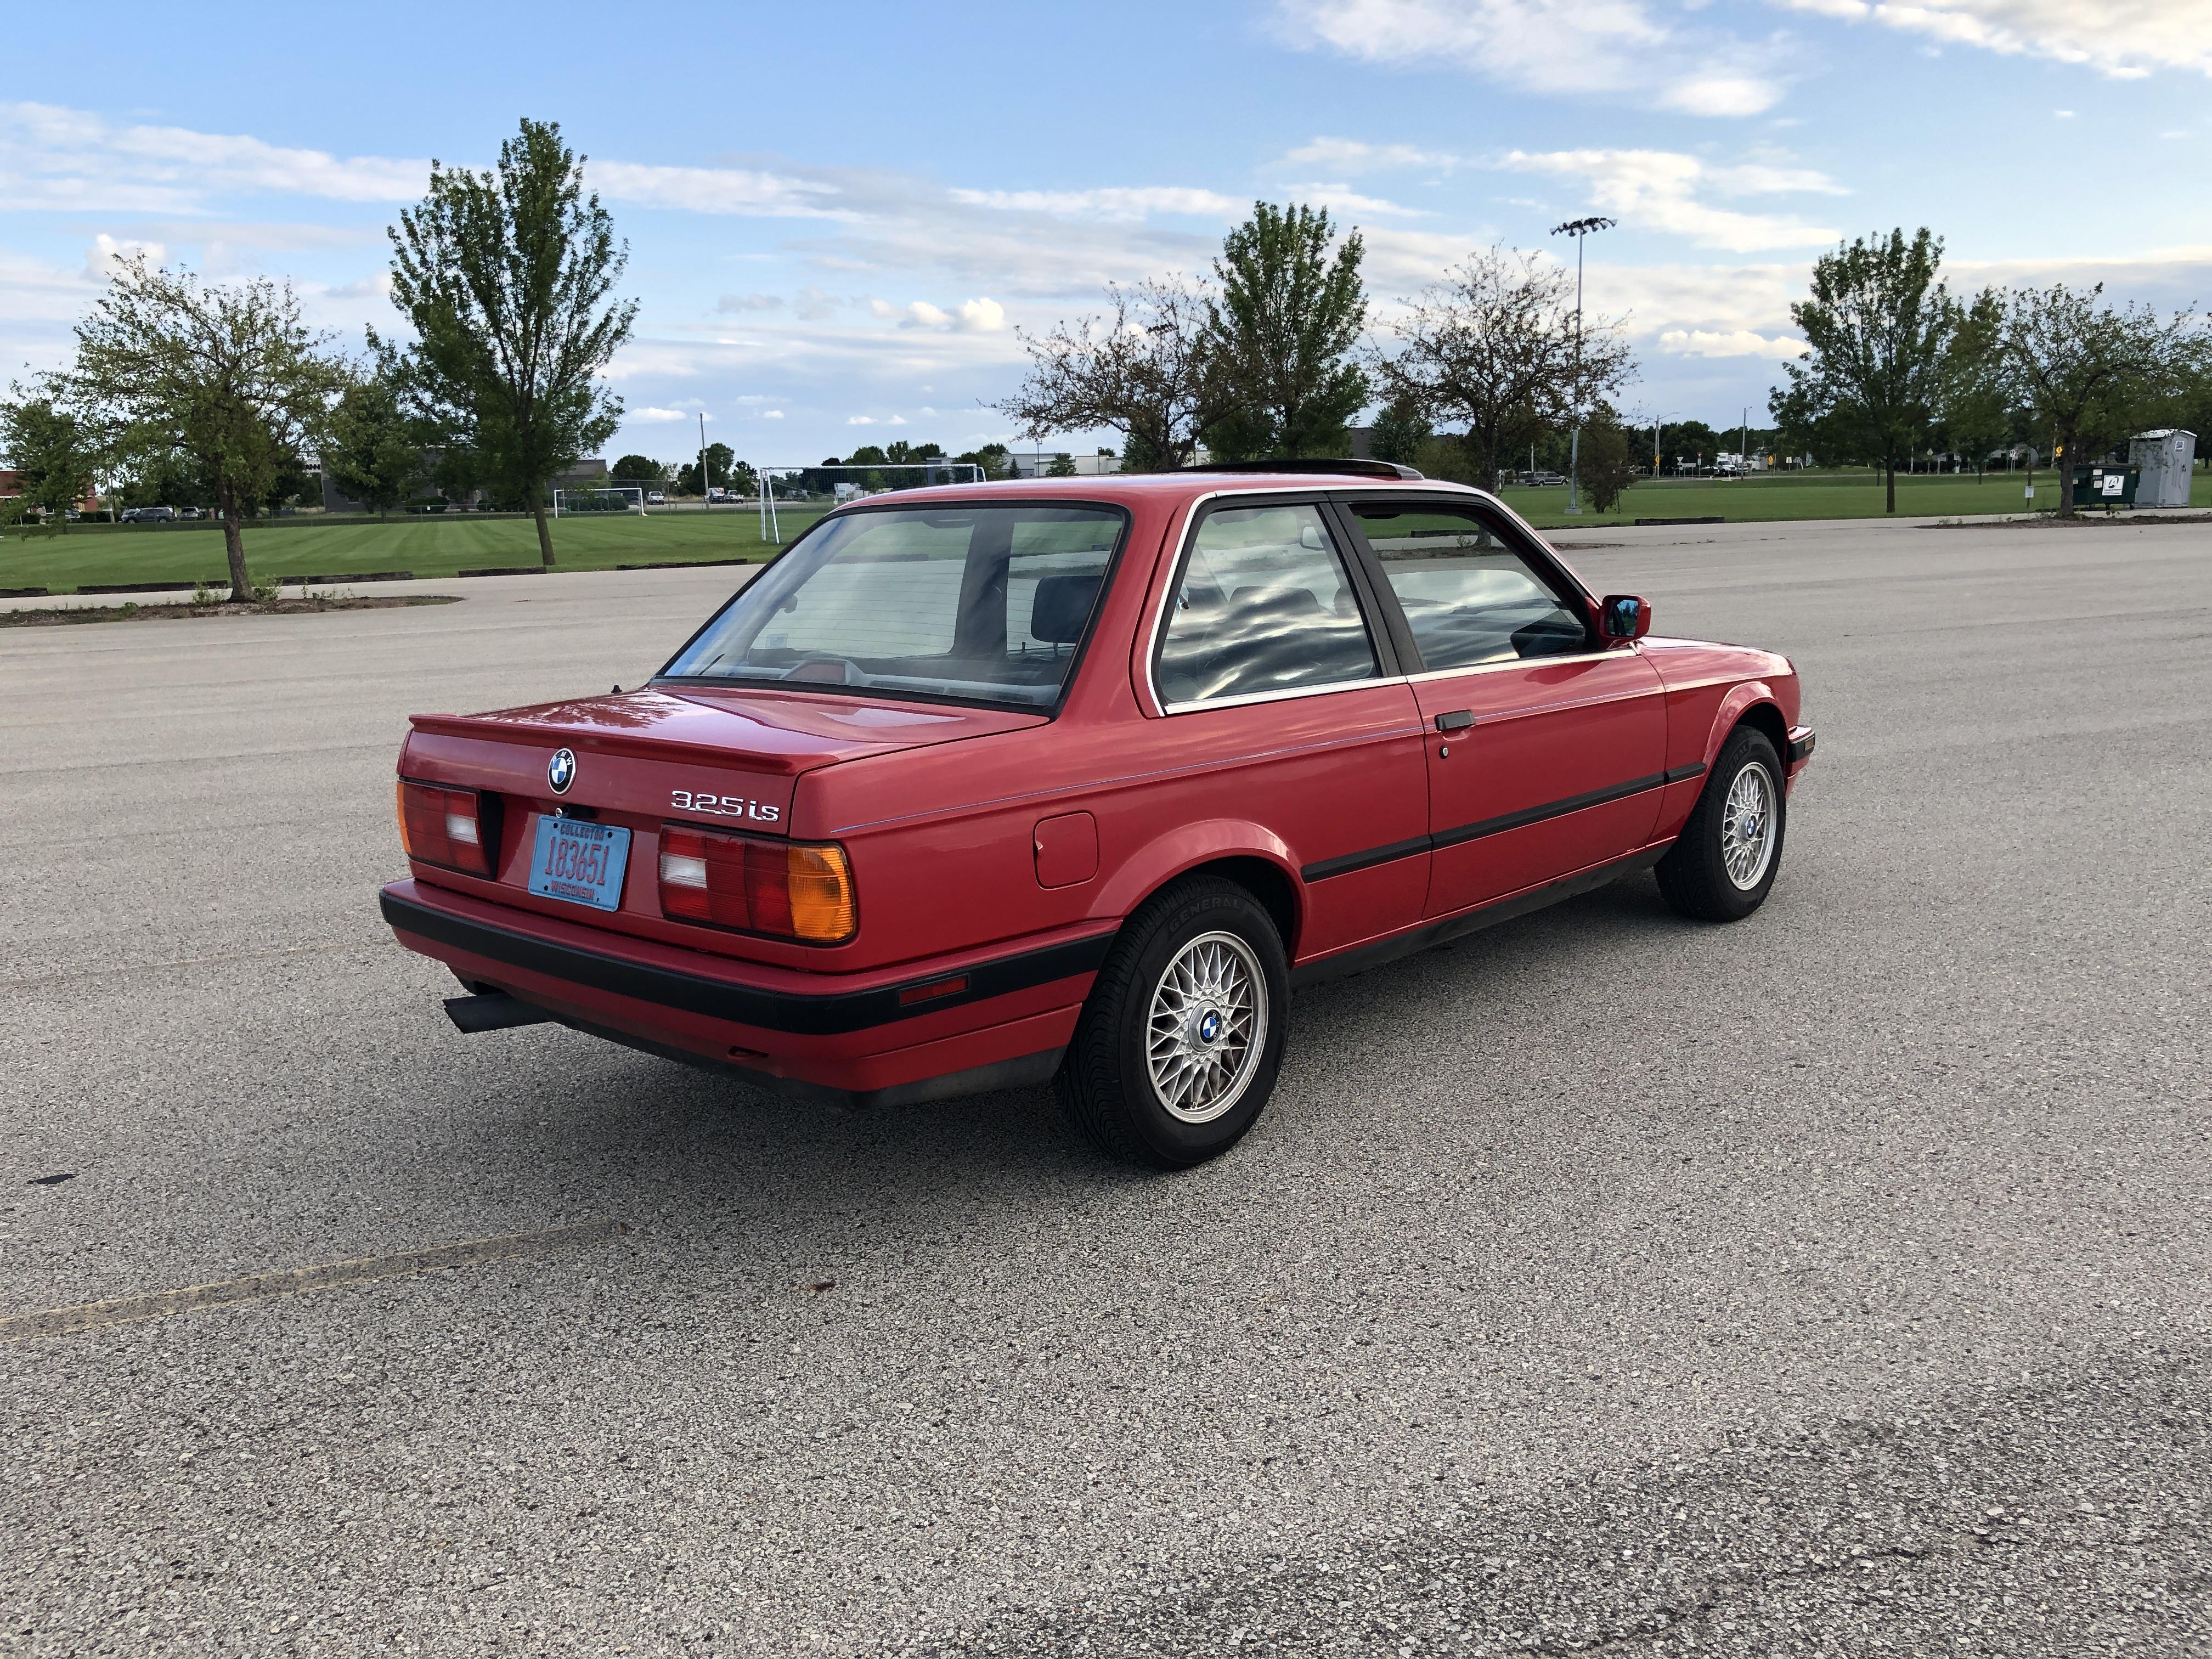
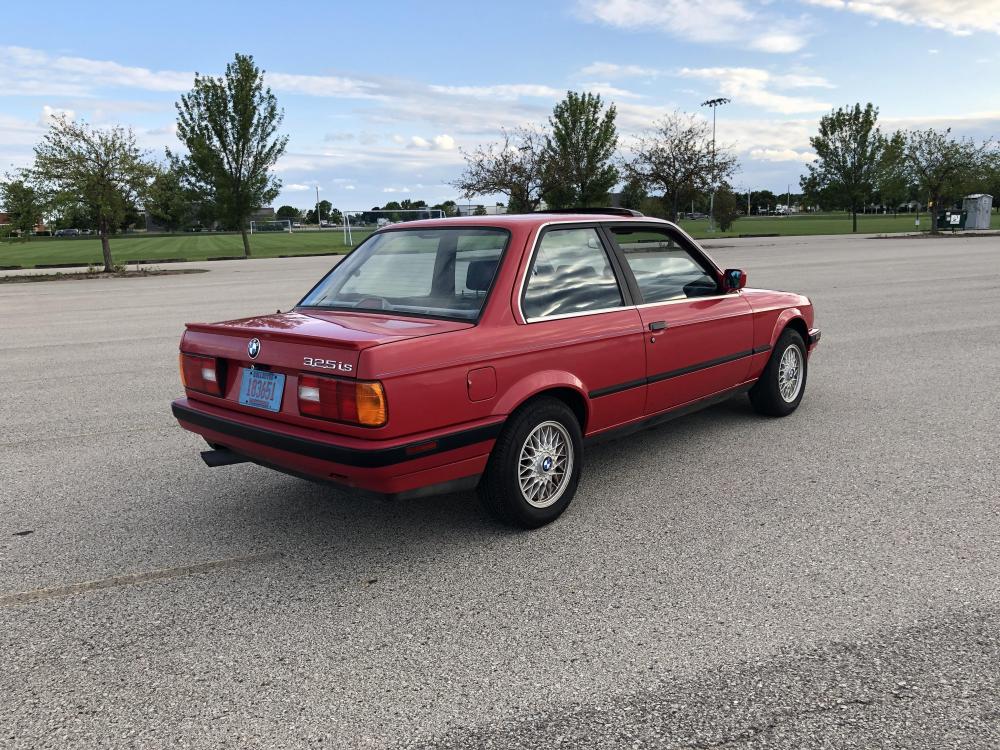
-
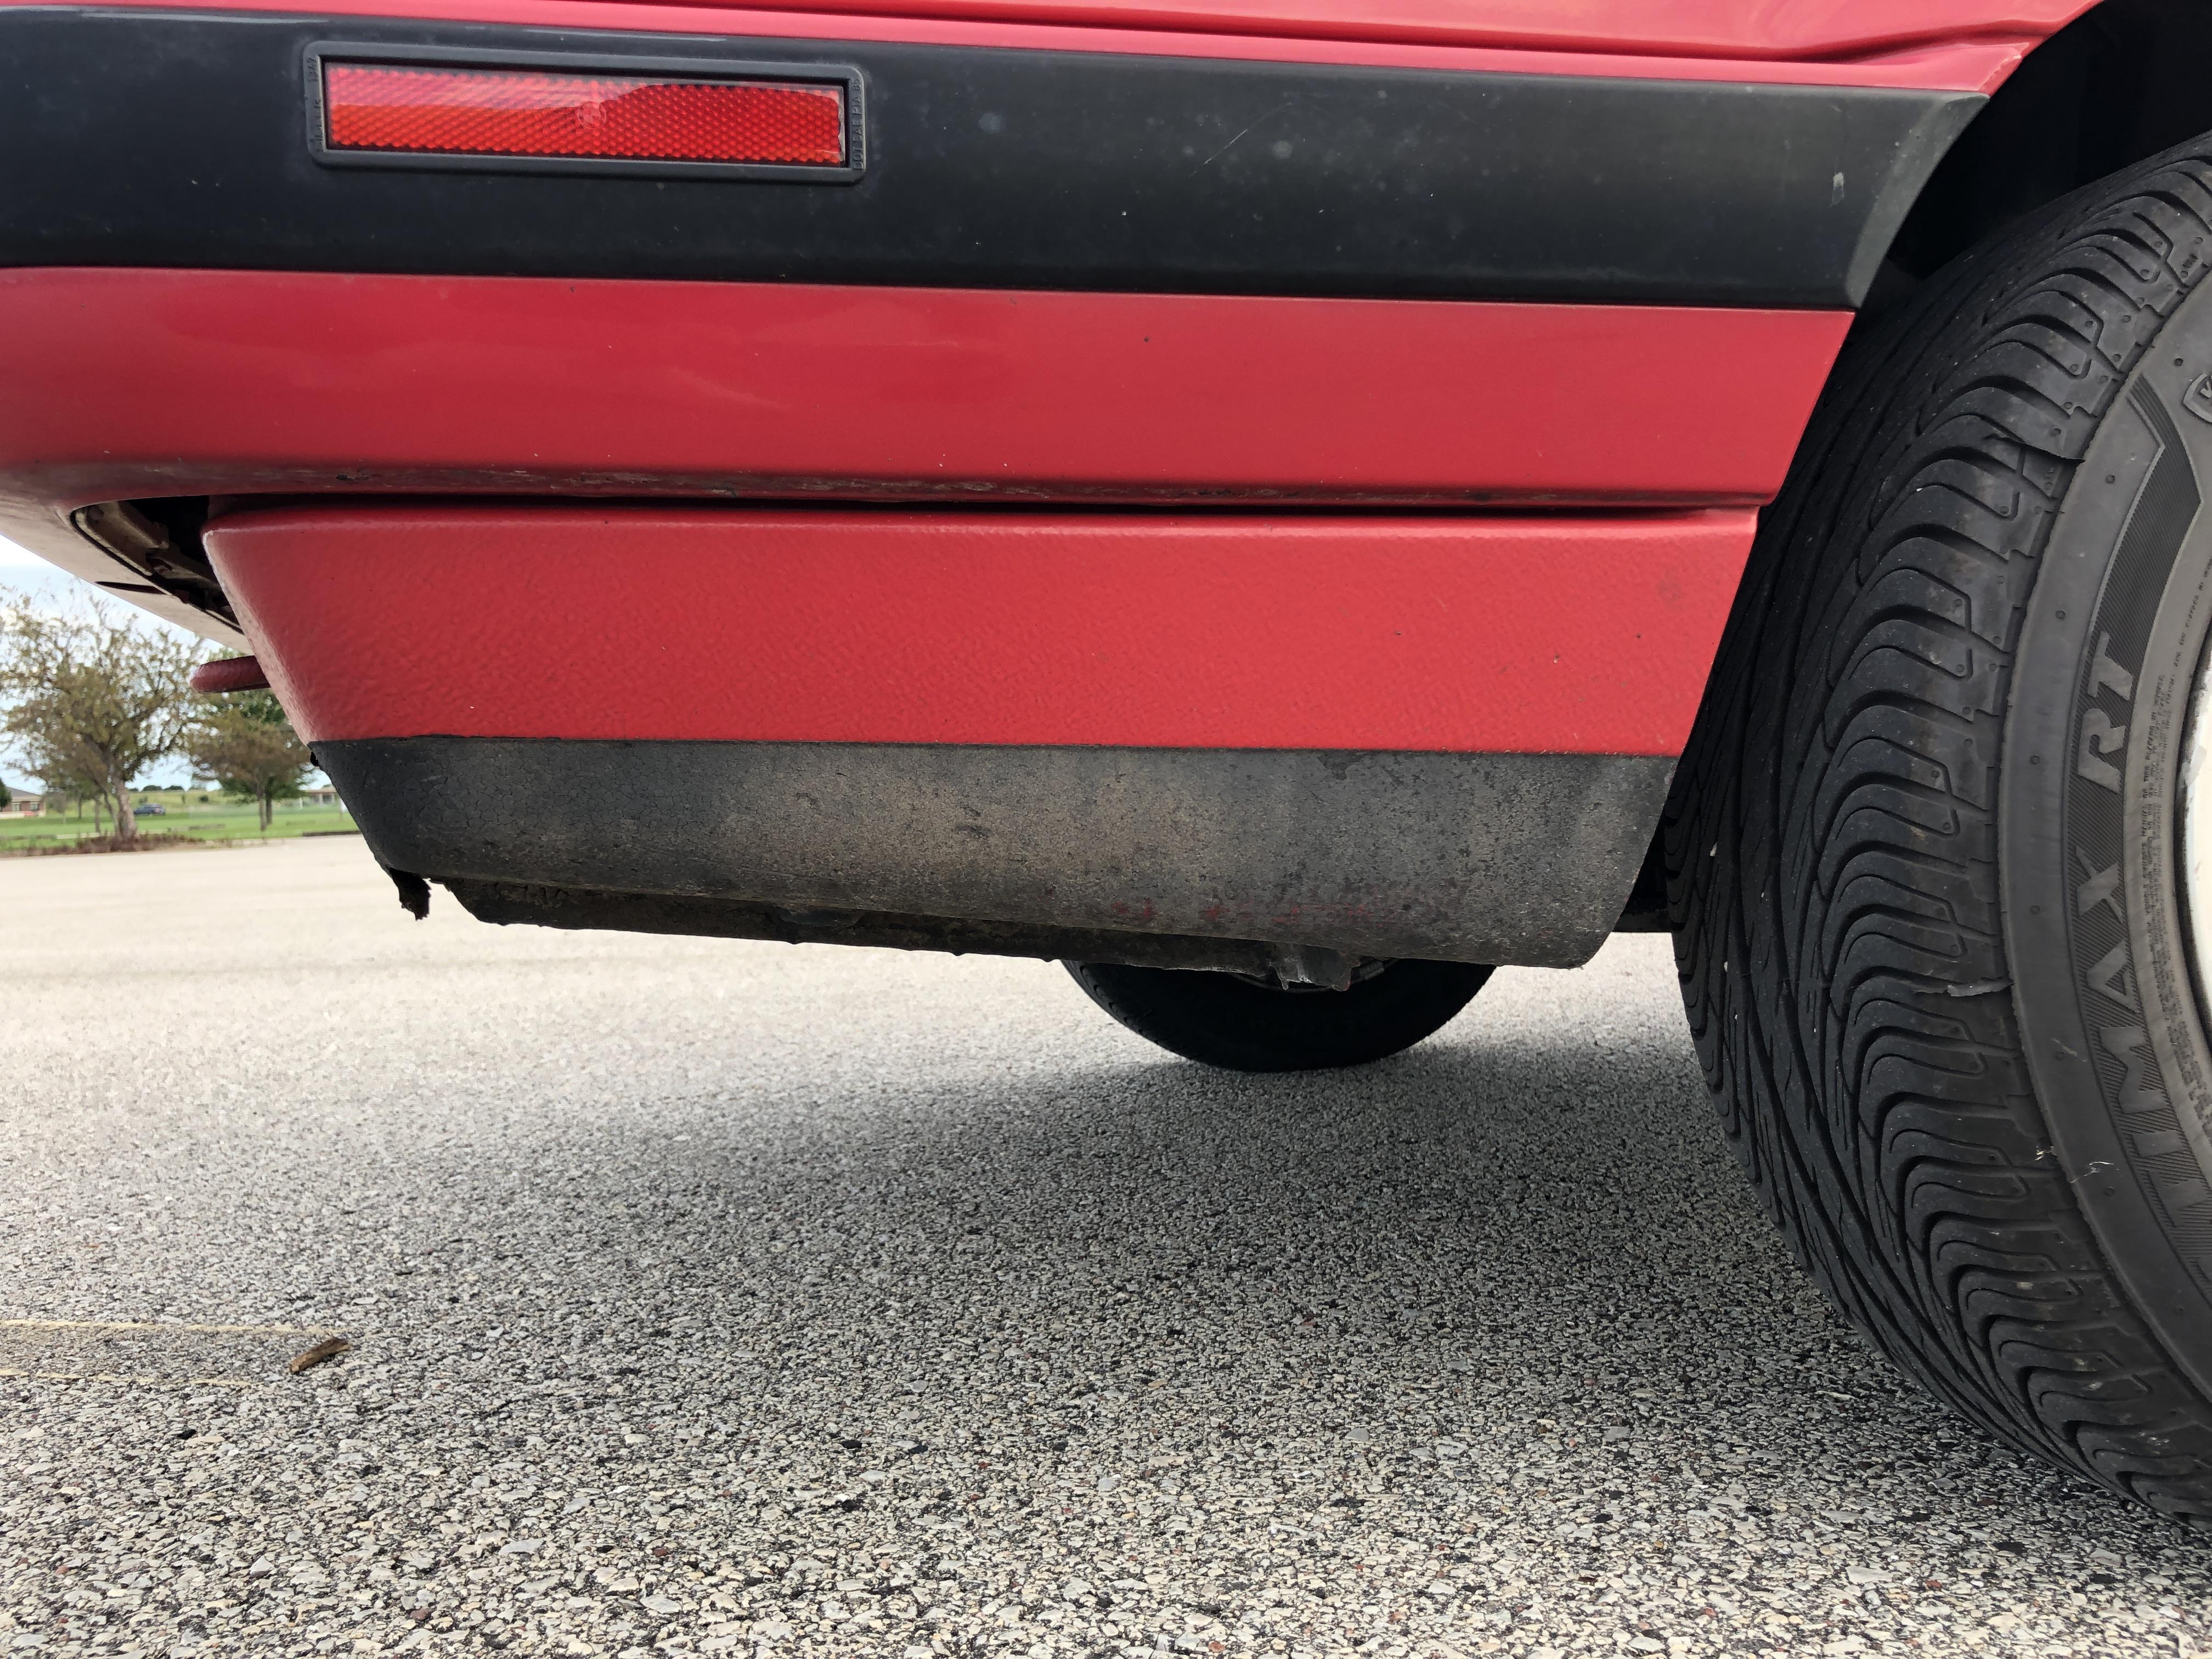
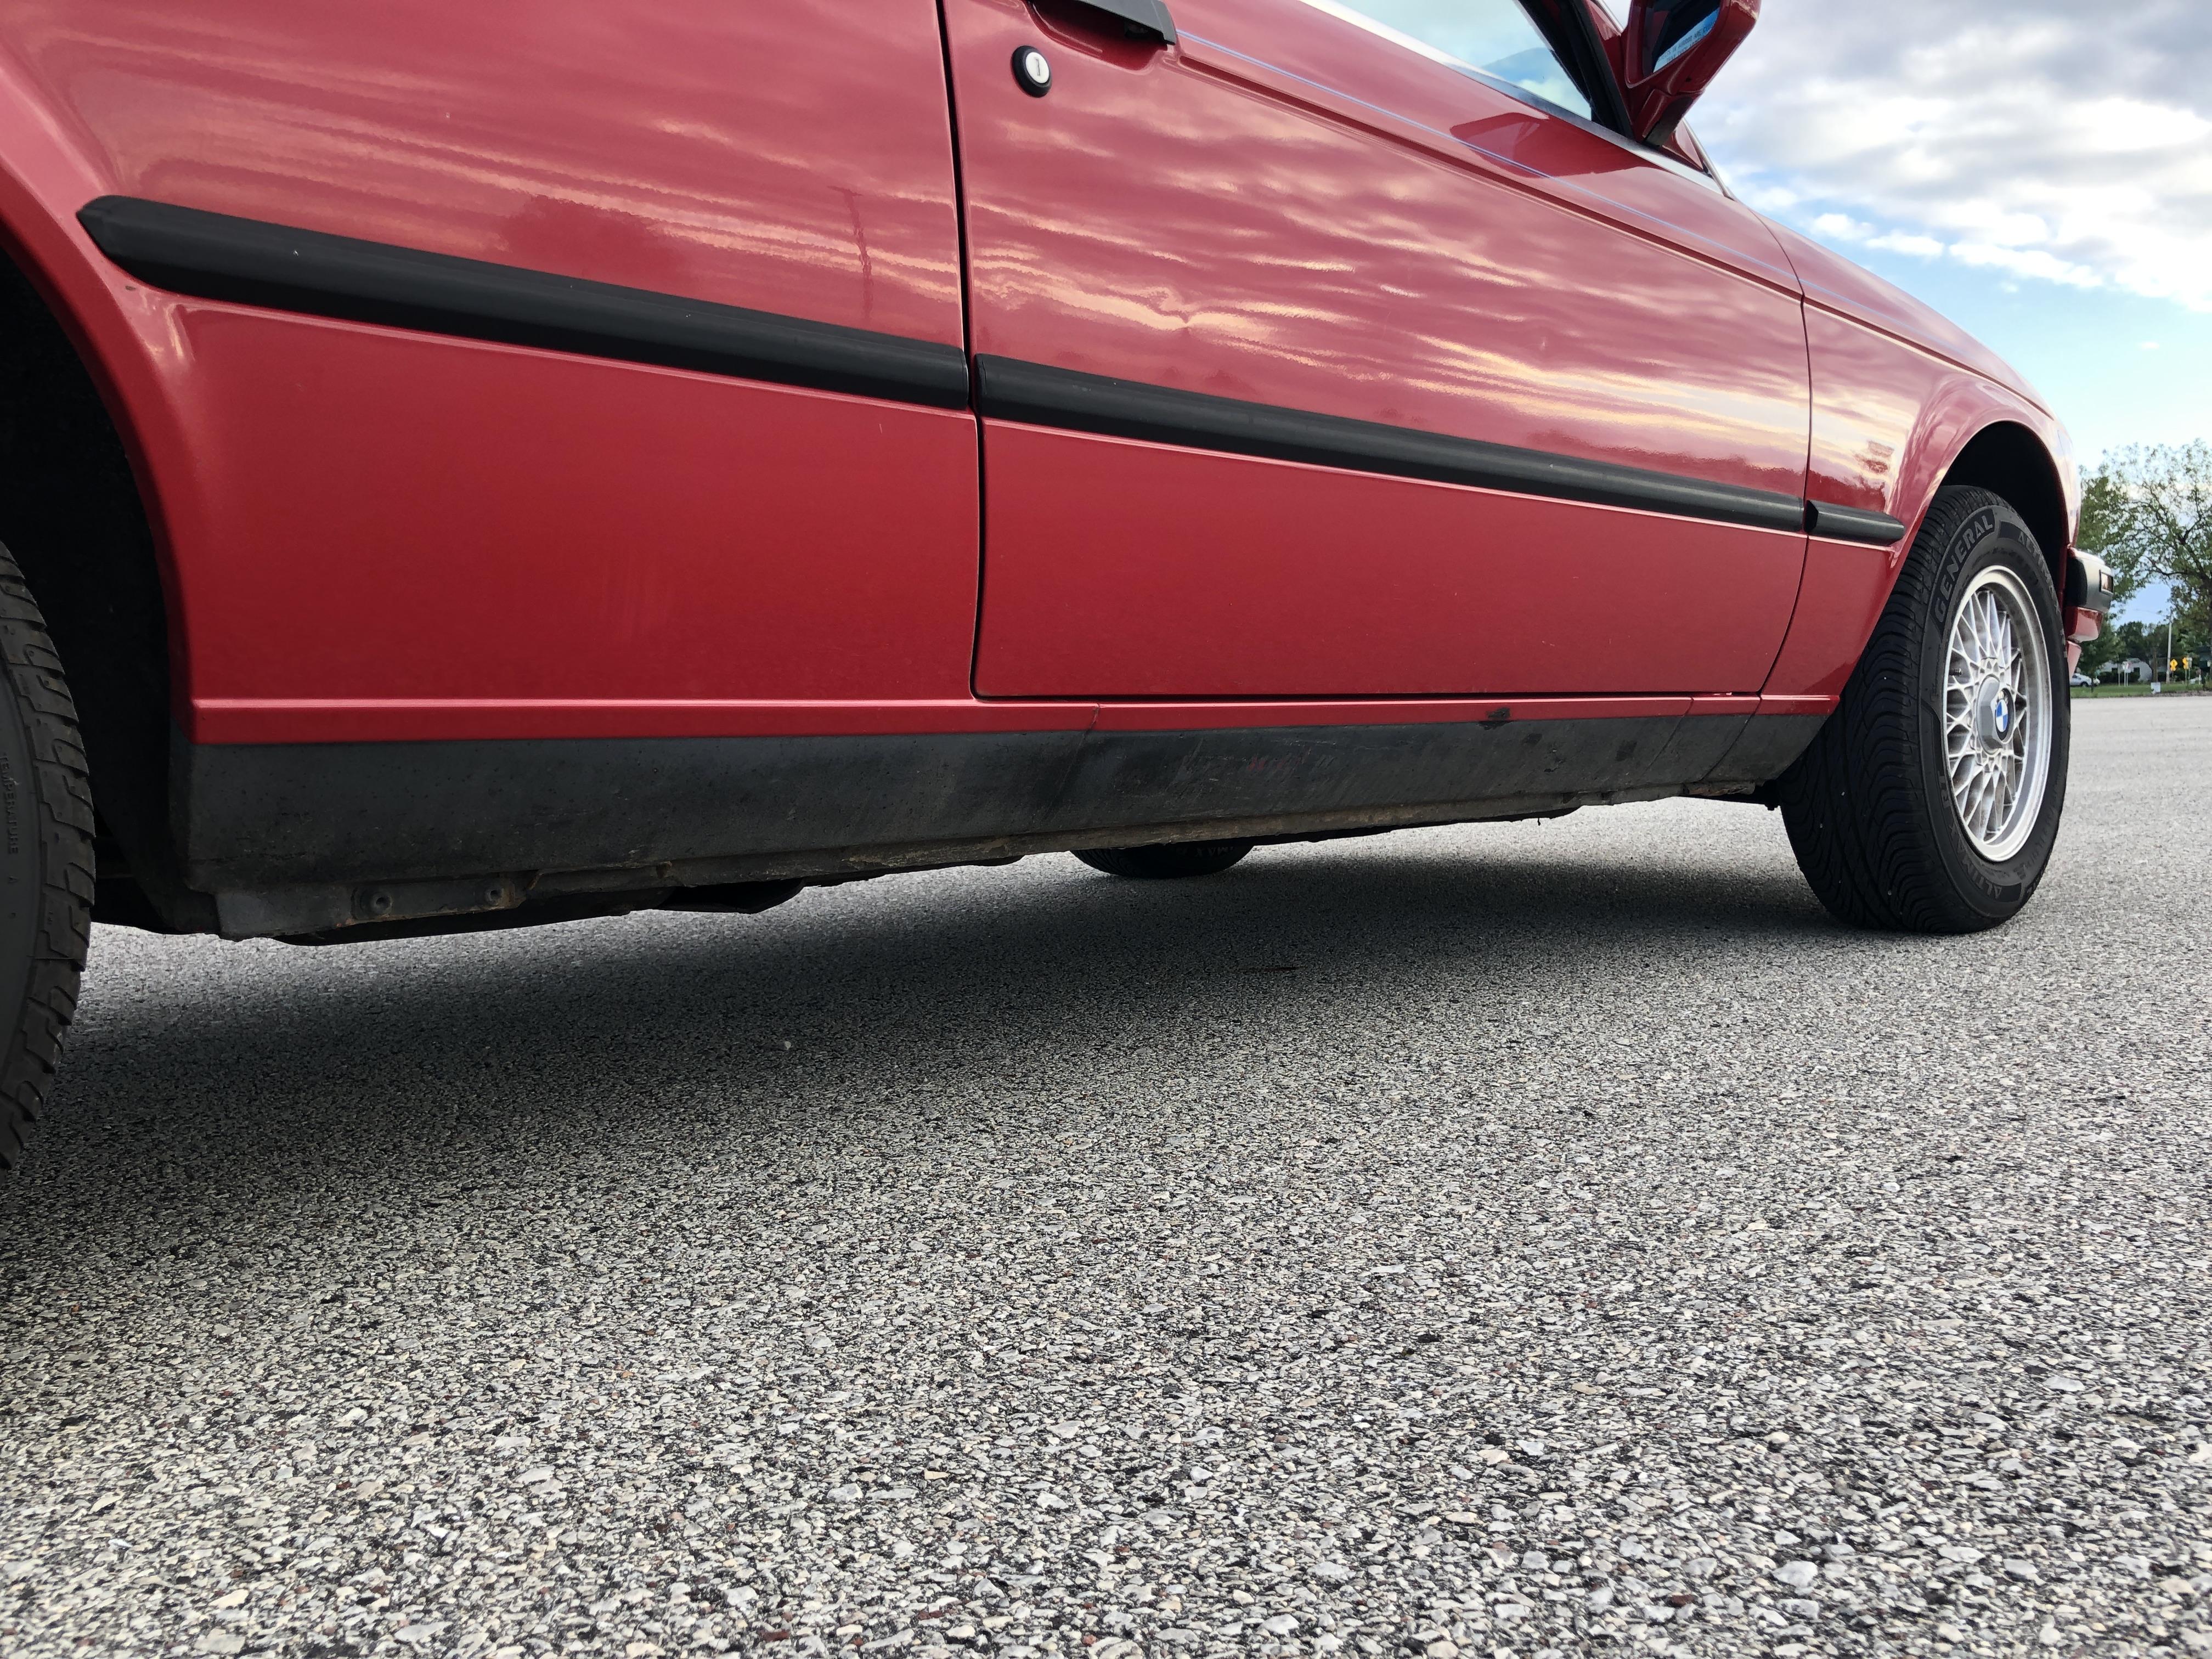
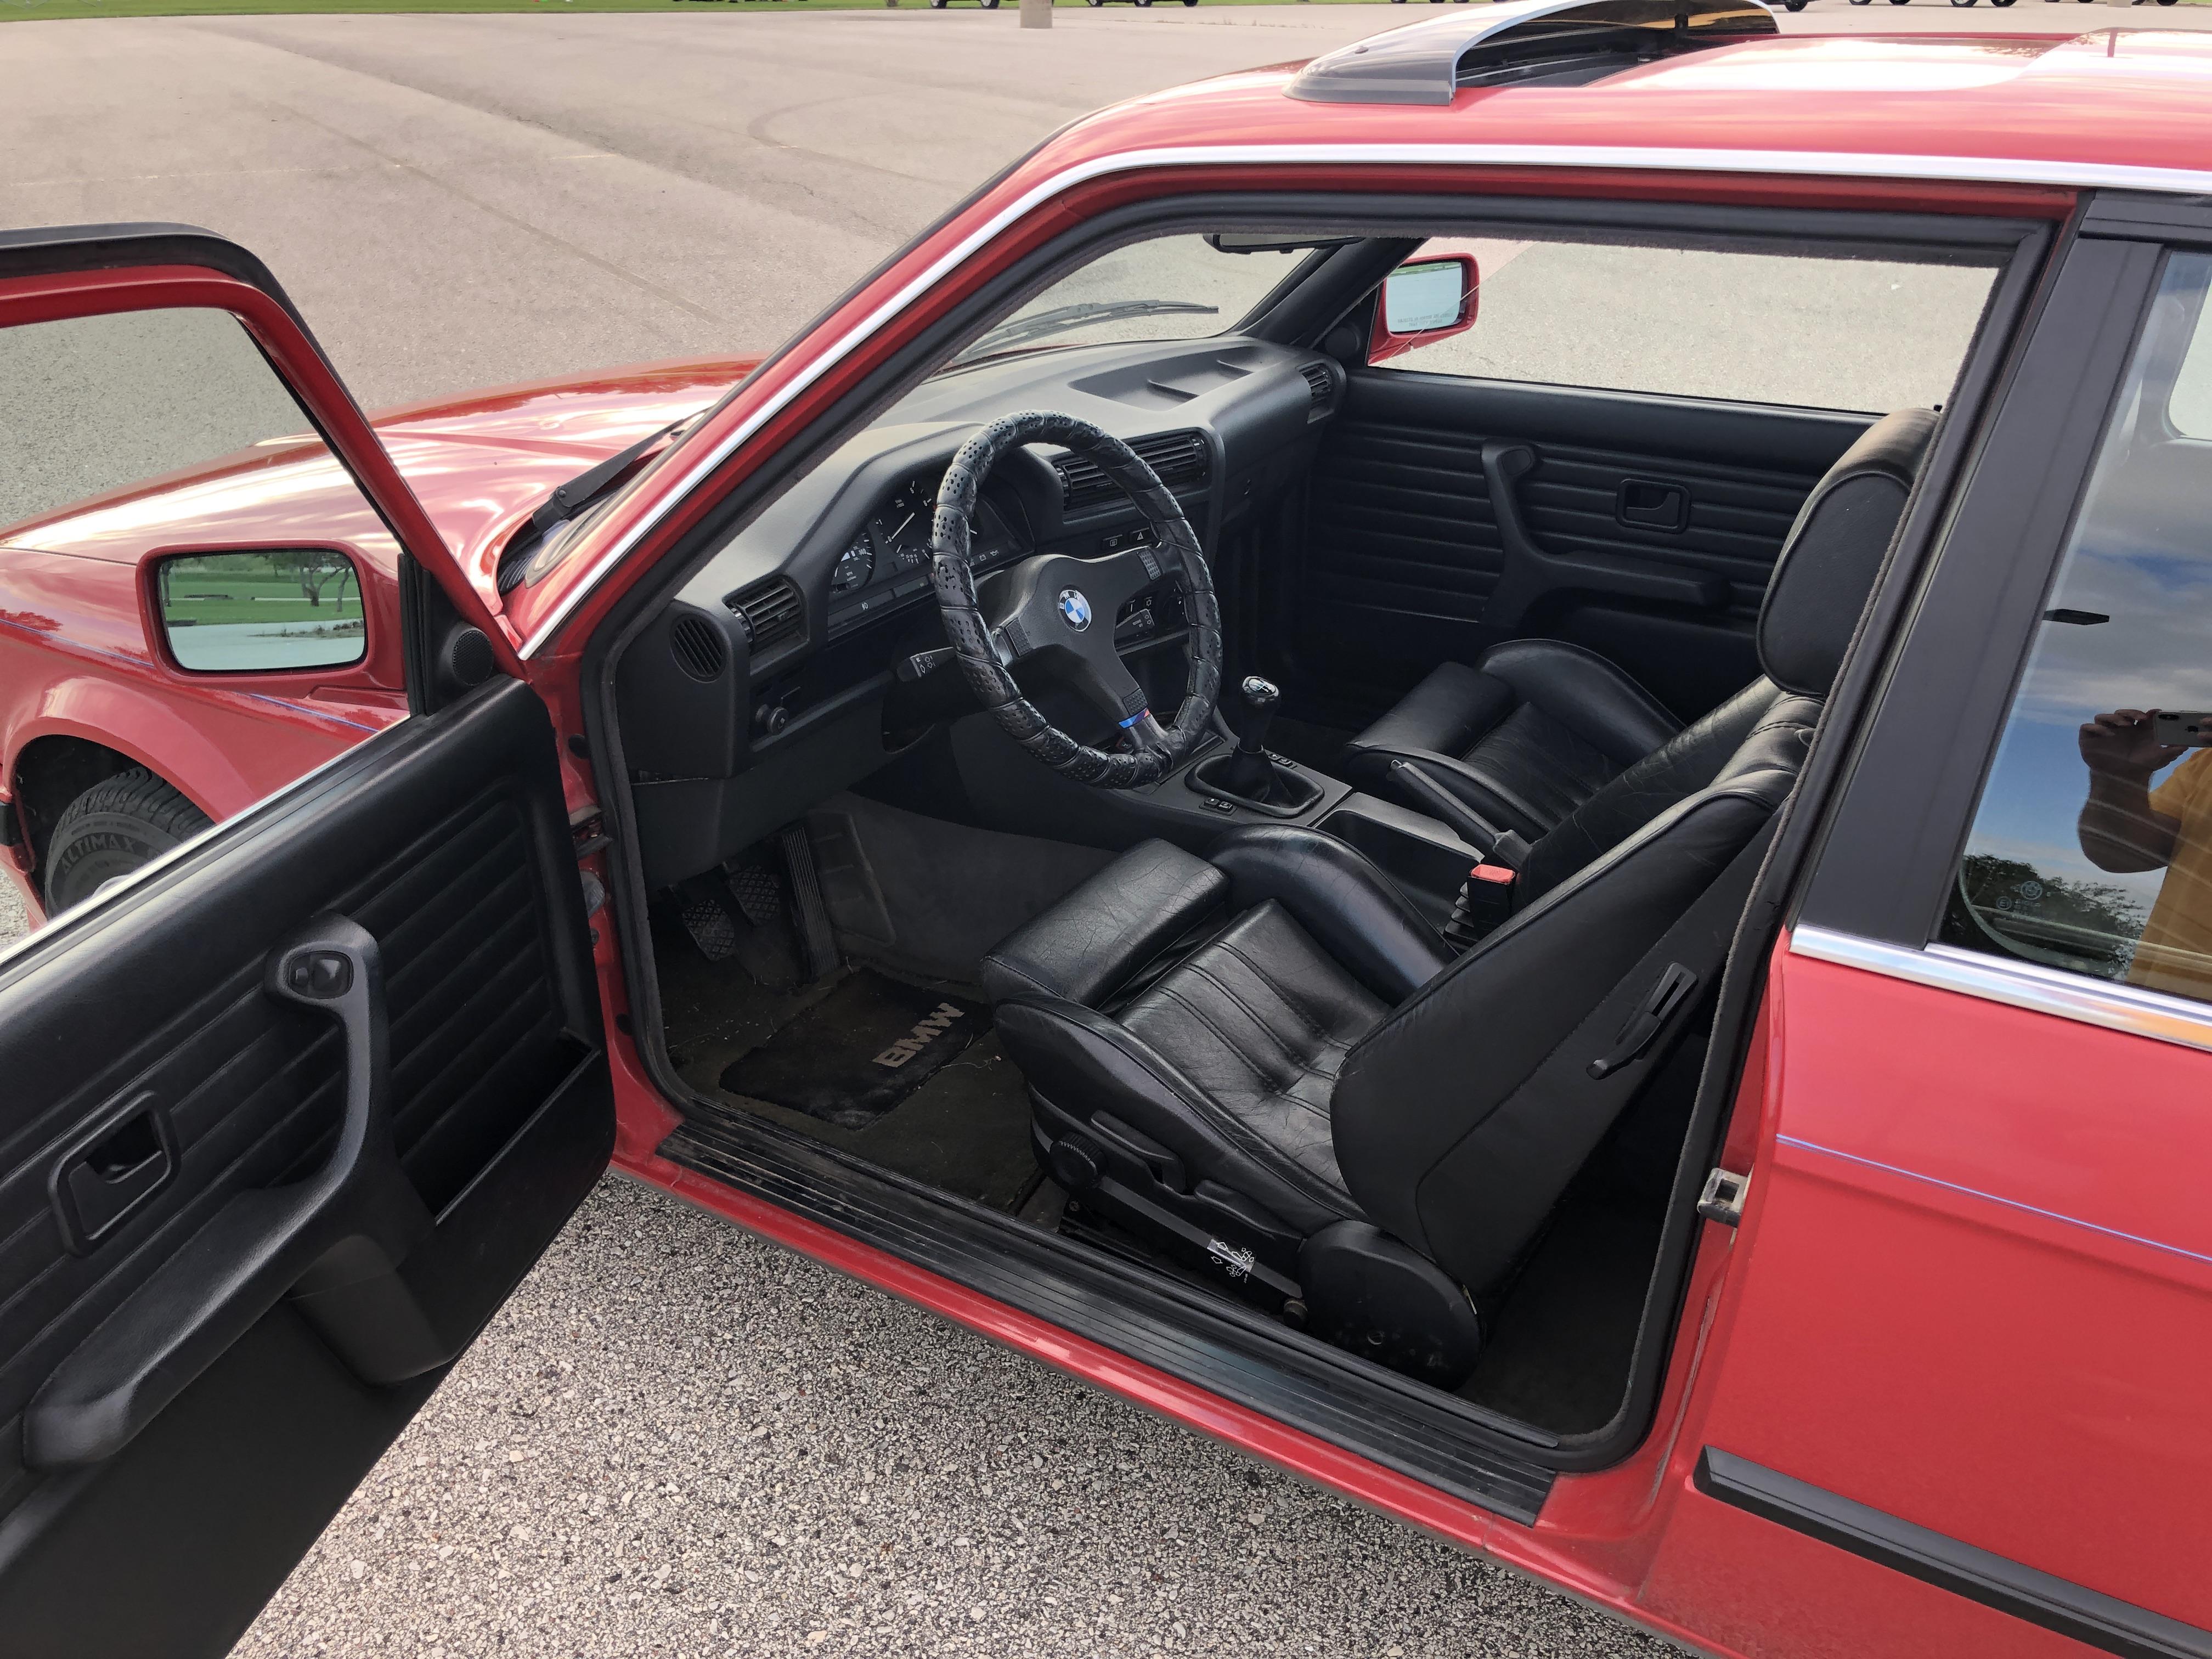
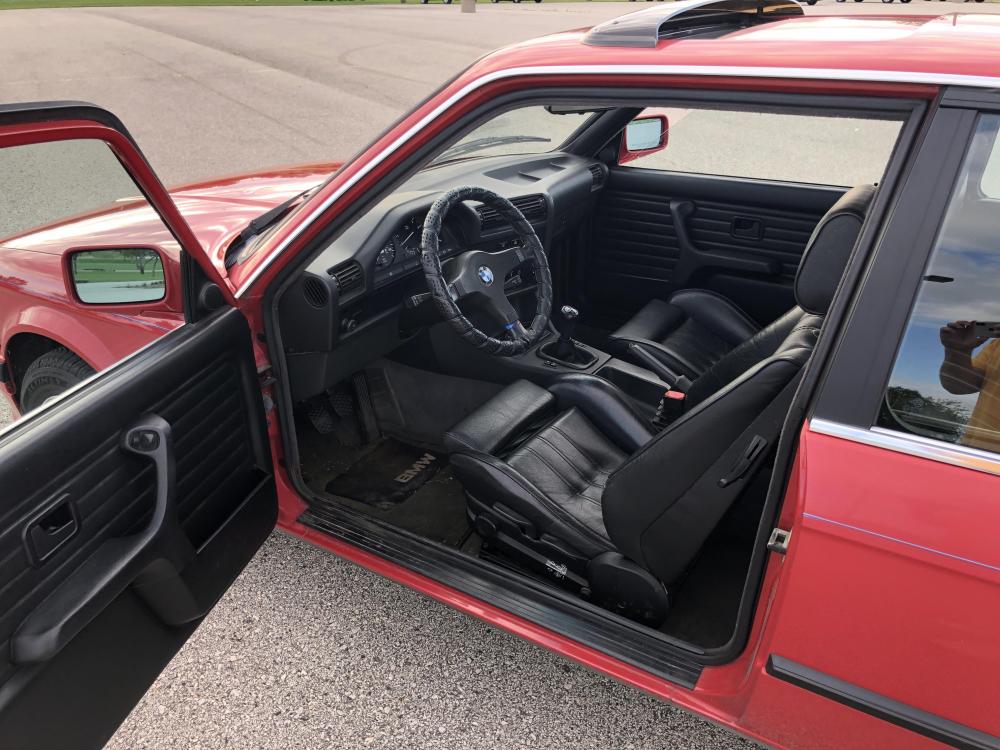
I love those finds where the story is better than the purchase.
-
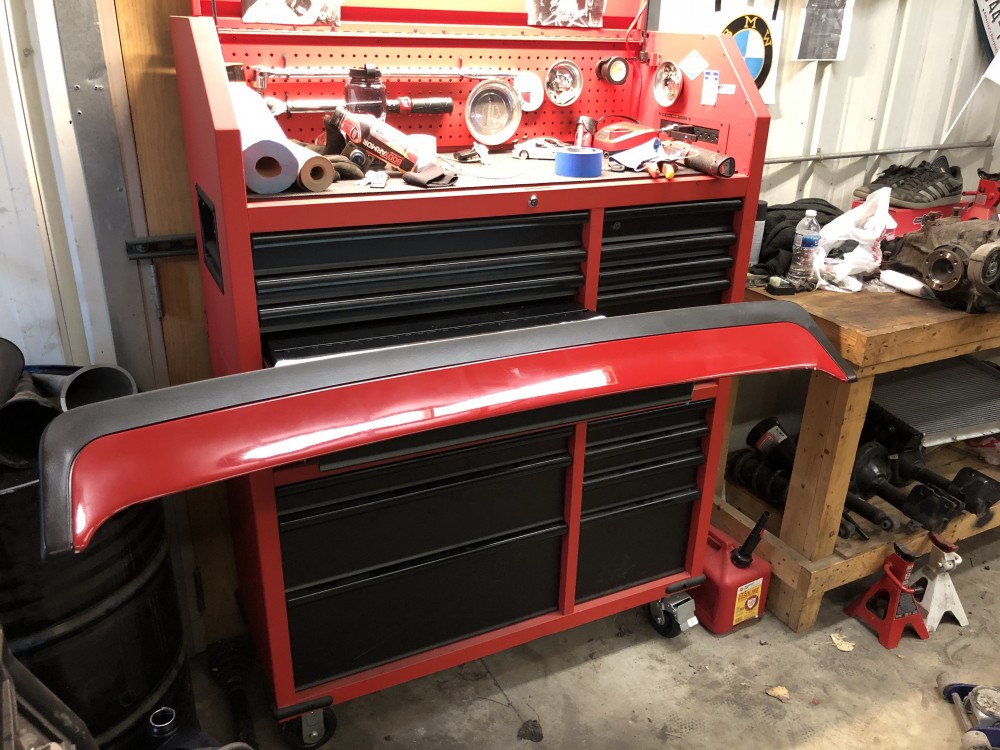
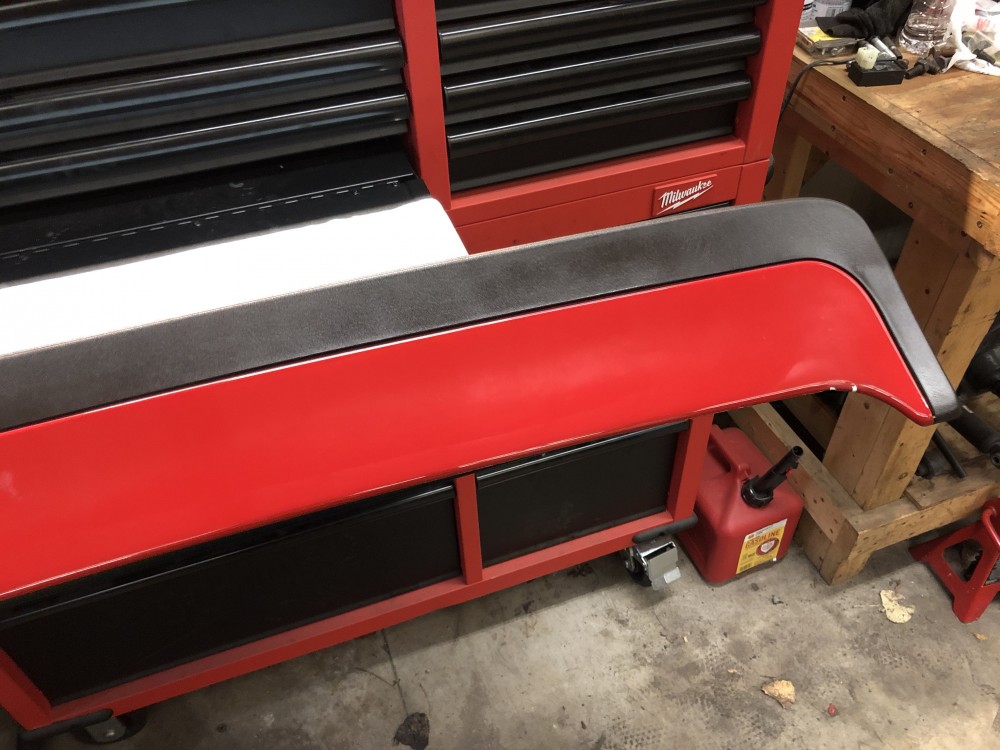
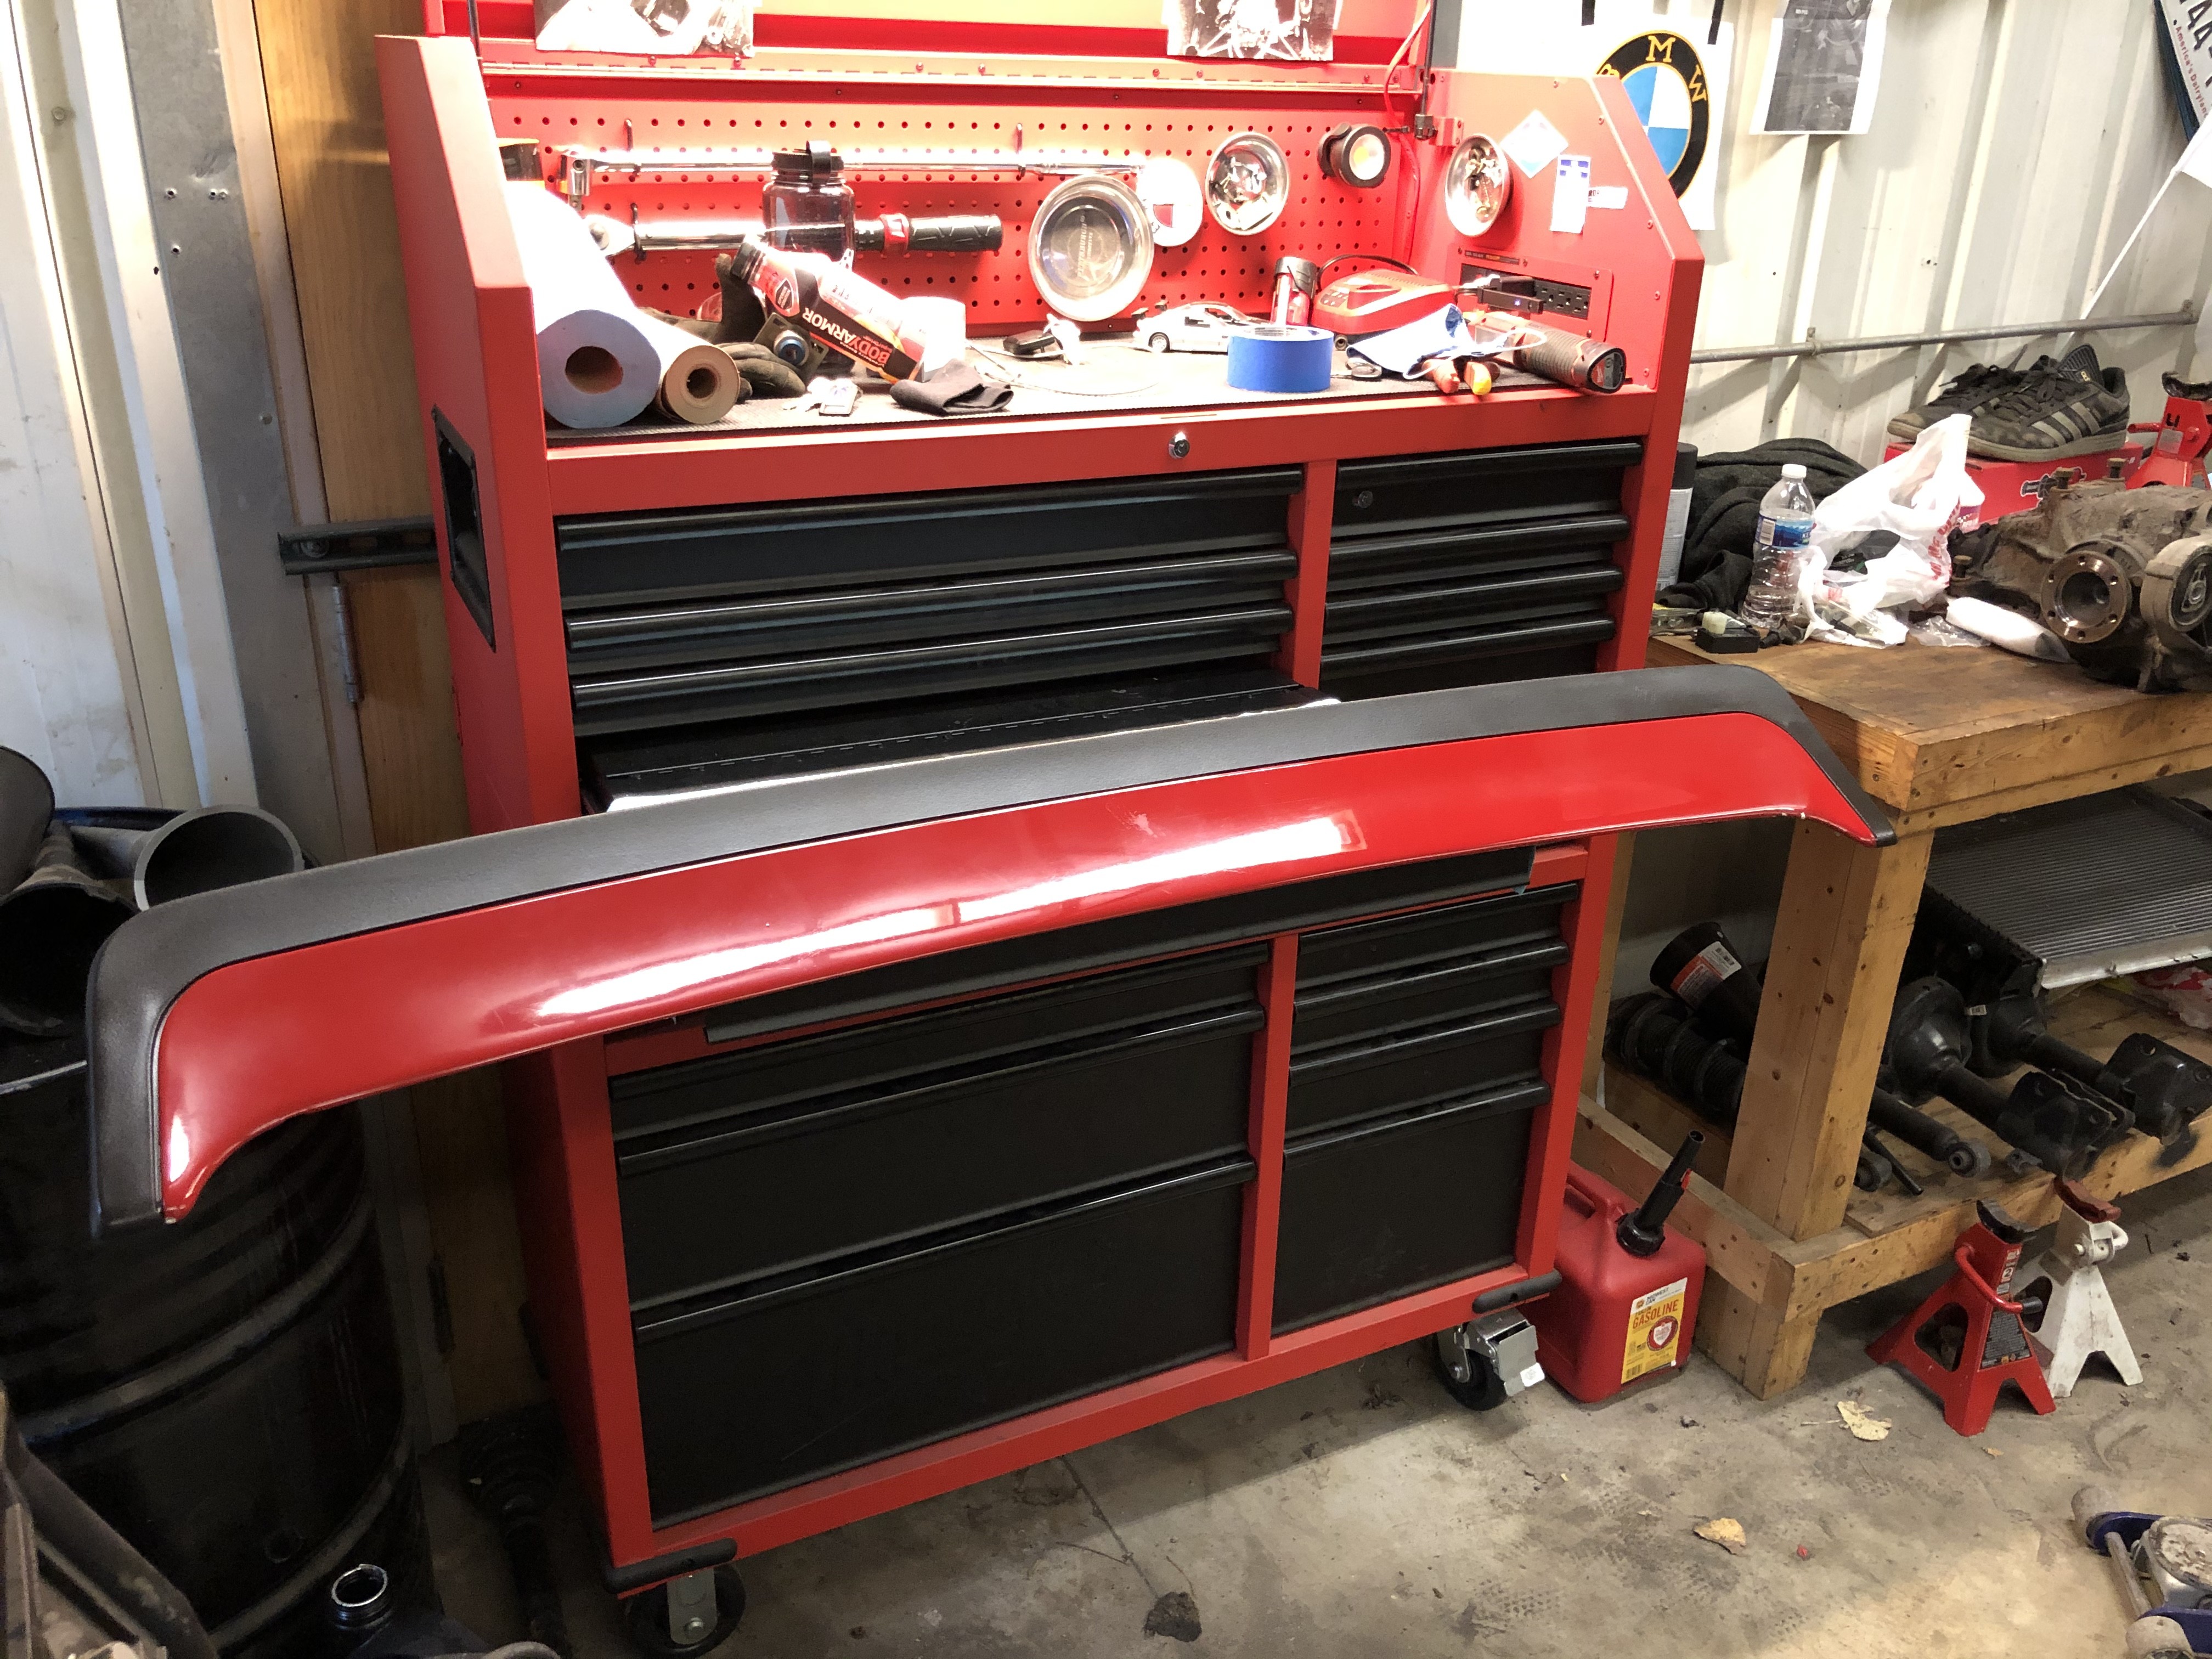
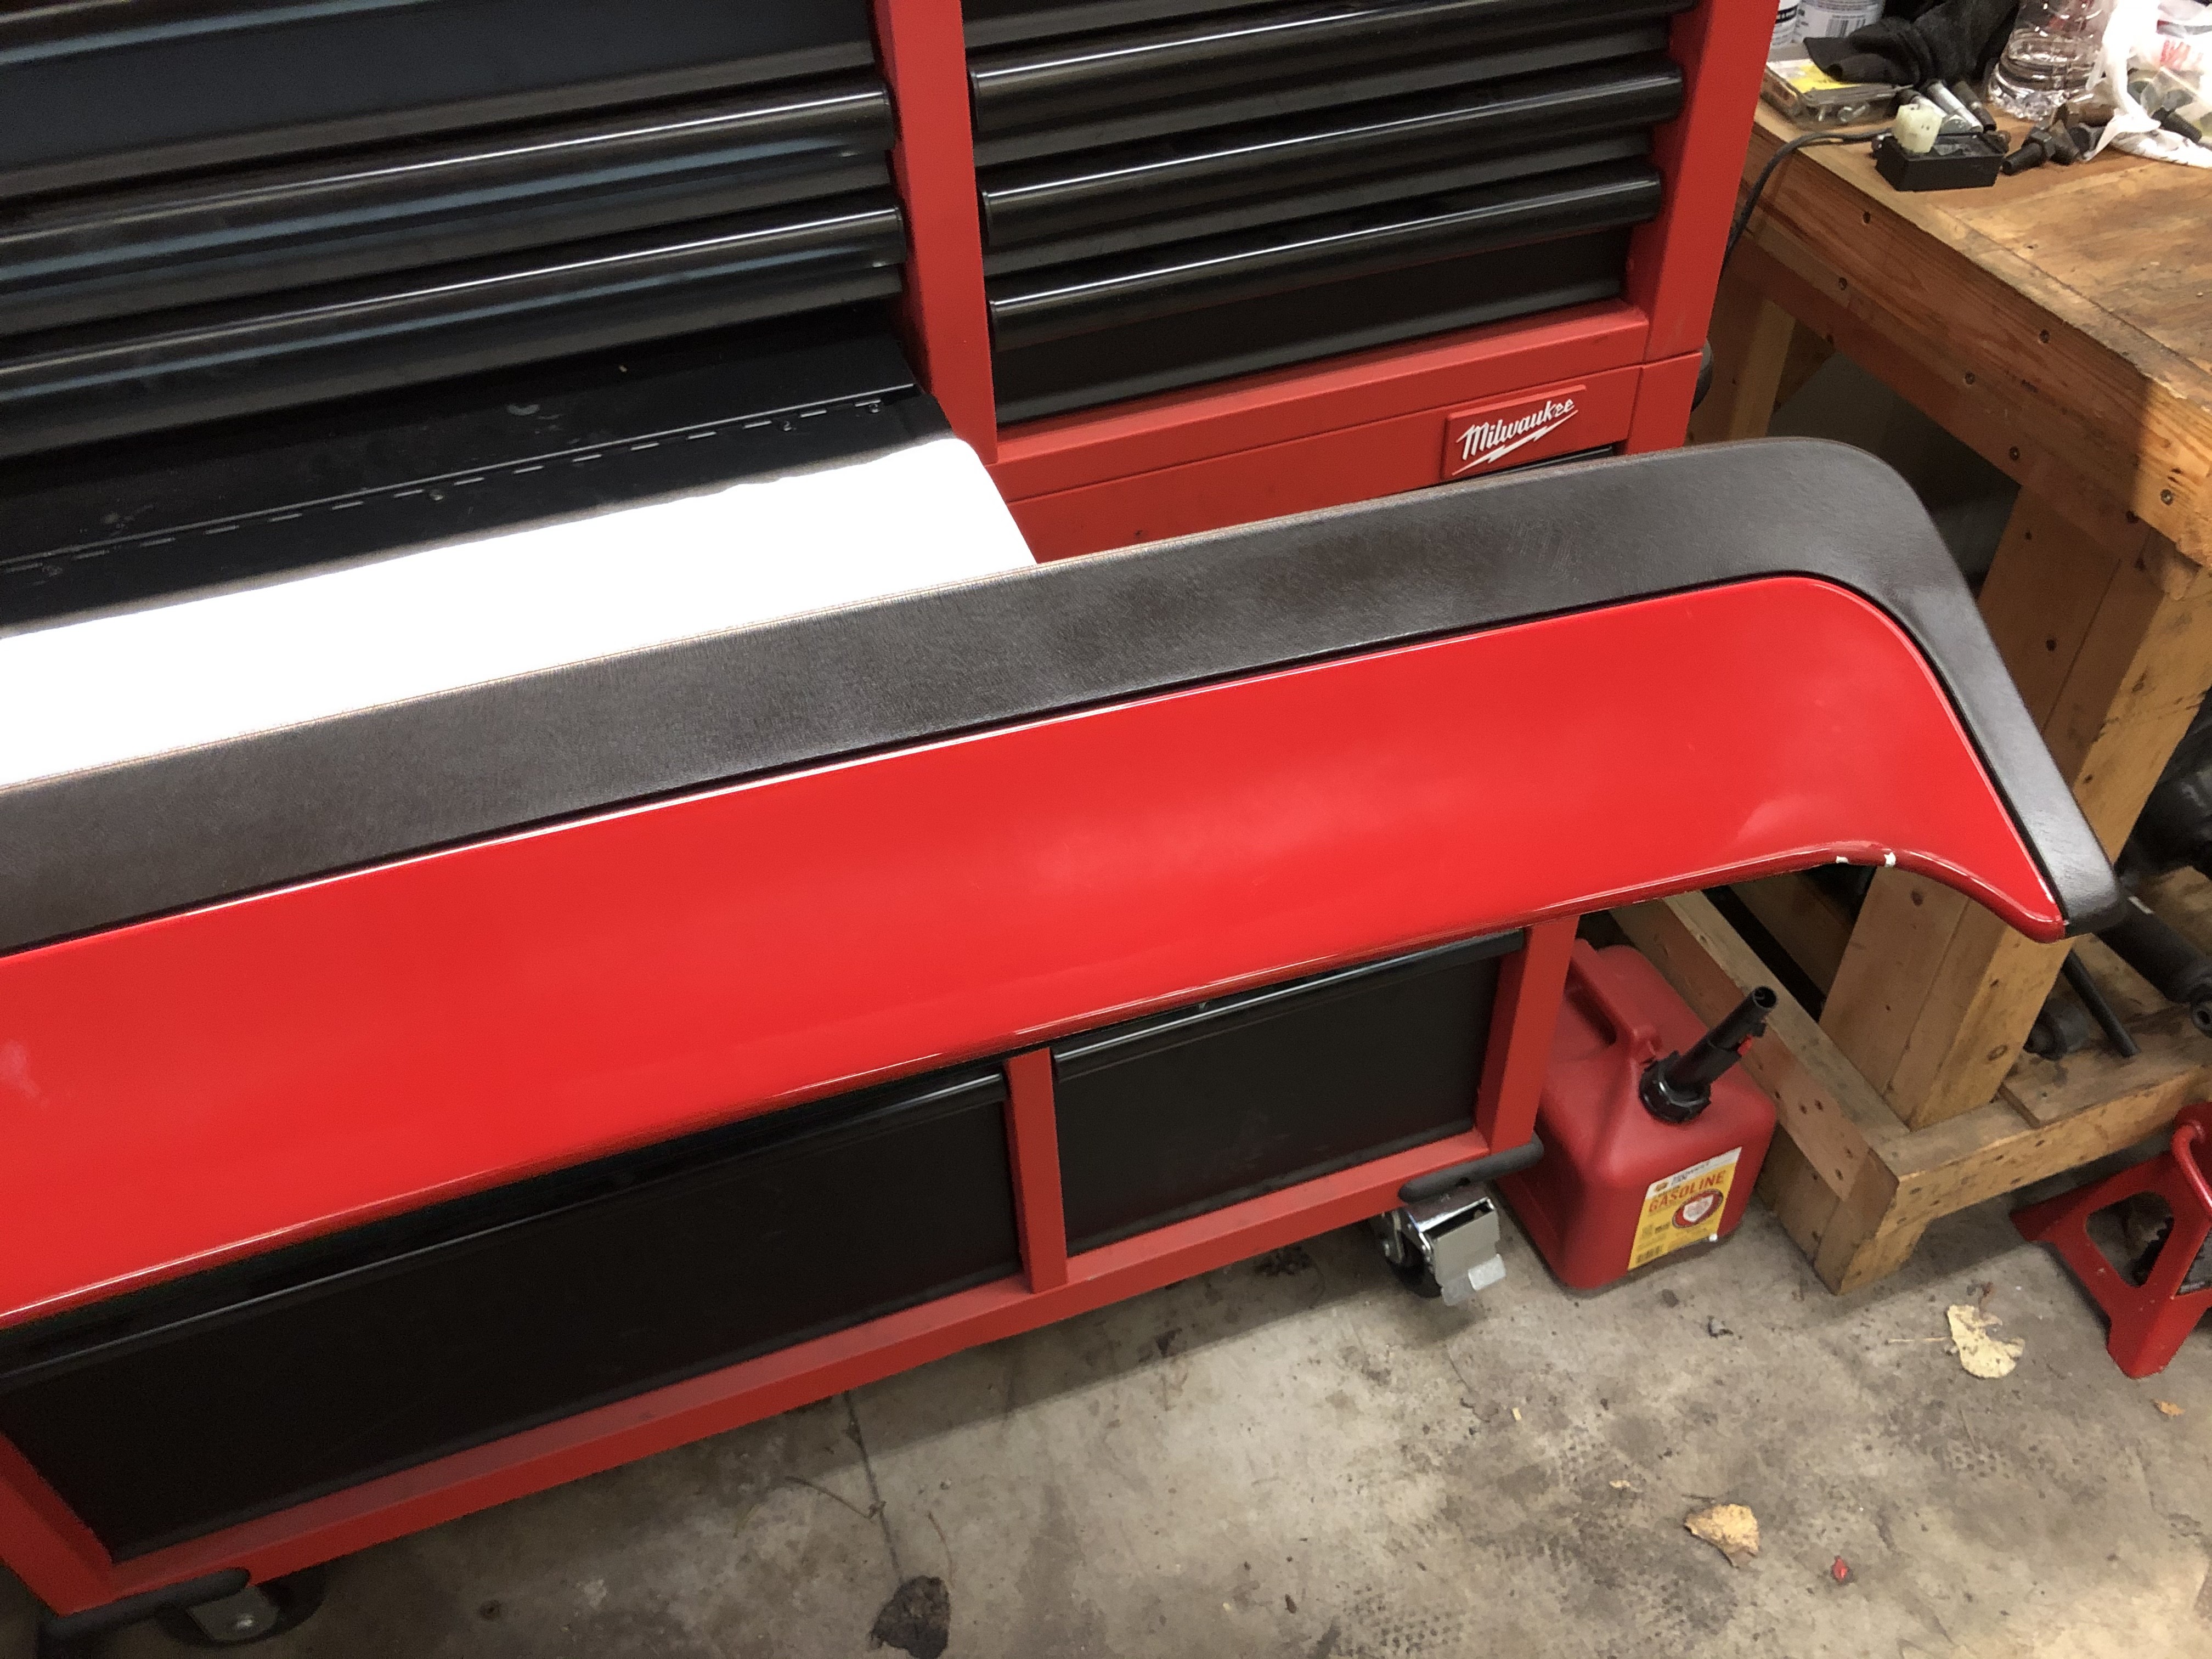
Polished the insert and hit the rubber part with a coat of paint. Cleaned up pretty well. Needs to fix a couple spots on the insert before it’s complete.
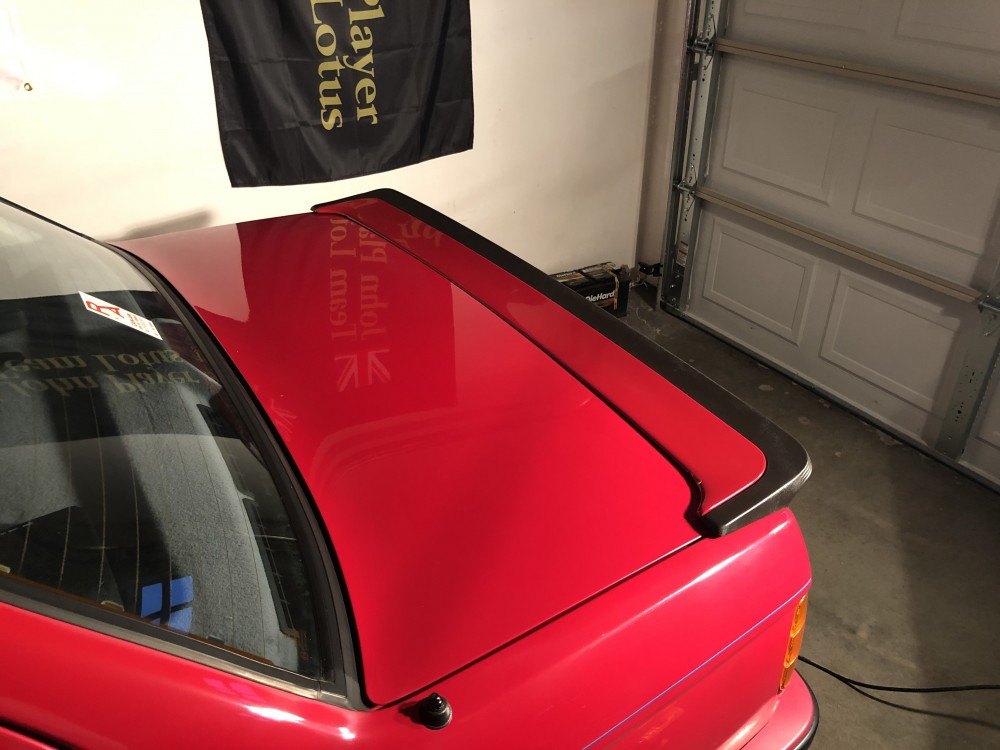
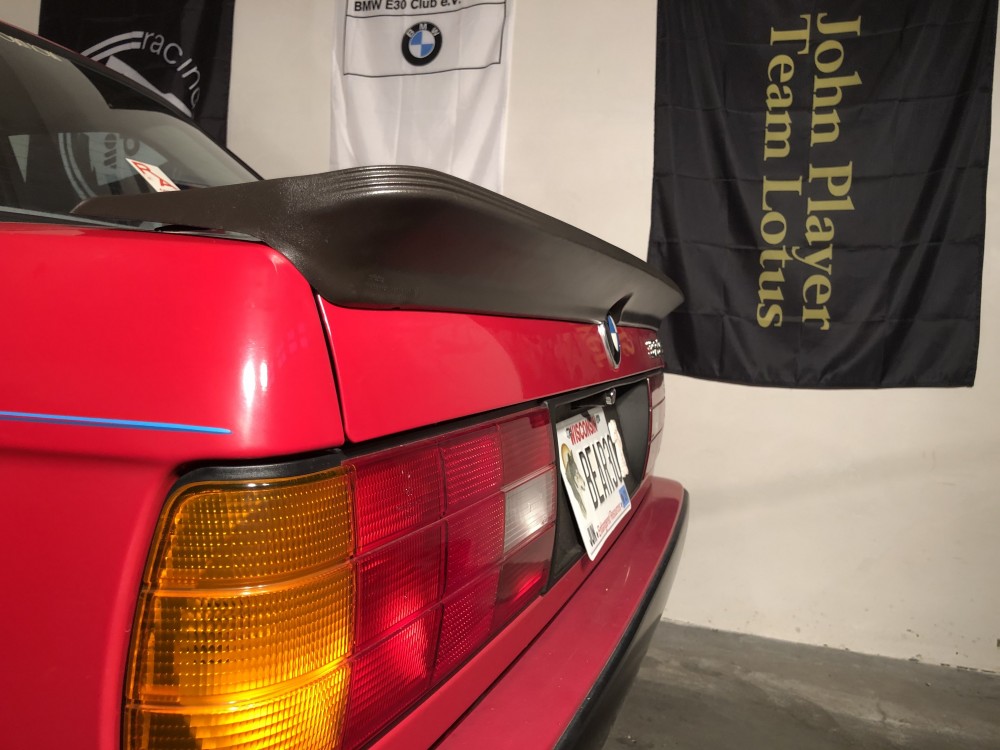
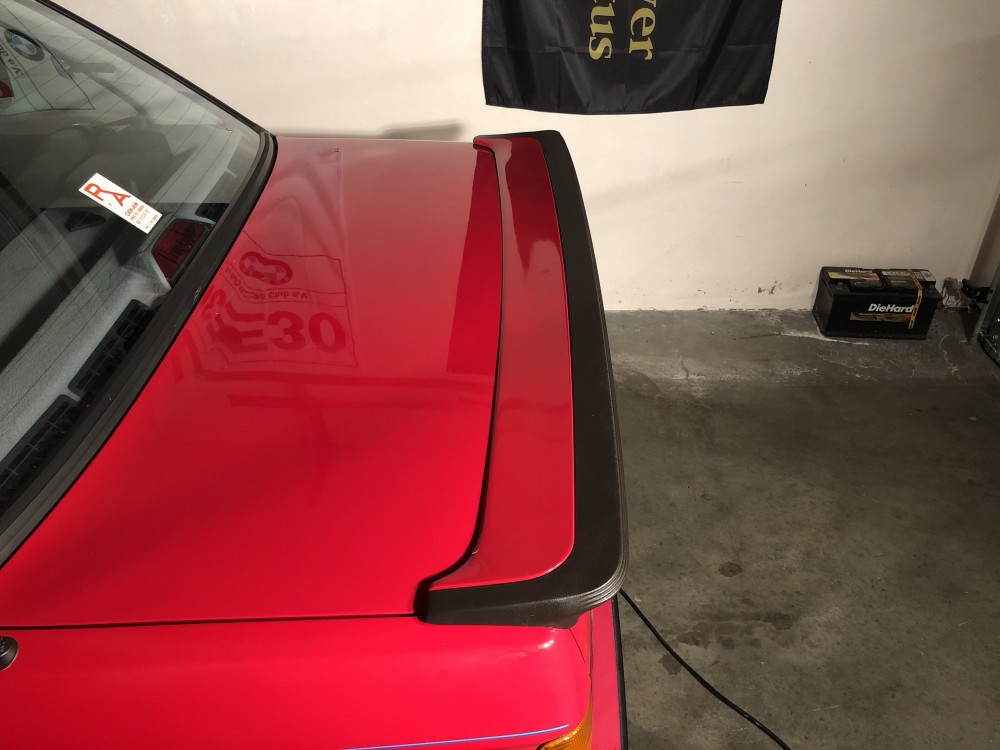
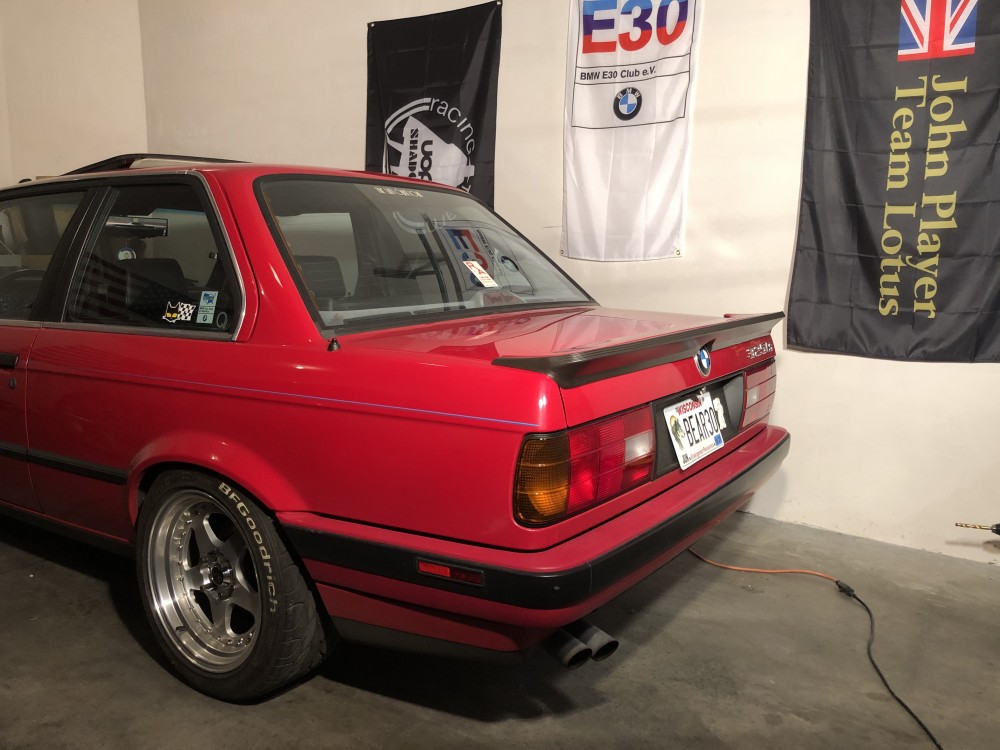
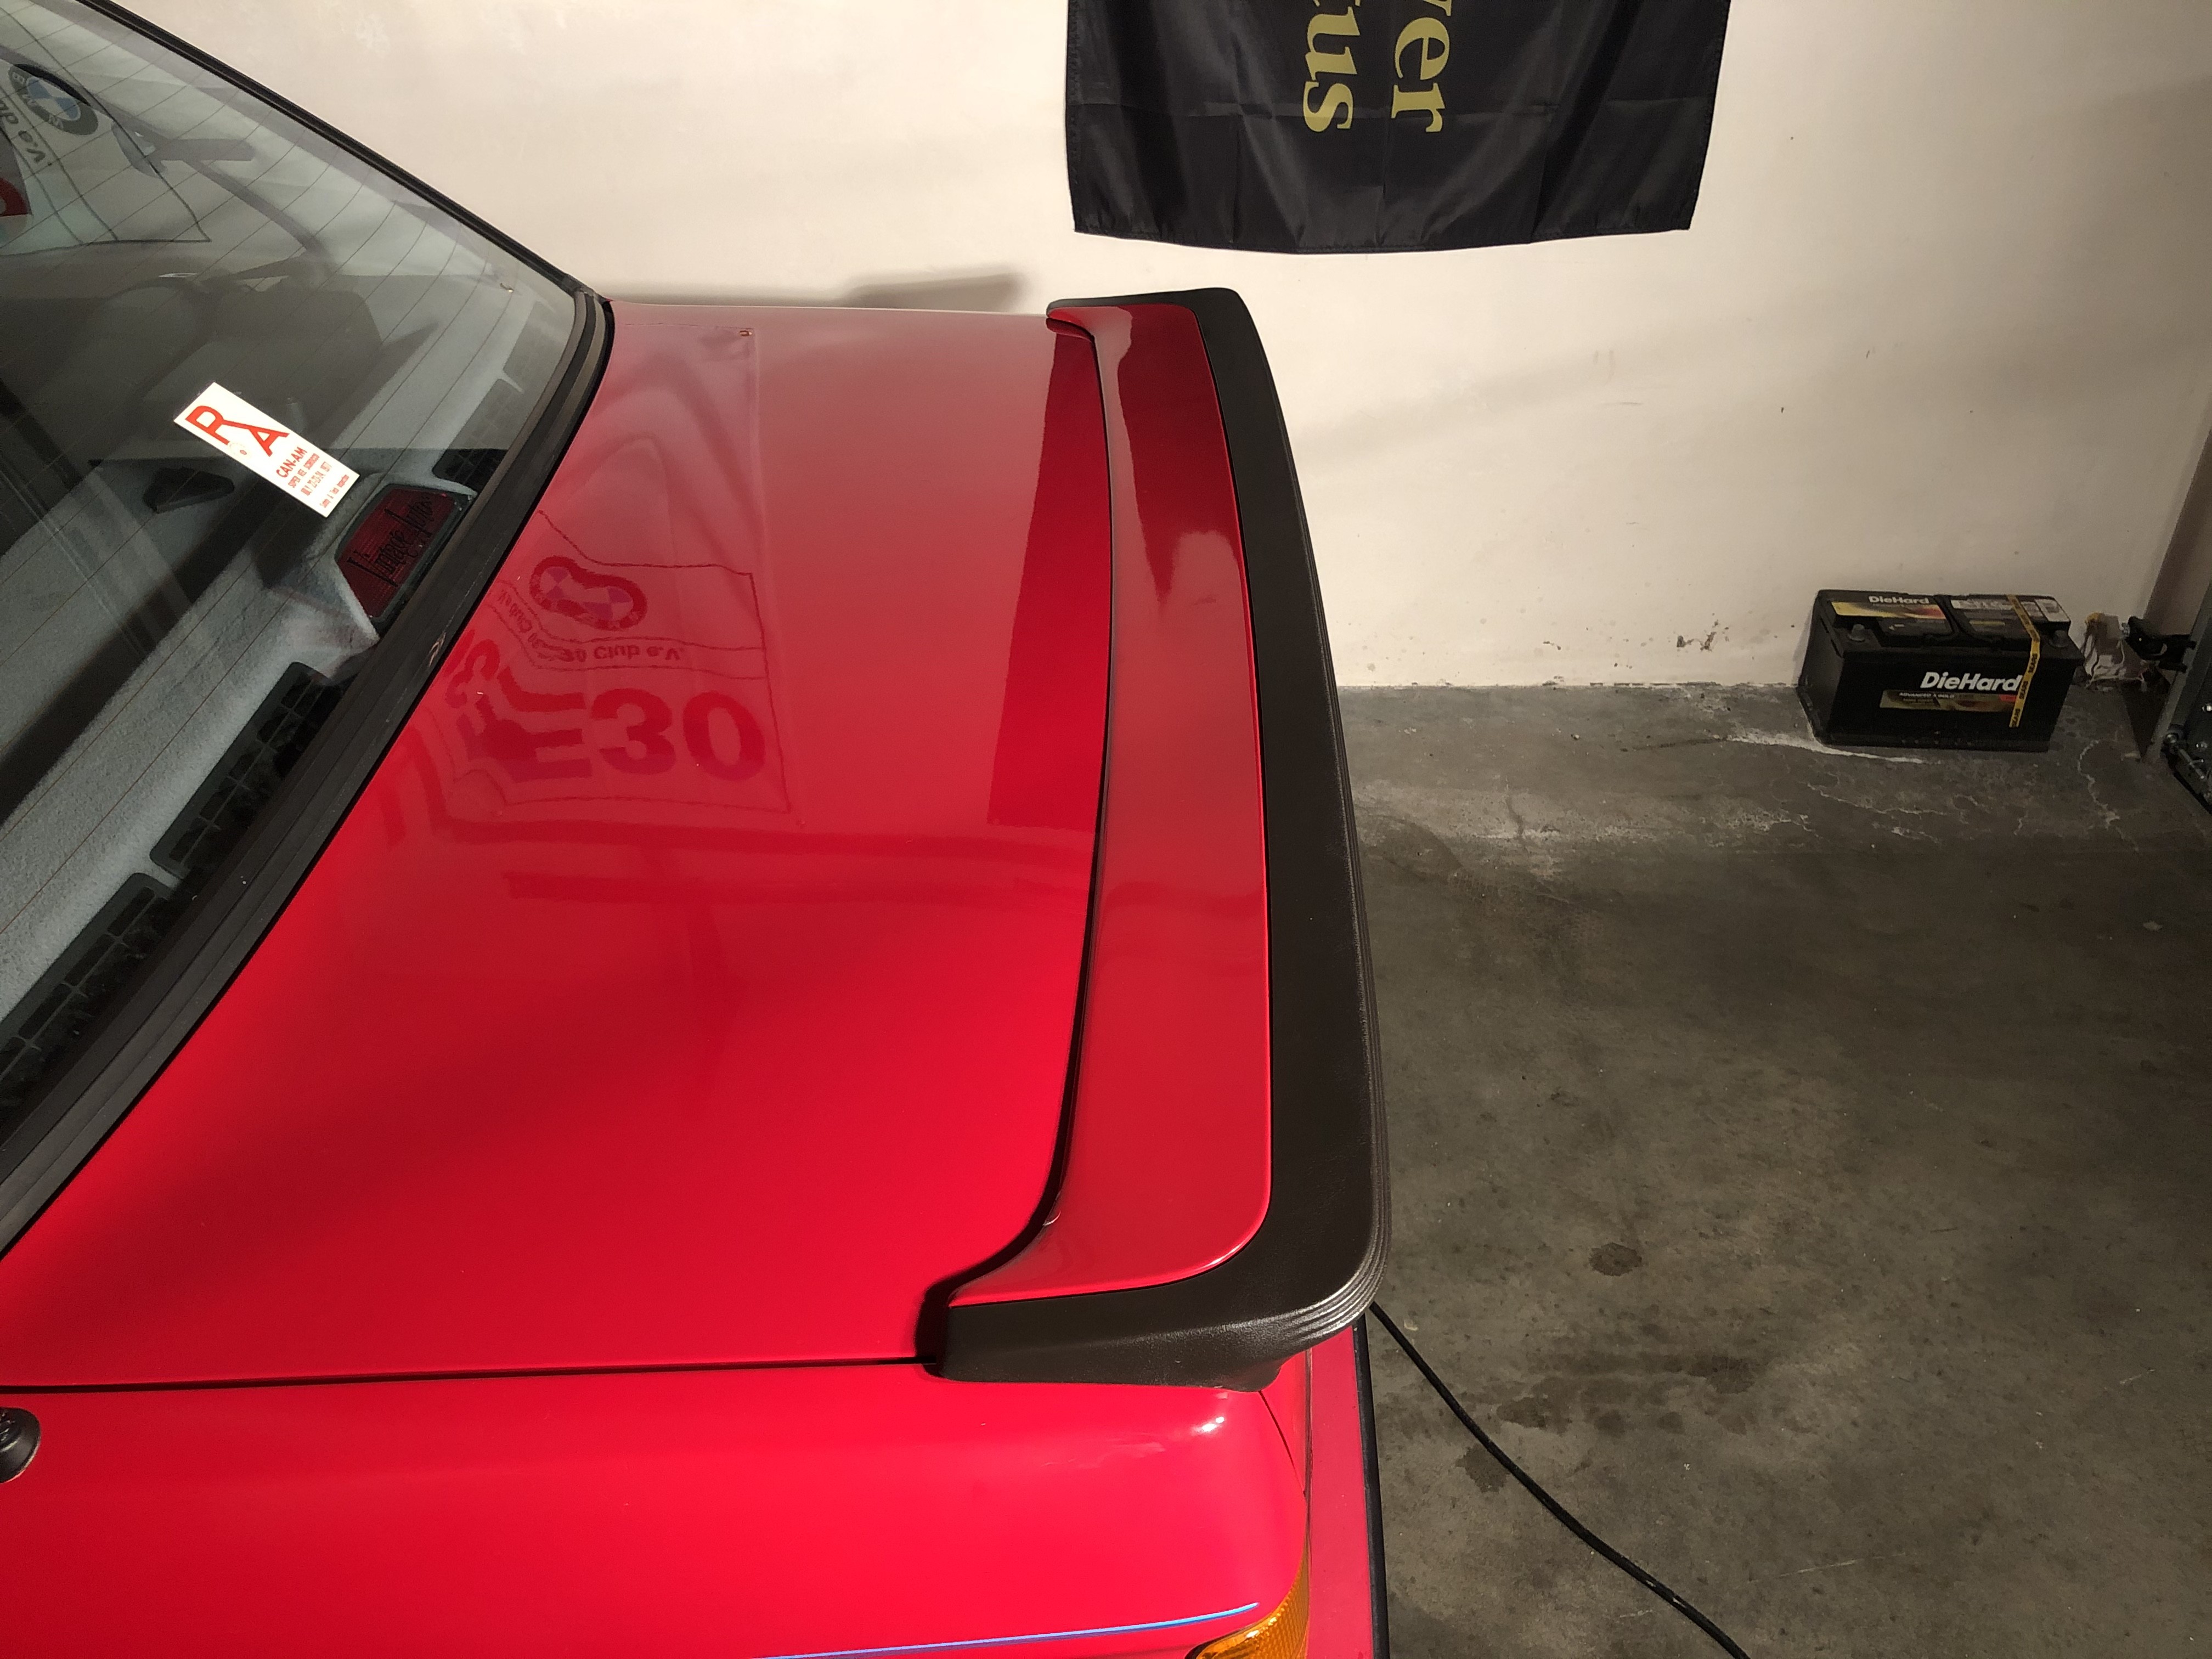
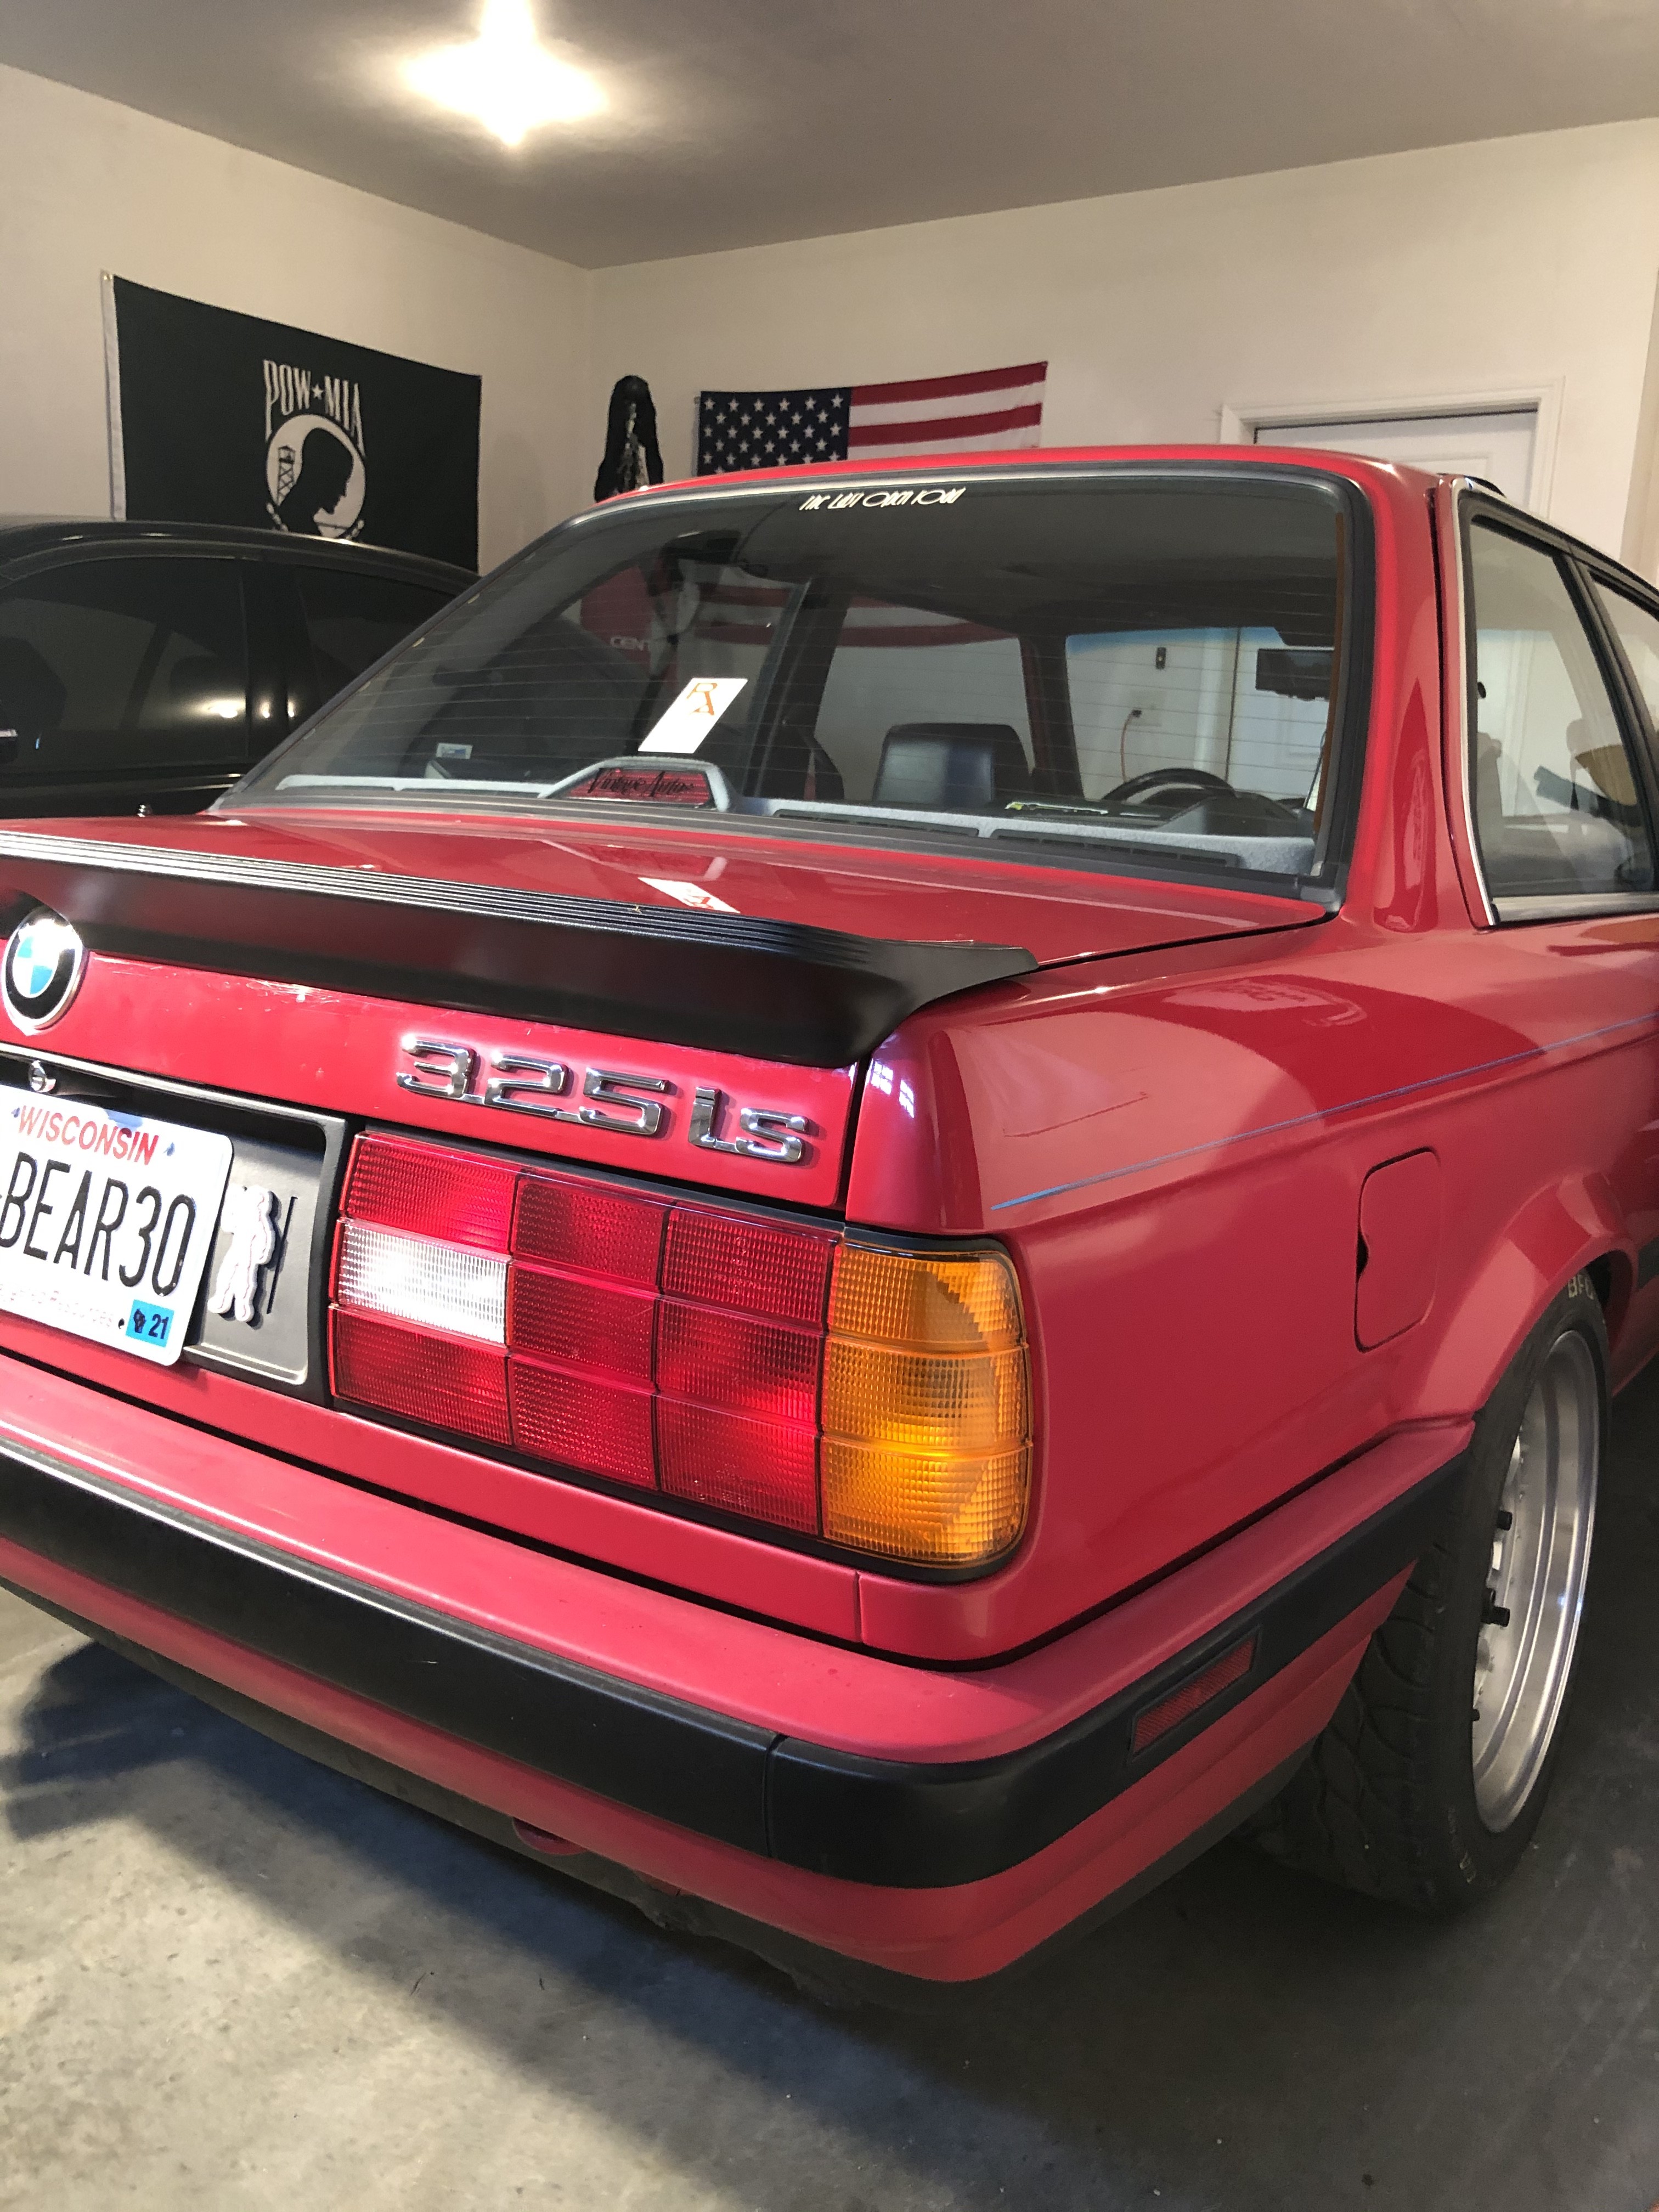
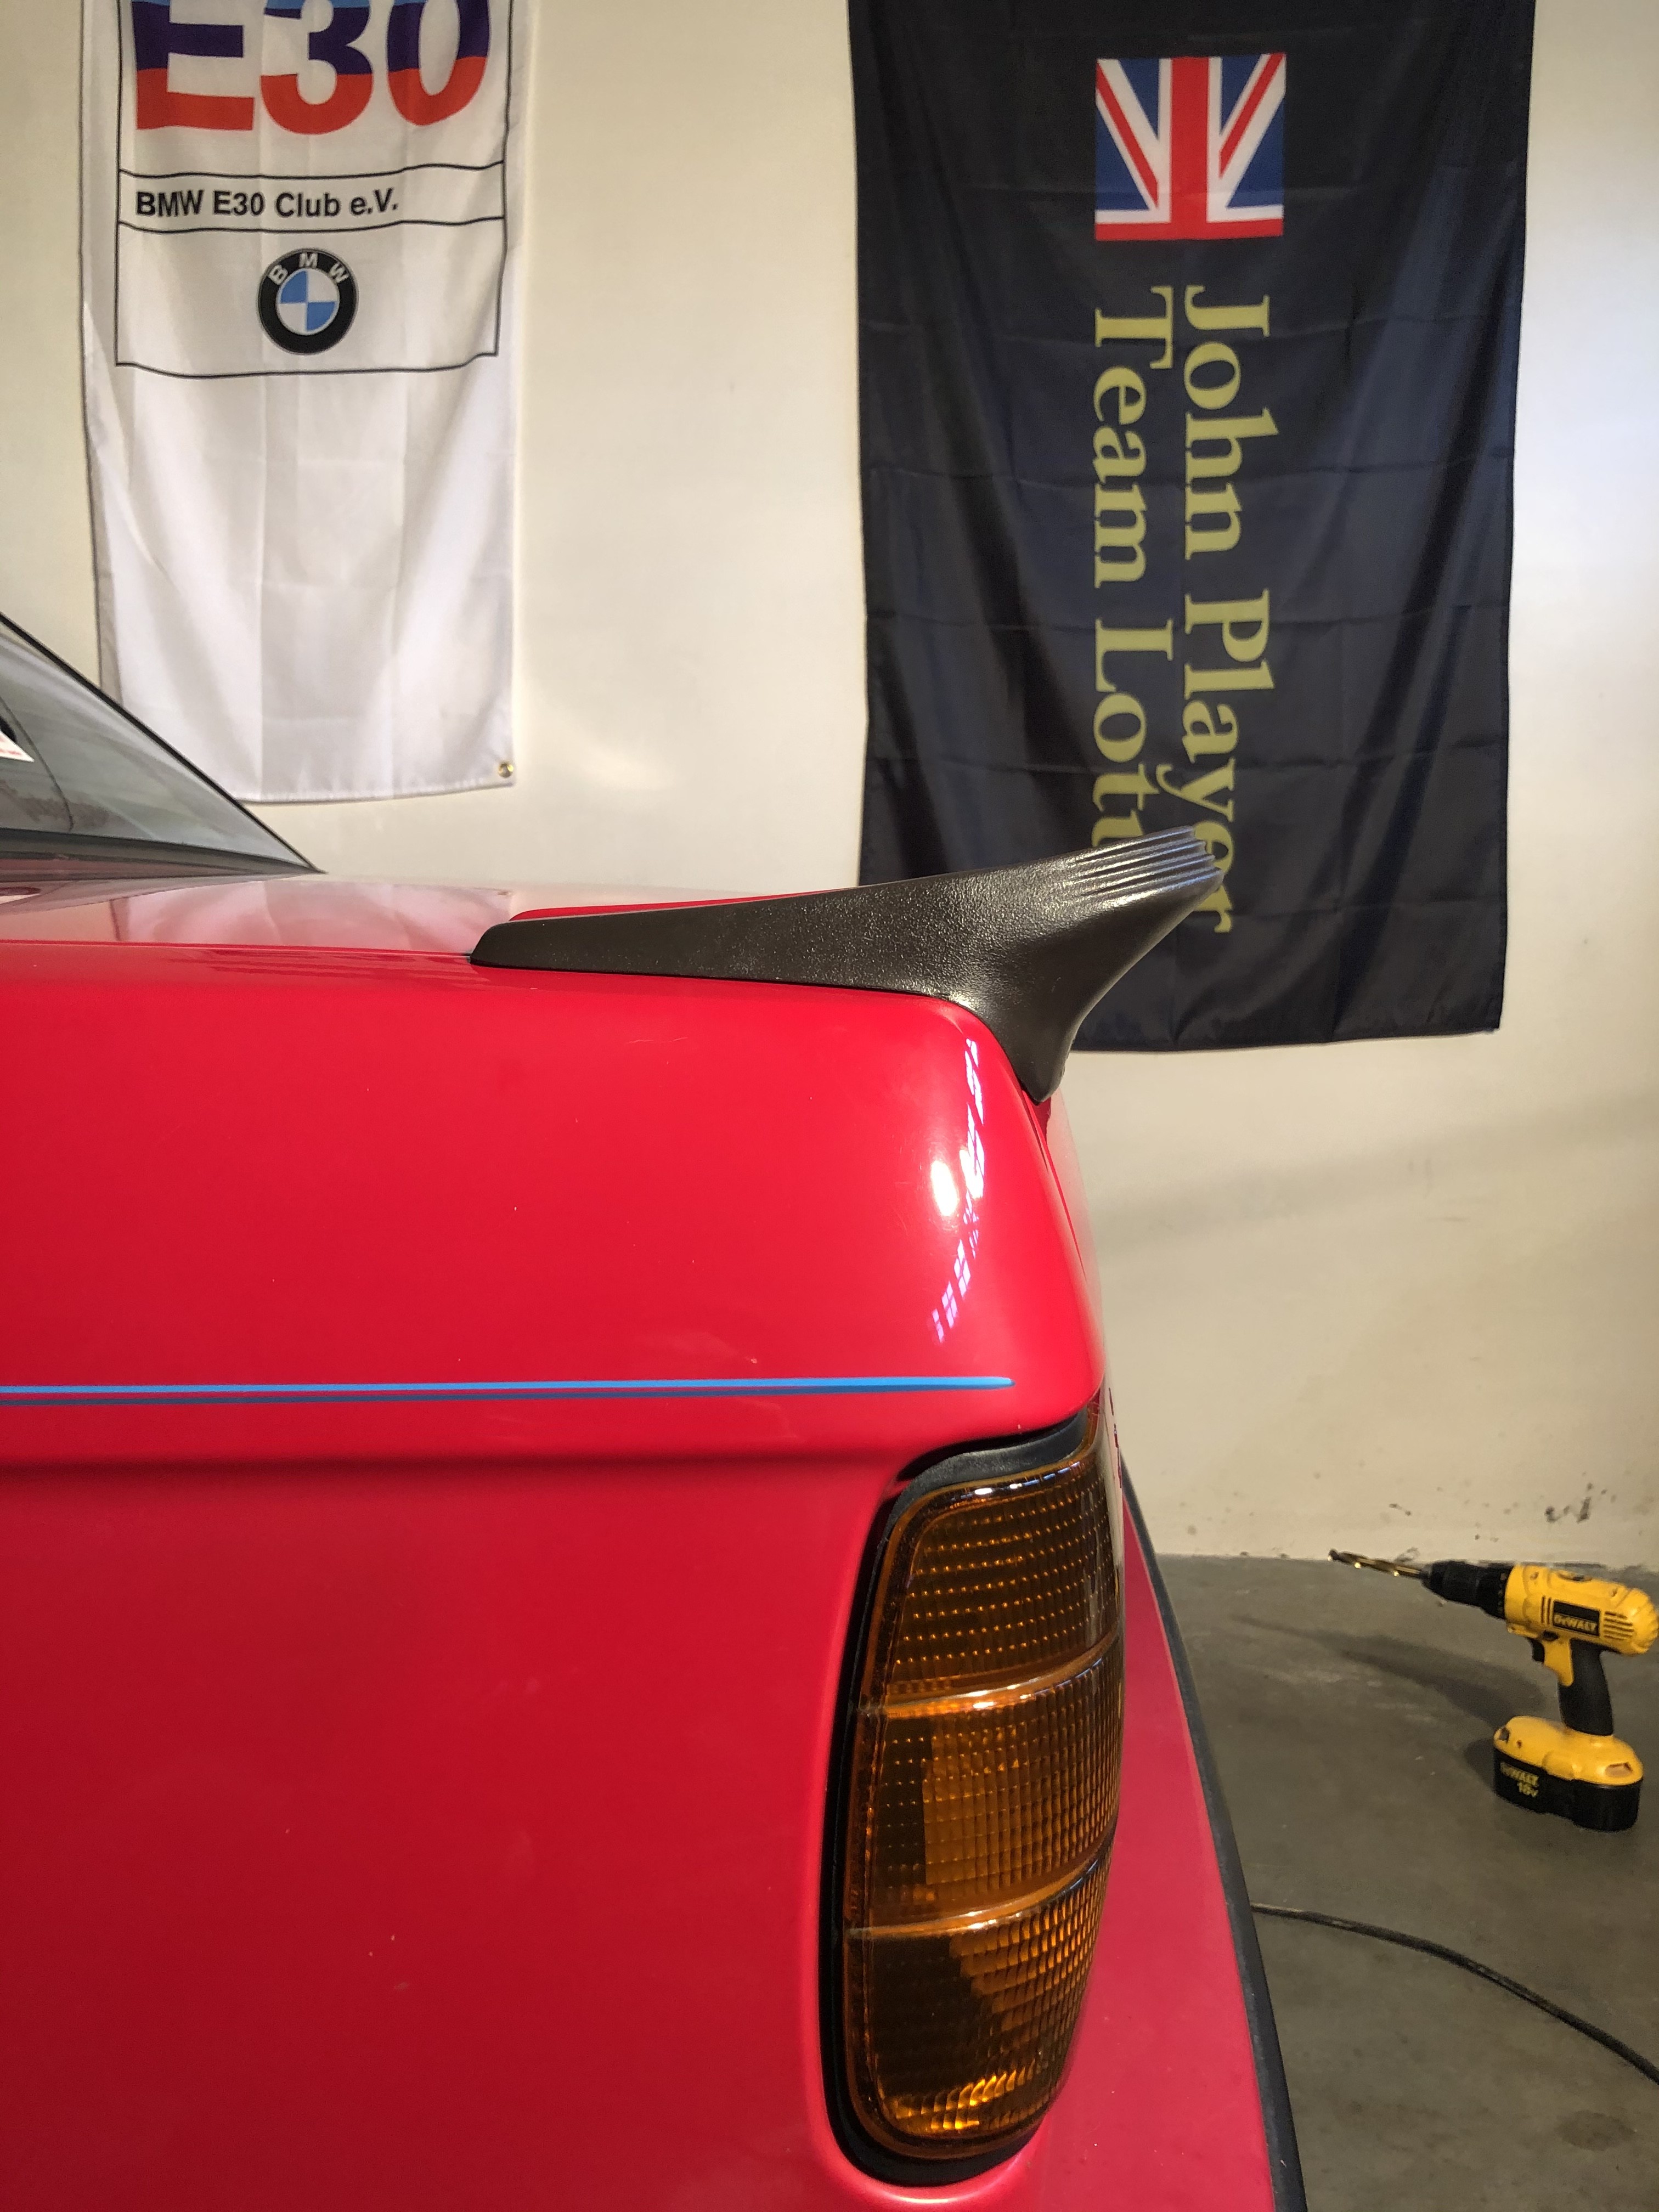
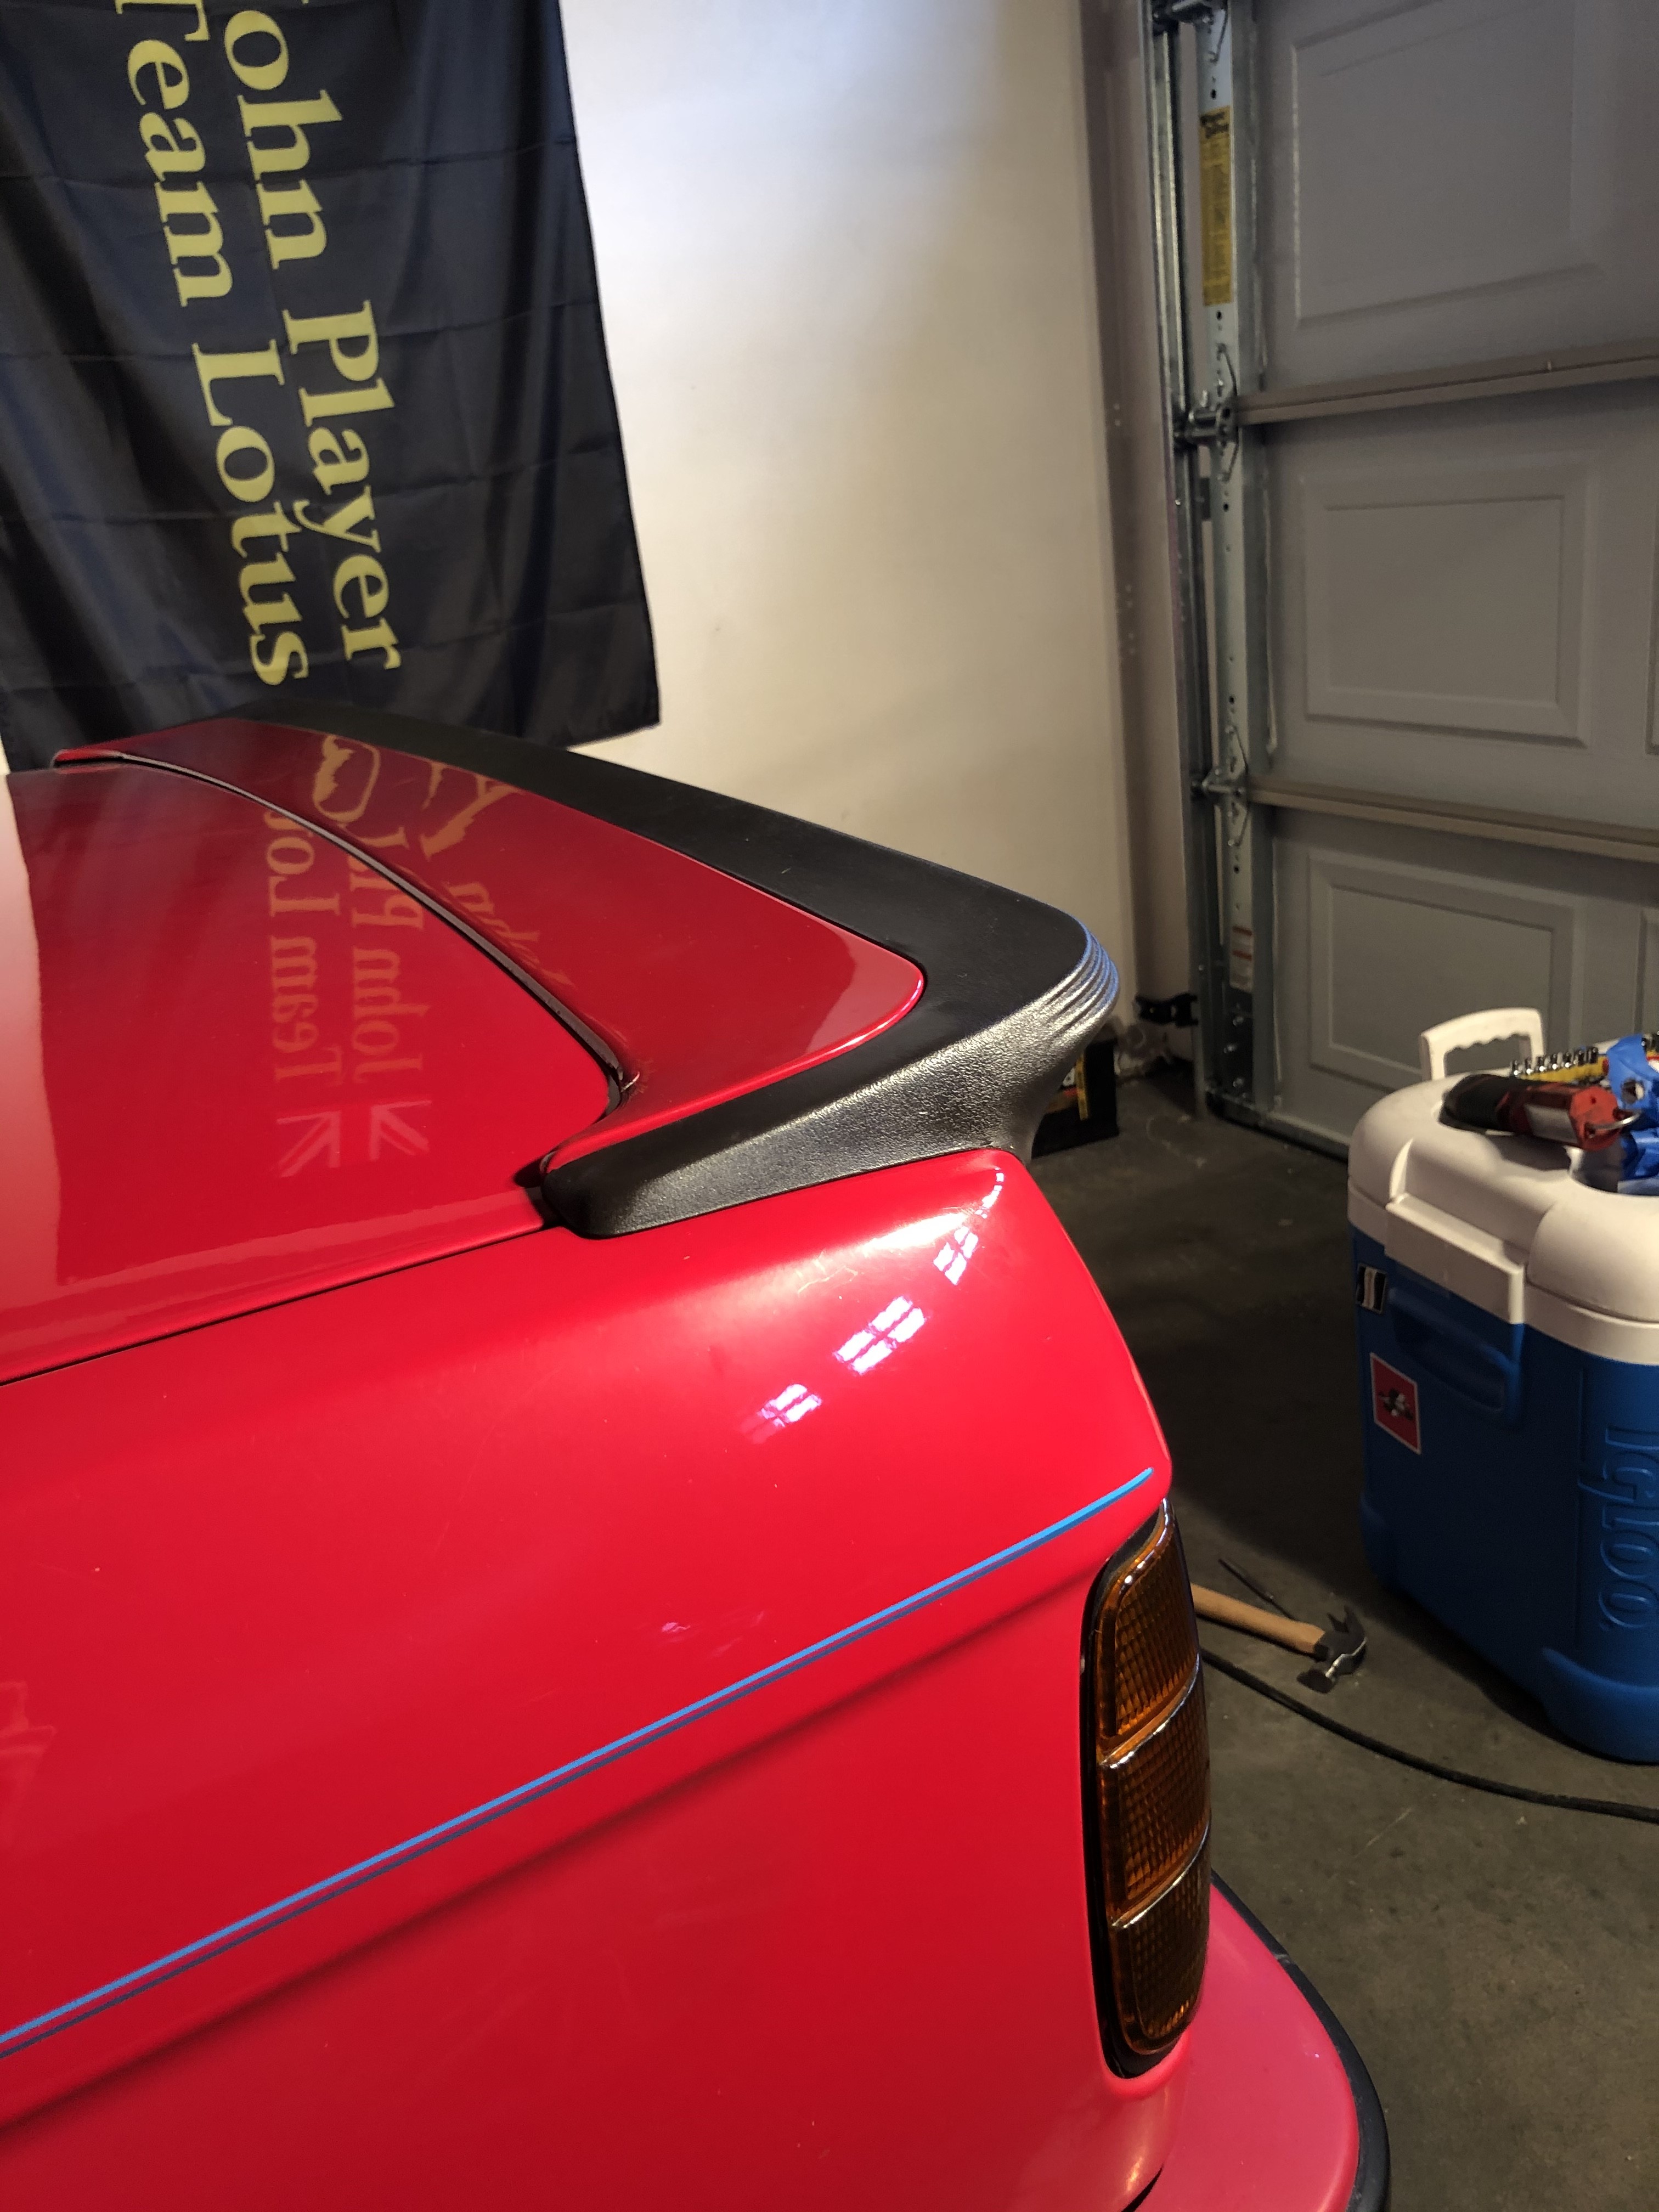
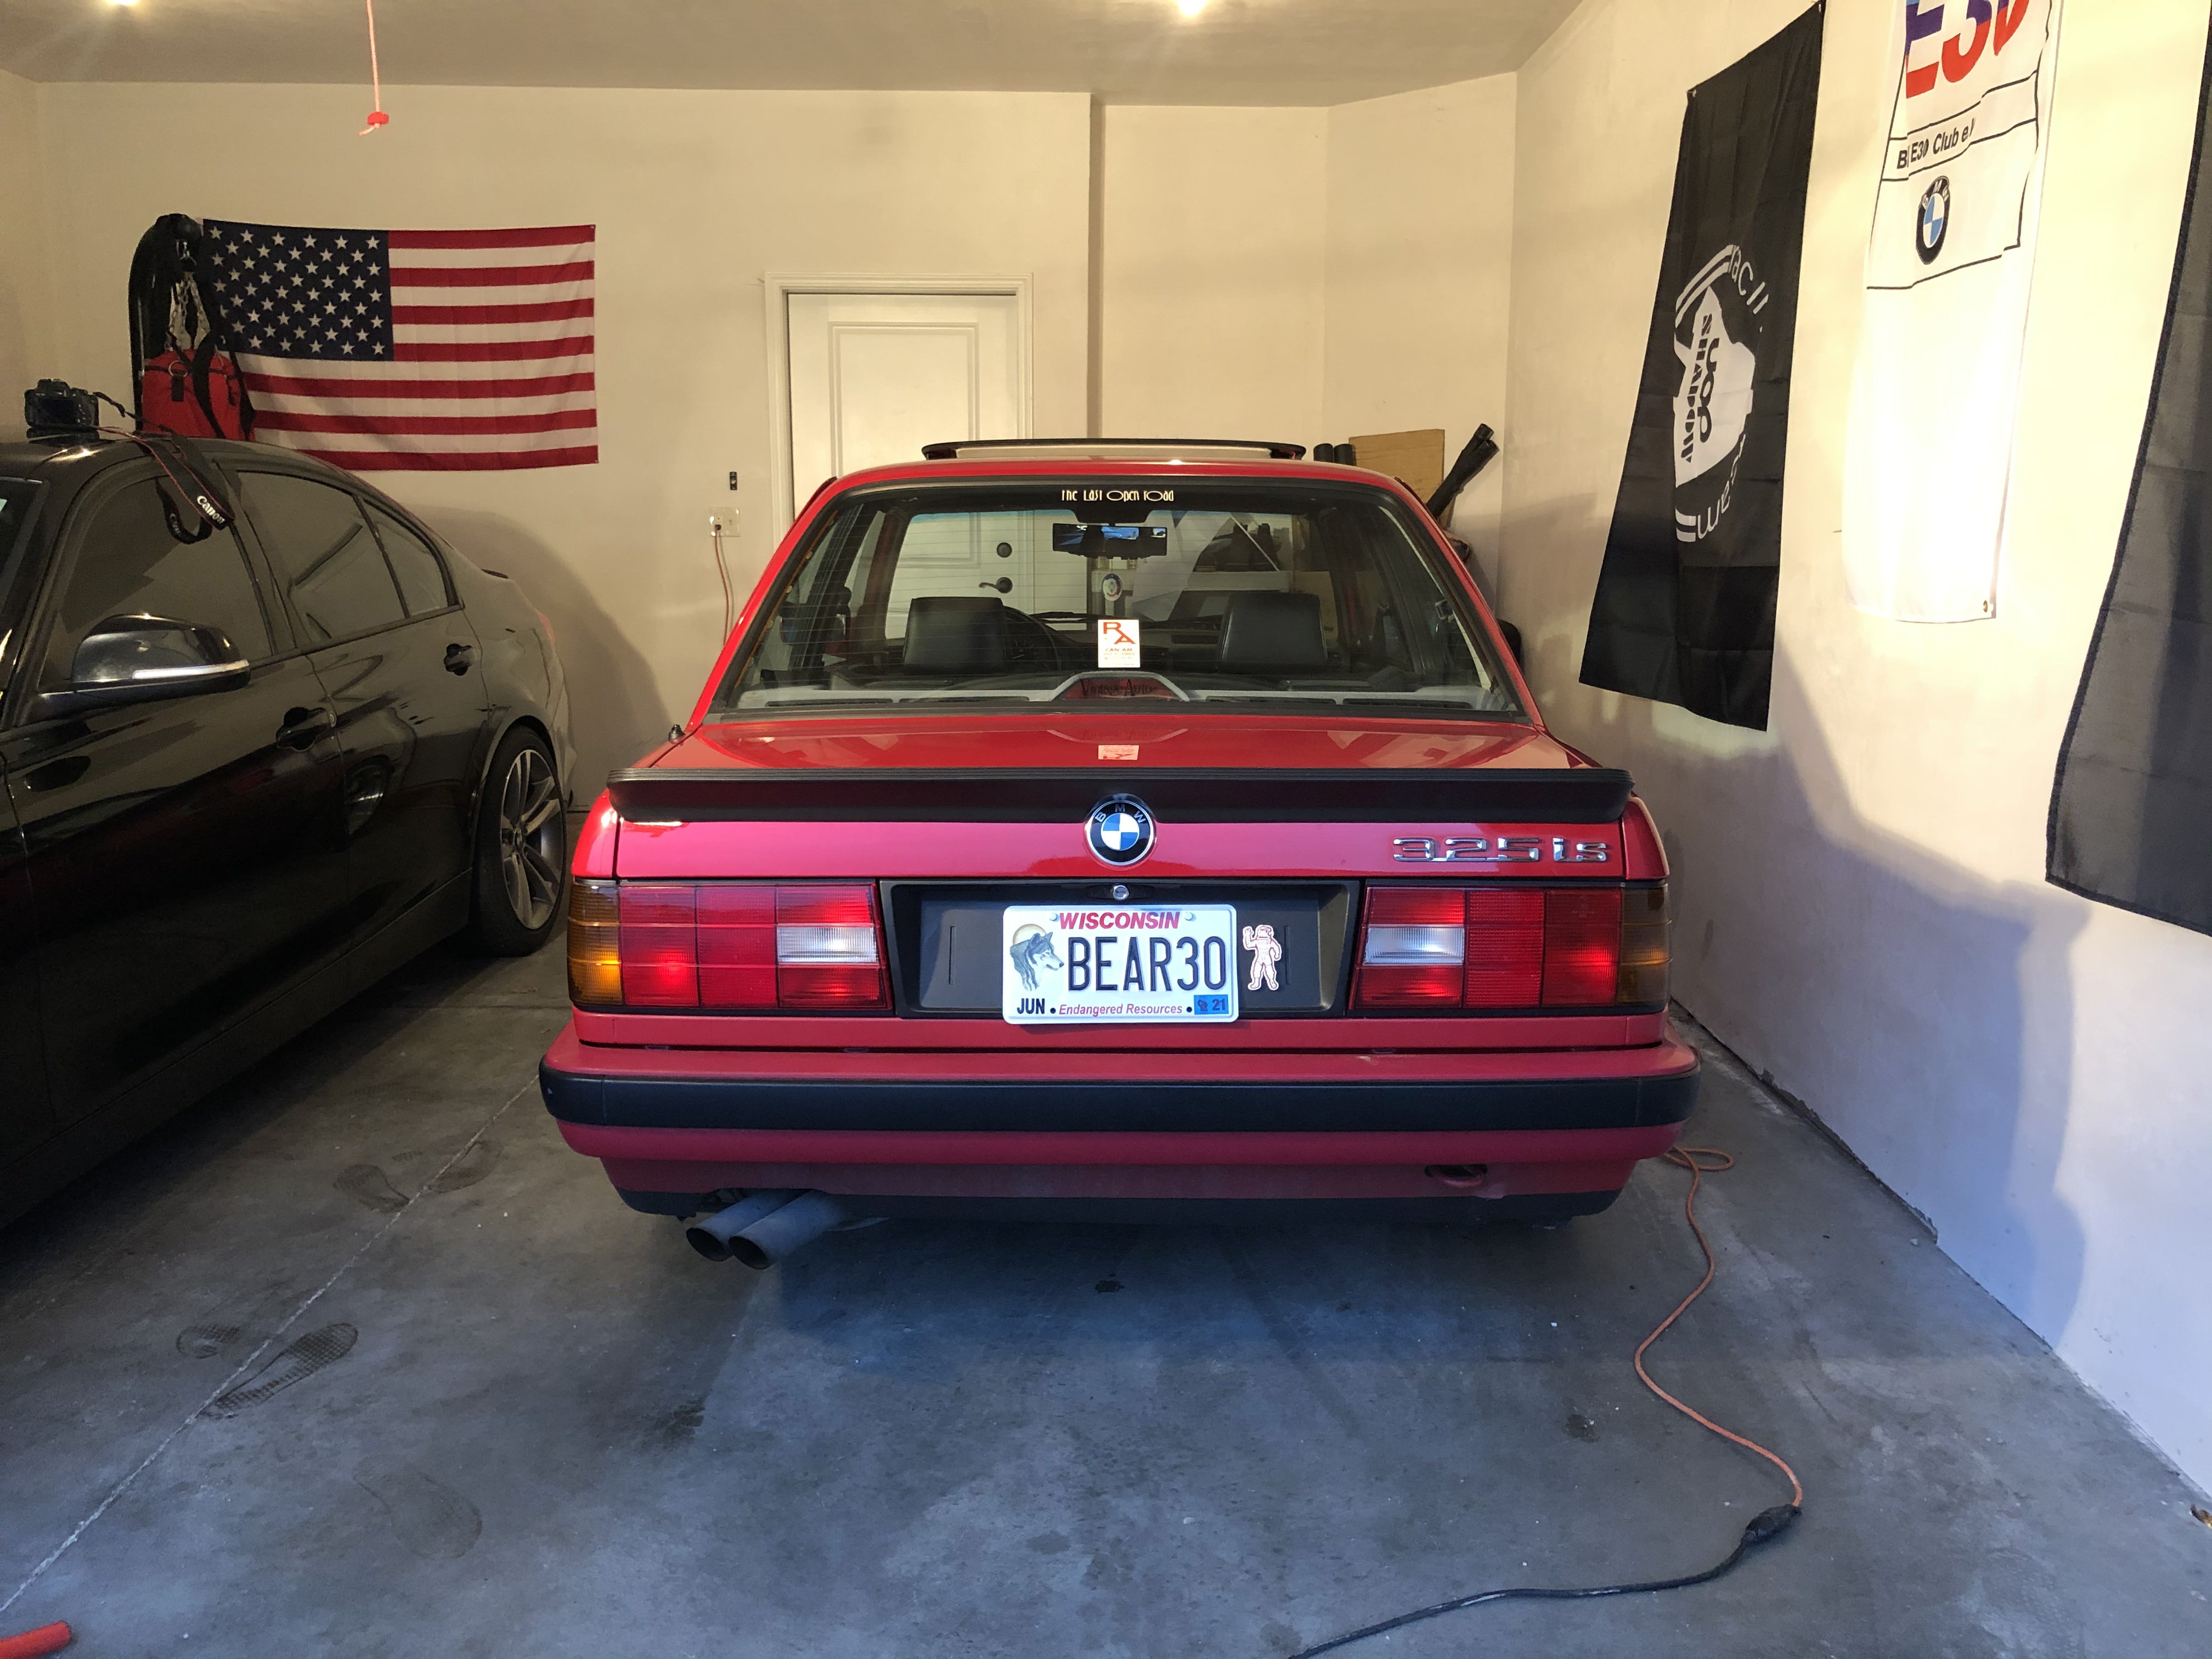
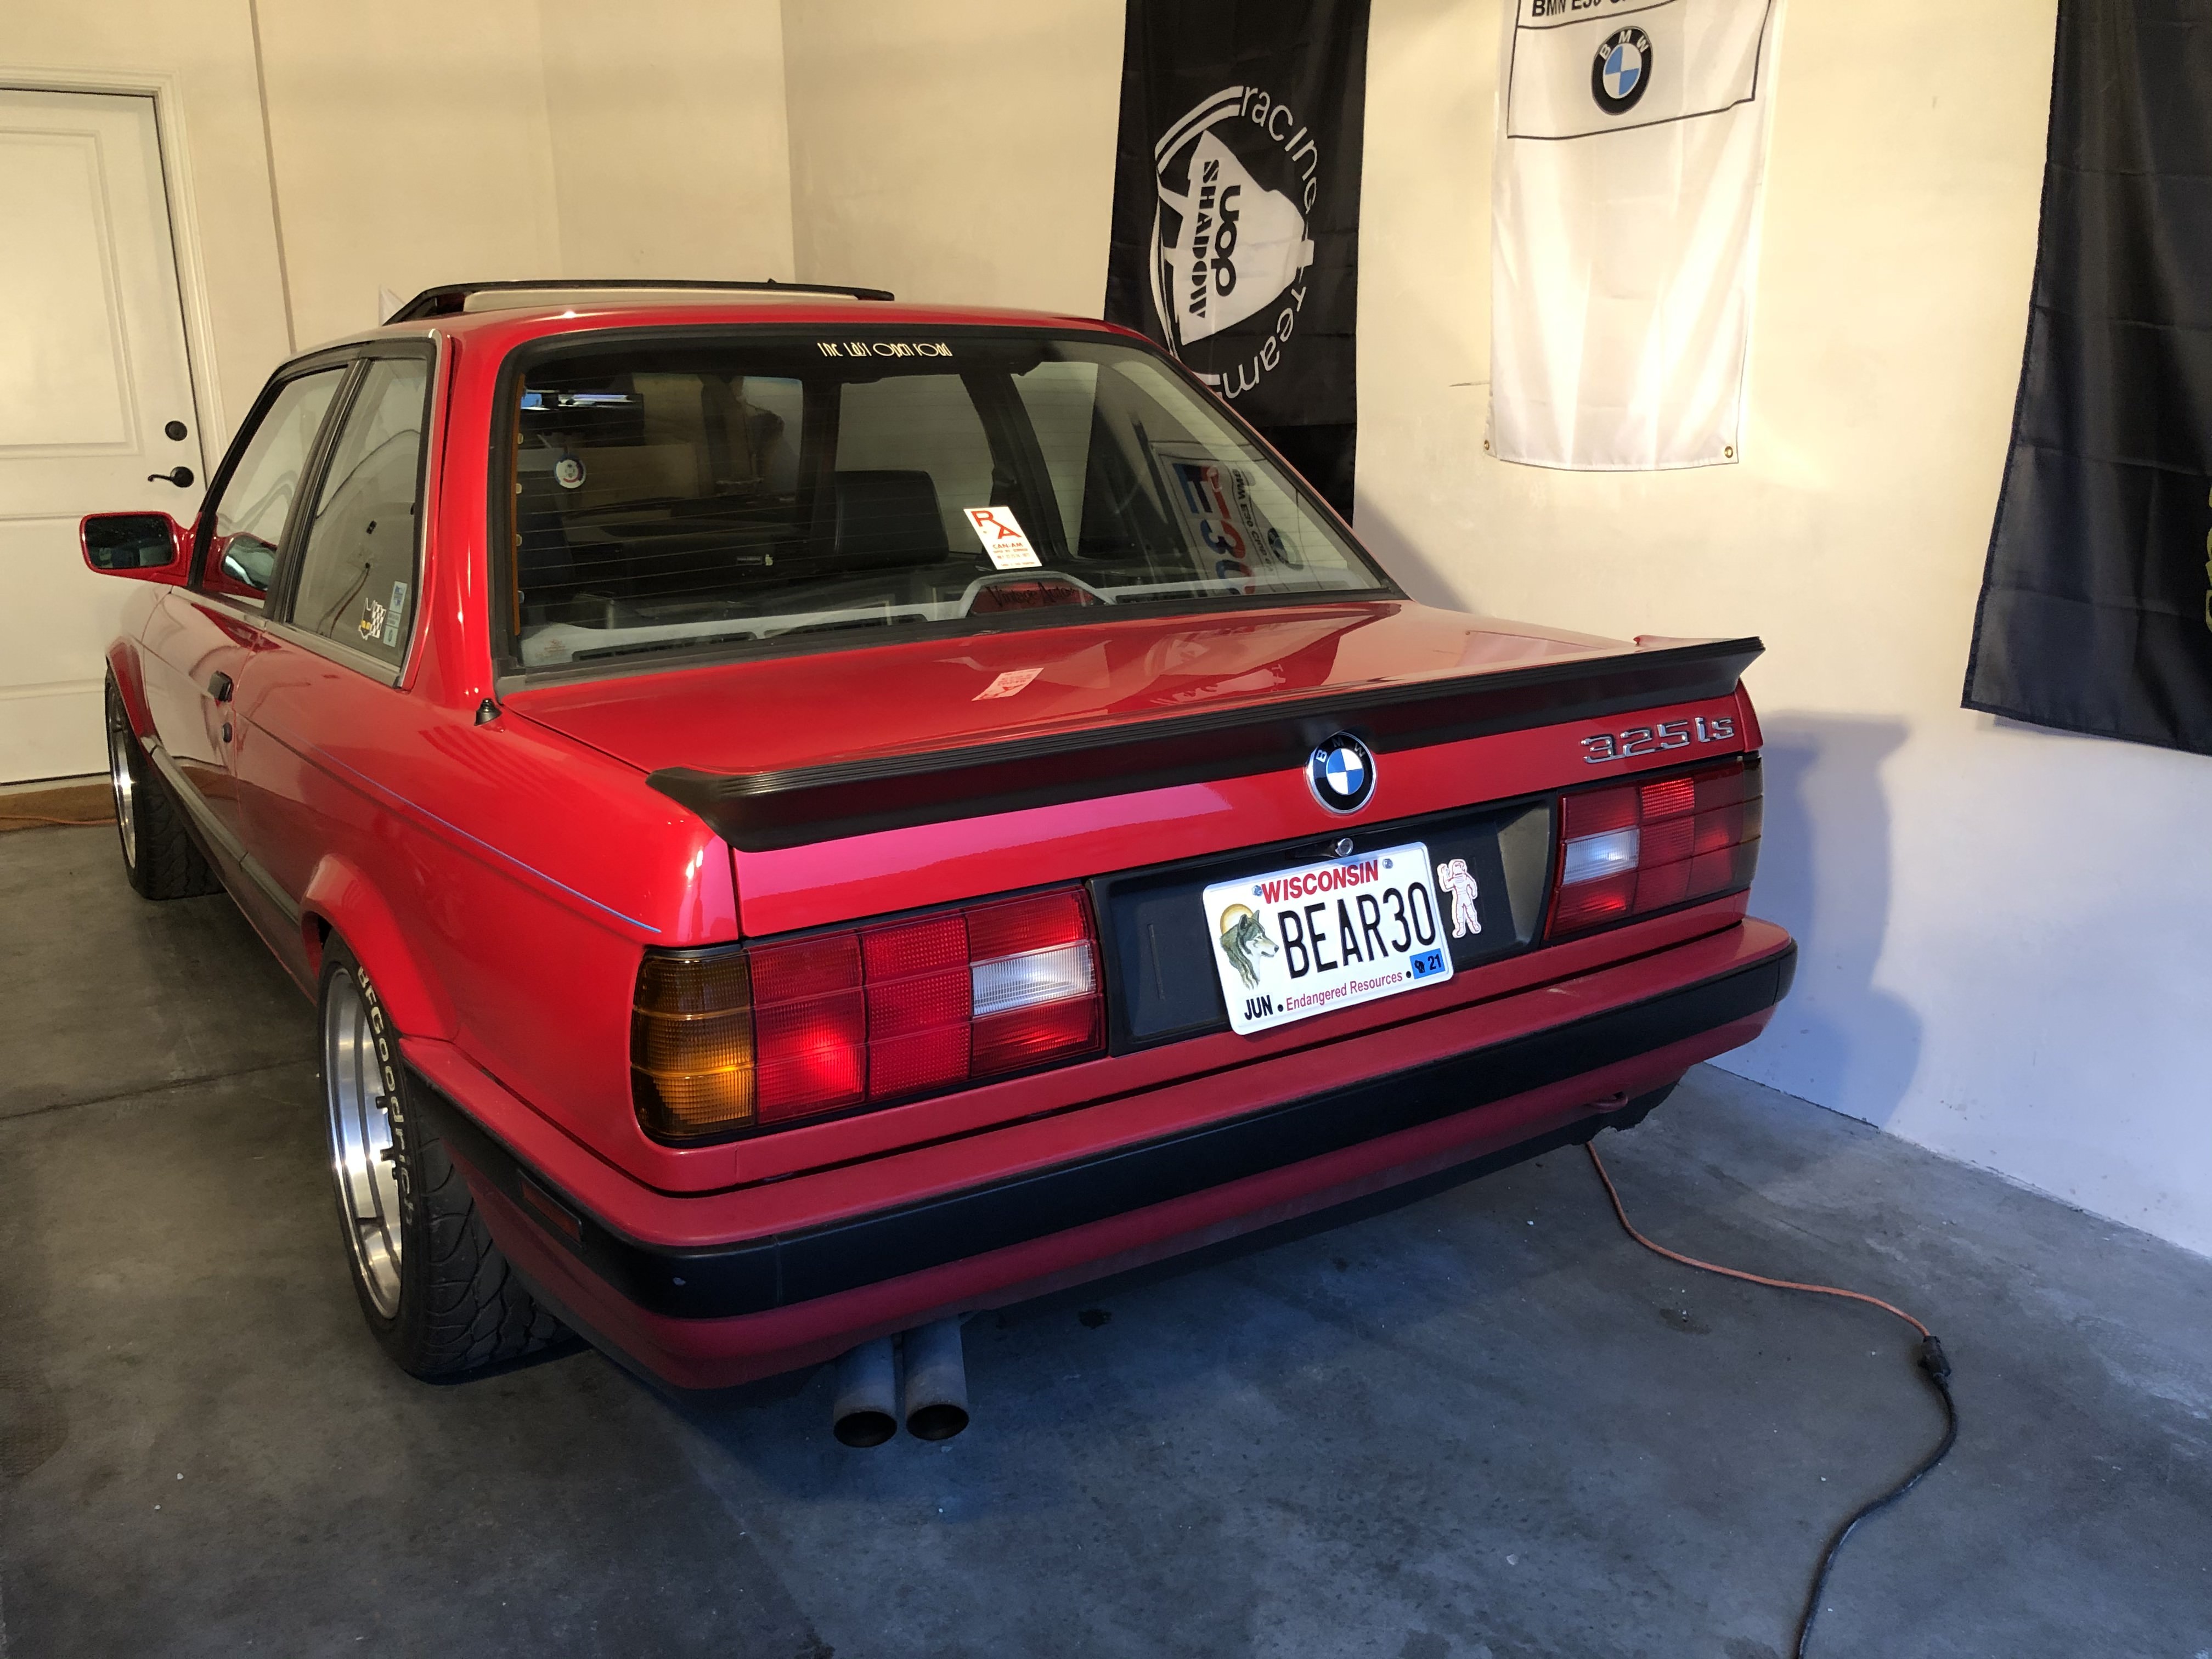
Drilled holes in the trunk lid for the studs. It was hard to gauge how the spoiler would fit without being able to lay it flat on the trunk lid. Came out well, still need to drill or cut a hole on the underside of the trunk lid to access the far outside screws. I think I might use a combination of some double sided tape and foam tape(not exactly foam tape, but something of that nature) to close the gap at the ends. Guess will see how much the far studs will suck it closer to the lid with nuts on them. You can see how I tried to get the gap that ran the length of the trunk tighter. As a result of this, the radius of the spoiler leaves somewhat of a gap at the ends.
-
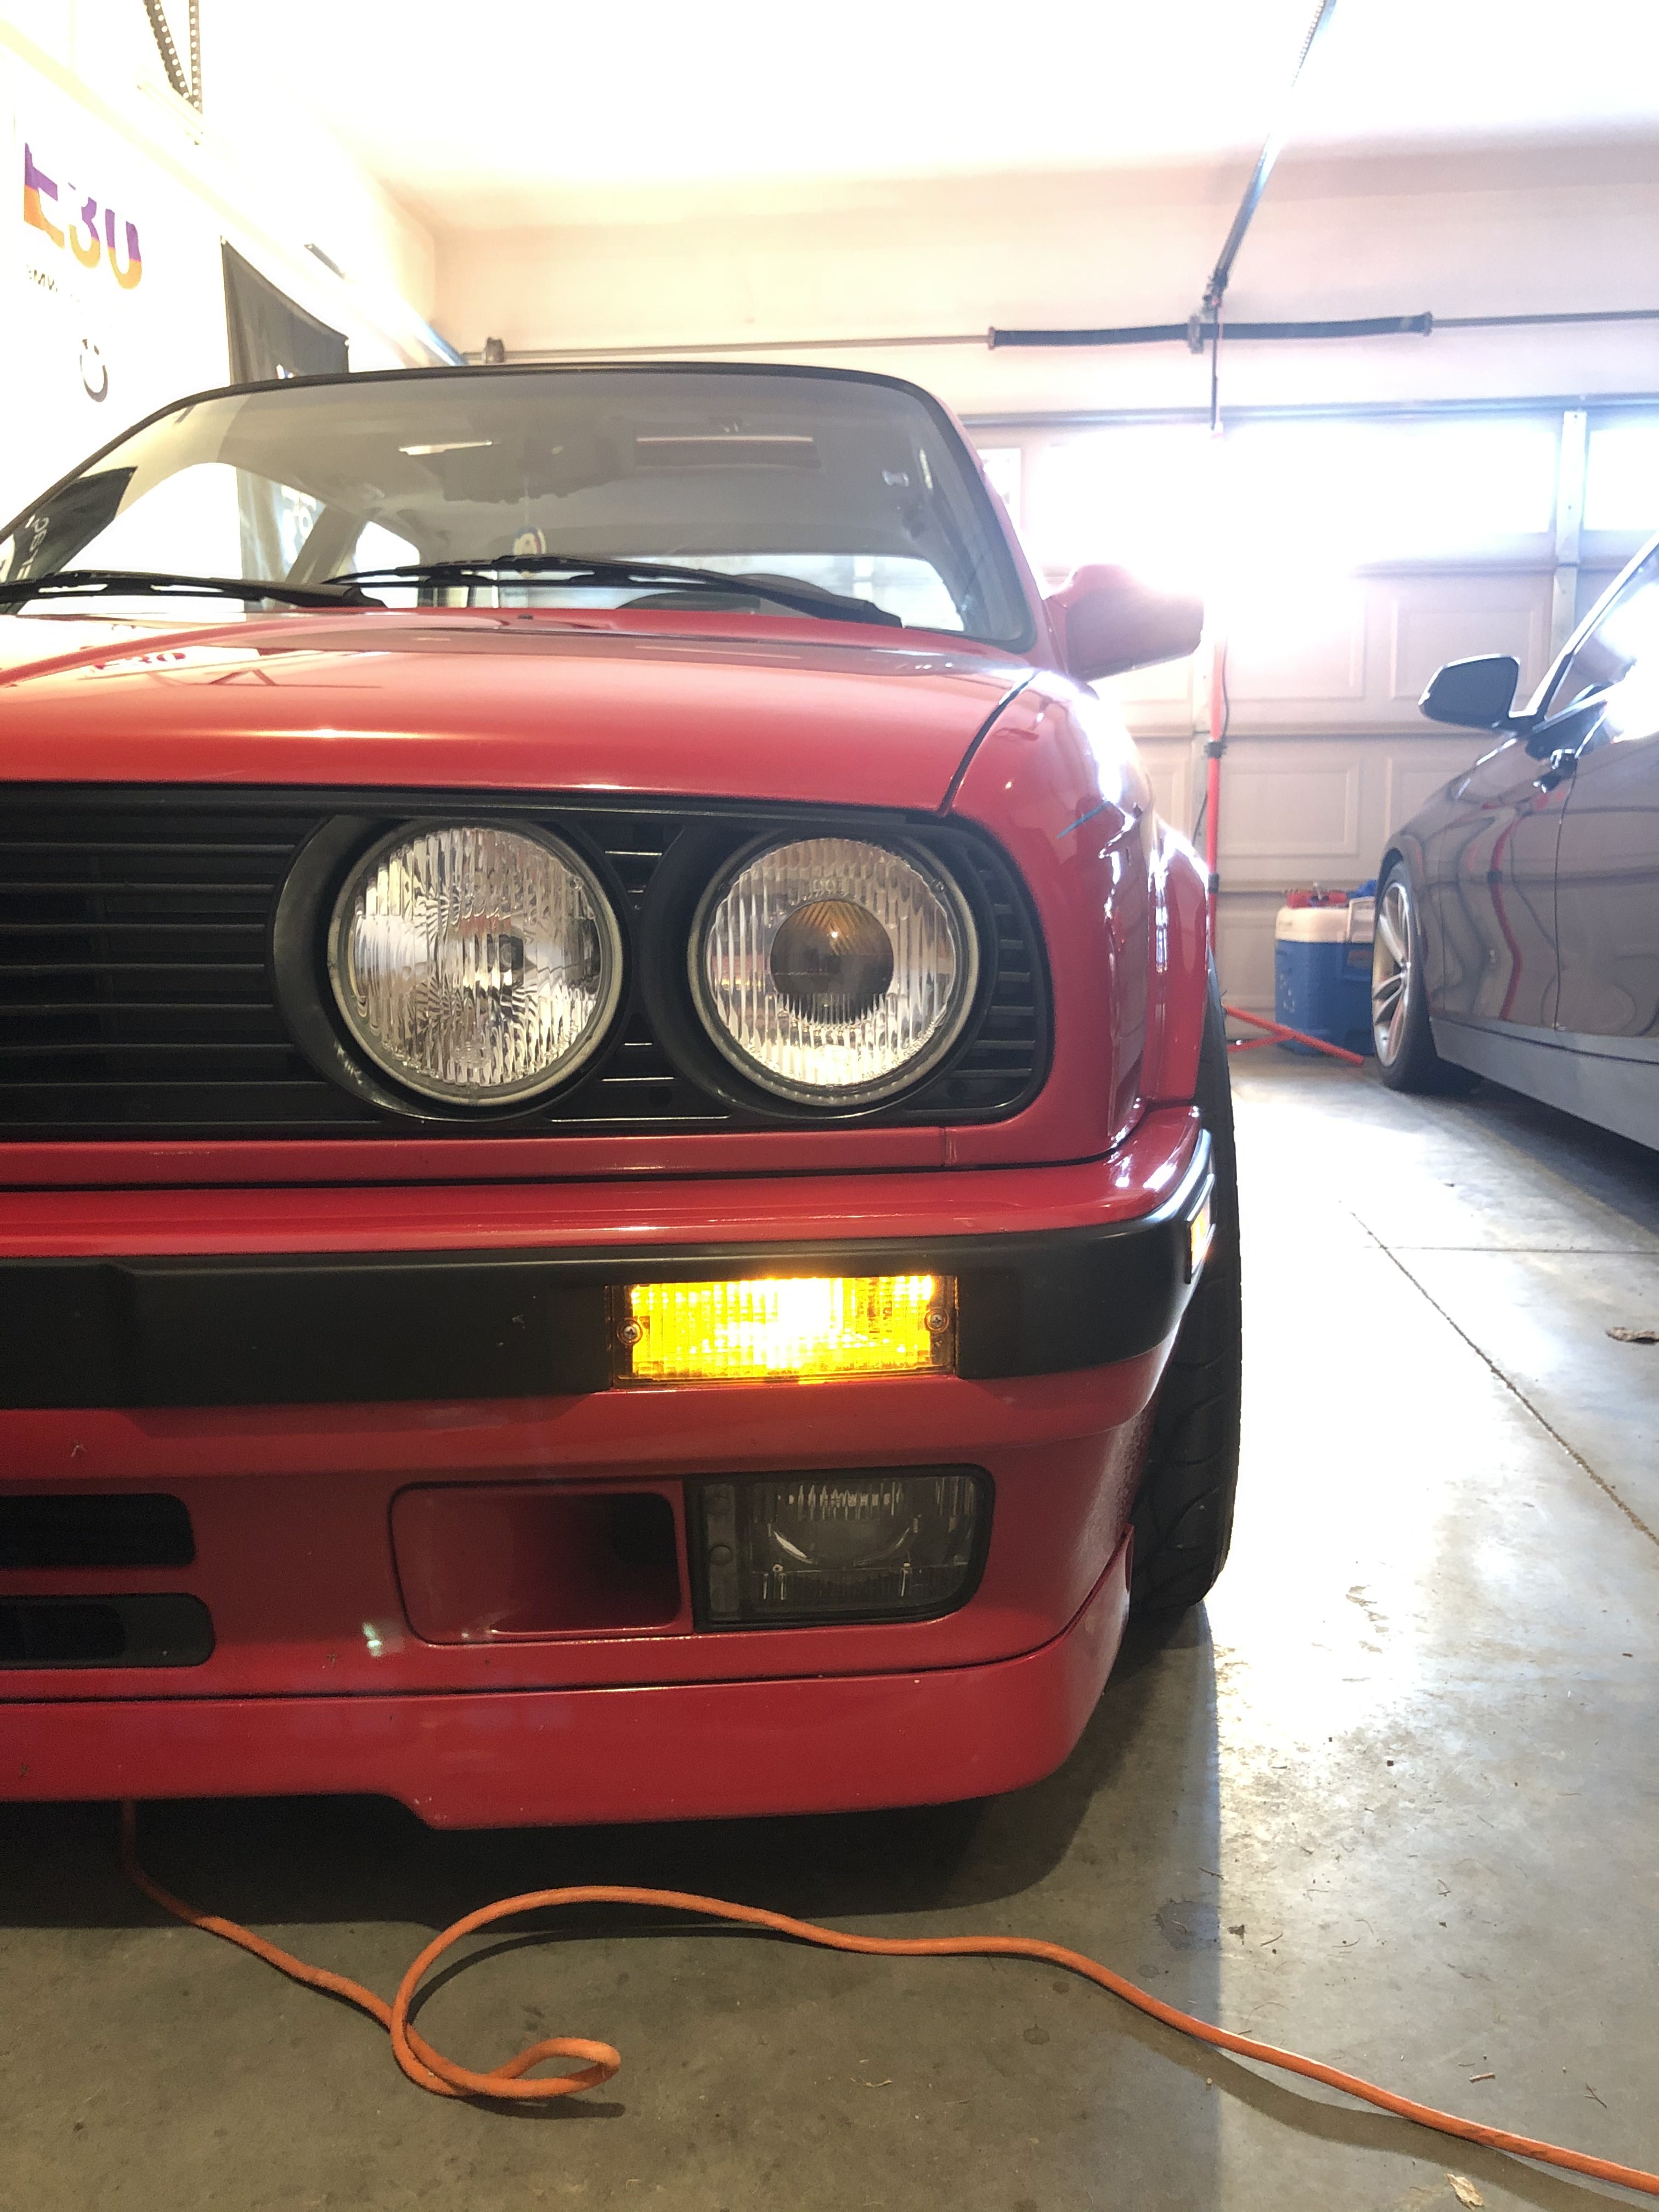
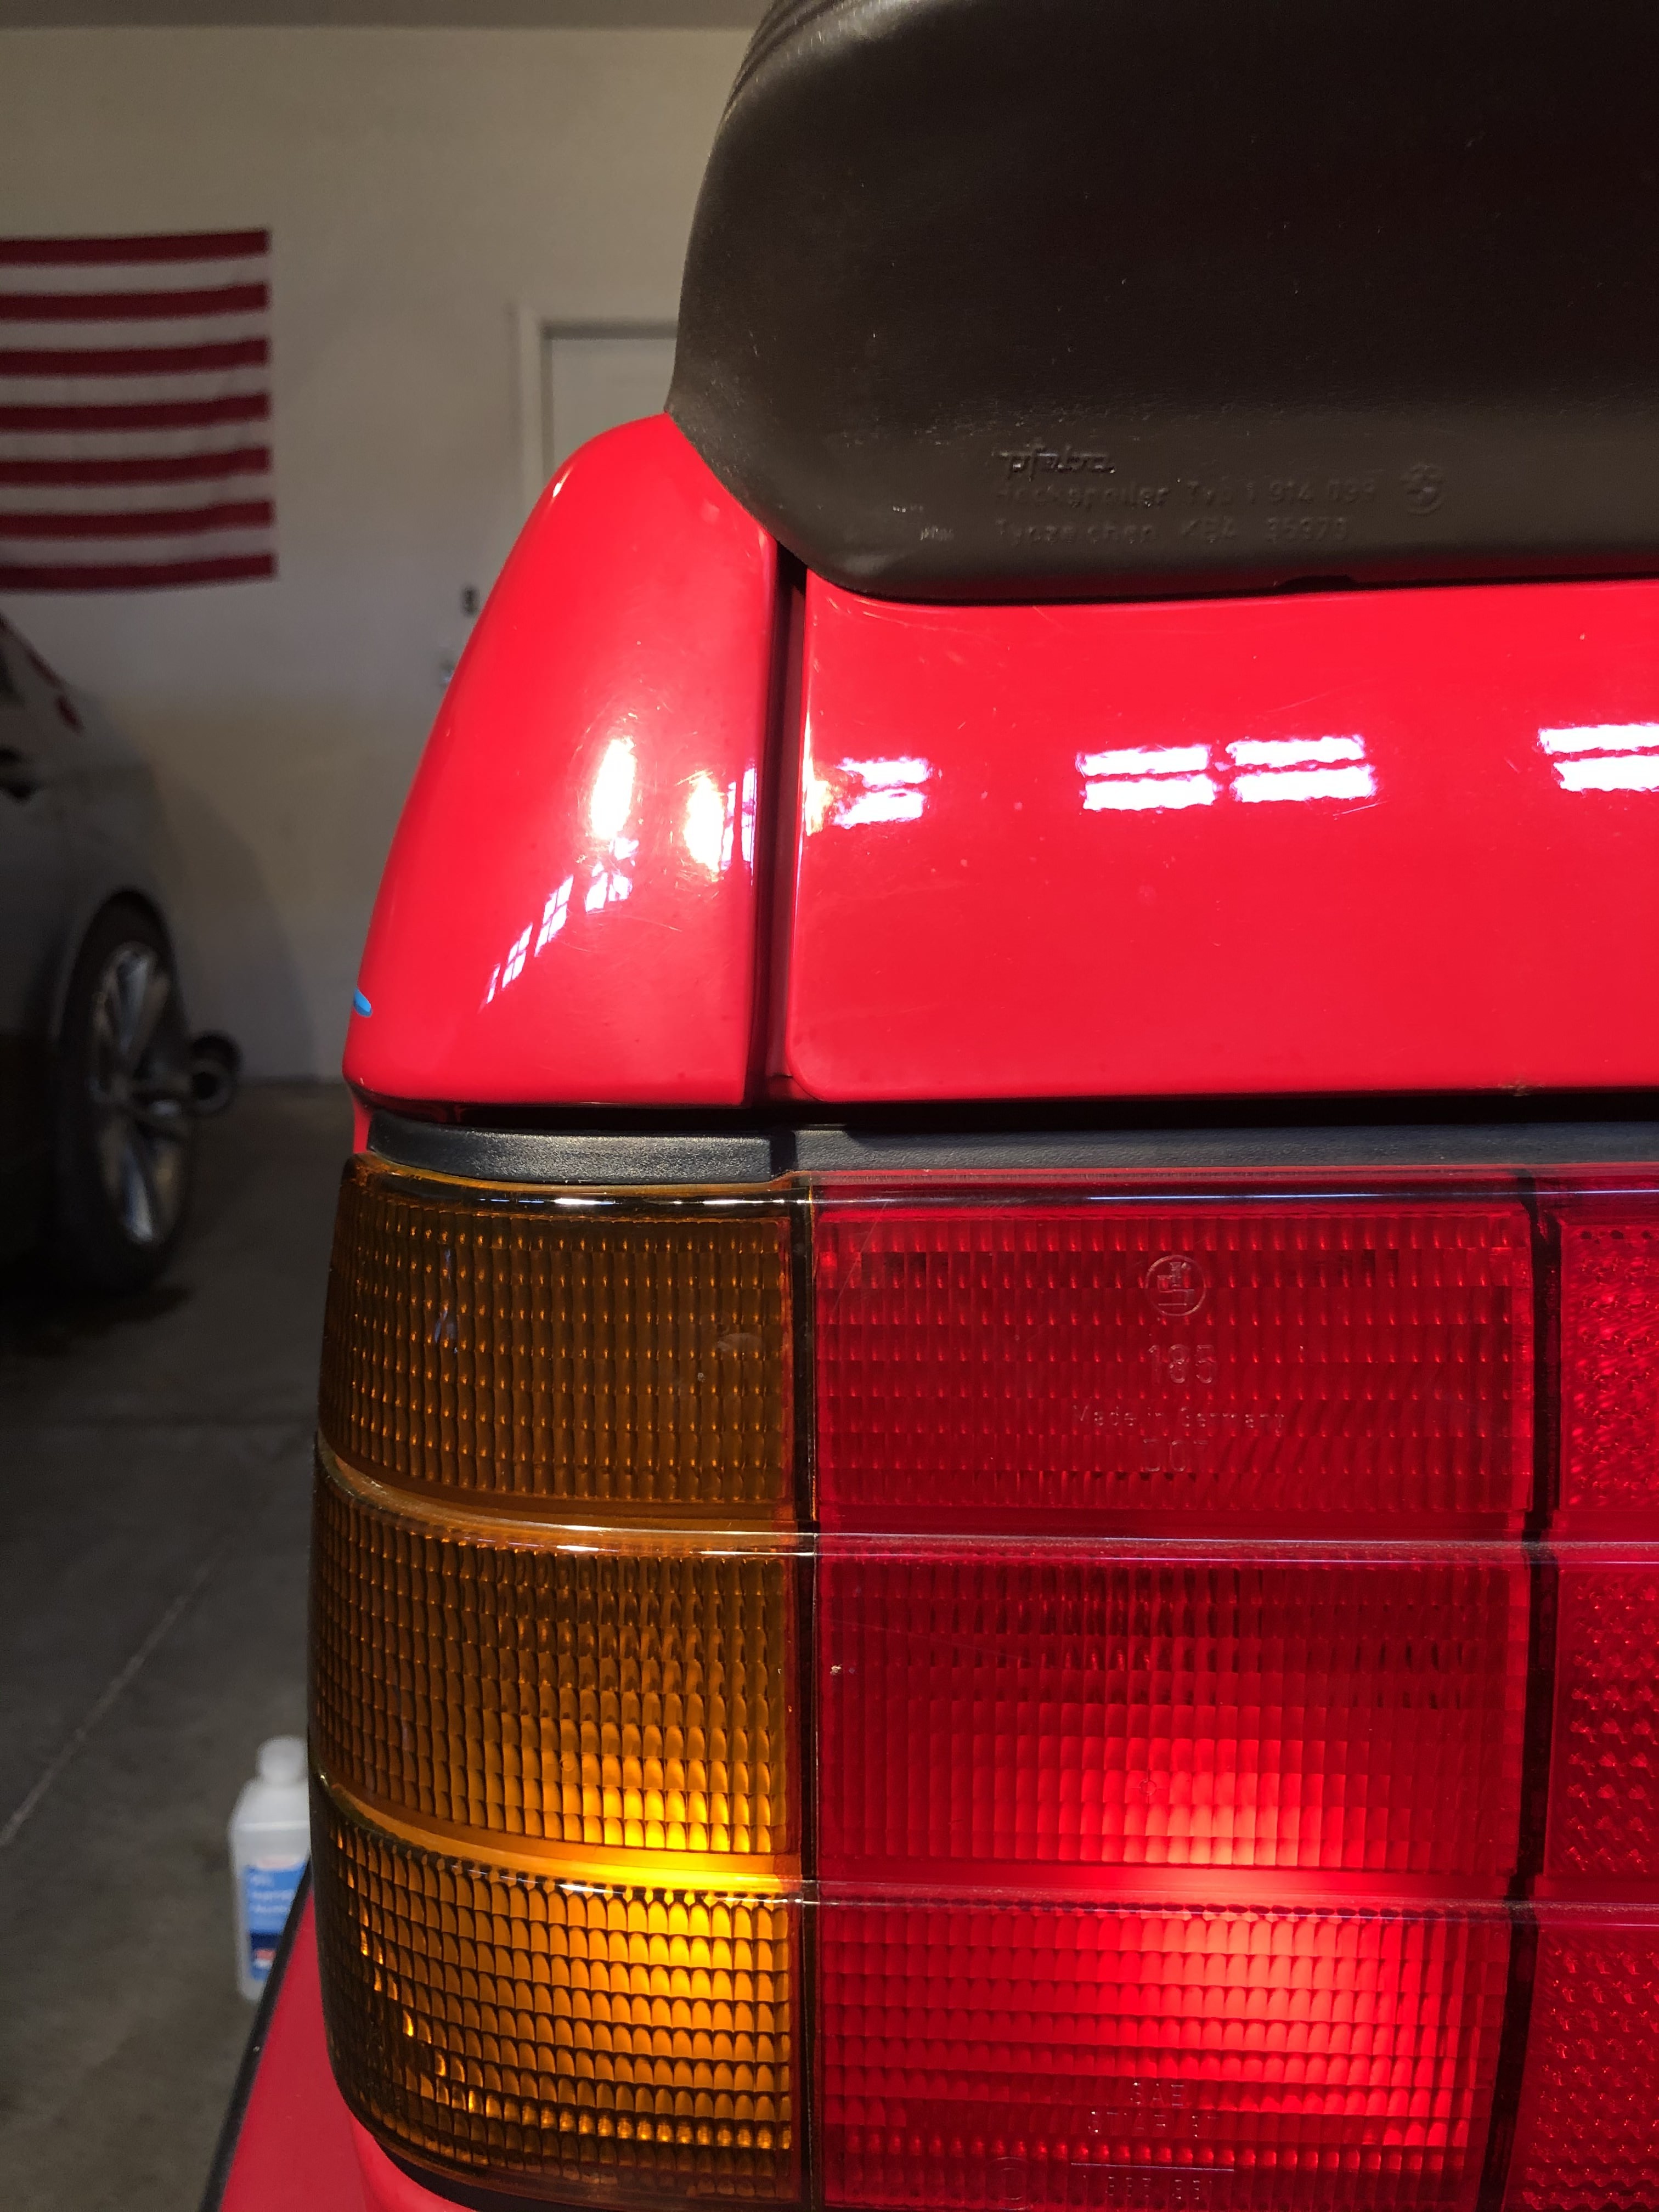
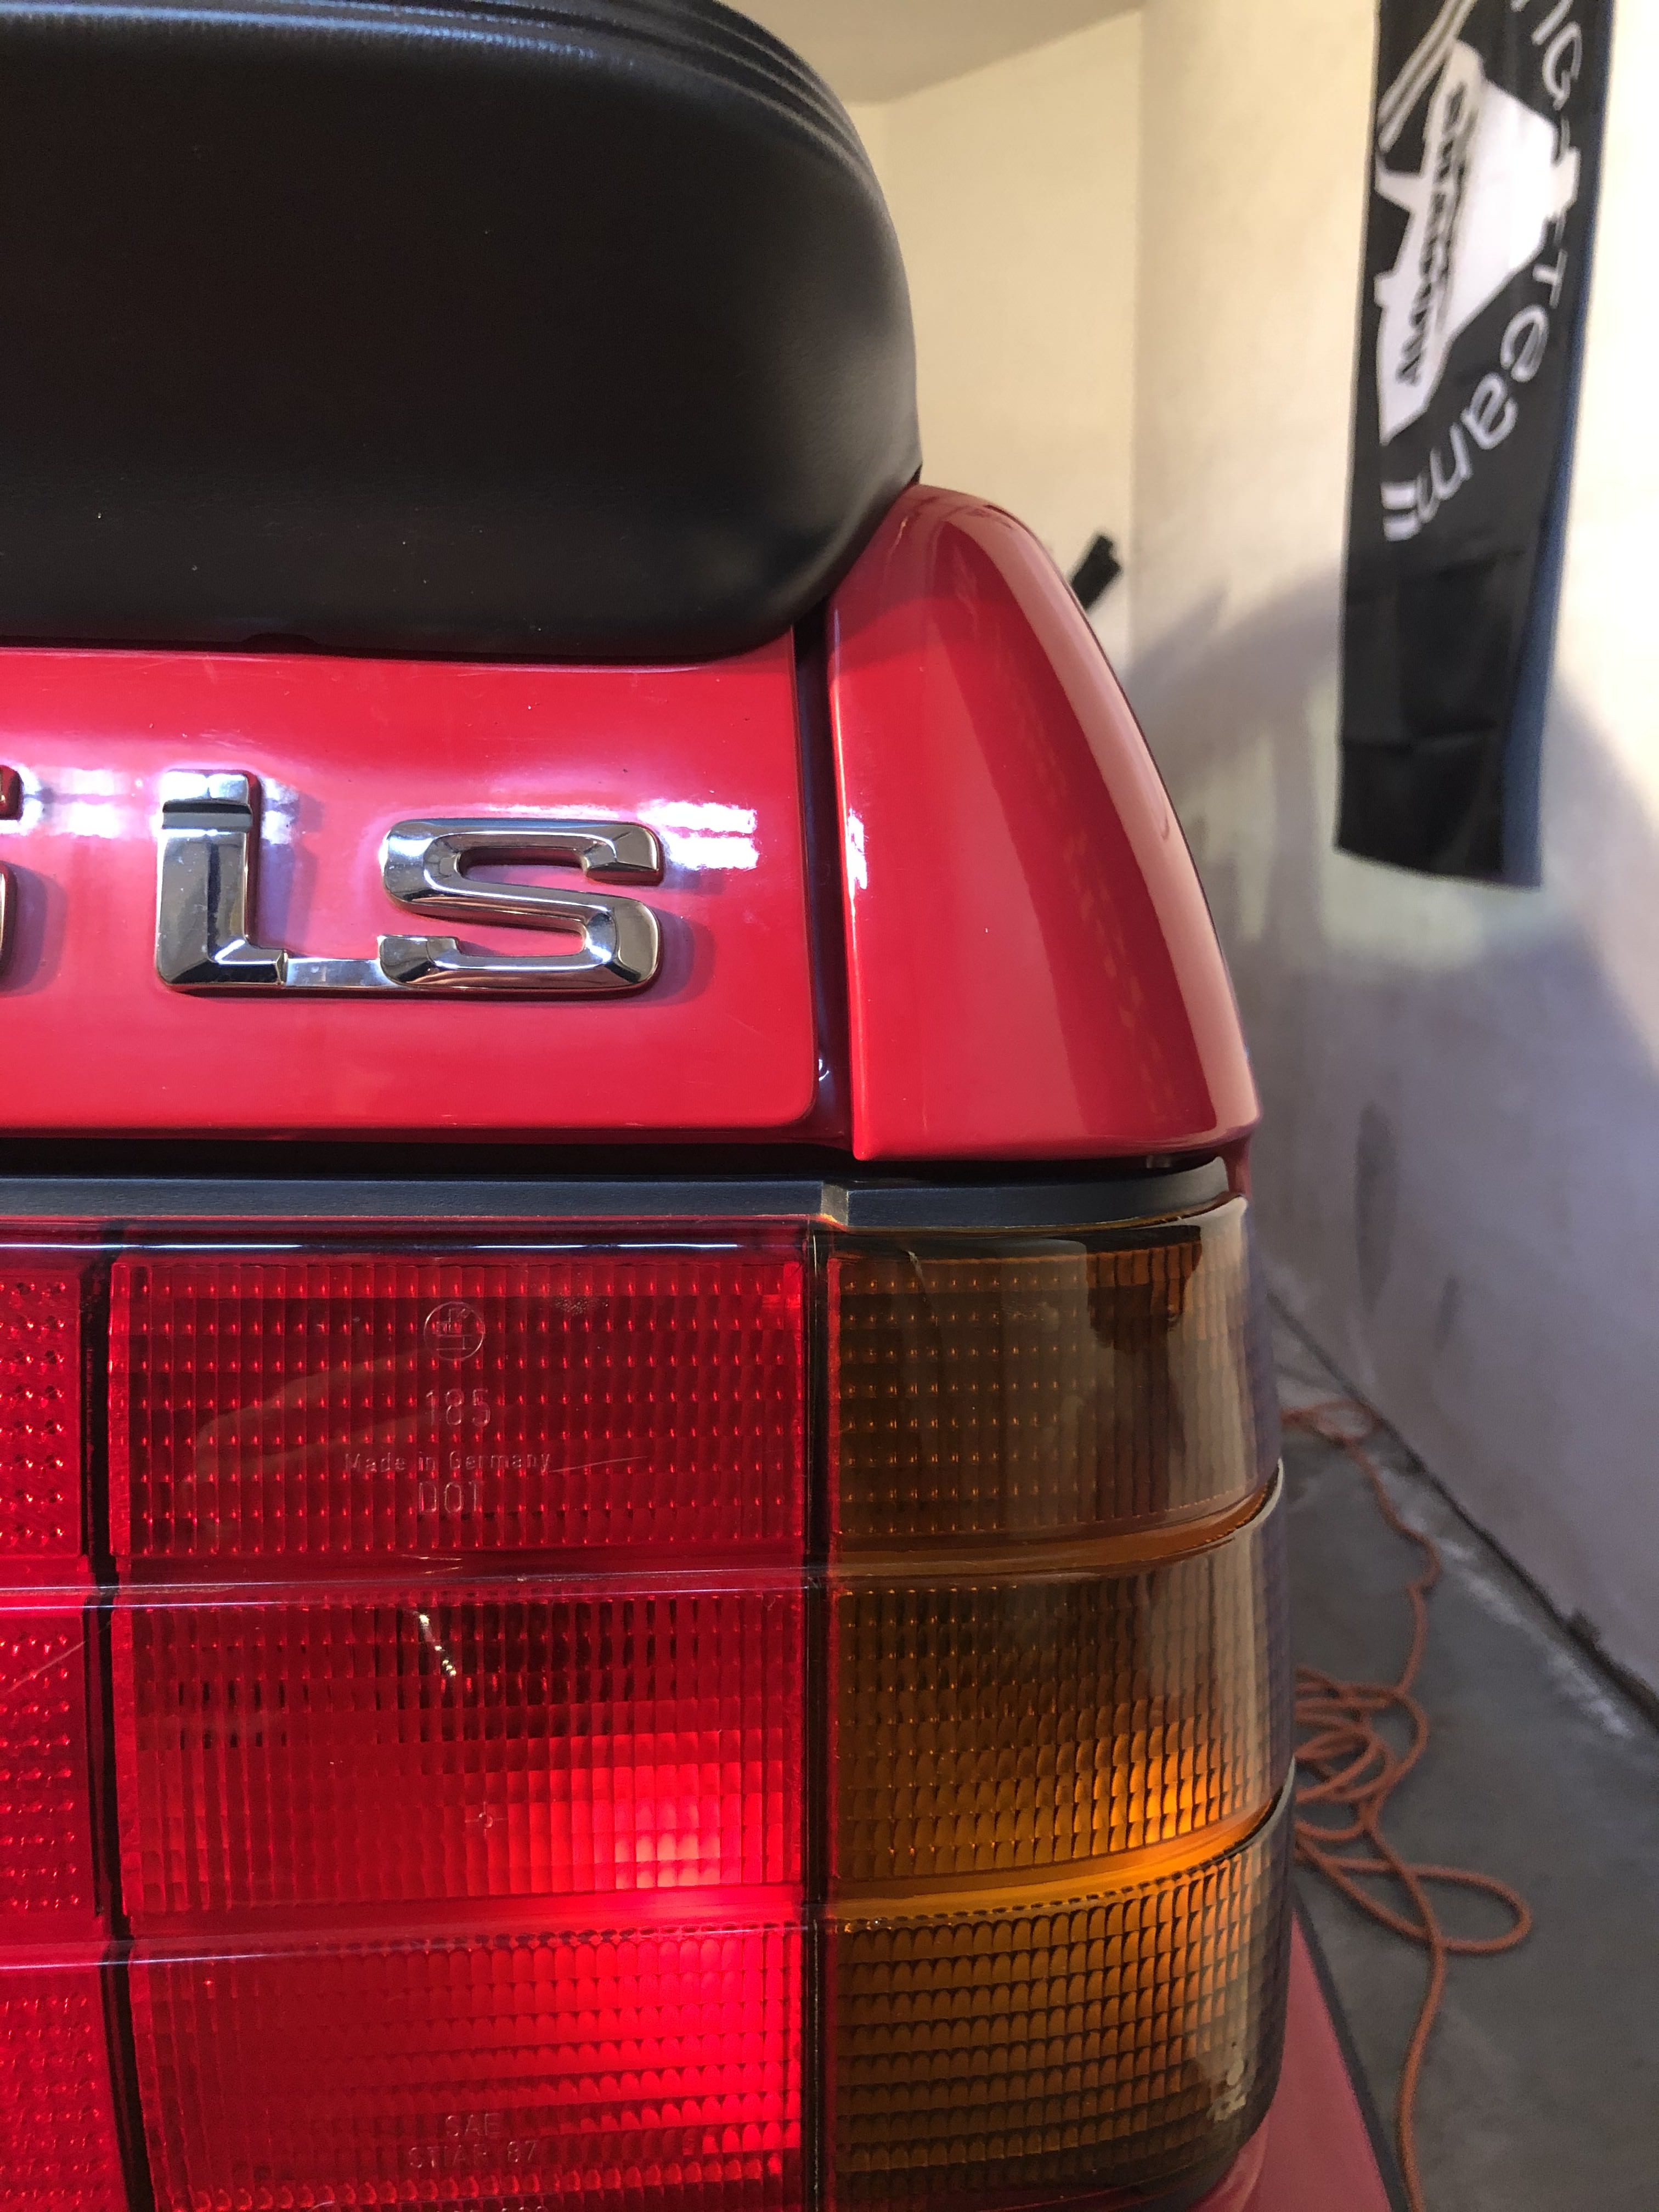
Tail light tint looks fresh
That spoiler angle does not look fresh -
i used 3M double sided tape for the ends of the e28 spoiler on my previous e30. still need to add it to my current one.
Dan

-
Tail light tint looks fresh
That spoiler angle does not look freshThere's no nuts on the far outside studs, so it's going to naturally not lay flat. I'm not sure if the radiuses of the trunk lid and the spoiler match, but when I was trying to test fit it, it was either a finger sized gap between the spoiler and the length of the trunk, or this. Like I said, it was hard to tell where to place it given the studs don't allow you to lay it flat. And without turning my trunk lid into a piece of cheese, I'm fine with making some small modifications to make it flush at the ends.
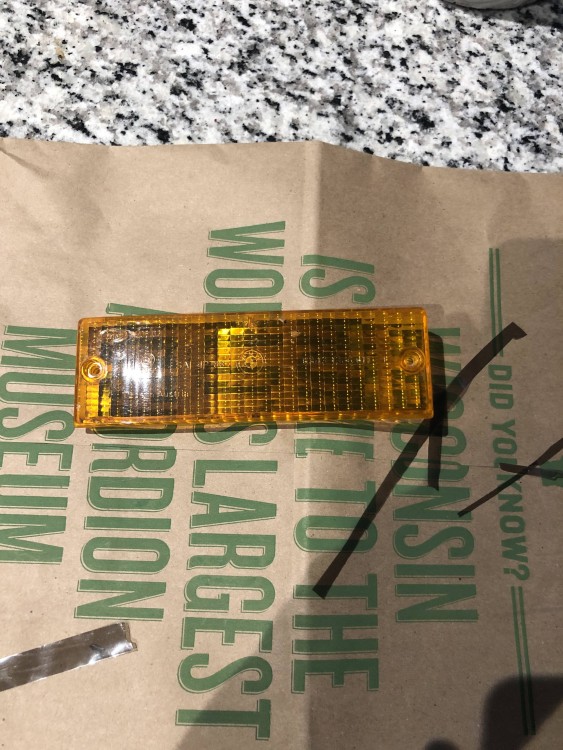
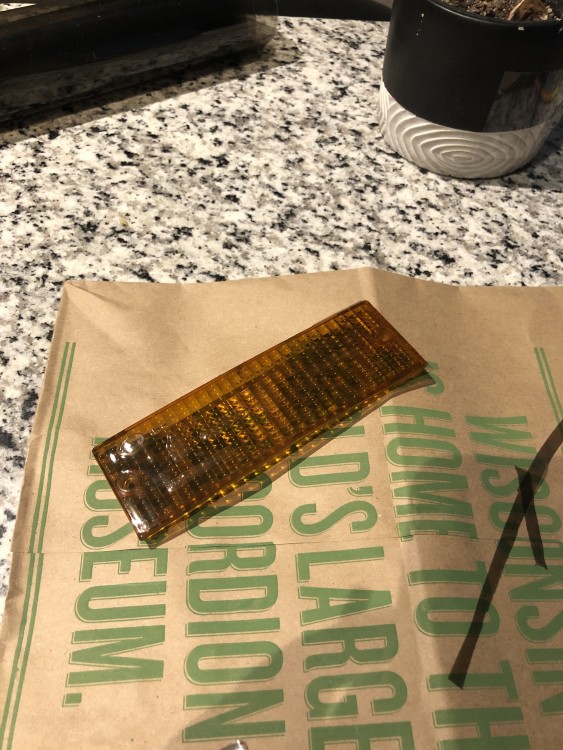
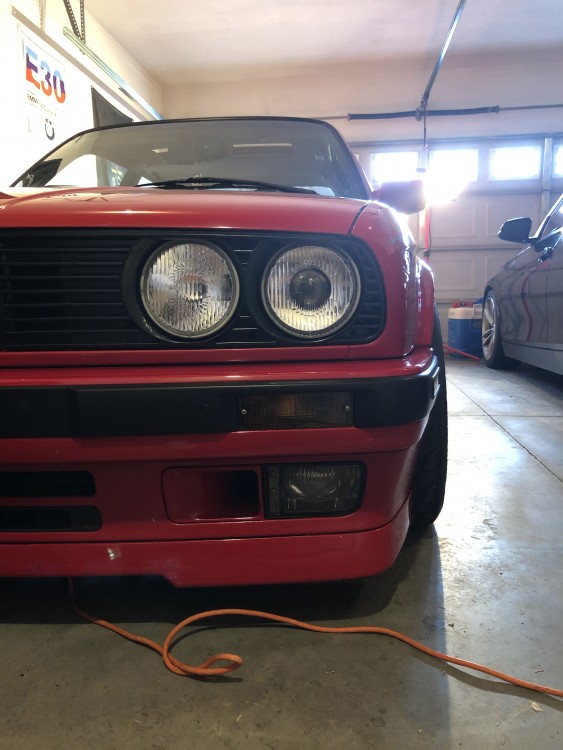
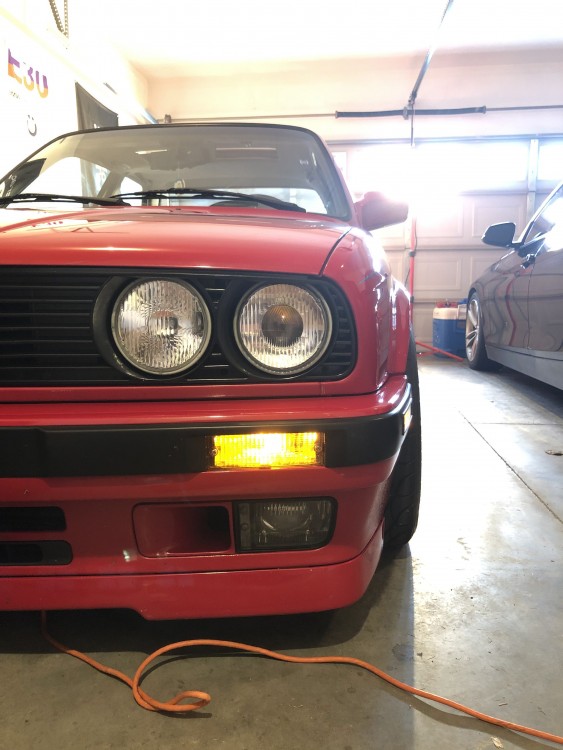
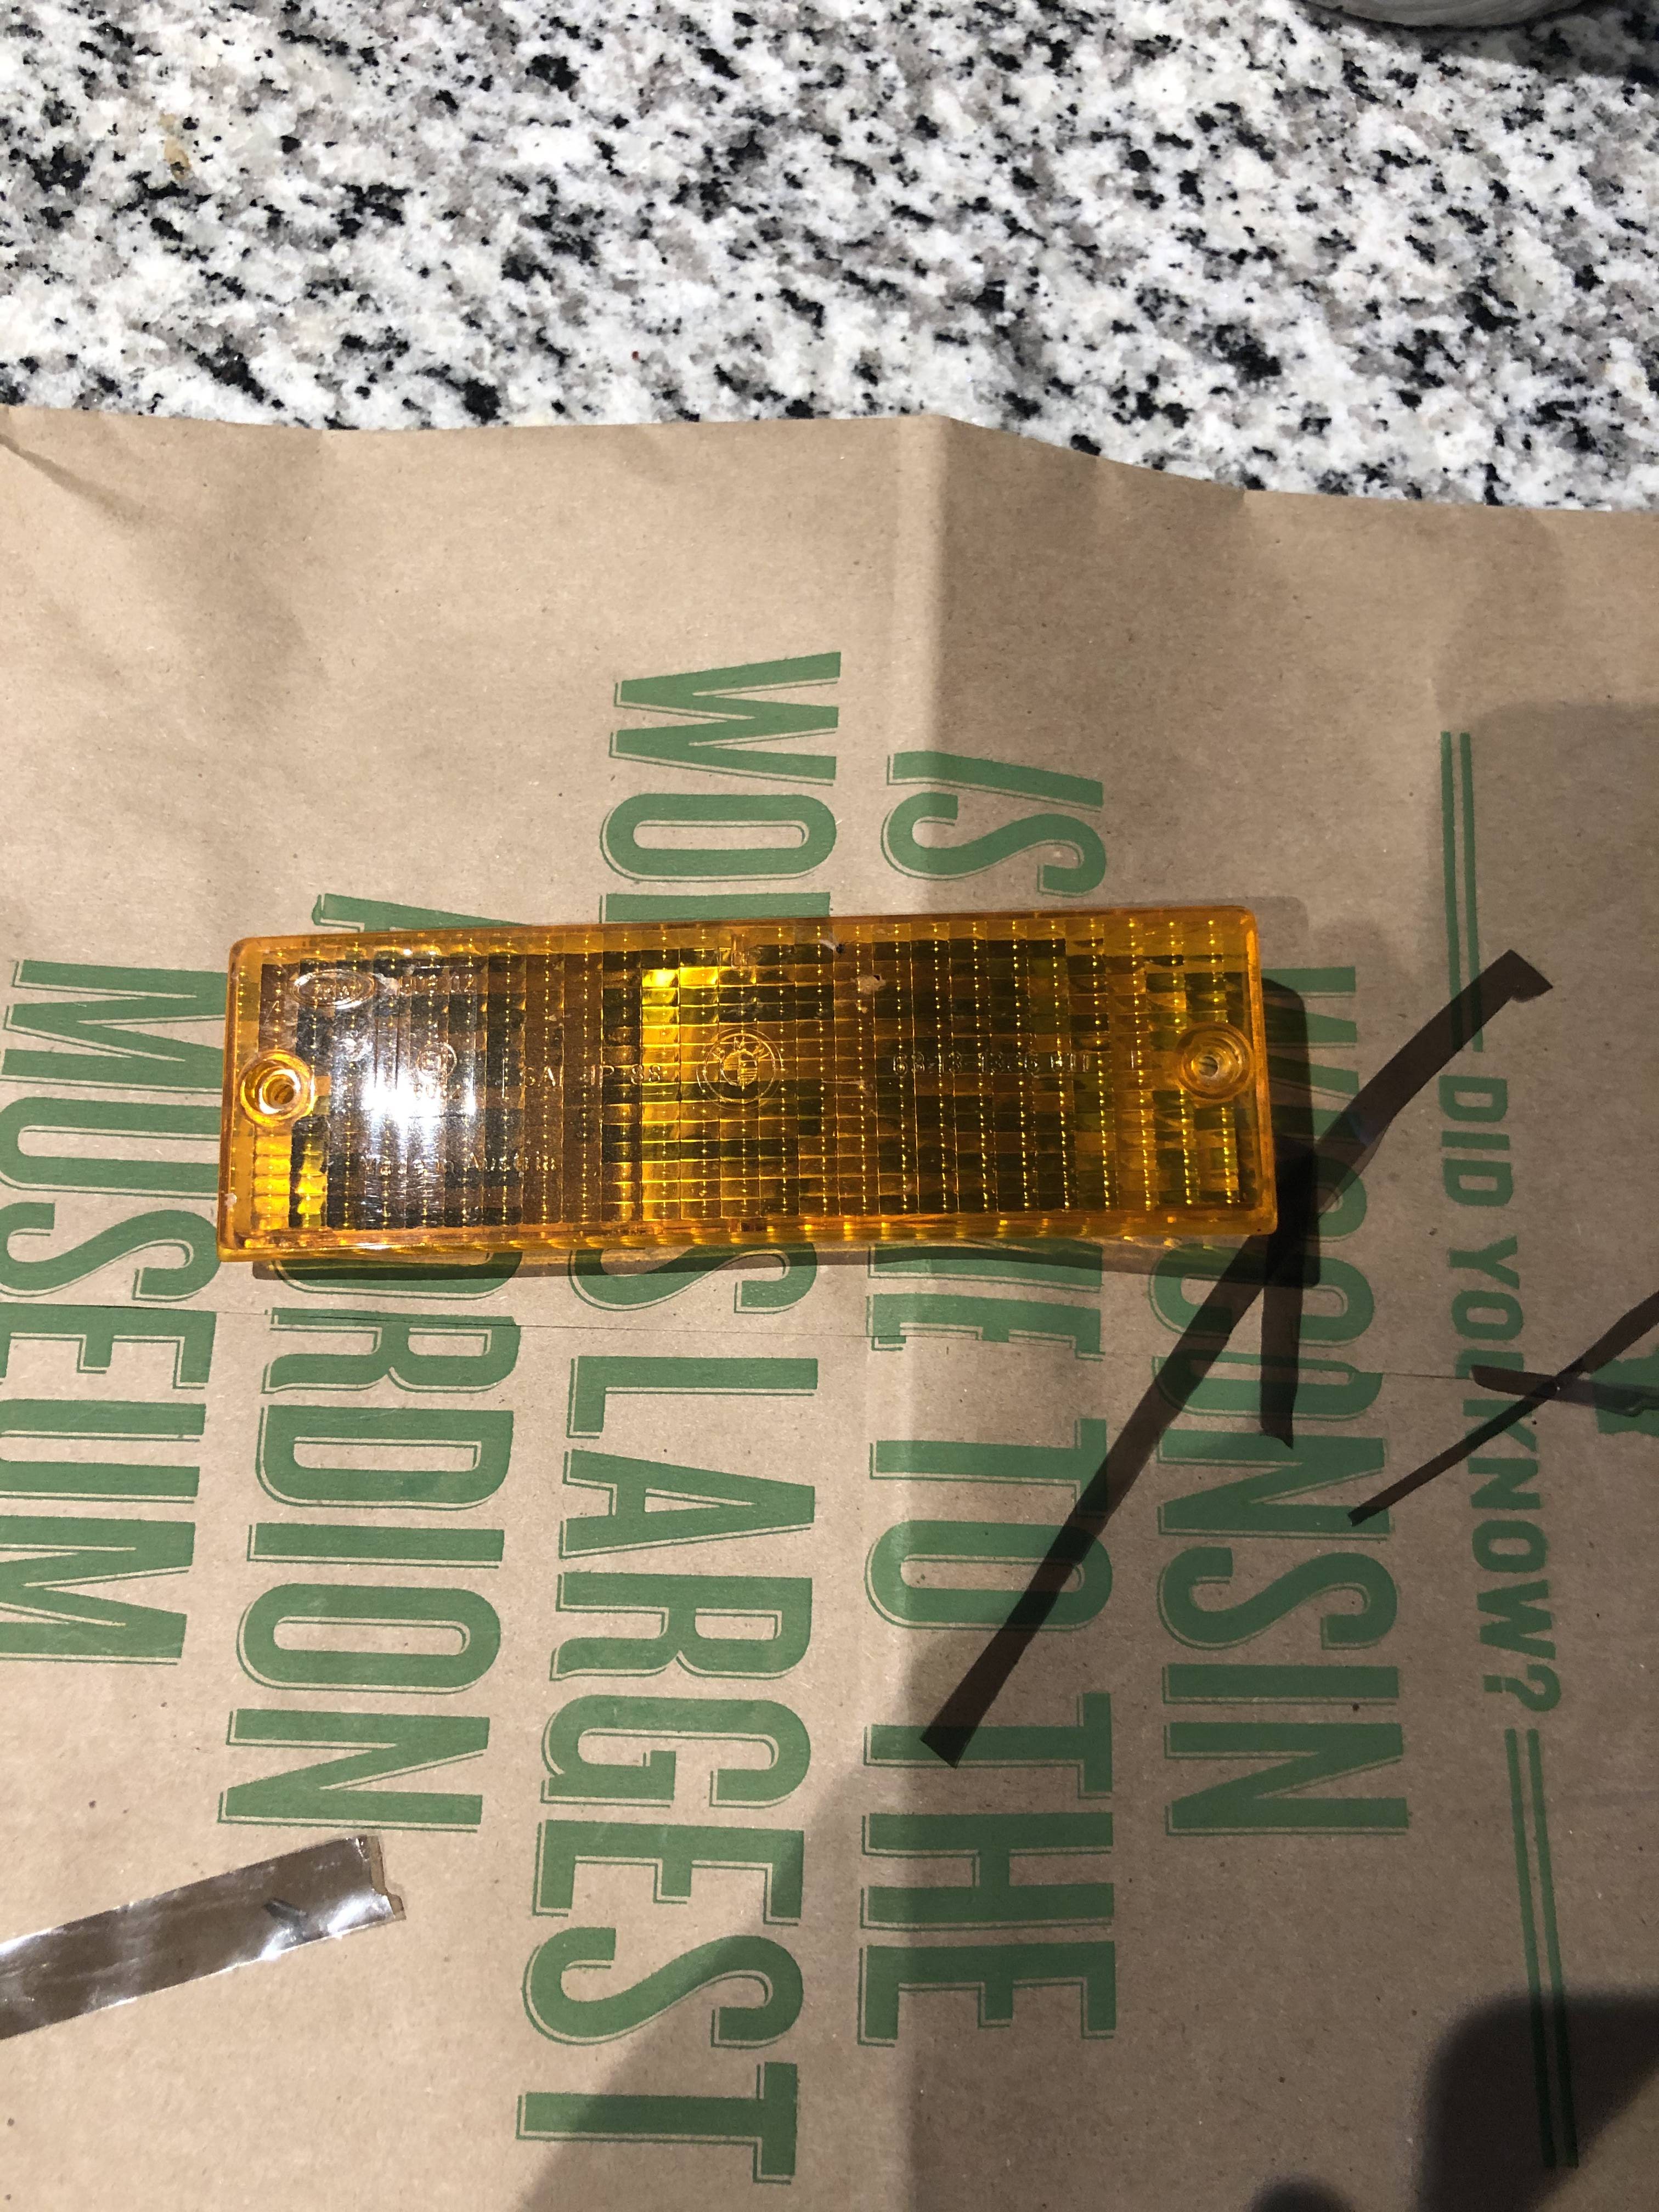
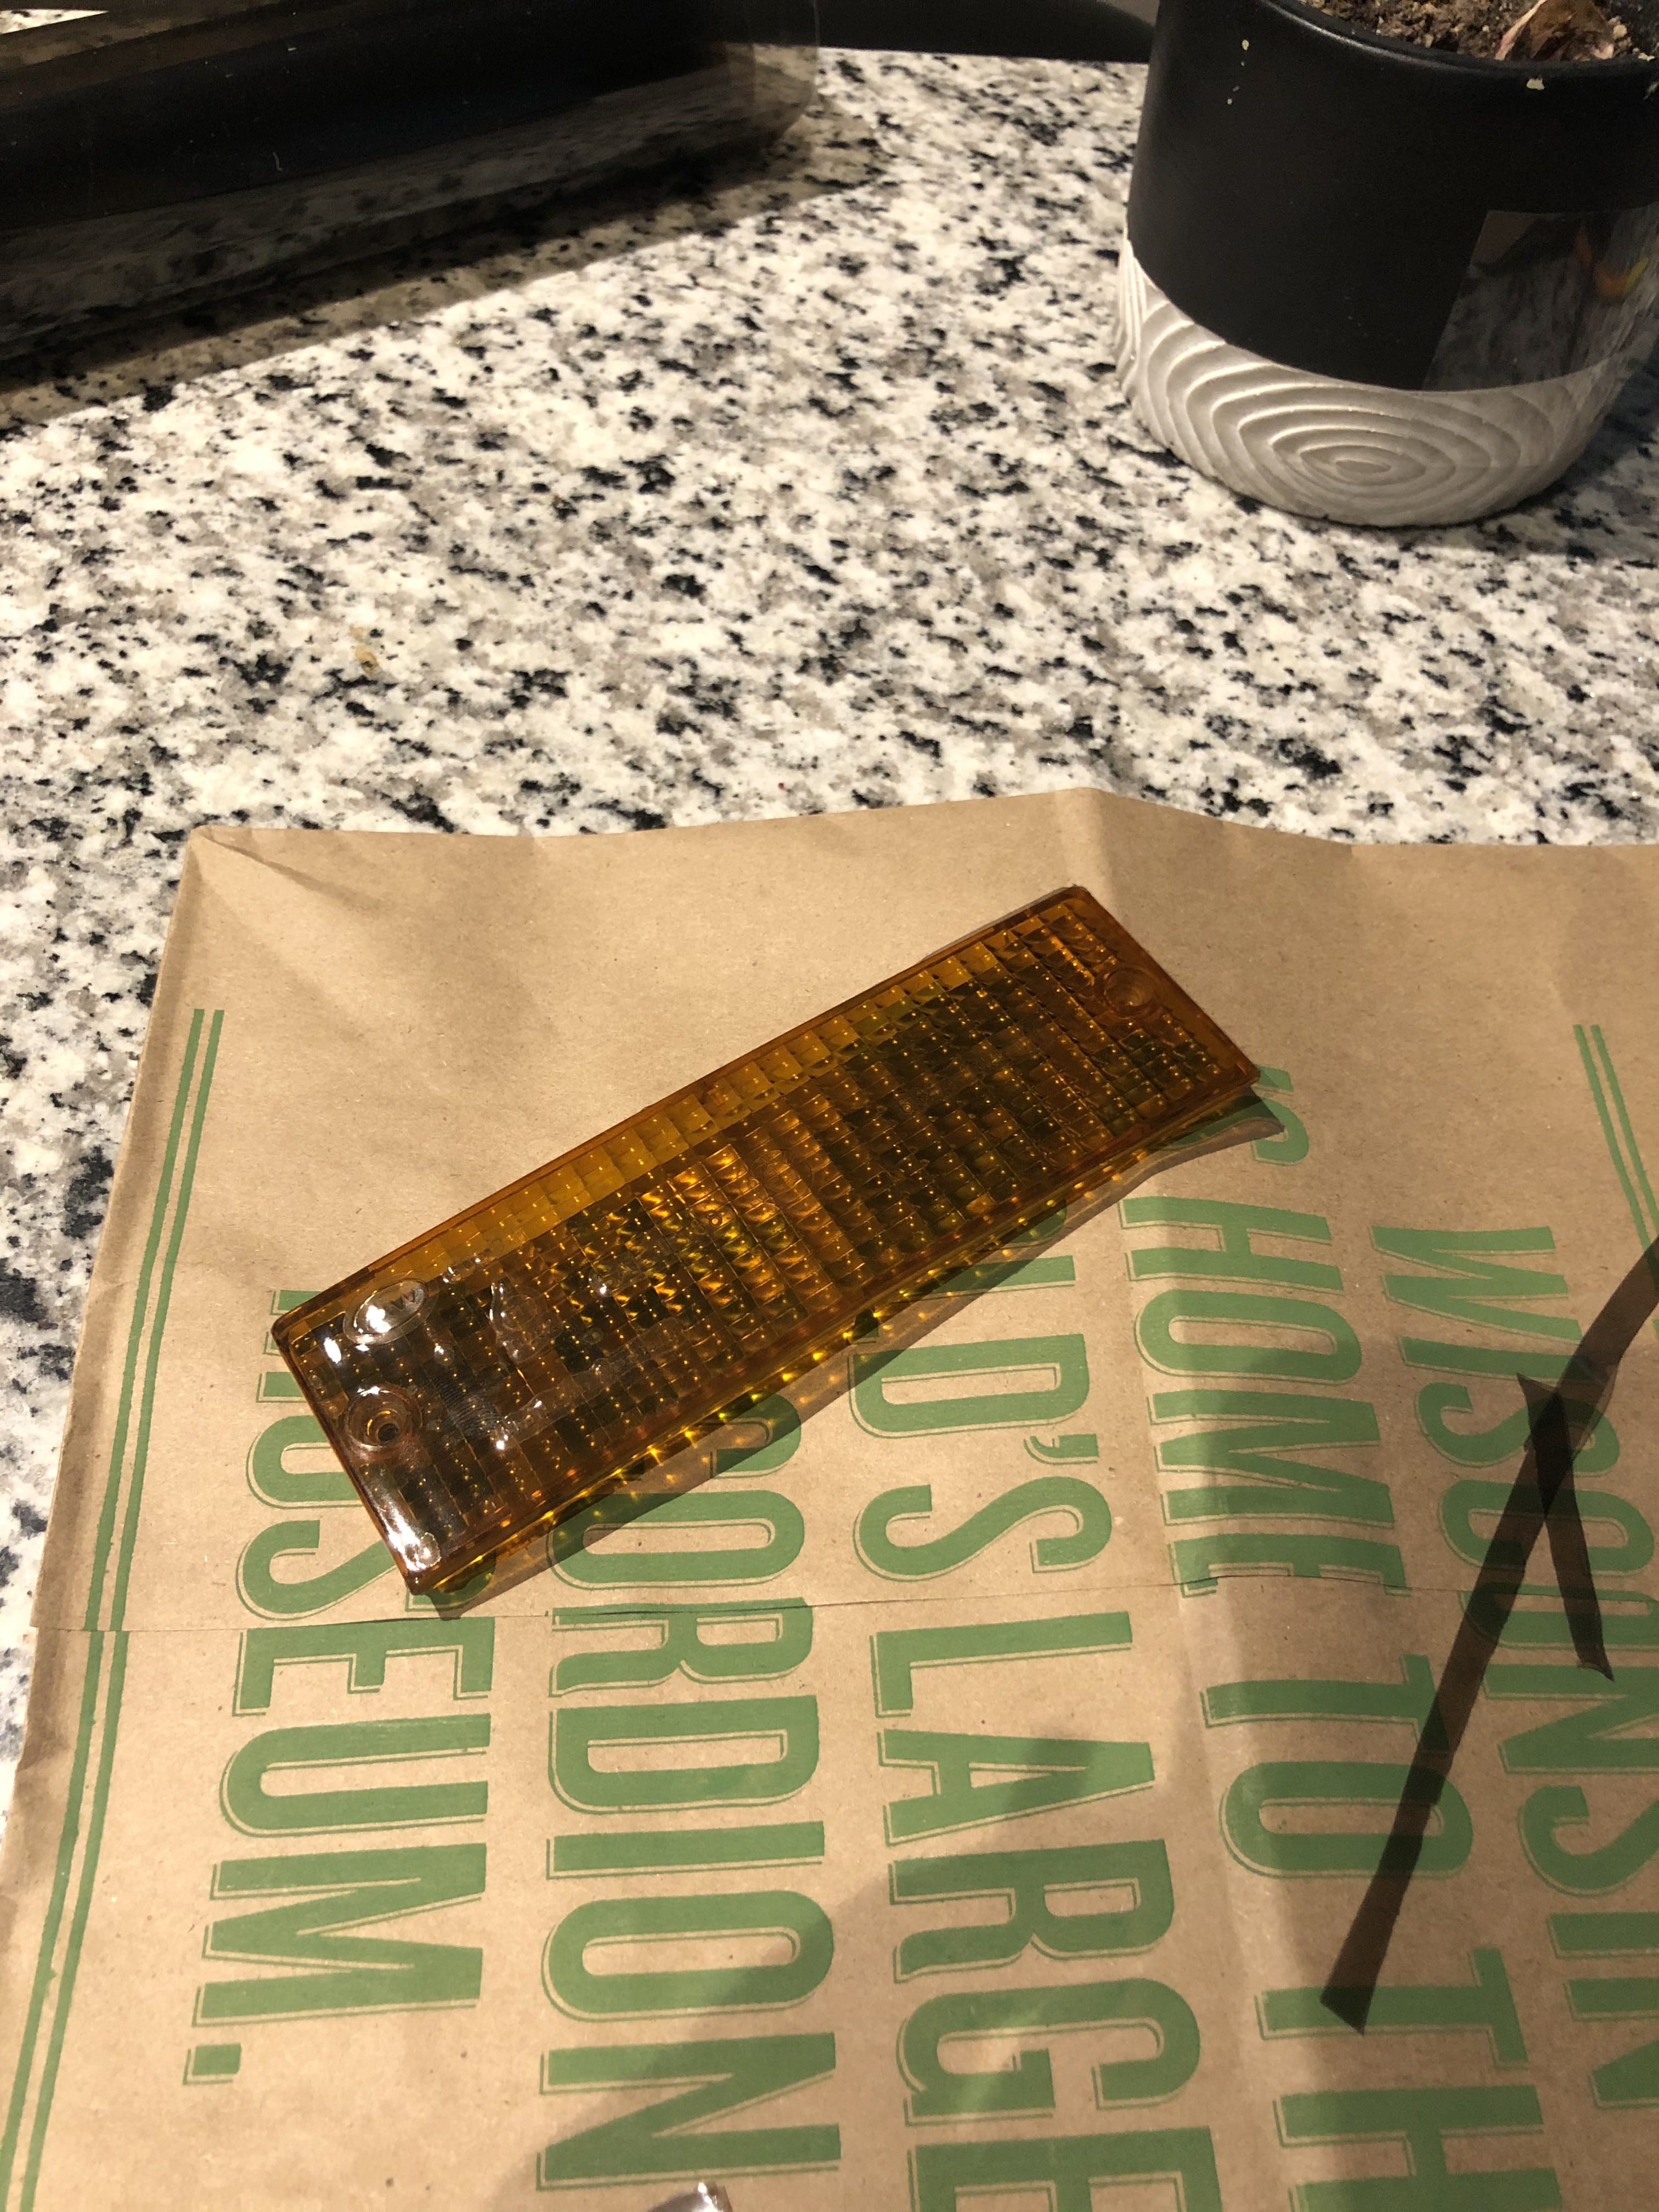
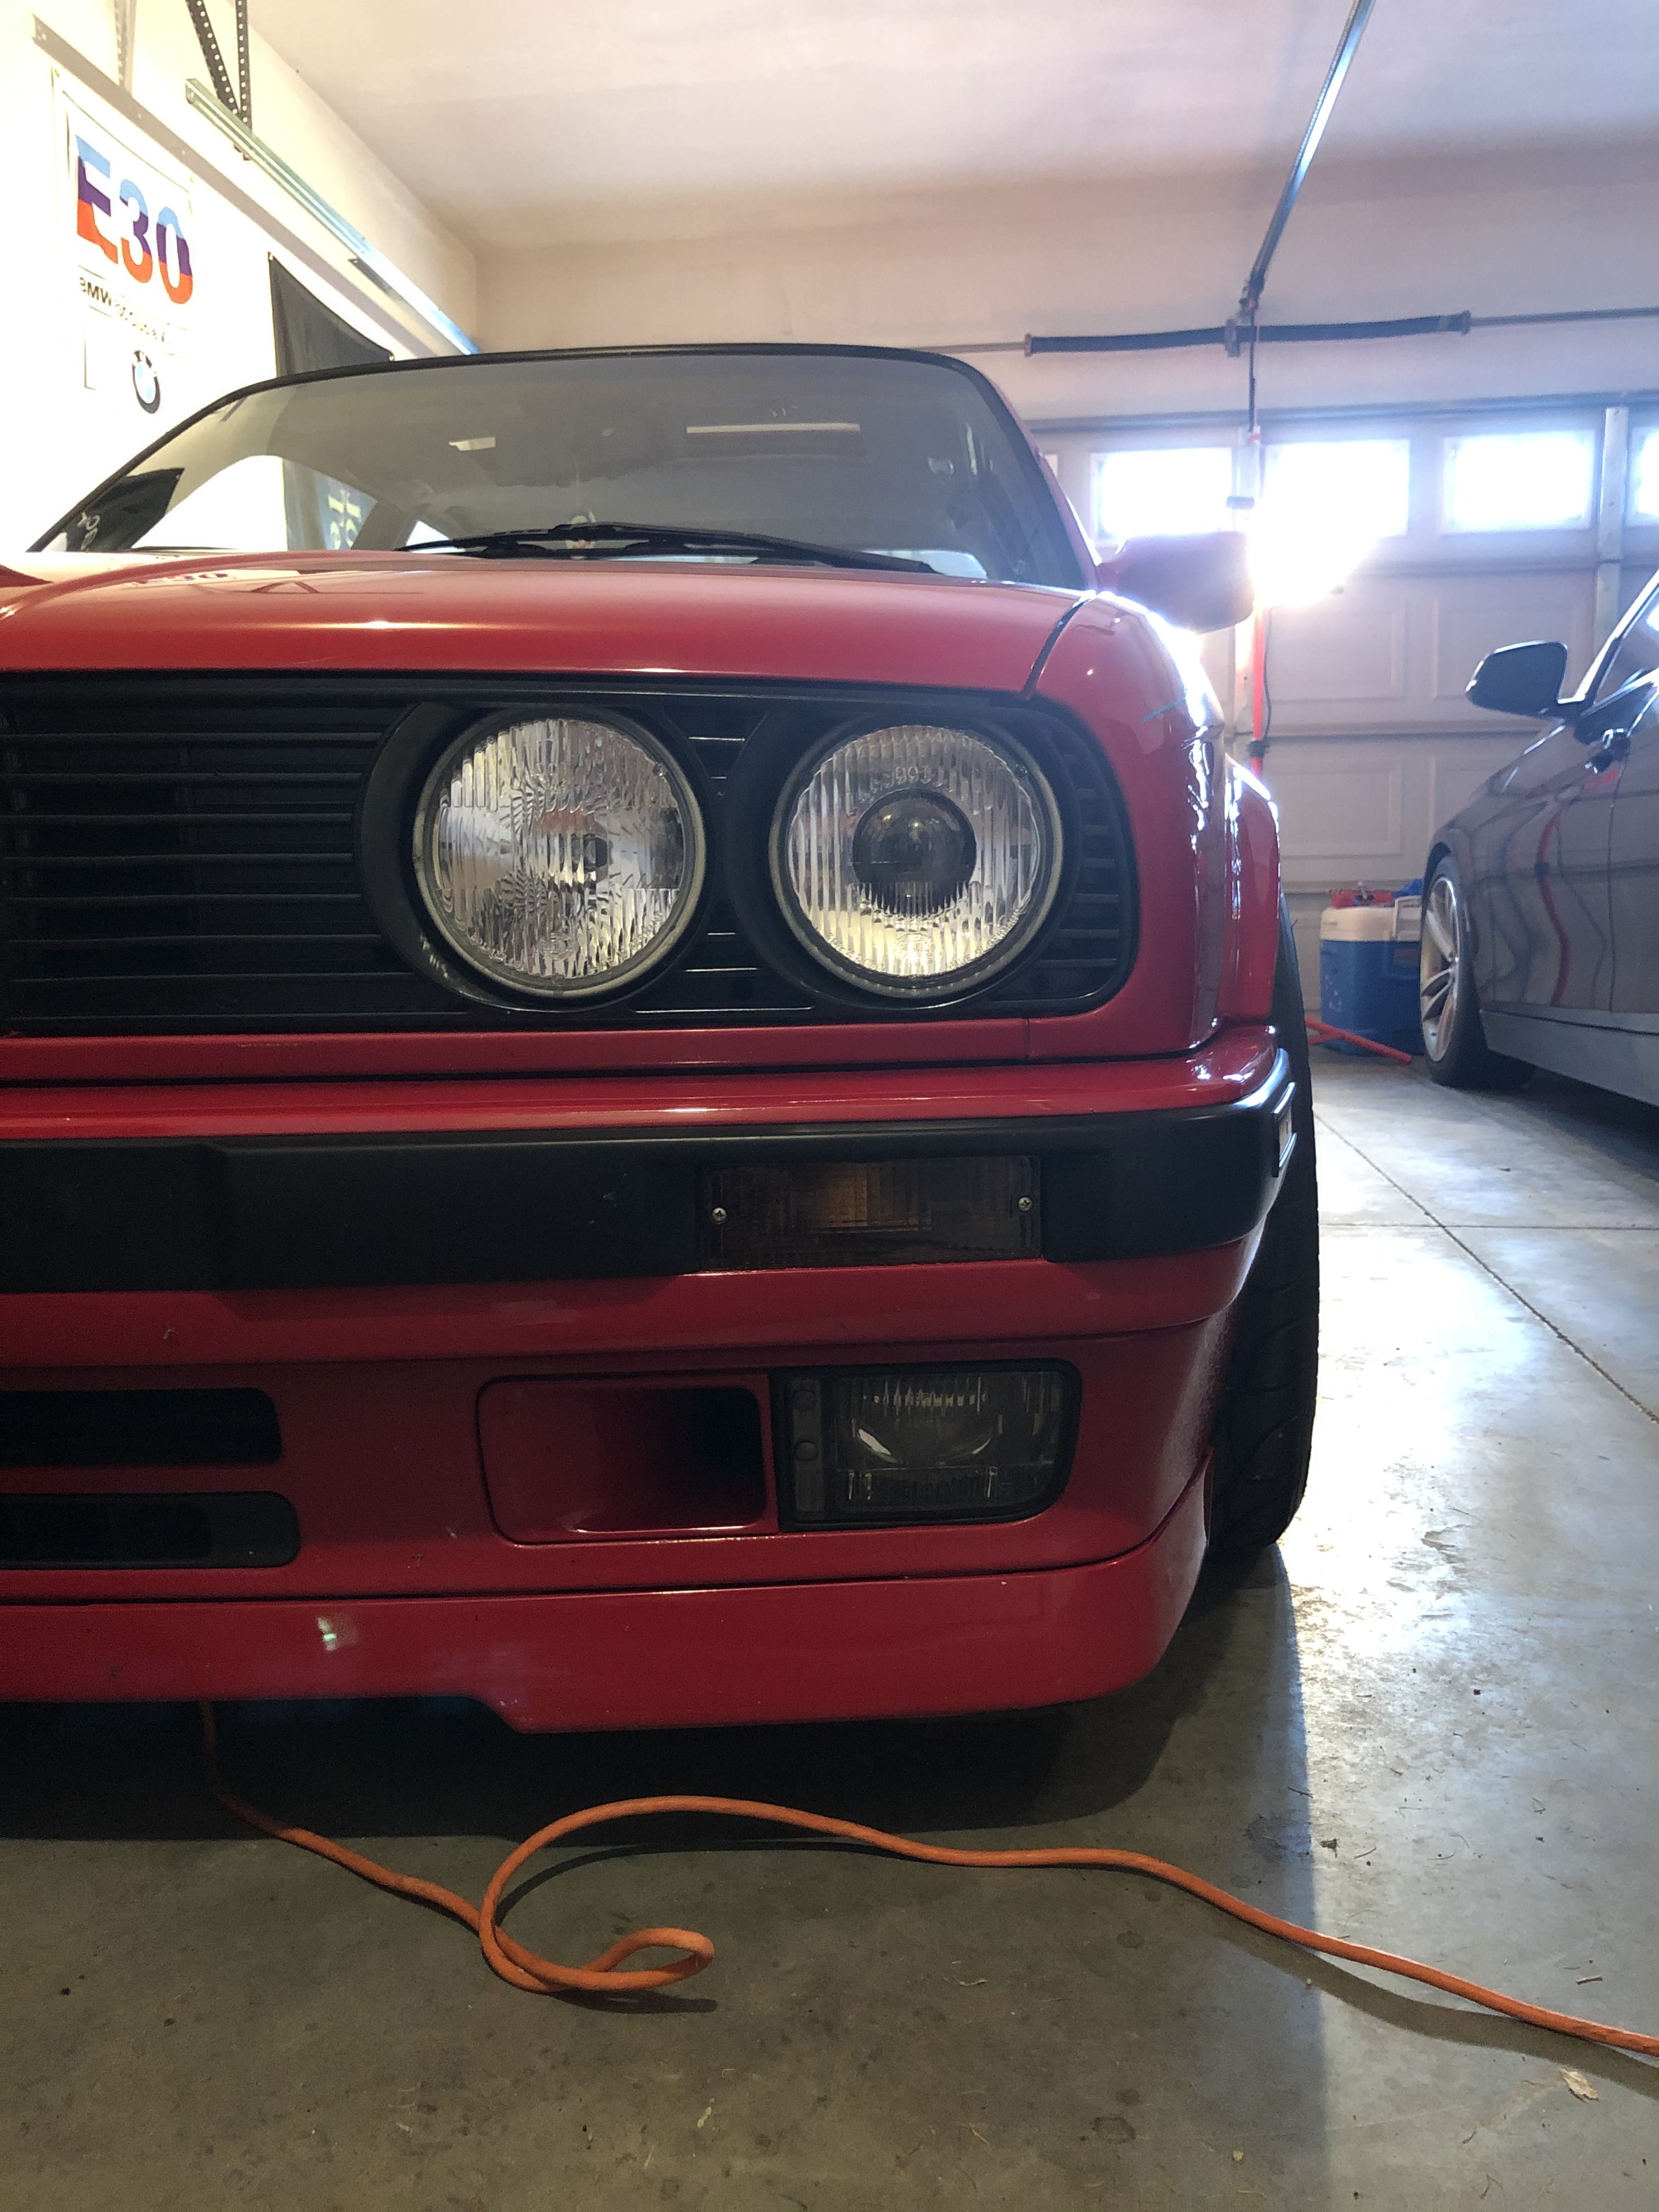
I did the turn signal lenses during lunch today. Takes away from the stark contrast of the lenses, but the light still shines through very brightly.
-
i used 3M double sided tape for the ends of the e28 spoiler on my previous e30. still need to add it to my current one.
This was my plan in addition to some slim foam type tape to close the gap.
-
without turning my trunk lid into a piece of cheese,
i prefer my trunk lid swiss cheese'd for weight savings.
Dan
-
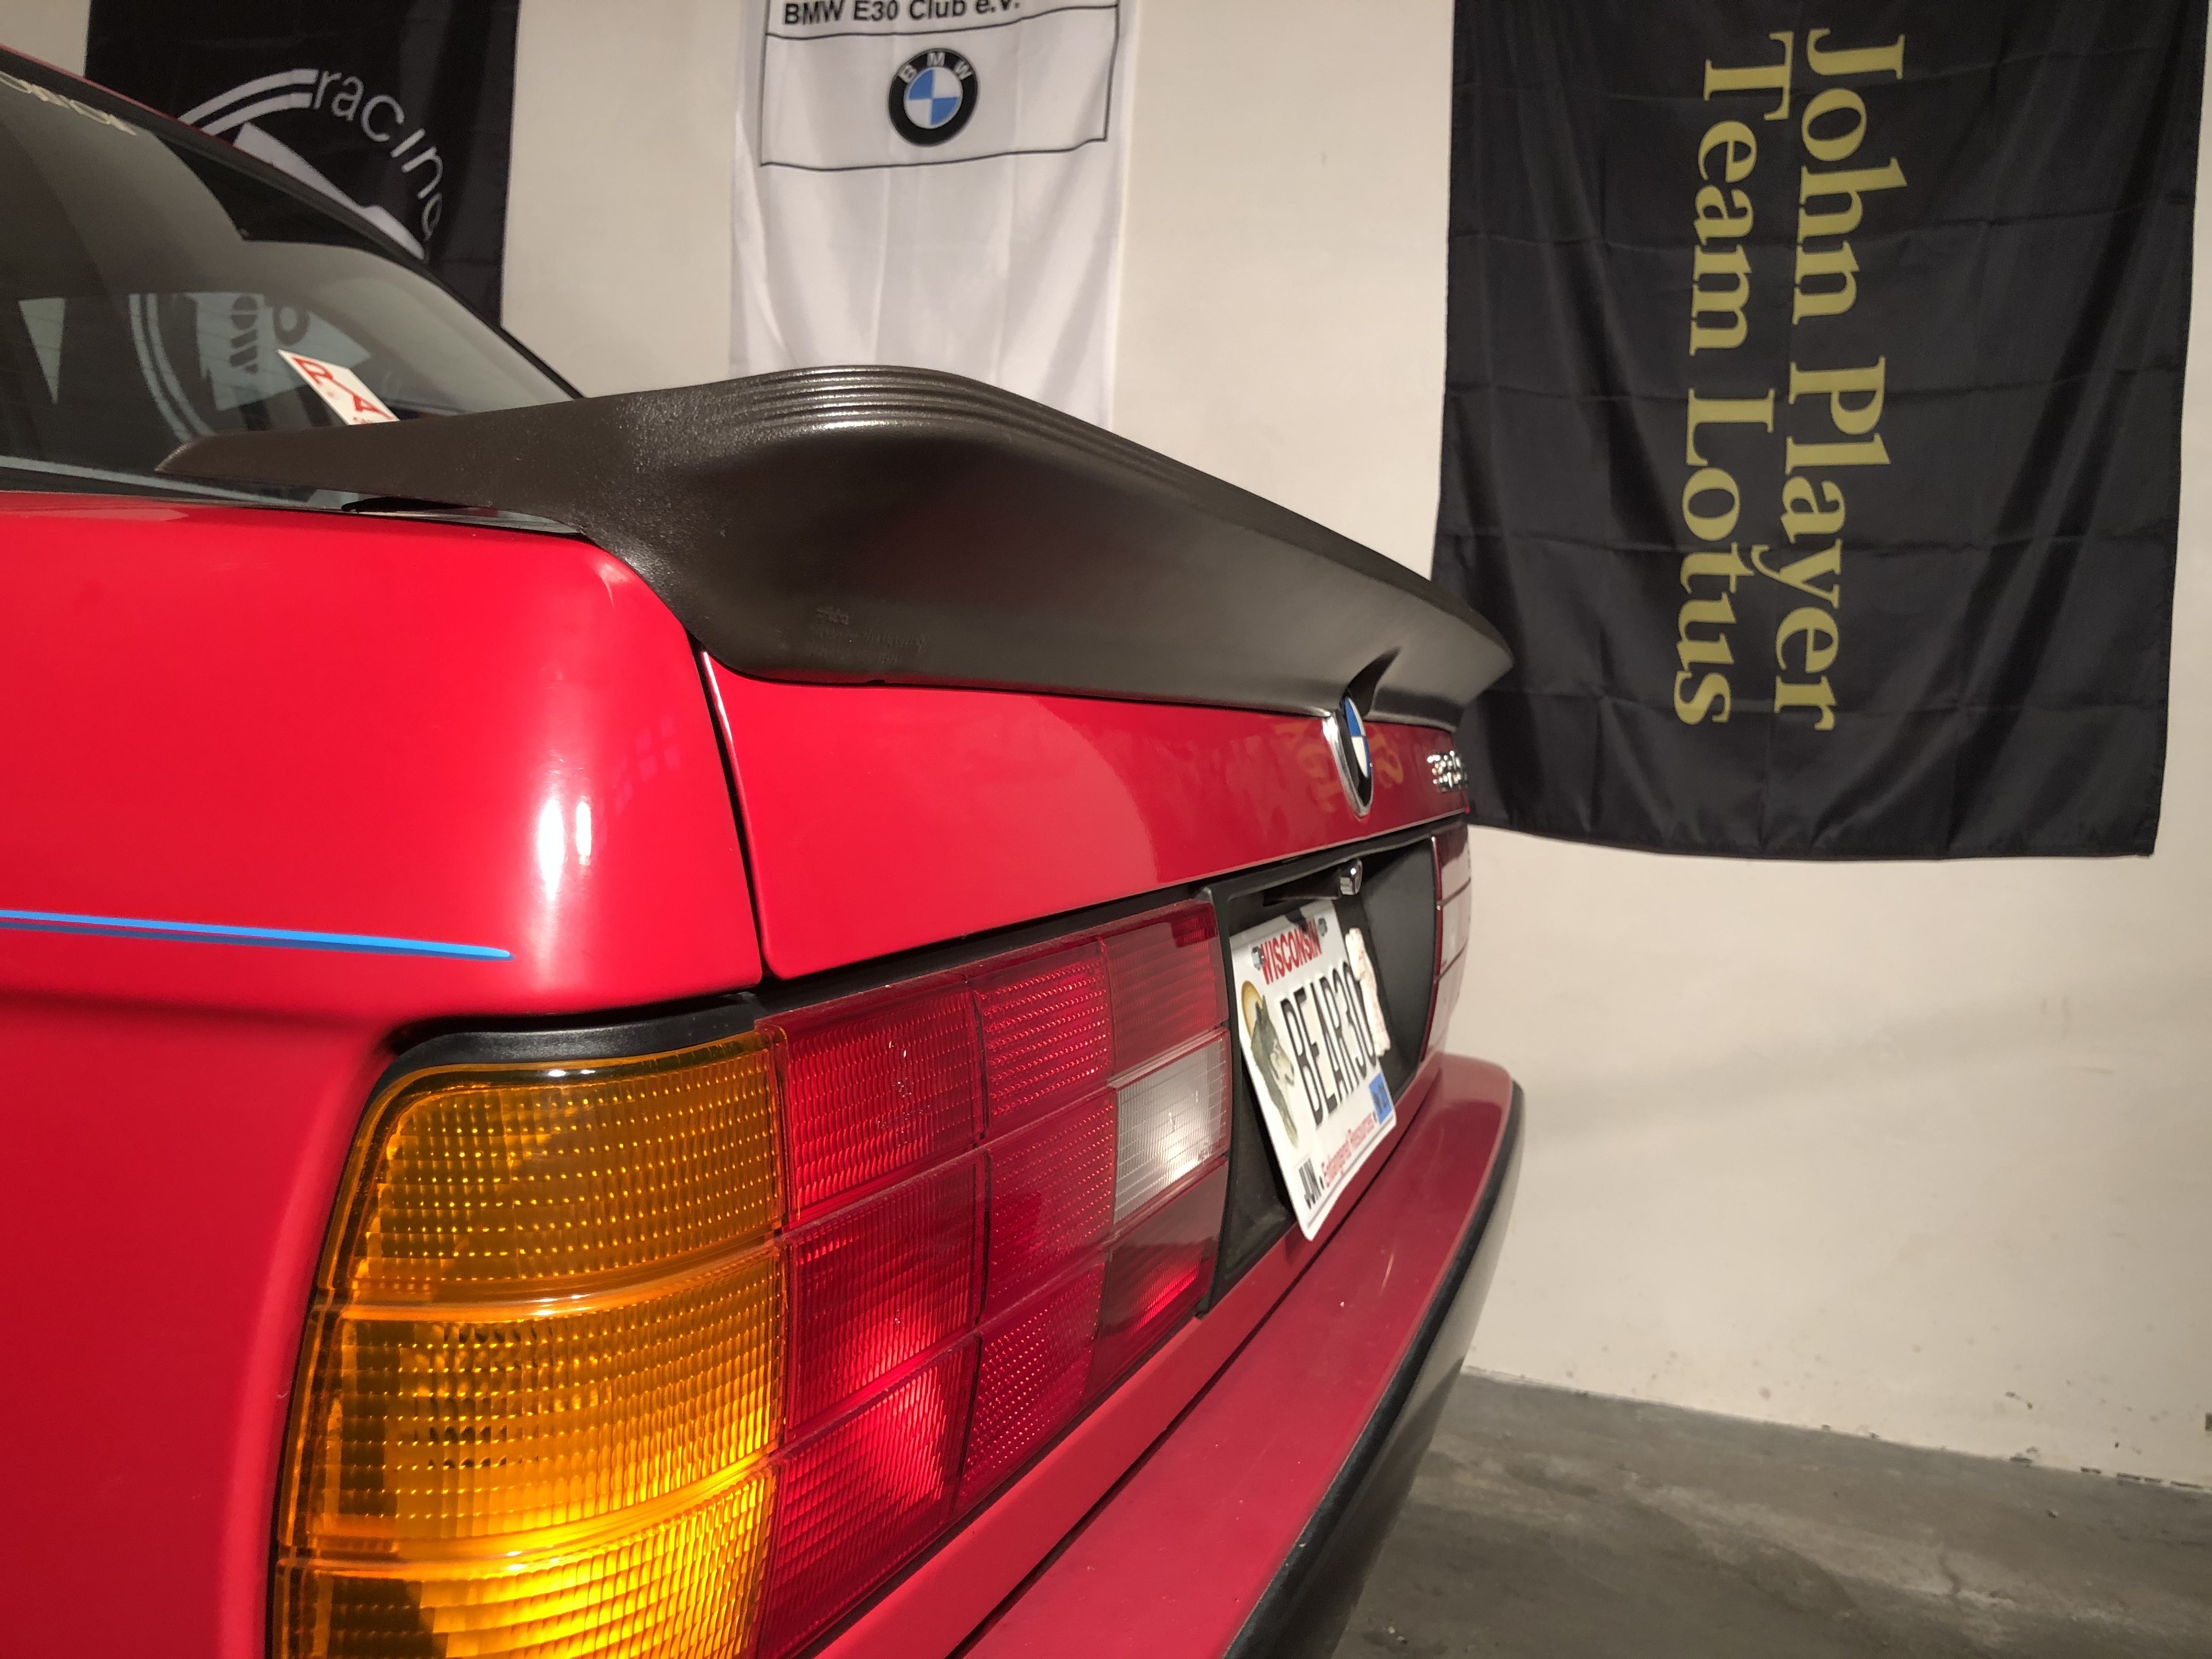
I got the holes drilled for the far studs. Came out better than I could have hoped far. Nuts on the far side sucked the lip down, I don’t really know if you could get it any better.
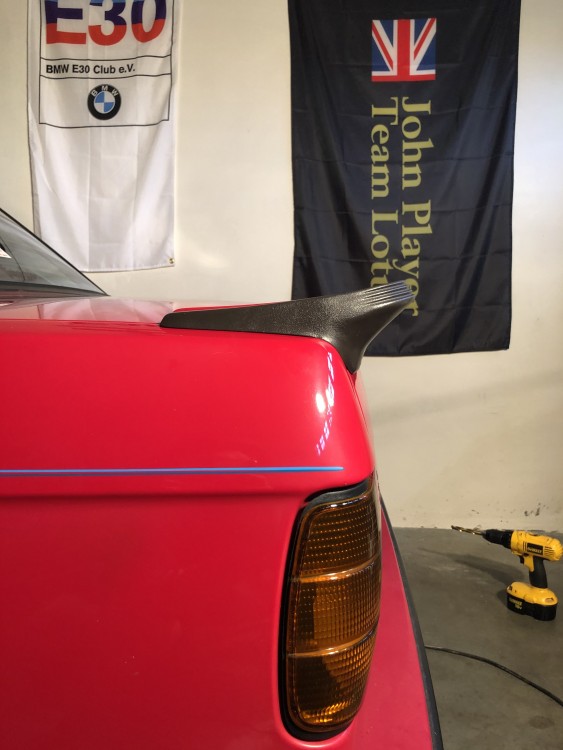
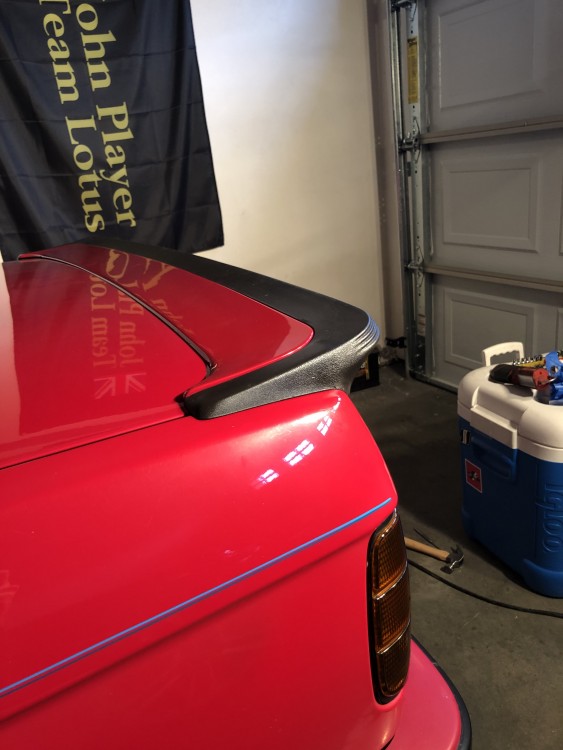
The far side needs some further dialing in. I was missing the washers for the bolt that holds in the insert, so it’s not sitting completely flush. Also, I’ll need to adjust my trunk brackets on this side as it’s sitting higher than the driver side. So the gap between the spoiler and the body is more than that of the driver side.
-
Is it bad that I’m almost tempted to find something to buy from him to go see his stuff? I’m on the east side so it’s within 30 minutes of my house in all likelihood.
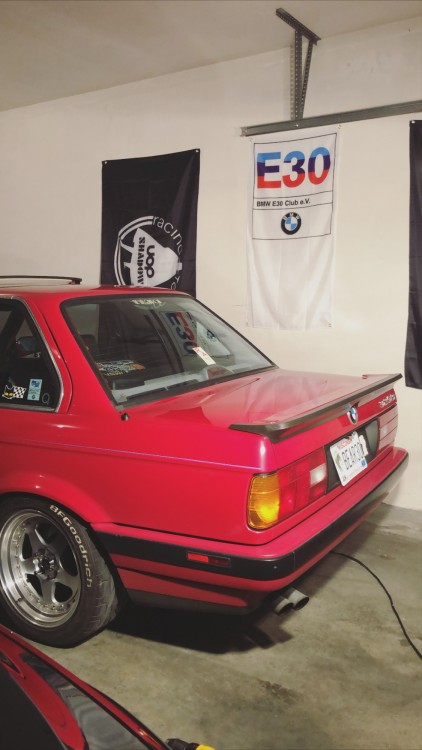
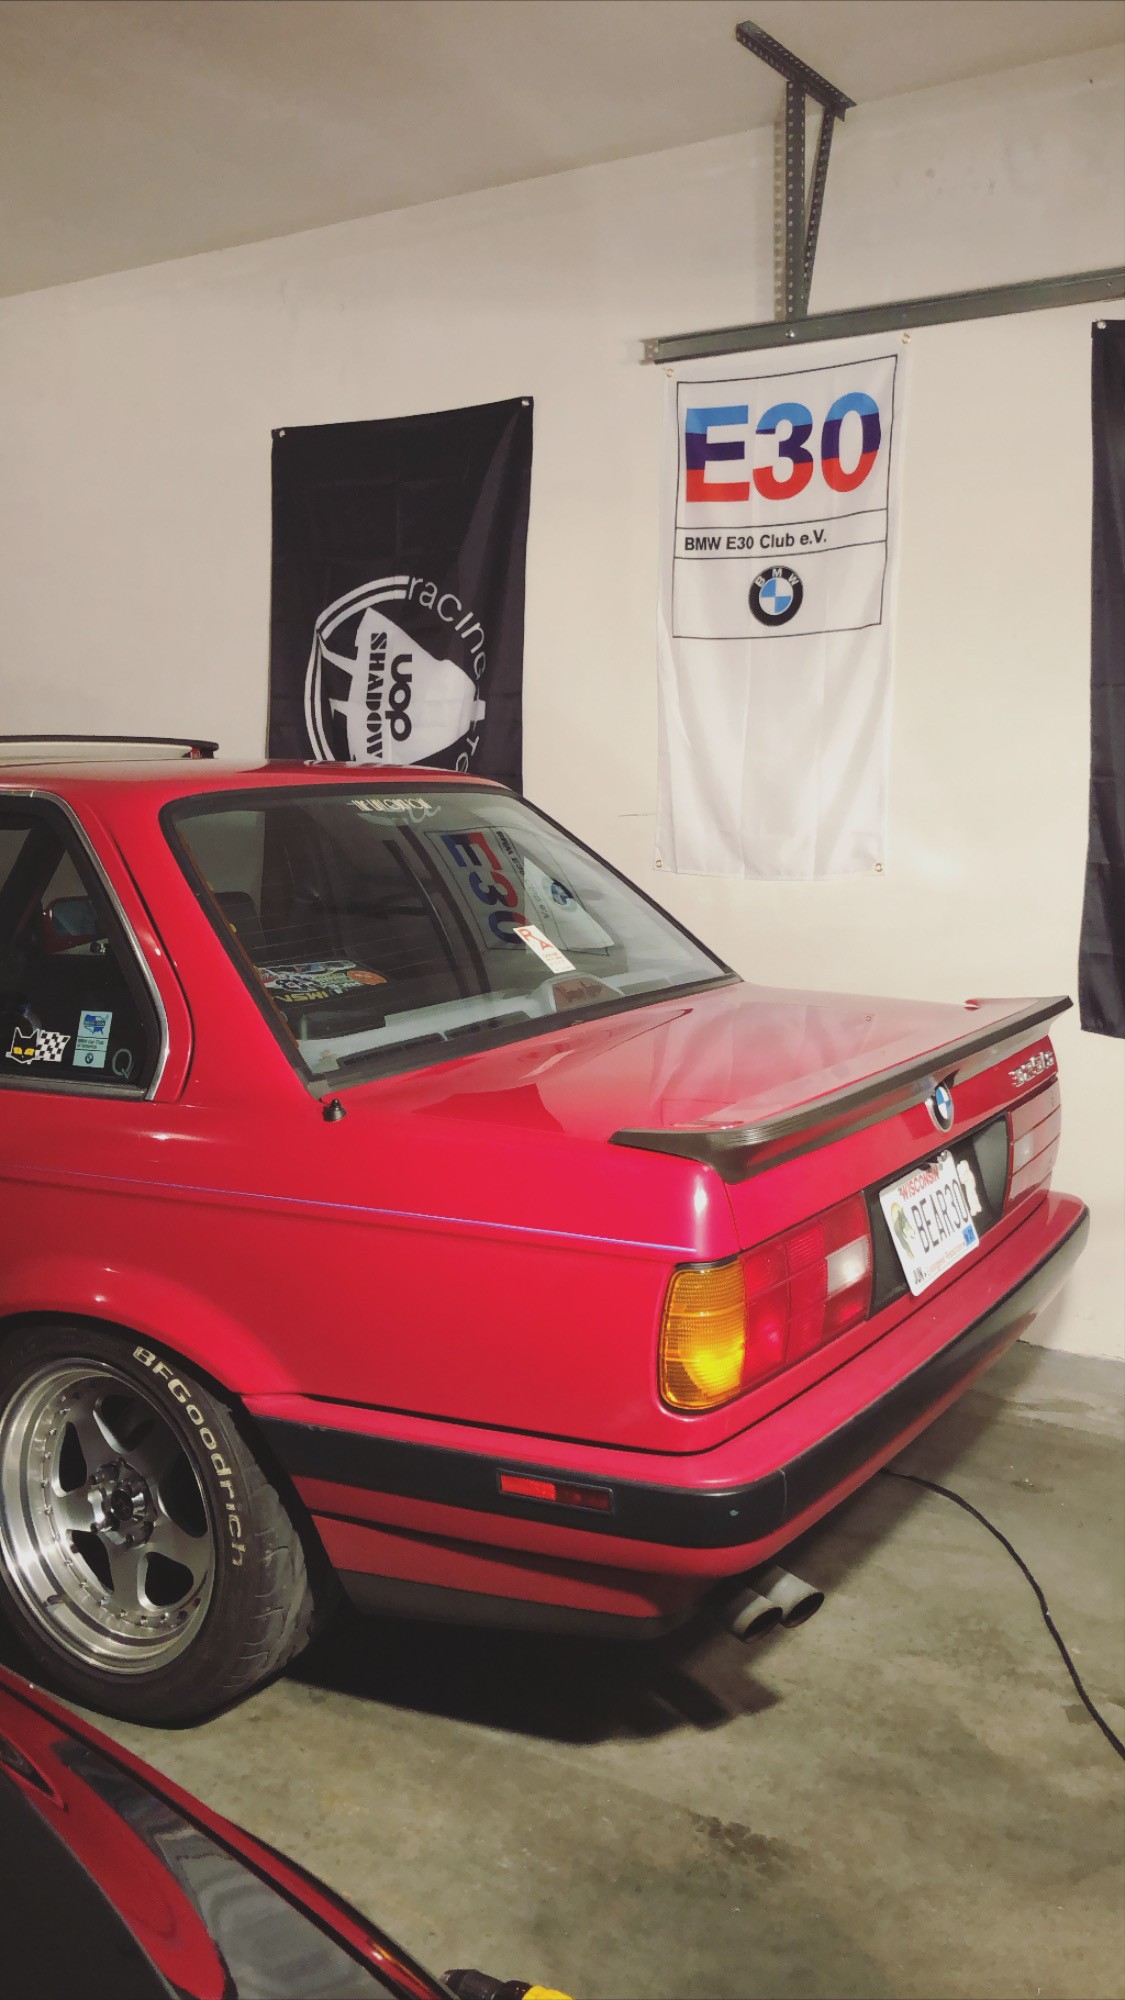
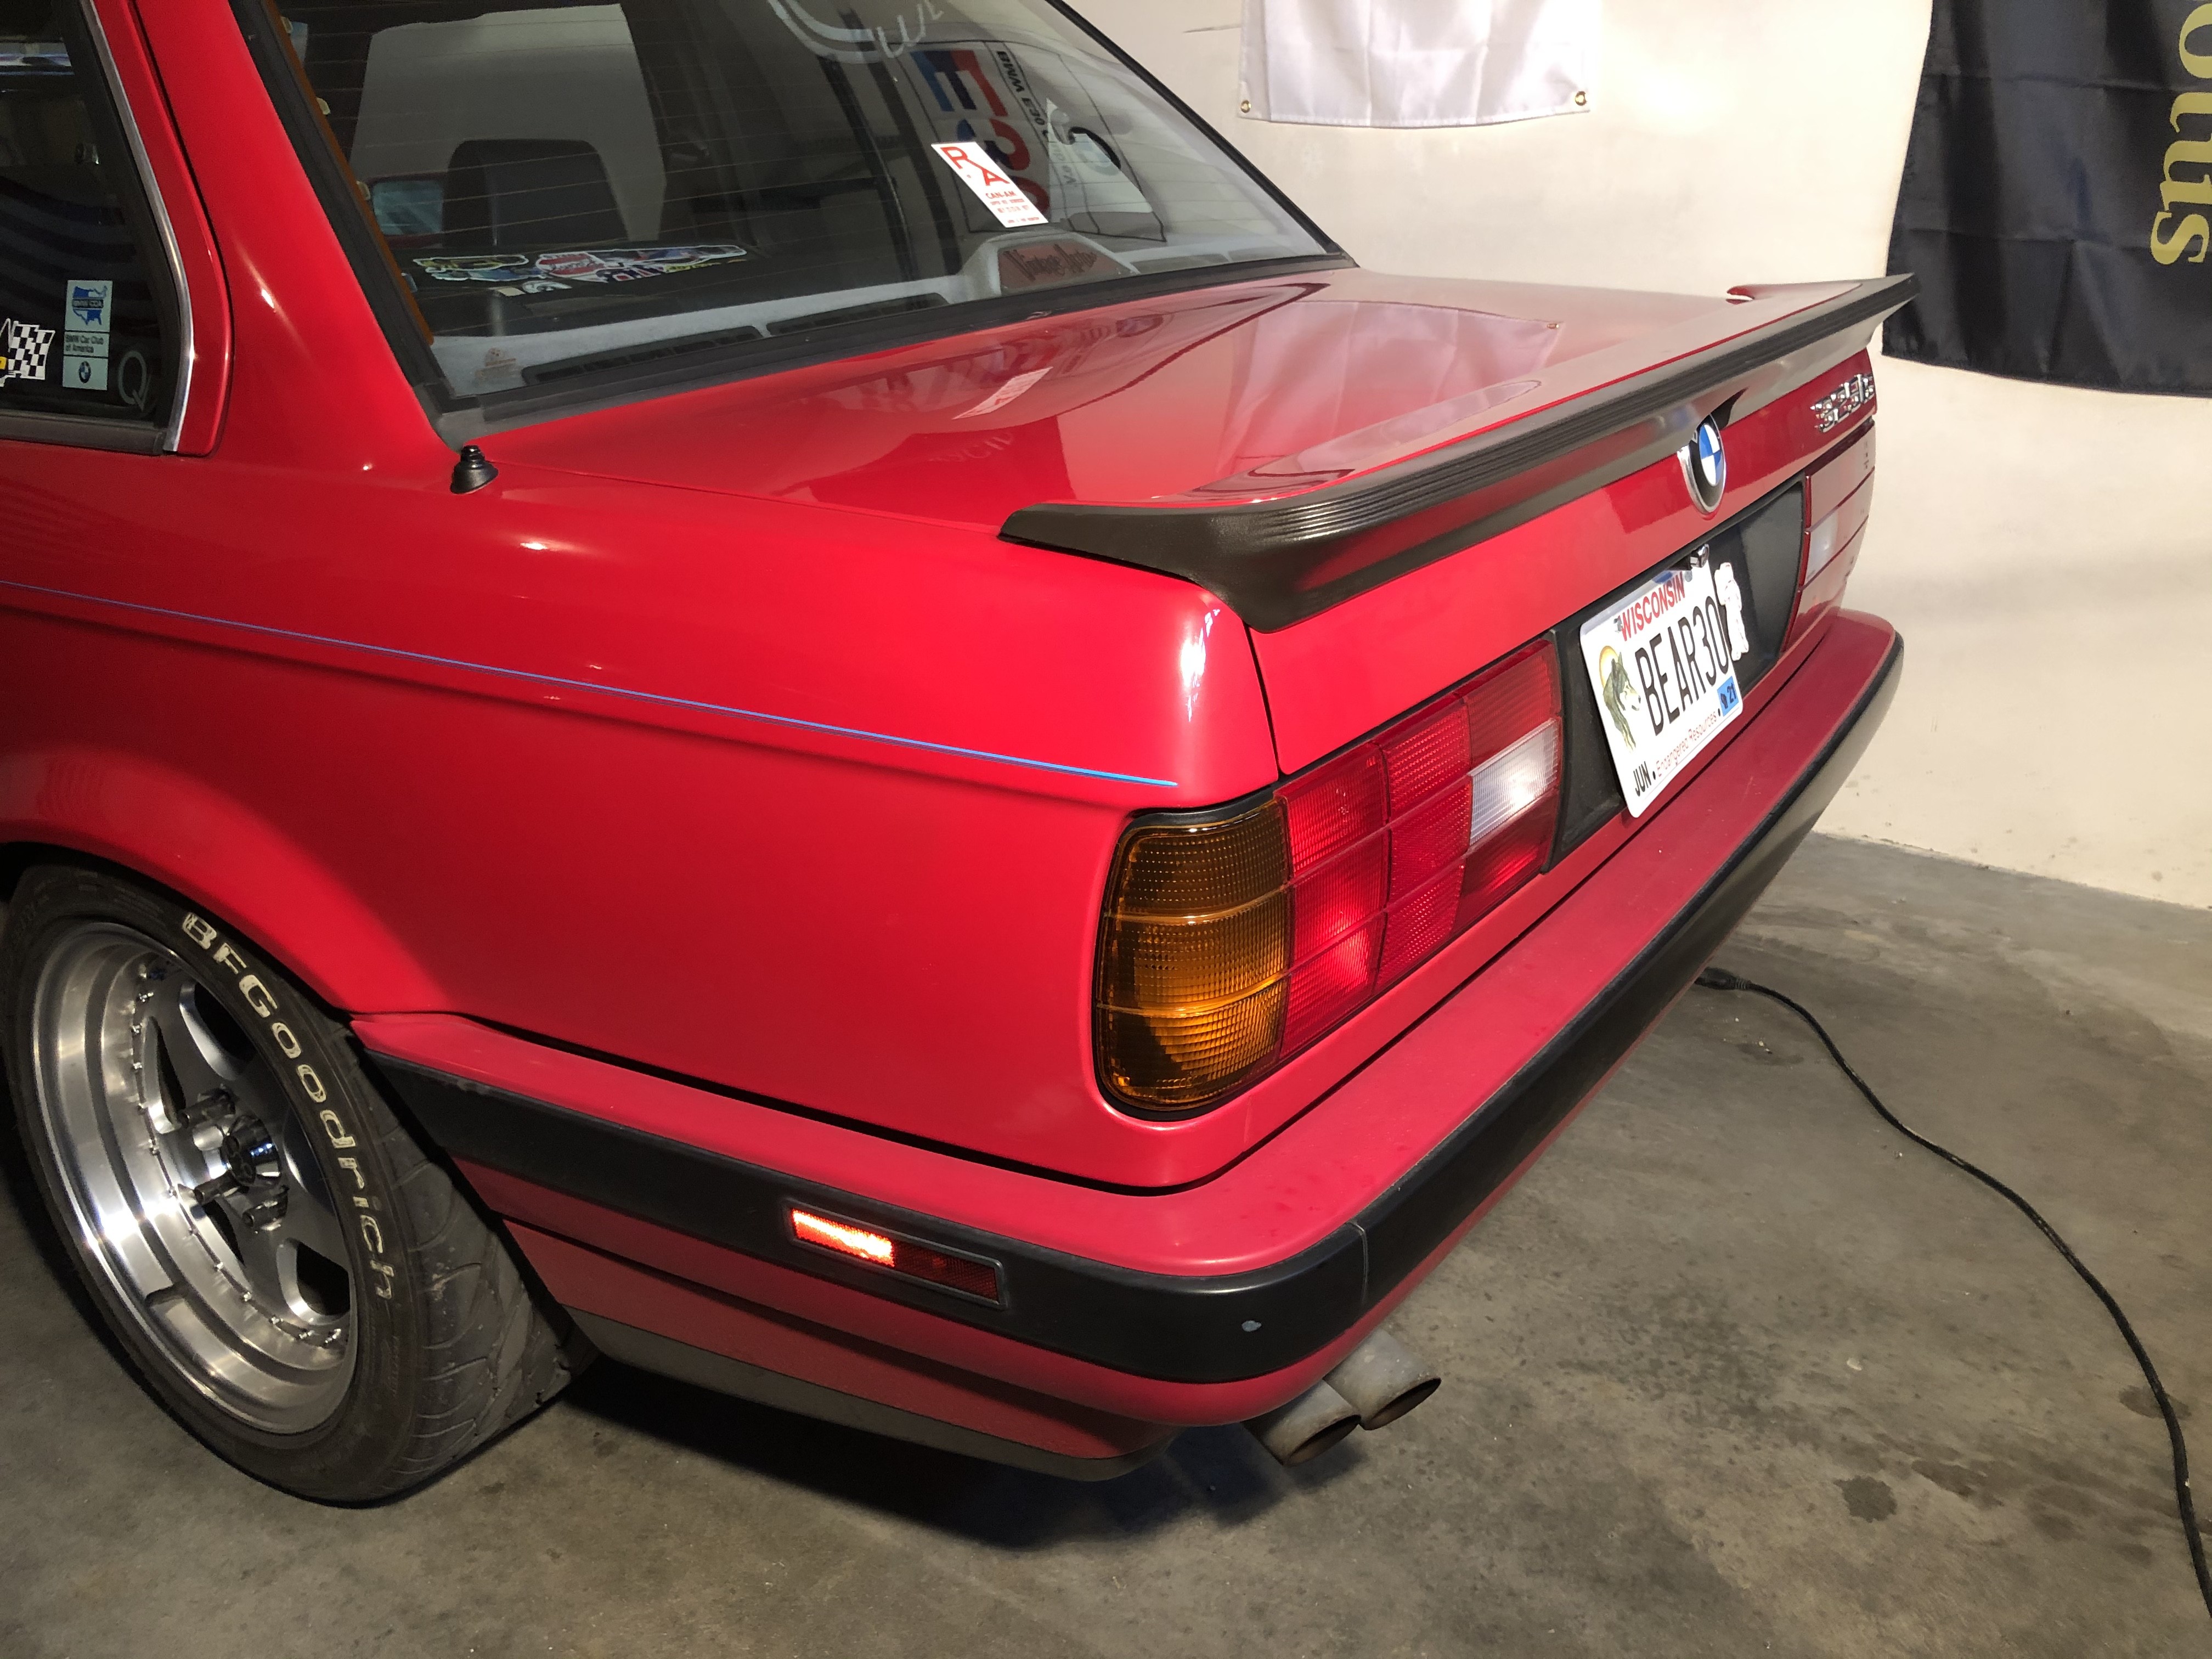
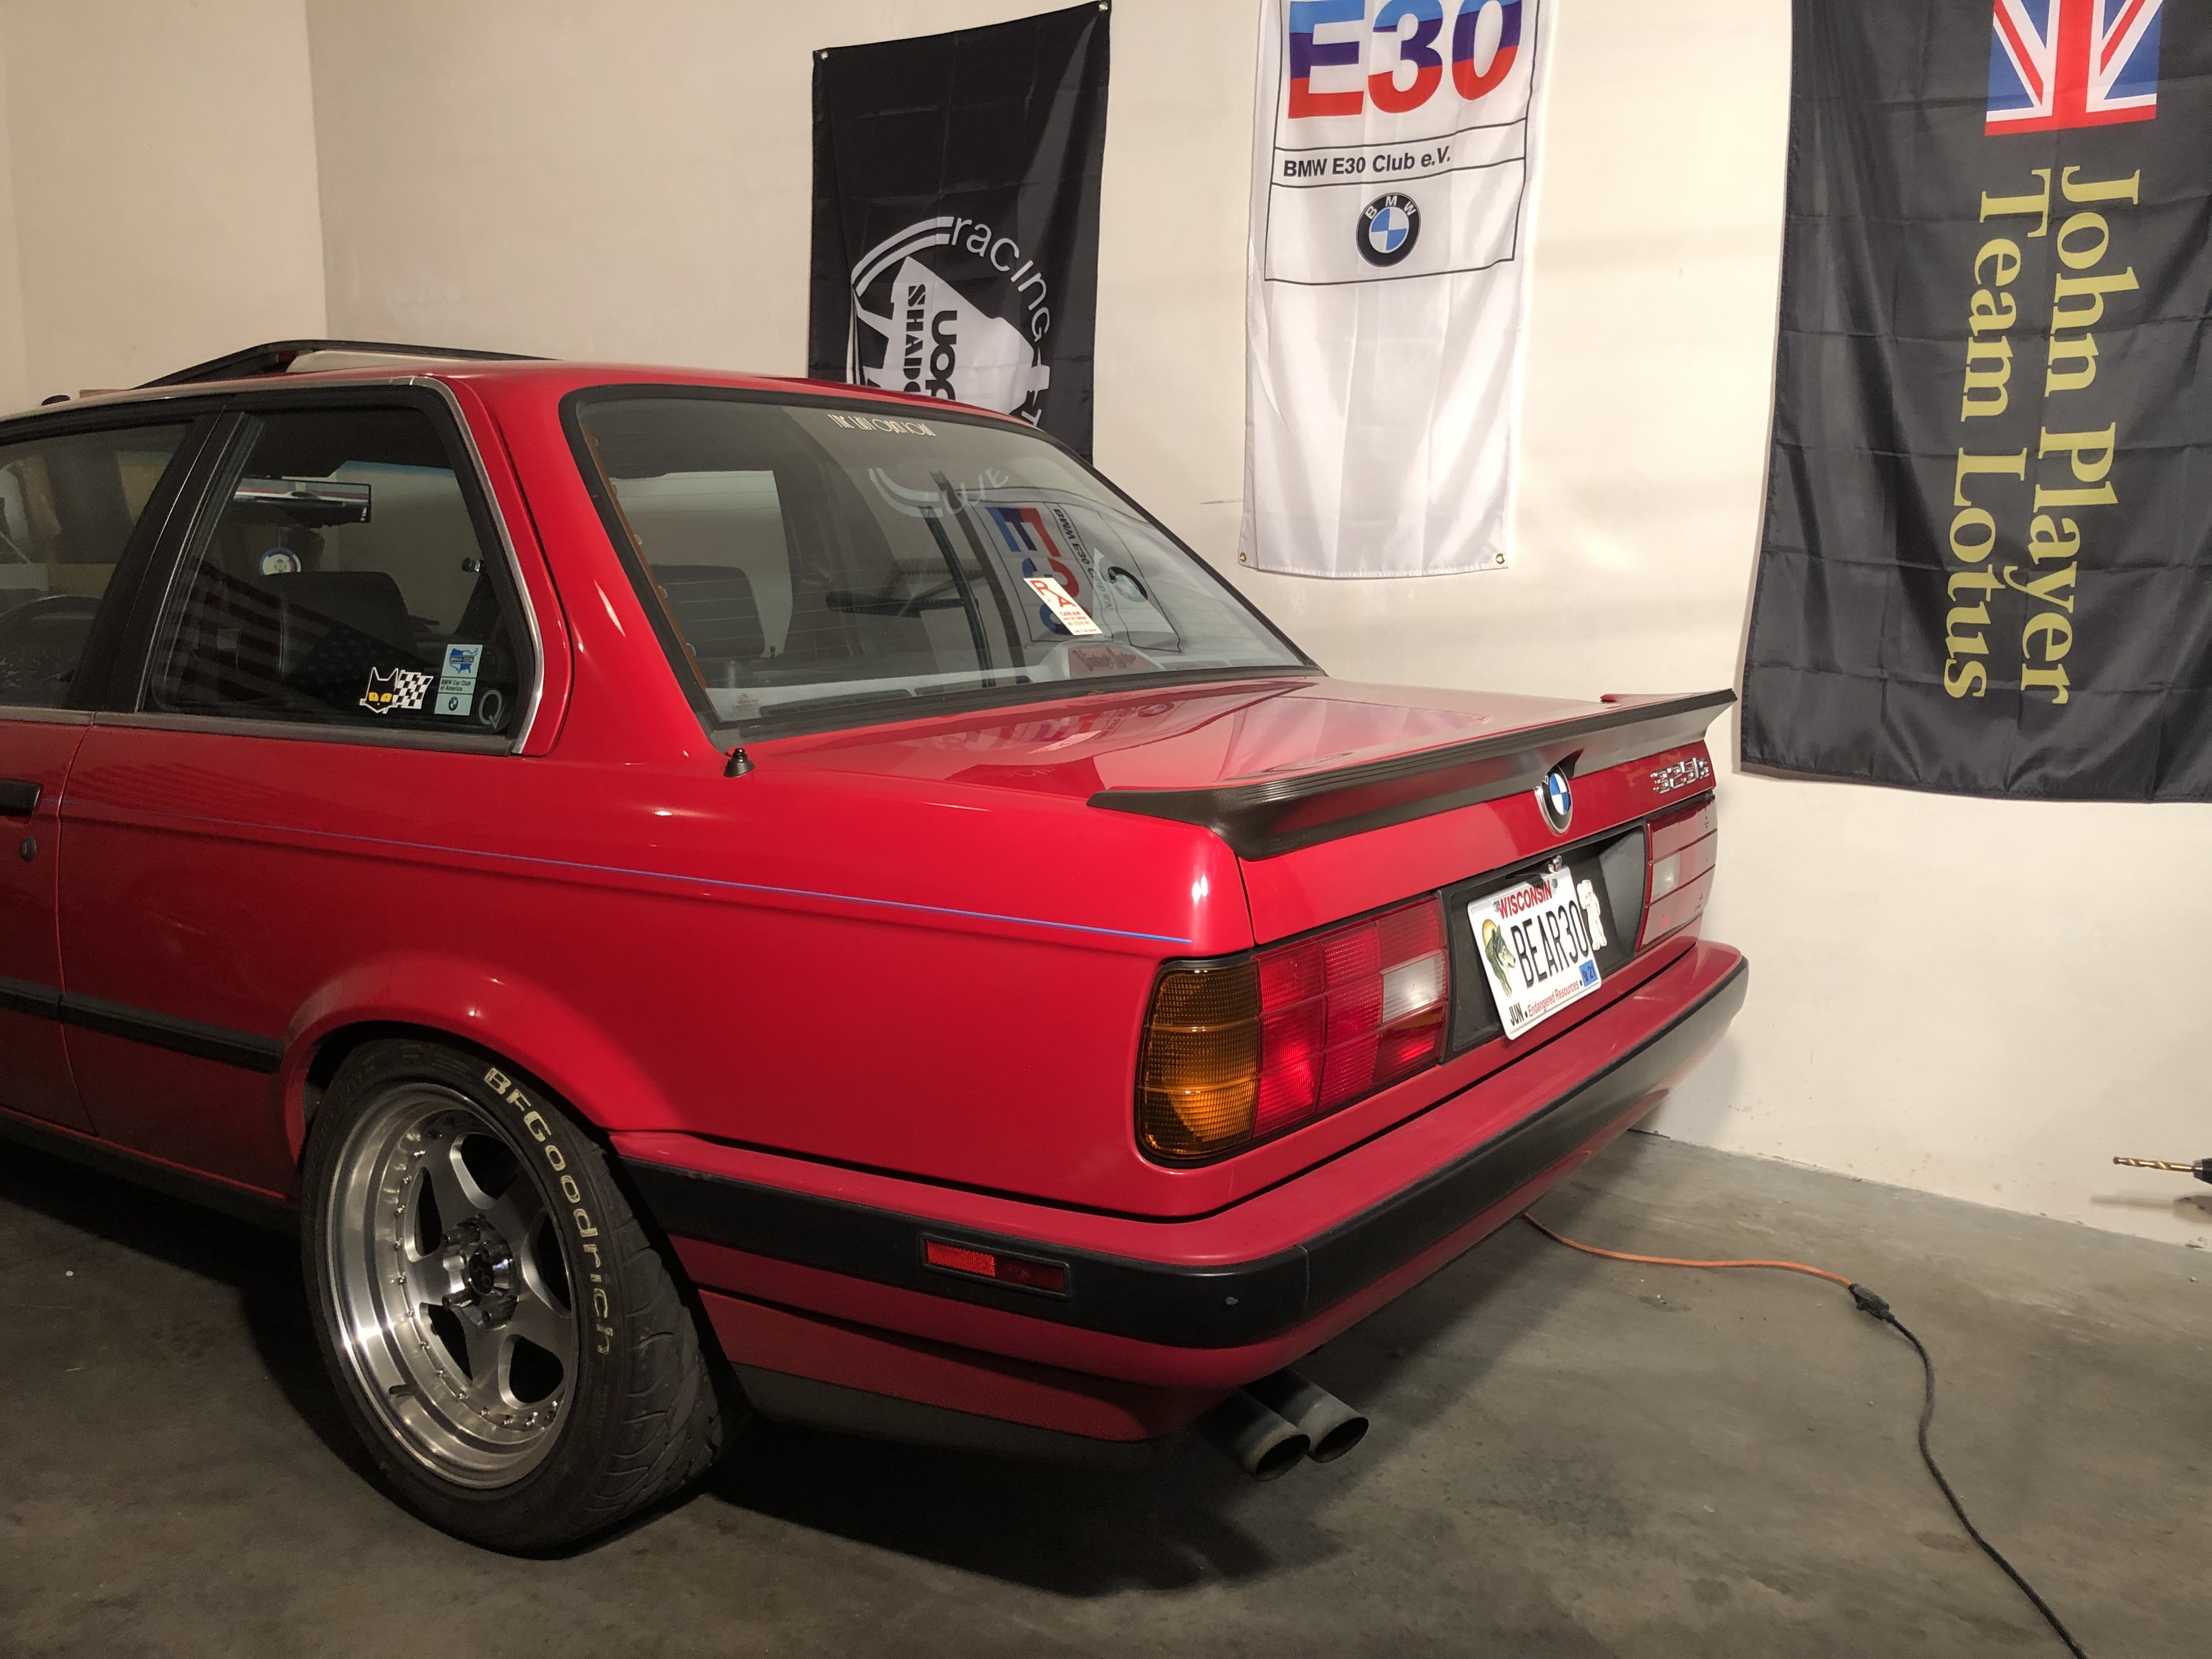
Spoiler looks excellent, it really completes the look of the car. Are the pinstripes on the side of the car m colors?
-
Is it bad that I’m almost tempted to find something to buy from him to go see his stuff? I’m on the east side so it’s within 30 minutes of my house in all likelihood.
Spoiler looks excellent, it really completes the look of the car. Are the pinstripes on the side of the car m colors?
They are just a light blue and darker blue, kind of close to the M colors but don't think it was inspired by it.
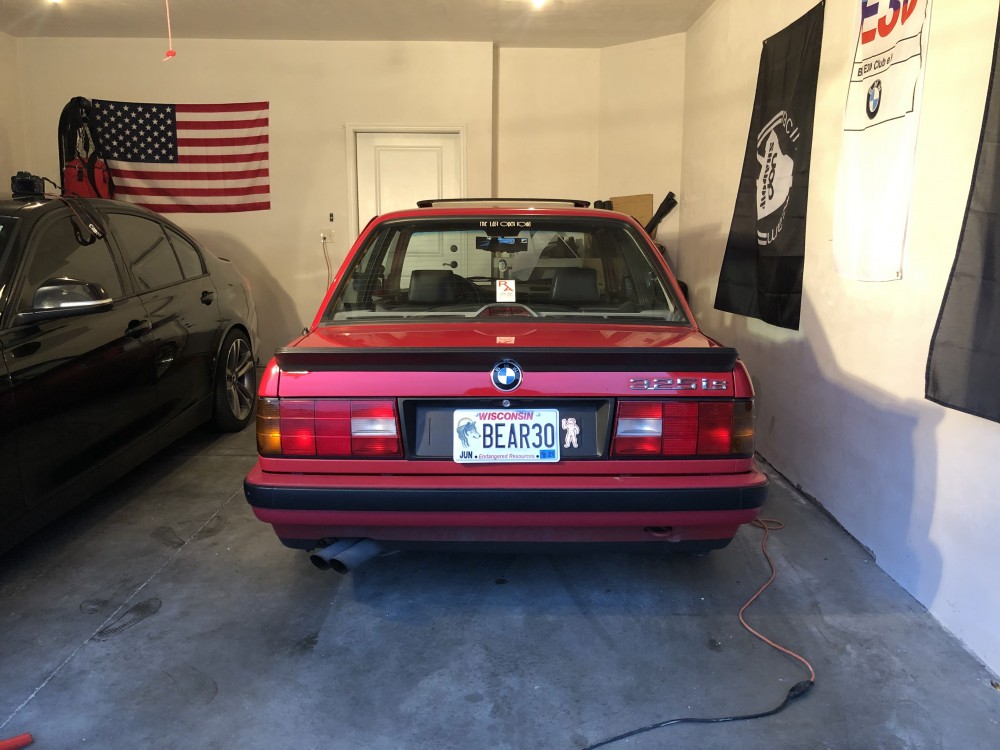
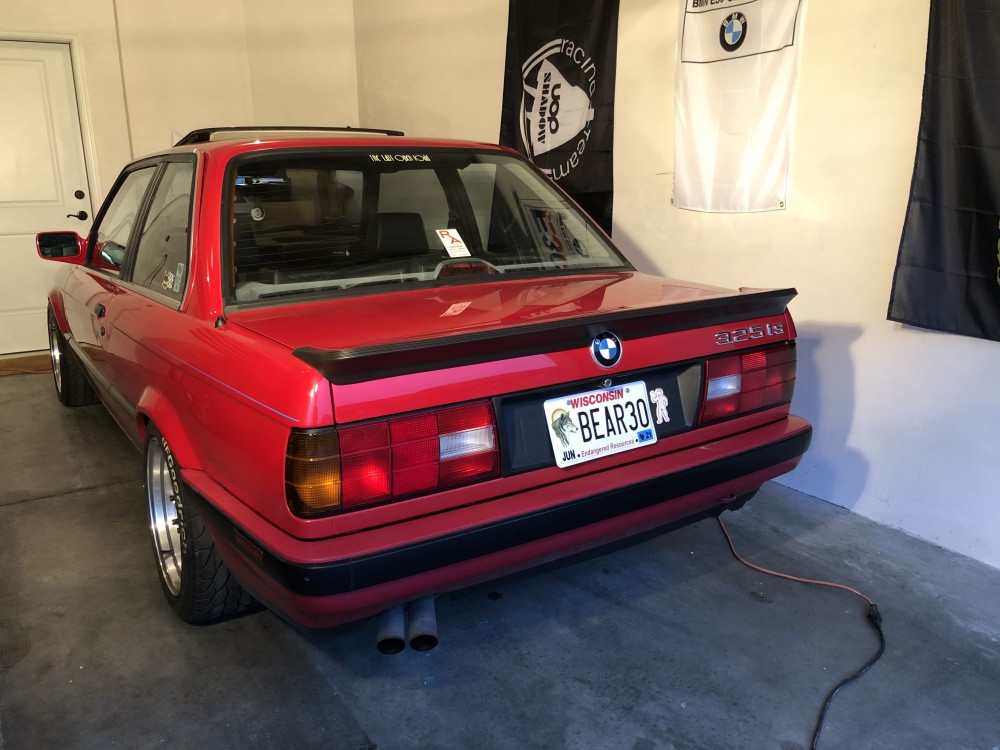
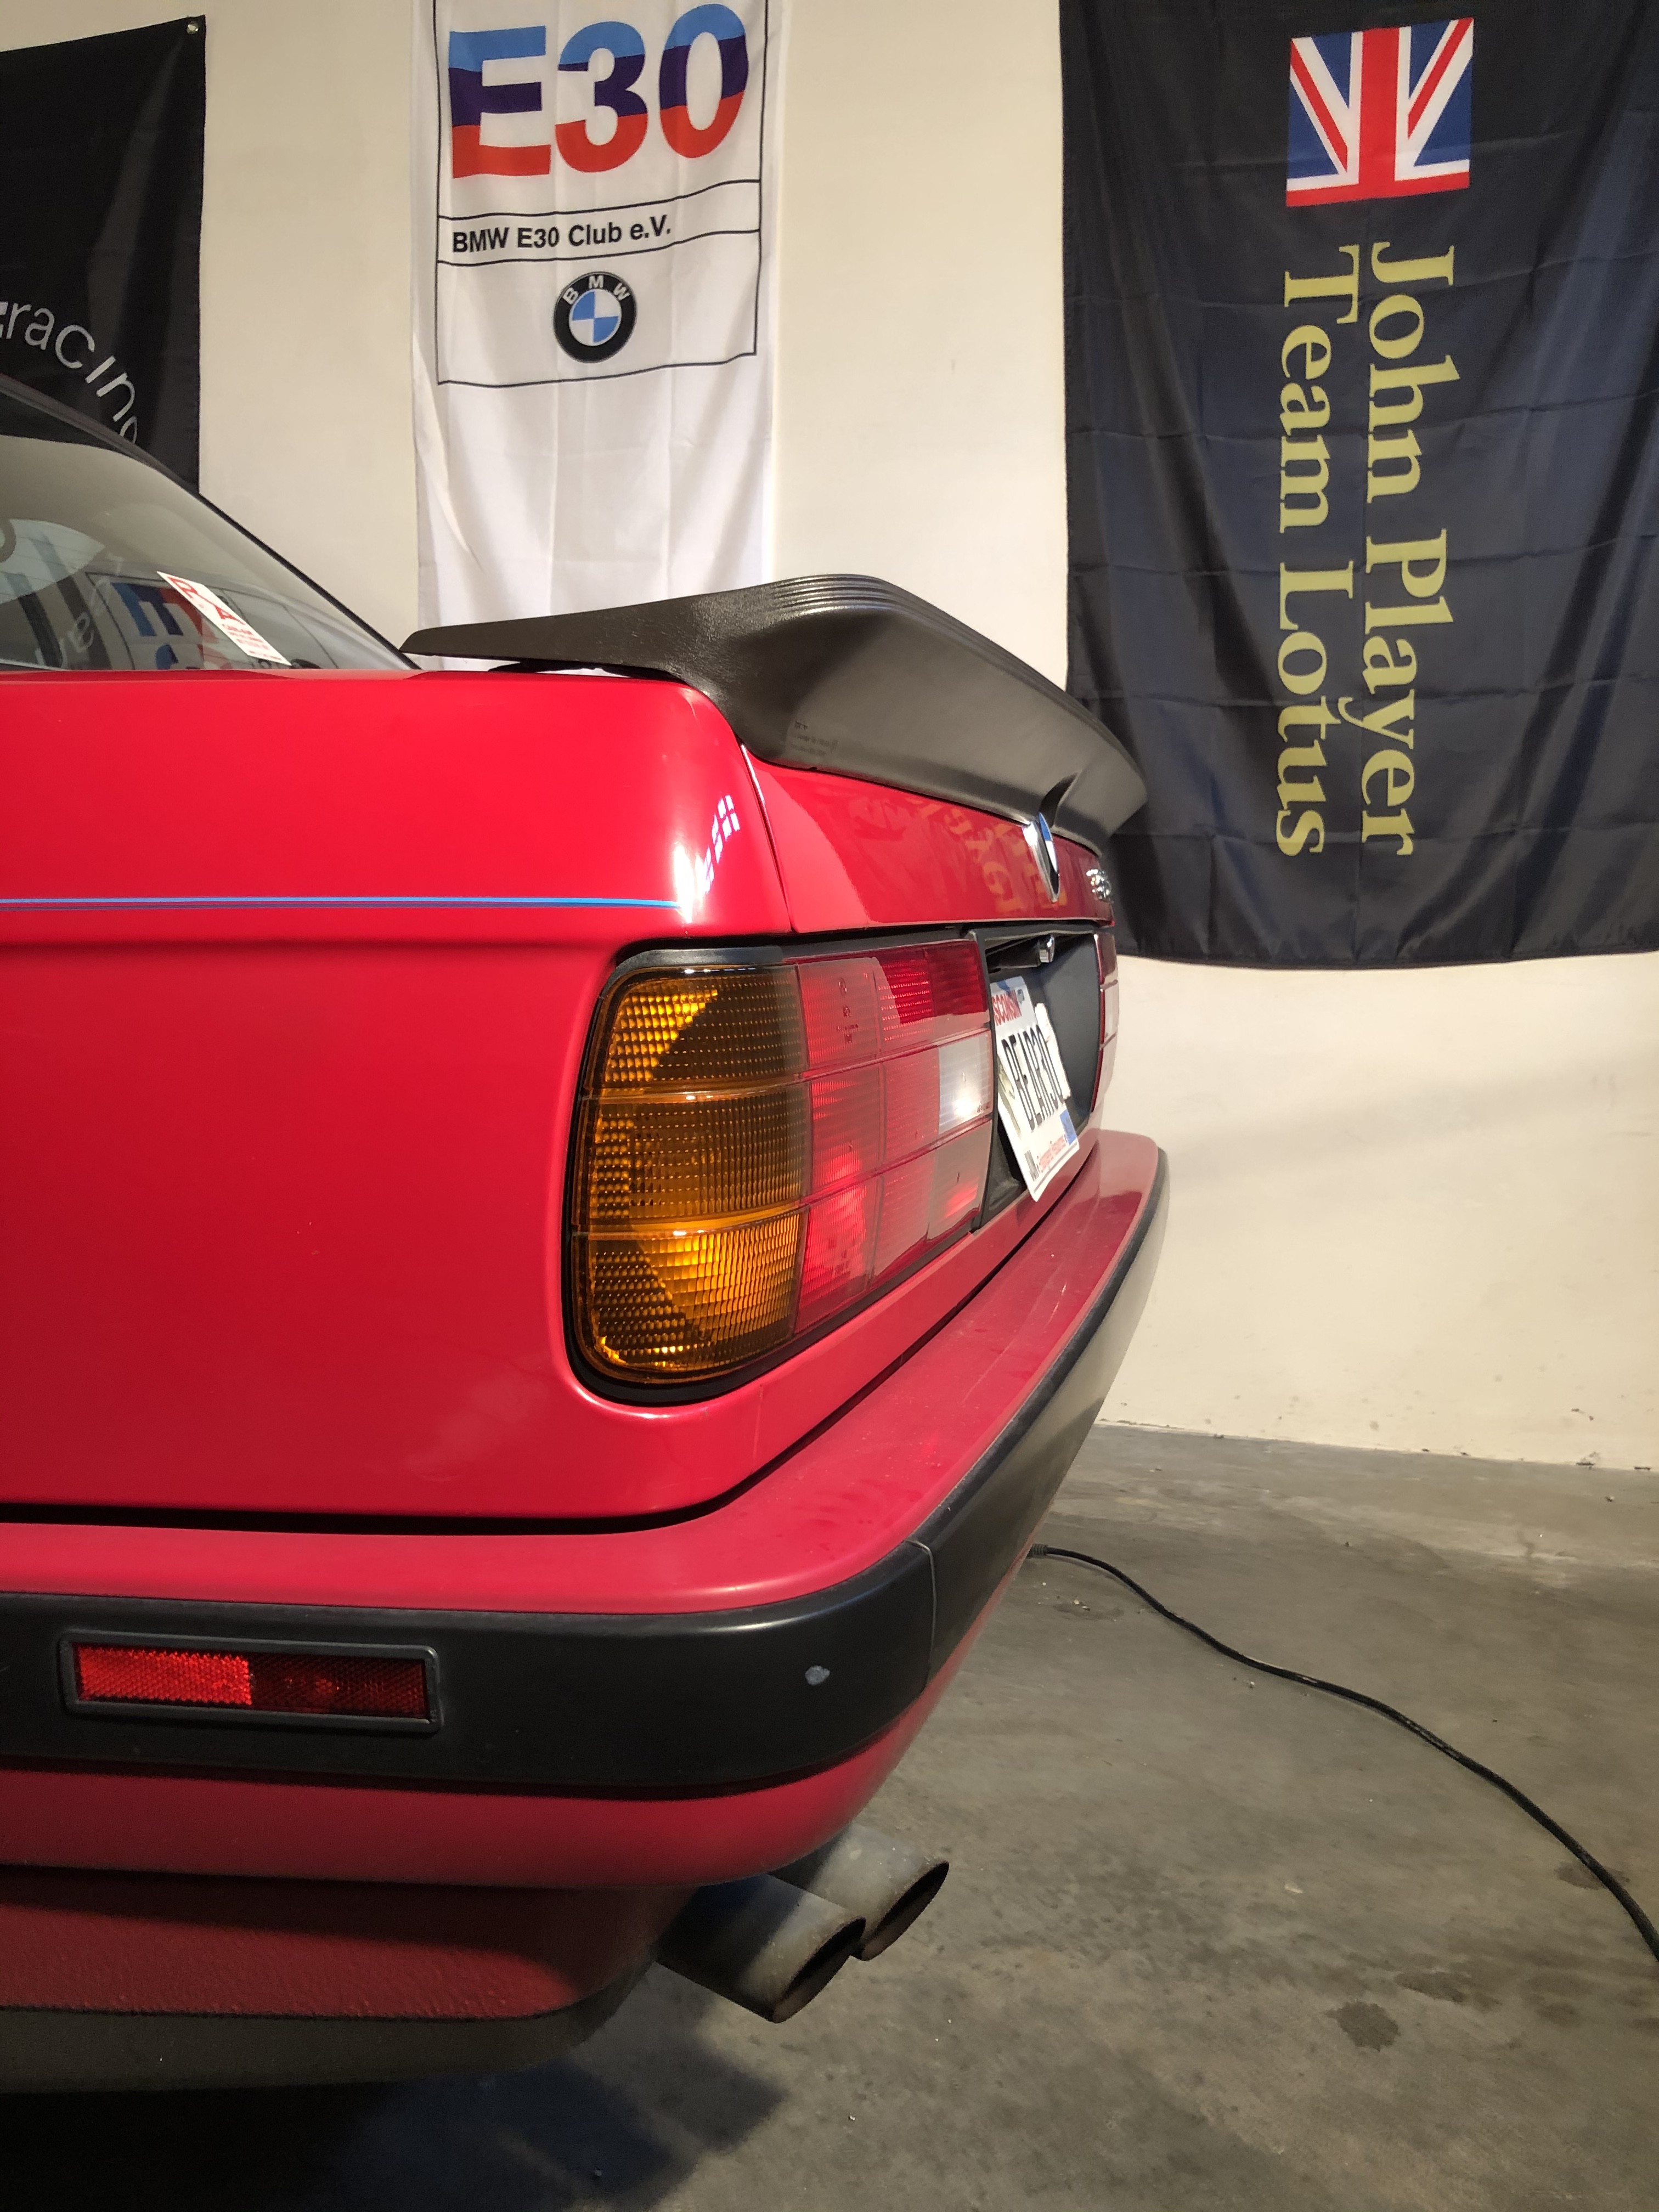
Finished up wrapping the other tail light. Really like how the rear end is turning out. Needs a little more dialing in on the spoiler and it''ll be good to go.
I would like to clean up the exhaust tips and give them a touch of high temp black paint, maybe this weekend, supposed to be pretty nice out.
I really need to space the rear out. I'm at +20 on an 8" wheel with a 225 tire. Could I go with a 10mm spacer? *edit; I supposed I could just take the two 5mm spacers I have off each of the front wheels and play with those to see what works.
-
Middleton has been growing like mad in the last few years. I have no idea who this man is, but I feel like I will run into him sooner or later being so close!
That spoiler looks great! Compliments the car perfectly!

https://www.instagram.com/_jdesigner_/ http://nevertoolow.tumblr.com/
🥳SOLD BMW E24 633CSI - BMW M30B32 🧪SOLD HCH ES9 - 1.3 LDA
👽BMW E30 325IC - Toyota 1JZ-GTE ⏰ HONDA EF9 CIVIC SI - JDM B18C5
☠️BMW E36 318i - Ford 5.0 FE302 🚴♂️ GT-Labomba - 26x2.75 Freeride
🤹♀️SOLD BMW E36/7 Z3 - BMW M54B25 🧓SOLD BMW E10 2002 - BMW M10M05 -
I approve of this message.
-
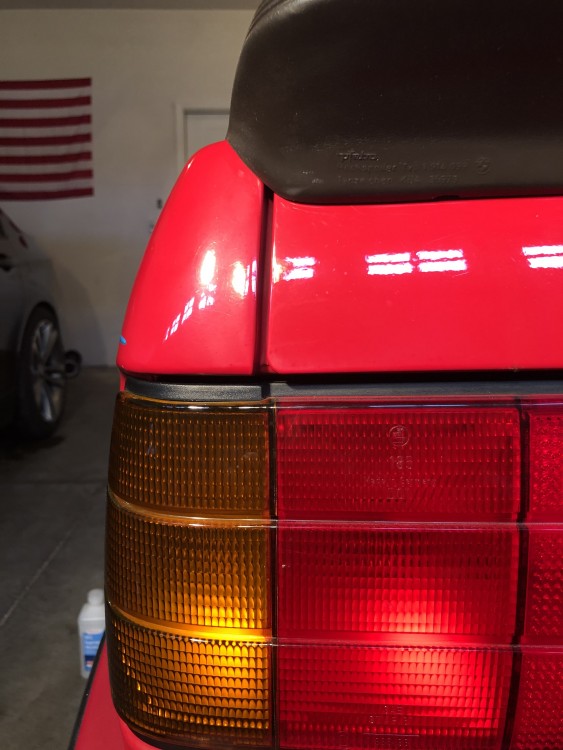
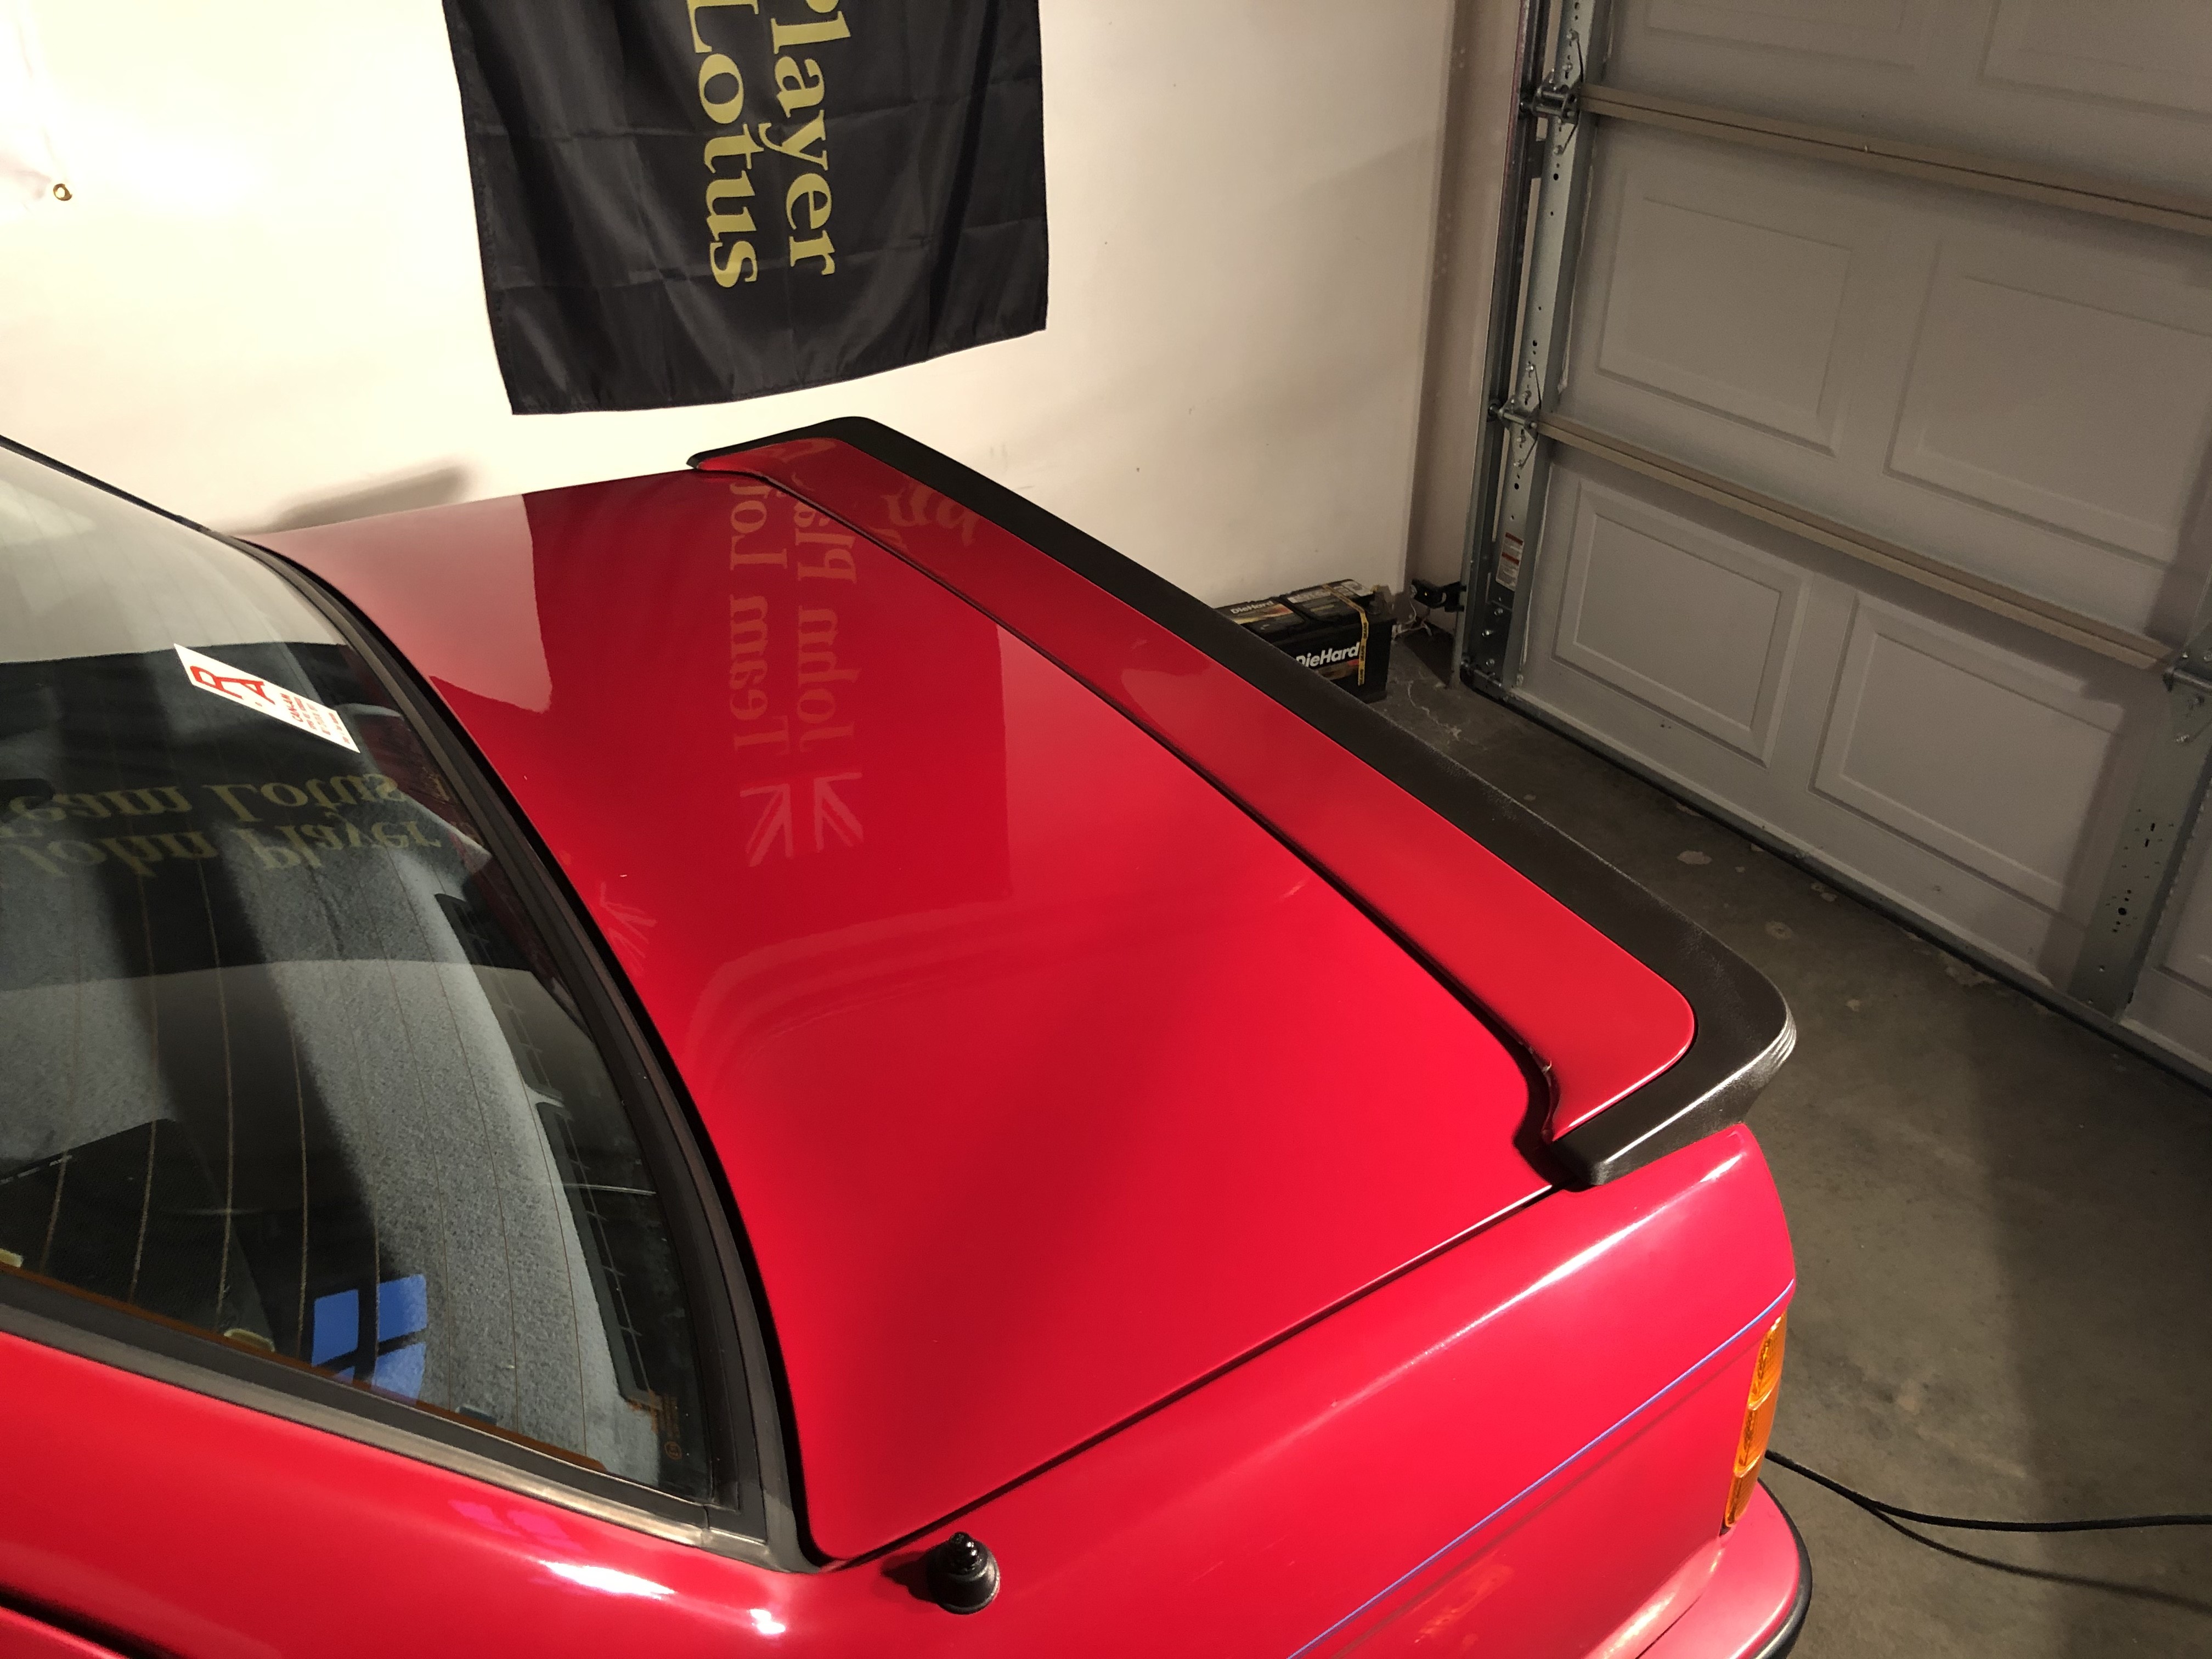
My next issue is leveling the trunk. As you can see below, the driver side sits perfectly and the passenger side sits about a half inch too high. I tried messing with the rubber adjustable stoppers under the trunk lid, but the passenger side one was already bottomed out. I tried just removing it all together, but got the same result. I don't know if that means the arms that attach to the trunk lid are slightly bent or what.
Do the bolts that hold the lid to the arms allow for any adjustment?
Driver side:
Passenger side:
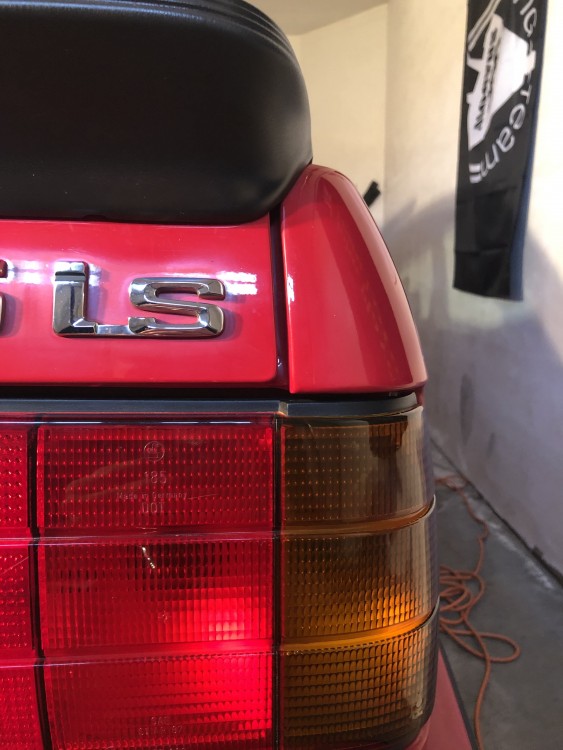
Need a polish around the badging.
-
I wouldn't be shocked if it was never level from the factory. You might be attempting a level of exactness and execution that BMW never meant to achieve. God speed.
-
I wouldn't be shocked if it was never level from the factory. You might be attempting a level of exactness and execution that BMW never meant to achieve. God speed.
I was gonna say if the paint hasn’t been damaged around the mounts then it’s always been that way or moved slightly.
-
I was gonna say if the paint hasn’t been damaged around the mounts then it’s always been that way or moved slightly.
Doesn't look like it has. I'll have to give it a try.
*Edit; I do not have slots. I have like a pirate hook looking deal on the lower bolt.
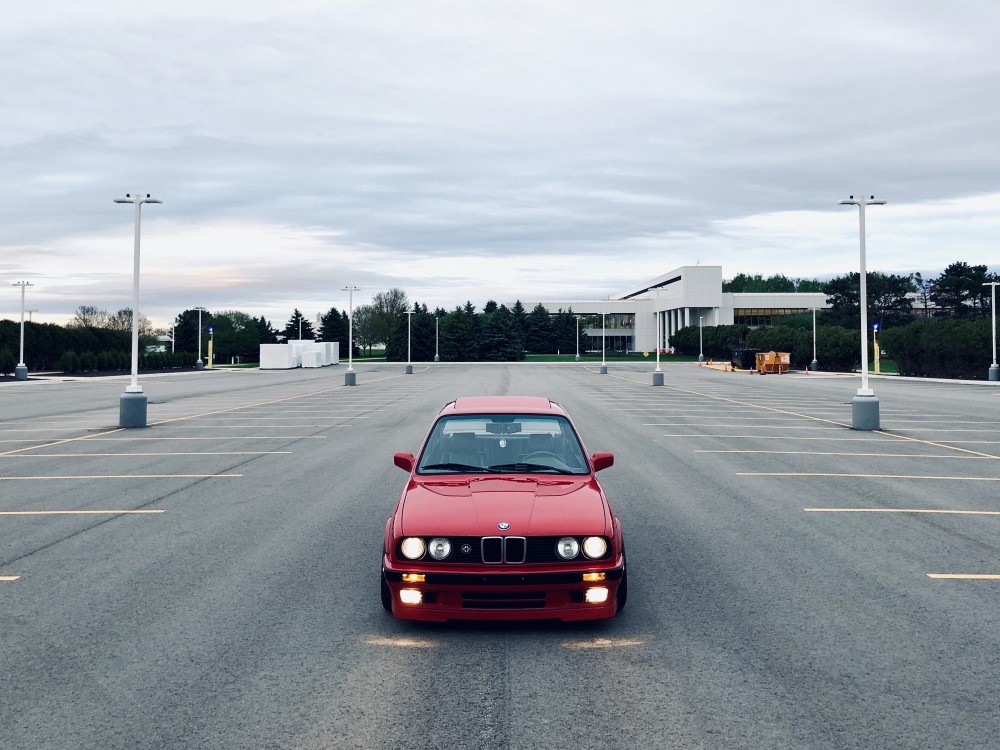
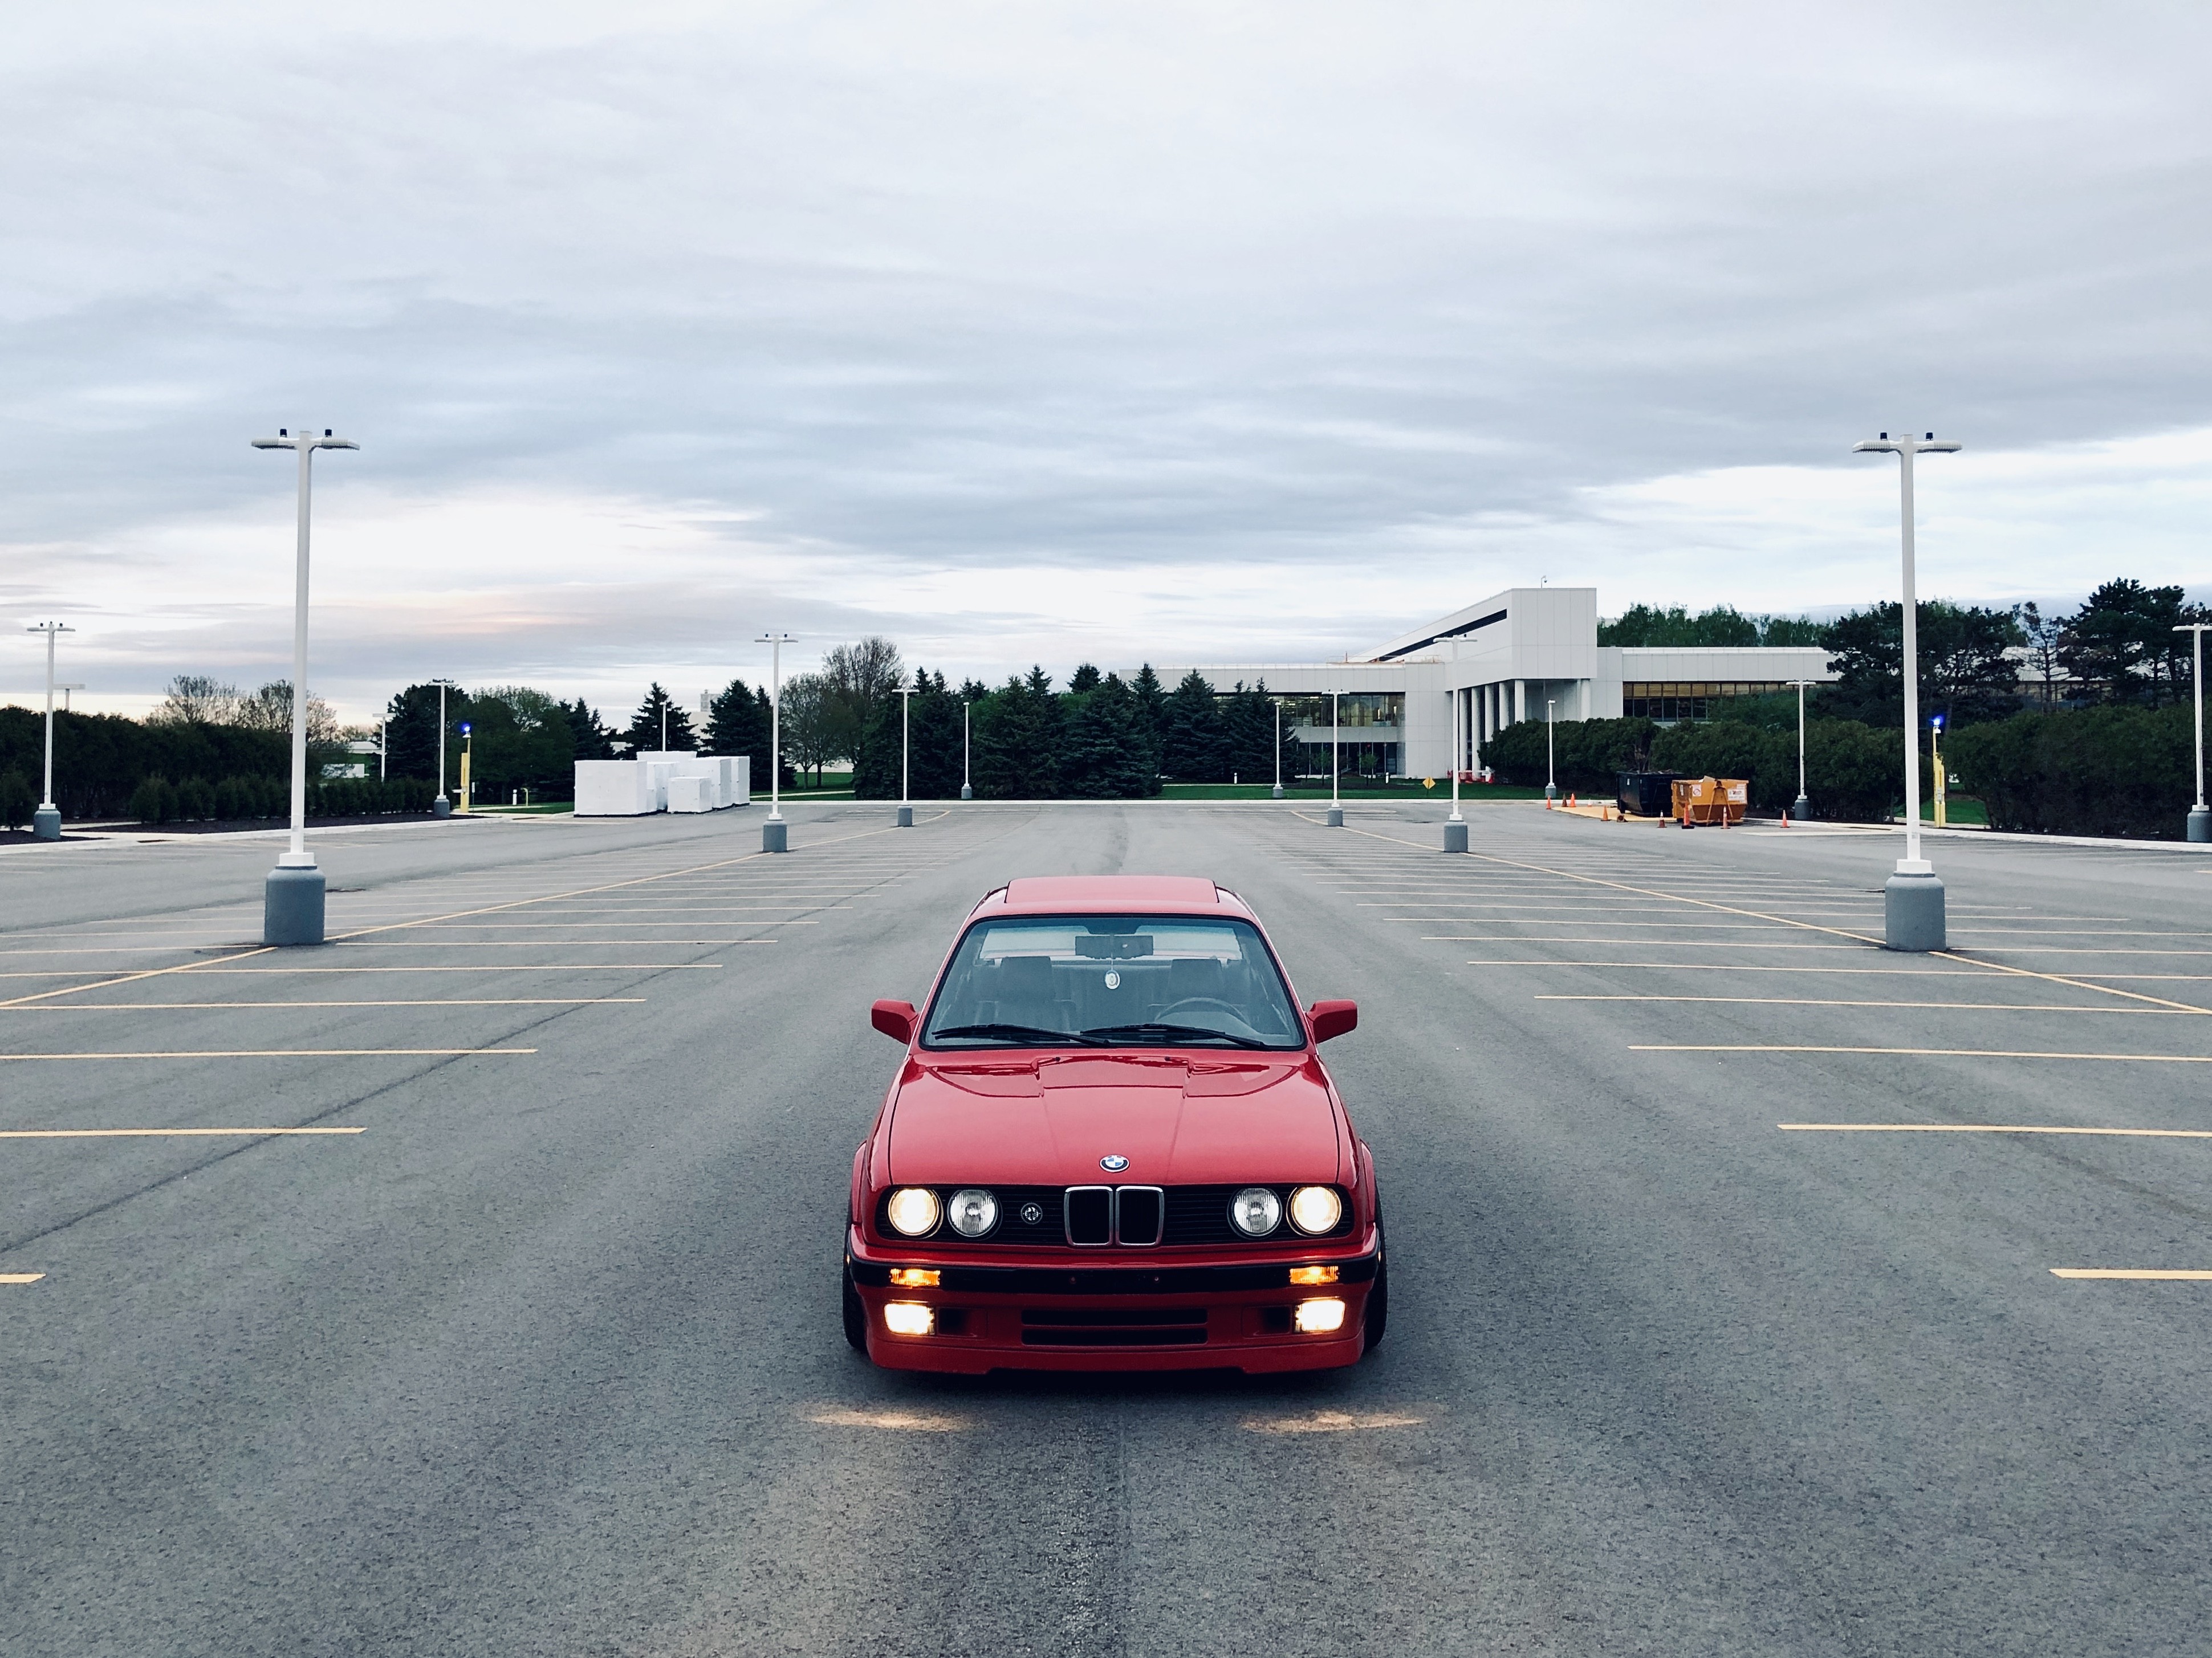
Pic from tonight.






Hello! It looks like you're interested in this conversation, but you don't have an account yet.
Getting fed up of having to scroll through the same posts each visit? When you register for an account, you'll always come back to exactly where you were before, and choose to be notified of new replies (either via email, or push notification). You'll also be able to save bookmarks and upvote posts to show your appreciation to other community members.
With your input, this post could be even better 💗
Register Login