
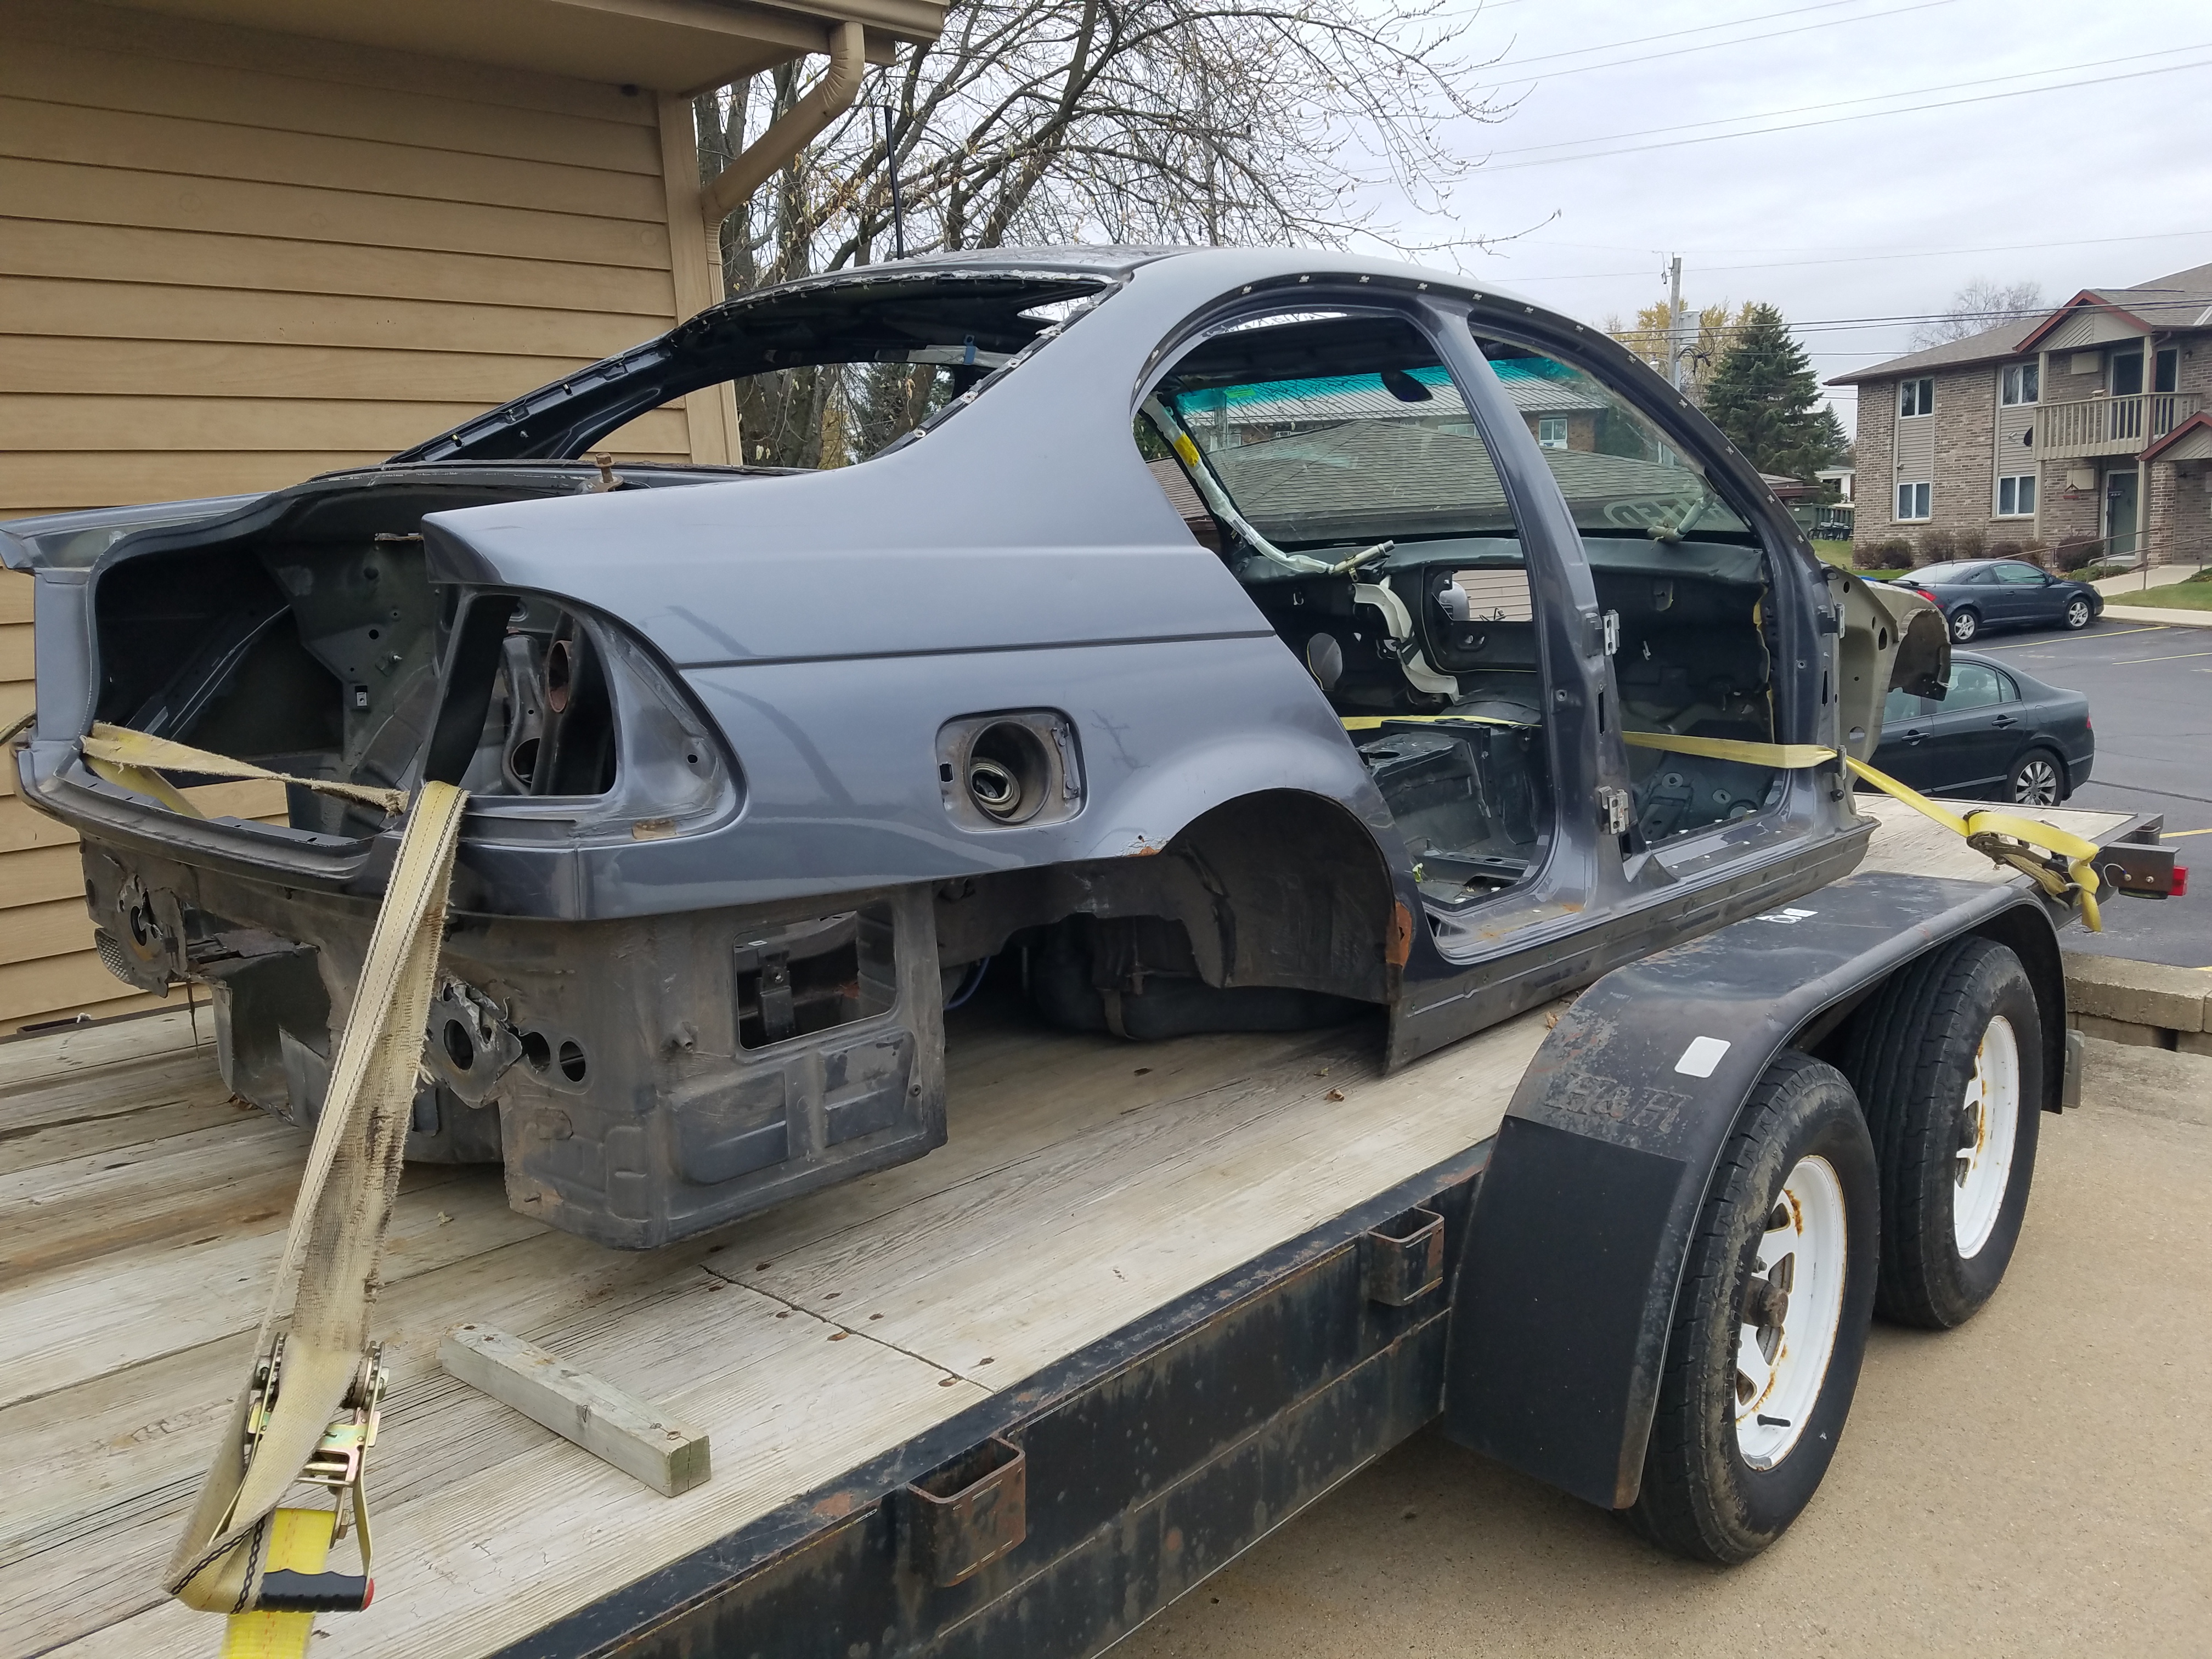
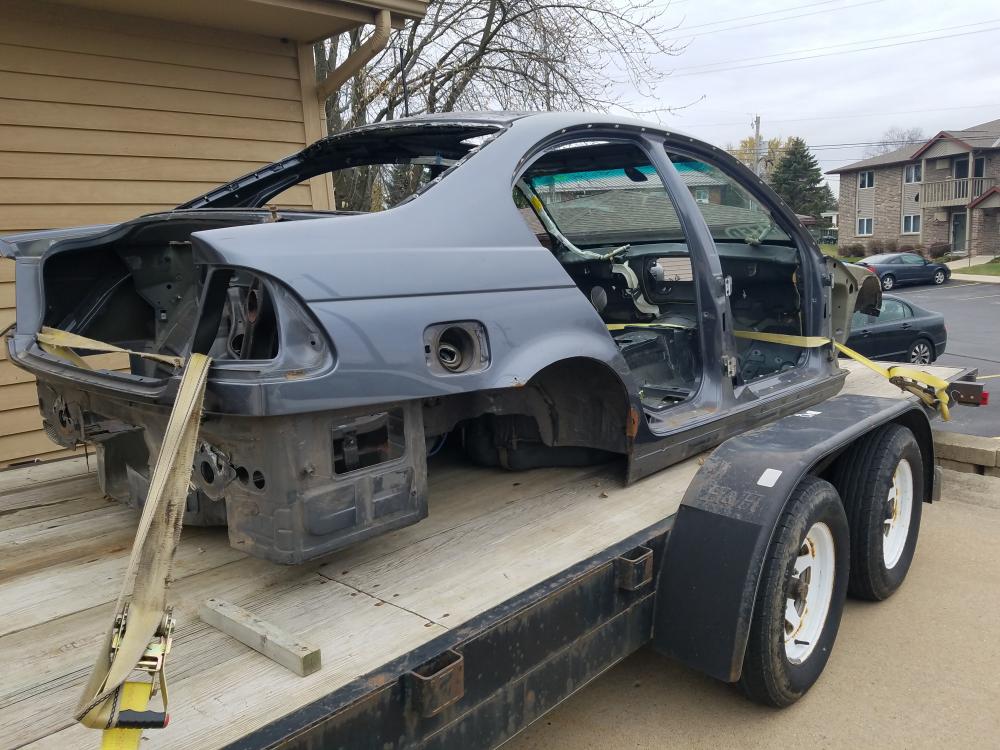
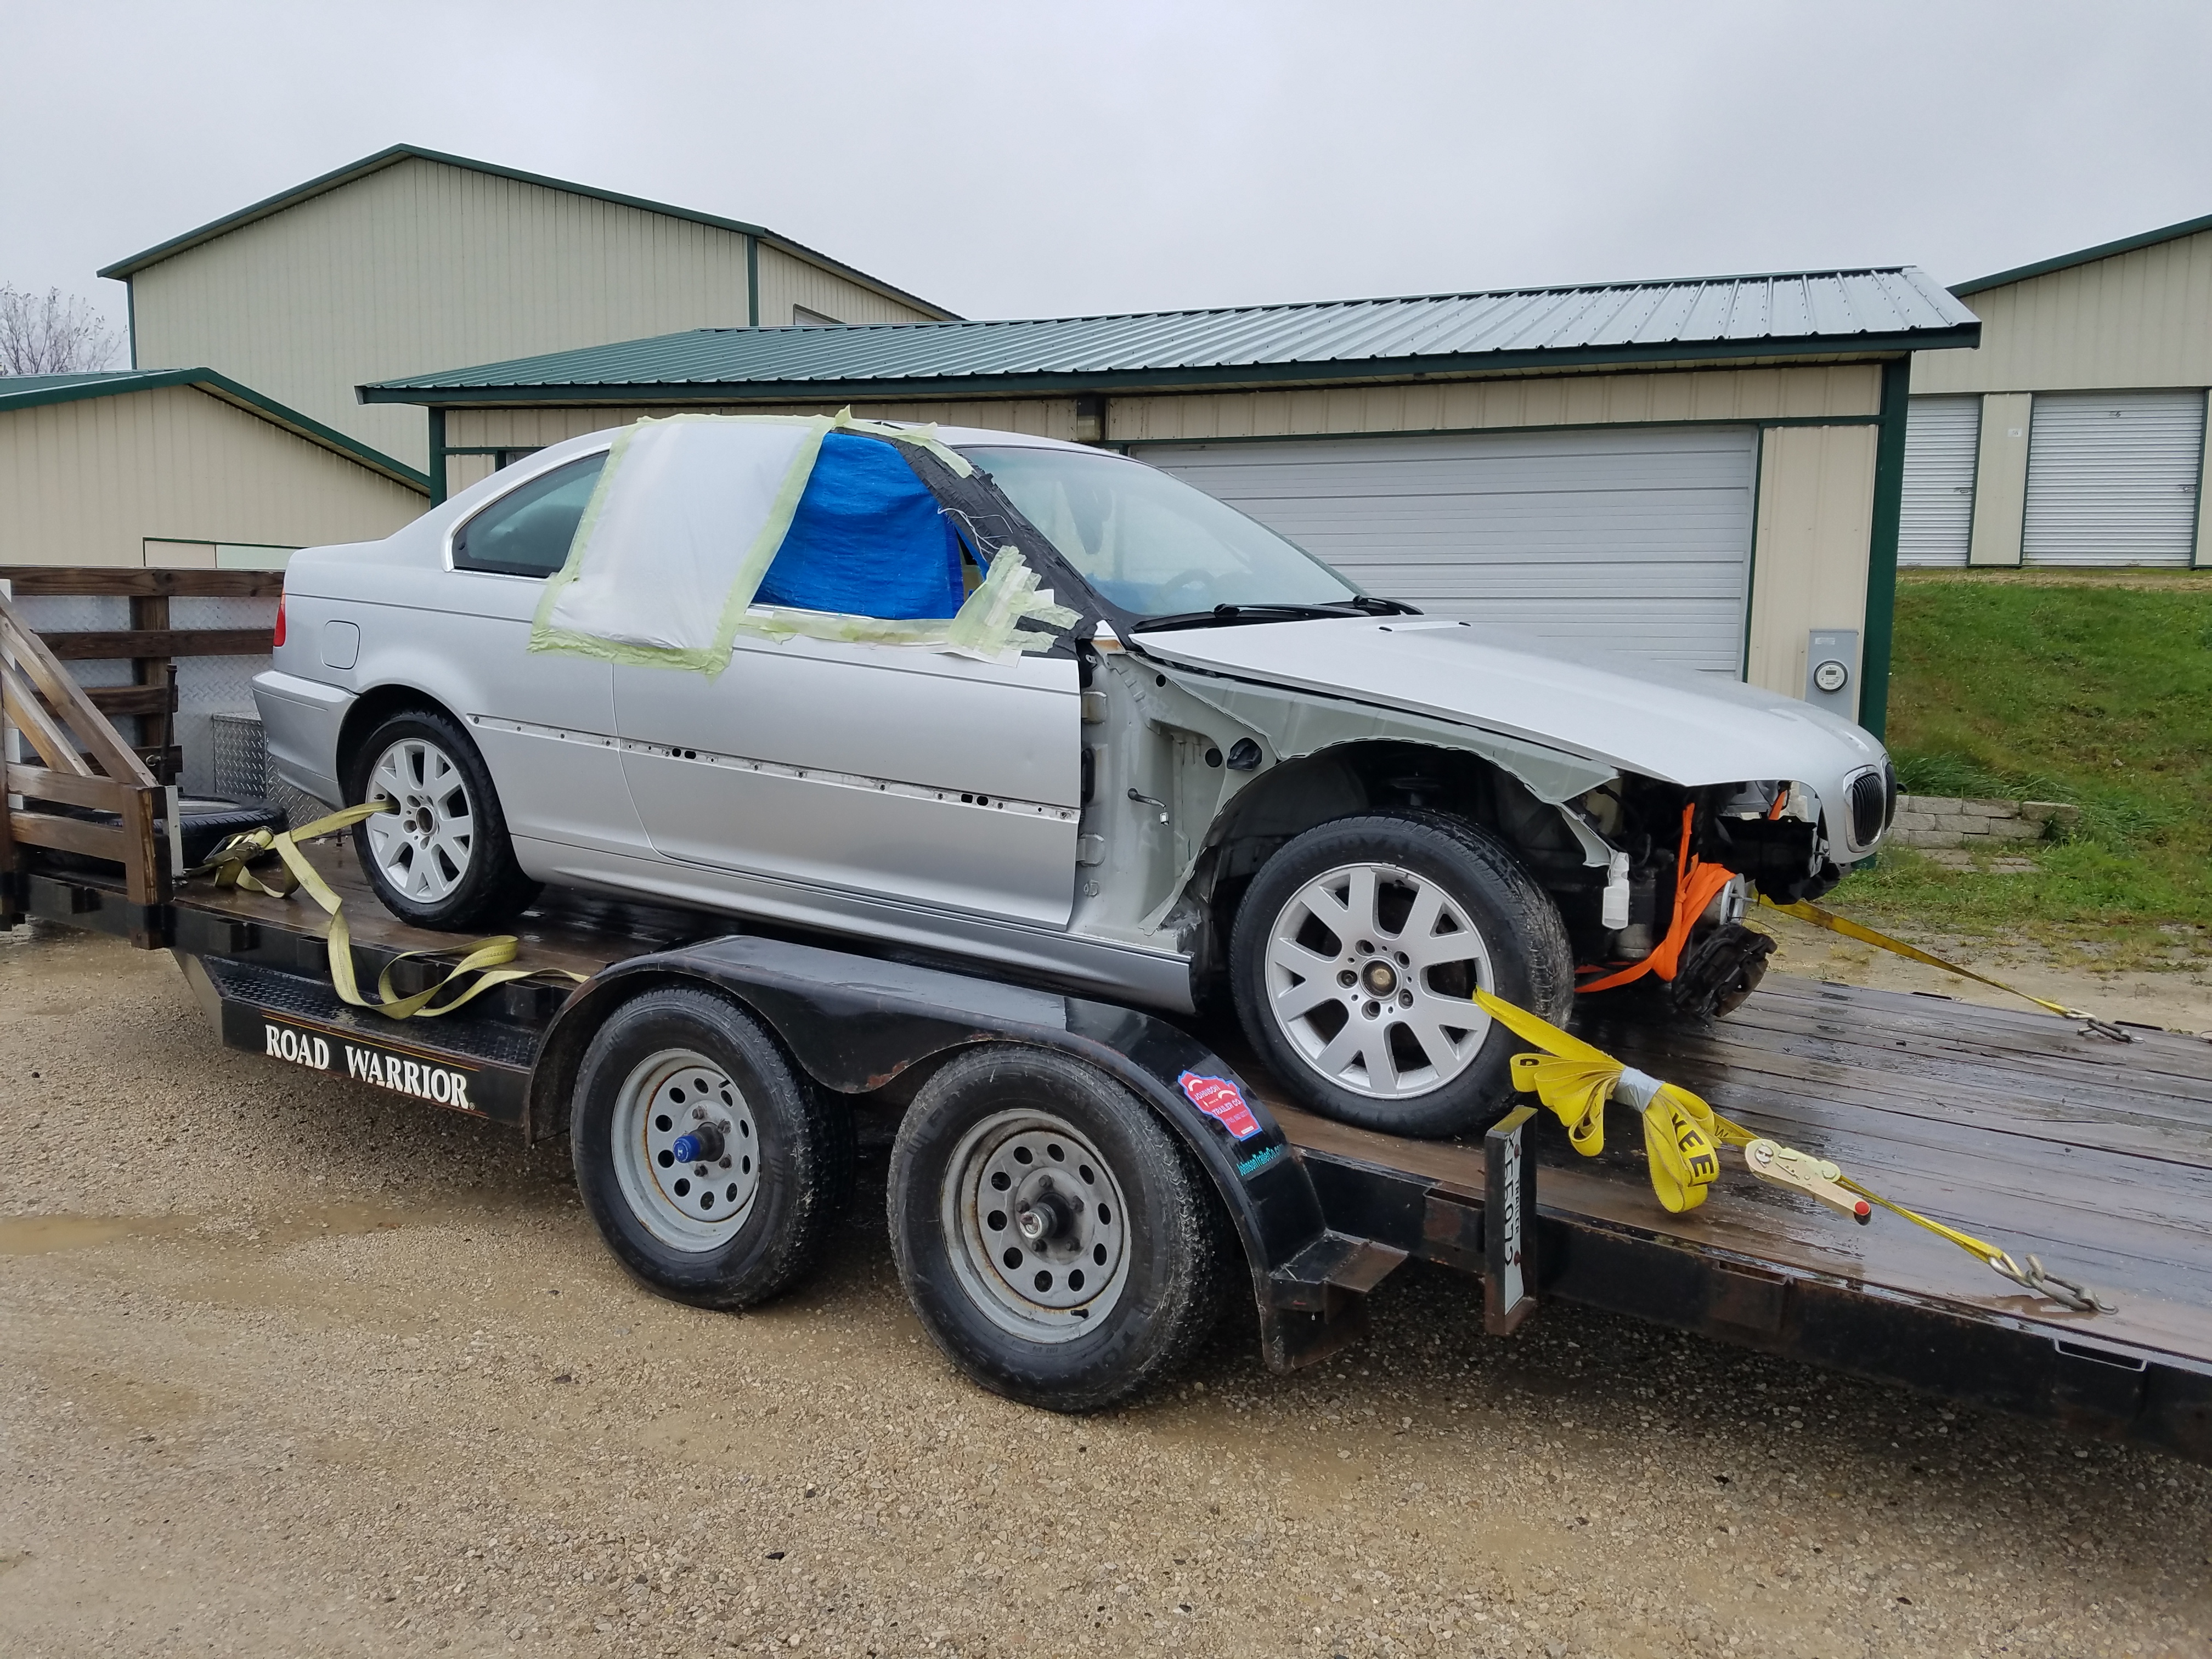
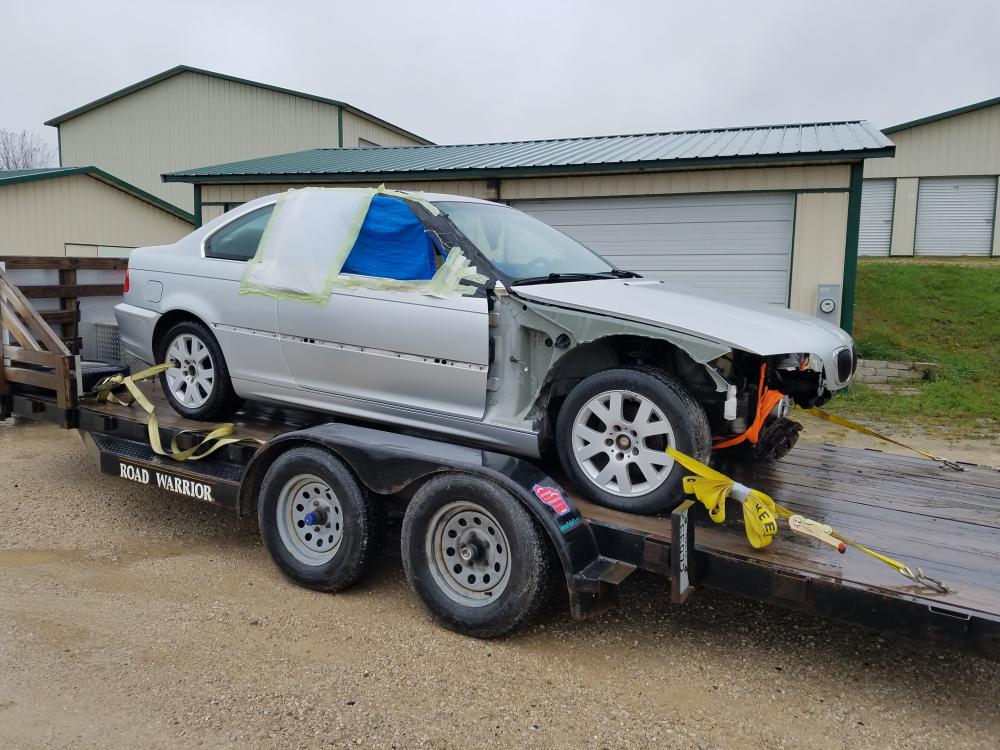
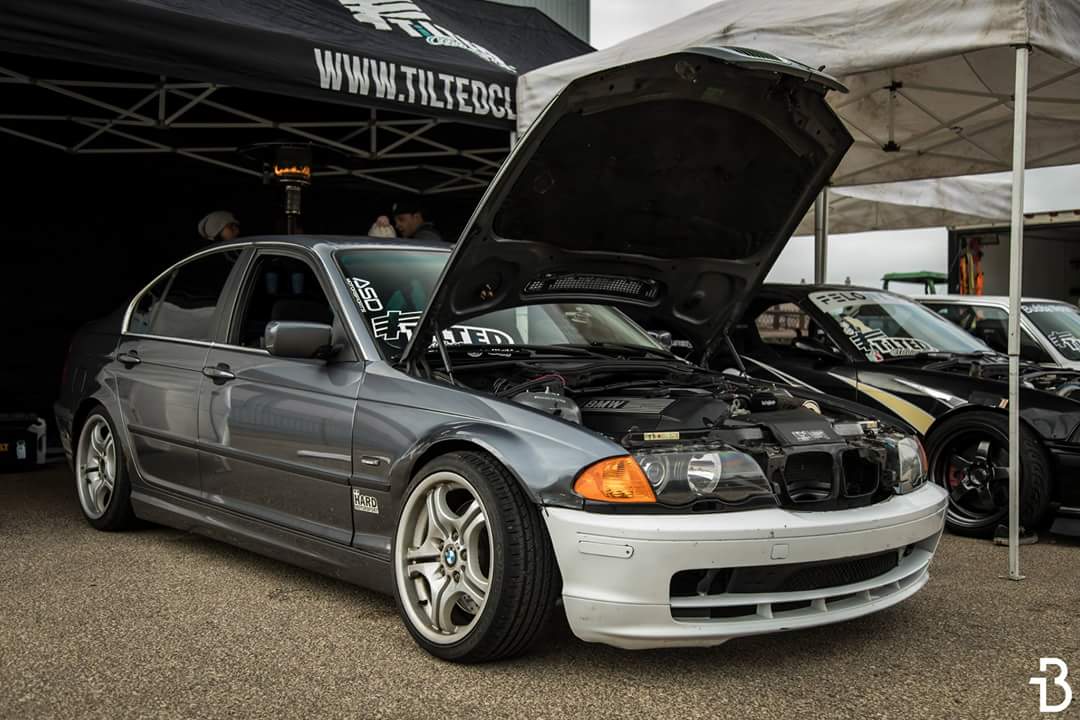
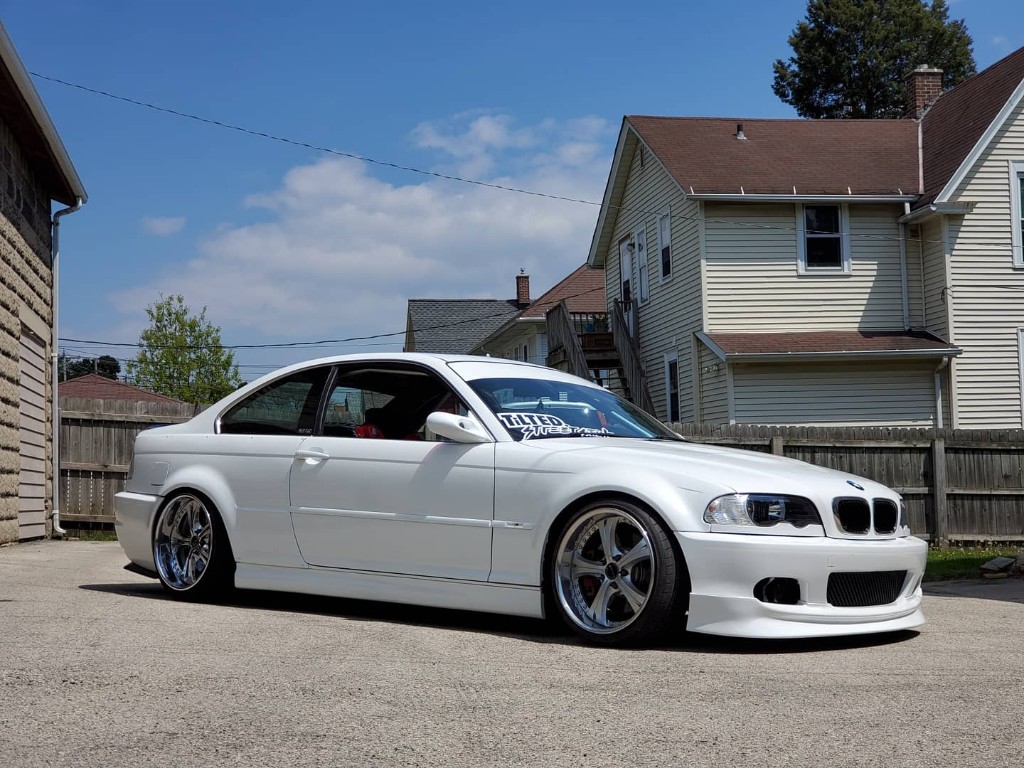
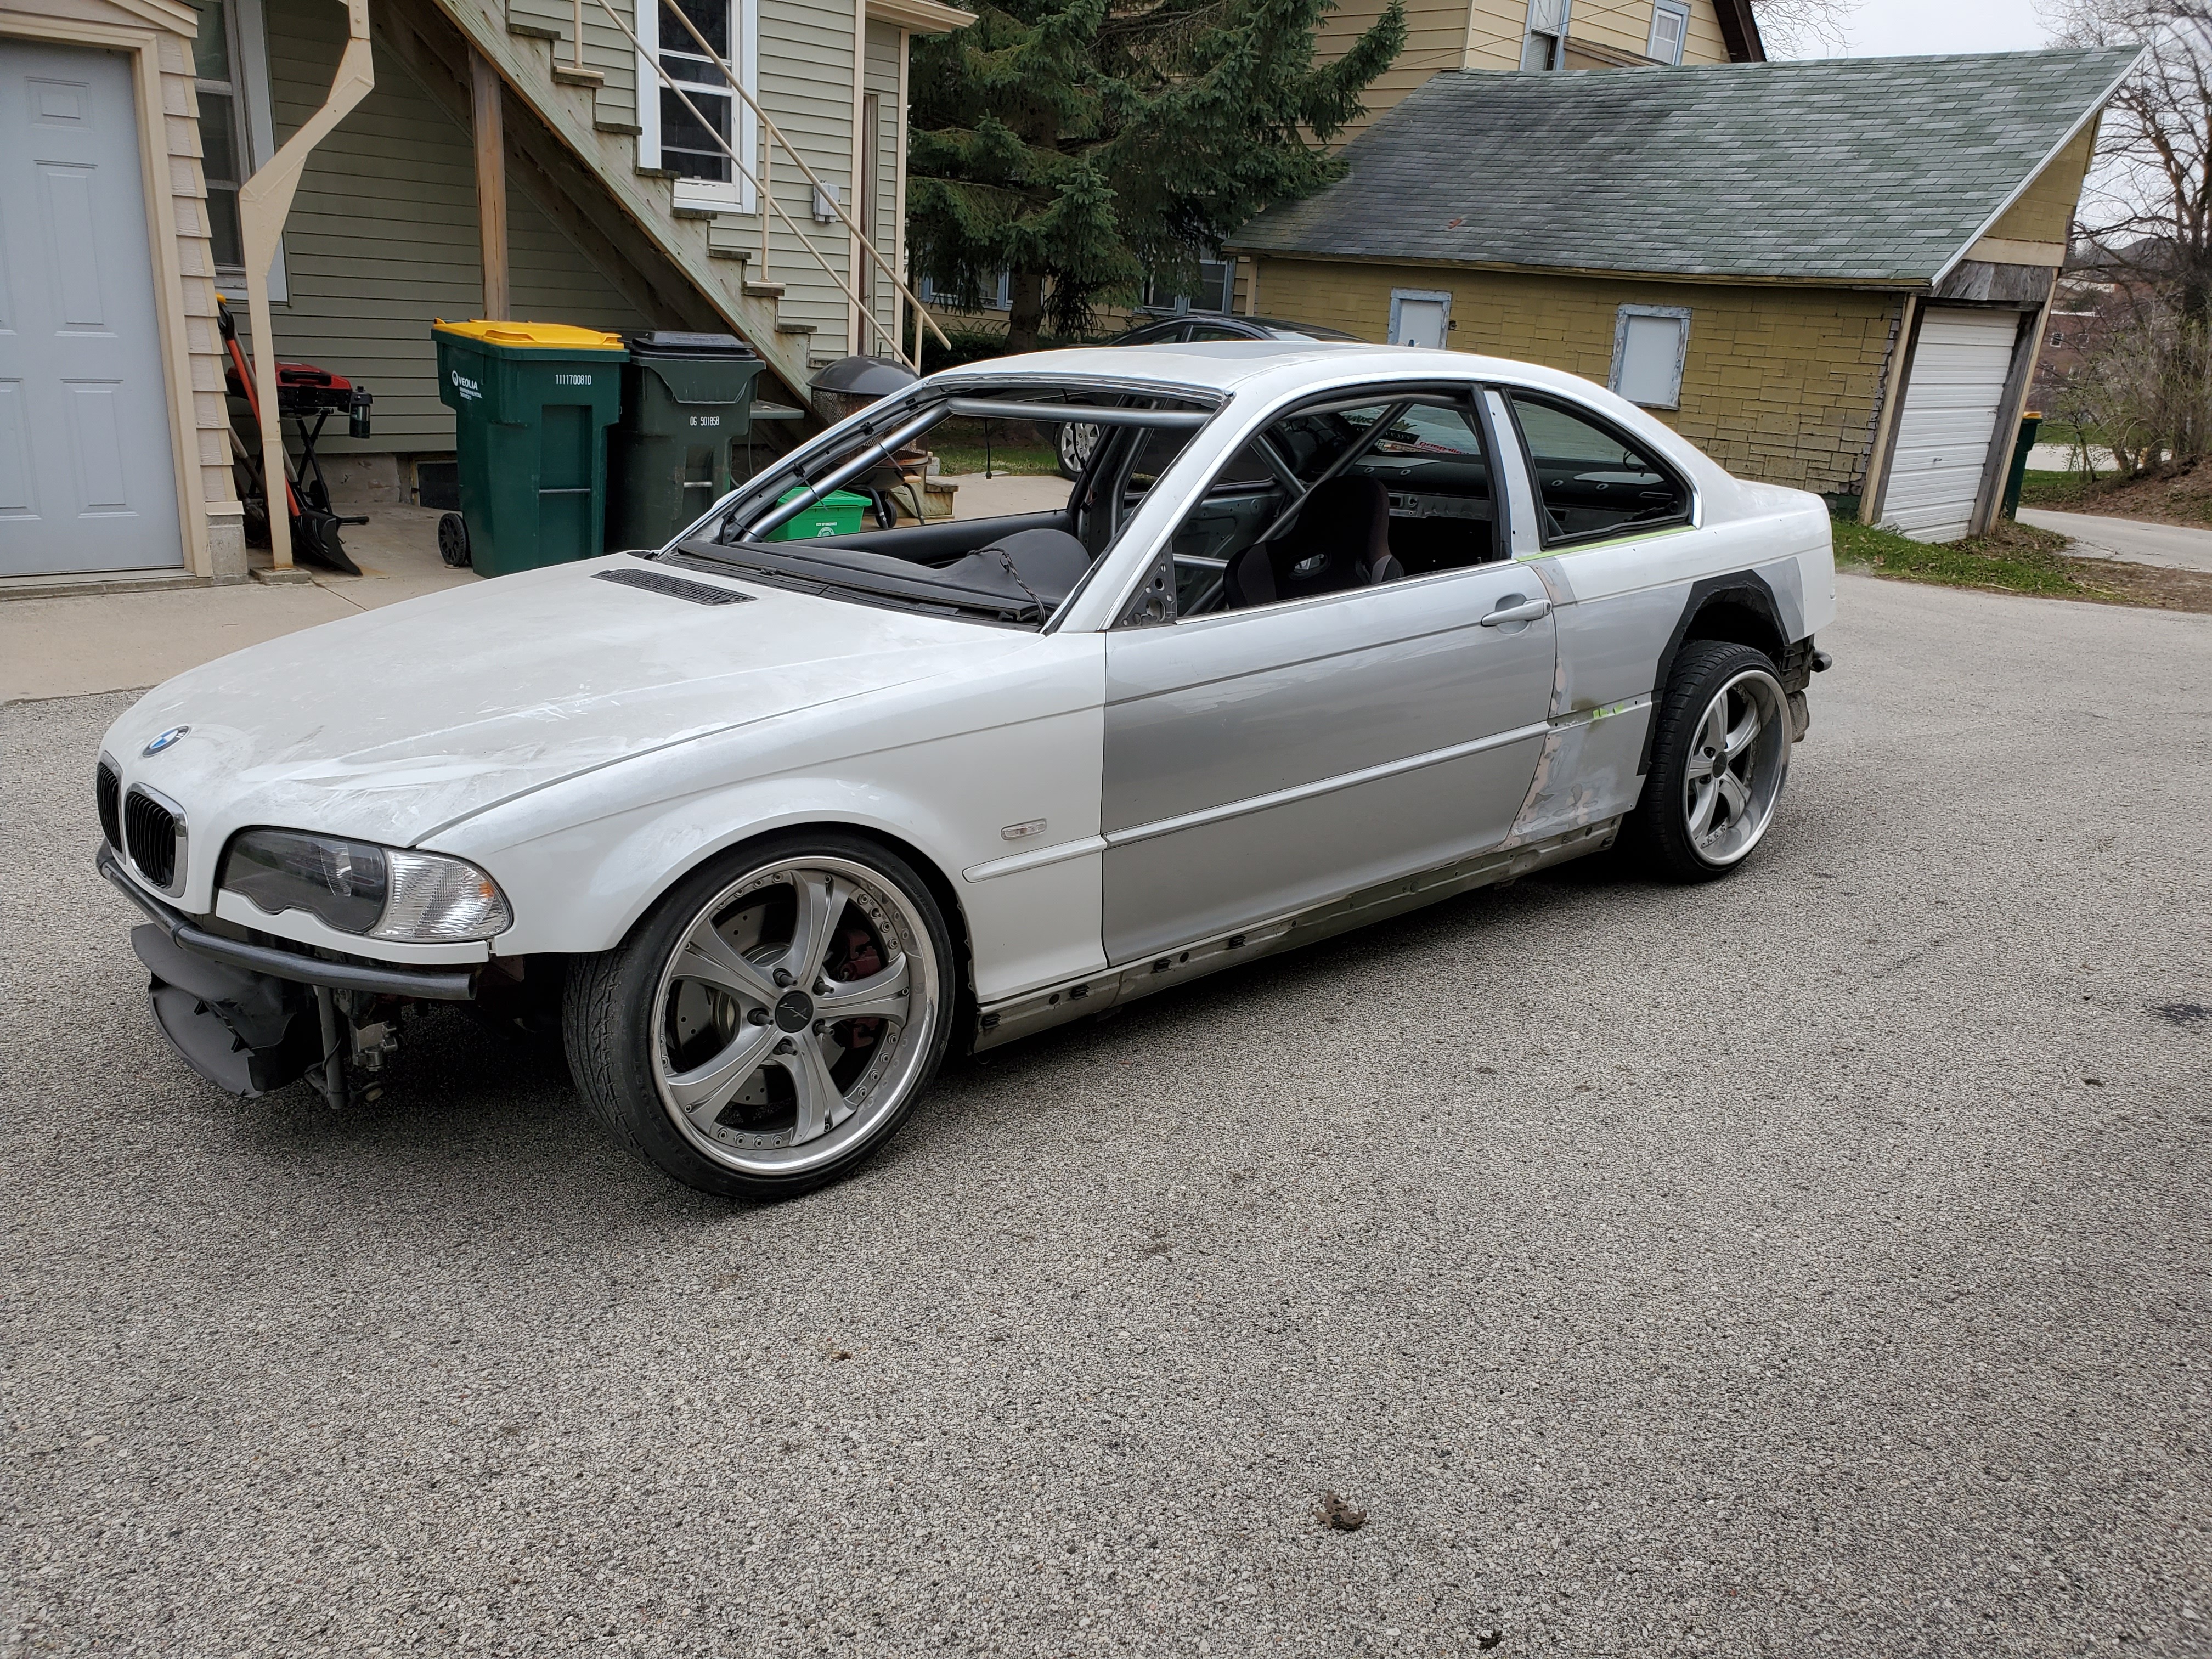
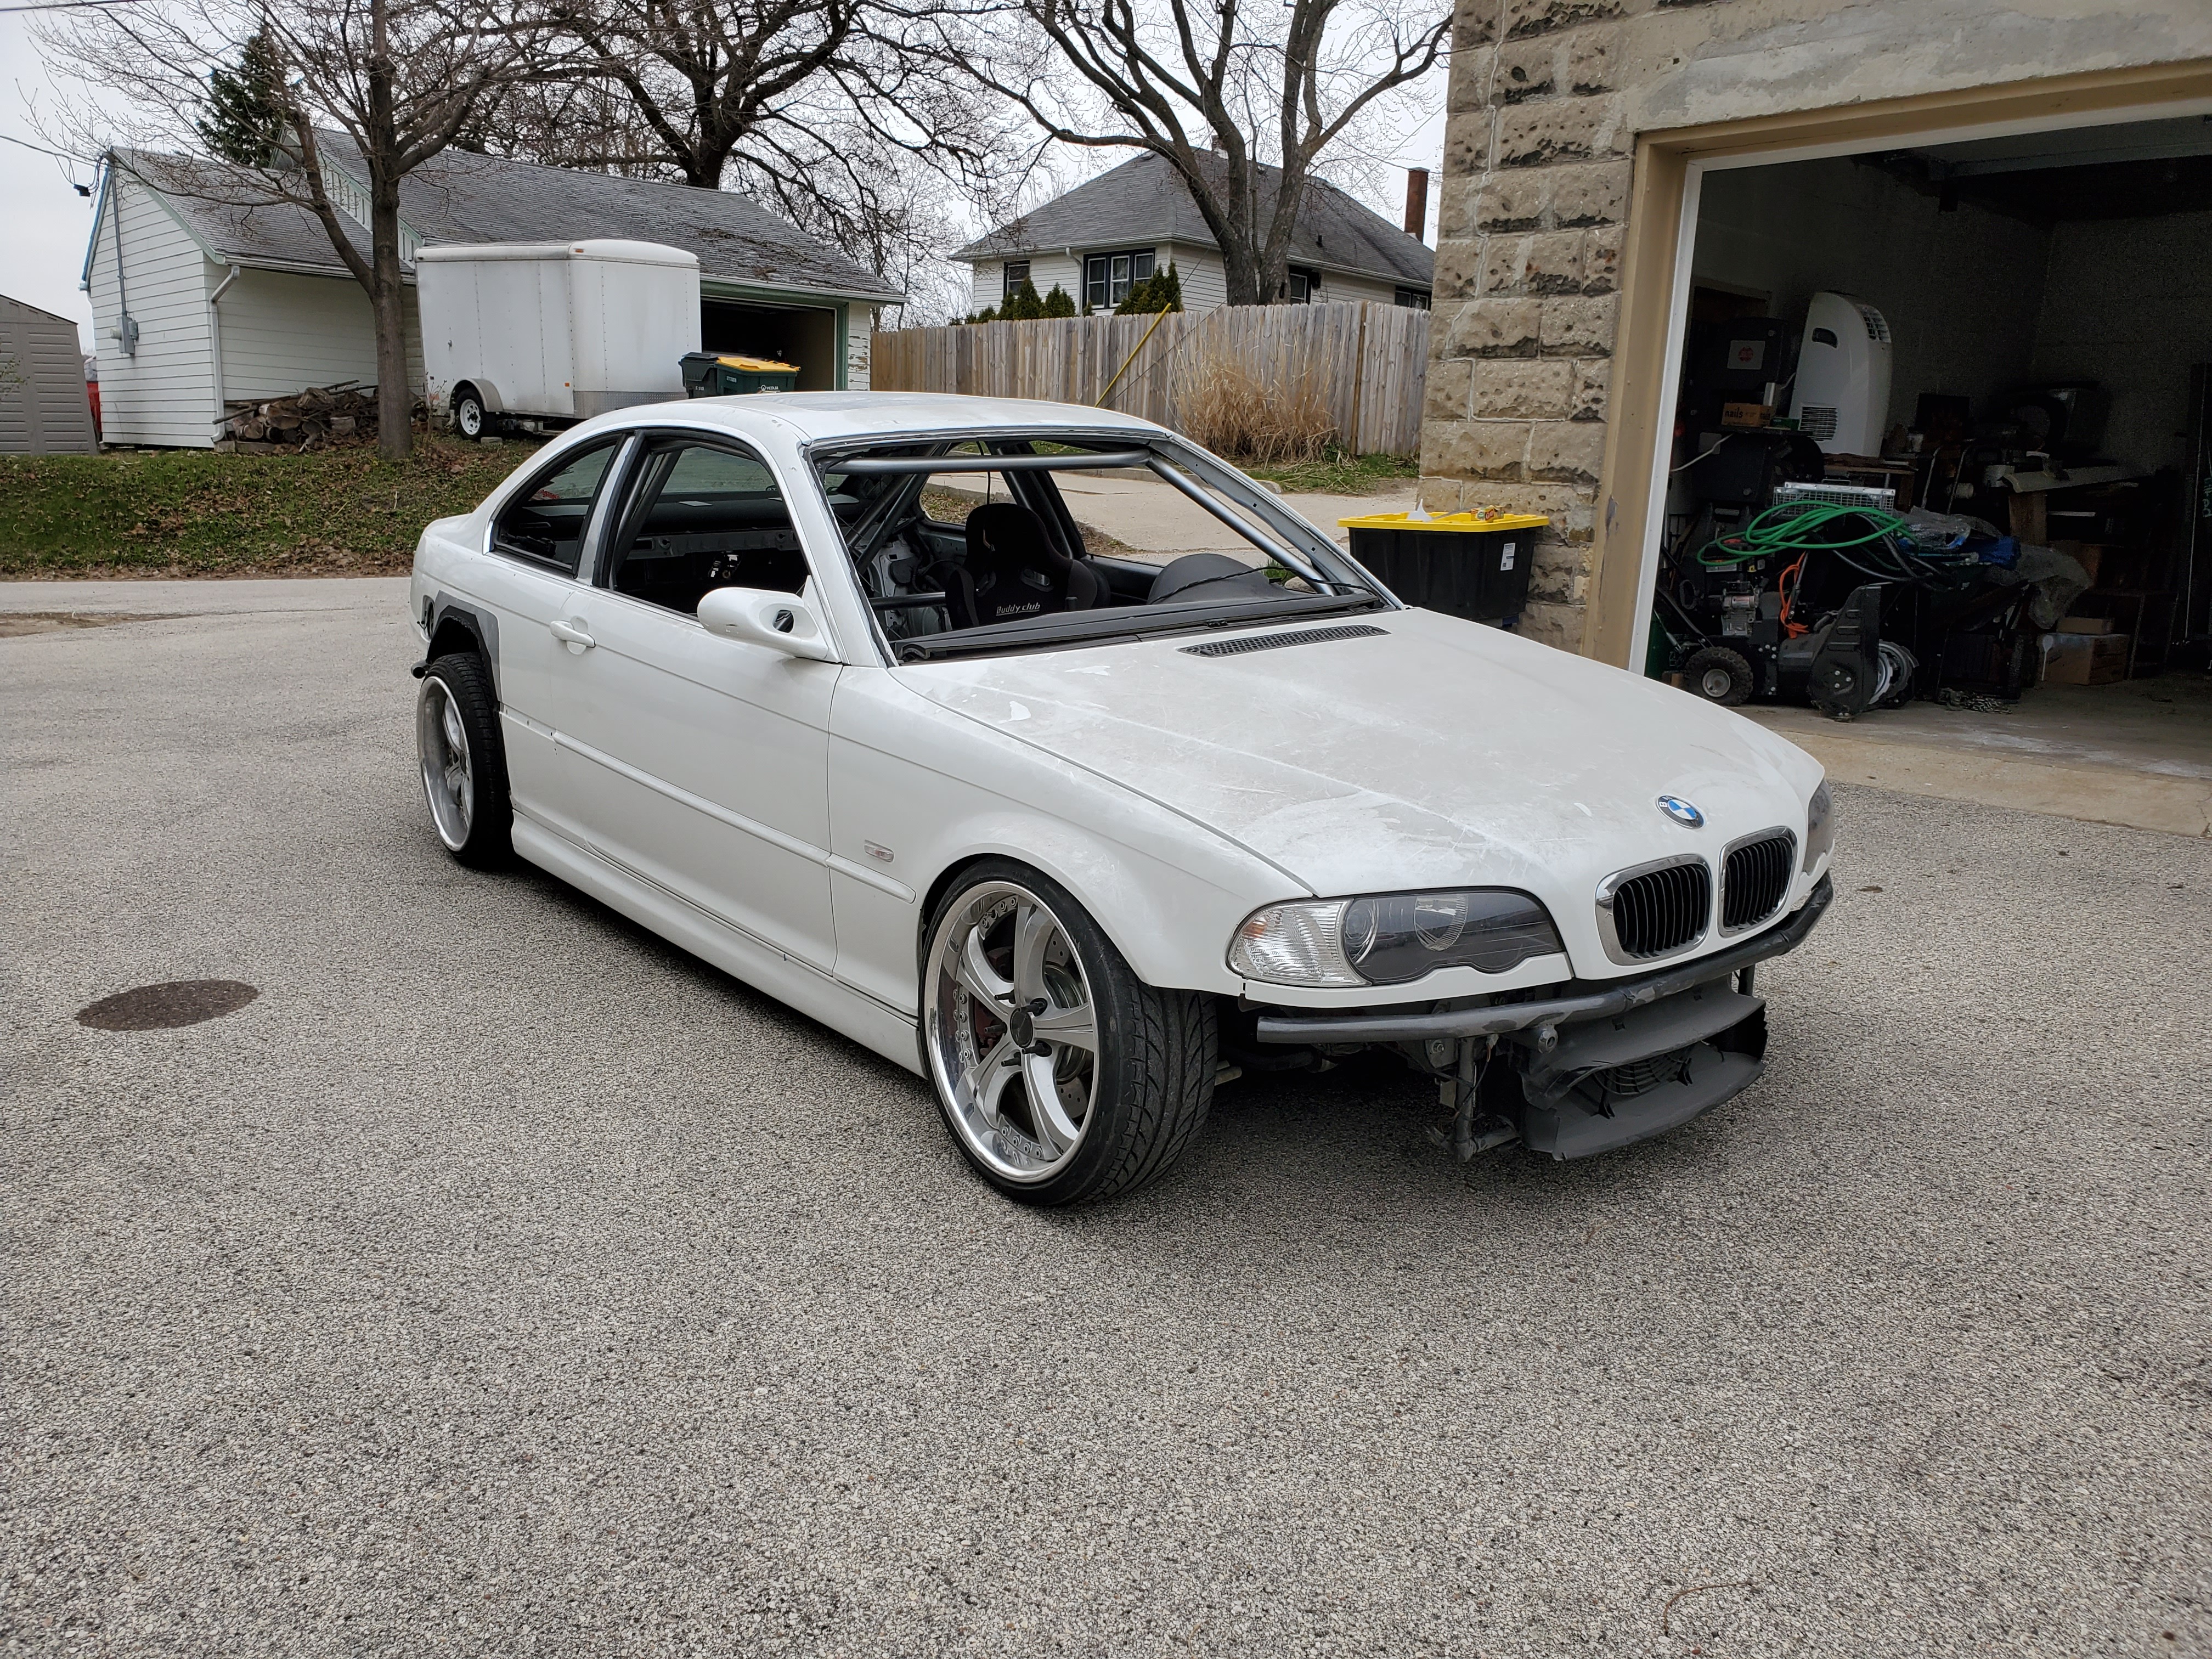
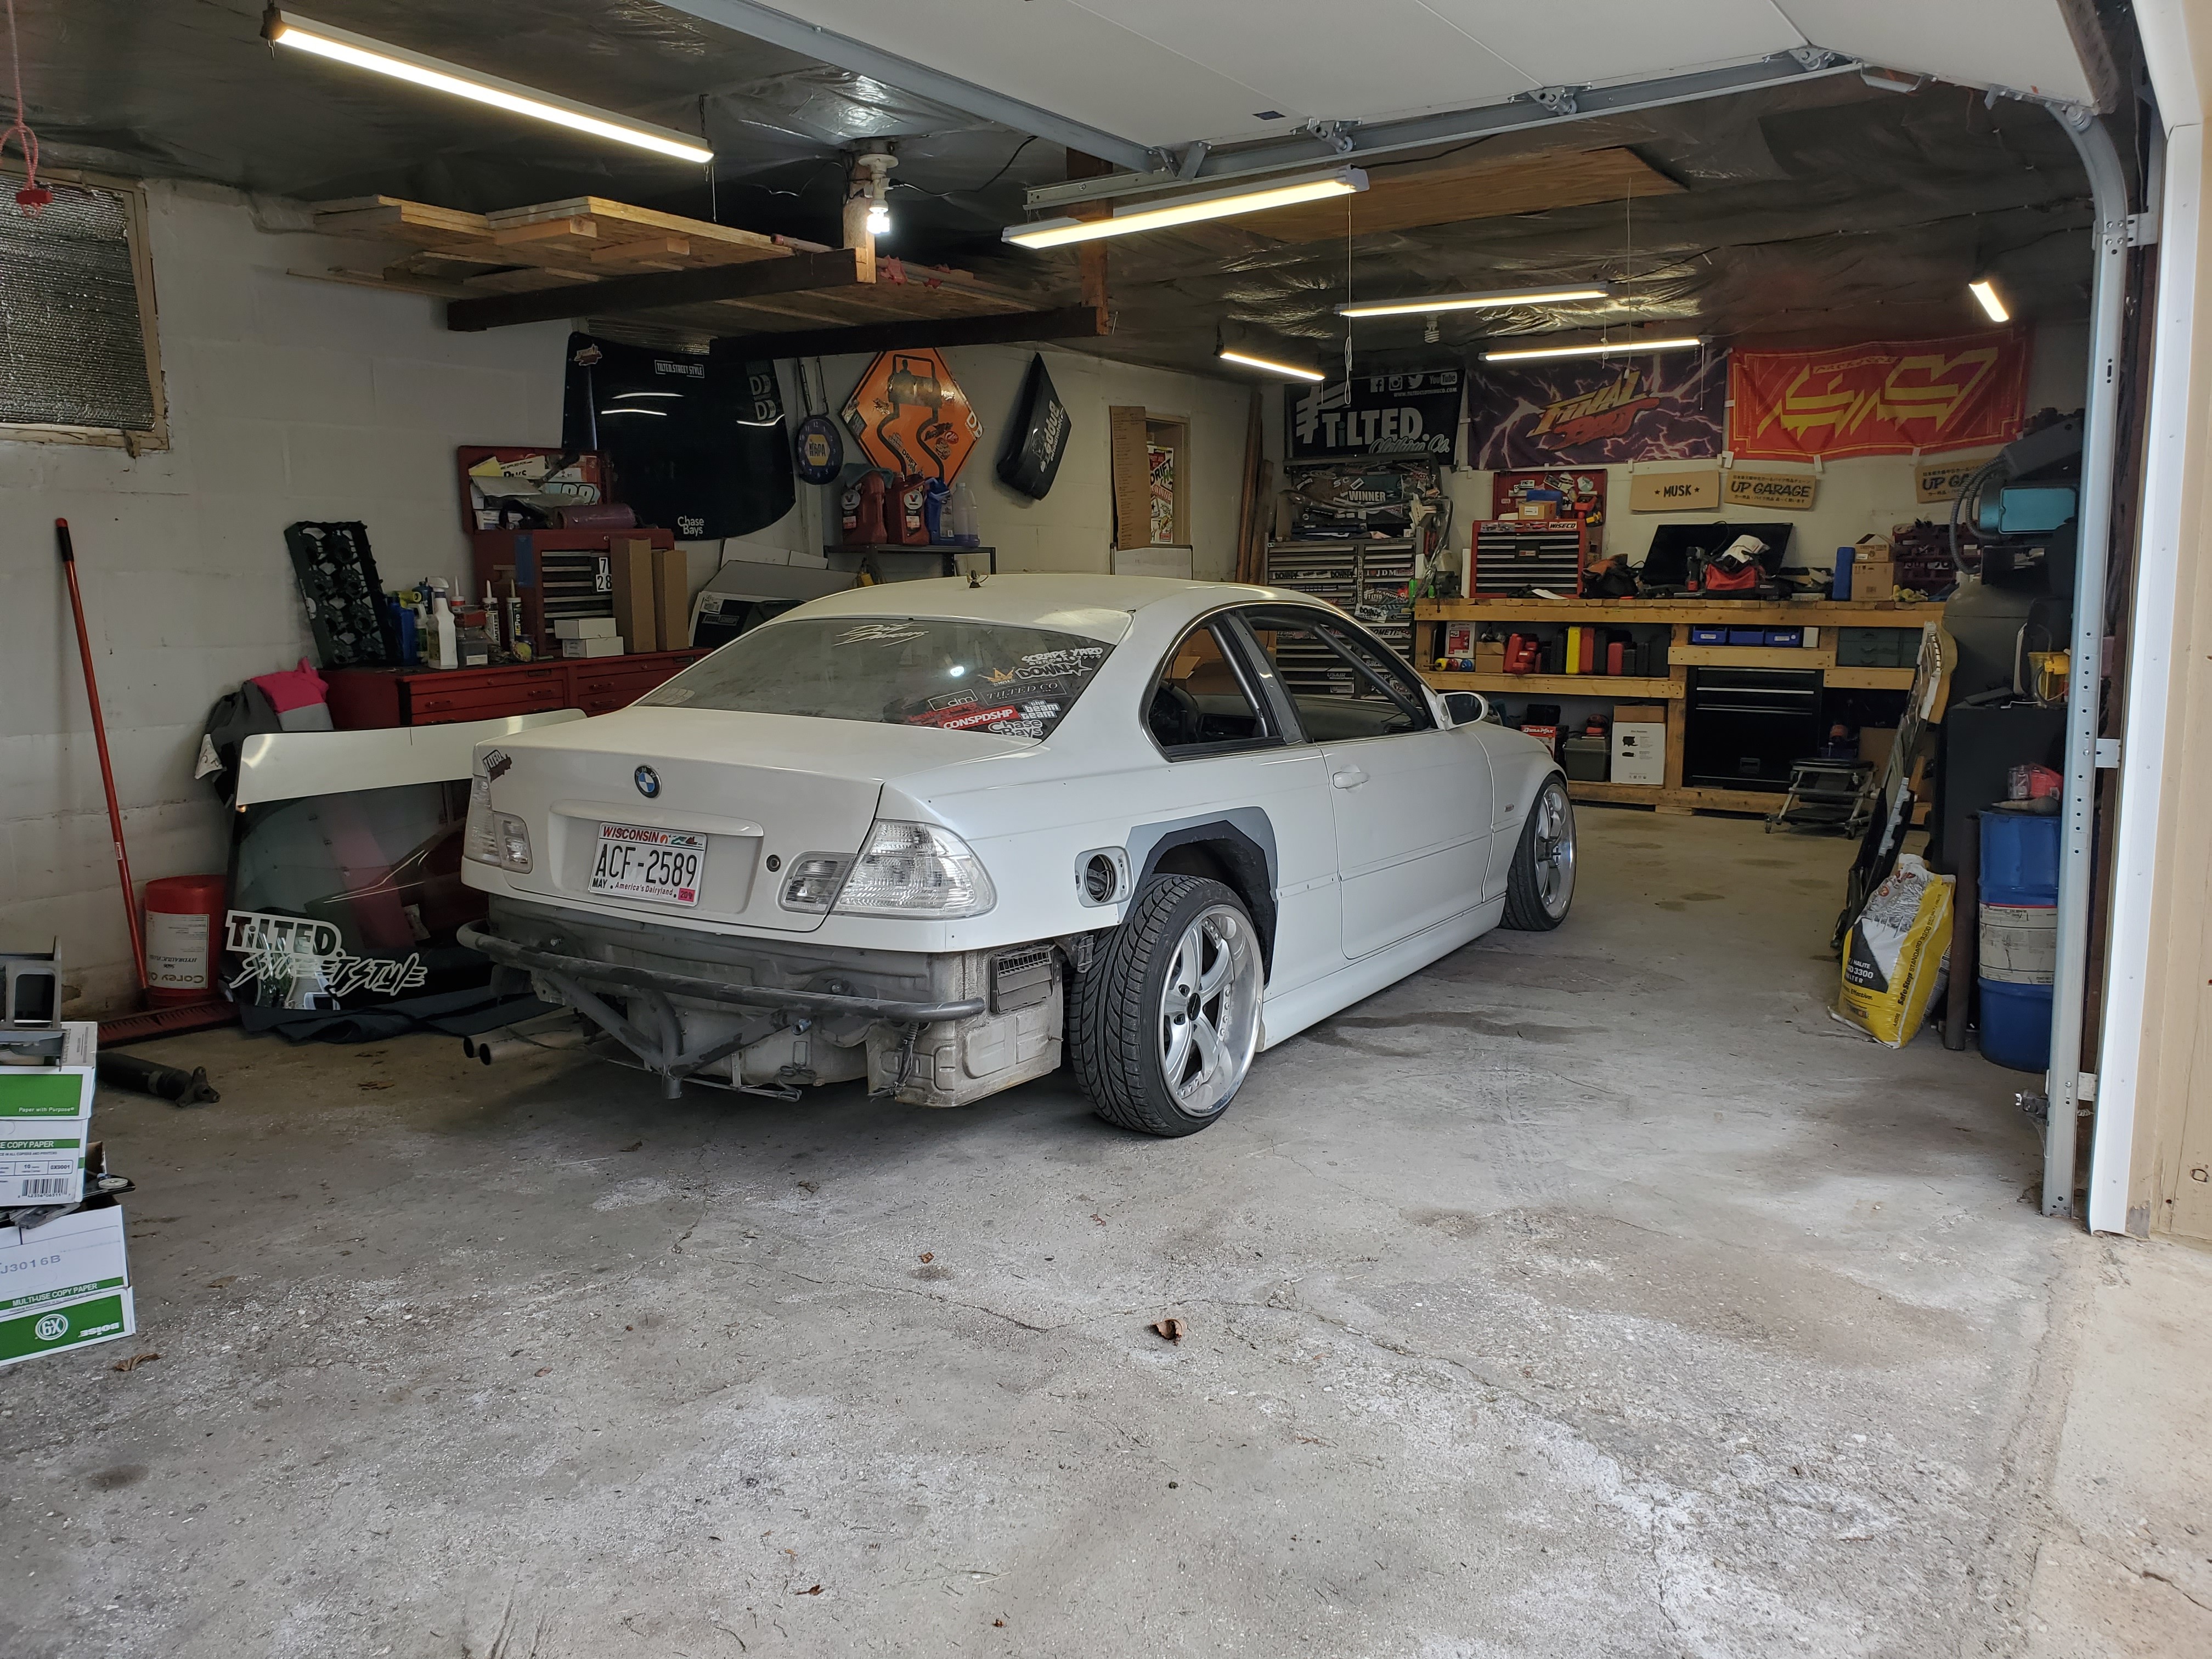
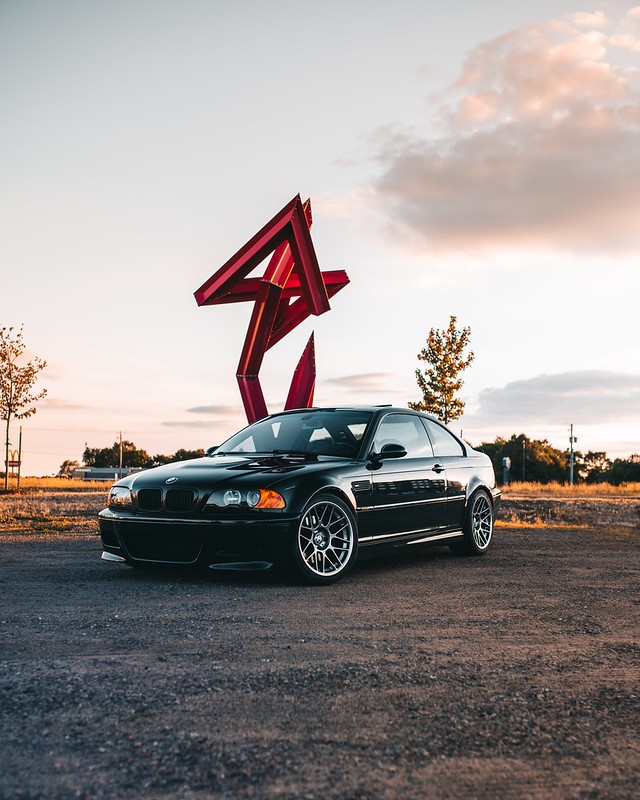
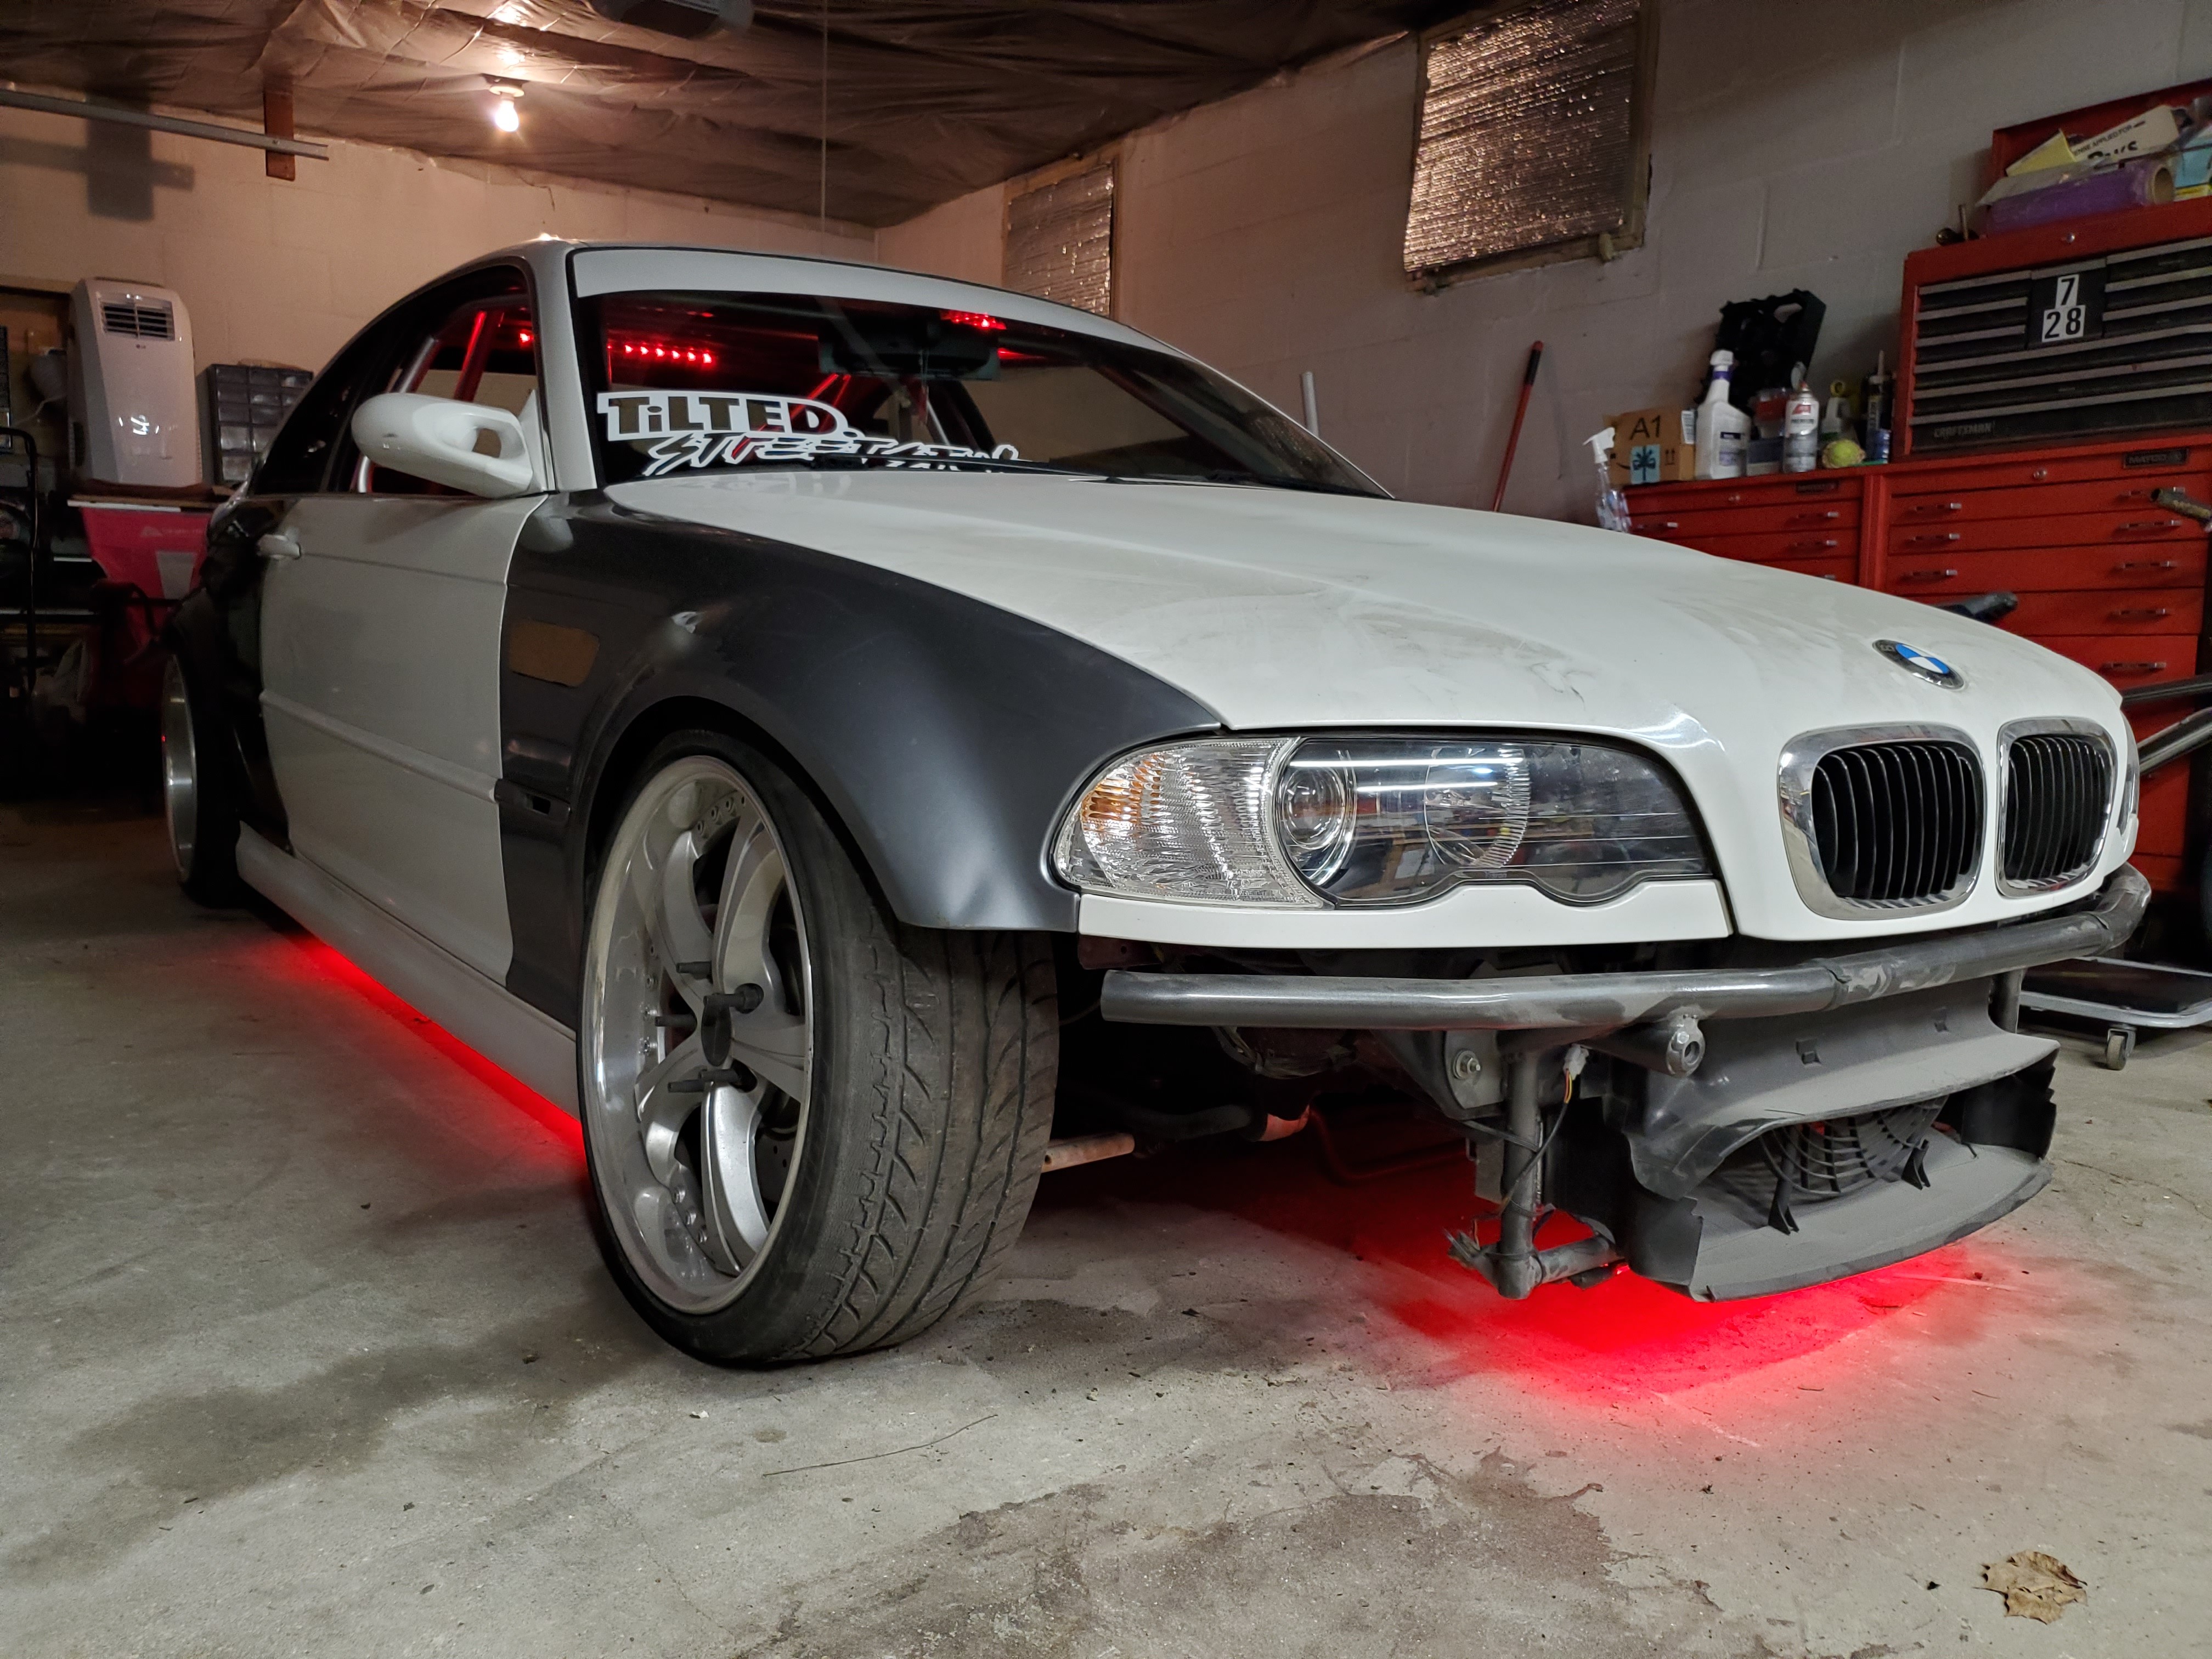
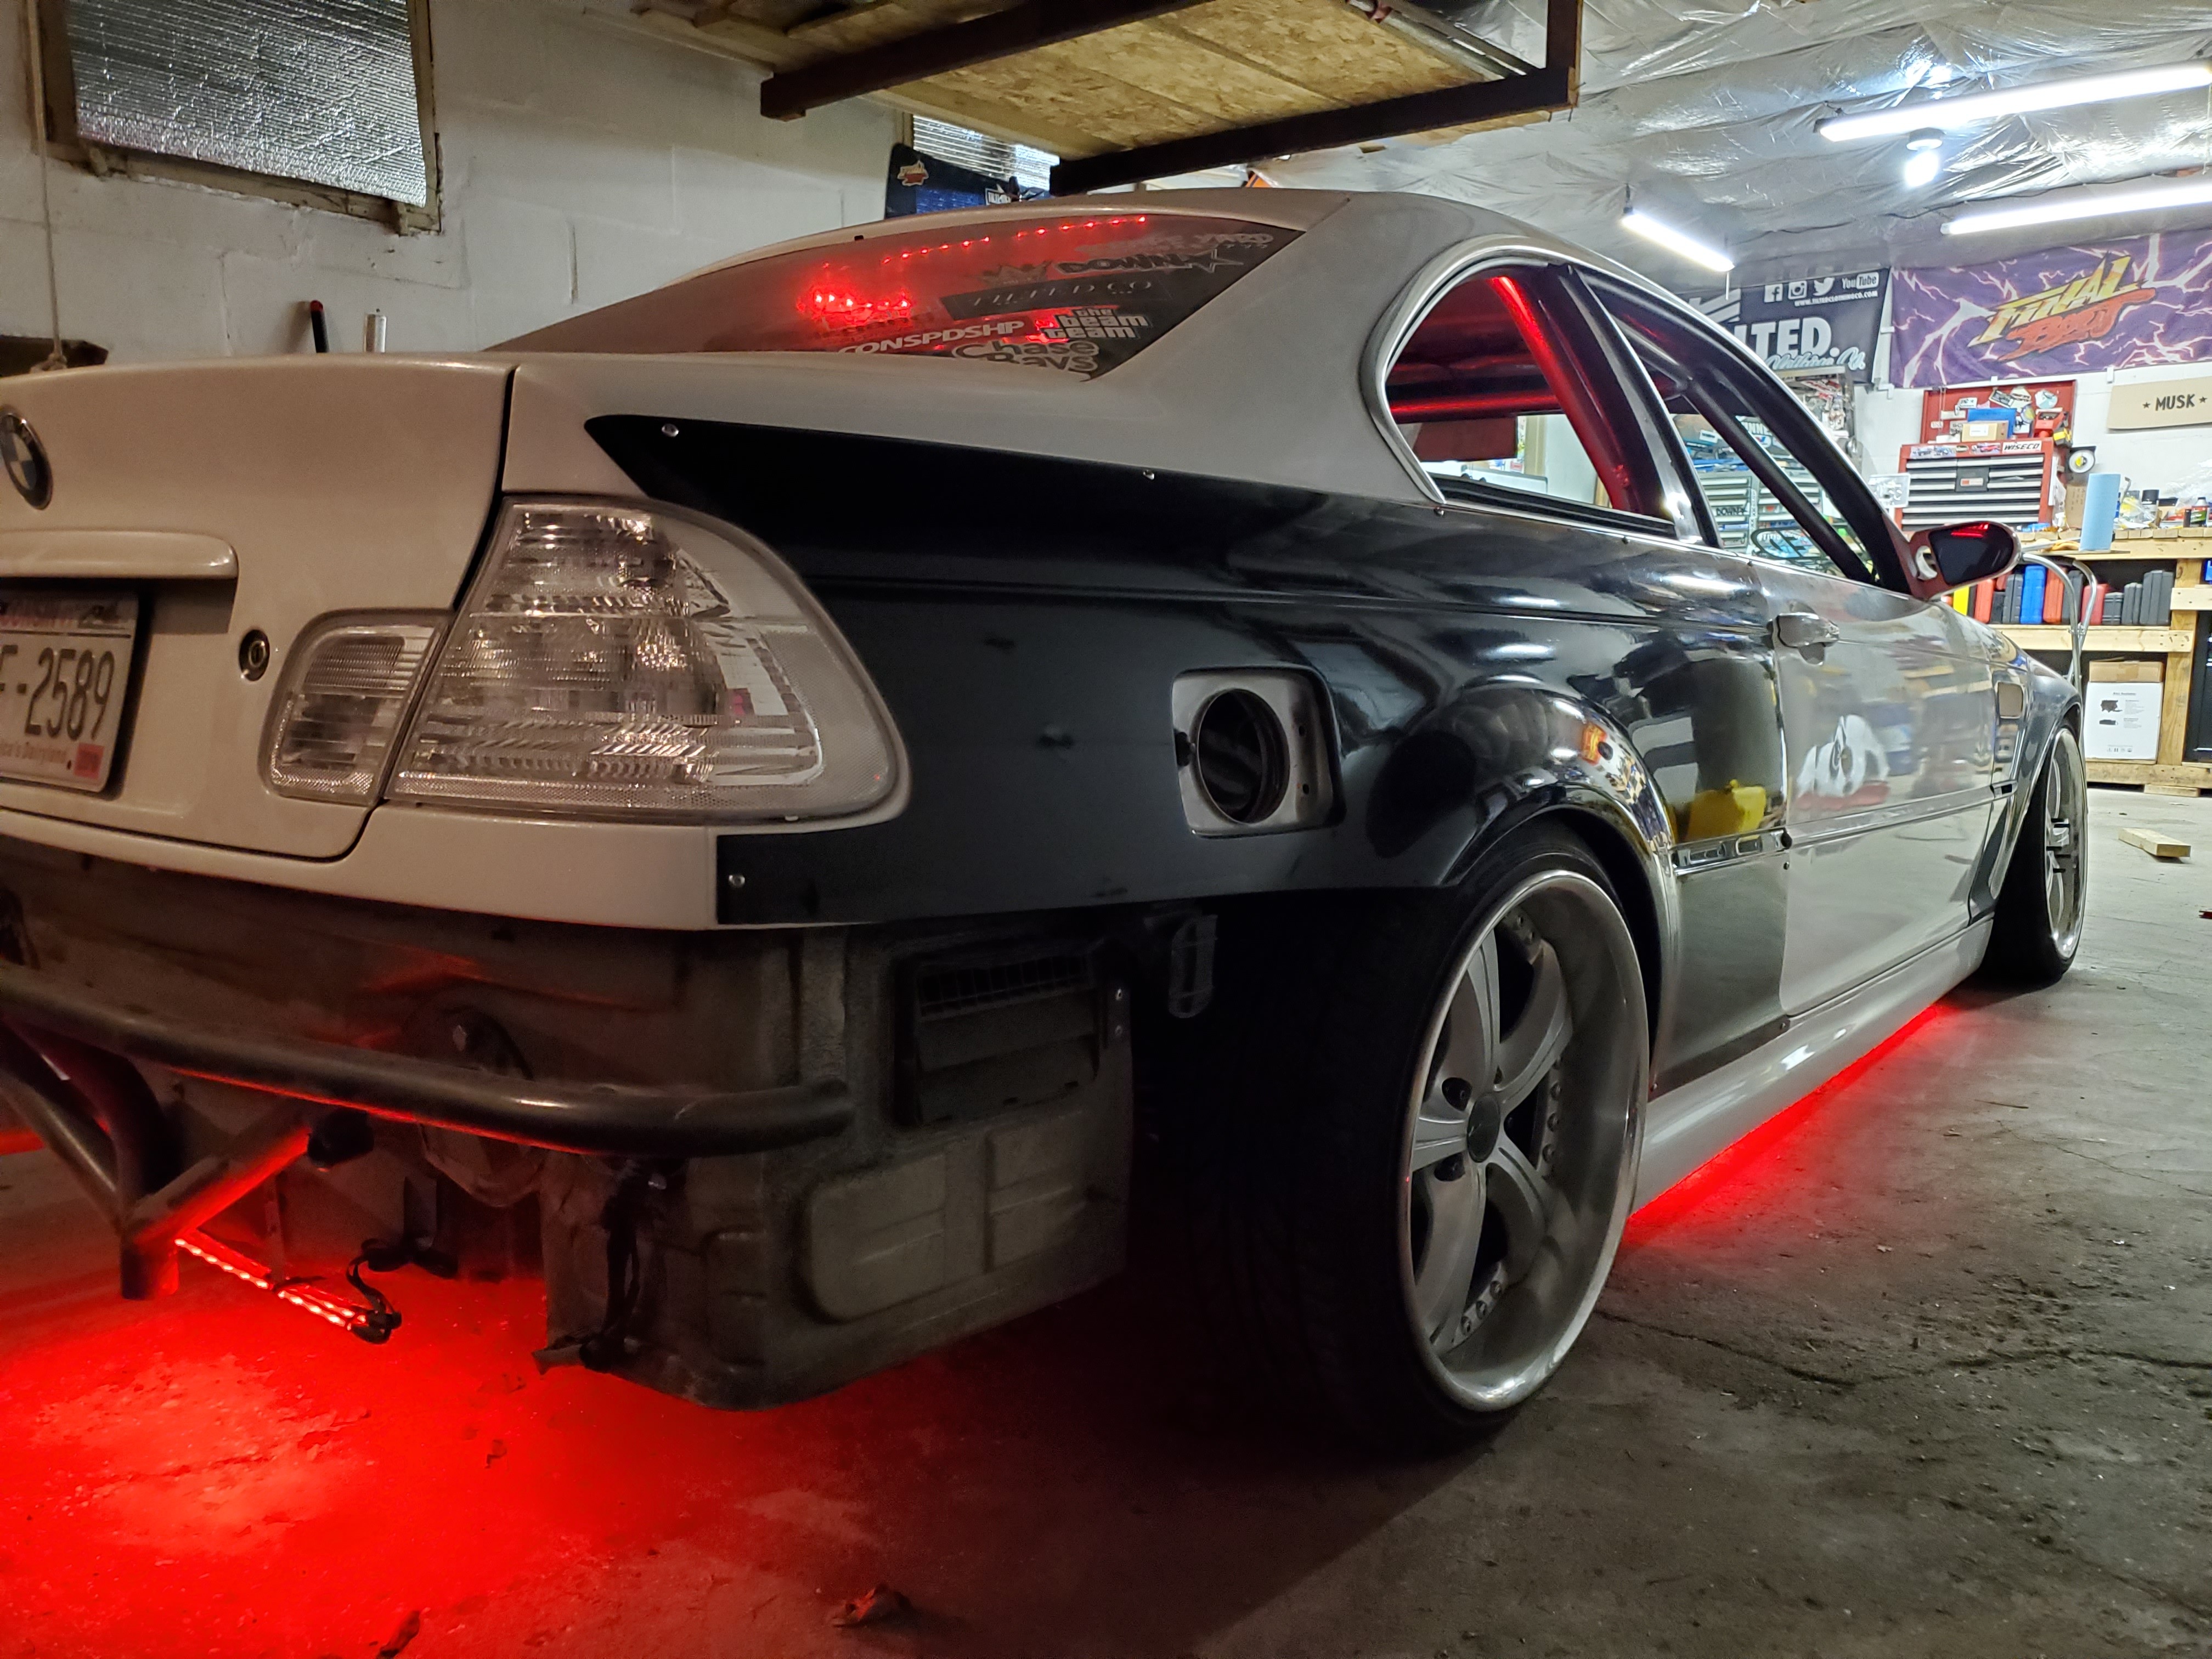
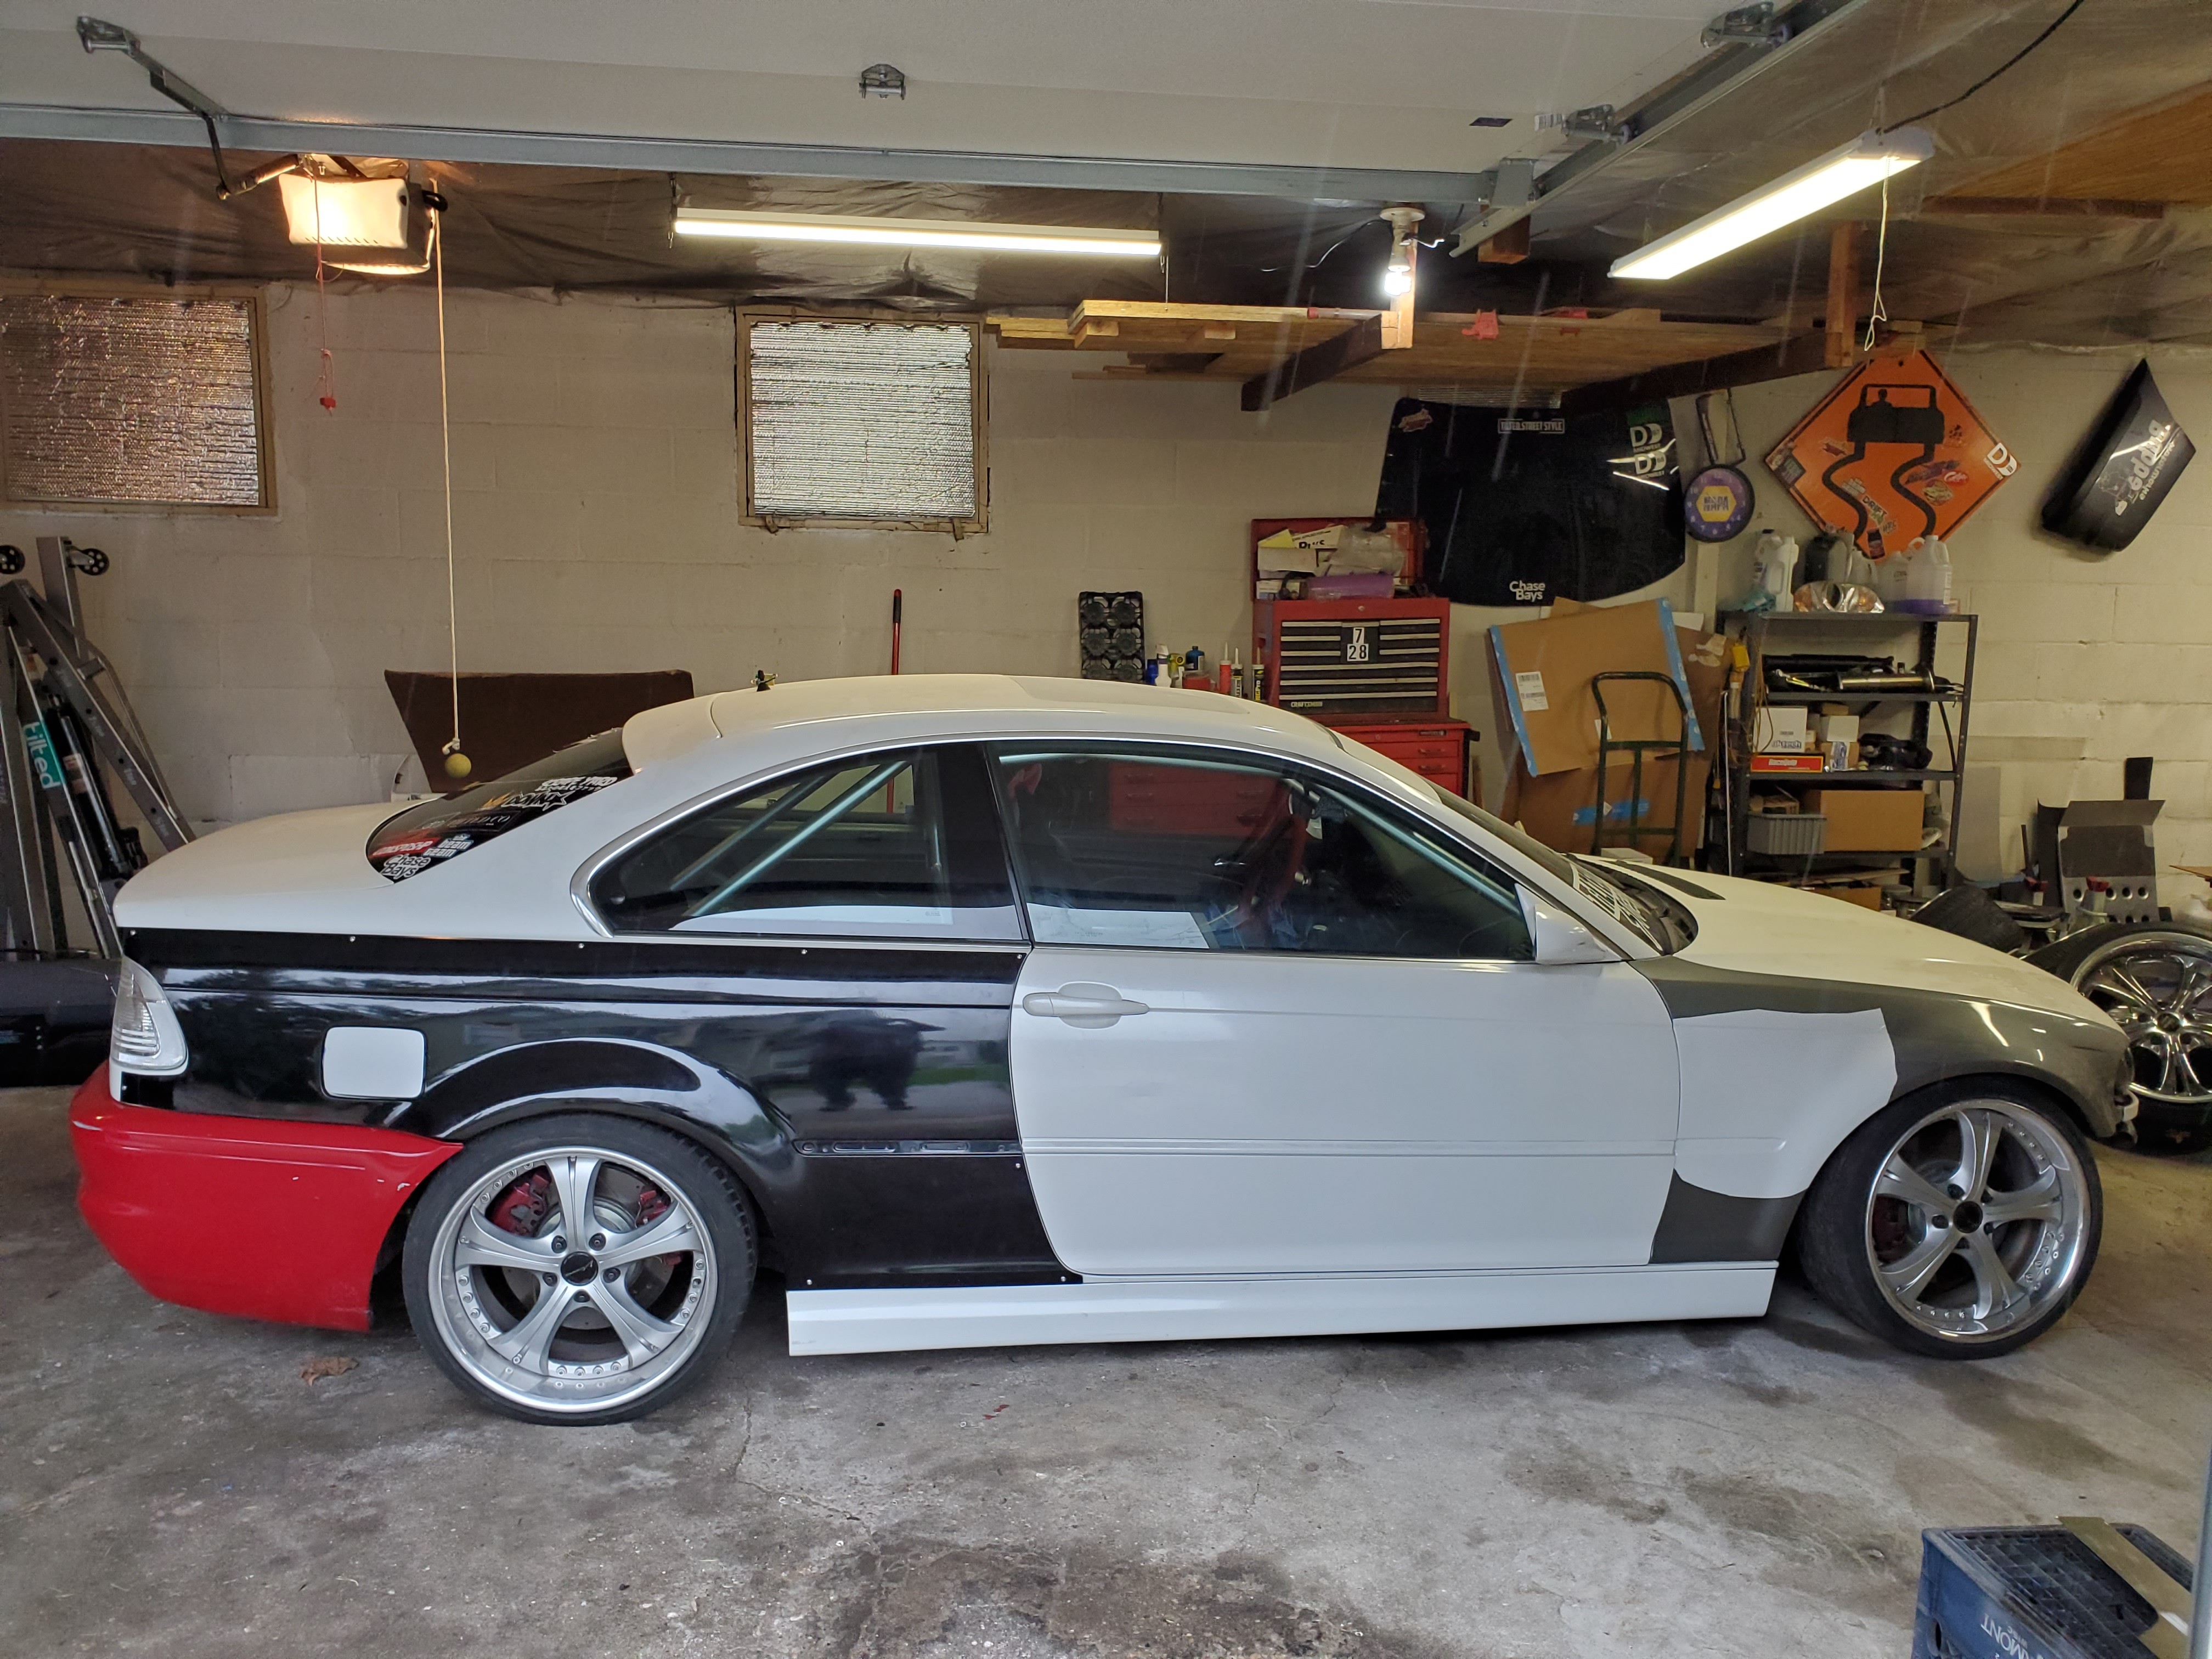
A purists nightmare - E46 drift build

-
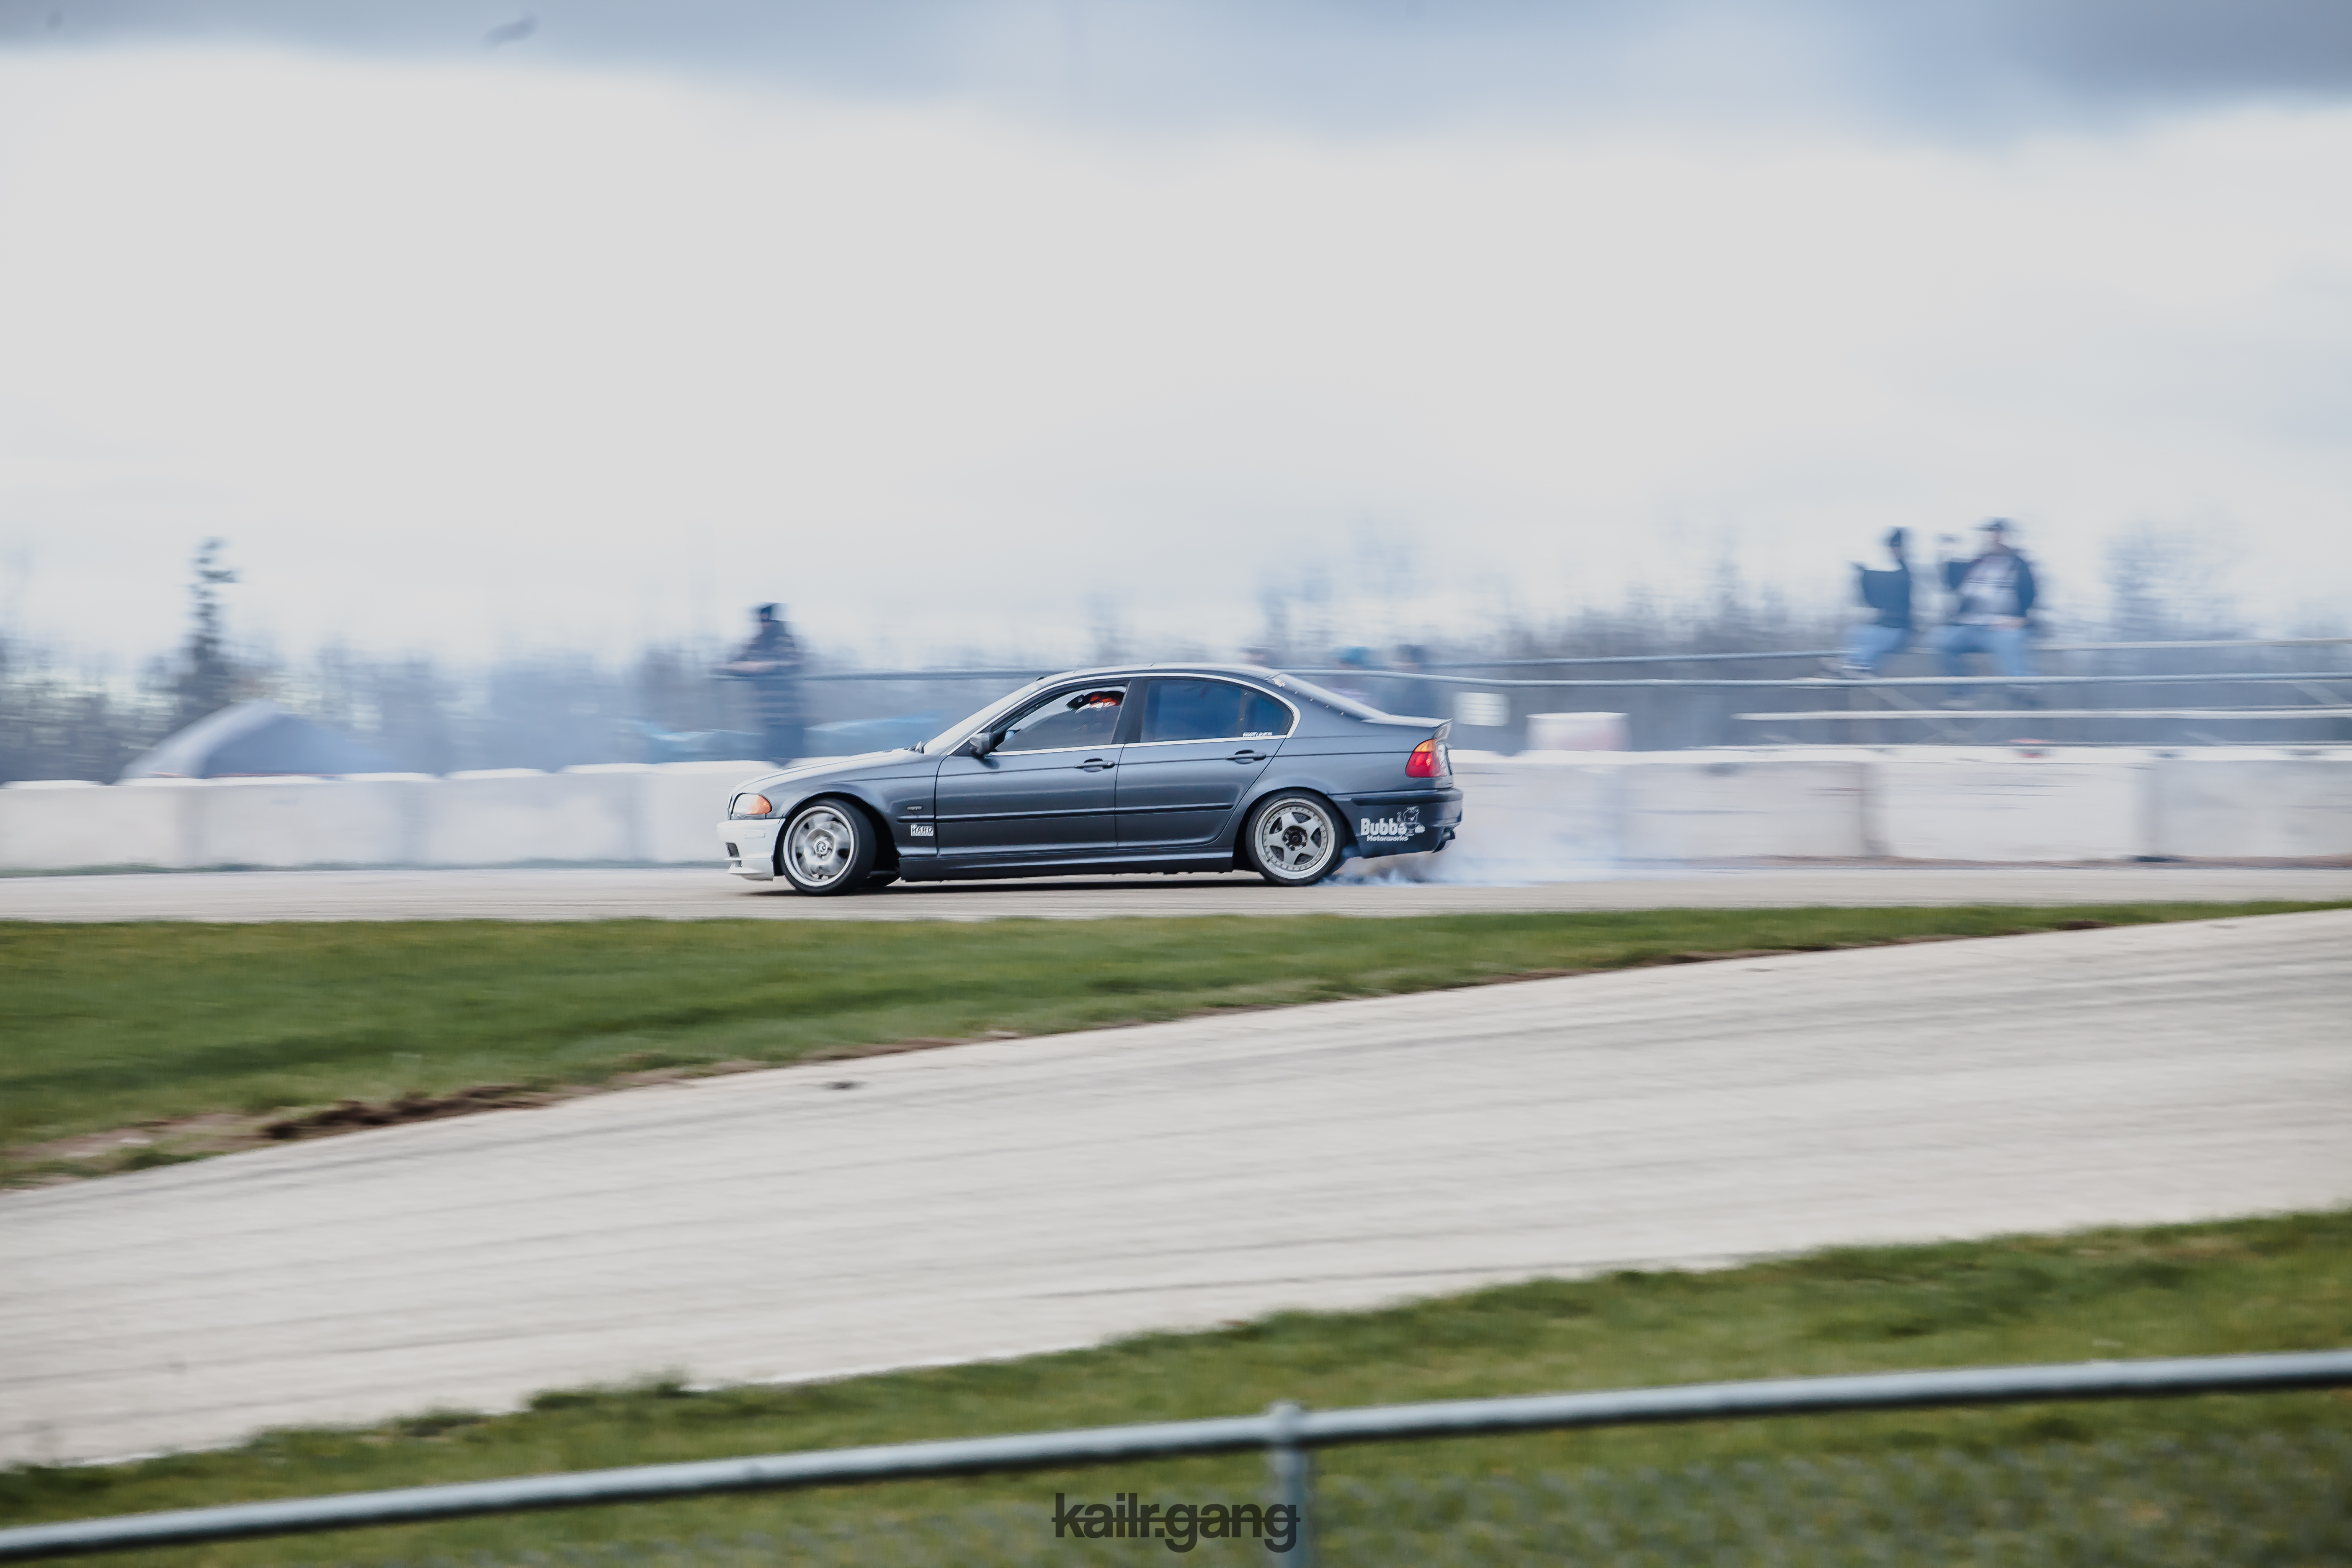
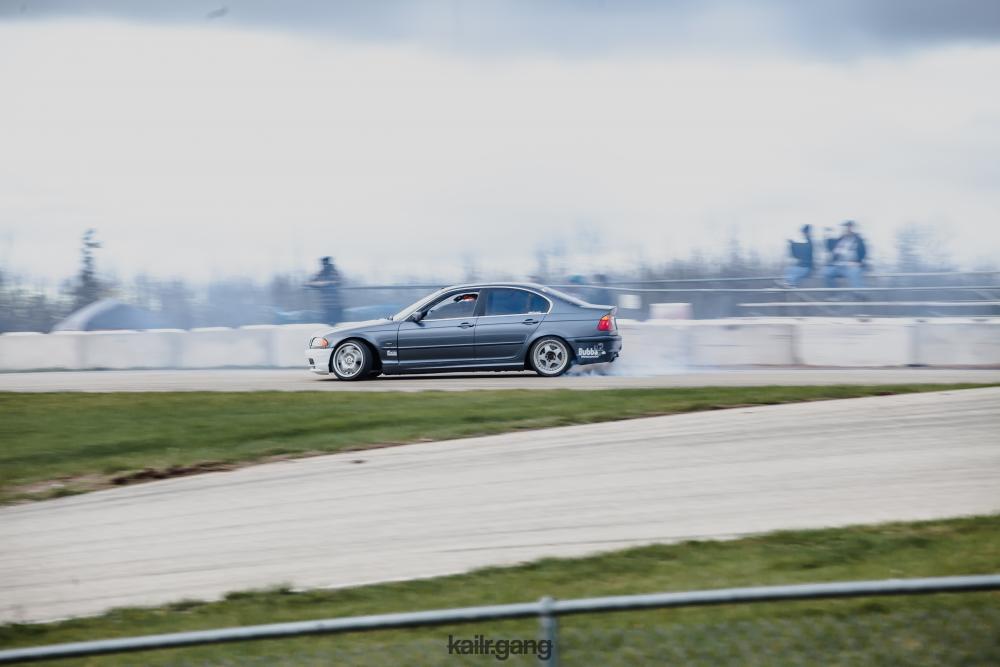
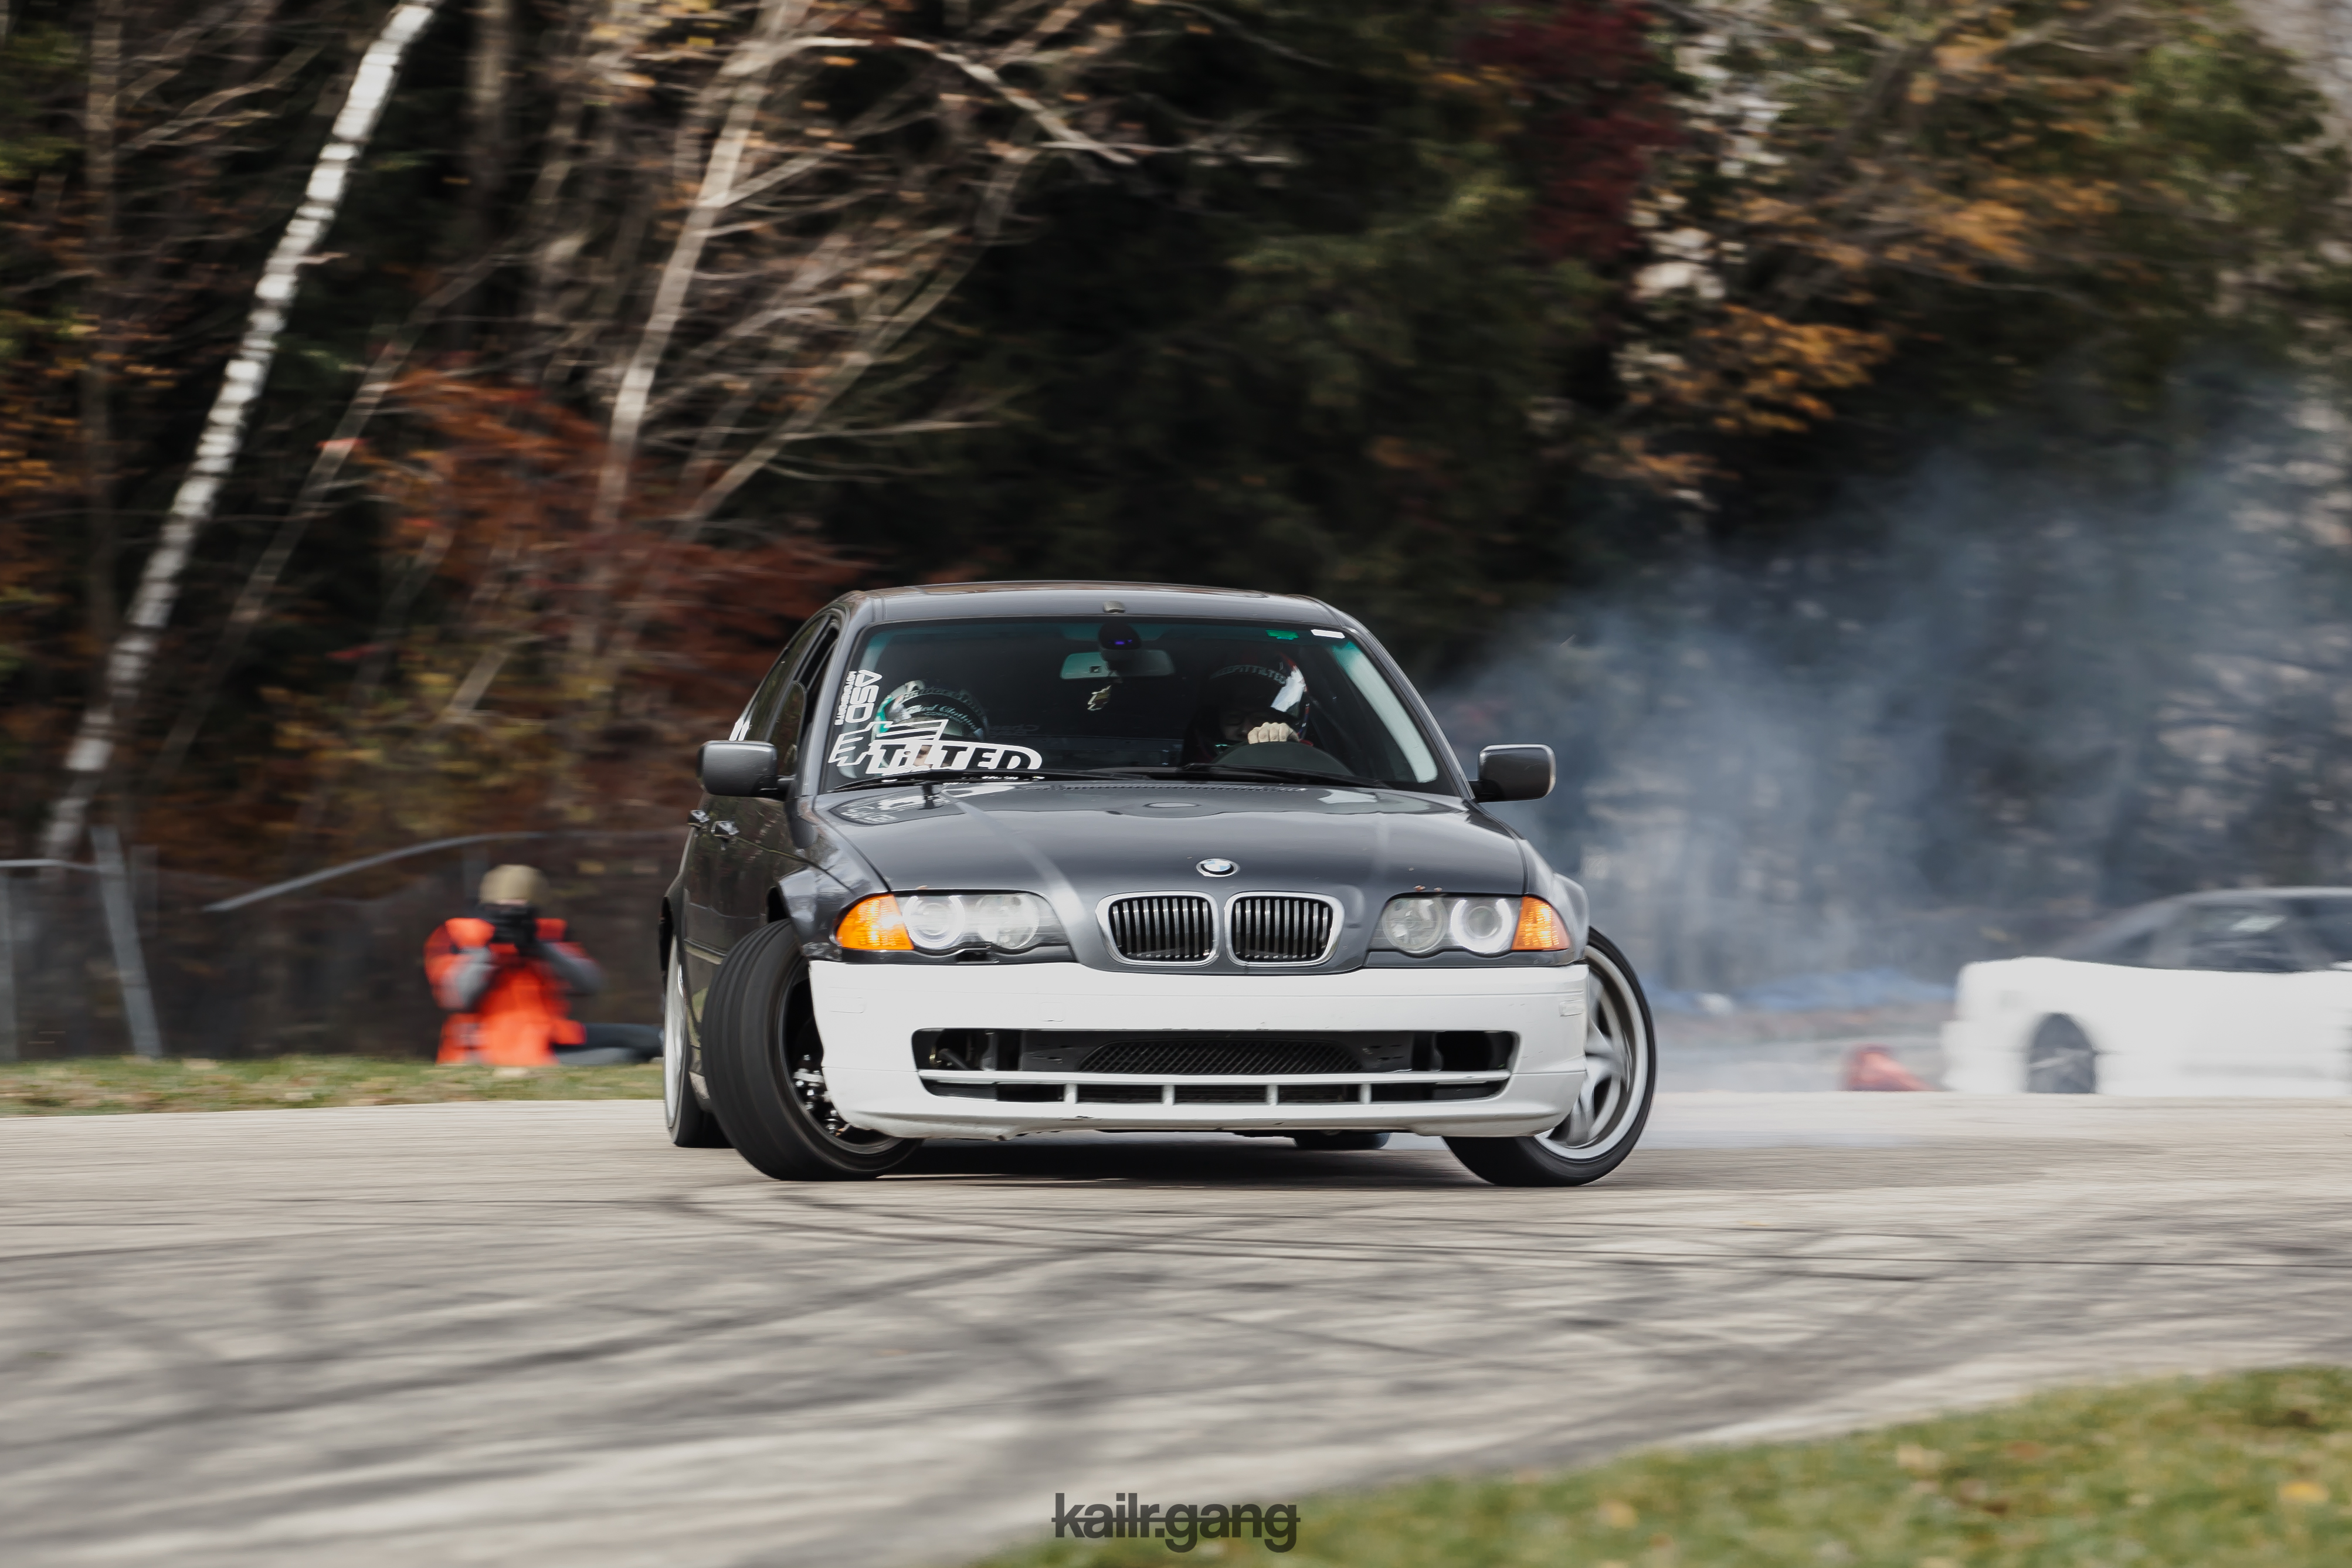
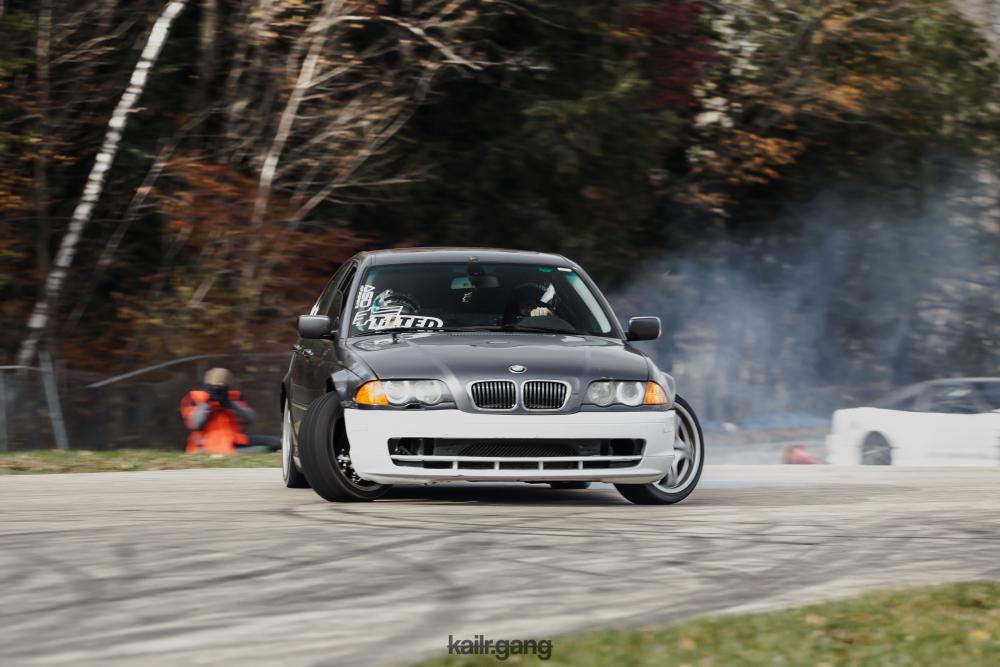
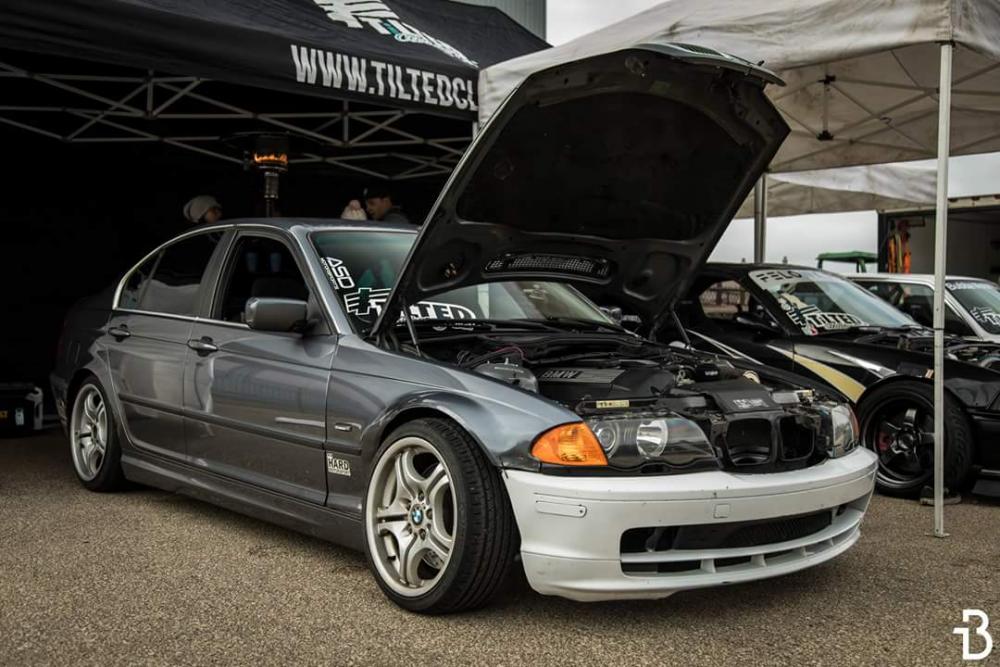
Fitment looks great in the rear. What kit is it? Don Musk?
Thanks! And yes these are the Musk M3 style overs. Fit very well, barely needed any trimming.
-
Are you sure about DOT5 fluid? Totally different and incompatible with regular brake fluid. Just a heads up, it isn't a higher number is better thing. There is also DOT 5.1 which is compatible with other "normal" brake fluids.
DOT5 can only be used if it is a brand new system and never had other brake fluid in it. Which maybe is your situation.
-
Are you sure about DOT5 fluid? Totally different and incompatible with regular brake fluid. Just a heads up, it isn't a higher number is better thing. There is also DOT 5.1 which is compatible with other "normal" brake fluids.
DOT5 can only be used if it is a brand new system and never had other brake fluid in it. Which maybe is your situation.
Half the system is new lol, but I'll look more into it. Just don't want to deal with the issues if there are any leaks inside the car. Its not a problem for me to clear the system out.
-
fitment looks perfect!
They fit great, very little trimming done!
-
Hear me out. Fire orange or Inka orange.
-
Hear me out. Fire orange or Inka orange.
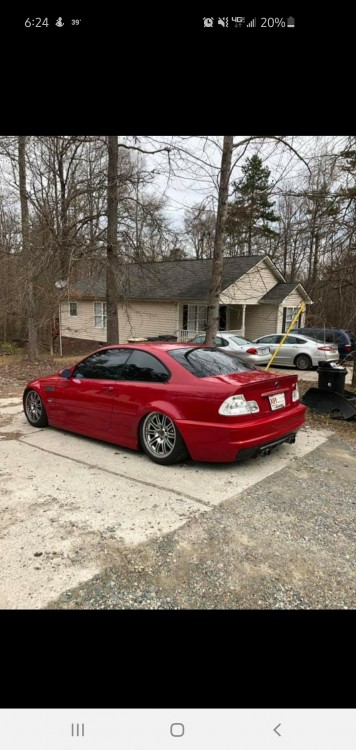
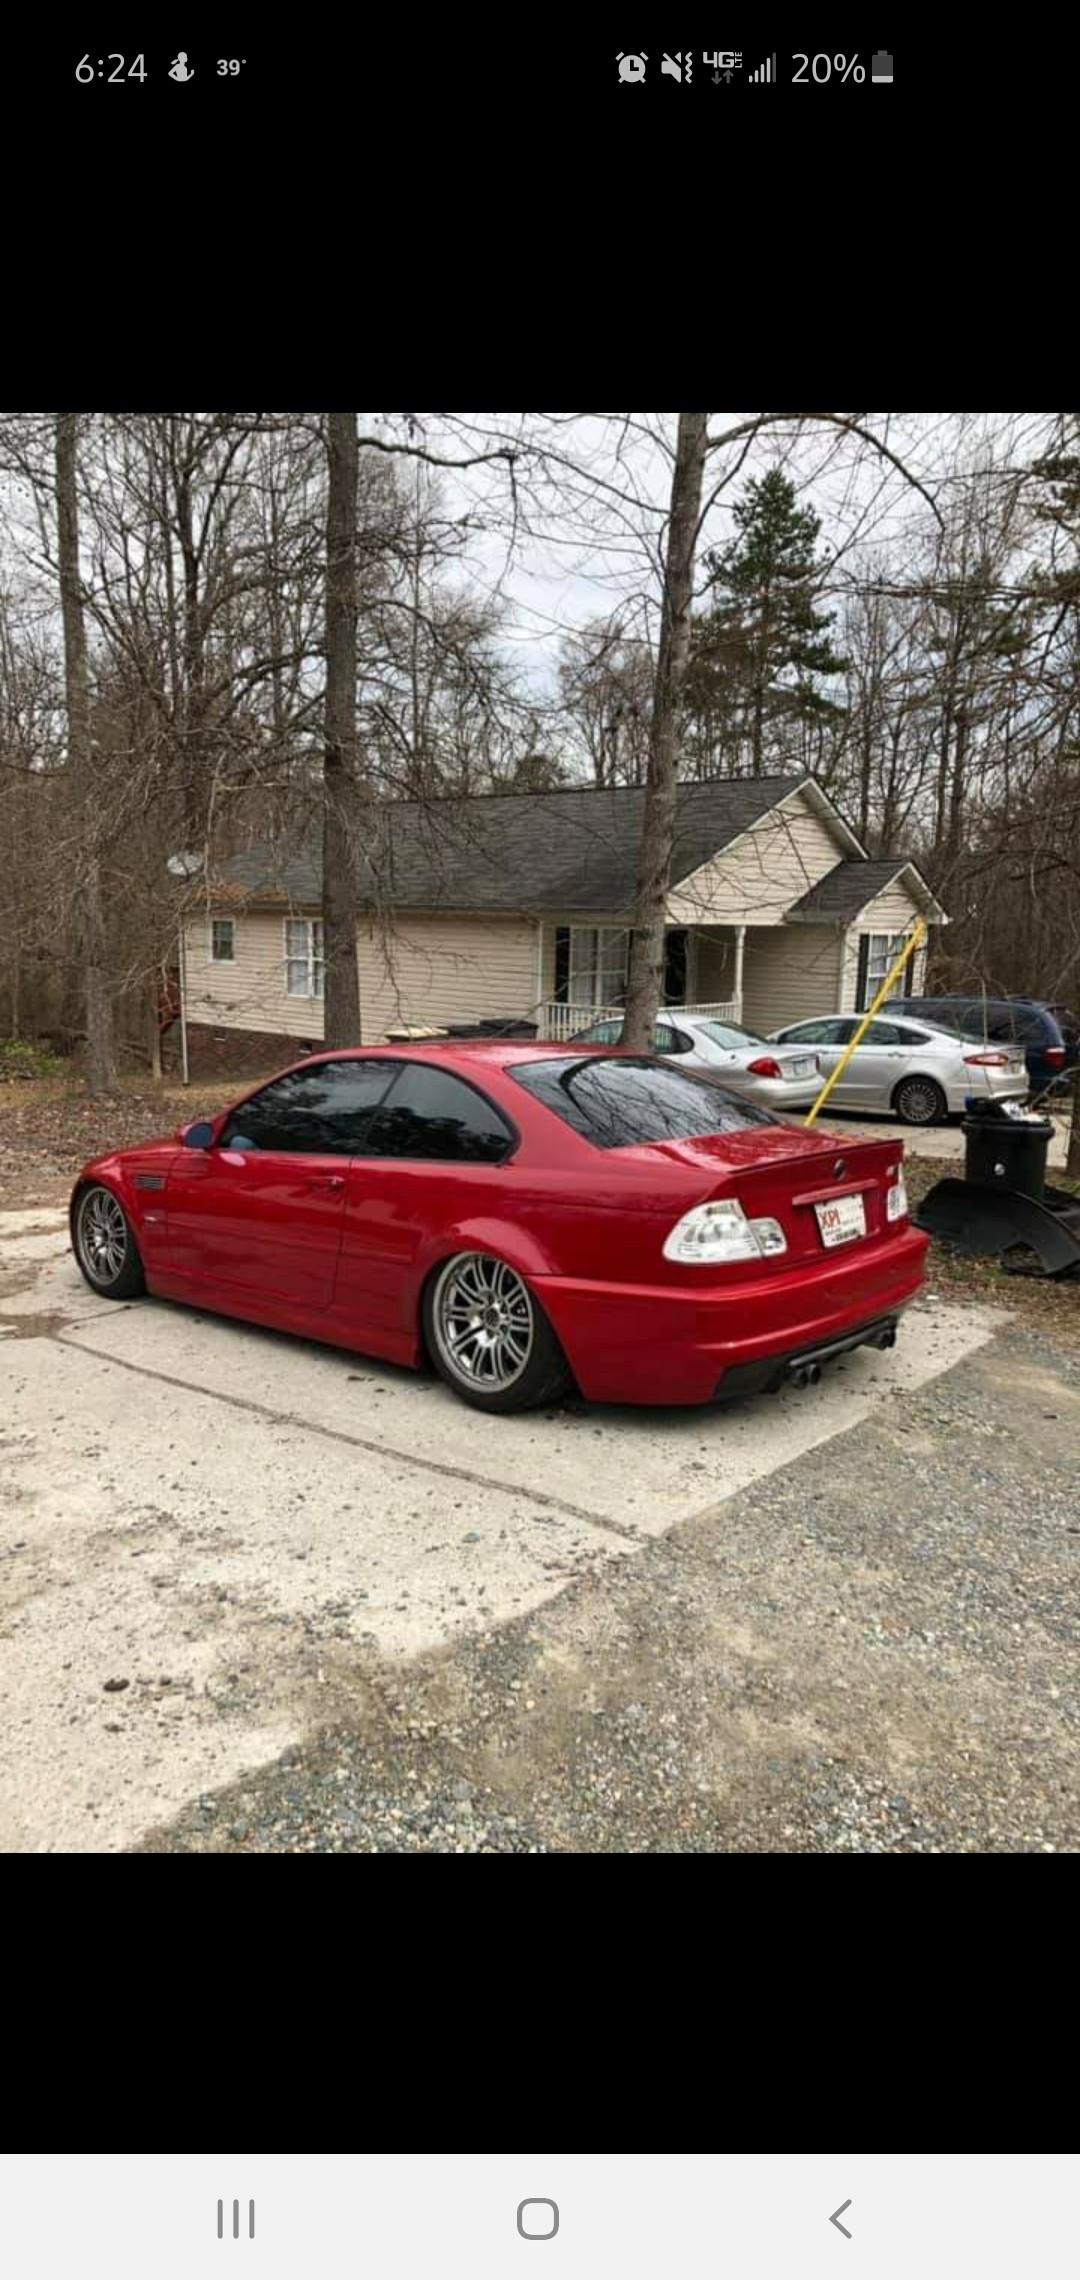
Been thinking about more like an Imola red. But it wouldn't be Imola exactly, the color i found is carmine red. Red coupes have given me a real hard on latley...
Like this one here.
-
UPDATE
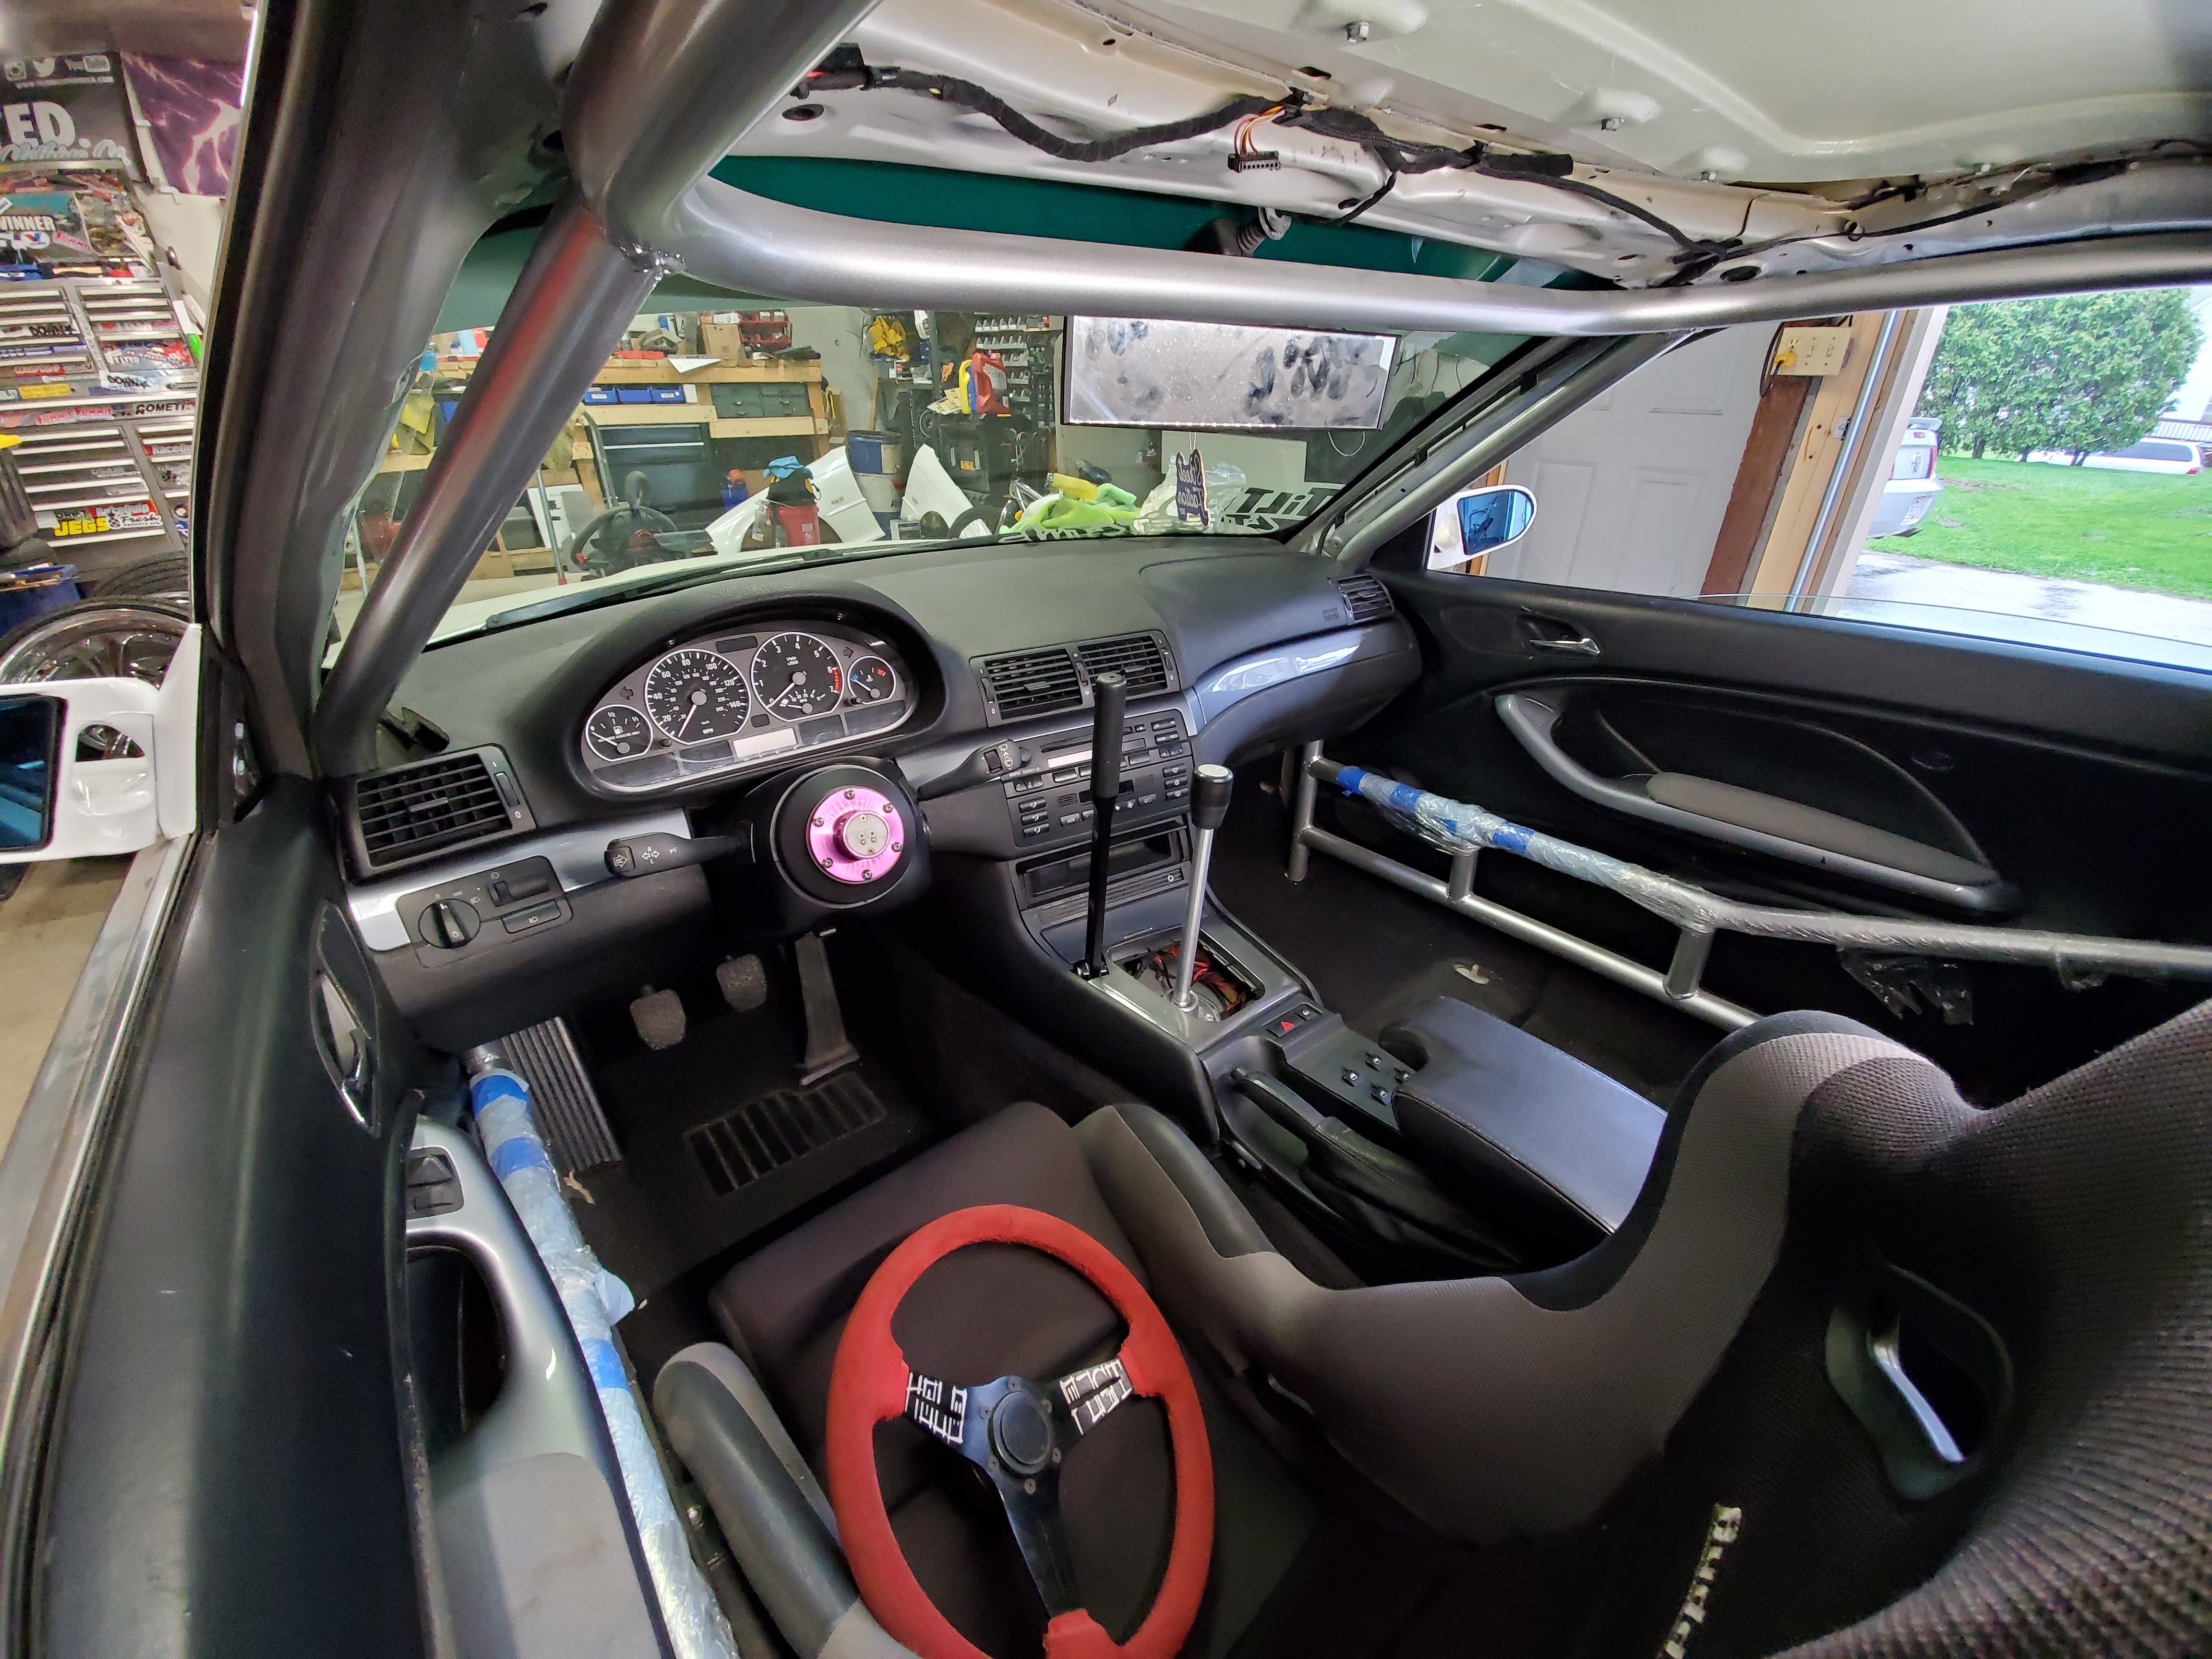
Was a pretty productive weekend. Absolutely loving having the car home again.
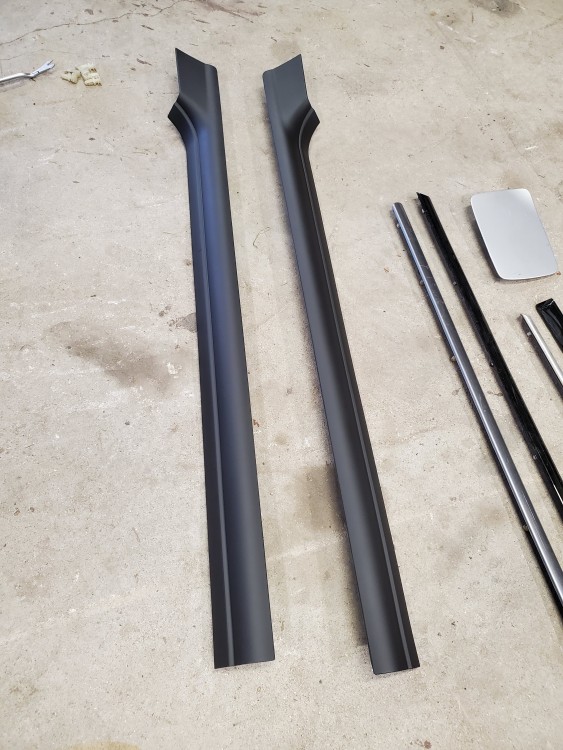
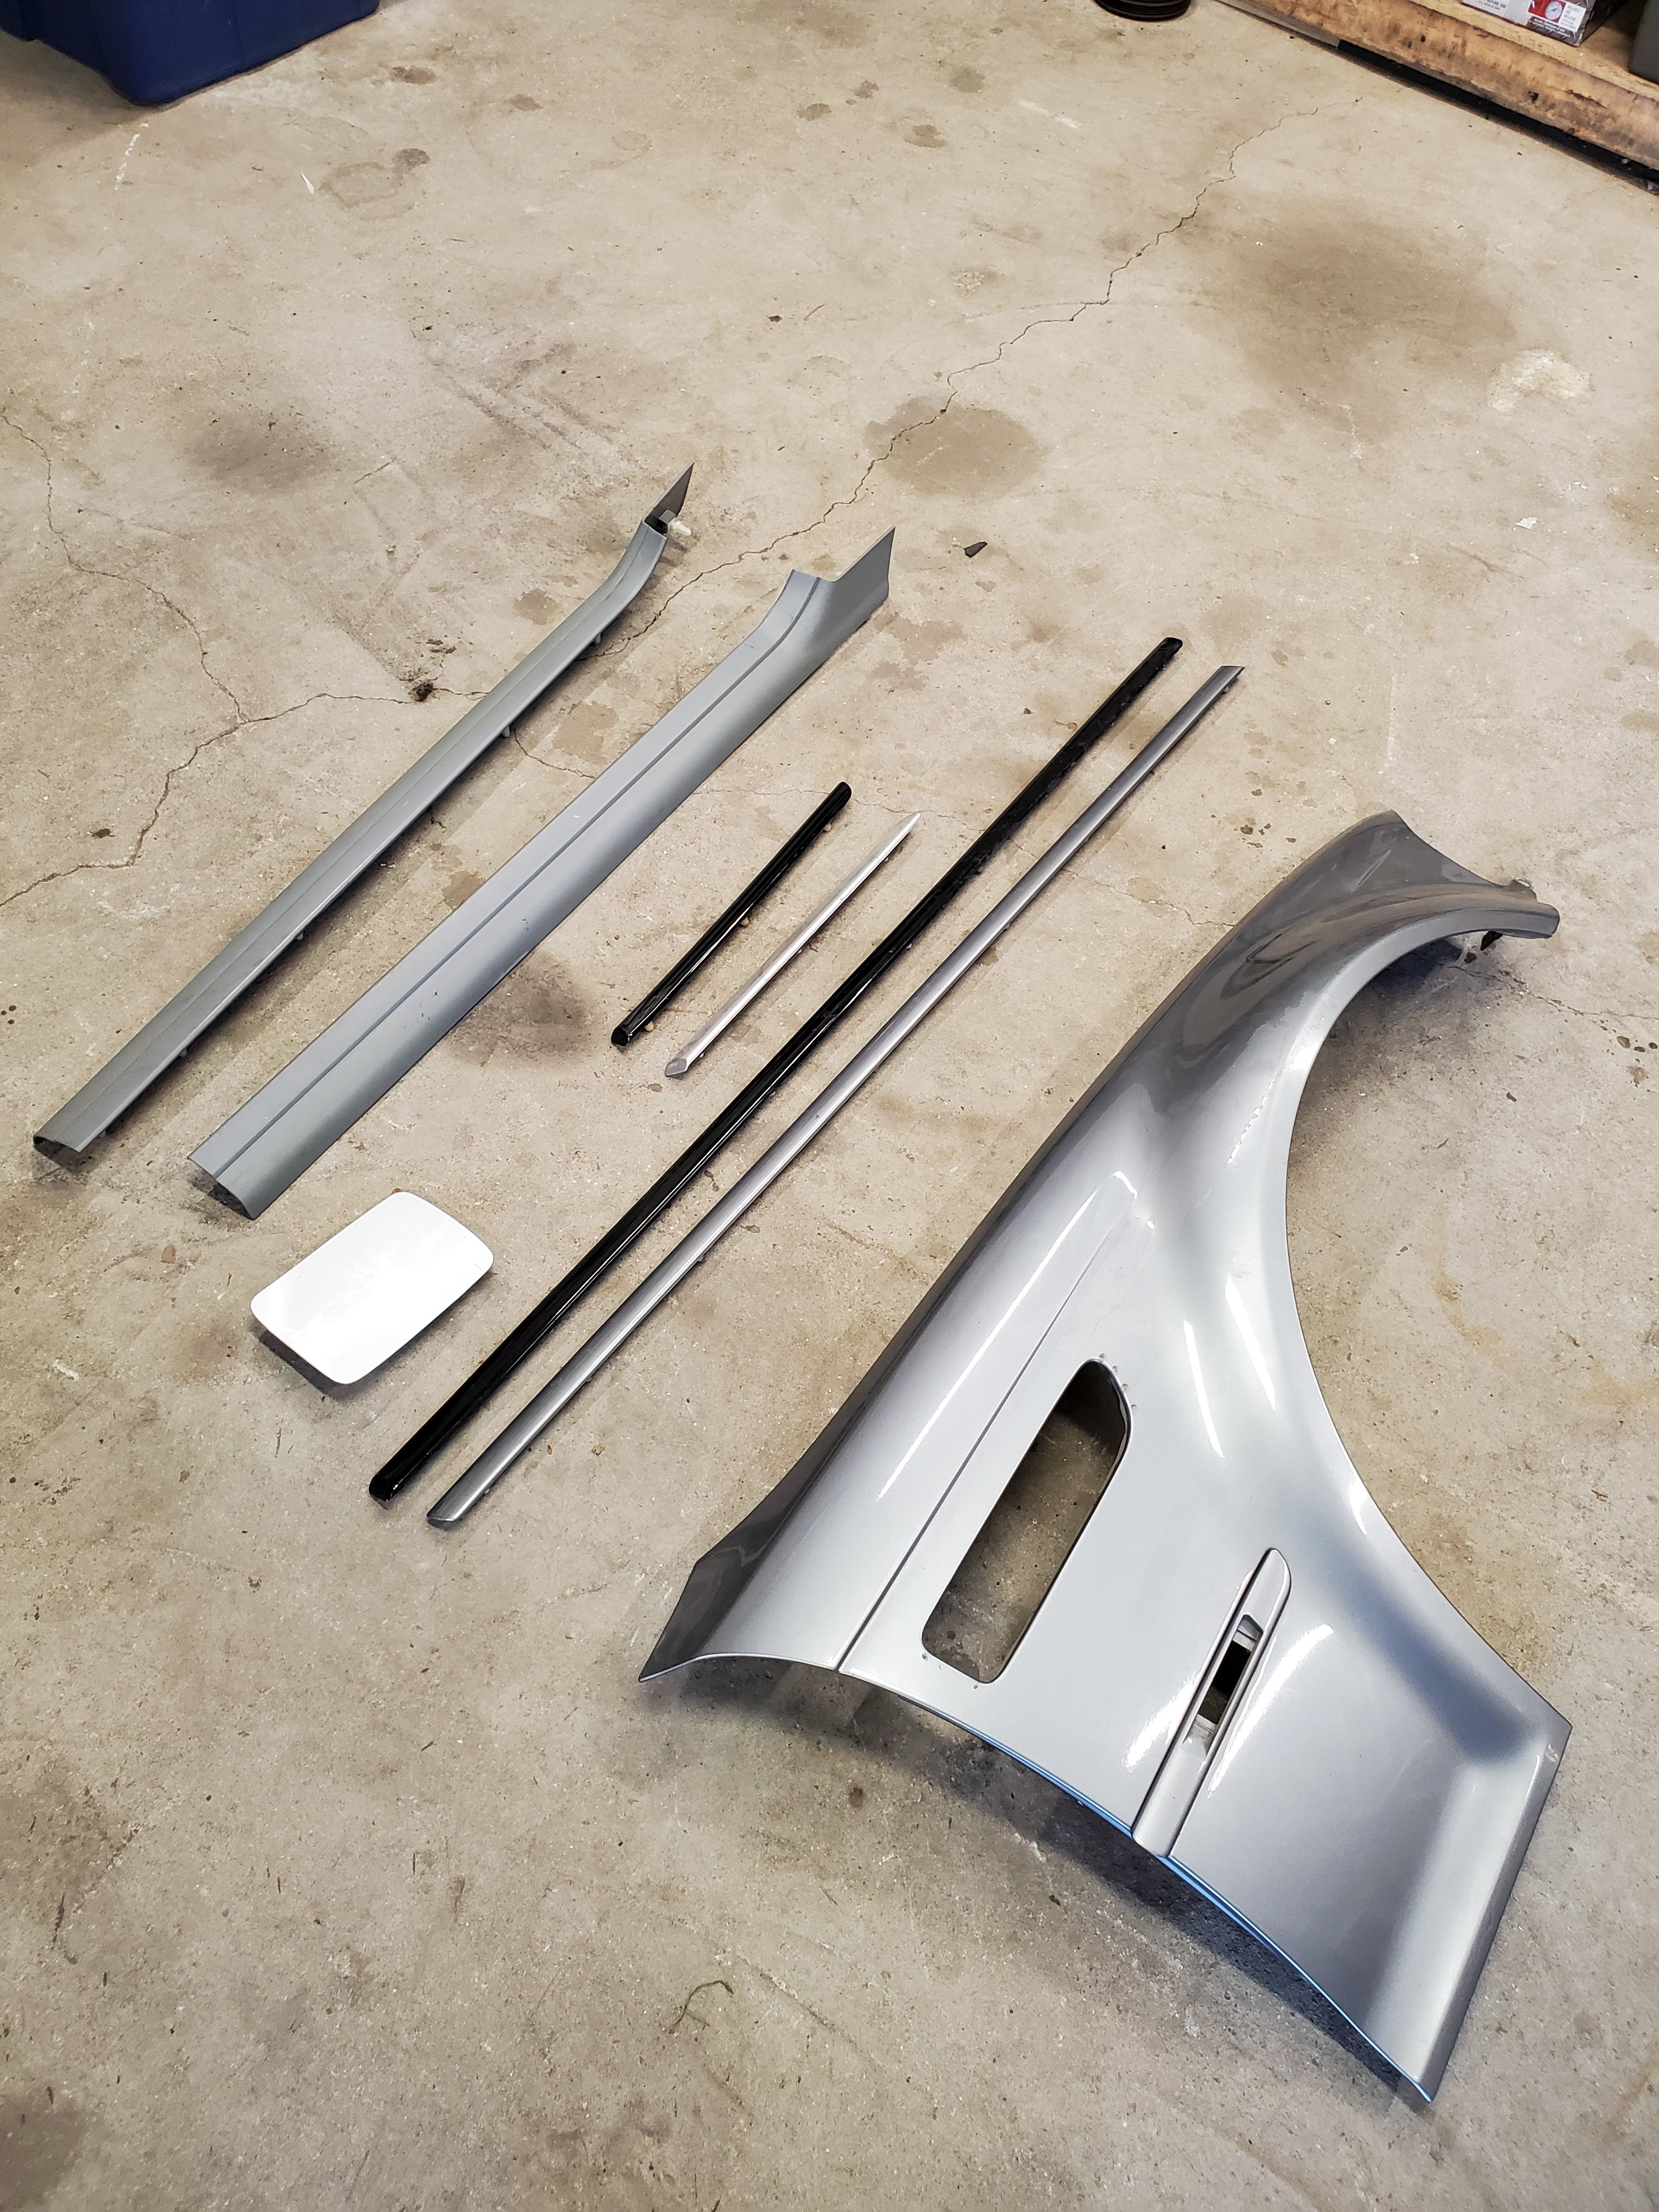
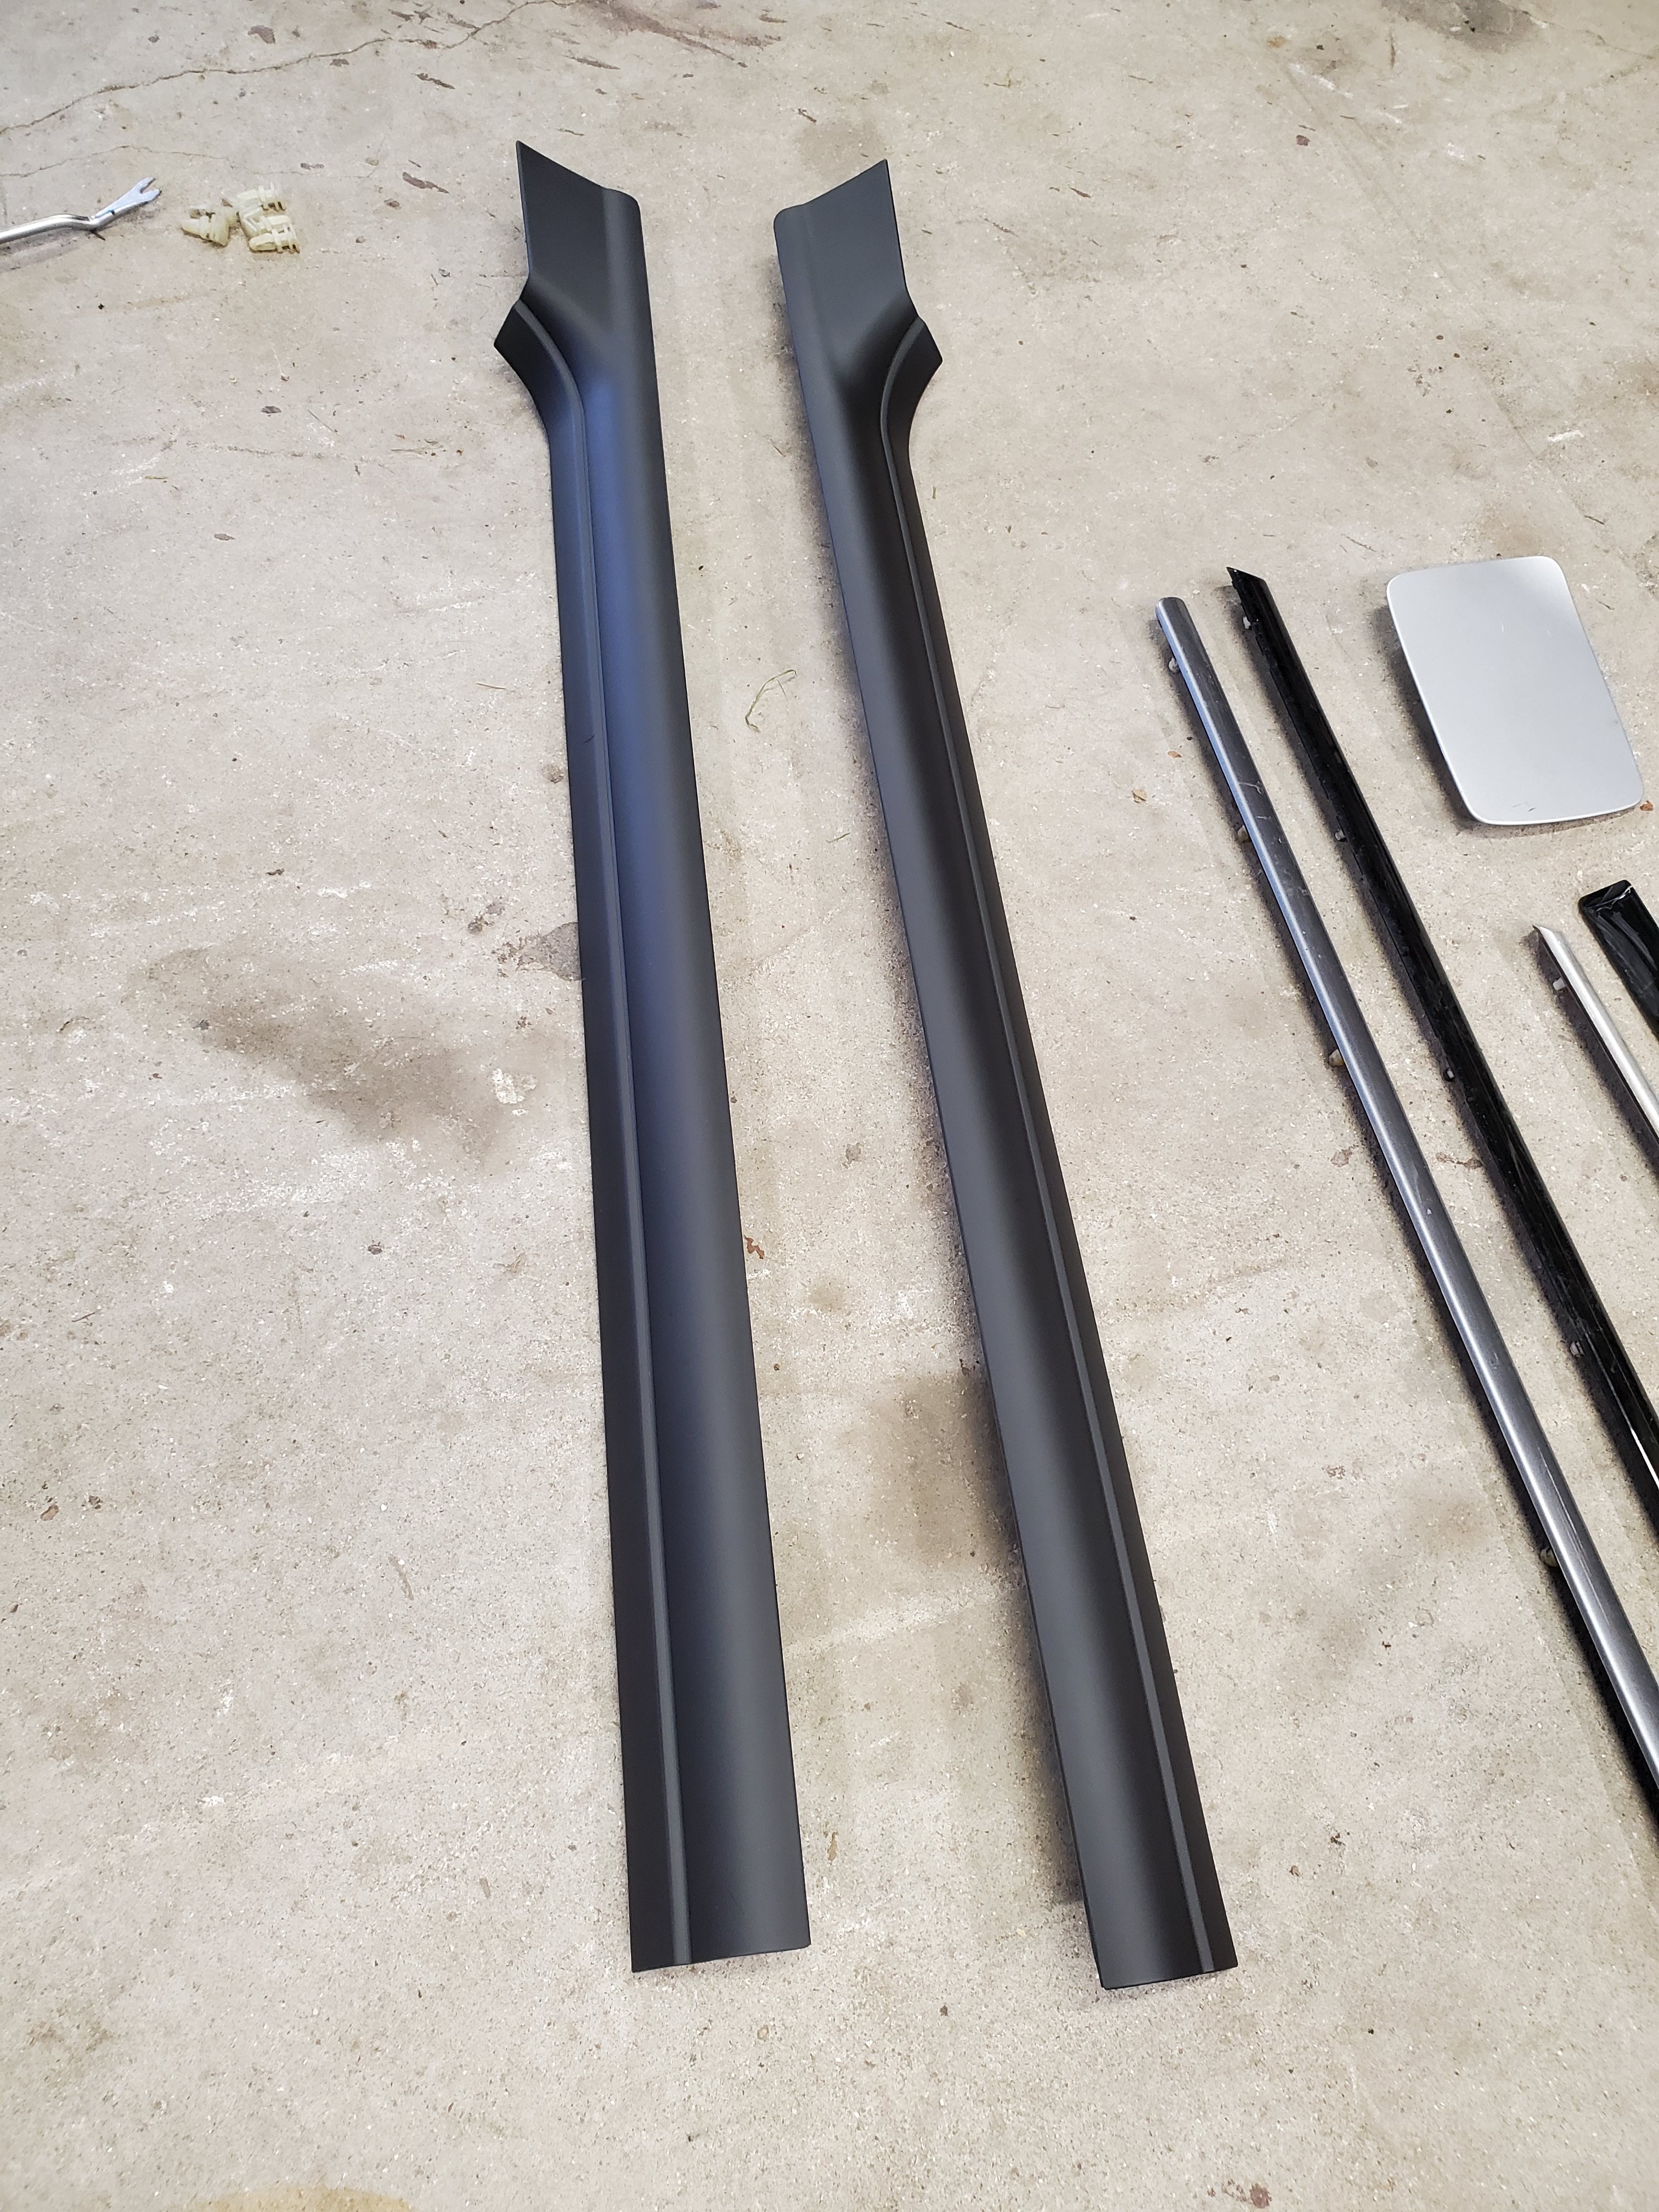
Picked up some M rear quarter and door trim, a passenger M fender (to finally complete my set) a M gas door and the inner door sill trim.
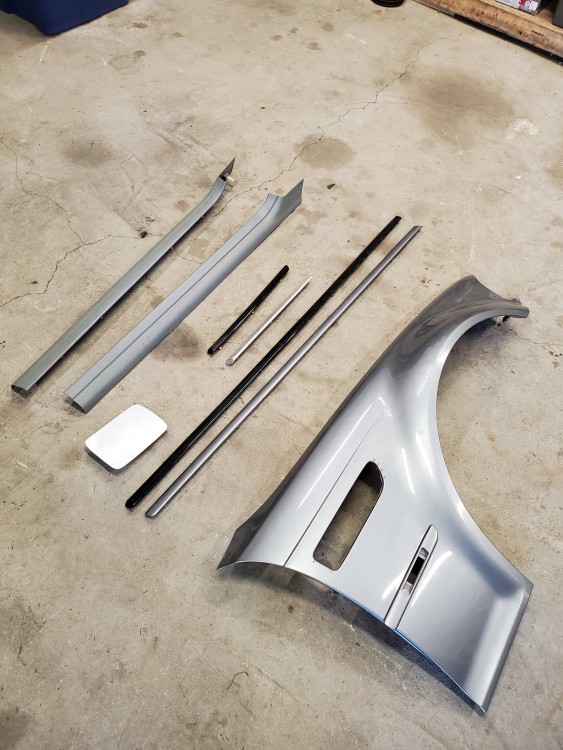
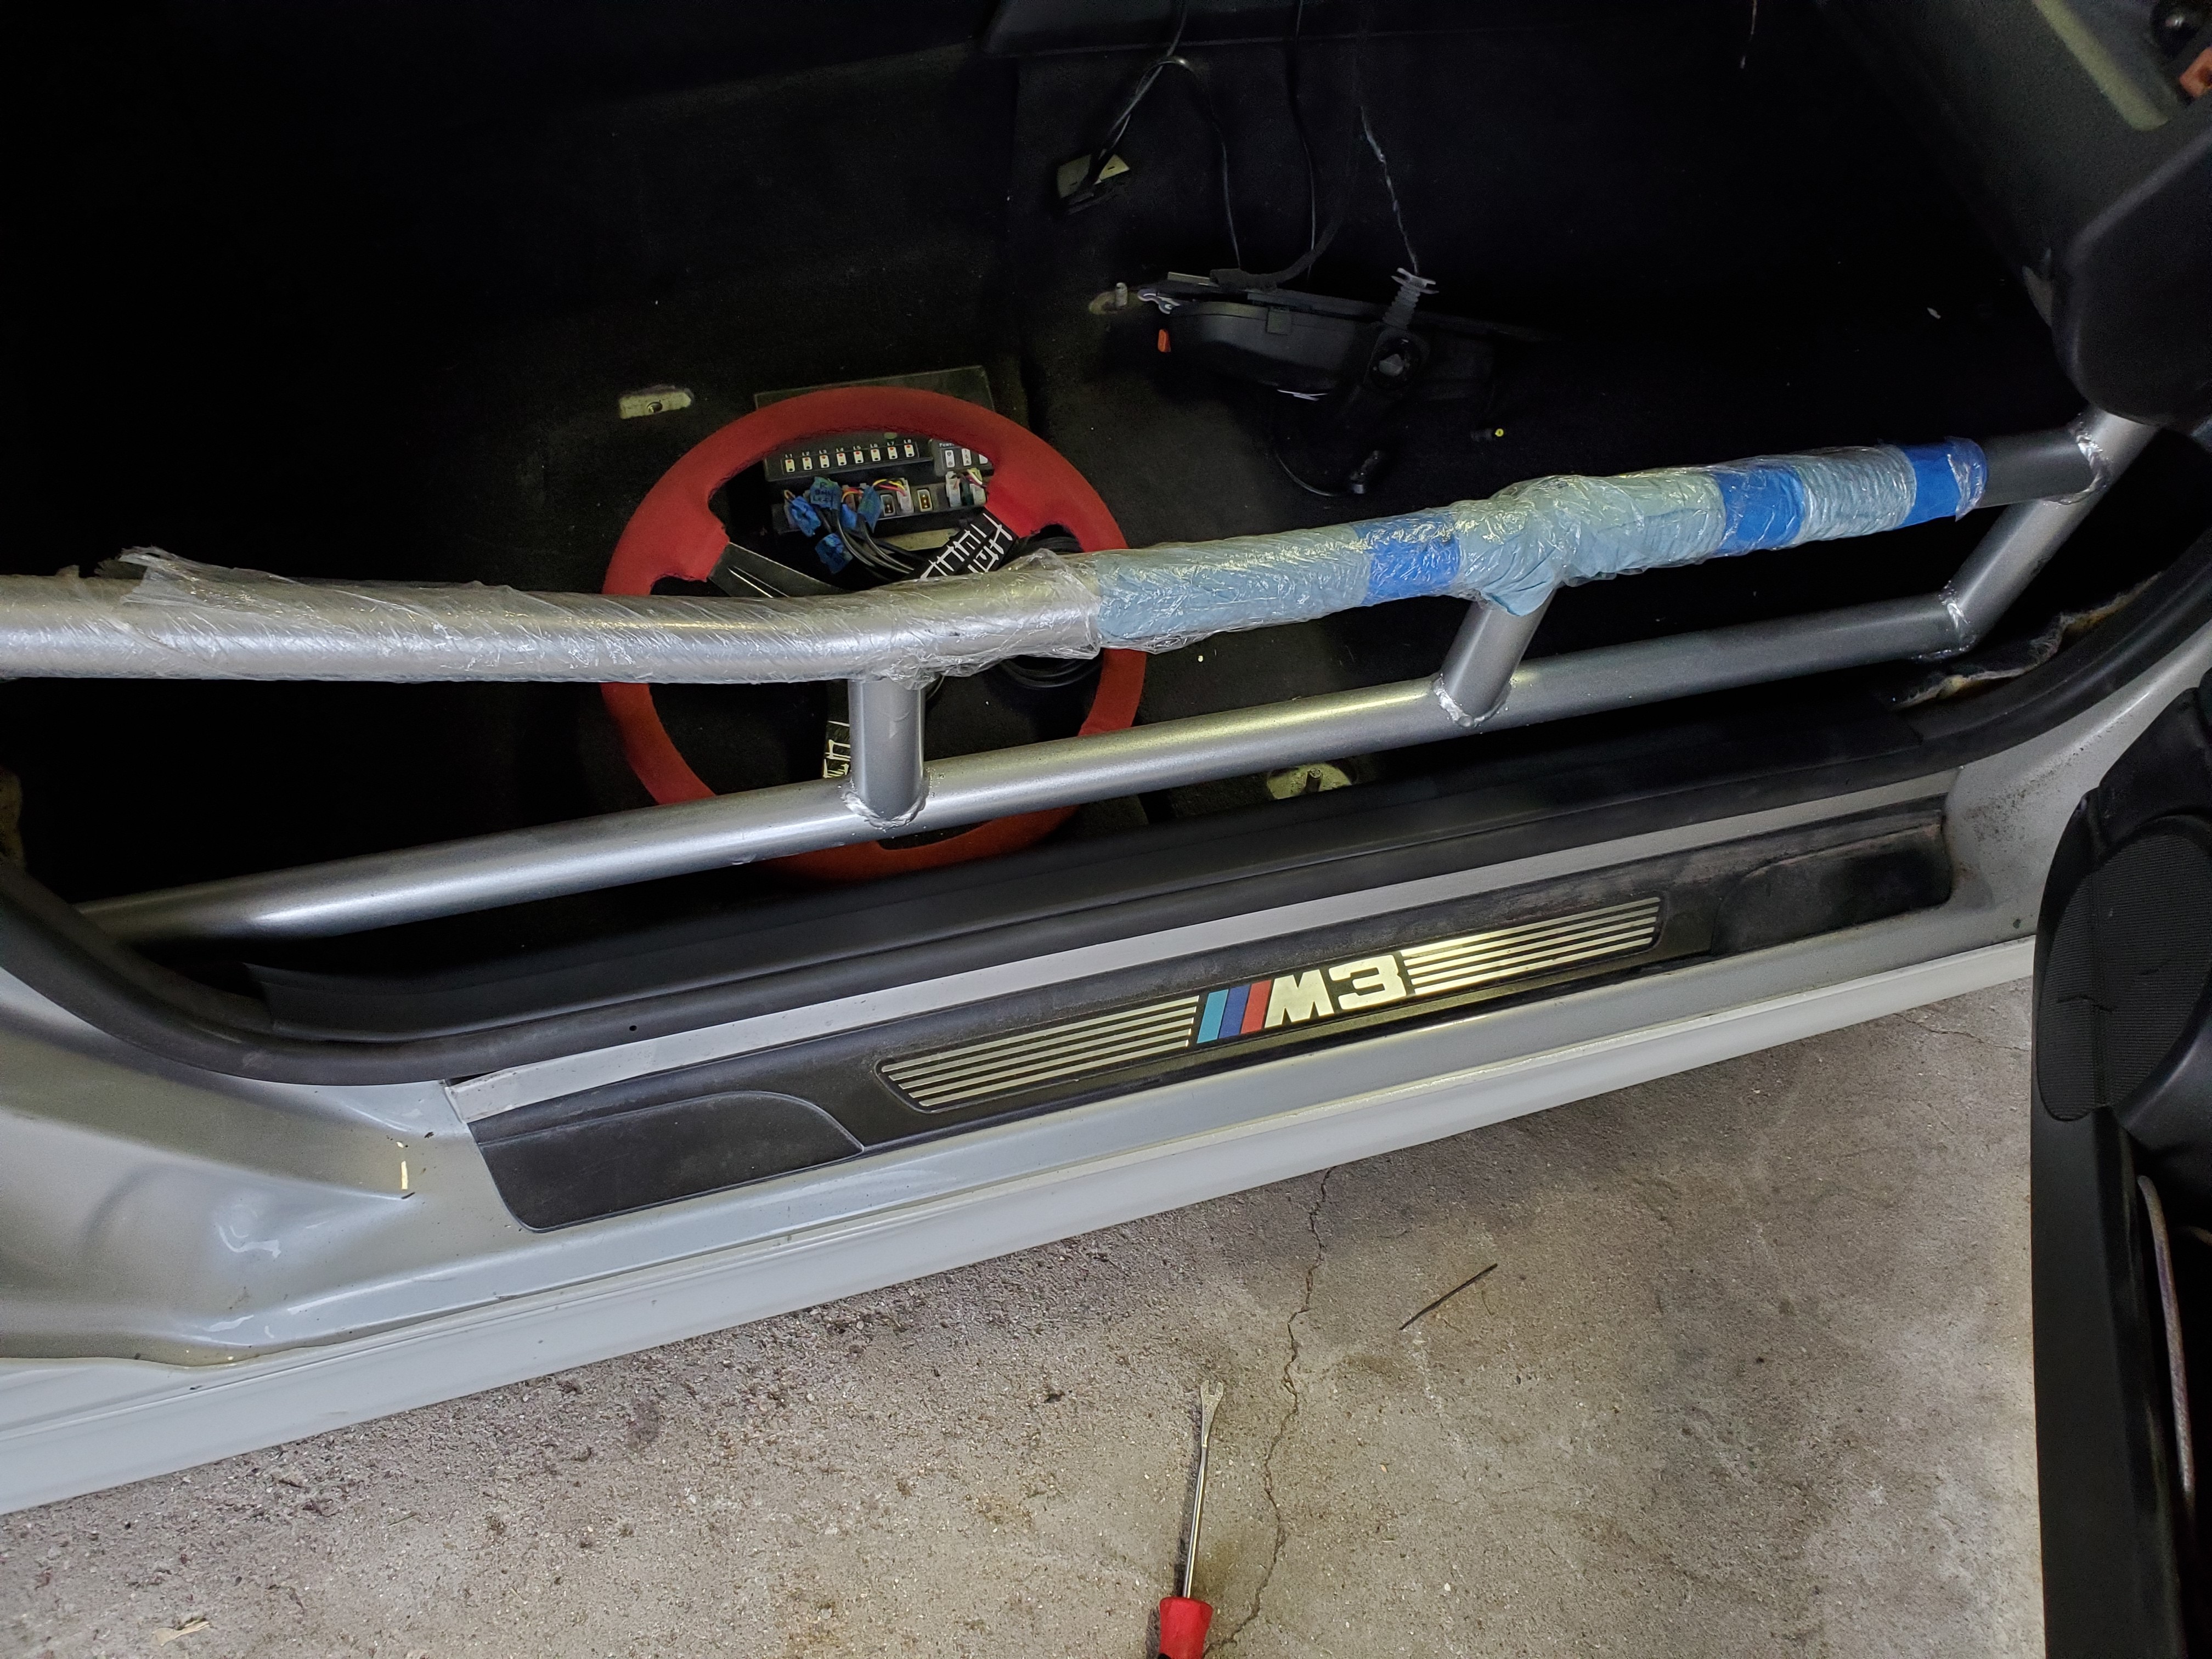
Painted the door still trim and then installed it.
Looks so much better with the carpet not just hanging out.
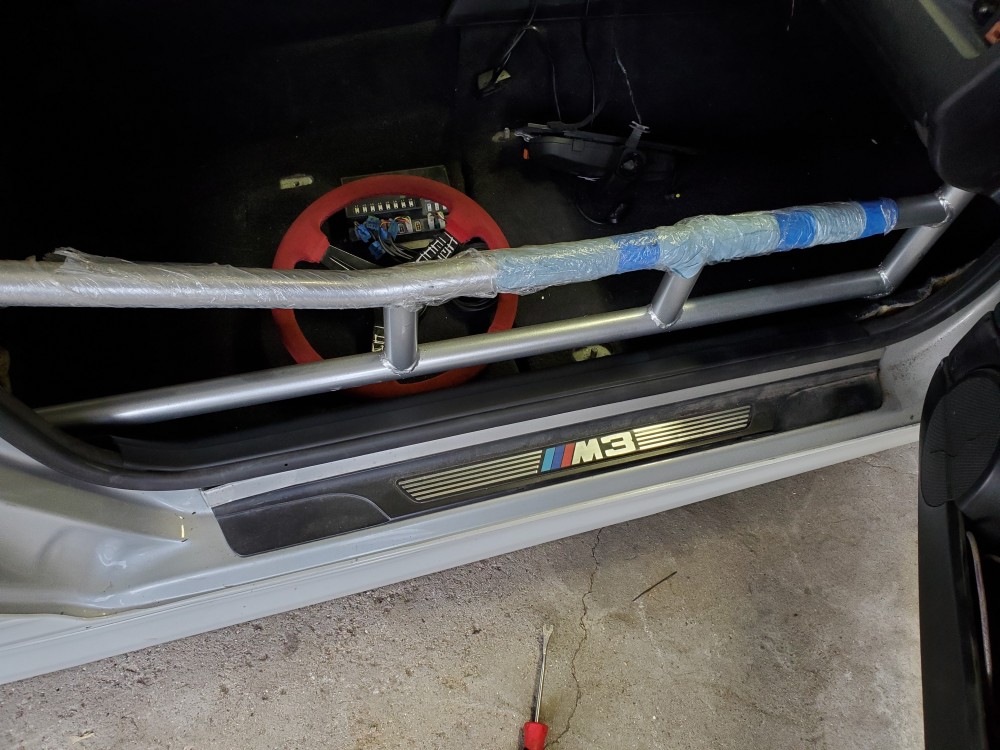
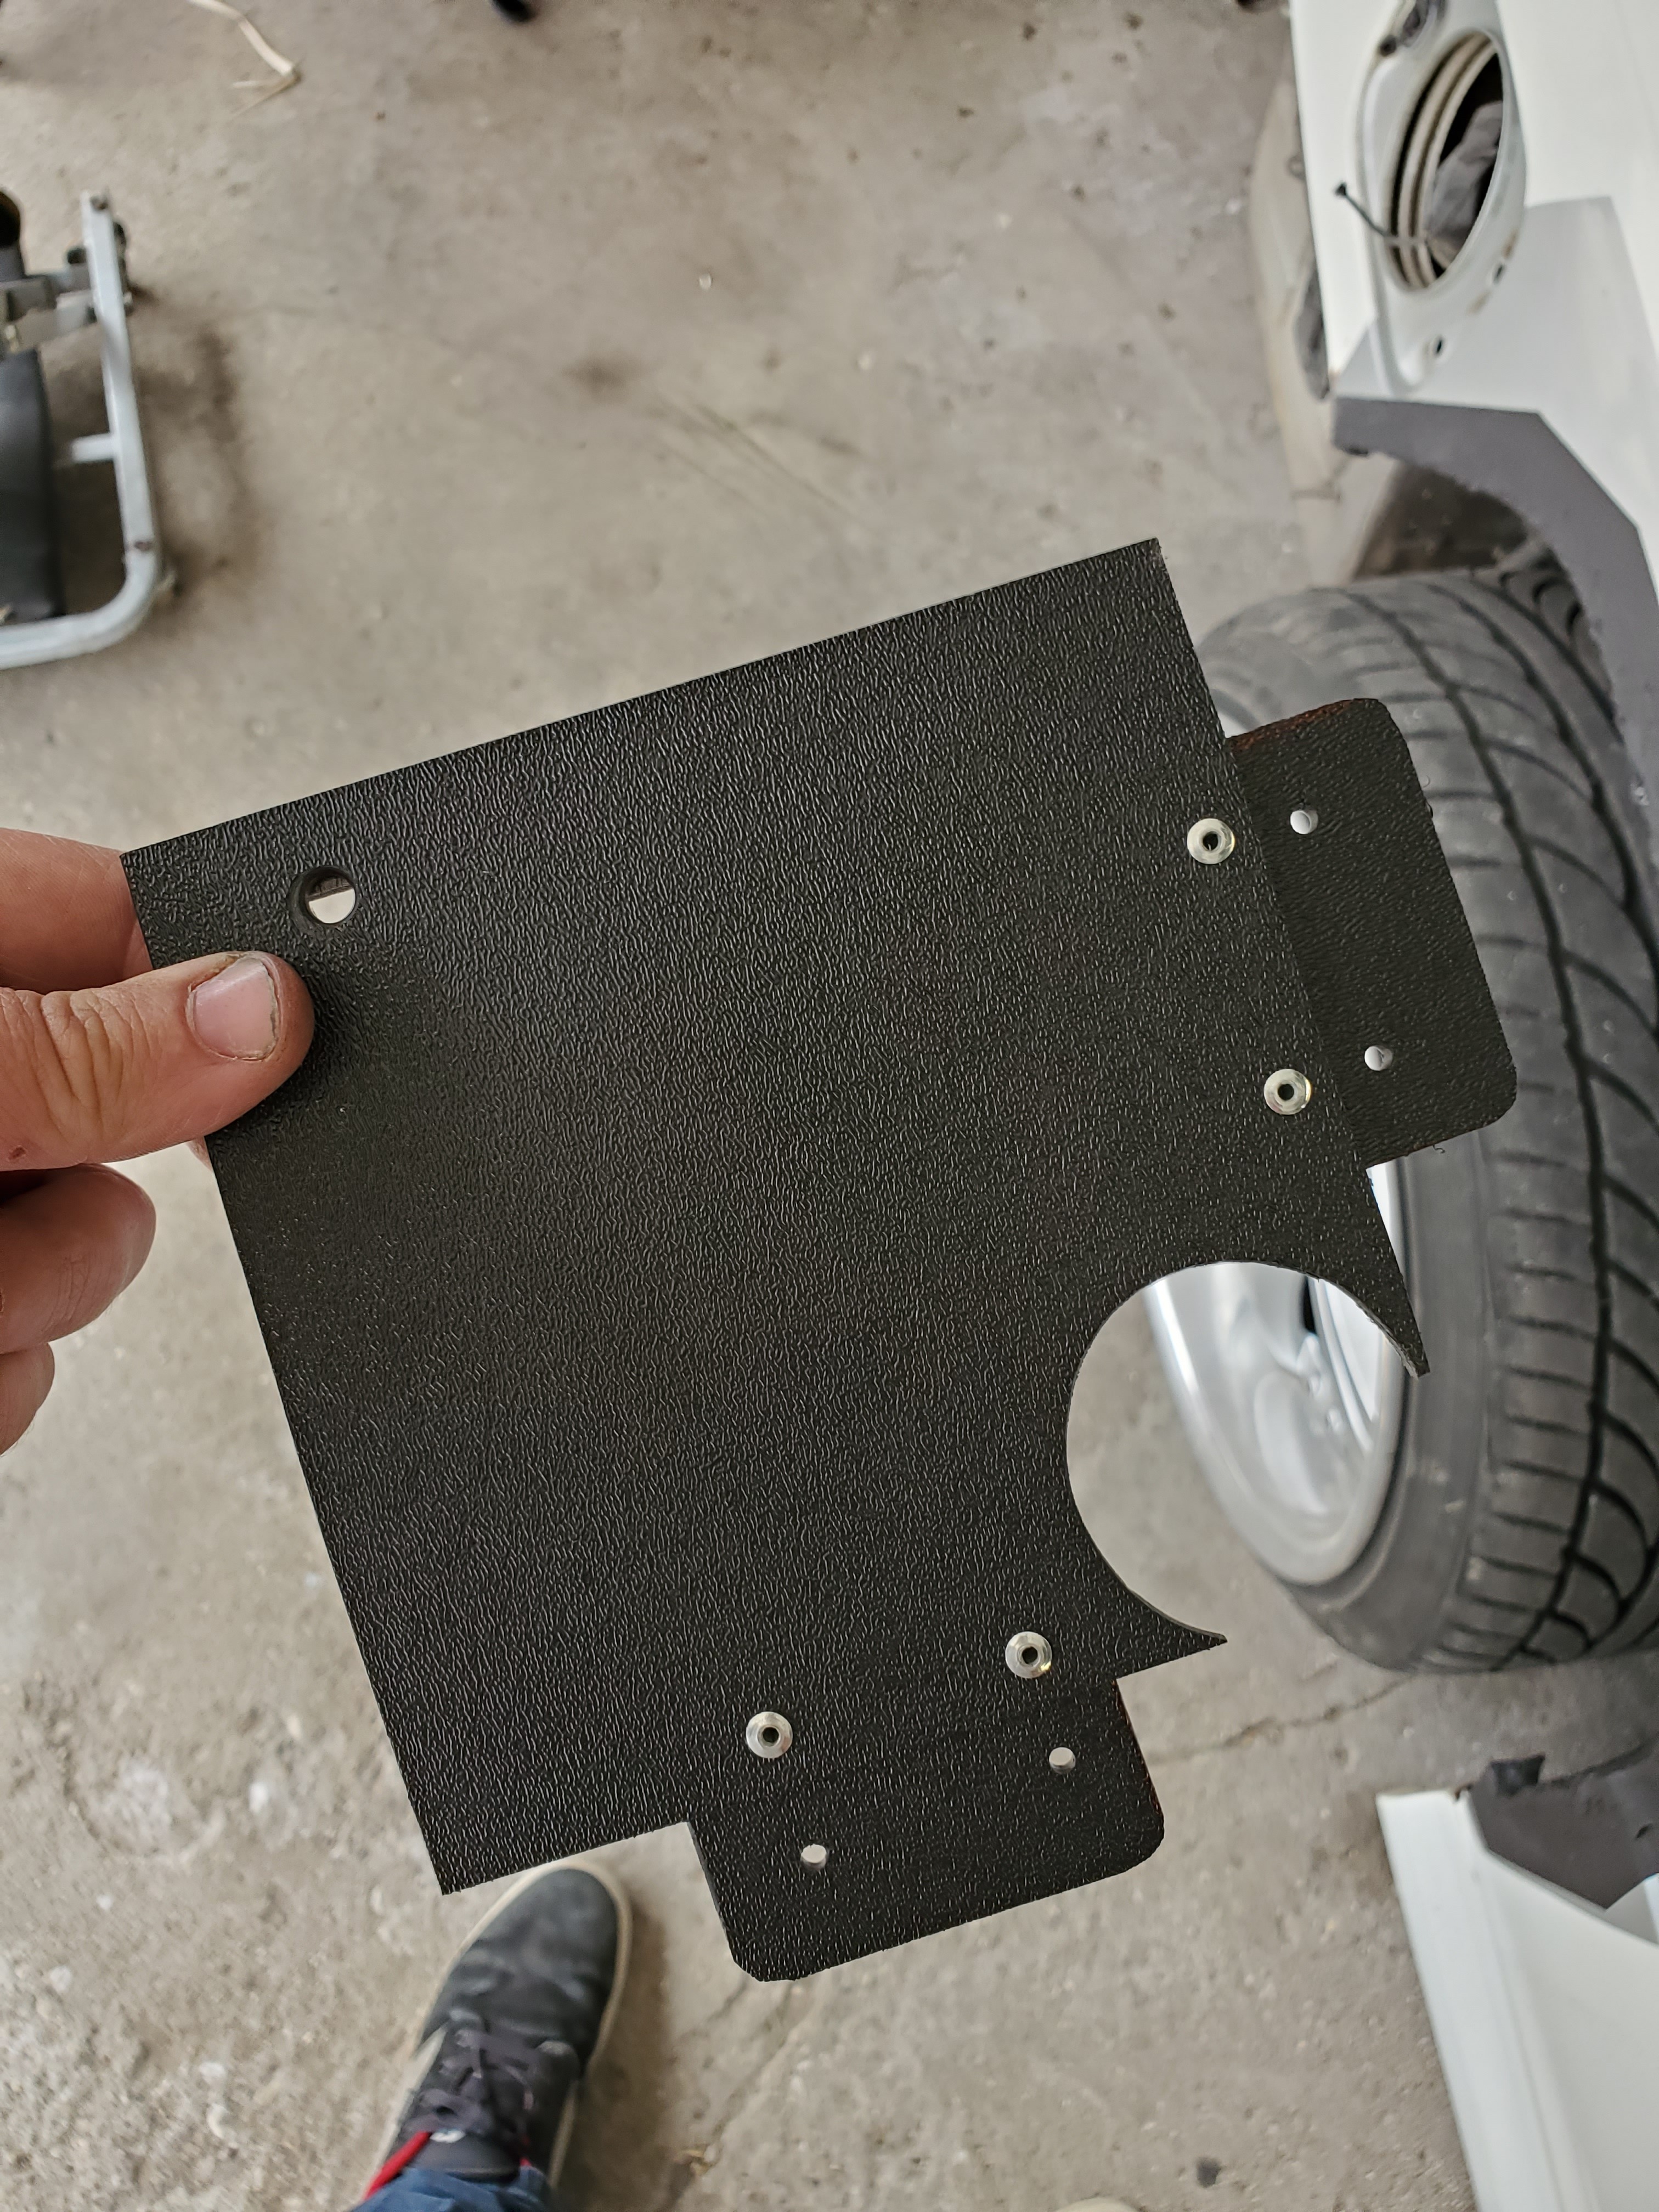
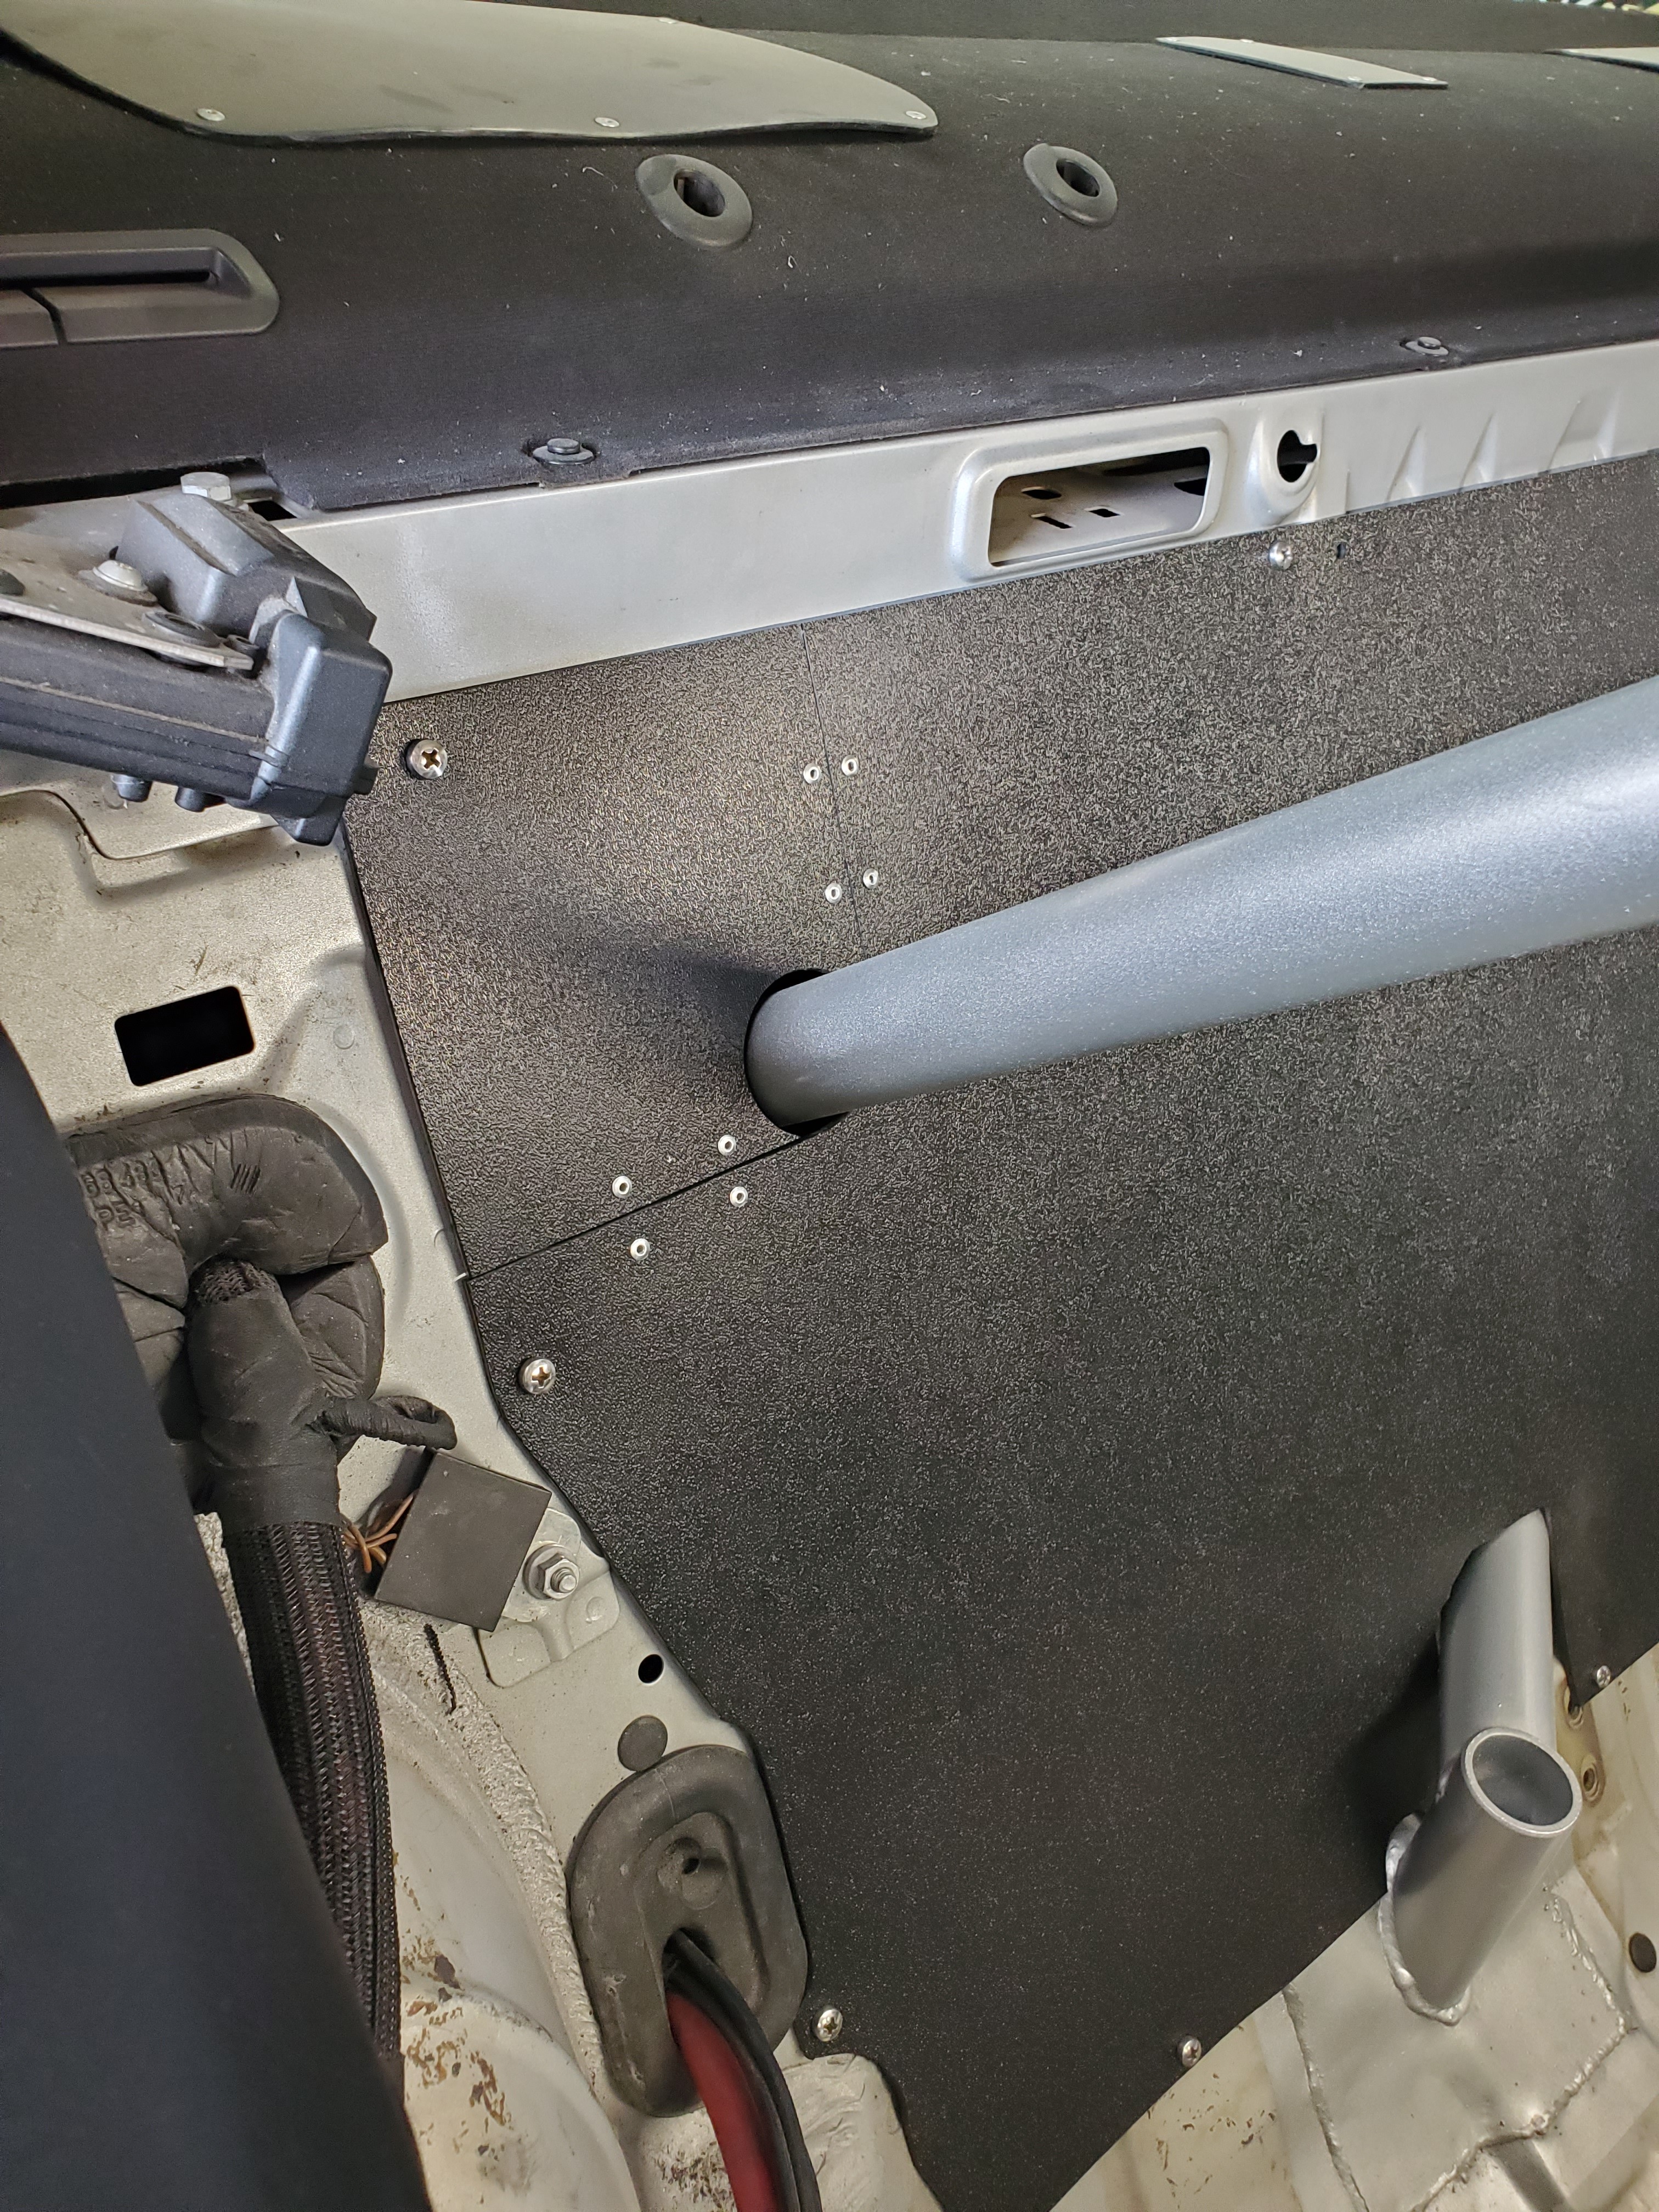
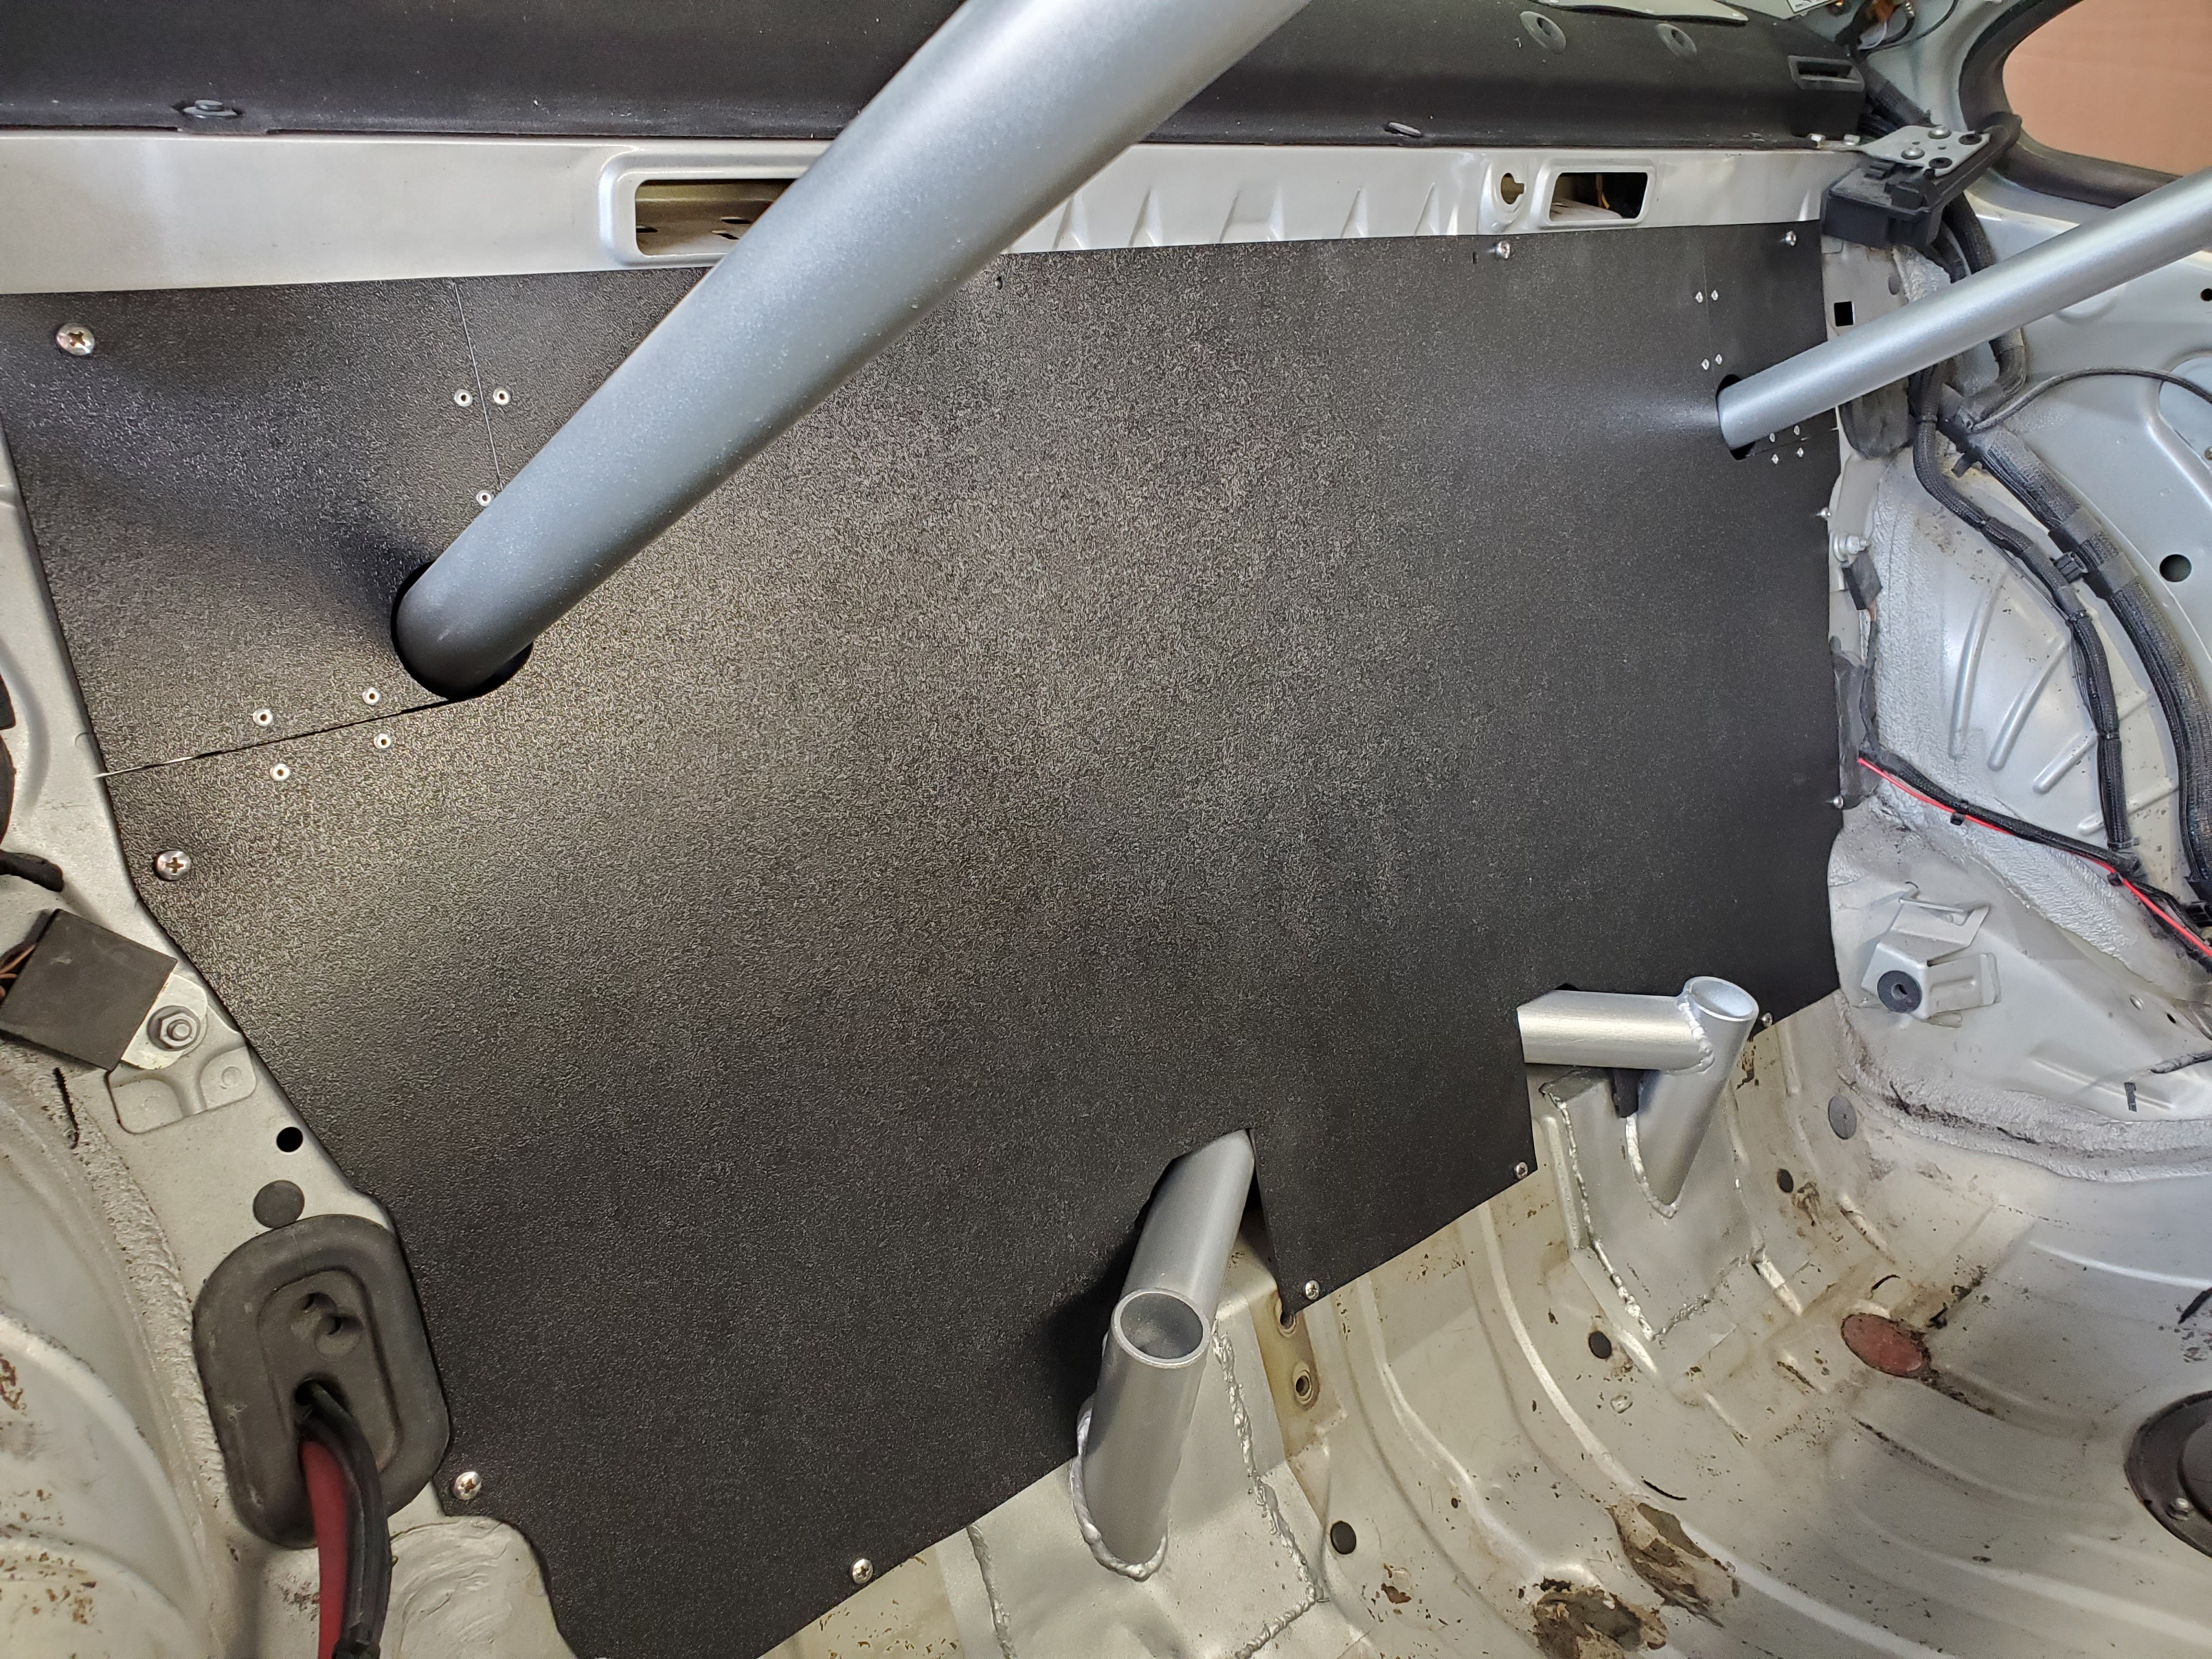
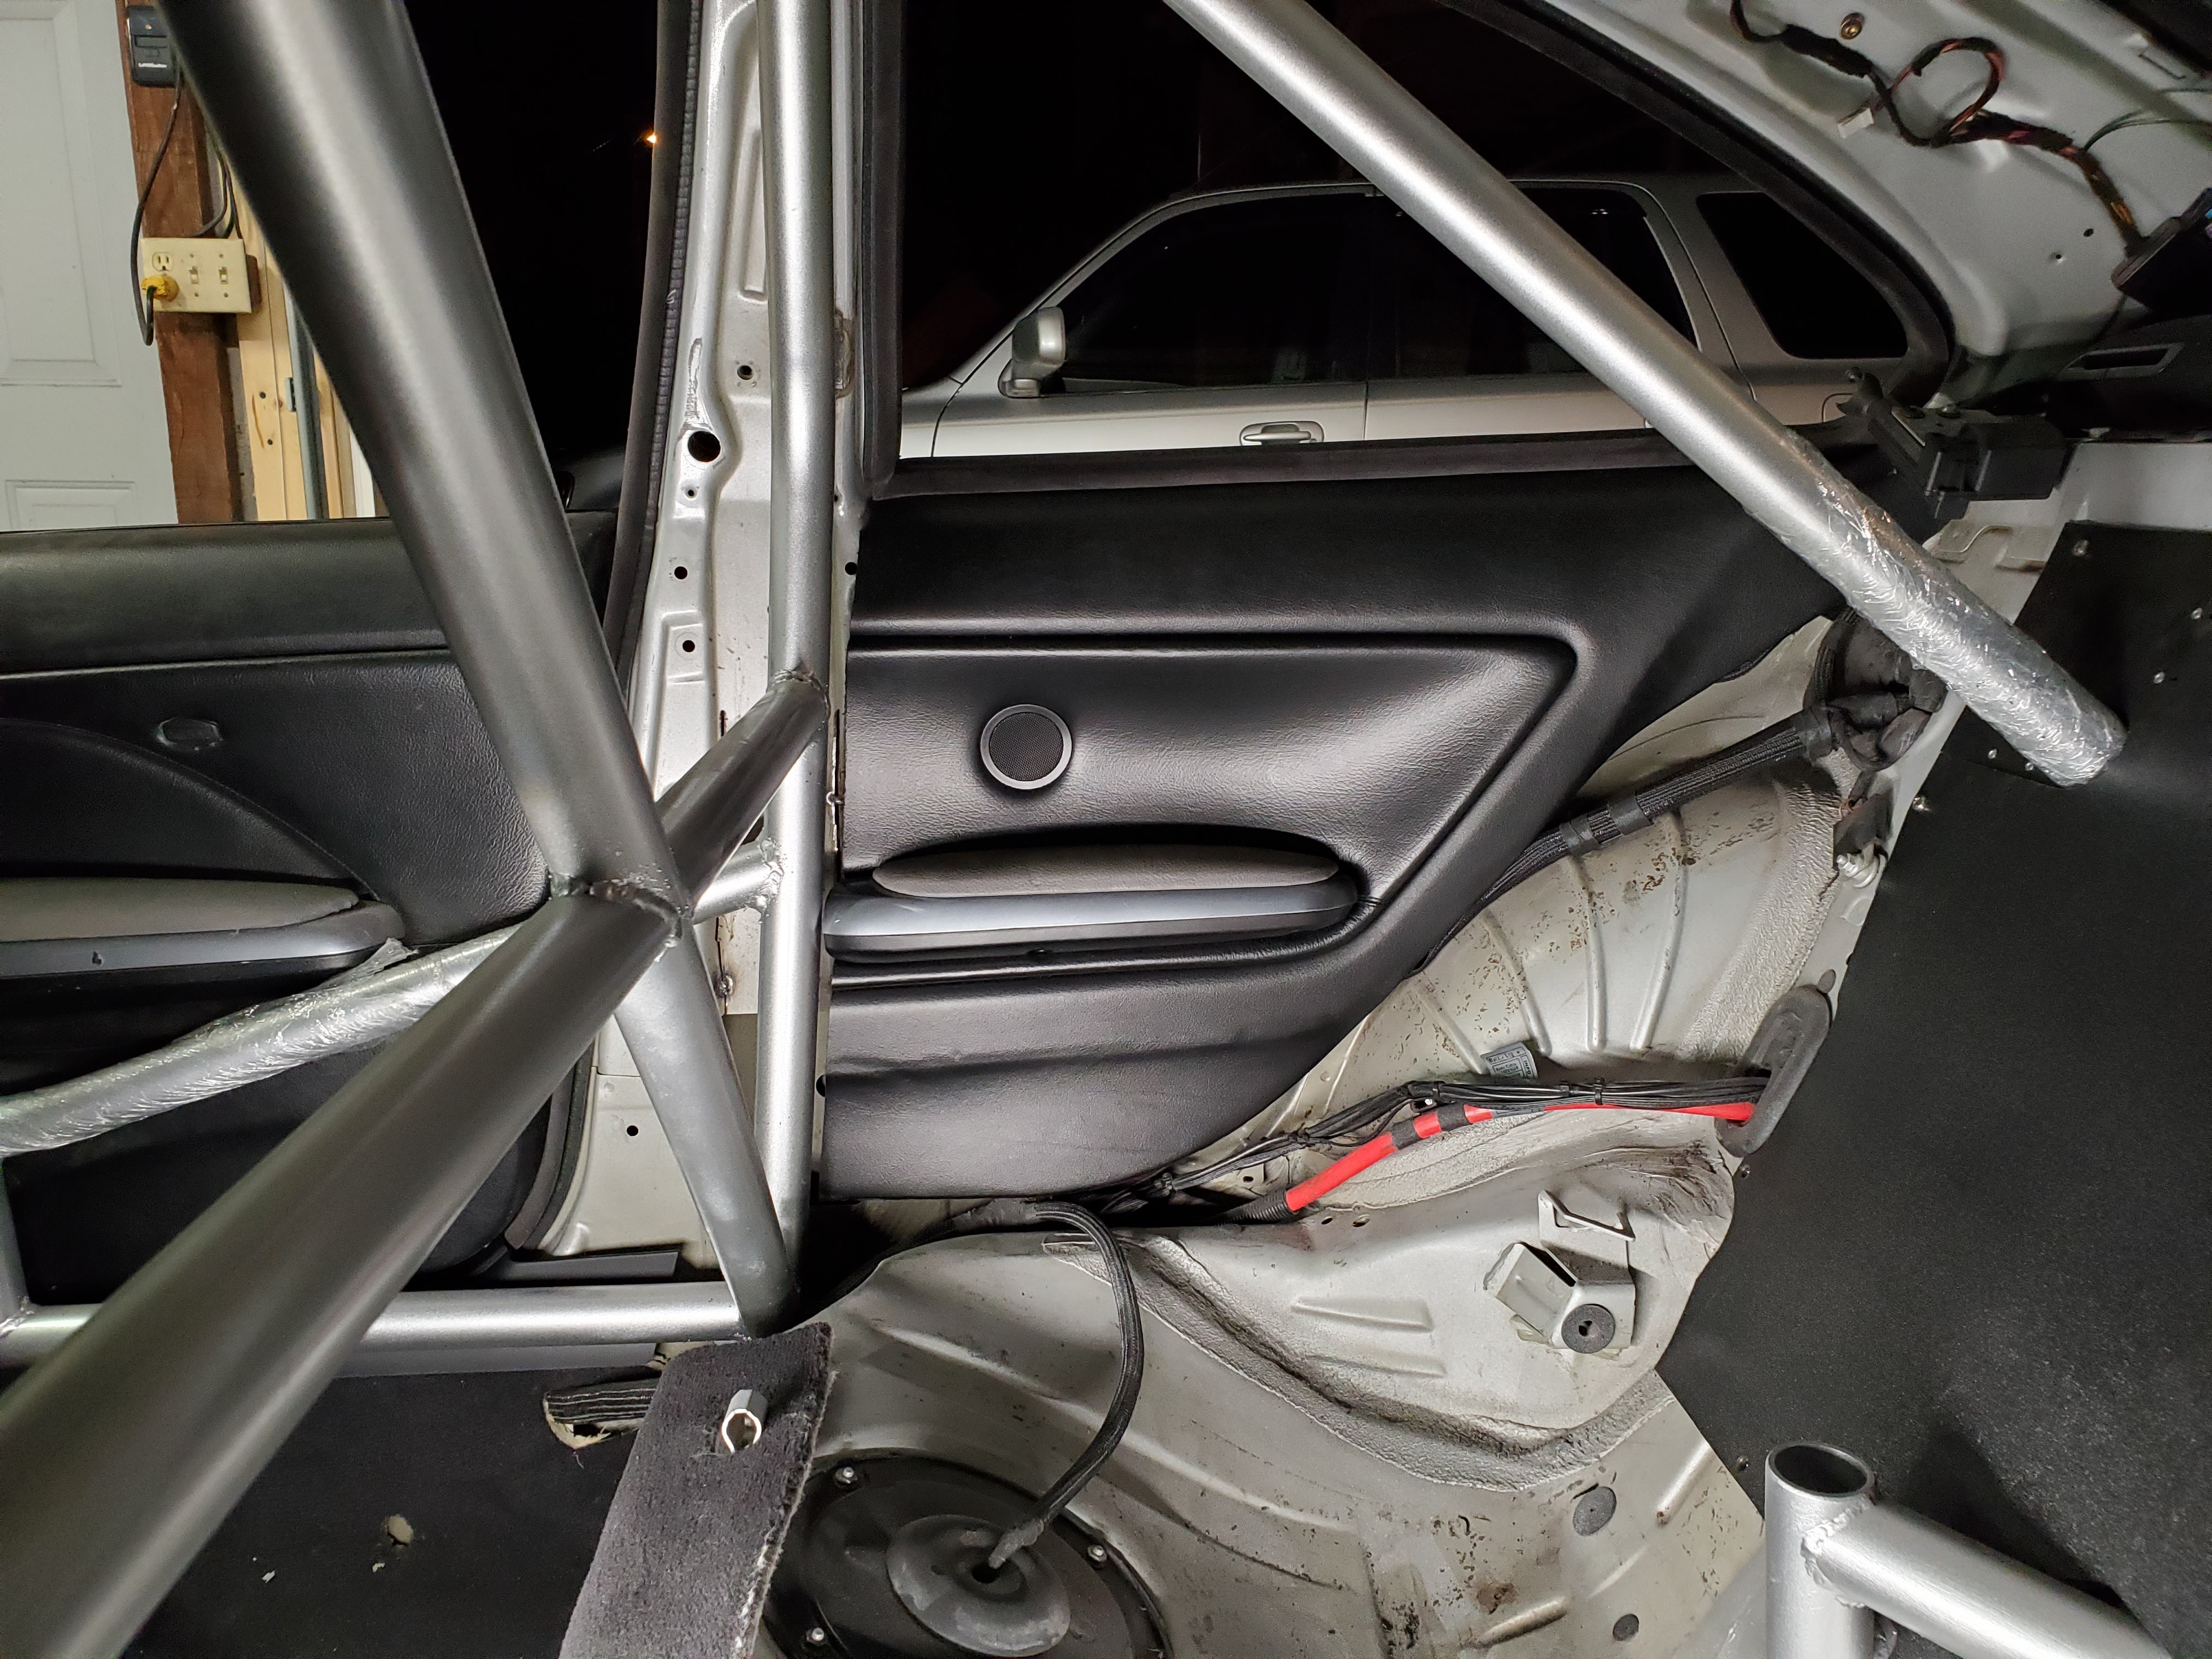
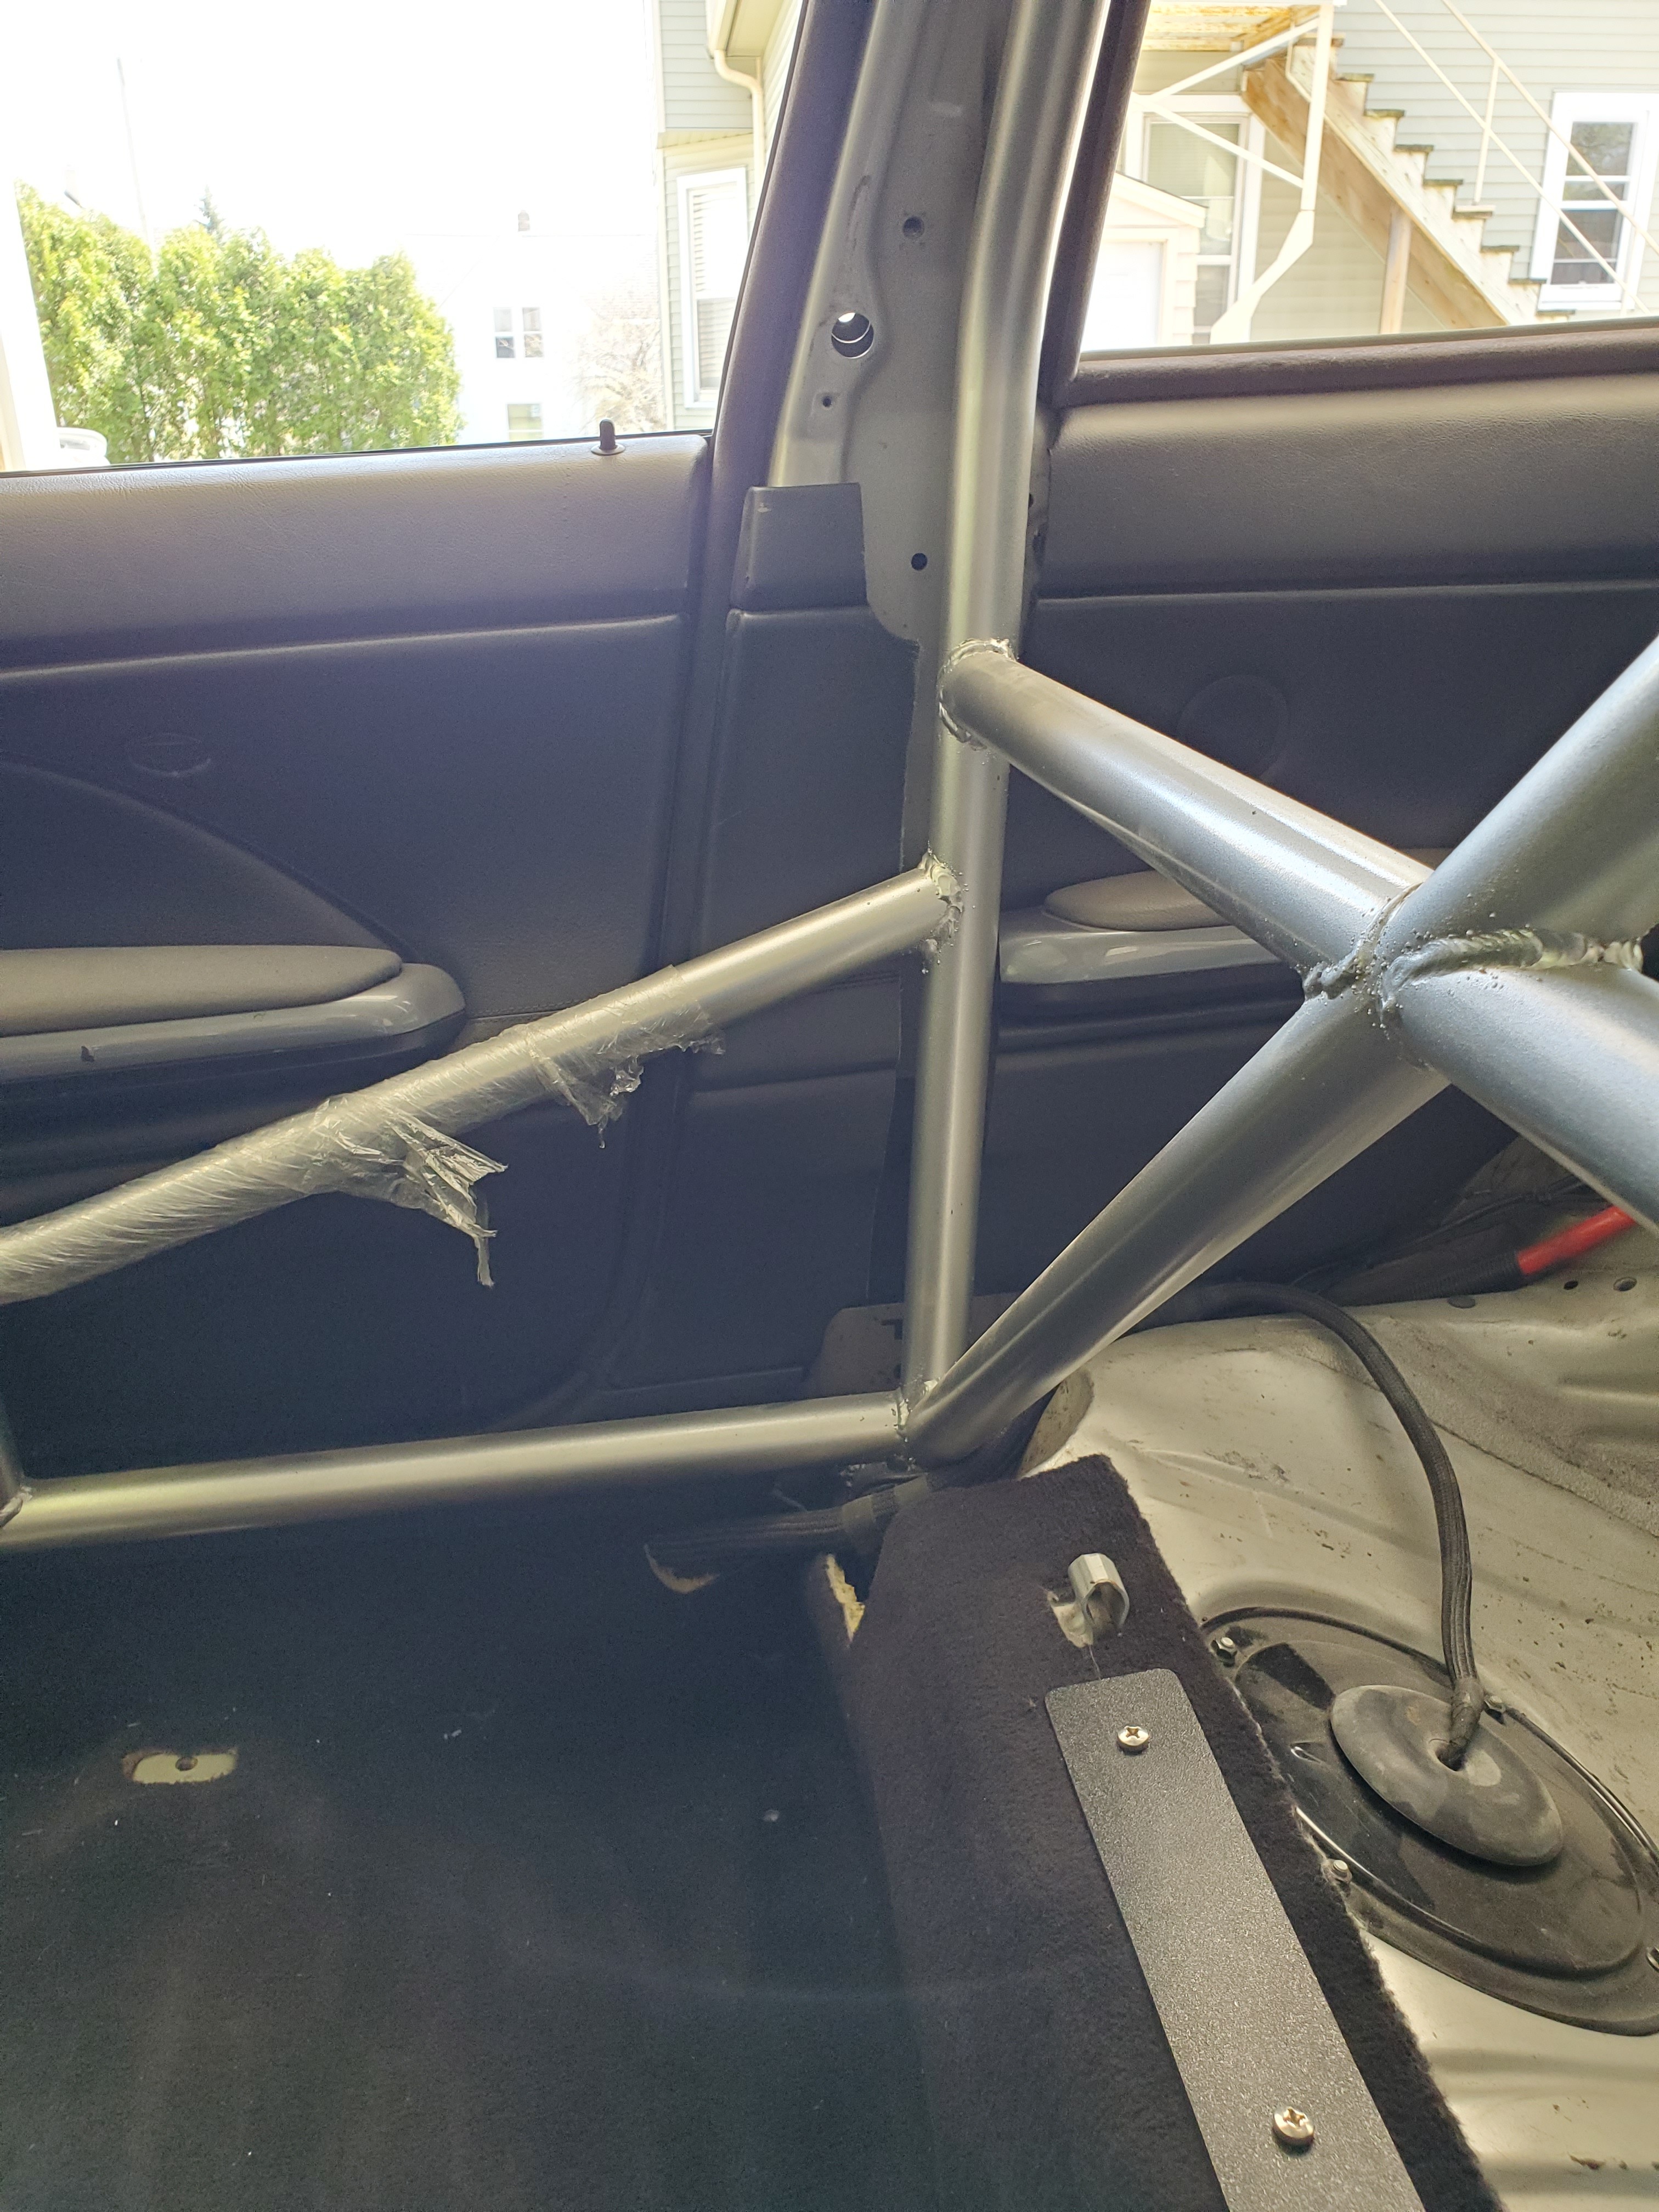
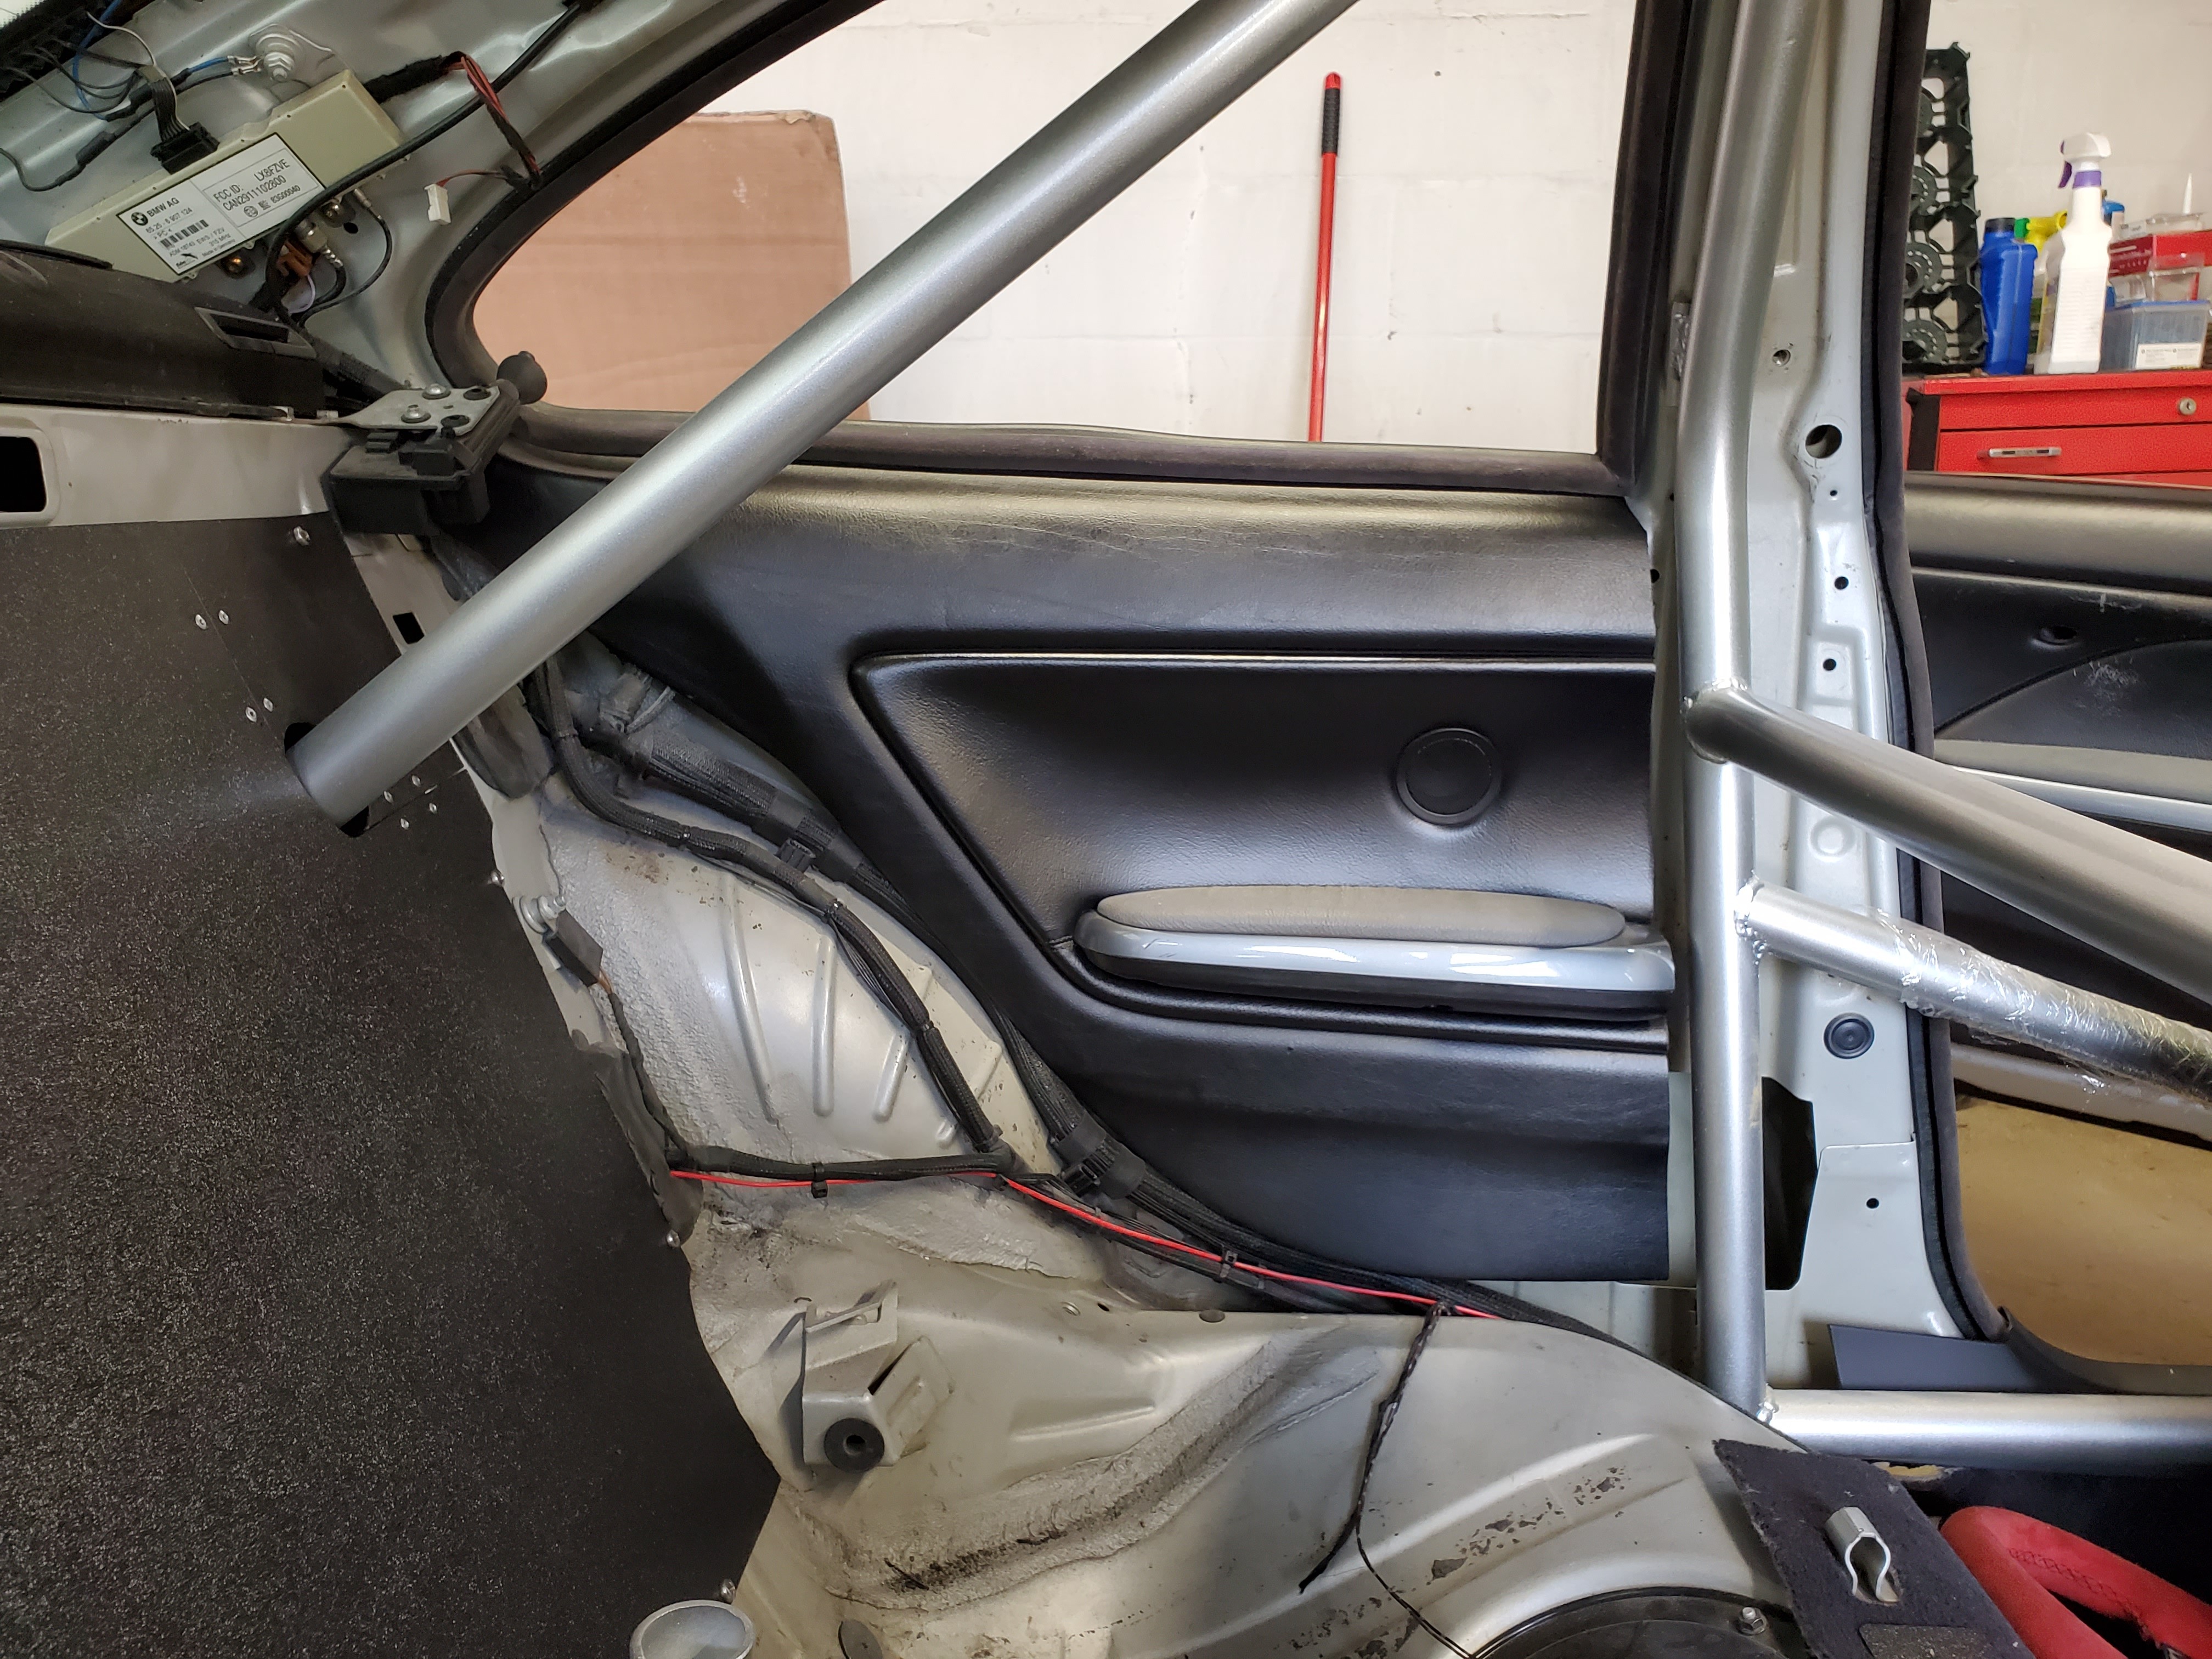
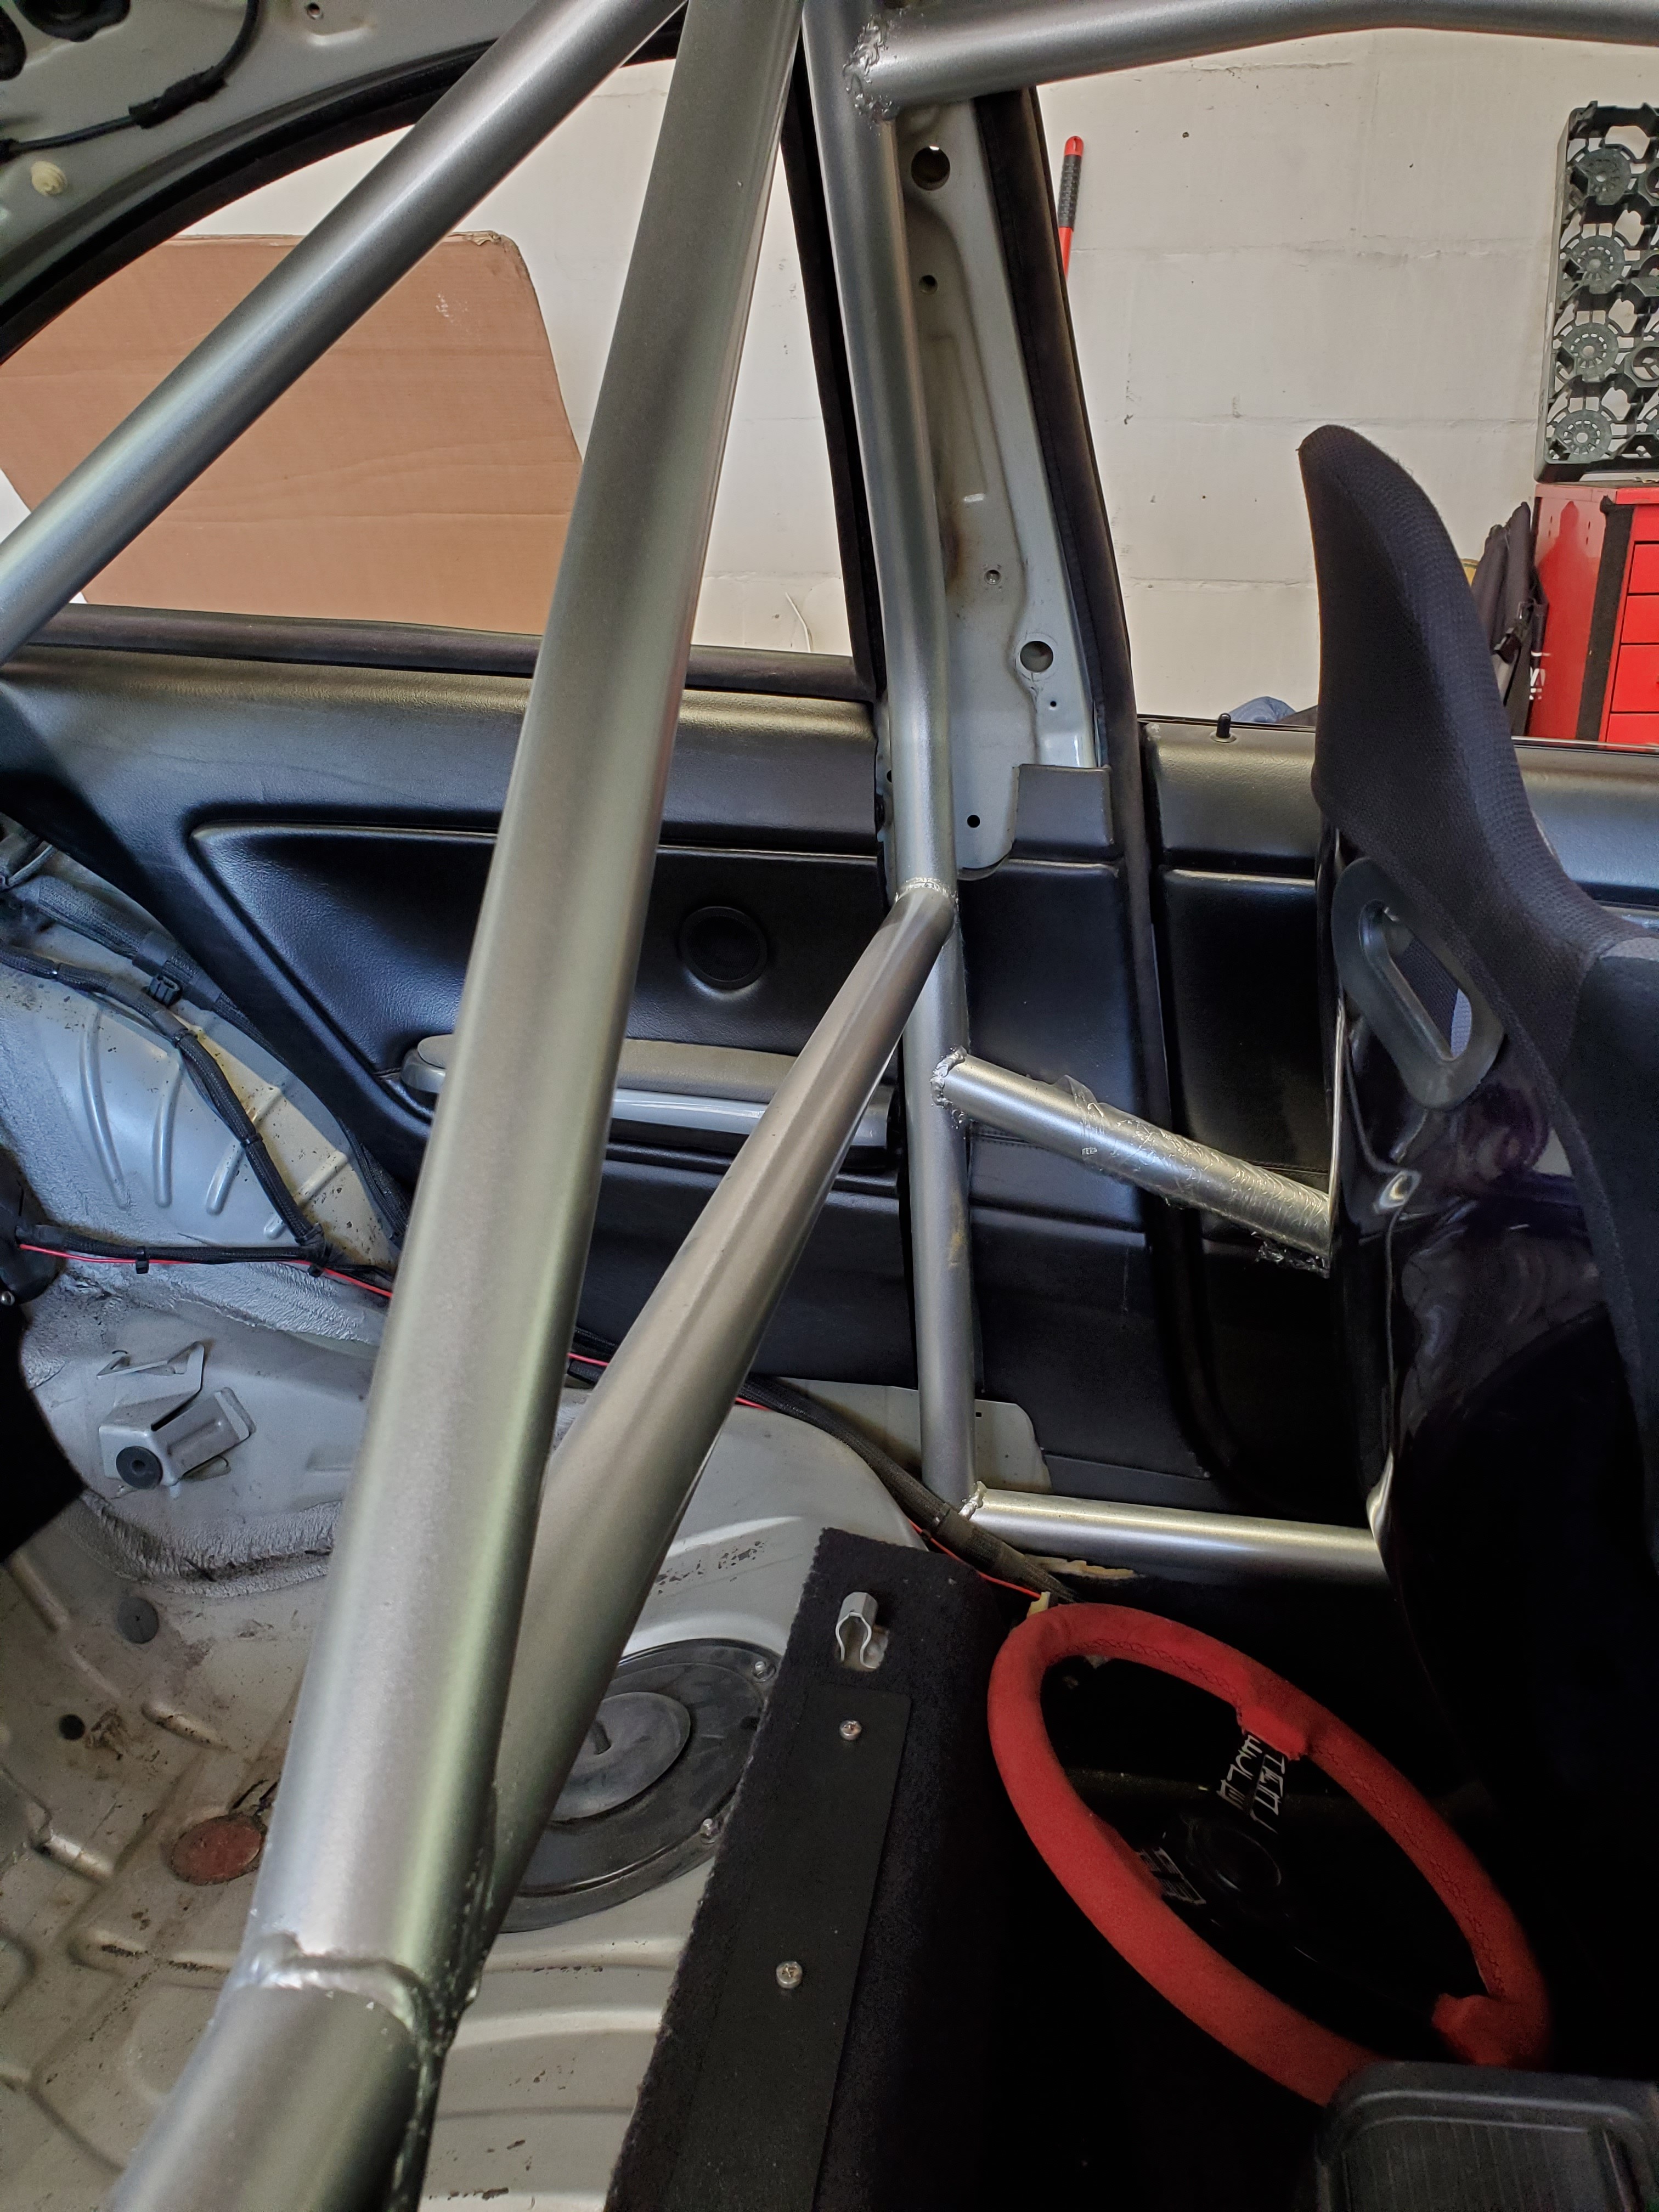
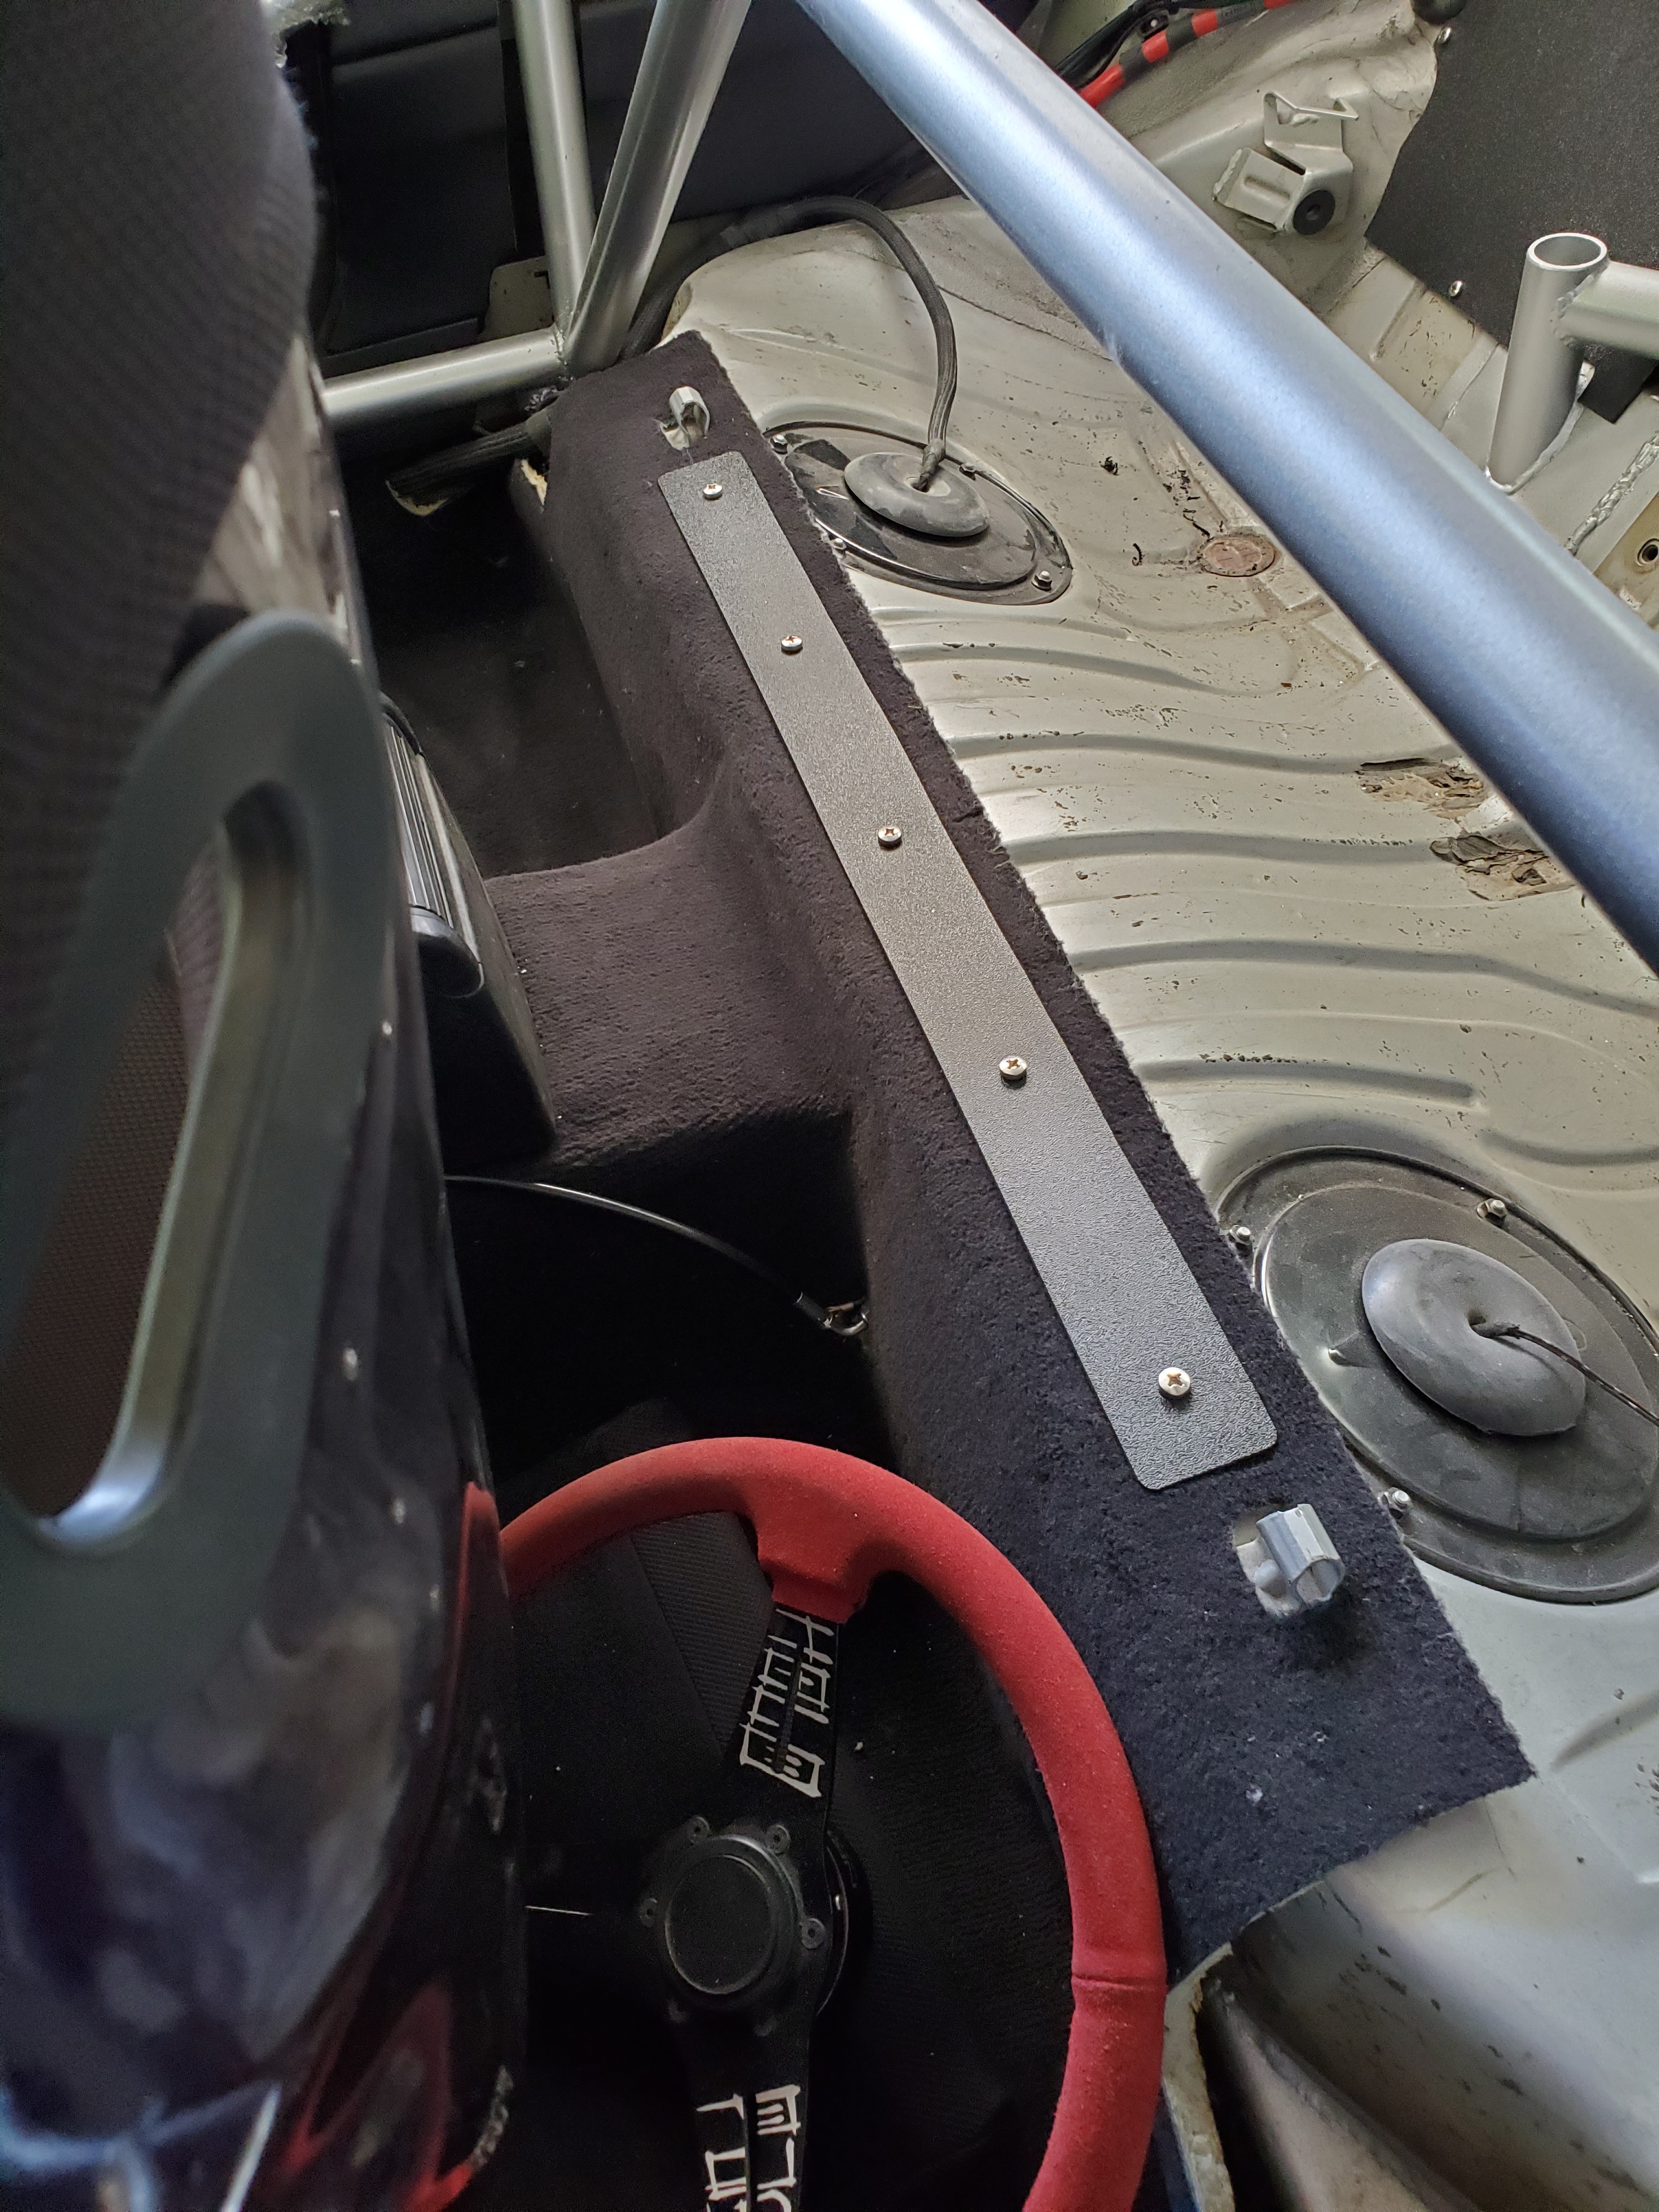
Then I got started on trimming the resr seat delete to fit the cage now.
Stared at it for awhile... cut out some cardboard and tested ideas... here's what I came up with.
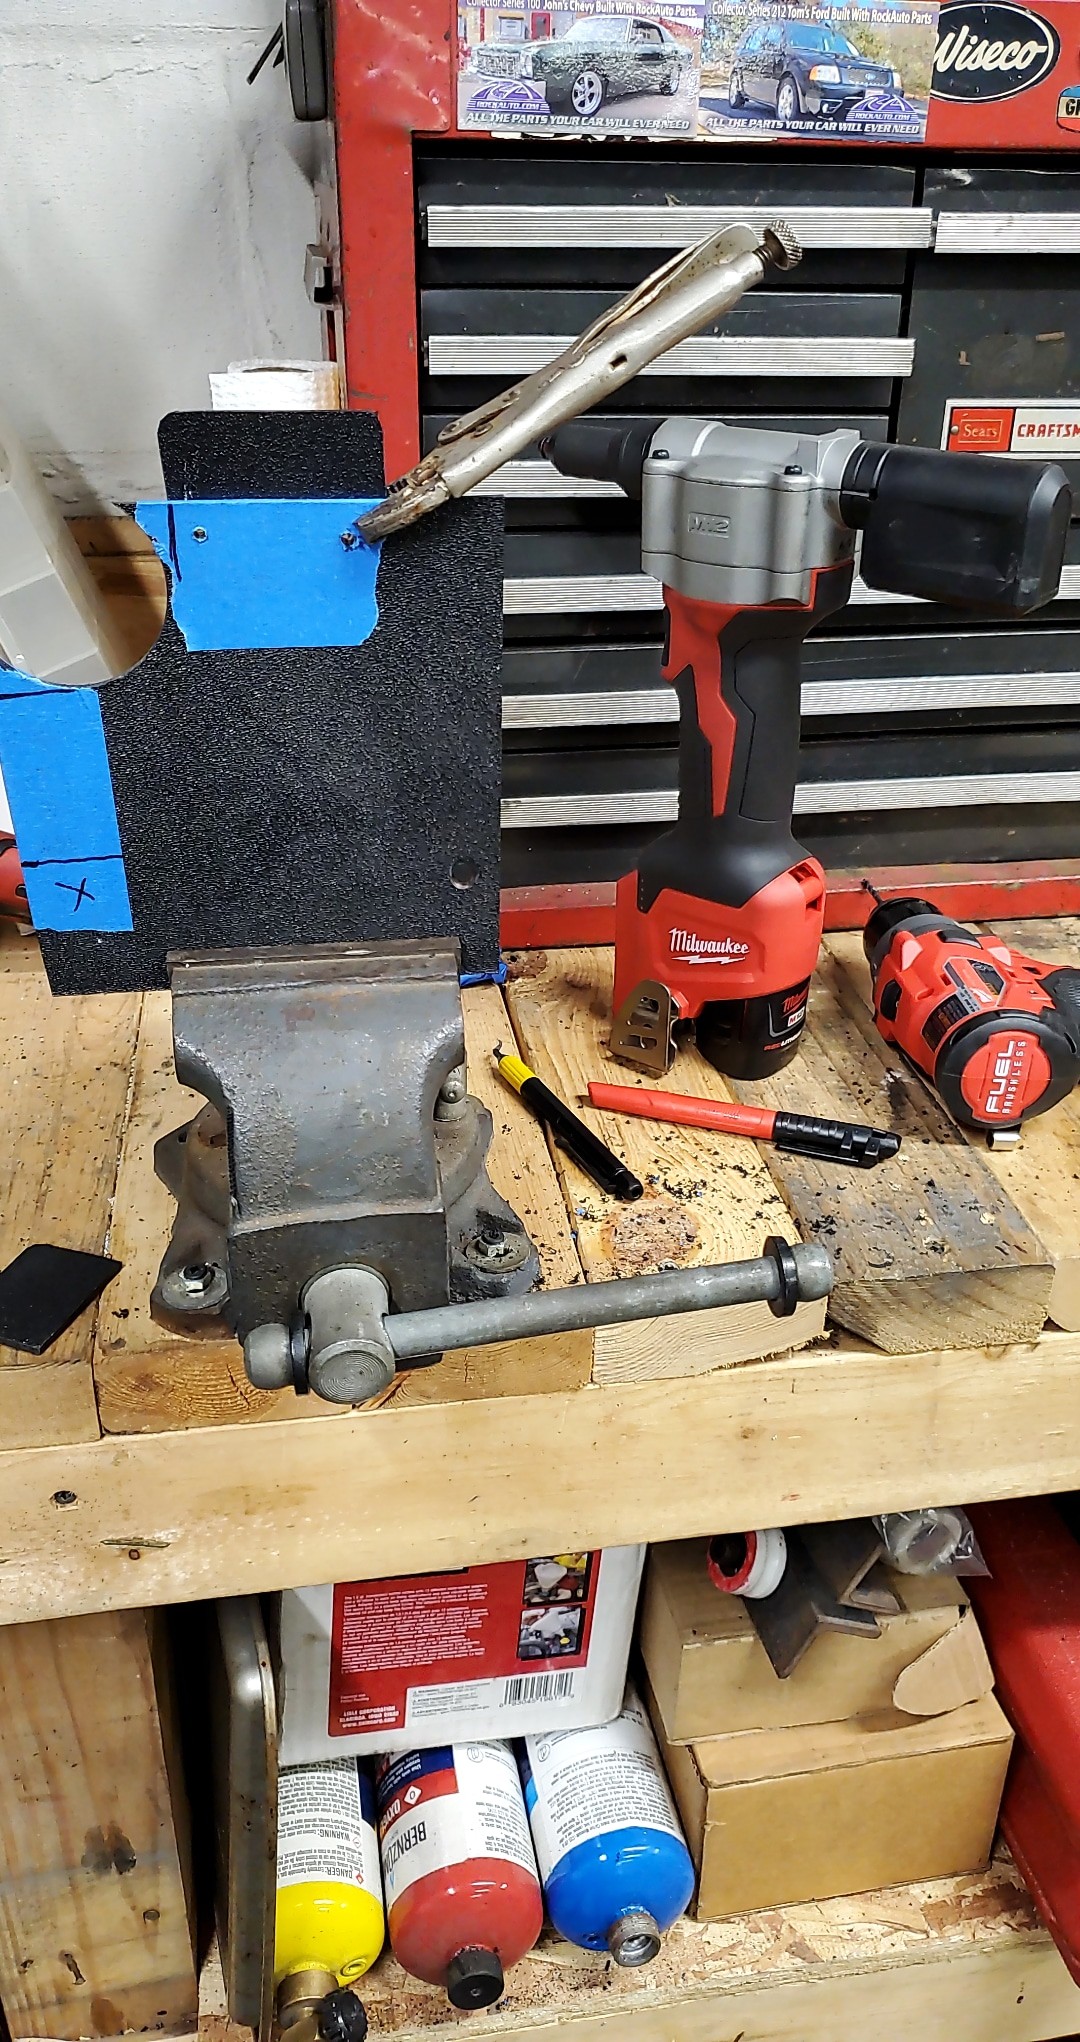
Cut out the corners and used a hole saw to notch them and riveted on some tabs I made with spare ABS.
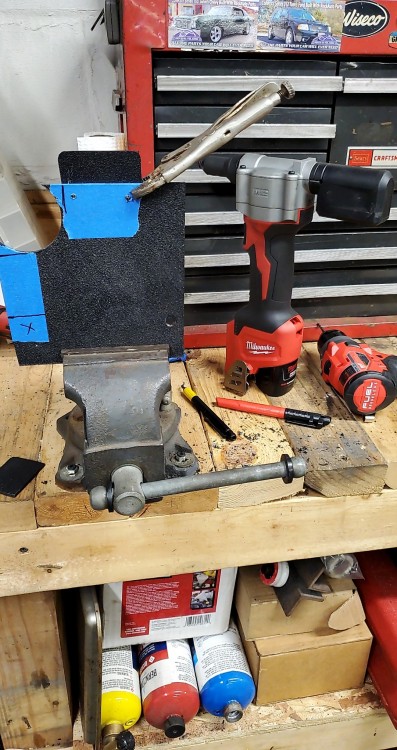
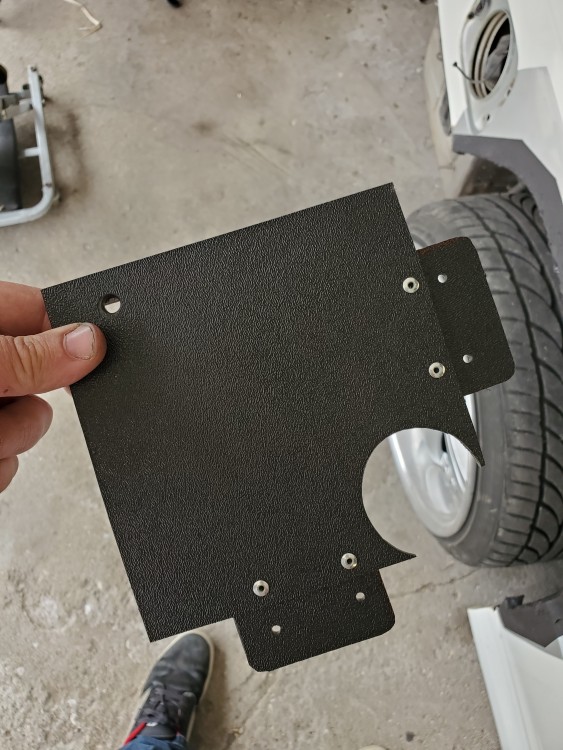
Then I riveted in the other sides of the tabs once the panels were all screwed in.
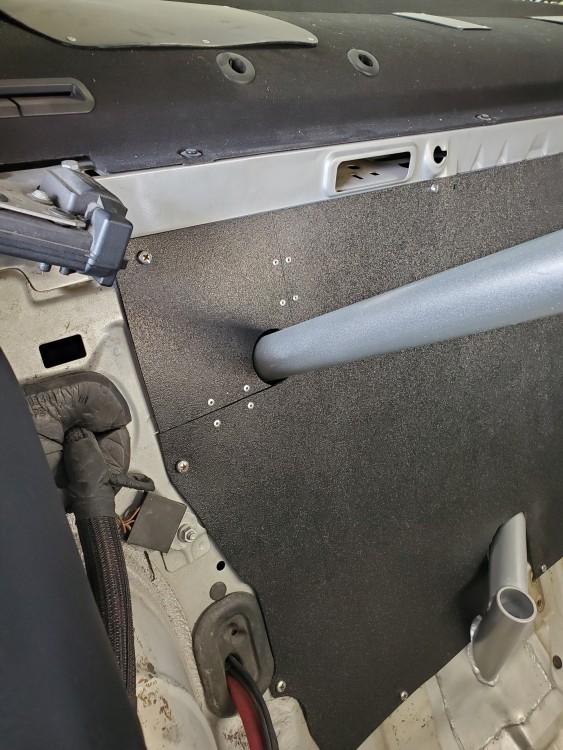
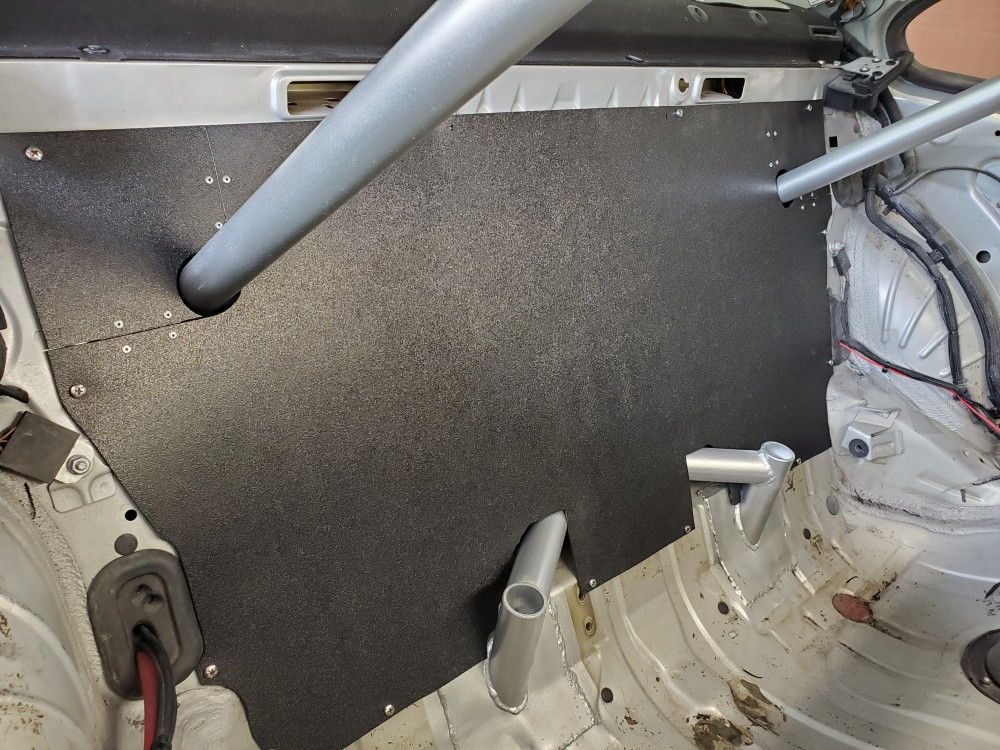
Happy with the outcome for sure!
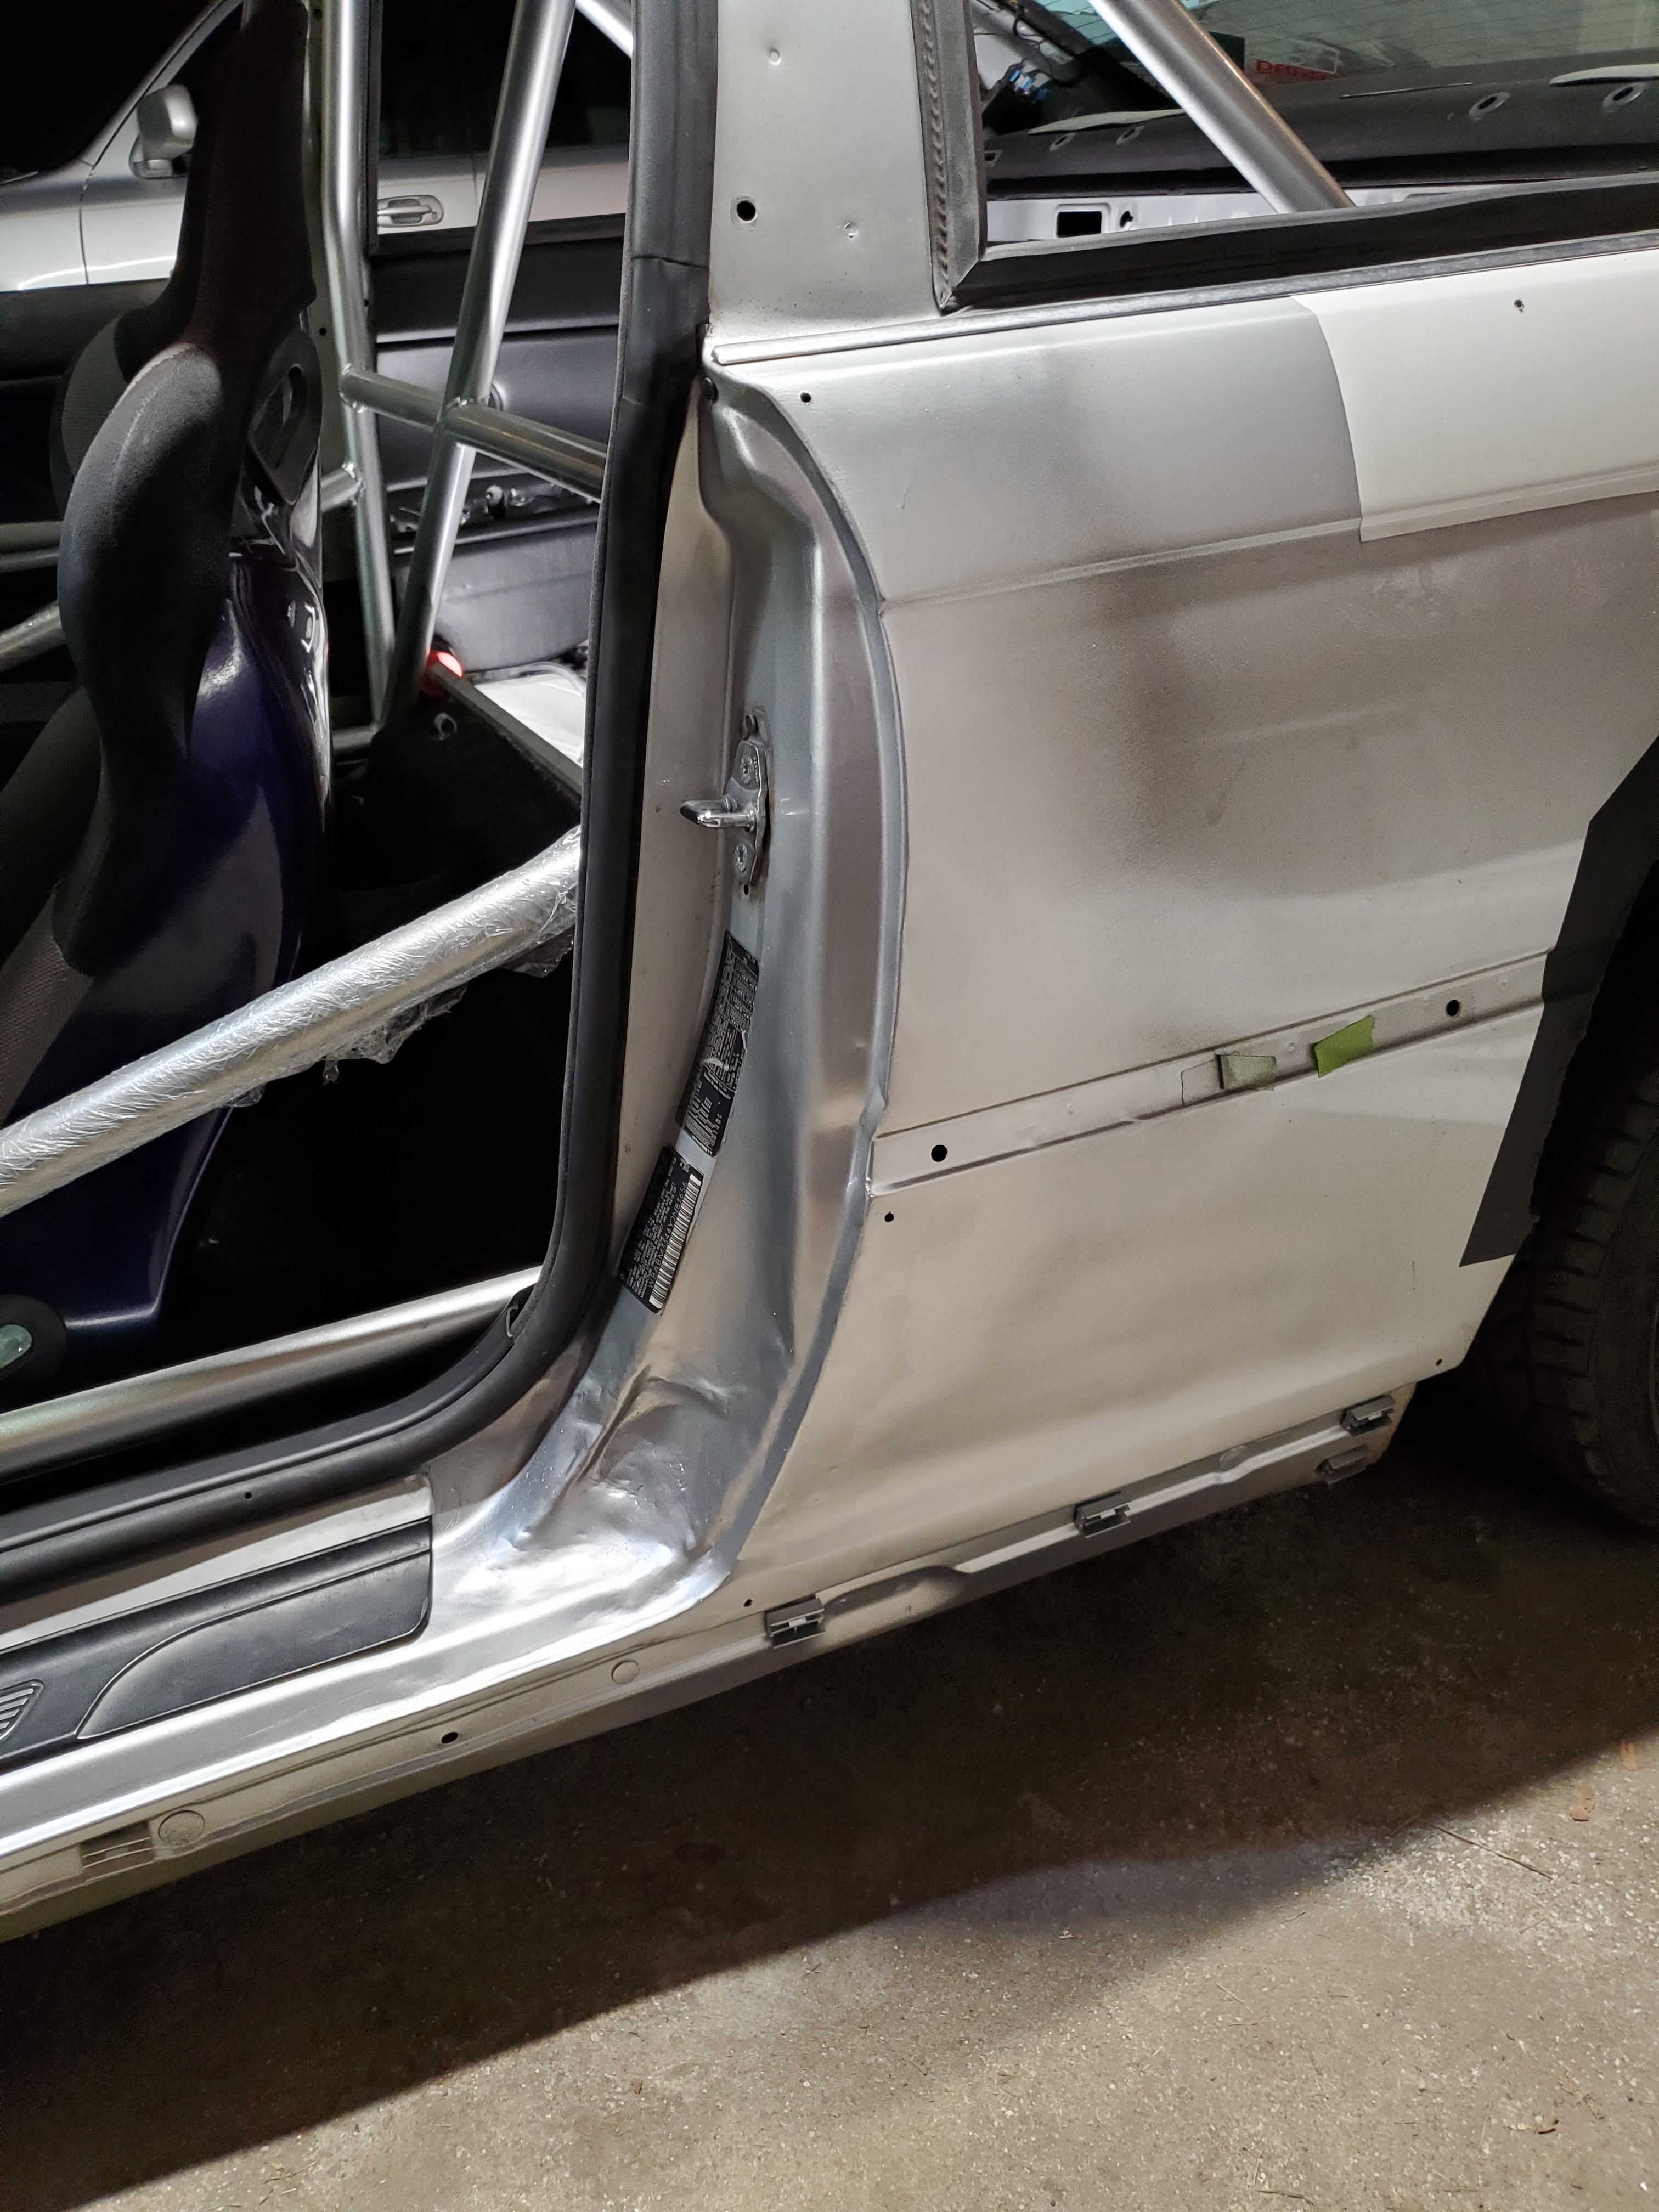
Then I sprayed some silver on the damaged area from last season. Not perfect but its fine because it's getting wrapped over.
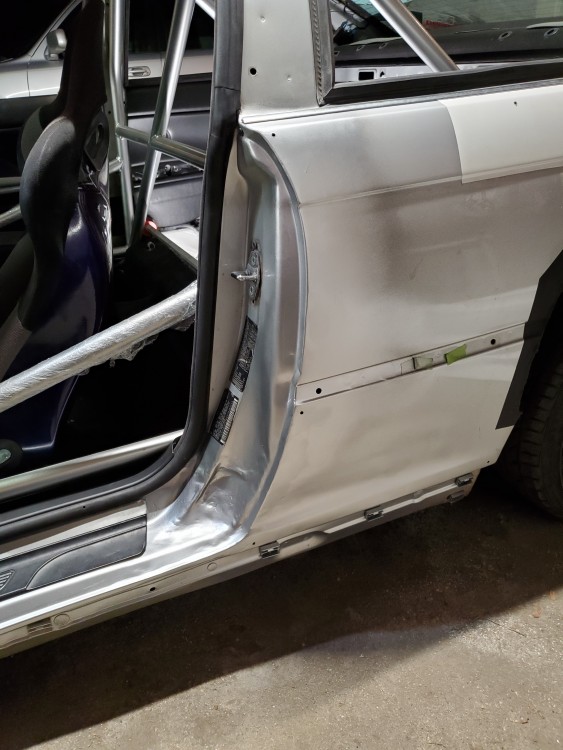
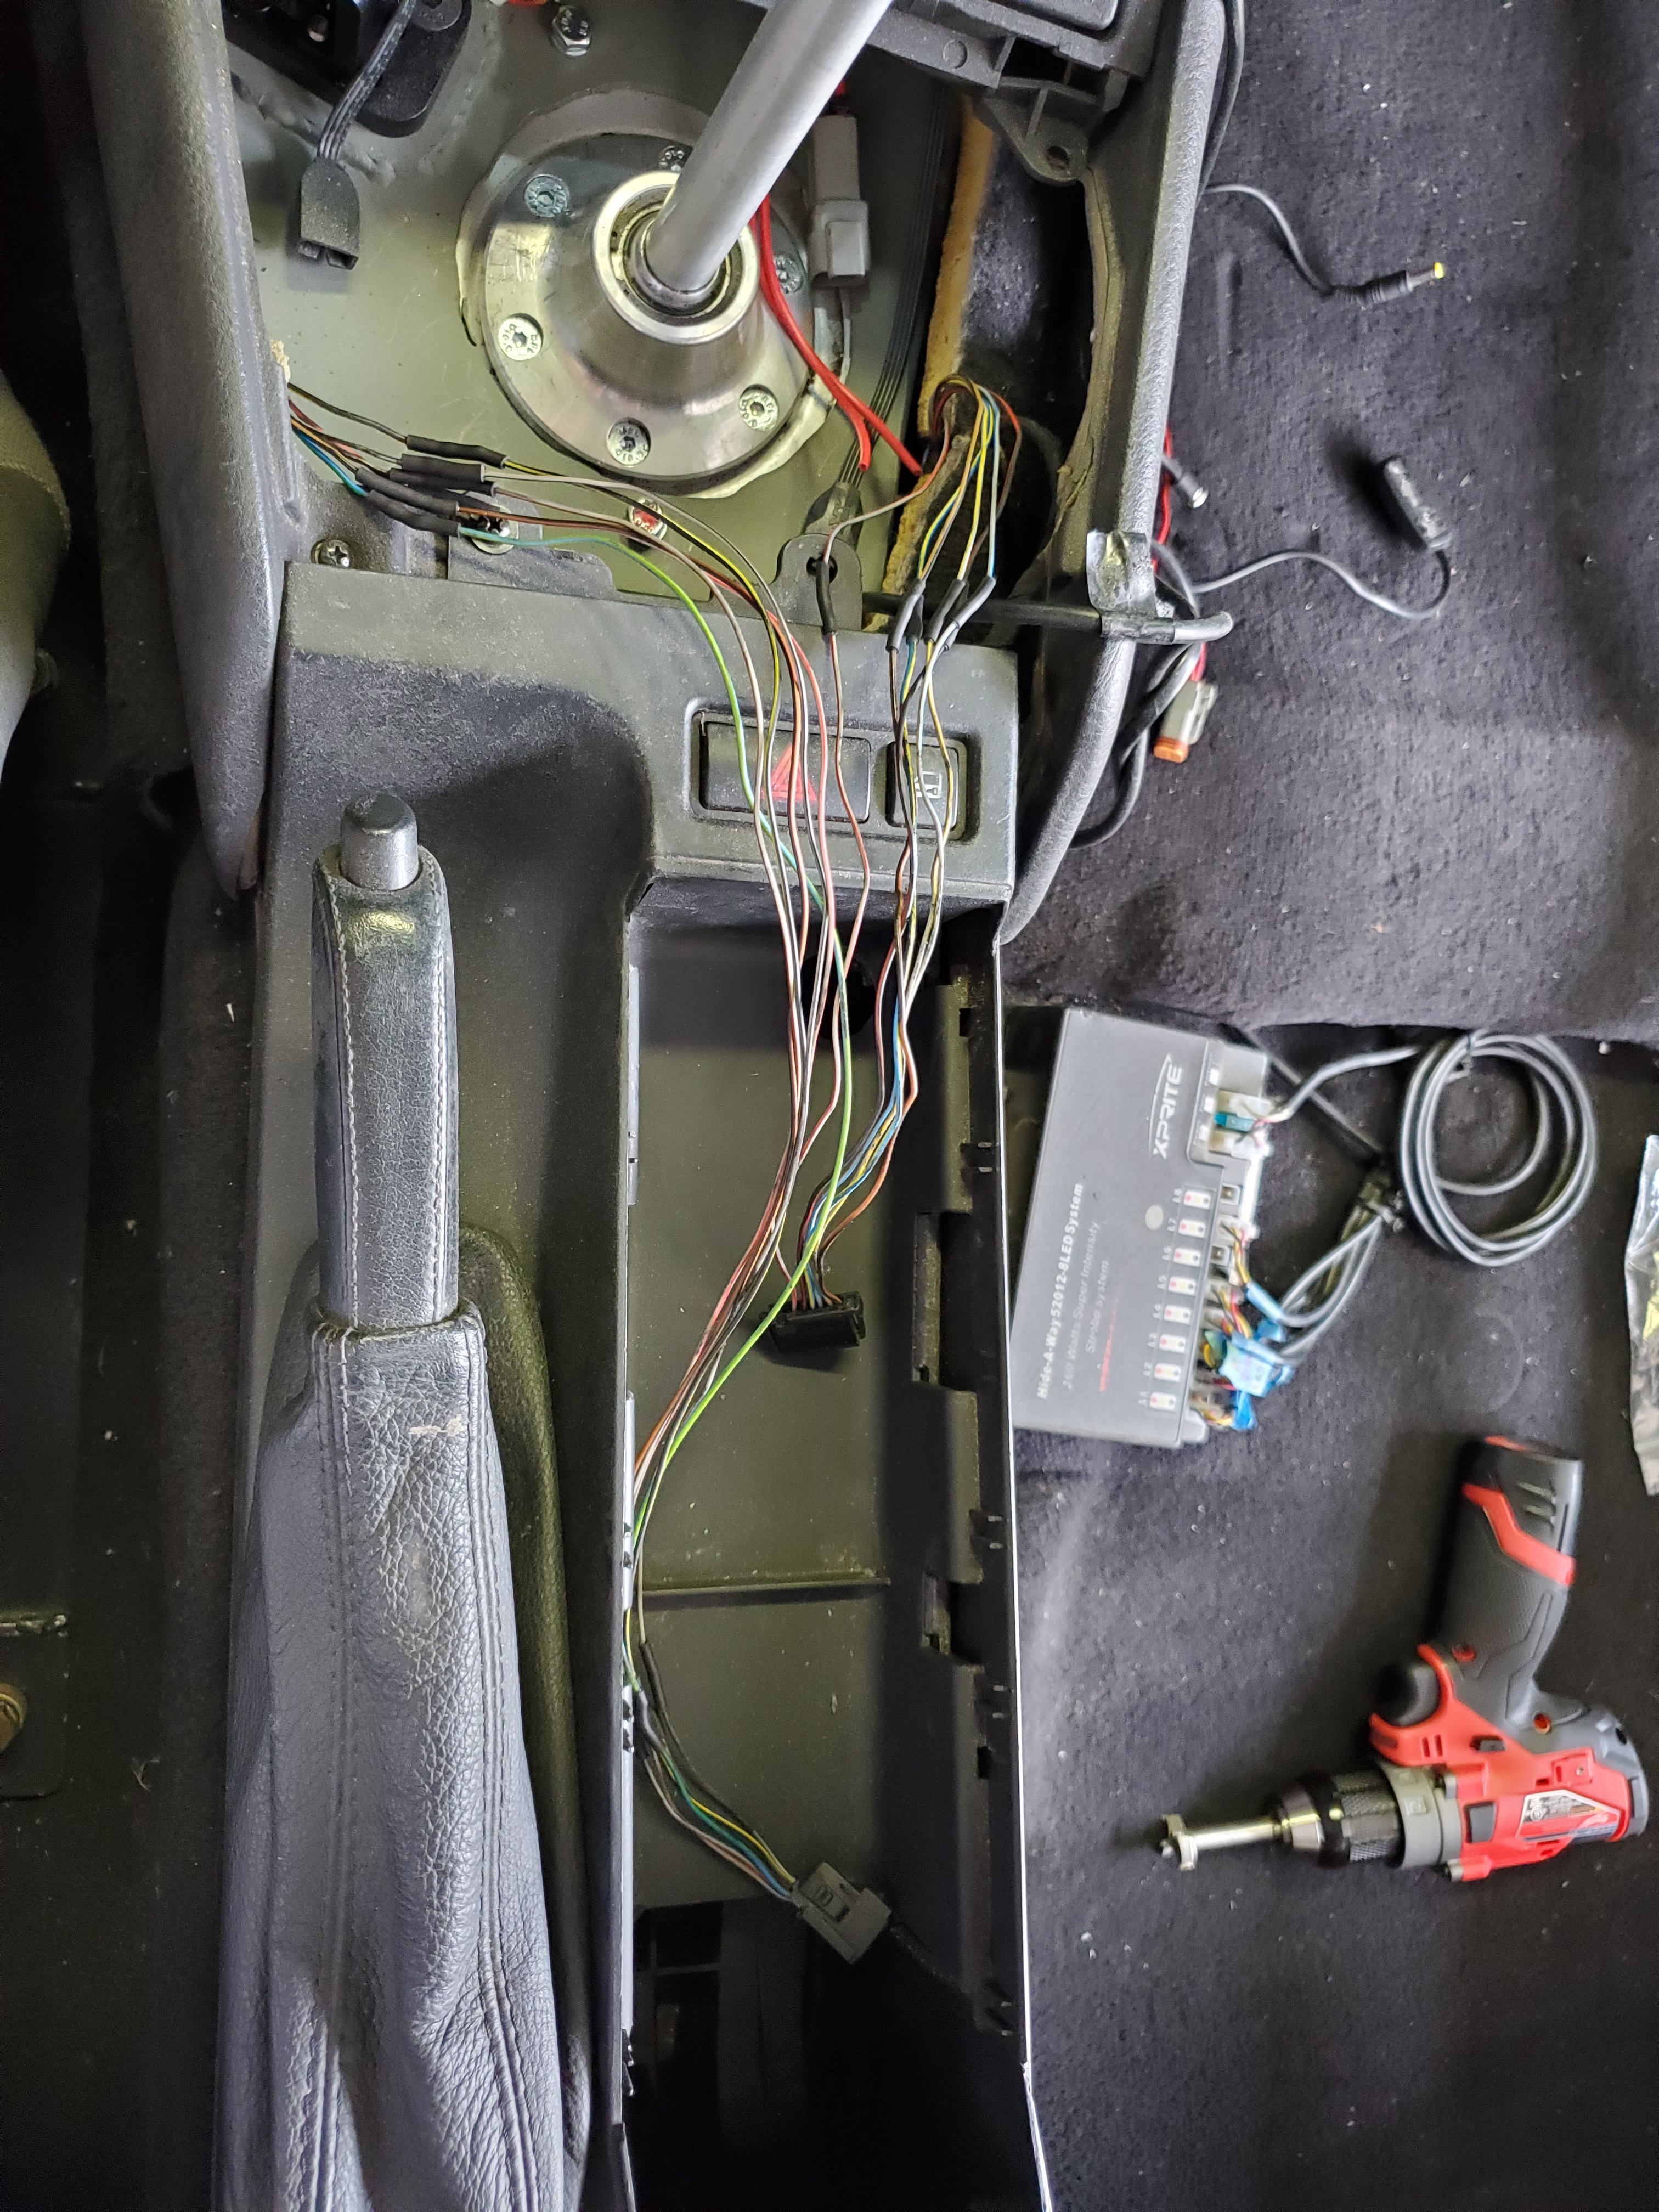
I moved on to some more interior stuff then, extended the wires for my window stitches.
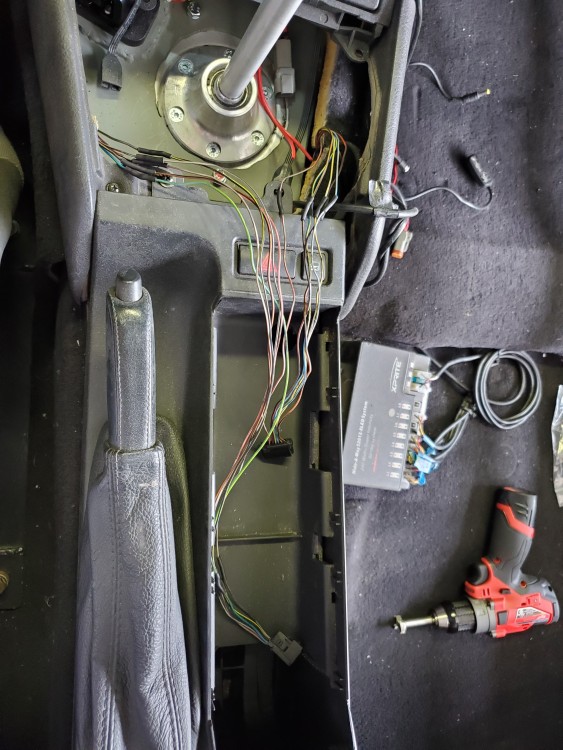
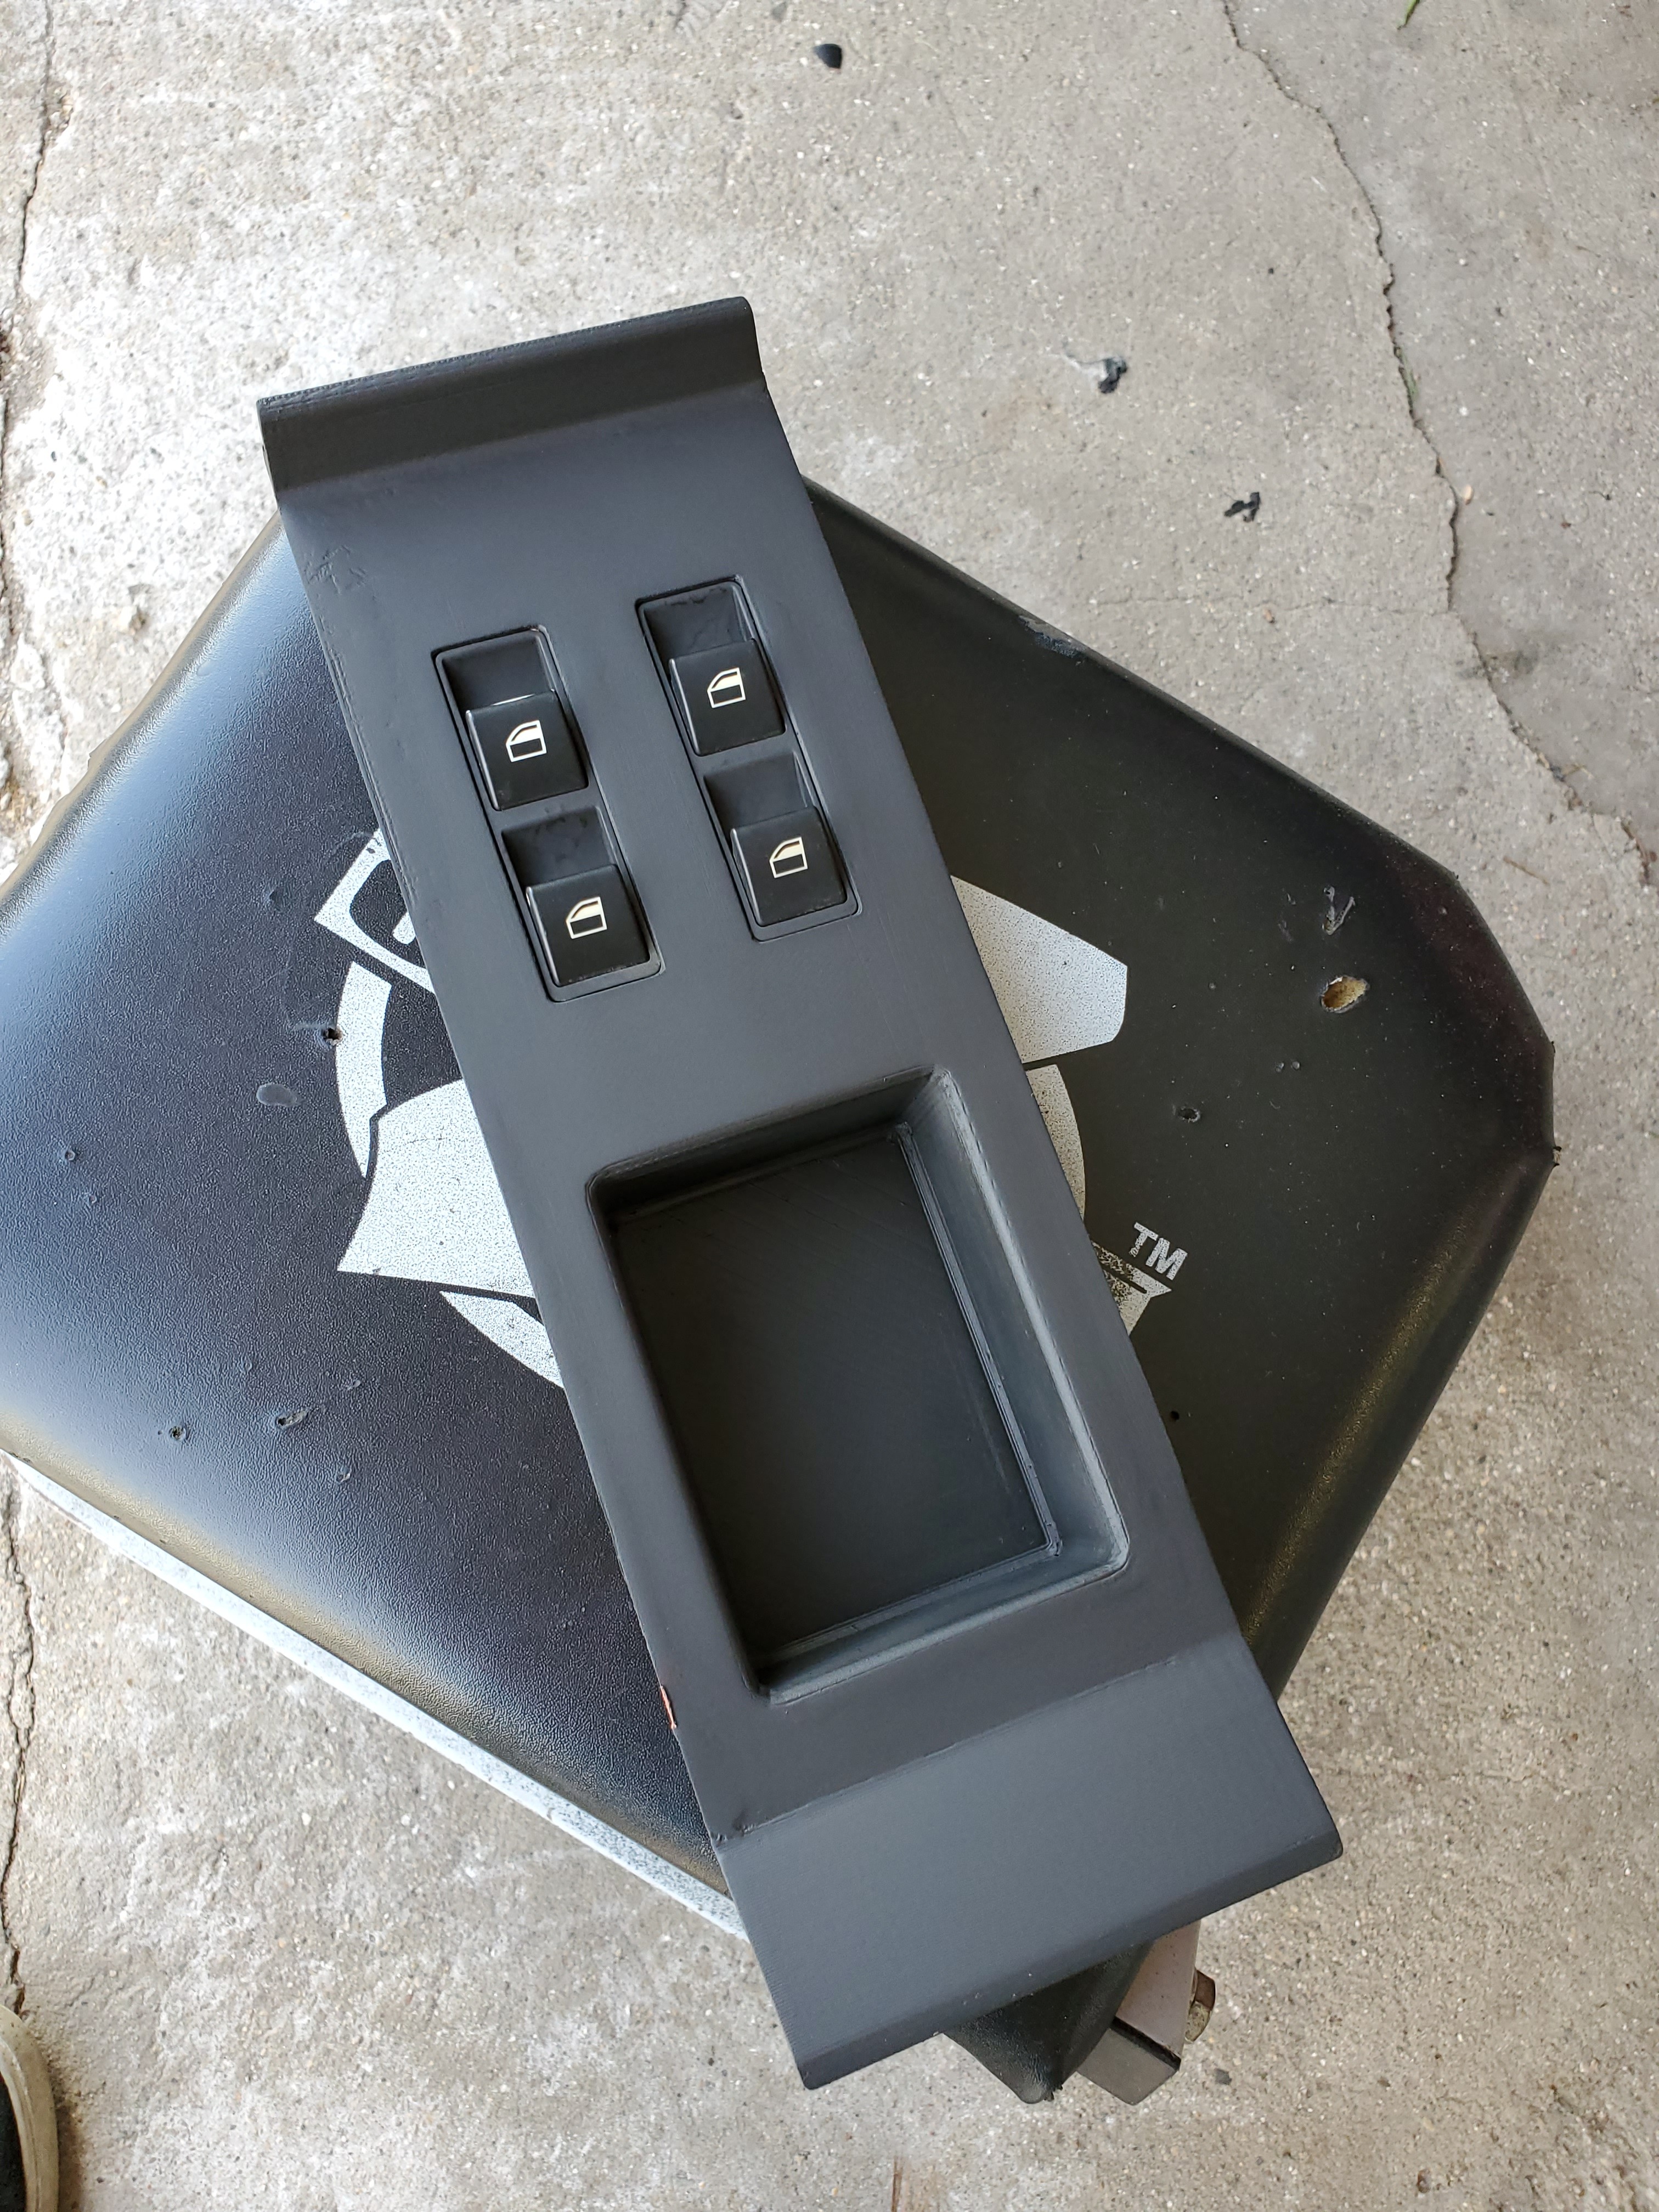
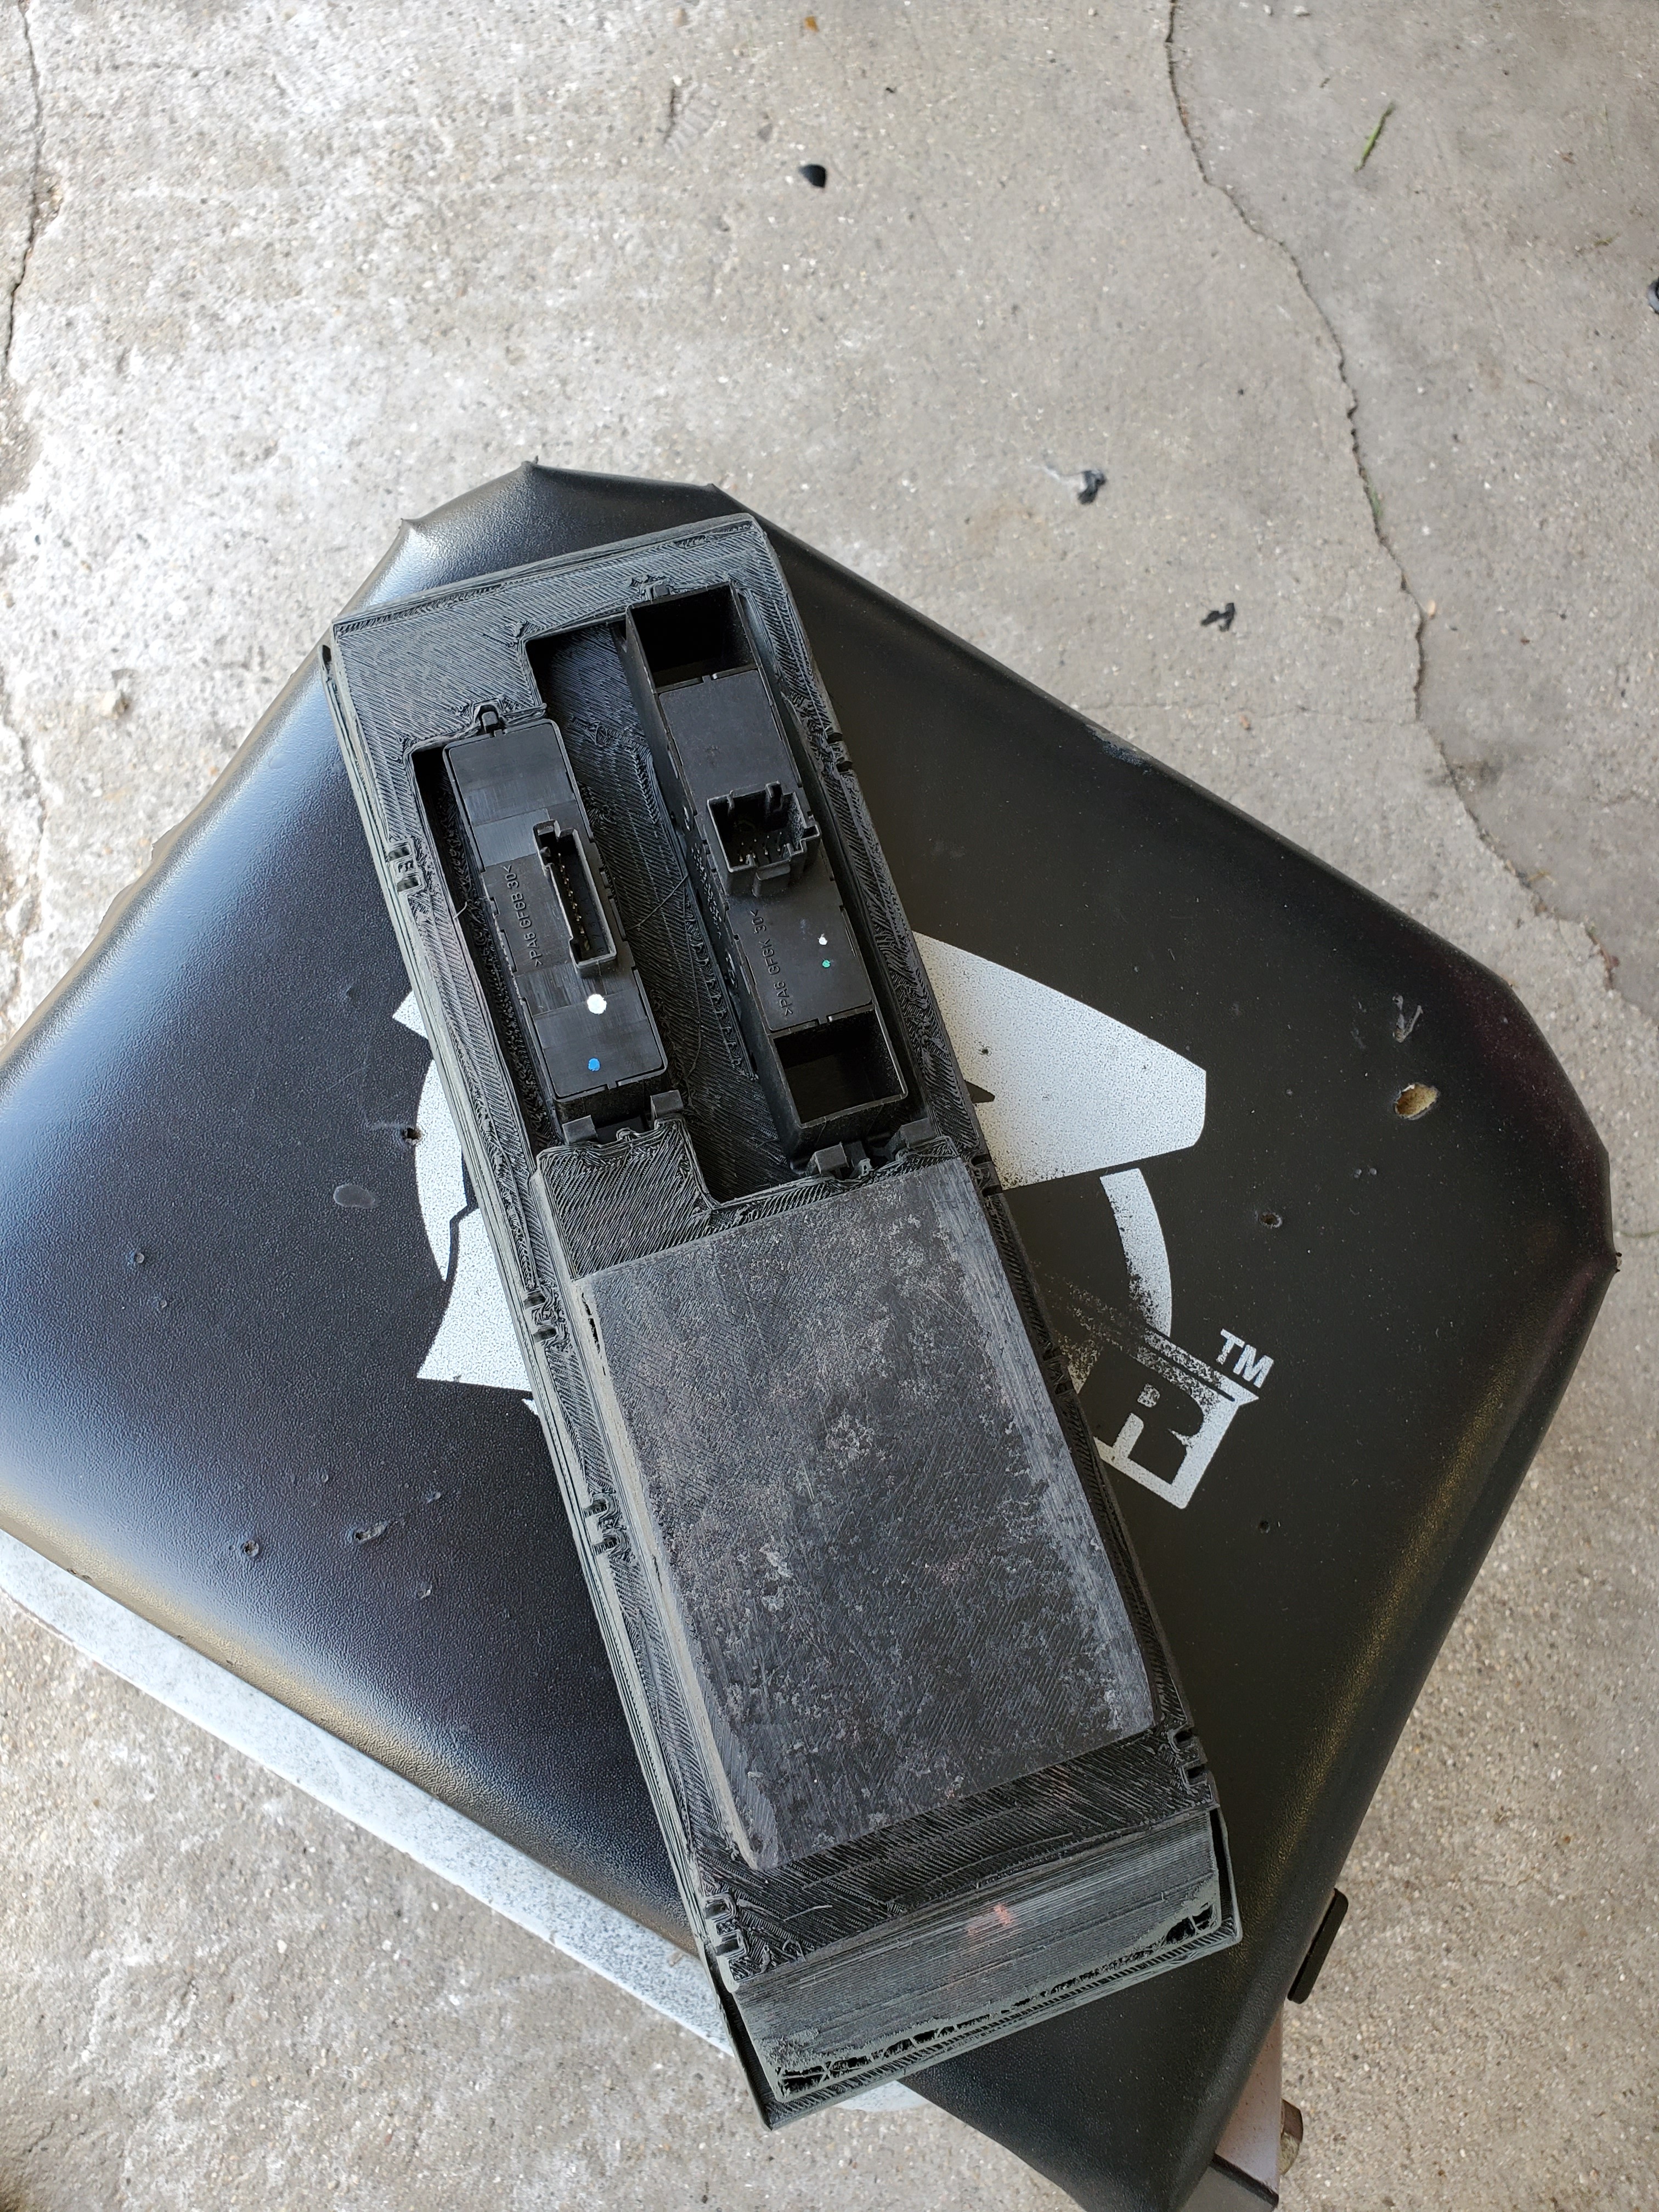
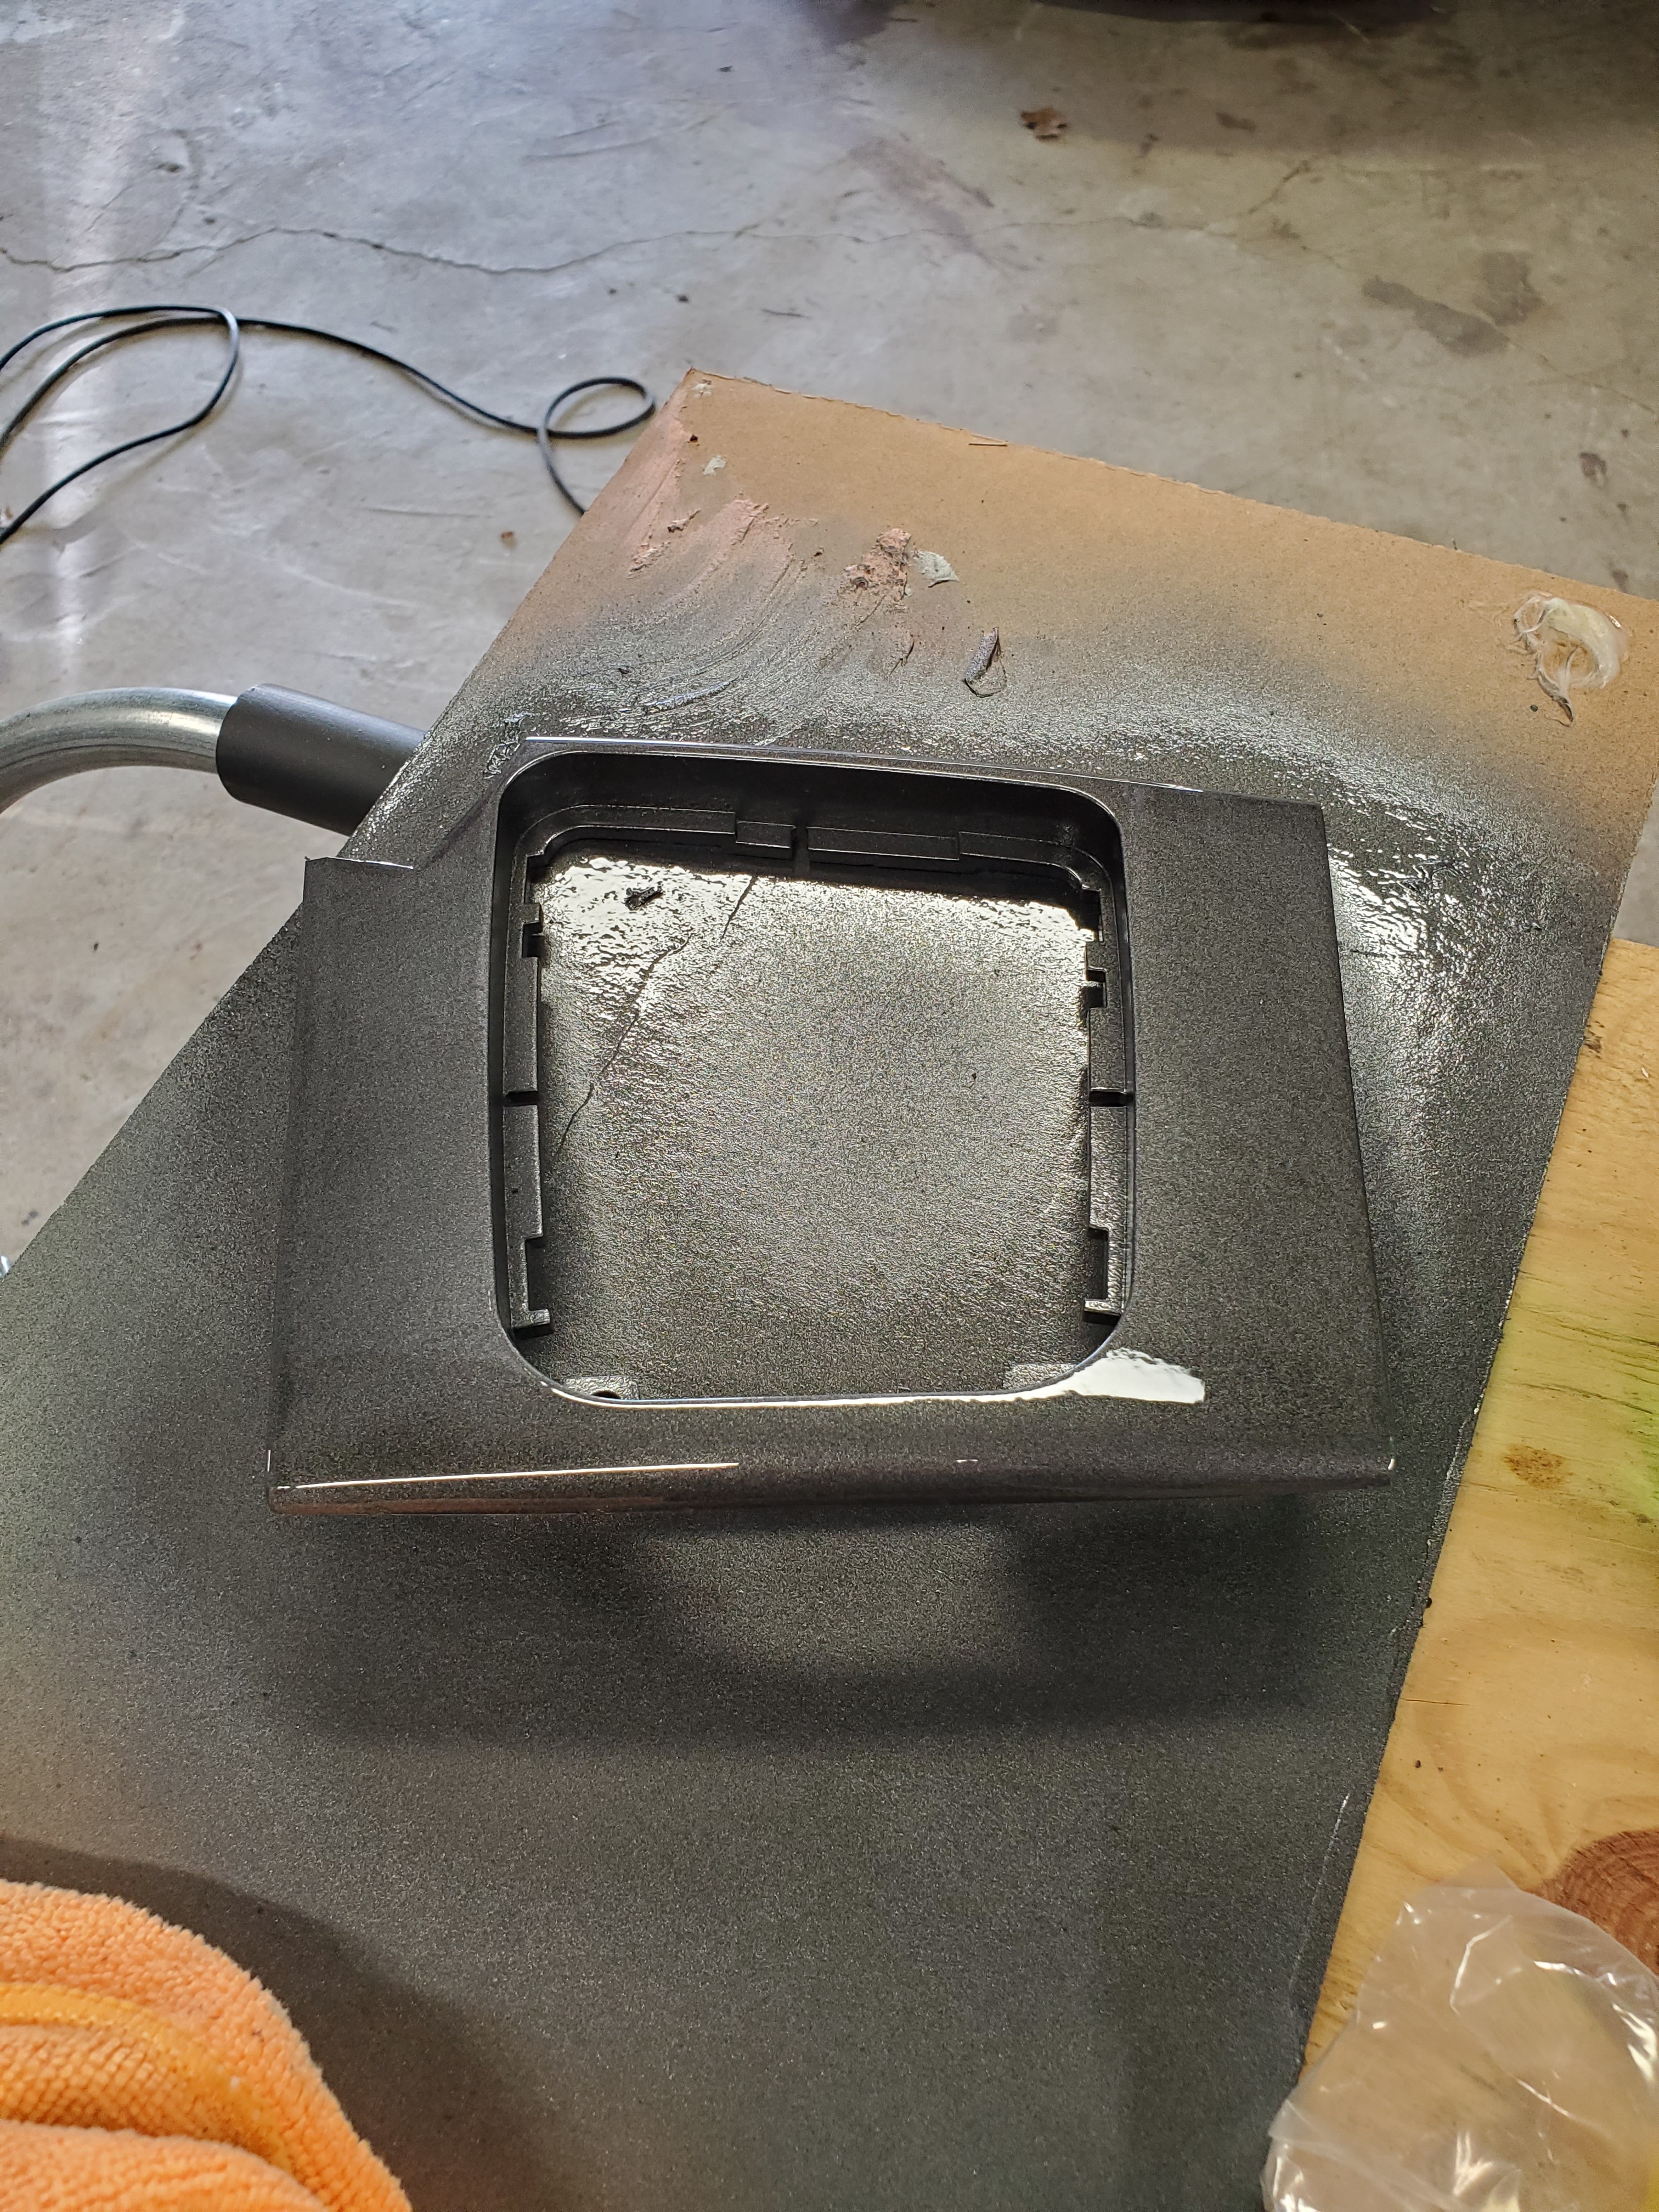
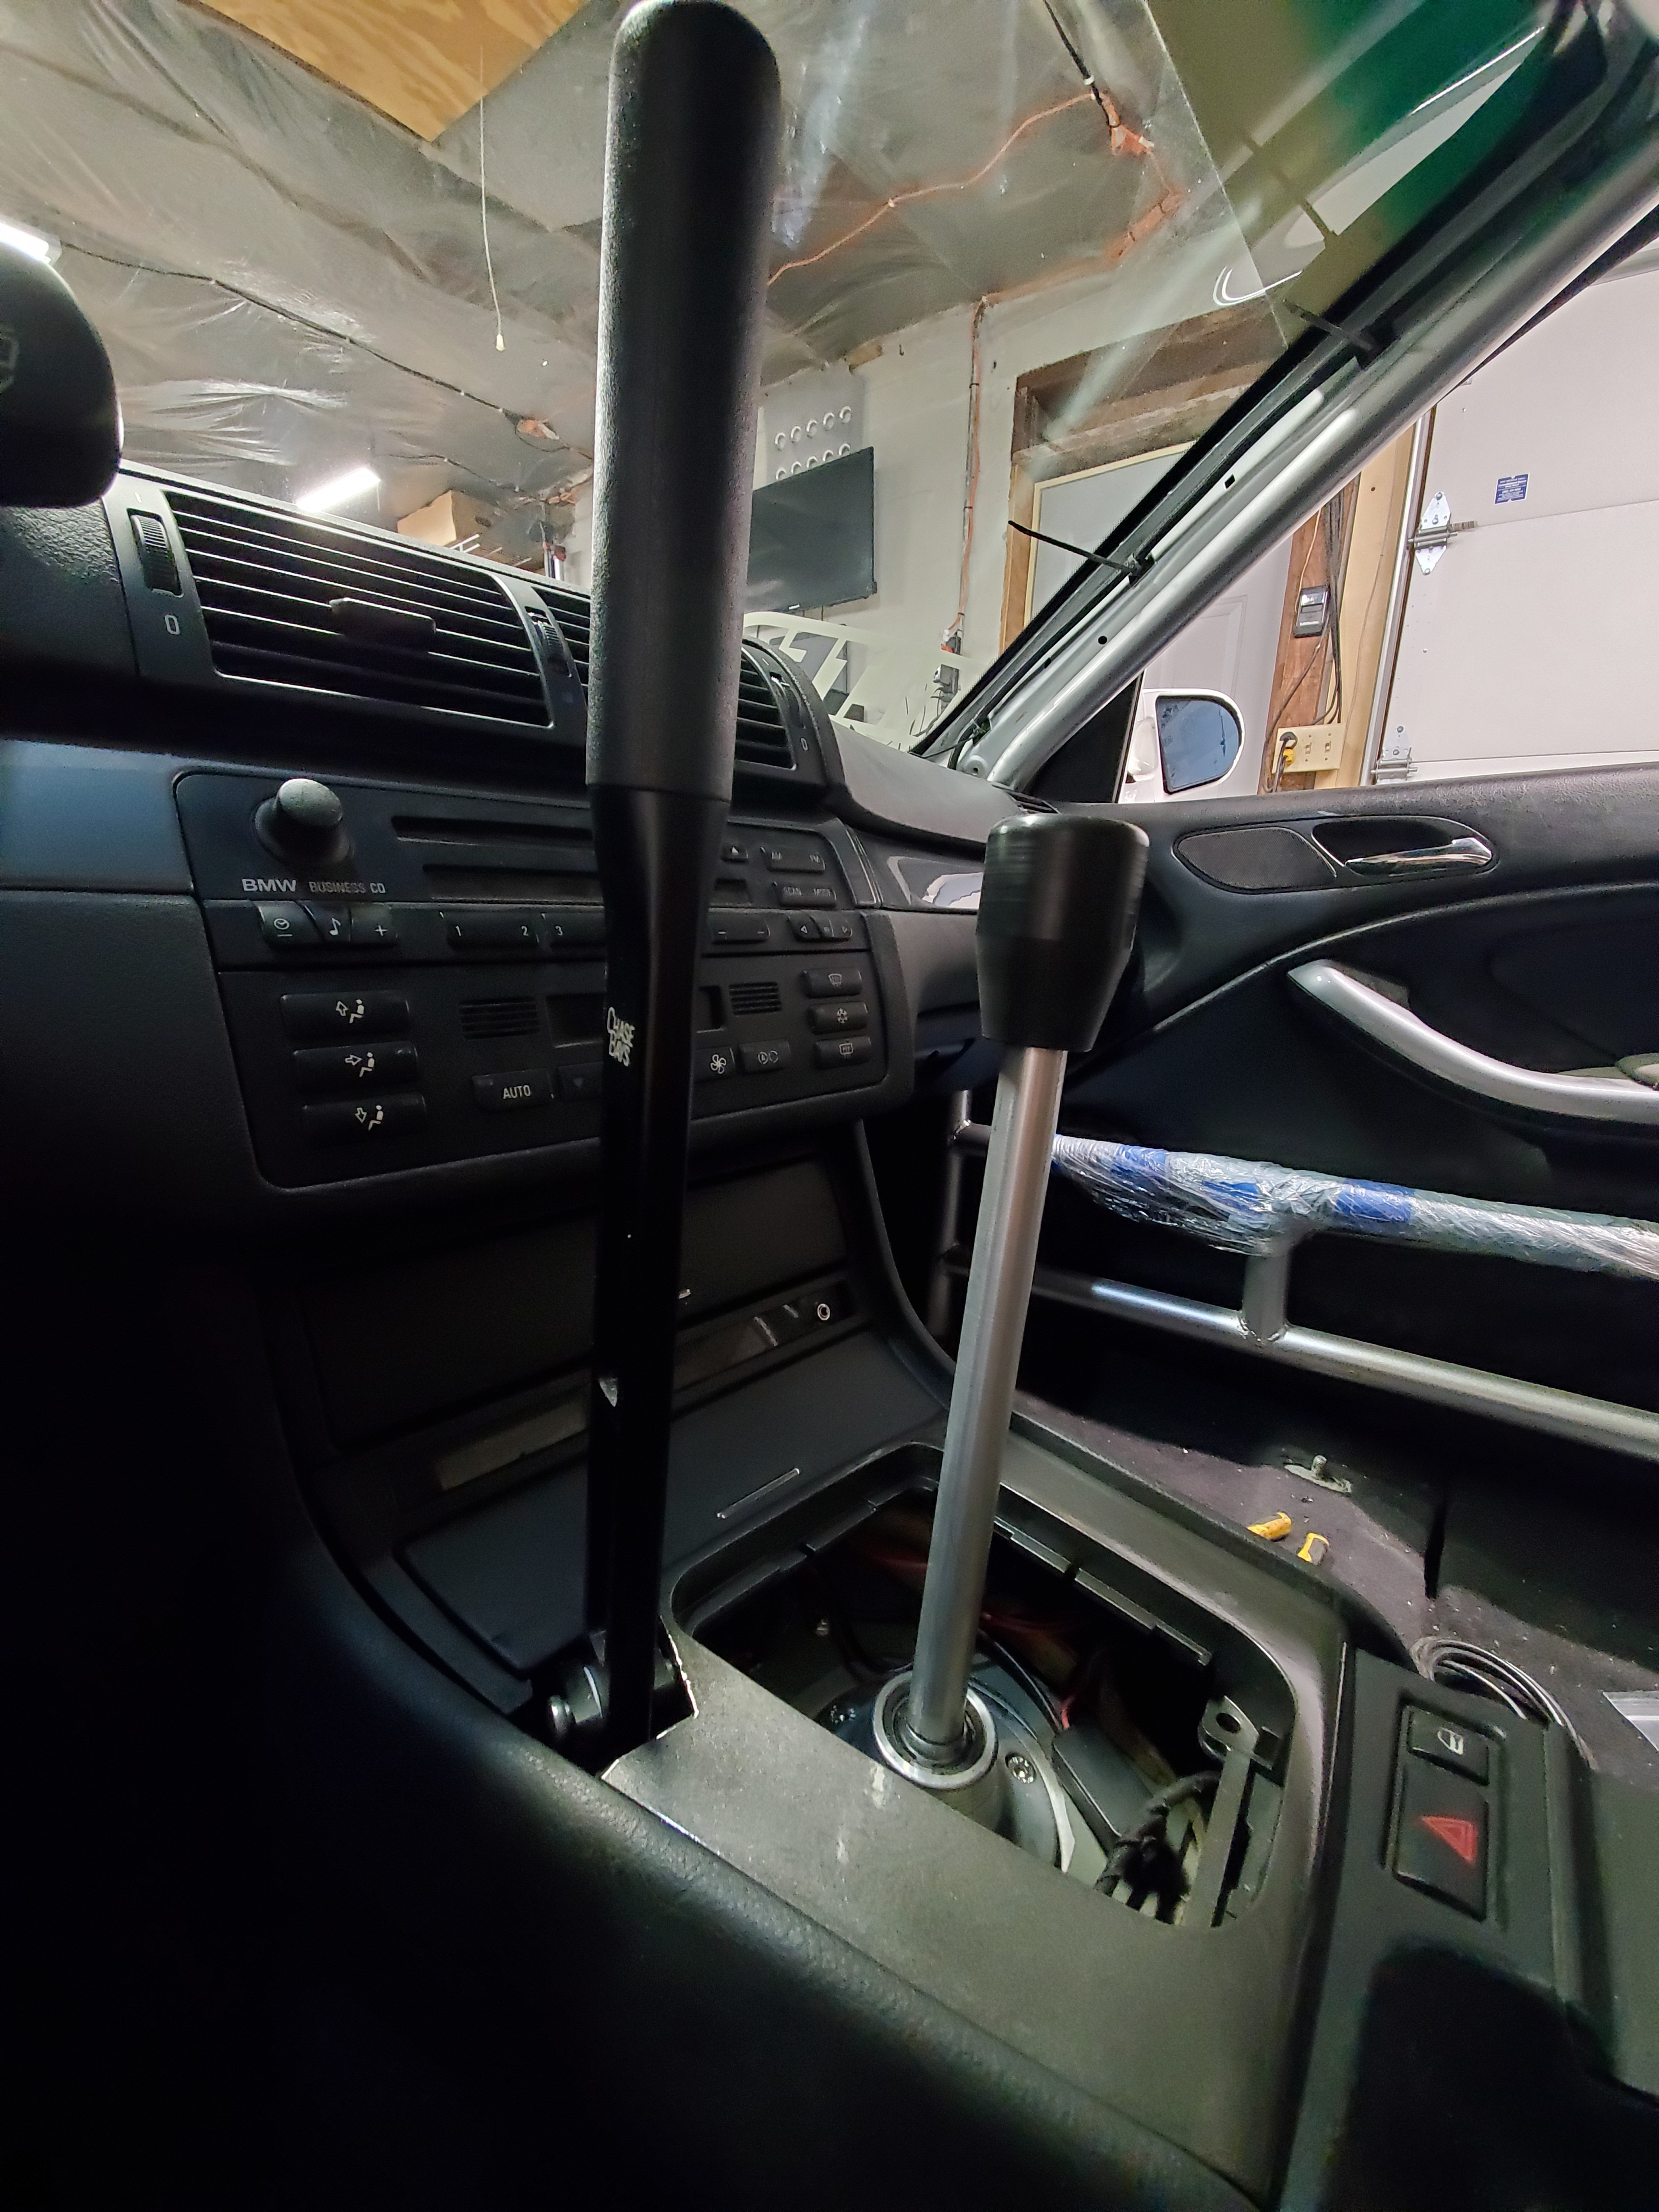
Sanded and painted the center console insert.
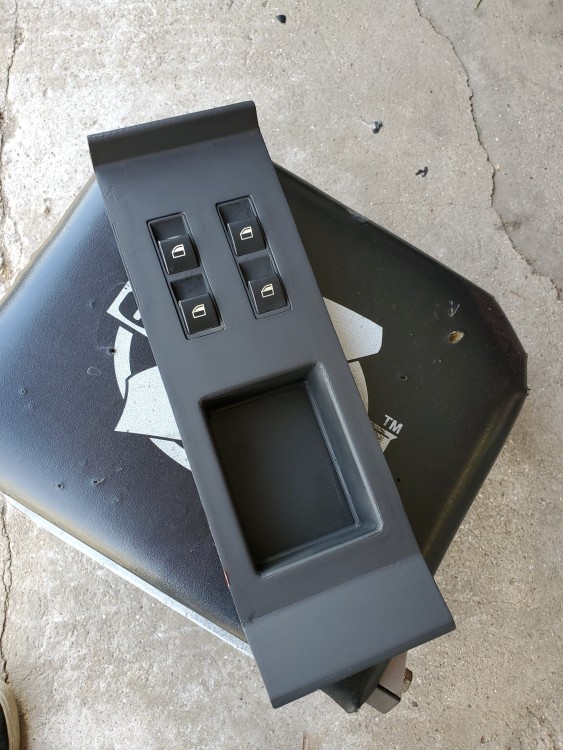
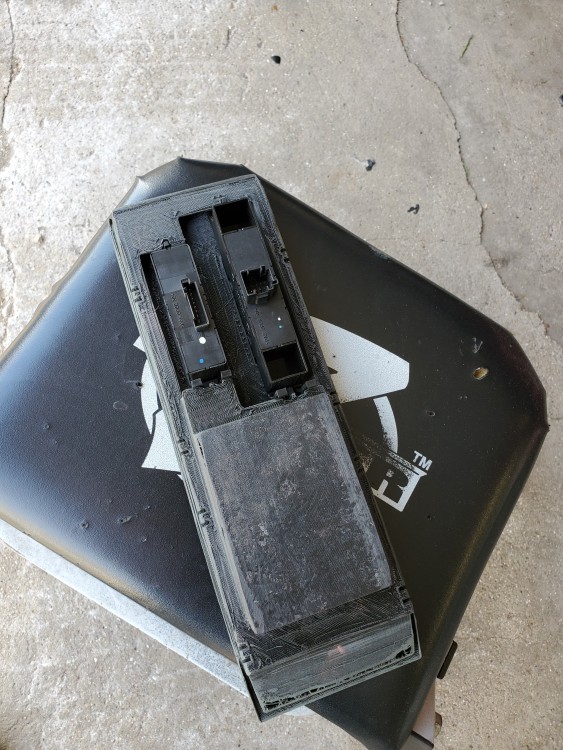
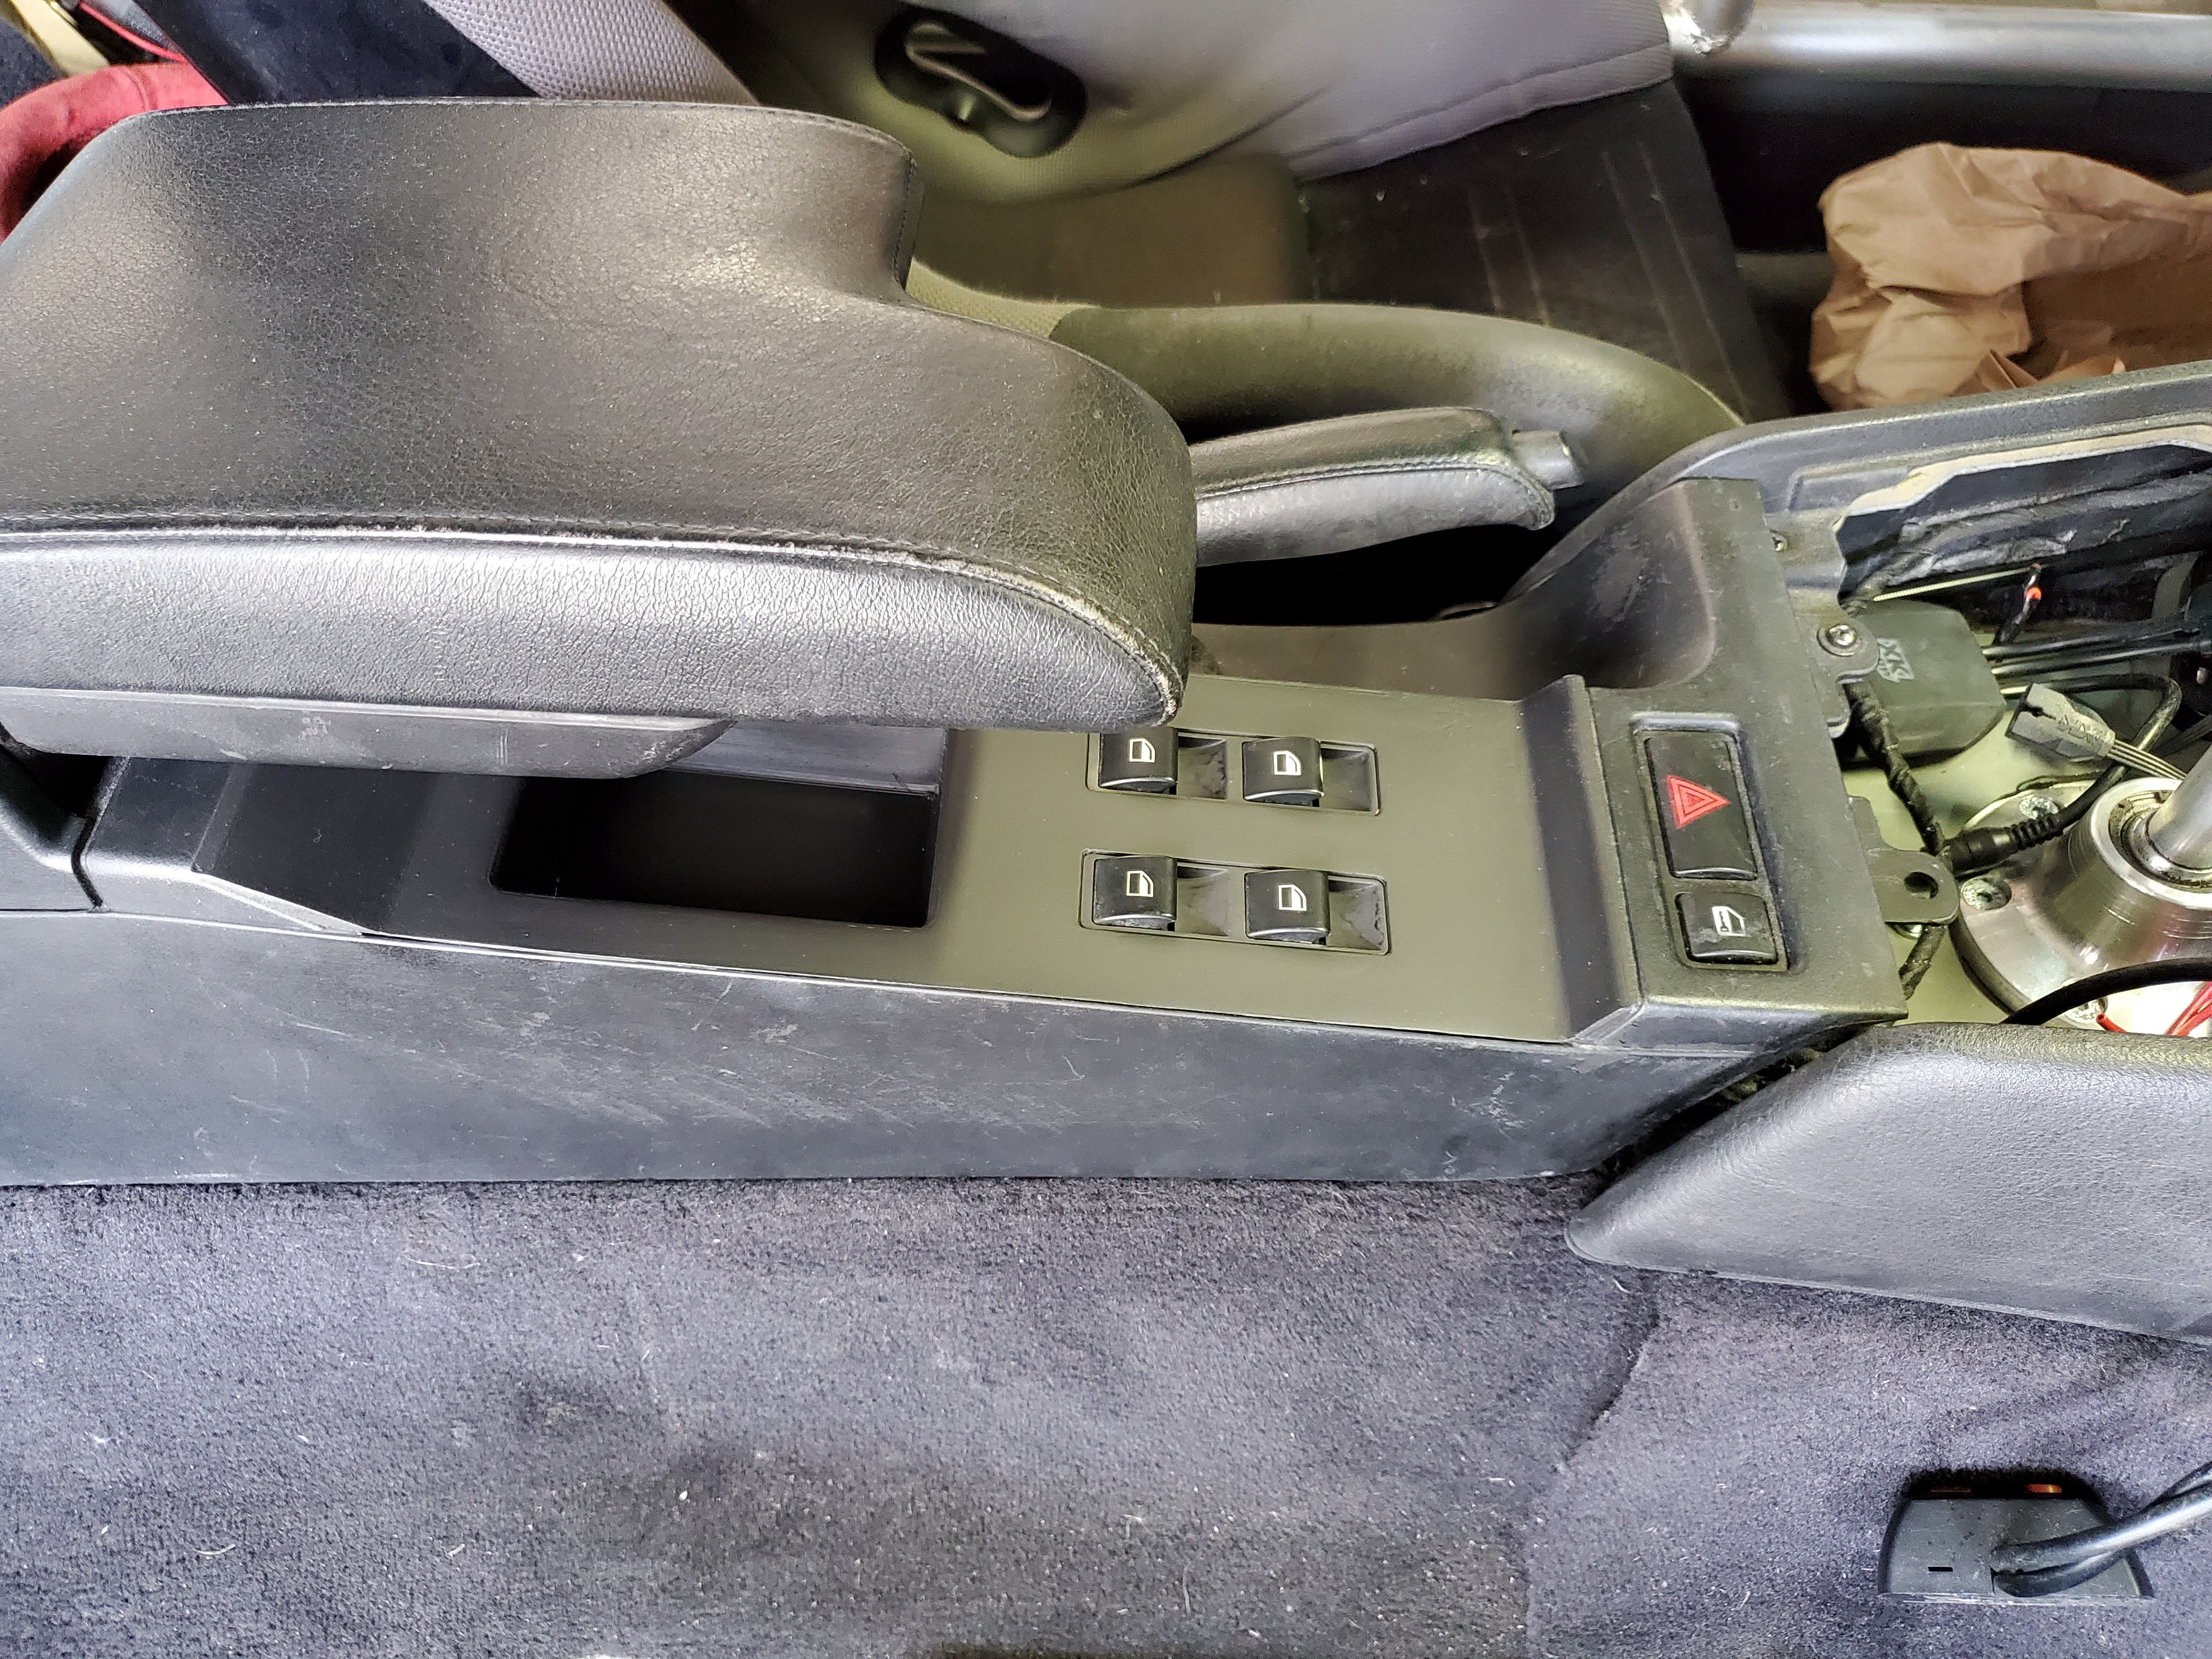
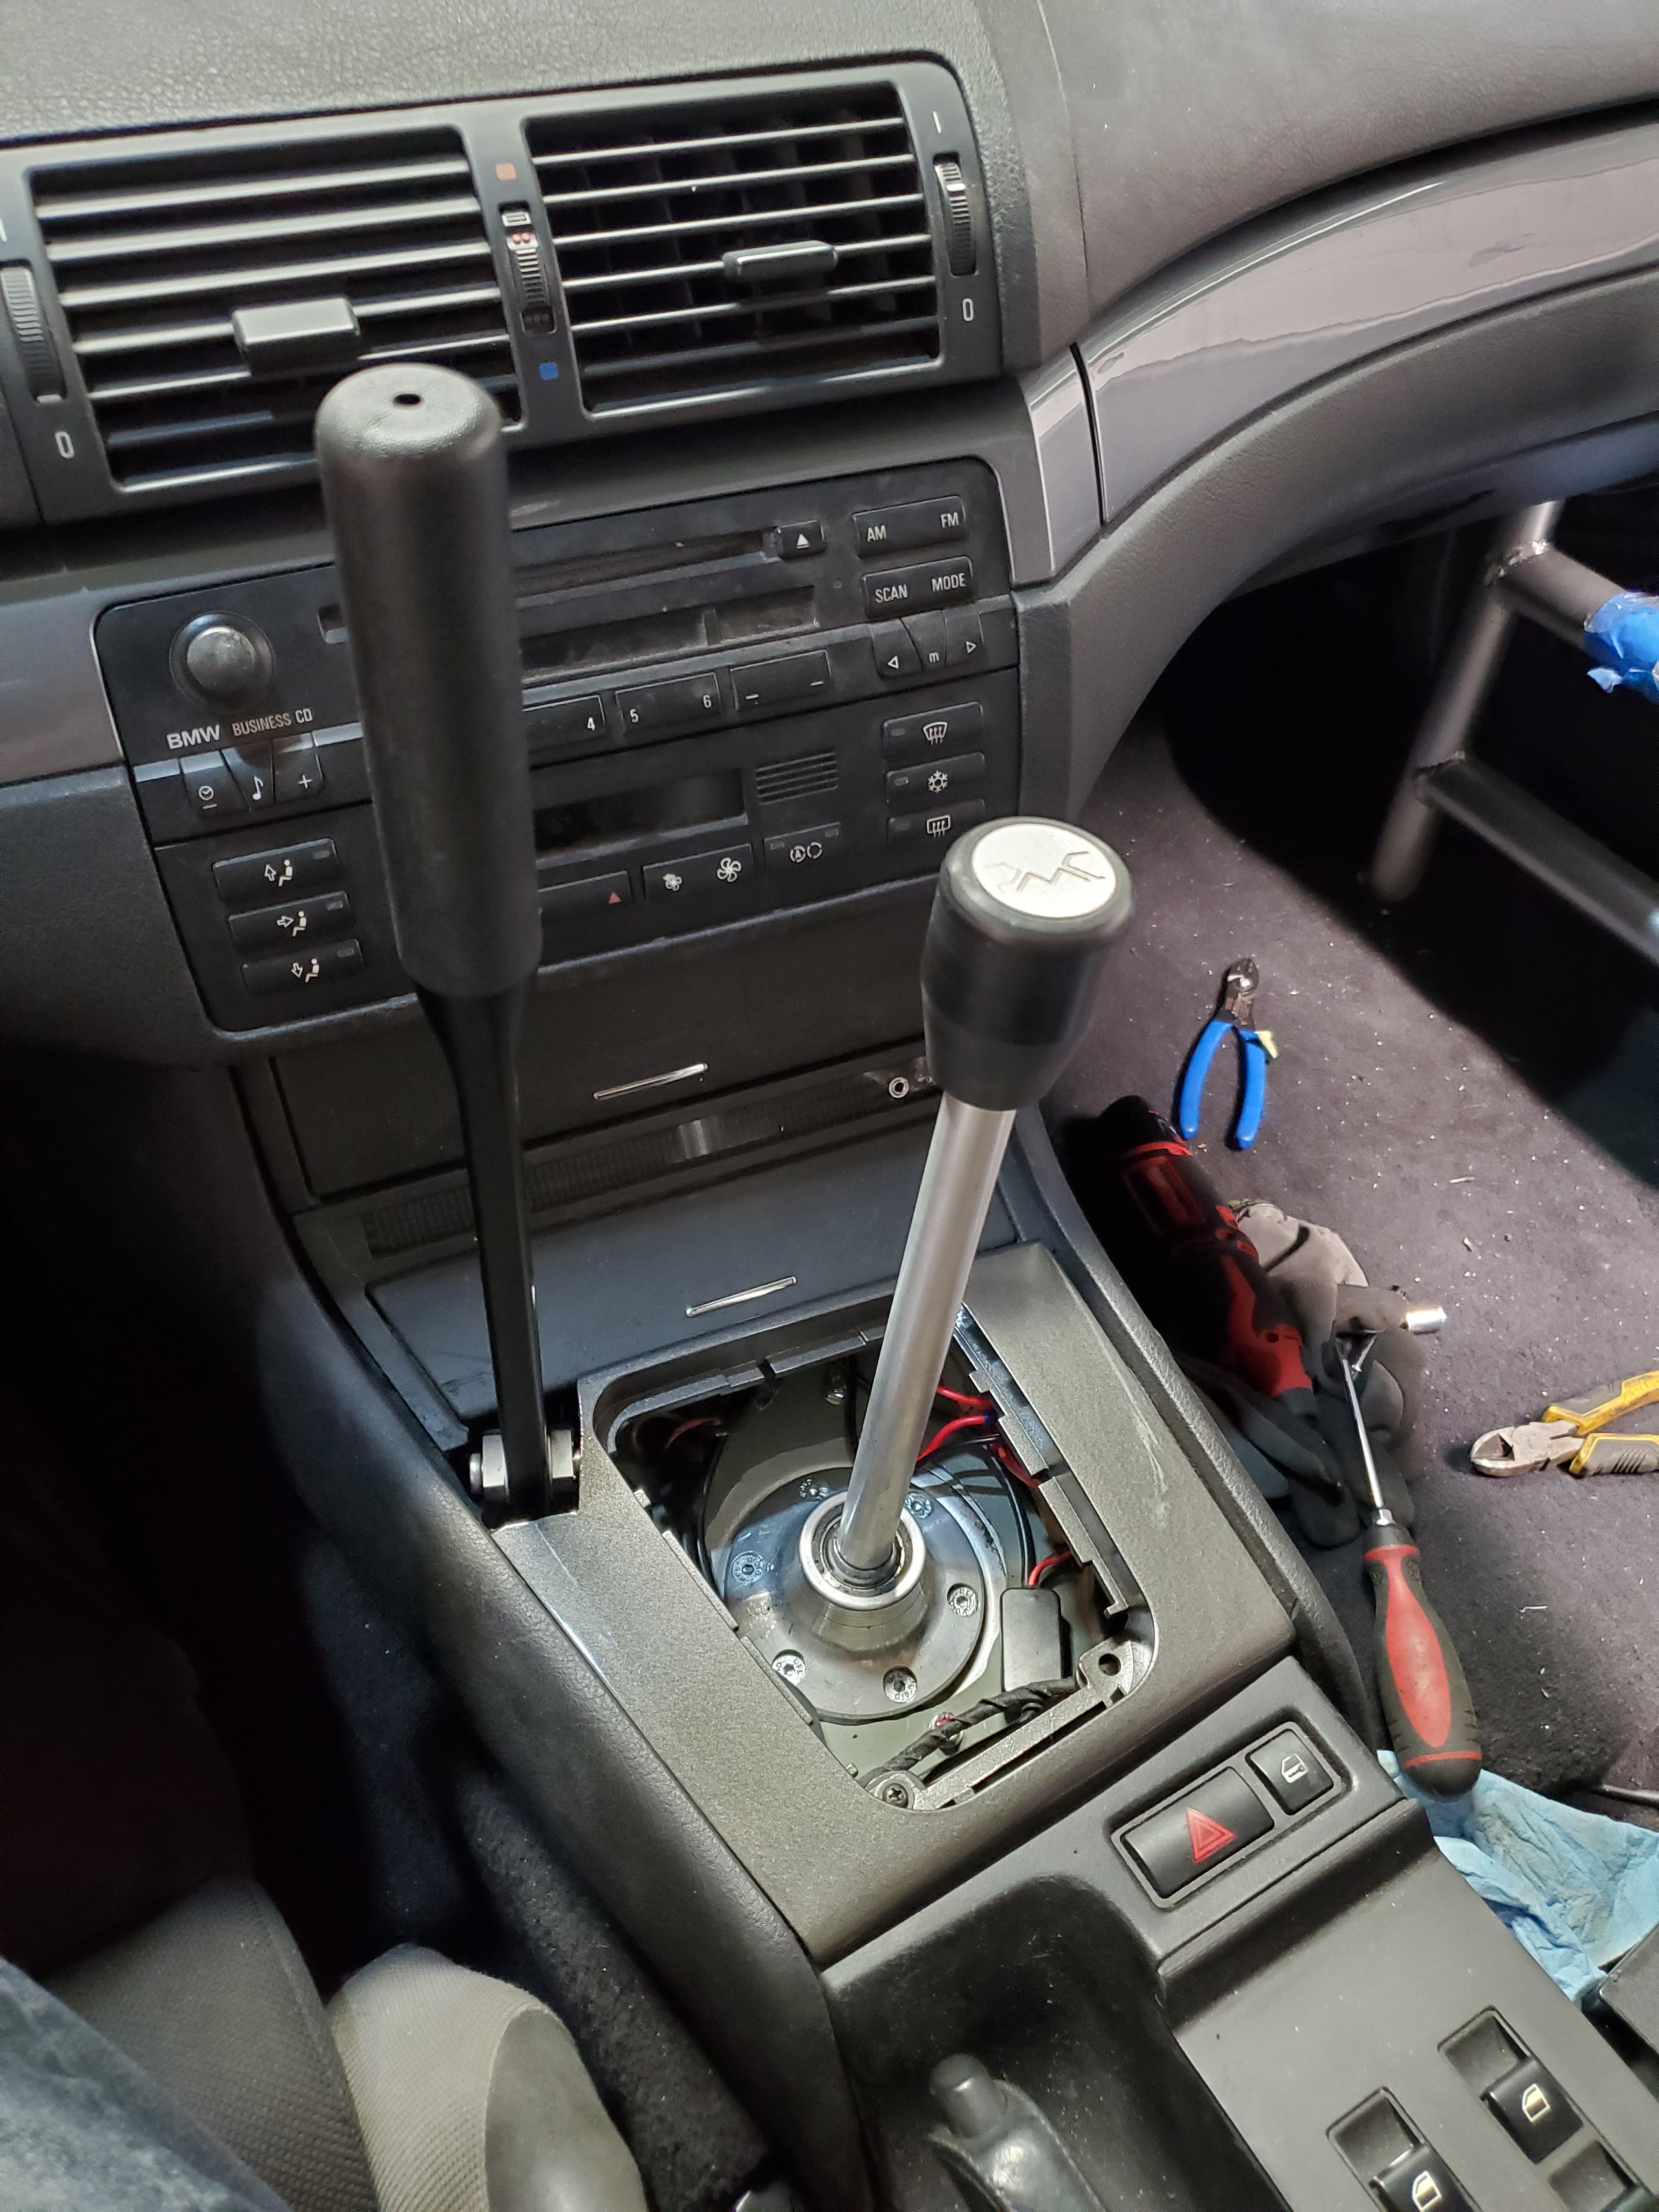
And after i taped up the wiring i installed the piece to the console.
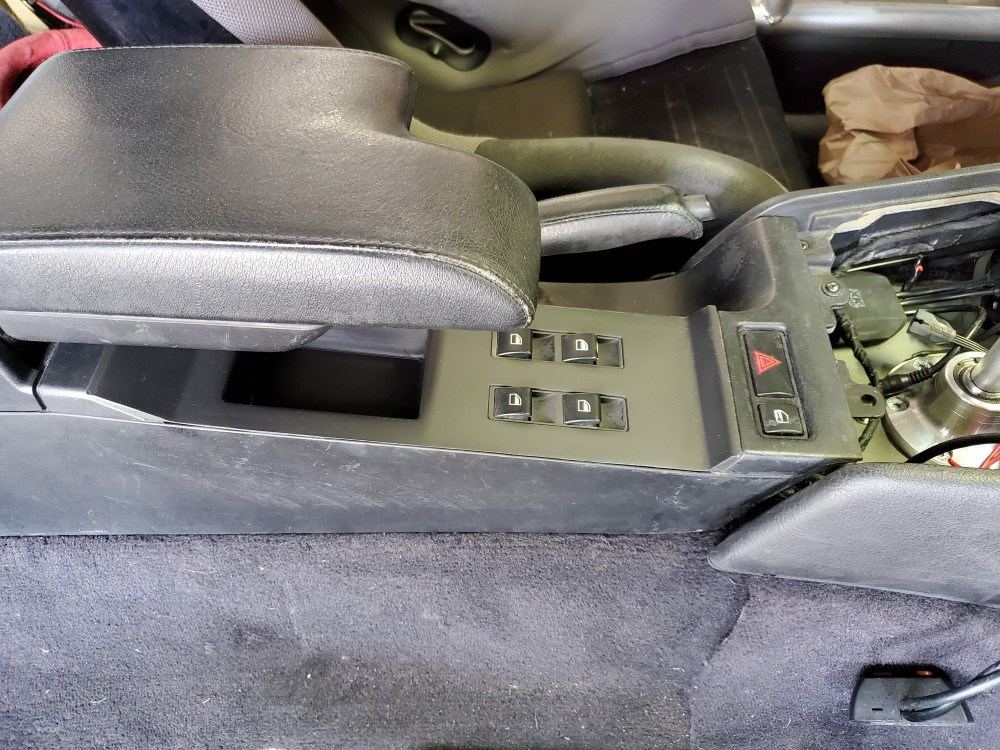
I decided to not make flat ABS door panels for the rear and instead cut up and fit the factory ones.
 And it worked pretty well!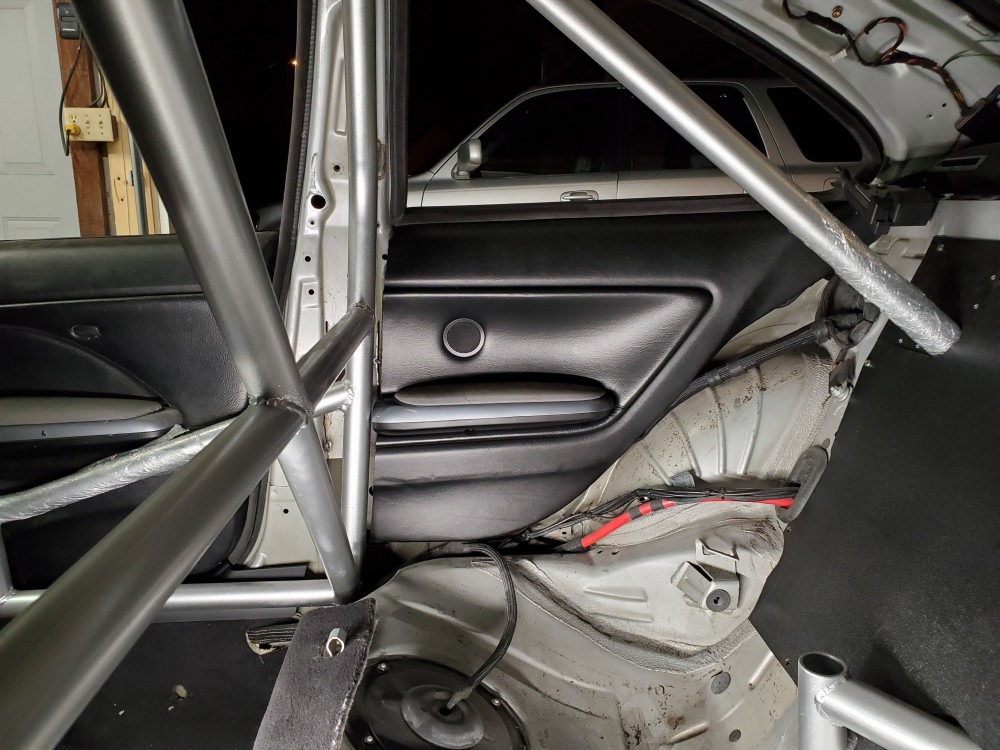
Even got the front sections to clip in on both sides!
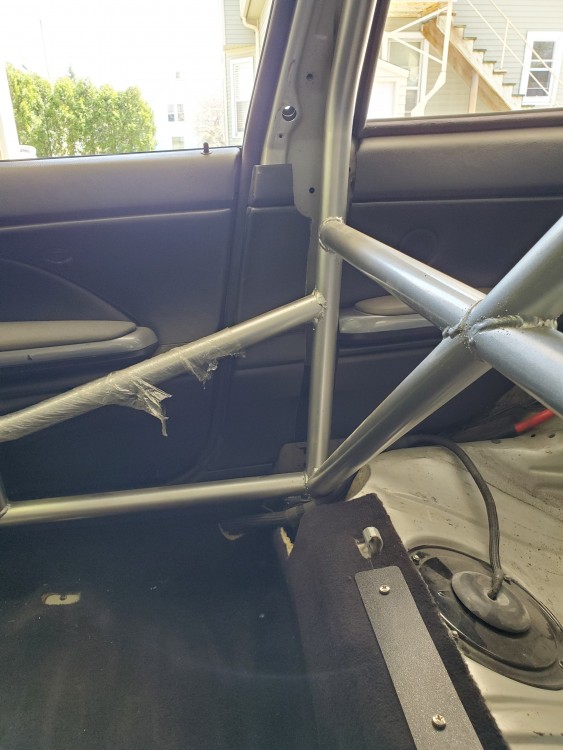
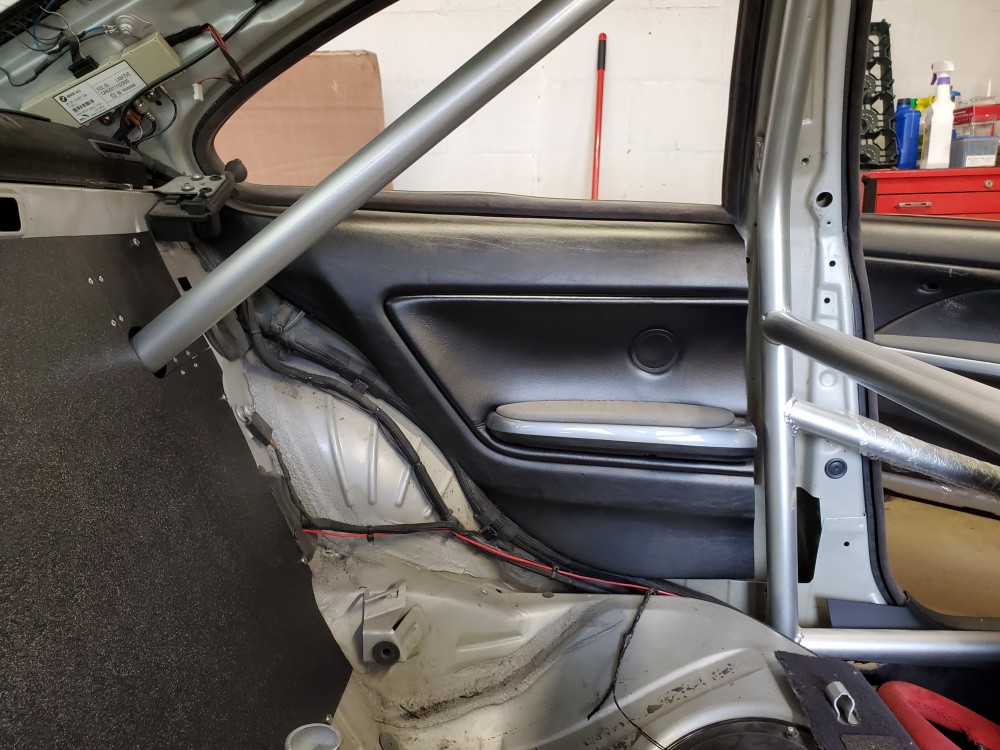
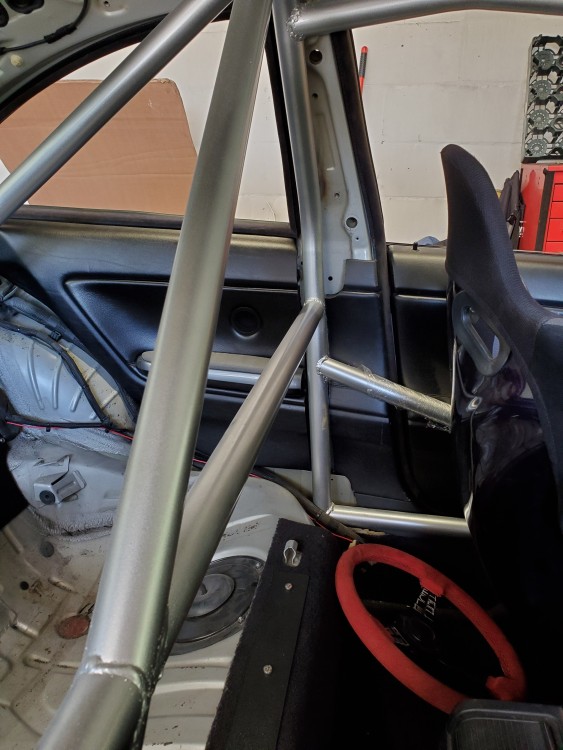
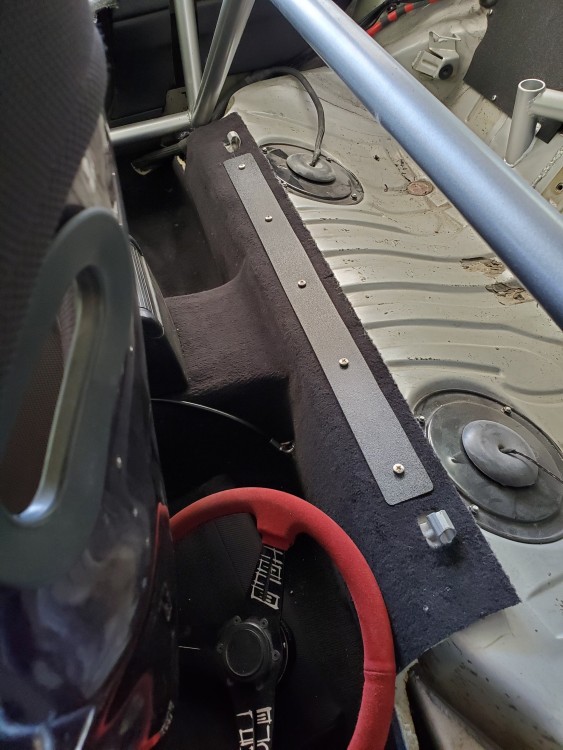
And made, installed nutserts and installed the trim I made to hold down the carpet in the rear.
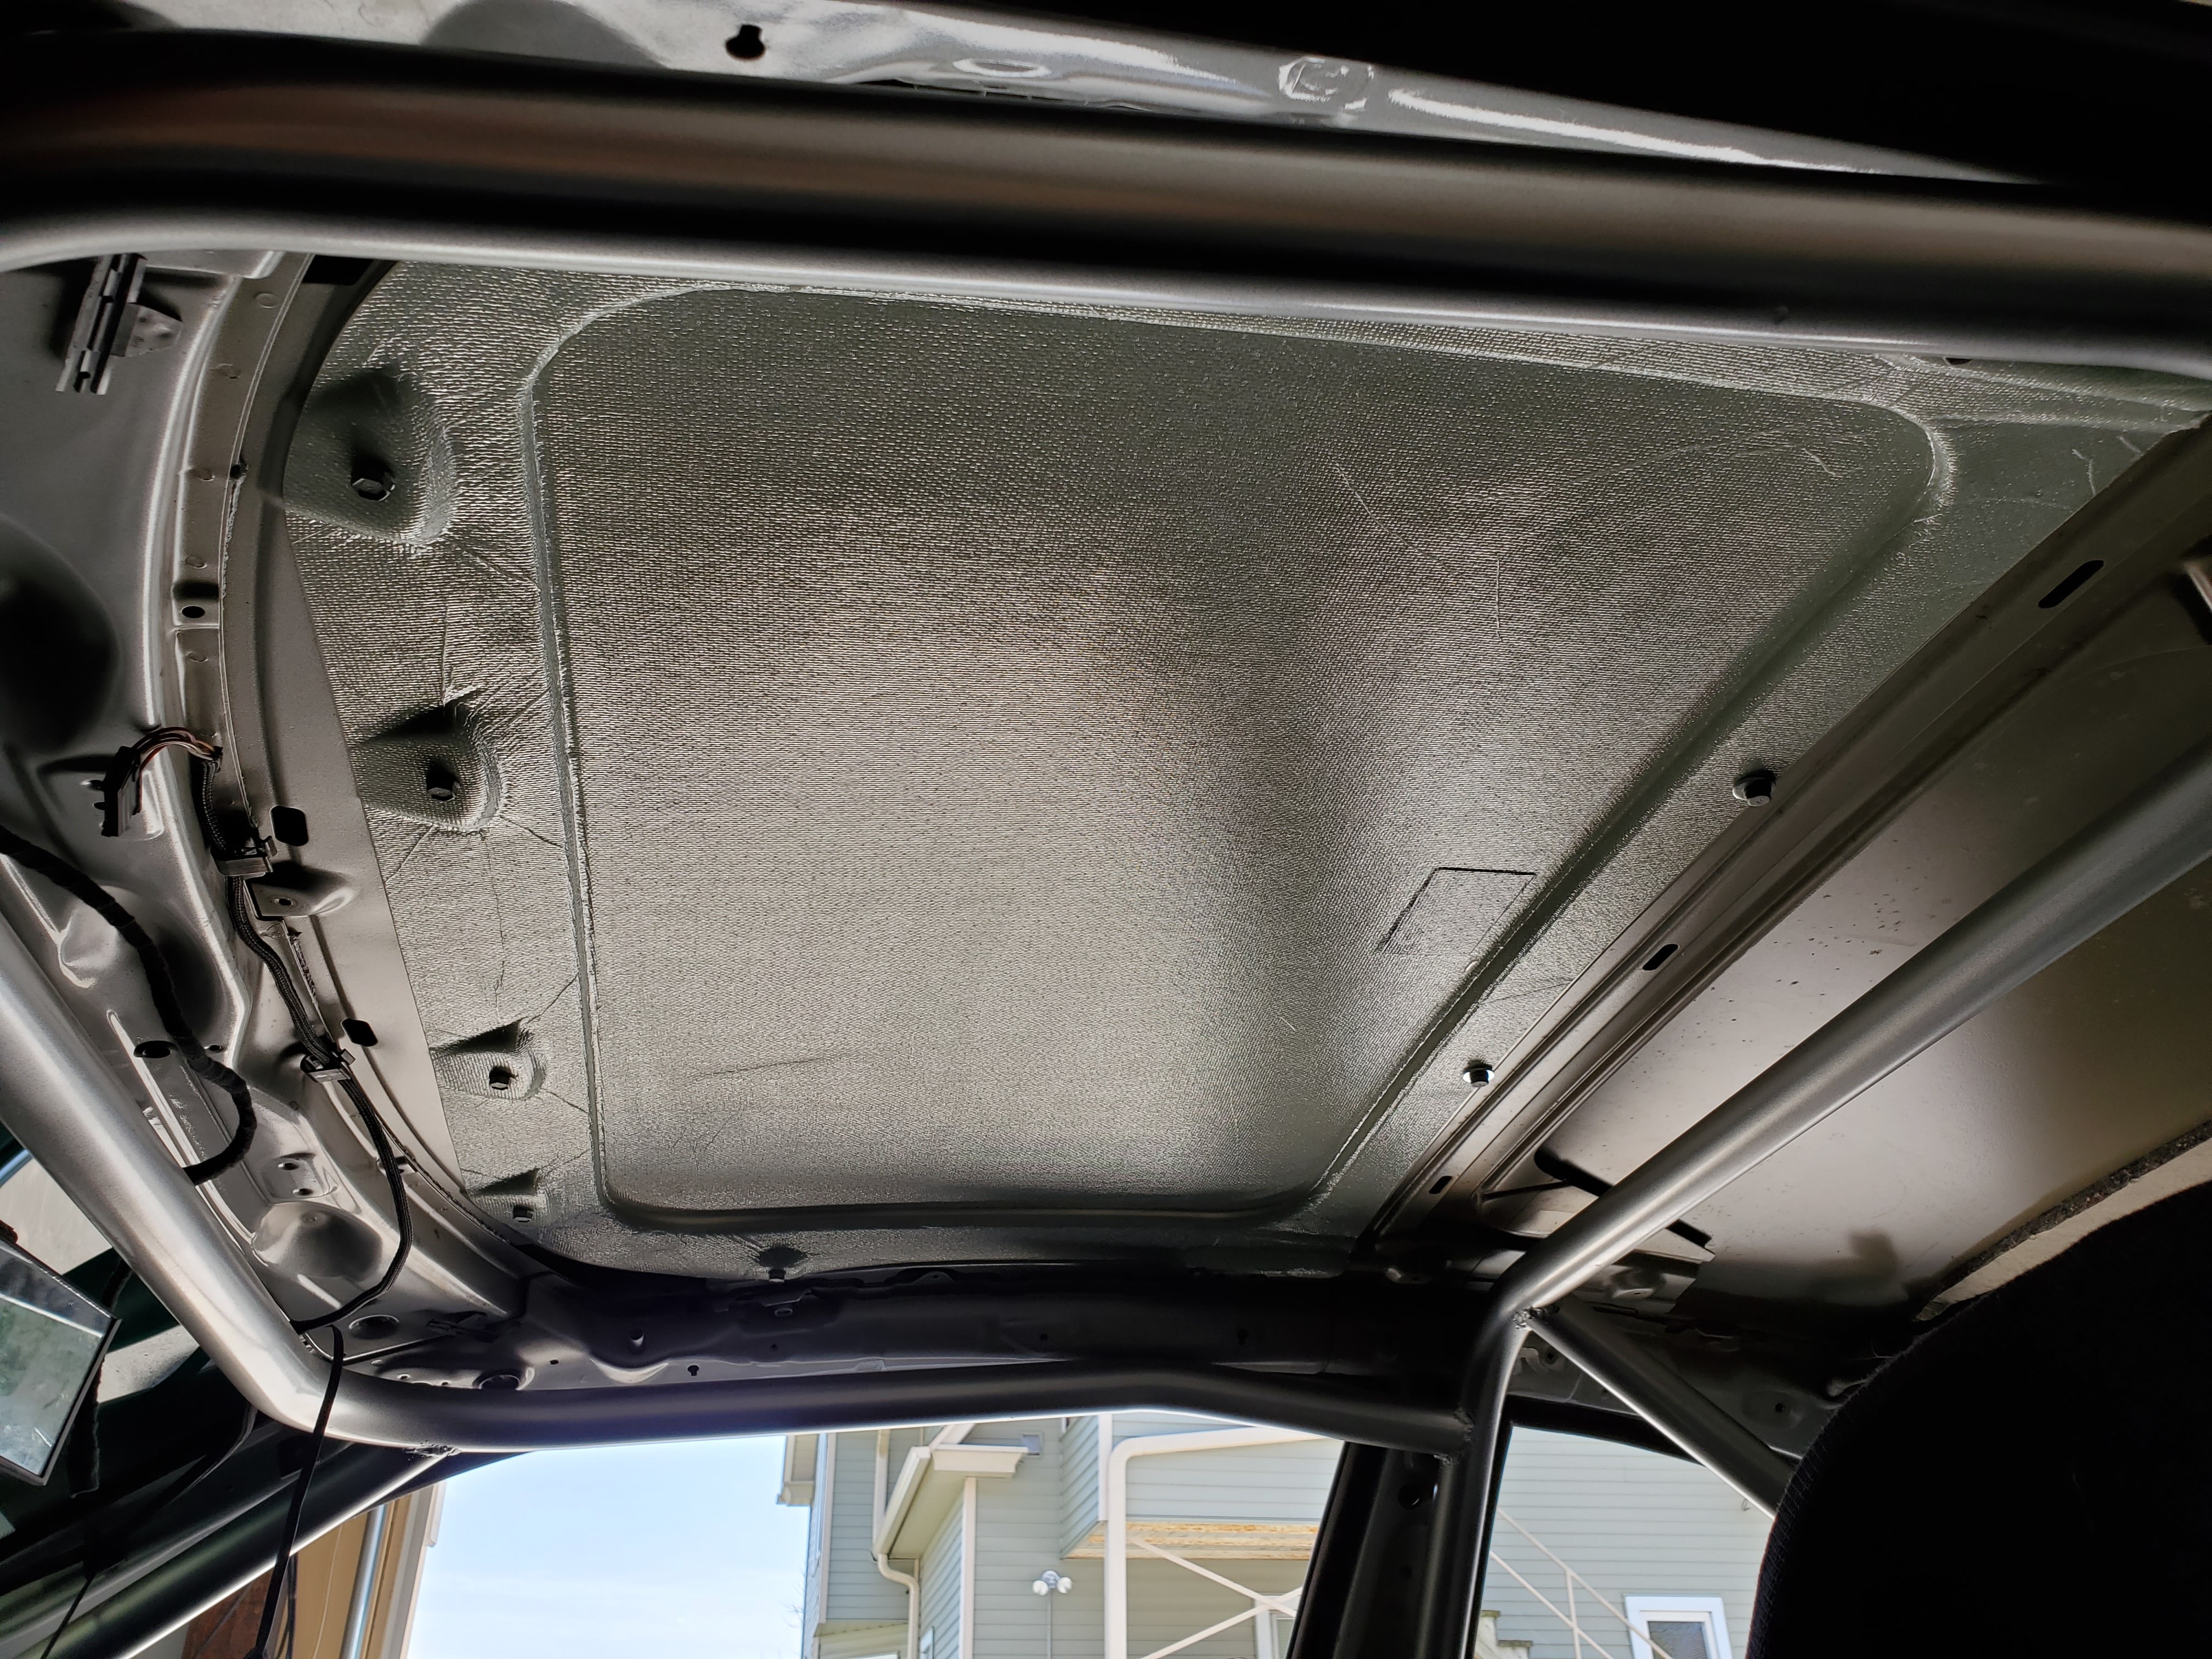
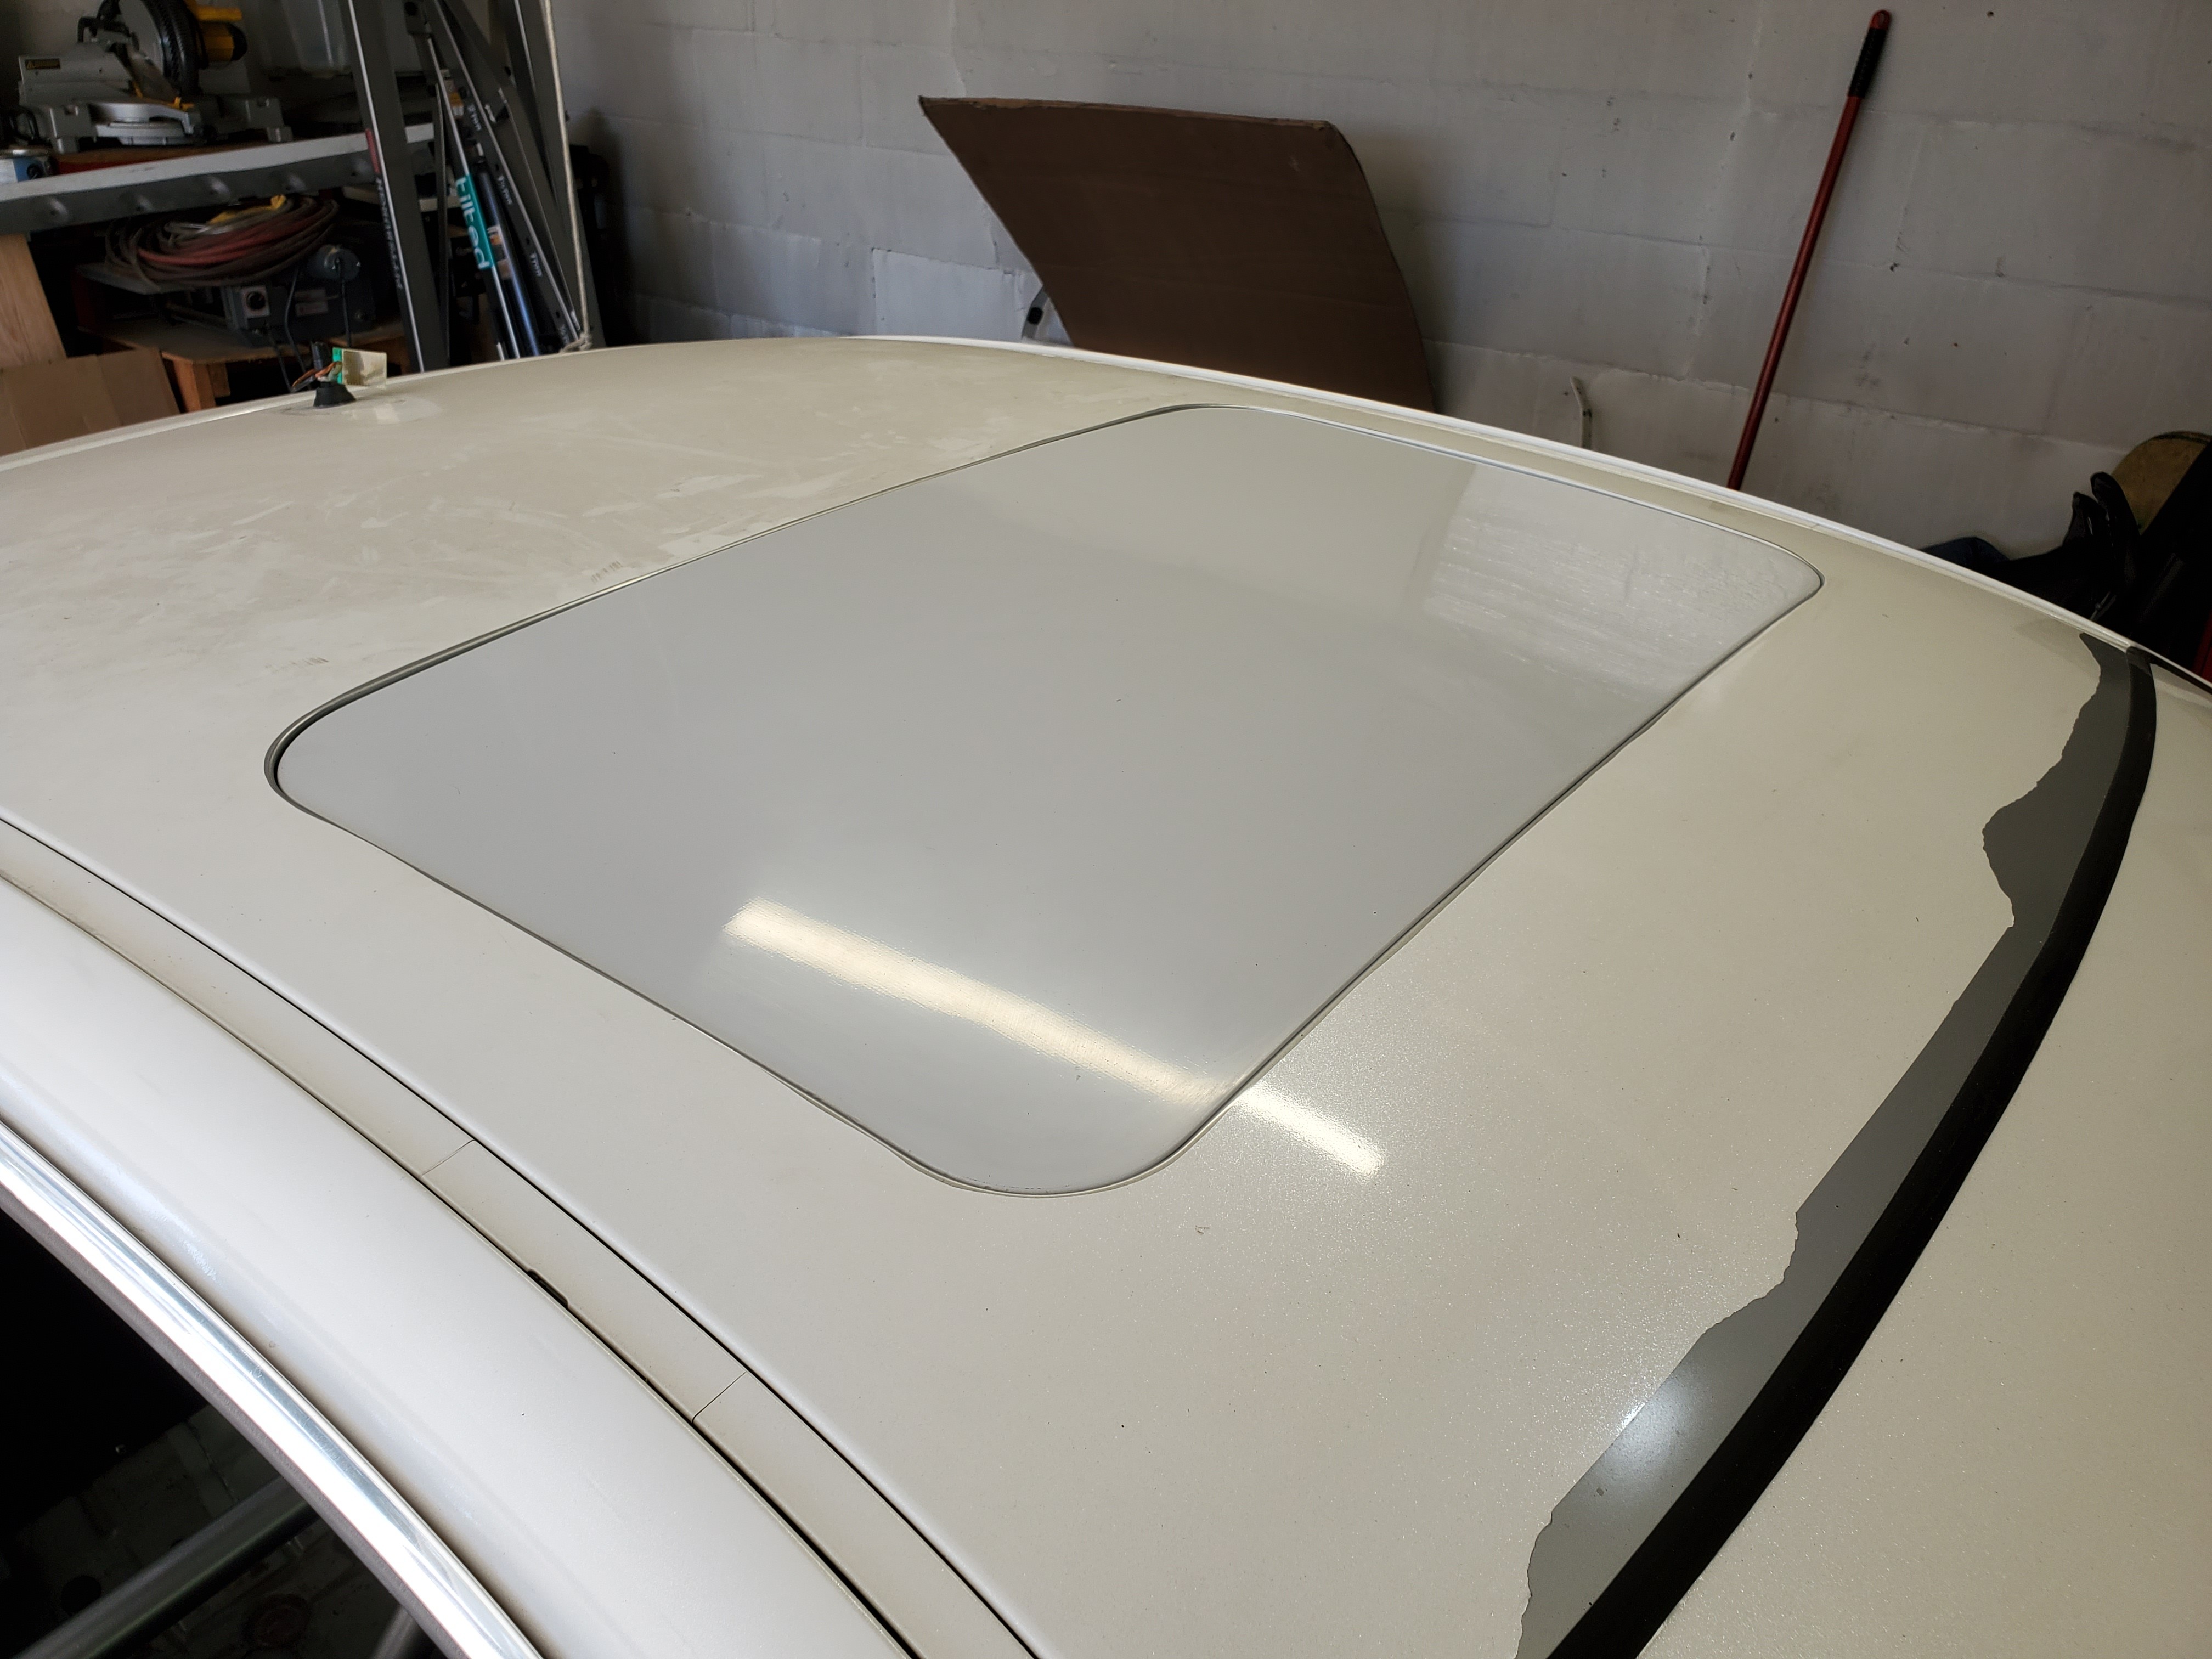
Installed the sunroof delete, pretty happy with the way it fits.
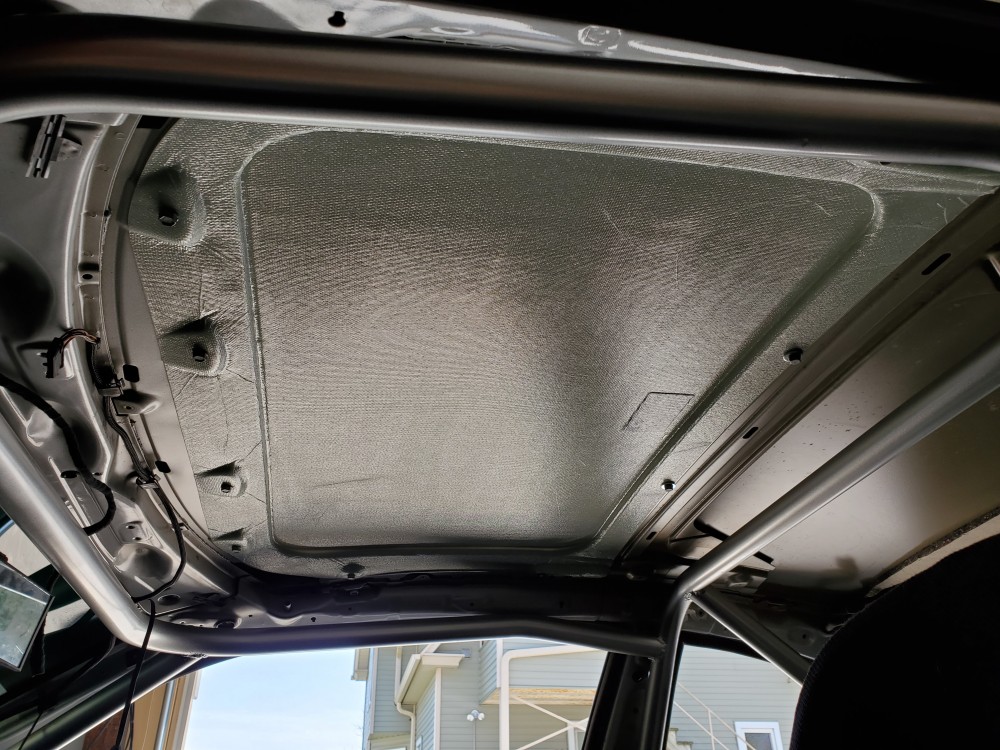
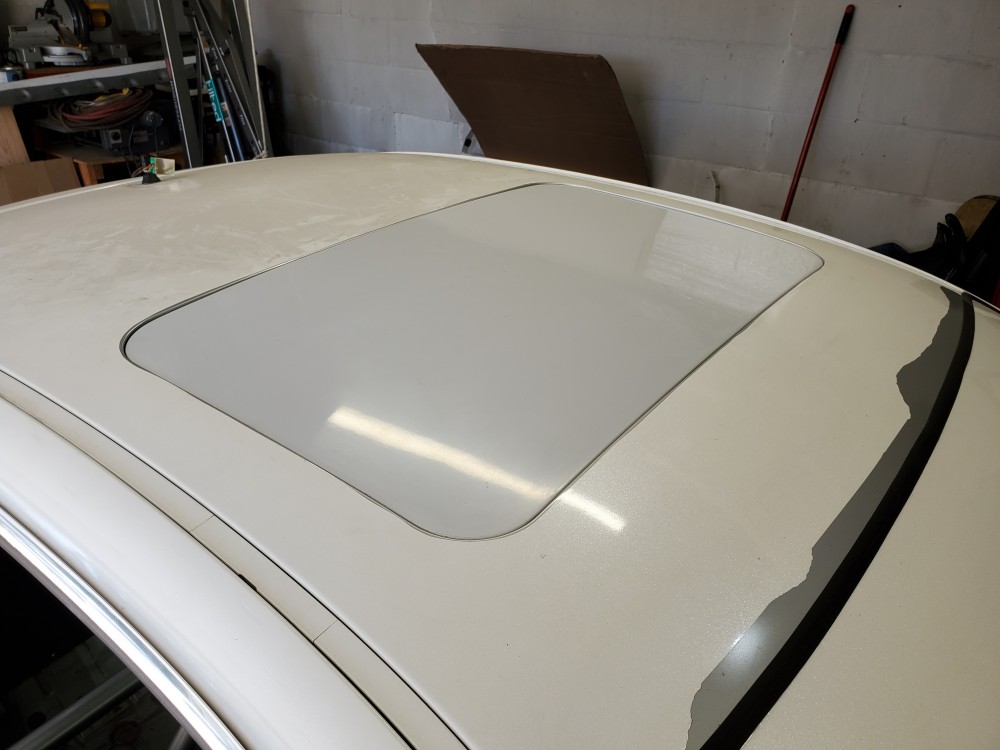
I timmed away the wrap so I can peel it off later without pulling the sunroof back out so it looks like there's big gaps.
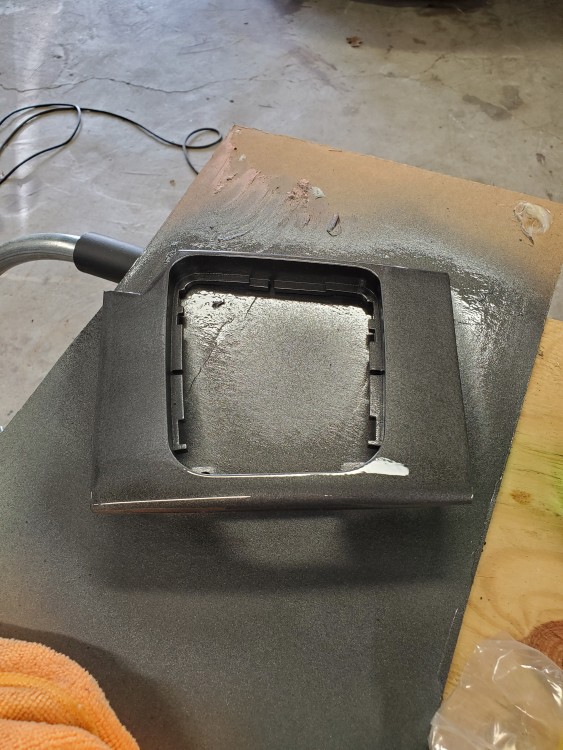
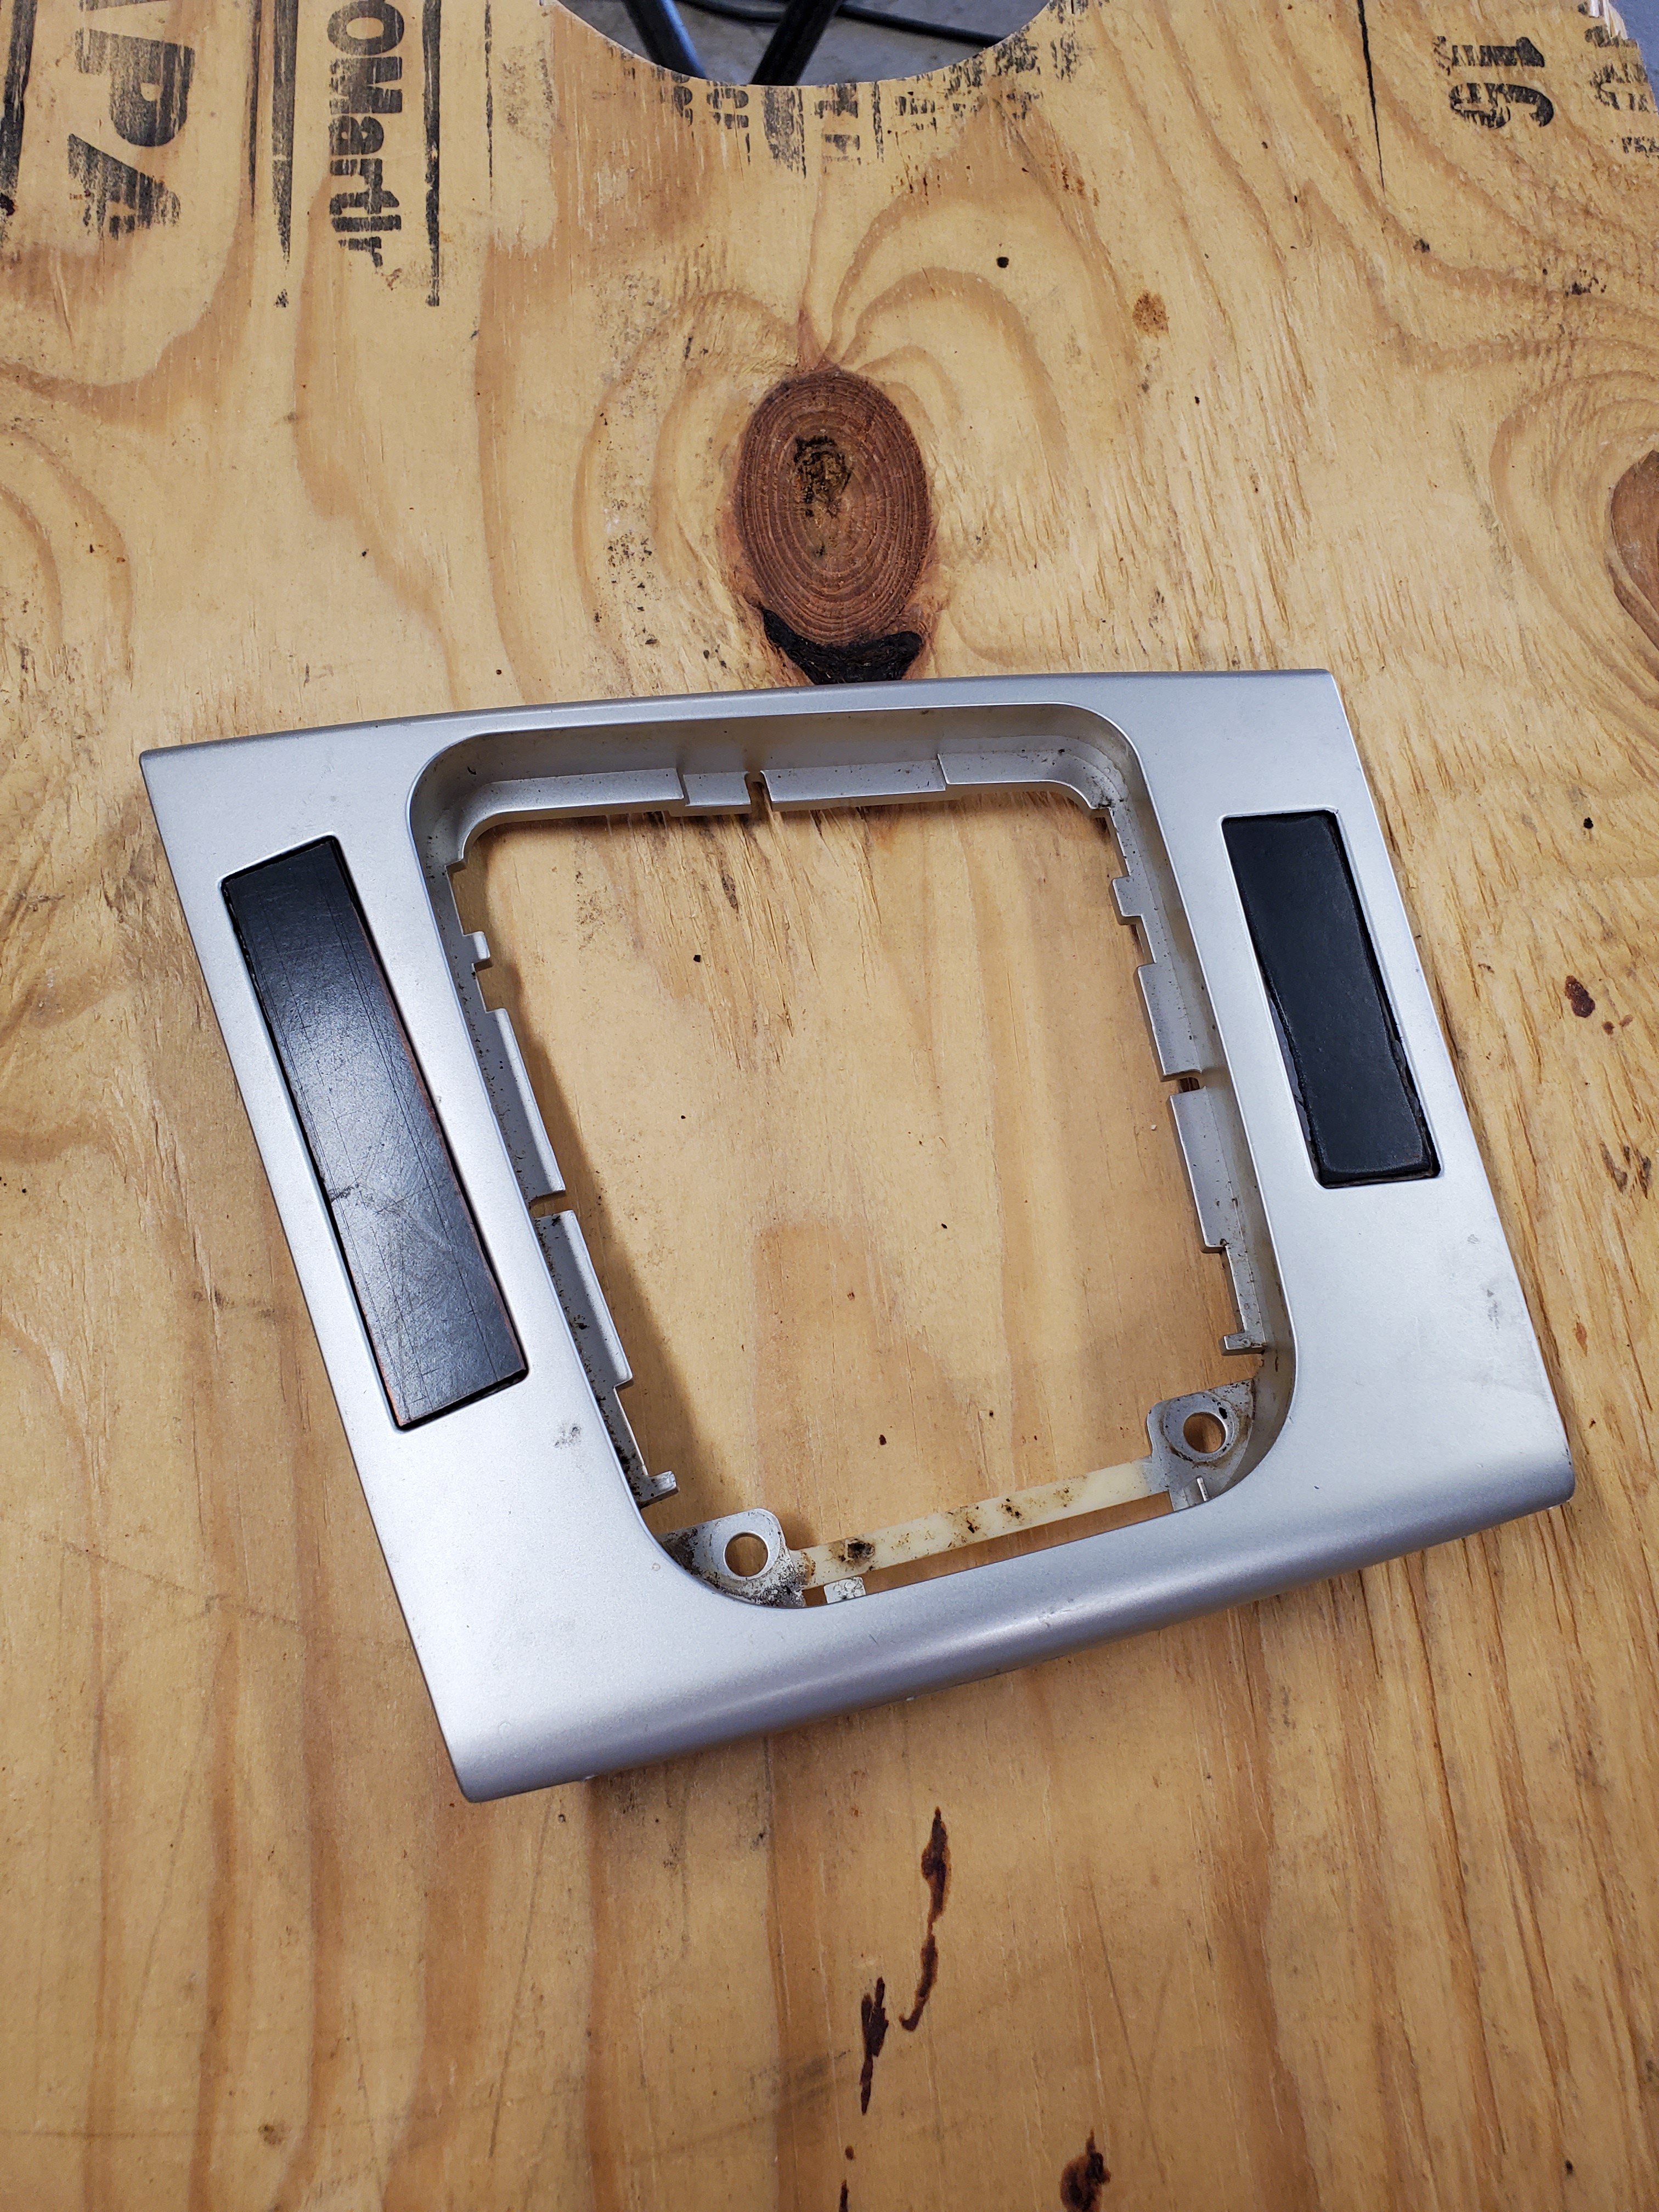
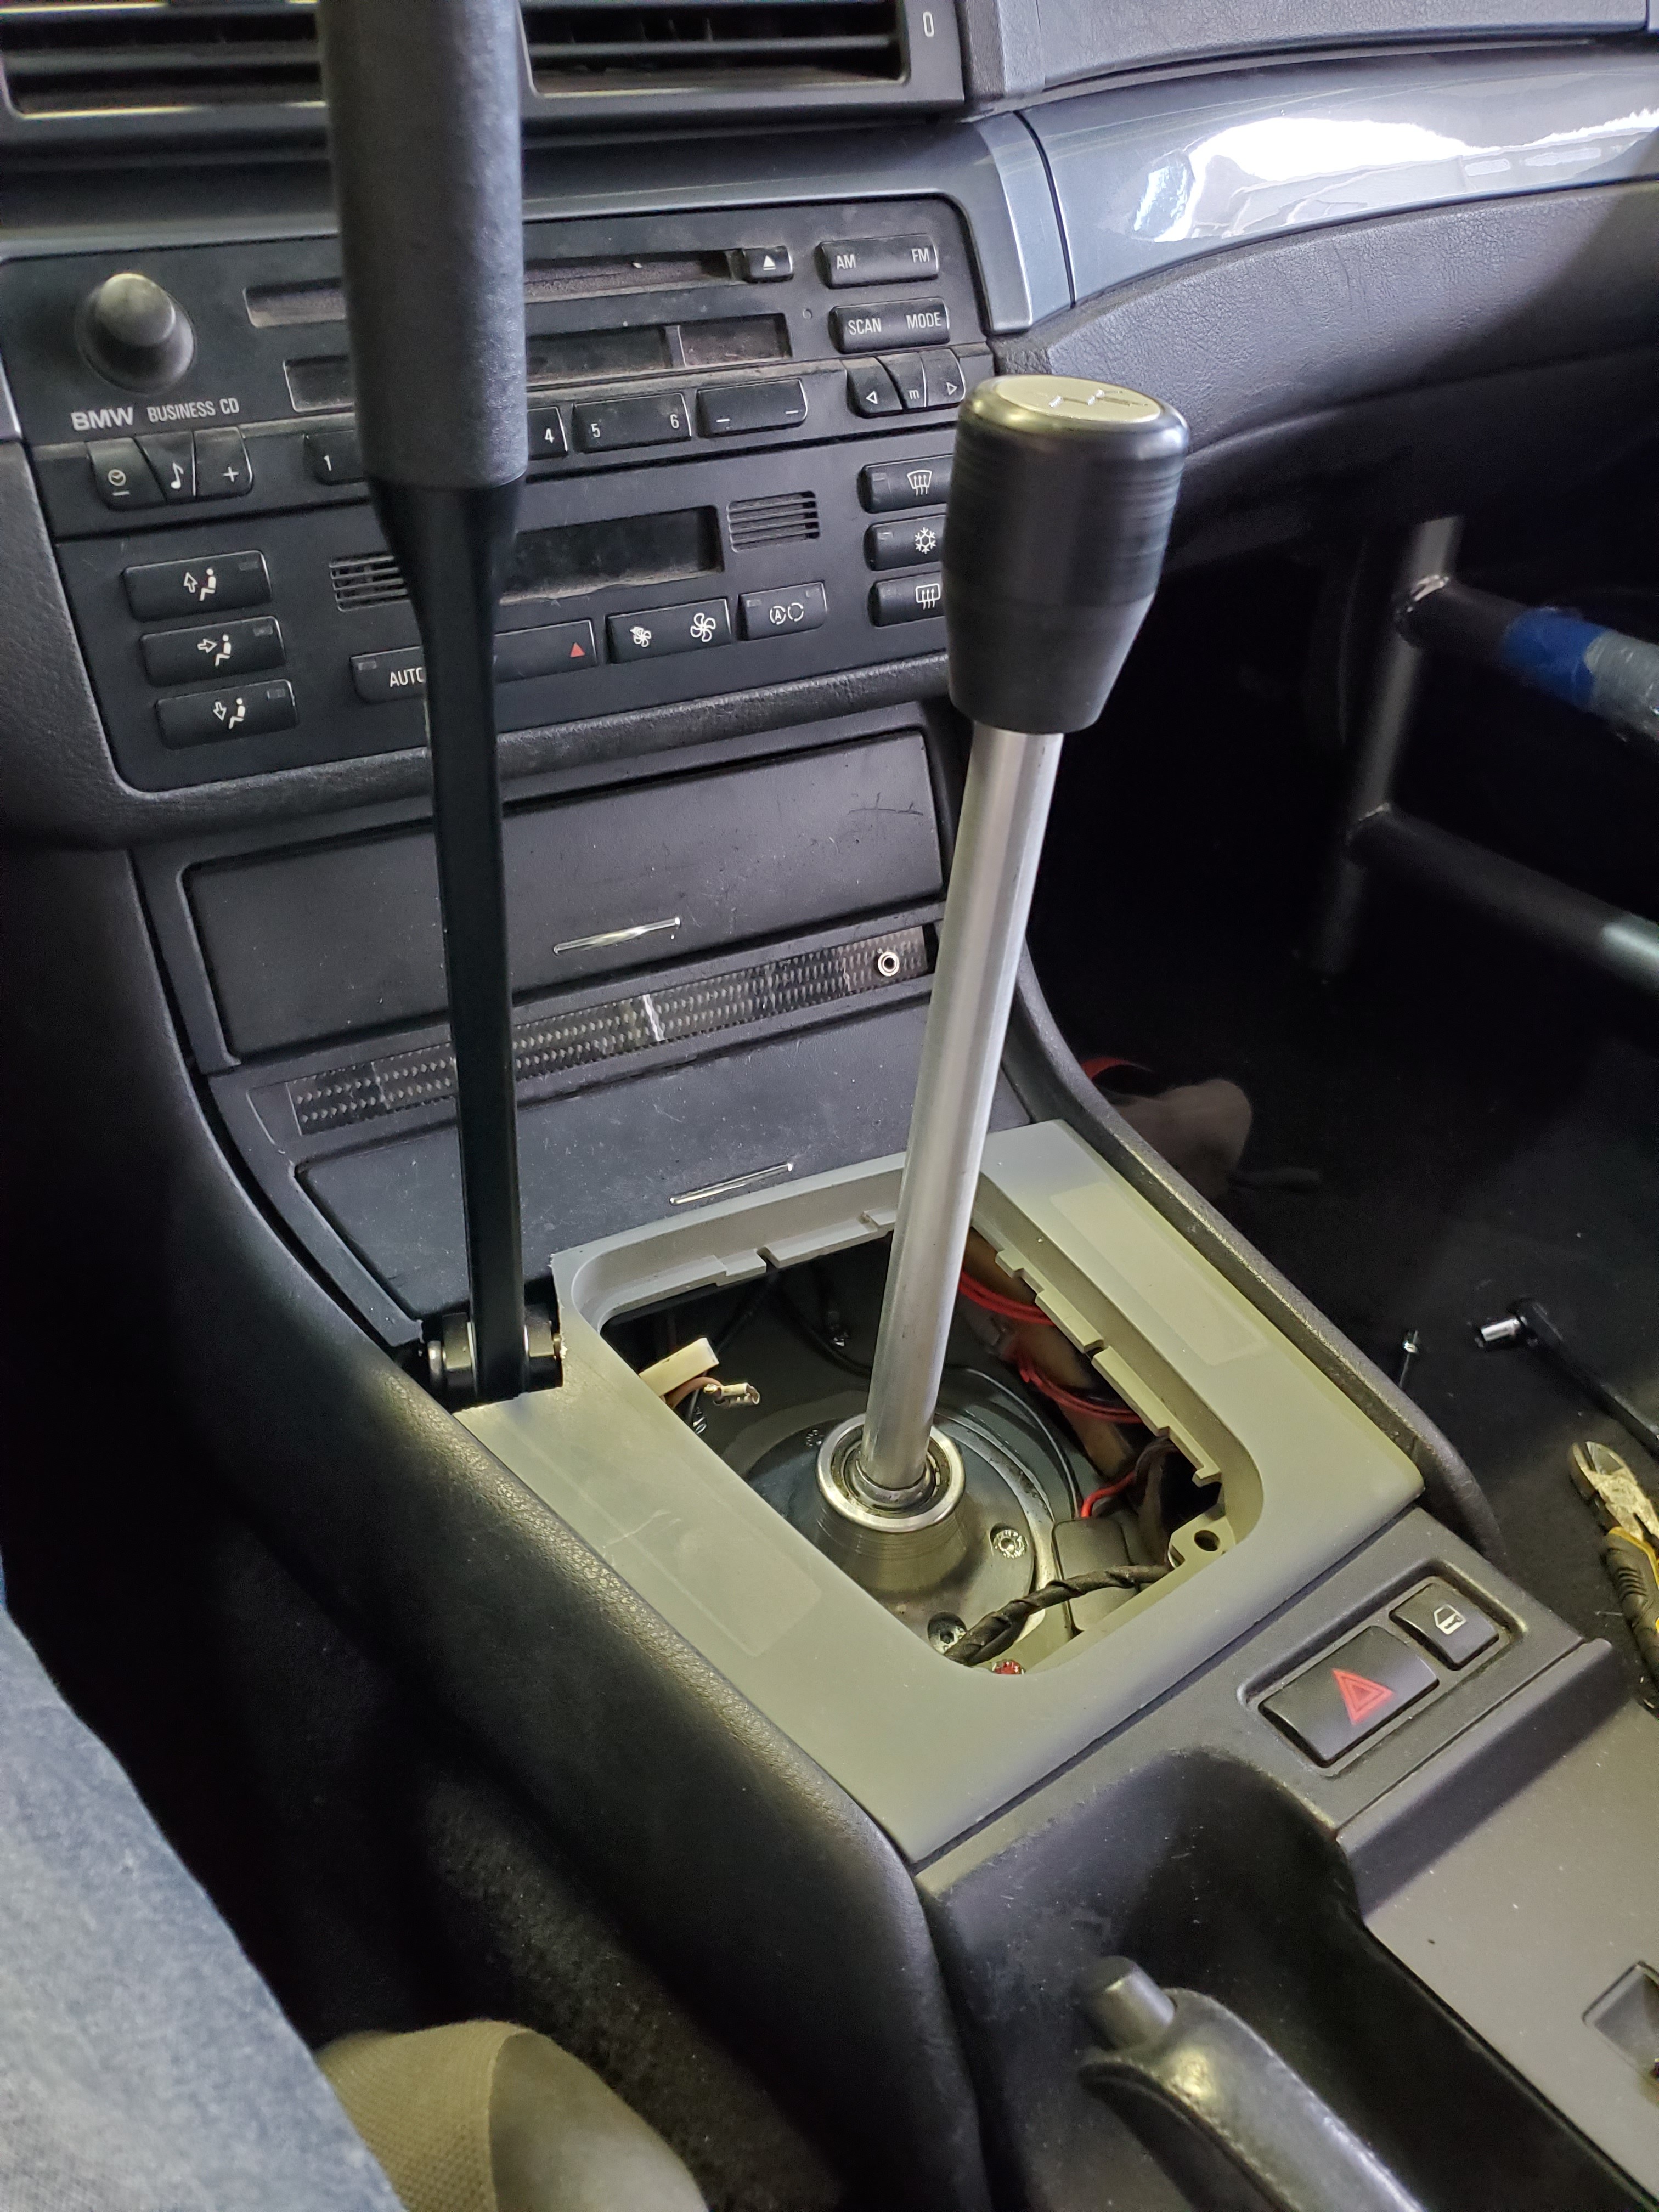
I also started on shaving the center shift bezel. This one is an auto one still though so I'd Ike to find a manual one at some point. I plastic welded in some abs blocks then layed some filler on it. Only have a pic of the pieces welded in.
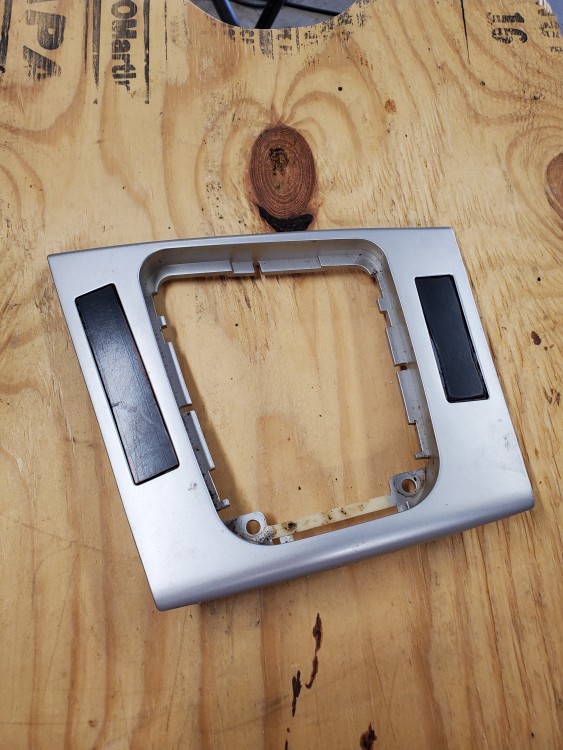
Also got my handbrake bled so next up is finishing installing the center and dash pieces!
-
Is Earl slacking? he still needs to get those hood shocks I got to you.
No i got them haha just been too lazy to want to realign the hood lmao
-
UPDATE
Finished up the shaved shifter trim by trimming around the handbrake and then painting. I used some paint that is pretty close to the dash trim color but its not perfect.
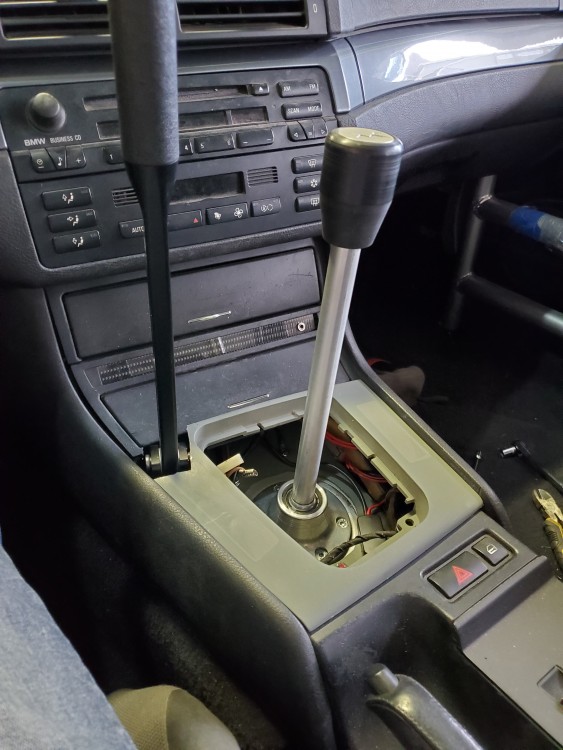
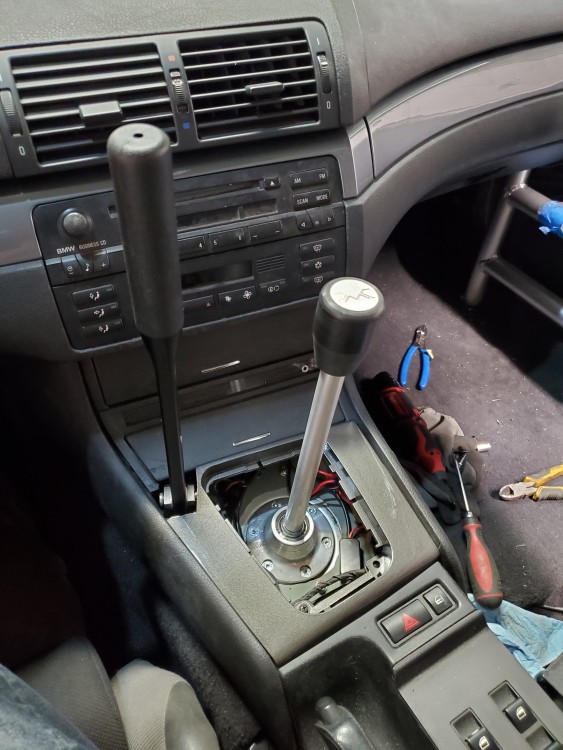
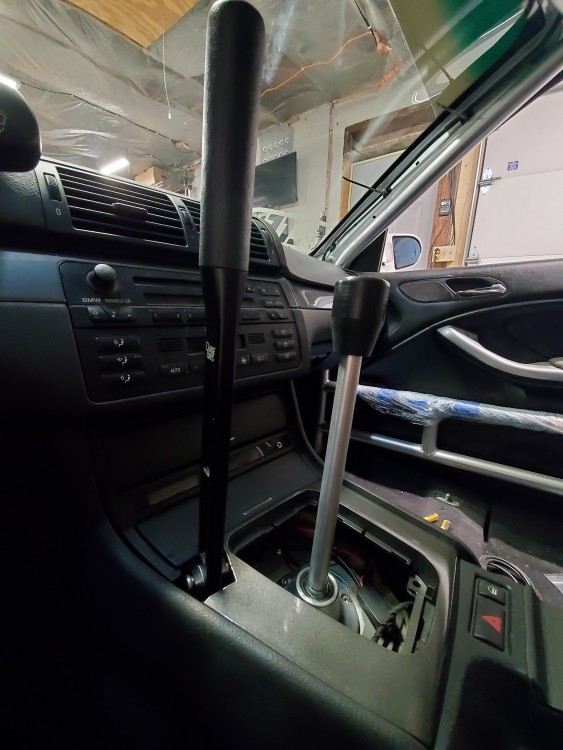
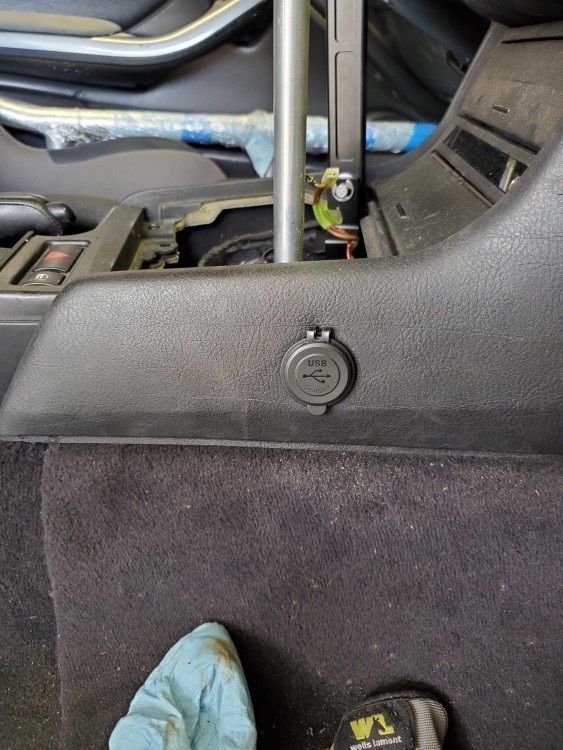
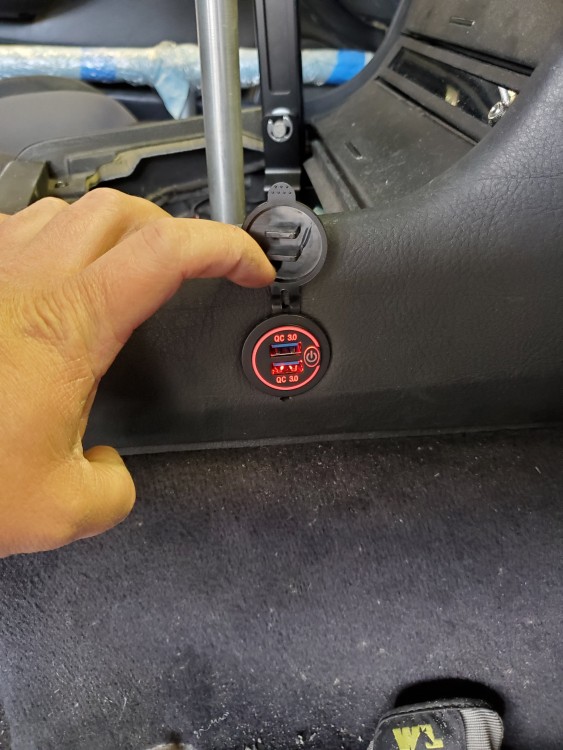
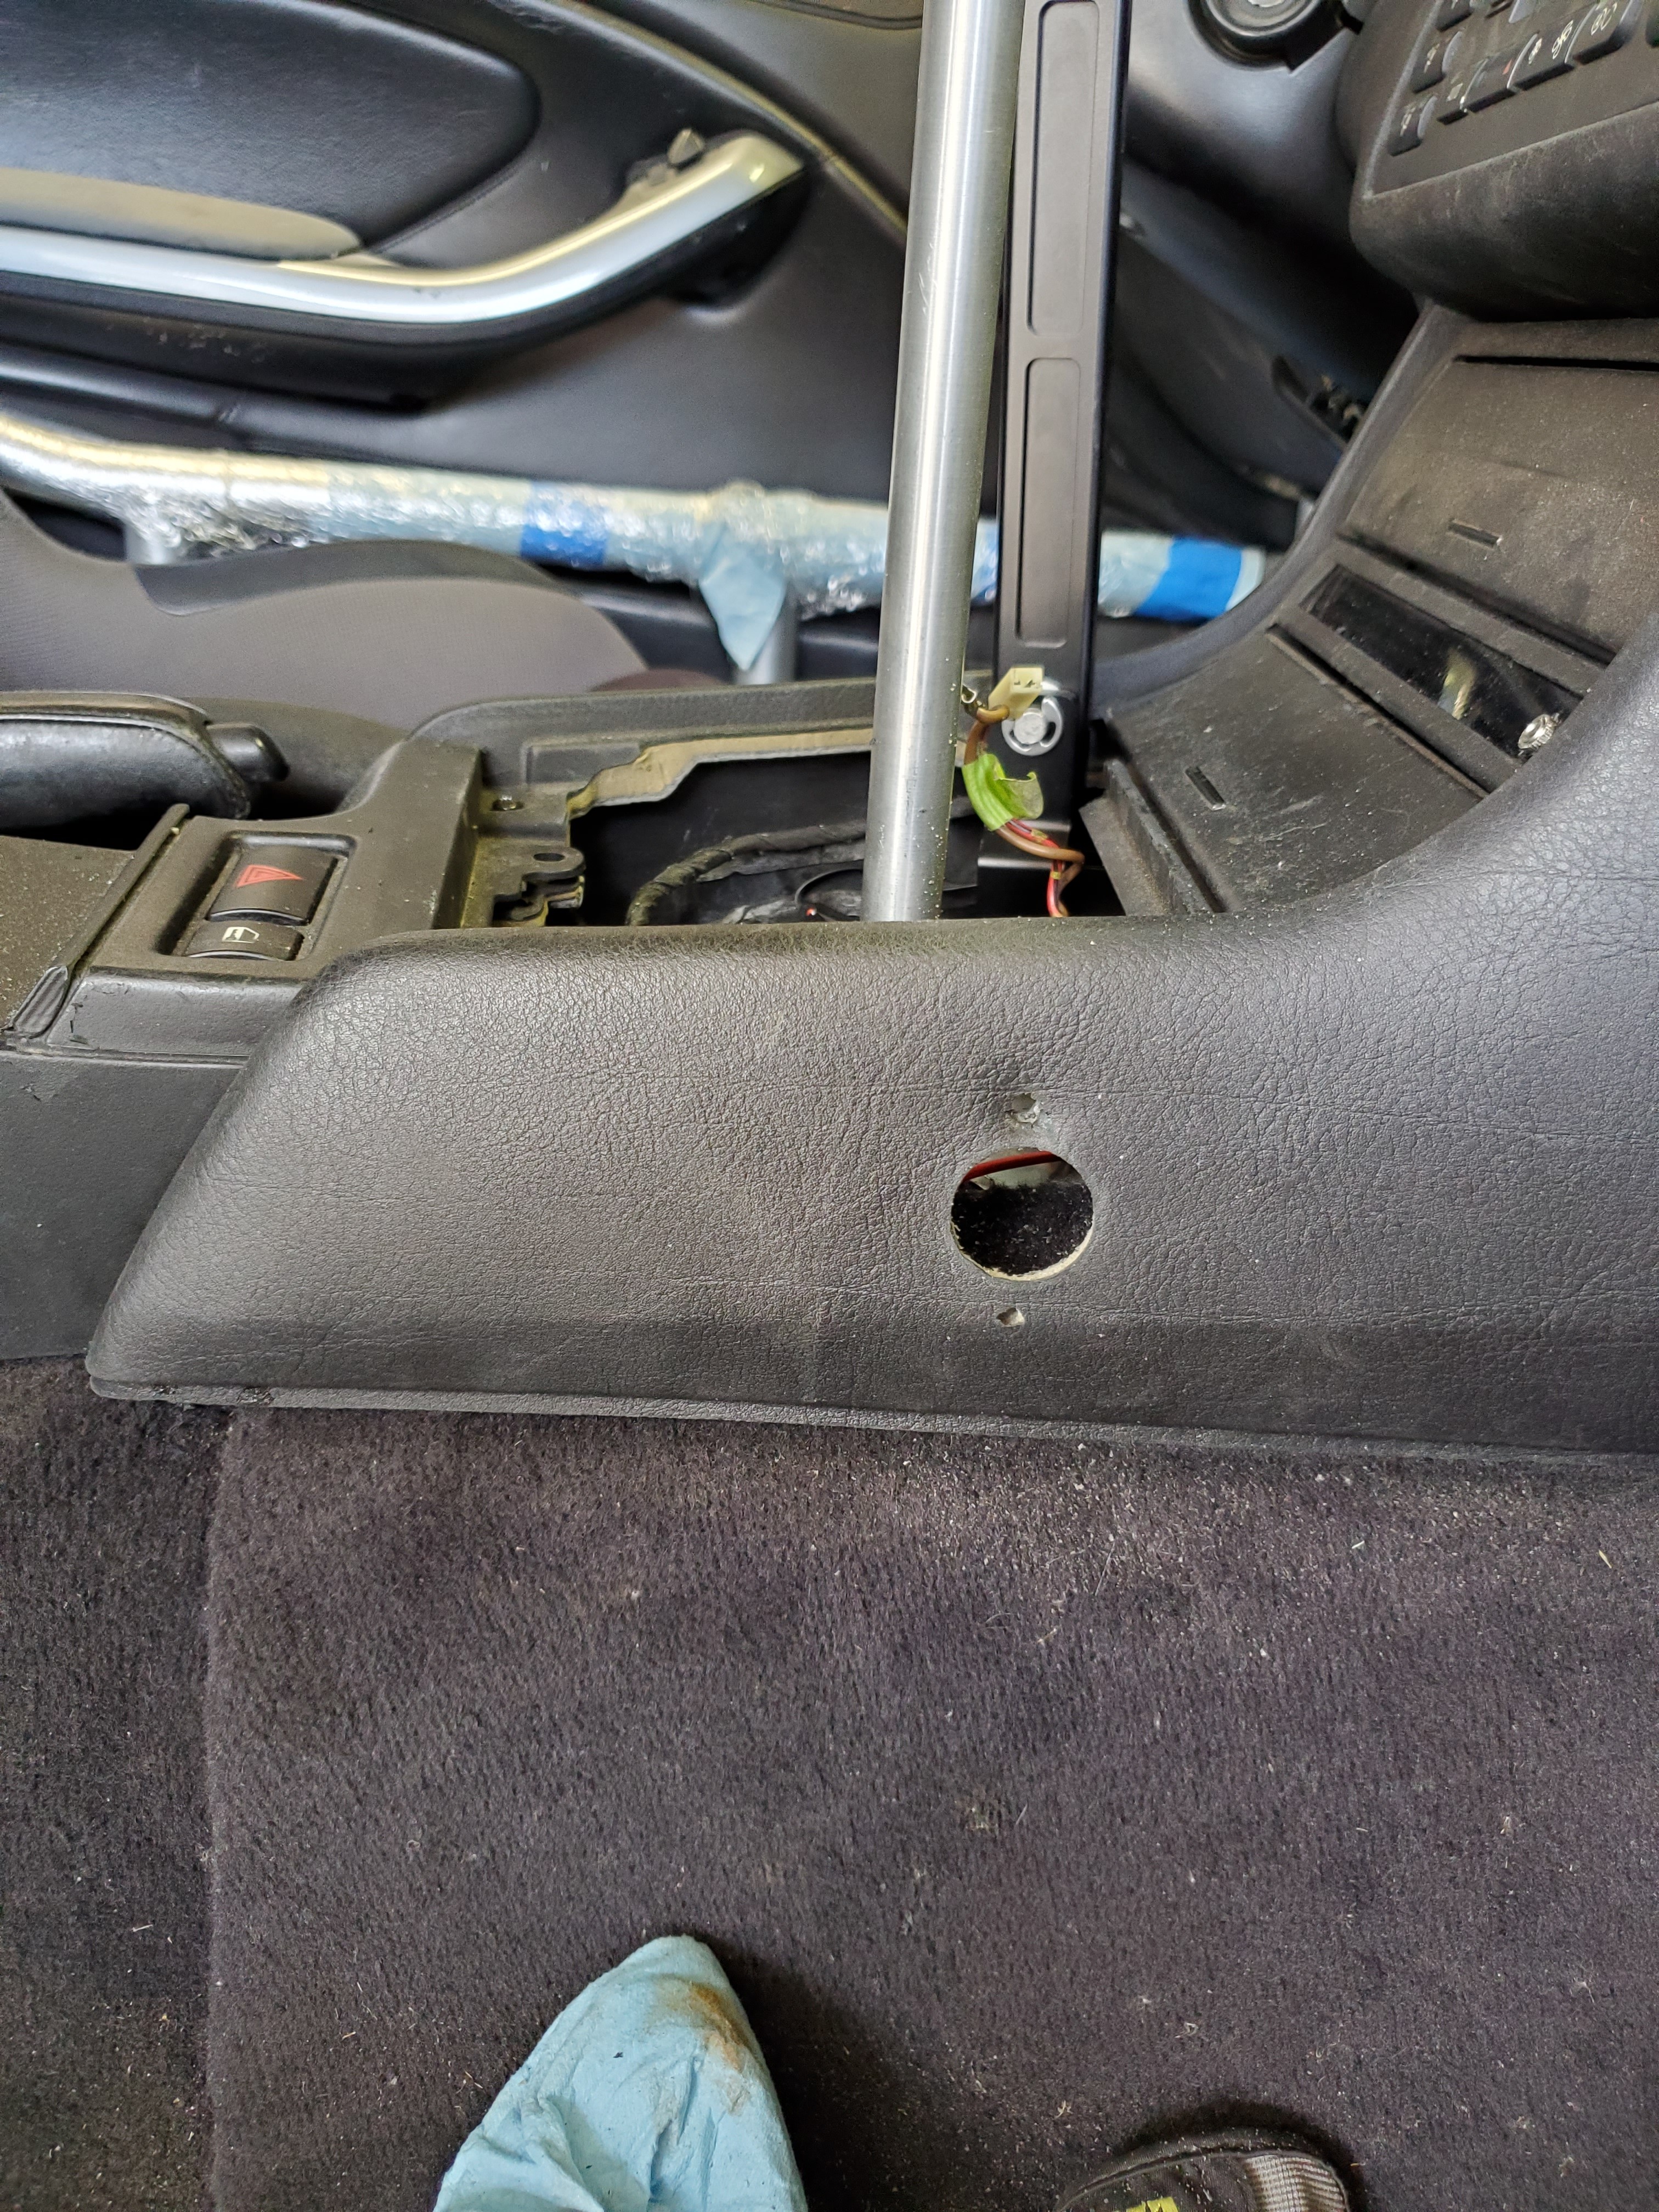
Next I finally found something to do with the hole in my dash that had a battery cut out in it (that was from the sedan).
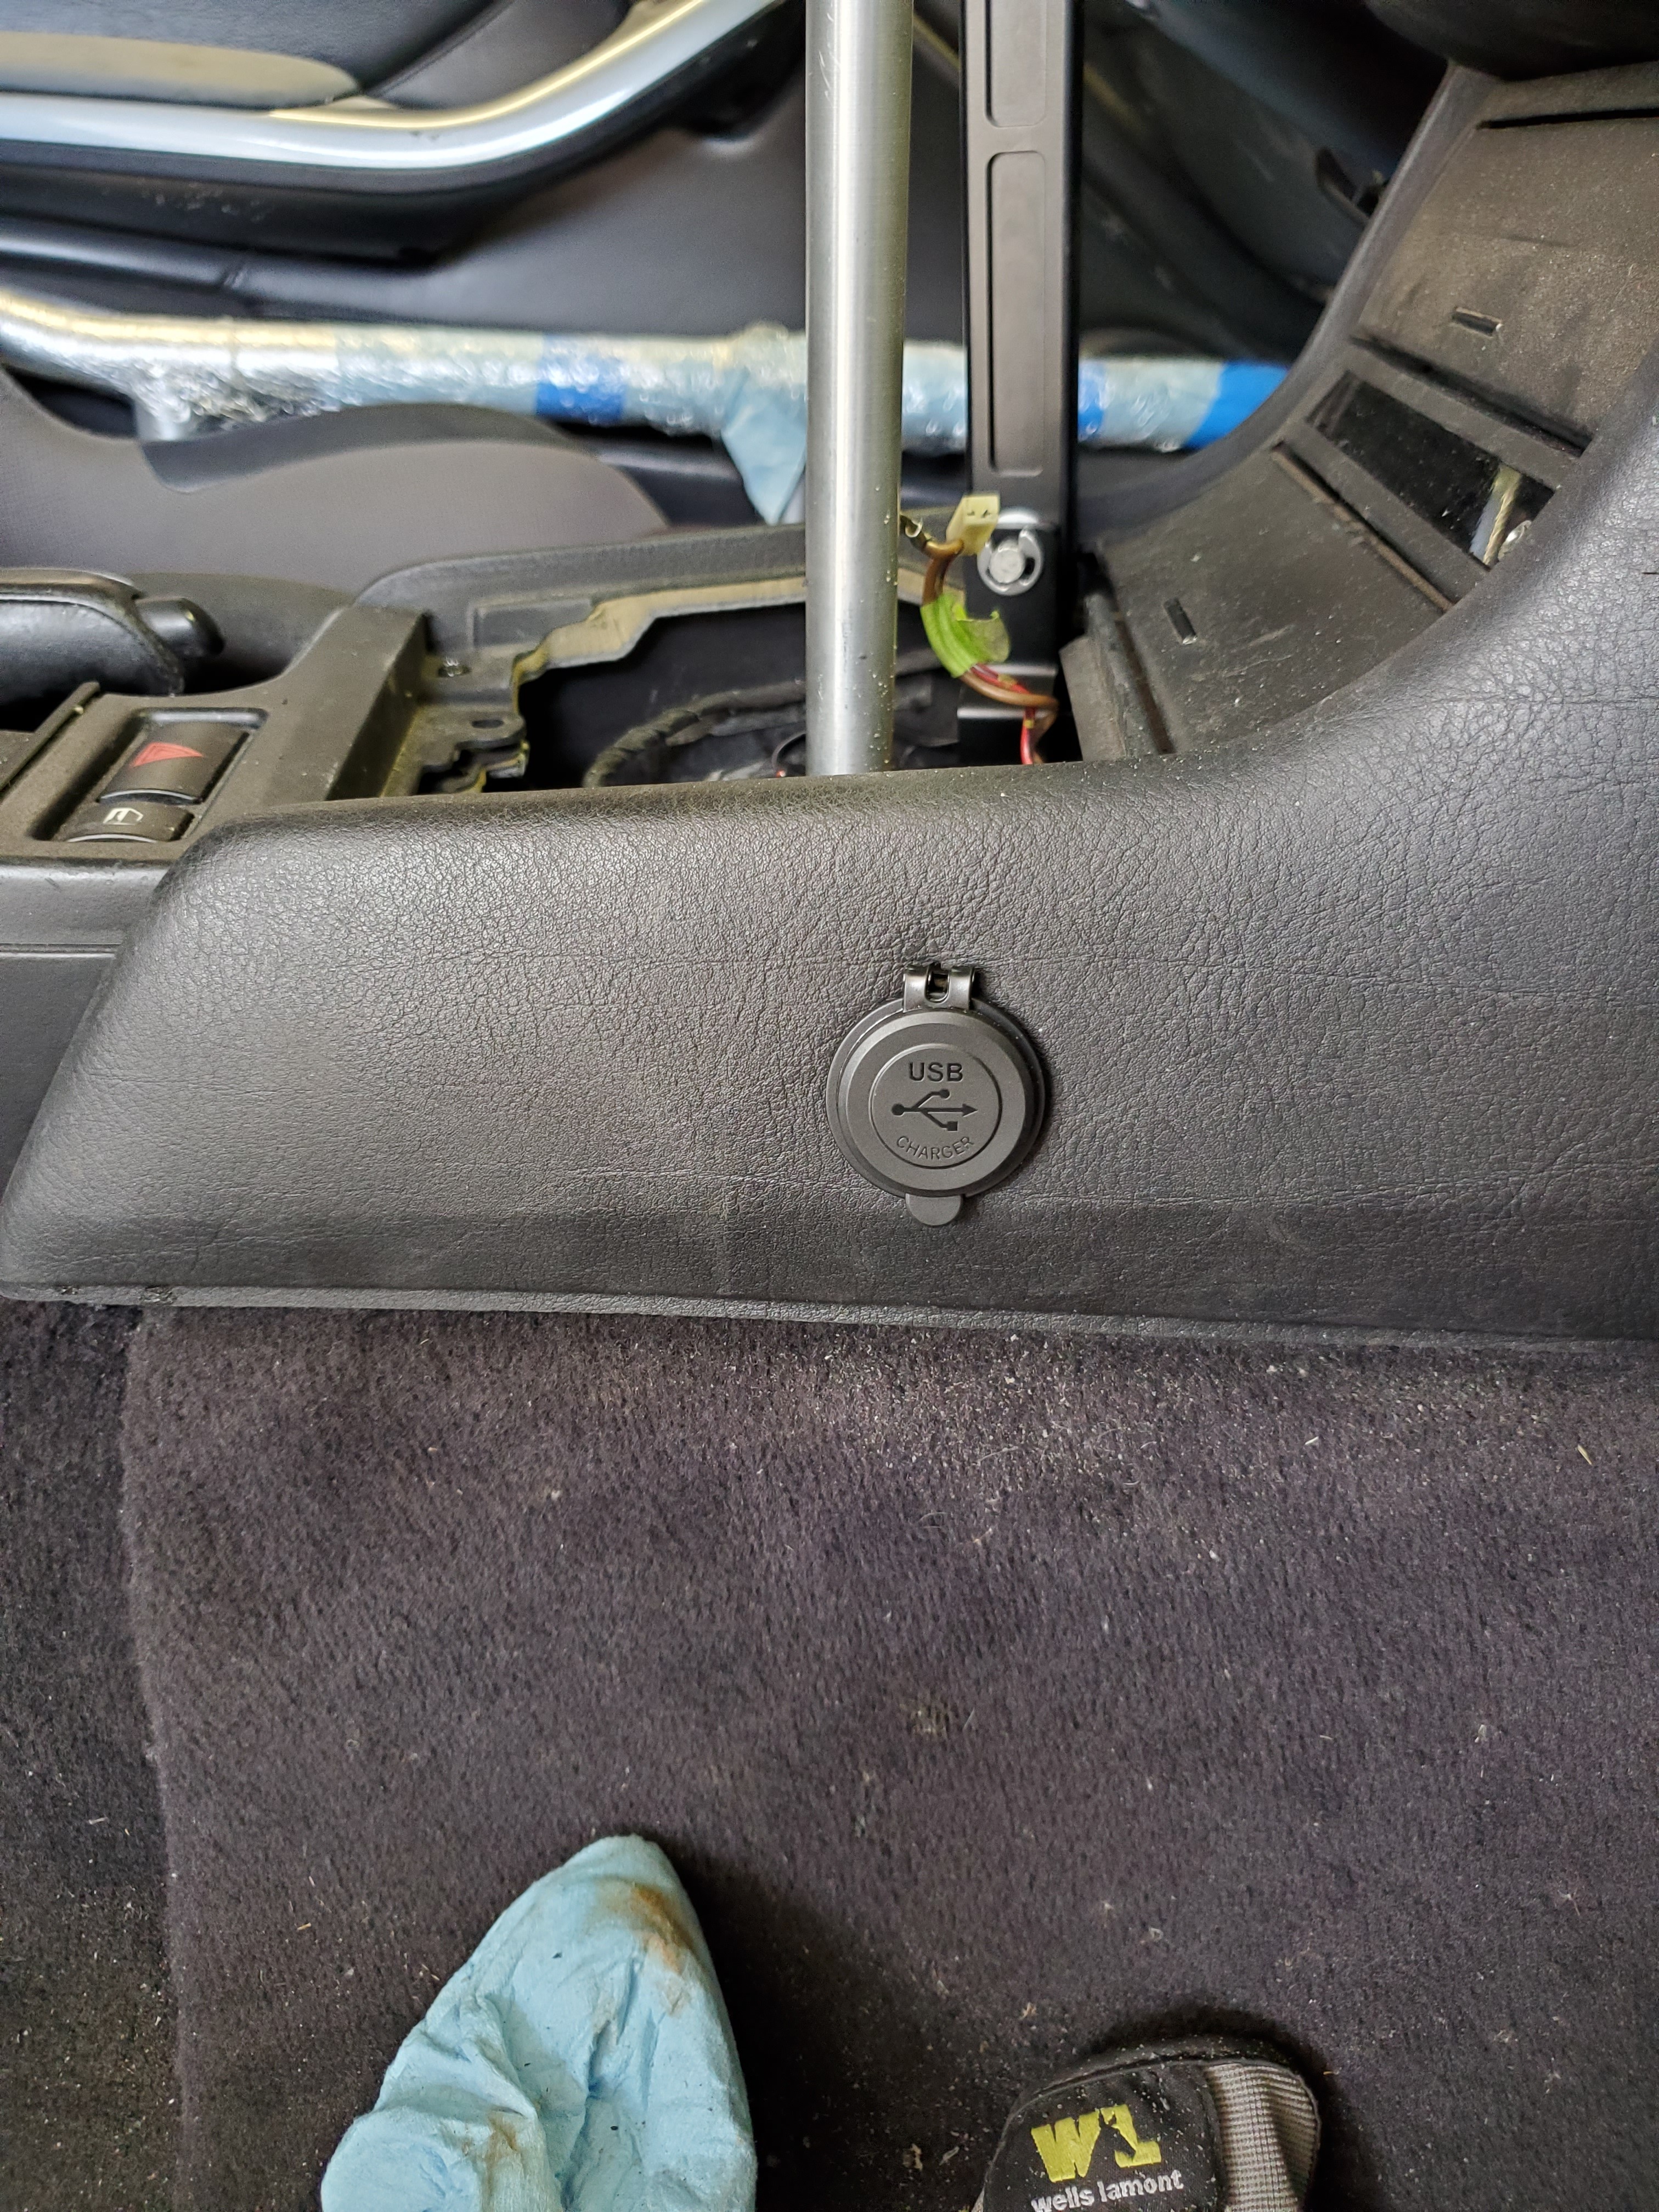
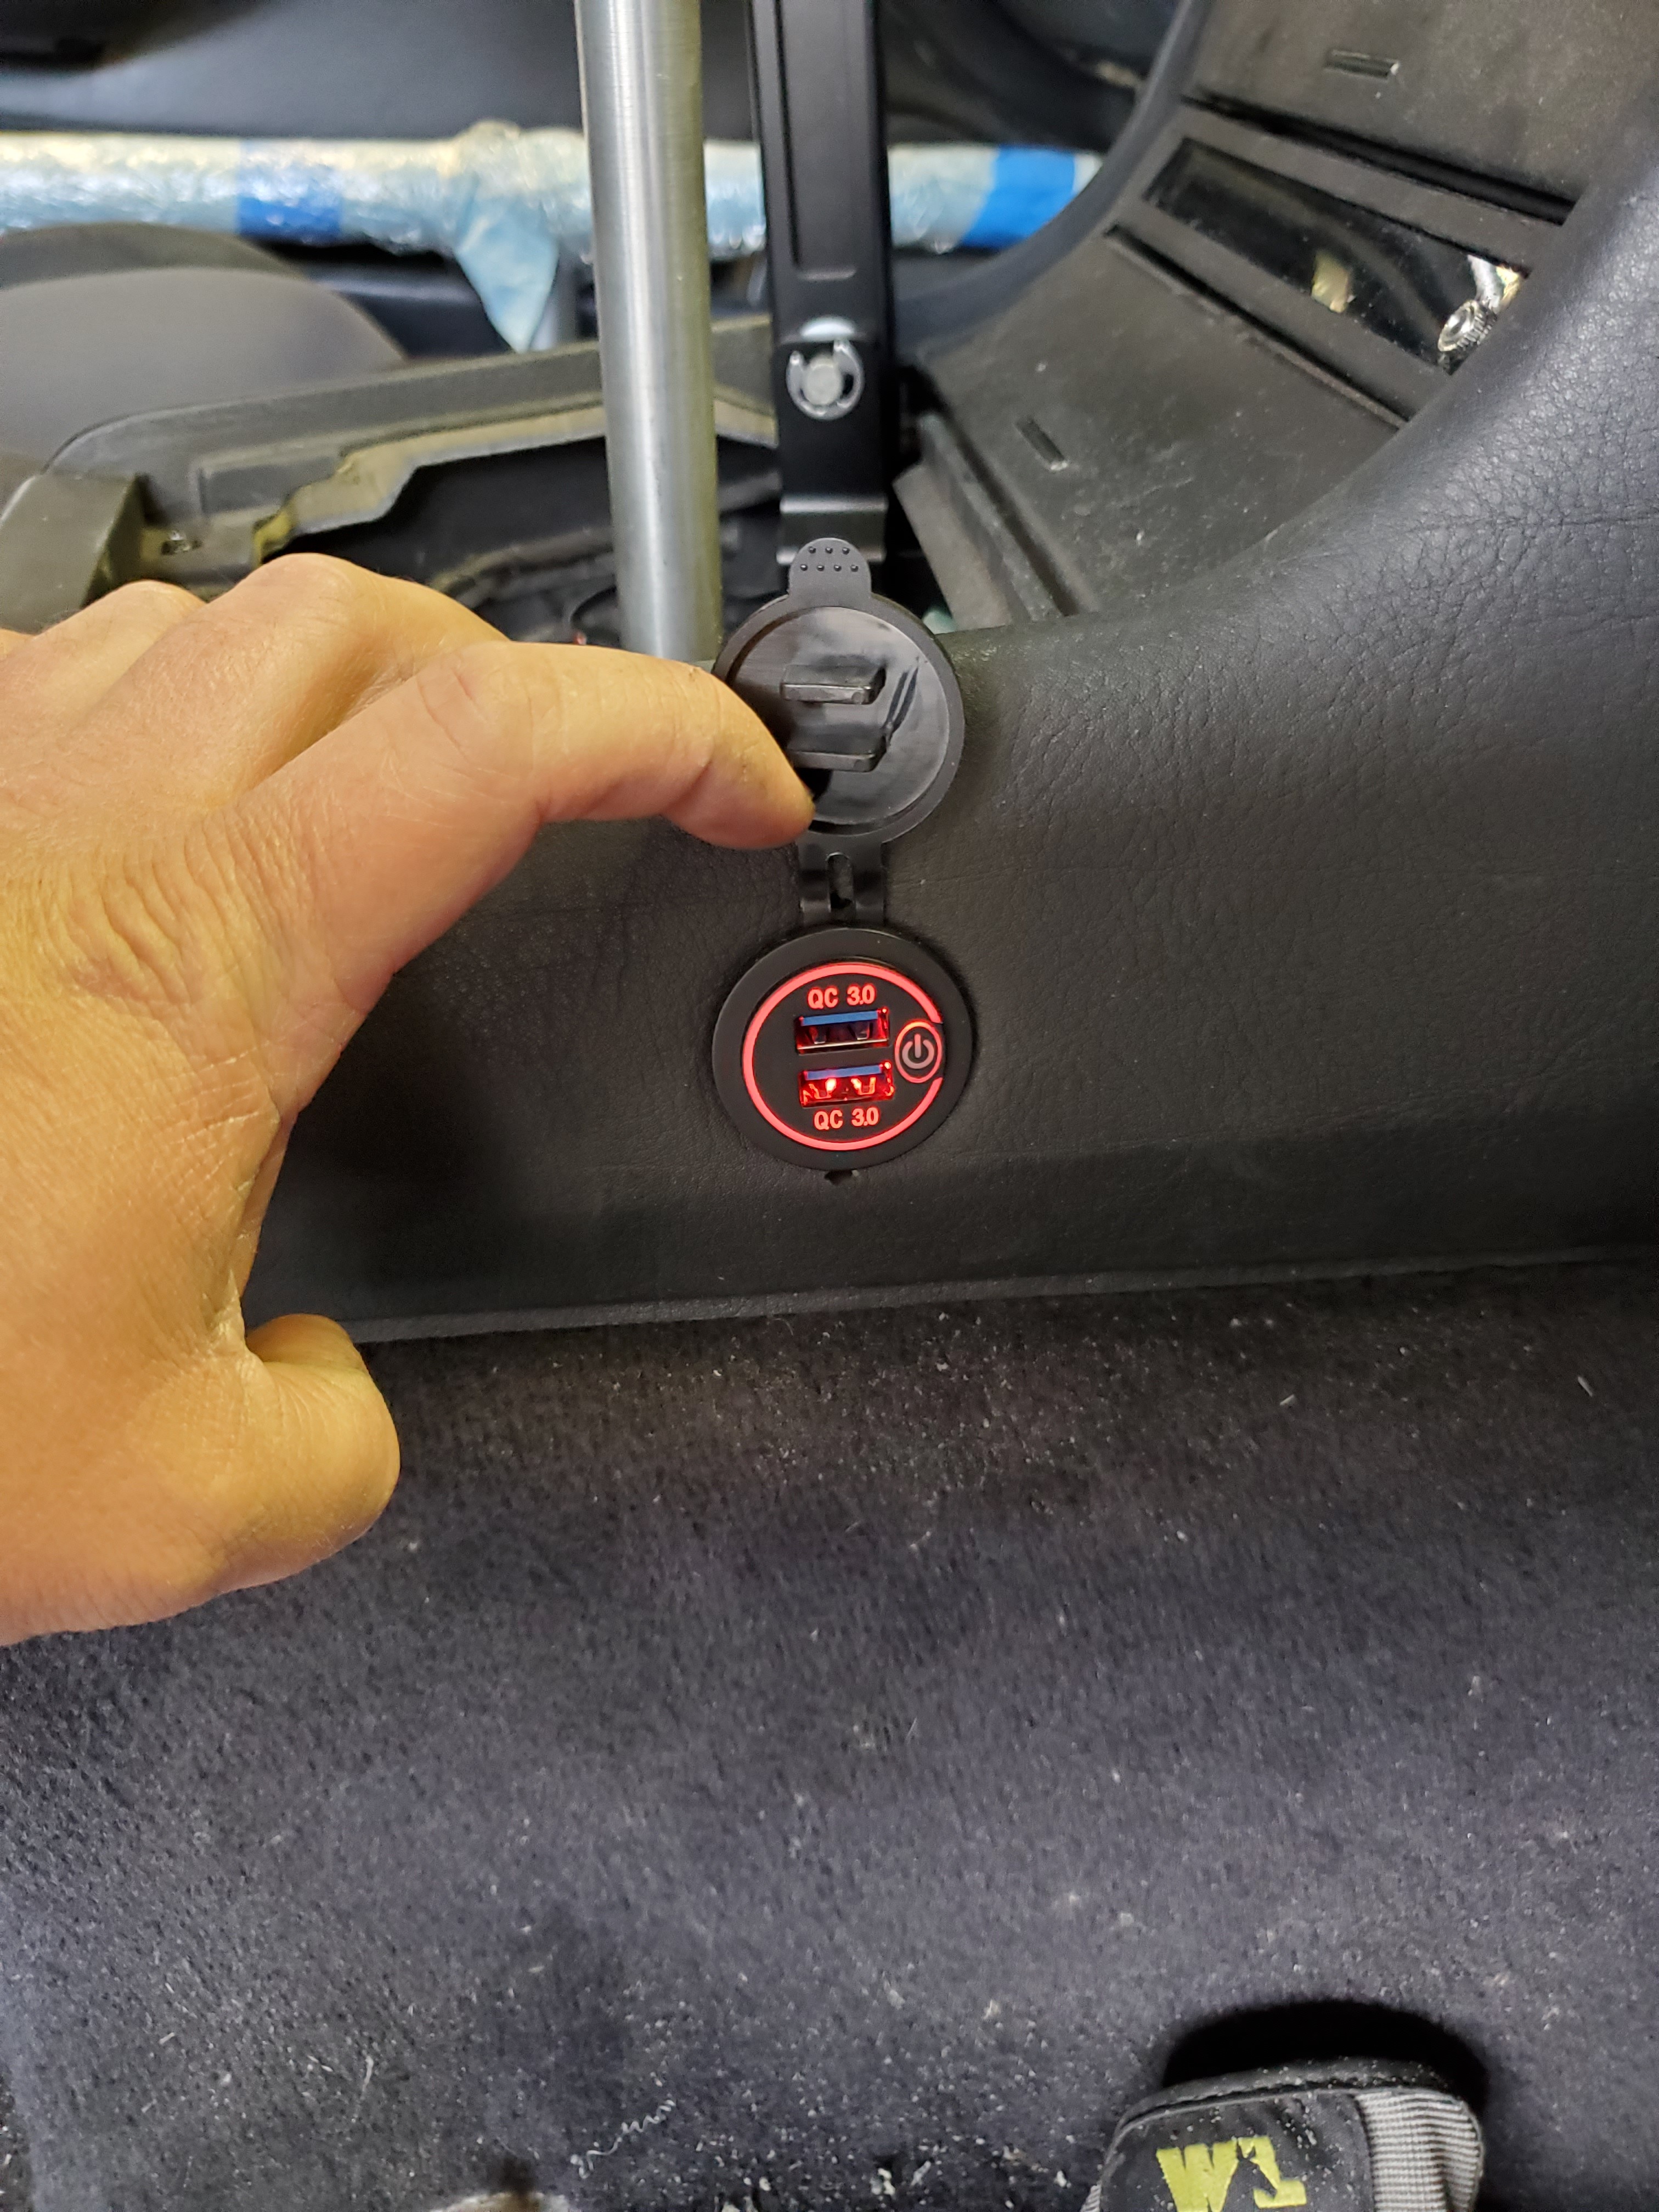
Got this really nice usb charging port on Amazon. I chose this once since it has a power button feature, I wired it to the original power outlet wires so I didn't want it to always be on like the factory one.
Before
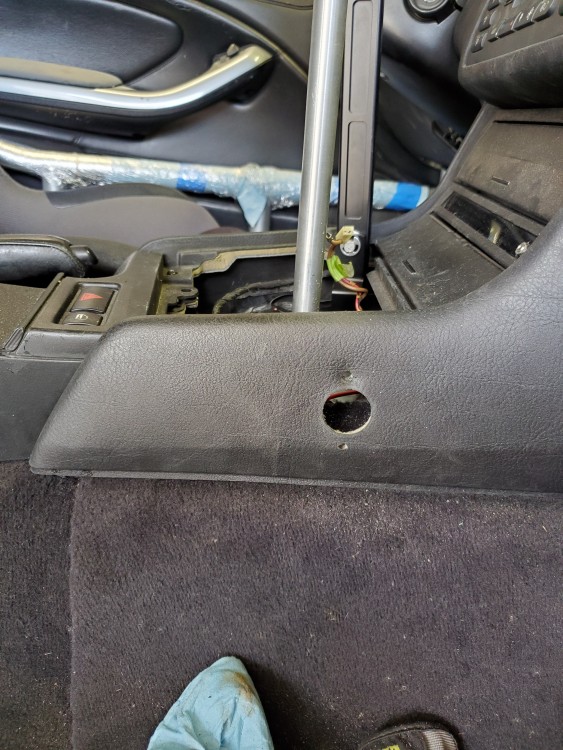
installed
Turned on
Next I did some repairs from damage.
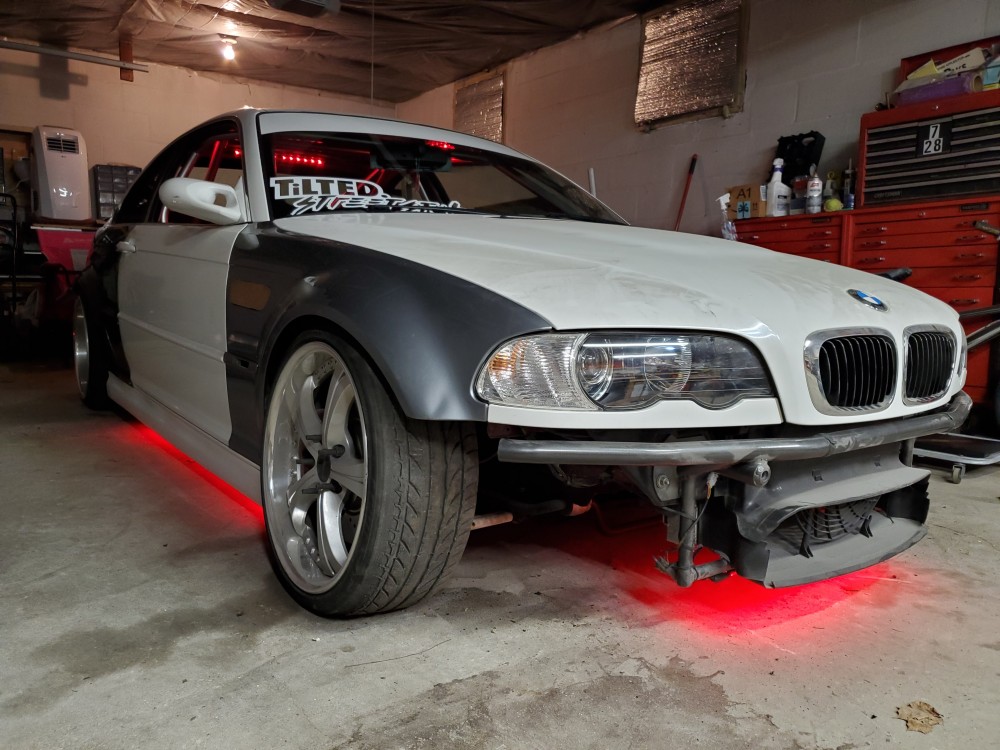
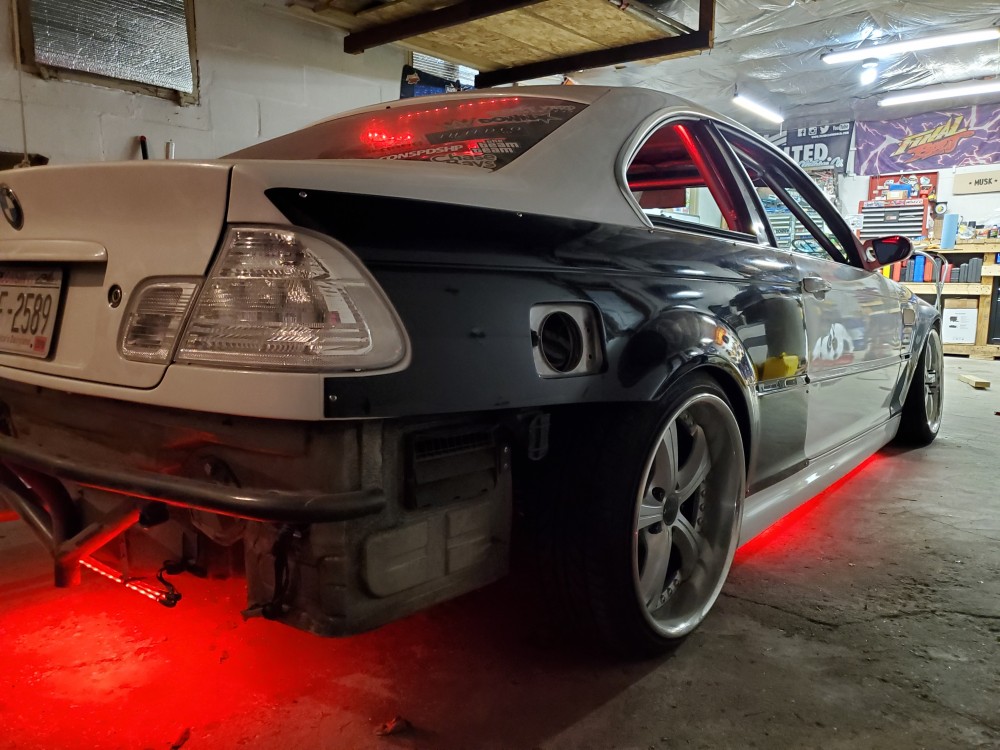
Last season I ripped off the underglow and never got around to fixing it lol. So since I had to respray some undercoating where the cage bases are welded in it was a good time to fix the underglow.
Replaced 2 of the strips and resecured everything.
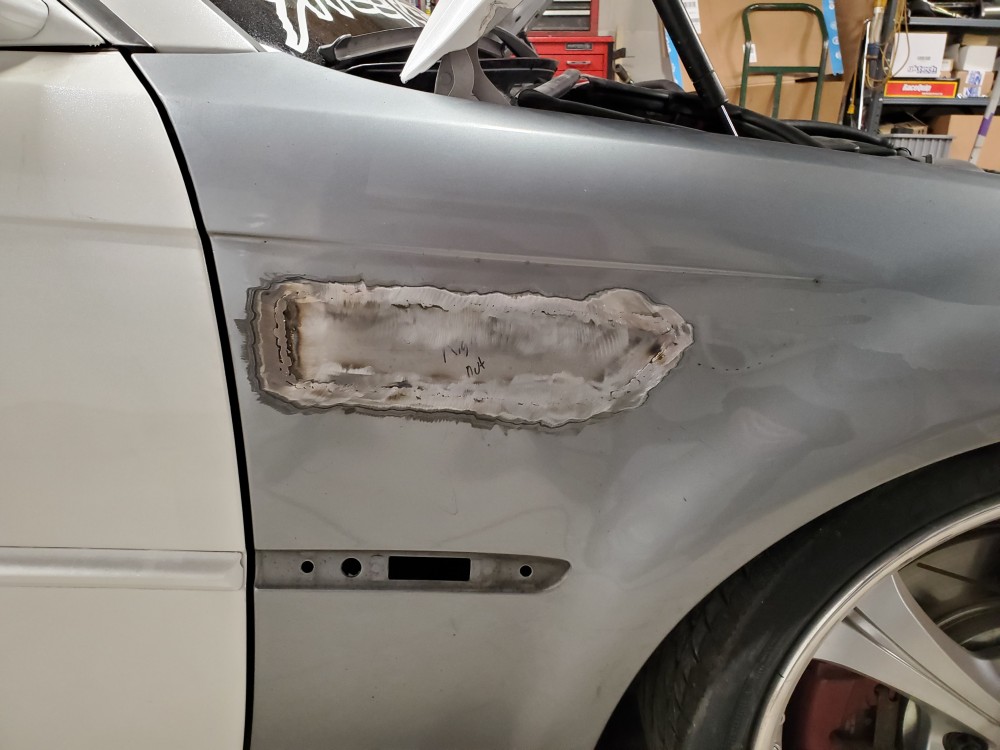
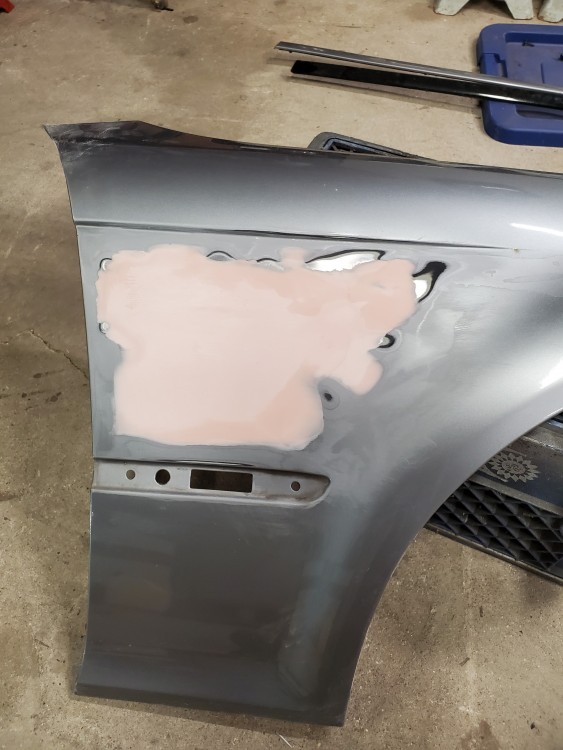
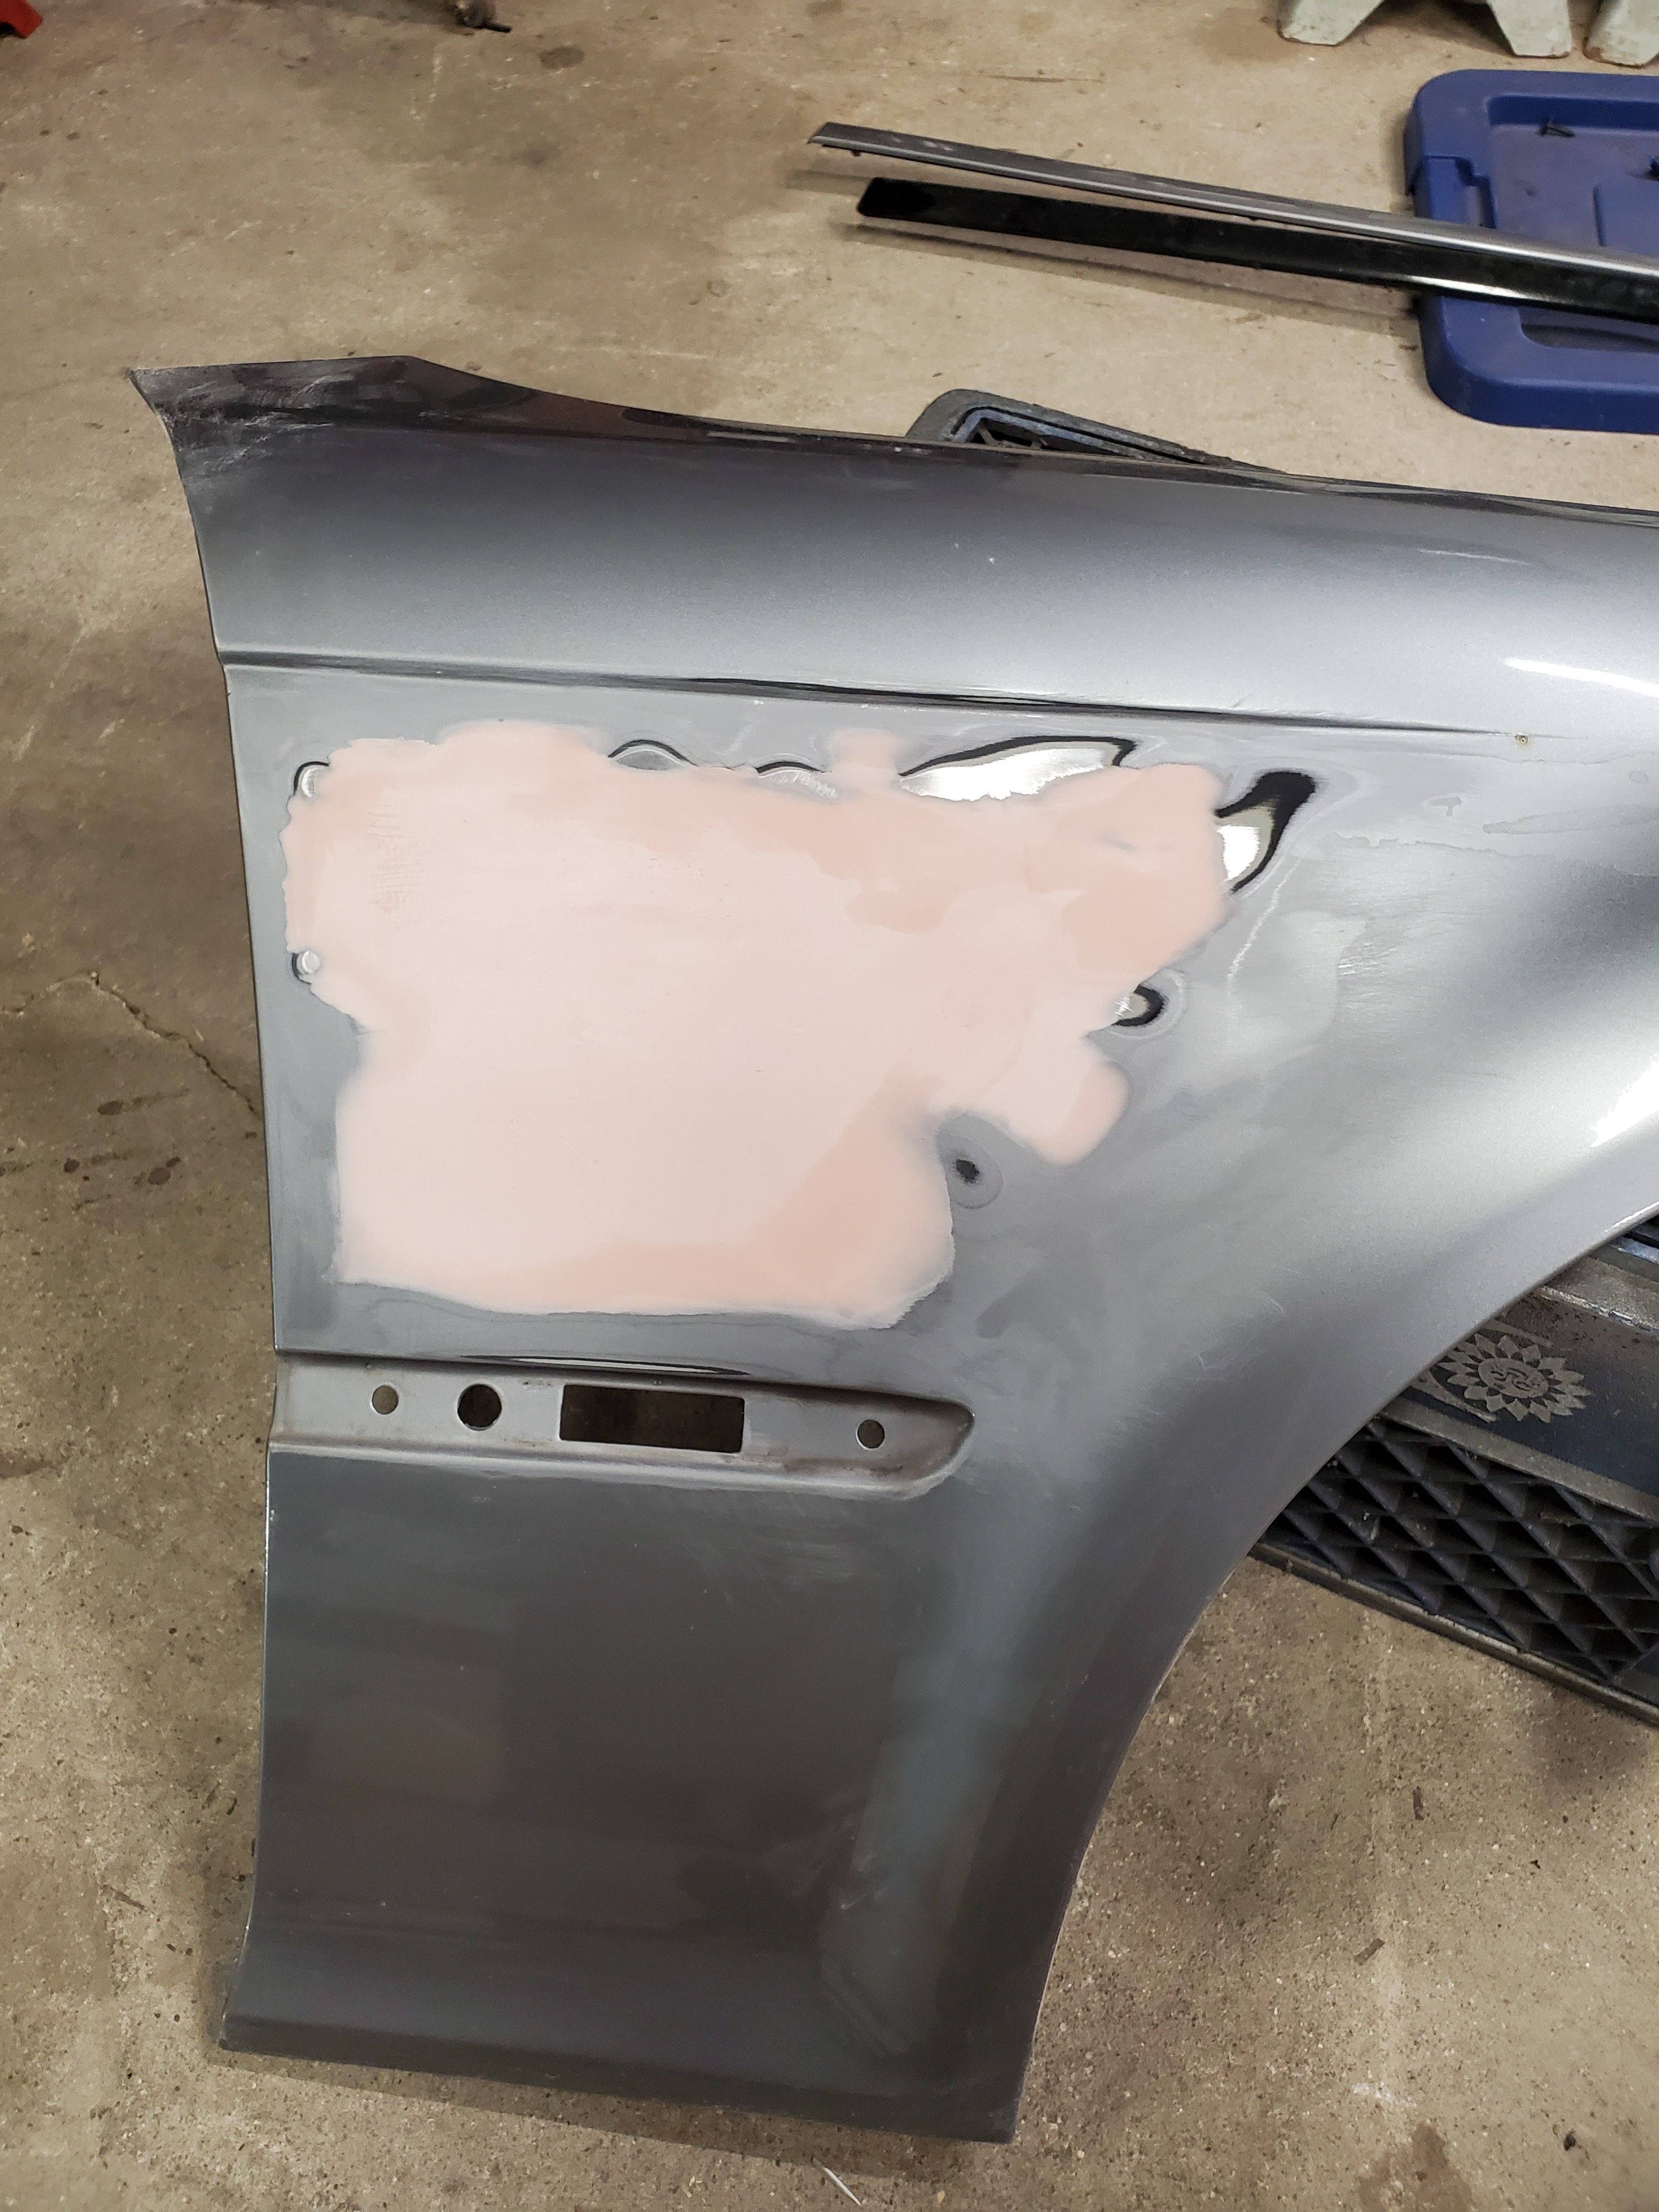
Next I decided to try and shave the M fenders.. luckily I only tried on the passenger one. Even though I went slow and tried to disperse the heat I still warped it
 . I tried to fix it with filler and its better, but still not good.
Here's the only 2 photos I took since I got really discouraged.
Thats it for now.
-
Love the lights!
-
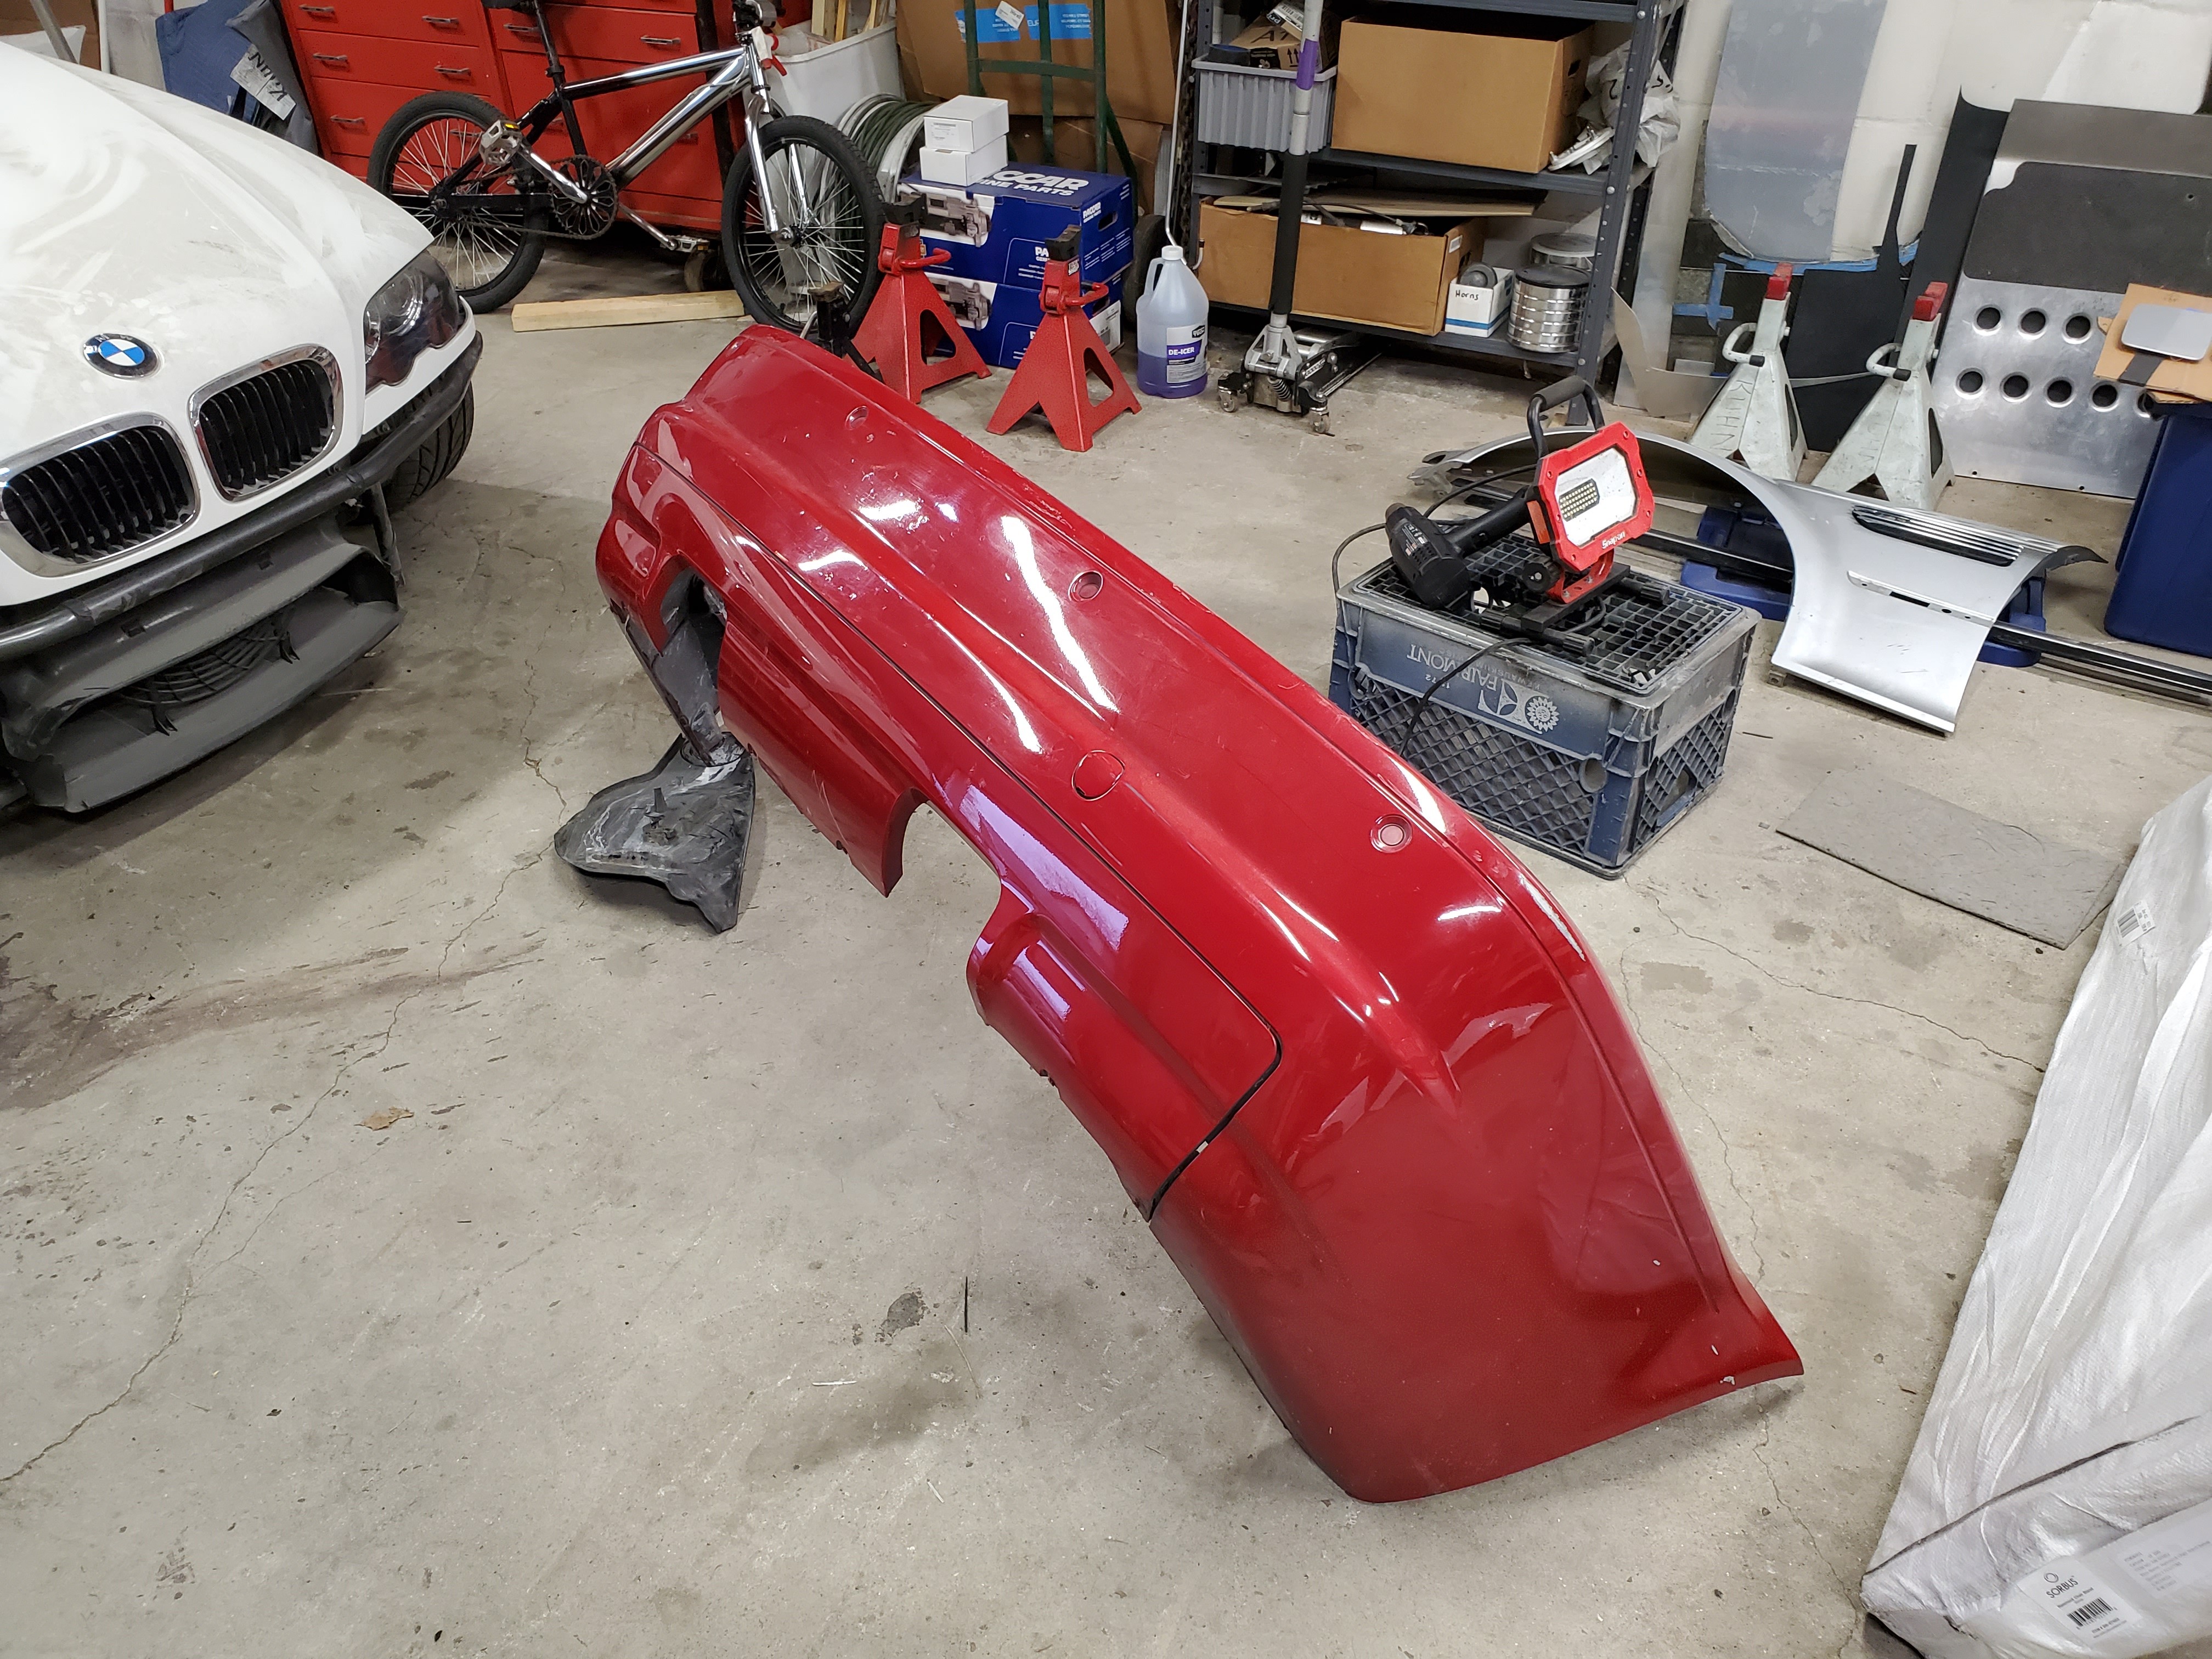
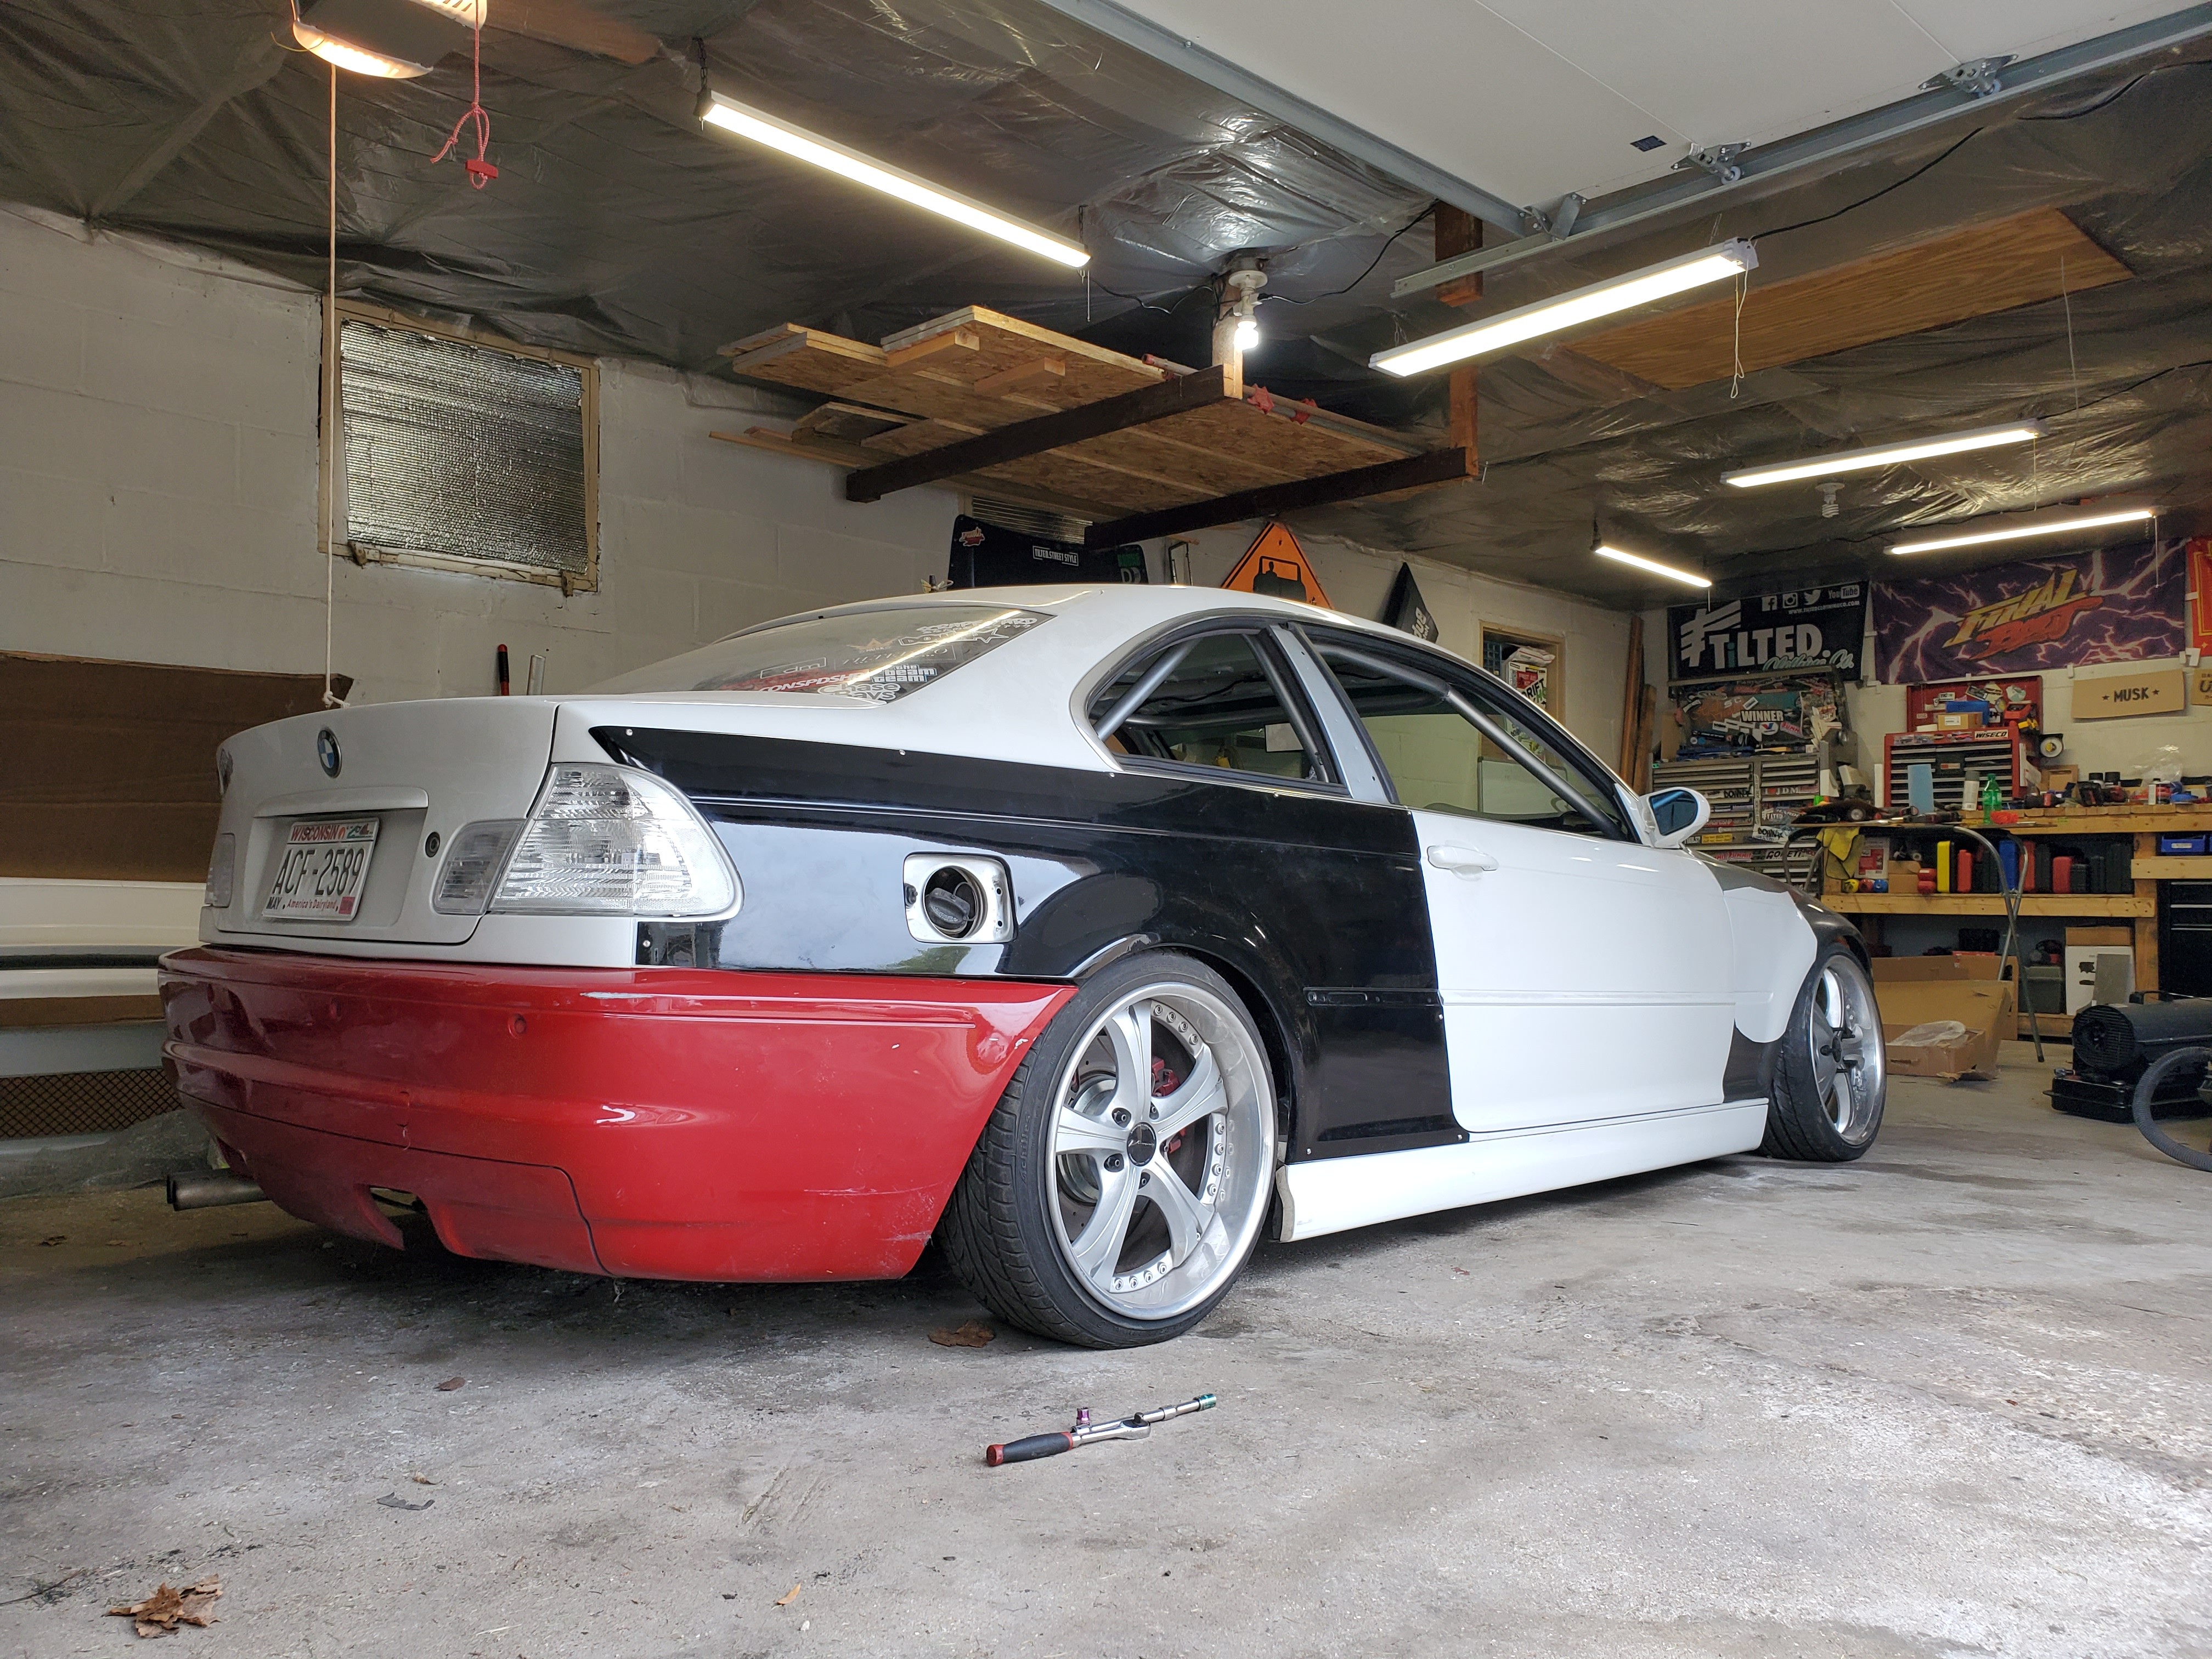
Picked up a M bumper this past week locally for a really good deal. It even came with the diffuser and crash bar, although I don't need the crash bar and its an aluminum one rather than carbon kevlar since it was off a 2001.
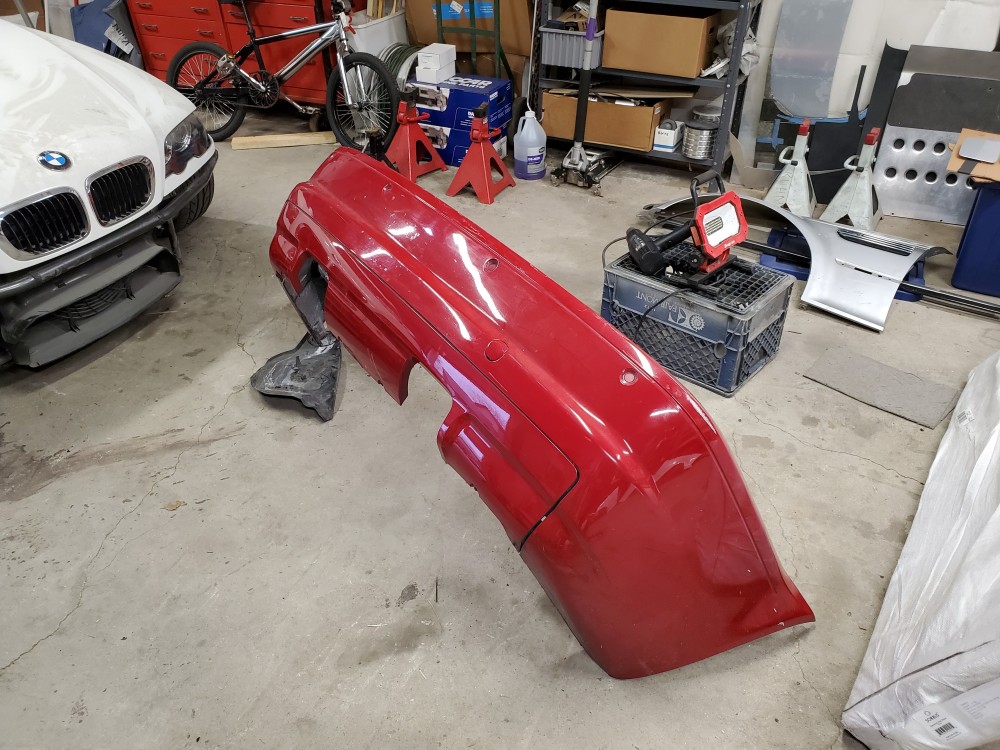
Here's a photo of it somewhat mounted. I have to do some work with the exhaust, and would really like to have the openings in the diffuser shaved. I definitely don't want a dual exhaust and would rather shave the openings and make a new opening farther to the left for the exhaust in the future.
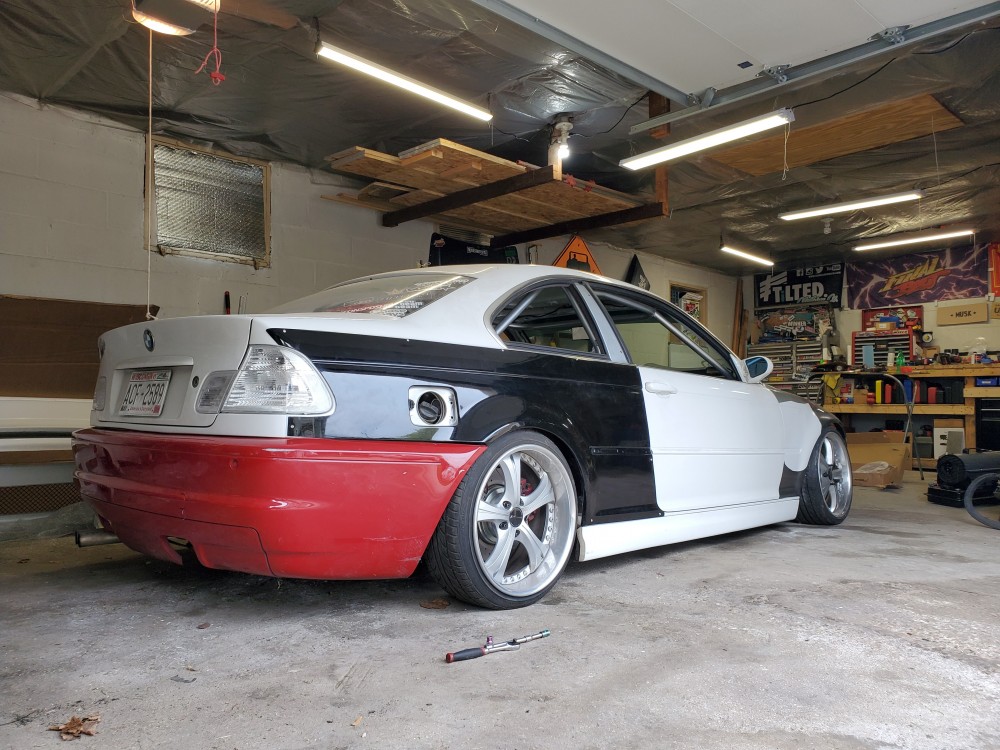
I really like how it looks especially since I was between finding a M bumper or finding a lip for my non-m bumper (which is very difficult to do)
-
Any chance you could share a picture of the inside of the M bumper? I’ve always been curious to see how the diffuser is mounted.
How’s the power on the M54 for drifting? Is there any need/want for more?
I can shoot you one once its off again. It clips in on the top and push pins on the bottom.
And its gets the job done haha but there's always a want for more but I'm not sure the direction I want to spend money to go.
-
Update.
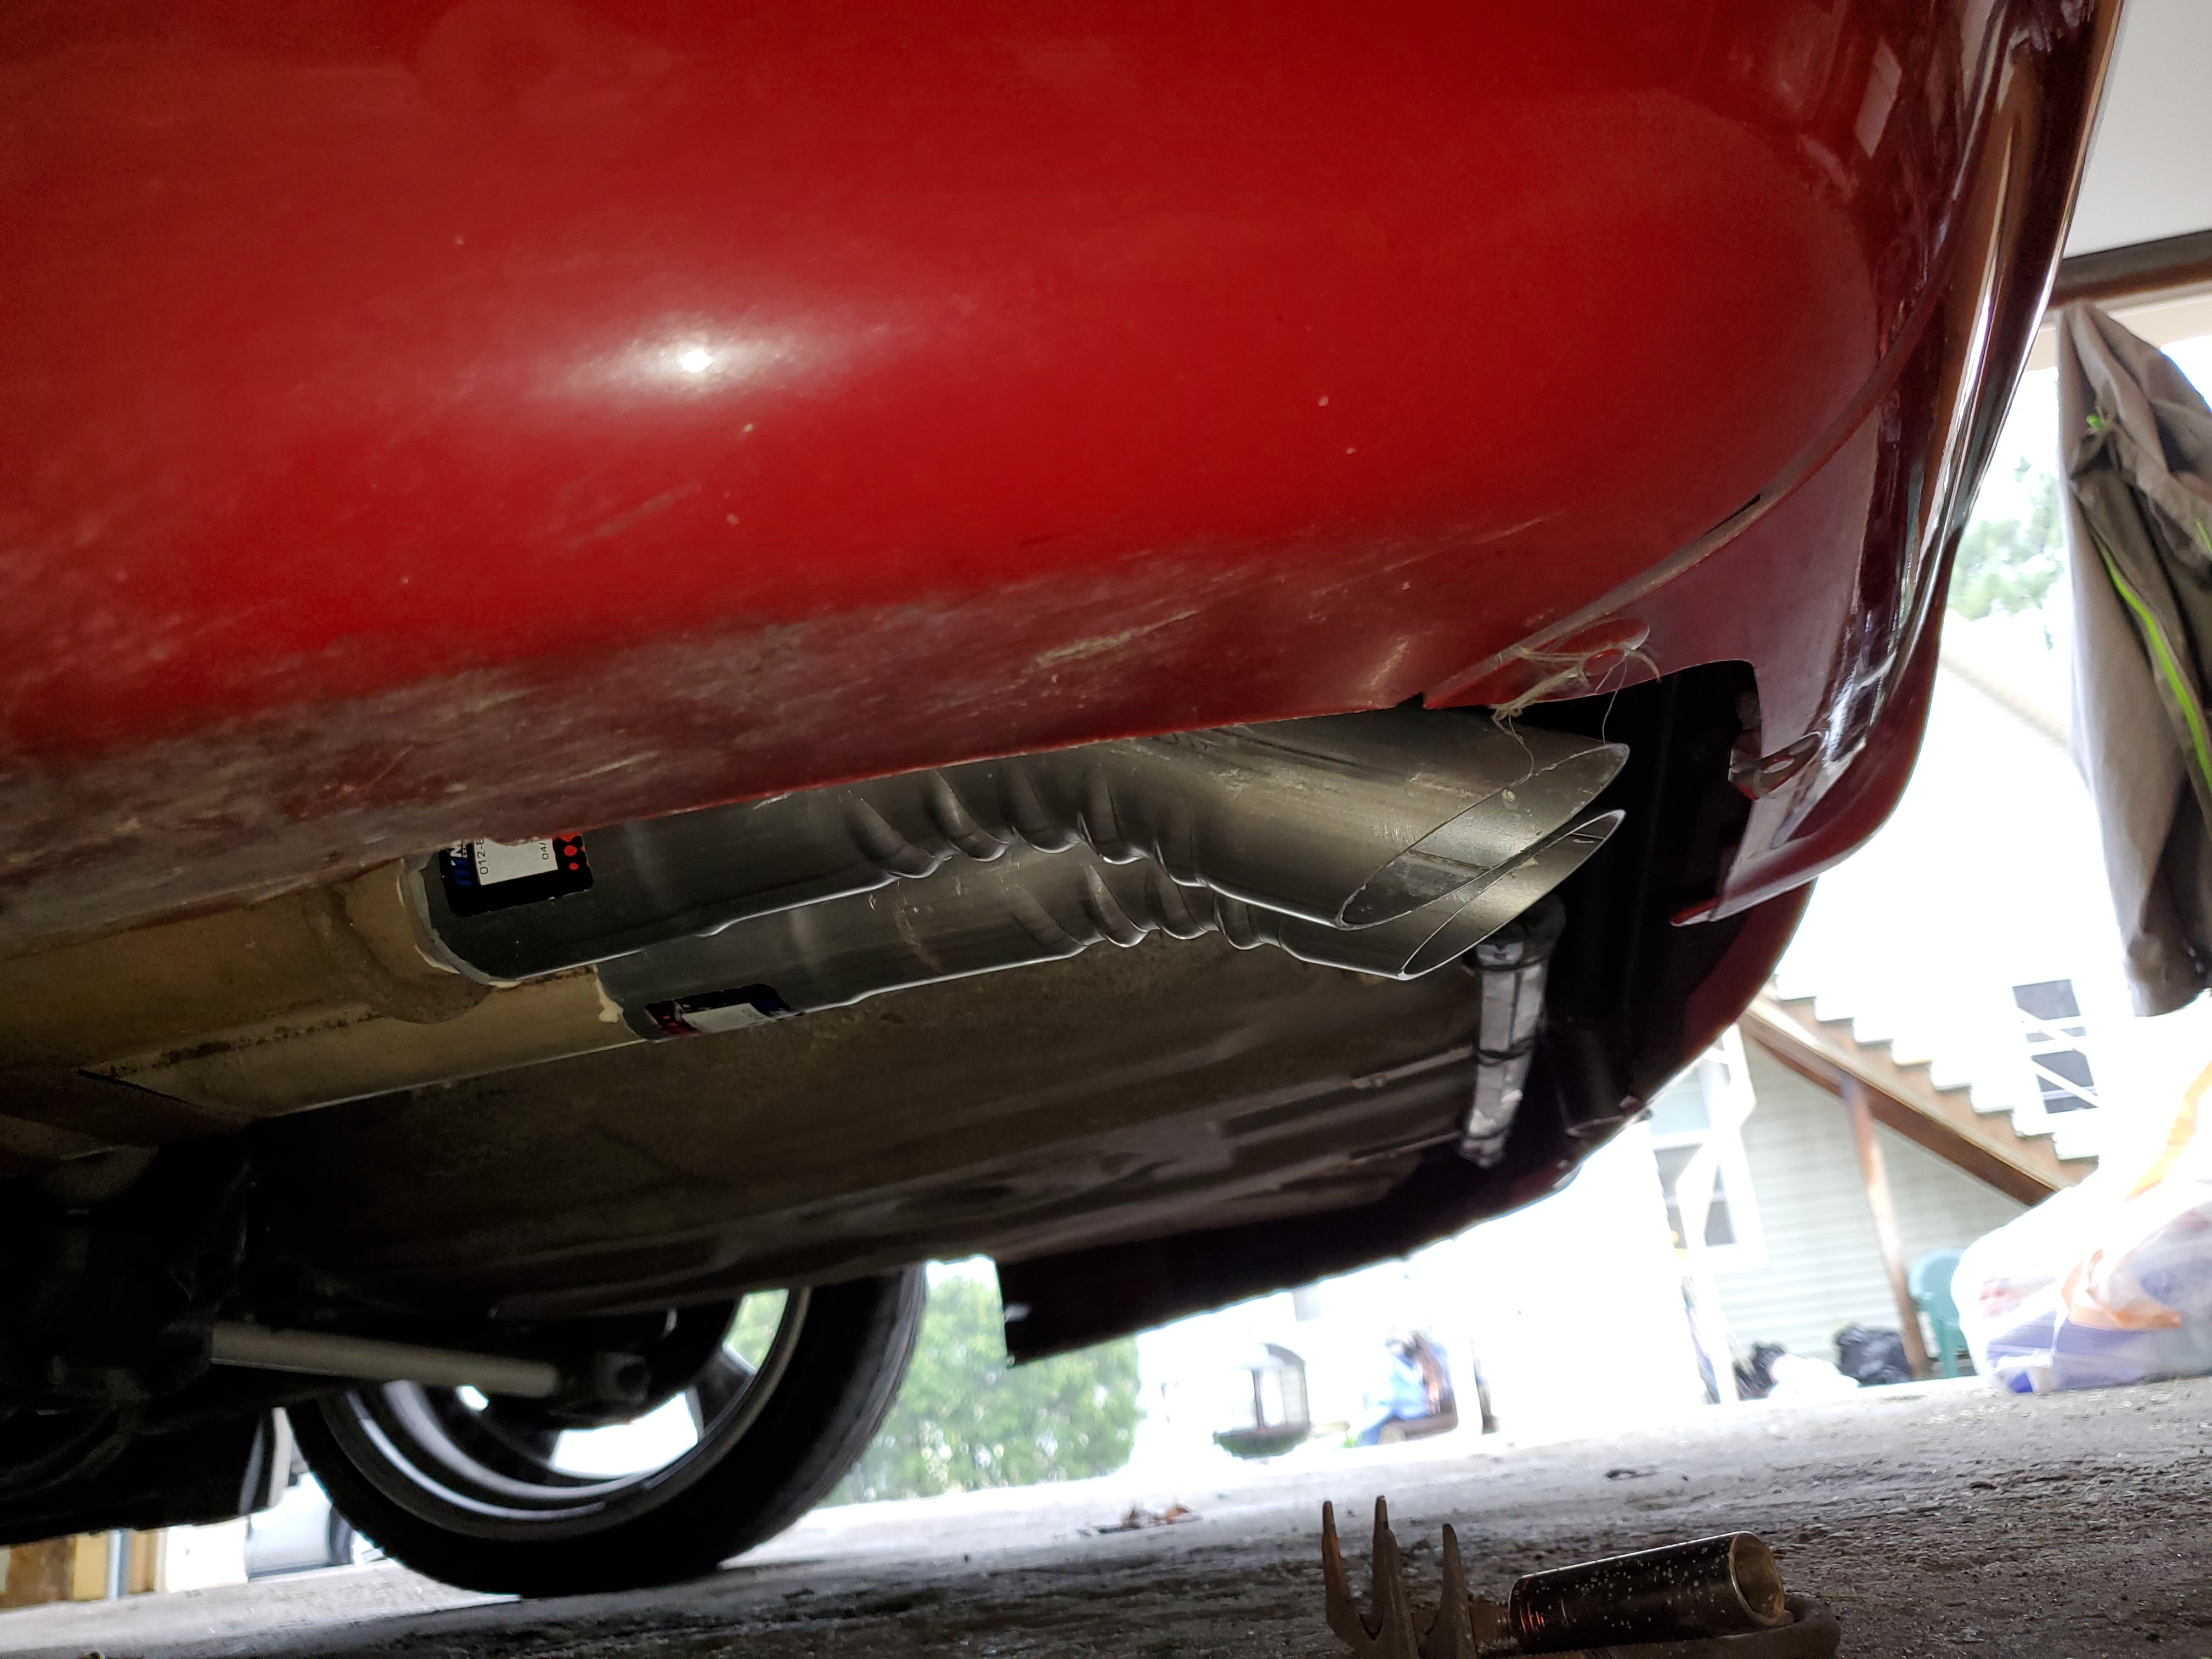
So here is my solution to there not being an exhaust exit on the M bumper (that I currently can make work and that I like).
Not super proud of it but it will work for now.
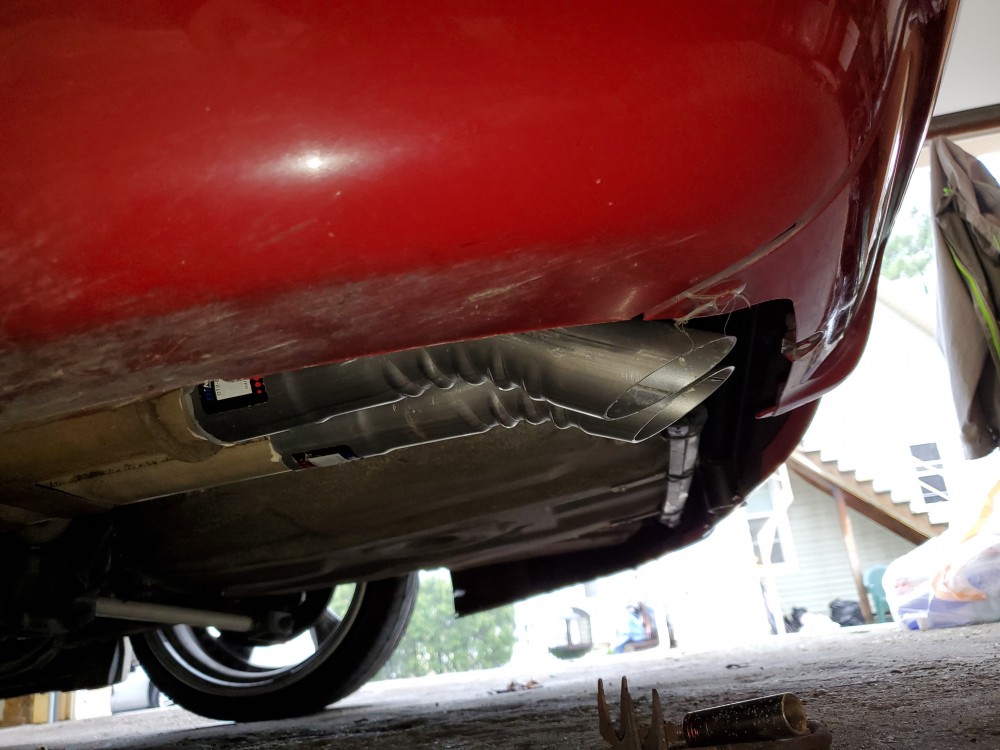
You can't see it from looking at the car at all so thats cool with me, and it will do until its time to make a real exhaust.
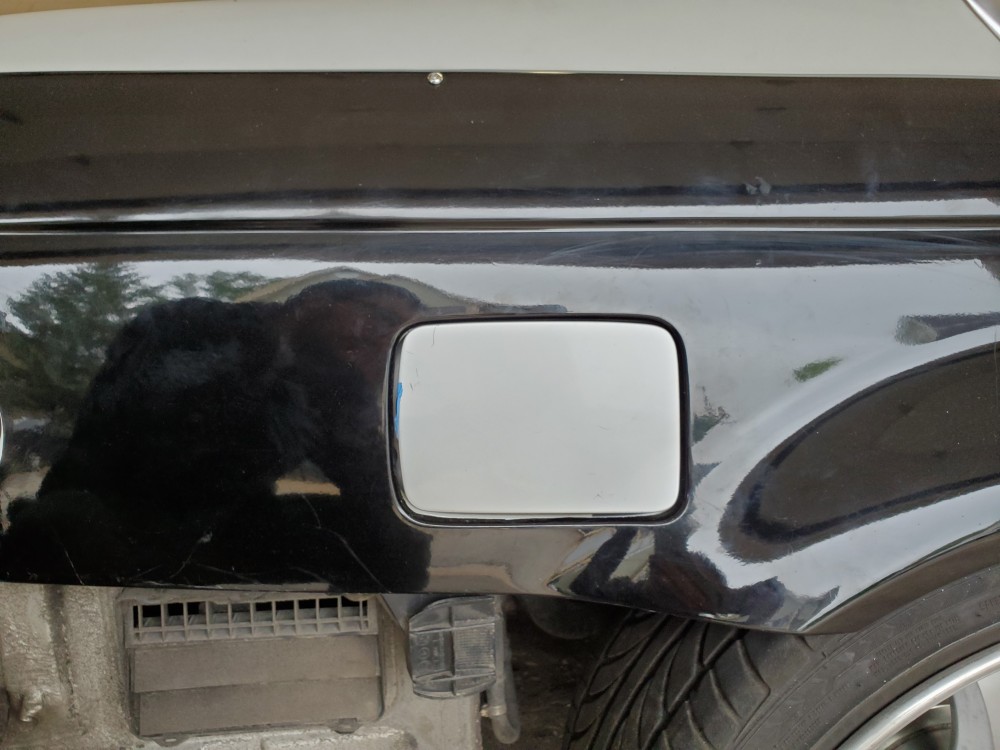
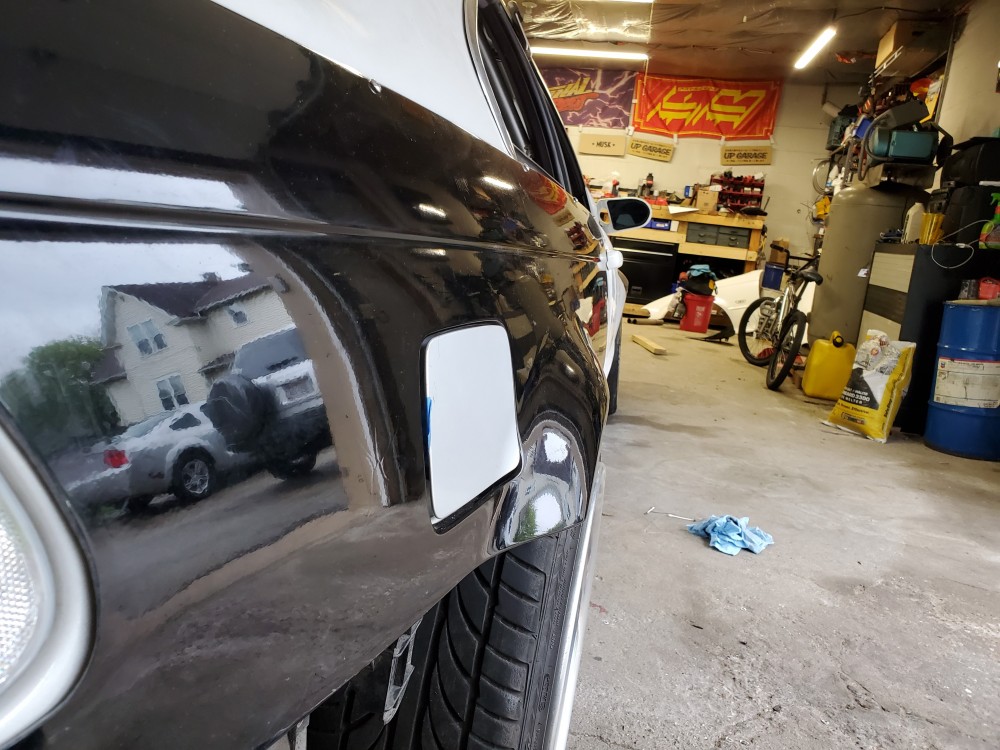
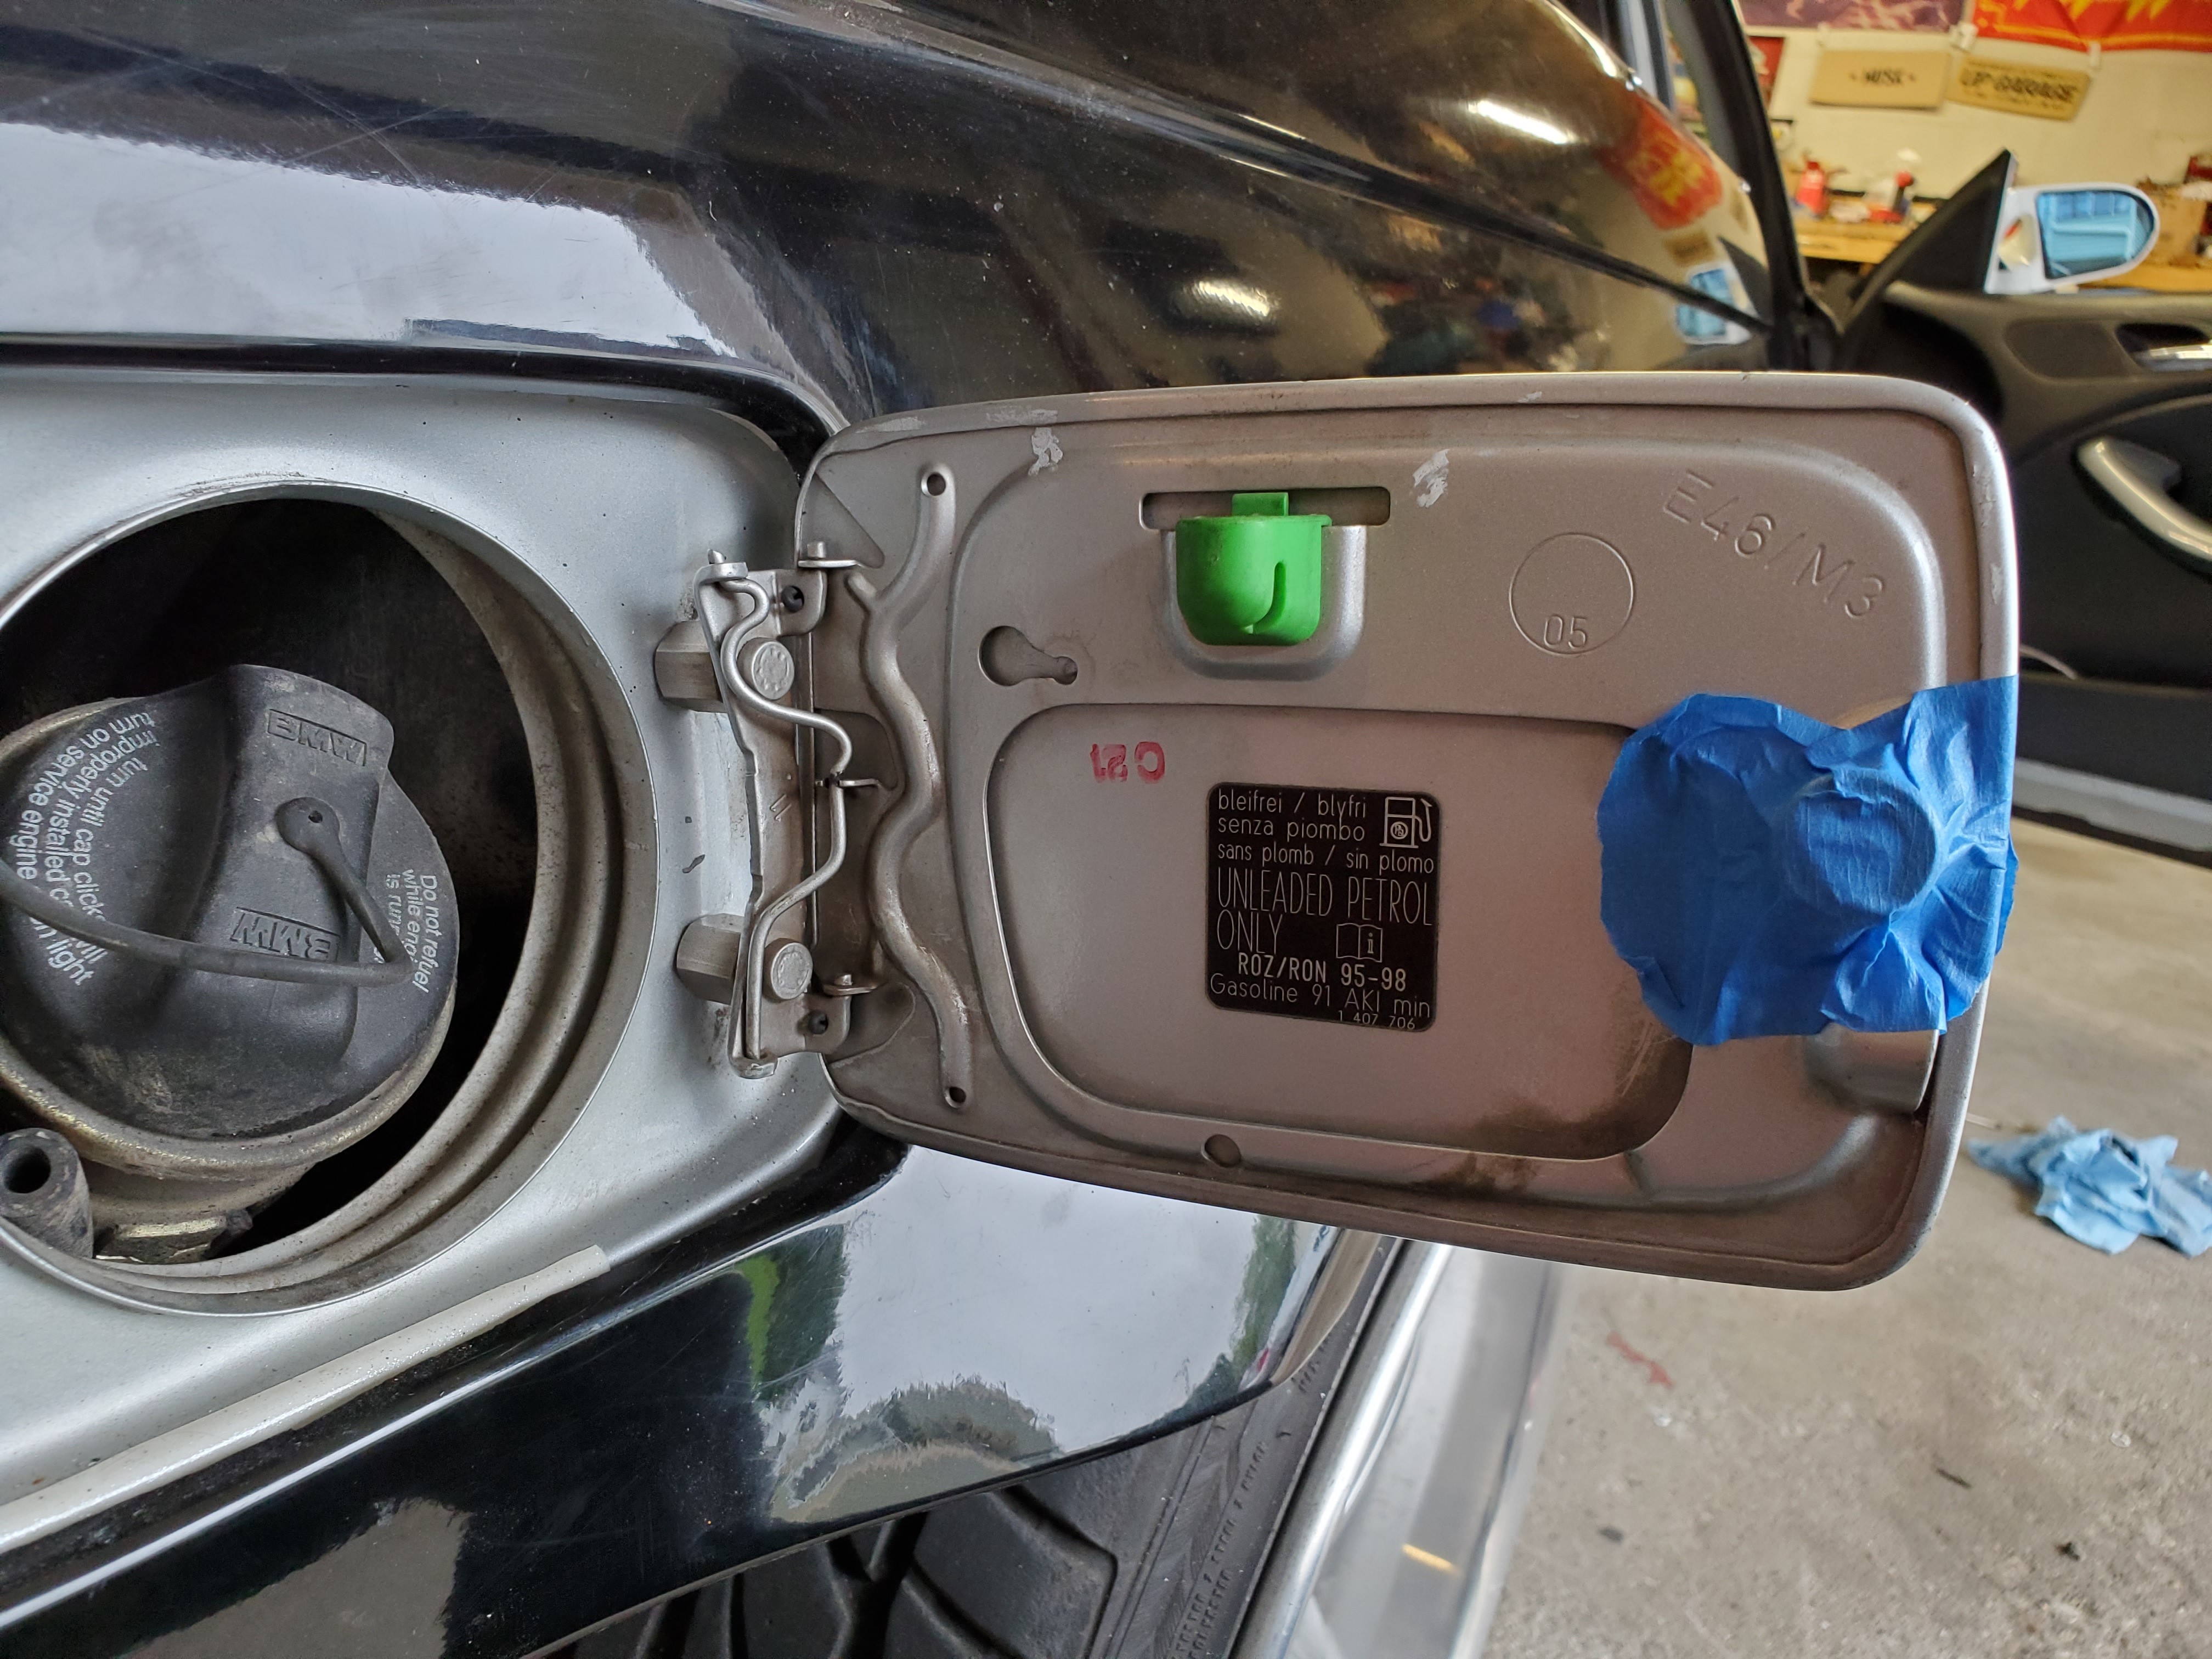
Next i tackled fitting the gas door.
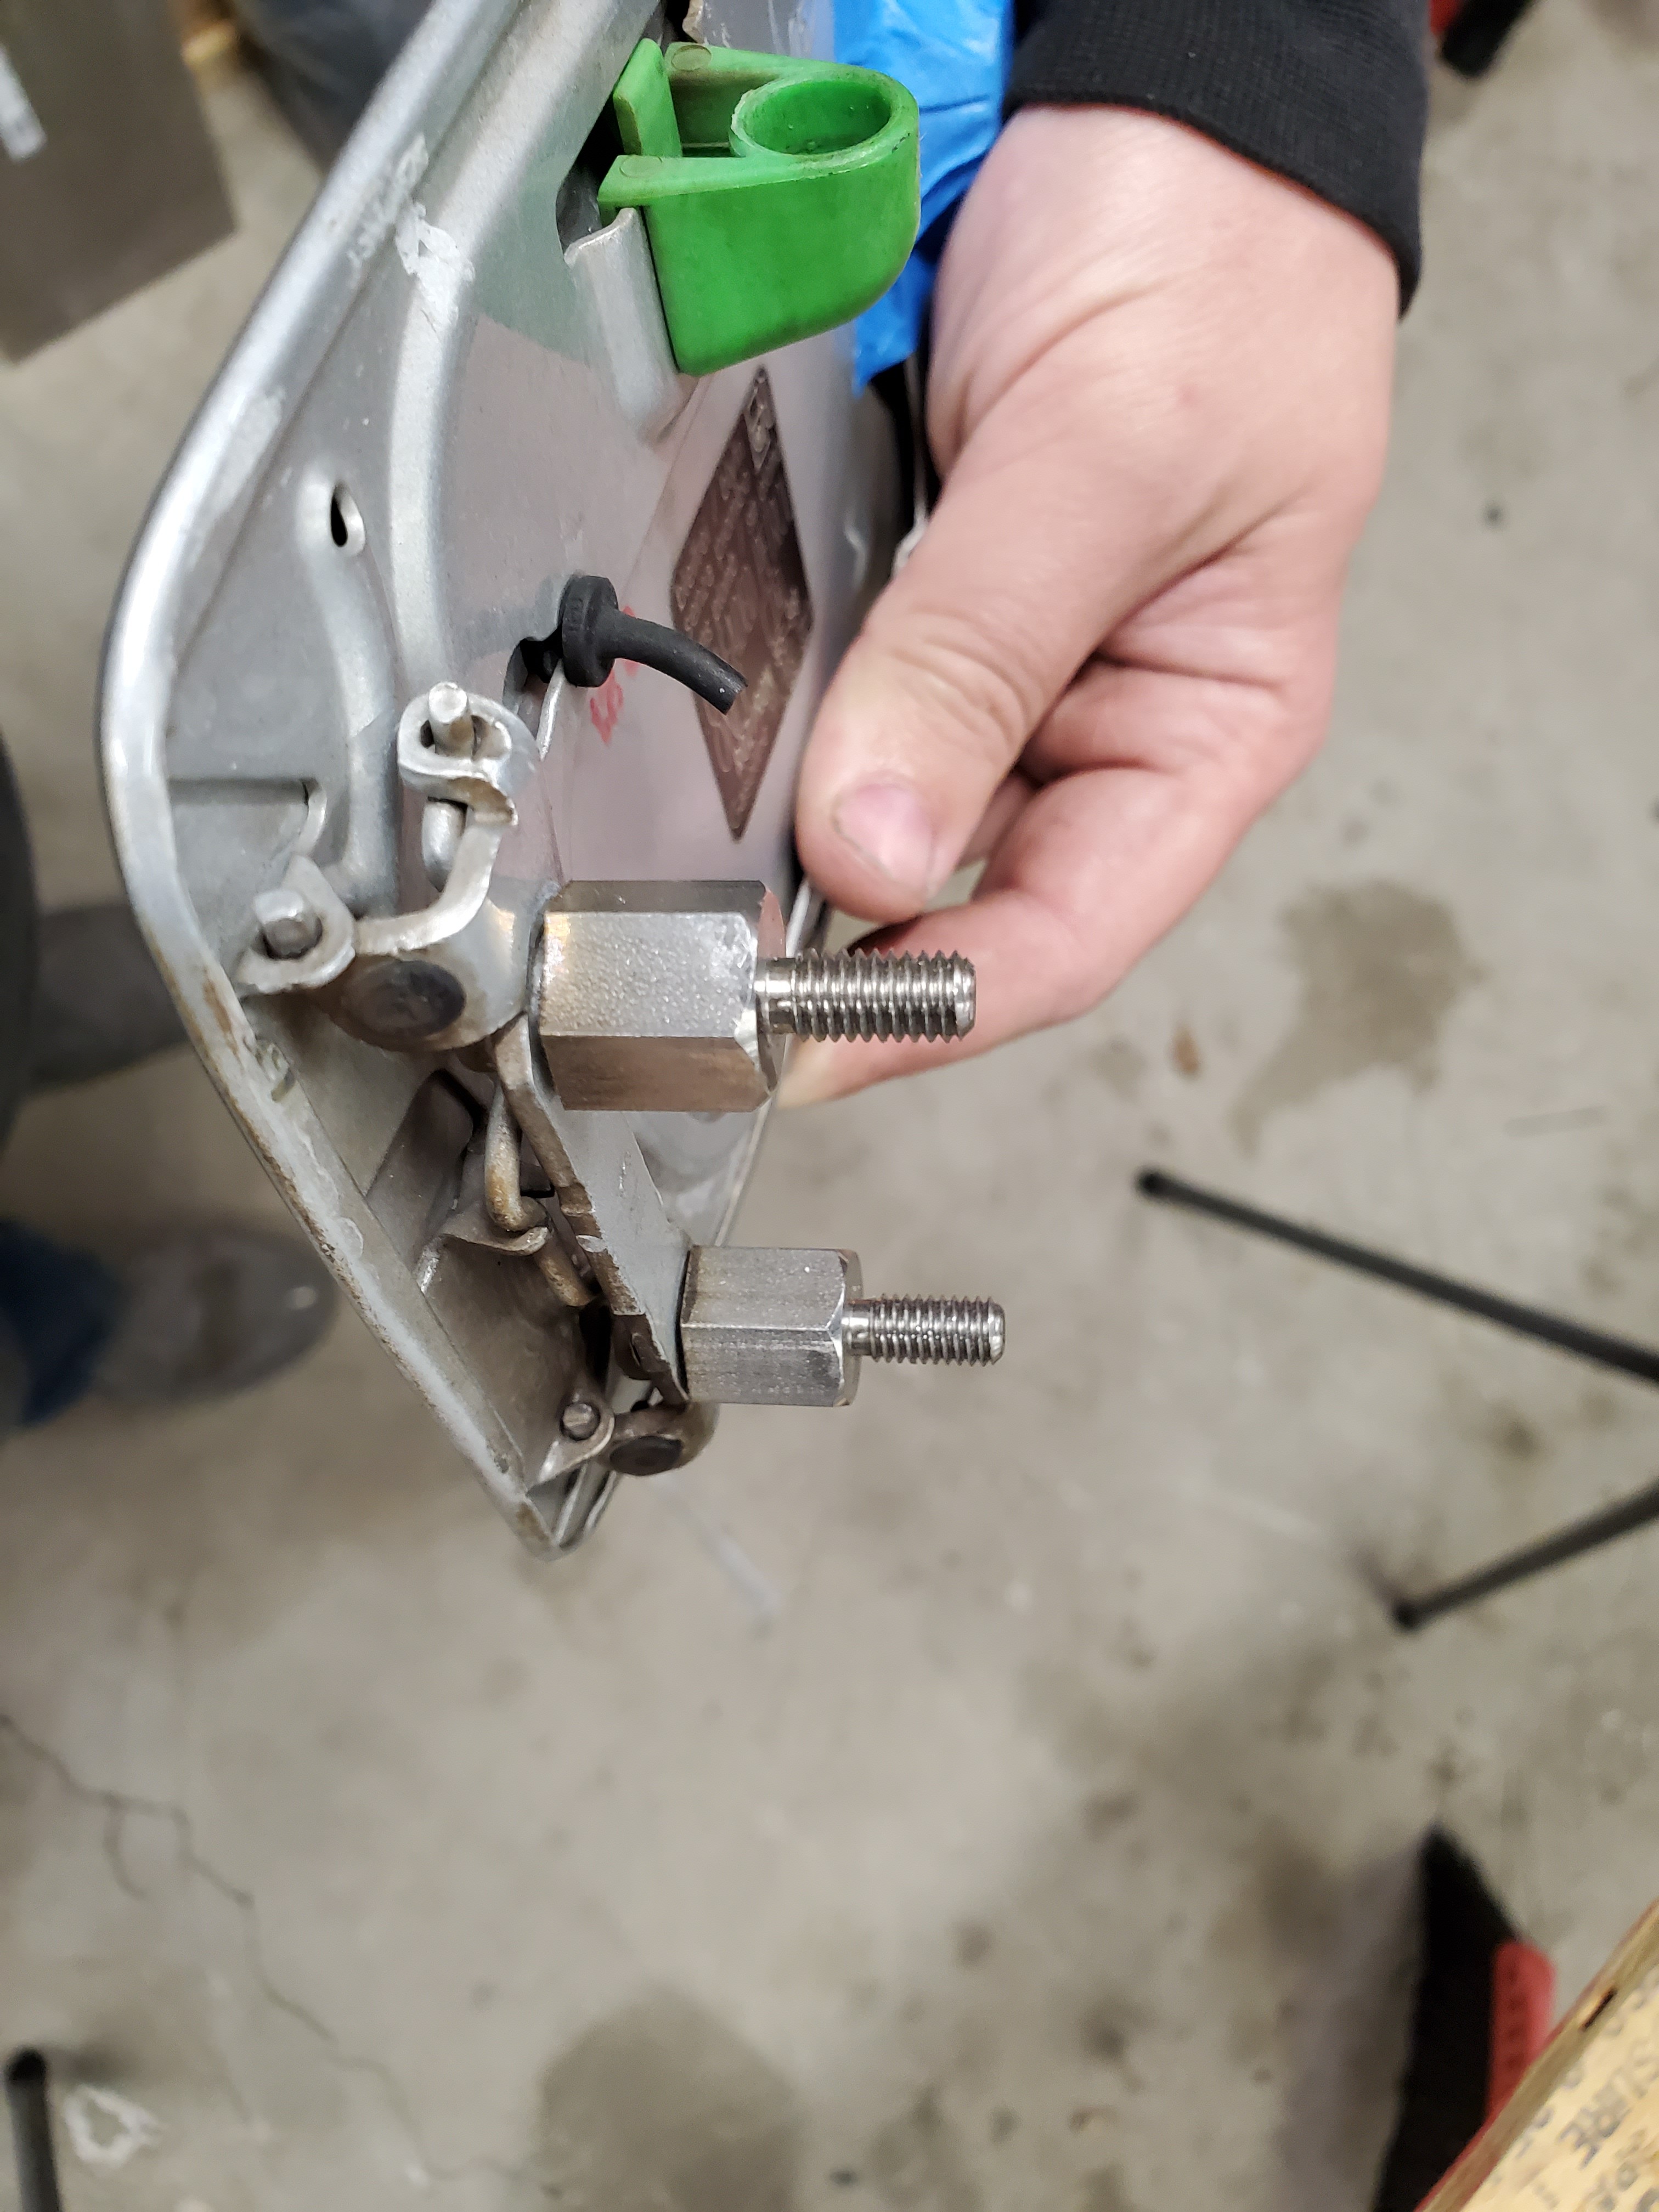
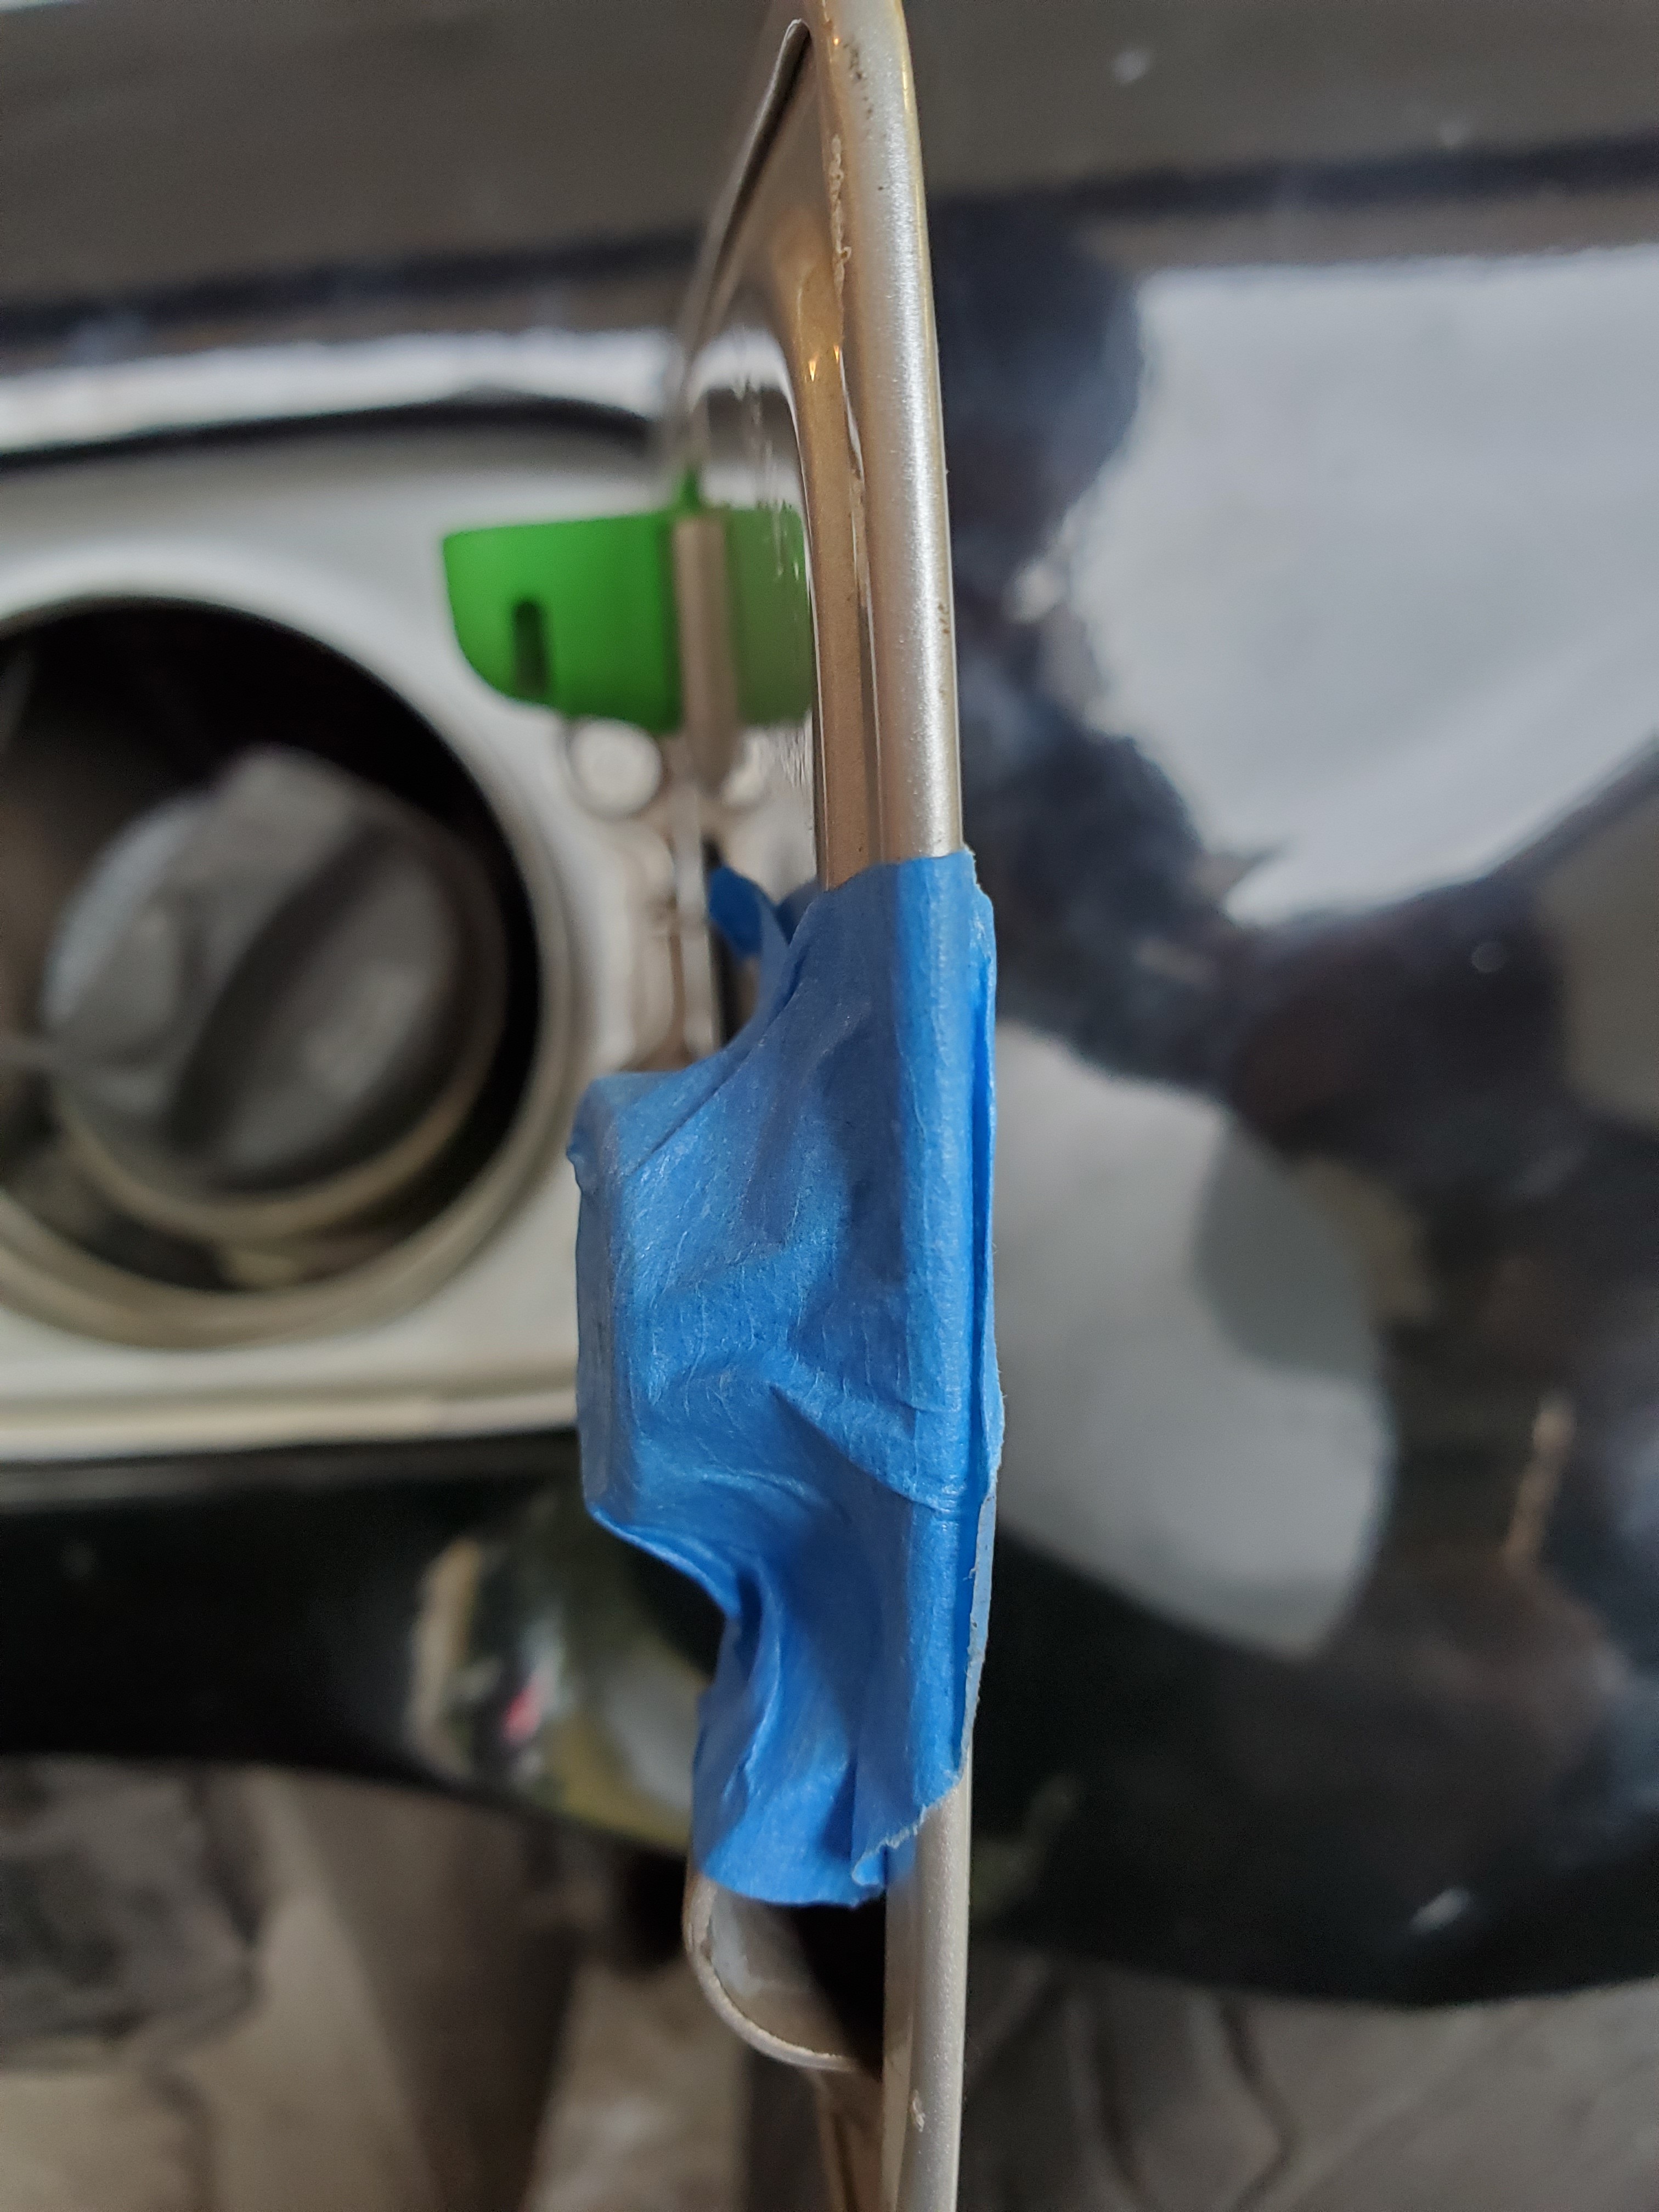
I drilled some new holes that would work with the M door layout. And trimmed up the standoffs I bought to make the door fit the overs correctly.
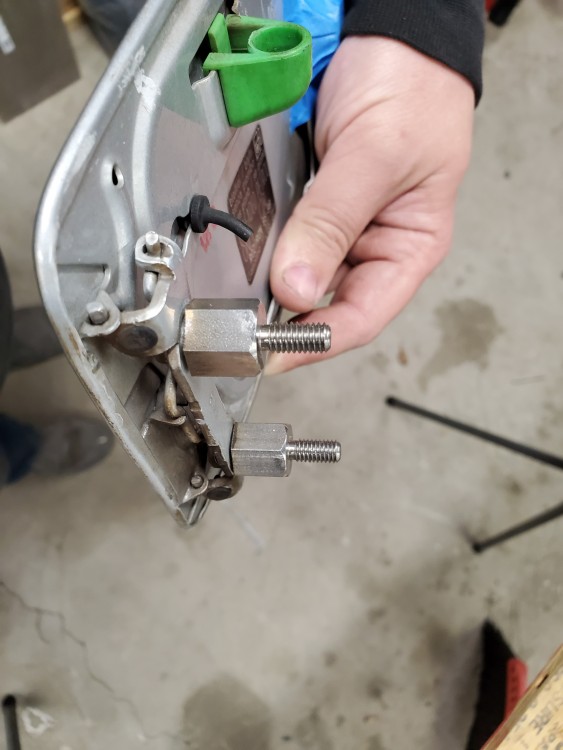
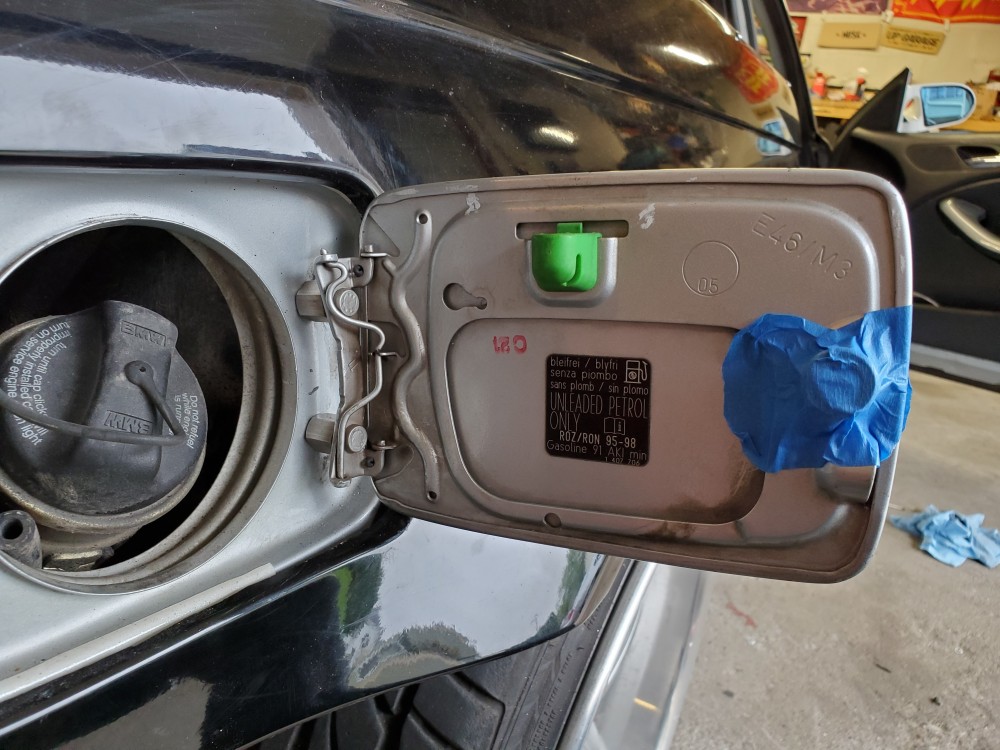
I also found a spacer that I had laying around that I trimmed down until it was the right size to sit against the original non-M push button thing. I need to decide how I want to attach it yet. Most likely some sort of epoxy.
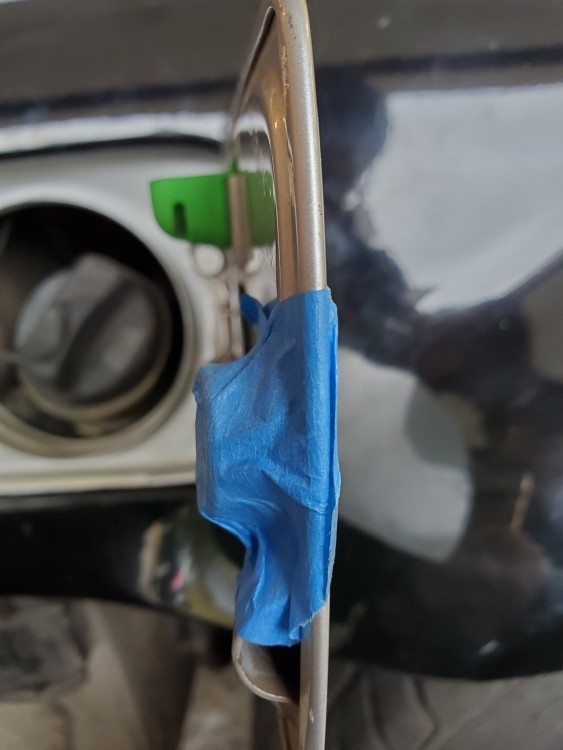
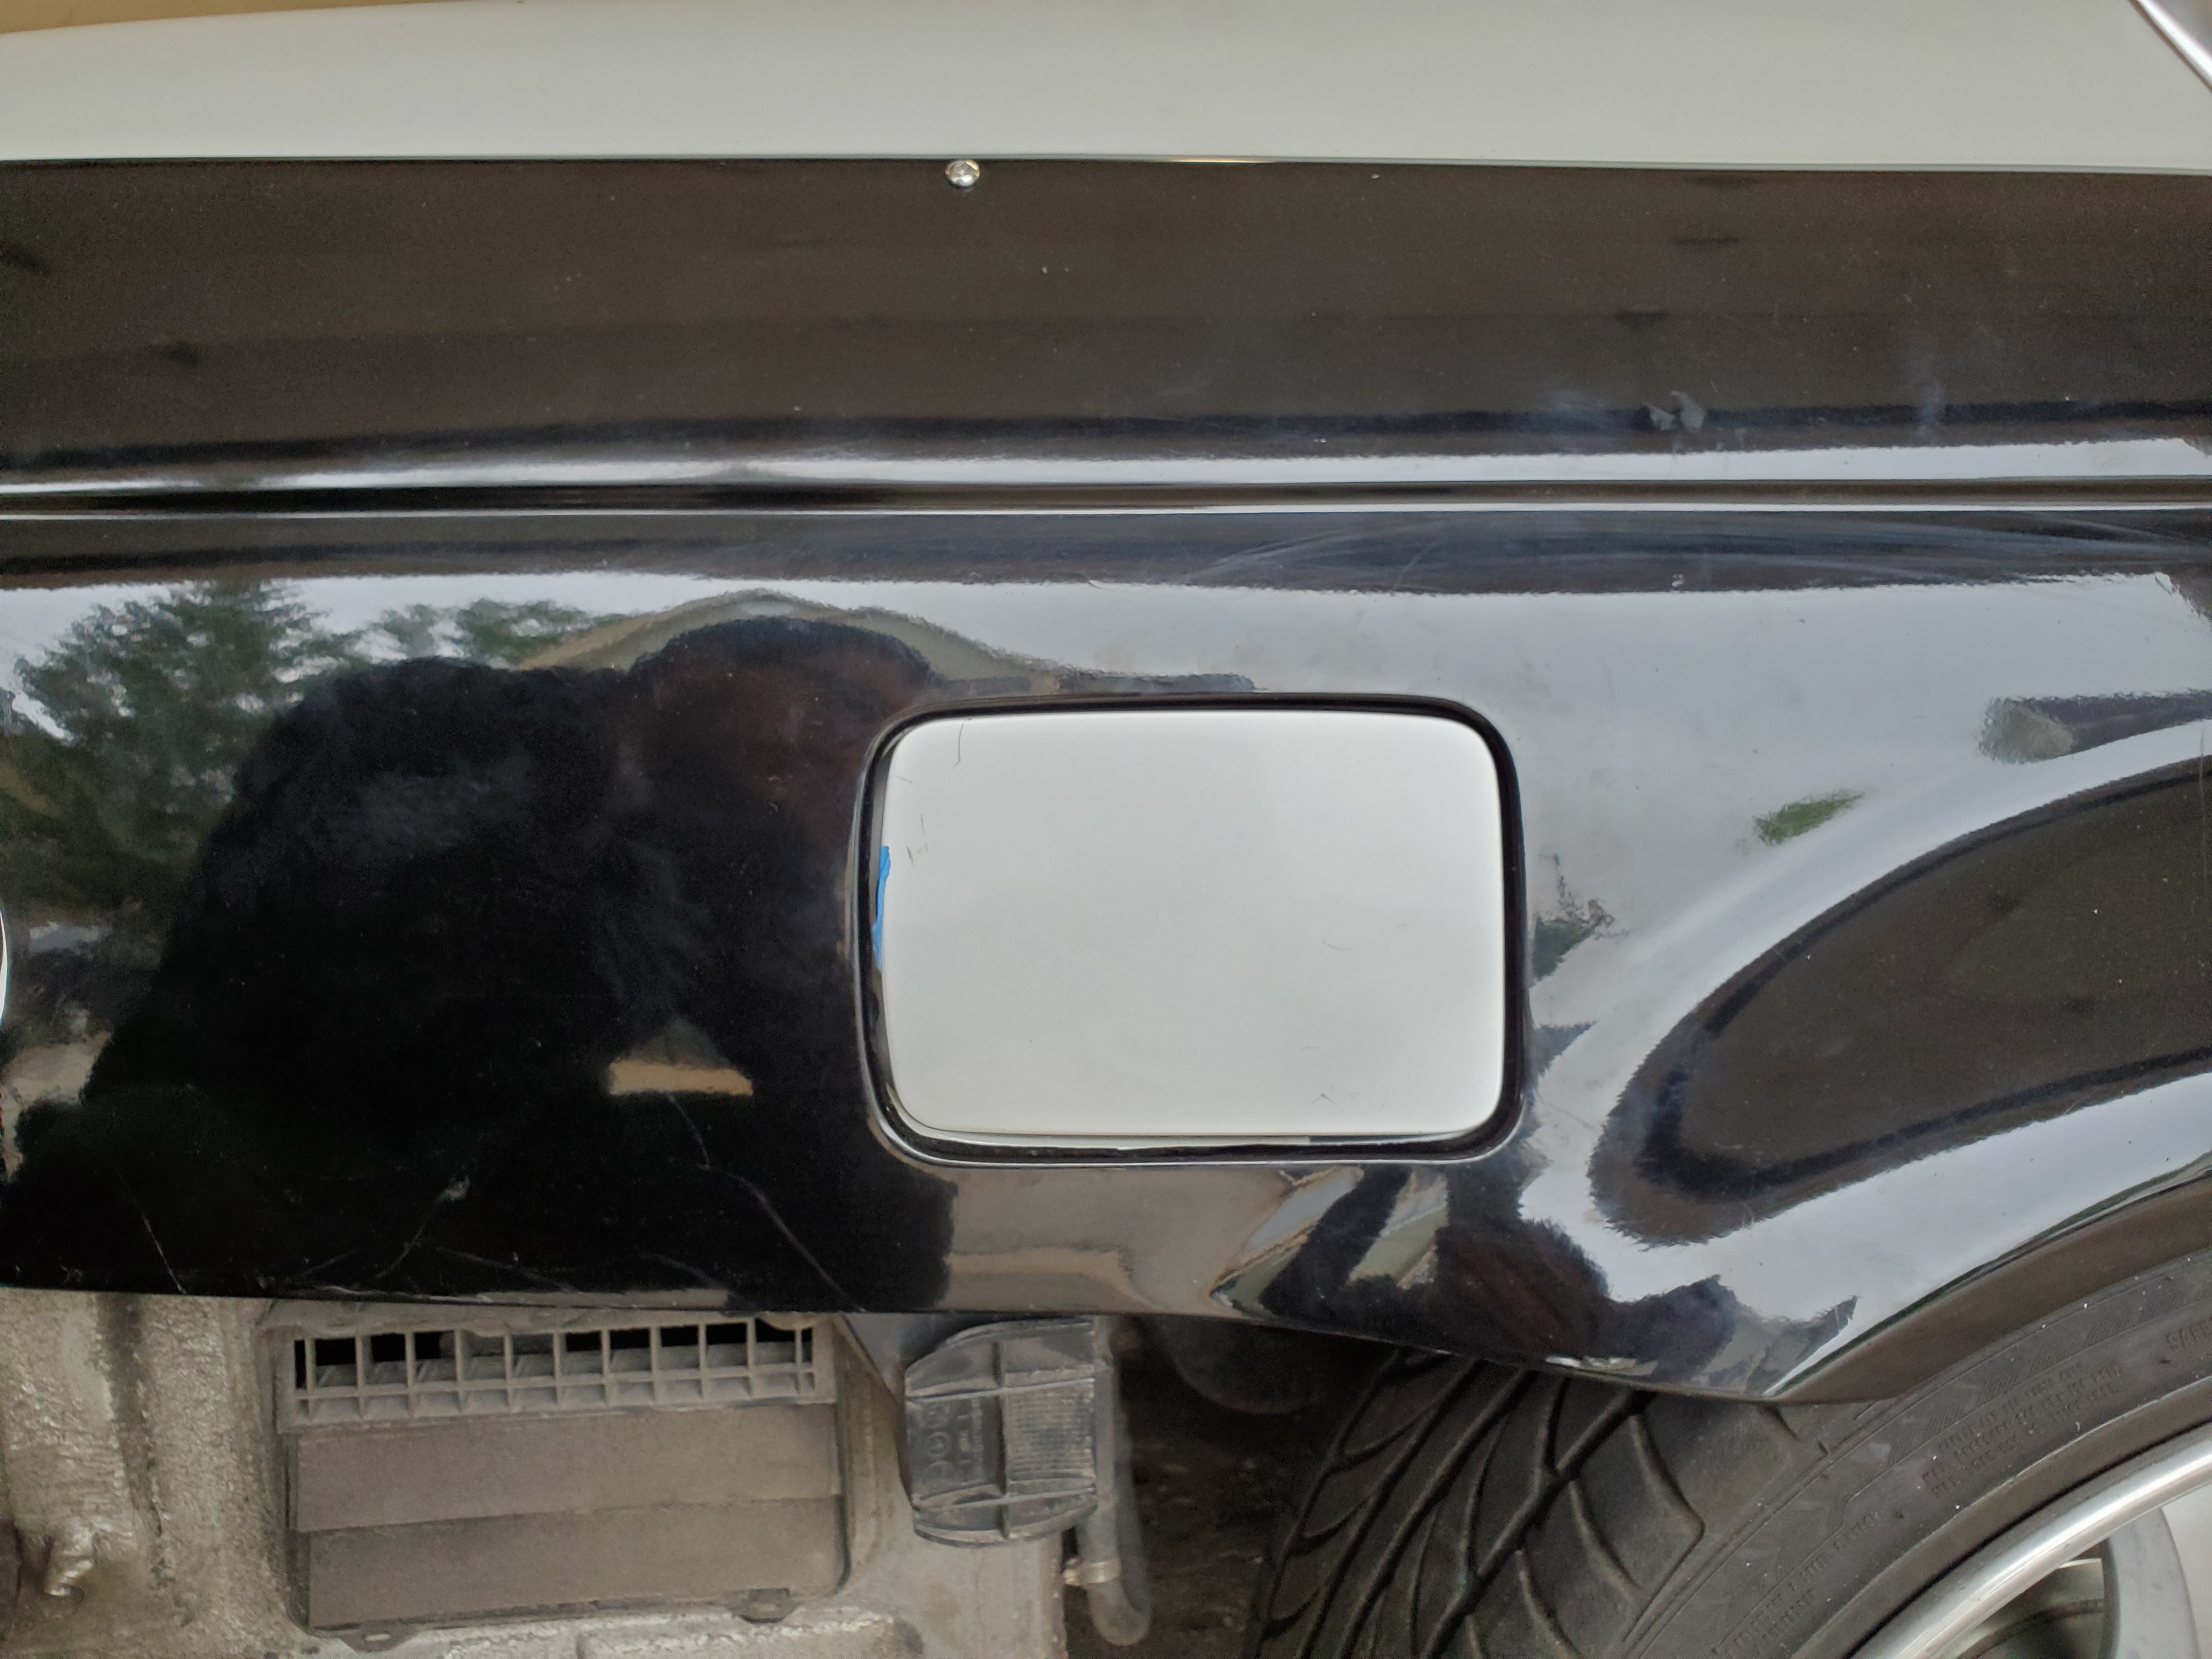
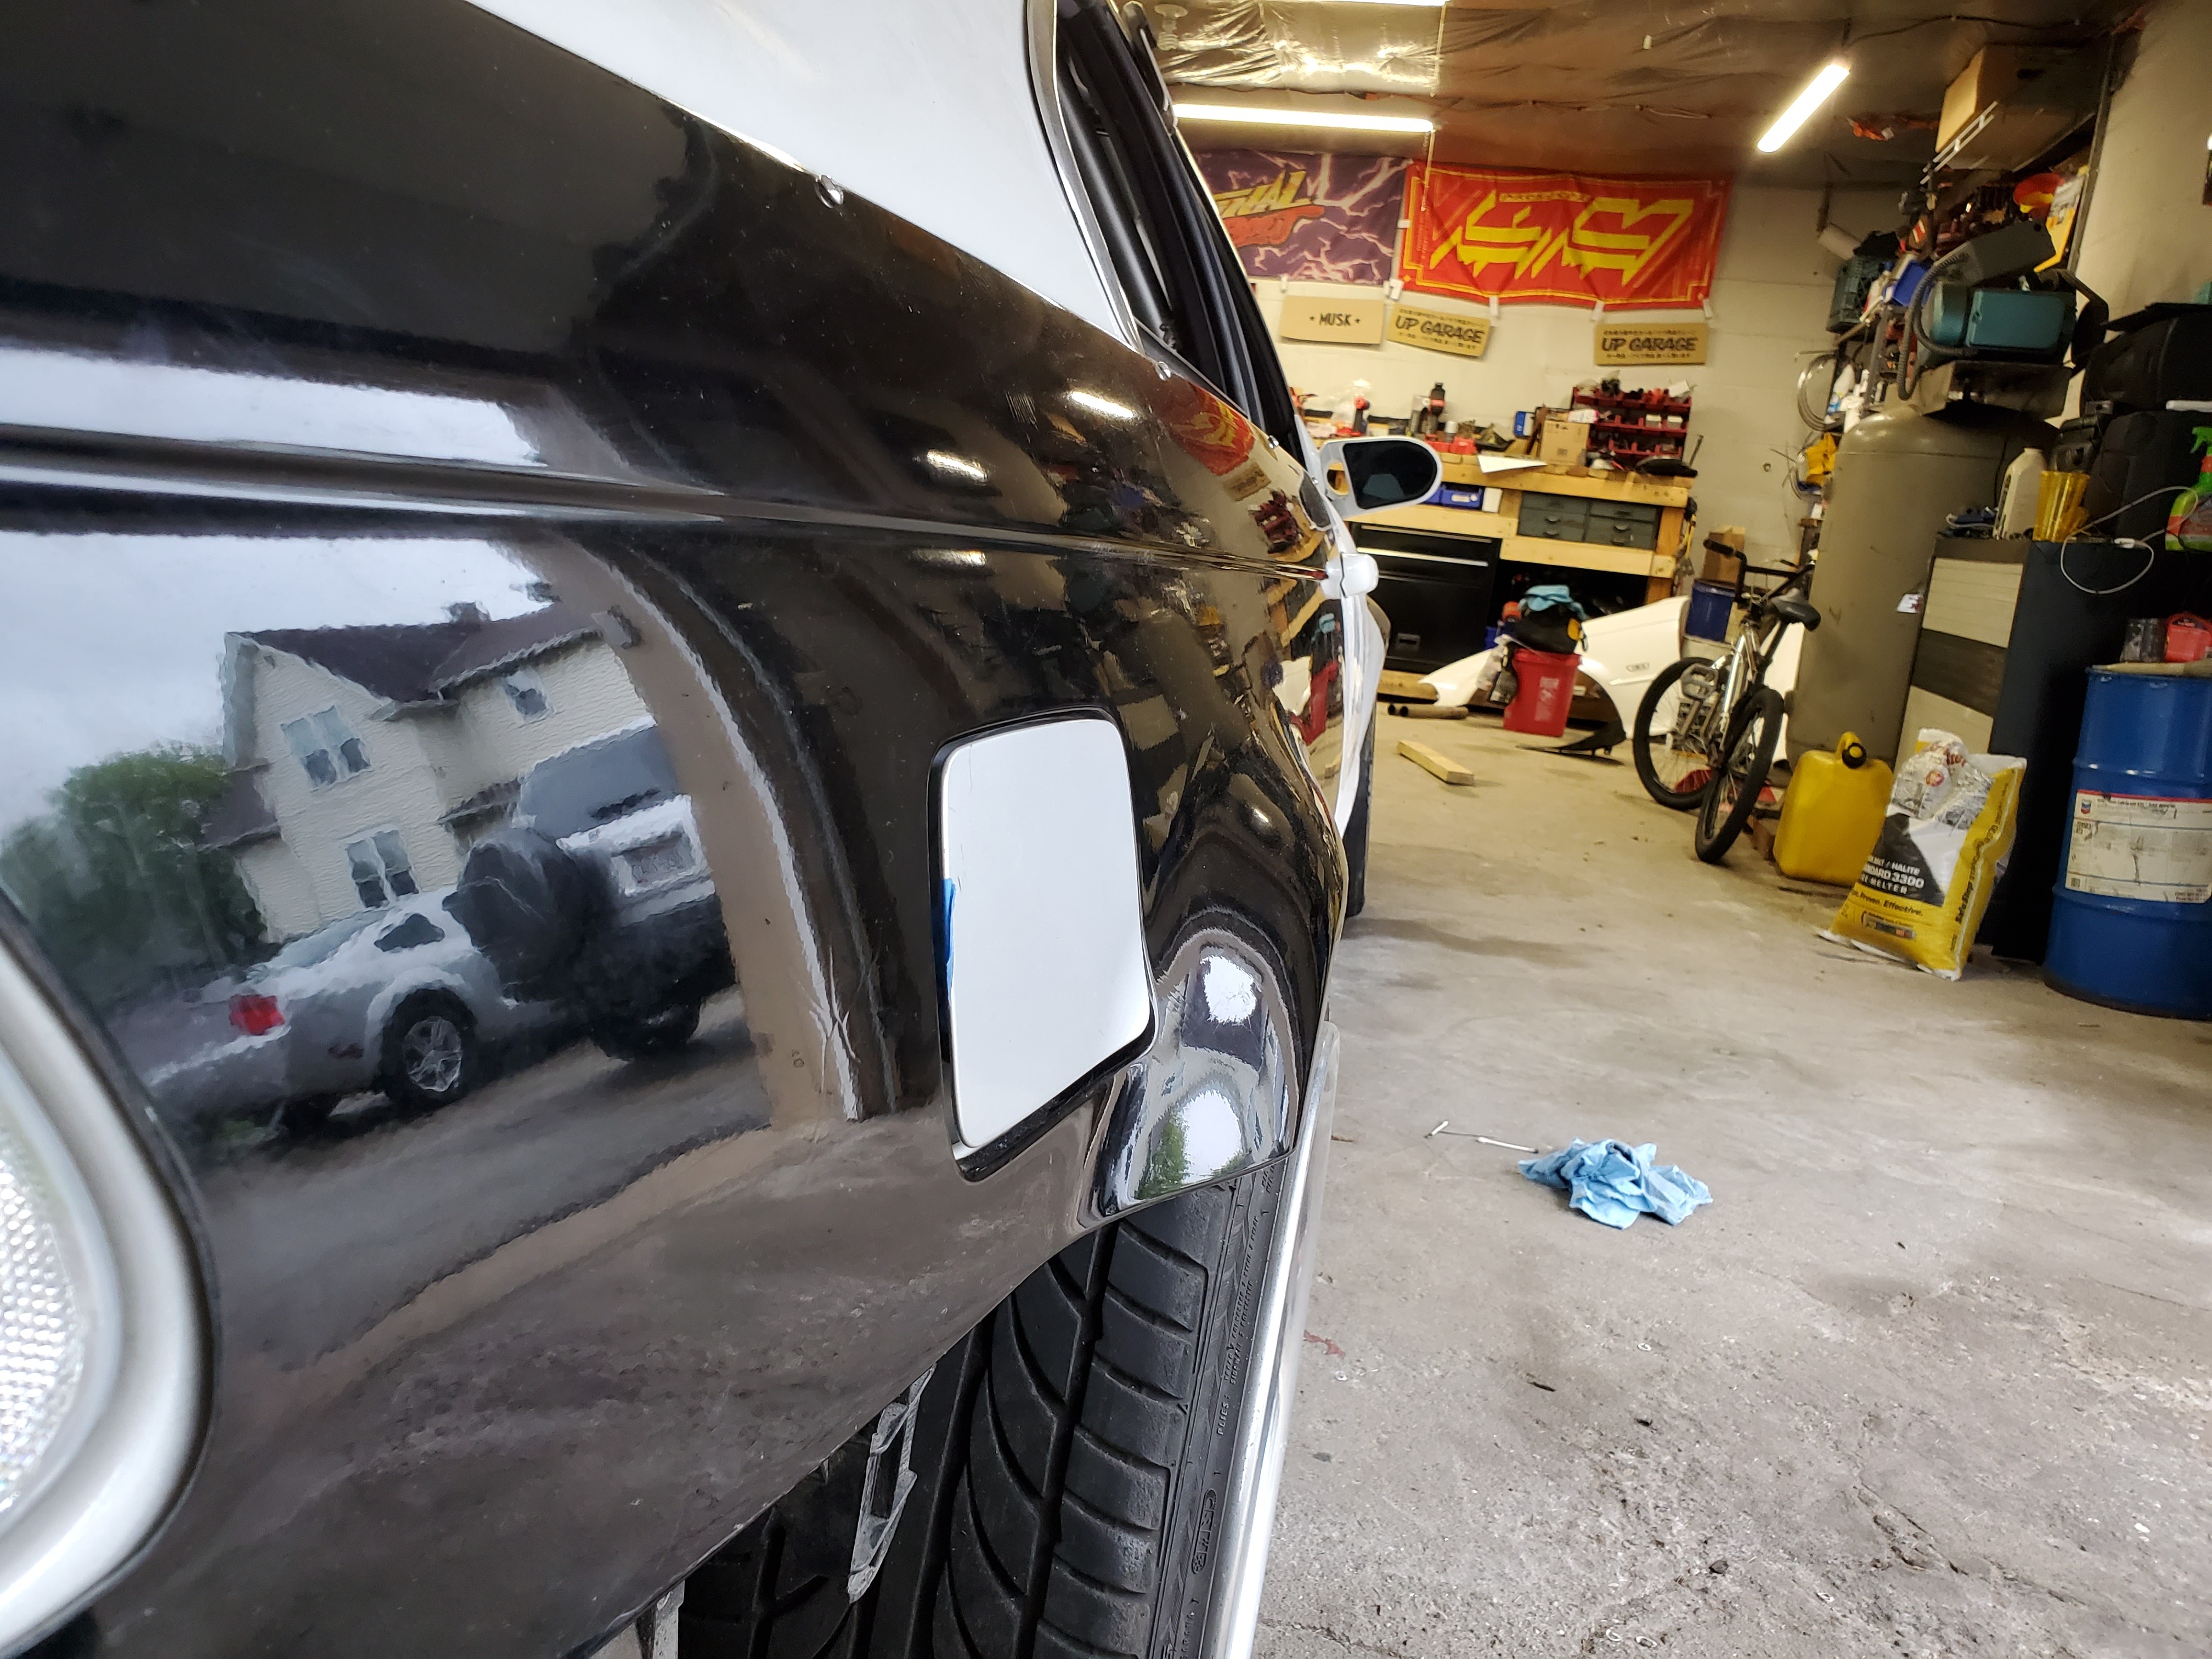
And here is the fit when closed!
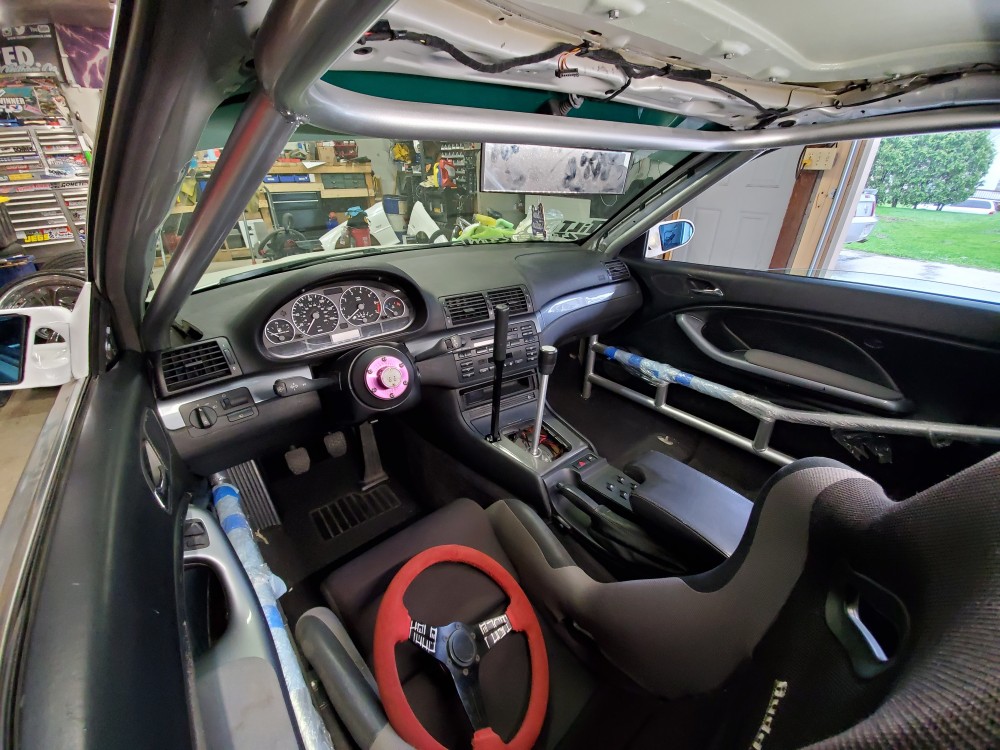
My girlfriend deep cleaned the dash and interior which was VERY NEEDED! I'm so glad she has the patience for that because I dont.
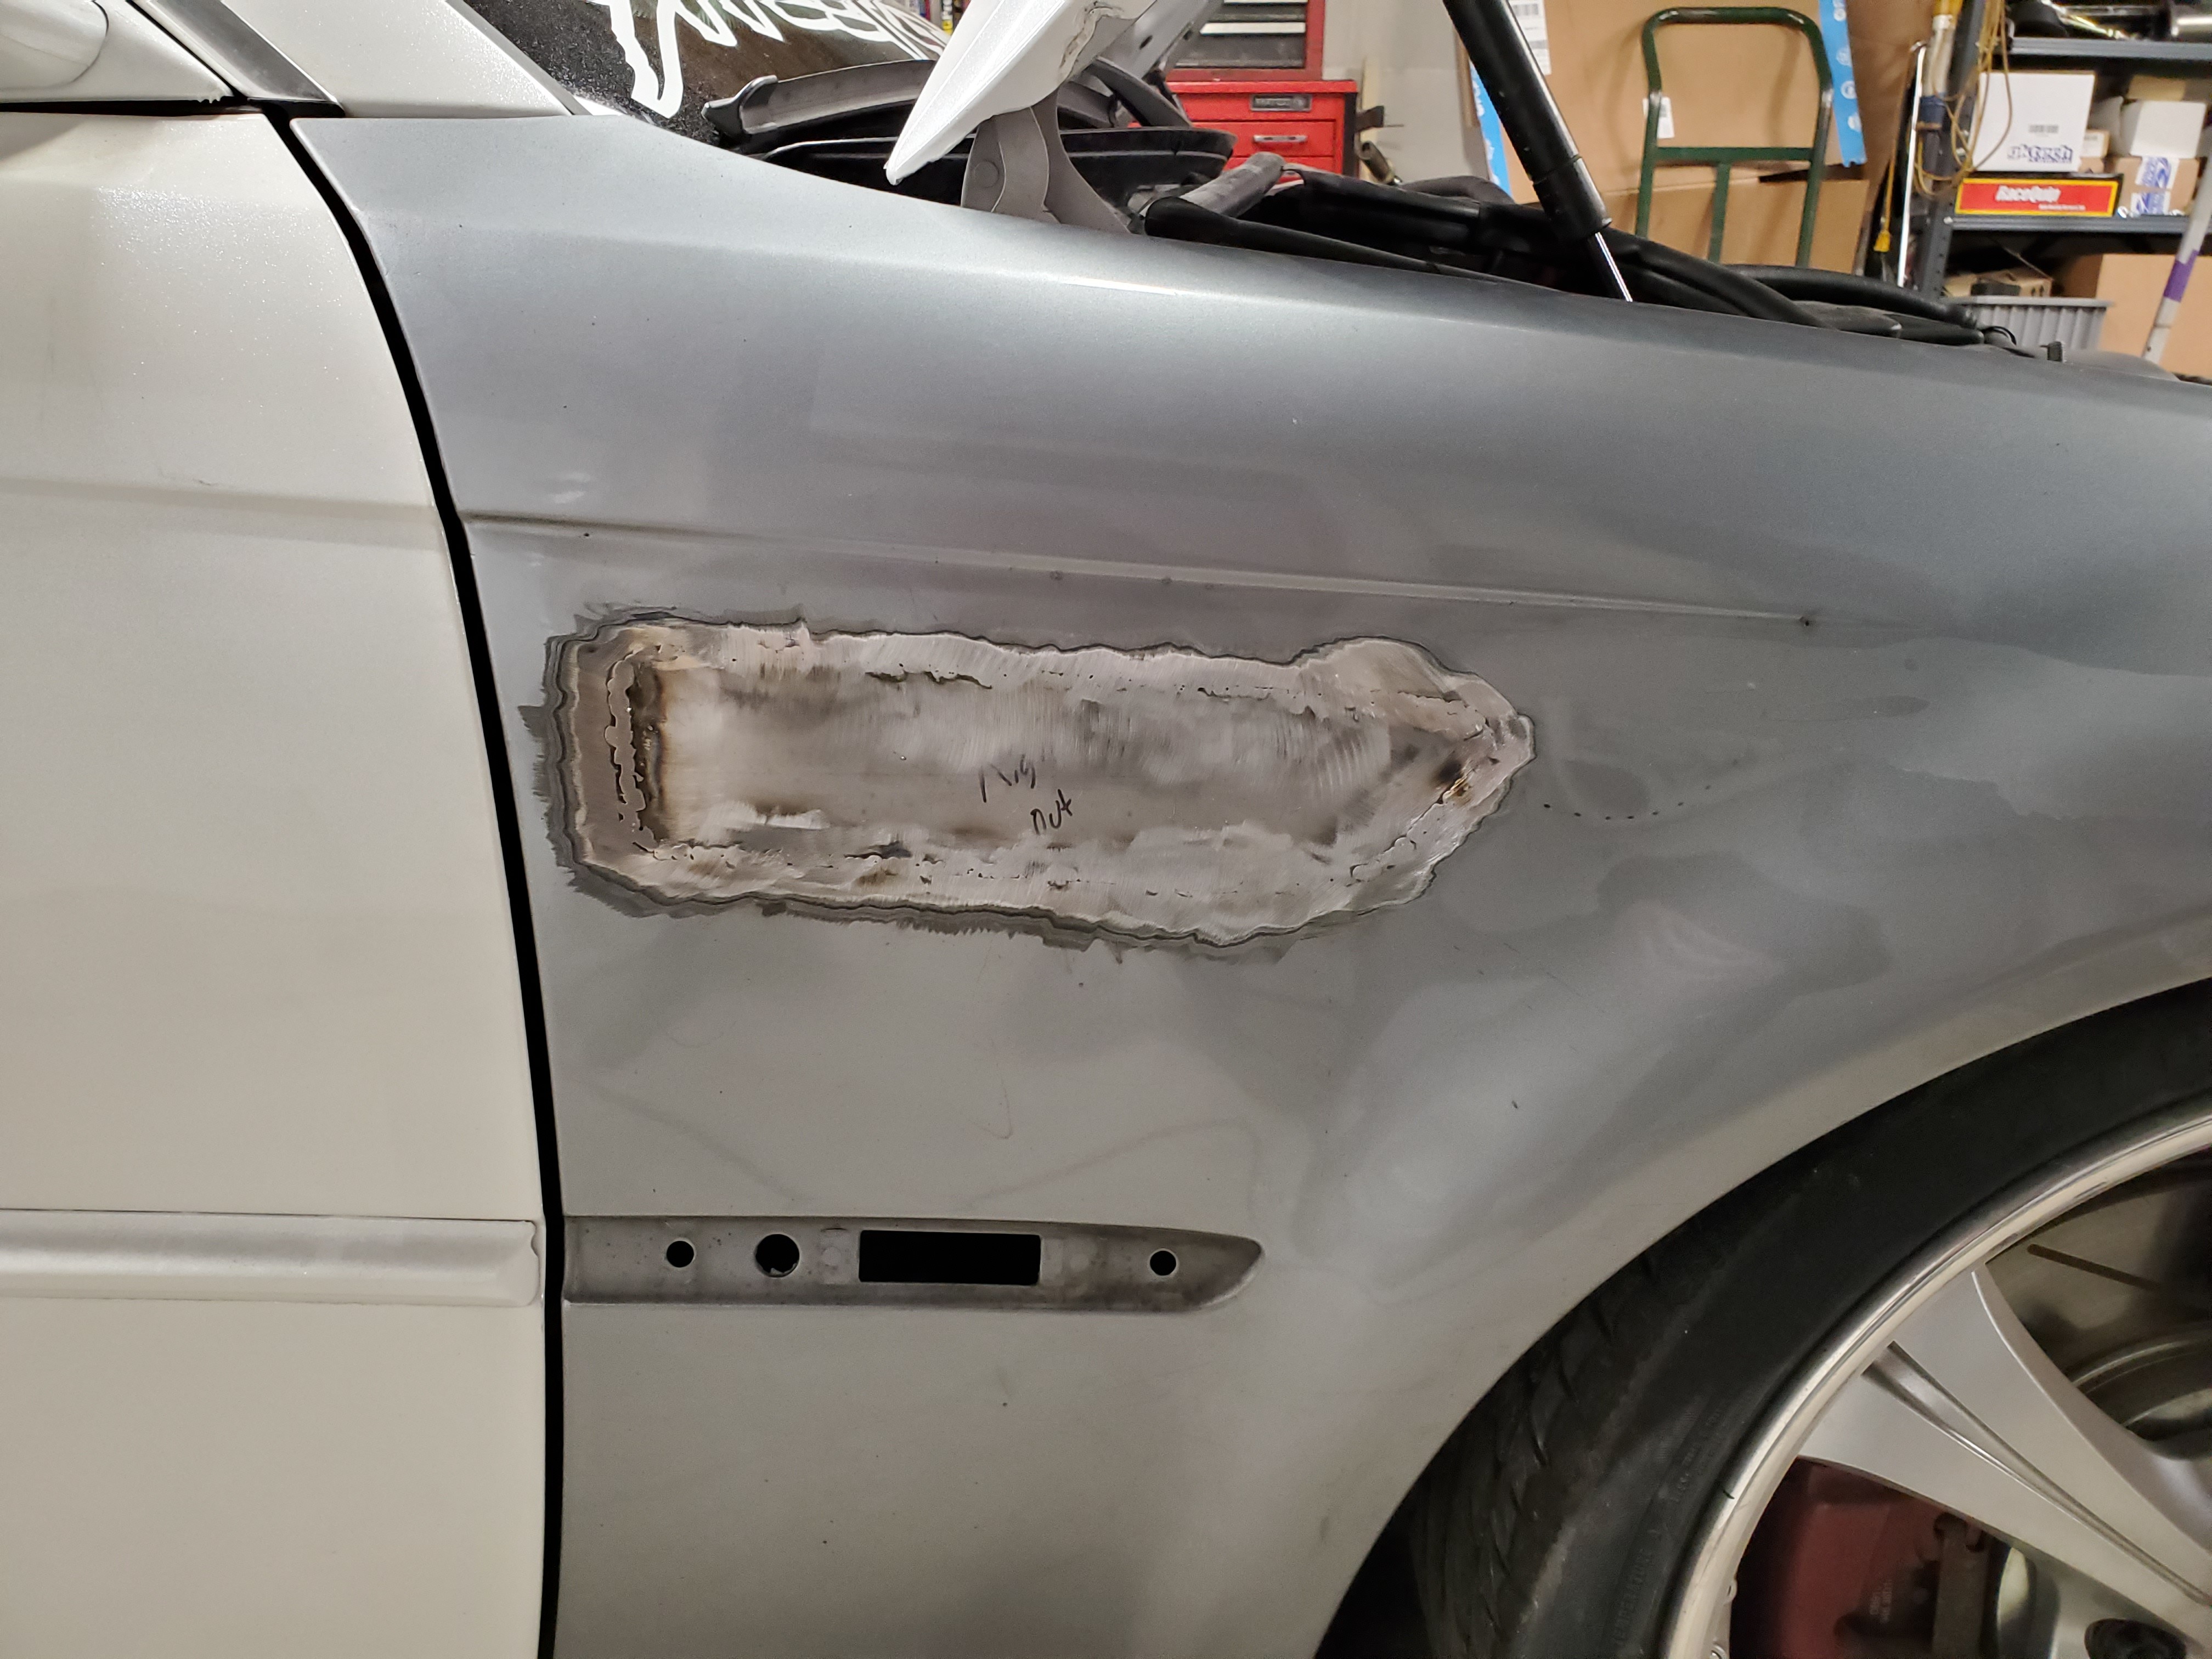
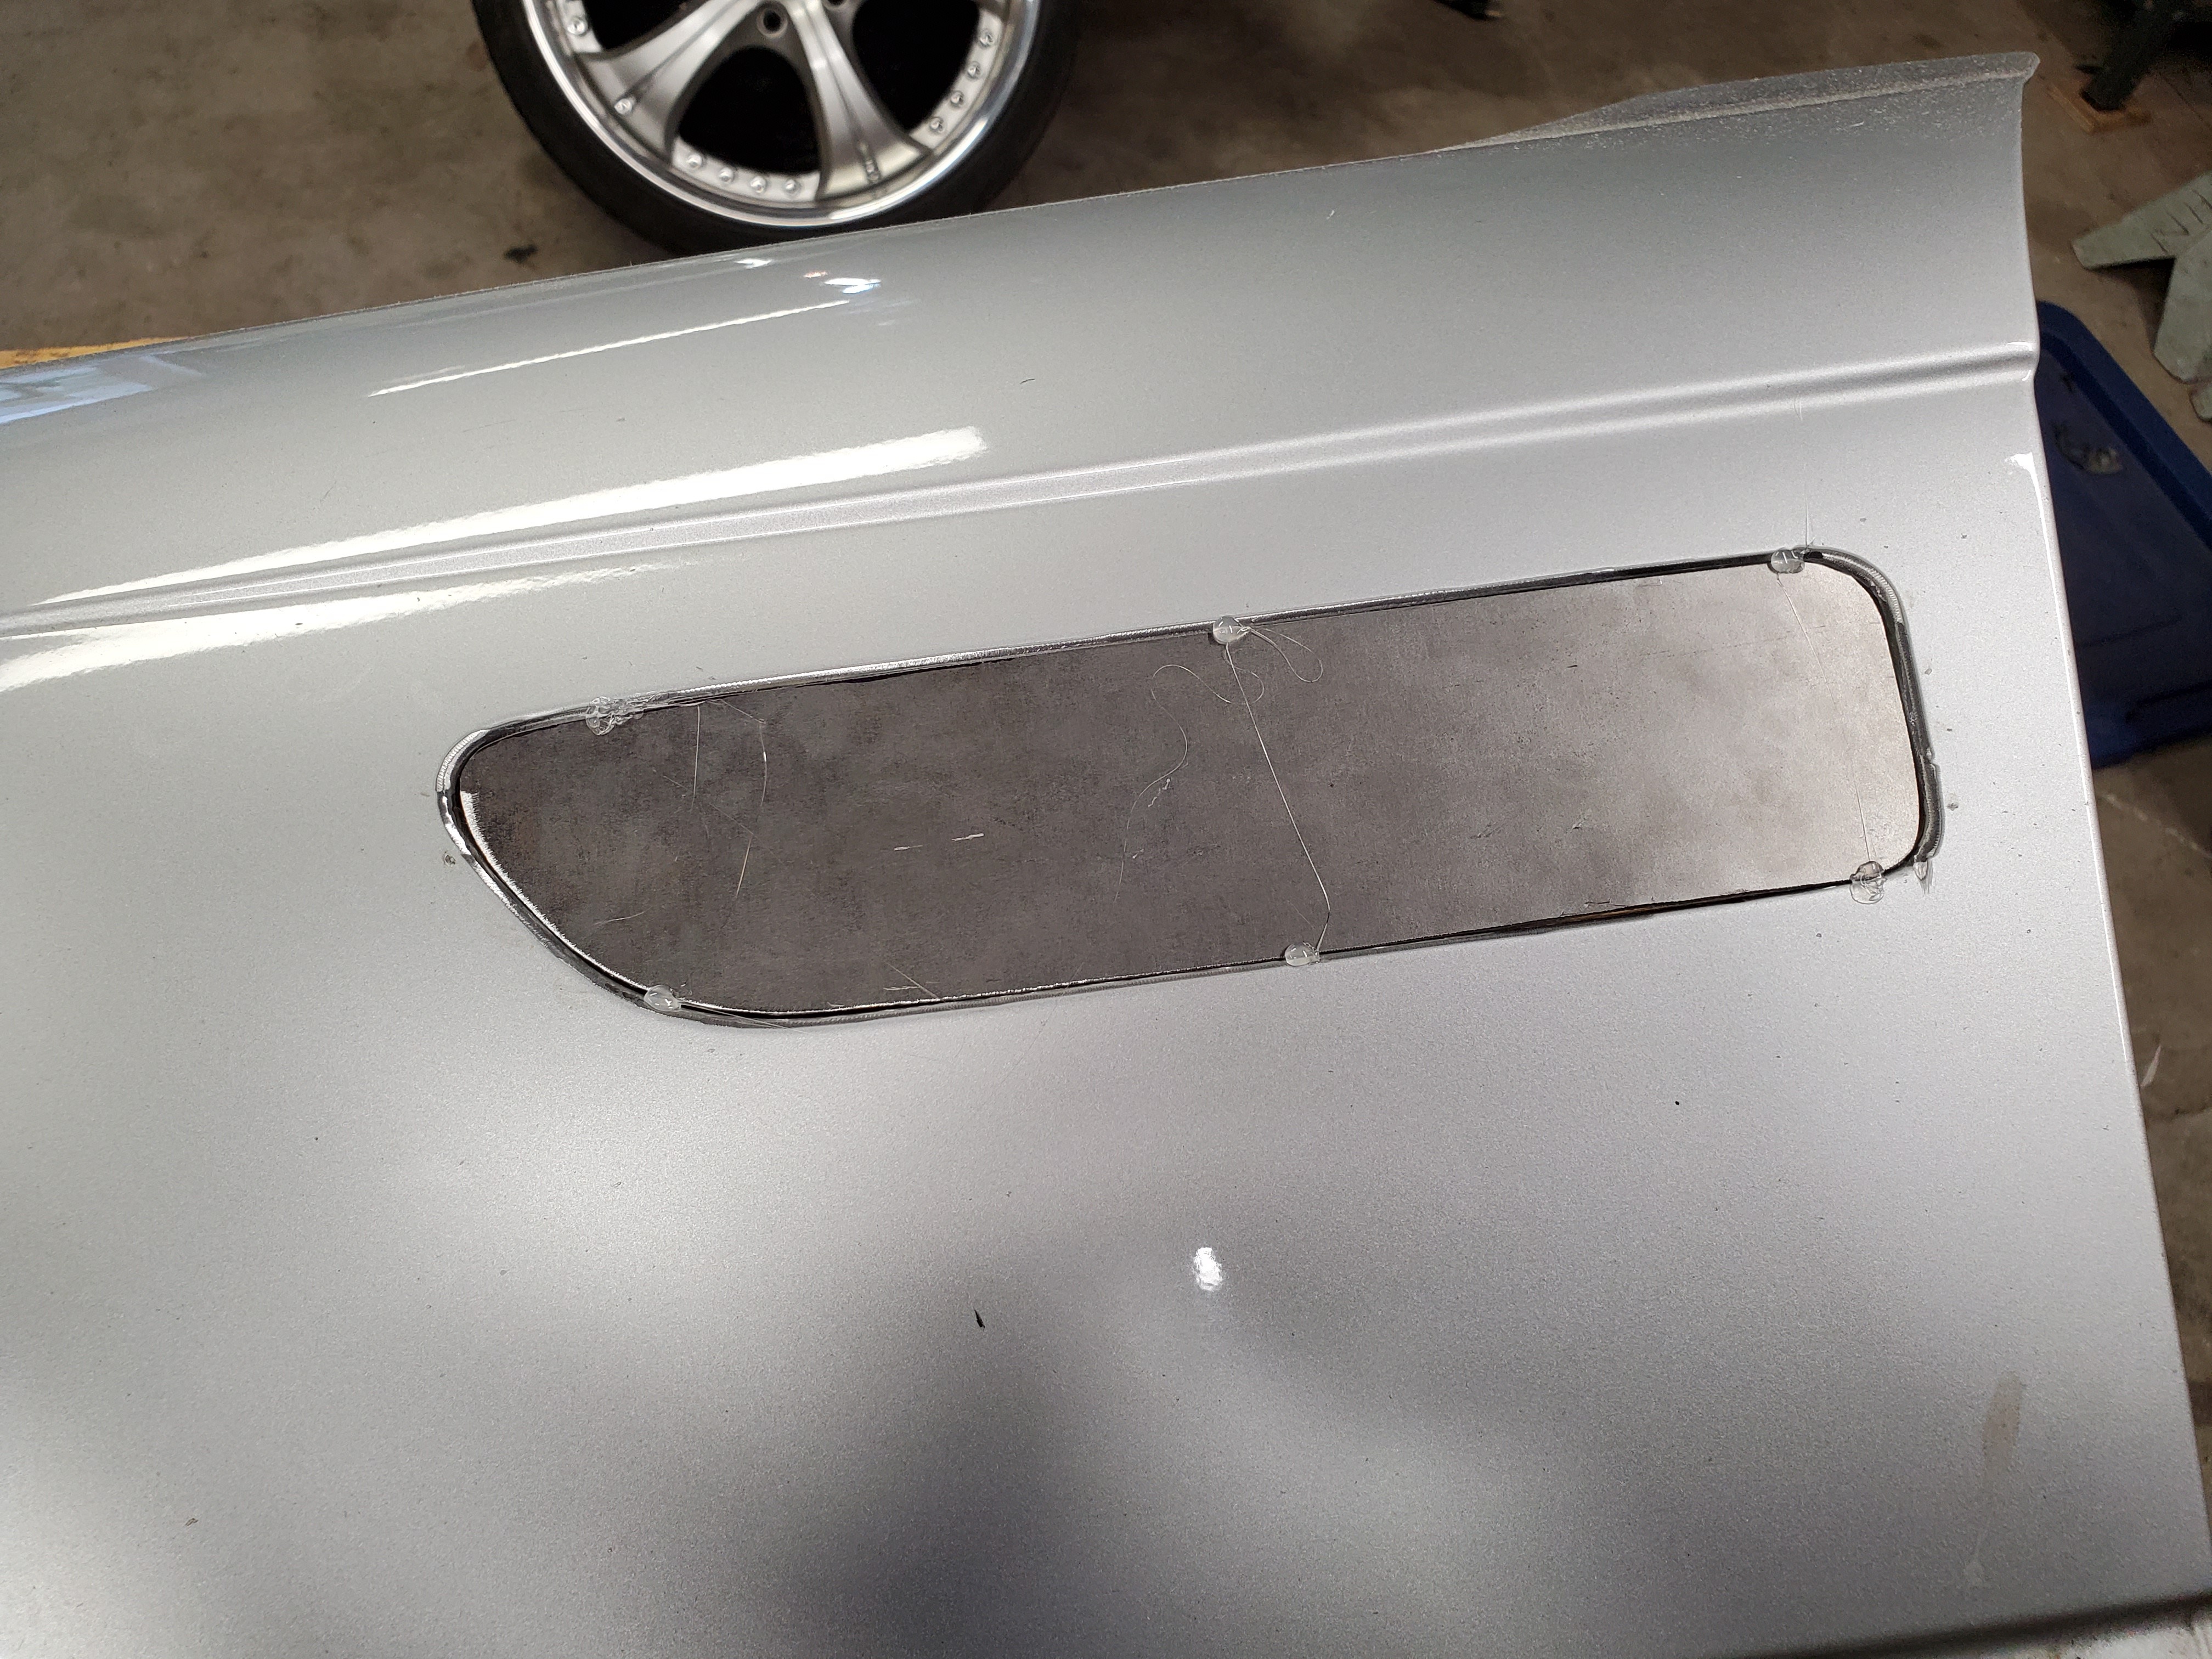
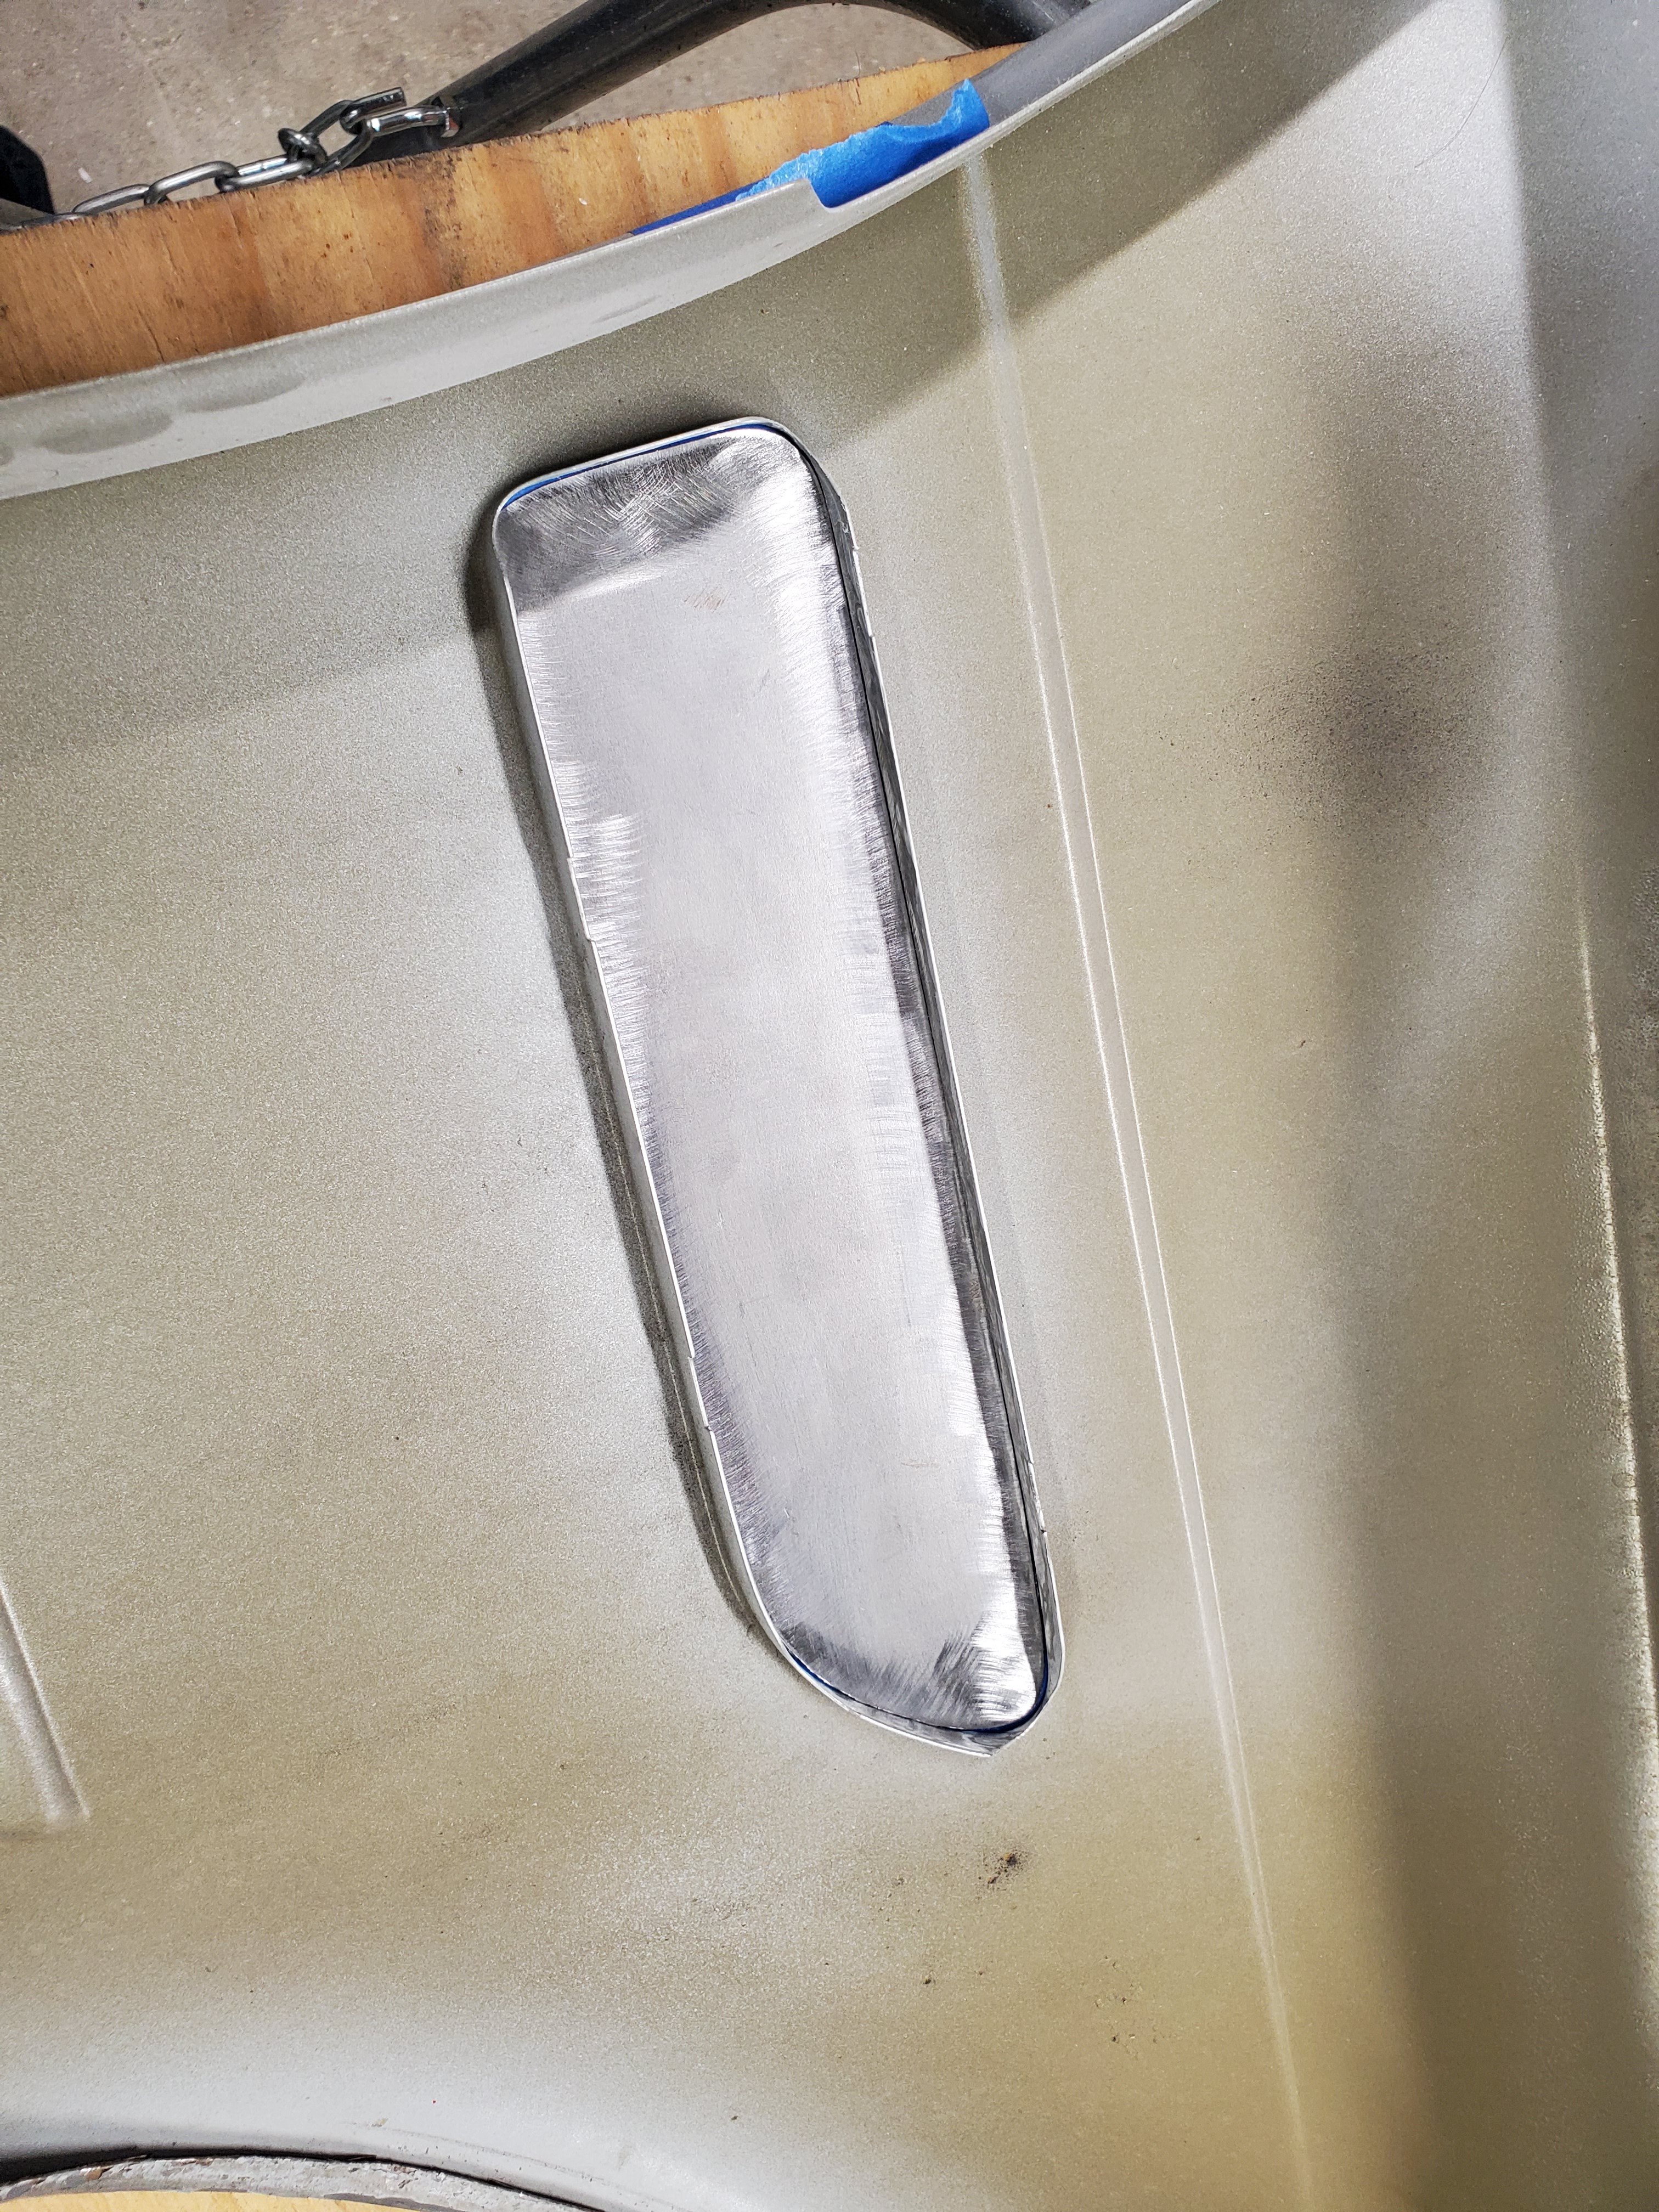
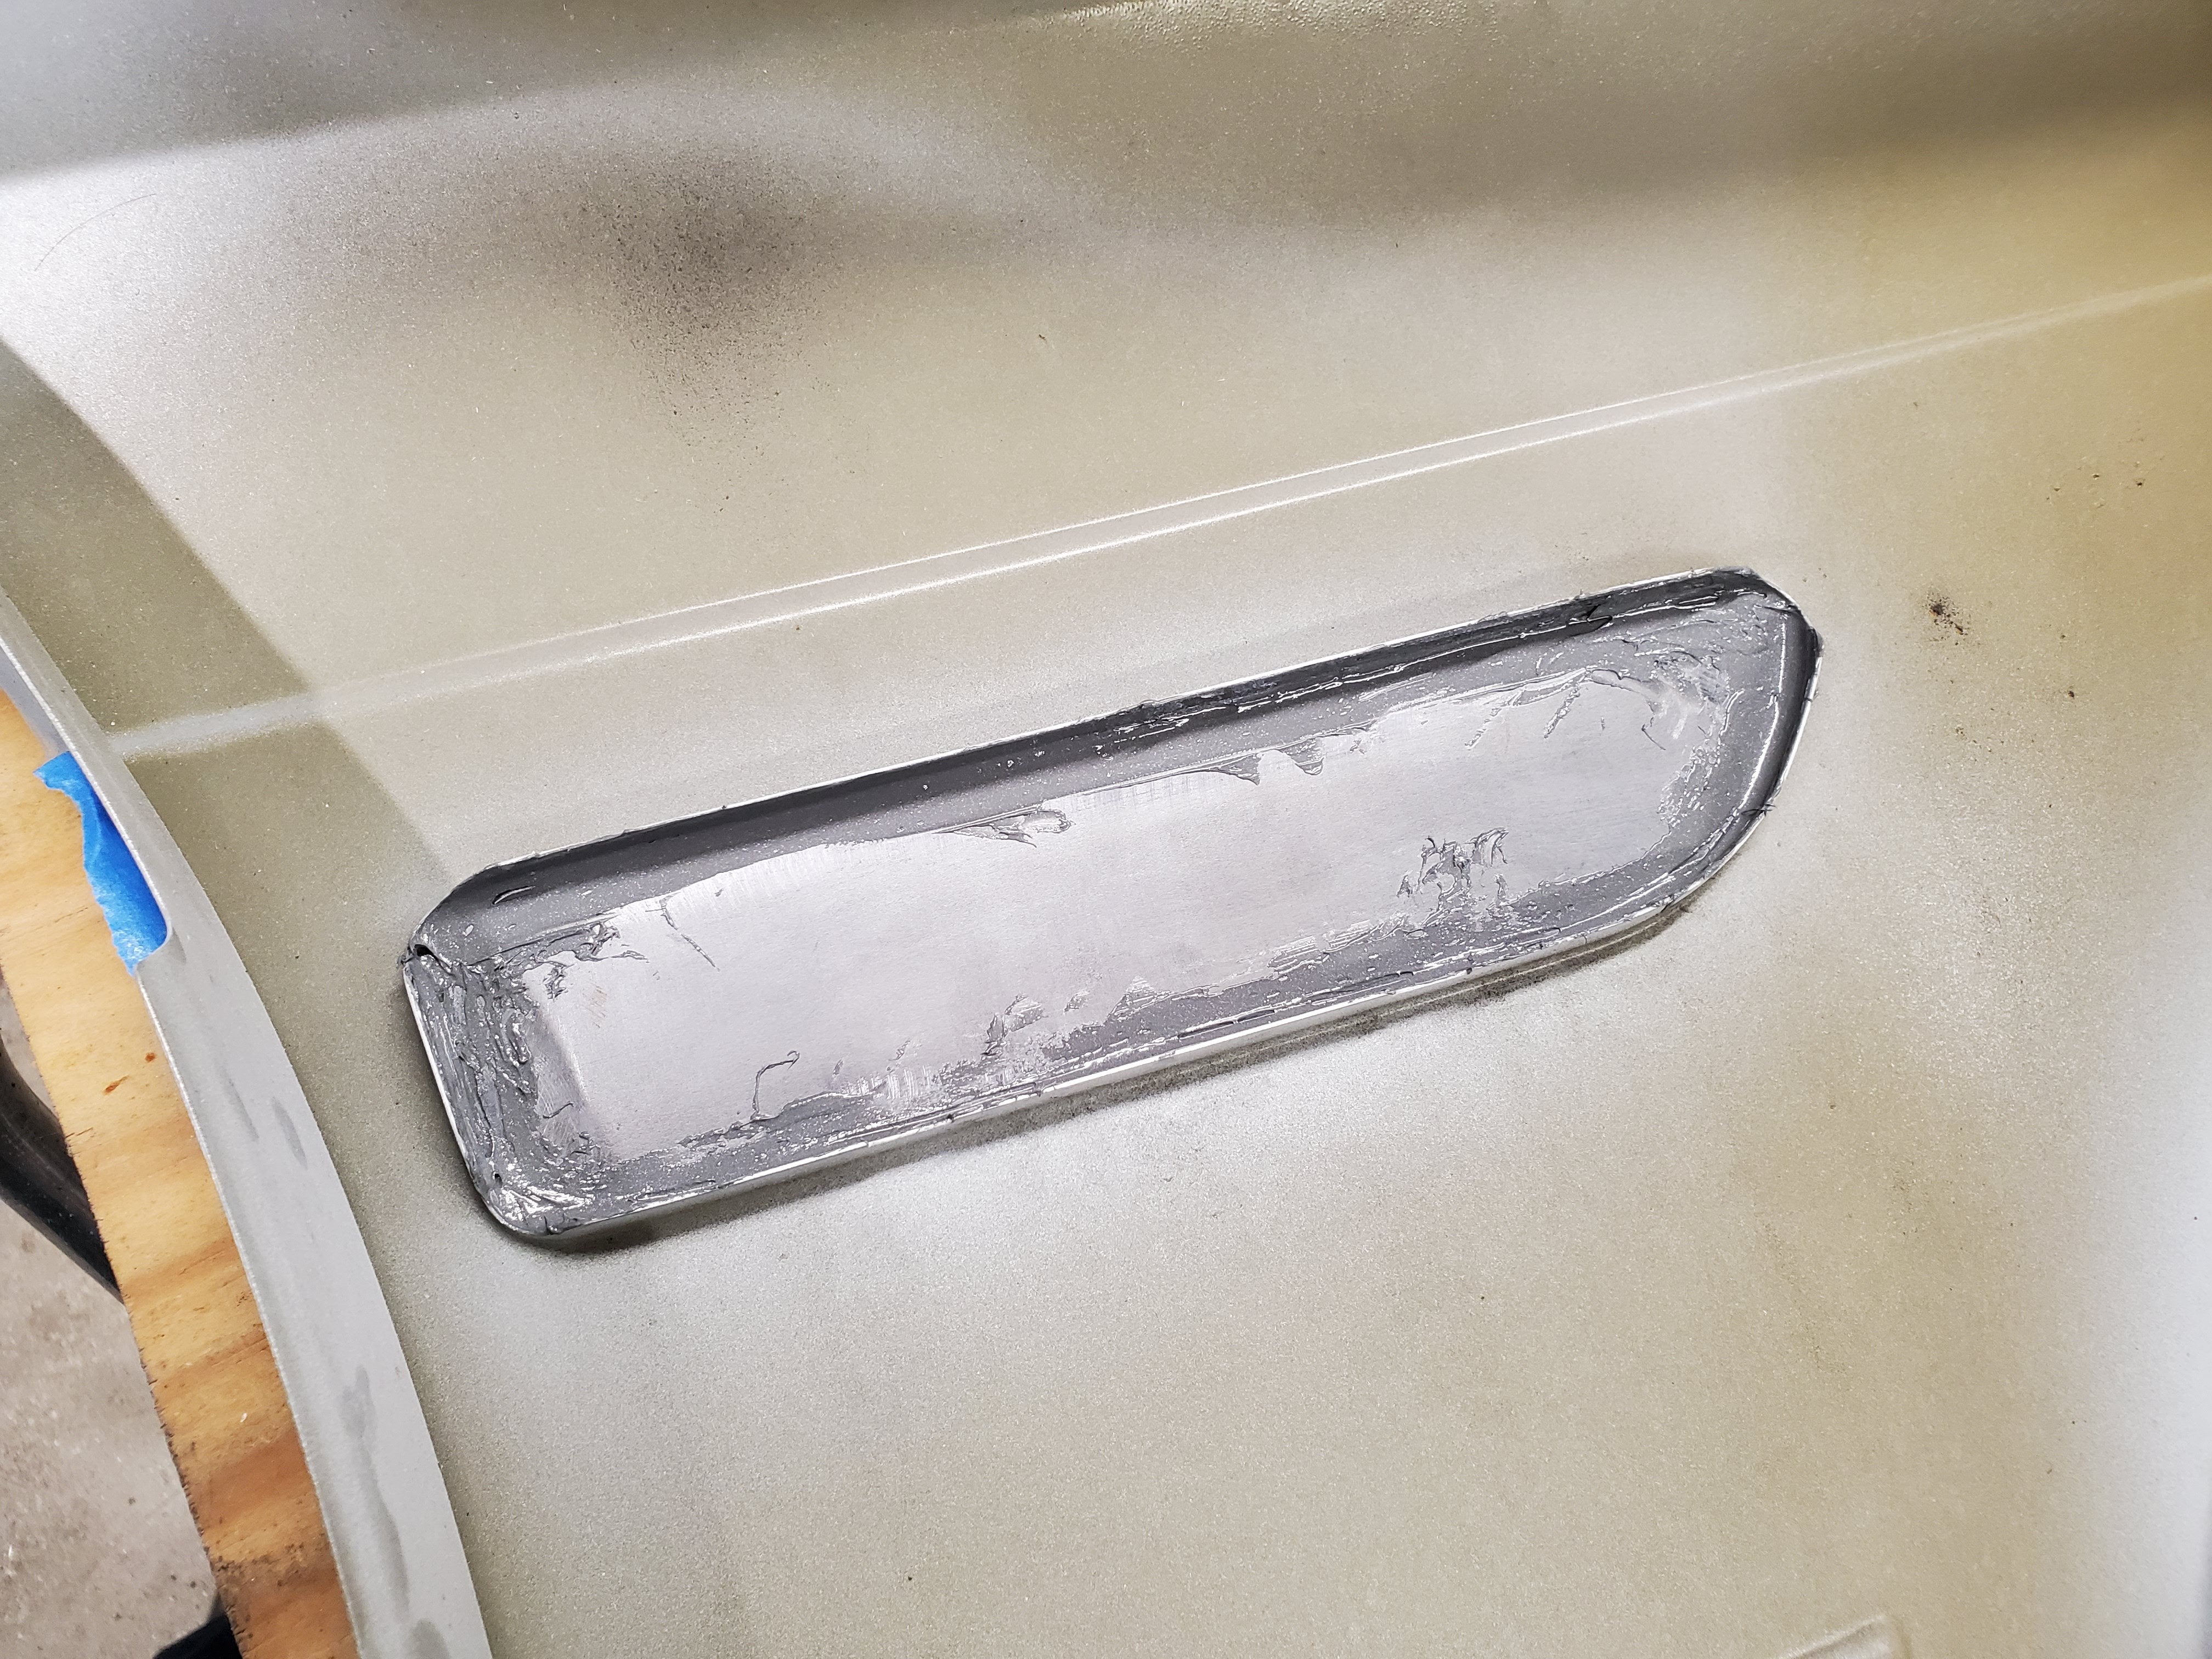
I also started on shaving the driver side fender. I chose to use 3M scotch-weld to "weld" in the piece of metal to shave the vent.
Here is the patch panel held in on the outside with hot glue. I then put painters tape over it to keep it in place for sure. I used the hot glue because its easily removeable.
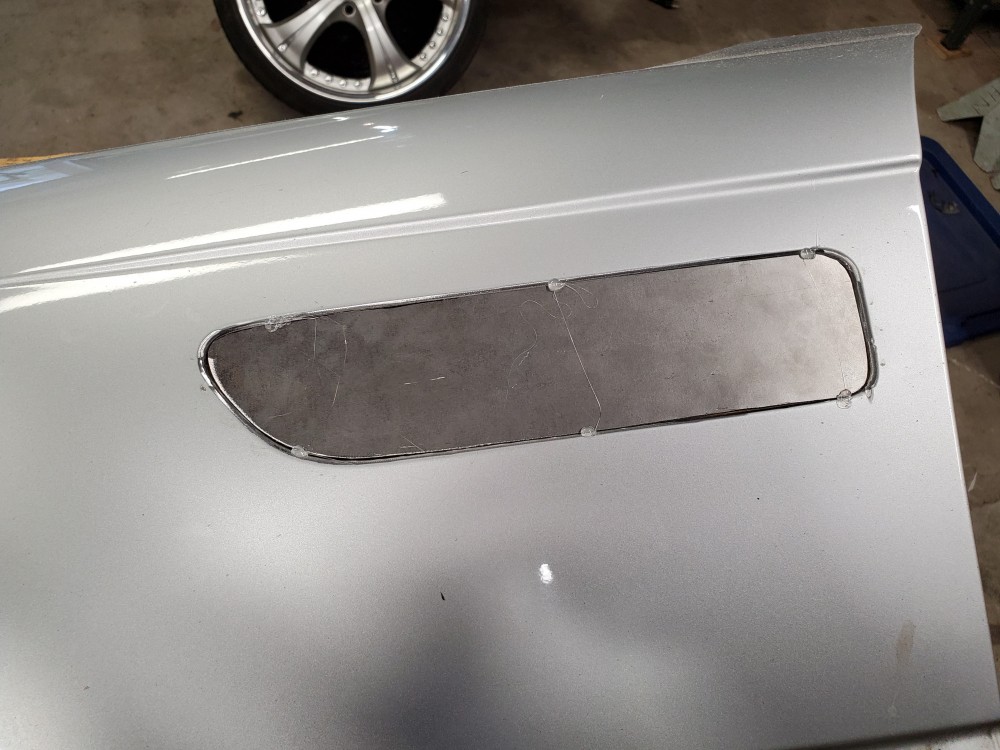
And here is from the inside.
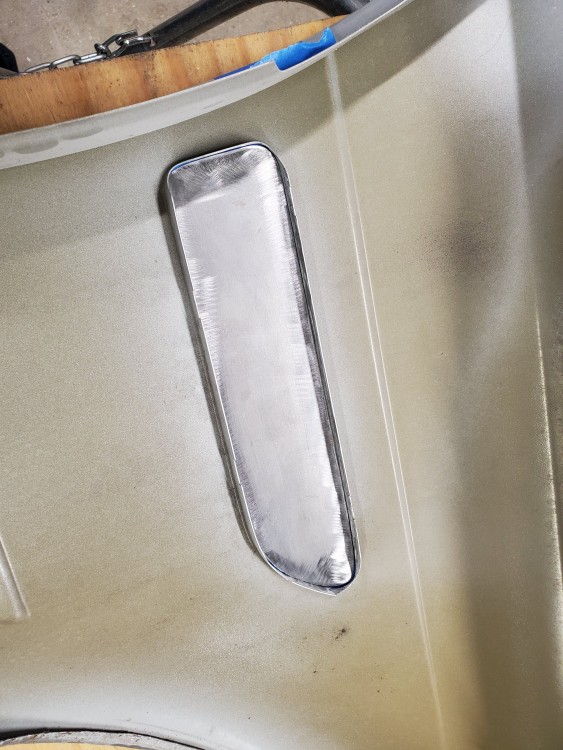
And here it is with the scotch-weld mixed up and applied.
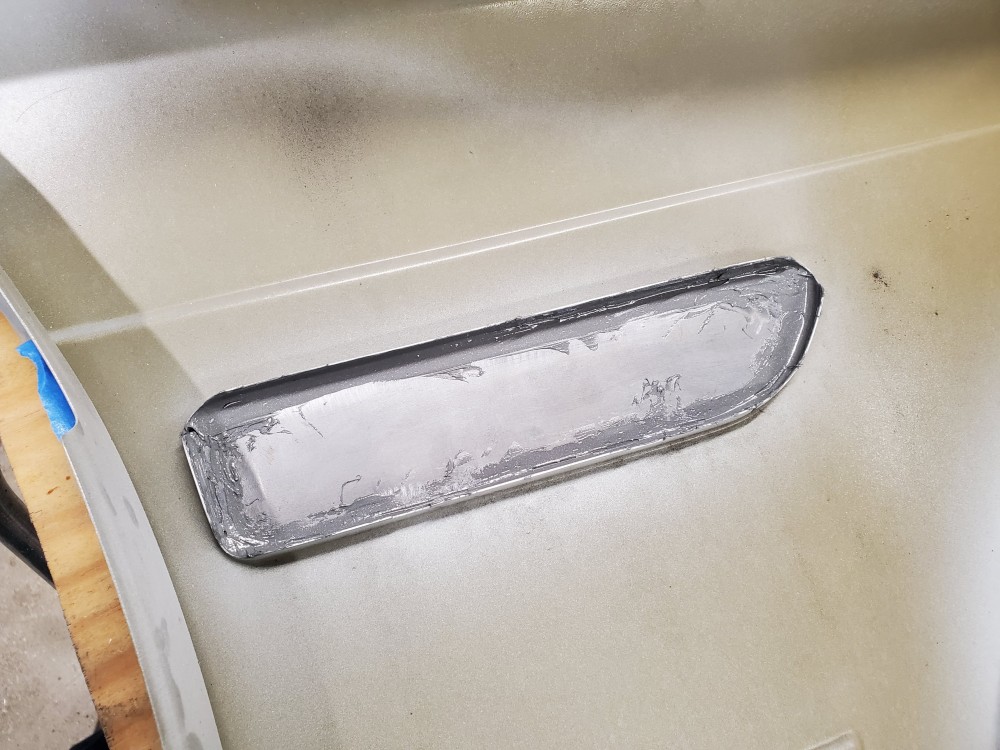
Honestly I think this is going to work out really well. After 12 hours we will see!
Finally got the windows cleaned on the inside as well then installed the rear quarter glass.
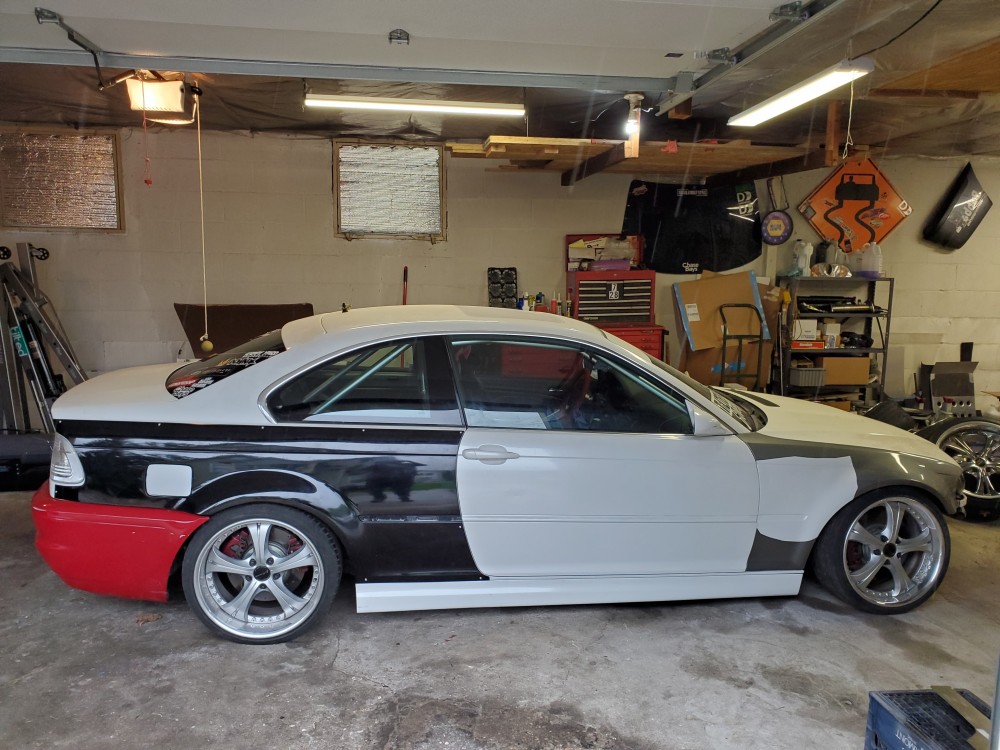
Still alot more little stuff to do so hoping to keep picking away at it.
-
What are you threading the standoffs into on the quarter panel side? Did you epoxy some nuts inside the panel? Looks great
The standoffs are threaded onto the gas door hinge because the hinge has studs. And the studs have nuts that go inside the quarter panel. That's how it is factory i just had to space it out for obvious reasons haha





Hello! It looks like you're interested in this conversation, but you don't have an account yet.
Getting fed up of having to scroll through the same posts each visit? When you register for an account, you'll always come back to exactly where you were before, and choose to be notified of new replies (either via email, or push notification). You'll also be able to save bookmarks and upvote posts to show your appreciation to other community members.
With your input, this post could be even better 💗
Register Login