
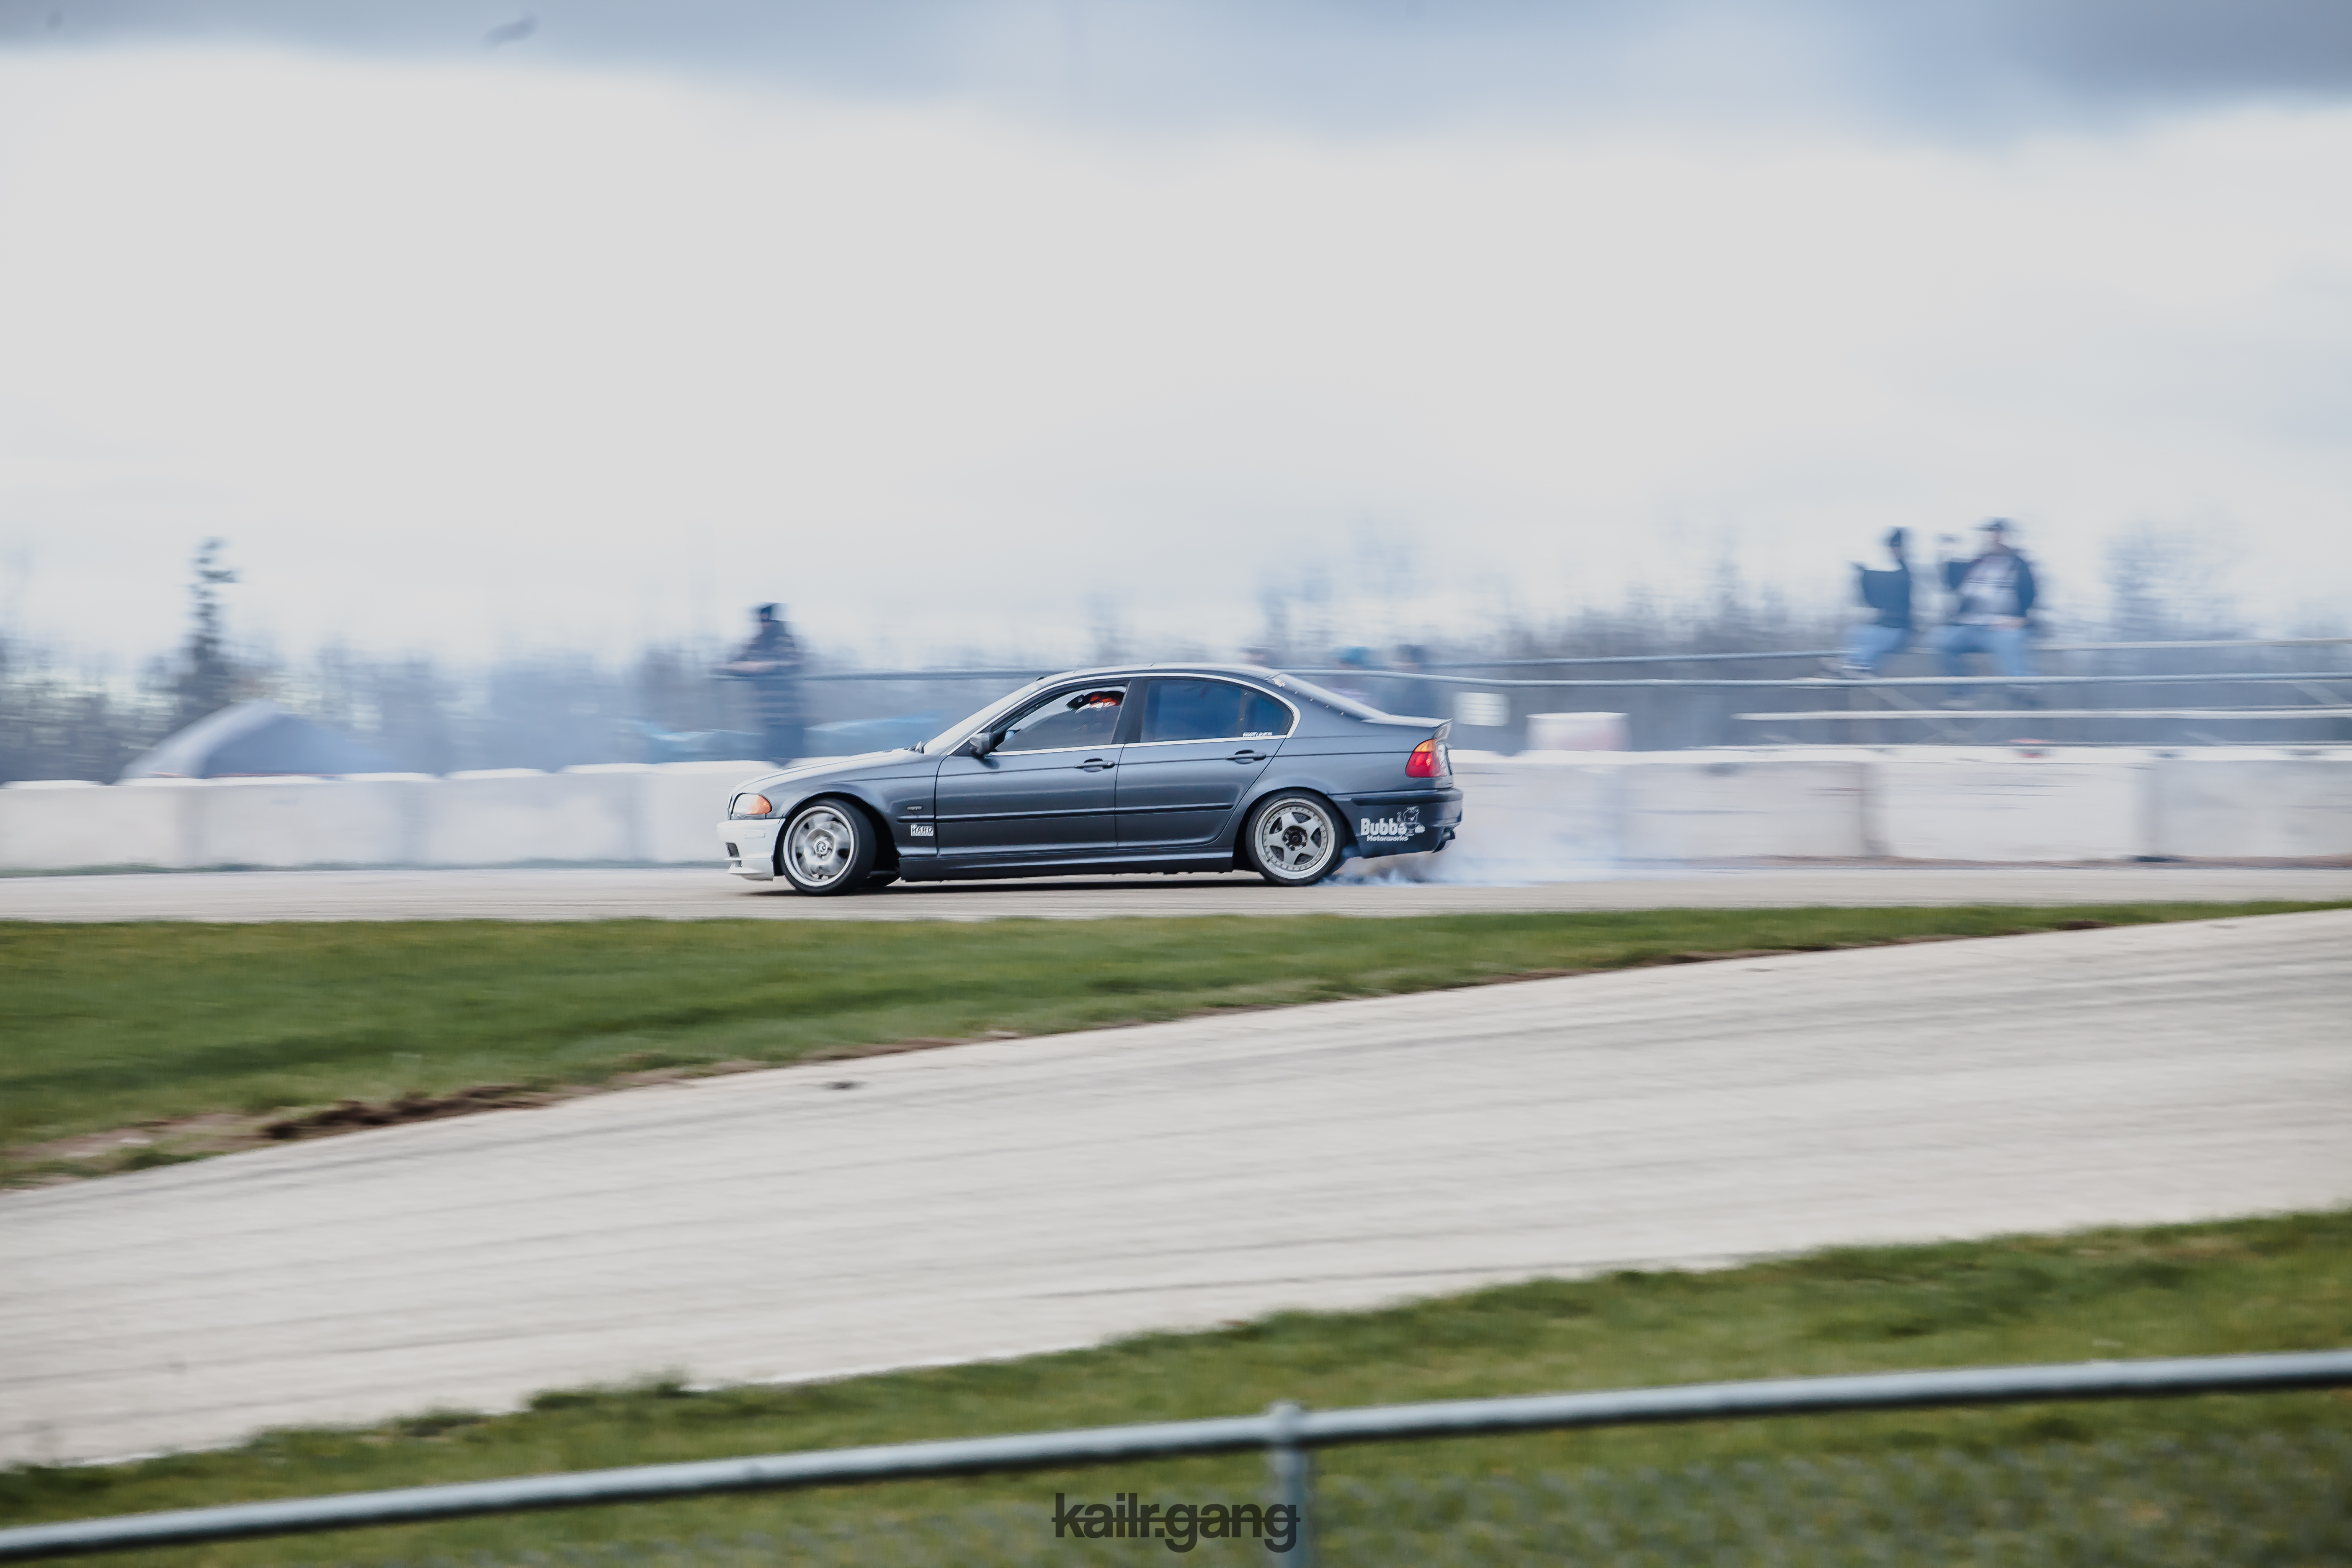
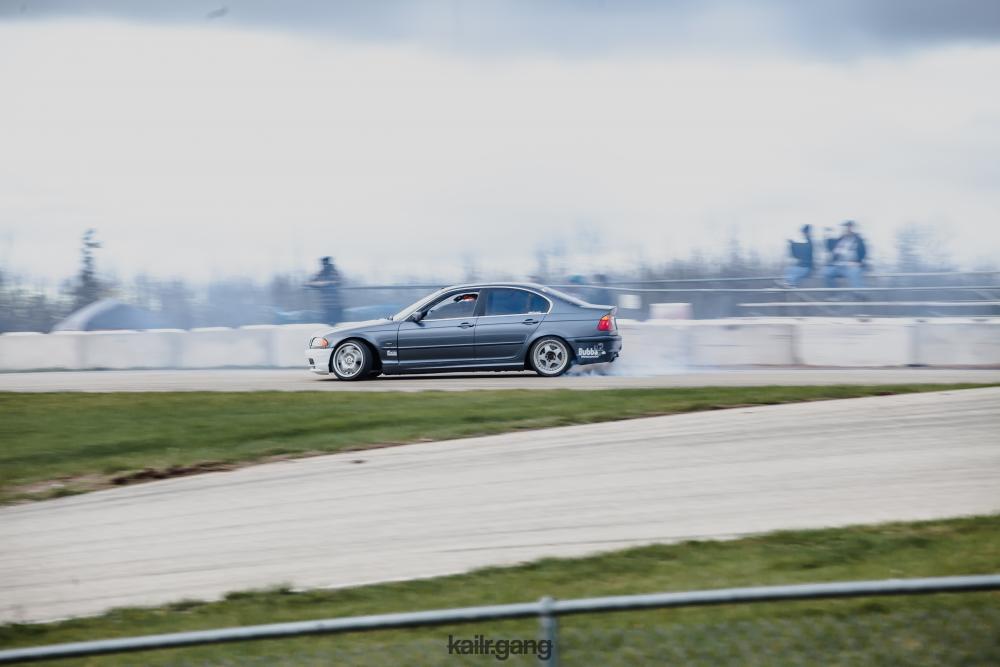
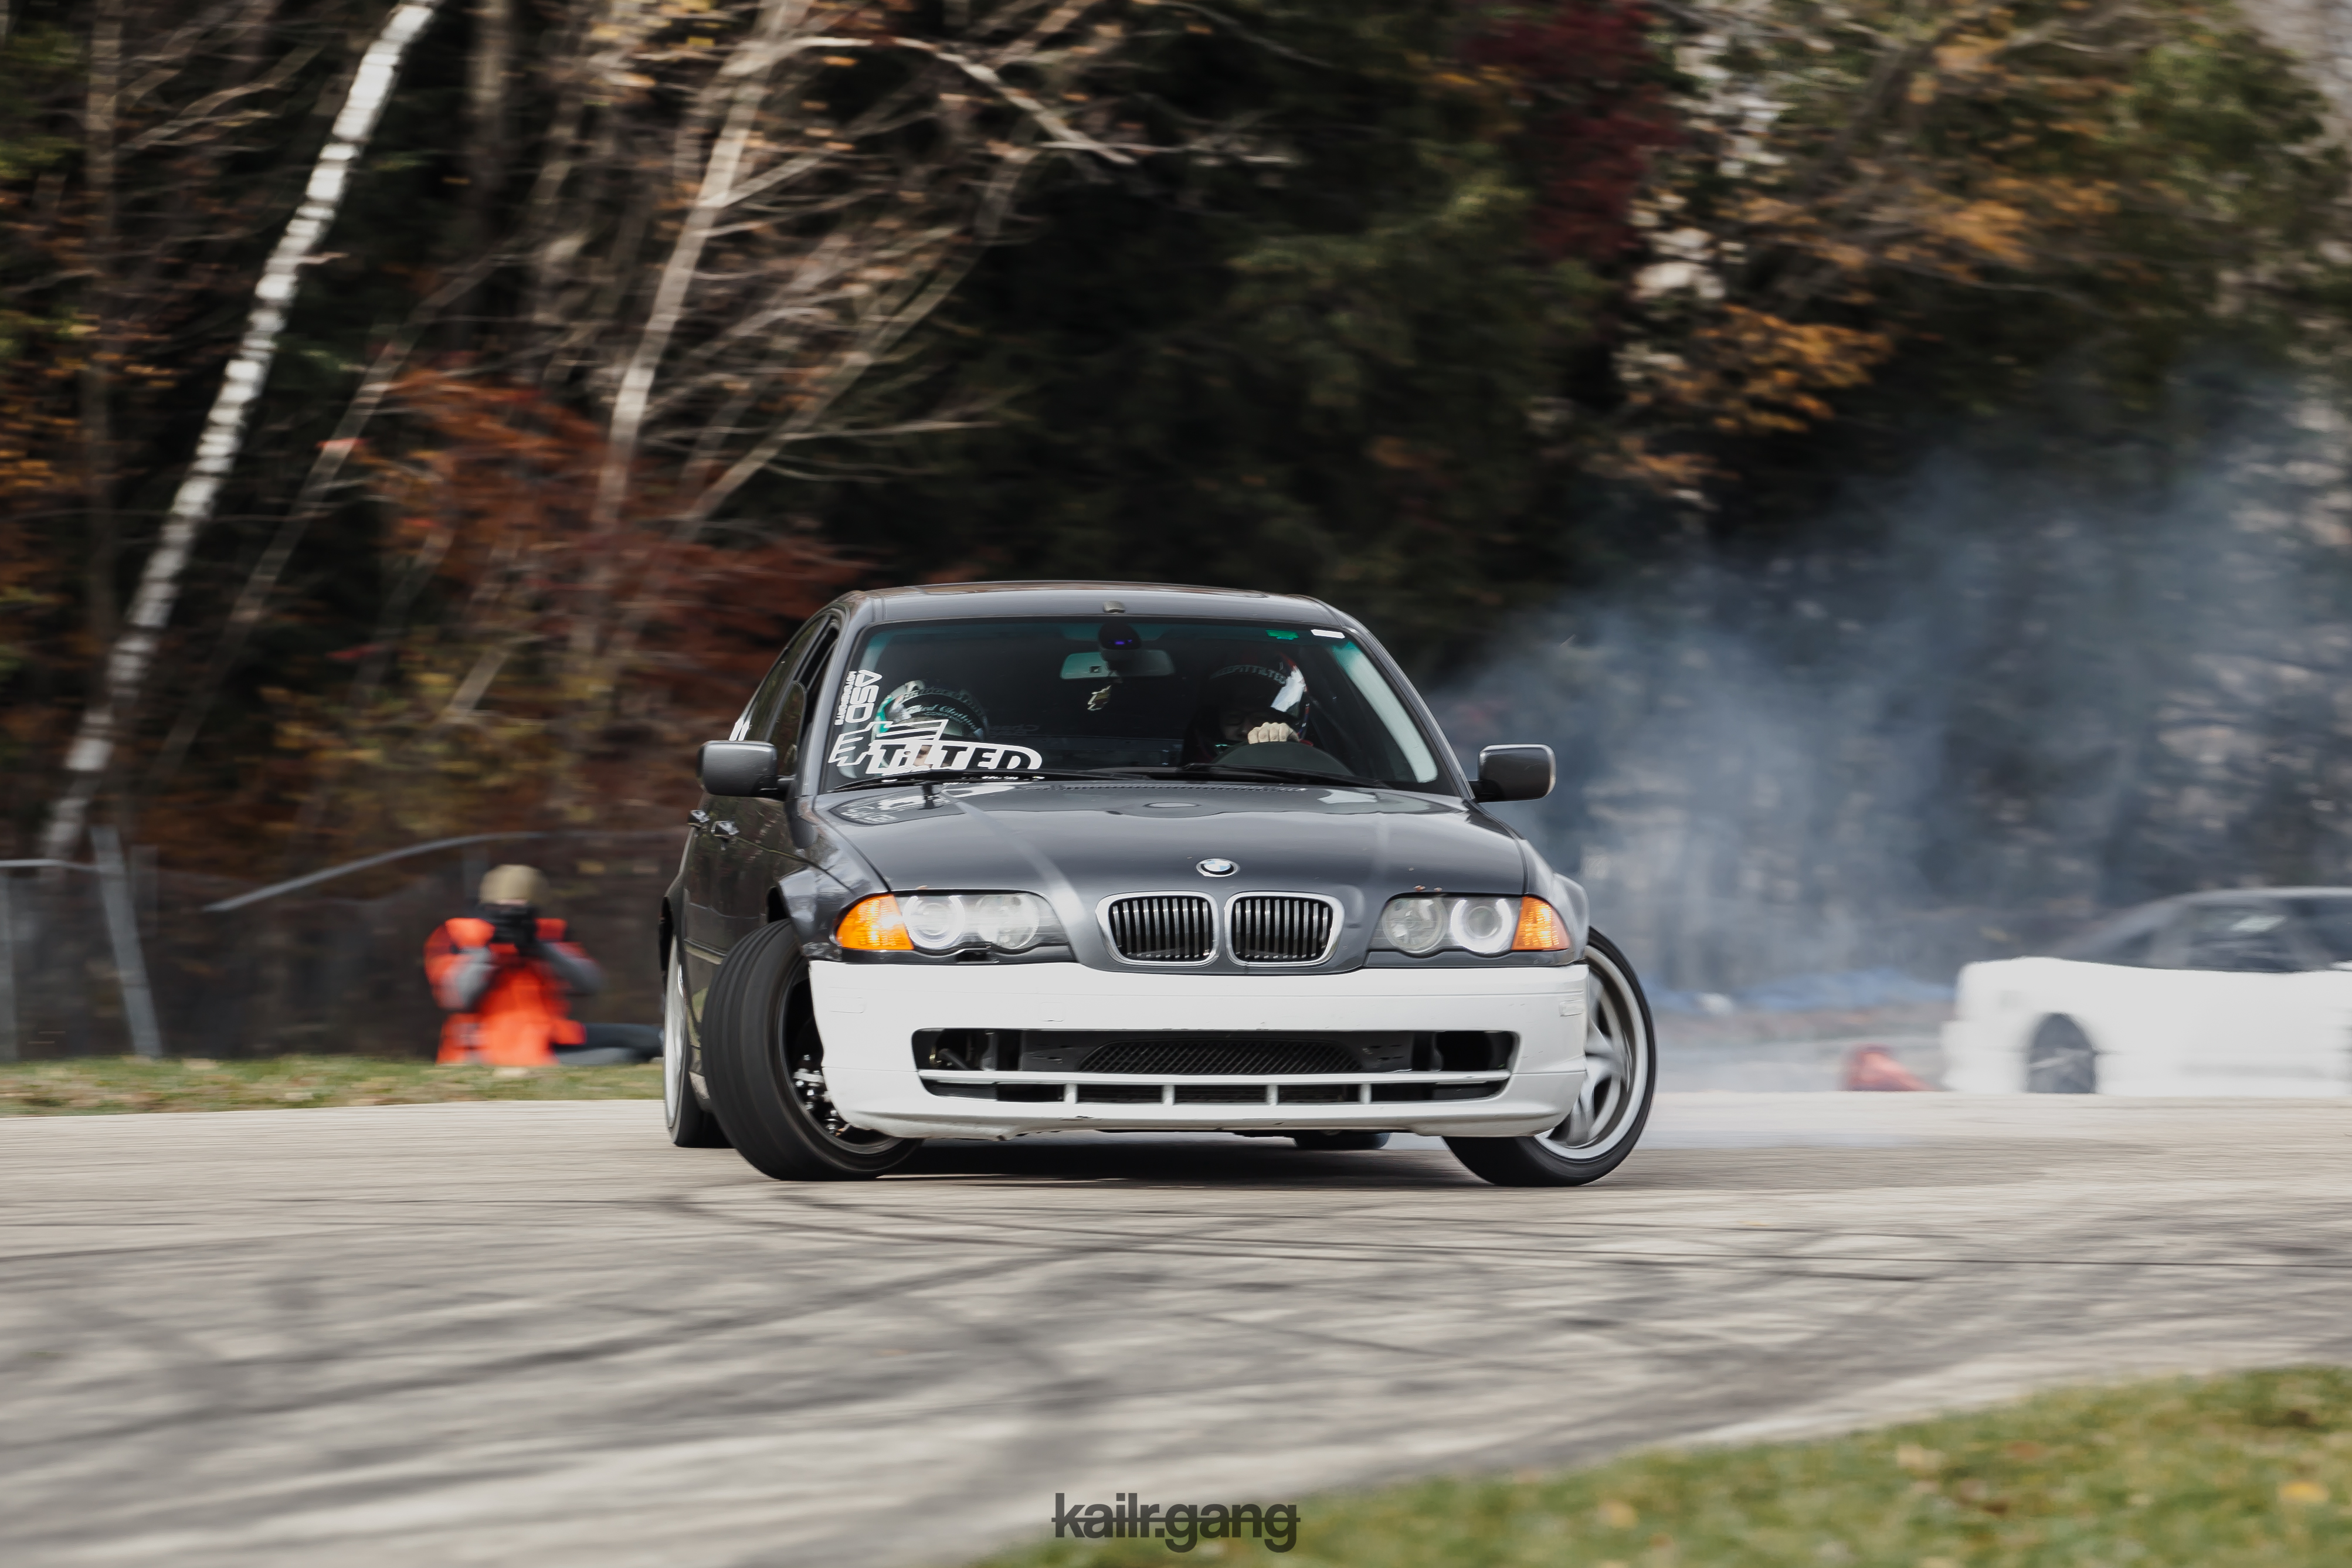
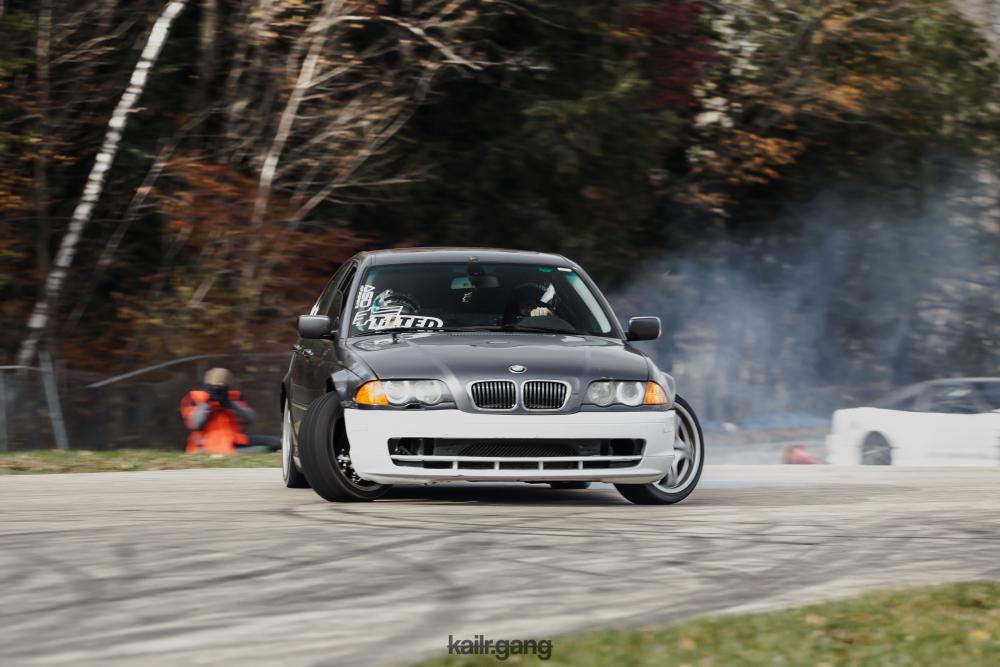
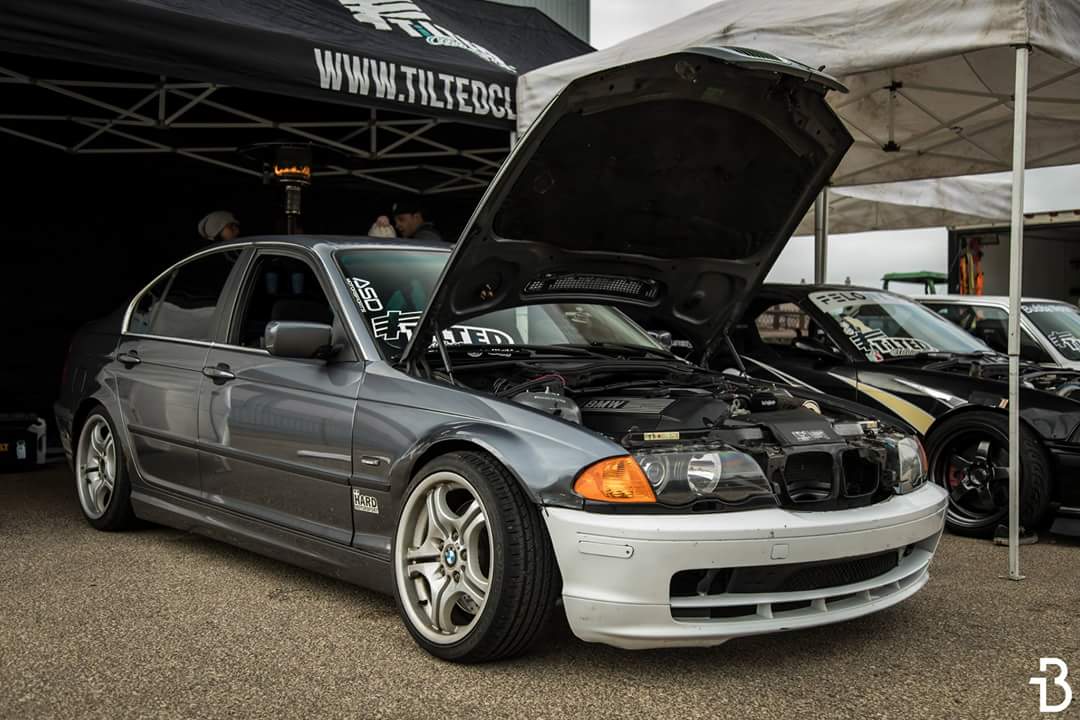
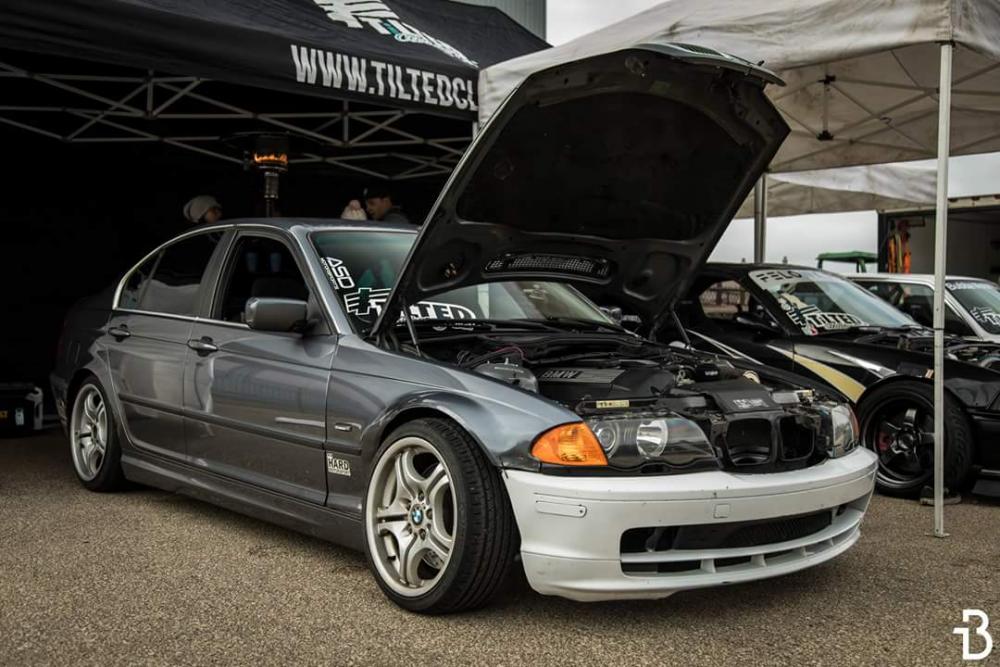
A purists nightmare - E46 drift build

-
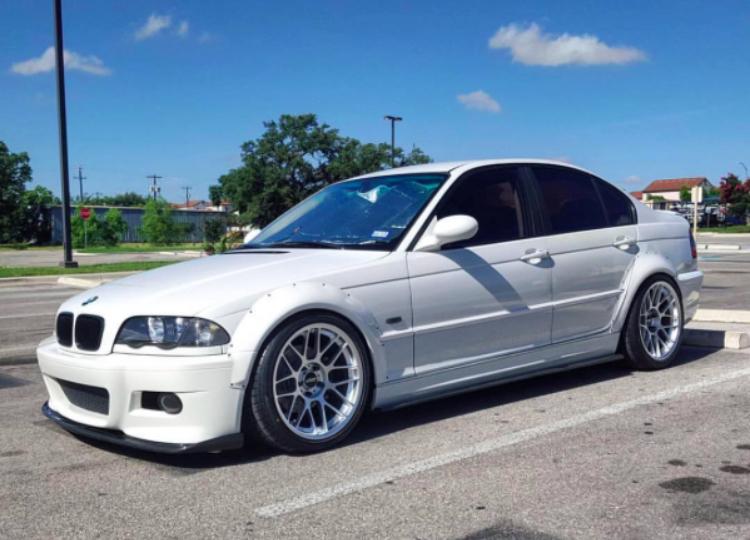
Hard Motorsports makes flares moulded off the e46 m3 body, and they sell just the rears
Here they are on a sedan but they have ones for the coupe
I had there e36 flares on my old m3 and they were also moulded off the e46 m3, perfect imo. Used small color matched sheet metal screws to mount them
-
To quote all of you.
Number one I would only do the fenders if I did "fake m" rear overs, also the vents would be shaved.
Also the musk kit gets me going soooo bad haha but its insanely wide (65mm over stock M) and with wide fenders comes wide wheels and wide wheels mean needing power to spin those wide wheels. Which I'd love to do but I dont want the car to be down multiple summers due to being built or budget problems lol I'd rather be in the seat.
Musk and a few others have made fake m rear overs and that's what I'd be looking at. A few other companies made their own wide body kits but again much to wide for me right now.
I know about ththe hard motorsport flares but I'm not a flare guy, although the price is nice so if I needed just rears due to wanting to run front M fenders (for track width reasons) I'd consider them only for the bang for the buck. But again we are back to cutting up a clean car. Which I must say I dont mind but I also dont see the need to yet and would feel a little bad haha
It's really just a big round about circle that ends me back at DONT DO IT. Lol
-
Finally test fitted the clear tails

Love it. Looks


https://www.instagram.com/_jdesigner_/ http://nevertoolow.tumblr.com/
🥳SOLD BMW E24 633CSI - BMW M30B32 🧪SOLD HCH ES9 - 1.3 LDA
👽BMW E30 325IC - Toyota 1JZ-GTE ⏰ HONDA EF9 CIVIC SI - JDM B18C5
☠️BMW E36 318i - Ford 5.0 FE302 🚴♂️ GT-Labomba - 26x2.75 Freeride
🤹♀️SOLD BMW E36/7 Z3 - BMW M54B25 🧓SOLD BMW E10 2002 - BMW M10M05 -
Love it. Looks
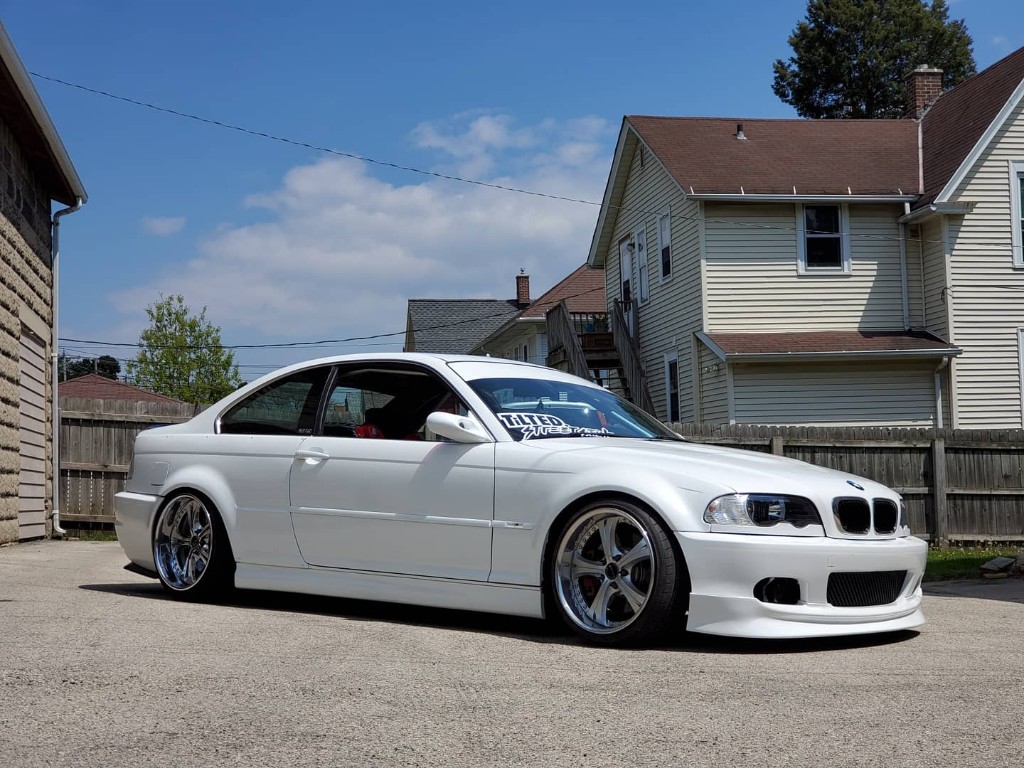
Thank you sir! Should look even better with the planned color change this winter.
-
UUMMMMM I hope its white. Otherwise I retract my tailight compliment.
https://www.instagram.com/_jdesigner_/ http://nevertoolow.tumblr.com/
🥳SOLD BMW E24 633CSI - BMW M30B32 🧪SOLD HCH ES9 - 1.3 LDA
👽BMW E30 325IC - Toyota 1JZ-GTE ⏰ HONDA EF9 CIVIC SI - JDM B18C5
☠️BMW E36 318i - Ford 5.0 FE302 🚴♂️ GT-Labomba - 26x2.75 Freeride
🤹♀️SOLD BMW E36/7 Z3 - BMW M54B25 🧓SOLD BMW E10 2002 - BMW M10M05 -
@wasnt m3 @Jdesign
Jason wins haha I'll spill the beans to you boys here. It will be white, at least that is the plan.
What did I win?

https://www.instagram.com/_jdesigner_/ http://nevertoolow.tumblr.com/
🥳SOLD BMW E24 633CSI - BMW M30B32 🧪SOLD HCH ES9 - 1.3 LDA
👽BMW E30 325IC - Toyota 1JZ-GTE ⏰ HONDA EF9 CIVIC SI - JDM B18C5
☠️BMW E36 318i - Ford 5.0 FE302 🚴♂️ GT-Labomba - 26x2.75 Freeride
🤹♀️SOLD BMW E36/7 Z3 - BMW M54B25 🧓SOLD BMW E10 2002 - BMW M10M05 -
SMALL UPDATE.
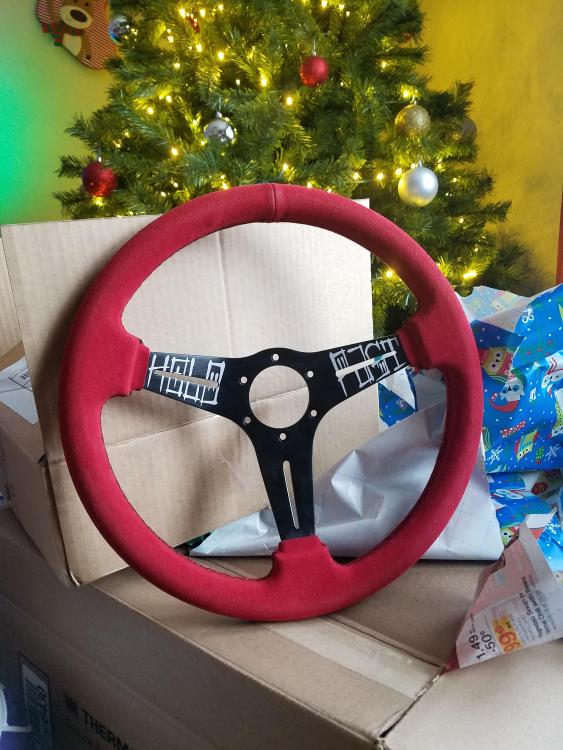
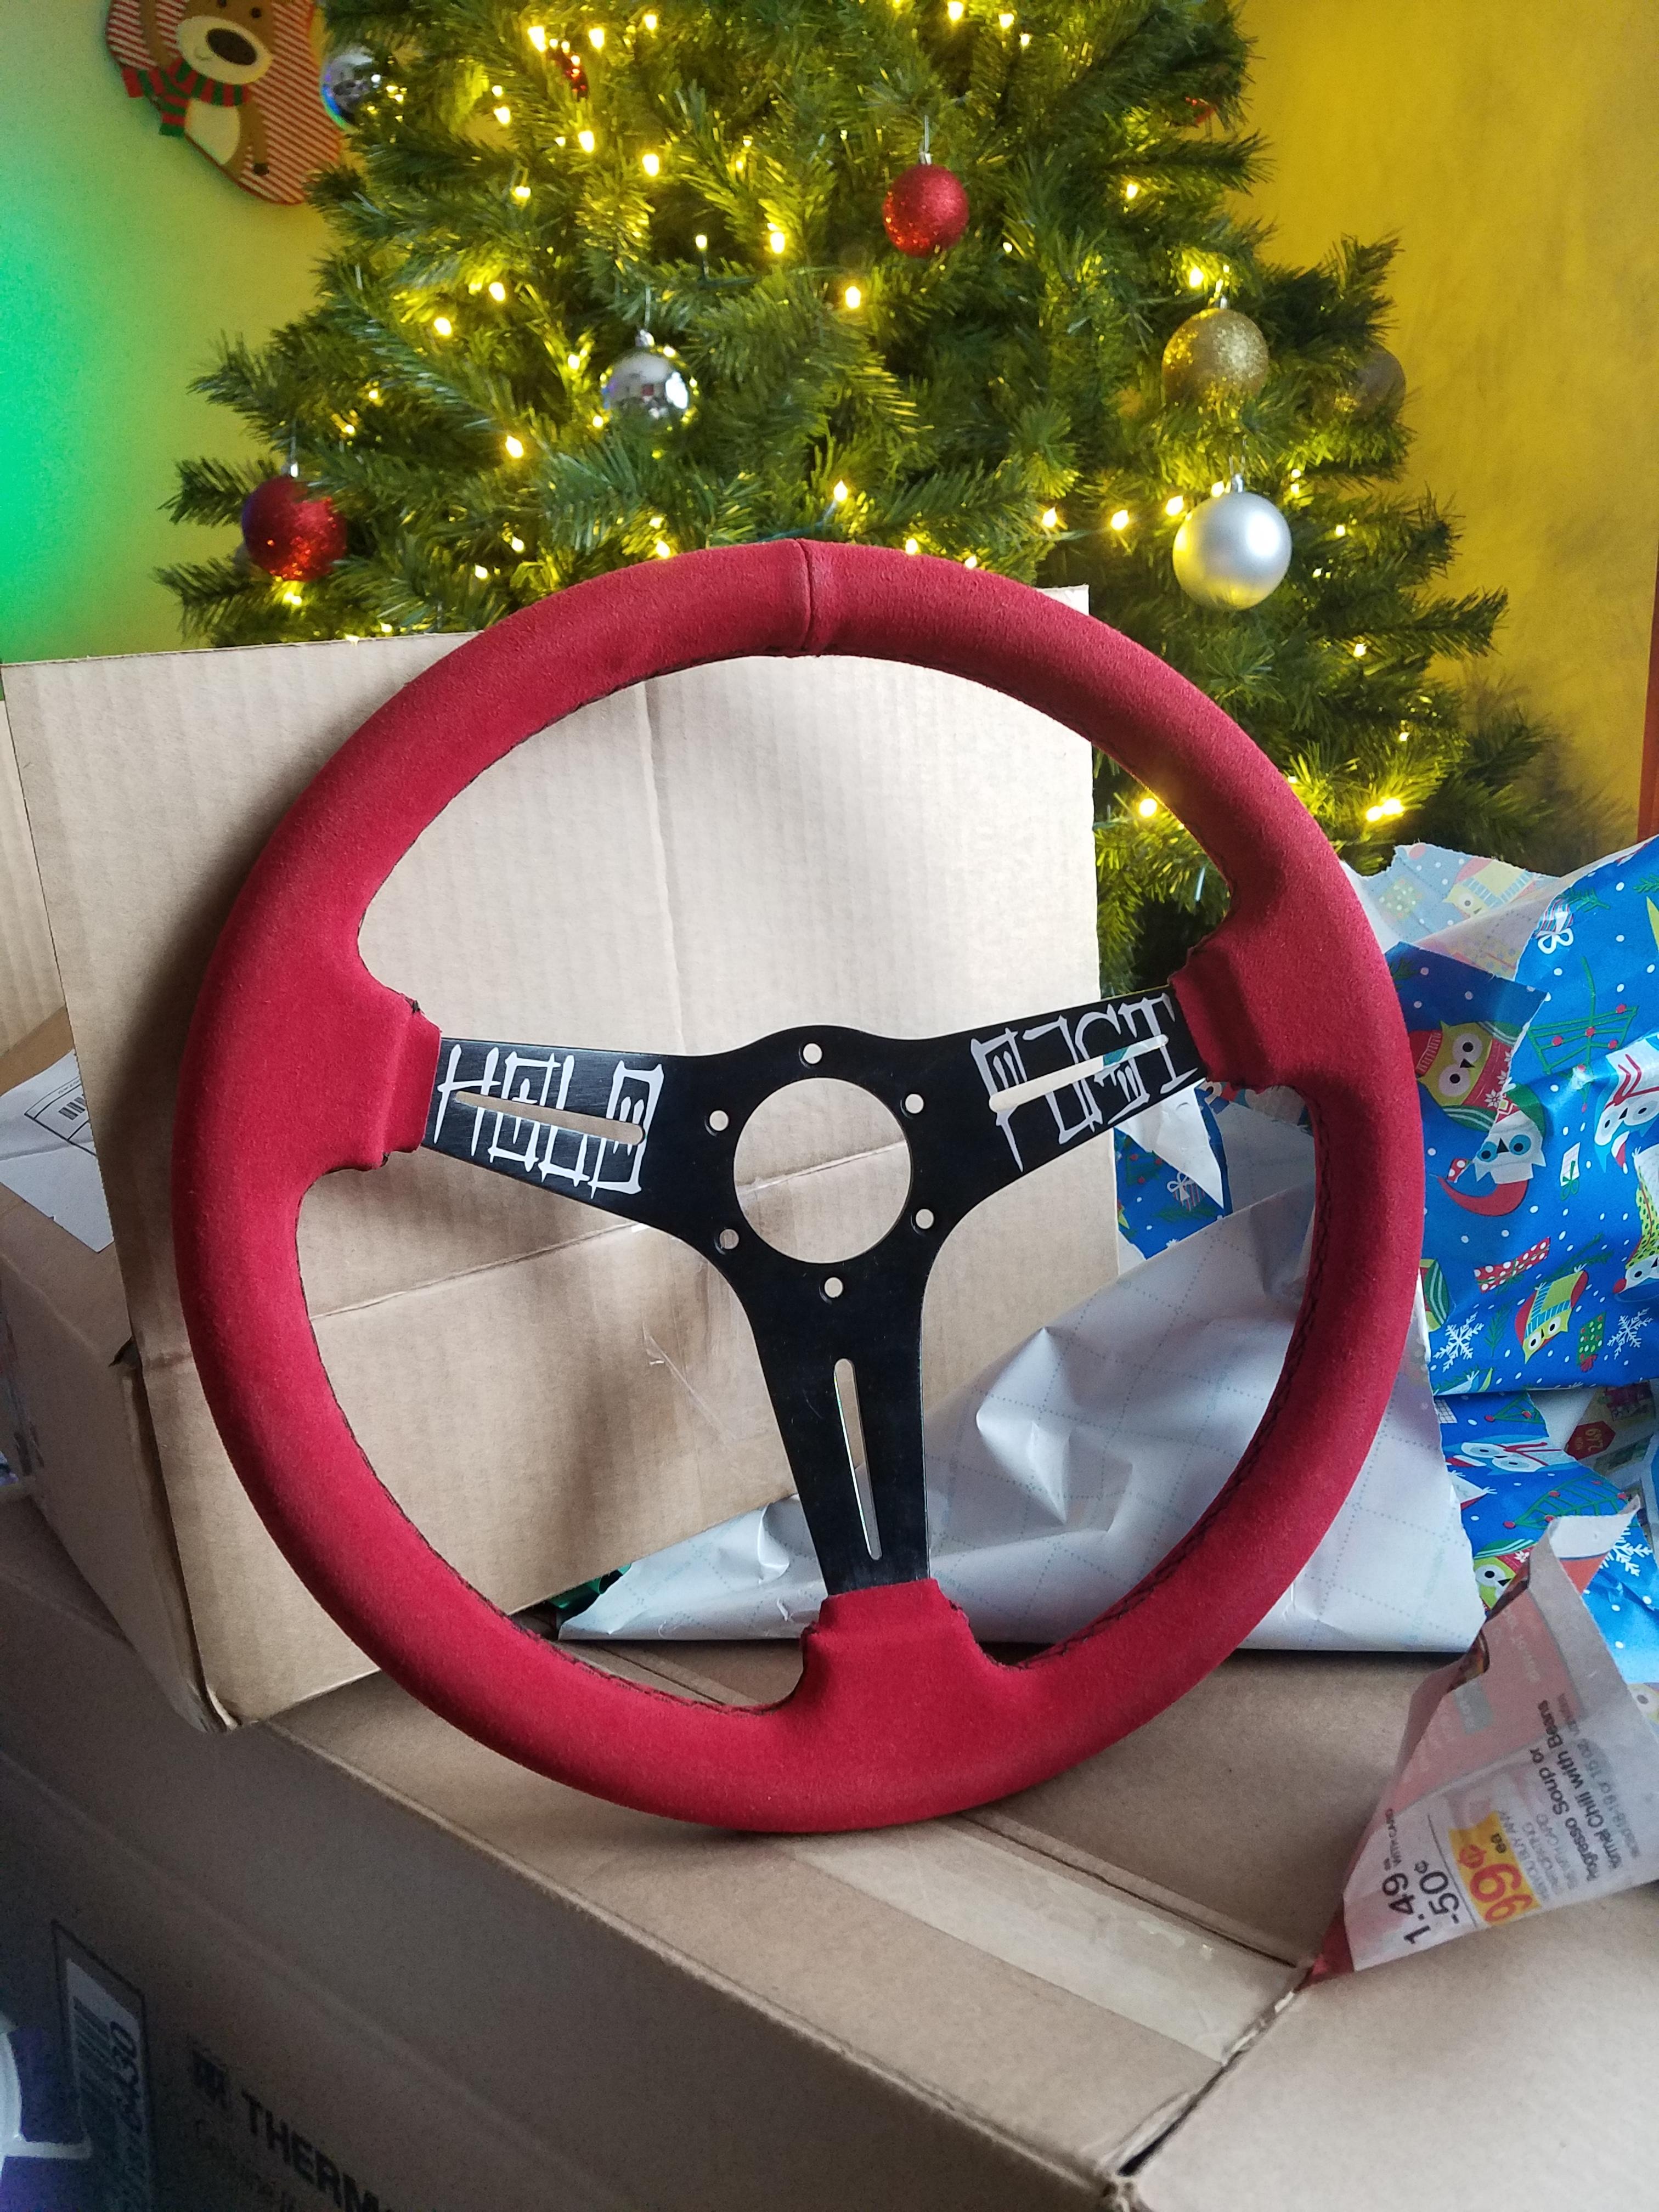
My awesome girlfriend got me this HoldFast usa steering wheel that I've wanted for awhile.
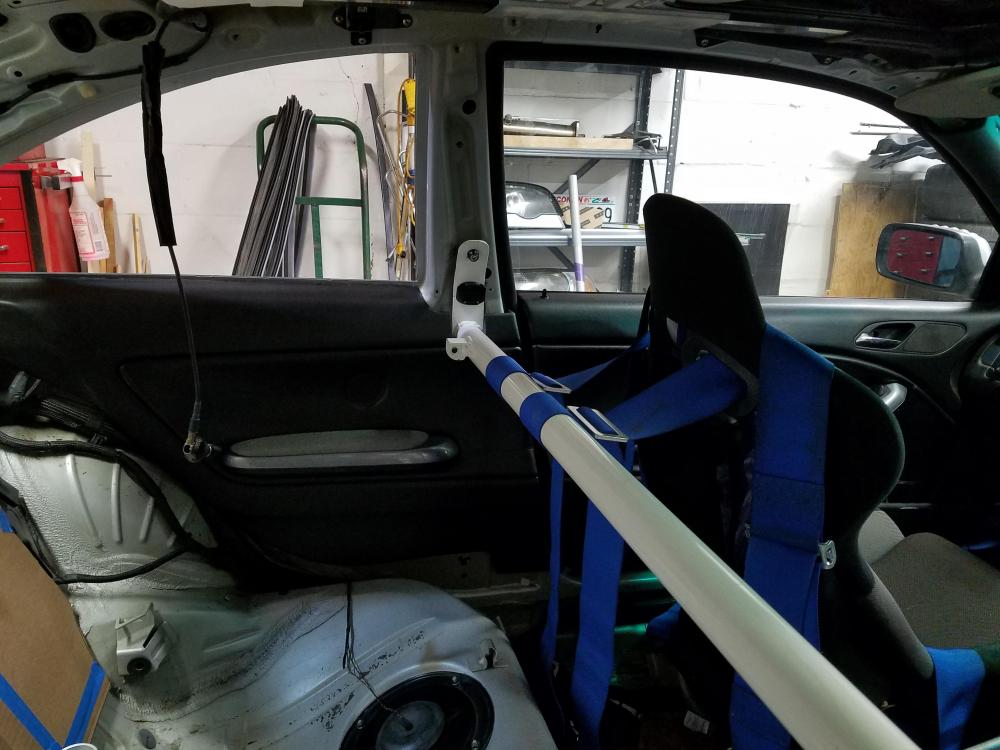
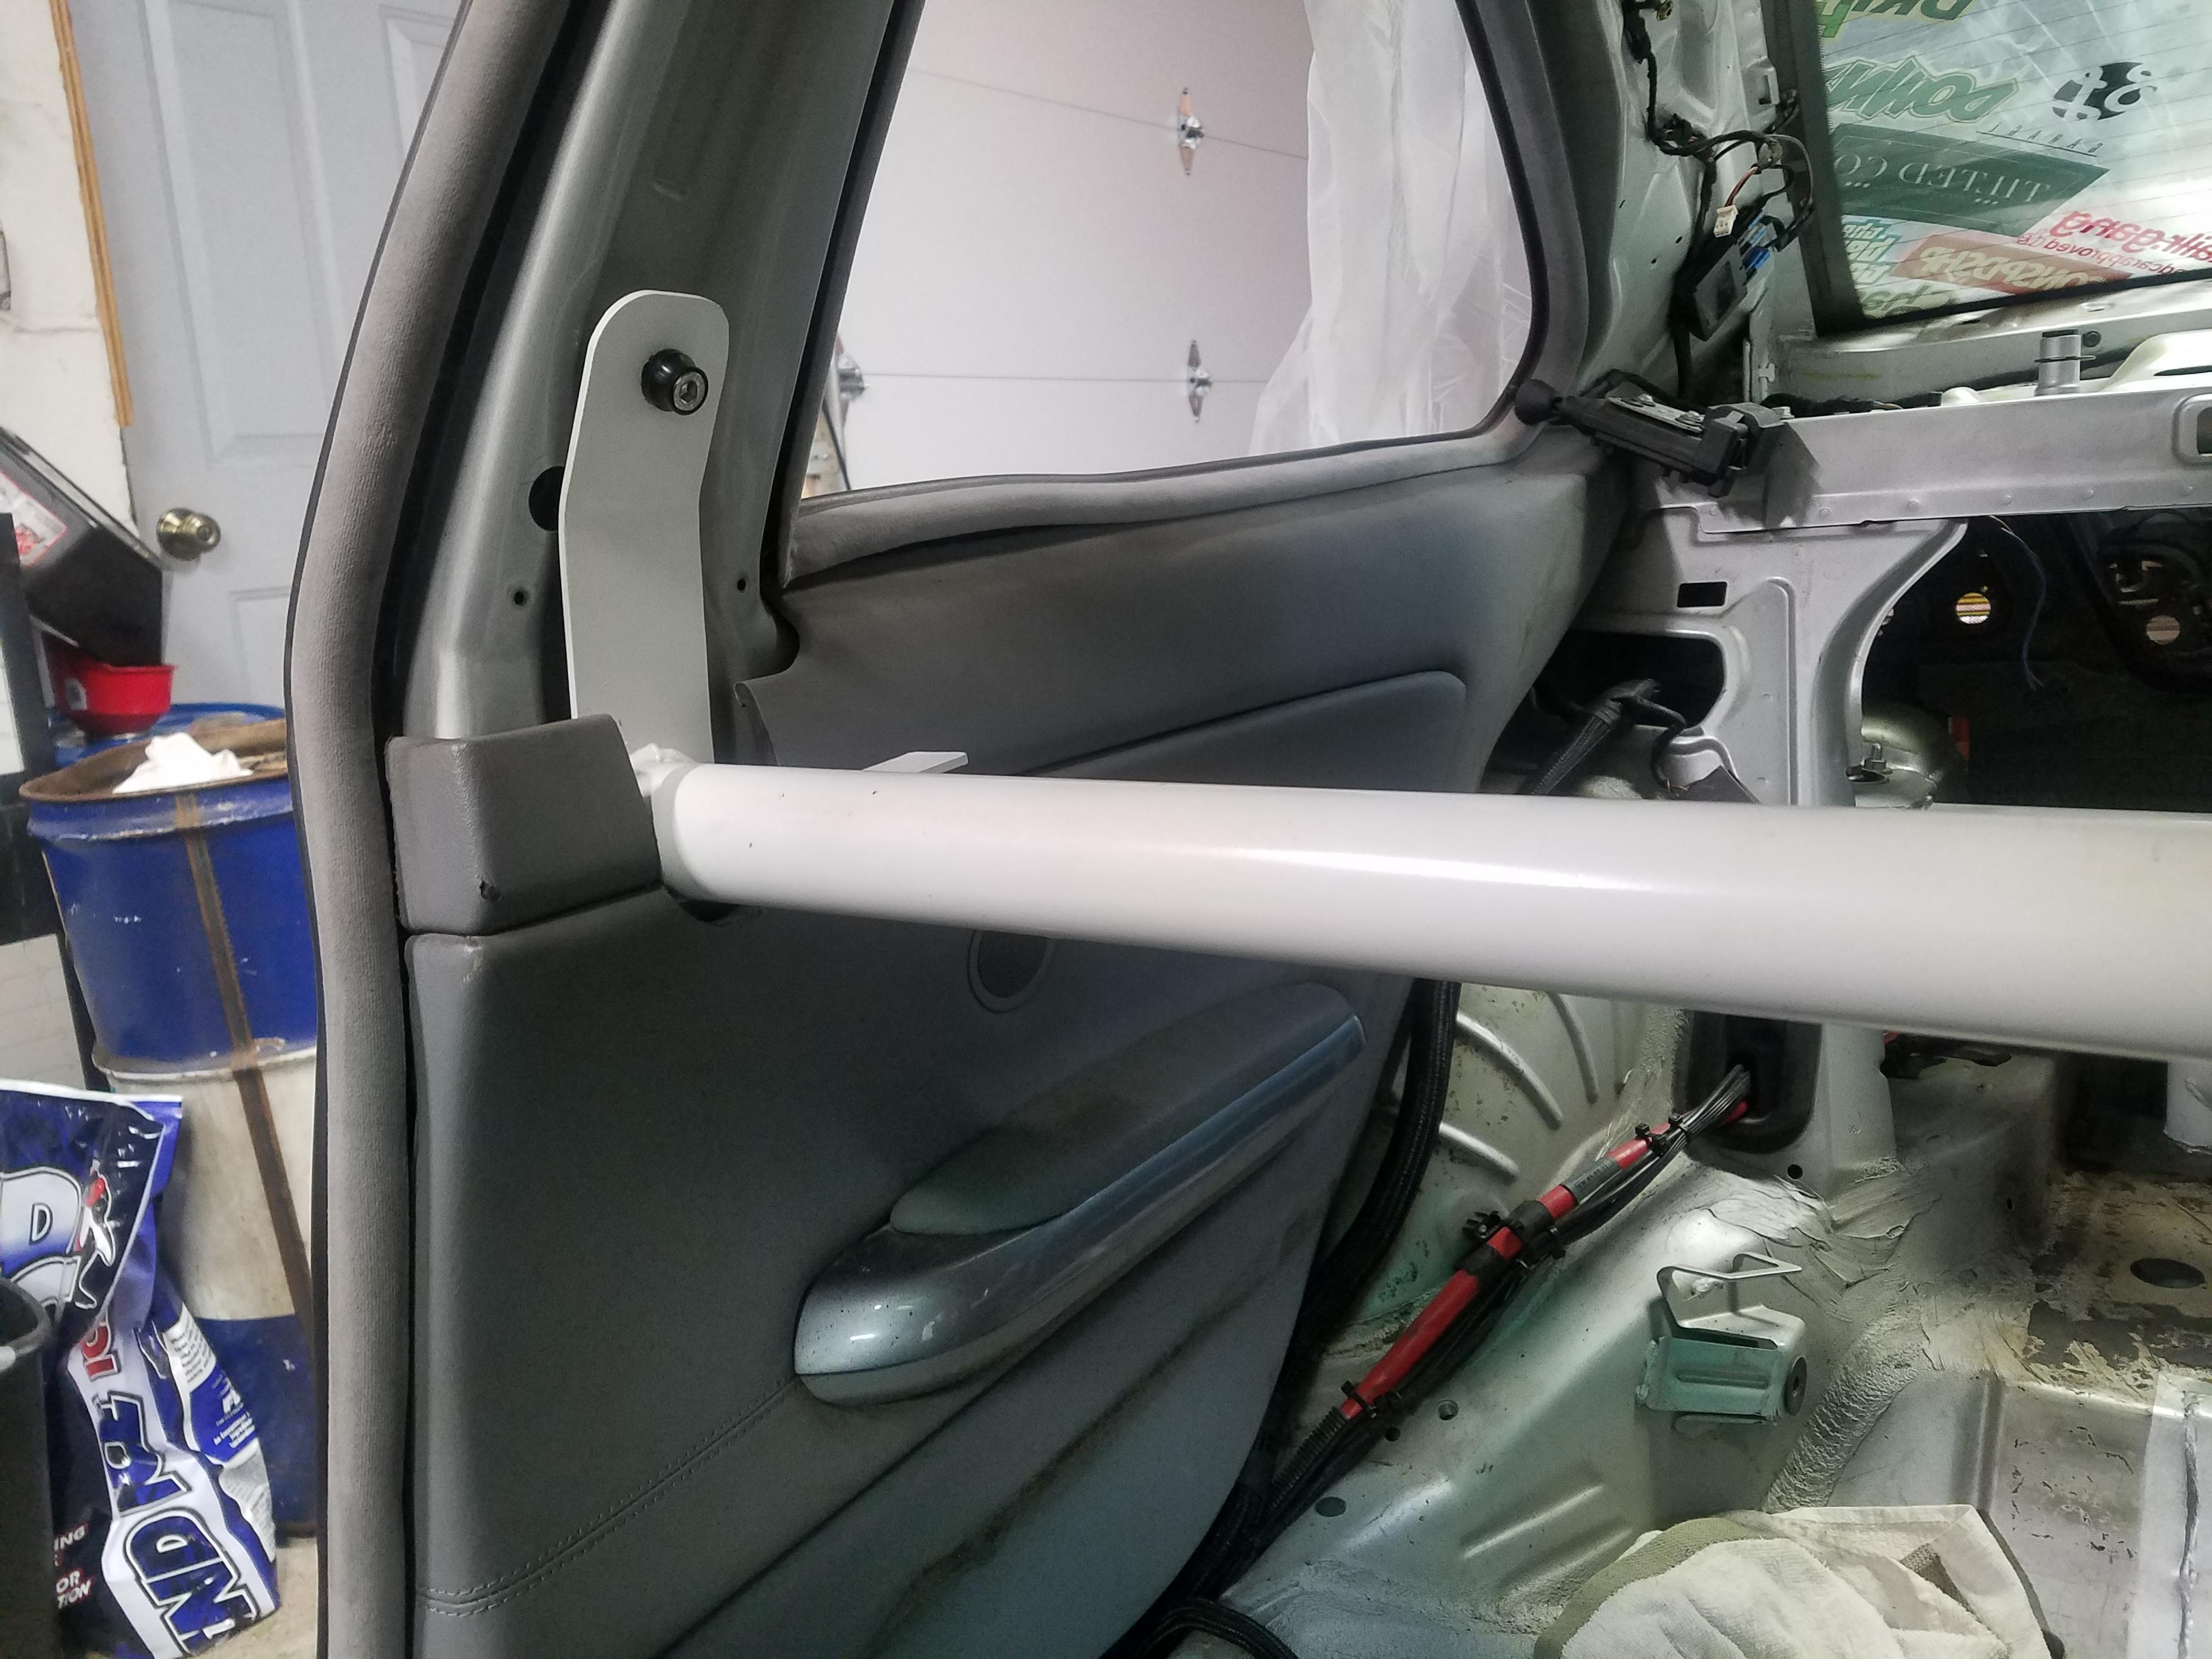
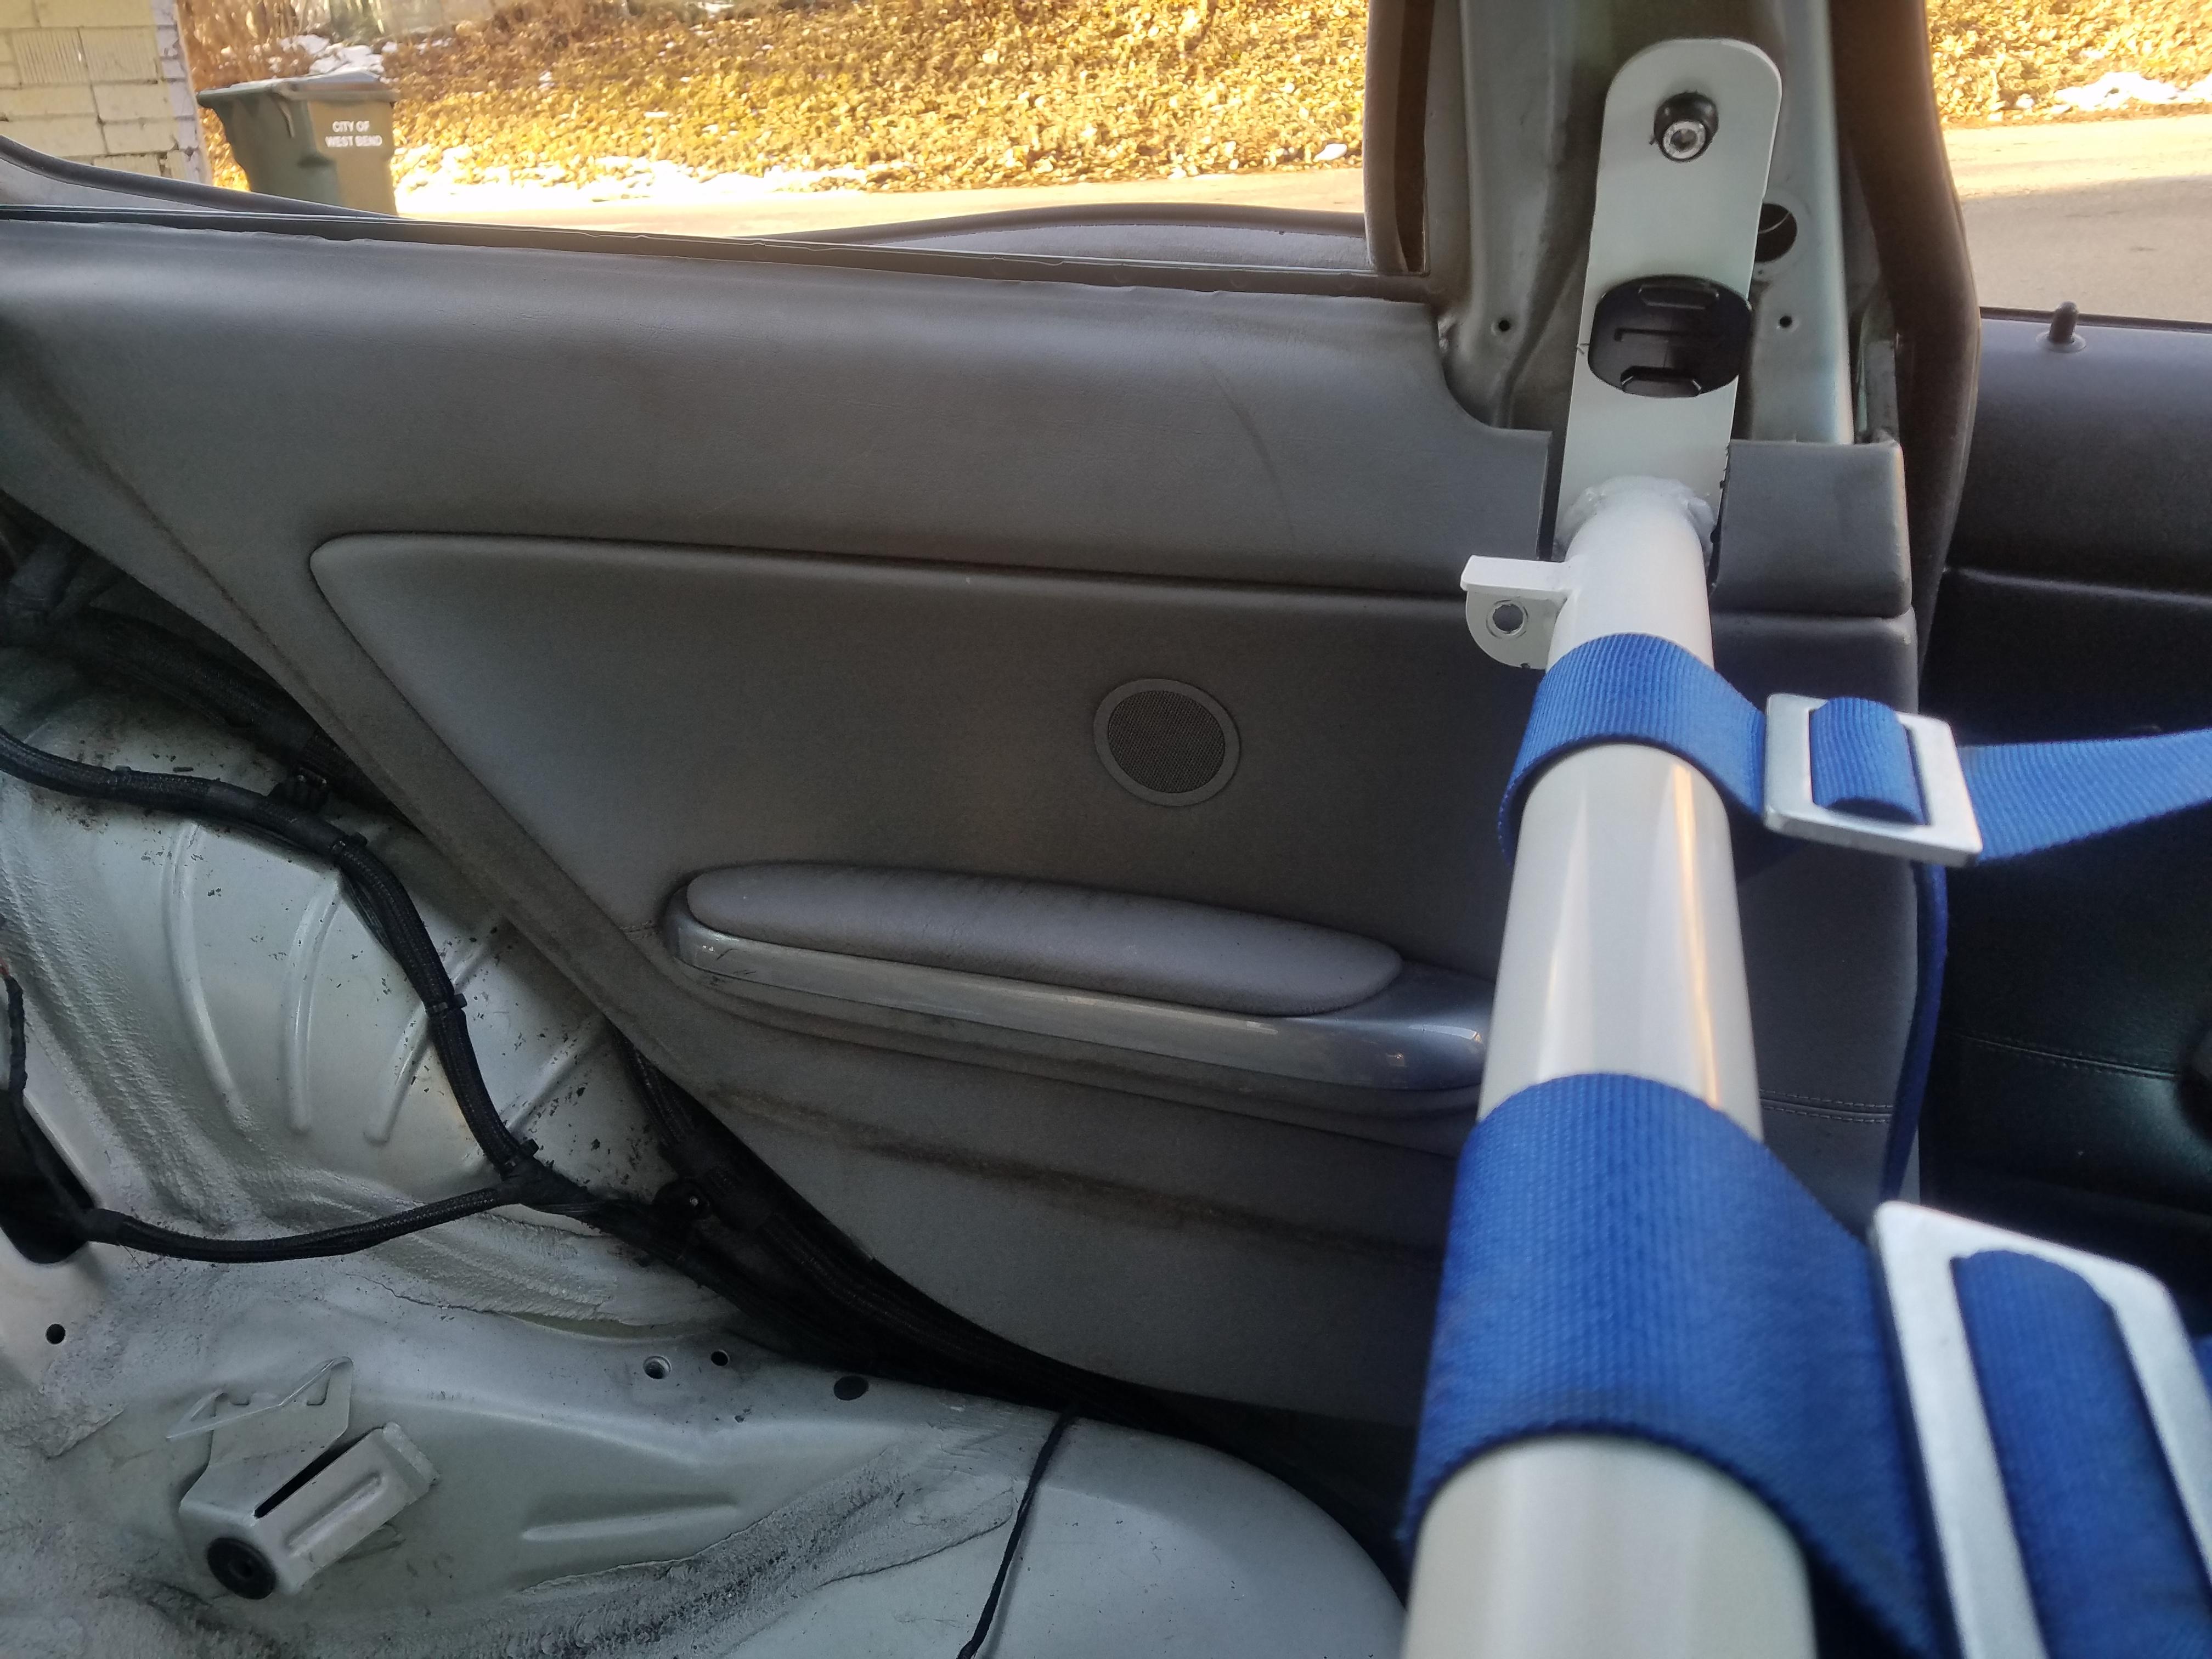
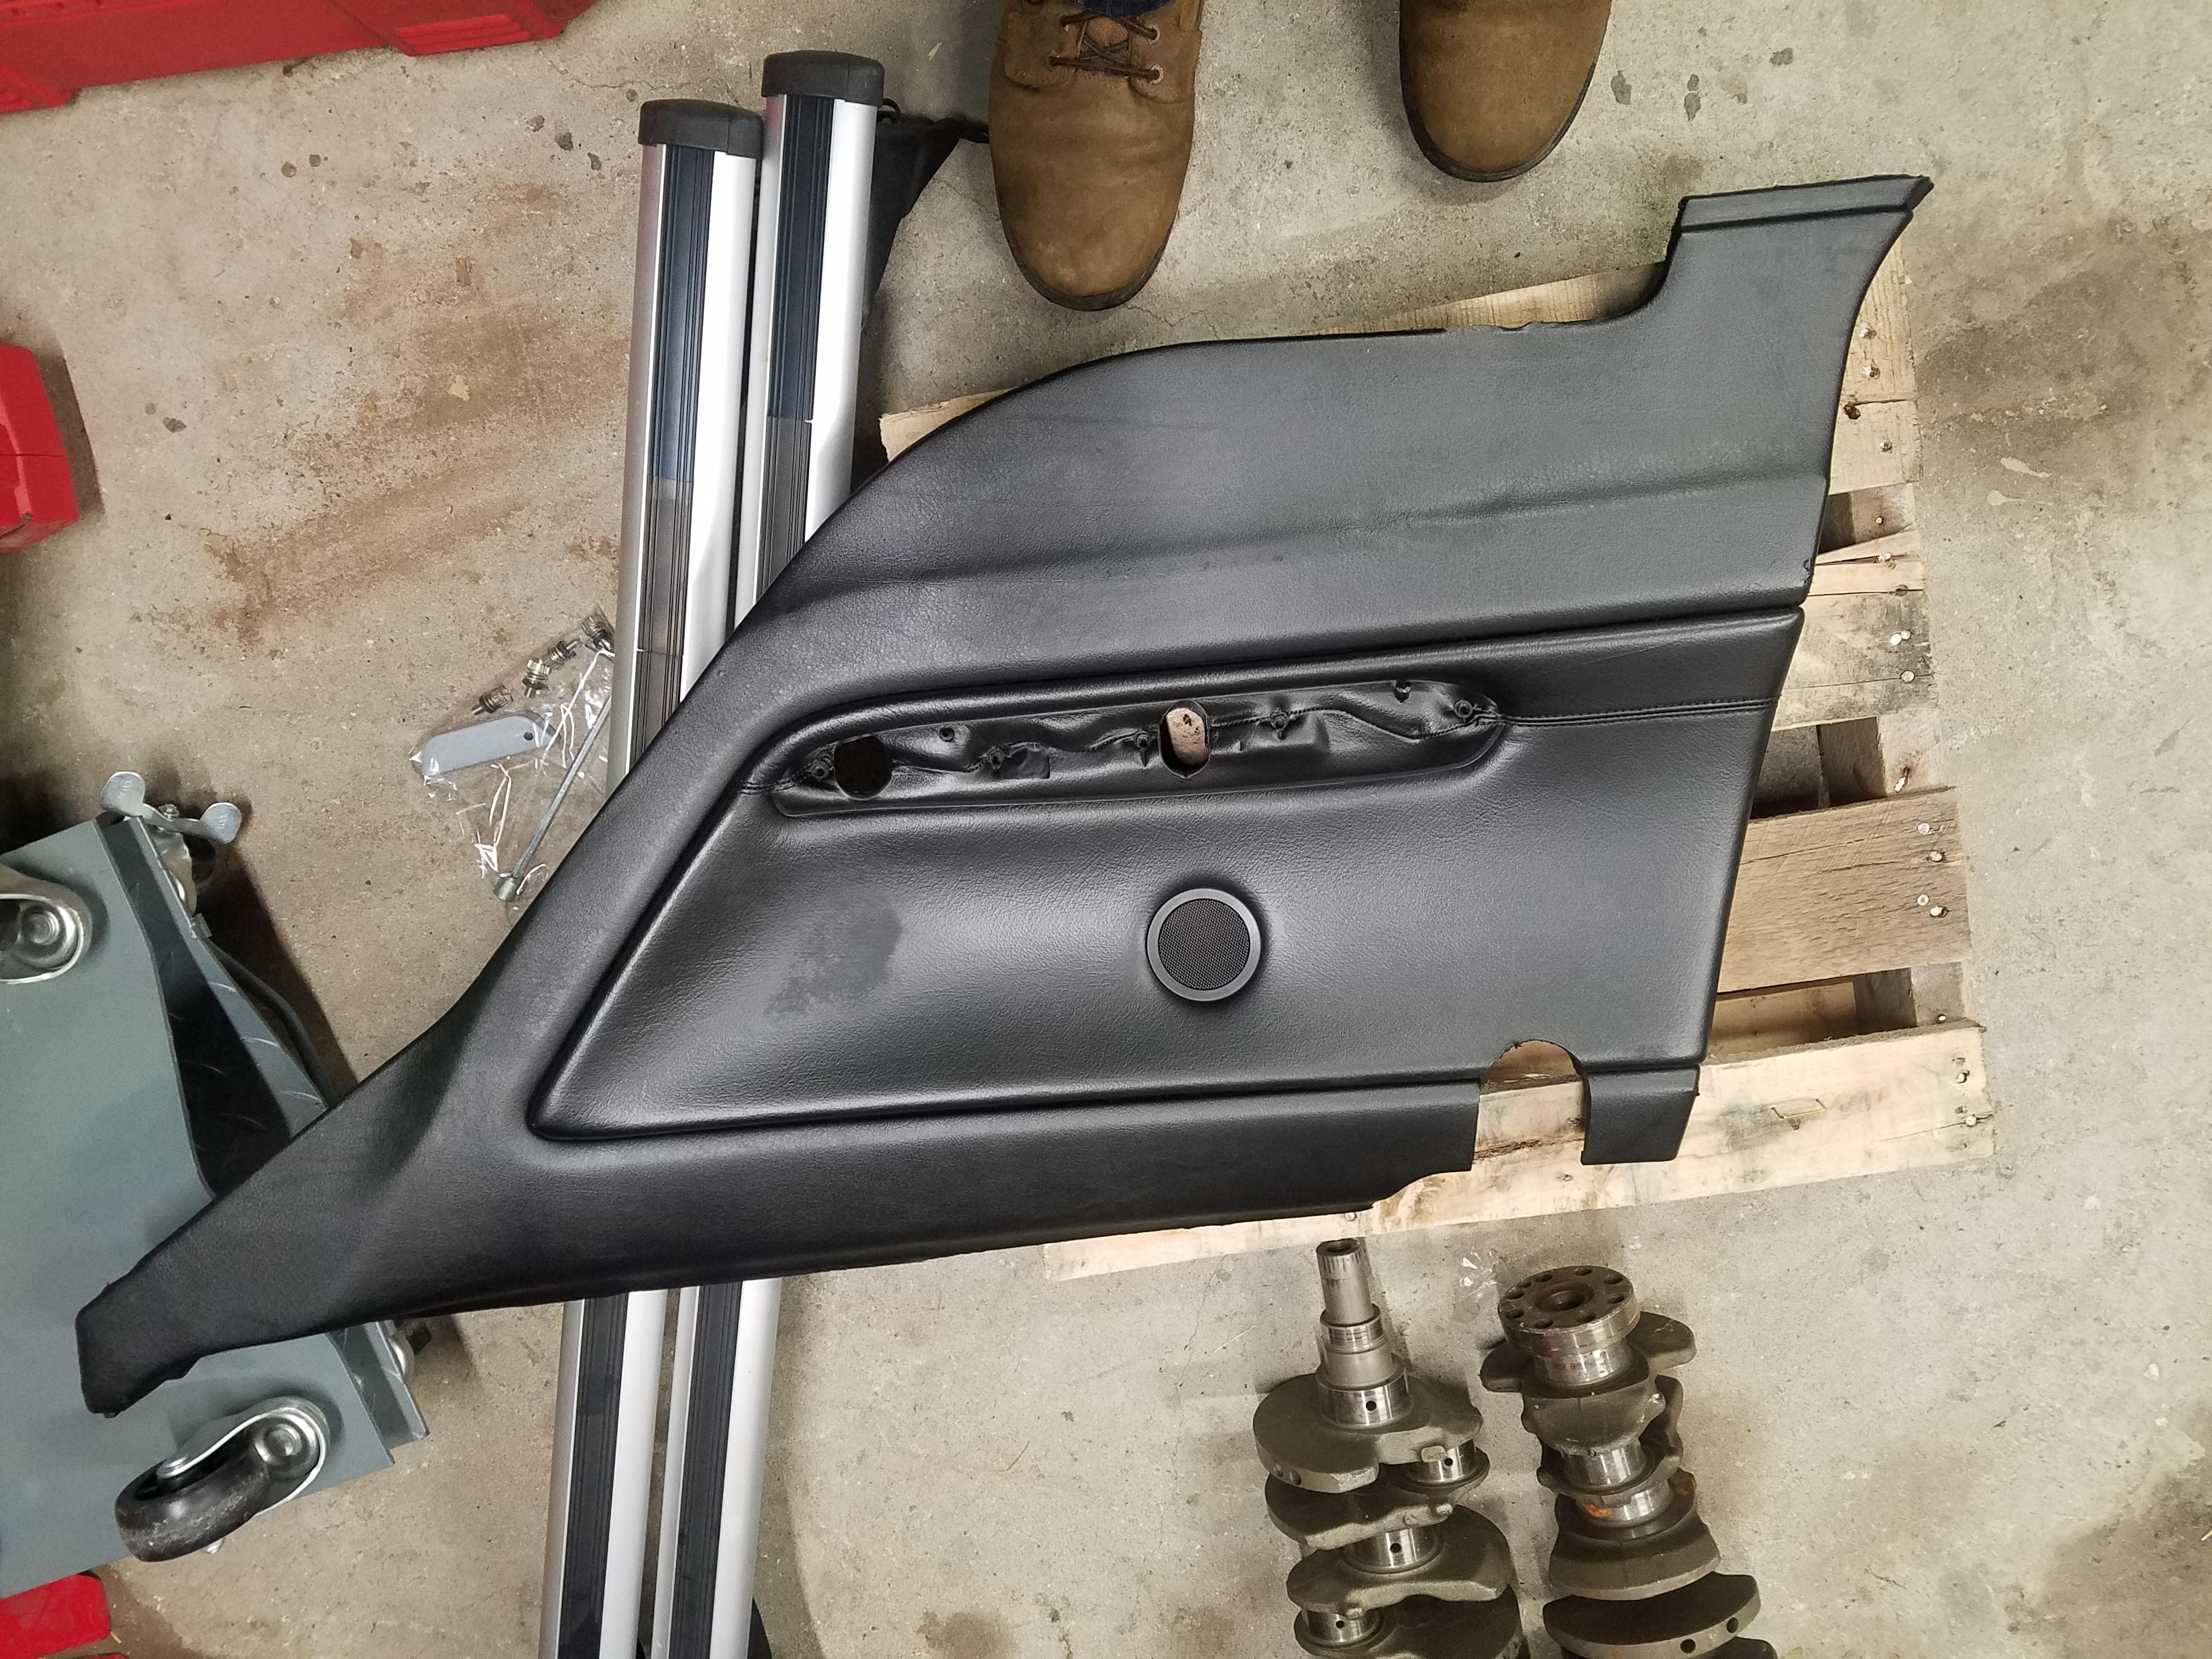
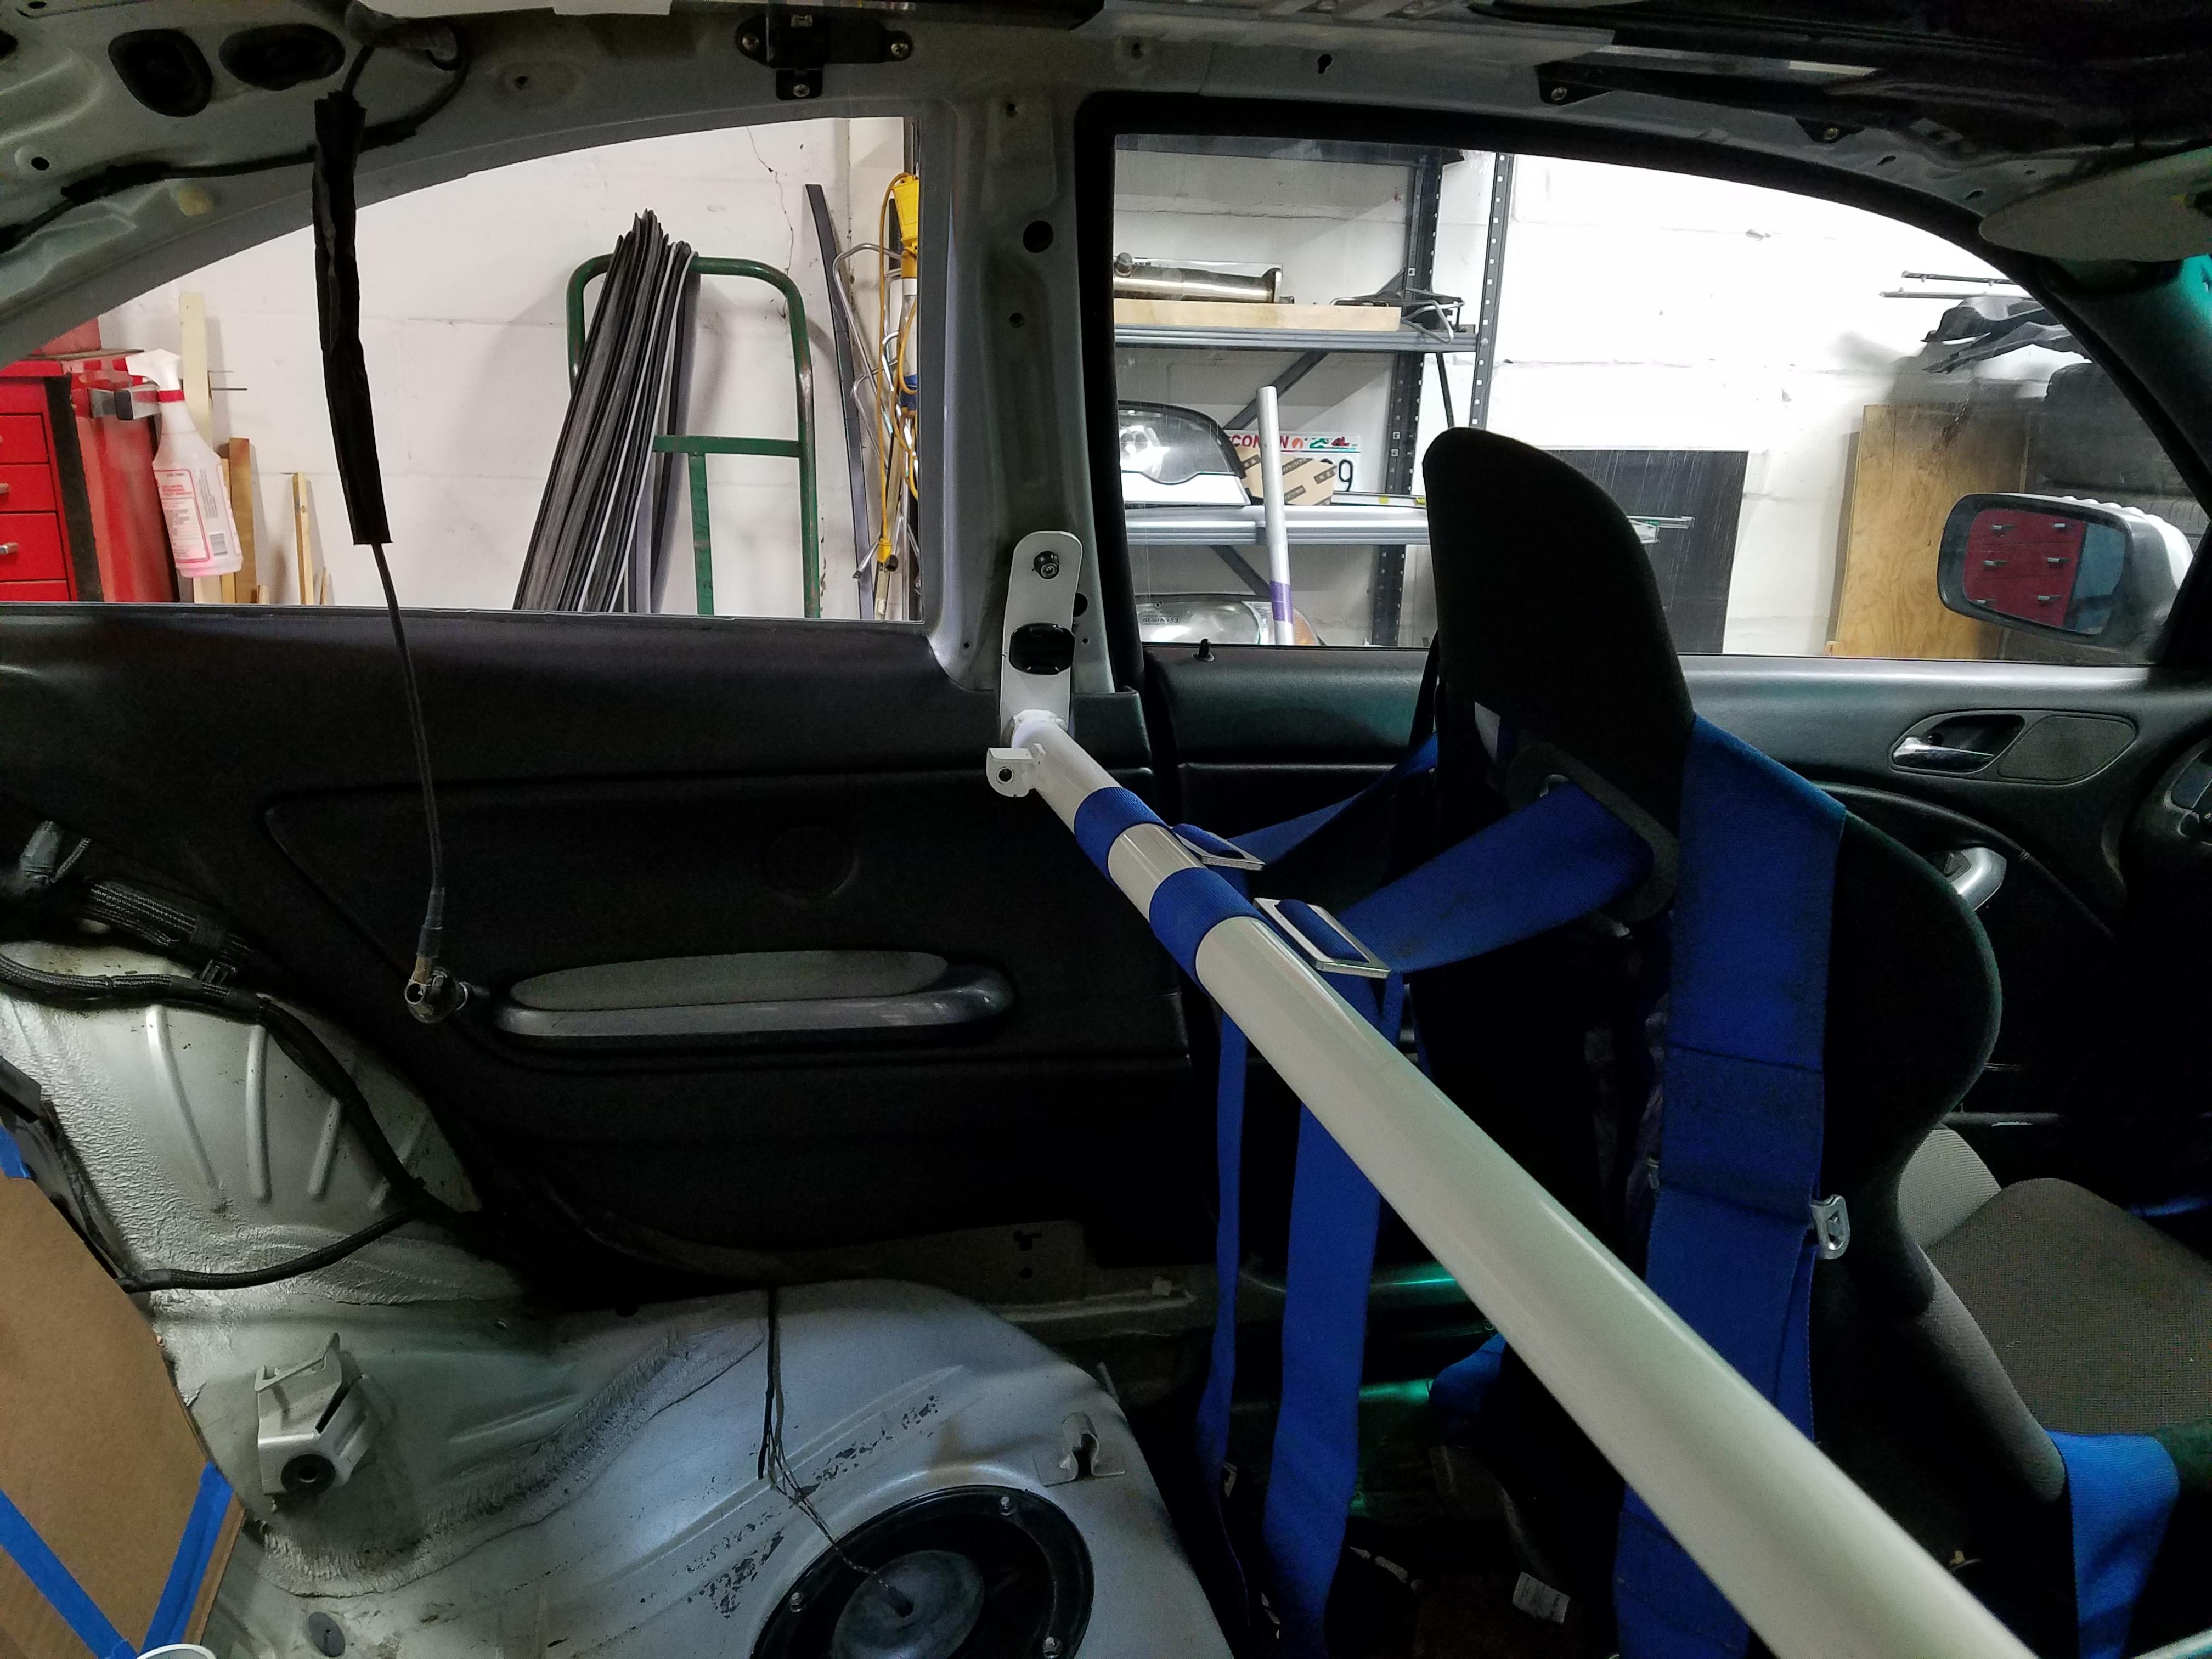
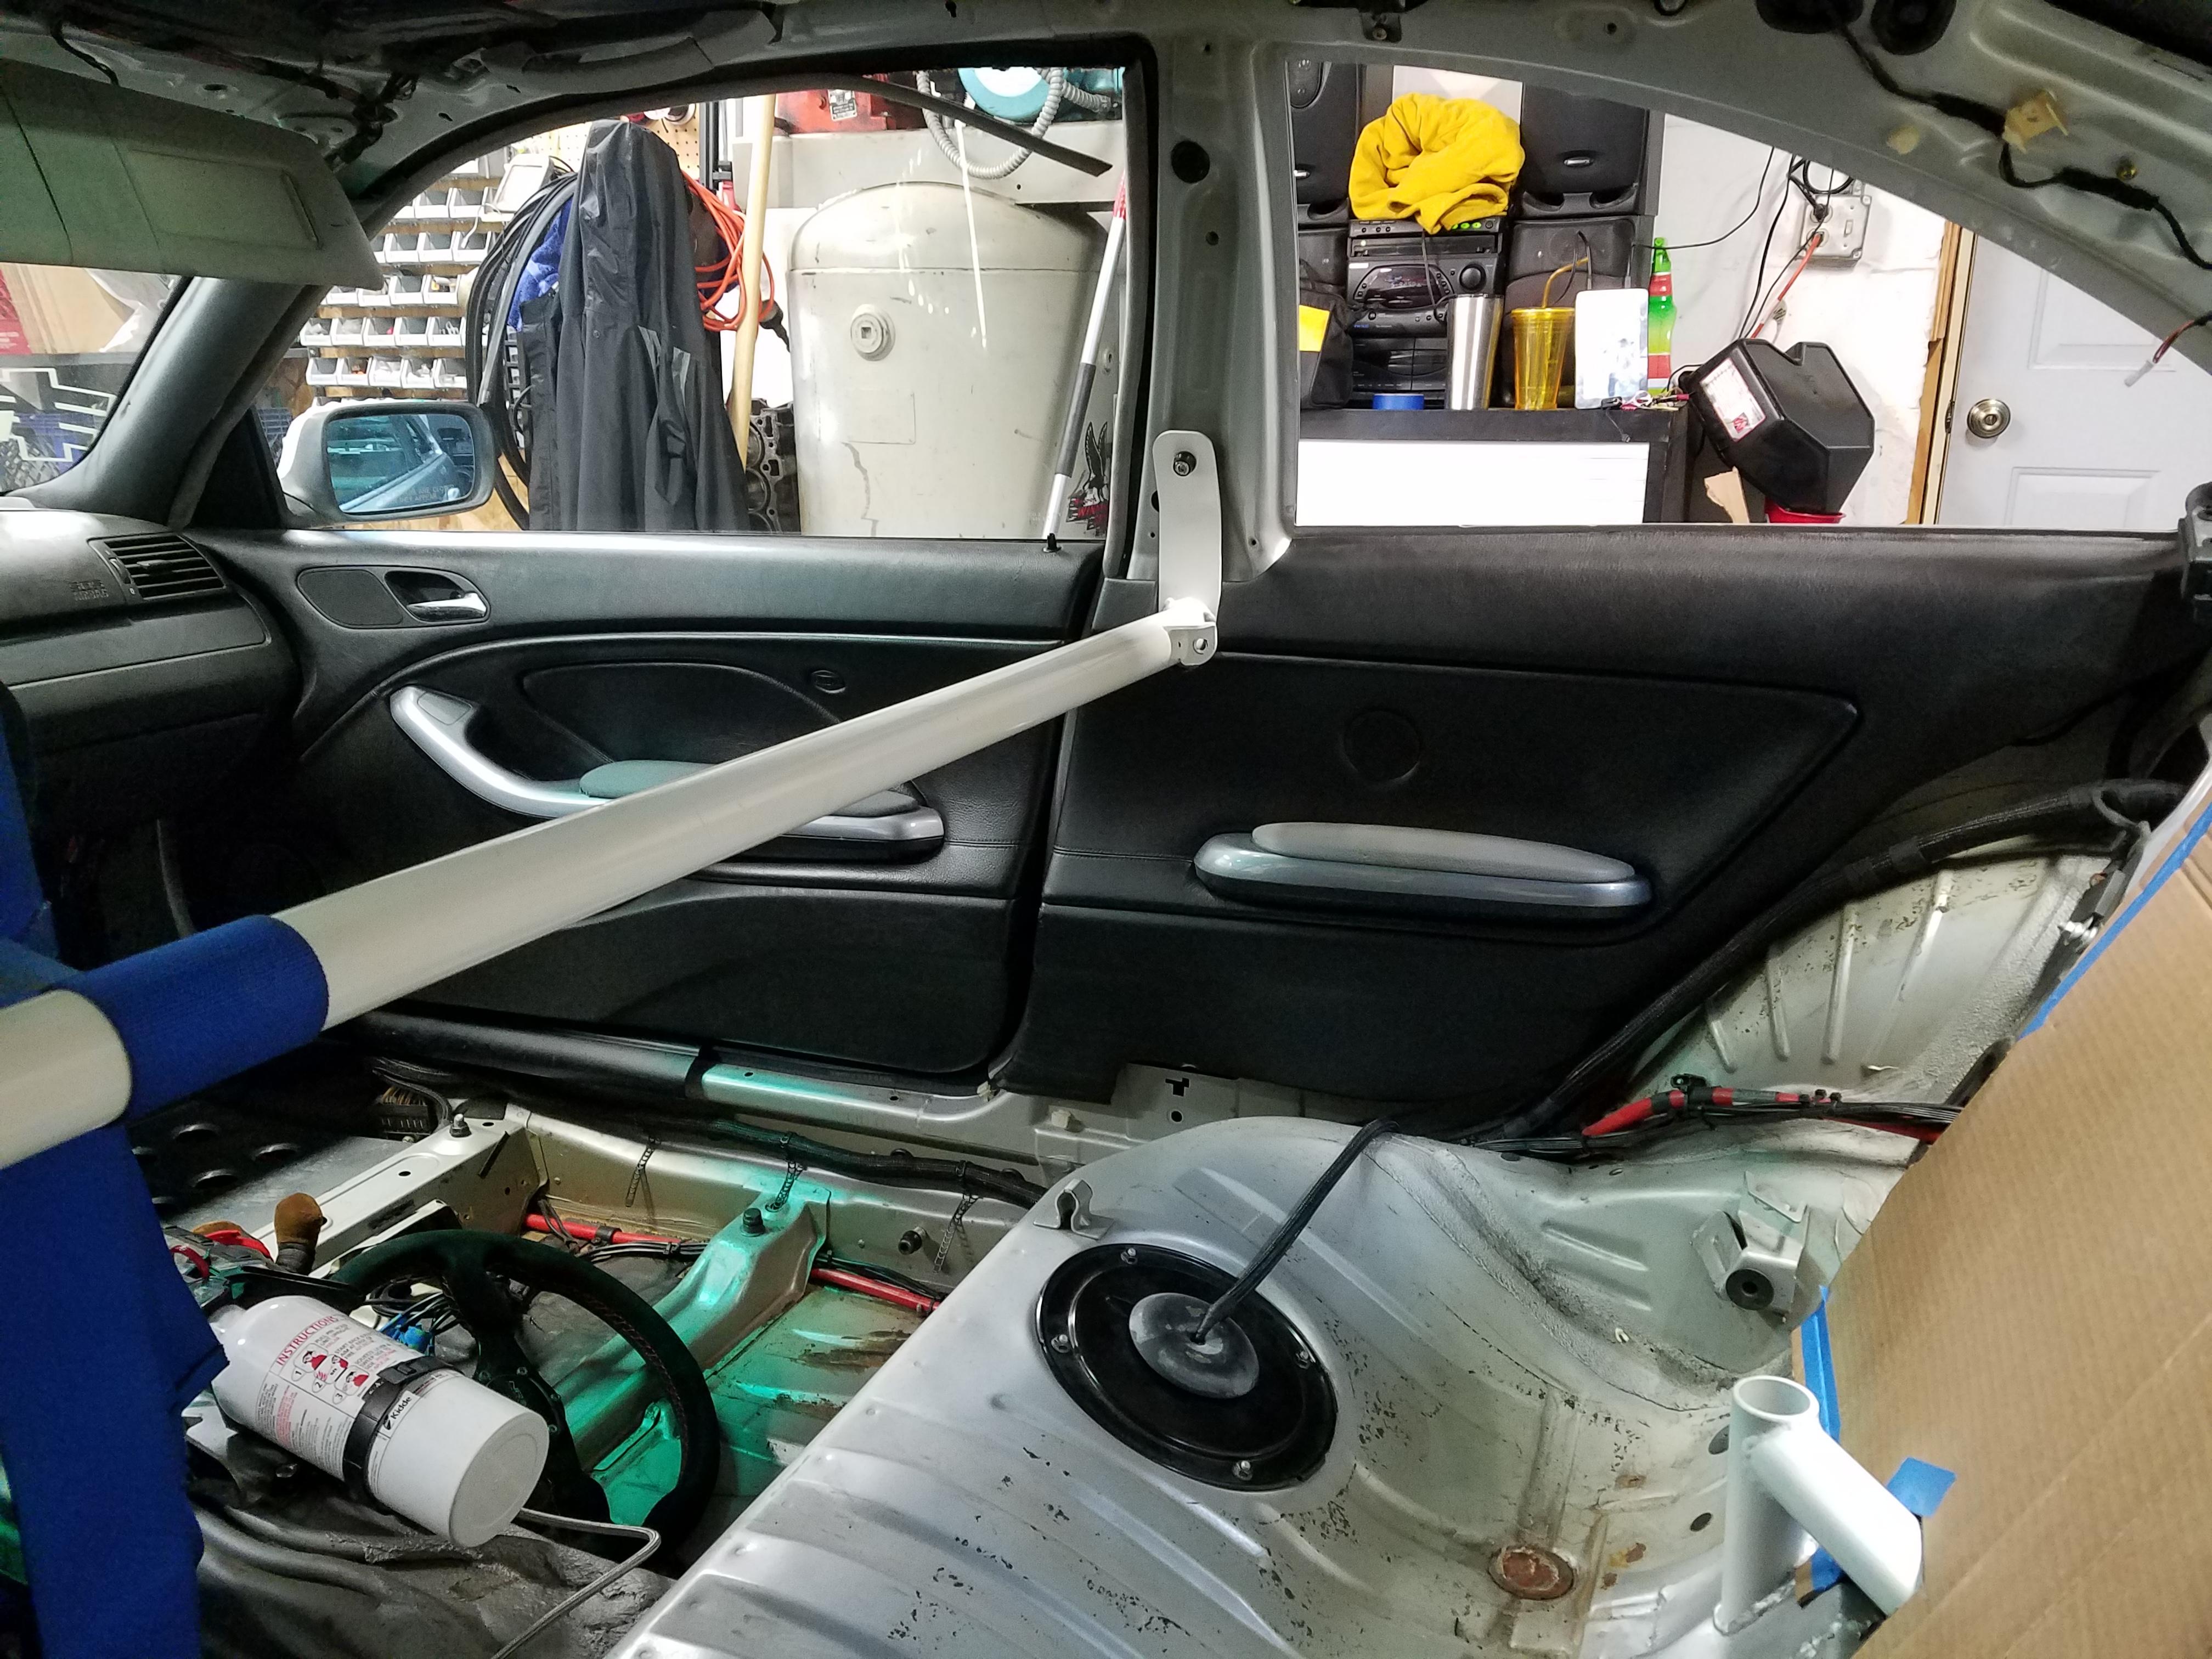
I've also been wanting to get rear door panels back in the car, never really liked the fully stripped look and honestly never felt like dealing with it last summer lol. But with that being said I messed around and found the perfect way to fit the rear panels with my harness bar!
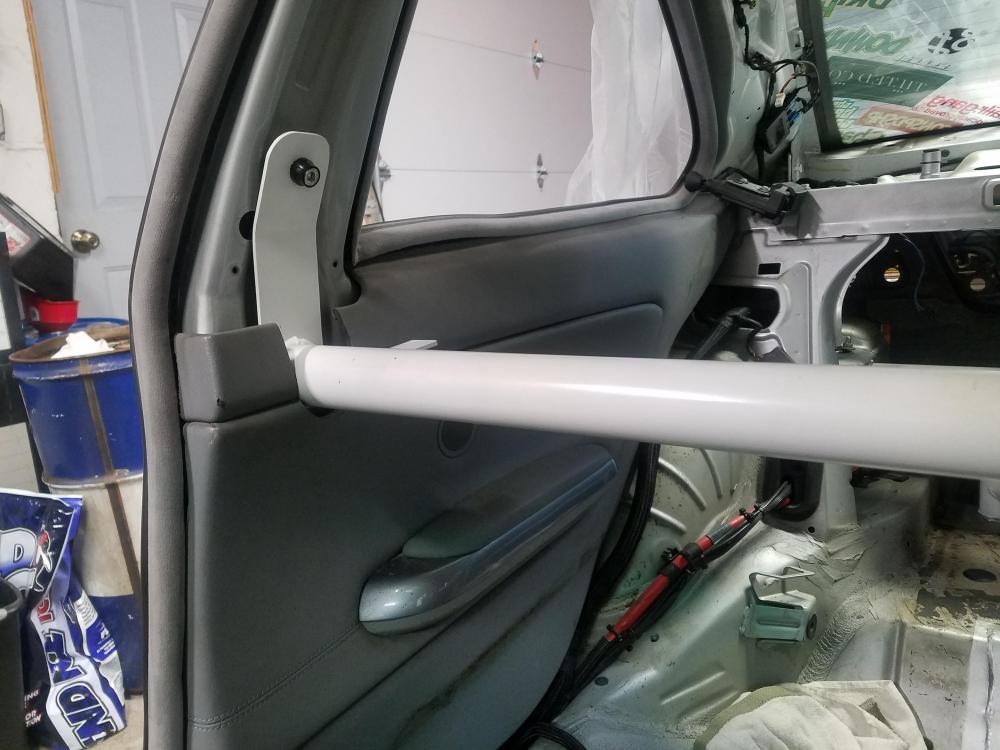
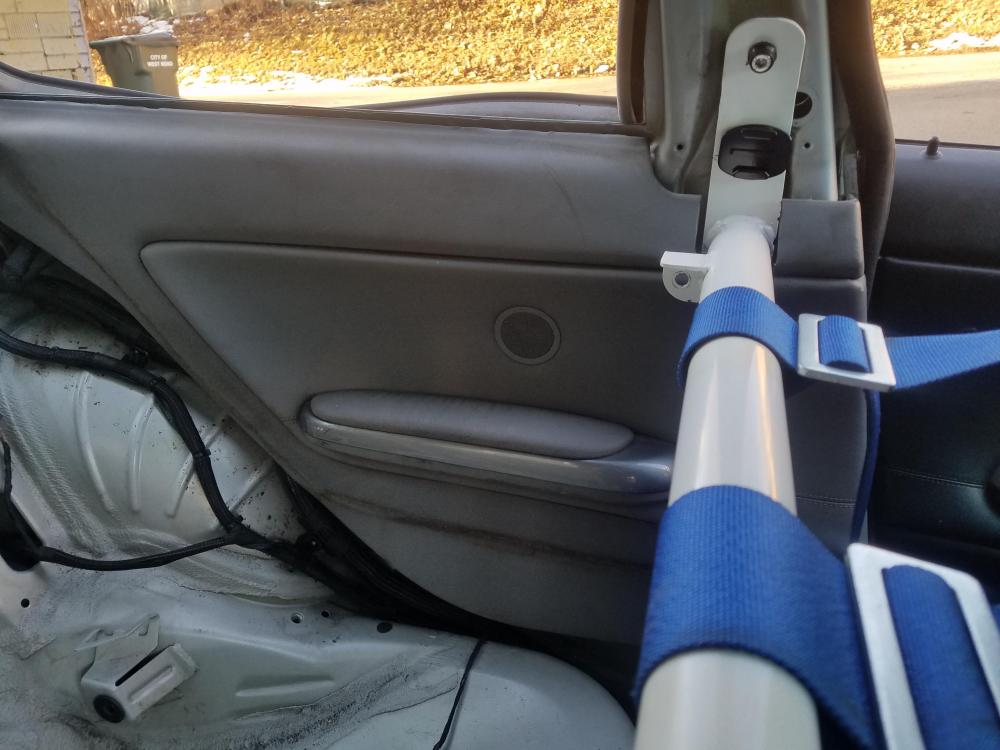
was able to use a hole saw to create a round section on the bottom and then my badass new m12 milwaukee dremel to cut the straights
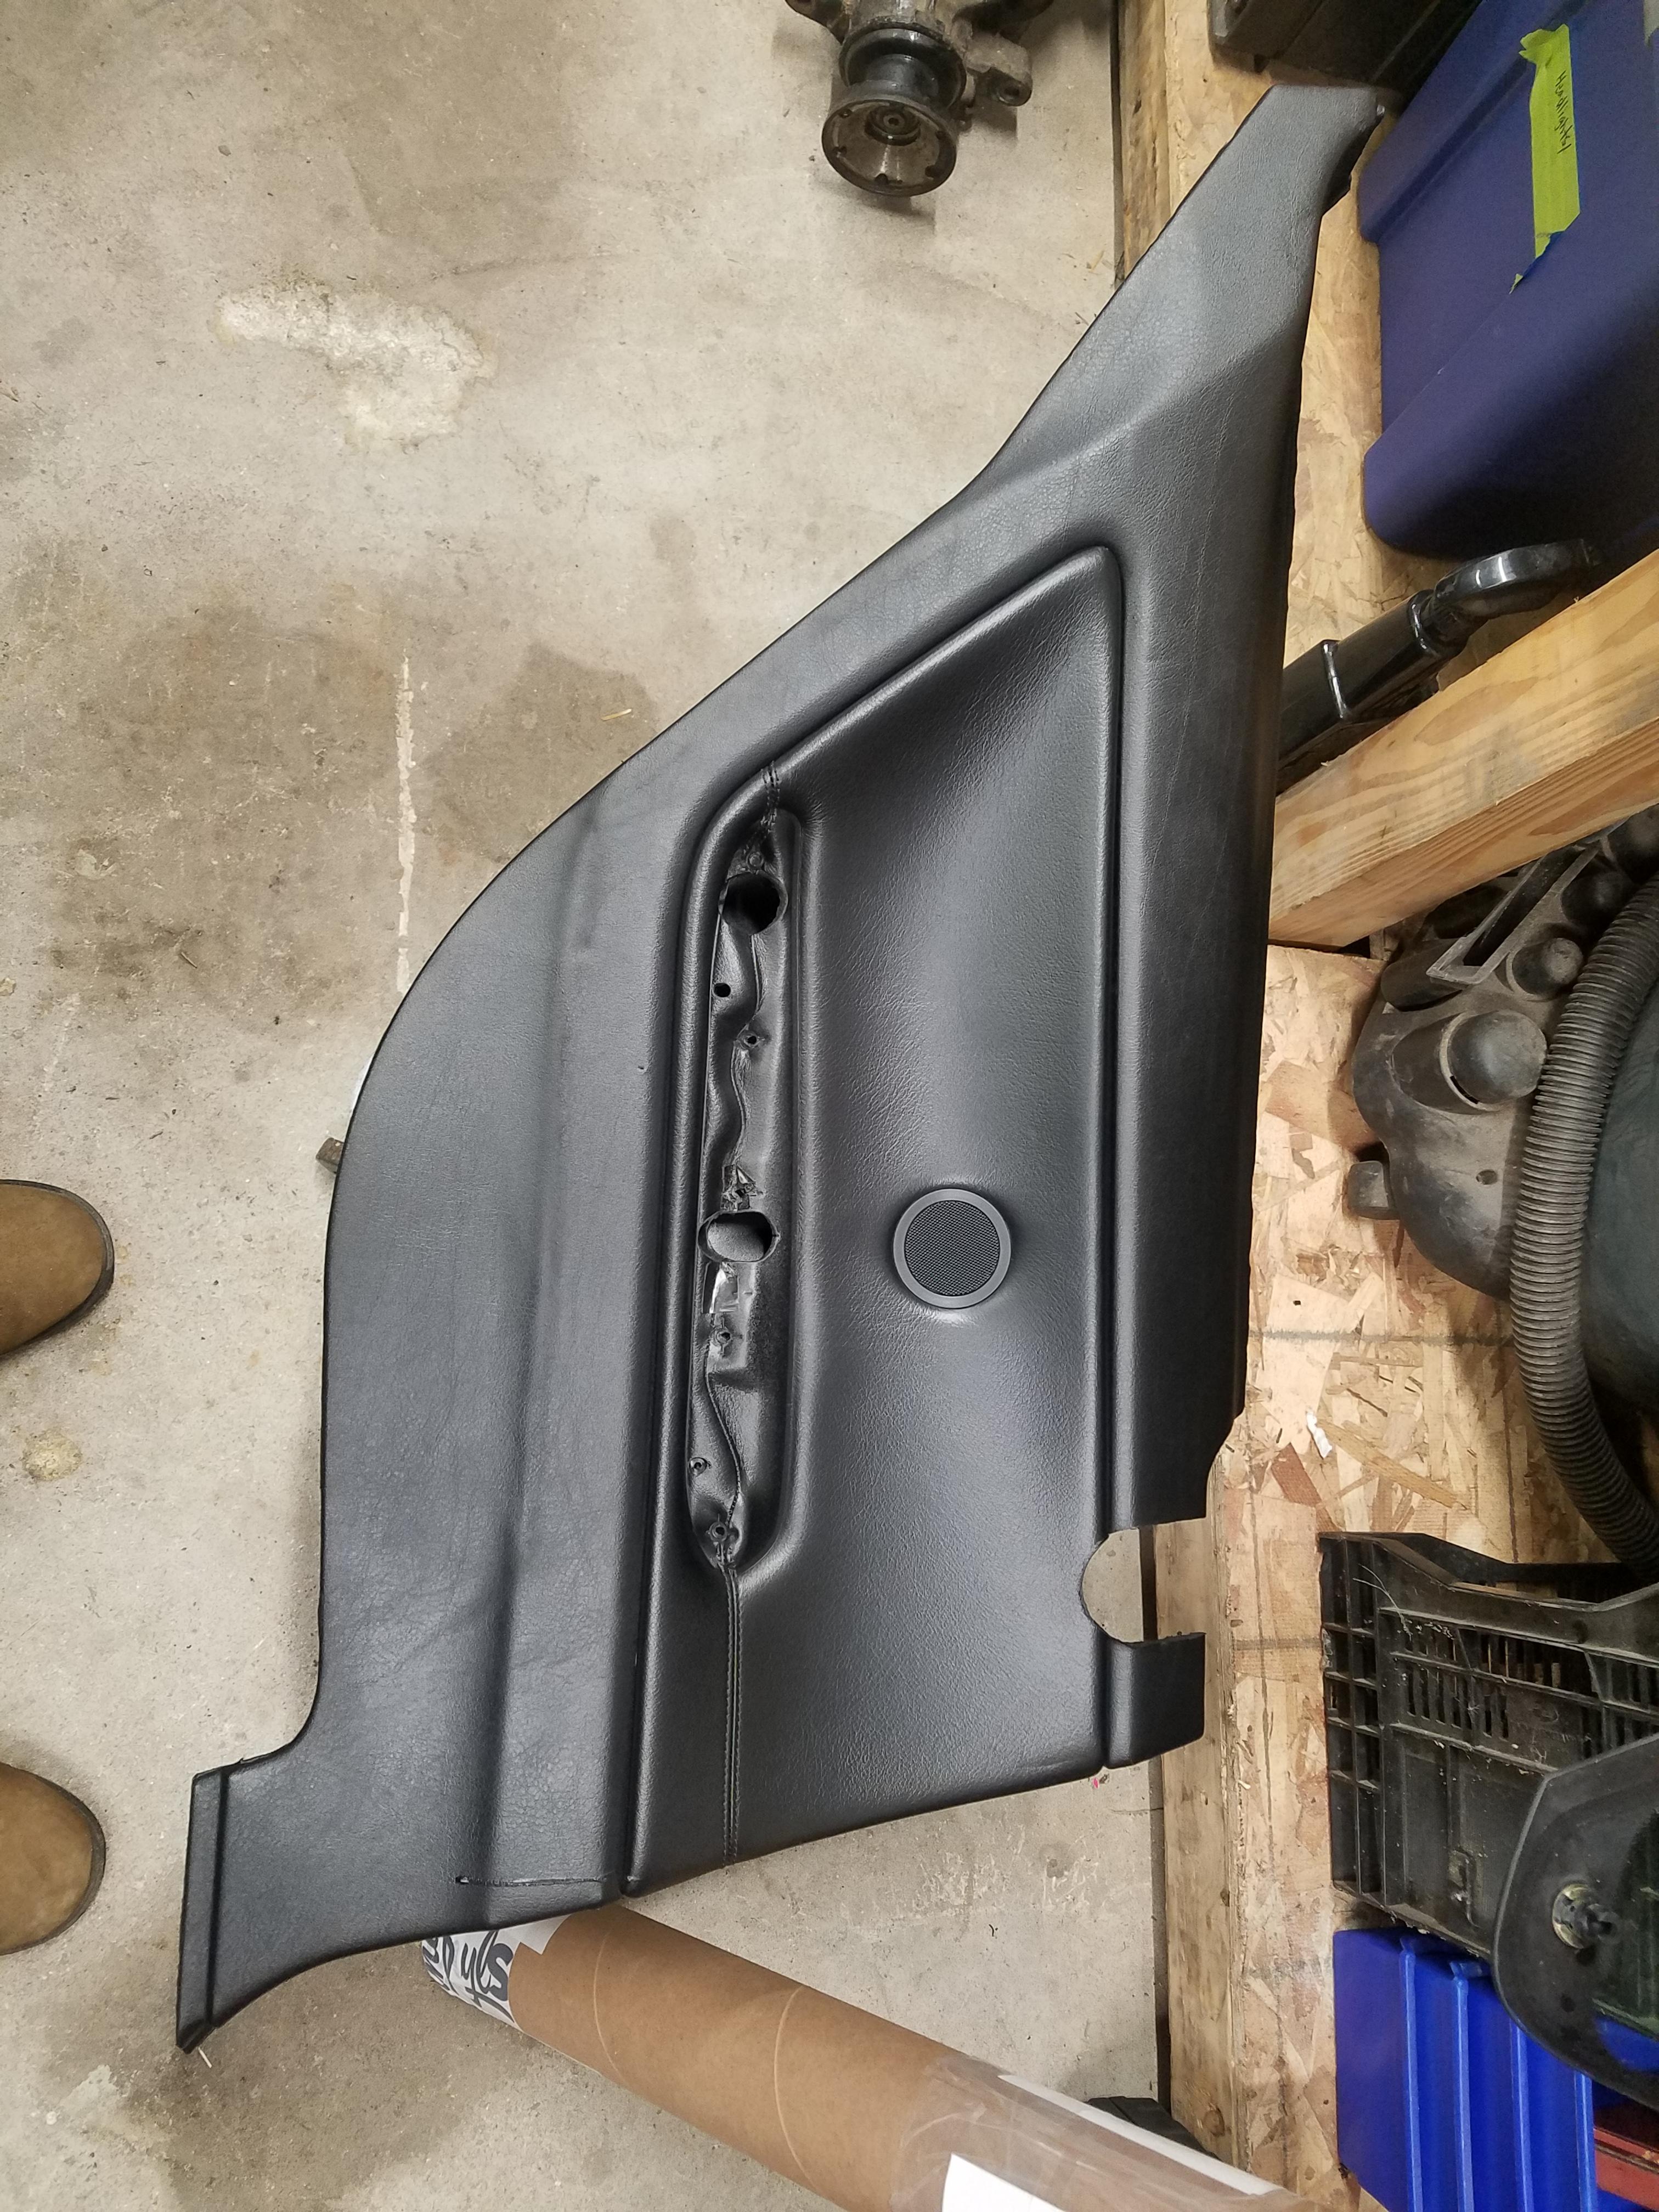
These panels were the ones that came with the car so I did the same as the front panels. Removed the arm rests and used interior paint to make them black. Kinda hack... I'm aware. But I didnt want to cut into my pristine black panels I got with the M stuff. Plus since the fronts were sprayed black they will match better. I'll save the other black panels for when a cage is put in the car in the future sometime.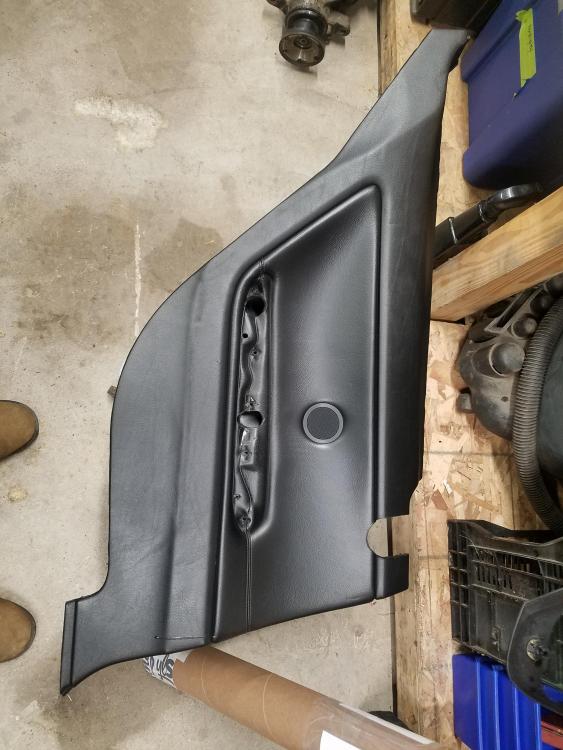
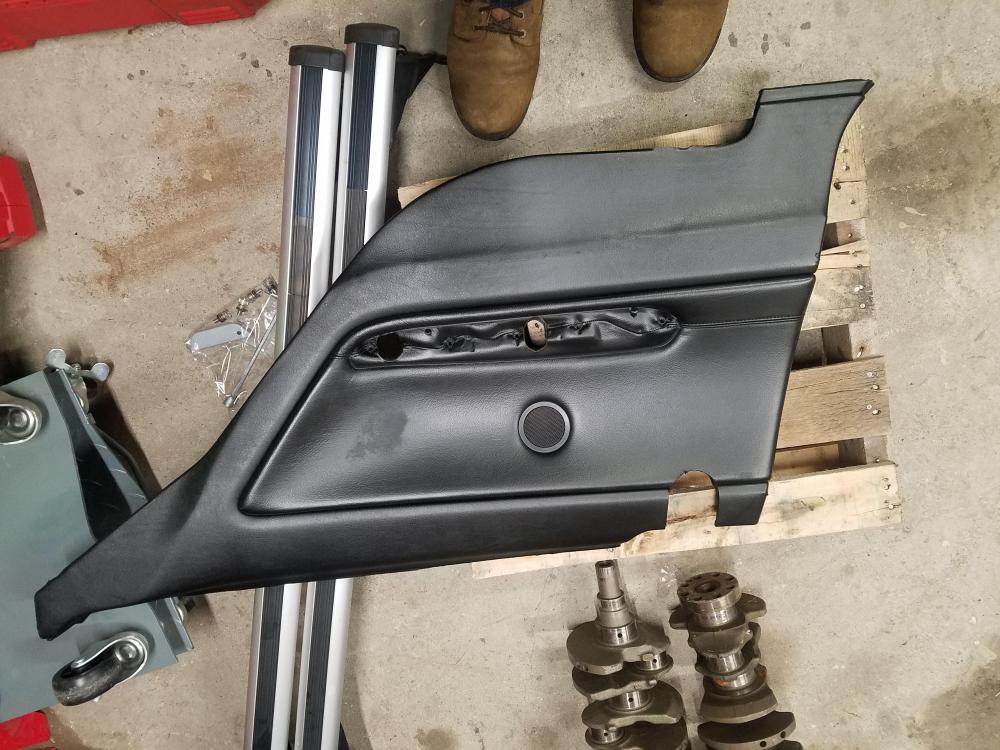
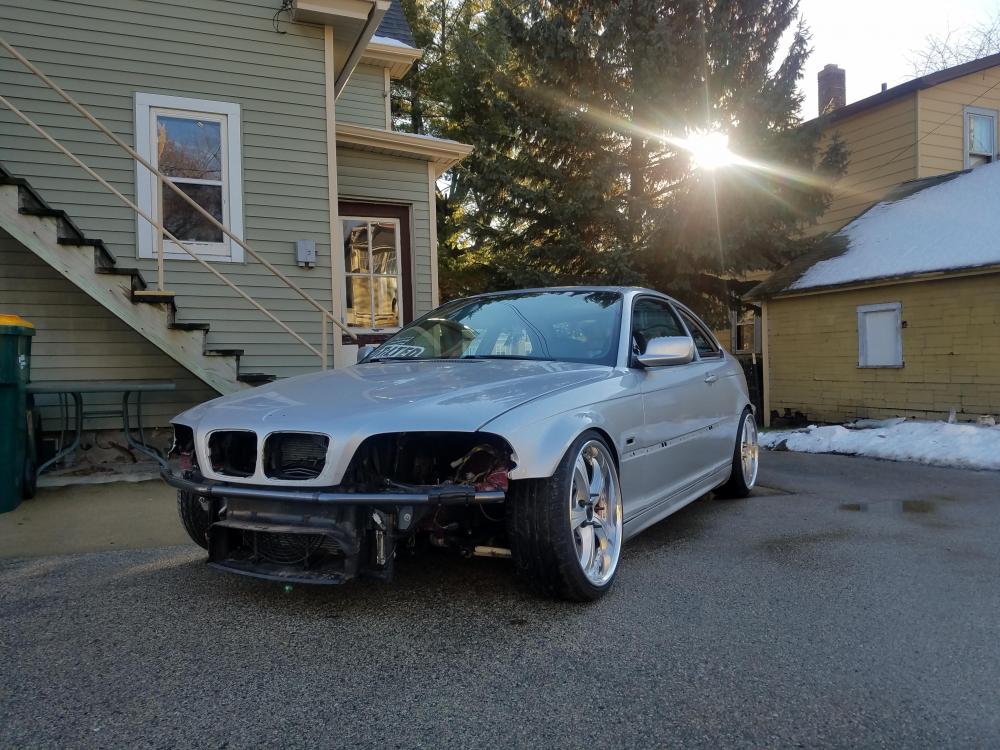
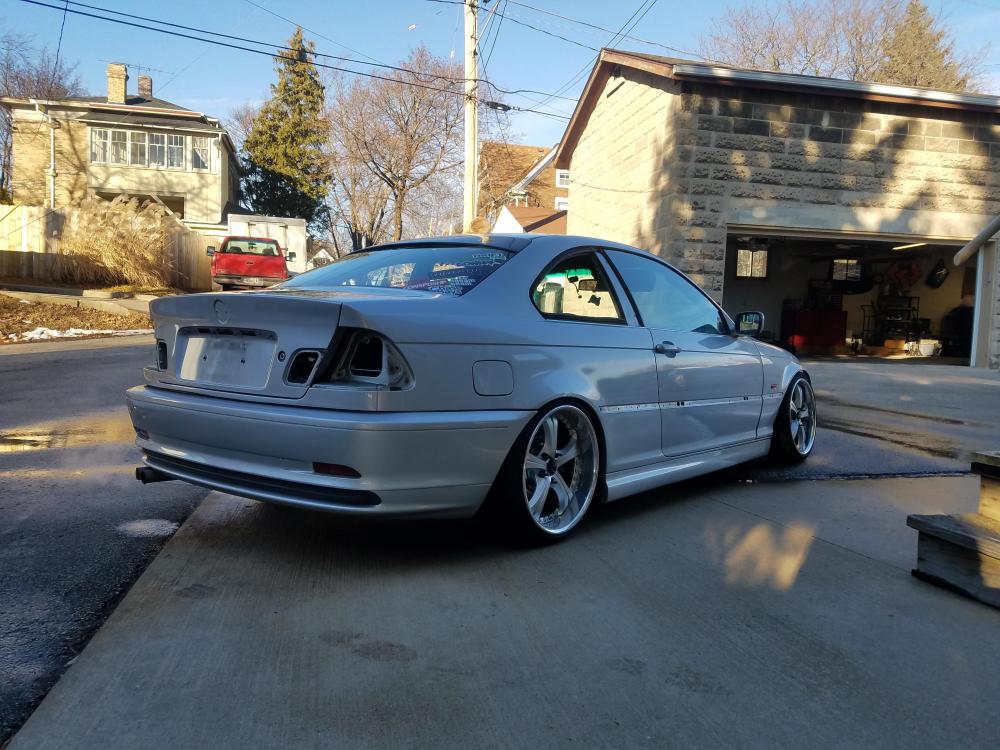
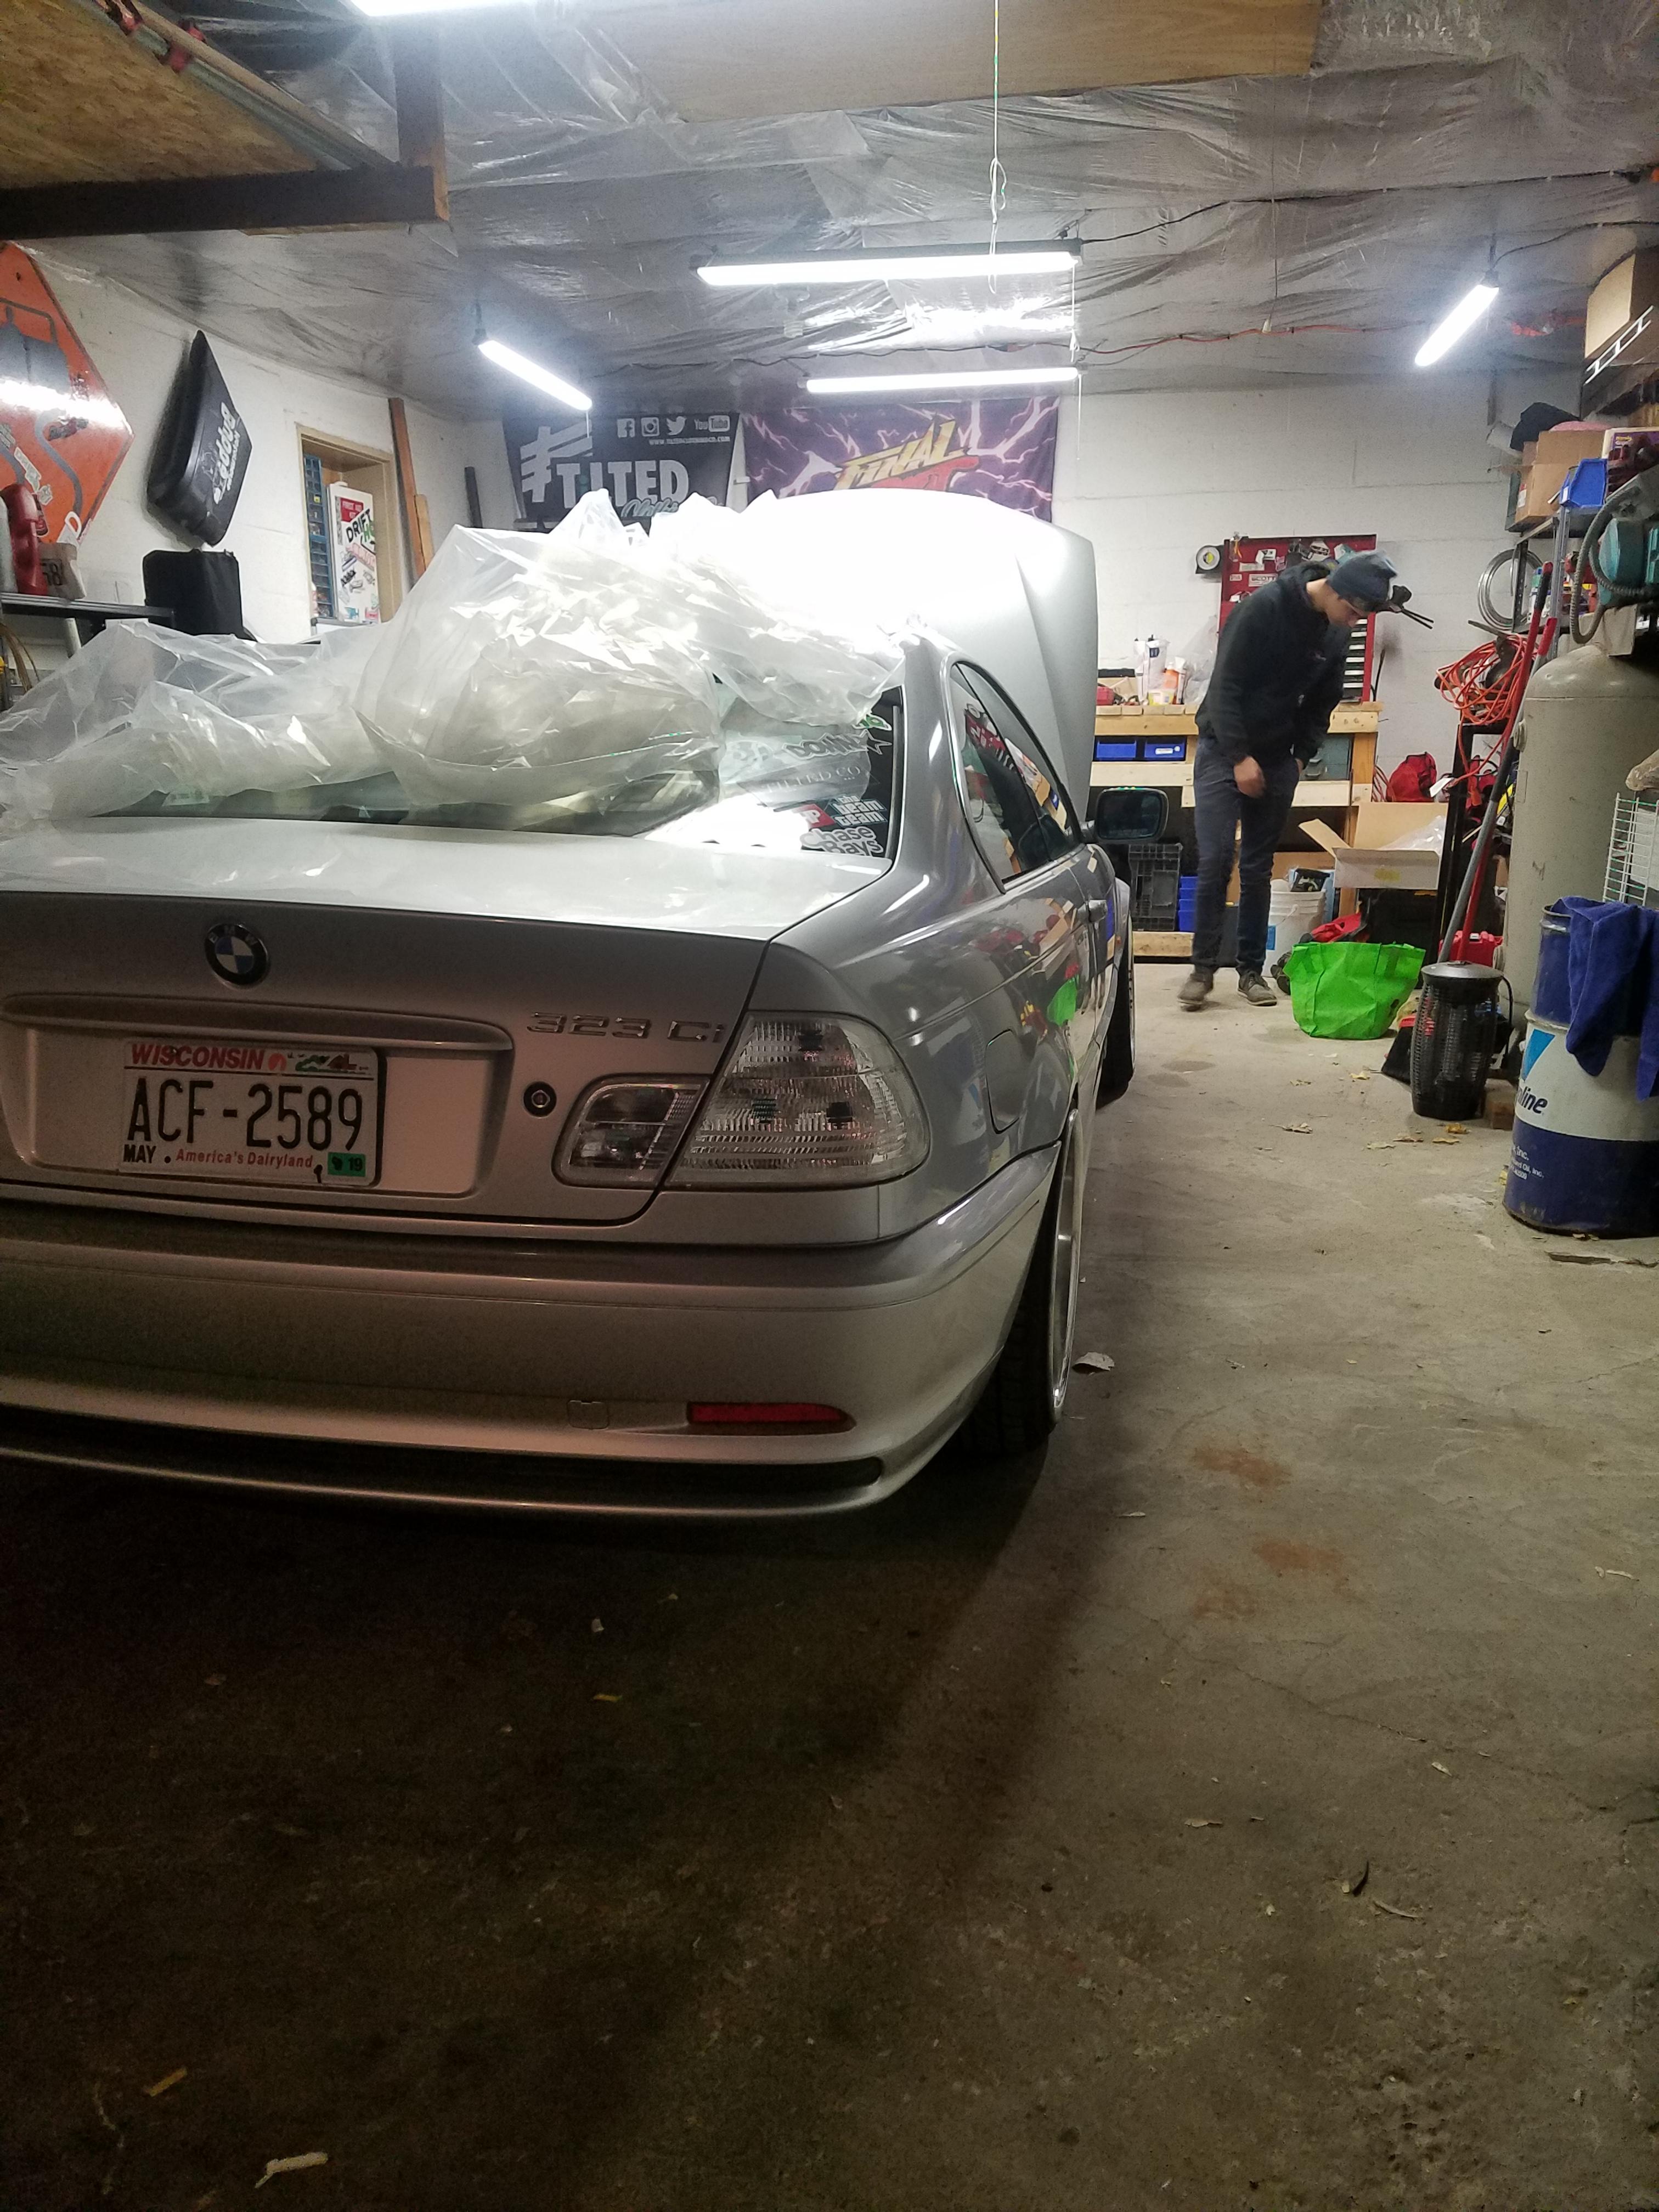
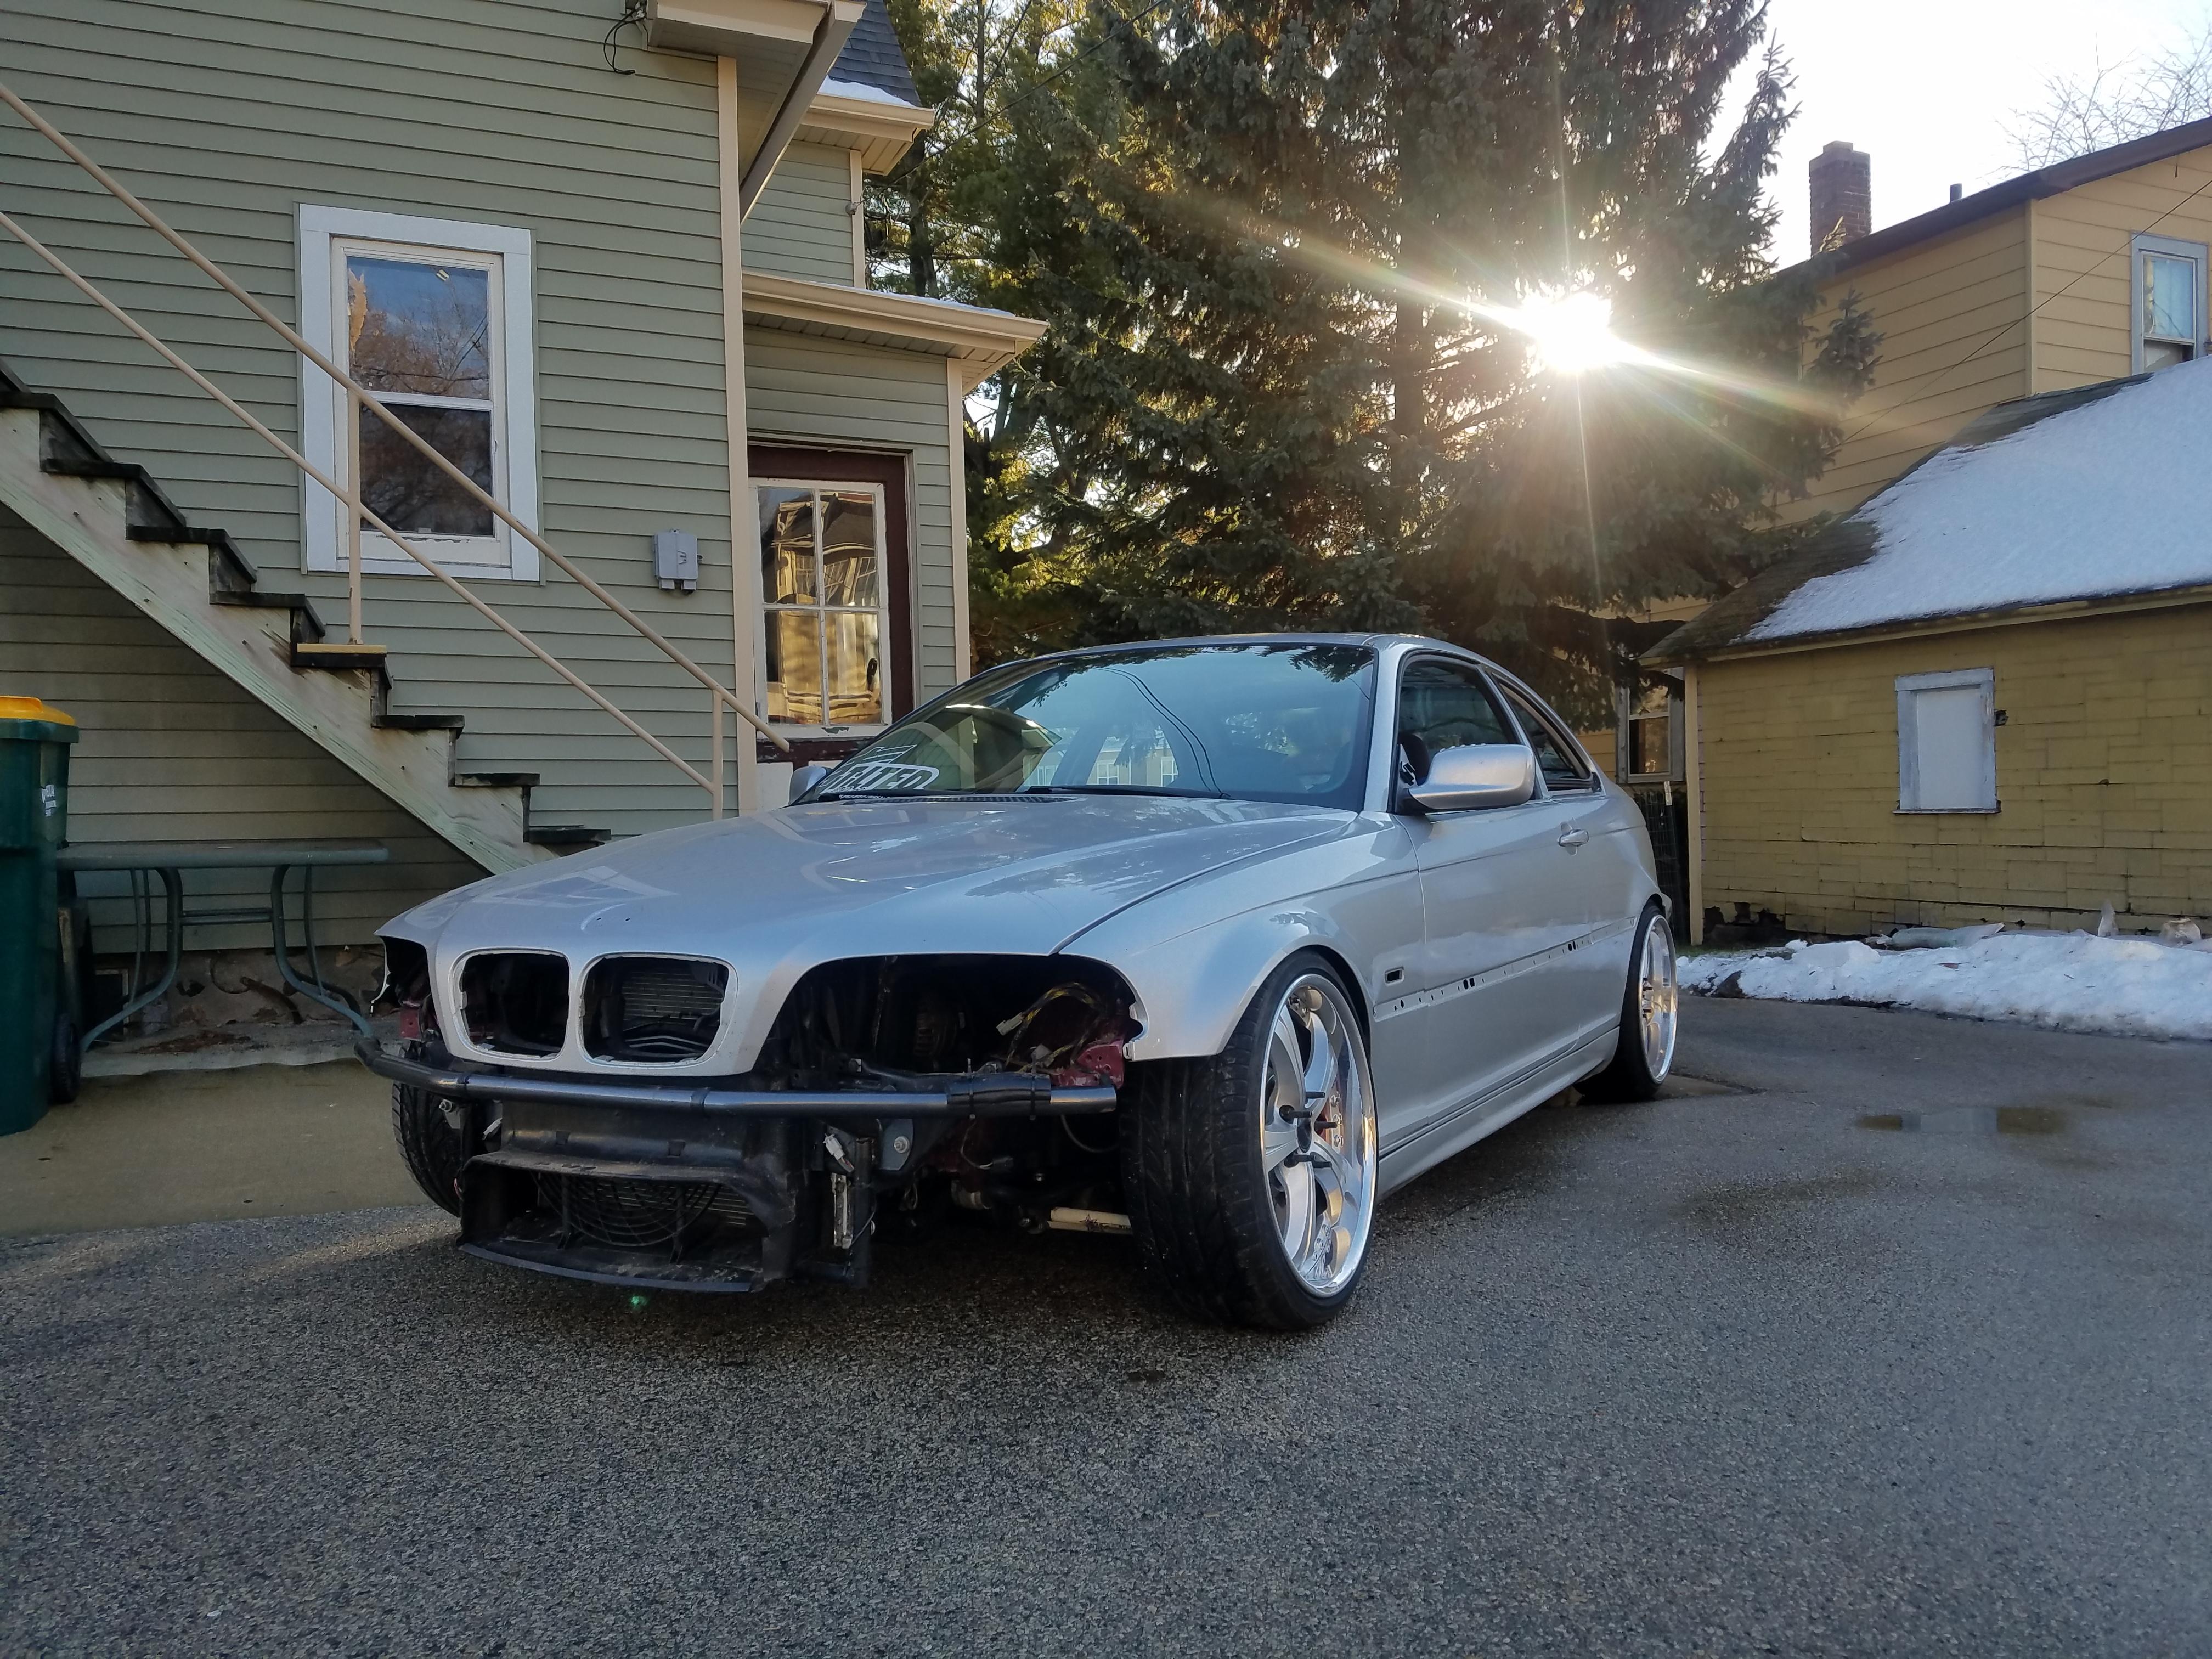
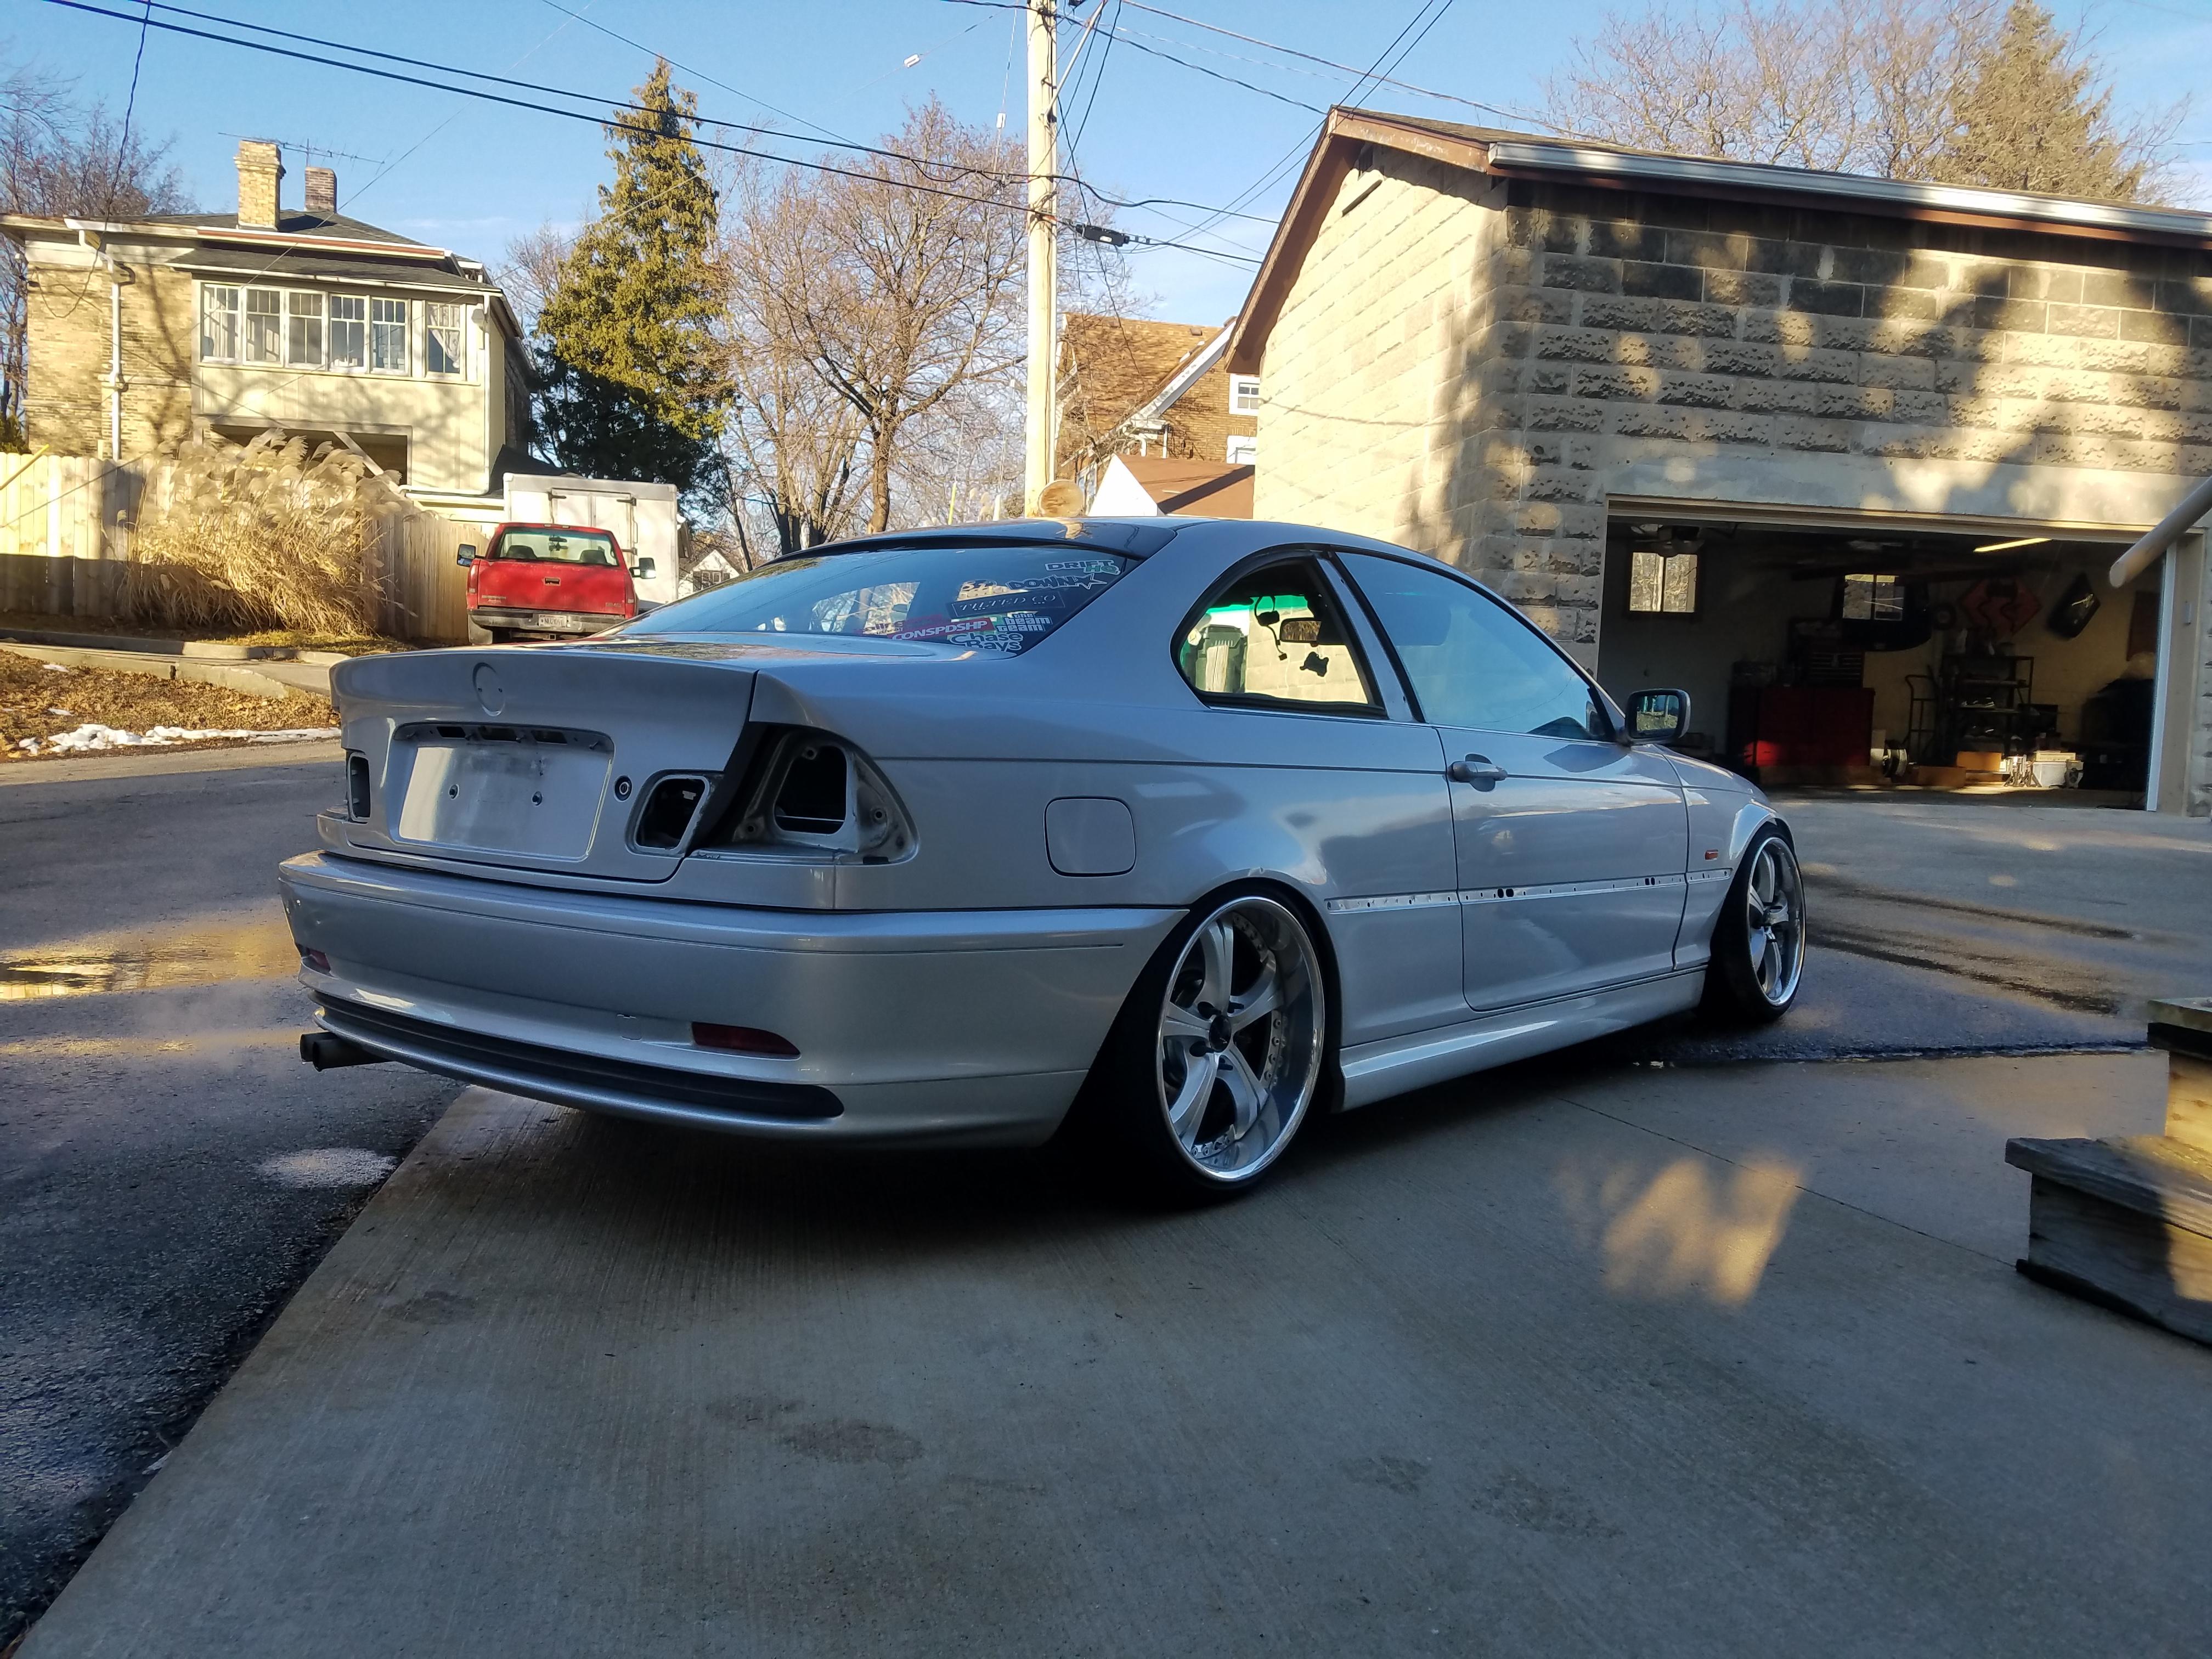
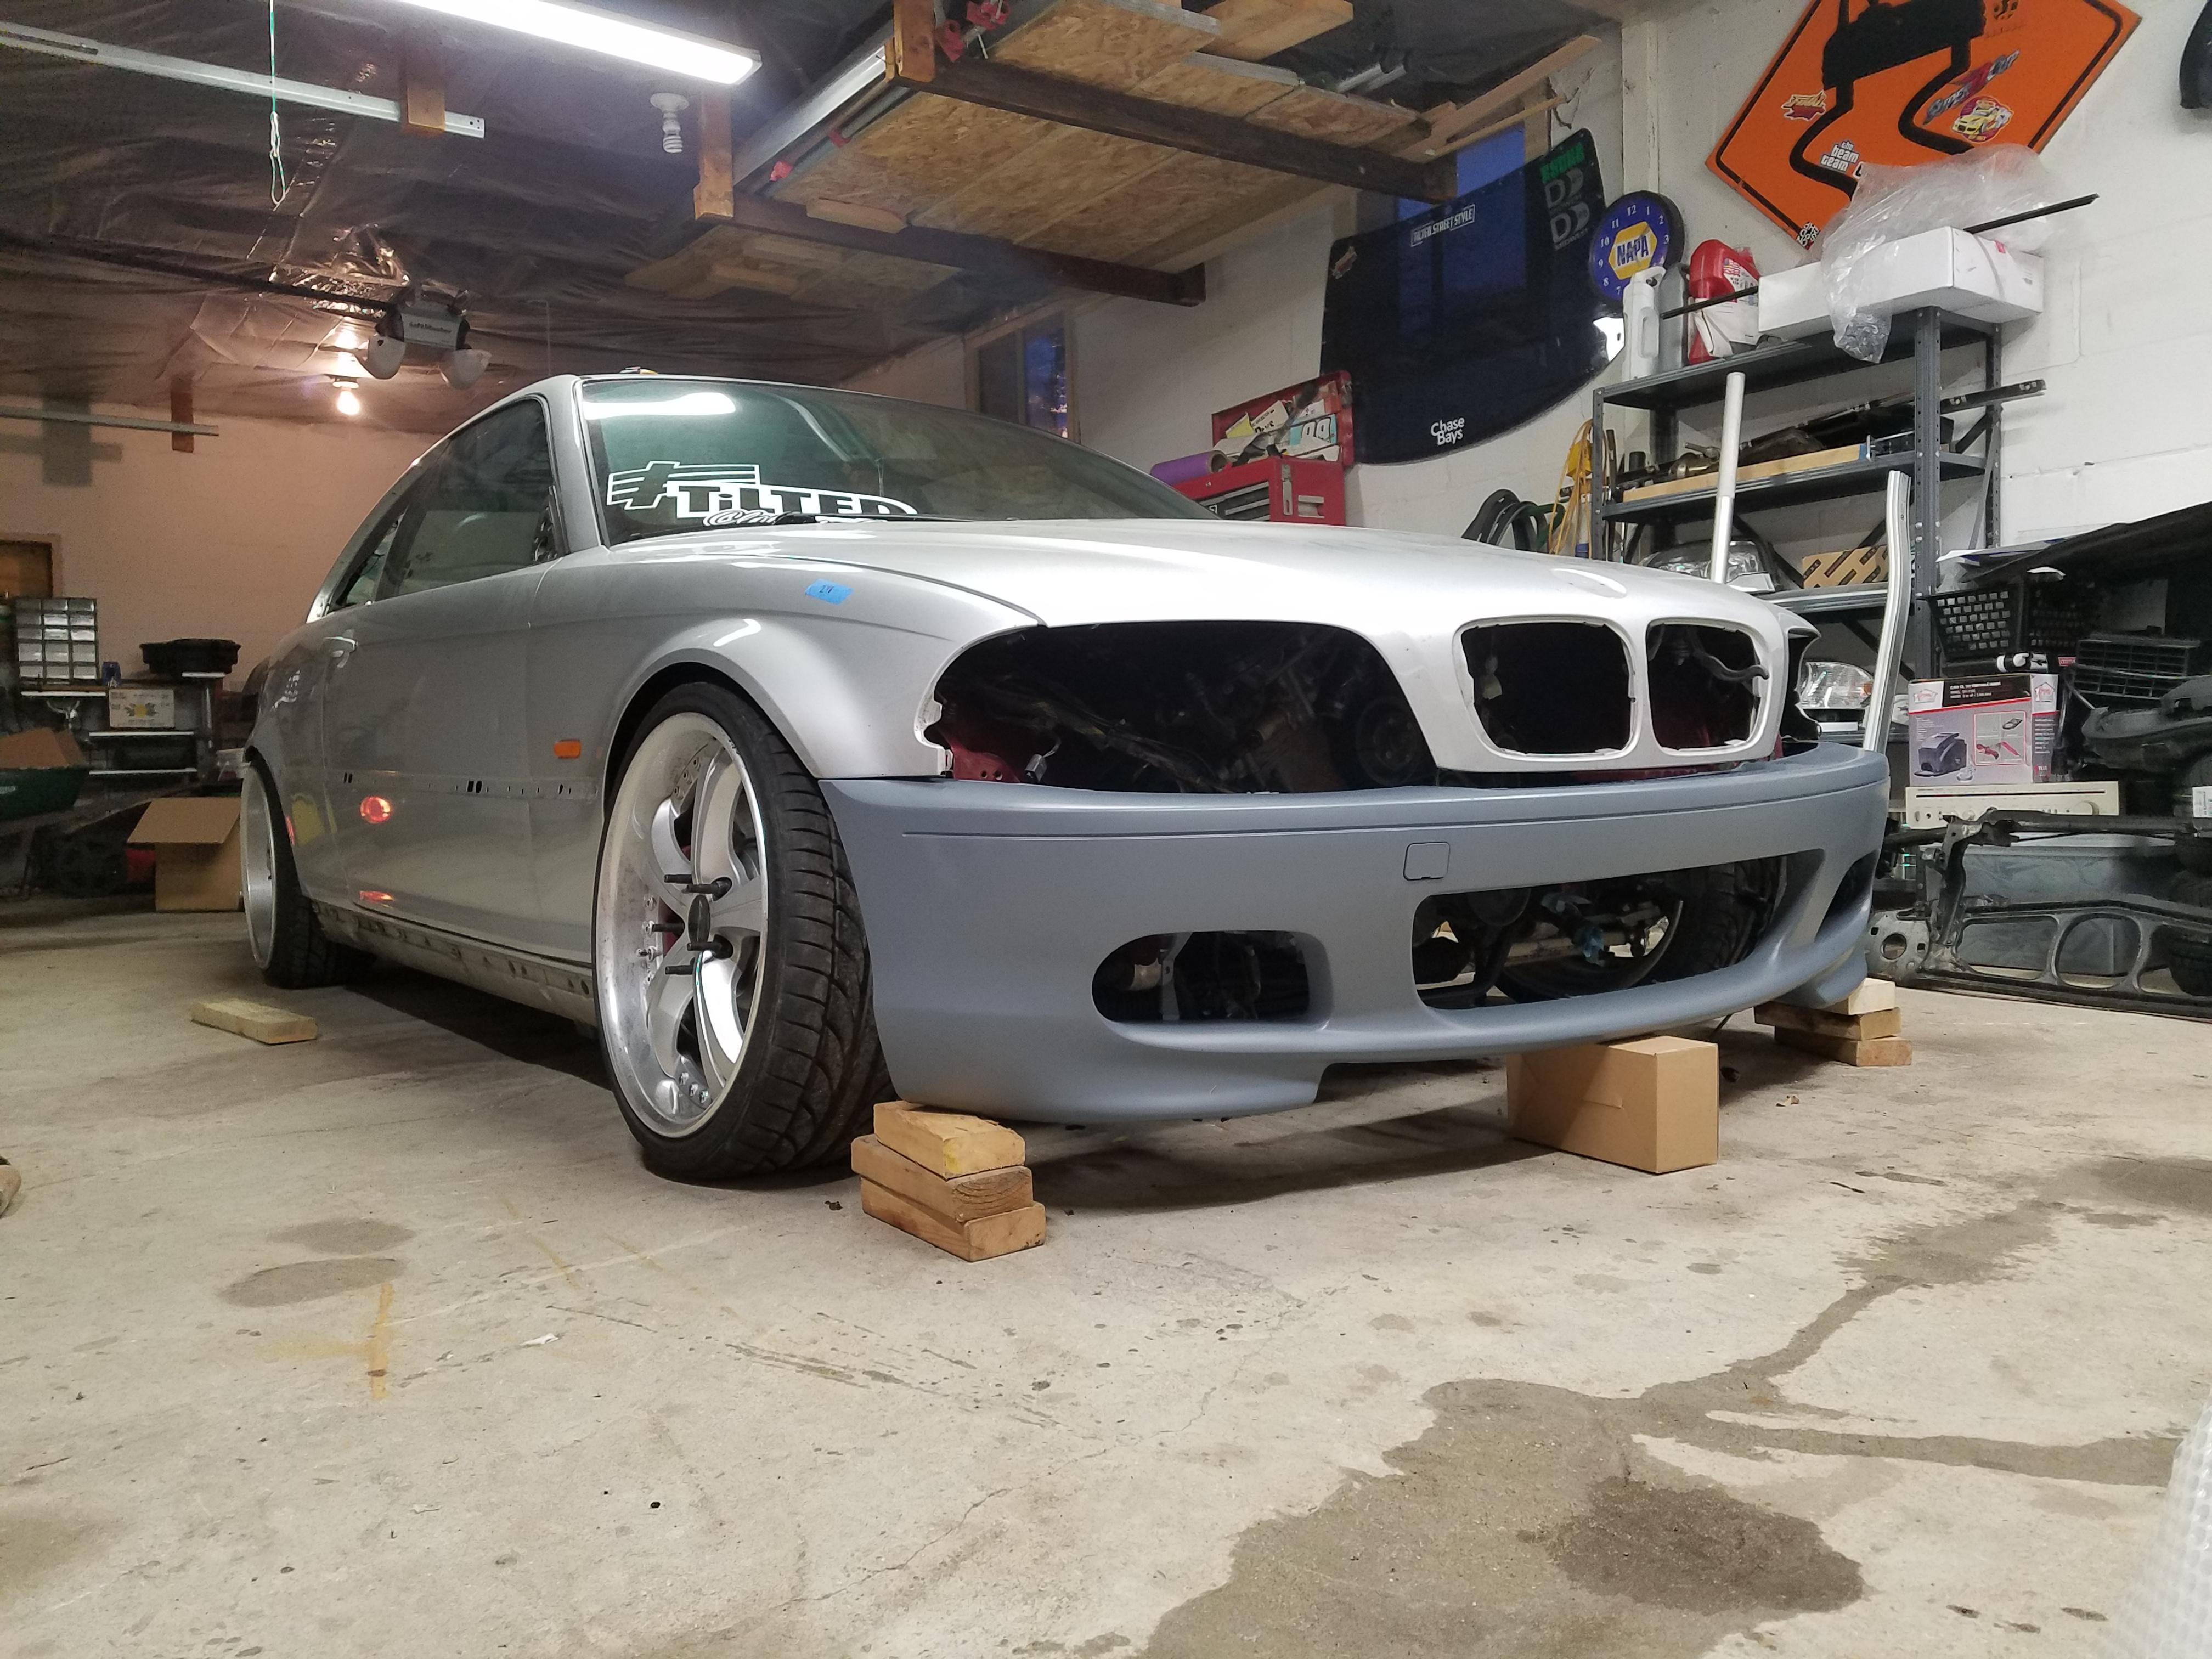
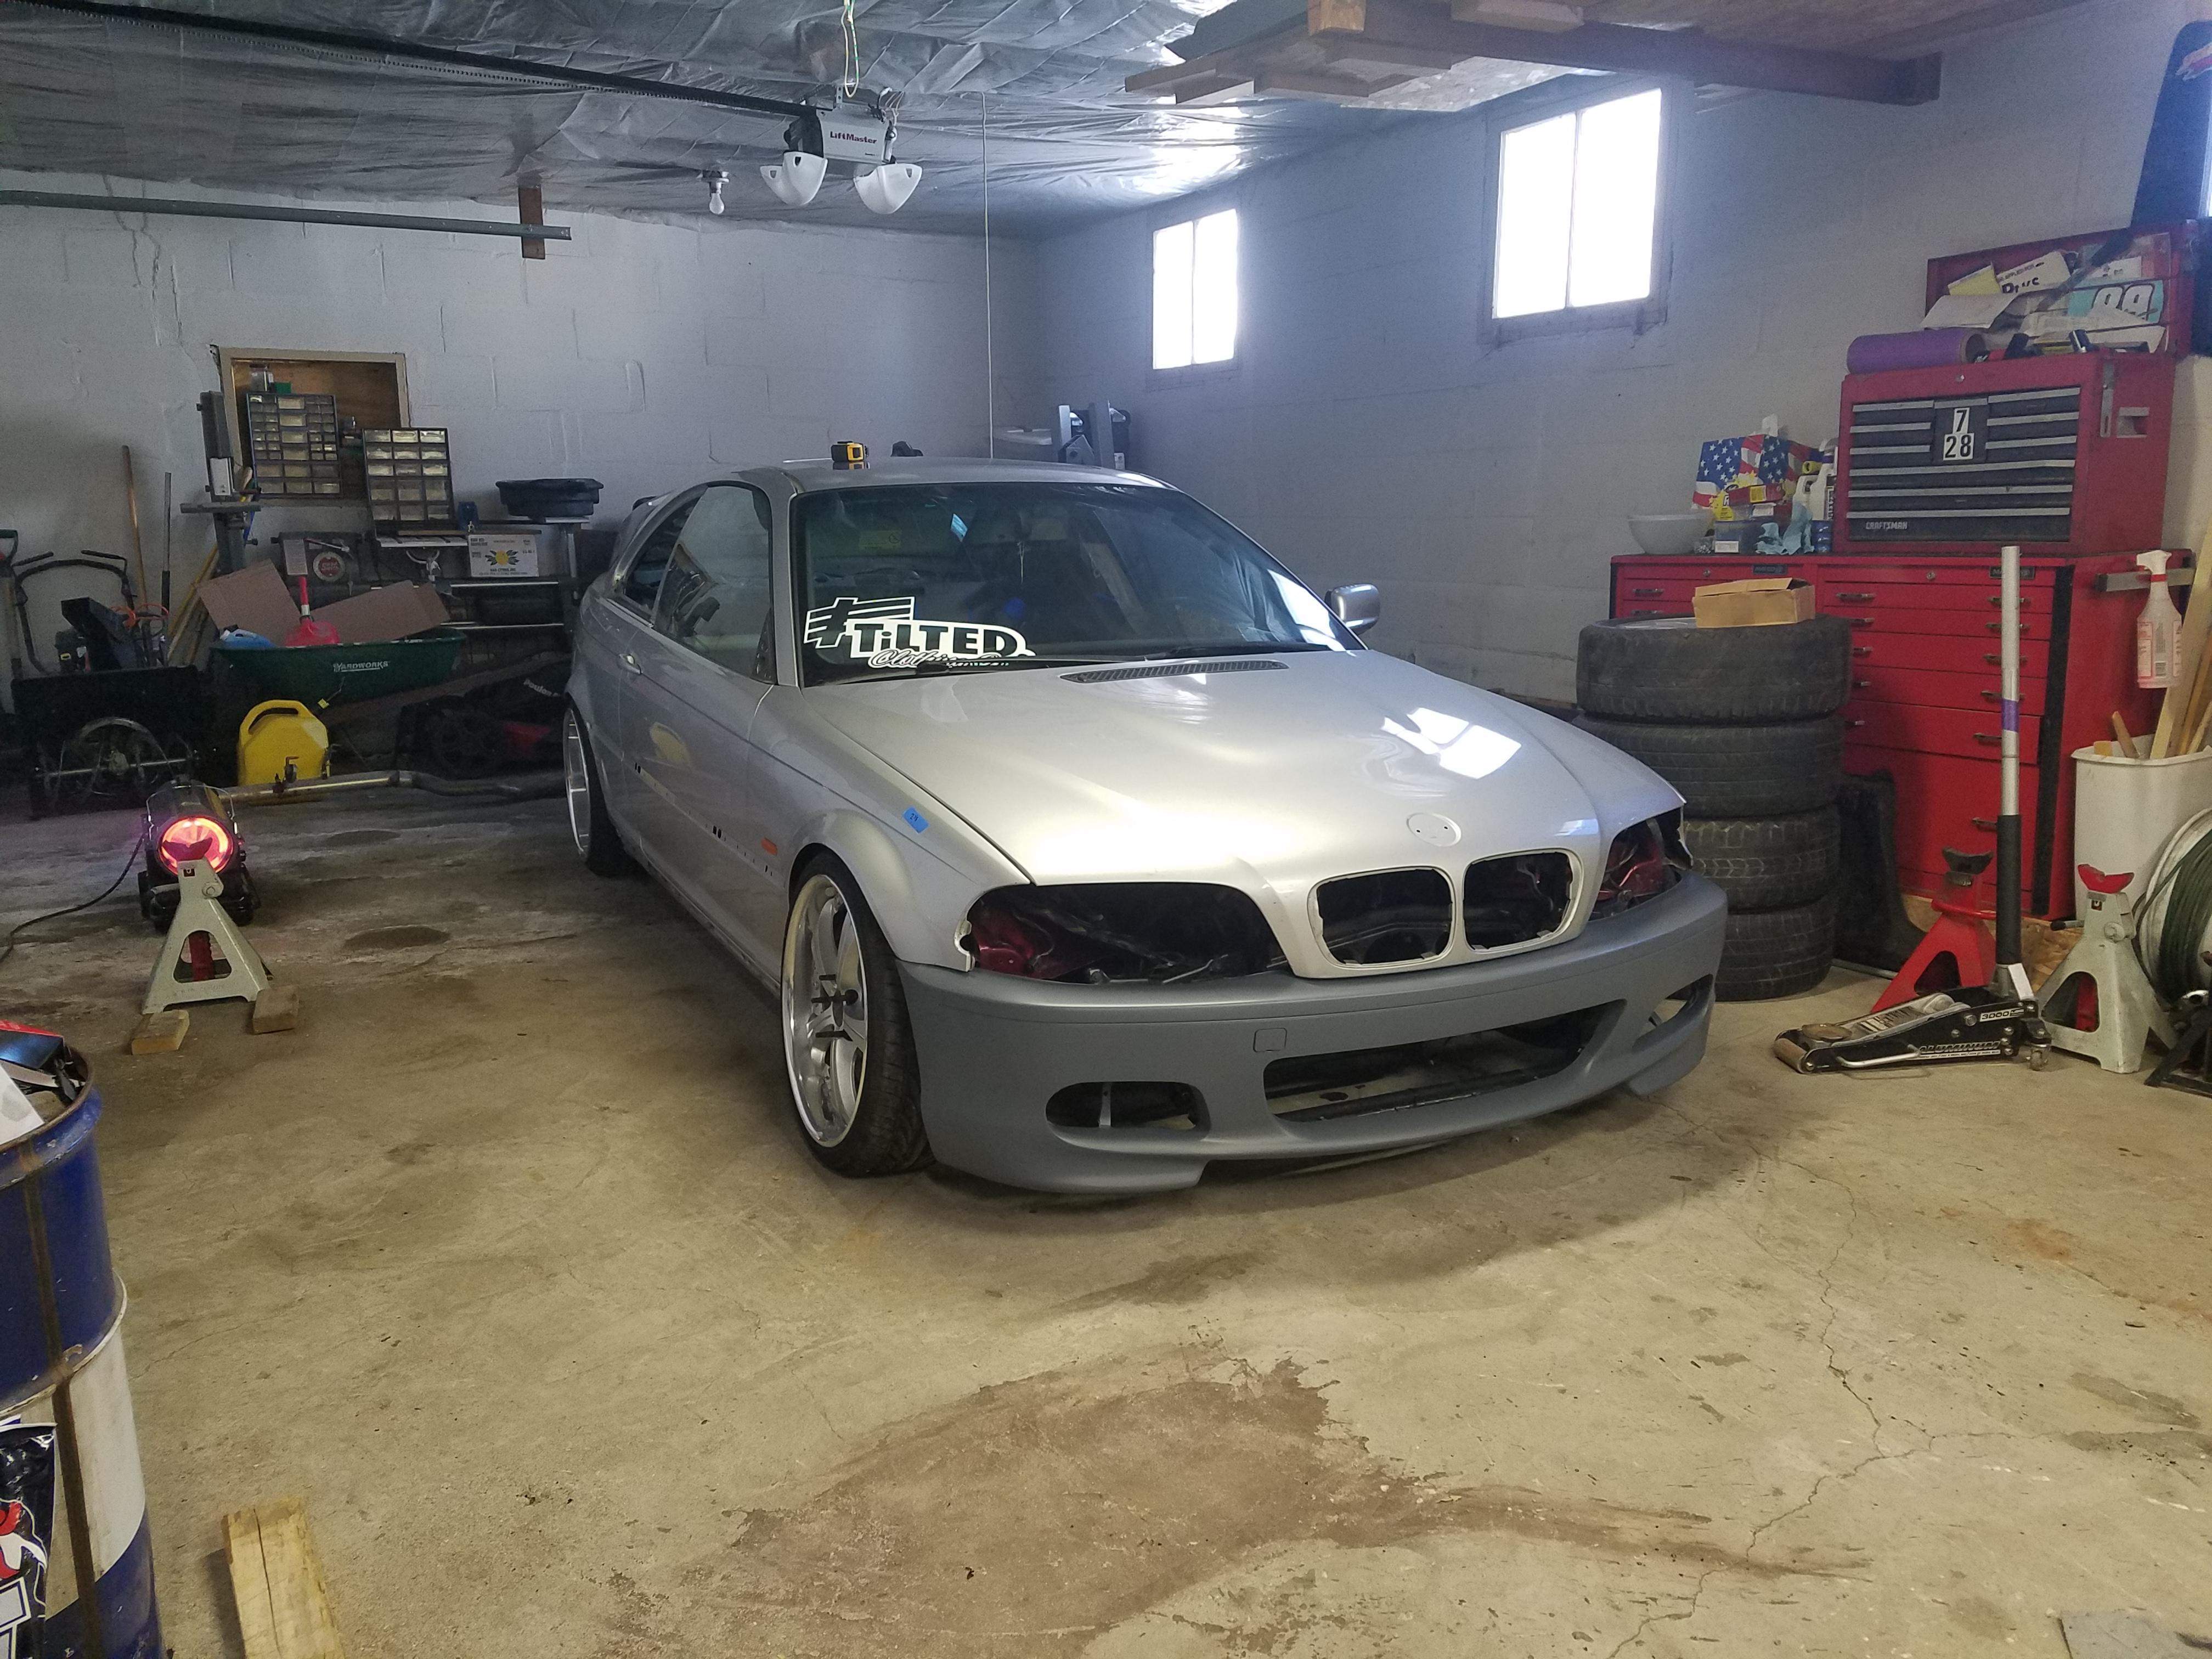
And since it was 40 degrees and January I decided to back her out of the garage to sweep up while I had the chance.
I have mostly everything off the car as I am getting ready for the color change.
-
Looks damn good from here!
https://www.instagram.com/_jdesigner_/ http://nevertoolow.tumblr.com/
🥳SOLD BMW E24 633CSI - BMW M30B32 🧪SOLD HCH ES9 - 1.3 LDA
👽BMW E30 325IC - Toyota 1JZ-GTE ⏰ HONDA EF9 CIVIC SI - JDM B18C5
☠️BMW E36 318i - Ford 5.0 FE302 🚴♂️ GT-Labomba - 26x2.75 Freeride
🤹♀️SOLD BMW E36/7 Z3 - BMW M54B25 🧓SOLD BMW E10 2002 - BMW M10M05 -
UPDATE.
Rolled the front fenders and rear quarters a bit, I never rolled them before and I wanted to get a little out of them. Not worth showing photos they are just rolled fenders lol.
But I got the rear panels put back together and installed. And I am hyped to have rear panels back in the car.
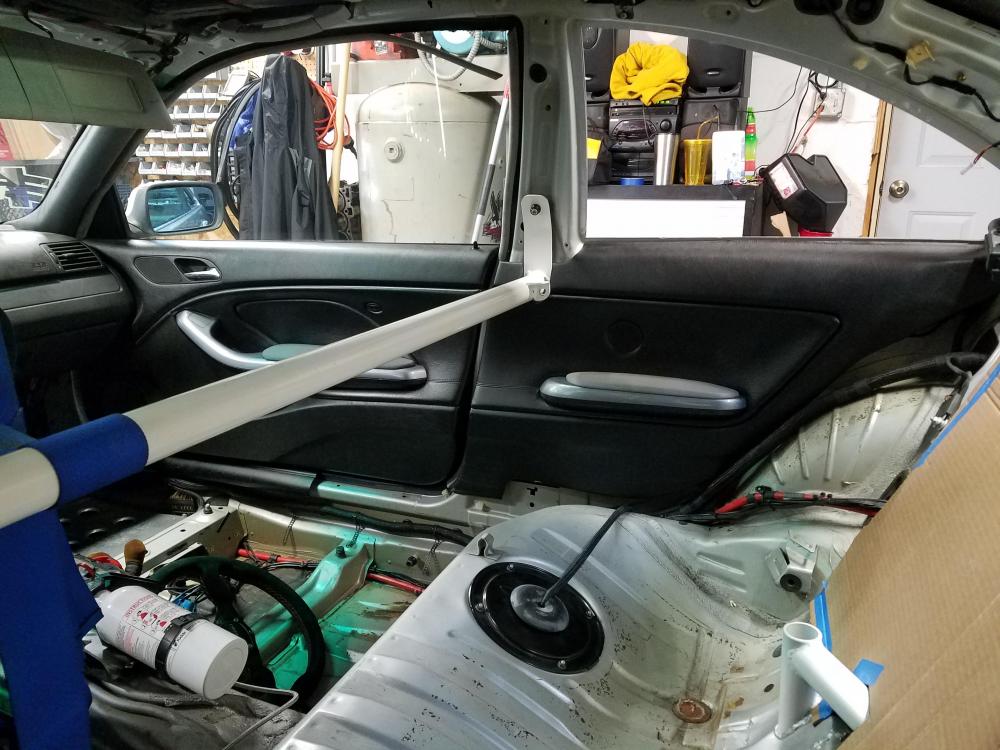
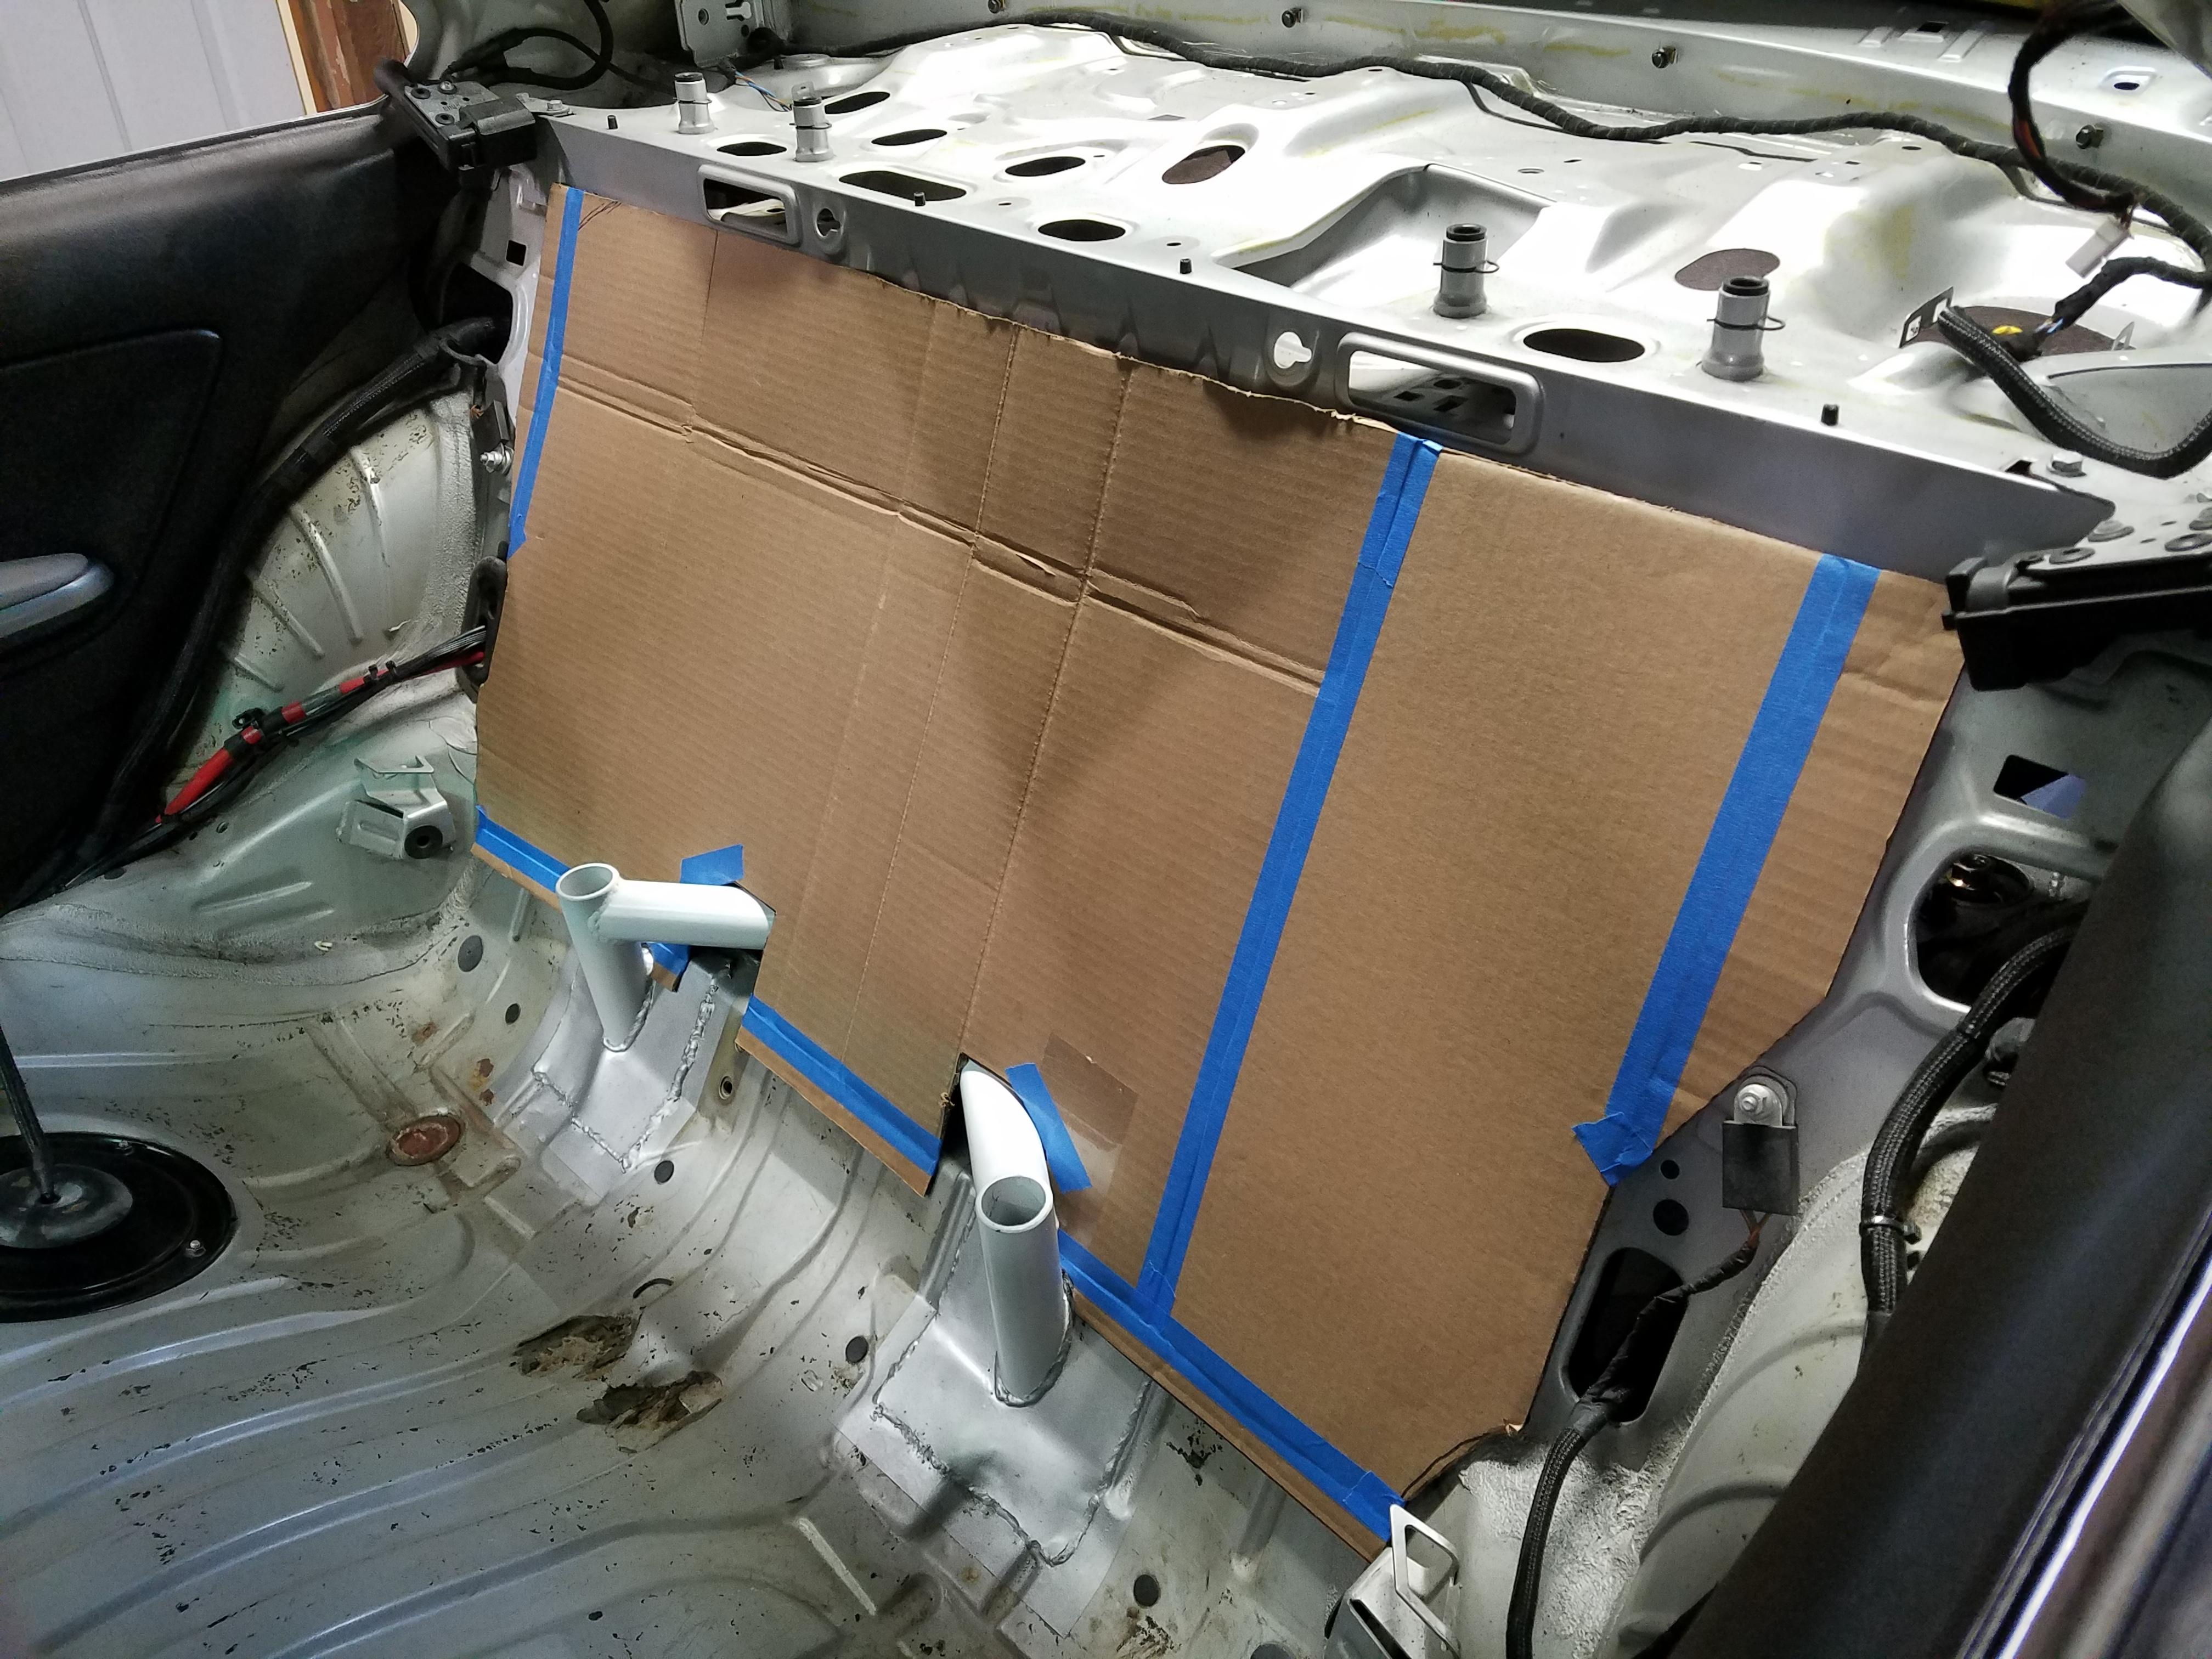
Also got a start on making a rear seat delete panel. Made up a good ole cardboard template.
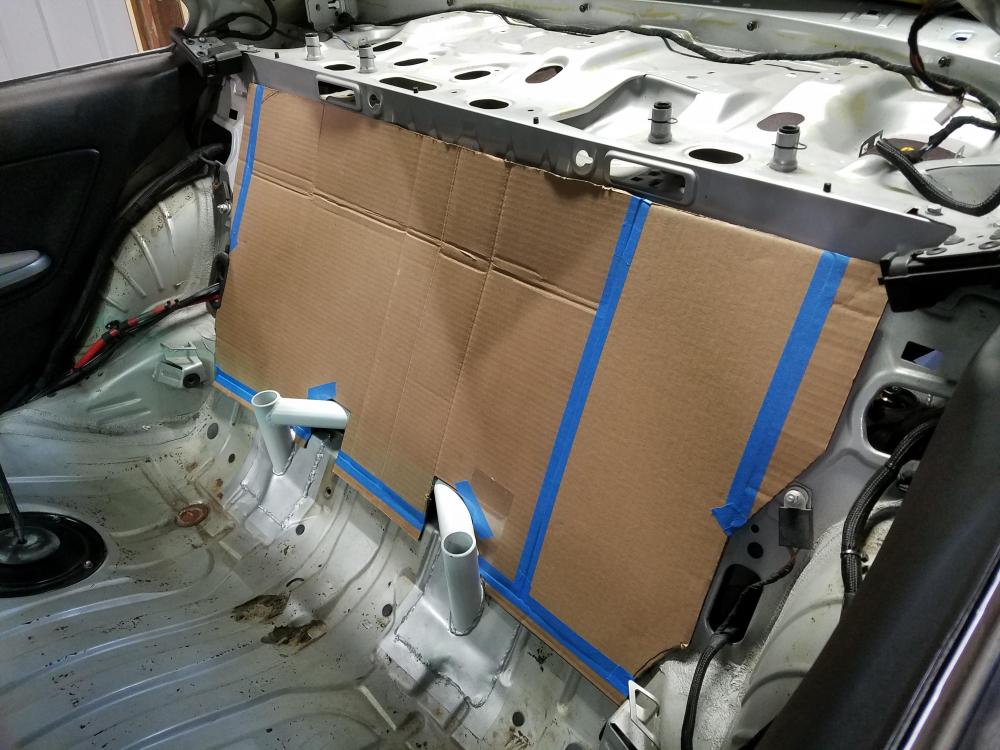
Gotta pick up some plastic to cut out but that's it for now.
-
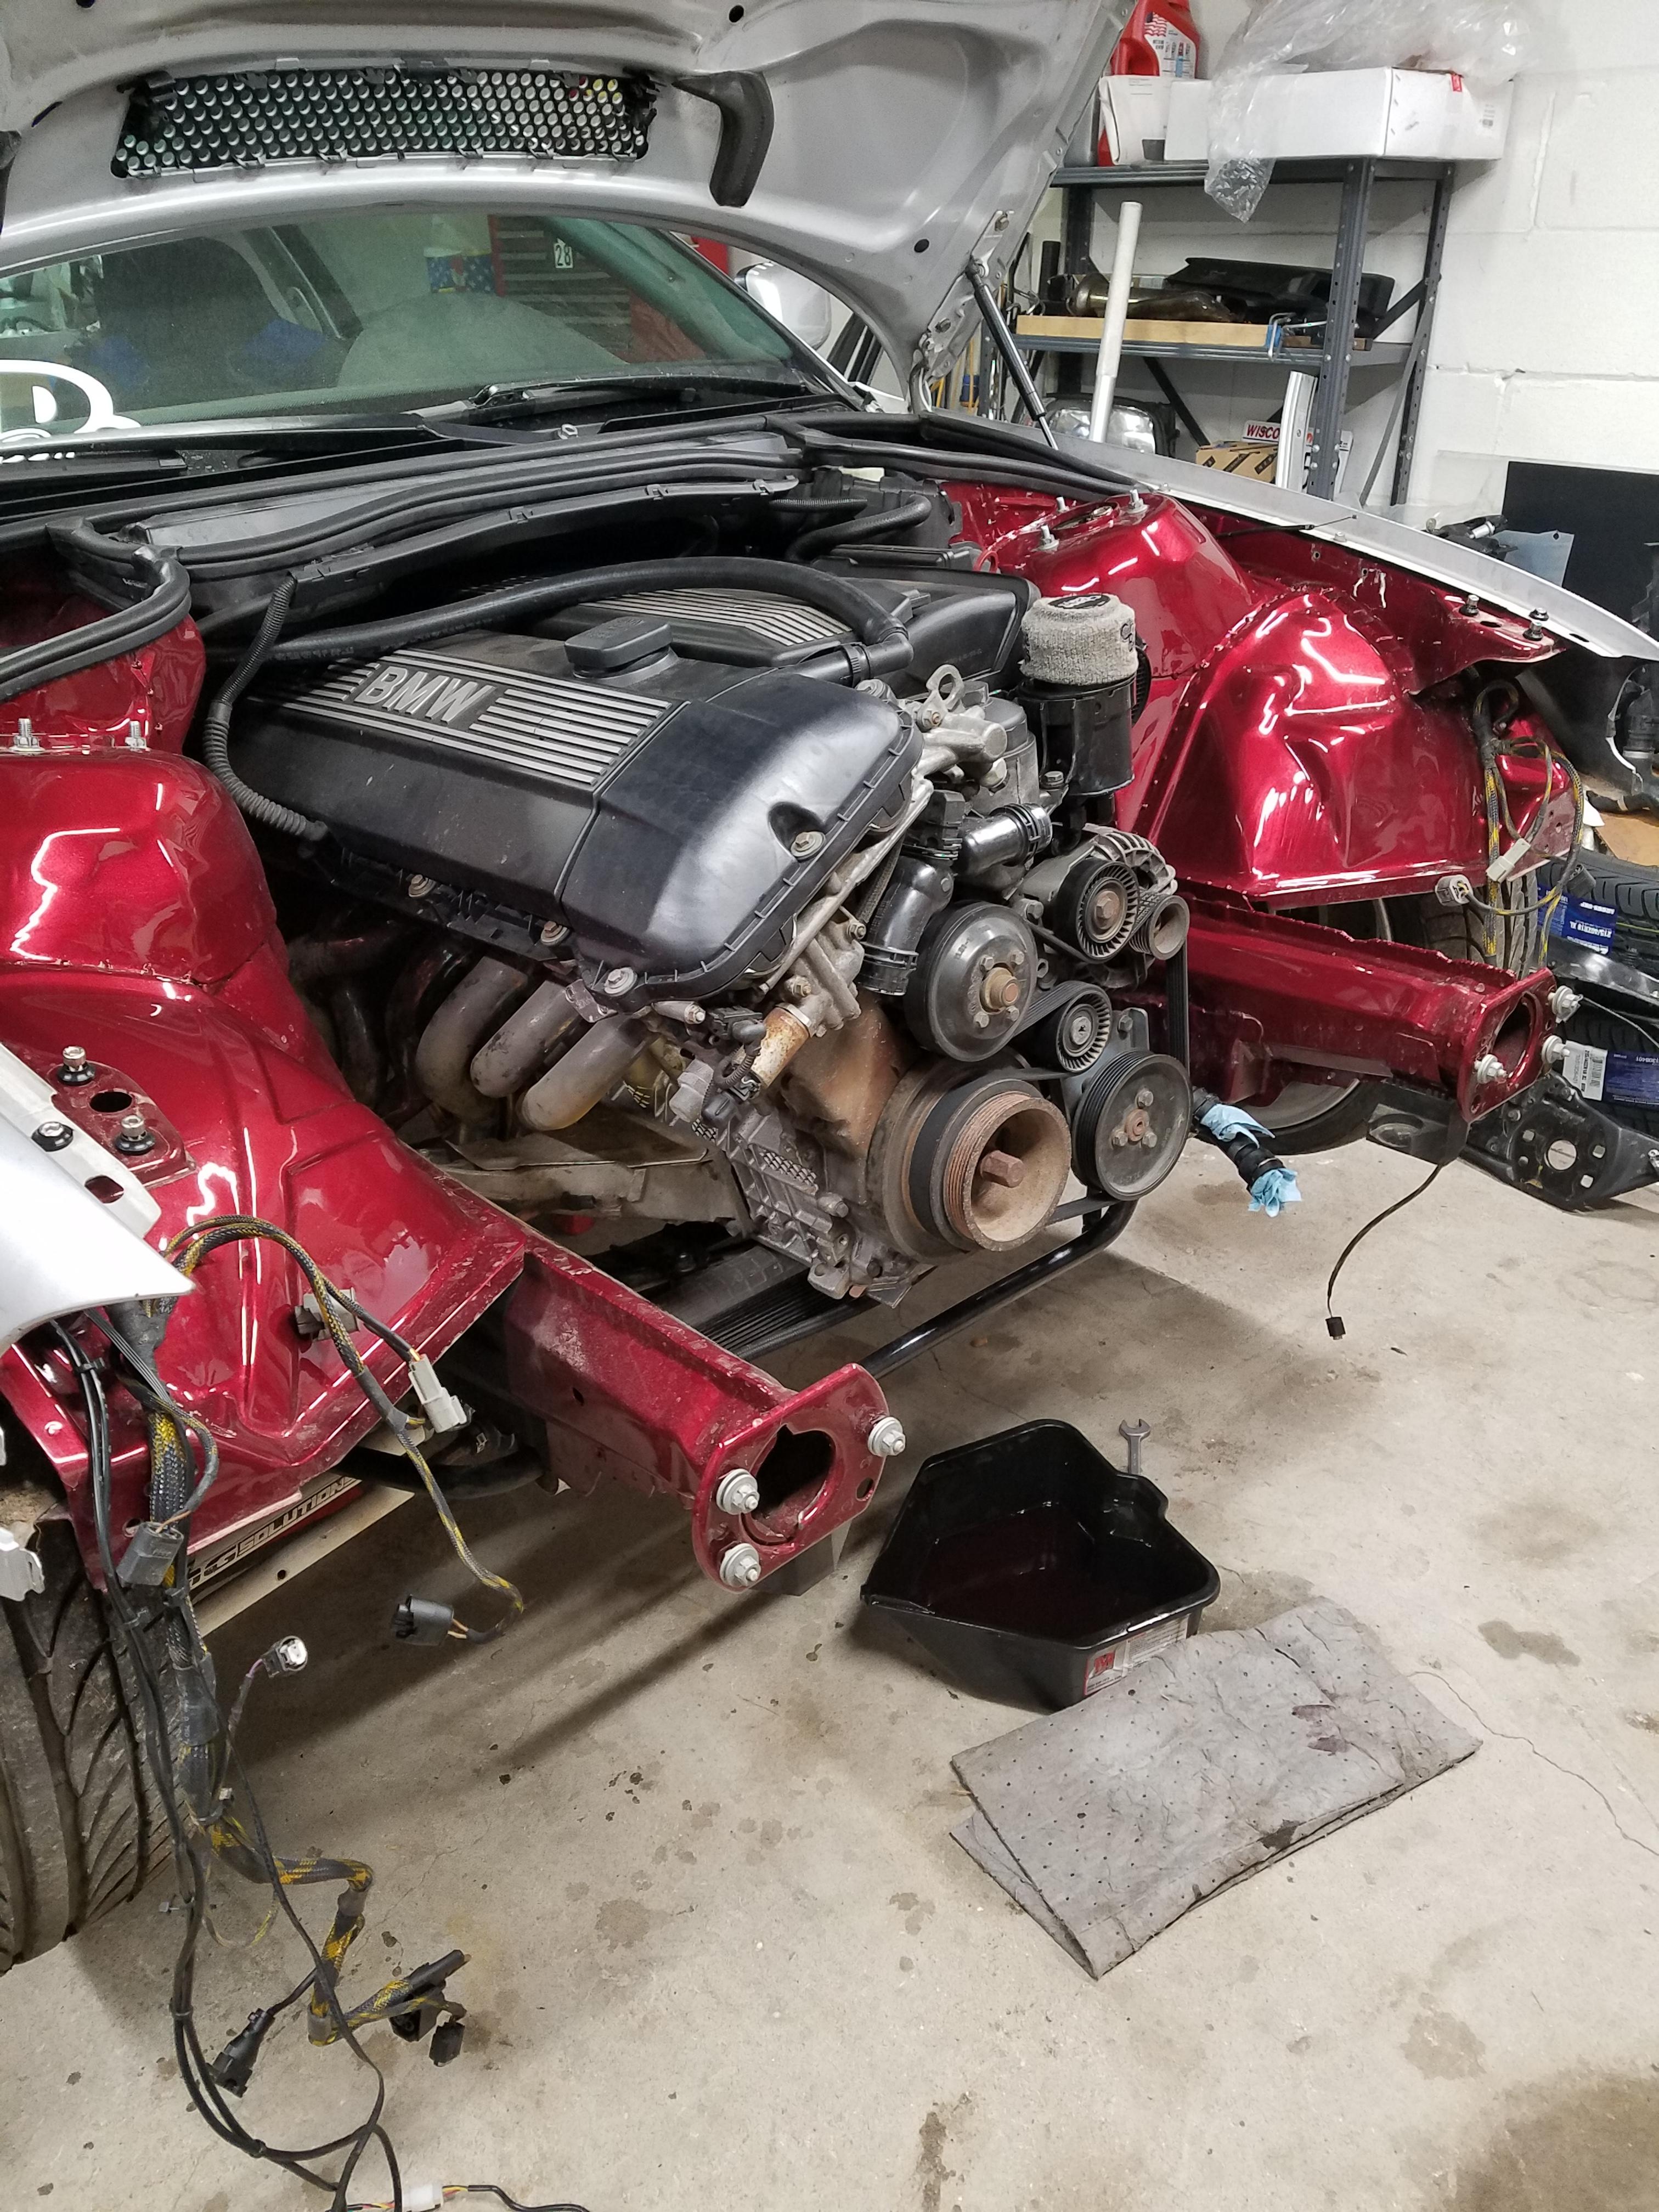
Firmiliar sight here. Got pretty much everything disconnected to pull the engine and trans out. Planning to check things over along with replace the clutch.
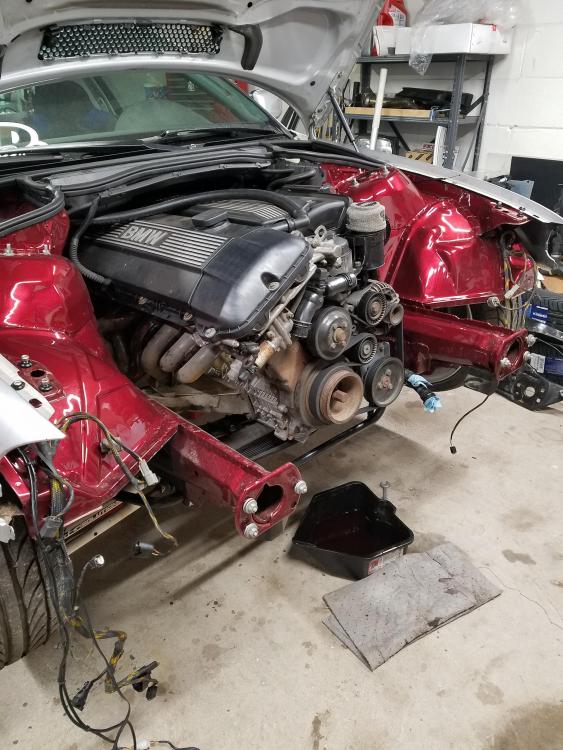
Found out I'll need to replace an axle as one of the boots is starting to seap grease. Also need a new driveshaft because the damn u-joint has some play in it. Wish these u-joints were serviceable

-
Looks good! Any progress is good. Especially with the cold weather.
Thanks! And definatly difficult without a heated garage that's for sure, I have a heater but not one to keep a constant temp in the garage all winter long
-
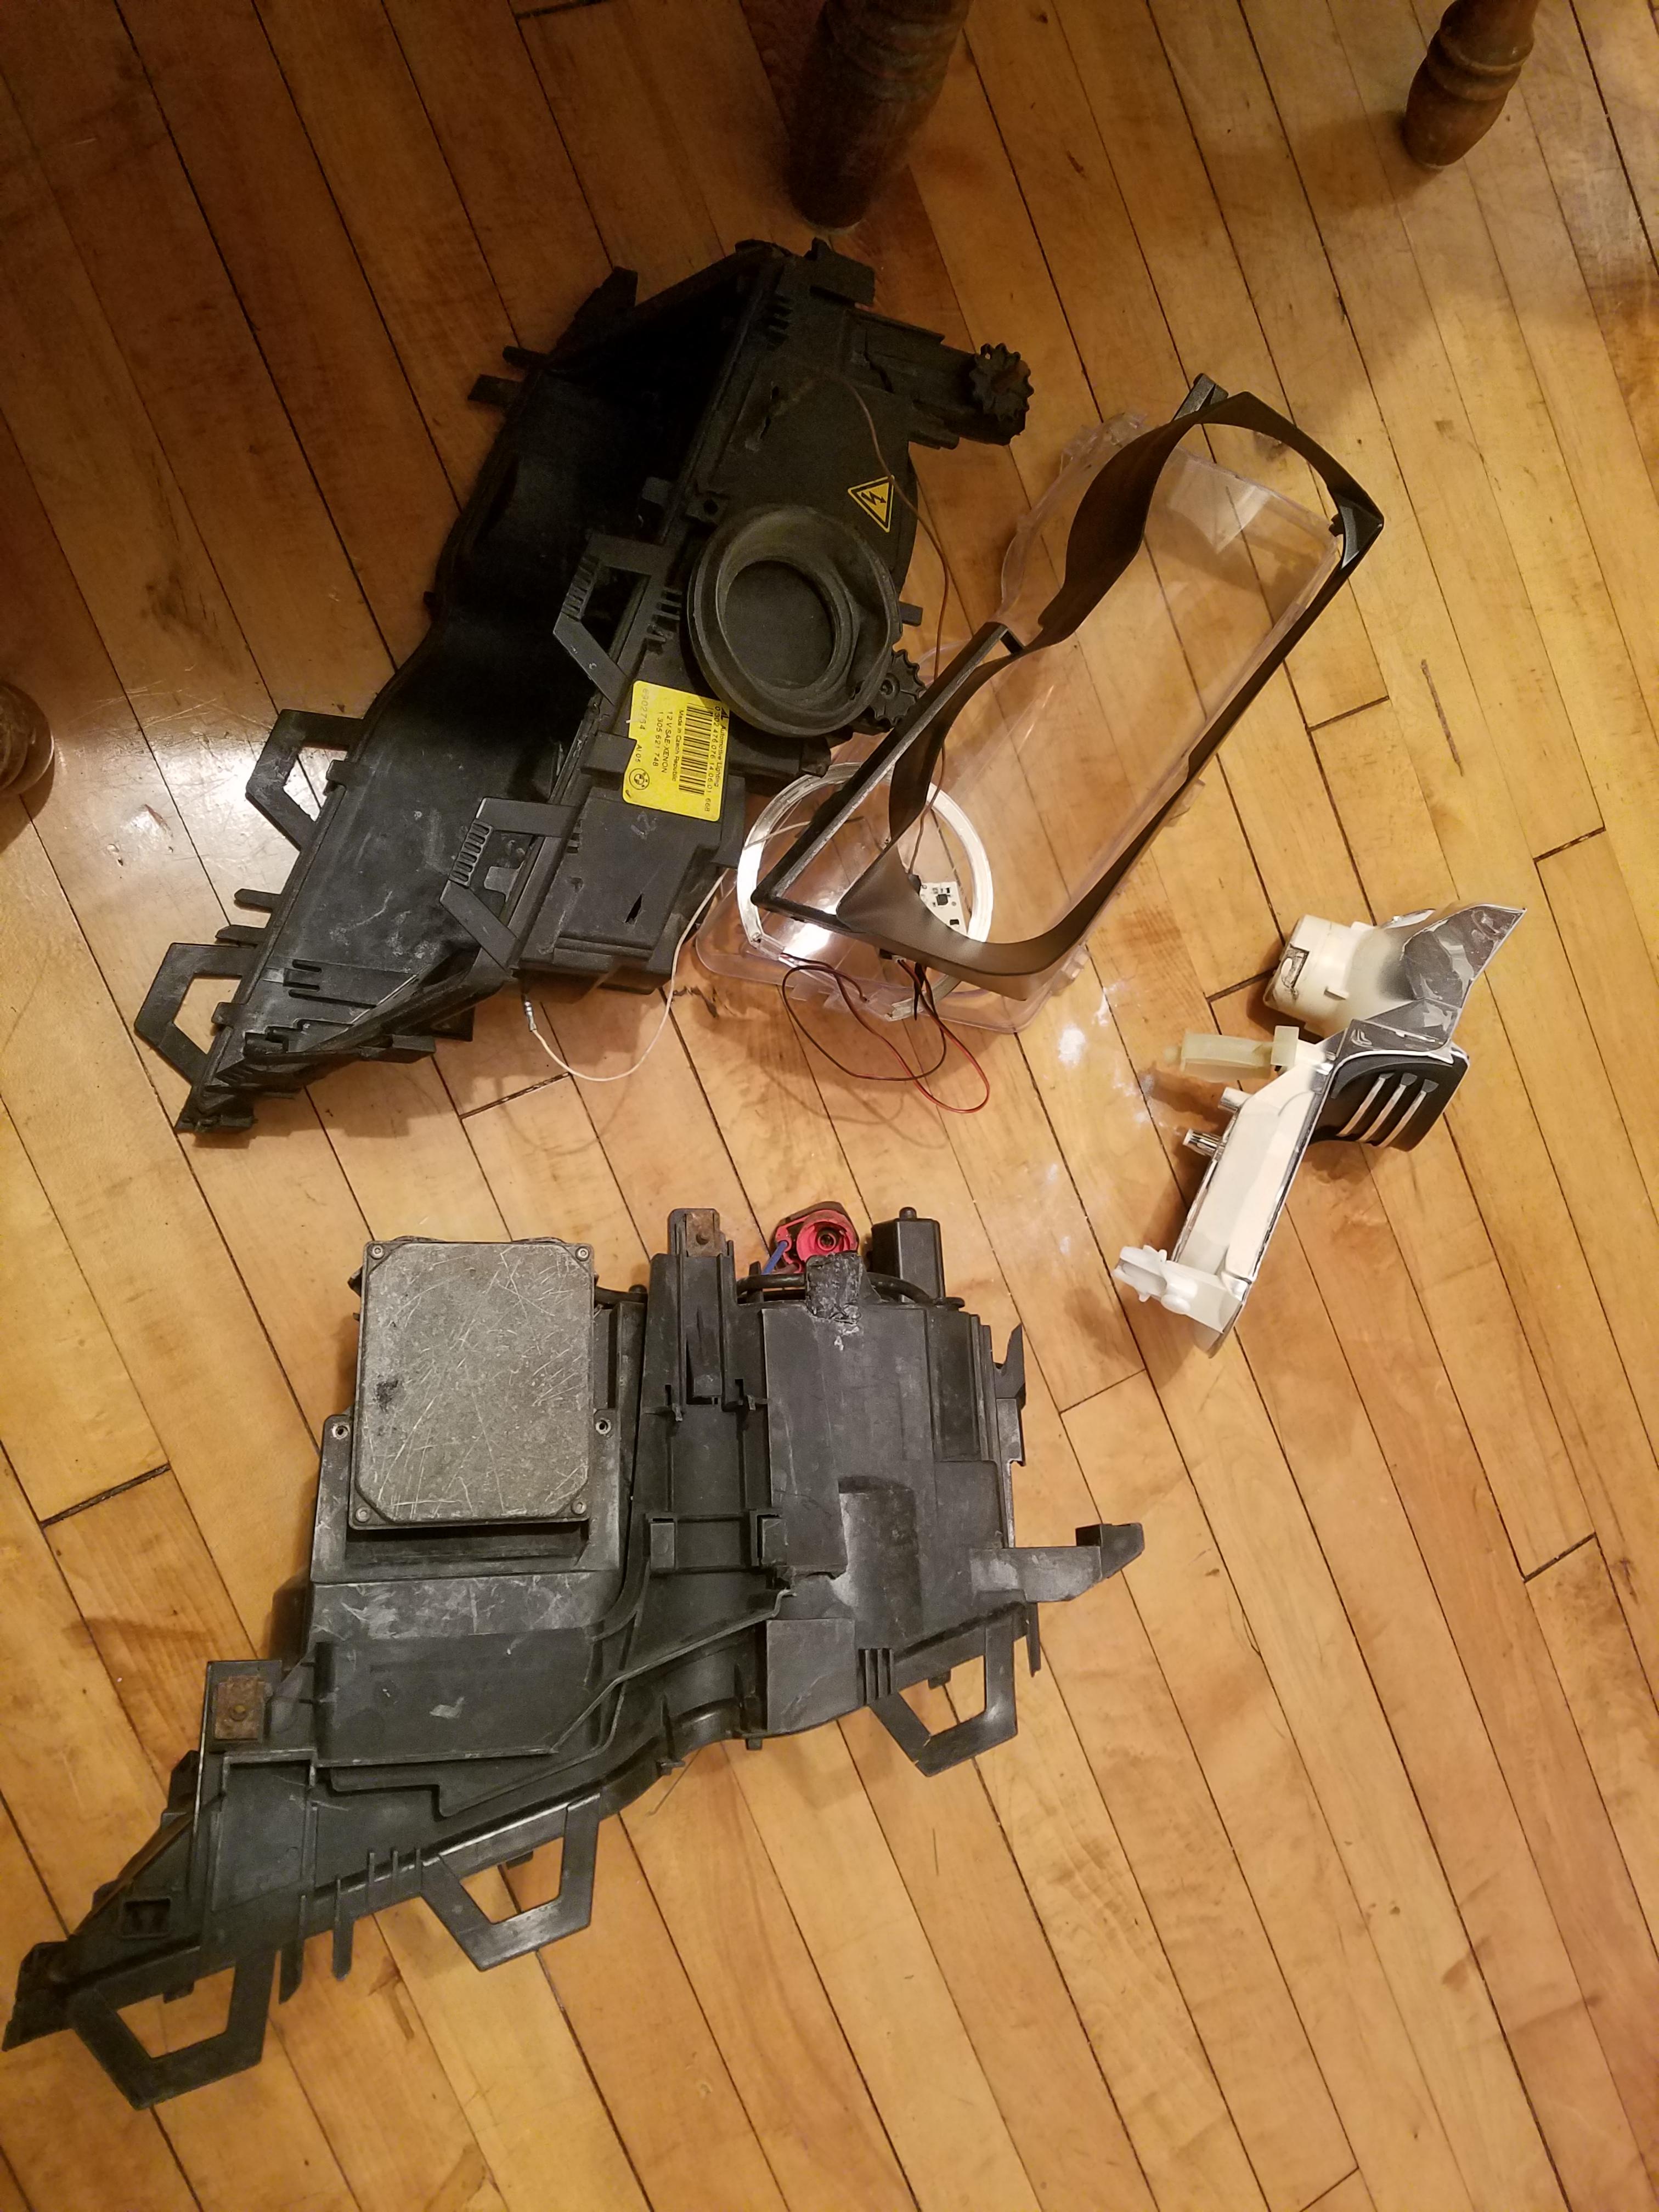
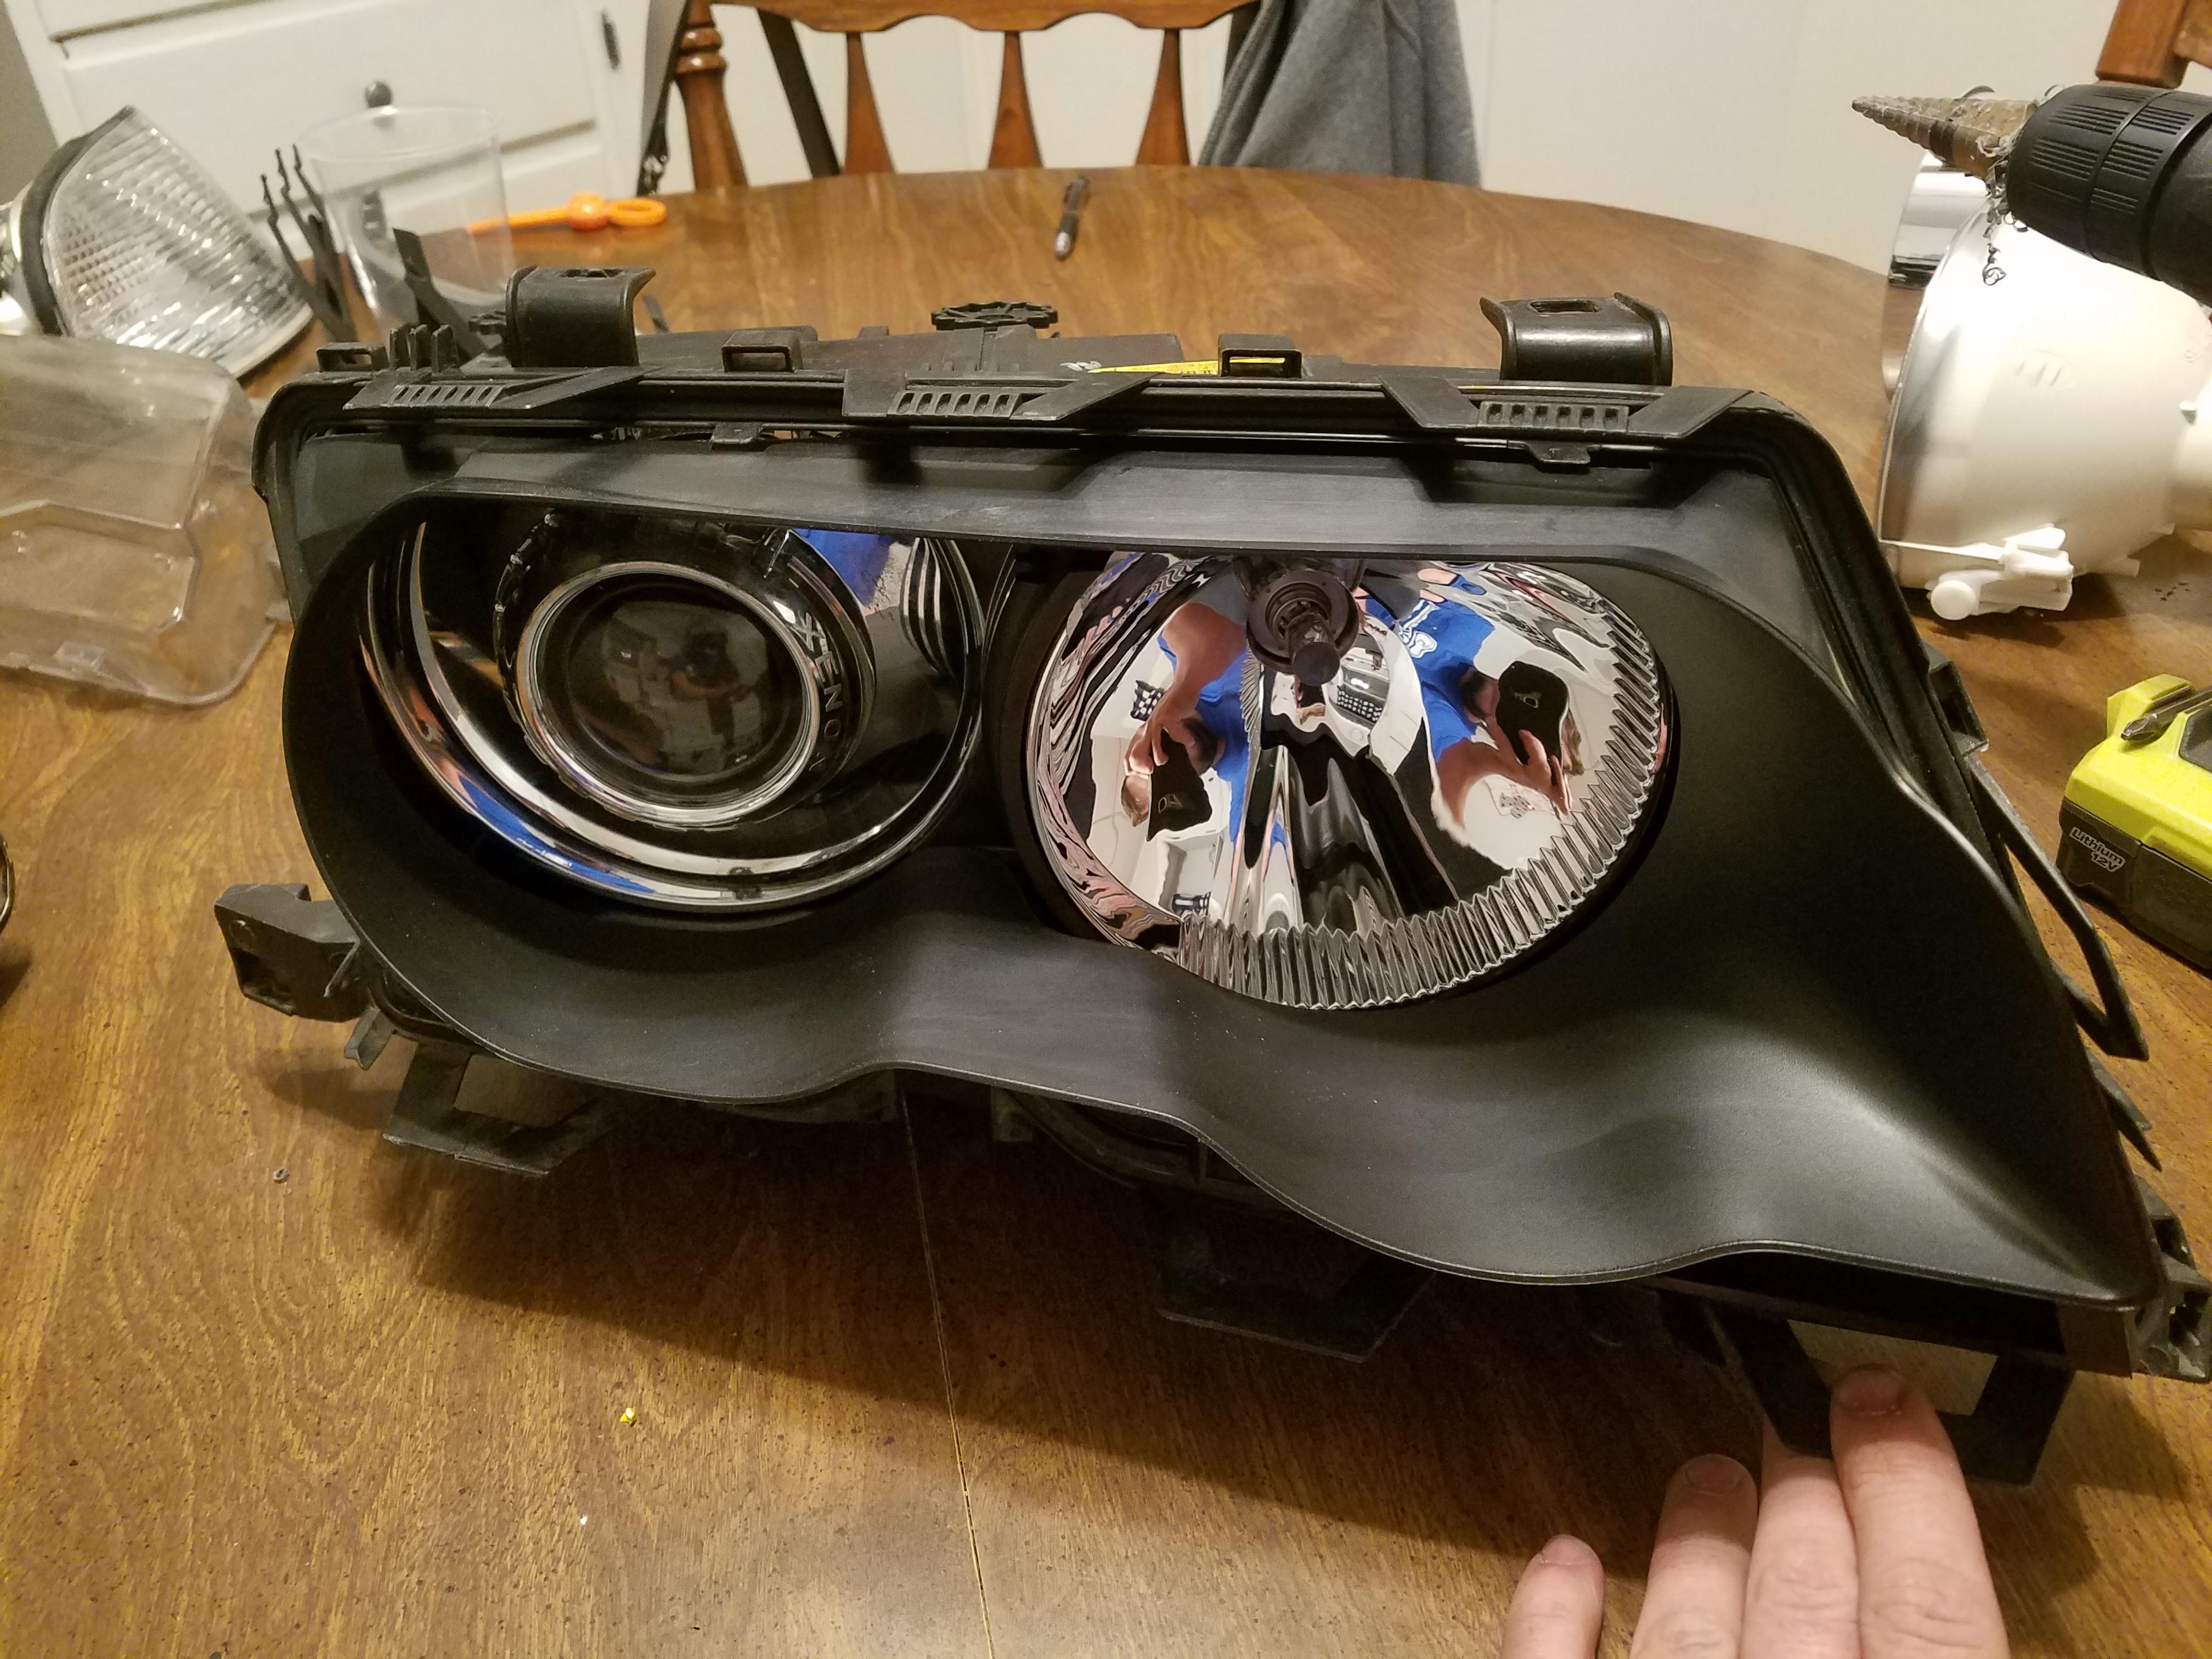
Made an exciting discovery that I can't believe I never thought of before. I've been wanting to get projectors in the low beams on my headlights, after doing some research i found that the OEM stuff can be transferred between housings and all the housings are the same with the same slots and markings for holes whether it was a halogen housing or not.
It just so happens I still have both of the xenon headlights from my 330i along with one of the ones with a broken housing.
I started by taking apart the broken one for investigative purposes. Things looked good like they would work!
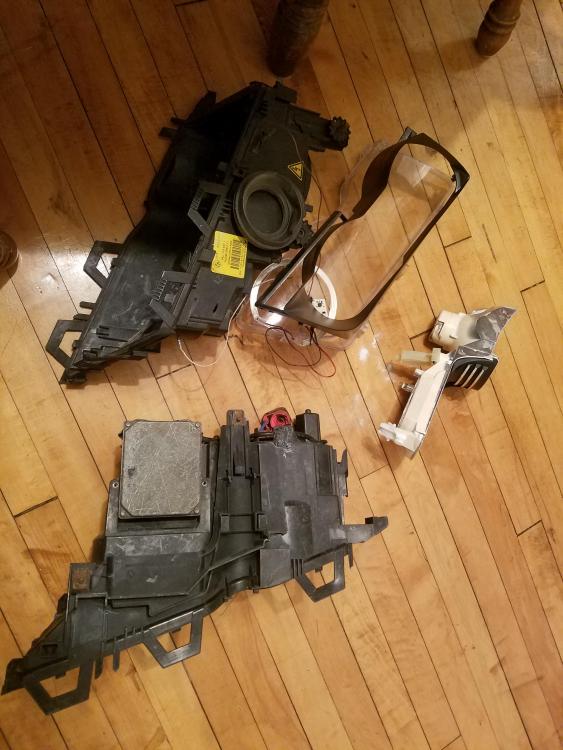
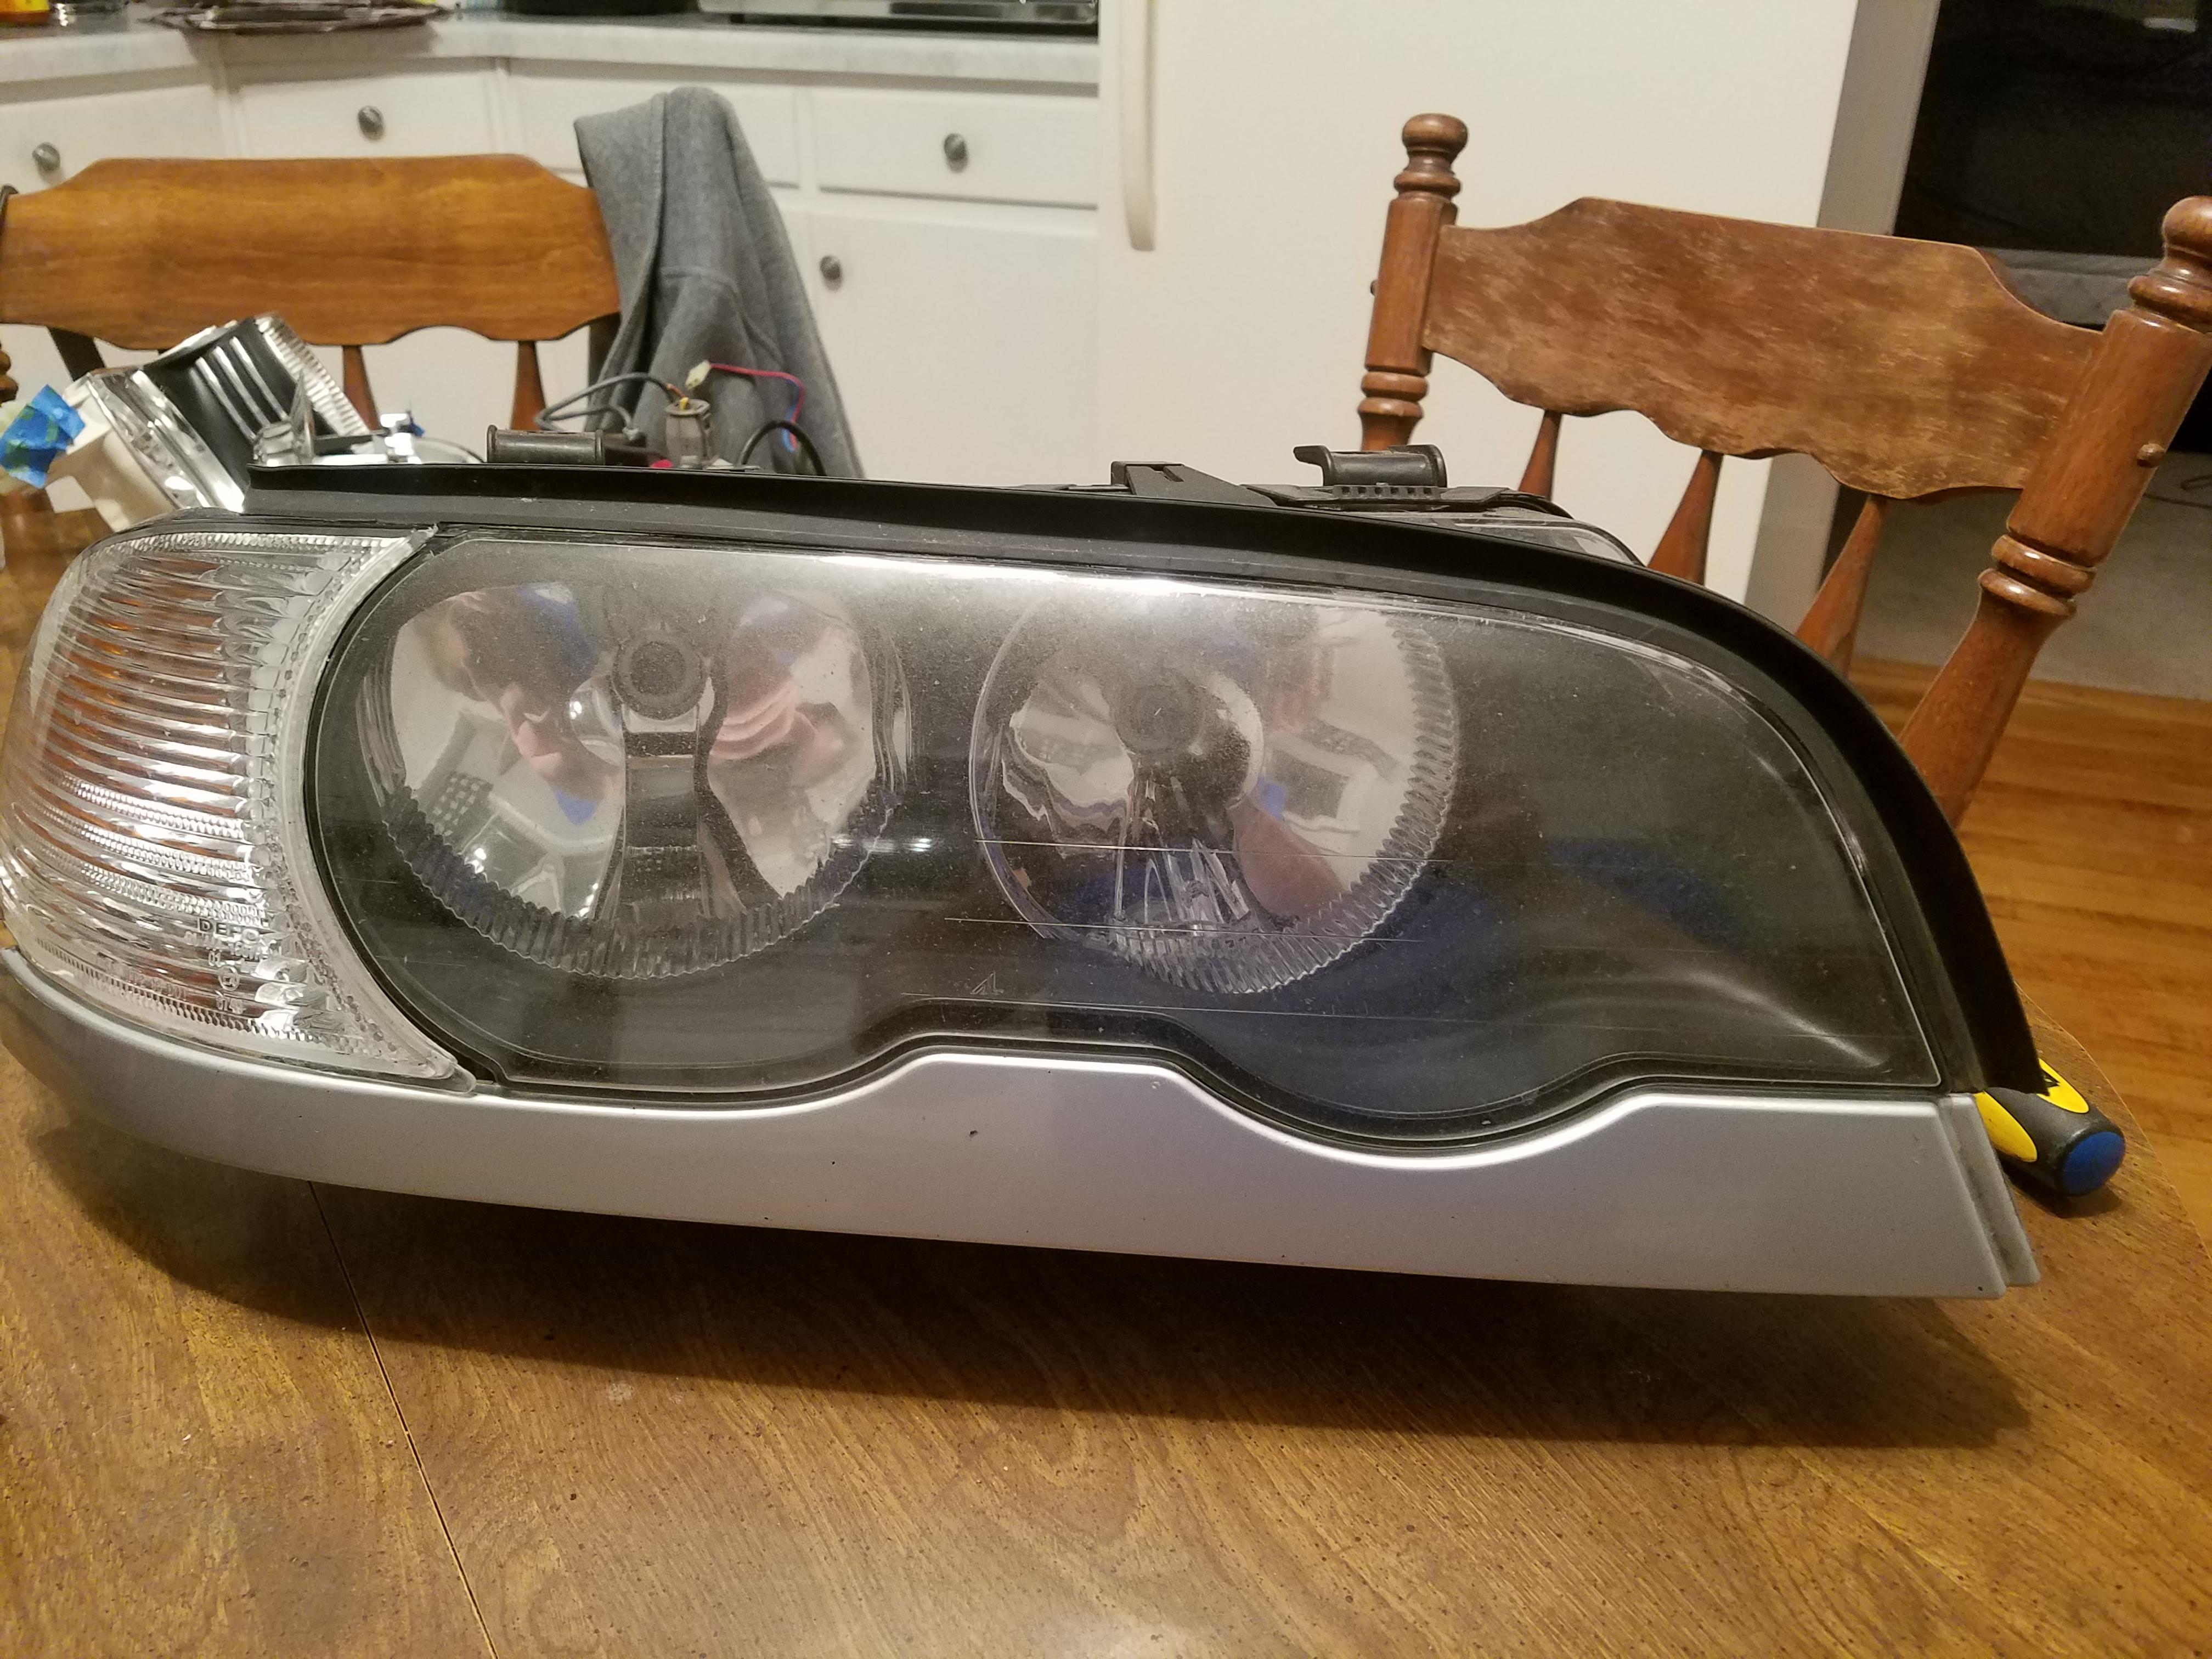
Stock halogen coupe headlight before:
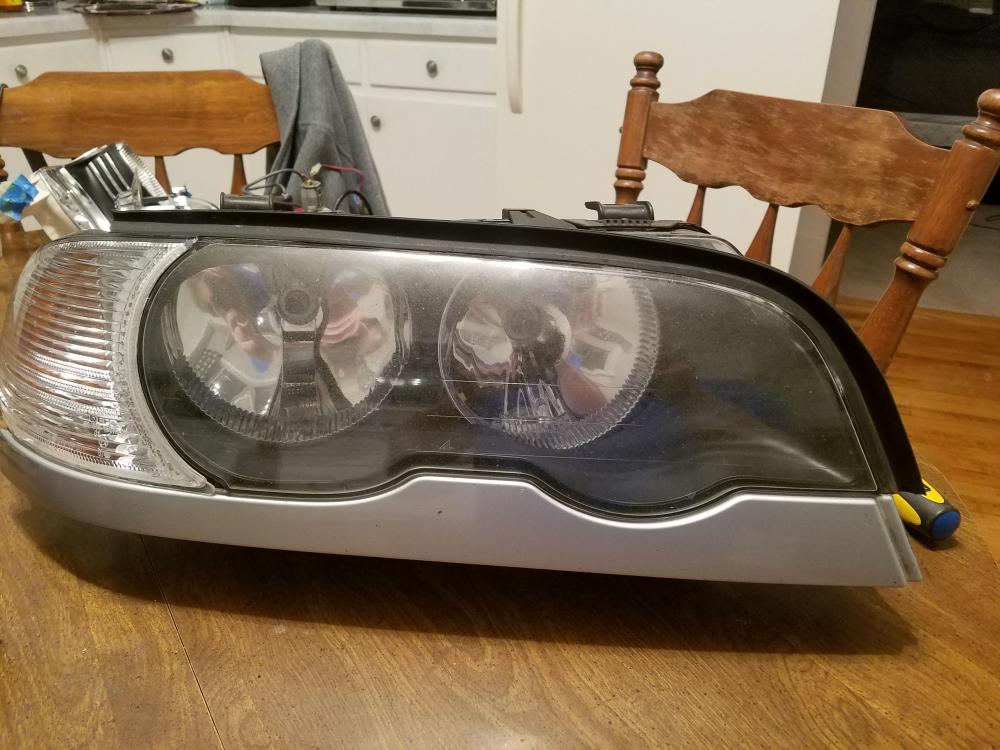
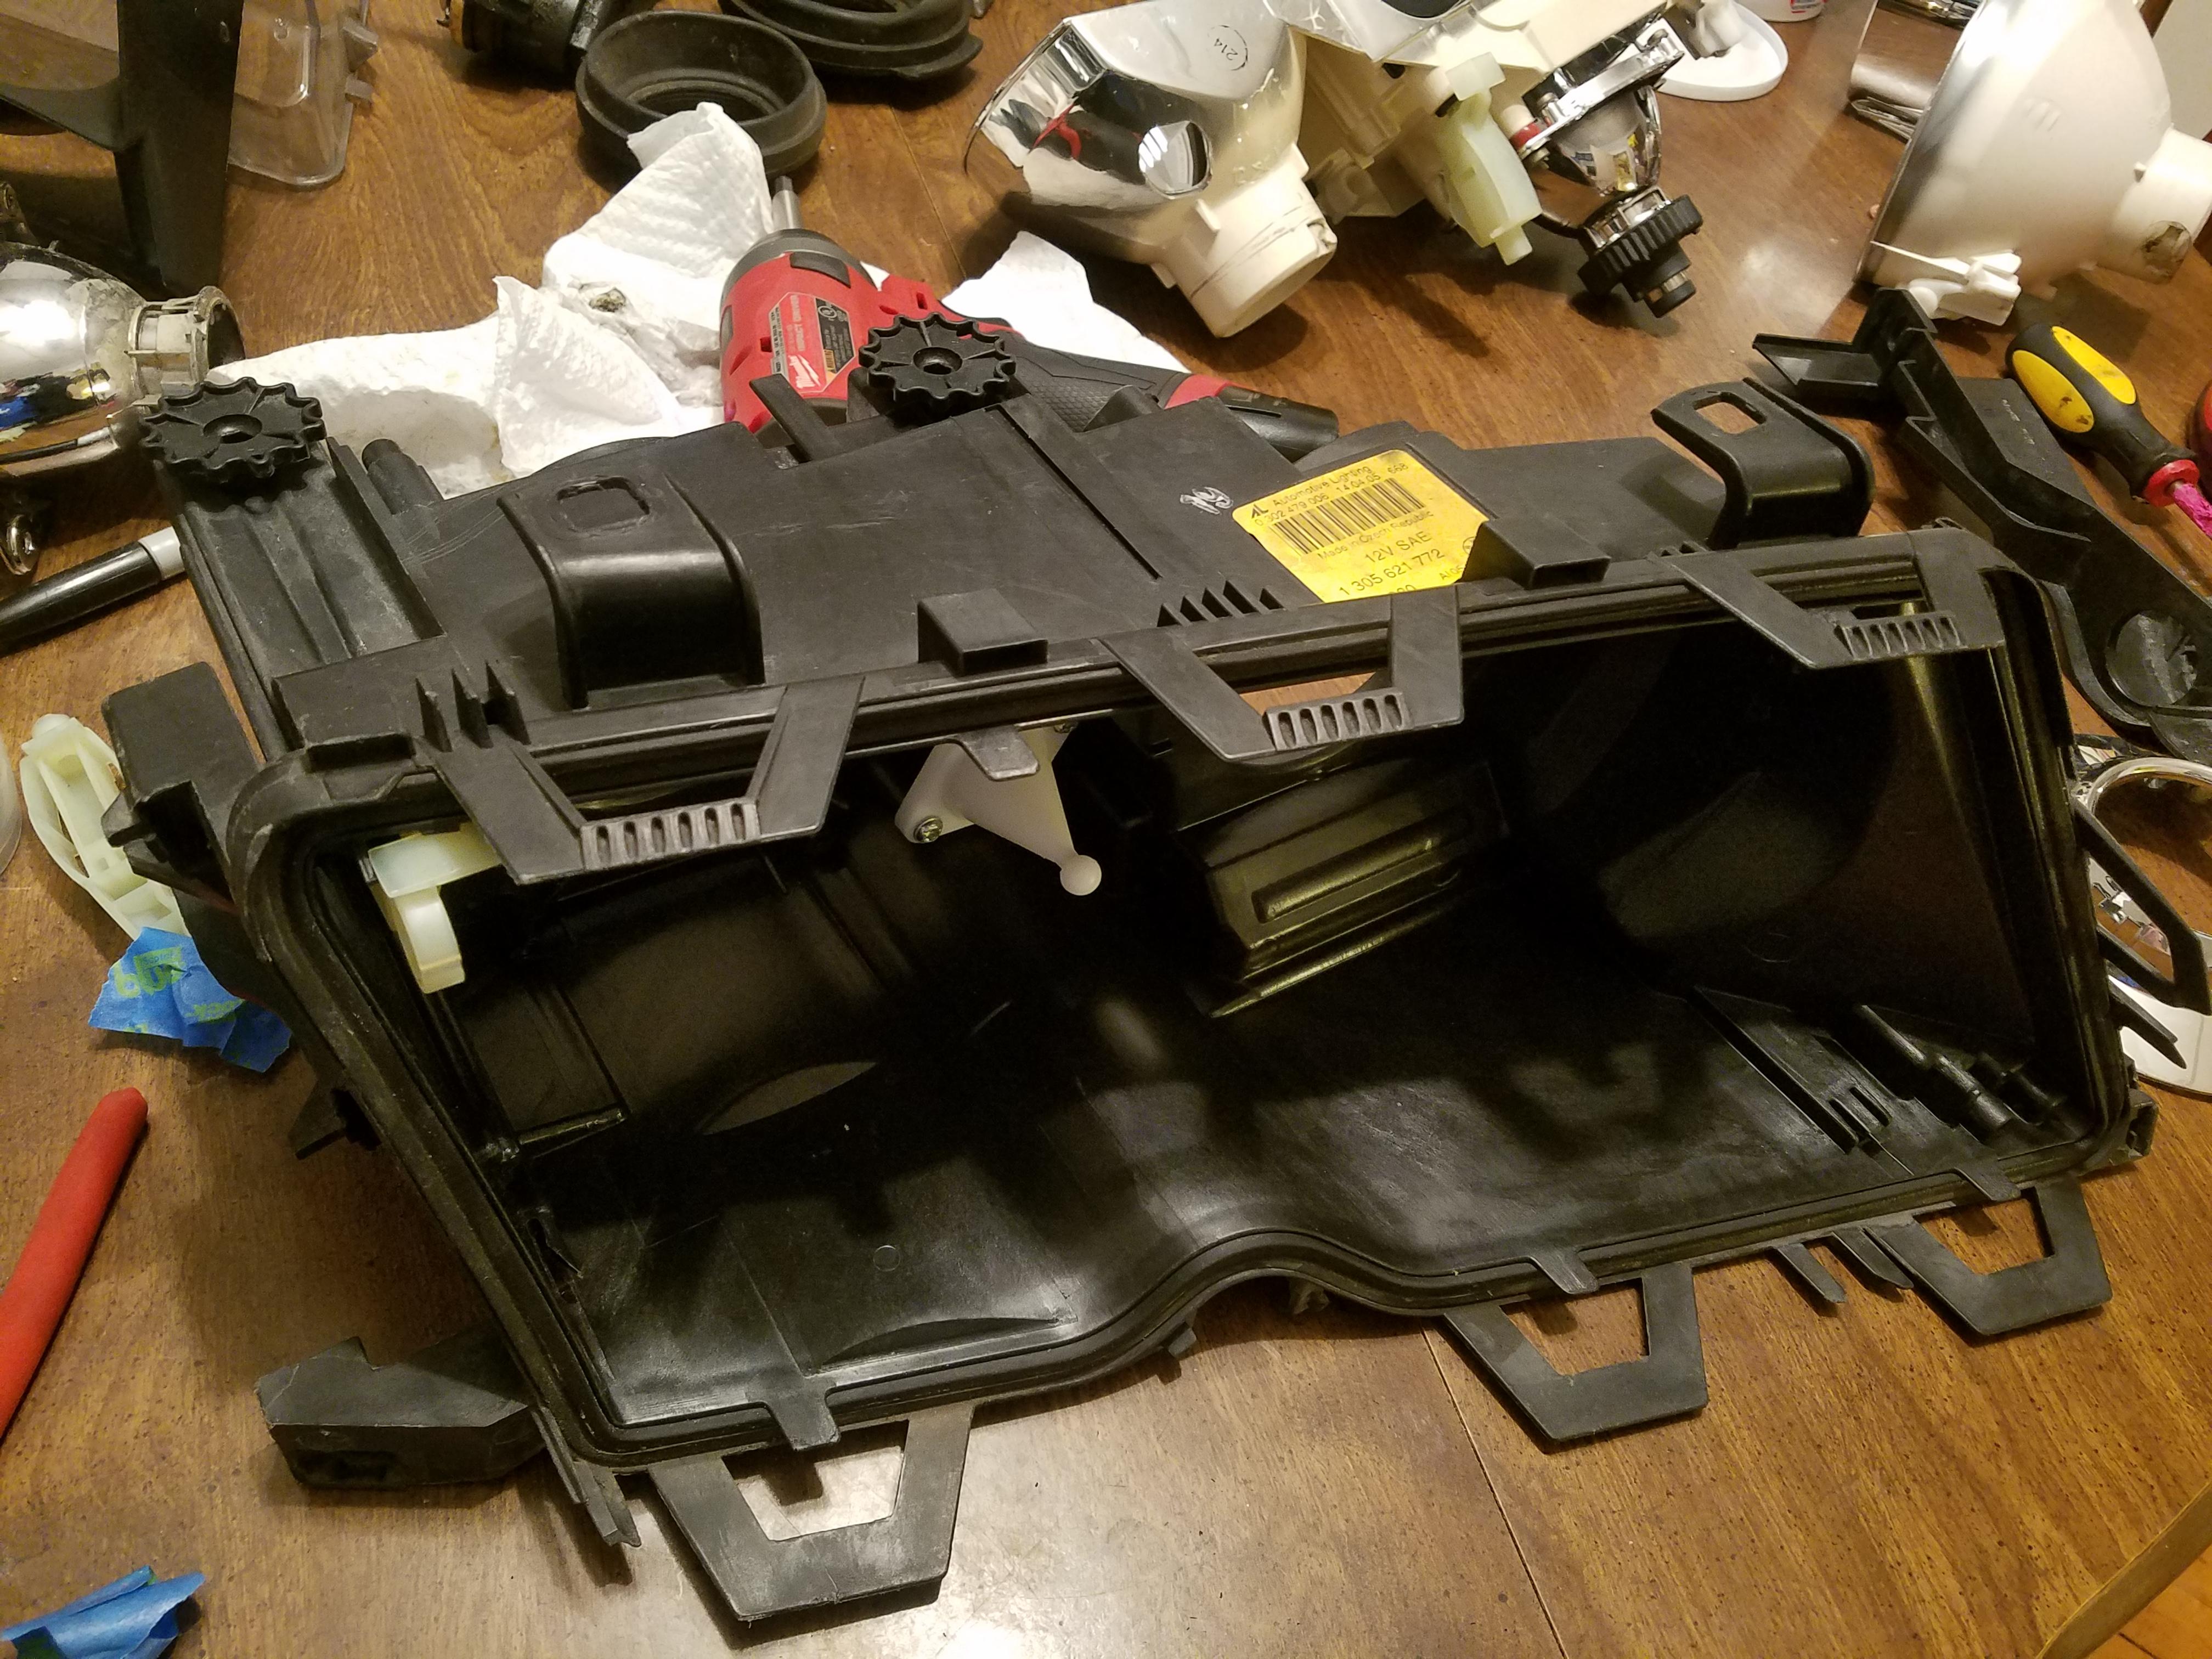
Took this existing light completely apart and deep cleaned it (it came with my car so it had 200k plus of road shit that I couldn't completely scrub put before). I dont have a before photo but here it is all cleaned up.
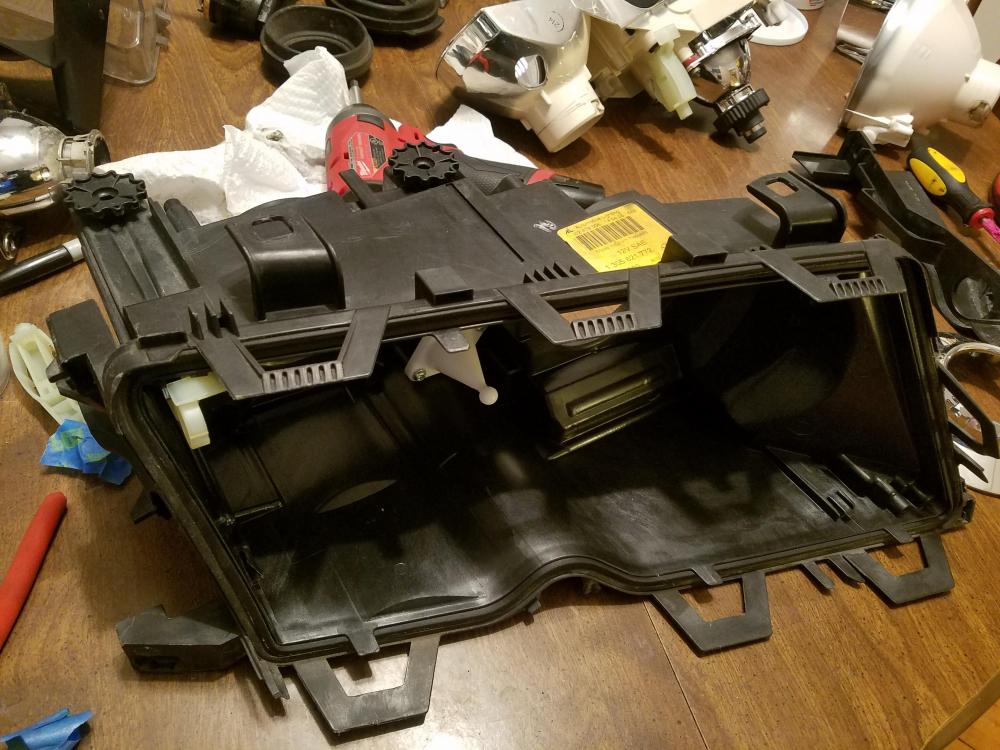
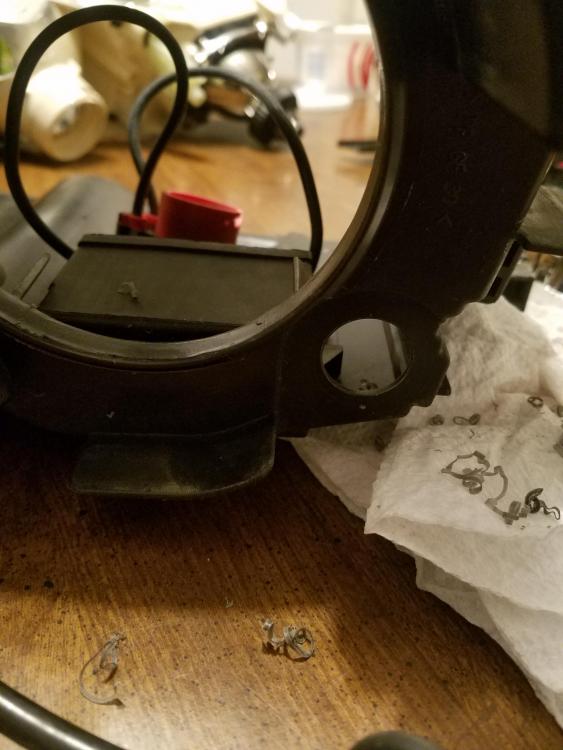
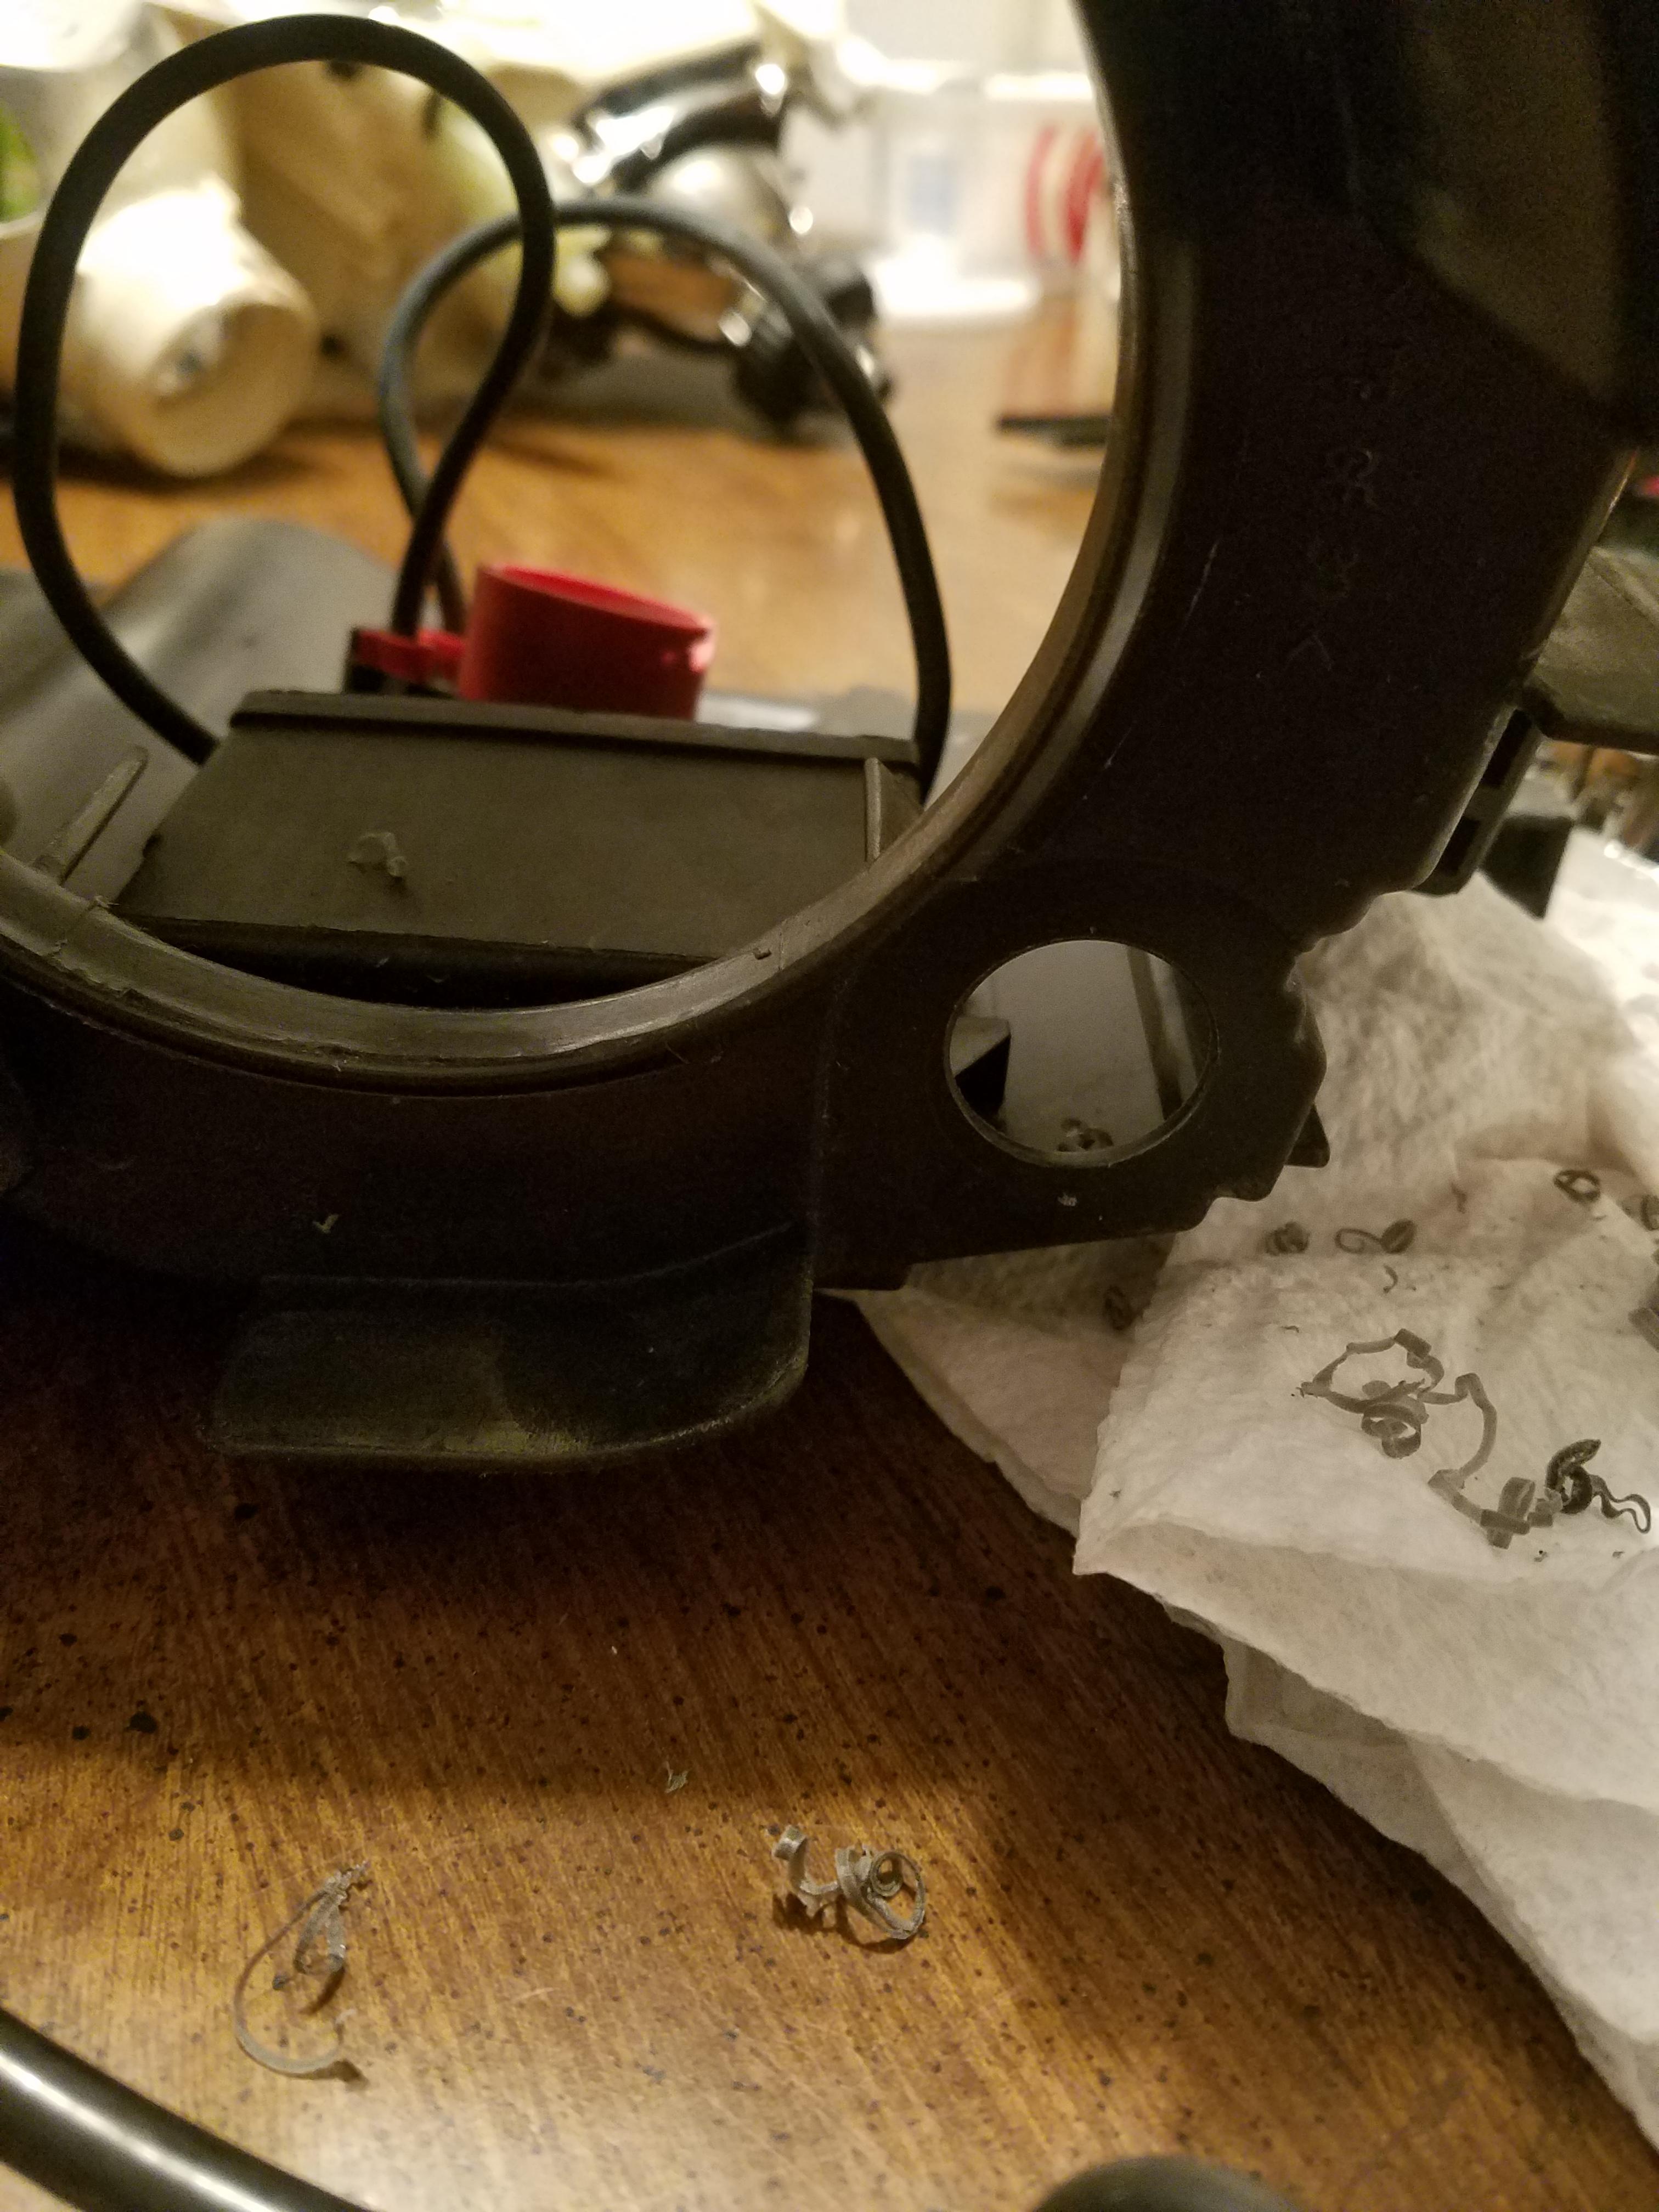
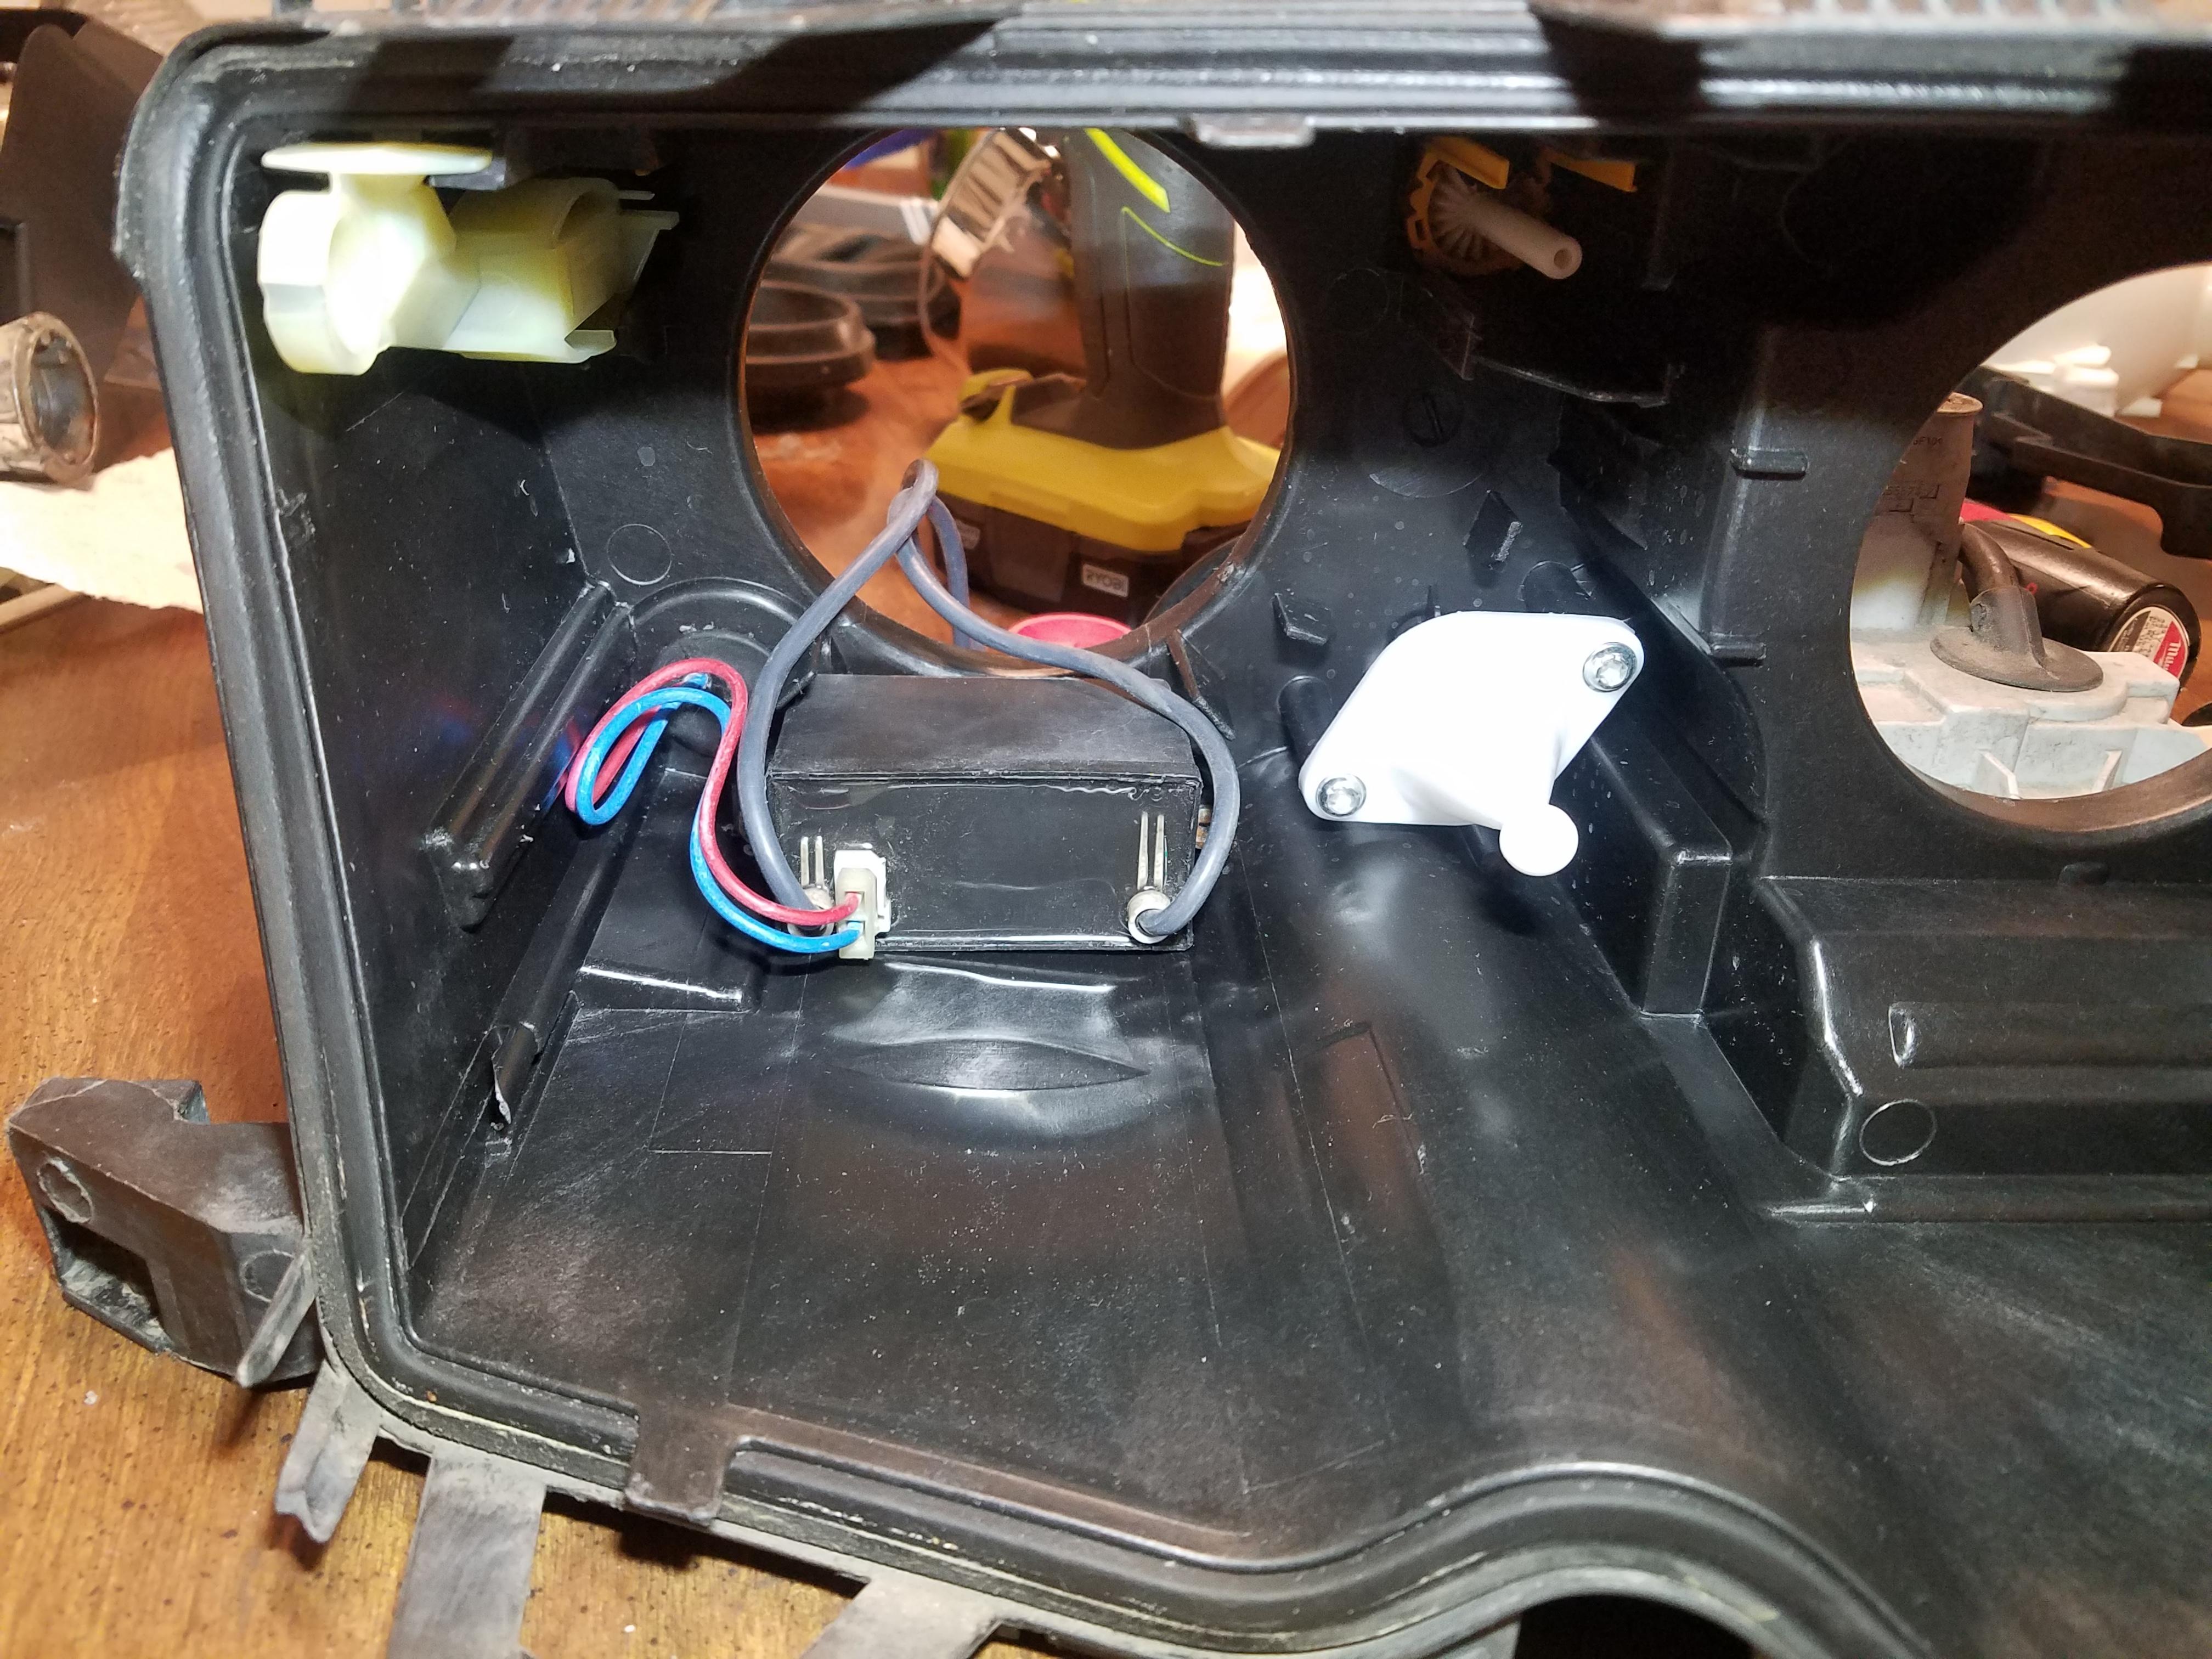
I cleaned up the rest of the parts then drilled a hole for the igniter wires to come our of the housing which then connect to the ballast.
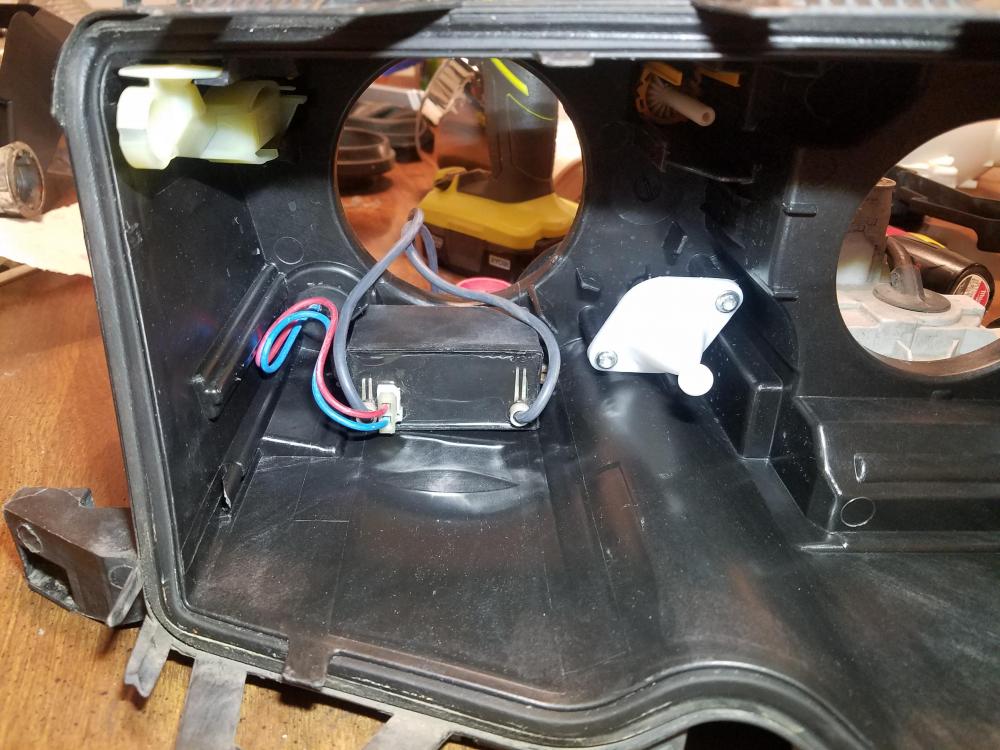
The ballast slid right into the coupe housing just like on the original pre-facelift sedan headlights. (No photo but you get the point).
Once the igniter was secured in and all the wires were ran I cleaned up the projectors and the reflective housings. Installed them into the coupe housing and put the shroud into the housing.
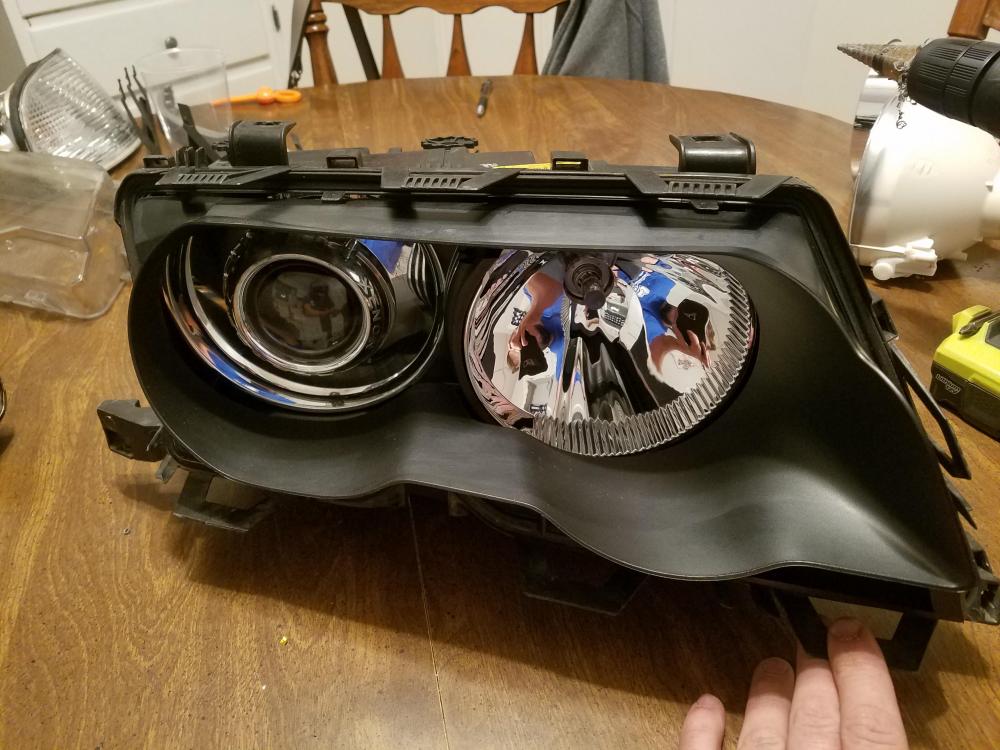
Now that I know it works I have to do the other headlight but I was extremely happy to find I had basically all the parts to do this.
Next up is to order some new lenses to get rid of the nasty faded ones, I tried to polish them out but new ones are cheap enough.
-
Thats good to know, and it looks great!
https://www.instagram.com/_jdesigner_/ http://nevertoolow.tumblr.com/
🥳SOLD BMW E24 633CSI - BMW M30B32 🧪SOLD HCH ES9 - 1.3 LDA
👽BMW E30 325IC - Toyota 1JZ-GTE ⏰ HONDA EF9 CIVIC SI - JDM B18C5
☠️BMW E36 318i - Ford 5.0 FE302 🚴♂️ GT-Labomba - 26x2.75 Freeride
🤹♀️SOLD BMW E36/7 Z3 - BMW M54B25 🧓SOLD BMW E10 2002 - BMW M10M05






Hello! It looks like you're interested in this conversation, but you don't have an account yet.
Getting fed up of having to scroll through the same posts each visit? When you register for an account, you'll always come back to exactly where you were before, and choose to be notified of new replies (either via email, or push notification). You'll also be able to save bookmarks and upvote posts to show your appreciation to other community members.
With your input, this post could be even better 💗
Register Login